Part 1: The Midnight Ride
At the start of the chapter, you will be at the Homestead and receive a letter requesting your aide in Boston. So let’s head on back and make your way to Paul Revere to begin the mission.
Part 1
Once you regain control of Connor, you will be on a horse, with Revere behind us in the saddle. To work our way through this mission, we need to enter the green mission area on the map and follow his instructions to reach our destination.
Try to stick to the roads as our three objectives are right around them and if you see a patrol of redcoats, note that they have itchy trigger fingers and will attack and because one of our optional objectives is to not trigger open conflict, it is best to stop when you see them and let them pass before proceeding.
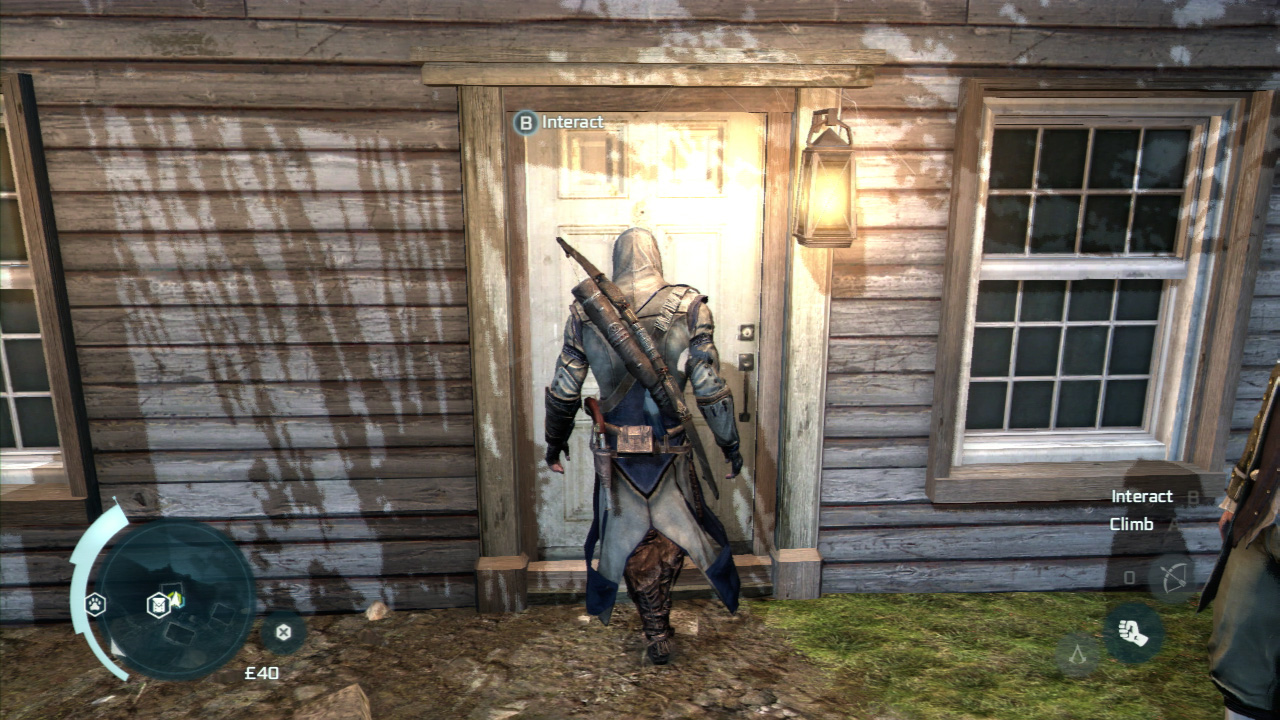
In the first target area, once you are told to go the rest of the way on foot, you will notice four buildings in your immediate area. There is also a redcoat patrol here. The door we want to knock on is the northernmost one in the area. Do so to trigger a scene.
Afterwards we’ll be back on our horse. Head for the next objective marker and follow revere’s instructions until you reach the next group of buildings. Here you’ll want to knock on the door to the south (there will be a guy using a hacksaw just in front of it).
Again, following the scene we’ll be back on the horse. Follow the river nearby to the northwest and cross the bridge when you come to it (watch out for the redcoat patrol around here). Once you are over the bridge go and knock on the door to the first house on the left.
Part 2
It’s a trap! After the scene, you will be back on your trusty horse with Revere. You will notice that there is a new objective marker as well. We are now going to be hunted by redcoats and have an optional objective to reach Prescott within 2 minutes. Simply ride your way over to the objective marker and knock on the door in the dead centre of the green zone within the timeframe to complete the objective.
After one more short scene, we need to ride over to Lexington, just follow the objective markers until you reach the target house and go inside to complete the mission.
Part 2: Lexington and Concord
Part 1
Head over to the exclamation mark in Lexington in the frontier to start the mission. When you are back in control of Connor, hop on the nearby horse and start making your way towards the objective marker in the distance. We need to reach Concord within three minutes, once you reach the next small township on the way, you’ll receive an optional objective to rescue a civilian hostage.
Keep an eye out to the left as you continue through the village to find the redcoats with the hostage (they will be marked with red dots above their heads). Quickly cross the bridge here to kill them and then hop back on the horse and continue to the objective marker.
Part 2
After a story scene and a few tips from Barrett, you will now be on horseback and need to defend the bridge from the advancing British forces. There are three groups of soldiers here. One directly at the bridge itself and another group either side of it.
As you approach each group you will see a circle appear on the ground around them. When you are inside the circle, you can give them the order to fire. Now, to complete the mission, we need to keep our eyes on the opposite side of the river and you will see the redcoats moving up to the river from the left, the right and the centre. They will form a firing line when they reach the position, so firing at them just before they are in order will inflict the maximum number of casualties.
Note there is an optional objective to kill 7 entire groups with a single order, you should get this pretty easily as it will come with defending the bridge.
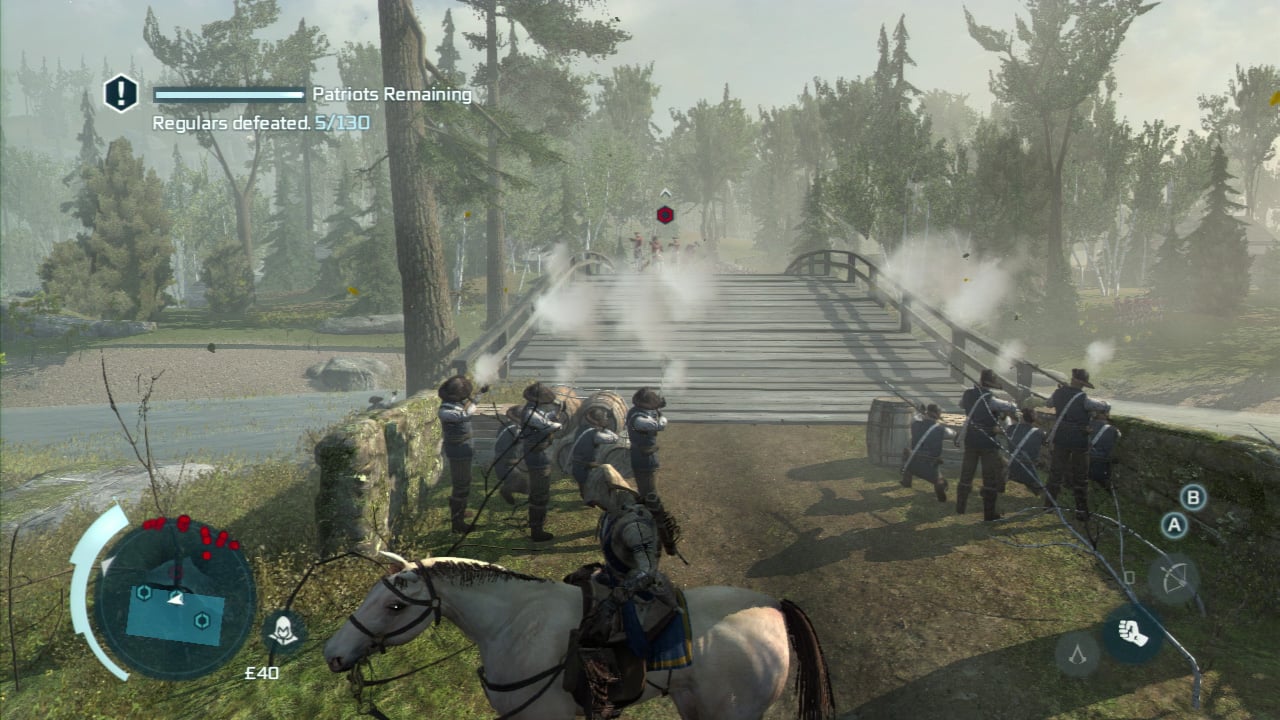
We need to ride back and forth between the three positions and giving the order to fire. Try to get them to shoot before the lines or formed or if they are formed, between opposition shots.
Once you have killed 130 British soldiers (should take 3-4 minutes) a scene will play to signal your success. Make your way to the objective marker to chat with Barrett to end the mission.
Part 3: Conflict Looms
Part 1
After the previous mission, you will find yourself automatically in Philadelphia where you will watch a scene. Afterwards continue down the hallway and exit the door at the far end.
When we are back in familiar territory you will notice that we are in the frontier. Work your way over to the exclamation mark and speak with the man here to start the mission. Follow the man on horseback until you reach the encampment. Head over to Israel for a short story sequence.
Once you can control Connor again, note the optional objective to cross Charlestown without taking damage. Unfortunately the boats in the harbour are shelling the village and there are a few guards around that will attack or shoot at us as we go through, so we need to avoid both.
We are going to slide down the cliff nearby and enter town. Hop the fence at the bottom and run down the street towards the objective marker. When the building collapses in front, turn left and use the upper path next to the building to get around behind it. Continue along the street until the next corner and head to the left. Follow this to the end to reach the water. Swim out to the objective marker.
Part 2
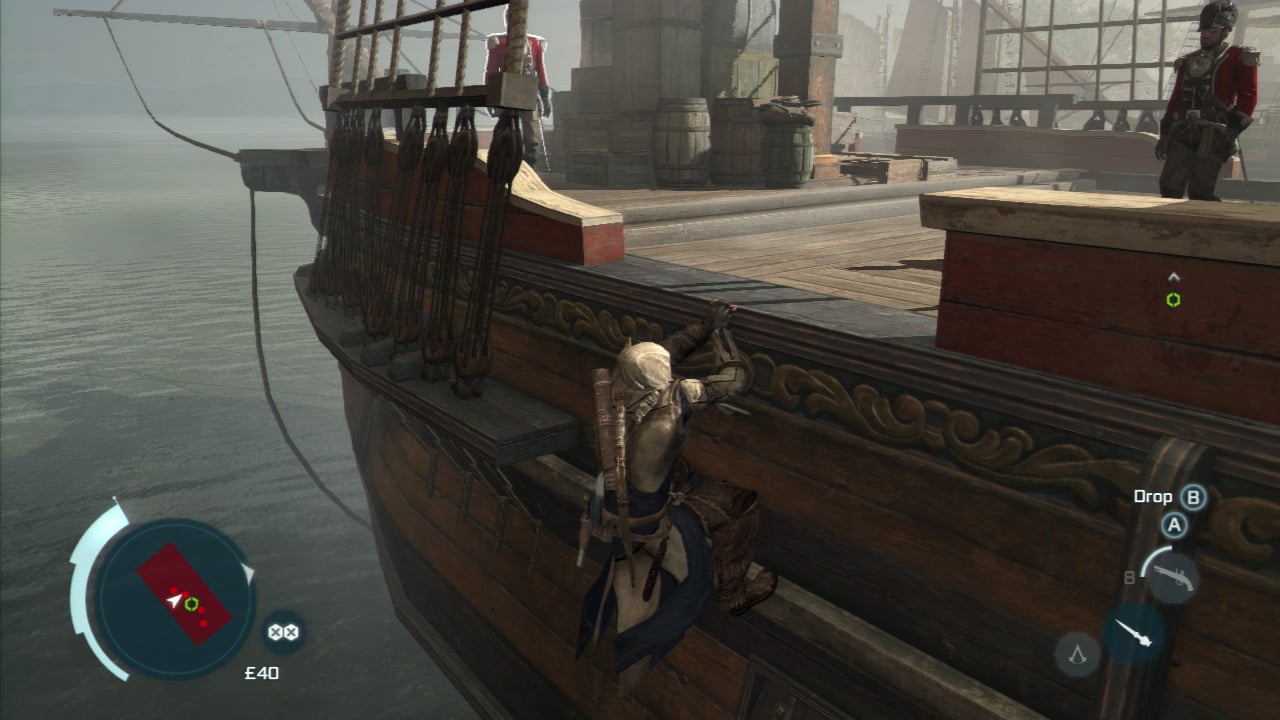
We are now able to complete the other two optional objectives: Air assassinate a grenadier and remain undetected on the ships.
Swim to the northernmost of the two ships. Swim to the far side of the ship and climb up towards the stern (back) of the ship. Scope the area and look for the guard with the large back pack, fuzzy hat and the kilt on. This is the only grenadier on the two ships, so we will have to air assassinate him if we want to complete the optional objective. Note the various guards patrol patterns. We want to clear the back of the ship.
Use the side of the ship to pull any patrolling guards you can into the ocean and then pop up and take any more patrollers down silently using corner takedowns. When only the grenadier is left, climb the rigging and air assassinate him. Go to the mast in the centre of the ship and interact with it to plant an explosive. You’ll then have 10 seconds to jump off the boat. Dive overboard and swim to the next ship.
The southern ship is a little easier. Climb up from the side furthest from land again and note the guards on board. All of them are stationary bar two. One of them will patrol the central deck, whilst the other will patrol around the front of the ship. Pull the central patroller into the water and then when the patrolling guy at the front of the ship is not looking climb up and interact with the barrel. Quickly run and jump into the water.
Once both ships have been destroyed, climb to the top of the mast indicated and interact with it to put up your flag. Dive into the water and start swimming back to shore to complete the mission.


Part 4: Battle of Bunker Hill
Part 1
When you are back on dry land following the previous mission, mount the horse nearby and follow the patriot back to Putnam’s camp. Walk forward and hop off your horse to watch a scene.
Afterwards we need to run down the hill to the objective marker and take cover here. See the objective marker in the distance to the left of the hill? That’s where we need to go. Unfortunately, the soldiers on the hill will constantly be firing. Luckily the majority of them will all fire at the same time. Wait until you see the hill light up and when the shots re done, run to the next piece of cover. Continue to move between cover when it is safe to do so until you reach the marker. If you can cross the battlefield without taking cover you will complete the optional objective for doing so.
Once you are at the objective marker, find the raised stone to your right and use it to access the trees above. Work your way through the trees until you reach a cliff you can climb to the area at the top.
Part 2
We’ll now get the optional objectives to limit kills on soldiers to 4 or less and to air assassinate Pitcairn without being detected. Tricky, but not impossible!
Crawl through the low bushes nearby and follow the fallen tree to the left. At the end of the bushes here, wait for the patrolling guard to pass and then walk straight ahead and down to the next set of bushes to the north. Follow these to the end again. Once more, wait for the guard to patrol past and then run over and jump into the hay cart to the south.
From the cart look to the left and you will see a series of tents with a single guard patrolling between them. Wait for him to start back to the south (and the guard patrolling in the immediate area is not looking) and then run over to the tents and hide in the bushes on the far side of them. Work your way to the next group of bushes to the south.
From here we will be able to see a tree stump and a tree. Wait for the guard to start patrolling back to the north and then use the tree stump to climb the tree. Jump to the next tree to the left and from here to the flagpole below. From the top of the flagpole Target Pitcairn and air assassinate him. With that all done, sequence 7 is complete!
No Comments