Bridge Between Dimensions
Once you arrive in the Rhogar realm, cross the bridge and continue up the stairs until a cut-scene ensues. Here we will meet the Crafter.
The Crafter is a useful fellow as he allows us to unlock the Sealed Runes that we have been collecting. The unlocked runes can then be socketed into weapons, armour and the gauntlet to give them special abilities. Use this opportunity to unlock a few small runes and then socket your weapon and armour.


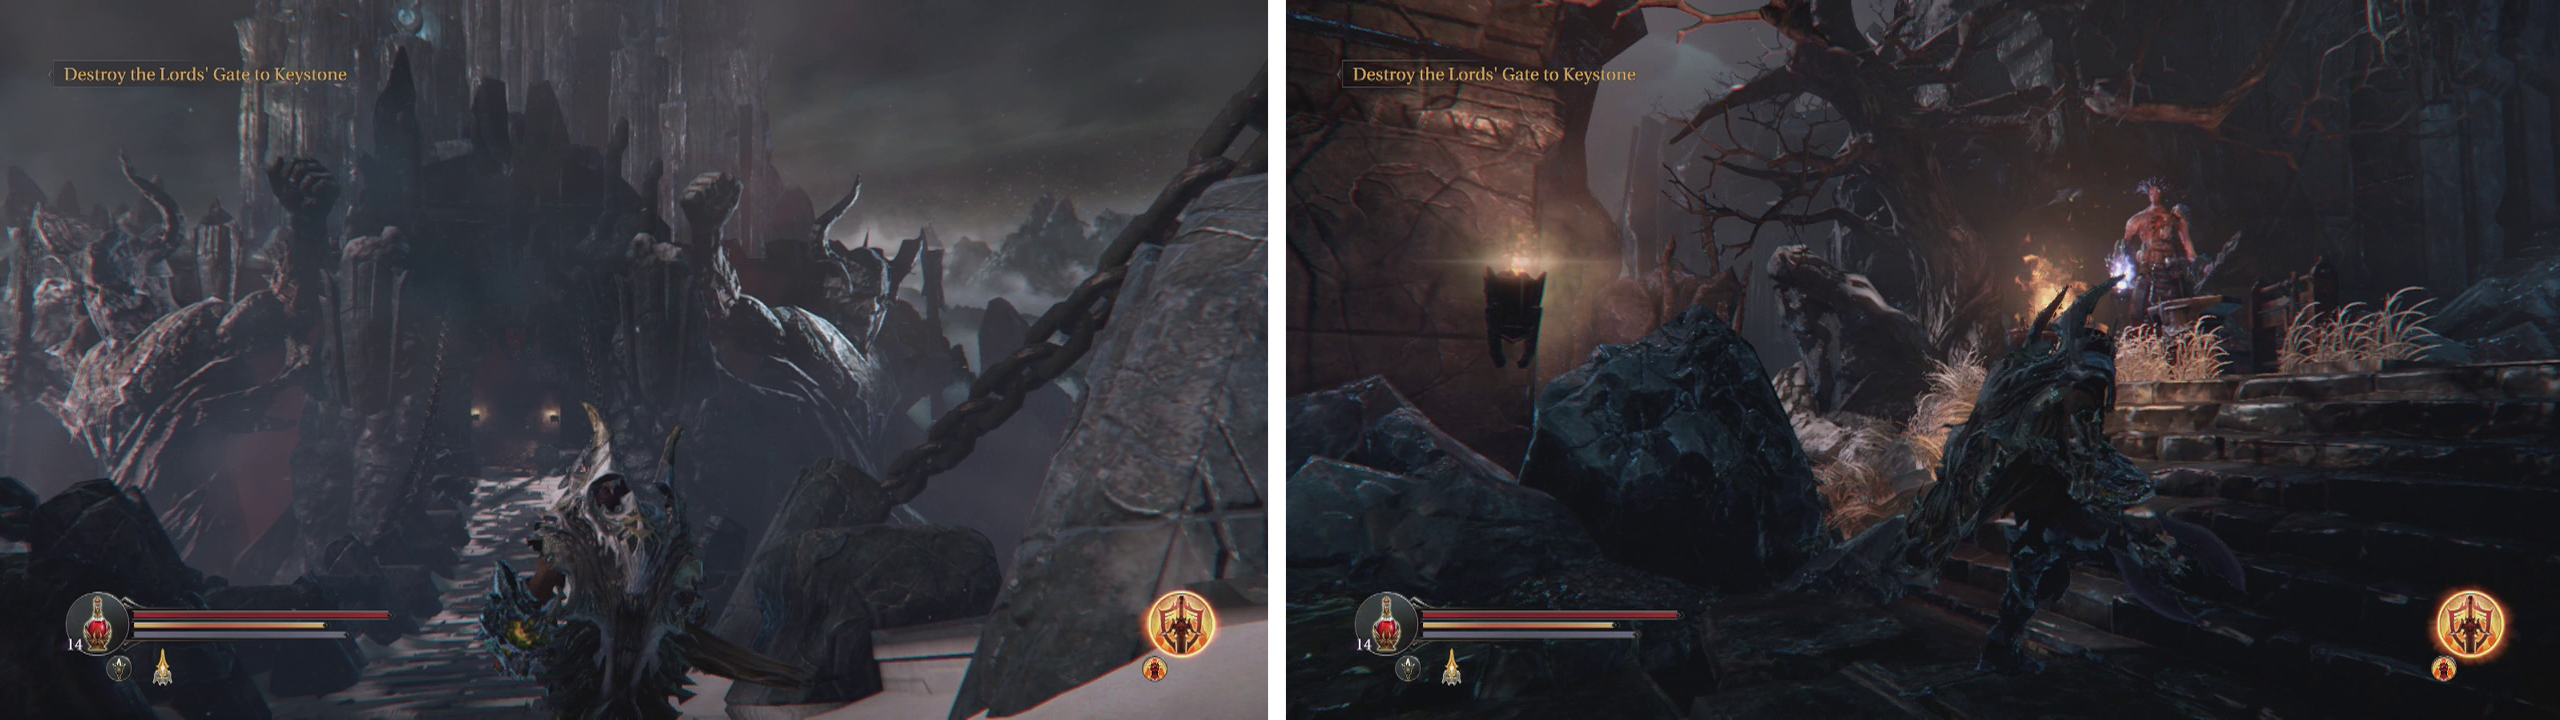
Cross the bridge (left) and move up to talk with the Crafter (right).
Once you are done with the Crafter, keep moving along the path until you reach the large locked gate with the Checkpoint Crystal next to it. Speak to Yetka who is standing nearby – she will give you a side-quest and wants you to find some Stone Tablets for her.
Either side of the short pair of stairs leading to the gate is a doorway. The right hand entrance leads to the Eastern Antechamber and the left hand door empties into the Western Antechamber. Let’s head through the right hand door first.
Eastern Antechamber
As soon as you enter, you should see an item on a small ledge by the grating to the right. You can run and jump over to this and pick it up for a Magic Energy Shard . Hop back across the gap and go down the stairs to face a new type of enemy – the Forger.
Forger Combat Strategy:
The Forgers are a tricky enemy for the time being as they are not only pesky at long range, but they are surprisingly nimble and good at dodging attacks up close and they are also the first enemy we have come across with the ability to heal themselves.
Your best bet for taking them down in a hurry is to use your gauntlet as you approach them (whilst avoiding bolts obviously) and then staying close to the Forger to limit his attacks to melee only. At this point, it is really just a matter of avoiding his melee combos and landing your own until they drop.
You will want to try and pull the forger over to you as there are another pair of Rogues in this room that will want to attack you if you get to close to them. Fight off the Forger by the stairs and then enter the room to track down the other baddies.
Once the room is clear look for a set of stairs opposite the entrance. At the top you’ll see an item we can loot for an Energy Shard . Run back to the top of the stairs and either hug the left hand wall or jump to the small rocky beam behind them to the right to reach a platform behind. Kill the Rogue here. Grab the Audio Note (Tales of Old: Crafter’s Pet) and loot the chest for a new Weapon (Polesword - Lost Pike) .
Clear out the Forger (left) and Rogues at ground level. Climb the stairs opposite the entrance for a chest and Audio note (right).
Return to the floor and look for a small gate that we can open directly below the room’s entrance. Enter the area slowly as there is a crossbowman and a Shieldman hiding to the right. Once they are dead, grab the Ancient Plate in the corner and pull the lever.
Backtrack to the Bridge between dimensions and this time, make your way into the Western Antechamber.
Western Antechamber
As you enter the room, you’ll notice two enemies fighting each other down below. Let them finish and one will die, making things a little easier. In the meantime, there is a chest on this first ledge you can loot for some Armour (Head and Chest – Wisdom) .
Head down the stairs when you are ready to meet a new enemy type – the Demon Hound.
Demon Hound Combat Strategy:
The Demon Hounds are almost identical to the golems in that they are fairly weak enemies with no real defence to speak of. They are however extremely fast and they often attack in groups. They favour a leaping attack that can hit you very quickly and like to follow it up with a 3-4 hit melee combo attack to take off a large chunk of health if it hits.
You can attempt to hit them with your gauntlet from a distance, but your best bet is to block the leap attack they perform to open their assault and quickly follow up with a two hit melee combo of your own - if you have a decent weapon, this should be enough to kill them. If not, rinse and repeat!

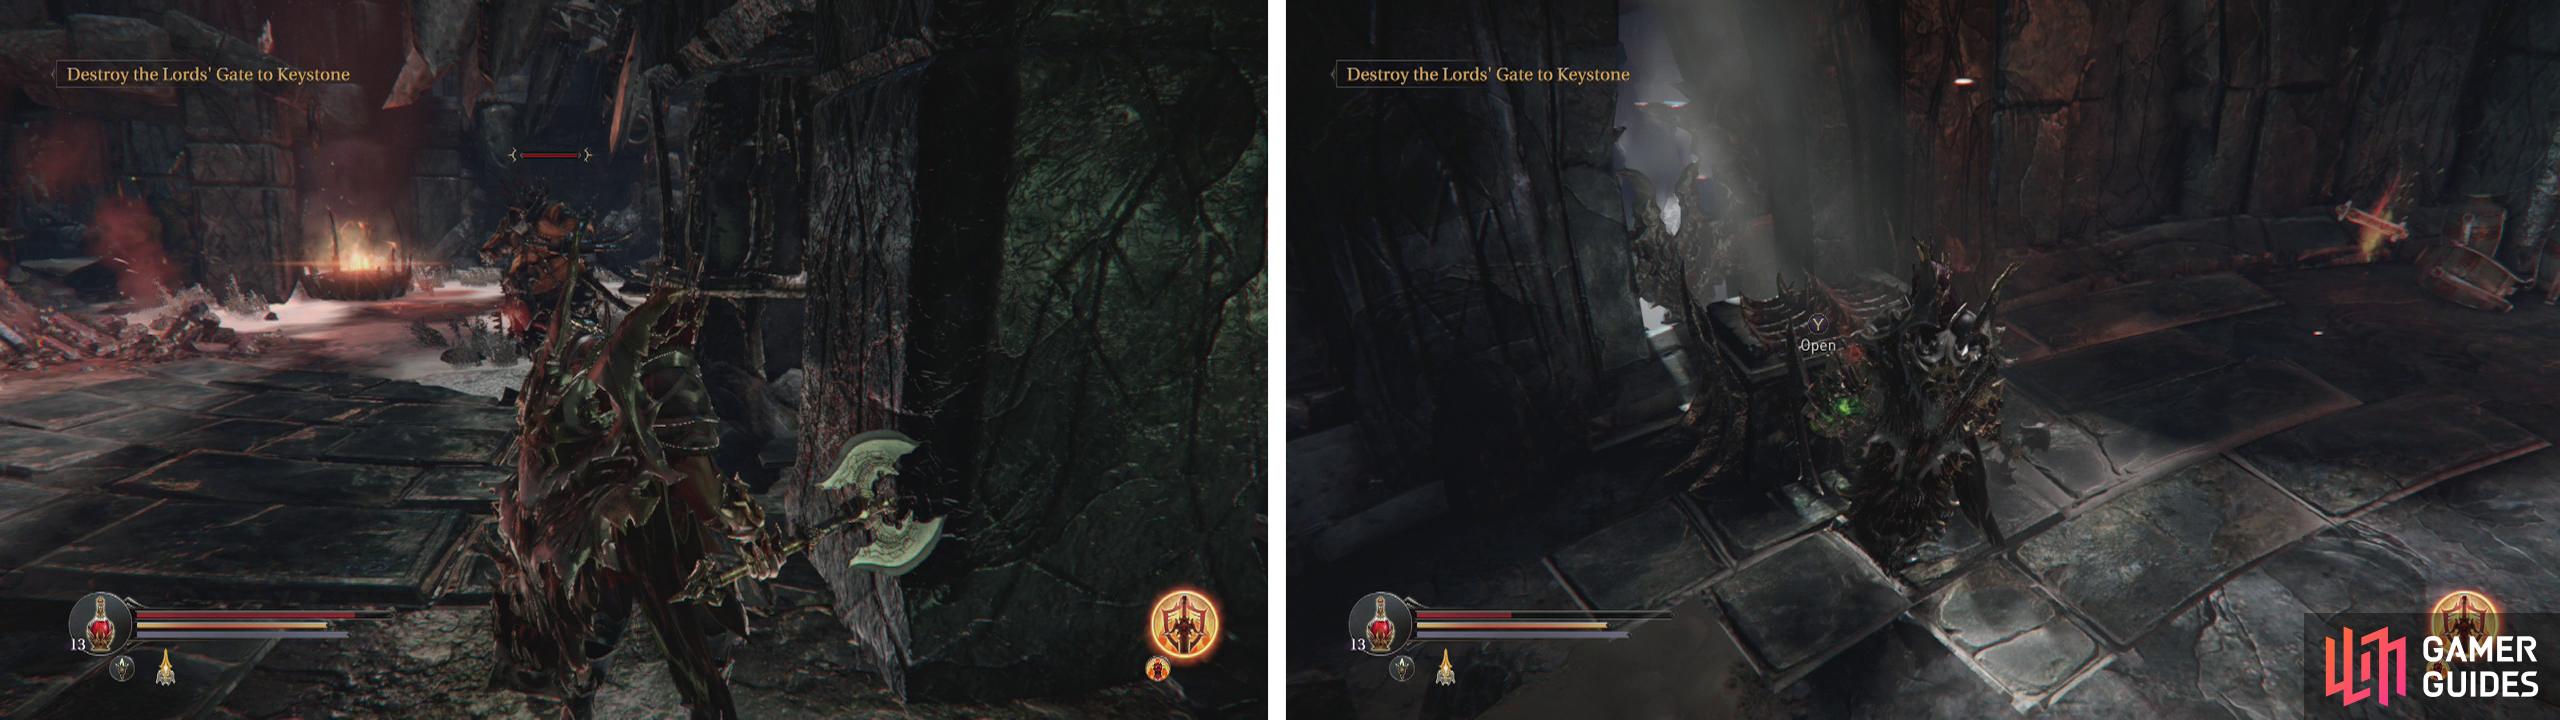
In the Western Antechamber you’ll find your first Demon Hounds (left). Enter the door beneath the entrance to find a lever (right).
When you reach the bottom of the stairs, use your gauntlet to pull the Demon Hound over to you, there is a Forger on the far side of the room and things are easier without his involvement! Head over and take him out once you are finished with the hound.
Drop down and locate the gate below the entrance we can open. Inside you’ll find another lever . This will create a shortcut between the East and West Antechambers. There is also a locked chest here that we will not be able to open until we find a key (much later in the game).
For now, backtrack to where we last saw Yetka and you’ll notice that the gate is now gone. Use the Checkpoint Crystal if you like before heading into the next area.
Eternal Flame
As you go through the gate, you will see a new type of enemy in the distance – a Tyrant.
Tyrant Combat Strategy:
The most important thing to know about taking on a Tyrant is that they are essentially indestructible unless you can find and grab their hearts before killing them. Tyrant Hearts are usually located in fairly close proximity to the Tyrants and can be found in an ornate urn that needs to be destroyed. as such, finding and grabbing this is the priority when facing a Tyrant.
As for the Tyrants, well they act as a bigger, meaner version of Marauders. because of this, they fortunately only have a few select moves and all of them are fairly obviously telegraphed, giving you plenty of time to dodge or block. The trick to defeating them easily is being patient! Lure the Tyrant into performing an attack and then smacking him once or twice whilst he recovers. The overhead slam provides the largest attack window, but you can usually sneak an attack or two in no matter the attack.
Kiting the Tyrants around whilst peppering them with gauntlet fire is also an effective, albeit slow method of taking them down safely.
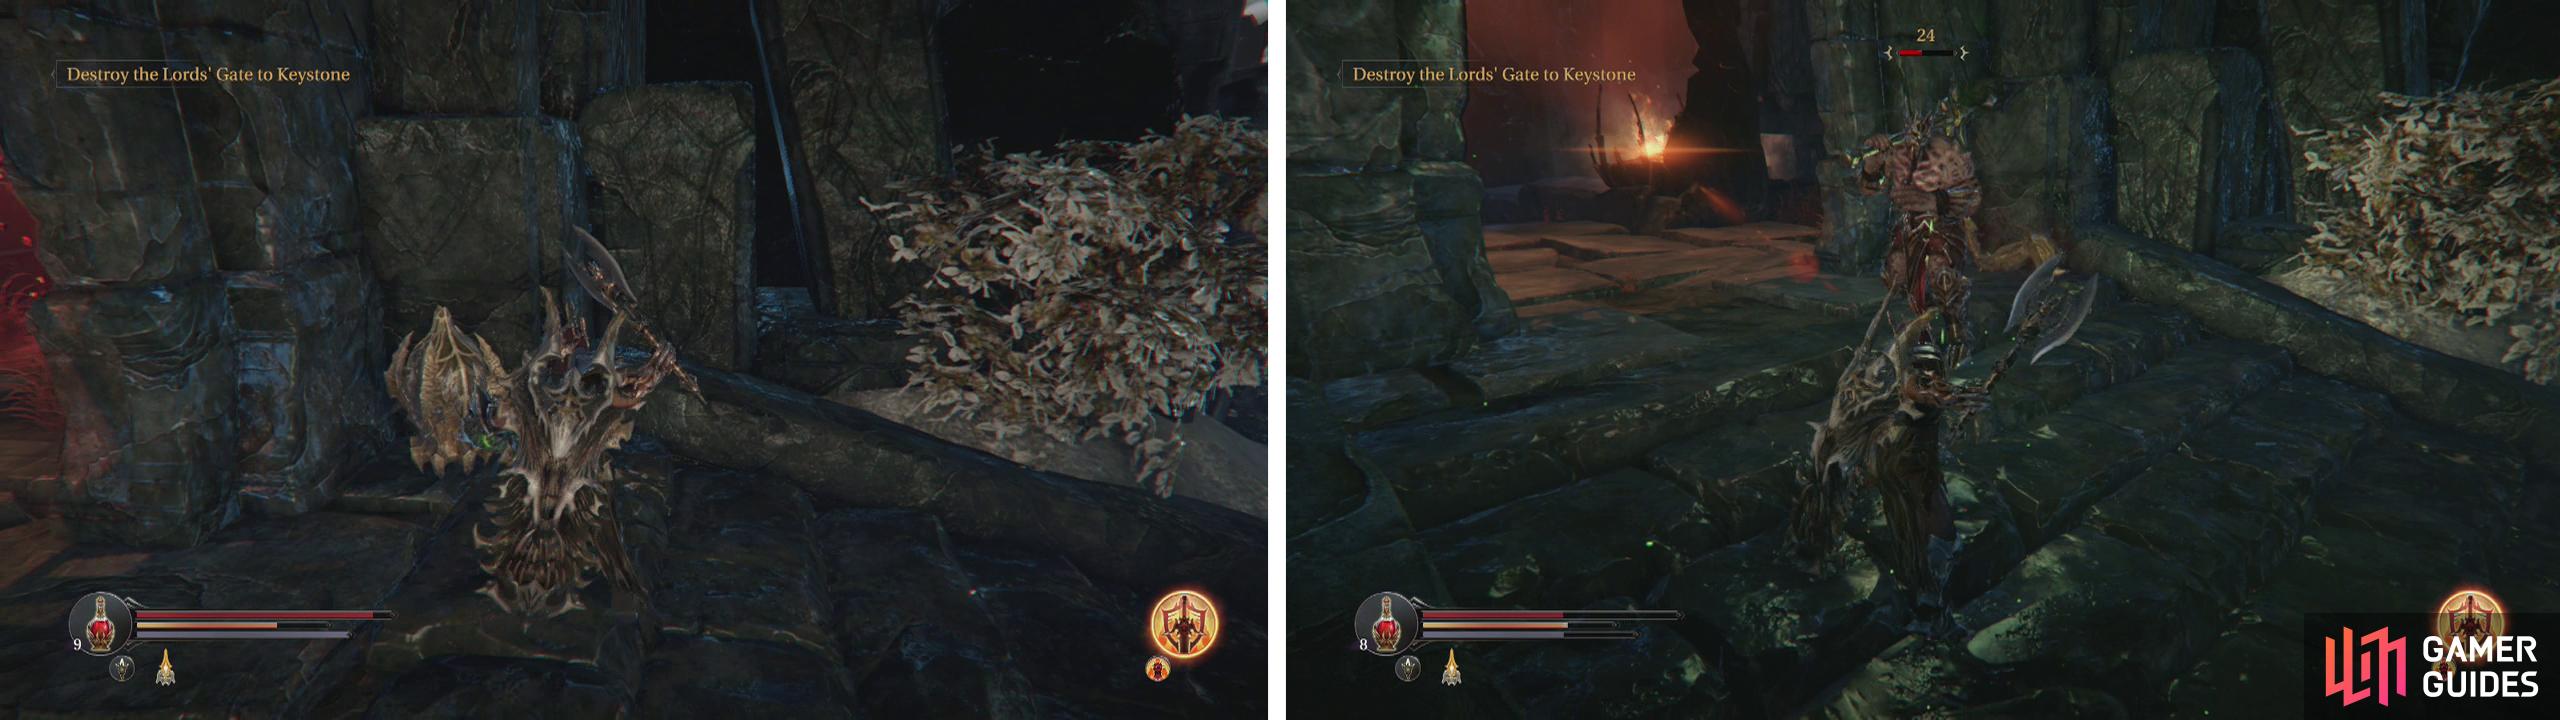
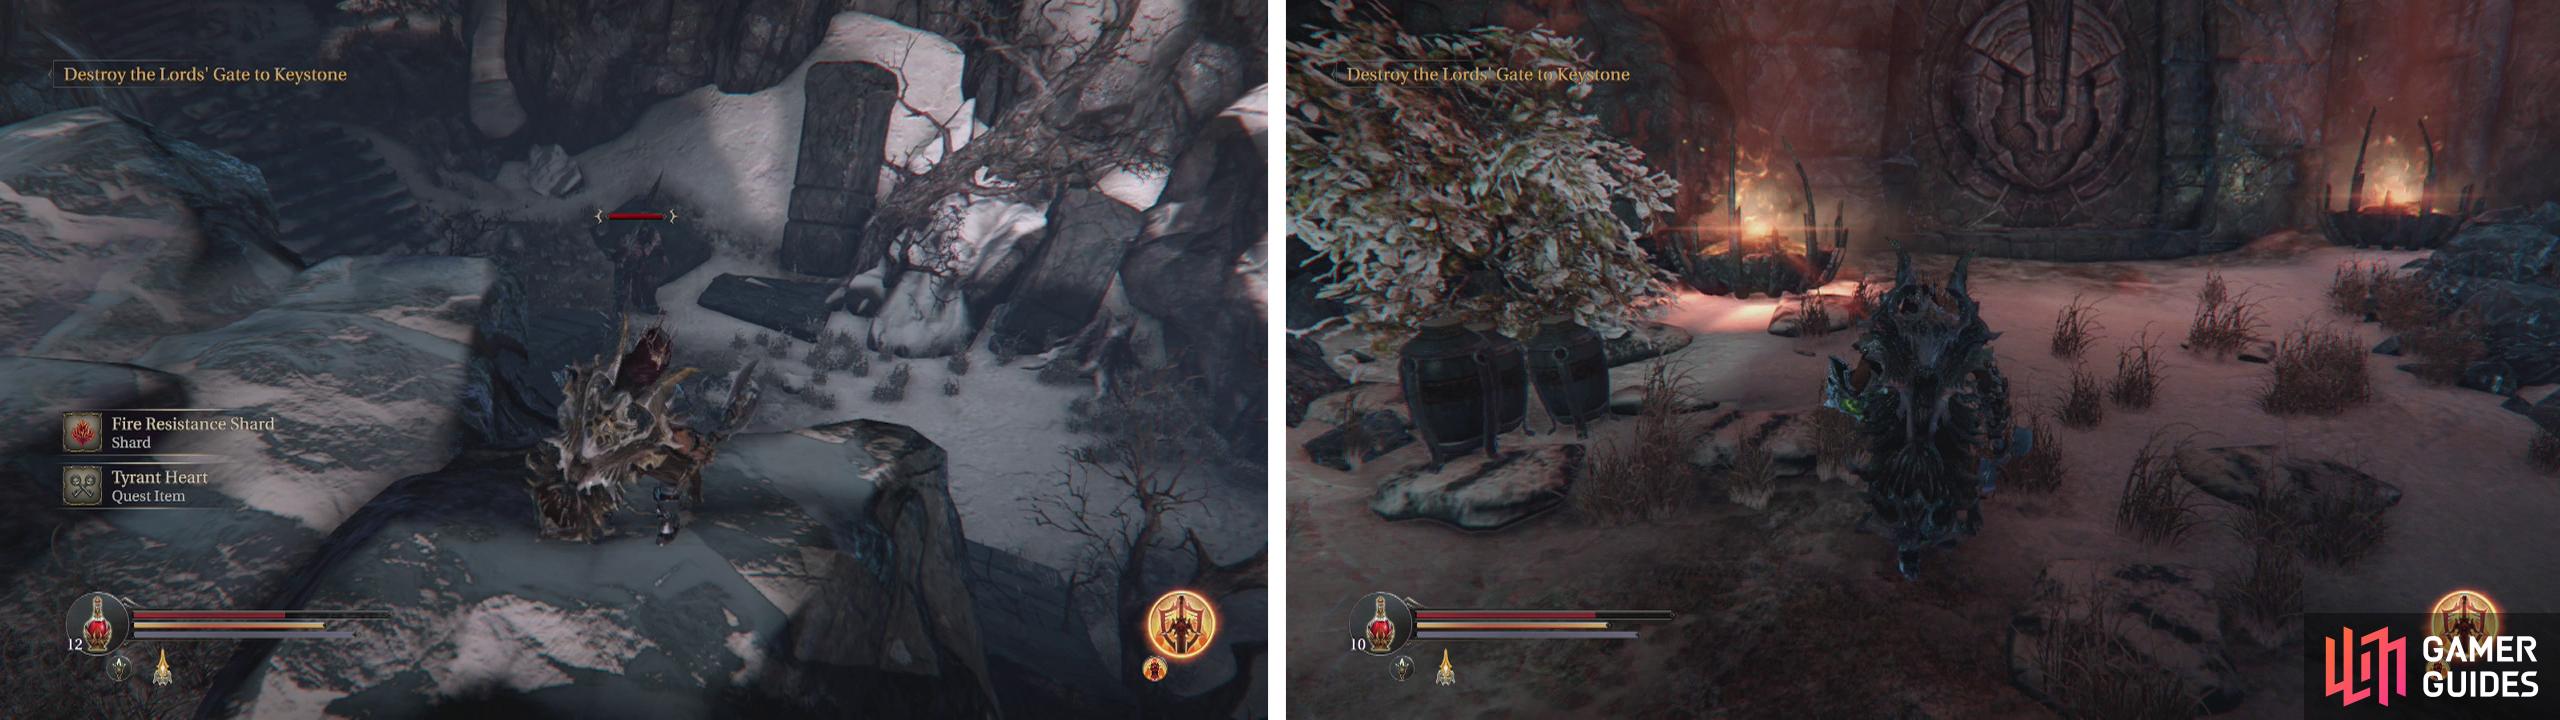
Look just beside the door to the Eternal Flame for the Tyrant heart (left) and then go kill the Tyrant! (right).
Just to the left of the entrance, you will see an urn you can smash to pick up the Tyrant’s Heart . Once you have that in your possession, move down into the large open area to take on the big boy himself.
Note that there is a Forger at the far side of the arena and a Demon Hound patrolling both the left and sight sides of the area as well, so be sure to keep the Tyrant close to the entrance unless you want company! Upon dying, the Tyrant will drop the Small Western Antechamber Key .
Western Antechamber
Make a brief return to the Western Antechamber and you’ll find another set of stairs in here opposite where we came in. Climb these and eliminate the Crossbowman at the top – note that they now have flaming arrows which cause damage over time. Make sure you dodge as much as possible to avoid it!
After killing him, use the Small Western Antechamber Key on the locked door he was guarding. Inside you’ll find an Ancient Plate and a chest containing an Attribute Point Shard and a piece of Armour (leg - Cunning) . Return back past the stairs and follow the platform to the end to find a Poison Resistance Shard behind some urns.
Eternal Flame
Head back to where we fought the Tyrant. Clear out the pair of Hounds and the Forger in the Eternal Flame area one at a time and then loot the joint! There is an Empty Bottle along the left-hand wall and near one of the braziers in the centre of the area you’ll find a Sealed Rune (Small) .
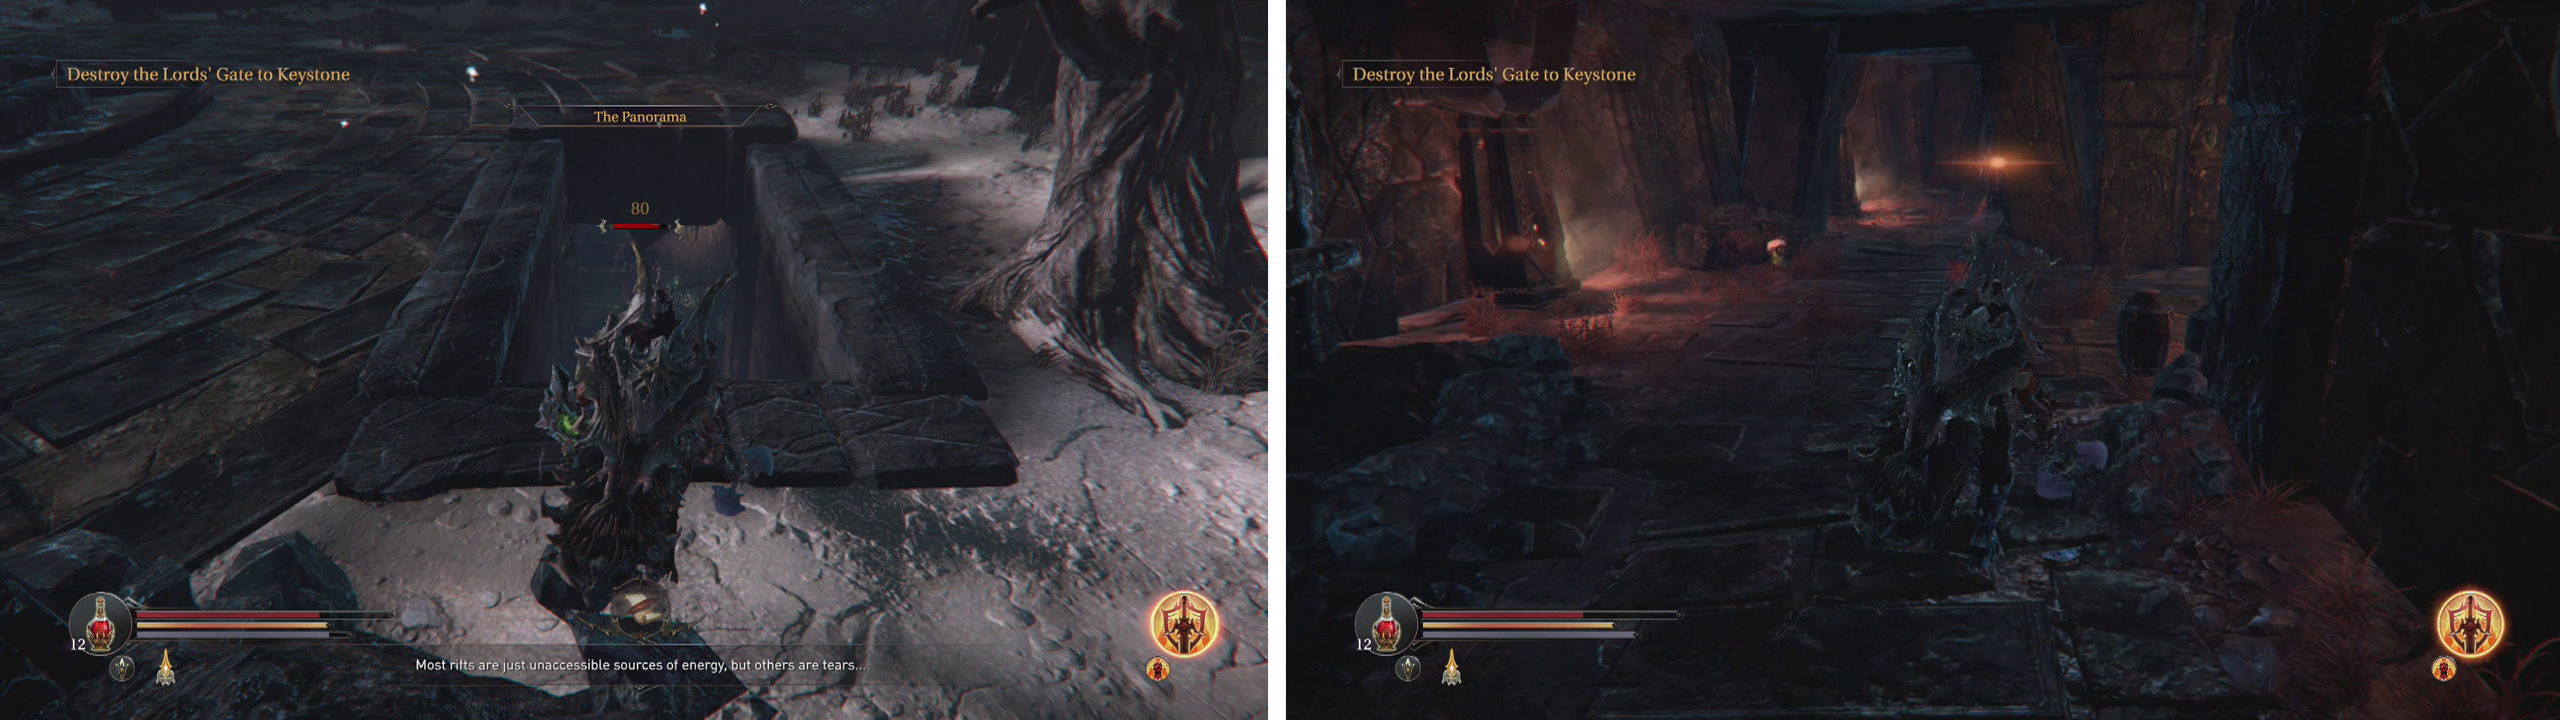
There is only one other exit out of the area and that’s via the stone archway to the left of the sealed passage. Climb the stairs here to reach the Panorama.
The Panorama
At the top of the stairs you will bump into a Shieldman. After dispatching him, follow the pathway to the right and kill a second. In the dead end behind him you will find a Sealed Rune (Small) .
Return to the stairs and continue past them. Pull the Rogue just ahead and take him down. Note the Rhogar Statue just behind him. Right next to this is a snowy pathway leading down to the next area. However, there is a chest and a pair of shortcuts to open ahead, so let’s get that done first.
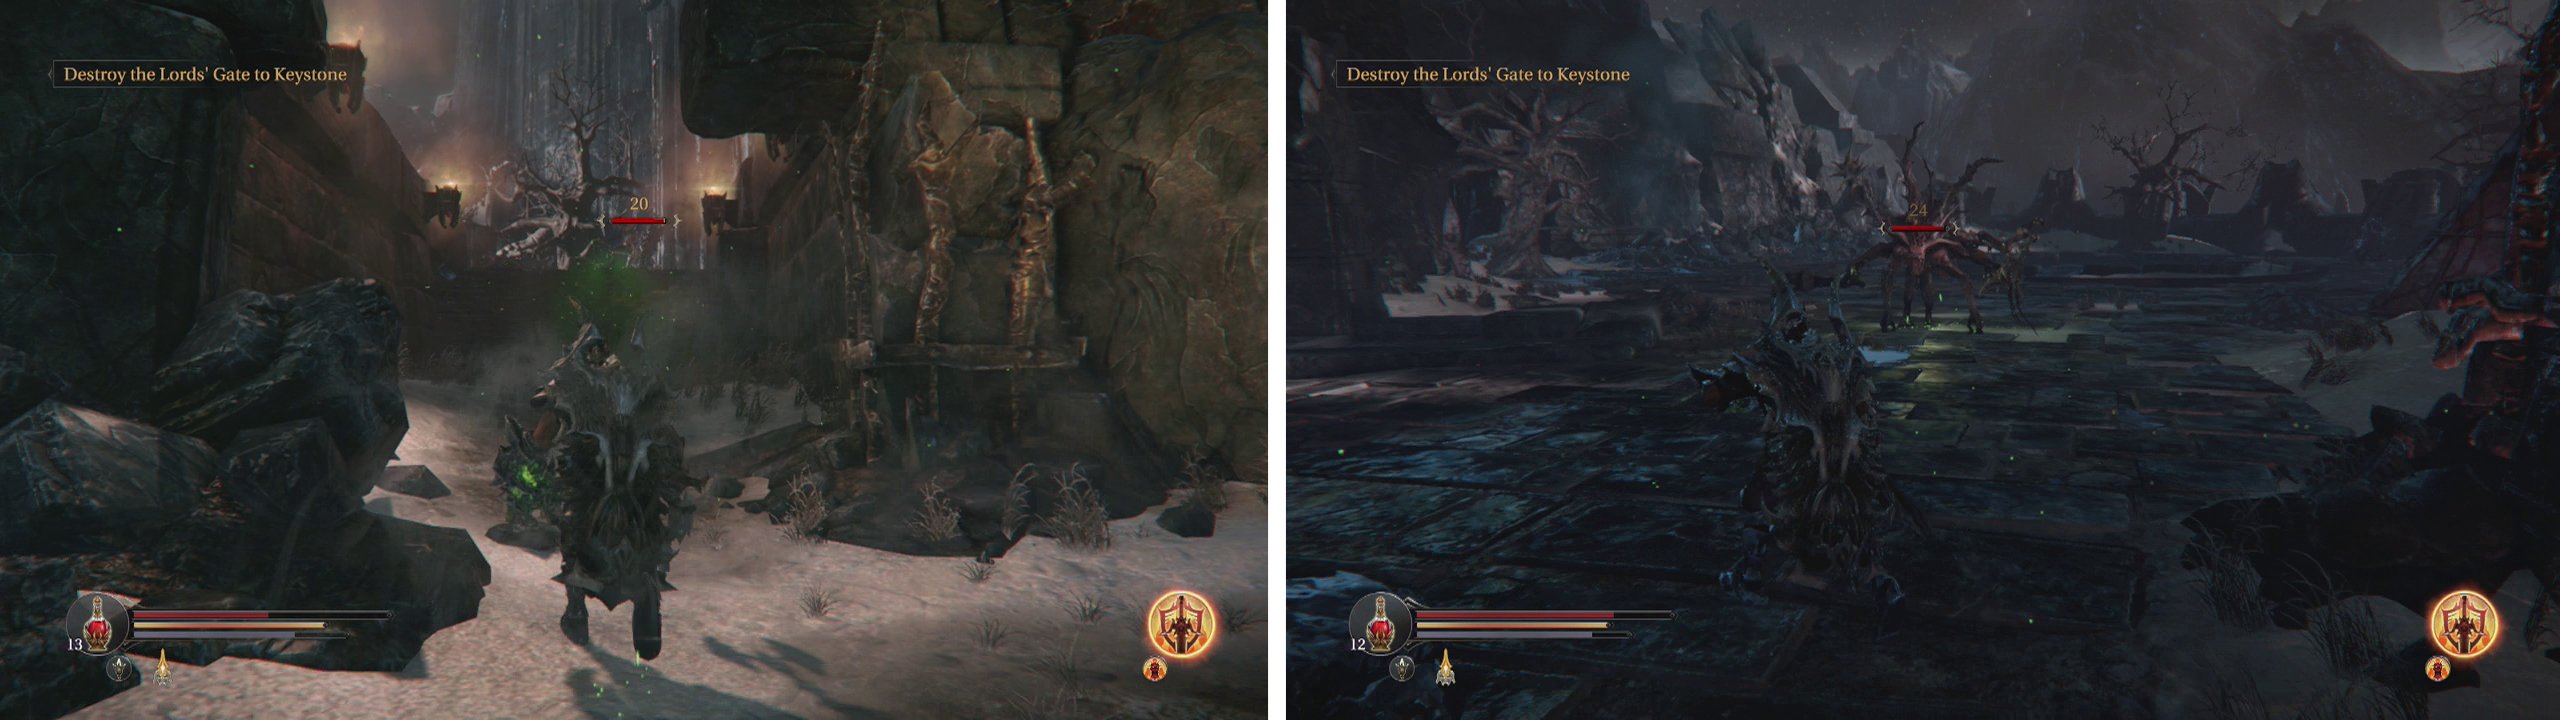
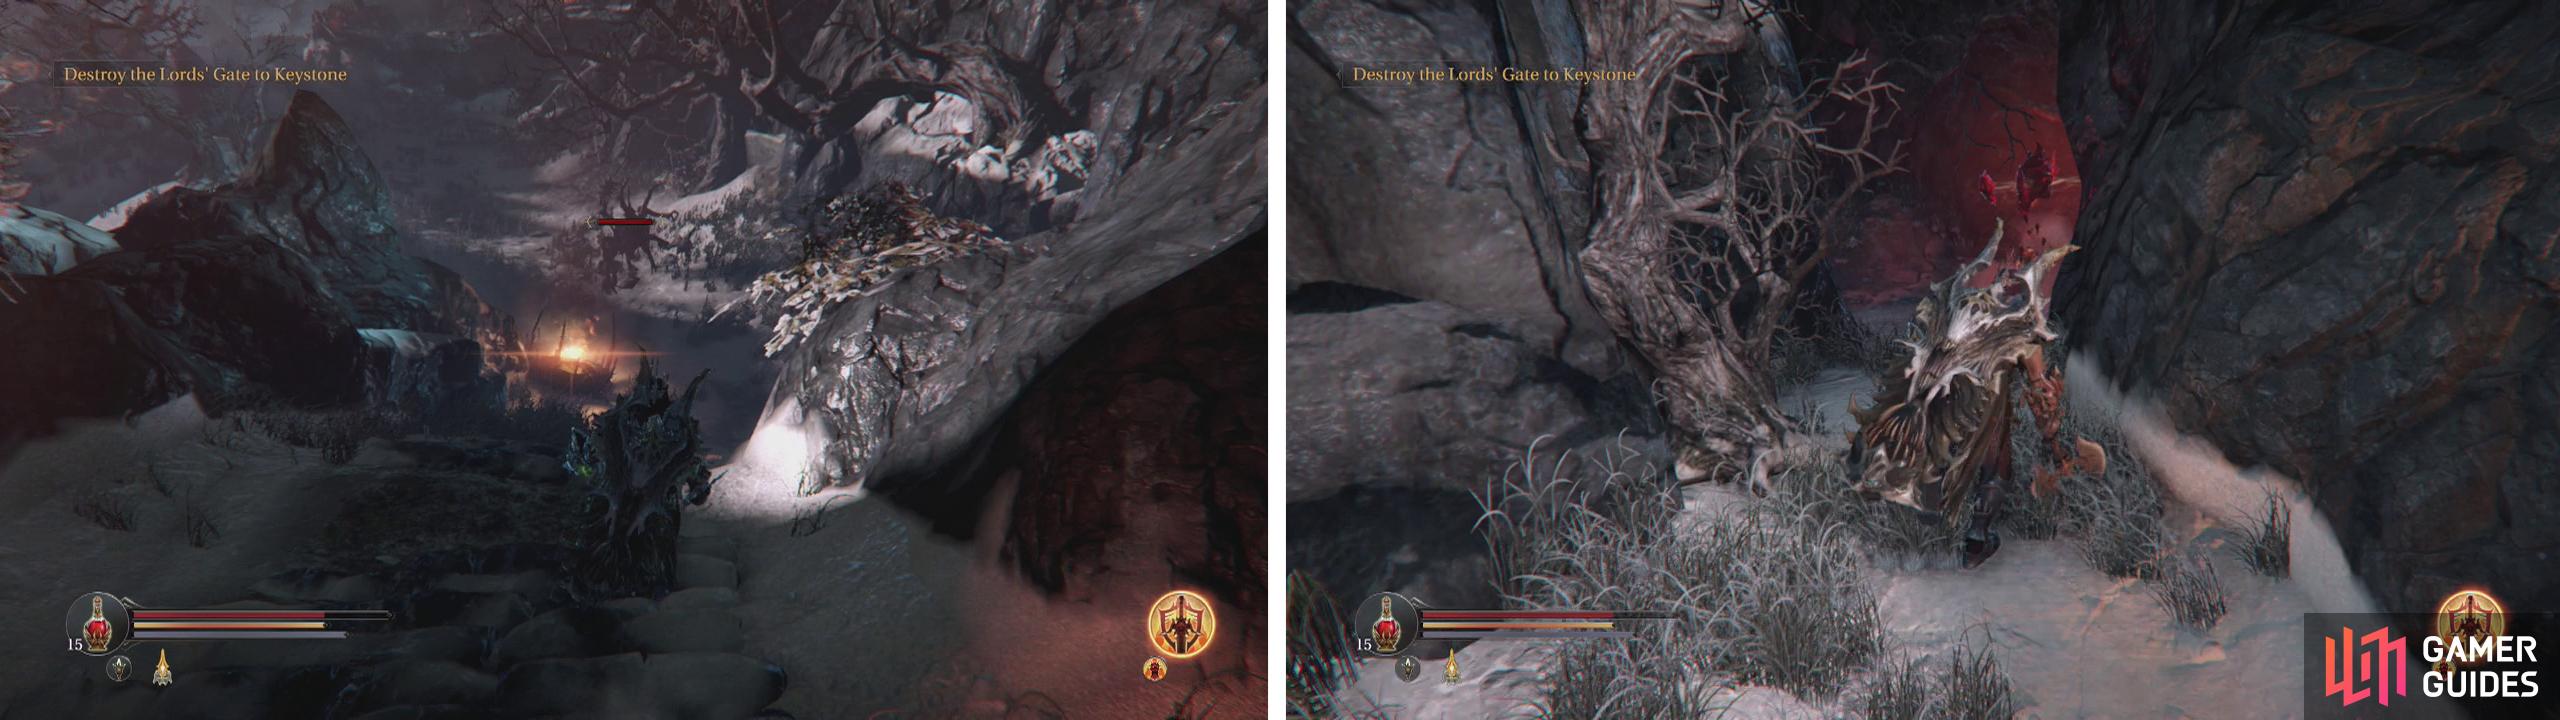
Exit via the back of the Eternal Flame (left) and follow the Panorama to the right to find an Dimensional Beast (right).
Behind the debris just ahead another Rogue awaits. Kill him before continuing along the path.
Ahead you’ll see a new enemy type – this is a Dimensional Beast.
Dimensional Beast Combat Strategy:
The Dimensional beasts have a huge array of moves at their disposal and can be quite intimidating the first time you come up against them. The trick is to get in close and land melee attacks on the boss in the small defensive openings that are offered after it performs a pounce attack or during the fire breath. It is possible to attack at other times, however if you do this ensure that you continue to strafe around the beast as you fight or you risk copping the back spike attack or being bitten.
When the beast goes to regenerate, be sure to get in and smack him a few times to limit the amount of health he can restore but be sure to get out of range of the AOE attack when he finishes. Another good strategy is to have a Poison or Fire Rune socketed in your gauntlet and hit him with a damage over time effect during the regenerative phase.
You will want to draw the Dimensional Beast over to you as there is a Forger in the area just to the right. As such, as much as possible try to keep the fight localised to the section of the area closest to where we came from.
After defeating the beast, make your way over to the Forger’s location and take him down as well. Open the chest he was guarding for a new Weapon (Greatsword – Lurker Thrust) . Find the Audio Note (Dimensions: Rifts) nearby and go down the stairs beside it.
Kill the Shieldman at the bottom of the stairs. Open the door to the right and pull the lever inside to create a shortcut back to the Eternal Flame (where we fought the Tyrant). Now open the door to the left at the bottom of the stairs to open a shortcut back to the Western Antechamber.
At the end of the hallway you will see a new enemy a Spellcaster.
Spellcaster Combat Strategy:
You should treat the Spellcasters in the same way as Crossbowmen. Now, with the exception of their high magic defence, the Spellcasters are actually quite squishy and should not take more than a few well place melee attacks to kill. The difficulty is getting in close enough to damage them without being hit by their magic projectile attacks. As the gauntlet is ineffective, you will need to roll to avoid the bolts and work your way up to their position.
If you are fighting multiple enemies at once and a Spellcaster starts using the red drain life attack, either stop what you are doing immediately and go and damage him or immediately run out of the caster’s line of sight. This attack is very, very damaging and persistent and can pretty much de-rail your attempts at surviving combat.
When in close, watch out for the telegraphed signs of the arcane explosion as this will shield him. When the Spellcaster has lightning shielding him, hitting it with your weapon will deal damage to both you and the spellcaster. With a Warrior it is quite easy to accidently one-shot kill yourself. As such, wait for the barrier to dissipate before recommencing your attack.
Spellcasters will also explode on death, so be sure to throw up your shield or roll out of their range as soon as they start the self-destruct animation.
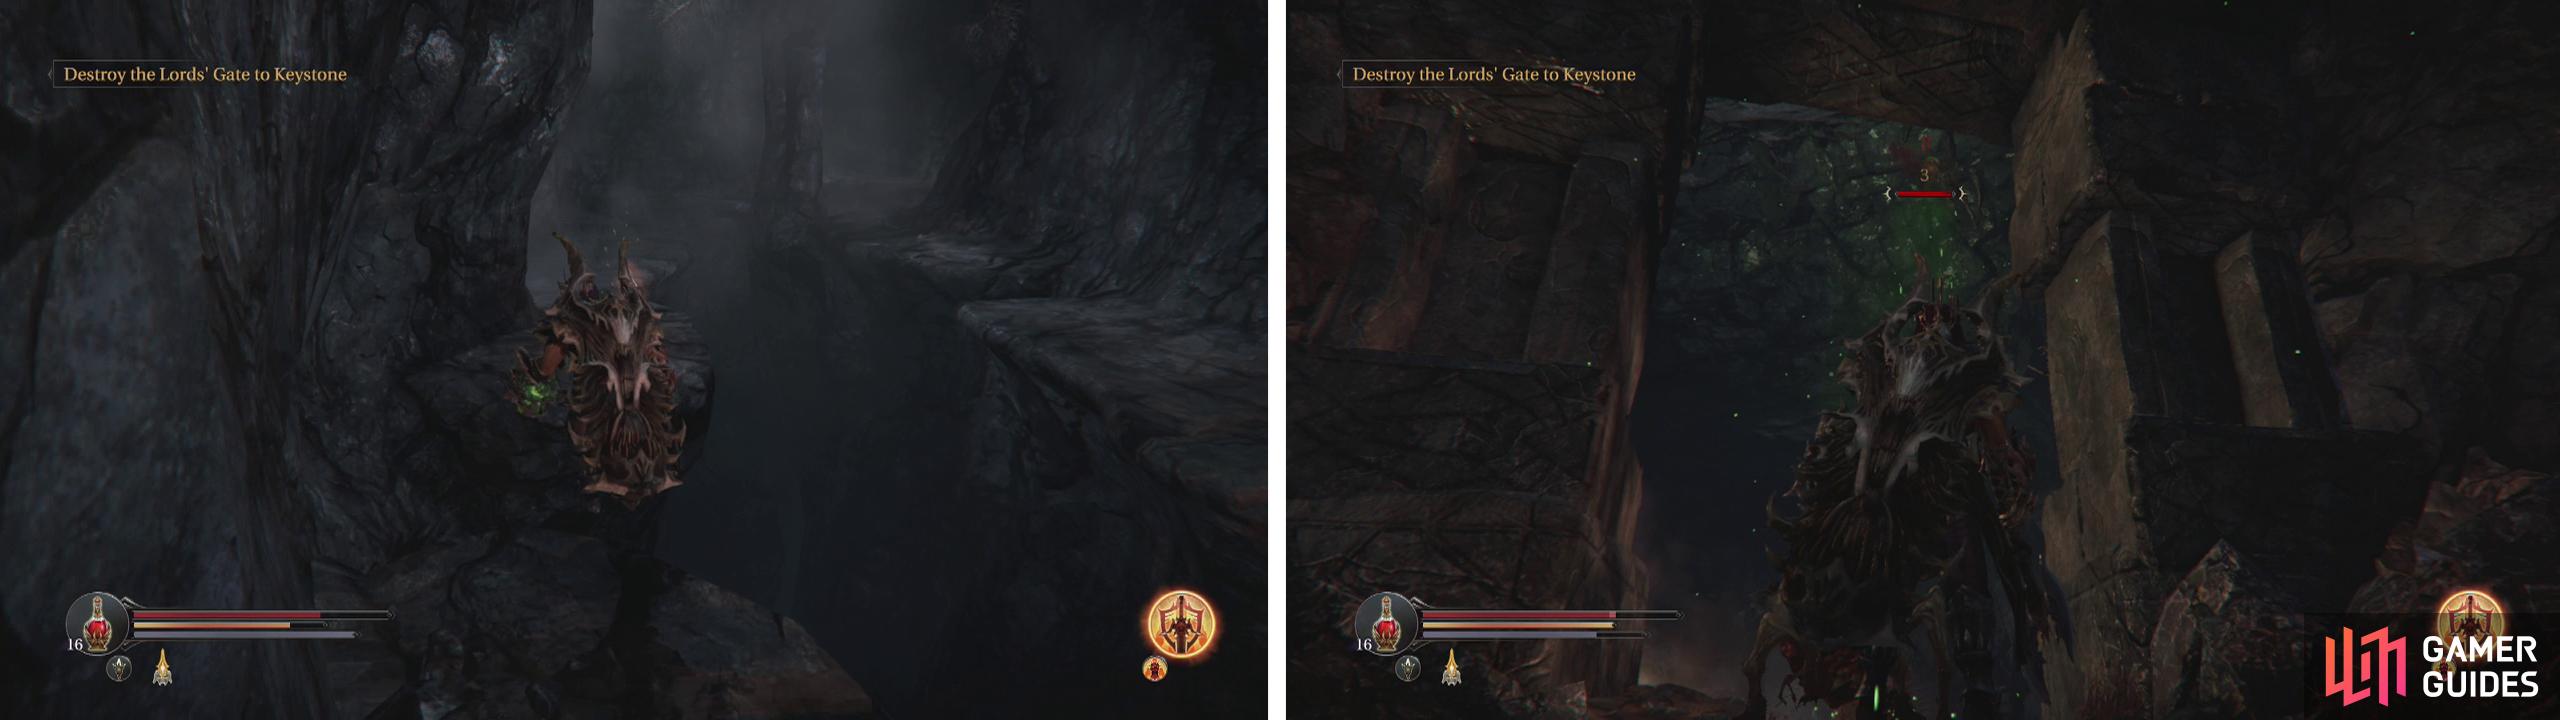
Climb down the stairs behind the Dimensional Beast area (left) and clear out the hallway for some shortcuts and an Ancient Tablet (right).
The Spellcaster is unfortunately standing right next to a Knight and even attacking him at range will do little good due to his magic resistance. This particular Spellcaster also seems quite stubborn in that you can never seem to lure him to you like you can other enemies.
The best way to take him out is to shoot the gauntlet at him as you approach whilst dodging his attacks, then quickly laying into him with your melee weapon to take him down ASAP. Quickly dive out of the way of his death explosion and then focus on killing the Knight.This particular Knight often drops a Shield (Tower - Two-Horned Shield) .
The room behind him contains an inactive Loot Crystal #7 and a doorway back to the Eternal Flame arena. Head back the way we came through the hallway, grabbing the Ancient Plate quest item and look out for a door on the left. We can use two runes to open this. Inside you will find a chest housing an Empty Bottle and a Trinket (Greed) .
Backtrack out of the area, back up the stairs and to the Rhogar statue I pointed out earlier. Go down the path to reach the Abandoned Range.
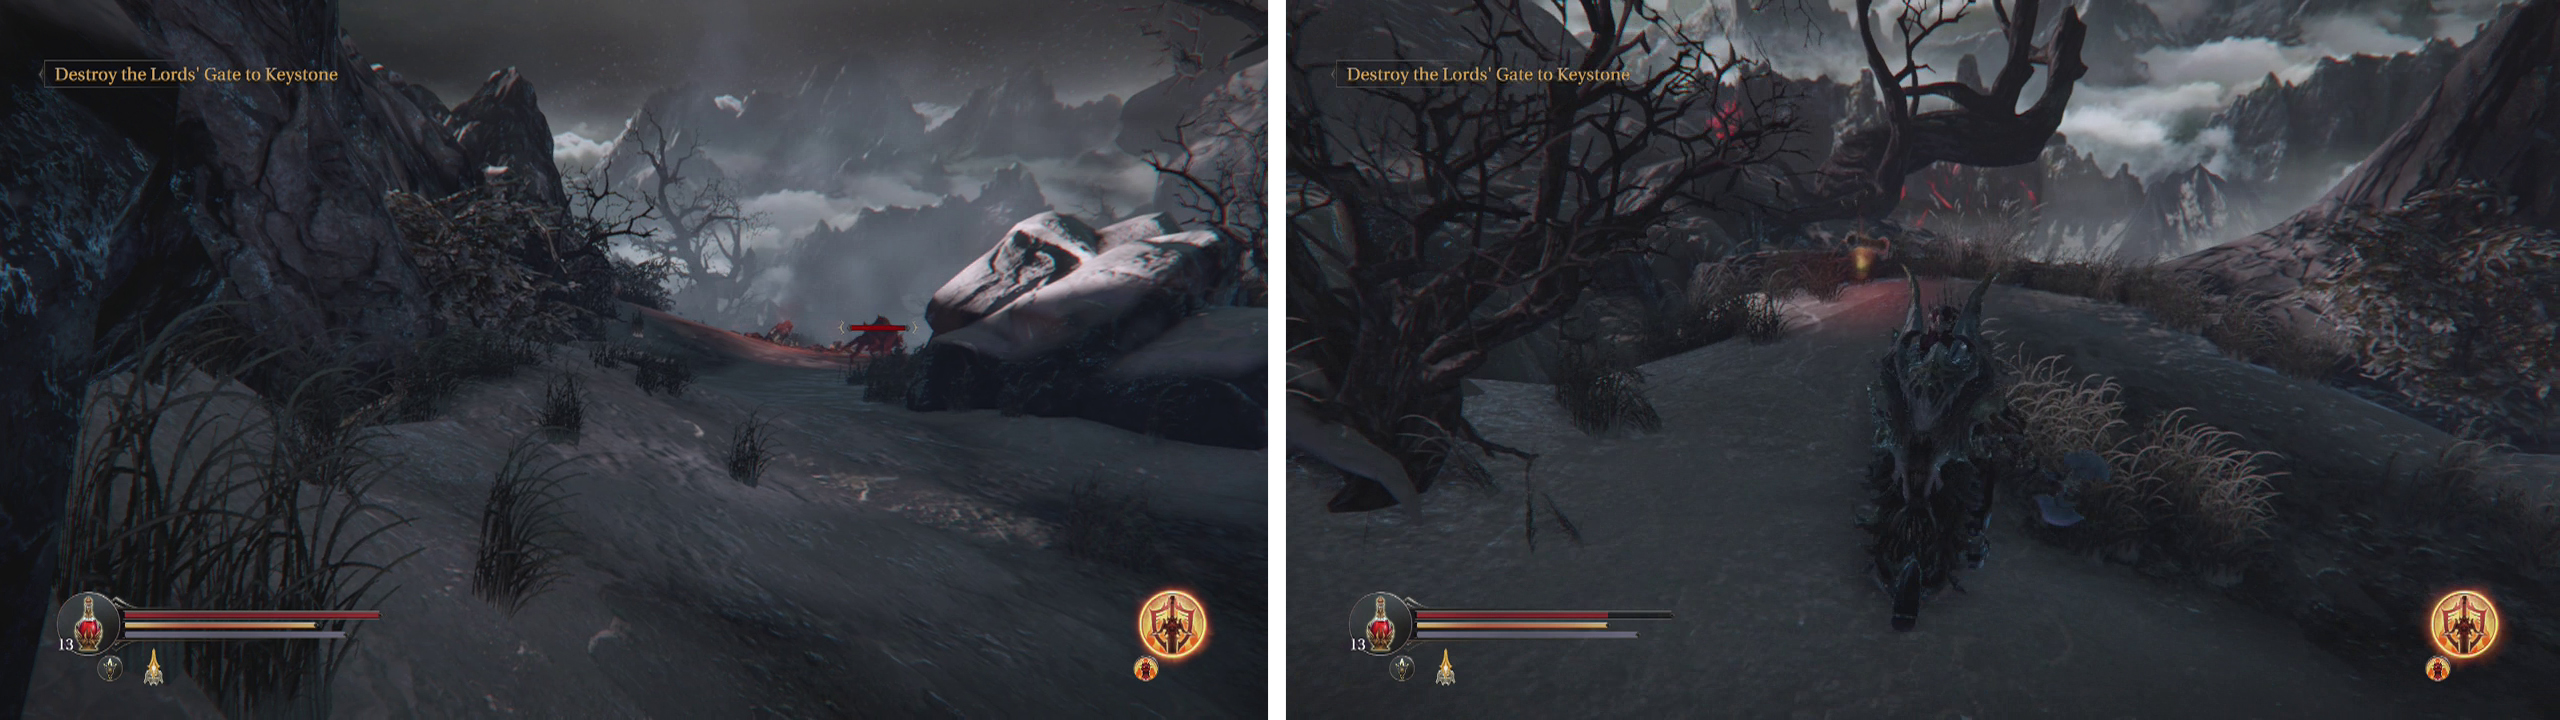
Head down the snowy path and kill the Dimensional Beast at the bottom (left). Look under the stairs for a Checkpoint Crystal (right).
Abandoned Range
At the bottom of the pathway you will be attacked by a Dimensional Beast. Upon killing it, look back towards the stairs we just came down and you should see a cave to the left. Inside you will find a Checkpoint Crystal .
If you move deeper into the cave, you will notice a hole in the centre – don’t fall in here as it will kill you instantly. Instead, you can work your way along the platforms tucked up against either wall. To begin with hug the left hand wall and follow the narrow platform around until you reach a chest. Open this for a Spell Point Shard , a Poison Resistance Shard and a piece of Armour (Leg - Griffin) .
Continue to hug the left hand wall and as you turn the next corner, there should be a Spider in the distance. From here, shoot it with your gauntlet – it shouldn’t be able to reach you and if you are lucky, it will walk into the chasm for a quick death. Make your way over to the platform where the Spider was chilling originally and grab the Ancient Plate .
Approach the door to the left. Look up as you come close to the door to see another Spider on the roof – lock it on and shoot it with your gauntlet for an easy kill. Now enter the door, kill any Baby Spiders wandering around and loot the nearby chest for a Weapon (Staff - Conciet) .
Enter the cave (left) and kill the Spiders at the back (right)
Backtrack to the Checkpoint Crystal .
Exit the cave and instead of going straight ahead down the path (there is a Tyrant here and we can’t reach his heart just yet), take a left just after the flaming brazier.
Continue to the left and kill the Dimensional Beast by the fires. Behind this is a dead end however there are also short paths leading to the left and the right. Both are guarded by a Golem apiece, so draw them out and kill them before exploring. The right hand path has a chest containing some pieces of Armour (Wrist and Leg – Wisdom) and a new Weapon (Greataxe - Swing) . The left hand path has a Magic Energy Shard hidden behind some shrubs.
Return to the nearby fire where we fought the Dimensional Beast. From here, we want to climb the hill ahead and to the left. Approach it slowly and you’ll be able to make out a Forger up top on the right. However, what you can’t see is the group of three Demon Hounds further ahead along the path. As such, hit the Forger with the gauntlet and draw him to the bottom of the path so that you can eliminate him unmolested.
Again, edge up the hill but this time use the opportunity to hit one of the Demon Hounds before quickly running back to the bottom of the hill. Attacking one will have all three become hostile, but if we are at the bottom of the hill, they will take longer to get to Harkyn, which gives us more time to take them out as they arrive.
Draw the Demon Hounds down the hill (left) and then look behind where they were located for an Audio Note (right).
Climb the hill one final time and keep going straight, past the fire until you reach a cliff edge. You will find an Audio Note (Dimensions: My Treasure) here.
Make your way towards the right to see a pair of Crossbowmen in the distance. As you move up, on the right hand ledge there is an Energy Shard . Use the trees and other environmental objects as cover and shoot the Crossbowmen to death with your gauntlet.
Directly behind where they were standing you will find a brazier with an urn next to it containing a Tyrant Heart . There is also a chest here that contains some Armour (Head and Wrist - Griffin) .
Drop down and kill the Tyrant below. Once he is pushing up daisies, climb the stairs he was guarding. You will find an Energy Shard off to the right and another at the end of the short pathway to the right on a small ledge overlooking the cliff. Use the lever at the top of the stairs to open the door to the temple.
Sacred Hallways
Immediately inside the door is a Shieldman. Kill him and proceed inside. Note the locked gate here (we’ll be coming back shortly so remember its location!). Follow the path to the right and kill the Rhogar Knight patrolling ahead.
At the end of the path, there is a locked chest. There is also a pressure plate on the floor with a symbol on it. Step on this and then sprint back down the corridor to where we saw the locked gate a moment ago – this will be open if you are quick enough. Inside is a chest with armour (Chest, Head and Wrist - Cunning) .
Hop down to the stairs below from the hole in the wall to exit. Grab the Ancient Plate nearby.
Use the pressure plate (left) to open the gate by the entrance. Climb down the stairs and head past the Tyrant to grab the heart (right) from near the back of the room.
Continue down the stairs and you will see another Tyrant ahead. The Tyrant Heart for this fellow is located in an urn just to the left of the locked door at the far end of the room. Grab the heart and then turn to face the Tyrant. Unfortunately, doing this will also have the added effect of spawning a Rogue. If you have trouble facing both the Rogue and tyrant at once, backtrack up the stairs and use the Rogue’s speed to isolate him from the Tyrant.
Once both are dead, approach the locked door at the far end of the Tyrant’s room and use the lever to open it. There is a pair of Spiders in here, one to the left and one to the right. Fortunately, we can use the gauntlet to aggro them one at a time.
After clearing them out, loot the Audio Note (Grim Places: Cruel Species) and the chest for a Poison Resistance Shard , a Ghost Merge Shard and a piece of Armour (Chest - Griffin) . Return to the Tyrant’s room and take the stairs down to the Checkpoint Crystal .
Climb the stairs behind the Checkpoint Crystal and kill the Crossbowman at the top. Note the inactive Loot Crystal #4 here – this will be activated upon killing the next boss, so be sure to come back! Follow the stairs down to the glowing blue light nearby to fight your next boss.
No Comments