| Attack/s | Description |
|---|---|
| Melee Swings | The boss can perform between a 1 and 3 hit melee combo attack depending on your proximity to him. He will swing his claws first one way and then the other and then follow up with an uppercut attack. |
| Charge | The boss will lean back and then charge at you from across the arena, knocking you down and causing damage. |
| Rupture | The boss will fire a series of homing projectiles beneath the ground that will explode when they reach Harkyn’s position. These can be identified by the rocks popping up from the surface as it approaches. |
| Ground Slam | The boss will occasionally slam the ground to stun Harkyn if you get too greedy with the melee attacks! |
| Grab and Bash | If you get too close to the Champion and stay there for too long, he can grab Harkyn and will hit him several times and then tossing him to the ground, draining a sizeable amount of health. |
| Rage Mode | Upon entering rage mode, the boss’s weapons will catch on fire and he will deal significantly increased damage until it is depleted. |
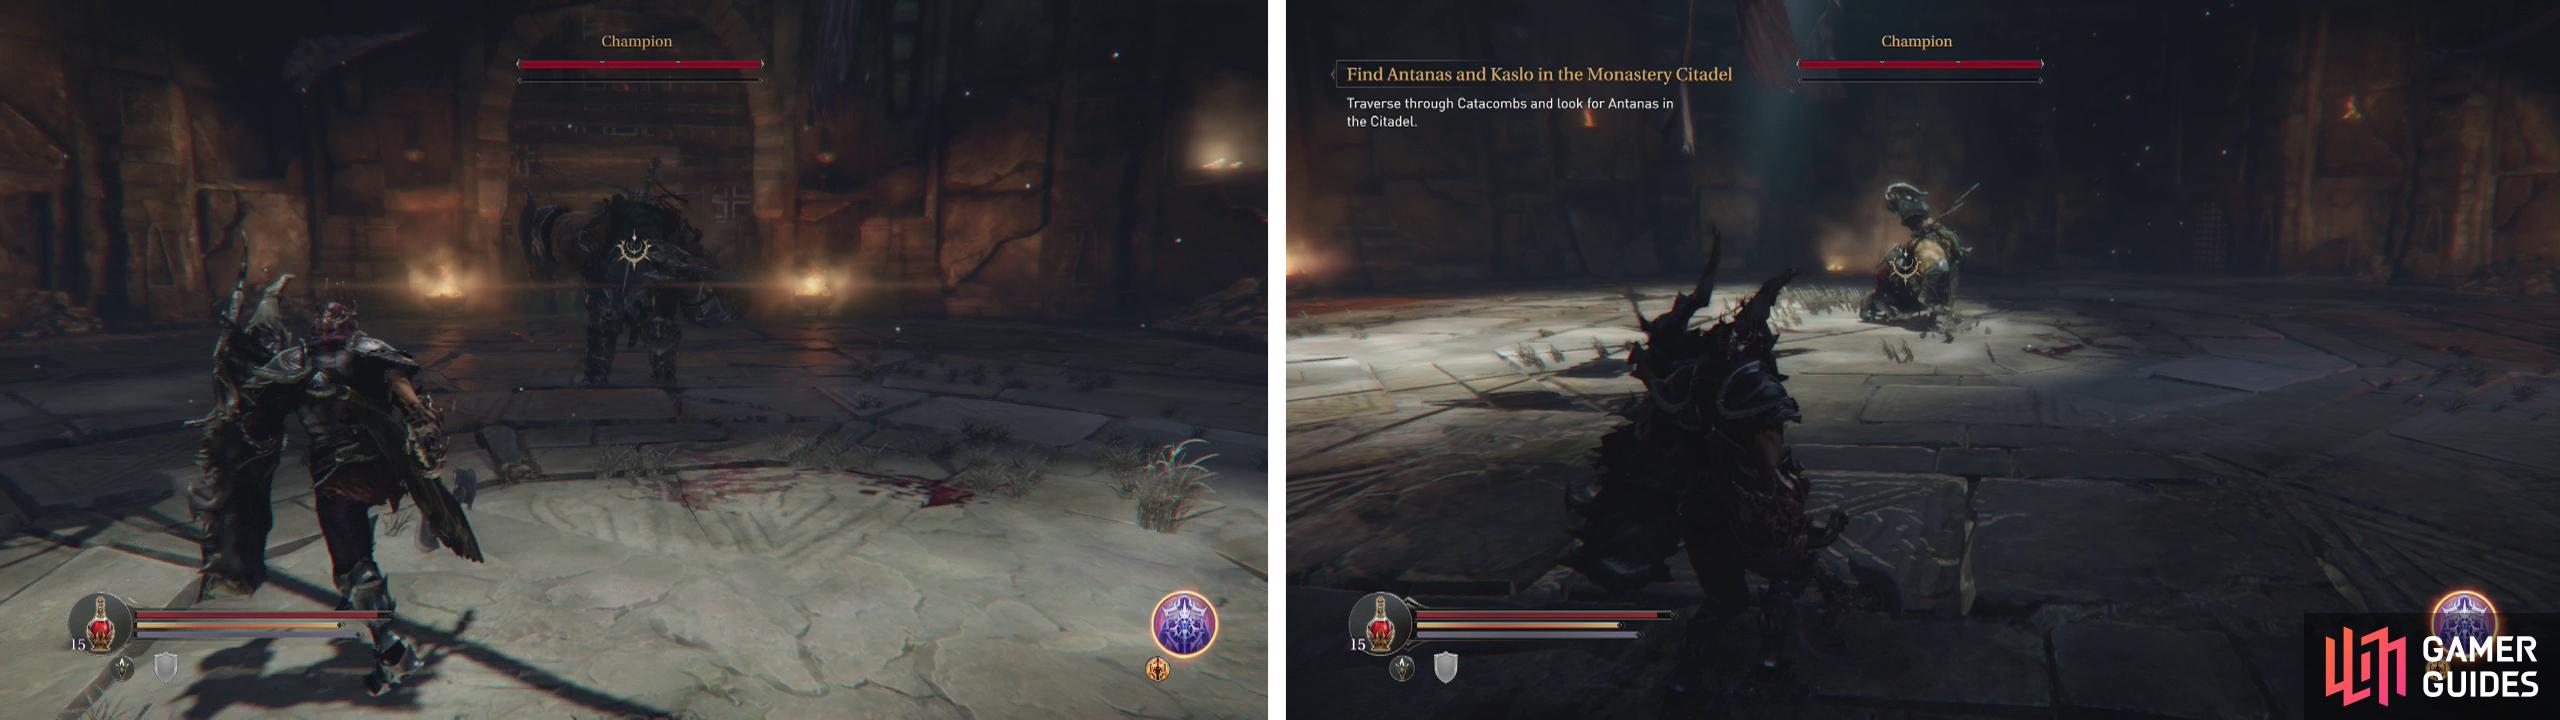
enter the Monster Prison to meet the champion (left). When he punches the ground, avoid the subterranean projectiles it causes (right).
Combat Strategy:
The most important element to this fight is the yellow bar that sits beneath the boss’s health bar. This is his Rage meter. This will progressively fill up when he lands blows on you or takes damage and once full, the Champion will enter ‘Rage Mode’ in which the boss’s weapons will catch on fire and he will deal significantly increased damage until the bar is depleted. To limit his use of Rage, ensure that before the fight you remove anything that will cause a damage over time de-buff (e.g Poison/Fire on your gauntlet/weapons) as this will trigger it very quickly. Additionally, you will want to avoid being hit as much as possible.
The Champion’s health bar is divided into three sections, breaking each into roughly 33% of the boss’s total health pool. Reducing the health bar by 33% to each marker along the health bar will see the boss automatically enter Rage mode for a short time, so try to avoid him at all costs during these instances.
Another element of the fight that will make it a hell of a lot easier is to have Harkyn equip a tower shield - we can use the tower shield’s secondary function to exploit a weakness in the boss’s attack patterns that can stun him quite easily.
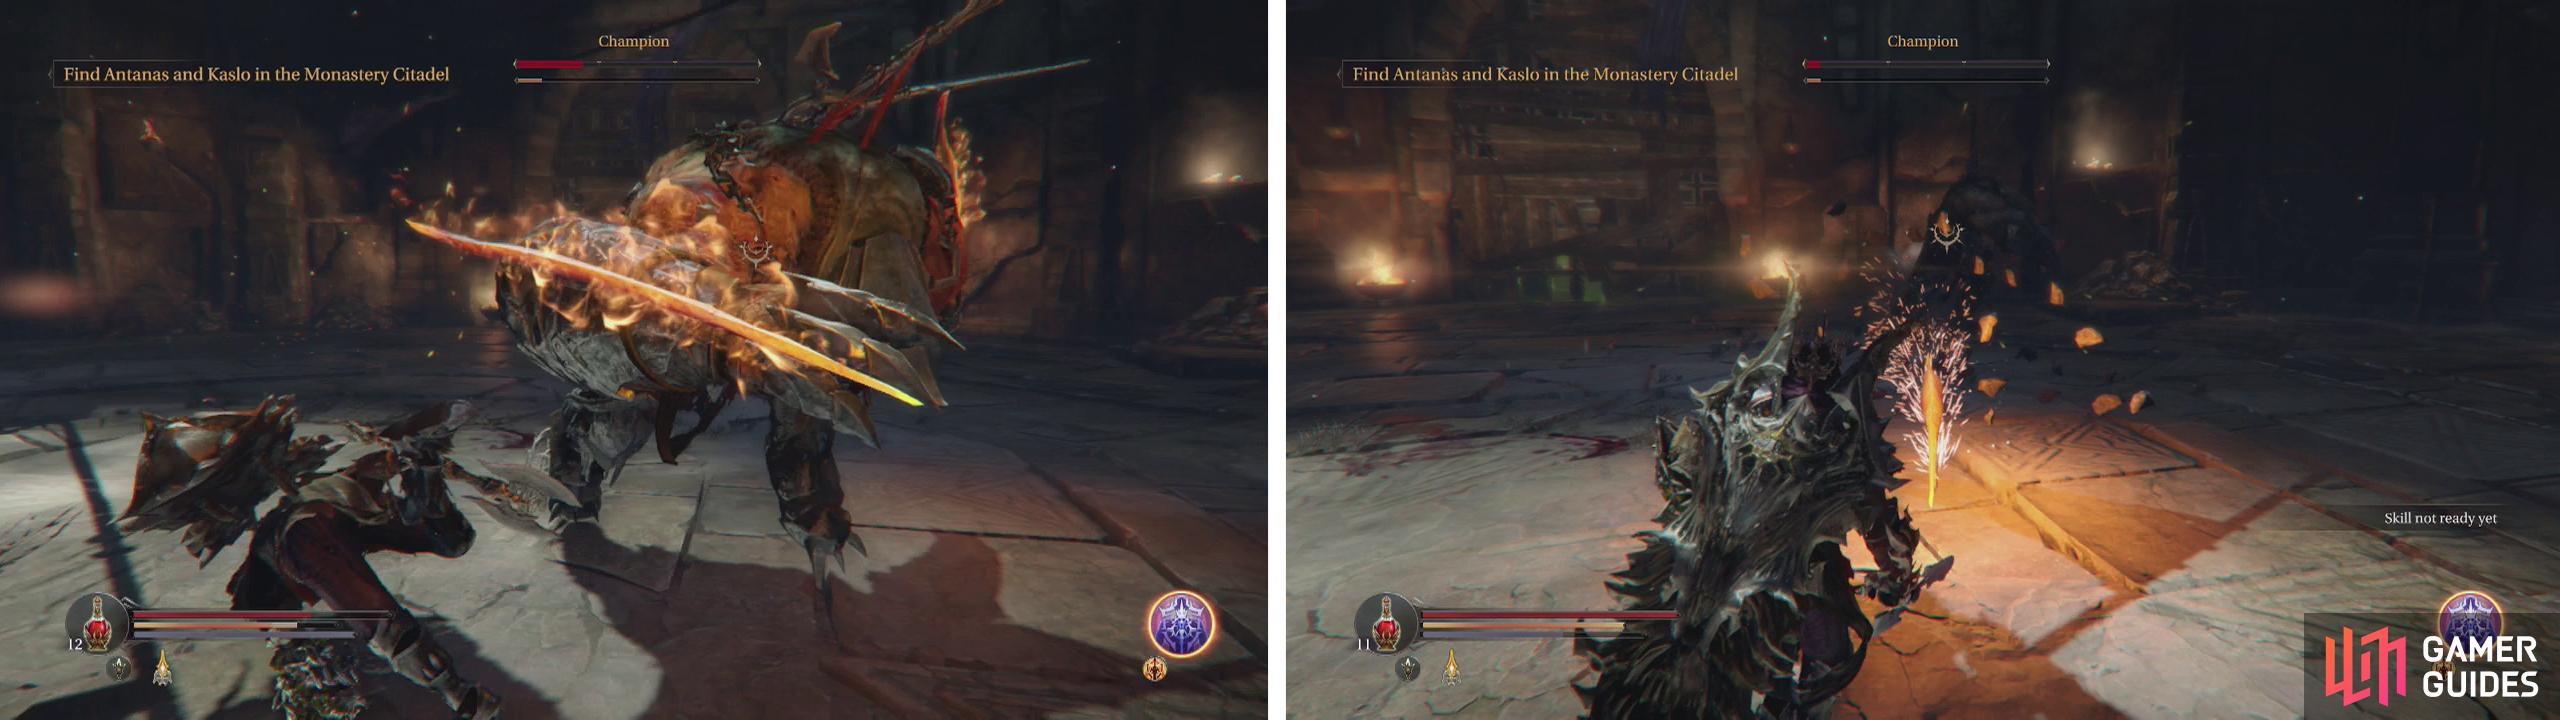
When the boss enters ‘Rage Mode’ his weapons will catch alight (left). At the end of the fight, his subterranean attack will change into a spinning blade (right).
For the first 2/3 of the fight, you want to keep your distance from the Champion, avoiding the subterranean projectiles and waiting for him to use the Charge attack. When he does use the Charge attack, quickly use the secondary ability of the tower shield to create a shield wall. The boss will crash into this and be temporarily stunned, allowing you to run up and hit him once or twice. You can essentially repeat this tactic until the boss reaches 33% health.
From here on in, the Champion will not use charge until he is much closer to Harkyn and as we don’t have enough time for the shield wall ability to occur, we’ll need to change tactics. At this point, you want to try and stay close to the boss to limit the attacks that he uses. If you find the sweet spot, you can sit just outside his melee range and he will continue to use the 3 hit combo to attack. Stay at this range and wait for the uppercut, before running in and landing an attack or two before rolling away (don’t get greedy!). Keep doing this until he drops!


Once the boss has dropped, loot the Sealed Rune (Big) and the Weapon (Fist - Sting) .
Go and talk to Soldier Agile who has just appeared. He’ll point out the doorway behind him – the door here leads to the Citadel, but before we go, grab the Human Skull next to it and climb the stairs to the left of the door. Kill the Crossbowman at the top. Keep going up the next flight of stairs and kill the two Infected along the way.
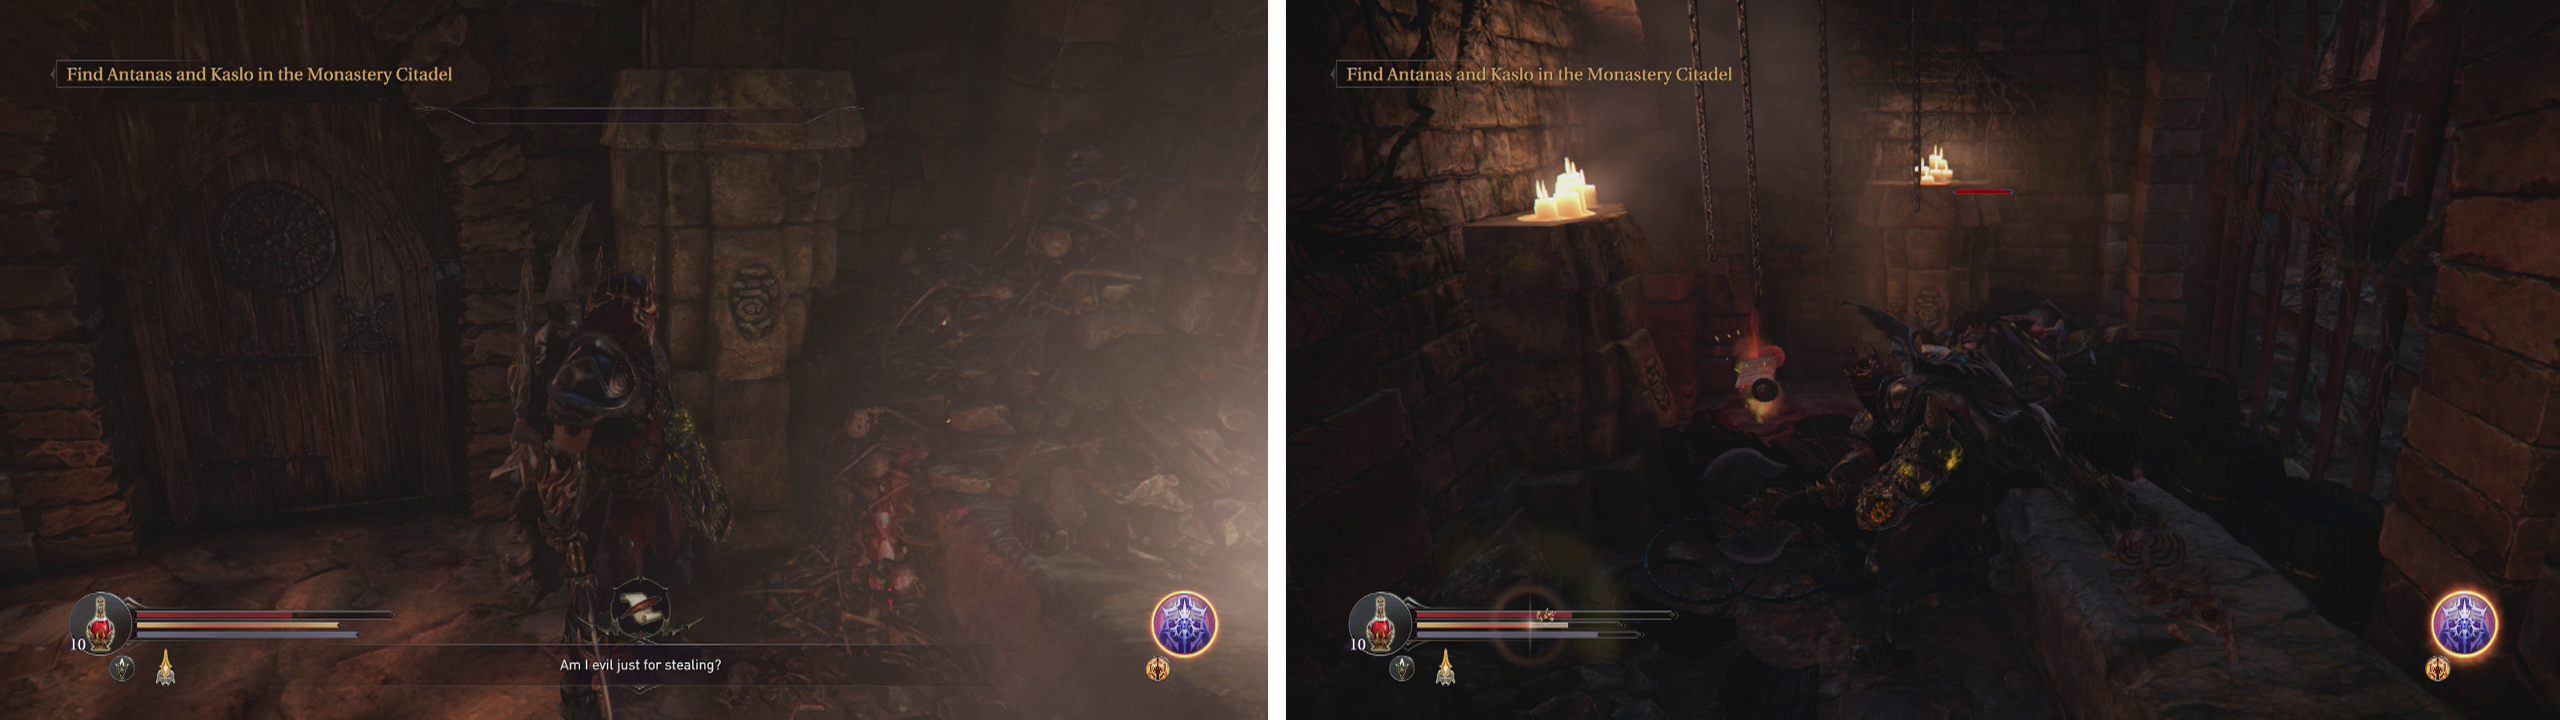
Climb the stairs to the left of the exit (left). At the top you’ll find a shortcut to the Cell circle and an Audio Note (right).
In the room at the top you’ll find an Infected playing dead and an Audio Note (Tales of Old: Troublemaker). There is also a lever which will open the gate here, creating a shortcut back to the Cell Circle. Return down the stairs and enter the door to the Citadel.
No Comments