| Attack/s | Description |
|---|---|
| Melee Swings | The boss can perform between a 1 and 3 hit melee combo attack depending on your proximity to him. He will swing his claws first one way and then the other and then follow up with an overhead slam attack. |
| Leap | The boss has a really nasty leaping slash attack which can be launched from a mid-long range. This will take a massive chunk of your health bar and will knock you down. Due to the size of the boss and its speed, it is very difficult to avoid. |
| Stomp | Attacking the boss from the side will have the nearest leg attempt to stomp and skewer you. |
| Projectiles | If you keep your distance from the boss, he will fire a couple of energy bones at you. These will stun Harkyn if they hit. |
| Stinger | During the second part of the fight, attacking the boss front on, will cause him to rear back and attempt to stab you with a stinger from beneath. |
| Spawn Pods | After taking enough damage, the boss will shoot out a number of spawn pods. These can be destroyed, but if left to grow can stun Harkyn if he walks over them. These also allow the boss to regenerate health. |
| Regeneration | After spawning pods, the boss will approach and feed on them. This will restore his health. |
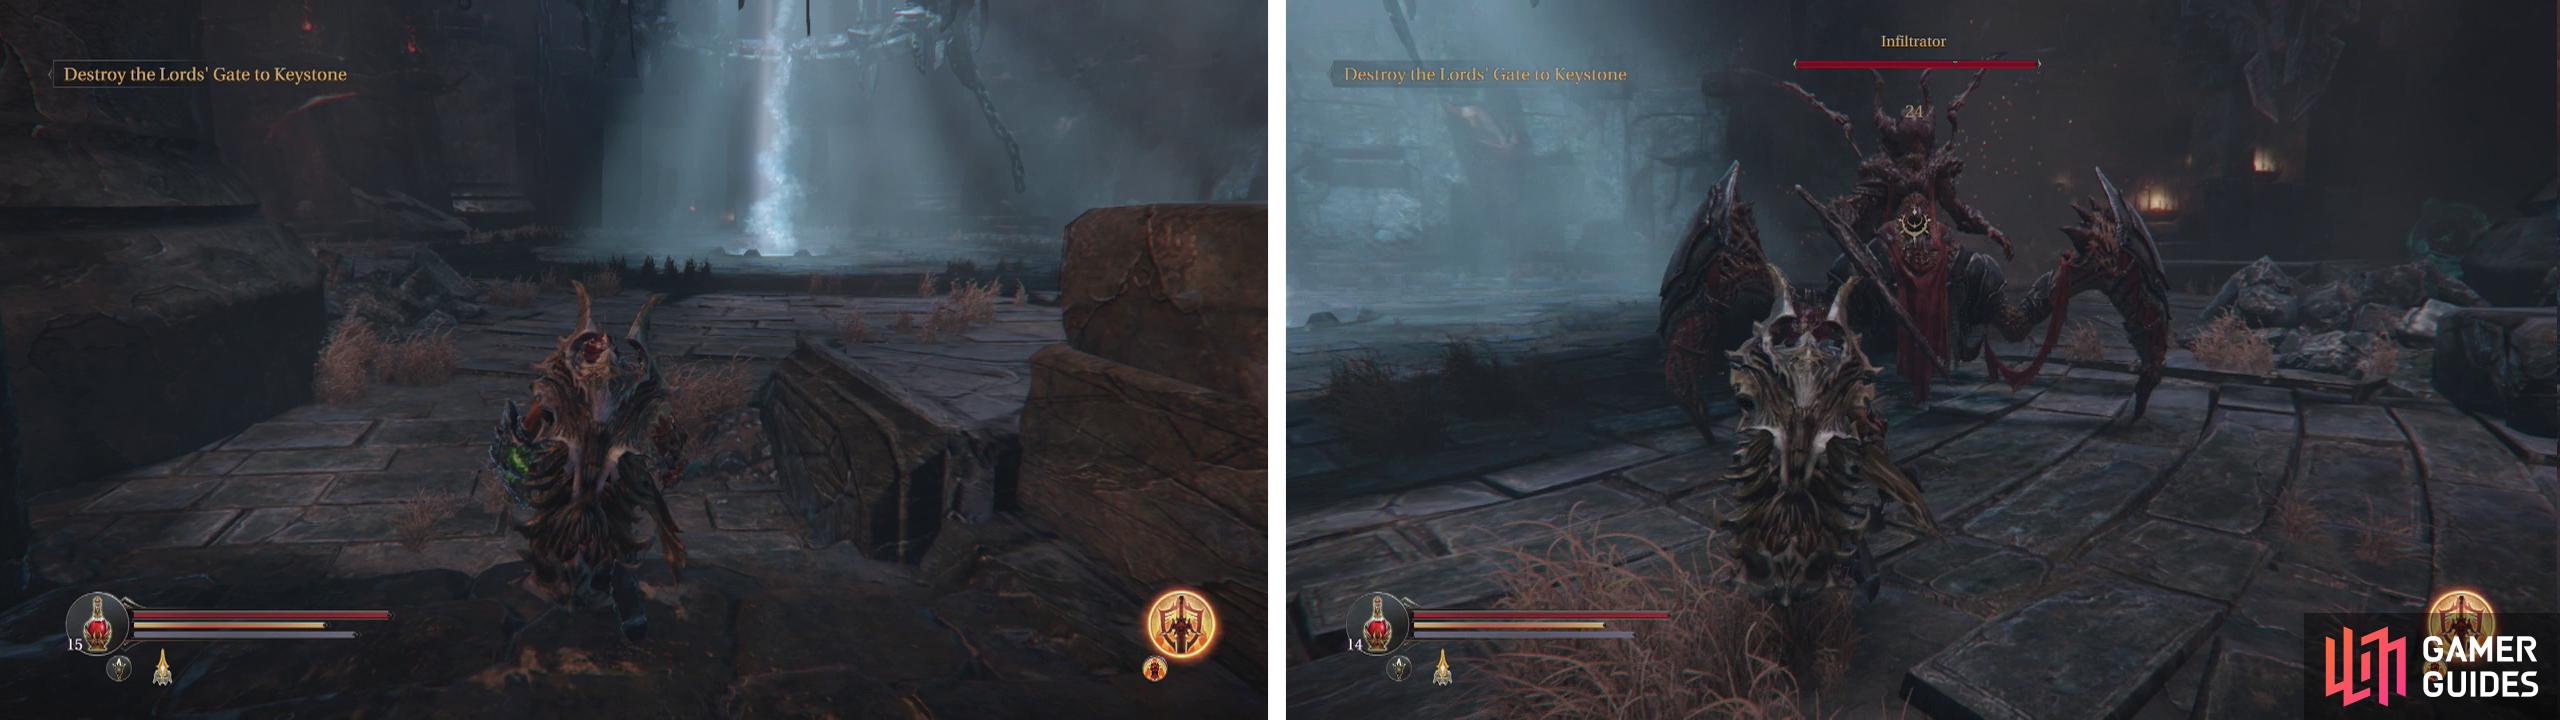
Approach the blue beam of light (left) to encounter the Infiltrator (right).
Combat Strategy:
The Infiltrator boss is actually significantly easier than the Worshipper we fought previously. There are a couple of things you should know about it though - firstly the blue beam in the centre of the arena will drain your magic if you get too close to it, limiting your ability to use magic abilities and launch ranged attacks with the gauntlet. Secondly, the boss is relatively weak against fire, so equipping your gauntlet with a fire rune can help you out a lot!
The infiltrator’s biggest weapon is his leap attack which is devastating in terms of hit points if it hits you, the problem is that it can be difficult to judge a roll to avoid and as it often causes the camera to get a little crazy if you are standing by a wall. The easiest way to combat the Infiltrator is to get into the boss’s melee range and attempt to stay there for the duration of the fight to limit his use of projectiles and leap. Pepper him with the gauntlet and maintain a close distance to encourage the boss to use his three hit melee attack, it will become temporarily immobilised after the overhead slam finisher allowing you a window to land a melee attack or two and then back up.
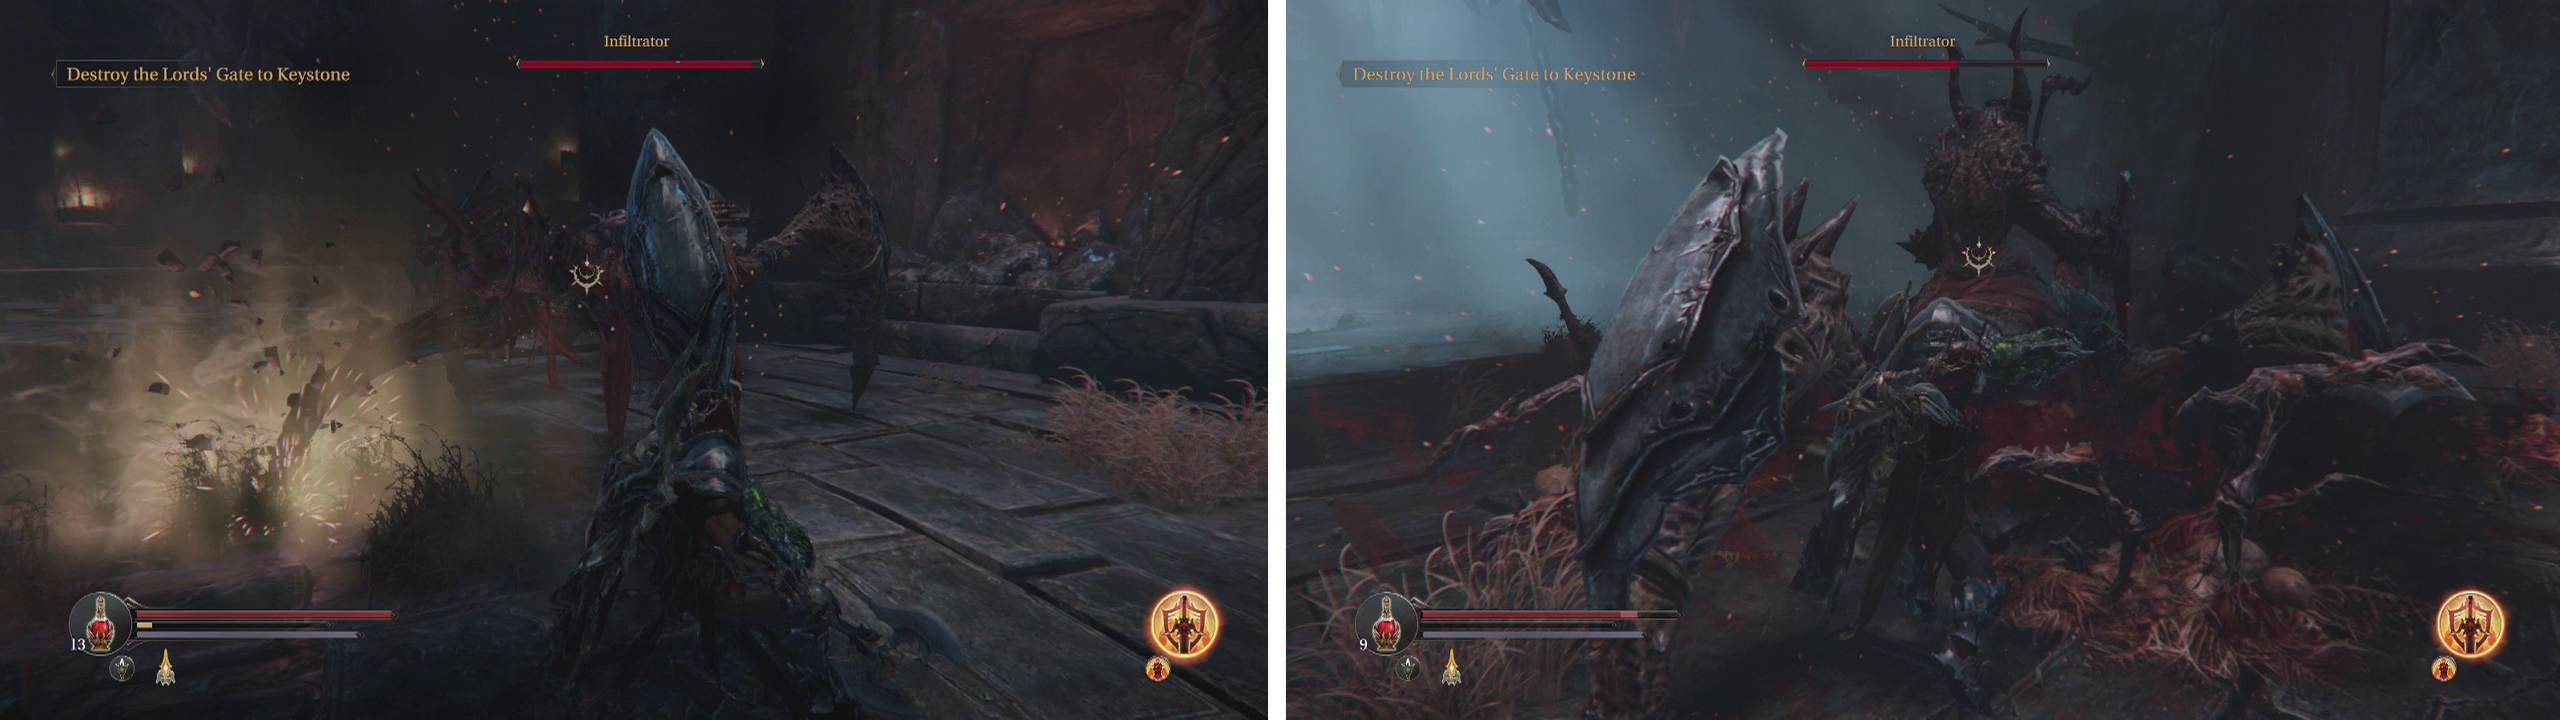
Wait for the opening following its overhead strike (left) or when it feeds on pods (right) before you attack.
The boss’s health bar is divided into two sections and dropping its health below the marker will kick off the second phase of the fight. The boss still performs the same moves and your tactics should remain unchanged for the most part. The biggest difference is that the boss will now spawn little larval pods around the area. These can be destroyed (although I wouldn’t bother), will grow over time and can stun Harkyn if he steps on them.
During the second phase the boss will often run to the fully grown pods and feast on them, regenerating his health. Planting a damage over time de-buff from a fire/poison imbued gauntlet will help to mitigate his health gains. Whilst feeding, the boss will also remain stationary and defenceless for a good 3-4 seconds allowing you to get some serious melee damage in on him.


For killing the Infiltrator, you’ll be rewarded with the quest item – Crystal of the Traveller . Head across the arena to where Yetka is waiting. Loot the item next to her for a Sealed Rune (Big) and a Weapon (Polesword - Uras) .
Backtrack up the stairs we entered the area from to enter the Loot Crystal #4 which has now been activated thanks to the Infiltrator’s demise.
Loot Crystal #4
Loot Crystal #4 - Inside the Loot Crystal you will find three chests. Open them all to obtain:
- Empty Bottle,
- Weapon (Greatsword - Codex),
- Shield (Bulwark Shield),
- Magic Energy Shard,
- Energy Shard and a
- 2 X Sealed Rune (Small).
Return through the crystal to the real world.
Sacred Halls
Speak with Yetka and hand over all the Ancient Plates you have been collecting. As a reward she will give you multiple shards including:
- Poison Resistance Shard,
- Magic Resistance Shard,
- Lightning Resistance Shard,
- Energy Shard
- Magic Energy Shard.
Following the conversation climb the stairs in front for a cut-scene and another conversation with a Crippled Rhogar. This fellow will give you a side-quest to hunt down those Human Skulls we’ve been finding and will offer a reward for bringing them to him. Hand in any Skulls you’ve picked up so far and end the chat.
No Comments