Flooded Halls
As soon as you enter the Citadel, there will be a Checkpoint Crystal in front of you, head on up and use it if you need to do so.
Climb the stairs to enter a large flooded room. At the far end of the area to the left is a Warden. Use your gauntlet to inflict as much damage as you can from a distance before using your usual tactics to kill his face off.
Now loot the room – there is an Audio Note (After the War: New Disciple) by the top of the stairs we came from and a Human Skull on the floor near the exit. There is also an Anvil by the door leading to the next area that we can use to do some crafting if necessary.
Main Hall
At the top of the stairs, look out for a Rogue over by the right hand wall. Kill him and then look in the opposite corner to find an Audio Note (After the War: Judge Disciple) .
On the next set of stairs you will see a Crossbowman. Use your gauntlet to shoot it whilst using the base of the stairs as cover. Climb the stairs once you have dealt with him to find a Crossbowman and a Marauder at the top. The Marauder should walk off, so focus on the Crossbowman before going after him.
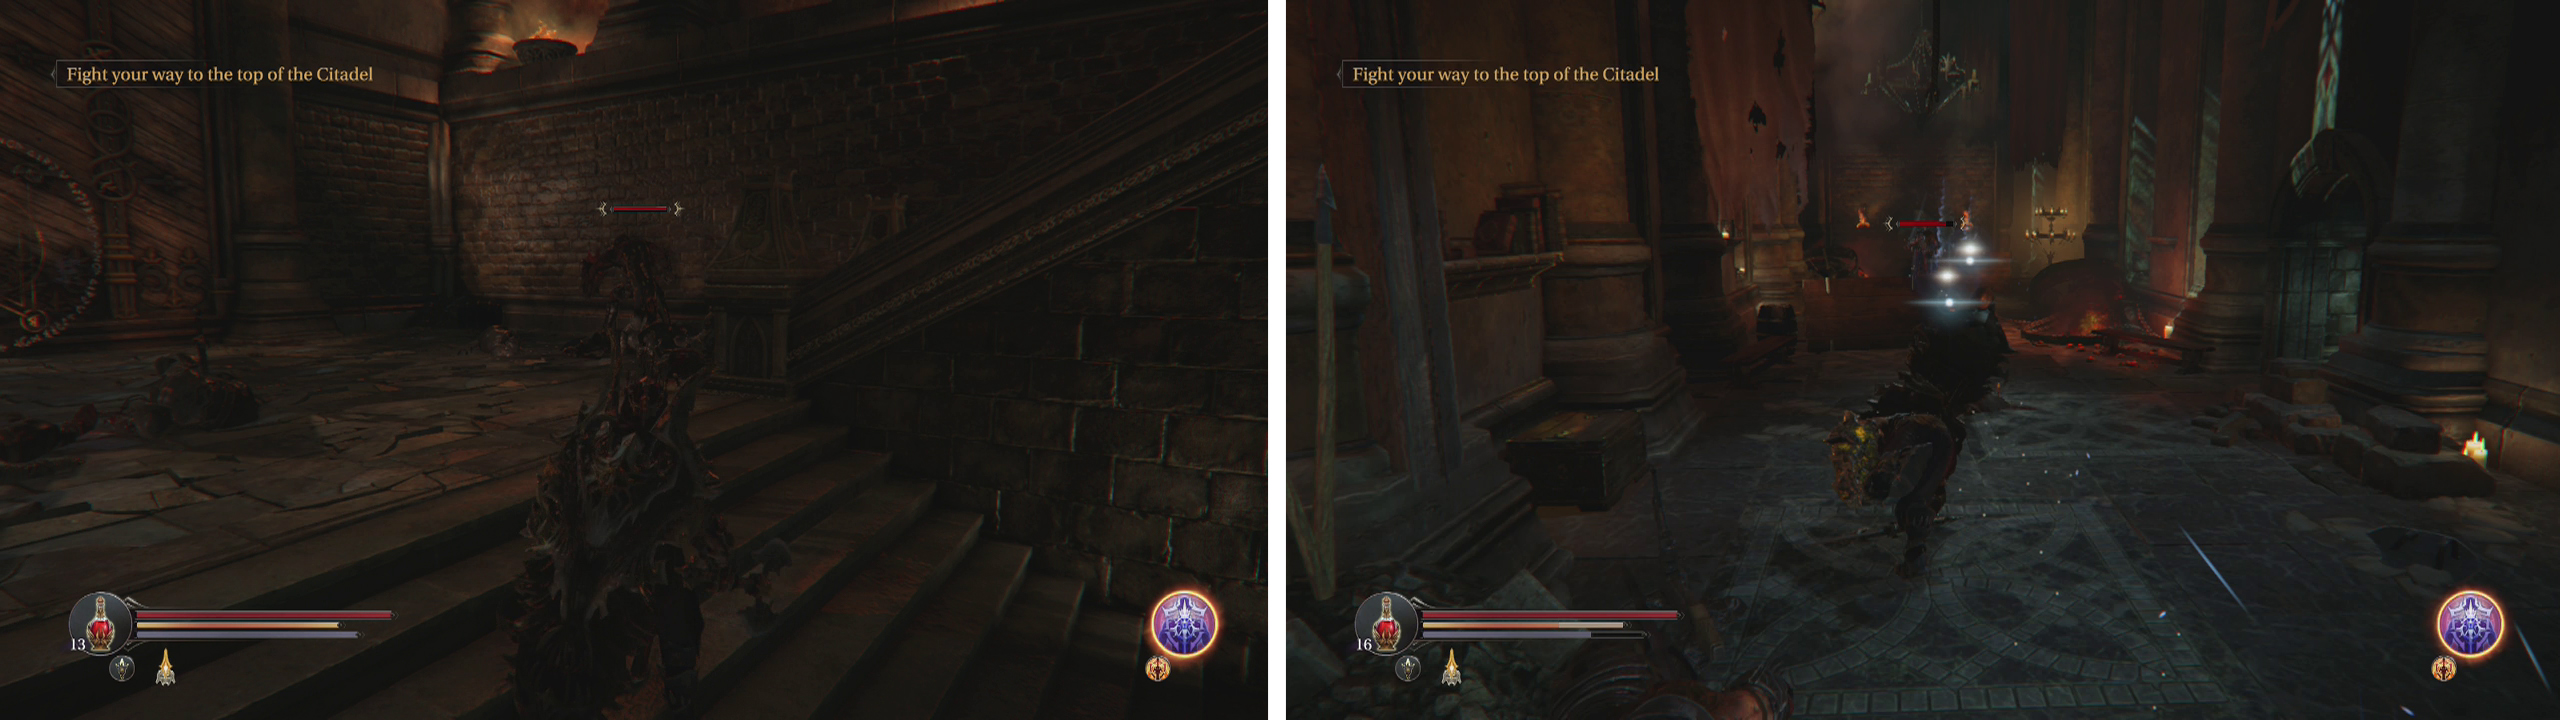
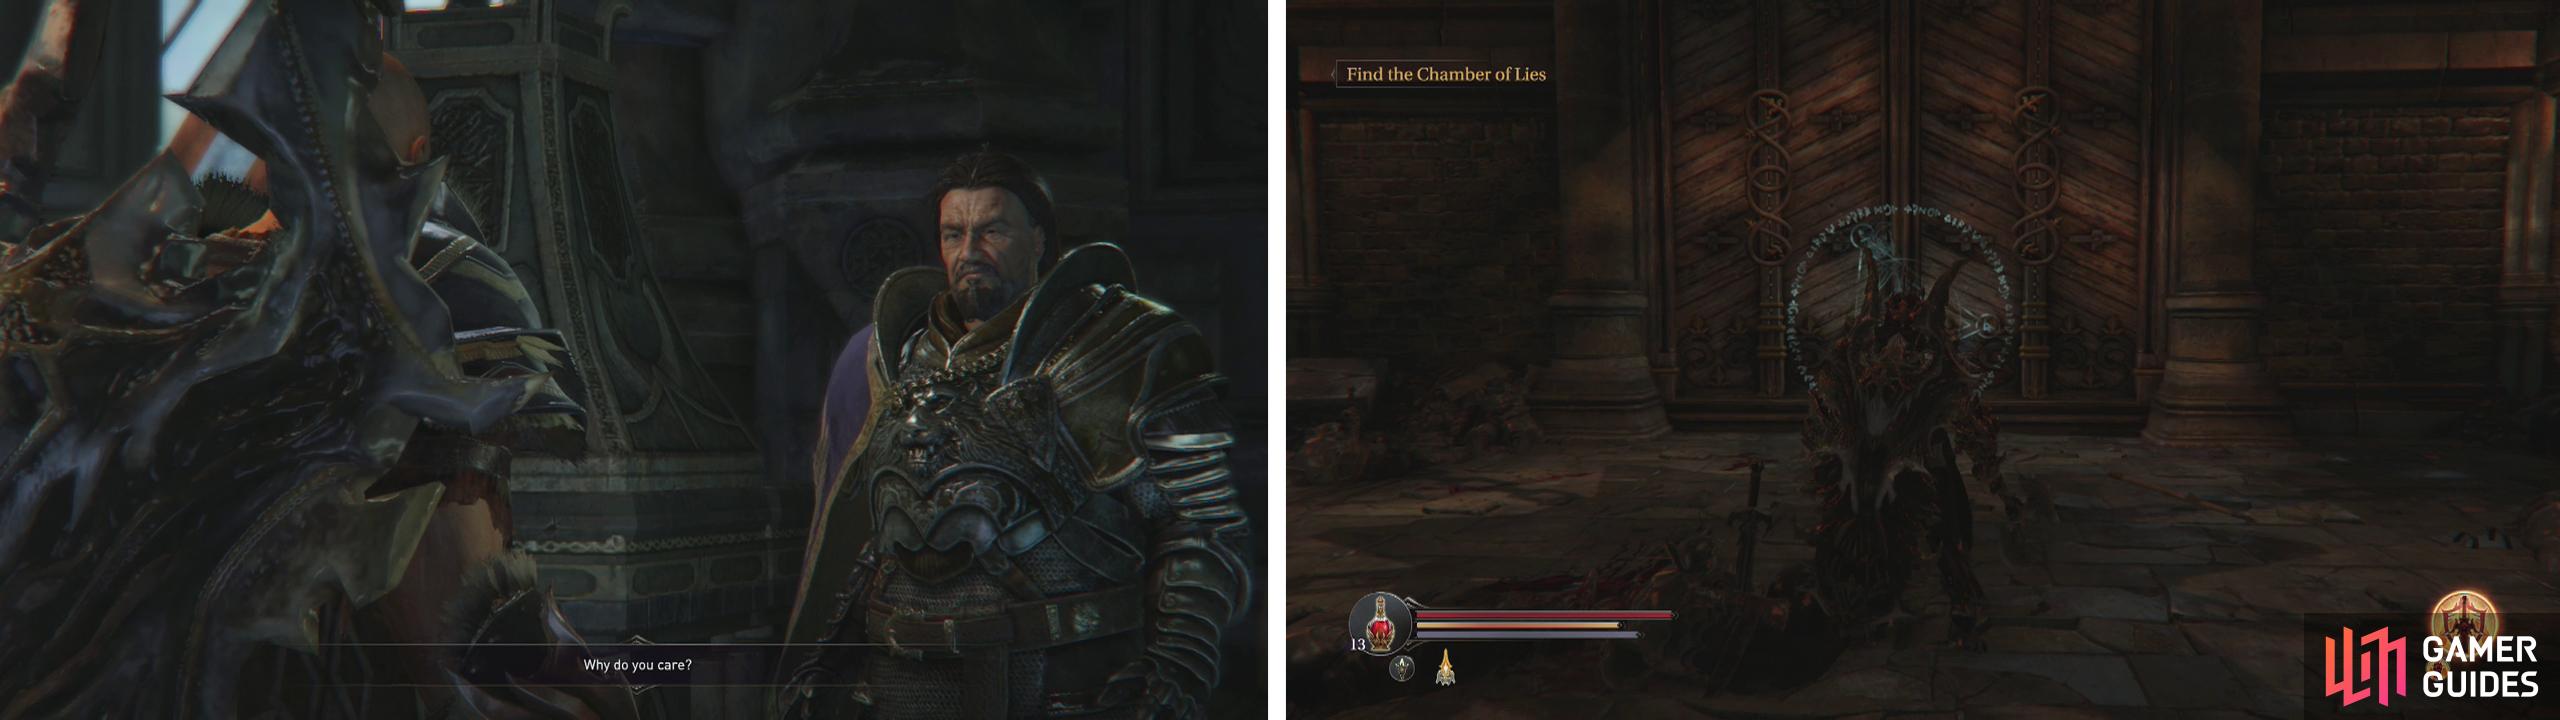
Climb up from the Flooded Hallway to reach the Citadel (left). Fight your way up the stairs and kill the Spellcaster at the end of the hallway (right).
At the end of the hallway is a Spellcaster, so run up and get in his face to take him down quickly – remember to avoid the arcane blast and the explosion he is prone to on death! Be warned though, as soon as you kill him, a pair of Rogues will spawn somewhere behind you and immediately move into attack you. Fight them off and try to kite them back down the stairs for a bit more space if it gets tricky.
Before continuing, return back and enter the room on the left.
There are two Audio Notes in here. As you enter, keep your eye out for a Rogue who sometimes appears behind you. Loot the pair of Audio Notes (The Plot: Join Me and After the War: Old Priest) . Return to where we fought the Spellcaster – note the rune-locked door here (don’t bother with it just yet, but we’ll be back later).
Peek through the door and if you edge forward, you’ll see a Warden hiding just around the corner to the left and an Infected playing dead at the far end of the room.
If you enter the room slighty, hug the right wall and move just to where you can see the Warden, but he can’t see you, you can fire your gauntlet at him and take off 1/4 -1/3 of his health before he moves to attack. When he does aggro, draw him back into the previous area so that you have some room to move as you fight. When he’s dead, run over and kill the Infected.
Go through the doorway here.
Inner Chambers
At the top of the stairs is a locked door in front (a shortcut outside we can use later on). To the left of this is a short dead end passage with a Rhogar Knight we’ll need to kill and a new Weapon (Axe - Gargoyle and Hawk) .
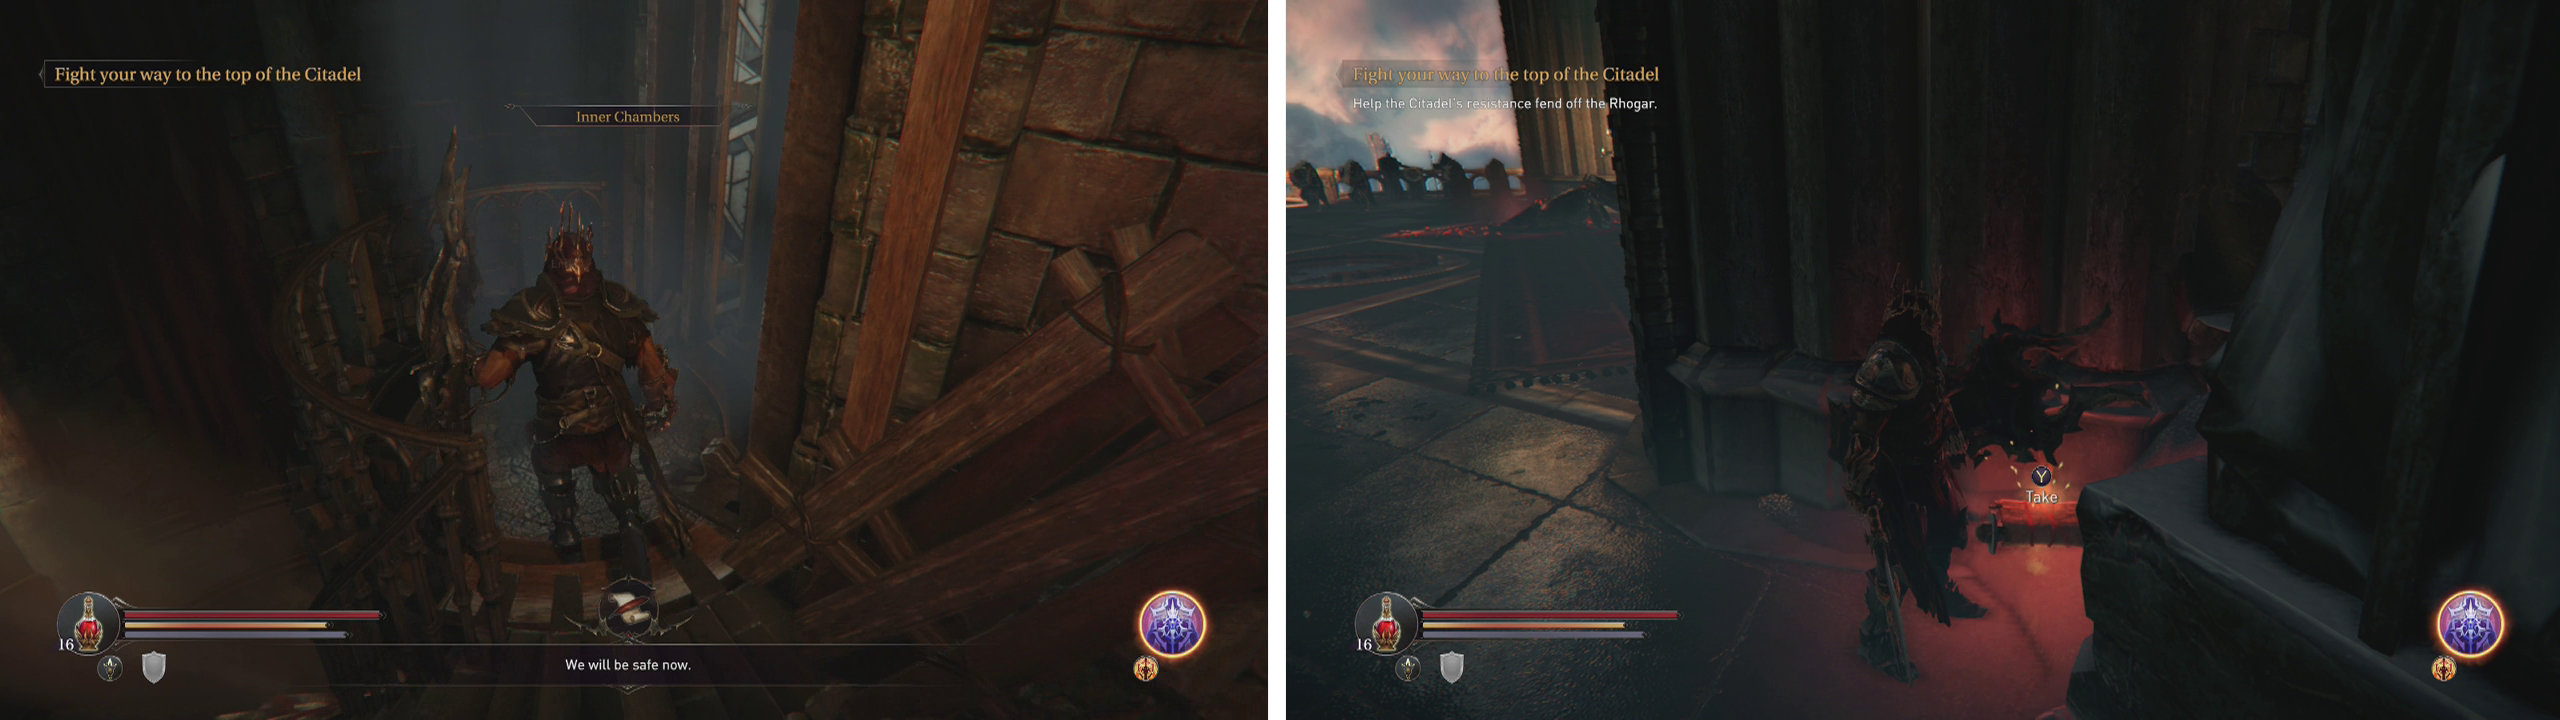
Work your way up the stairs here until you encounter some Citadel guards fighting off Rhogar forces. Help them kill the Shieldman and the Crossbowman. Once both of them have fallen, a cut-scene will play.
After the conversation, head over to the fire nearby and loot the Audio Note (After the War: Angry Priest) sitting in front of it.
Through the next door, you have three exits to check out. The room to the right has a weak wall just inside that we can smash down with a shield charge to find a chest holding an Armour Set (Will) .
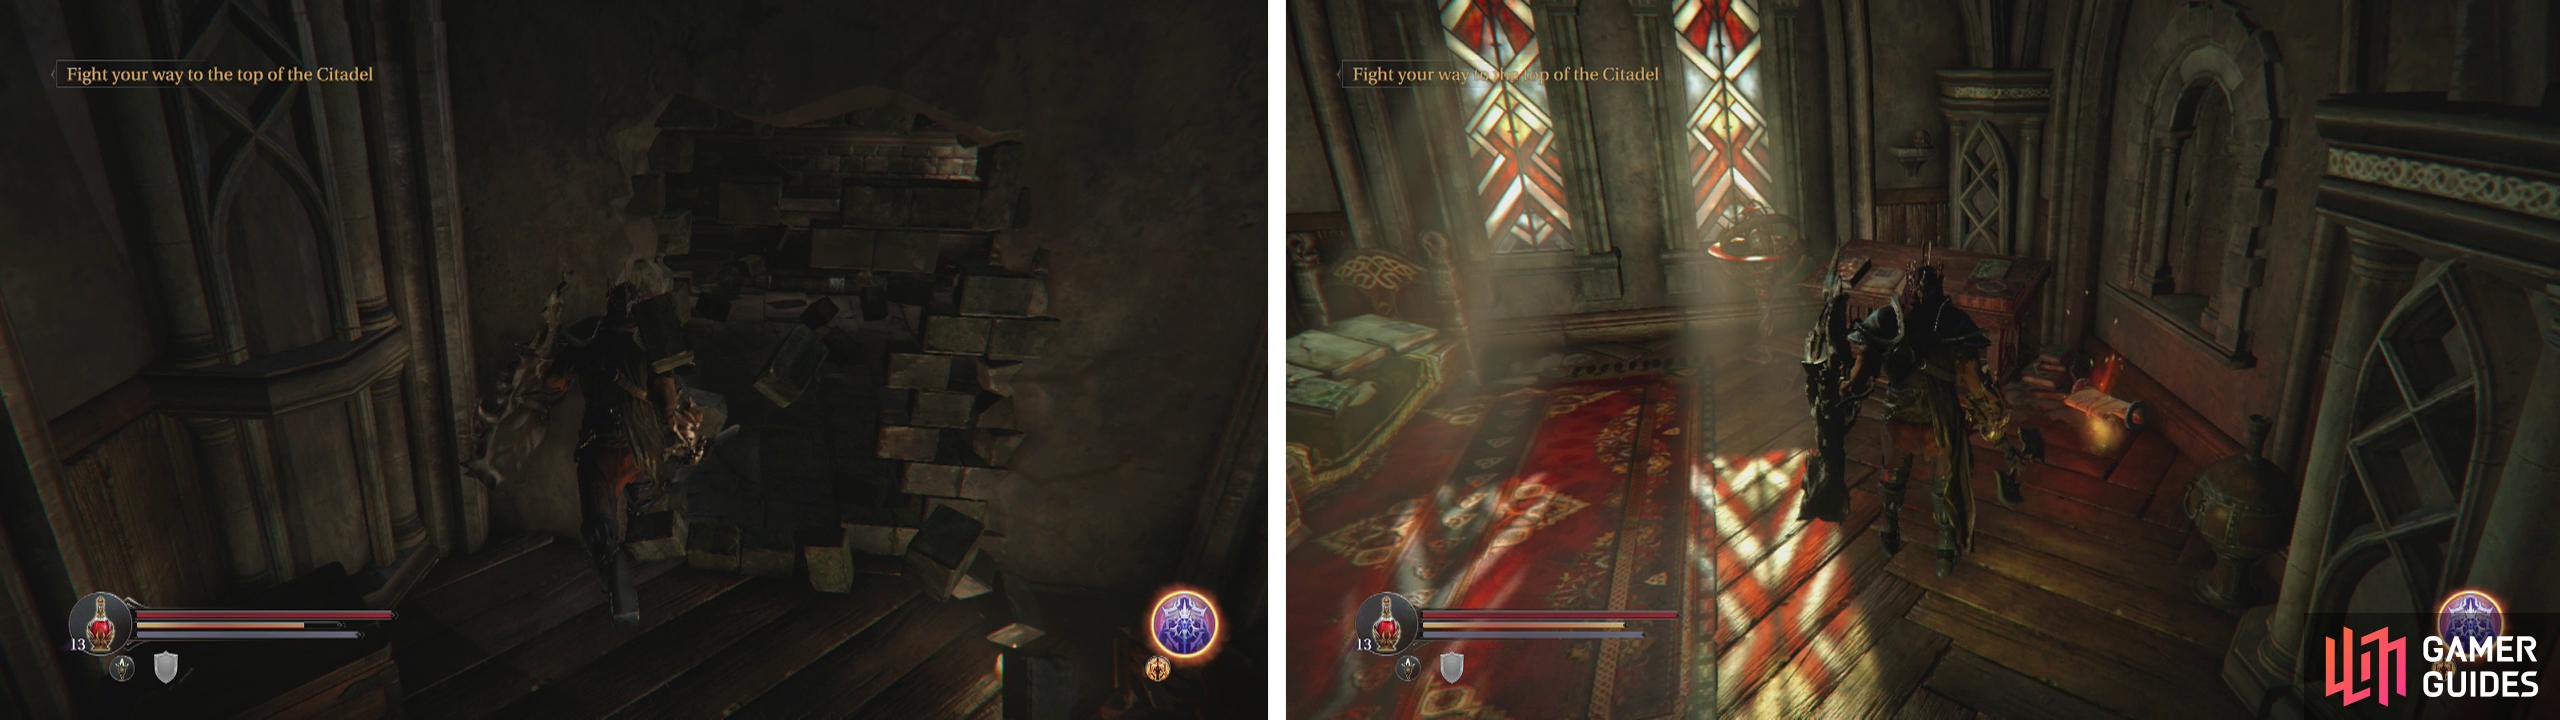
Look in the right hand room for a breakable wall containing a chest (left) and in the left you’ll find an Audio Note (right).
The left hand room has an Audio Note (After the War: The Rebel) . You can also speak with the Injured Monk here (he’ll only be here if you cut off his hand earlier AND gave him a potion) and he’ll ask you to go clear out a tower of enemies for the next part of his side-quest. If you have already killed the spider in the southern watchtower during the Yetka’s dagger quest, you can speak with him again and tell him it is safe in which case the next part of his side-quest can begin, if not we’ll help him out shortly.
Return to the central room and take the remaining exit. Grab the Audio Note (The Research: Books) from below the stairs and then climb the spiral staircase to the very top. In the room to the right is a Checkpoint Crystal and an Anvil .
We want to use the lift here for now and ride it to the very top of the Citadel.
When you reach the top, immediately turn around and run out the doorway. On the balcony to the left you will find an Audio Note (My Vow: I Swear To Her) . Return and approach the group of soldiers for a cut-scene and conversation.
Following the cut-scene, we’ll now have to go clear another area – the Planetarium. Return down the lift and down the stairs until you spot the doorway on the left (this was guarded previously). Enter to find the Planetarium.
Use the lift at the top of the stairs (left). Head in the opposite direction from the crowd to find an Audio Note (right).
The Planetarium
Inside you’ll find a pair of locked chests and we can’t do anything with them as yet, but we’ll be back for these later. For now make your way to the stairs.
Below you’ll see a Crossbowman in the opposite corner and a Knight between the sets of stairs below. Use your gauntlet to take out the Crossbowman from the stairs before moving down to take on the Knight. Once the room is clear, loot the chest by the Knight’s initial position for a Shield (Buckler - Harmony) .
There are two corridors at the back of the room. The left leads to a pressure plate switch we’ll use shortly, the right leads to another small room populated by a Shieldman and a Rogue. Again, if you are cautious, you should be able to use the gauntlet to pull one enemy at a time to save yourself some grief. Once they are both dead, look in the corner behind the giant crystal for a chest containing an Armour Set (Dimensions) .
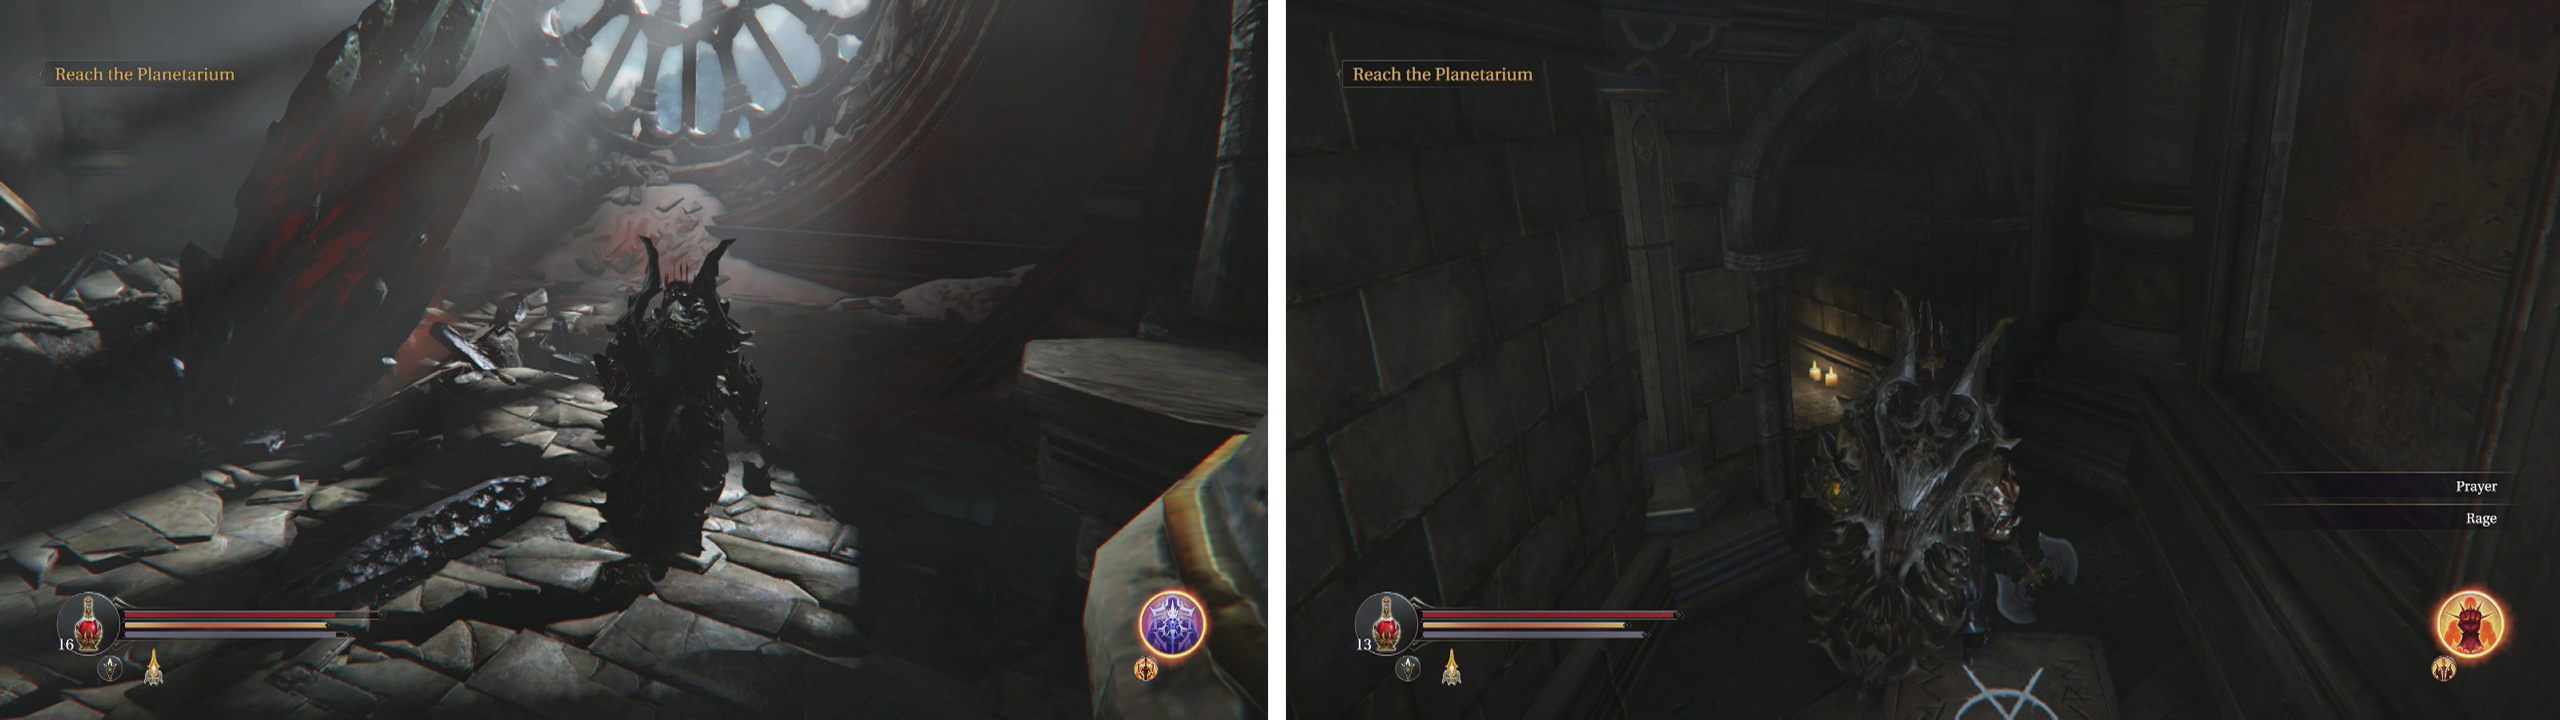
Clear out the Planetarium (left) and the side-rooms before hitting the pressure plate (right) and quickly entering the door it opens for a chest.
Enter the small door here to find a Marauder and a Spellcaster inside. If possible, try to pull the Marauder through the door to the crystal room so that you can focus on taking him down without the threat of magic projectiles. Return inside once he is done to get the Spellcaster.
There is another locked chest in this room which we can’t do anything with now and a locked door (this is opened by the pressure plate I mentioned earlier). Backtrack to the previous room and find the pressure plate . Use Harkyn’s Prayer spell to create a clone on the switch and then sprint back to the now open door. Inside you’ll find a chest with an Armour Set (Blessing) . Use the lever here to escape the room.
Proceed through the only other entrance available and you’ll find yourself on a small balcony with a Warden. Use your usual tactics to take him down. Once defeated, a scene will play to prod the story along.


Following the scene, be sure to loot the Sealed Rune (Small) the Warden dropped and then speak to Kaslo again. Choose the “Support Me” option during the conversation to restore your potions to full.
Make your way back through the previous rooms. When you reach the door leading to the spiral staircase, speak to the Concerned Monk here. He’ll give you a side-quest to find his missing brother. Accept the quest if you like and then continue down the stairs until you reach the bottom.
Keep backtracking through the area until you reach the Captain we spoke to earlier. A scene will play and he too, will give you a new side-quest. He wants us to collect Human Tattoos by finding and killing Deserters (we met them earlier in the demon realm).
Further down the stairs, if you previously used the Blood Flint to light the signal fire on your way to the Worshipper boss, you will bump into a pair of talking guards speaking about it. Speak to them and at the end of the conversation you will receive 500XP .
As you head back down the stairs, speak with the Captain for a side-quest (left). Proceed to the main doors and use the Gauntlet to remove the glyph (right).
When you arrive at the large door with the holographic glyph in front of it, use your gauntlet to shoot it. This will make it disappear and allow you leave the area… for a boss fight.
No Comments