Memorial
When we regain control, return to the stairs. From here exit to the courtyard on the left and follow the follow the platform parallel to the stairs to find a Loot Crystal #2 . This will have become active by killing the Commander. Interact with it to enter a new area.
Loot Crystal #2
This is our first infinite Void challenge. In this area you will find a whole lot of darkness. Loot the nearby chest and it will release a small light that we will need to follow around through the area.
Follow the light through the darkness but watch out for a Rogue and Crossbowman in the shadows. Fend them off and when you reach the first area the light stops, you’ll also discover a group of 4-5 Infected standing about. Try to pull them away one at a time to dispatch them. Loot the chest here when it is safe to do so for a Weapon (Staff – Qamar) and an Energy Shard .
Look over to the right to see the light has moved off into the distance. Run over here and step on the floor plate below the light. This will cause a nearby chest to open and the light will lead you to it. Unfortunately it’s not all that easy as doing so will also spawn a pair of Marauders and a Crossbowman. Stay by the floor panel and wait for the Marauders to come to you. Take them both out and then move towards where the light went to find the Crossbowman in the darkness.
Return to the floor panel and activate it once more. Follow the light to the chest and quickly loot it before it closes. You’ll acquire a Fire Resistance Shard and a Sealed Rune (Small) .
Now move back to the Loot Crystal and warp back to the real world.
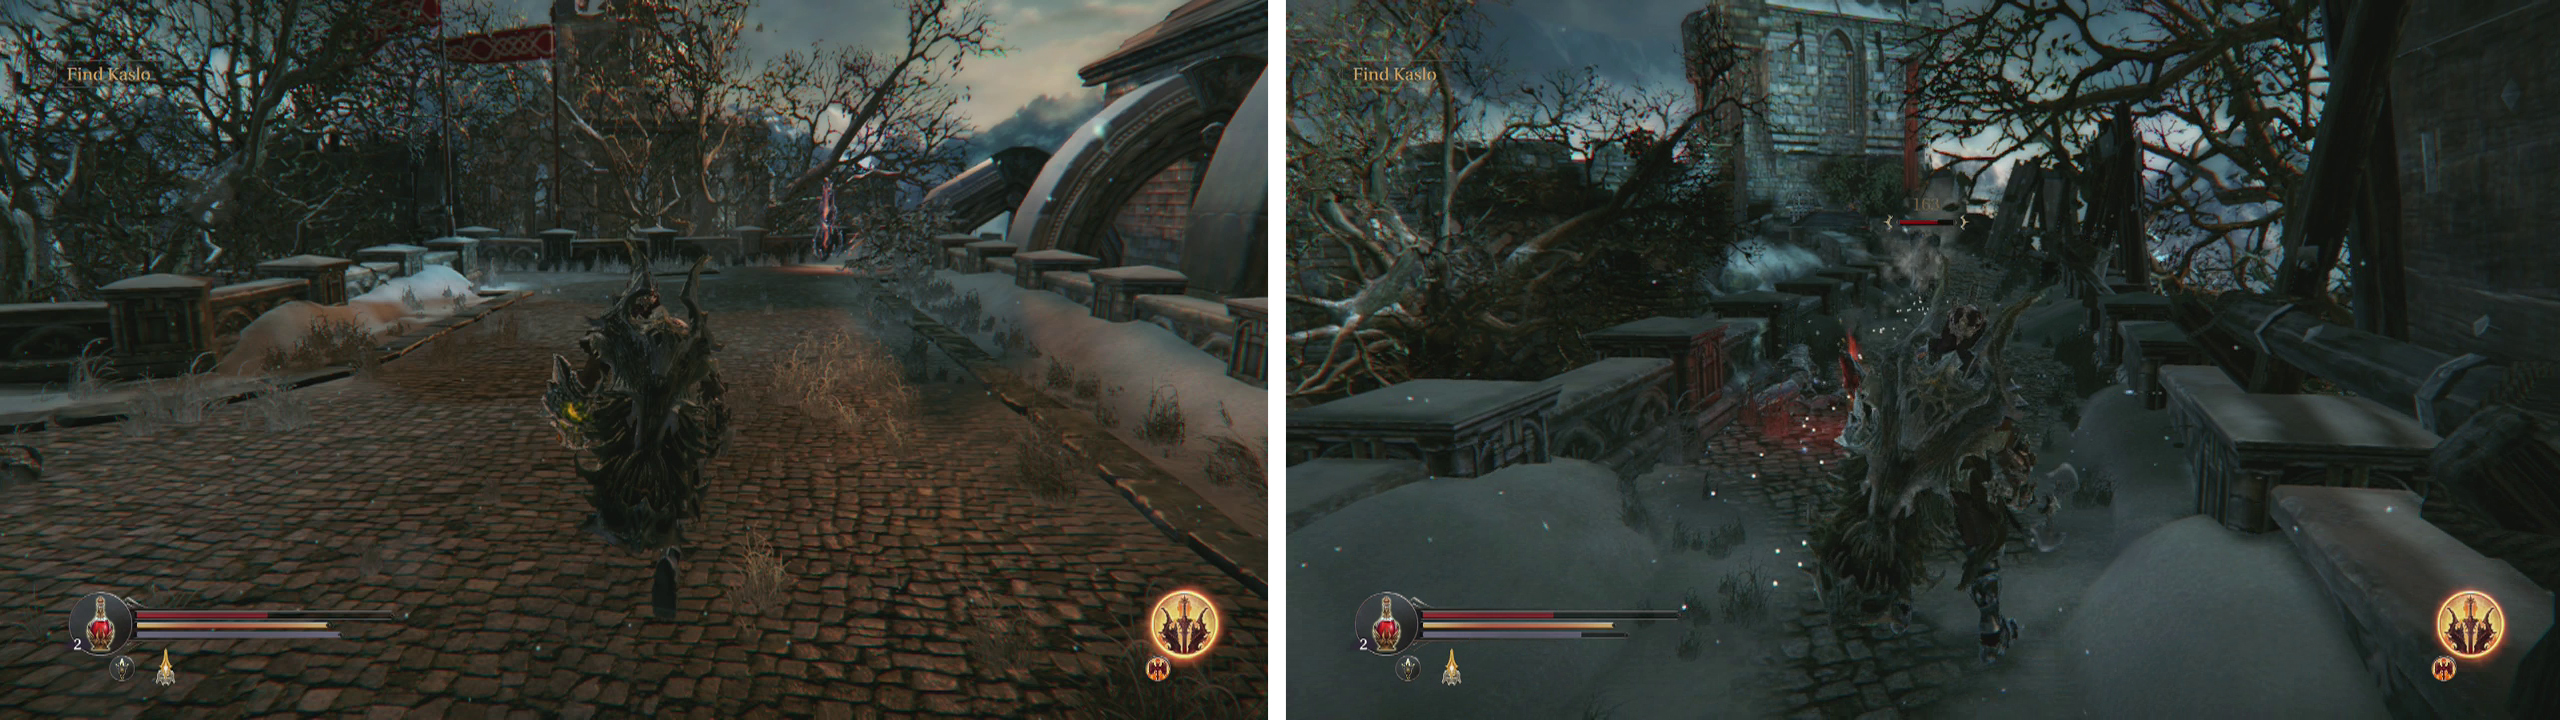
Enter Loot Crystal #2 (left). Afterwards, check the path to the left of the Loot Crystal #2 for the Bloody Flint (right).
Memorial
Once you are back in Keystone, follow the small path to the left of the Loot Crystal #2 . You should see a pair of enemies along this path in the distance – a Crossbowman at the base of the tower ahead and a new enemy – a Shieldman patrolling from the tower out along the wall and back again. Pick up the quest item Bloody Flint from the ground in the centre of the path and then take on the Shieldman when he returns.
Shieldman Combat Strategy:
The Shieldmen are essentially Marauder with shields and as such only have a few select moves and all of them are fairly obviously telegraphed, giving you plenty of time to dodge or block. The trick to defeating them easily is being patient! Wait for the Shieldman to use the 3-hit melee combo and lay into him in the short window an attack and then smacking him once or twice whilst he recovers. The overhead slam provides the largest attack window, but you can usually sneak an attack or two in no matter the attack.
Once the Shieldman is out of the picture, follow the path to the base of the tower and kill the Crossbowman. Grab the Audio Note (Night Watch: Fourth Night) and then backtrack all the way to the Loot Crystal .
Now work your way past the large statue here and find the Audio Note (Night Watch: Last Night) by the corpse propped up against the wall. Another Shieldman will patrol from here along the path ahead of us, and as there are Crossbowman up ahead it is best to let him come to you before you attack.
When the Shieldman is dead, work your way up the path cautiously and take out the two Crossbowmen one at a time. Upon reaching the second crossbowman’s location, you should be able to see a Checkpoint Crystal ahead. Don’t rush forward just yet! Edge forward and look to the left to see a Rogue just waiting to ambush you. Eliminate him before continuing to the Checkpoint Crystal .

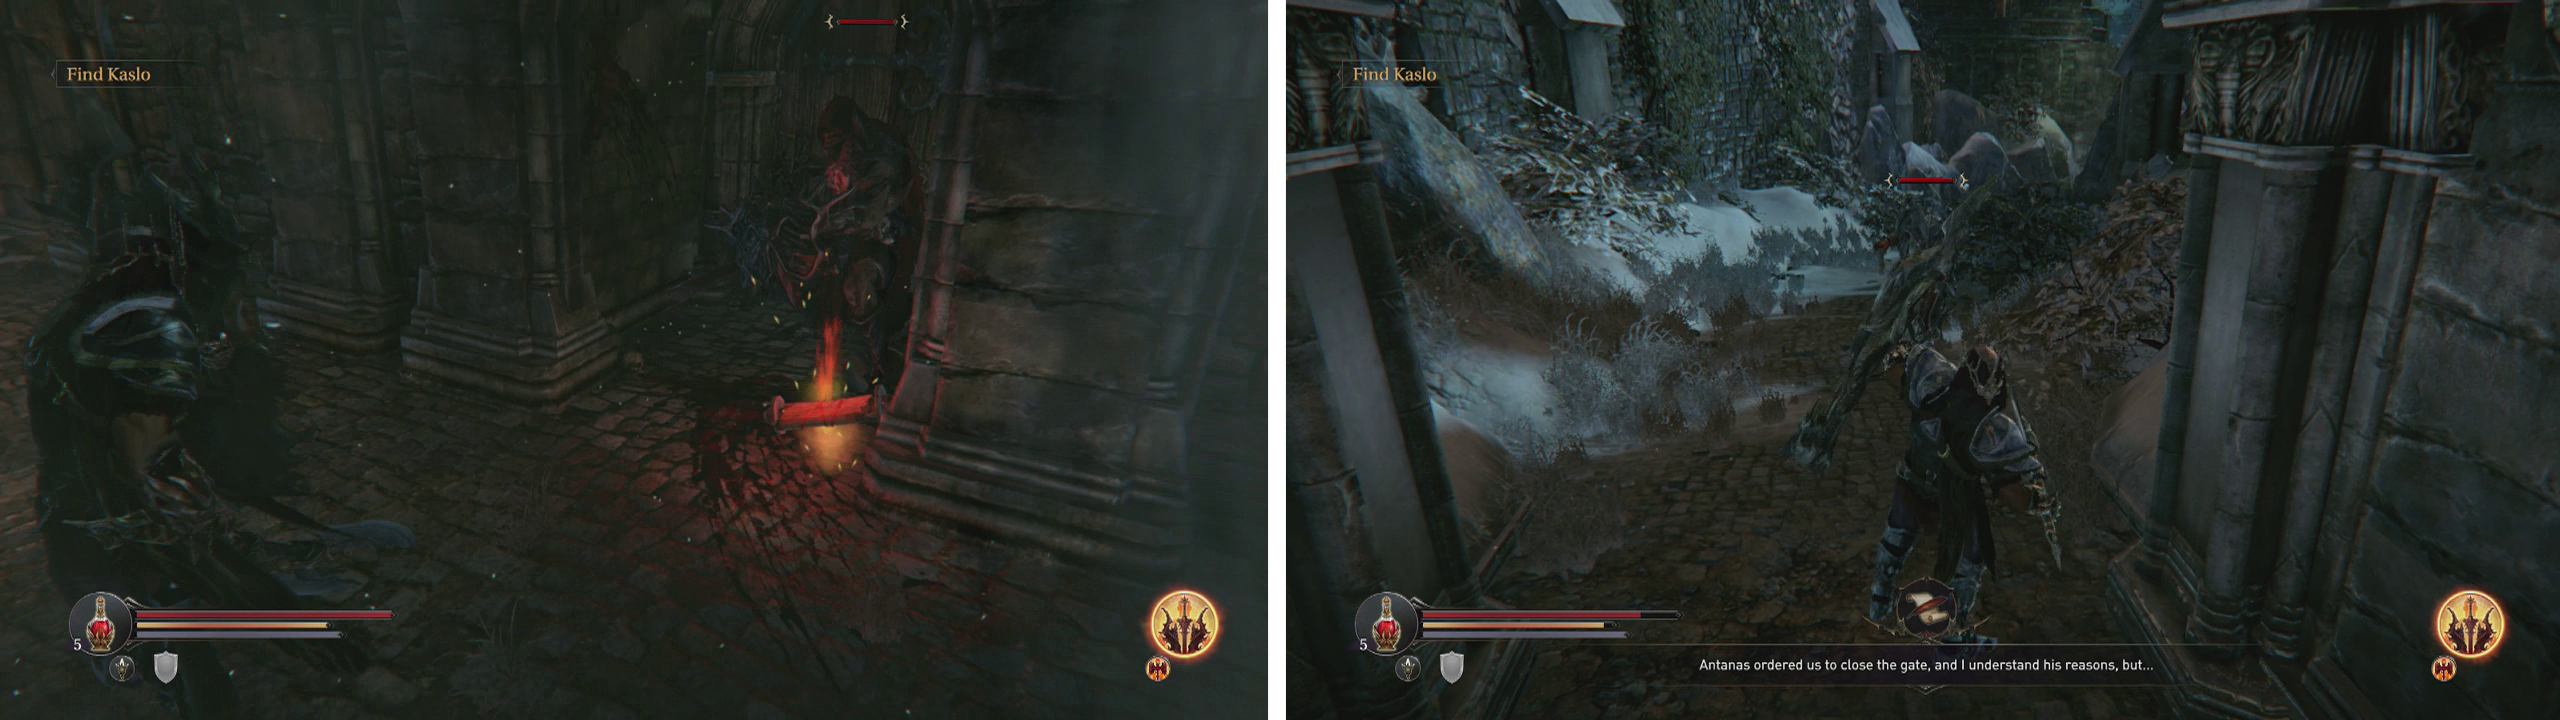
Grab the Audio Note from the body near the statue (left). Watch out for the Rogue near the Checkpoint Crystal (right).
The enemies along the path to the left of the Checkpoint Crystal are probably a little too much for most players at the moment (skip down past the blue notes to the heading ‘Outer Walls ’ to keep going) although they are good for a challenge and a good serving of XP . If you are game, you can find a couple of new Weapons and an Empty Bottle for your trouble. You’ll also get to check out a new enemy type - the Rhogar Knight.
Rhogar Knight Combat Strategy:
The Knights are easily the trickiest enemies you have faced in the game so far as they are heavily armoured and can do a lot of damage. They are however limited in their attack patterns and telegraph their moves quite obviously, making them easy to dodge. The difficulty is if you get hit by one of their combo melee attacks it can be very difficult to avoid successive blows and when each can take a huge chunk of your health bar, its a recipe for a quick death!
The most useful tidbit about the Knights is that they are not immune to magic, so maintaining a constant stream of damage coming from your gauntlet is a must. You can essentially dodge them for the entire fight and kill them with your gauntlet projectiles - definitely the safest, but more drawn out strategy (unless you have high faith that is!).
As the Knights are shielded, they provide very few openings in their attacks. The biggest opportunity to attack them is to wait for them to start an attack animation and quickly time an attack of your own to hit them first - this is extremely risky and opens you up to a world of pain if you miss. Outside of that, getting a hit in on the Knight will need to wait until the end of their four piece melee combo for a (very brief) pause before he gets his shield up again.
After killing the first Knight, move up to the next area. There is a Crossbowman in the far right corner, two Infected hiding in small alcoves on the wall to the left and another Infected playing dead on the way to the Crossbowman. Note although they act in the same way as the previous enemies we have faced, they are much tougher with more hit points and they do much more damage - so be extra careful! Use your gauntlet to pull them all one at a time (start with the Infected and finish with the crossbowman).
Once the area is clear, use a rune to unlock the chest along the left hand wall for an Empty Bottle and Weapon (Greataxe - Guardman).

Left of the Checkpoint Crystal is a path with high level enemies (left). You can loot the chest for a weapon and an Empty Bottle (right).
There are another two Knights at a dead end ahead. They patrol in different patterns so it is definitely possible to pull them one at a time. After killing them, you will find a locked door here (it’s a shortcut inside the Citadel later on). To the left of this is a weak wall. look for the bare patch of wall with the torch above it and run at the wall with your shield up to knock it down. inside is a chest containing a Weapon (Hammer - Blind) .
Backtrack to the previous Checkpoint Crystal.
Outer Walls
Enter the building to the right of the Checkpoint Crystal. There is a rogue hiding in the small niche to the right as you enter. Fight him off before looting the Audio Note (The Rhogar: Guard Notes) , note the locked door here and continue through the sheltered passage to exit from the far side.
The snowy path here leads down to a second tower. Along the way there are two Shieldmen. The first will patrol from near the middle of the hill up to where you exited the previous building and a second will remain stationary near the centre of the path. As such, wait for the patroller to come to you to take it down on its own. You should be able to sneak up on the stationary Shieldman and stealth attack him for some big damage.
Proceed further down the hill until you reach a large gate. There is an Infected playing dead here so kill him (you’ll have to do it twice as he’ll get up for seconds).
Watch out for the Rogue in the niche to the right (left) and continue down the snowy slope (right) towards the graveyard.
Burned Watchtower
Instead of going through the gate, turn to the left to see a door. It is locked, but there is a stairway just beside it to the left (it’s hard to spot until you get closer). Climb this to the roof. There is a Crossbowman on the far side of the rooftop and another just to your right. You should be able to sneak up and backstab both of them.
After clearing the rooftop, look for the large pile of logs. Harkyn can interact with this if you picked up the Bloody Flint quest item earlier. This will earn you an easy 1,000 XP and unlock another side-quest later in the game. Lighting the fire will have the added effect of summoning a Rogue who will race into the area in an attempt to ambush you - so defend yourself and kill him.
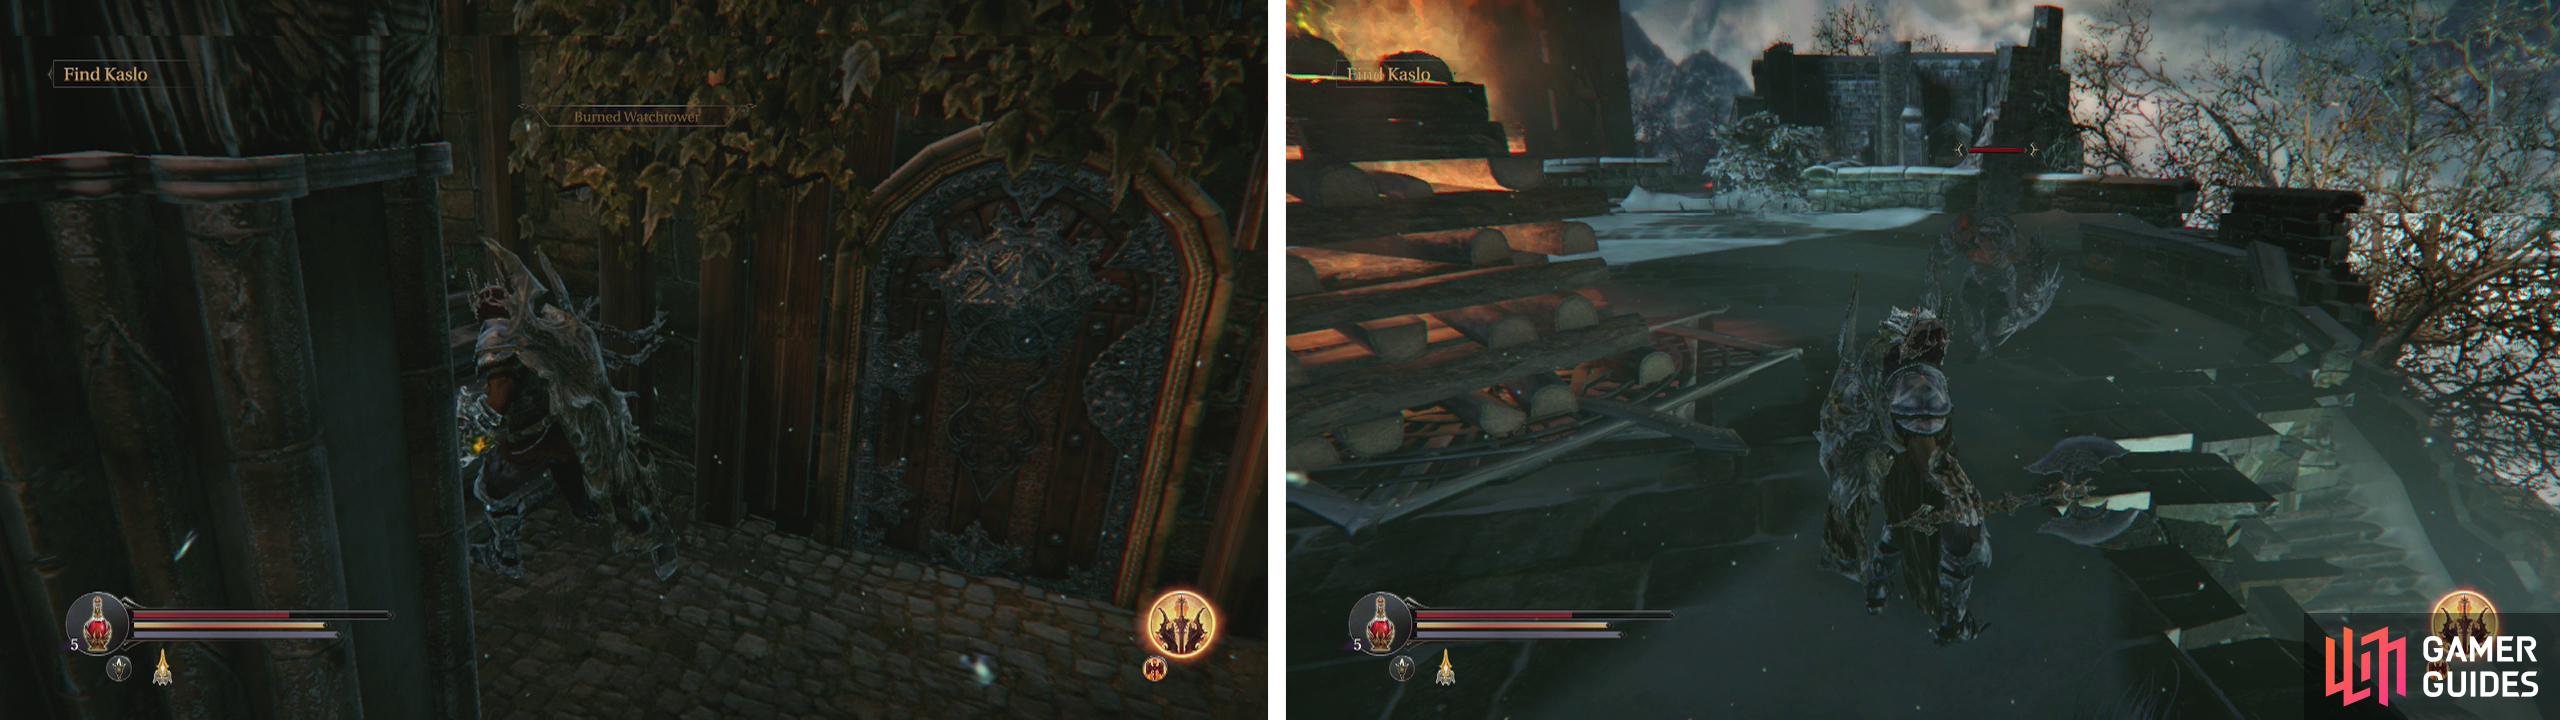
Look for the hard to spot staircase next to the door (left). On the roof, use the Bloody Flint on the pile of wood for some XP (right).
Climb down the stairs to enter the watchtower proper. Fight the Marauder inside and go through the small doorway to find a lever to open the gate here, creating a shortcut back to the Memorial area near the last Loot Crystal #2 and a chest containing an Empty Bottle , and a pair of S hields (Buckler - Buckler and Kite - Heavy Shield) .
Outer Walls
Backtrack out of the burned Watchtower and return to the gate. This time continue down the hill. As you go you will notice an inactive Loot Crystal #3 to the left. As you approach the bottom you’ll be attacked by a new type of enemy – the Golem.
Golem Combat Strategy:
The Golems are fairly weak enemies with no real defence to speak of. They are however extremely fast and they often attack in pairs. They favour a leaping attack that can hit you very quickly and like to follow it up with a 3-4 hit melee combo attack to take off a large chunk of health if it hits.
You can attempt to hit them with your gauntlet from a distance, but your best bet is to block the leap attack they perform to open their assault and quickly follow up with a two hit chained melee combo of your own - if you have a decent weapon, this should be enough to kill them. If not, rinse and repeat!
After killing the first Golem, continue down the hill a little further.
Keystone Crypts
At the bottom of the hill you will see another Golem and a Rogue off to the left. The Golem should automatically clue in on your position as you near the bottom, so when you see it start moving in your direction, back up the hill a little so you can take it out without the Crossbowman getting involved.
Return to the bottom of the hill, kill the Crossbowman and go through the small gate to find another inactive Loot Crystal #6 , a Checkpoint Crystal and Kaslo. To the right of the Checkpoint Crystal is an item you can nab for a Human Skull quest item (we need to collect 30 of these for a side-quest later on) and just by the inactive Loot Crystal #6 there is a chest we can loot for a Ghost Merge Shard and a pair of Weapons (Shortsword – Steel Dagger and Sword - Steel Sword) .
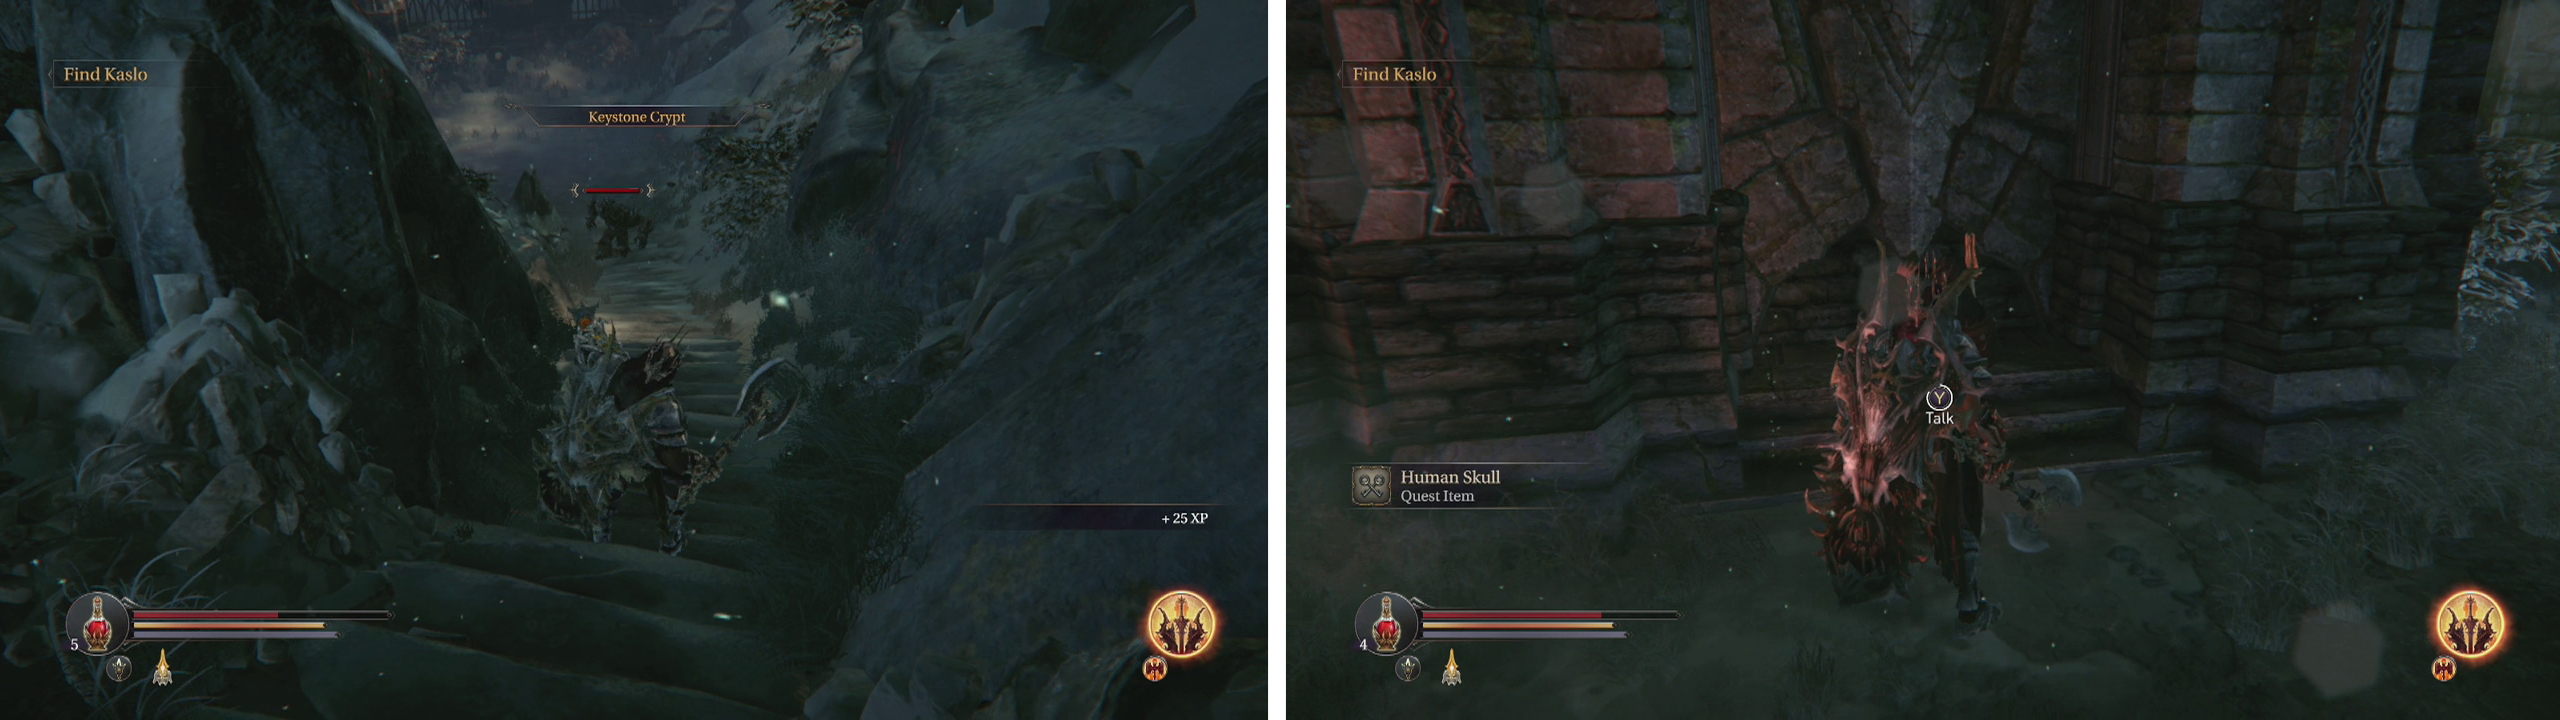
Fight the Golems at the bottom of the hill (left) before entering the next gate and speaking with Kaslo (right).
Speak to Kaslo to proceed and you’ll earn 750XP . After the chat, go through the pathway opposite the crypt Kaslo is looking at and throw the switch to enter the Graveyard. Here we’ll fight our next boss – The Worshipper.
No Comments