Return through the large doors we just exited from and head down the stairs in front. The gate has re-opened again, allowing us back to the Flooded Hallways.
In the large room here, you will see that the portcullis blocking the stairs on the right hand side of the room is now open. Before we do that though, head down to where we fought the Champion previously.
Monster Prison
In the arena here, you’ll see that the blocked off area we previously could not access is now opened up. Inside there are three Audio Notes (Grim Places: Vicious Poison, My Vow: I Swear to Him and Dark Deeds: More Than Human) . There is also a chest here that contains a piece of Armour (Head - Persistance) , a Ghost Merge Shard and an Empty Bottle .
Return to the Citadel.
Old Quarters
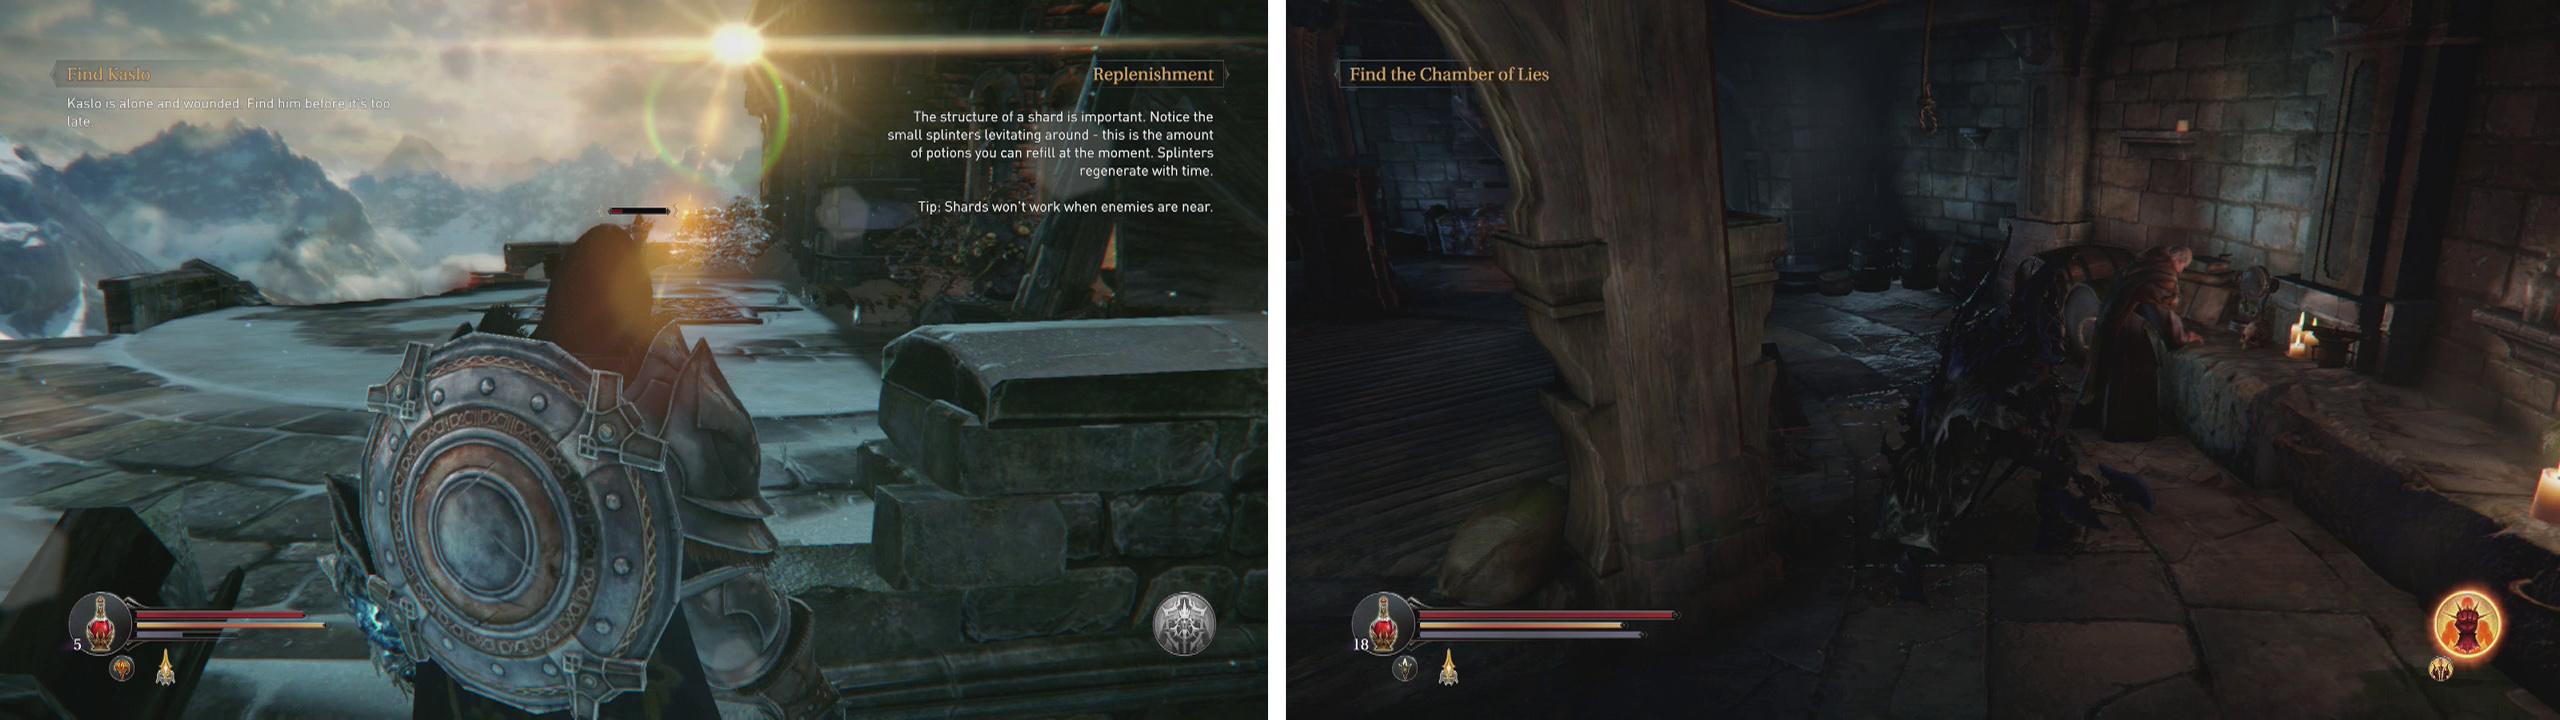
Now that we are back in the Flooded Hallways, let’s tackle that newly opened door! This leads to the Old Quarters area of the Citadel.
Be careful as you climb the stairs as there is a pair of Knights at the top. Fortunately, they are far enough apart that you should be able to hit the closest with your gauntlet from the stairs and draw him to the previous room area to duel him one on one. When he’s done, climb the stairs again and go for his mate further into the room. There is a Human Skull on the ground next to a sarcophagus here.
Ignore the stairs for now and instead go through the doorway opposite the top of the stairs we just came up. Moving down the stairs in this room slightly should trigger a Rogue to attack. Backtrack to the previous room and dispatch him when he arrives. Re-enter the room and kill the Crossbowman hanging out in the far corner of the area. Loot the nearby Weapon (Shortsword - Curse) – we’ll be using this for a side-quest later so be sure to nab it!
The Curse Sword is in the Old Quarters (left) guarded by a rogue and a Crossbowman. This wall can be broken (right), the pressure plate in the previous room will open the door inside.
Note that you can also enter the arched doorway nearby and use the door at the bottom to unlock a shortcut outside to the Memorial between the area where we fought the Commander/Beast and the Graveyard. Don’t do that yet though unless you want to kill all those baddies again!
Return to where we fought the Knights and this time take the stairs leading up. Enter the room to the left at the top and deal with the Marauder standing guard. Make note of the Loot Crystal #10 and the pressure plate on the floor here.
Move cautiously into the opening at the top of the stairs. From the hallway here you will be able to see a Rogue just on the right in the next room as well as a pair of Infected in the middle of the area. Use your gauntlet to pull them one at a time into the previous area and kill them.
Once all three are dead, enter the room. Look along the left hand wall (opposite where the Rogue was standing) to see cracks - its a weak wall . Sprint at the wall and hold up your shield to break it down. There’s a locked door in here. Remember the pressure plate we saw a minute ago? That will open it. Return to the pressure plate and use Harkyn’s Prayer spell to create a clone on the switch before running back and entering the now open door. Open the chest here for a Spell Point Shard and a Poison Resistance Shard . Exit to the main hallway via the other doorway.
Main Hall
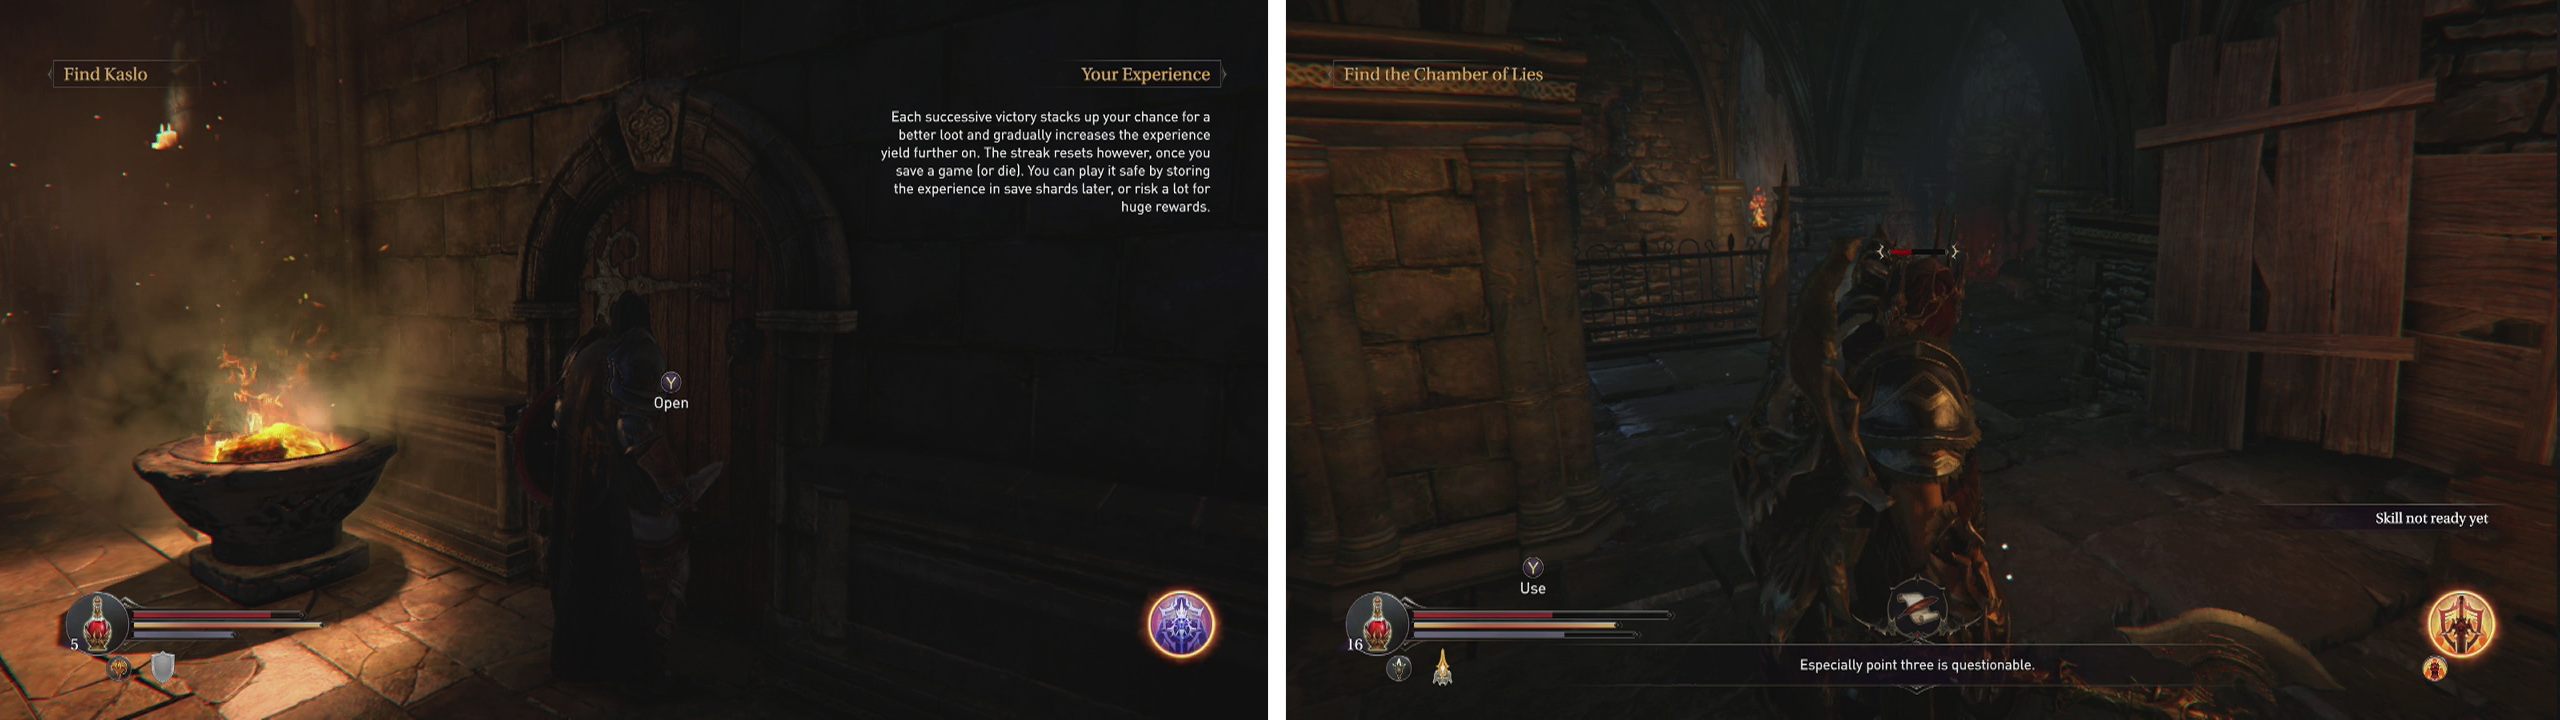
Follow the main hall to the left and you’ll bump into the guard who appeared outside when we killed the Beast. Speak to him to start the next part of his side-quest. When you are done, head through the now unlocked door opposite his position. It’s the Initiation Room where we fought the Warden at the start of the game! This time however, there is a new baddie in his place.
Poison/Fire Beast Combat Strategy:
These fellows can be quite difficult due to their attacks being both quick and very damaging, plus to make things even more difficult they also inflicting damage over time effects on Harkyn if they do hit. Obviously, if the beast uses the roll attack, you’ll want to roll to avoid the initial impact and then strafe to avoid the continued attempt to hit you.
Although it is possible to attack the enemies whilst blocking/dodging their melee attacks, by far the easiest way to deal with them is to use your gauntlet as much as possible whilst staying just outside their melee attack range and backpedalling in circles - if you do this well enough, they will essentially follow you around the room for the duration of the fight and never even attempt an attack.
Speak with the guard in the Main Hall (left) and then enter the Initiation Room to fight the Poison Beast (right).
Once you have killed the Poison Beast, loot the Sealed Rune (Small) he drops and then return to the side-quest giver in the Main Hall and speak to him for another 7,500 XP.
Return to the Initiation Room and go through the left hand door (where we went after killing the Warden). There is a Shieldman and a Rogue waiting for you. After killing them, proceed down the first set of stairs and enter one of the doors ahead. In the small room between the two adjacent bedrooms, there is a weak wall . Sprint at the wall with your shield raised to go through.
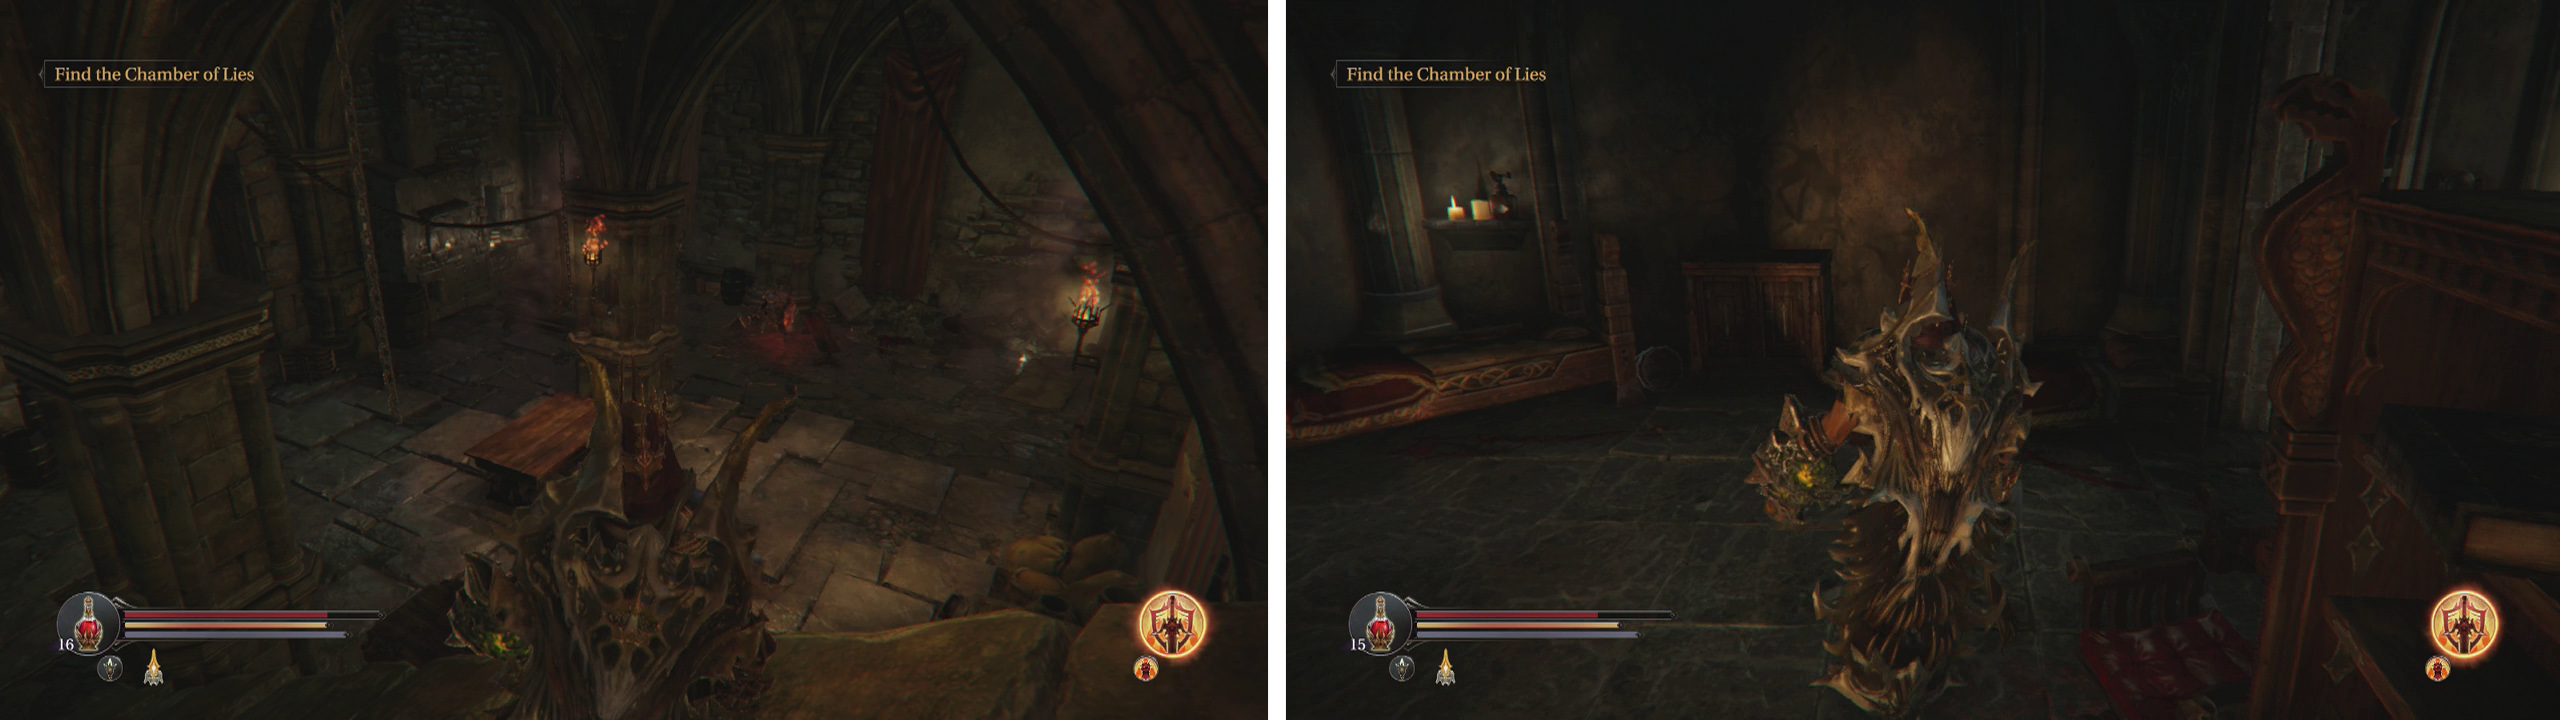
Pick up the Cellar Quest Key from the ground in front of you. As you enter the next door, a Spider will attack you from the right. Try to fight him around your current position as there is an Infected a little further into the room as well. Once the spider is dead, ignore the two doorways below and instead move to the far end of the room and kill the Infected. Grab the Human Skull item nearby. Continuing past his location, there will be another Infected and an Audio Note (The Plot: Point Three) on the left.
Keep moving down the stairs and kill the Spider in the back left corner. Loot the Human Skull here. Note the weak wall behind where the Spider was located, run up and charge this with your shield up to break it down. Inside you’ll find an Empty Bottle .
Exit the hidden room and note the nearby doorway with the lever next to it (we’ll exit through here when we’re done!).
Open the doors halfway down the stairs (left) and knock down the weak wall between the rooms. At the back of the hidden room, kill the Spider (right) and knock down the wall it was guarding for an Empty Bottle.
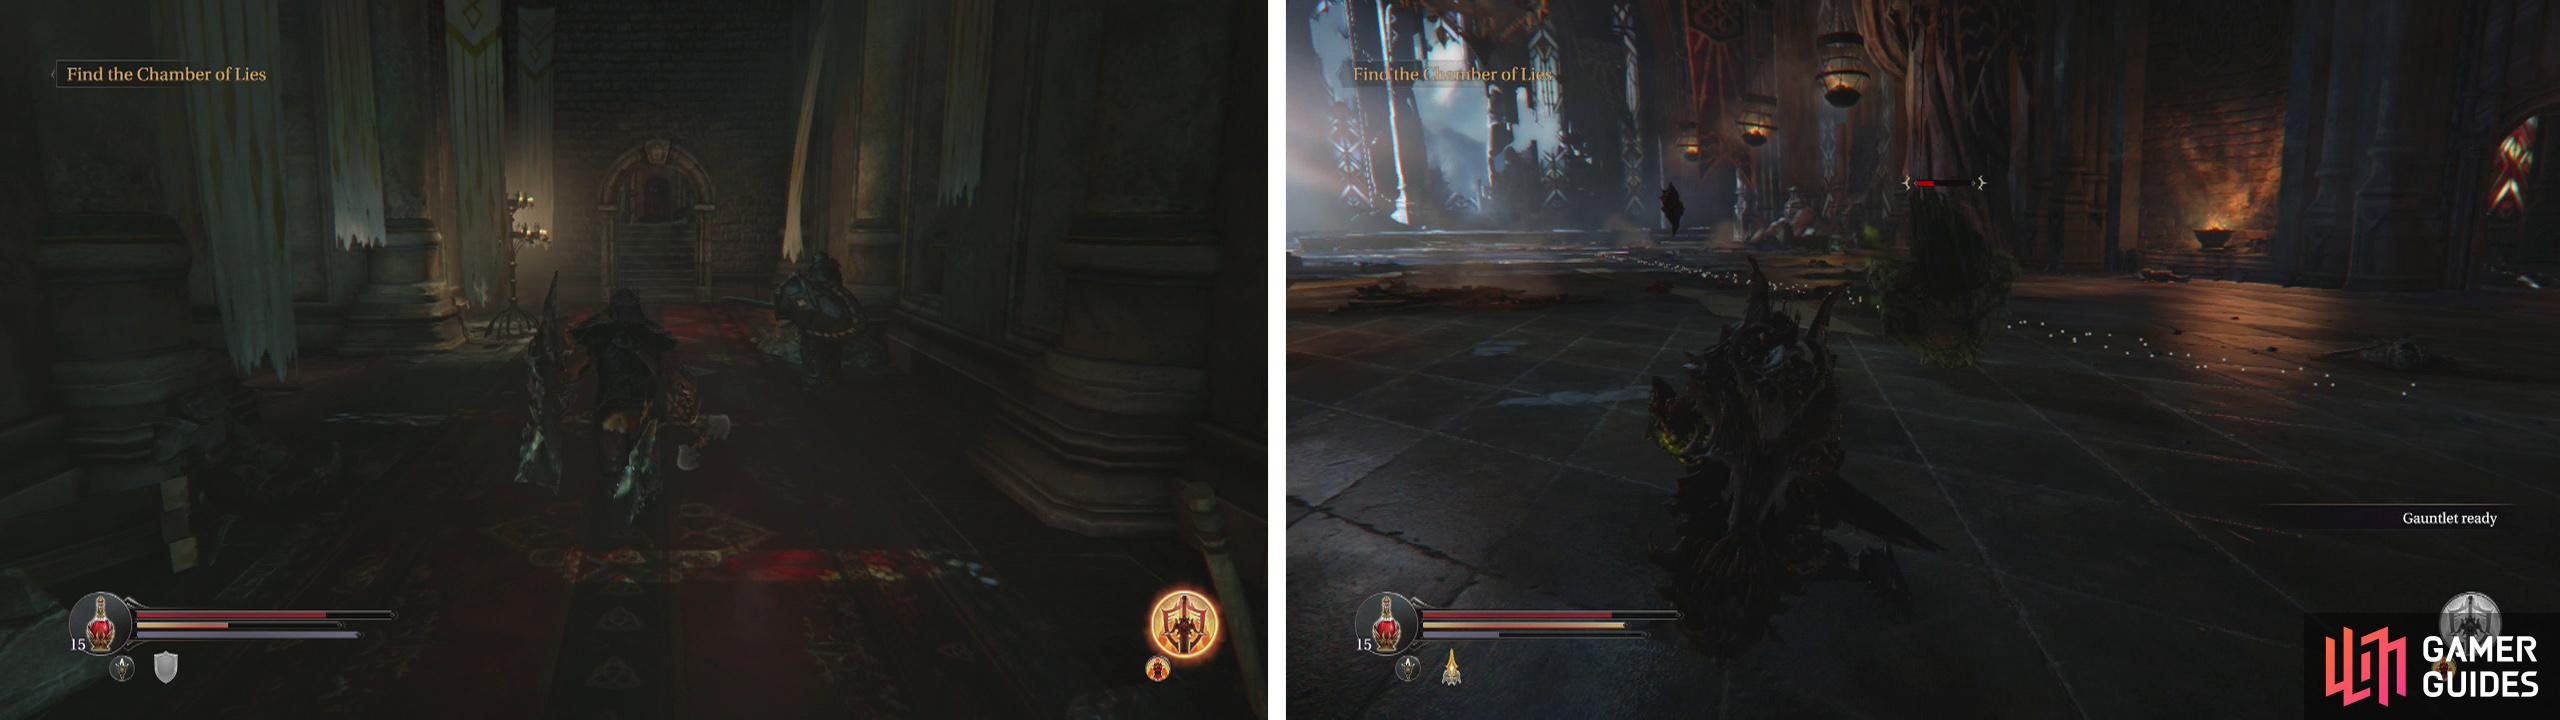
At the bottom of the next set of stairs is a doorway leading to some cells and another Spider in front. Kill it and exit the cell room through the door at the far end, we’ll be back near the start of the area. Note the pressure plate behind the half-open portcullis on the right (we’ll check that out momentarily). Find the other stairway leading downwards here and kill the spider inside.
There are two doors along the left hand wall here. The first is locked (we can open this with the pressure plate) and the second, at the end of the corridor, contains a Checkpoint Crystal and a lootable item – Main Hall Chest Key . Save if you like. To access the pressure plate , you’ll need to roll beneath the half-open grill. Inside you’ll also find an Audio Note (The Plot: Dirty Work) . Use the Prayer spell to create a clone on the pressure plate and then return to the now opened door.
Inside, kill the Spider. Loot the item crystal for a Weapon (Fist - Needles) . Walk up to the glowing cocoon nearby and interact with it. Loot the item that drops for the Citadel Cellar Key . Head back to the locked door with the lever we spotted earlier and move on through.

Roll under the half-open gate for a pressure plate (left). Enter the door it opens, kill the Spider and interact with the glowing coccoon (right) for a quest item.
Northern Wing
Climb the stairs and sneak attack the Knight at the top. Loot the Northern Monastery Wing Chest Key he was guarding. Follow the path to the right to find the Loot Crystal #1 we opened for finishing the first boss. Climb the stairs, kill the Crossbowman at the top and drop into the chamber below. Head over and unlock the chest to the right of the stairs with the Northern Monastery Wing Chest Key for a new Weapon (Sword - Shu) . Head through the nearby door to return to the Initiation Room.
Main Hall
Upon returning to the Main Hall, turn right and enter the next door. Turn right again to find the sealed door we ignored when we first came through. Now that we have the Main Hall Chest Key , we can open the treasure inside, so open the door and loot the chest for a new Shield (Tower - Cocoon) .
Exit and climb to the top of the Citadel again. Enter the Planetarium.
The Planetarium
You will now be able to unlock the previously locked chest on the left for some new Armour (Chest and Legs - Persistance) and the chest on the right for another piece of an Armour Set (Wrist - Persistance) . Speak to the Monk and report back about his brother for 4,500XP .
If you grabbed the Planetarium Piece when I pointed it out earlier, head over and talk to Antanus in the Planetarium to hand it in. If you didn’t grab it, it is quite easy to do so – simply return to where you fought the Beast and look to the right of the large double door leading to the Citadel for the item. Once you have handed the item over you’ll be treated to a short cut-scene and earn yourself 1,500XP .
Grab the Planetarium Piece from where you killed the Beast (left). Give it to Antanas in the Planetarium for a reward (right).
Now make your way down the stairs and exit the Citadel to where we fough the Commander/Beast.
After speaking with the Injured Monk at the Citadel we need to go and clear out the southern watchtower of the Spider inside. This is the building located directly out the gate from the area where we killed the beast and the Commander and is where we grabbed Yetka’s dagger for a side-quest early in the game. If you already dispatched the spider during Yetka’s side-quest you will not need to do it again and you will find the monk inside the tower waiting for you.
Southern Watchtower
If you have not killed the Spider, enter via the stairs on the roof (watch out for the Crossbowman and Infected here), kill the Marauder inside and descend to the lower level of the tower to find it. Once you have killed the Spider you will need to return to the Wounded Monk at the Citadel to tell him it is dead and then come all the way back to where you killed the Spider once more to chat with him again.
Once the South Watchtower tower is cleared, the Injured Monk will help you out if you give him Tyrant Hearts . For every four Tyrant Hearts you bring him, he will upgrade the efficiency of your potions. Fortunately, you should have four Tyrant Hearts on you at the moment, as such hand them over for a potion upgrade and an achievement/trophy.


Once you have killed the Spider in the Southern Watchtower (left). Talk with the Monk inside (right).
There are a total of twelve tyrants in the game, so make sure you bring all 12 Tyrant Hearts to the Injured Monk! Upon handing in the third set of four Tyrant Hearts , you’ll also earn a tidy sum of 2,000XP for your troubles.
The Burned Watchtower
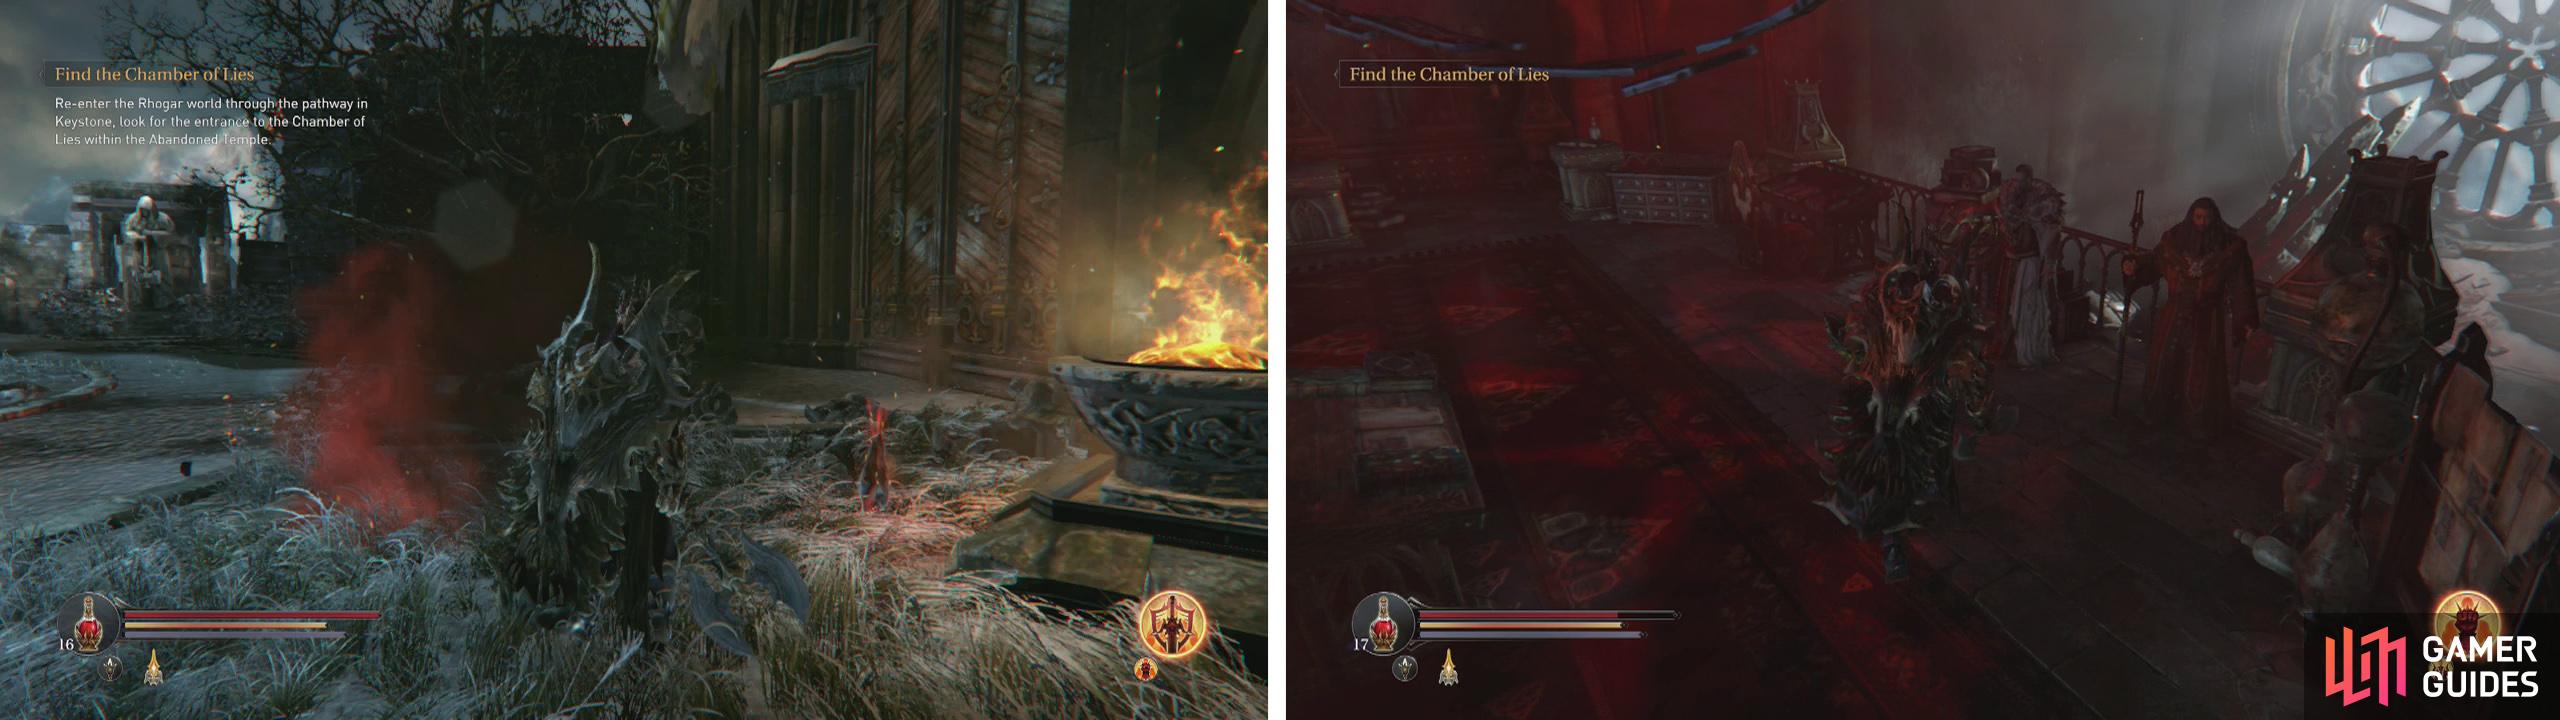
Now that all the side-quests surrounding the Citadel are out of the way, make your way over towards the graveyard to where the portal to the demon realm is located. Fortunately, the same enemy types are here as the first time you made your way through and as such, should pose no real threat seeing as you will have significantly levelled up since your previous encounters.
On the way, you will want to climb the Burned Watchtower (where we lit the signal fire earlier) and clear out the brand new Forger and Dimensional Beast here to find a new Weapon (Hammer - Hope) and 1,500XP .
Keystone Crypt
When you reach the portal, to the right of the building is a Loot Crystal #6 nearby which has now become active thanks to the Beast’s demise. I would recommend banking your XP at the checkpoint next to this before trying the instance inside the Loot Crystal #6 out though as it took me a number of tries before I was able to get it completed.
Loot Crystal #6
This is our second Infinite Void challenge. In this area you will find a whole lot of darkness. There is a small light that we will need to follow around through the area but there are a number of hazards you will need to watch out for.
Firstly, if you are too far away from the light you will start to lose health, but staying close to the light will regenerate health. Secondly, the path that the light travels passes over a number of glowing green tiles which will poison you if you stand on them. When you reach the point at which the light stops moving, you will also be attacked by a pair of Rogues.

Enter Loot Crystal #6 (left) by the portal to the Rhogar Temple. Inside, follow the light and avoid the green tiles (right).
After the fight, the light will lead you to a nearby treasure chest containing a Poison Resistance Shard . Destroy the nearby pot to have another light spawn. Follow this light over to a second chest containing a light that will follow you around. As you open it however you will be attacked by a Warden. Dispatch him and then use your newfound light friend to find your way back to the entrance.
Return to the ‘real’ world.
Keystone Crypt
There is another short side-quest can be found in the Cemetery nearby, where you fought the Worshipper earlier. Clear the area of the Warden, Golems and the Forger. Once it is safe, look for a hole in the ground beneath the large tree almost directly opposite the entrance coming from the Rhogar realm portal. You can interact with the hole.
When you have the Cursed Sword (which we will have picked up earlier from the Citadel) you will gain the option to bury it. This will summon a spirit whom you will need to kill. Killing it will earn Harkyn 1,500XP , an upgraded version of the Sword (Sword - Cursed Sword) and an achievement/trophy.
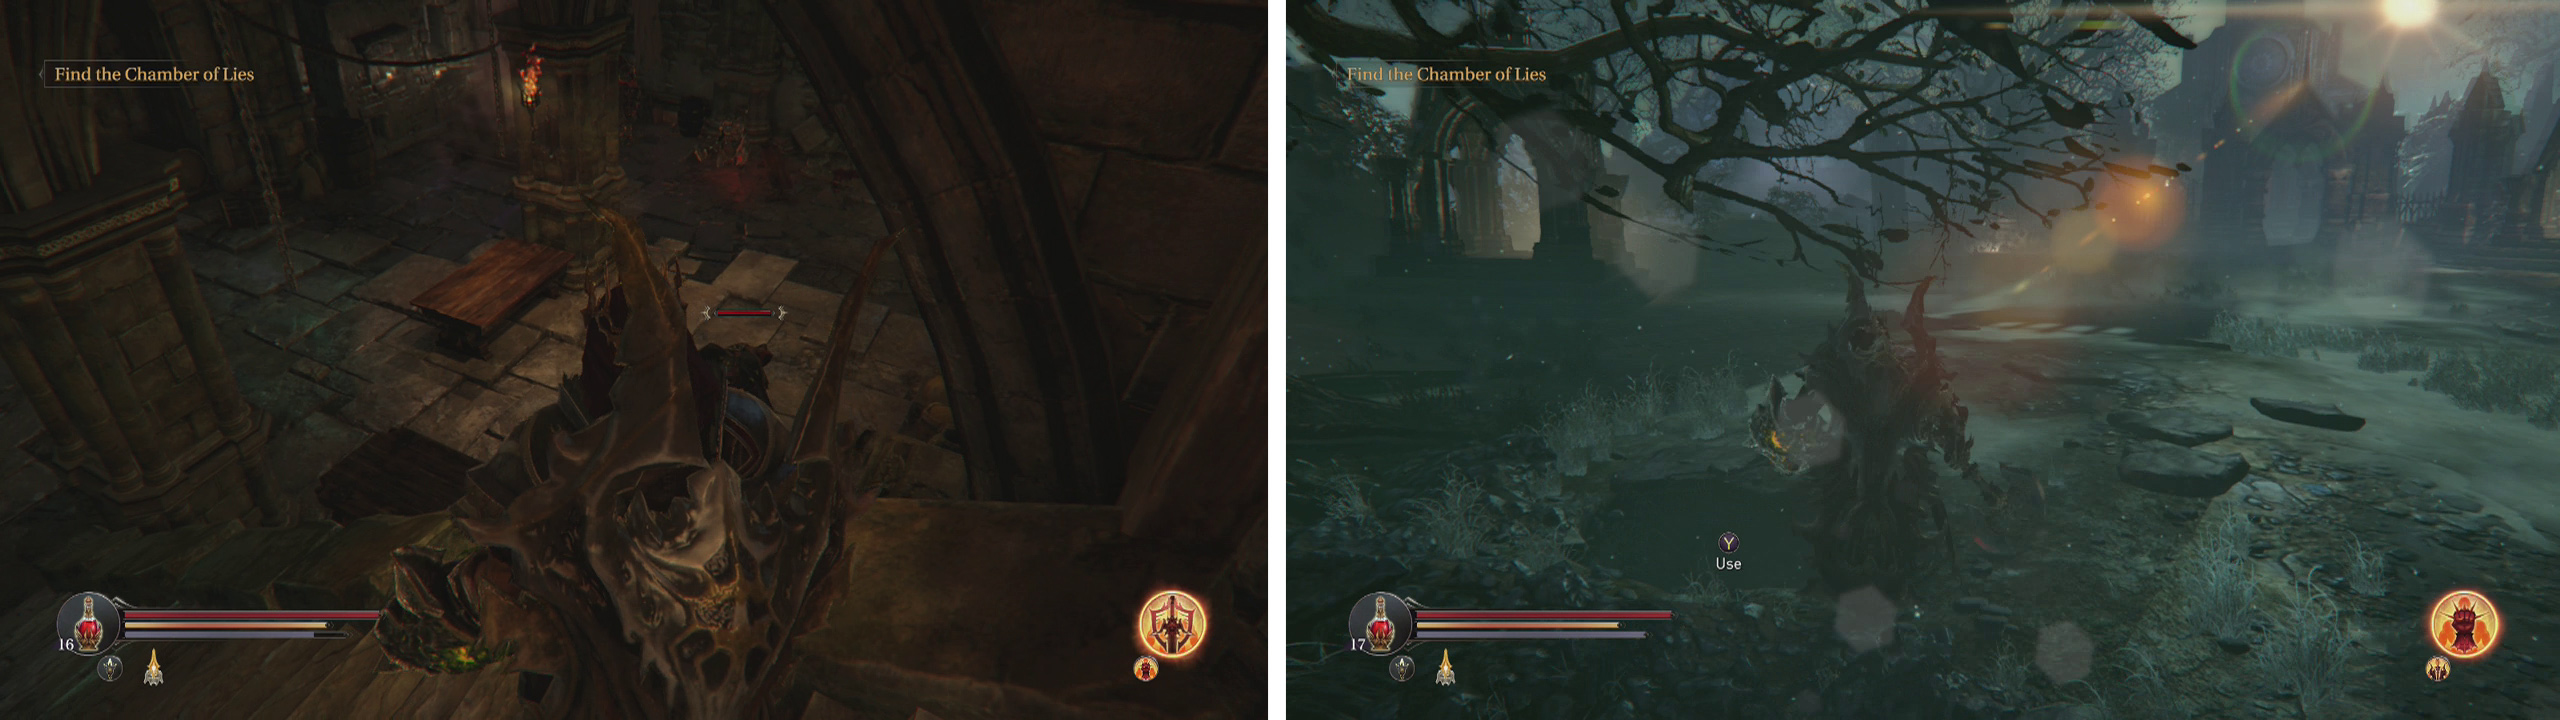
Grab the Cursed Sword from the Old Quarters in the Citadel (left). Place the sword into the hole in the Graveyard (right) to fight a ghost for a reward.

At this point, we can also re-enter the Catacombs for another Warp Loot Crystal that the Champion will have unlocked for us. To do so, from the graveyard here enter the main Catacomb door.
New Burial Chambers
From the checkpoint, head down the stairs directly in front, deal with the Knight here and then enter the second doorway on the right. Then you want to enter the first door on the left. Kill the Infested inside and then approach the Loot Crystal #5 .
Loot Crystal #5
This is your second Proving Ground Arena! There is a Checkpoint Crystal and an Anvil located either side of the entrance warp crystal. The goal here is to fight off all the enemies to progress. To begin, stand on the circular panel in the very centre of the room. The waves include:
-
Rogue and four Infected
-
Forger and two Demon Hounds
-
Infected and Knight
Once all three waves have been defeated, step on the plate in the centre of the arena once more for a chest. Loot it for: -
Empty Bottle
-
Spell Point Shard and
-
Trinket (Life Leech)
Return through the Loot Crystal to the real world.
When you are ready to go, make your way back to the portal to the demon realm and head inside to continue.
No Comments