Keystone Gate
As you exit, follow the path to the left to find a Checkpoint Crystal .
Make your way down the stairs and kill the Infected as you go. In the courtyard at the base of the stairs are a pair of Infected to the left and a Marauder patrolling from the building in the distance on the right to the centre and back again. Wait for the Marauder to be far away before running in and attacking the Infected. If you can’t kill them quickly, lead them back to the stairs so that you can focus on killing them without the Marauder joining the party.
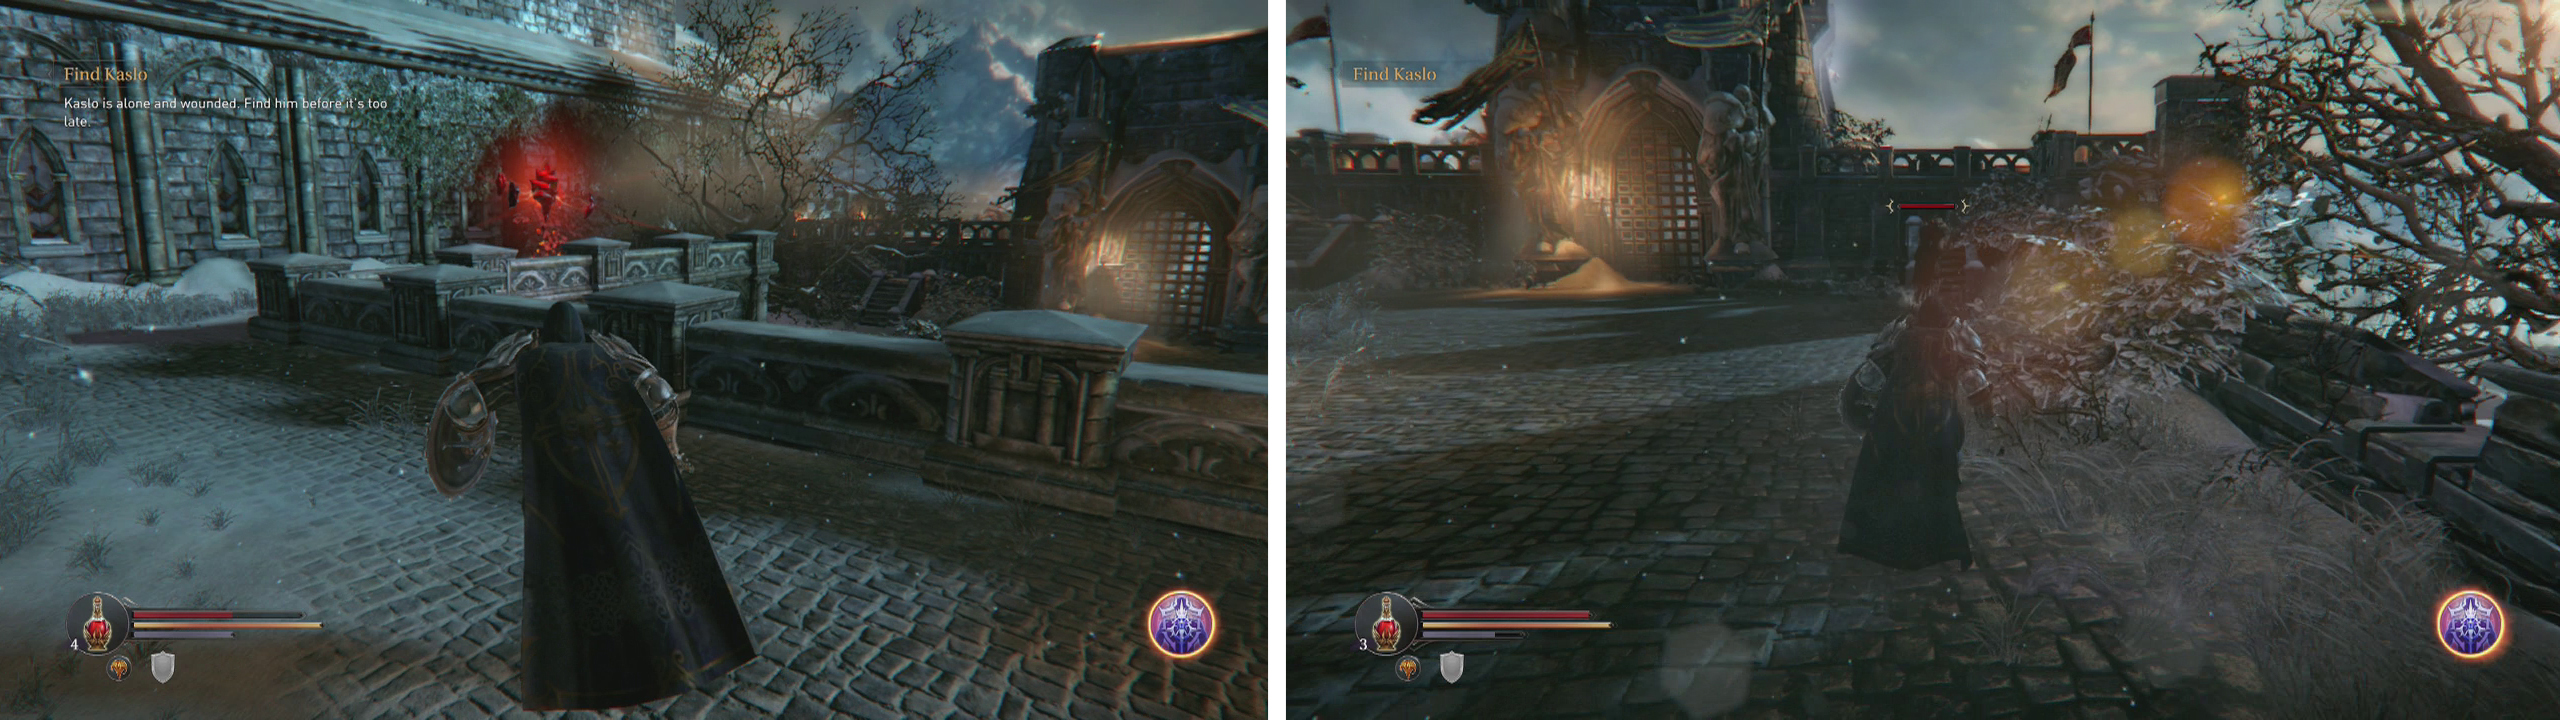
Use the Checkpoint Crystal as you exit (left). Clear the courtyard (right) and pull levers on the platforms either side of the gate to open it.
In the centre of this courtyard is a large locked gate, either side of this is a set of stairs. We need to climb each of these and pull a lever in order to open the gate. On the right hand platform you will need to dispatch another Marauder in order to pull the lever and on the left you’ll need to fight off a new type of enemy – the Rogue.
Rogue Combat Strategy:
The Rogues carry a shield around with them at all times and as such, you cannot attack them head on or they will roll away or block you. Instead, you will have to wait for them to make a move. Fortunately, most of their attacks are fairly obviously telegraphed, giving you plenty of time to dodge or block. Wait for the Rogue to attack, avoid it and then melee attack him once or twice whilst he recovers. The leap attack provides the largest attack window, but you can usually sneak a hit or two in no matter the attack.
Additionally, you can strafe in a circle with the Rogue (who will do the same) and if you can get behind them a little on the side opposite the shield arm, you can hit them withe the occasional attack.
Once you have killed the Rogue, pull the switch to open the gate. Head on down the stairs and go through the opening.
Wall Gates
As soon as you open the gate you will run into an Injured Monk . Walk up to and speak with him for a conversation. Agree to cut off his arm. Afterwards you can offer to give him one of your potions – this will reduce the total number of potions youhave by one, but will give you 500XP and a Weapon (Axe - Butcher) at this point and will also open up an additional side-quest later in the game that will give you a lot of XP and improved potions in general. As such, I would recommend handing one over.


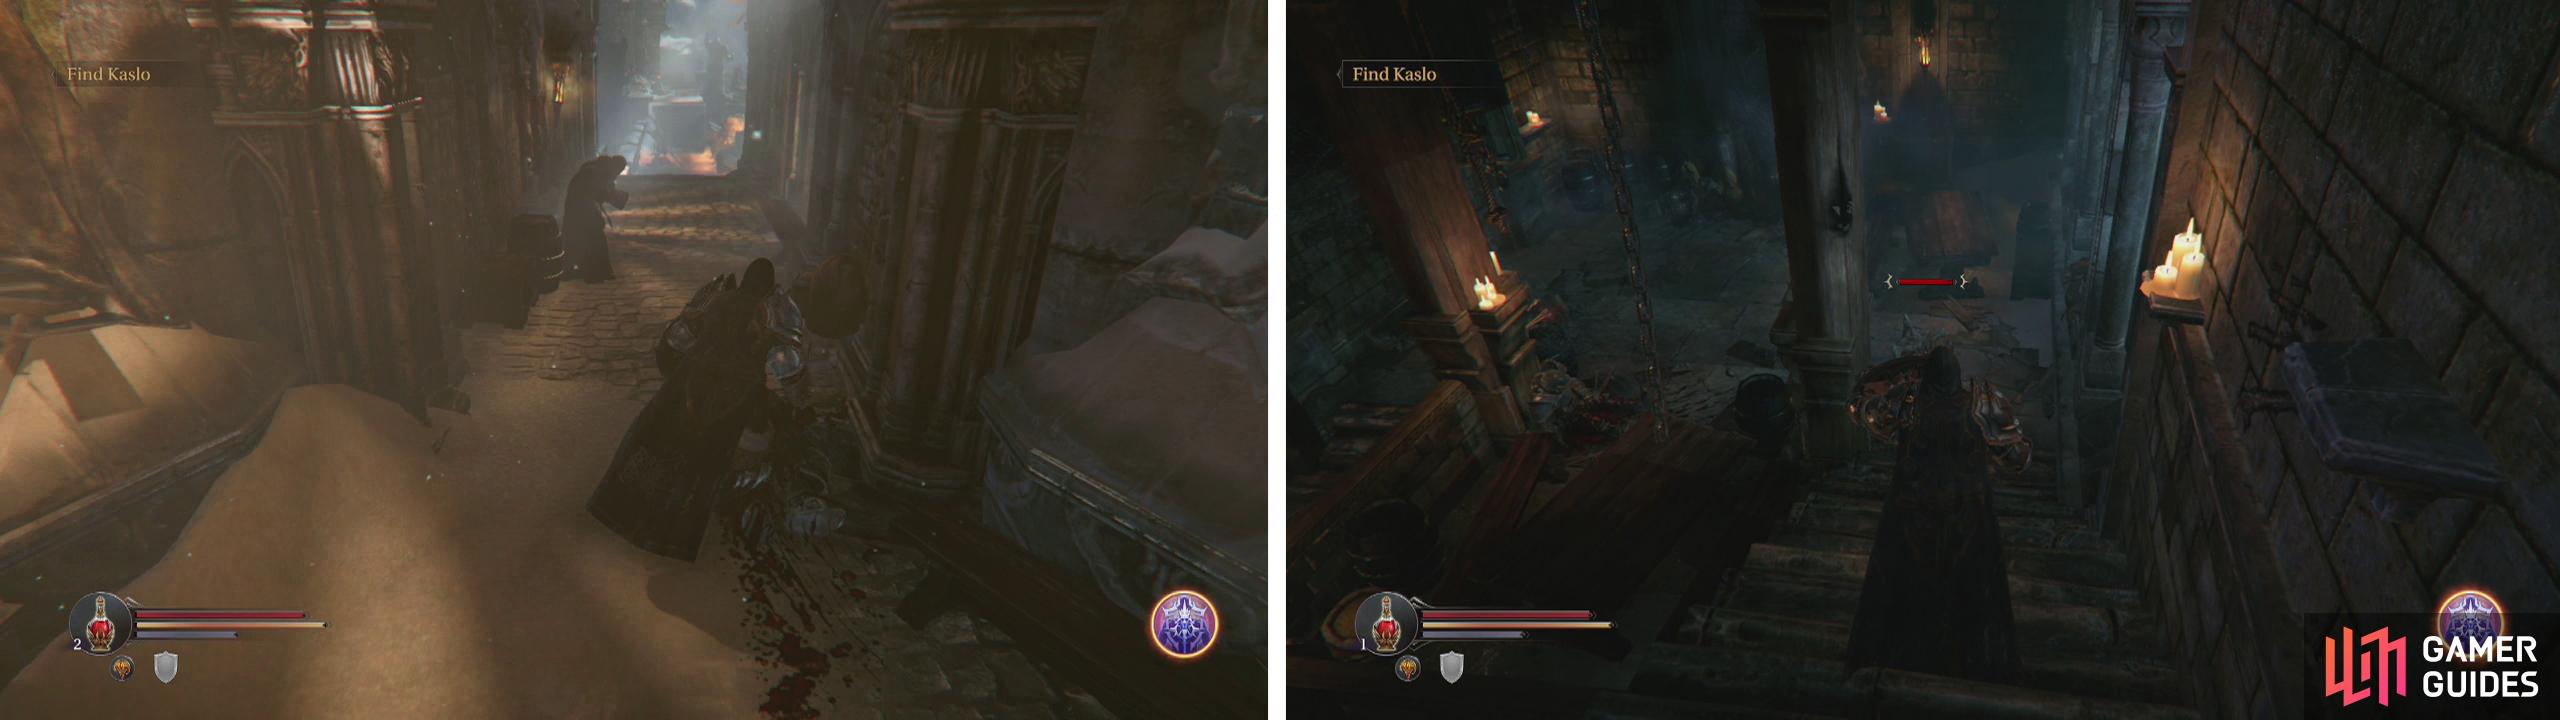
Speak with the Wounded monk just outside the gate (left) and then head inside the left hand door and kill the Spiders inside (right).
After speaking with the Injured Monk, if you look straight ahead you’ll see a large group of Infected. Fortunately, we don’t have to fight them just yet! Instead, enter the door just past the monk to the left. At the base of the stairs is a pair of Baby Spiders (these can be one-shotted with a melee attack) and a treasure chest containing some pieces of an Armour Set (Head and Chest - Hot Blood) .
Take the next set of stairs down and then before entering the tunnel ahead (this leads to a room with two more Infected and nothing really of interest), turn to the left and take another set of stairs. Open the door at the bottom.
Northern Wall
Here, at the far end of the wall we’ll encounter our first Crossbowman.
Crossbowman Combat Strategy:
Crossbowmen are not the most hardy of enemies and can usually be taken down with a melee attack or two. The trick is getting in close enough to damage them without being hit by their crossbow bolts. Later in the game, they will also be equipped with fire arrows which will cause a burning damage over time effect on harkyn and throw grenades, so be sure to avoid those projectiles! Once you have the gauntlet unlocked, you can trade fire with them from a distance but for now, you need to roll to avoid the bolts and work your way up to their position.
As you move towards the Crossbowman along the wall, you will unfortunately run into an Infected corpse that will hop up and attack you. By this stage, the Crossbowman will also be aware of you and will continuously shoot bolts in your direction. Keep an eye on him and dodge the bolts as you kill the Infected before racing up and taking down the ranged attacker as well.
Climb the stairs here and enter the building.
North Watchtower
Go through the small passage to the right of the locked gate and hold your shield up as you enter – there is a Rogue just behind the door that will attempt to ambush you as you enter. Try to kill him close to the doorway as there is an Infected corpse on the far side of the room that will become active if you get too close.
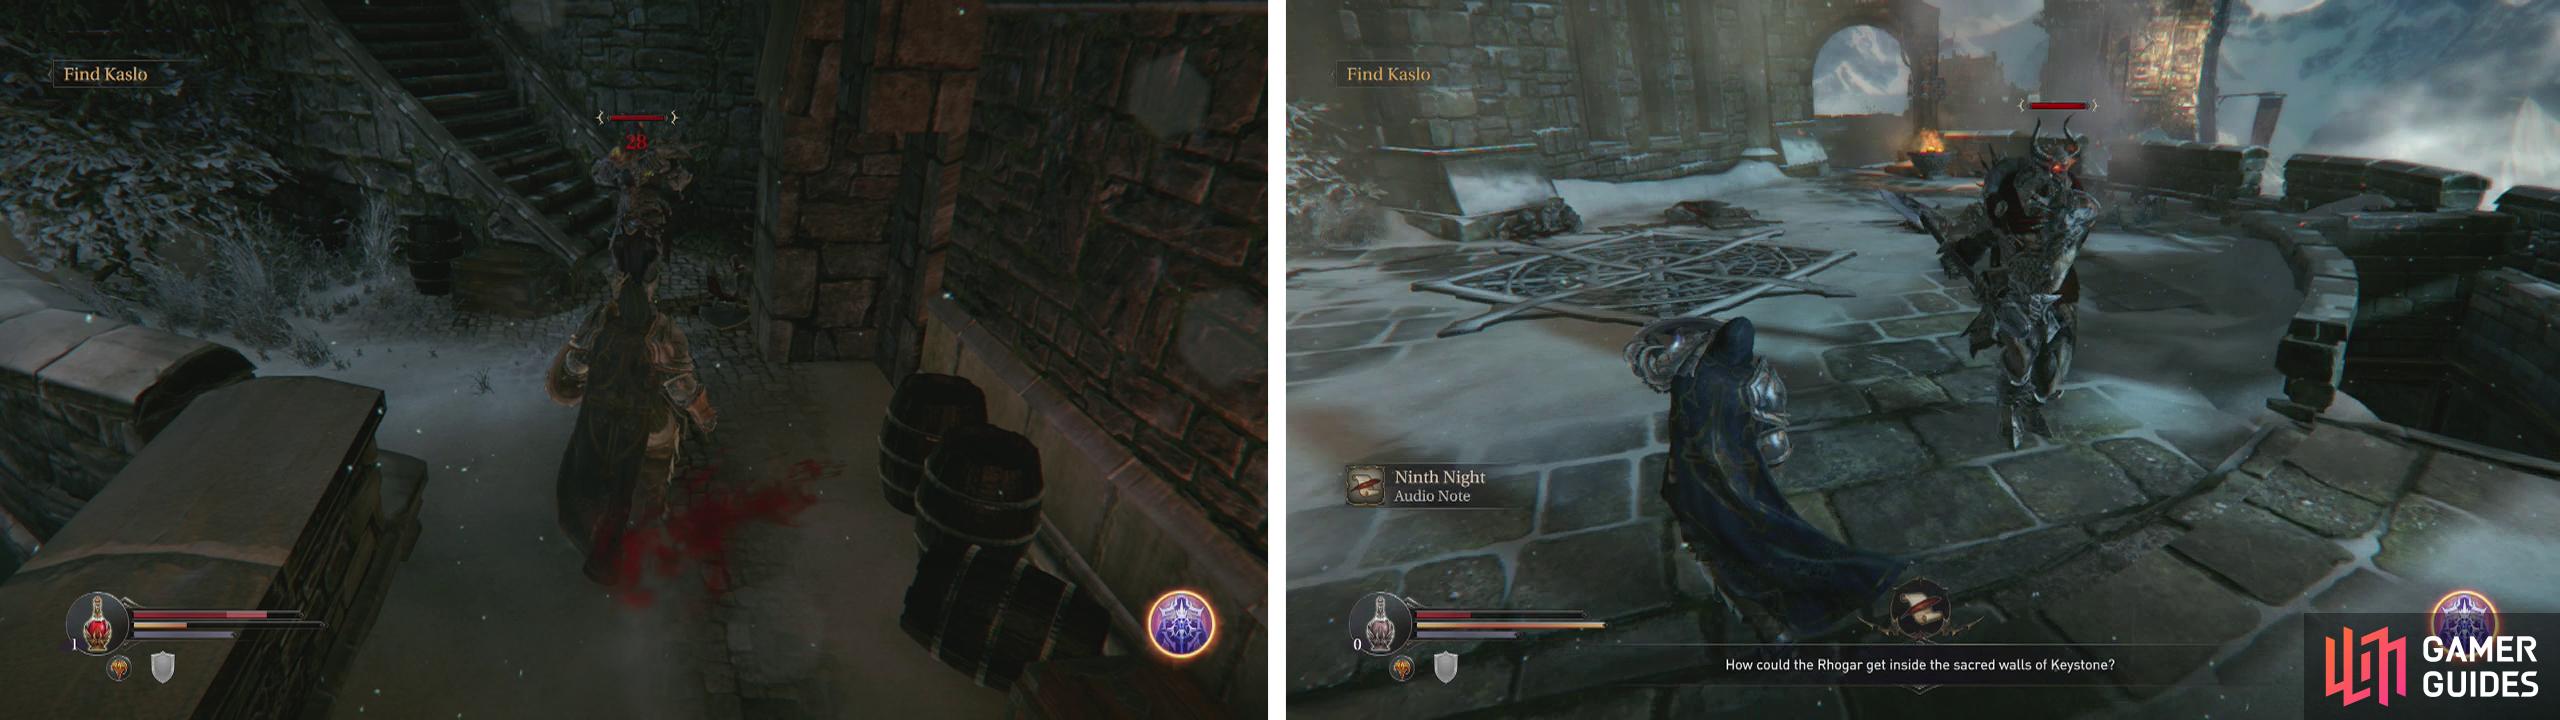
Run up and confront the first Crossbowman (left) before climbing to the top of the North Watchtower to fight a maruader (right).
Once the room is clear, grab the Audio Note (Night Watch: Ninth Night) across from the entrance. There is also a chest at the far side of the room that will require one of our runes to open. Inside you’ll find an Attribute Point Shard and three pieces of an Armour Set (Head, Leg and Wrist – Live Elements) .
The door beside the chest is locked for now, so climb the stairs to the roof. Kill the Marauder that is waiting for you up here. Note the stairs leading to a group of three Infected to the left – this leads back to the Injured Monk (we’ll come back shortly). For now, climb down the stairs to the right.
Main Wall
At the base of the stairs, look back towards the nearby gate and hit the lever to open a shortcut back to the North Watchtower. Now continue along the wall a short distance until a cut-scene plays. This will give us a new item – the Mysterious Gauntlet which we can use to inflict ranged damage.

Backtrack to where we saw the three Infected on the other side of the gate. Use the gauntlet to lock on and shoot one enemy at a time. This will aggravate the targeted enemy who will come to attack you – much easier than taking on all three at once. After killing them all, loot the chest they were guarding for a complete Armour Set (Symmetry) .
Return to where we picked up the gauntlet and continue forwards. There is an Audio Note (Greater Powers: Gauntlet) on the left. Move towards this and a Crossbowman on top of the tower ahead will be alerted to your presence and start firing on you. Unfortunately this will also trigger a Rogue to charge over and attack as well. Backtrack to where you fought the previous Marauder to take the Rogue down out of sight of the Crossbowman.
Keep moving along the main wall rolling and dodging to avoid the crossbow fire until you reach the base of the building. Ignore the Crossbowman for now and follow the path to the left to find a Checkpoint Crystal . Approach this for a story cut-scene. Here we’ll meet Yetka.
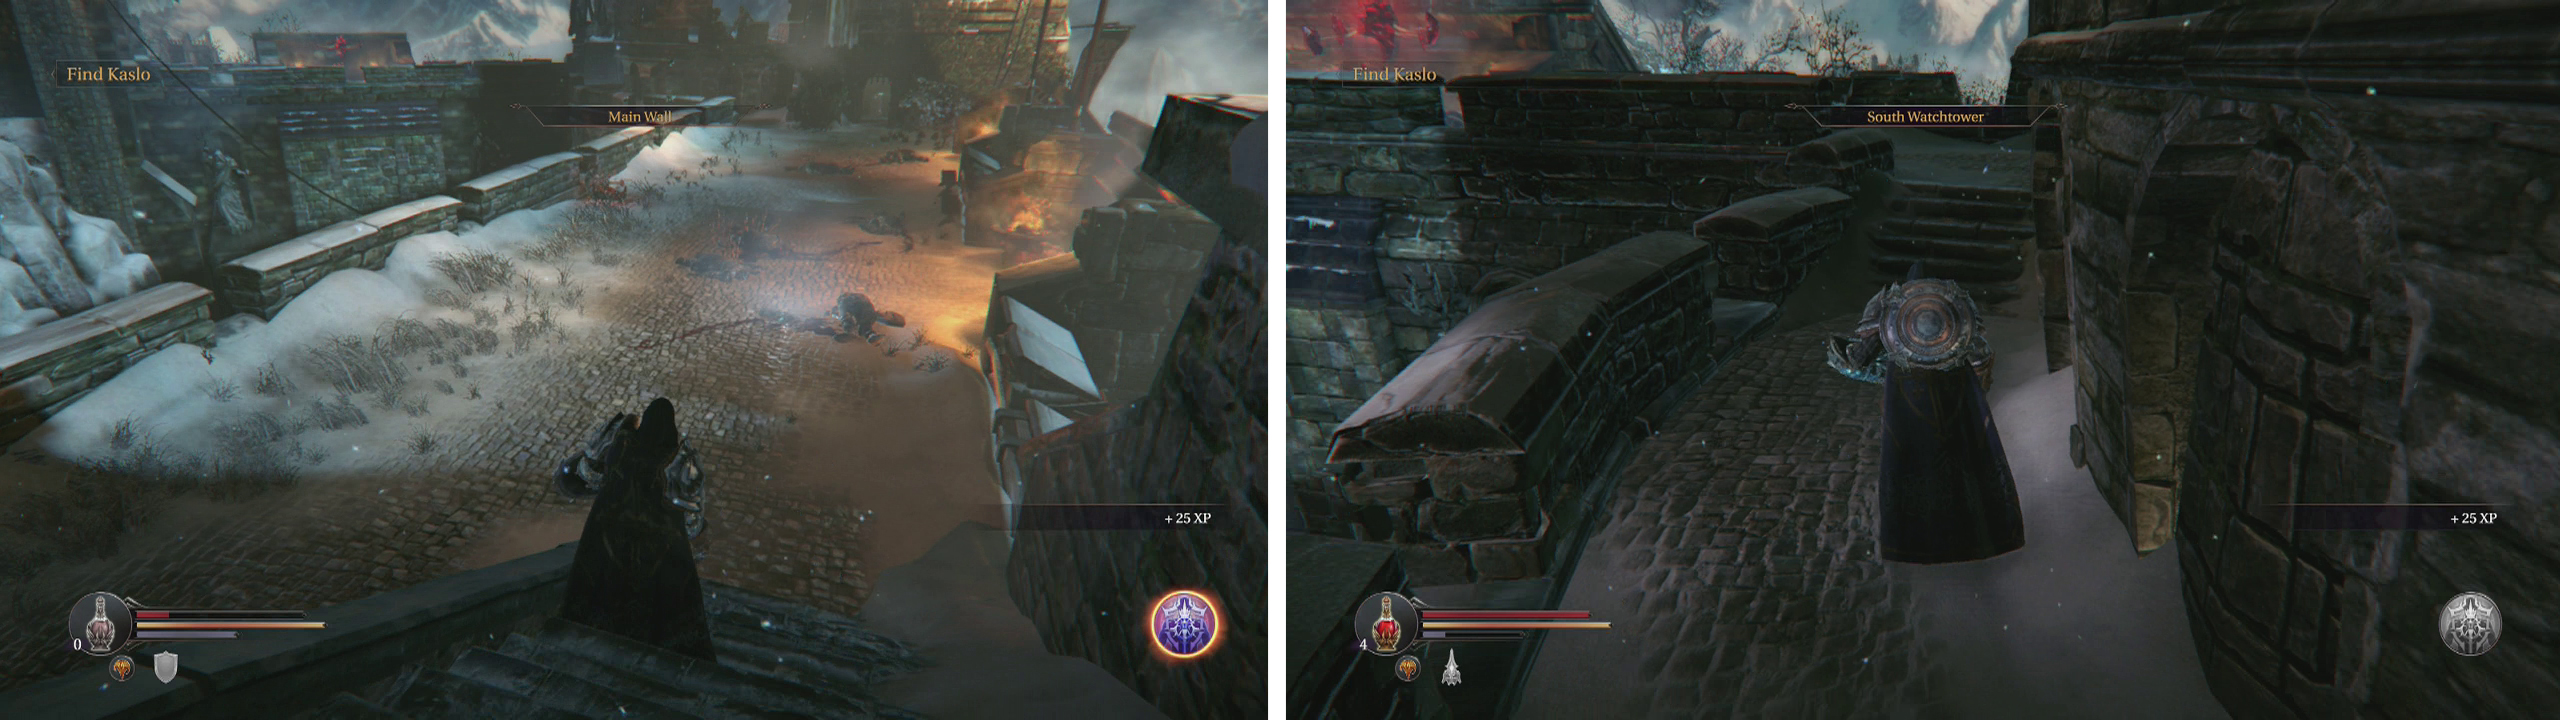
After grabbing the Gauntlet (left), keep moving along the wall, dodging crossbow fire until you reach the next Checkpoint Crystal (right).
Following the conversation, speak with her for a second time to earn a side-quest. Following the scene, if you let her throw the monk off the wall, loot the item that apprears for a Trinket (Magic Leech) . Now we can do the side quest (recommended for the extra XP, weapon and a Key to a locked area) or alternatively, you can open the gate here using the lever and face off against the second boss.
No Comments