Follow the narrow winding path for a short distance until you enter an open area. In this small circular area you will be presented with ghosts of each of the bosses you have taken down to this point. The game will also give you some nifty stats including the weapon you used to kill them, how long you took to take them down and how many attempts it took to kill them.
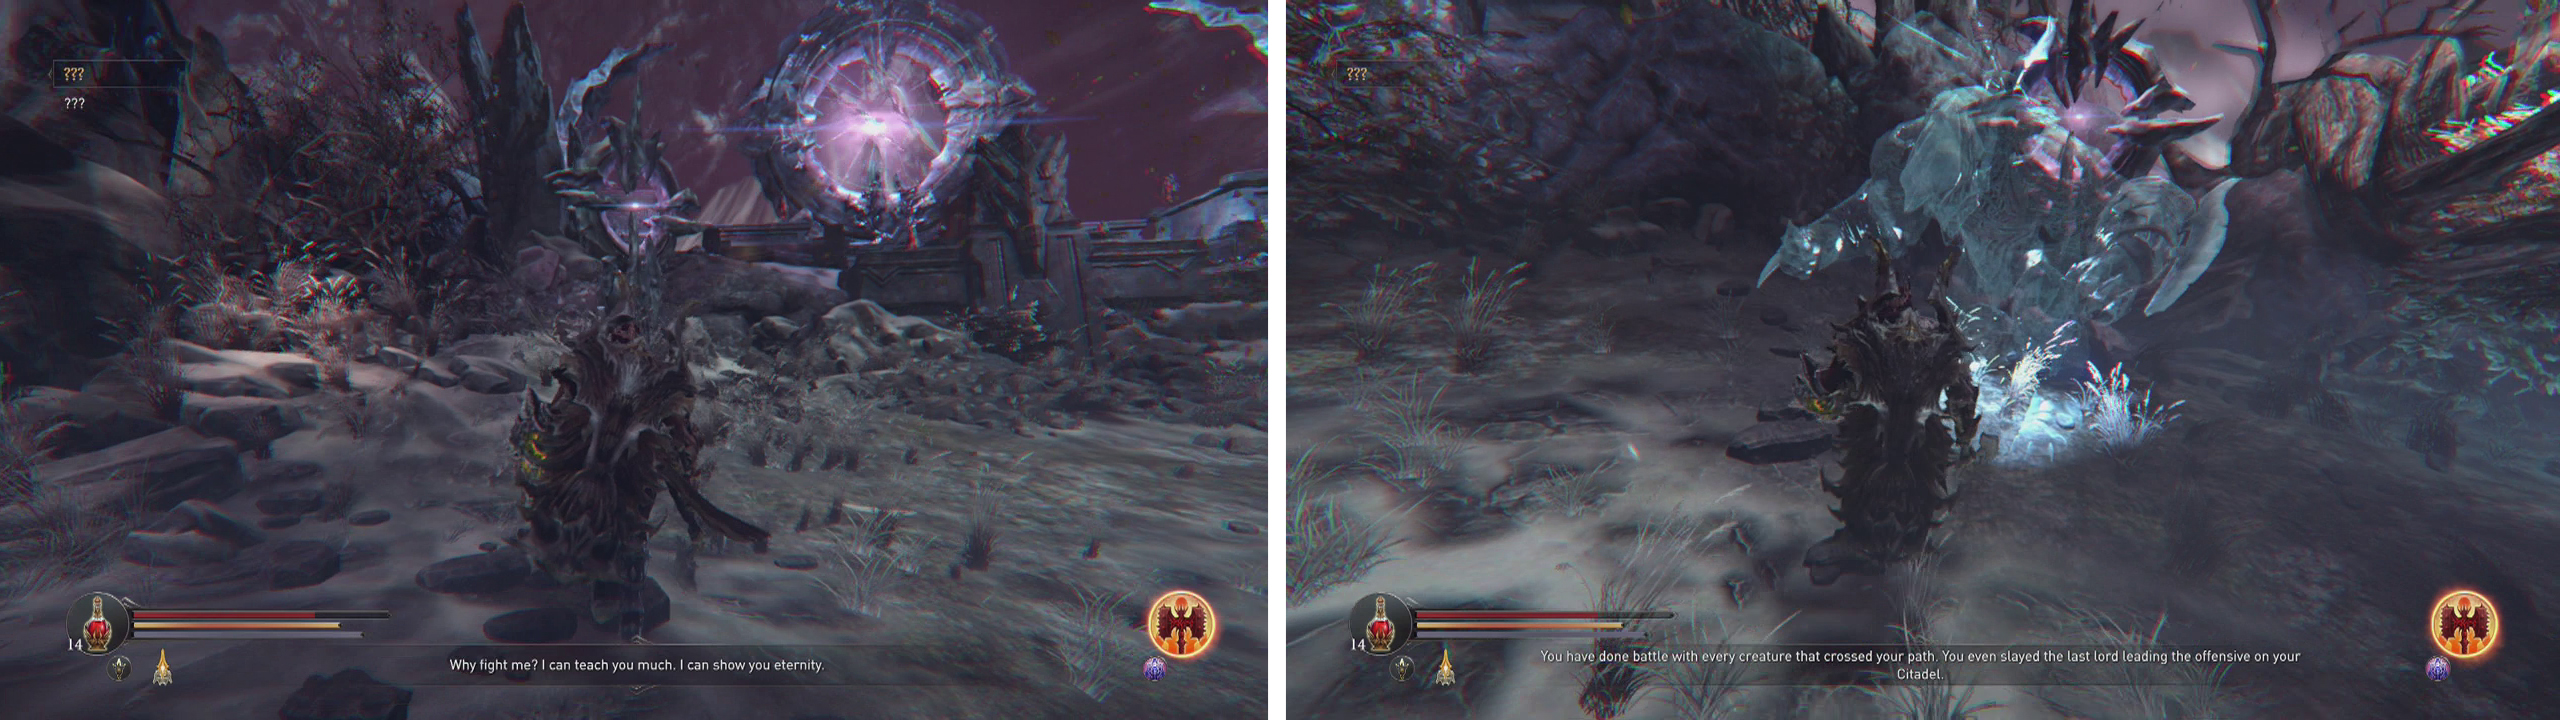
Enter the open area (left) and kill the ghostly versions of the bosses as they appear (right).
This is essentially a story sequence and there is no real threat for a little while, just speaking. To proceed you need to attack each of the shades as they appear (they won’t fight back). Some of the bosses ghosts will drop pieces of an Armour Set which will depend on the class you are playing as ( Warrior/Rogue/Cleric ). Be sure to pick them up!
At the end of the ghost killing section, you’ll be given the Rune of Adyr .
Head over and speak to the ghostly form of Kaslo when he appears. During the conversation you’ll be given a choice which, depending on your choice will alter the ending that you receive at the end of the game. Following the conversation you’ll be whisked back to the Citadel.


Flooded Halls
As soon as you regain control, turn Harkyn around to find a chest behind you containing a Spell Point Shard and a Poison Resistance Shard . Enter the now active Loot Crystal #9 (No bosses required for this one!) here.
Loot Crystal #9
This is your third Proving Ground Arena! As per usual, there is a Checkpoint Crystal and an Anvil located either side of the entrance warp crystal. The goal here is to fight off all the enemies to progress. To begin, stand on the circular panel in the very centre of the room. The waves include:
-
Tyrant (No heart required!), Crossbowman and Human Crossbowman.
-
Two Rogues and a Knight.
-
Fire Beast and a Knight.
Once all three waves have been defeated, step on the plate in the centre of the arena once more for a chest. Loot it for: -
Attribute Point Shard,
-
Spell Point Shard and
-
Weapon (Greataxe - Ceremonial)
Return through the Loot Crystal to the real world.
Open the gate in front to return to the familiar Flooded Hallways area. Enter the main room and after a short distance a cut-scene will kick in to introduce a new boss - the Lost Brothers.
No Comments