As soon as you enter the door, you will see a Tyrant and a Spellcaster ahead. Ignore them for now and instead look to your right to find a chest containing a Shield (Shield - Fiery Witholder) and Weapon (Longsword - Last Will) .
Now look back past the door to the left to spy Yetka hanging out in the corner. Hug the wall as you head over to her to avoid pulling enemies. Talk with her for a Stone of Divine Understanding and several Audio Notes ( Old Religion: God’s Wrath , Old Religion: Fire in the Sky , Old Religion: Prayers and Old Religion: Ultimate Sin ). The Stone of Divine Understanding will allow you to read the glowing rune notes that we’ve been seeing on walls occasionally, so be sure to check them out when you see them now!
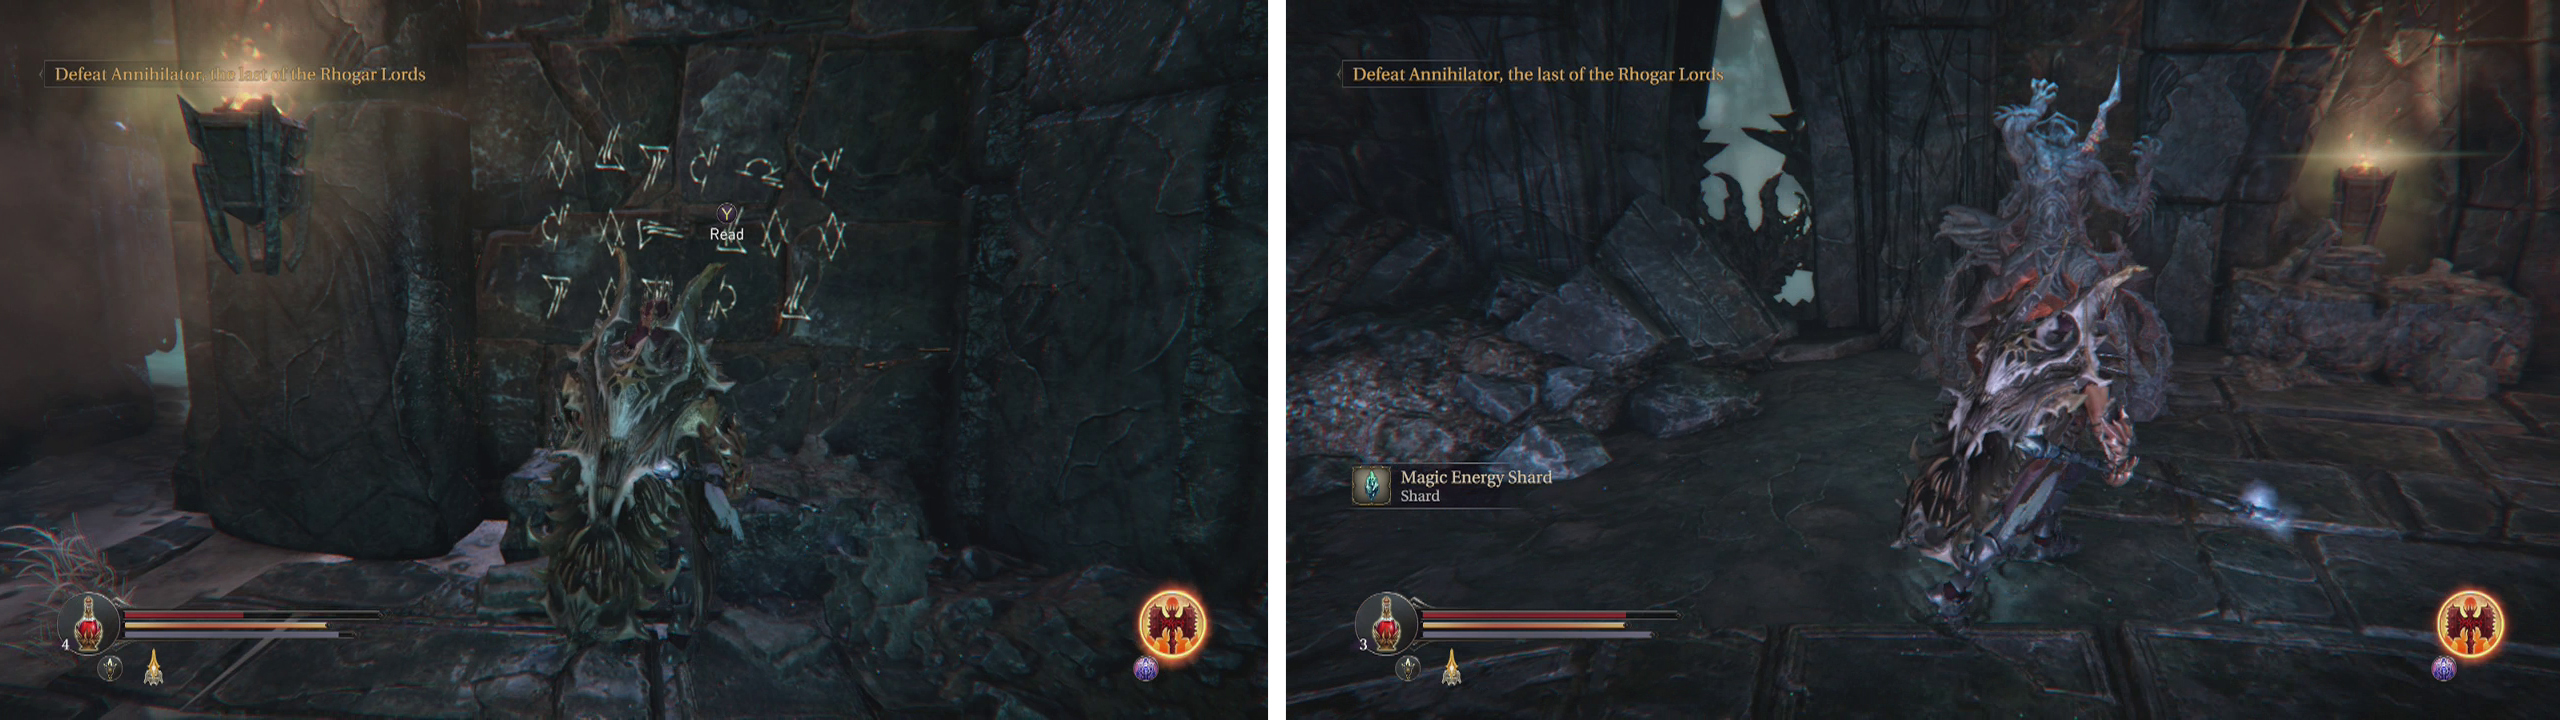
Once the conversation is finished, read the Runic Note on the wall directly in front of Harkyn for an Audio Note (New Religion: The Triumph) .
Speak to Yetka and then read the runic note on the wall (left). Enter the door to the rihgt of Yetka when the Tyrant walks off (right).
Now look along the left hand wall and just behind Yetka you should be able to see a door. Wait for the Tyrant to walk over to the far side of the room and then move up to the door and enter.
Inside you will need to fight a Warden. Unfortunately, during this fight you will almost certainly be joined by a Forger patrolling up and down the stairs at the back of the room and if you are really unlucky – a Demon Hound as well. Note that engaging the Warden will also likely alert the Spellcaster and the Tyrant in the previous room however the Tyrant is too big to fit through the door, so you’ll just need to worry about the odd Spellcaster projectile coming through.
Once you have killed the Warden and his friends, note the Checkpoint Crystal on the left and then look in the urn beside the entrance door for the Tyrant Heart . Now look back through the door to the previous area and focus on taking out the Tyrant (easily dealt with using the gauntlet if he is still stuck in the doorway!) and the Spellcaster.
Climb the stairs behind the Checkpoint Crystal to find a chest at the top. Open this for a new piece of Armour (Head - Eternal Legend) .
Fight off the Warden (left) and then grab the Tyrant’s Heart from the urn near the door (right).
Return to the previous room where the Tyrant was patrolling and head to the open door opposite the main entrance. You will be attacked by a Golem as you enter. Further inside is a second Golem and a there are also a pair of Spellcasters hanging around on and by the stairs on your right. Try to pull the Golem first so that you can focus on taking down the Spellcasters one at a time afterwards.
When the area is clear, check out a small ledge just to the left of the door we entered from for an Audio Note (Lords of the Fallen: Their Image) . Note the locked gate here and remember its location - this contains the piece of a weapon that we can combine together later on.
Return to the entrance and look past it. Note the door blocked by the glyph for now and head down the passage to the right of it. Kill the Spellcaster lurking here and enter the next door on the right. Climb the stairs and hang a left at the top but stop in the doorway.
Look up at the roof at this point and use your gauntlet to shoot the Spider here to avoid a fight. Note the large holes in the ground in this room – they lead to large falls and an instant death if you slip into one, so obviously – steer clear. Look over to the right side of the room to see another Spider on the roof in the distance. Gauntlet his ass to the floor as well and then deal with the small group of Baby Spiders at ground level.
Grab the Audio Note from near the locked gate (left). When you reach the Spider room - watch out for the holes in the floor (right).
There is a locked door to the left of the entrance (this requires a key) and two open doorways on the right side of the area. Head over there and take the right hand passage first.
Just inside you’ll notice a sealed rune door on the right. Use a pair of runes to open the door and loot the chest within for a Weapon (Sword - Spine Slasher) and a quest item – Weapon Hilt (this is another part of the weapon we can combine in this area I mentioned earlier). You can also open the door at the end of the hallway for a shortcut back to the entry room where Yetka is still located.
Return to the Spider room and take the other open doorway. There is a Spider to the left and 4-5 Baby Spiders on the ground. Try to fight them just outside the doorway so that you can use it as a bottleneck to attack multiple targets at once. Once the room is safe, check out the Anvil on the left side if you wish to do some modifications and smash the pot nearby for a Magic Shard .
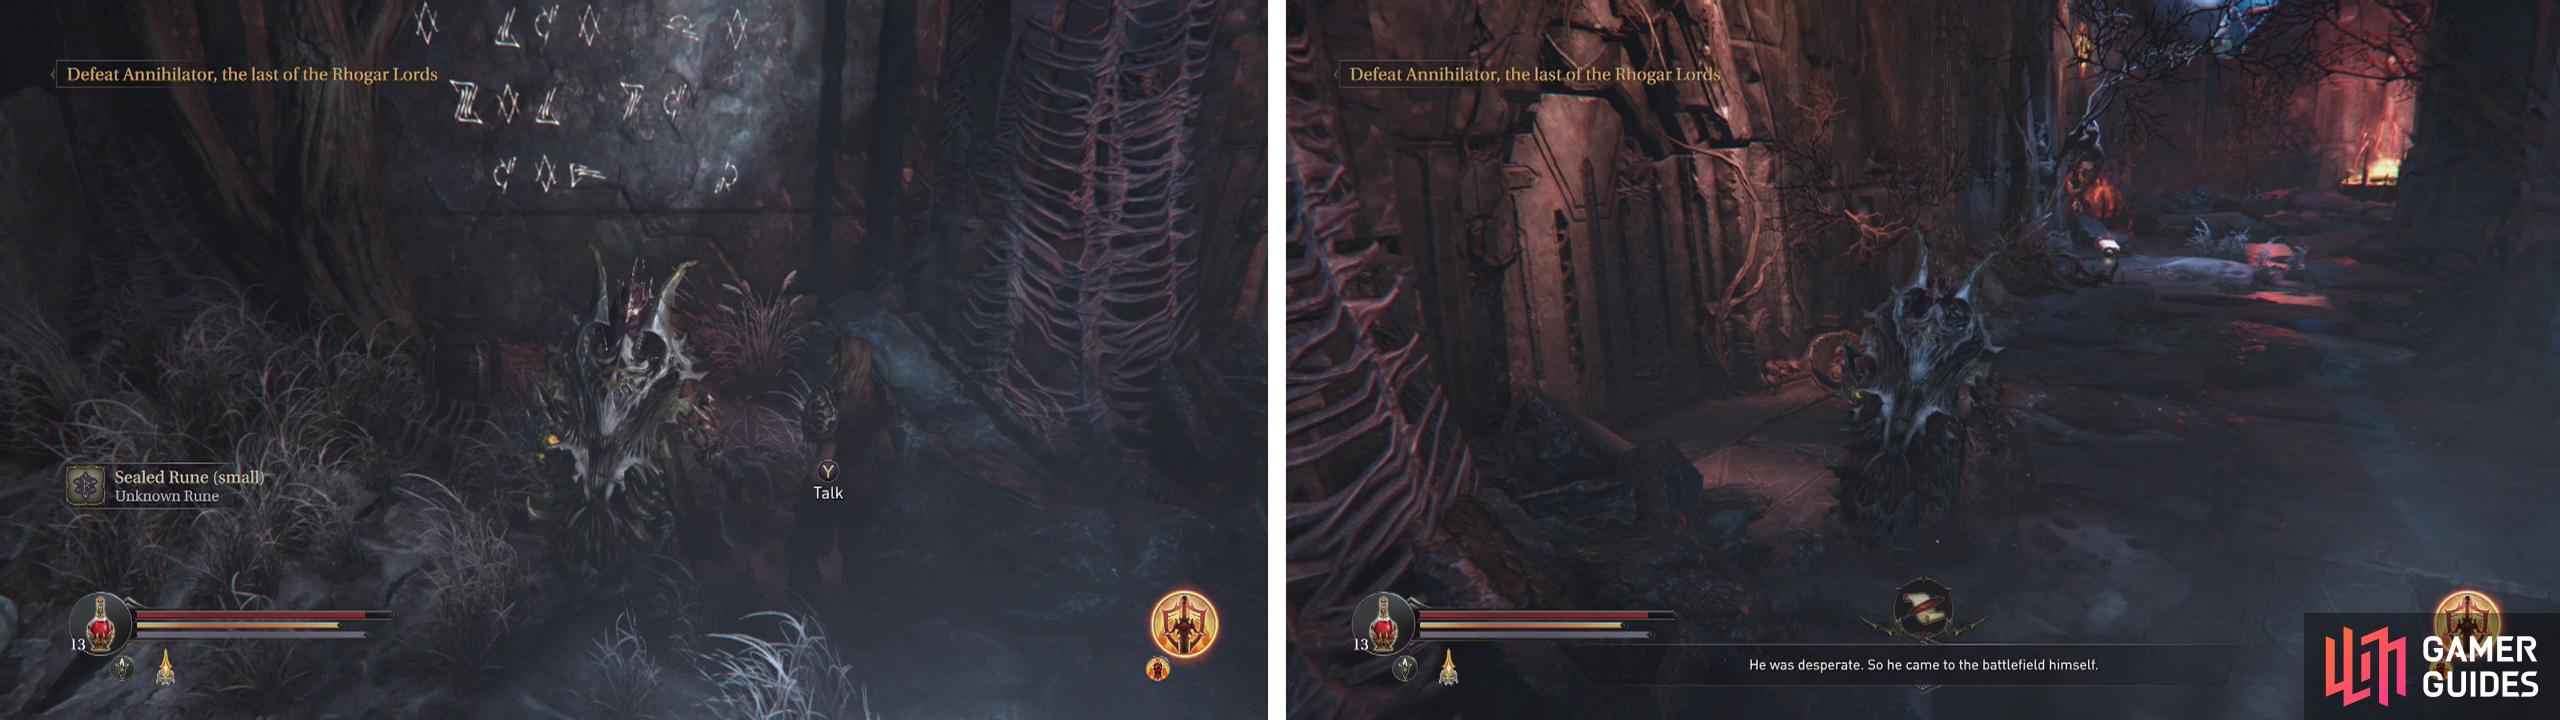
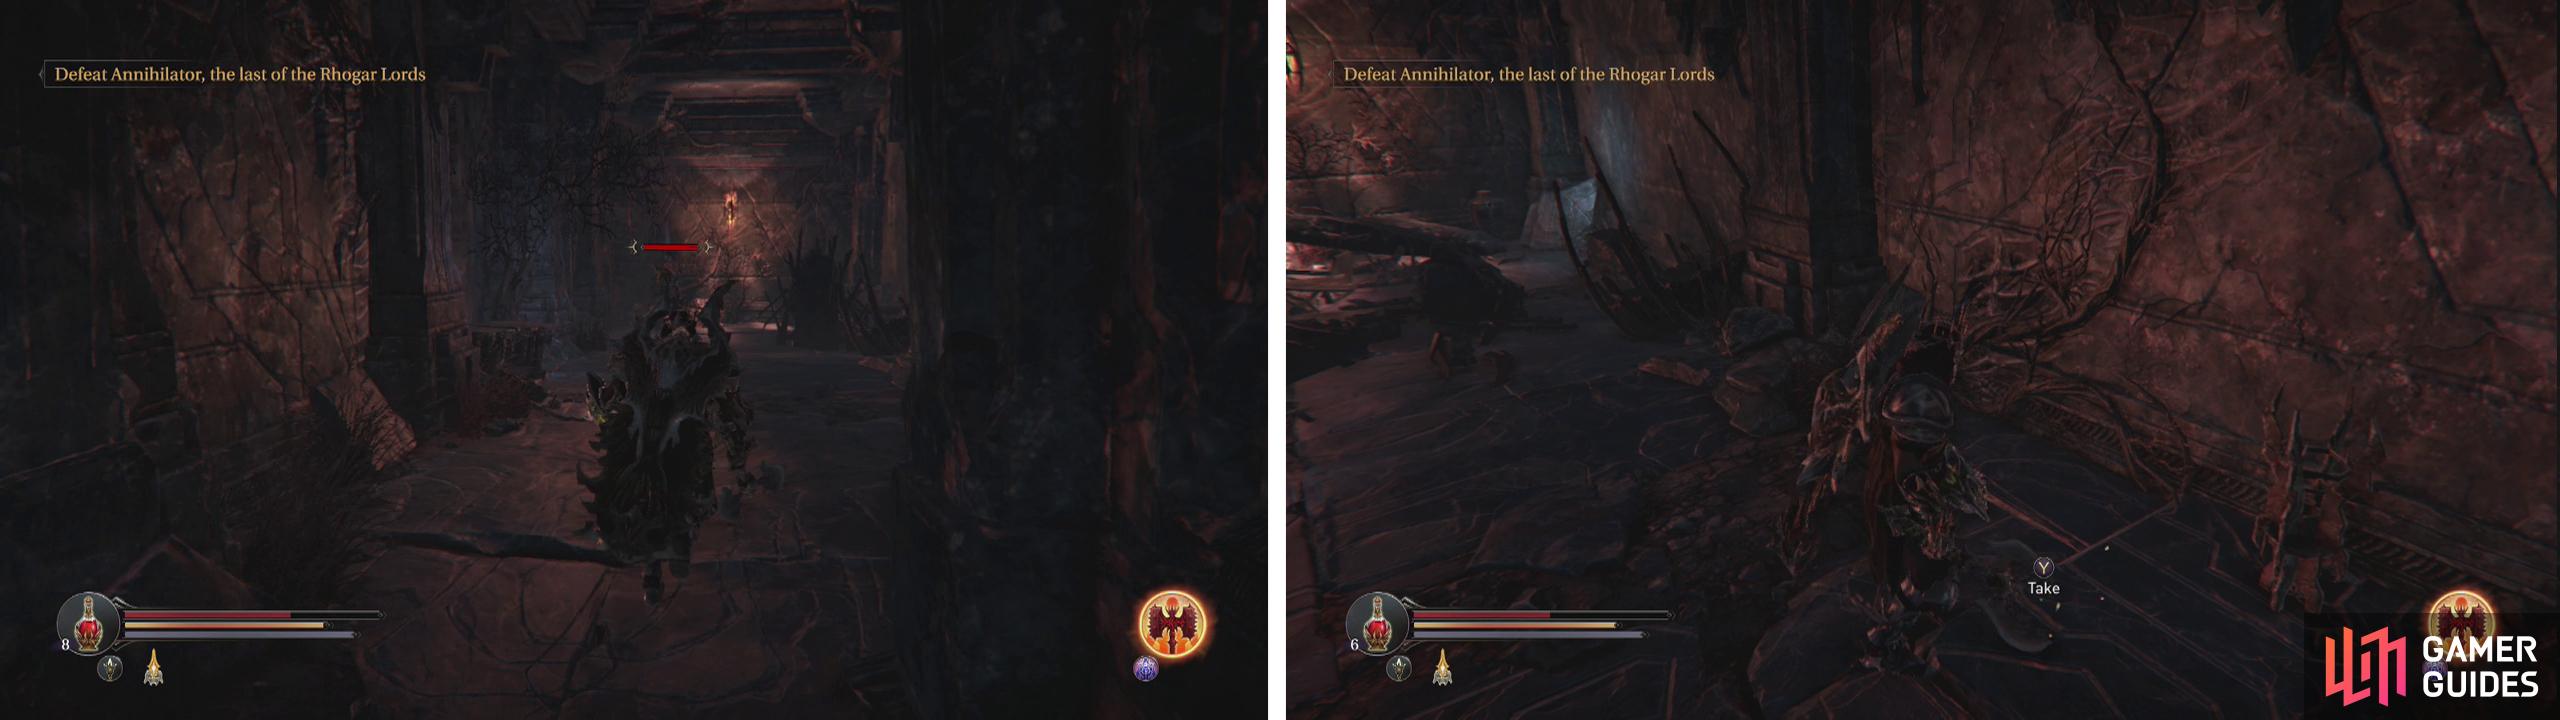
When you are ready, continue through the opening across form the entrance and climb the stairs to the top. Kill the Spellcaster in the hallway here. There is an Audio Note (In God we Trust: You Are Safe) on the right side of the room which can be tricky to spot (for me it spawned beneath a tile and all I could see was the glow). There is also a Sealed Rune (Small) in a pot by the Spellcaster’s initial location.
Kill the Spellcaster (left) and look for the well hidden Audio Note nearby (right).
Go to the door at the far end of the room and look down the hallway. Kill the Forger here, but try to draw it into the room with you as there is a second Forger across a gap to the left who will pepper you with arrows if you charge out to attack. Once both Forgers are dead, one of them will have dropped the Right Wing Key .
Loot the Right Wing Key and return to the room with the pits in the ground where we fought the Spiders earlier and use the key to open the locked door . Inside is a chest with a Weapon (Great Axe - Crusher) and a piece of Armour (Chest - Eternal Legend) . Now backtrack to where we killed the pair of Forgers.
Hop across the gap to the left hand walkway and note the locked gate here (we’ll need to go here for a side-quest later so remember the location!). At the end of the walkway, open the door on the left. There is a Tyrant immediately inside. His associated Tyrant Heart in an urn just through the doorway to the right. After grabbing it, kill him now that you are able.


Watch out for the Tyrant just inside the door on the left hand balcony with the Forger (left). Once he is dead, proceed down the hallway behind and kill the Knights (right).
Follow the hallway and you should be able to see a Knight at the far end. Be careful if you decide to approach him though as there is another in a small side passage around halfway along the hall on the left. Pull them one at a time using the gauntlet and give their noggins a collective floggin’! At the far end of the hallway you’ll find a door that will create a shortcut to an area we visited previously. Watch out for the Fire Golem on the other side.
Retreat back down the hallway and go down the side-passage the Knight was patrolling and follow it to the end. As you approach, you’ll spot a Spirit chilling at the end. Pull him into the hallway a little bit before taking him down. Now continue to where the Spirit was located and when you reach its position, take out the Spellcaster down the hallway to the left.
Loot the chest here for a new piece of Armour (Chest - Demon Assassin) . As you head back to where we killed the Spirit, you should see a rune-locked door in front. Use a rune to open it for a shortcut back to the room with the Checkpoint Crystal . Note – you will probably encounter a Forger and Demon Hound here (unless you did the entire area without dying of course). Cruise down the stairs and use the Checkpoint Crystal if you need it.
Backtrack to where we killed the pair of Forgers across the gap. This time around, stay on the right hand platform and make your way into the room at the far end.
In here we’ll bump into another Tyrant and a Spirit. As soon as you enter, look to the right for an item pickup that will net you a new Weapon (Greathammer - Tor) .
When the Tyrant patrols out of the room, use your gauntlet to pull the spirit back to the previous hallway and dispatch it. The Tyrant’s Heart is located in one of those fancy pots right where the Spirit was originally standing. Lure the Tyrant into the room before darting and rolling past to smash it and grab the item. Then take him down.

Wait for the Tyrant to patrol off and kill the Spirit (left), then run up to where the Spirit was, grab the Tyrant Heart (right) and then kill the Tyrant.
Pull the lever here for a cut-scene. This will create a bridge to the lever we pulled earlier. After a short conversation with Yetka, she will run off. As soon as you regain control, you will be attacked by a Spirit who has just spawned next to you. Kill it.
If you wish, you can backtrack and grab a pair of the Tor Hammer statues now. They are located in the following areas:
- Last Traitor (Wrist) - The room after the Guardian fight where Yetka gave us the ability to read the Glyphs on walls.
- Last Traitor (Head) – On the Panorama area above the Arena where we fought the Guardian. Right next to the snowy path leading down to the Abandoned Field.
The remaining two pieces of the set are mentioned in the walkthrough below!
There are statues to destroy with the Tor Hammer on the Panorama (left) and in the first room of the Chamber of Lies (right).
When you are ready to continue, return to where we pulled the second lever to extend the bridge and enter the doorway Yetka went in. If you are interested, the door to the right locked with a glyph acts as a shortcut back to the Chamber of Lies (Yetka’s floating toast room) and the corridor to the left leads to where we need to go.
Head to the left along the corridor after Yetka and unlock the door at the end. This will deposit us on top of a pair of stairs back in the cavernous room adjacent to the entry area. You’ll need to take out the pair of Spellcasters and Golems that will have respawned below (if you have died, if not you should be all good!).
Unless you are attacked right away, from the top of the stairs, you can actually run across the narrow ledge to the right. At the end, turn to your left and hop the short gap to reach an item (alternatively, from the top of the stairs you can just hug the left hand wall and run around). This can be picked up for an Empty Bottle . Head down the stairs and clear out the enemies if required.
Now is as good a time as any to grab the Unity Staff – a powerful electric-based weapon.
Pull the lever on the South Edge of the abyss room (left) to open the locked gate on the North side of the room (right). Inside is the Staff’s Head quest item.
At this time, we should be able to nab the second weapon piece behind that locked gate nearby that I mentioned earlier. To grab this, backtrack to the last lever we pulled and cross the small bridge here to the first lever. Work your way through the corridors here until you end up on the Southern Edge area of the abyss room (where we fought the Warden and Dimensional Beast earlier). Along one of the walls (close to the Loot Crystal #8 ) you will see a small lever. Pull this to open the gate and then backtrack back to the opposite side of the room – the Northern Edge and enter the now open gate.
Inside, use your gauntlet to hit the Fire Golem across the gap and once it has been dealt with, hop across and loot the chest here for the Staff’s Head quest item, an Energy Shard , a Lightning Resistance Shard and a Magic Energy Shard .
Now that we have both pieces of the Unity Staff, make your way back to where you fought the two forgers on either side of the gap earlier. Remember the locked gate here? If you open your inventory screen and equip the Staff’s Head as Harkyn’s weapon, you can use a melee attack on the gate and it will open. Inside is a chest containing a new Weapon – Staff (Unity).
Note that looting the Unity Staff will have a Spirit spawn on the small balcony platform just outside the room, so be prepared to fight as you leave!
Return to the Northern Edge area (where we grabbed the Staff’s Head quest item). This time around, use your gauntlet to dispel the glyph on the doorway next to the stairs we just descended.
Remove the glyph from the door (left) and make your way down to the giant monster (right).
Make your way through the tunnel here and as you exit the far side you will be set upon by a Dimensional Beast. Similarly to the last encounter, this enemy also has attacks that are enhanced by fire. So be sure to take that into account as you pummel him silly.
Make your way to the stairs leading down to the giant monster ahead. Kill the Fire Golem that rushes up to meet you, keep moving down the set passage along the stairs here, killing the Spirit as you go.
When you reach the bottom platform, walk towards the monster and pull the lever on the right hand wall.
Another cut-scene will play. The subsequent conversation and decision is important in the context of the game as depending on your choice, the ending that you receive will differ slightly. Note that killing it will have no real impact other than you not receiving an achievement/trophy.

After the scene, we need to backtrack all the way to where we encountered the first Dimensional Beast with the fire imbuement. Head back up the stairs and return through the tunnel to the previous room.
The quickest way to get back there is to climb back up the stairs at the cliff’s edge and backtrack through the corridor to where we pulled the second lever.
Altar Ruins
At this point, let’s make a brief detour through the glyph-locked door here to the Altar Ruins (the floating toast room!) first. When you arrive, peek in the door to the left and kill the Spirit here. Then go and look in the small corridor next to the stairs to find and kill a second. You can acquire an Audio Note (New Religion: The War) by reading the Runic Note on the wall near the base of the stairs.
If you take a detour to the Altar Ruins, you can find a Runic Note (left) and a statue to destroy with the Tor Hammer (right).
Climb the stairs and pull a quick 180 at the top, work your way along the walkway here and kill the Spirit you run into. On the left hand wall, you will find the third statue we can destroy with the Tor Greathammer for a piece of Armour (Legs - Last Traitor) . Save at the Checkpoint Crystal if you wish and then go back through the door we came from to the Chamber of Lies.
Chamber of Lies
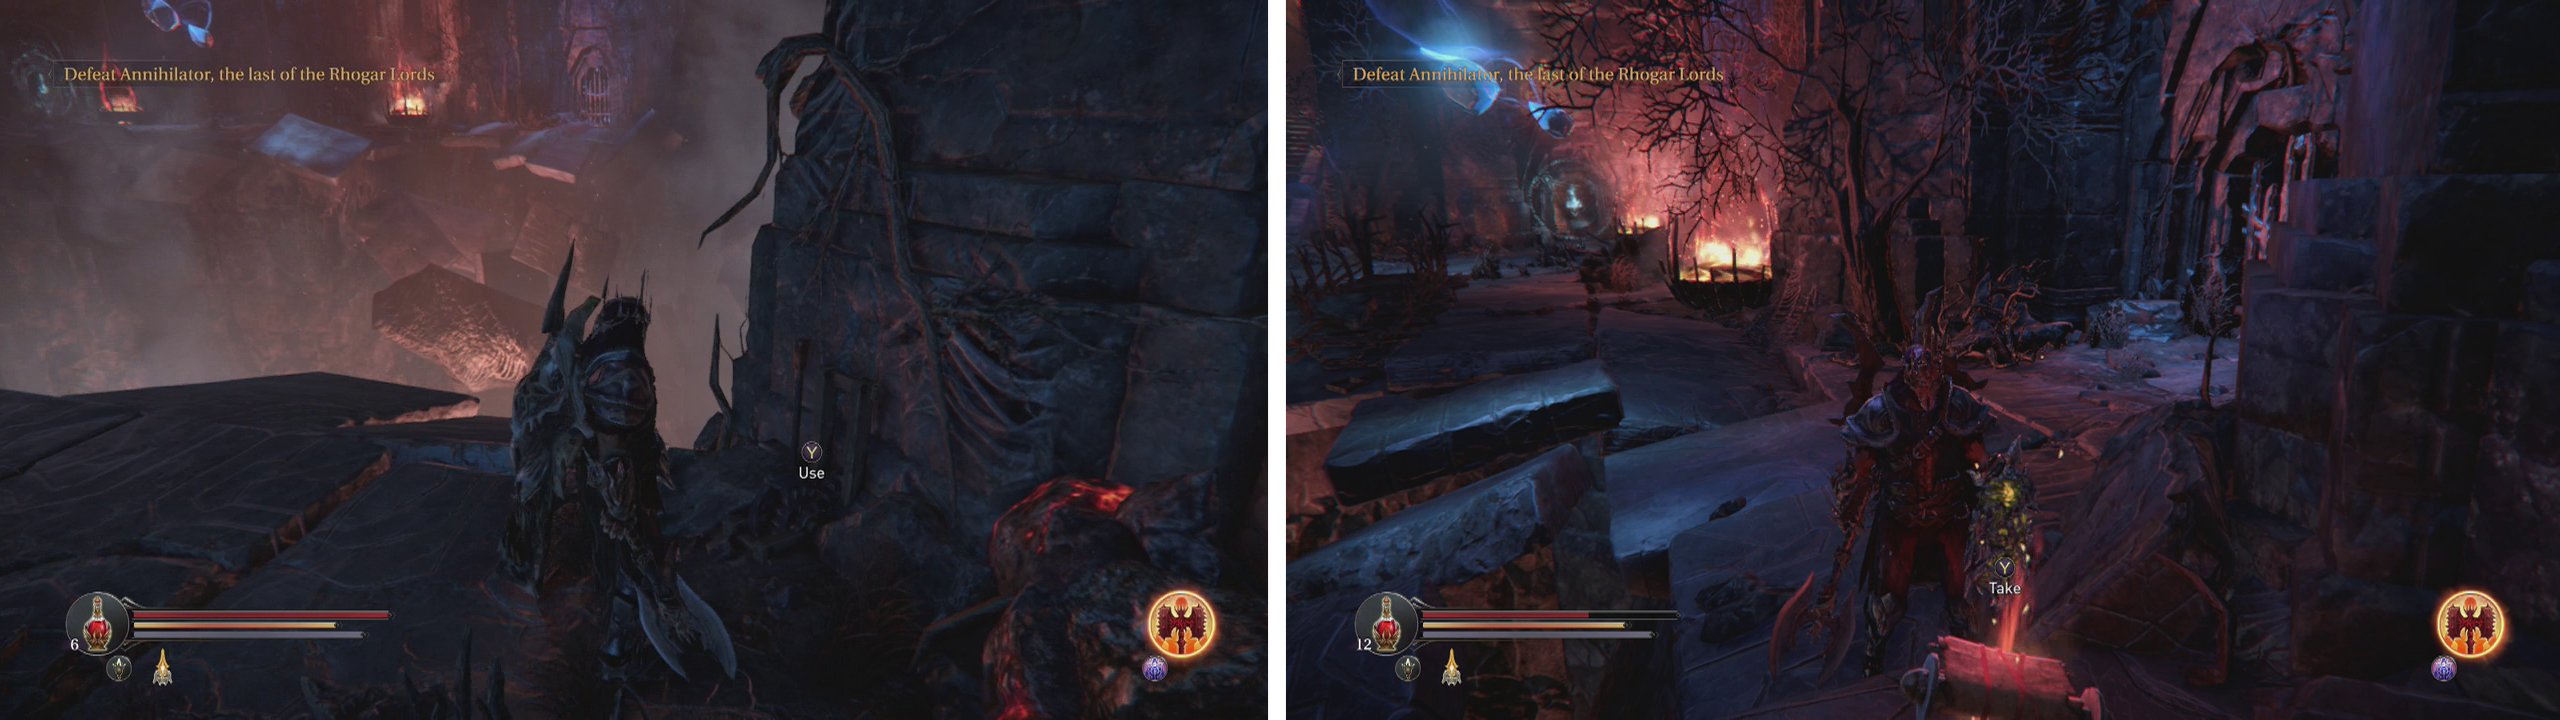
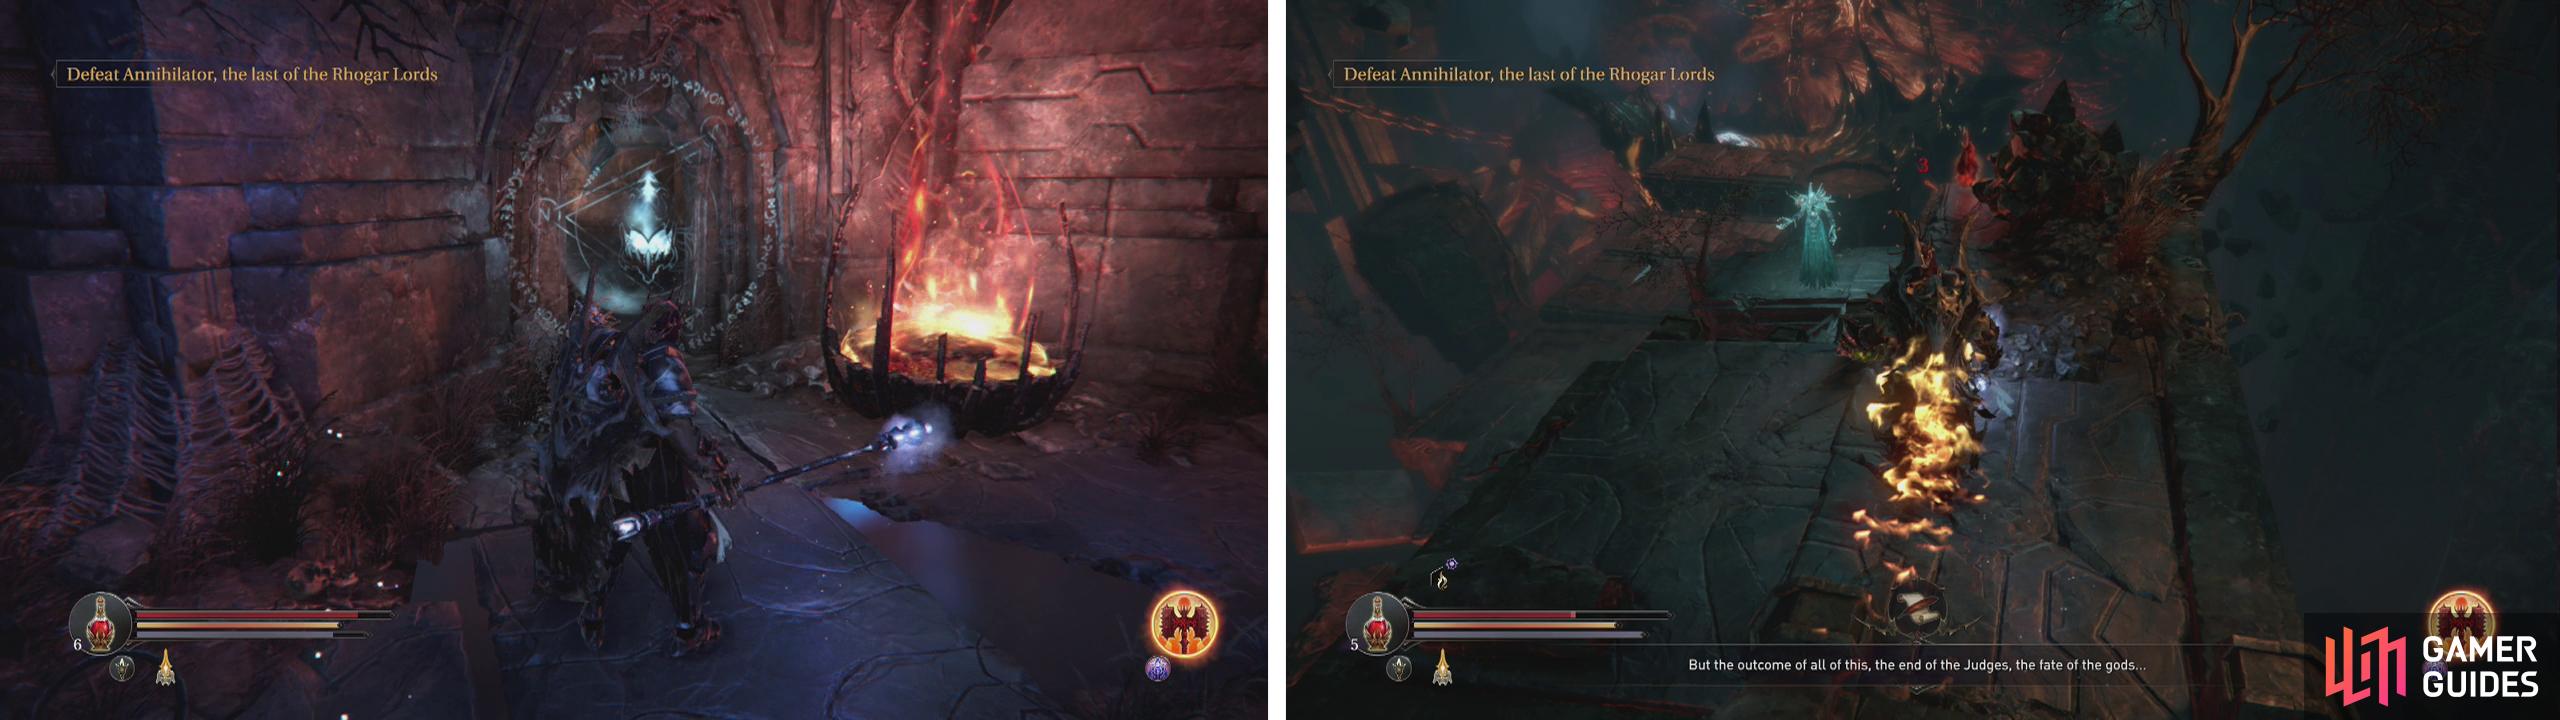
Kill the Spirit and then cross the bridge to the first lever and enter the opening on the left. Kill the Fire Golem inside and read the Runic Note on the wall for an Audio Note (New Religion: Prepare to Live) . Use the Anvil in this room if you wish to change/update your equipment.
Exit the far door and kill the Spirit outside. Follow the hallway to the right and exit into the area where we fought the first Dimensional Beast in the area. You’ll need to clear him out again, as well as the pair of Golems below. Save the game at the Checkpoint Crystal at the bottom of the stairs if you like.
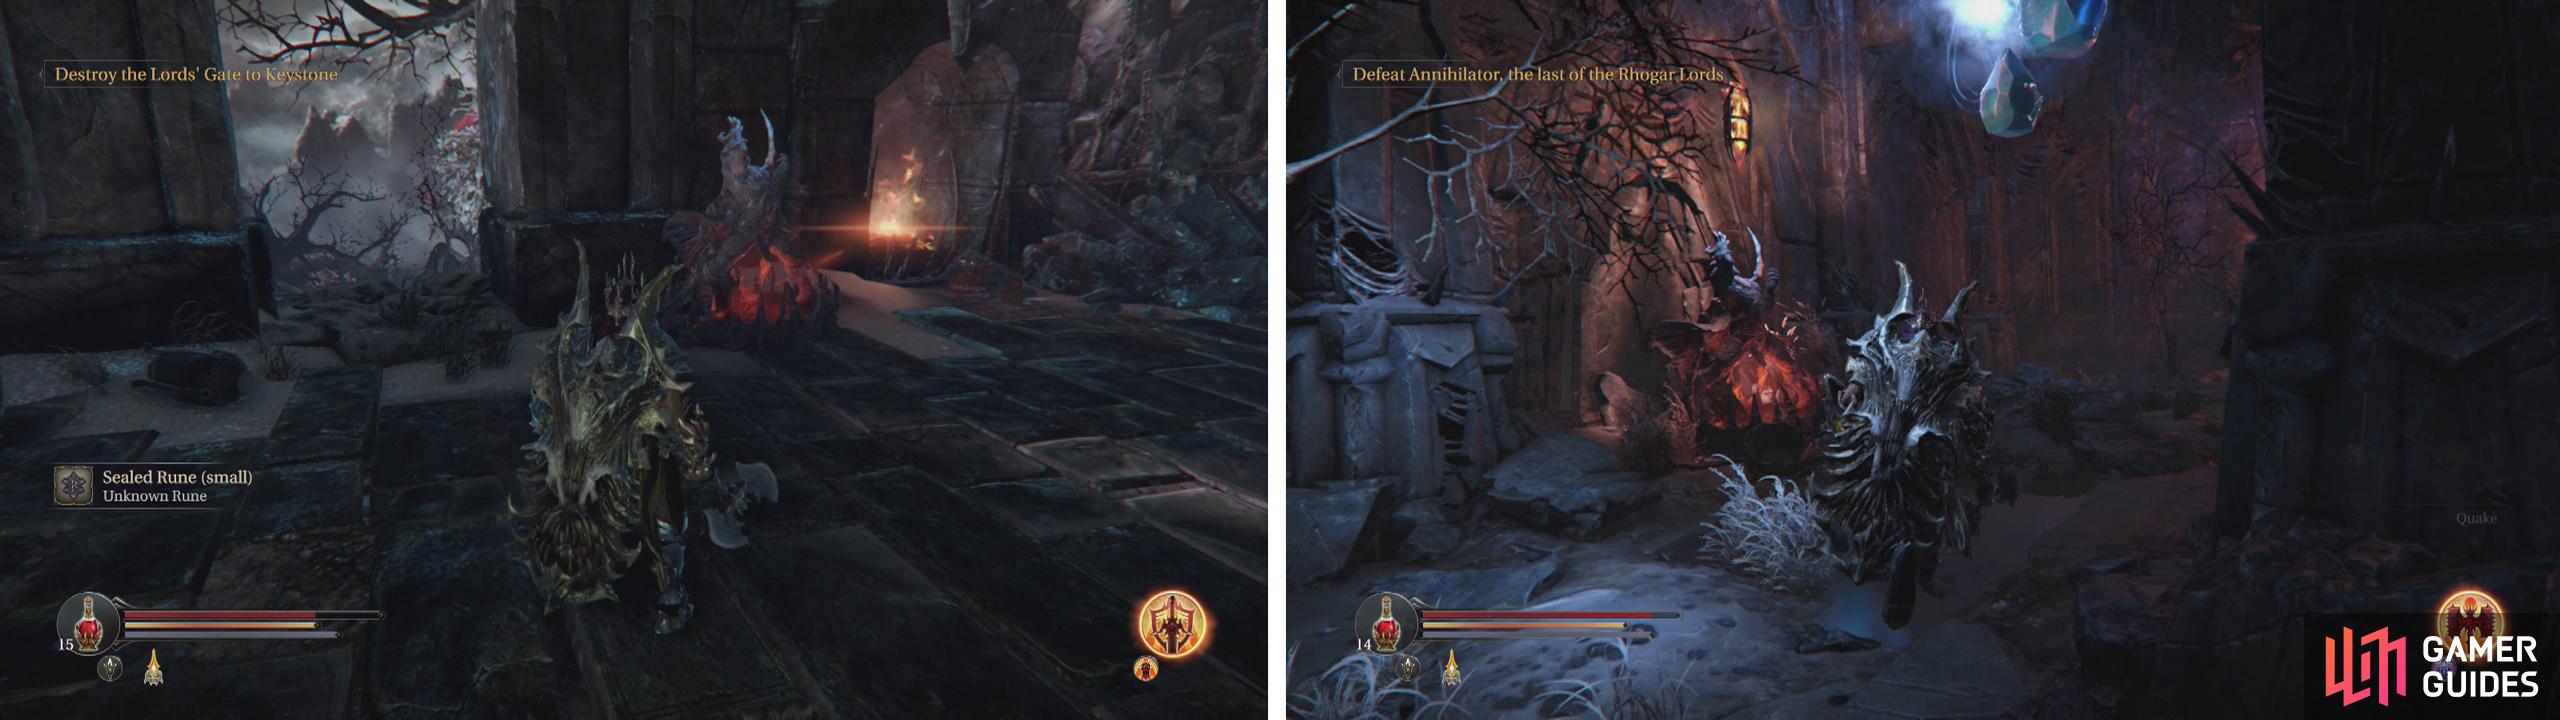
Return to where the Dimensional Beast was and look for a set of stairs leading up. Just to the left of these is the final Rhogar Statue we can destroy with the Tor Greathammer for the final piece of the Armour Set (Chest - Last Traitor) .
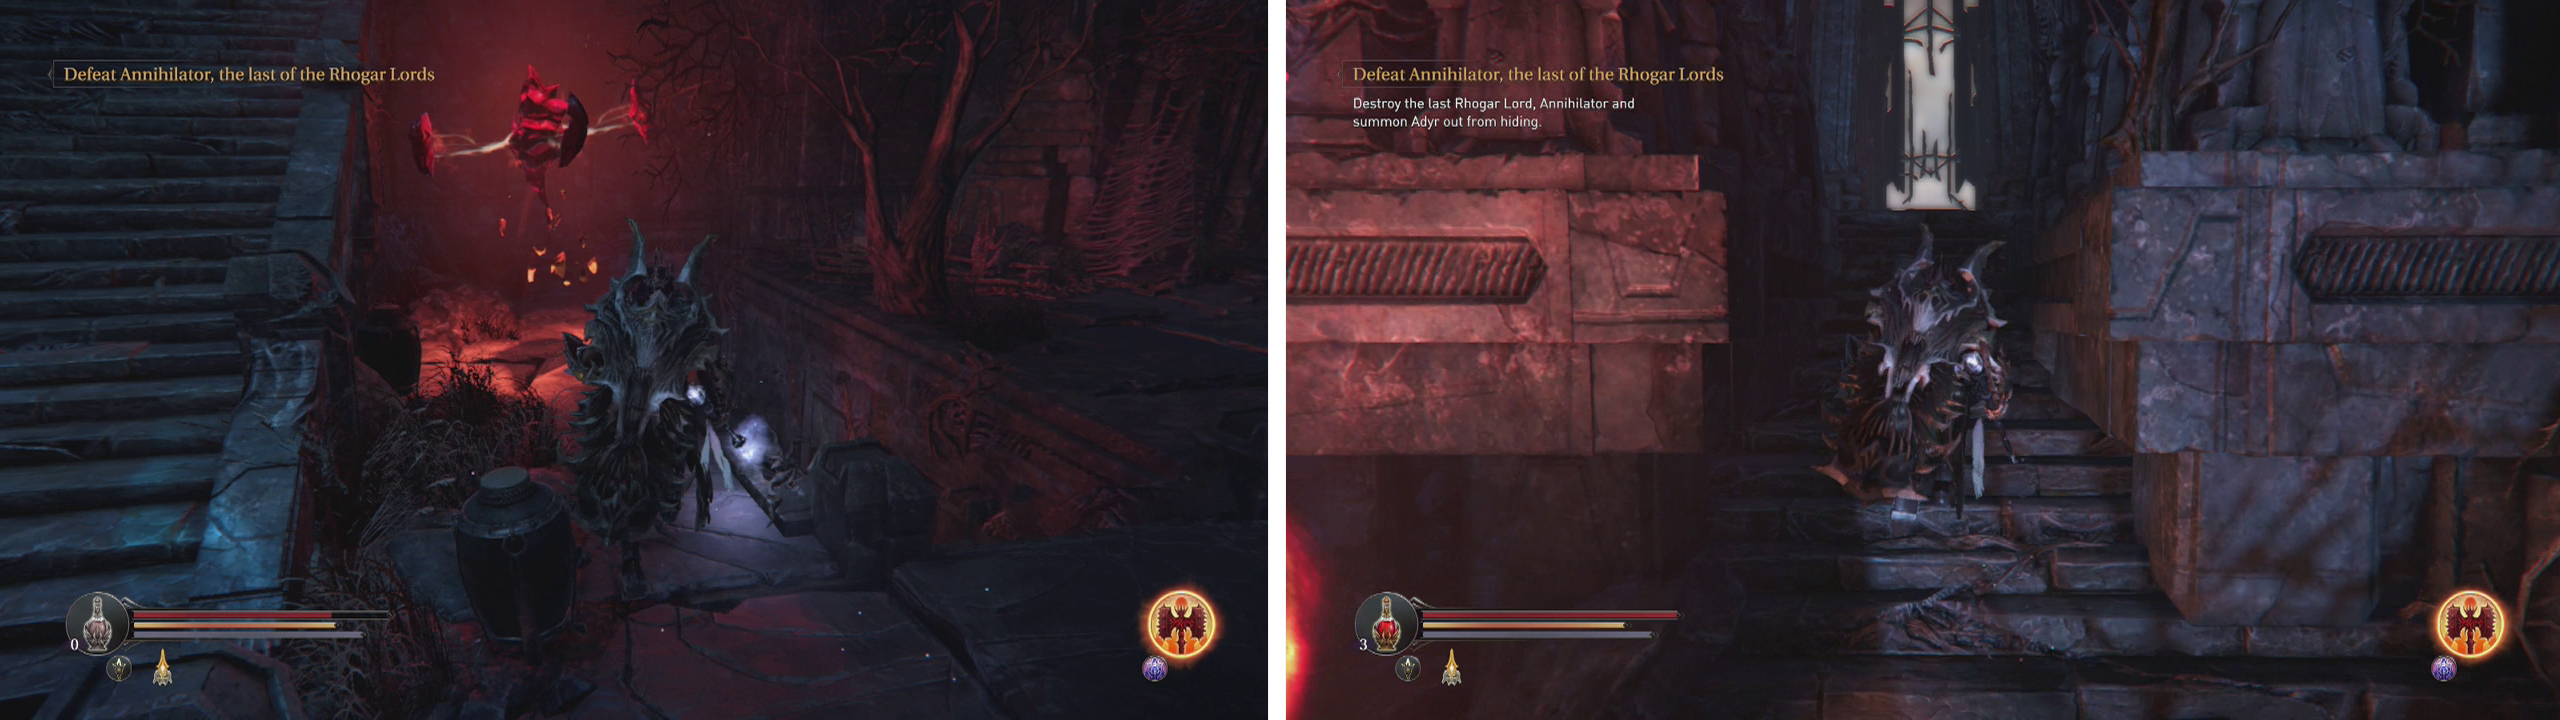
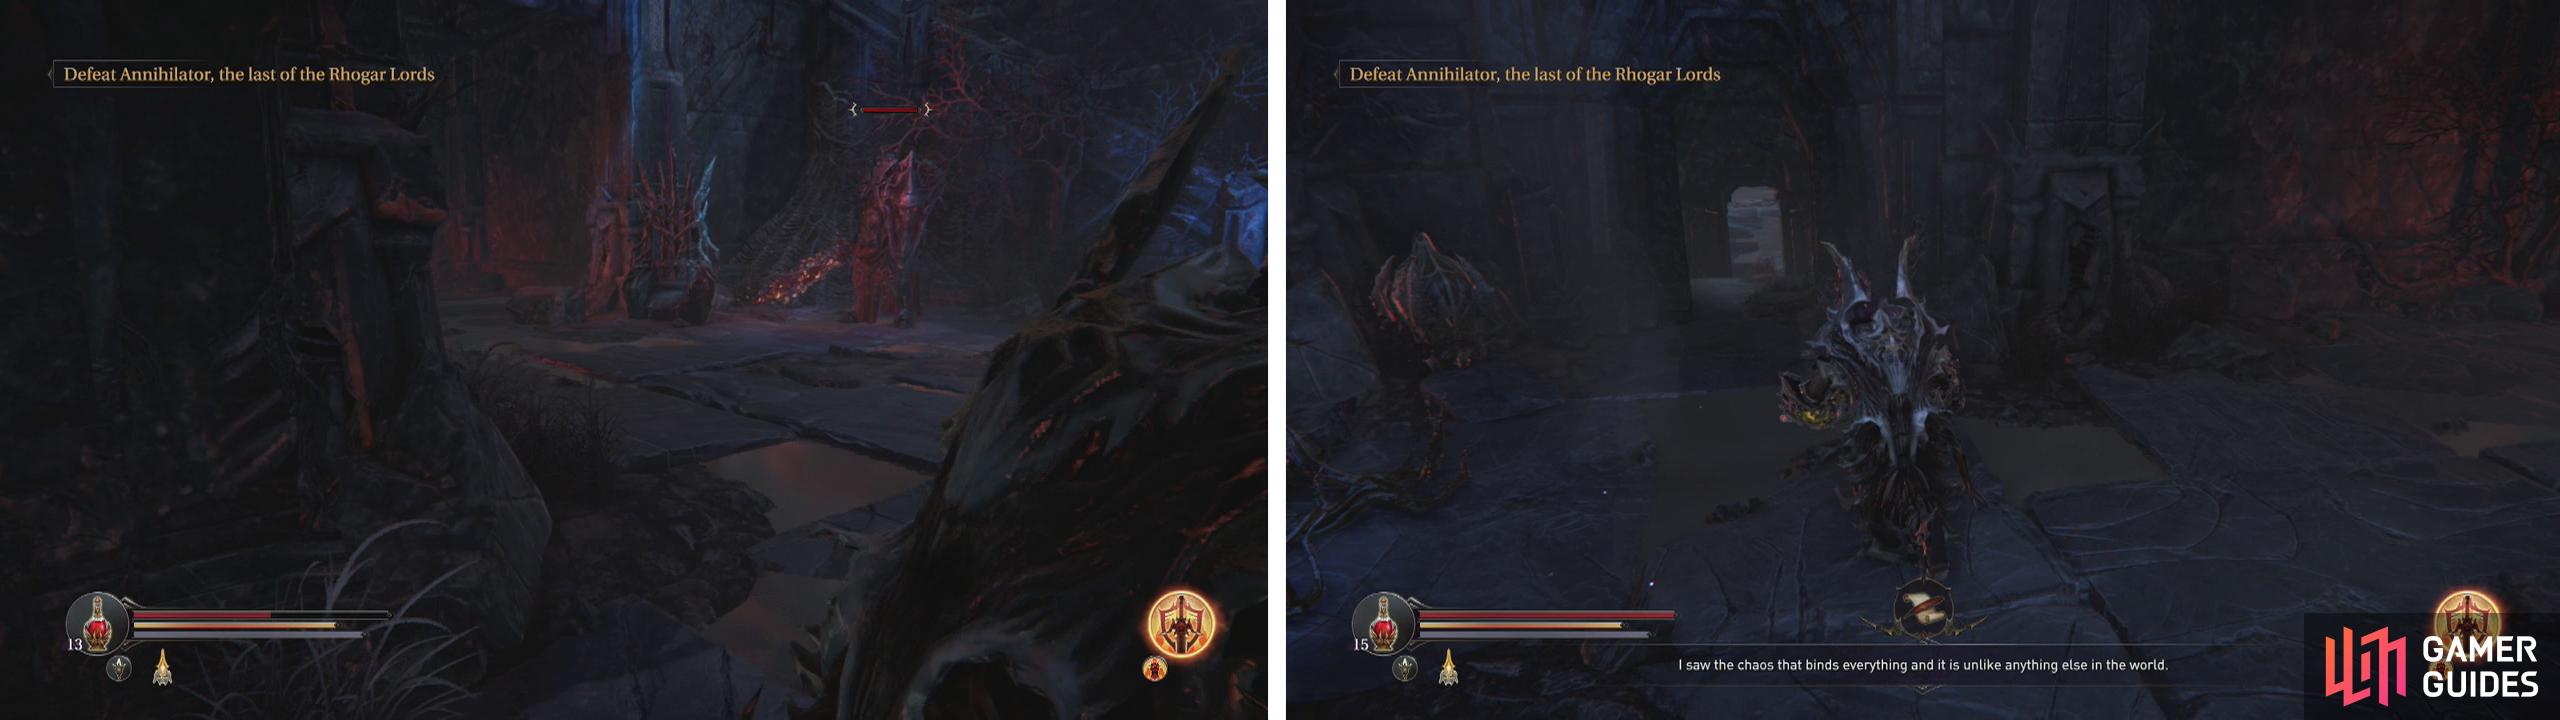
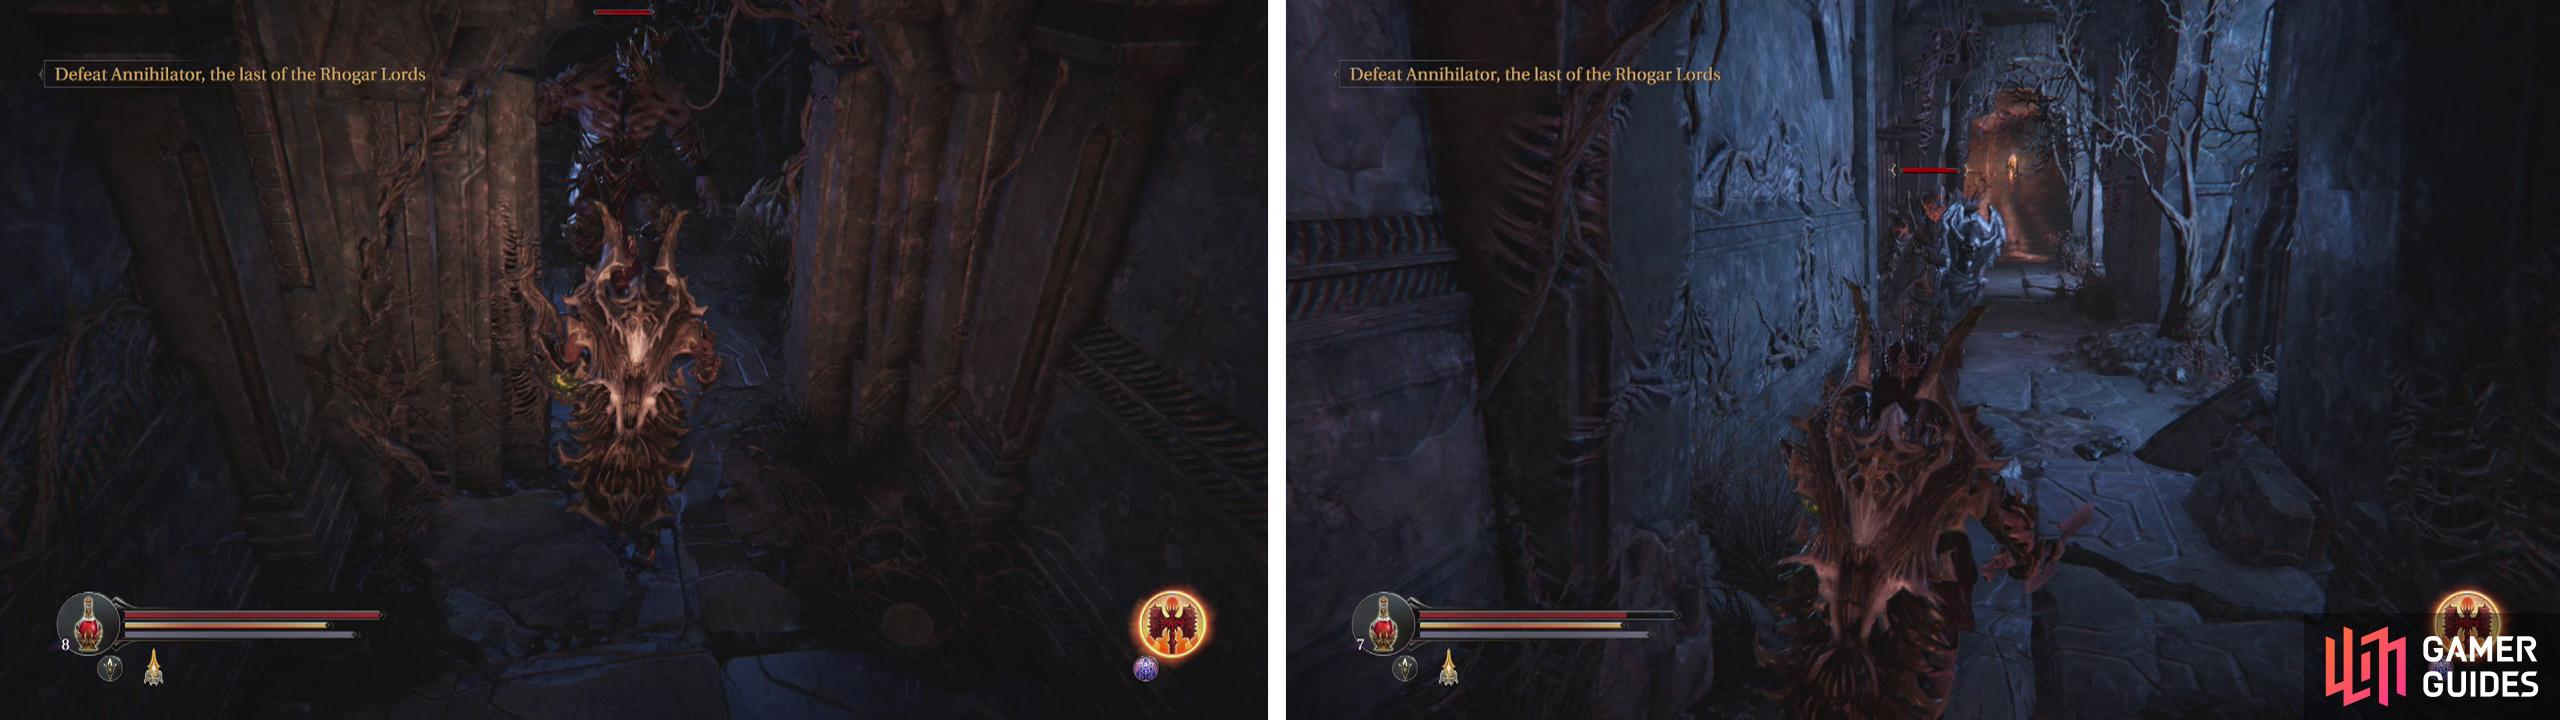
Use the Checkpoint Crystal nearby (left) before climbing the stairs to fight the Annihilator (right).
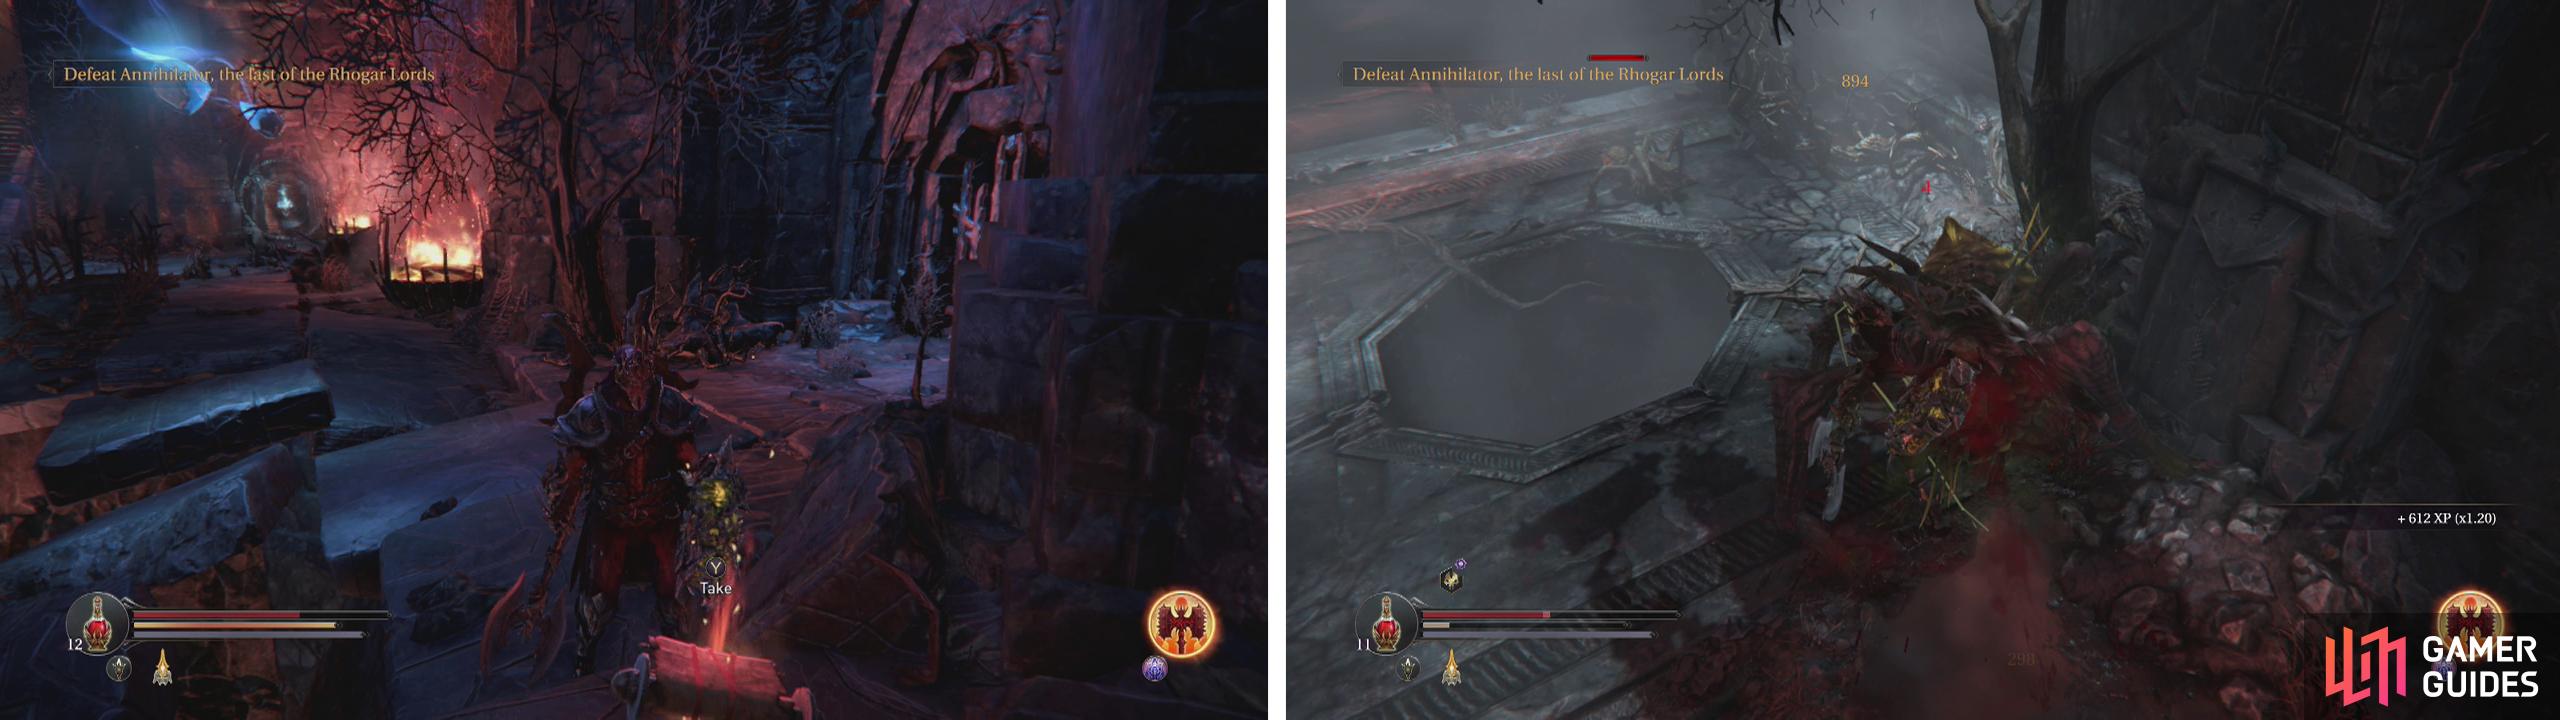
Now climb the aforementioned stairs and defeat the pair of Fire Golems at the top and grab the Audio Note (Grim Places: Lost Memories) before crossing the bridge to fight with the next boss - the Annihilator.
No Comments