
Return to Blackwhelm Cave to meet up with the boy again, then as you’re ready to leave, a single monster attacks. It isn’t anything special, so go back to Royburg after disposing of it. Approach the center of the village for a scene, then once you regain control, go and talk to Lilus over by where Julienne knocked him out earlier. Something is strange with Julienne and Lilus wants you to help.
You agree to get the spritnite for him, in exchange for his help in crossing the Floeberg Waters. Go and talk to the Magic Consortium NPC and he mentions he wants a Madara Spritnite, which can be found from a monster called a Scarly. You can find them in Floeberg Waters, where they will be on the northern side of the area, and they should drop the item you seek after killing them (it’s their only drop). Run back to Royburg and give the Madara Spritnite to the NPC, in return for some Secret Medicine.
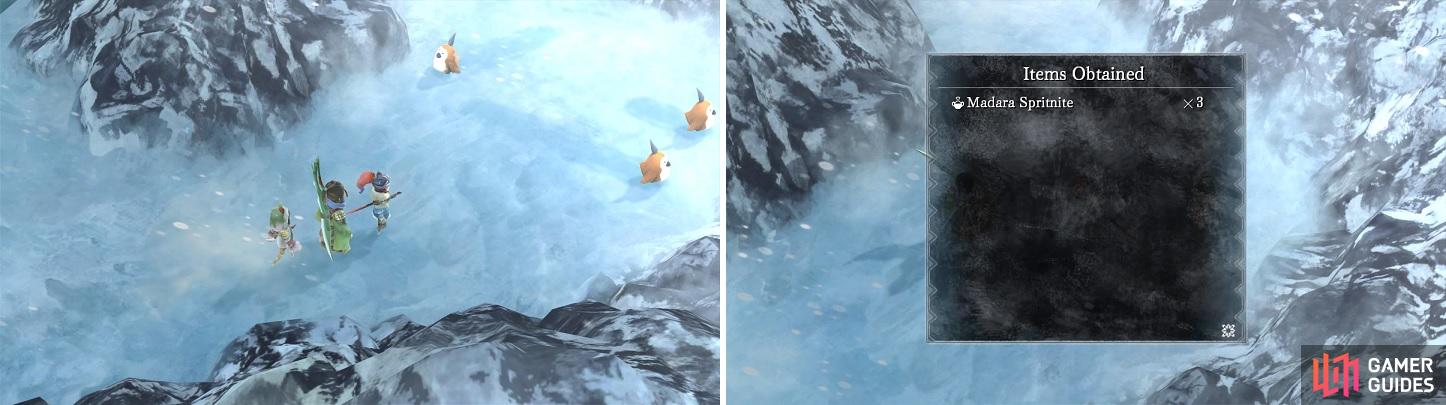
Scarlies are fairly easy to find and only drop the Madara Spritnite item.
Now, go to the big house and hand over the Secret Medicine, healing up Julienne. Before you can leave the village, Julienne stops you and ends up joining your party. Make sure you go to the Magic Consortium to get some Spritnite for her, as well as equipping her with a better Talisman, should you want to use her in your party. Also, if you have the money, it’s a good idea to stock up on some items, as the next two dungeons are a bit longer than the previous ones. When you’re ready, return to Floeberg Waters and find the ice you couldn’t cross earlier.
Floeberg Waters (Ice Path)
| Enemies |
|---|
| Baloompa, Chocolly, Spikoon |
The path is uneventful and linear at the beginning, so just follow it until you come to a Baloompa and Chocolly enemy group. It is here that the path will split for a brief moment, so go east for a few seconds to find a chest with Mid-Ether x5 in it. Going to the west will lead you to the next screen, where once again, the path is linear for a bit.
Once you start moving south, there will be another split, but the eastern path only leads to a locked chest, so head west for now. At the next split, you’ll find a chest to the east, which contains an Anima Staff for Kir. Keep heading further into the “dungeon” and you’ll eventually reach a save point. To avoid the next boss fight for now, go south and follow this path to one more chest, containing the Blood Pact Talisman . Return to the save, heal up and save your game, then go north to find another boss waiting for you.
BOSS - King Hoppy
Unlike the previous boss, this one is quite meaty, with it having almost 4,000 HP, although it’s overall a pretty easy battle. King Hoppy is also accompanied by three normal Hoppies at the beginning of the battle, so it might be a good idea to get rid of them as soon as possible, to avoid your characters taking any extra damage. You could try to target each one individually, but techs/combos that target all enemies, like Blowbeat, work well here.
As for King Hoppy, he has a few moves, but none of them really stand out as being very dangerous. Power Dive will have him jumping into the air and smashing into the ground, causing pretty light damage to all your characters most of the time. Royal Bite is a single-target skill and while it deals around 70-80 damage, it’s not too bad. His worst move is called Pengy Missile, where he’ll shoot projectiles in a circular pattern away from his body, dealing around the same damage to each character.
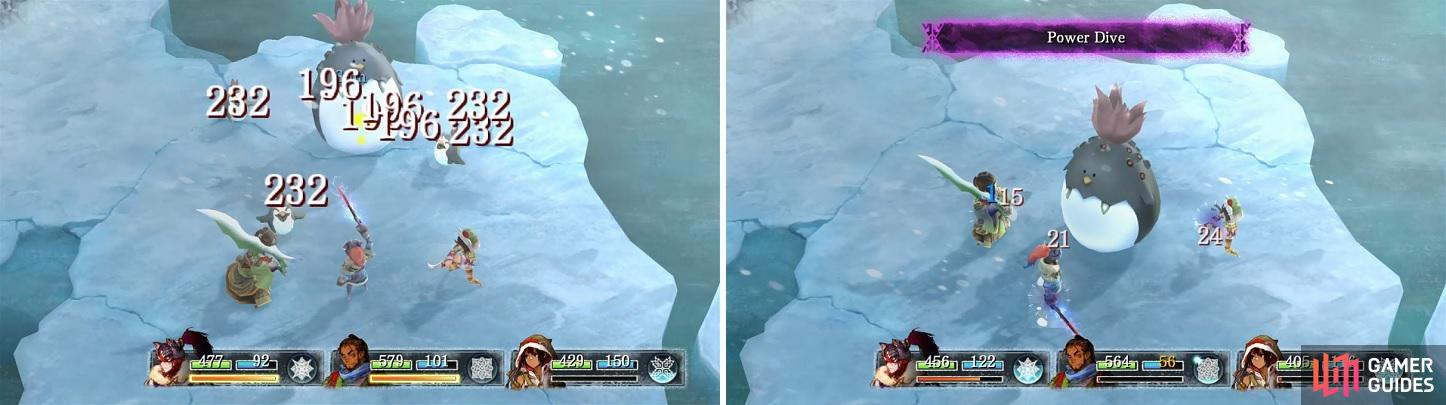
Use something like Blowbeat to clear the small fry (left). King Hoppy’s attacks aren’t too damaging (right).
The usual strategy of keeping everyone healed and attacking when you’re not doing that still works here. If you used something like Blowbeat to get rid of the Hoppies at the beginning of the battle, then it’s possible King was paralyzed, stunned and/or confused. This will give you some time to apply some buffs or store up some SP to use on Momentum. Keep your characters healthy, even with some MP, and you shouldn’t have any trouble with this boss.

 Sign up
No Comments