

The I am speed trophy is a trophy that is for the speedrunners out there. The game can be completed within two hours, as long as you know the levels and what you need to do to get through the missions. Here are a few tips and tricks for the I am speed trophy in Stray.
Stray’s I Am Speed tips
To better have a shot at what you need to do to complete the I am Speed trophy is by minimizing your time spent in-game messing around. You will need to know how to complete each of the main mission quests for each level. We recommend completing the main game first and making a new playthrough to go for the achievement. Note the time is to complete the final chapter below two hours, which is two hours of the in-game tally.
The tutorial missions are simply just going in a straight line and finishing them off, not messing around needed. But, the troubles begin with the Flats level onwards.
Flat
The quick tips you need to know is how to solve the puzzles or find the objects:
The flat requires the following:
- Get into the flat, type on the TV’s keyboard, and open the door.
- Find the four plugs in the room and place them in the main terminal.
- Enter the new room, find the cardboard box on top of a shelf, and knock it down.
- Plug the robot into the main terminal and leave
- Enter the new corridor and enter the digi code 3748
Slums (Part 1)
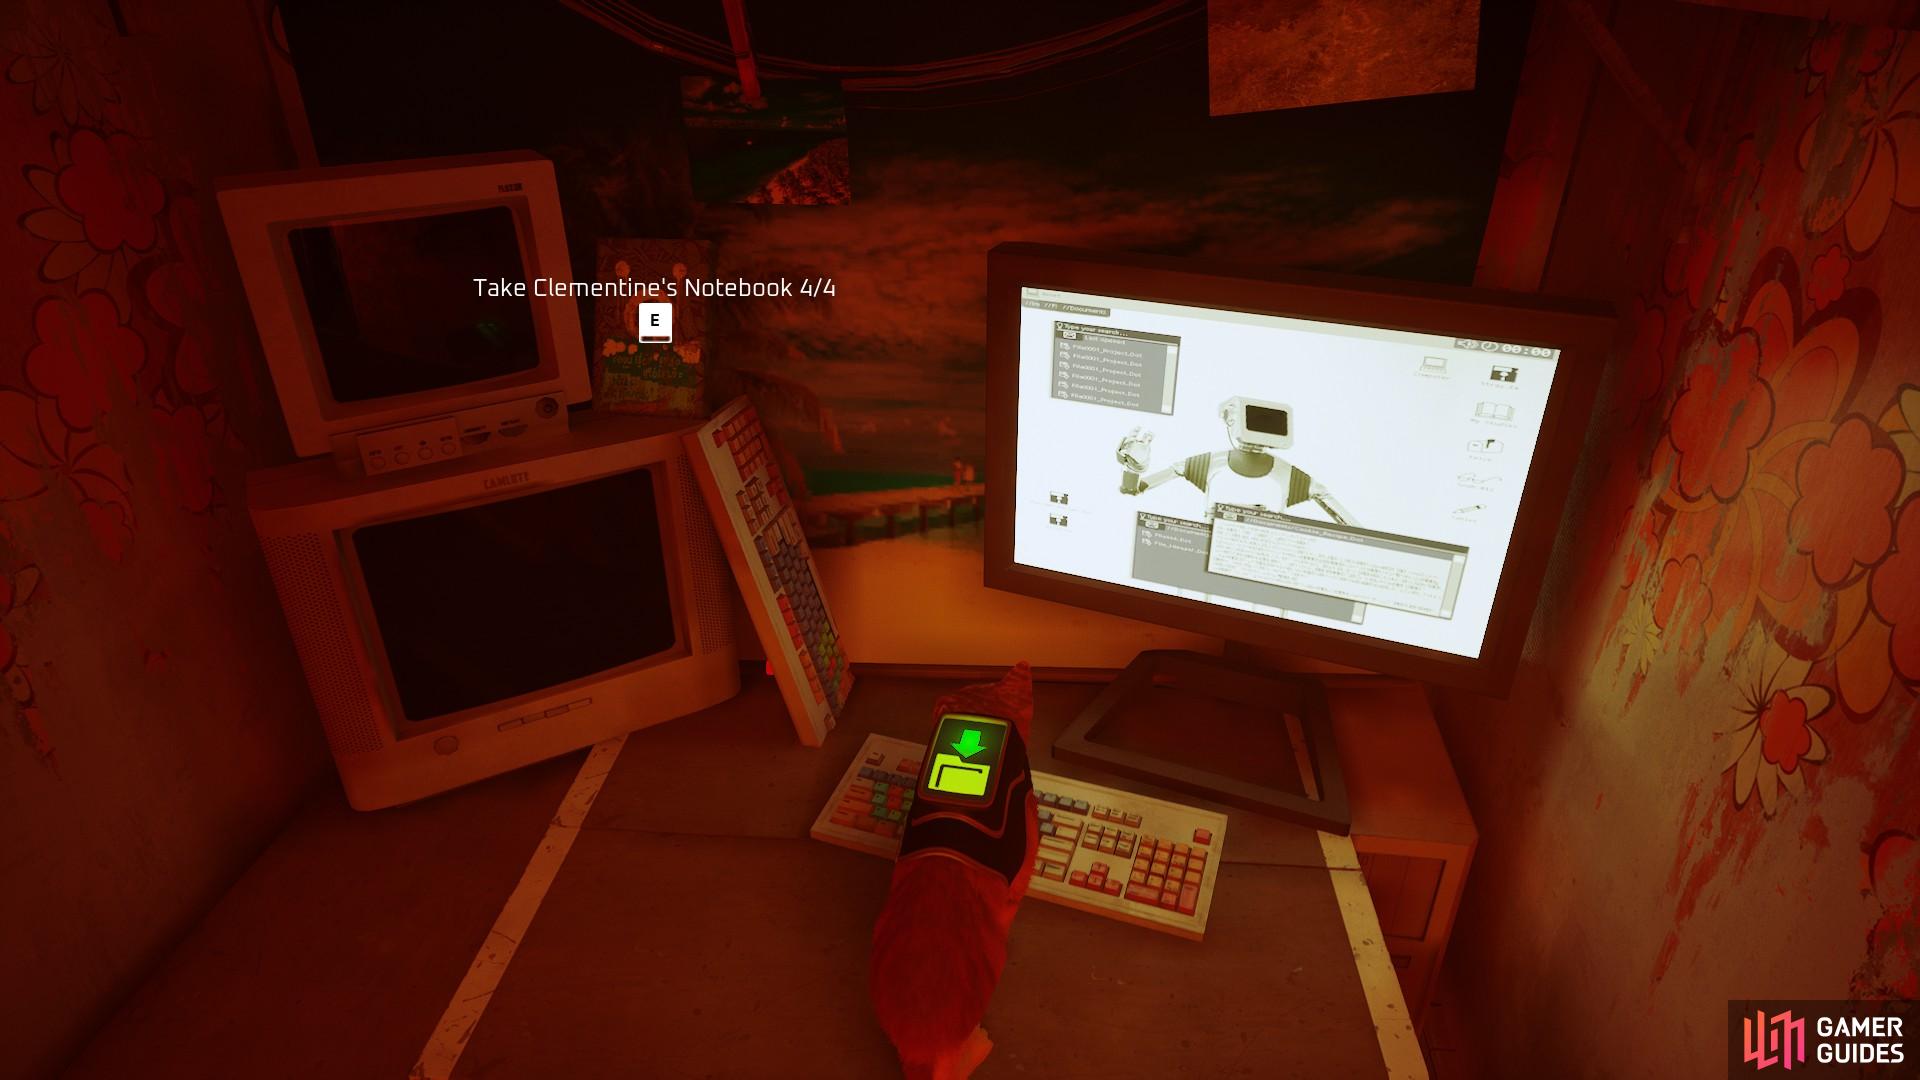
The slums is the first big town that you can explore and return to quite a lot. However, the first bit can be very short for the main story. As you enter the town, you need to follow the streets around and find a way to Guardian. Speed run the conversation and then head out Momo’s flat with the orange flat. We recommend getting all the notebooks first, saving you from having to climb up the flat twice. The notebook locations you should visit in order are
- Clementine’s
- Doc’s
- Zbaltazar’s
- Momo
While you’re getting the notebook, we recommend startling the paint-throwing robots on the roof below Momo’s flat. You can then steal the Super Sppriit Detergent for later on in the story. Climb up to Momo’s, then get this book and hand the rest in. Now head to Rooftops.
Rooftops
If you’ve done the level before, you know there isn’t much to worry about. Speed run the area, avoiding Zurks and getting the little puzzles as fast as possible. Remember to avoid and use the girders to bait the first lot, and then use the keypad fences to trap Zurks and use the barrels to climb the rooftops. The final bit is a little tough, thanks to the long wait for the elevator. Use your best Zurk dodging skills and survive the level and get in position to jump on the box and in the elevator as soon as the elevator comes to a stop.
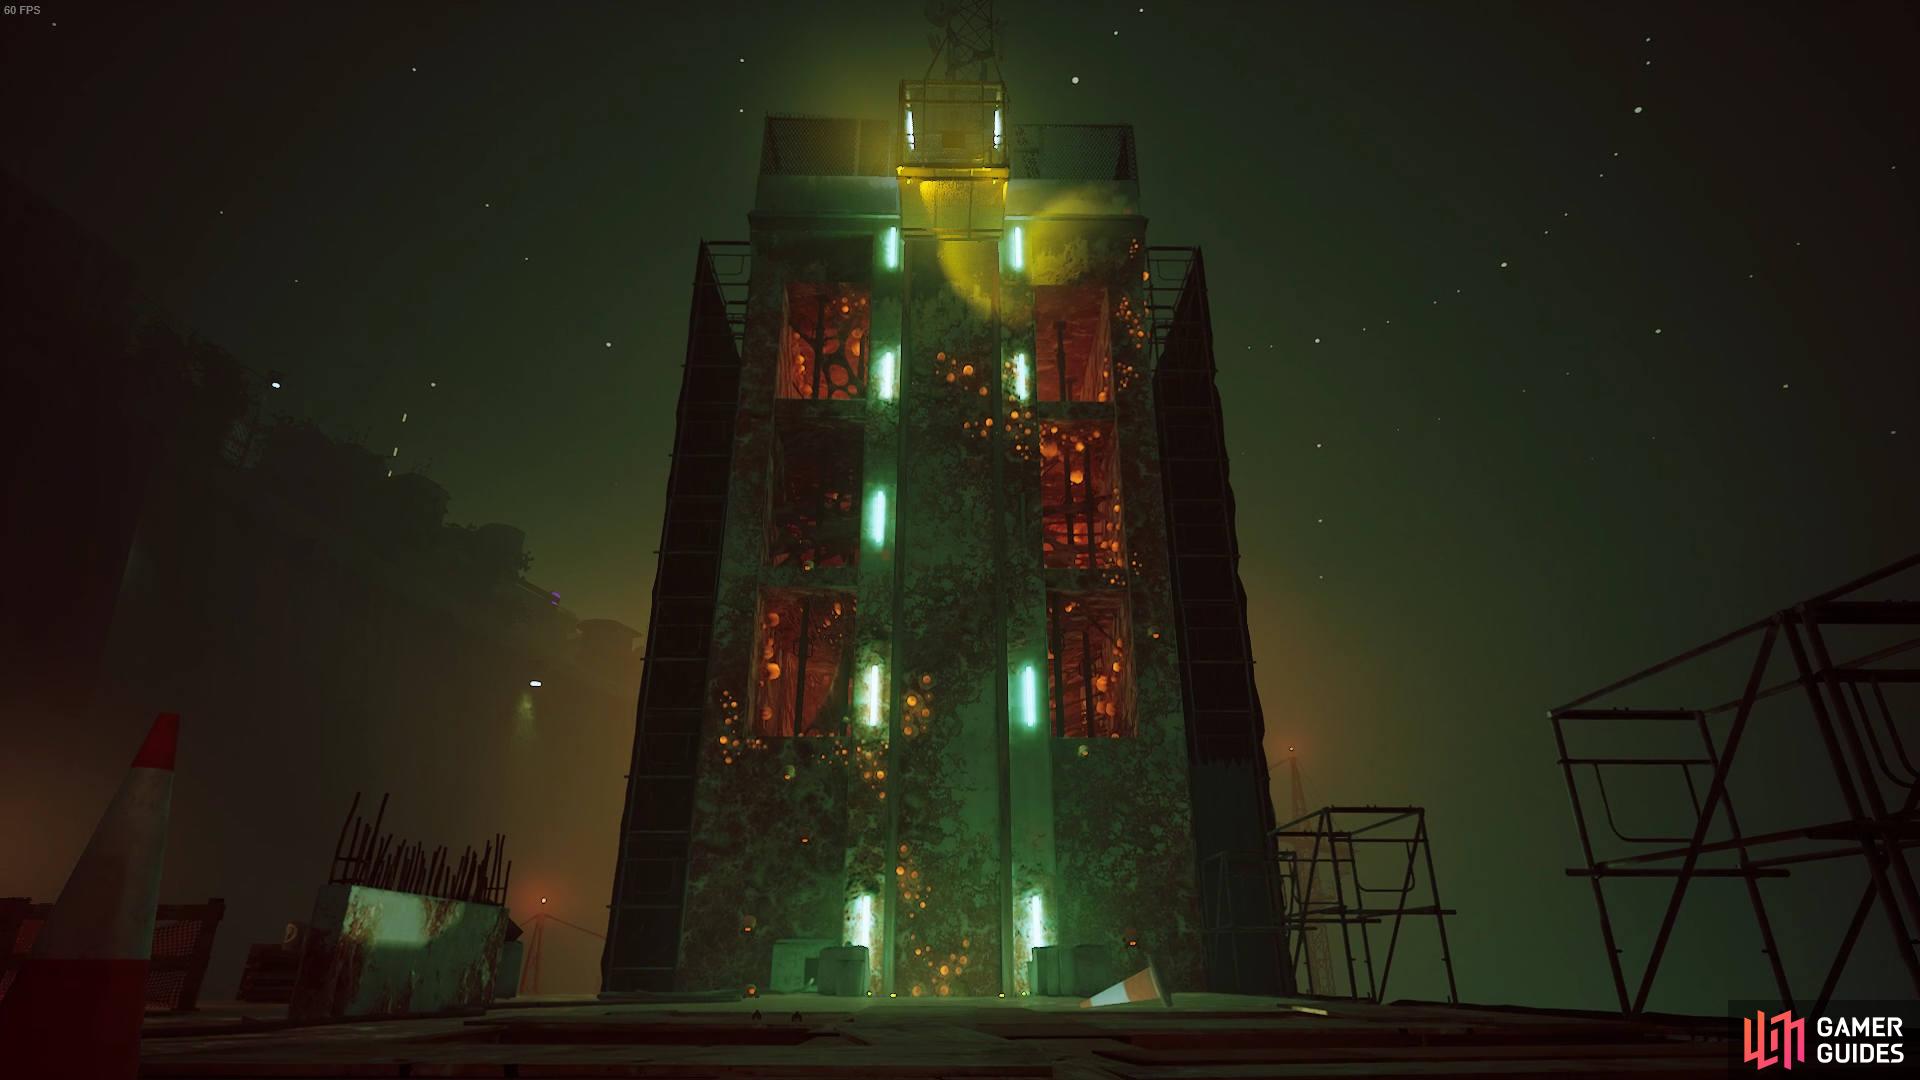
Get to the top, put the receiver in the tower and then bucket back down to the Slums.
Slums Part 2
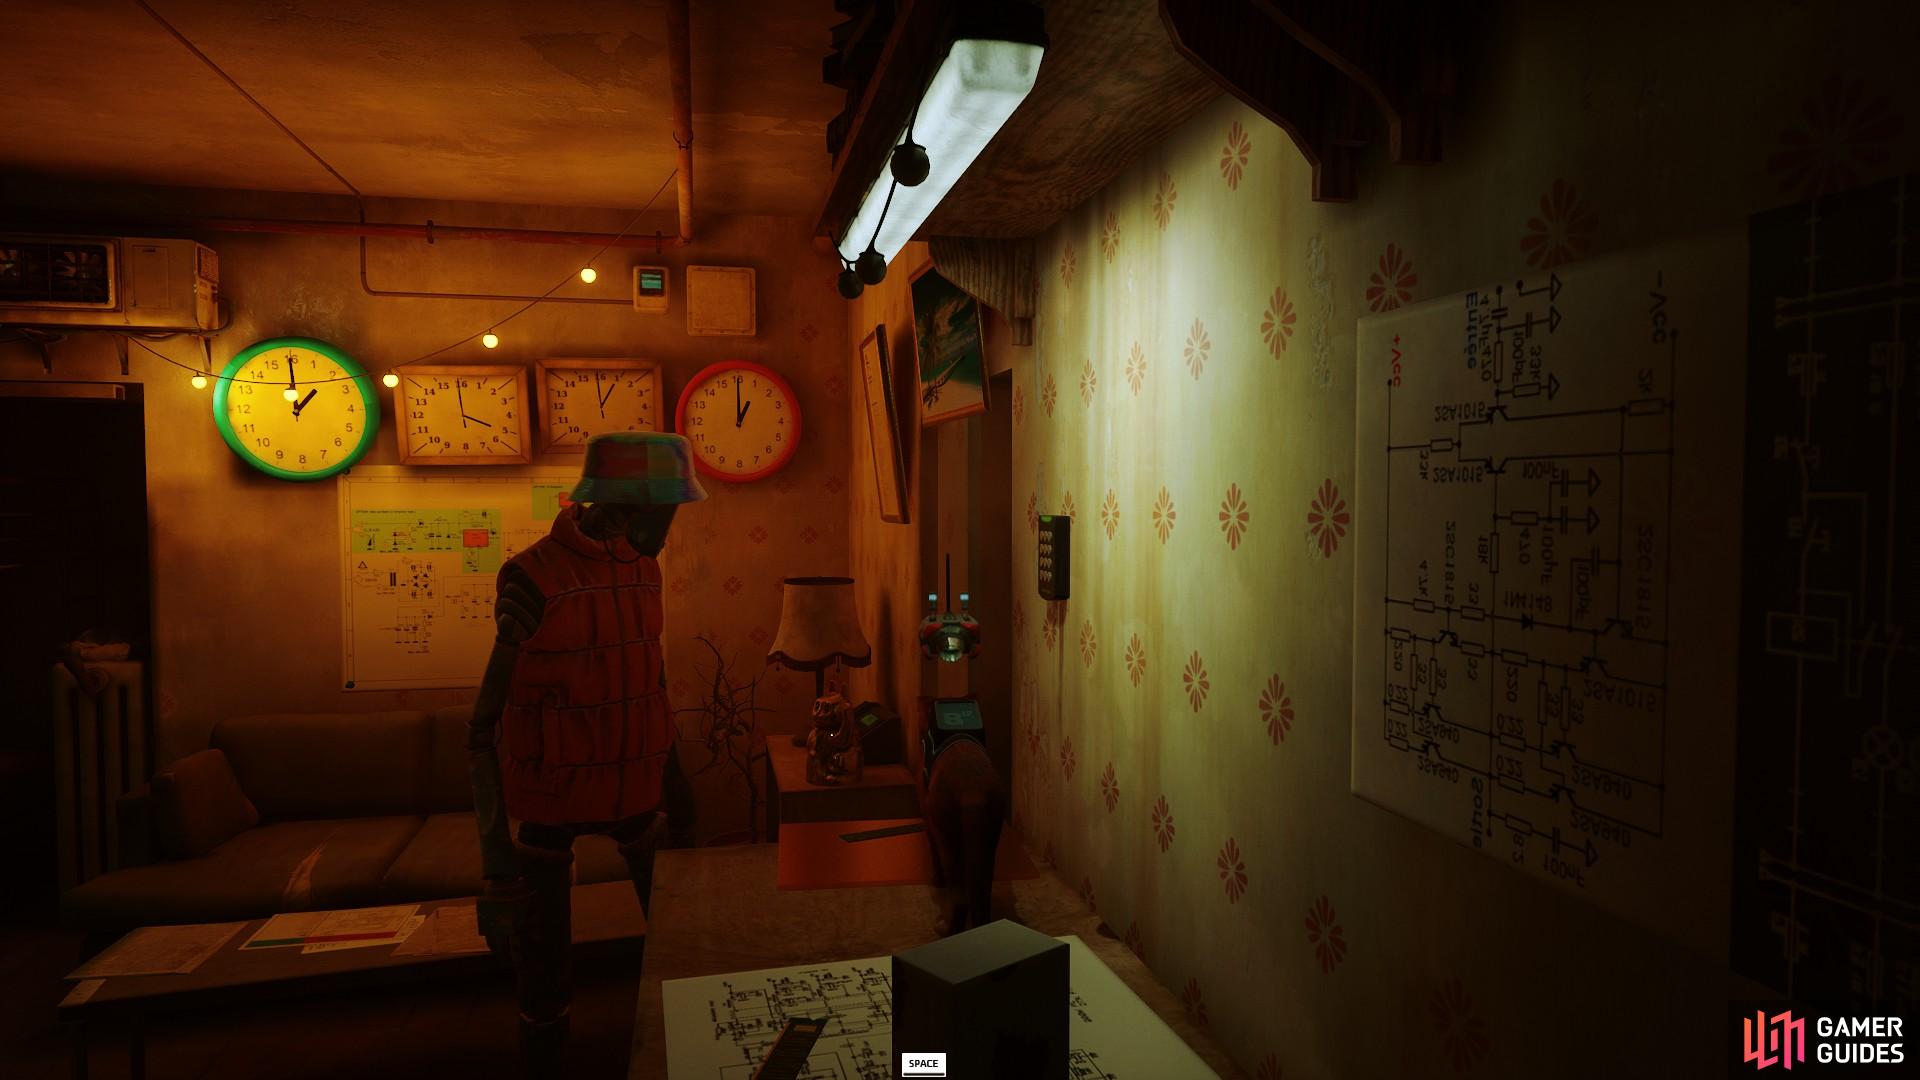
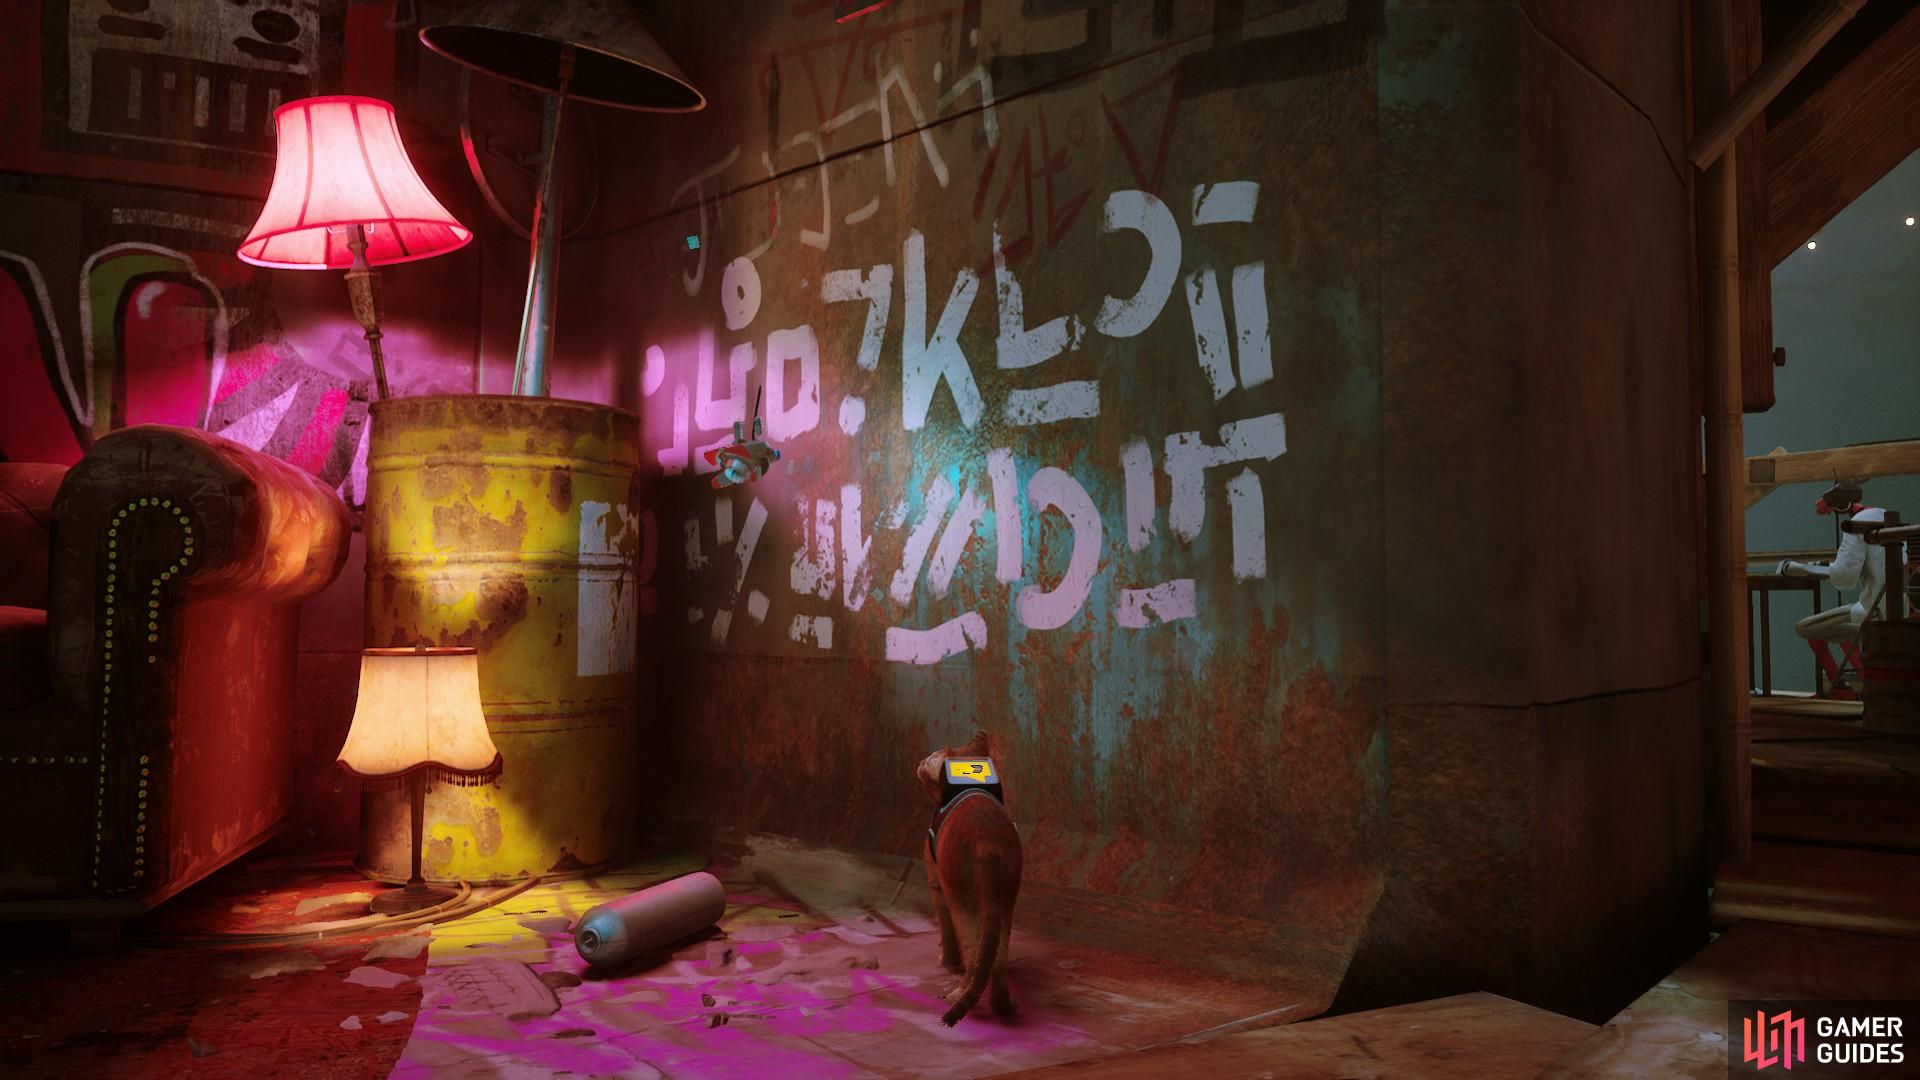
The second part of the slums takes you back to Momo’s flat at the start. Go to the wall and get the note from the wall. Get B-12 to open the lock pad at the window and speed through the text. Now jump on the balcony, and then head back down to the ground, jump into the bar and speak to Momo about the plans. A character called Seamus will appear from his head slumped into the bar and talk. You then follow Momo to Seamus’s house, who then moves the debris away from the vent to let you into his house.
Once inside, jump on the kitchen surfaces and claw at the image to the left of the kitchen worktop surface. It reveals a keypad. The code to the keypad is 2511. Head inside, and grab the walky-talky item from the box found on a shelf on the wall. Show it to Seamus, and then you find out you need to repair it.
If you got the Spirit detergent earlier, go straight to the marketplace. If not, break the attention of the paint-throwing robots and get the item from the washing machine place. You can now hand in the detergent and get the cables. Take the cables to Grandma’s and get the poncho. Now go to Elliot’s computing up the road, scratch the door and enter. Give Elliot the poncho, and then he will help you repair the receiver. Now give it to Seamus again, and he will pick up his Doc’s trail. Follow him to a door and enter.
Dead End
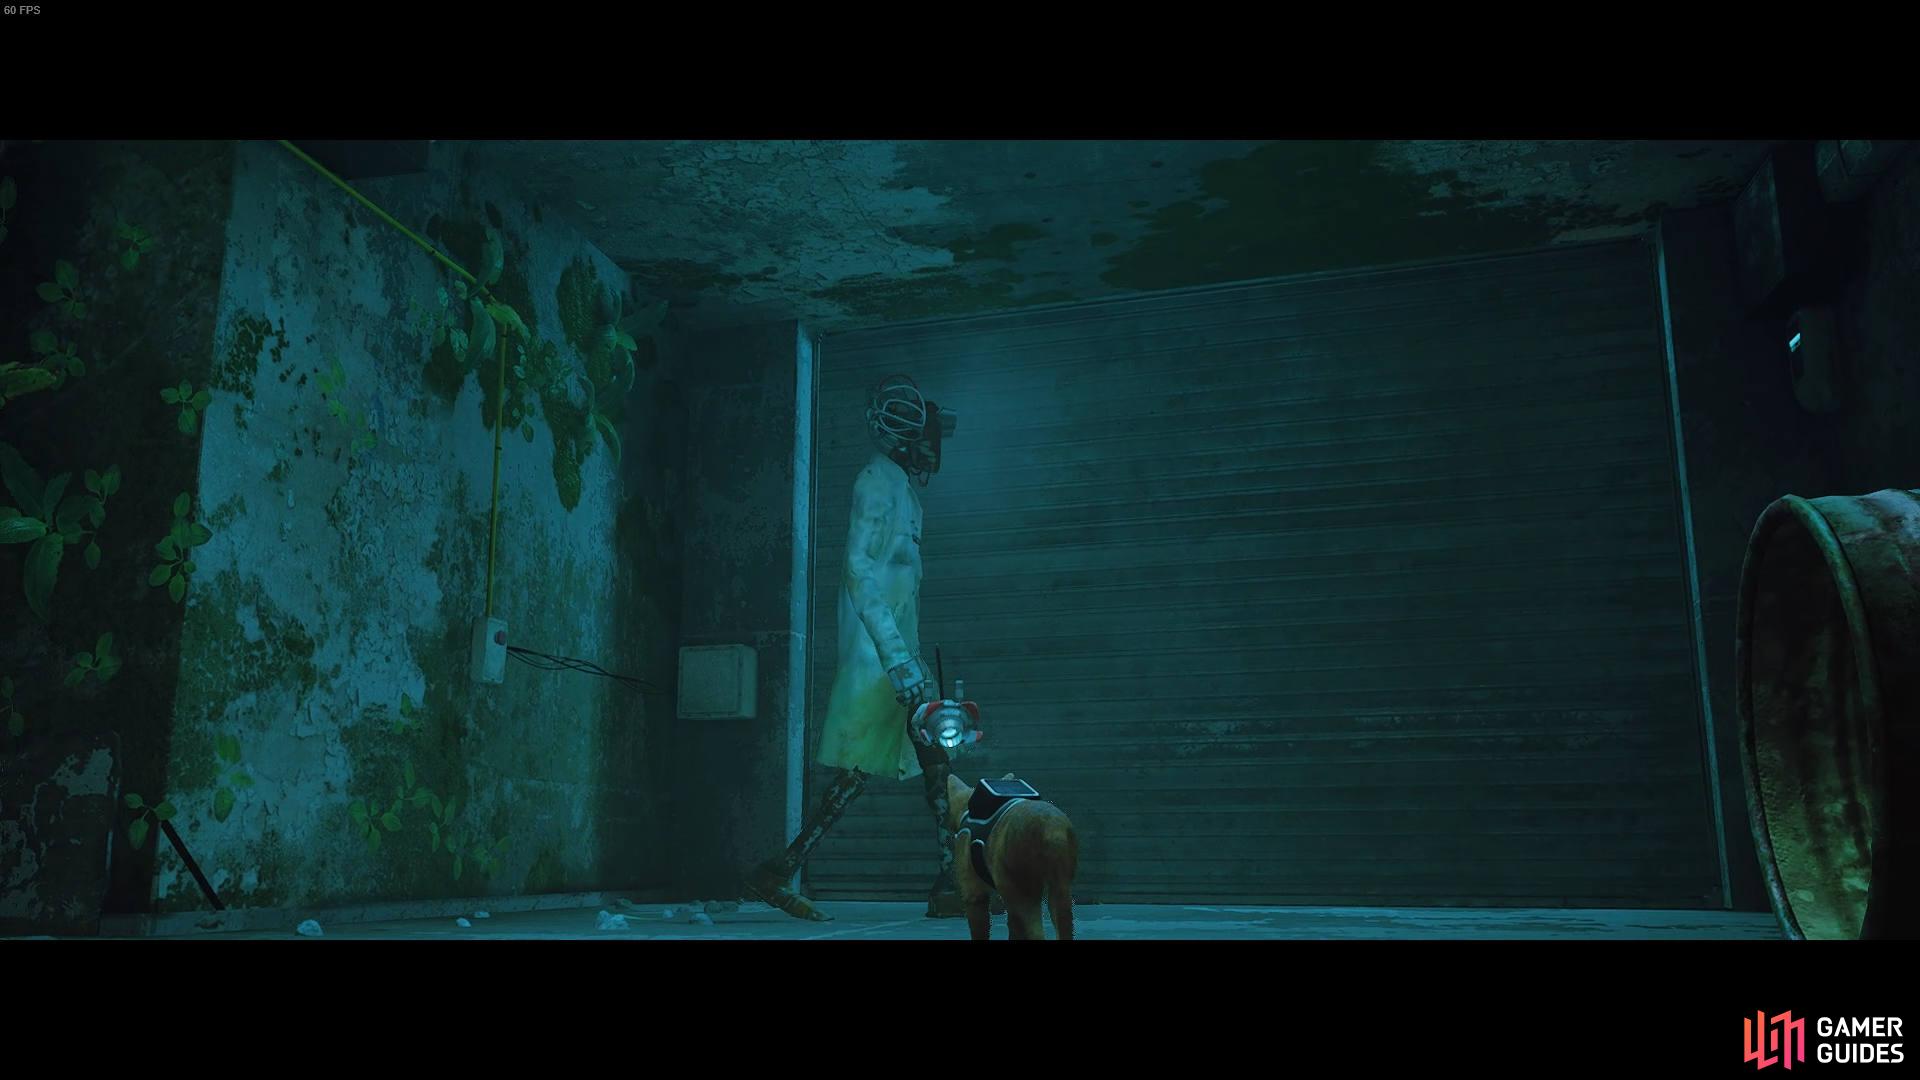
Now you’re in Dead End. For the most part, follow the Dead End mission as normal, and get into the street. Once inside, follow the cable running along the floor to find the house Doc is in. Head downstairs, jump on Doc’s desk, and skip the text. Now head into the room in the corner and jump on the lab table. Knock the yellow gun thing and start a chat with Doc. Skip the chat, head outside through the upstairs window, follow the generator’s cable, and put the item in it. Then you can hide under the purple UV light and let it kill the Zurks.
Now you head back inside, talk to him, go through the front door, and learn how to use the UV light Doc gives B-12. Take the Zurks out, and the Doc opens the gate. At the end of the bridge is a blast door. Roll the barrel down the path found to the right at the end of the path towards another vent. Climb into the vent using the barrel as a jumping spot and get inside, and hit the switch on the wall. There are Zurks inside. Use the light cautiously to avoid overheating it. Kill them all, the gate opens and then defeat the Zurks on Doc. Now they RP walk to a doorway and head back inside the SLums.
As you’re in the Slums, run towards the sewer entrance. The sewer entrance is near Morusque, the musician. Run down the road and then into the building until you find Momo’s raft. Get on the raft and into the sewers level.
Sewers
Drift into the sewers and help Momo get in. The first puzzle is a locked gate. Jump to the side and slip through the gate. Then onto a platform with a switch. You can jump onto the switch and let the Zurkls hatch, then nuke the Zurks without issue with the UV light.
Get back on the boat and content forward. Eventually, you come to a point Momom cant get in. He will let you in, and then you can jump in. Go forward, avoid the Zurks eggs and continue going down the area. Eventually, you’ll come across a switch on a wall in a dark room. Switch it, and then you start the chase scene. Keep running down the path and then to a tunnel that springs you onto a pipe near the water. Go down that path and move into the actual sewage area.
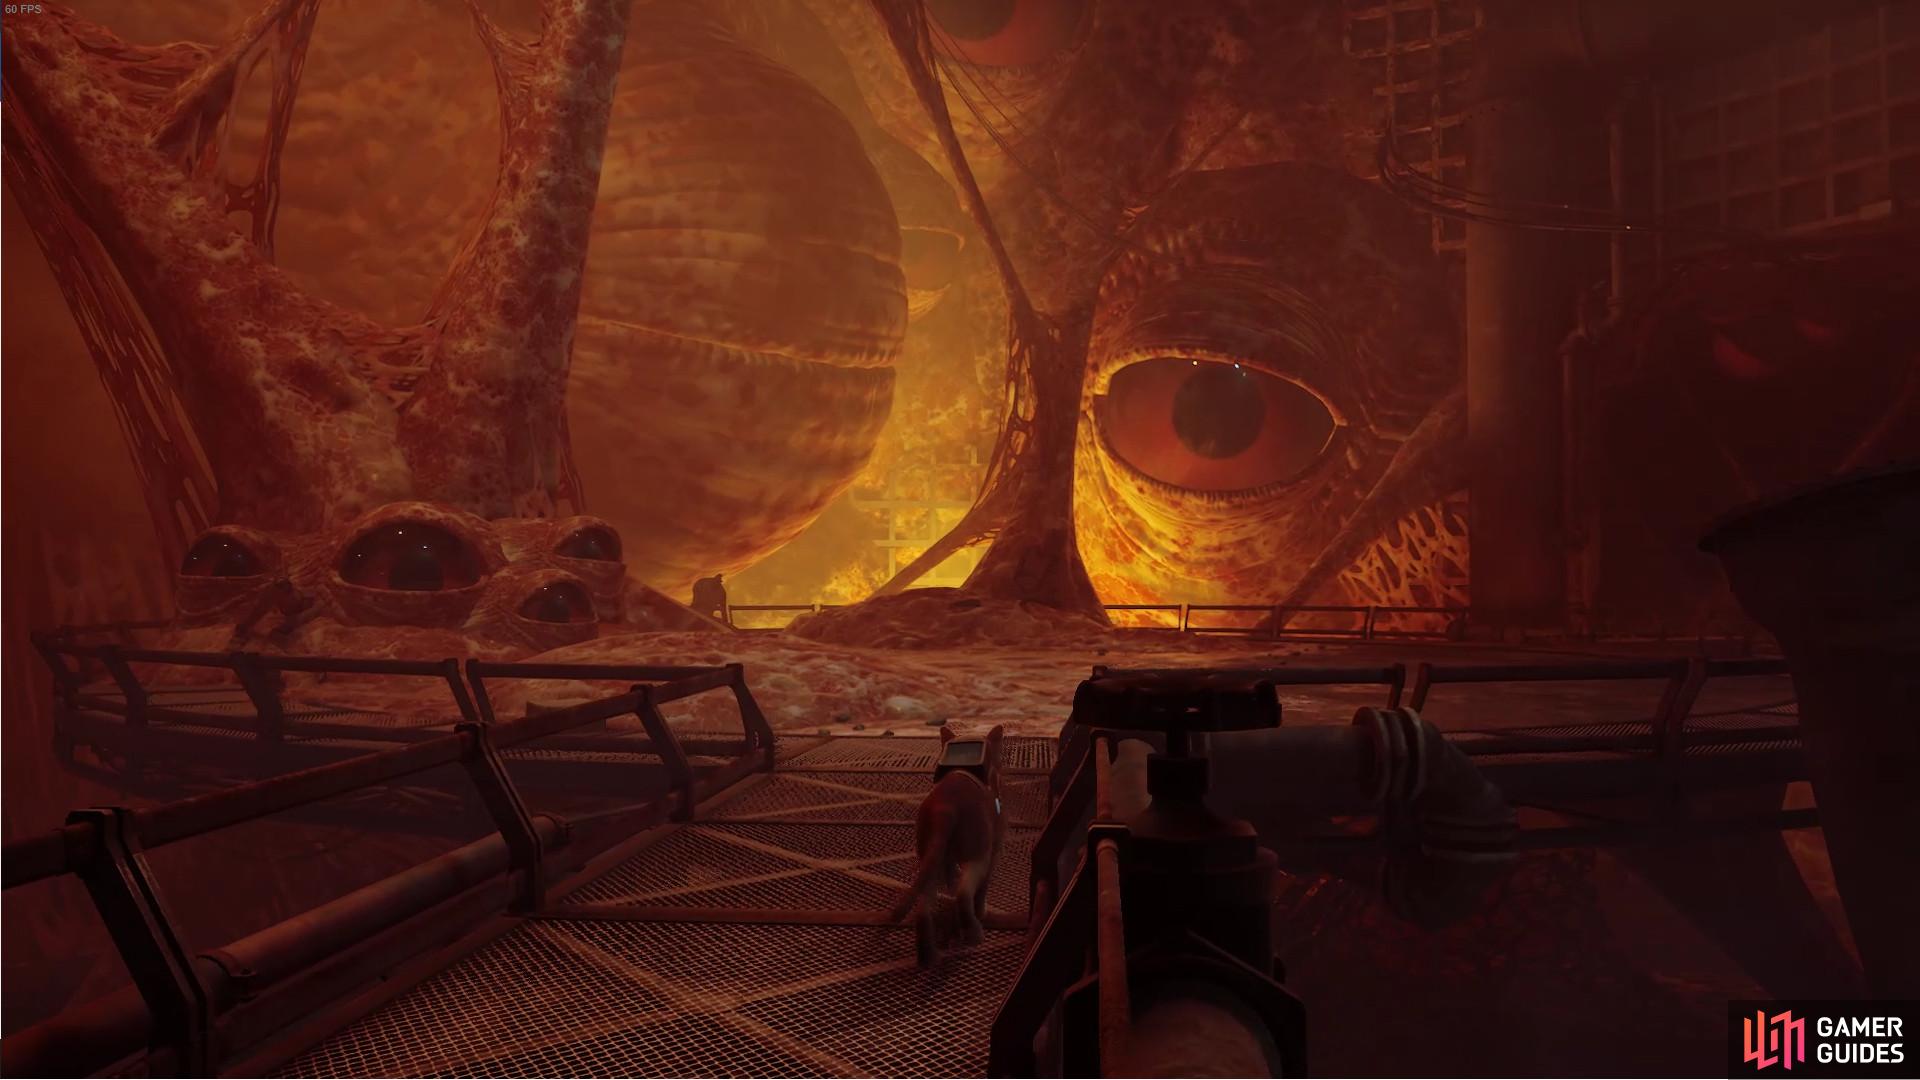
The final major room is one that requires you to hack two doors. The first is easy to do and safe and sound. However, the second one has some trouble. Zurks spawn throughout, and there are eggs everywhere. Keep jumping between platforms to make it harder for Zurks to reach you and then nuke any who do get close with the UV light. Proceed to the terminal and open the door. You may now spring to the giant eye and ent the earth cutscene. Shortly after, you enter a chase scene. Make it to the end and survive.
Antvillage
The next but is Antvillage. Run as much as you can and get to the cutscene. Then proceed up each level of the village to speak to Zbaltazar. After that, continue climbing up the village and onto a giant pipe leading to an exit. Jobs done.
Midtown

You arrive in a subway area. Navigate through the area and find the escalator. Ascend up the escalators and enter through the metal fence opening at the bottom left. Now springs through the landing and into town. Continue running up the road to the police hologram and then turn right into the apartment. Climb the stairs, get to the top floor, and look for the boarded-up flat with a hole in the window. Head inside, meet Clementine and give her the Outsiders item to show her you’re on her side.
Now you have to find a way into Neco Factory. But first, leave her apartment, descend down the apartment block and take out the three security cameras on the 2nd floor by jumping on them. Now speak to the robot in the middle of the three robots on the ground / 1st floor and get a cassette tape. Leave the apartment block and wake up the drunk robot at the back of the pub by pushing bottles on its head from the shelf above.
Now you can head towards the clothes store. Place the cassette you got from the apartment block robot into the player in the changing rooms to bait the store owner. Now you can steal the jacket from the stand. Now move to the hat store and get inside the box in front of the drunk delivery robot. He will smuggle you in and steal the hat from the store window.
Now head to the alley with the Factory to the left of the city’s main entrance and meet the coat-wearing robot. Hand over the items and enter the box.
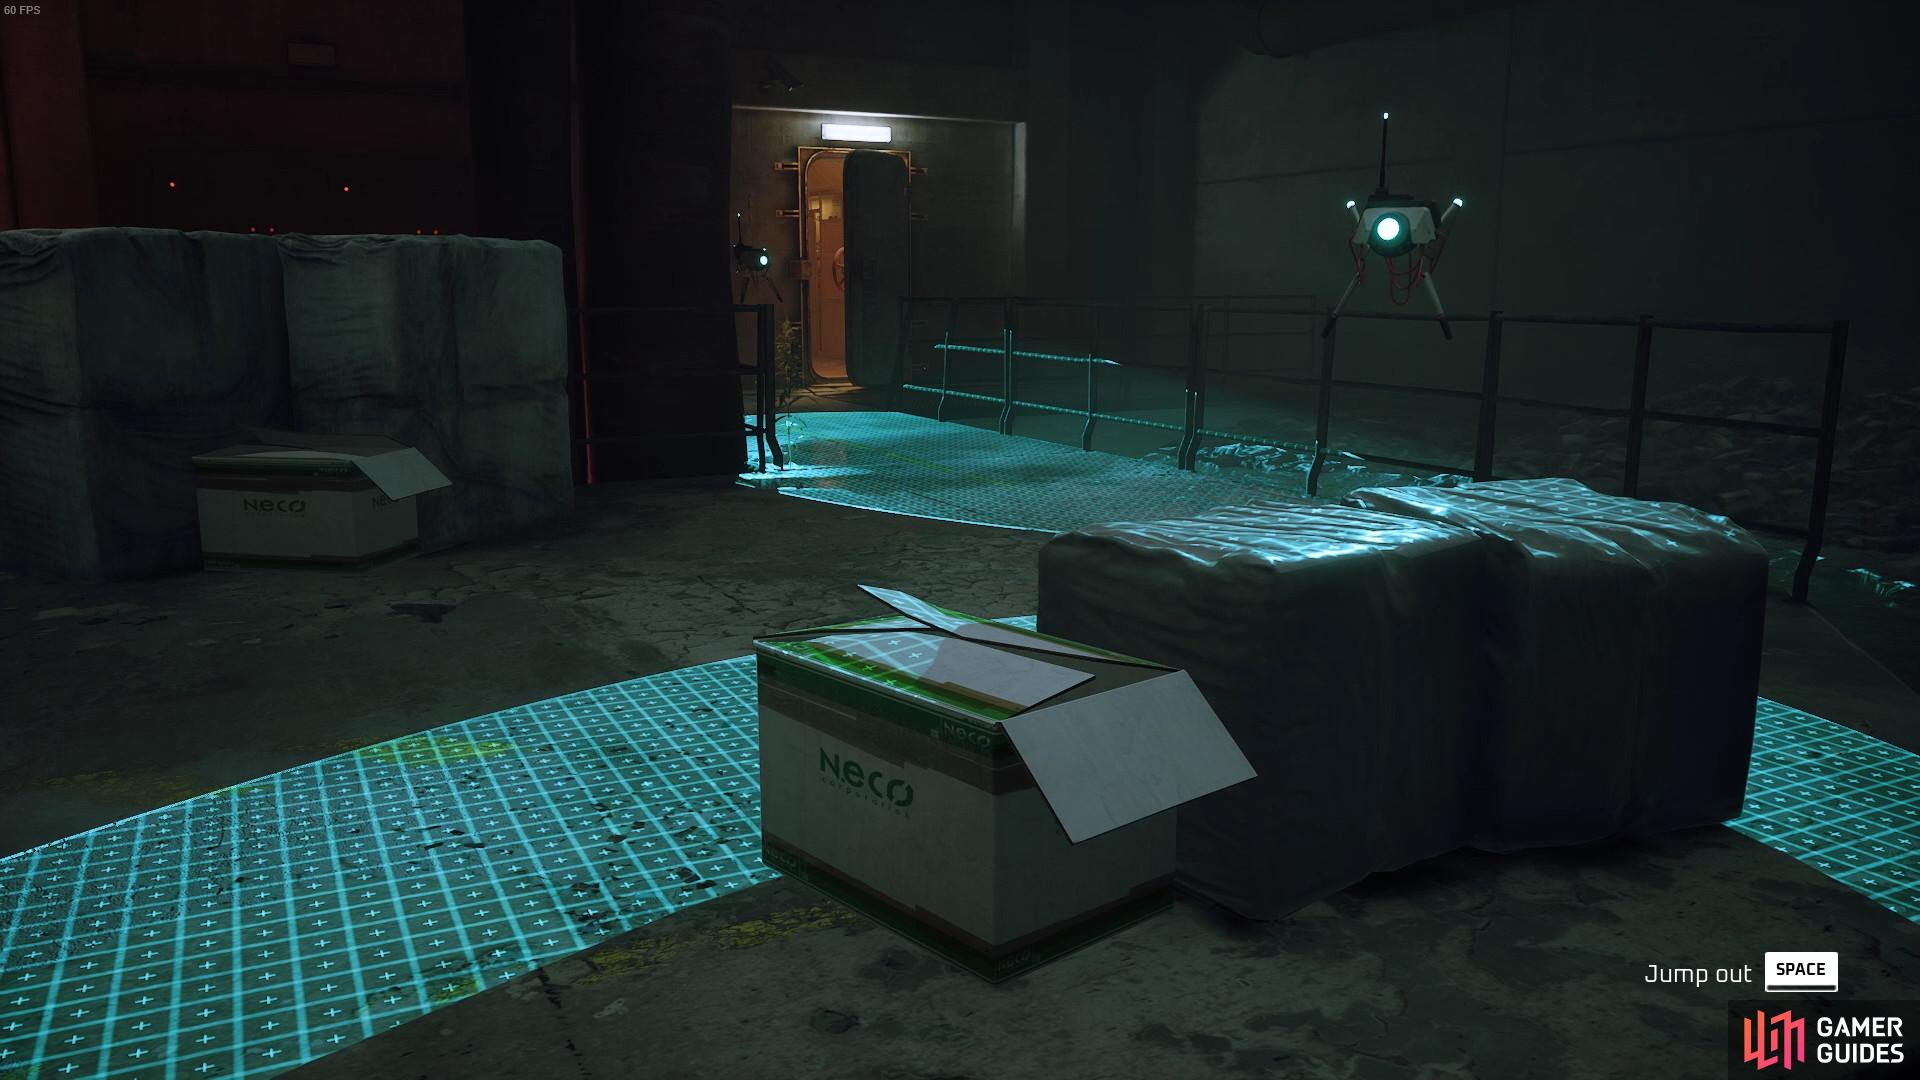
Now inside the factory, avoid the patrols of the robots the best you can. In the second room, wait for the Sentinel to fly to the left and then spring through, hop the barrels and avoid the second sentinel. If you trigger its attention, it’s fine as you can outpace it in the next room. Now you need to activate the switch on the other side of the room behind the other robot. Open it up, enter that room and follow the trash columns to block tehsite of the other robots. You can even sprint down and ignore the robots in the second bit, getting in the red barrel and tolling into the next room without dying.
The final room is to get the two automatic robots on the left and right floor switches and the barrel onto the middle switch. Steal the battery, then go. Now it’s time to return to Clementine. Go inside and avoid the sentinels. Work out the puzzle and head to the nightclub’s back through the alleyway window. Give the robot with the handle a drink from the bar, slot it into the switch on the left side of the stage and flick it. Jump on and wait for the DJ to lift you up. Ascend the rafters, press buttons to drop the catwalk down slip into the VIP room.
Jail
Now you’re in jail. Break out by swinging the cage and smashing it open. Get out and work your back in the jail. Head inside and navigate through email by jumping up and over and getting around the barriers to find Clementine’s cell. The keys are opposite clementine after you speak to her. Head into the room, onto the window, then into the other room and then return to her. Follow her until you get to B-12.
Here you need to avoid lazers, sentinels and whatnot by dodging, hiding and jumping on and through objects. You then come to half a circle room with a switch that disables the jail B-12 is in. This is a speed run to under the jail B-12 is in and wait till the robots pass to get him in the mouth. Now speed to the office you entered the area from and outpace the sentinels you trigger.
The last part is the yeard area. Bring the sentinels into the side room and hack the gates behind. You may meow from different cover areas to make sure you survive and trick the robots into an area. Do this for each section so Clementine can move between zones. The last bit needs you to find a car with keys in it and point to Clementine. Then open the switch of the carpark and bailout.
The final bit is your escape head to the subway and get on the train with the battery. Use it and go.
Control room
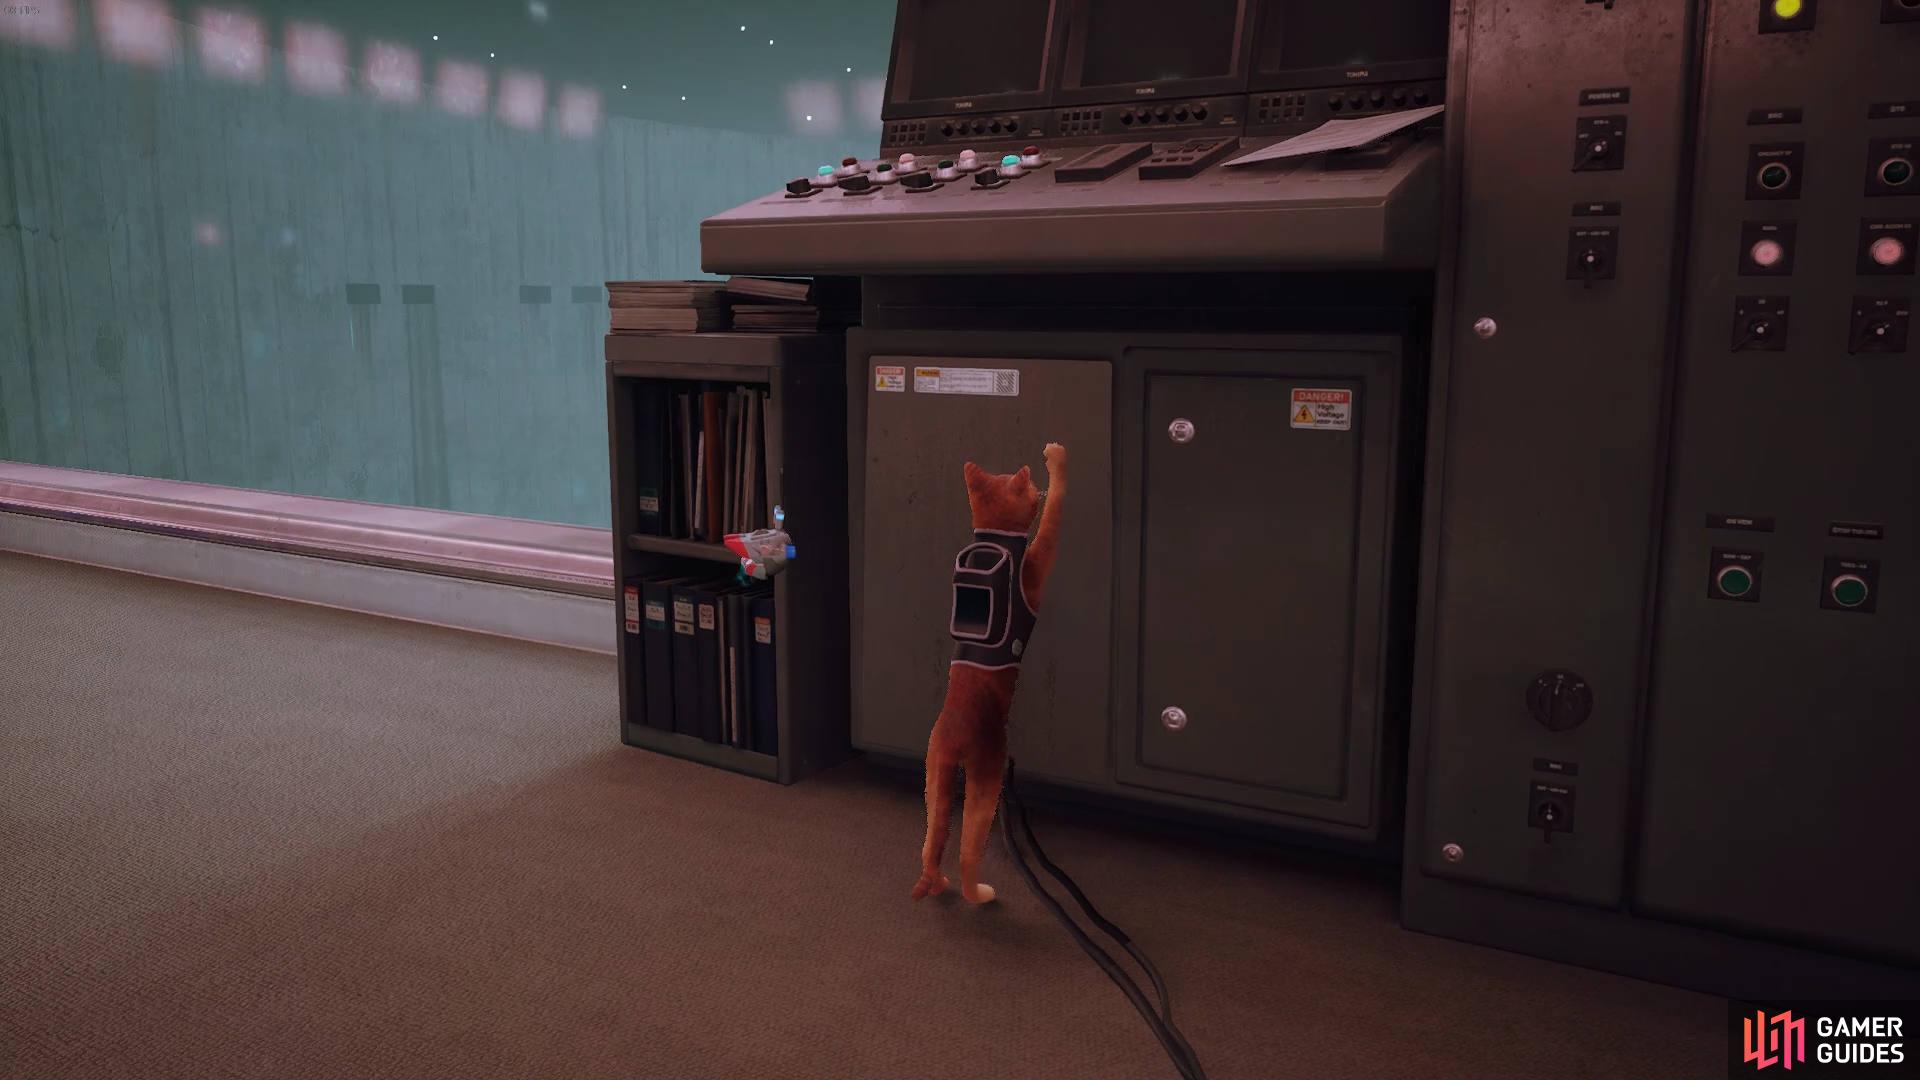
Now we are back to puzzles. Head out of the subway to the lounge room. Find the following robot and place it under the switch panel to the left of the door. Then stand on the yellow floor while B-12 hacks it. Then jump on the robot and scratch the panel.
Head inside the new room and find the main table in the room at the back. Enter the cutscene. Now speed up and try to get the computers to turn on at each table. Now you activate the sequence and need three terminals.
The terminals are at the right corner near the window. And either side of the back room. You need to knock a panel over for the one to the left of the door to the back room. Then bring the robot to the panel and activate the sequence. After sleep, wake up and run straight towards the blast door at the start of the lounge and escape.
No Comments