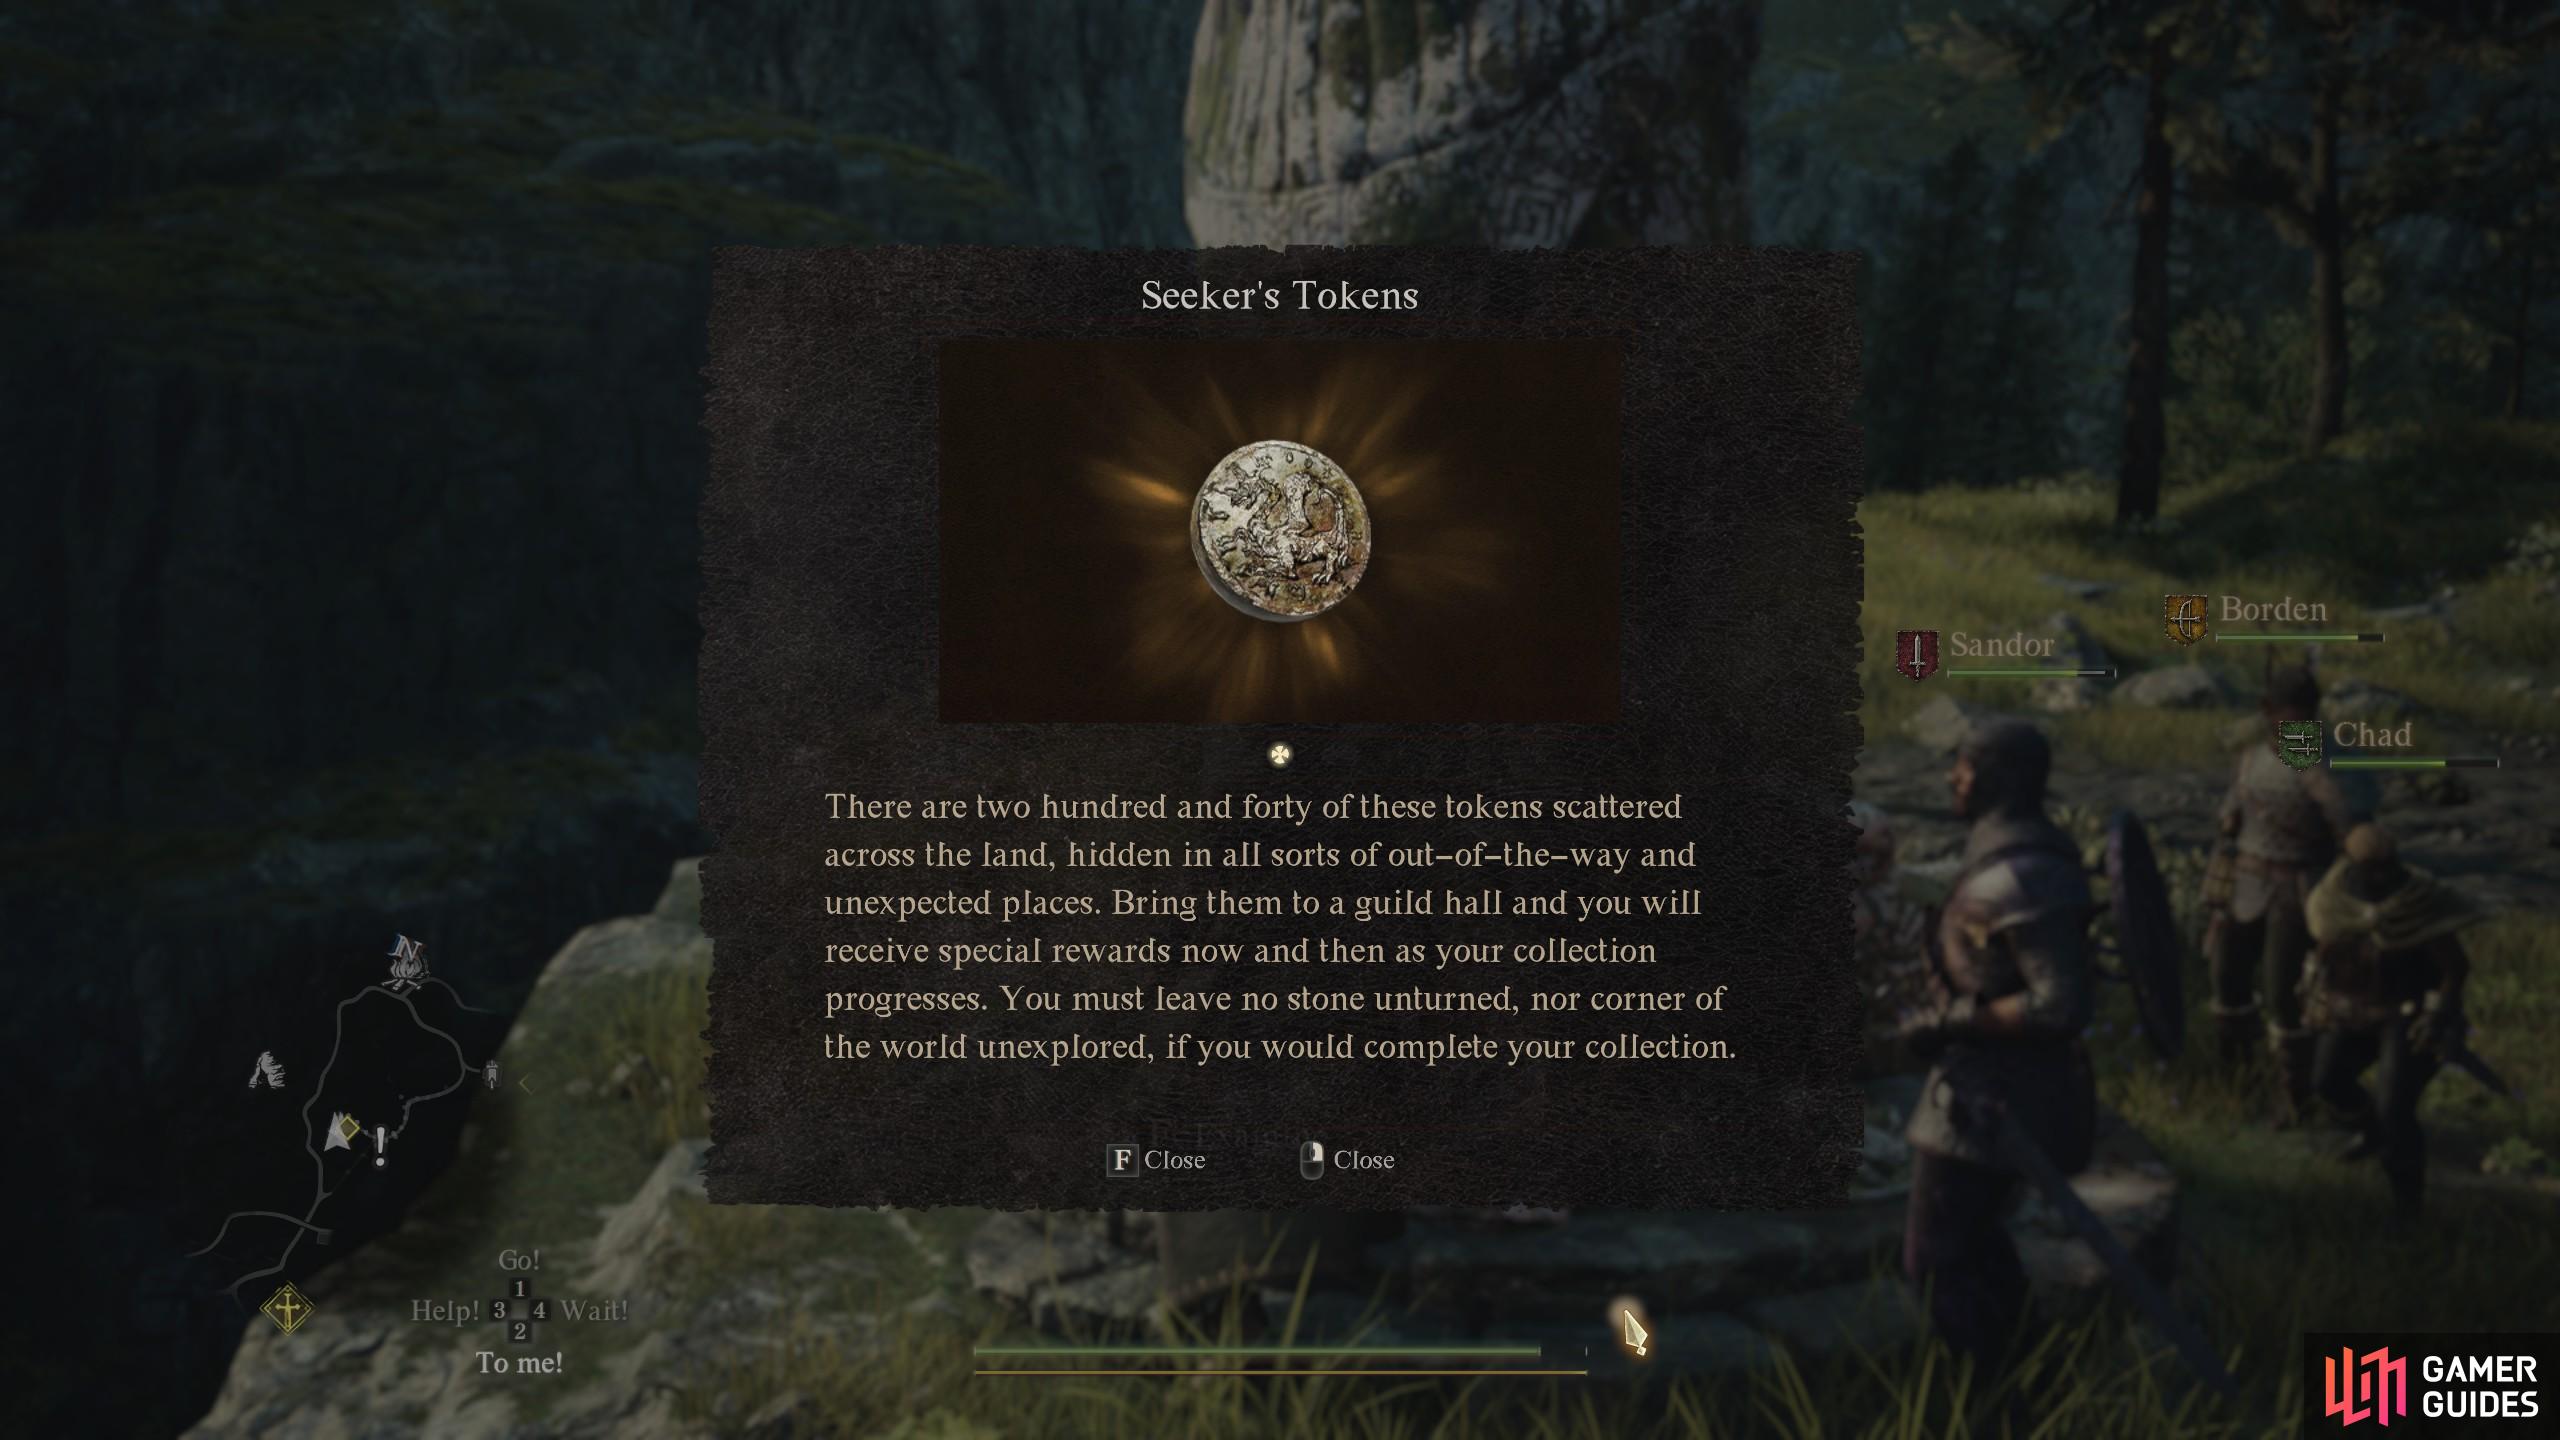
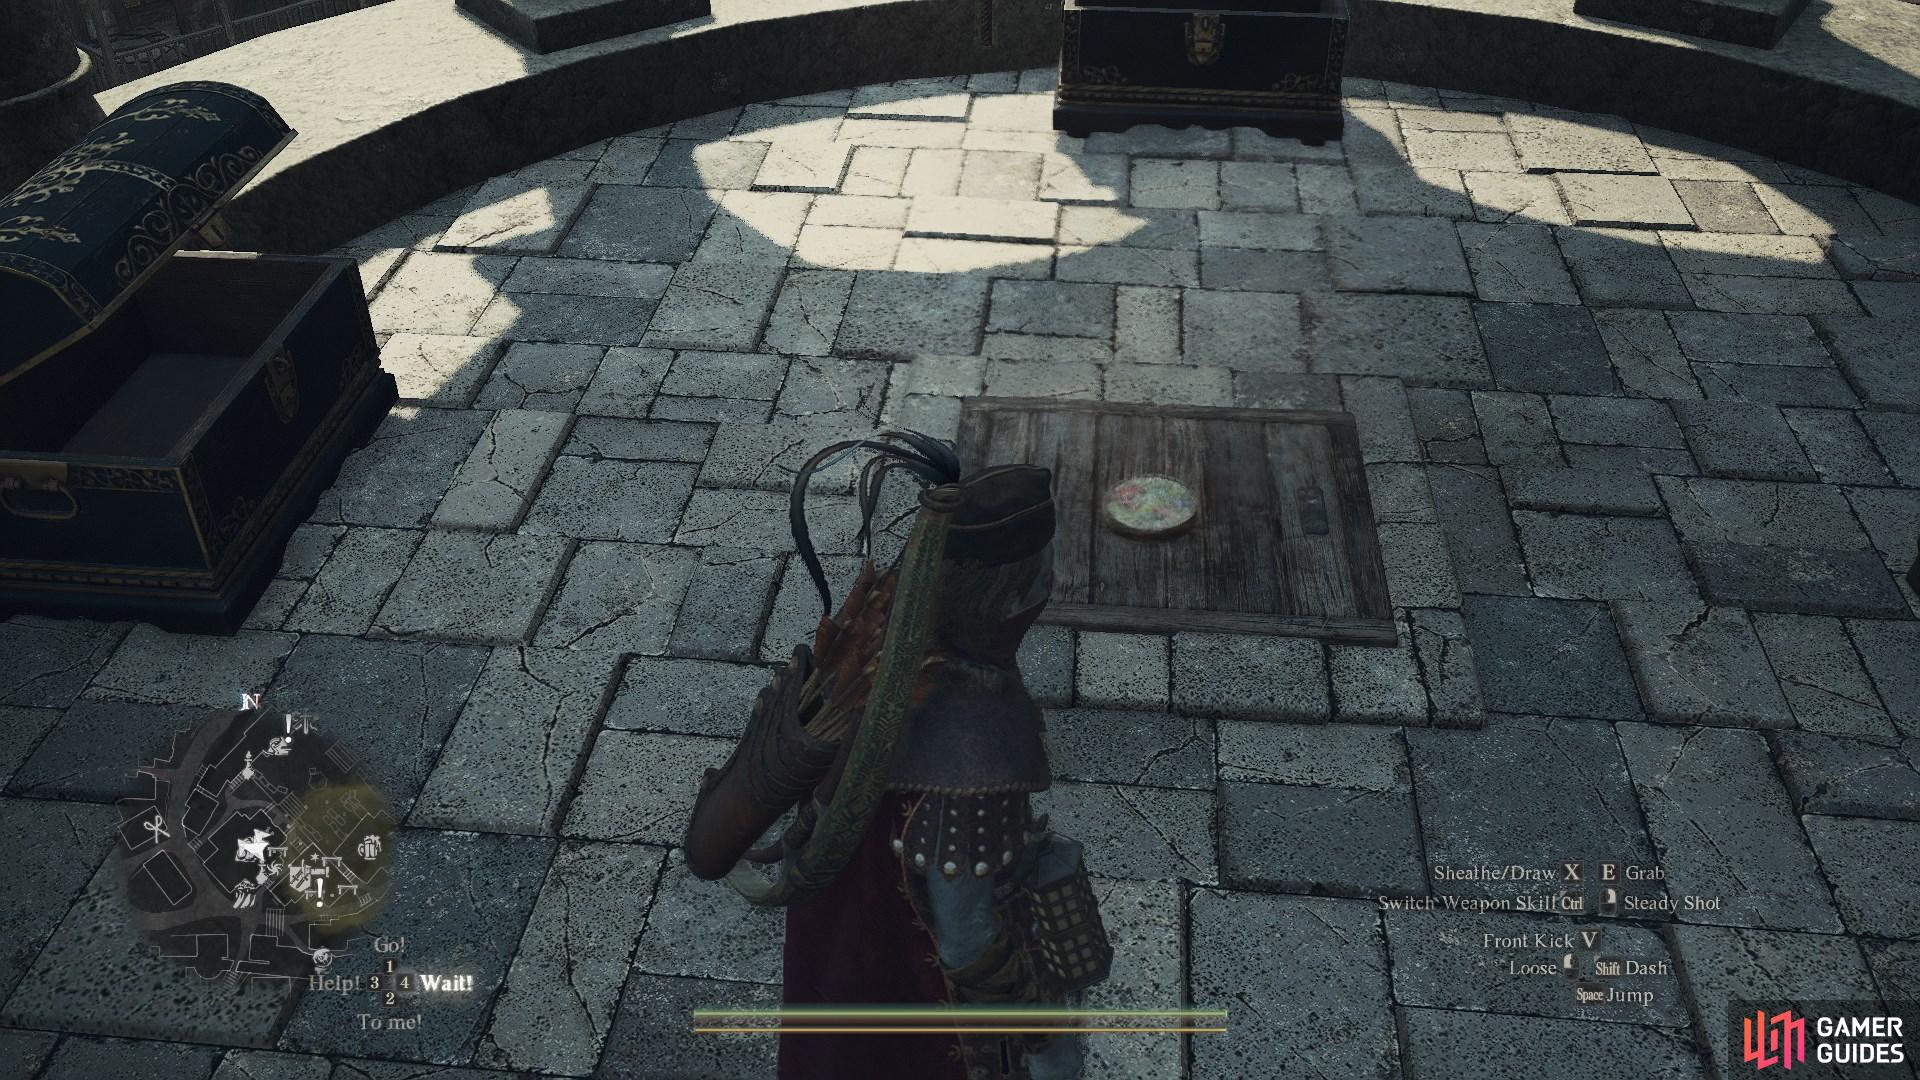
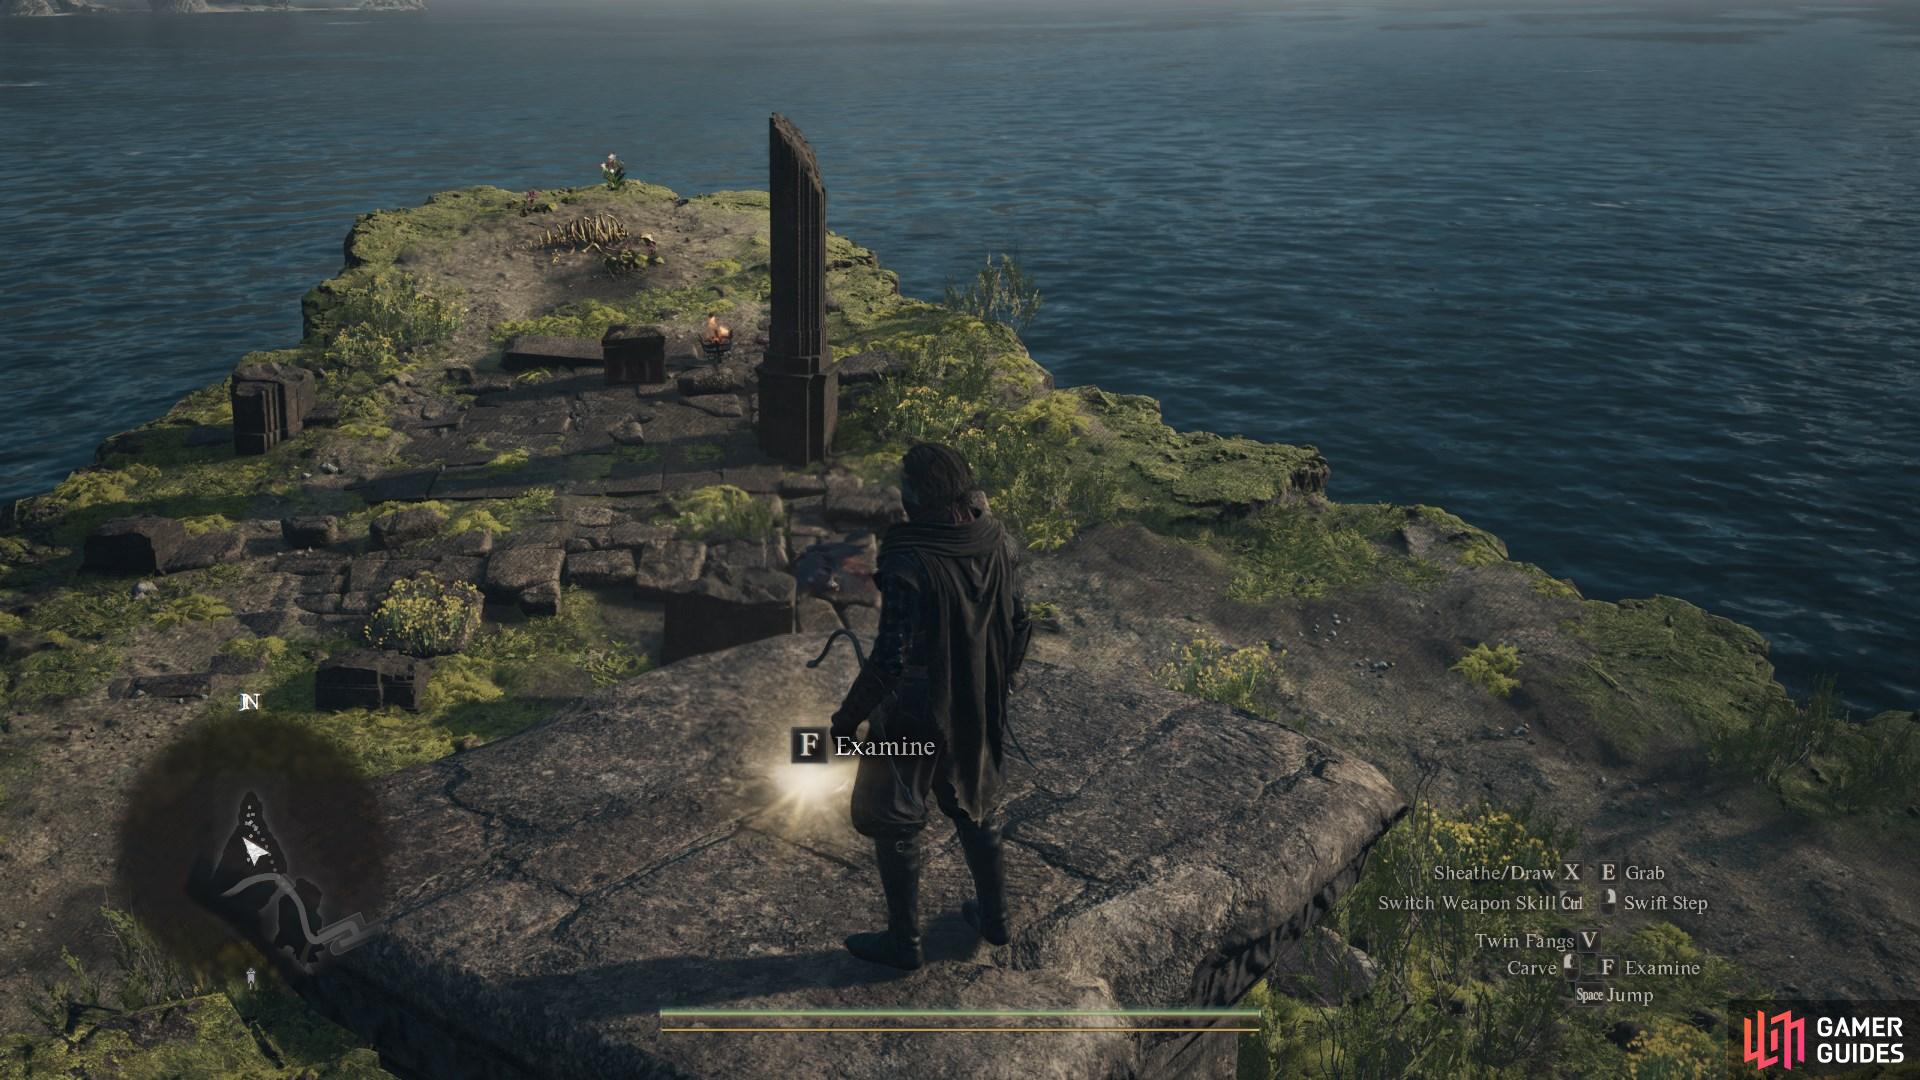
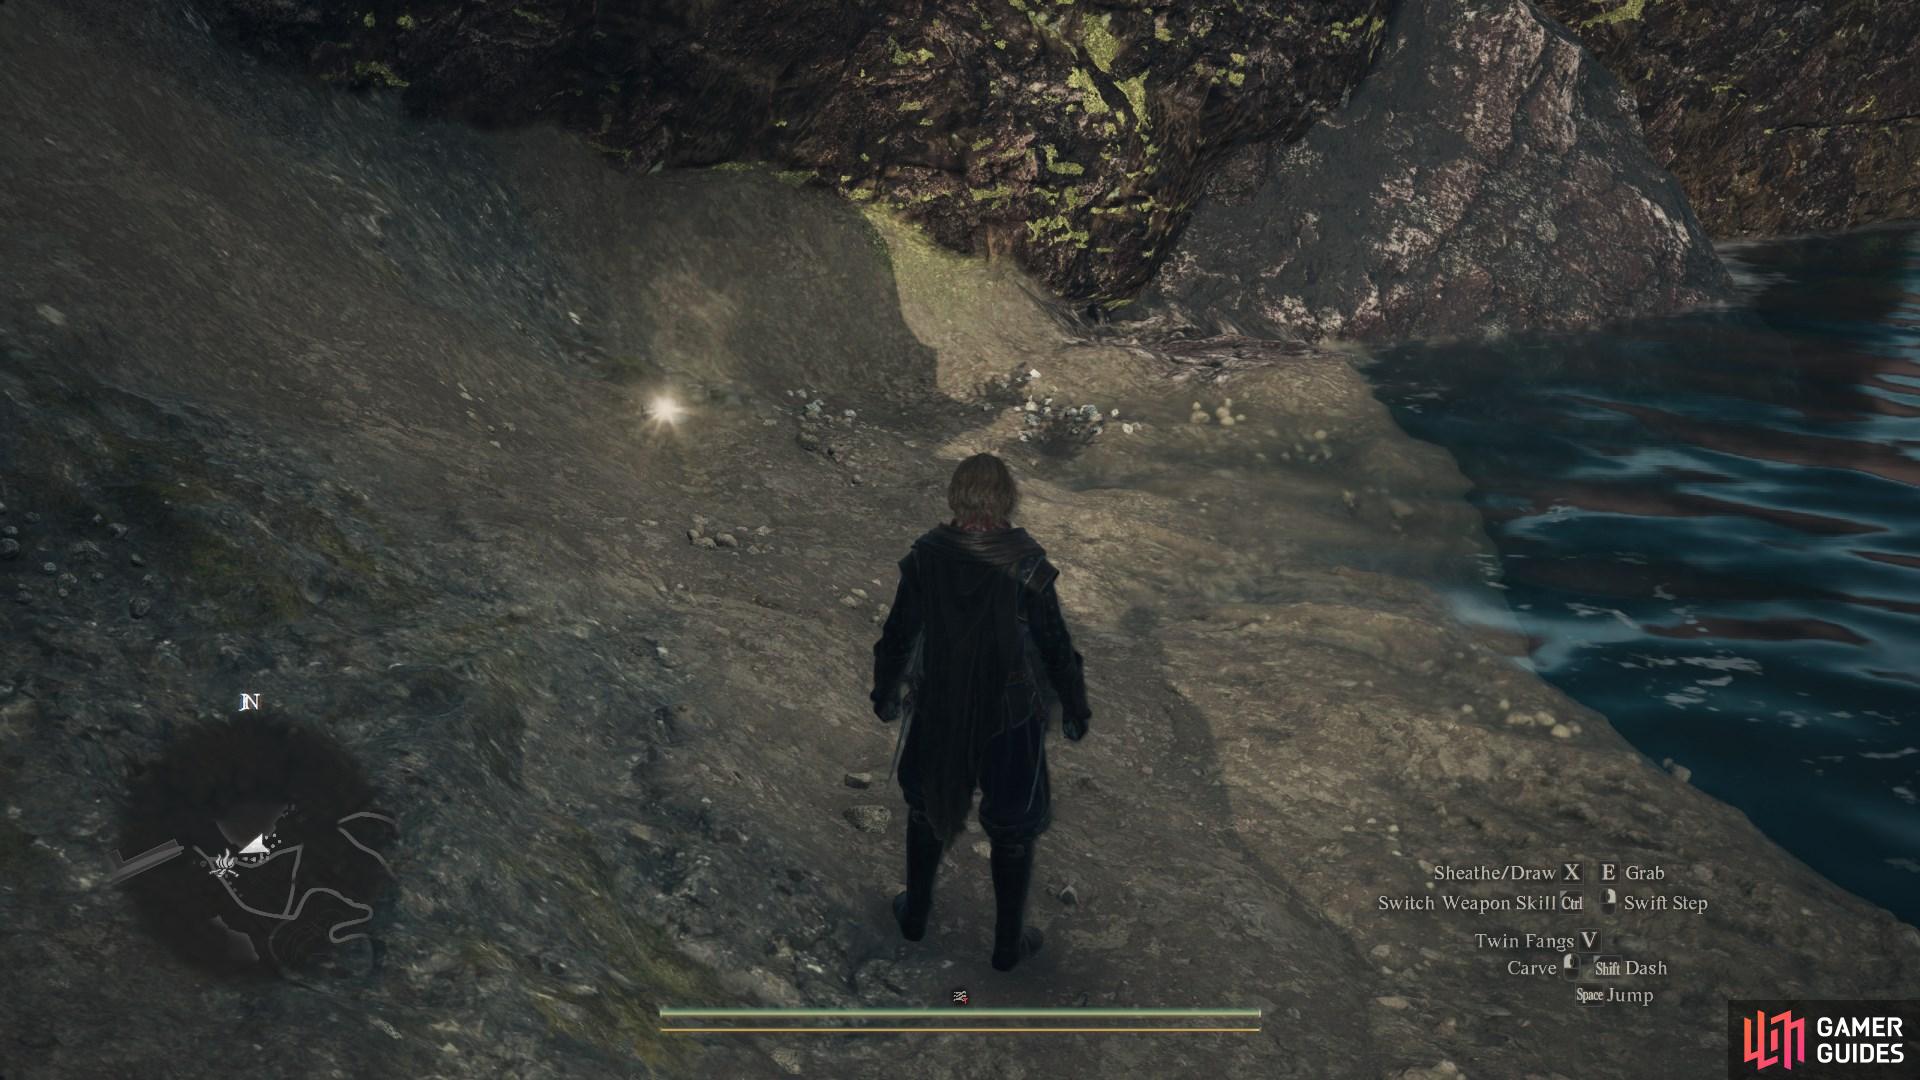
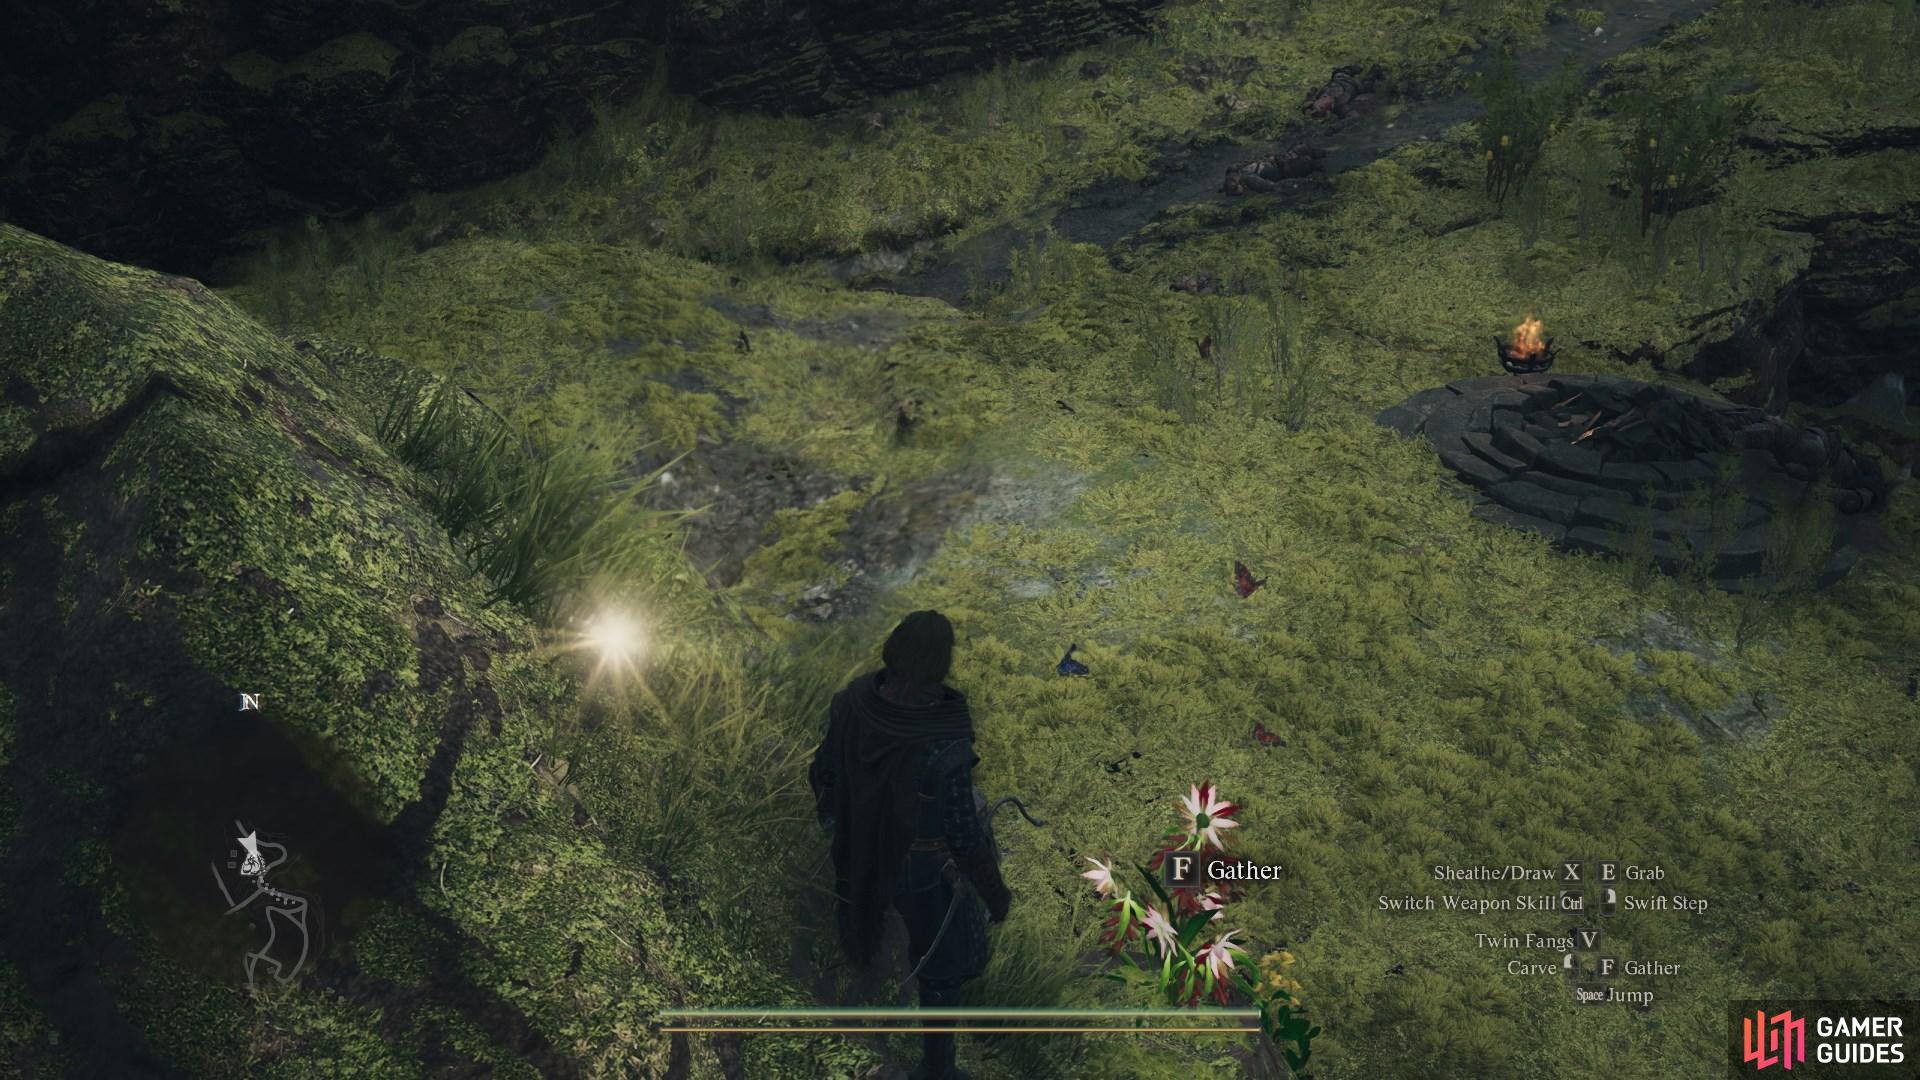
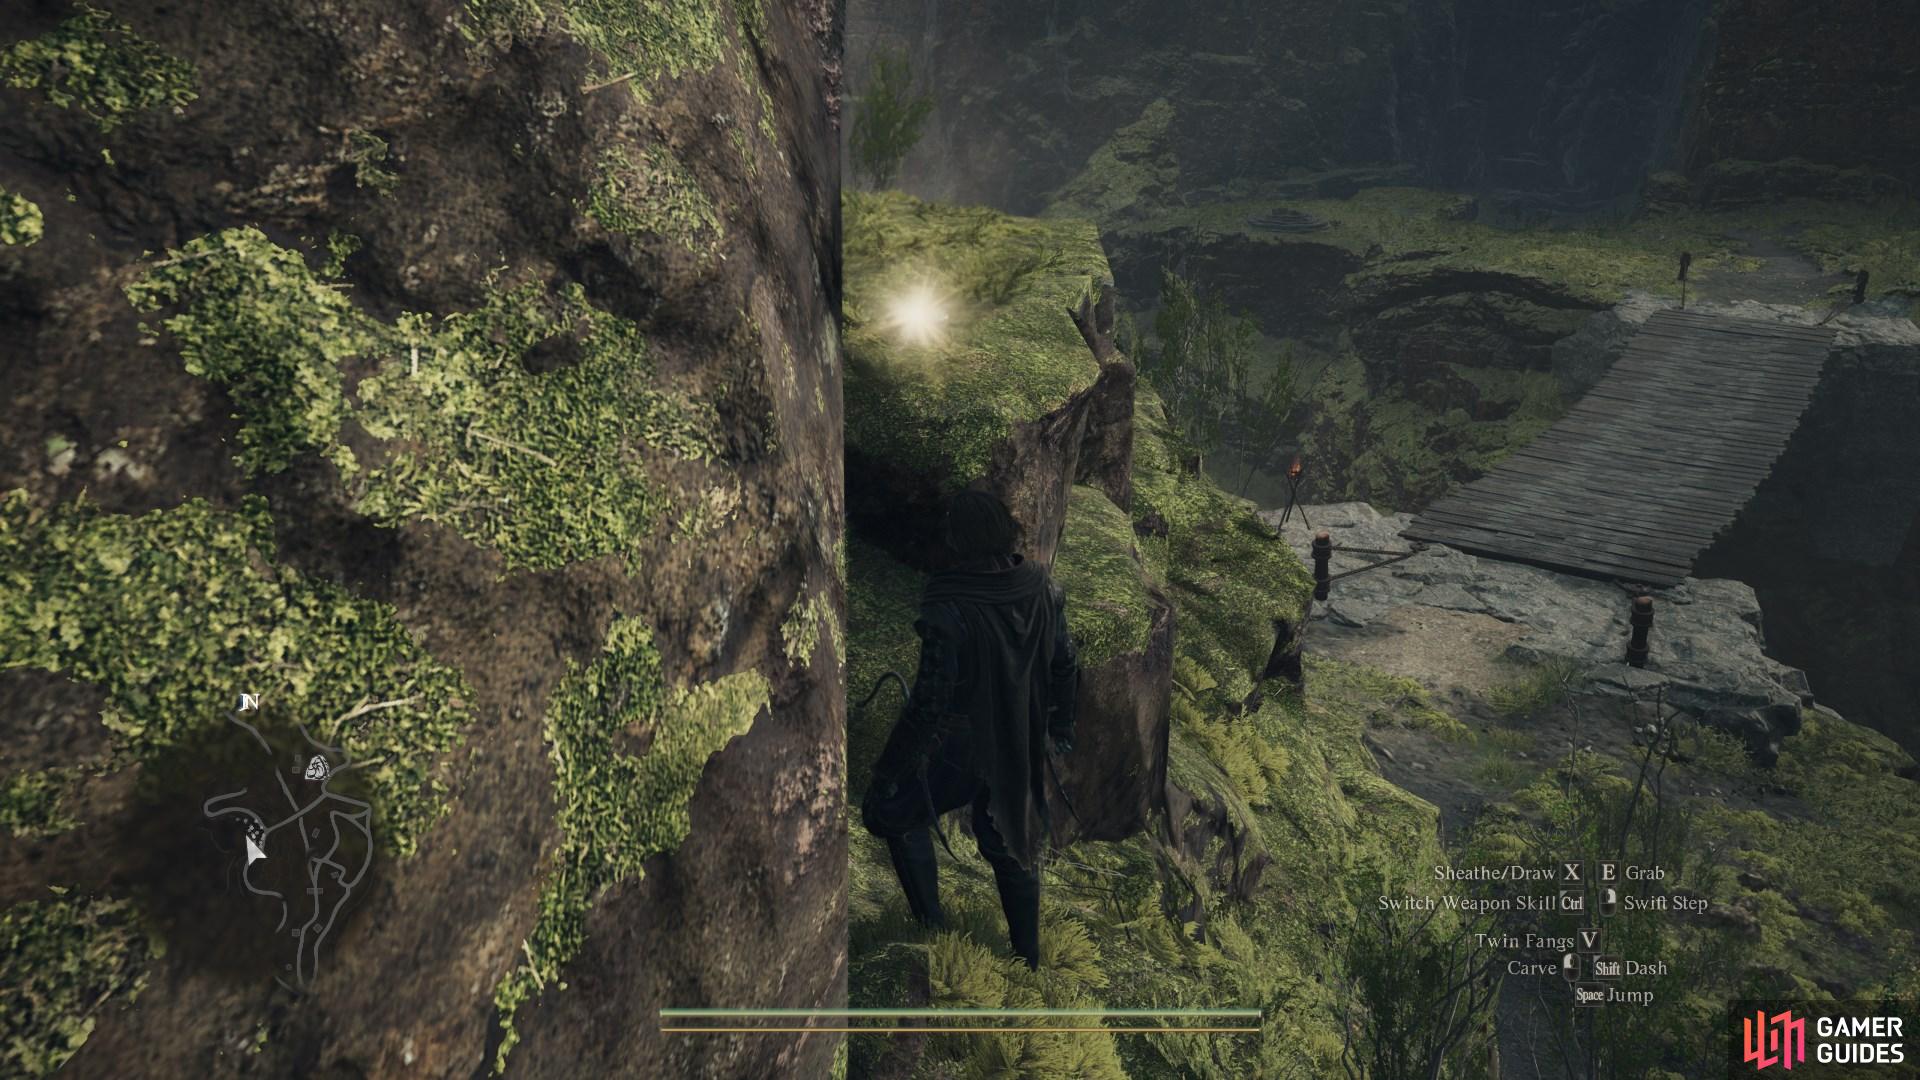
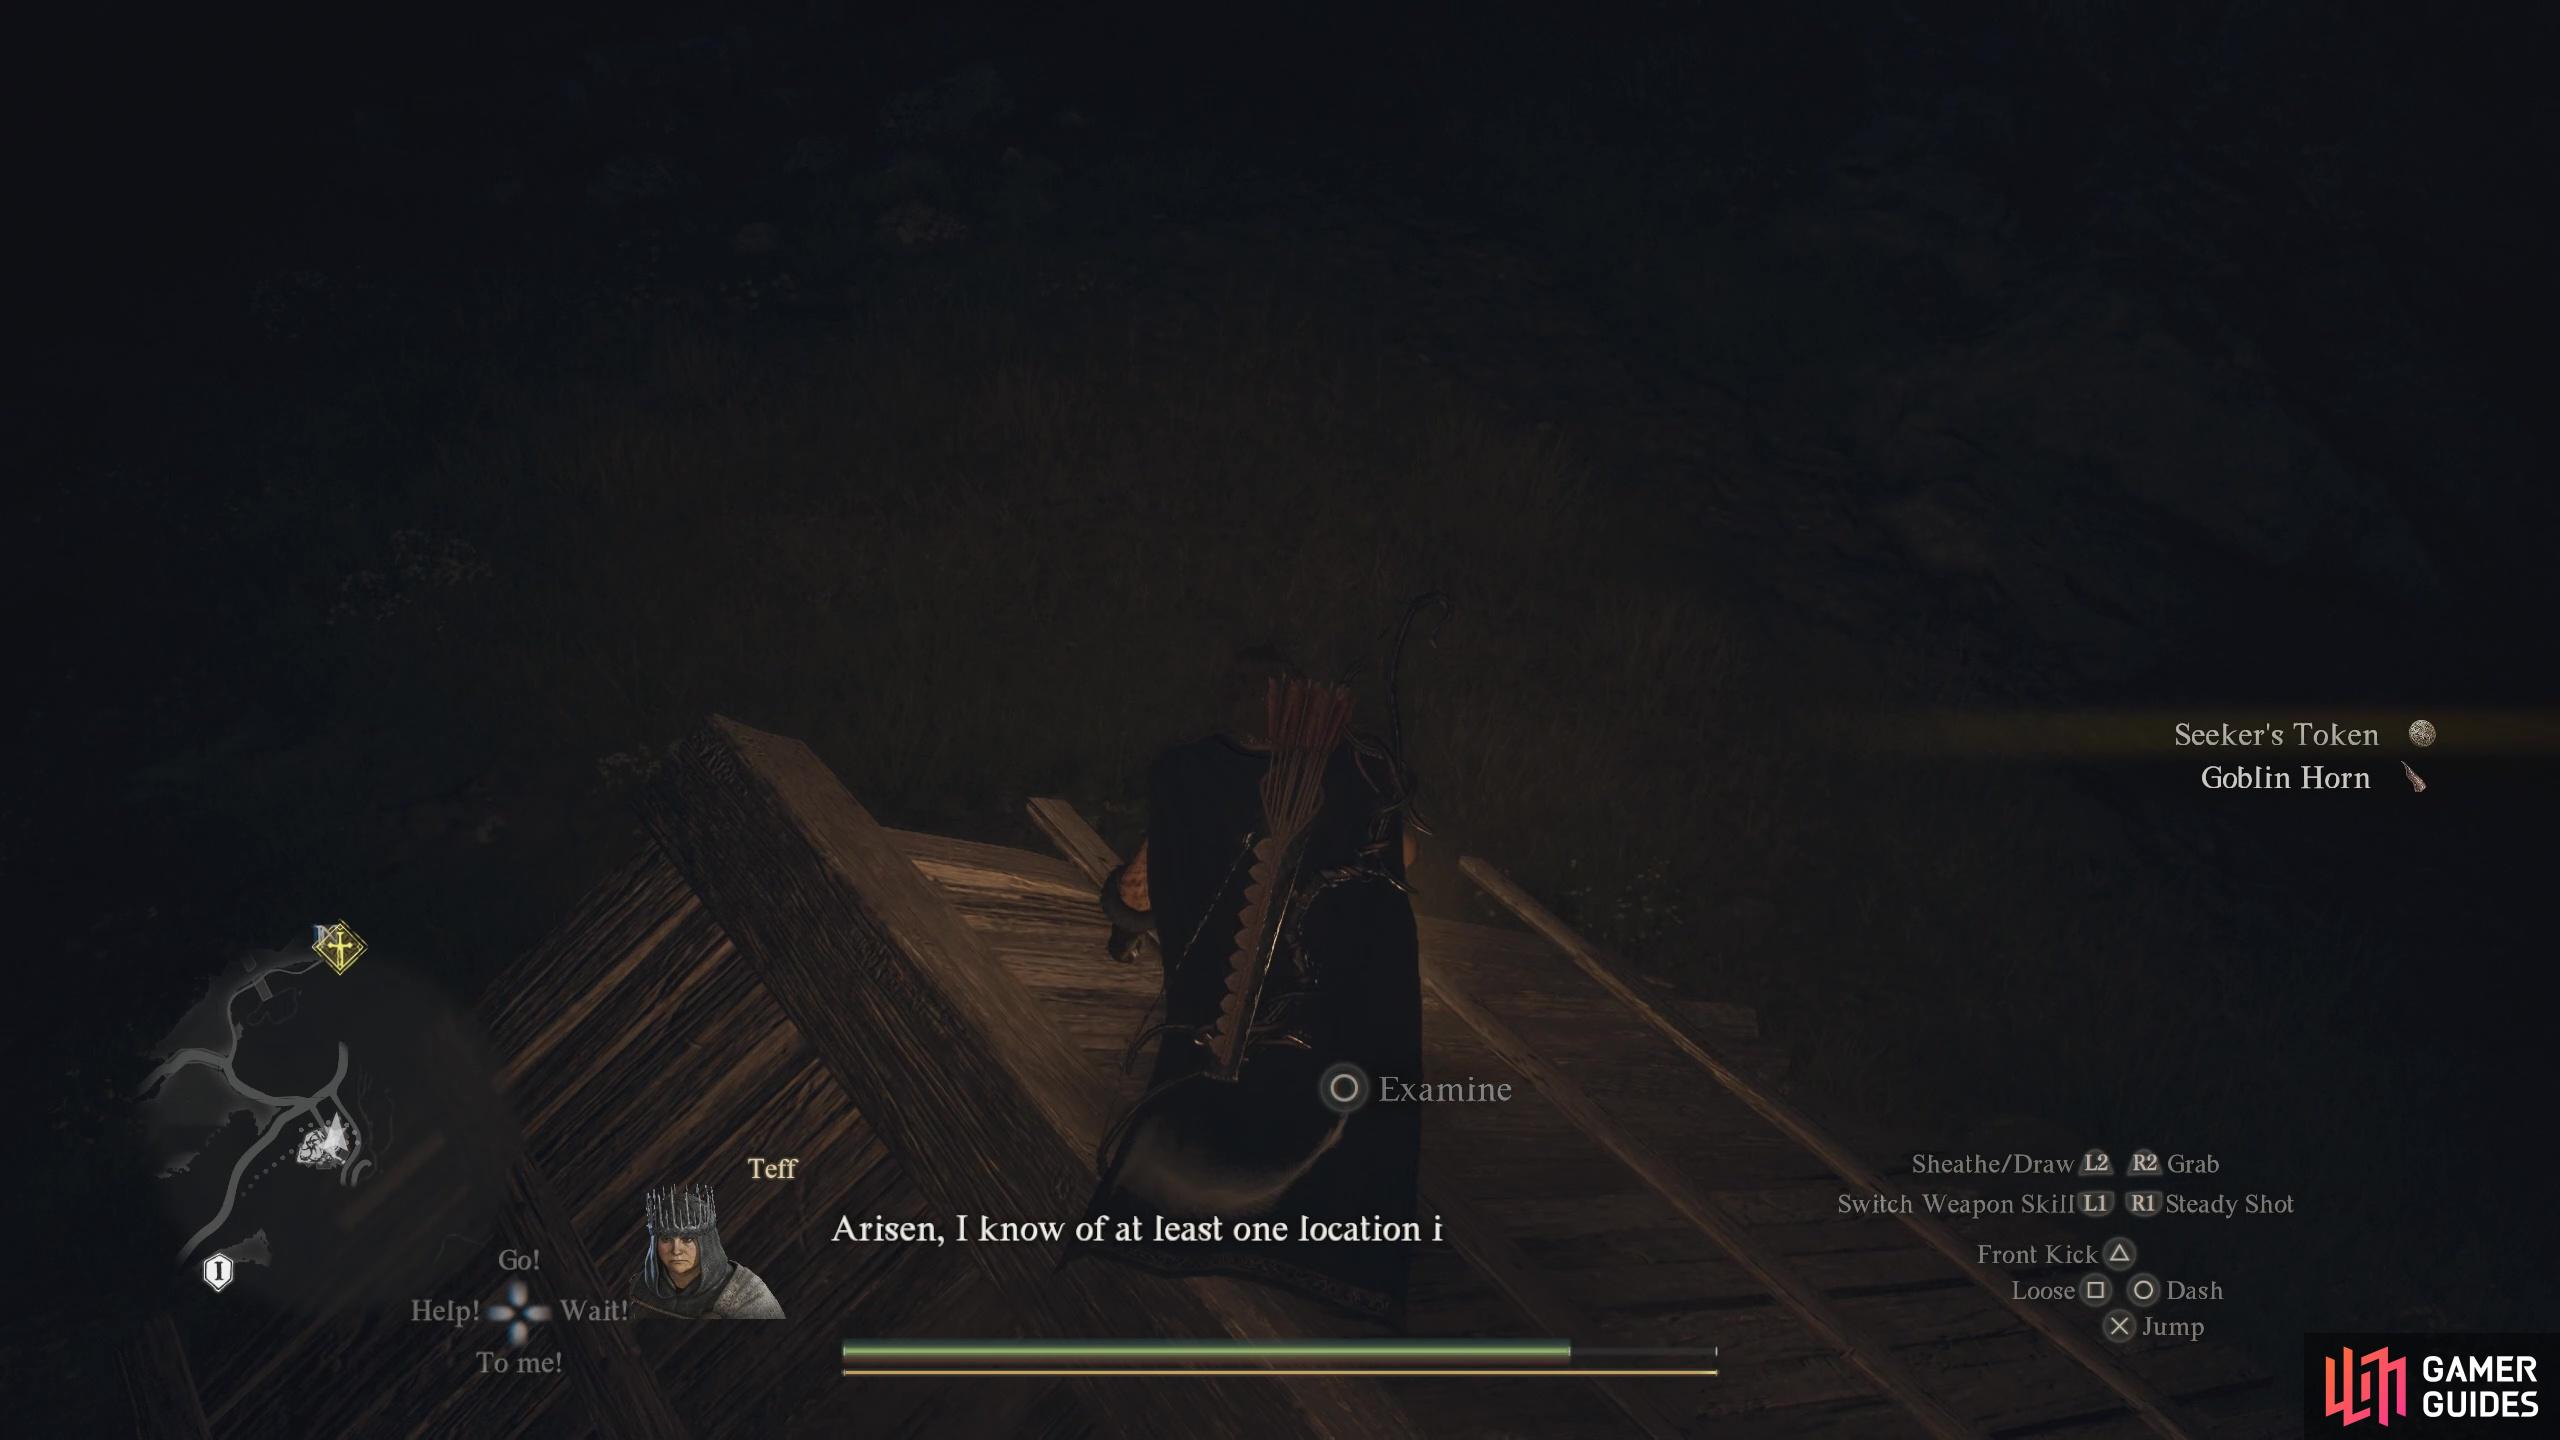
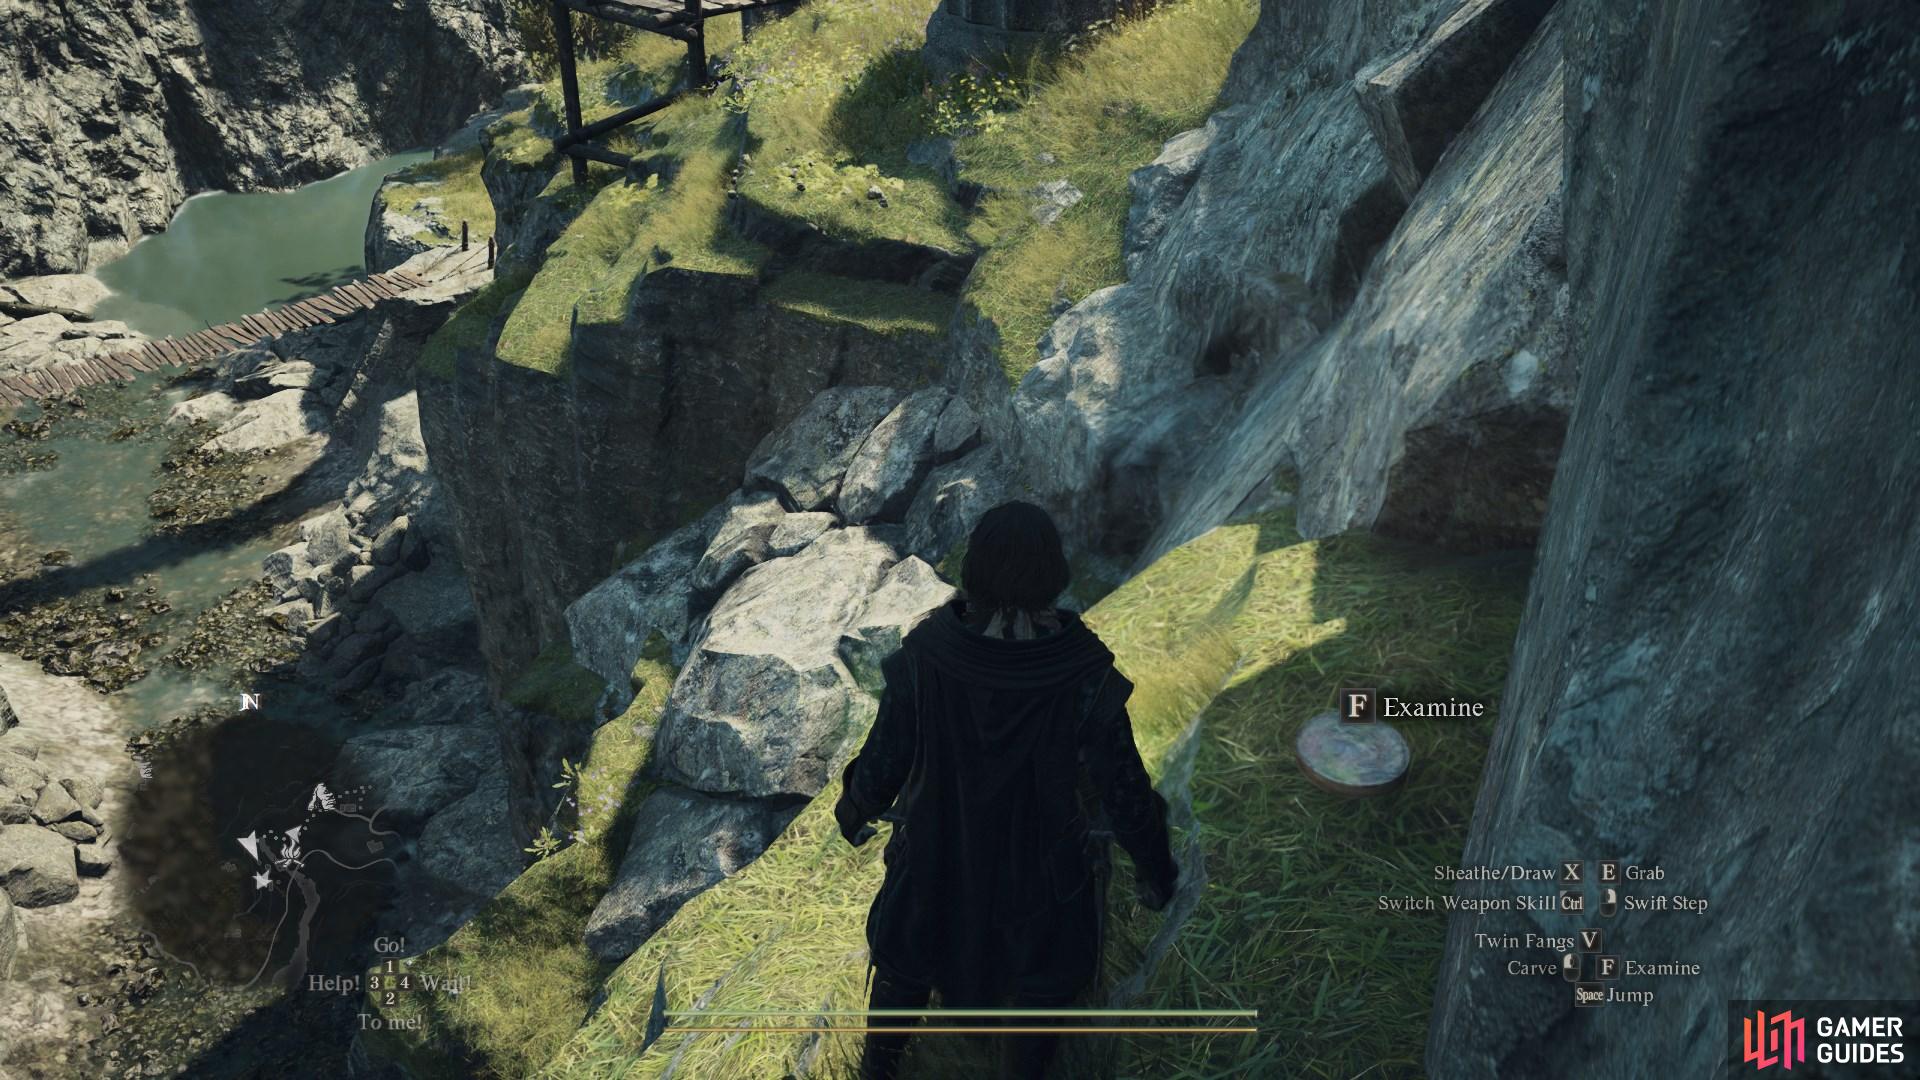
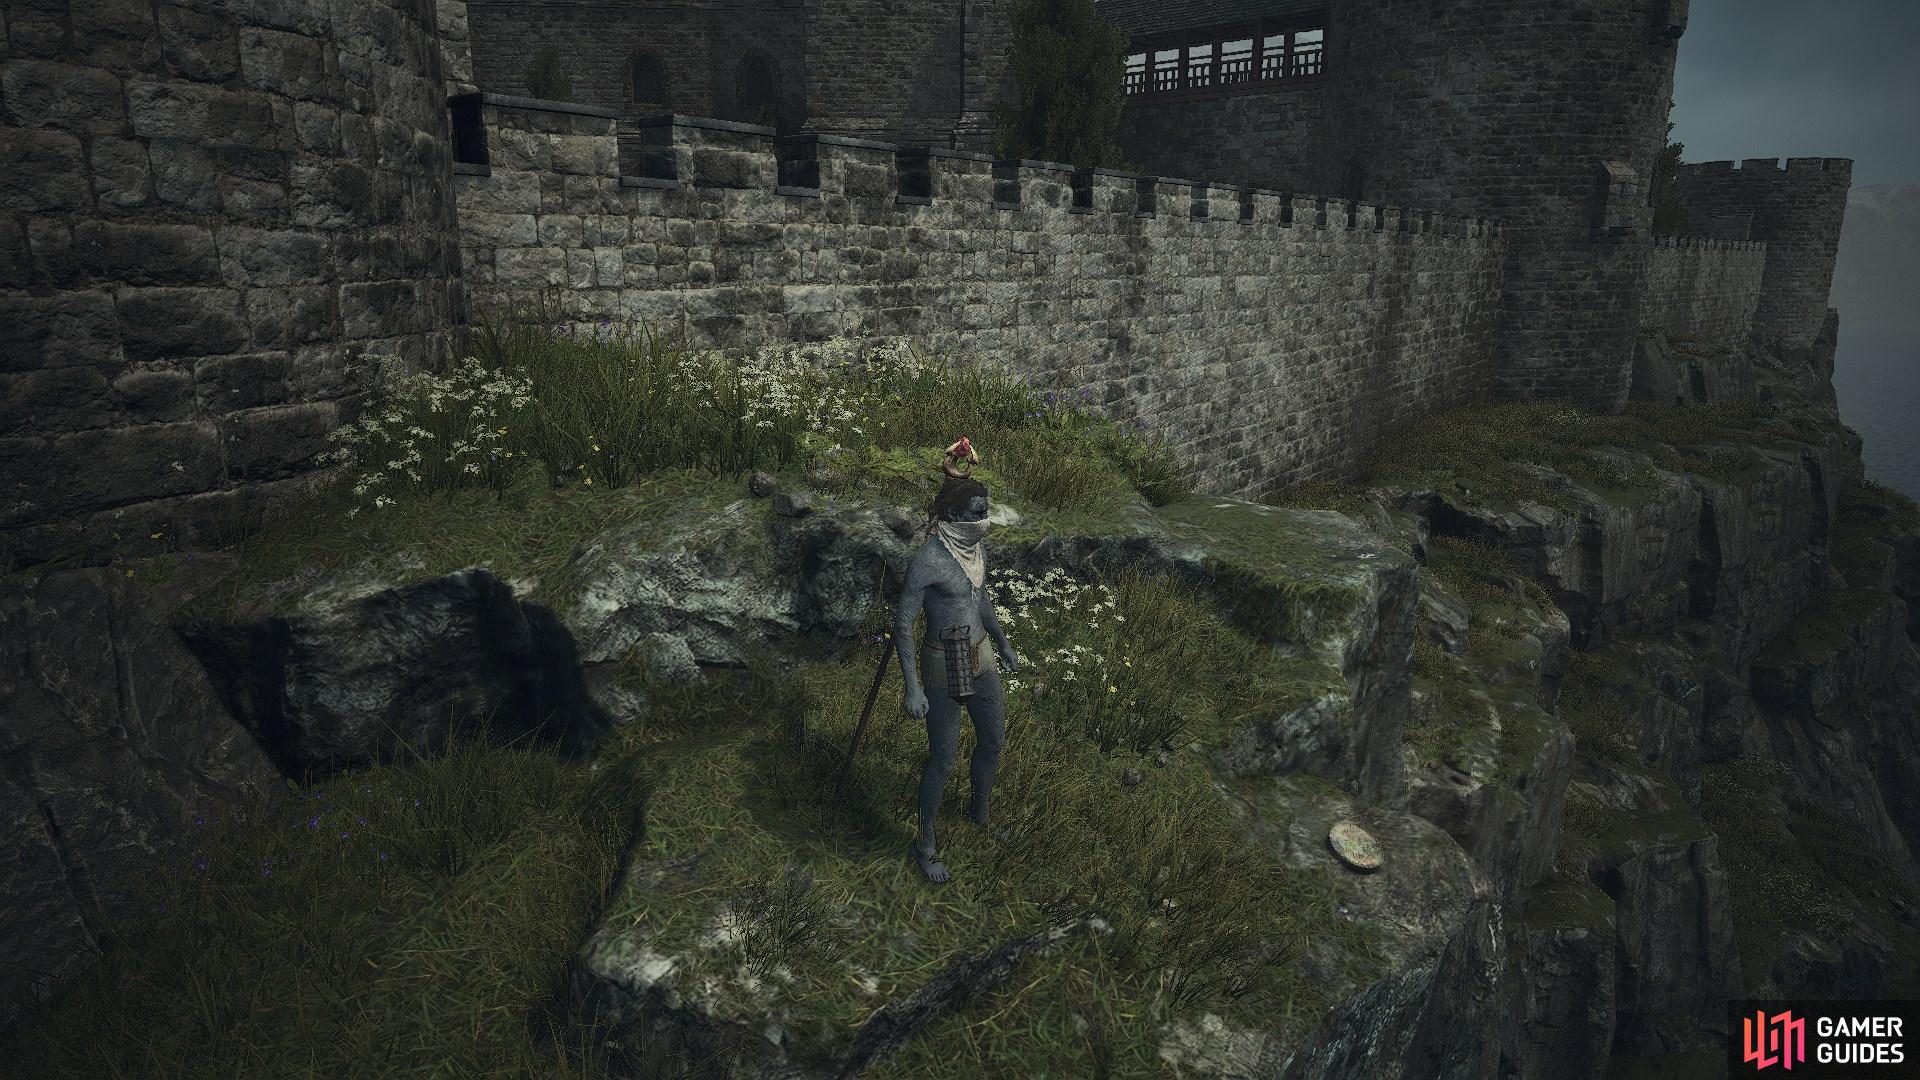
Seeker's Token
Description
A rare article found the world over in places remote or picturesque. Can be exchanged at a guild hall for a variety of rewards.
Screenshots

Interactive Map Locations
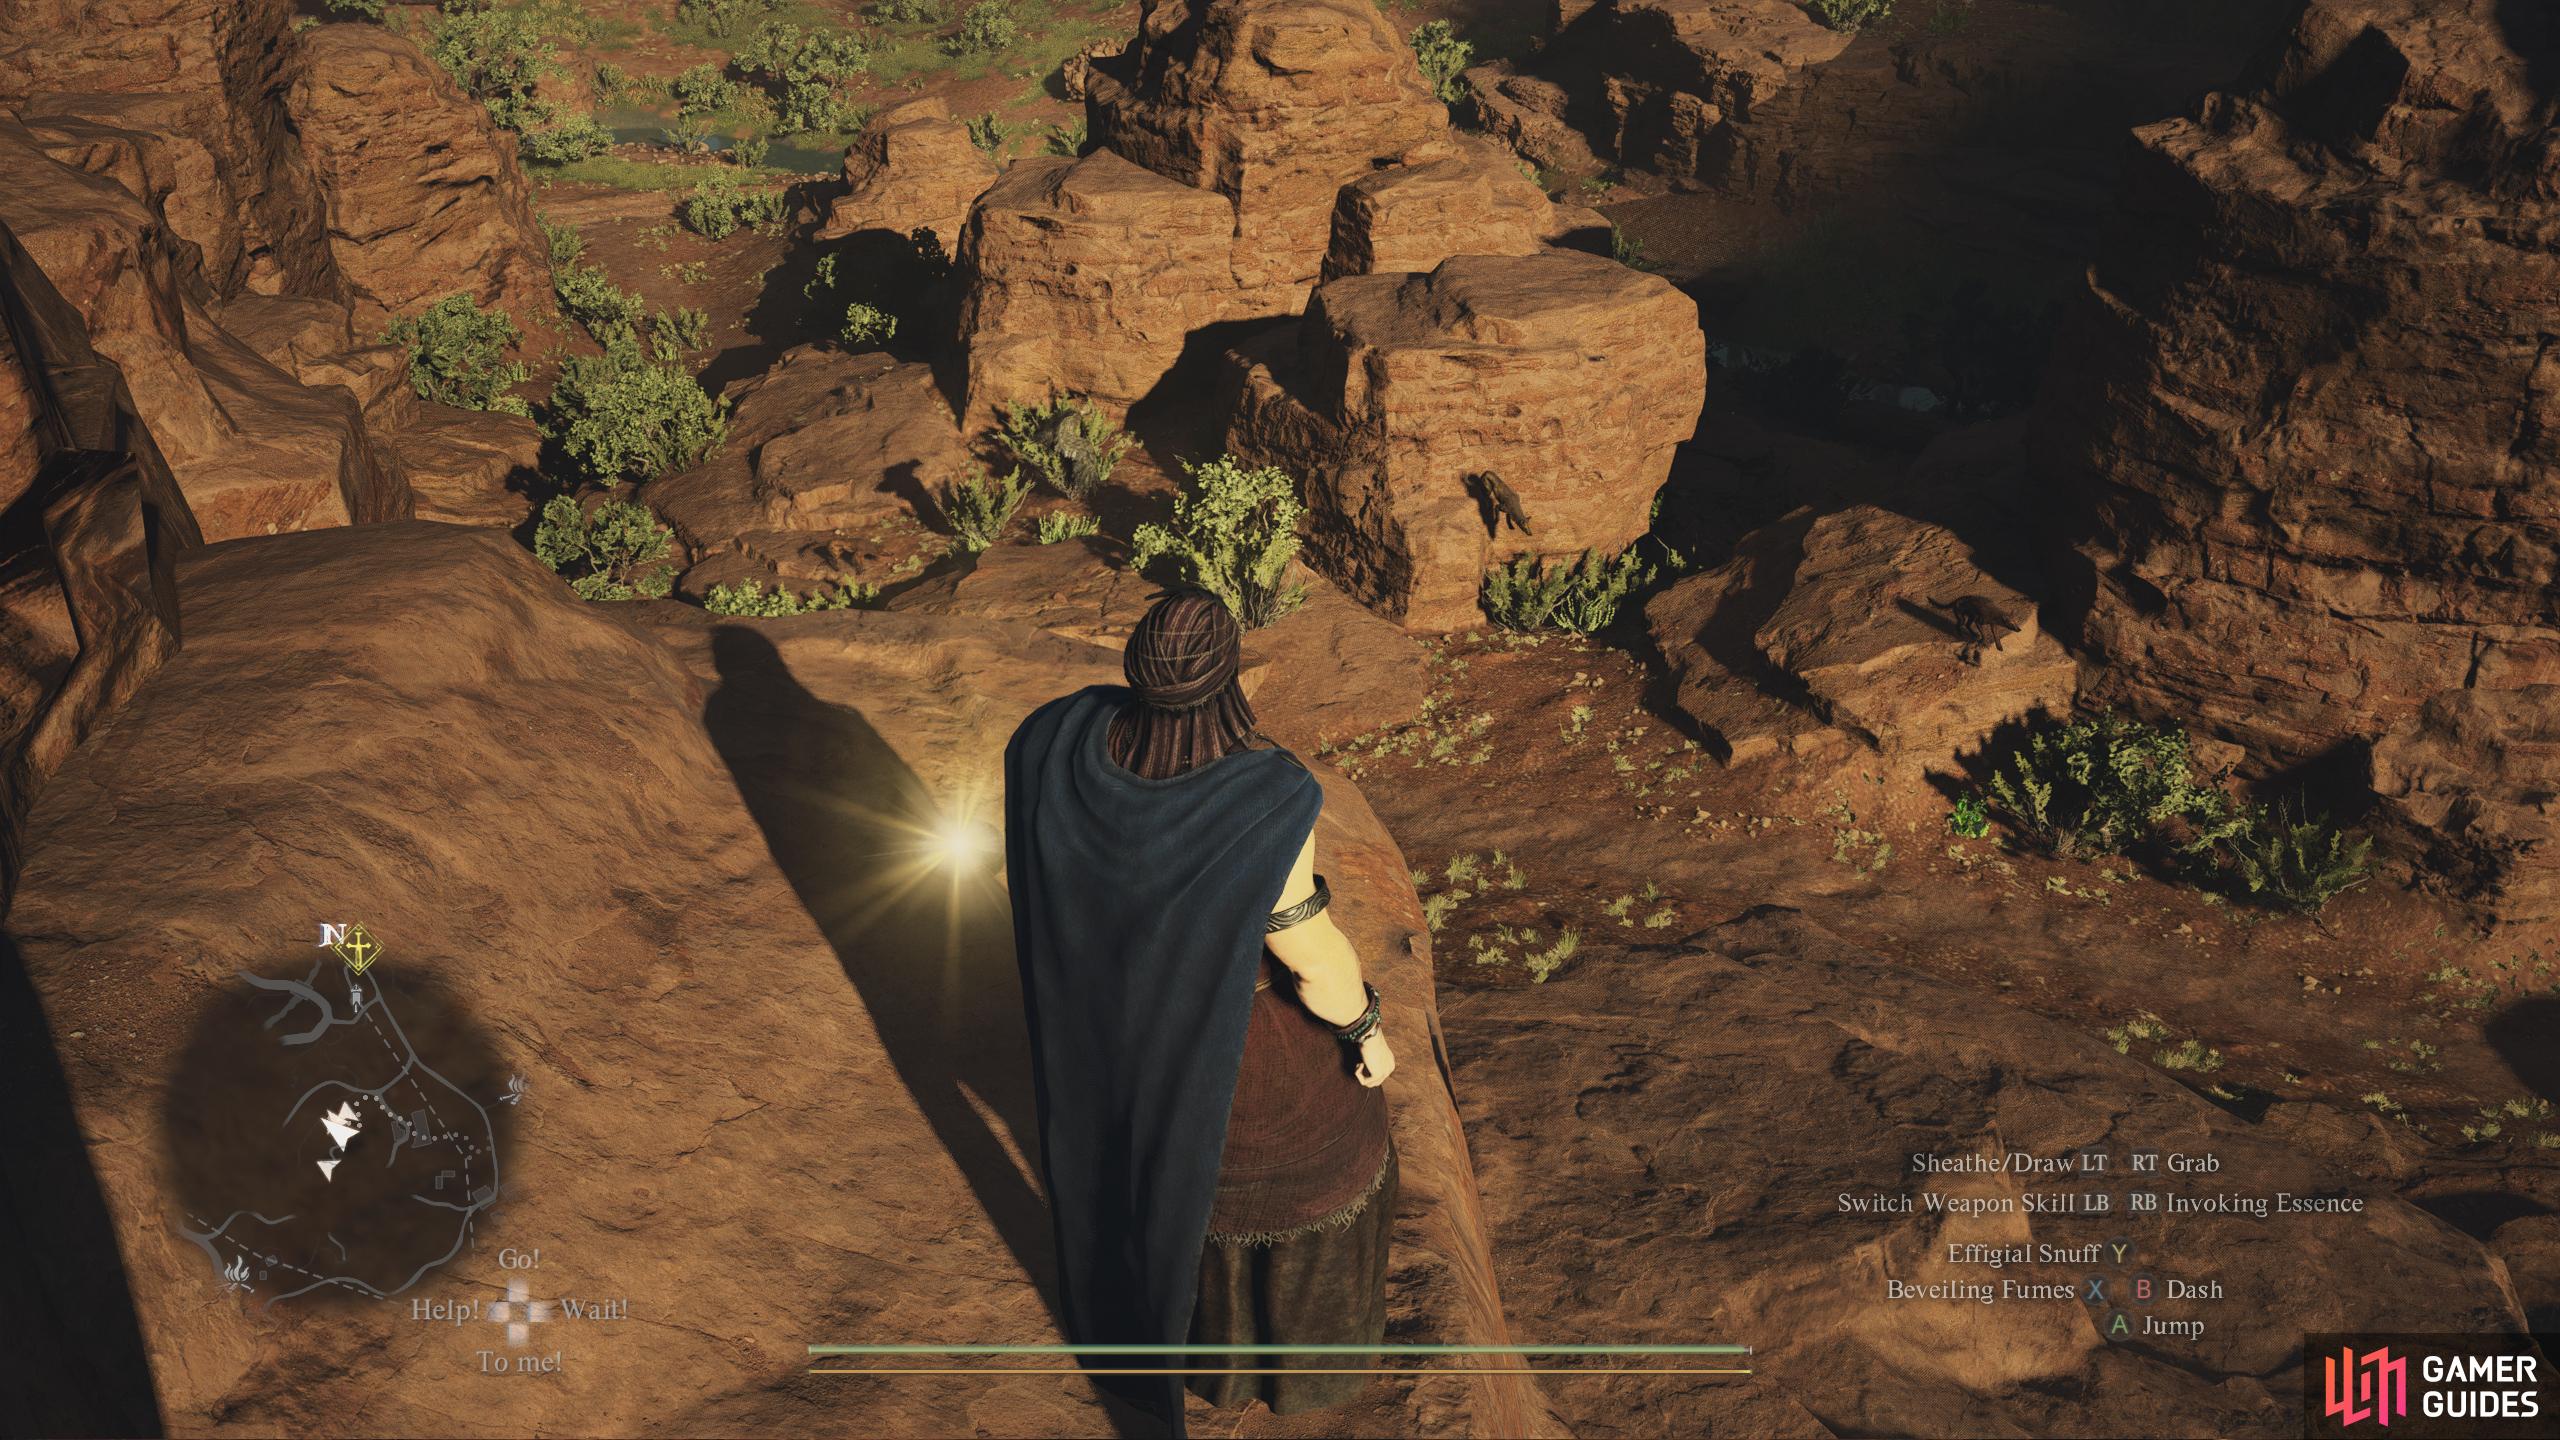
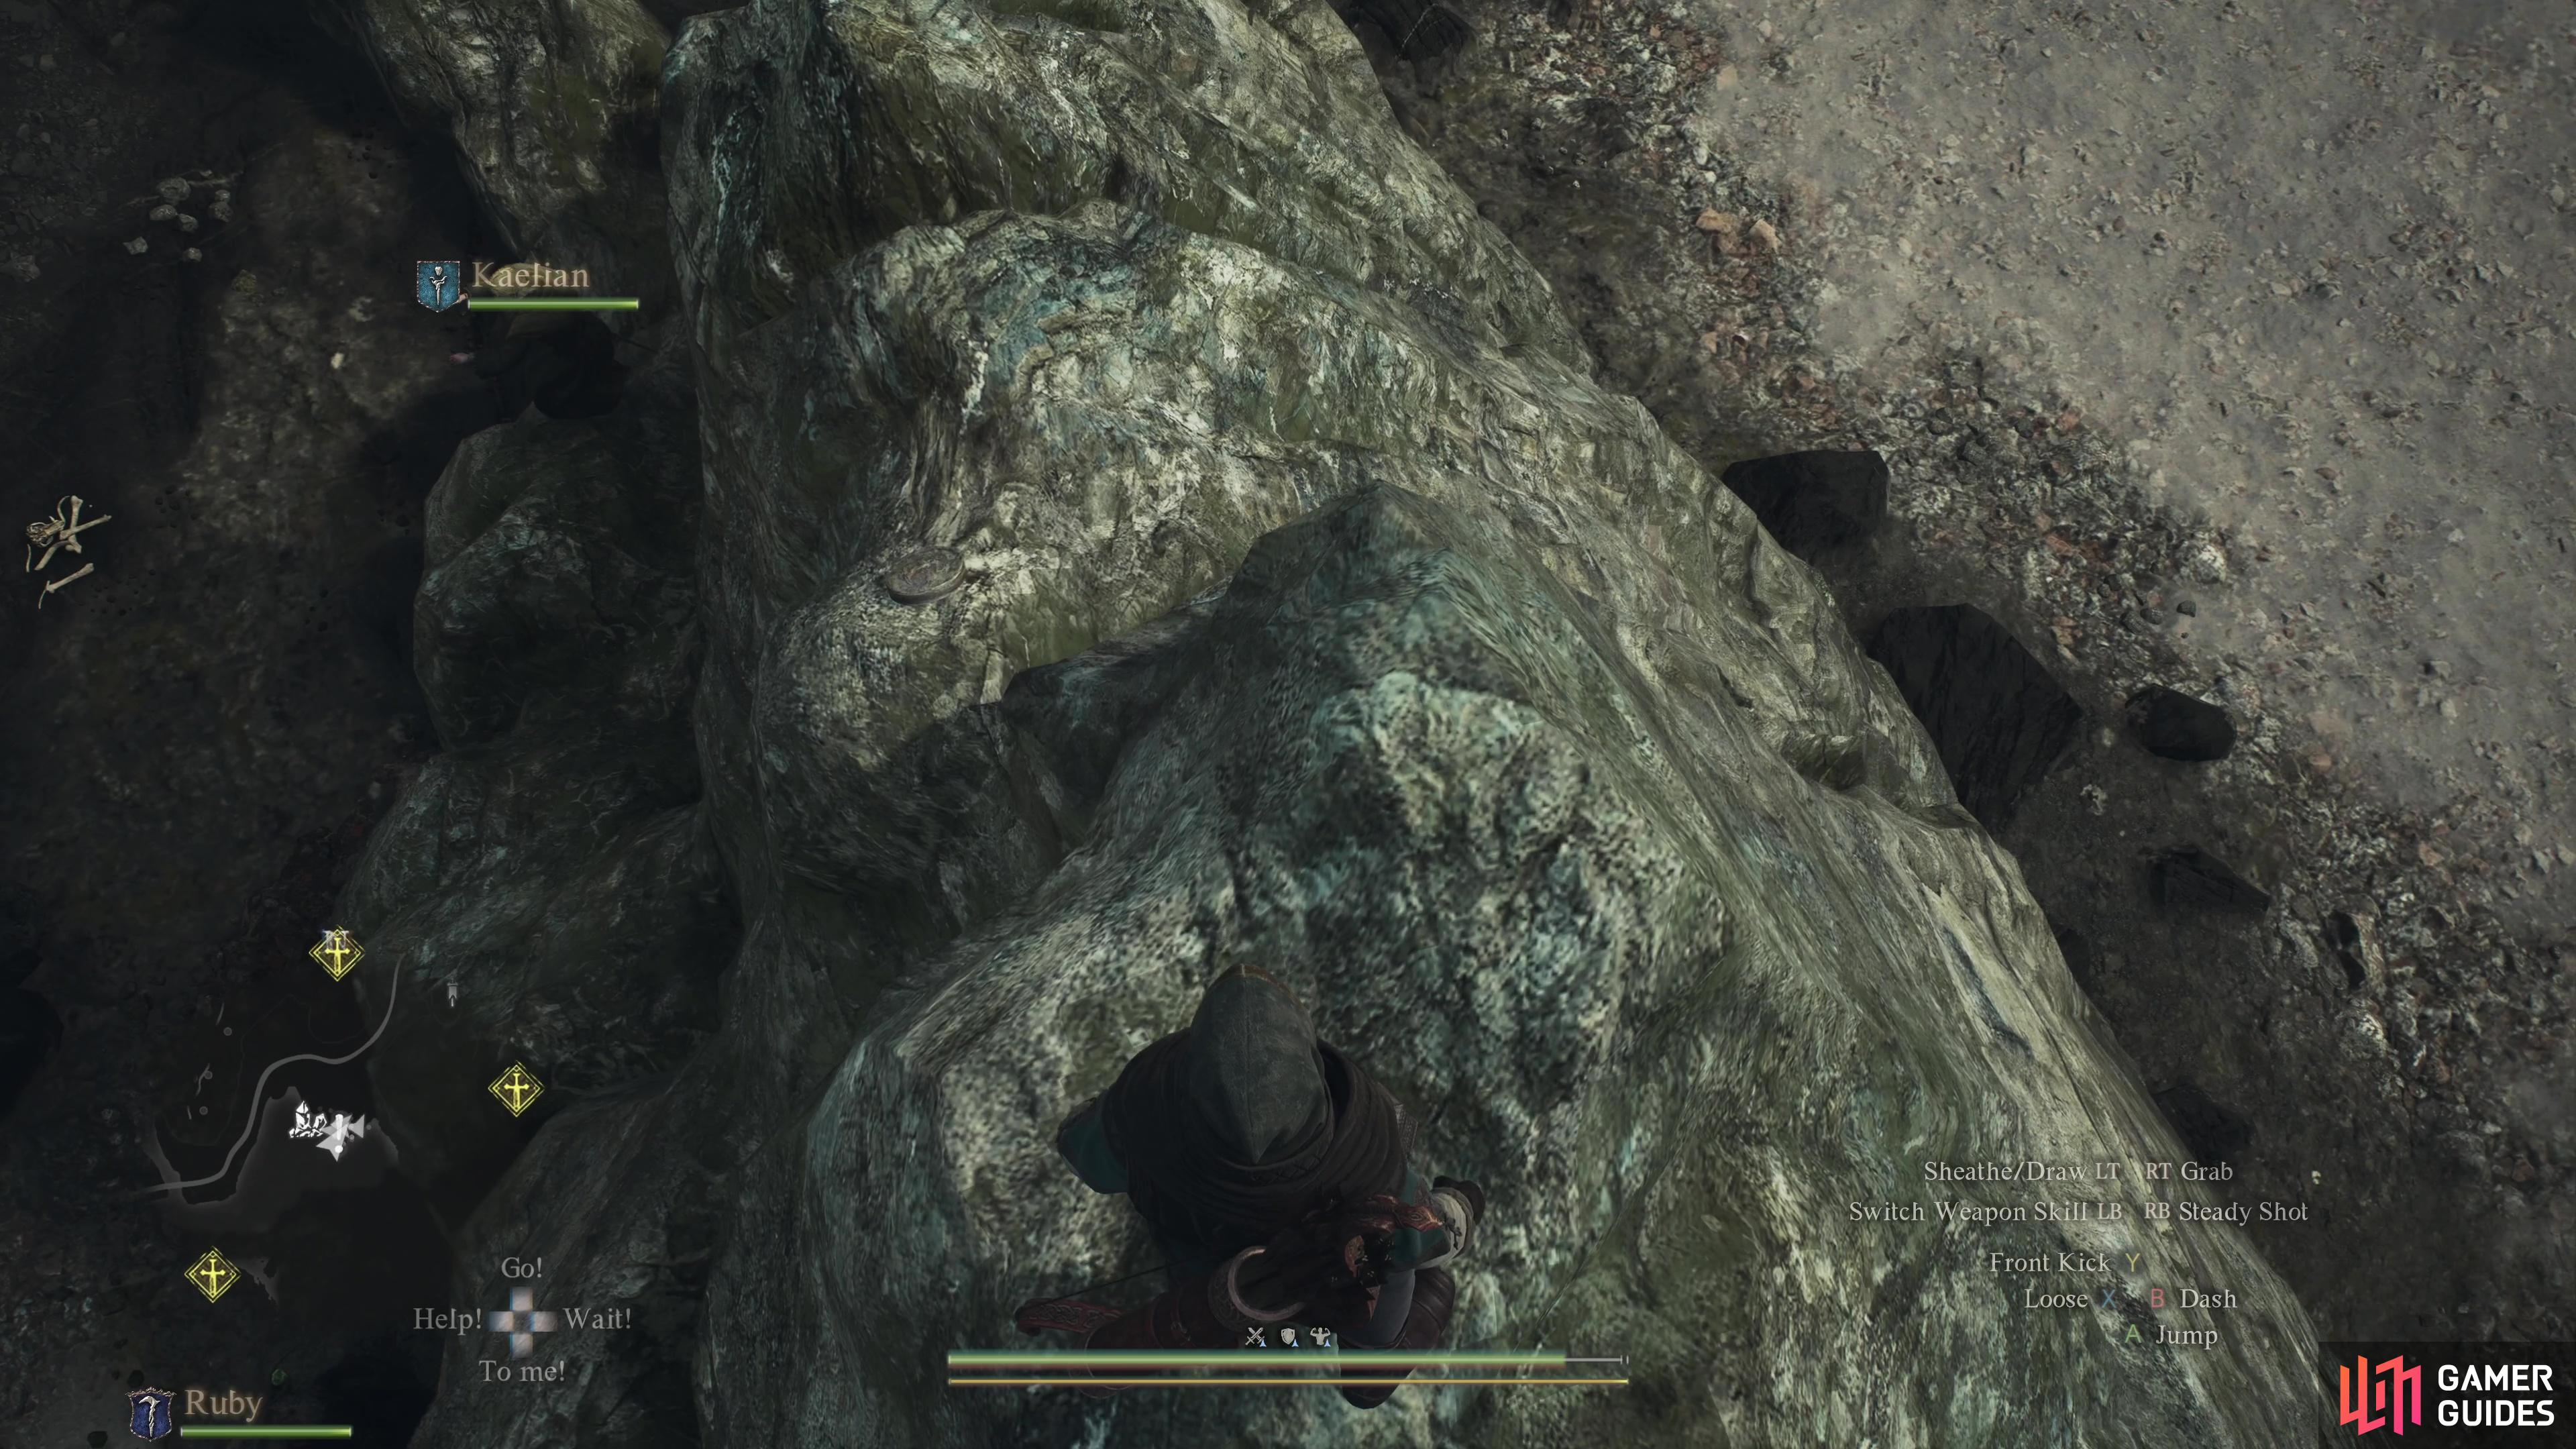
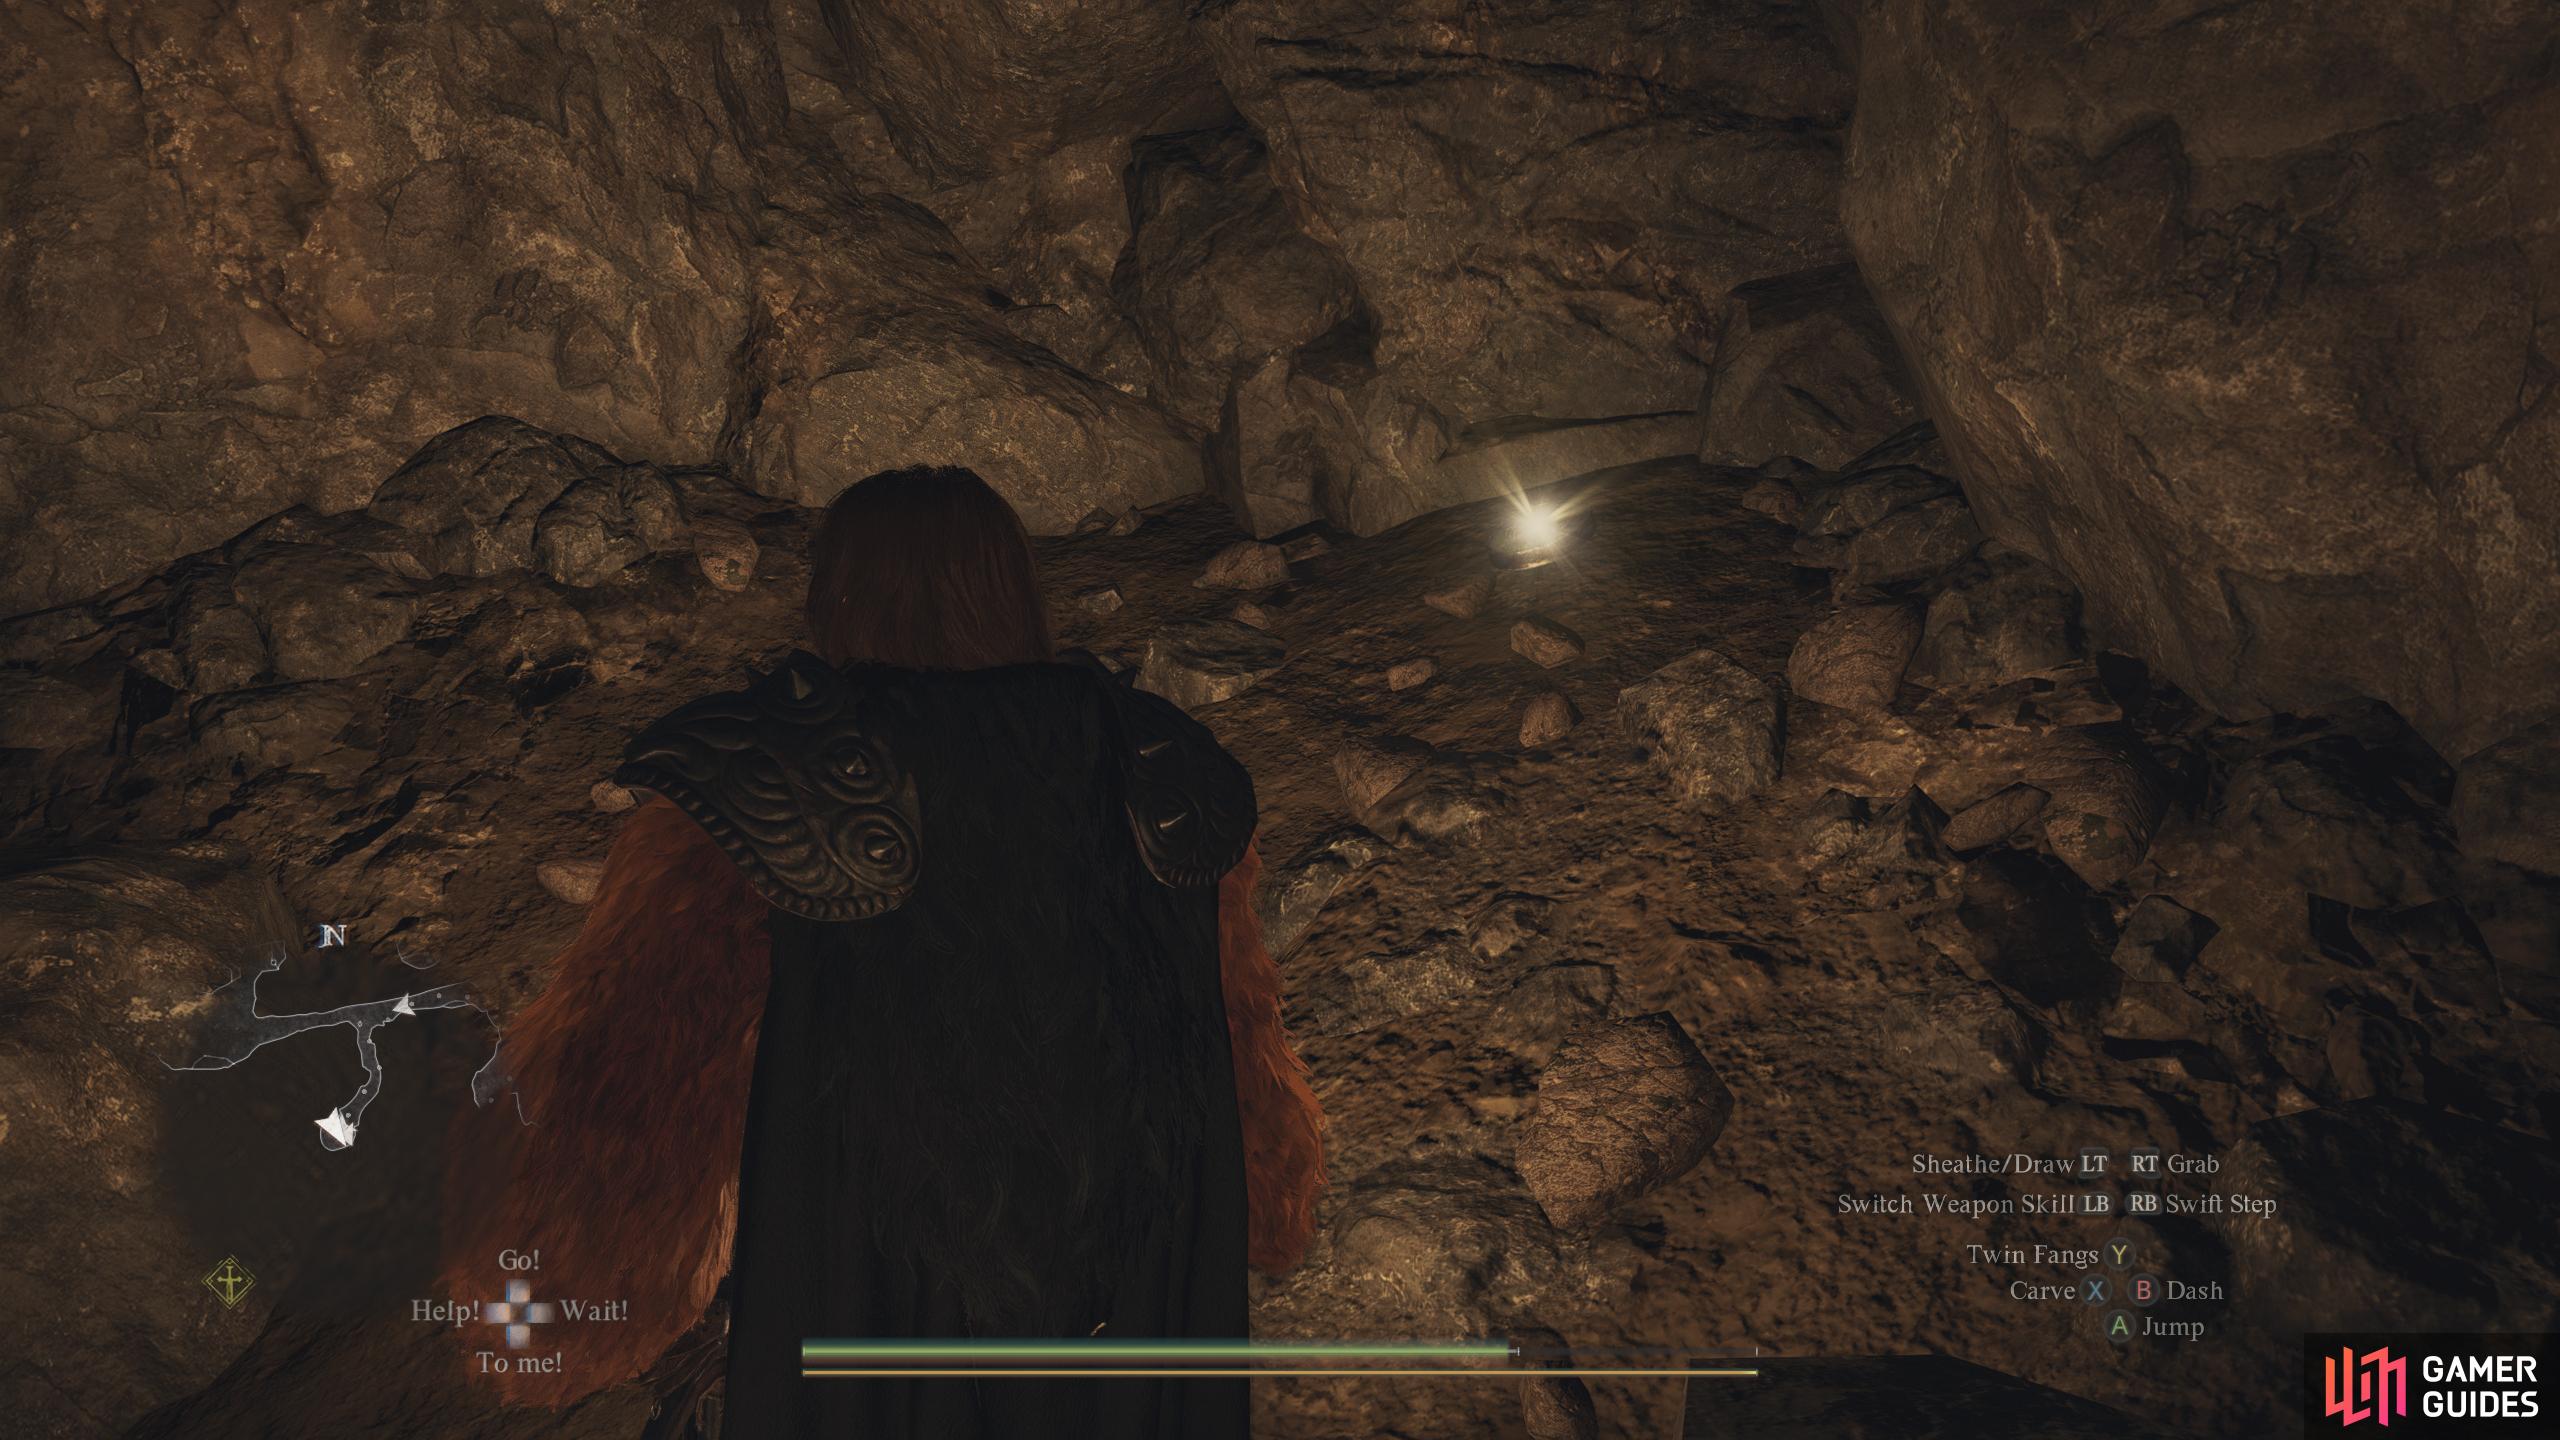
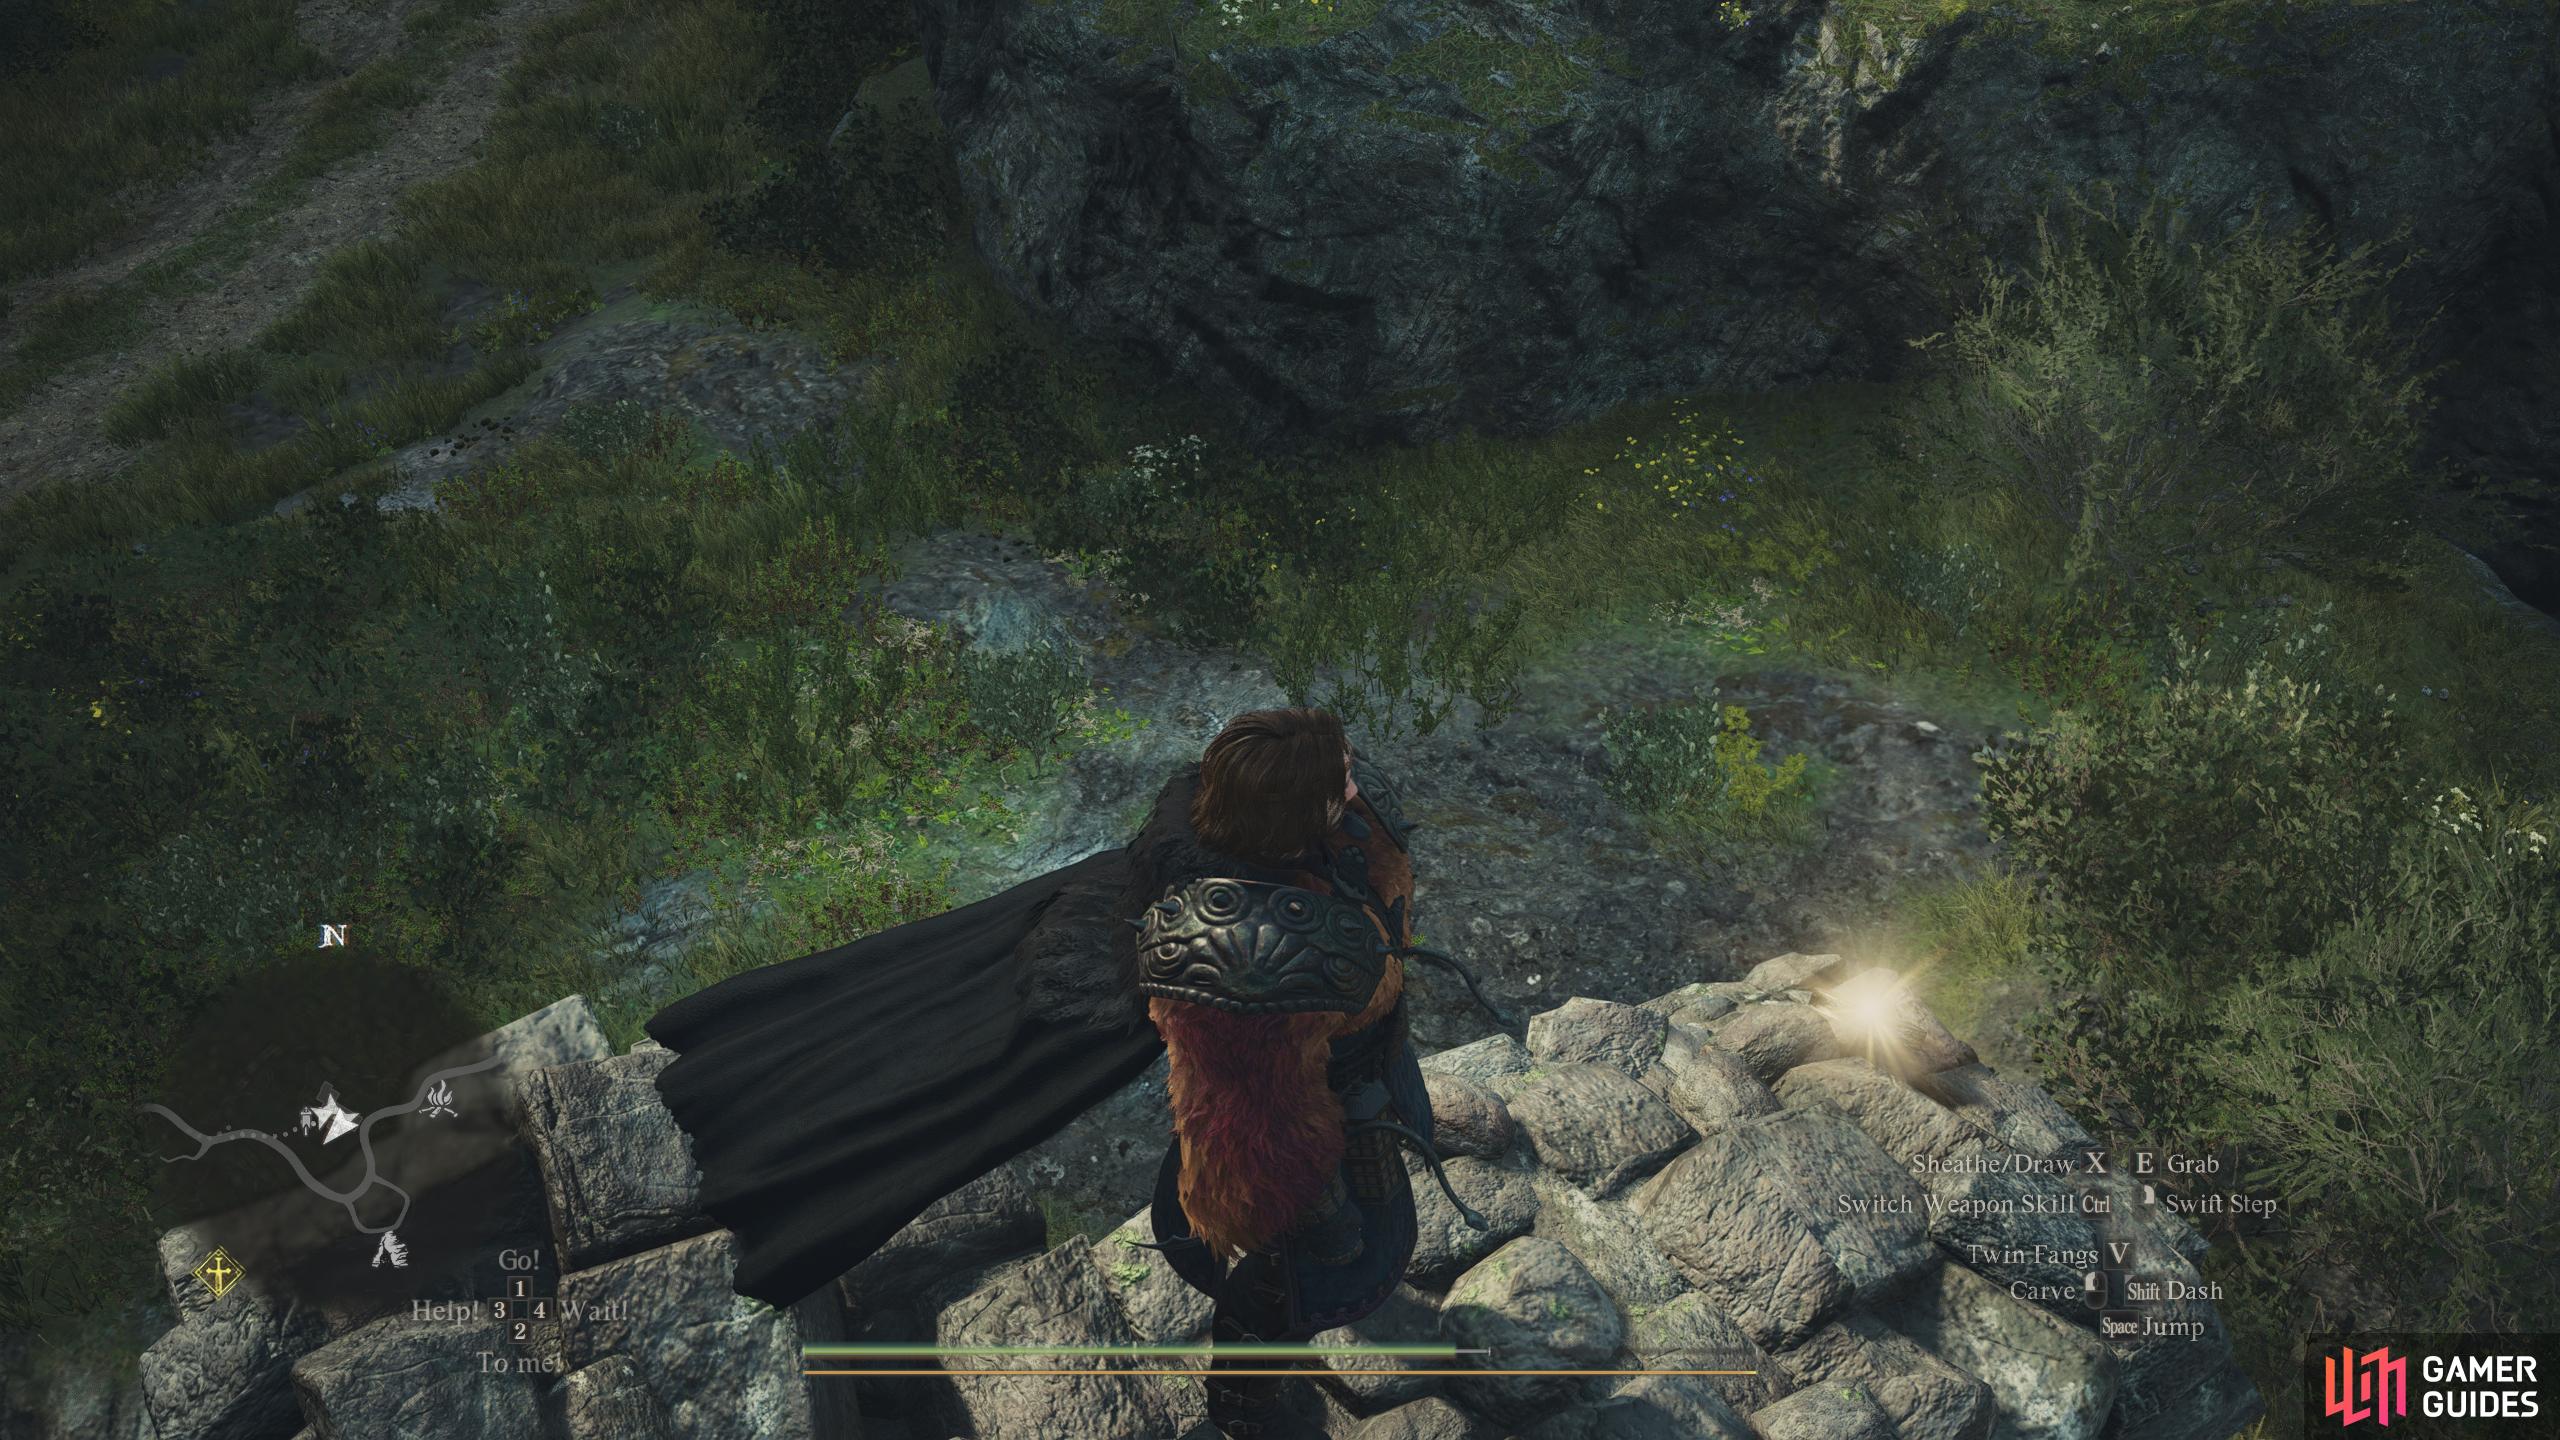
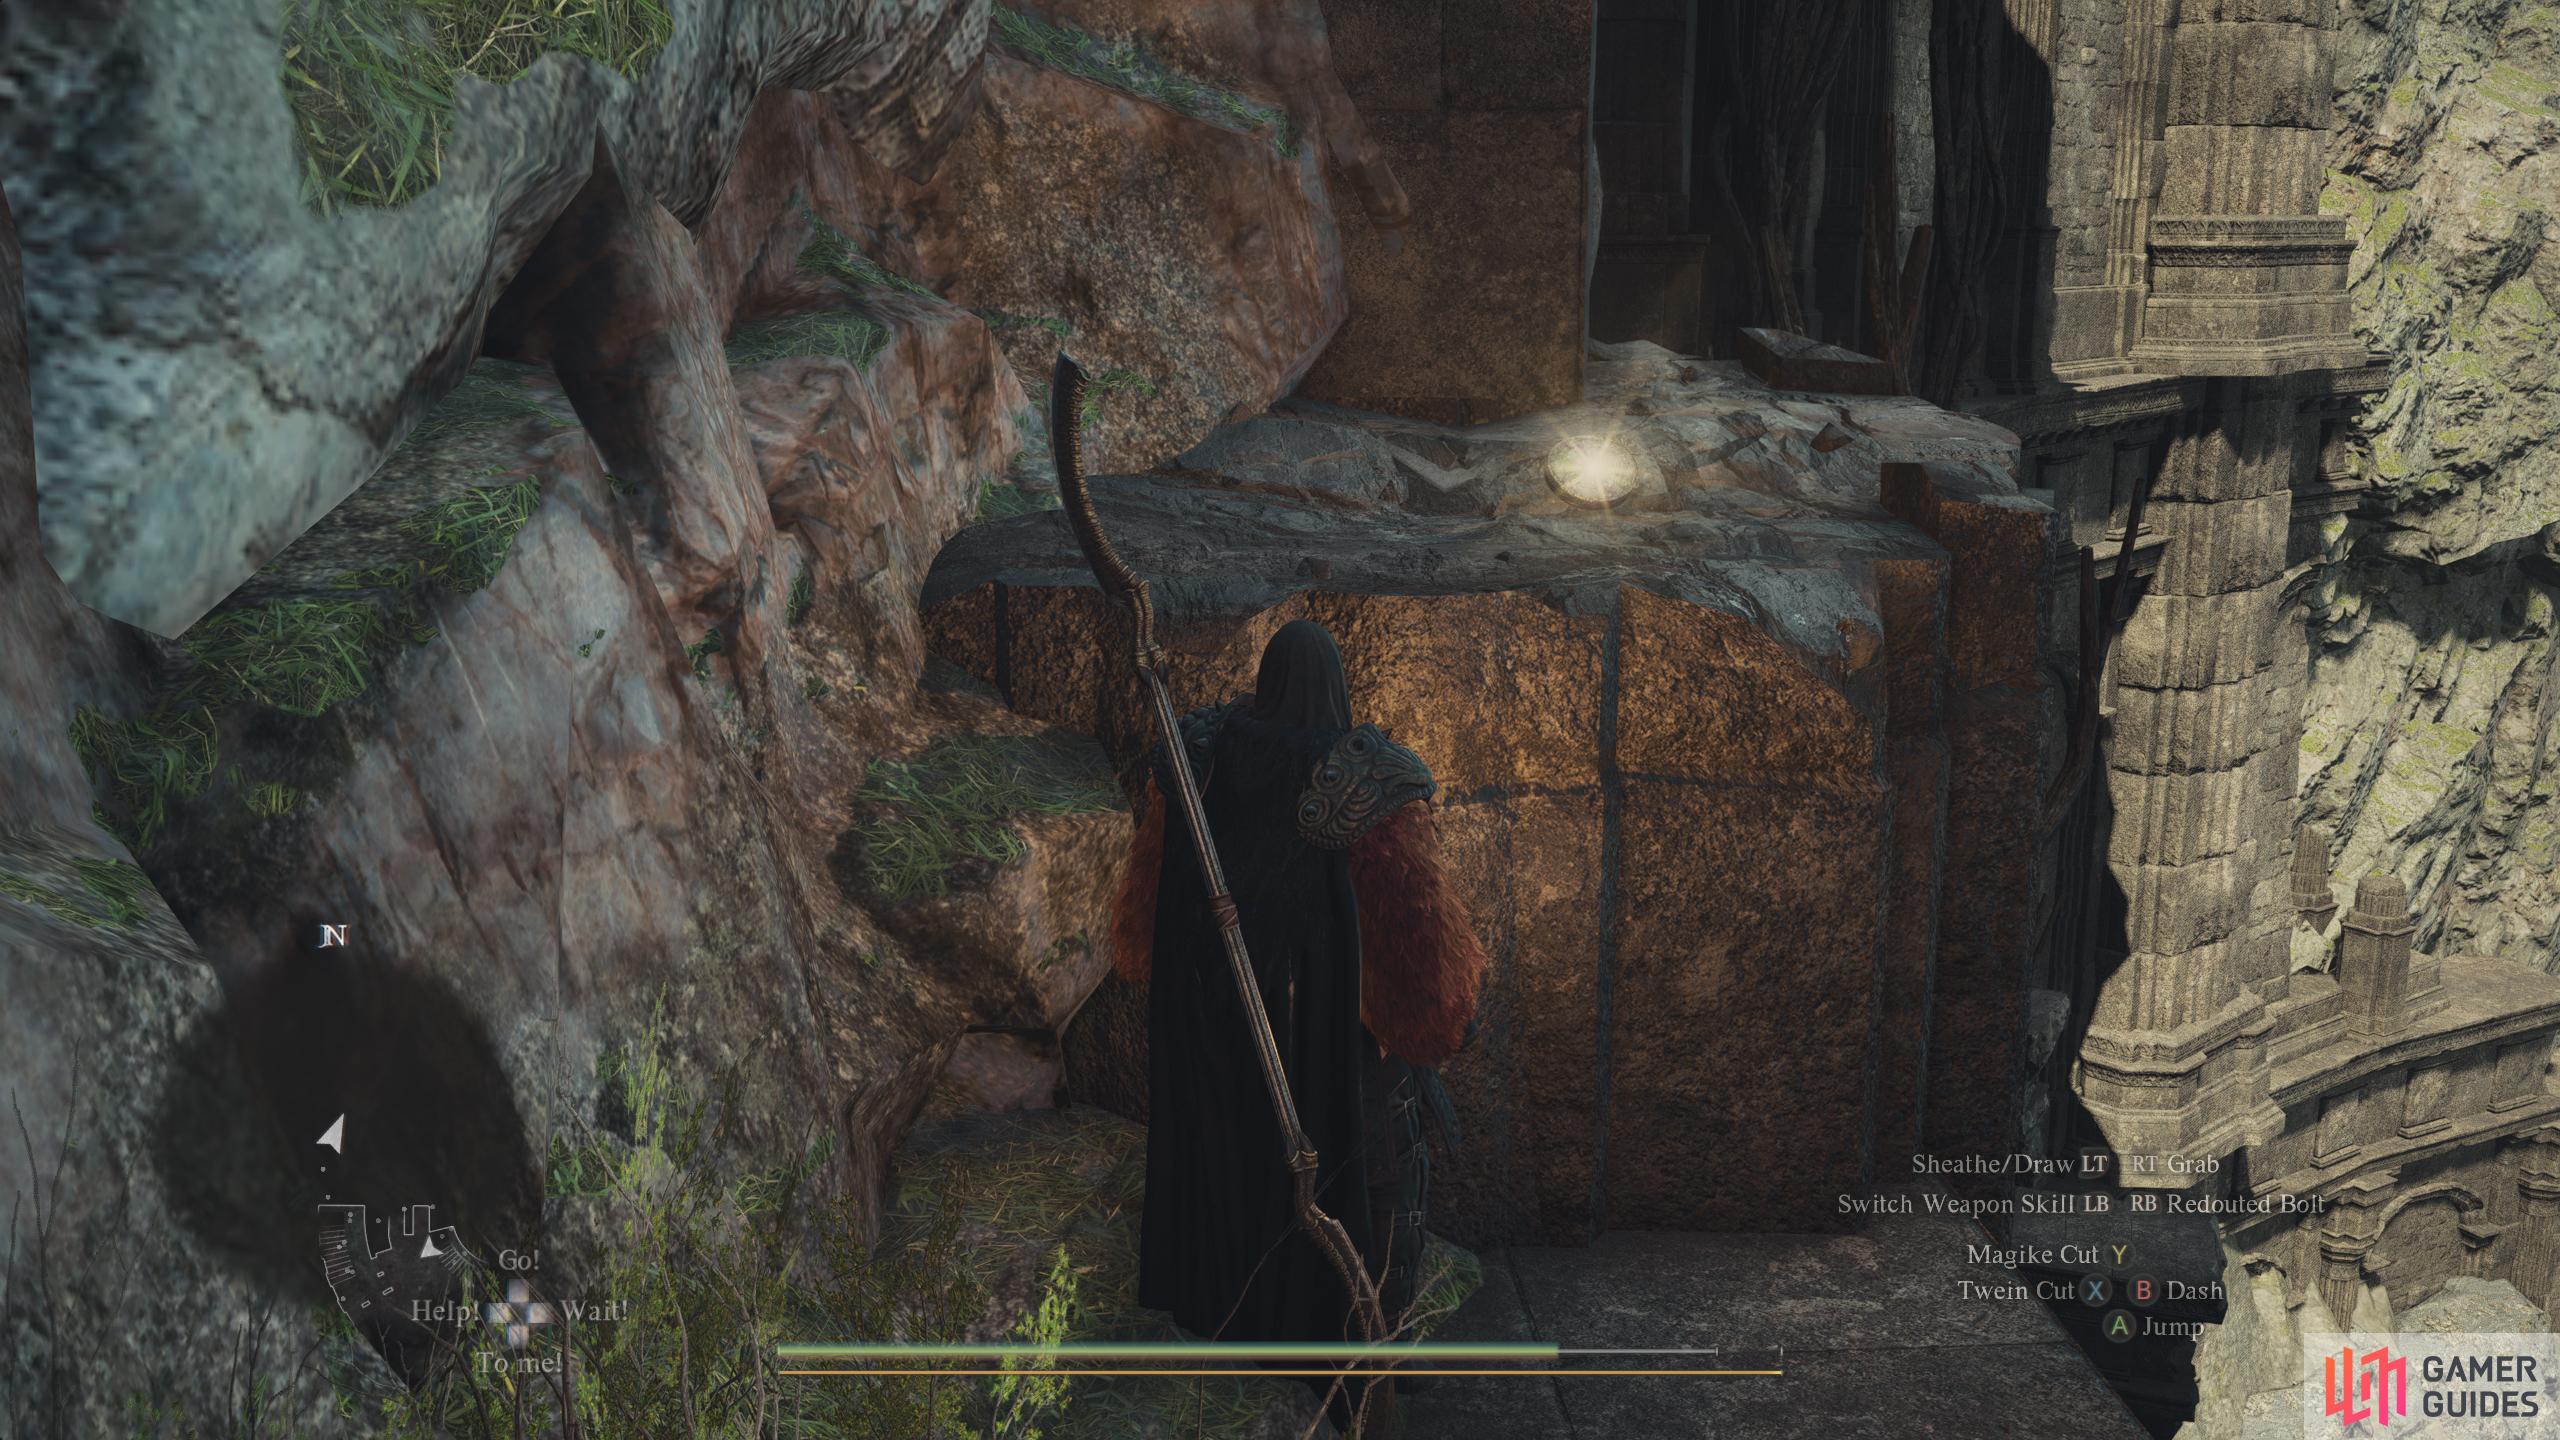
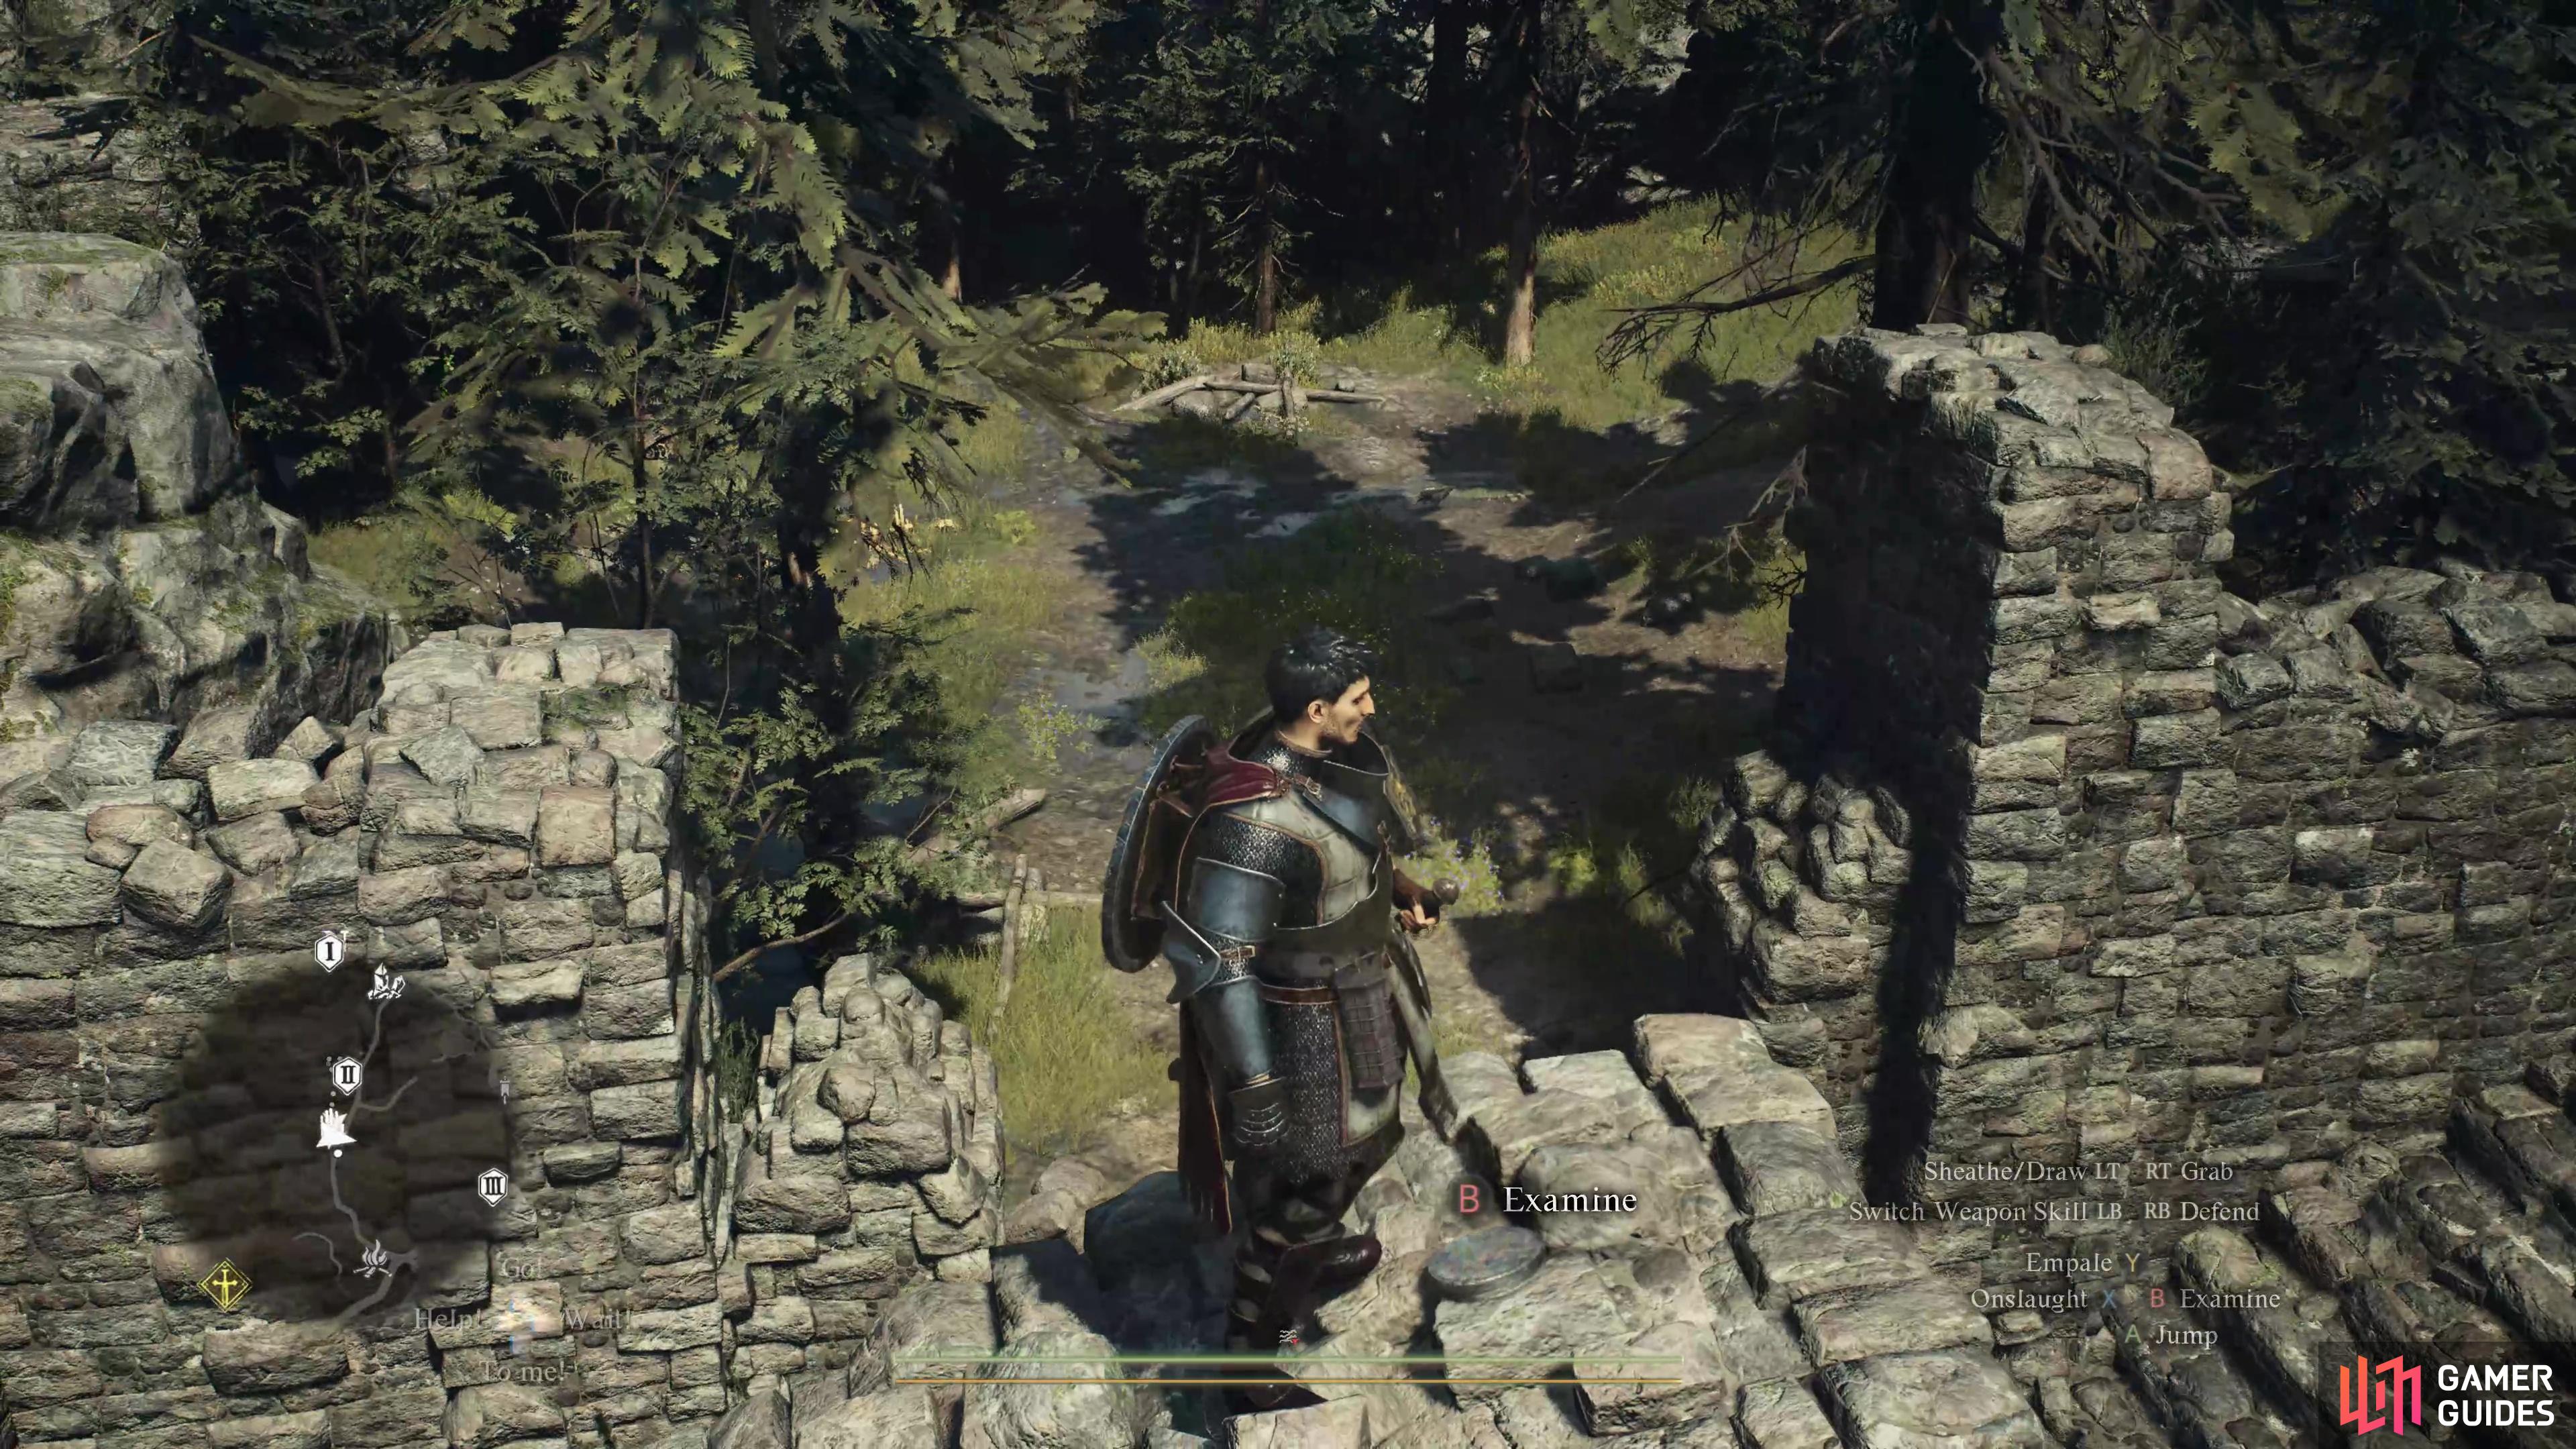
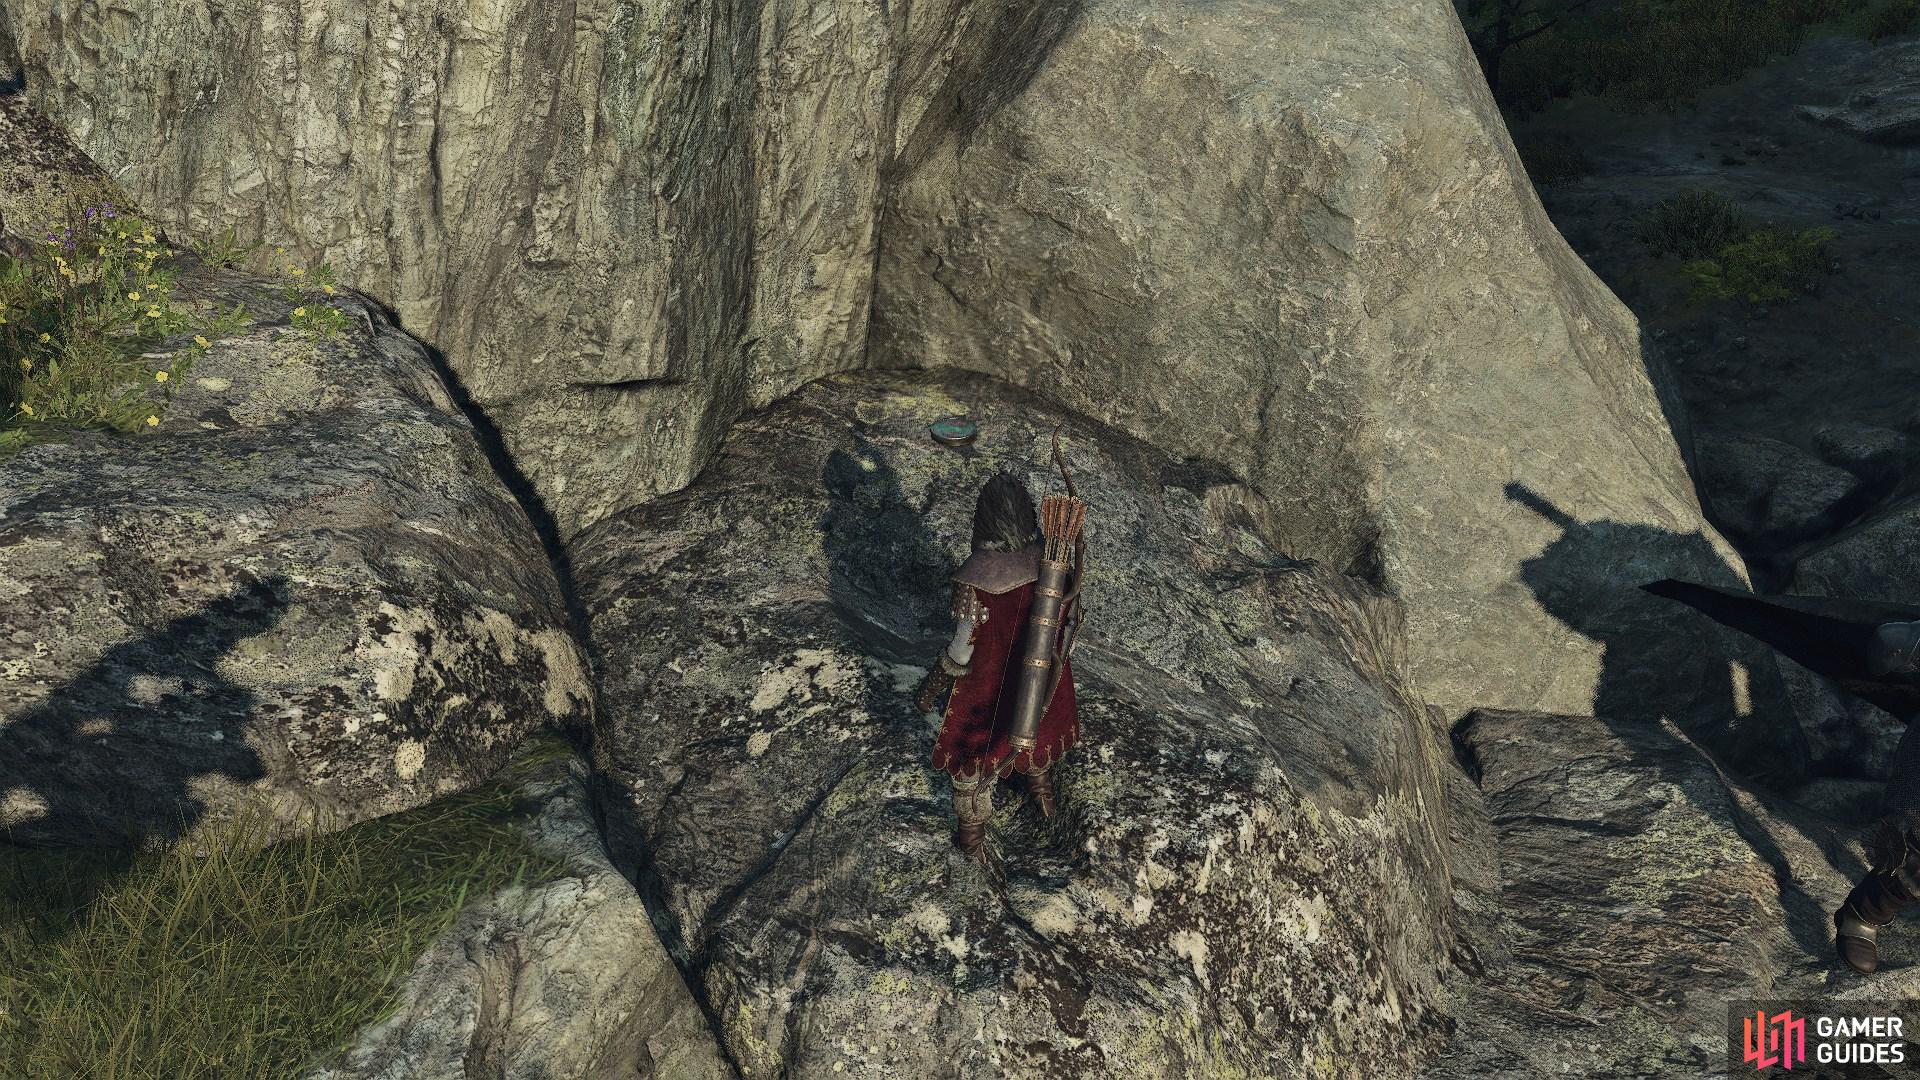
70269. World
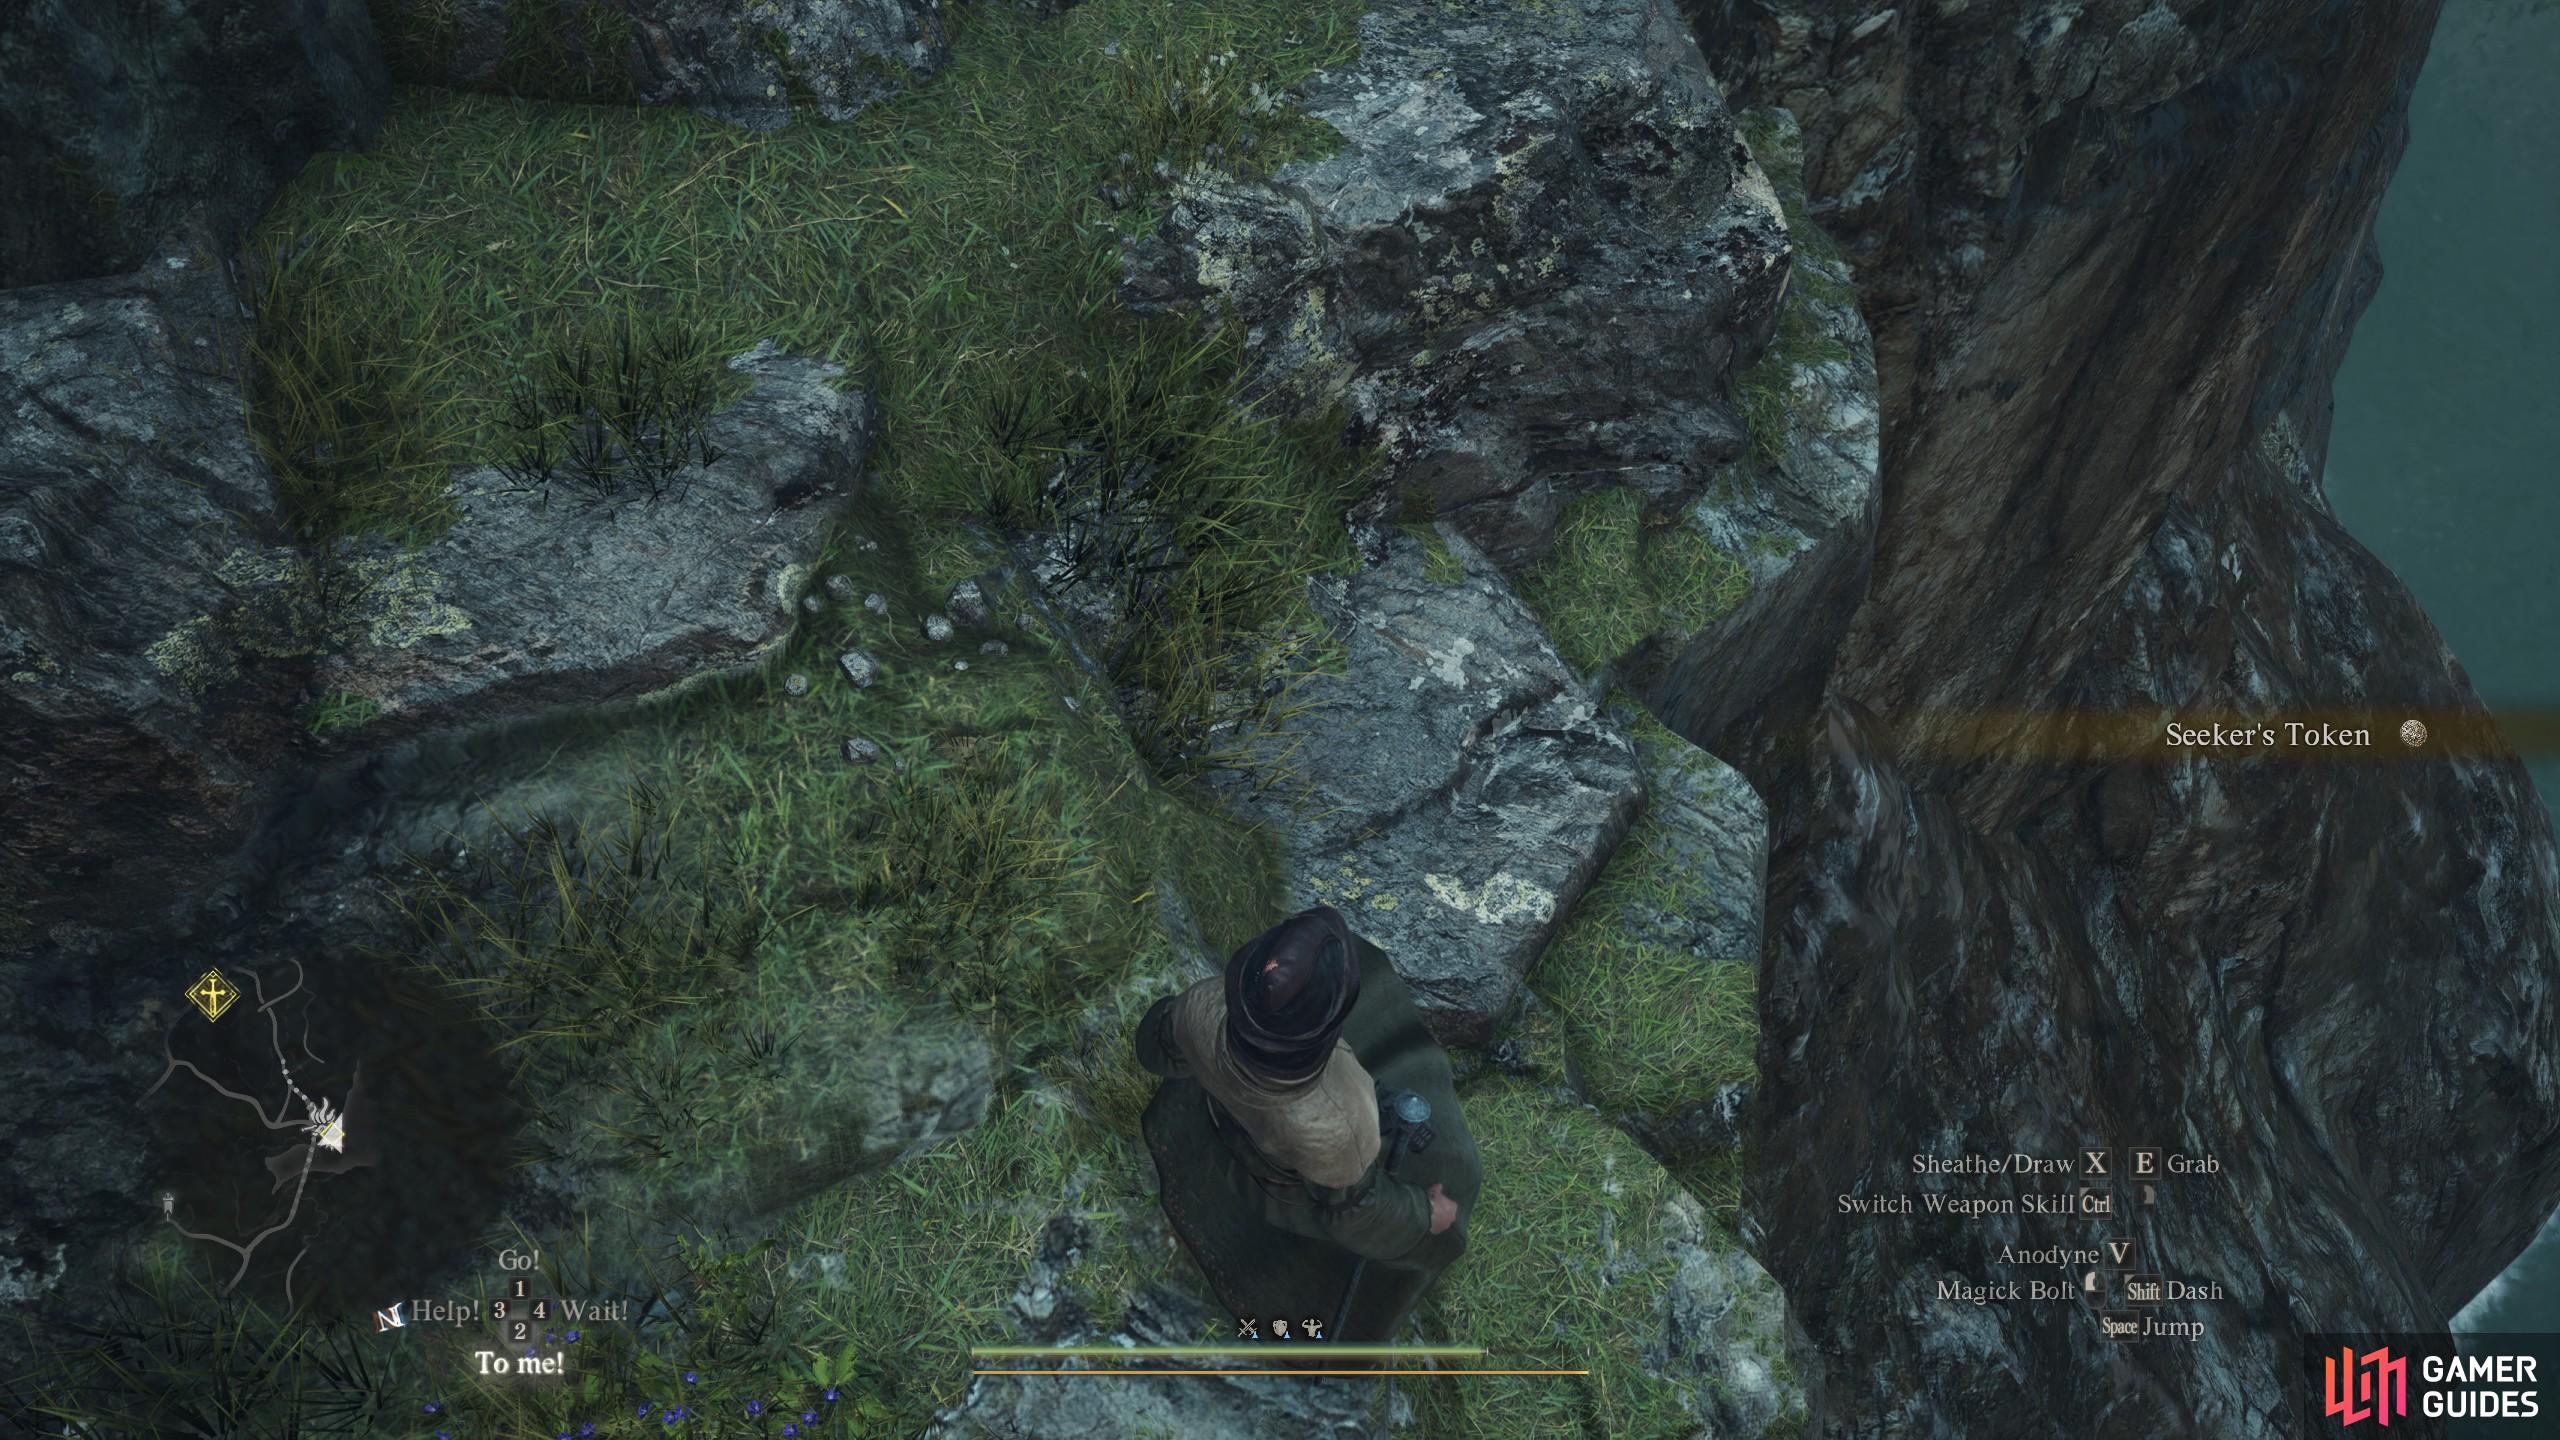
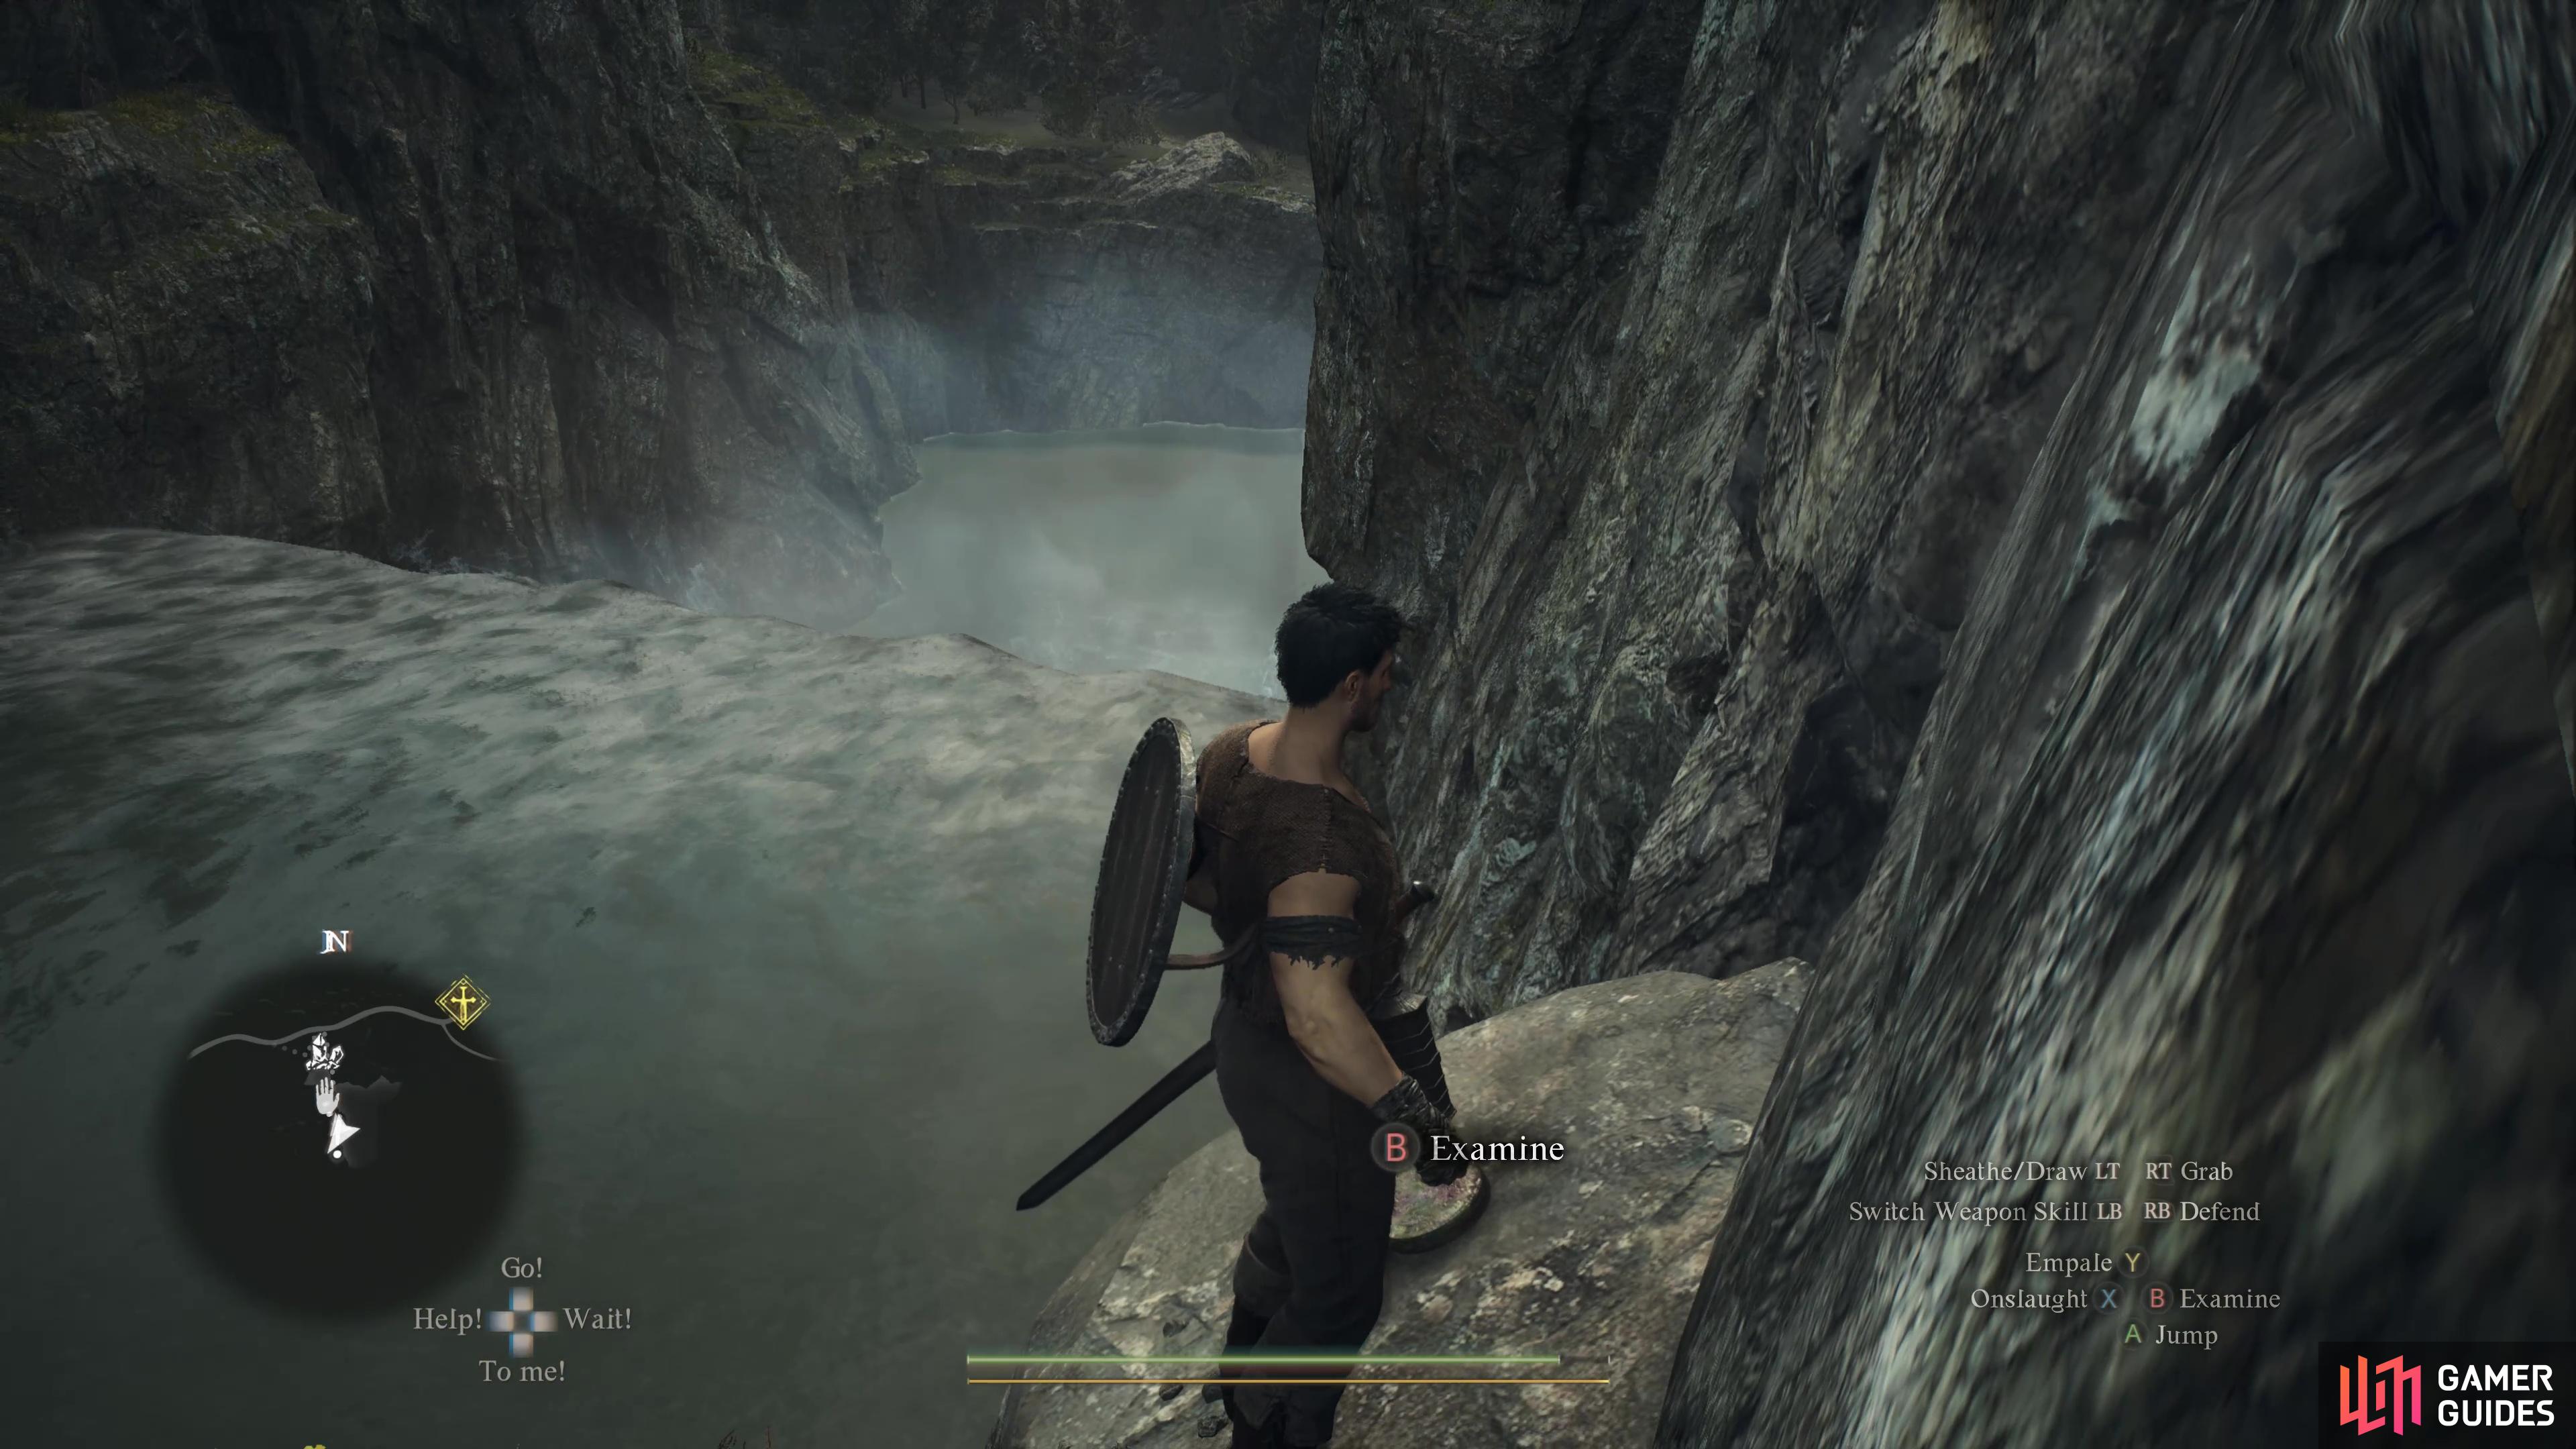
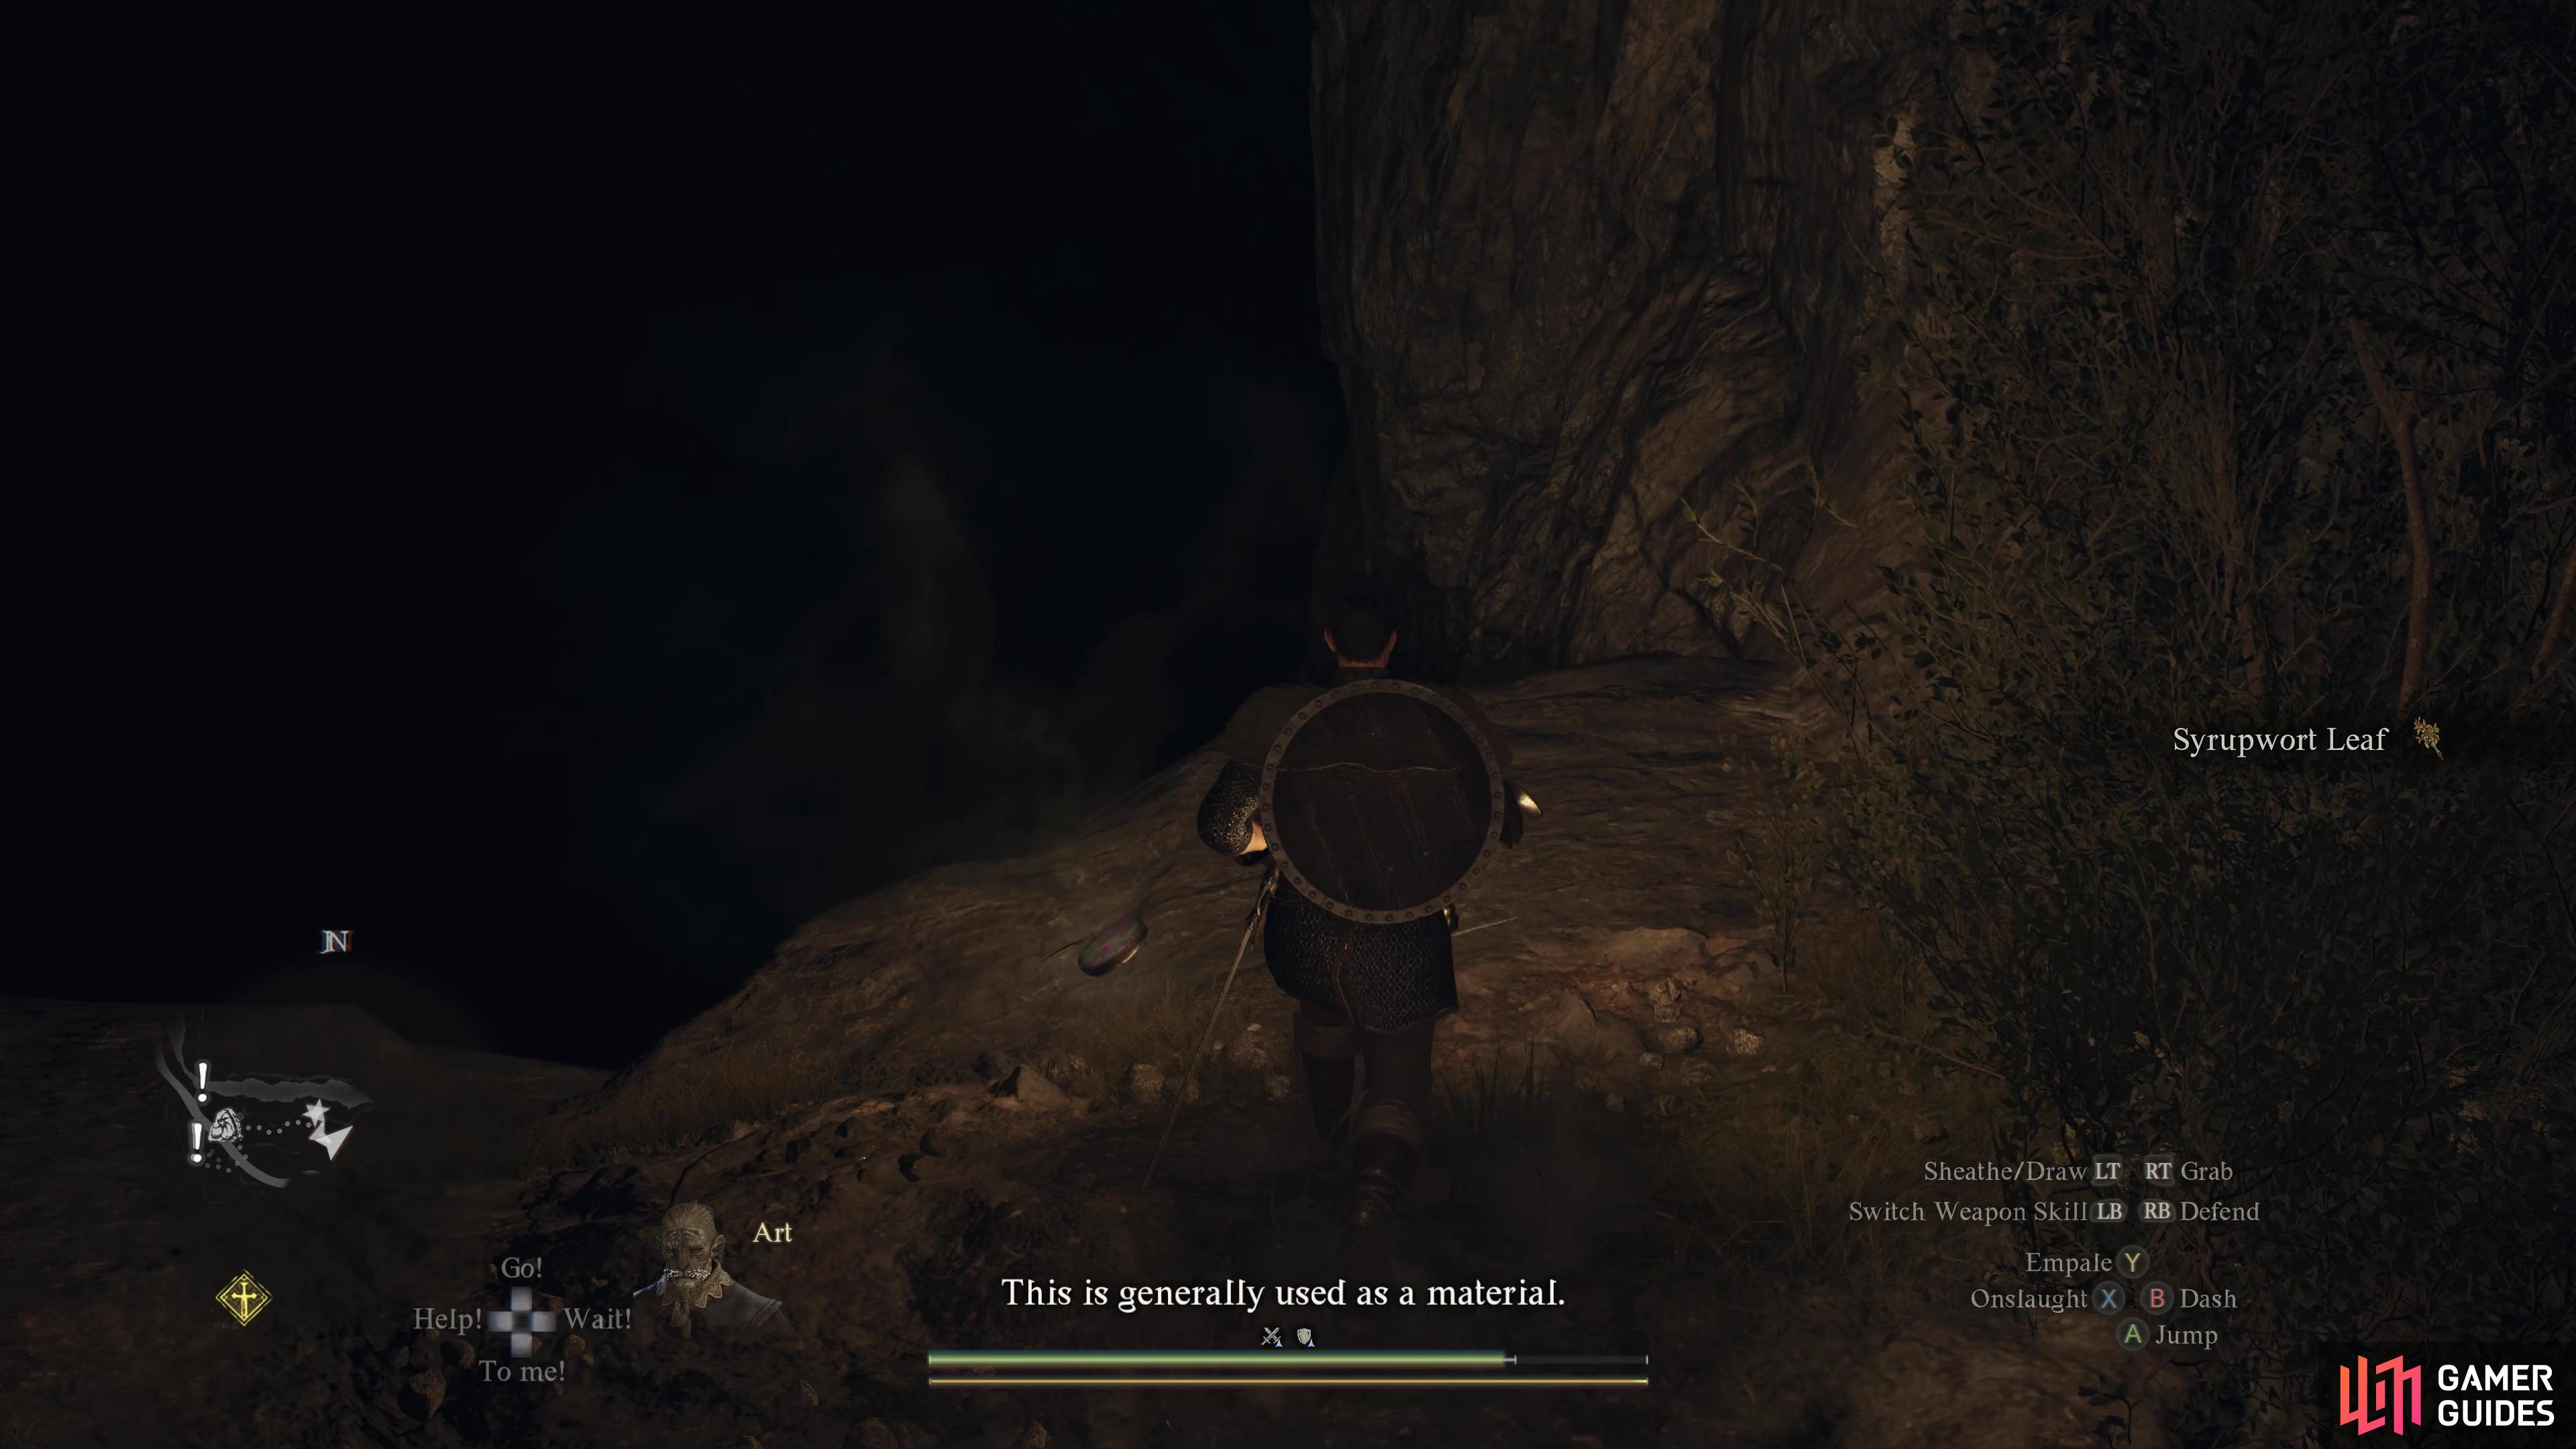
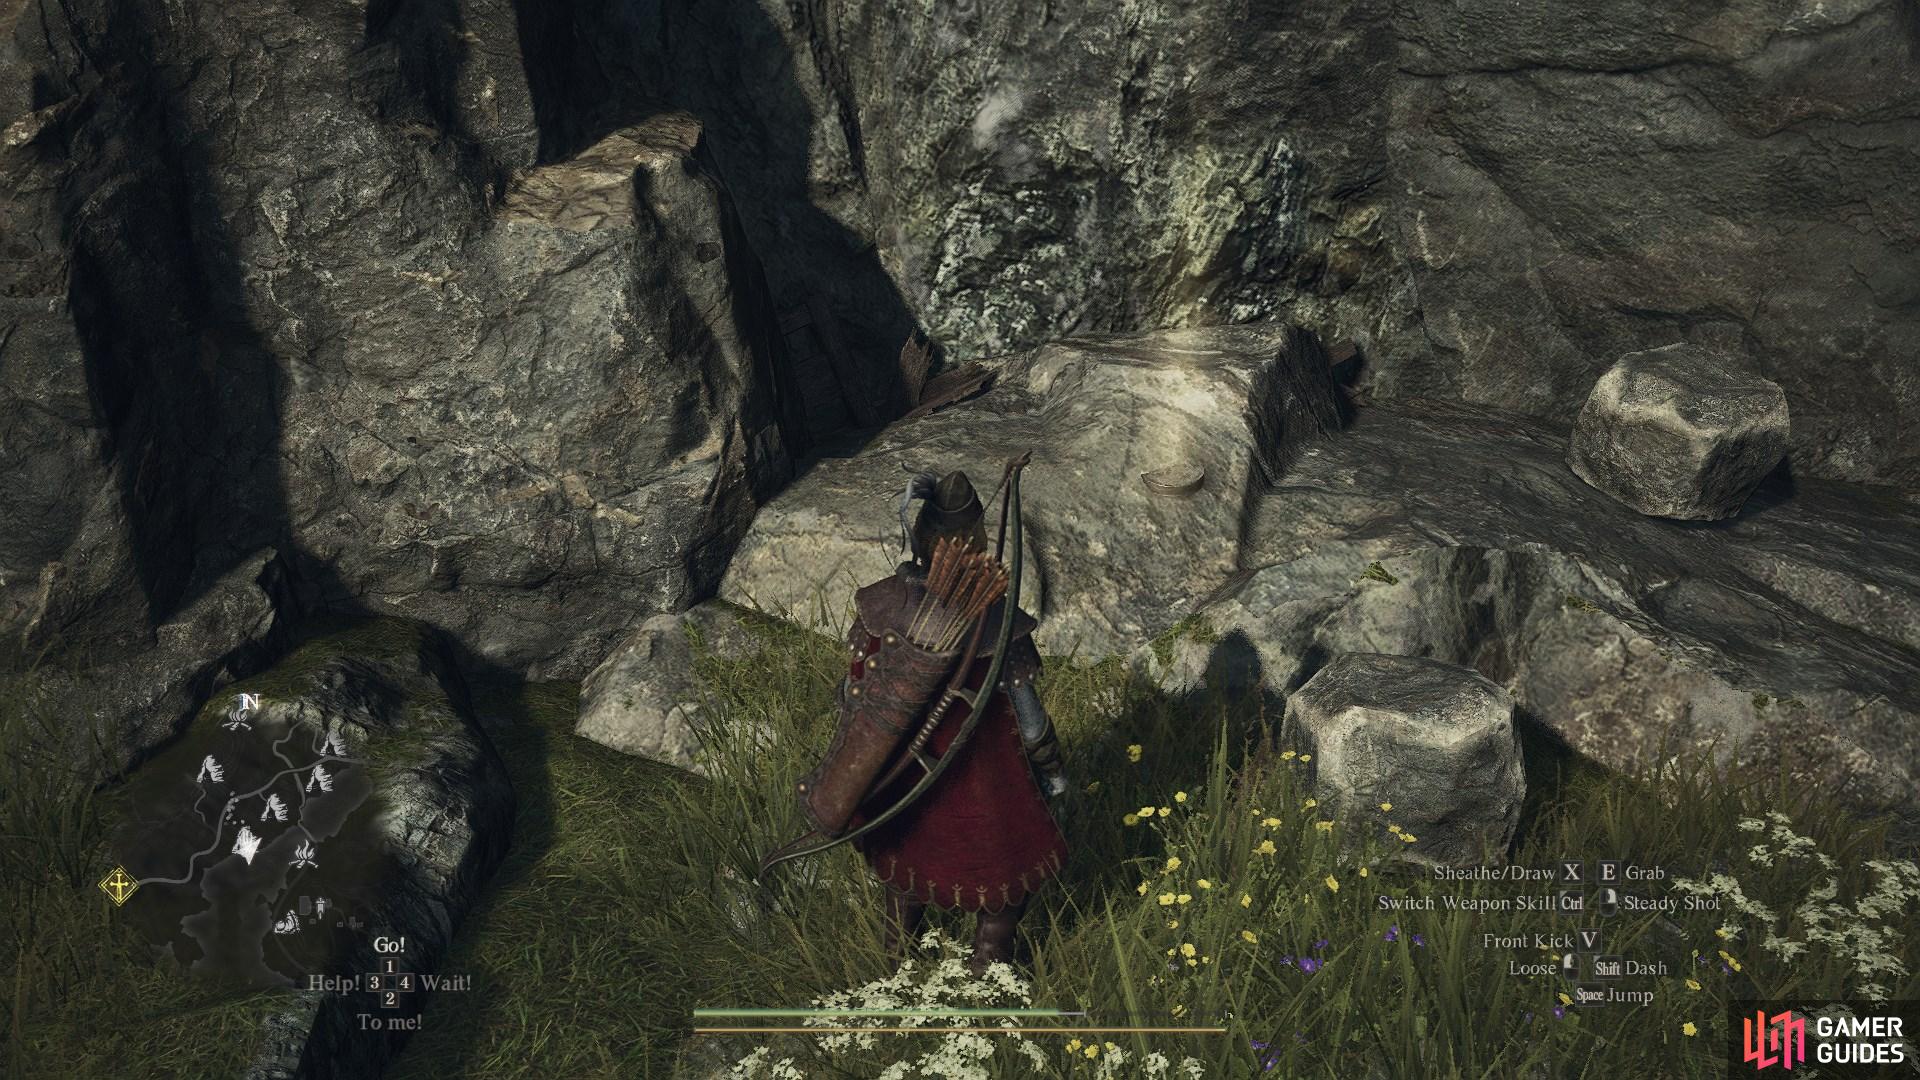
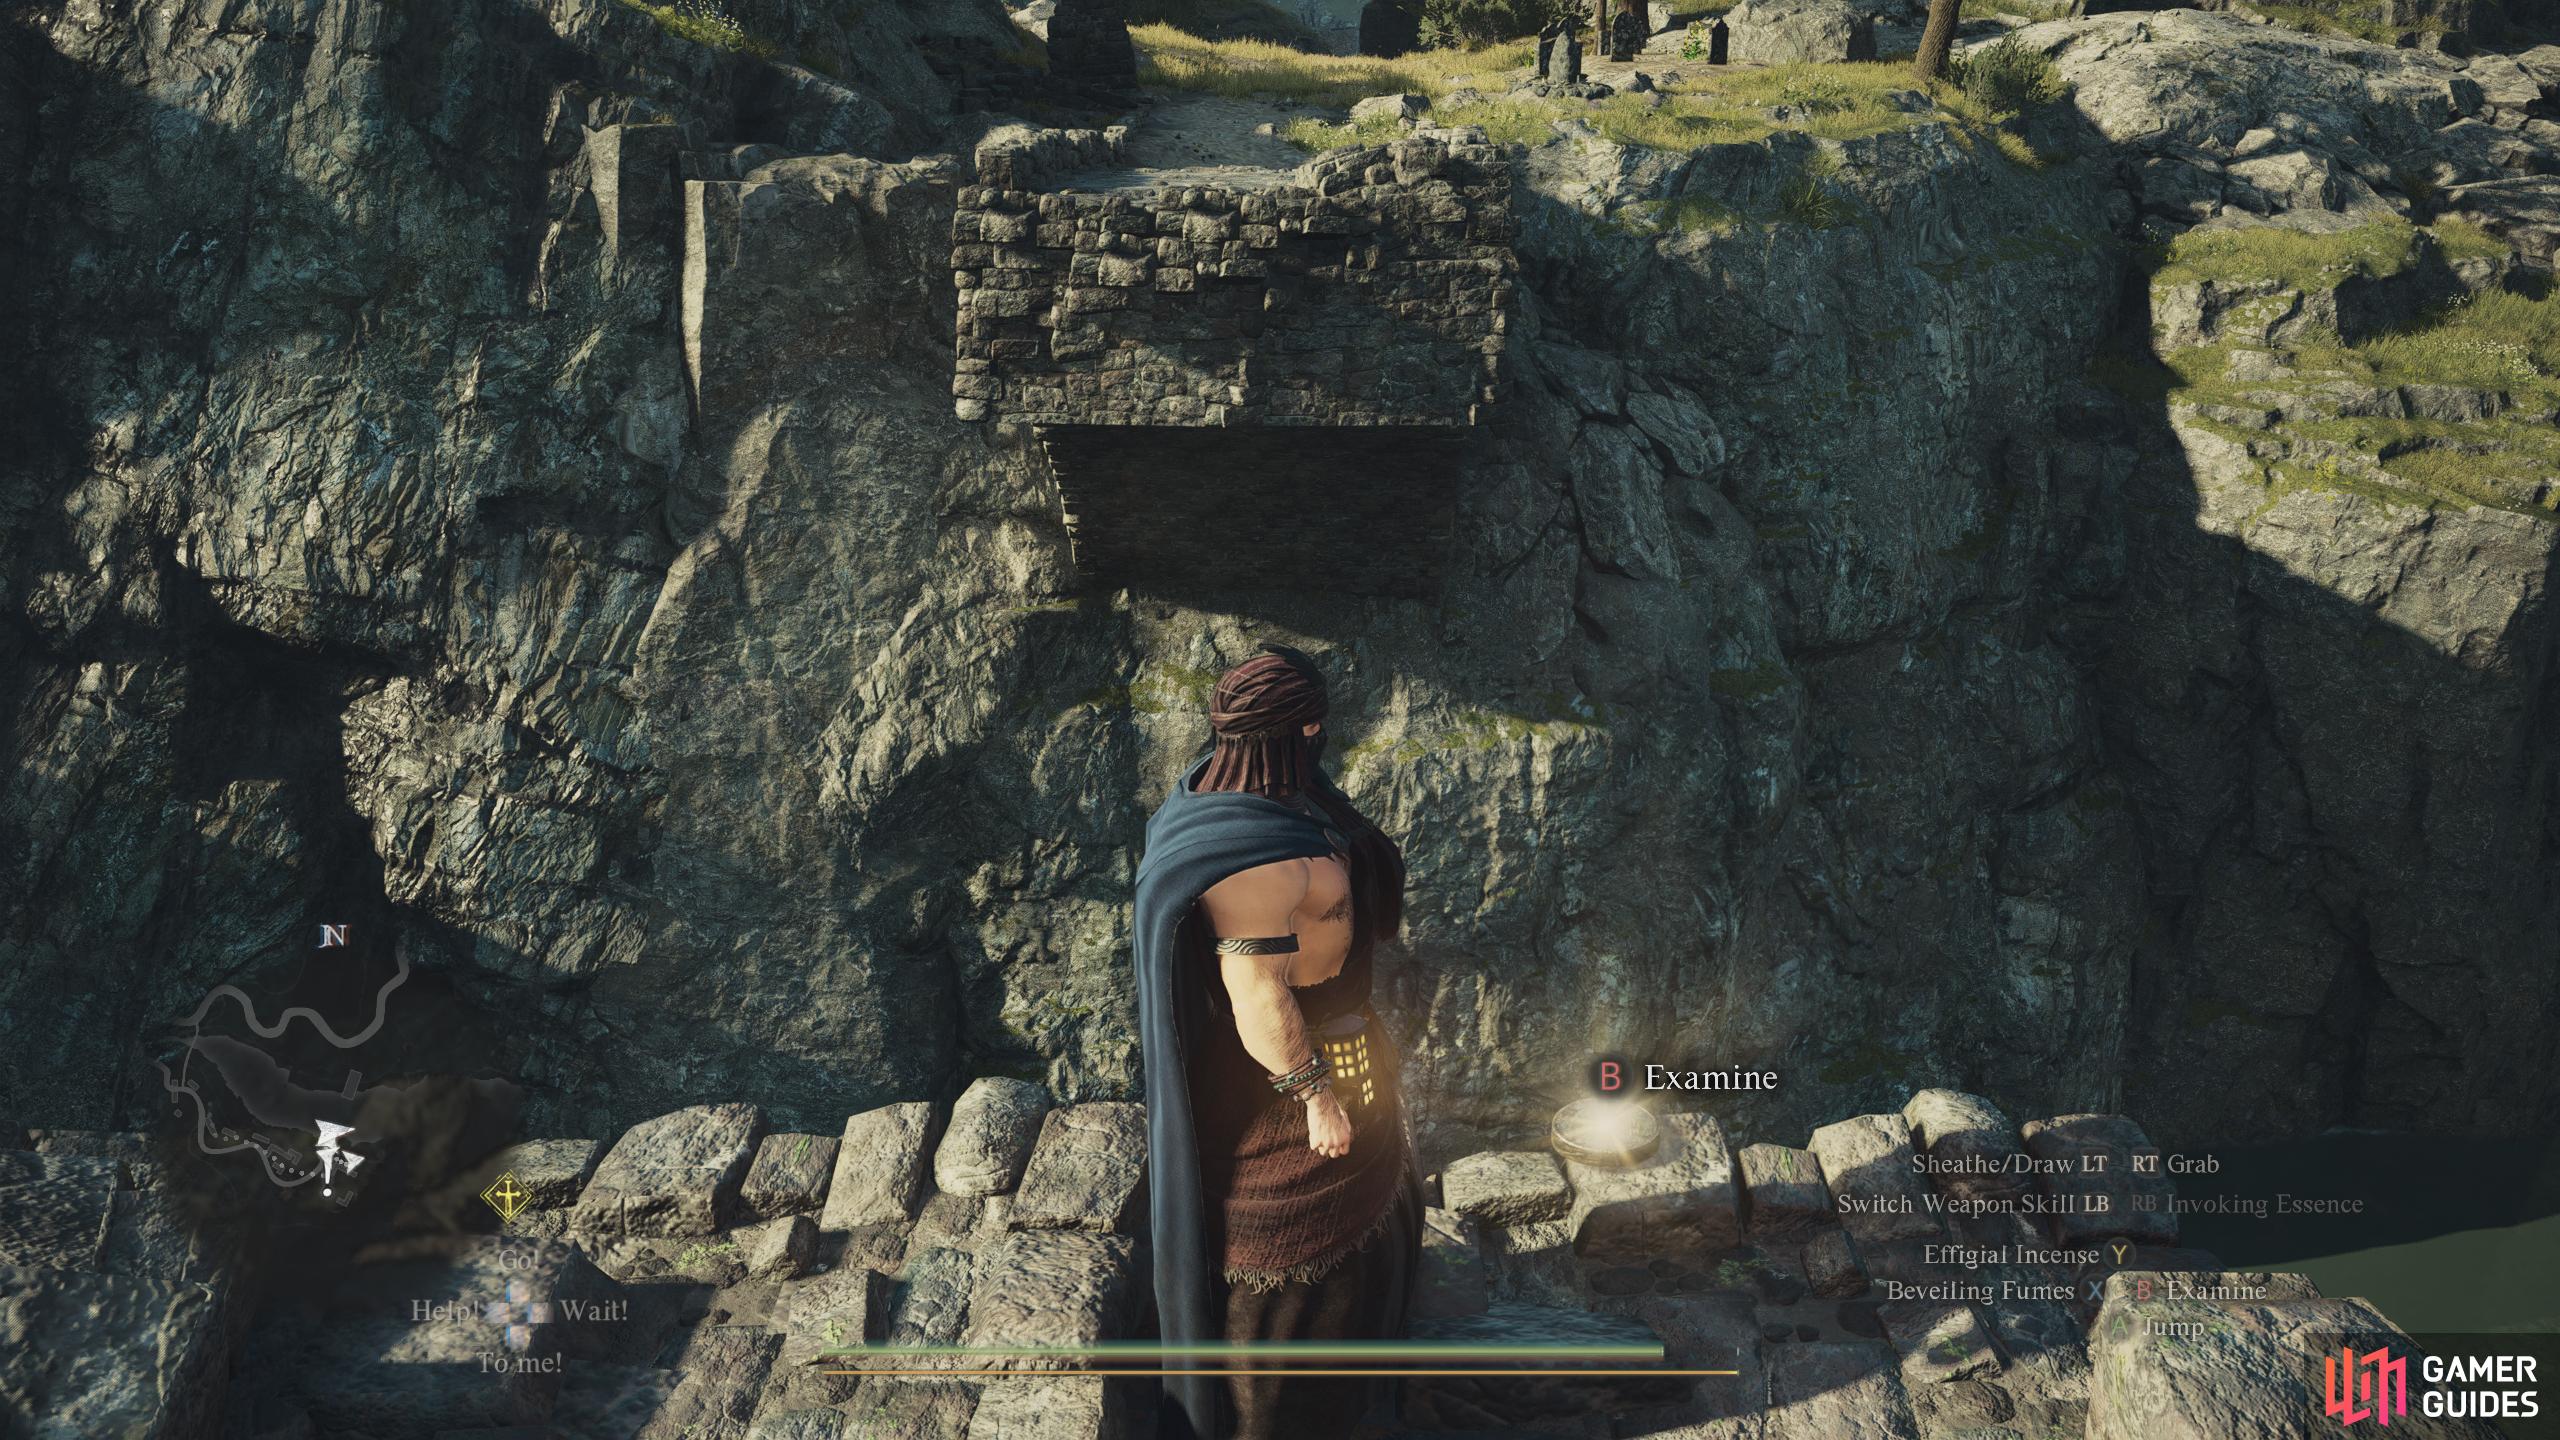
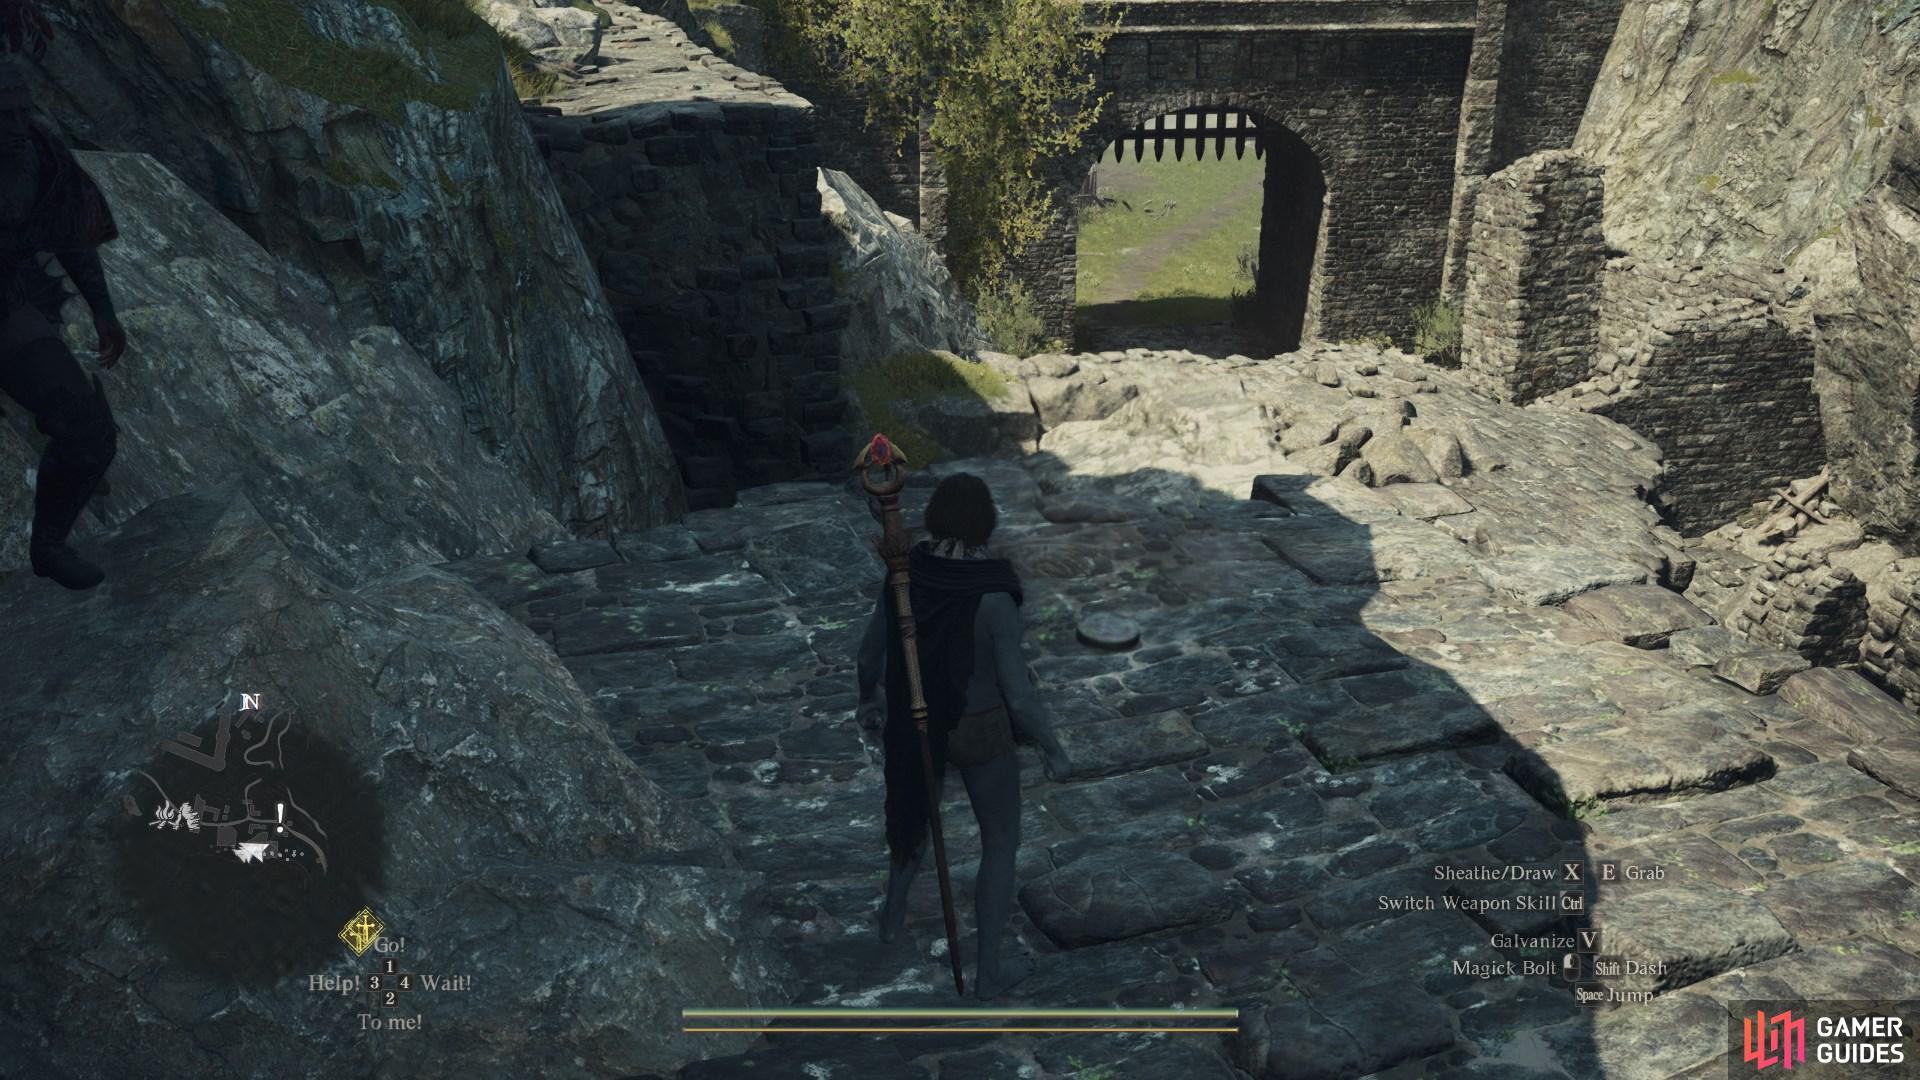
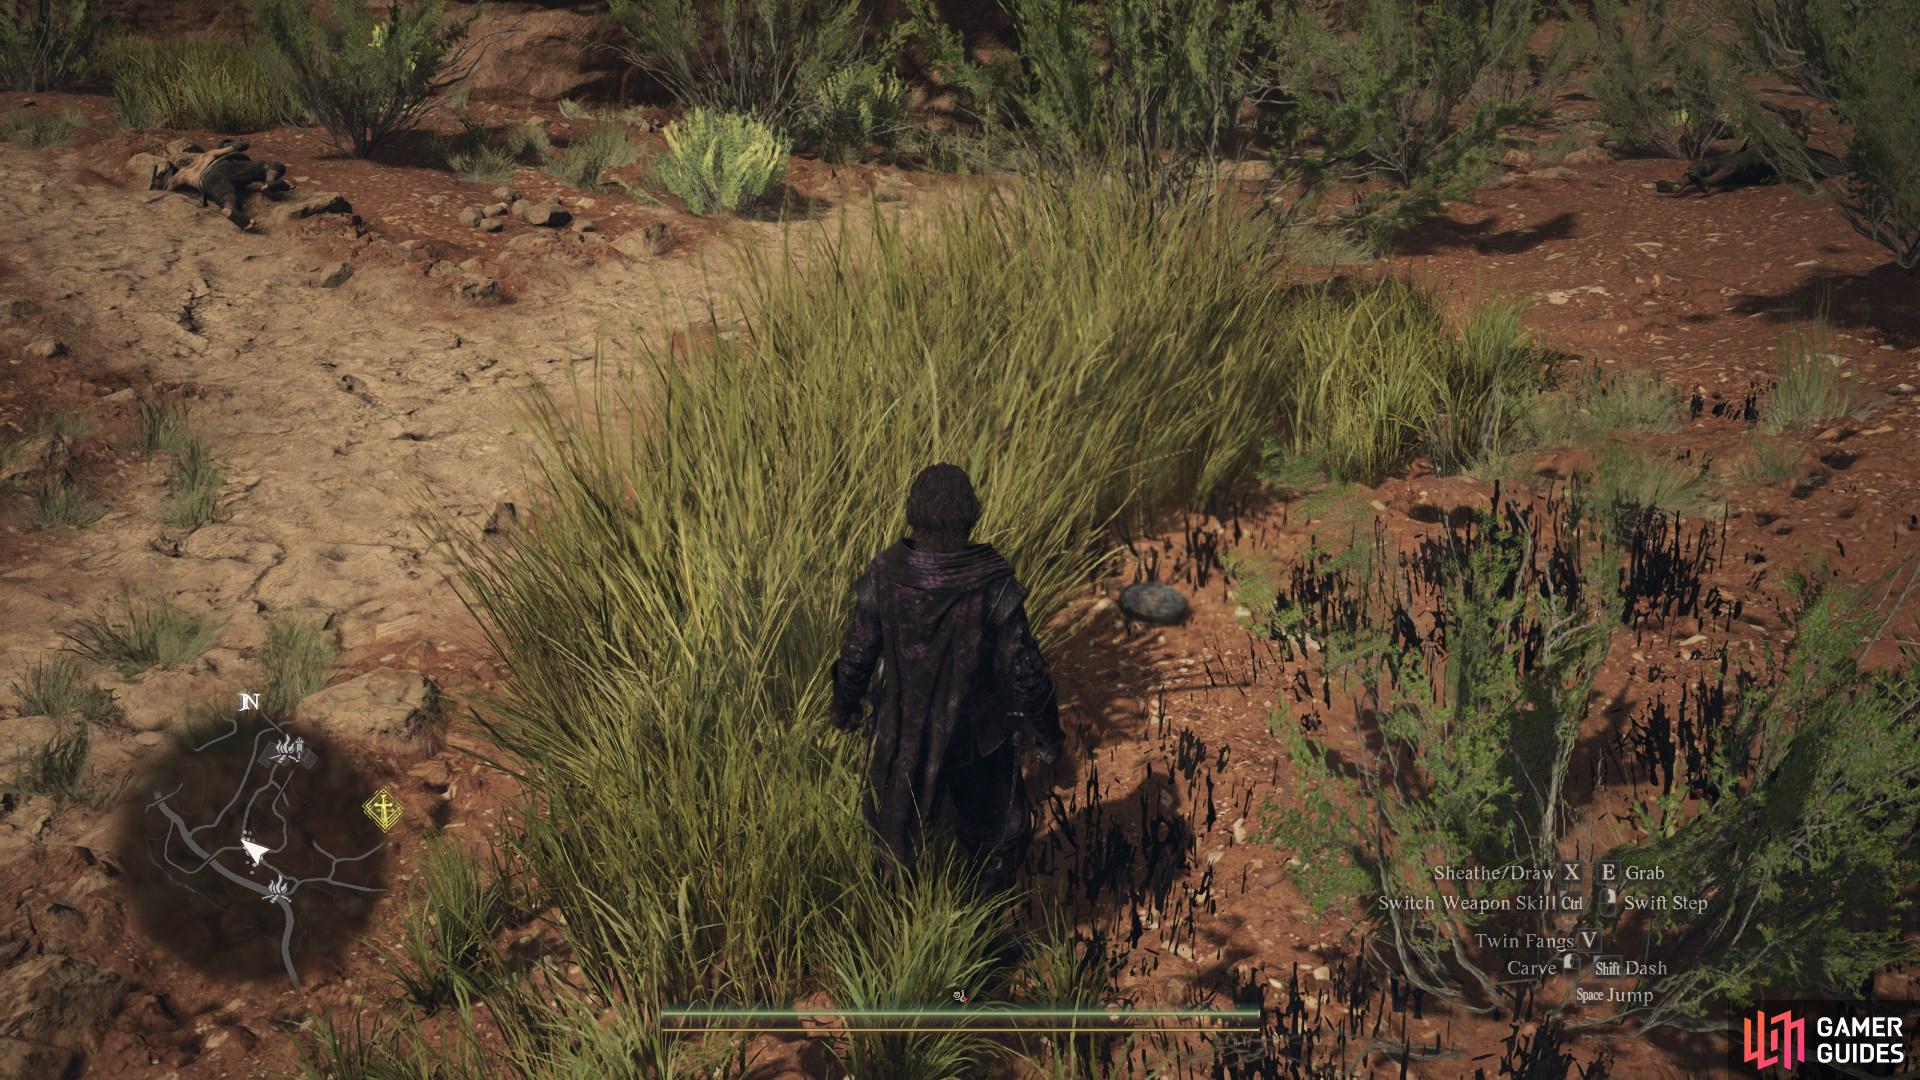
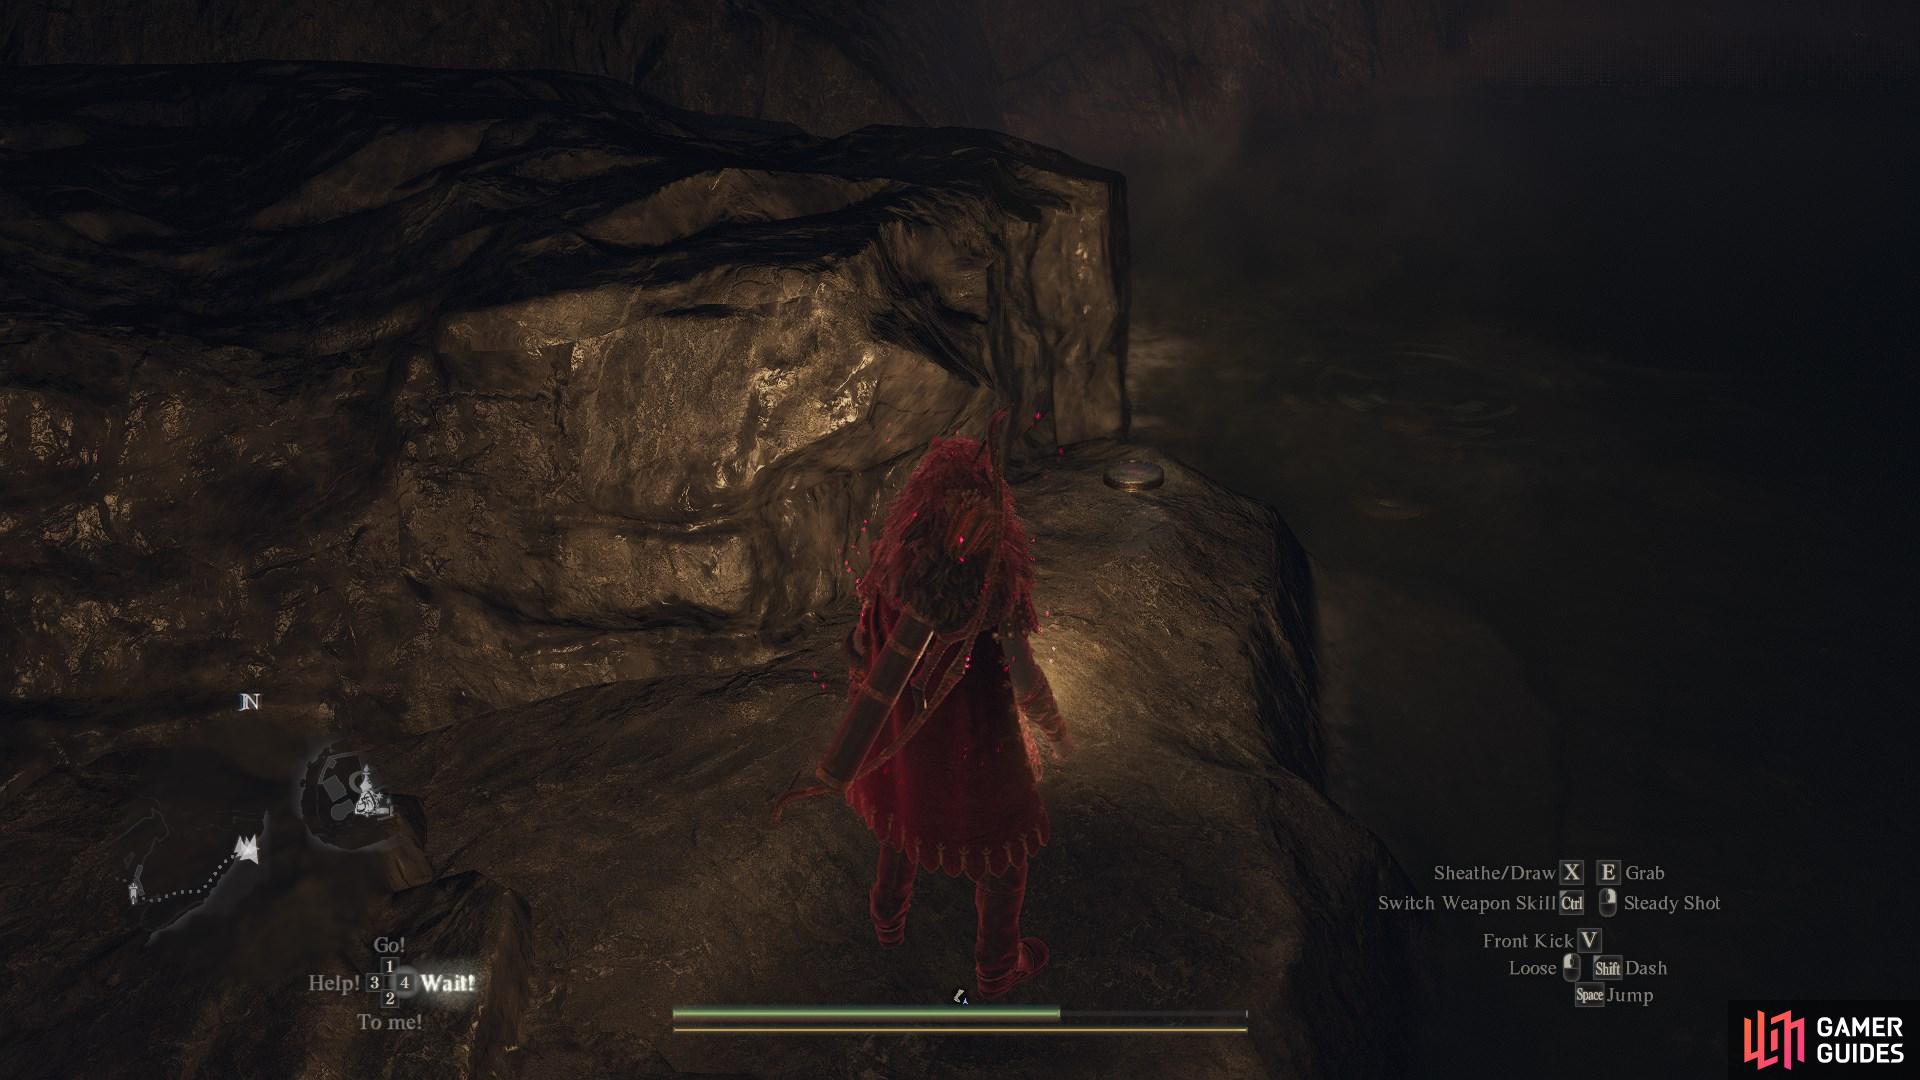
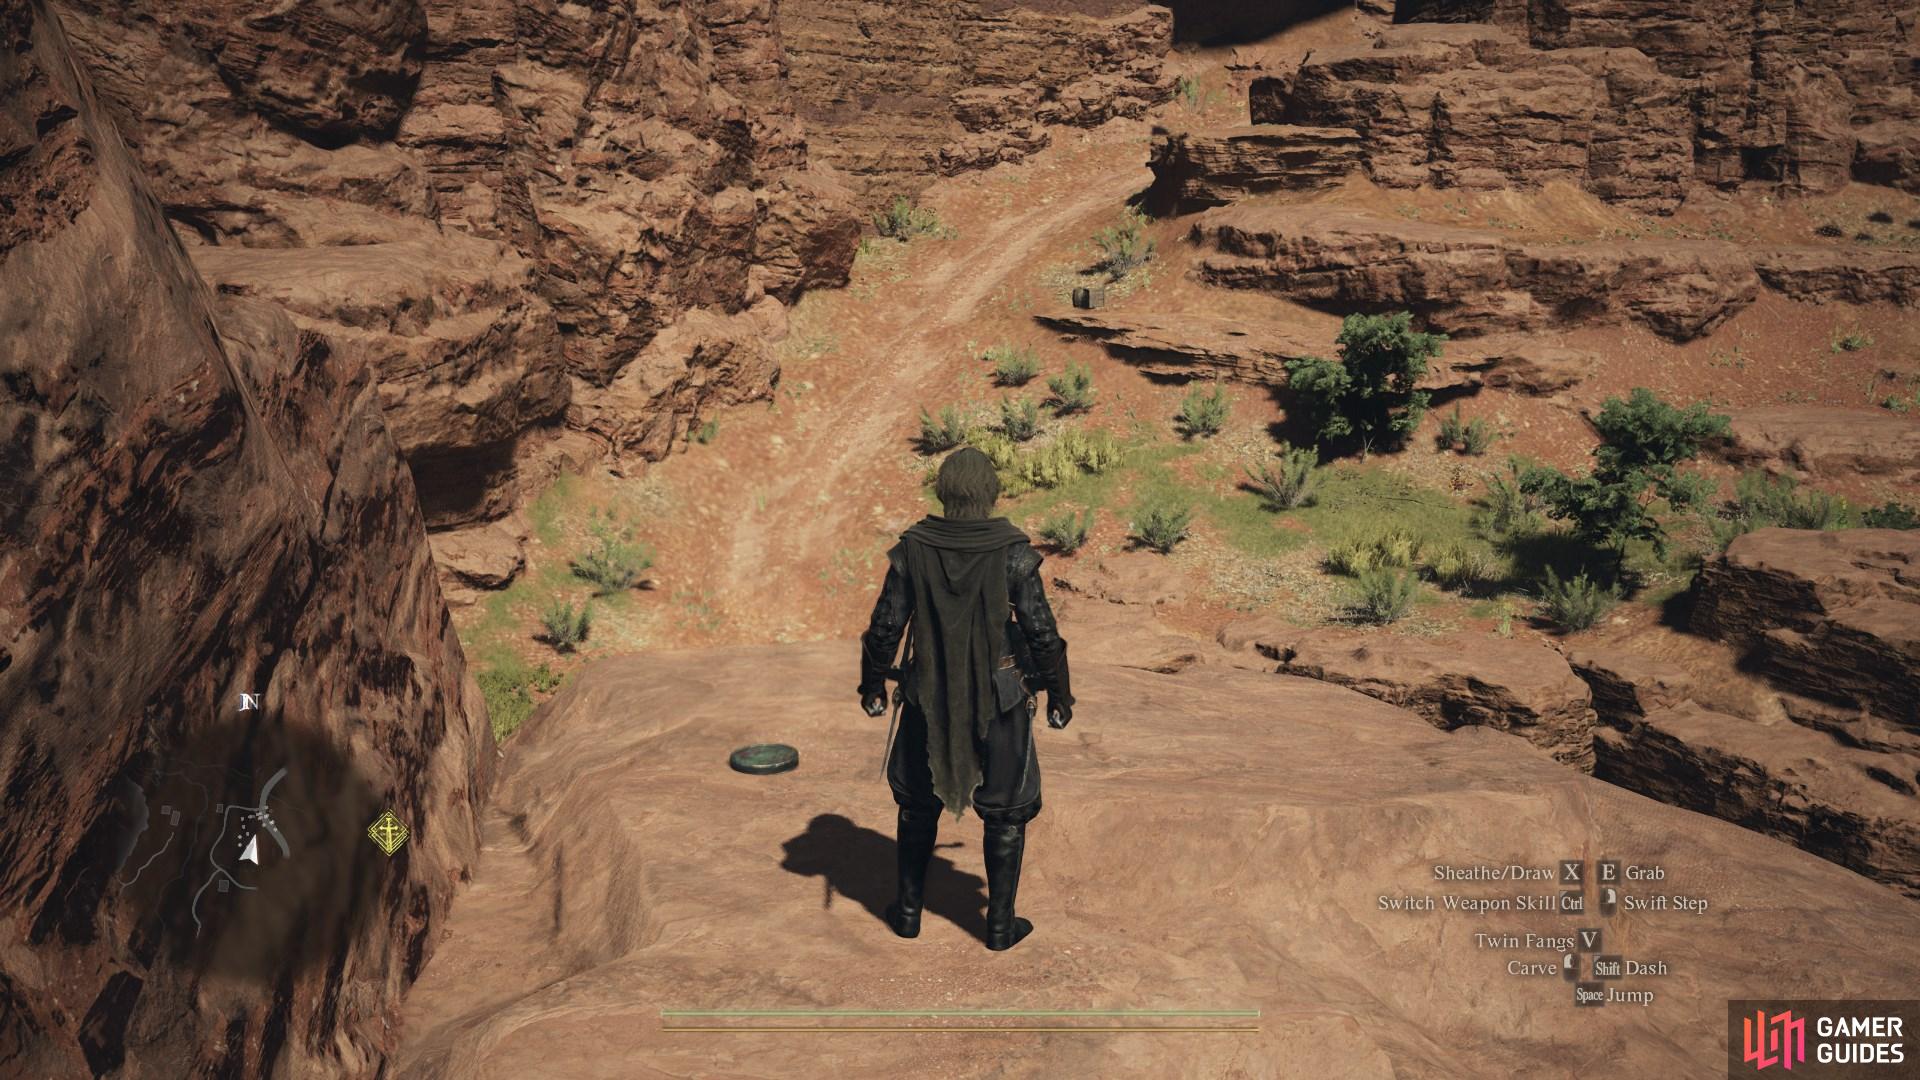
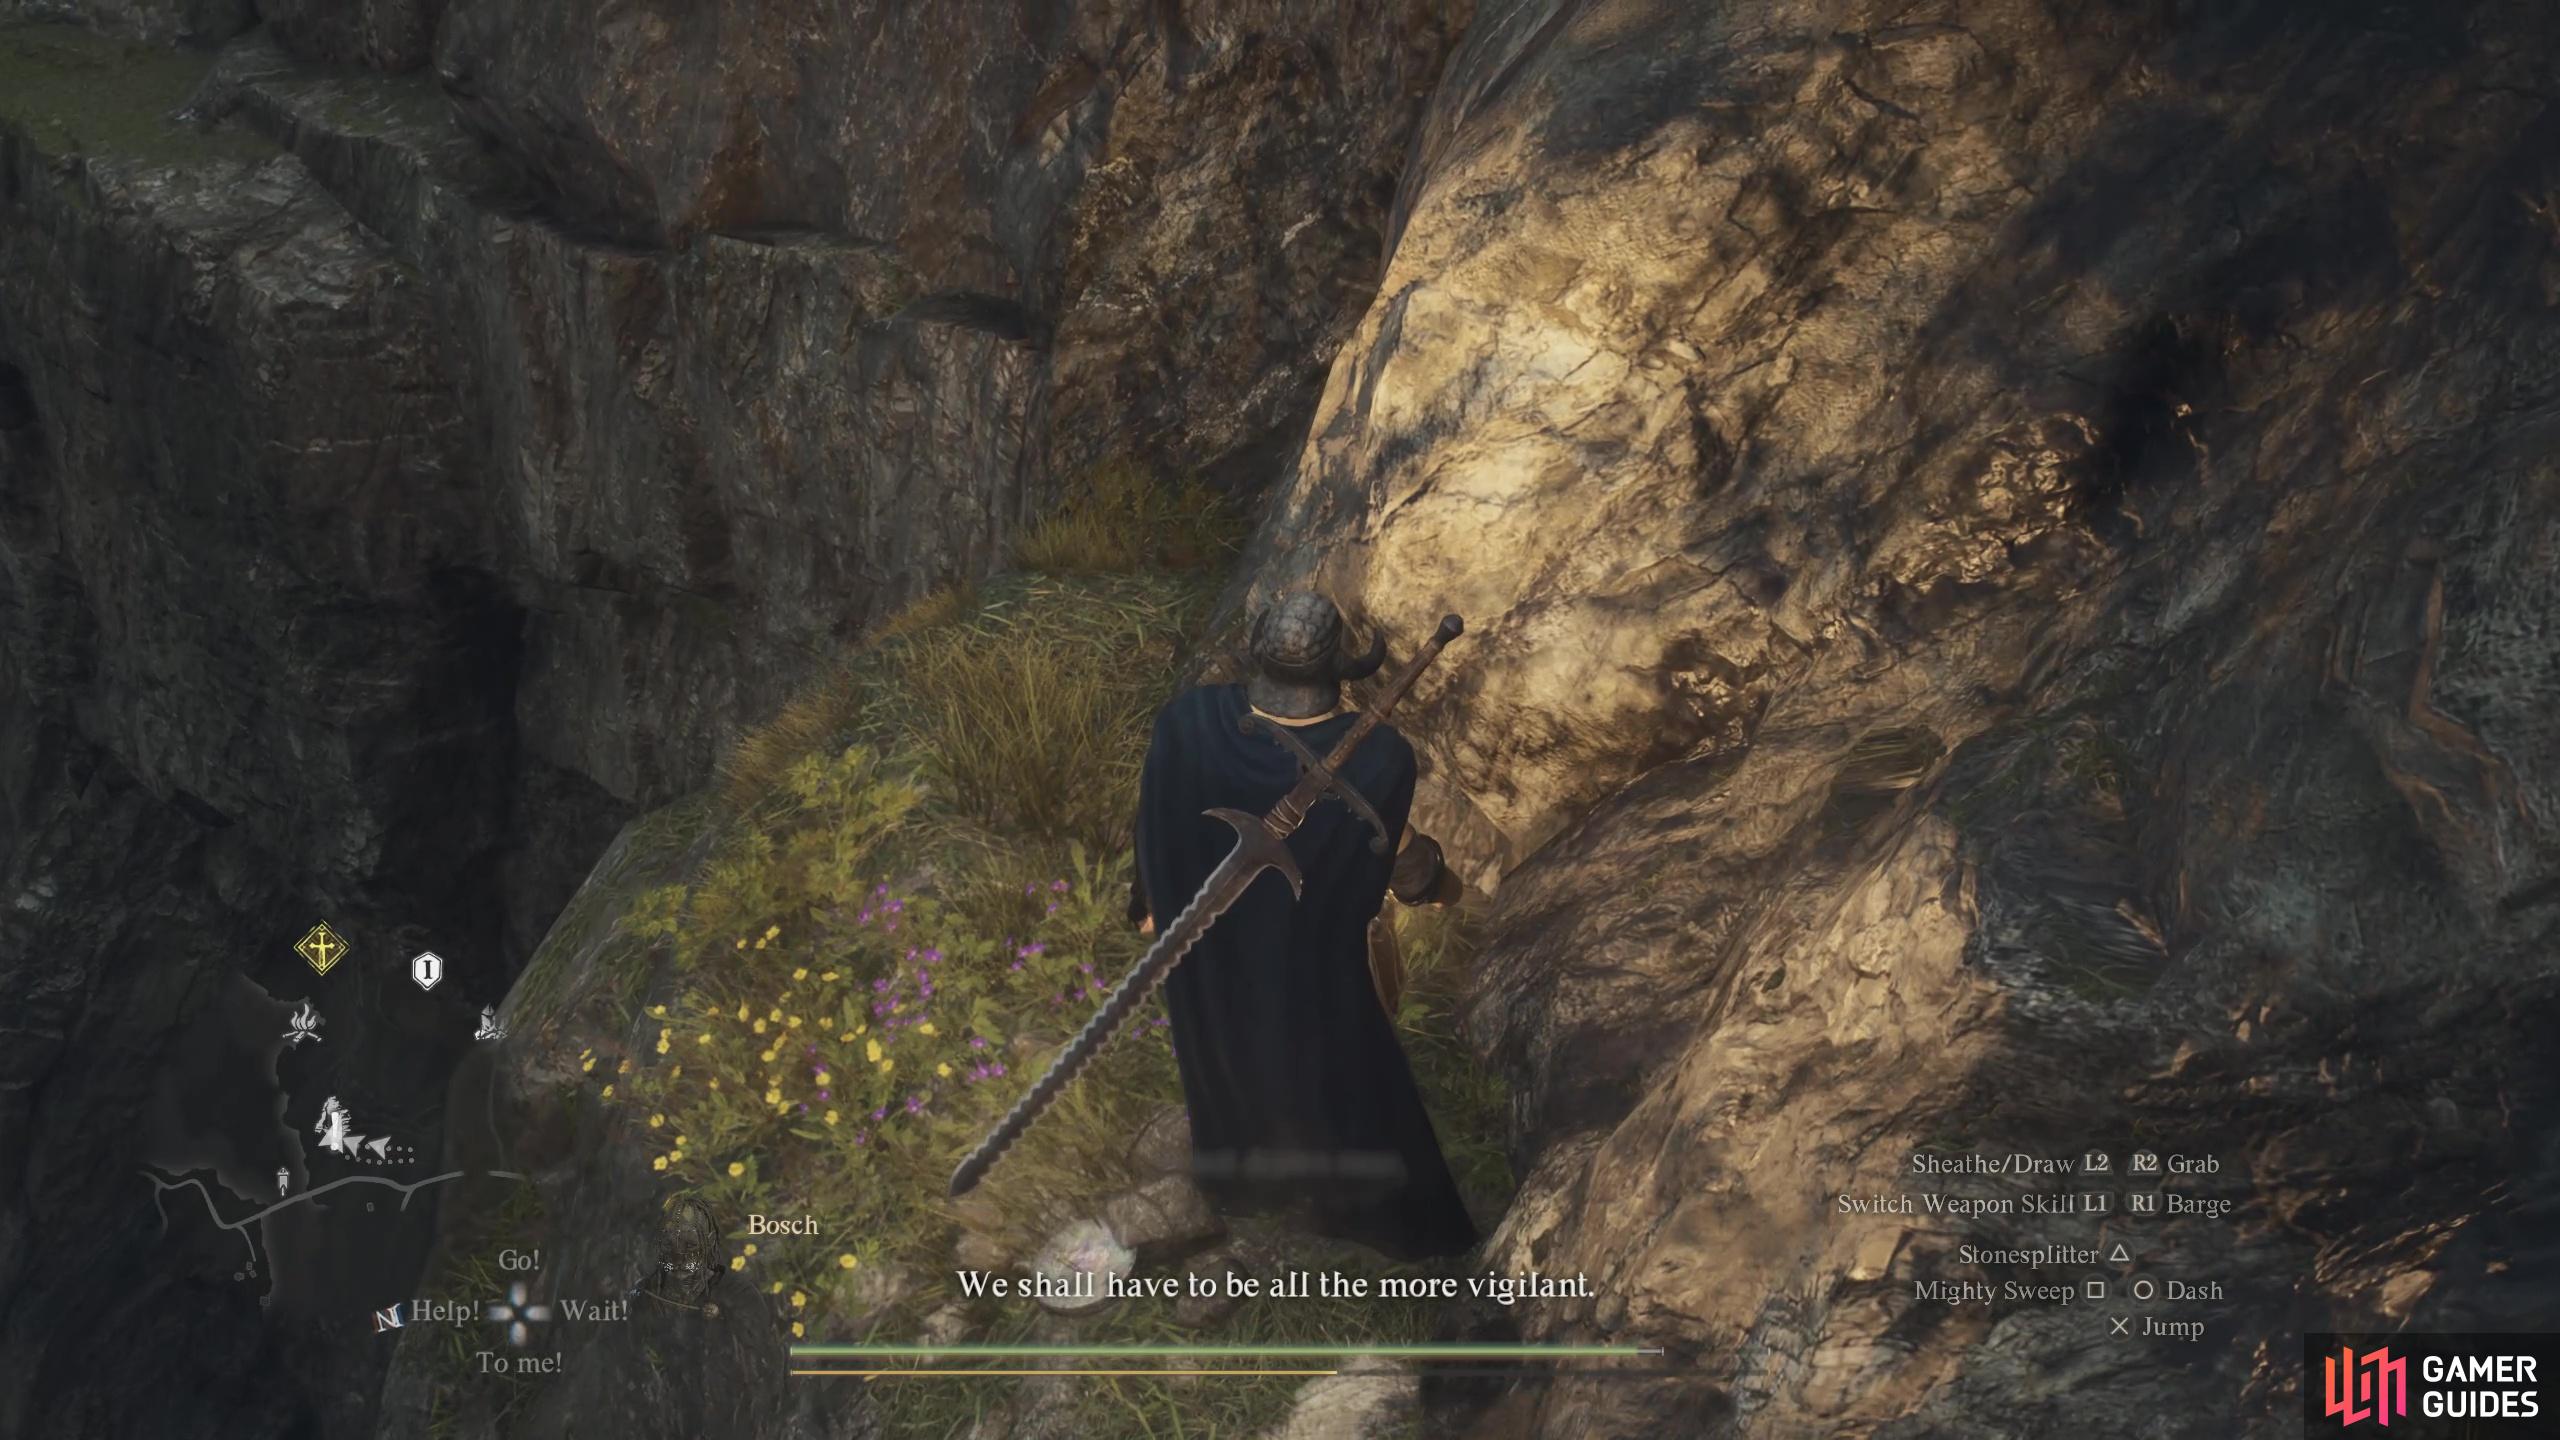
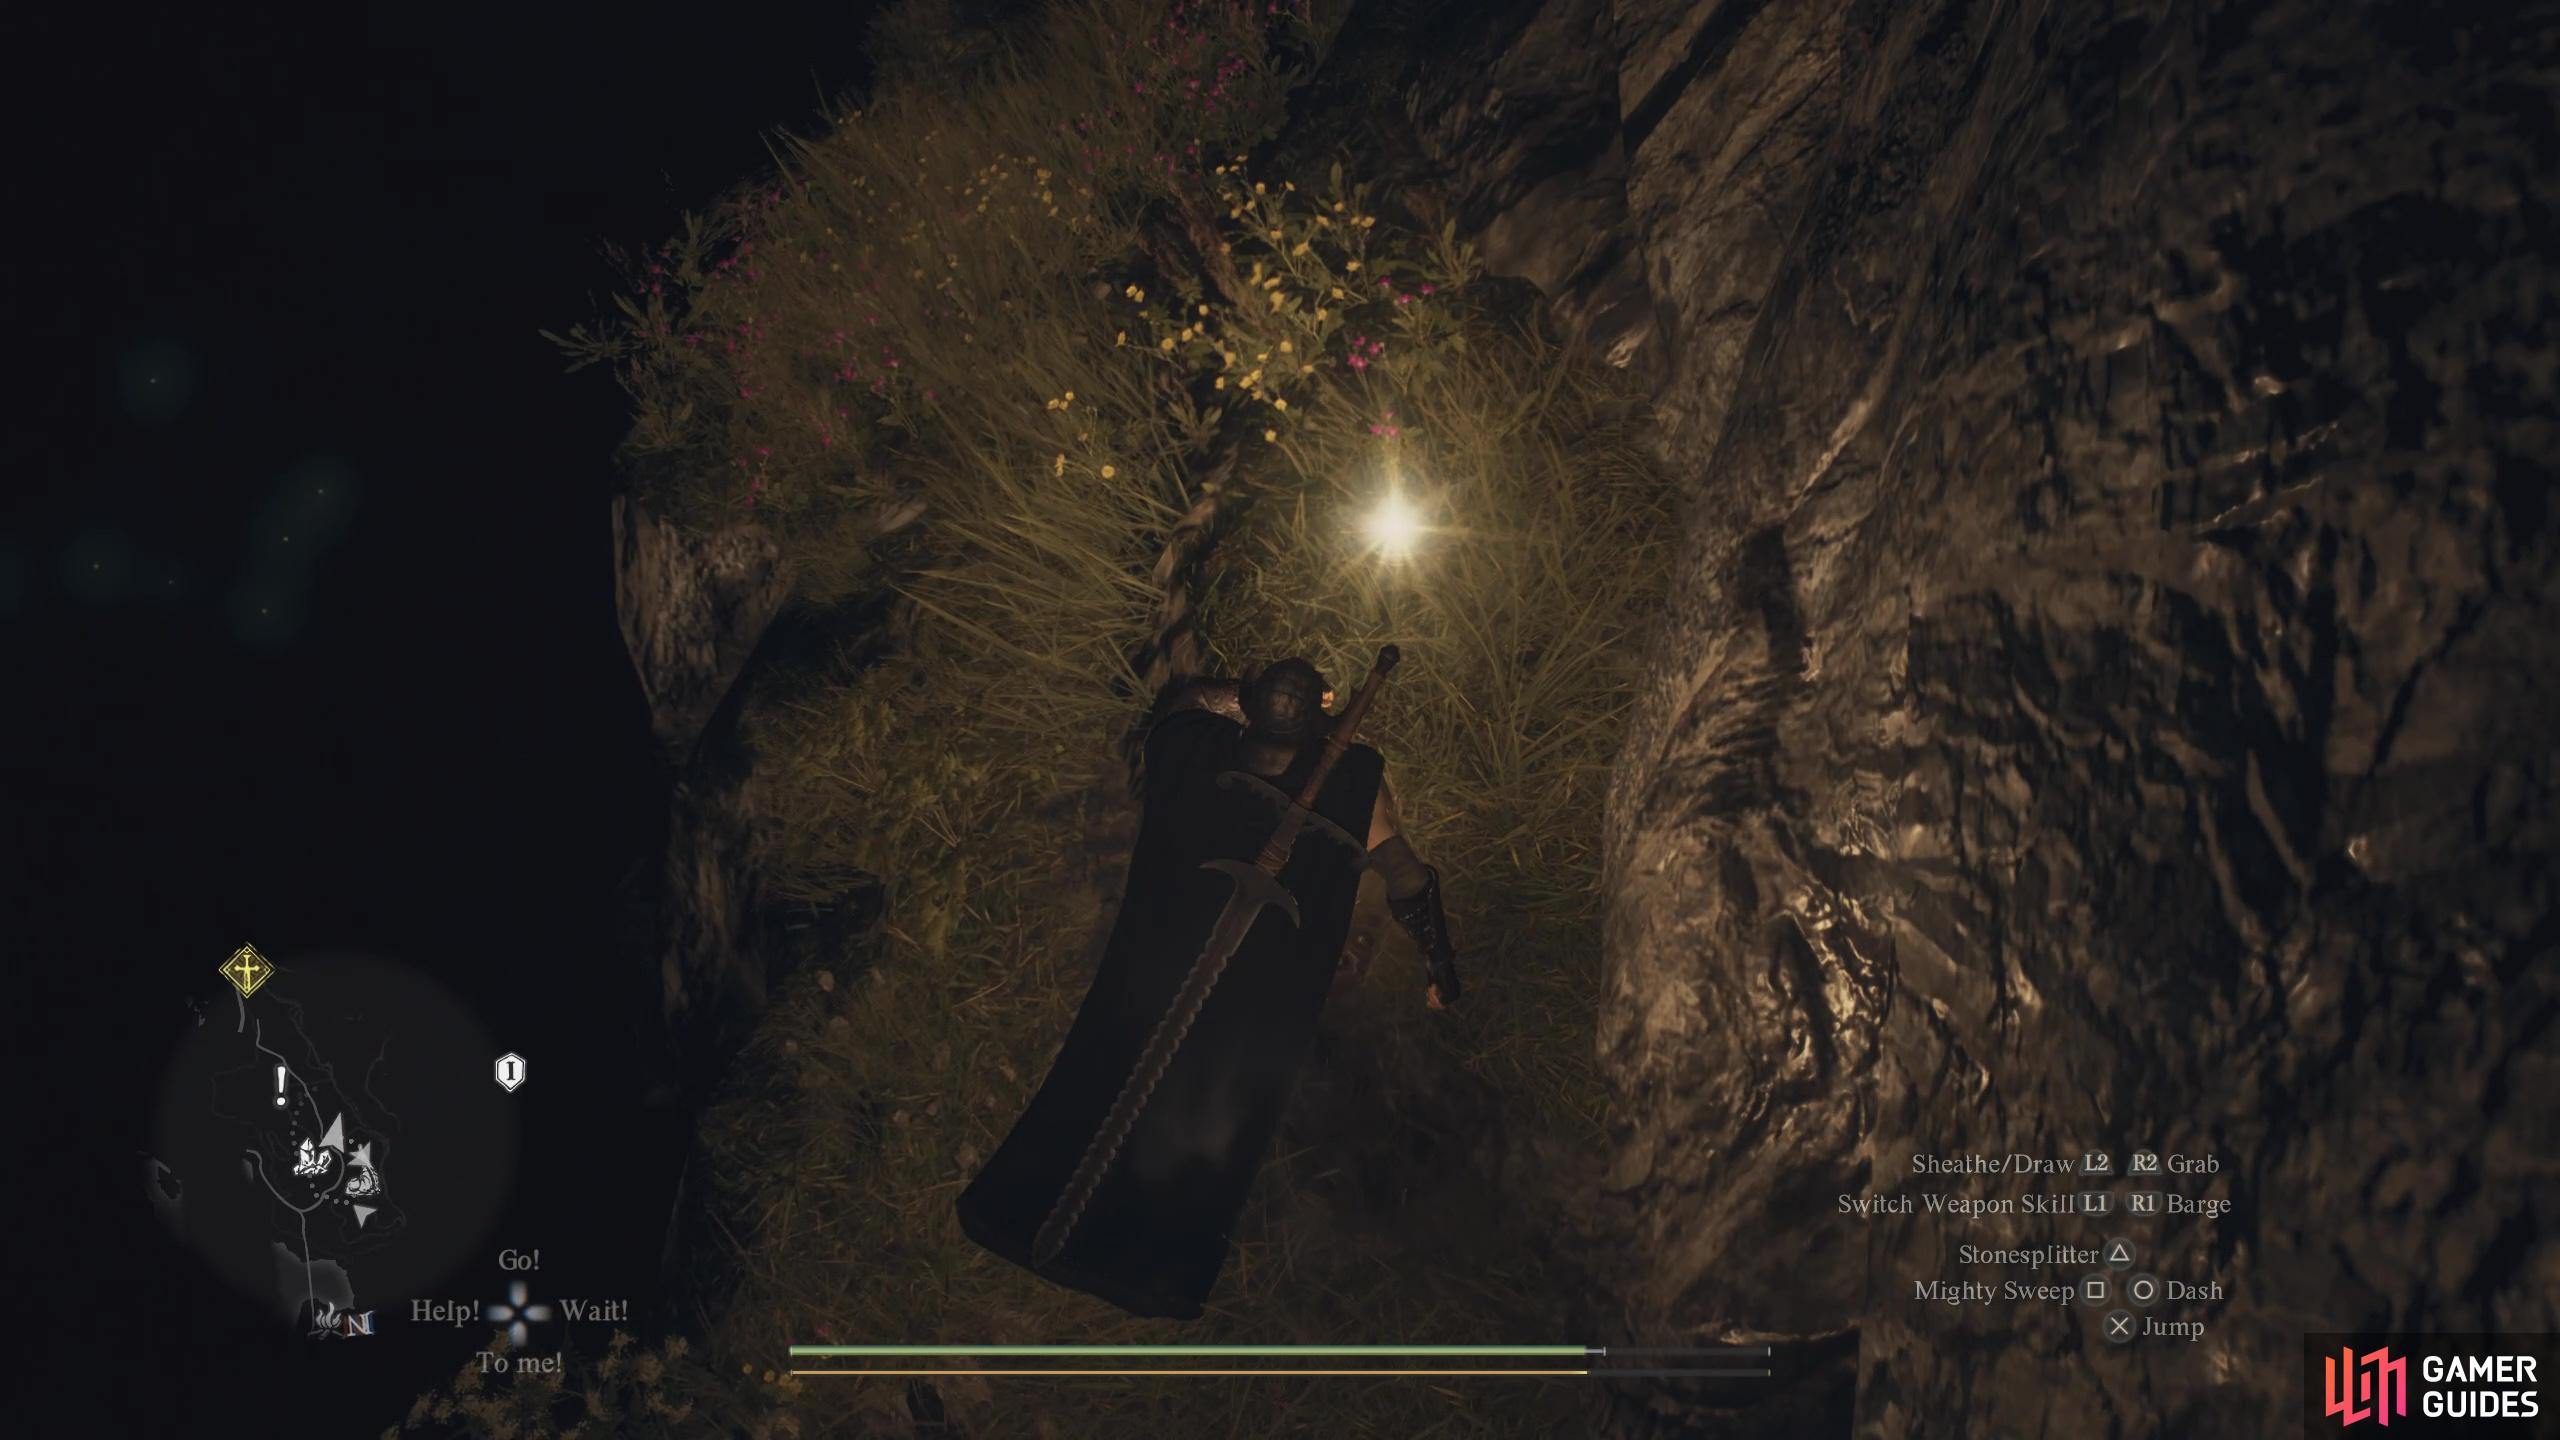
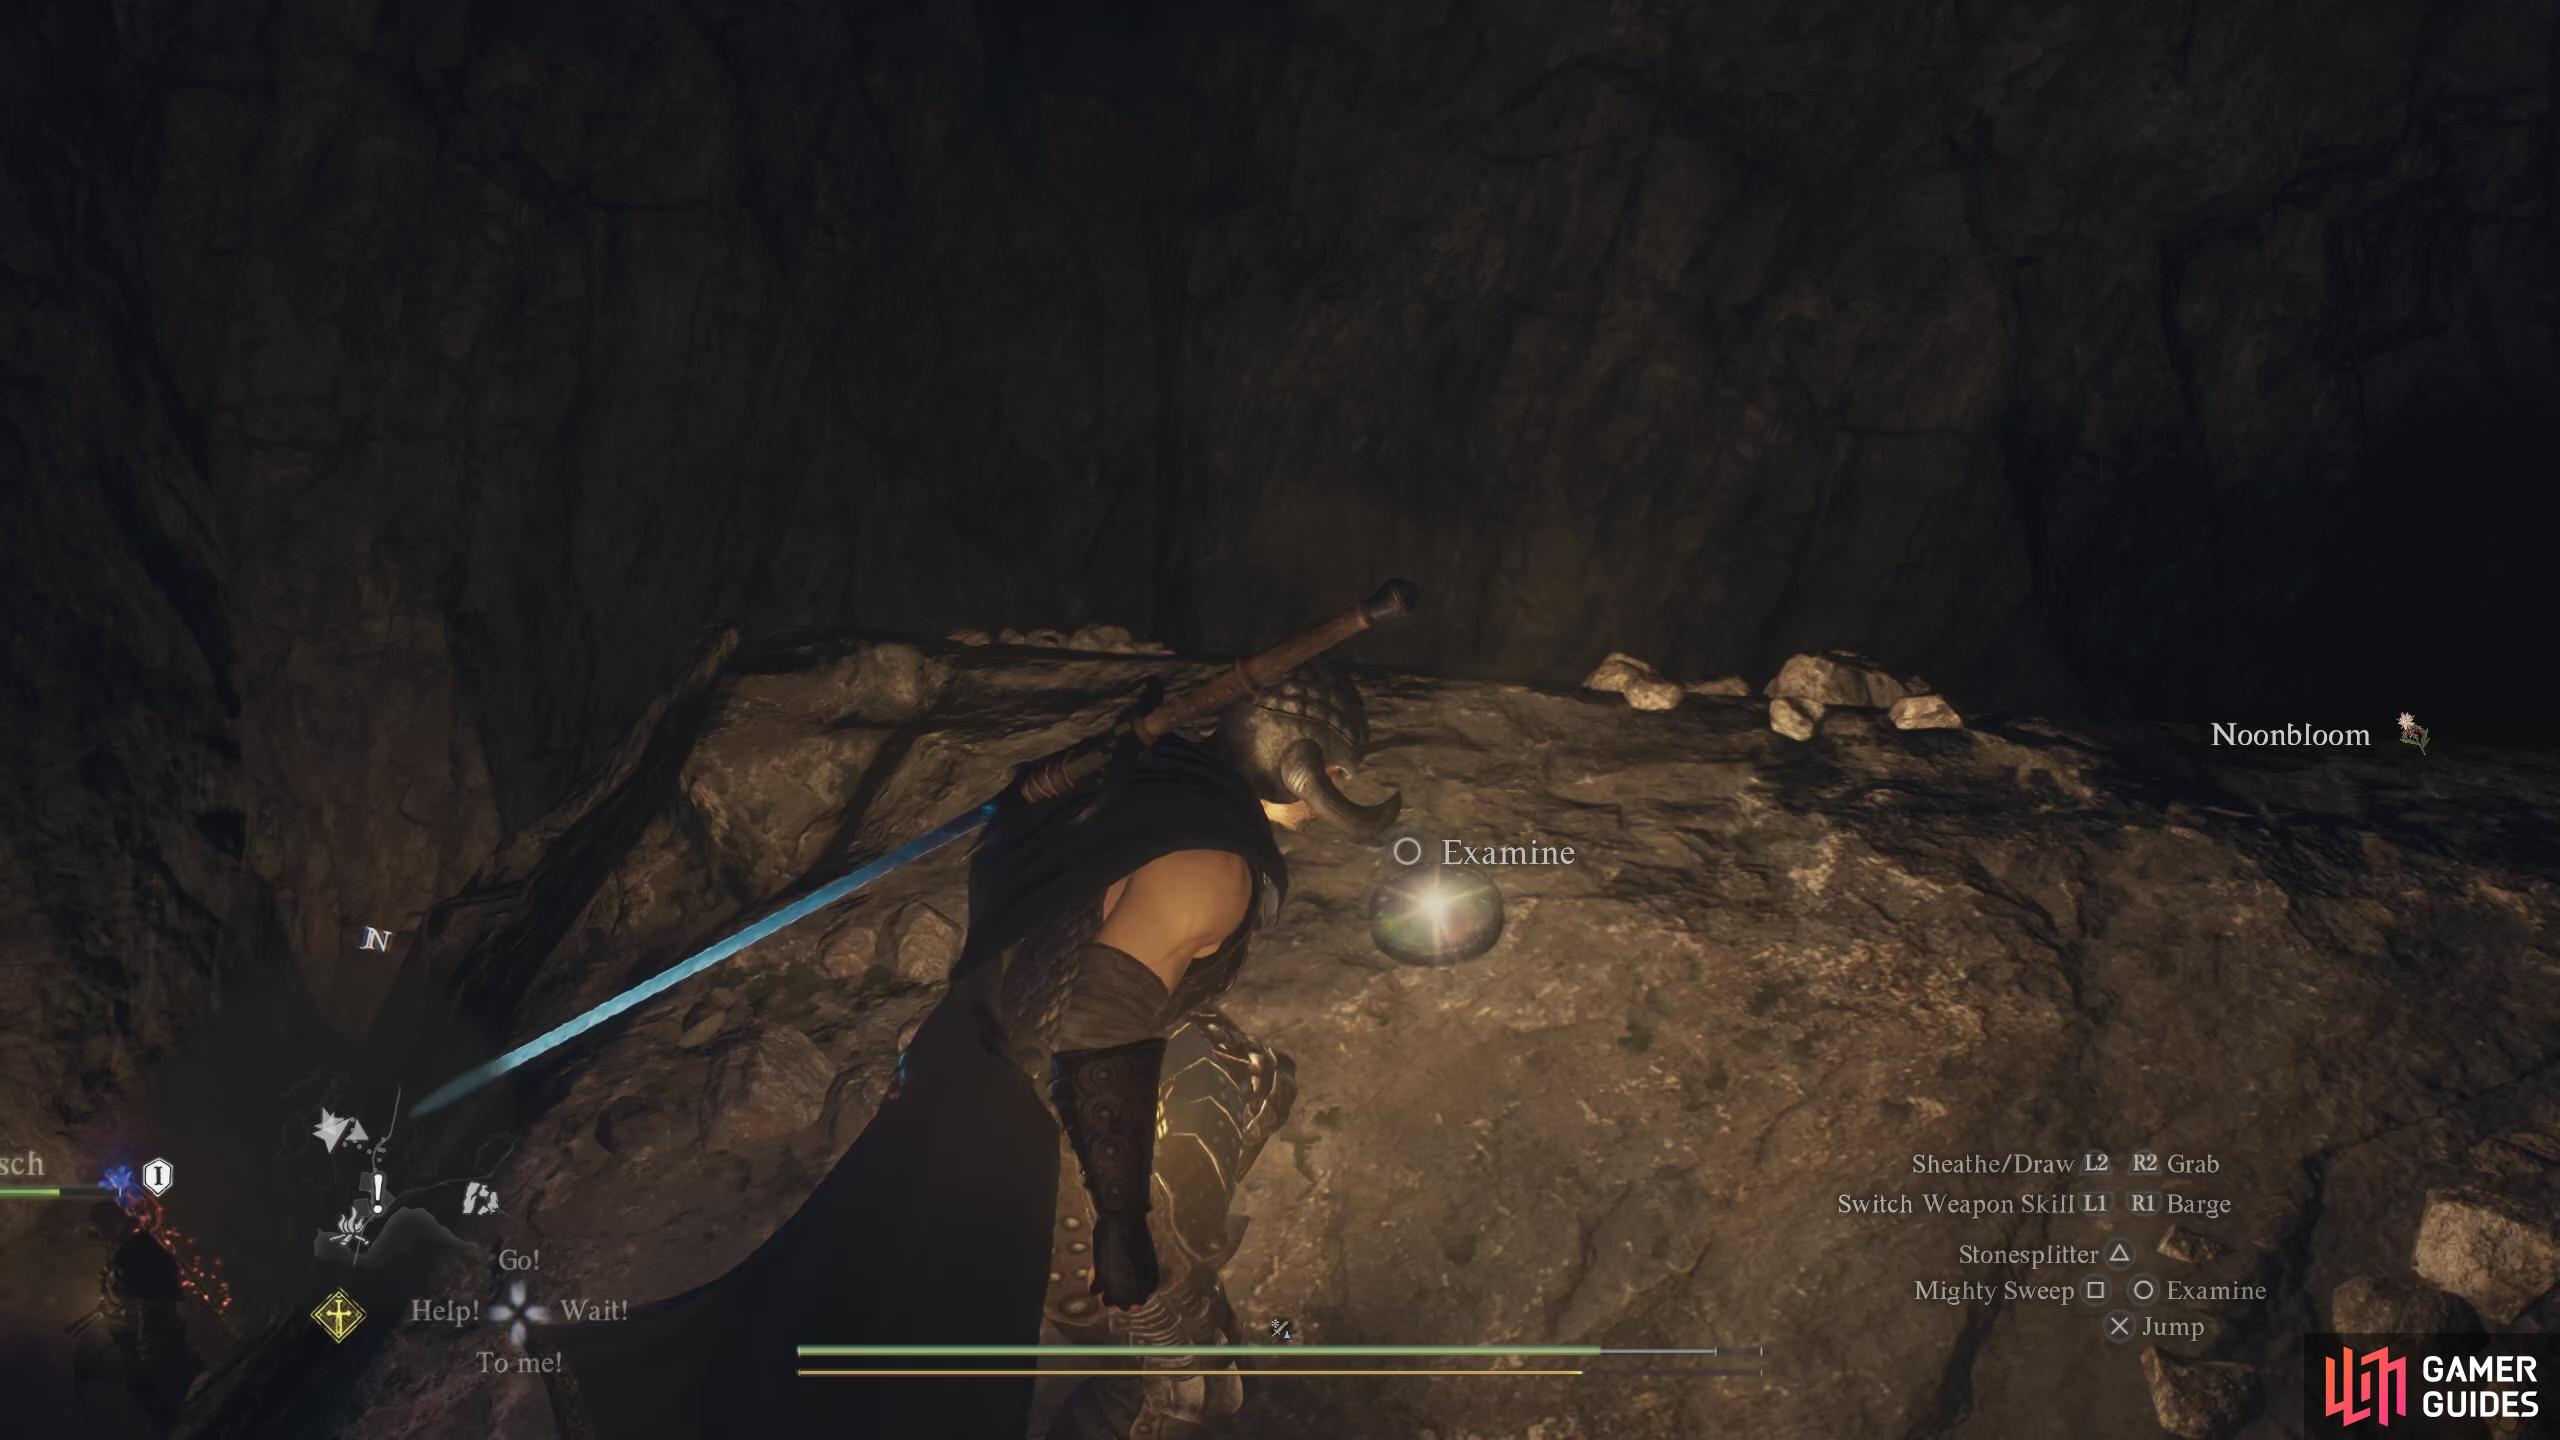
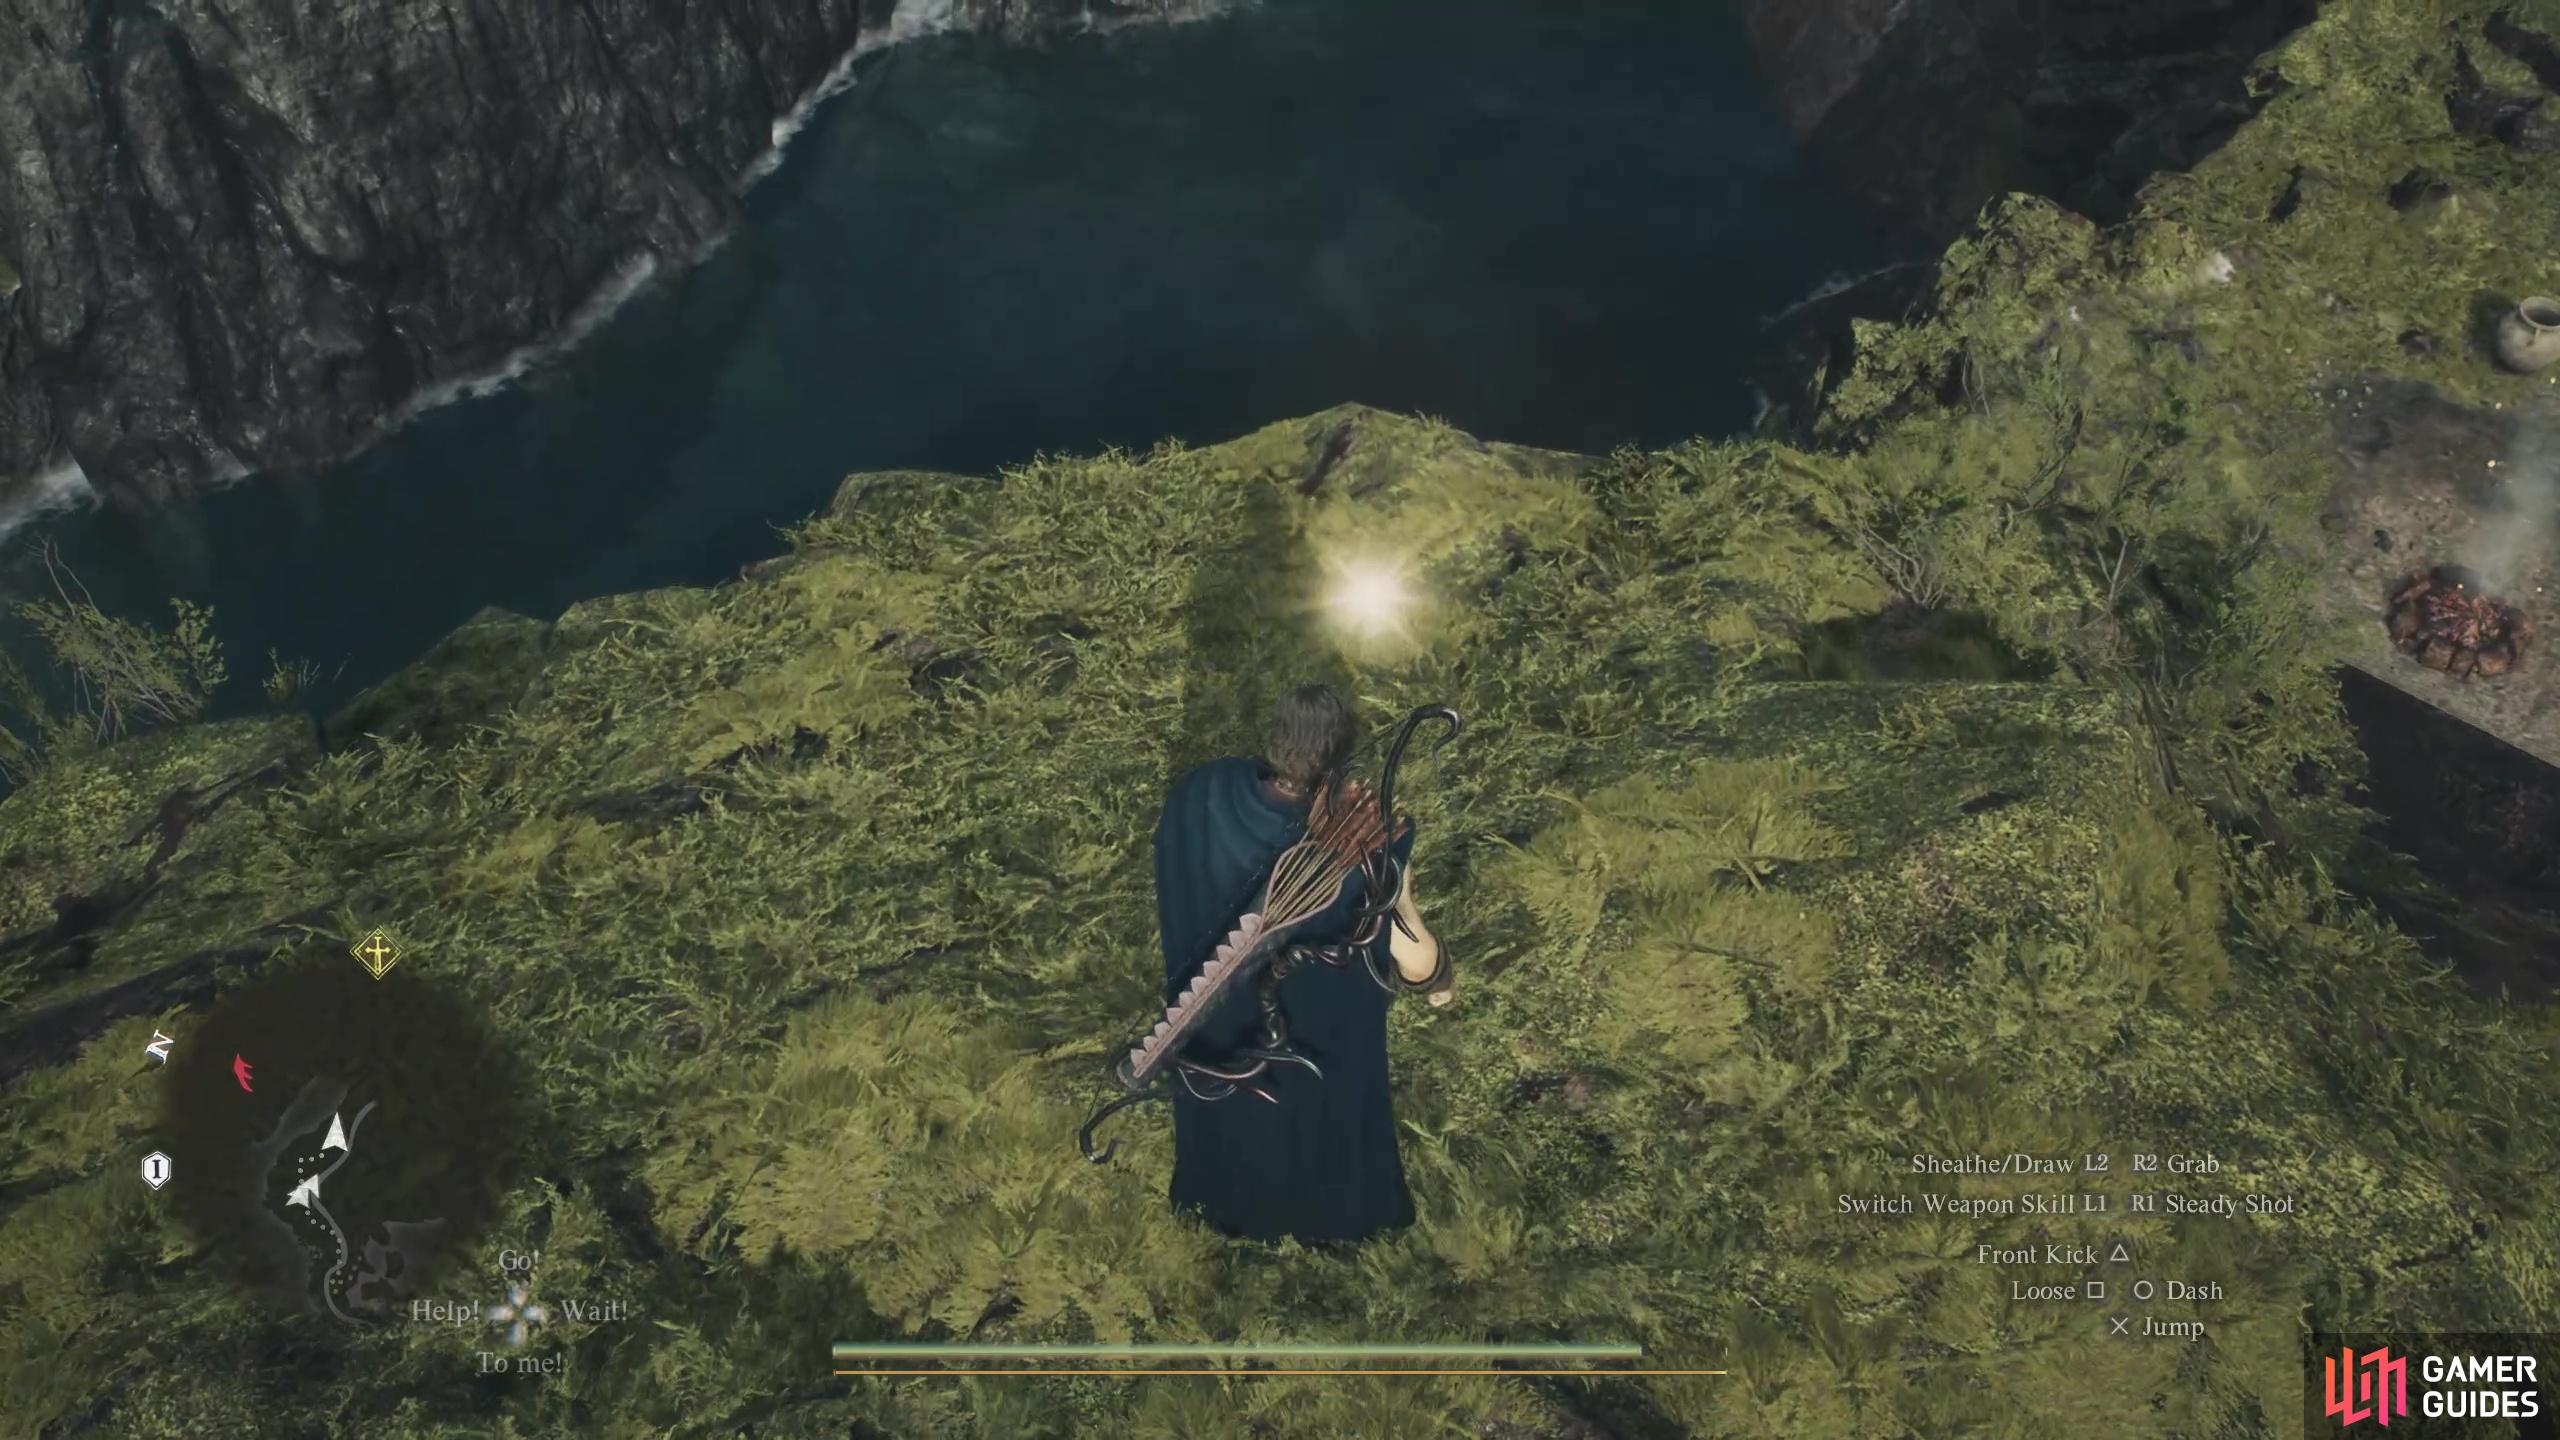
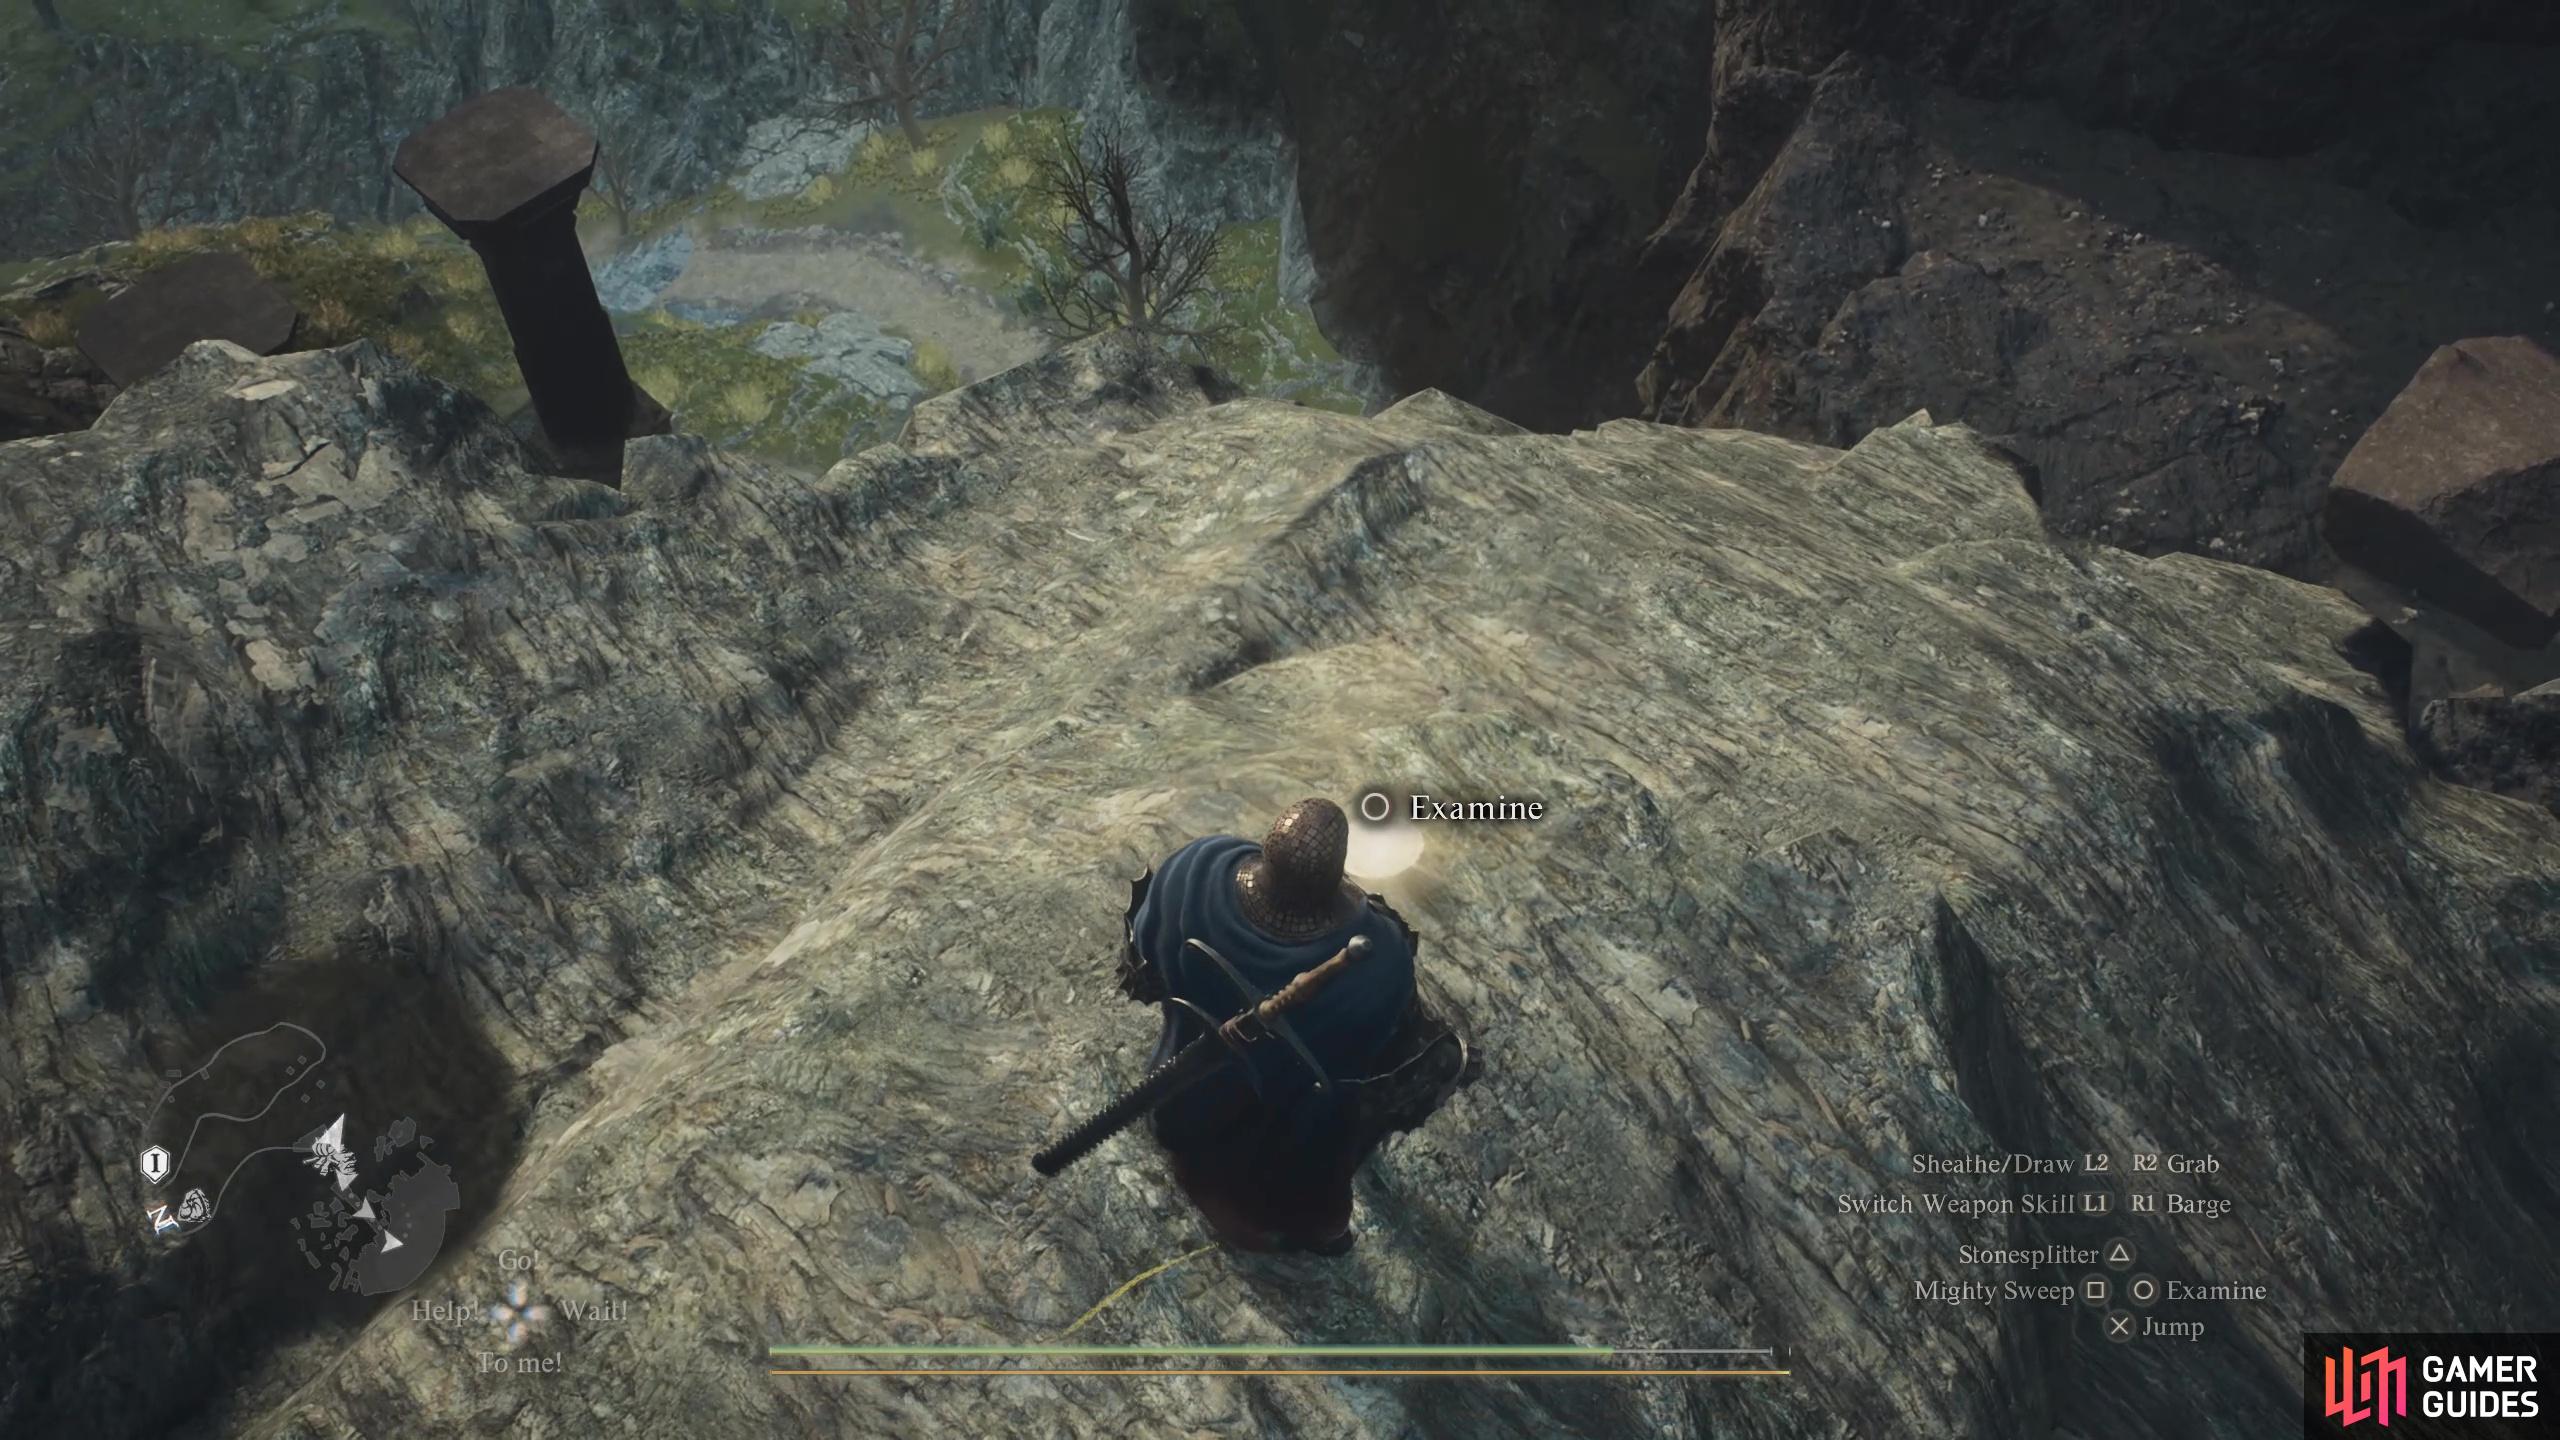
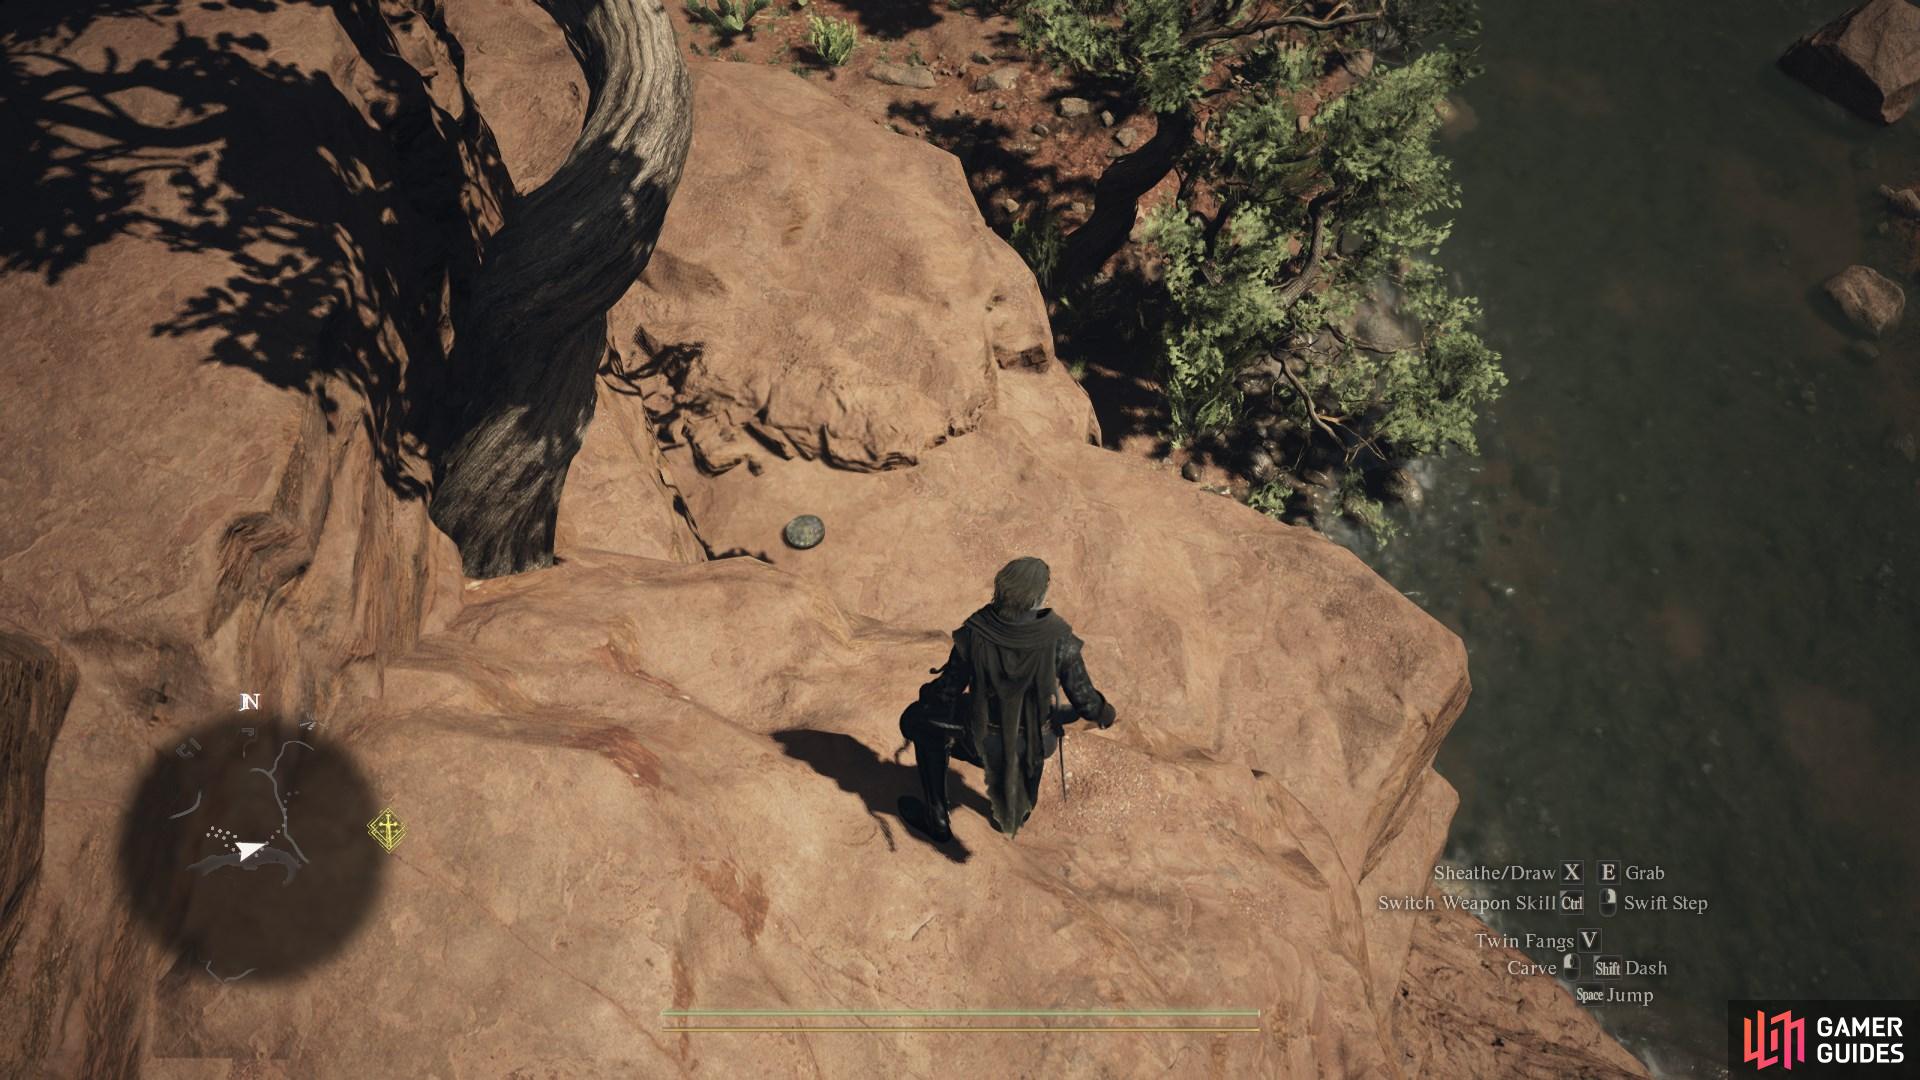
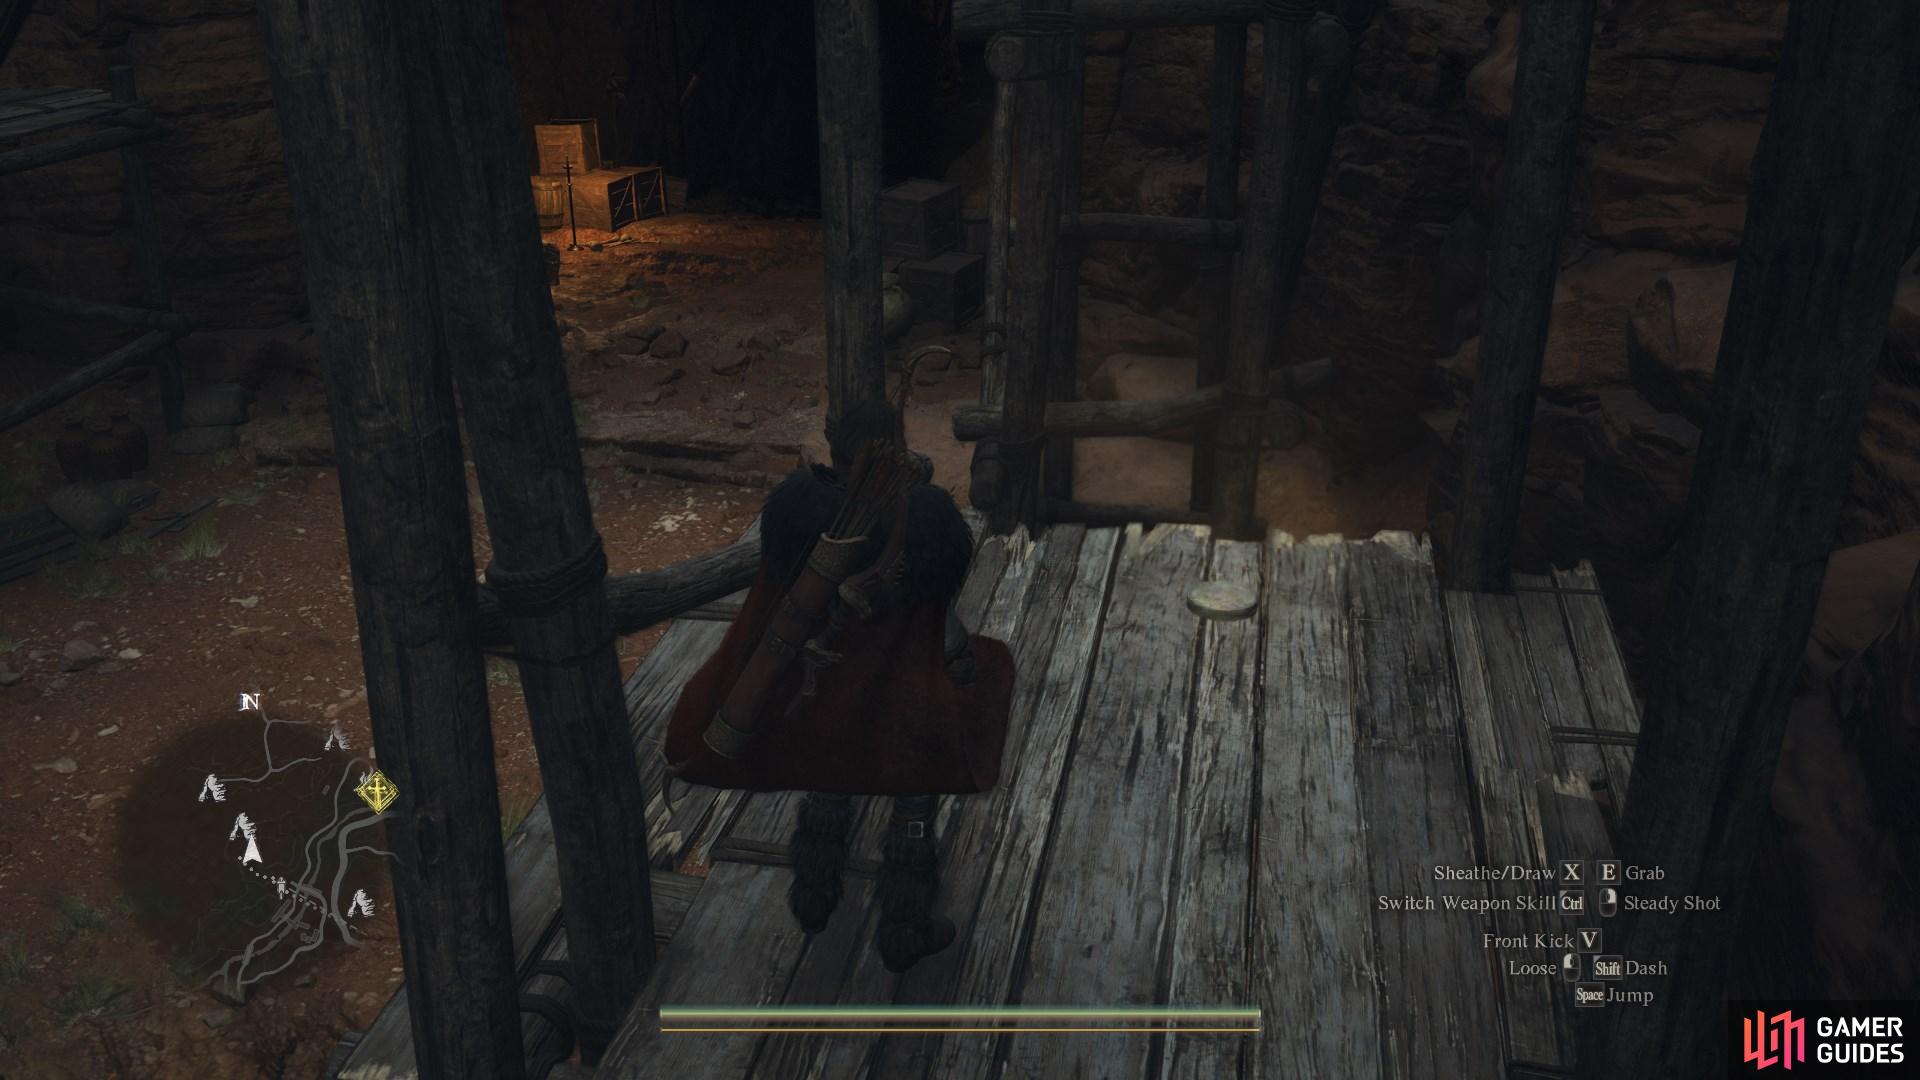
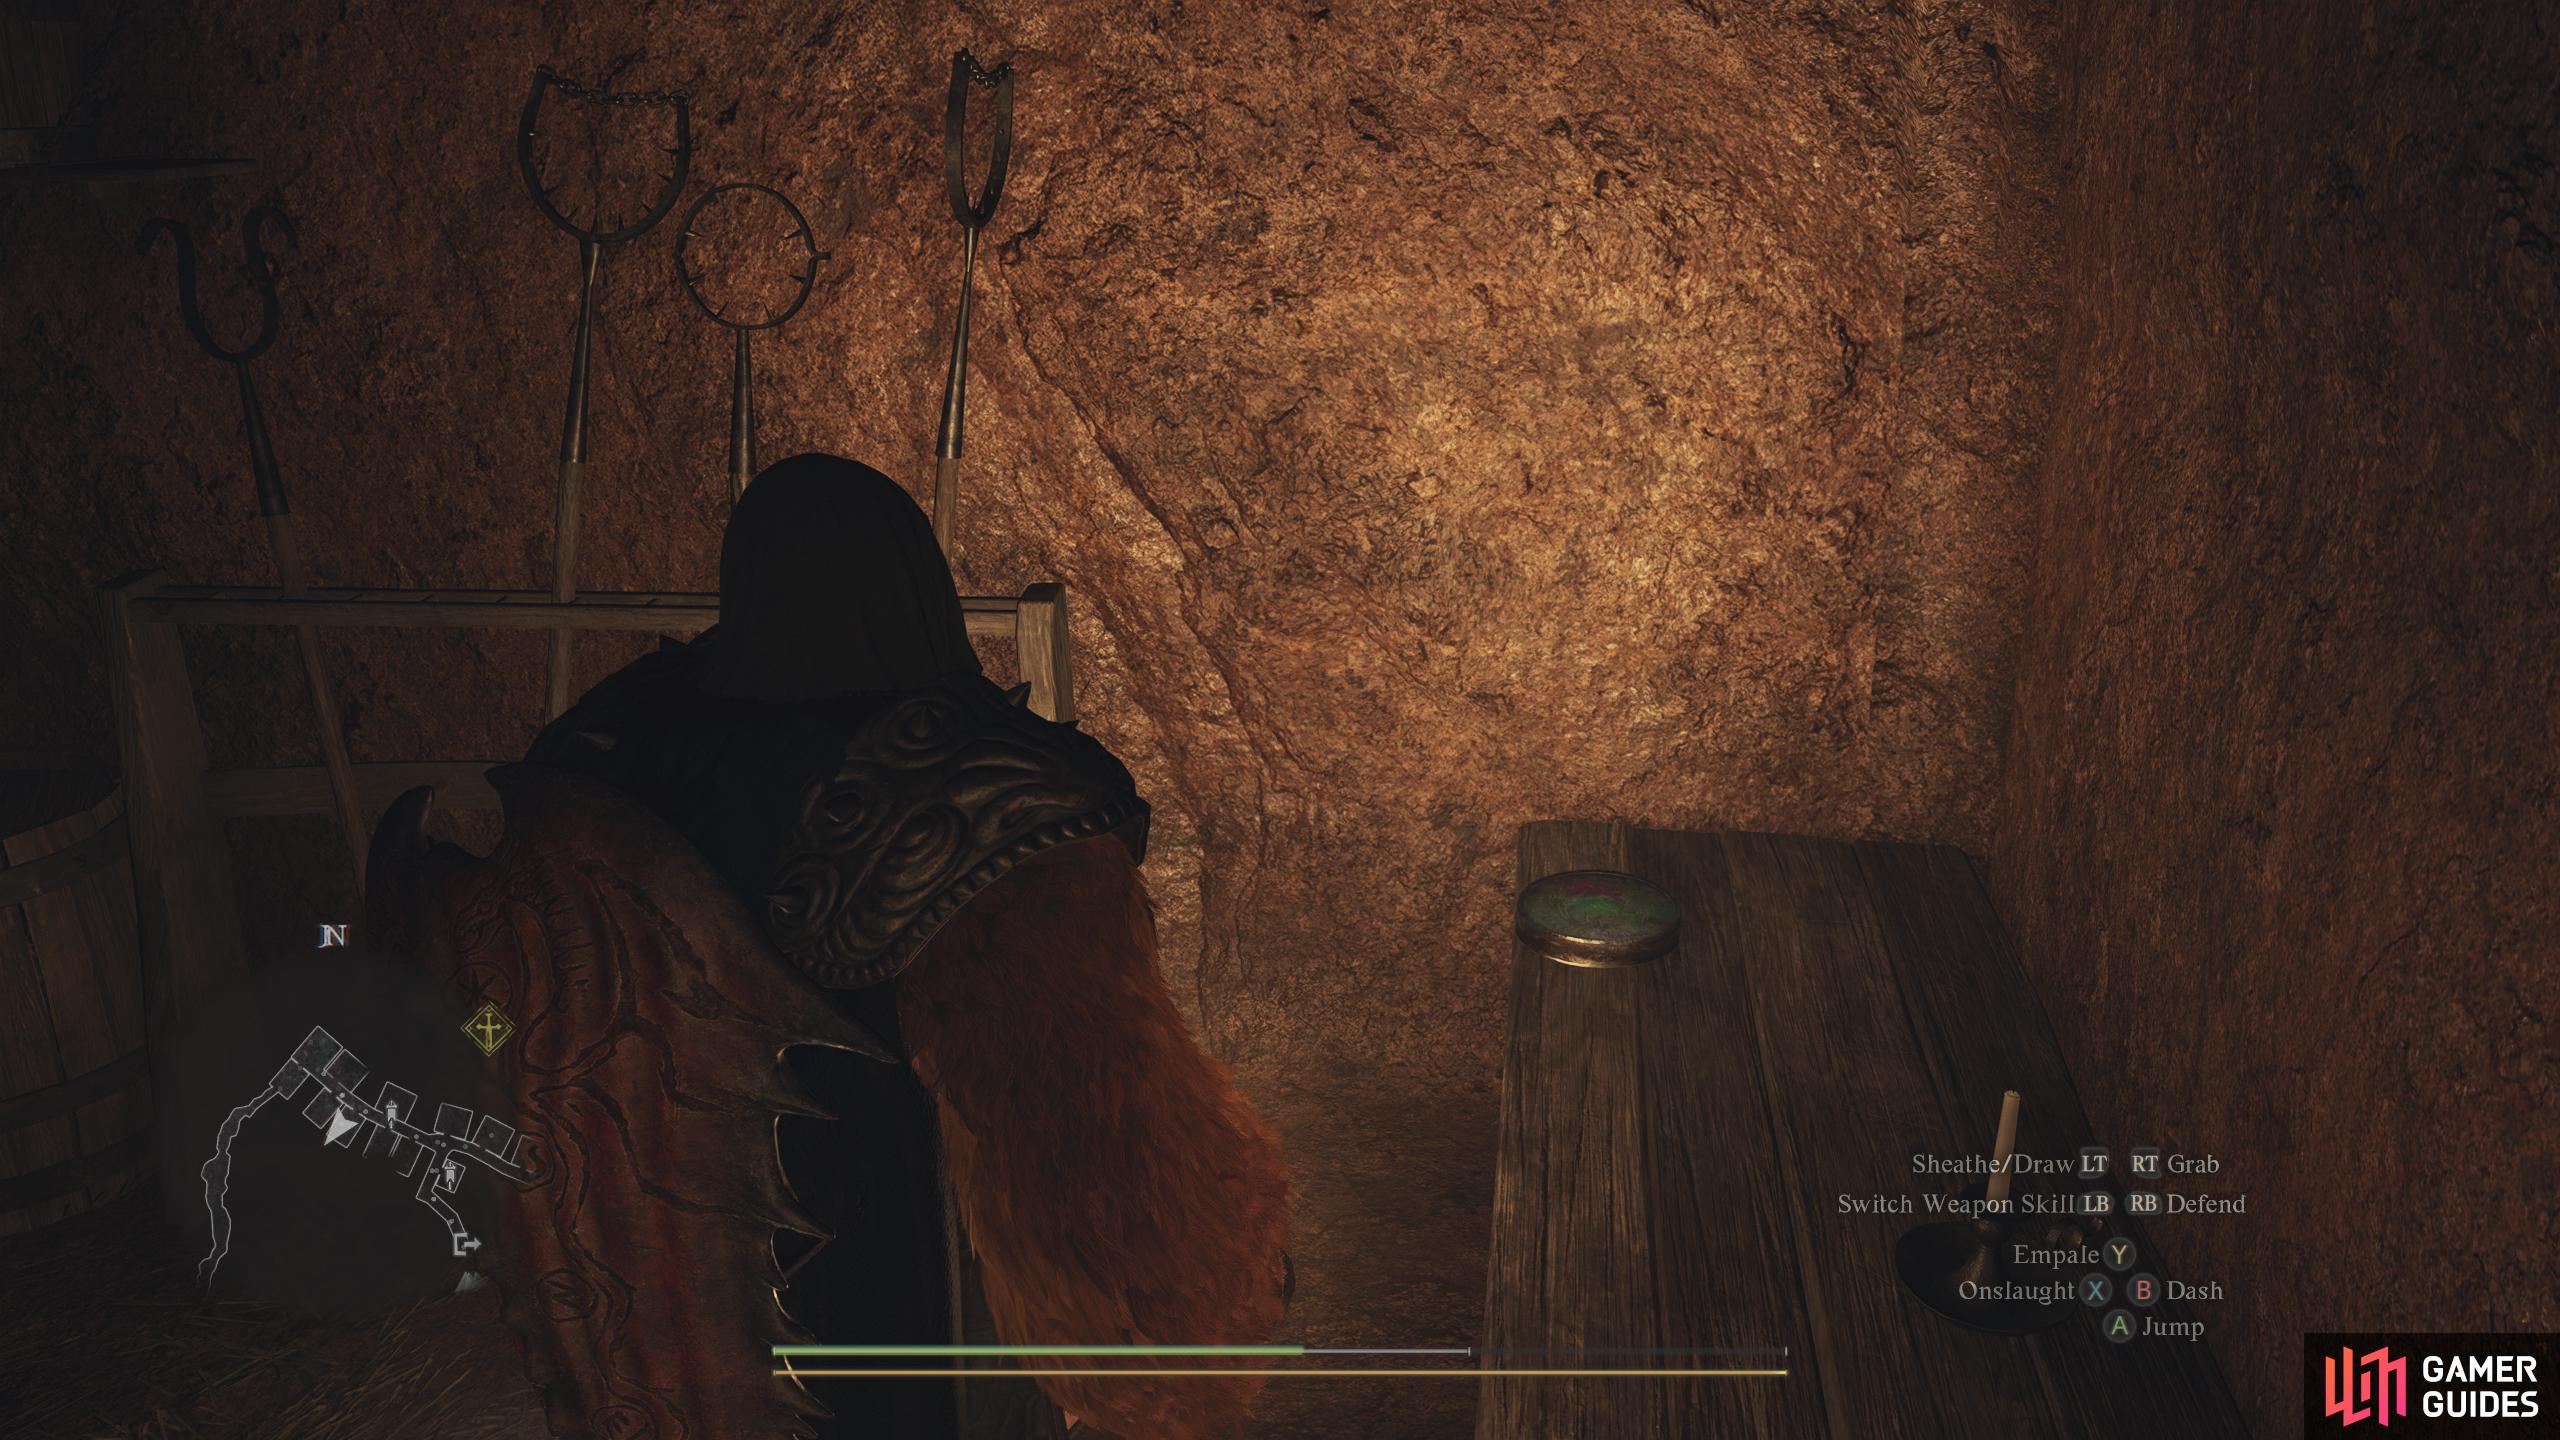
On a small cliff you can parkour up to the east of the ![]() Trevo Mine entrance
Trevo Mine entrance
70270. World
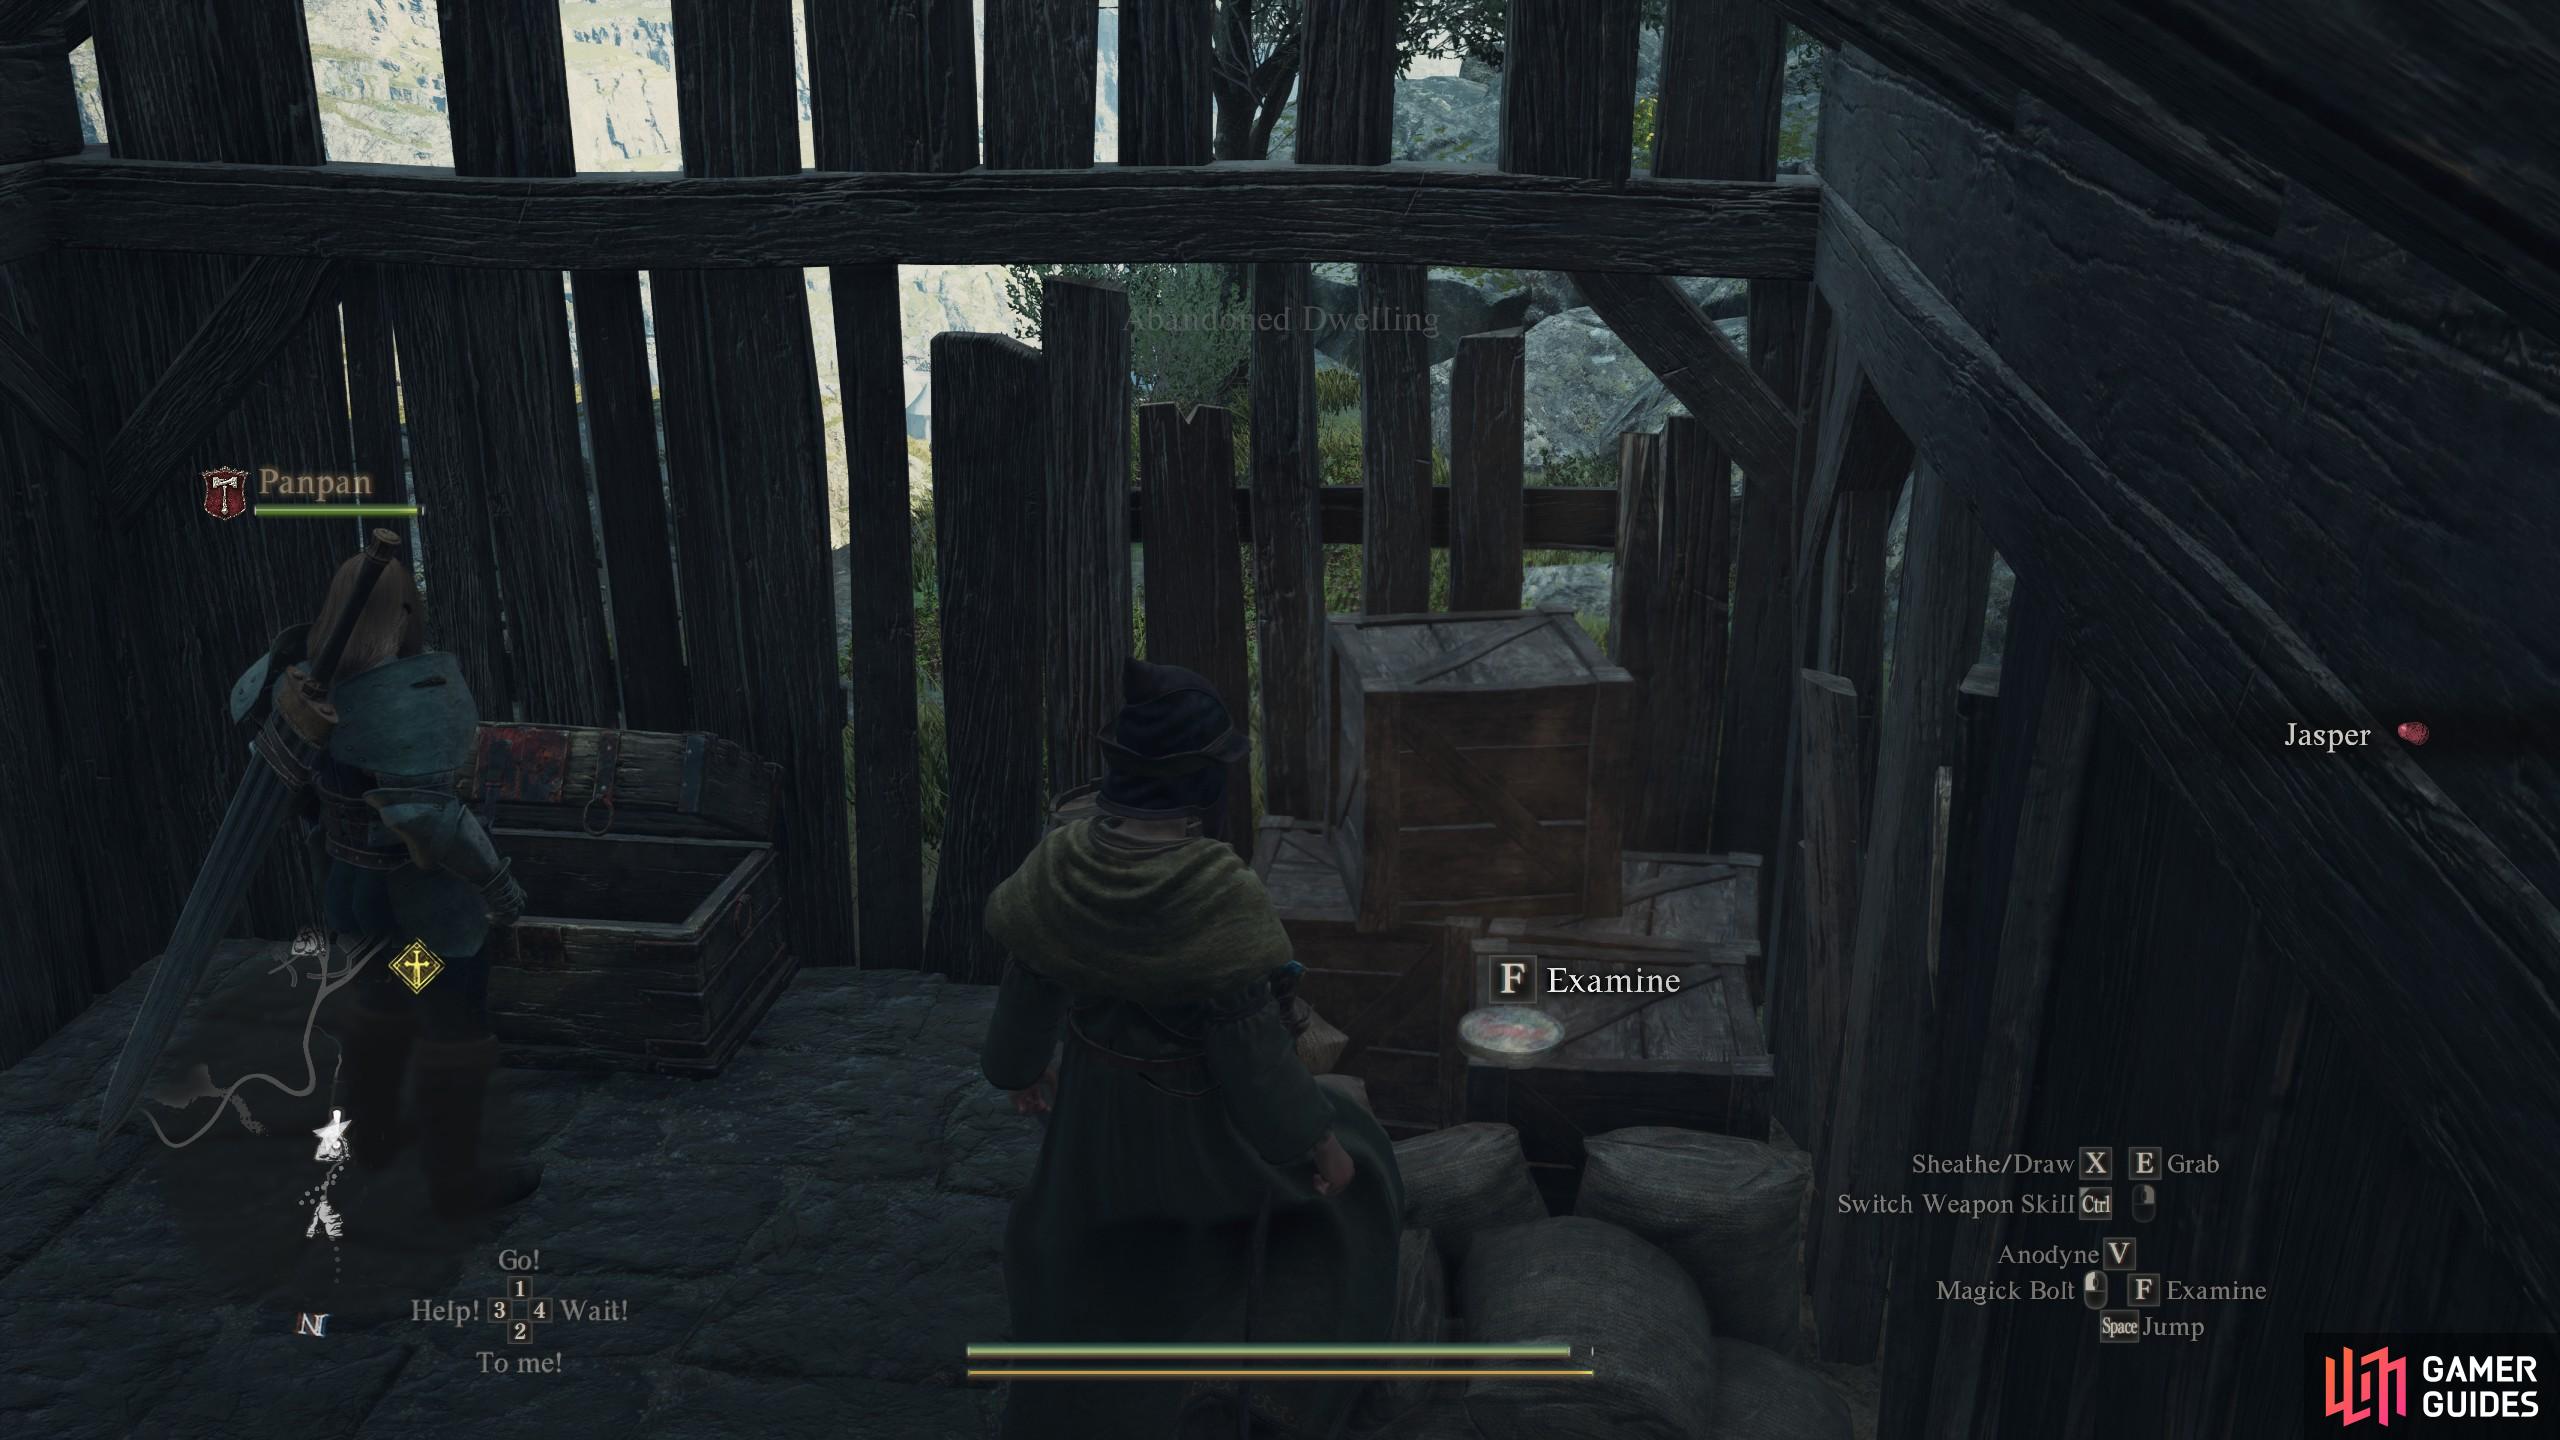
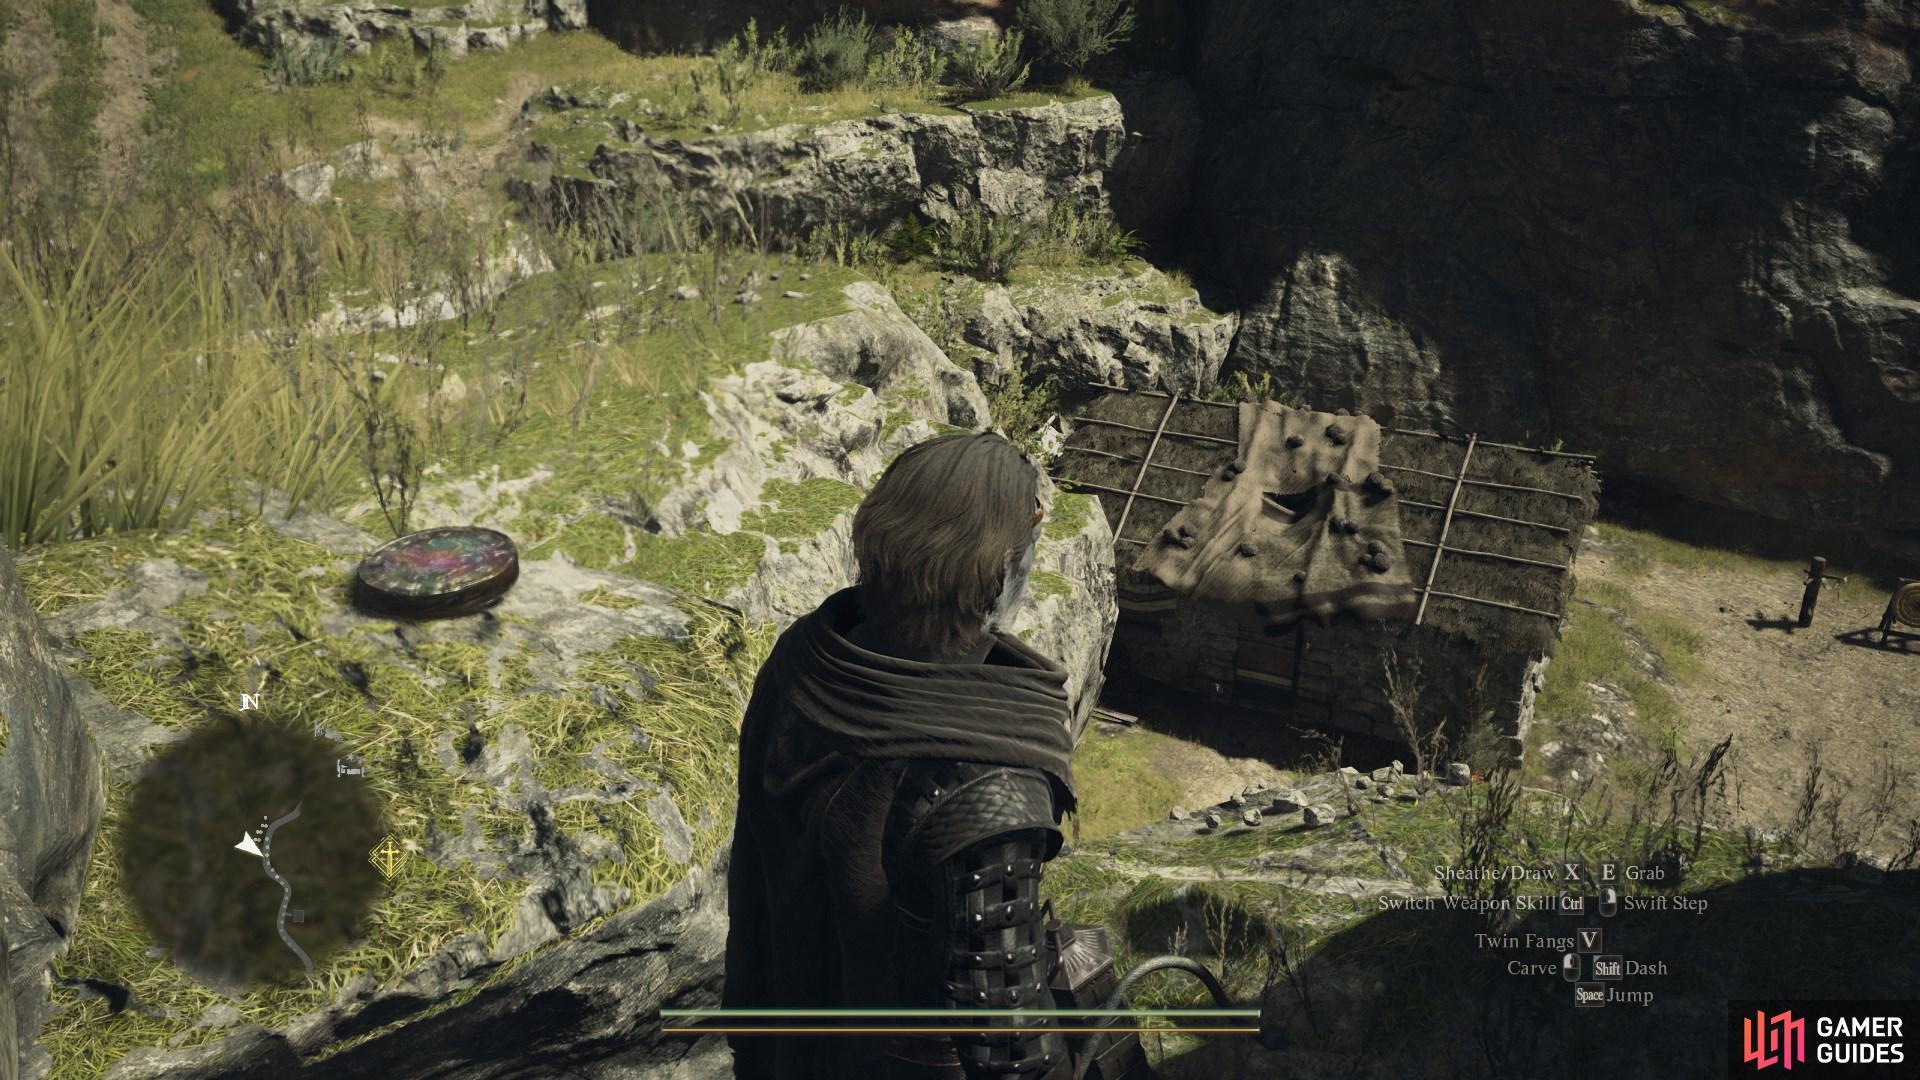
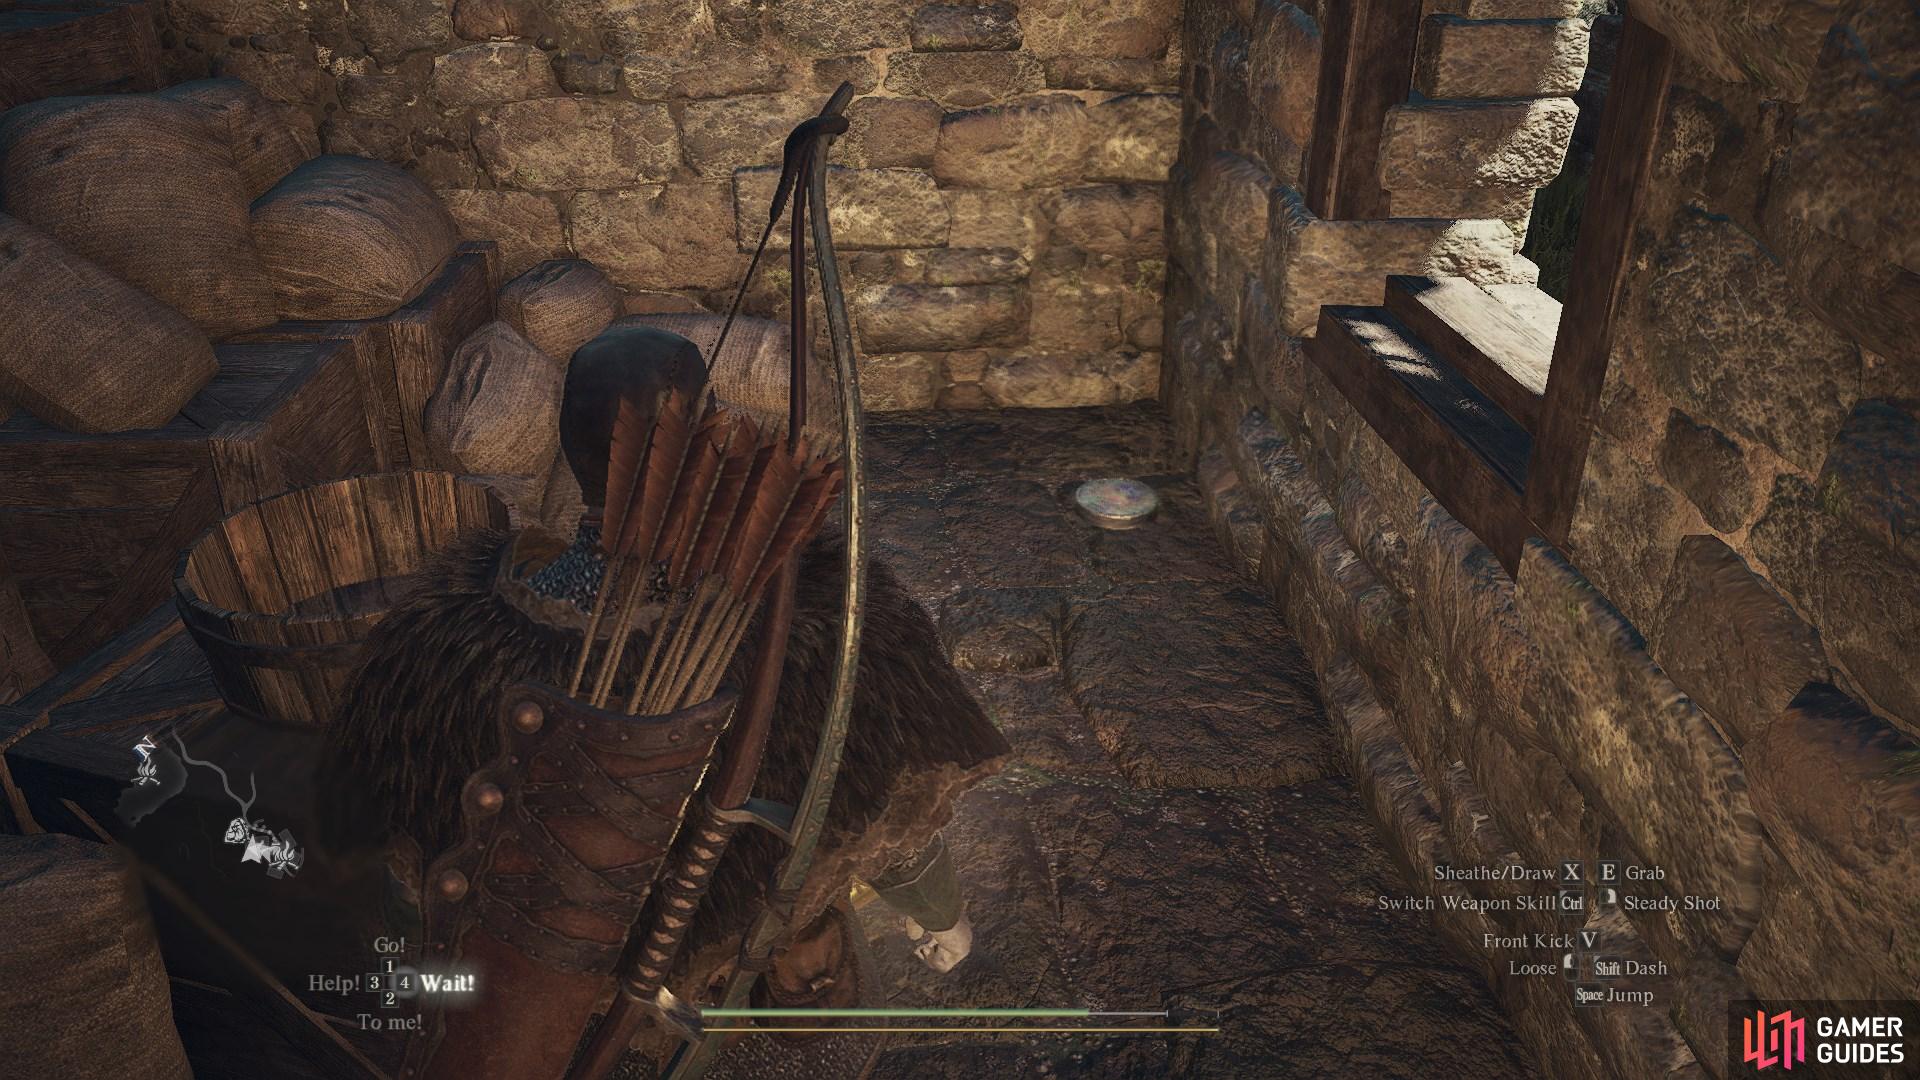
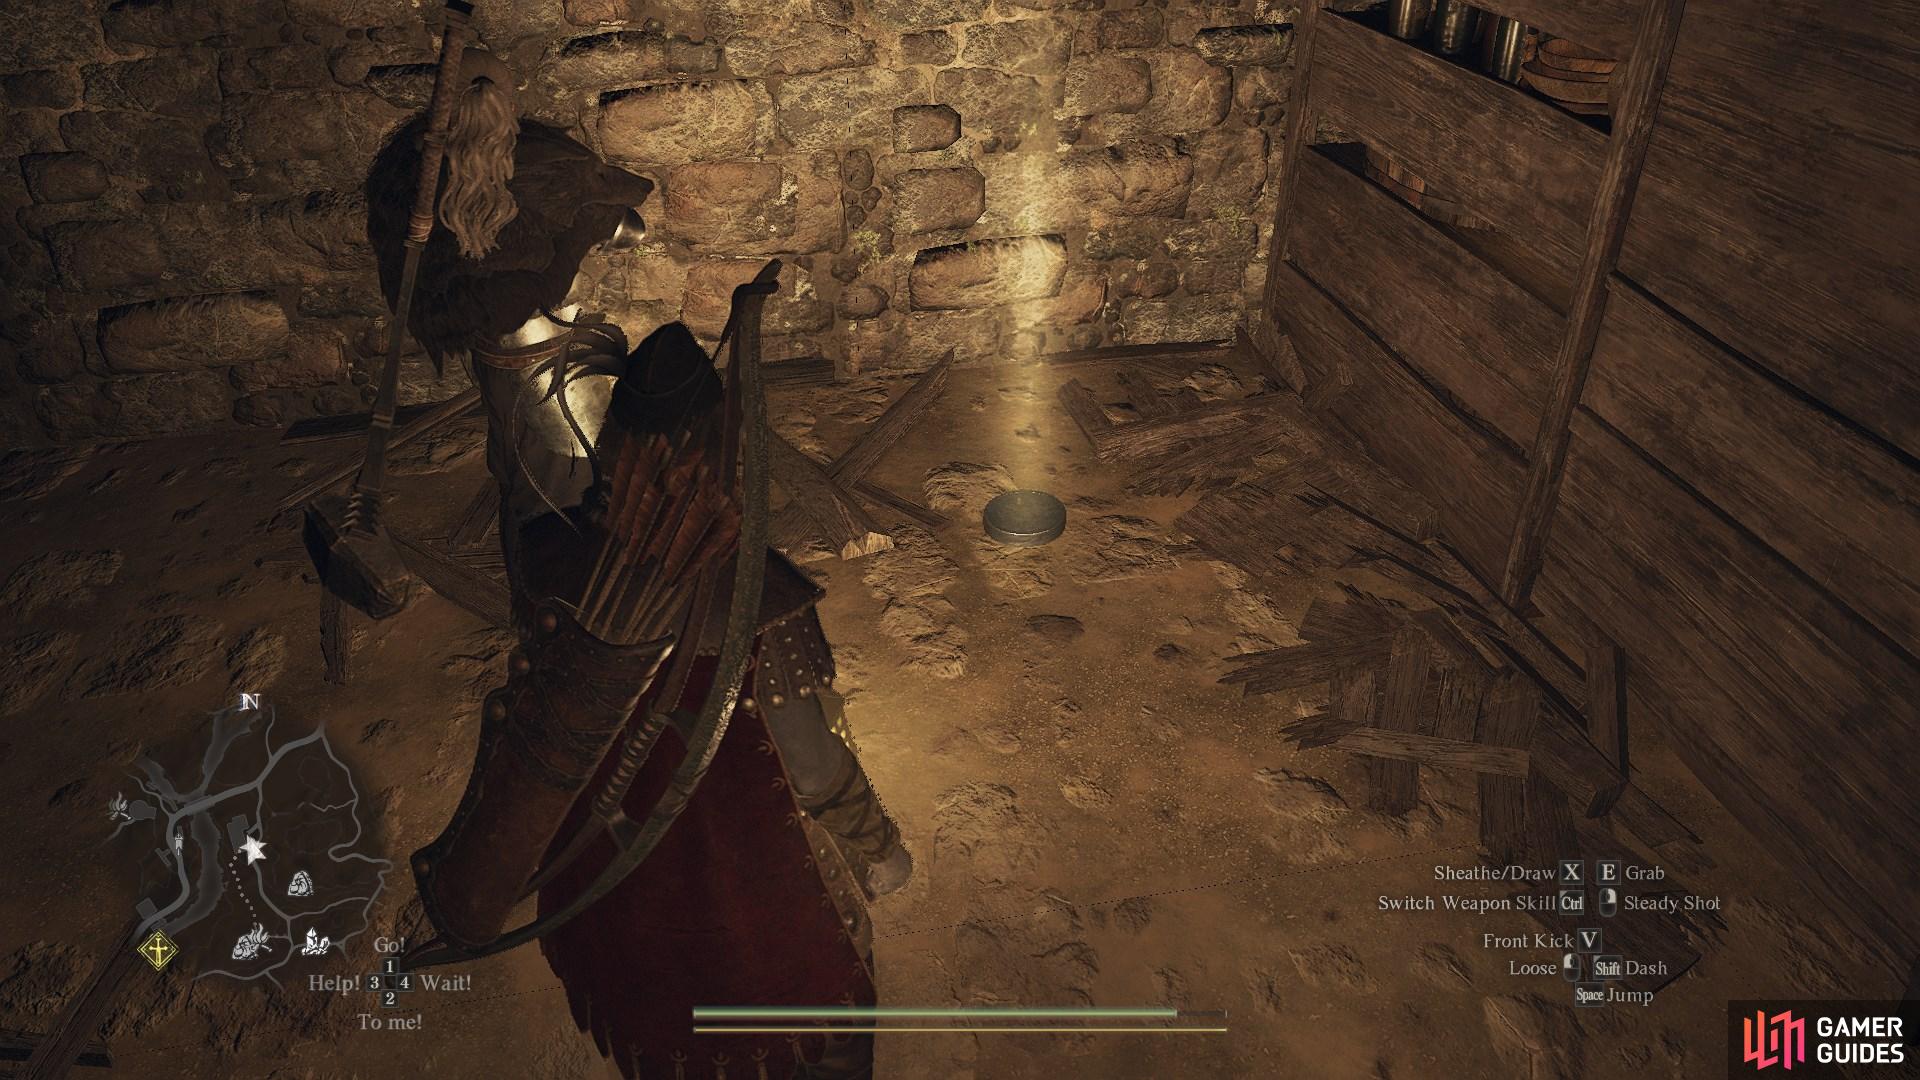
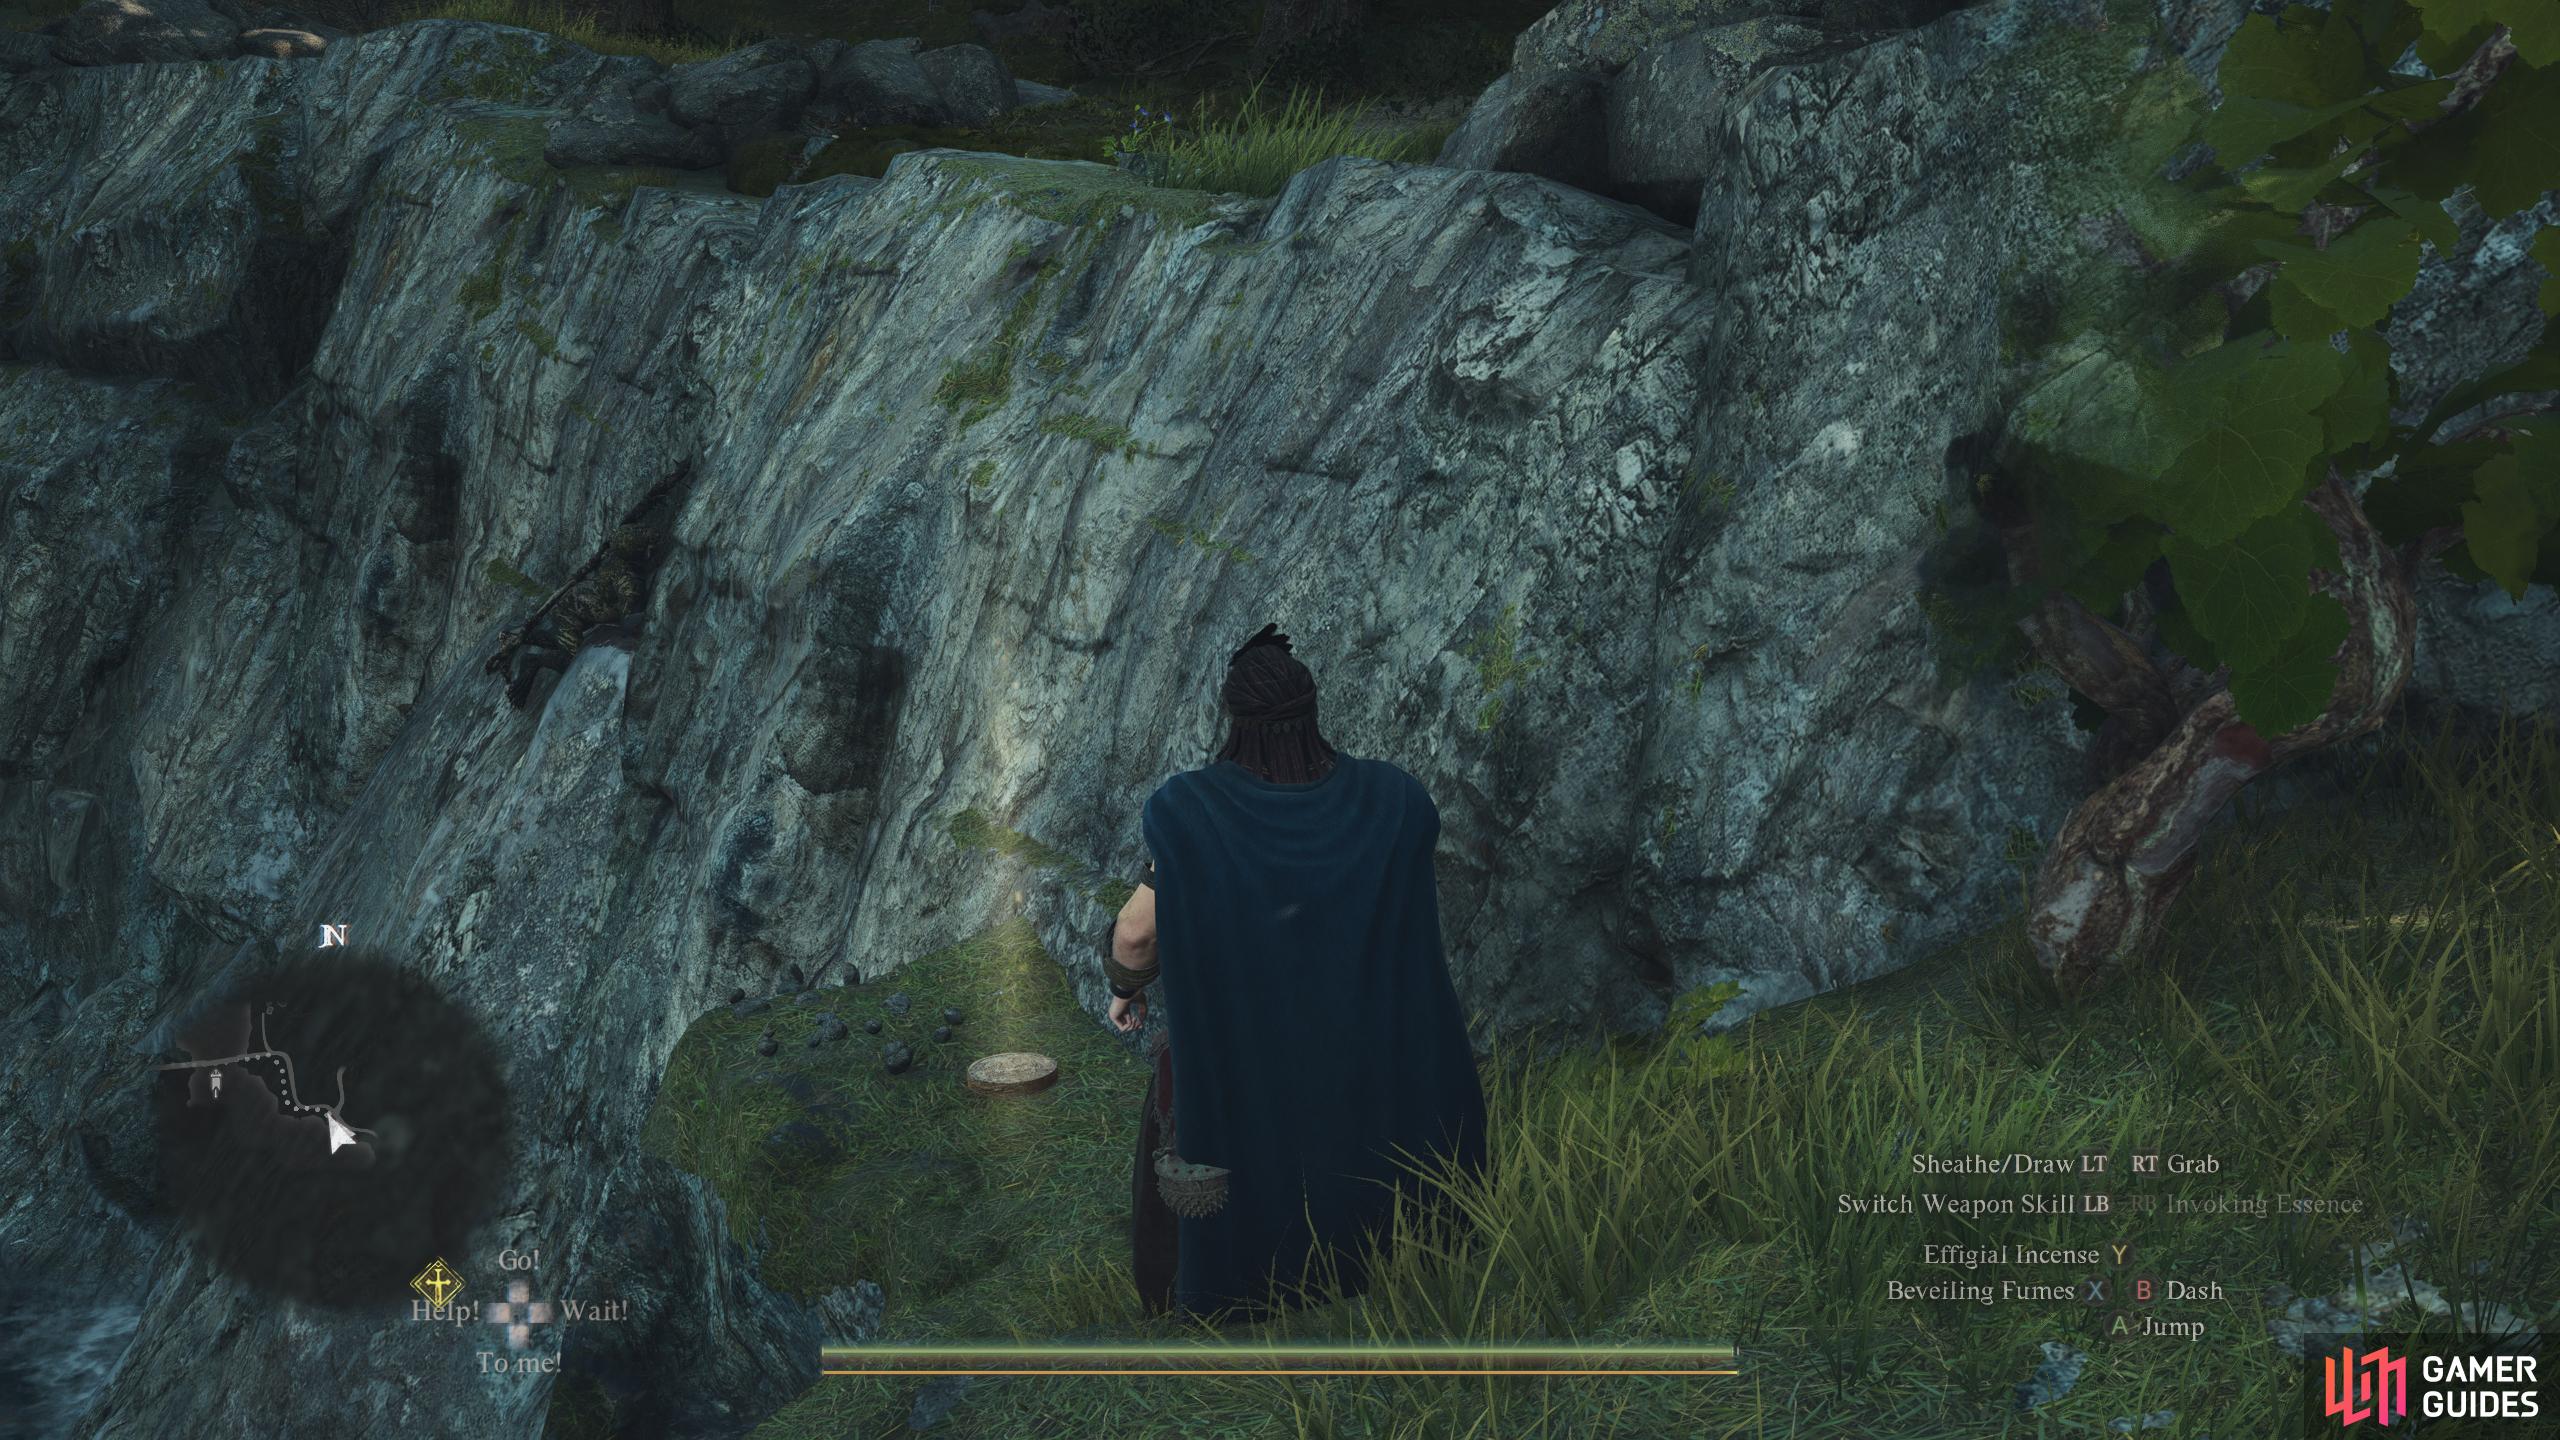
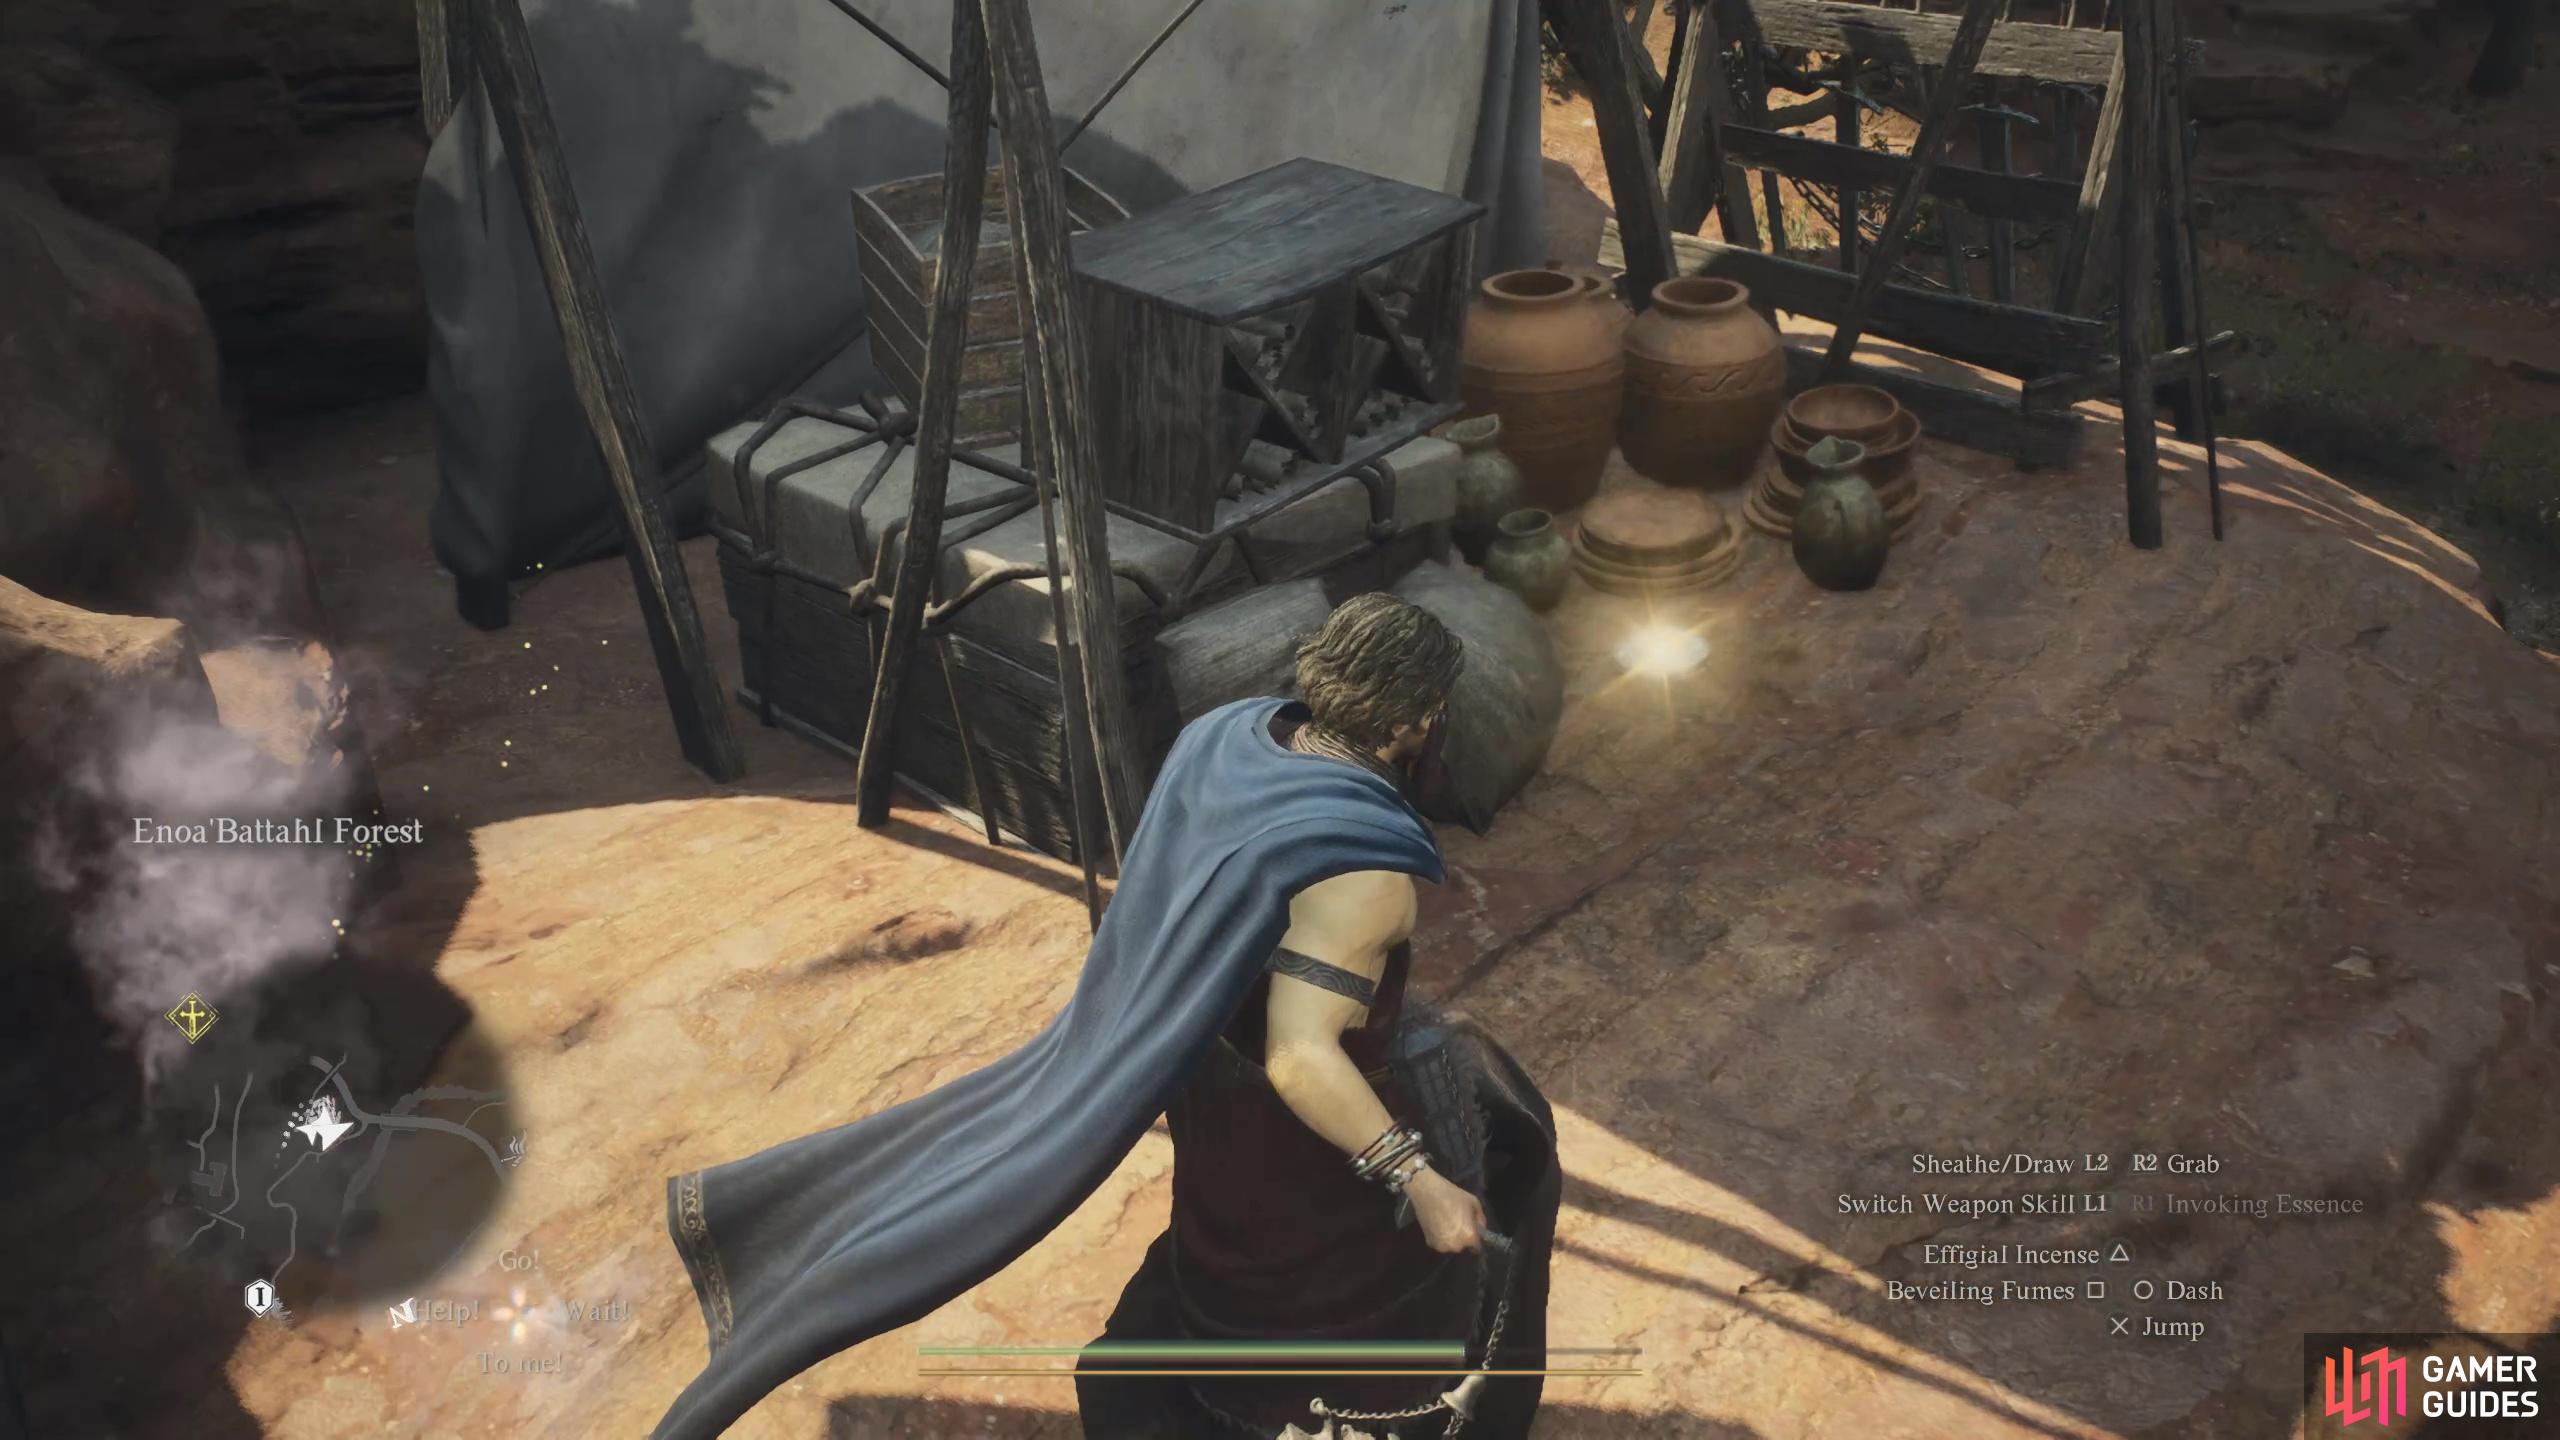
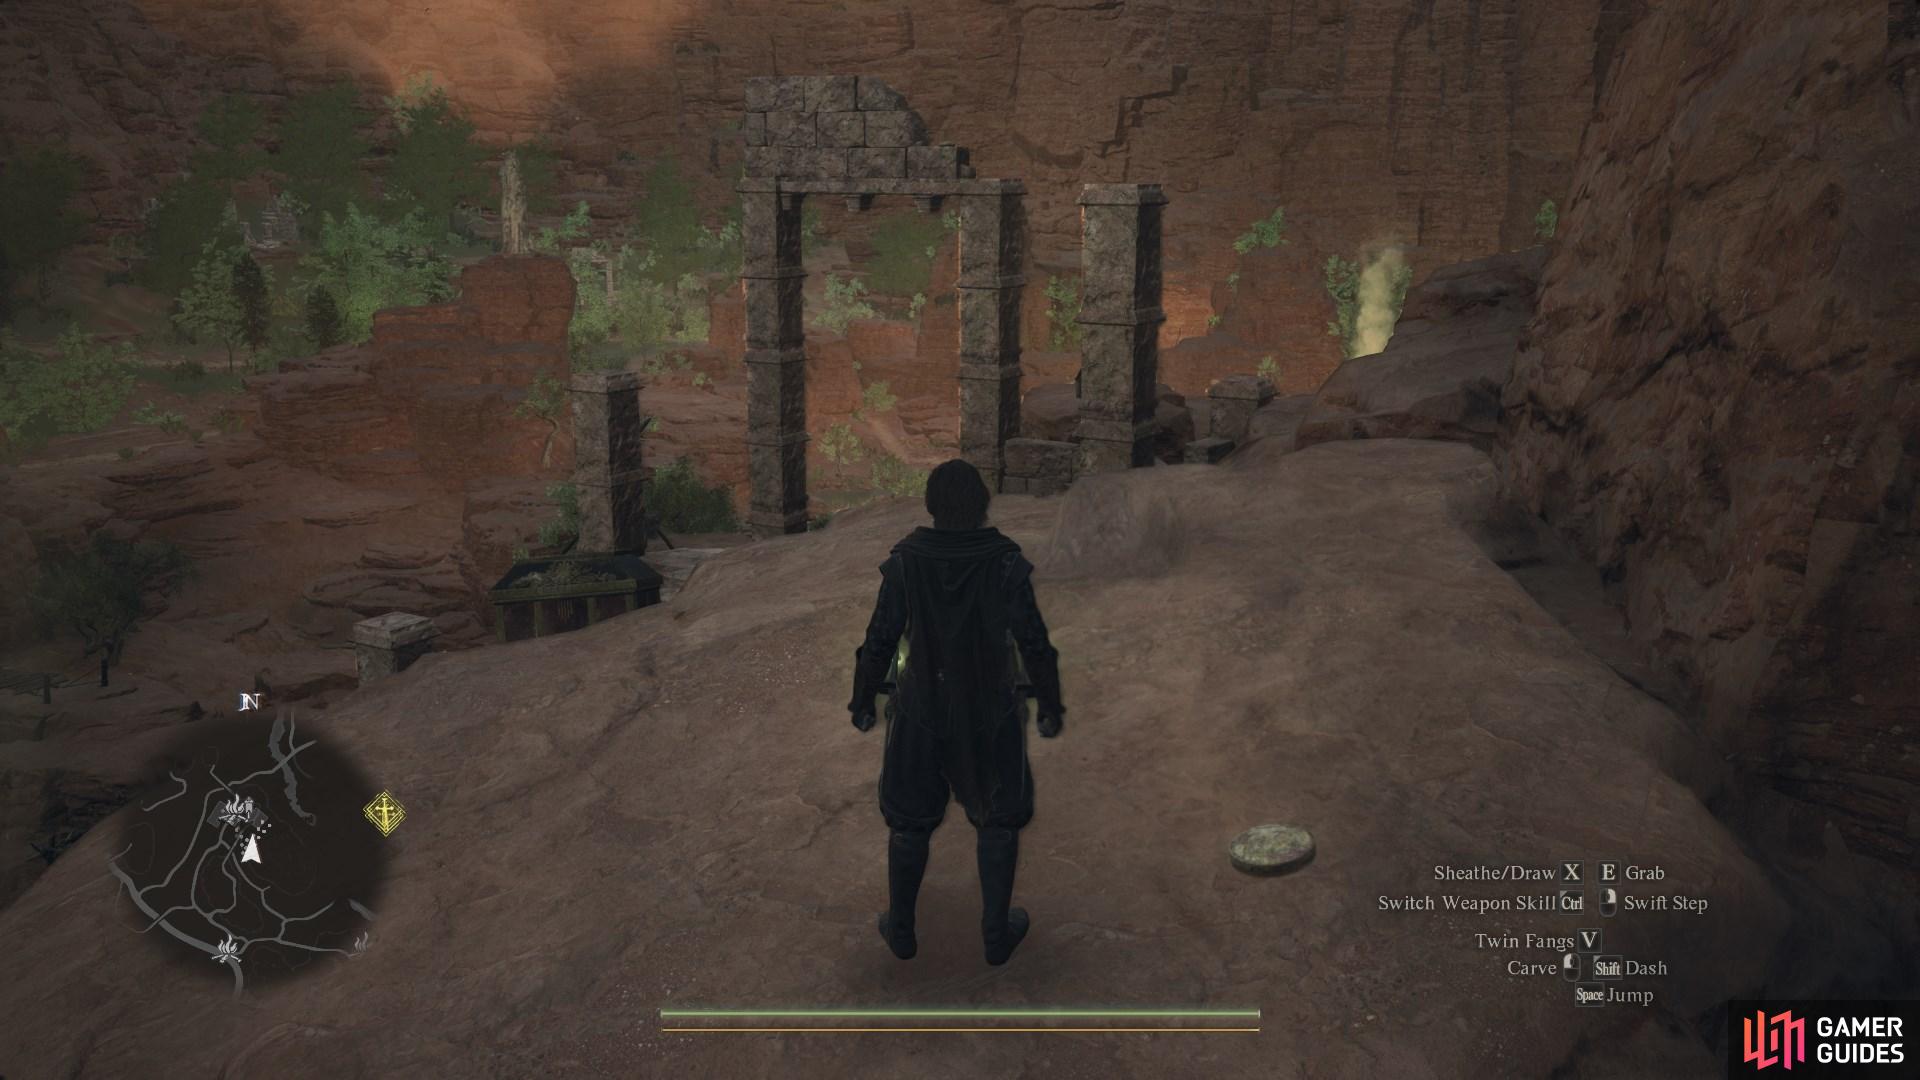
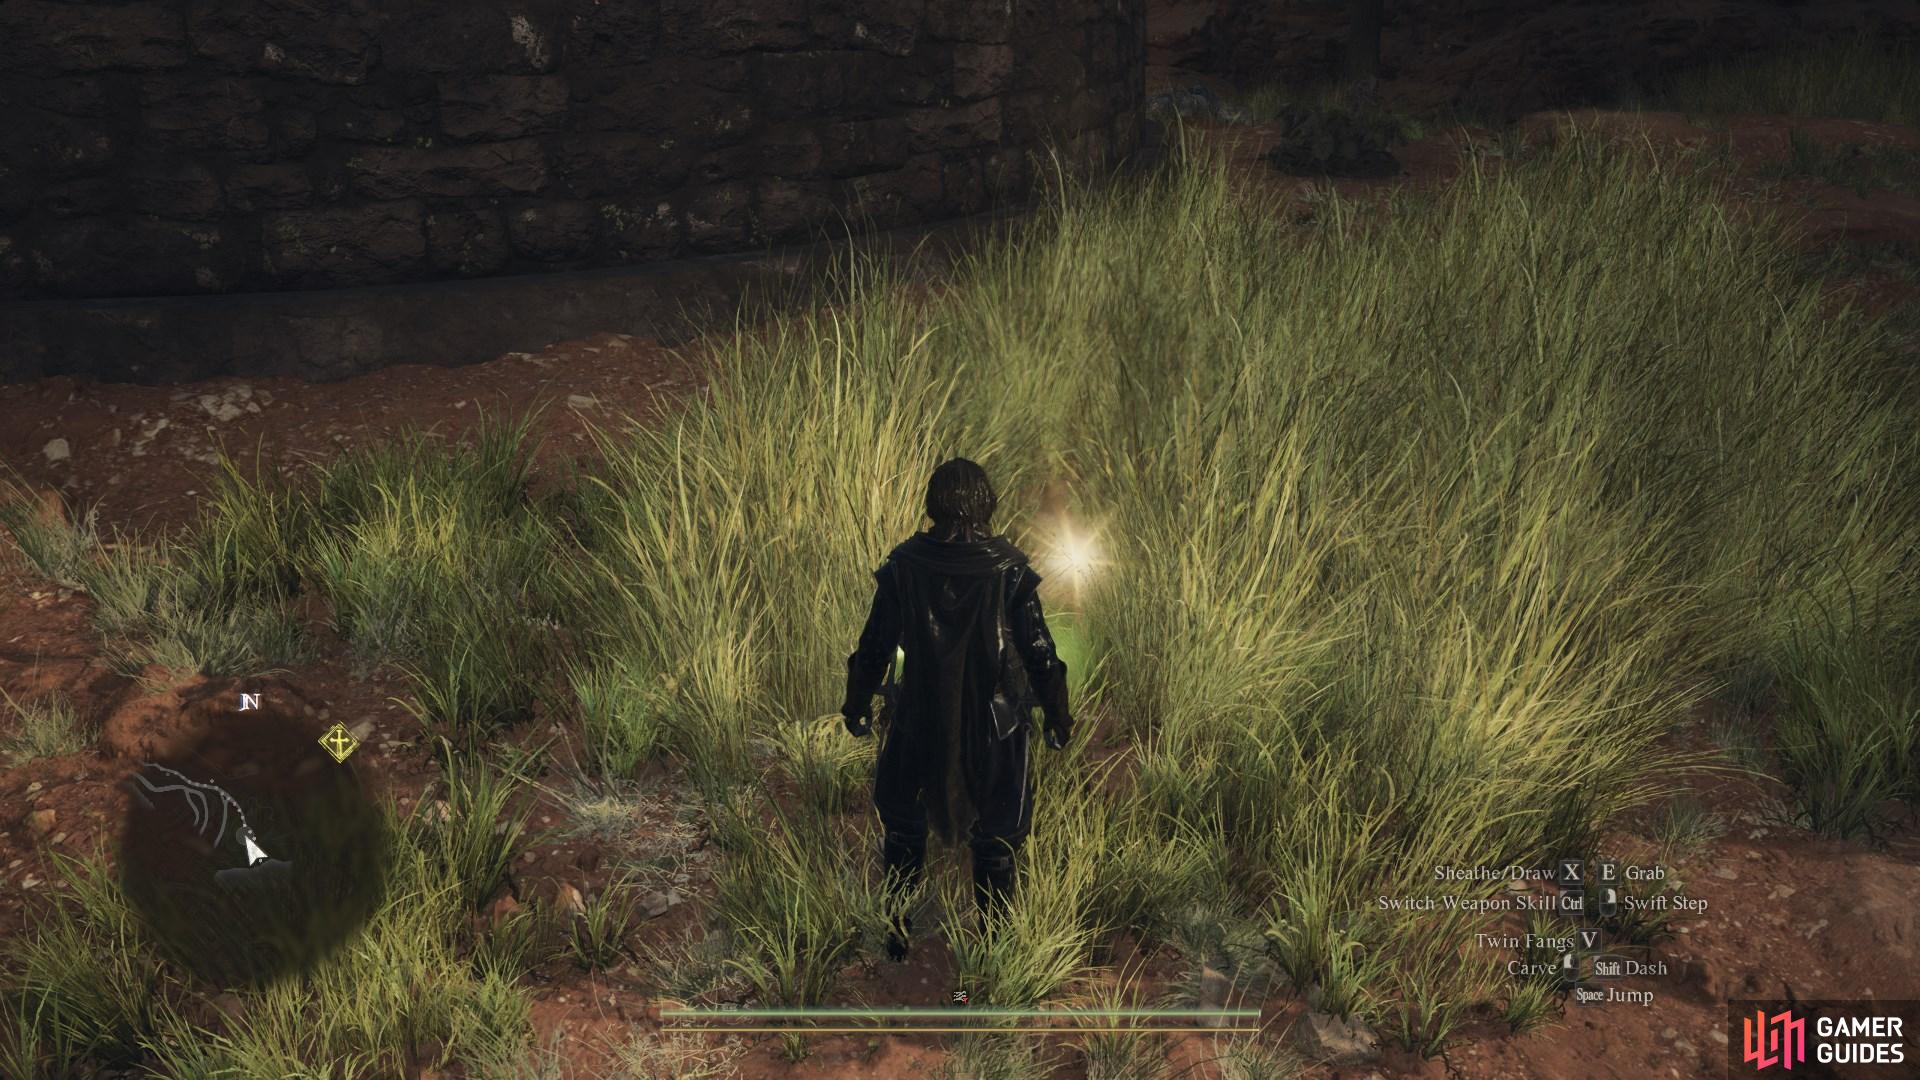
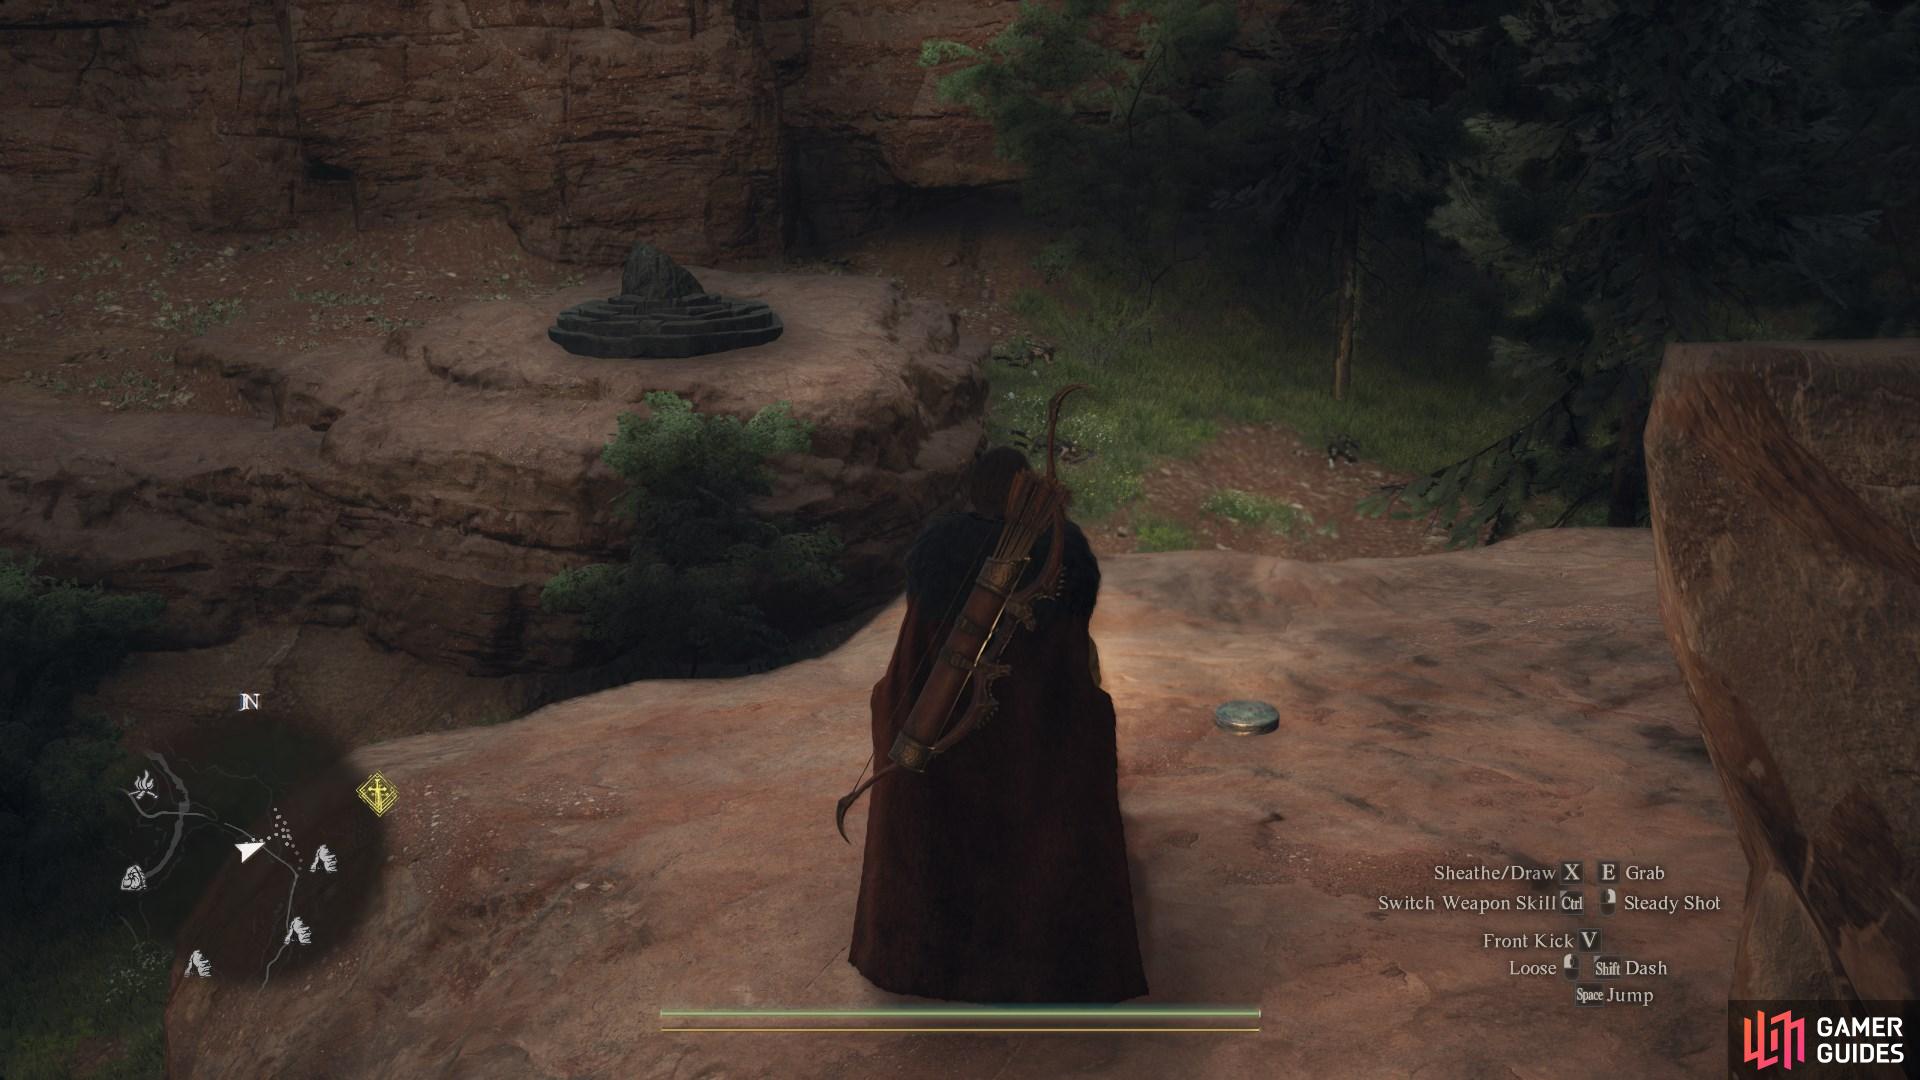
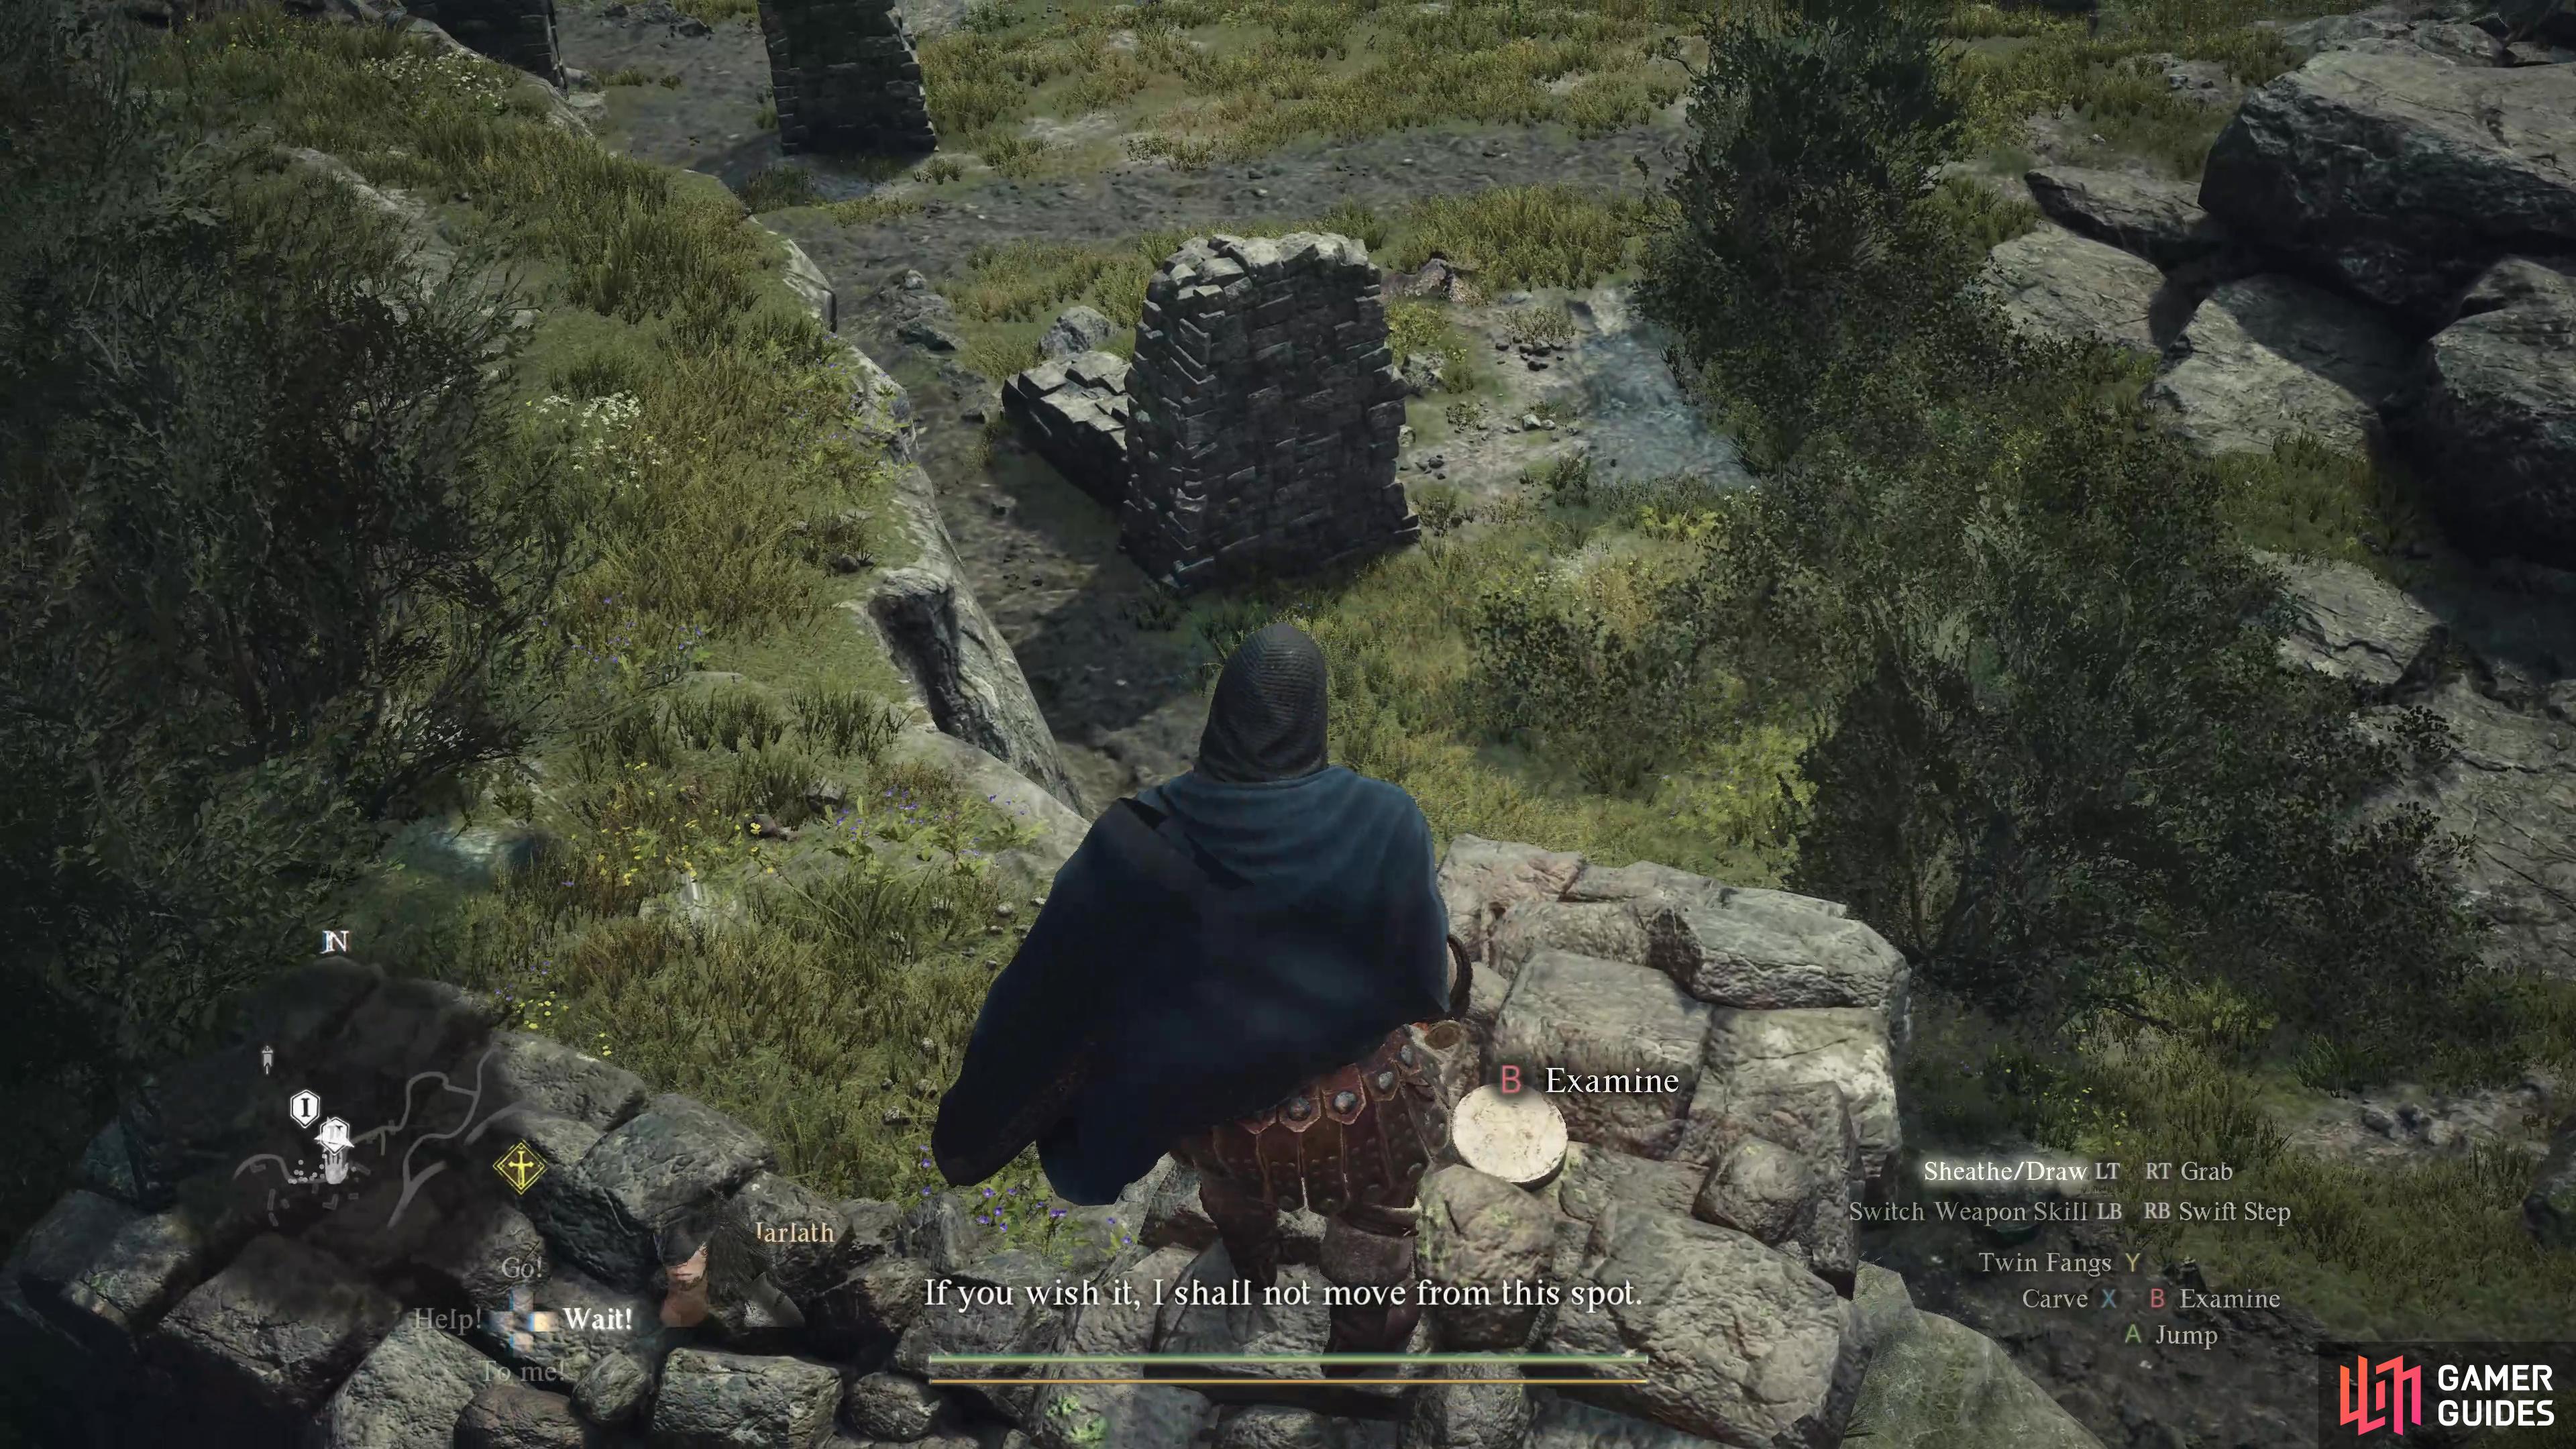
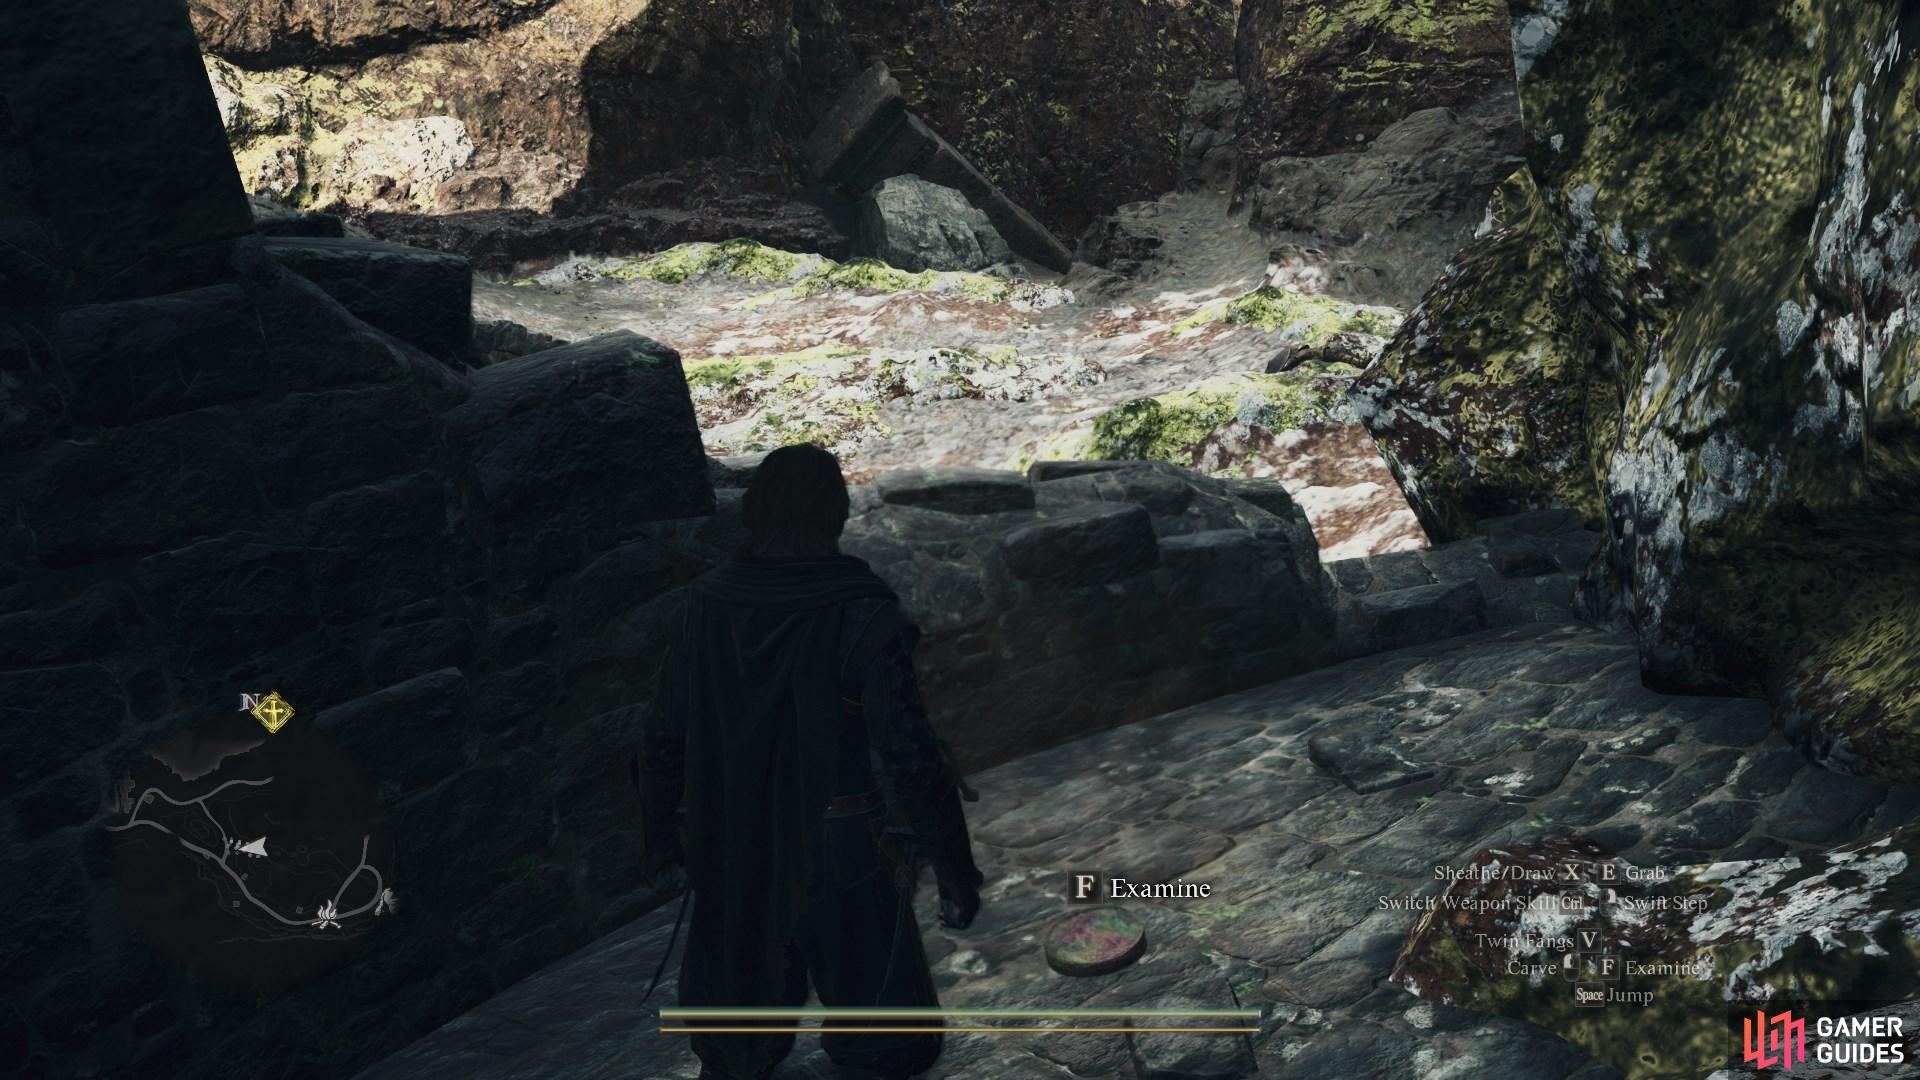
After leaving ![]() The Mountains’ Secret through the southern exit, enter the ruined shack to find this token on some crates in the corner.
The Mountains’ Secret through the southern exit, enter the ruined shack to find this token on some crates in the corner.
70271. World
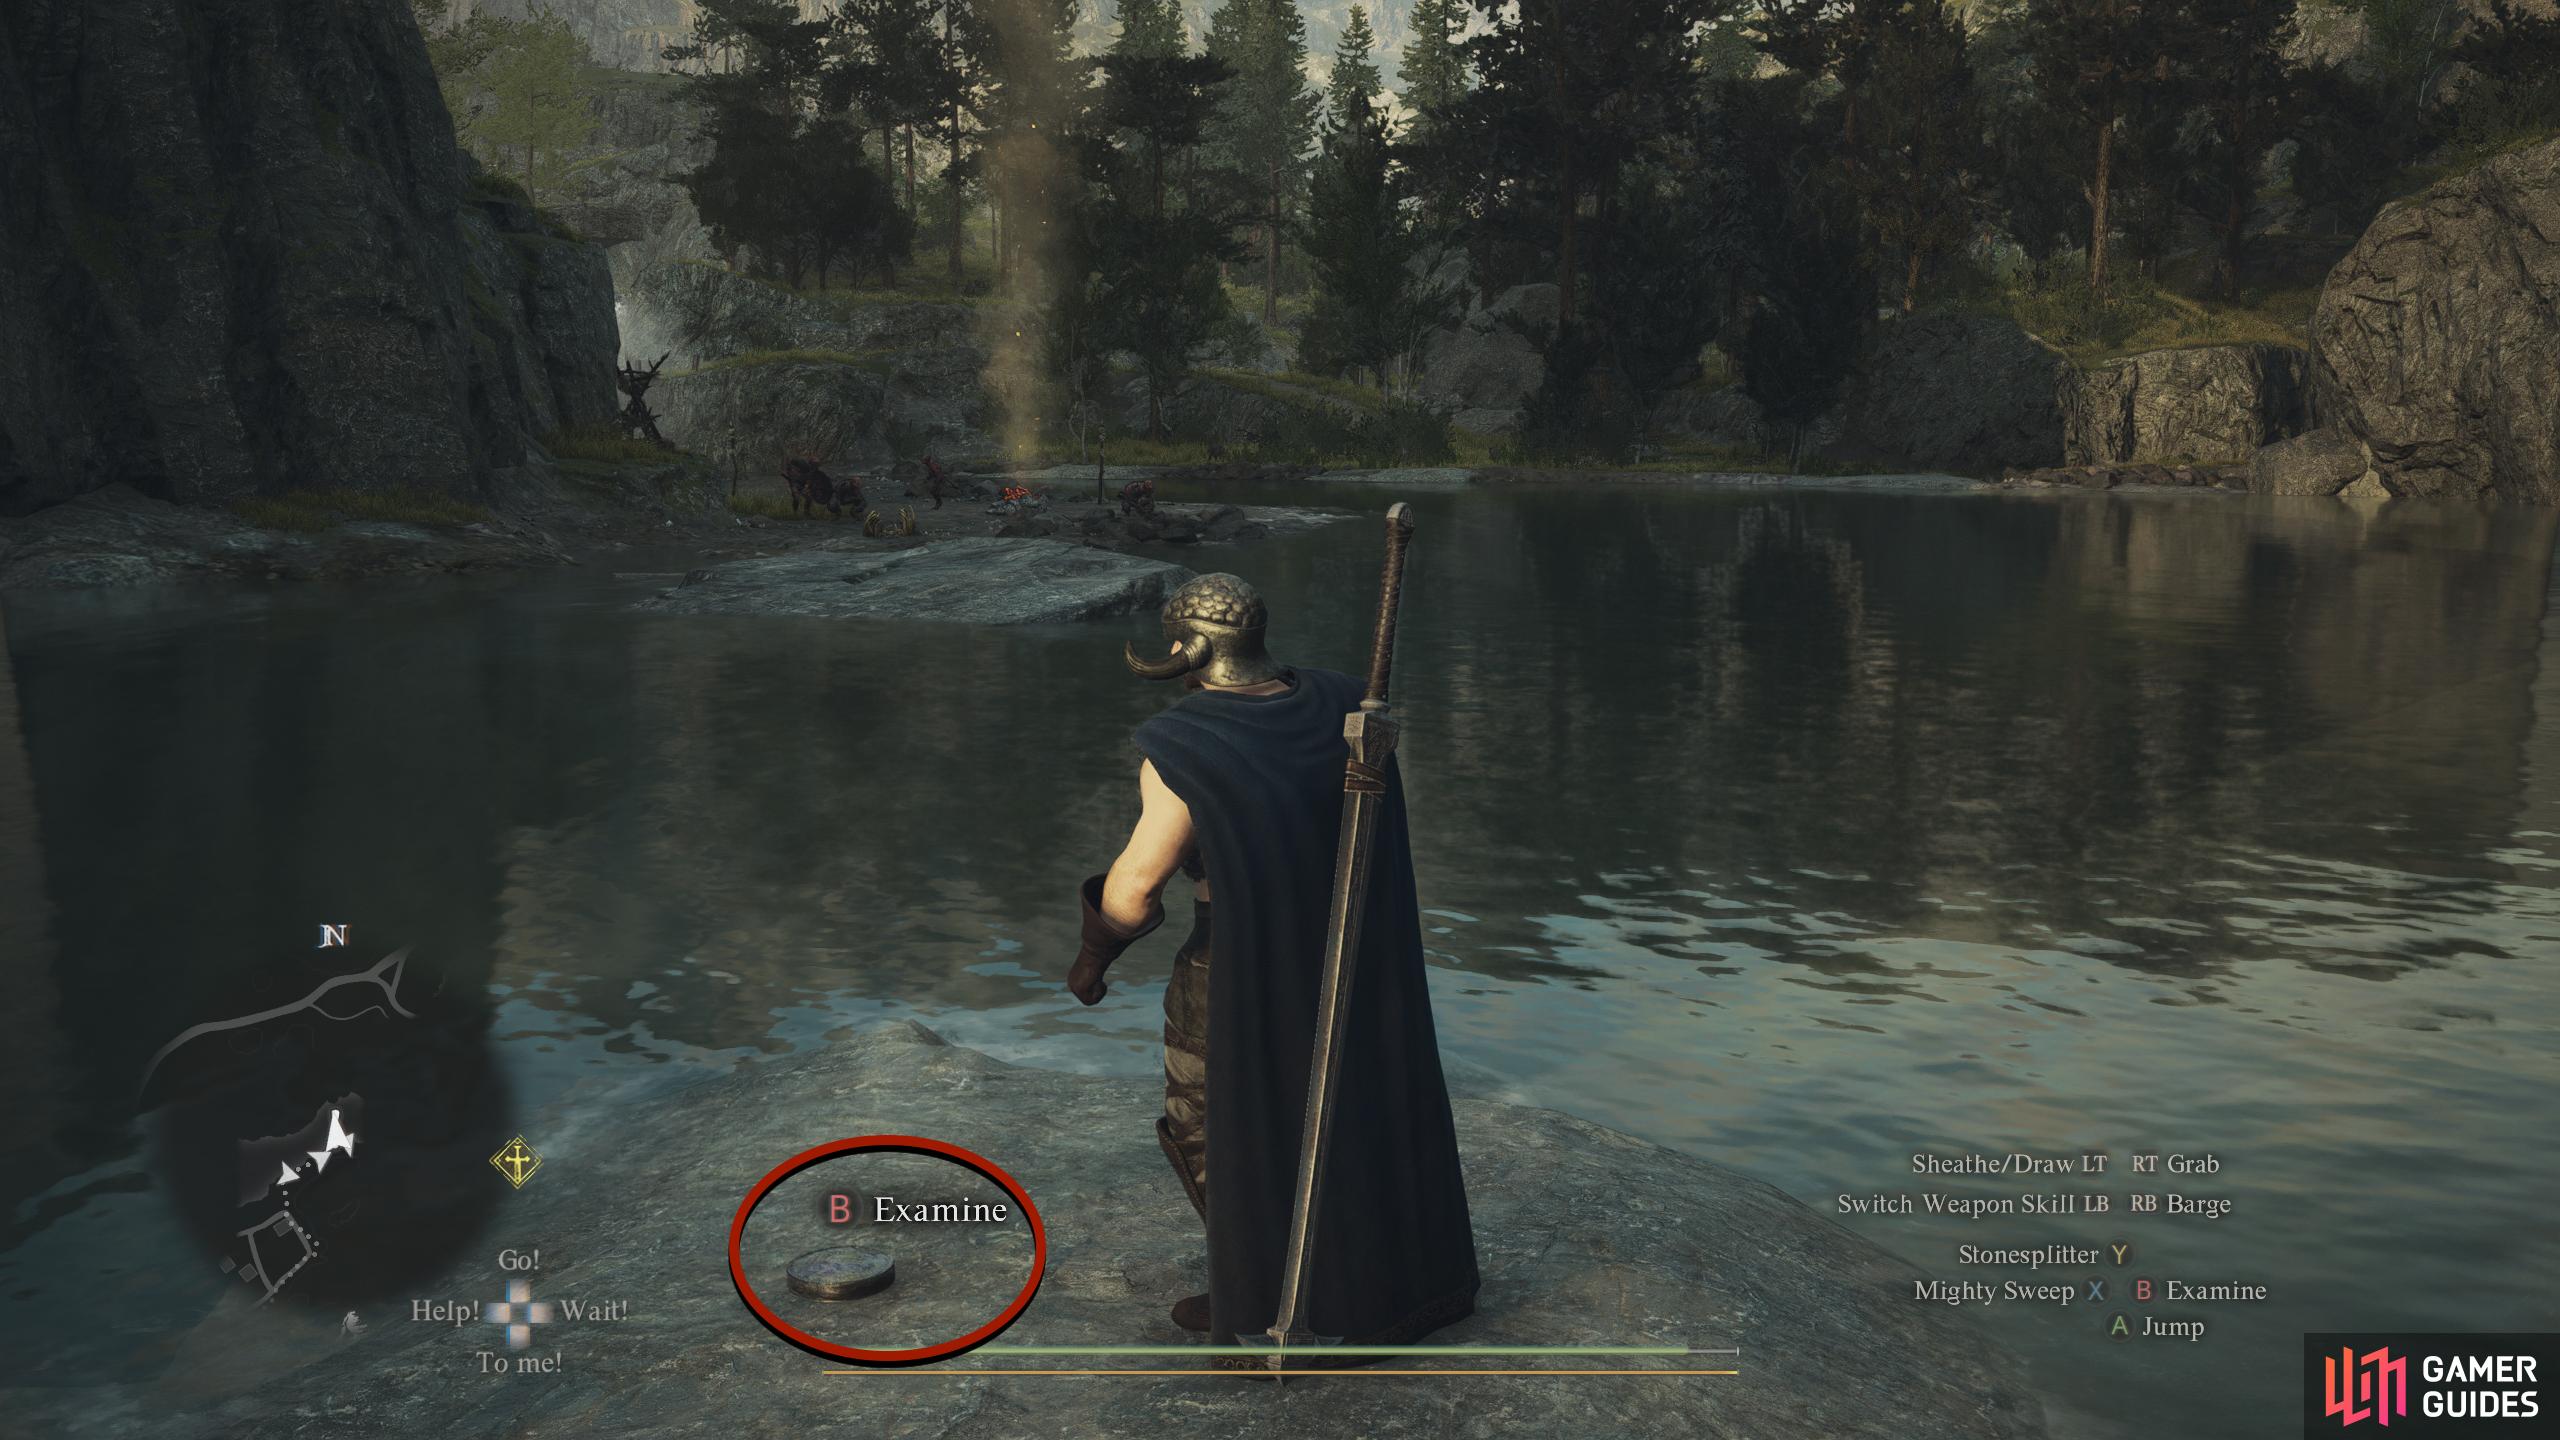
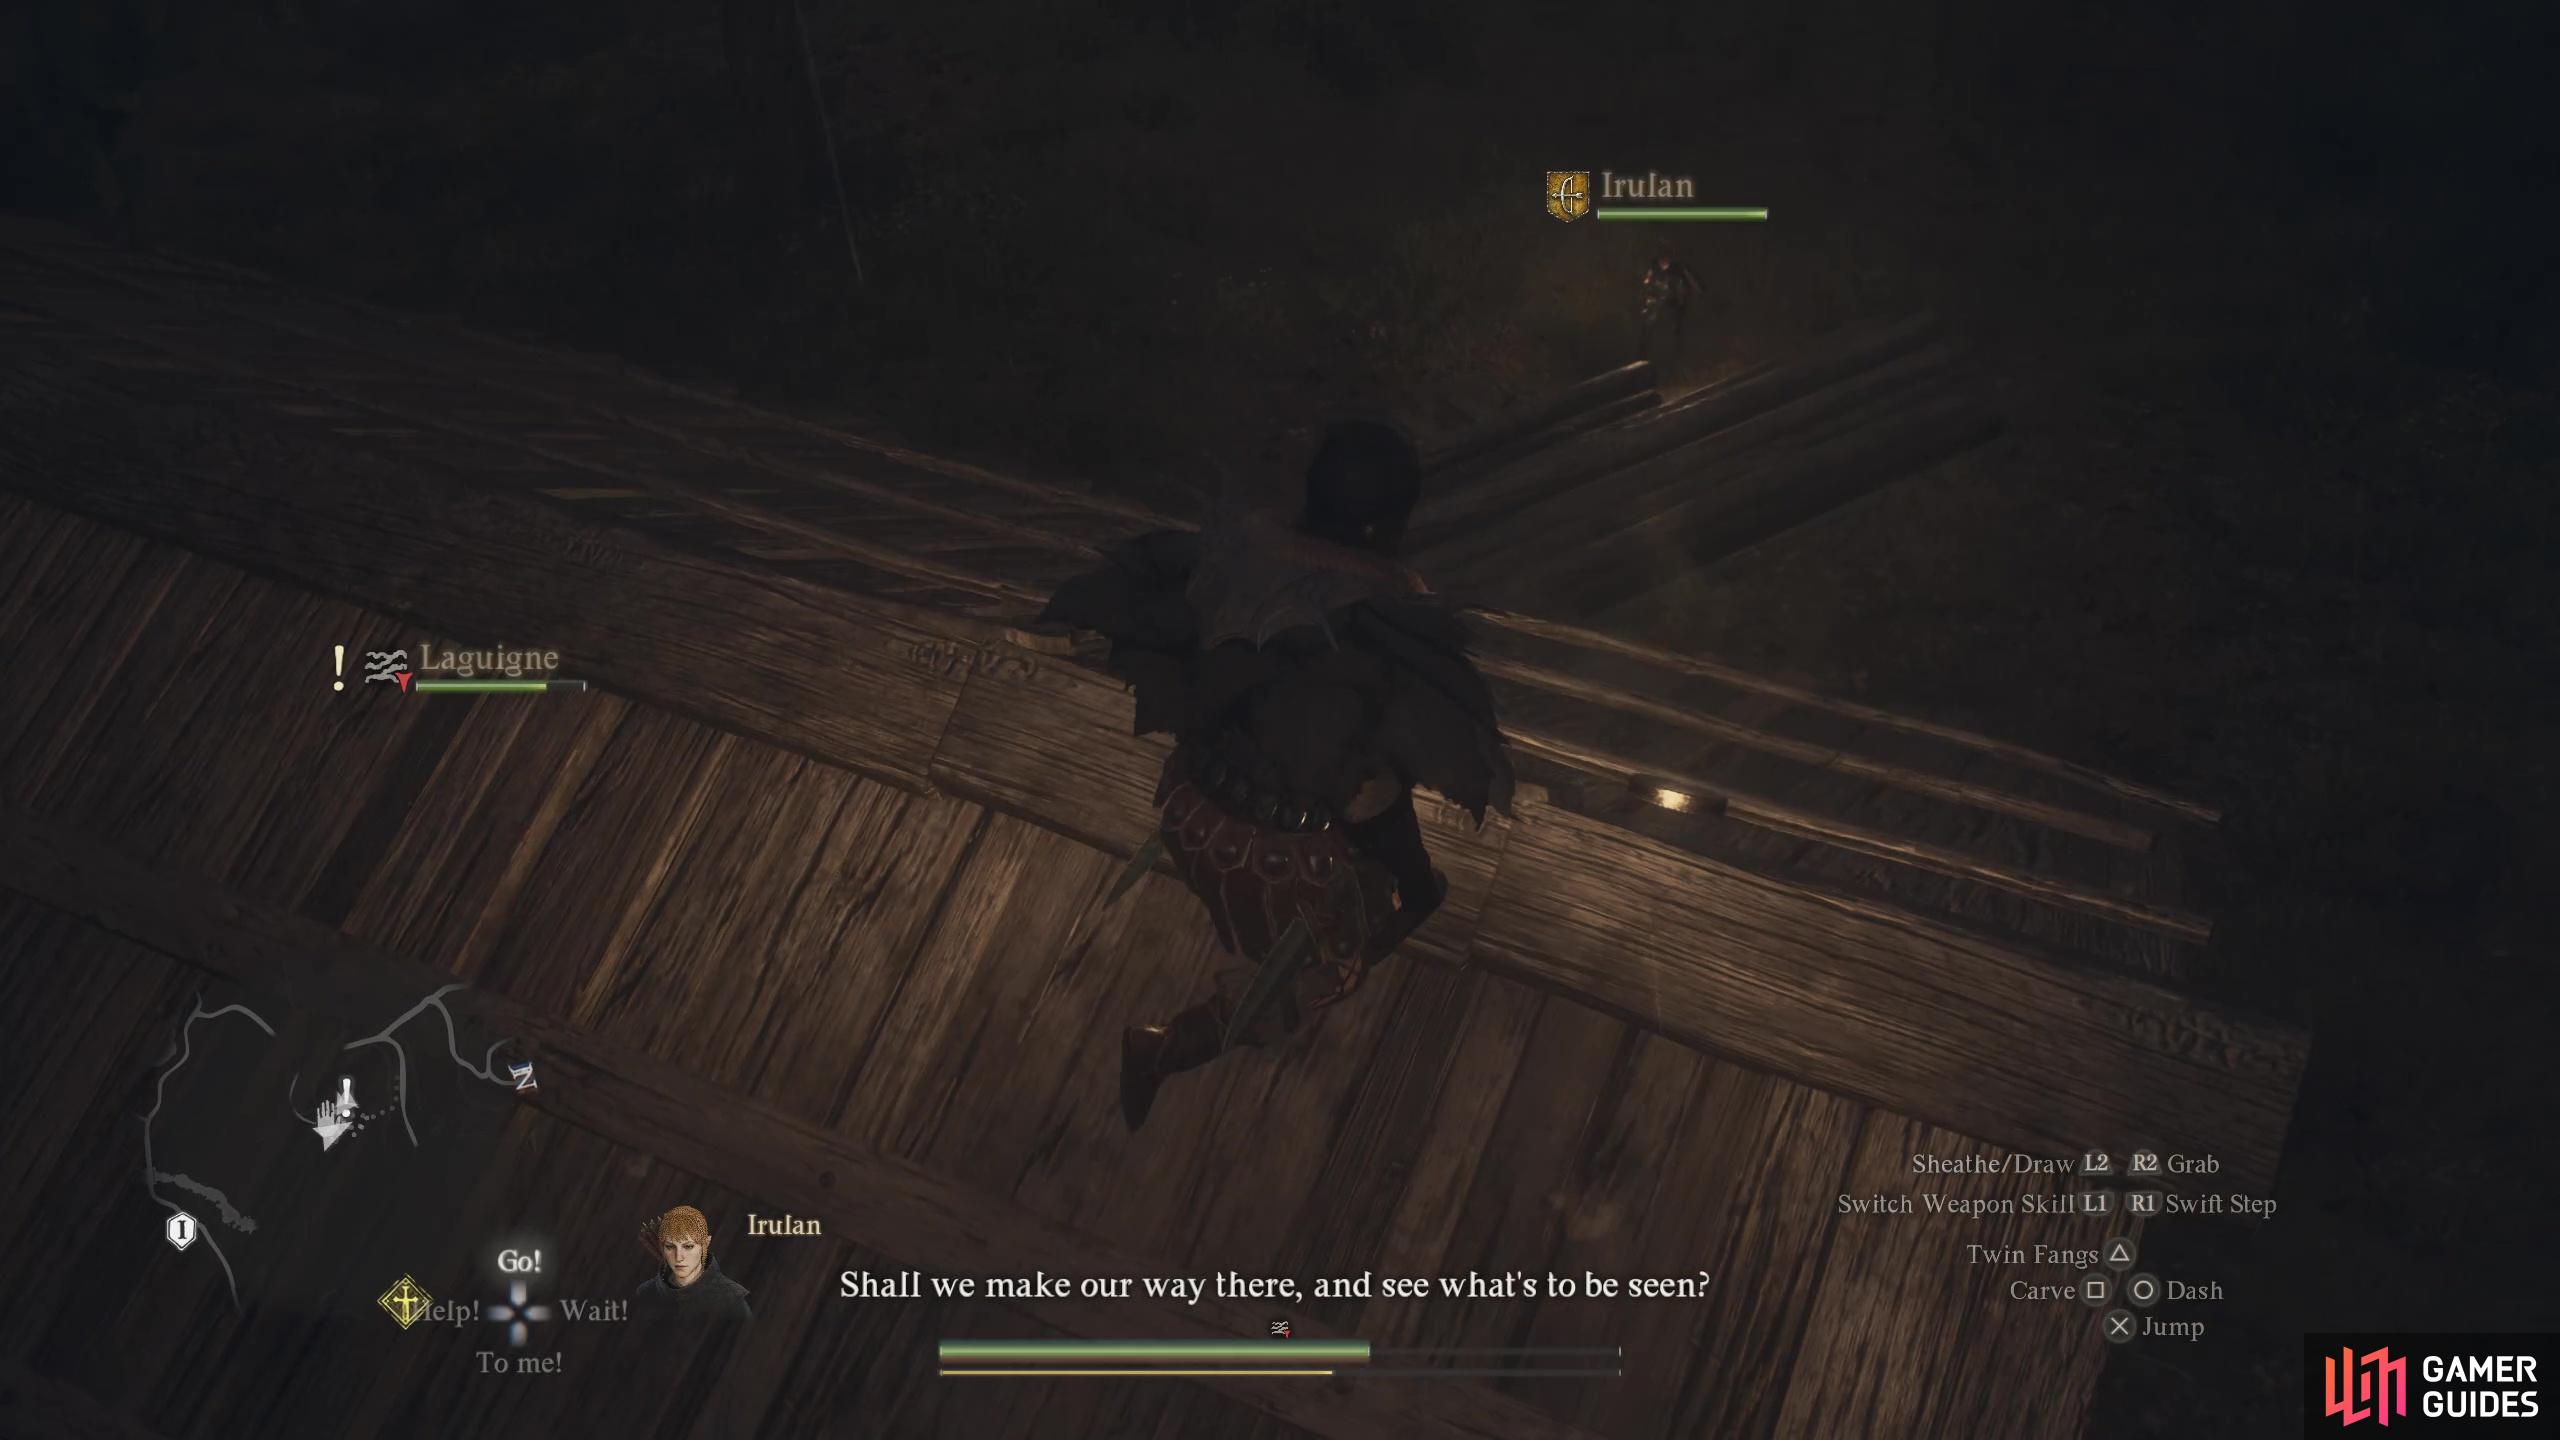
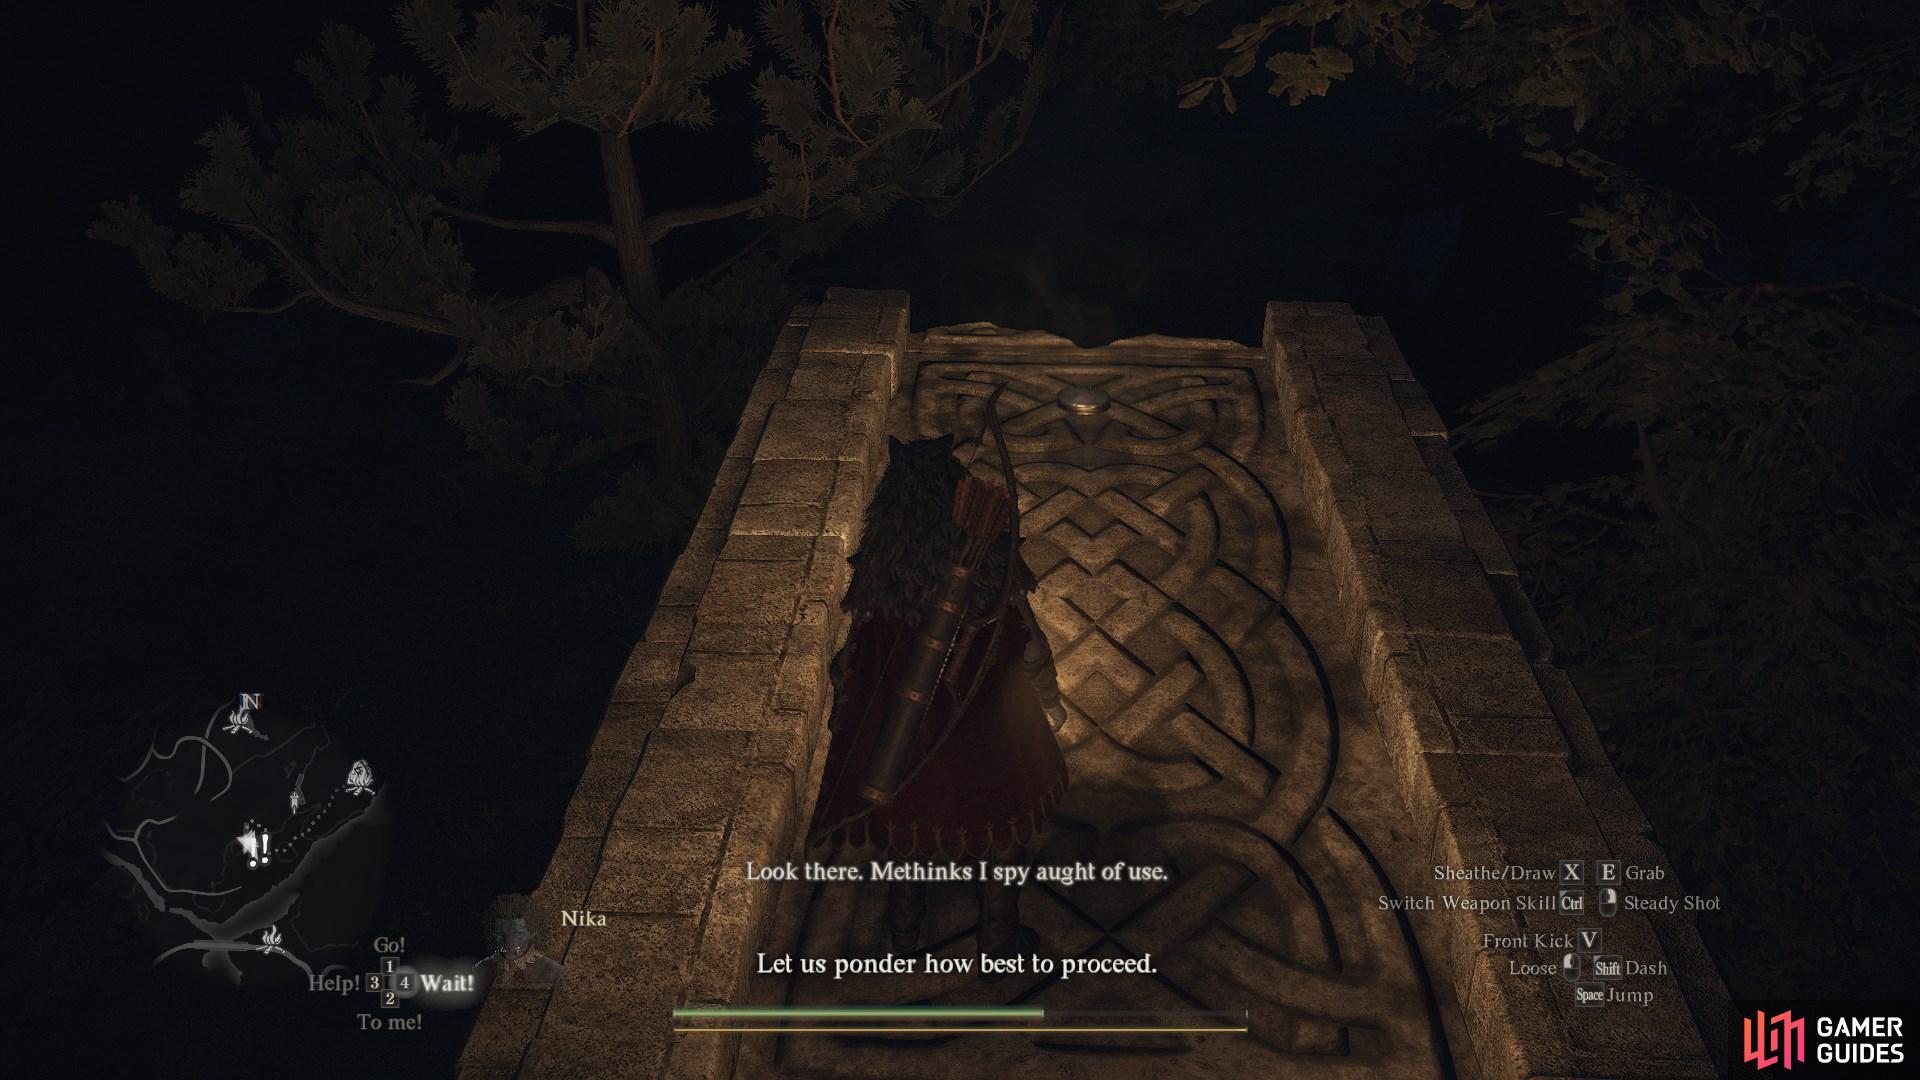
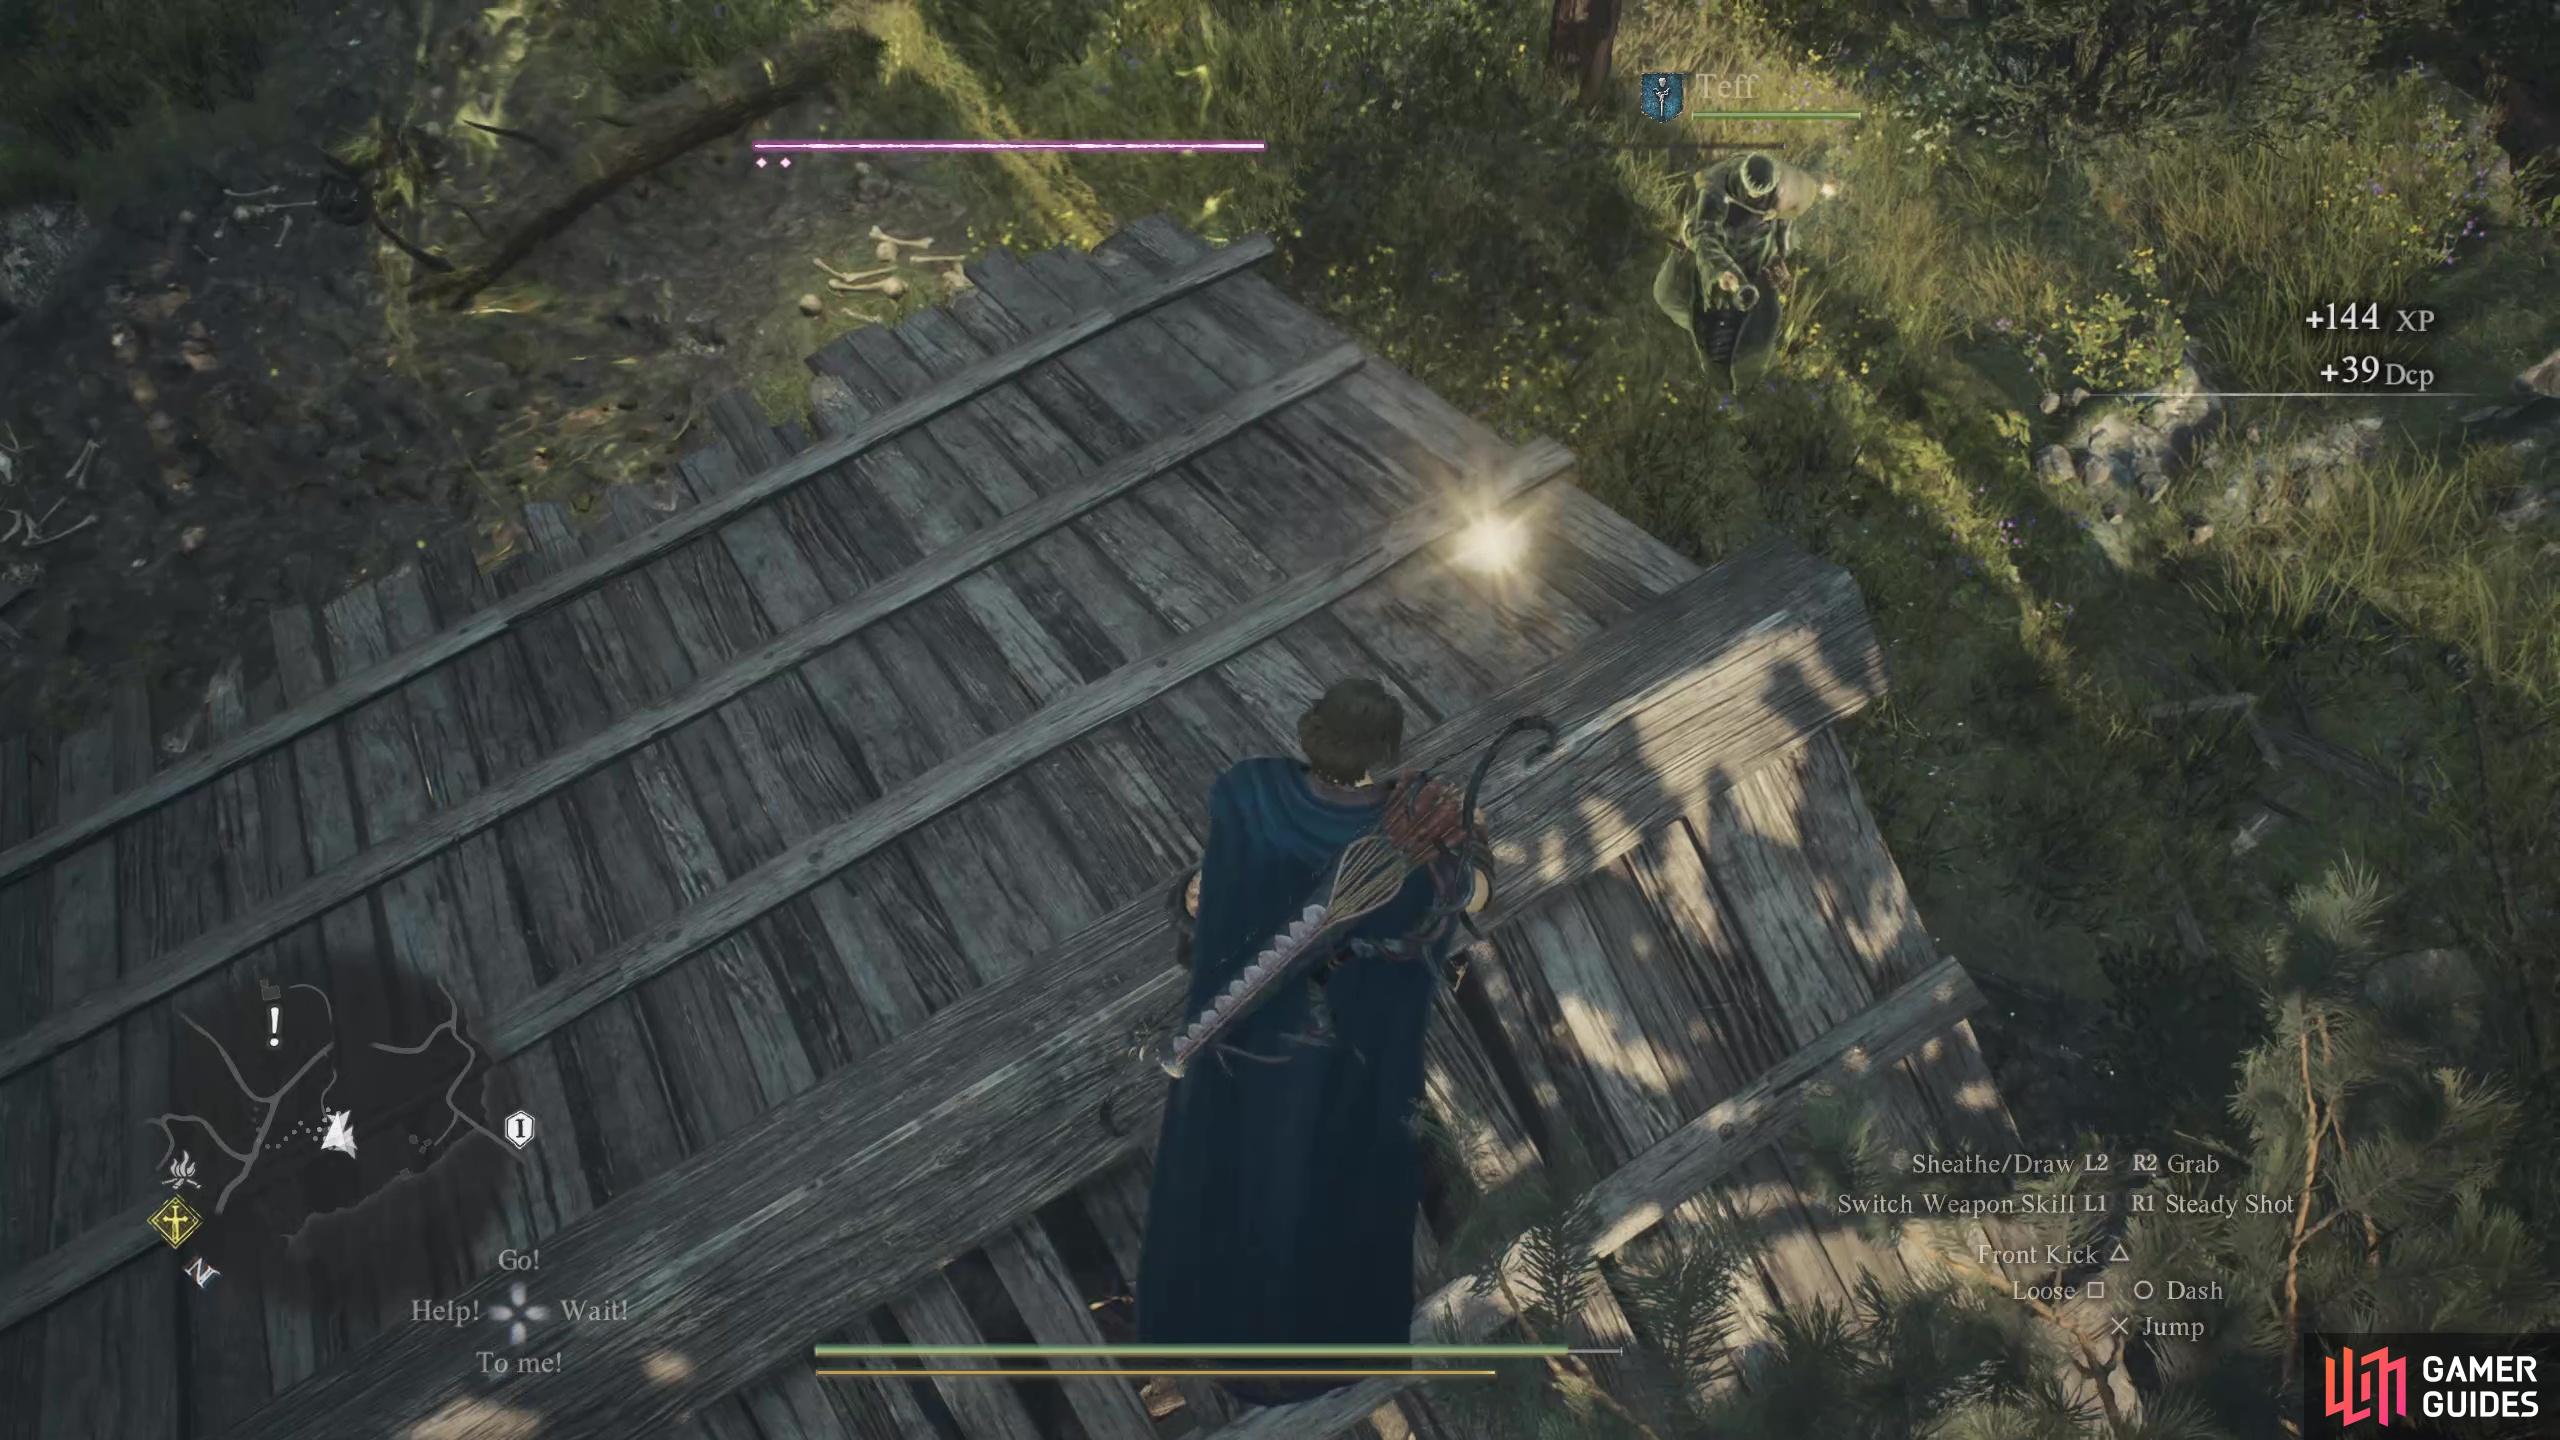
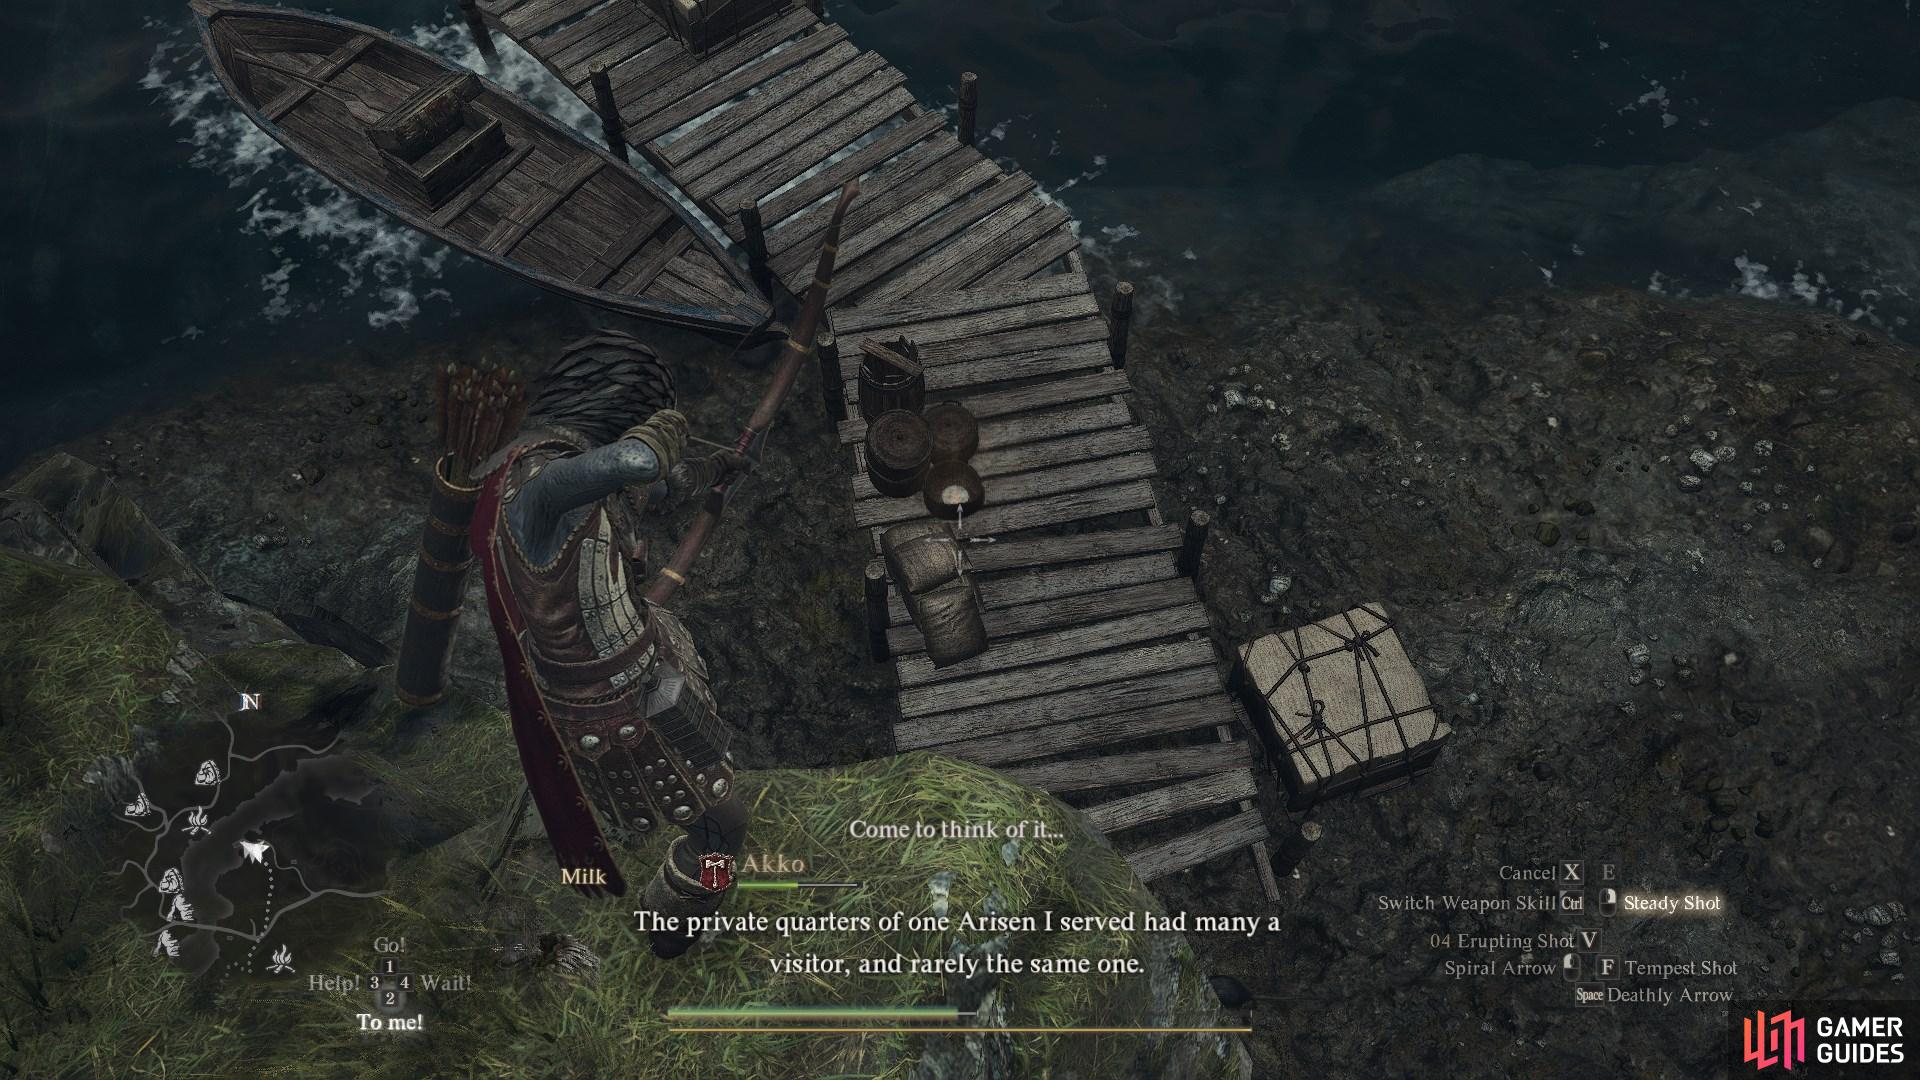
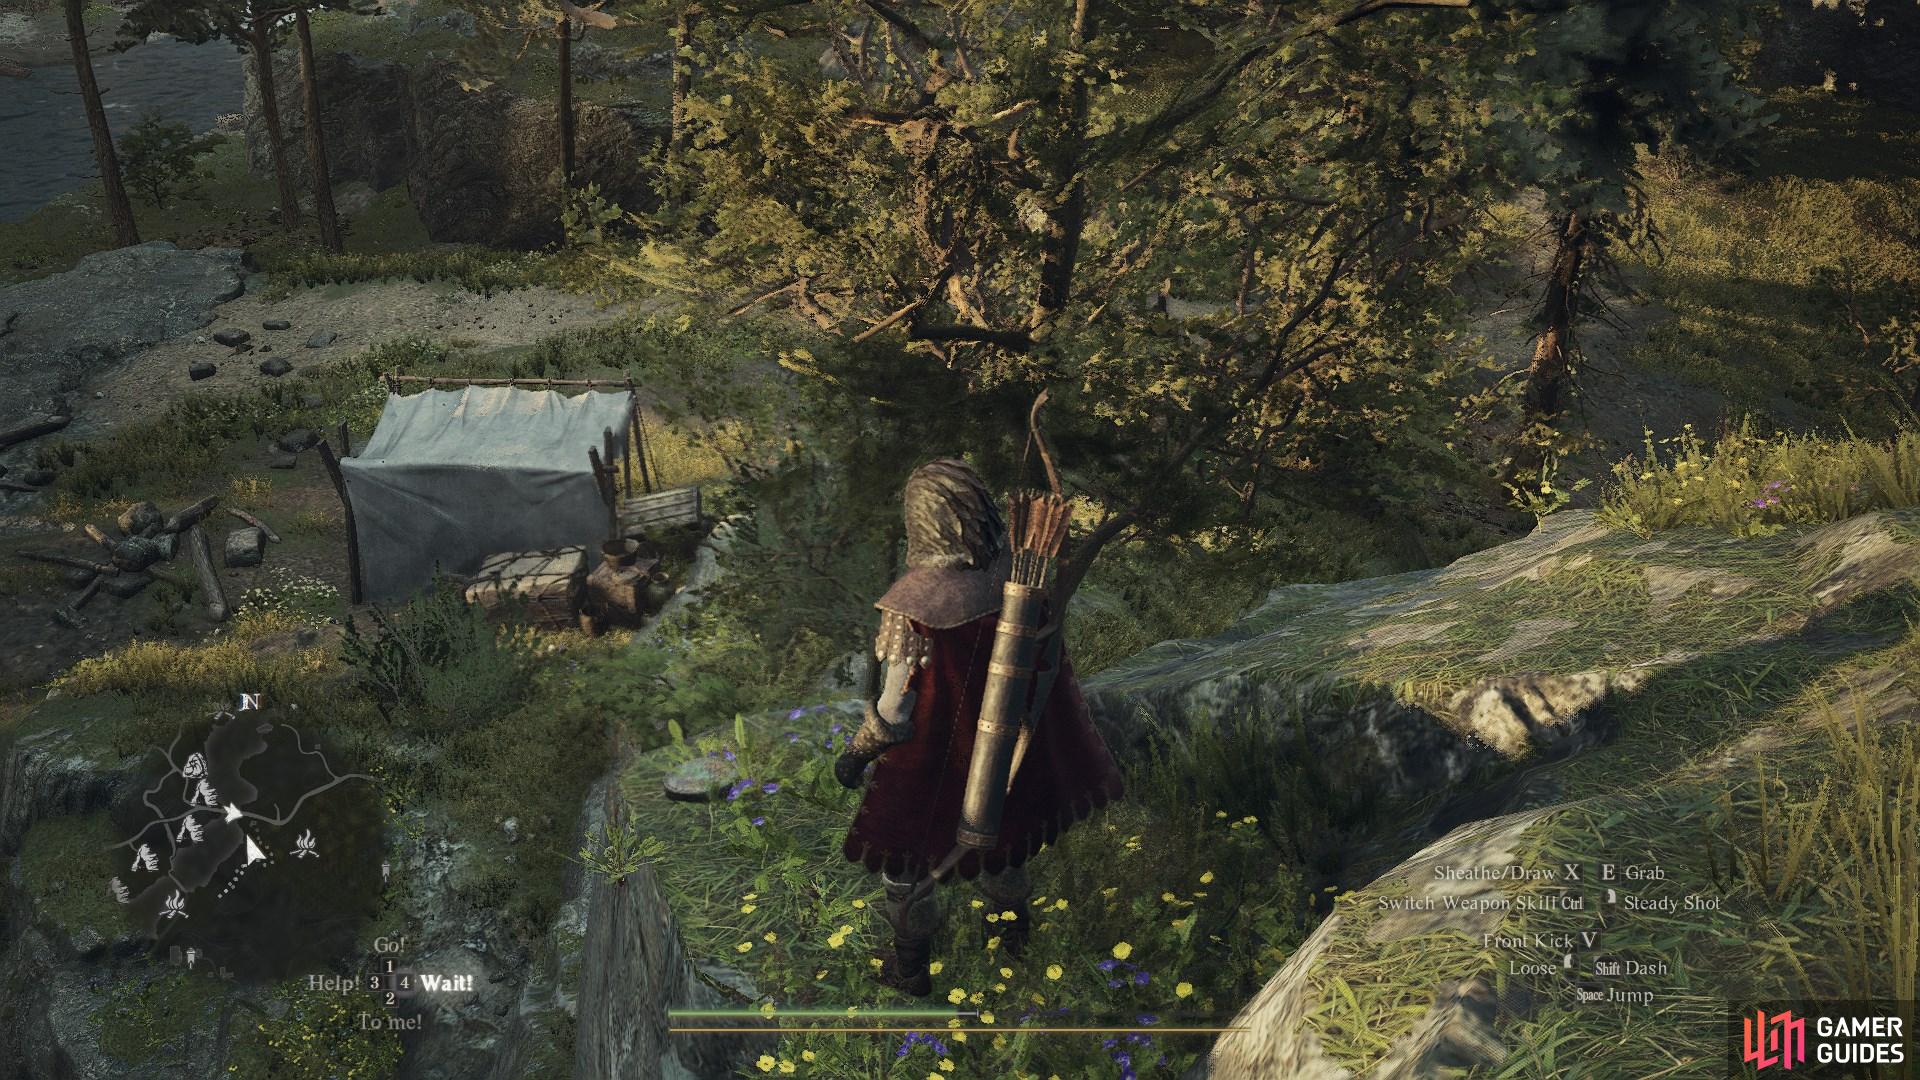
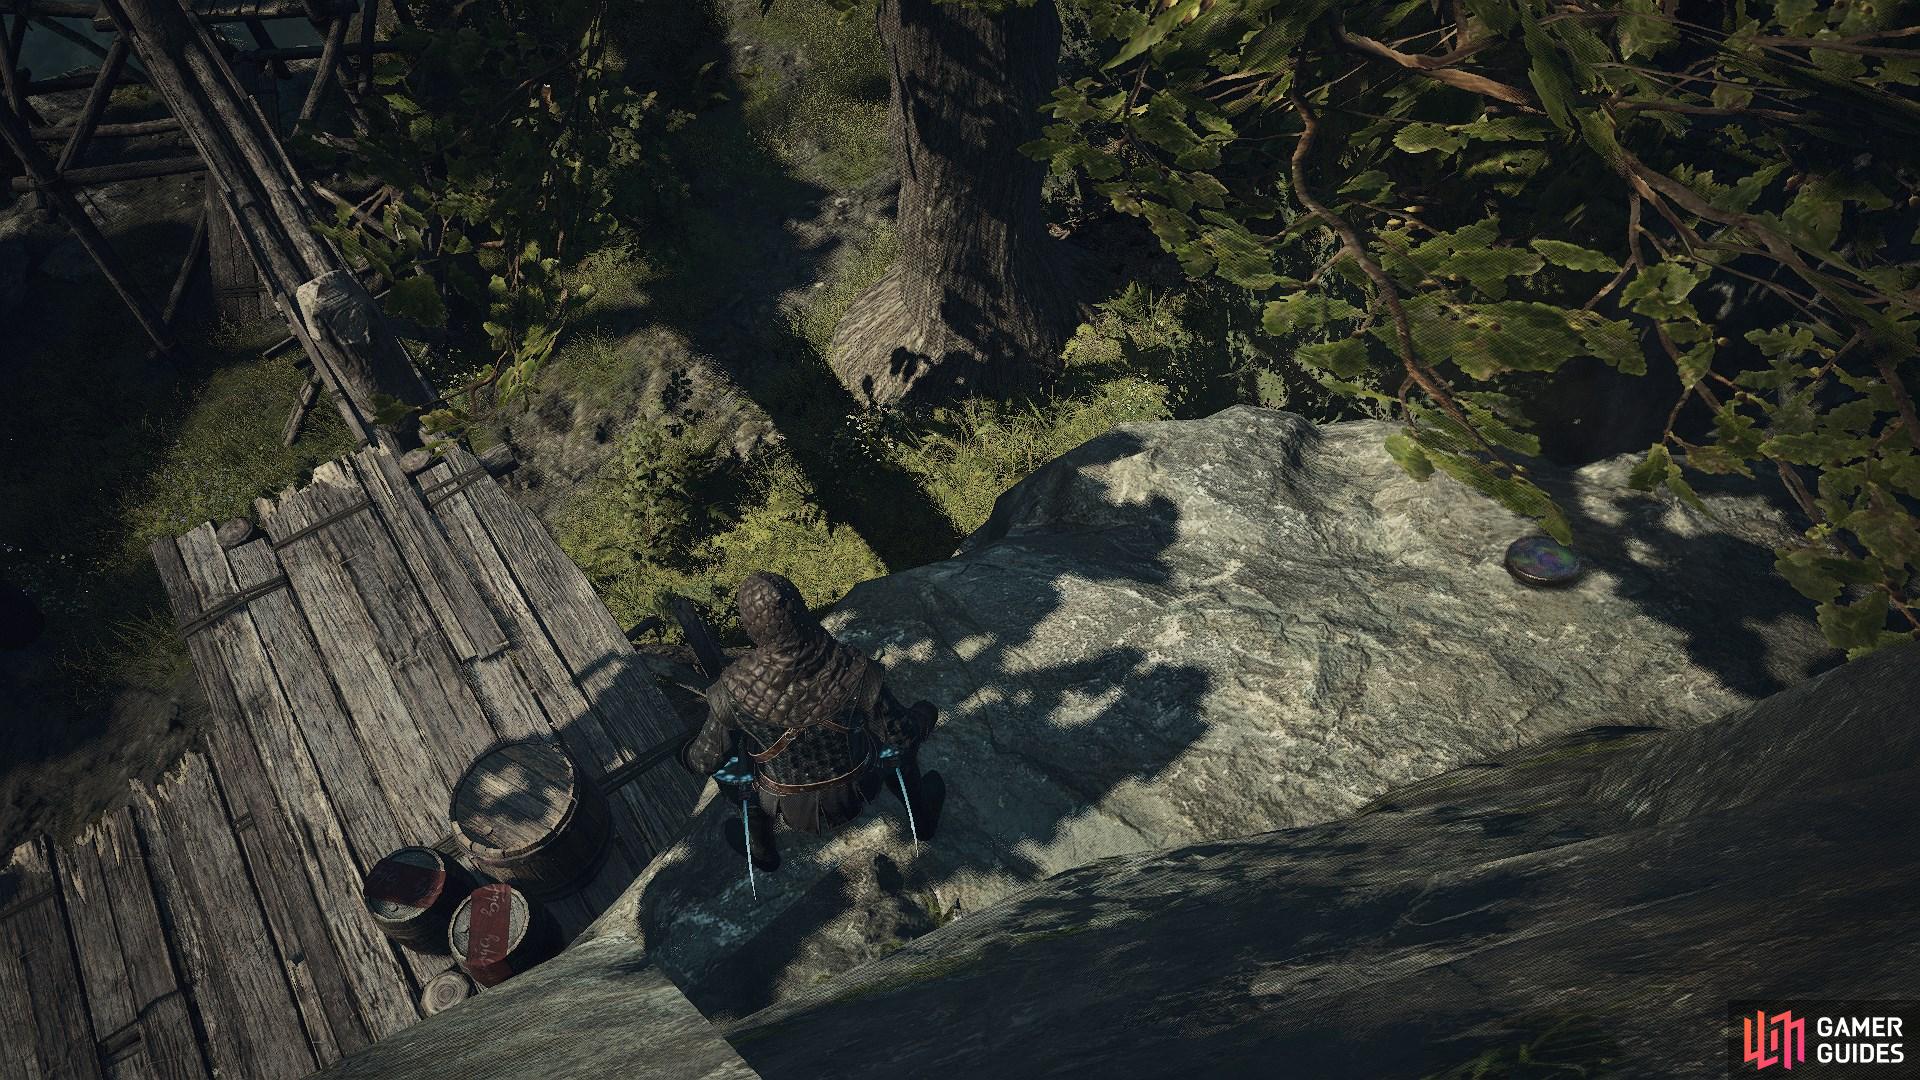
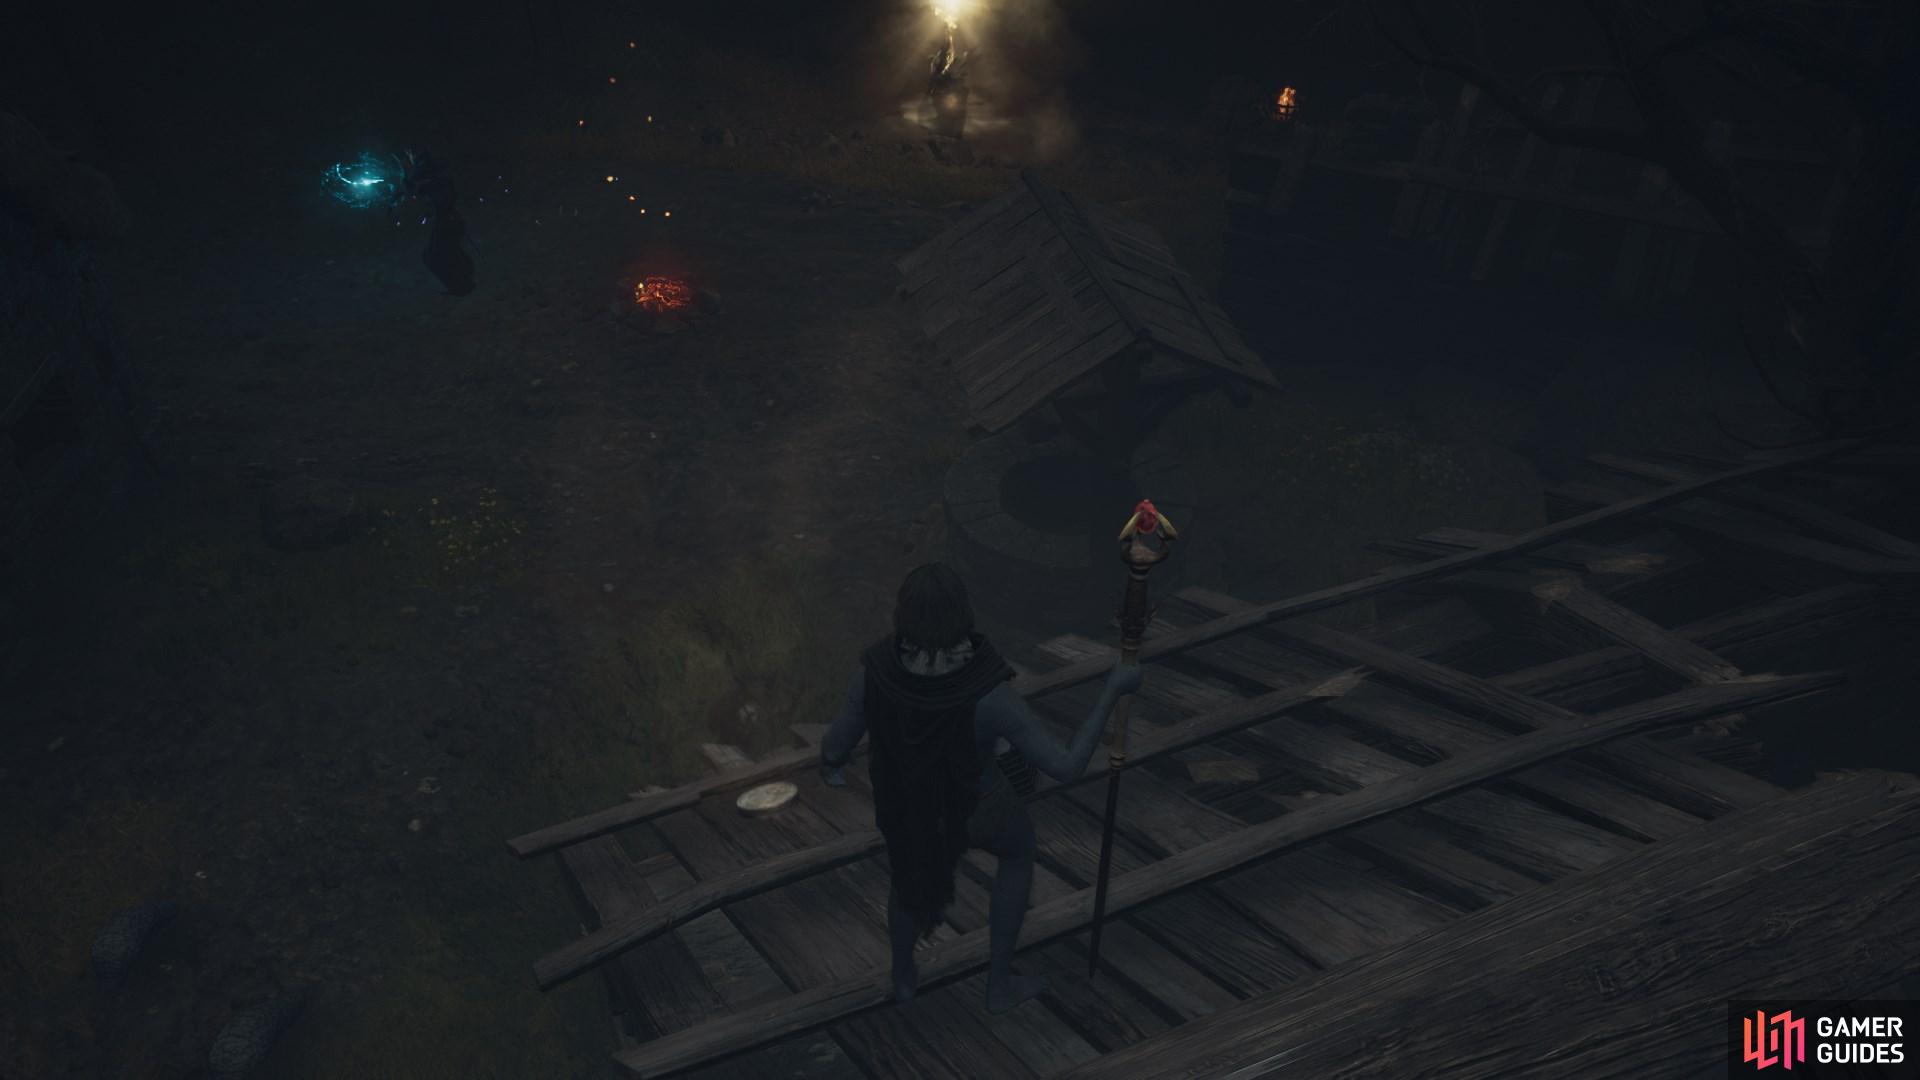
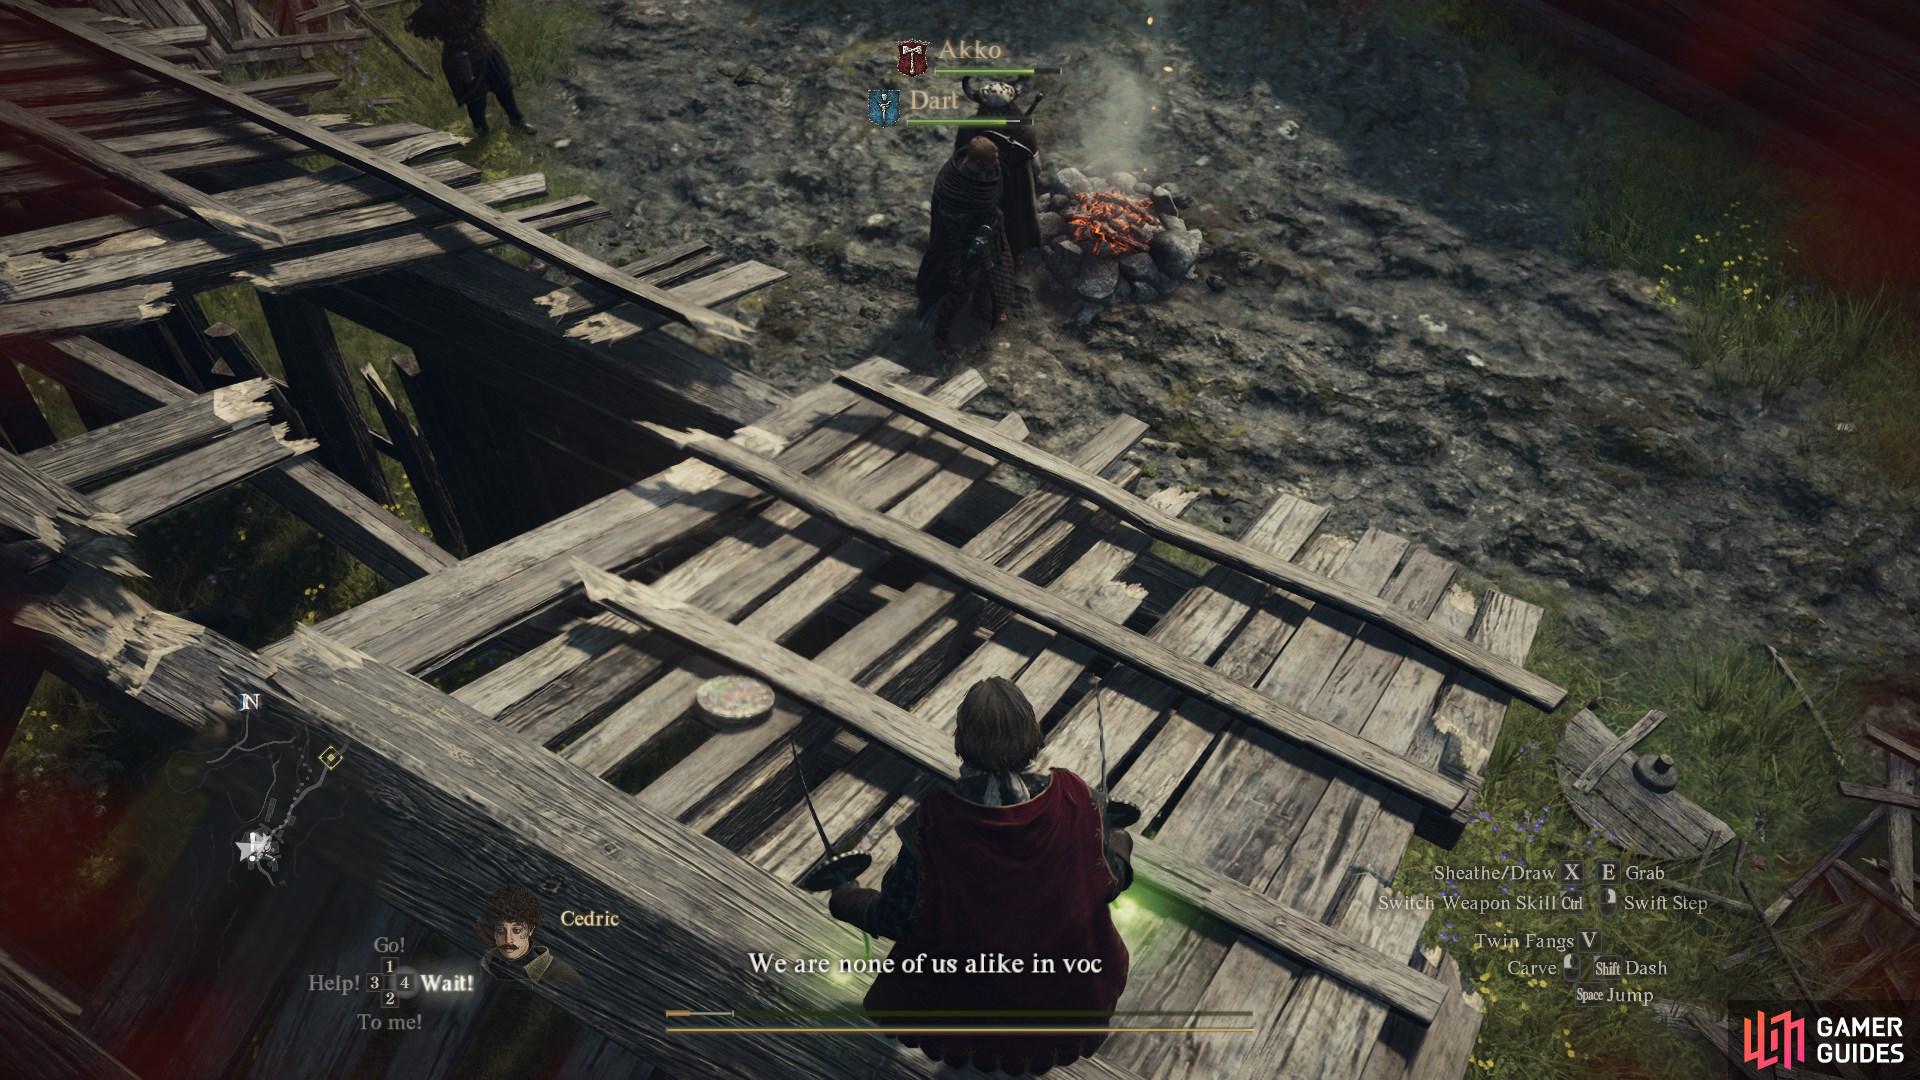
On a cliff ledge on the southern side of a bridge next to a campsite, located between ![]() Melve and the Backwood’s Nest.
Melve and the Backwood’s Nest.
70272. World
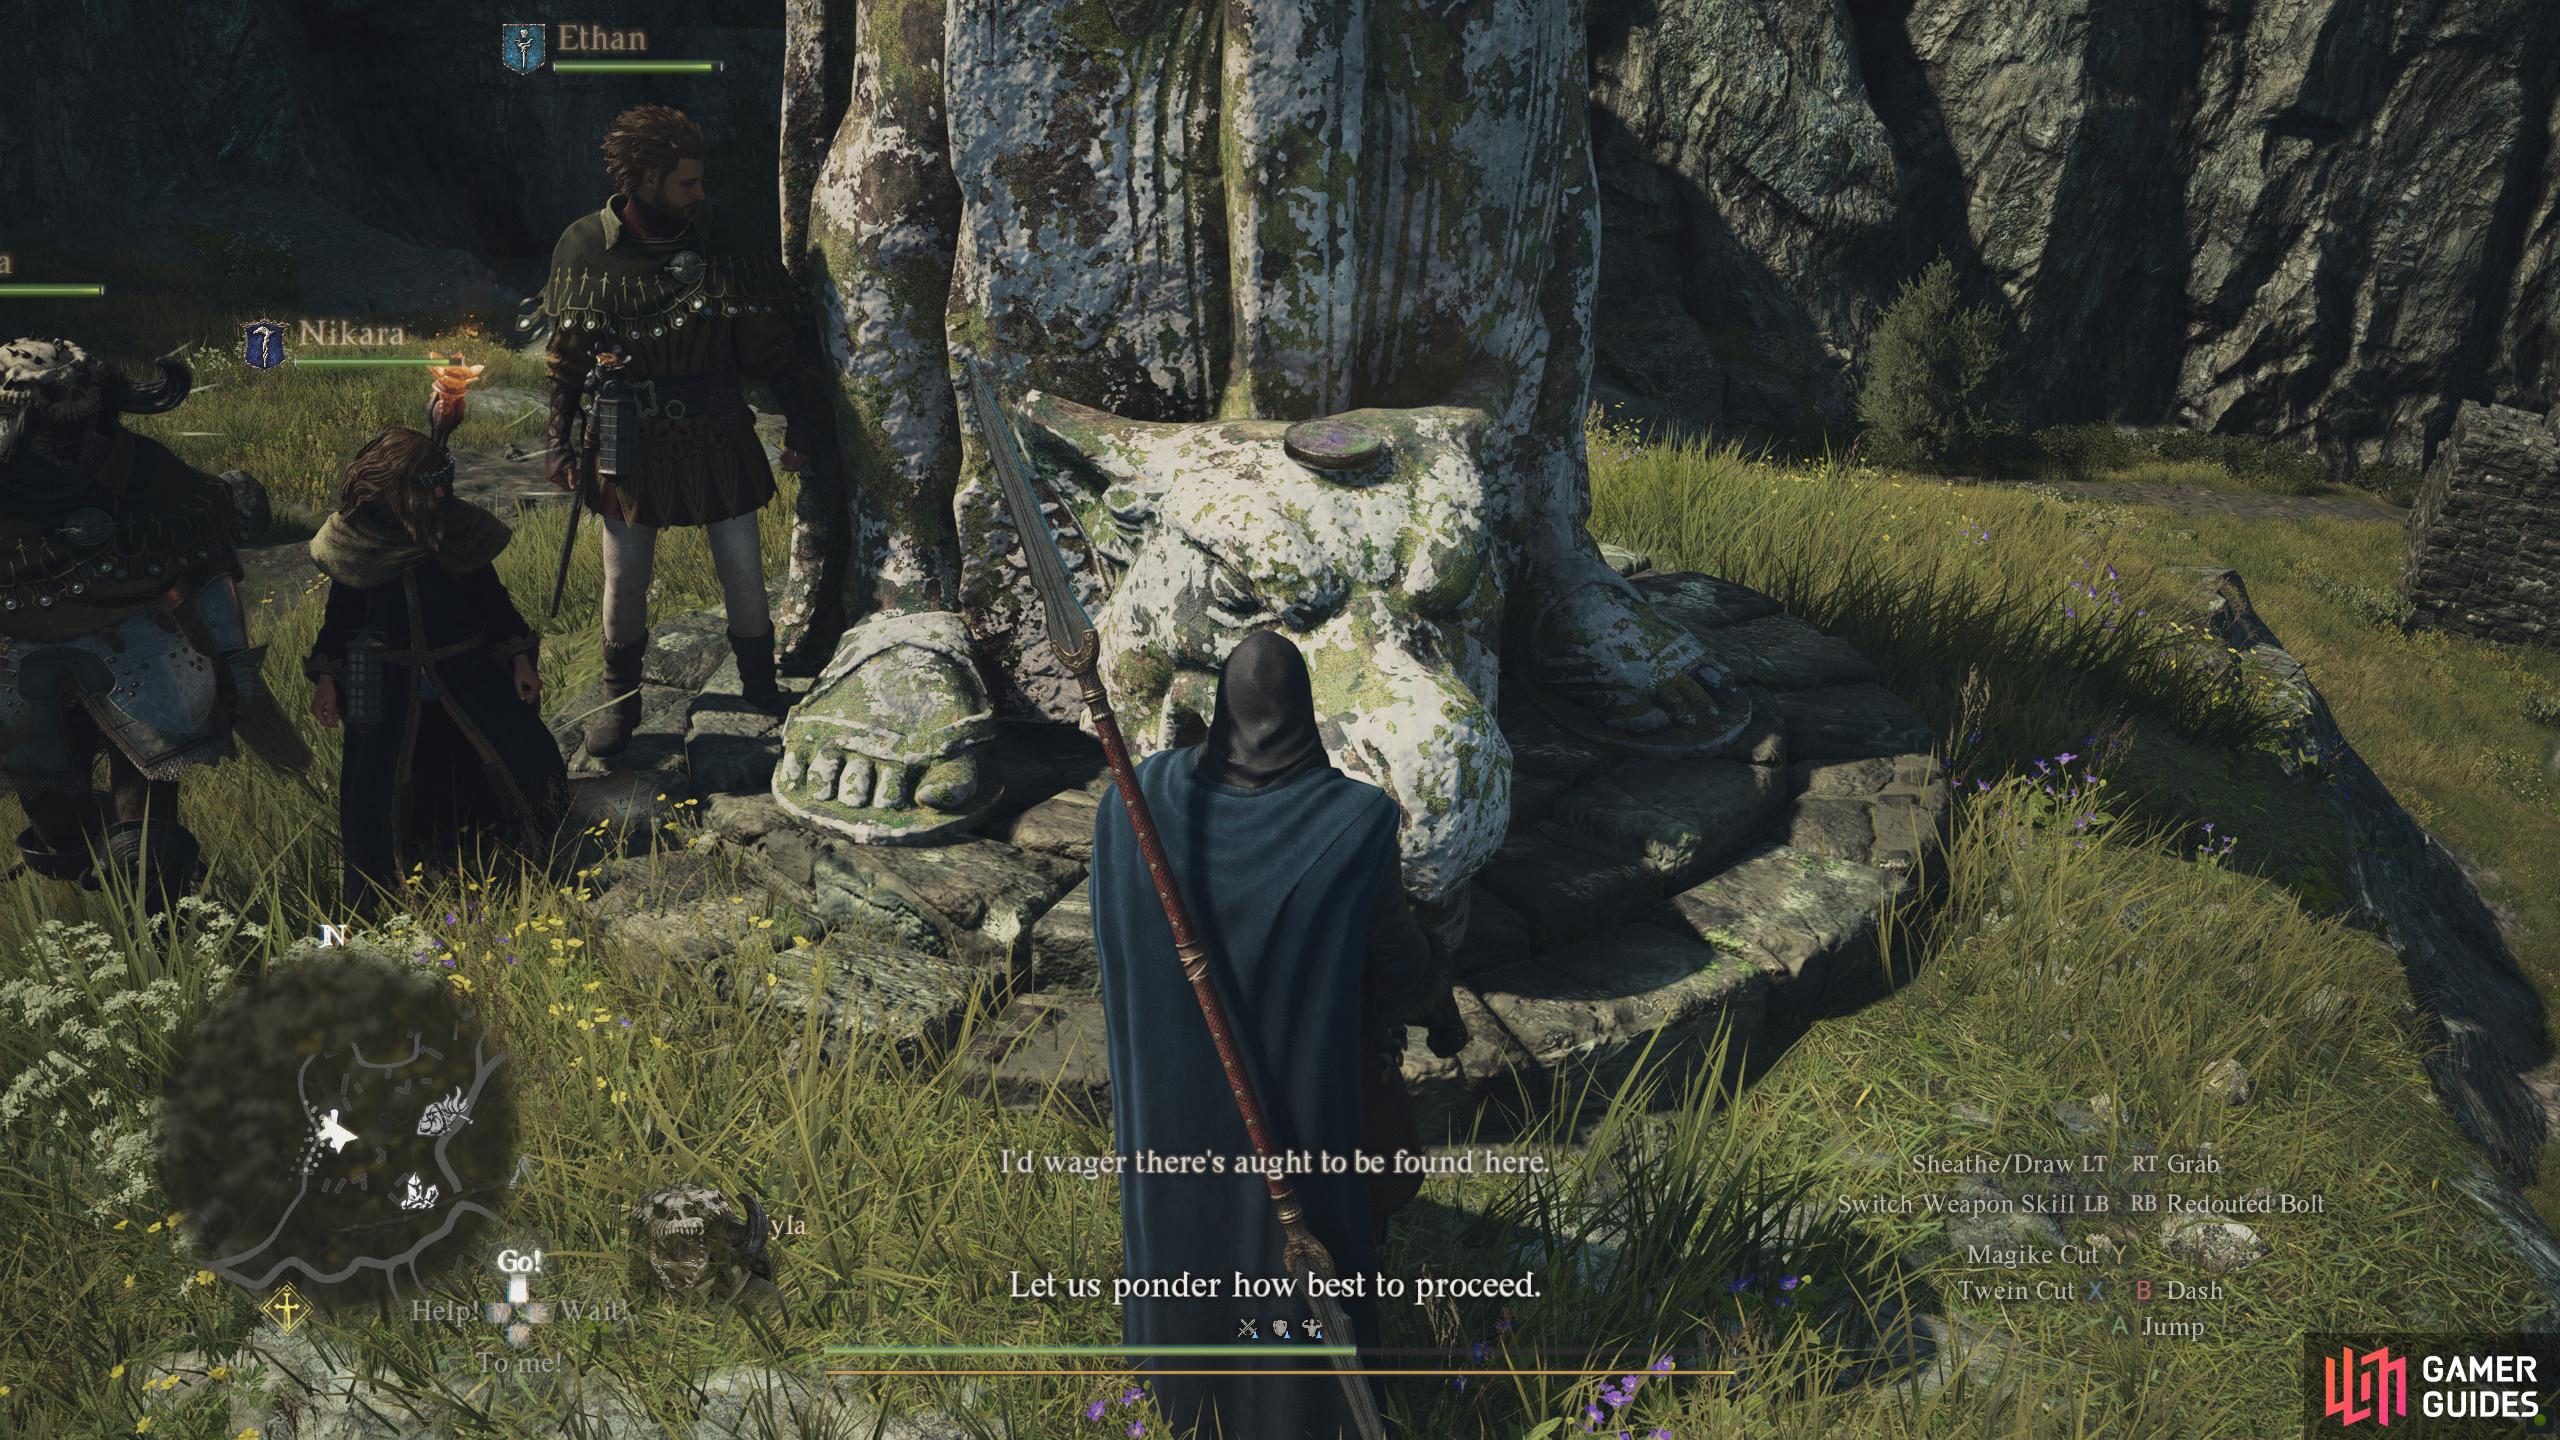
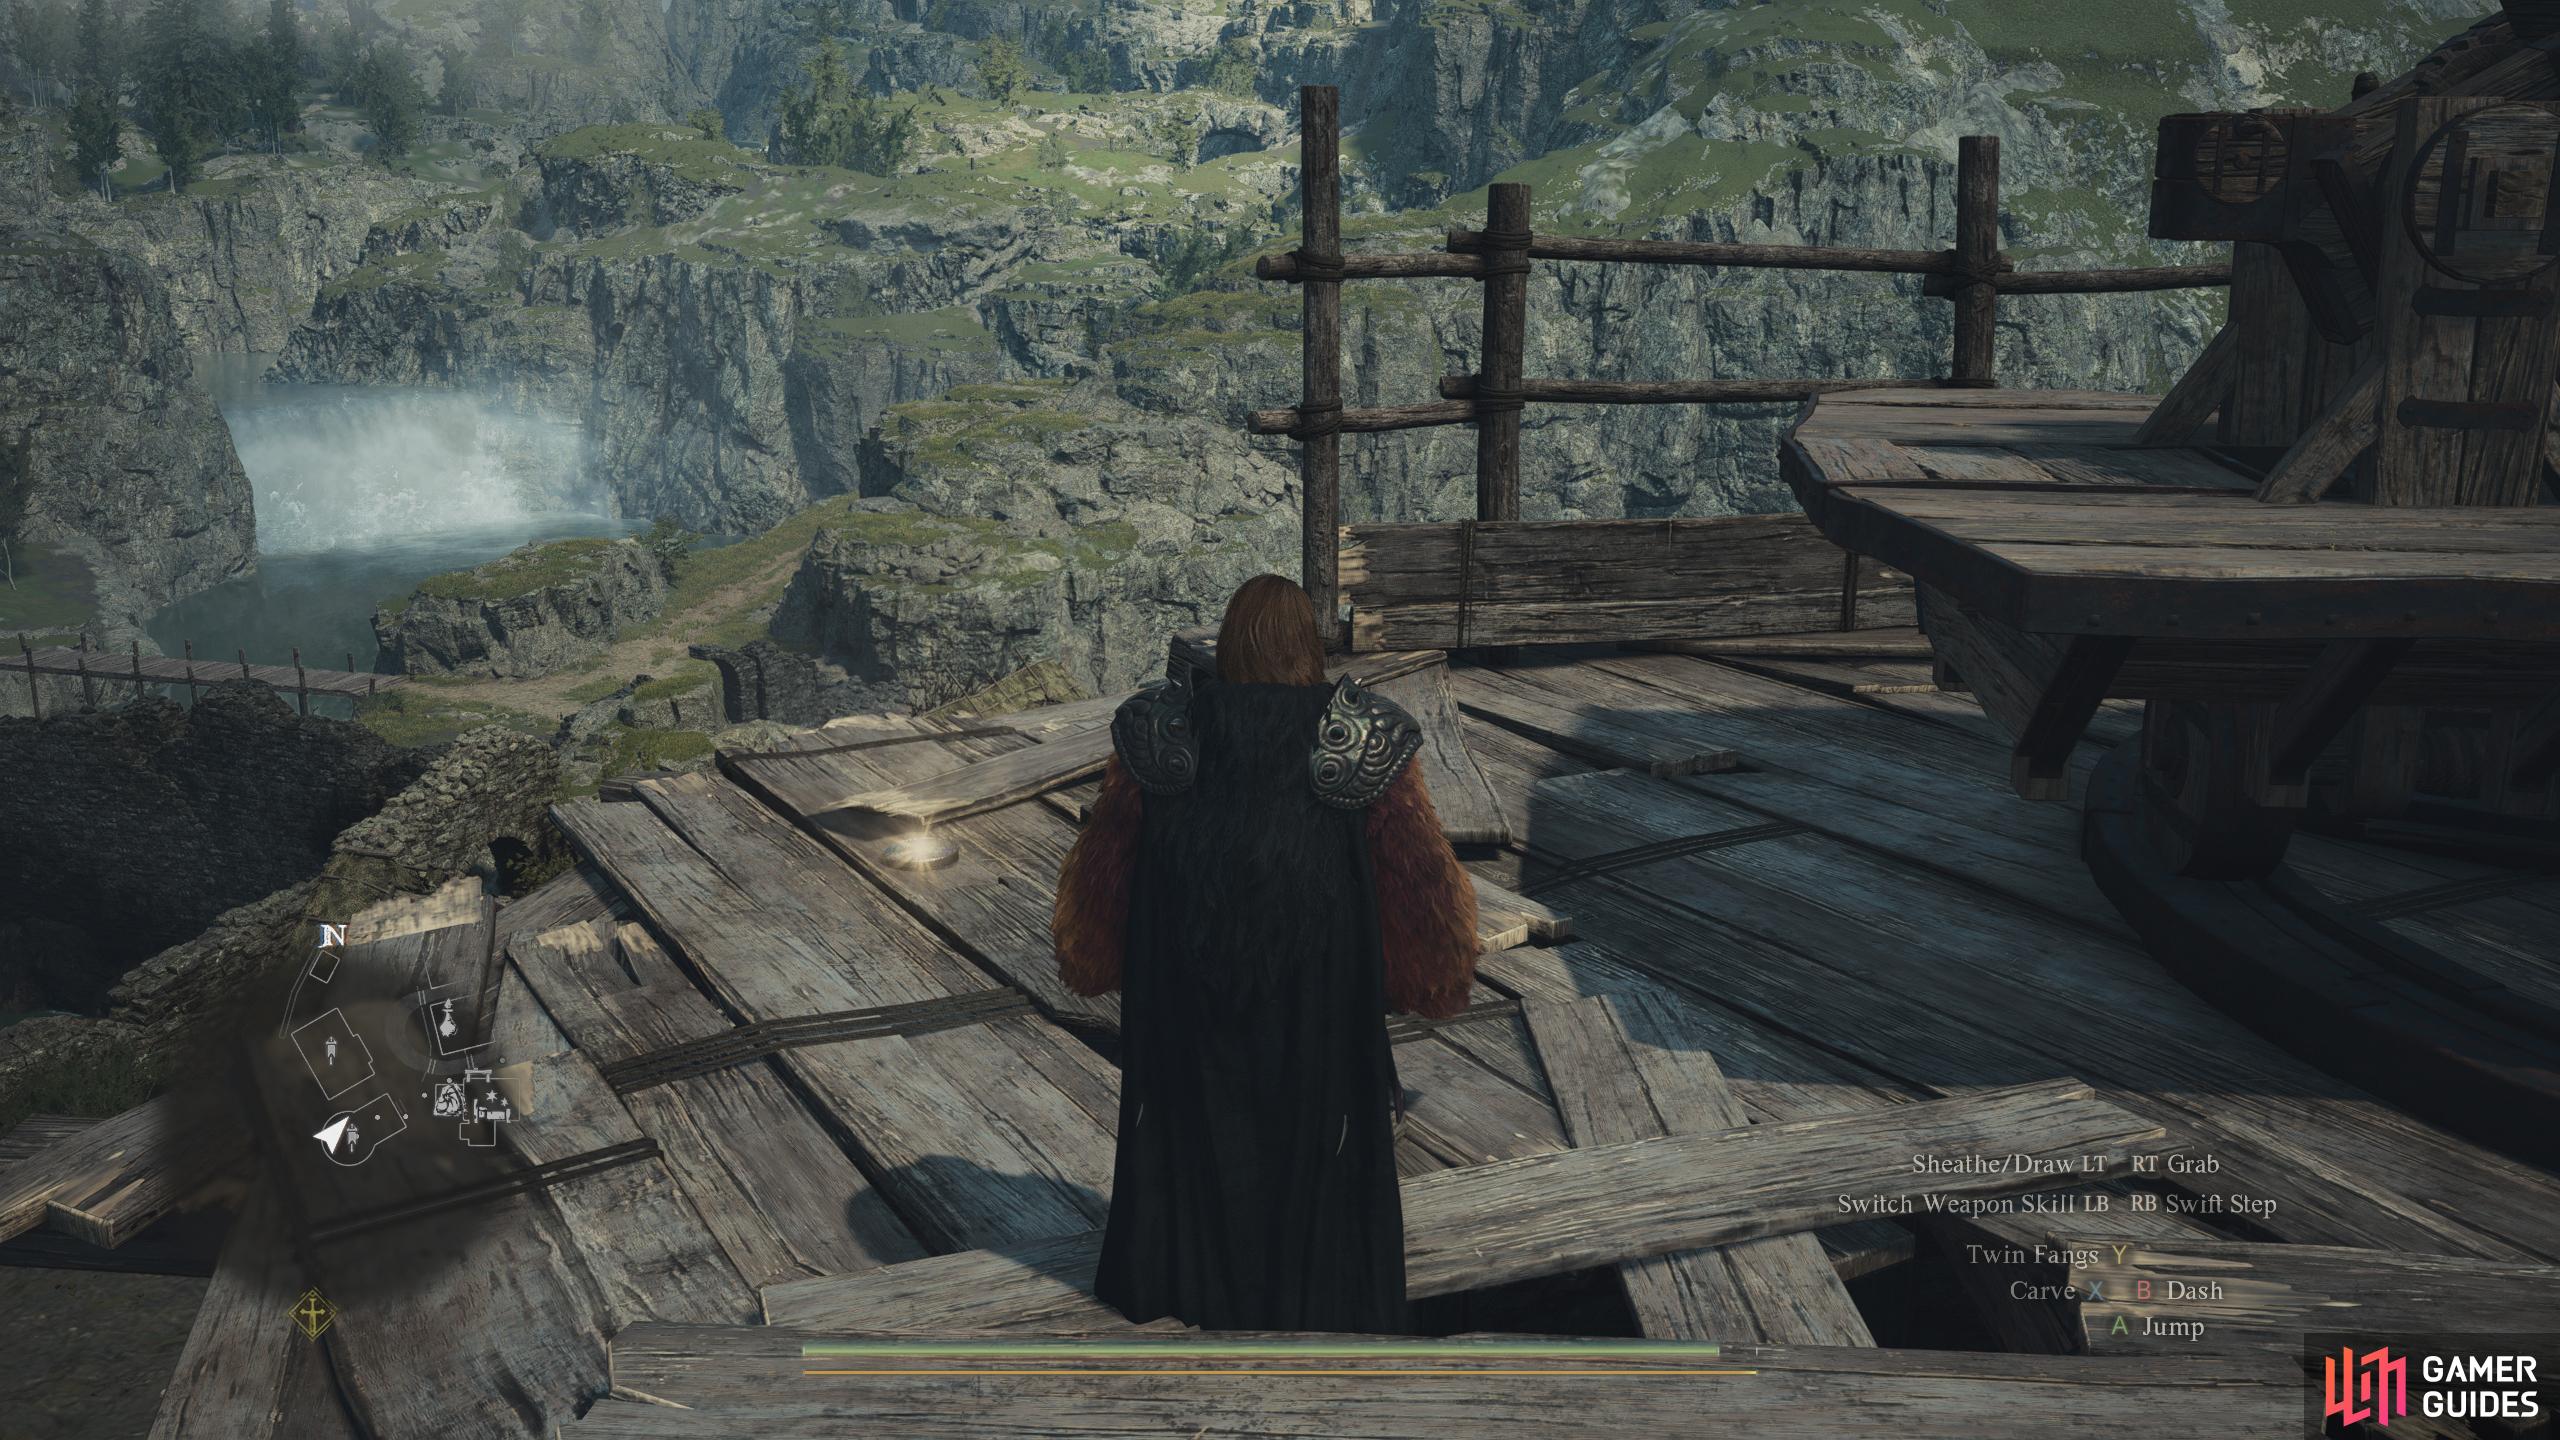
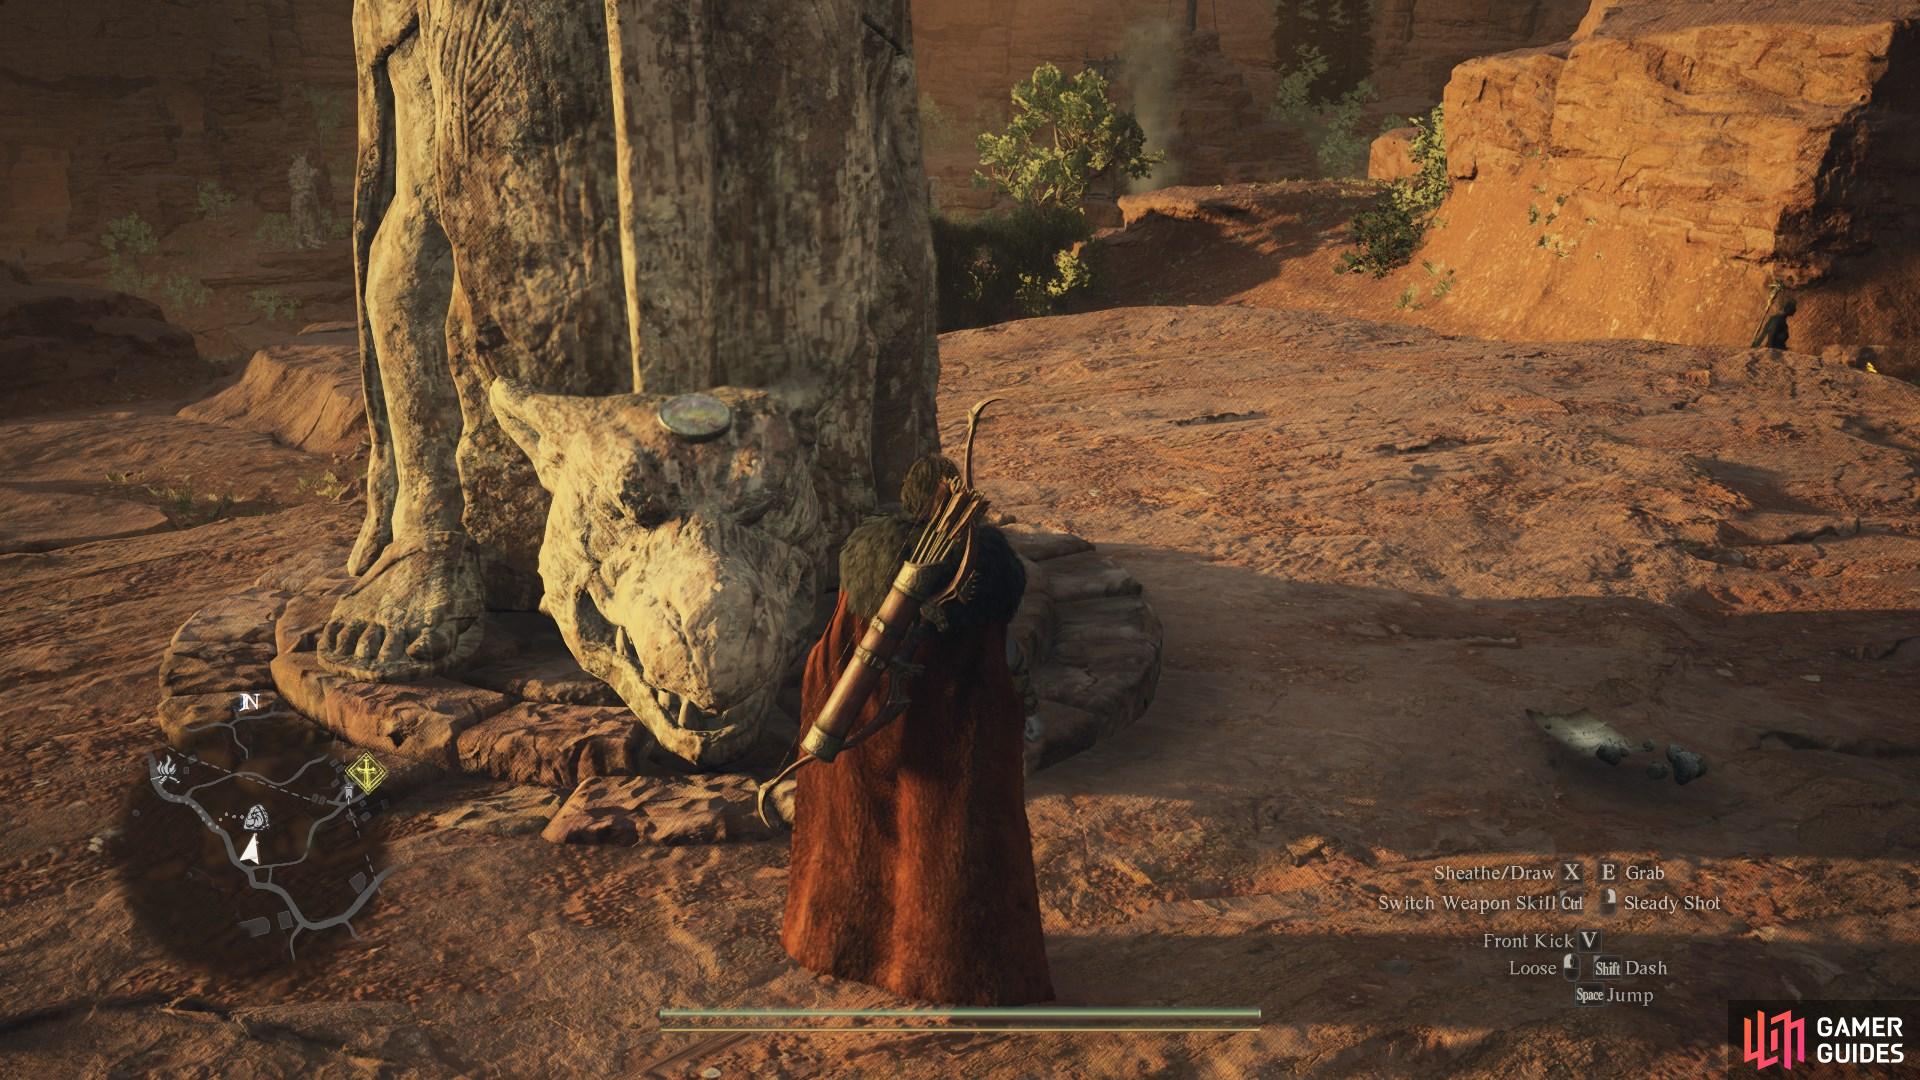
Travel Northwest of ![]() Borderwatch Outpost. Follow the woodland trail around until you spin back around, arriving at a top of a cliff. There should be a coin on the rearside of the statue overlooking the wilderness from the top of the cliff.
Borderwatch Outpost. Follow the woodland trail around until you spin back around, arriving at a top of a cliff. There should be a coin on the rearside of the statue overlooking the wilderness from the top of the cliff.
70273. World
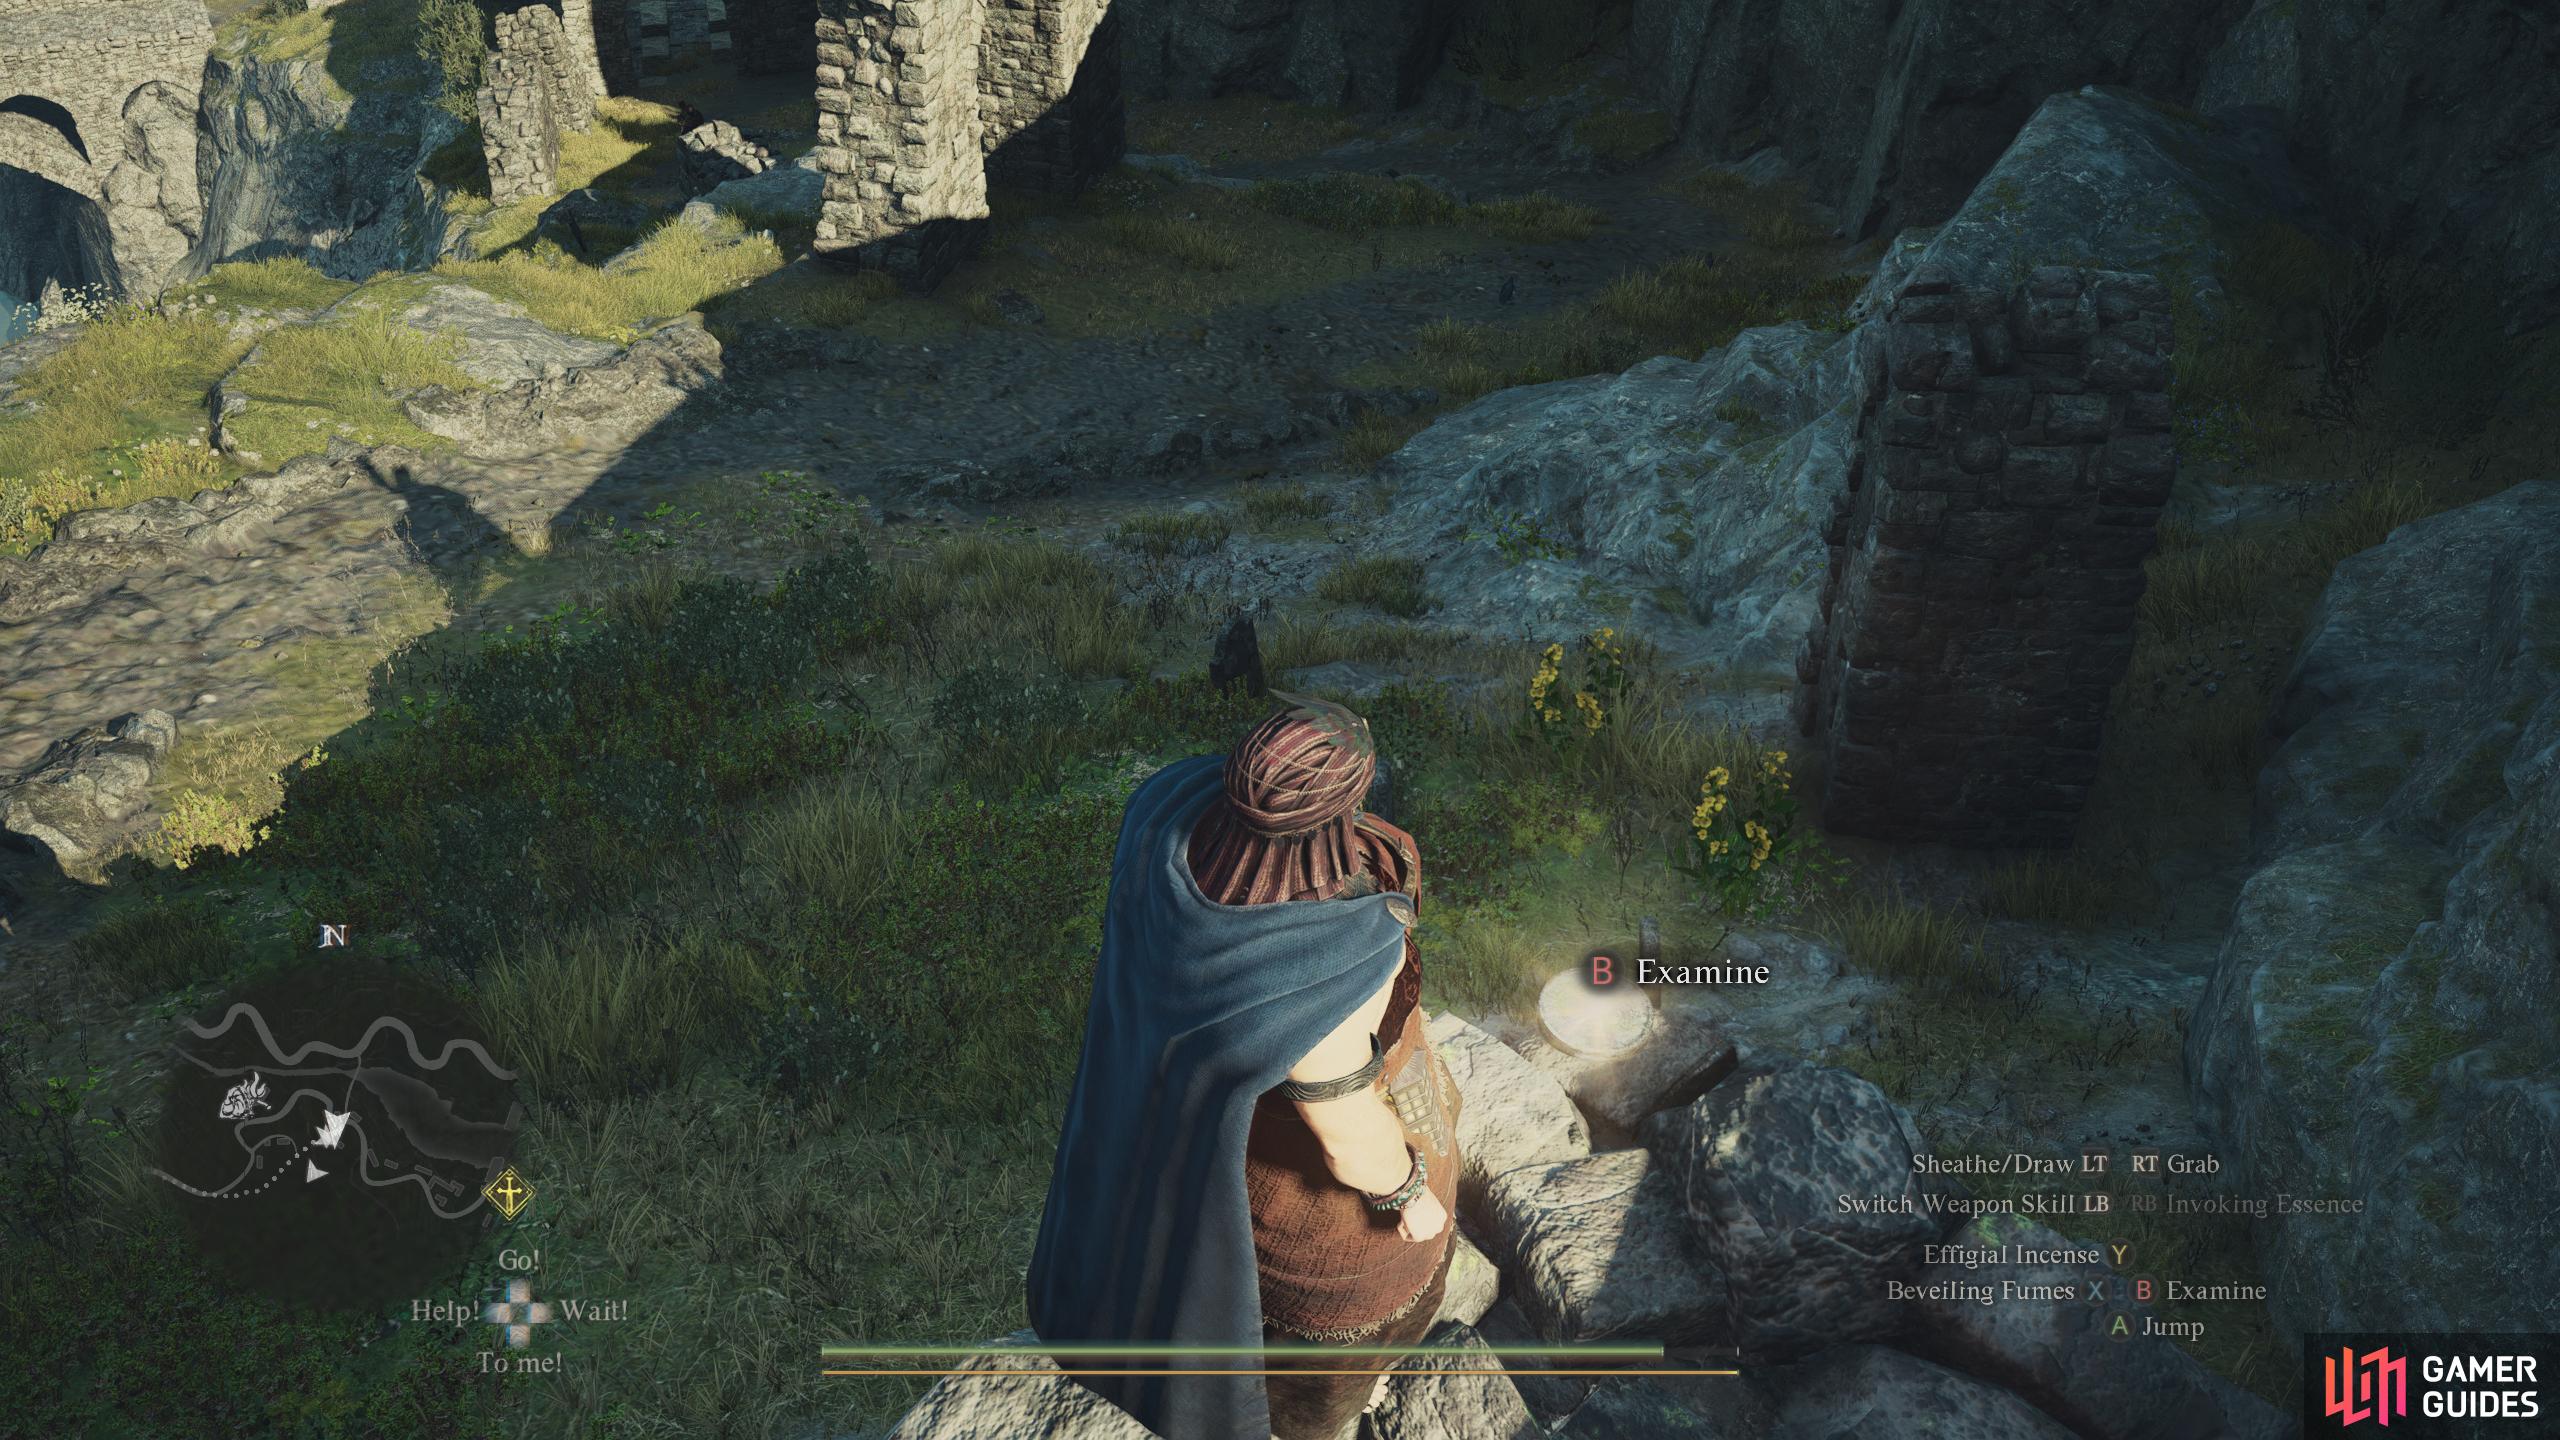
By a grave on a ledge. Travel northeast from ![]() Melve, following the main road past a broken boulder. After following the cave road to the statue, go down the cliffslide, climb up the rocky circular path, then walk towards the gravestone near the ladder. You’ll then find this token hidden in a bush.
Melve, following the main road past a broken boulder. After following the cave road to the statue, go down the cliffslide, climb up the rocky circular path, then walk towards the gravestone near the ladder. You’ll then find this token hidden in a bush.
70274. Vernworth Map
On top of the ![]() Grand Riftstone of Vermund building. Head inside
Grand Riftstone of Vermund building. Head inside ![]() Shakir’s Inn and head upstairs. Go out to the balcony and climb up the ladder to your right. Jump over to the wooden boards ahead of you before jumping over toward the tower to the west. The token is on a trapdoor in the middle of the tower.
Shakir’s Inn and head upstairs. Go out to the balcony and climb up the ladder to your right. Jump over to the wooden boards ahead of you before jumping over toward the tower to the west. The token is on a trapdoor in the middle of the tower.
70275. World
At the base of the statue on top of the hill, southwest of the Daybreak Riftstone.

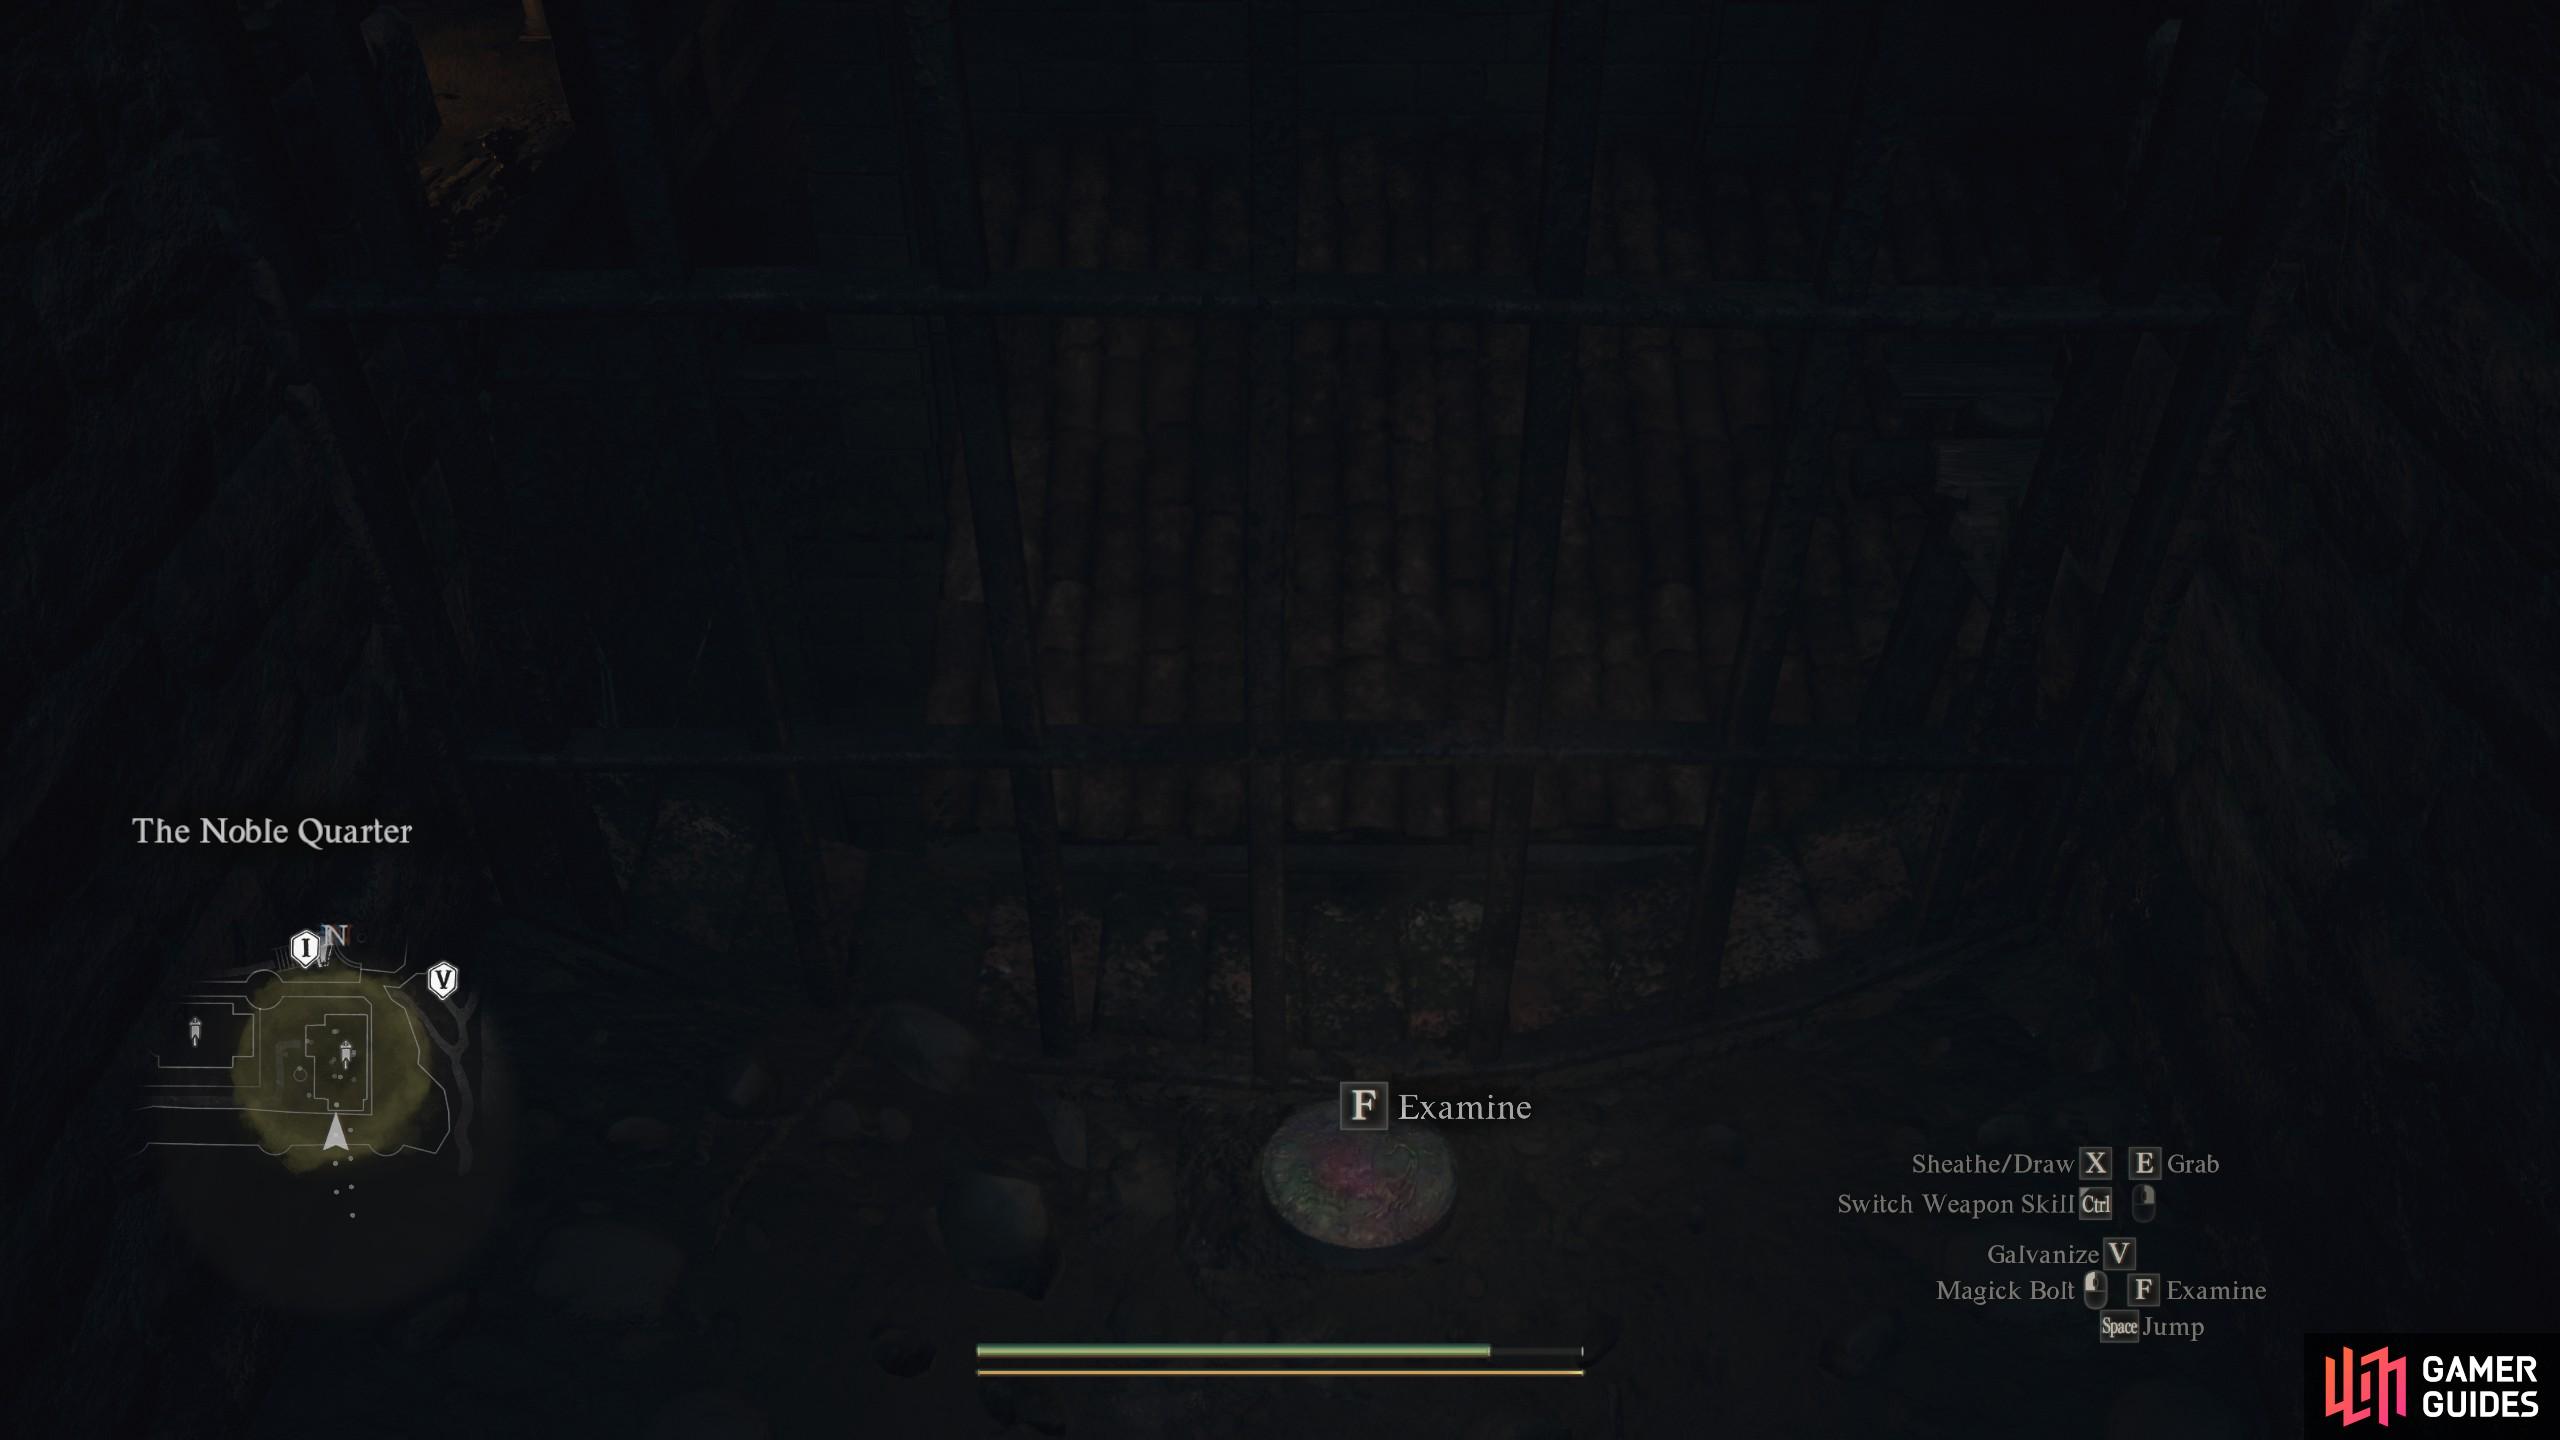
70294. Vernworth Map
Go to ![]() Baldwin’s Estate in the Noble Quarter of the capital city, and then climb the scaffolding to enter the castle sewer. At the end of the sewer entrance there is a chest - behind it is another sewer grid with the token by the sewer gate.
Baldwin’s Estate in the Noble Quarter of the capital city, and then climb the scaffolding to enter the castle sewer. At the end of the sewer entrance there is a chest - behind it is another sewer grid with the token by the sewer gate.
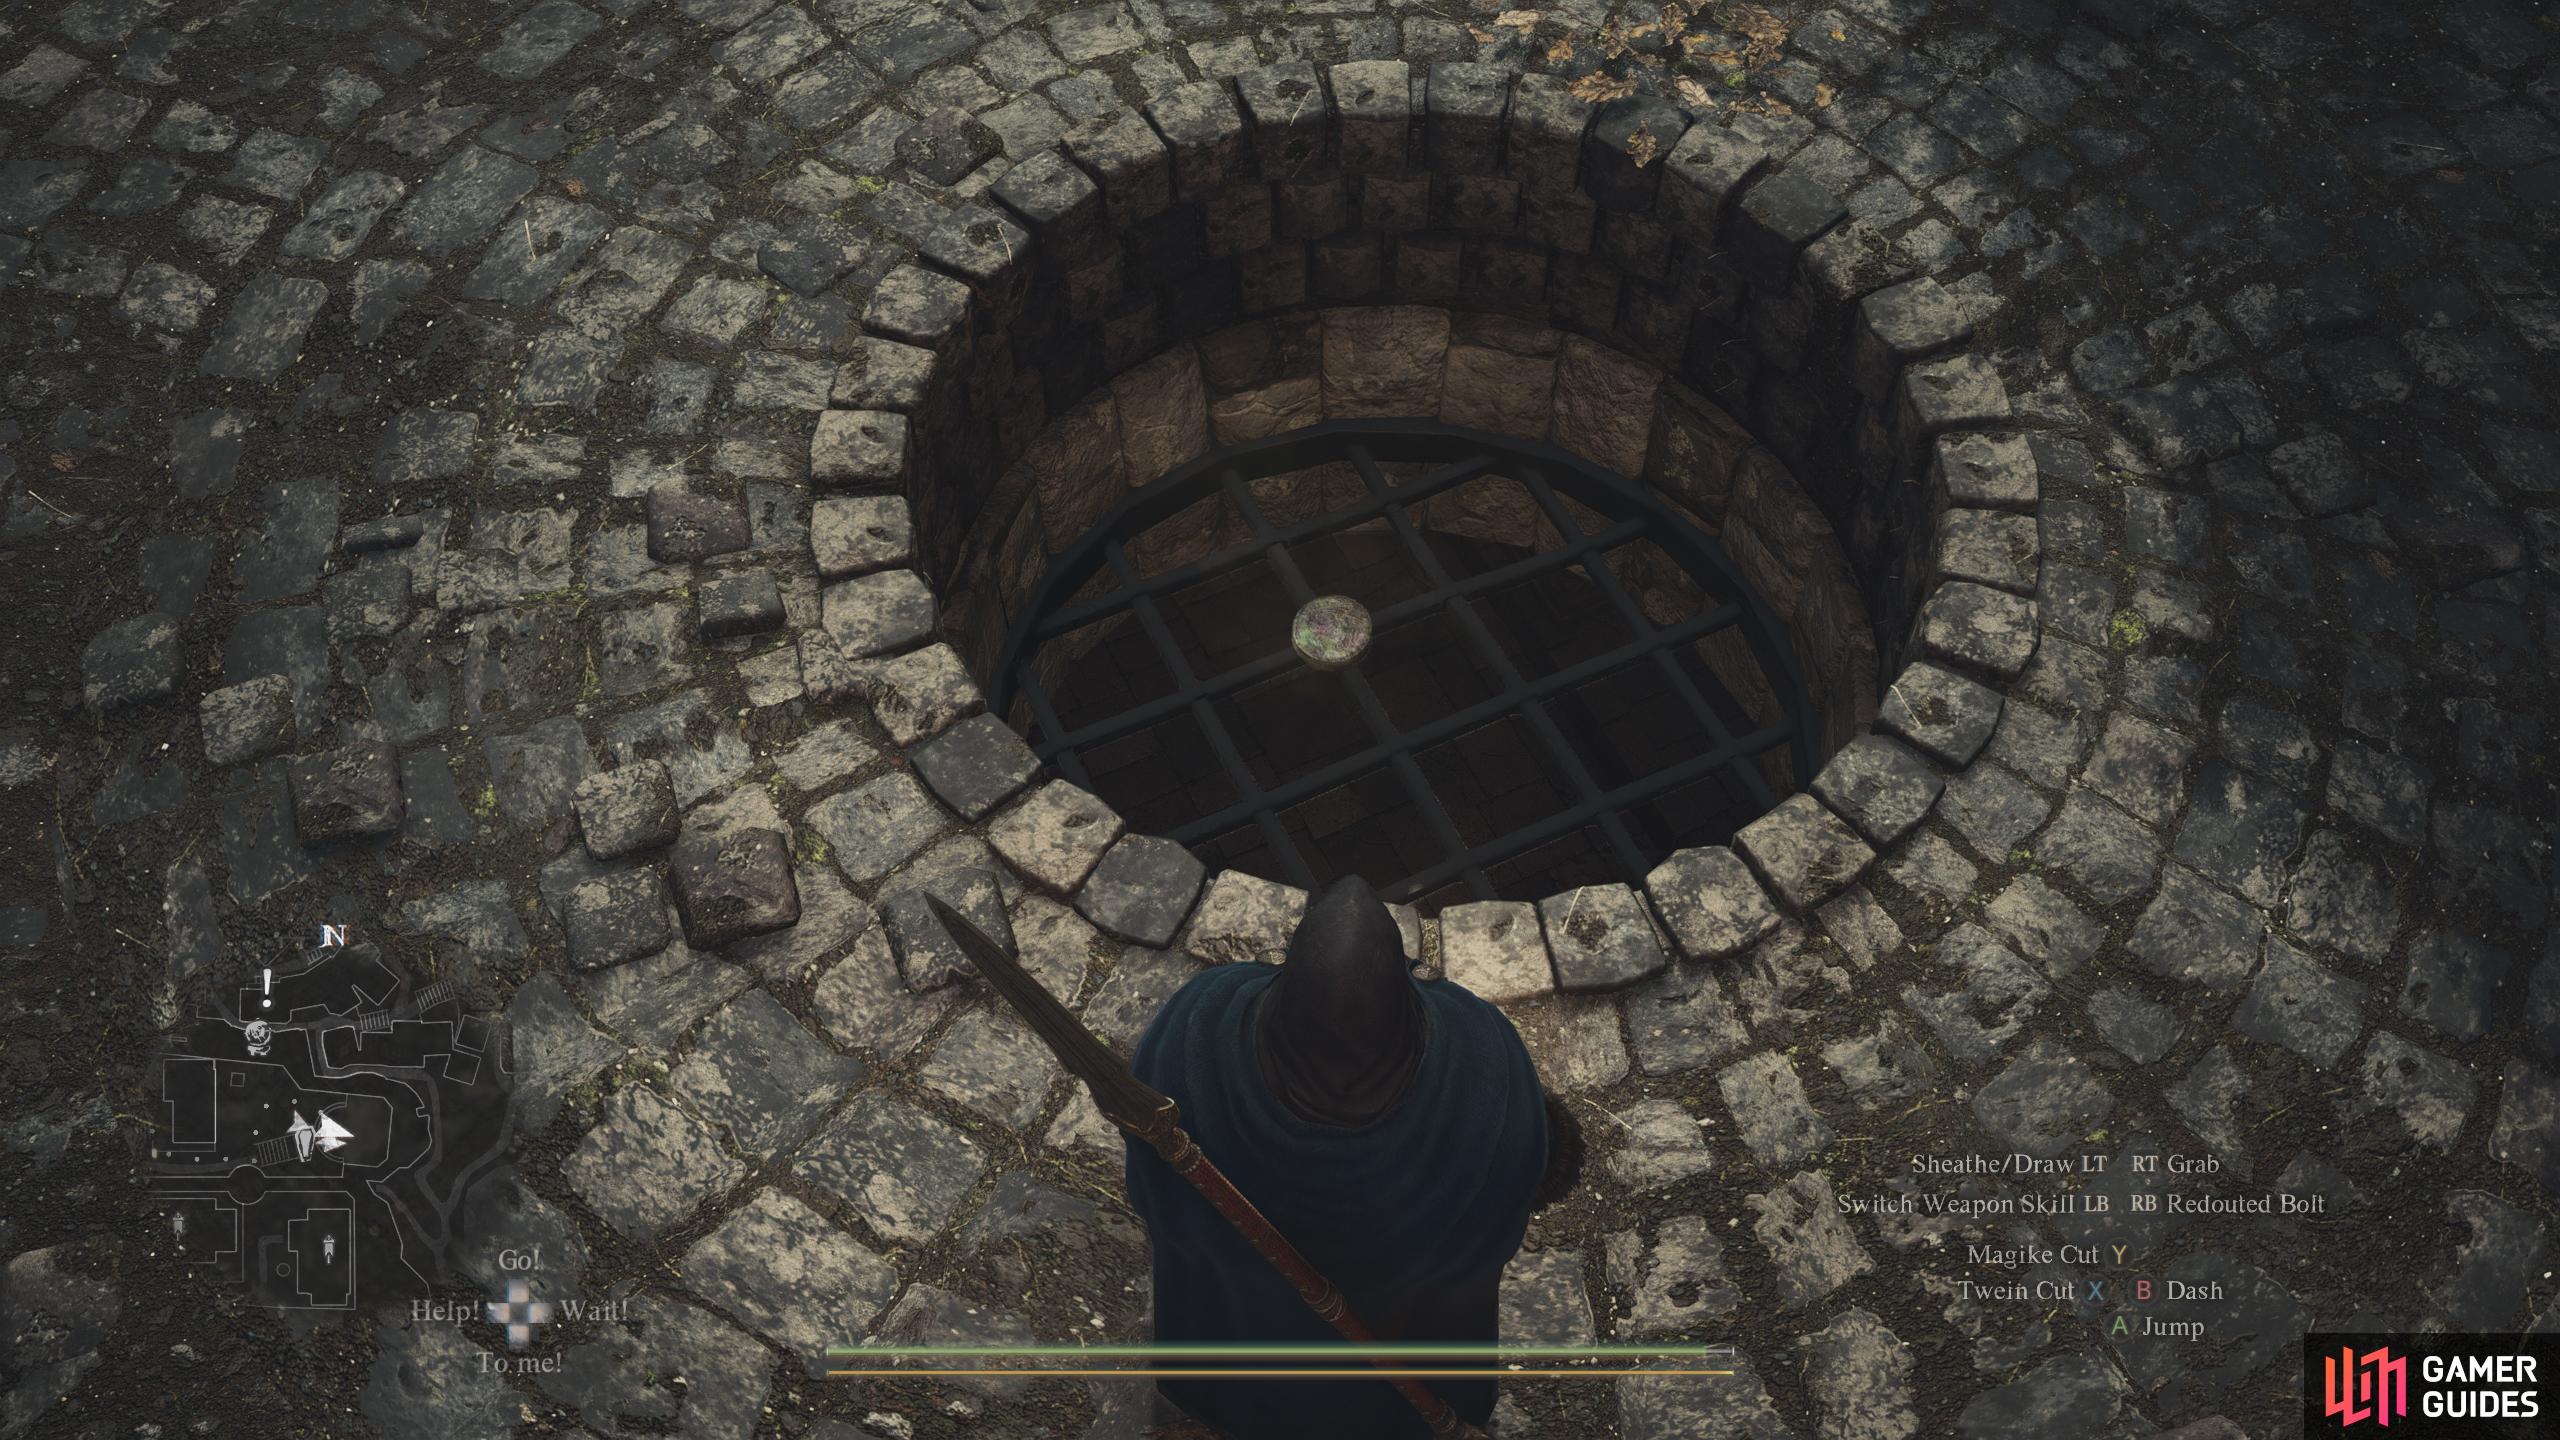
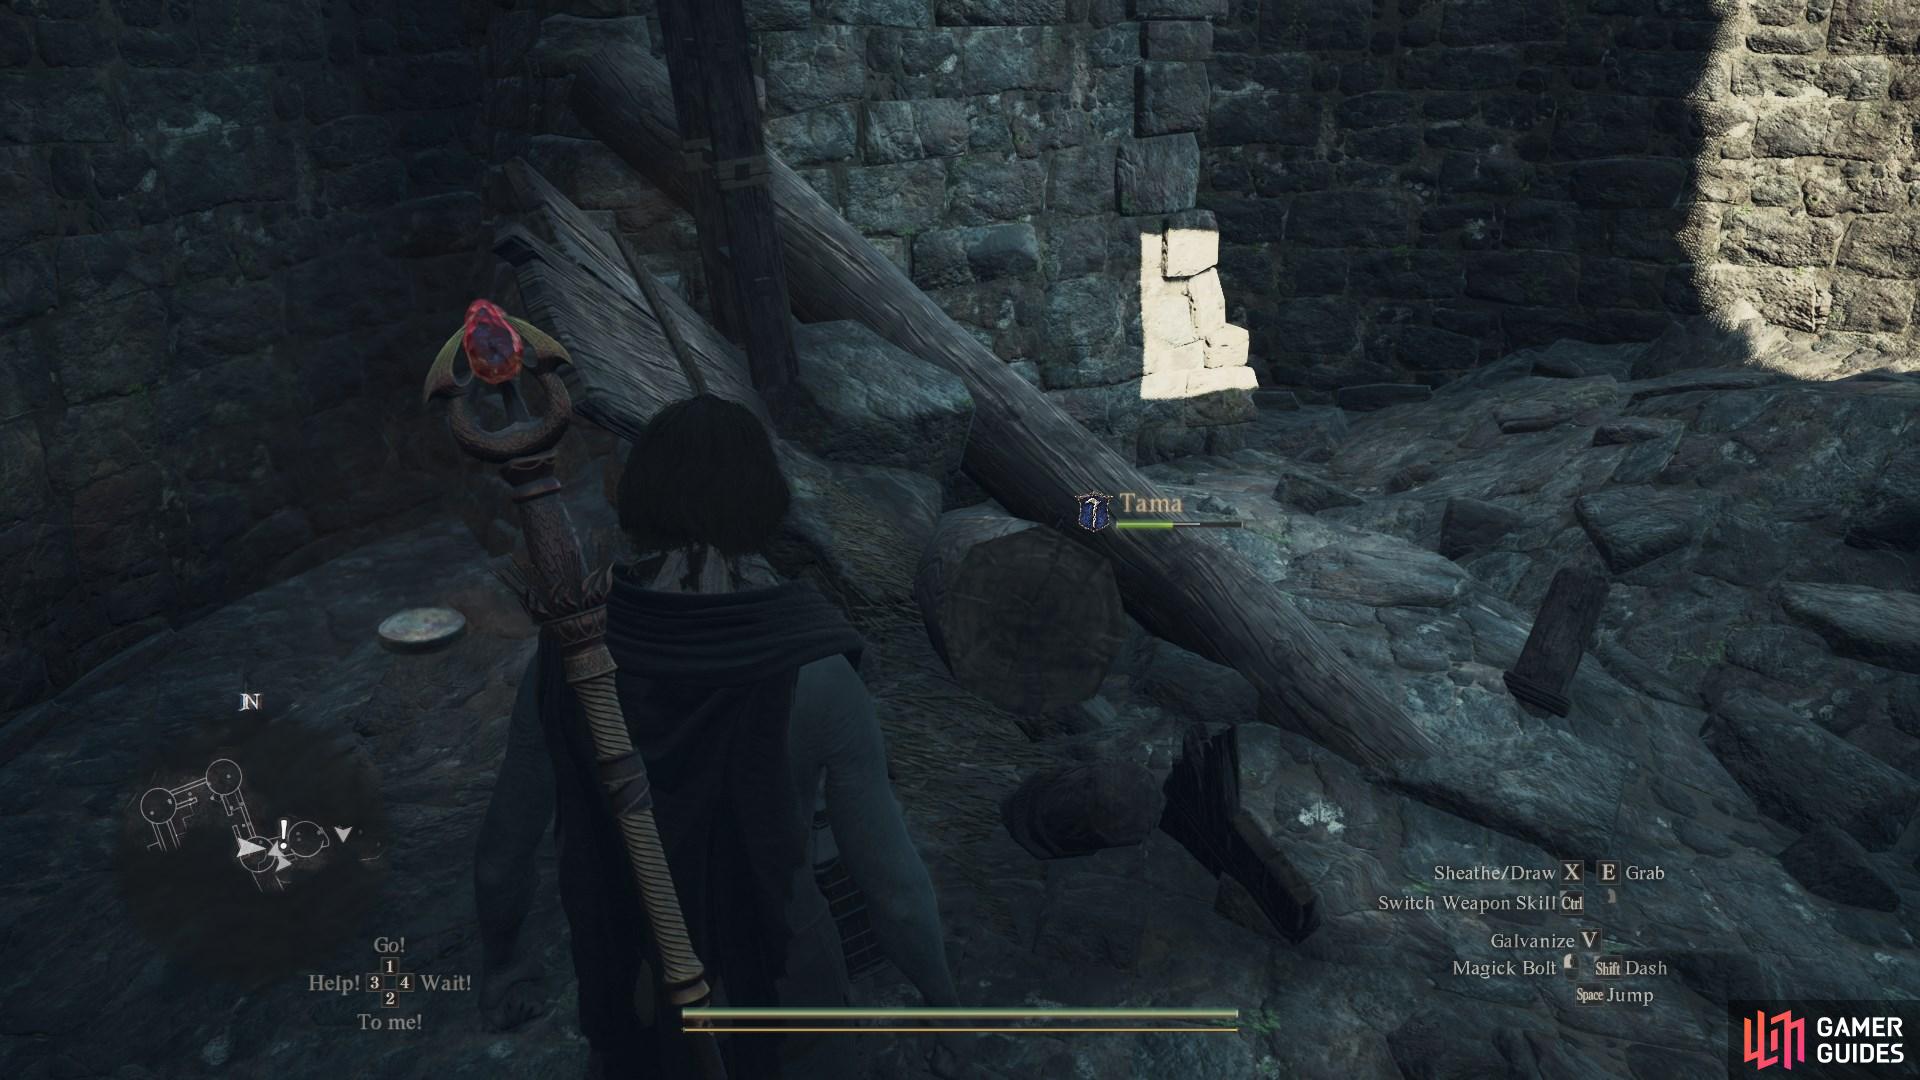
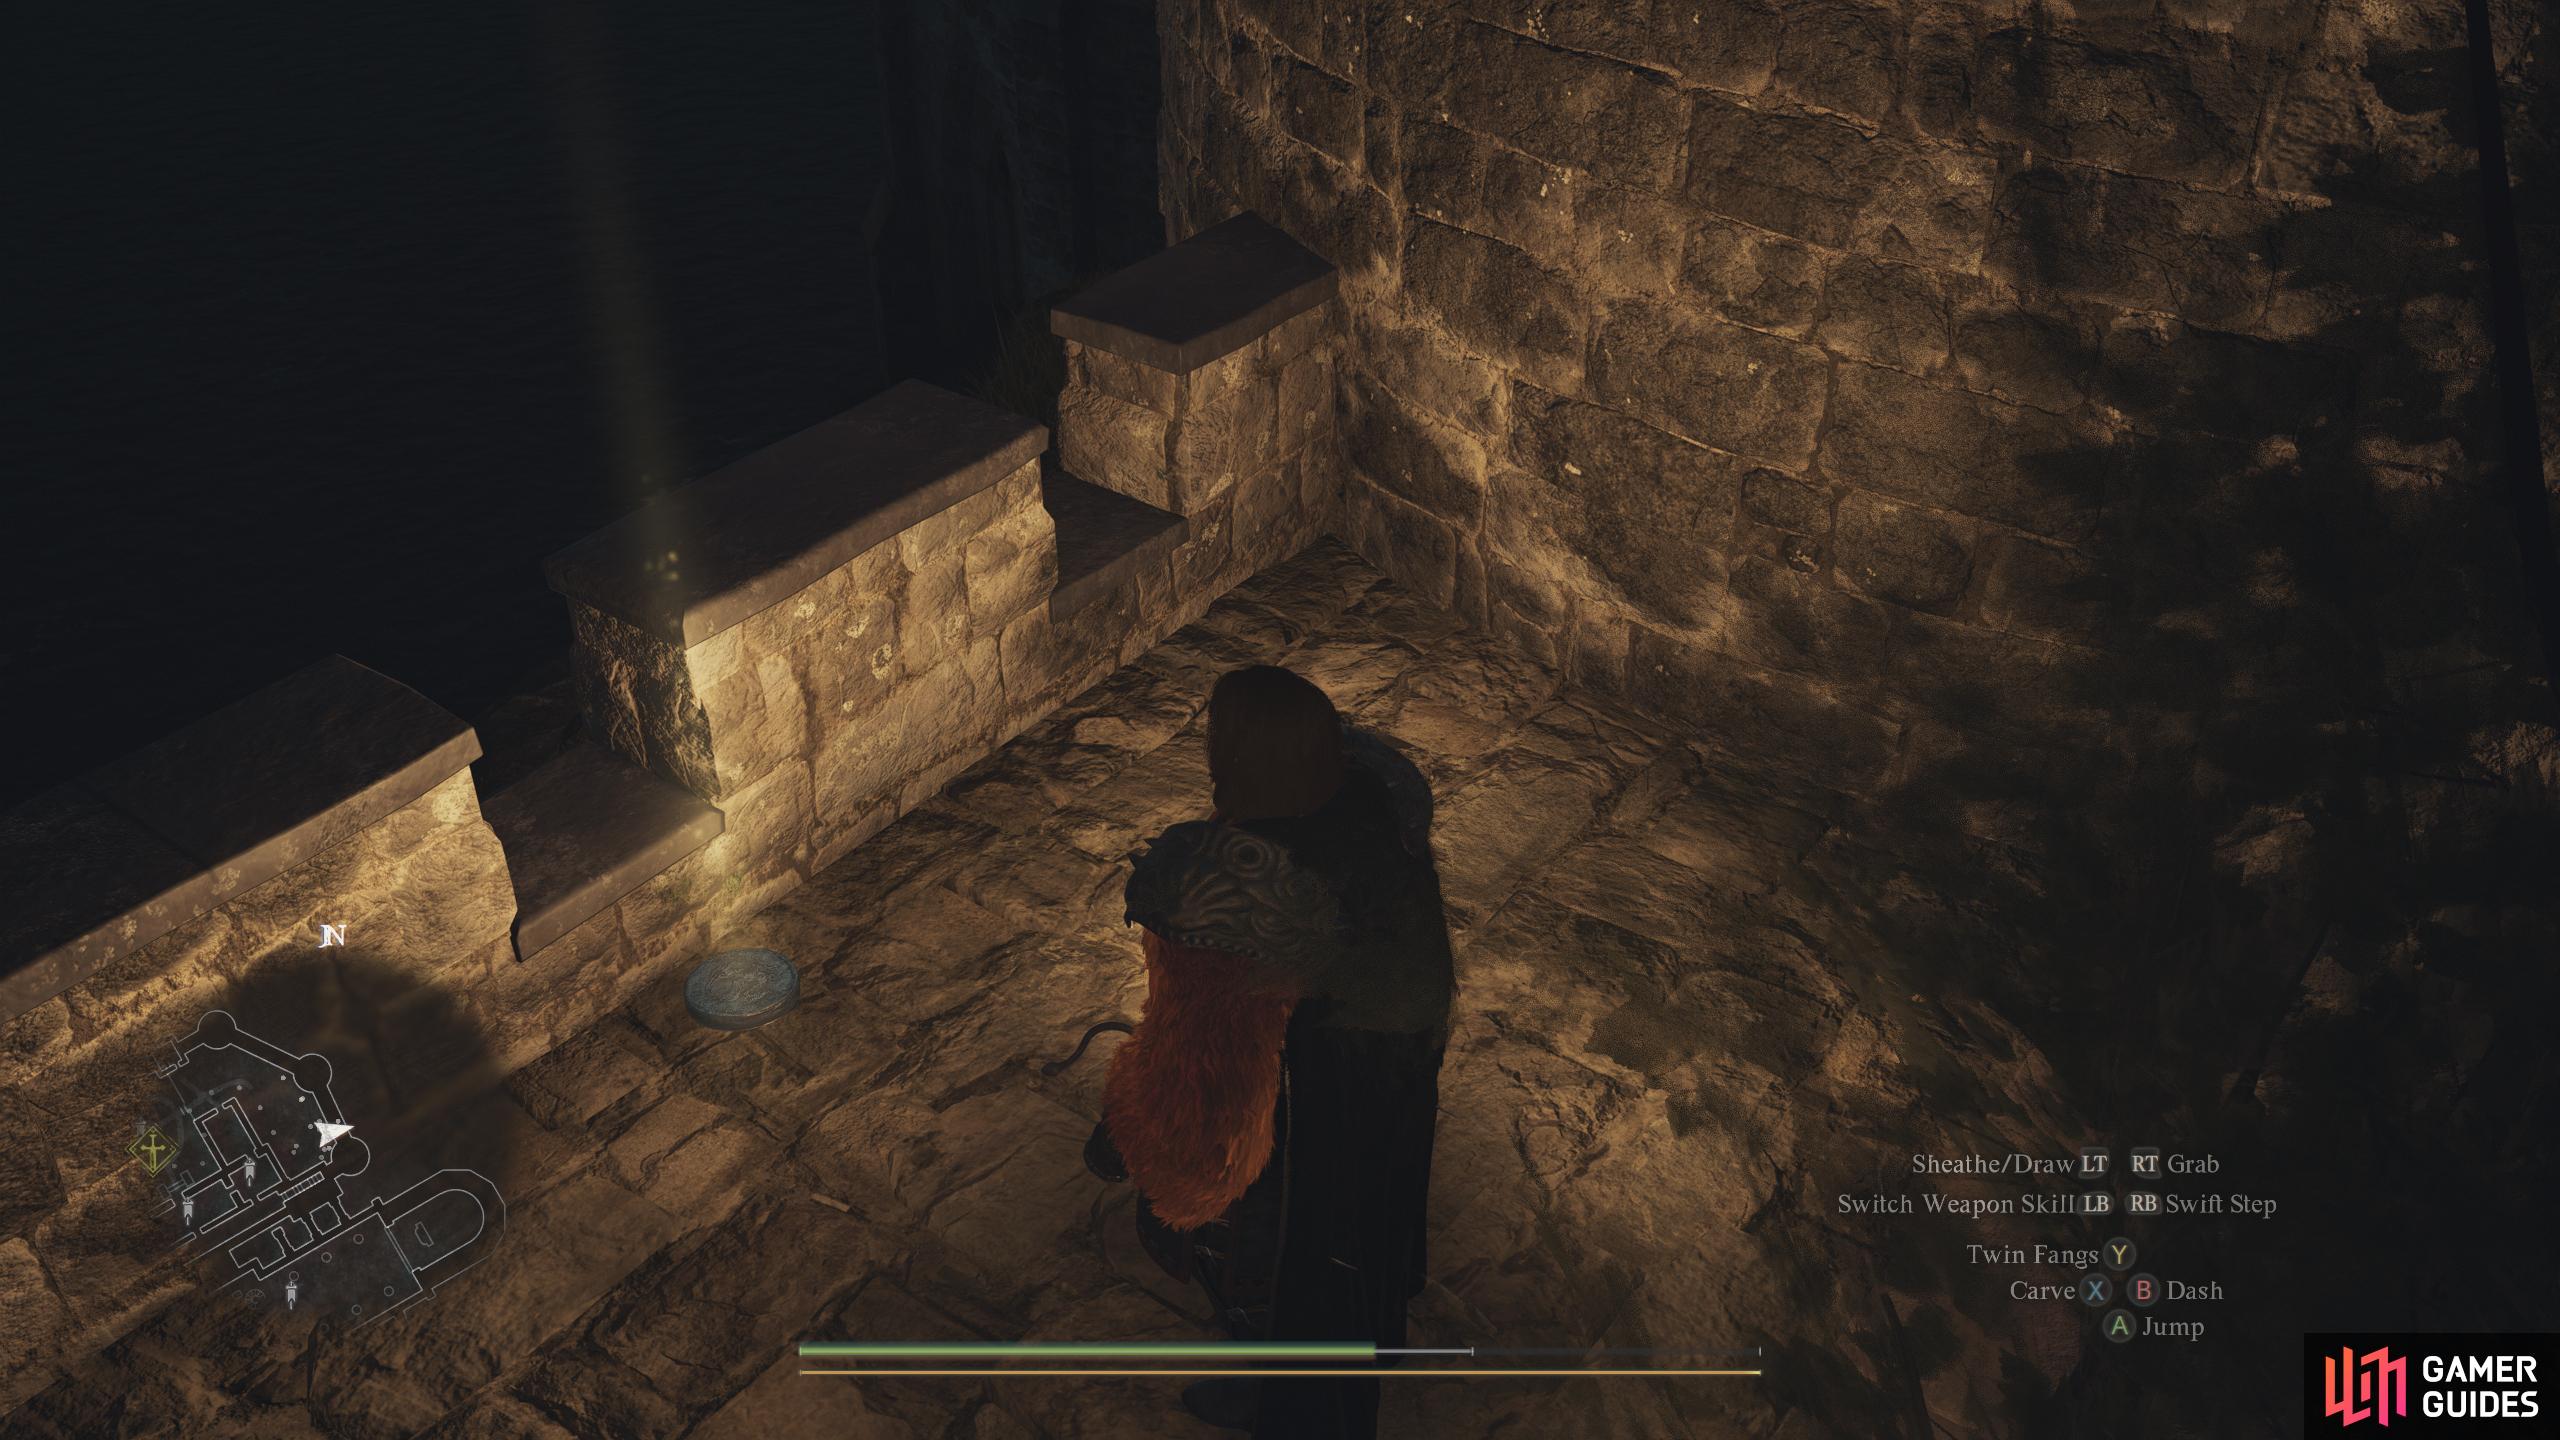
Alternatively, climb down into the well by the ![]() Vernworth Castle Gaol Tower. This
Vernworth Castle Gaol Tower. This ![]() Seeker’s Token is at the end of the corridor next to the chest.
Seeker’s Token is at the end of the corridor next to the chest.
70295. Vernworth Map
On the roof of ![]() Baldwin’s Estate. Climb up using the Sewer gate as a jumping spot. The
Baldwin’s Estate. Climb up using the Sewer gate as a jumping spot. The ![]() Mage /
Mage / ![]() Sorcerer spell
Sorcerer spell ![]() Levitate works very well here.
Levitate works very well here.
70296. World
Under the large wooden bridge, leading to a new region on the far west side of West ![]() Vernworth Region.
Vernworth Region.
70297. World
On top of a ruined wall in the ![]() Northern Harve Ruins. Jump on the pillars and walls to reach it.
Northern Harve Ruins. Jump on the pillars and walls to reach it.
70327. World
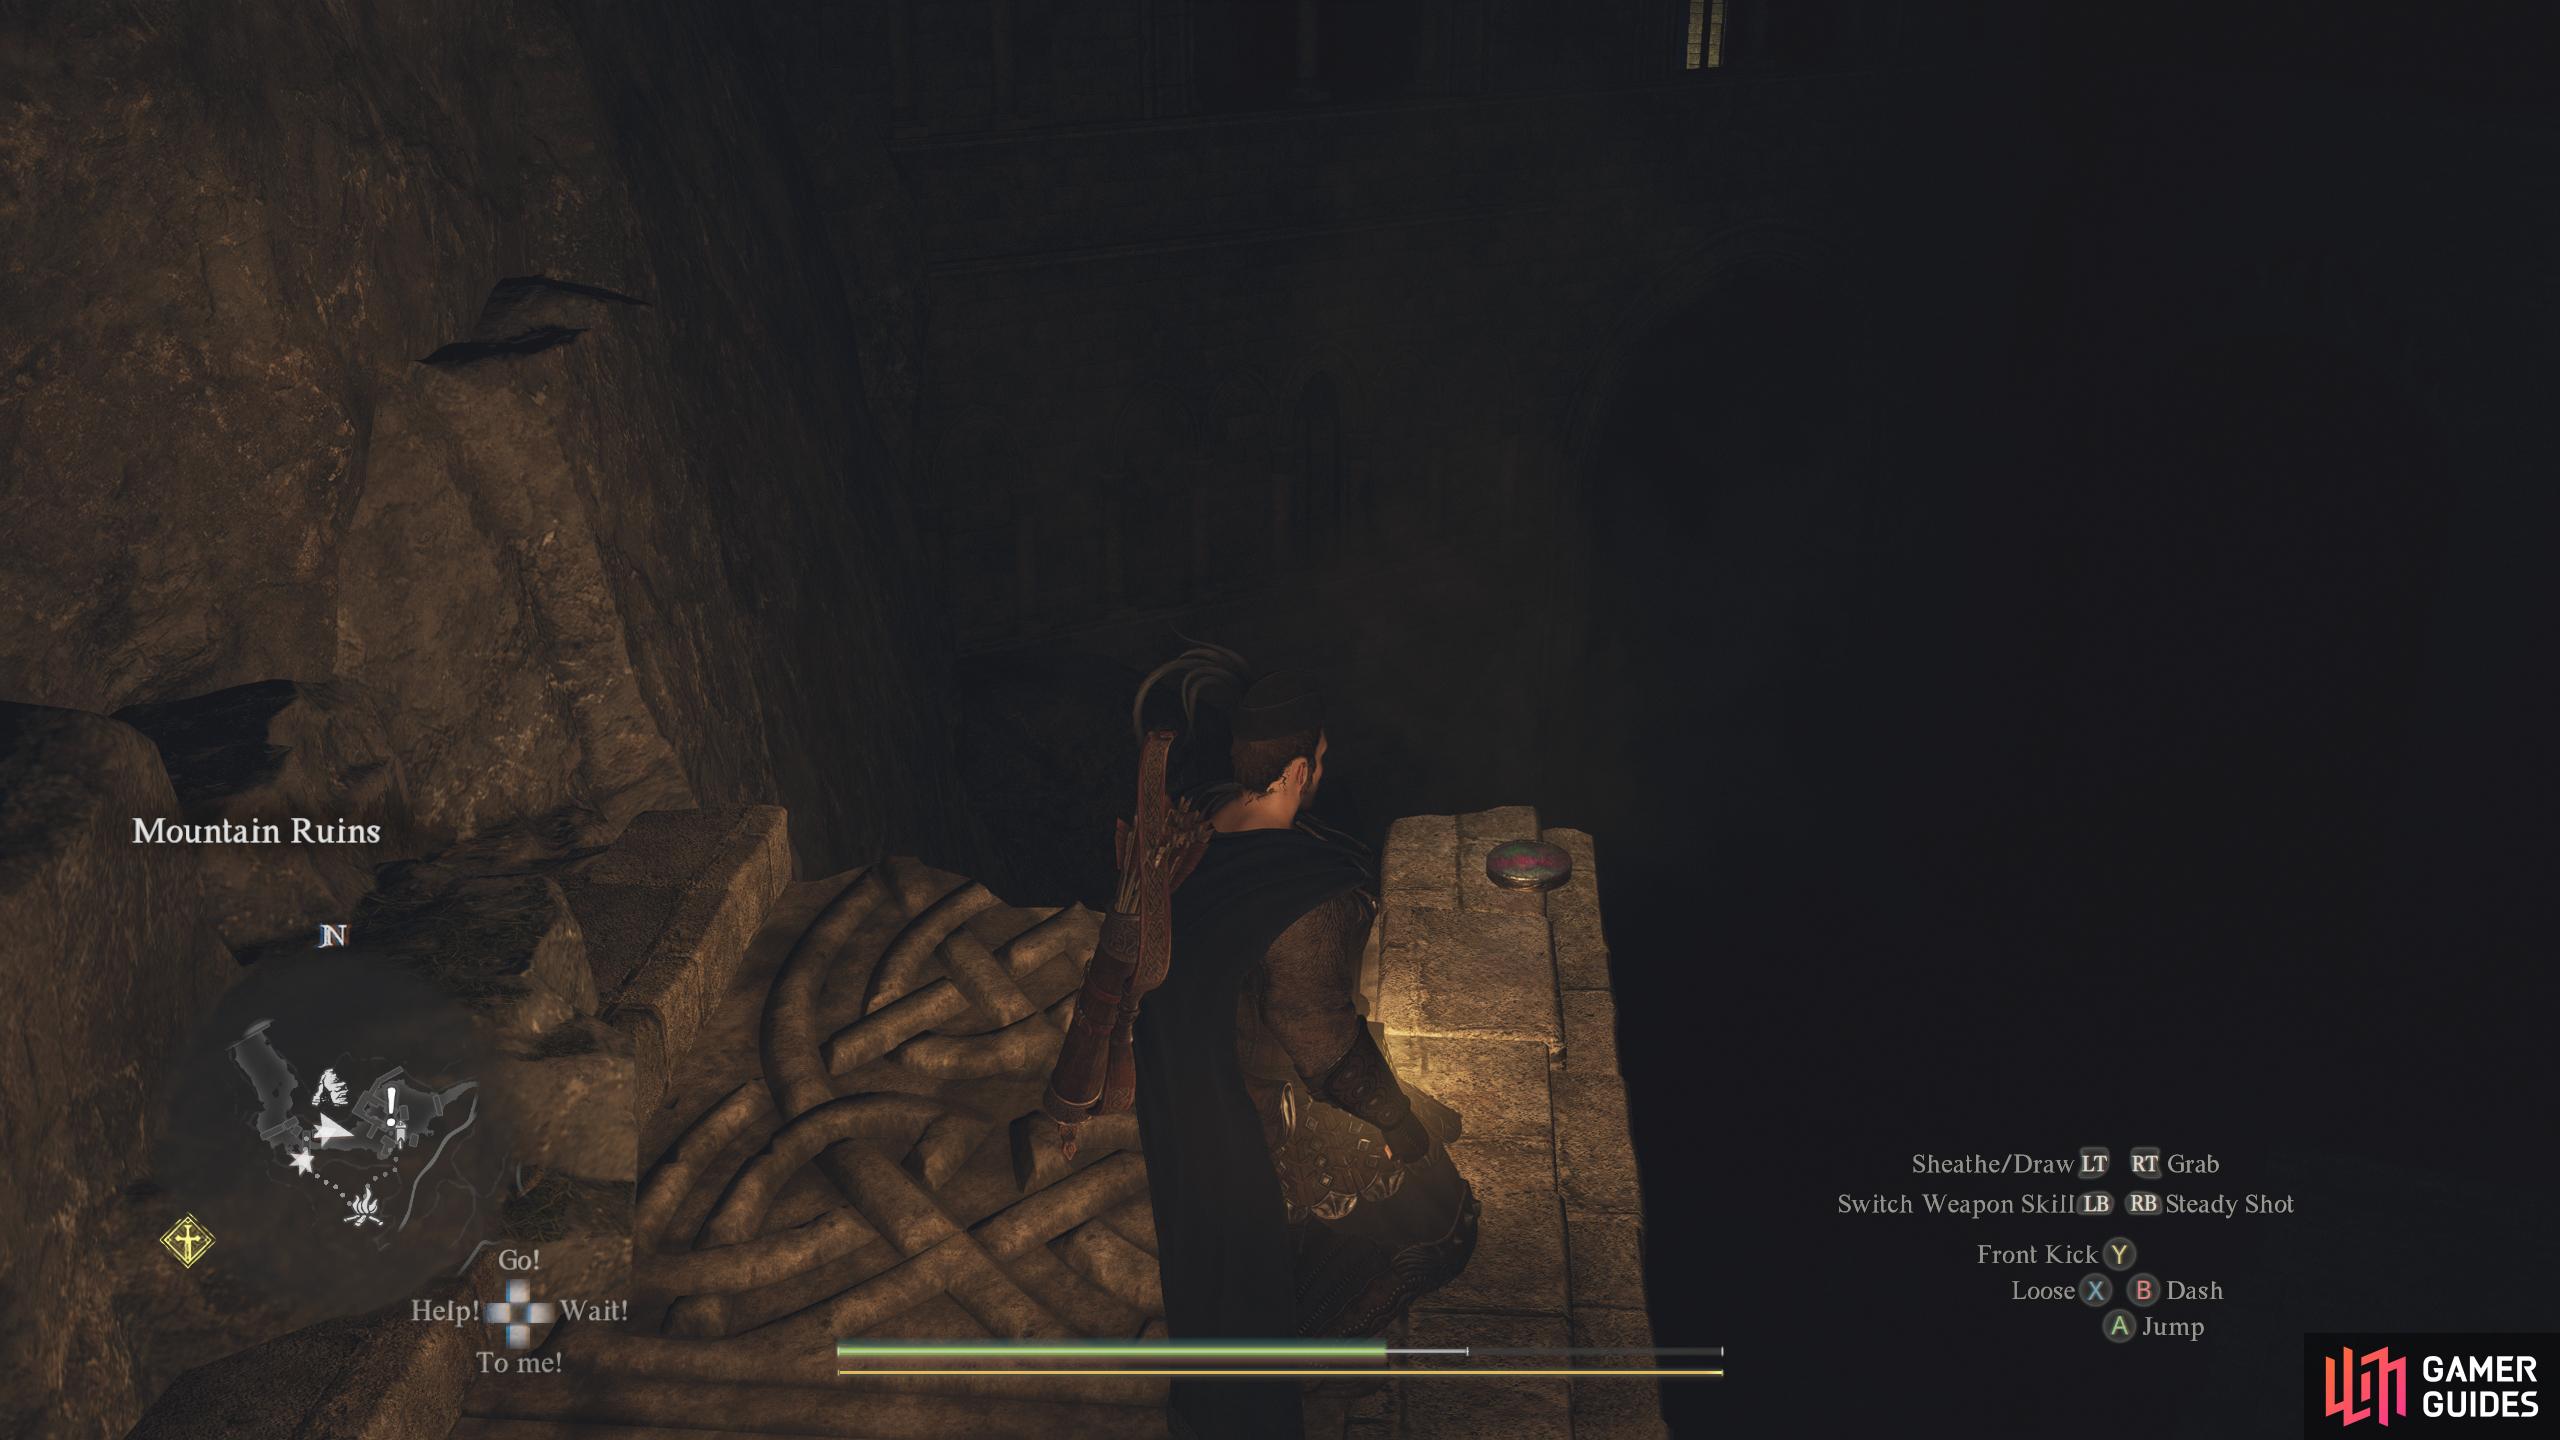
On top of a broken piece of ruin in the ![]() Mountain Ruins POI. Need to go up the hill to the southwest of the ruins and follow the bridge to reach it.
Mountain Ruins POI. Need to go up the hill to the southwest of the ruins and follow the bridge to reach it.
70400. World
On top of the ![]() Grand Riftstone of Vermund building. Head inside
Grand Riftstone of Vermund building. Head inside ![]() Shakir’s Inn and head upstairs. Go out to the balcony and climb up the ladder to your right. Jump over to the wooden boards ahead of you before jumping over toward the tower to the west. The token is on a trapdoor in the middle of the tower.
Shakir’s Inn and head upstairs. Go out to the balcony and climb up the ladder to your right. Jump over to the wooden boards ahead of you before jumping over toward the tower to the west. The token is on a trapdoor in the middle of the tower.
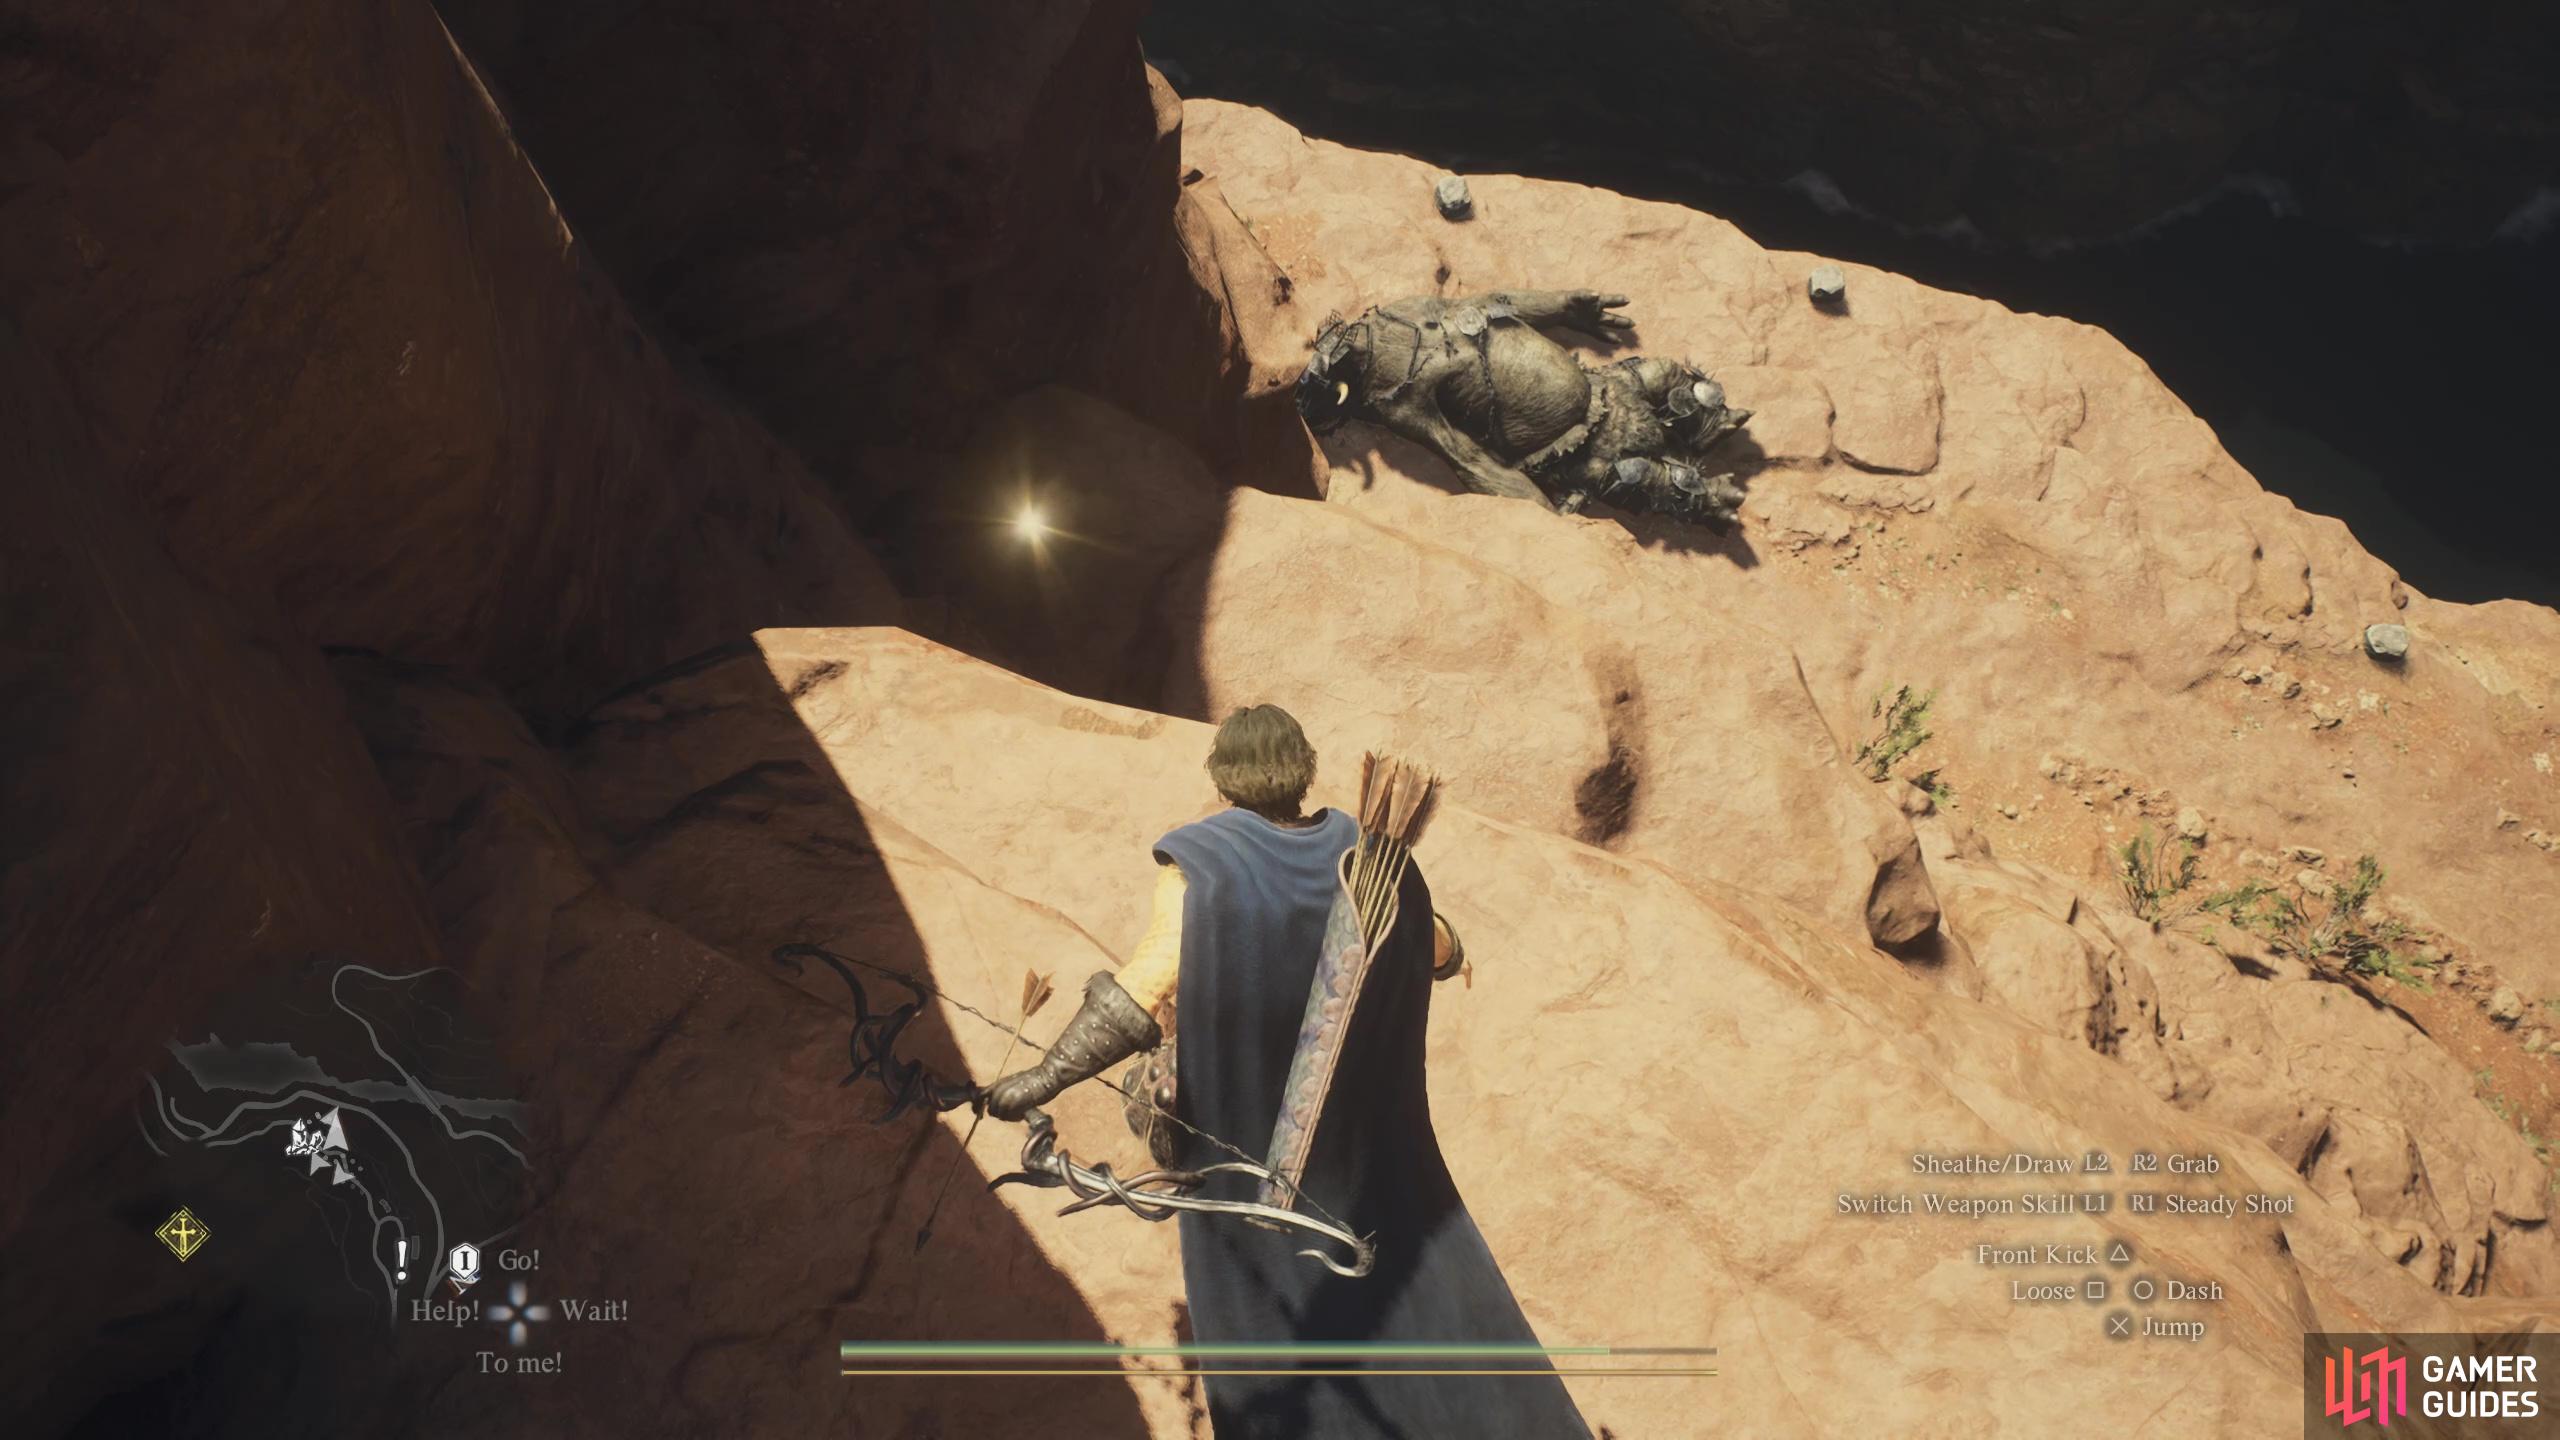
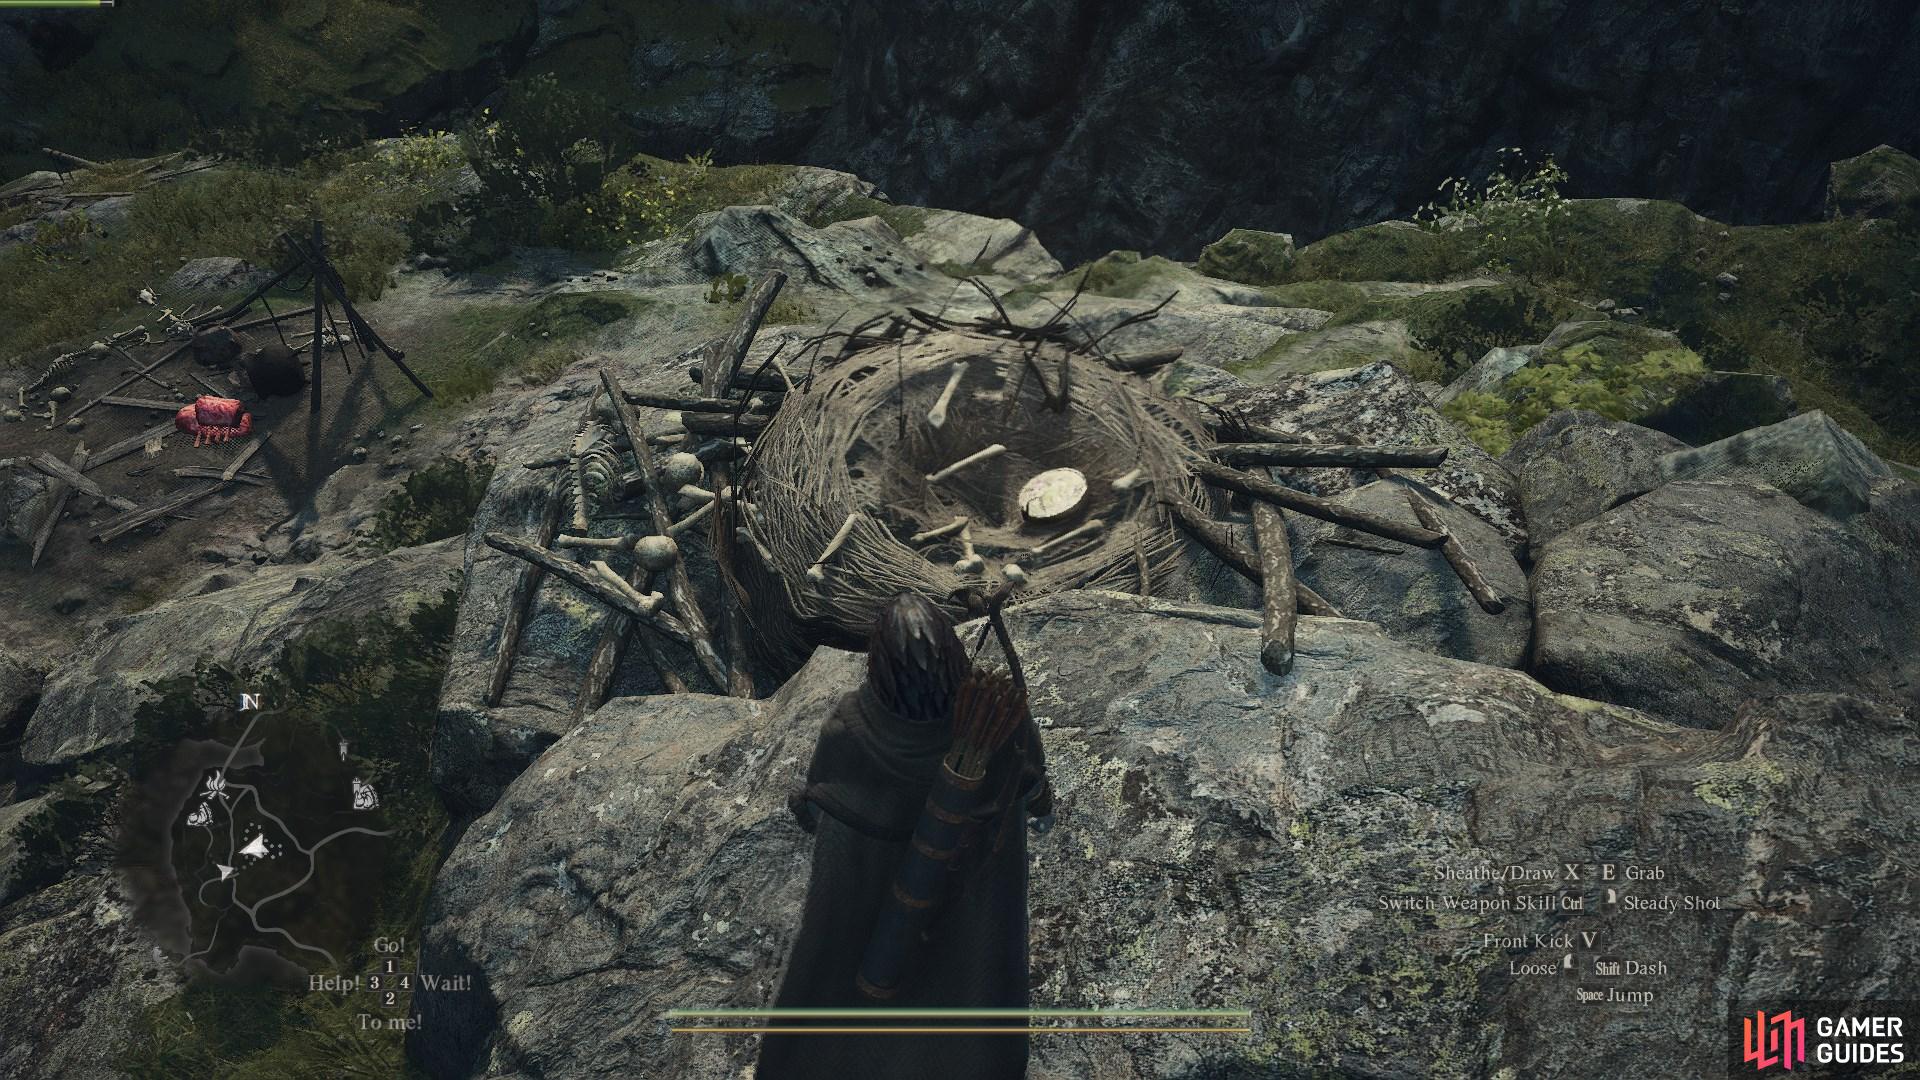
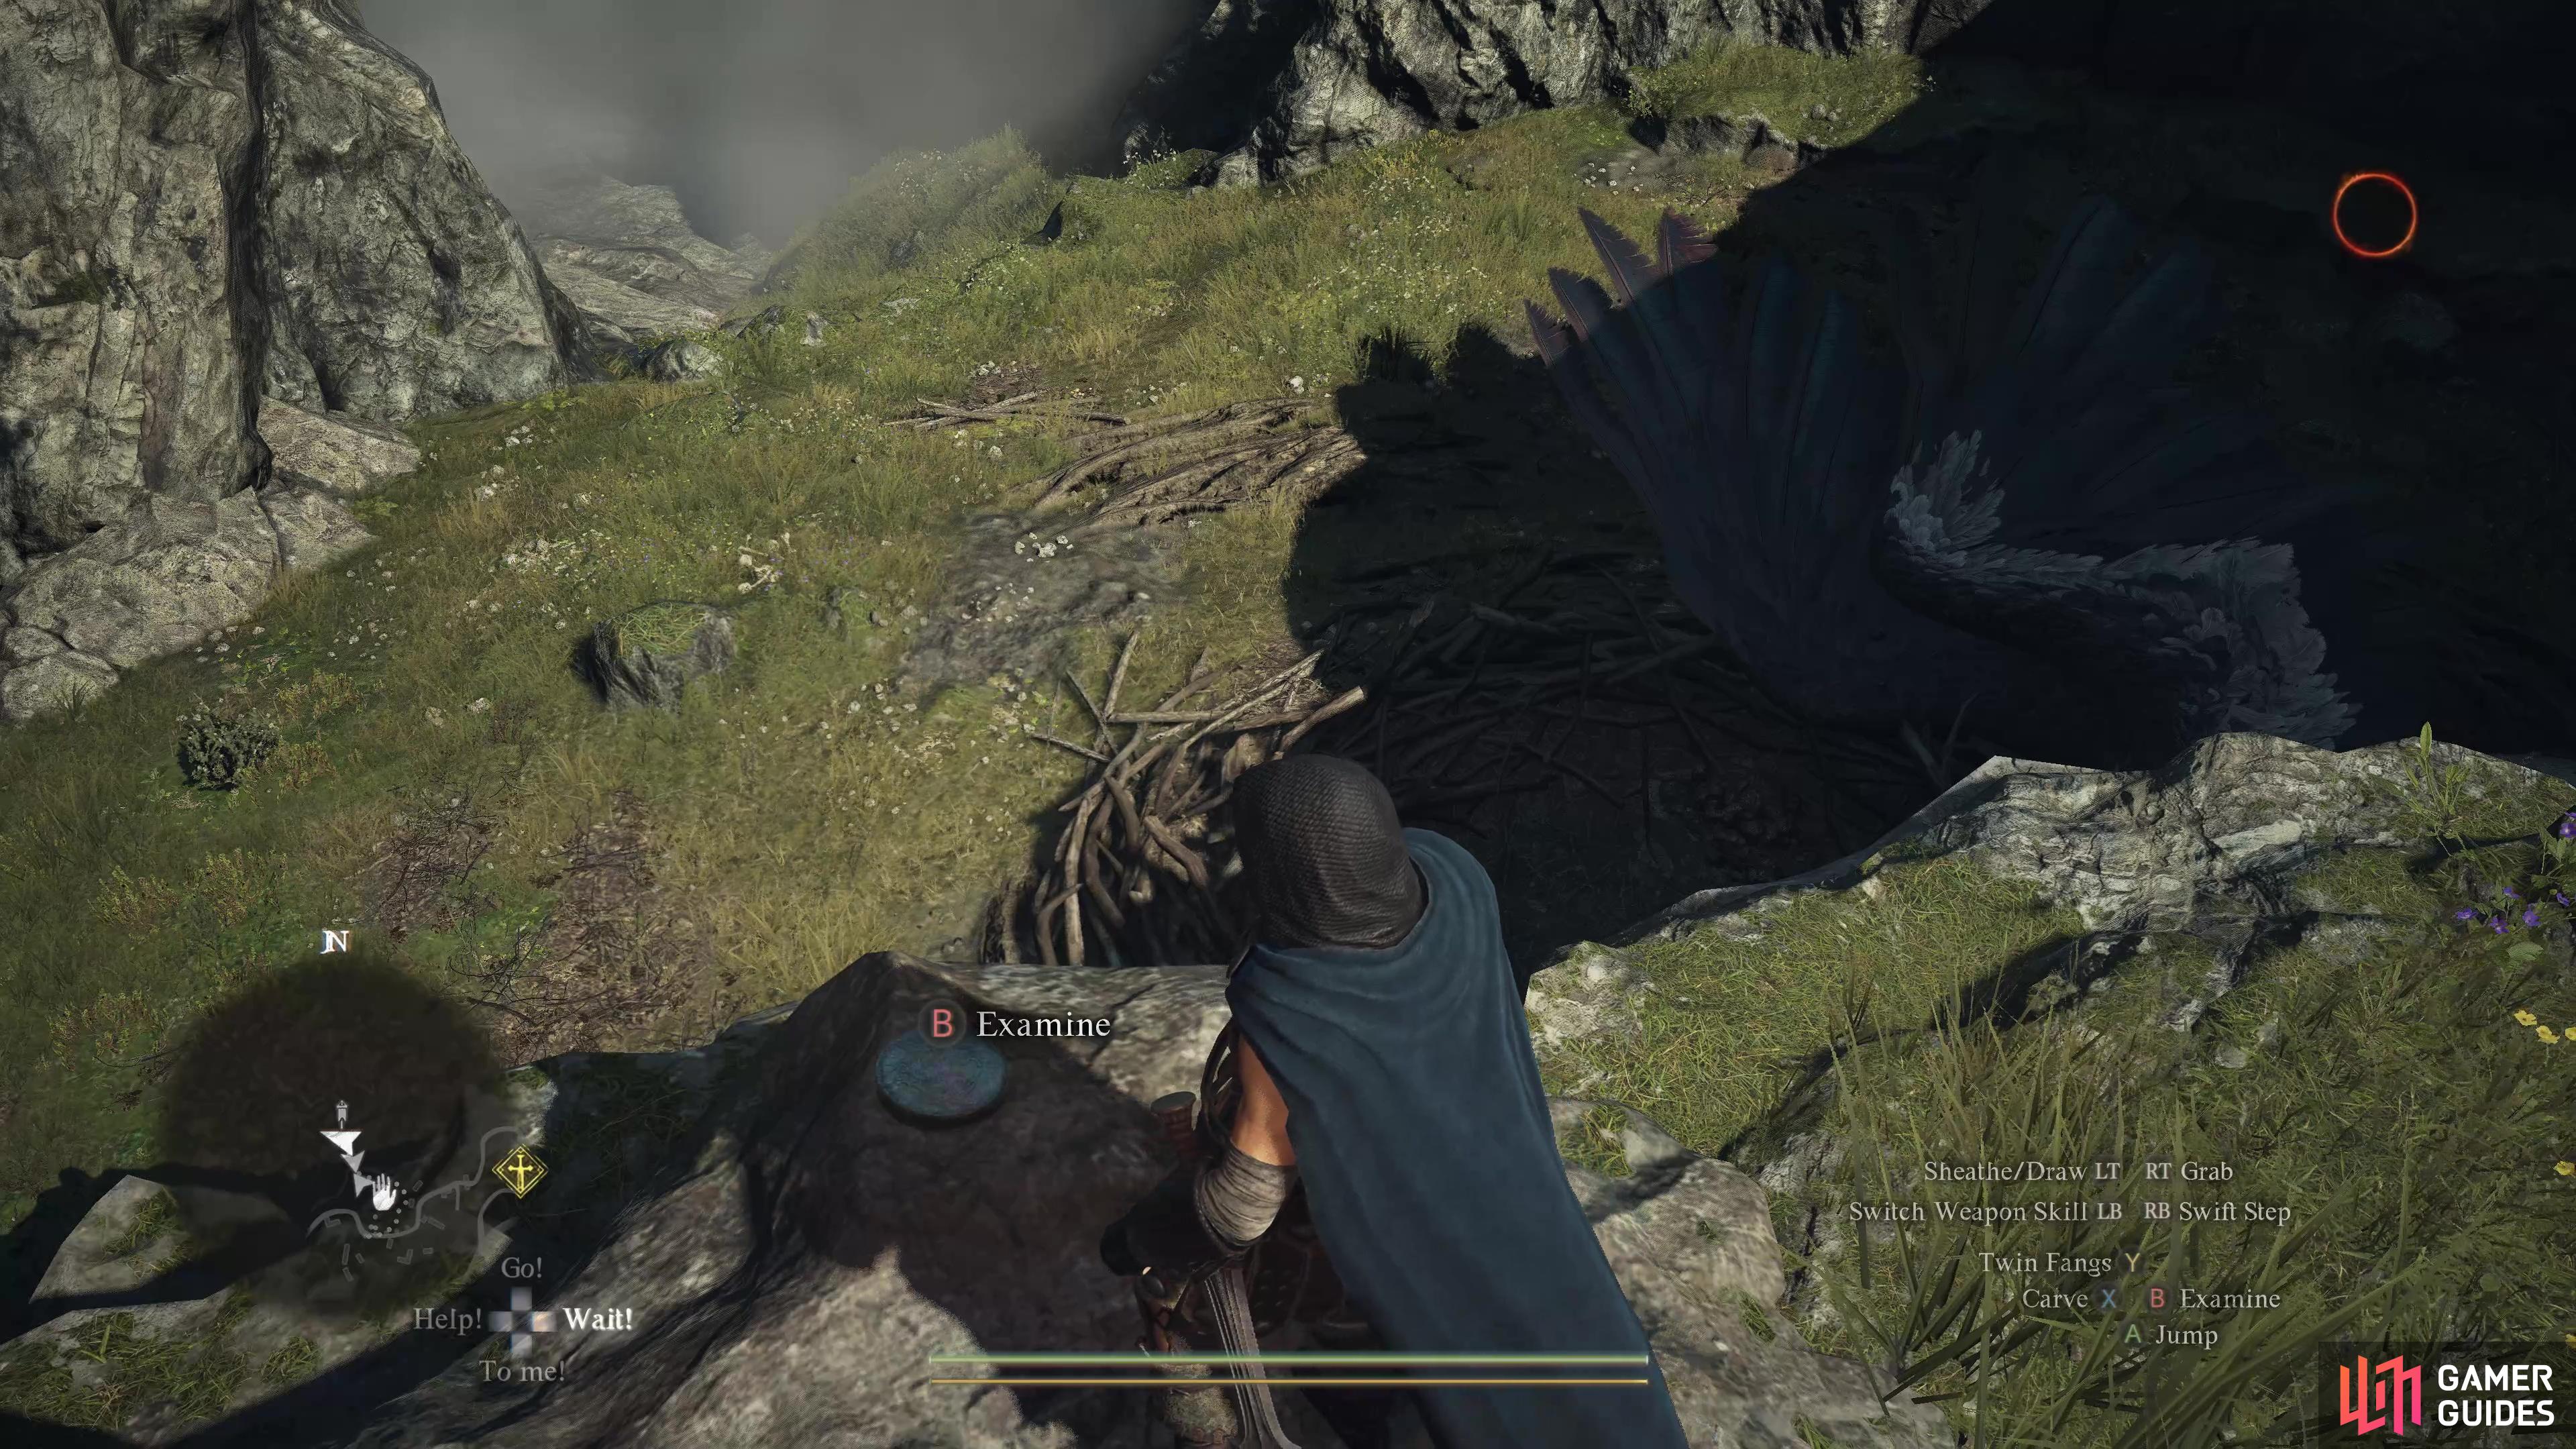
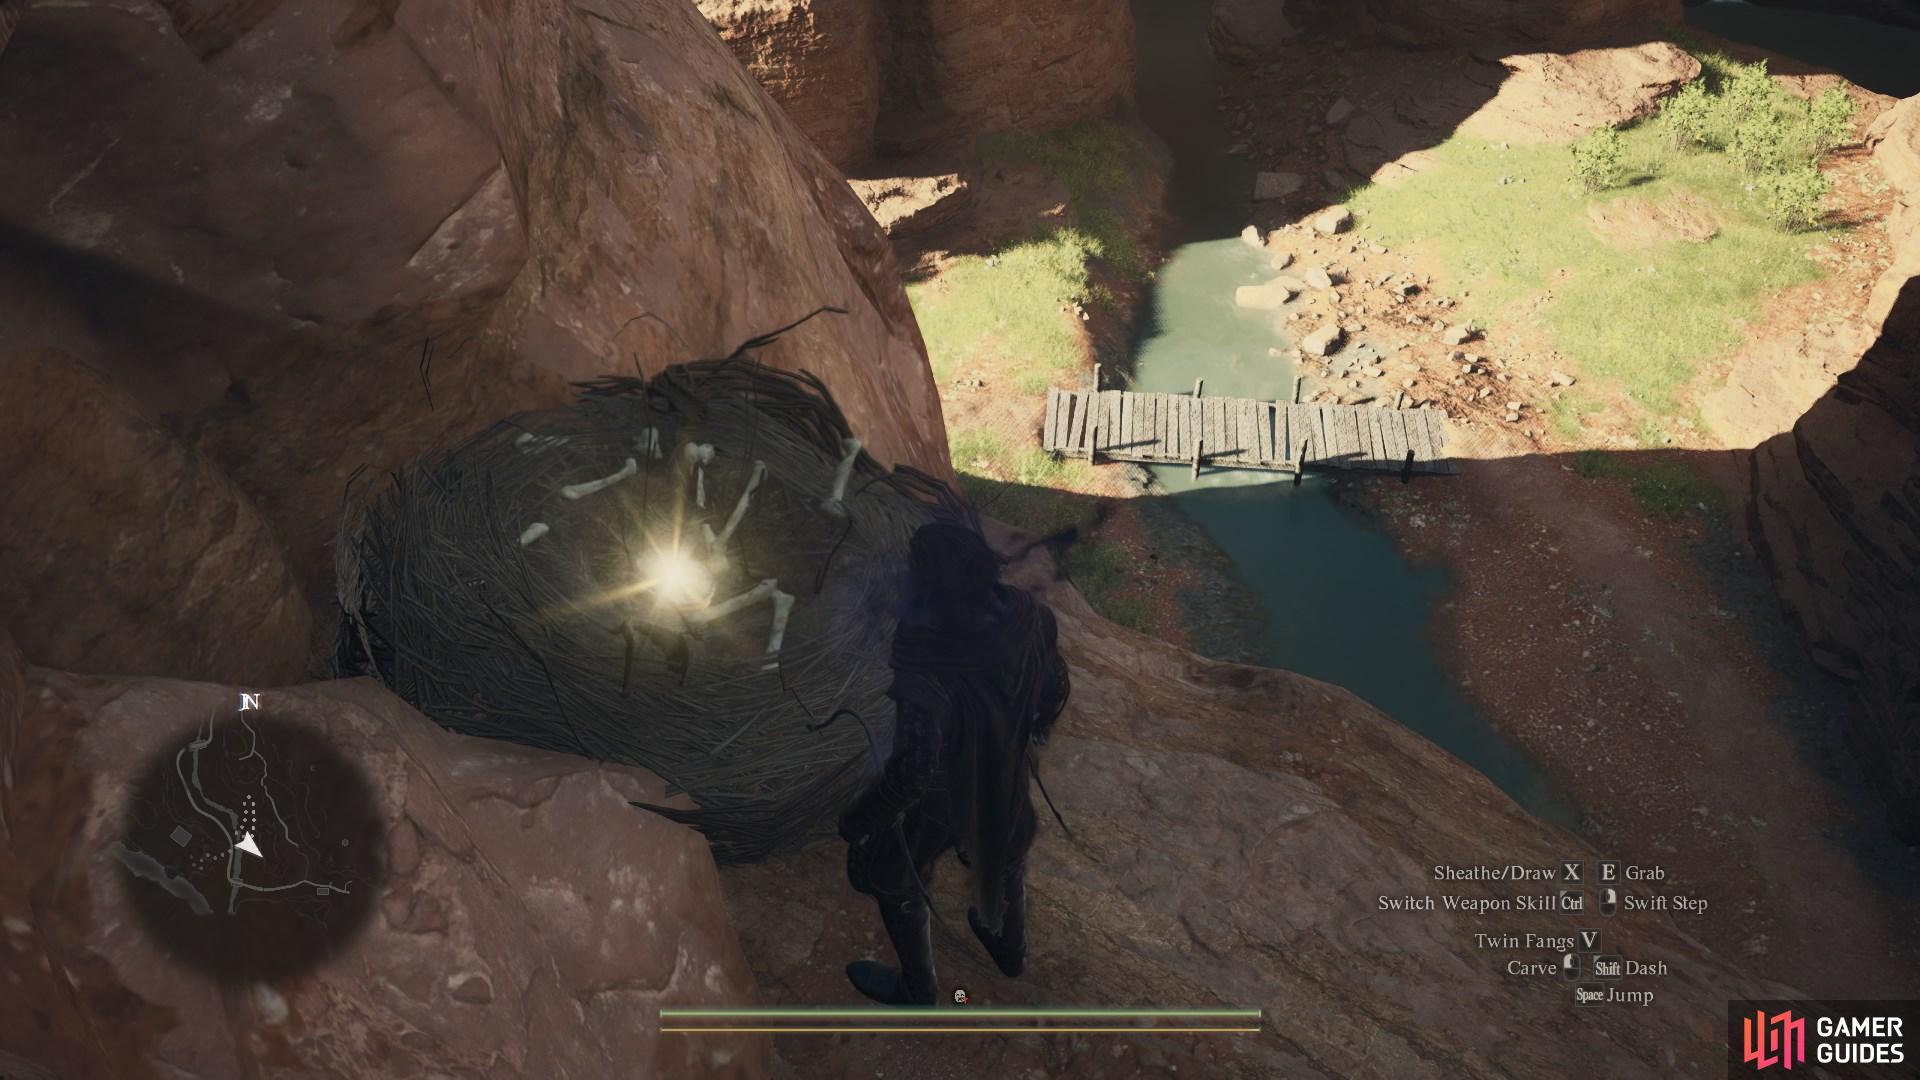
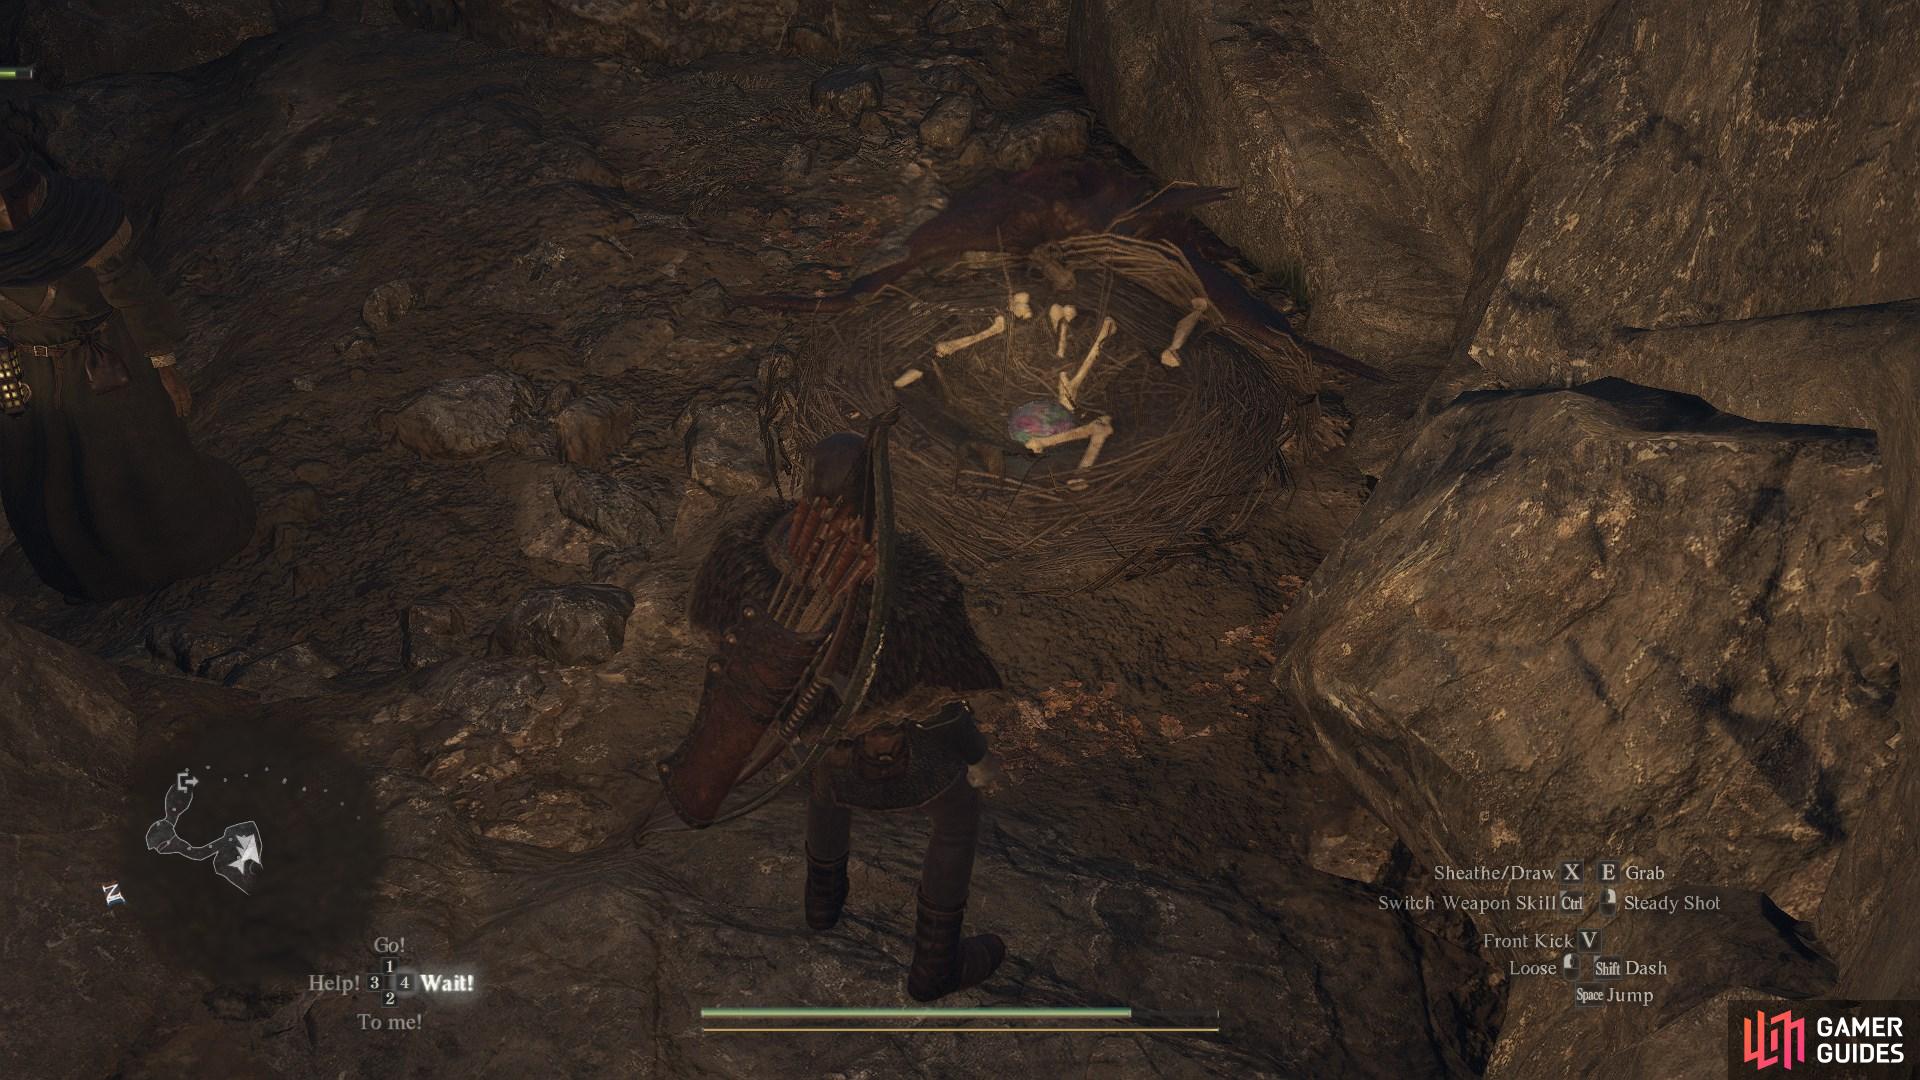
70419. World
Found inside a ![]() Harpy nest right on top of the cliffs. You will need to climb up from the road and take the side path towards the rope bridge to access this area.
Harpy nest right on top of the cliffs. You will need to climb up from the road and take the side path towards the rope bridge to access this area.

70428. World
Inside a hole in the graveyard behind the ![]() Vermund Charnel House in the Noble Quarters.
Vermund Charnel House in the Noble Quarters.

70495. World
At the foot of a statue on a hill guarded by a ![]() Cyclops. Due west from the
Cyclops. Due west from the ![]() Riftstone of Remembrance.
Riftstone of Remembrance.
70500. World
South of the ![]() Checkpoint Rest Town (Battahl side). Follow the road south and climb up the rocky ledges on the western wall and walk to the end where you’ll find the token sitting on the floor.
Checkpoint Rest Town (Battahl side). Follow the road south and climb up the rocky ledges on the western wall and walk to the end where you’ll find the token sitting on the floor.
70554. World
On the roof of ![]() Baldwin’s Estate. Climb up using the Sewer gate as a jumping spot. The
Baldwin’s Estate. Climb up using the Sewer gate as a jumping spot. The ![]() Mage /
Mage / ![]() Sorcerer spell
Sorcerer spell ![]() Levitate works very well here.
Levitate works very well here.
70555. World
Climb down into the well by the ![]() Vernworth Castle Gaol Tower. This
Vernworth Castle Gaol Tower. This ![]() Seeker’s Token is at the end of the corridor next to the chest.
Seeker’s Token is at the end of the corridor next to the chest.
70557. Vernworth Map
Inside a hole in the graveyard behind the ![]() Vermund Charnel House in the Noble Quarters.
Vermund Charnel House in the Noble Quarters.


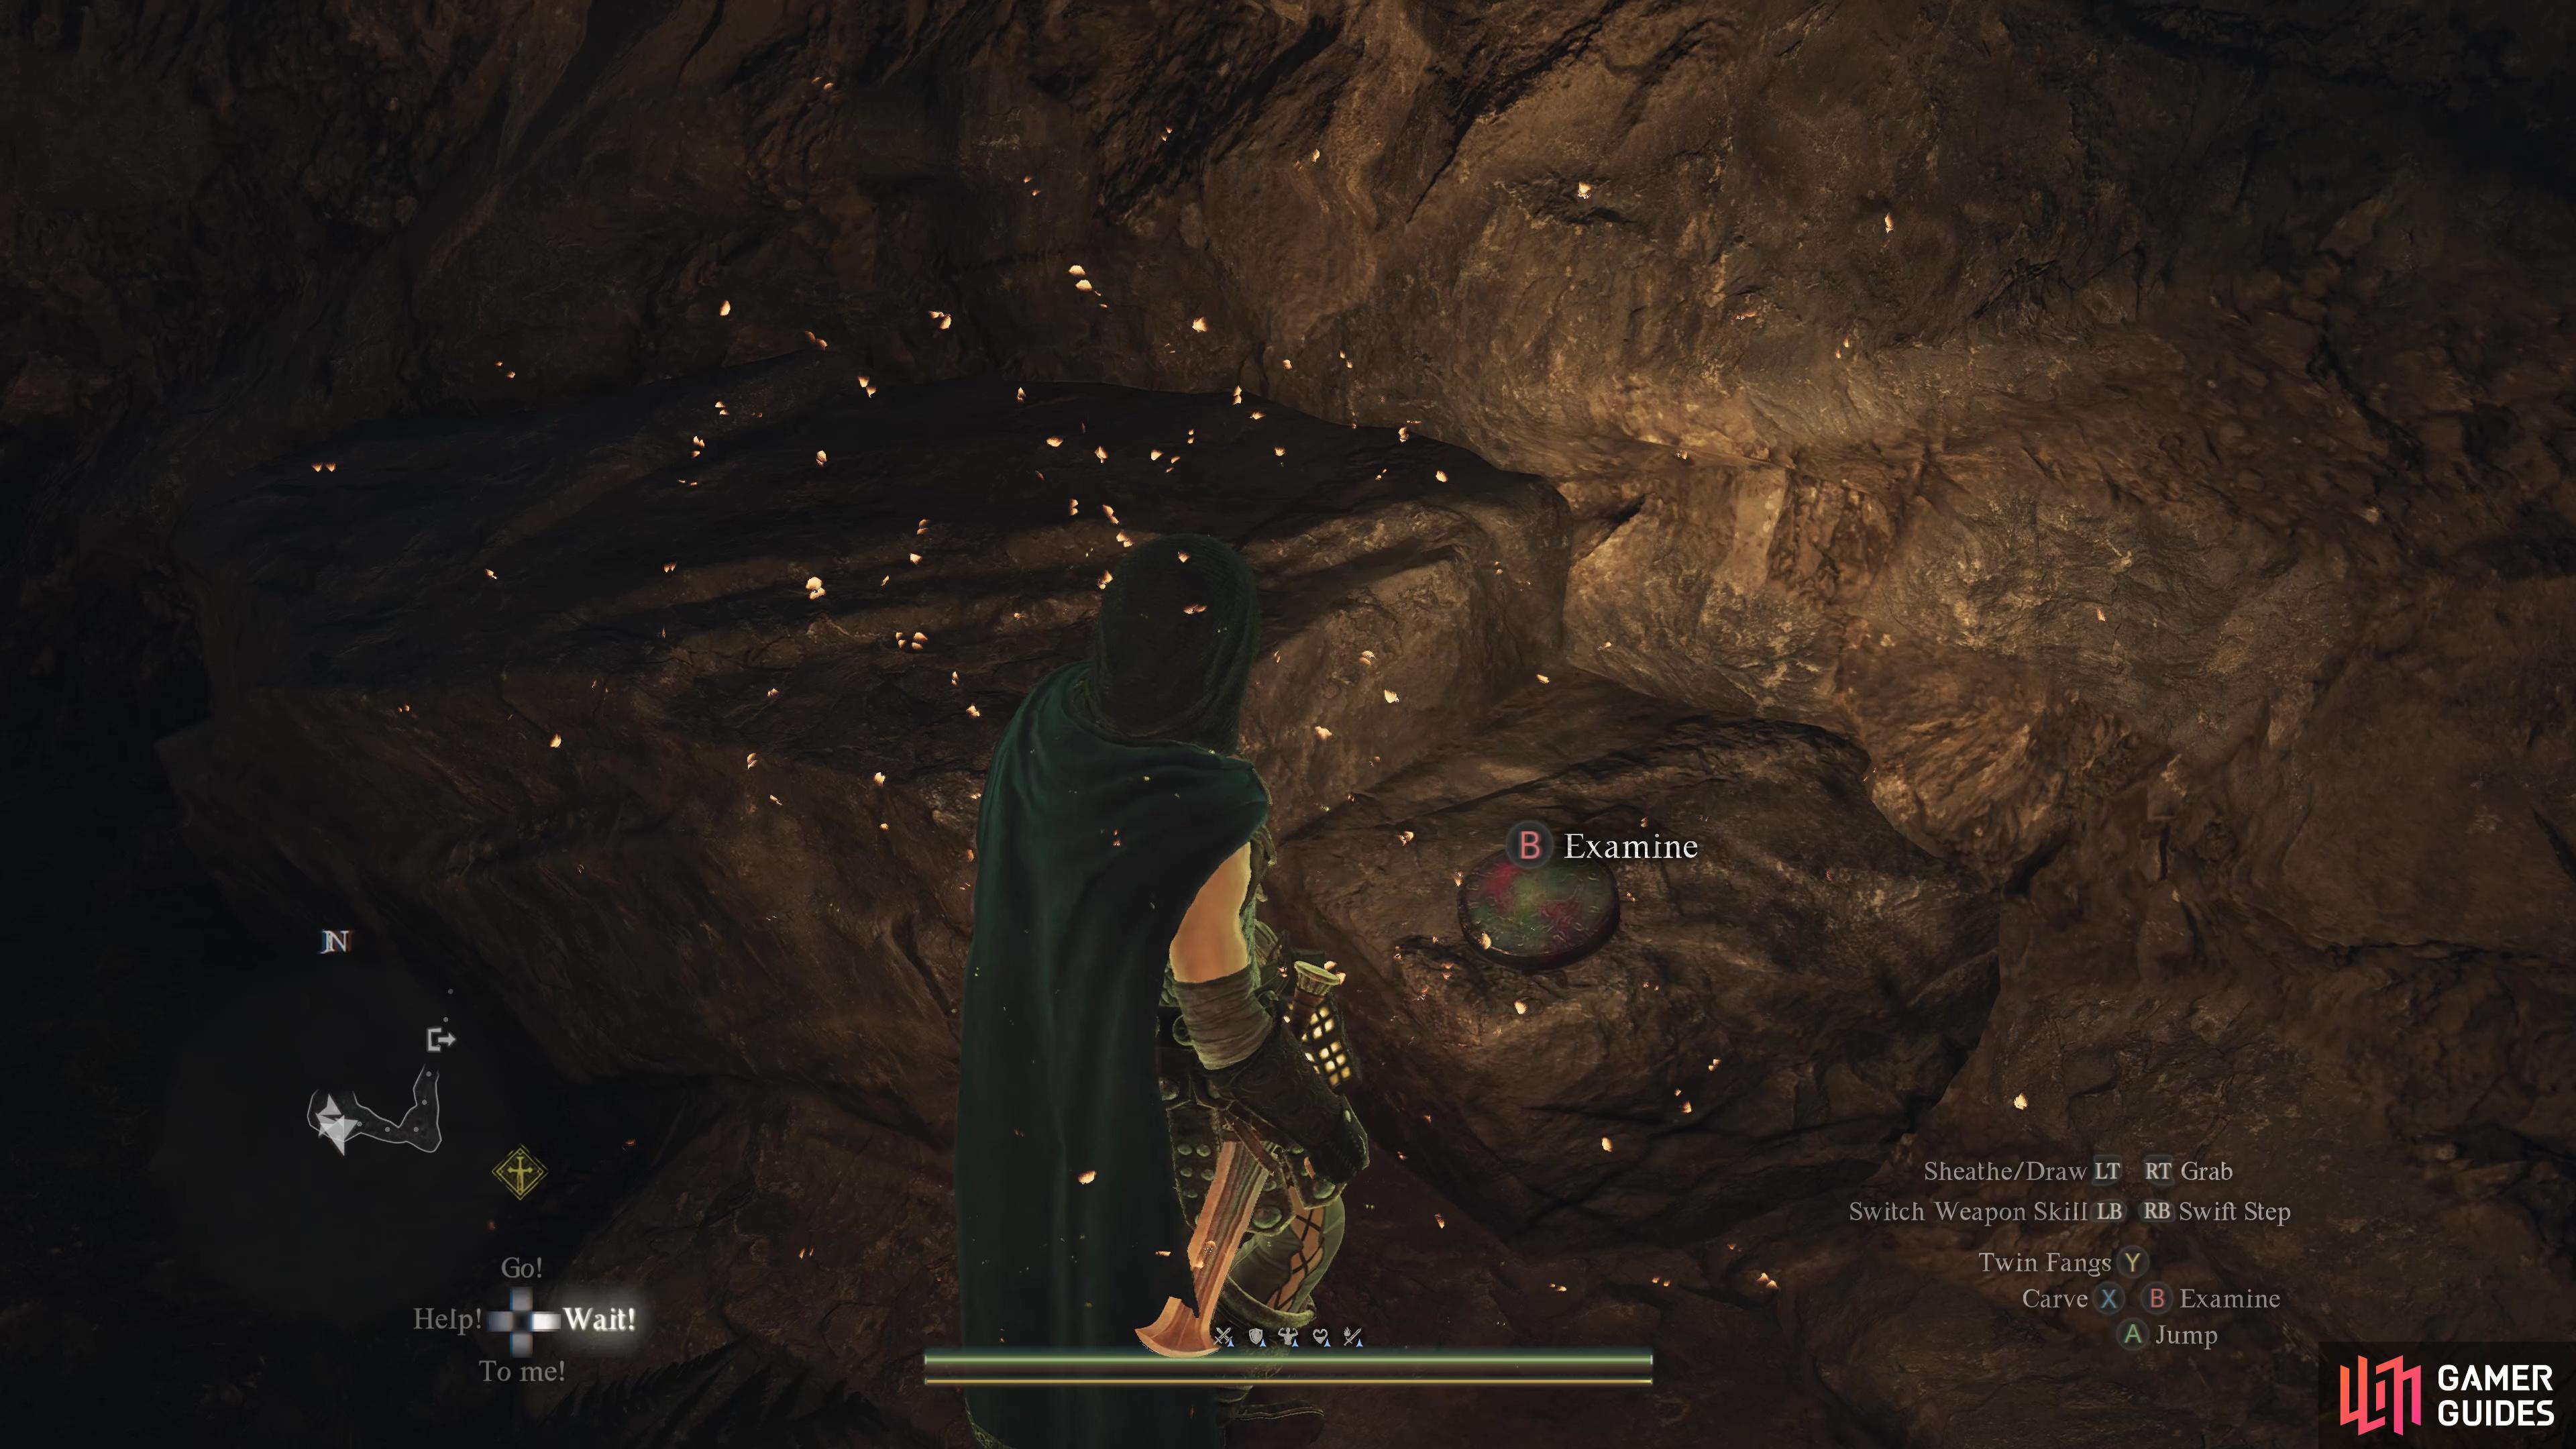
70602. World
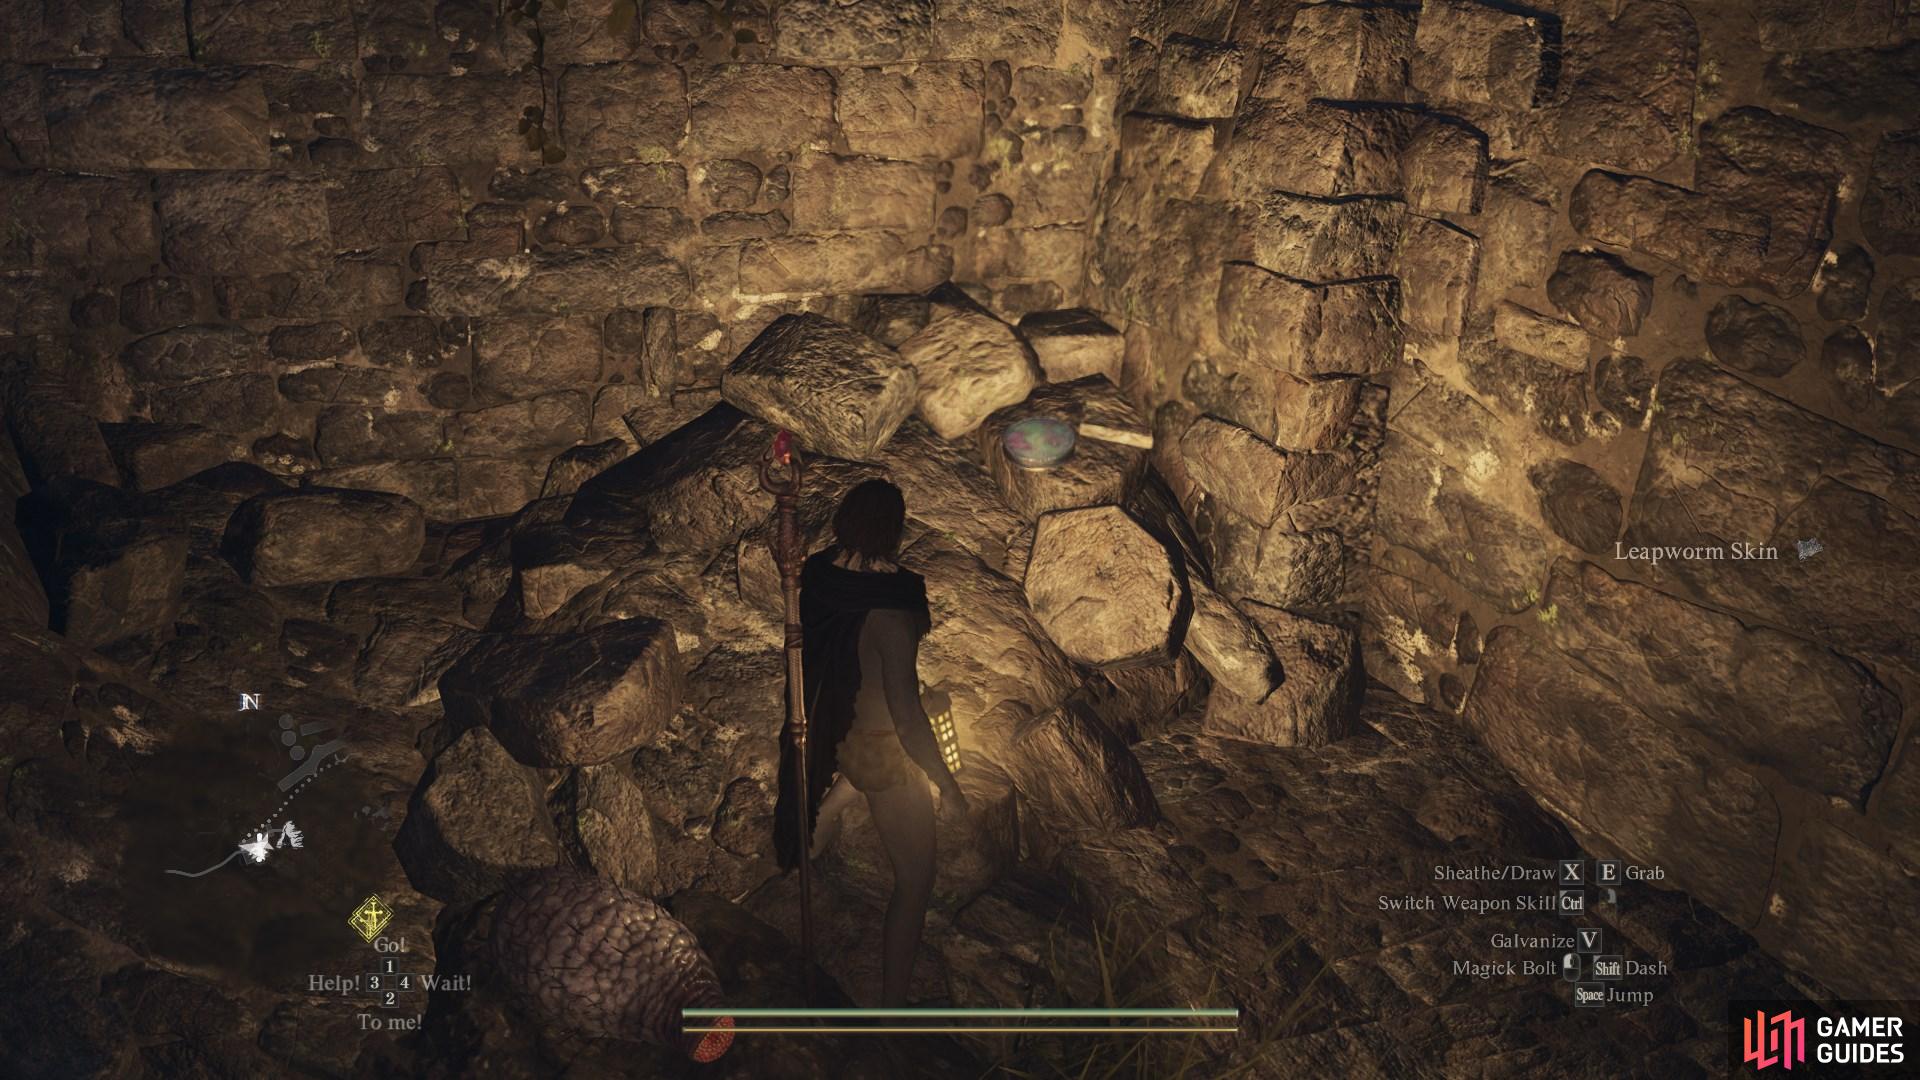
At the bottom of a pool of water in the ![]() Twilight Cave. Guarded by
Twilight Cave. Guarded by ![]() Leapworms.
Leapworms.

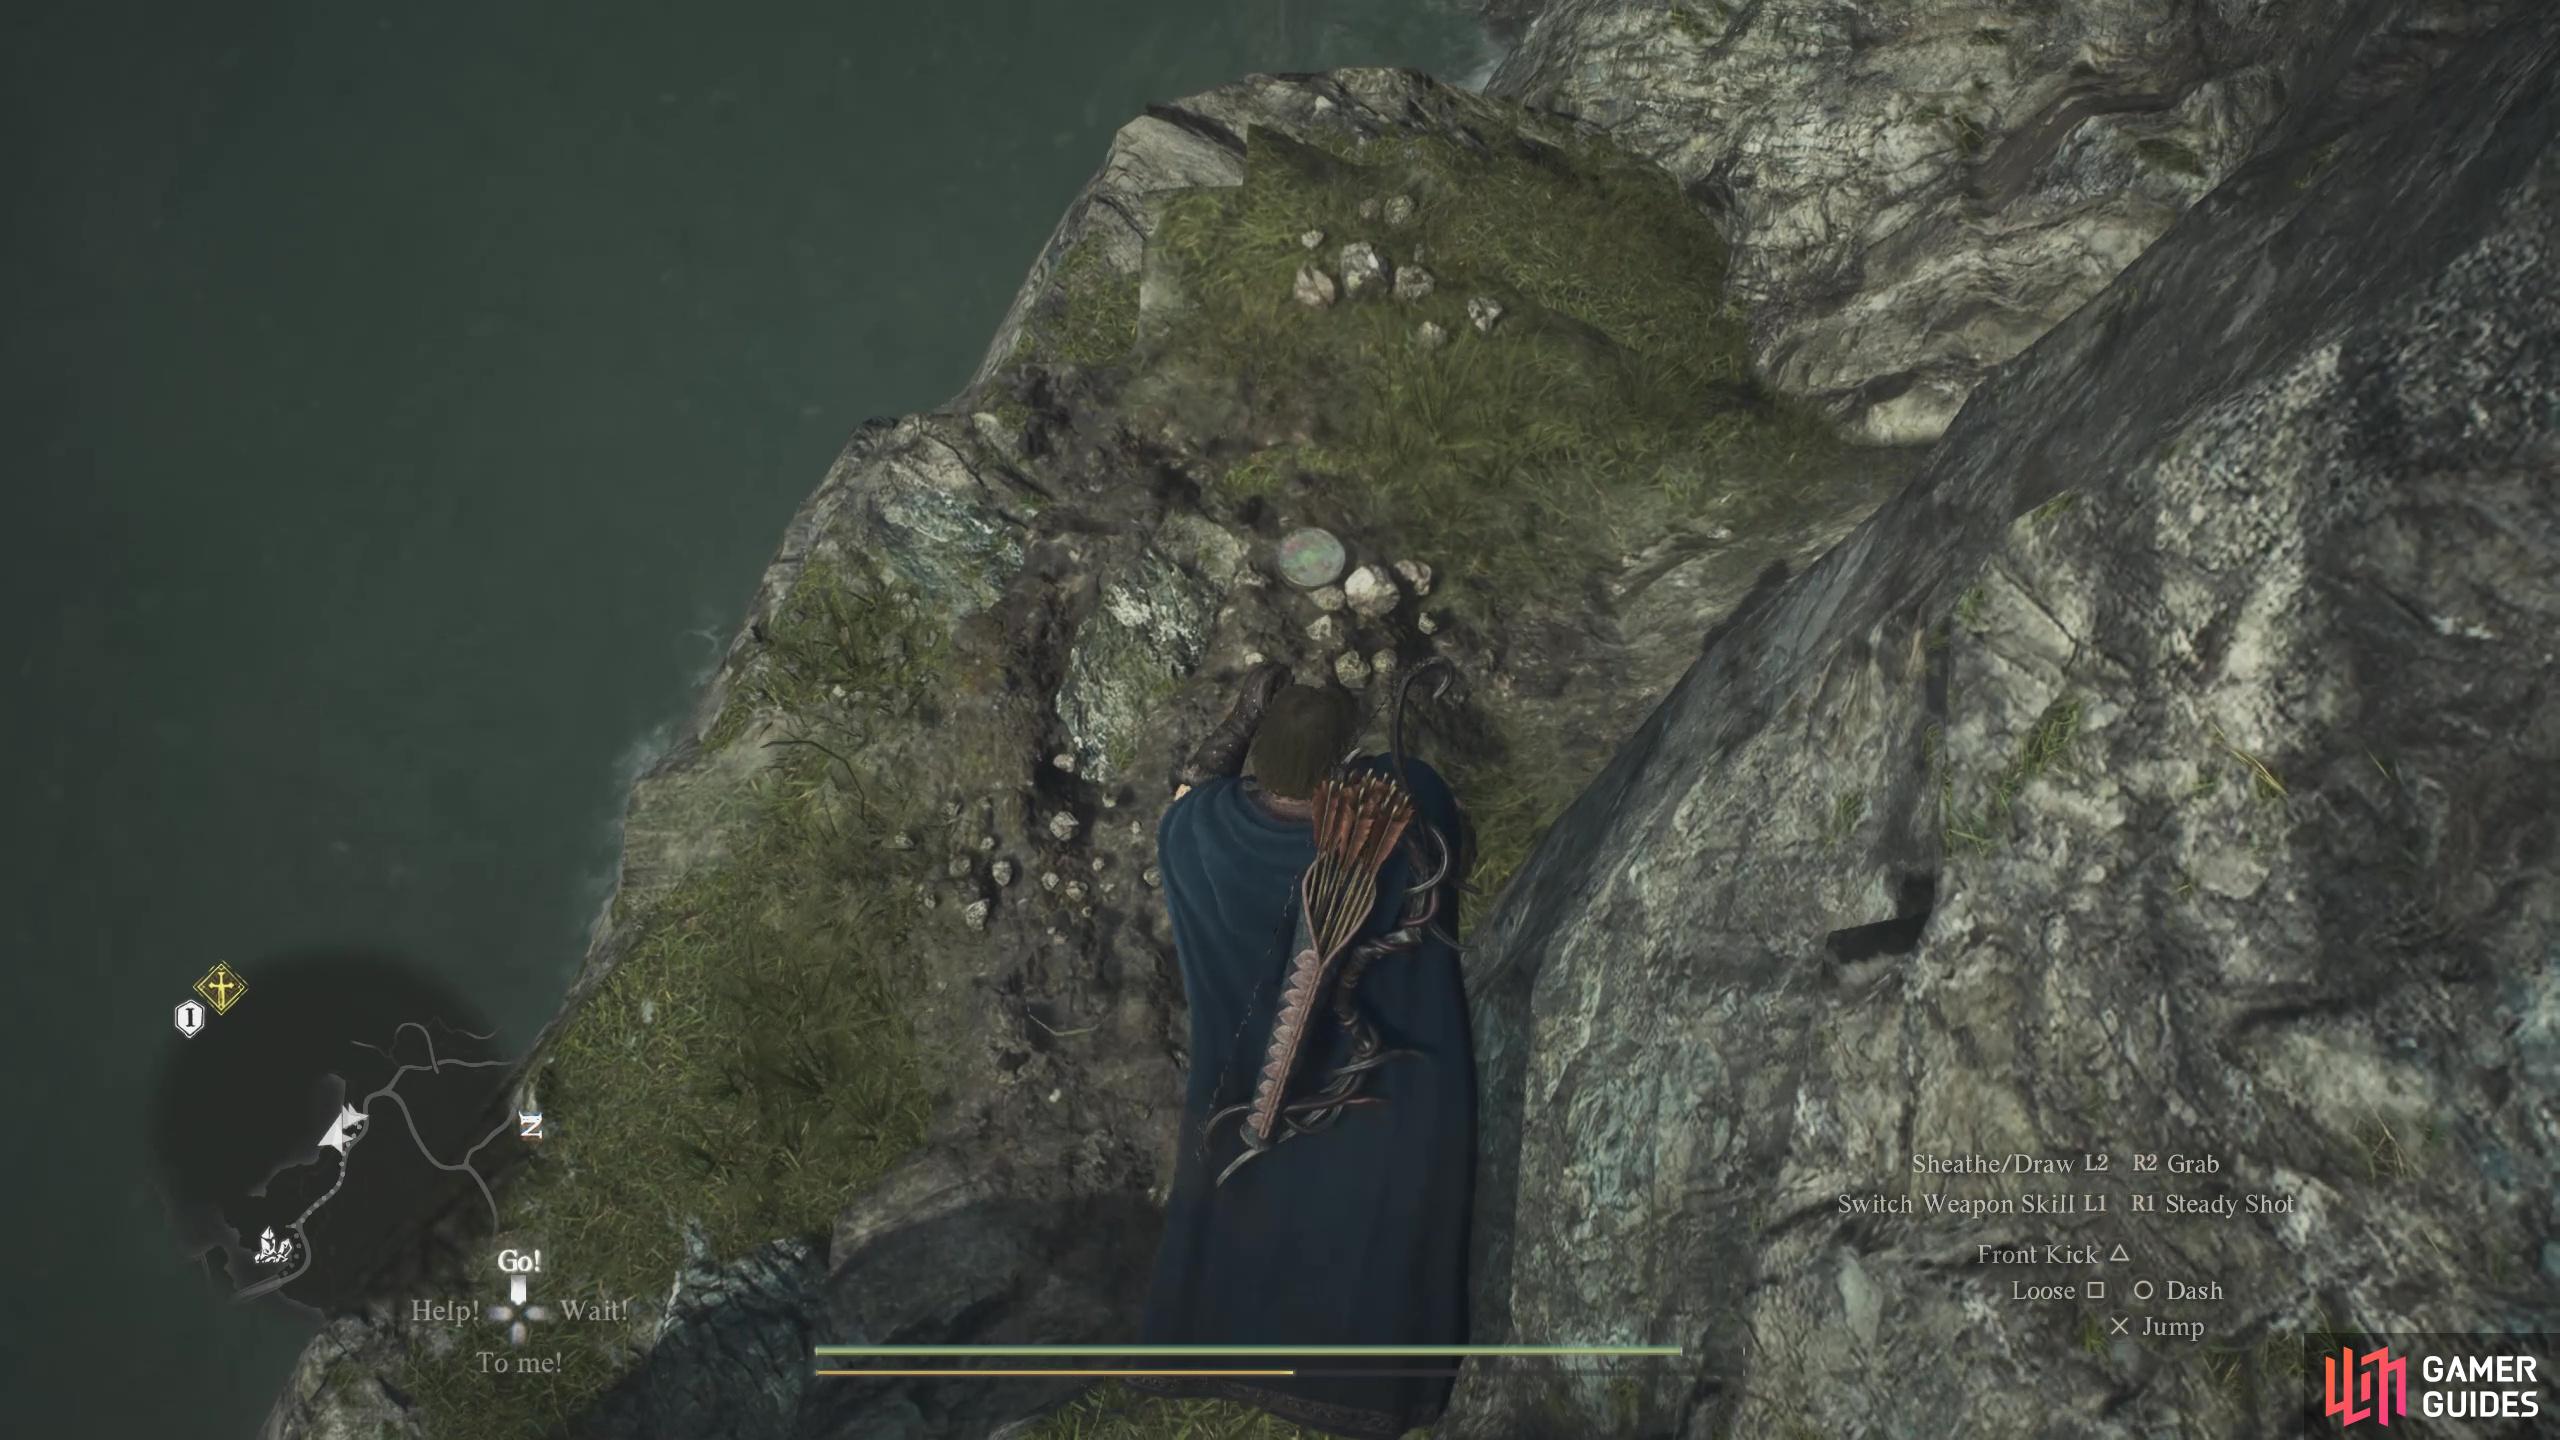
70634. World
On a cliff ledge northeast of ![]() Palace Overlook Cape. Easiest to reach by scrambling down the higher cliffs nearby.
Palace Overlook Cape. Easiest to reach by scrambling down the higher cliffs nearby.

70664. World
Inside ![]() The Gracious Hand’s Vaults. Enter the small hole in the dilapidated tower next to
The Gracious Hand’s Vaults. Enter the small hole in the dilapidated tower next to ![]() The Gracious Hand. Follow the path around until you reach the hidden Archive which Malcolm will take you to in “
The Gracious Hand. Follow the path around until you reach the hidden Archive which Malcolm will take you to in “![]() The Heel of History” side quest.
The Heel of History” side quest.
Backtrack to the room down the stairs where the cargo is located and search the floor in the northeast corner in between the wall and cargo to find the token.

70736. World
Located on the roof of the large wooden structure.
Obtained by jumping on the cart, then the material tent and finally onto the roof.


70790. World
On top of the ![]() Reverent Shrine. Climb the ladder to get to the roof and then search the middle of the roof to find the token.
Reverent Shrine. Climb the ladder to get to the roof and then search the middle of the roof to find the token.
70840. World
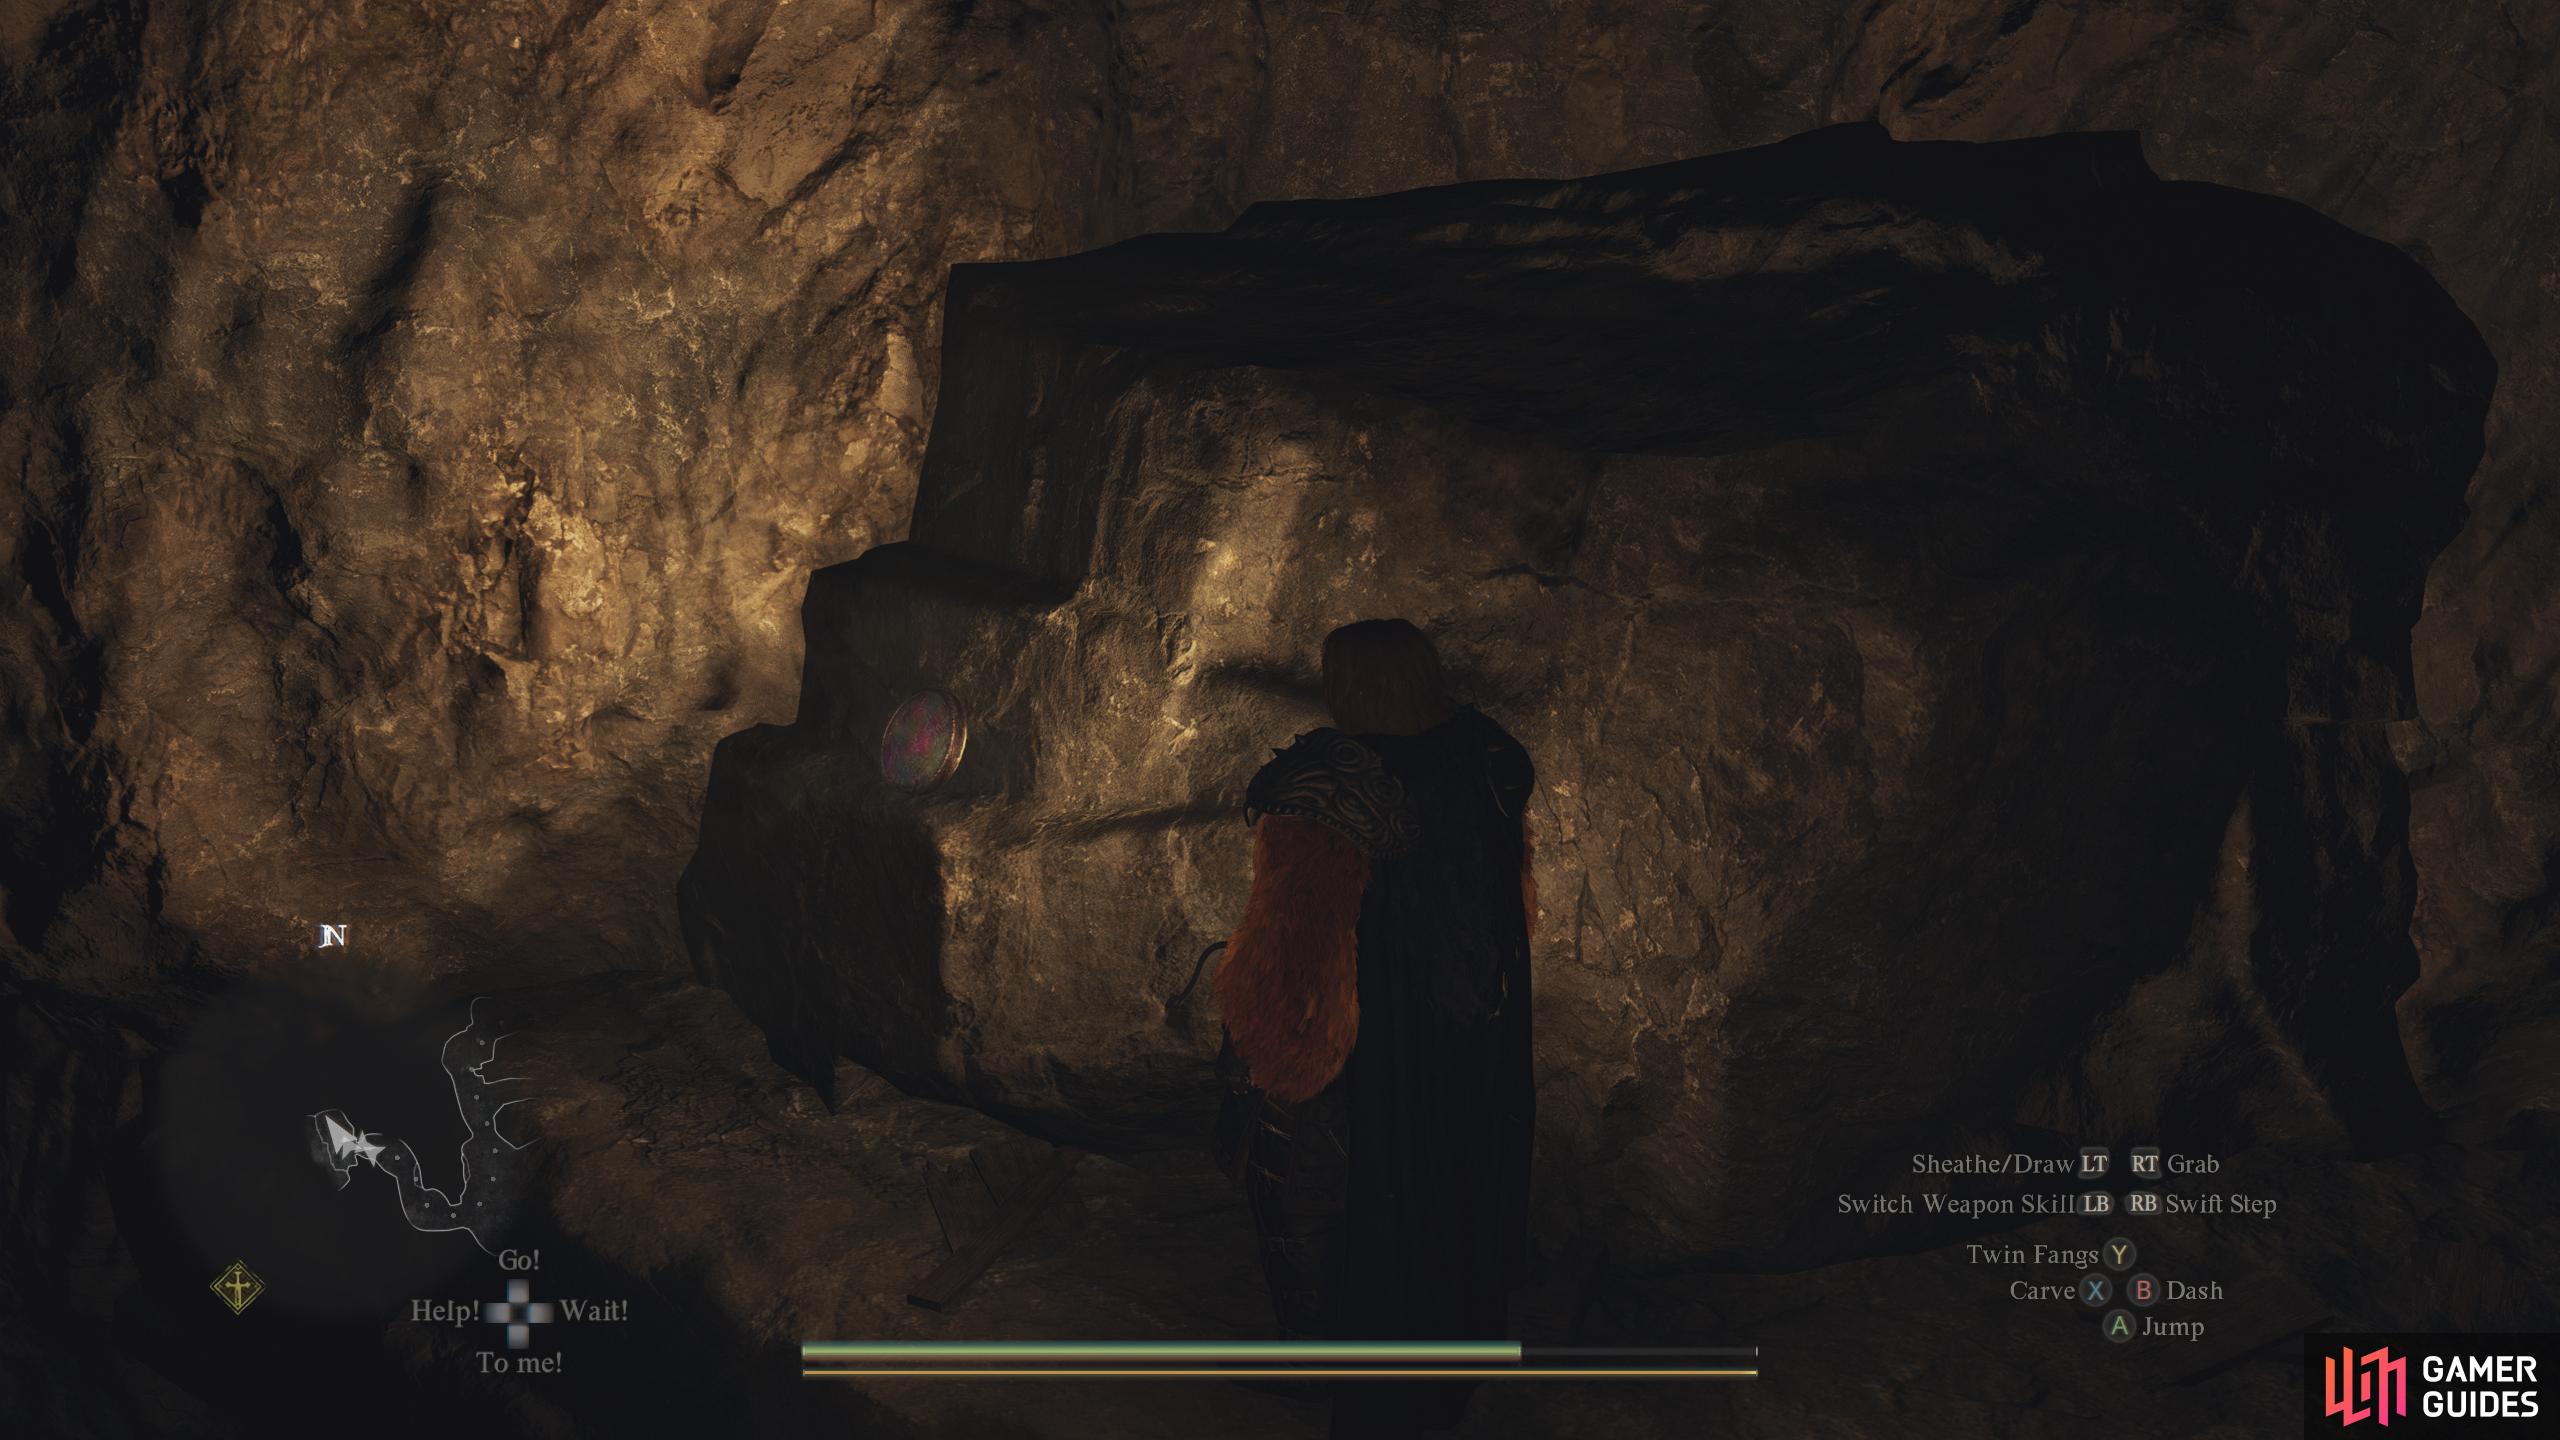
After climbing down the ladder, break open some boxes to find this token inside.
70857. World
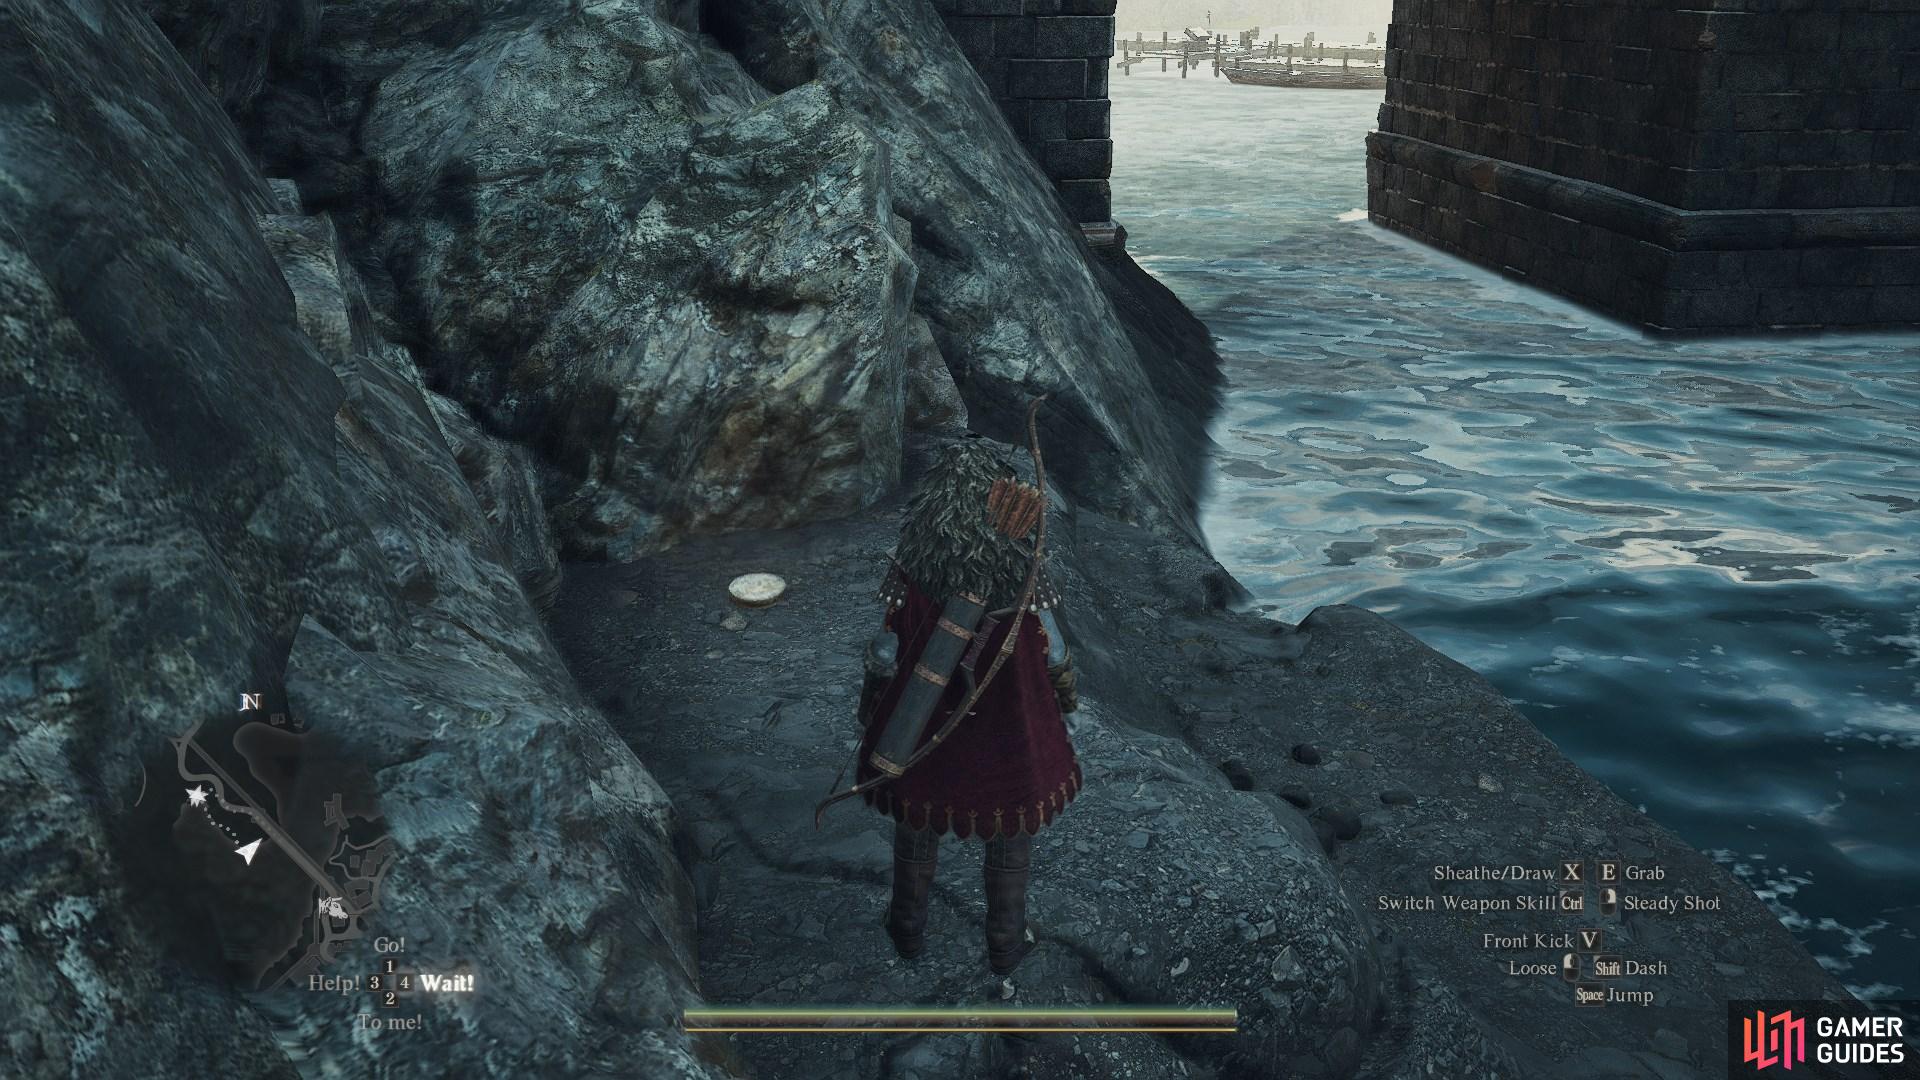
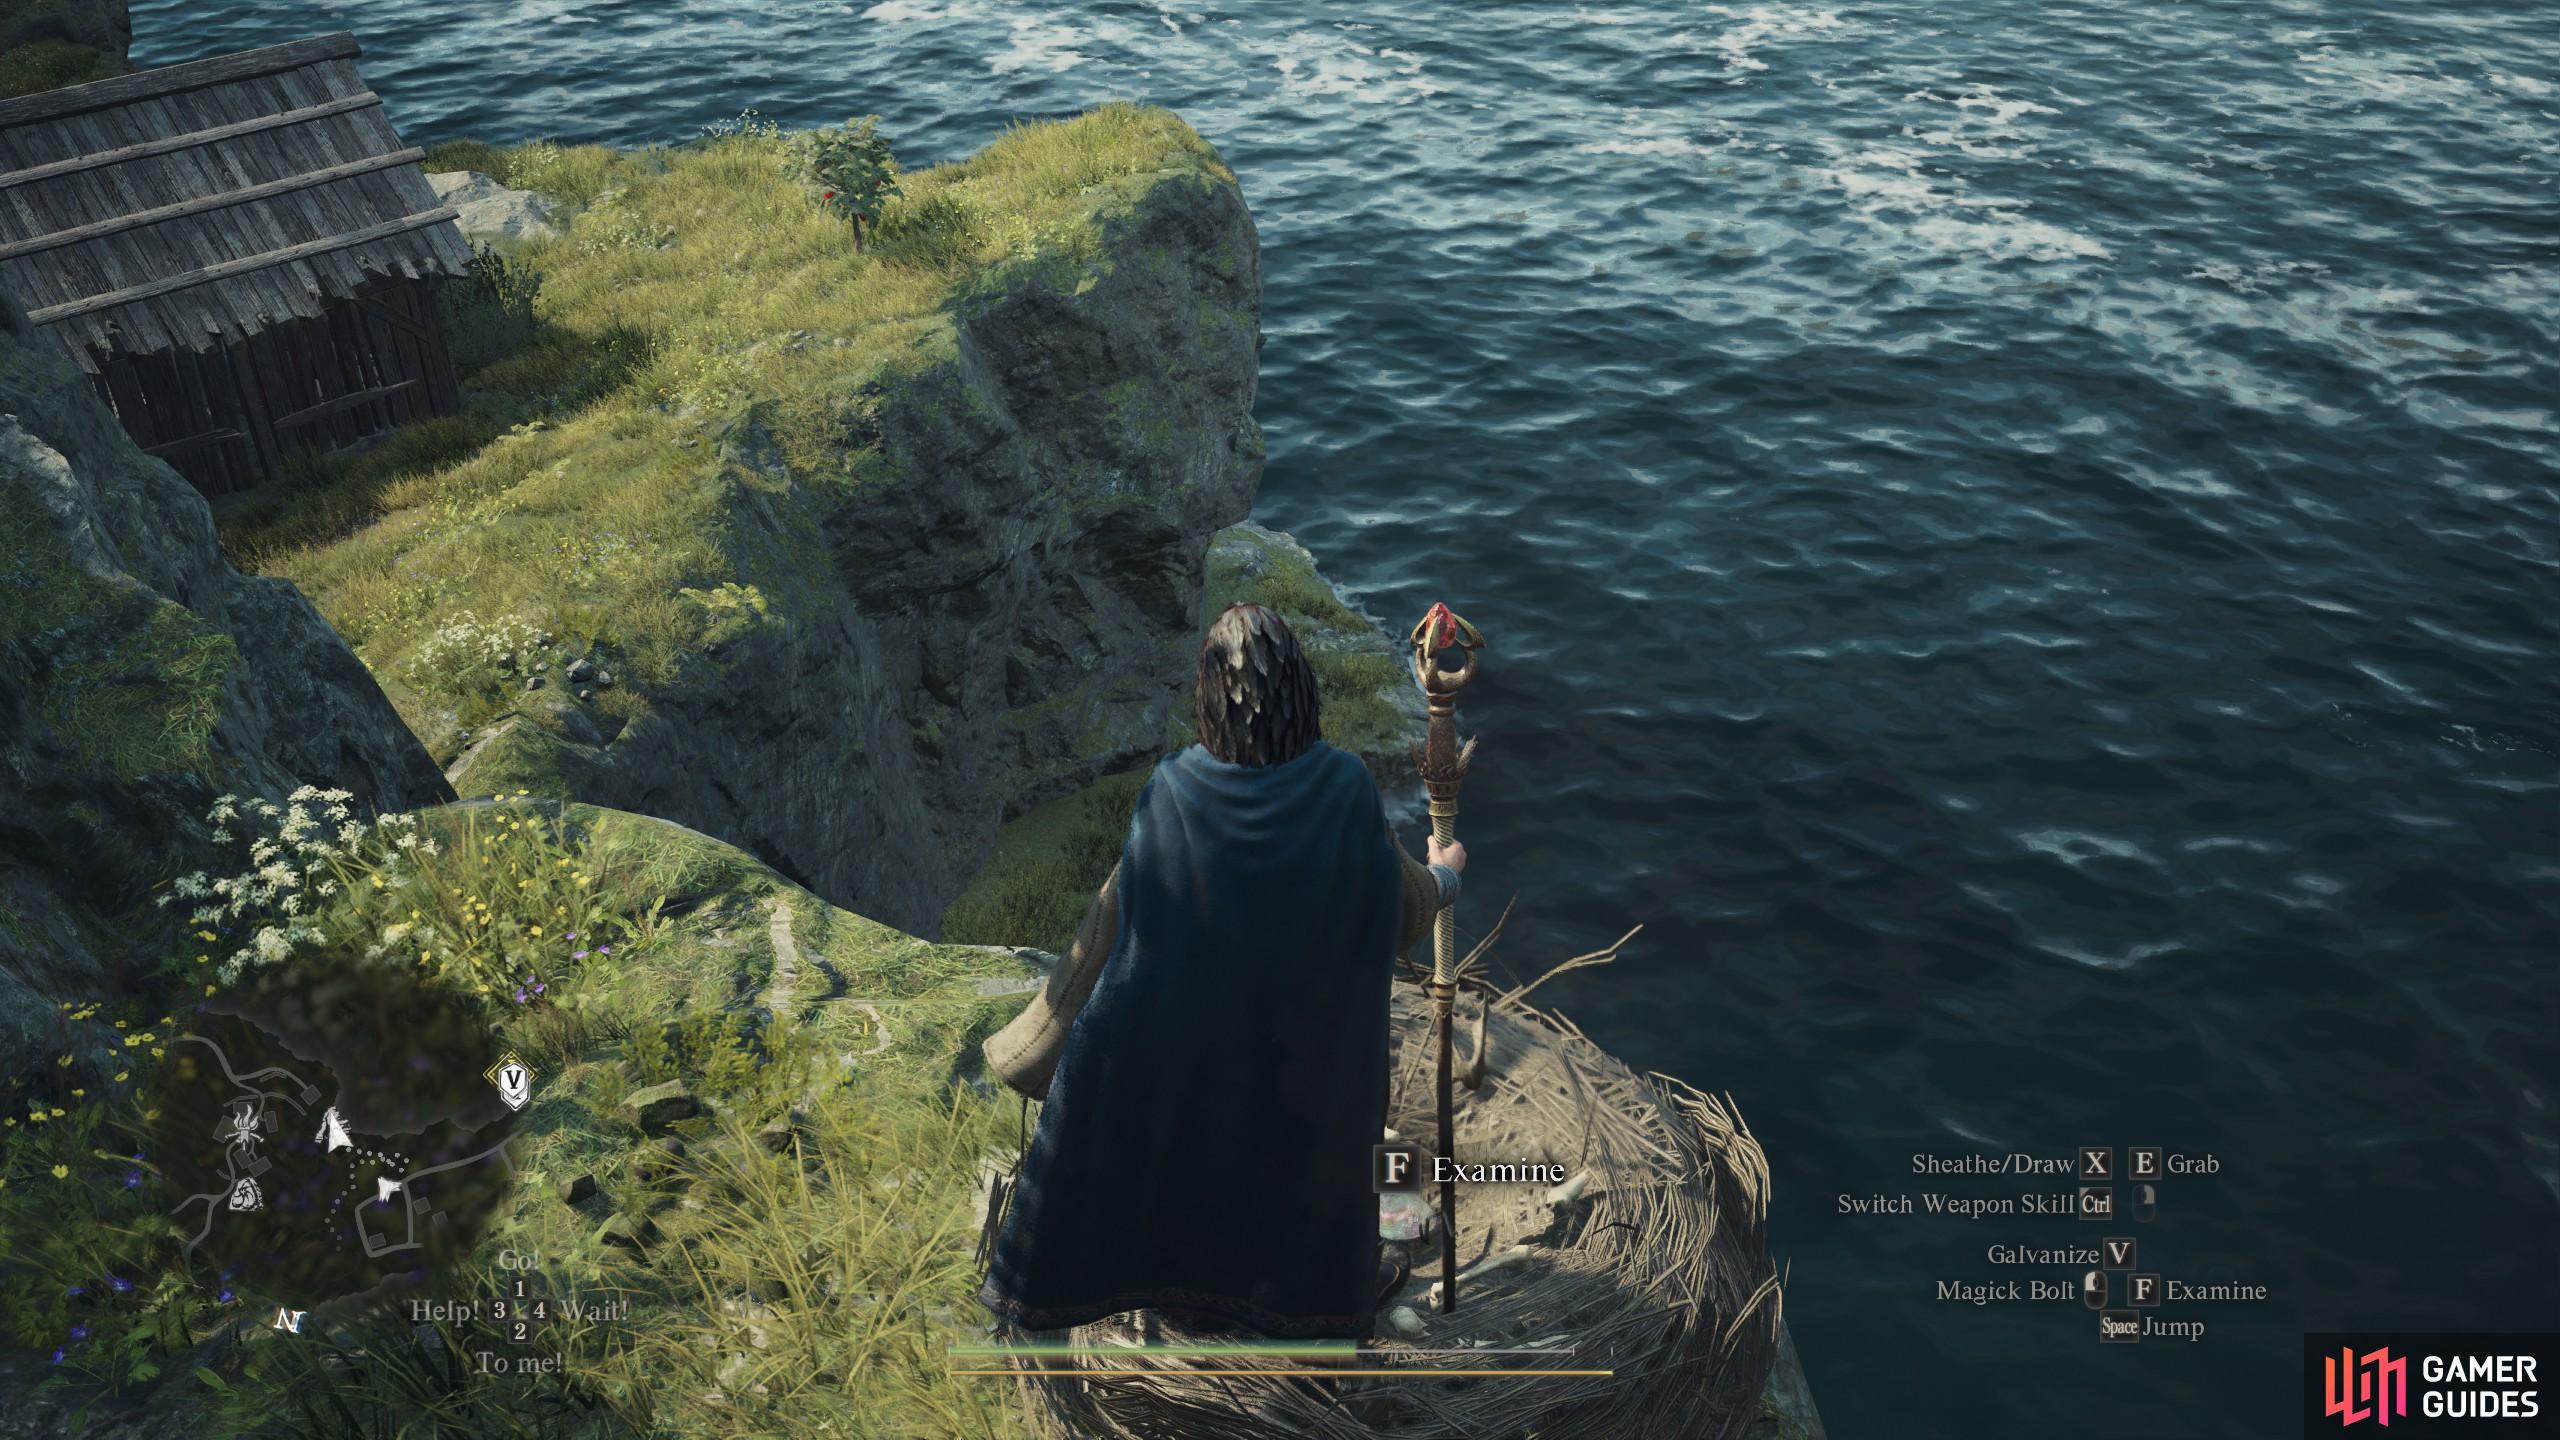
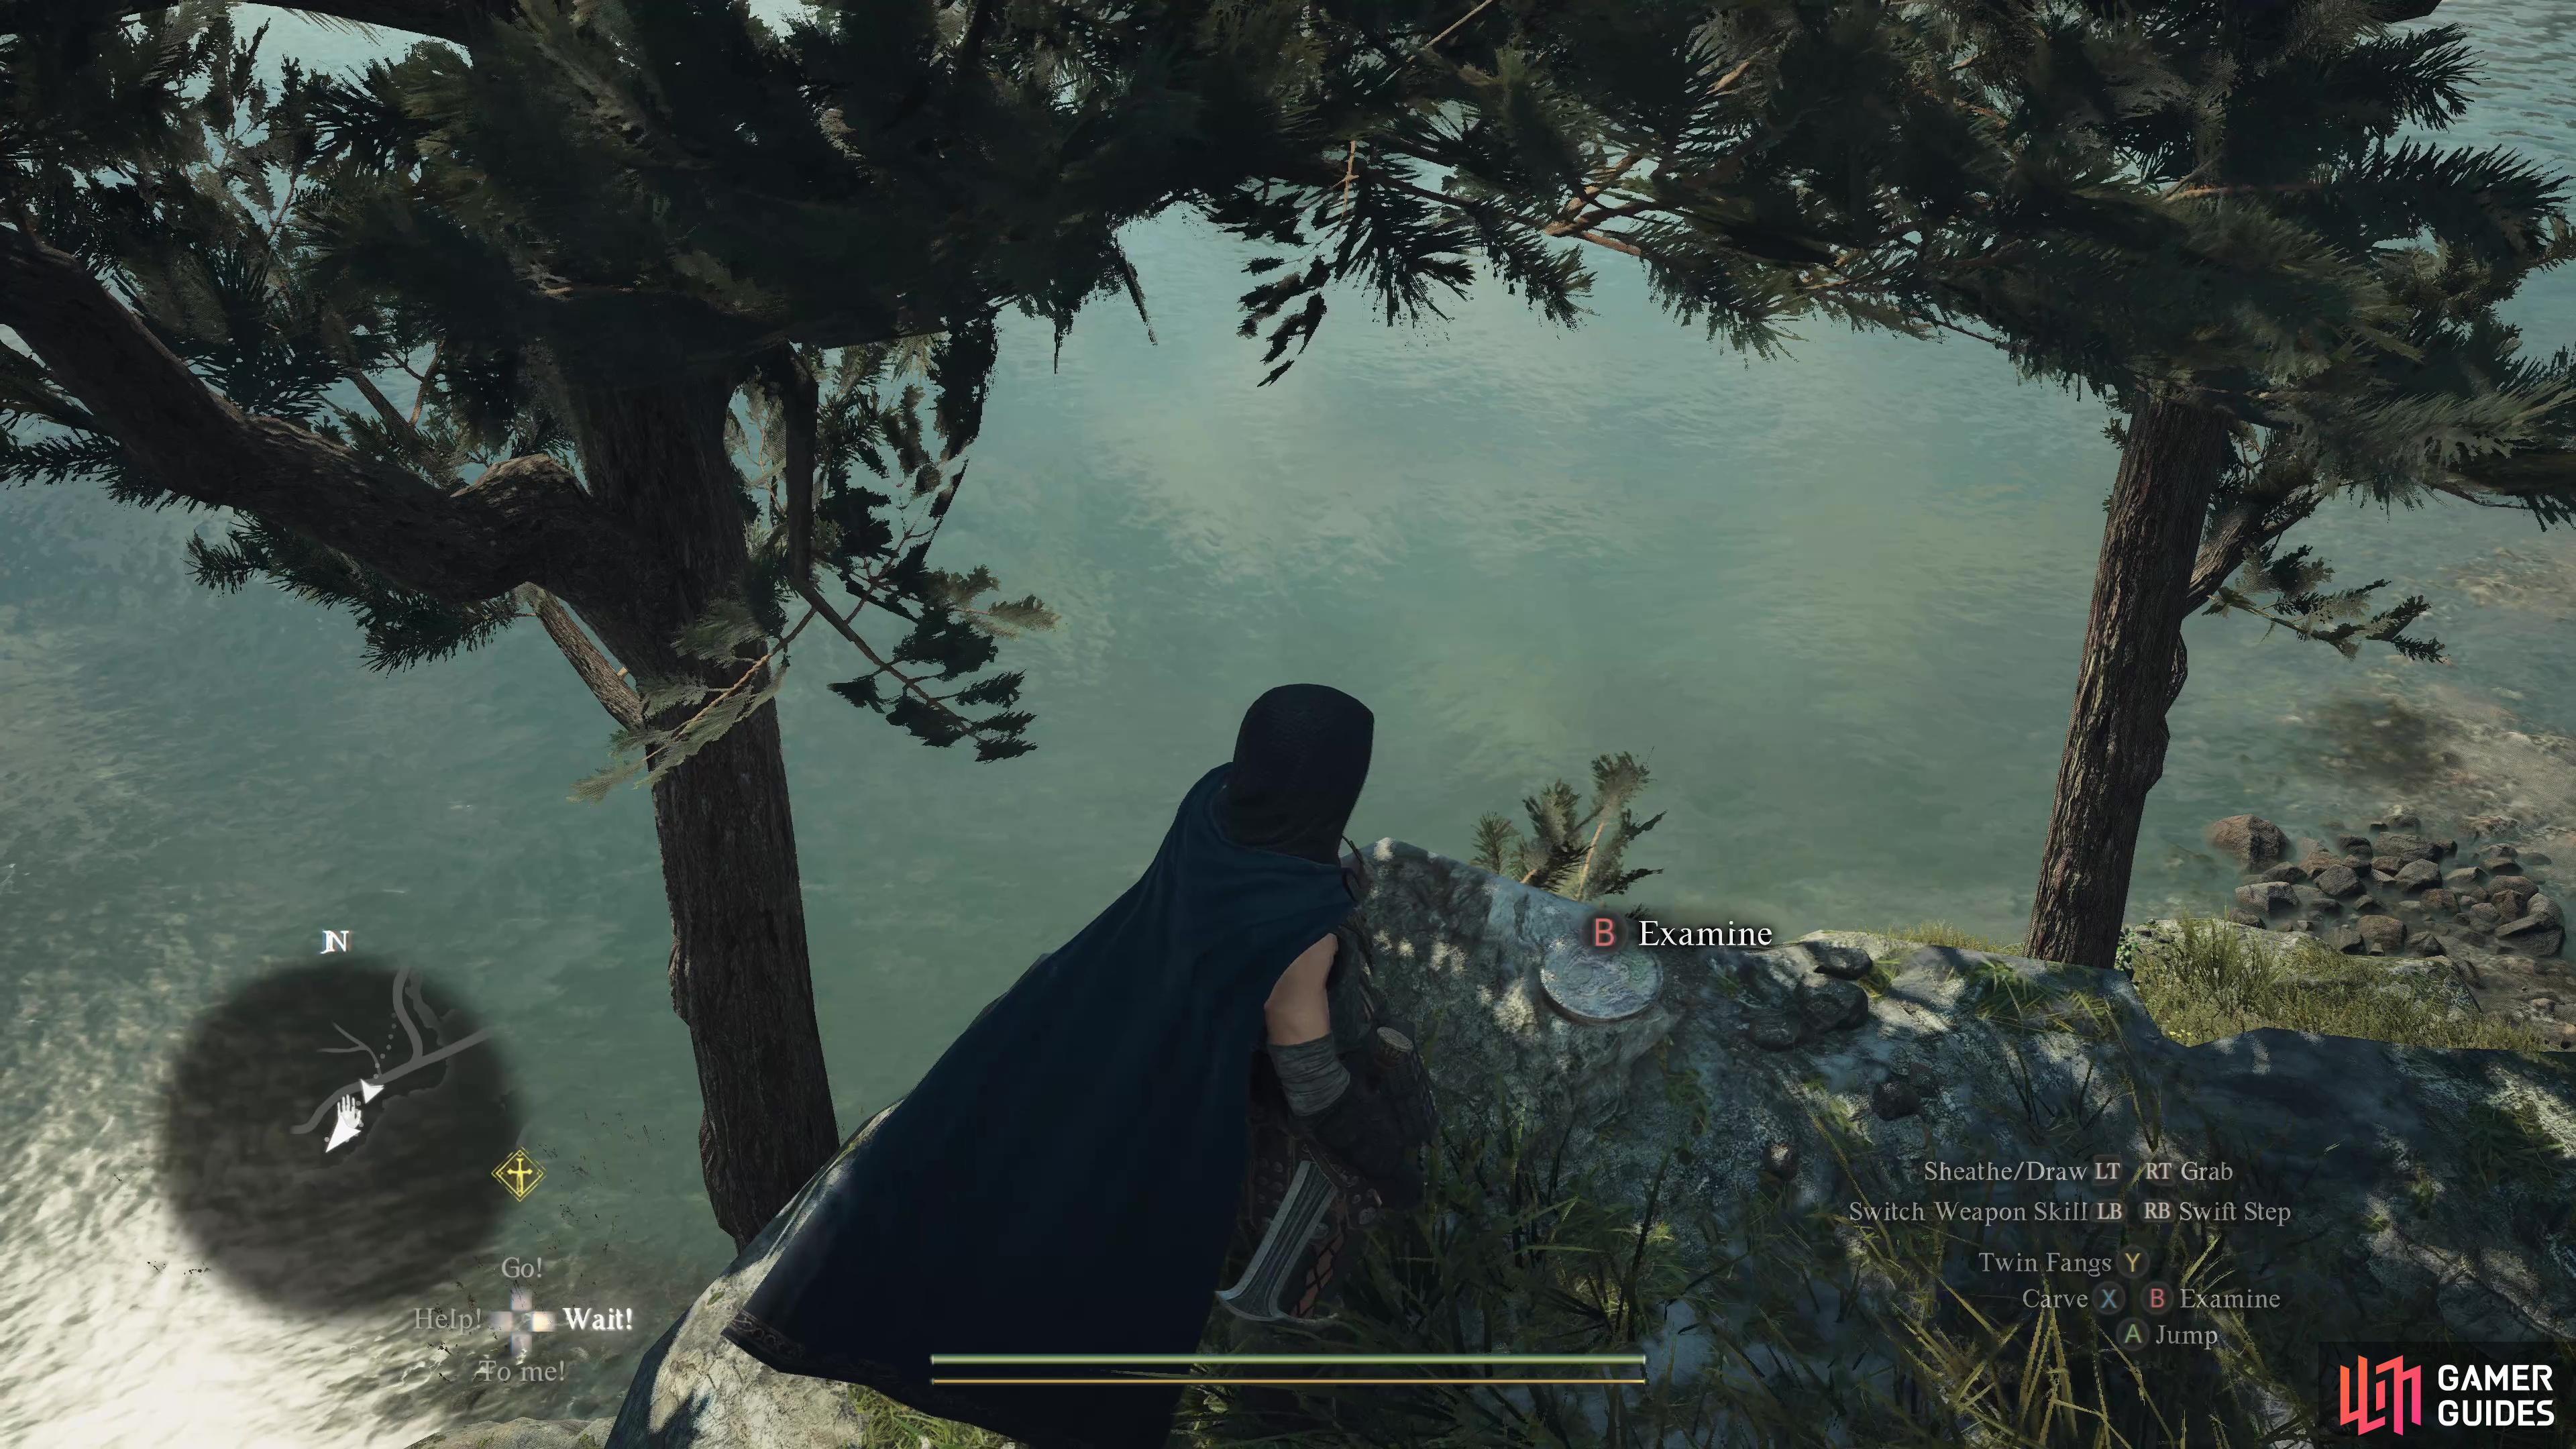
On the small bank, south of Theodracus the Second bridge. Stand at the edge and look into the sea to find it.

70883. Vernworth Map
On top of ![]() Vernworth’s western gate. Accessed by running along the top of the wall.
Vernworth’s western gate. Accessed by running along the top of the wall.
70884. World
On top of ![]() Vernworth’s western gate. Accessed by running along the top of the wall.
Vernworth’s western gate. Accessed by running along the top of the wall.
70886. World
On the cliff next to the ladder outside the ![]() Cavern of the Forsaken. Can only be accessed by travelling through the cave.
Cavern of the Forsaken. Can only be accessed by travelling through the cave.

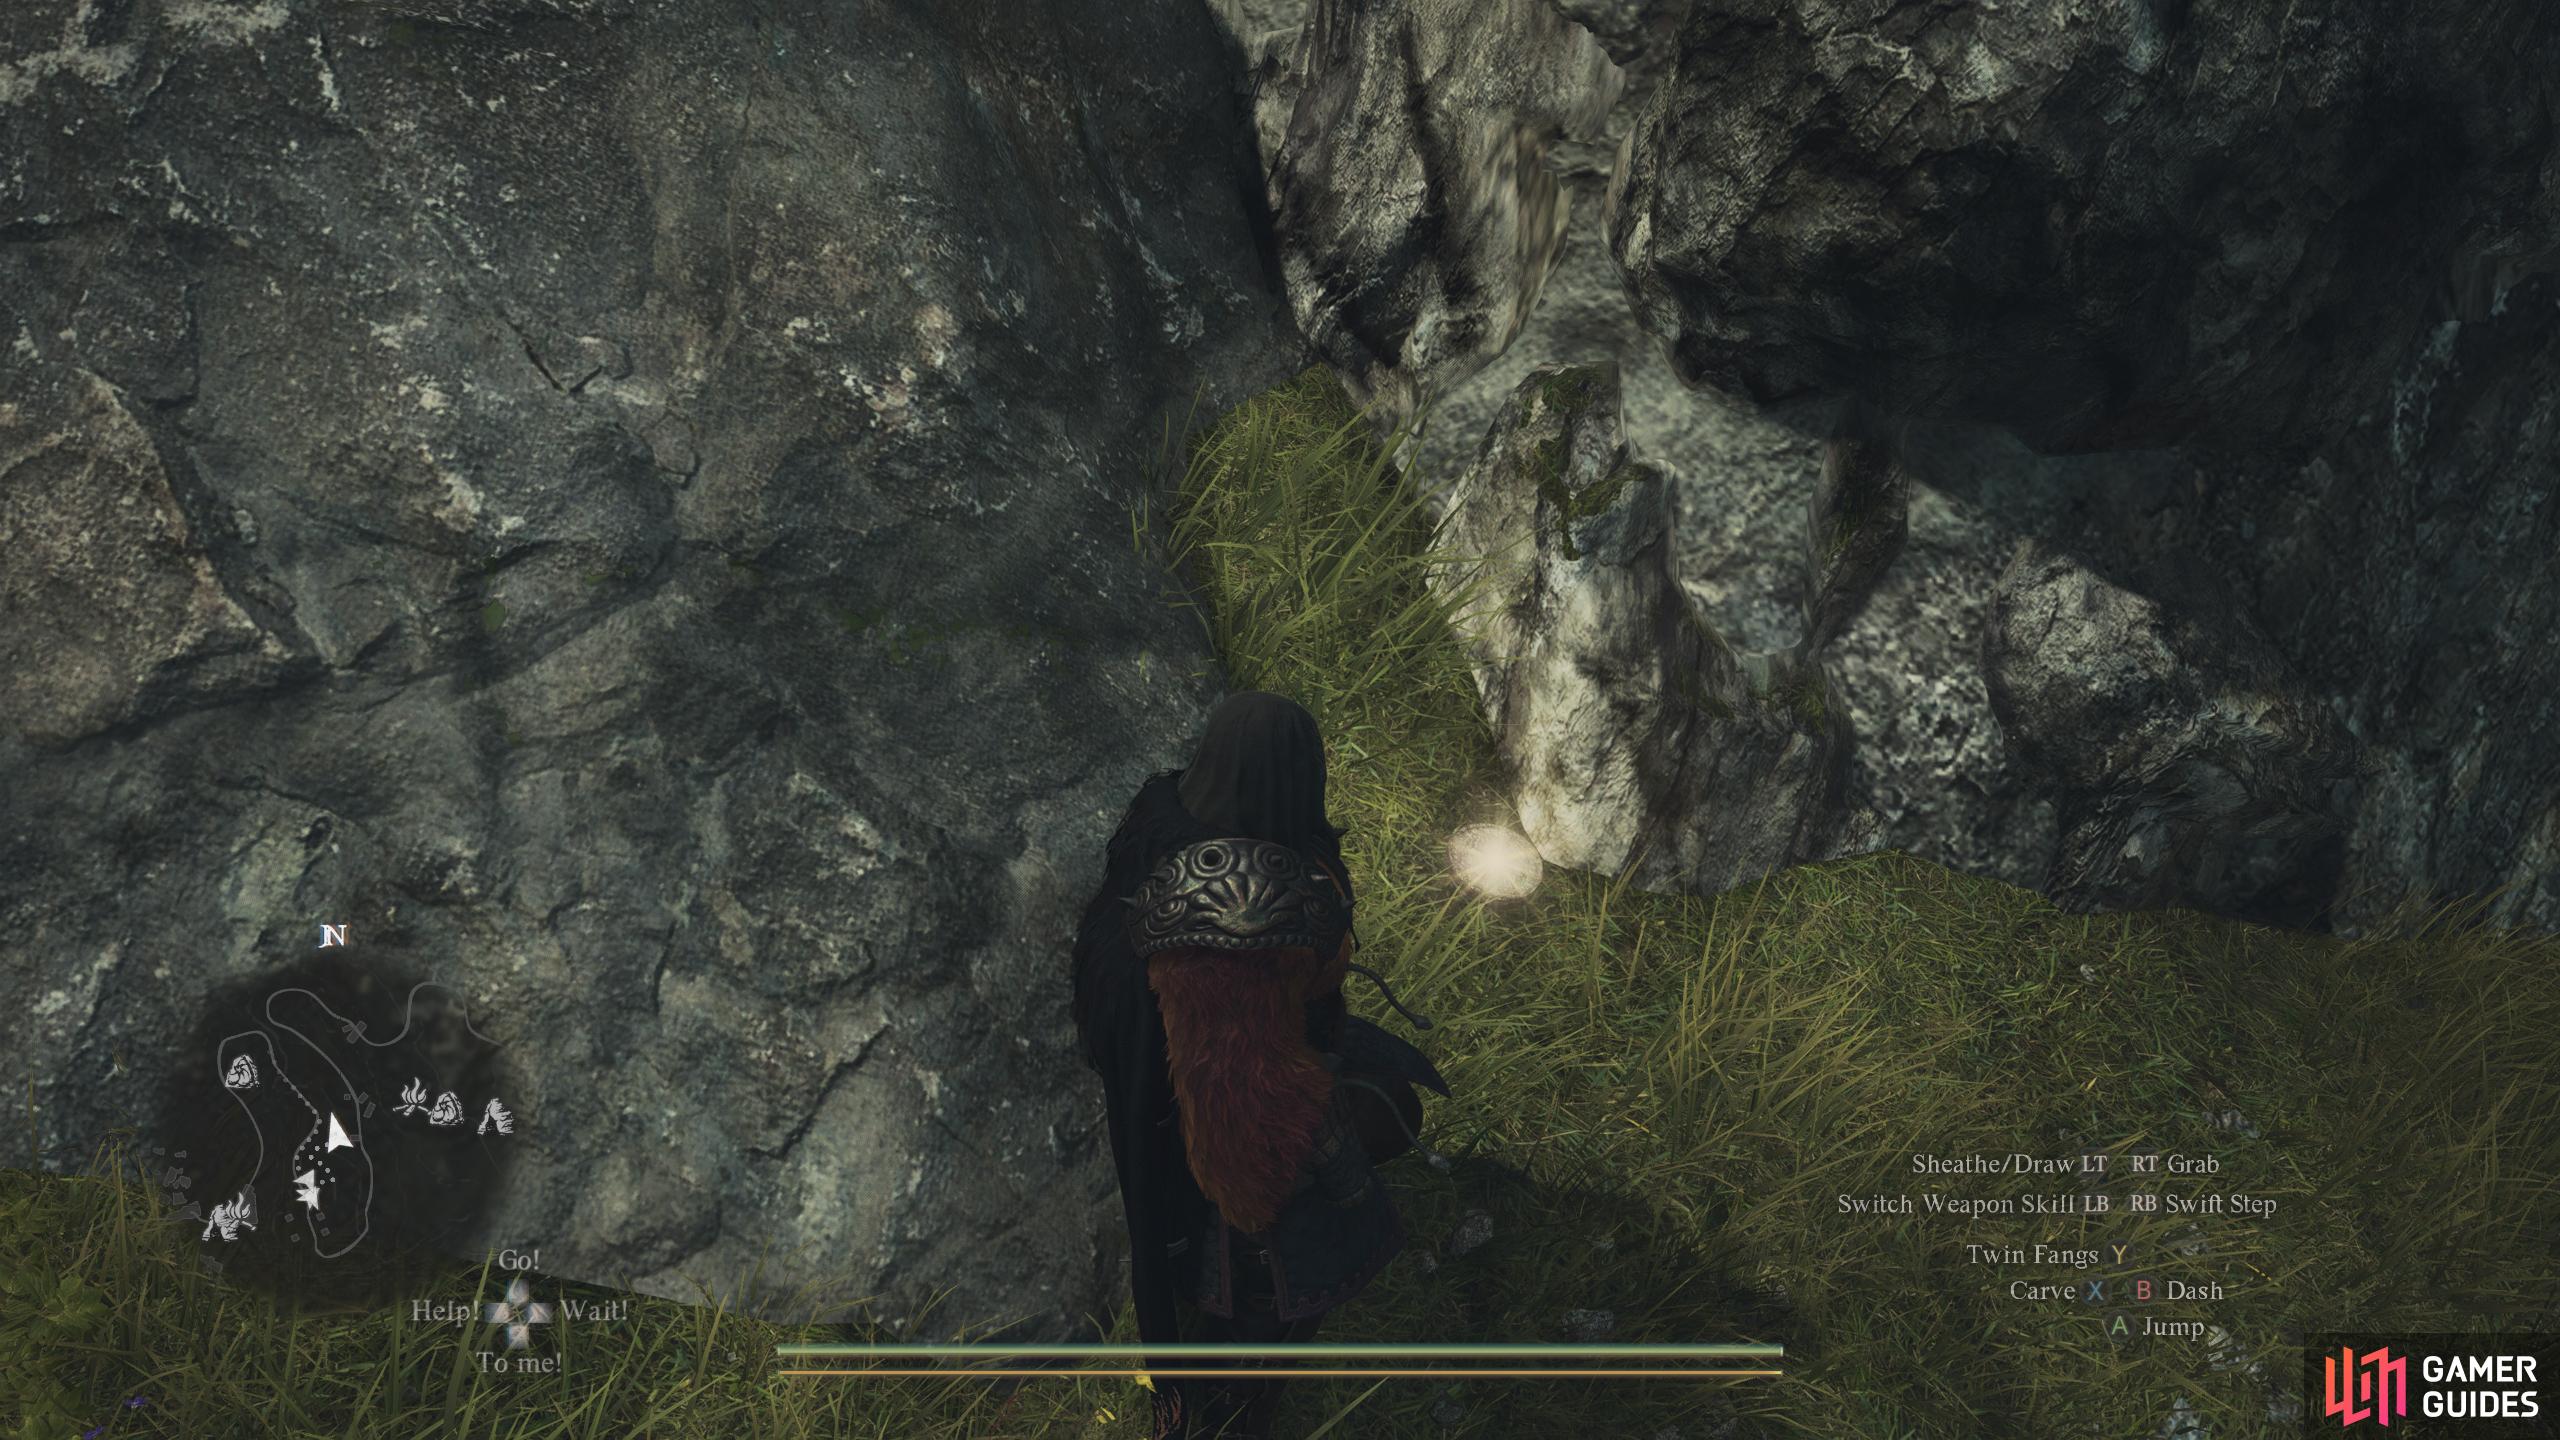
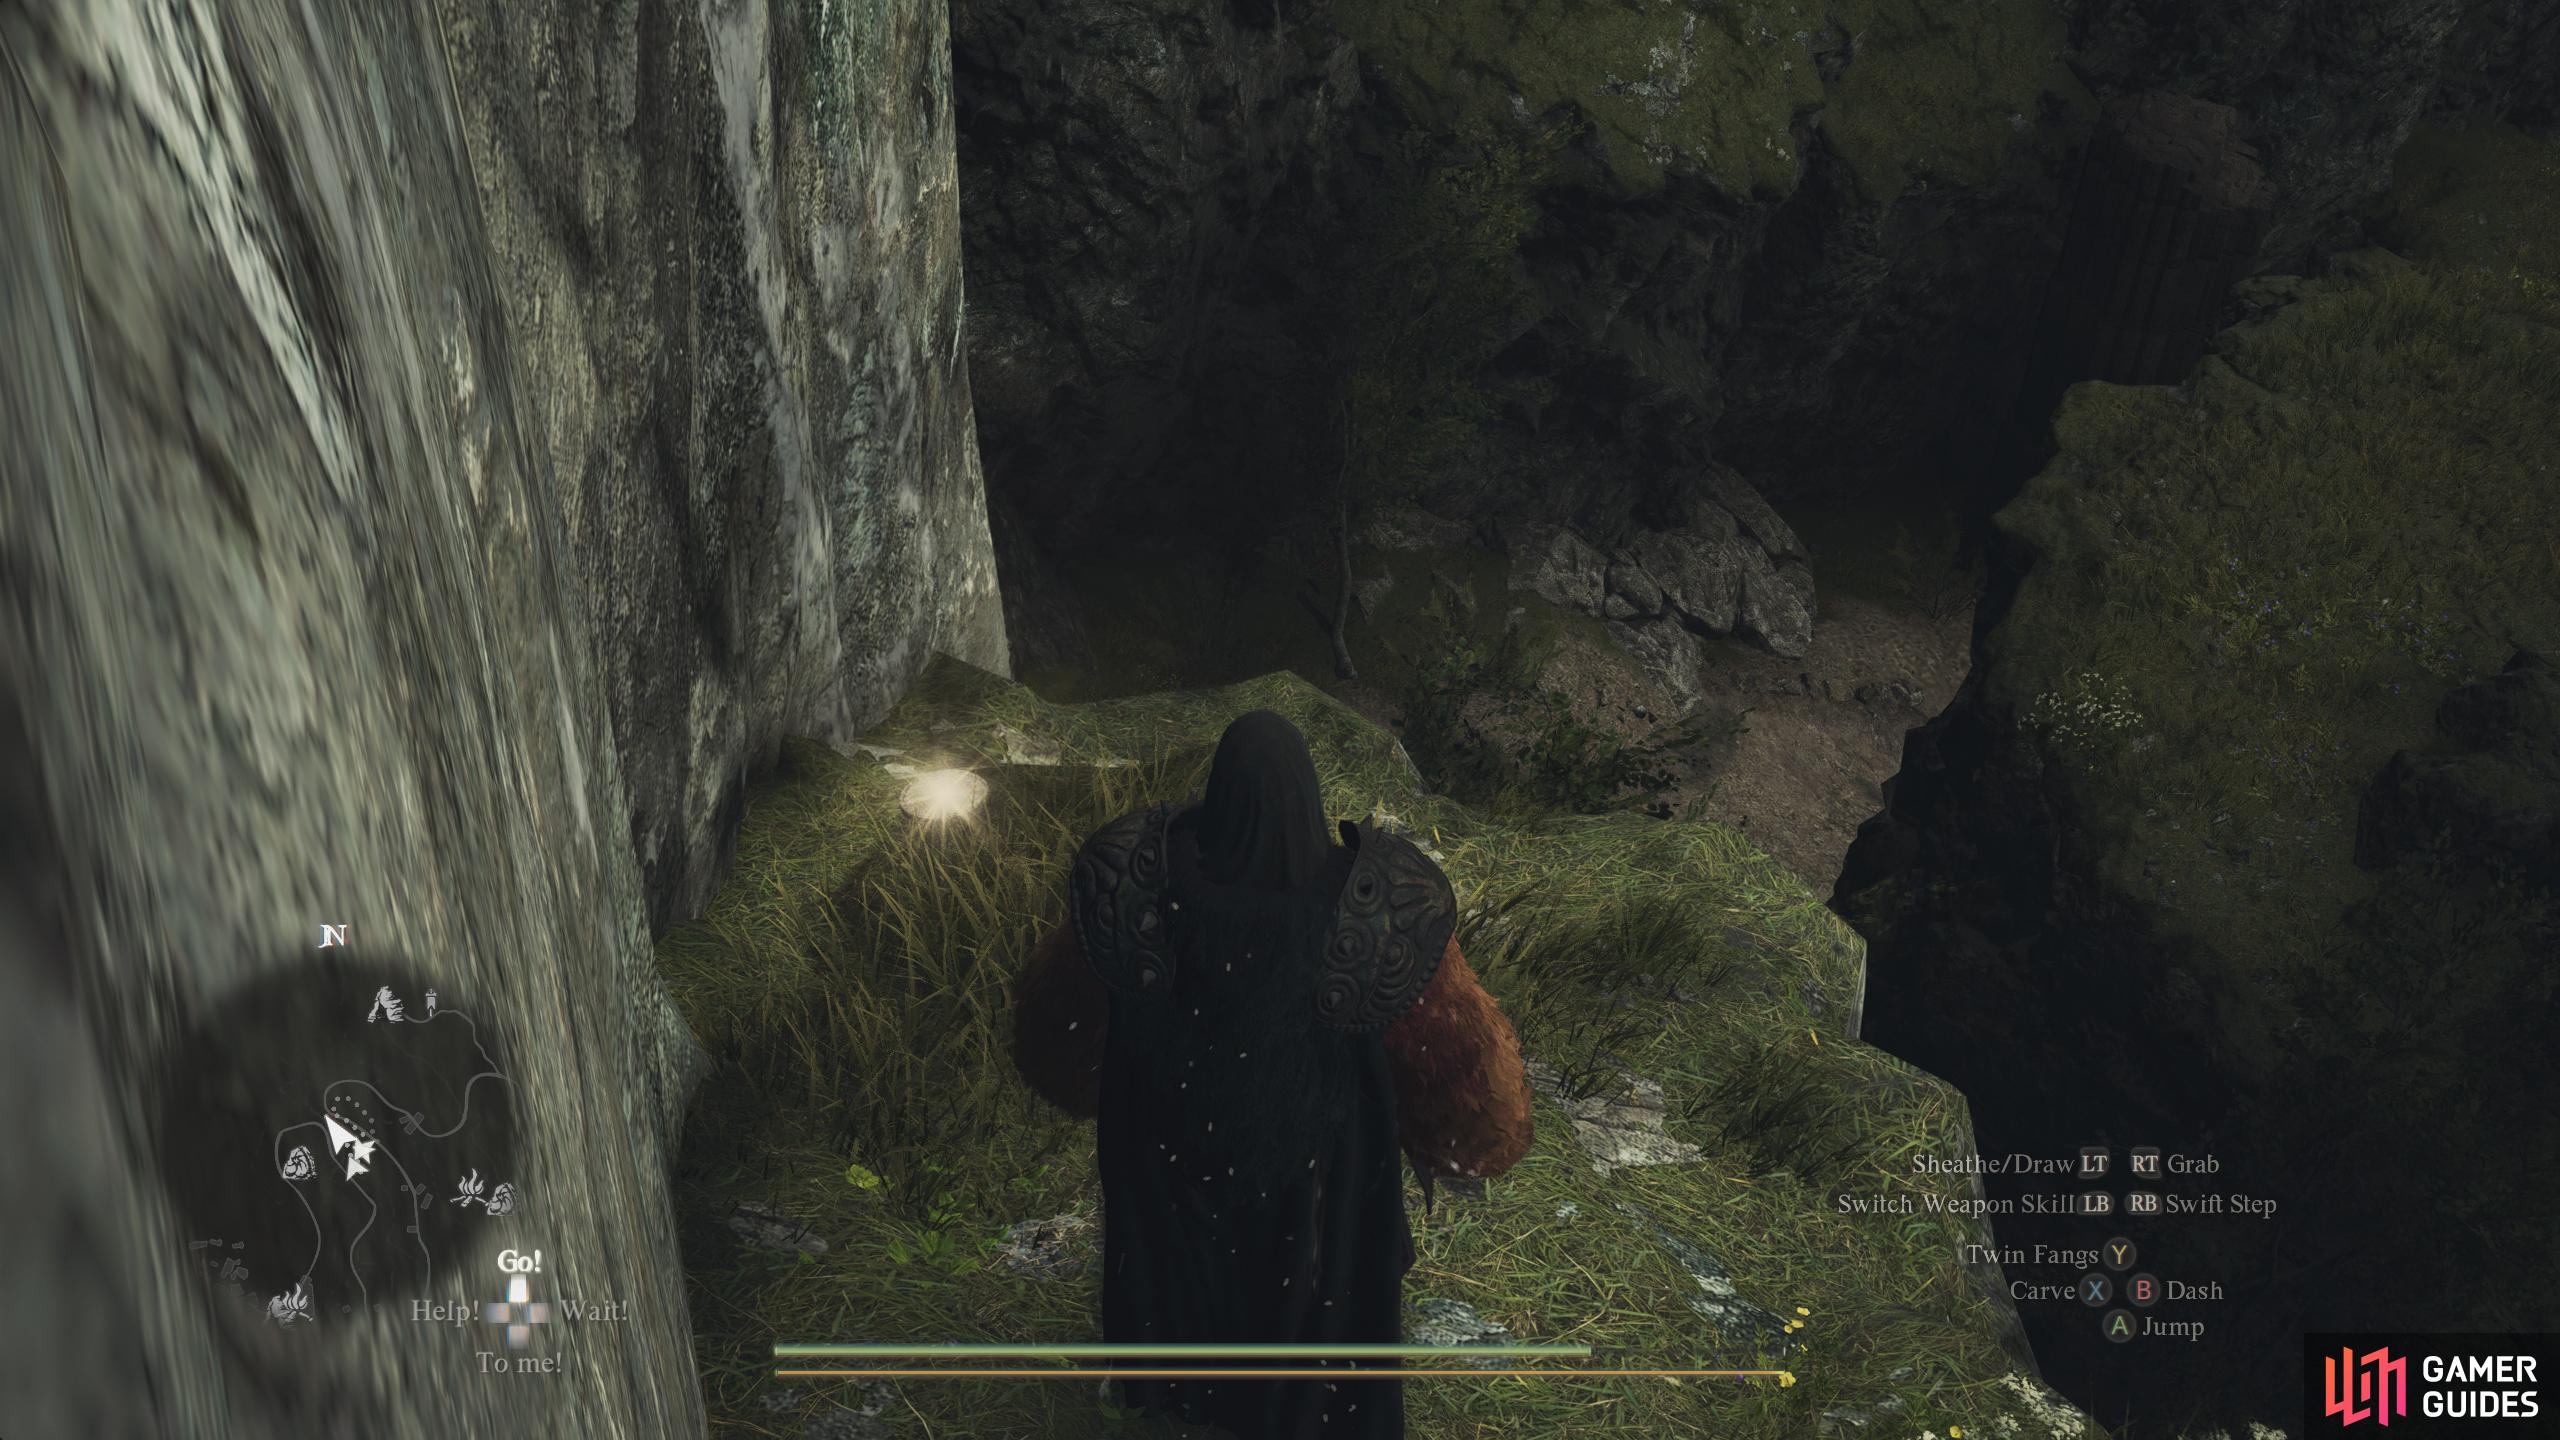
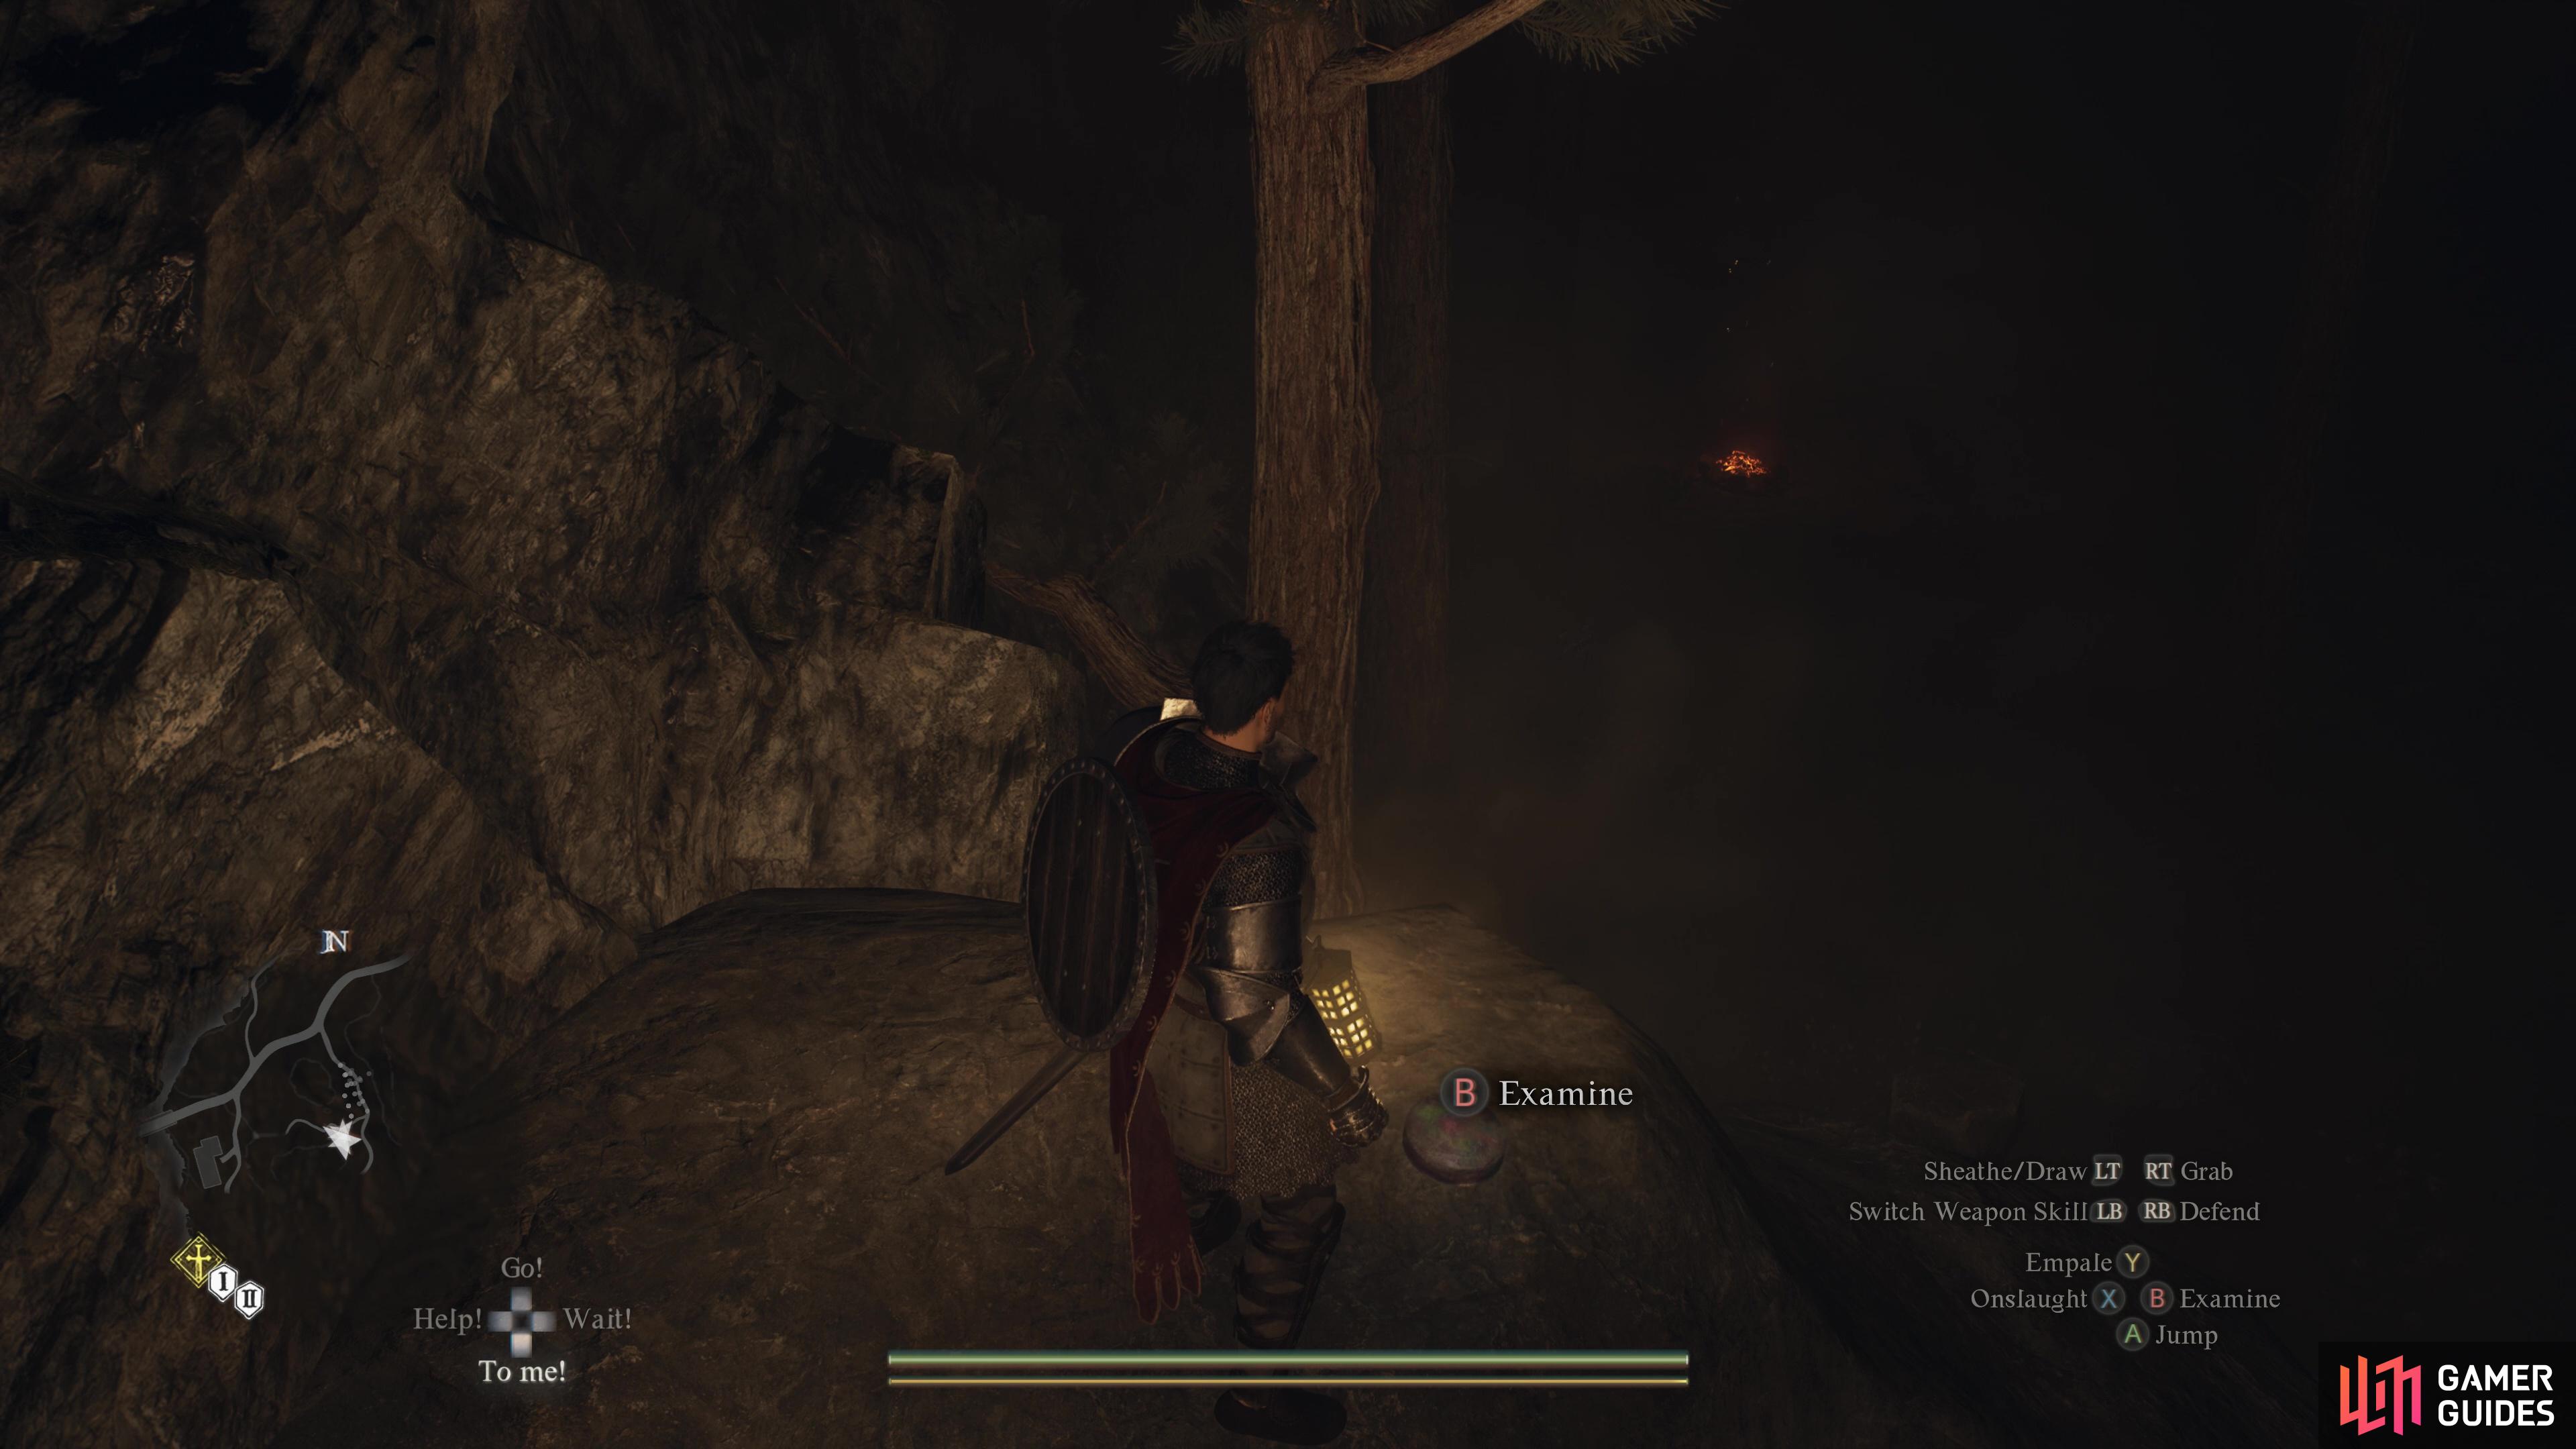
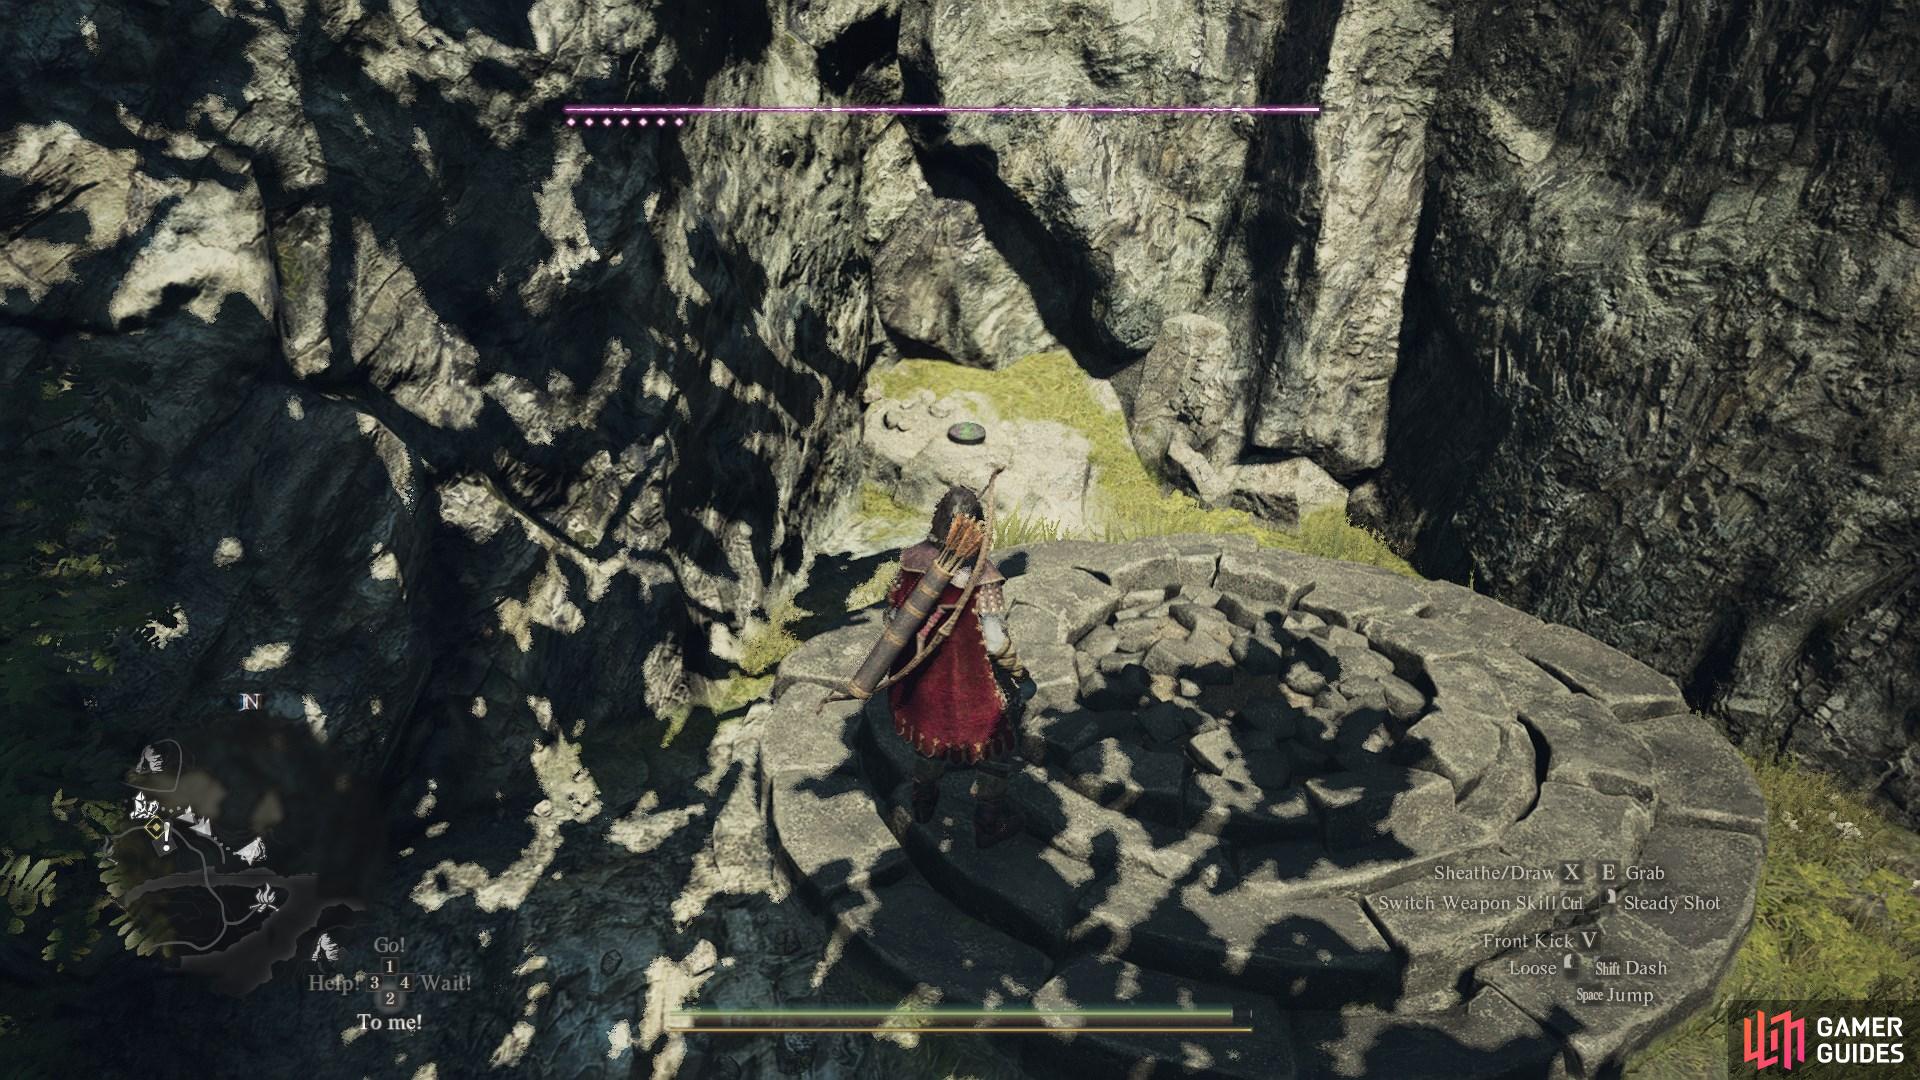
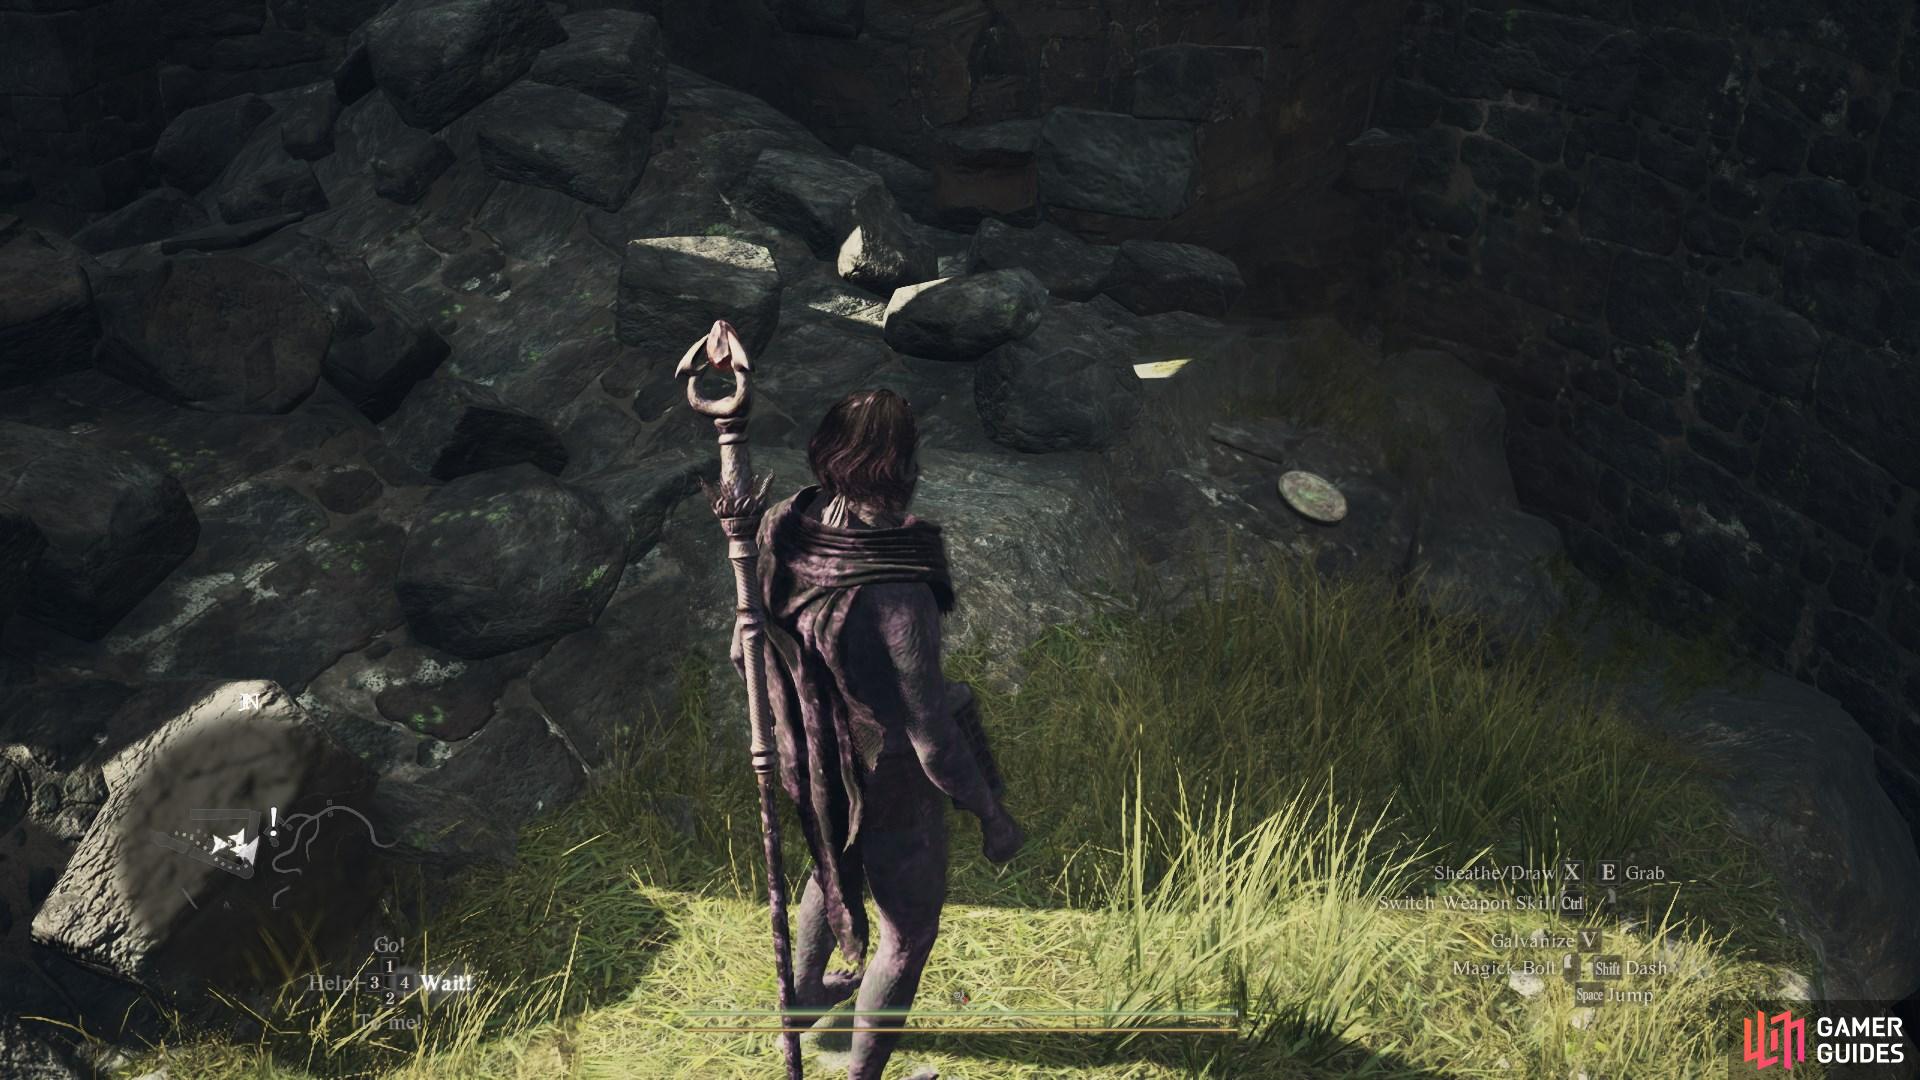
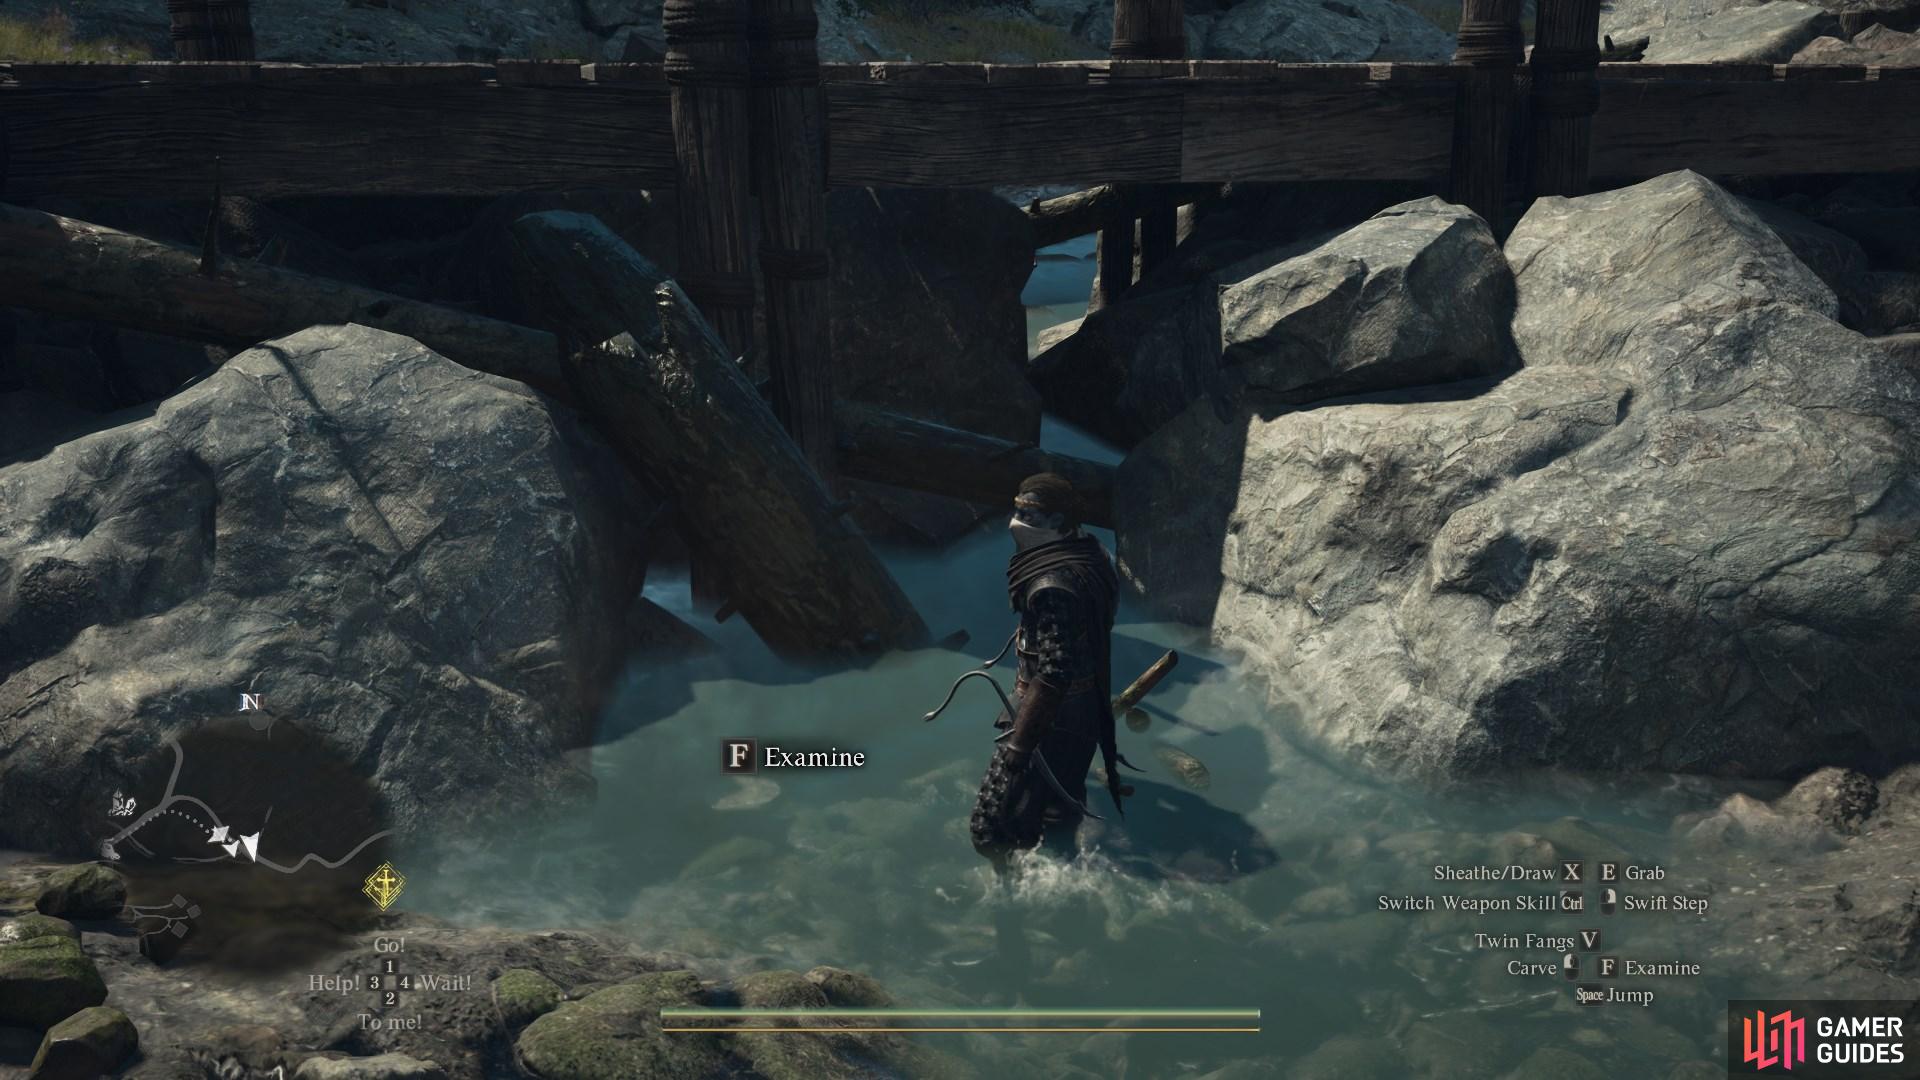
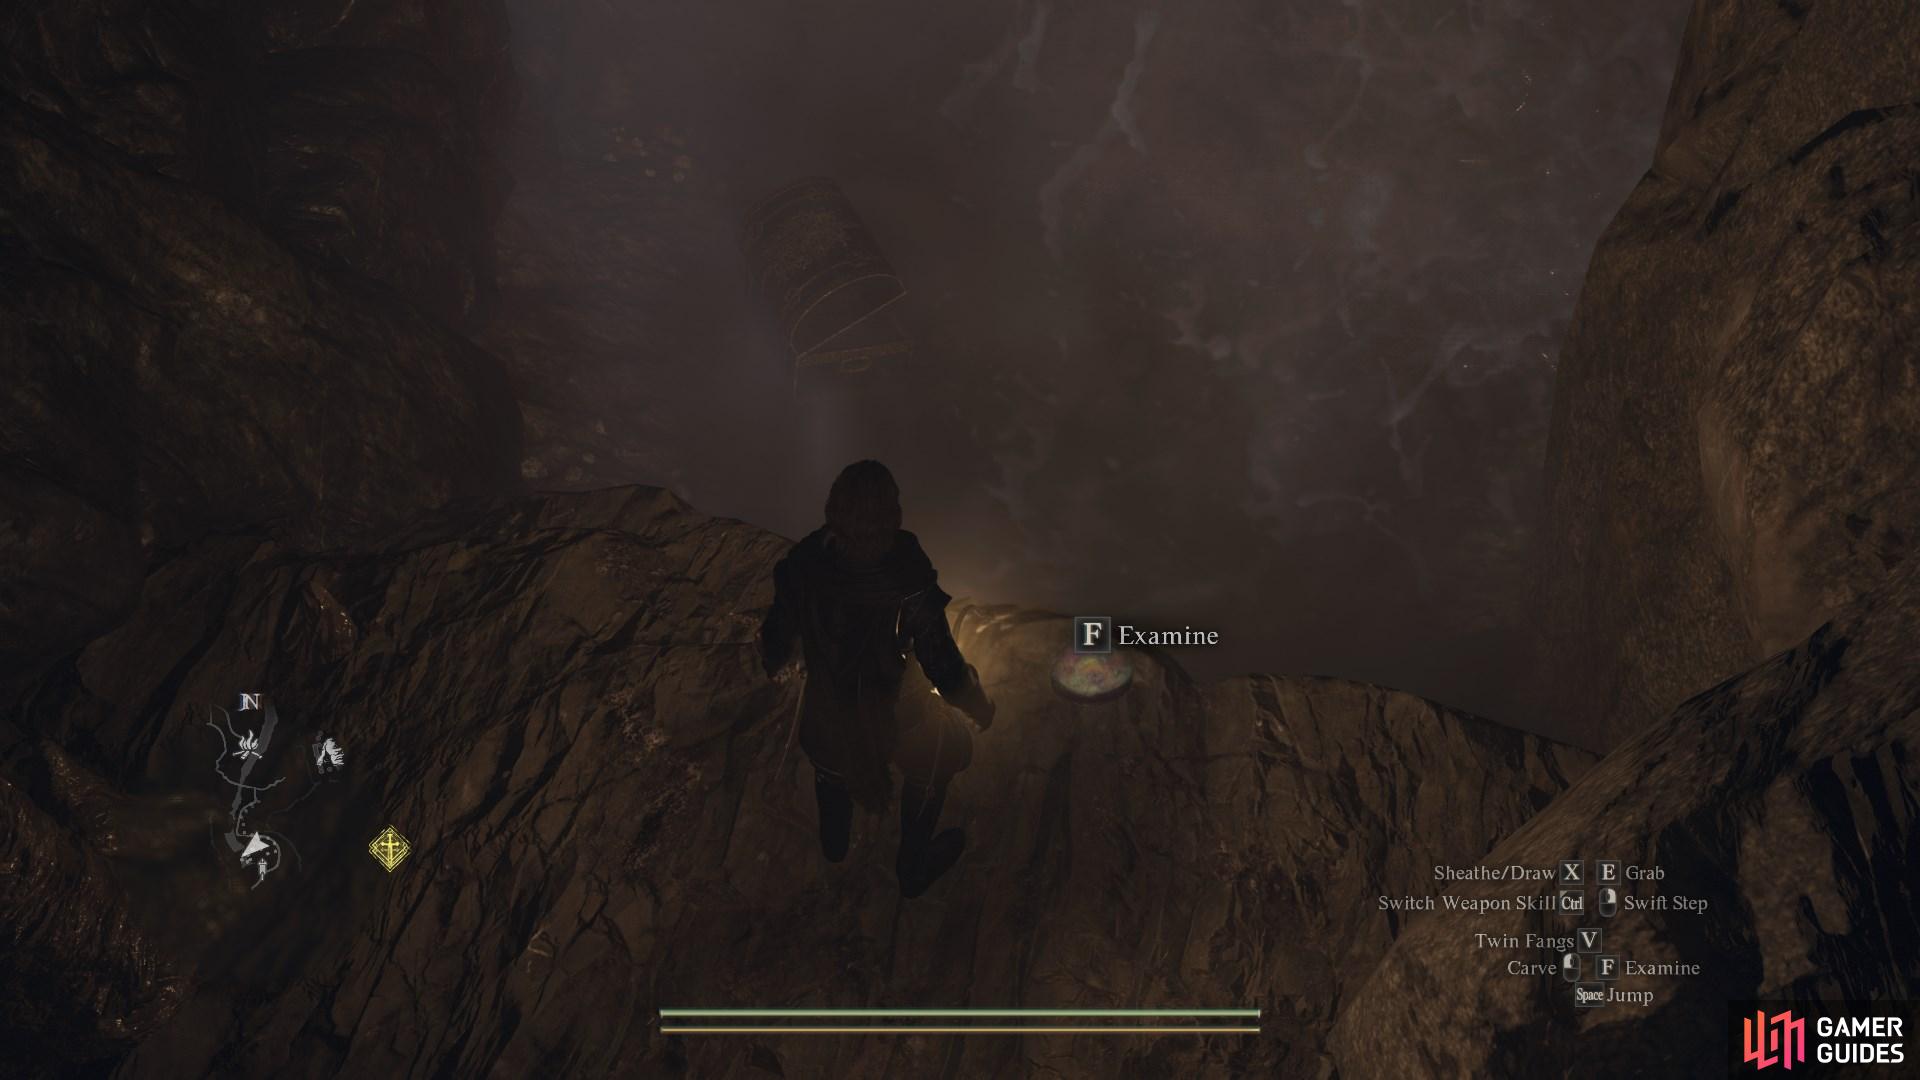
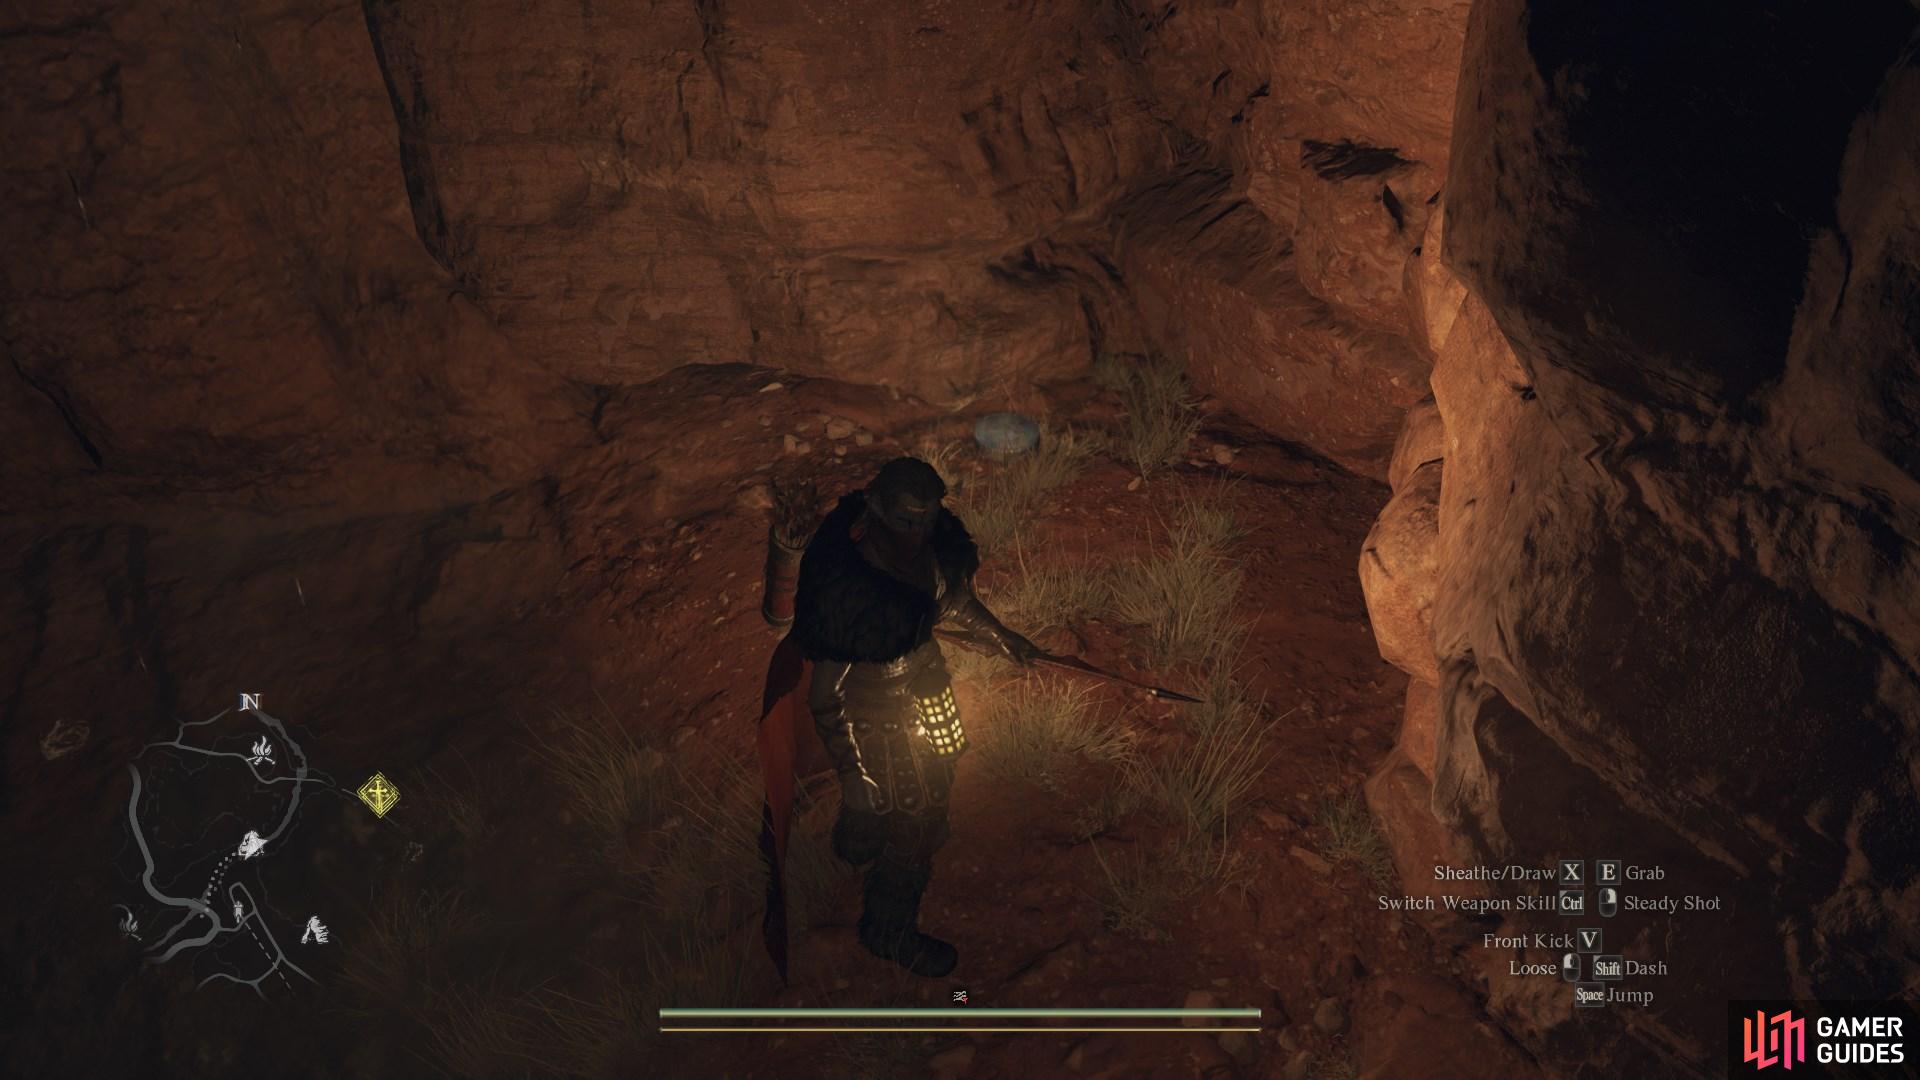
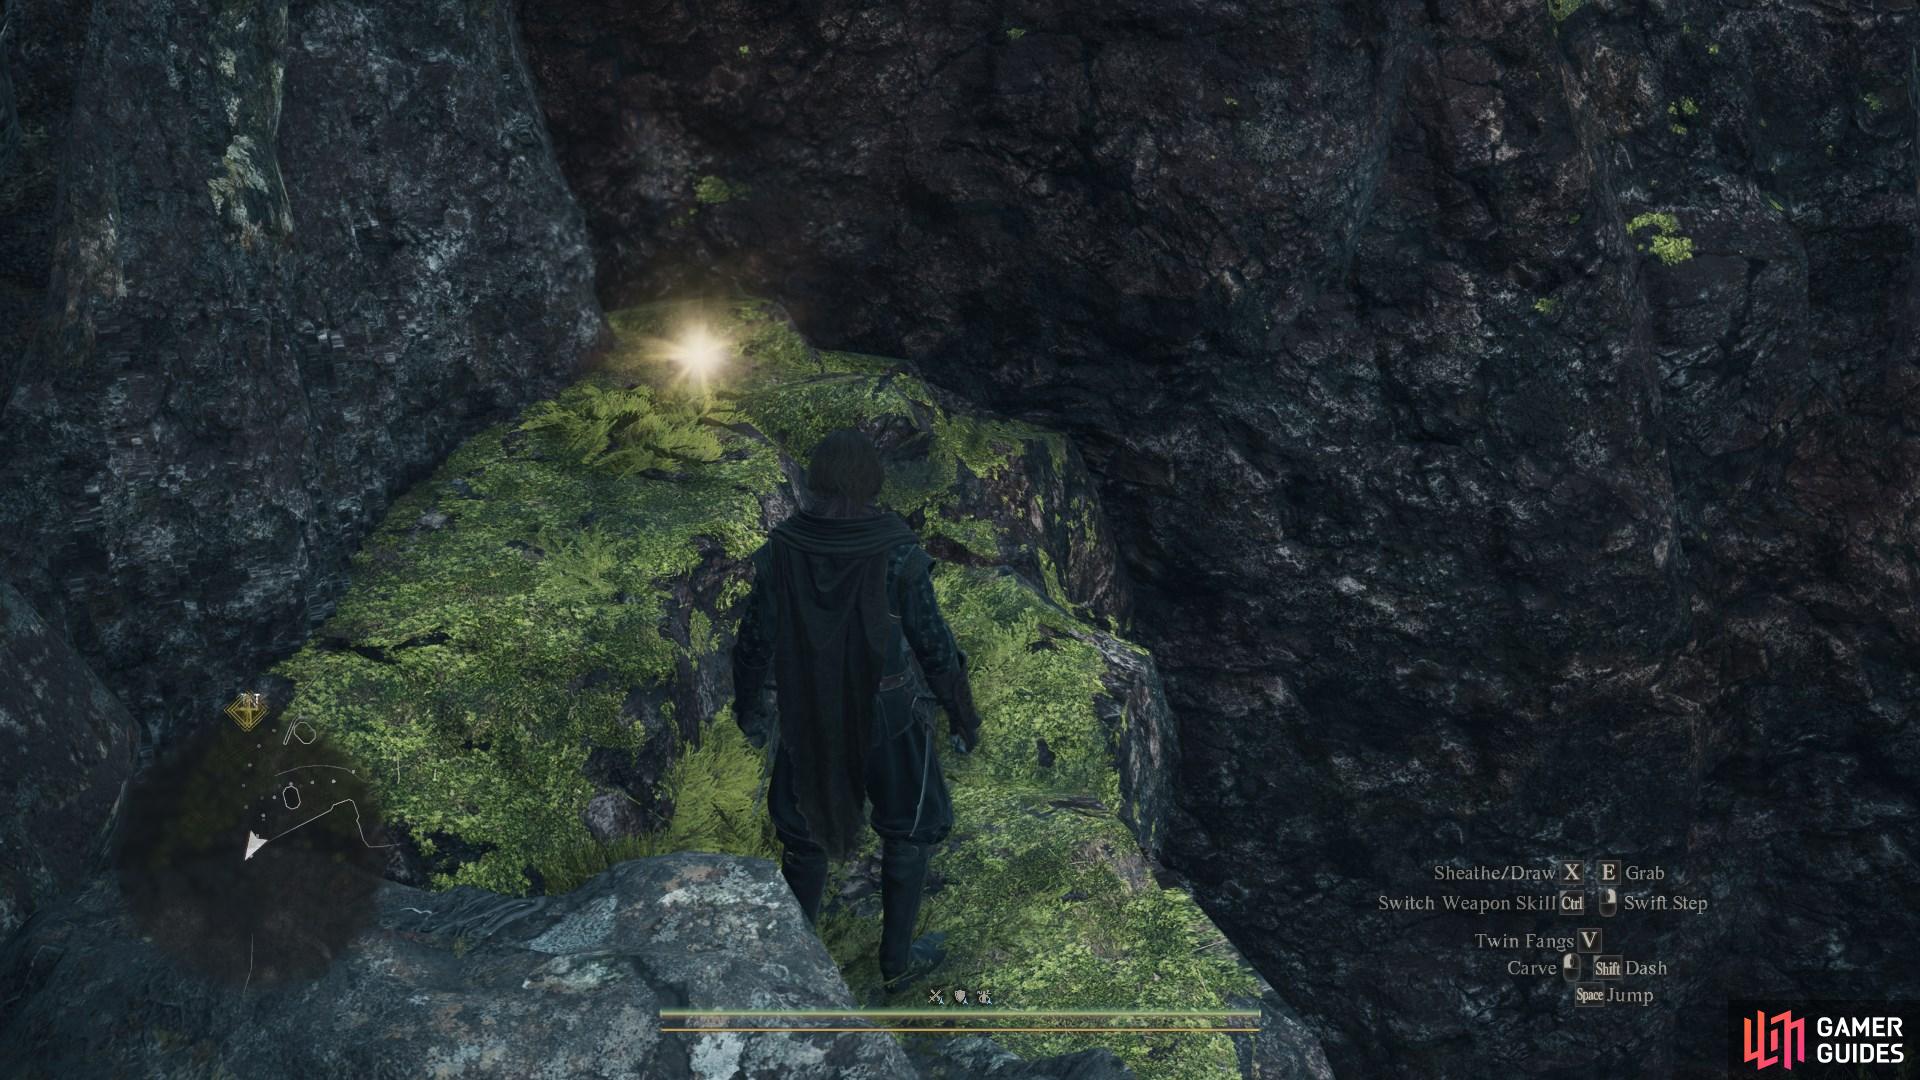
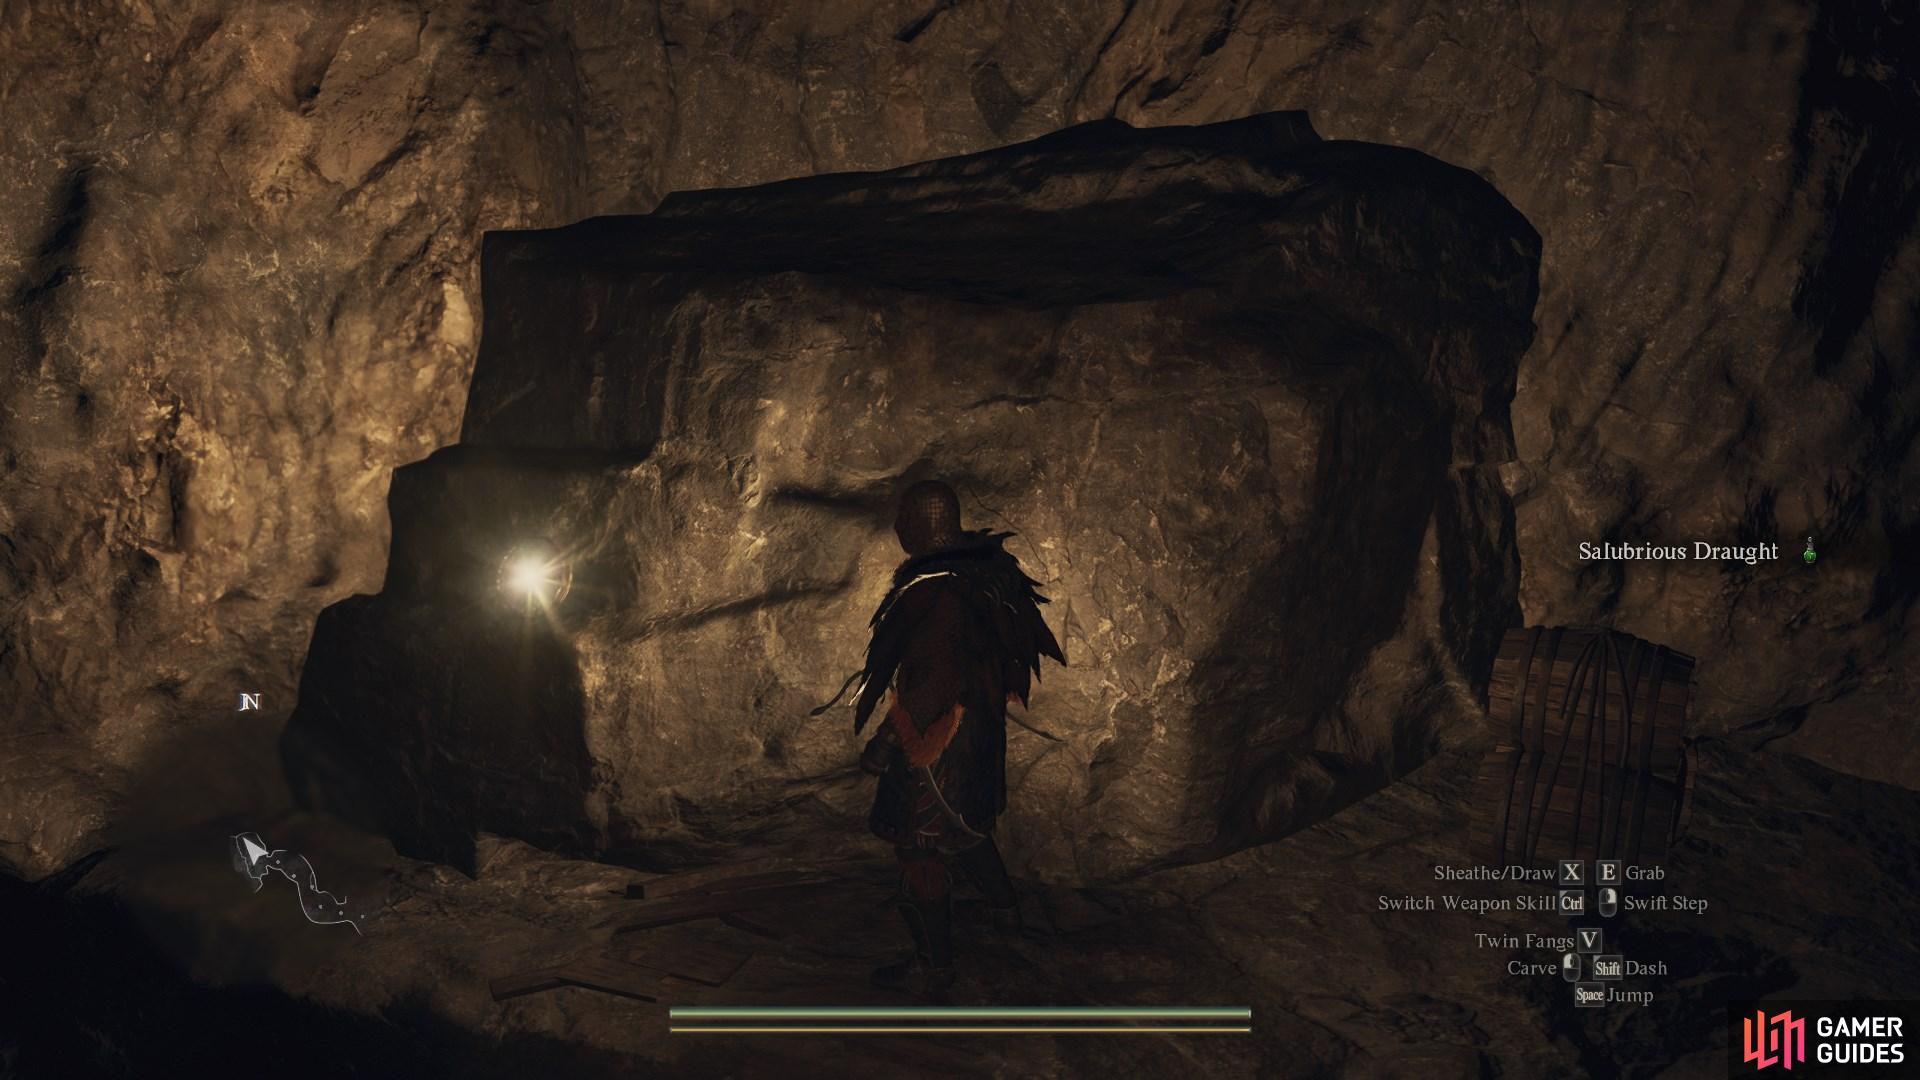
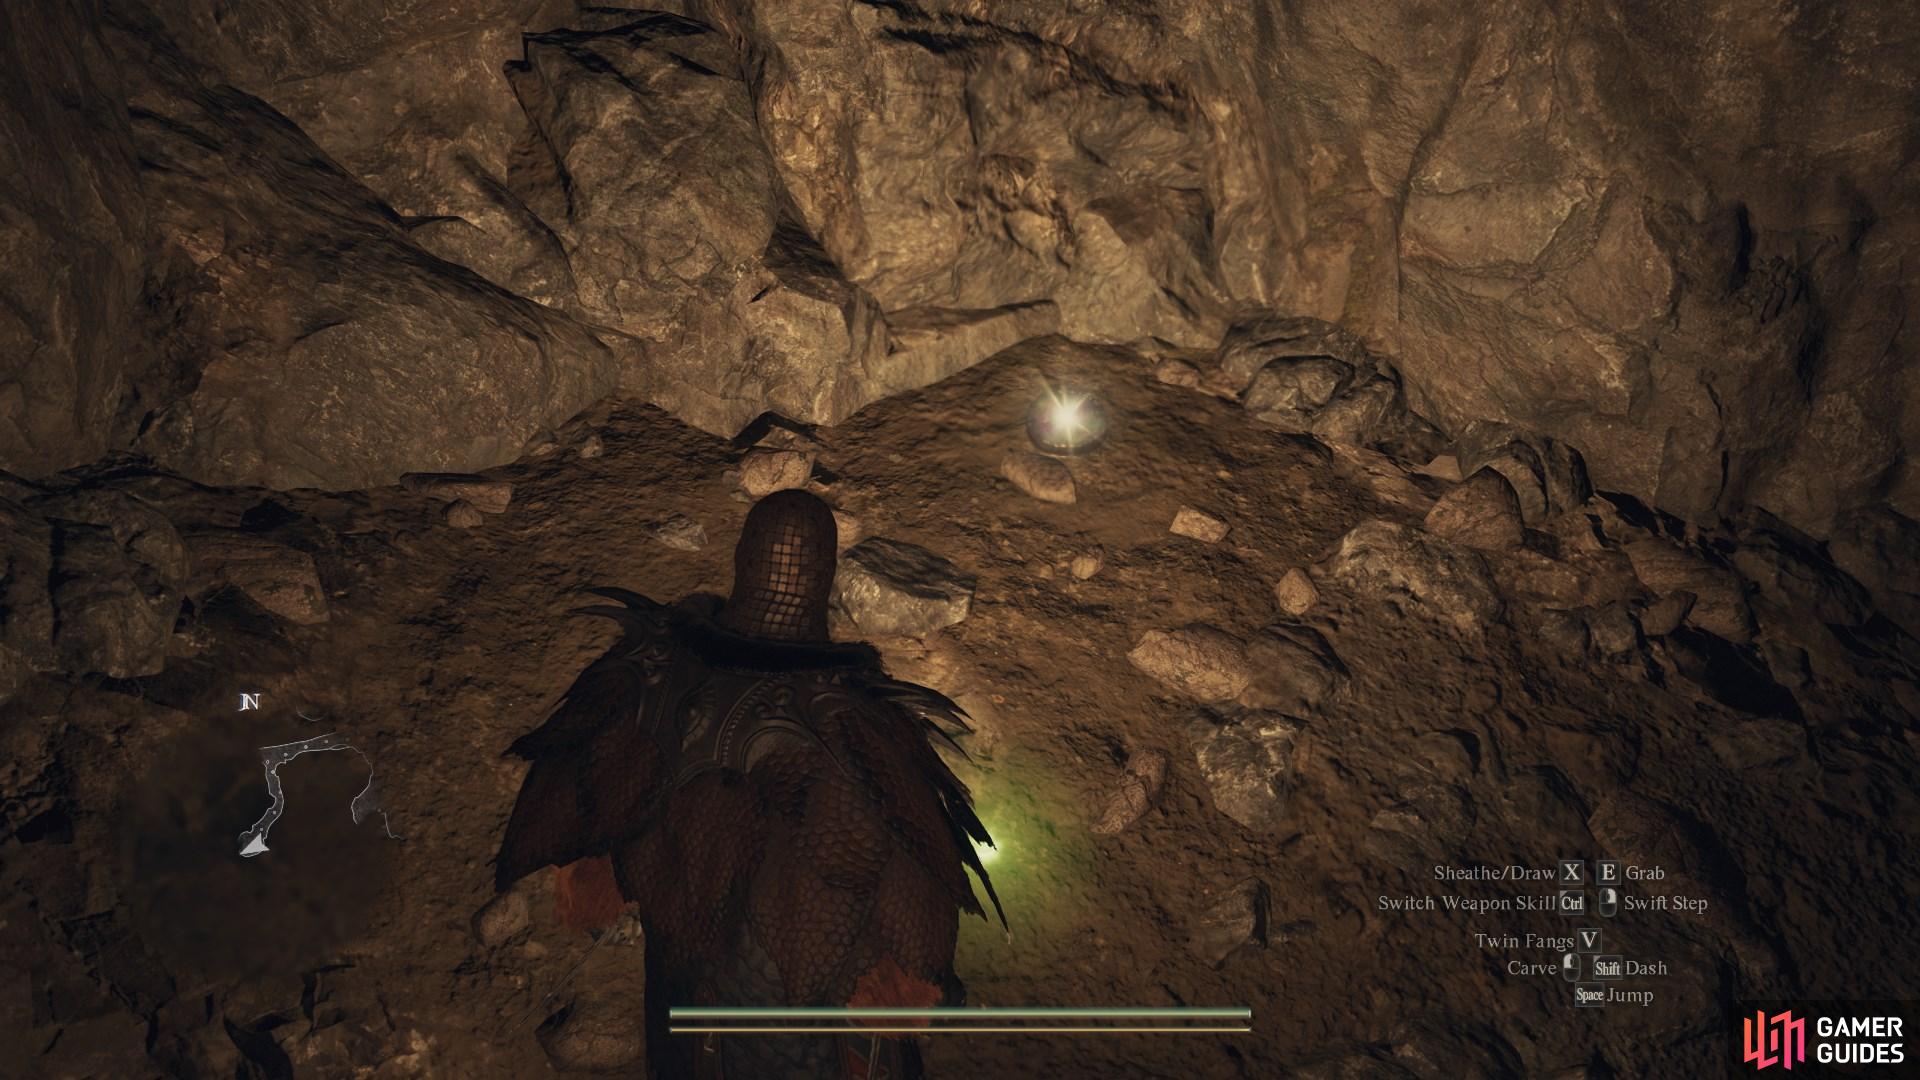
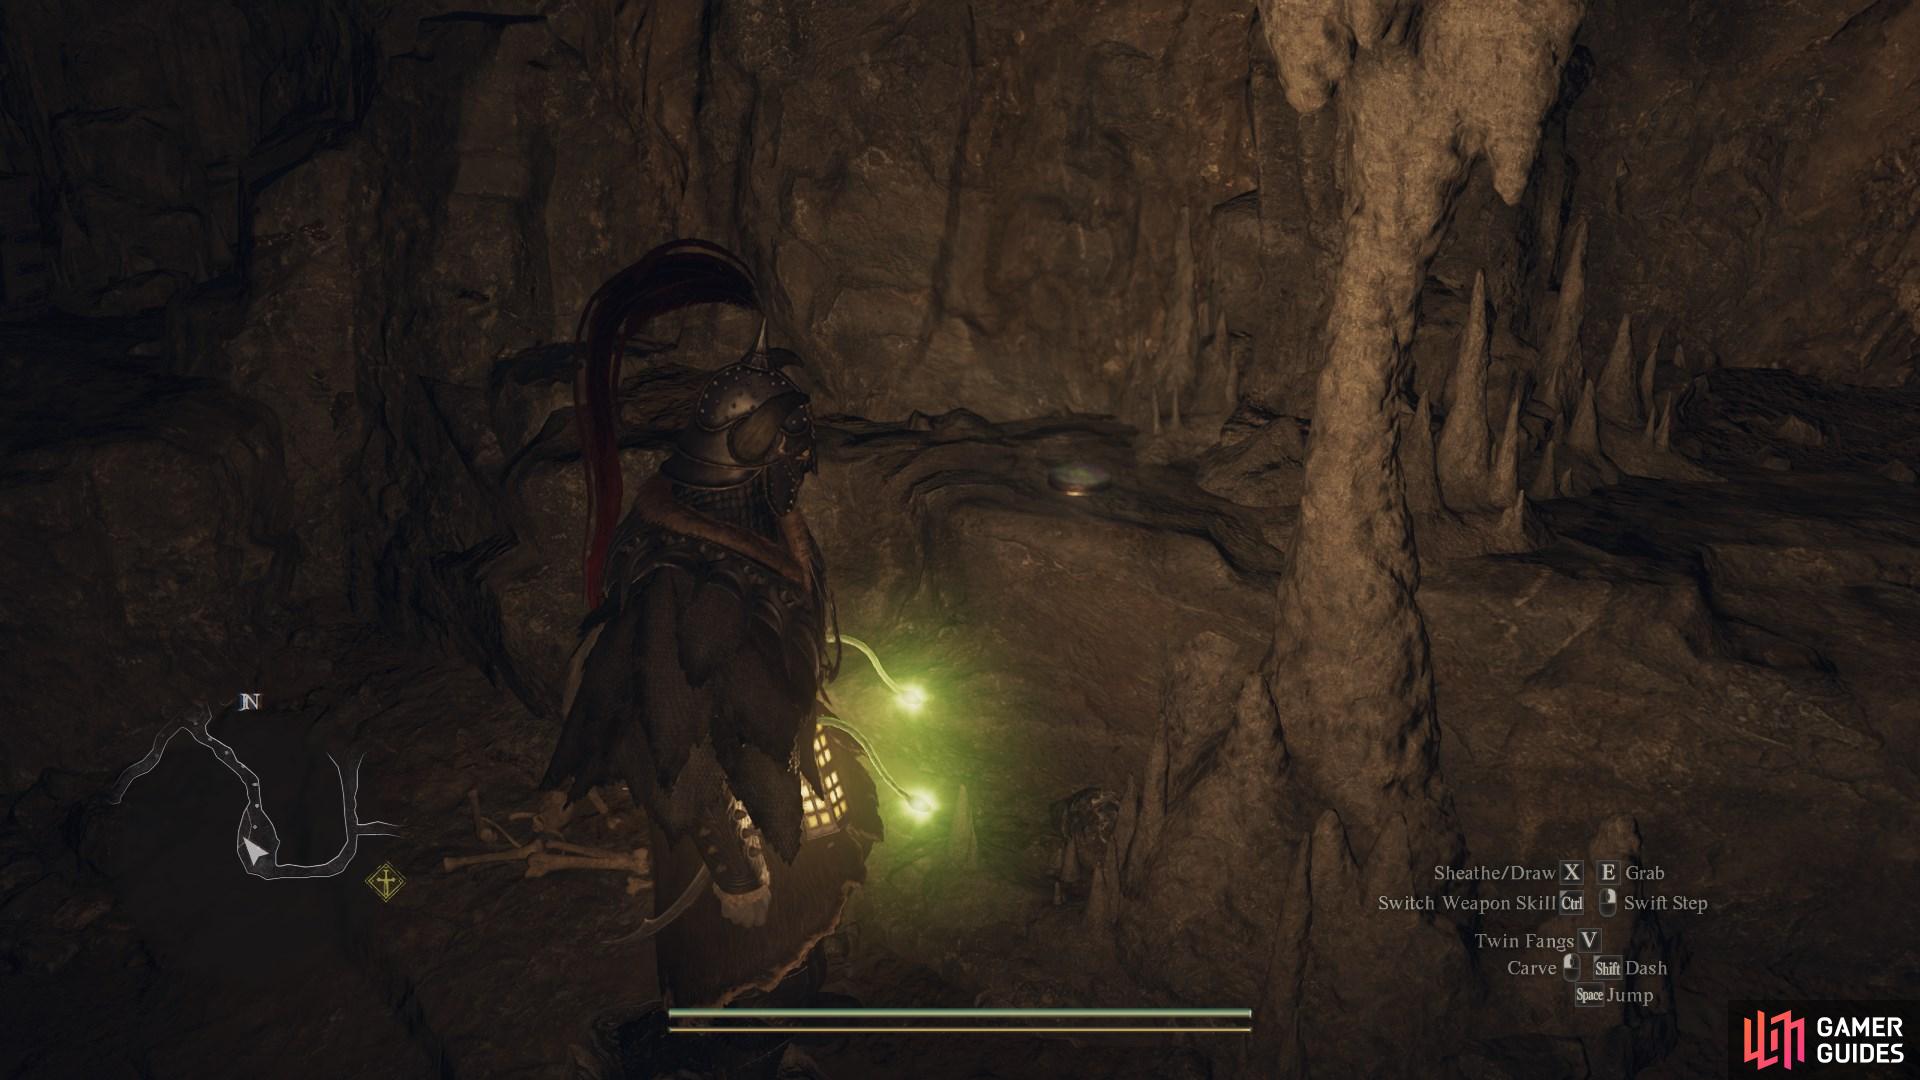
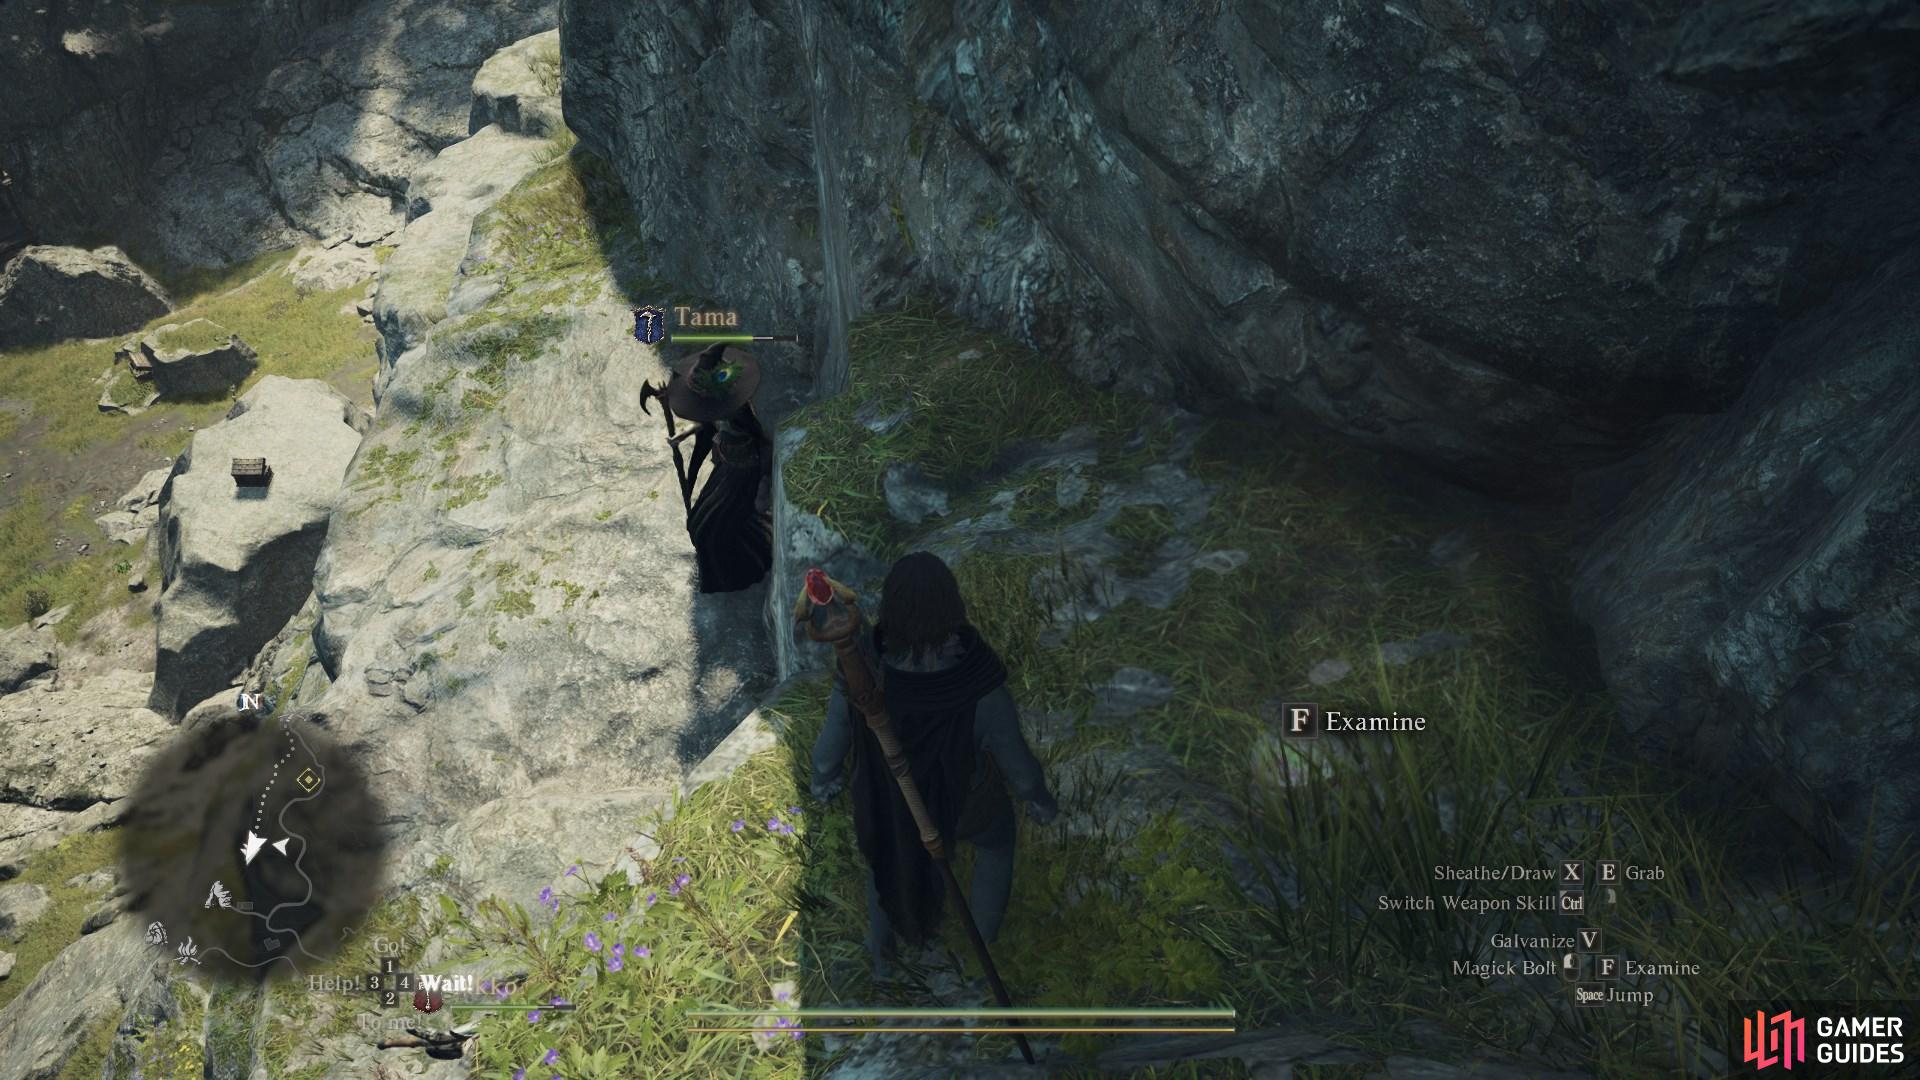
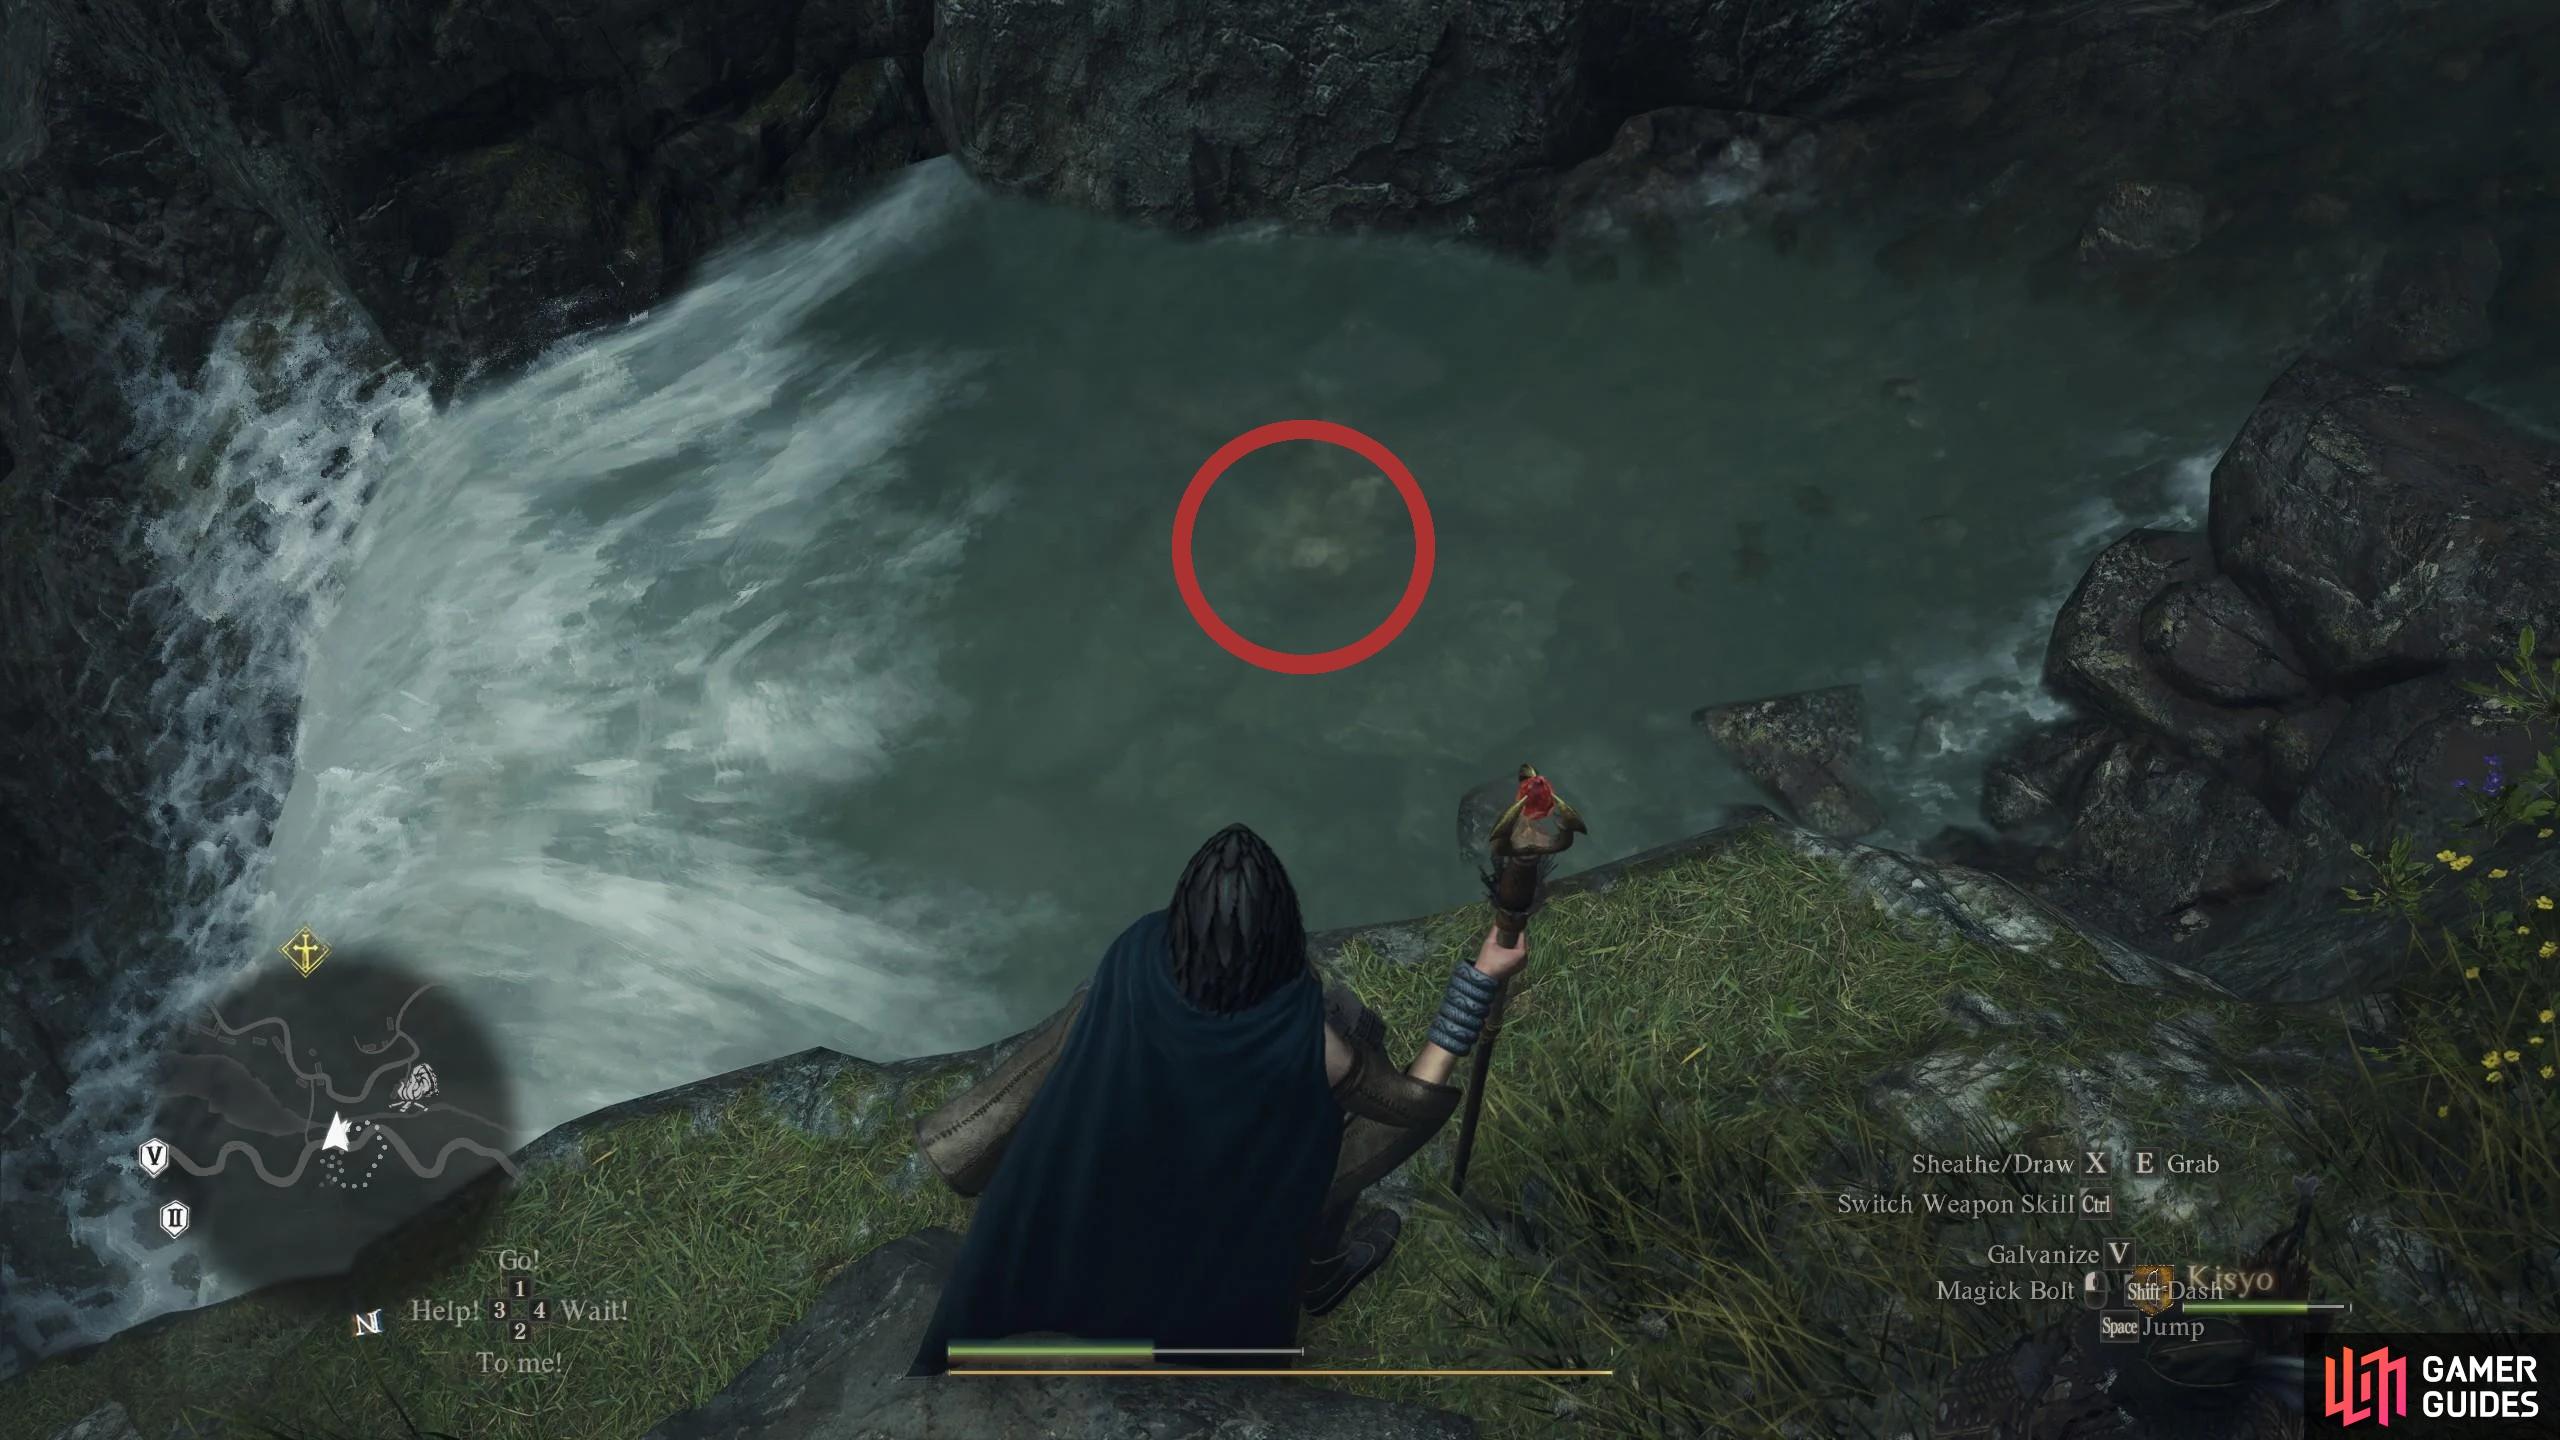
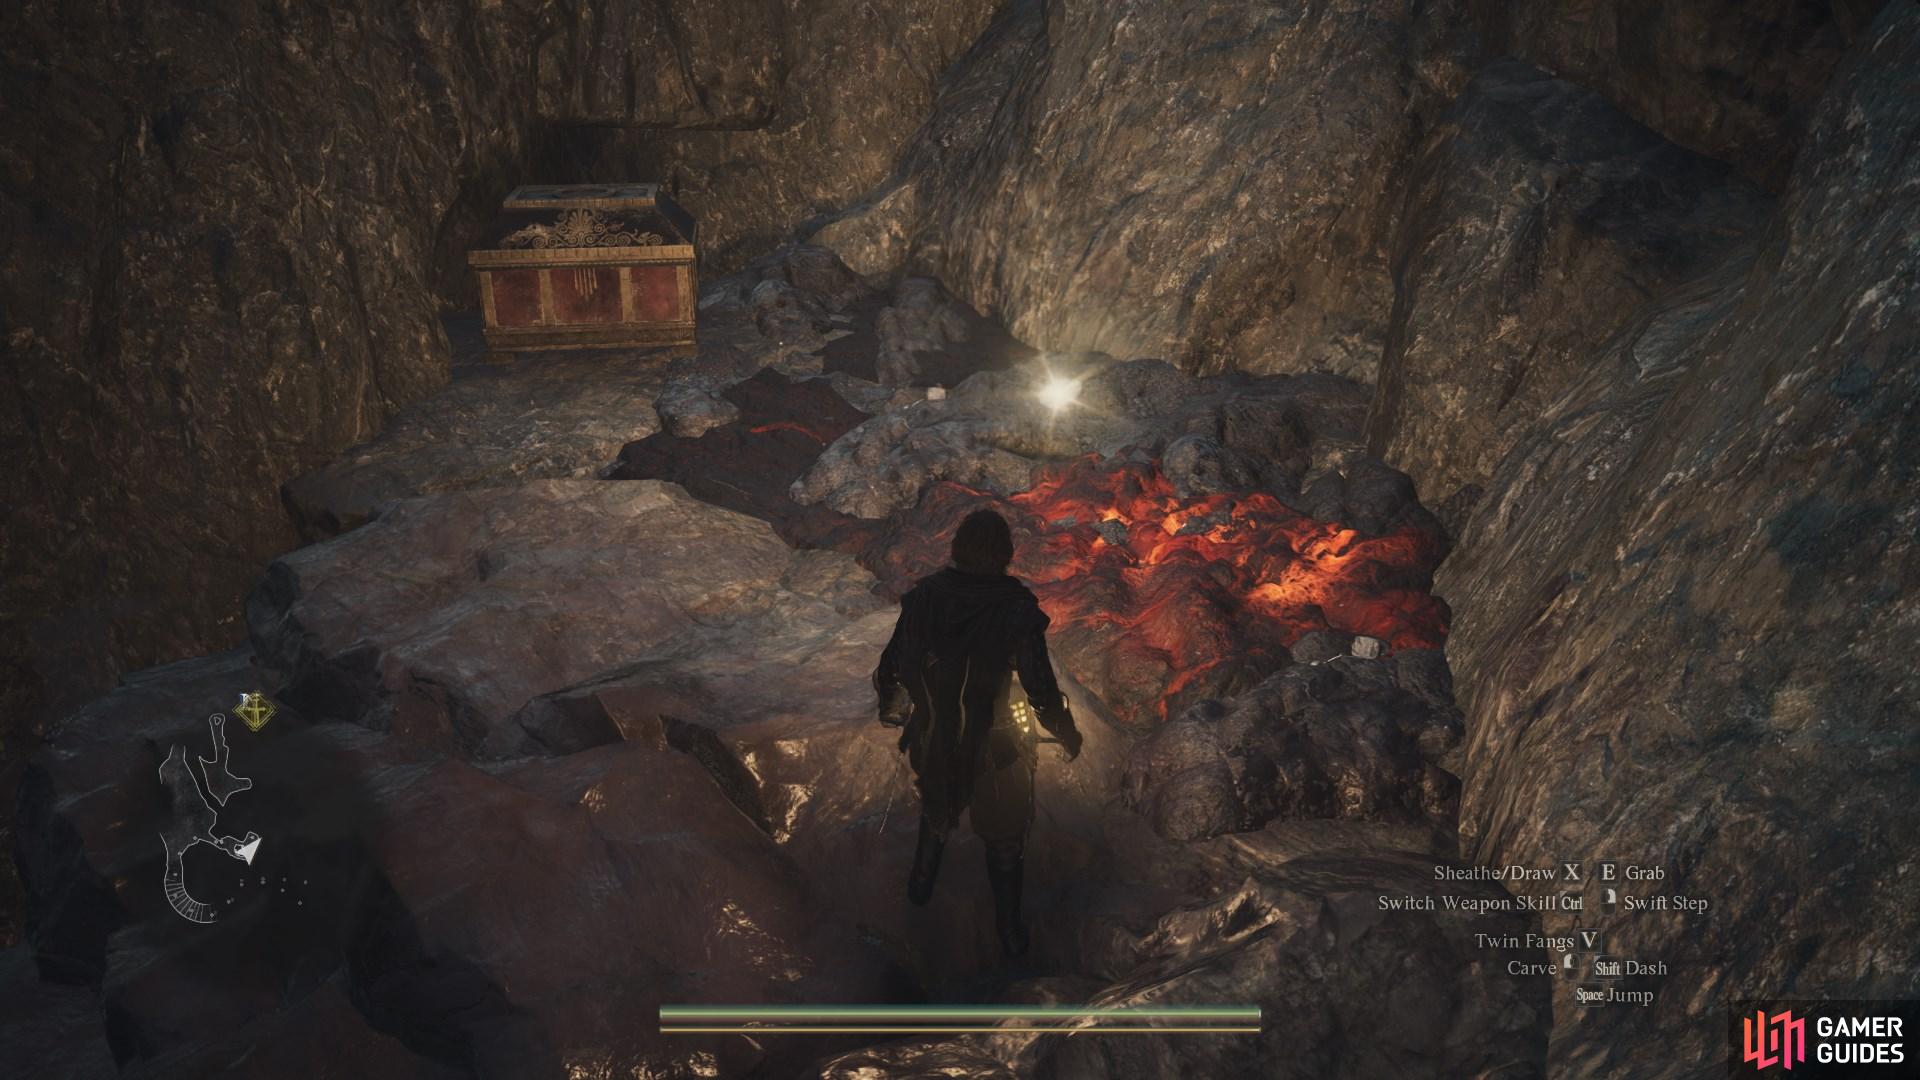
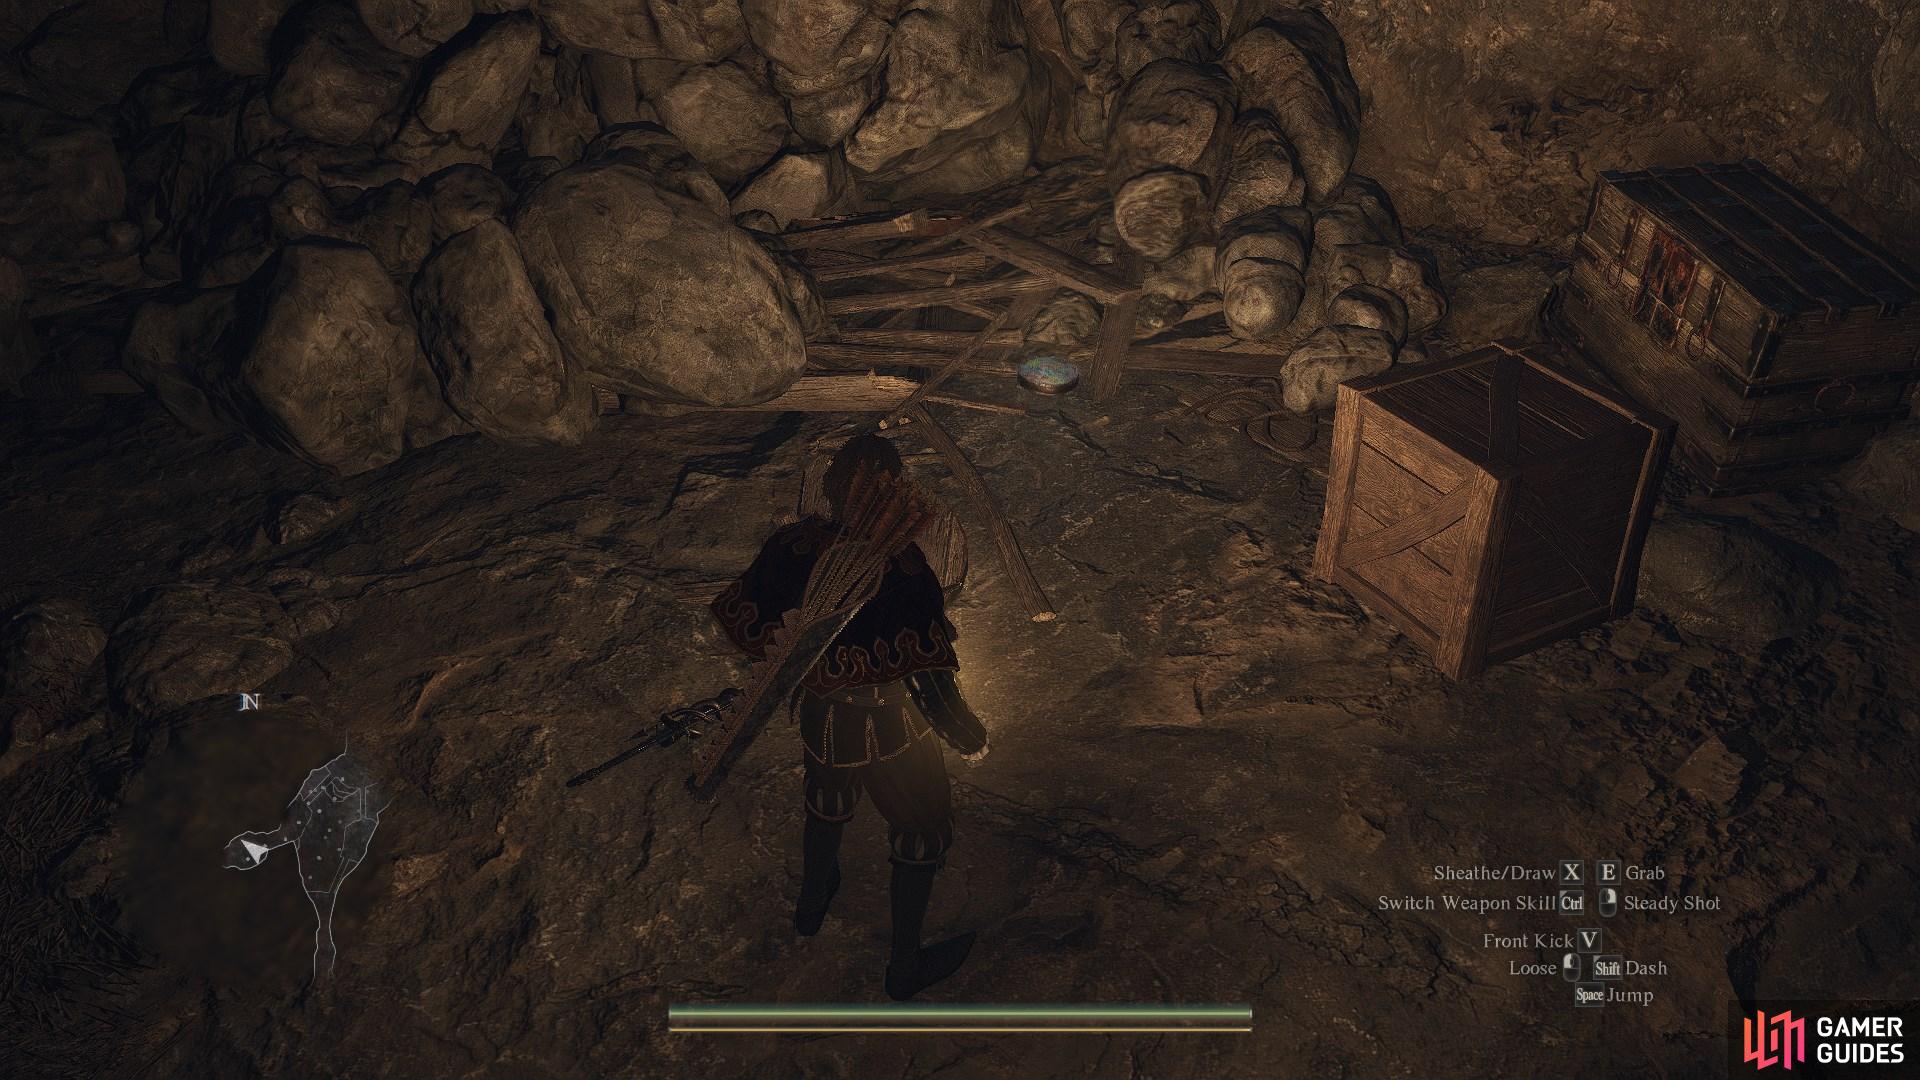
70947. World
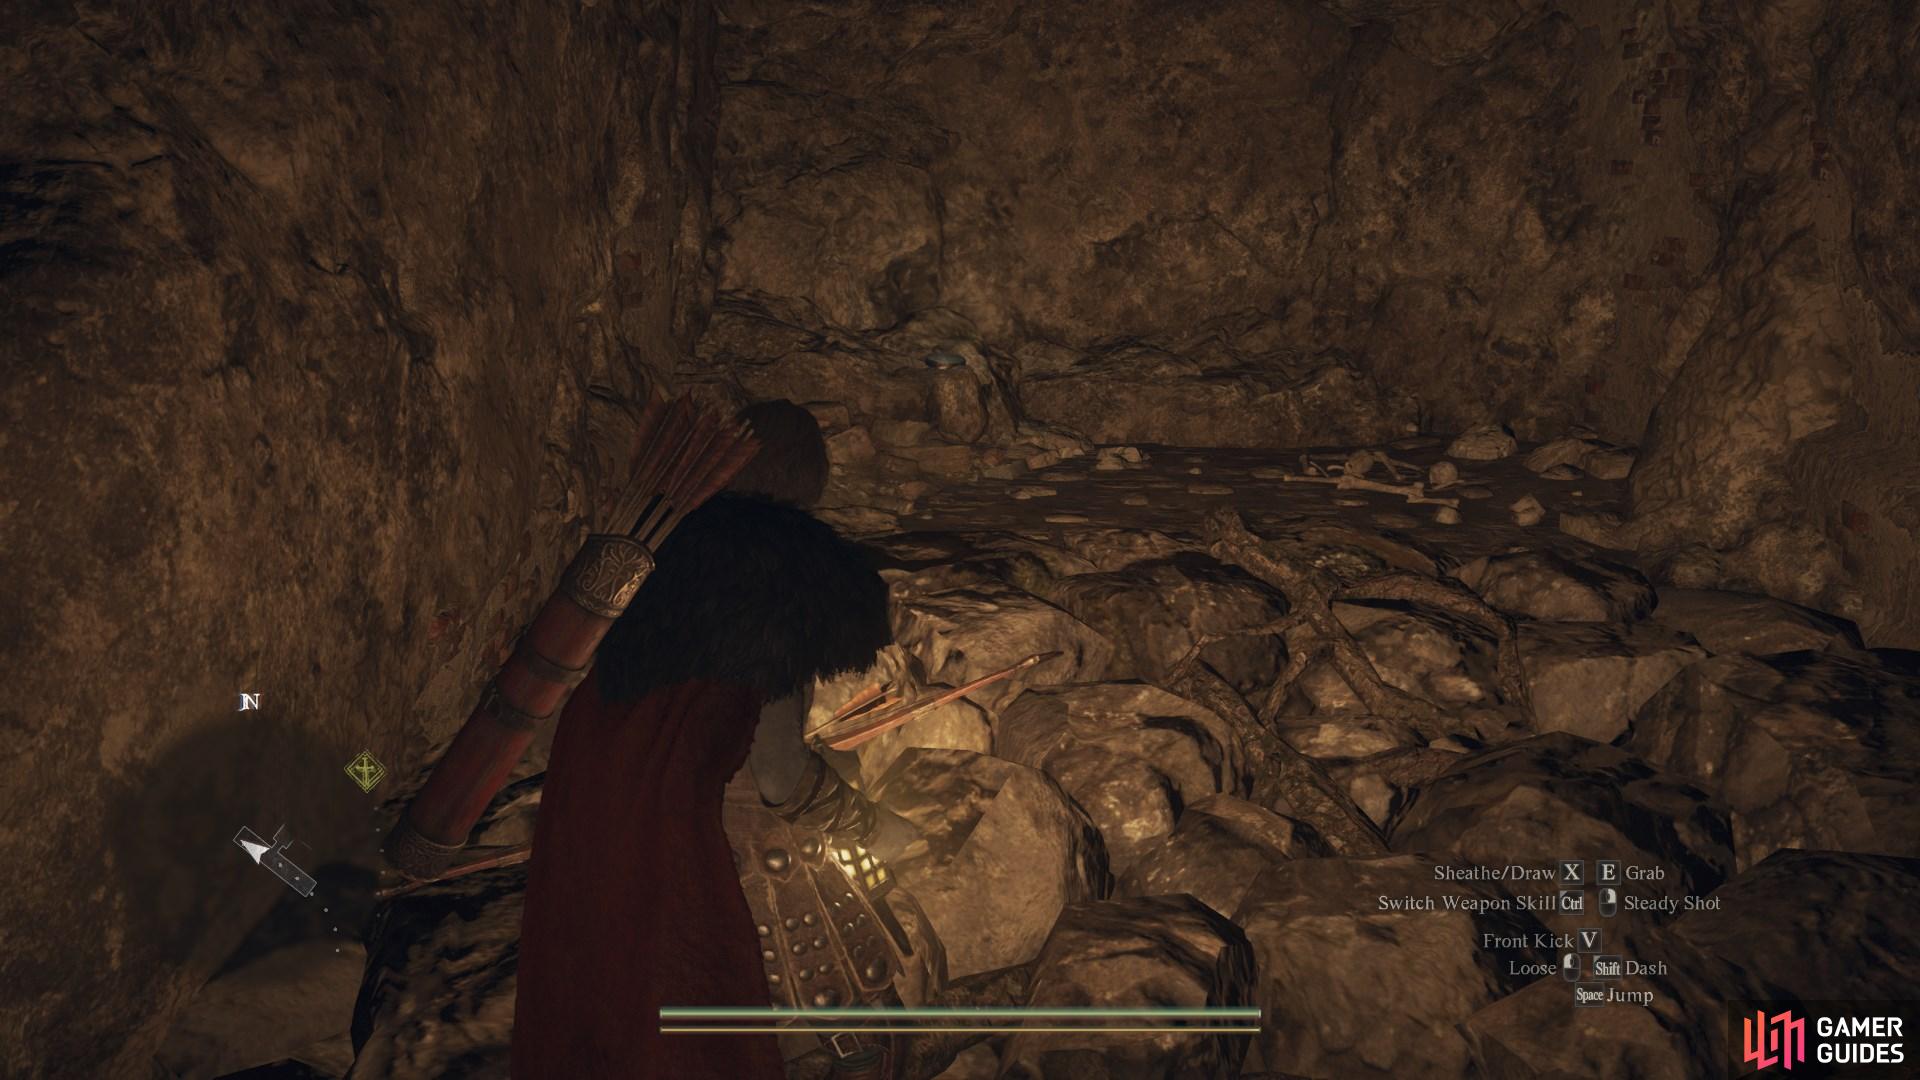
Found in a puddle next to a ![]() Riftstone of the Straightforward. Run left from the southern entrance to
Riftstone of the Straightforward. Run left from the southern entrance to ![]() Trevo Mine to find it.
Trevo Mine to find it.

70967. World
On top of the pillar northwest of ![]() Pilgrims’ Inn - Flagship. You’ll need to climb the mountain by grabbing the rocks to pull yourself up.
Pilgrims’ Inn - Flagship. You’ll need to climb the mountain by grabbing the rocks to pull yourself up.
70968. World
By the pillar, halfway up the mountain east of ![]() Battahl Ropeway Station One.
Battahl Ropeway Station One.
70969. World
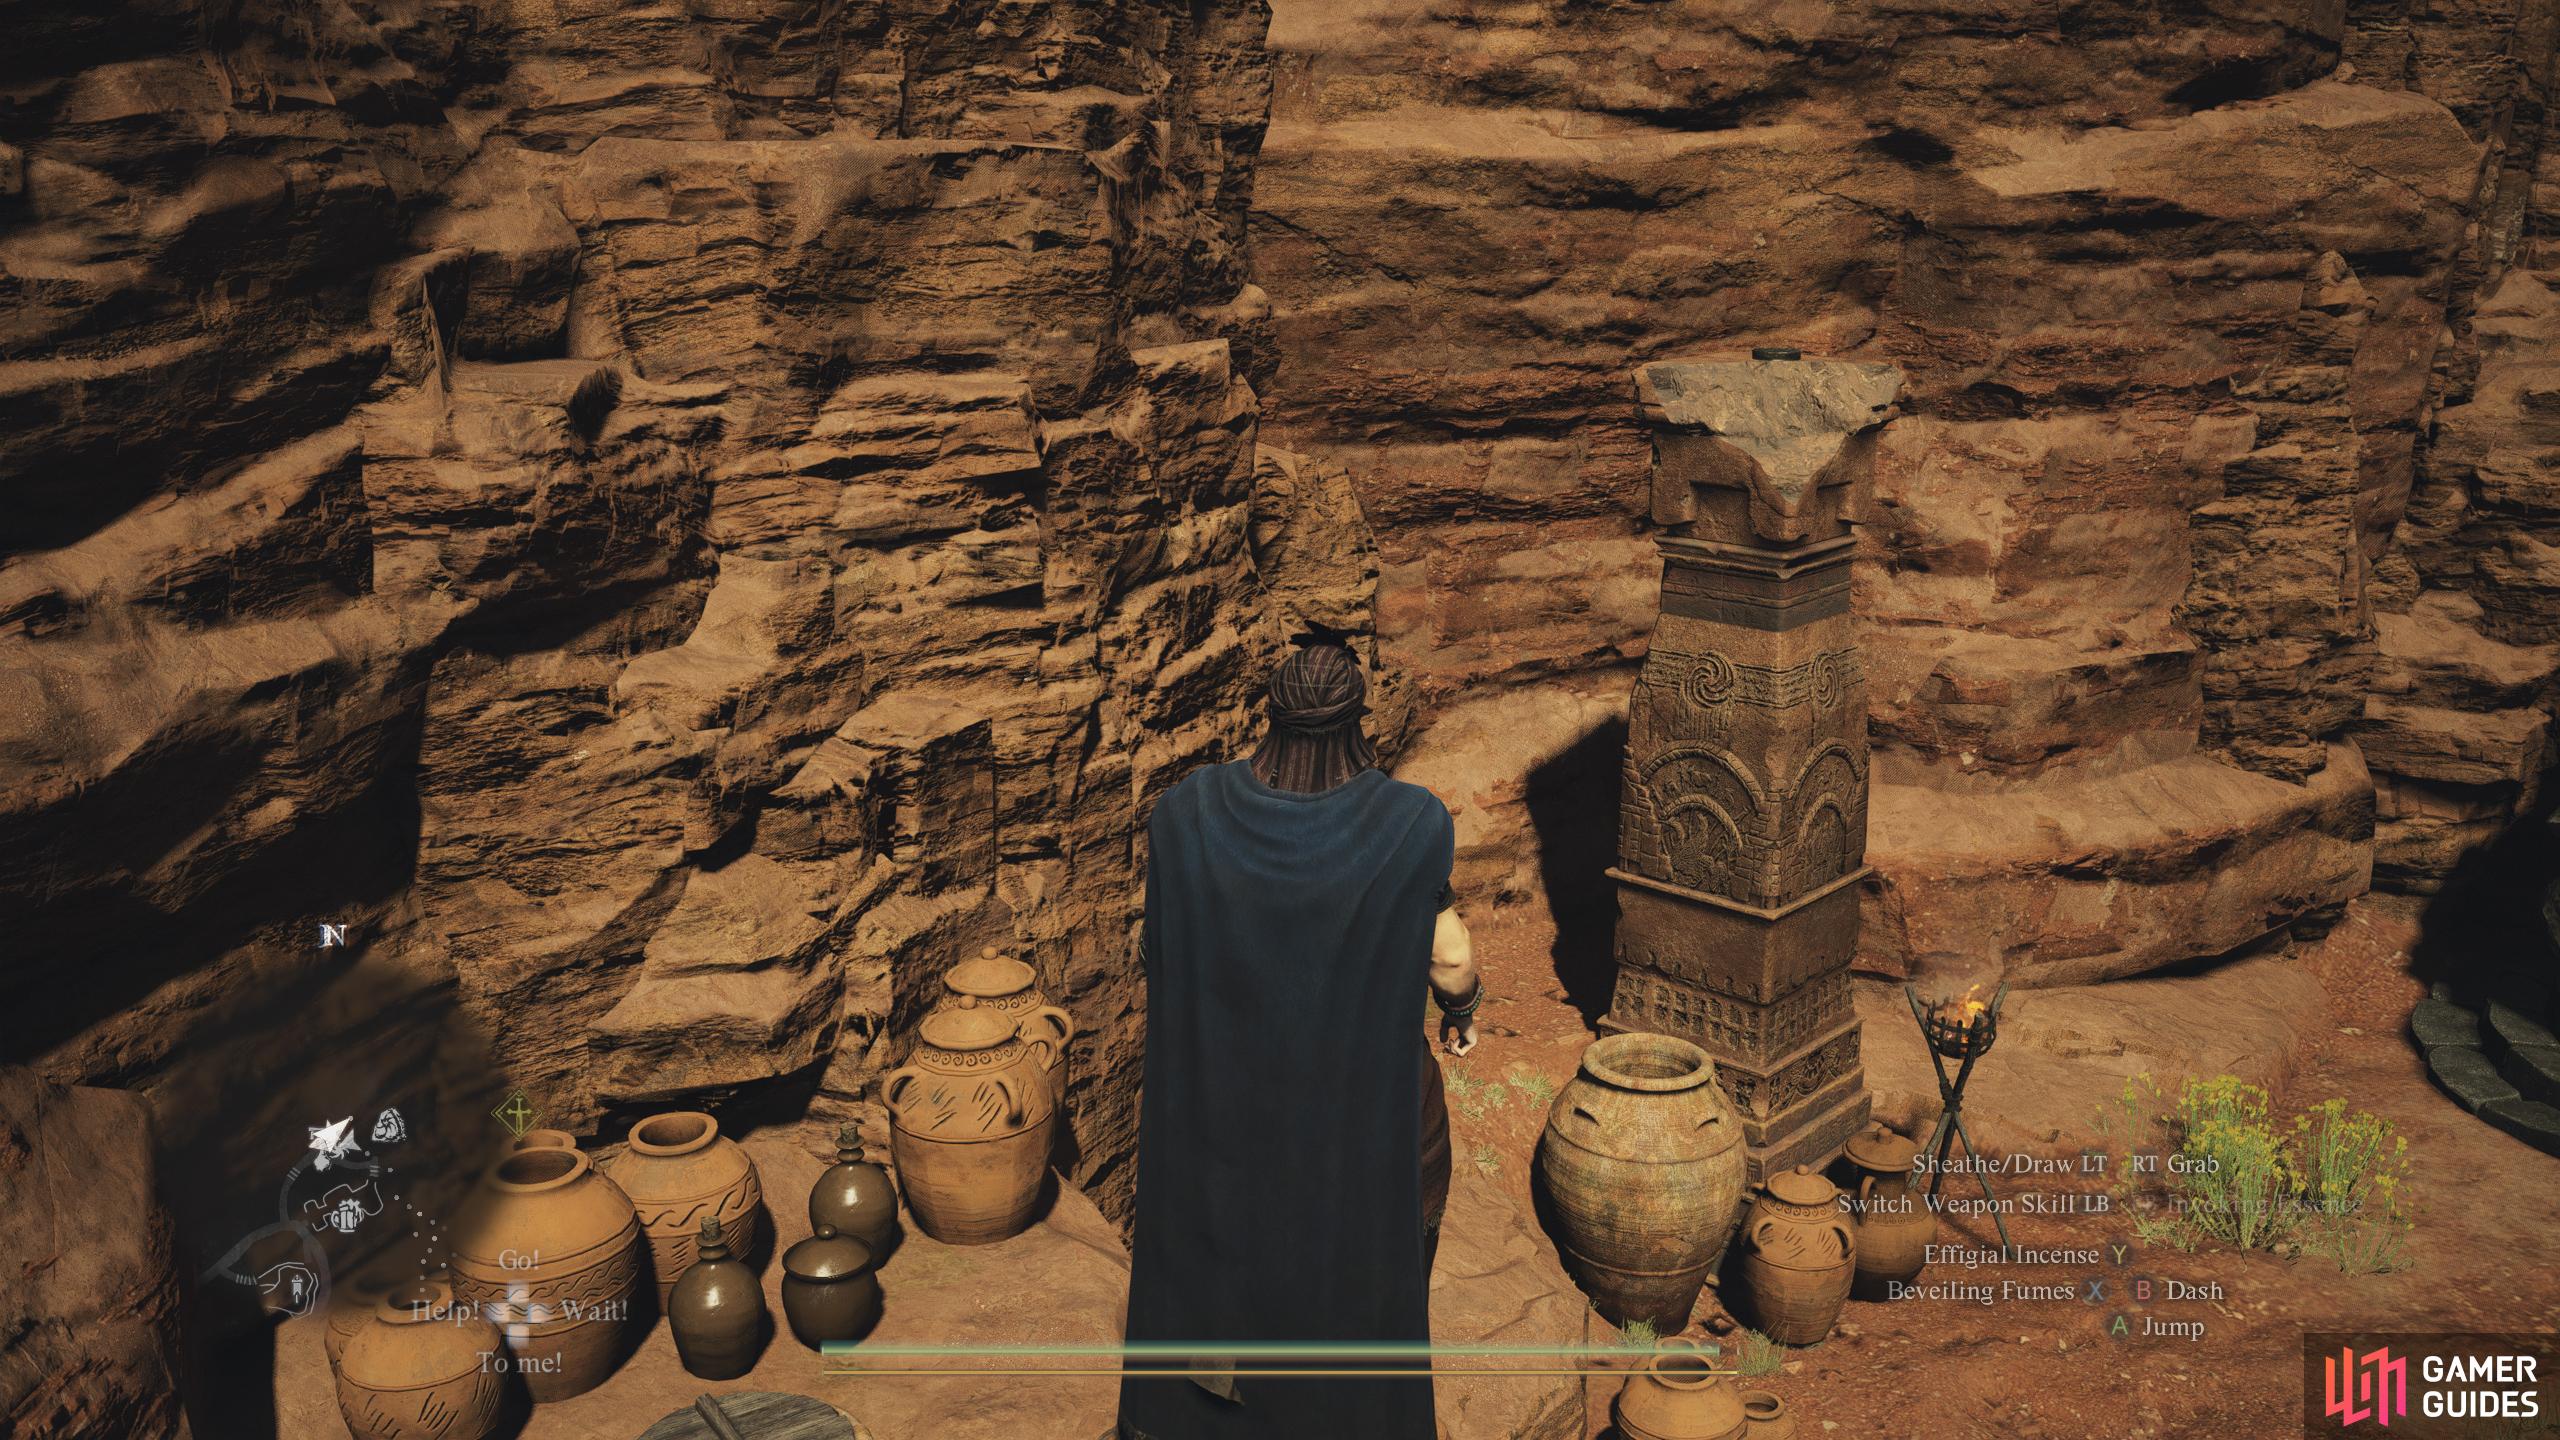
On the dilapidated pillar next to the ![]() Grand Riftstone of Battahl. Jump from the smaller pillar by the pots to reach it.
Grand Riftstone of Battahl. Jump from the smaller pillar by the pots to reach it.
70972. World
At the edge of the cliff halfway up the mountain. Opposite the campsite.

70988. World
On top of the red fabric above and opposite ![]() Mettefere’s Cosmetics. Climb up the mountain opposite
Mettefere’s Cosmetics. Climb up the mountain opposite ![]() Pilgrims’ Inn - Flagship and jump across the fabrics to reach it.
Pilgrims’ Inn - Flagship and jump across the fabrics to reach it.
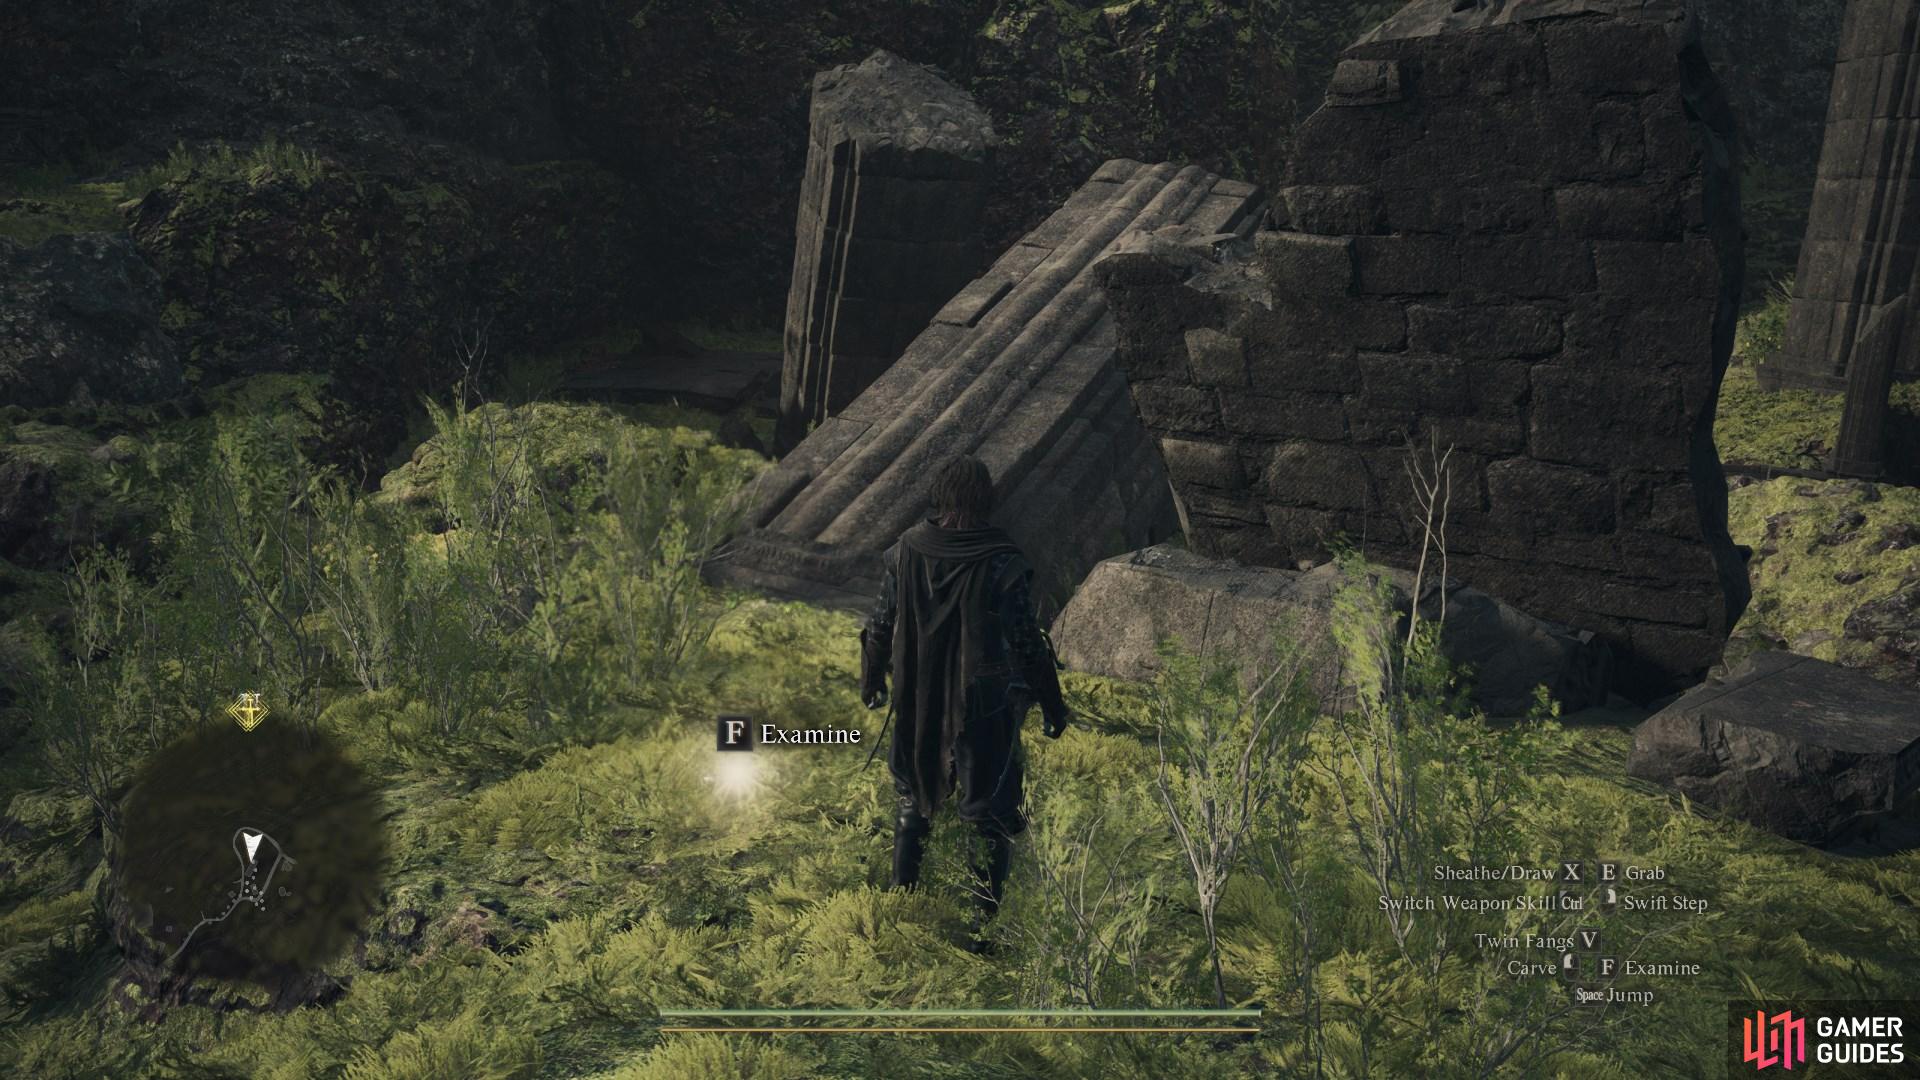
71255. World
On the raised platform in the ![]() Crumbling Ruins. Two
Crumbling Ruins. Two ![]() Golems guard these ruins.
Golems guard these ruins.
71259. World
Halfway up the mountain south of Ropeway Station Two. Use the nearby rocks to reach the area.
71307. World
When looking down from the riftstone, you will find this token beneath the white tent.

71337. World
On the upper outer edge of the ruins. Climb outside on the edge near the chest inside the ruins.
71341. World
Near the rockface halfway up the mountain south-east of the ![]() Tomb of Ja’Nuwa.
Tomb of Ja’Nuwa.
71348. World
Climb the ![]() Forgotten Ruins and traverse the rock ledge , you will find the token on the cliff.
Forgotten Ruins and traverse the rock ledge , you will find the token on the cliff.
71360. World
Follow the path back around to the highest ledge, where you’ll find it lying on the floor.
71392. World
On top of a raised section of the ruins. Accessed by jumping to the top of the nearby pieces.
71462. World
While traveling south through the pass, climb the stairs to your left and clamber onto the rock ledge. Follow it around the corner to find this token on the ground.
71479. World
Continue running around the rock with the riftstone on it and climb up to the second level. This token will be on the ground.
71506. World
Before you find the rabbits, climb up the rock face and follow the ledge along until you find the Seeker Token
71524. World
Stand next to the viewing statue, while facing the same direction follow the eastern rock ridge to the Seeker Token on the floor.
71555. World
Follow the path North, then climb the grey rock thats fallen over. Use the cliff edges to leap across to the Seeker Token

71566. World
Climb the pillar which has collapsed and landed as a ramp on the path below.
71574. World
Follow the elevated grassy ledge until you find a chest, then climb over the small rock behind the chest to collect the token.
71577. World
South of the ![]() Forgotten Riftstone. Follow the grassy ledge to find this token at the end of it.
Forgotten Riftstone. Follow the grassy ledge to find this token at the end of it.
71578. Bakbattahl Map
Climb up the scaffolding located along the main road and then jump between the hammocks until you reach the high one in the middle. The coin is nestled inside.
71580. Bakbattahl Map
Follow the wooden ladder staircase that leads to rope way station, climb onto the ledge infront of you and follow it around to the coin.
71597. World
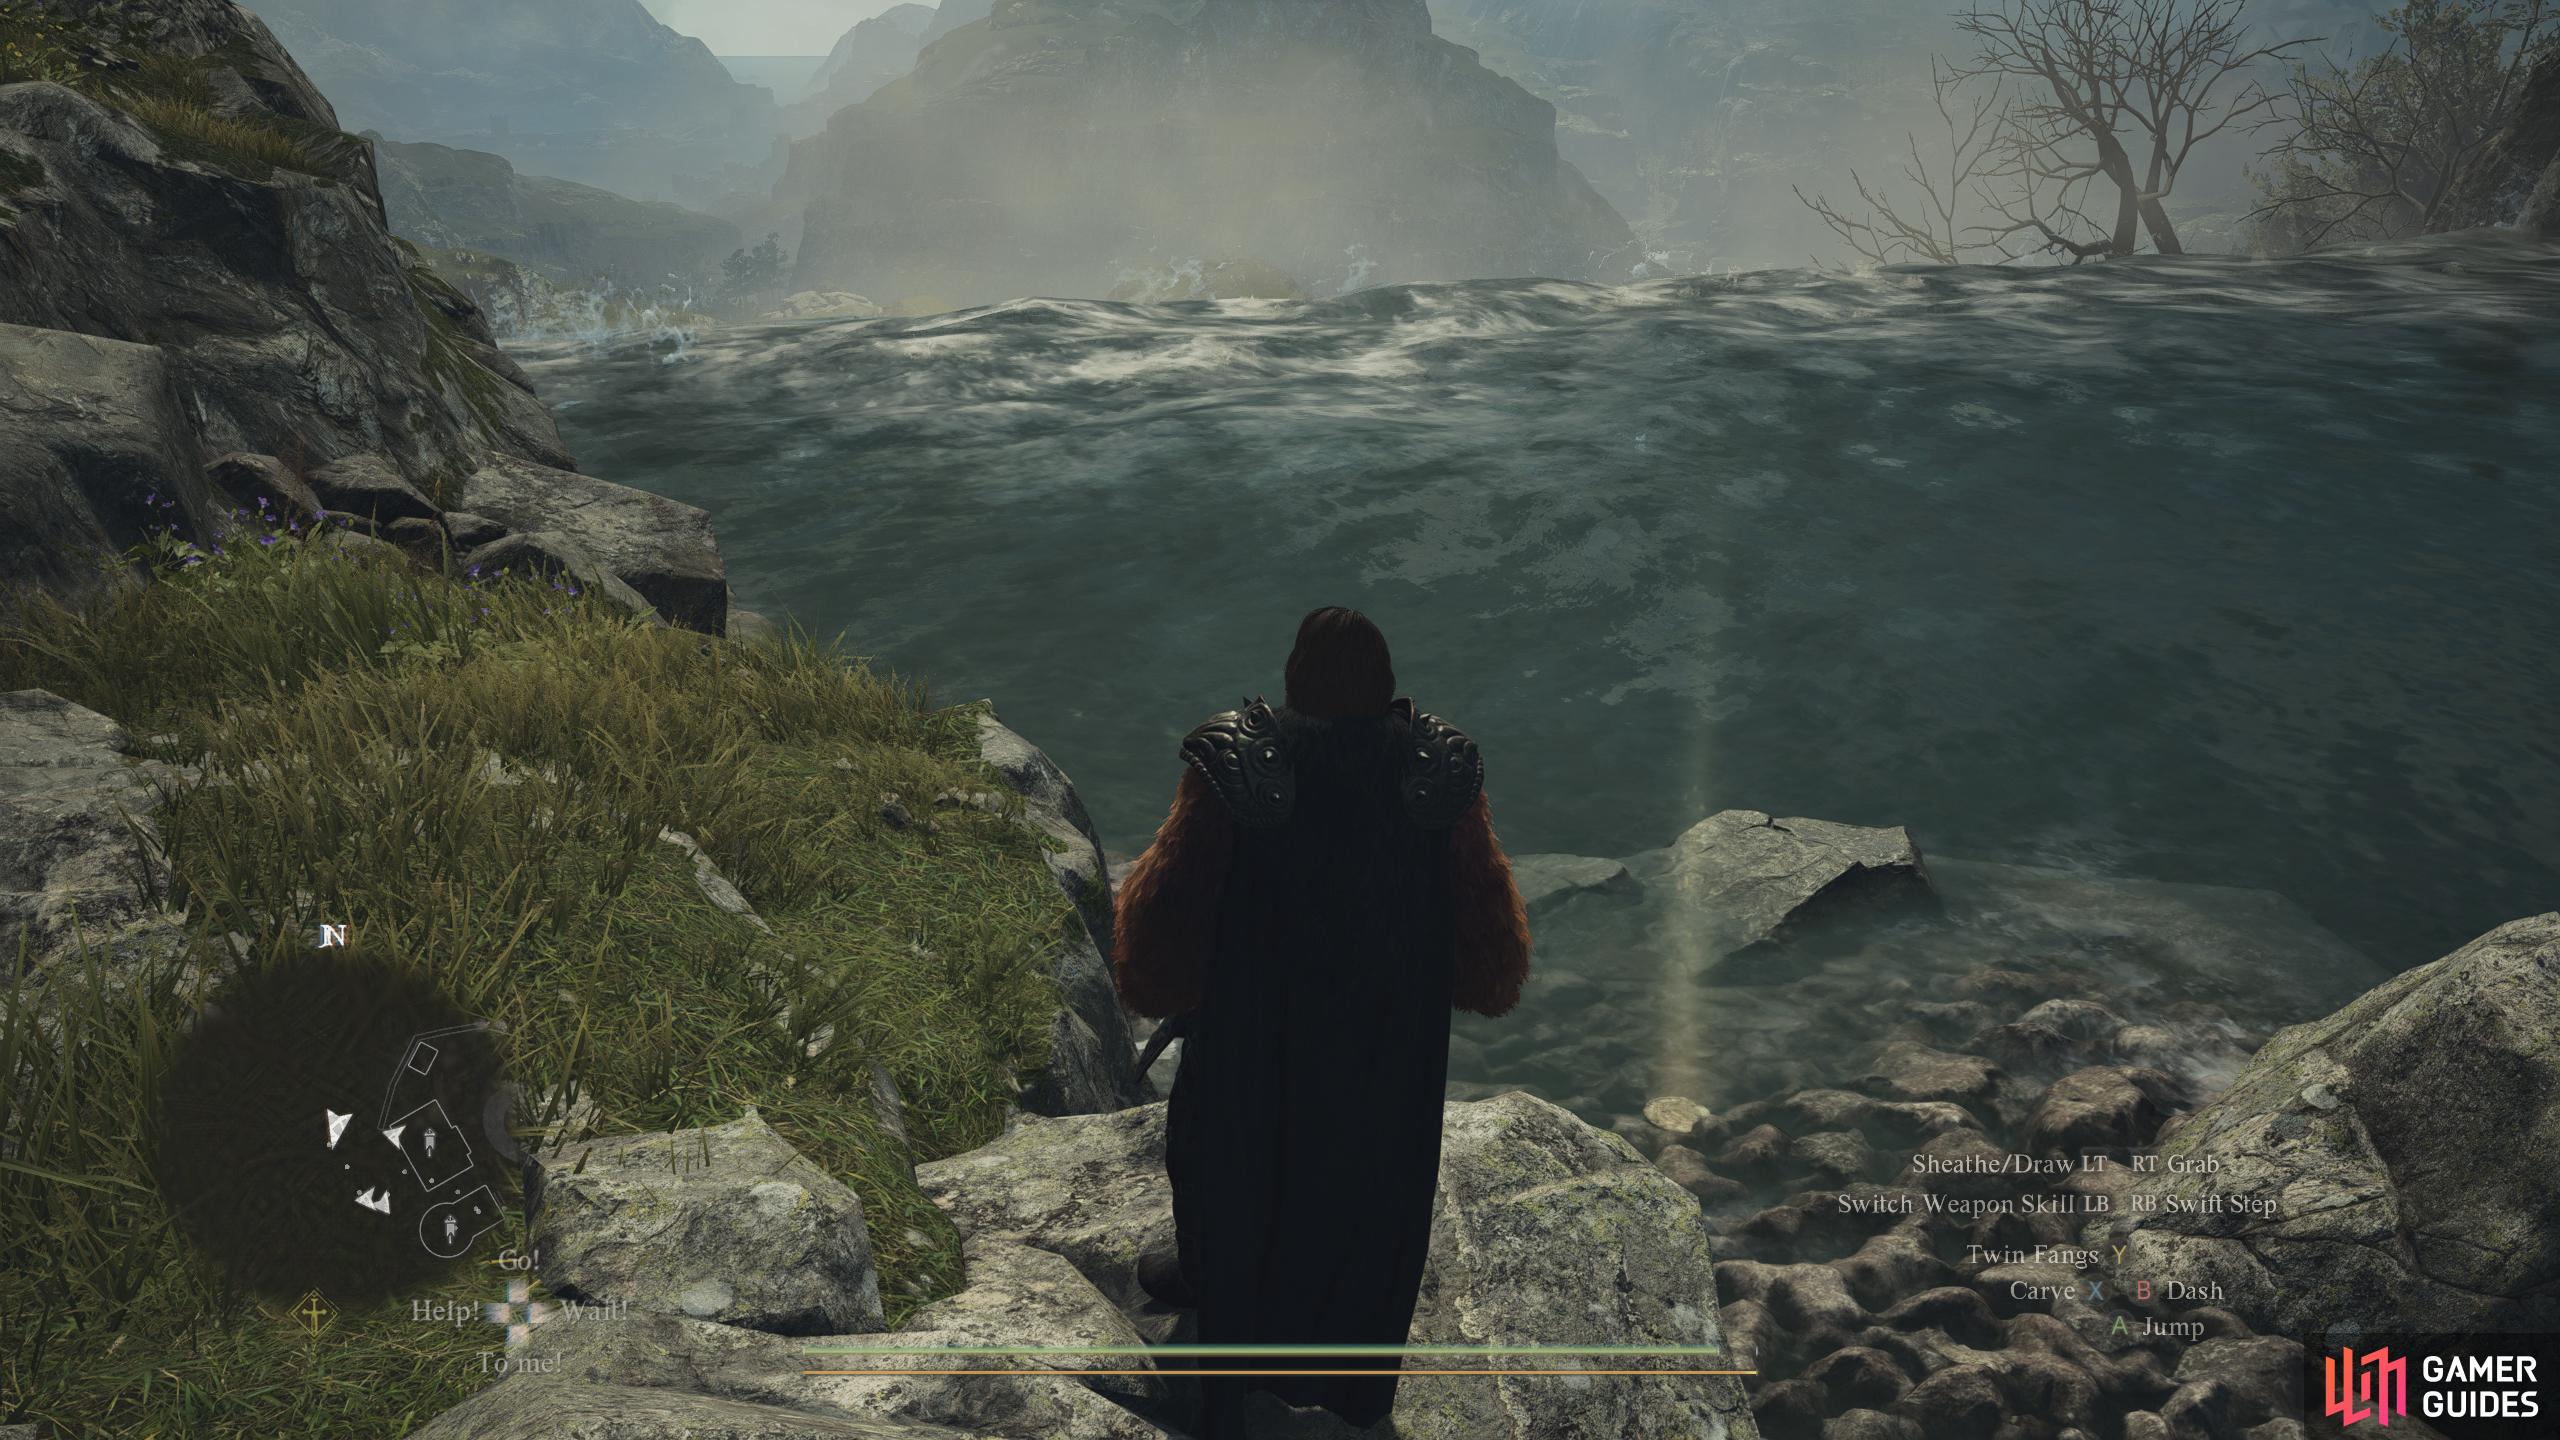
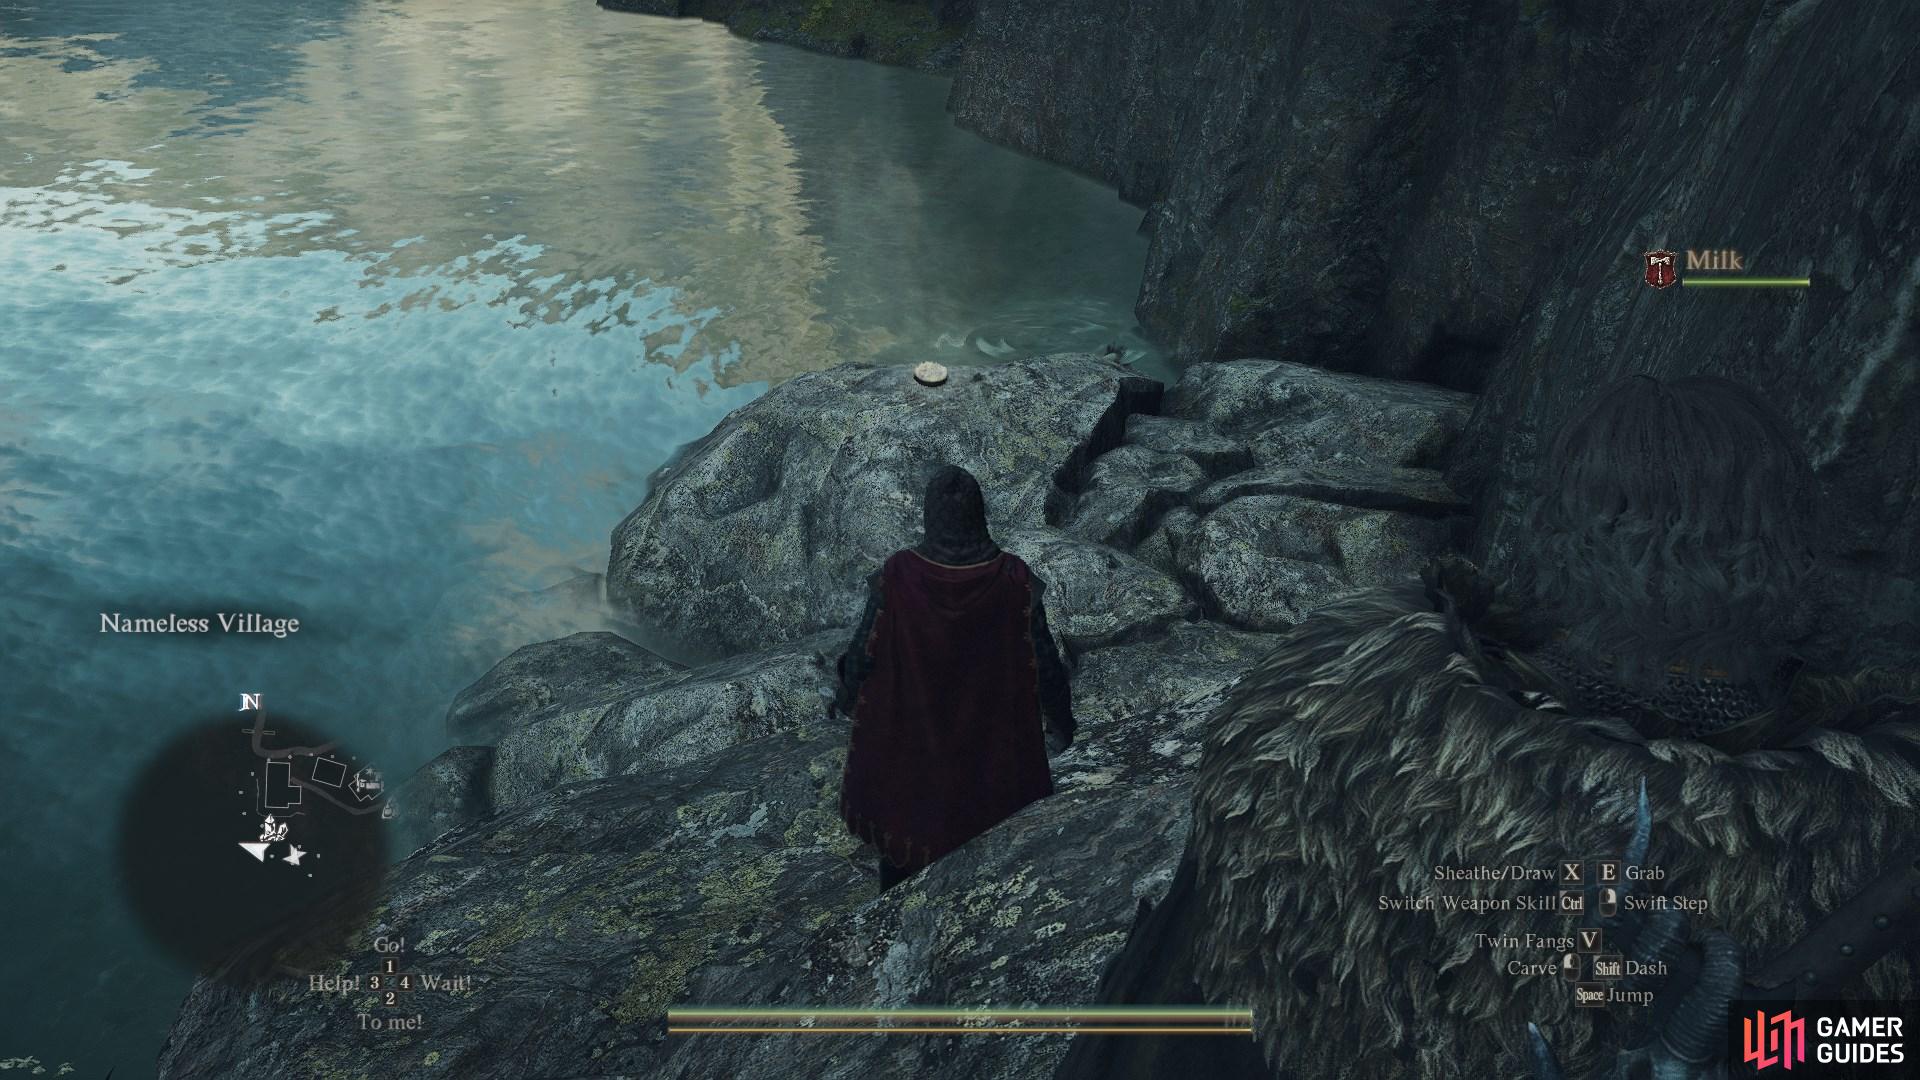
In ![]() Melve among the rubble near the sea northwest of town. Near the top of the Waterfall.
Melve among the rubble near the sea northwest of town. Near the top of the Waterfall.
71611. World
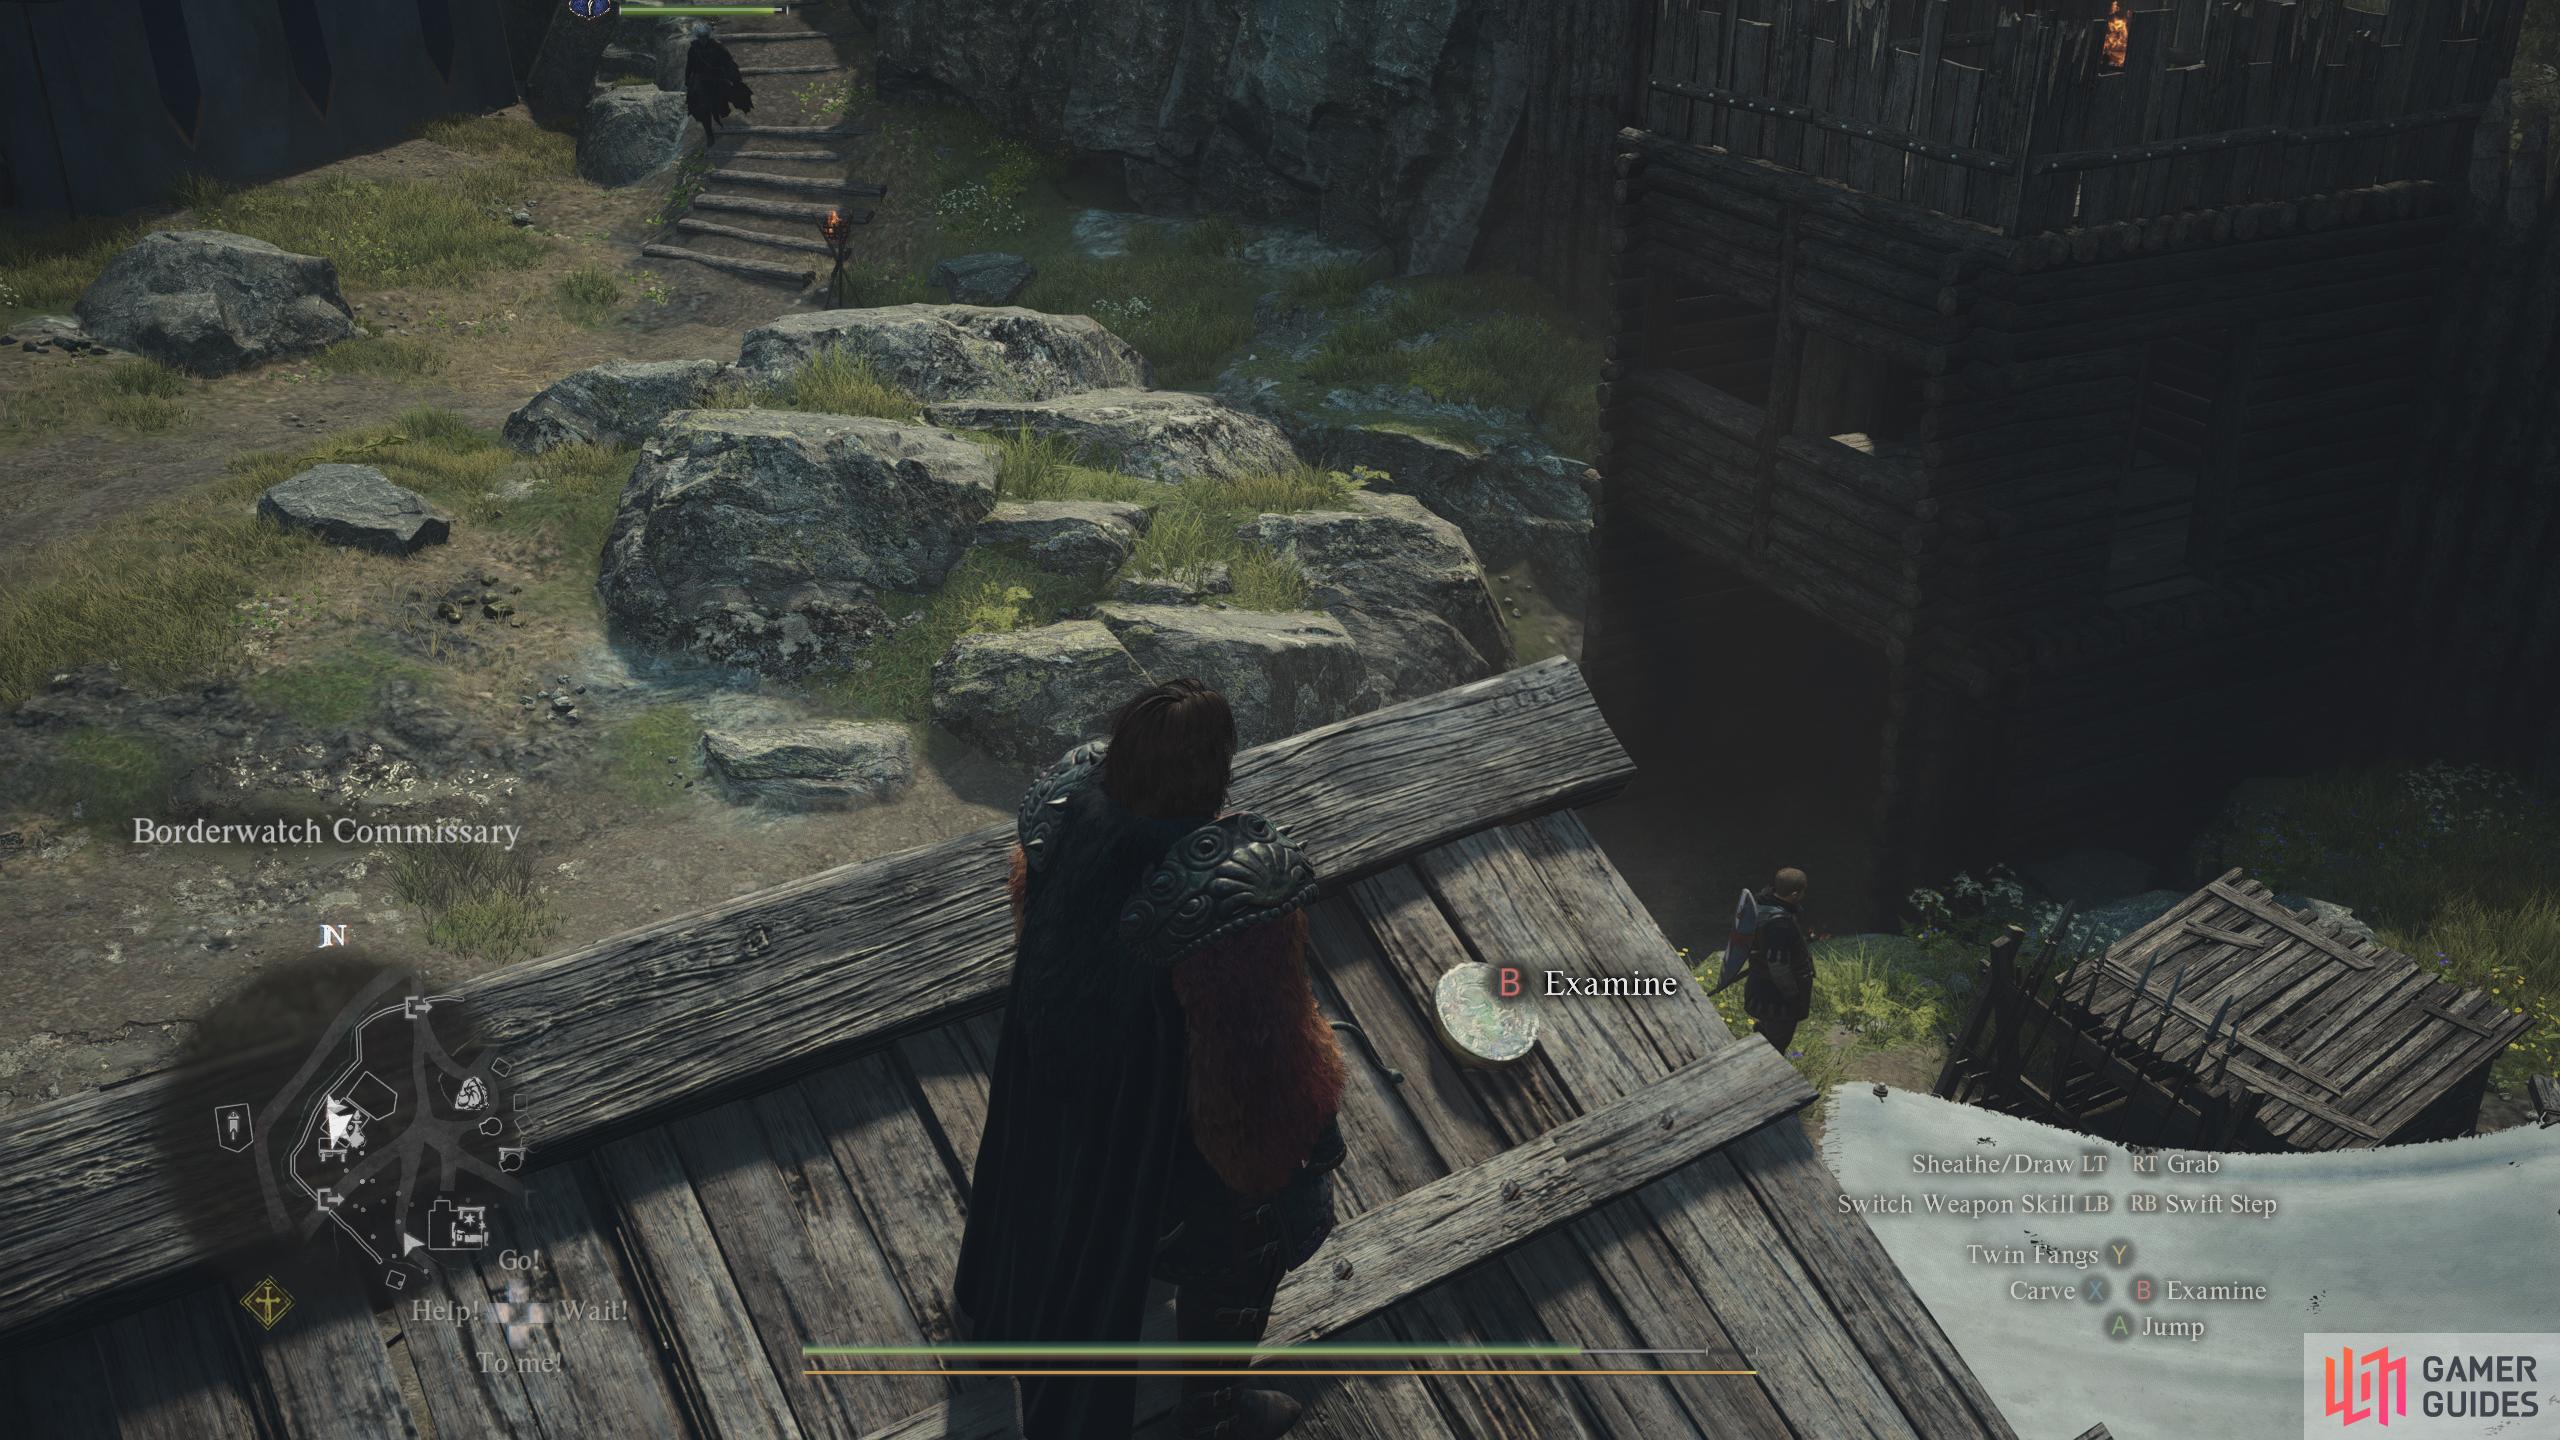
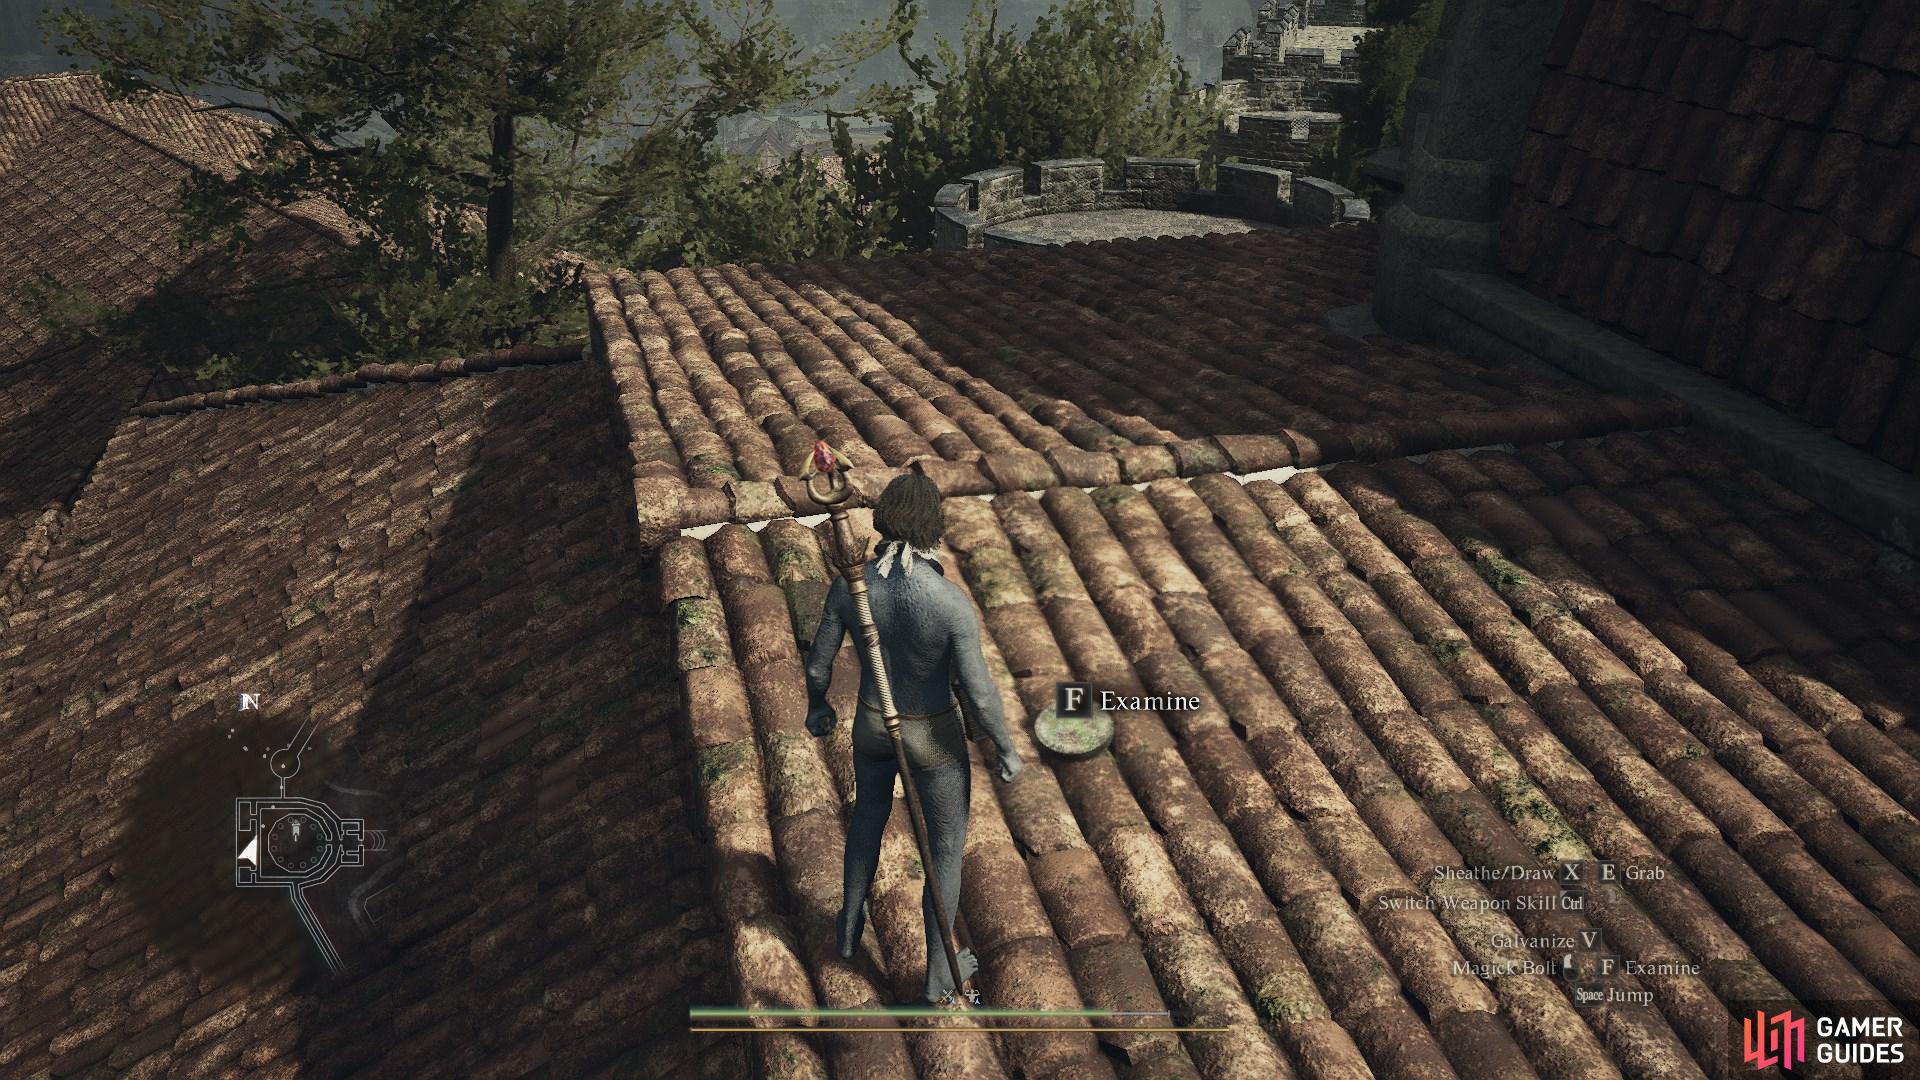
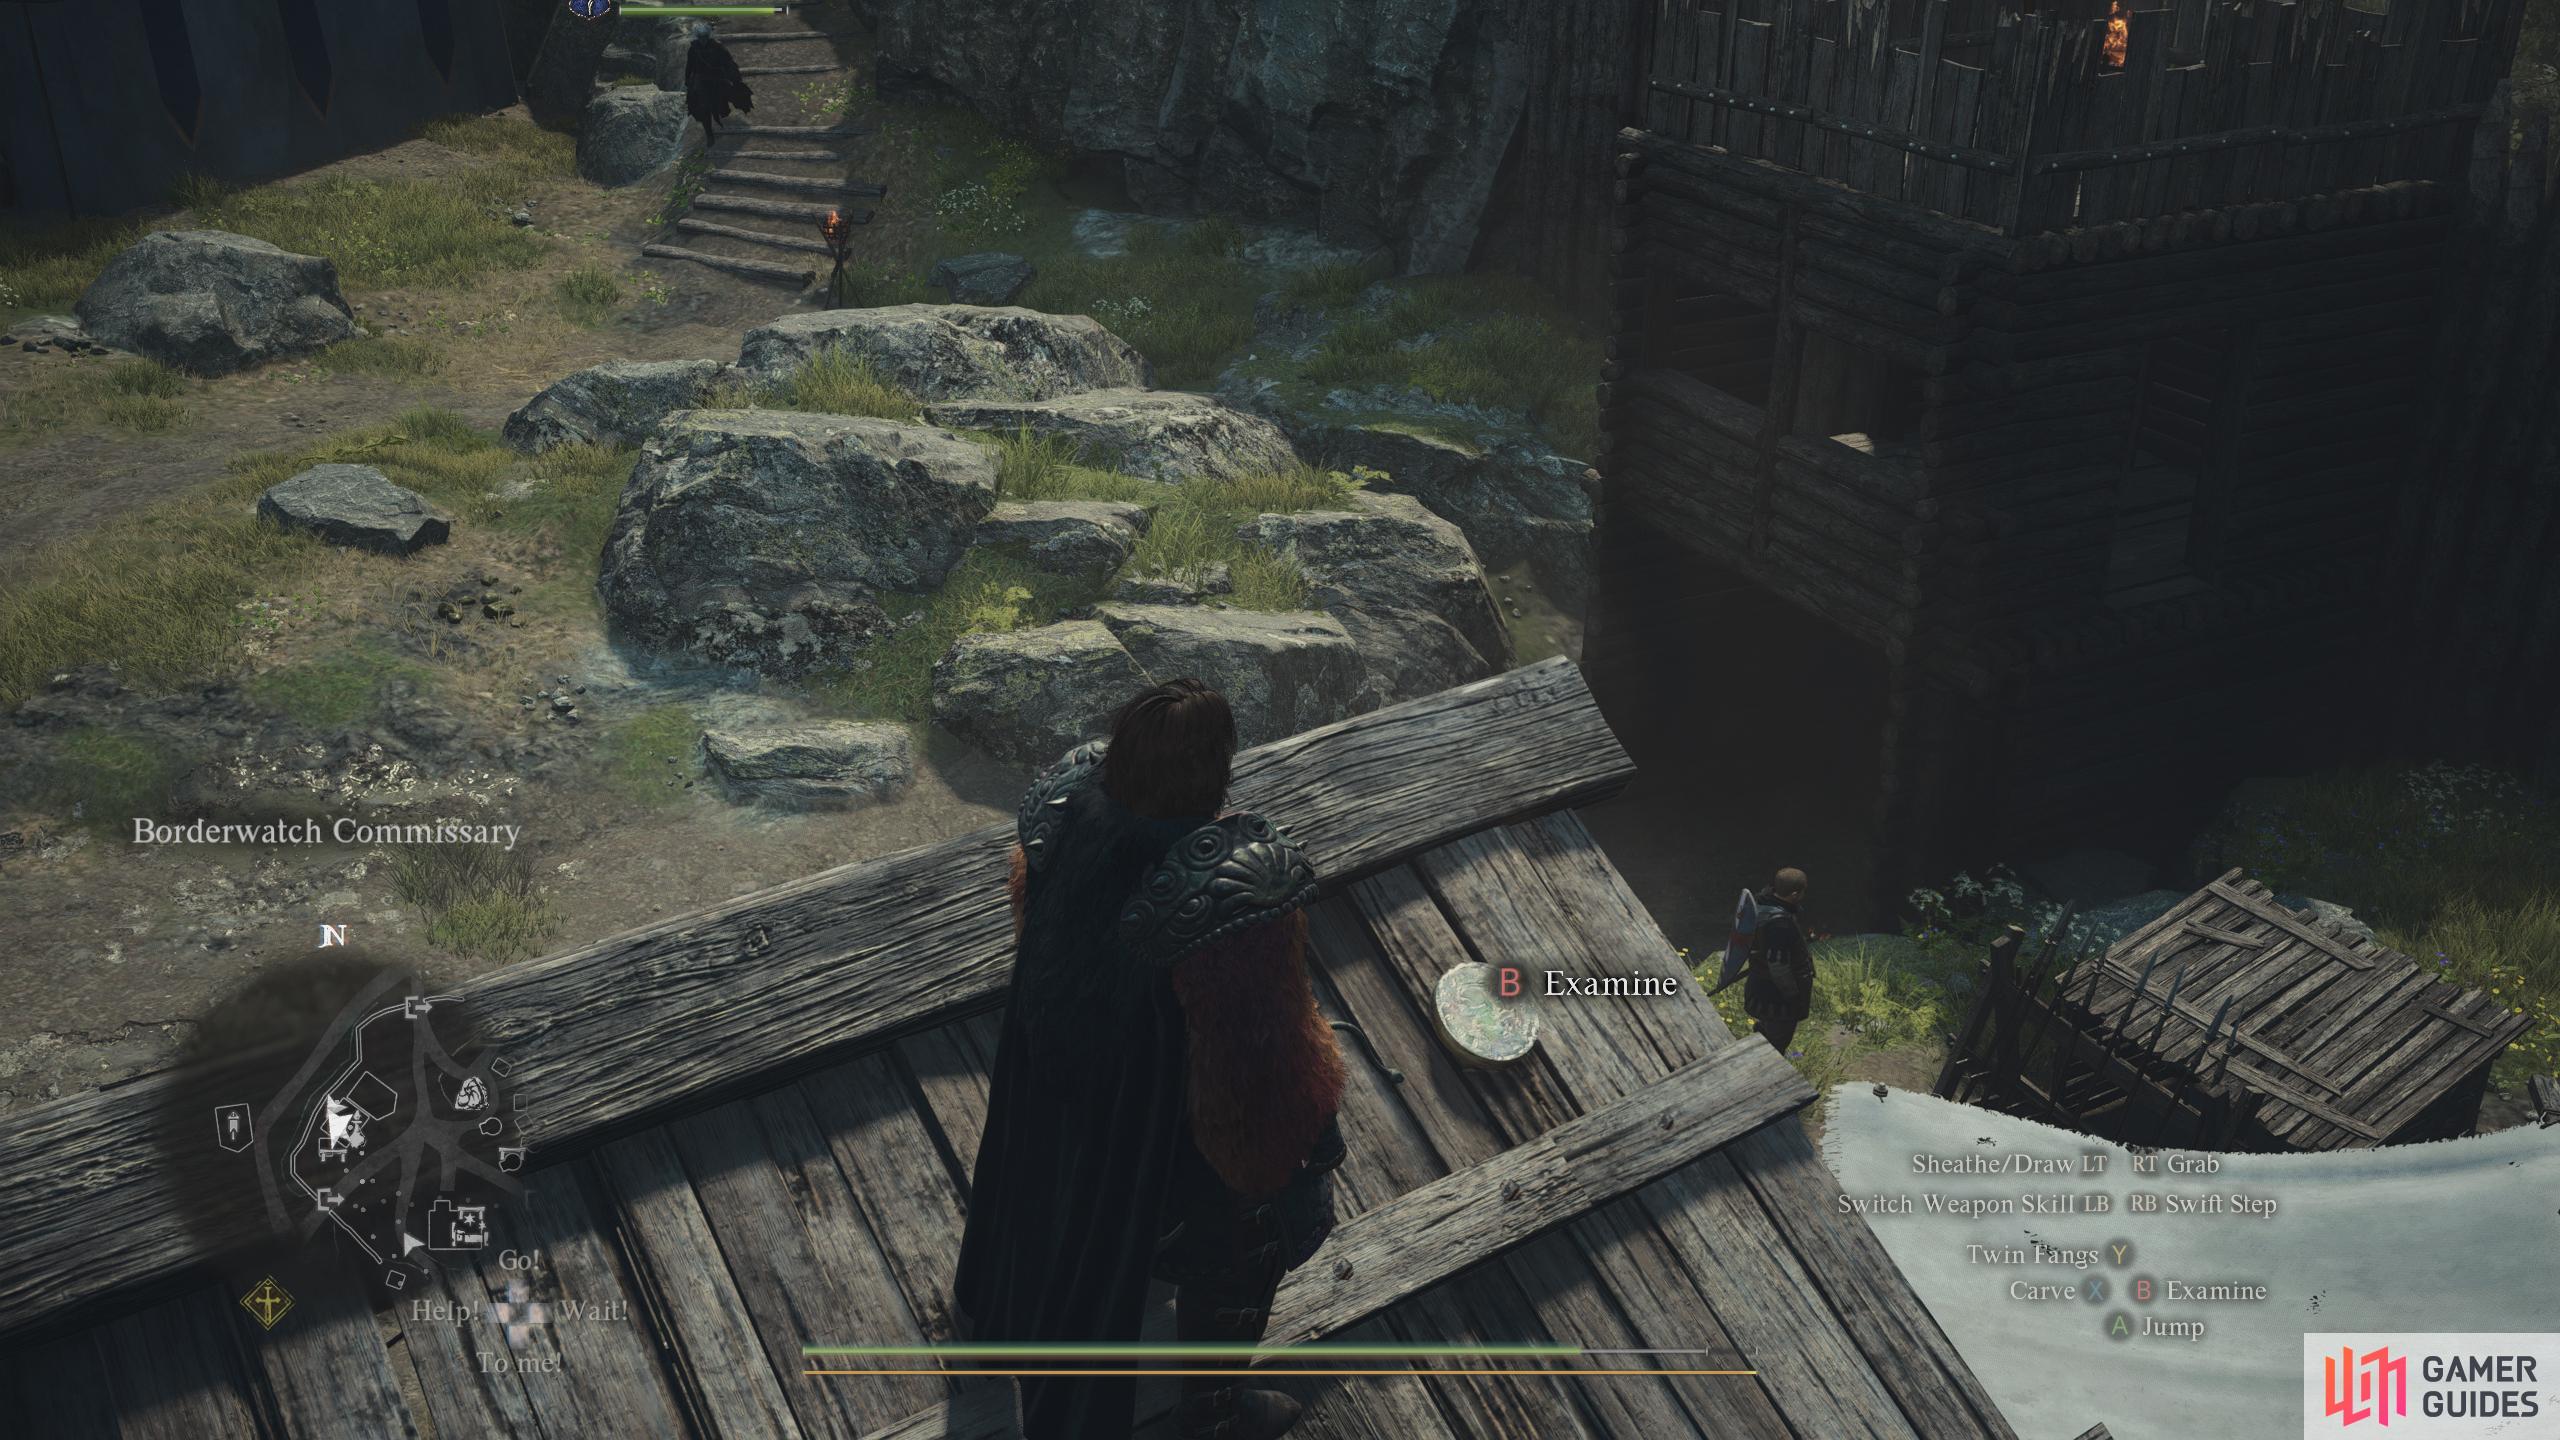
On top of the roof above the Commissary. Use the nearby oven to reach it
71614. World
High up on the ledge behind some crates. Must come through ![]() Waterfall Cave to get it.
Waterfall Cave to get it.
71615. World
Behind some breakable rocks on the eastern side of the second floor of ![]() Waterfall Cave.
Waterfall Cave.
71616. World
On top of the ruins east of the ![]() Gathering of Beasts. Use the nearby ruin walls to reach it.
Gathering of Beasts. Use the nearby ruin walls to reach it.


71708. World
On the roof of the building where ![]() Celeste’s Smithy is. Use the wall near
Celeste’s Smithy is. Use the wall near ![]() Morris’s Apothecary to reach the roof.
Morris’s Apothecary to reach the roof.

71709. World
On top of the archway leading to the Checkpoint in ![]() Checkpoint Rest Town. Use the small wall north of the archway pillar to reach the higher ground and then go around the south of the pillar reach another grassy ledge to get to the archway.
Checkpoint Rest Town. Use the small wall north of the archway pillar to reach the higher ground and then go around the south of the pillar reach another grassy ledge to get to the archway.
71753. World
Below the hole in the floor above is a pile of wooden rubble. Next to the pile of wooden plank rubble, you’ll find a tiny bit pointing directly up that gives you the most height. You can either springboard a pawn up there with Forager, or have ![]() Sorcerer levitate from that point, land on a tiny bit of debris on the floor above, then climb up the next floor that way. Alternatively, go outside of the building, and look for the hole in the wall. You can try and springboard pawns up that way too.
Sorcerer levitate from that point, land on a tiny bit of debris on the floor above, then climb up the next floor that way. Alternatively, go outside of the building, and look for the hole in the wall. You can try and springboard pawns up that way too.
71761. World
Cross the bridge and then follow the road a short way until a smaller path branches back to the north by the river. The ![]() Seeker’s Token is found on a small rocky ledge.
Seeker’s Token is found on a small rocky ledge.
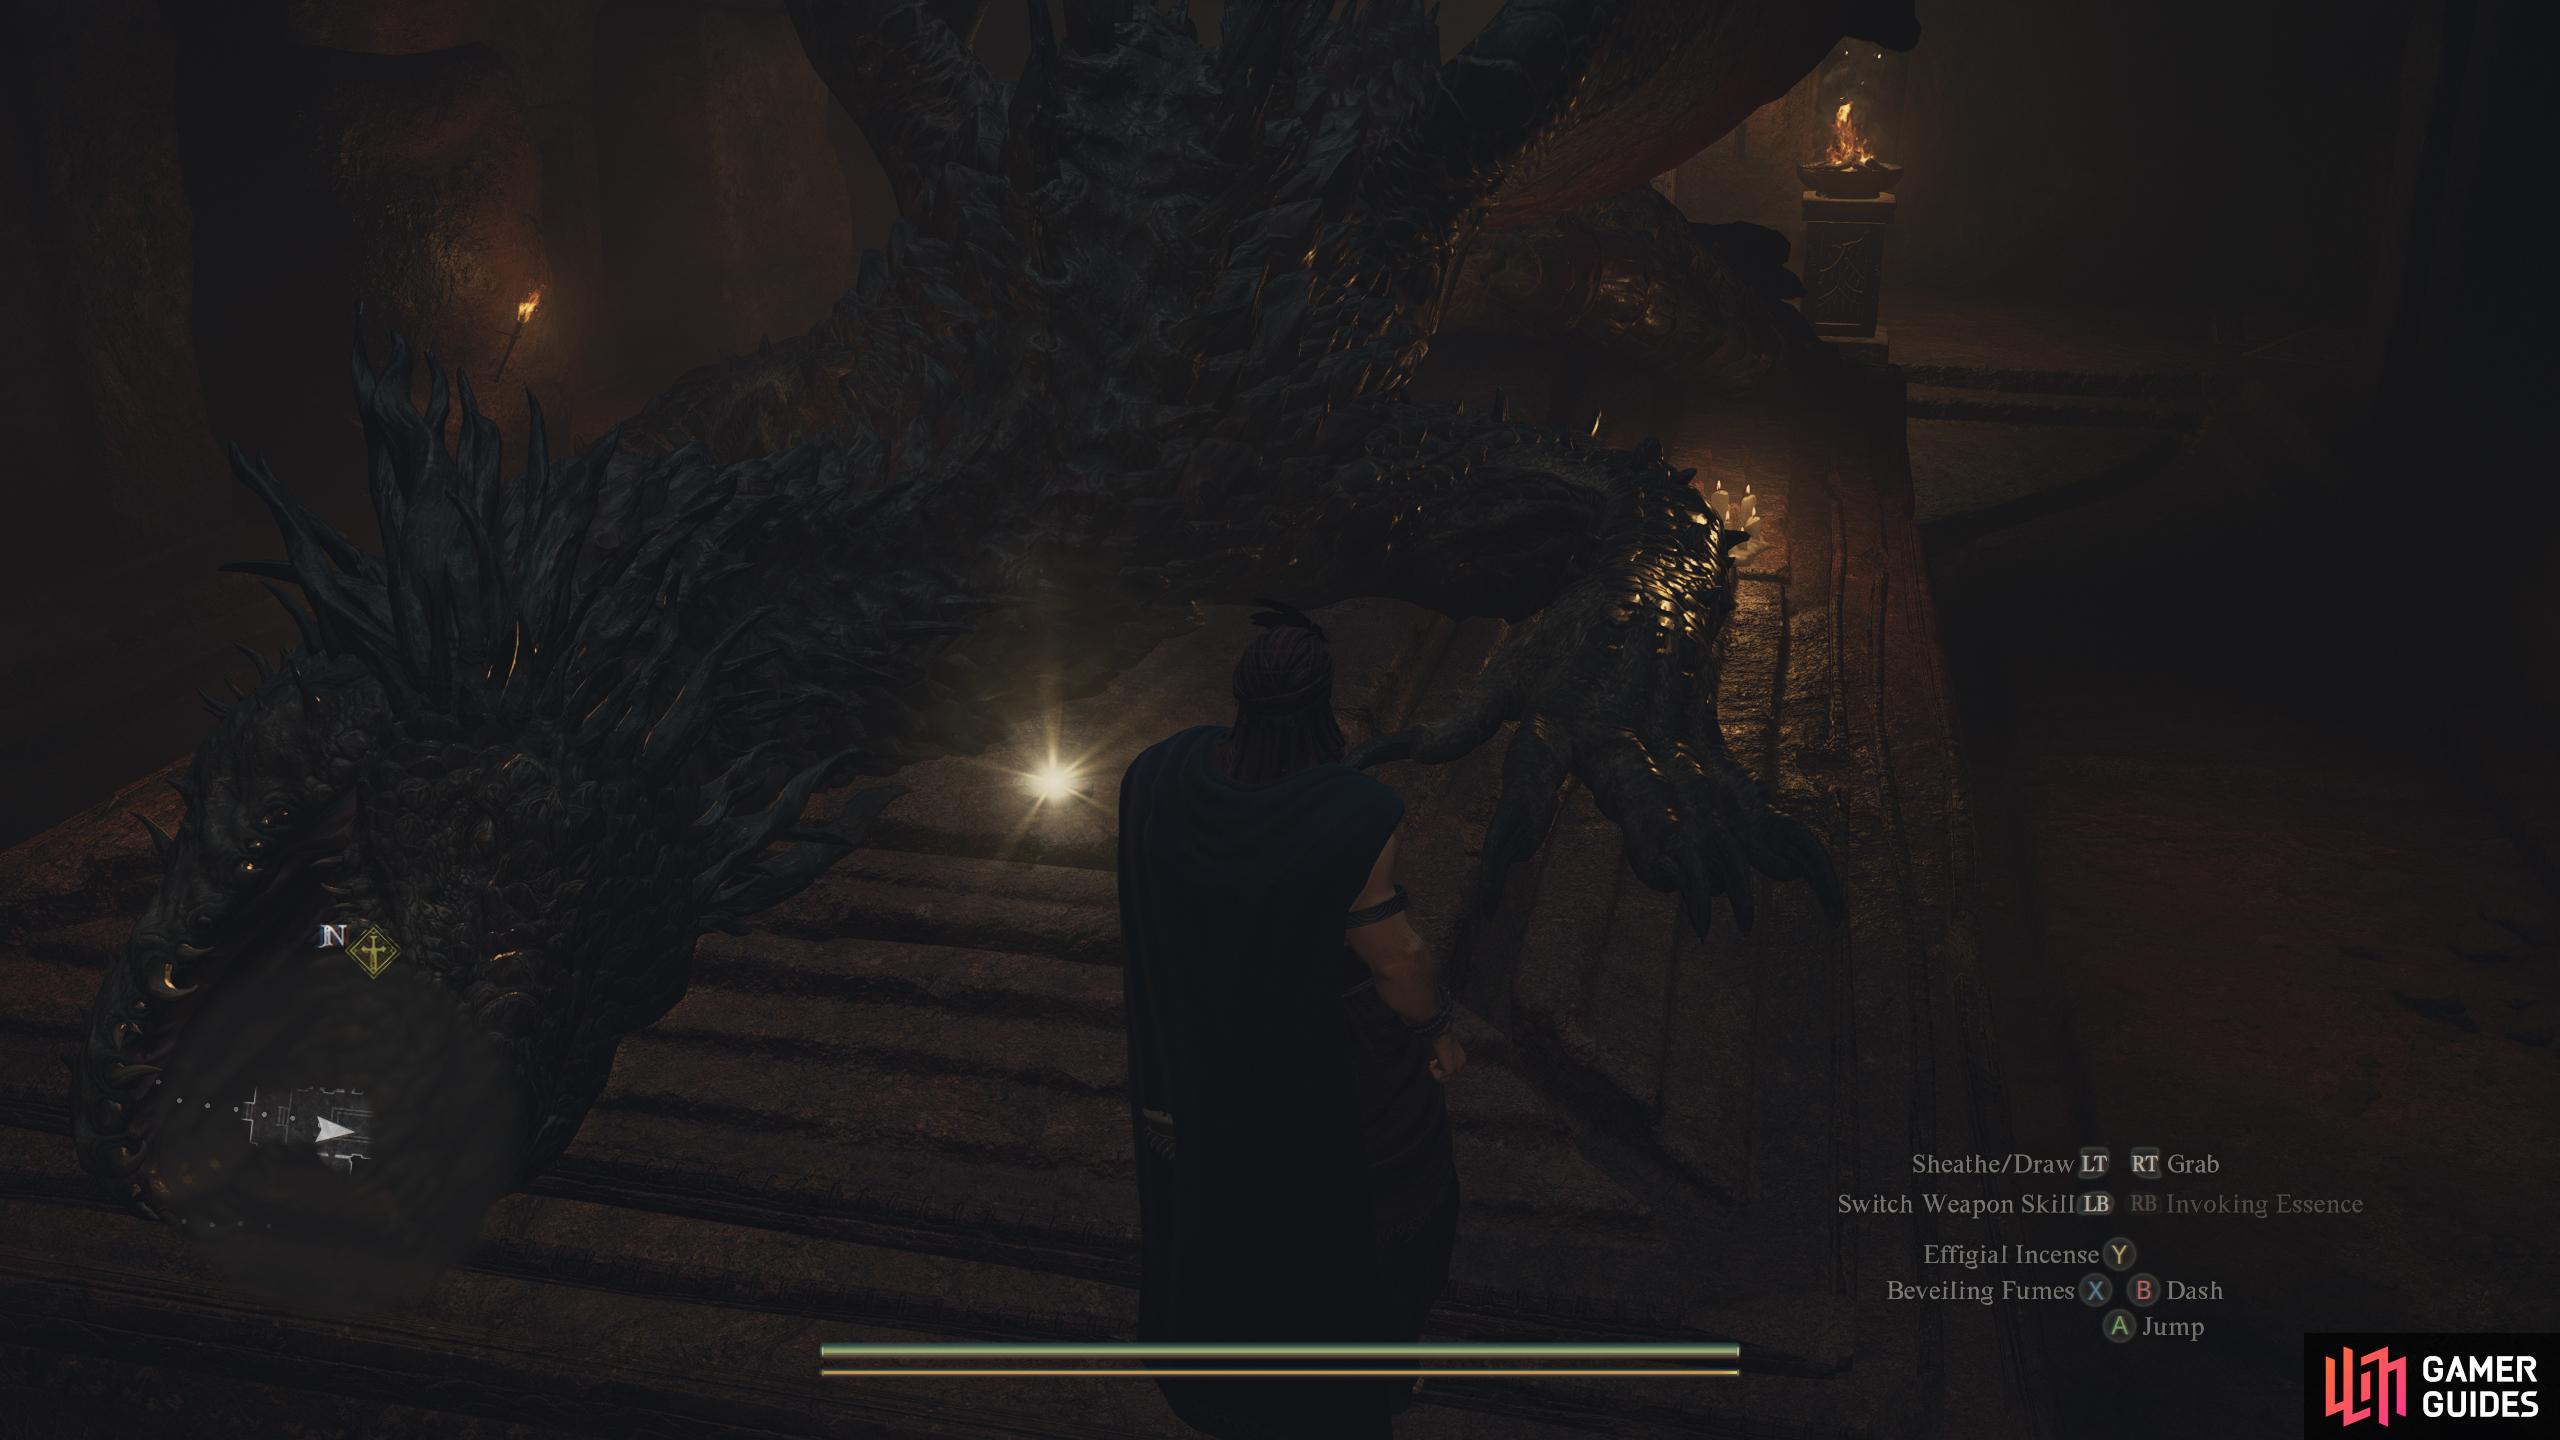
71785. World
At the very top of ![]() Dragonsbreath Tower. Climb the stairs near where you kill the dragon and walk along the broken wall.
Dragonsbreath Tower. Climb the stairs near where you kill the dragon and walk along the broken wall.
71786. World
On the northern wall at the top of Dragonsbreath. Must jump from the platform above where you fell the dragon.
71788. World
Head north over the swaying wooden bridge where you’ll see a leafless tree next to a rock formation to your left. Drop to the grassy platform below, and follow the narrow grassy ledge north to find the token.
71789. World
On top of the southern ledge above the path. Head south around the corner and use the fallen pillar to reach the ledge and then follow the narrow path north.
71791. World
On top of the rock formation west of the ![]() Pilgrim’s Path Empty Abode. Climb up the nearby rocky ledges to reach it.
Pilgrim’s Path Empty Abode. Climb up the nearby rocky ledges to reach it.
71792. World
On the floor of the cave. Found as you come down the ladder on your right hand side
71793. World
Once you enter the ![]() Guerco Cavern from the north, this token is found in the north west chamber - the first one to your right - on the floor.
Guerco Cavern from the north, this token is found in the north west chamber - the first one to your right - on the floor.
71798. World
Among the remains in the ![]() Forbidden Magick Research Lab’s Refuse Storage at the the bottom of the area.
Forbidden Magick Research Lab’s Refuse Storage at the the bottom of the area.

71802. World
In the Gaol Cell that hosts the prisoner. Requires a ![]() Makeshift Gaol Key to access it.
Makeshift Gaol Key to access it.
71804. World
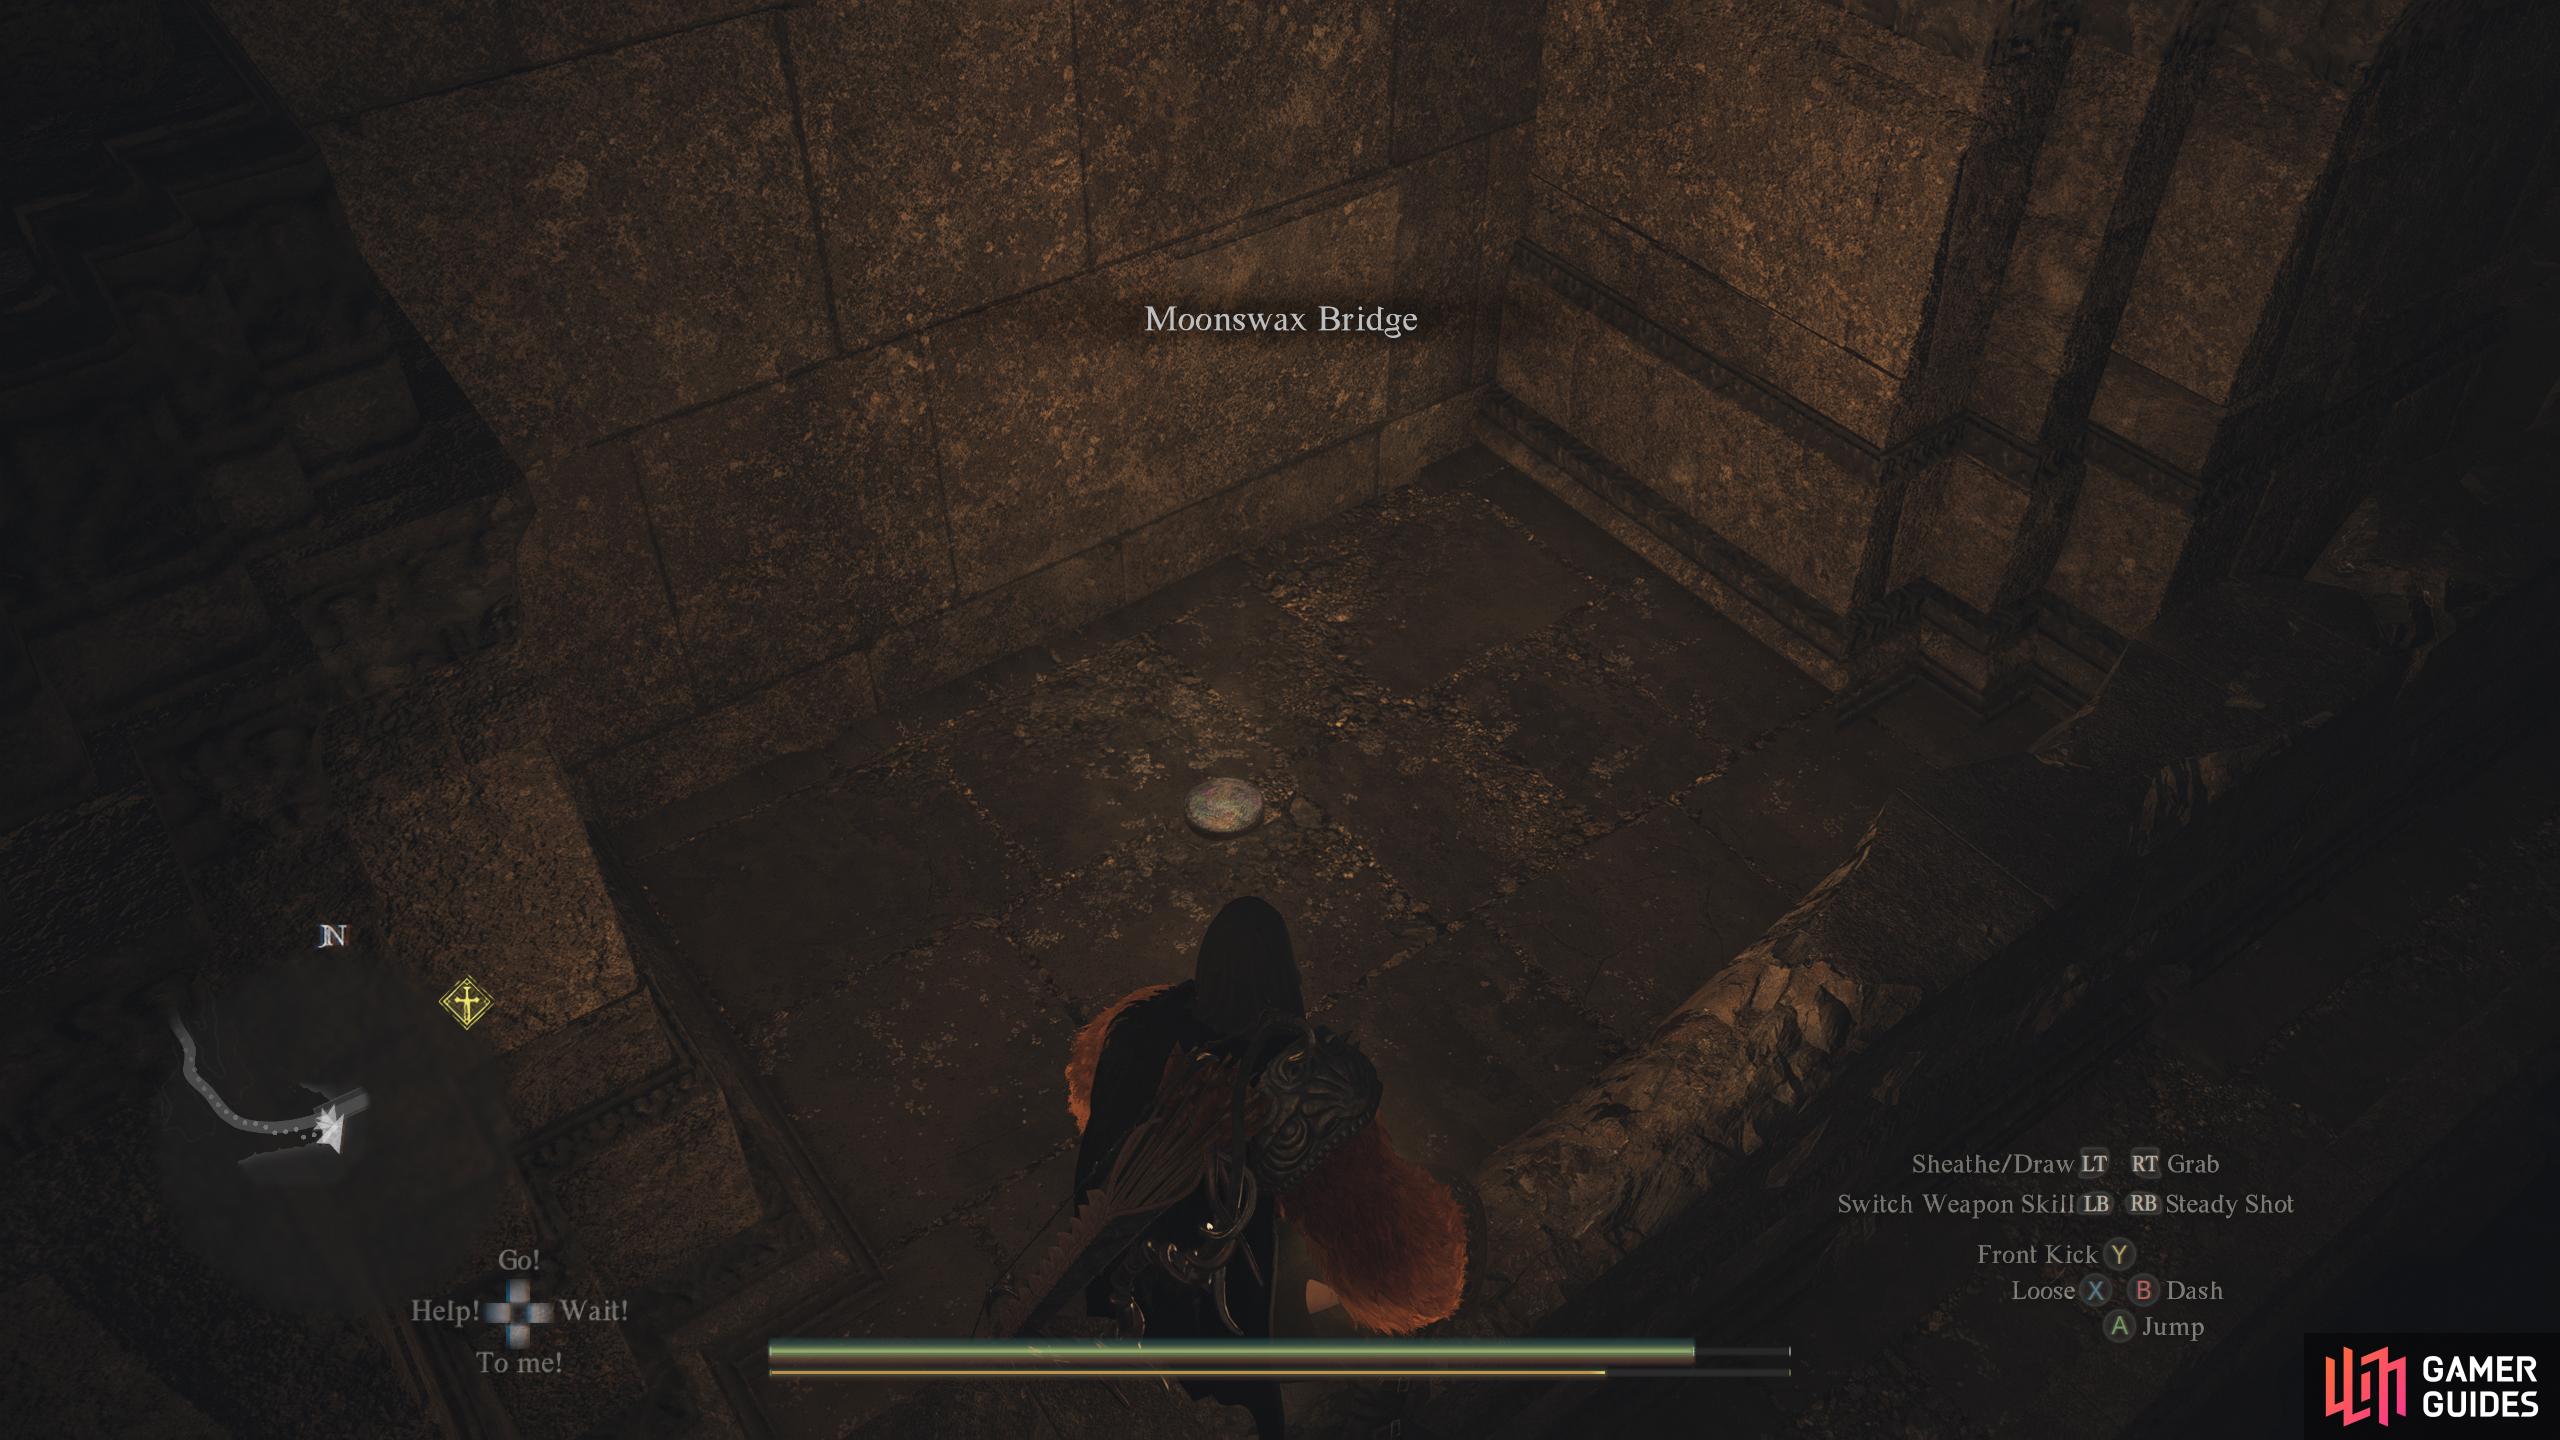
Locked behind the ![]() Flamebearer Palace Spellseal Door. After making enough story progress to get it open, this token is on the right hand side of a
Flamebearer Palace Spellseal Door. After making enough story progress to get it open, this token is on the right hand side of a ![]() Moonswax Bridge pillar.
Moonswax Bridge pillar.
71806. World
On top of the pillar near where the ![]() Succubus gather. Jump across from the small broken pillar nearby to reach it.
Succubus gather. Jump across from the small broken pillar nearby to reach it.
71810. World
On the coast by the sea. You’ll need to head east and come back on yourself to reach it, or brave the fall damage.
71819. World
Climb the ladder next to the empty southeastern house, climb the nearby pillar, and walk around the edge before jumping over to the scaffold where the token is.
71843. World
From the headless statue, climb over the stone bridge to the west, then follow the rocks around and look down. The coin is on the next ledge below before the sleeping ![]() Cyclops.
Cyclops.
71855. World
As youre following the road up from ![]() Melve, just before the path turns right (East), go towards the cliff edge and look down.
Melve, just before the path turns right (East), go towards the cliff edge and look down.
71866. World
On the roof of a house guarded by the ![]() Ogre. Easiest to reach by clinging to the beast’s back and jumping off it onto the roof.
Ogre. Easiest to reach by clinging to the beast’s back and jumping off it onto the roof.
71973. World
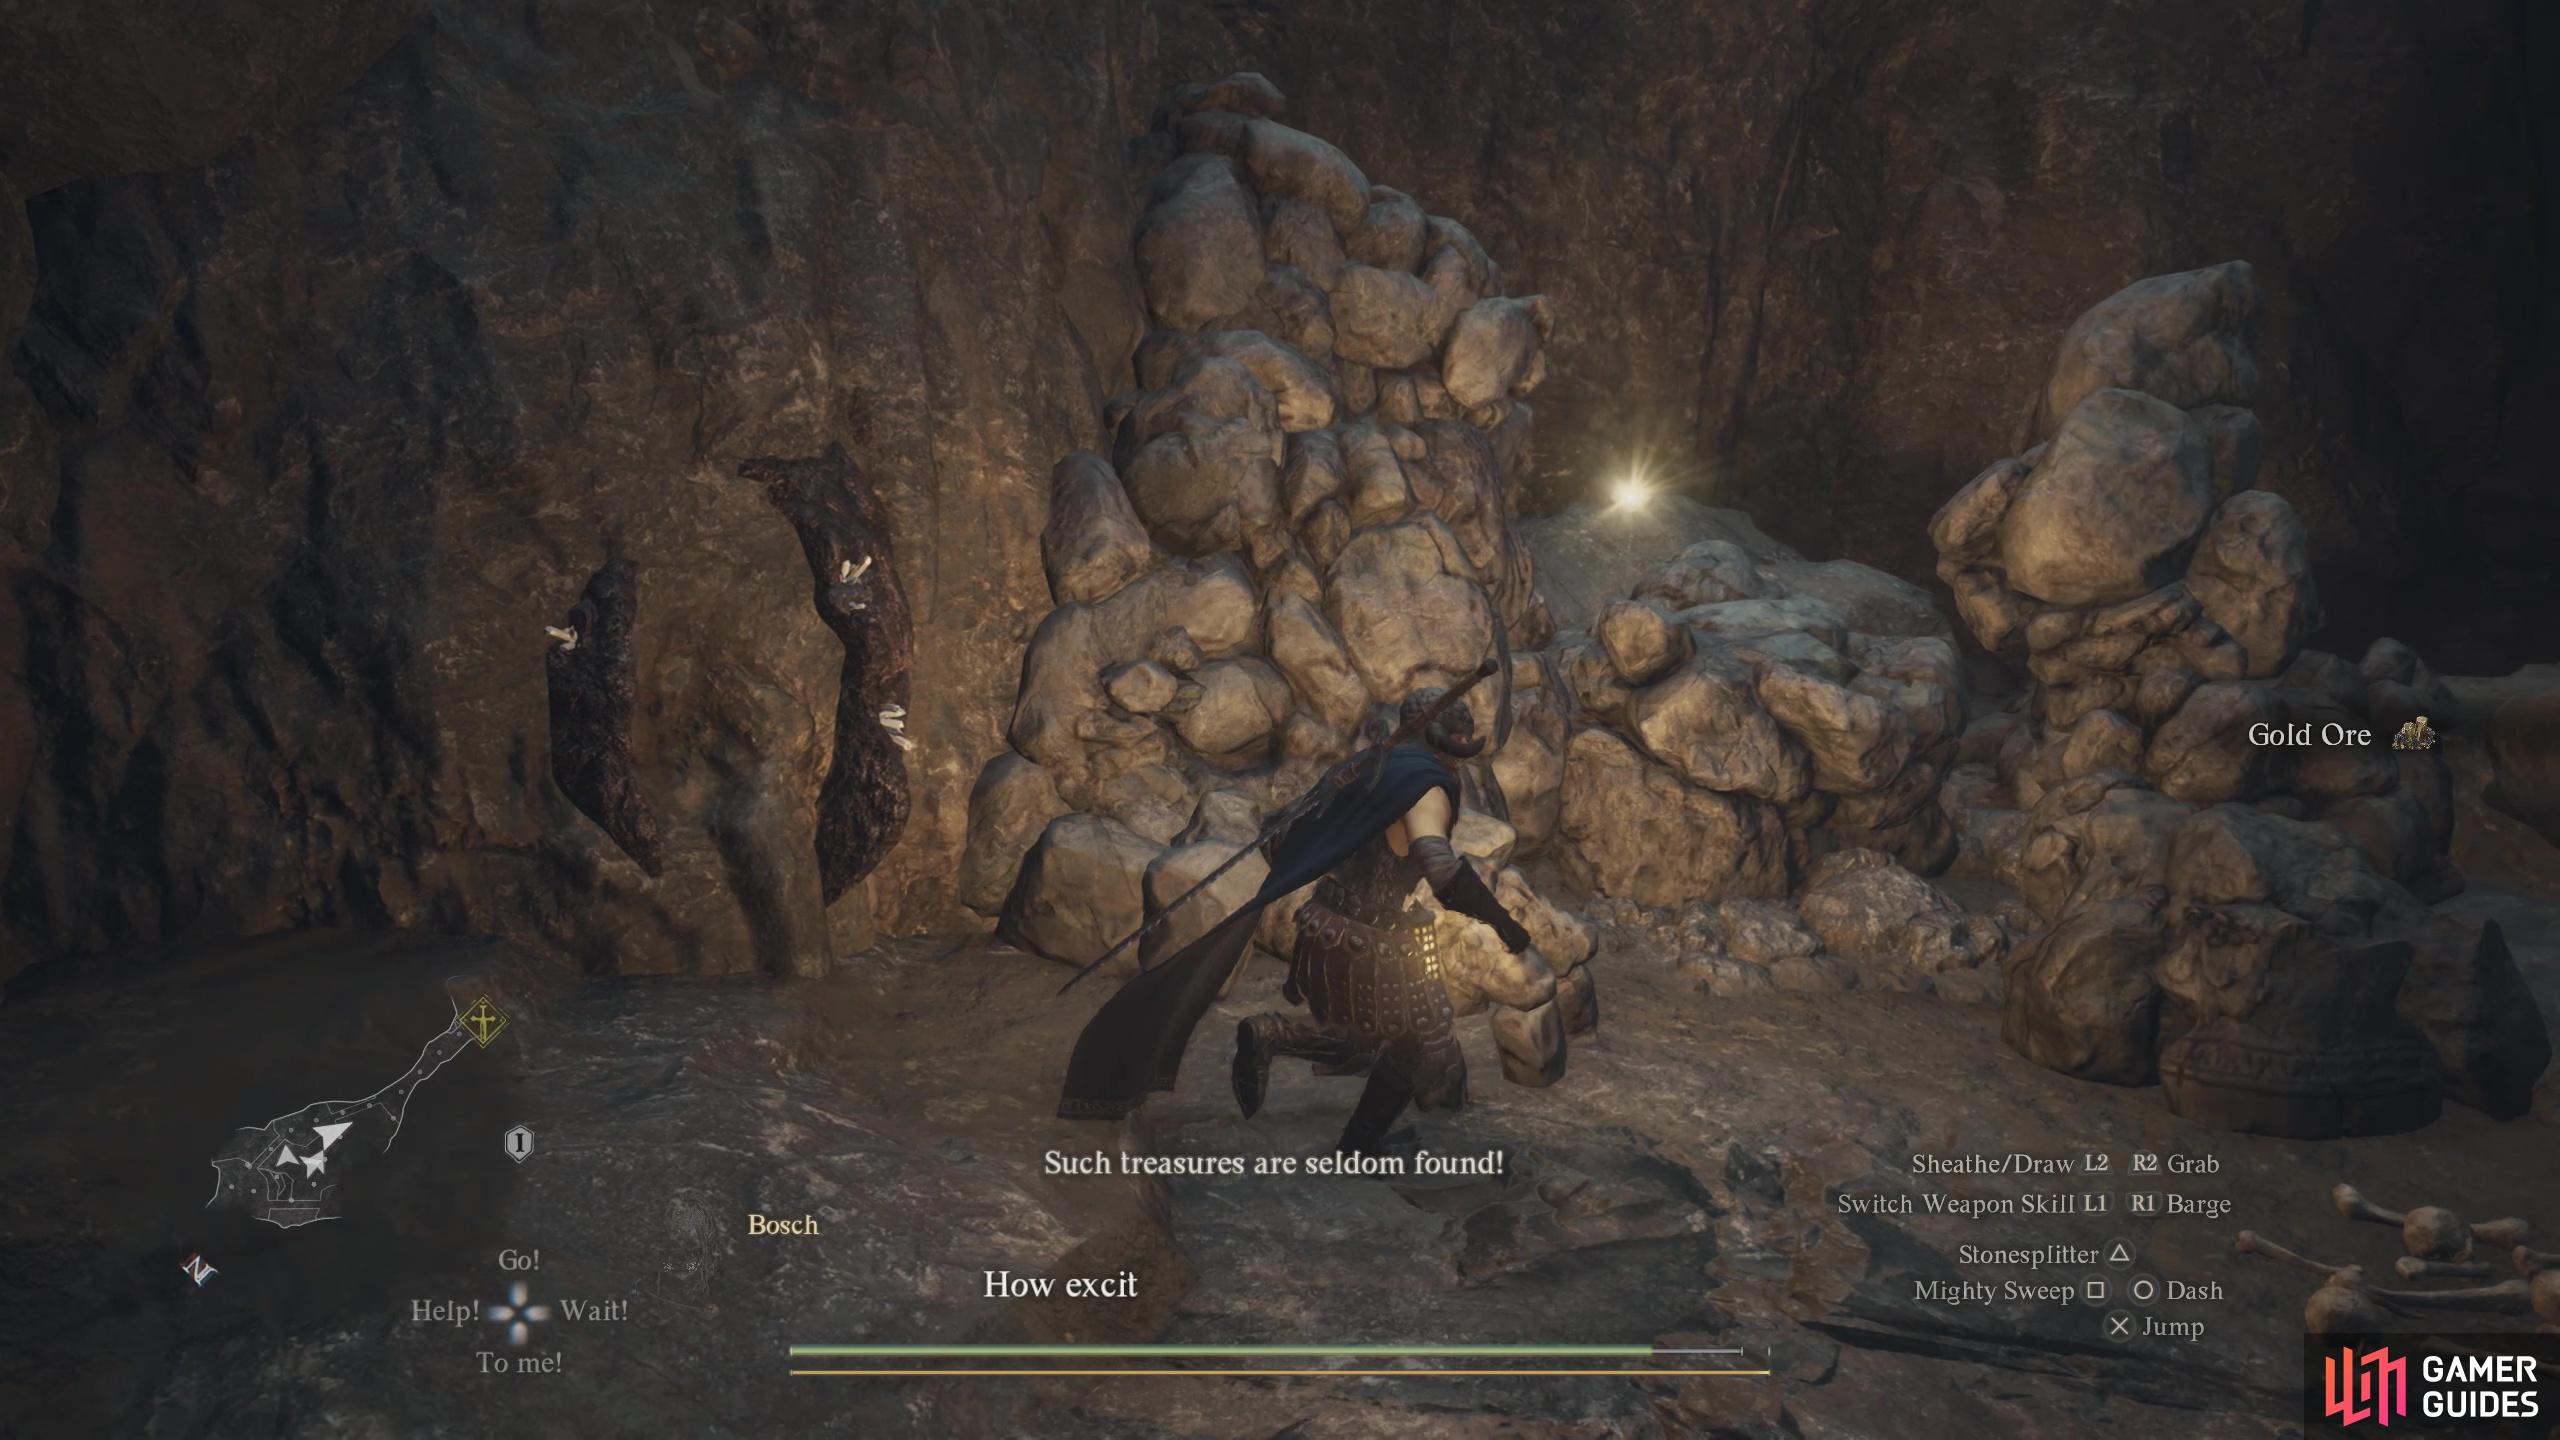
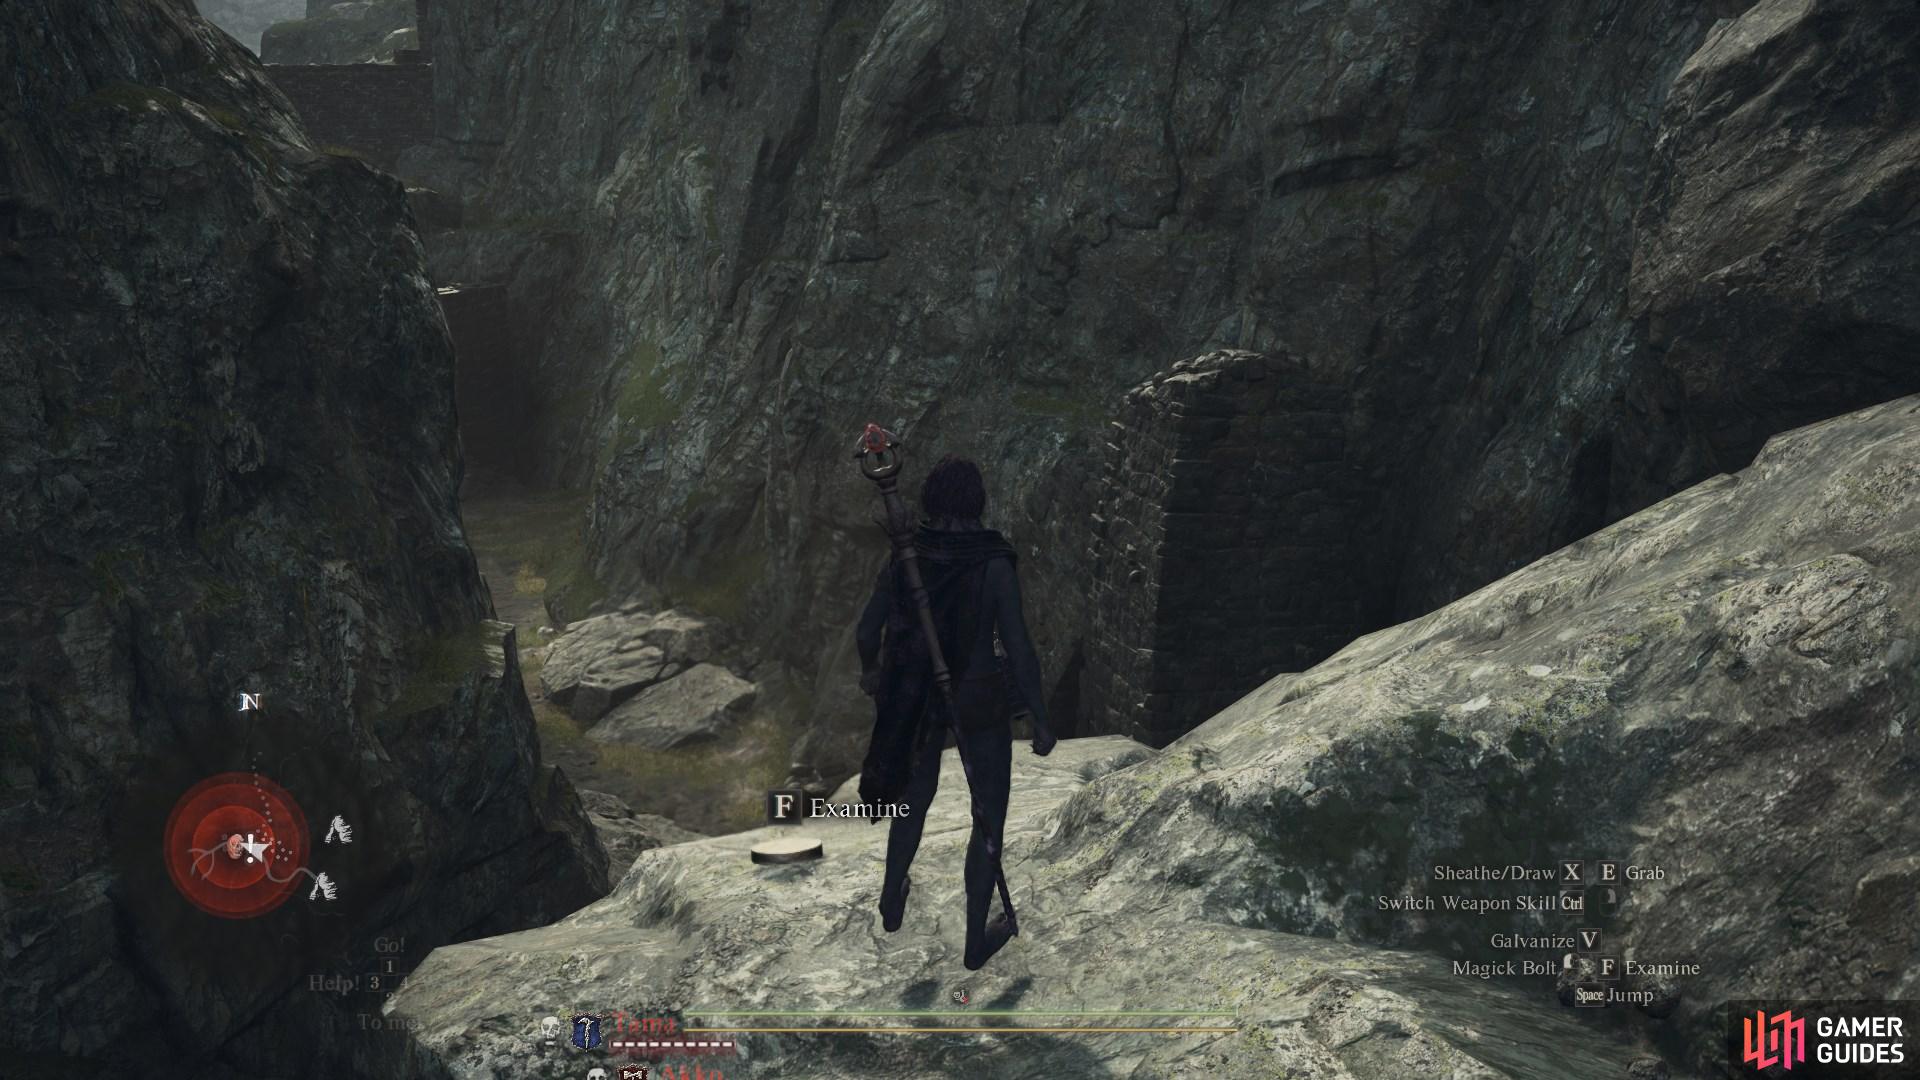
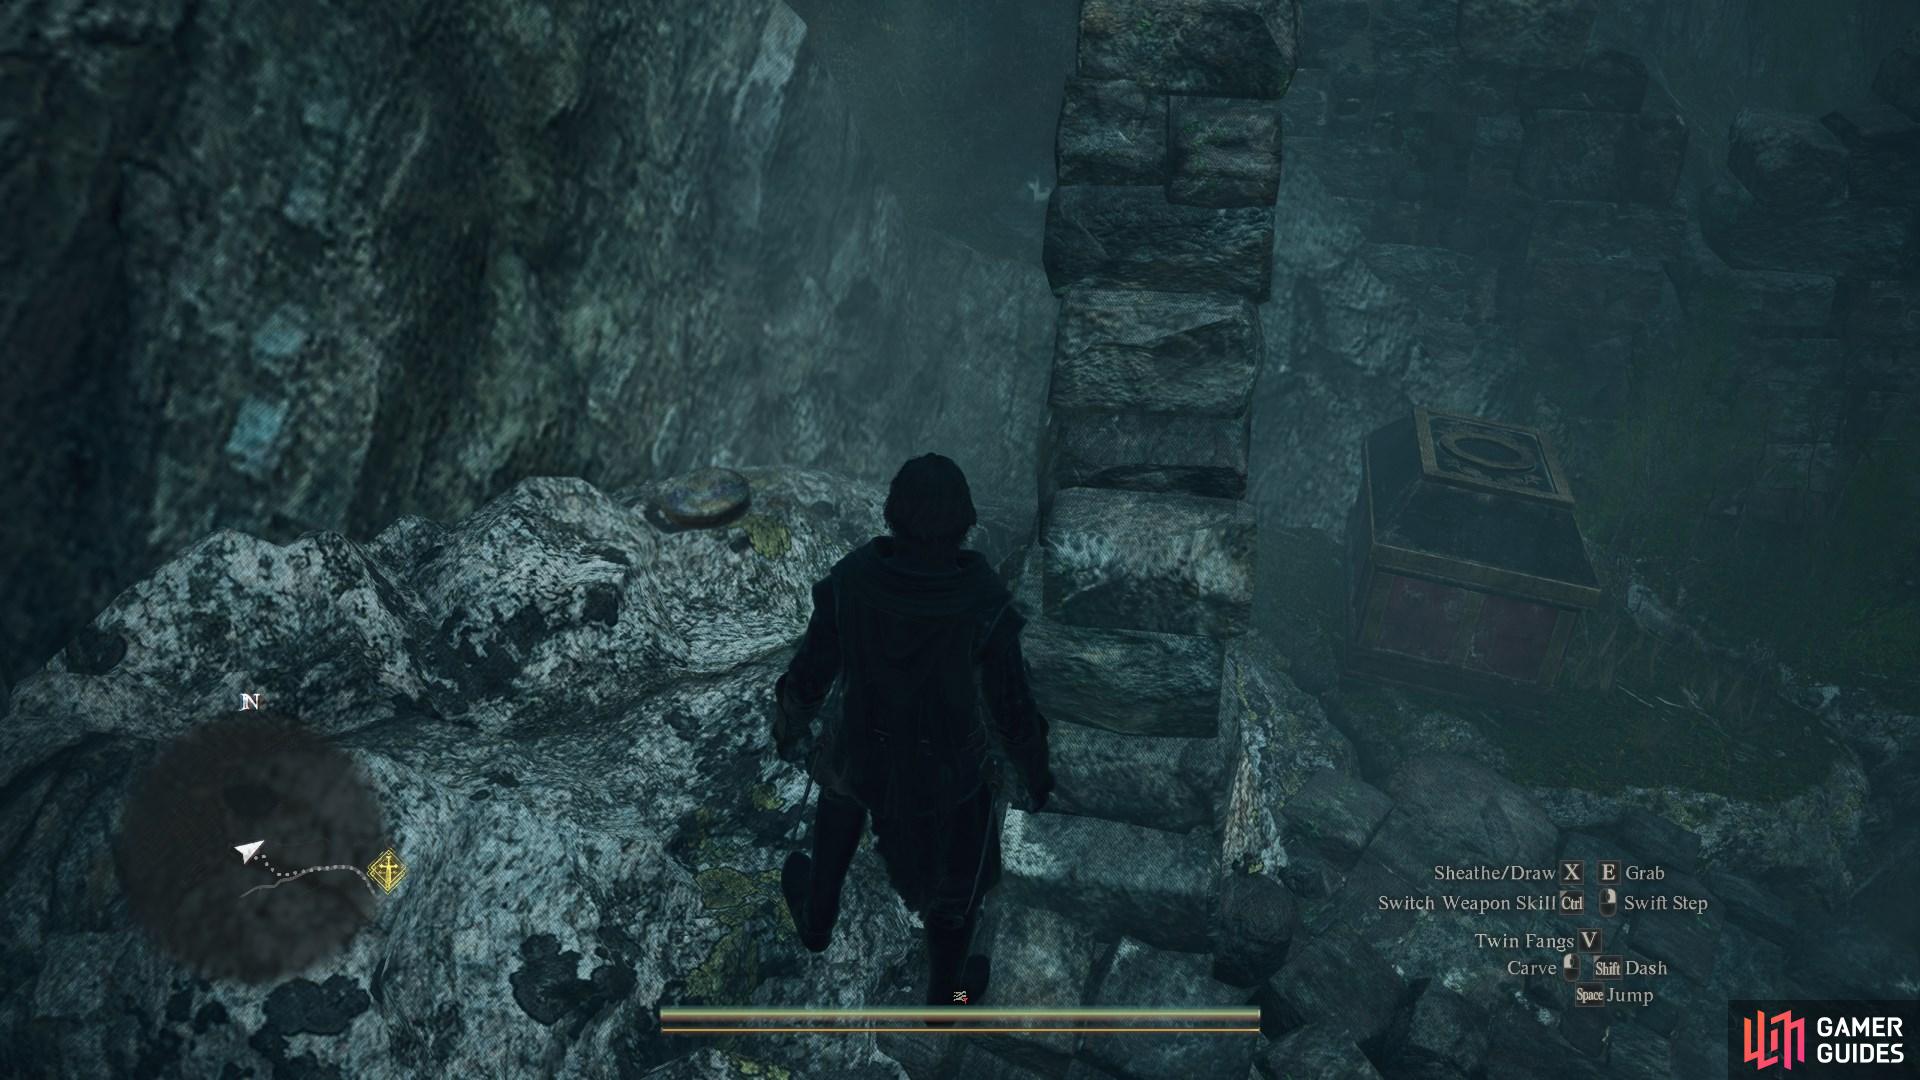
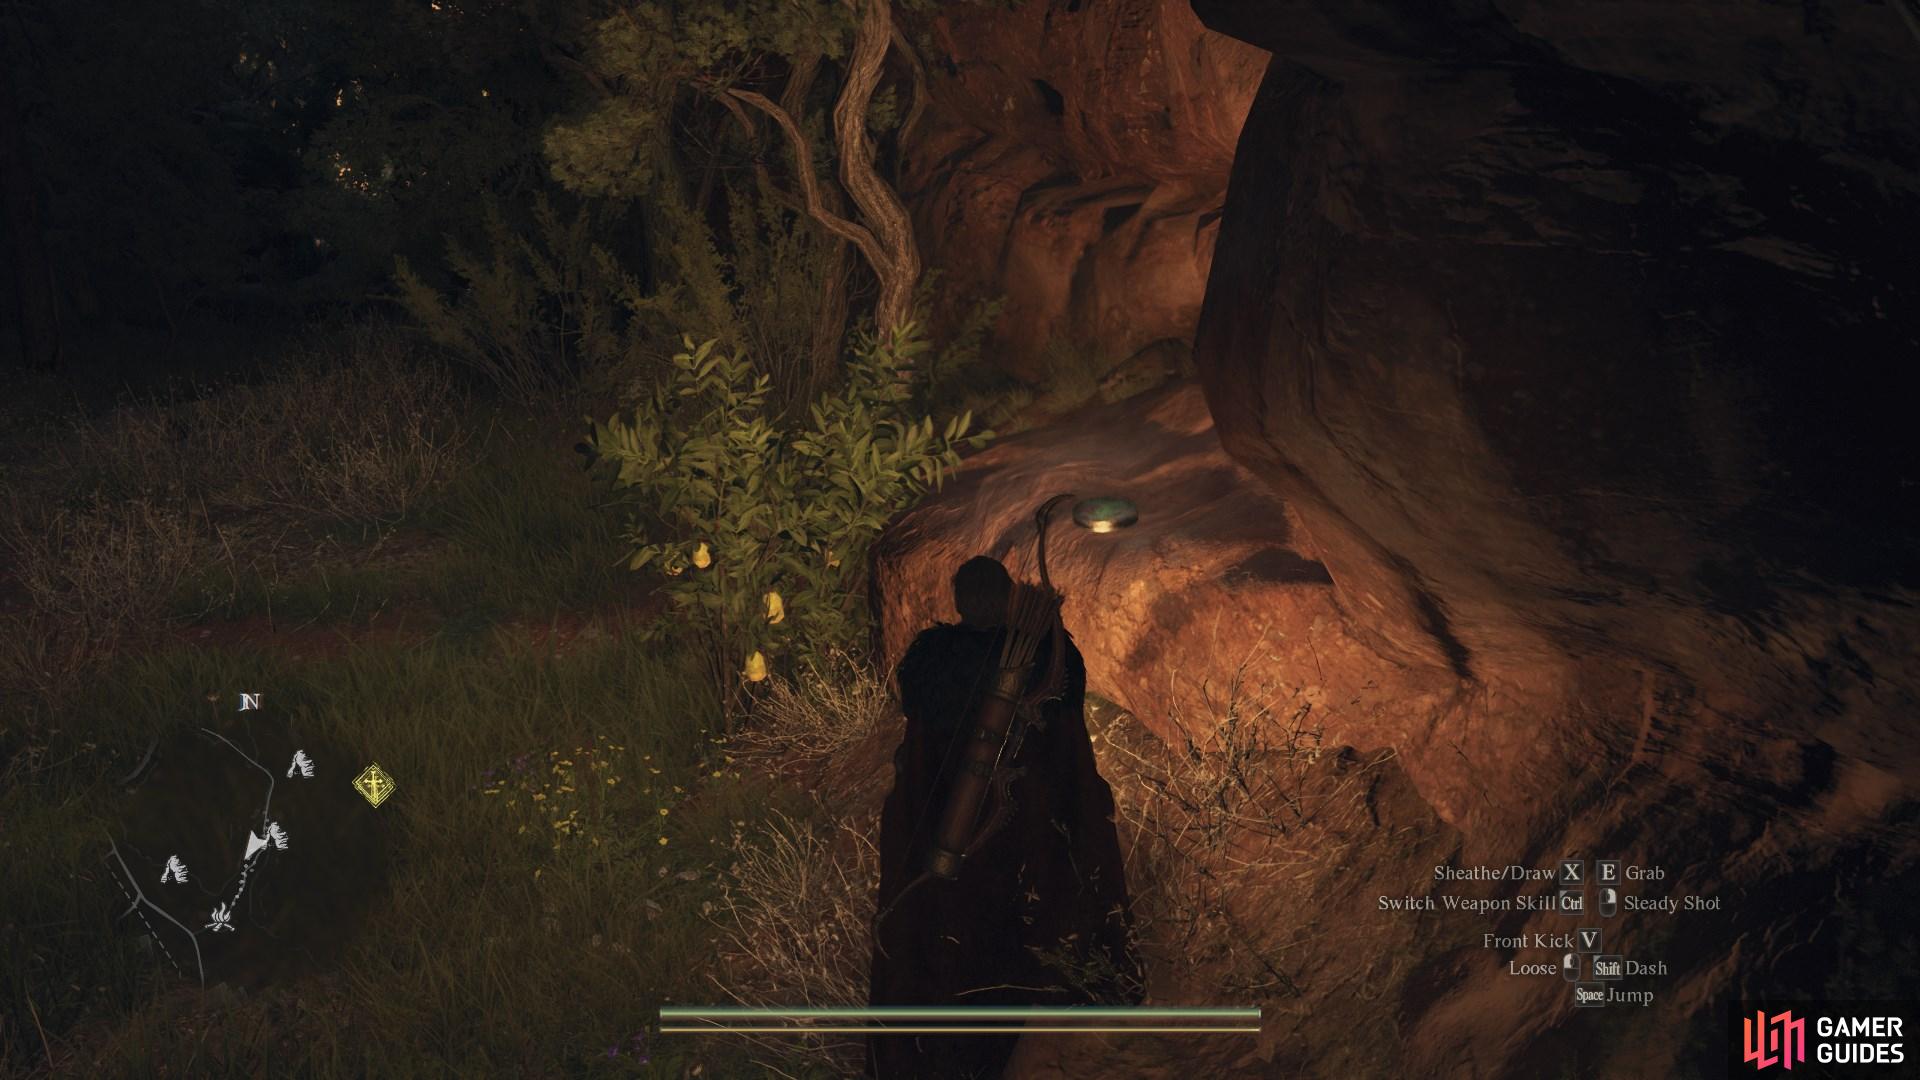
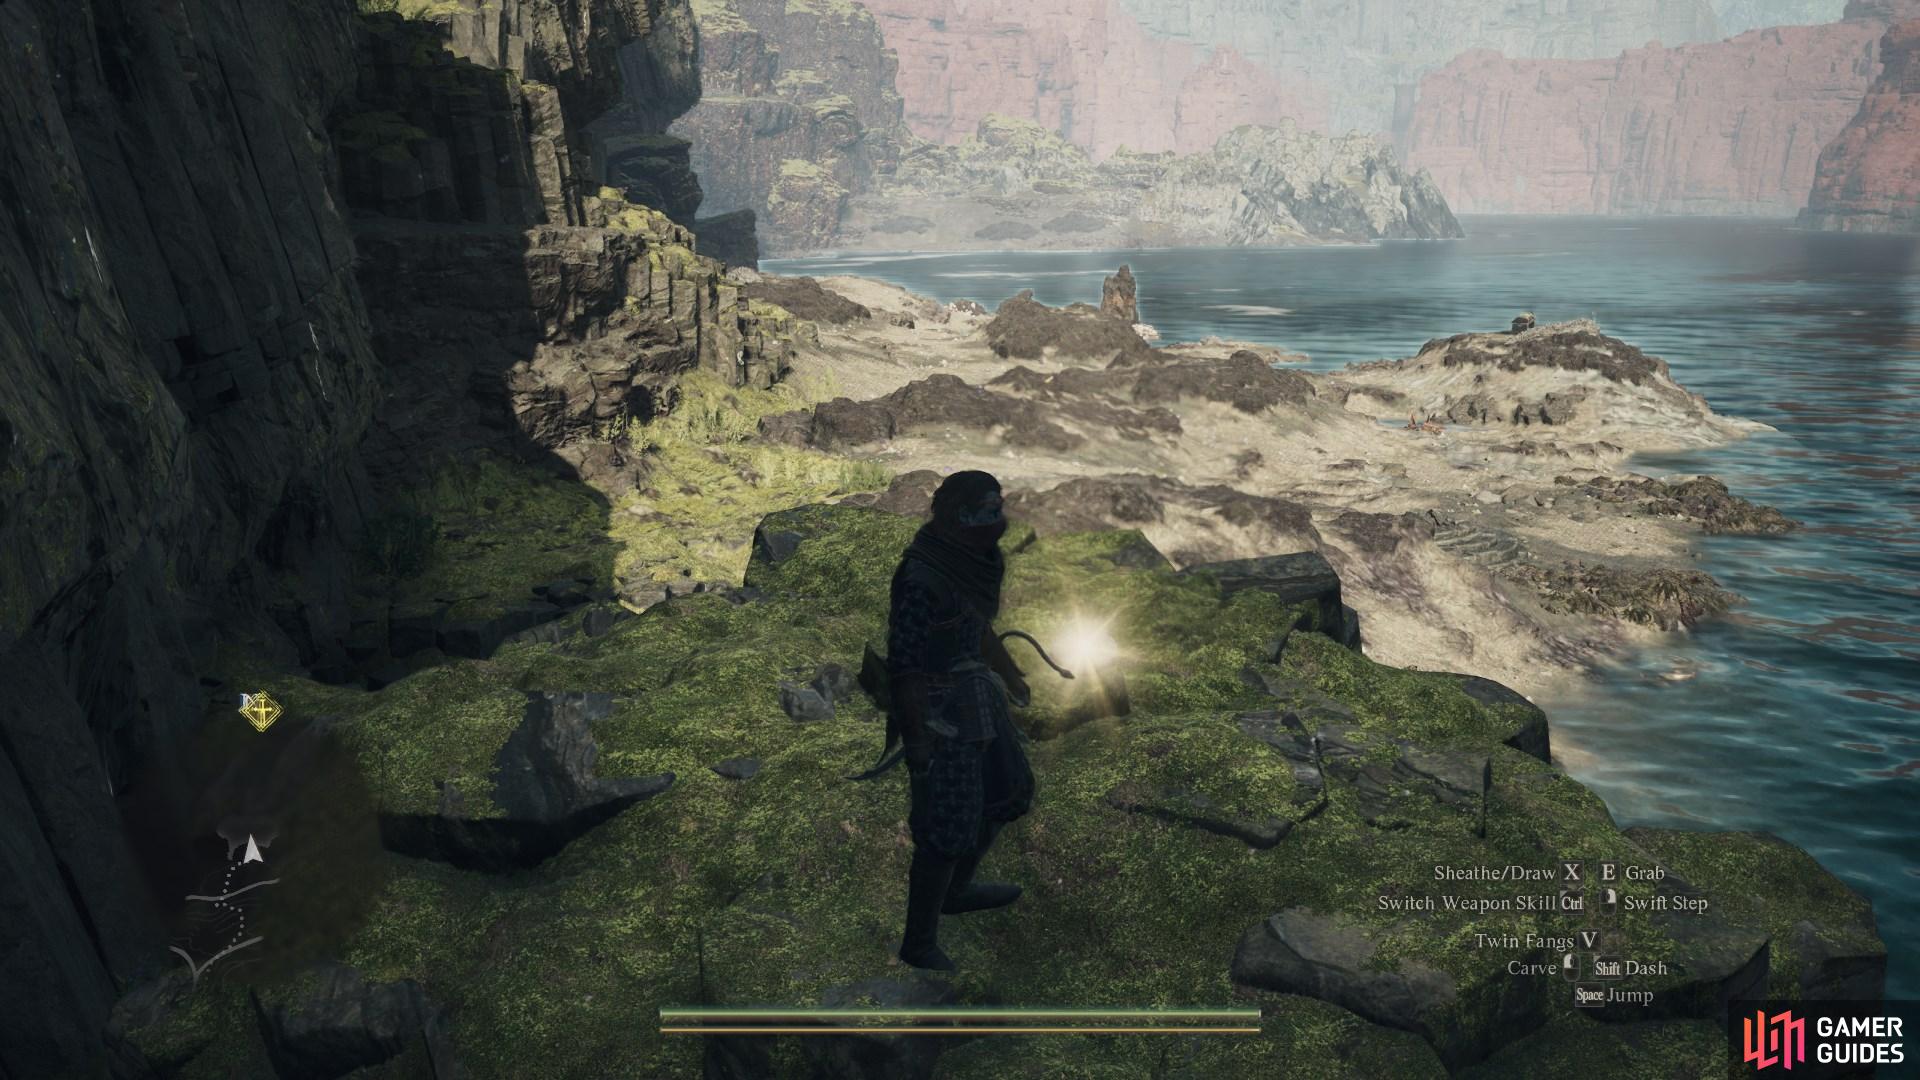
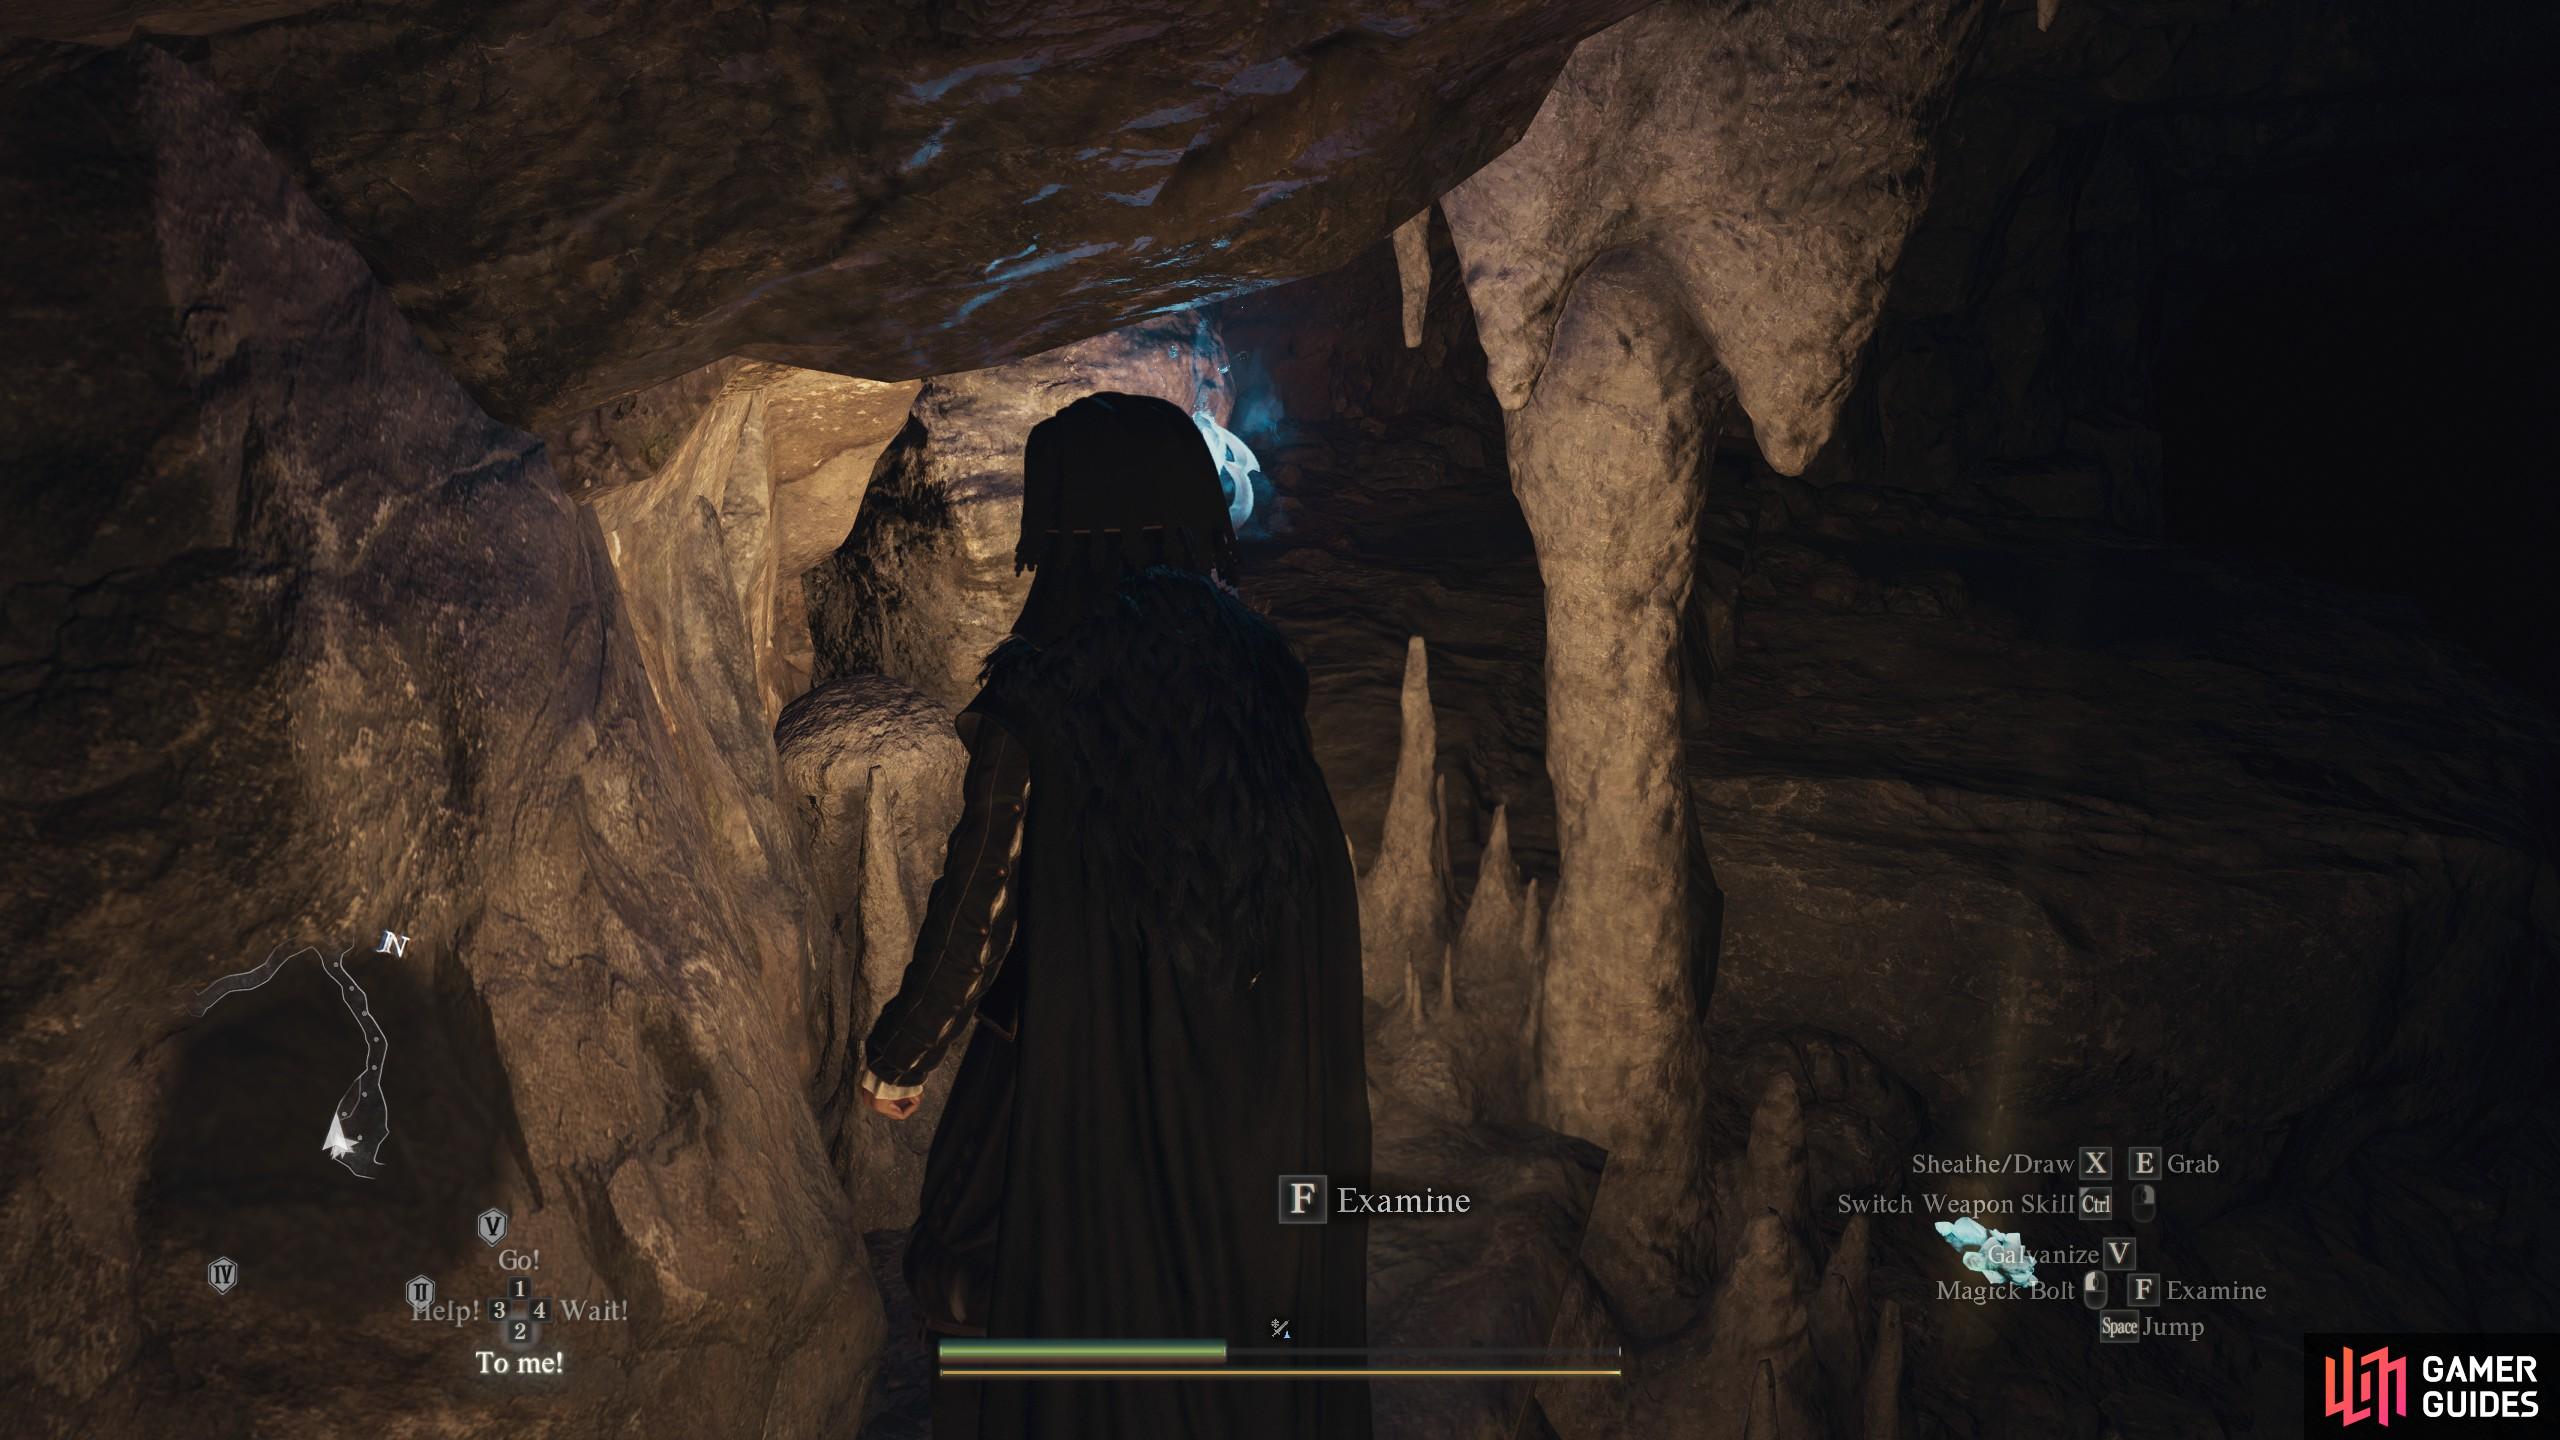
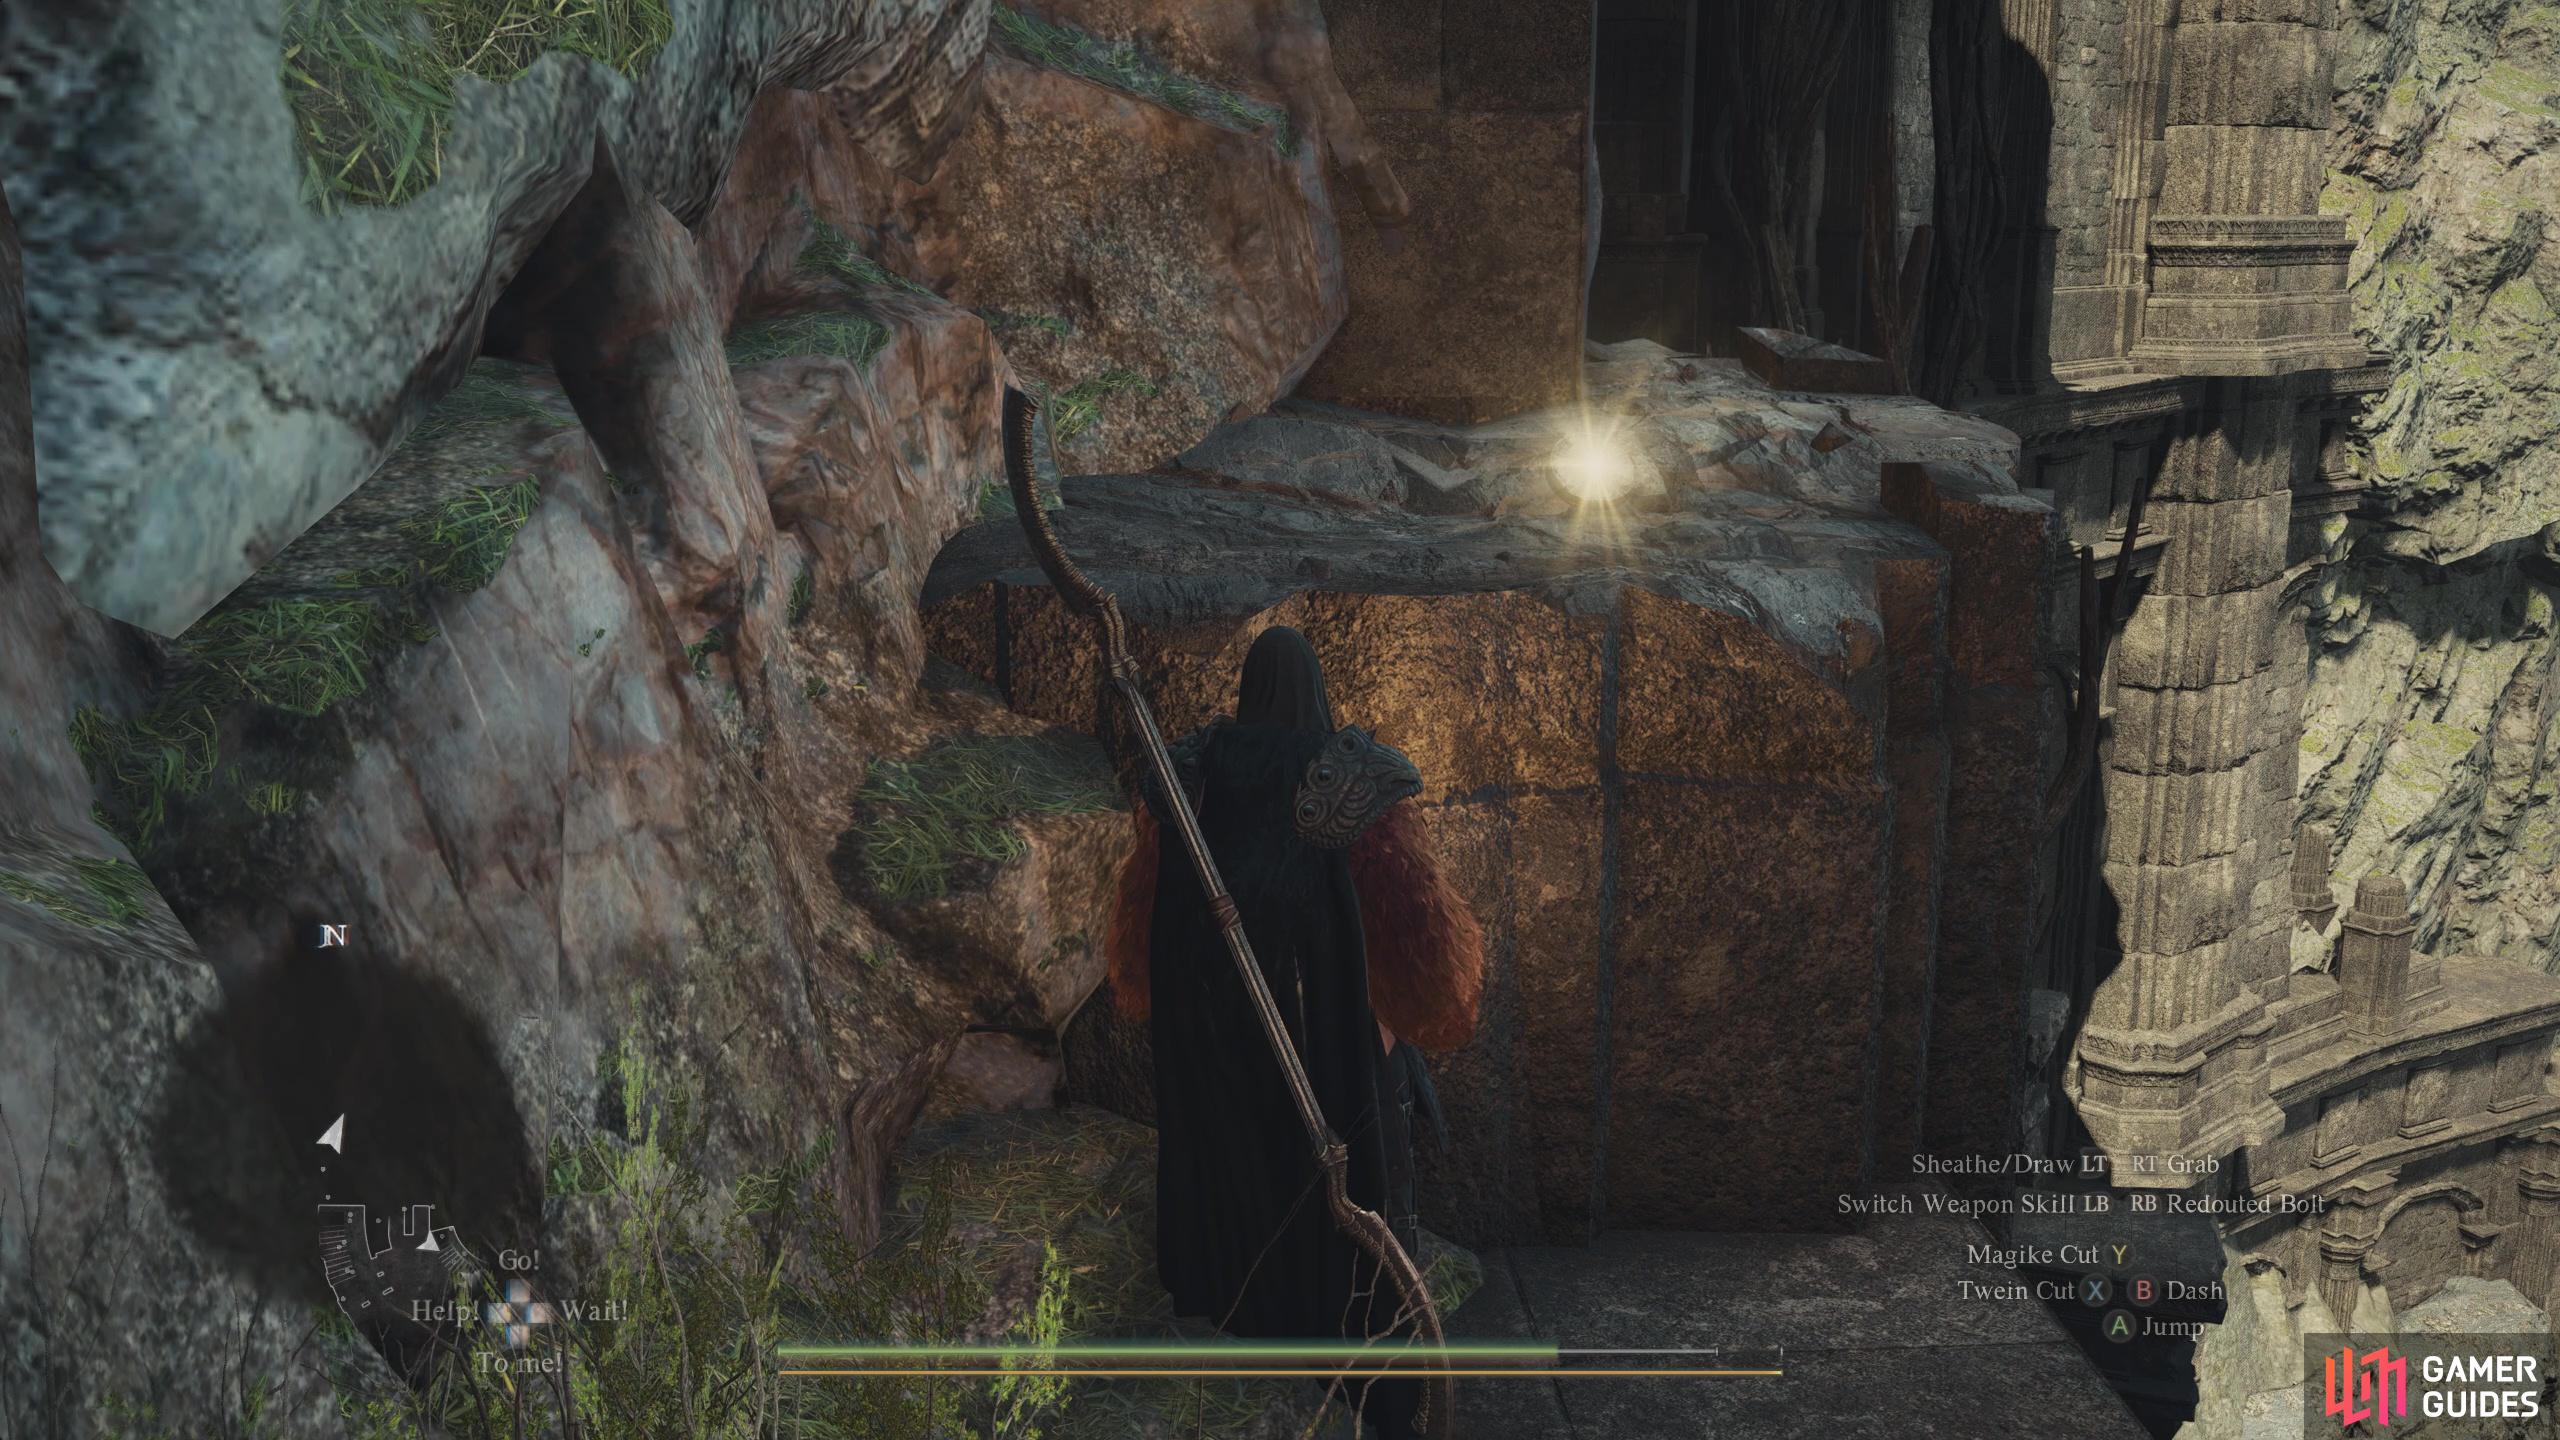
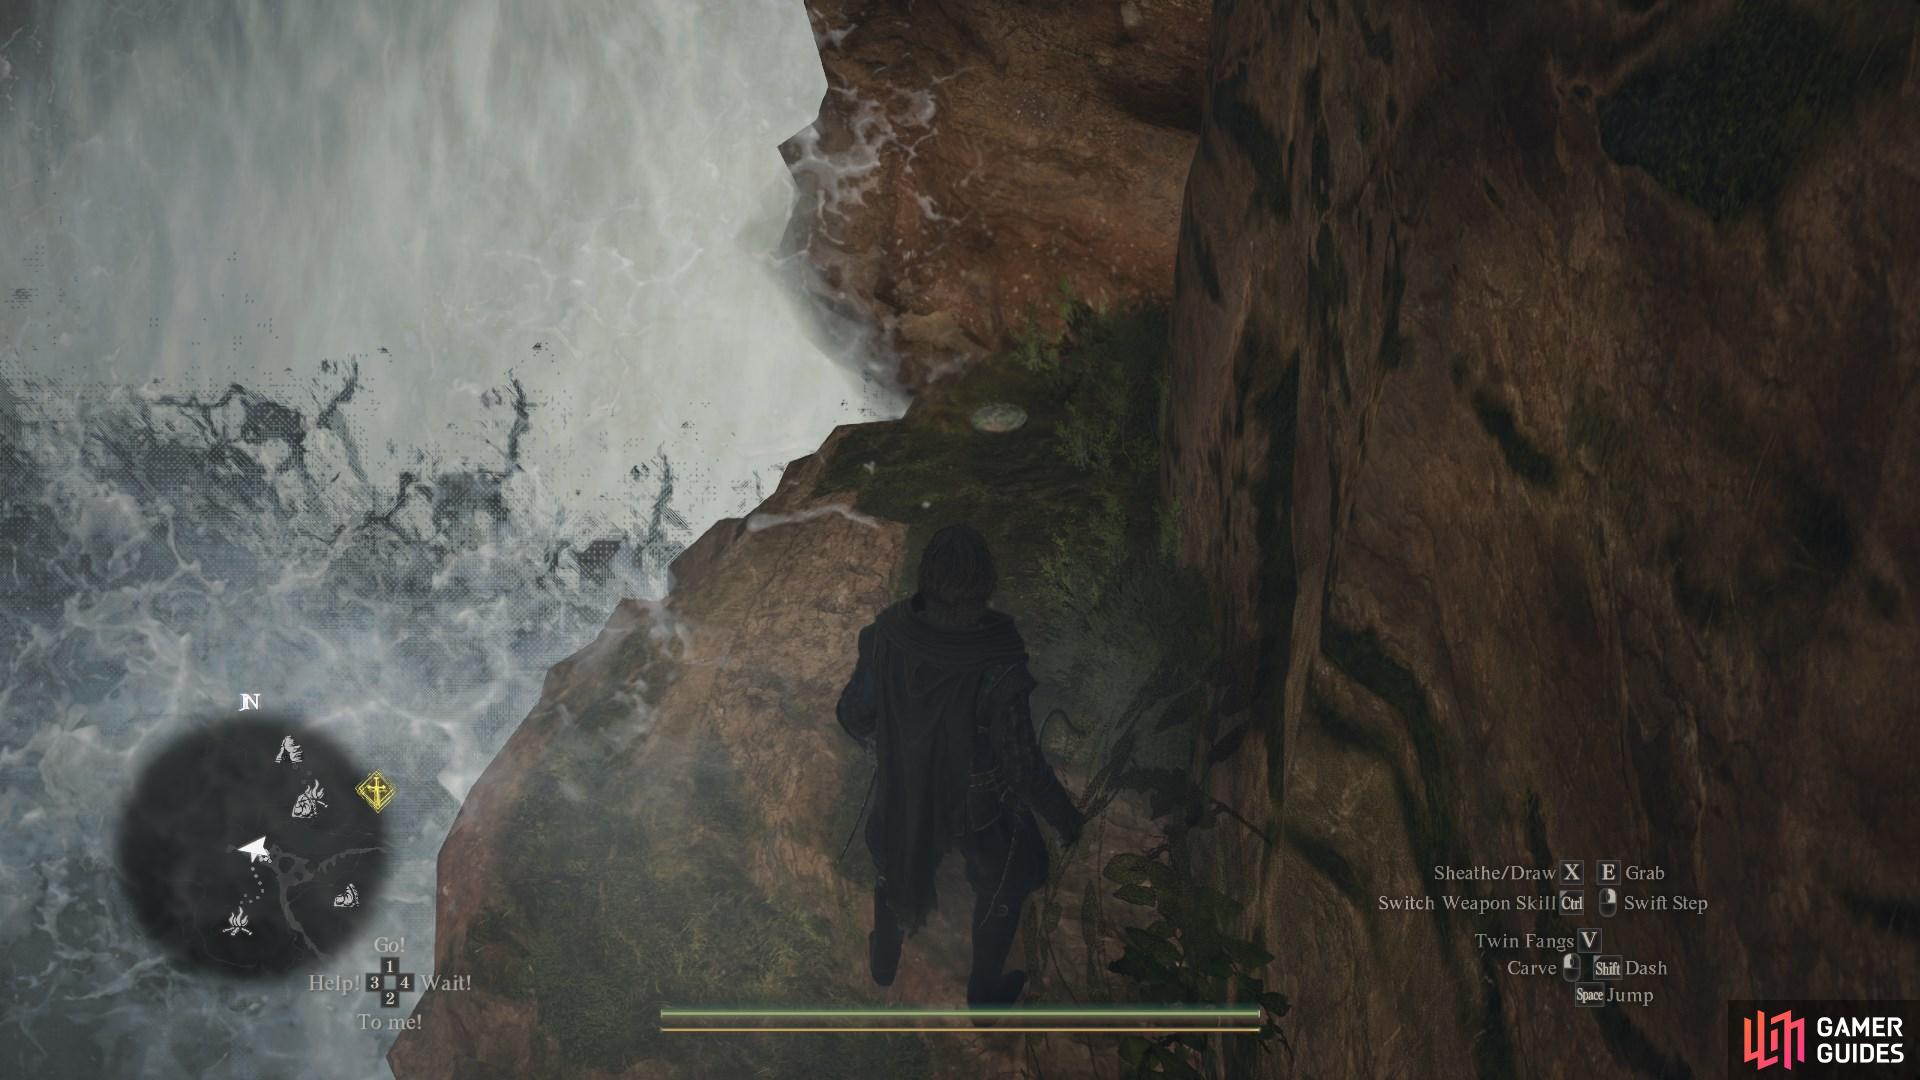
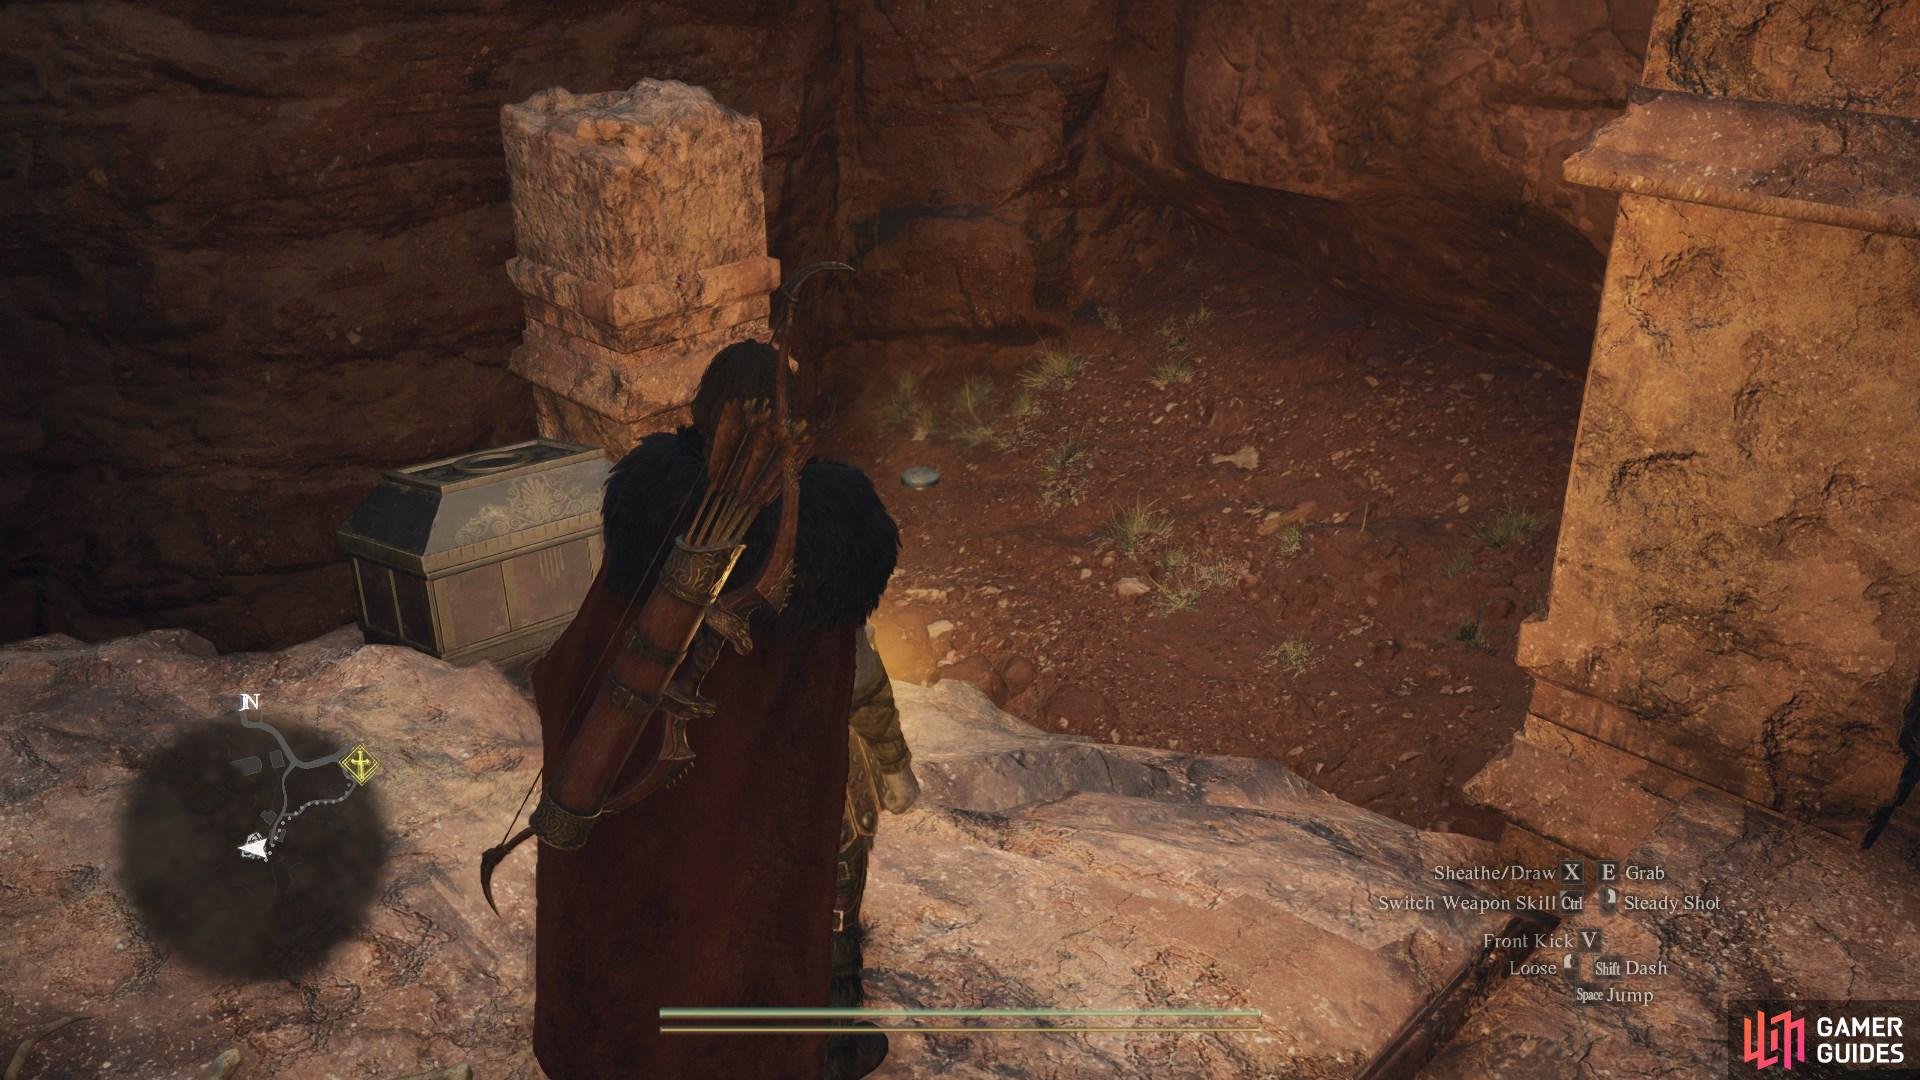
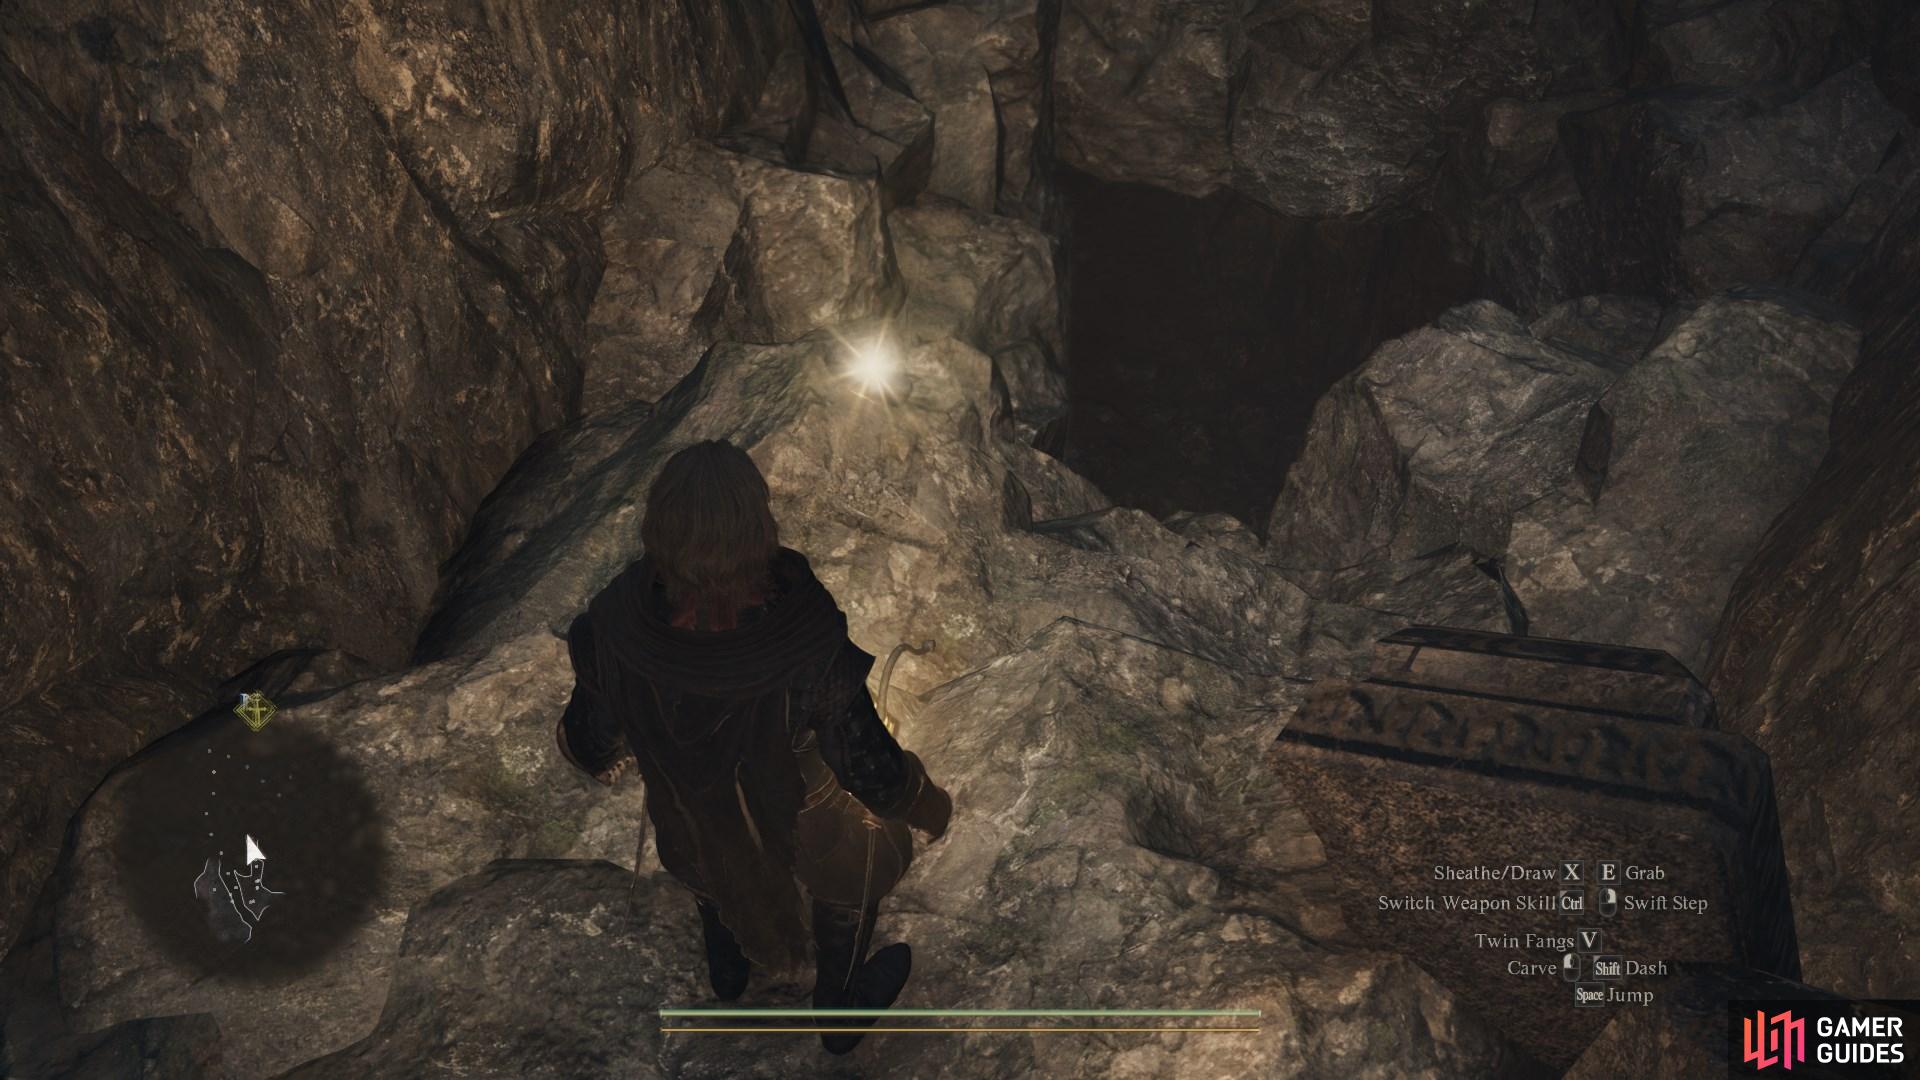
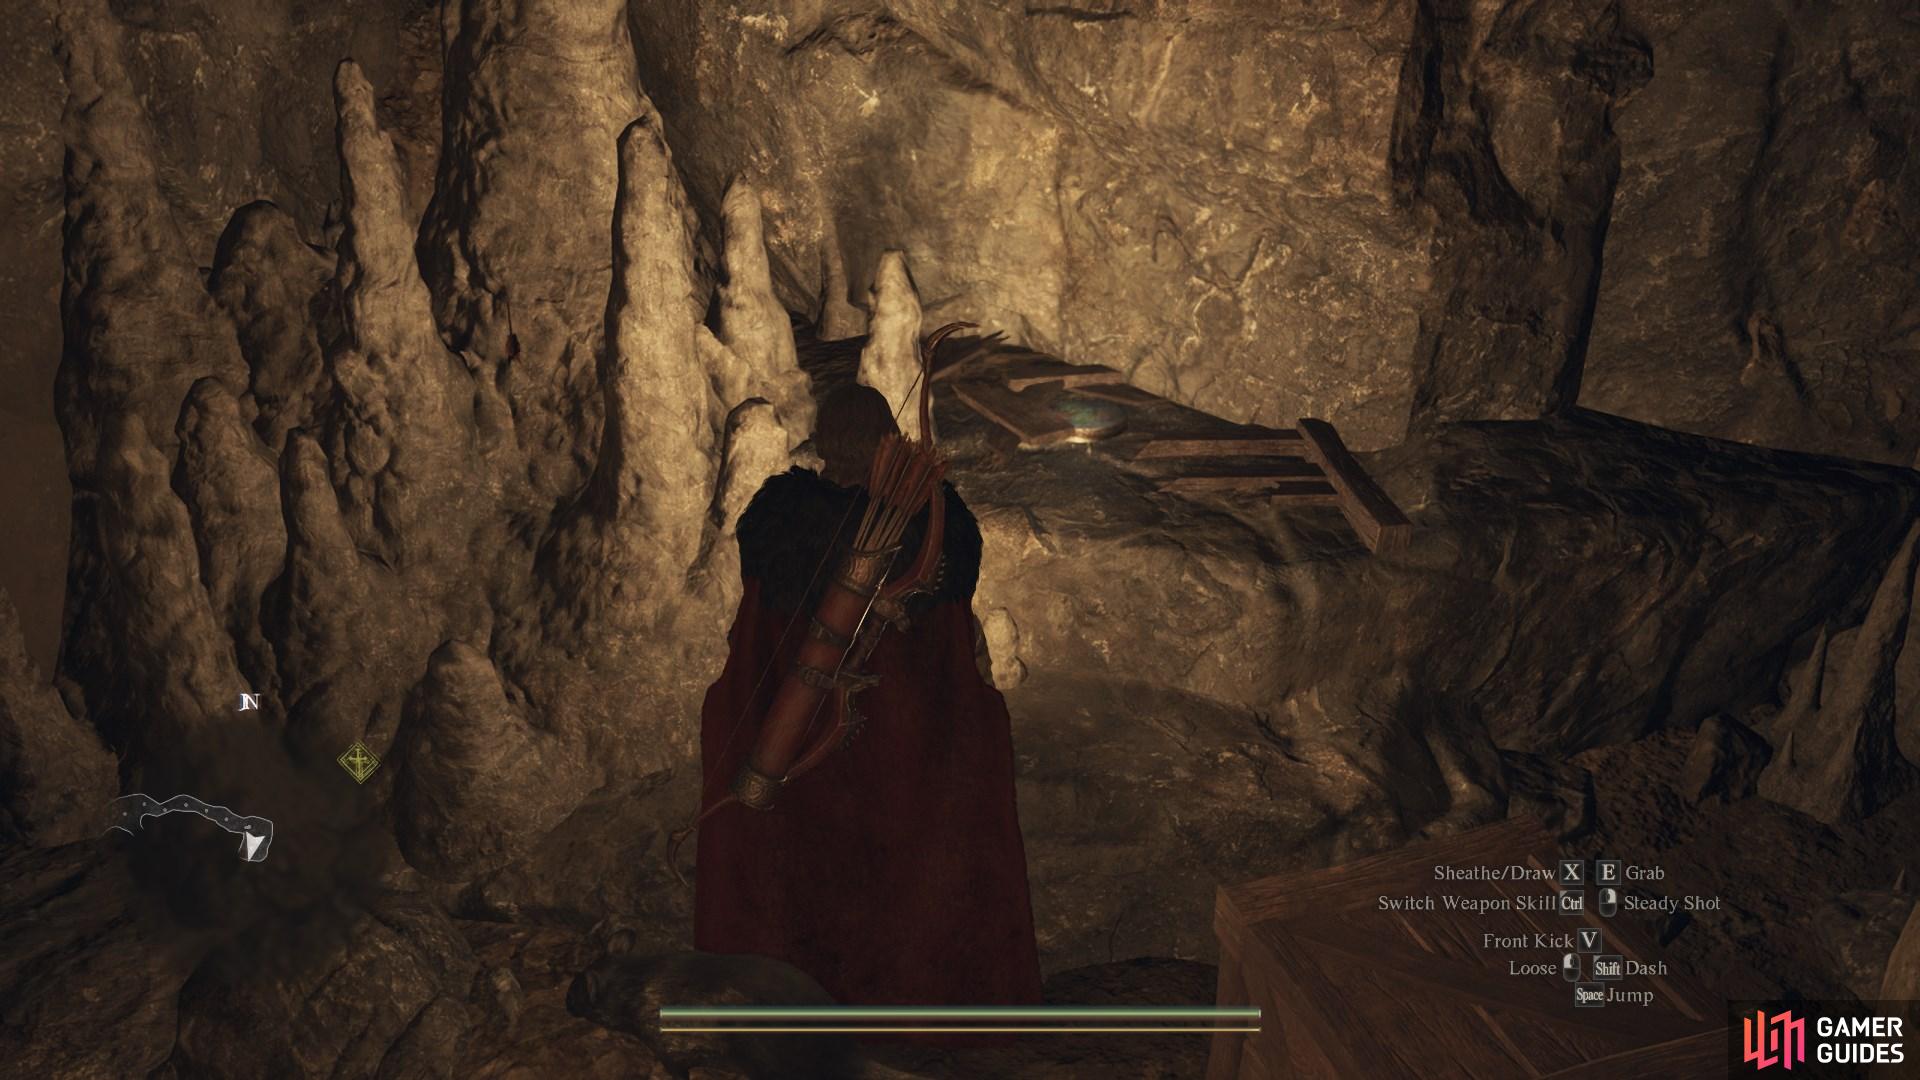
Found on the edge of a narrow cliff west of ![]() Trevo Mine. Drop down from above,
Trevo Mine. Drop down from above, ![]() Levitate from the west, or follow a path from the east.
Levitate from the west, or follow a path from the east.
71981. World
As you enter the island, follow the ridge on the left as far as you can to find this token.
72003. World
After entering the cave from the west, follow the cave along and look out towards the cliff. This token is on the ledge at the first available opening.
72043. World
On the same raised section of cliff as the wooden chest, in a small crevice.
72047. World
Behind the headless statue on a high-up cliff in front of the waterfall.

72049. World
On top of a ruined pillar near the path, south of the ![]() Riverside Ruins. You will need to leap from the adjacent broken pillars, or use
Riverside Ruins. You will need to leap from the adjacent broken pillars, or use ![]() Levitate/Ice Block to help you reach it.
Levitate/Ice Block to help you reach it.
72050. World
In the south part of ![]() Riverside Ruins, on top of a broken column of wall.
Riverside Ruins, on top of a broken column of wall.
72051. World
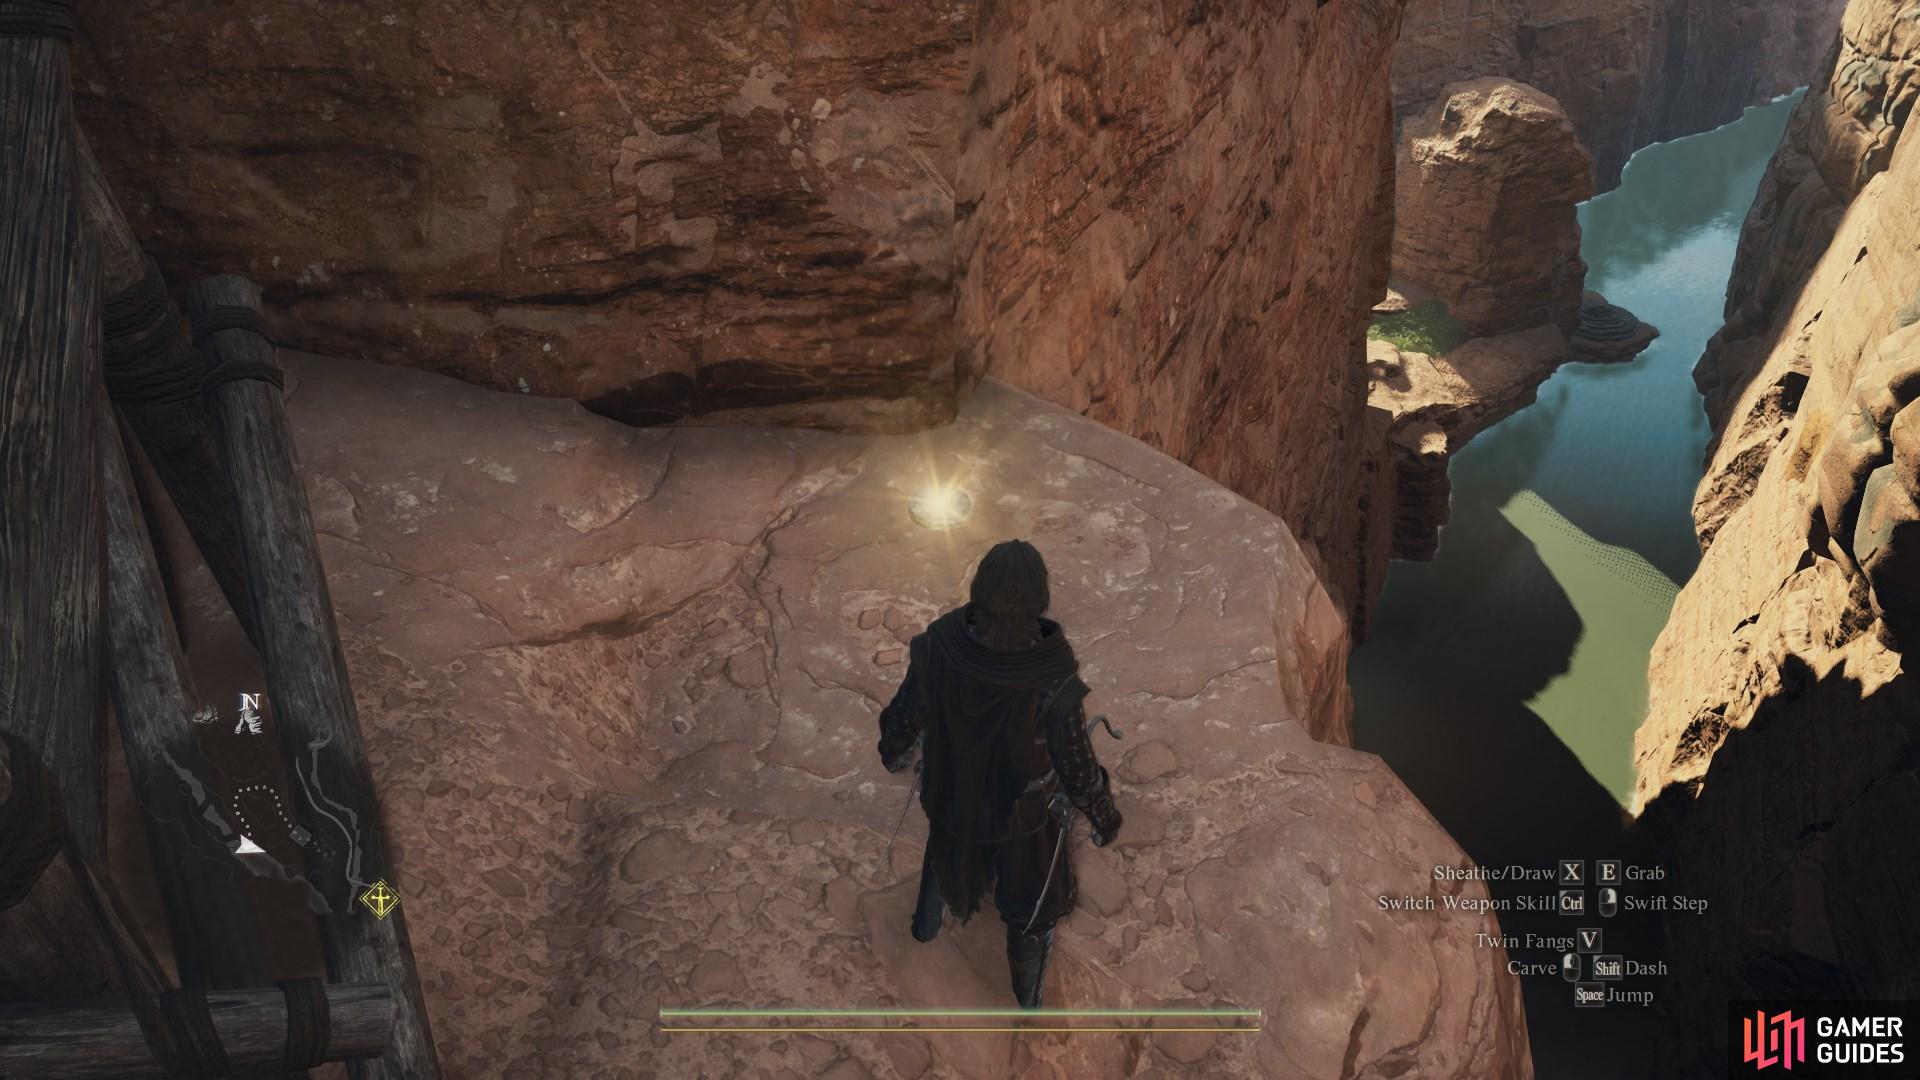
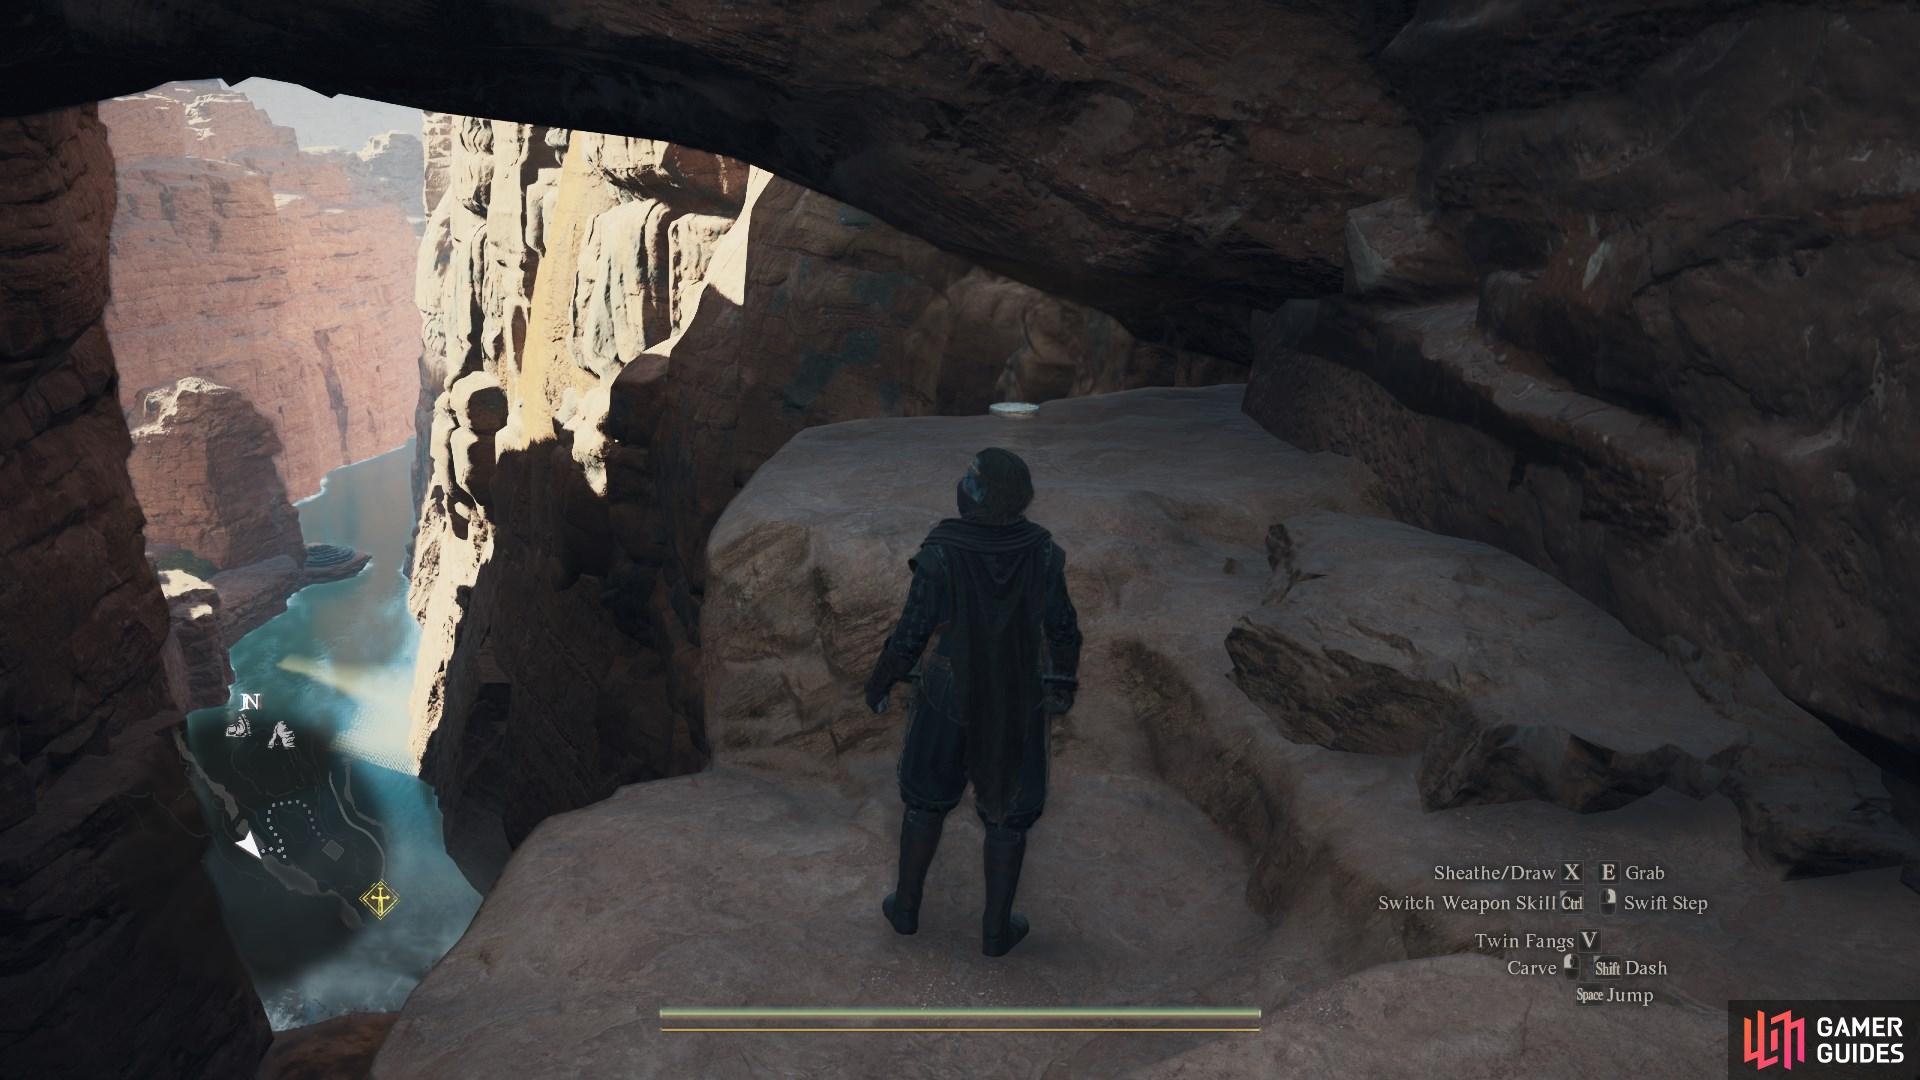
Halfway up the cliff near the path. You will need to run and jump across the gap from up on the hillside near the Riftstone. Ideally, be at Very Light encumbrance.
72058. World
Hidden in the grass on a ledge near the river. After crossing the bridge, climb the cliffs to your right to reach it.
72059. World
Just before you reach the broken bridge near the river, you will find a cemetary and the Token on the rocks overlooking it.
72060. World
At the edge of a cliff near the ![]() Timeworn Shaft. Follow the little path toward the cave and then run up the slope that looks north to find it.
Timeworn Shaft. Follow the little path toward the cave and then run up the slope that looks north to find it.
72061. World
Climb down the ledges left of the ruins; this token is on a rock between two short cliffs.
72095. World
On a cliff near the barricades at the edge of the ![]() Marshland Settlement.
Marshland Settlement.
72101. World
Hidden by a blockage. Gather stones from the cliffside to the north-east or battlefield below, and place them on the sling of a trebuchet in the north-east. It will auto-fire, and pawns will likely pull the crank for you. You’ll need to fire 3-4 boulders to destroy the blockage and reveal this Token.

72102. World
On the ground floor of the broken tower, hidden behind a ladder and pile of rubble.

72105. World
Inside the ruined tower. Easiest to reach by levitating over from the of the ruins to the east.
Alternatively, go through the castle and follow the road back around to get this. There is a broken wall entrance directly north in the cliffs of the eastern Ancient Battlefield Entrance, which you can access by sticking to the cliffs near the main road leading to it.
72109. World
At the top of a cliff by the side of the road leading to the Misty Marshes. Access it by using ![]() Levitate to climb the cliffs below, or head south from the
Levitate to climb the cliffs below, or head south from the ![]() Shrine Corridor’s eastern exit.
Shrine Corridor’s eastern exit.
72120. World
At the northern edge of the cliffs above the Misty Marshes, next to a toppled pillar.
72122. World
At the highest point of the ruins, on top of a chunk that overlooks the area around the ![]() Forgotten Tunnel. Easiest to grab by using
Forgotten Tunnel. Easiest to grab by using ![]() Levitate or going up the cliffs near the ruins and dropping down.
Levitate or going up the cliffs near the ruins and dropping down.
72126. World
You need to get on top of the archway here and leap over to the large pillar to find the token.

72129. World
On top of a high-up cliff near a bend in the path, south-east of ![]() Trevo Mine. Easiest to reach by using
Trevo Mine. Easiest to reach by using ![]() Levitate or approaching from the hills near the western path.
Levitate or approaching from the hills near the western path.
72130. World
Guarded by ![]() Saurians in the cave. Climb to the highest point on the eastern side, jump across to a ledge, and you’ll find this token on the ground near a chest.
Saurians in the cave. Climb to the highest point on the eastern side, jump across to a ledge, and you’ll find this token on the ground near a chest.
72133. World
From ![]() The Guardhouse, head round to the edge of the wall to reach the outer cliffs. Walk east along the ledges to eventually reach the Token.
The Guardhouse, head round to the edge of the wall to reach the outer cliffs. Walk east along the ledges to eventually reach the Token.
72134. World
On the ![]() Rose Chateau Bordelrie’s roof, inside a small chimney. Easiest to reach by floating onto the roof from the grounds of
Rose Chateau Bordelrie’s roof, inside a small chimney. Easiest to reach by floating onto the roof from the grounds of ![]() Vernworth Castle.
Vernworth Castle.

72135. World
On the roof of ![]() Vernworth Hall. To reach it, start by using
Vernworth Hall. To reach it, start by using ![]() Levitate to land on top of the
Levitate to land on top of the ![]() Rose Chateau Bordelrie. From there, float over to a
Rose Chateau Bordelrie. From there, float over to a ![]() Vernworth Castle tower, and use Levitate again to reach
Vernworth Castle tower, and use Levitate again to reach ![]() Vernworth Hall.
Vernworth Hall.
72140. World
Guarded by ![]() Choppers near a graveyard behind the tower. Look behind the large rock at the edge of the graveyard to find this token in a bush.
Choppers near a graveyard behind the tower. Look behind the large rock at the edge of the graveyard to find this token in a bush.
72141. World
On top of a rock on the path’s left side. Directly north of ![]() Checkpoint Rest Town.
Checkpoint Rest Town.

72143. World
At the northern edge of the Battahl desert. Go left from where the road bends, and climb across the sandstone cliffs to reach this.
72145. World
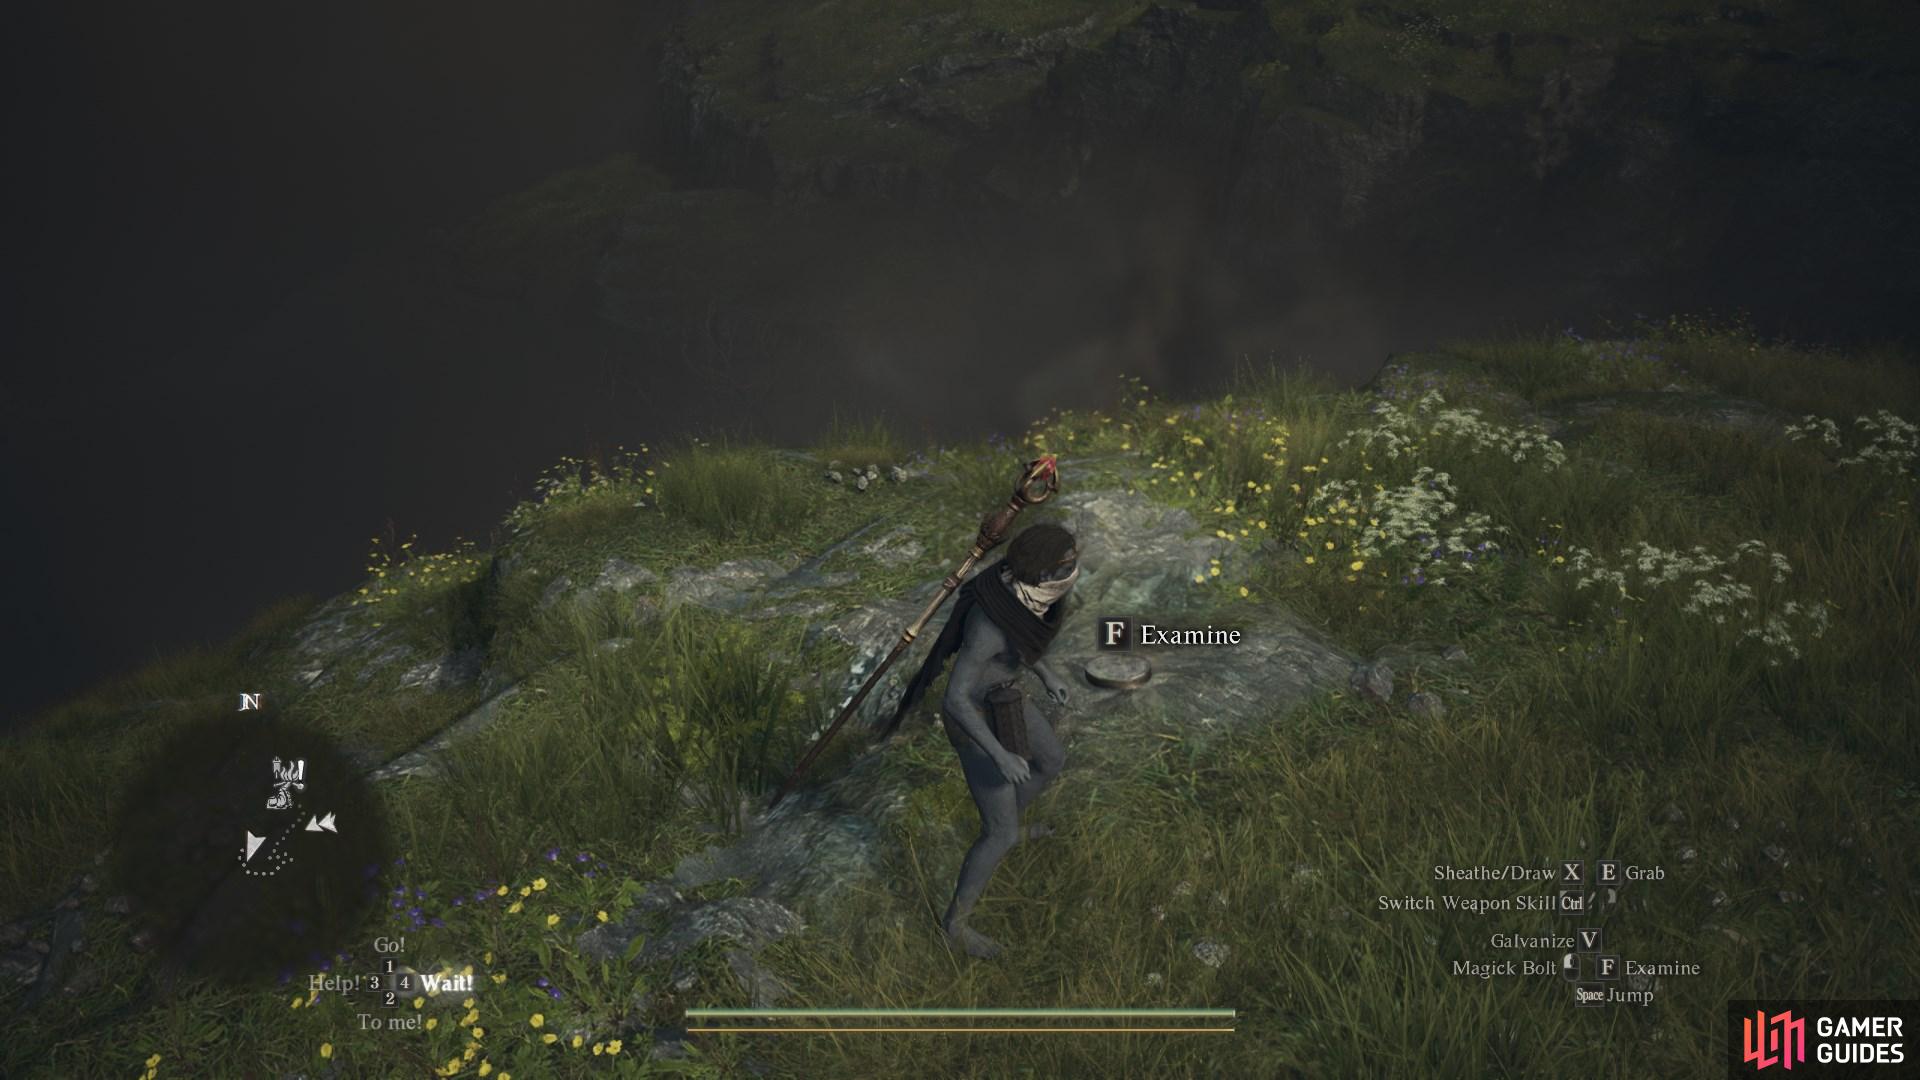
Near a tree at the edge of a high-up cliff. Travel east from the Rocky Crevice cave entrance, then work around the narrow cliff edge towards the tree in question.


72151. World
On a ledge near a ![]() Harpy’s nest. Approach from the rocky coast to the north, follow the piles of bones as you climb, and you’ll find this Token near the top.
Harpy’s nest. Approach from the rocky coast to the north, follow the piles of bones as you climb, and you’ll find this Token near the top.
72152. World
Climb to the top of the tower, then hug the wall near the ![]() Ring of Amplification. Jump forward and you’ll land on a balcony with this token.
Ring of Amplification. Jump forward and you’ll land on a balcony with this token.

72154. World
South of the Misty Marshes entrance to the ![]() Strange Corridor, between the large trees.
Strange Corridor, between the large trees.
72158. World
On a ledge above ![]() Forested Griffin’s Nest on the southern edge of the Misty Marshes. You must reach this area by climbing from the road to the south, not the Misty Marshes itself.
Forested Griffin’s Nest on the southern edge of the Misty Marshes. You must reach this area by climbing from the road to the south, not the Misty Marshes itself.
72163. World
Break the river blockage to the southwest, and you’ll find this token at the end of the newly-revealed tunnel.
72164. World
On a small rock next to the path, directly opposite the entrance to the ![]() Howling Cave.
Howling Cave.
72169. World
On top of a high-up cliff behind the ![]() Rare Book Stand. Climb to the very top of the
Rare Book Stand. Climb to the very top of the ![]() Mural Byway, then head east to find it.
Mural Byway, then head east to find it.
72173. World
At the edge of a narrow cliff ledge west of the ![]() Volcanic Island Camp. Climb the scaffolding inside the camp, then follow the cliffs to the south to find it.
Volcanic Island Camp. Climb the scaffolding inside the camp, then follow the cliffs to the south to find it.
72175. World
On the edge of a rock overlooking the water, west of the ![]() Volcanic Island Camp.
Volcanic Island Camp.

72180. World
On the side of a cliff overlooking the river and sea. Easiest to reach when approached from the east.

72187. World
After entering the ![]() Tomb of Am’Ranna, watch out for the breakable floor as you run straight ahead - this token is at the end of the corridor.
Tomb of Am’Ranna, watch out for the breakable floor as you run straight ahead - this token is at the end of the corridor.
72188. World
On the headless statue west of the ![]() Tomb of Am’Ranna and south of the
Tomb of Am’Ranna and south of the ![]() Riftstone of Robustness.
Riftstone of Robustness.
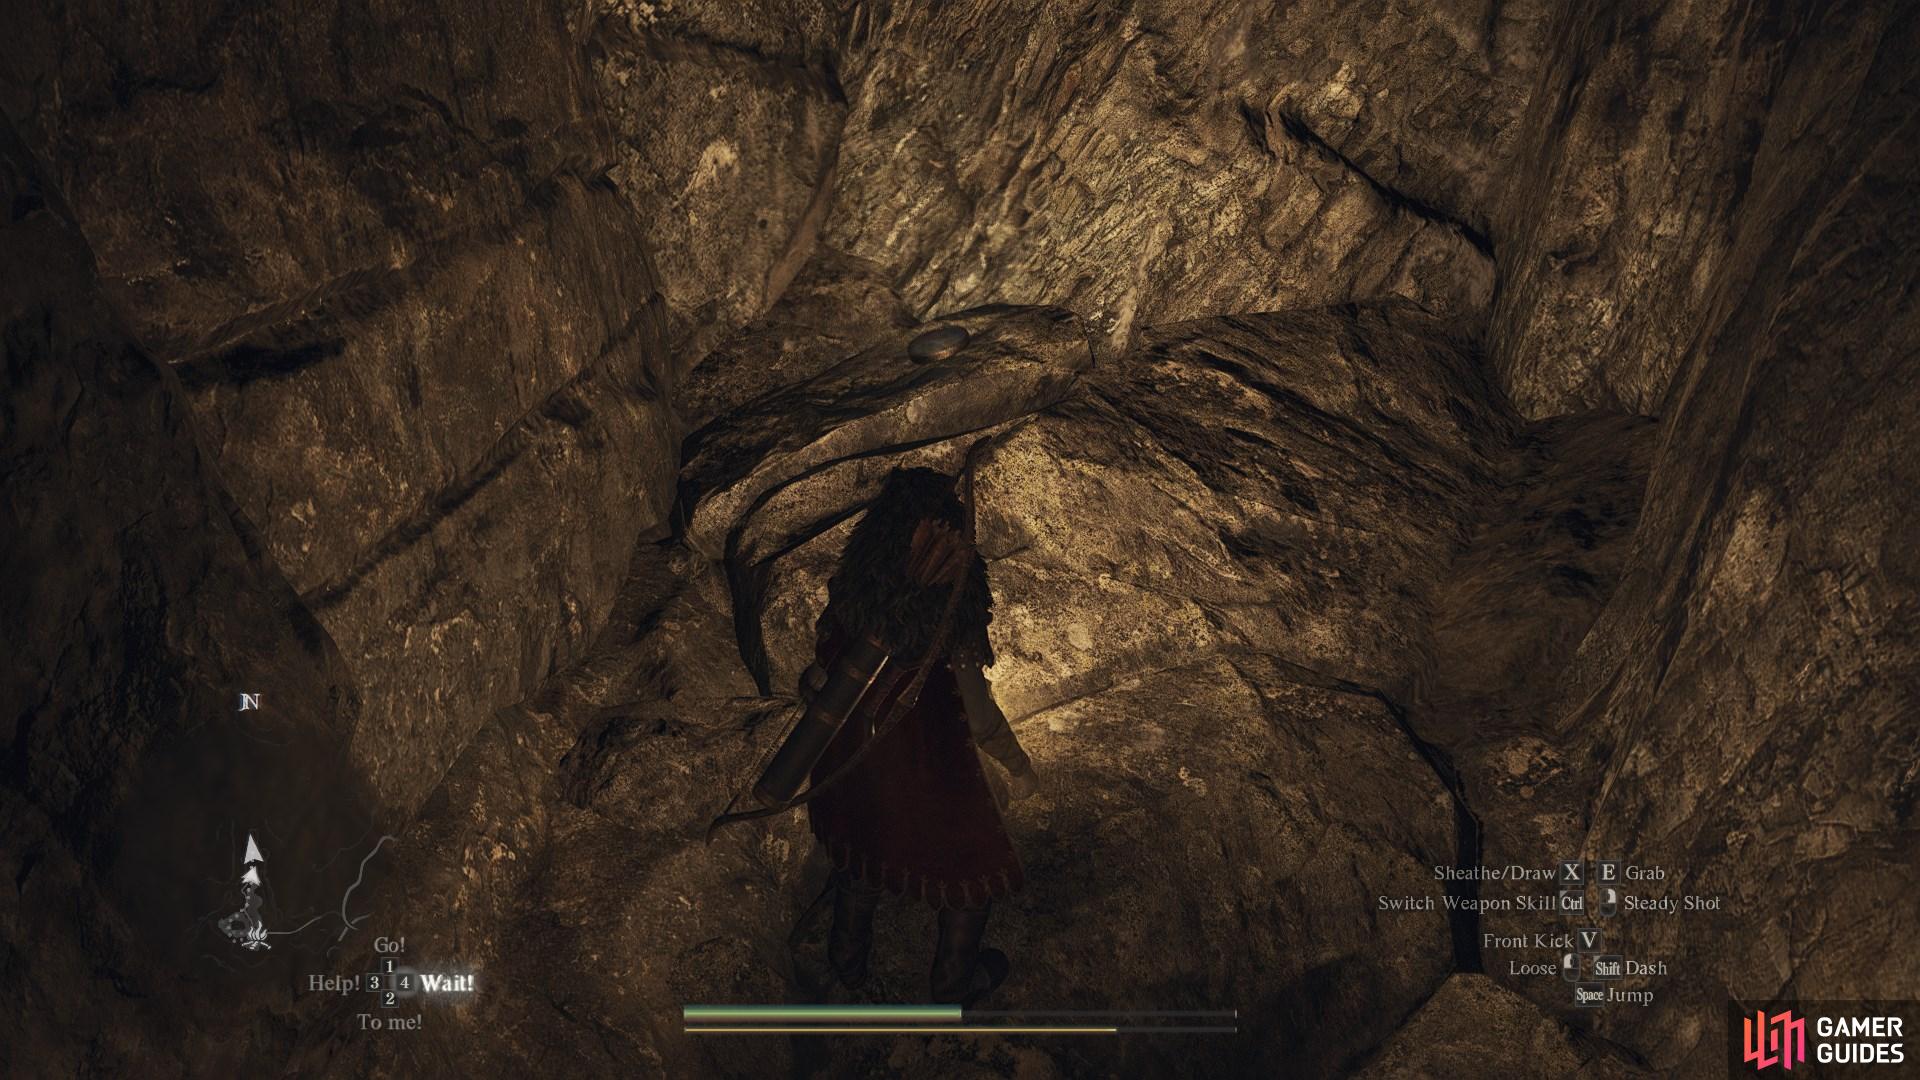
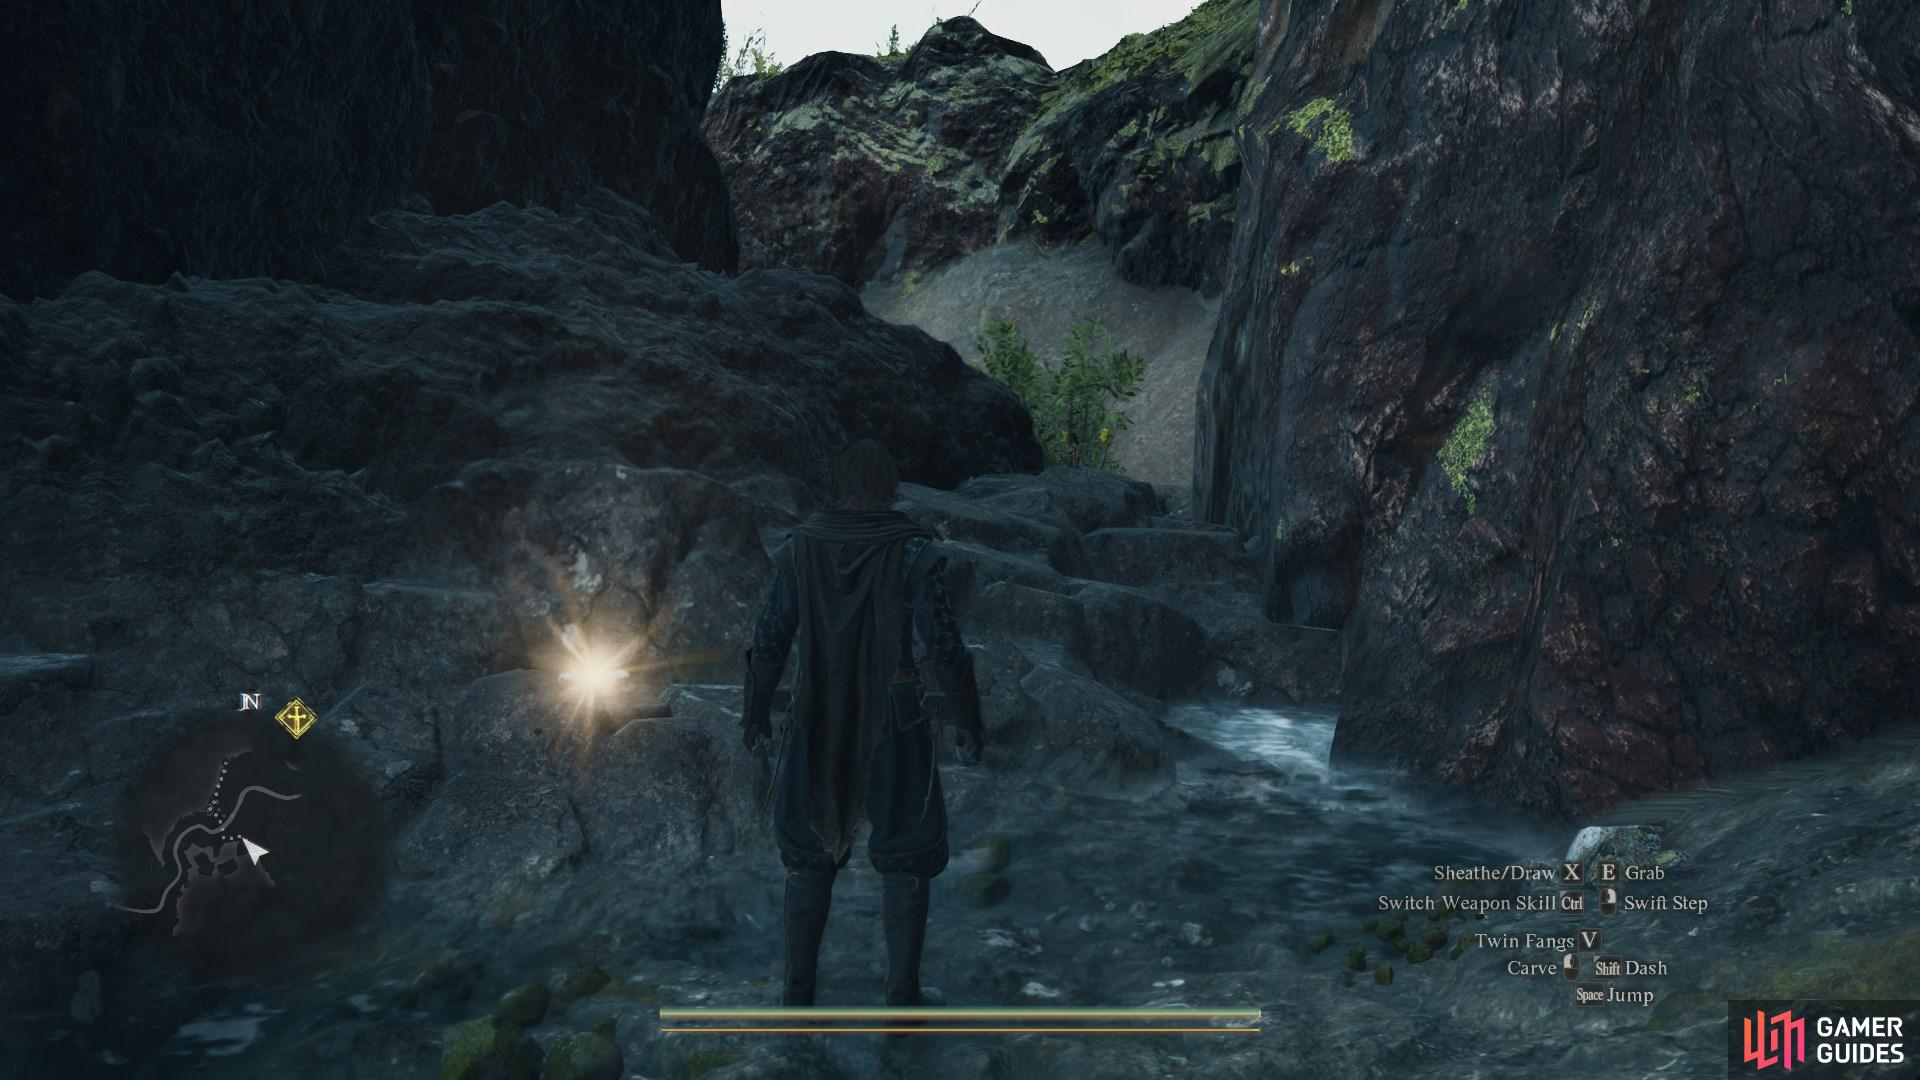
72190. World
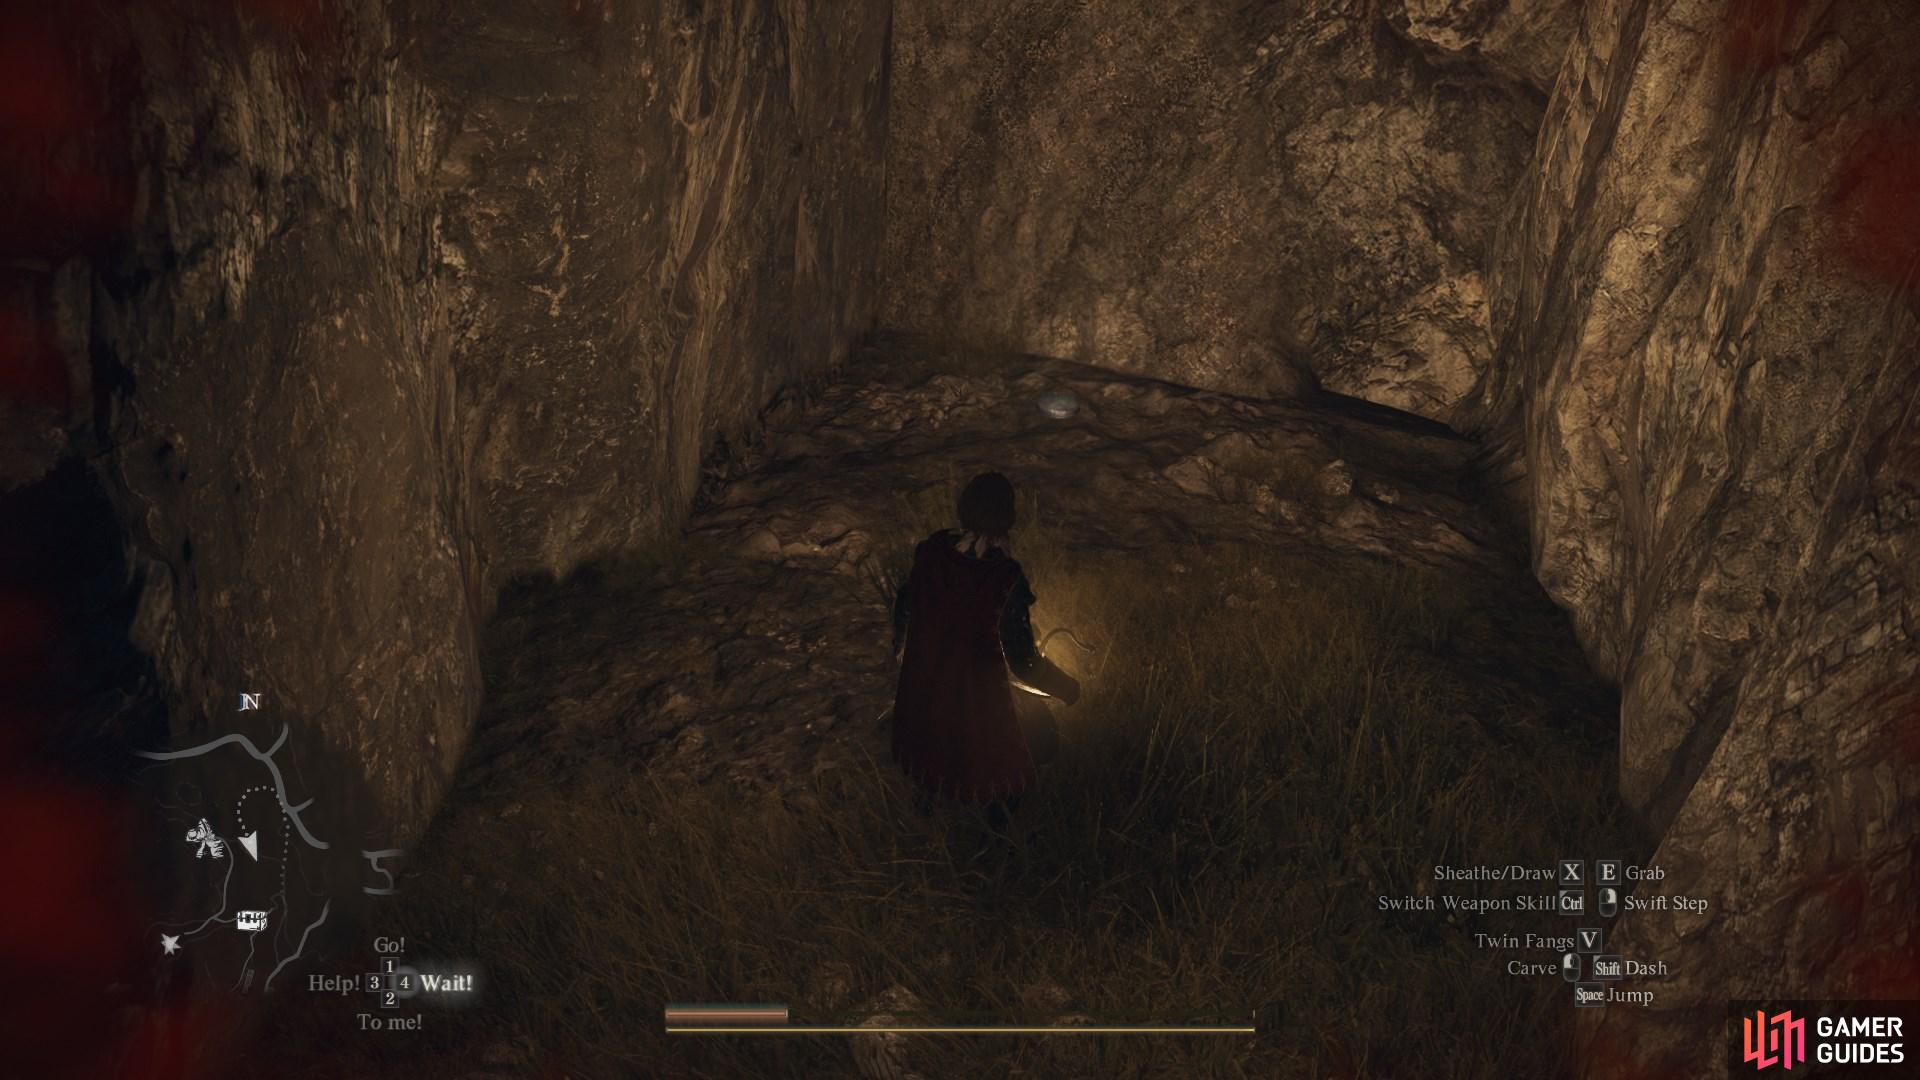
Directly east to the northern entrance to ![]() Trevo Mine. Take a left near the path, then run to the end of a small cave to find this token on the ground.
Trevo Mine. Take a left near the path, then run to the end of a small cave to find this token on the ground.

72191. World
On the cliffs southwest of ![]() Sacred Arbor, near
Sacred Arbor, near ![]() Eldart’s Apothecary. More-or-less impossible to reach without using
Eldart’s Apothecary. More-or-less impossible to reach without using ![]() Levitate from the nearby cliffs.
Levitate from the nearby cliffs.

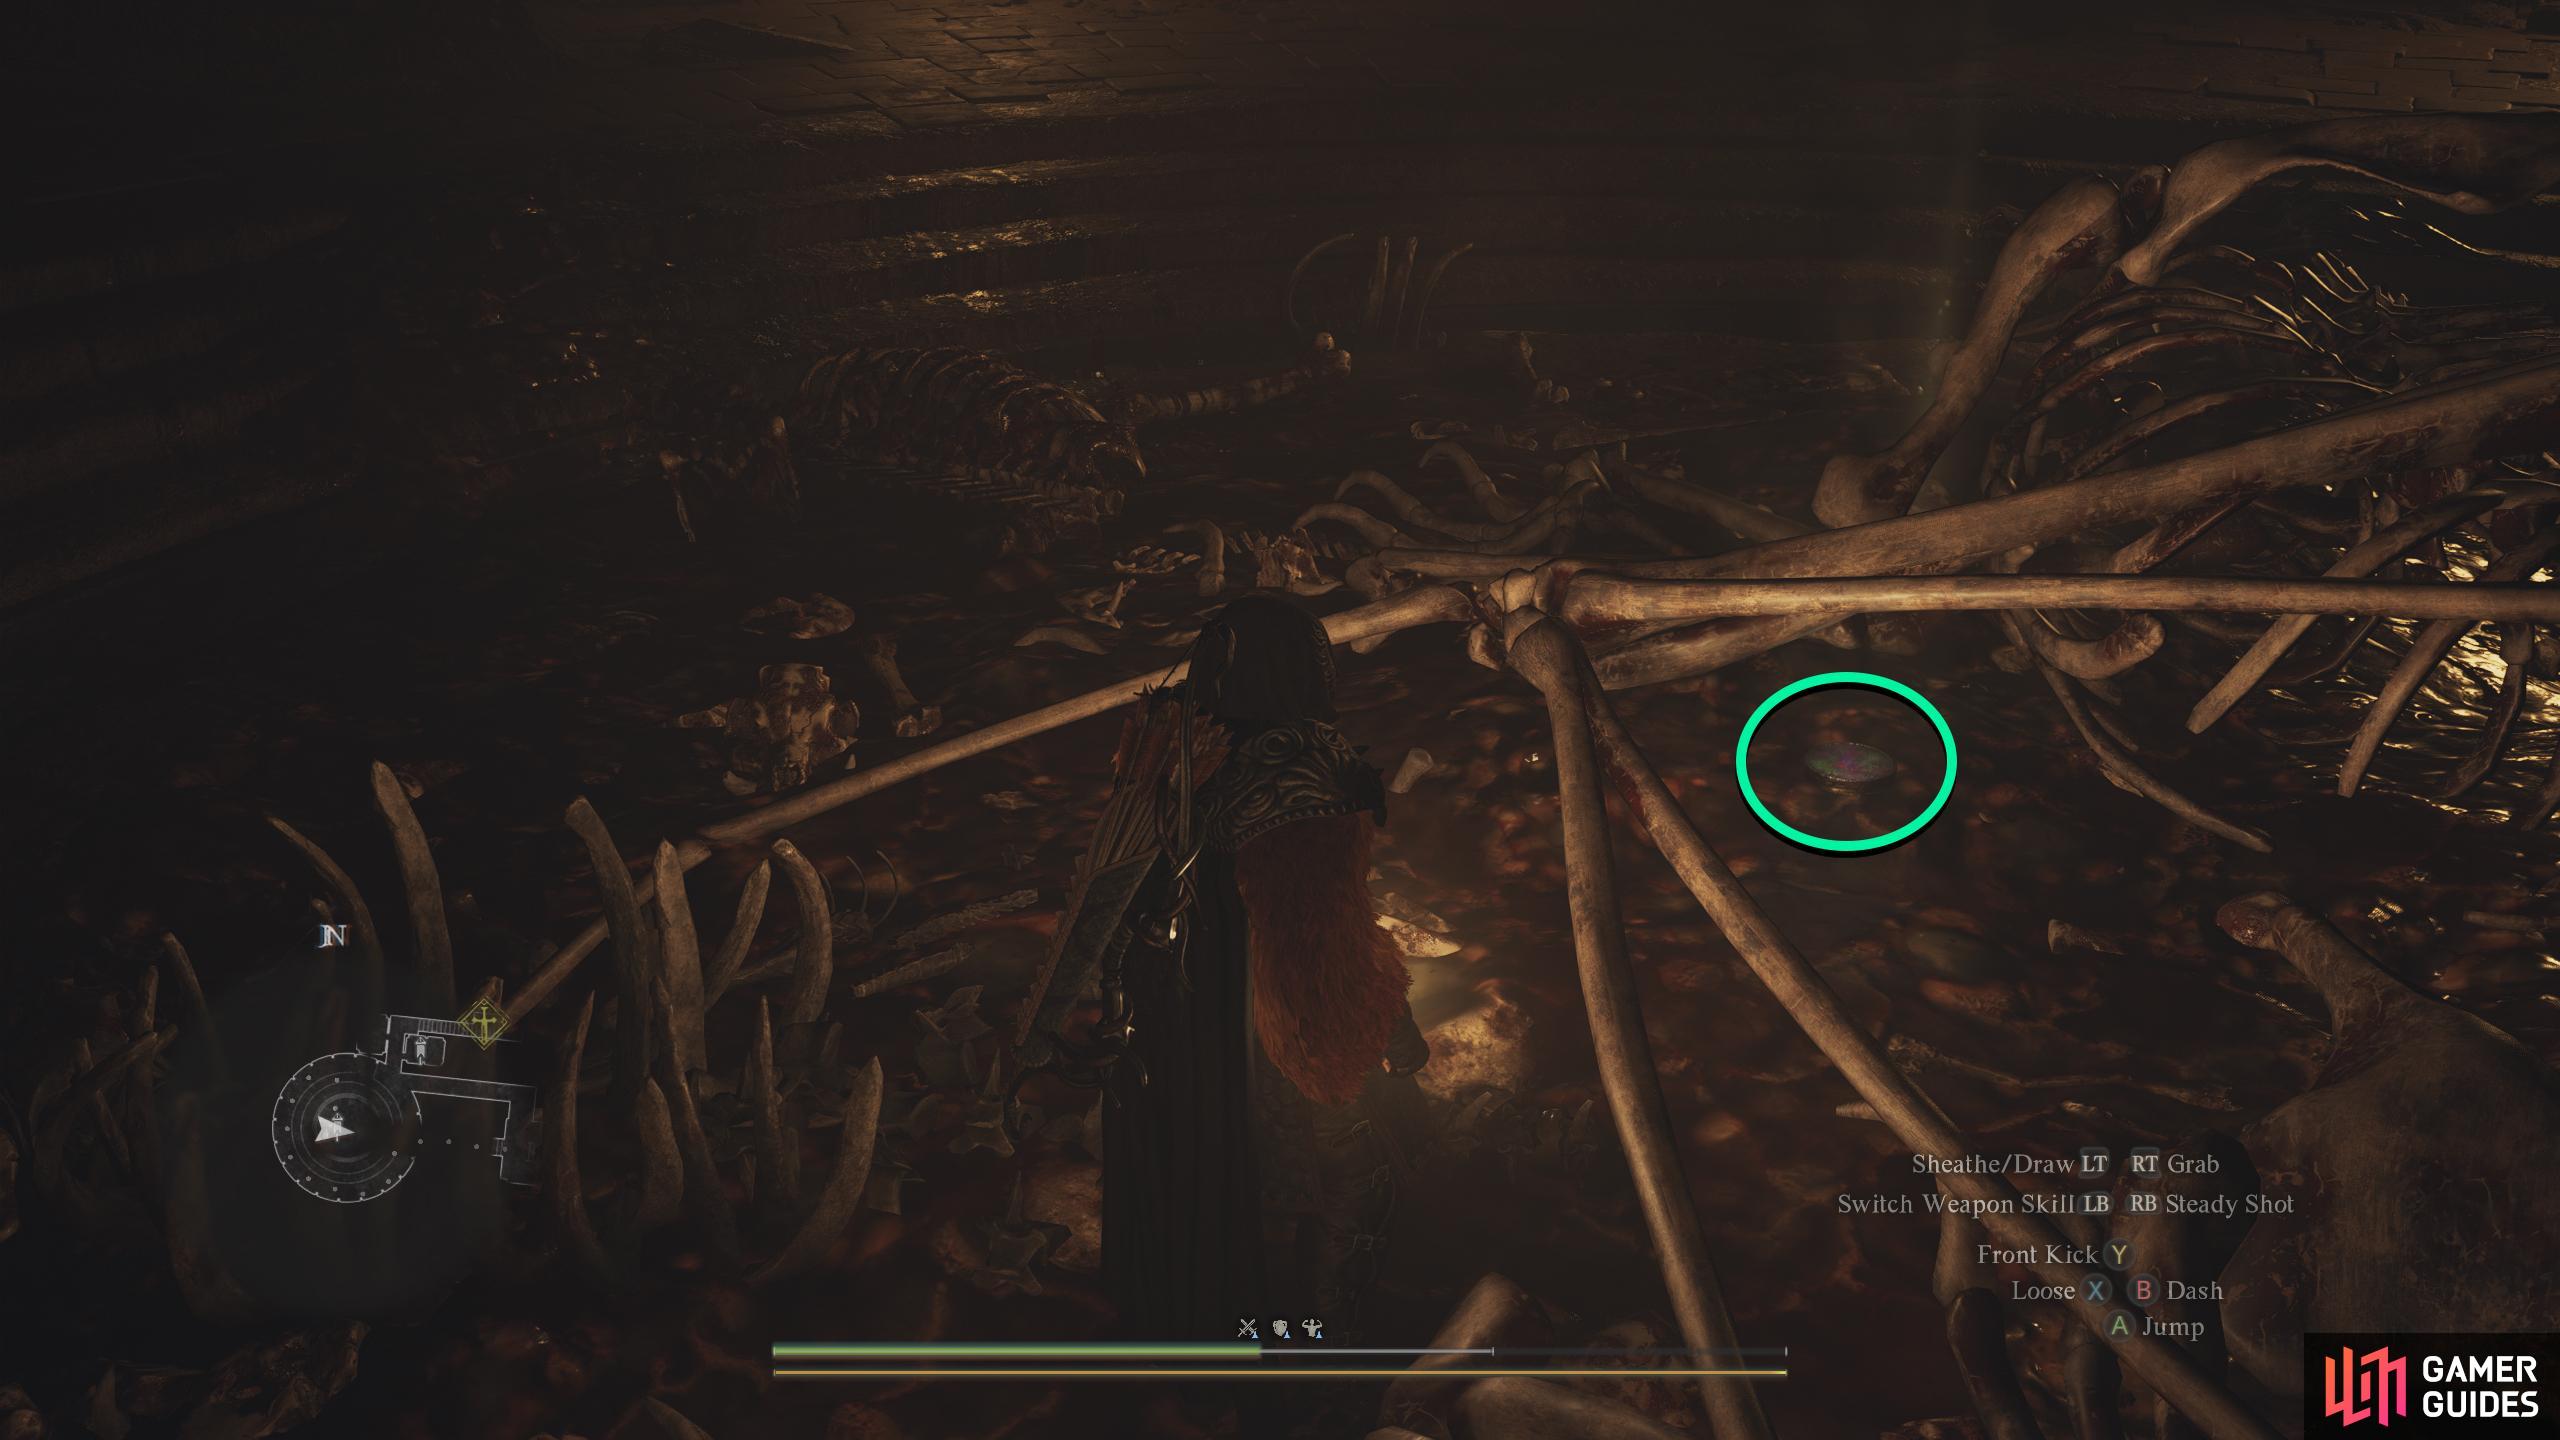
72195. World
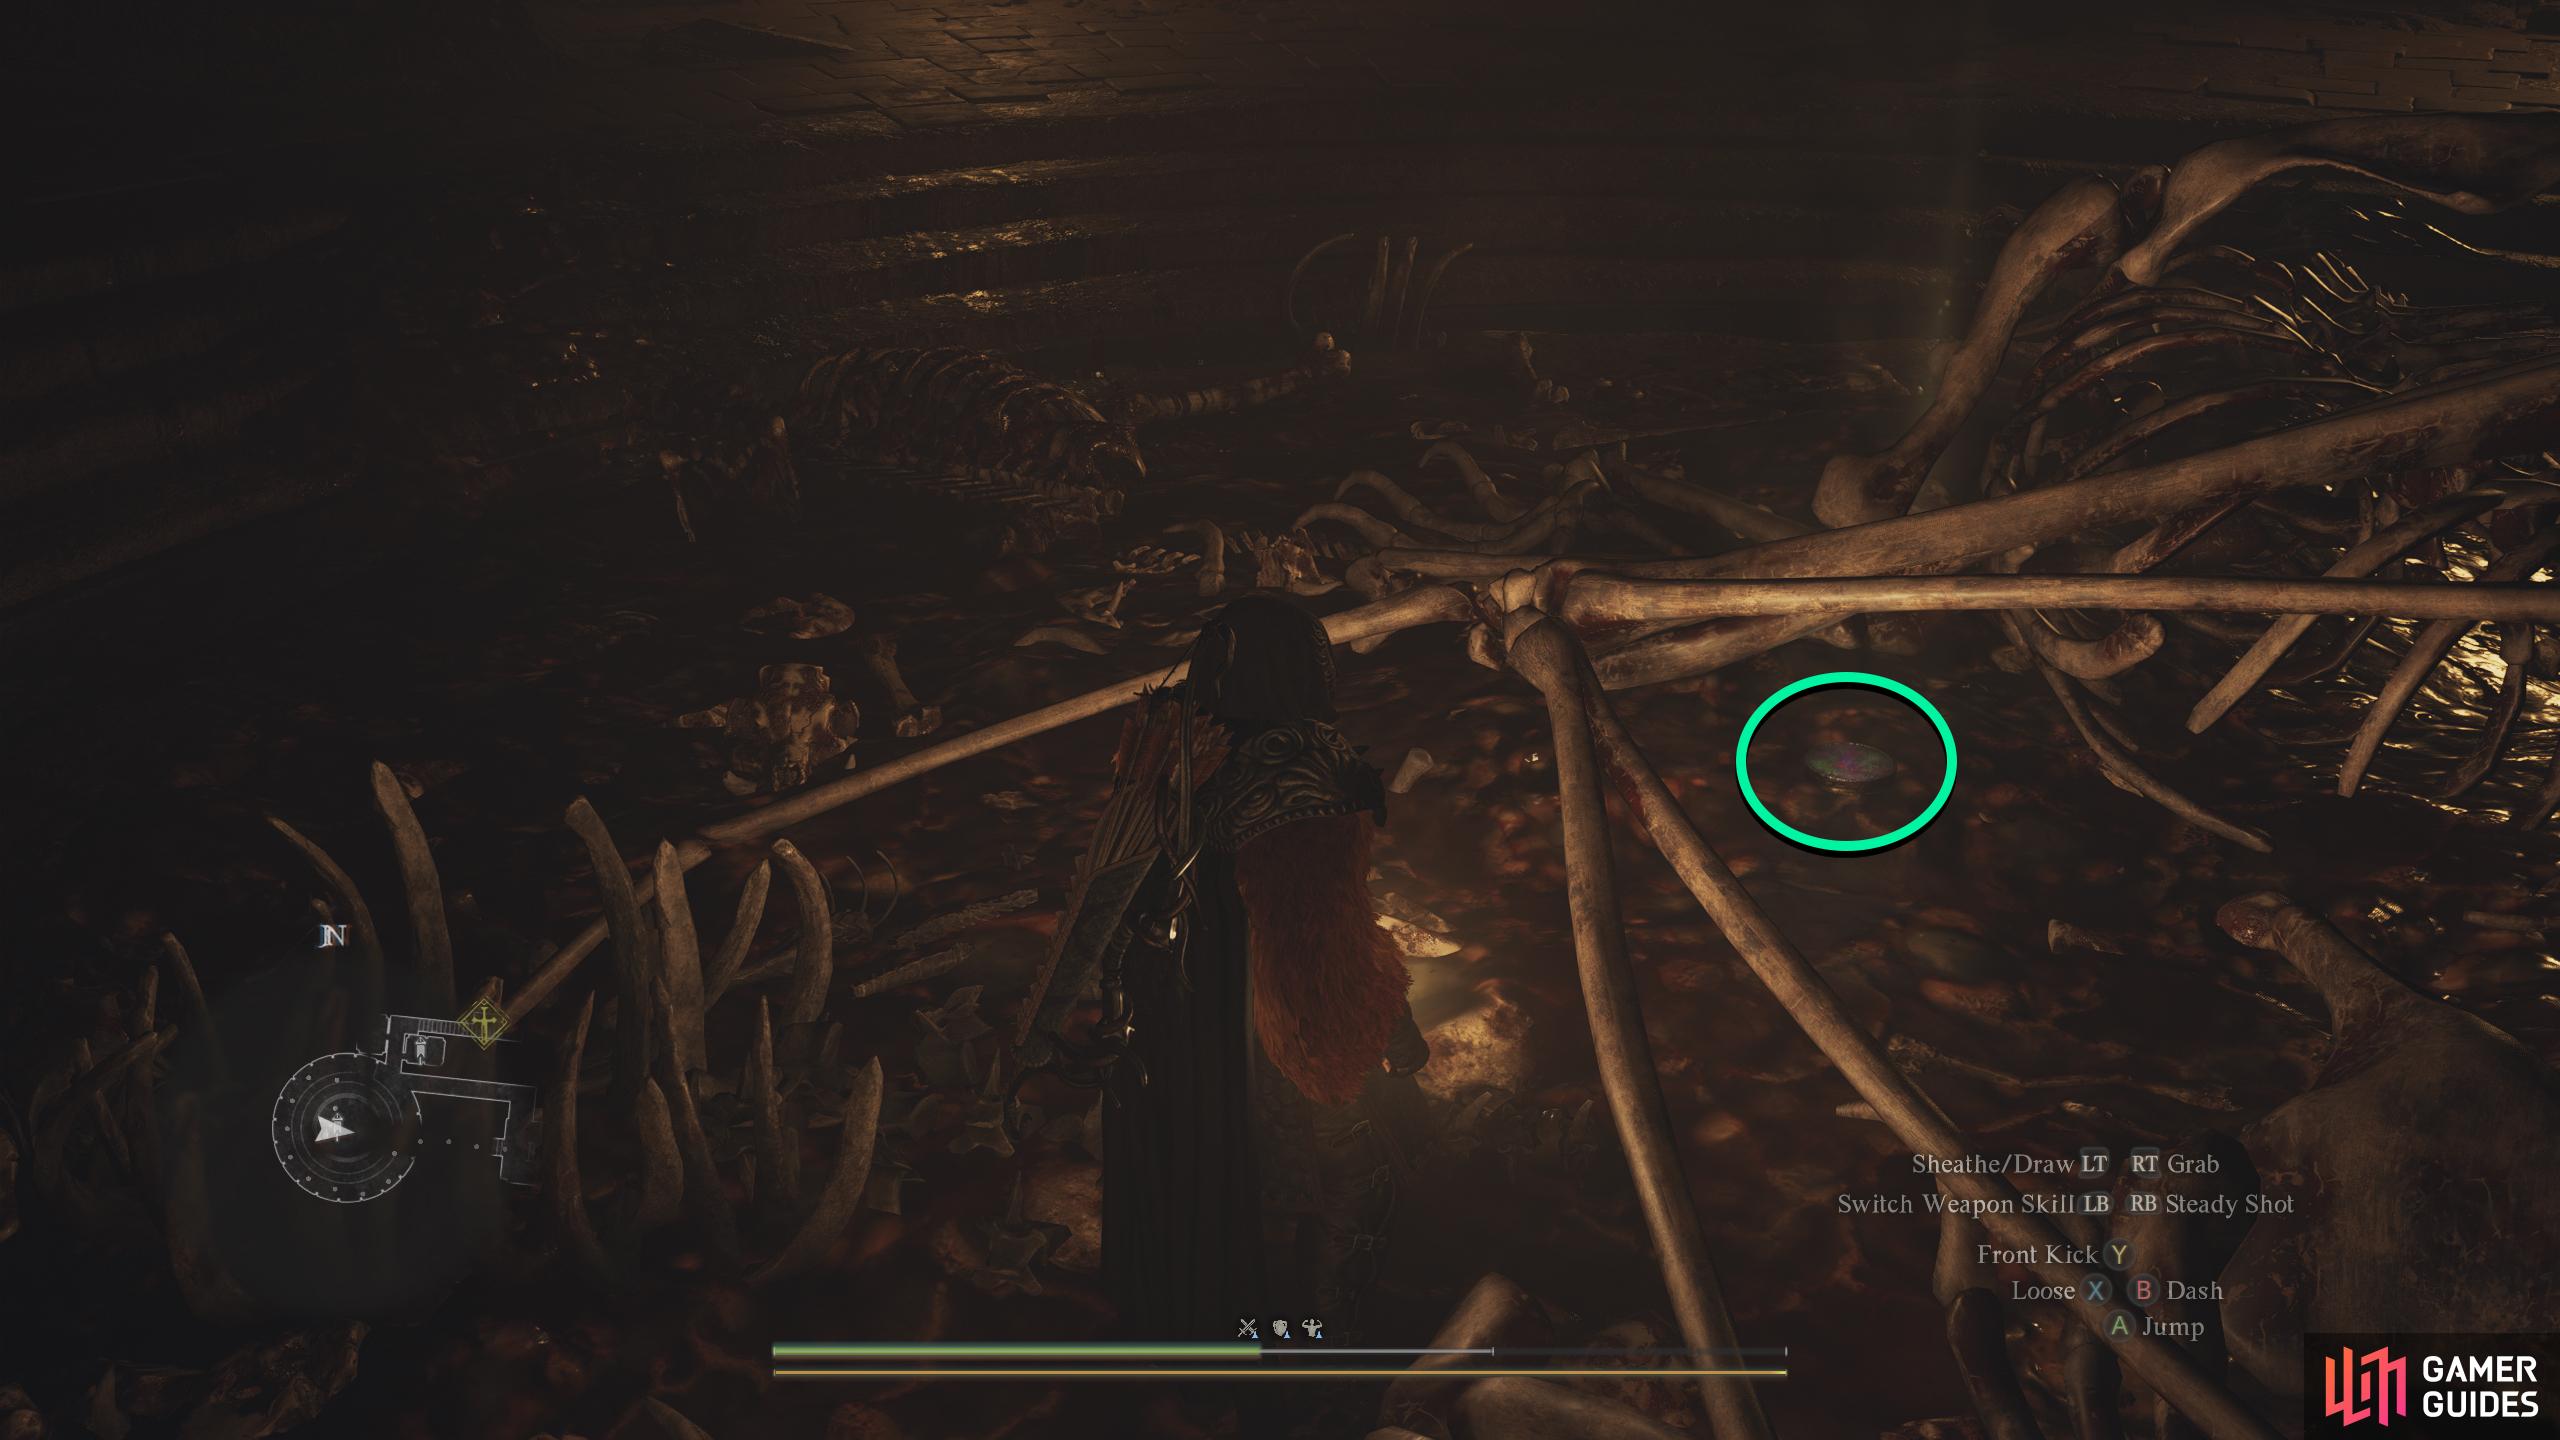
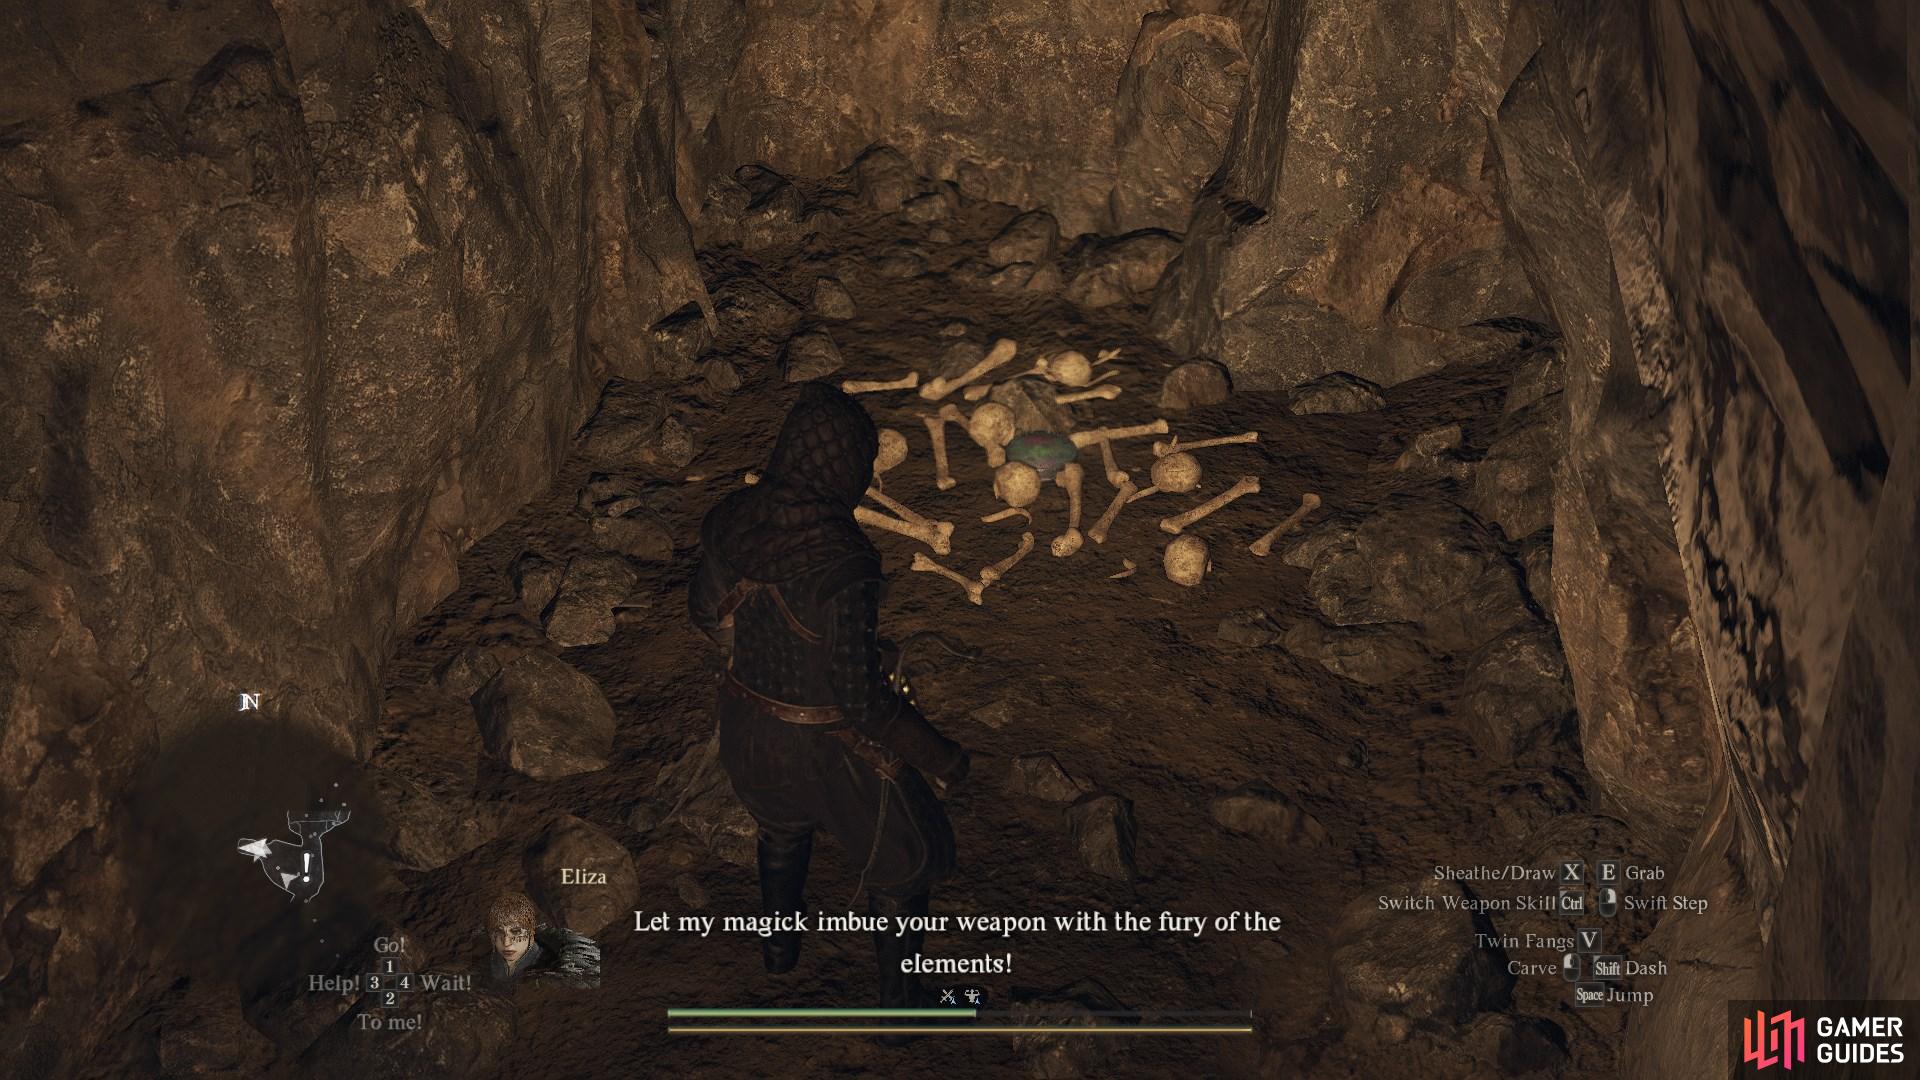
Behind a breakable rock at the top of a rocky climb in the ![]() Trembling Hollow. Fight through some skeletons and you’ll find it in a pile of bones at the end of a short corridor.
Trembling Hollow. Fight through some skeletons and you’ll find it in a pile of bones at the end of a short corridor.
72388. Vernworth Map
On the roof of ![]() Vernworth Hall. Use
Vernworth Hall. Use ![]() Levitate to reach it from a nearby rooftop.
Levitate to reach it from a nearby rooftop.
72389. Vernworth Map
On the ![]() Rose Chateau Bordelrie’s roof. Float over to it from a nearby building, or climb the chimney.
Rose Chateau Bordelrie’s roof. Float over to it from a nearby building, or climb the chimney.
72398. World
Inside the ![]() Worldsend Cavern, hidden behind a chest in an area full of
Worldsend Cavern, hidden behind a chest in an area full of ![]() Phantoms.
Phantoms.
72404. World
On top of a mountain west of the ![]() Abandoned Home. This can be reached by climbing up the mountain near
Abandoned Home. This can be reached by climbing up the mountain near ![]() Rock Wall Berme.
Rock Wall Berme.
72437. World
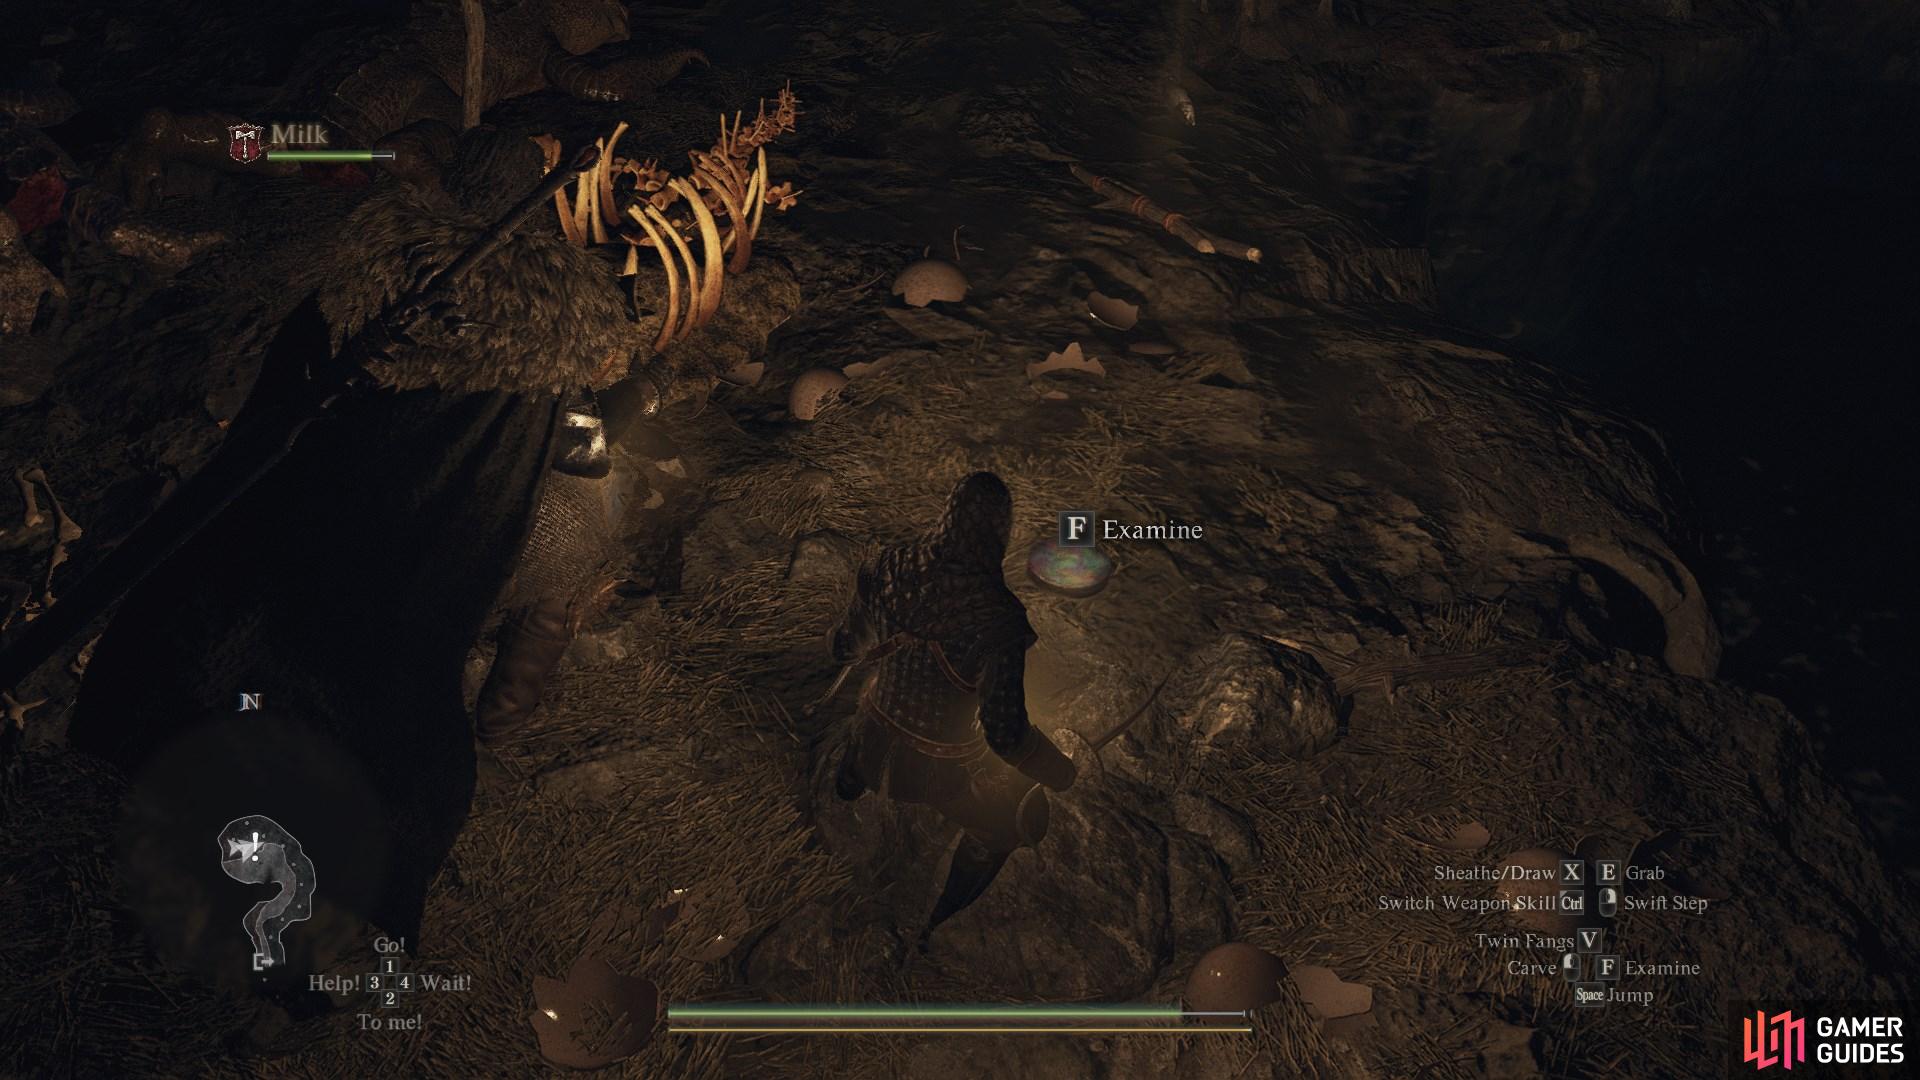
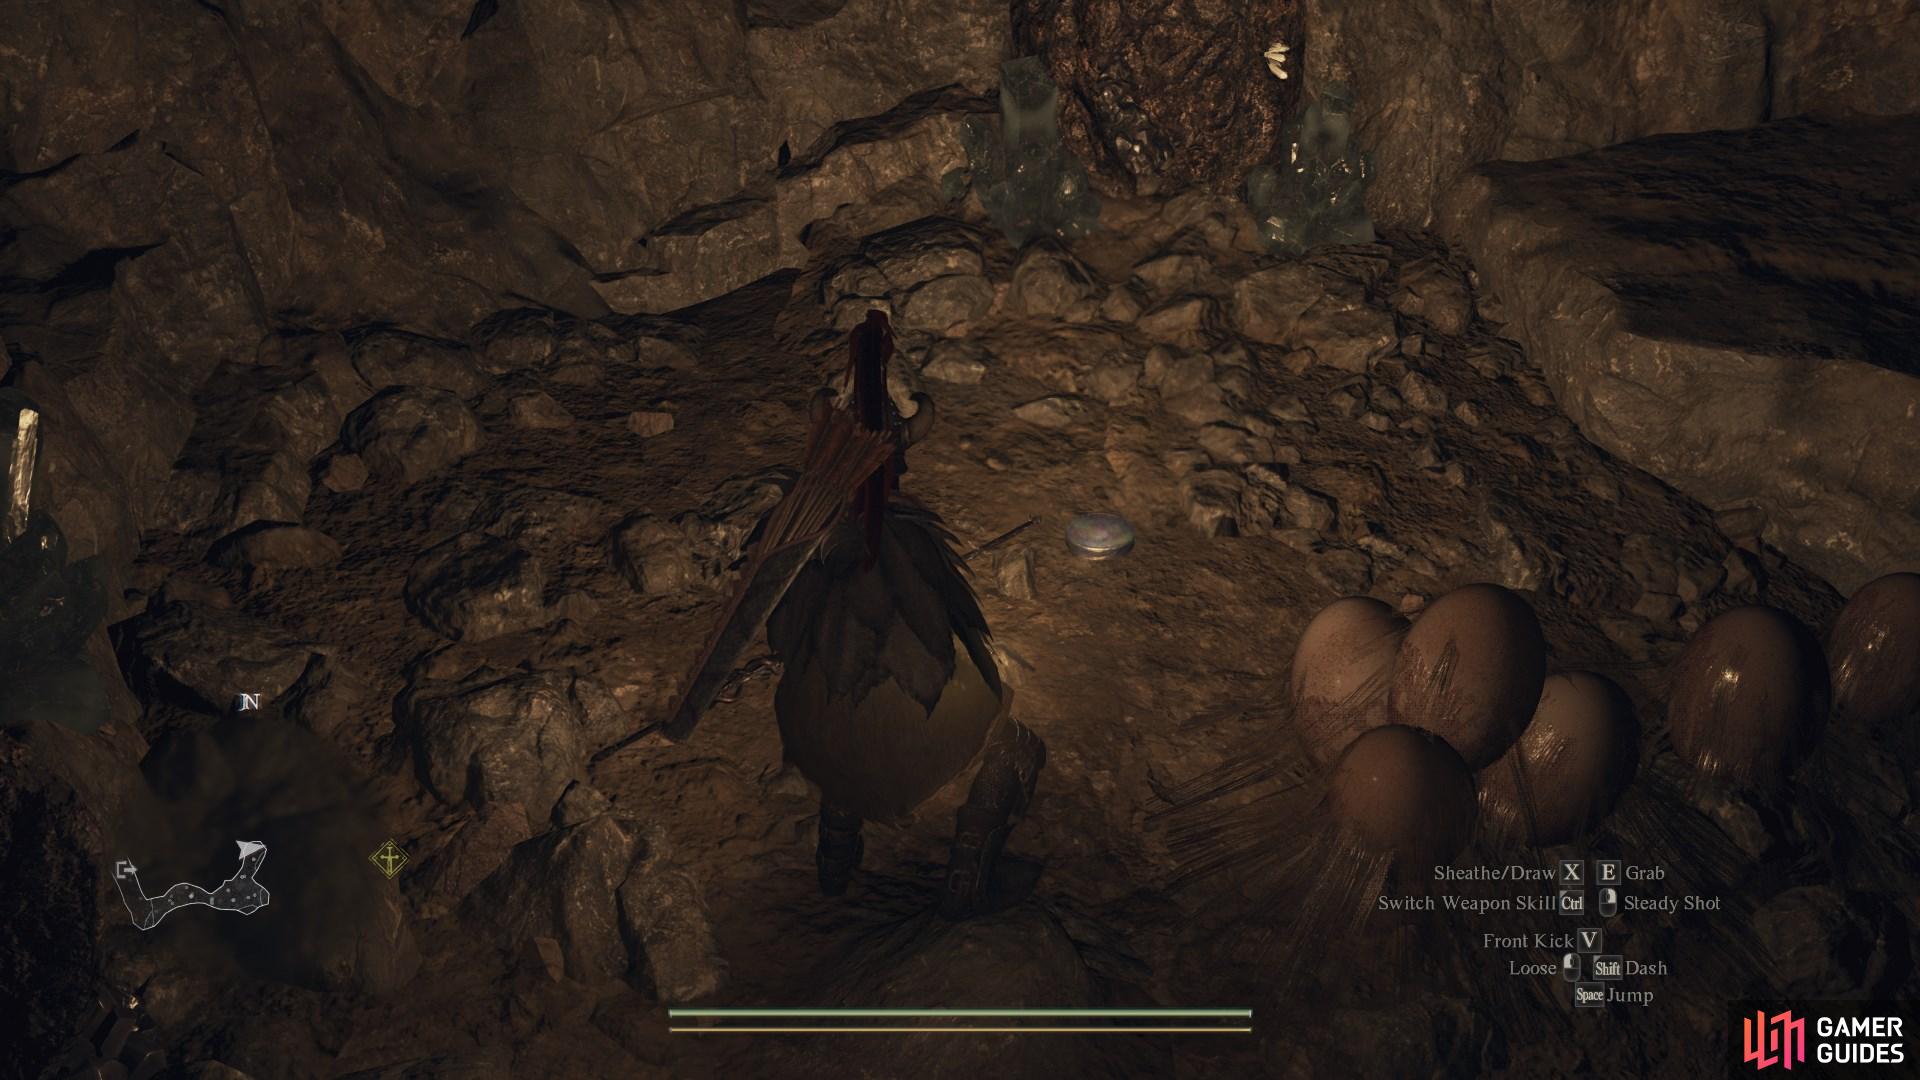
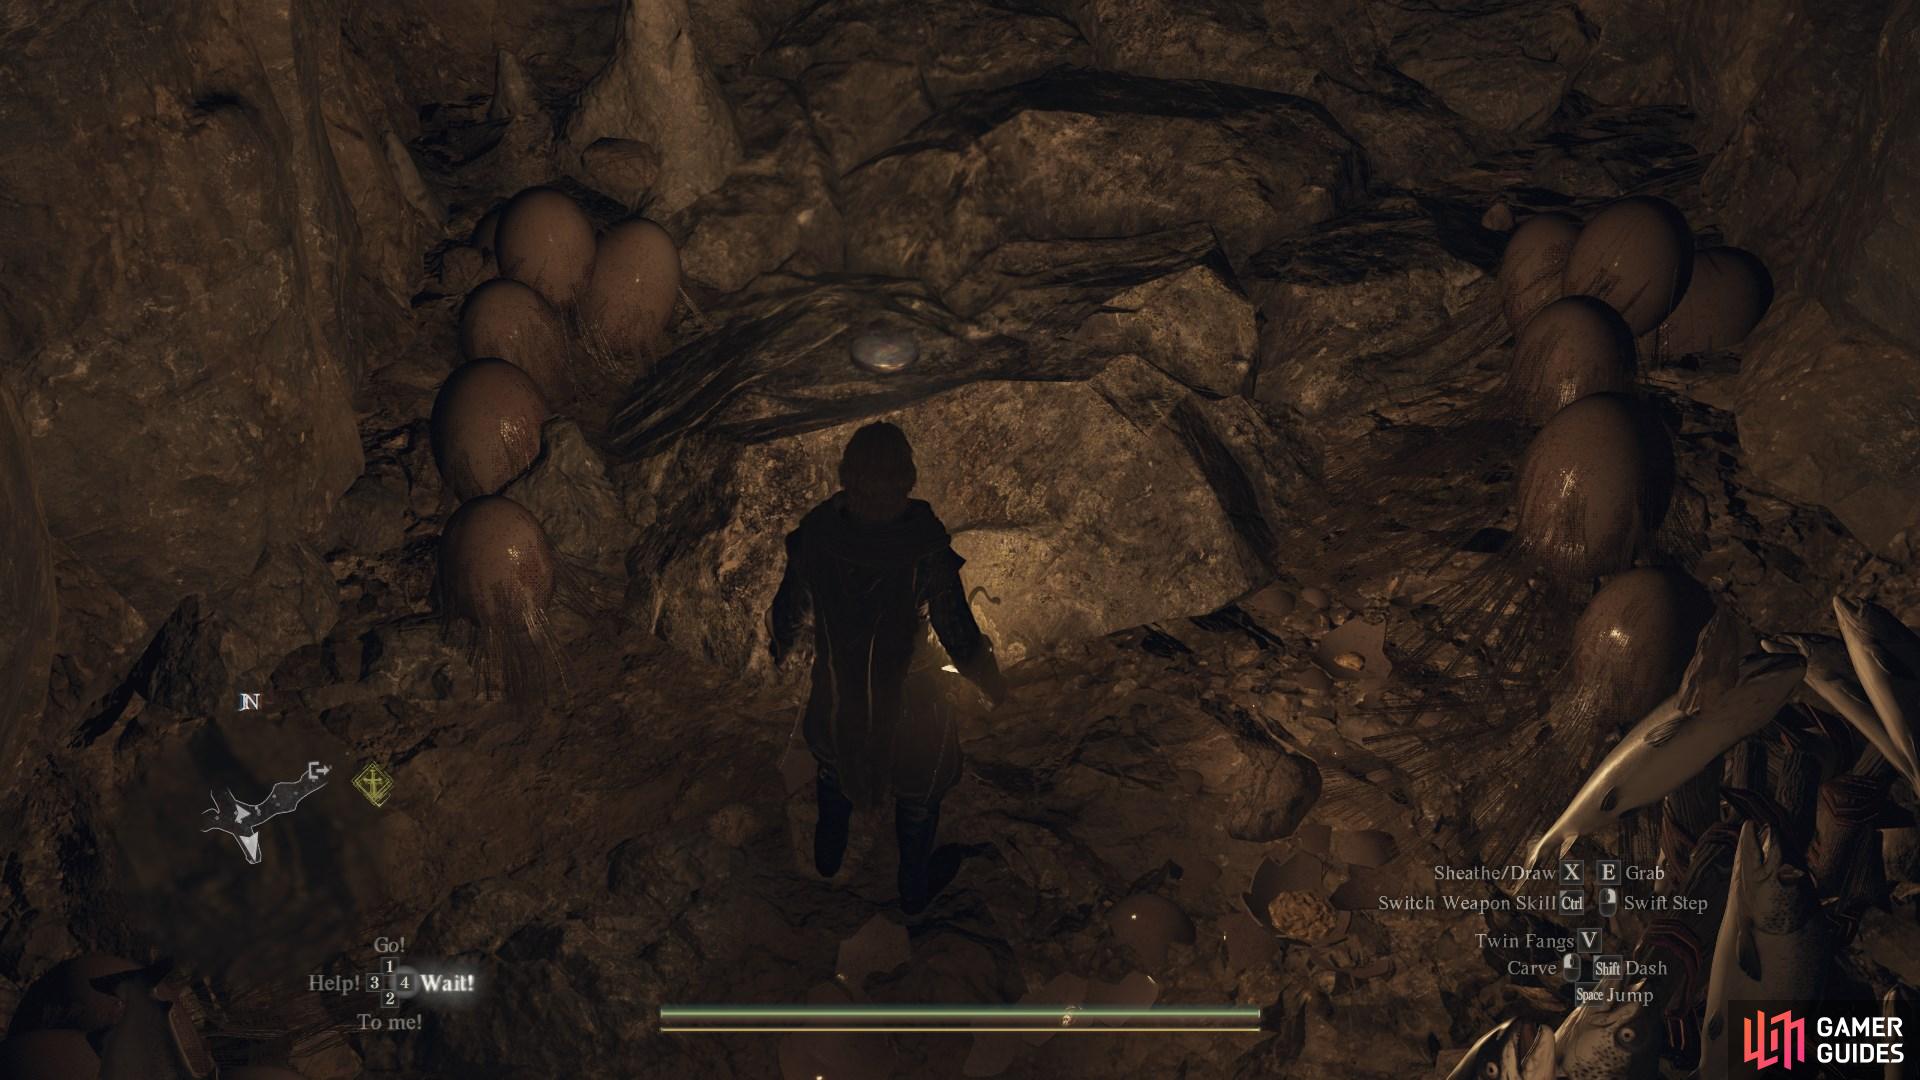
Inside the Coastal Cave. Break the ![]() Saurian Eggs on the left side of the cave near the chest to find this token underneath them.
Saurian Eggs on the left side of the cave near the chest to find this token underneath them.
72563. Dungeon & Town Maps
Among the remains in the ![]() Forbidden Magick Research Lab’s Refuse Storage at the the bottom of the area.
Forbidden Magick Research Lab’s Refuse Storage at the the bottom of the area.
72564. Dungeon & Town Maps
Next to the dead dragon in the ![]() Forbidden Magick Research Lab.
Forbidden Magick Research Lab.


72701. Dungeon & Town Maps
Break the ![]() Saurian Eggs on the left side of the cave near the chest to find this token underneath them.
Saurian Eggs on the left side of the cave near the chest to find this token underneath them.
72785. World
Inside a busted tower near the puddles. Easiest to reach with ![]() Levitate or abilities that can help climb the nearby cliffs.
Levitate or abilities that can help climb the nearby cliffs.
72916. Dungeon & Town Maps
Climb the pillar which has collapsed and landed as a ramp on the path below.

72957. Dungeon & Town Maps
After reaching the ![]() Ogre, drop down onto the structure he was standing in front of. From there, jump to the chunks of ruin to find this token on the furthest platform.
Ogre, drop down onto the structure he was standing in front of. From there, jump to the chunks of ruin to find this token on the furthest platform.
72958. World
Inside the ![]() Forgotten Tunnel. After reaching the
Forgotten Tunnel. After reaching the ![]() Ogre, drop down onto the structure he was standing in front of. From there, jump to the chunks of ruin to find this token on the furthest platform.
Ogre, drop down onto the structure he was standing in front of. From there, jump to the chunks of ruin to find this token on the furthest platform.
72959. World
Inside the ![]() Windworn Gully. Accessed by going to the broken stone bridge along the road nearby. Jump across the broken gap, and climb the rocks to reach the cave. From there, proceed to the northern end of the cave and break some eggs to find this token underneath.
Windworn Gully. Accessed by going to the broken stone bridge along the road nearby. Jump across the broken gap, and climb the rocks to reach the cave. From there, proceed to the northern end of the cave and break some eggs to find this token underneath.

72968. Dungeon & Town Maps
Underneath a clutch of ![]() Rattler eggs on the northern edge of the cave.
Rattler eggs on the northern edge of the cave.
73021. Dungeon & Town Maps
Jump over the ledge near the edge of the fifth floor, then follow it forward to find this token on the ruins.

73042. Dungeon & Town Maps
On the ground floor of the broken tower, hidden behind a ladder and pile of rubble.
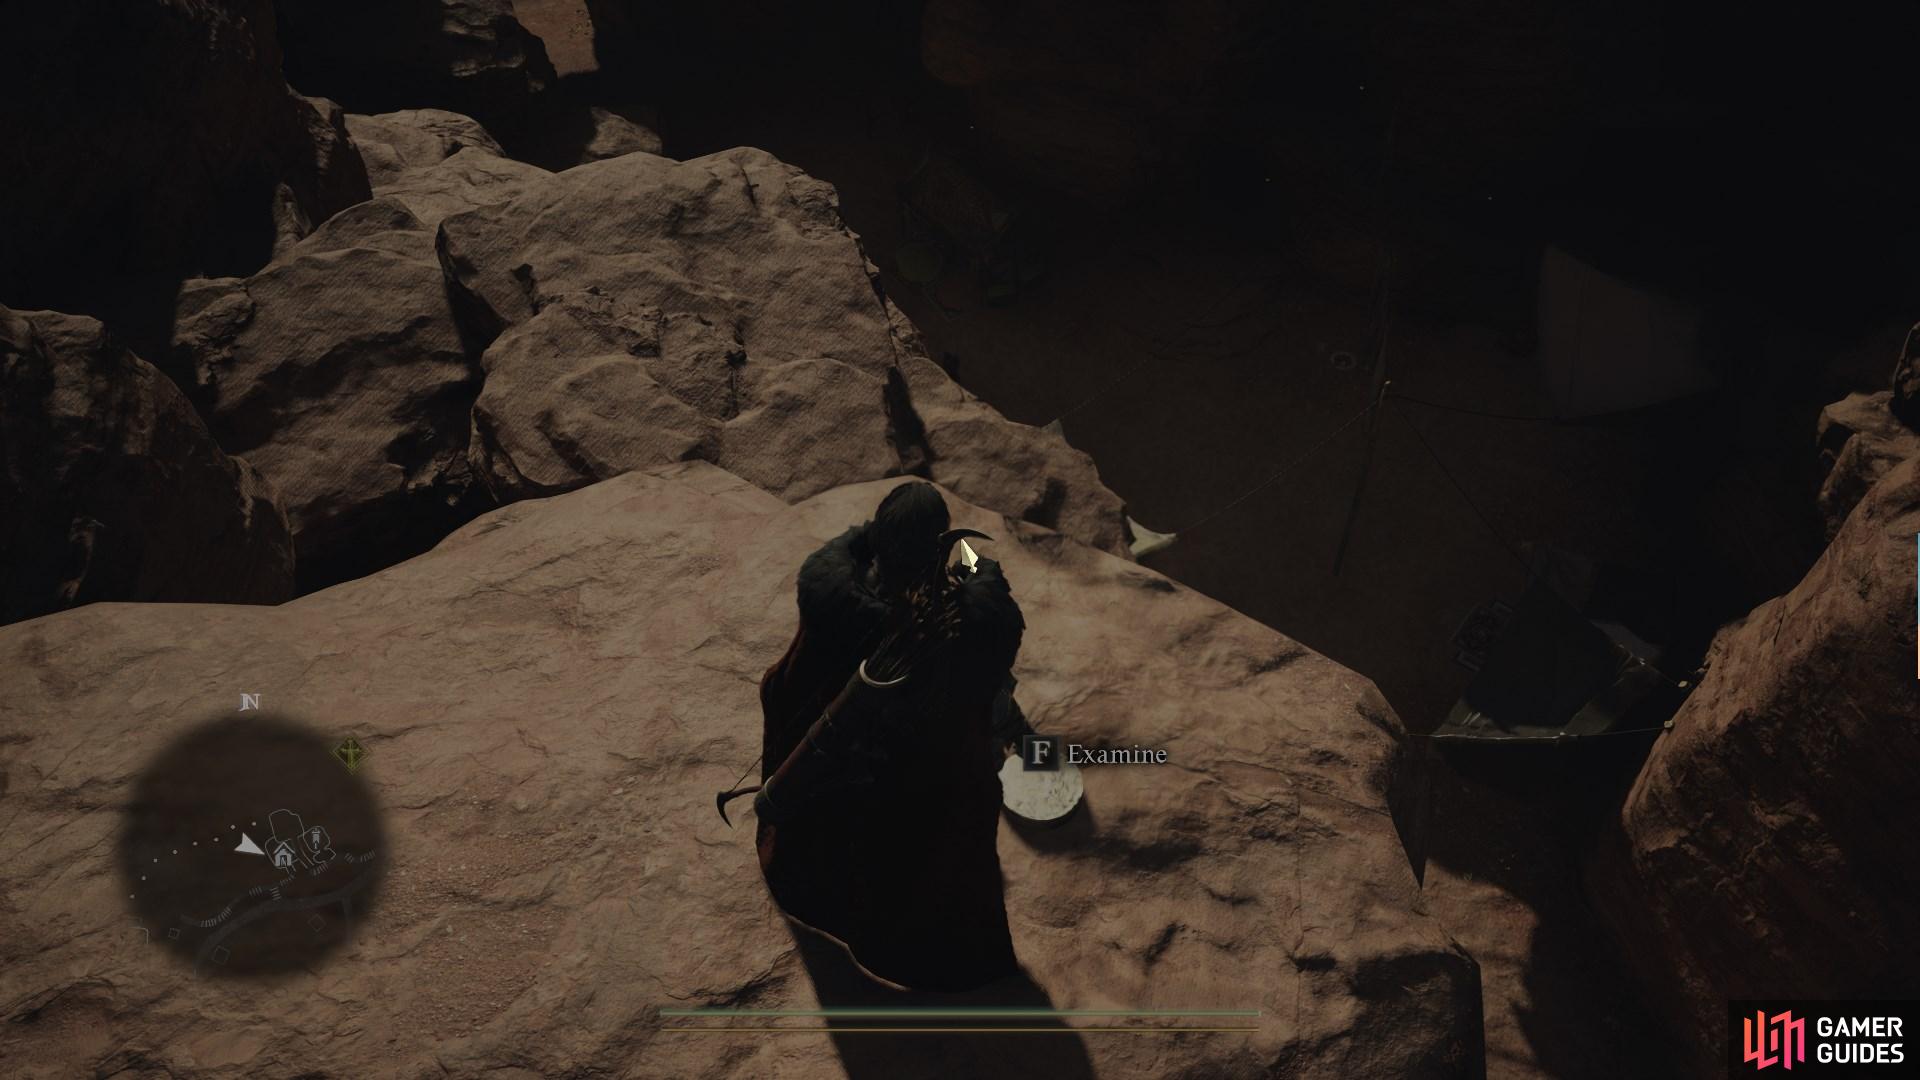
73100. World
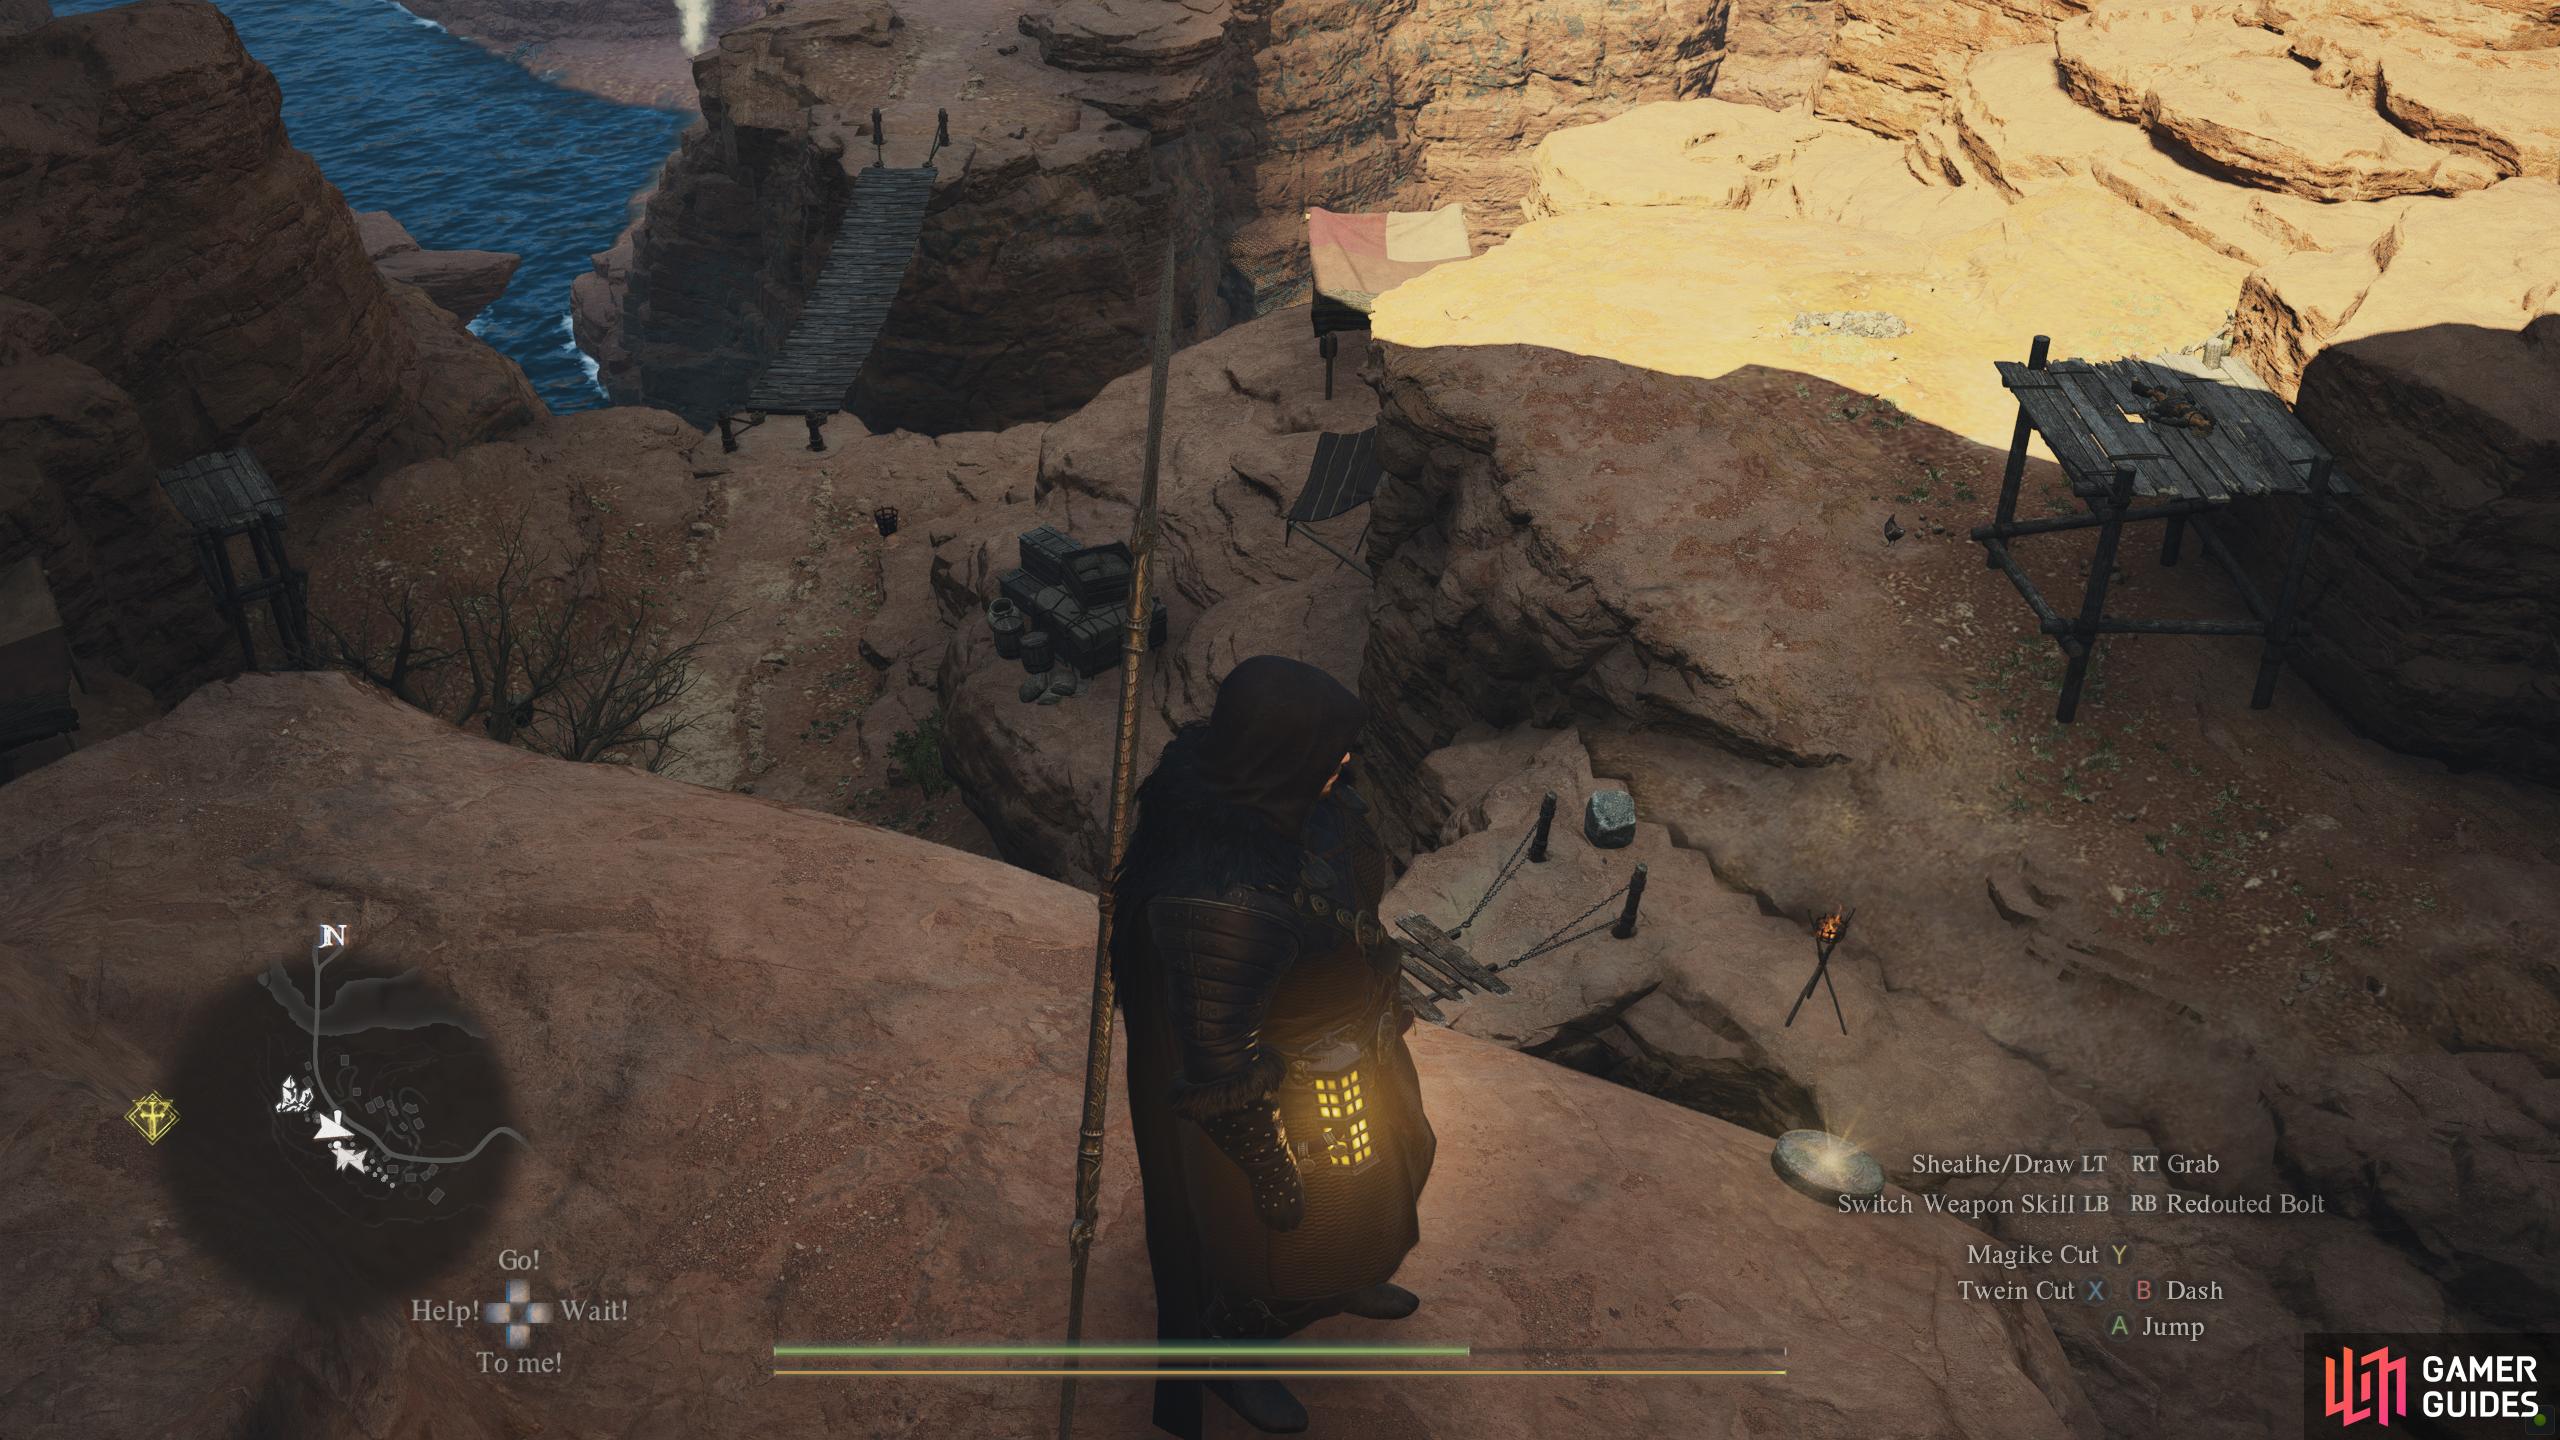
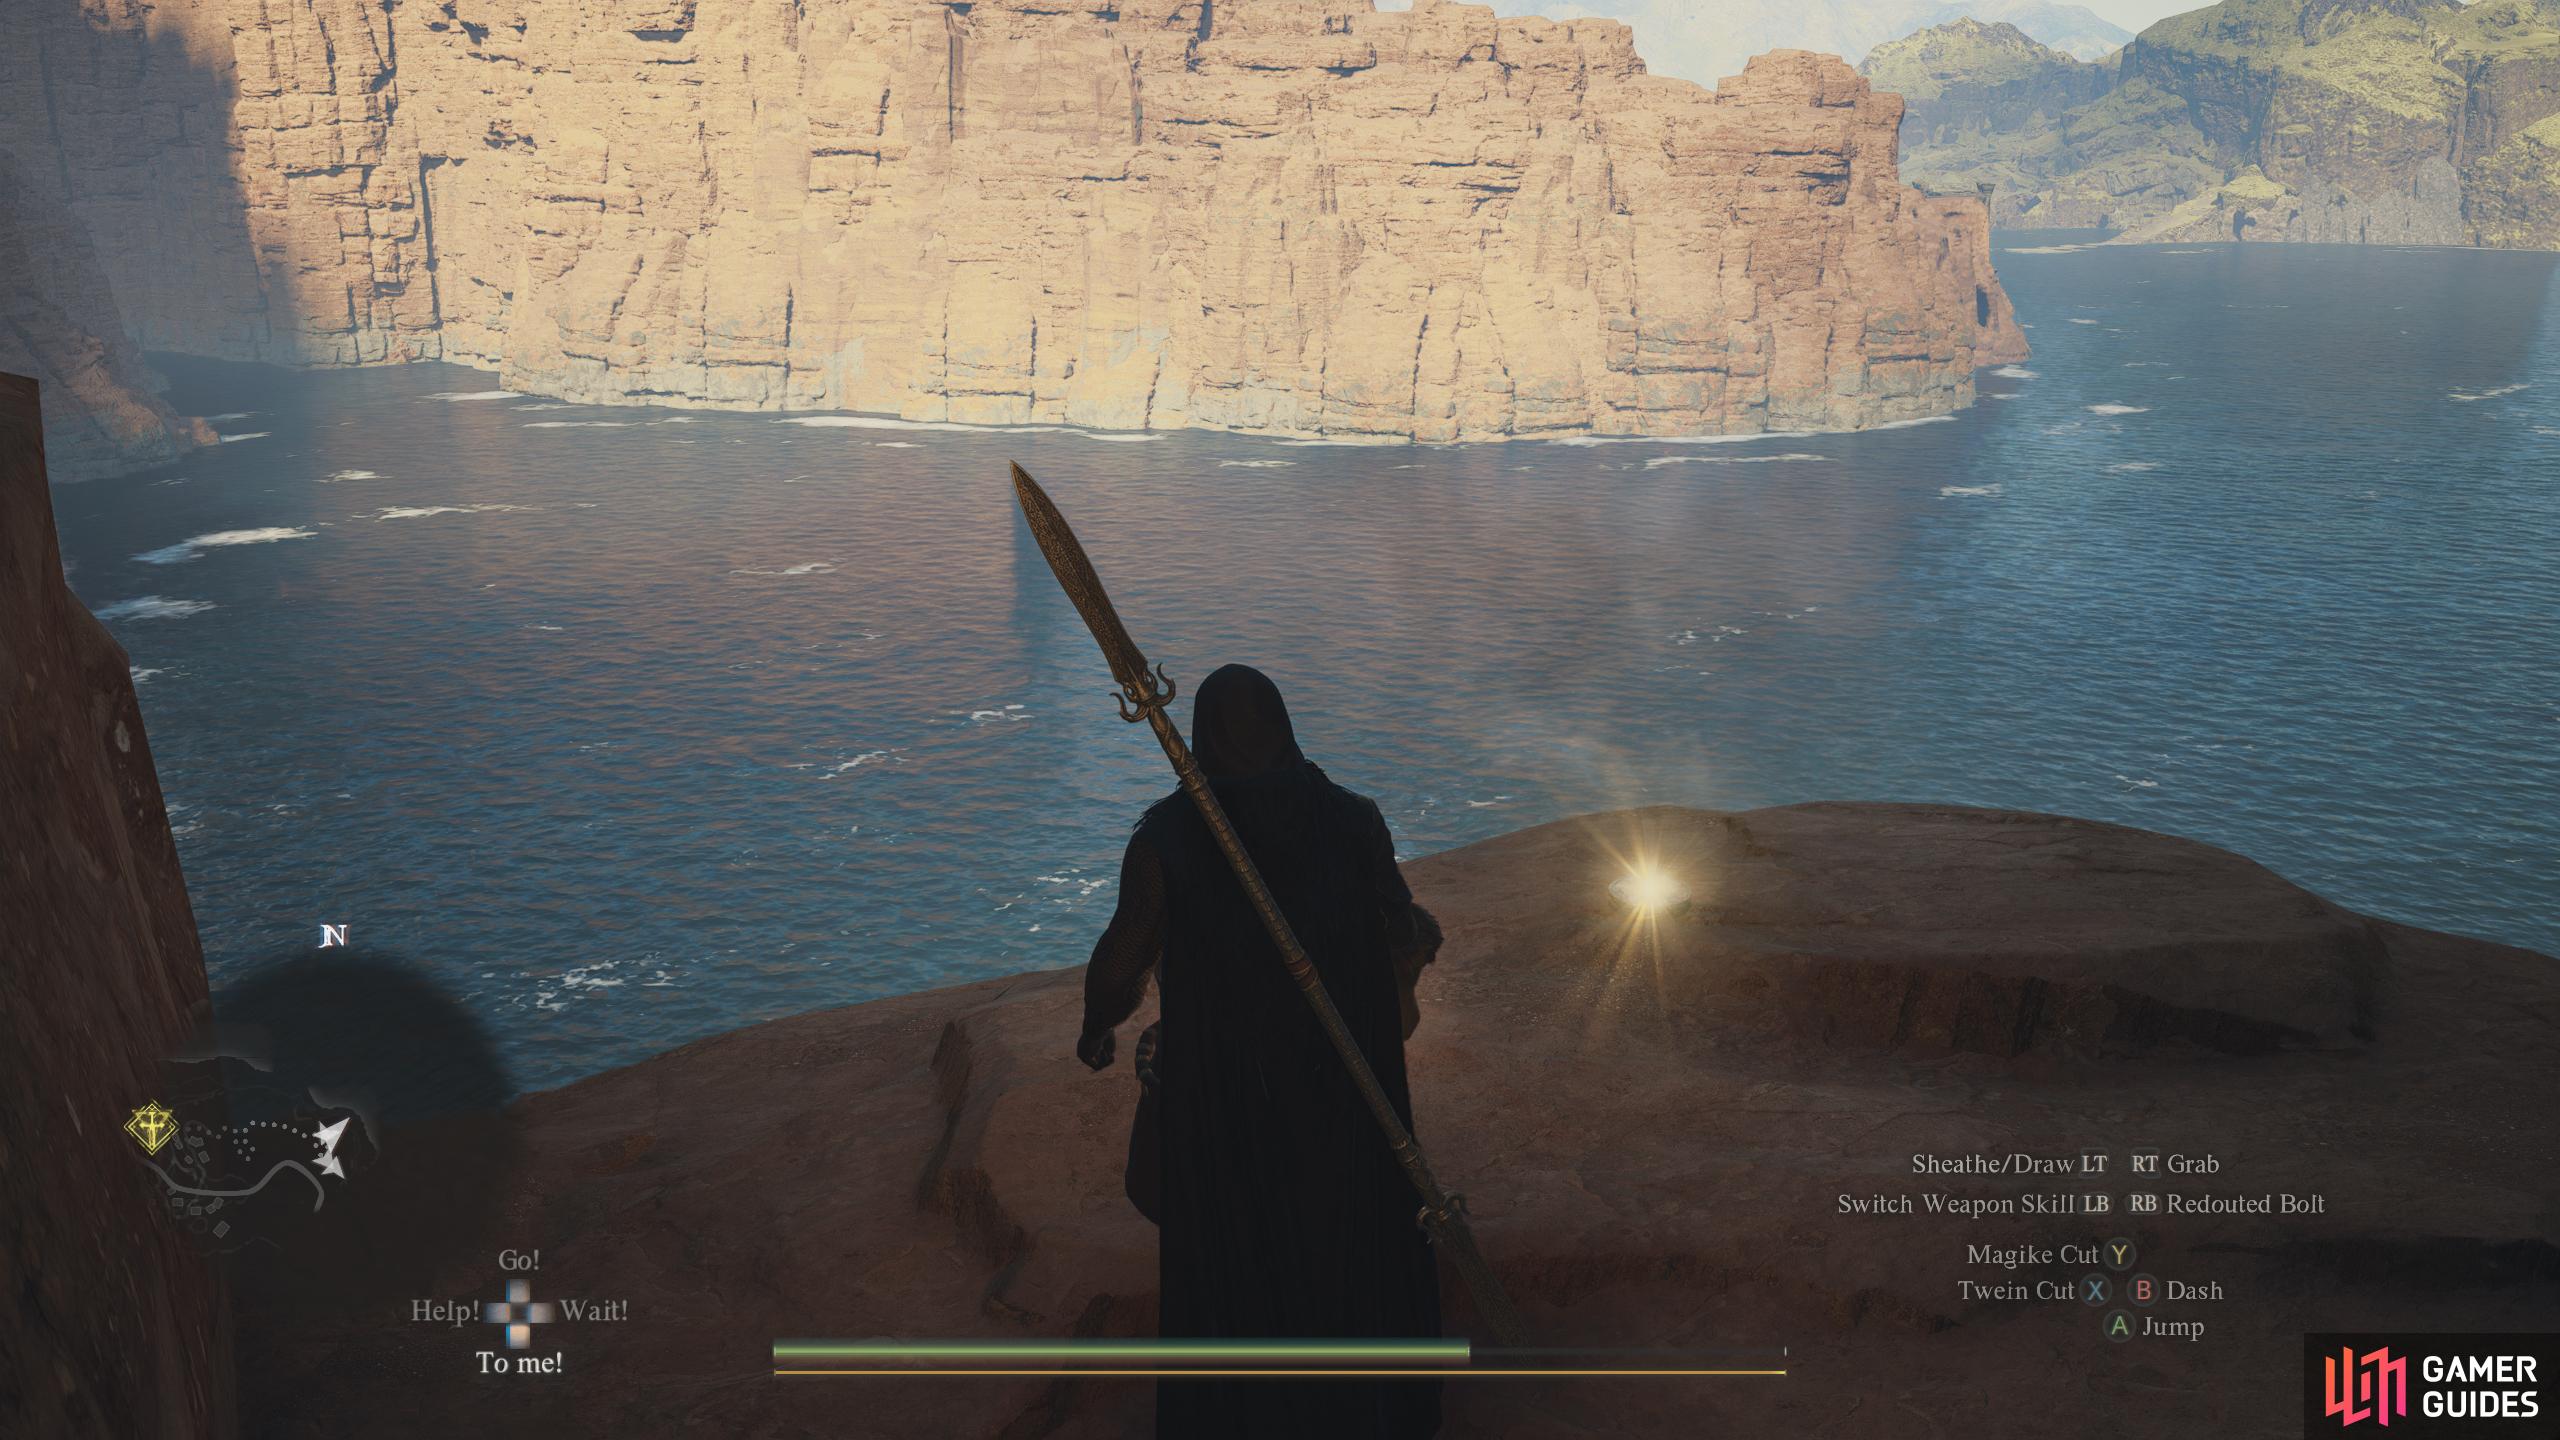
Extremely high above the southern entrance to ![]() Trevo Mine. Impossible to reach without
Trevo Mine. Impossible to reach without ![]() Levitate - float on top of the scaffolding in the village to the northwest, then follow the narrow cliffs to reach this Token.
Levitate - float on top of the scaffolding in the village to the northwest, then follow the narrow cliffs to reach this Token.
73146. World
On top of the cliffs near a split in the path. Climb the cliffs on the right side of the ruins to reach it.
73166. World
On the headless statue on some high-up cliffs near the river. Climb the cliffs to the south and follow them over a stone bridge to reach it.
73173. Dungeon & Town Maps
At the edge of the southern path in the ![]() Darkbeasts’ Den
Darkbeasts’ Den

73196. World
On the scaffolding outside of the ![]() Sealed Mining Shaft. Can only be reached by riding the ropeway from
Sealed Mining Shaft. Can only be reached by riding the ropeway from ![]() Battahl Ropeway Central Station to
Battahl Ropeway Central Station to ![]() Battahl Ropeway Station Three.
Battahl Ropeway Station Three.
73220. Dungeon & Town Maps
After entering the ![]() Tomb of Am’Ranna, watch out for the breakable floor as you run straight ahead - this token is at the end of the corridor.
Tomb of Am’Ranna, watch out for the breakable floor as you run straight ahead - this token is at the end of the corridor.

73221. World
Near the hot springs, on top of a pillar. Climb the cliffs near the entrance, then jump across from the top of the nearby ruins.


73234. Dungeon & Town Maps
At the edge of a narrow cliff on the side of the shrine.

73251. Dungeon & Town Maps
Below the hole in the floor above is a pile of wooden rubble. Next to the pile of wooden plank rubble, you’ll find a tiny bit pointing directly up that gives you the most height. You can either springboard a pawn up there with Forager, or have “![]() Sorcerer” levitate from that point, land on a tiny bit of debris on the floor above, then climb up the next floor that way. Alternatively, go outside of the building, and look for the hole in the wall. You can try and springboard pawns up that way too.
Sorcerer” levitate from that point, land on a tiny bit of debris on the floor above, then climb up the next floor that way. Alternatively, go outside of the building, and look for the hole in the wall. You can try and springboard pawns up that way too.

73262. World
Next to a ![]() Magma Scale sleeping next to a hole in the
Magma Scale sleeping next to a hole in the ![]() Mountain Base Cave, floor 3F.
Mountain Base Cave, floor 3F.
73263. World
Next to a chest near a hole in the ground of the ![]() Mountain Base Cave, floor 3F.
Mountain Base Cave, floor 3F.

73264. Dungeon & Town Maps
Next to a chest near a hole in the ground of the ![]() Mountain Base Cave, floor 3F.
Mountain Base Cave, floor 3F.
73265. Dungeon & Town Maps
Next to a ![]() Magma Scale sleeping next to a hole in the
Magma Scale sleeping next to a hole in the ![]() Mountain Base Cave, floor 3F.
Mountain Base Cave, floor 3F.

73297. World
Above the lost mercenaries’ camp. Climb the nearby cliffs, walk over the rocky archway, and you’ll find this token in the corner near the tree.

73517. Dungeon & Town Maps
On the roof of ![]() Vernworth Hall. To reach it, start by using
Vernworth Hall. To reach it, start by using ![]() Levitate to land on top of the
Levitate to land on top of the ![]() Rose Chateau Bordelrie. From there, float over to a
Rose Chateau Bordelrie. From there, float over to a ![]() Vernworth Castle tower, and use Levitate again to reach
Vernworth Castle tower, and use Levitate again to reach ![]() Vernworth Hall.
Vernworth Hall.

73537. Dungeon & Town Maps
Climb down into the well by the ![]() Vernworth Castle Gaol Tower. This
Vernworth Castle Gaol Tower. This ![]() Seeker’s Token is at the end of the corridor next to the chest.
Seeker’s Token is at the end of the corridor next to the chest.

73566. Dungeon & Town Maps
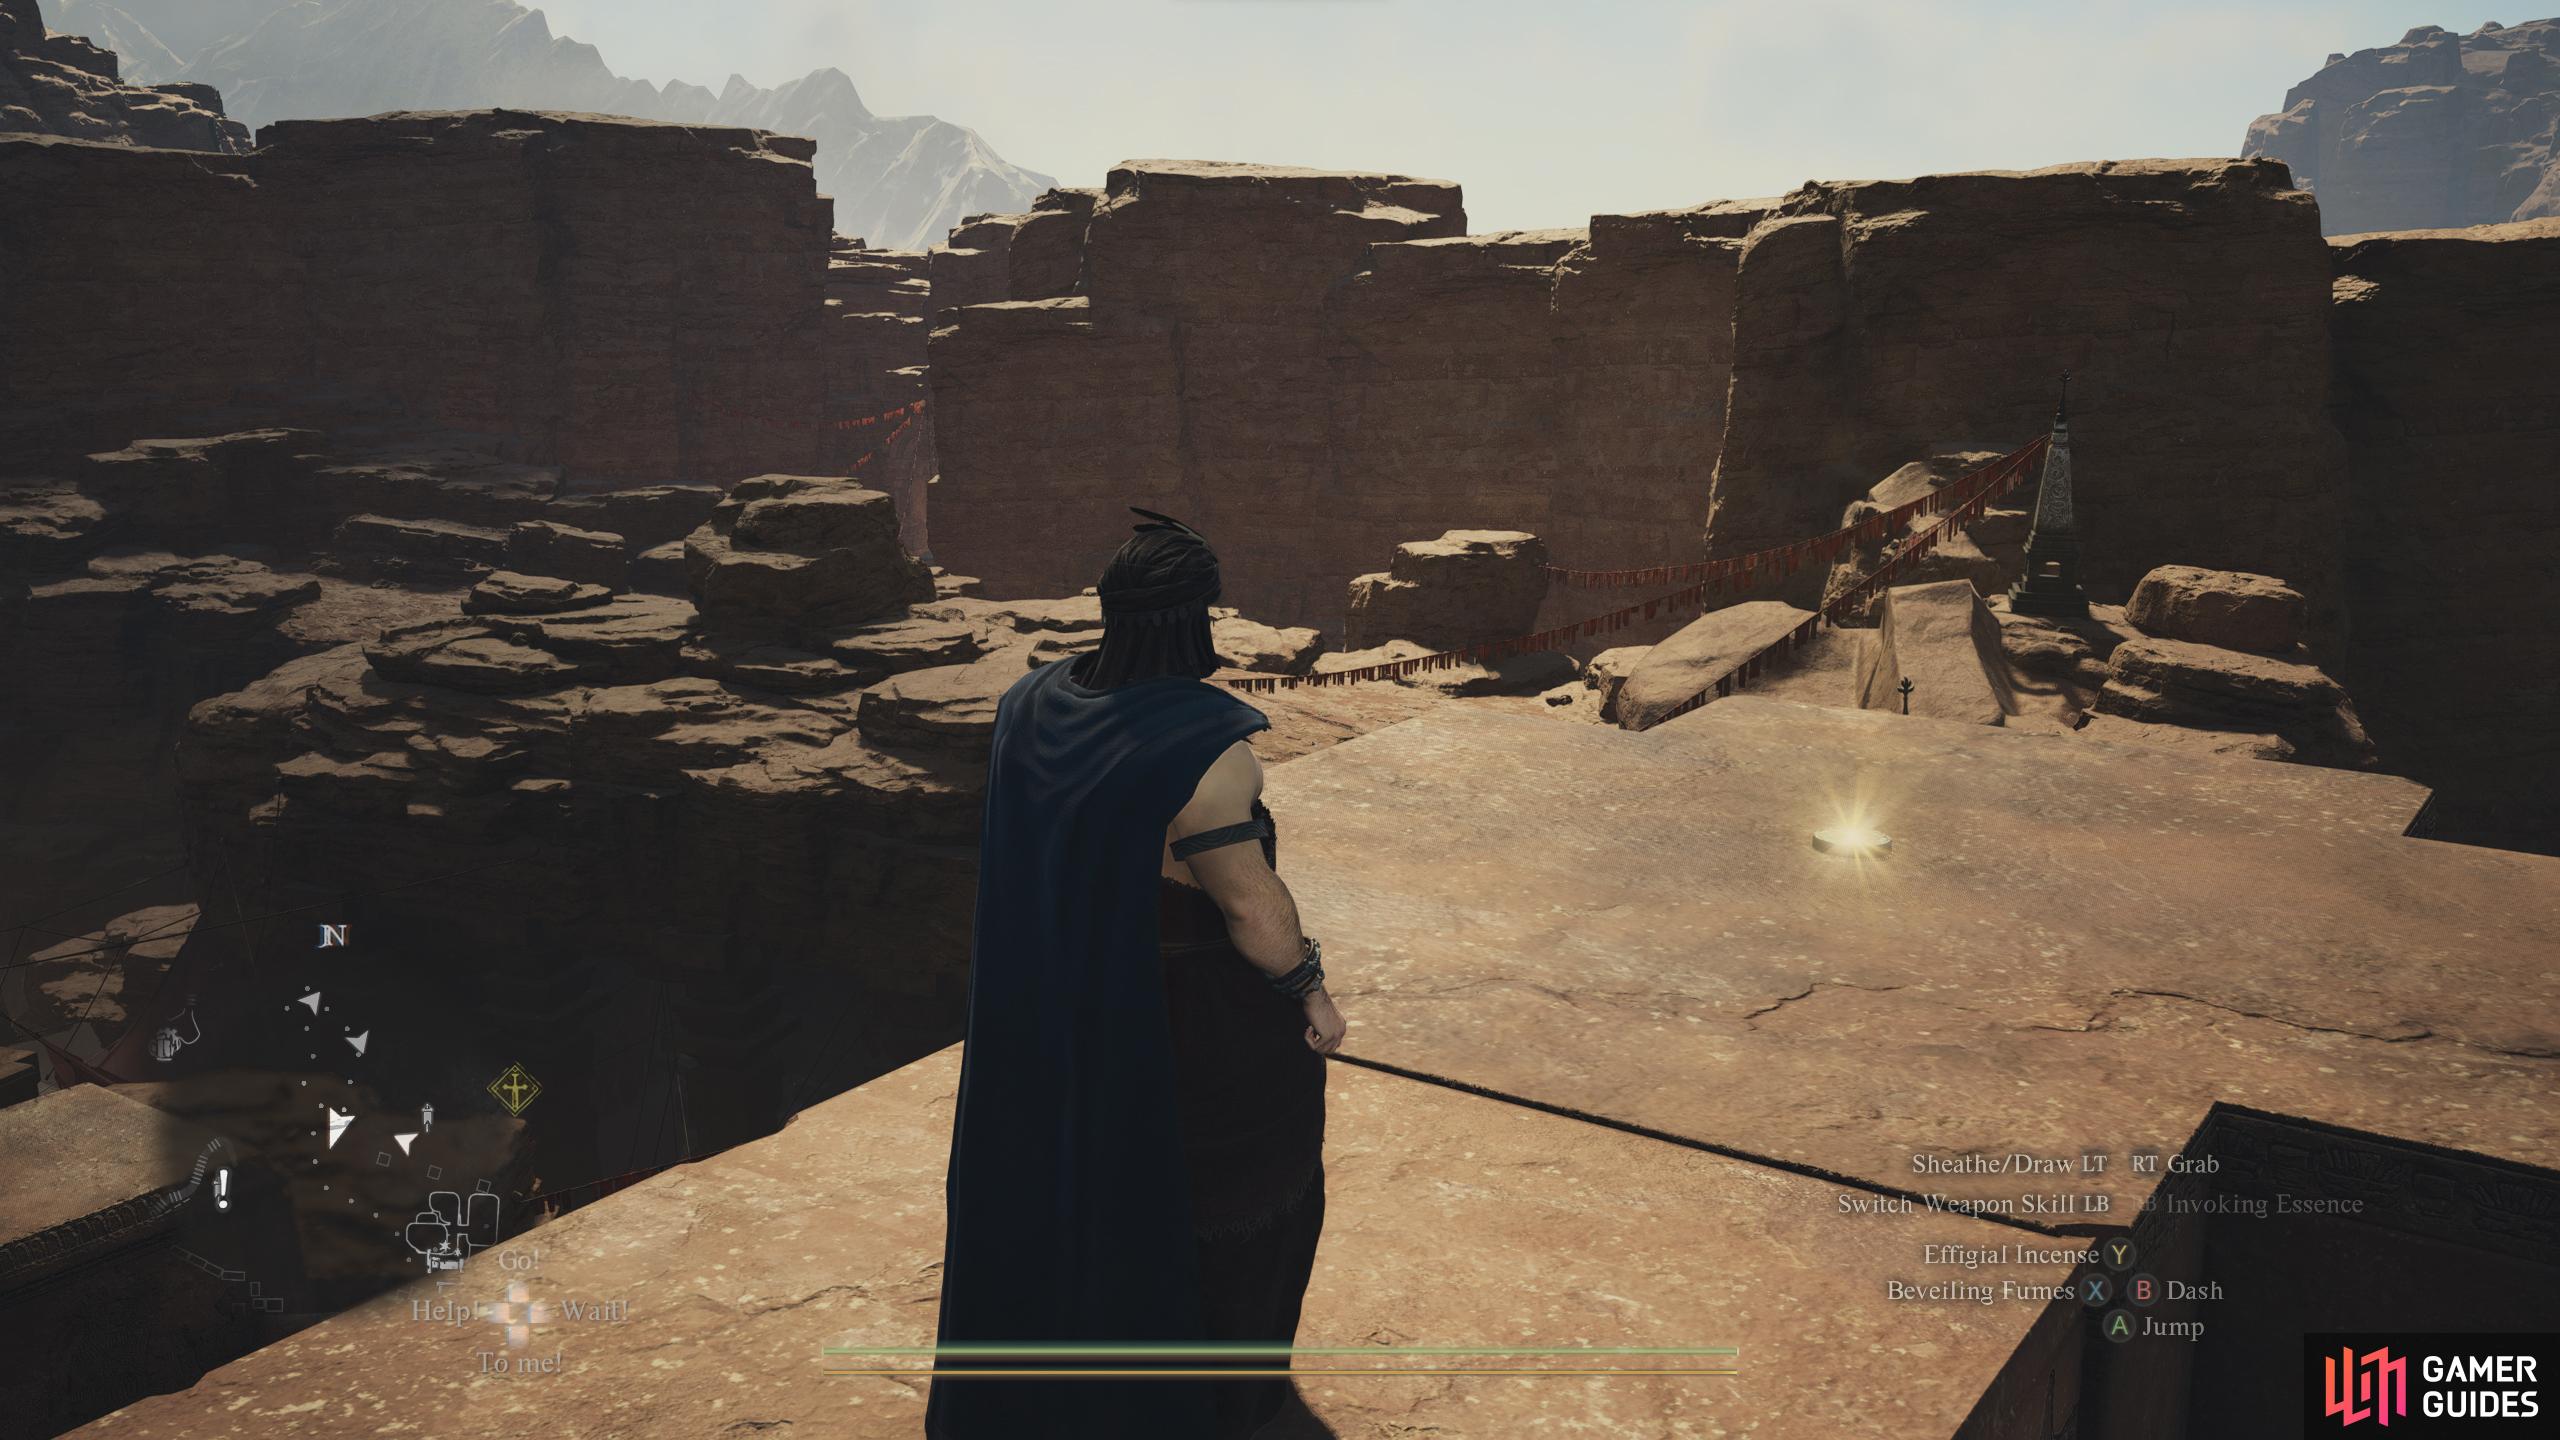
On top of the roof above the ![]() Borderwatch Commissary. Use the nearby oven to reach it
Borderwatch Commissary. Use the nearby oven to reach it
73573. Dungeon & Town Maps
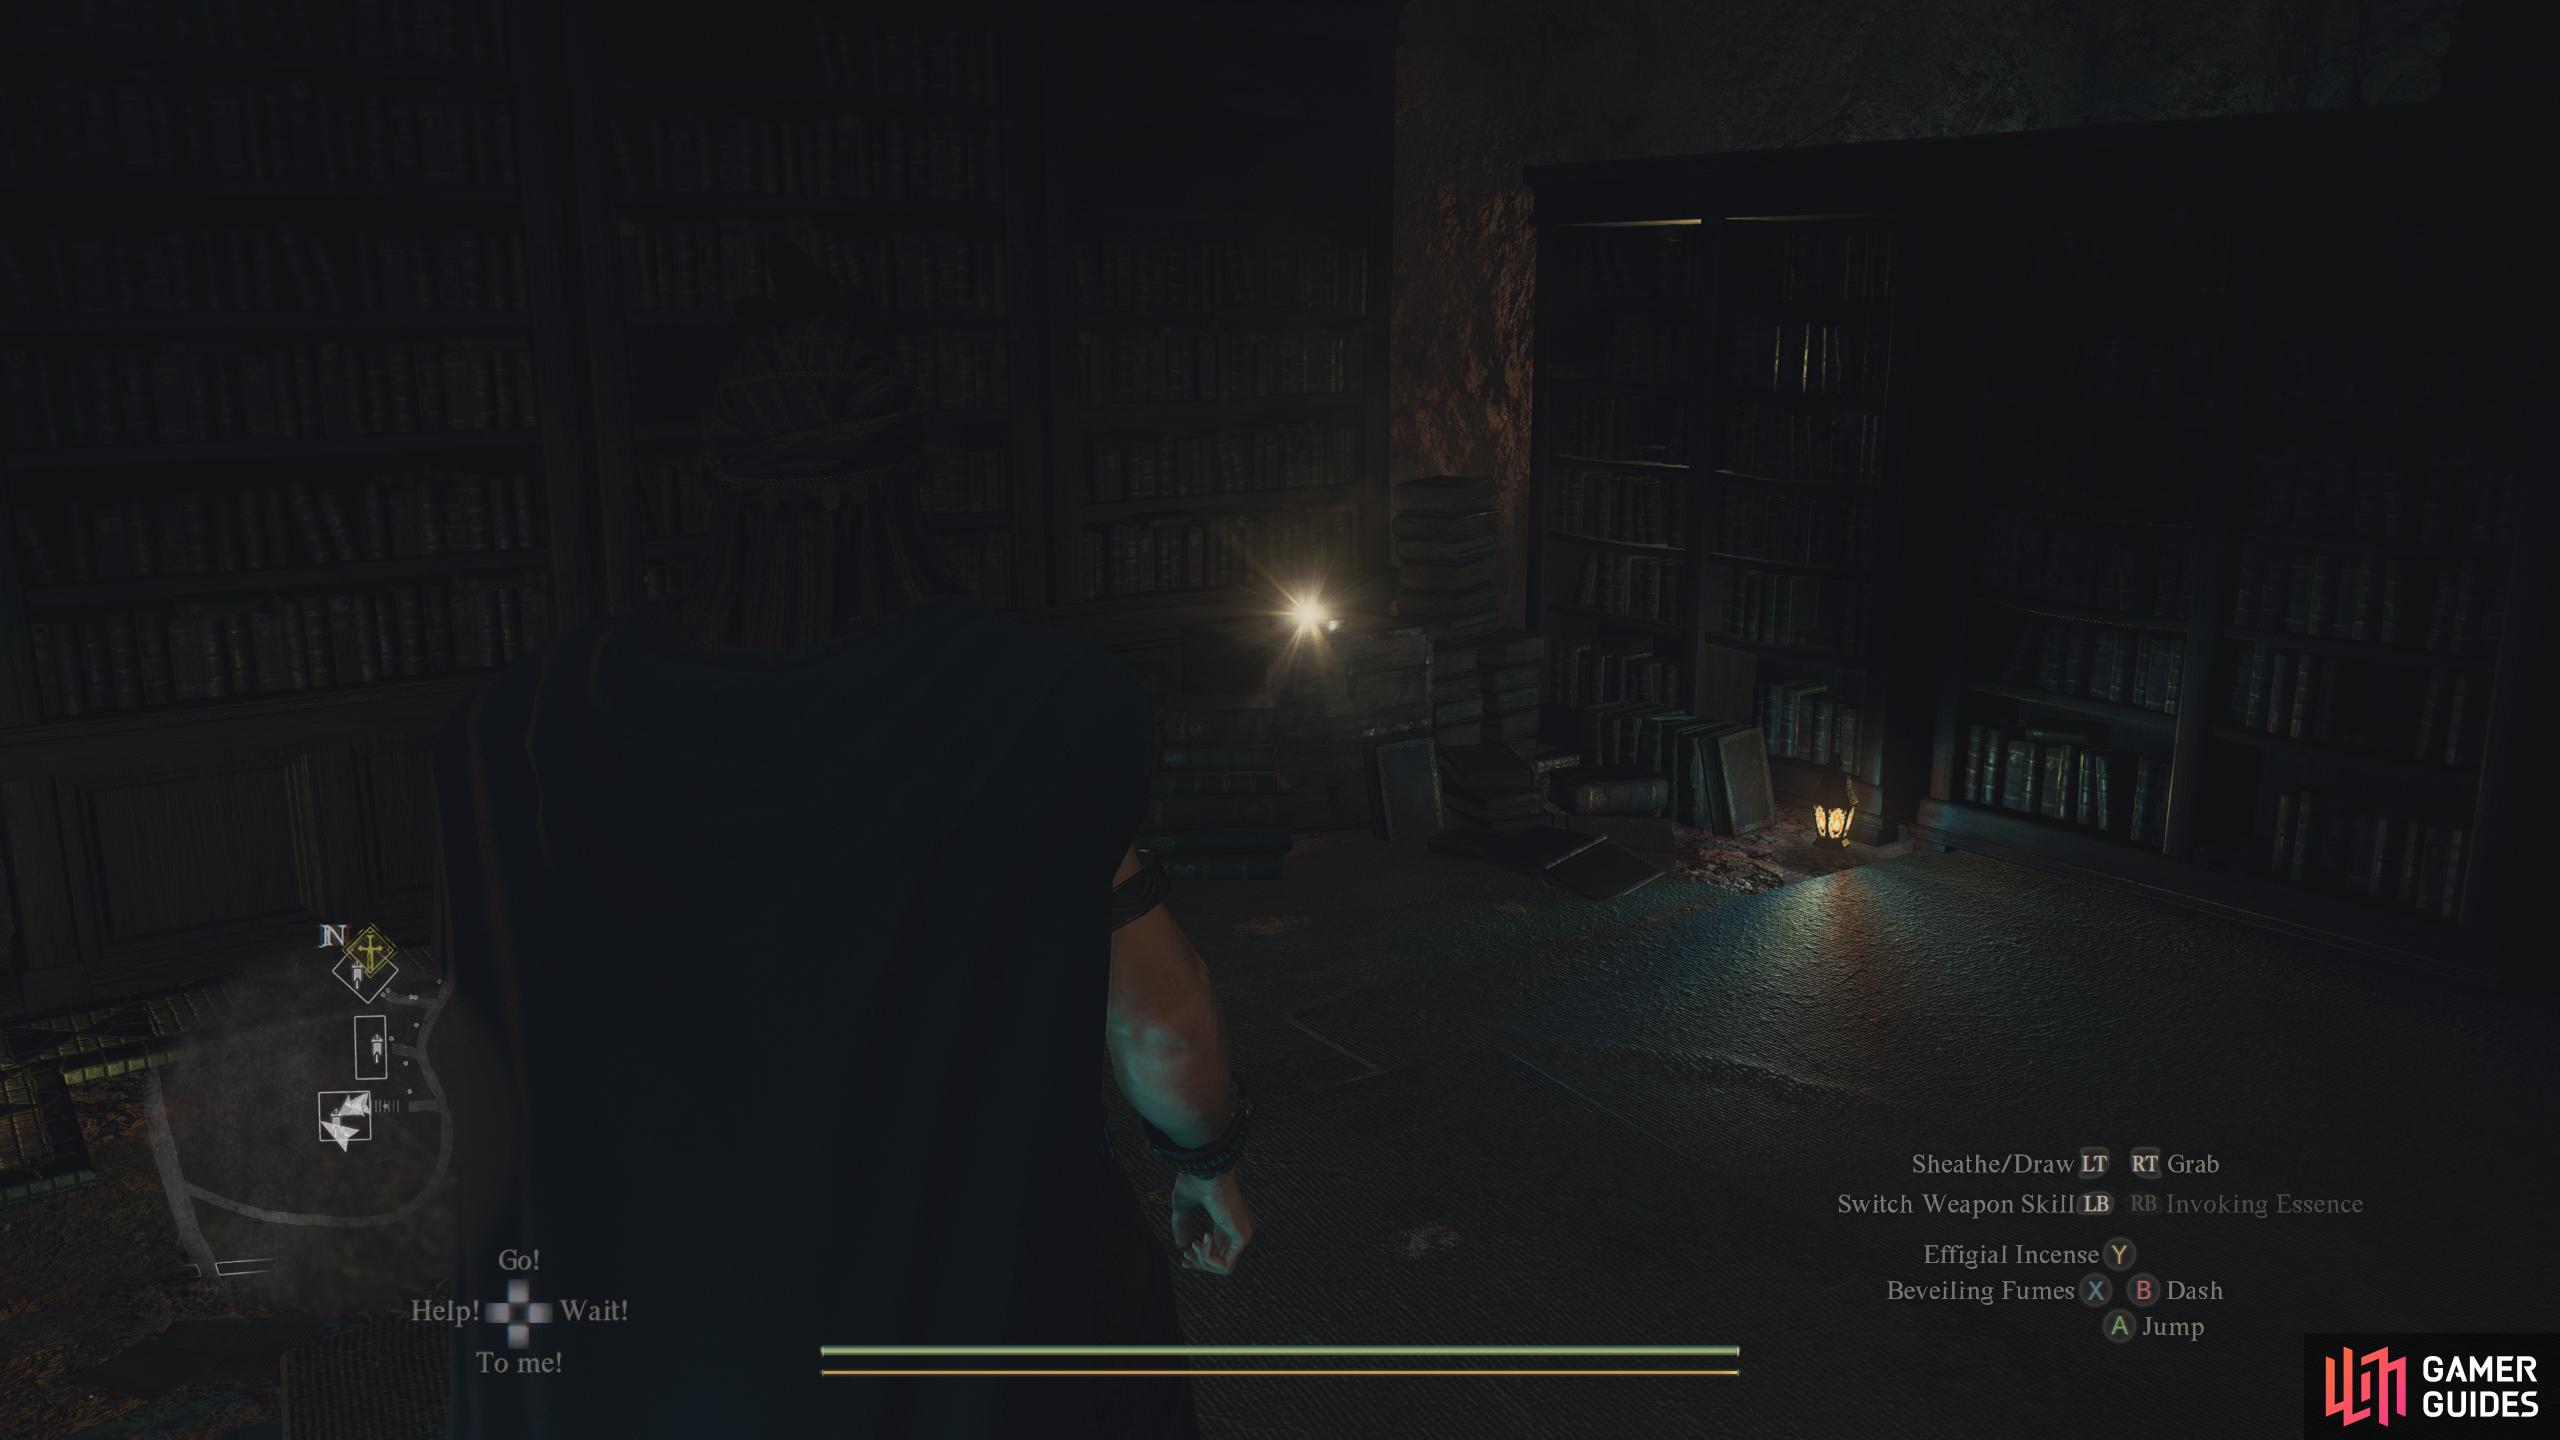
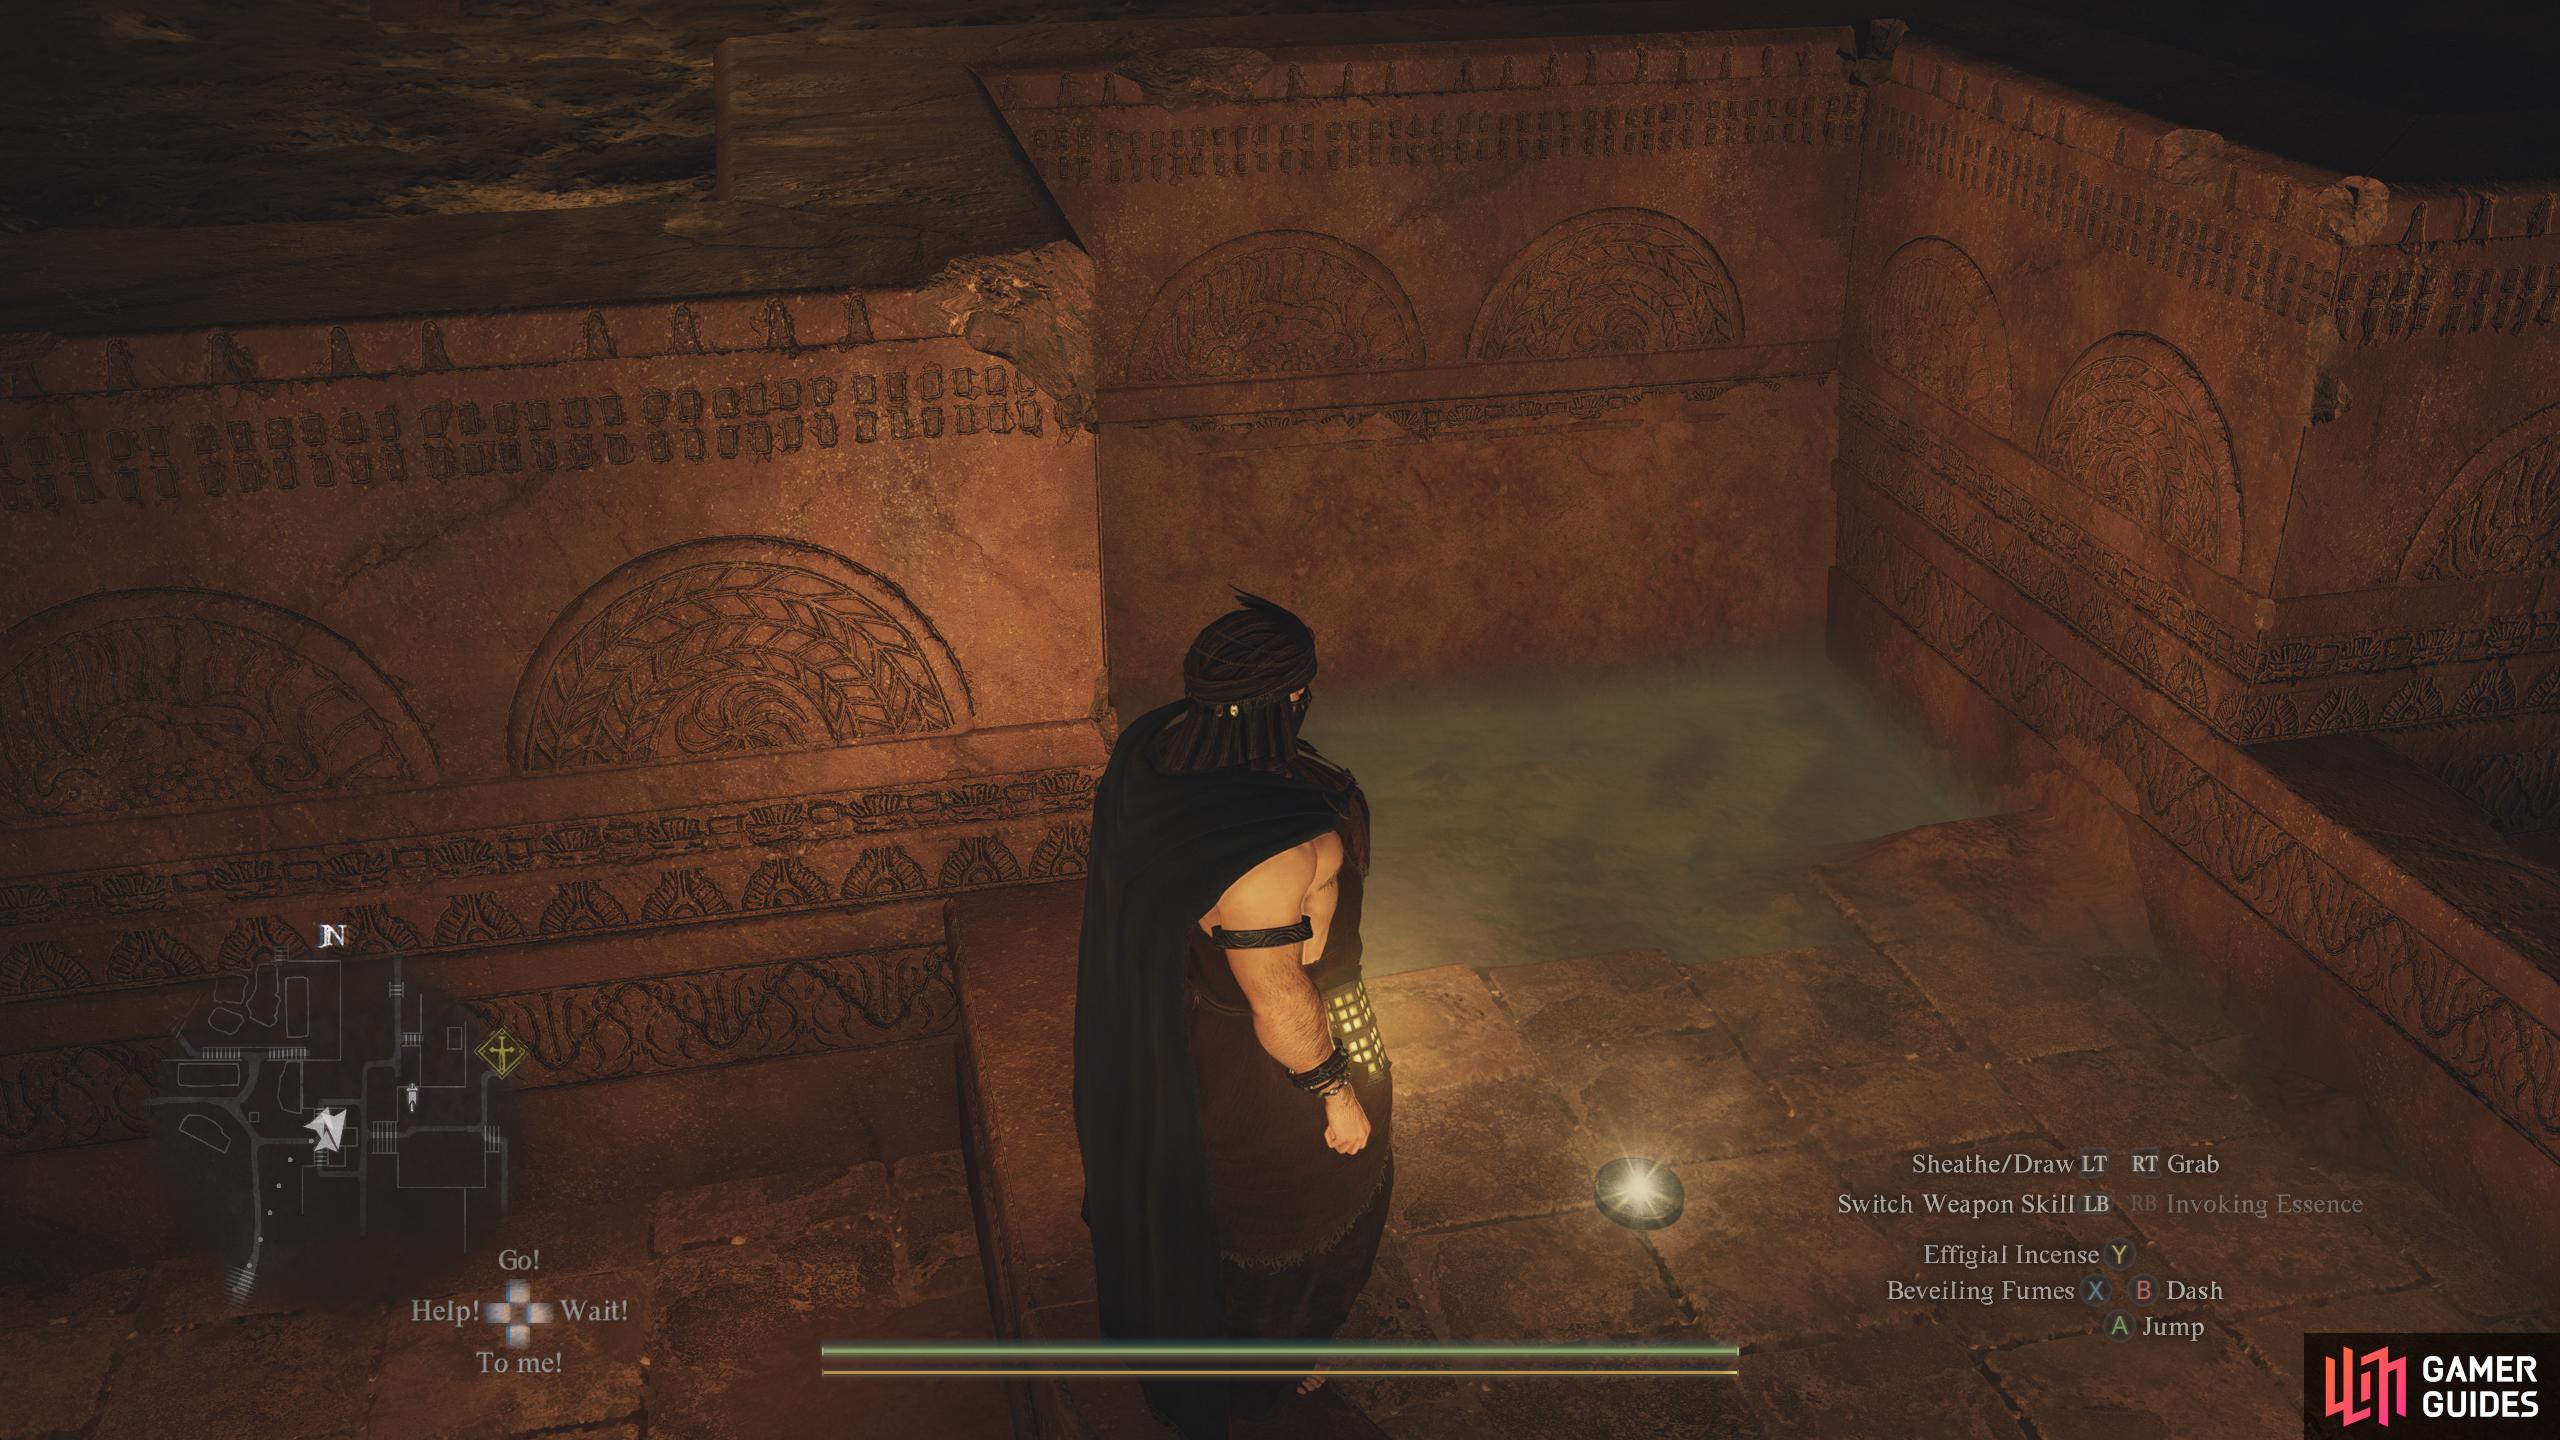
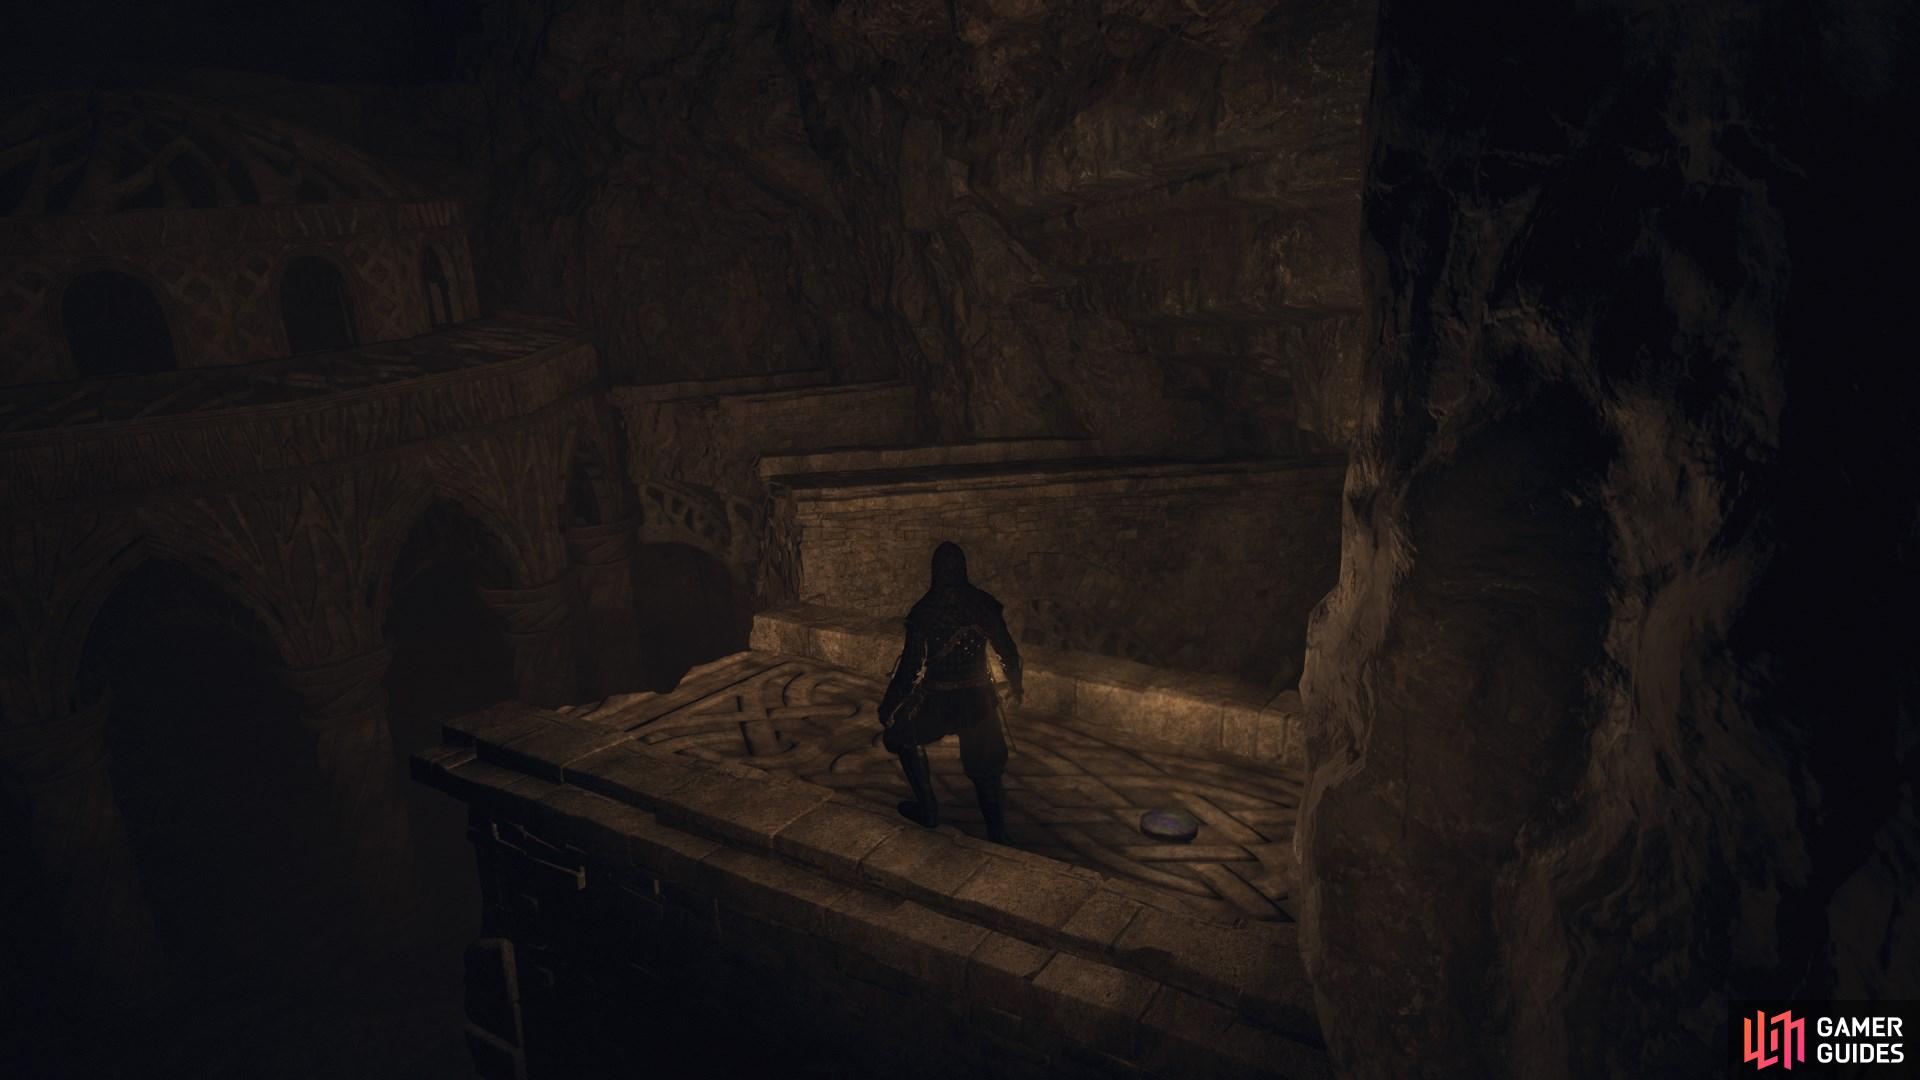
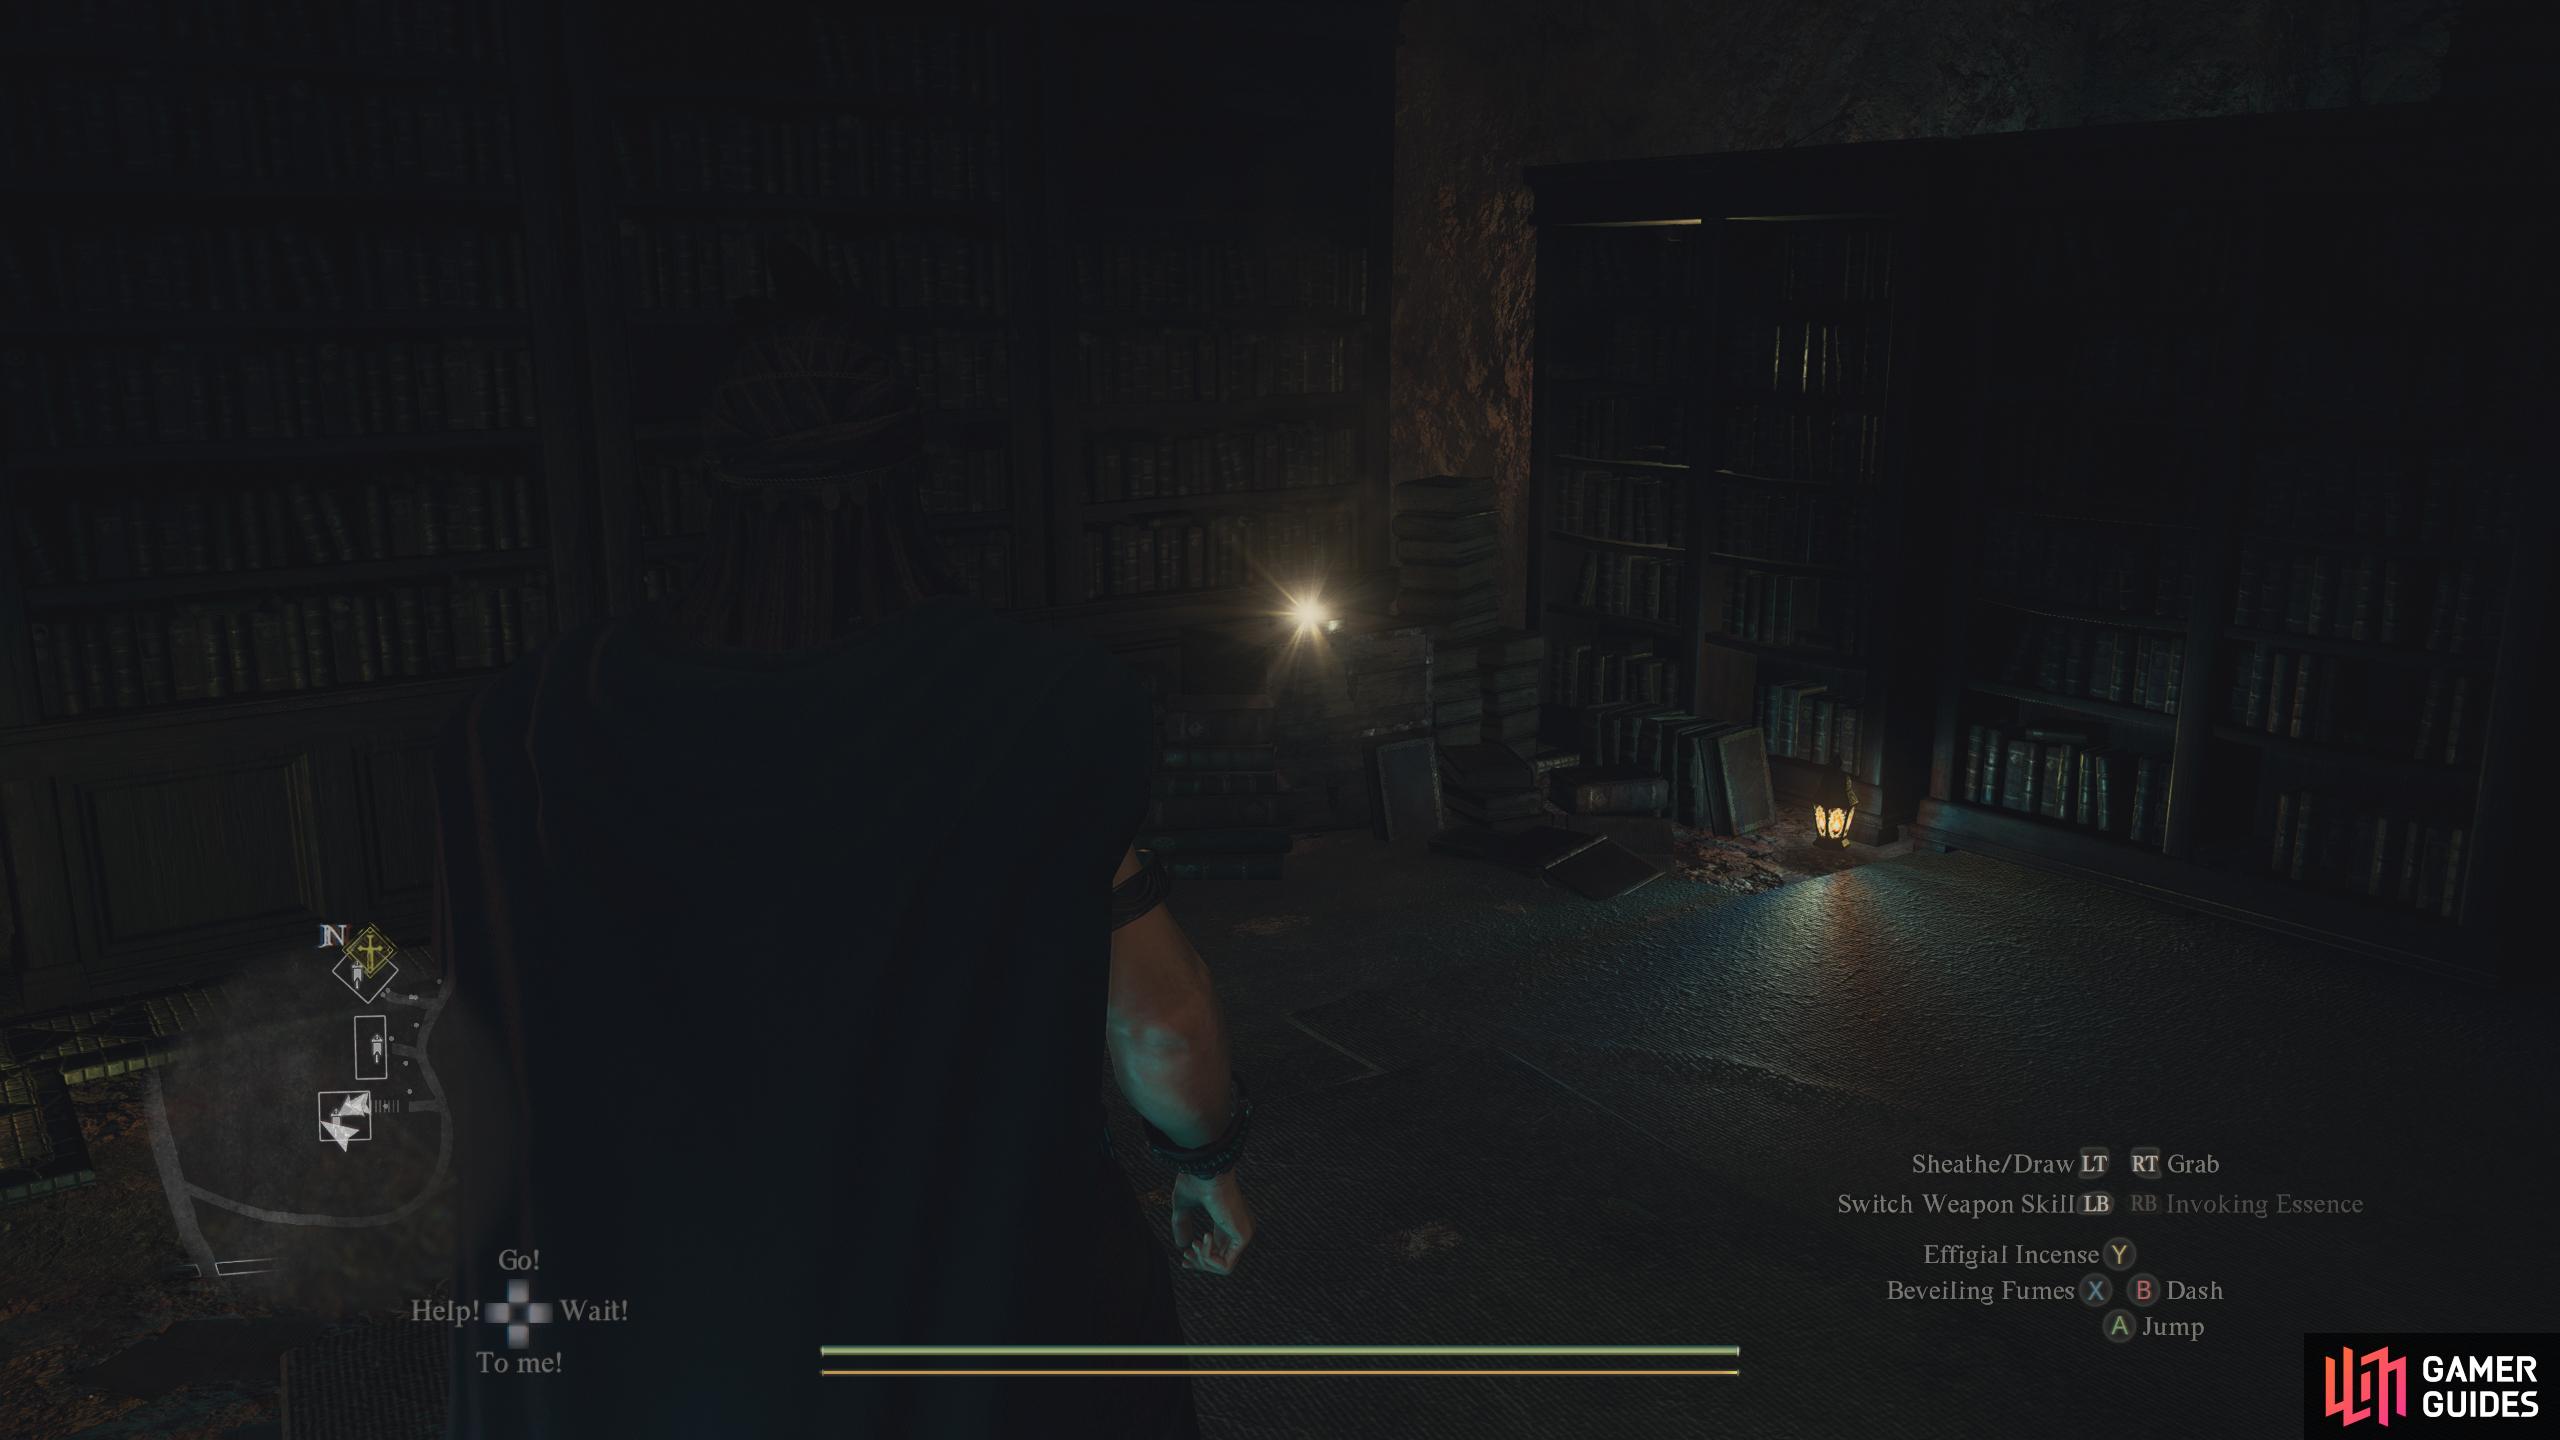
On the box by the bookshelf in the ![]() Flamebearer Palace History Chamber.
Flamebearer Palace History Chamber.
73606. Dungeon & Town Maps
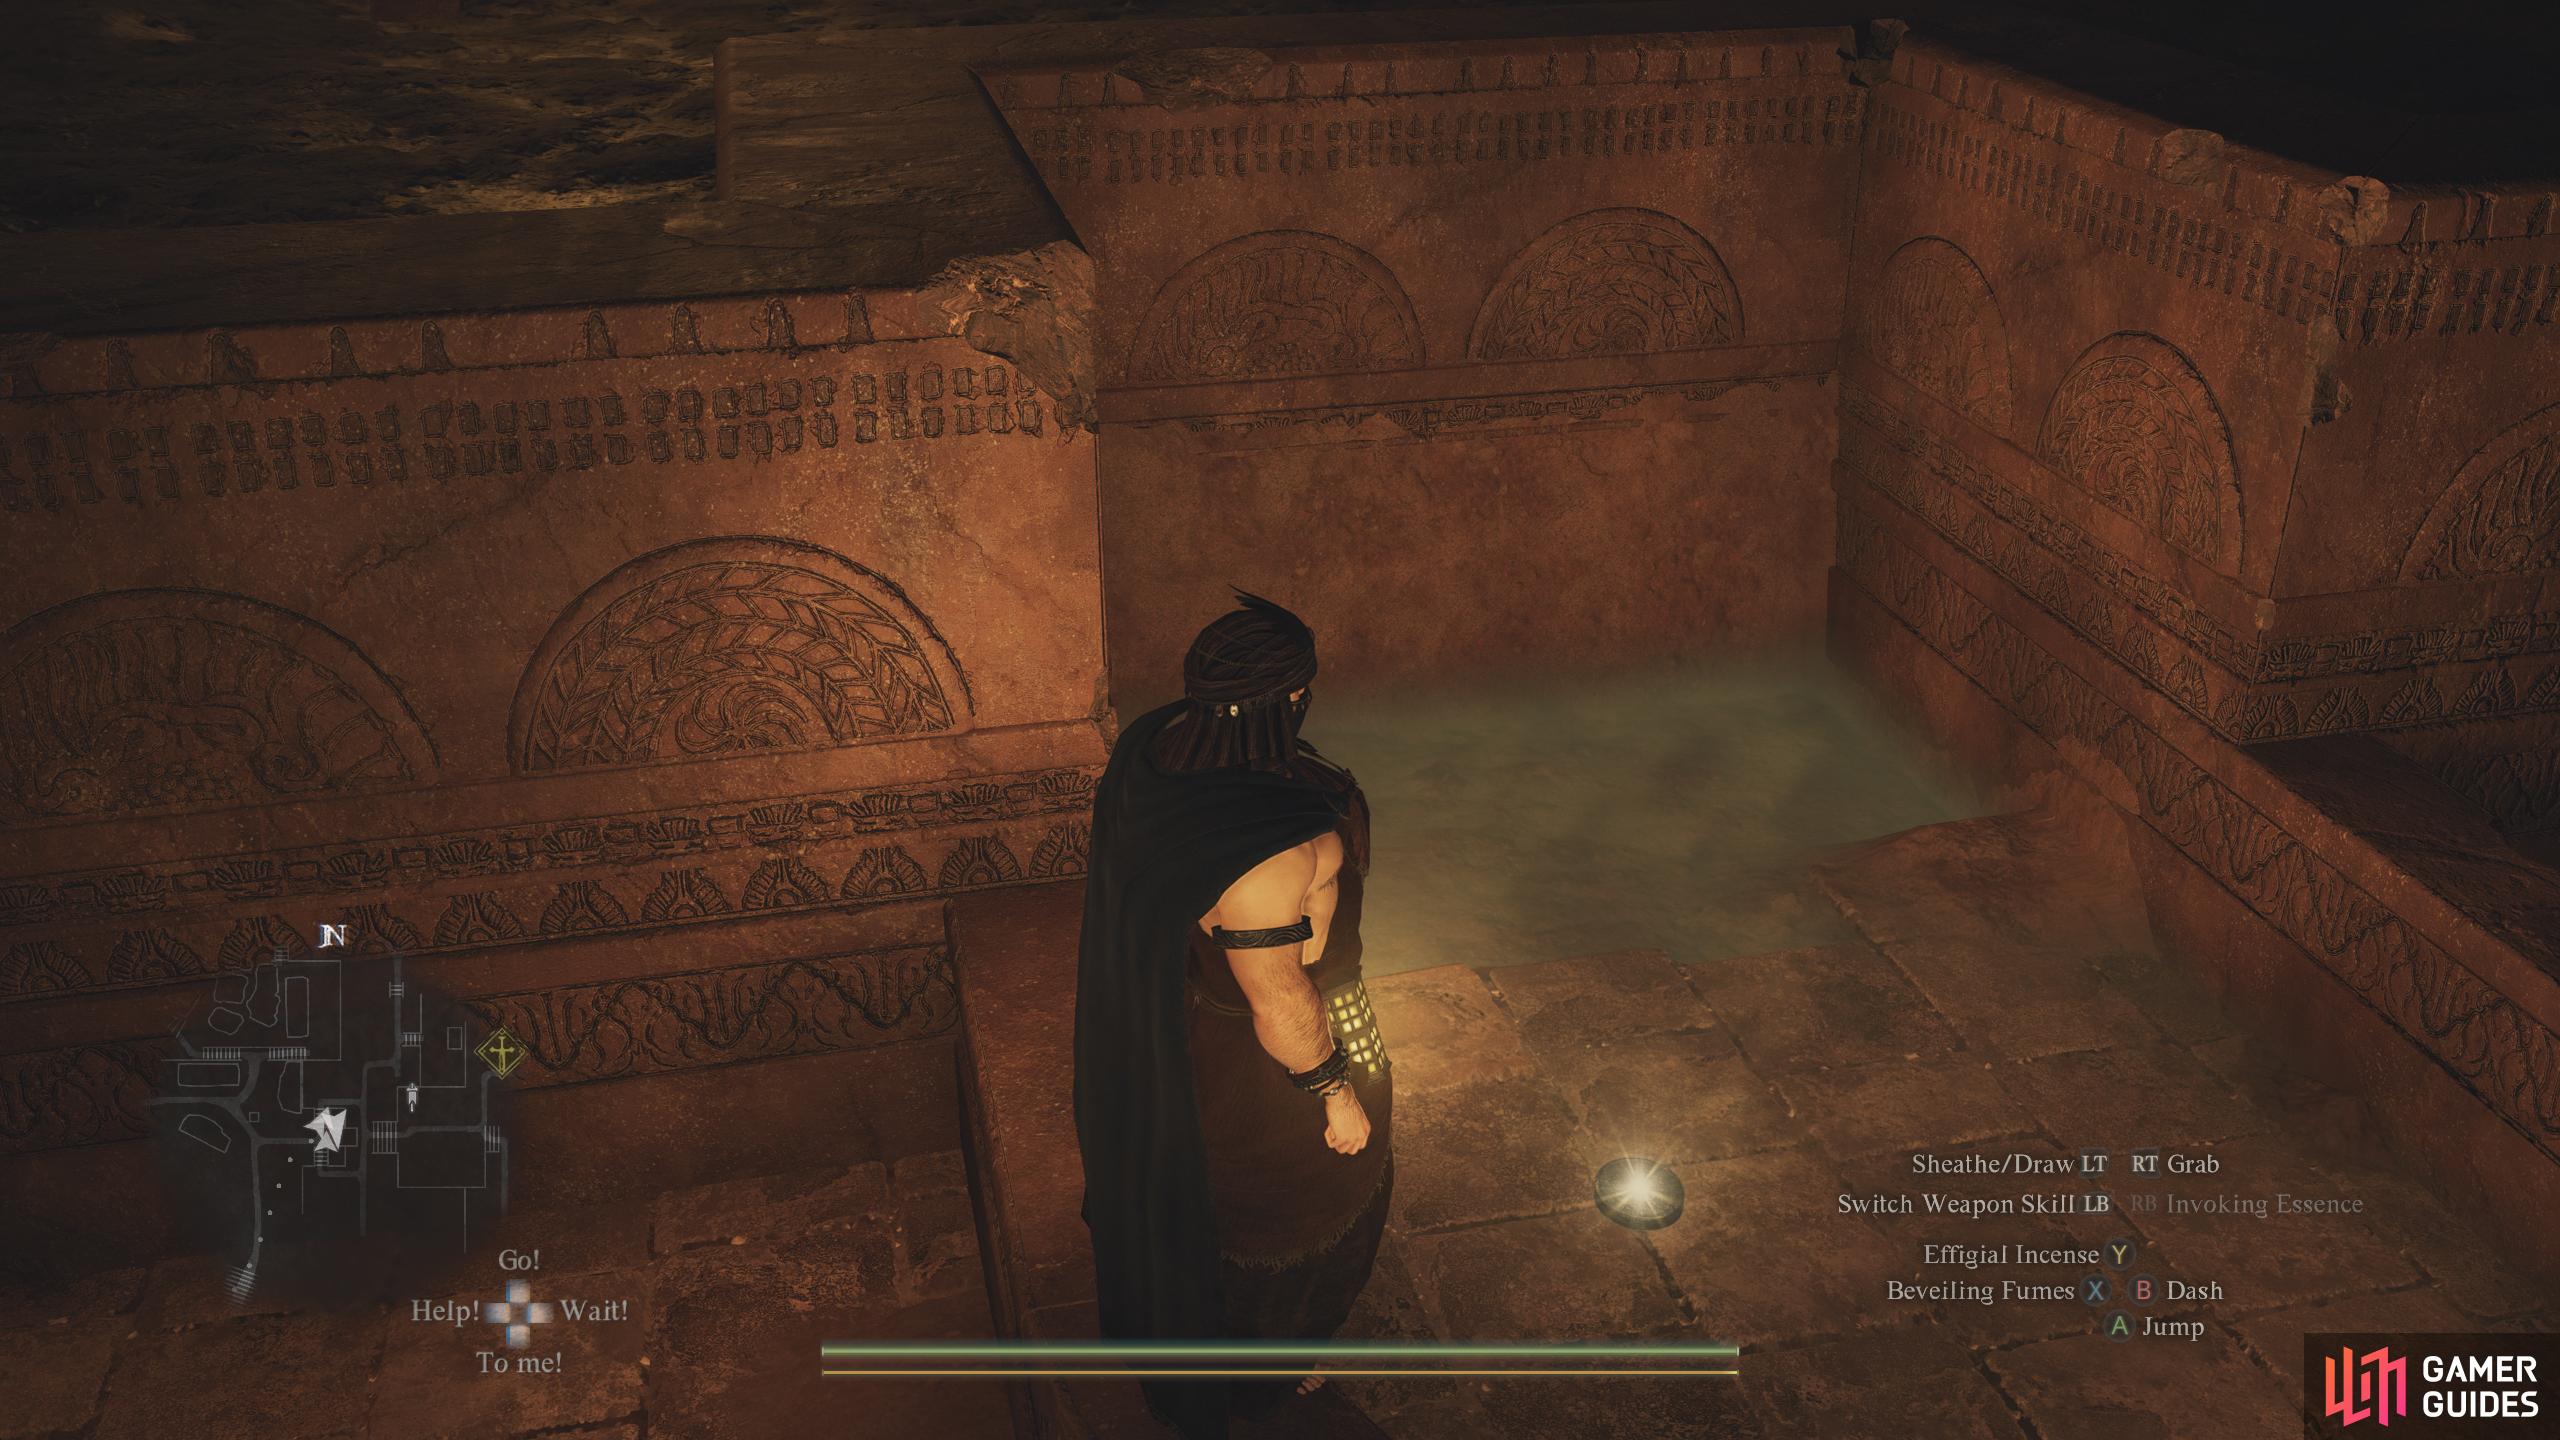
Next to the Altar in the ![]() Flamebearer Palace Audience Chamber.
Flamebearer Palace Audience Chamber.
73629. Dungeon & Town Maps
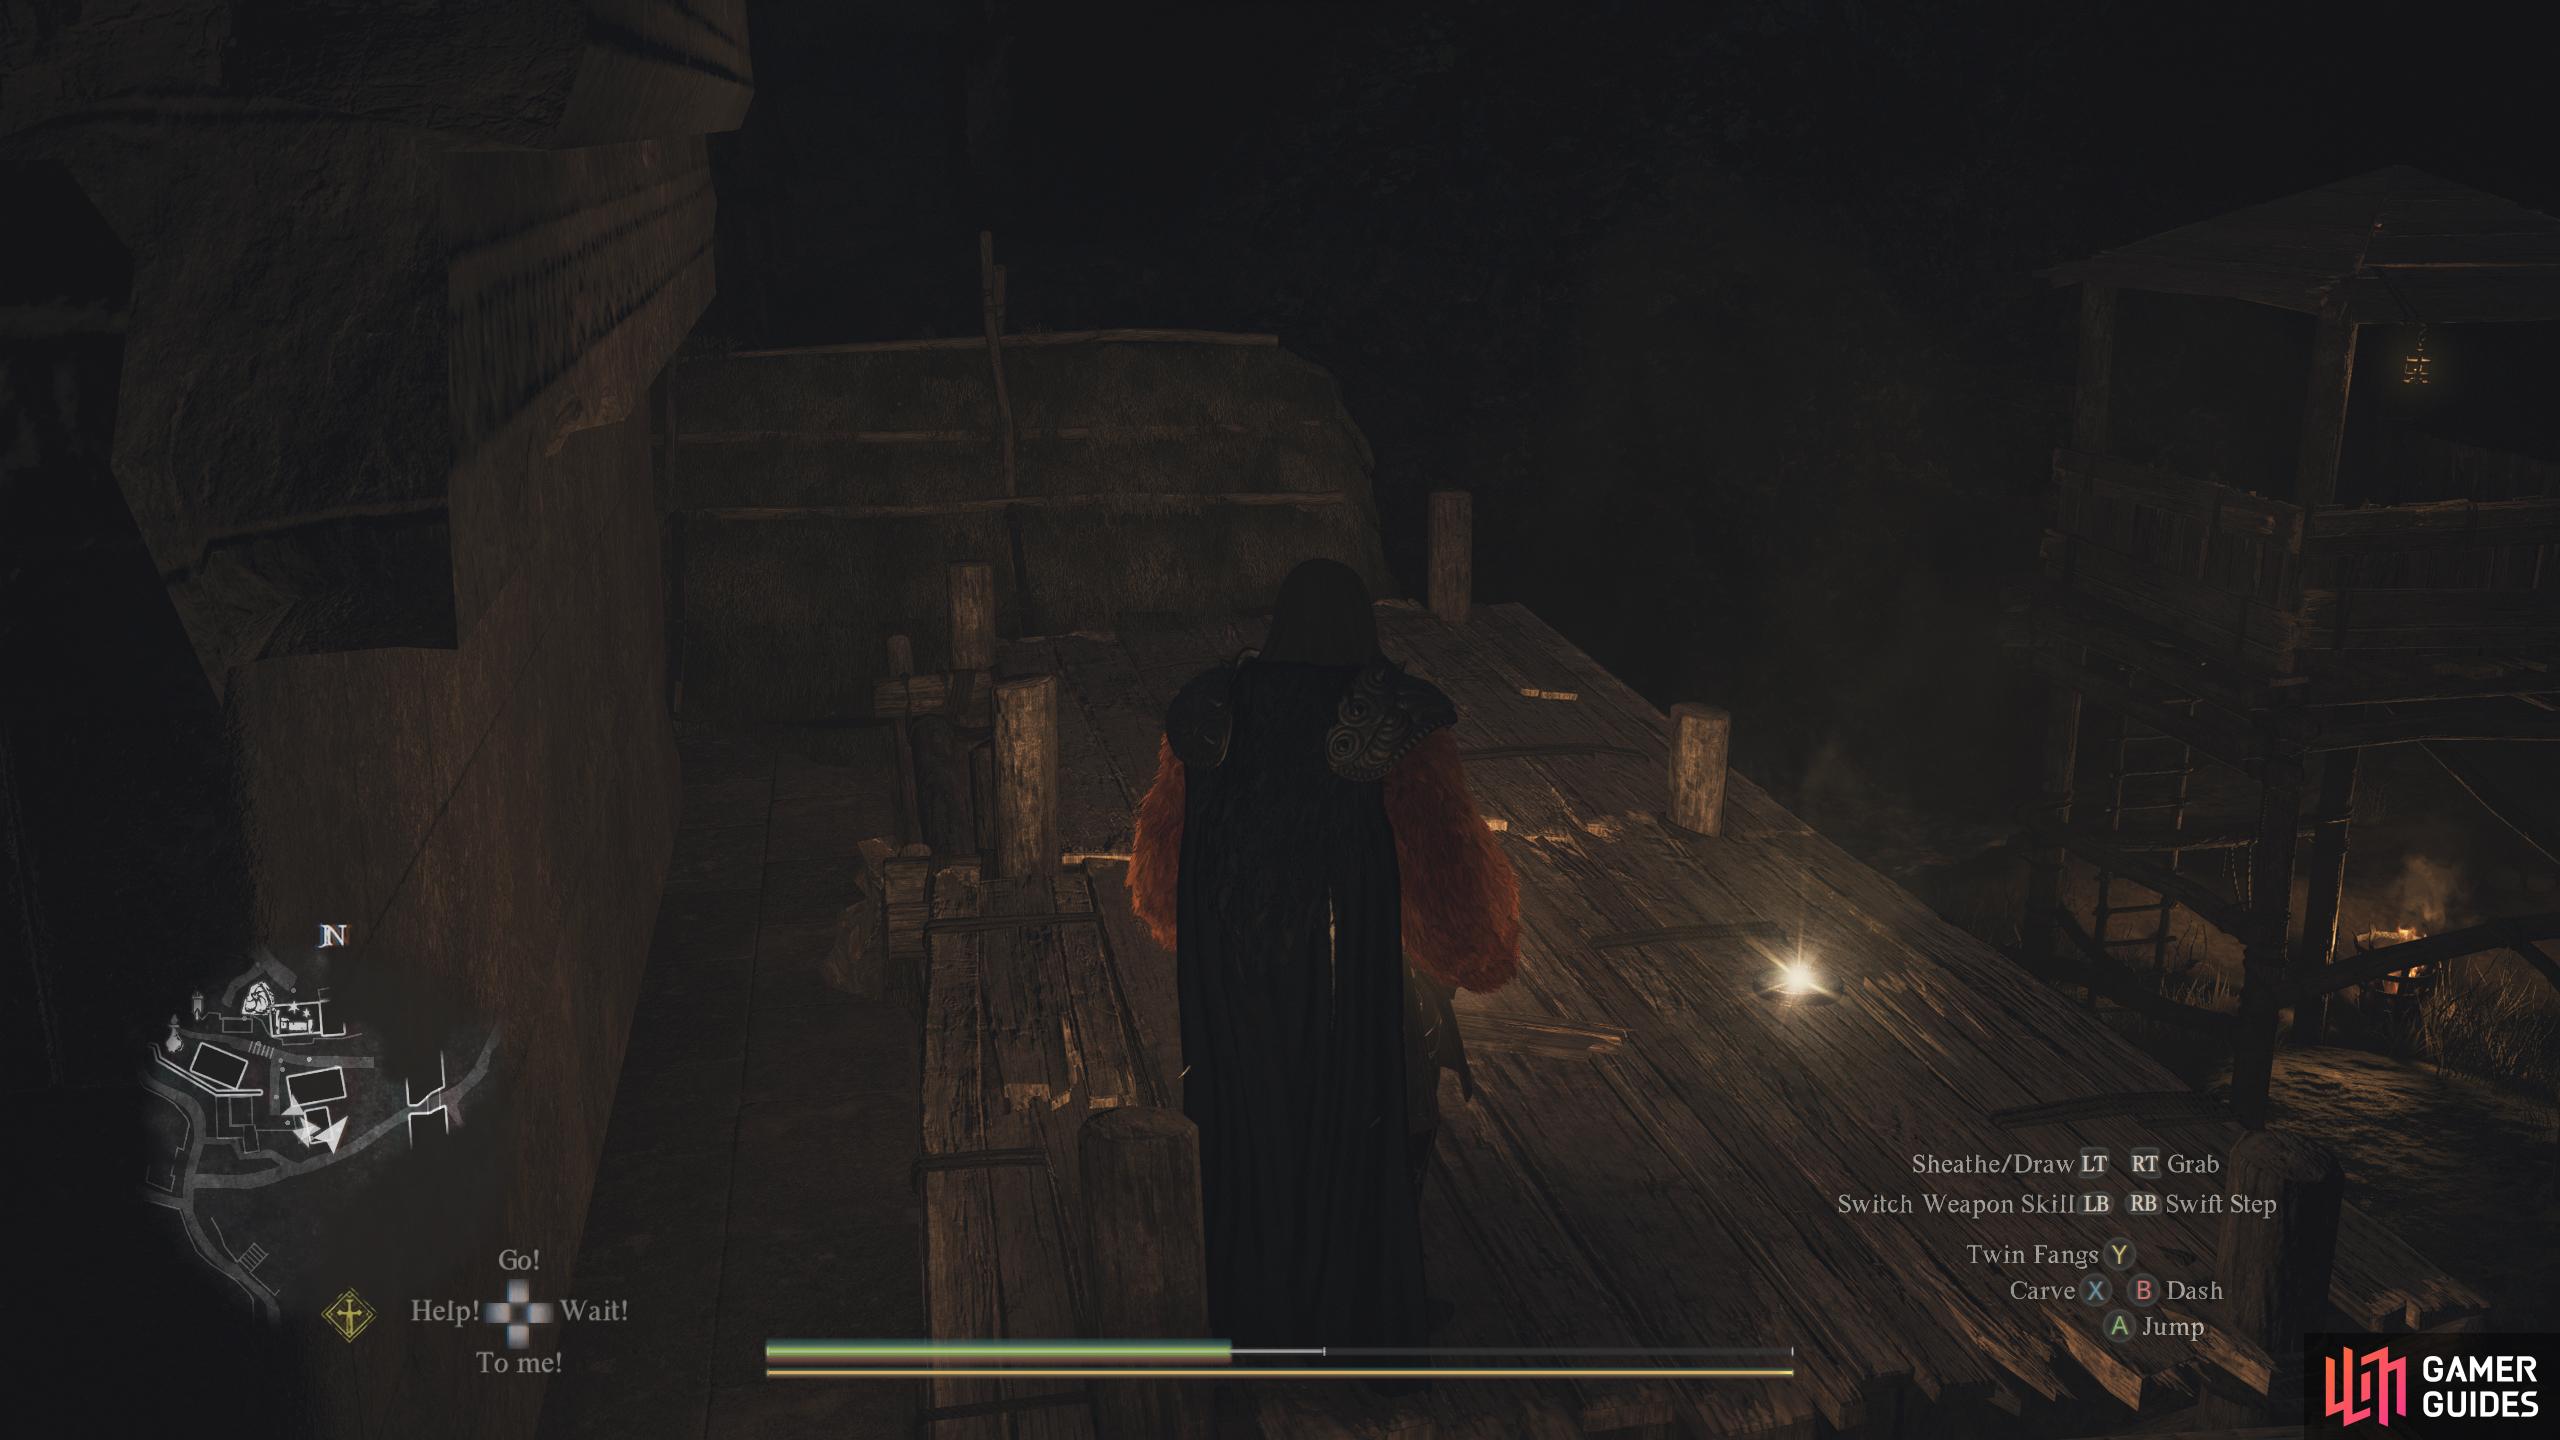
In ![]() Melve, atop the
Melve, atop the ![]() Dracanward tower, next to the Ballista.
Dracanward tower, next to the Ballista.
73654. Dungeon & Town Maps
In the Gaol Cell that hosts the prisoner. Requires a ![]() Makeshift Gaol Key or
Makeshift Gaol Key or ![]() Gaol Key to access it.
Gaol Key to access it.
73671. Dungeon & Town Maps
Near the hot springs, on top of a pillar. Climb the cliffs near the entrance, then jump across from the top of the nearby ruins.
73714. Dungeon & Town Maps
On the cliffs southwest of ![]() Sacred Arbor, near
Sacred Arbor, near ![]() Eldart’s Apothecary. More-or-less impossible to reach without using
Eldart’s Apothecary. More-or-less impossible to reach without using ![]() Levitate from the nearby cliffs.
Levitate from the nearby cliffs.
74482. Dungeon & Town Maps
After climbing up into the room, turn around to find this token behind you.
74613. Dungeon & Town Maps
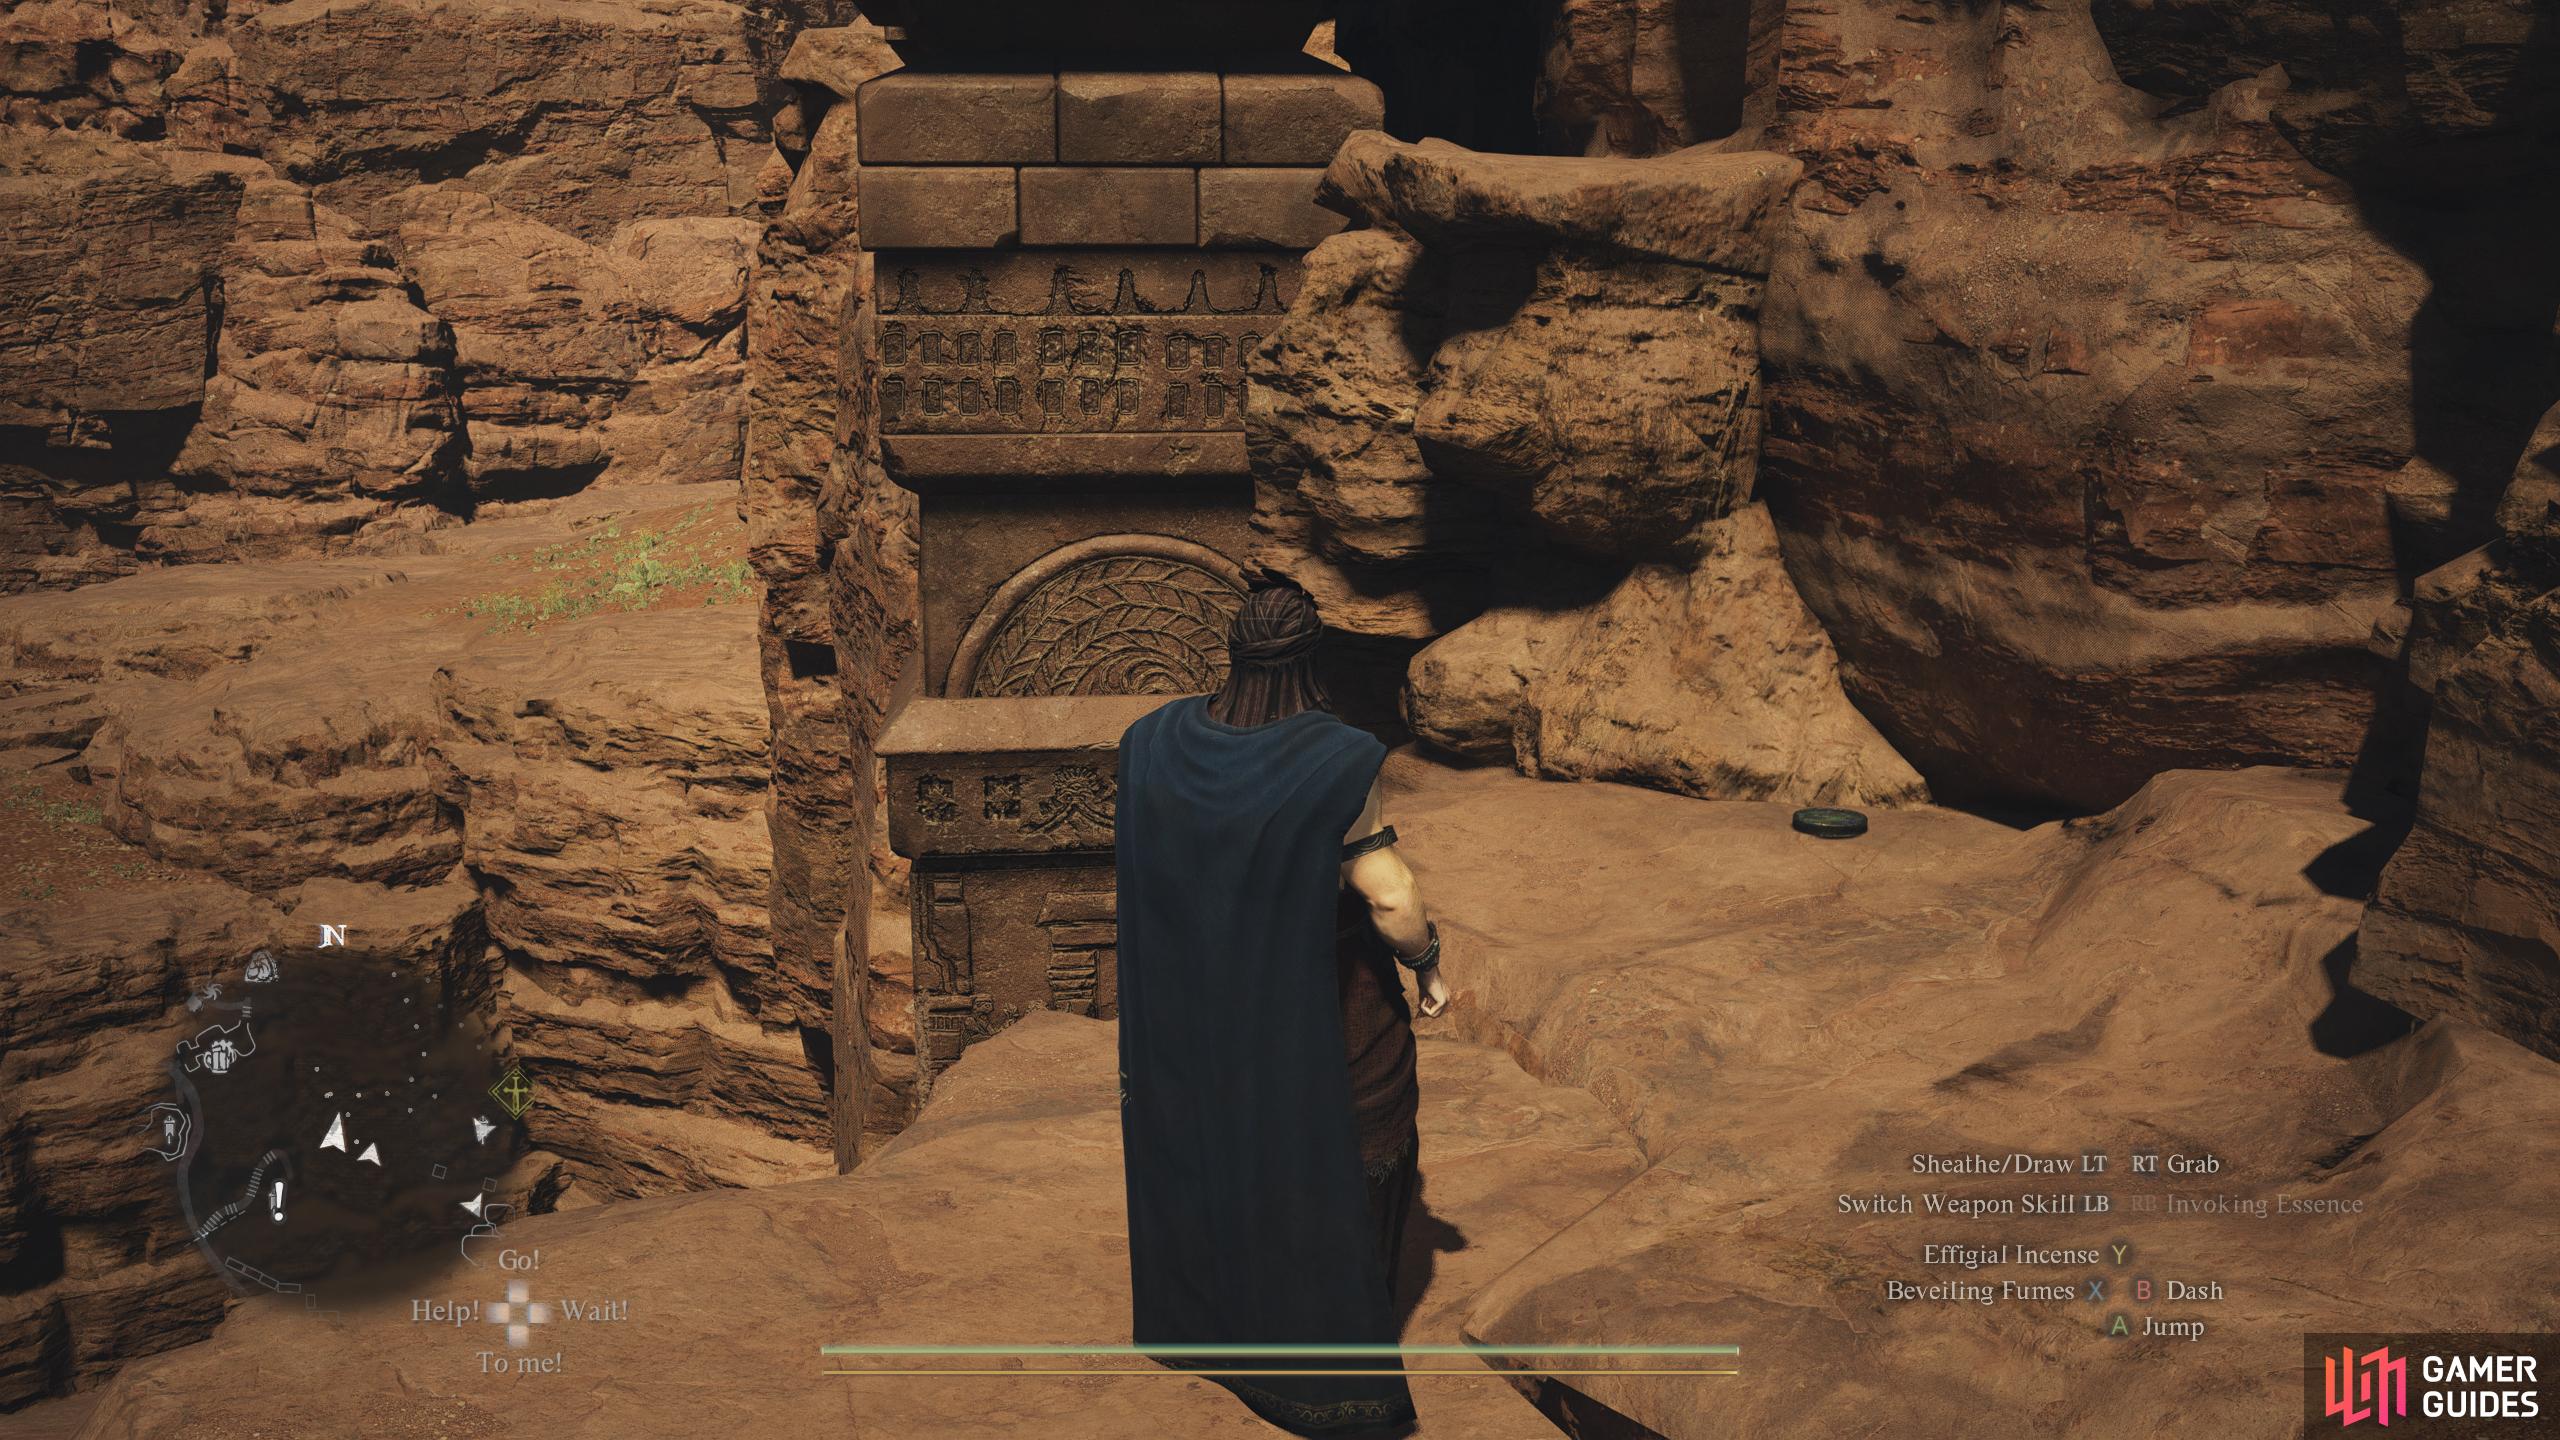
At the end of the tunnel, behind some stalagmites, on a broken pillar.
No Comments