No Rest For The Wicked has a fairly in-depth crafting system to upgrade one’s gear and items. However, players can make weapons via the schematics they can find from chests and drops, or purchase from vendors. Yet, you require an anvil to make the schematics and blueprints of weapons and armors. To get an anvil in No Rest For the Wicked, you will need to unlock Sacrament and then either upgrade Fillmore’s or buy an anvil for your house.
Here is everything you need to know to get an anvil in No Rest For The Wicked.
Getting and Finding Anvils
As alluded to, you must unlock the city of Sacrament after killing Warrick the Torn. Killing the boss unlocks the city and from there, you can find two ways to get an anvil:
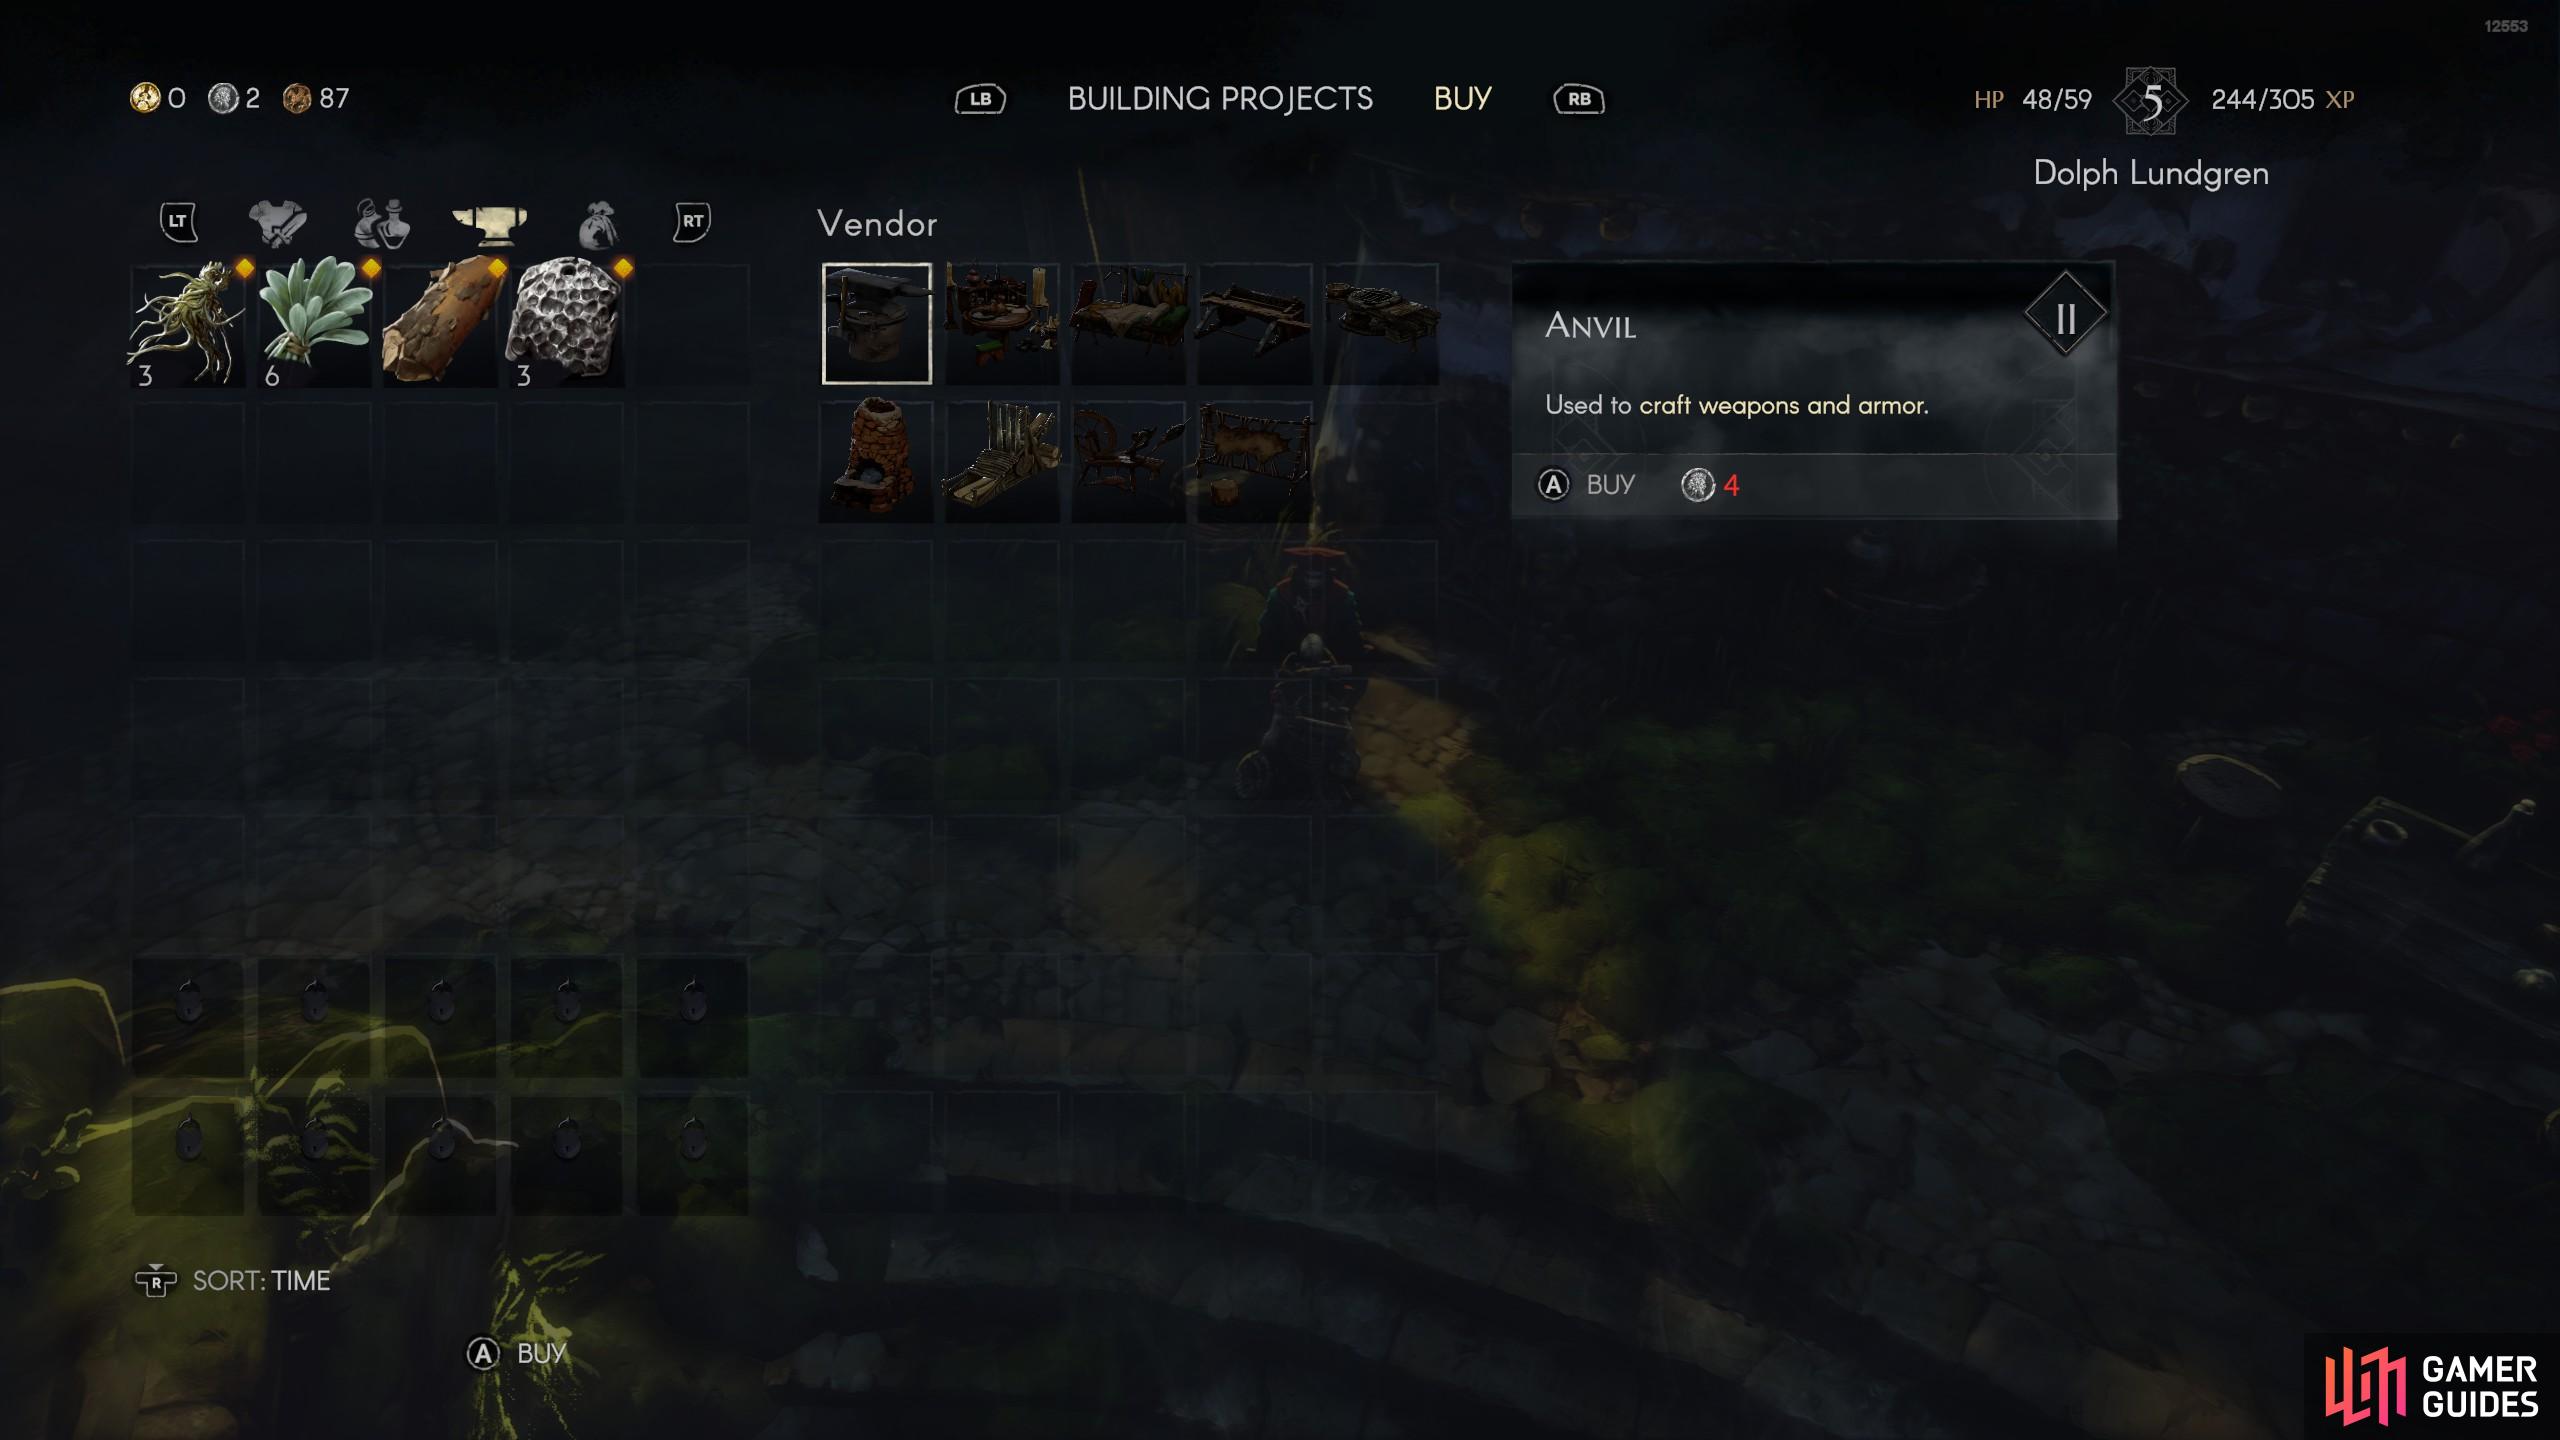
- Purchase an anvil from Danos for 4 silver.
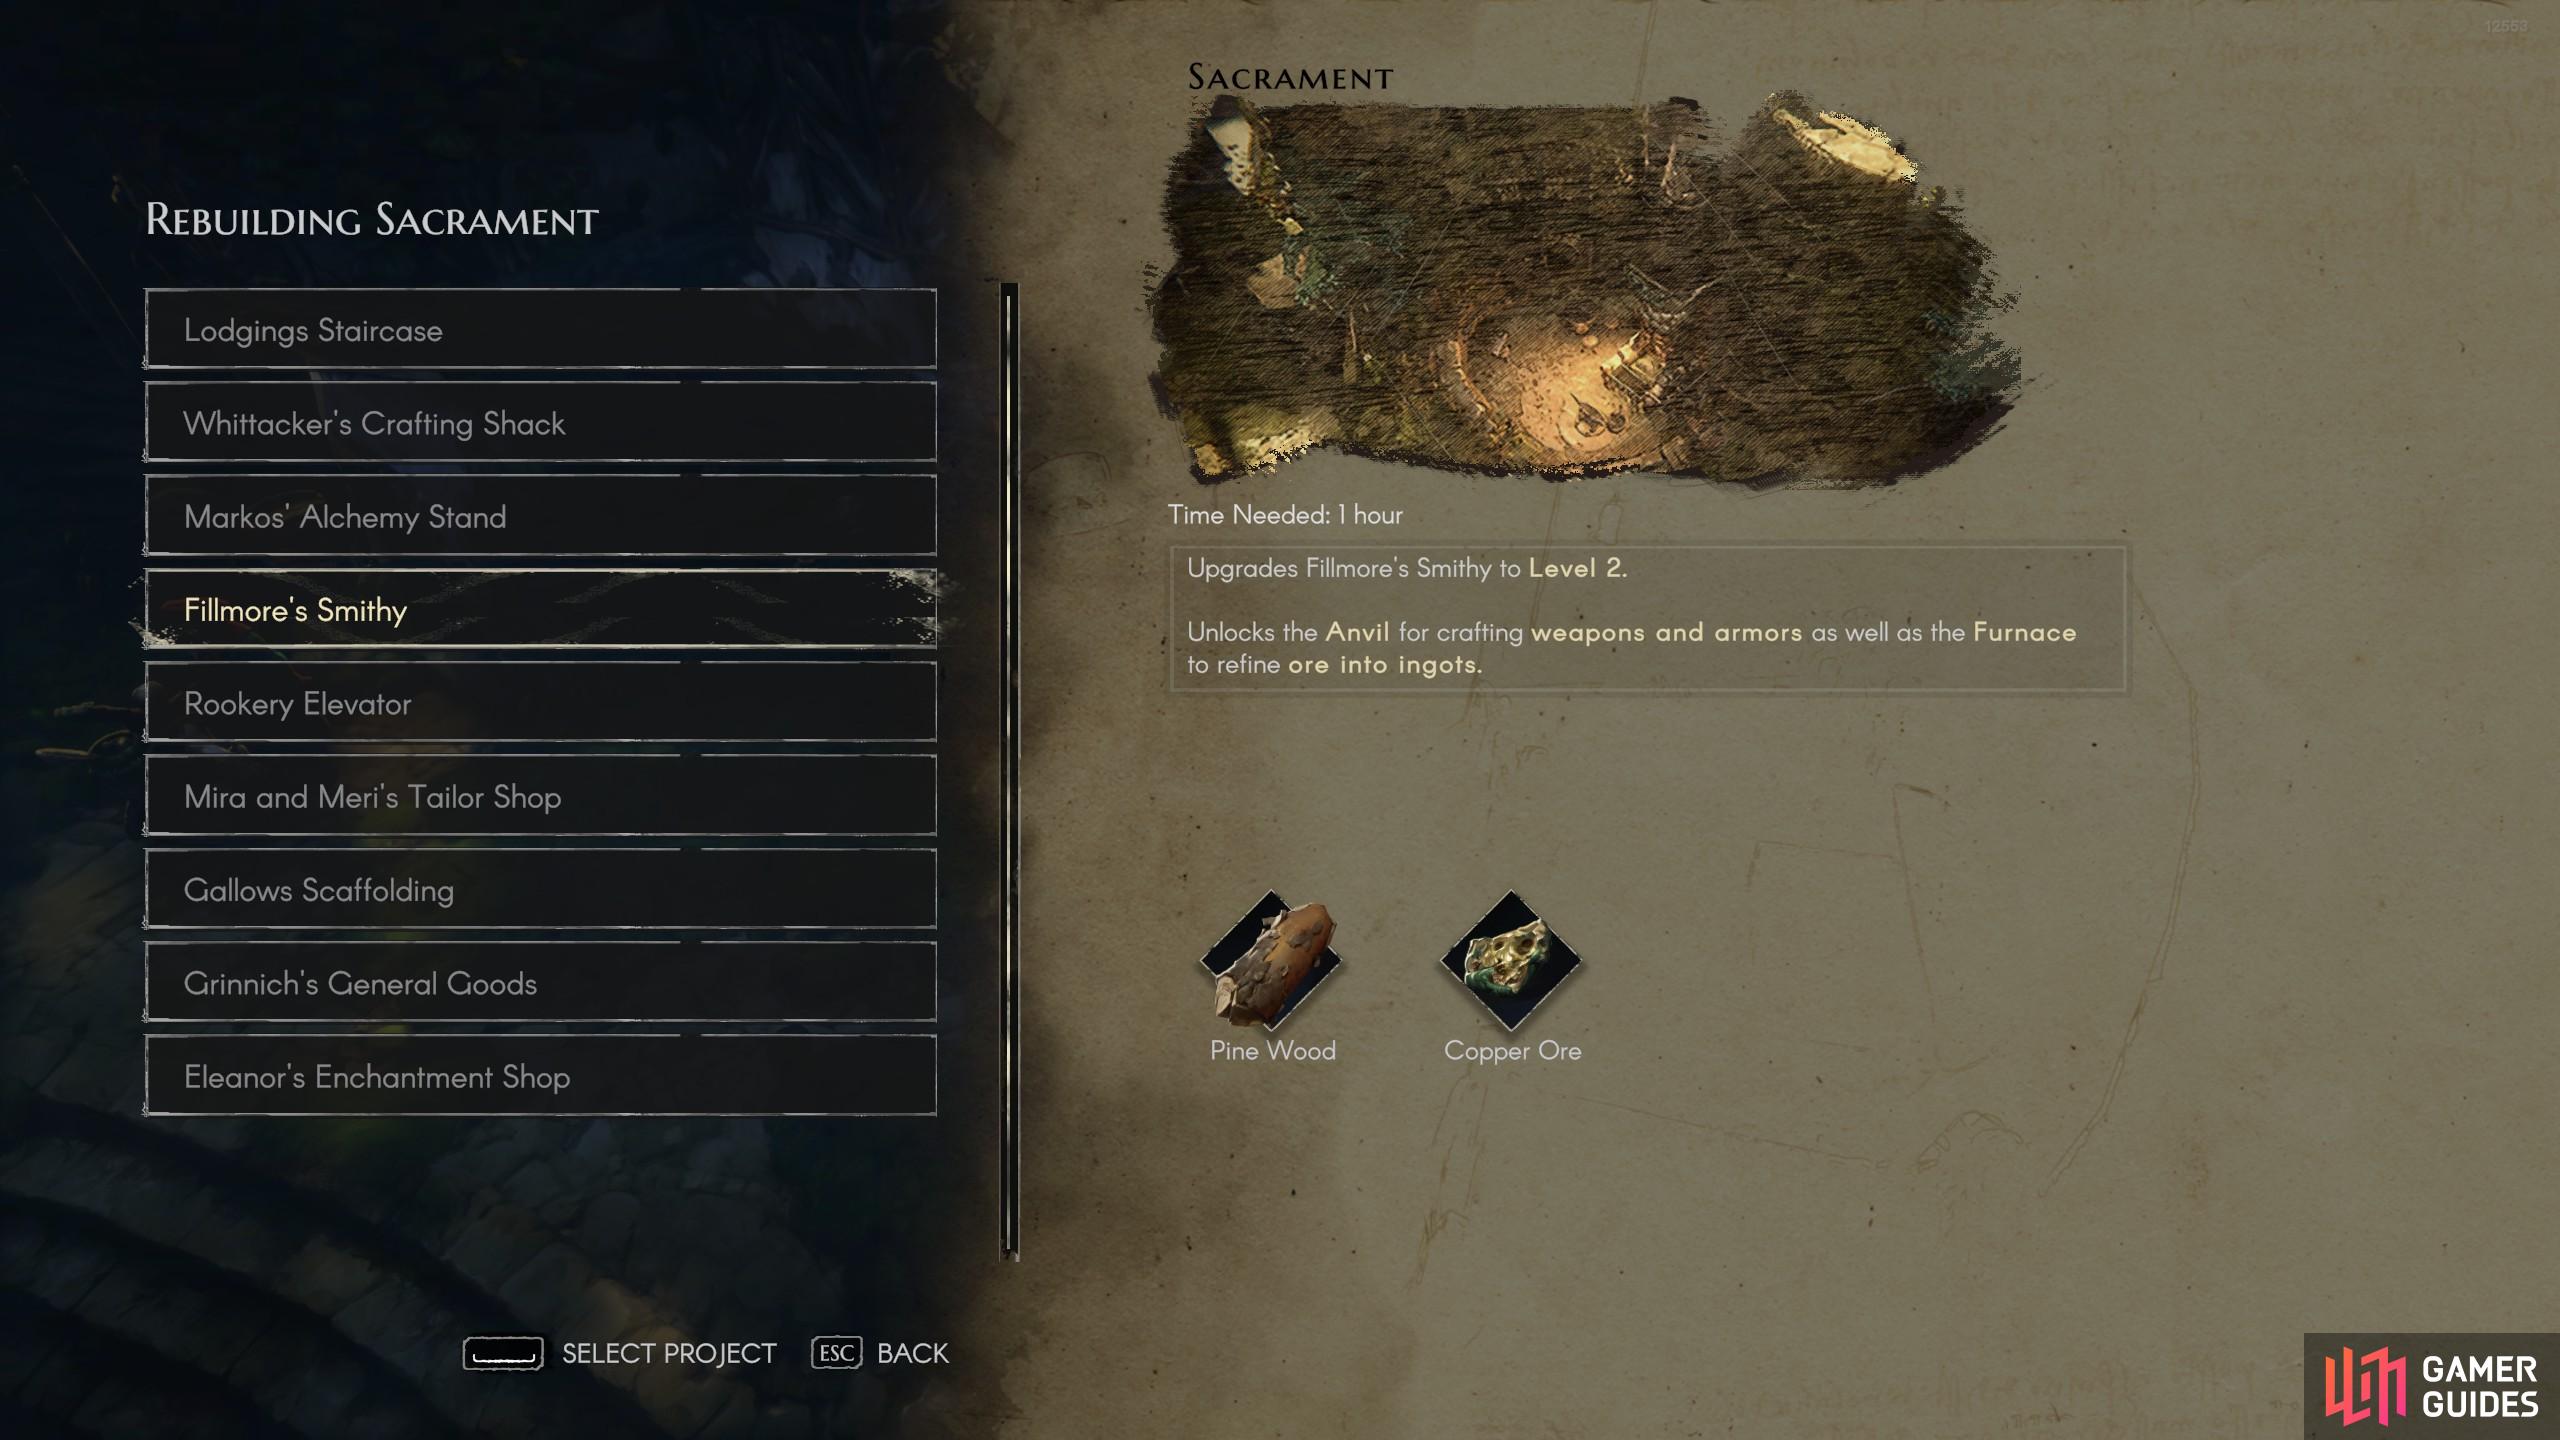
- Upgrade Fillmore’s blacksmithy to level 2, which contains an anvil. Requires Pine Wood and Copper Ore, and takes an hour to install.
(1 of 2) You can get an anvil by upgrading Filmore’s blacksmith using resources.
You can get an anvil by upgrading Filmore’s blacksmith using resources. (left), Alternatively, you can buy an anvil from Danos and place it in your player housing when you unlock and purchase that feature. (right)
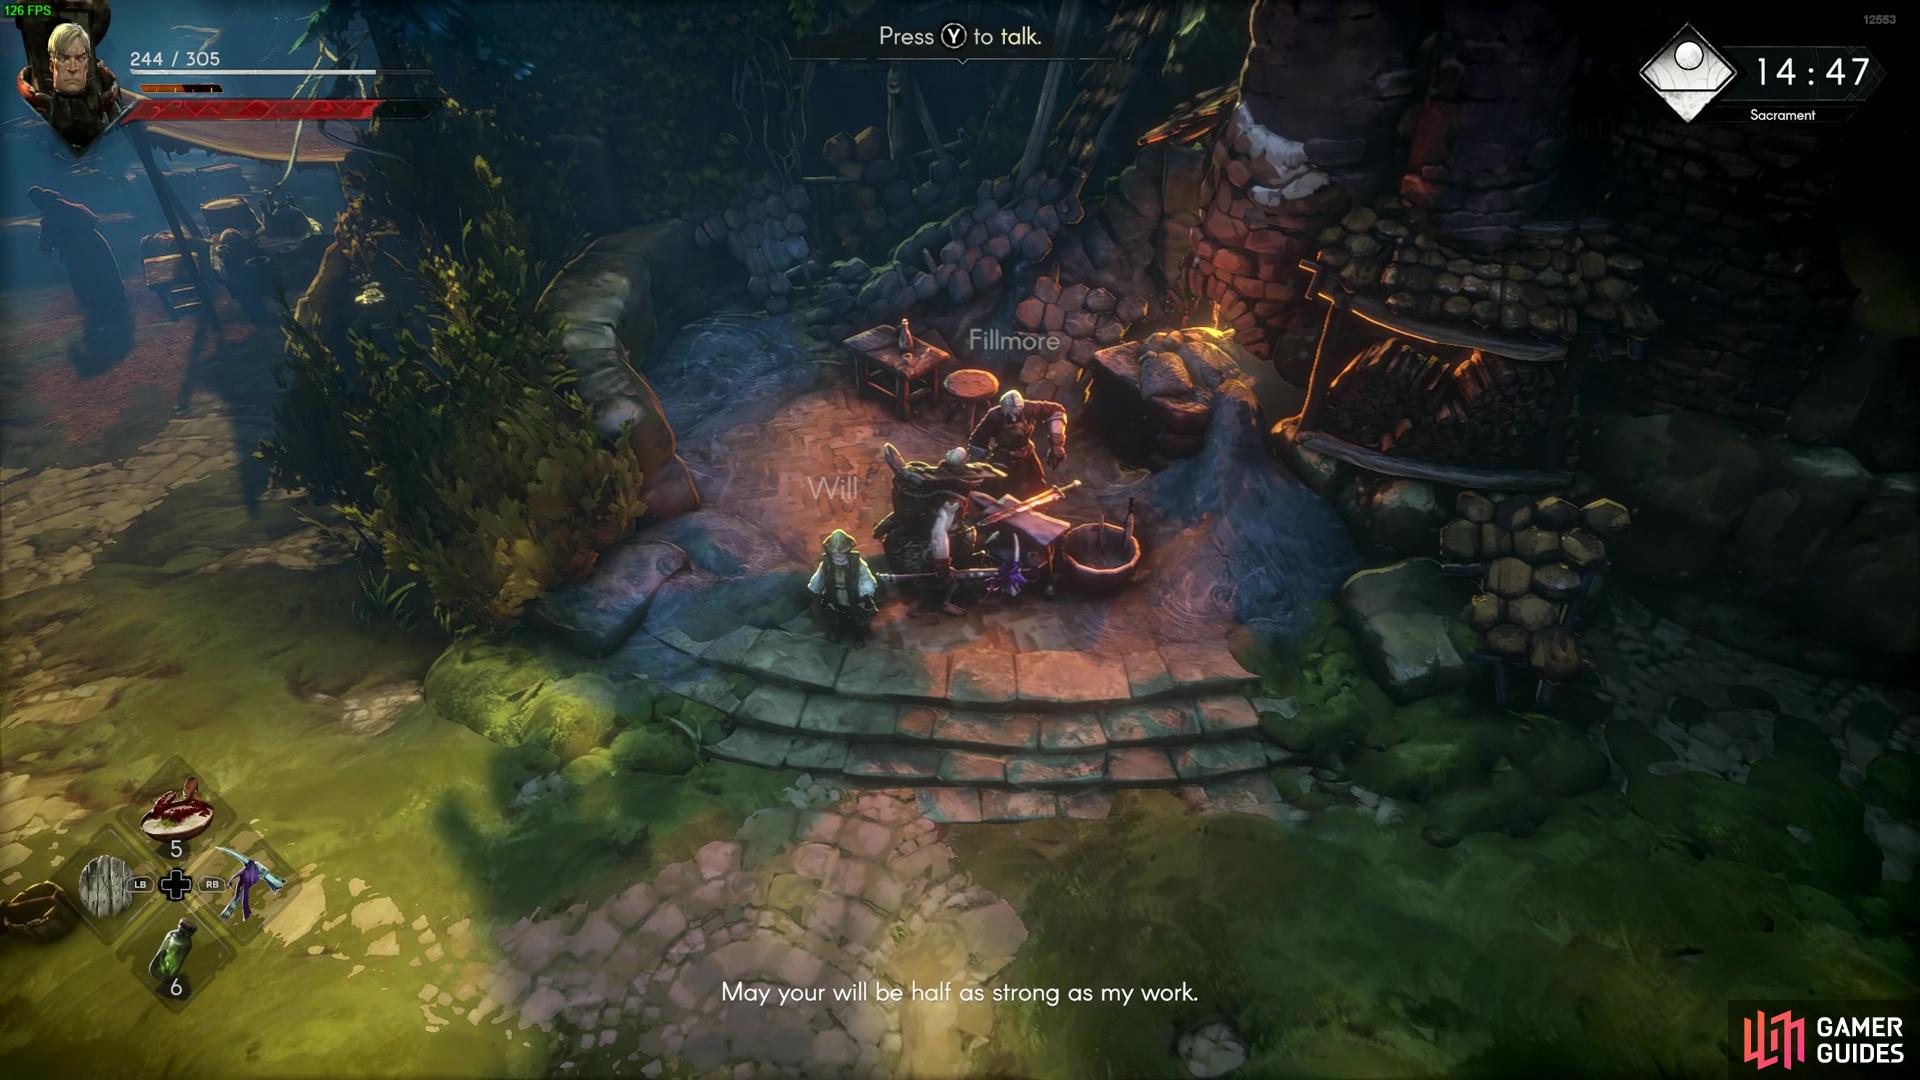
No matter which option you prefer, you will need to go to Danos, who you can find outside your restroom at the Rookery. Speak to Danos, and then you can find him in the village center with his own icon if you zoom in enough. Speak to him and then you can either upgrade the smithy or buy an anvil yourself. Note that to use the anvil you will need your own player housing. You need to complete the quest called ‘Rats’ to unlock player housing and then buy a house in town with a for sale sign. They typically cost 20, 25, or 30 silver, depending on the quality of house you get.
If you don’t have player housing, you can instead opt to use resources to upgrade Fillmore’s Blacksmith to level 2. Simply get Pine by using your logging axe against trees. You can find harvestable trees along the beach near the Mariner’s Keep, and Copper Ore by mining the ores along the beach too.
Once you’re settled, you can now install the anvil through your preferred method, and use the anvil to craft schematics of new armor and weapons you find.


 Sign up

No Comments