Updated Title Publisher
Updated Title
Published Title Score Editor's Choice
Published Title Score

Yaya Cube Yaya Cubes

Description

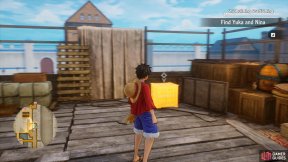
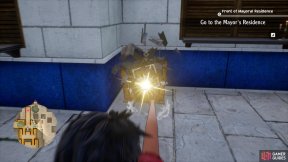
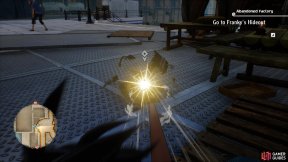
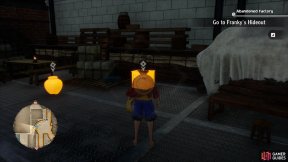
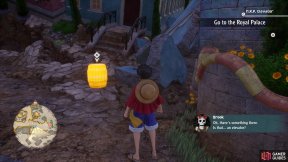
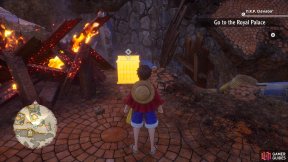
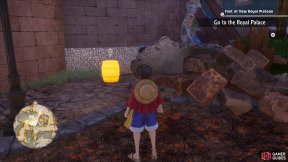
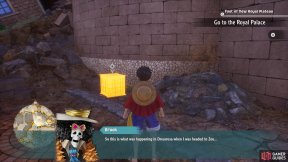
Strange cubes dotted across Memoria.
Cubic and shiny. Spicy when you
lick them.

Category

Key

Gallery

Interactive Map Locations

Marker screenshot

1. Nanohana Harbor & Desert Map

X: 3245 Y: 2731

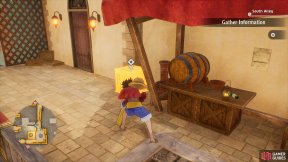
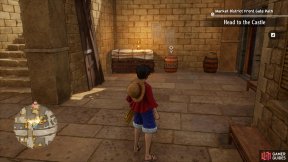
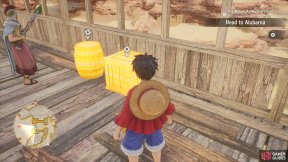
In a crate next to the stall on the porch. Contains a "Yaya Cube" iconYaya Cube.

Marker screenshot

2. Nanohana Harbor & Desert Map

X: 2902 Y: 2901

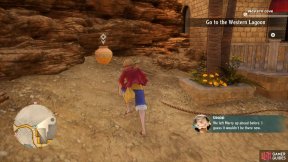
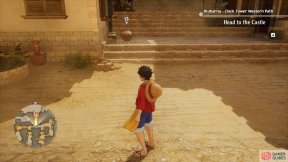
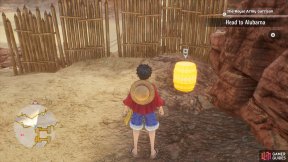
In a pot in the corner between the house and the rocky wall. Contains a "Yaya Cube" iconYaya Cube.

Marker screenshot

3. Great Sandy Desert Map

X: 2132 Y: 3253
Marker screenshot

4. Nanohana Harbor & Desert Map

X: 3068 Y: 2644

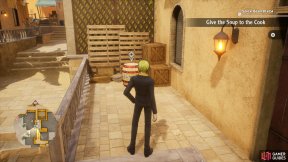
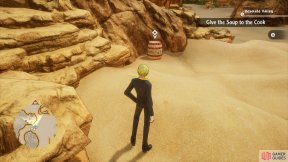
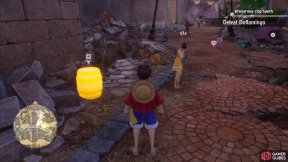
In a barrel at the end of the porch. Contains 1x "Yaya Cube" iconYaya Cube.

Marker screenshot

5. Nanohana Harbor & Desert Map

X: 3098 Y: 2751

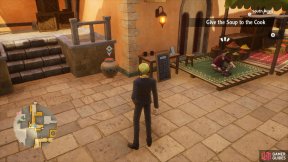
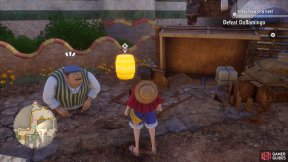
In a pot next to the man in a red shirt sitting down. Contains 1x "Yaya Cube" iconYaya Cube.

Marker screenshot

6. Nanohana Harbor & Desert Map

X: 1639 Y: 3112

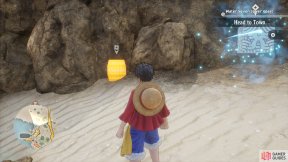
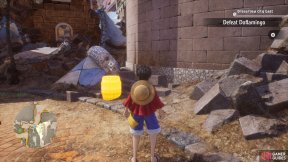
In a barrel against the rocks. Contains 1x "Yaya Cube" iconYaya Cube.

Marker screenshot

7. Nanohana Harbor & Desert Map

X: 1343 Y: 2901

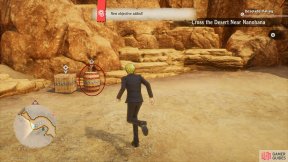
In the barrel in front of the rocky wall. Contains 1x "Yaya Cube" iconYaya Cube.

Marker screenshot

8. Nanohana Harbor & Desert Map

X: 1586 Y: 3039

In a pot southwest of the "Chopper" iconChopper tunnel. Contains 1x "Yaya Cube" iconYaya Cube.

Marker screenshot

9. Nanohana Harbor & Desert Map

X: 1713 Y: 2751

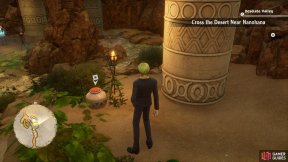
In a pot in front of the brazier next to the stone pillar. Contains 1x "Yaya Cube" iconYaya Cube.

Marker screenshot

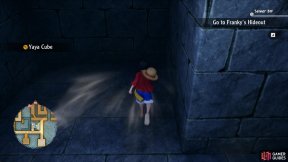
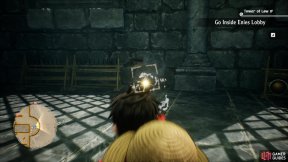
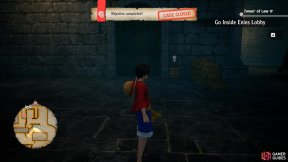
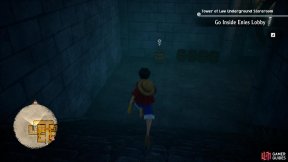
10. Great Sandy Desert Map

X: 2111 Y: 3528

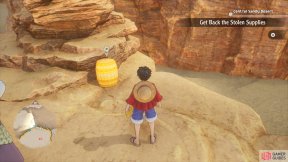
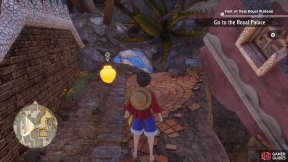
Located in a breakable pot not far from the broken down stagecoach.
Marker screenshot

11. Great Sandy Desert Map

X: 2678 Y: 3029

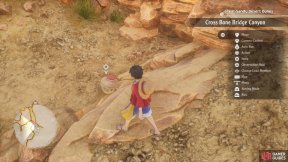
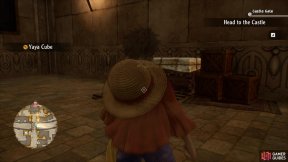
Located in a breakable object at the base of the pillar.

Marker screenshot

12. Alubarna City Map

X: 2608 Y: 3152

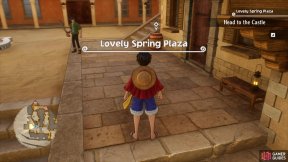
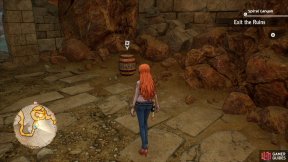
In the hallway in a barrel on the right as you enter through the giant door.
Marker screenshot

13. Alubarna City Map

X: 2683 Y: 3011
Marker screenshot

14. Alubarna City Map

X: 2556 Y: 2382

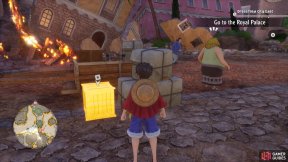
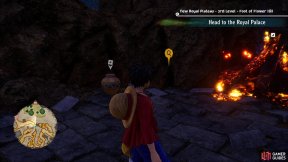
In the barrel where the road leads to the royal palace.

Marker screenshot

15. Alubarna City Map

X: 2187 Y: 2828
Marker screenshot

16. Great Sandy Desert Map

X: 2259 Y: 2918

In a barrel to the right of the archway. Contains 1x "Yaya Cube" iconYaya Cube.

Marker screenshot

17. Royal Mausoleum (Alabasta) Map

X: 1863 Y: 2703

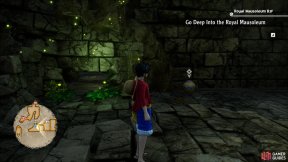
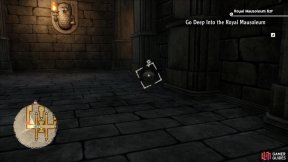
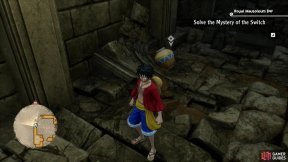
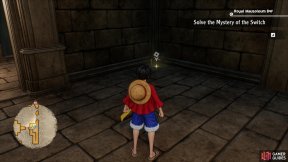
Inside the barrel along the wall.

Marker screenshot

18. Royal Mausoleum (Alabasta) Map

X: 2749 Y: 2630

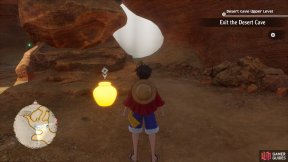
Gum Gum across the gap and you will find the YaYa Cube in the barrel.
Marker screenshot

19. Royal Mausoleum (Alabasta) Map

X: 3254 Y: 2360
Marker screenshot

20. Royal Mausoleum (Alabasta) Map

X: 3717 Y: 2491
Marker screenshot

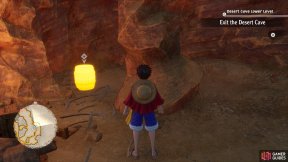
21. Desert Cave Map

X: 2951 Y: 2643

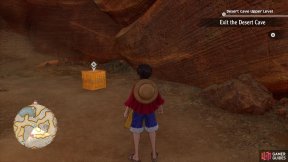
The pot that contains this "Yaya Cube" iconYaya Cube is located behind the pillar not far from the entrance.
Marker screenshot

22. Desert Cave Map

X: 3296 Y: 2458

Crate is being guarded by a Mountain Bandit enemy.

Marker screenshot

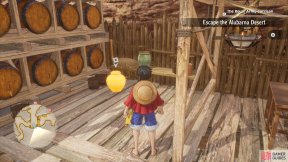
23. Desert Cave Map

X: 2392 Y: 2581

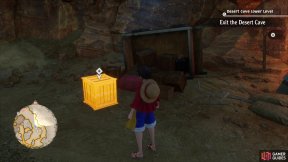
Found on the lower level, behind the Collapsed Joseph NPC. Might be slightly obscured by a pillar.
Marker screenshot

24. Desert Cave Map

X: 2348 Y: 2577

Not far from the Collapsed Joseph NPC and in plain sight.

Marker screenshot

25. Desert Near Alubarna Map

X: 2335 Y: 2933

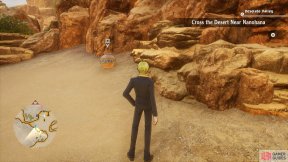
After being allowed in the Royal Army Garrison, turn south to find the pot with the "Yaya Cube" iconYaya Cube next to some barrels.

Marker screenshot

26. Desert Near Alubarna Map

X: 2446 Y: 2521

Found on top of the large gate.

Marker screenshot

27. Desert Near Alubarna Map

X: 2399 Y: 2405
Marker screenshot

28. Water 7 Map

X: 2450 Y: 3462

Next to the Memory Cube

Marker screenshot

29. Water 7 Map

X: 2471 Y: 3487

In the barrel opposite the Memory Cube close to the other Yaya

Marker screenshot

30. Water 7 Map

X: 2347 Y: 2551

Inside the crate in the corner

Marker screenshot

31. Water 7 Map

X: 2509 Y: 2325

Two barrels next to each other, one contains a "Yaya Cube" iconYaya Cube, the other a "Panic Stone" iconPanic Stone.

Marker screenshot

32. Water 7 Map

X: 2307 Y: 2297

Inside the Jar

Marker screenshot

33. Water 7 Map

X: 2337 Y: 2074

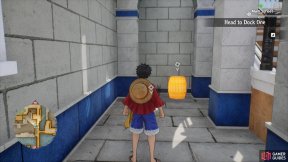
Inside the barrel.

Marker screenshot

34. Water 7 Map

X: 2382 Y: 1985

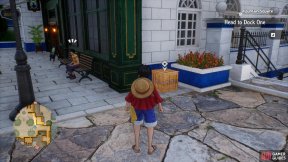
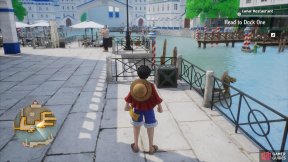
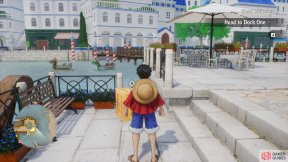
Inside the crate near the outdoor cafe.

Marker screenshot

35. Water 7 Map

X: 2608 Y: 2019

In the crate on the corner.

Marker screenshot

36. Water 7 Map

X: 2667 Y: 2148

In one of two barrels adjacent to each other.

Marker screenshot

37. Water 7 Map

X: 2821 Y: 2183

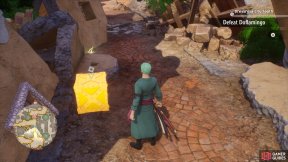
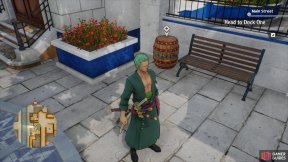
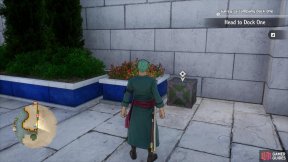
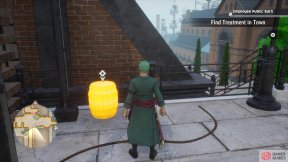
Cut open the metal box with "Zoro" iconZoro to get the "Yaya Cube" iconYaya Cube.

Marker screenshot

38. Water 7 Map

X: 3049 Y: 2082

Inside the crate.

Marker screenshot

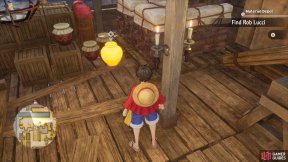
39. Desert Near Alubarna Map

X: 1656 Y: 2378

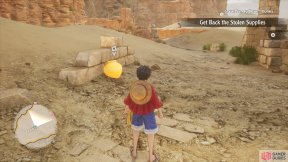
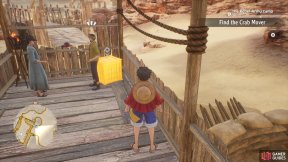
You’re unable to enter the Rebel Army Camp until Chapter 3.
Marker screenshot

40. Water 7 Map

X: 2558 Y: 2323

In the jar.

Marker screenshot

41. Water 7 Map

X: 2636 Y: 2540

Contained within the metal box.

Marker screenshot

42. Water 7 Map

X: 3592 Y: 2632

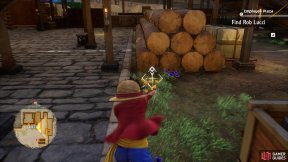
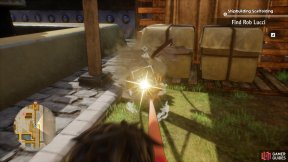
Next to the logs in the Shipbuilding Scaffolding area.

Marker screenshot

43. Water 7 Map

X: 3665 Y: 2790

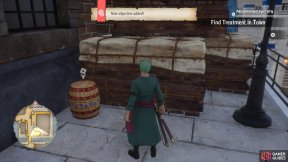
Inside the barrel, on the ground floor, underneath.

Marker screenshot

44. Water 7 Map

X: 3655 Y: 2792

On the top floor inside the crate.

Marker screenshot

45. Water 7 Map

X: 2583 Y: 1794

In the crate behind the tables.

Marker screenshot

46. Water 7 Map

X: 2039 Y: 2006

Inside the crate.

Marker screenshot

47. Water 7 Map

X: 2047 Y: 1993

Inside the jar. There is also one inside the next crate.

Marker screenshot

48. Water 7 Map

X: 1462 Y: 2673

In the barrel next to the shop.

Marker screenshot

49. Tower of Law Map

X: 2233 Y: 2542

In the barrel on the curved wall.

Marker screenshot

50. Tower of Law Map

X: 1995 Y: 2514

Inside the barrel close to the flamethrower.

Marker screenshot

51. Tower of Law Map

X: 3262 Y: 2423

In the barre; at the start of the Storeroom level.

Marker screenshot

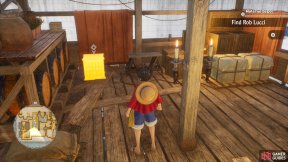
52. Water 7 Map

X: 3470 Y: 2916

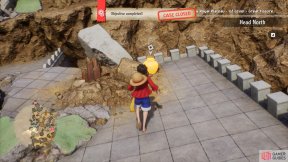
To get to this scaffolding, you need to press the button on the machine on the platform towards the upper left corner of the Material Depot. This turns the crane and you can have "Luffy" iconLuffy grab it to get to the top of the scaffolding. Go down the stairs and to the northern end of the middle level to find the pot with this.
Marker screenshot

53. Water 7 Map

X: 3462 Y: 3004

To get to this scaffolding, you need to press the button on the machine on the platform towards the upper left corner of the Material Depot. This turns the crane and you can have "Luffy" iconLuffy grab it to get to the top of the scaffolding. Go down the stairs to the middle level, then to the southern end to find the crate with this.
Marker screenshot

54. Water 7 Map

X: 3393 Y: 2987

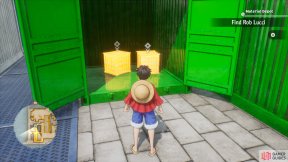
Inside a shipping container.

Marker screenshot

55. Water 7 Map

X: 3575 Y: 2975

In a barrel at the base of the ramp.

Marker screenshot

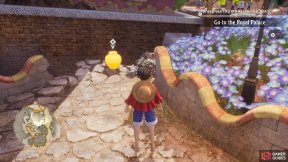
56. New Royal Plateau: Bottom

X: 2180 Y: 2832

Inside the Jar on the ledge.

Marker screenshot

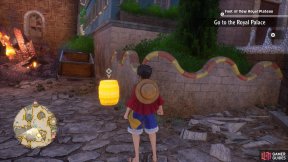
57. New Royal Plateau: Bottom

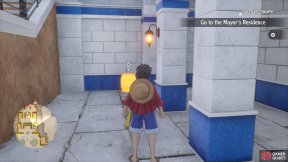
X: 1773 Y: 2405

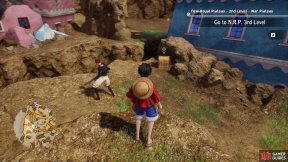
Inside the jar on the second roof you need to Gum Gum Rocket too.
Marker screenshot

58. Water 7 Map

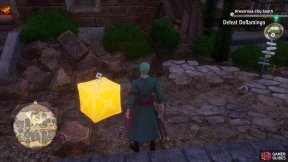
X: 2577 Y: 1889

Progress the story until you have to go to the mayor’s place, which is when you can get this.
Marker screenshot

59. Water 7 Map

X: 2147 Y: 1834

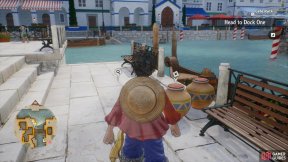
In a barrel.

Marker screenshot

60. Water 7 Map

X: 2147 Y: 2392

In a barrel.

Marker screenshot

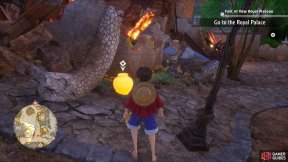
61. New Royal Plateau

X: 1409 Y: 2364

Inside the crate.

Marker screenshot

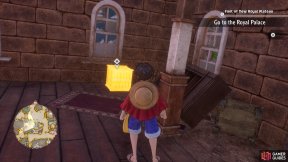
62. New Royal Plateau

X: 3467 Y: 2796

Inside the jar.

Marker screenshot

63. Dressrosa City Area Map

X: 2400 Y: 2818

Metal box that requires you to use "Zoro" iconZoro. Yields 2x "Yaya Cube" iconYaya Cubes.

Marker screenshot

64. Dressrosa City Area Map

X: 2523 Y: 2842

In a barrel.

Marker screenshot

65. Dressrosa City Area Map

X: 2771 Y: 2859

Inside a metal box that requires you to use "Zoro" iconZoro. Yields 2x "Yaya Cube" iconYaya Cubes.

Marker screenshot

66. Dressrosa City Area Map

X: 2875 Y: 2714

In a barrel.

Marker screenshot

67. Dressrosa City Area Map

X: 2917 Y: 2619

In a barrel, next to the overturned cart.

Marker screenshot

68. Dressrosa City Area Map

X: 3015 Y: 2179

In a pot.

Marker screenshot

69. Dressrosa City Area Map

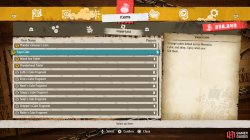
X: 3238 Y: 2464

In a crate, slightly hidden behind the boxes next to the cart.
Marker screenshot

70. Dressrosa City Area Map

X: 3365 Y: 2549

In a barrel.

71. Dressrosa City Area Map

X: 3462 Y: 2427

In a barrel.

Marker screenshot

72. Dressrosa City Area Map

X: 3484 Y: 2579

In a pot.
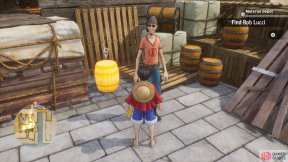
Marker screenshot

73. Dressrosa City Area Map
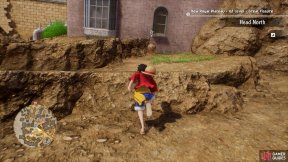
X: 3383 Y: 2620

In a crate.

Marker screenshot

74. Dressrosa City Area Map

X: 3605 Y: 2774

In a barrel.

Marker screenshot

75. Dressrosa City Area Map

X: 3610 Y: 2714

In a crate.

Marker screenshot

76. Dressrosa City Area Map

X: 3317 Y: 2694

In a barrel.

Marker screenshot

77. Dressrosa City Area Map

X: 3244 Y: 2671

In a crate.

Marker screenshot

78. Dressrosa City Area Map

X: 3065 Y: 2854

In a pot.

79. Dressrosa City Area Map

X: 2450 Y: 1829

Partially obscued by some fallen debris. In a pot.

80. Dressrosa City Area Map

X: 1914 Y: 2272

In a barrel.

81. Dressrosa City Area Map

X: 1862 Y: 2338

In a crate.

82. Dressrosa City Area Map

X: 1534 Y: 2496

In a crate.

83. Dressrosa City Area Map

X: 1563 Y: 2517

In a pot.

84. Dressrosa City Area Map

X: 2287 Y: 3075

In a crate.

85. Dressrosa City Area Map

X: 2347 Y: 3009

In a pot.

86. Dressrosa City Area Map

X: 2548 Y: 3006

In a crate.

Yaya Cubes items in One Piece Odyssey (1)

No Comments