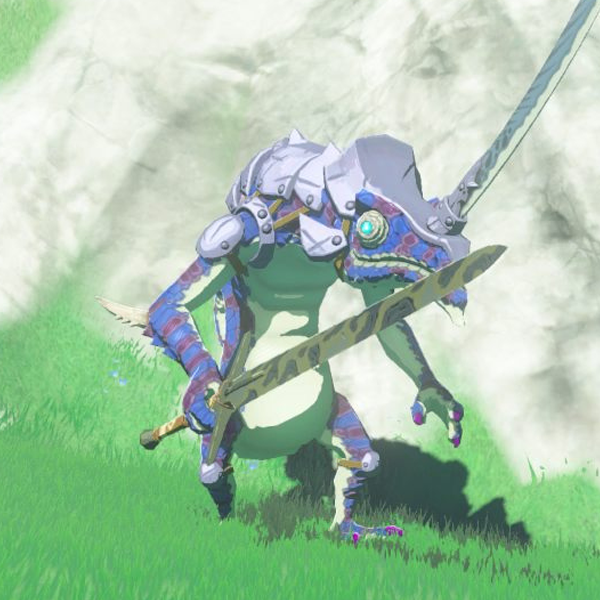
Blue Lizalfos
In-game Description
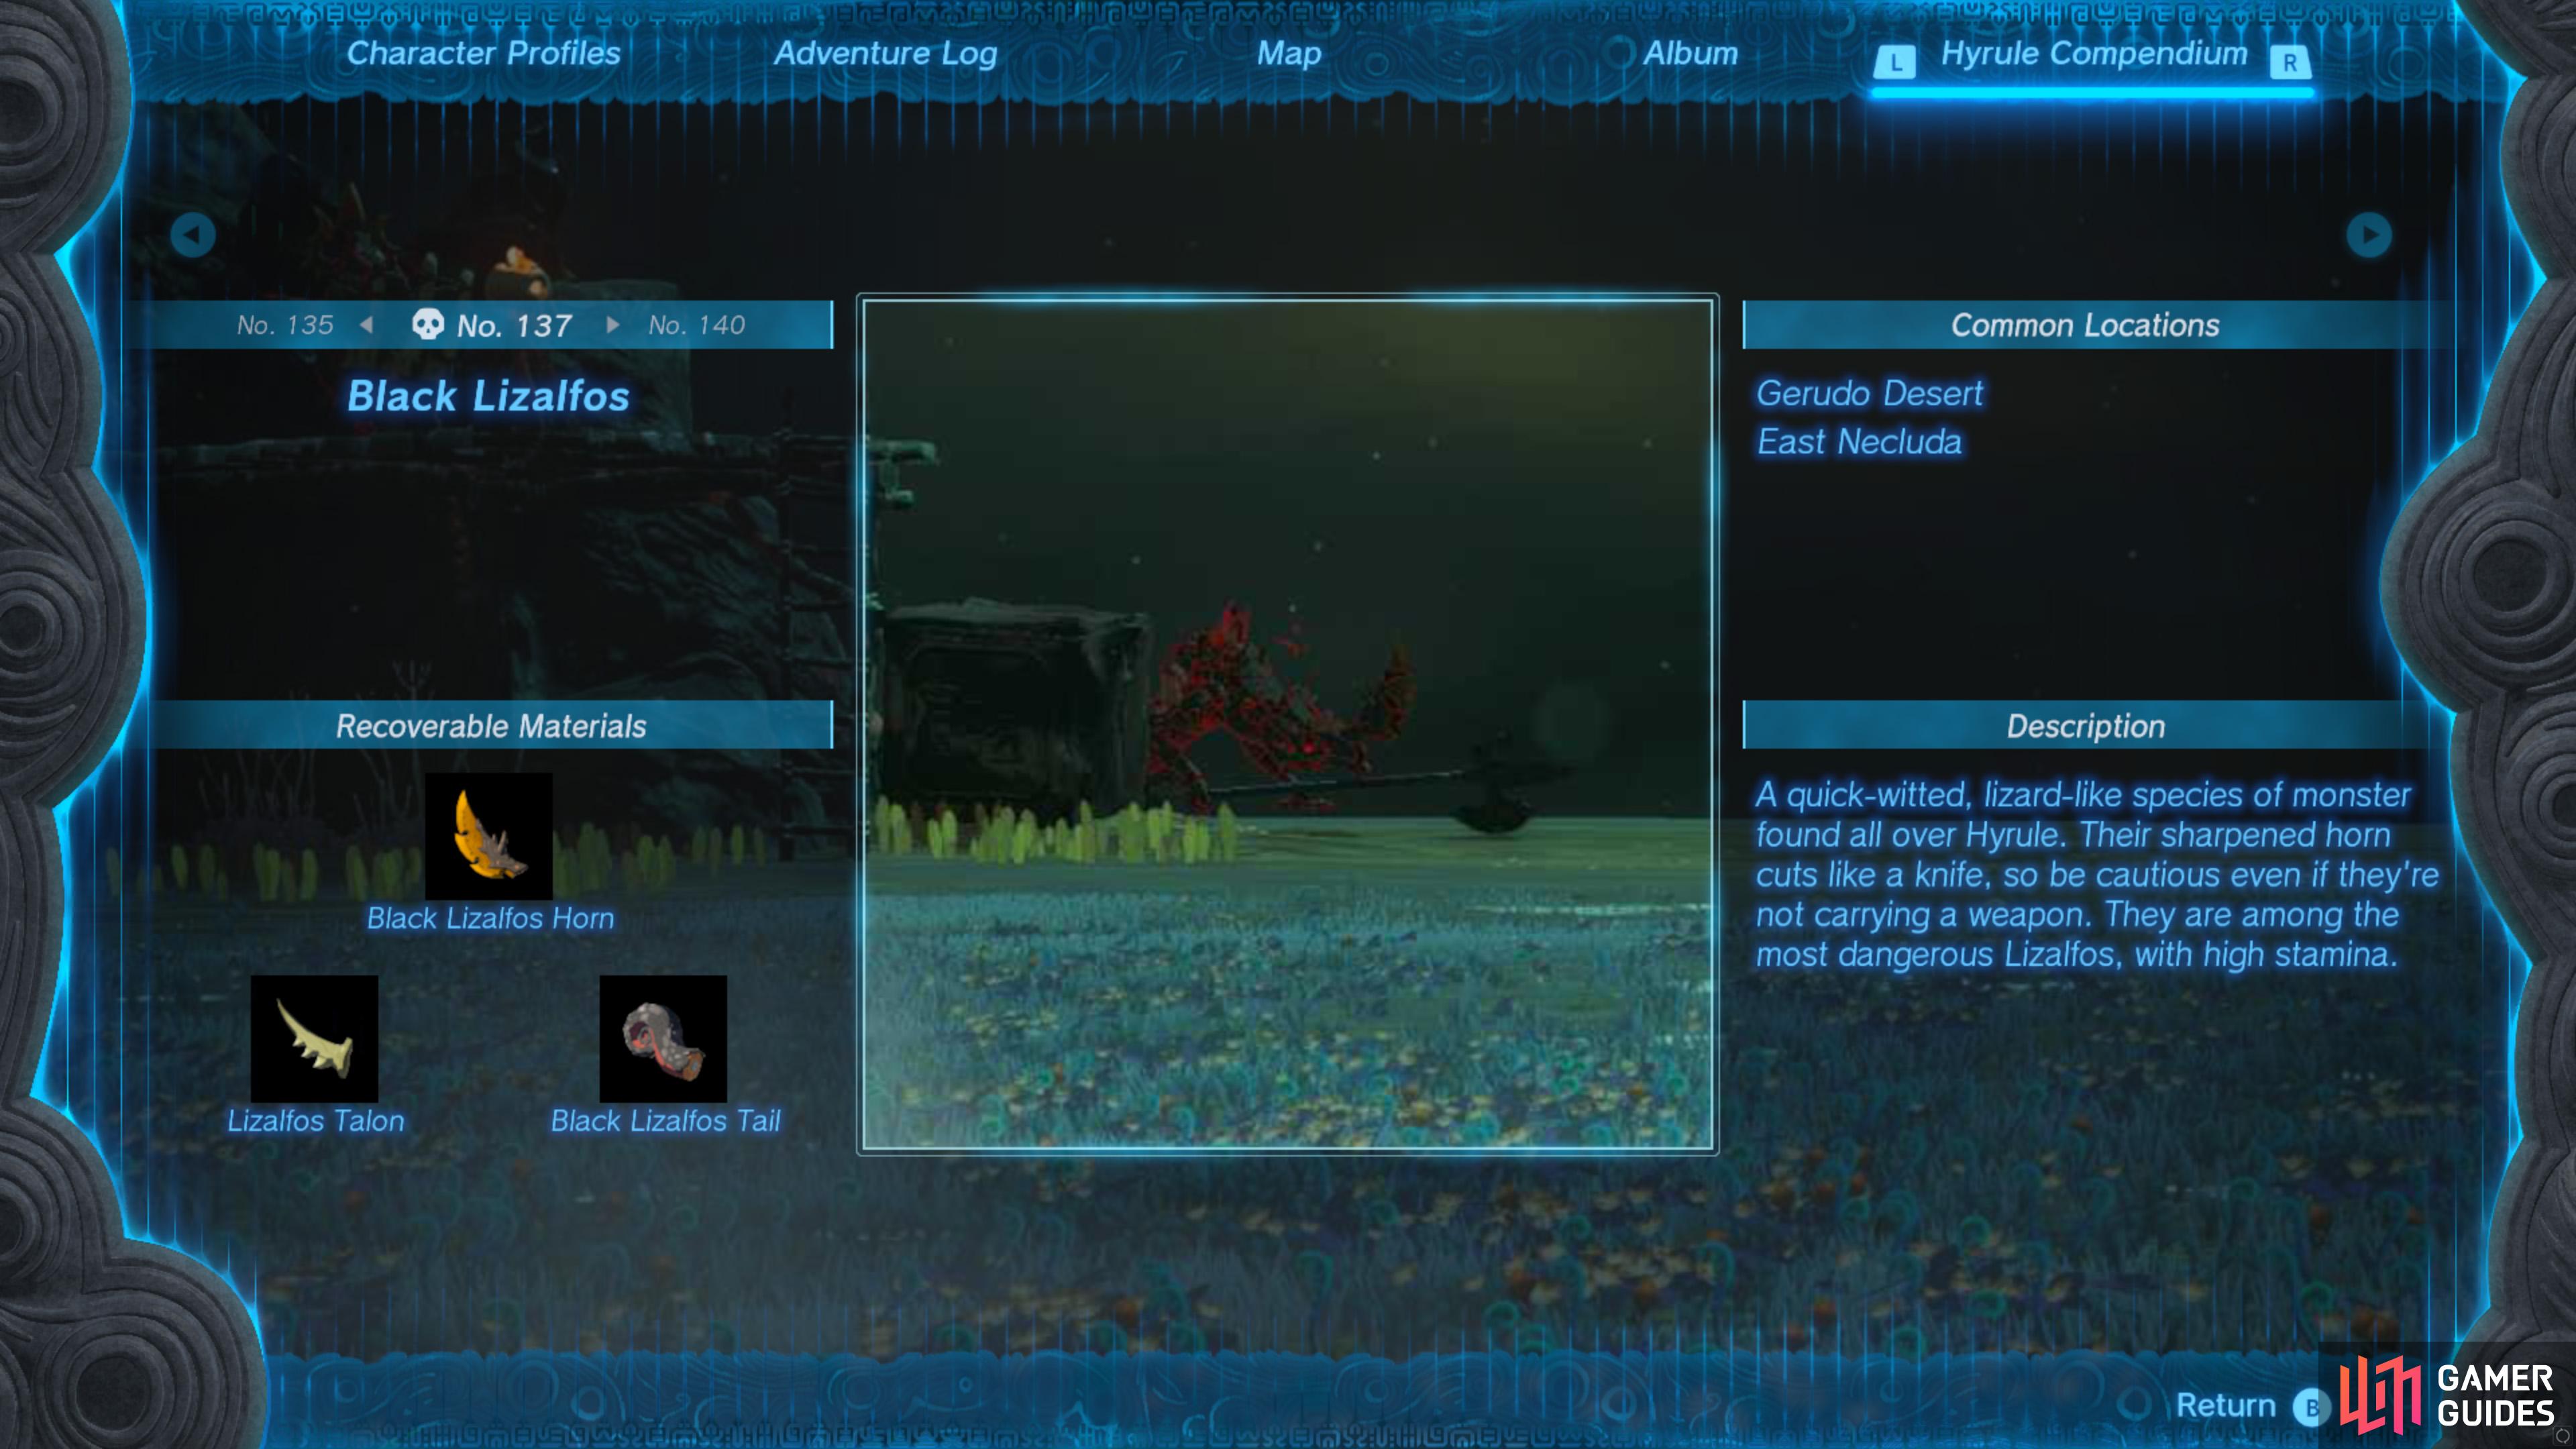
Note: Depending on how many monsters you’ve defeated, you may encounter an upgraded version of this monster instead. The upgrades are: Basic -> Blue -> Black -> Silver
These quick-witted, lizard-like monsters can be found all over Hyrule. Compared to the green Lizalfos, many of these carry much stronger weapons and are extremely dangerous with their longer and sharper horn.
Screenshots
Interactive Map Locations


44730. Hyrule Surface Map
You need to melt the ice to reveal the ![]() Blue Lizalfos here.
Blue Lizalfos here.

45252. Hyrule Surface Map
A ![]() Blue Lizalfos can appear here in what appears to be in stone. Approach it to find it very much alive.
Blue Lizalfos can appear here in what appears to be in stone. Approach it to find it very much alive.


45379. Hyrule Surface Map
There are two ![]() Blue Lizalfos’ here, camouflaged to blend in with the grass. As you approach them, they’ll jump at you.
Blue Lizalfos’ here, camouflaged to blend in with the grass. As you approach them, they’ll jump at you.

45380. Hyrule Surface Map
There are two ![]() Blue Lizalfos’ here, camouflaged to blend in with the grass. As you approach them, they’ll jump at you.
Blue Lizalfos’ here, camouflaged to blend in with the grass. As you approach them, they’ll jump at you.

45394. Hyrule Surface Map
One of two ![]() Blue Lizalfos can be found camouflaged as sand here. If you slowly approach them from behind, you can perform a Sneakstrike on them.
Blue Lizalfos can be found camouflaged as sand here. If you slowly approach them from behind, you can perform a Sneakstrike on them.

45395. Hyrule Surface Map
One of two ![]() Blue Lizalfos can be found camouflaged as sand here. If you slowly approach them from behind, you can perform a Sneakstrike on them.
Blue Lizalfos can be found camouflaged as sand here. If you slowly approach them from behind, you can perform a Sneakstrike on them.


46649. Hyrule Surface Map
A ![]() Blue Lizalfos can be found roaming around the area here.
Blue Lizalfos can be found roaming around the area here.


47626. Hyrule Surface Map
A ![]() Blue Lizalfos and
Blue Lizalfos and ![]() Blue Bokoblin can be found at this small camp.
Blue Bokoblin can be found at this small camp.

47783. Hyrule Surface Map
An ![]() Aerocuda can be found flying around here with a
Aerocuda can be found flying around here with a ![]() Blue Lizalfos in its claws. Shoot down the Aerocuda to get the Blue
Blue Lizalfos in its claws. Shoot down the Aerocuda to get the Blue ![]() Lizalfos to drop.
Lizalfos to drop.

47827. Hyrule Surface Map
An ![]() Aerocuda can be found flying around here with a
Aerocuda can be found flying around here with a ![]() Blue Lizalfos in its claws. Shoot down the Aerocuda to get the Blue
Blue Lizalfos in its claws. Shoot down the Aerocuda to get the Blue ![]() Lizalfos to drop.
Lizalfos to drop.

47836. Hyrule Surface Map
An ![]() Aerocuda can be found flying around here with a
Aerocuda can be found flying around here with a ![]() Blue Lizalfos in its claws. Shoot down the Aerocuda to get the Blue
Blue Lizalfos in its claws. Shoot down the Aerocuda to get the Blue ![]() Lizalfos to drop.
Lizalfos to drop.


53246. Hyrule Surface Map
Inside ![]() Walnot Mountain Cave. Encased in a block of ice on the lower path.
Walnot Mountain Cave. Encased in a block of ice on the lower path.

53247. Hyrule Surface Map
Inside ![]() Walnot Mountain Cave. Encased in a block of ice on the lower path.
Walnot Mountain Cave. Encased in a block of ice on the lower path.


53323. Hyrule Surface Map
Atop the mountain. Standing on the wooden platform. It has ranged attacks that deal shock damage.

53325. Hyrule Surface Map
Atop the mountain. Underneath the wooden platforms of the encampment.

53337. Hyrule Surface Map
Atop the mountain. Standing on the wooden platform in the encampment.

53338. Hyrule Surface Map
Atop the mountain. Standing on the wooden platform in the encampment.

53350. Hyrule Surface Map
Atop the mountain, on top of the wooden platform in the encampment.

53352. Hyrule Surface Map
Atop the mountain,underneath the wooden platform in the encampment.

53353. Hyrule Surface Map
Atop the mountain, underneath the wooden platform in the encampment.


58729. Hyrule Surface Map
If you have electric weapons or items to fuse to arrows, you can zap them while they’re in the water.
No Comments