Description
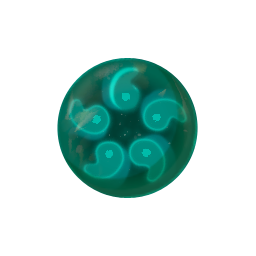
The remnants of a former Sage’s resolve. If you gather four of them and offer them to a ![]() Goddess Statue, you can deepen your connection with the Sages.
Goddess Statue, you can deepen your connection with the Sages.
In-game Description
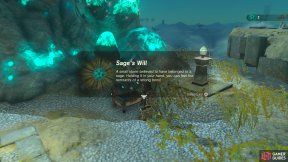
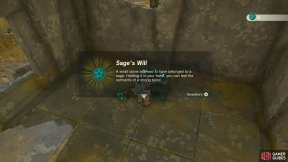
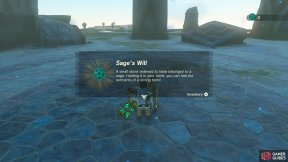
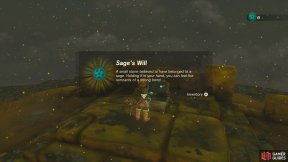
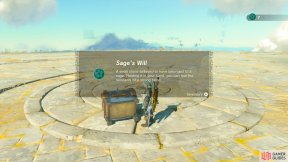
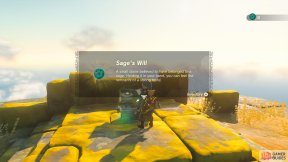
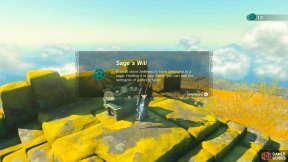
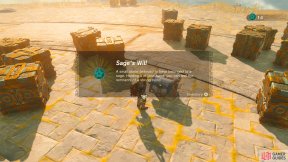
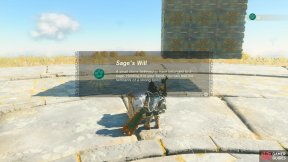
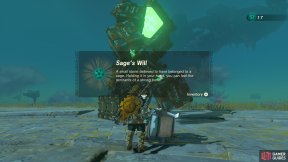
A small stone believed to have belonged to a sage. Holding it in your hand, you can feel the remnants of a strong bond.
Interactive Map Locations
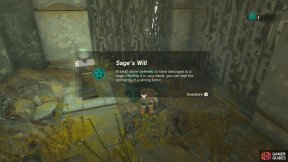
4. Hyrule Sky Islands Map
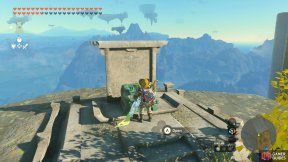
Chest on the middle level of this island.
You can glide down from the top, along the south face. Or ![]() Ascend from the lower level.
Ascend from the lower level.
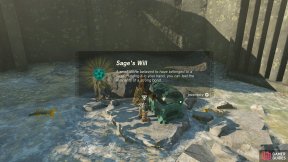
5. Hyrule Sky Islands Map
Inside the chest. You need to raise th e hatch adn let the water out for a long enough period for you to safely grab this.
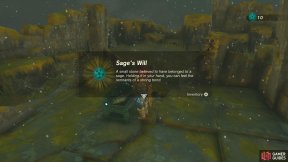
10. Hyrule Sky Islands Map
Use the nearby Wing, Fan and/or Rockets to reach this chest.
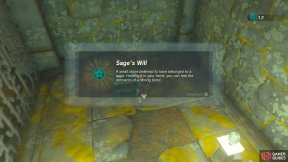
11. Hyrule Sky Islands Map
Inside chest on the lower level of the island.
Use Mirrors to shine light onto the panel above the gate.
There’s a Stake nearby you can use to affix the angle.
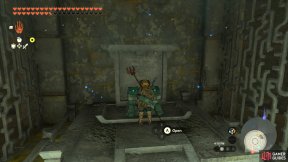
14. Hyrule Sky Islands Map
Inside Starview Island.
Use Mirrors to reflect the light towards the panel in front of the gate with the treasure chest.
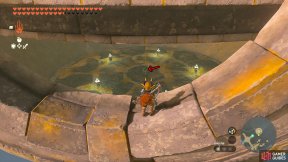
16. Hyrule Sky Islands Map
From chest inside the lower half of the spherical island where the crystal for The Sokkala Sky Crystal is.
You can use ![]() Ultrahand to rotate the spherical apparatus so the entrance is positioned between the two halves of the island.
Ultrahand to rotate the spherical apparatus so the entrance is positioned between the two halves of the island.
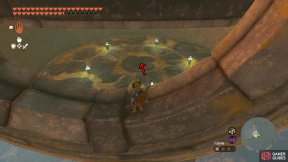
17. Hyrule Sky Islands Map
From chest inside the lower half of the spherical island where the ![]() Jirutagumac Shrine is.
Jirutagumac Shrine is.
By default, the entrances to the island rotate automatically.
You can either ride/stay near an entrance until it reaches the lower half.
Or you can detach the Fan and push the lever yourself until an entrance is between the two halves.
20. Hyrule Sky Islands Map
In a chest inside the upper island north-west from Joku-usin Shrine.
You can reach this island by using the piston launcher on the roof of the building with the three ![]() Like Likes.
Like Likes.
Remember to angle the launcher slightly right. You can wait for lightning to strike the apparatus to power the launcher.
Or you can use lightning-based attacks on the apparatus, provided you have enough protection to not get shocked.
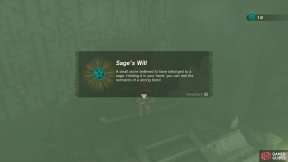
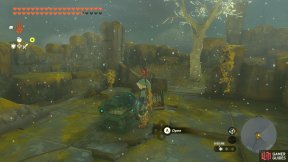
Note: Our screenshot is from before the fog has been lifted. We don’t recommend exploring like this.
No Comments