The jungle may look like it has many routes, but they all lead to the same location. Start by heading deeper into the jungle until you reach a stream and follow it to a dead end with the Antique Eax Seal Stamp .
Continue past the waterfall, dropping into a small path that leads to a shot of the chateau in the distance and then turn left and follow another small path to an upperledge with a small moss covered wall and the Gold Inlay Cameo Bangle .
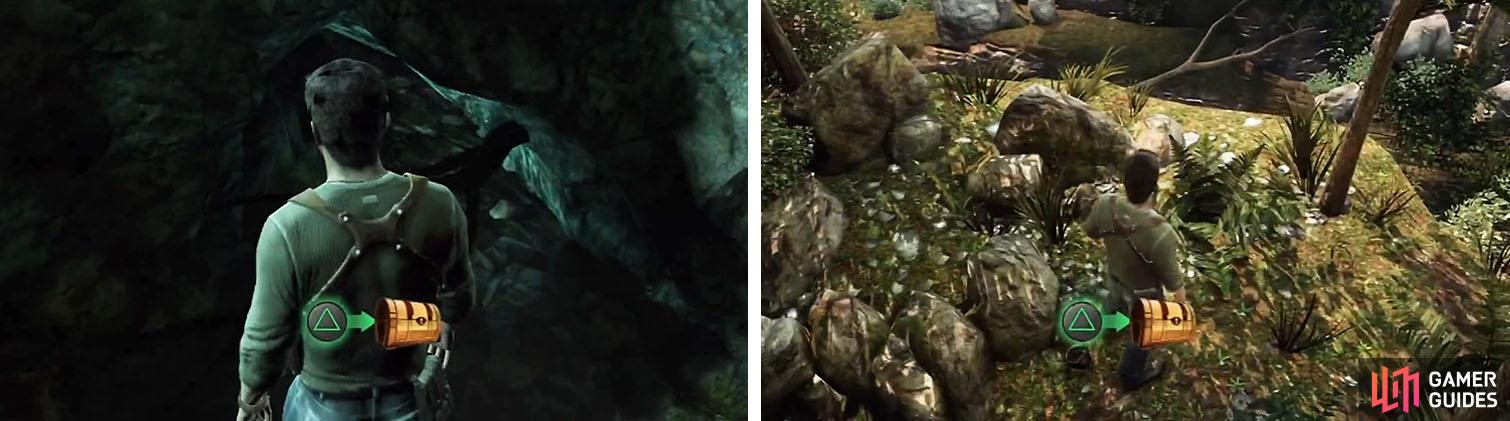
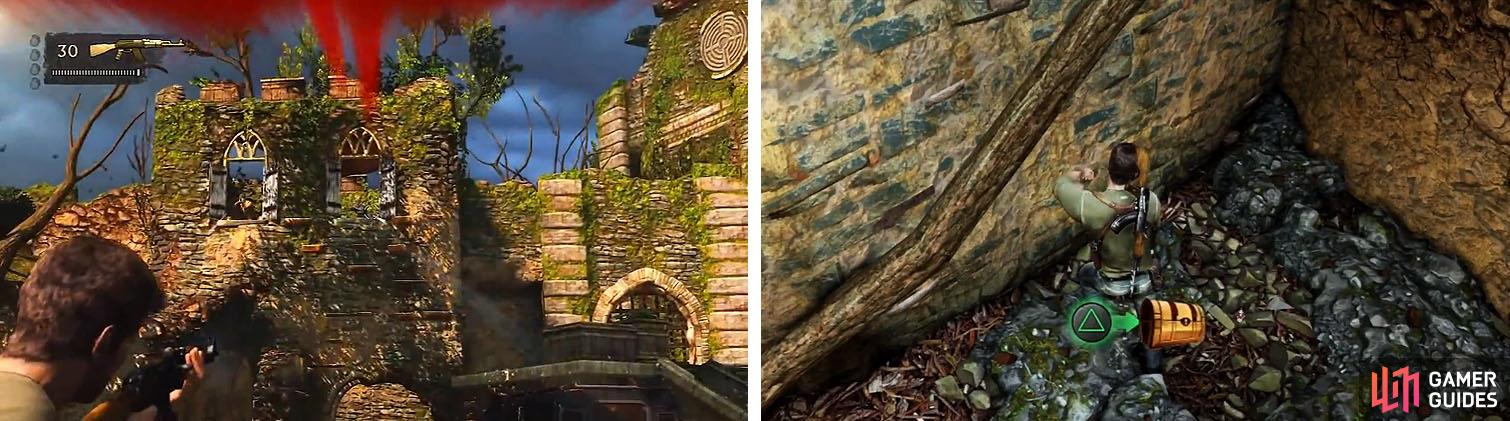
Make sure to get the treasure by the stream (left) and the one on the jungle path (right).
Drop down to the lower path with the Pan statue and head right to climb up the ledge and shimmy around the outside of the cliffside and into a cave. Luckily for you the cave wall has a few hand holds on the outcropping in front of you to grab onto so you can pull up and jump to the log on the other side. Be careful as you cross the log and you’ll reach the chateau in no time.
The door won’t open so you’ll need to climb the wall to the right to reach a destroyed balcony. Use the wood planks as an indicator of the direction you need to jump to grab the rusted pipe on the far wall and climb across the gutter and around the corner. Instead of climbing up into the tower continue right around the tower and up more stones to reach a window at the top and get the Diamond and Pearl Bracelet above.
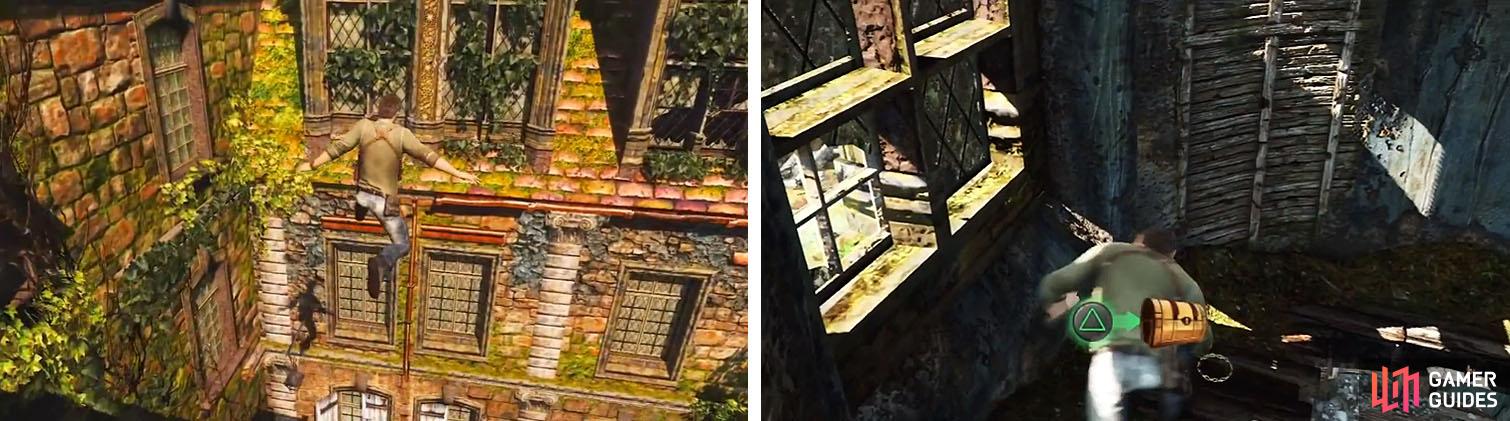
Jump across to the far wall (left) and climb to the top of the tower for a treasure (right).
Drop from the upper level to the lower level and then drop down again for a quick scene. In the library you can shoot the golden lock holding the window closed on the other side of the room to let Sully in and then wait for Sully to try and move the beam by the door. In order to reach the top of the beam for more leverage you’ll need to get up on the upper balcony level. Wait for Sully to move to the overturned cabinet and help him lift it upright. You can now use the cabinet to climb up to the remaining stairs and jump to the chandelier and then across to the other side. Use the lever to raise the other chandelier in the room and then jump from one to the other to reach the beam an open the door below.
Head through the kitchen and climb up on the other side and then drop into the room with the grand staircase, make sure you don’t accidentally drop back into the kitchen. As you head up the staircase you’ll find the tower you are looking for, but before moving on face away from the huge glass windows and take the small path to the right of the stairs leading up for the Louis XVI d’or Coin .
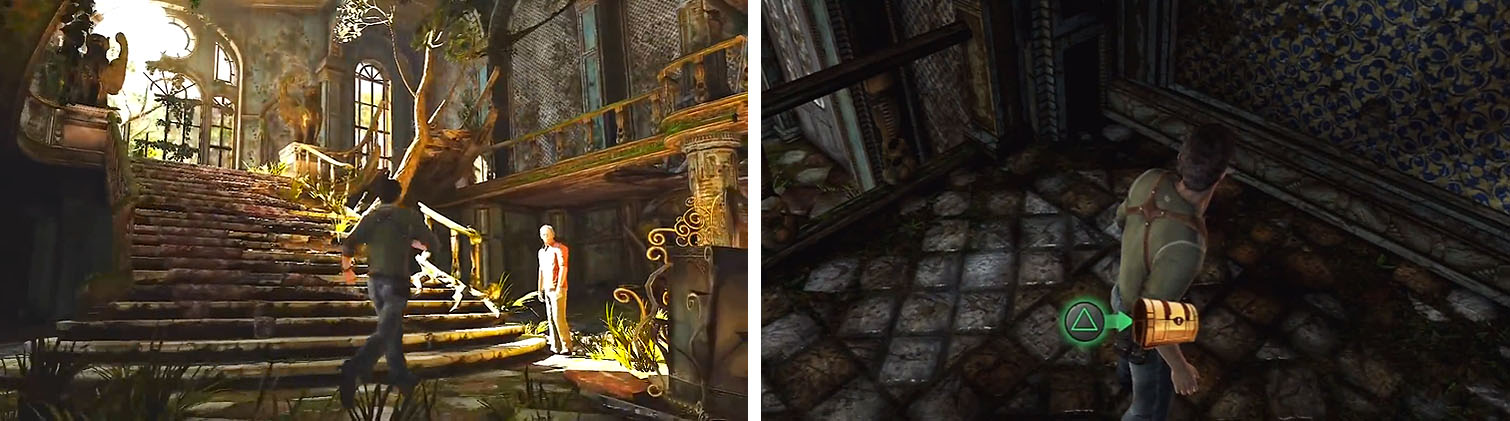
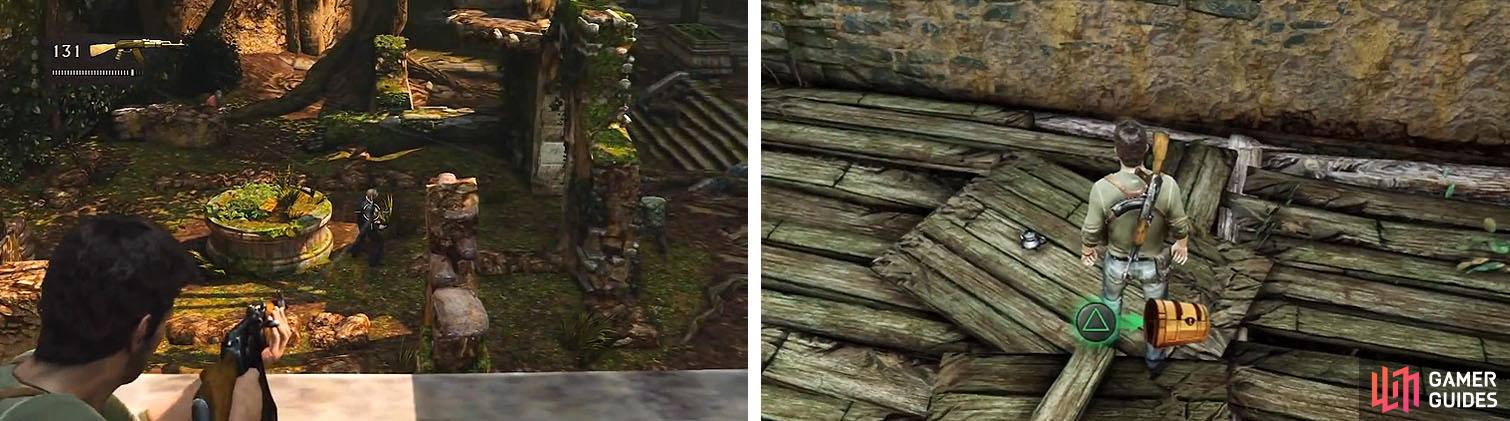
Make your way up the grand staircase (left) and get the treasure on the 2nd floor (right).
Turn around and exit out the window to drop into a gallery and approach the boards to head underneath them. Head through the archway of the library with the suits of armor on either side and look up to the left at a set of curtains to shoot the Emerald Cameo Brooch down.
The puzzle in this room is fairly easy once you understand how to read the journal, simply face each statue to the one indicated. For example: The shield should face the axe statue, but the axe and mace statues face the shield statue. The swordsman is already in the correct position, so there is no need to turn him.
After falling down the secret passage, hug the right wall to find the Art Noveau Belt Buckle .
Shoot the treasure down from the curtain (left) and get the treasure after falling down the hidden passage (right).
Continue down the tunnel to a small gap and squeeze through before freaking out, especially if you are aracnaphobic. Swim under the water for a short time before popping up the other side and then walk into a large cavern. Jump across the gap and turn right to climb up the wall and back eject onto the well and climb up.
Be careful when exiting, you should be able to stealth kill the guy standing next to the well, and then shimmy around and jump out the other side. This is your best spot for cover, but if you’re more daring you can get into the building and get some more stealth kills. Once you sneak attack the guy by the truck, the two men talking break up. You will likely need to get in a gun fight at some point that calls in more guys, but just make sure to use your environment for cover.
After killing everyone in the courtyard, head near the windows that the two men shot from and climb up the wall. As you enter a man with a shotgun will pop out of the door on your right, so be careful and take him out quickly. Head through the door the man came through and take part in the grenade tutorial. Once the two men are dead drop down and search behind you for the Ruby and Diamond Ring .
Take out the men above you (left) and then drop down the other side for a treasure (right).
As you head forward take cover behind the crates before more guys pop up. This time you’ll learn how to arc your grenades rather than blind toss them. Your aim doesn’t need to be perfect since the wall will crumble and create a path below. Squeeze through the gap and head up the stairs to find Sully in trouble, where you can use your height advantage to take out the enemies below. Don’t forget to watch your back as you help Sully because a few men like to come up the stairs you used before.
When the second wave of enemies begins to exit the chateau you can drop down and take them out before they begin to spread out. Make sure to keep moving and back up when needed so you aren’t flanked and push forward when needed to take out the enemies.
Once the fighting ends you can head up the stairs and push the double door open. Instead of heading down, as Sully suggest, head toward the broken wall on the right and look for some red stones to climb up to the rafters. From above you can cross a beam to find the Silver Rococo Teapot on the opposite side.
Kill off Marlowe’s men (left) and then climb the rafters of the next area (right).
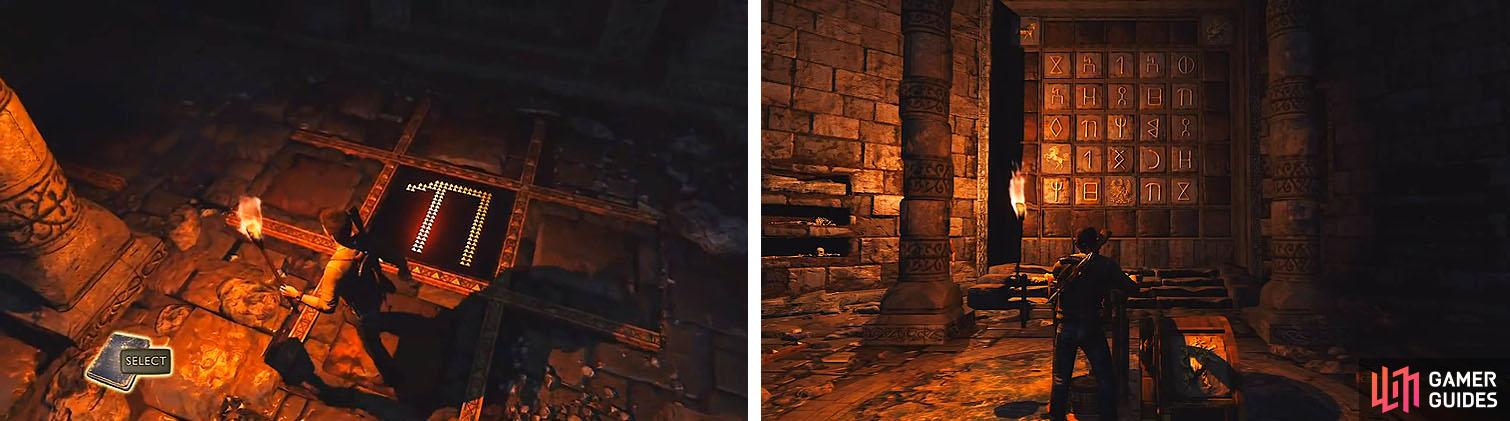
Carefully drop down and then head downstairs and drop again to the corpse’s location for a scene. The ladder leads down into a puzzle room that may seem complicated at first. Your goal is to follow the “UUUU XXX YYYY XX UUU” indicated by the book with the tiles on the floor.
From the start symbol, follow the icons on the floor as you read them in the journal. You need to step on EXACTLY the same amount of icons before moving to the next.
UUUU = Up, Left, Up, Right
XXX = Up, Up, Left
YYYY = Down, Left, Up, Up
XX = Right, Right
UUU= Right, Up, Left (and walk onto the end spot)
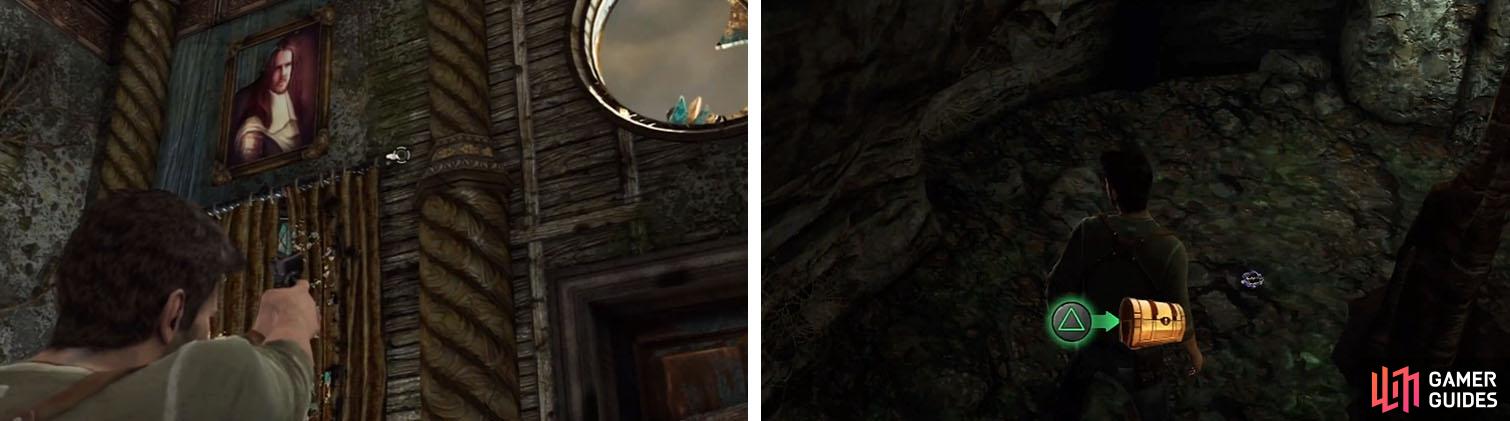
Head into the secret passage and as you enter look up at the vaulted ceiling and shoot down the Miniature Portrait Pendant .
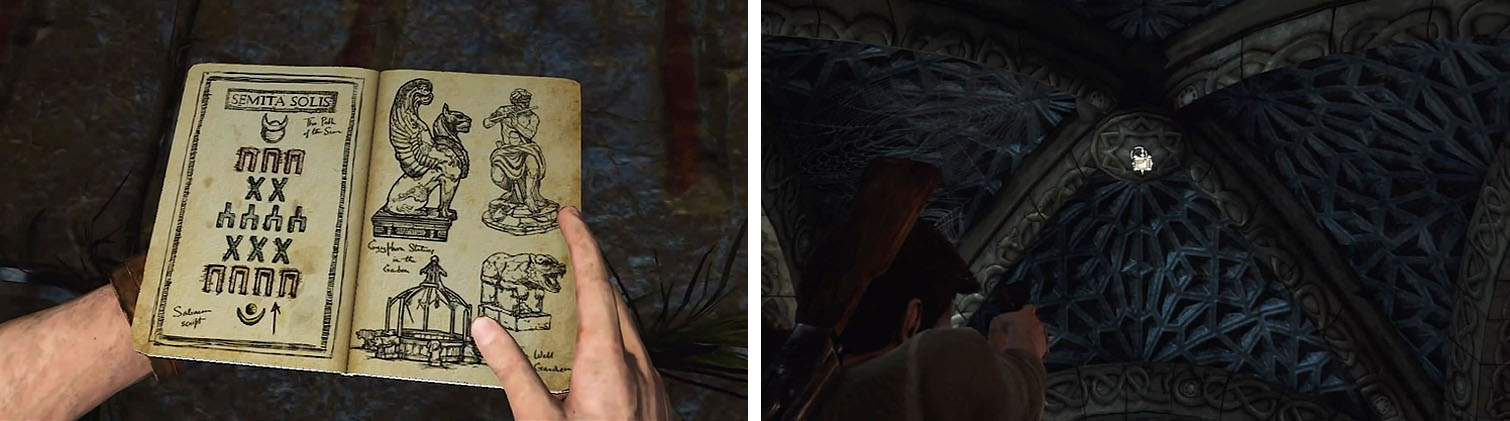
Solve the puzzle to enter (left) and then check the ceiling of the alchemy room (right).
Wait for Sully to finish his dialogue and then examine the altar to bring up the ability to use the cipher disk. Once you’re done decrypting the ancient language you can help sully push the altar aside and enter the tunnel below. Follow the tunnels to a locked door and enter the next puzzle room.
While it may seem confusing at first, the puzzle is more about understanding what to do than how to complete it. Your goal is to correctly place the Lion, Bull, Horse, and Eagle on the grid on the wall. Two of these are already indicated in the journal, but the Lion and Bull you’ll need to figure out.
Use the illuminations (left) to figure out the emblem’s location on the grid (right).
The final solution is as follows:
- Lion = Second row, Second column
- Bull = Third row, Fourth column
- Horse = Fourth row, First column
- Eagle = Fifth row, Third column
After a few scenes you’ll find out what happened to that guy that made him look like a mummy.

 Sign up
No Comments