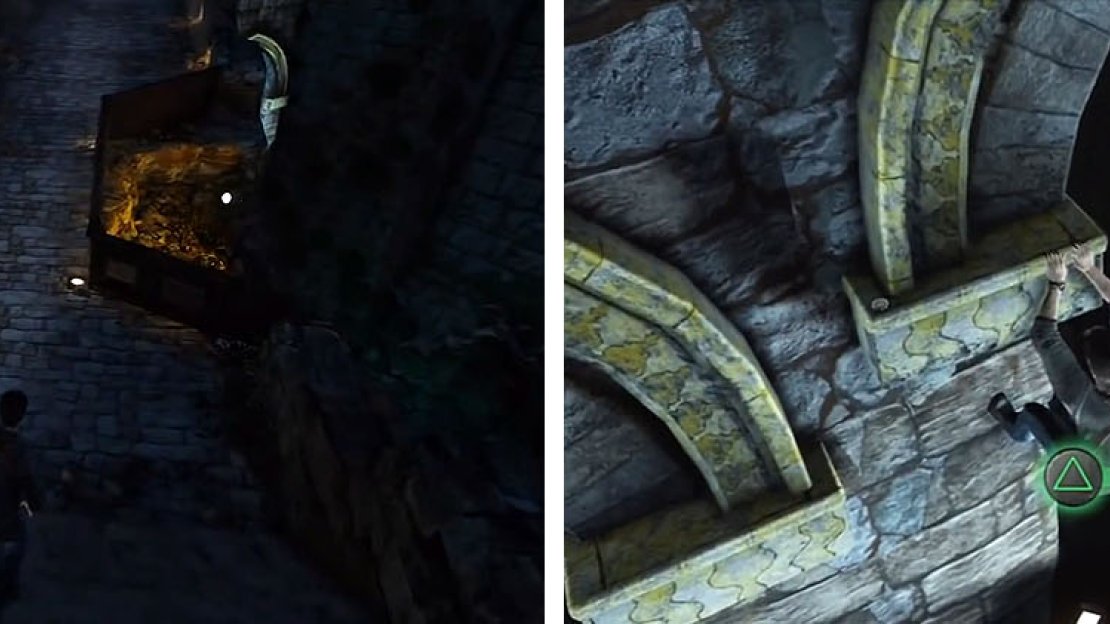
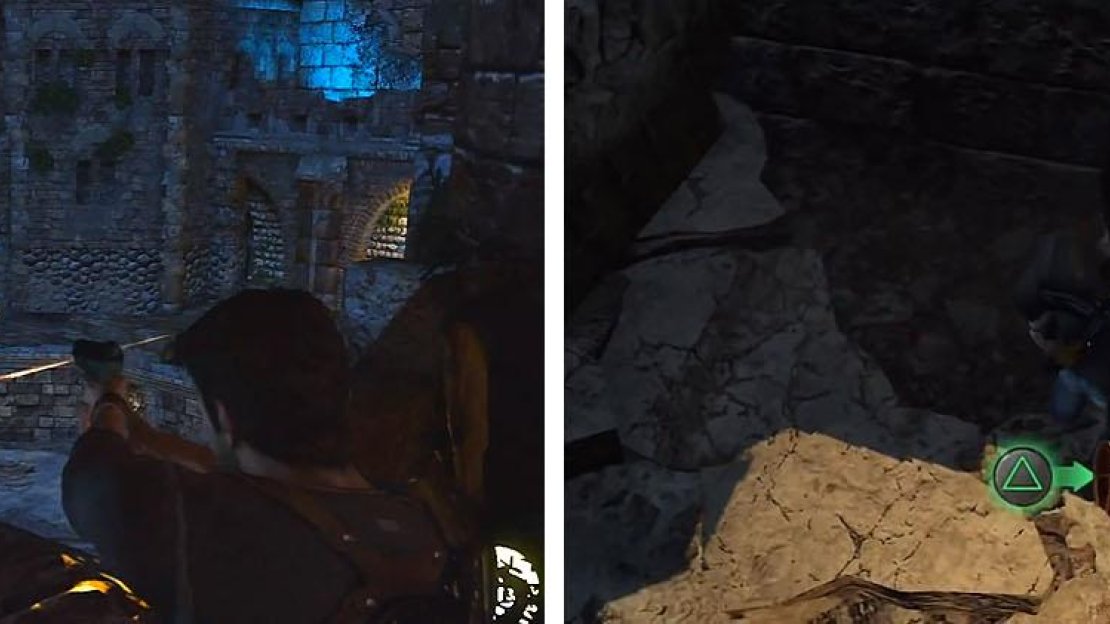
In true Drake style, if you can’t go forward than up and over always works. When you reach the next bridge with the fenced off damage head over the barrier and down the side of the bridge to find the Silver Sassanid Coin on a small ledge.
On the damaged bridge (left) hop off the right side for a treasure (right).
Climb back up and head up the side of the heavy double doors and shimmy right around the tower. You’ll drop a bit before you can continue up and around to the left to reach a window.
Once inside you’ll run into more men that block your path before you can drop down and open the door for Sully. With Sully’s help lower the draw bridge on the other side of the room and then run straight forward to the railing and look up to the right for the Ancient Metal Elephant on the wall.
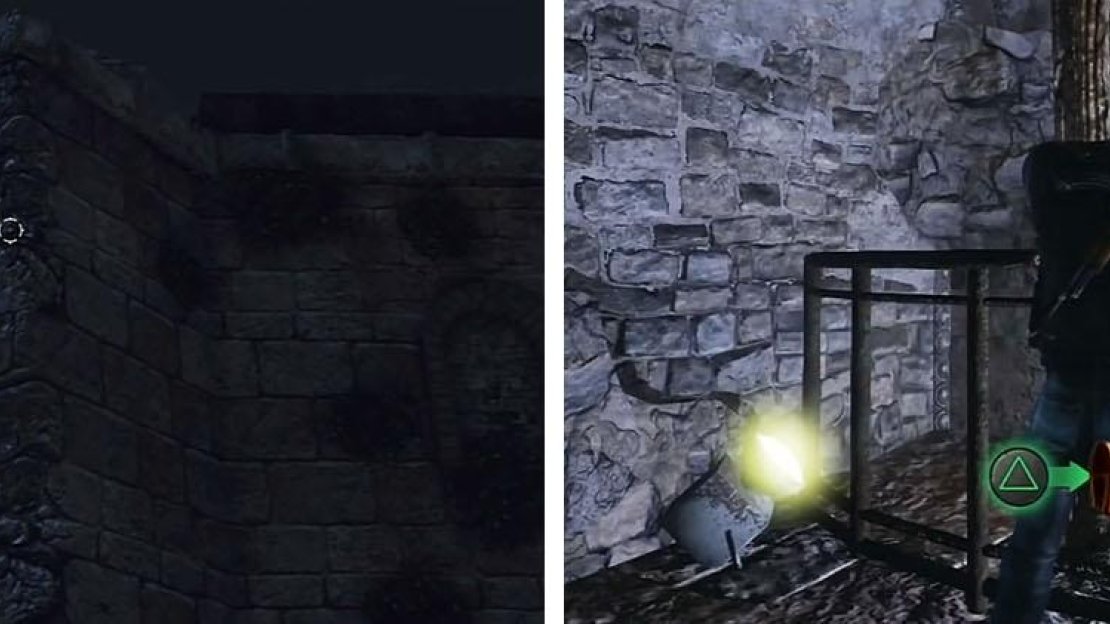
You can now head right to a locked gate, which can be shot open and then turn right and examine the crusader statue forthe Crusader Coin .
Shoot down the treasure in the courtyard (left) and then check the statue (right).
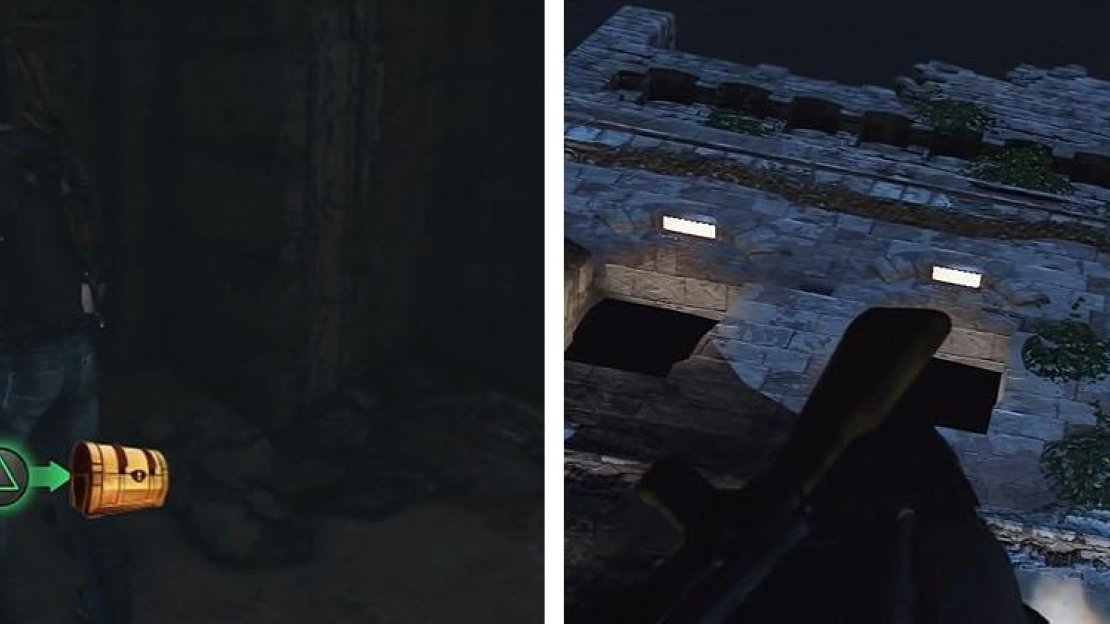
Head inside and jump on the well bucket for Sully to lower you down and drop to the floor. The following three kills are fairly easy: the first can be pulled over the wall he stands in front of while the other two can be creeped up behind. Make sure to check the rooms for the Enamel Copper Vessel in the room next to the one we will climb out of and shoot the lock to let Sully out. Head over the crumbled wall and wait for Sully to shoot open the gate to exit and then turn around and shoot down the Marble Double Eye Idol .
Get the treasure in the well (left) and then climb up and exit the building and look up (right).
Make your way through the courtyard and head through the arcway with the crusader statue and then toward the stairs for a scene. After the scene you can take the stairs up and exit for another scene. Unfortunately Talbot and his men show up to cause a bit of trouble for you, so sneak around and take them out or get into an intense fire fight. My suggestion is to hop down and sneak around the area, killing off as many of the enemies as you can before engaging in a fire fight to save your ammunition.
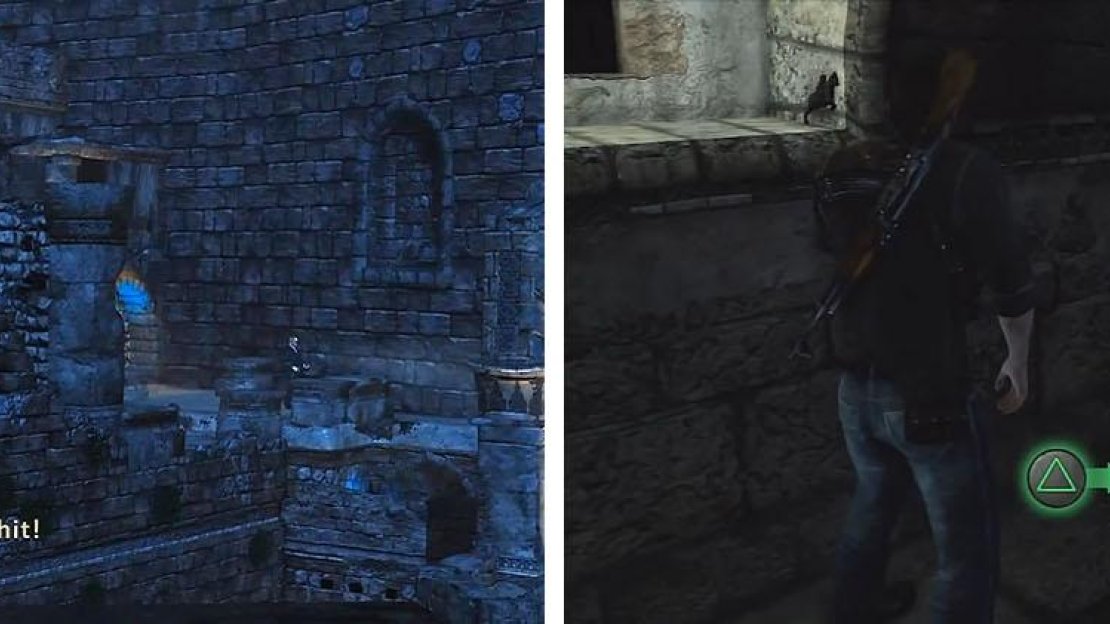
After clearing out all of the enemies head to the other side of the area and approach the gate for a scene. Inside the tower search the first floor for weapons and ammo and make sure to get the Medieval Lead Horseman on the first floor.
Deal with all of Talbot’s men (left) and then check the first floor of the tower (right).
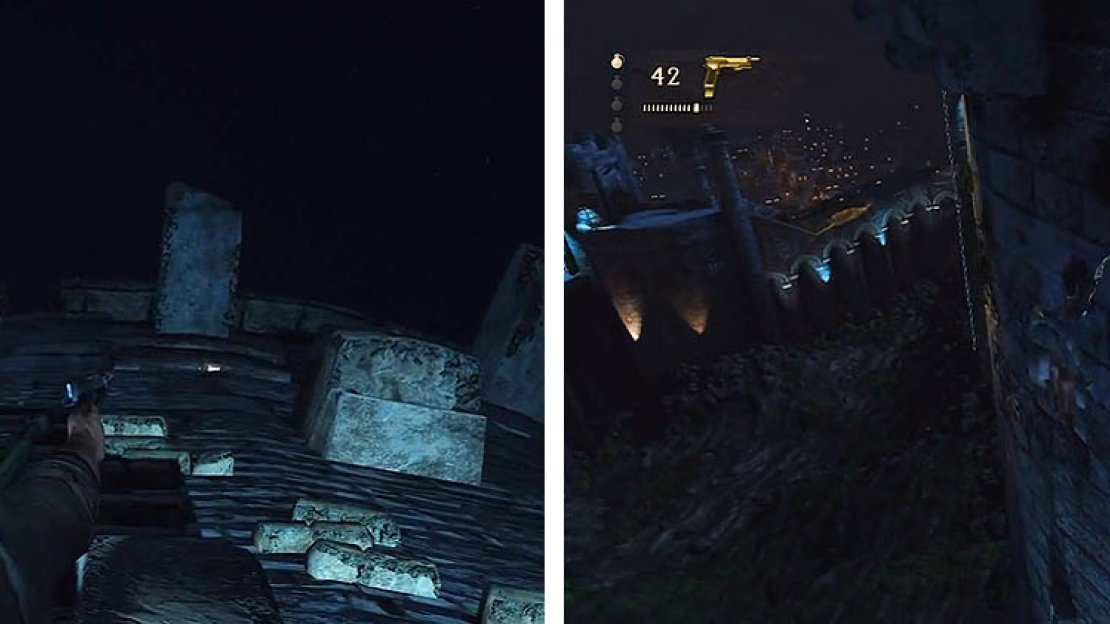
As you head up the tower you will encounter more or Talbot’s men that come from above and below. You need to watch your back so you are not blindsided when enemies come from the staircase. As you walk up to the stairs to the third floor you’ll be thrown out the window and catch onto some chains. Use the chains to swing around the outside of the building and grab onto the stones.
Don’t start climbing up because Talbot’s men will shoot down at you, so pull out your guns. Once defeated you can continue to climb, but don’t stop until you get behind the second set of stones to take cover from the laser sighted enemies, but also watch out for more men at the top of the tower. With Talbot’s men out of the way you can swing across more chains to reach the window and re-enter the tower.
Watch out for Talbot’s men as you climb up the tower and swing back inside.
Head upstairs and clear out the enemies shooting at your allies below with attacks from behind or gunfire. With the enemies clear you can head for the door in the center of the room to encounter a Brute. Now is a good time for you to get the Brute Beater trophy by simply beat the brute in melee combat without taking any damage. If you are hit, restart the checkpoint and start again.
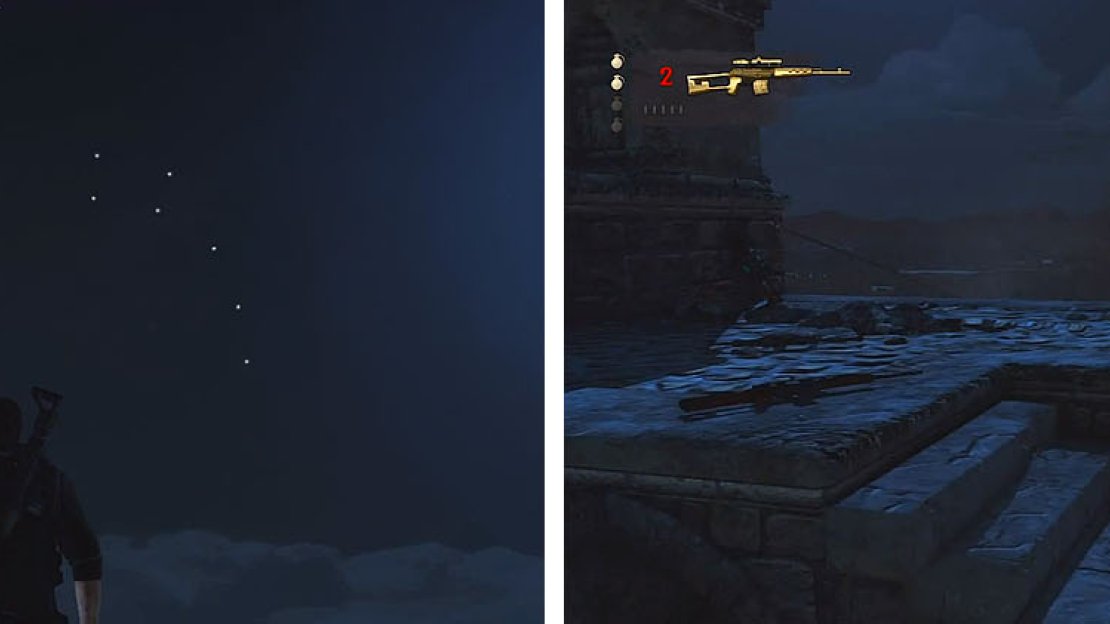
On the roof, follow Cutter up to the viewing platform and when you gain control look at Drake’s journal to see what you’re looking for in the night sky. Find the star at the bottom on the constellation on the right and then follow in directly down to uncover the entrance.
After being fired upon by a RPG, run for your life to the next tower and grab the Dragon Sniper. You should be able to kill the RPG shooters from a distance with some well placed shots between their fire, but be careful because the pillar will not keep you safe from all attacks, in fact you may consider taking cover bt the stairs. Once all the RPGs are dealt with continue on and take the zipline. You’ll need to follow Cutter pretty quickly while making all the jumps before you land for a scene.
Use the constellation to find the entrance (left) and then take out the RPGs (right).
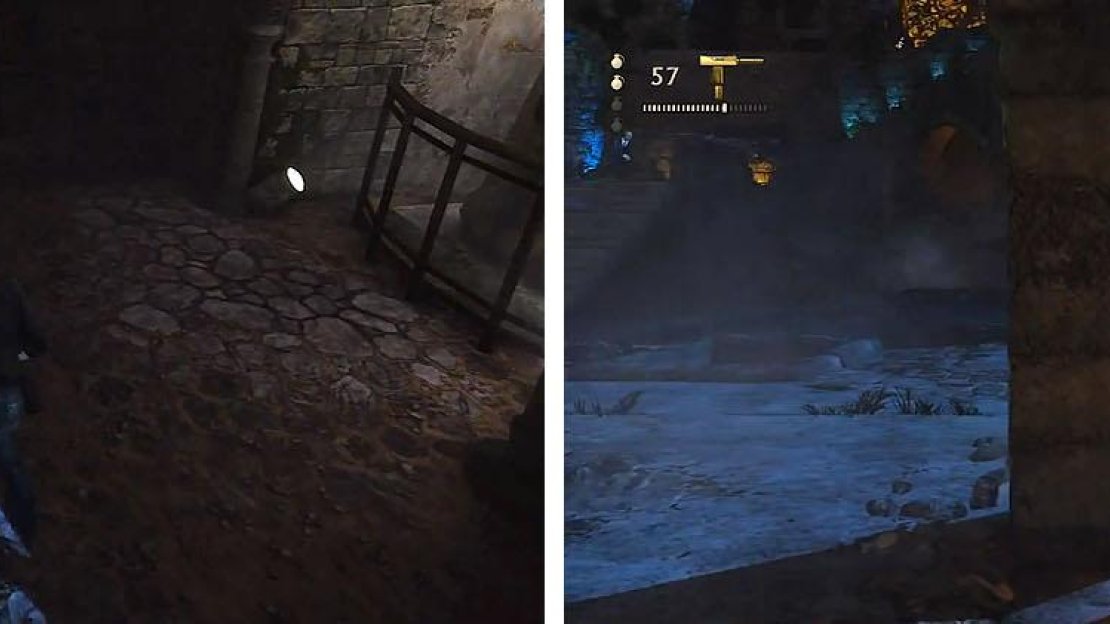
Once again you will find yourself surrounded by Talbot’s men with the option to go in guns blazing or stealth. I suggest a stealth route as follows:
Head into the archway in front of you and duck behind the flooring before a guy enters. Wait for the guy nearby to start walking away and pop up and get a stealth kill and then head back to Cutter. The building nearby can be climbed, so head up, but don’t enter the window. Look through with the camera and when you see the guy walk to the window hop in and kill him. If you go when he’s already been at the window, he will turn and mess you up, so timing matters. Head back down to where Cutter was and head up the steps.
The guy standing still up the steps will start to walk away when you get close, so run and get him. Drop off the ledge to the right and wait for the next enemy to walk under you and hit O to drop down on him. Take cover on the side of the building and make your way to the pillar in front, while not being seen by the guy walking your way. When the man walks away, get behind the pillar so that when he comes back run clockwise around the pillar and jump him.
By now Cutter should have run into the courtyard, if he hasn’t gotten you spotted already. Take position behind the stairs leading up the side of the castle and hop up, but stay hanging. A guy walks along the whole walkway and when he starts to walk away run after him for a kill. You have now cleared the whole courtyard and can head up the stairs, but watch out for the guy patrolling the stairs. When he walks to the upper level hang off the wall to get as close as you can and when he turns his back to you, kill him. You are home free now.
Use stealth (left) or simply open fire (right) on all of Talbot’s men.
If Cutter get’s you caught, just kill ’em all the old fashion way.
After reaching the door for a scene, stand on the sun symbol and look down to the left to find the same symbol on the level below. From the sun symbol, pan upwards until Drake points out a set of pillars. Unfortunately more of Talbot’s men show up that you’ll have to deal with aggressively, but it shouldn’t be too much of a problem for you. Eventually two men will pop out of a tower that is RPG’d, creating a path forward. Head inside the tower and check the bottom right corner for the Byzantine Reliquary Cross .
Take out Talbot’s men (left) and then get the treasure inside the broken wall (right).
Once you reach the pillars head around the corner for a scene and then listen to Chloe before pushing on the middle pillar to reach the tunnel behind.

No Comments