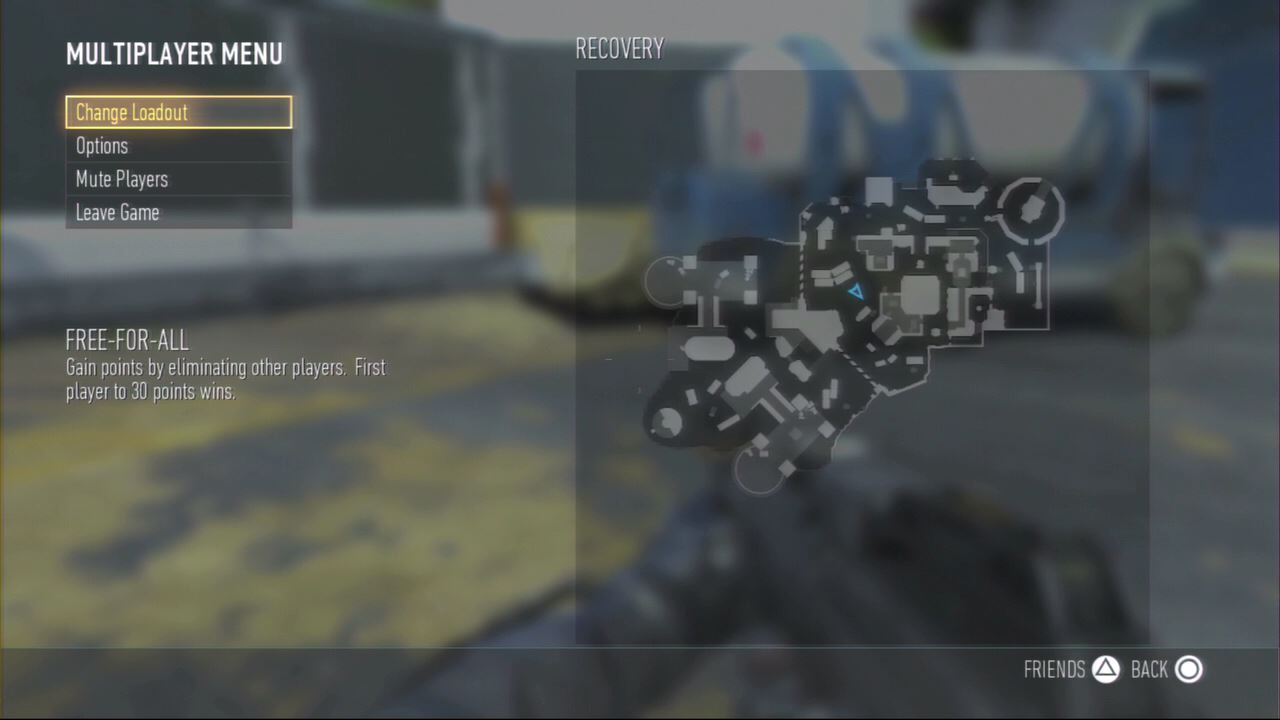
Overall description
Recovery is a nicely-done new type of map. It’s basically two maps in one. Yes after a couple of minutes the volcano in the background erupts and you have to evacuate the area. You’ll see several warning yellow arrows on the walls pointing to the west side of the map. If you stay here for too long you’ll die for obvious reasons. This first part of the map has many rooms and hallways on the first floor which makes it perfect for close quarter combat. The rooftops of these are connected so its really long open space perfect for Snipers.
The other map however is one big area with just a couple rooms inside a couple towers. The main area is the mountain side while the catwalks on the towers make a powerful spot to take down enemies running below you.
Action areas
The areas where all the action mostly take place are (non-objective game types like Free-for-All and Team Deathmatch/Kill Confirmed):
- The central area of the first map is where everybody hangs around. Since there are multiple ways to get here and you can go into three rooms from here makes it highly trafficked. A good place to hold your ground is on the rooftop of the western room since it has some cover for you and you can clearly see the enemies coming from the east, the enemies campaing next to the wall to the west where the trailers are and to the south.
- The building on the right side of the map. Just like the previous point, this is a really strong poiny because you are capable of dealing with enemies from the west, enemies that respawn in the northeast corner. This rooftop also connects to a hallway that oversees the entrance to the southern building as well as all the southern side of the map.
- This next point is in the second map. on the northeast corner you’ll find a car and some little trailers. There’s always people here since this place connects the northeastern corner and the open area below, which makes it easier to take out enemies down here.
Hardpoint
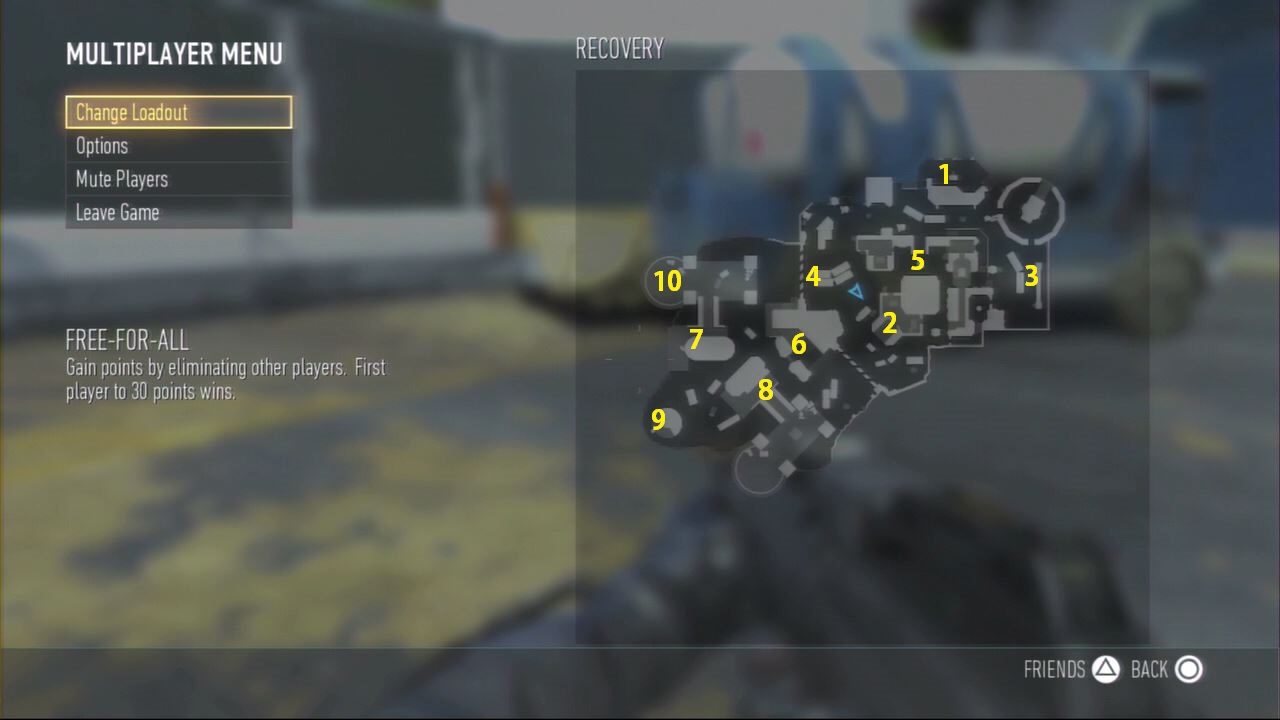
The following is a list of the hardpoints in the map and how to approach each one:
- A hard to reach hardpoint. There are 2 ways to get in here and you can’t see the hardpoint from any of them.The western entrance is the best because its more open than the other one. There’s a pillar in the middle of the hardpoint that serves as cover so expect enemies behind it.
- This is inside the building and has 3 exits. Approach from the south tossing in Grenades before going it to make sure no one is on one side. Watch out for corners as its where the enemies like to stay to get points.
- This one is outside right next to the trailers. Approach from inside the tunnel to its southwest and take out any enemies you see out here from the inside. Once you see the coast is clear quickly move to the hardpoint and take out any enemies that are here, which will most probably be prone next to the trailer.
- Approaching this from the northwest is your best bet. Small area and a lot of cover. Most of your allies will come from the right/southeast, so you flank the enemy by coming in from the north.
- This hardpoint is nasty. Right in the middle of the map. Be extremely careful and use the inside of the buildings to take out any enemies that may linger on the roofs before even attemting to get to the hardpoint.
- This is a hardpoint that’s easy to approach. There are only two ways, but there are many objects to take a cover and you have an awesome line of sight so take advantage of it.
- This hardpoint is inside the small corridor. Approaching from the right side and double jumping right outside the corridor is the best thing to catch the enemies by surprise. Just make sure there are no enemies behind you.
- Same as the previous hardpoint.
- This is probably the toughest hardpoint to get back. This small area is downhill and is covered so killstreaks won’t help you. Not even grenades as they will simply slide down the side of the hill. Double jump as you’re going down here so you can see if there are any enemies aiming trying to kill you.
- This last hardpoint is in the heliport. A really open area but with a lot of cover from the boxes. Approach from beneath it and if you have Cloacking, use it to help you out a little bit.
No Comments