Scalding Gallow
Make your way back to Samael and after a quick chat introducing you to your next objective he will grant you a new power – Chronomancer which gives War the ability to use Chronospheres .
Check out the map and head to the northernmost part of the area.
Use the tremor gauntlet to destroy the blue crystal blocking your path and find and enter the small tunnel to the left. Look to the left as you enter to find a Blue Soul Chest , and then continue down the tunnel to the right. When you reach the large tunnel you will see that further progression is halted by a big gate.
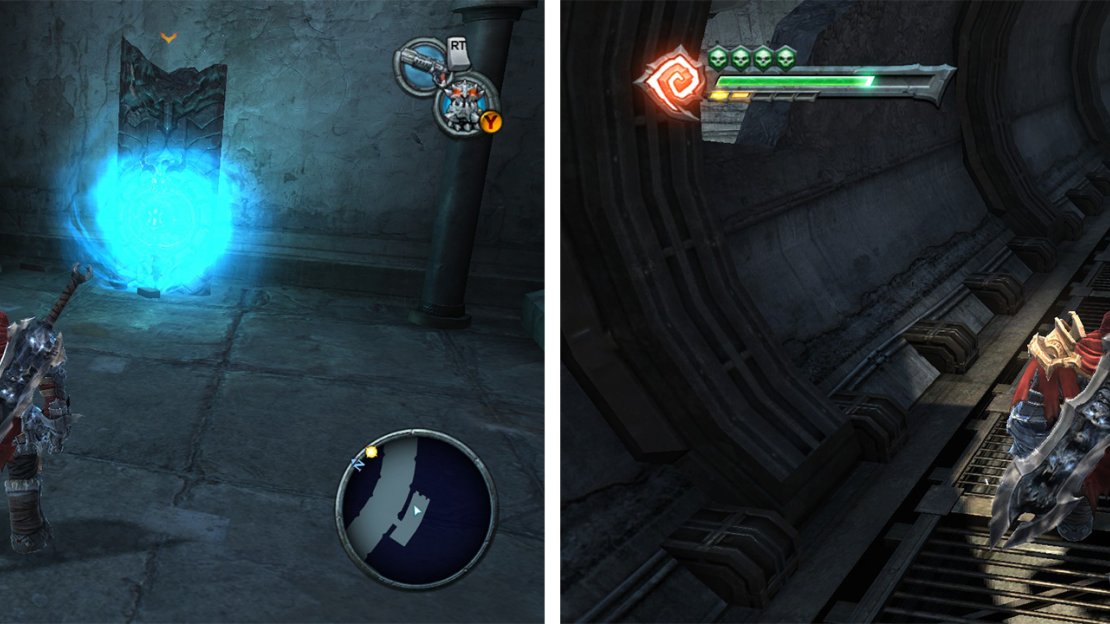
Head into the small side room here and use the switch to open the gate. Hit the glowing object nearby (this is a Chronospere) with your cross-blade – this will slow down time. Run out and through the gate before it lowers again.
Use the Chronosphere (left) to get through the gate in the tunnel. When you reach the pipe area, look in the dead end for an Artefact (right)
In the next area you will fight a Red Golem, kill him and against the back wall you will find another Blue Soul Chest . Exit the large tunnel through the passage to the right nearby. At the top of the stairs open another Blue Soul Chest here and then do a 180 degree turn.
Climb up the wall and jump over to the pipe behind you. Once on the pipe, look in the small dead end to the right to find Artefact: Soldier , before continuing along the pipe in the opposite direction until you exit into The Dry Road.
The Dry Road
Move down the slope hill and round the corner destroying all the Duskwings and Zombies that get in your way. As you move towards the fork in the road you will see a quick scene introducing Phantom Guard Angels. Fight off a group of five or so to continue.
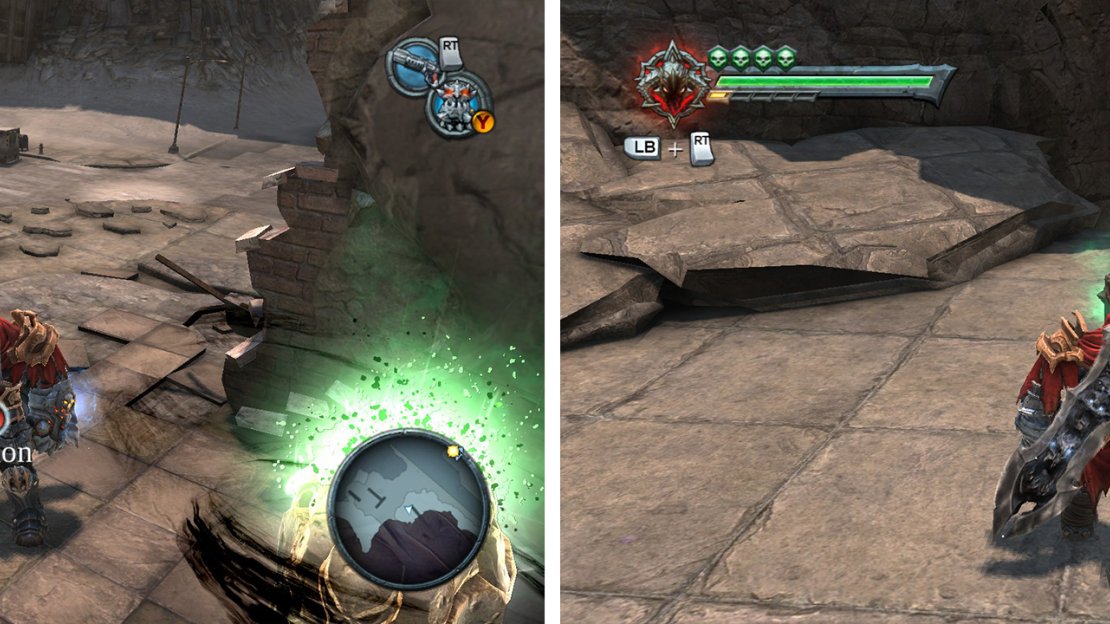
Look on a ledge behind the ruins to your left to find an Artefact: Soldier and a chest containing a Life Stone Shard . Drop down the ledge nearby to find a Blue Soul Chest . Follow the ledge around until you find the ramp leading back up. From the start of the ramp, face the cliff and you should see a small cave on the other side. Double jump and glide across to find a Vulgrim Location . You can return to the previous area by using the supplied demonic growth.
Opposite the Vulgrim Location you’ll find a Life Stone Chest (left) and an Artefact (right).
Turn left at the crossroad here and cruise under the bridge and into the tunnel beyond. Continue forward and kill the Greater Dragon that comes to get you and any Zombies shambling around before proceeding. After rounding the corner you should see a crate floating in the air being held by a Demonic Plant on the ceiling.
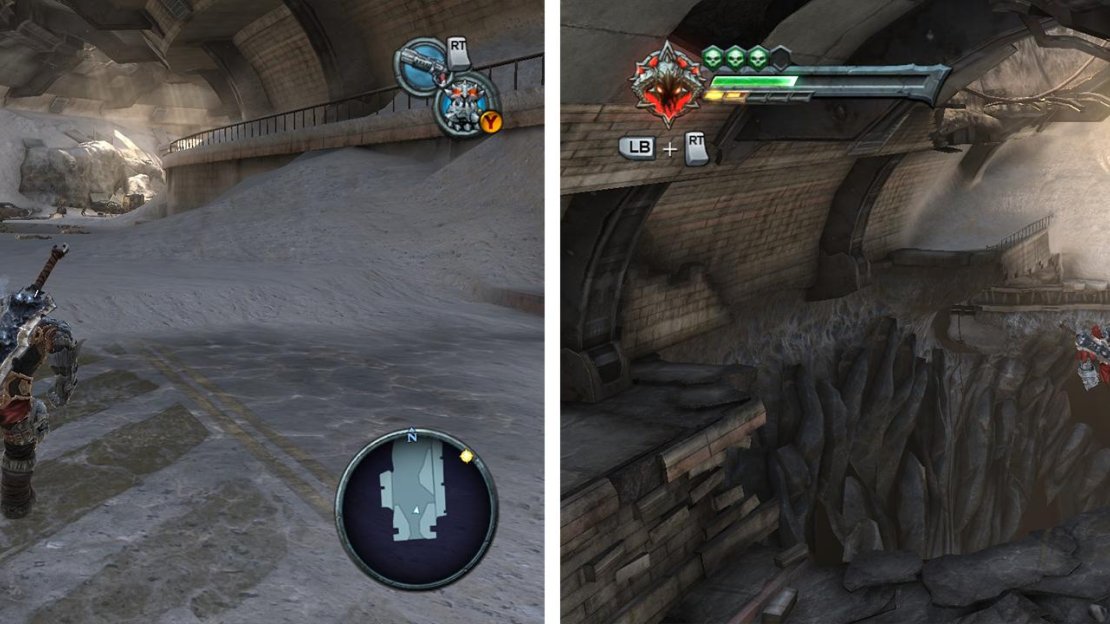
Hit the plant with your cross-blade then run up and jump to hang on to the top of the box. As the plant regenerates, it will lift the box up and War with it. Shimmy around the edge and glide across to the platform to the north. Open the chest here for Enhancement – Carnage . Jump back down to the road and use the same tactic to jump from the box across to the platform on the south of the tunnel.
Enter the tunnel (left) and use the Demonic Plant and crate (right) to access the left hand balcony for an Enhancement.
From here grab one of the bomb flowers and stick it to the red crystal across the gap. Drop down to the small ledge below and jump across the gap to grab the handholds. Follow the wall all the way to the end and jump into the small tunnel here. Follow it to the end.
You will exit into a large room above a pit. There is demonic growth on the wall to the far left and right and three Demonic Plants hanging from the ceiling above a rope we will need to use to traverse the room. Hit the Demonic Plant directly in front of you and jump to the rope, move to the right and climb the growth here to find a Blue Soul Chest .
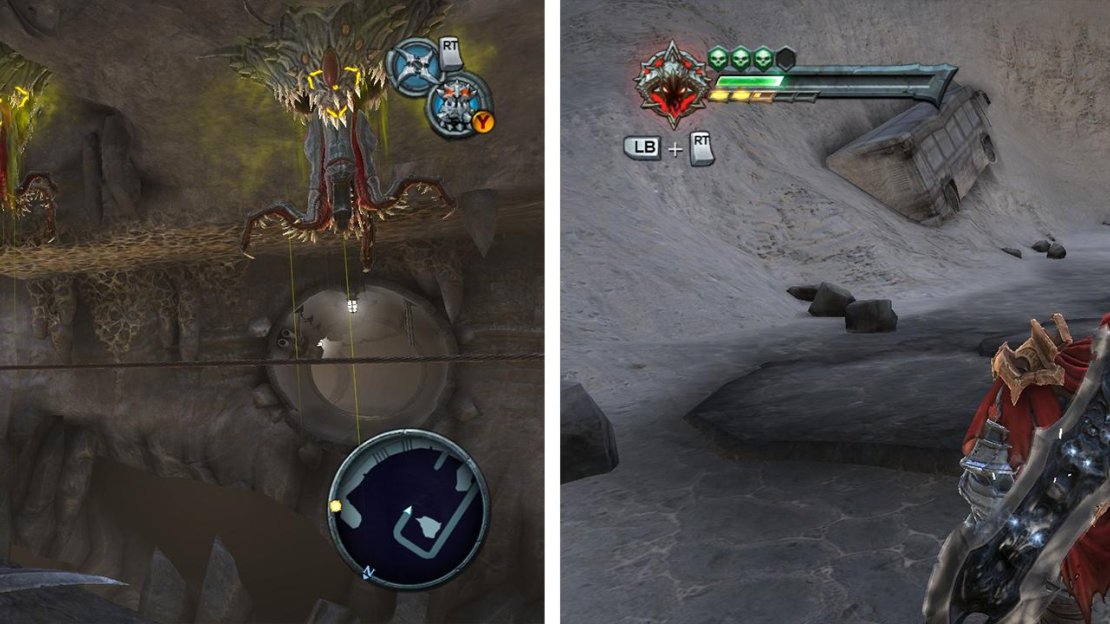
Hop back down to the small entrance area. Now lock on all three Demonic Plants with your cross-blade and whilst they are stunned, jump to the rope and use the fast climb (dash) to cruise under them to the left. Navigate your way across the demonic growth here and drop down into the tunnel opposite the entry point.
Use the cross-blade to hit all three Demon Plants at once (left) to get across the rope. Upon exiting the next tunnel, look behind you to find some blue crystals (right). Behind these is a Life Stone Shard.
Exit this tunnel through the broken area to the left. Make your way behind the hole you entered from to find a blue crystal – take it out with the Gauntlet and open the chest here for a Life Stone Shard . From the hole, head up the stairs in front of you to the left and head into the side room to find another Vulgrim Location.
Exit, and continue along the road to the north until you reach the Ash Lands.


No Comments