Leviathans Drift
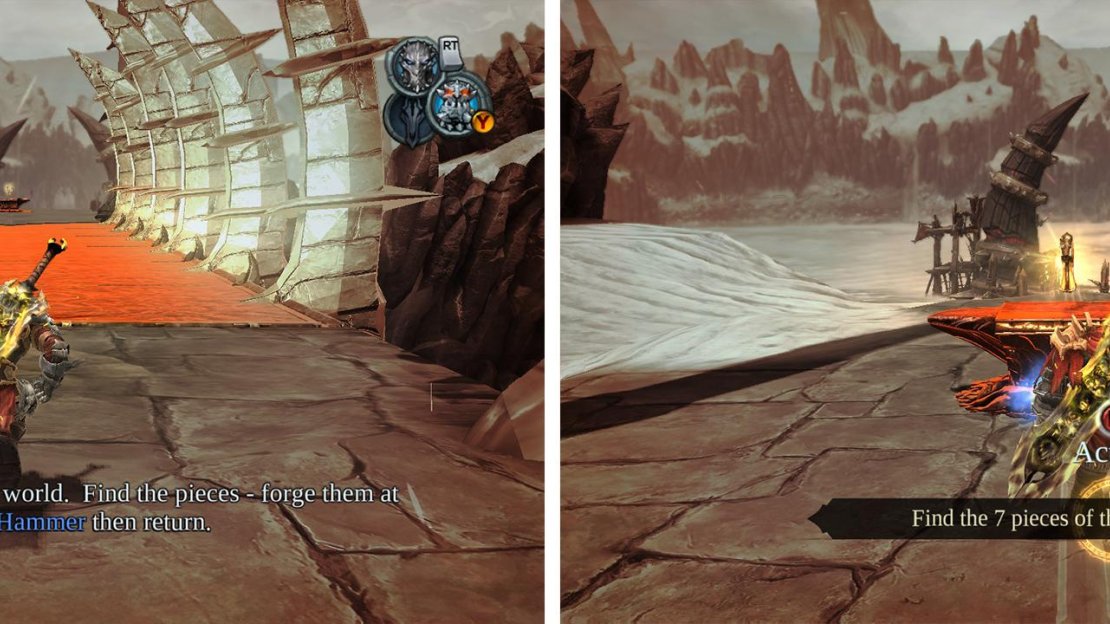
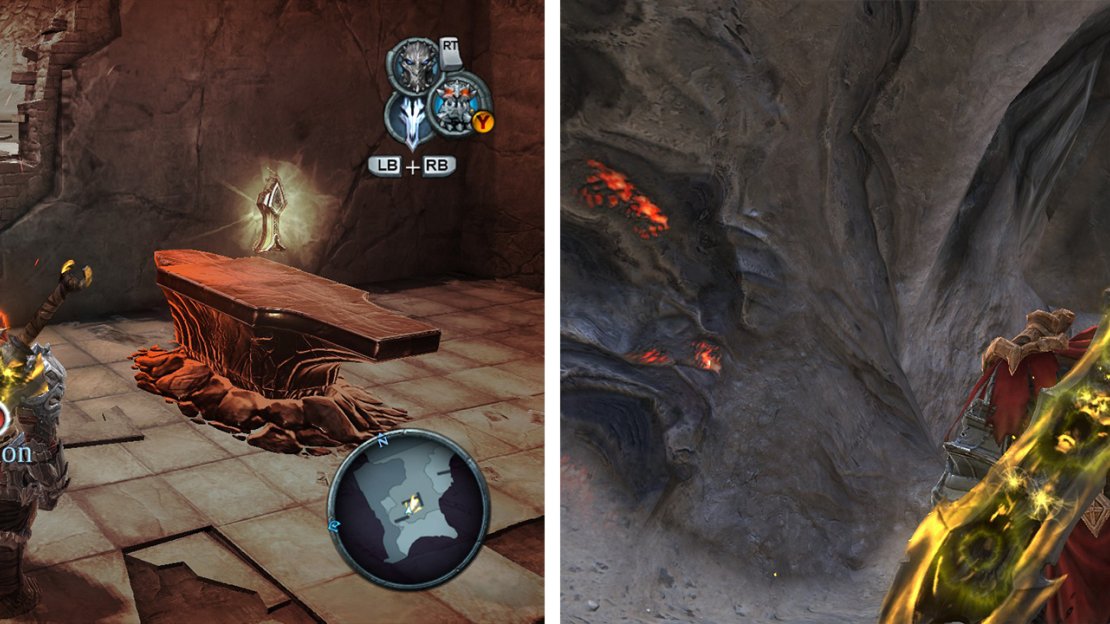
Now you are given a new task - finding the 7 pieces of the Armageddon blade and taking them to Ulthane. Put your mask of shadows on and cross the invisible bridge in front of you to find the first piece of the Armageddon Blade Shard [1/7] .
With the Mask of Shadows on cross the bridge (left) to find the first Armageddon Blade Shard (right).
Head to the nearest Vulgrim Location and use the serpent hole to travel to Anvil’s Ford to talk with Ulthane. You will also notice on the map some new Shiny additions bouncing around – each of these golden icons indicates the location of one of the Armageddon Blade Shards . After a quick chat with Ulthane, we’re off to find the remaining 6 blade shards.
Let’s return to Vulgrim and use the serpent holes to get where we need to go, starting with the Drowned Pass.
Drowned Pass
If you arrive via the serpent hole you will see the Armageddon Blade Shard sitting on top of the building to your left. Before heading over to snaffle it though, you should also see a set of grapple points nearby. Use your abyssal chain to cross the gap here to find a chest containing a Life Stone Shard .
To the right of the platform with the Life Stone Shard listed above, you will see another platform covered by a blue crystal. Hop into the water and find the tunnel beneath this. Climb to the top and destroy the blue crystal with your gauntlet for a chest containing a Wrath Shard .
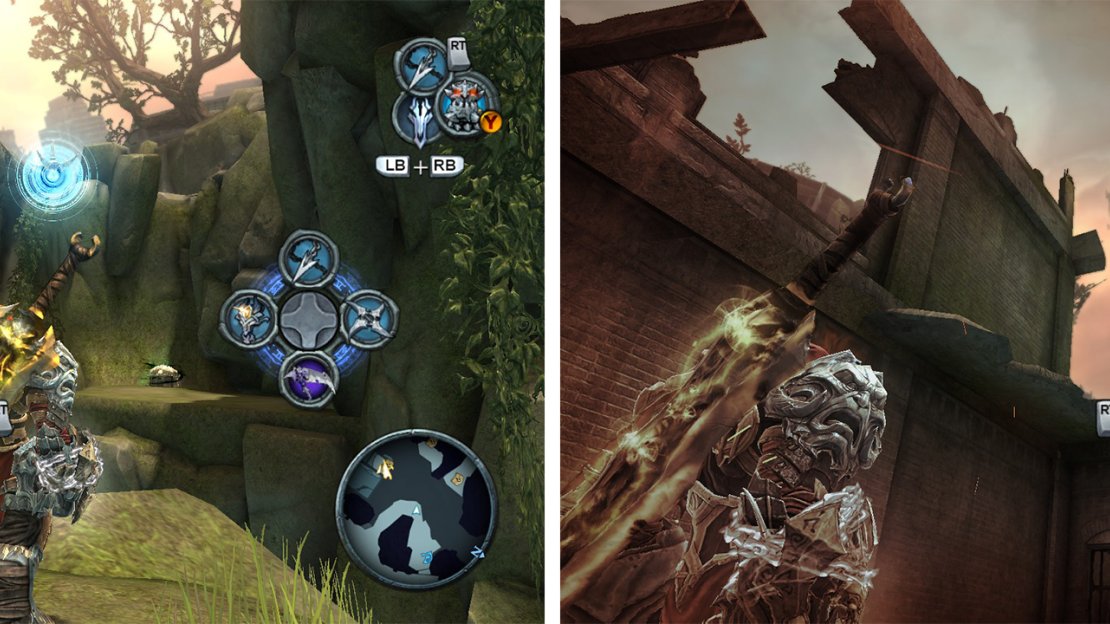
Jump into the water and swim to the farthest building from the Vulgrim Location , head up to the top floor and put on the mask of shadow, you will be able to see an invisible grapple point. Use the chain to get up a bit higher and then make your way across to the next rooftop to claim the second Armageddon Blade Shard [2/7] .
Use the grapple point (left) to reach a Life Stone Shard. With the Mask of Shadows look for the grapple point leading to the next Armageddon Blade Shard (right).
Before leaving, we can grab another chest. There is a raiseable platform on the west side of the lake. Swim over and hit the crystal with your blade to raise the platform, before heading up the nearby ramp. Jump to the platform and then across to the ledge opposite to grab the chest containing a Life Stone Shard .
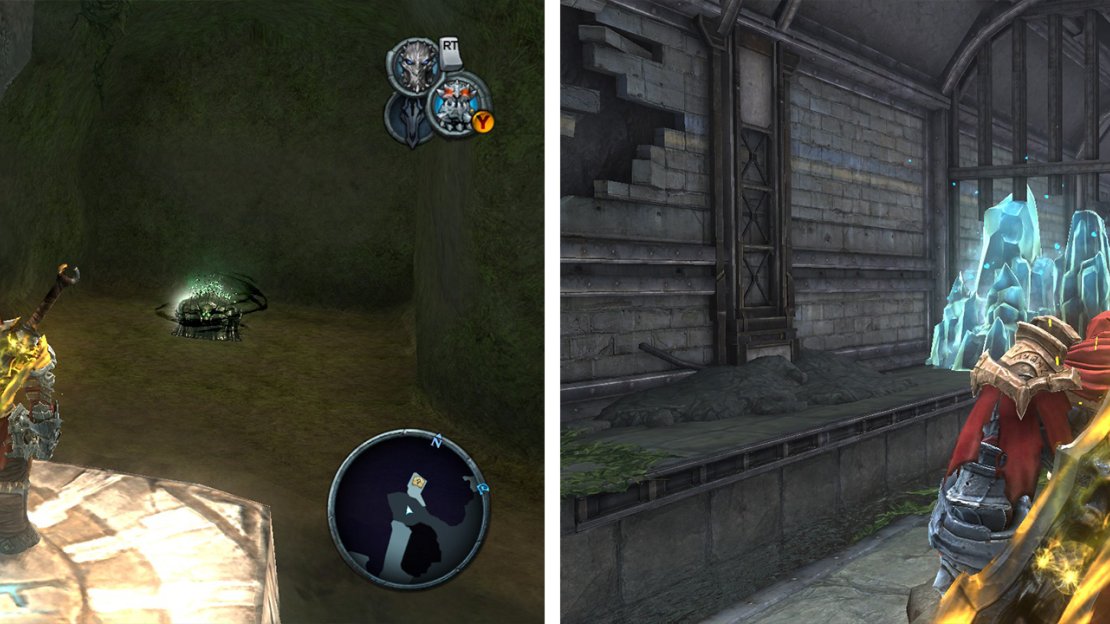
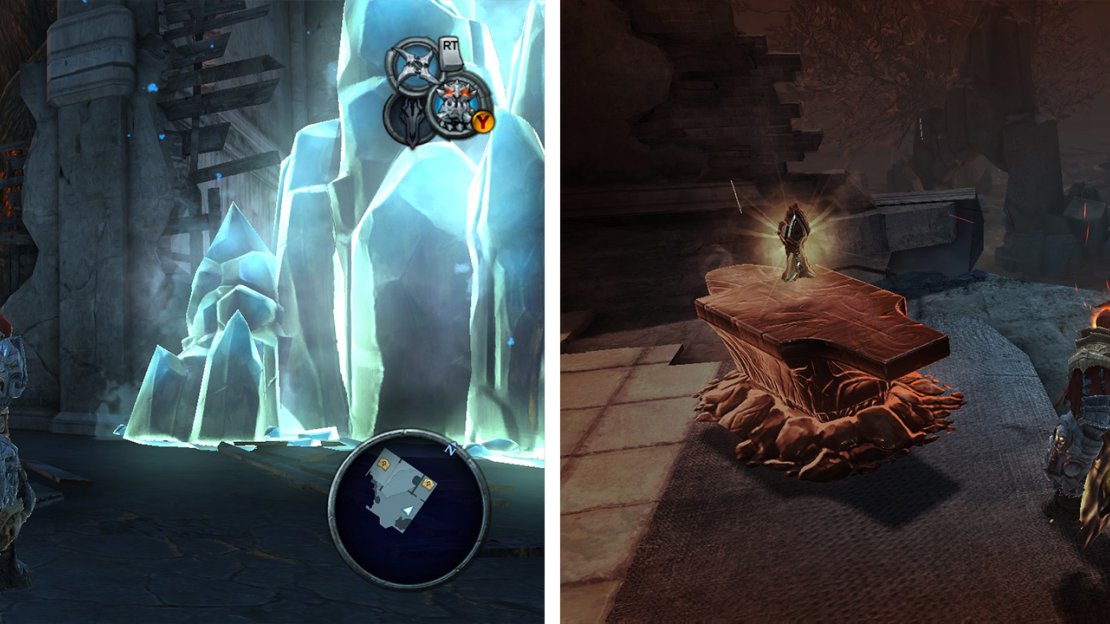
Enter the tunnel behind where the Gatekeeper used to be. As you do look to the right for a blue crystal. Destroy this, then explore an alcove to the left a little further down to find a chest with a Wrath Shard .
Now that we are done here, take a Vuglrim Location Serpent Hole to the Crossroads.
From the raised platyform, jump to the Life Stone Chest (left). Destroy the blue crystals (left) behind the Gatekeeper for a Wrath Shard.
The Crossroads
From the Vulgrim Location , put your mask on and look to the southwest to see an invisible shadow flight geyser. Use it to access the platform above. Follow this to the left. Use the next invisible geyser to jump across to a grapple point dangling in the air here and swing onto the next building.
Use the invisible geyser here to access the upper balcony. Follow this to the end to pick up the third Armageddon Blade Shard [3/7] .
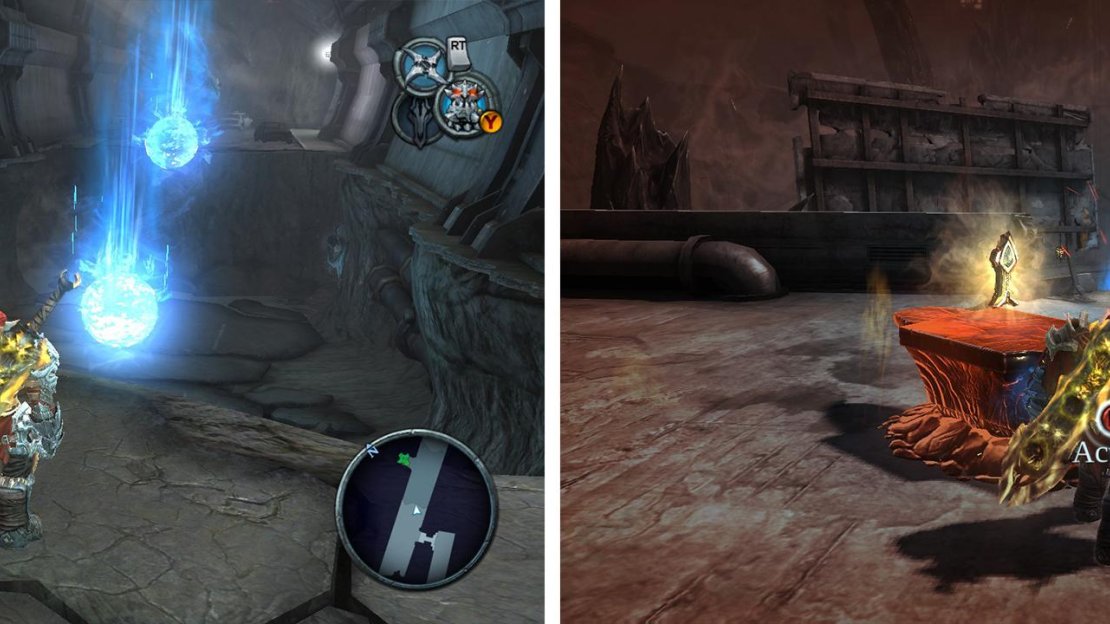
With the Mask of Shadows look for the shadowfligh geyser leading to the next Armageddon Blade Shard (left). Destroy the blue crystals for a new enchantment (right).
Whilst we are here, we may as well go and grab a couple of collectibles nearby. From the Vulgrim Location , follow the road to the North, at the end look to the left to see a blue crystal. Use the Gauntlet to destroy this to find the Enhancement – Hellfire in a chest within.
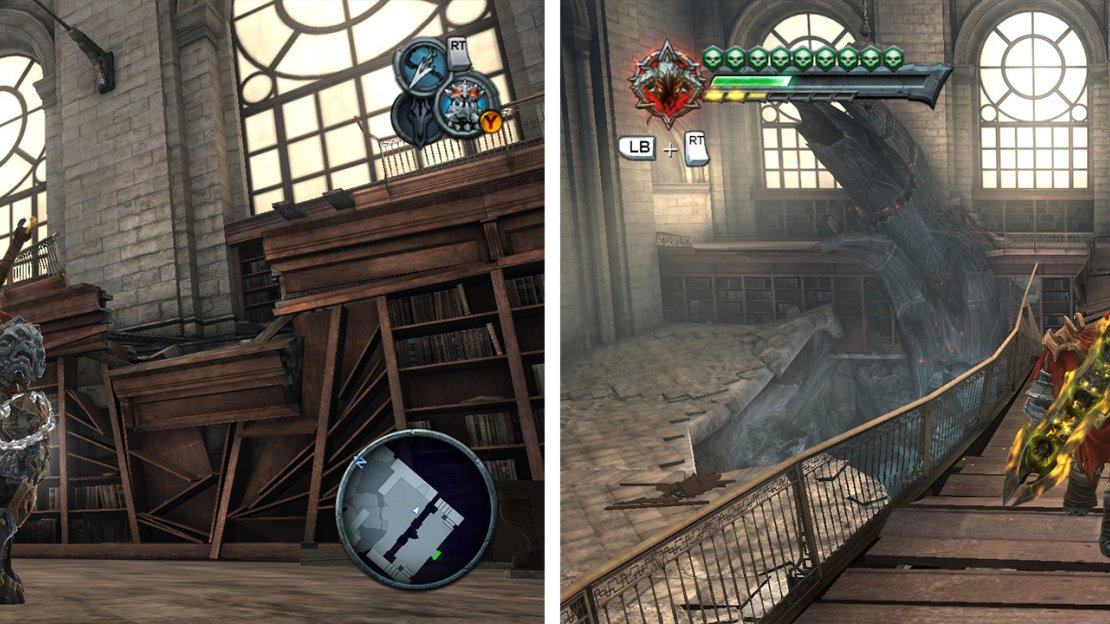
Now enter the building behind Vulgrim. On the right side of the large room is a broken shelf which will allow you to climb up to the ledge. Nearby you will see a broken bridge with an Artefact: Soldier on the opposite side. Jump across the gap and pick it up. Return to the top of the bookcase and run to the end of the platform. Here you will find some grapple points. Use these to swing across to the far wall and enter a small hallway with a chest housing a Wrath Shard .
Enter the building behind Vulgrim and find the broken bookshelf (left). Here you can find a grapple point to a Life Stone Shard and a jump to a Artefact (right).
The Choking Grounds
Make your way to where you met the Gatekeeper in this area. Just before the exit he was guarding and to the left is a small hole in the building on the side of the road.
Drop down here and use the shadow flight geyser to reach the second level. There you should be able to smash the blue crystal with your Gauntlet to find a chest containing a Life Stone Shard .
Use the demonic growth to go up further, finally move to the pile of debris in the corner and use your abyssal chain to attach to the demonic growth through the hole in the ceiling above.
Destroy the blue crystals on the second floor (left) for a Life Stone Shard. Climb to the top of the building to find the next Armageddon Blade Shard (right).
Use the Mask of Shadows and locate the invisible shadow flight geyser here to reach the rooftop, then simply waltz on over and grab the fourth Armageddon Blade Shard [4/7].
Before you move on, return to where the Gatekeeper was. In the passage leading to the Broken Stair, you’ll need to use the shadow flight ability to cross a gap – there are two geysers here. Drop down the gap instead and use the gauntlet to destroy the blue crystal here – behind this you’ll find an Artefact: Champion .
Continue through the tunnel to the Broken Stair.
The Broken Stair
Fight through the building, across the highway and into the building where you hi-jacked the holy beast earlier. On the roof of this building you will find the fifth Armageddon Blade Shard [5/7] .
There is an Artefact behind blue crystals (left) on the path between the Choking Grounds and the Broken Stair. The next Armageddon Blade Shard can be found where we mounted the Angelic Beast (right).
Once you have the shard, make your way to the Vulgrim Location and take a Sepent Hole to The Dry Road.
The Dry Road
Use a Serpent Hole to travel to the Dry road. Whilst inside the Serpent Hole, as soon as you enter, turn around to see a chest directly behind you. Open this for a Wrath Shard . Continue through and exit to the Dry Road.
Head out from the Vulgrim Location across the gap and up the demon growth. Head up the hill in front for a short scene and a boss encounter.
Boss: Uriel
This is our second encounter with Uriel and this time, she retains the move set that she used on us last time, but in addition she has also picked up a couple of new moves you should be aware of.
| Attack/s | Description |
|---|---|
| Charge | Uriel will charge across the ground to hit you. As she performs this attack you can easily side dash to avoid it. |
| Spin Drop | If you get too close for too long she will jump into the air and drop to the ground with a shockwave. Dash out of the way to prevent taking damage. |
| Throwing Blades | If you get to far away from Uriel, she will throw swords at you, along the ground, usually in groups of 4-5. These can be avoided by dashing at an opportune moment. |
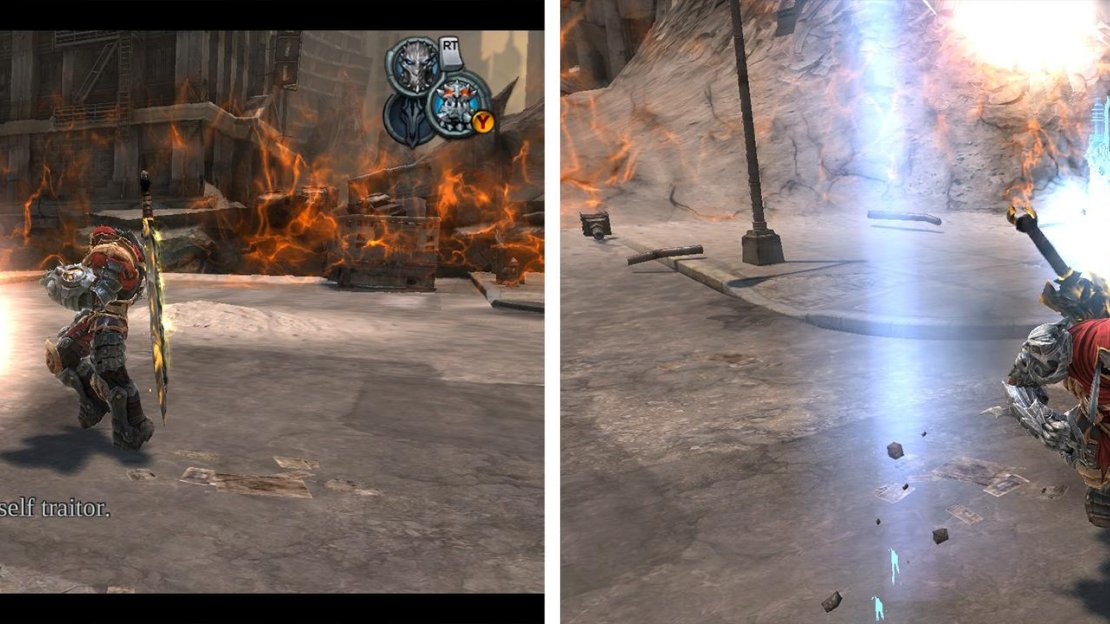
| Sword Rain | After taking a bit of damage, Uriel will take to the sky and summon heavenly swords to fall around the area. This lasts for about 15 seconds and you will need to watch out for blue glowing sections of ground which indicate a sword on the way. Keep moving to avoid the attack. |
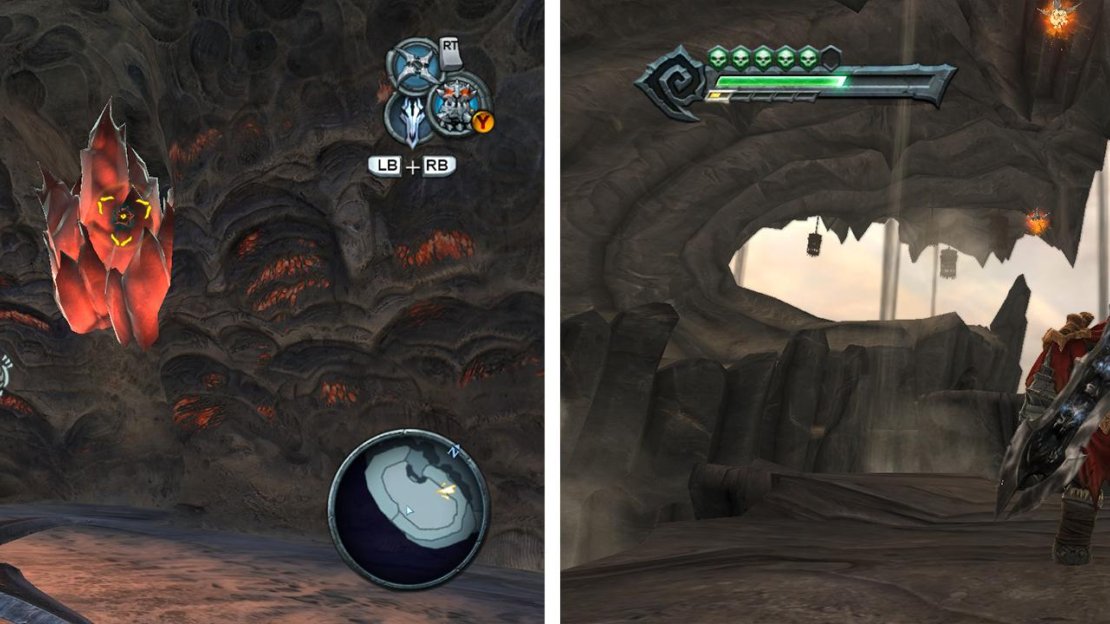
Dodge Uriels attacks (left) and keep moving to avoid the falling blades (right).
Combat Strategy:
As before, your best bet is to treat her like any other heavily armoured bad guy. Get in close, take a few good swings (don’t get greedy), then back away to dodge her retaliatory attacks. After taking a bit of damage, she will fly into the air and summon falling swords to come and get you, look out for the glowing blue sections of ground as this is where swords are scheduled to fall.
Continue to move around the area until the sword rain stops, and then re-join your assault on her. When you have done enough a short scene will play.
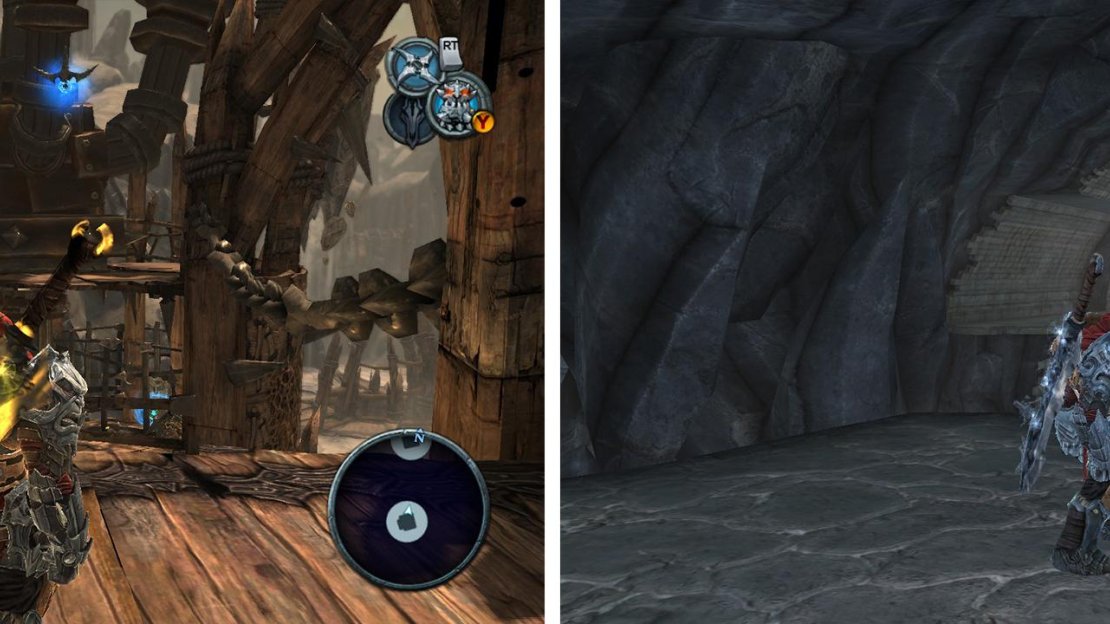
Once the boss fight has drawn to its conclusion, look behind the ruin to the right to find the next Armageddon Blade Shard [6/7] .
In the ruins to the left of the road is an Armageddon Blade Shard (left). On the road to the Ash Lands, in the room with the Demonic Plants, look for the grapple point (right) leading to a Wrath Shard.
Head into the passage leading from the Dry Road to the Ash Lands.
When you reach the room with the three demonic plants hanging above the rope in the centre of the room. Move out onto the entrance ledge, and look straight up and to the right to see a grapple point. Latch on to this and explore the small room here for another Wrath Shard.
Continue through the tunnel to the Ash Lands.
Ash Lands
From the Vulgrim Location , exit the tunnel and head right. Follow the wall until you reach a rocky platform with climbable ledges on it. Cruise on up and at the top you will see a fork, the top is blocked by red crystals, so head to the left. Put on your mask of shadows to see some invisible bomb plants up on the wall to the left of the crystals here. Use your abyssal chain to grab one and toss it at the red crystals.
Follow the path all the way to the top (leave your mask on to be sure to see the grapple point) and you will find the final Armageddon Blade Shard [7/7].
Destroy the red crystals (left) and follow the path to the top for an Armageddon Blade Shard. After using the shadowflight geyser in the middle of the Ash Lands, look for grapple points (right) leading to the Abyssal Armor.
Let’s do a little more looting! Look at your map, you will see a large rock platform behind the first building you went through in the Ash Lands. Ride Ruin around the back of this and you will find a shadow flight geyser, use this to reach the platform and climb the demon growth nearby to find the Artefact: Soldier (if you didn’t grab it earlier). Run to the far end of the ledge above the shadow flight geyser and use the abyssal chain on the grappling points here to reach the top of the building. Open the chest here for the final piece of the Abyssal Armour Set [10/10] .
Now you’ll want to make your way to the top of the third tower in the area (where you pulled the switch to stop the drill when running through the Ash Lands the first time). This building happens to be adjacent to another. Use the abyssal chain on the grappling hooks nearby to swing over to the roof of the next building.
Use the switch here to raise the drill below. Jump down and into the hole to land on a ledge above a pool of water. In front of you will be an Artefact: Overlord .
Continue through the cave here until you find the room with 7 or so Demonic Plants hanging from the roof. On the far right of the room from the entry way you will find a chest containing the Legendary Enhancement – Strife’s Offering . You will have to grapple using the abyssal chain to reach it.
Use the grapple points (left) between the towers to reach a switch opening a path to Artefact: Overlord. Afterwards, keep going until you reach the room with 5-6 Demonic Plants, at the far end grapple to the chest with a Legendary Enhancement (right).
Now that we have all of the shards of the Armageddon Blade it’s time to go back to Ulthane. However now is a very good time to head around the world and find all those nasty collectibles, unlock our additional health/wrath bars and find ourselves the Abyssal Armour Set (if you’ve missed a piece or two).
If you wish to do this, continue onto the next section. If you want to head on to the final confrontation, skip down to the section of the guide titled ‘The Destroyer’ .


No Comments