Acquiring a wrath core enables War to increase wrath meter. Similarly to the Life Stones above, each Wrath Core has been broken into four pieces and you will find these strewn across the world map. Collecting four Wrath Shards will create a Wrath Core, which will increase the amount of wrath War can accumulate by a single bar. There are three complete wrath cores to be found, along with 20 Wrath Shards . Collecting all of these will net War the maximum number of wrath bars - 10.
Here are the locations of each of the Wrath Cores/Shards :
Full Wrath Cores
Vulgrim Locations
-
You can purchase a Wrath Core from Vulgrim for 10,000 Blue Souls .
-
Bring Vulgrim the Overlord Artefact and he will reward you with a Wrath Core .
Twilight Cathedral -
After riding the platform with the three statues up to the courtyard in front of the boss door, turn around and use the block you pushed into the corner earlier to access the above balcony. At the top, turn to the left and use your cross-blade to stun the demonic plant above the door. Enter the room and drop down to the floor below. Grab the chest for a Wrath Core .
Wrath Core Shards
The Crossroads
-
Once you have the Abyssal Chain, return to the Crossroads. Inside the building behind the Vulgrim location. After entering the main room, look for a broken shelf on the right side of the room. Run to the end of the platform and you should be able to see some grapple points. Use these to swing across to the far wall and enter a small hallway with the Wrath Shard inside.
Scalding Gallow -
Inside the same building as Vulgrim, look for the demon growth and climb to the second level to find the chest containing the shard.
-
Return to The Scalding Gallows once you have acquired the Abyssal Chain , the Voidwalker and the Shadowflight ability. On the road to the Drowned Pass. When you first enter, look to the left, fire off a portal at the pad on the roof here, head to the fan section use your abyssal chain to cross the gap at the south of the room and use the shadowflight geyser to reach the platform with the champion artefact. On the roof here is the second pad, activate this, then drop down and use the geyser to fly up and through the portal. When you exit, pick up the nearby chest for the Wrath Shard .
The Choking Grounds -
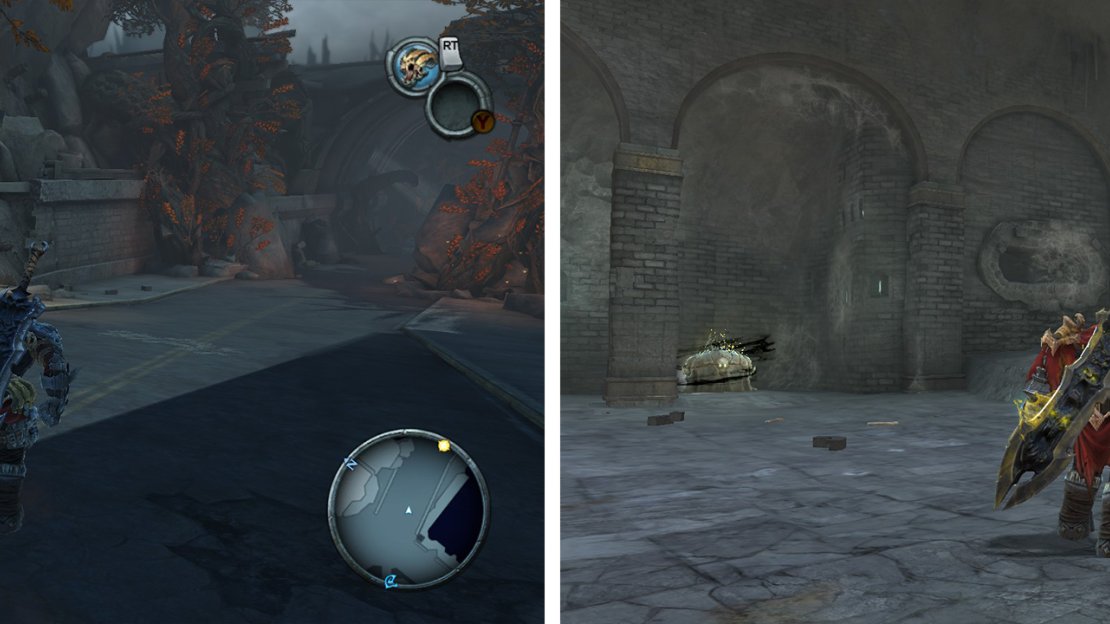
Before you reach the Gatekeeper, look in the hole in the wall to the left. Head up to the second floor of the building to find the chest here.
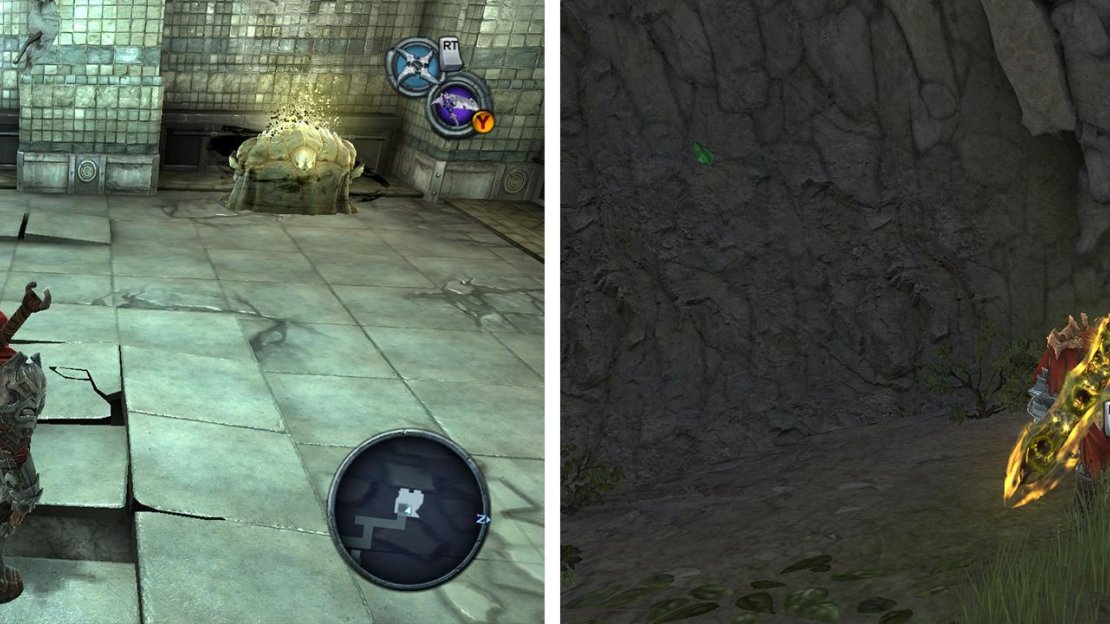
Choking Grounds: in the area just left of the Gatekeeper’s position (left), on the second floor. Twilight Cathedral: in the same room as the Beholder’s Key hidden off to the side (right).
Twilight Cathedral
-
Head to the room with the three statues that require crystal swords. Once two of the three swords have been recovered, a third door will open. Head through here and fight off the enemies to spawn a chest containing the Beholder’s Key . Look in an alcove on the side of the room to find a chest containing a Wrath Shard .
Drowned Pass -
Swim under the north western tunnel and follow it to the end. Destroy the crystal to grab the chest.
-
Return to the path between the Drowned Pass and Anvil’s Ford once you have acquired the tremor gauntlet. Enter the tunnel behind the Gatekeeper. As you do look to the right for a blue crystal. Destroy this, then explore an alcove to the left a little further down to find a chest with the Wrath Shard .
Anvil’s Ford -
During the contest with Ulthane, you will reach a set of ruins. As you do a quick scene will play showing pair of angel gunners swooping in to attack. Kill them and look to the left to find demon growth. Climb to the top and find a second instance of demon growth nearby. Use this to descend down to an area beneath the main building here to find the chest.
-
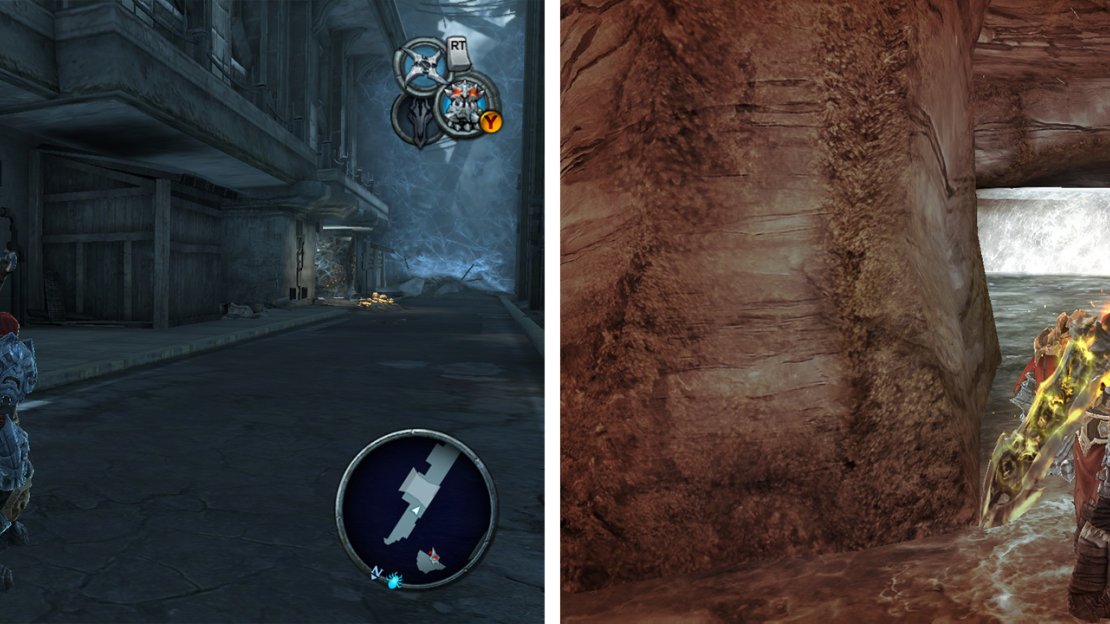
Return to Anvil’s Ford once you have acquired the Abyssal Chain . On the west side of the map you will see a block of land not connected to the main area. Return here when you have the abyssal chain and use the grapple points here to cross the gap and claim the chest.
The Hollows: by the switch to turn off the fan in the underwater tunnels (left). Anvil’s Ford: on a small floating island on the west side of the map (right) you’ll need the Abyssal Chain to reach it.
The Hollows
-
Next to the switch you need to activate to turn off the fan in the set of underwater tunnels. You would have to try very hard to miss picking this up during your first run through.
-
In the large open room before the boss. You will need to raise the water to proceed onwards. When you reach the ledge with the blue crystal you need to destroy to raise the water a second time, Do a quick 180 degree turn and float across the gap to open the chest for a Wrath Shard .
The Ash Lands -
Return to The Ash Lands once you have acquired Ruin . Once you have Ruin, ride to the northern area of the map beneath the entrance to the arena area. Nearby you should be able to see a cave with a blue crystal inside. Destroy this and head inside for the Wrath Shard.
The Dry Road -
Return to the road between the Dry Road and The Ash Lands once you have acquired the abyssal chain. In the passage leading from the Dry Road to the Ash Lands. When you reach the room with the three demonic plants hanging above the rope in the centre of the room. Move out onto the entrance ledge, and look straight up and to the right to see a grapple point. Latch on to this and explore the small room here for another Wrath Shard.
Iron Canopy -
In the room with the spider web for a floor and a stone block to push, move the block under the demonic plant and grab the edge as it is lifted up. Jump to the right side of the room for a chest containing a Wrath Shard .
-
Just to the left after the first bridge collapses behind you. Look for a destructible wooden wall to the left, behind this you will find a Wrath Shard chest.
Iron Canopy: After the first collapsing bridge, destroy the wooden wall to the left (left). Eden: This can be found beneath the stairs leading to the Tree of Life (right).
The Black Throne
-
In the second tower of The Black Throne. It can be found in the room with the two stone blocks floating in the centre and the moving stone walkway that cuts laps around the room. Once you have made it to the other side, before entering the door here, from the balcony look slightly to the left of the exit door to see a teleport pad in a small alcove above the room. Activate this then double jump into the nearby portal to find a chest containing a Wrath Shard .
Eden -
Underneath the stairs leading to the Tree of Knowledge.
Serpent Hole -
Visit a Vulgrim Location and use the serpent hole to fast travel to the Dry Road. When you port in, turn around to see a chest behind you. Open this for a Wrath Shard.
-
Return to the Anvil’s Ford Serpent Hole once you have acquired the Abyssal Chain .Visit Vulgrim and use the serpent hole to fast travel to Anvil’s Ford. About halfway through the area, look to the left for a grapple point. Use the abyssal chain to cross the grapple points here to find a chest housing the Wrath Shard .
Vulgrim Locations -
You can purchase a Wrath Shard from Vulgrim for 2,500 Blue Souls .


No Comments