The Black Throne
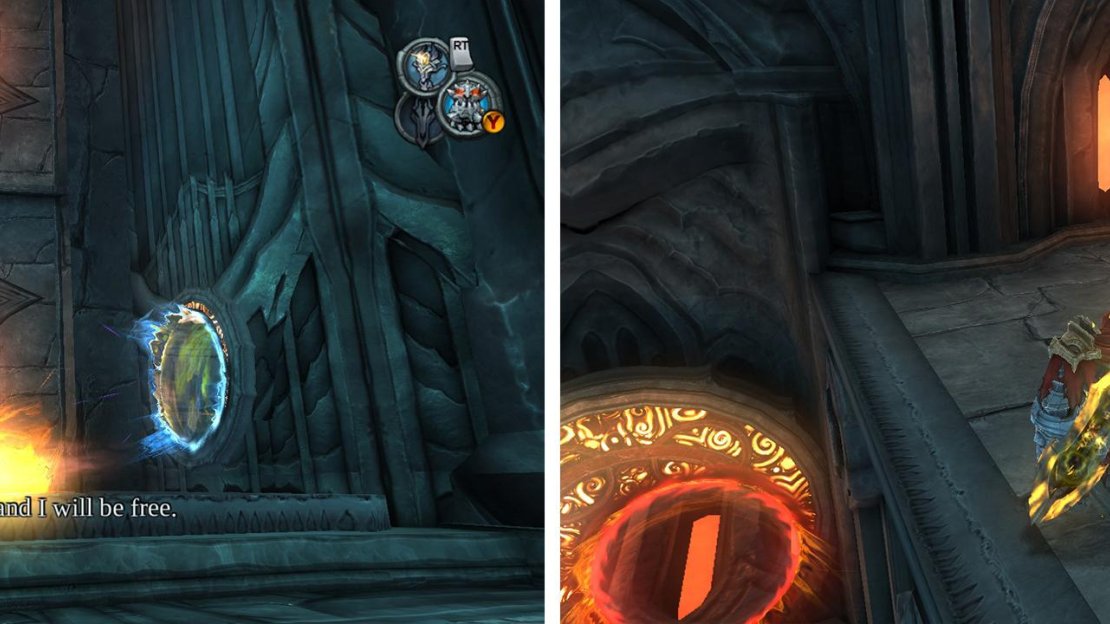
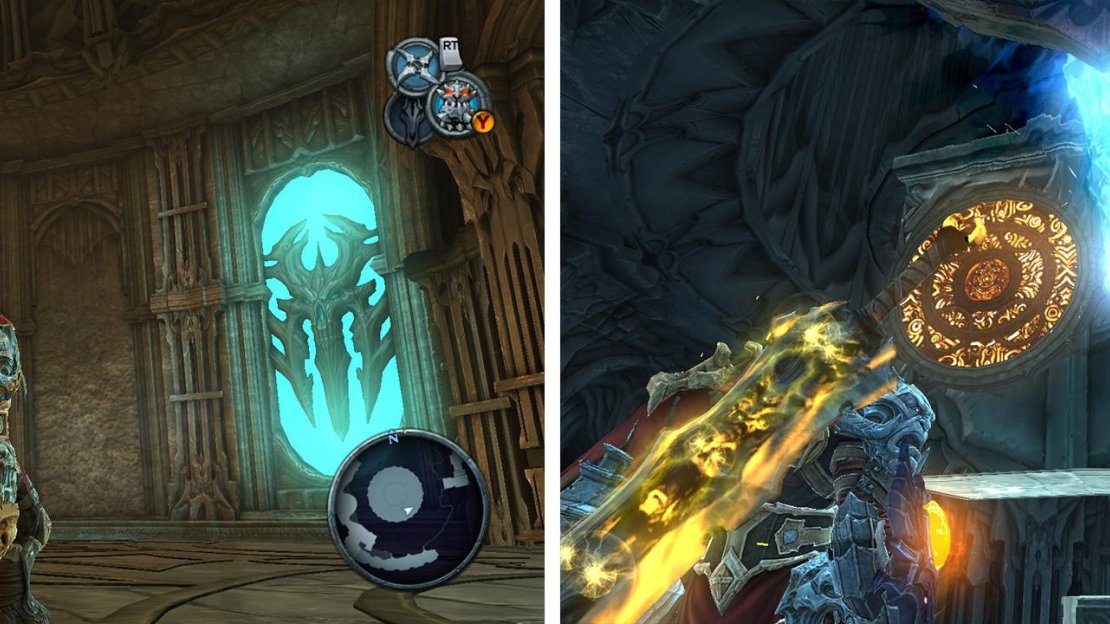
After the scene, the room will once again change. Now make your way to the south western comer of the room to find a new alcove containing some Voidwalker symbols. Activate the portal on the wall then use a charged portal on the floor below it. Jump into the wall portal to launch up to the platform above. Repeat the same process a second time, and at the top turn right and enter the door here.
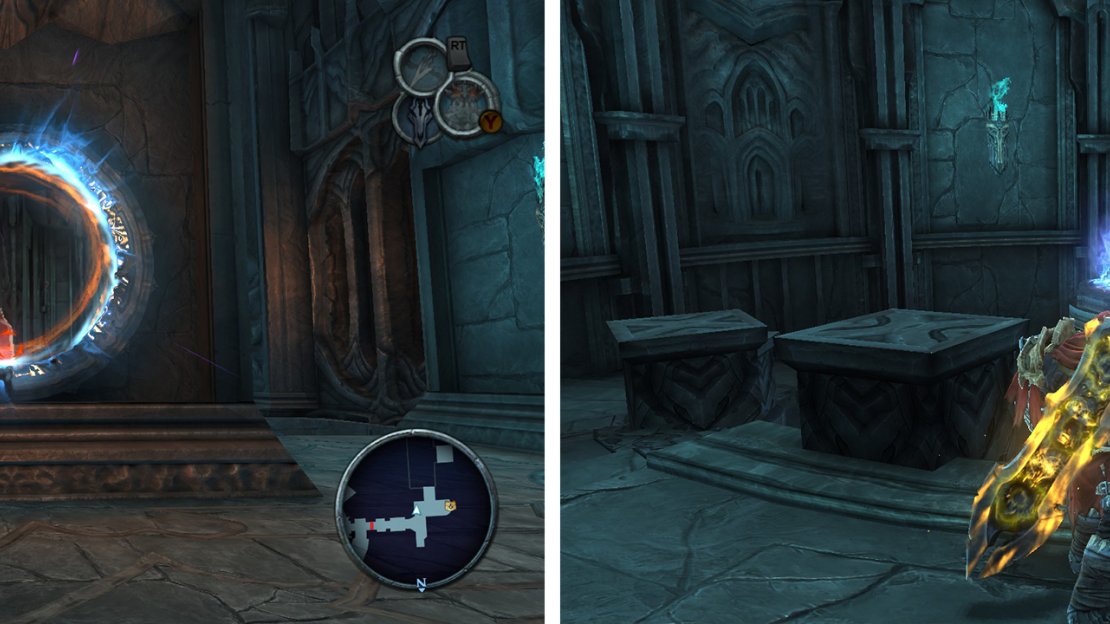
To the left as you enter is a Blue Soul Chest . Activate the portal pad next to this, and then look for the one on the roof at the back of the room, head through this and float to the nearby platform to pick up Artefact: Soldier .
Use the portals as such (left) to reach the higher platforms. Once through the first door, use the portals to reach an Artefact (right).
Drop back to the floor and banish your portals. Activate the portal near the chest again, and then turn around – this next area consists of a canyon populated by spiky death pillars. Wait for the first one to rise and you will see a portal pad on one of the pillars a little further into the room. Activate this and turn back to the first, don’t enter it yet. Charge up a super portal and when you see the next portal pass by within the portal activate it. The portal here will now have disappeared, reactivate it and wait until there is a clear path in front of it before jumping in and being propelled to the far ledge.
The next room is a large circular one. Jump down to see a large red crystal in the middle of the area. Activate the nearby portal pad. Look out the door and you should see a rotating, floating stone block. Wait for the portal pad on it to become visible before activating it. Wait for it to turn and face the bomb plant before jumping through and gliding across the gap.
Use the spinning block (right) to reach the far side of the chasm. Destroy the red crystals via the spinning block to find a platform you can jump to with a piece of Abyssal Armour (right).
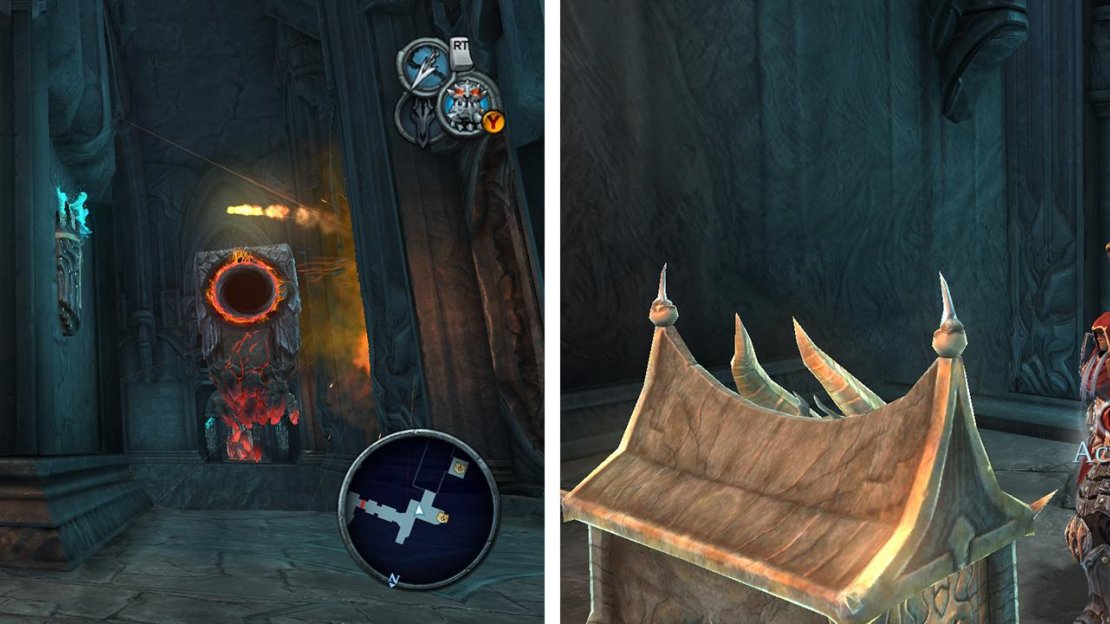
Activate the portal pad here and use the abyssal chain to grab the bomb from the stone column, wait for the portal on the rotating stone block to face a bunch of red crystals before tossing the bomb through to remove the obstacle. Jump through after it to find a chest containing the eighth piece of the Abyssal Armour Set [8/10] .
Using your Voidwalker, return to the room with the large red crystal in the centre and re-activate the portal, activate the one on the stone pillar again and head over to the platform with the bomb nearby. This time, dismiss the portal on the spinning block and activate the other portal nearby. Use the chain to grab the bomb and toss it through the portal to watch the quick scene.
Return to the top of the stairs and plant a charged up portal on the pad on the pillar in the centre of the room, jump back to the floor and enter the portal here to launch up to a small alcove containing a Beholder’s Key . Return back to the opposite side of the chasm with the spike pits and exit to Azrael’s prison.
Destroy the red crystals on the initial platform via the portal (right). Return and place a portal on top of the pillar (right).
Move to the edge and wait for the lowest section of the rotating rock wall to reach you, double jump up onto it and climb until you reach the highest point. Look out for the blue locked door, and when you see it jump across to the platform before it and open the door with the key.
Once inside, activate the elevator killing all the Demonic Soldiers that spawn. When you reach the top, exit the elevator and use the switch nearby.
Enter the door here and cross the bridge to the central platform and you’ll need to defend yourself against a few forced enemy encounters. First up take down the green Demon Soldiers and Poison Demon. Next up, you’ll have to eliminate the Shielded Iron Giant. Note that there is a Green Soul Chest and a Yellow Soul Chest here if you need them.
When they are all dead exit the room through the door on the west side of the room.
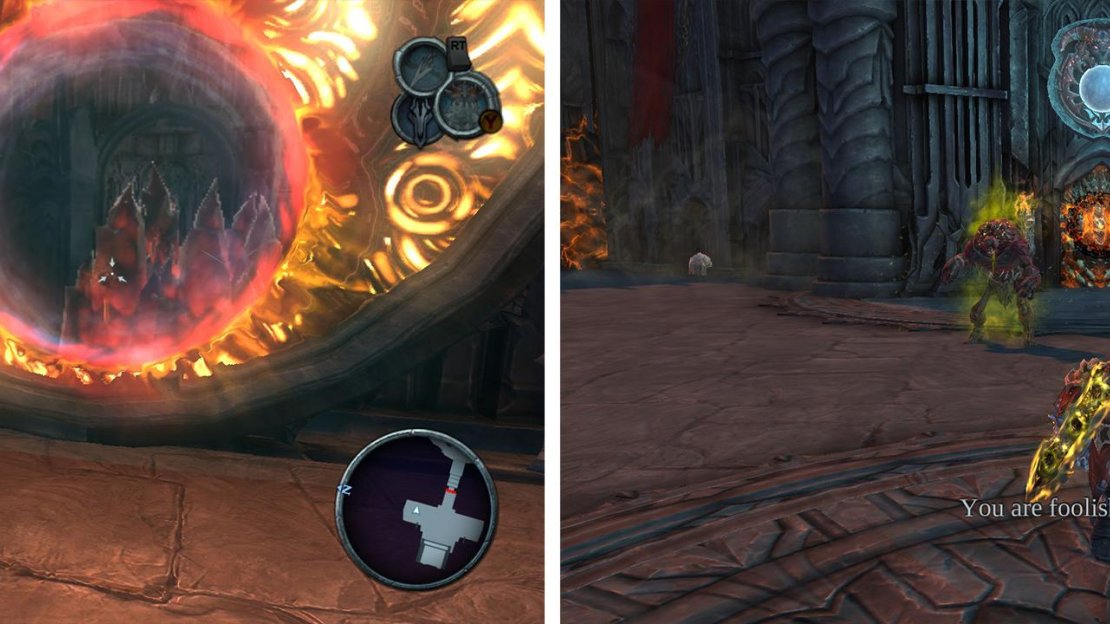
Climb to the top of the spinning rock cylinder and jump to the platform with the locked door (right). At the top of the lift fight off the enemies that appear (right).
Like the previous room with the rotating blocks over the abyss you will need to target the portal pad on the first column with the portal gun, then activate the symbol on the wall nearby, this time charge up a super portal and tag the second column with it through the original portal. Re-establish the portal on the wall when it disappears.
Now wait for the portal to face the other side of the chasm – red crystals! Look up to the left to find a bomb plant and use War’s abyssal chain to grab one and toss it through the portal when the crystals are visible to destroy them. Hop through the portal the next time the platform on the opposite side of the cliff is visible and you will land on a small platform, ride this over to the other side and jump off.
As with our previous dealings with the similar area on the previous two towers, as you land you will be trapped with all the exits sealed off. Time for defence mode! This time you will need to take out a Poison Demon and Iron Giant combination team to start with, followed by a small army of Demonic Soldiers and finally a pair of shield toting Iron Giants. Use the Green Soul Chest and Yellow Soul Chests nearby to rejuvenate War if the need arises.
Destroy the red crystals through the portal (left) and then kill the enemies waiting on the far side (right).
When everything is calm once more, enter the door.
Look below the switch as you enter the door to find a Blue Soul Chest and check out the bottom of the pool of water to the northeast to find Artefact: Soldier .
Jump out and create a portal on the pad here, activate the crystal on the left wall to lower it. Now head to the south west corner of the room and create a portal on the pad here. This will drain the other pool and allow you to swim across the gap in front of you. Pull the switch here, and then return to the start.
Look in the pool of water for an Artefact (left). use the portal in the centre of the room to jump the fence (right).
Use the switch until the Voidwalker pad on the central structure is facing the gate leading to the side room to the south. Then create a charged up portal on this central pad and use one of the other portal pads nearby to propel War over the gate and into the room. Activate the switch and ride the elevator to the top. Exit the room to face the final Tower Guardian.
Boss: Tower Guardian 03
This is the third and final Tower Guardian that we need to fight. All three have the same attack patterns, but the environment in which we take them on will differ. This fellows attack moves include:
| Attack/s | Description |
|---|---|
| Overhead Smash | The boss will slam his chain down into the ground. This will cause a significant amount of damage if it hits you, so be sure to dash at the last second to avoid it. |
| Whirlwind | When the boss takes damage, it will stand up and swing its chain around in circles quite quickly. This can be quite painful, so try to keep a lot of room between War and the Guardian. |
Use the portals as such (left) to drop down on the boss’s head (right).
Combat Strategy:
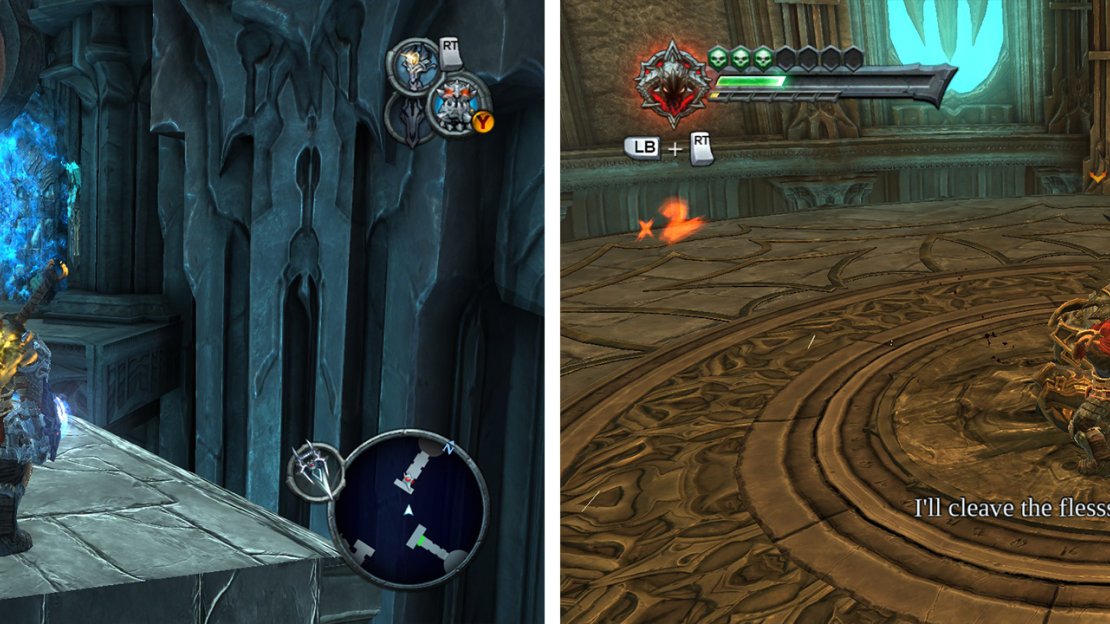
Look to the sides of the room to see a set of three portals on either side. Create one bottom portal and activate the high portals. Draw the boss to the sides of the room and then wait for him to perform his overhead smash. Following the attack, the boss will become immobilised for a few moments, use this opportunity to run through the ground portal and exit from the top. Upon exiting the elevated portal, pilot War over to land on his head. Use the action button to damage him.
He will falter, so head in and smash him a few times until he regains his footing. After he gets up again, your portals will disappear and he will start his whirlwind attack, stay away from him until it stops. Then repeat the process until you can hit the action button to win the day.
Once he is dead, the final beam of blue light will be released and again we need to have this go all the way back to Azrael’s prison. Return to the elevator and place a portal on the first pad it touches, and then a second on the pad to your right. This will open the door, banish the portal to your left and head down the tunnel at the end, create a portal here to activate the lift.
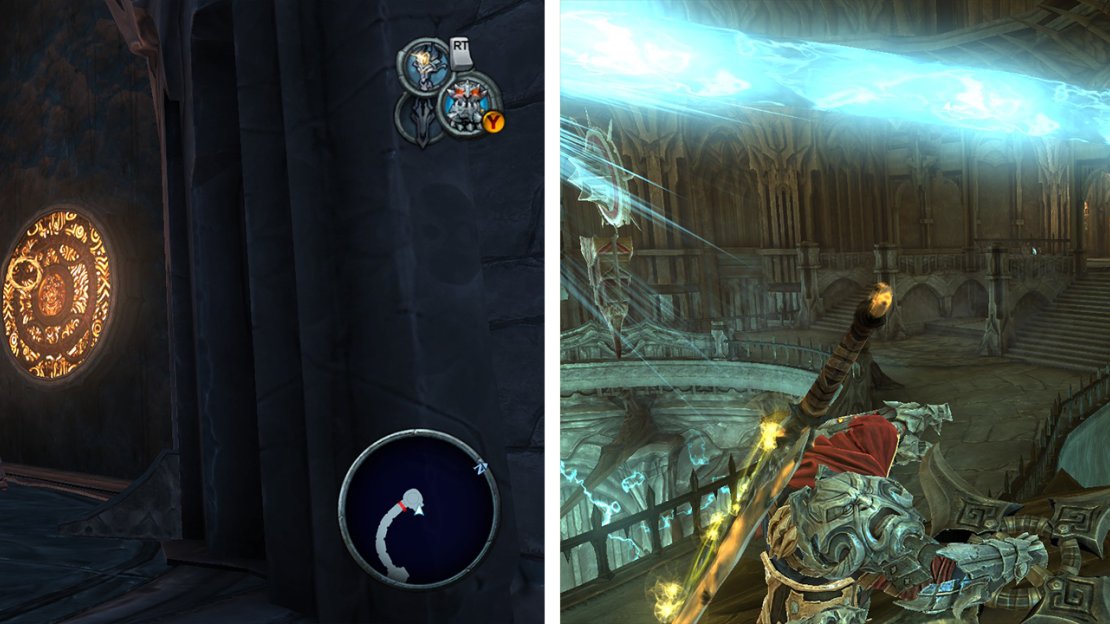
Re-direct the beam through the portal (left). Hit the crystal (right) to reflect the beam as necessary.
Ride the lift down. As you leave the lift a bunch of mirrors will appear and reflect the blue beam. Look to your right and hit the closest crystal with the cross-blade to open the next door.
The next area is identical to the way we completed the similar room earlier. As before, you need to place a portal on the pad on the first stone pillar with the Voidwalker, turn right and activate the portal here, look through and activate the portal on the second column, return and shoot the first column 1 more time. Then wait for the blue beam to unlock the door on the far side before banishing the portal on the first column and activating the portal on the right once more to jump through to the other side. Enter the door.
As you enter a floating lift will lower, a bridge will appear and so will a shadow flight geyser. Jump over to the shadow geyser and pick up the Green Soul Chest here if you need some health. Continue to the right and use the two portal pads here to launch War to the next platform above.
Use the portals (left) to access a balcony area. From here, shoot a charged portal on top of the central block (right) to reach an Artefact above.
Exit to the ledge and grab the Blue Soul Chest . Plant a charged portal on top of the floating stone and use another portal to launch up to grab Artefact: Champion . Drop back down and plant portals on both pads on the sides of the floating rock.
Head across the stone bridge leading towards another portal pad, and turn left to find a chronosphere. Activate it before running back to the centre, hitting the crystal on the floating rock and then sprinting to the gate and locking on both crystals and hitting them with the cross-blade simultaneously. It might take a bit of practice, and will probably take a couple of tries but it’s far from impossible. Hit the crystals and then roll through the gate to use the lift inside to go back down.
Exit back into the room with Azrael. Wait for the rock walls to rotate around your way before popping a portal on the pad that passes closest to you. Afterwards, jump down and put a second portal on the pad inside the rock cylinder.
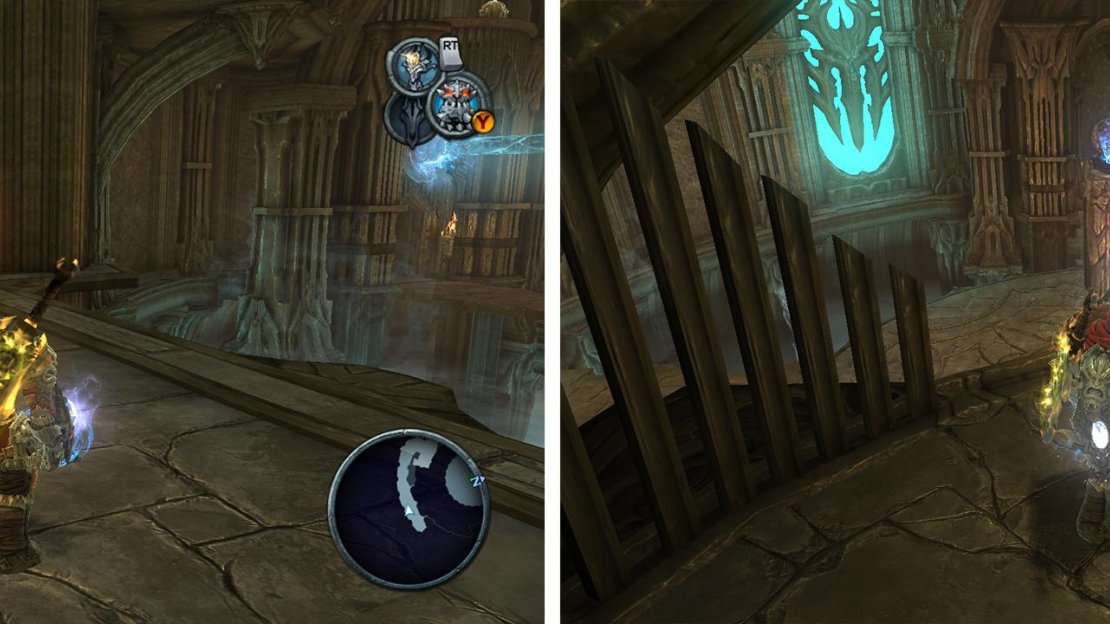
After hitting the chronosphere, hit the crystal on the hanging platform and the two crystals by the door (left). Back in Azrael’s chamber, put a portal on the pad that passes by (right).
Following the scene, a circular staircase will lower. Take the stairs downwards, grabbing the Green Soul Chest along the way (if required) and open the door. Jump on the lift and ride it all the way down to the bottom of the area to face off against Straga.
Boss: Straga
This is the second time we will have encountered Straga in a boss fight scenario and whilst he appears exactly the same as he did thin the prologue, the fight and his attacks play out quite differently this time His attacks include:
| Attack/s | Description |
|---|---|
| Summon | Straga will summon small groups of enemies periodically throughout the fight (usually after he has just taken damage). Whilst you fight these guys off, watch out for Straga’s occasional punch attack which you should be able to dodge with a quick dash. Kill all the enemies to resume battling the boss. |
| Hammer Sweep | Straga will drop his hammer on one side of the area and drag it across the floor to the other side. To avoid this, double jump over it. |
| Hammer Slam | The boss will also hit the arena floor from time to time, just dash to the side to avoid becoming a pancake. |
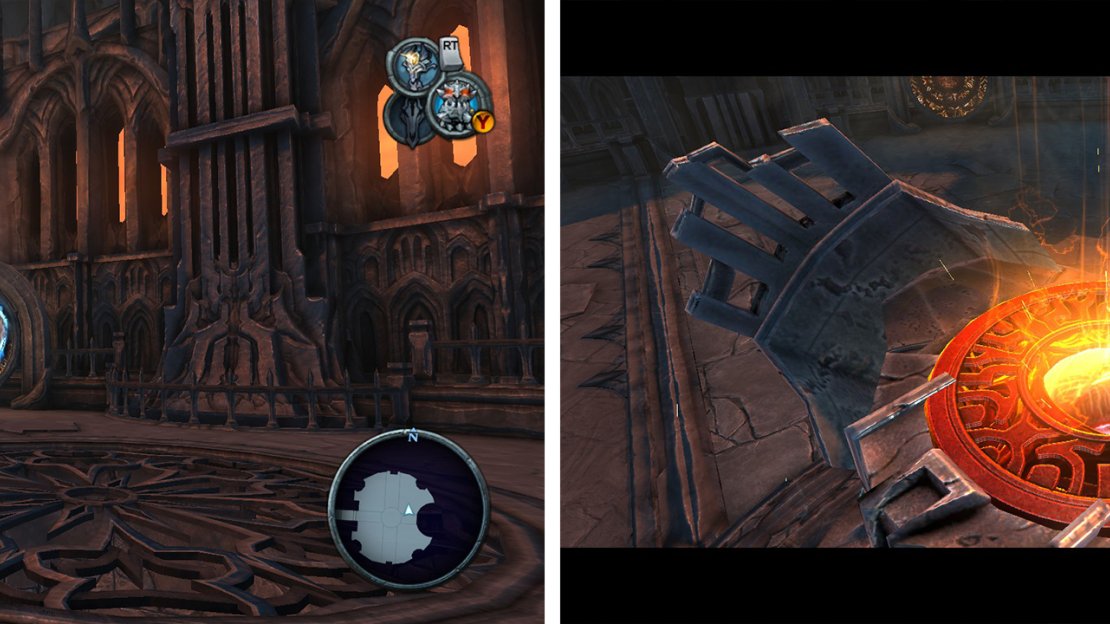
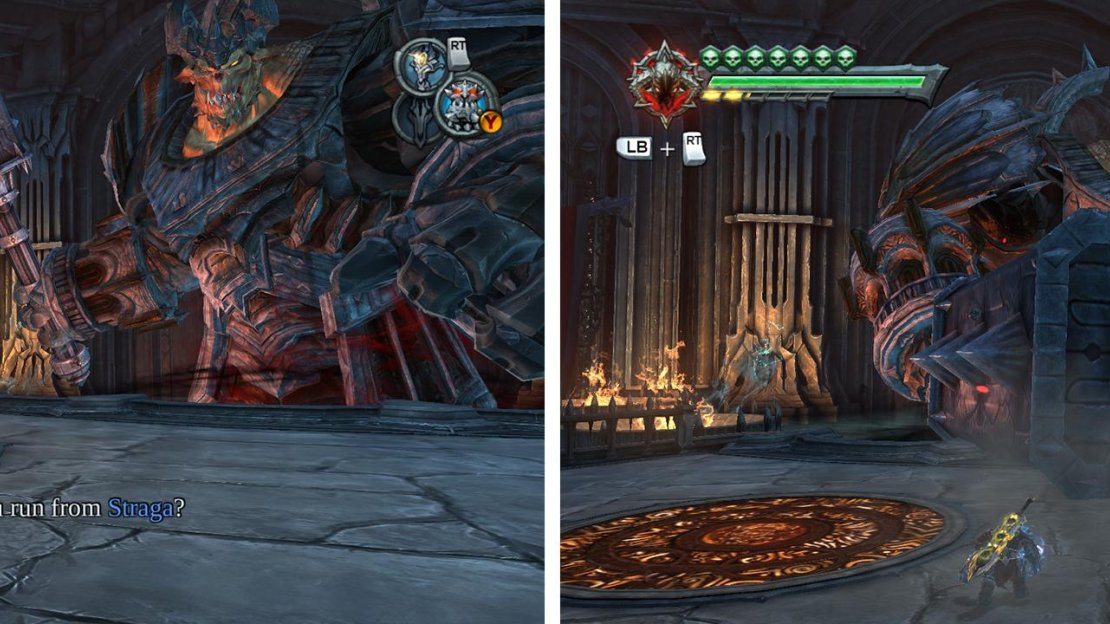
Place a portal on Straga’s hammer (left) and use the portal pad on the floor to teleport up to his weak spot. Avoid all of his other attacks by dashing or double jumping (right).
This will cause him to fall onto the stage below. Motor up to his face and slash it to pieces. After taking damage, Straga is liable to summon enemies to help him out and you will need to eliminate these guys whilst avoiding the occasional attack from Straga himself. When they are dead, avoid the boss’s attacks and when possible to do so repeat the process of portaling up to his neck and slashing his face to pieces until he bites the dust.
You will receive a Life Stone for your efforts and following a scene will be teleported to a brand new region.


No Comments