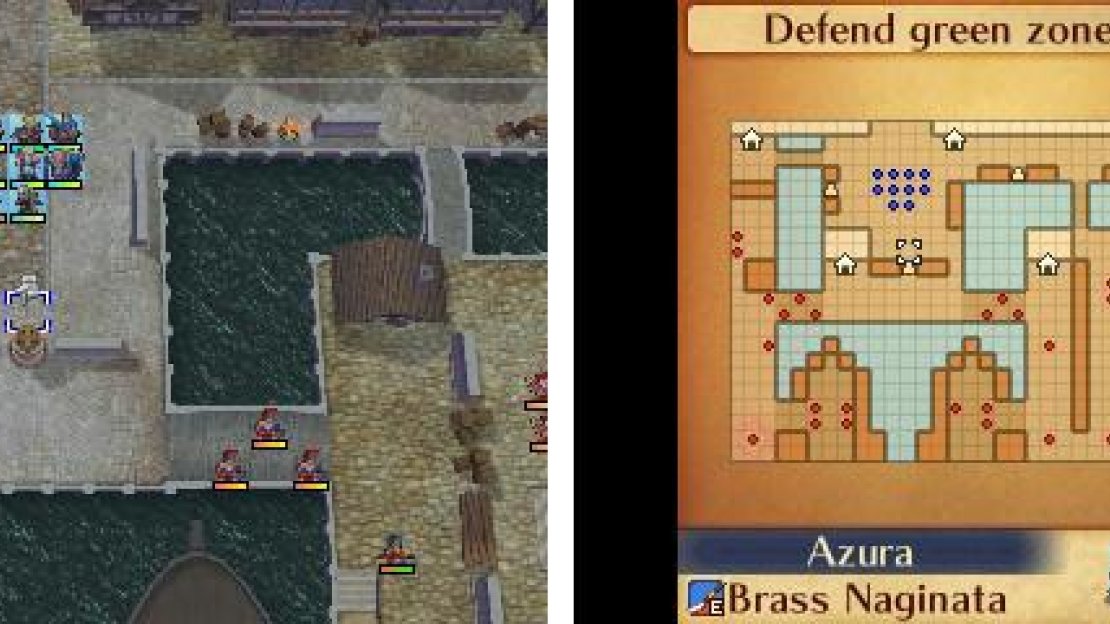
Map of Chapter 10
| Location | Objective |
|---|---|
| Port Town of Dia | Defend the green zone for 11 turns. |
| Enemies Present |
|---|
| Oni Savage |
| Archer |
| Samurai |
| Spear Fighter |
| Ninja |
| Sky Knight |
| New Allies | Class | Recruit |
|---|---|---|
| Beruka | Wyvern Rider | Automatically at the end of Turn 2 |
| Selena | Mercenary | Automatically at the end of Turn 2 |
| Camilla | Malig Knight | Automatically at the end of Turn 2 |
This will be your hardest fight yet. We are given the task of defending the green area to the north, which means letting no enemy touch the green tiles . If even one enemy touches the green tiles it’s game over (this includes non-boss enemy units!).
Our goal for this fight is to have everyone survive, and if you can, gather all four items from the houses scattered throughout. Make no mistake, this is a hard fight. You will absolutely want to equip a Vulnerary and/or Concoction on any important unit that you rely heavily on. Having an Archer and a Mage will be invaluable to this battle for weakening enemies from afar with Turrets .
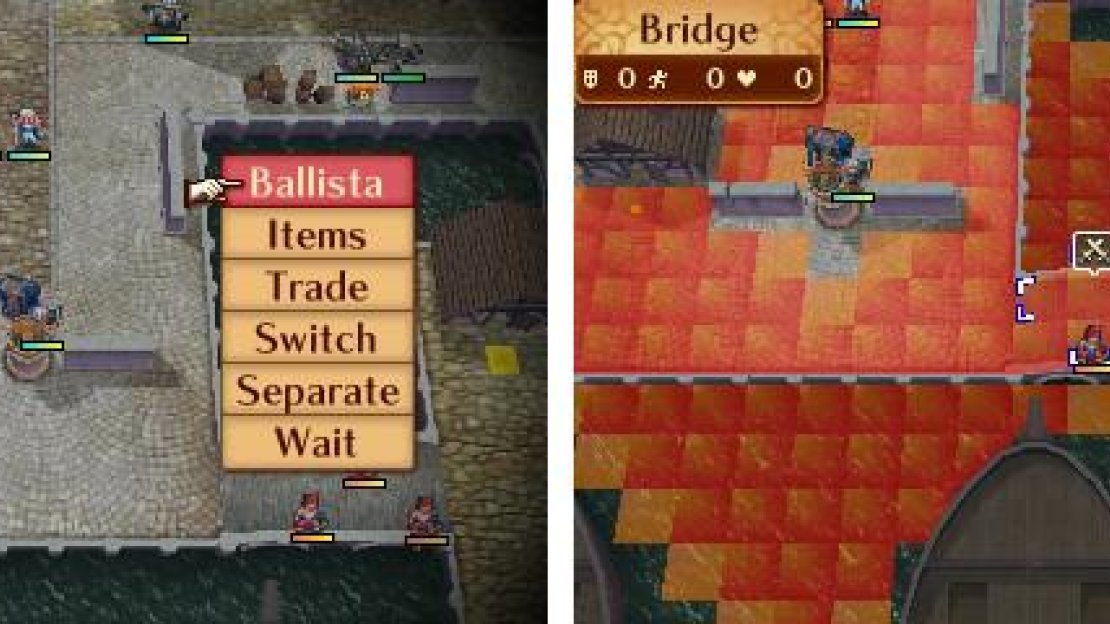
Using a turret.
At the start of this battle, you’ll get a tutorial about turrets, and there are a few here to use. These are almost necessary for a victory, so make liberal use of them! By gluing a Mage such as Odin or Nyx to the Fire Orb, for example, and using Azura to Sing , you can use turrets multiple times in one turn. Enemies will be left with at minimum 1 HP , which is more than enough for you to sweep in for an easy kill, and experience. Turrets will reach far beyond your characters’ own attacks. Not using turrets in this level is asking for defeat.
Only Mages can use the Fire Orb, and only Archers can use the other turrets. So make sure you bring Odin or Nyx, and Niles.
In general, the battle will be staged on three fronts. There will be a mini-wave coming in from the left, a mini-wave coming in from the right, and a huge assault coming from directly south of where you start on the map. So direct the majority of your units down directly south. Many of the walls you see are destructible, which the Hoshidans will target while for rushing you. Keep your healers well-equipped to both heal and to escape should walls go down.
You should first use your turrets to soften up enemies approaching, then swoop in and kill, heal as necessary, rinse and repeat. Use your units as a wall to keep the enemy from slipping through and getting close to the green tiles, or it’s game over. And if you can, visit the houses! One of them even gives a massive amount of gold.
By Turn 3, you will be given a great boon in the form of new allies. We will get three new characters here: our sister Camilla and her two retainers . Camilla herself is a Malig Knight, which is an advanced class. She is very strong, and will be a great help. Selena is a Mercenary , and has great accuracy, and Beruka is a Wyvern Rider , which will help a ton with mobility, especially to engage those pesky Sky Knights.
All should go smoothly using turrets, paying attention to your positioning, and keeping your units healed…until Turn 6 . Takumi will use a Dragon Vein to drain the river . Now foot units can run freely towards you. Starting from Turn 8 , reinforcements stop, but now all enemies but Takumi are storming you!
We need to be especially careful of our positioning now, but don’t full-on retreat. Be effective in your killing, and be sure to do your best to cover Elise and Azura. Your Freeze Staff will be very handy. Beware the Sky Knights . They are fairly weak when they attack but their highest priority is making a beeline for the green zone. Send Beruka or Camilla out to make sure they’re all brought down!
If you find yourself out of options, however, you can always place your units directly on the green squares and sit there and stomach the assault until Turn 11 has passed. So long as the unit isn’t defeated, an enemy can’t occupy the same space as your ally.
By the way, Hinata and Oboro , Takumi’s retainers, are chilling near the bottom of the map. Oboro in particular is pretty close to a house you’ll want to visit. They’re both more powerful than the Hoshidan lackeys, so be careful if you engage them. You might find yourself having to, but no matter what do not fight Takumi . He is far more powerful than any other unit you have, and Camilla is at a huge risk engaging him because he is an Archer, and his Fujin Yumi, his divine weapon, is not to be trifled with. He won’t ever move, so you should be able to avoid him just fine.


No Comments