In-game Description
This small seed was given to you by a Korok. It has a distinct smell. If you gather a bunch of them, you never know what may happen…
Interactive Map Locations
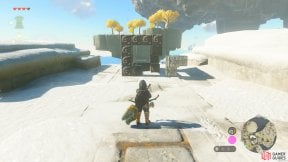
1. Hyrule Sky Islands Map
Complete the Cube Puzzle by rotating the loose piece with the ![]() Ultrahand Ability, and placing it in the Cube to complete it.
Ultrahand Ability, and placing it in the Cube to complete it.
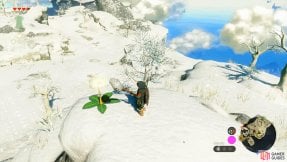
2. Hyrule Sky Islands Map
On the highest peak of the mountain is a Dandelion. Attack it with a weapon and collect its seed before it lands. If you miss it, attack the Dandelion again to retry. Upon successfully catching the seed, you’ll obtain a ![]() Korok Seed.
Korok Seed.
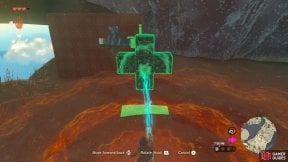
3. Hyrule Sky Islands Map
On the lower part of the island you’ll find a couple of dilapidated stone stairs leading upwards. At the top of them is a wall made out of cubes which is missing a piece.
Pick up the missing piece with the ![]() Ultrahand, and place it into the wall for a
Ultrahand, and place it into the wall for a ![]() Korok Seed.
Korok Seed.
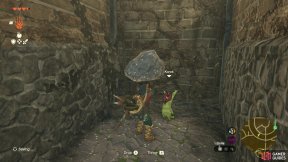
4. Hyrule Surface Map
Burn the leaves and then pickup the rock to discover this Korok.
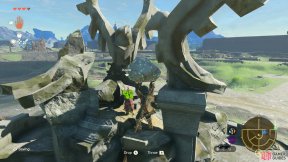
5. Hyrule Surface Map
Stand in the center of where the fountain was and lift the rock to reveal the Korok.
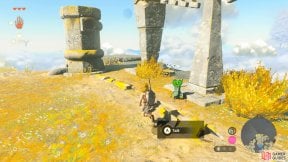
6. Hyrule Sky Islands Map
Look for the wisp flying around nearby to reveal the Korok.
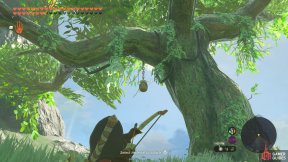
8. Hyrule Surface Map
Shoot the small basket hanging from the tree to reveal this Korok.
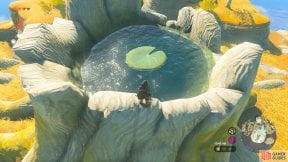
9. Hyrule Sky Islands Map
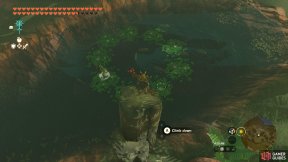
On top of the highest mountain is a hollowed out tree with a pool of water inside it. Jump on the lily pad and examine it for a ![]() Korok Seed.
Korok Seed.
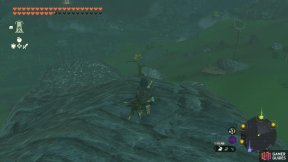
10. Hyrule Surface Map
Touch the obvious-looking flower and it’ll disappear, before reappearing somewhere close by. You can listen out for the direction it reappears.
Chase after the flower as it keeps disappearing and reappearing and eventually the Korok will stop playing games.
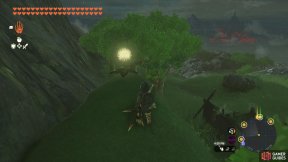
11. Hyrule Surface Map
Hit the glowing puff and it’ll float down, before falling. Catch it mid-air to reveal this Korok.
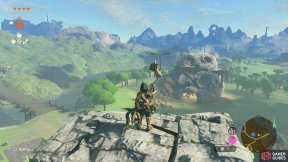
12. Hyrule Surface Map
Start on the platform with the flower and walk into it to have it move to the next, follow these along all of the blocks to make the Korok appear.
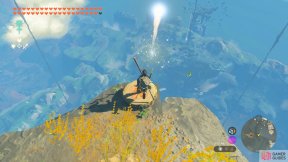
13. Hyrule Sky Islands Map
Step on the leaf platform and the Korok will shoot downwards.
Sky dive and catch the Korok in mid-air. You may need to accelerate for a bit to catch up.
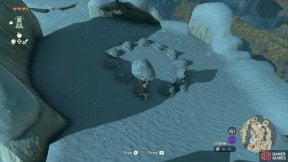
15. Hyrule Sky Islands Map
On top of the hollowed out tree. Use the ![]() Ascend ability inside the tree to reach it.
Ascend ability inside the tree to reach it.
This seed is the traditional rock puzzle. Place the nearby loose rock in the gap of the stone circle.
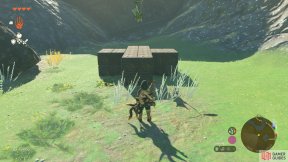
16. Hyrule Surface Map
Use ![]() Ultrahand to rotate the block so that it fits square into the other blocks to reveal the Korok.
Ultrahand to rotate the block so that it fits square into the other blocks to reveal the Korok.
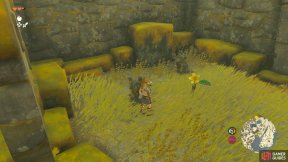
17. Hyrule Sky Islands Map
Found within the small dilapidated ruins. Chase around the Daffodil, and eventually the Korok will appear and give you a seed.
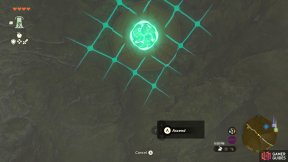
18. Hyrule Surface Map
Go under the tunnel here and use ![]() Ascend on the log with the leaves on it to make the Korok appear above.
Ascend on the log with the leaves on it to make the Korok appear above.
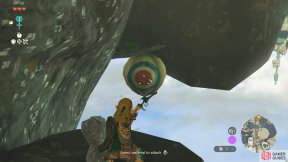
19. Hyrule Sky Islands Map
Shoot the odd looking balloon to reveal the Korok.
Note: To access him, smash the breakable rubble with a blunt weapon to fall below.
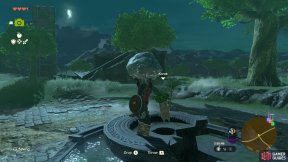
20. Hyrule Surface Map
Stand on top of the fountain and lift the rock to reveal this Korok.
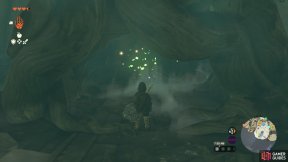
21. Hyrule Sky Islands Map
Inside the Room of Awakening. Interact with the special effects to make the Korok appear.
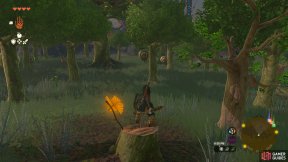
22. Hyrule Surface Map
Stand on the tree stump here (with the pinwheel) and shoot the four balloons that appear to reveal the Korok.
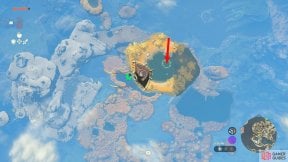
23. Hyrule Sky Islands Map
This island is high in the sky, so you’ll need to use a Wing from the ![]() Nachoyah Shrine to reach it.
Nachoyah Shrine to reach it.
While in midair above the island, dive into the center of the lily pads to get the seed.
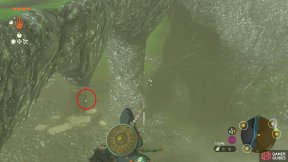
25. Hyrule Surface Map
You will see a pot hanging from the underside of this bridge, shoot it to reveal the Korok.
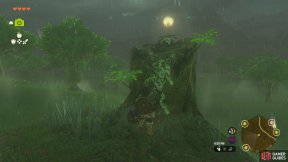
27. Hyrule Surface Map
Interact with the dandelion on the stump, then interact with the seed that drops out to reveal the Korok.
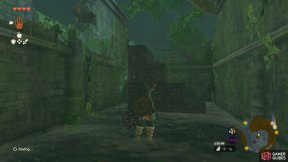
28. Hyrule Surface Map
Rearrange the blocks like this using ![]() Ultrahand to make the Korok appear.
Ultrahand to make the Korok appear.
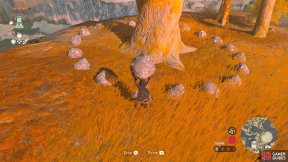
29. Hyrule Sky Islands Map
You can reach this platform via the Wings at ![]() Nachoyah Shrine.
Nachoyah Shrine.
Place the loose rock to complete the circle of stone for a ![]() Korok Seed. The loose rock is near the edge of the cliff, and the gap in the rocks is opposite it.
Korok Seed. The loose rock is near the edge of the cliff, and the gap in the rocks is opposite it.
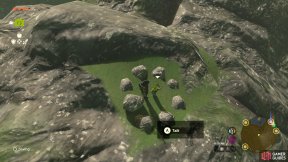
31. Hyrule Surface Map
Grab the nearby rock and place it to complete the circle of rocks to make this Korok appear.
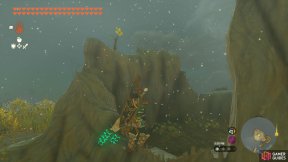
32. Hyrule Sky Islands Map
Touch the flower inside the tree stump near the center of the island.
It’ll disappear and reappear somewhere nearby.
Keep following it until it ends up in the tree stump to the east.
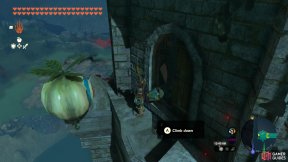
34. Hyrule Surface Map
!Balloon outside the west-facing window in ![]() Princess Zelda’s Study.
Princess Zelda’s Study.
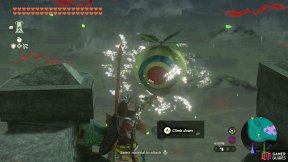
35. Hyrule Surface Map
Look for a pinwheel near the end of the collapsed rampart.
A balloon will rapidly disappear and reappear, staying still for a few seconds at the beginning and end of the trail.
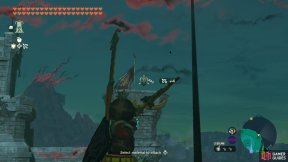
37. Hyrule Surface Map
Shoot the balloon with your bow etc. You can ![]() Fuse an
Fuse an ![]() Aerocuda Wing to make your arrows fly further, for example.
Aerocuda Wing to make your arrows fly further, for example.
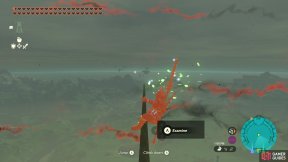
38. Hyrule Surface Map
Atop the highest point of Hyrule Castle. Seem familiar?
Don’t forget you can use ![]() Ascend to skip some climbing!
Ascend to skip some climbing!
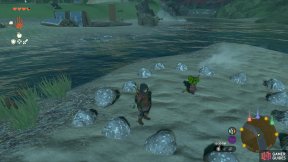
39. Hyrule Surface Map
Grab a rock from nearby and place it in the gap of rocks forming a square to make this Korok appear.
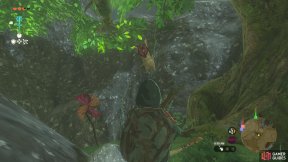
40. Hyrule Surface Map
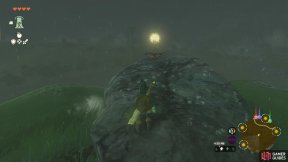
At the bottom of the hill before you drop into a tunnel is a fan-like object. As you approach it, a balloon will appear. Shoot the balloon to obtain the seed.
41. Hyrule Surface Map
Interact with the dandelion and then interact with the seed to make this Korok appear.
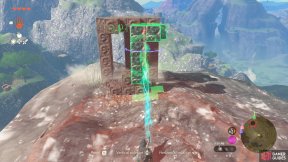
44. Hyrule Surface Map
Rotate the loose piece, and place it correctly into the block of cubes for a seed.
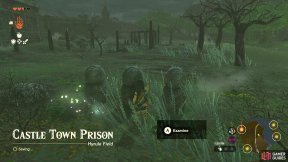
46. Hyrule Surface Map
Disguised as a glowing butterfly, catch it to receive the Seed.
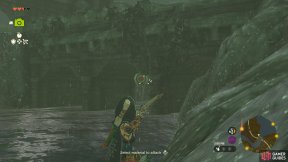
47. Hyrule Surface Map
Disguised as a balloon underneath Moat Bridge. Shoot it to make the Korok appear.
48. Hyrule Surface Map
Just walk to the ends of the ruins and pick up the rock to get a ![]() Korok Seed.
Korok Seed.
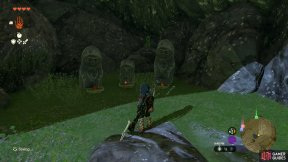
49. Hyrule Surface Map
This seed can be found near the pool of water. Place two ![]() Apples on the empty stone plates to complete the puzzle.
Apples on the empty stone plates to complete the puzzle.
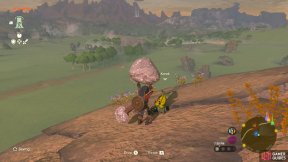
51. Hyrule Surface Map
Use ![]() Ascend to reach the top of this rock structure and lift the lone rock to reveal this Korok.
Ascend to reach the top of this rock structure and lift the lone rock to reveal this Korok.
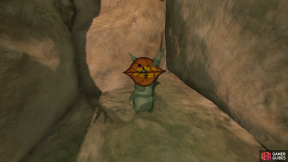
52. Hyrule Surface Map
Pick up the rock in the small hole and you will get a ![]() Korok Seed.
Korok Seed.
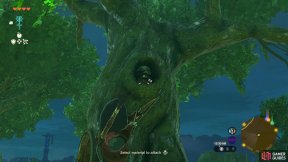
53. Hyrule Surface Map
Shoot the pot in the center of the largest tree here to reveal the Korok.
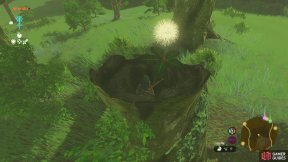
54. Hyrule Surface Map
Strike the Dandelion, then catch the seed to reveal this Korok.
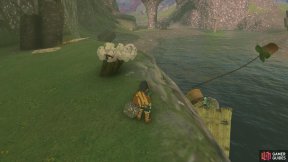
55. Hyrule Surface Map
This Korok is stuck in a tree stump. Lift the weight with ![]() Ultrahand and dangle it off the ledge. Then attach the nearby rocks and wooden boards to the weight to pull the Korok free and receive the
Ultrahand and dangle it off the ledge. Then attach the nearby rocks and wooden boards to the weight to pull the Korok free and receive the ![]() Korok Seed.
Korok Seed.
56. Hyrule Surface Map
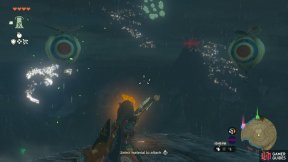
There is a fan on top of Mount Floria, and as you approach it, you’ll need to quickly shoot all three balloons for the Korok to appear.
57. Hyrule Surface Map
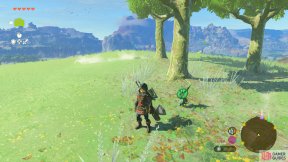
Look for the glittering trail and interact with it to reveal this Korok.
58. Hyrule Surface Map
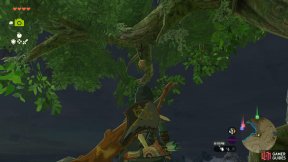
On the branch of the large tree is a singular ![]() Acorn hanging off it. Shoot the Acorn to get the seed.
Acorn hanging off it. Shoot the Acorn to get the seed.
60. Hyrule Surface Map
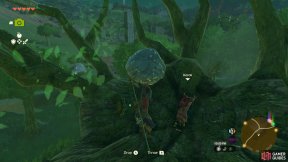
Climb the large tree here and lift the rock to reveal a ![]() Korok Seed.
Korok Seed.
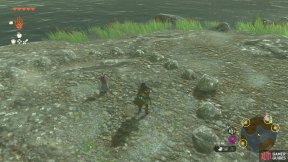
63. Hyrule Surface Map
Find a nearby rock and place it in the circle of rocks to complete it and reveal the Korok.
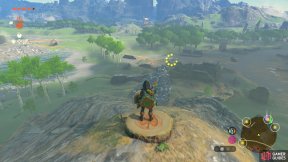
65. Hyrule Surface Map
Stand on the log platform here and a ring will appear, get through it in time to get a ![]() Korok Seed.
Korok Seed.
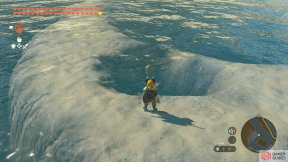
66. Hyrule Surface Map
Under the water in the hole on the sandbank. Break the small pot with an arrow, for example, to be rewarded with a ![]() Korok Seed.
Korok Seed.
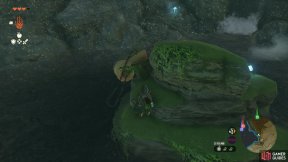
67. Hyrule Surface Map
On the small grassy platform at the bottom of the waterfall. Here, you’ll find a cork stuck in a tree stump.
What you want to do here is attach as much heavy stuff to the loose cork to pull out the stuck cork. Alternatively, you can shoot it with a Cannon which you can find in the ![]() Mount Floria Cave above.
Mount Floria Cave above.
68. Hyrule Surface Map
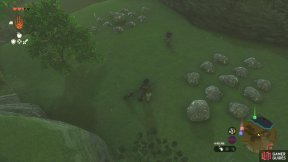
On top of the raised platform are two stone puzzles side by side. This puzzle requires you to place a stone on each puzzle.
Both stones can be found on the nearby platforms, and you’ll want to place one stone in the middle of the left puzzle, and one at the bottom of the right puzzle.
69. Hyrule Surface Map
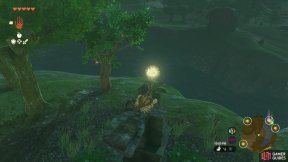
Strike the dandelion and then catch the seed to reveal this Korok.
71. Hyrule Surface Map
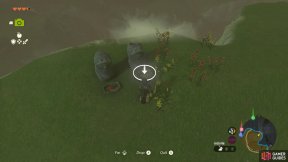
On top of the grassy plateau. Place an ![]() Apple in the empty plate to get the seed.
Apple in the empty plate to get the seed.
72. Hyrule Surface Map
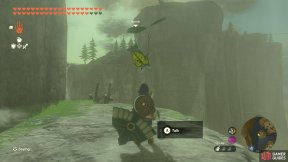
To the west, across the water and further down, is a leaf-patterned tree stump.
When you stand on the stump, a countdown ring will appear where this map marker is.
Make your way to the ring before time’s up. You should glide into the strong wind drafts to quickly ascend.
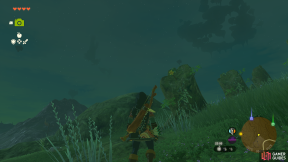
73. Hyrule Surface Map
Climb up all the tress to the flowers. Once you have done the last tree the Korok will appear and give you a ![]() Korok Seed.
Korok Seed.
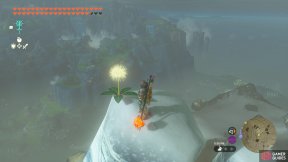
74. Hyrule Surface Map
Hit the glowing puff and it’ll float up, before falling. Catch it mid-air to reveal this Korok.
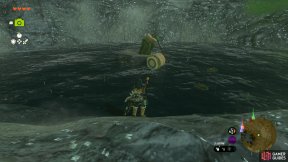
76. Hyrule Surface Map
Here, you’ll find a cork stuck in a tree stump.
What you want to do here is attach as much heavy stuff to the loose cork to pull out the stuck cork. Alternatively, you can shoot it with a Cannon which you can find in the ![]() Mount Floria Cave above.
Mount Floria Cave above.
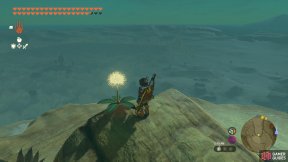
77. Hyrule Surface Map
Hit the glowing puff and it’ll float up, before falling. Catch it mid-air to reveal this Korok.
78. Hyrule Surface Map
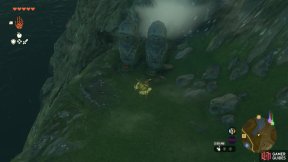
You will find two offering statues here, drop an apple into the one on the right to make the Korok appear.
79. Hyrule Surface Map
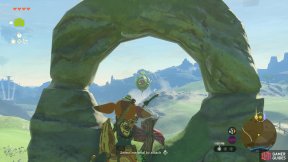
Interact with the spinning pinwheel to see a balloon pop up. Shoot it with an arrow and a Korok will appear to give you a seed.
80. Hyrule Surface Map
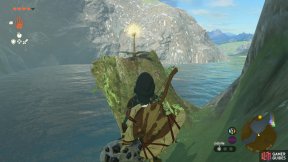
Strike the Dandelion and then interact with the seed to make this Korok appear.
81. Hyrule Surface Map
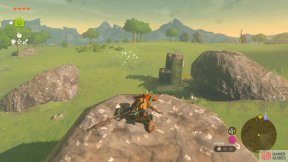
Look for the sparkle in the air as you approach the three stones. You will need to build a mini ladder or structure to reach it and interact with it to receive your seed.
82. Hyrule Surface Map
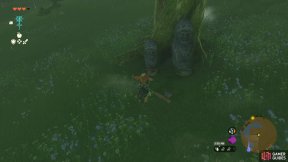
Twin statues, one with an apple in a bowl. Place an apple in the other bowl to find the Korok.
83. Hyrule Surface Map
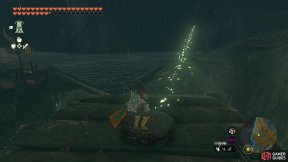
To the south is a platform with a leaf-pattern tree stump.
Stand on the stump to make a countdown ring appear where this map marker is.
Run north to the ring and use ![]() Ascend to quickly go up.
Ascend to quickly go up.
84. Hyrule Surface Map
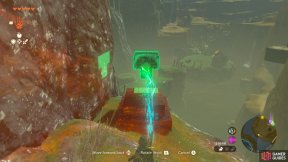
Use ![]() Ultrahand to grab the blocks on top and flip them, inserting them into the hole to reveal the Korok.
Ultrahand to grab the blocks on top and flip them, inserting them into the hole to reveal the Korok.
85. Hyrule Sky Islands Map
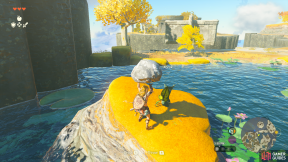
Lift the small stone that is placed on top of the rock in the middle of the water to reveal.
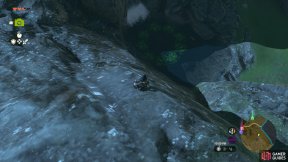
86. Hyrule Surface Map
In the small pond is a circle of lily pads. Glide over, and dive into the center to get the seed.
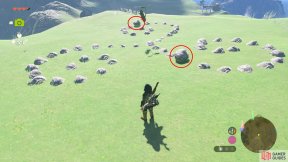
87. Hyrule Surface Map
On the mountain peak. Complete the rock puzzle to get the seed. Place one rock at the top of the swirl, and one rock in the gap of the bottom right swirl.
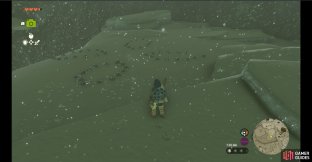
88. Hyrule Surface Map
Find a nearby stone and place it in the missing spot to complete the puzzle.
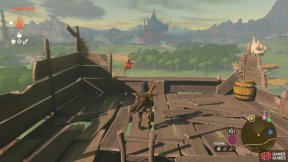
89. Hyrule Surface Map
Climb the tower and stand near the pinwheel to make some Balloons appear. Shoot all of them to make the Korok appear.
90. Hyrule Surface Map
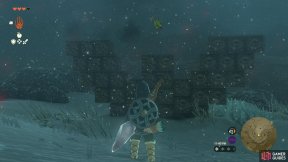
You need to use ![]() Ultrahand to place the nearby rock piece into the monument, like a mini game of Tetris.
Ultrahand to place the nearby rock piece into the monument, like a mini game of Tetris.
92. Hyrule Surface Map
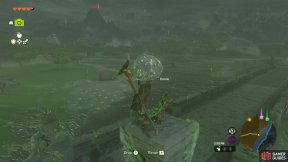
Climb the southern pillar and lift the rock on top to reveal this Korok.
93. Hyrule Surface Map
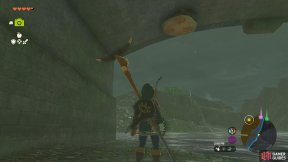
Go under the bridge here and look up to find a log with three leaves on it. Use ![]() Ascend through this to make the Korok appear.
Ascend through this to make the Korok appear.
94. Hyrule Surface Map
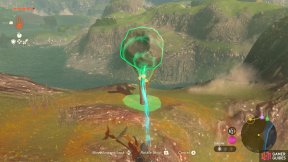
Lift the nearby boulder with ![]() Ultrahand and place it in the stump nearby to make this Korok appear.
Ultrahand and place it in the stump nearby to make this Korok appear.
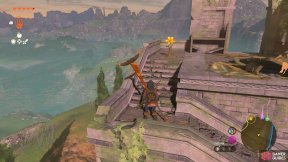
95. Hyrule Surface Map
Interact with the flower and then follow it along the ruins to make the Korok appear.
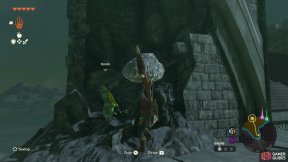
96. Hyrule Surface Map
Climb this tower on the bridge and lift the rock in the rubble to find this Korok.
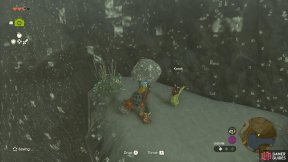
97. Hyrule Surface Map
You need to glide to this platform, then use ![]() Fire Fruit to melt the ice and reveal the stone, under which the Korok can be found.
Fire Fruit to melt the ice and reveal the stone, under which the Korok can be found.
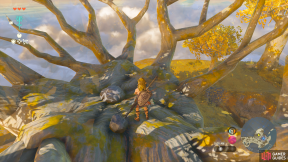
98. Hyrule Sky Islands Map
Climb the large tree and lift the stone at the top to reveal.
99. Hyrule Sky Islands Map
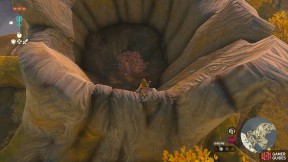
Inside the large stump is a pile of leaves. Burn away the leaves to reveal a rock with a Korok underneath.
101. Hyrule Surface Map
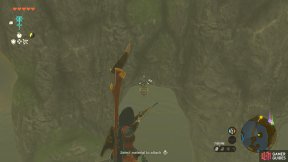
Stand on the small island to the east and look west to spot a !Balloon, shoot it to make the Korok appear.
102. Hyrule Surface Map
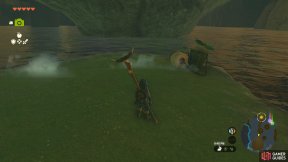
Head below the bridge and weigh down the cork to make this Korok appear.
103. Hyrule Surface Map
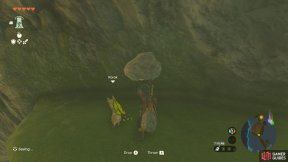
Drop to the small ledge below the bridge and lift the lone rock to reveal the Korok.
104. Hyrule Surface Map
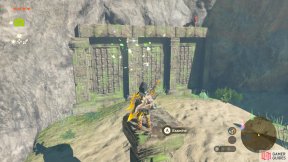
In this area, you’ll see three red arrows pointing to a location. The location will be the lone dilapidated pillar. Climb on top of the pillar to find the Korok, and get a seed.
105. Hyrule Surface Map
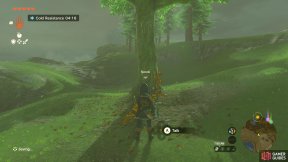
Interact with the glittering trail to make this Korok appear.
106. Hyrule Surface Map
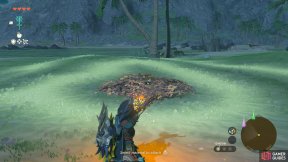
Here you’ll find a patch of dry leaves in a pile. Burn them to reveal a rock. Pick up the rock to unveil the Korok.
107. Hyrule Surface Map
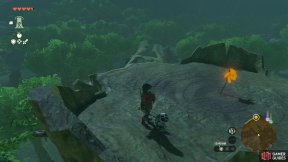
Climb to the top of this large tree and find the Pinwheel. This will cause three !Balloons to rotate around the tree, shoot them all to make the Korok appear.
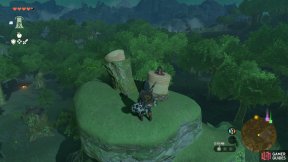
108. Hyrule Surface Map
Weigh down the cork to pull out the other cork here. This will reveal the Korok.
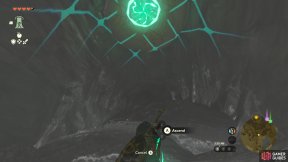
109. Hyrule Surface Map
You will find a small cave here (not named), look above inside to find a log with leaves on it, ![]() Ascend through to reveal the Korok.
Ascend through to reveal the Korok.
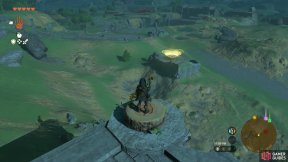
113. Hyrule Surface Map
Stand on the log here to trigger a landing platform a little to the northeast. Glide over and land on it to reveal the Korok.
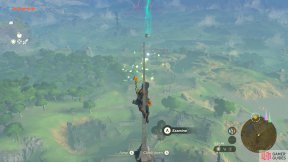
114. Hyrule Surface Map
Climb to the top of the highest point of the Temple and examine to reveal the Korok.
116. Hyrule Surface Map
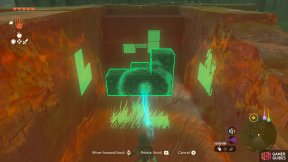
Rotate the blocks like this and insert them into the hole to reveal the Korok.
117. Hyrule Surface Map
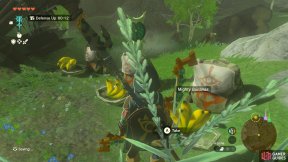
Offer ![]() Mighty Bananas (dropped by Yiga Clan enemies) in each of the bowels to make this Korok appear.
Mighty Bananas (dropped by Yiga Clan enemies) in each of the bowels to make this Korok appear.
118. Hyrule Surface Map
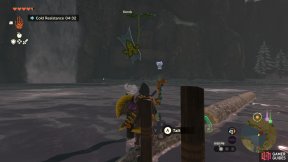
Use the nearby logs to make a bridge over to the end of the pillars here and examine the leaves to reveal the Korok.
119. Hyrule Surface Map
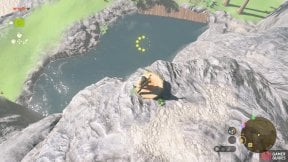
Above the pond, next to the waterfall. Stand on the tree trunk and drop into the circle below before the time runs out.
120. Hyrule Surface Map
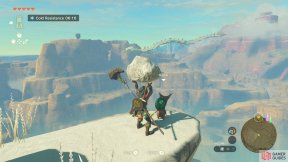
Lift the lone rock at the top of the mountain to reveal this Korok.
121. Hyrule Surface Map
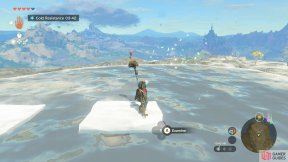
Use the nearby ![]() Ice Fruit to create platforms to the center of the pool of water here and examine the leaves to make the Korok appear.
Ice Fruit to create platforms to the center of the pool of water here and examine the leaves to make the Korok appear.
123. Hyrule Surface Map
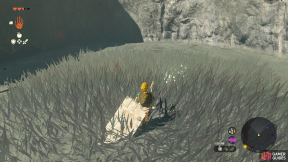
Look for the sparkle moving around the tall grass in the sunken area outside the First Gatehouse.
125. Hyrule Surface Map
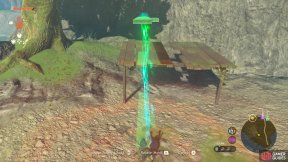
Complete the roof of this shelter. Look on the nearby tree to find the plank of wood and slot it to complete the roof to make the Korok appear.
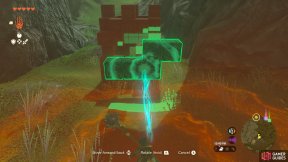
126. Hyrule Surface Map
Use ![]() Ultrahand to position the blocks like this and insert them to reveal the Korok.
Ultrahand to position the blocks like this and insert them to reveal the Korok.
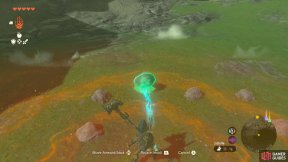
127. Hyrule Surface Map
Use the two nearby rocks to complete the unfinished squares to make this Korok appear.
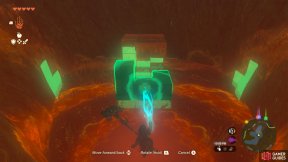
128. Hyrule Surface Map
Position the blocks like this with ![]() Ultrahand and insert them to reveal the Korok.
Ultrahand and insert them to reveal the Korok.
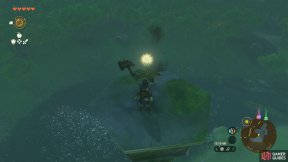
129. Hyrule Surface Map
Reach the top of this large pillar to find a Dandelion. Strike it and catch the seed to reveal this Korok.
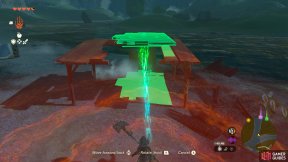
130. Hyrule Surface Map
Pick up the nearby plank of wood and use it to complete the roof of the nearby shelter to make this Korok appear.
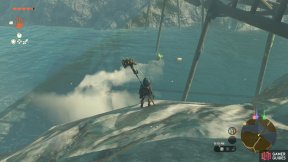
132. Hyrule Surface Map
Weigh down one side of the cork to pull out the other to make this Korok appear.
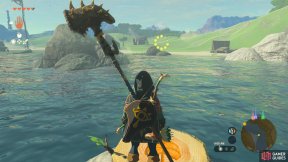
133. Hyrule Surface Map
Stand on the log here to make a golden ring appear, get through it before time runs out to make this Korok appear.
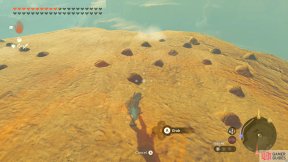
135. Hyrule Surface Map
Carry some stones to match up with the other pattern exactly. You must fill the other two gaps here.
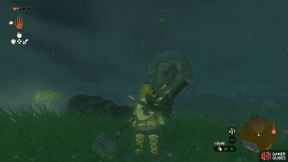
136. Hyrule Surface Map
Use your ![]() Ultrahand ability to move the boulder in the hole at the bottom of the hill and balance it on the branches at the top of the hill
Ultrahand ability to move the boulder in the hole at the bottom of the hill and balance it on the branches at the top of the hill
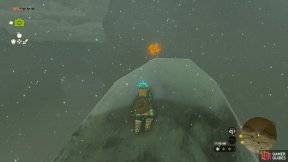
137. Hyrule Surface Map
A ![]() Korok Seed which requires you to shoot a number of moving balloons to complete it.
Korok Seed which requires you to shoot a number of moving balloons to complete it.
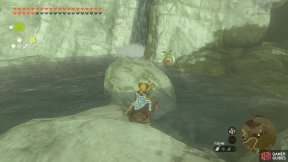
138. Hyrule Surface Map
Look for a pinwheel on a rock in the pond. When you stand near it, a balloon will move around. Pop with an arrow etc.
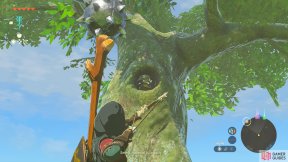
139. Hyrule Surface Map
Look to the south of the tree to spot a pot, shoot it to make the Korok appear.
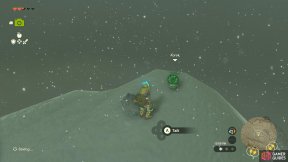
141. Hyrule Surface Map
You need to melt the ice block and then lift the rock to reveal the Korok here.
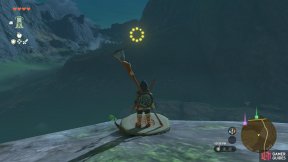
142. Hyrule Surface Map
On top of the rocky plateau which can be reached by using ![]() Ascend. At the edge of the cliff is a small tree trunk.
Ascend. At the edge of the cliff is a small tree trunk.
When stood upon, you’ll have a time limit to reach the yellow circle. This is easier to do with the Wind Temple ability.
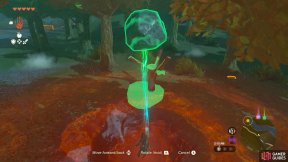
143. Hyrule Surface Map
Lift the nearby boulder with ![]() Ultrahand and drop it on the small tree to reveal the Korok.
Ultrahand and drop it on the small tree to reveal the Korok.
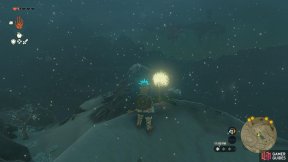
144. Hyrule Surface Map
Hit the dandelion then catch it to reveal a Korok for a ![]() Korok Seed.
Korok Seed.
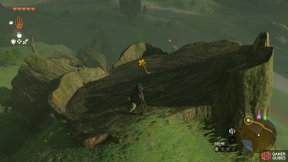
145. Hyrule Surface Map
Interact with the flower here and follow them north to reveal the Korok seed.
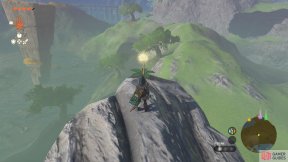
146. Hyrule Surface Map
Strike the Dandelion, then catch the seed to reveal this Korok.
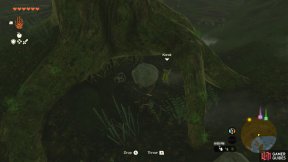
147. Hyrule Surface Map
Burn away the leaves under the tree and then pick up the rock to reveal this Korok.
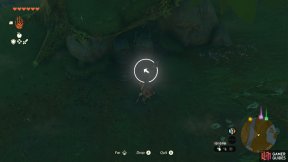
148. Hyrule Surface Map
Drop an apple into the offering bowel to make this Korok appear.
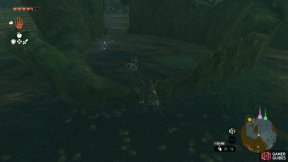
149. Hyrule Surface Map
Interact with the glittering trail to have this Korok appear.
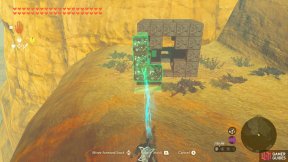
150. Hyrule Surface Map
Use ![]() Ultrahand to slot in the block like in the screenshot shown.
Ultrahand to slot in the block like in the screenshot shown.
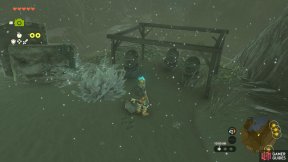
152. Hyrule Surface Map
You need to place the nearby wooden panels on top of the scaffold structure around the shrines here. Placing the large one at an angle in the center before attaching the two smaller ones either side is an easy way to do it.
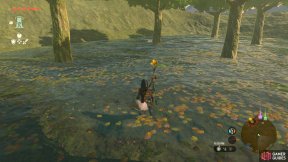
153. Hyrule Surface Map
Interact with the flower, and then run into the other ones that pop up to reveal the Korok.
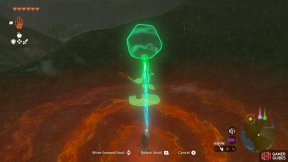
154. Hyrule Surface Map
Use ![]() Ultrahand to lift the boulder at the bottom of the slope and place it on the small tree to make a Korok appear.
Ultrahand to lift the boulder at the bottom of the slope and place it on the small tree to make a Korok appear.
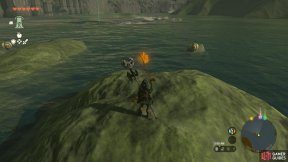
156. Hyrule Surface Map
Stand near the pinwheel to have !Balloons appear. Shoot them all to make the Korok appear.
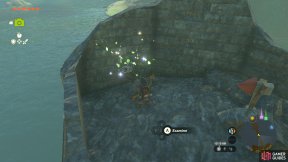
157. Hyrule Surface Map
Land on the rock here and examine where the arrow is pointing to reveal the Korok.
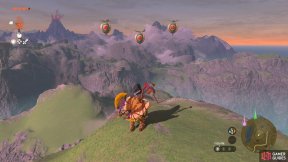
158. Hyrule Surface Map
On the highest peak of the mountain is a fan. Standing near the fan will spawn some balloons. Shoot all the balloons to get the seed.
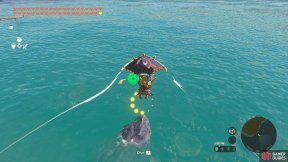
161. Hyrule Surface Map
Towards the north-west, near the shoreline is a leaf-patterned stump.
Stand on it, then quickly head to the ring that appears here.
You could ![]() Fuse a Rocket to a shield to shoot up, then glide down to the ring.
Fuse a Rocket to a shield to shoot up, then glide down to the ring.
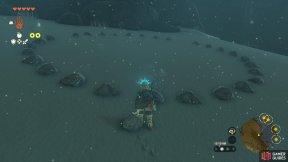
162. Hyrule Surface Map
You need to put two stones (which can be found nearby) in the missing places to discover the Korok for a ![]() Korok Seed.
Korok Seed.
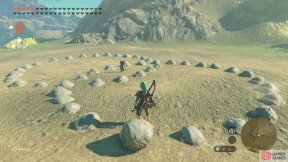
163. Hyrule Surface Map
Pick up the rock near the center of the formation and place it in the gap.
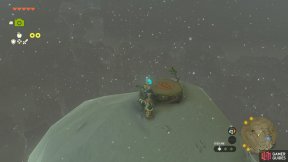
164. Hyrule Surface Map
You need to stand on the stump and then race through the circle before it disappears. You can shield surf to get down the hill quickly, then sprint to the circle, but beware the ![]() Frost Pebblits along the way!
Frost Pebblits along the way!
165. Hyrule Surface Map
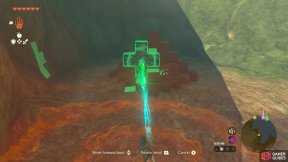
Grab the nearby blocks and insert them in the nearby structure to make the Korok appear.
167. Hyrule Surface Map
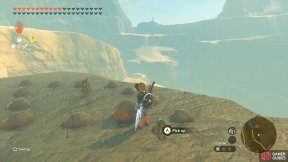
Complete the rock formation to reveal this Korok. The missing rock is located a short distance south-west on the same rock bridge.
168. Hyrule Surface Map
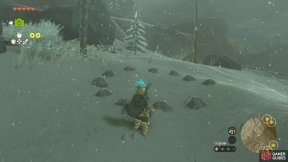
You need to place a nearby rock to complete the formation and reveal the Korok for a ![]() Korok Seed.
Korok Seed.
170. Hyrule Surface Map
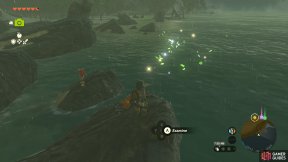
Follow the red arrows to this rock and examine the floating leaves to reveal this Korok.
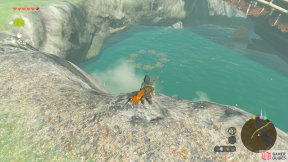
171. Hyrule Surface Map
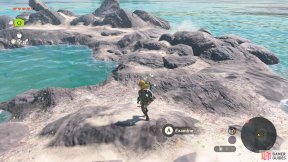
Leap into the middle of the ring of flowers to reveal this Korok.
174. Hyrule Surface Map
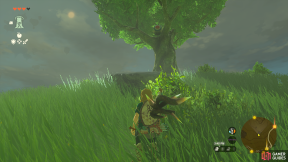
There is a spirit thing moving around the little island. Stay in one spot and wait for it to pass you before catching it to reveal the Korok.
175. Hyrule Surface Map
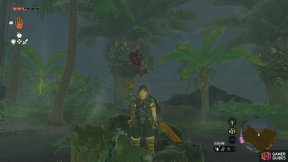
Shoot an arrow at the baloon in the tree to reveal the Korok
177. Hyrule Surface Map
In the middle of a little swamp. You will likely need to use your ![]() Paraglider to reach it, as you can’t stand in the swamp for very long. Interact with the leaves on the tree stump to get the Korok to appear.
Paraglider to reach it, as you can’t stand in the swamp for very long. Interact with the leaves on the tree stump to get the Korok to appear.
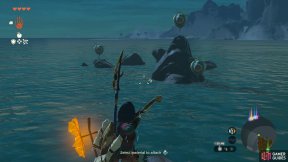
178. Hyrule Surface Map
Interact with the pinwheel, then shoot the three balloons that appear to make the Korok appear.
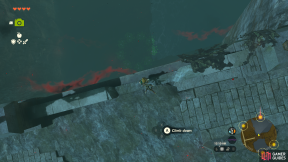
179. Hyrule Surface Map
Dive from the bridge into the center of the lily pad circle to reveal the Korok.
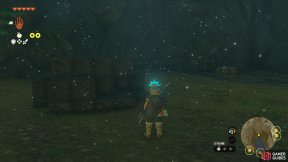
180. Hyrule Surface Map
You need to put the block puzzle together to acquire the ![]() Korok Seed here.
Korok Seed here.
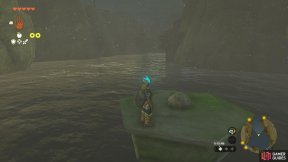
181. Hyrule Surface Map
You can glide down from the surrounding cliffs to reach this platform, then lift the rock to find the ![]() Korok Seed.
Korok Seed.
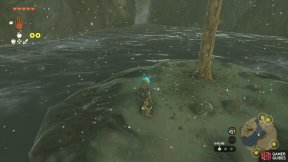
182. Hyrule Surface Map
You need to place the nearby stone in the missing spot to reveal the Korok.
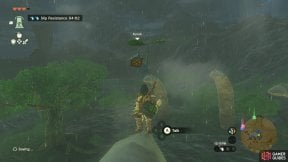
183. Hyrule Surface Map
If you look on top of the bones, you’ll see two red arrows pointing to this spot. Use ![]() Ascend to get on the bone, and make your way to the tip of it.
Ascend to get on the bone, and make your way to the tip of it.
This will allow you to interact with some particle effects which will show you the Korok.
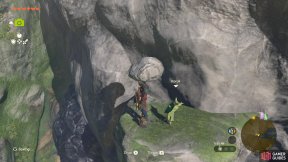
184. Hyrule Surface Map
Lift the lone rock on the ledge off the side of this cliff.
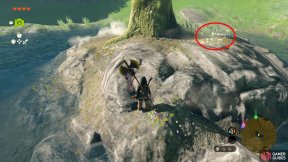
185. Hyrule Surface Map
At the base of the tree is a spirit-like creature that will zoom around the tree. Interact with it when it runs past you to discover it is indeed a Korok.
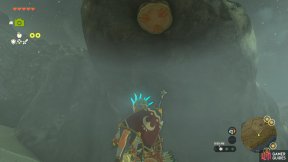
186. Hyrule Surface Map
You’ll find a stump on the underside of the rock outcrop here. You need to stand under it and use ![]() Ascend to reveal the Korok.
Ascend to reveal the Korok.
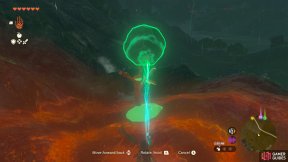
188. Hyrule Surface Map
Find the nearby boulder and use ![]() Ultrahand to place it on the tree to reveal the Korok.
Ultrahand to place it on the tree to reveal the Korok.
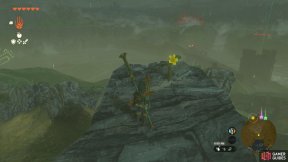
189. Hyrule Surface Map
Interact with the flower here and then grab the ones that follow to make this Korok appear.
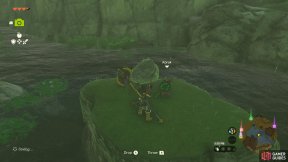
190. Hyrule Surface Map
A singular rock in the middle of the pond. Only one thing this can be…a Korok. Lift the rock to unveil them for a seed. Just make sure you don’t drop it on them after…
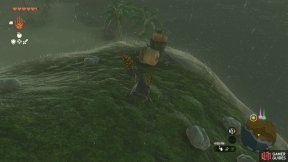
191. Hyrule Surface Map
Weigh down the cork to pull the other side out and reveal this Korok.
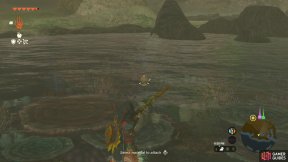
192. Hyrule Surface Map
If you look carefully in the water here, you’ll spot a pot rising to the top, shoot it to reveal the Korok.
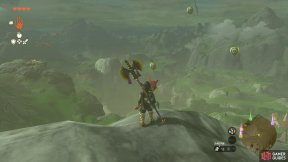
193. Hyrule Surface Map
On top of the mountain you’ll find a small fan. Stand on the fan to spawn three balloons where you’ll need to shoot them all to acquire the seed.
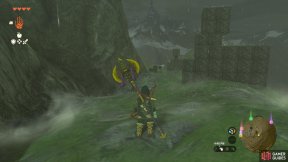
194. Hyrule Surface Map
Halfway up the mountain you’ll find a cube puzzle. Use ![]() Ultrahand to place the loose cube piece into the left puzzle (facing towards the village below) to obtain the seed.
Ultrahand to place the loose cube piece into the left puzzle (facing towards the village below) to obtain the seed.
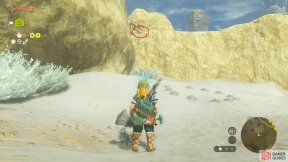
195. Hyrule Surface Map
You need to place the nearby rock (see the image) in the missing spot in the circle to discover the Korok.
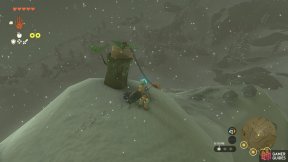
199. Hyrule Surface Map
You need to attach one of the nearby rocks to the stump with ![]() Ultrahand to reveal the Korok.
Ultrahand to reveal the Korok.
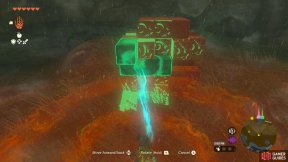
200. Hyrule Surface Map
Rotate the blocks and place them into the structure to make this Korok appear.
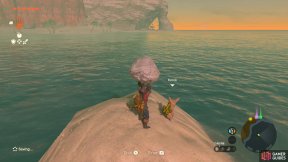
201. Hyrule Surface Map
Lift the lone rock on this small island to reveal the Korok.
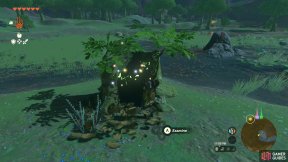
202. Hyrule Surface Map
Follow the arrows to this tree stump and examine to reveal the Korok.
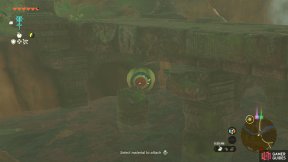
203. Hyrule Surface Map
Look under the bridge to spot a !Balloon and shoot it to reveal the Korok.
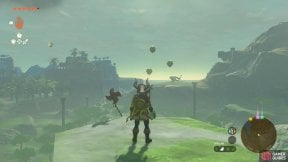
204. Hyrule Surface Map
Climb to the top of the pillar and stand near the pinwheel to spawn three !Balloons then shoot them to reveal the Korok.
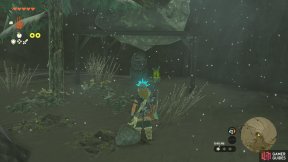
205. Hyrule Surface Map
You can find a ![]() Korok Seed here, but you need to place the nearby rock on top of the structure over the shrine to reveal it.
Korok Seed here, but you need to place the nearby rock on top of the structure over the shrine to reveal it.
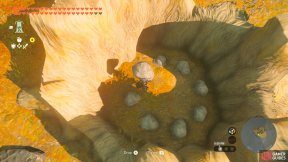
206. Hyrule Sky Islands Map
Grab a rock from the other tree trunk and use it to complete the rock formation.
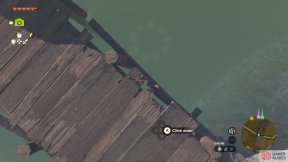
207. Hyrule Surface Map
Dive into the circle of flowers from the bridge to reveal this Korok.
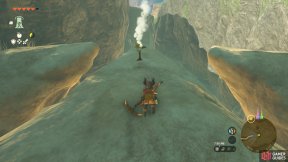
208. Hyrule Surface Map
Climb on to the rocks here to find a flower. Interact with it and follow the trail of flowers to make this Korok appear.
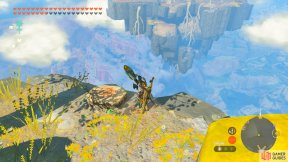
209. Hyrule Sky Islands Map
Look for a leaf-patterned stump on a smaller island to the south-east.
Stand on the stump and a target will appear at this location. Glide to the target to reveal this Korok.
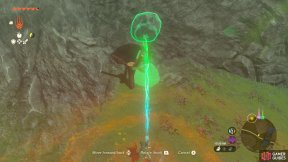
210. Hyrule Surface Map
Use ![]() Ultrahand to pick up the nearby boulder and place it on the tree to reveal this Korok.
Ultrahand to pick up the nearby boulder and place it on the tree to reveal this Korok.
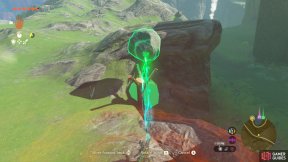
211. Hyrule Surface Map
Lift the nearby boulder with ![]() Ultrahand and place it on the tree to reveal this Korok.
Ultrahand and place it on the tree to reveal this Korok.
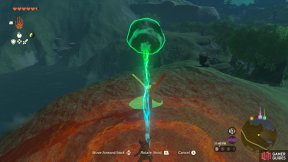
212. Hyrule Surface Map
Lift the nearby boulder with ![]() Ultrahand and place it on the tree to reveal Korok.
Ultrahand and place it on the tree to reveal Korok.
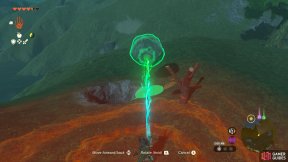
214. Hyrule Surface Map
Lift the nearby boulder with ![]() Ultrahand and place it on the tree to reveal this Korok.
Ultrahand and place it on the tree to reveal this Korok.
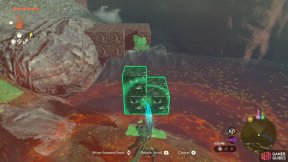
215. Hyrule Surface Map
Rotate the blocks and slot them in the structure to reveal this Korok.
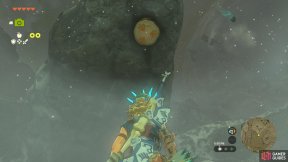
216. Hyrule Surface Map
You need to use ![]() Ascend to go through the stump located under the rock surface here.
Ascend to go through the stump located under the rock surface here.
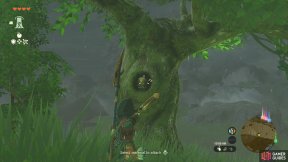
218. Hyrule Surface Map
Inside a hole of the larger of the two trees is an acorn-like object. Shoot it to reveal the Korok.
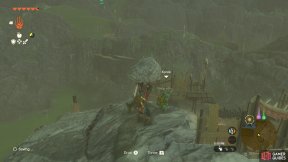
219. Hyrule Surface Map
Lift the lone rock on top of the ![]() Bokoblin fort to reveal this Korok.
Bokoblin fort to reveal this Korok.
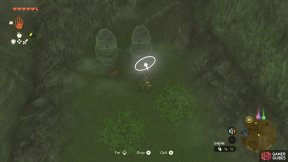
220. Hyrule Surface Map
Drop an apple into the offering bowel to make the Korok appear here.
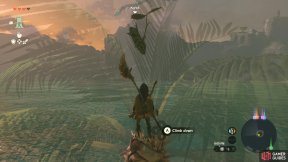
221. Hyrule Surface Map
Climb the palm tree and interact with the particle effects on top to reveal the Korok.
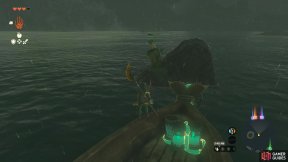
222. Hyrule Surface Map
On the small rock is a tree stump with a cork in it. Attach the loose end of the cork to your boat and drive away from it to loosen it, and reveal the Korok. You can make a boat at the nearby Tenoko Island.
Alternatively, use a cannon at it to shoot it off.
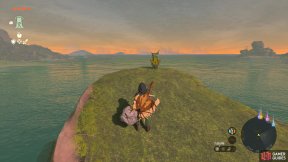
223. Hyrule Surface Map
In the middle of the rocks is a large pillar. Climb to the top, and lift the rock to reveal the Korok.
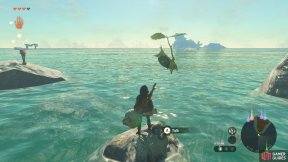
224. Hyrule Surface Map
There are a series of Red ![]() Arrows all pointing to a specific spot. This spot happens to be in on top of a small rock among three large rocks, two of them with Red Arrows.
Arrows all pointing to a specific spot. This spot happens to be in on top of a small rock among three large rocks, two of them with Red Arrows.
Stand on the rock, and examine to reveal the Korok.
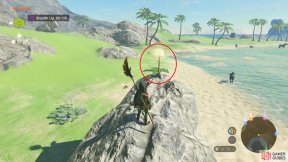
225. Hyrule Surface Map
On top of the small boulder. Attack the dandelion to release a seed. Catch the seed to reveal the Korok. If you miss the seed, you can retry it again by attacking the dandelion.
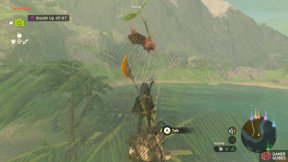
226. Hyrule Surface Map
Climb the palm tree to the top, and examine the particle effects to reveal the Korok. There are nearby red arrows that point to the exact tree.
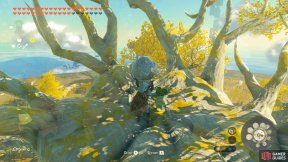
227. Hyrule Sky Islands Map
Lift up the rock on top of the middle tree at the very top of ![]() Zonaite Forge Island.
Zonaite Forge Island.
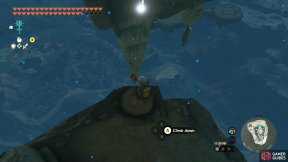
228. Hyrule Sky Islands Map
Look for a leaf-patterned stump on a small island near the bottom of Lightcast Island.
When you stand on the stump, a light will shoot down to the surface. Catch it while sky-diving.
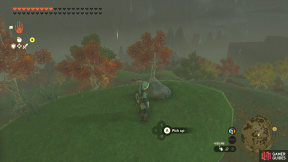
235. Hyrule Surface Map
Lift the rock at the top of the structure to reveal the Korok.
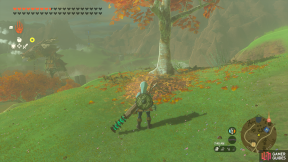
237. Hyrule Surface Map
Burn the pile of leaves and lift the stone underneath to reveal the Korok.
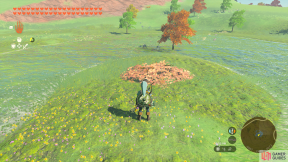
239. Hyrule Surface Map
Burn the leaves away and lift the rock underneath to reveal the Korok.
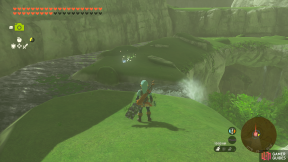
240. Hyrule Surface Map
There is a sparkly group of leaves moving counter-clockwise around the pond. Examine them to reveal the Korok.
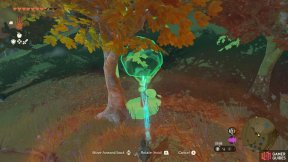
241. Hyrule Surface Map
Pick up the large boulder from in front of the tree then place it in the stick holder behind to reveal the Korok.
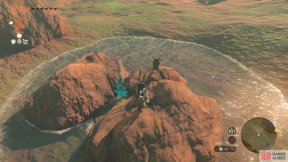
242. Hyrule Surface Map
Stand near the fan then shoot the moving balloons to reveal the Korok.
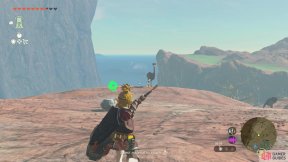
243. Hyrule Surface Map
Hop up onto the tree with the windmill. Then shoot the three balloons that are floating around the tree to reveal the korok.
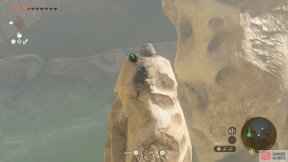
244. Hyrule Surface Map
Climb to the top of this shorter pillar and pick up the rock to reveal the Korok.
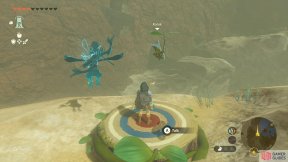
245. Hyrule Surface Map
Stand on the Korok stump on the cliff above to reveal a timed target below. Reach the target in time to reveal the Korok.
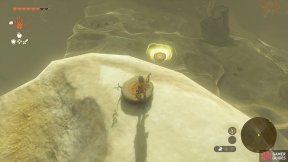
246. Hyrule Surface Map
Stand on the korok stump to the east on the cliff to reveal a target that you’ll need to land on to reveal the korok. Don’t touch the ground before landing on the target or it’ll disappear.
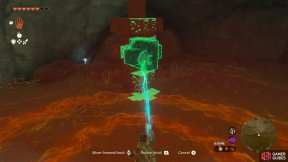
247. Hyrule Surface Map
Slot the smaller metal shape into the larger one to reveal the korok.
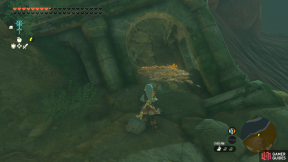
249. Hyrule Surface Map
Burn away the leaves and lift the rock underneath to reveal the Korok.
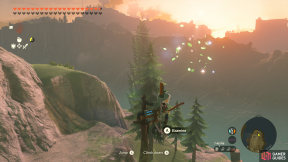
250. Hyrule Surface Map
There are wooden arrows in the ground around this area pointing to a tall tree. Scale the tree and examine the fairy lights at the top to reveal the Korok.
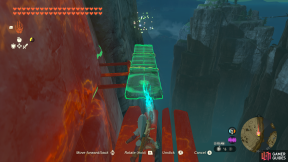
252. Hyrule Surface Map
Use ![]() Ultrahand to fuse the surrounding boards to create a plank and walk across to examine the fairy lights.
Ultrahand to fuse the surrounding boards to create a plank and walk across to examine the fairy lights.
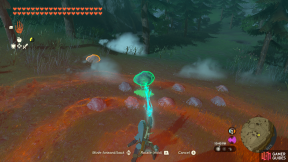
253. Hyrule Surface Map
Use ![]() Ultrahand ability to line up the rocks to reveal the Korok.
Ultrahand ability to line up the rocks to reveal the Korok.
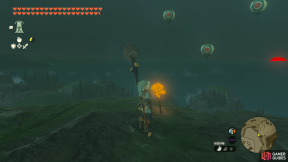
254. Hyrule Surface Map
Approach the pinwheel to spawn three baloons. Shoot the balloons with an arrow to reveal the Korok.
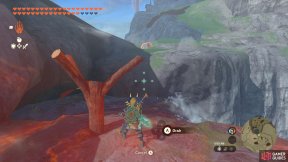
256. Hyrule Surface Map
Use ![]() Ultrahand to grab the boulder on the opposite side of the river and place it on the three-pronged stump.
Ultrahand to grab the boulder on the opposite side of the river and place it on the three-pronged stump.
If you hop over to the side with the boulder, you can just about reach the stump with Ultrahand when you stand at the river’s edge.
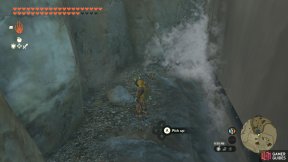
257. Hyrule Surface Map
Underneath a rock behind the waterfall, at the bottom of the waterfall.
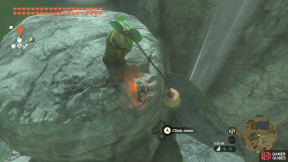
258. Hyrule Surface Map
Attach a rocket to the loose end of the plug to pop the cork and reveal the Korok.
260. Hyrule Surface Map
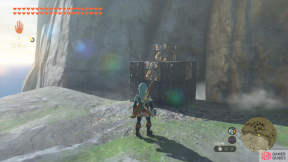
Use ![]() Ultrahand ability to rotate the puzzle piece to complete the cube.
Ultrahand ability to rotate the puzzle piece to complete the cube.
261. Hyrule Surface Map
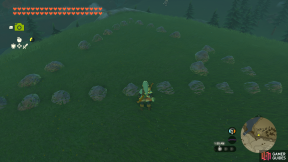
Use ![]() Ultrahand ability to move the rocks into the correct formation.
Ultrahand ability to move the rocks into the correct formation.
262. Hyrule Surface Map
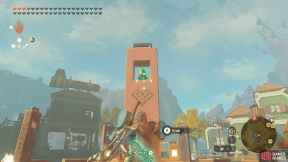
Use ![]() Ultrahand ability to ring the bell to reveal the Korok.
Ultrahand ability to ring the bell to reveal the Korok.
264. Hyrule Surface Map
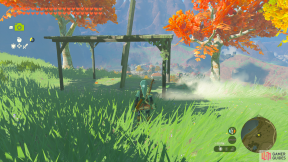
Use ![]() Ultrahand ability to fix the broken roof board to reveal the Korok.
Ultrahand ability to fix the broken roof board to reveal the Korok.
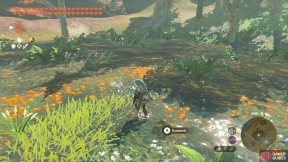
265. Hyrule Surface Map
Examine the fairy lights floating around the pond to reveal the Korok.
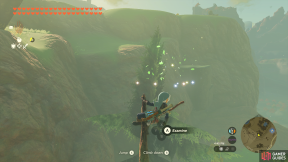
266. Hyrule Surface Map
There are wooden signs in this area pointing to a tree, climb to the top and examine the fairy lights to reveal the Korok.
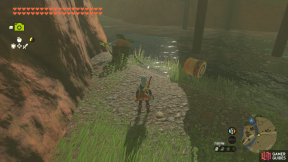
268. Hyrule Surface Map
![]() Fuse a Rocket to the end of the chain to pop the cork and reveal the Korok.
Fuse a Rocket to the end of the chain to pop the cork and reveal the Korok.
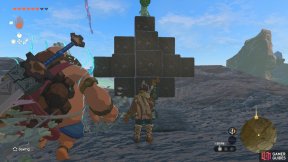
270. Hyrule Surface Map
Place the piece into the larger metal shape to reveal the korok.
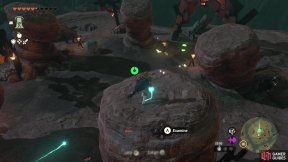
271. Hyrule Surface Map
Found atop the rock column on the southeast side of Gut Check Rock.
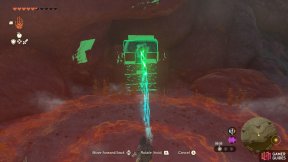
272. Hyrule Surface Map
Rotate the smaller metal piece until it fits in the larger piece to reveal the korok.
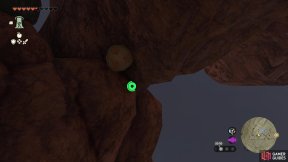
273. Hyrule Surface Map
Find the korok stump beneath the stone archway and ascend up it to reveal the korok.
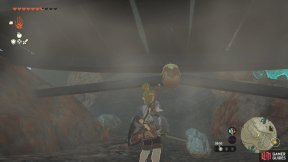
274. Hyrule Surface Map
Destroy the pot hanging from the underside of the bridge to reveal the korok.
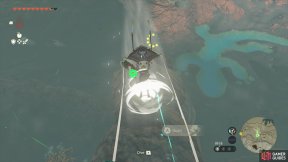
275. Hyrule Surface Map
Climb up onto the stone cliff and stand on the wooden korok stump. Then fly over to the other side of the rocks to the timed circle to reveal the korok to the northwest. You can use Tulin’s Power of Wind to give you a boost!
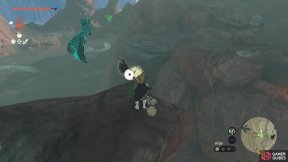
276. Hyrule Surface Map
Underneath the over hanging rocks you’ll find a korok dandelion. Hit the dandelion then catch the seed before it drops to the ground to reveal the korok.
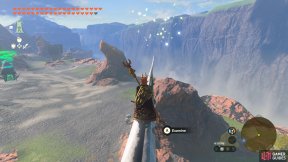
277. Hyrule Surface Map
Examine the shimmering lights at the tip of the Eldin Great Skeleton’s tail.
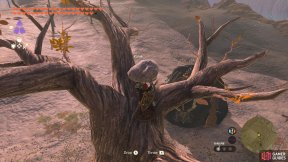
278. Hyrule Surface Map
Pick up the rock atop the big tree. Be wary of the ![]() Black Hinox nearby…
Black Hinox nearby…
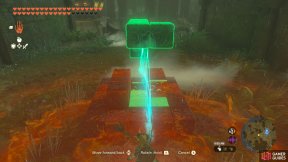
279. Hyrule Surface Map
Short distance west from the Thyphlo Ruins Skyview Tower.
Complete the block puzzle using ![]() Ultrahand.
Ultrahand.
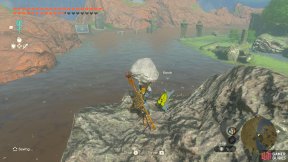
281. Hyrule Surface Map
Atop the broken pillar north of the west bridge at Thyphlo Ruins, under a rock.
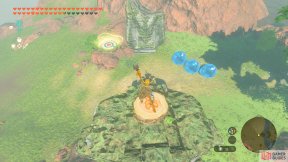
282. Hyrule Surface Map
Near the west bridge at Thyphlo Ruins, look for a leaf-patterned stump atop the southern, unbroken pillar.
Stand on the stump, then glide down to the platform that appears.
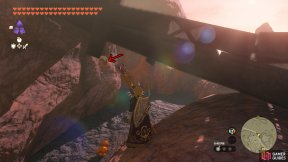
284. Hyrule Surface Map
Break the small pot hanging underneath the staircase, near the middle.
285. Hyrule Surface Map
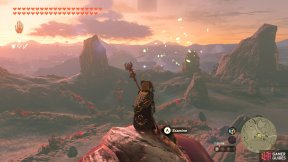
Examine the shimmering lights at the very top of YunoboCo HQ.
286. Hyrule Surface Map
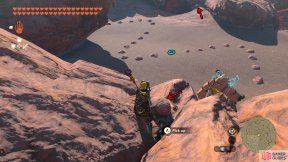
In the center of Darunia Lake.
Pick up two nearby rocks and use them to complete the rock pattern.
287. Hyrule Surface Map
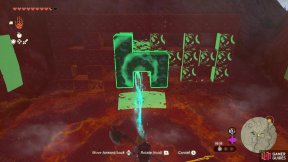
Find the metal h-shape on the ground and rotate it up right to fit into the space in the bigger metal shape up the slope to reveal the korok.
288. Hyrule Surface Map
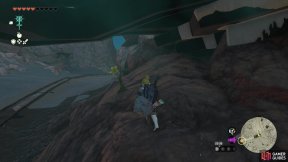
Find the korok flower beneath the bridge, then follow it up the rocks and around to the top of the bridge to catch the korok.
289. Hyrule Surface Map
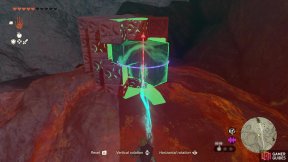
Find the metal L-shaped piece down the slope and pick it up using ![]() Ultrahand. Locate the larger metal block shape and fit the metal L-shaped piece into it. Rotate it so that the square bit is flesh with the larger meal piece.
Ultrahand. Locate the larger metal block shape and fit the metal L-shaped piece into it. Rotate it so that the square bit is flesh with the larger meal piece.
290. Hyrule Surface Map
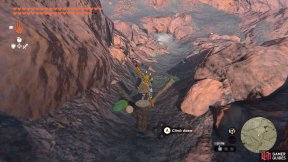
Use ![]() Ultrahand to grab the boulder towards the north-east and place it atop the three-pronged holder.
Ultrahand to grab the boulder towards the north-east and place it atop the three-pronged holder.
291. Hyrule Surface Map
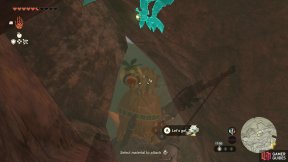
Pop the balloon found under the stone cliff archway to find the Korok.
292. Hyrule Surface Map
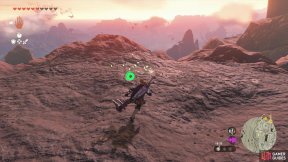
Find the sparkly leaf trail and chase it until you can interact with it to find the Korok.
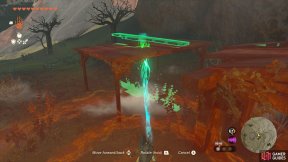
293. Hyrule Surface Map
Find the plank on the floor and replace it in the gap in the roof on the left most ruined building.
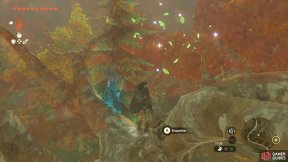
294. Hyrule Surface Map
Look for the arrows pointing to the large tree - climb the tree and interact with the sparkly leaves.
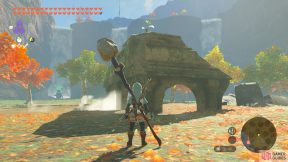
295. Hyrule Surface Map
Follow the trail of flowers from the start point on the corner of the ruins to the end point marked here to reveal the Korok.
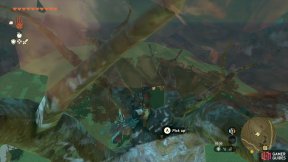
296. Hyrule Surface Map
Climb the tree then pick up the rock in the tree to reveal the korok.
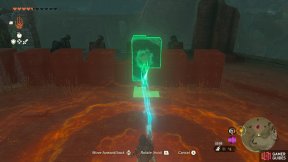
299. Hyrule Surface Map
Align the metal shape in the larger metal formation to reveal the Korok.
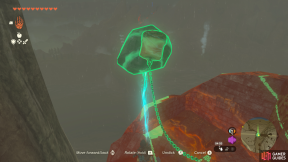
301. Hyrule Surface Map
Found under the bridge: Attach the plug to the large rock and drop it off the egde of the tower.
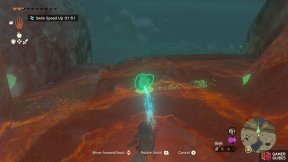
304. Hyrule Surface Map
Find the rock nearby and place it in the empty space to reveal the korok.
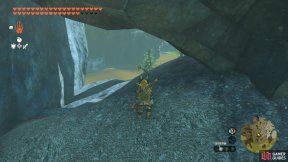
305. Hyrule Surface Map
Underneath the fallen sky bridge a very short distance west from this marker, there’s a Korok Flower.
Touch it, then follow it while climbing along the side of the bridge
307. Hyrule Surface Map
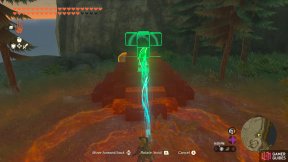
Use ![]() Ultrahand to move the free metal block and complete the block puzzle.
Ultrahand to move the free metal block and complete the block puzzle.
The solution requires the top of the pyramid to be flat.
Don’t worry if you can’t seem to fit the block; it took us a while before the block would go in.
308. Hyrule Surface Map
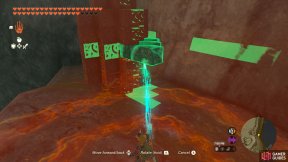
Use ![]() Ultrahand to complete the block puzzle.
Ultrahand to complete the block puzzle.
The free block is on top of the other blocks and should be slotted in near the center, to create a pillar shape.
309. Hyrule Surface Map
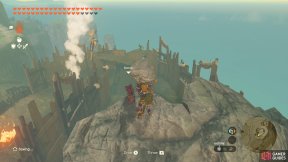
Under the rock atop the fractured skull at the corner of the fortified camp.
310. Hyrule Surface Map
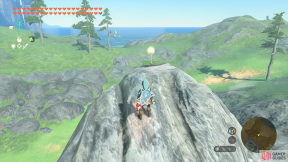
Hit the plant with your weapon and then catch the seed before it hits the ground.
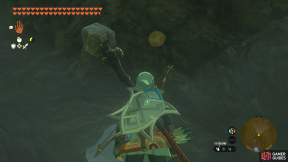
312. Hyrule Surface Map
Use ![]() Ascend ability to pass through the Korok plate on the roof of the tunnel.
Ascend ability to pass through the Korok plate on the roof of the tunnel.
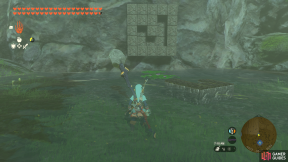
313. Hyrule Surface Map
Use ![]() Ultrahand ability to fit the puzzle piece into the metal block to reveal the Korok.
Ultrahand ability to fit the puzzle piece into the metal block to reveal the Korok.
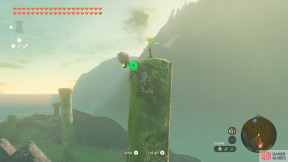
314. Hyrule Surface Map
Follow the trail of flowers from the top of the pillar to the end point marked here to reveal the Korok.
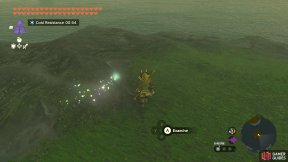
315. Hyrule Surface Map
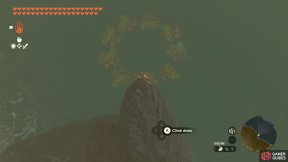
On Wintre Island.
Examine the shimmering lights that are circling around.
316. Hyrule Surface Map
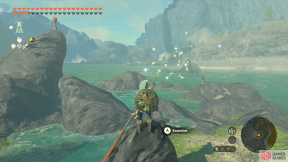
West of ![]() Tarm Point Cave.
Tarm Point Cave.
Dive into the ring of water lilies.
317. Hyrule Surface Map
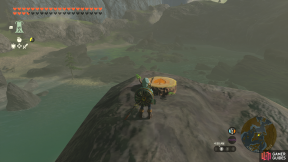
There are wooden arrows around the rocks in this area that are all pointing to one particular rock. Climb to the top of the rock and examine the fairy lights to reveal the Korok.
318. Hyrule Surface Map
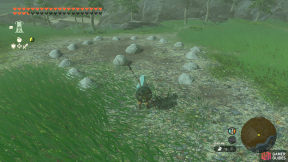
Step on the platform on the right side of the u-shaped rock structure to the south to start the time trial. Use your glider to reach this marked point to reveal the Korok.
319. Hyrule Surface Map
Use ![]() Ultrahand ability to move the stones into the correct placement to reveal the Korok.
Ultrahand ability to move the stones into the correct placement to reveal the Korok.
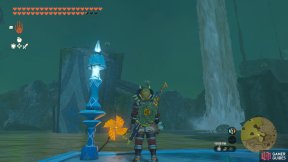
321. Hyrule Surface Map
Stand near the pinwheel and pop the three distant balloons.
We recommend fusing ![]() Aerocuda Wings to your arrows.
Aerocuda Wings to your arrows.
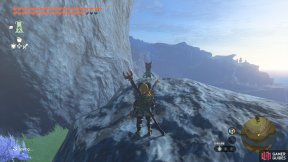
326. Hyrule Surface Map
Look for a Korok Flower at the edge of a mountainside ledge further west.
Touch the flower, then follow it across the ledges, towards this location.
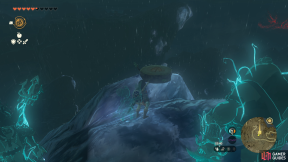
327. Hyrule Surface Map
Stand on the wooden korok stump to reveal a target just below. Jump onto the target to reveal the korok.
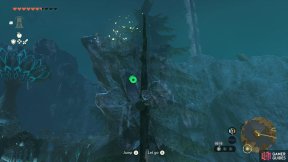
328. Hyrule Surface Map
Climb the pine tree and interact with the sparkly leaves to reveal the Korok.
329. Hyrule Surface Map
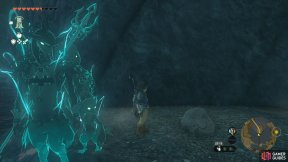
Pick up the rock found on the ground below the bridge to find the korok.
330. Hyrule Surface Map
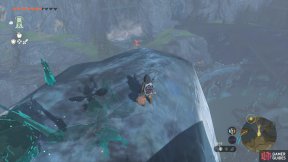
Shoot the balloons quickly before they disappear to reveal the korok.
331. Hyrule Surface Map
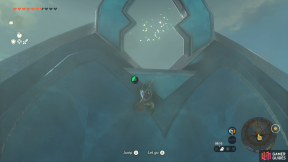
Korok found atop the Zora’s Domain decorative fin of the giant fish above the king’s palace. Approach this from the base of the decorative tail (north) and you won’t need to climb as much! First, ascend as far up as you can go on the outside behind the king, then walk up the sloped tail until you have to climb the fin.
332. Hyrule Surface Map
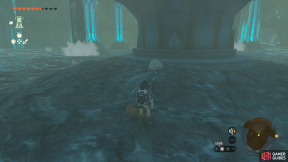
Found underneath a rock on the ground beneath the king’s room.
333. Hyrule Surface Map
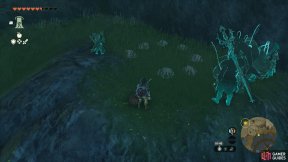
Complete the rock circle using the rock found near the water’s edge to reveal the korok.
334. Hyrule Surface Map
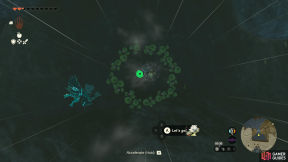
Dive from the top of the waterfall into the circle of lily pads.
335. Hyrule Surface Map
Stand on the korok stump at the base of the waterfall to activate a timed circle atop Veiled Falls. You’ll need ![]() Zora Armor to be able to swim up the waterfall to reach the korok.
Zora Armor to be able to swim up the waterfall to reach the korok.
336. Hyrule Surface Map
Find the missing rock to the east and place it in the empty spot in the rock formation.
337. Hyrule Surface Map
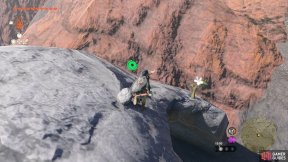
Find the korok flower inside the skull then follow it around until the white flower appears, which will then reveal the Korok.
338. Hyrule Surface Map
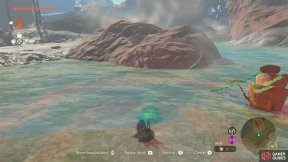
You need to pull the plug to reveal the Korok. To do this, dunk the floating end as far under the water as possible and it’ll fling back up.
339. Hyrule Surface Map
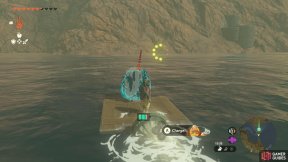
Step on the Korok Stump on the lake coast and a timed circle will reveal itself to the right of the rock in the lake. Use whatever means you can to get to the rock in time - we crafted a fan-powered raft using a fan from our inventory and some planks nearby.
There is also a path going through a shallow part of the lake and you can follow it using the mini map.
340. Hyrule Surface Map
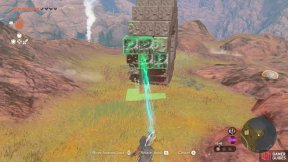
Pick up the shape from the middle of the metal formation and rotate it until you’re faced with a z-shape. Then insert this shape on the side of the larger formation to reveal the Korok.
343. Hyrule Surface Map
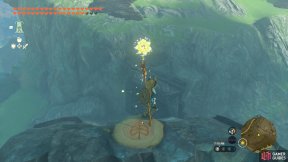
Step on leaf-patterned stump a short distance south-west from here, then quickly jump/dash here.
345. Hyrule Surface Map
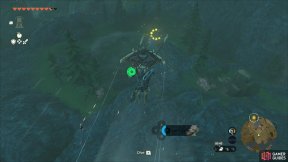
Stand on the korok stump to the east on the hill to activate a timed circle you’ll need to reach. The circle can be found near the cave entrance by Ralis Pond. Reach it in time to reveal the korok.
349. Hyrule Surface Map
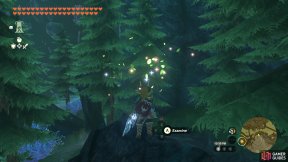
Examine the shimmering lights atop the rock.
There are arrow signs pointing to it.
350. Hyrule Surface Map
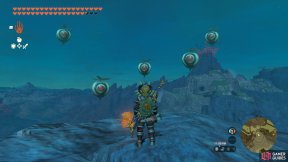
At the highest point of this mountain, stand near the pinwheel and pop the five floating balloons that appear.
352. Hyrule Surface Map
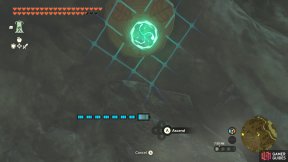
At the back of this pond, there’s a leaf-patterned stump on the cave ceiling.
Create ice platforms or use Hover Stones etc. so you can stand and use ![]() Ascend to pass through the stump.
Ascend to pass through the stump.
357. Hyrule Surface Map
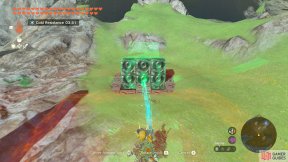
Use ![]() Ultrahand to solve the block puzzle on the ground.
Ultrahand to solve the block puzzle on the ground.
The free block is located in a nearby alcove.
If you inspect all of the nearby alcoves, you’ll find three similar block structures–these are clues.
You need to slot in the block so that only the four corners are revealed.
In doing so, you’ll complete the pattern: One, two, three, four.
358. Hyrule Surface Map
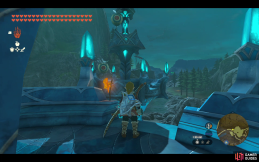
Climb the tower and approach the pinwheel to shoot the balloons.
359. Hyrule Surface Map
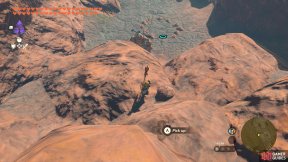
Pick up the nearby rock and use it to complete the rock circle.
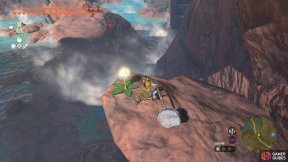
360. Hyrule Surface Map
Under the stone arch at the Maw of Death Mountain, there’s a ledge with a dandelion.
Hit the dandelion, then grab the puff as it descends.
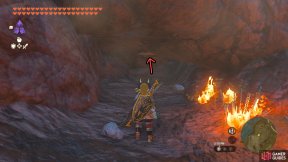
361. Hyrule Surface Map
Look for an alcove around the north cliff face. Inside, there’s a stump on the ceiling that you can ![]() Ascend through.
Ascend through.
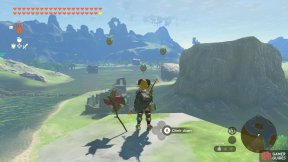
367. Hyrule Surface Map
Climb up the pillar, then stand near the pinwheel at the top.
Burst the three balloons that appear towards the south.
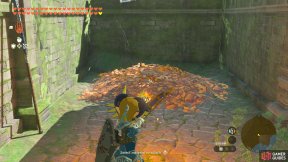
368. Hyrule Surface Map
Burn the pile of leaves, then pick up the rock underneath.
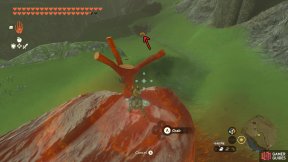
373. Hyrule Surface Map
Grab the boulder downhill towards the east using ![]() Ultrahand, then place it on the three-pronged stump located here.
Ultrahand, then place it on the three-pronged stump located here.
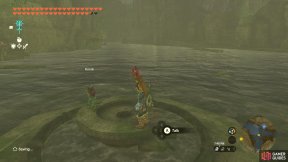
375. Hyrule Surface Map
Look for a tree south-east from the central fountain at Lanayru Promenade, on higher ground. Touch the flower next to it.
The flower will gradually move east, before turning west and going down towards the central fountain.
It can be a little tricky to follow the flower, but just keep panning the camera to look and you should eventually spot it.
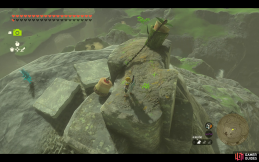
377. Hyrule Surface Map
Attach stone plates to the end of the chain and drop off the edge of the cliff to pop the cork
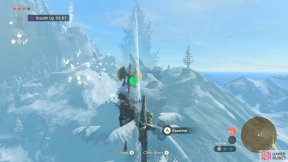
380. Hyrule Surface Map
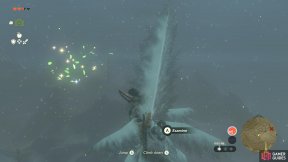
Atop the mountain. Climb the solitary tree to the top and examine the particles to unveil the Korok.
381. Hyrule Surface Map
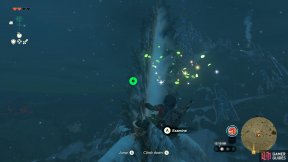
Atop the mountain. Climb the solitary tree to the top and examine the particles to unveil the Korok.
382. Hyrule Surface Map
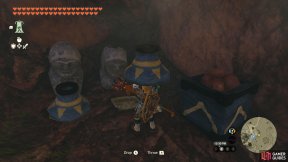
Atop the mountain. Climb the tall tree to the top, and examine the particles to get the Korok to reveal itself.
383. Hyrule Surface Map
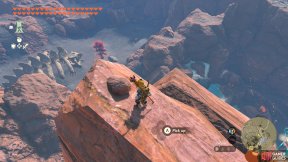
At the outskirts of Goron City, look for a pair of statues in the shadow of the rocky outcrop.
Pick up the nearby pot and place it on the empty offering tray.
384. Hyrule Surface Map
Pick up the rock atop the tip of the giant Goron sculpture’s raised finger.
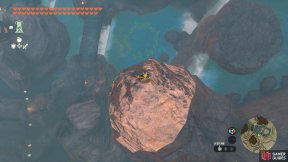
385. Hyrule Surface Map
Dive into the water lily ring.
Rather than jumping from higher up, you might have an easier time just jumping from the nearby rock to the east.
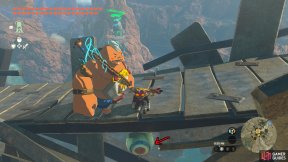
386. Hyrule Surface Map
Pop the balloon underneath Stolock Bridge, near the south end of the bridge.
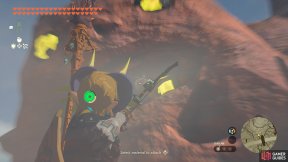
387. Hyrule Surface Map
Pop the balloon inside the mouth of the giant Goron sculpture.
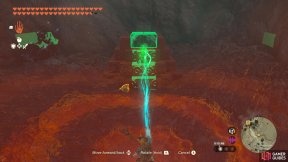
388. Hyrule Surface Map
At the outskirts of Goron City, snuggled between the cliffs.
Use ![]() Ultrahand to grab the nearby metal block and slot into the top of the pyramid-like structure.
Ultrahand to grab the nearby metal block and slot into the top of the pyramid-like structure.
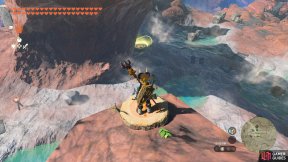
389. Hyrule Surface Map
Look for a ledge underneath the giant stone arch at the Goron Hot Springs.
Stand on the leaf-patterned stump, then glide down to the nearby platform.
You can then soak in the hot spring after your hard work! (Okay, maybe later.)
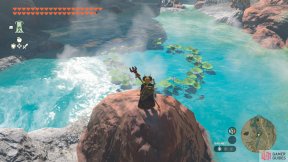
390. Hyrule Surface Map
Dive into the water lily ring.
If you’re struggling, jump from the edge of the nearby rock to the north (where we’re standing on, in the screenshot).
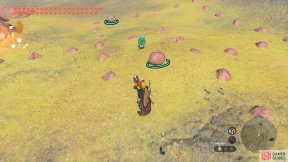
391. Hyrule Surface Map
Pick up two nearby rocks and place them in the gaps in the rock formation.
The rocks kind of blend in with the environment. Remember that you can use ![]() Ultrahand to make them more visible.
Ultrahand to make them more visible.
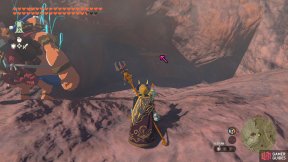
392. Hyrule Surface Map
Near the base of the cliff, there’s a large black rock stuck to the side.
Climb on top of that rock, either by Ascending through it or gliding down.
Nearby, there’s an opening in the cliff with a leaf-patterned stump. ![]() Ascend through that to discover this Korok.
Ascend through that to discover this Korok.
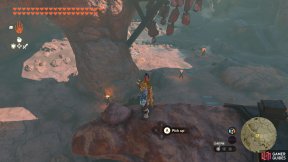
393. Hyrule Surface Map
Under the rock atop the pickaxe-shaped pillar at the Southern Mine.
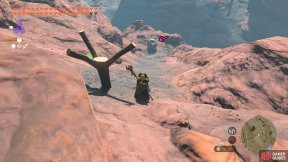
394. Hyrule Surface Map
North-west from ![]() Timawak Shrine.
Timawak Shrine.
Use ![]() Ultrahand to grab the boulder towards the south-west and place it on the three-pronged holder.
Ultrahand to grab the boulder towards the south-west and place it on the three-pronged holder.
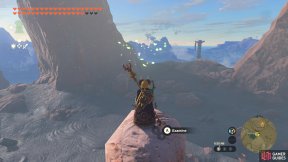
395. Hyrule Surface Map
Shimmering lights atop ![]() Bedrock Bistro. You can
Bedrock Bistro. You can ![]() Ascend behind the counter to quickly get up.
Ascend behind the counter to quickly get up.
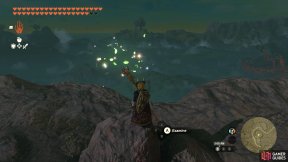
396. Hyrule Surface Map
Atop a peak west from ![]() Bedrock Bistro.
Bedrock Bistro.
Follow the arrow signs to a shimmering light atop a rock.
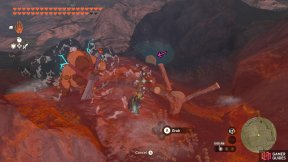
397. Hyrule Surface Map
Use ![]() Ultrahand to pick up the boulder submerged in the nearby pond to the north-west, then place it on the three-pronged stump.
Ultrahand to pick up the boulder submerged in the nearby pond to the north-west, then place it on the three-pronged stump.
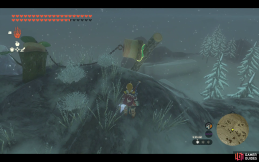
398. Hyrule Surface Map
Attach the nearby log to the plug and drop off the side of the cliff
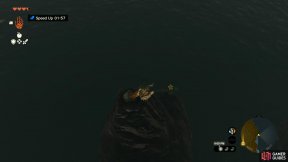
400. Hyrule Surface Map
At sea-level there are a few rocks sticking out of the water. On the largest one is a flower to interact with.
This will teleport to multiple locations around these rocks, and after the 4th or 5th one, you’ll get the seed.
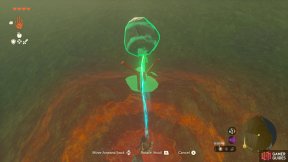
401. Hyrule Surface Map
On the side of the mountain you’ll find a branch sticking out of the ground.
You should notice straight away that this is meant to hold something, and that something is a large boulder.
The boulder can be found a little further down the slow, and you’ll need to use ![]() Ultrahand to place it on top of the twig.
Ultrahand to place it on top of the twig.
Note: This can be finicky, and the boulder may roll down the mountain, and be lost. If that is the case, teleport to the nearest shrine, and come back here for it to respawn.
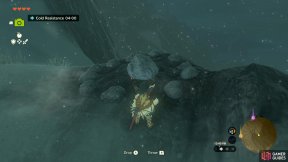
402. Hyrule Surface Map
On a ledge about three quarters up on the mountain (in the snowy area).
This is a rock puzzle that requires you to place a rock in the empty space to complete the circle.
The rock can be found to the right of the puzzle.
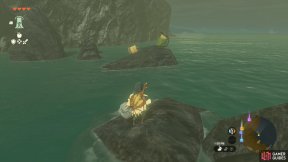
403. Hyrule Surface Map
On the small rocks is a small tree trunk which is stuffed with what looks like a cork. Either attack the loose end to your boat and drive away from it, or shoot it with an explosive like a Cannon/Bomb.
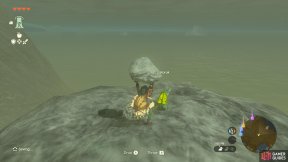
404. Hyrule Surface Map
On top of the Mapla Point peninsula. Lift the lone rock to reveal the Korok.
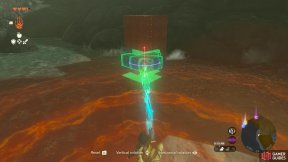
405. Hyrule Surface Map
This ![]() Korok Seed is a cube puzzle. Place the loose piece into the the block of cubes to reveal the Korok. Place the piece into the block as depicted in the image.
Korok Seed is a cube puzzle. Place the loose piece into the the block of cubes to reveal the Korok. Place the piece into the block as depicted in the image.
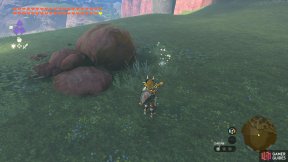
409. Hyrule Surface Map
Catch the shimmering lights circling the rock near the center of this plateau.
410. Hyrule Surface Map
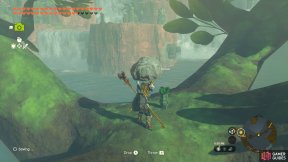
Atop Ubota Point.
Dive into the ring of water lilies. Be careful not to frighten the fish!
411. Hyrule Surface Map
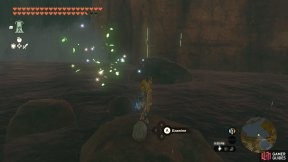
Examine the shimmering lights atop the rock in the water.
There are arrow signs pointing to the rock.
412. Hyrule Surface Map
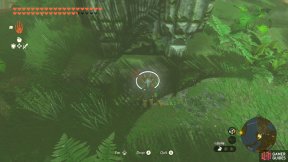
Underneath the rock atop the middle tree holding up ![]() Floria Bridge.
Floria Bridge.
413. Hyrule Surface Map
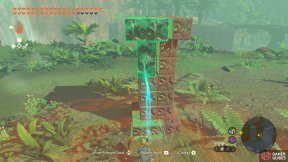
Near the east end of ![]() Floria Bridge, there are some big statues with
Floria Bridge, there are some big statues with ![]() Mighty Bananas in front of them.
Mighty Bananas in front of them.
Offer a banana to the statue with an empty altar.
414. Hyrule Surface Map
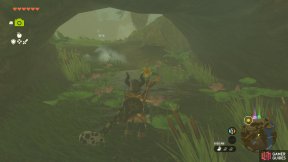
North from ![]() Floria Bridge.
Floria Bridge.
Use ![]() Ultrahand to move the free metal block to complete the tower-like structure.
Ultrahand to move the free metal block to complete the tower-like structure.
415. Hyrule Surface Map
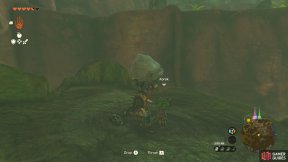
Interact with the flower, and then run into the following ones that appear to reveal the Korok.
416. Hyrule Surface Map
Lift the lone rock here on top of the large tree to reveal this Korok.
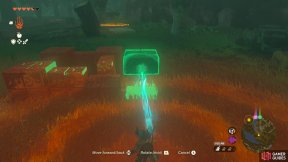
417. Hyrule Surface Map
Complete the block puzzle by finding the missing piece hidden under a rock.
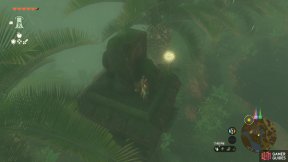
418. Hyrule Surface Map
Climb the pillar and interact with the Dandelion, then catch it to reveal the Korok.
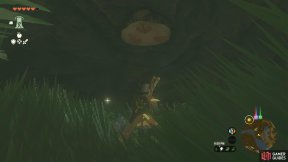
419. Hyrule Surface Map
Use ![]() Ascend on the log under the large tree here to reveal the Korok.
Ascend on the log under the large tree here to reveal the Korok.
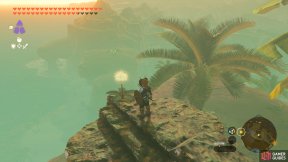
420. Hyrule Surface Map
Atop a statue, there’s a dandelion puff. Hit it, then catch the puff mid-air.
421. Hyrule Surface Map
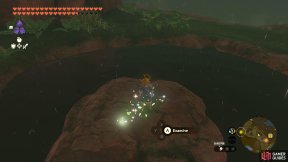
Near the ![]() Joju-u-u Shrine, examine the shimmering lights in the center of the small swamp.
Joju-u-u Shrine, examine the shimmering lights in the center of the small swamp.
429. Hyrule Surface Map
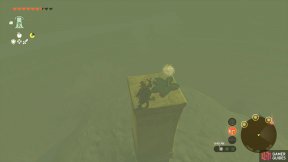
Attack the dandelion to make it move, then interact with it before it touches the ground.
430. Hyrule Surface Map
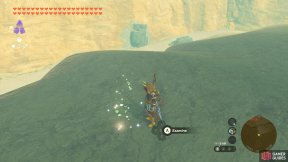
Examine the shimmering lights circling around here.
Can be hard to see when there’s bright sunlight, but you should hear the tell-tale Korok jingle.
431. Hyrule Surface Map
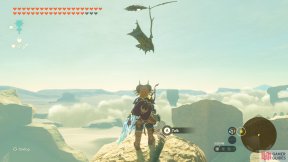
Look for a leaf-patterned stump atop the sword sculpture near the ![]() East Gerudo Ruins Cave sinkhole, a short distance towards the east.
East Gerudo Ruins Cave sinkhole, a short distance towards the east.
Stand on the stump then rush to the ring that appears here.
A Rocket shield will make this super easy.
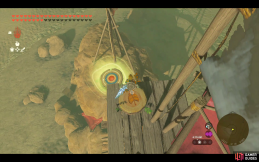
432. Hyrule Surface Map
Climb the ladders to the top of the platform, step on the pressure plate and glide down to land on the platform.
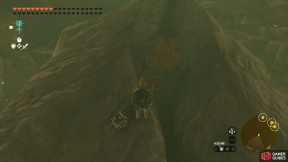
434. Hyrule Surface Map
Climb the head of the skeleton and clear away the leaves to reveal a rock with a Korok underneath.
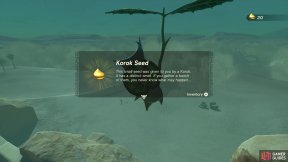
435. Hyrule Surface Map
![]() Korok Seed. Race finishing location.
Korok Seed. Race finishing location.
![]() Ascend through the platform at the other side of the Gerudo Town here next to the palm tree here to start a race to the other side to claim the Korok Seed.
Ascend through the platform at the other side of the Gerudo Town here next to the palm tree here to start a race to the other side to claim the Korok Seed.
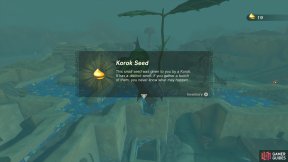
436. Hyrule Surface Map
This Korok can be found at the top of a Blue Chimney. Climb up the flute and interact with the shiny leaves to claim the ![]() Korok Seed from this Korok.
Korok Seed from this Korok.
437. Hyrule Surface Map
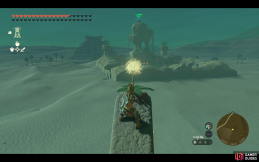
Drop down into the waterway below Gerudo Town and then follow it to the end. You will see the bottom of a tree stump with a Korok pattern on it. Use this to ![]() Ascend and when you arrive on the other side a Korok will apppear!
Ascend and when you arrive on the other side a Korok will apppear!
438. Hyrule Surface Map
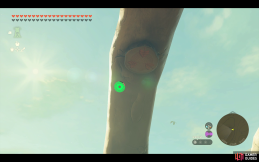
Hit the flower with your weapon and catch the seed before it reaches the ground.
440. Hyrule Surface Map
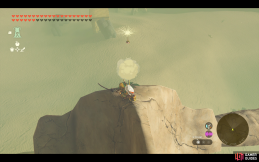
![]() Ascend through the wooden circle on the underside of the arch
Ascend through the wooden circle on the underside of the arch
442. Hyrule Surface Map
Climb to the highest point of the skeleton and hit the plant with your weapon, then catch the seed before it hits the ground
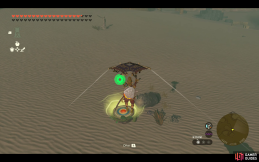
443. Hyrule Surface Map
Use glider to travel from the wooden plank above and land on the bullseye.
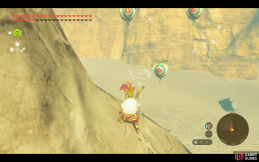
444. Hyrule Surface Map
Approach the pinwheel to spawn the balloons, then shoot them
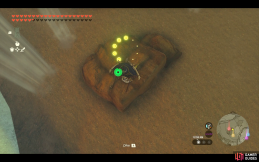
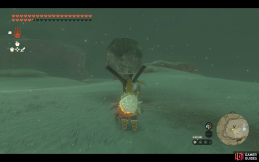
448. Hyrule Surface Map
Glide from the platform above to the finish line before the clock runs out
449. Hyrule Surface Map
Use ![]() Ultrahand ability to place the rock located slightly downhill into the wooden stand.
Ultrahand ability to place the rock located slightly downhill into the wooden stand.
450. Hyrule Surface Map
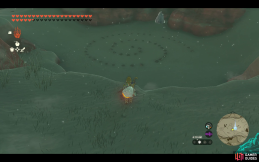
Place the three missing stones into the pattern to reveal the Korok. The third stone is hidden behind the block of ice
452. Hyrule Surface Map
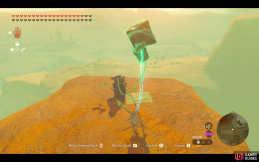
Attach one of the nearby metal boxes to the end of the chain and drop off the cliff to pop the cork
455. Hyrule Surface Map
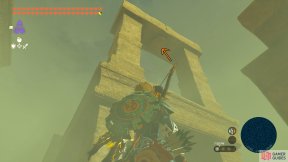
A short distance south-east from the north entrance to the ![]() Gerudo Sanctuary,
Gerudo Sanctuary, ![]() Ascend through the leaf-patterned stump on the upper level.
Ascend through the leaf-patterned stump on the upper level.
456. Hyrule Surface Map
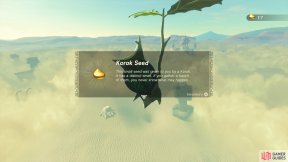
At the very top of the lighthouse. Climb to the top an examine the sparkling leaves.
461. Hyrule Surface Map
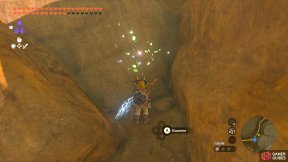
North-east from ![]() Turakamik Shrine, among some rocks. There’s a red arrow signpost nearby pointing to it.
Turakamik Shrine, among some rocks. There’s a red arrow signpost nearby pointing to it.
462. Hyrule Surface Map
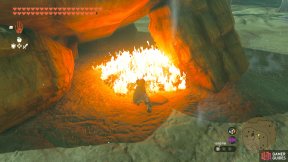
Burn/break the pile of leaves, then lift up the rock underneath.
463. Hyrule Surface Map
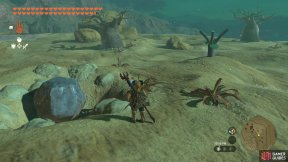
Use ![]() Ultrahand to lift up the nearby boulder and place it atop the three-pronged stump.
Ultrahand to lift up the nearby boulder and place it atop the three-pronged stump.
464. Hyrule Surface Map
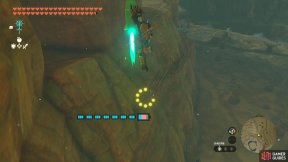
Look for a leaf-patterned stump on a cliff ledge south-east from this location.
When you stand on the stump, a ring will appear here, at the end of the scaffolding.
If you have some Rockets, you can ![]() Fuse one to a shield to shoot up, then glide to the ring.
Fuse one to a shield to shoot up, then glide to the ring.
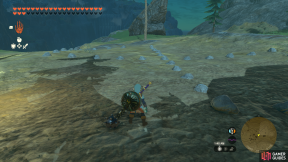
467. Hyrule Surface Map
Locate the missing stone to complete the pattern. The missing stone is located at the top of the rock visible straight ahead in this screenshot.
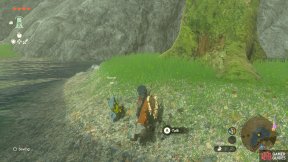
471. Hyrule Surface Map
Interact with the particles flowing around the tree to reveal the Korok.
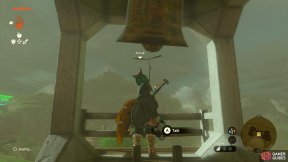
472. Hyrule Surface Map
Climb to the top of the school where you’ll find a bell. Use ![]() Ultrahand on the bell, and then release it to get the Korok to reveal itself.
Ultrahand on the bell, and then release it to get the Korok to reveal itself.
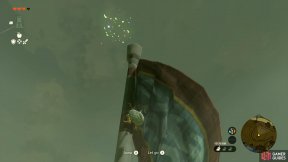
473. Hyrule Surface Map
On top of the flag pole. Climb to the top and examine the green particles to unveil the Korok.
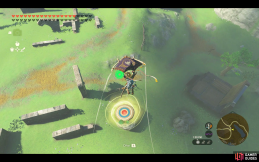
474. Hyrule Surface Map
Step on the stump and glide down to the end point. Note: the trial will reset if you put your glider away and free fall, so keep the glider out and hover down to the end point slowly.
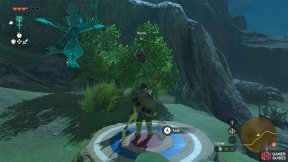
478. Hyrule Surface Map
Stand on the Korok Stump located north from here, then glide down to the glowing platform here.
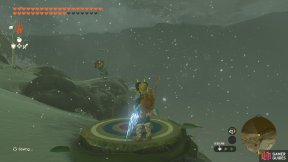
480. Hyrule Surface Map
Stand on the leaf-patterned stump towards the east, then glide to the platform here.
Ride the air currents directly in the path to maintain your height.
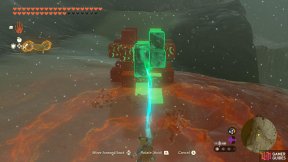
482. Hyrule Surface Map
Use ![]() Ultrahand to complete the 3D jigsaw puzzle. Your aim is to make it symmetrical from all angles.
Ultrahand to complete the 3D jigsaw puzzle. Your aim is to make it symmetrical from all angles.
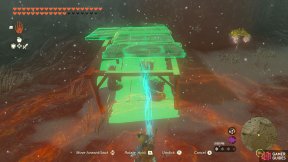
483. Hyrule Surface Map
Use ![]() Ultrahand to glue together the four wooden planks nearby (two are atop the large rock), to create a roof for the three statues.
Ultrahand to glue together the four wooden planks nearby (two are atop the large rock), to create a roof for the three statues.
The roof doesn’t need to cover the whole area; it just needs to stand.
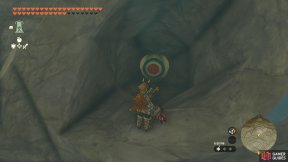
485. Hyrule Surface Map
Inside the cave with the ![]() Hebra Great Skeleton. Entrance located to the south-east.
Hebra Great Skeleton. Entrance located to the south-east.
Pop the balloon in the skeleton’s right eye socket (its POV).
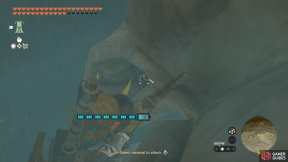
486. Hyrule Surface Map
Inside the cave with the ![]() Hebra Great Skeleton. Entrance located to the south-east.
Hebra Great Skeleton. Entrance located to the south-east.
Pop the balloon in the skeleton’s left eye socket (its POV).
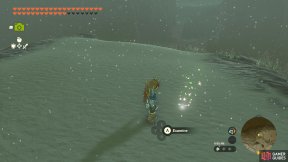
487. Hyrule Surface Map
Examine the shimmering lights circling the top of this mountain.
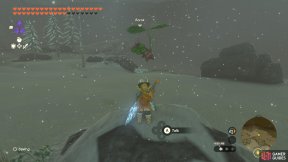
488. Hyrule Surface Map
Stand on the leaf-patterned stump towards the south-east then run towards the ring.
You’ll need to sprint for most of the journey and you may need some extra stamina.
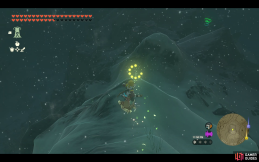
489. Hyrule Surface Map
Stand on the stump towards the north and then shield surf down the hill to go through the ring before it disappears.
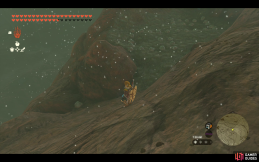
505. Hyrule Surface Map
Place the missing rock back into the puzzle using ![]() Ultrahand. The missing rock is hidden behind a large rock at the north east side of the puzzle.
Ultrahand. The missing rock is hidden behind a large rock at the north east side of the puzzle.
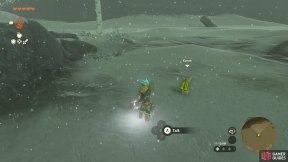
506. Hyrule Surface Map
You’ll see the Korok moving through the snow here. Chase and grab it to get the seed.
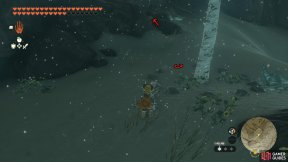
510. Hyrule Surface Map
Use a nearby rock to complete the rock circle around the tree.
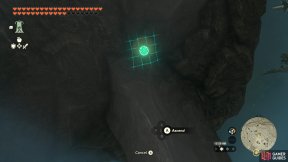
511. Hyrule Surface Map
Just before the entrance to ![]() Hebra Mountains Northwest Cave, there’s a leaf-patterned stump on the ceiling.
Hebra Mountains Northwest Cave, there’s a leaf-patterned stump on the ceiling. ![]() Ascend through it to find this Korok.
Ascend through it to find this Korok.
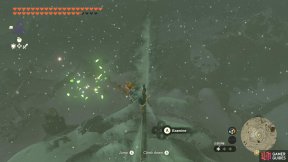
513. Hyrule Surface Map
Examine the shimmering lights at the top of the tree atop Talonto Peak.
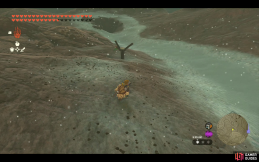
516. Hyrule Surface Map
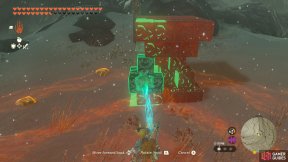
Use ![]() Ultrahand to take the boulder located in the hole below and place it on the stand.
Ultrahand to take the boulder located in the hole below and place it on the stand.
517. Hyrule Surface Map
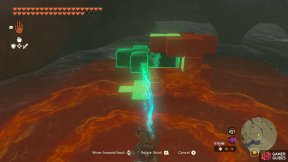
Use ![]() Ultrahand to grab the nearby metal block and use it to complete the block puzzle.
Ultrahand to grab the nearby metal block and use it to complete the block puzzle.
You want the structure to be symmetrical.
522. Hyrule Surface Map
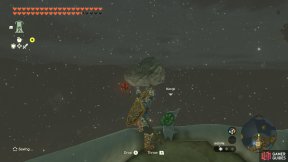
You can reach here by riding some kind of platform via the fast-moving northern river.
Inside, there’s a block puzzle. The free block is already on the puzzle, but it’s on the wrong side.
Yank it out with ![]() Ultrahand, then slot it into the opposite end.
Ultrahand, then slot it into the opposite end.
523. Hyrule Surface Map
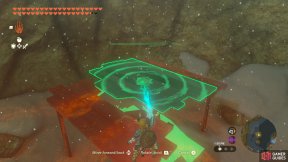
At the very top of Rito Village.
If you head towards the highest homes, you can use ![]() Ascend near there to climb all the way up.
Ascend near there to climb all the way up.
524. Hyrule Surface Map
Atop the tall rock pillar west from Rito Village, there’s a dilapidated house with a broken roof.
Use ![]() Ultrahand to grab the wooden board and slot it onto the roof.
Ultrahand to grab the wooden board and slot it onto the roof.
Getting on top of the pillar is probably the trickiest part. We don’t recommend directly climbing the pillar, unless you really want to challenge yourself.
You could glide down from the very top of Rito Village, for example.
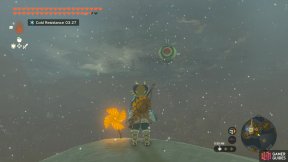
525. Hyrule Surface Map
Atop the rock pillar at the south-east corner of Rito Village, there’s a pinwheel.
Stand near it and shoot the moving balloon that appears.
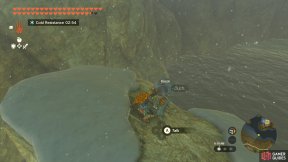
526. Hyrule Surface Map
Pick up the rock atop the rock pillar around the south part of Lake Totori.
You can glide down from Rito Village.
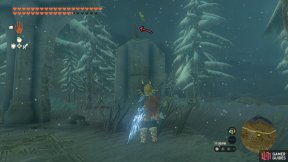
527. Hyrule Surface Map
Look for a flower atop a broken pillar, south from Rito Village near the road across the water.
Touch it, then keep following it across the collapsed building until it settles down at the nearby fallen pillar.
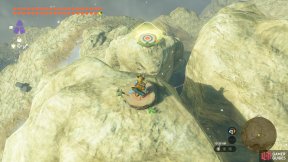
528. Hyrule Surface Map
At the top of Cuho Mountain.
Stand on the patterned stump and glide down to the nearby platform.
529. Hyrule Surface Map
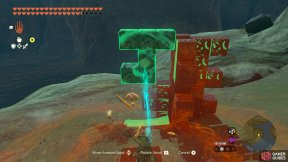
Use ![]() Ultrahand to slot in the metal block so that the structure is symmetrical.
Ultrahand to slot in the metal block so that the structure is symmetrical.
531. Hyrule Surface Map
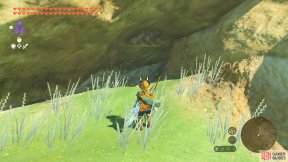
Nero Hill, north of a fallen pillar, there’s an alcove with a stump that you must ![]() Ascend into.
Ascend into.
532. Hyrule Surface Map
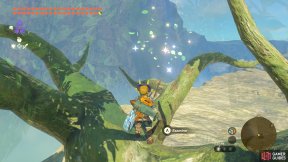
Examine the shimmering lights atop one of the trees.
There are arrow signposts on the ground that point to it.
533. Hyrule Surface Map
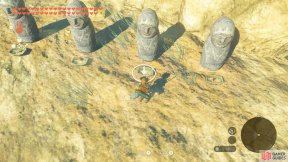
There are four statues with offering trays.
Place a ![]() Spicy Pepper each in the empty trays.
Spicy Pepper each in the empty trays.
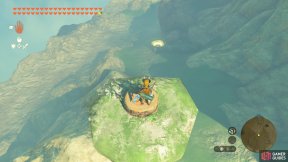
534. Hyrule Surface Map
Atop a tall pillar, there’s a leaf-patterned stump.
Standing on it will make a platform appear further north. Glide down to it.
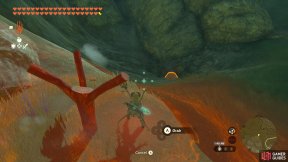
535. Hyrule Surface Map
Use ![]() Ultrahand to lift the boulder to the south and place it on top of this three-pronged stump.
Ultrahand to lift the boulder to the south and place it on top of this three-pronged stump.
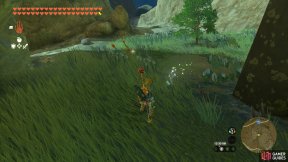
536. Hyrule Surface Map
Catch the shimmering lights circling around the rock.
In Breath of the Wild, there was a Great Fairy Fountain here.
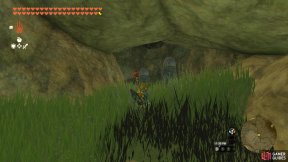
537. Hyrule Surface Map
At the base of this mountain, there’s a small cave with two statues.
![]() Ascend through the leaf-patterned stump to reveal this Korok.
Ascend through the leaf-patterned stump to reveal this Korok.
539. Hyrule Surface Map
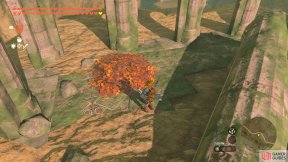
Set the pile of leaves on fire, then pick up the rock underneath.
541. Hyrule Surface Map
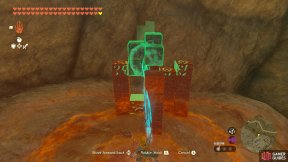
Halfway up the cliff north from the Ancient Columns, there’s a classic block puzzle.
Use ![]() Ultrahand to grab the free block and carefully slot it in the middle.
Ultrahand to grab the free block and carefully slot it in the middle.
542. Hyrule Surface Map
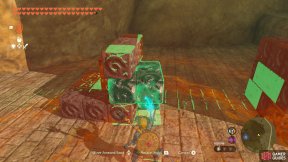
Atop the Forgotten Temple, between the large rock structures.
Use ![]() Ultrahand to complete the block puzzle. You need to slot in the block so that both structures look the same.
Ultrahand to complete the block puzzle. You need to slot in the block so that both structures look the same.
543. Hyrule Surface Map
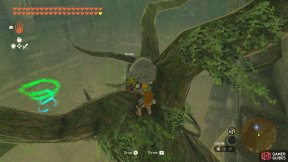
Inside the Forgotten Temple, south-east from the ![]() Mayausiy Shrine is a tree hanging from the temple wall.
Mayausiy Shrine is a tree hanging from the temple wall.
Climb up and lift up the rock atop the tree.
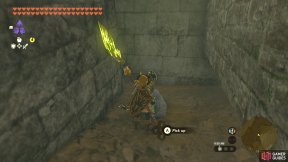
544. Hyrule Surface Map
Inside the Forgotten Temple, under a rock near some ![]() Ice Fruit.
Ice Fruit.
South from the ![]() Mayausiy Shrine.
Mayausiy Shrine.
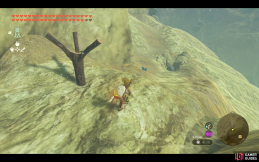
545. Hyrule Surface Map
Use ![]() Ultrahand ability to bring the rock from down the hill and place on the wooden stand.
Ultrahand ability to bring the rock from down the hill and place on the wooden stand.
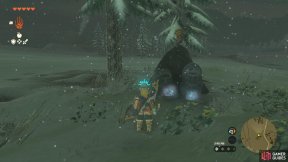
546. Hyrule Surface Map
You can place ![]() Ice Fruit in both offering bowls here to reveal the Korok.
Ice Fruit in both offering bowls here to reveal the Korok.
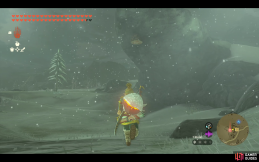
547. Hyrule Surface Map
![]() Ascend through the woden platform on the underside of the rock
Ascend through the woden platform on the underside of the rock
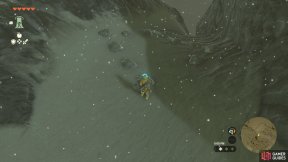
548. Hyrule Surface Map
You can complete this ![]() Korok Seed puzzle by placing the nearby rock in the missing spot.
Korok Seed puzzle by placing the nearby rock in the missing spot.
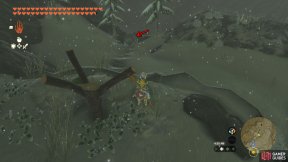
549. Hyrule Surface Map
Use ![]() Ultrahand to lift up the boulder that’s slightly downhill and place it on top of the three-pronged stump.
Ultrahand to lift up the boulder that’s slightly downhill and place it on top of the three-pronged stump.
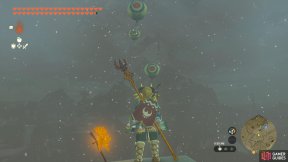
550. Hyrule Surface Map
Stand next to the pinwheel atop this peak, then burst the three balloons that appear.
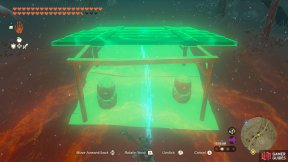
551. Hyrule Surface Map
Use the nearby Hyrule Restoration Materials to build a roof for these statues.
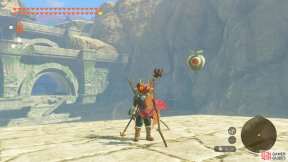
554. Hyrule Surface Map
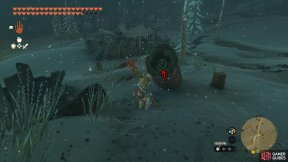
Atop a giant stone pillar near the entrance to the Forgotten Temple, there’s a pinwheel.
Stand near it and shoot down 5 orbiting balloons.
555. Hyrule Surface Map
At Tabantha Village Ruins.
Look for a small pot inside a hollow log near one of the very decayed buildings.
556. Hyrule Surface Map
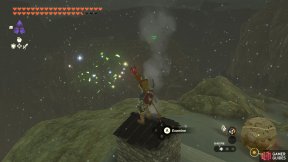
Examine the shimmering lights at the chimney atop the cabin.
557. Hyrule Surface Map
At the base of Tanagar Canyon, under the ledge with the wind vane.
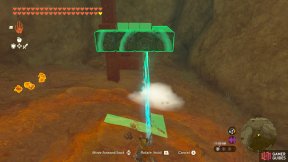
You need to complete the block puzzle; the block you need is hanging from the puzzle itself.
High up, there’s a finished block puzzle that you can copy, but basically you need to make a ring shape near the middle.
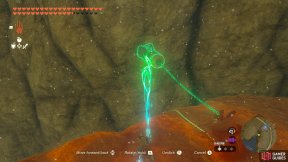
558. Hyrule Surface Map
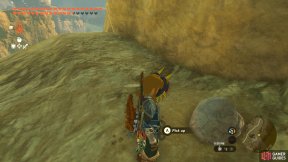
Using ![]() Ultrahand, glue 4 or so rocks to the freely-moving cork, then drop it off the cliff.
Ultrahand, glue 4 or so rocks to the freely-moving cork, then drop it off the cliff.
560. Hyrule Surface Map
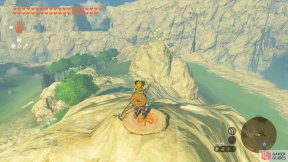
Under the rock near the corner. Short distance east from an enemy camp.
561. Hyrule Surface Map
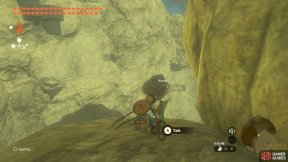
Stand on the leaf-patterned stump to make a timed ring appear.
We suggest gliding down, landing on the cliff wall, then climbing up.
562. Hyrule Surface Map
Under a rock near the side of the cliff. On the level below the highest level.
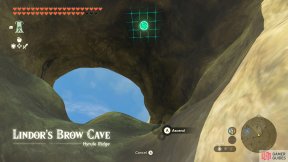
563. Hyrule Surface Map
At the entrance to ![]() Lindor’s Brow Cave,
Lindor’s Brow Cave, ![]() Ascend through the leaf-patterned stump on the ceiling.
Ascend through the leaf-patterned stump on the ceiling.
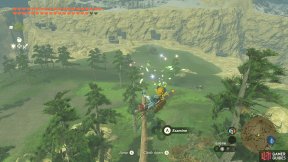
564. Hyrule Surface Map
A short distance north-west from Lindor’s Brow Skyview Tower, climb up the tree with no leaves.
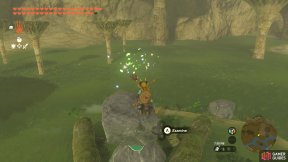
565. Hyrule Surface Map
North of Thundra Plateau, there are three buried tree logs in a triangular shape–the Korok is floating above.
You can use ![]() Ultrahand to grab some nearby boulders and use them to stand on.
Ultrahand to grab some nearby boulders and use them to stand on.
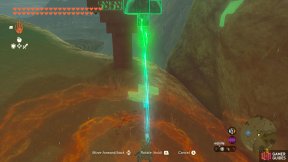
566. Hyrule Surface Map
Use ![]() Ultrahand to slot in the metal cubes to complete the shape.
Ultrahand to slot in the metal cubes to complete the shape.
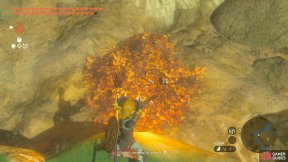
567. Hyrule Surface Map
West side of Thundra Plateau, there’s a pile of leaves that you can set alight. Underneath is a rock hiding this Korok.
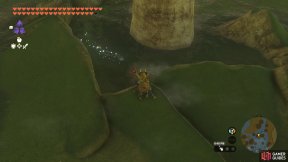
568. Hyrule Surface Map
South-east from Thundra’s Plateau, a Korok is circling the base of a mushroom tree.
On the mini-map, it looks a bit like the silhouette of Minnie Mouse’s head (but with her left ear slightly detached).
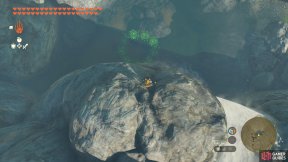
569. Hyrule Surface Map
Dive into the ring.
If you miss, you can climb the waterfall with the ![]() Zora Armor.
Zora Armor.
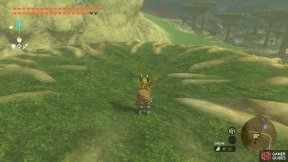
570. Hyrule Surface Map
Atop the tall mushroom tree at Tabantha Bridge Stable.
You can climb onto the horse head, using ![]() Ascend etc. Then shoot up with a Rocket shield (
Ascend etc. Then shoot up with a Rocket shield (![]() Fuse a Rocket to a shield).
Fuse a Rocket to a shield).
In the center is a plant that moves location when you touch it. It’ll move to the edge of the mushroom top, before going over to the horse head.
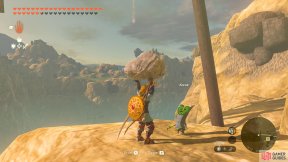
571. Hyrule Surface Map
Pick up the rock on the ledge underneath the east end of Tabantha Great Bridge.
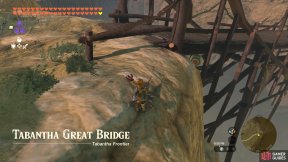
572. Hyrule Surface Map
Pop the balloon under the west end of Tabantha Great Bridge.
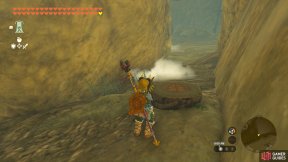
573. Hyrule Surface Map
In between some massive fallen sky rock, there’s a leaf-patterned tree stump.
Step on this to reveal a timed ring located high up. You can ![]() Ascend underneath the ring to quickly get up.
Ascend underneath the ring to quickly get up.
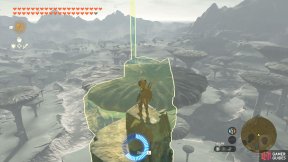
574. Hyrule Surface Map
Atop a large mushroom tree at Seres Scablands, there’s a leaf patch that you can burn to reveal a rock where this Korok is hiding.
There may be a rock that’s fallen from the sky nearby that you can use ![]() Recall to quickly ascend the tree.
Recall to quickly ascend the tree.
575. Hyrule Surface Map
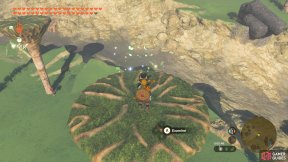
There are four mushroom trees in a group. On the ground are arrow signs pointing to one of the inner trees.
Simply climb up the tree and the Korok will be there.
576. Hyrule Surface Map
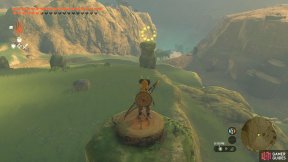
There are two stone pillars on this cliff ledge.
Atop the northern pillar, you can find a leaf-patterned stump.
Step on it to trigger a timed ring atop the southern pillar.
577. Hyrule Surface Map
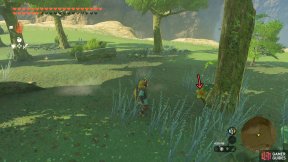
Look for a Korok flower at the base of a tall tree stump. Then follow it as it disappears and reappears.
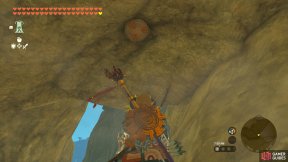
579. Hyrule Surface Map
At the floor of Tanagar Canyon, there’s a stump underneath a stone arch that you can ![]() Ascend through.
Ascend through.
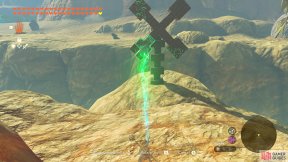
580. Hyrule Surface Map
On a ledge above Tanagar Canyon, there’s a block structure that resembles a windmill.
Grab the nearby block with ![]() Ultrahand and slot it in the right place to complete the windmill.
Ultrahand and slot it in the right place to complete the windmill.
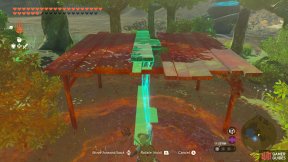
581. Hyrule Surface Map
Use ![]() Ultrahand to grab the thin wooden board and slot it to complete the roof.
Ultrahand to grab the thin wooden board and slot it to complete the roof.
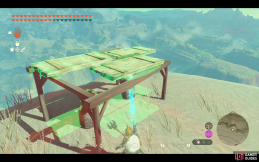
582. Hyrule Surface Map
Use the wooden boards nearby to construct a roof for the statues.
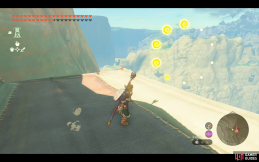
583. Hyrule Surface Map
Step on the stump and climb towards the end point at the platform above. Once you reach a level place on the rock use ![]() Ascend through the platform and then again through the roof to reach the end point before the timer ends.
Ascend through the platform and then again through the roof to reach the end point before the timer ends.
584. Hyrule Surface Map
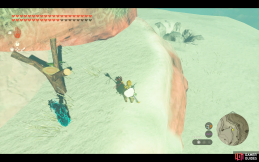
Use ![]() Ultrahand ability to place the boulder in the wooden stand.
Ultrahand ability to place the boulder in the wooden stand.
588. Hyrule Surface Map
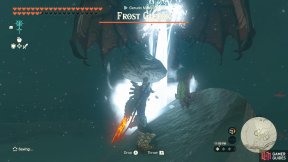
Underneath the rock atop the sword statue, next to a ![]() Frost Gleeok.
Frost Gleeok.
Don’t expect to obtain this Korok unscathed, unless you’re a Gleeok slaying pro.
If you’re not planning to fight, you should aggro the Gleeok so it blasts a gust of wind at the start.
Once that’s out of the way, Rocket shield up to the rock and do your best to grab it before being hit by a freezing laser beam.
We recommend saving beforehand, so you can reload if things go awry.
589. Hyrule Surface Map
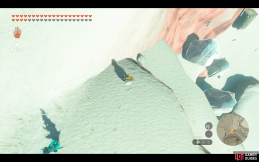
Find the missing stone to complete the pattern. The missing stone is located down in a crevice in the north east corner.
594. Hyrule Surface Map
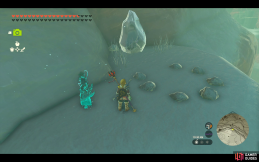
Melt the ice and place the rock in the circle using ![]() Ultrahand.
Ultrahand.
595. Hyrule Surface Map
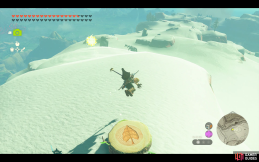
Step on the stump and shield surf to the target before time runs out.
597. Hyrule Surface Map
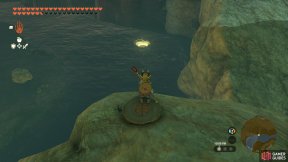
Stand on the leaf-patterned stump, then glide to the platform on the river, towards the south-west.
598. Hyrule Surface Map
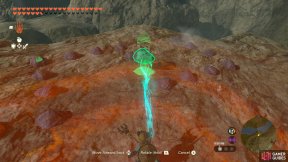
Grab a nearby rock and use it to close the gap in the rock pattern.
599. Hyrule Surface Map
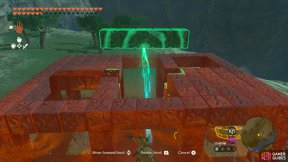
Grab the nearby metal bar with ![]() Ultrahand and slot it in the middle so you end up with 4 cube-shaped holes.
Ultrahand and slot it in the middle so you end up with 4 cube-shaped holes.
601. Hyrule Surface Map
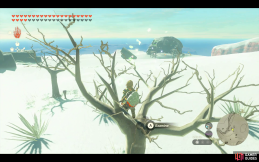
There are wooden signs in the area all pointing to a specific tree. Climb the tree and examine the lights at the top.
604. Hyrule Surface Map
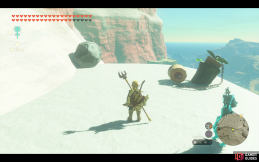
Attach the rock to the cork and drop off the side of the cliff
607. Hyrule Surface Map
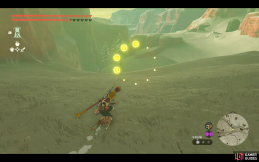
Step on the stump to the east and shield surf to this end point.
610. Hyrule Surface Map
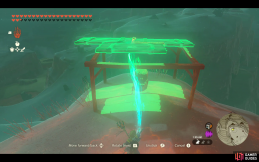
Use the nearby wooden boards to construct a roof for the statue
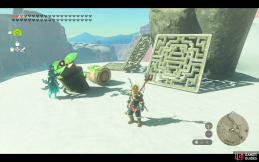
612. Hyrule Surface Map
Connect the metal pieces to the end of the chain and drop off the edge to pop the cork.
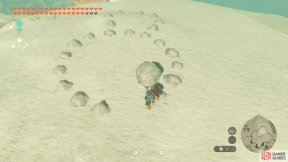
614. Hyrule Surface Map
Use the nearby rock to complete the double circle rock formation.
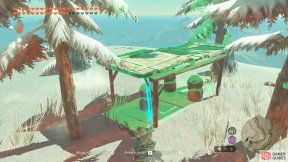
615. Hyrule Surface Map
Use ![]() Ultrahand to glue together the three wooden planks nearby to the east, to create a roof for these three statues.
Ultrahand to glue together the three wooden planks nearby to the east, to create a roof for these three statues.
The roof needs to cover most of the frame. If you think the roof is fine, you might need to reposition it ever so slightly.
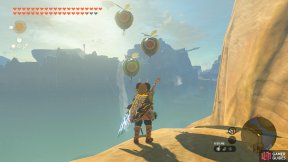
623. Hyrule Surface Map
Look for a pinwheel at the edge of a cliff ledge.
Stand next to the pinwheel then burst the three floating balloons that appear.
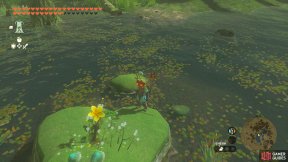
625. Hyrule Surface Map
Follow the flower near the middle of Rutile Lake.
It’ll disappear and reappear many times, eventually ending up near the shore to the north-east.
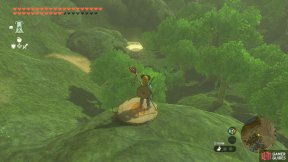
626. Hyrule Surface Map
Stand on the leaf-patterned stump and then glide to the target to the south-east. You should just about reach it.
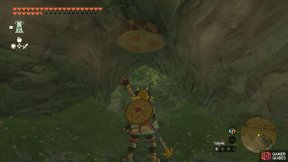
629. Hyrule Surface Map
There’s a short tunnel at the north-west side of these woods.
![]() Ascend through the patterned tree stump.
Ascend through the patterned tree stump.
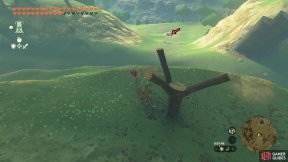
630. Hyrule Surface Map
Use ![]() Ultrahand to grab the boulder in the hole further down the slope and place it on the strange three-pronged stump.
Ultrahand to grab the boulder in the hole further down the slope and place it on the strange three-pronged stump.
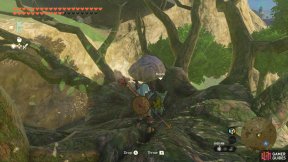
631. Hyrule Surface Map
Under a rock atop the thick tree above the entrance to ![]() Satori Mountain Foothill Cave.
Satori Mountain Foothill Cave.
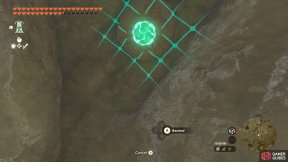
632. Hyrule Surface Map
Go through the small tunnel. Near the middle, there’s a stump on the ceiling that you should ![]() Ascend through.
Ascend through.
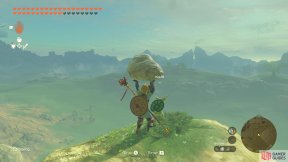
633. Hyrule Surface Map
Under the rock atop this small mountain near the base of Satori Mountain.
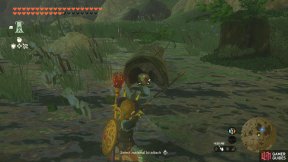
634. Hyrule Surface Map
At the watering hole near ![]() Sonapan Shrine.
Sonapan Shrine.
Look for a fallen tree trunk in the water. On one side, there’s a pot you can shoot with an arrow.
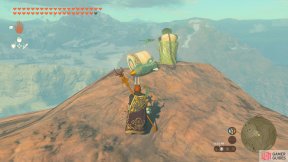
636. Hyrule Surface Map
Atop Mount Drena. You need to yank out the stuck cork.
There’s a Rocket nearby that you can attach to the free cork.
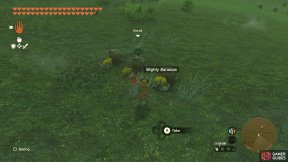
637. Hyrule Surface Map
Near the entrance to the ![]() Yiga Clan Maritta Branch, there are offering trays behind three statues. Place
Yiga Clan Maritta Branch, there are offering trays behind three statues. Place ![]() Mighty Bananas in each to appease the banana-loving(?) Korok.
Mighty Bananas in each to appease the banana-loving(?) Korok.
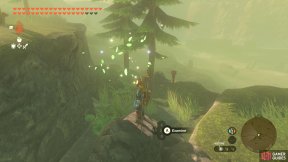
638. Hyrule Surface Map
Atop a large rock in the small pond. There are red arrow signs nearby pointing to it.
641. Hyrule Surface Map
Shoot the acorn floating in the water at the end of the dock
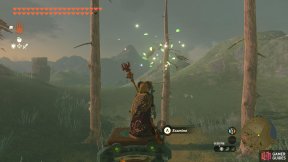
642. Hyrule Surface Map
Examine the shimmering lights in the center of the leafless trees.
It’s floating above the ground, so you’ll need some kind of platform to stand on.
If necessary, you could build something by cutting down the trees.
We used two Springs stuck together.
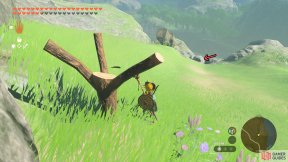
645. Hyrule Surface Map
Use ![]() Ultrahand to grab the boulder downhill, towards the north-east, and place it onto the three-pronged tree stump.
Ultrahand to grab the boulder downhill, towards the north-east, and place it onto the three-pronged tree stump.
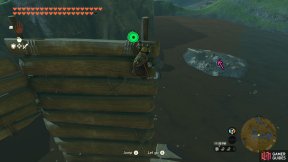
651. Hyrule Surface Map
Under the rock on the small island in the middle of the swamp.
You can glide down from somewhere higher up.
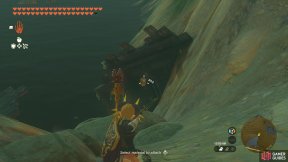
652. Hyrule Surface Map
Shoot the hanging pot inside the semi-submerged house near the entrance to ![]() Rauru Hillside Cave.
Rauru Hillside Cave.
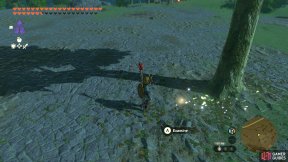
654. Hyrule Surface Map
Look for a shimmering light dancing around a tree by a shallow pond.
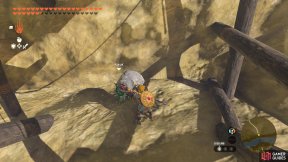
656. Hyrule Surface Map
North end of Jeddo Bridge, under a rock a short distance under the bridge.
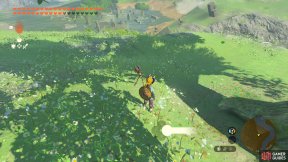
657. Hyrule Surface Map
The Korok will be circling the base of this tree. You need to catch it.
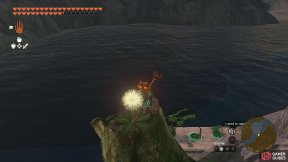
659. Hyrule Surface Map
Hit the dandelion puff on the tree stump, then catch it as it falls.
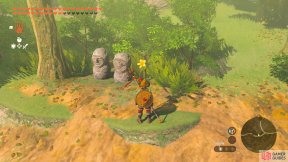
660. Hyrule Surface Map
By the side of the road, there are two statues and a flower.
Touch the flower and follow it around nearby.
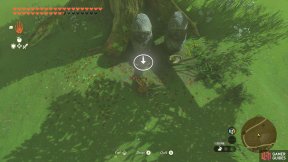
661. Hyrule Surface Map
Offer a ![]() Golden Apple. There are some growing at the apple orchard on Satori Mountain.
Golden Apple. There are some growing at the apple orchard on Satori Mountain.
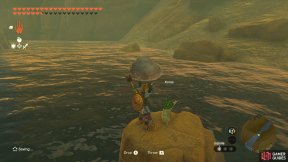
663. Hyrule Surface Map
Under the rock on the tiny island in the middle of the river.
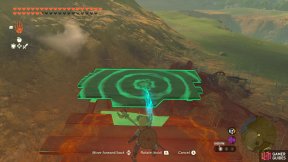
664. Hyrule Surface Map
Use ![]() Ultrahand to grab the nearby wooden board, then slot it in the gap to fix the roof.
Ultrahand to grab the nearby wooden board, then slot it in the gap to fix the roof.
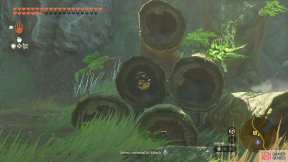
665. Hyrule Surface Map
Next to Outskirt Stable, there’s a pile of tree logs. Inside one of them is a pot that you can shoot with an arrow.
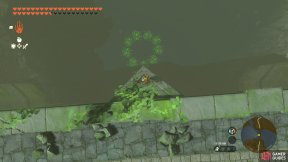
667. Hyrule Surface Map
Dive into the ring on the west side of Aquame Bridge.
If you mess up, use up stamina to climb the bridge and drown, so you can be sent back up the bridge.
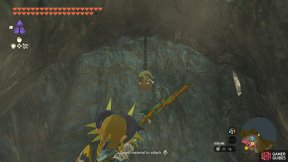
668. Hyrule Surface Map
At the base of Hyrule Castle.
Break the hanging pot near the emptied waterfall.
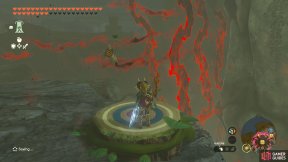
669. Hyrule Surface Map
Near the north-west side of the base of Hyrule Castle.
Look for a leaf-patterned stump at the tallest point of a rocky outcrop, then glide down here.
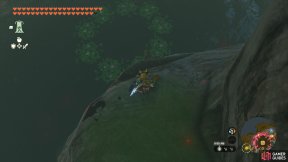
670. Hyrule Surface Map
At the Docks, accessible via the base of Hyrule Castle.
Dive into the ring of water lilies near the Docks entrance.
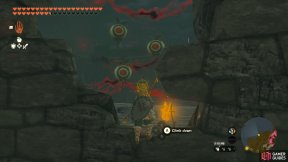
671. Hyrule Surface Map
Inside one of the closed prisons cells at the Lockup, there’s a pinwheel by a hole in the wall.
Stand near the pinwheel and pop the three floating balloons that appear.
You can reach here via the Lockup and repairing the nearby broken lever.
Alternatively, you can climb up from the moat. Or glide down from above.
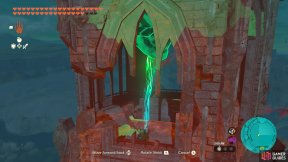
672. Hyrule Surface Map
Shake the bell at the very top of the Sanctum’s tower using ![]() Ultrahand.
Ultrahand.
You may need to shake it really wildly!
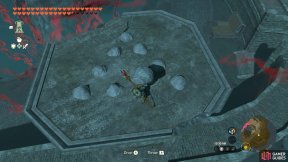
673. Hyrule Surface Map
At the base of Hyrule Castle.
Use a nearby rock to complete the triangle pattern.
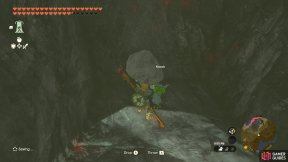
674. Hyrule Surface Map
At the base of Hyrule Castle.
Pick up the rock under the land bridge near the Dining Hall.
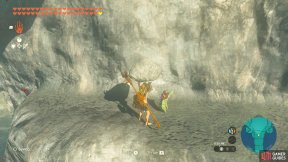
675. Hyrule Surface Map
Lift up the rock underneath the bridge leading to the Sanctum.
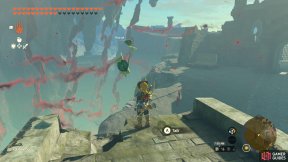
676. Hyrule Surface Map
Look for a Korok Flower south-west from here, at the base of the watchtower.
Follow it inside the watchtower, to the end of the broken castle wall here.
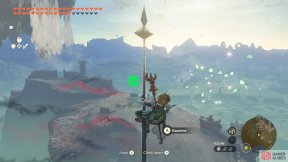
677. Hyrule Surface Map
At the base of Hyrule Castle.
Climb up the spire of the First Gatehouse and examine the shimmering lights.
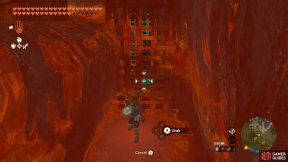
678. Hyrule Surface Map
At the base of Hyrule Castle.
Use ![]() Ultrahand to lift up the rock underneath the bridge, through the fence.
Ultrahand to lift up the rock underneath the bridge, through the fence.
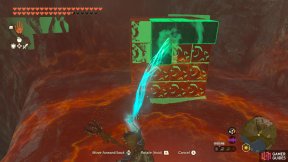
679. Hyrule Surface Map
At the base of Hyrule Castle.
Under the land bridge to the left of the side entrance.
Use ![]() Ultrahand to move the free block and complete the cube.
Ultrahand to move the free block and complete the cube.
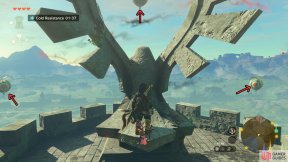
680. Hyrule Surface Map
At the base of Hyrule Castle, on the rampart at the top level.
Look for a pinwheel on a winged statue. Stand near it then pop the three floating balloons that appear.
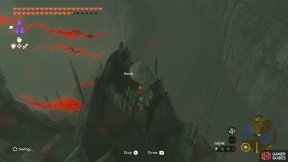
681. Hyrule Surface Map
Climb up the gate to Hyrule Castle.
Underneath a rock at the top of the eastern spire.
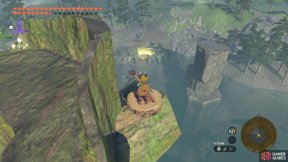
682. Hyrule Surface Map
North side of the Ancient Tree Stump, there’s a leaf-patterned stump.
Step on it and a target will appear to the north-west. Glide to the target to reap this Korok.
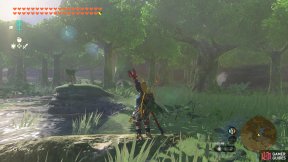
683. Hyrule Surface Map
At Hopper Pond, look for a Korok Flower inside a half trunk among the pond.
Touch the flower then follow it around the pond, until it settles towards the south.
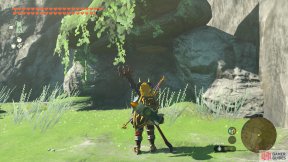
684. Hyrule Surface Map
A short distance west from the ![]() Black Boss Bokoblin and its minions, there’s a small cove with a leaf-patterned stump on the ceiling.
Black Boss Bokoblin and its minions, there’s a small cove with a leaf-patterned stump on the ceiling. ![]() Ascend through the stump to meet the Korok at the end.
Ascend through the stump to meet the Korok at the end.
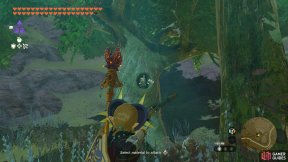
685. Hyrule Surface Map
The small woods overlooking Pico Pond from the north-east.
Shoot the pot inside the hole of a bigger tree near the center.
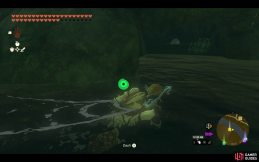
686. Hyrule Surface Map
Swim into the mouth of the cave and lift the small rock inside the entrance
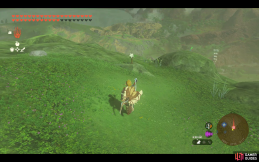
687. Hyrule Surface Map
Follow the flower trail that begins at the stump slightly to the south.
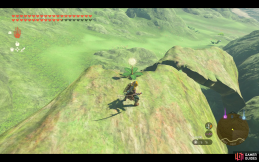
688. Hyrule Surface Map
Hit the puff and catch the floating seed before it reaches the ground
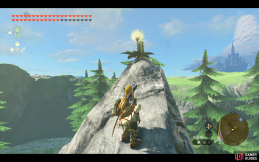
691. Hyrule Surface Map
Hit the puff and catch the seed before it reaches the ground.
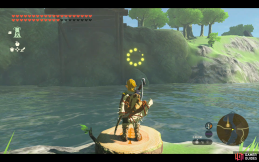
693. Hyrule Surface Map
Step on the stump across the river to activate the target.
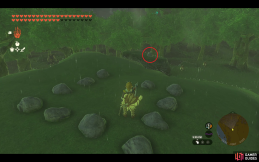
701. Hyrule Surface Map
Use ![]() Ultrahand ability to place the missing rock back into the pattern.
Ultrahand ability to place the missing rock back into the pattern.
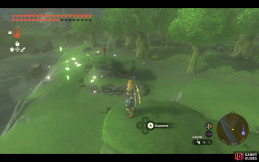
702. Hyrule Surface Map
There are wooden arrows in this area pointing to the top of a rock. Climb to the top and examine the lights.
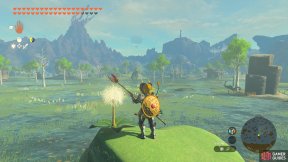
704. Hyrule Surface Map
Poke the dandelion, then the grab the puff as it floats down.
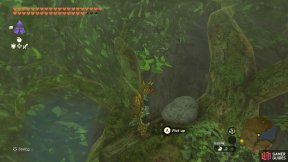
705. Hyrule Surface Map
Underneath a rock atop the tree at the north entrance to Byroad to Lanayru Wetlands.
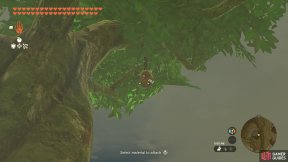
706. Hyrule Surface Map
At the back of Kakariko Village, behind the Ring Ruins.
Break the pot hanging from the tree.
If you’re here early, you won’t be allowed through the Ring Ruins, but you can go around it.
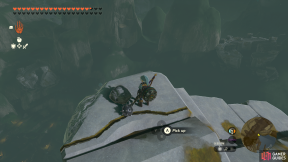
707. Hyrule Surface Map
Climb all the way to the top of the ruins and lift the rock to reveal the Korok.
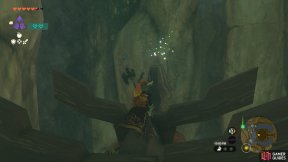
708. Hyrule Surface Map
There is a korok atop the house. Climb to the top to reach it.
709. Hyrule Surface Map
There is a Korok running around under the house. Crouch and press A to capture it.
710. Hyrule Surface Map
Pond at east side of Kakariko Village. Shoot the pot hanging underneath the bridge.
711. Hyrule Surface Map
Underneath a rock atop a lone tree east from Morok Shrine.
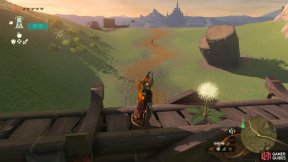
712. Hyrule Surface Map
Catch the Dandelion seed before it lands to reveal the Korok.
Ya-ha-ha! You found me!
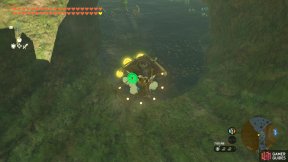
713. Hyrule Surface Map
At the top of the collapsed tree trunk, stand on the Korok Stump and quickly make your way to the ring at the bottom of the tree trunk.
You could shield surf or glide down.
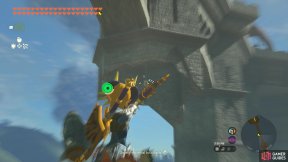
714. Hyrule Surface Map
At the Bridge of Hylia, halfway between the north end and the center, break the hanging pot below the bridge, where a broken pillar is.
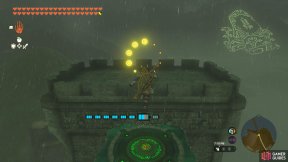
716. Hyrule Surface Map
Stand on the log on the other pillar and make it through the yellow ring in time to make this Korok appear.
If you have Hover Stones, you could make a bridge of them.
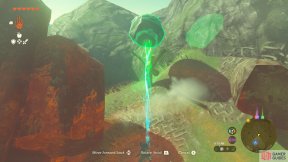
718. Hyrule Surface Map
Lift the nearby boulder and place it on the tree to reveal this Korok.
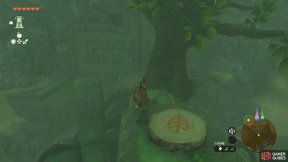
719. Hyrule Surface Map
Step on the nearby log to spawn the flowers, and then follow them up the top of the tree to reveal this Korok.
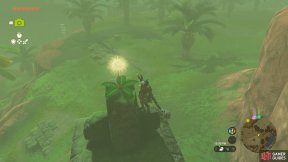
721. Hyrule Surface Map
Strike the Dandelion, then catch the seed to reveal this Korok.
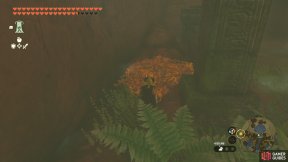
722. Hyrule Surface Map
Behind the water coming from Riola !Spring, there’s an entrance to ![]() Mount Floria Cave.
Mount Floria Cave.
To the left, there’s a pile of leaves. Burn it and lift the rock hidden underneath.
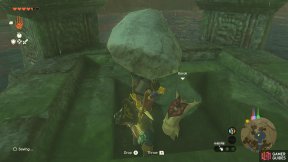
723. Hyrule Surface Map
Lift the boulder here with ![]() Ultrahand to find a small rock, lift that to find the Korok.
Ultrahand to find a small rock, lift that to find the Korok.
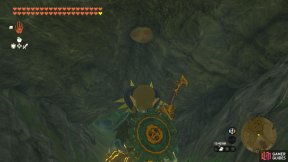
724. Hyrule Surface Map
Between Tobio’s Hollow and Keelay Plain, there’s a short rock tunnel.
![]() Ascend through the leaf-patterned stump on the ceiling.
Ascend through the leaf-patterned stump on the ceiling.
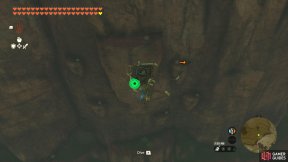
725. Hyrule Surface Map
On the side of the cliff, there are six ledges with small rocks on them.
Facing these ledges, move one of the rocks that’s on the left side of the ledge so that it’s on the right side.
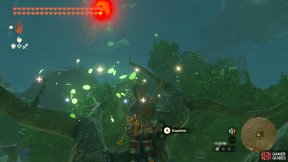
727. Hyrule Surface Map
Climb the large tree that the signposts are pointing to and examine the shimmering lights.
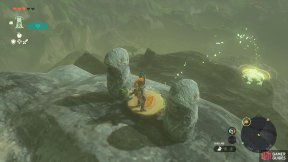
728. Hyrule Surface Map
There is a platform at the top of the mountain with a leaf symbol on it. Stand on it and then glide to the next platform to receive 1 Korok seed.
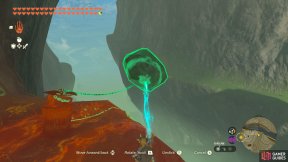
729. Hyrule Surface Map
On the side of the mountain, halfway up.
You can use ![]() Ultrahand to glue a nearby boulder to the free cork, then drop it off the edge.
Ultrahand to glue a nearby boulder to the free cork, then drop it off the edge.
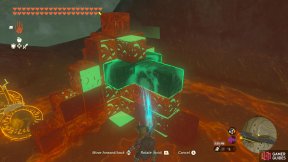
730. Hyrule Surface Map
Near the peak.
Use ![]() Ultrahand to move the free T block and complete the pyramid-like structure.
Ultrahand to move the free T block and complete the pyramid-like structure.
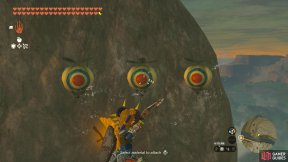
731. Hyrule Surface Map
At the peak. Stand near the pinwheel and pop the three floating balloons that appear and disappear.
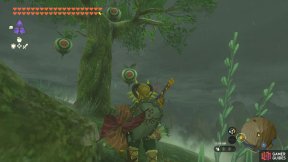
732. Hyrule Surface Map
High up the mountain, stand next to the pinwheel at the base of one of the trees.
Then pop the three balloons that appear next to the other tree.
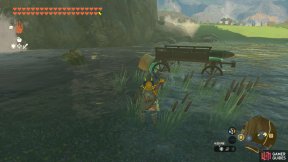
733. Hyrule Surface Map
You need to pull hard on the free cork, so the stuck cork comes off.
For example, you could carefully attach a Rocket to it. We grabbed a nearby wagon to stabilize the rocket.
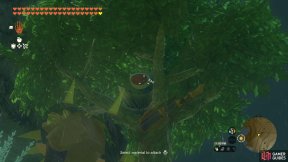
734. Hyrule Surface Map
Pop the balloon atop the tree. You can just climb up and headbutt it.
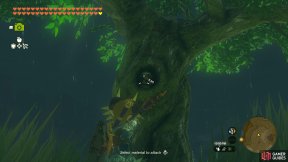
735. Hyrule Surface Map
Break the small pot inside the hole in the tree, on its west side.
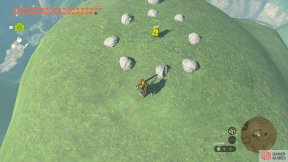
736. Hyrule Surface Map
On the highest point of Pierre Plateau, east from Kakariko Village.
Complete the rock formation using the nearby rock or a rock from a weapon etc.
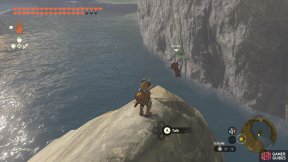
739. Hyrule Surface Map
Touch the flower on the small island at Lake Siela.
Then follow the flower around the nearby triangular structure.
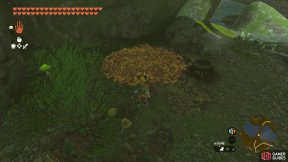
740. Hyrule Surface Map
Underneath Kakariko Bridge. Burn or brush aside the pile of leaves, then lift the rock hidden underneath.
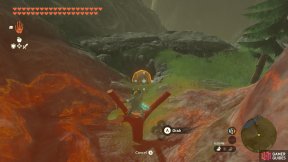
744. Hyrule Surface Map
Use ![]() Ultrahand to grab the boulder nearby to the west and place it atop the three-pronged stump.
Ultrahand to grab the boulder nearby to the west and place it atop the three-pronged stump.
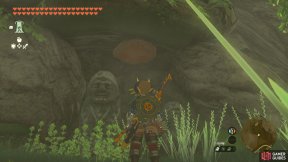
745. Hyrule Surface Map
Along the way to ![]() Robred Dropoff Cave, towards the west there’s a small alcove with two statues.
Robred Dropoff Cave, towards the west there’s a small alcove with two statues.
![]() Ascend through the leaf-patterned stump on the ceiling.
Ascend through the leaf-patterned stump on the ceiling.
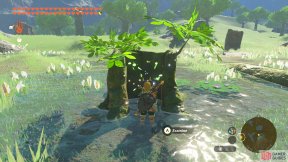
746. Hyrule Surface Map
Examine the shimmering lights inside the half tree trunk.
There are arrow signs pointing to it nearby.
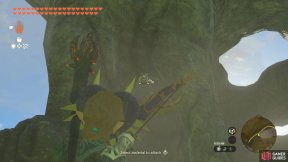
747. Hyrule Surface Map
Pop the balloon underneath the ledge.
You can do it from the ground; fusing an ![]() Aerocuda Wing to an arrow may help.
Aerocuda Wing to an arrow may help.
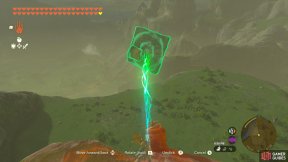
748. Hyrule Surface Map
Use ![]() Ultrahand to glue a stone slab to the free cork, then drop it off the edge.
Ultrahand to glue a stone slab to the free cork, then drop it off the edge.
You’ll want to position the stone slab so it’s far from the edge and doesn’t hit the rocks, losing momentum.
Or you could try and stick multiple stone slabs together–gravity has to eventually win!
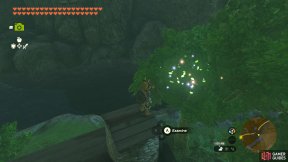
749. Hyrule Surface Map
At Fort Hateno.
Examine the shimmering lights atop the chimney of the house.
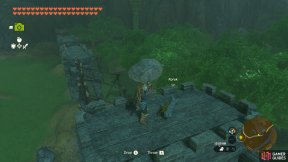
750. Hyrule Surface Map
Atop the rampart of Fort Hateno. Underneath a rock above the gate.
751. Hyrule Surface Map
Dive into the ring of water lilies. It’s easier if you jump from the side of the land bridge.
Be wary if it’s raining, because there’s nowhere nearby to make land.
752. Hyrule Surface Map
Under a rock on a high up ledge near the entrance to ![]() Oakle’s Navel Cave.
Oakle’s Navel Cave.
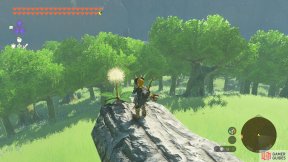
753. Hyrule Surface Map
At the center of Bubinga Forest.
Hit the dandelion puff, then grab the puff as it falls down.
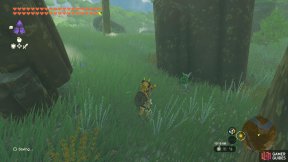
756. Hyrule Surface Map
Touch the flower inside the half tree trunk towards the south-west, then chase it here.
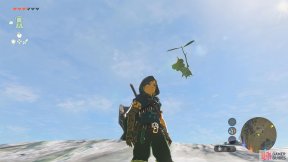
759. Hyrule Surface Map
Stand on top of the Korok Stump towards the west to spawn a ring of yellow balls here. You need to reach the ring before all balls disappear.
Use a movement speed food if you can’t get there in time. You can reset the time by standing on the stump again.
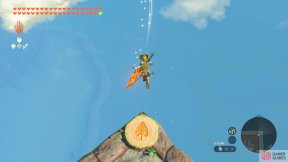
761. Hyrule Sky Islands Map
At the north-east corner of Lomei Sky Labyrinth, on the roof.
Step onto the leaf-patterned stump, then sky-dive and catch the falling Korok.
After grabbing it, you may want to continue diving towards Lomei Labyrinth Island on the surface, since there’s a Korok there in the exact same corner.
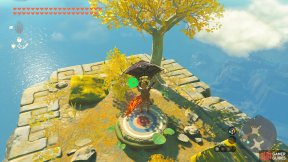
762. Hyrule Sky Islands Map
At the small sky island north from here, stand on the leaf-patterned stump, then glide to the glowing platform over here.
It’s a little faraway, but you can easily make it. If you can’t see the platform, wait for the clouds to pass by.
To reach the stump, you can activate the Dragon Ring near Gikaku Shrine, which will turn on all the piston launchers.
The first piston launcher can propel you high enough to reach the island with the stump.
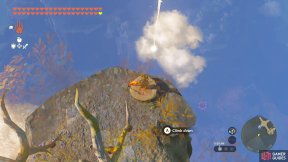
763. Hyrule Sky Islands Map
South from Natak Shrine, stand on the leaf-patterned stump on the small sky island and dive after the shooting star.
You can reach here by positioning the piston launcher near the shrine.
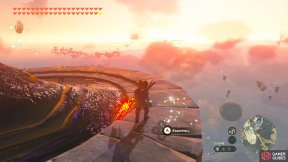
764. Hyrule Sky Islands Map
Towards the south of ![]() Igoshon Shrine on Wellspring Island.
Igoshon Shrine on Wellspring Island.
Examine the shimmering lights moving around at the end of the lower walkway.
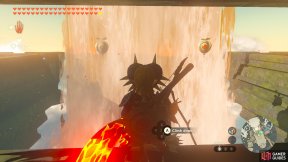
765. Hyrule Sky Islands Map
Underneath the staircase bridge at Wellspring Island, just before the waterfall leading up to the Water Temple, look for a pinwheel.
Stand near the pinwheel and pop the three floating balloons next to the waterfall. The balloons move downwards, before respawning back up.
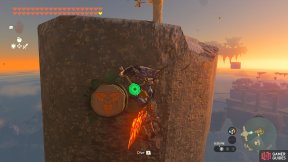
766. Hyrule Sky Islands Map
East from Kadaunar Shrine, climb onto the leaf-patterned stump on the side of the small sky island.
You can propel yourself using the piston launcher near the shrine.
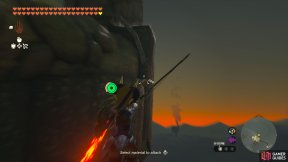
767. Hyrule Sky Islands Map
West from Kadaunar Shrine, break the small pot hanging off the minecart tracks.
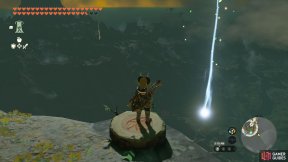
768. Hyrule Sky Islands Map
Stand on the leaf-patterned stump to make a Korok shoot down like a star.
Catch it mid-air to claim this seed.
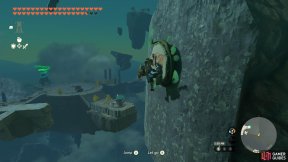
769. Hyrule Sky Islands Map
Climb onto the leaf-patterned stump on the side of the island.
You can launch yourself using the piston launcher near Mayam Shrine.
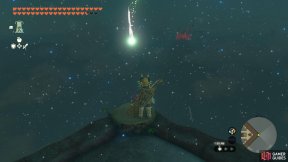
770. Hyrule Sky Islands Map
East corner of North Lomei Castle Top Floor, on the roof.
Stand on the leaf-patterned stump to make a Korok shoot down.
Then jump/sky-dive and catch it mid-air.
If you’re worried about missing the Korok, you can save your game before attempting.
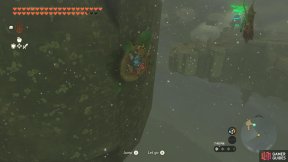
771. Hyrule Sky Islands Map
Climb onto the leaf-patterned stump on the side of this small island.
You can use the piston launcher towards the north-west to blast you here.
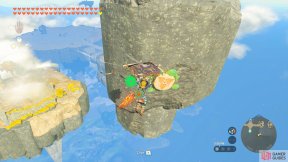
772. Hyrule Sky Islands Map
Climb onto the leaf-patterned stump on the side of the small sky island south-east from ![]() Kumamayn Shrine.
Kumamayn Shrine.
You can propel yourself using the piston launcher near the shrine.
773. Hyrule Sky Islands Map
Under a rock atop the tree on one of the small sky islands north-west from ![]() Kumamayn Shrine.
Kumamayn Shrine.
You can propel yourself using the piston launcher near the shrine or glide from Rabella Wetlands Skyview Tower.
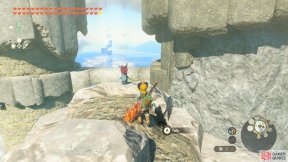
774. Hyrule Sky Islands Map
At ![]() Zonaite Forge Island.
Zonaite Forge Island.
Touch the flower at the center of the southernmost pillar, then follow it around and up.
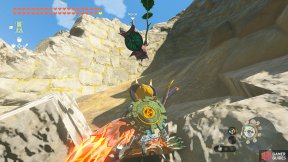
775. Hyrule Sky Islands Map
At ![]() Zonaite Forge Island.
Zonaite Forge Island.
On the pillar south-west from here, stand on the Korok Stump and glide/drop down to the ring at this location.
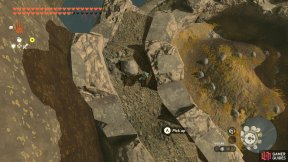
776. Hyrule Sky Islands Map
At ![]() Zonaite Forge Island.
Zonaite Forge Island.
Near the entryway, there’s a rock pattern on the lowest pillar.
Use a nearby rock to complete the triangular pattern.
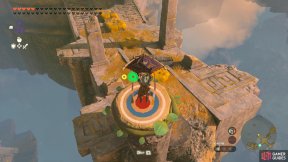
777. Hyrule Sky Islands Map
Head to the small sky island towards the north. You can use the nearby piston launcher to propel yourself.
Stand on the leaf-patterned stump on the small island, then glide to the glowing platform located here.
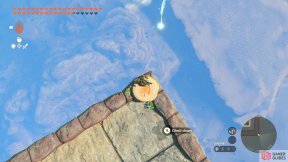
779. Hyrule Sky Islands Map
South-east of South Lomei Castle Top Floor, on the roof, there’s a leaf-patterned stump.
Stand on it to make a Korok shooting down. You need to catch it while mid-air. Happy sky-diving!
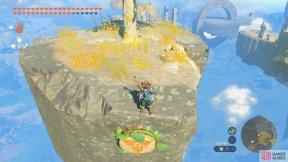
780. Hyrule Sky Islands Map
Climb on the leaf-patterned stump on the side of this floating island.
You can use the piston launcher south from ![]() Jinodok Shrine to reach here.
Jinodok Shrine to reach here.
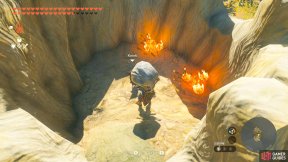
781. Hyrule Sky Islands Map
Burn the leaves inside the tree stump, then lift up the rock.
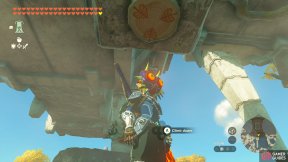
782. Hyrule Sky Islands Map
At the pond under the ![]() Temple of Time stairs, there’s a square platform with a leaf-patterned stump on the broken pillar above.
Temple of Time stairs, there’s a square platform with a leaf-patterned stump on the broken pillar above.
![]() Ascend through the stump.
Ascend through the stump.
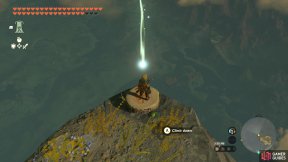
783. Hyrule Sky Islands Map
North of Josui Shrine, on a small island.
Stand on the leaf-patterned stump and catch the shooting star mid-air.
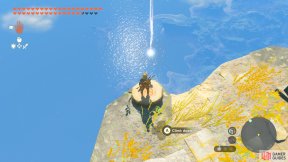
784. Hyrule Sky Islands Map
Stand on the leaf-patterned stump, then dive after the plummeting Korok.
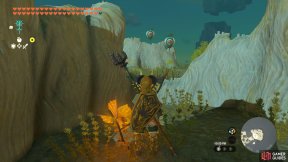
785. Hyrule Sky Islands Map
At the top of the sky island north-east from Mayanas Shrine, look for a pinwheel inside a tree trunk.
Stand near the pinwheel and pop the balloons that appear nearby.
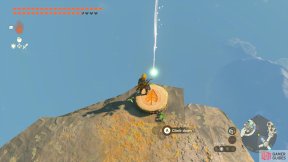
786. Hyrule Sky Islands Map
Next to the base of Valor Island.
Stand on the leaf-patterned stump, then dive after the plummeting Korok.
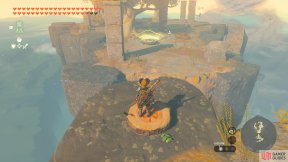
787. Hyrule Sky Islands Map
Towards the south, near the north end of the next island, there’s a leaf-patterned stump.
Stand on the stump and glide north to the platform. With the anti-gravity field, you will make it.
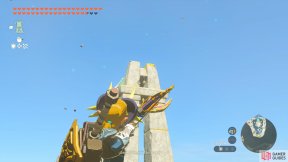
788. Hyrule Sky Islands Map
Break the hanging pot near the top of the tall structure.
You could ![]() Fuse an
Fuse an ![]() Aerocuda Wing to your arrows, for example.
Aerocuda Wing to your arrows, for example.
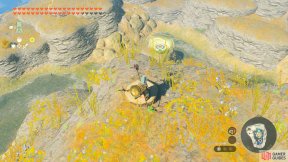
789. Hyrule Sky Islands Map
Look for a leaf-patterned stump a short distance east.
Stand on the stump, then glide down to the platform.
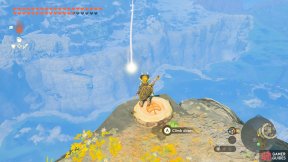
790. Hyrule Sky Islands Map
On a small floating island near ![]() Taunhiy Shrine, there’s a leaf-patterned stump.
Taunhiy Shrine, there’s a leaf-patterned stump.
Stand on it to make a “shooting star” fall down. Catch it mid-air to obtain this seed.
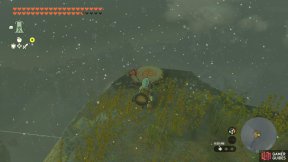
791. Hyrule Sky Islands Map
![]() Ascend up the floating island to the east. Stand on the leaf-patterned stump, then glide down to the platform.
Ascend up the floating island to the east. Stand on the leaf-patterned stump, then glide down to the platform.
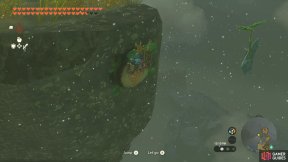
792. Hyrule Sky Islands Map
Climb onto the leaf-patterned stump on the side of the island.
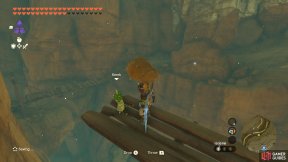
794. Hyrule Surface Map
North and slightly west from Gerudo Canyon Skyview Tower.
Pick up the rock at the end of the scaffolding.
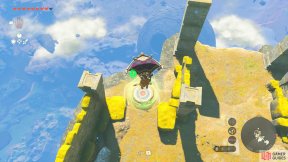
795. Hyrule Sky Islands Map
Land on the target after you stand on the stump with the leaf icon on the higher island.
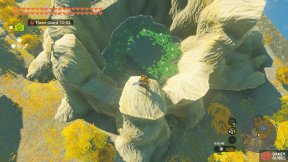
797. Hyrule Sky Islands Map
Dive into the ring of water lilies inside the tree trunk.
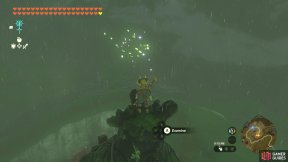
798. Hyrule Surface Map
At the very top of the Hateno Ancient Tech Lab, where the decayed Guardian is. Examine the shimmering lights.
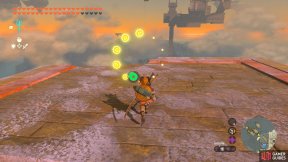
799. Hyrule Sky Islands Map
Between Kahatanaum Shrine and Mayaumekis Shrine, on a very low elevation and fragmented platform, there’s a Korok Stump.
Step on it, then glide/jump across to the timer ring located here.
You get loads of time, so don’t rush and try to plan so you don’t end up falling short of a platform.
You could also cheese it by Rocket shielding up, then casually gliding straight to the ring.
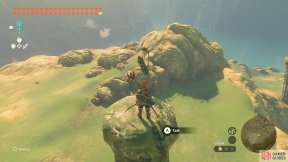
800. Hyrule Surface Map
Follow the Korok Flower atop a stone pillar at the Ancient Columns, north of a ![]() Flame Gleeok.
Flame Gleeok.
The flower will teleport along multiple stone pillars, then the corner of a wall, before ending up along the southern pillars.
There’s a very high chance the Flame Gleeok will spot you when you reach the fourth pillar. However, if you glide carefully and quickly leave, you may escape its notice.
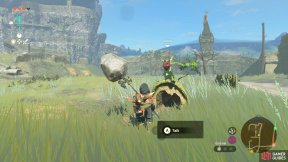
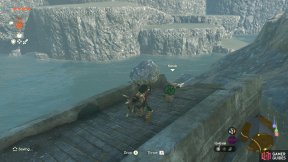
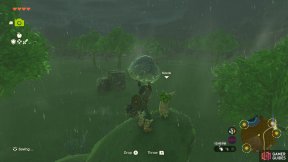
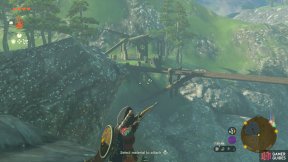
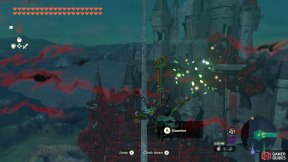
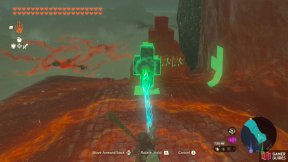
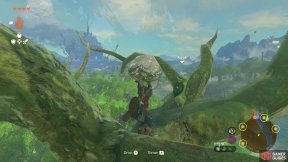
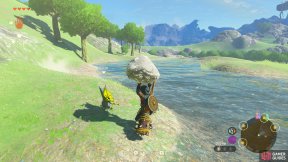
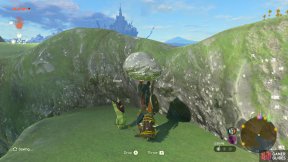
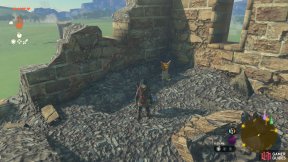
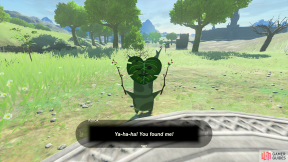
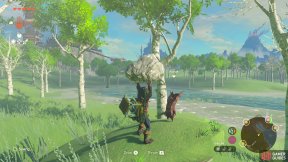
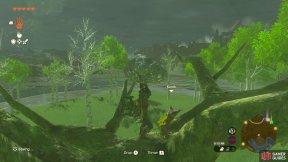
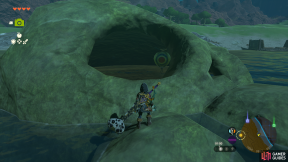
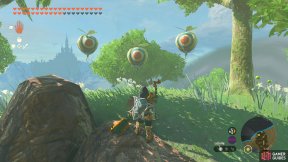
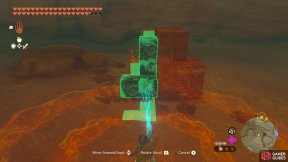
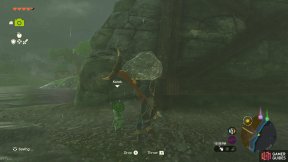
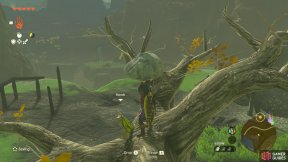
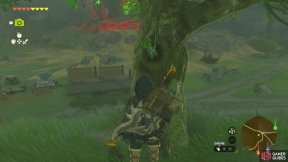
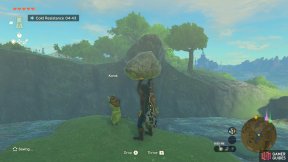
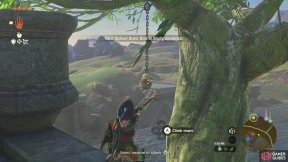
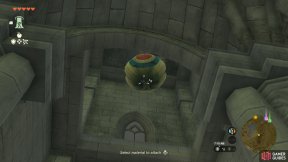
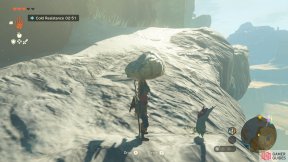
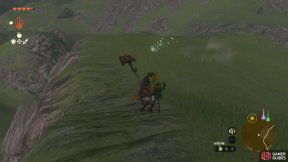
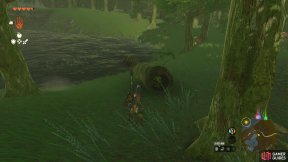
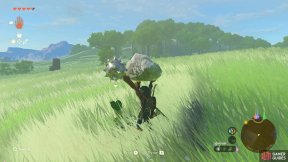
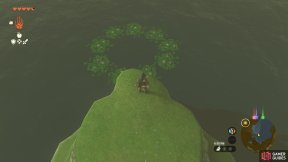
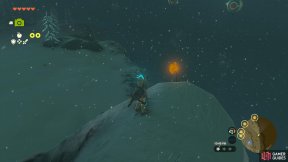
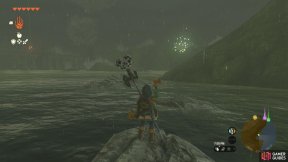
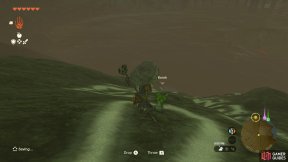
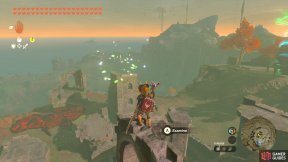
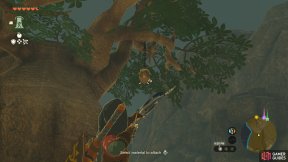
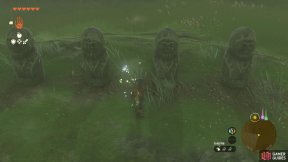
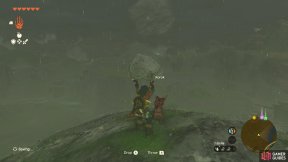
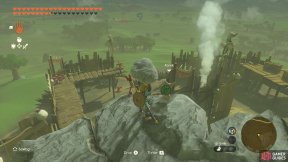
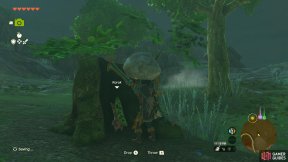
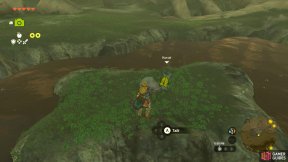
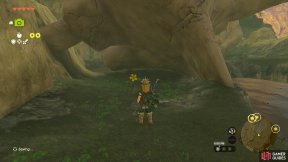
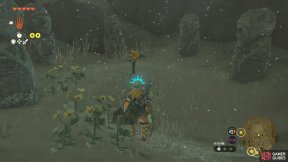
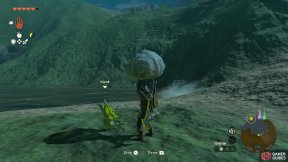
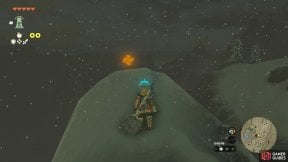
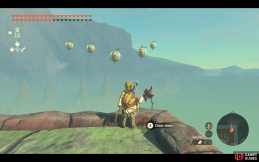
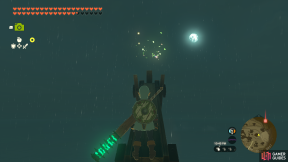
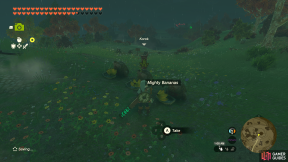
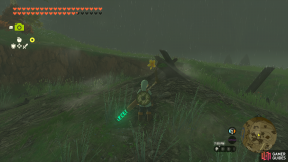
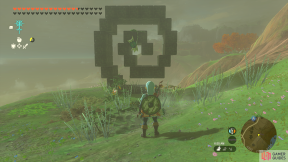
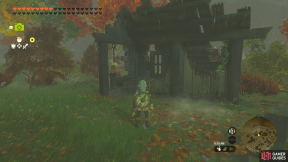
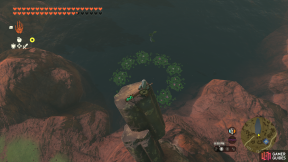
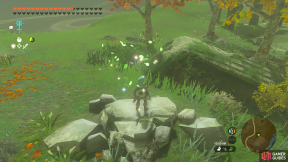
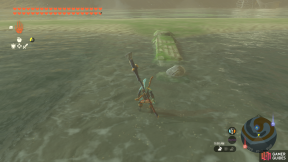
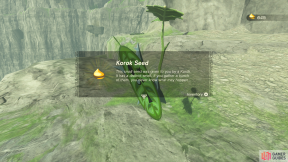
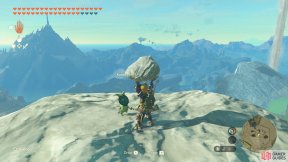
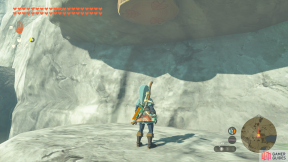
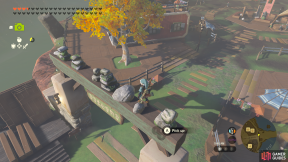
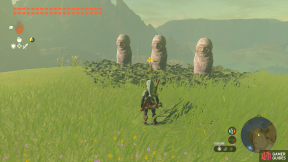
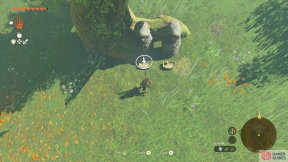
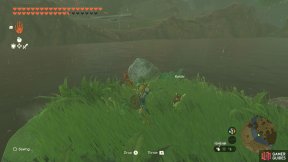
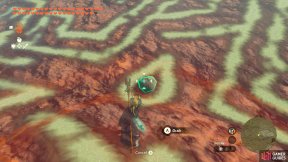
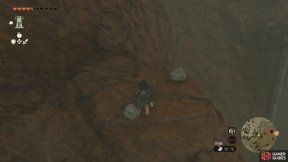
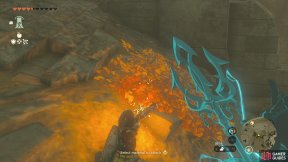
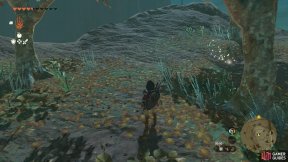
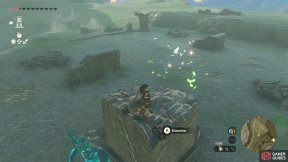
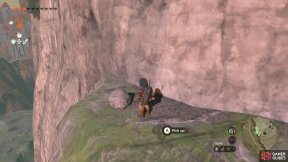
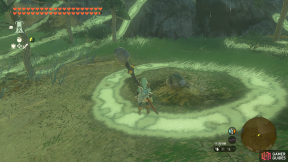
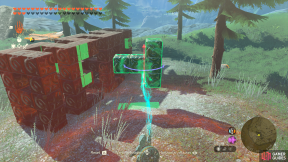
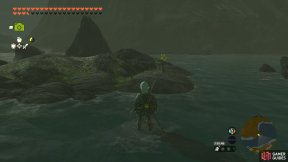
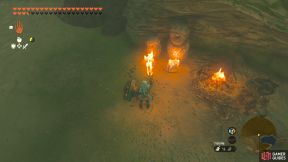
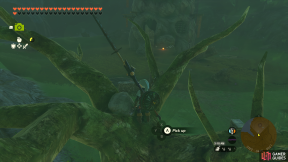
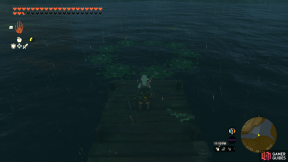
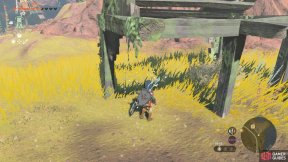
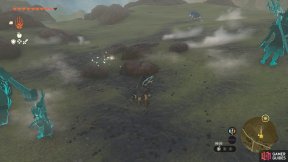
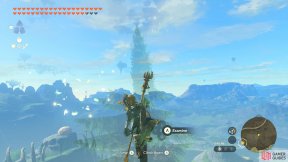
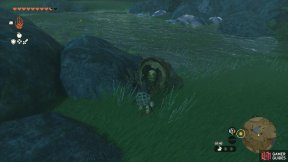
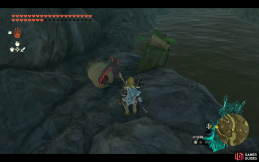
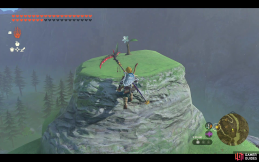
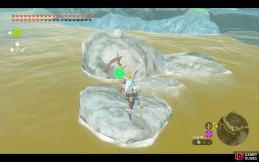
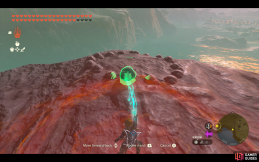
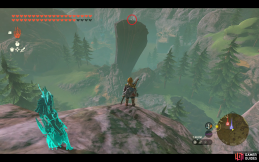
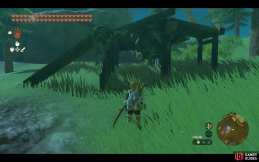
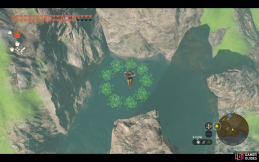
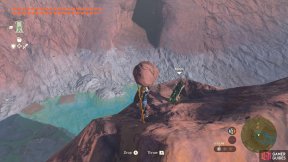
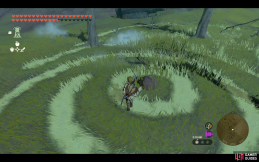
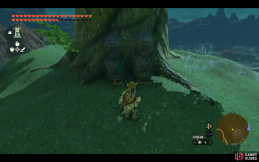
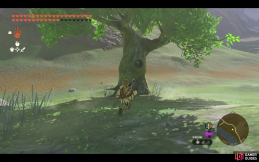
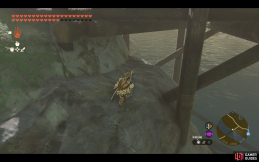
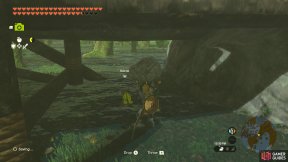
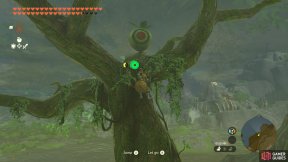
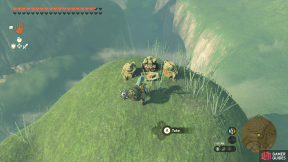
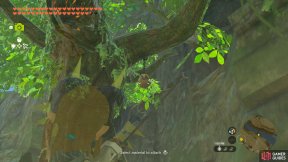
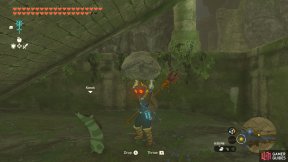
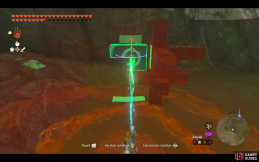
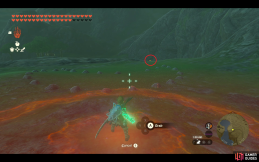
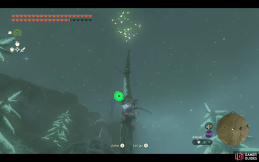
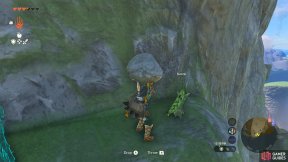
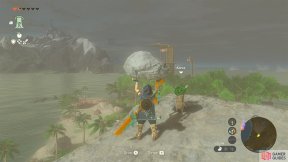
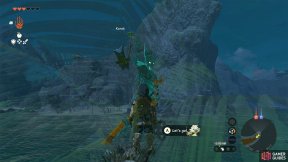
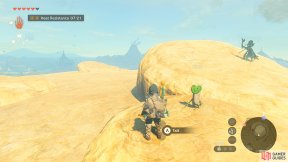
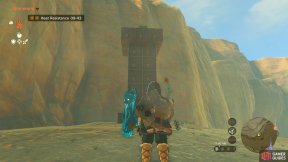
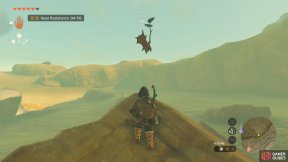
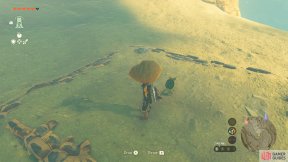
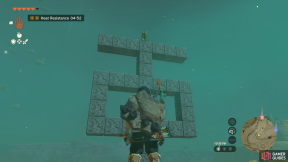
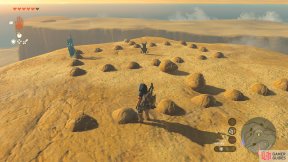
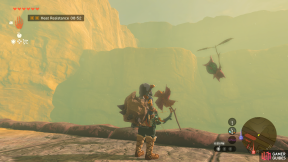
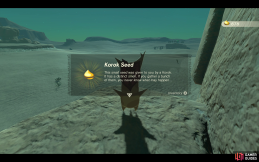
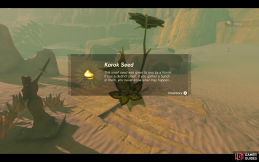
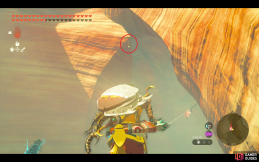
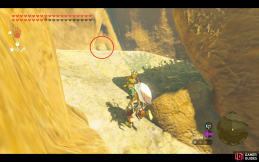
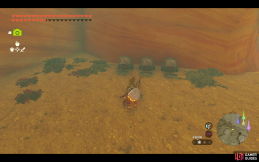
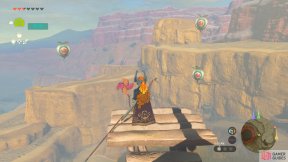
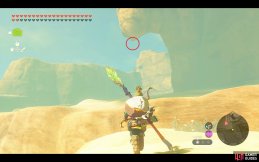
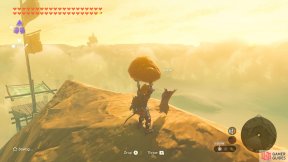
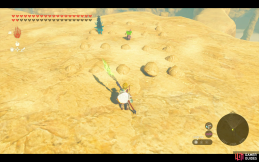
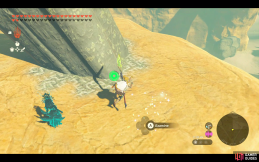
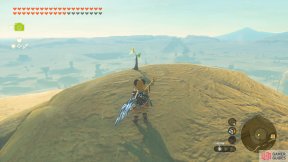
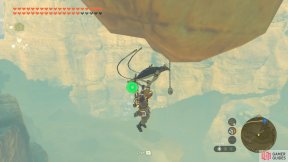
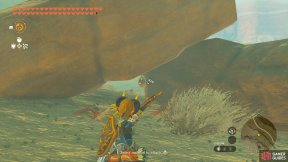
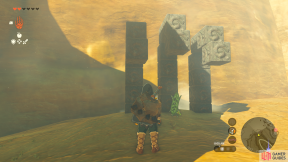
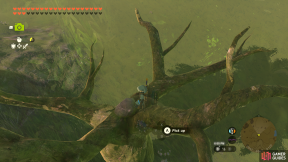
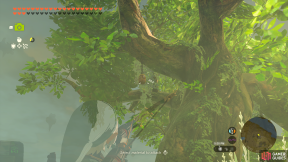
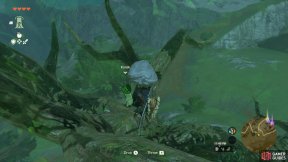
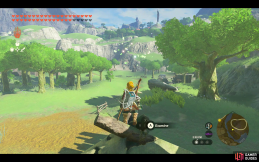
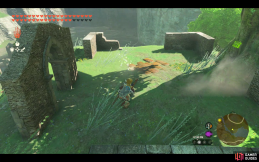
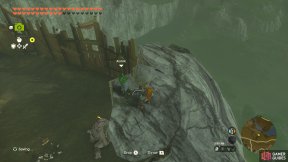
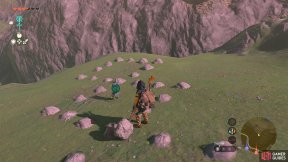
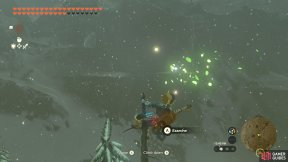
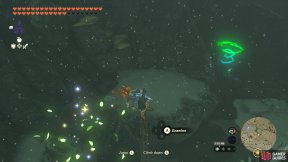
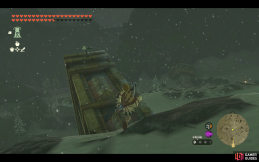
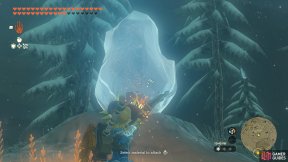
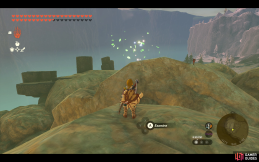
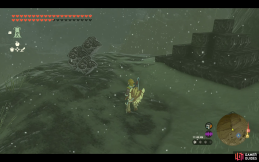
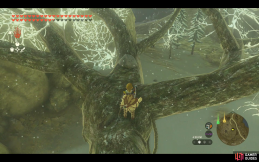
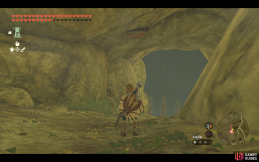
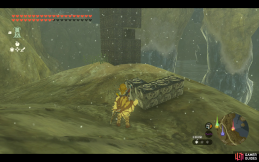
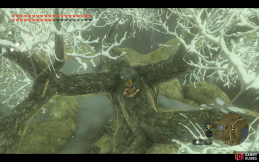
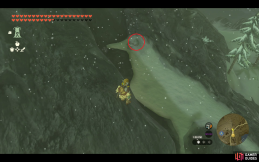
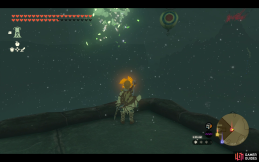
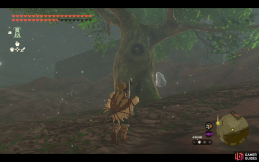
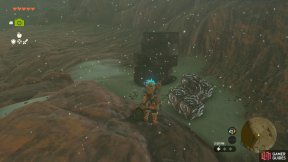
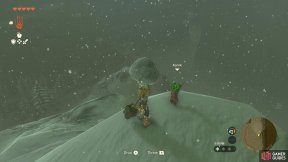
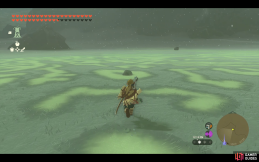
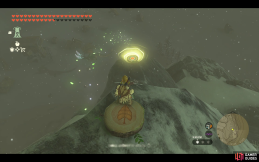
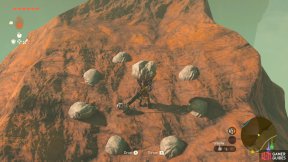
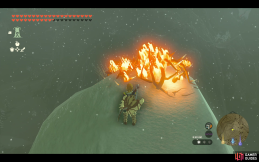
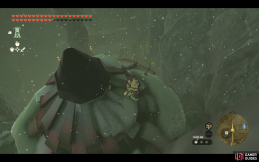
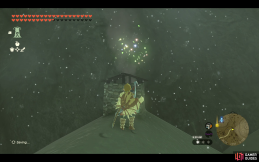
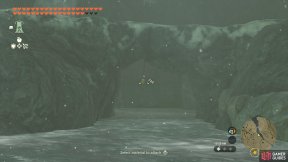
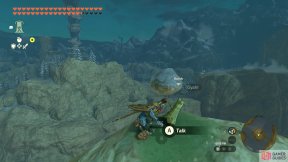
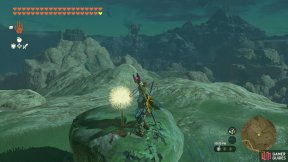
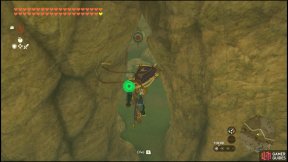
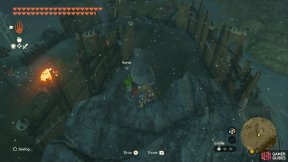
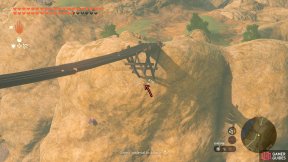
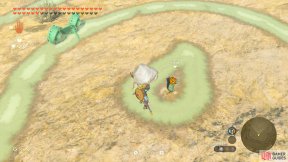
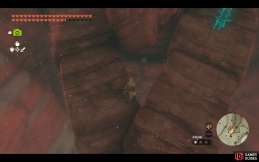
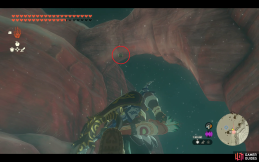
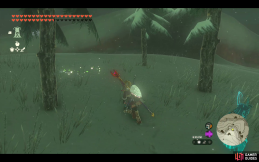
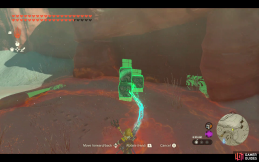
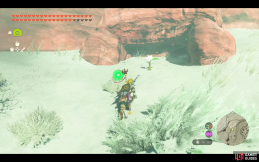
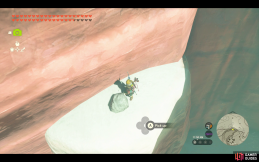
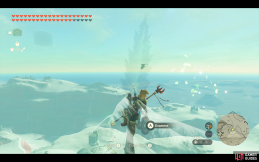
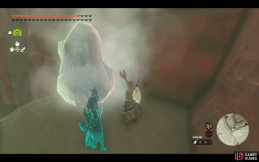
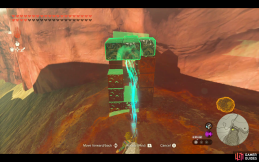
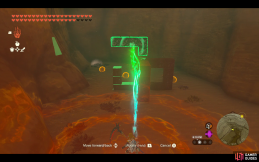
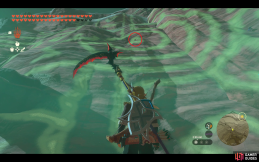
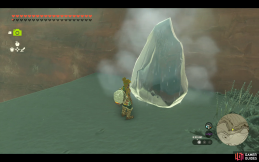
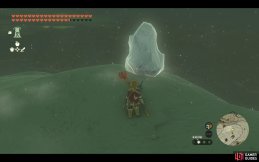
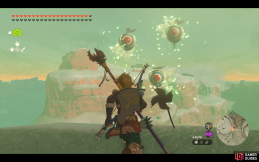
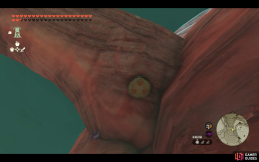
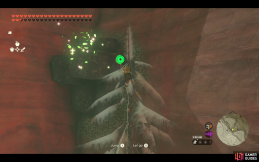
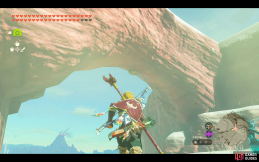
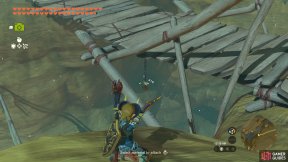
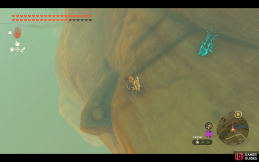
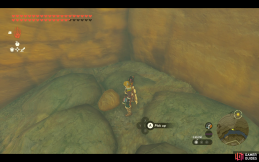
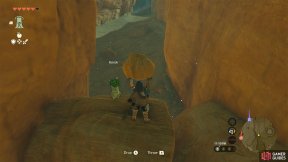
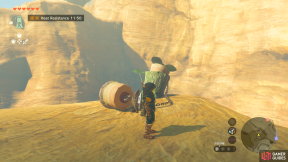
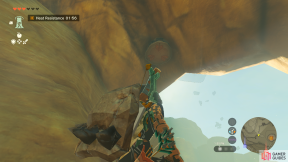
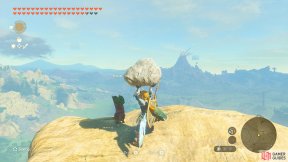
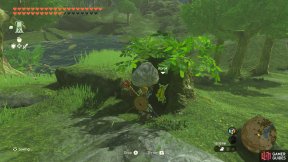
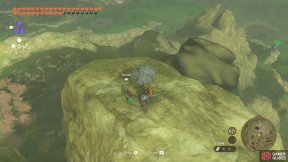
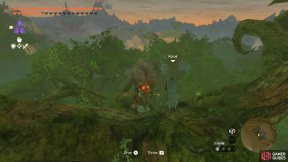
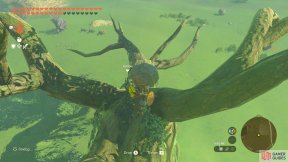
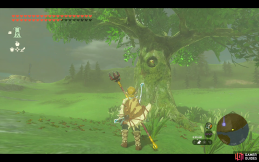
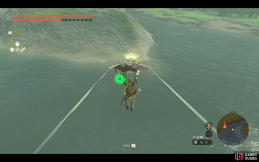
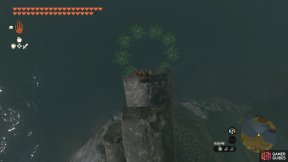
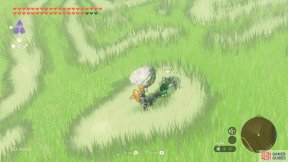
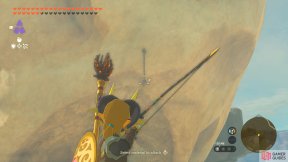
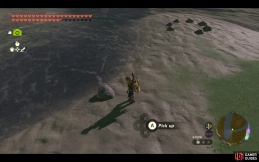
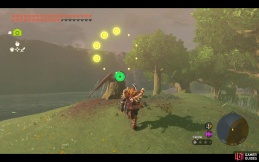
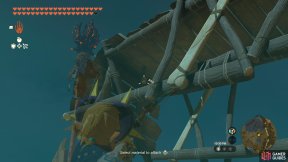
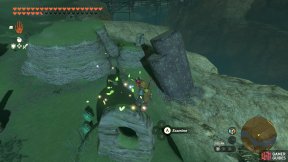
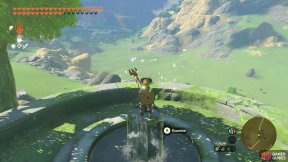
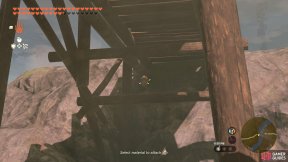
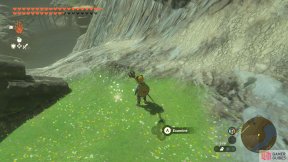
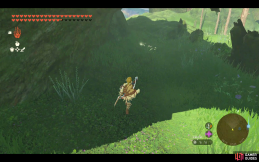
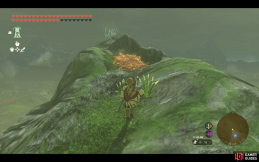
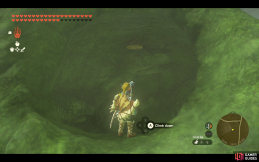
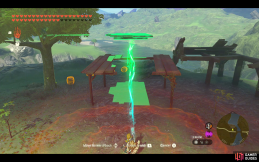
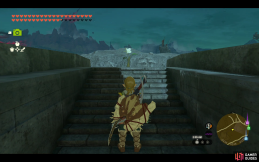
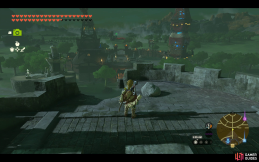
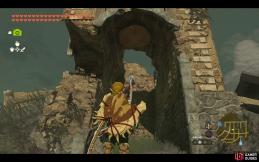
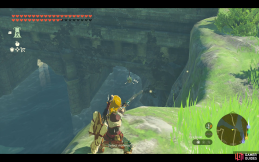
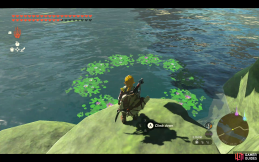
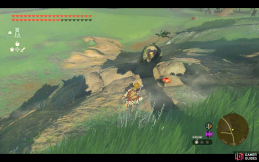
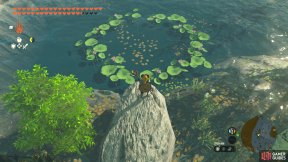
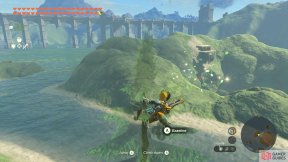
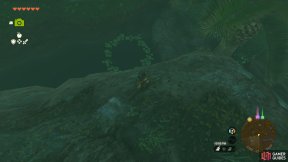
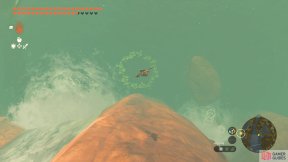
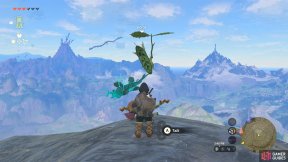
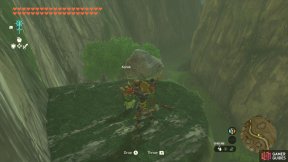
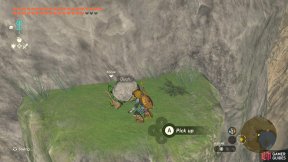
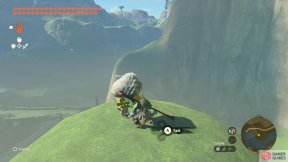
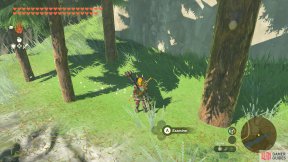
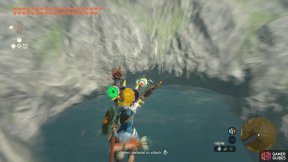
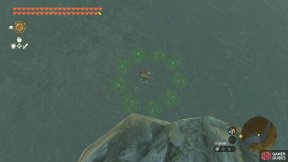
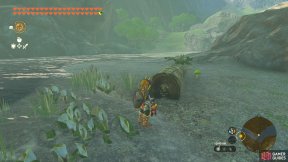
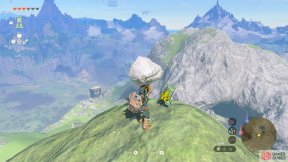
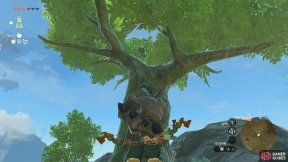
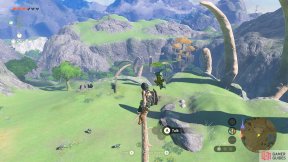
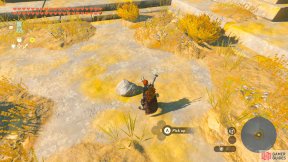
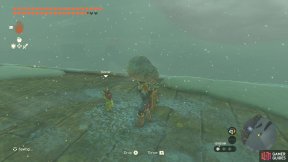
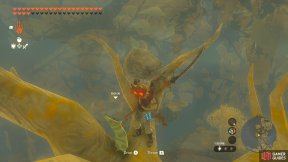
No Comments