
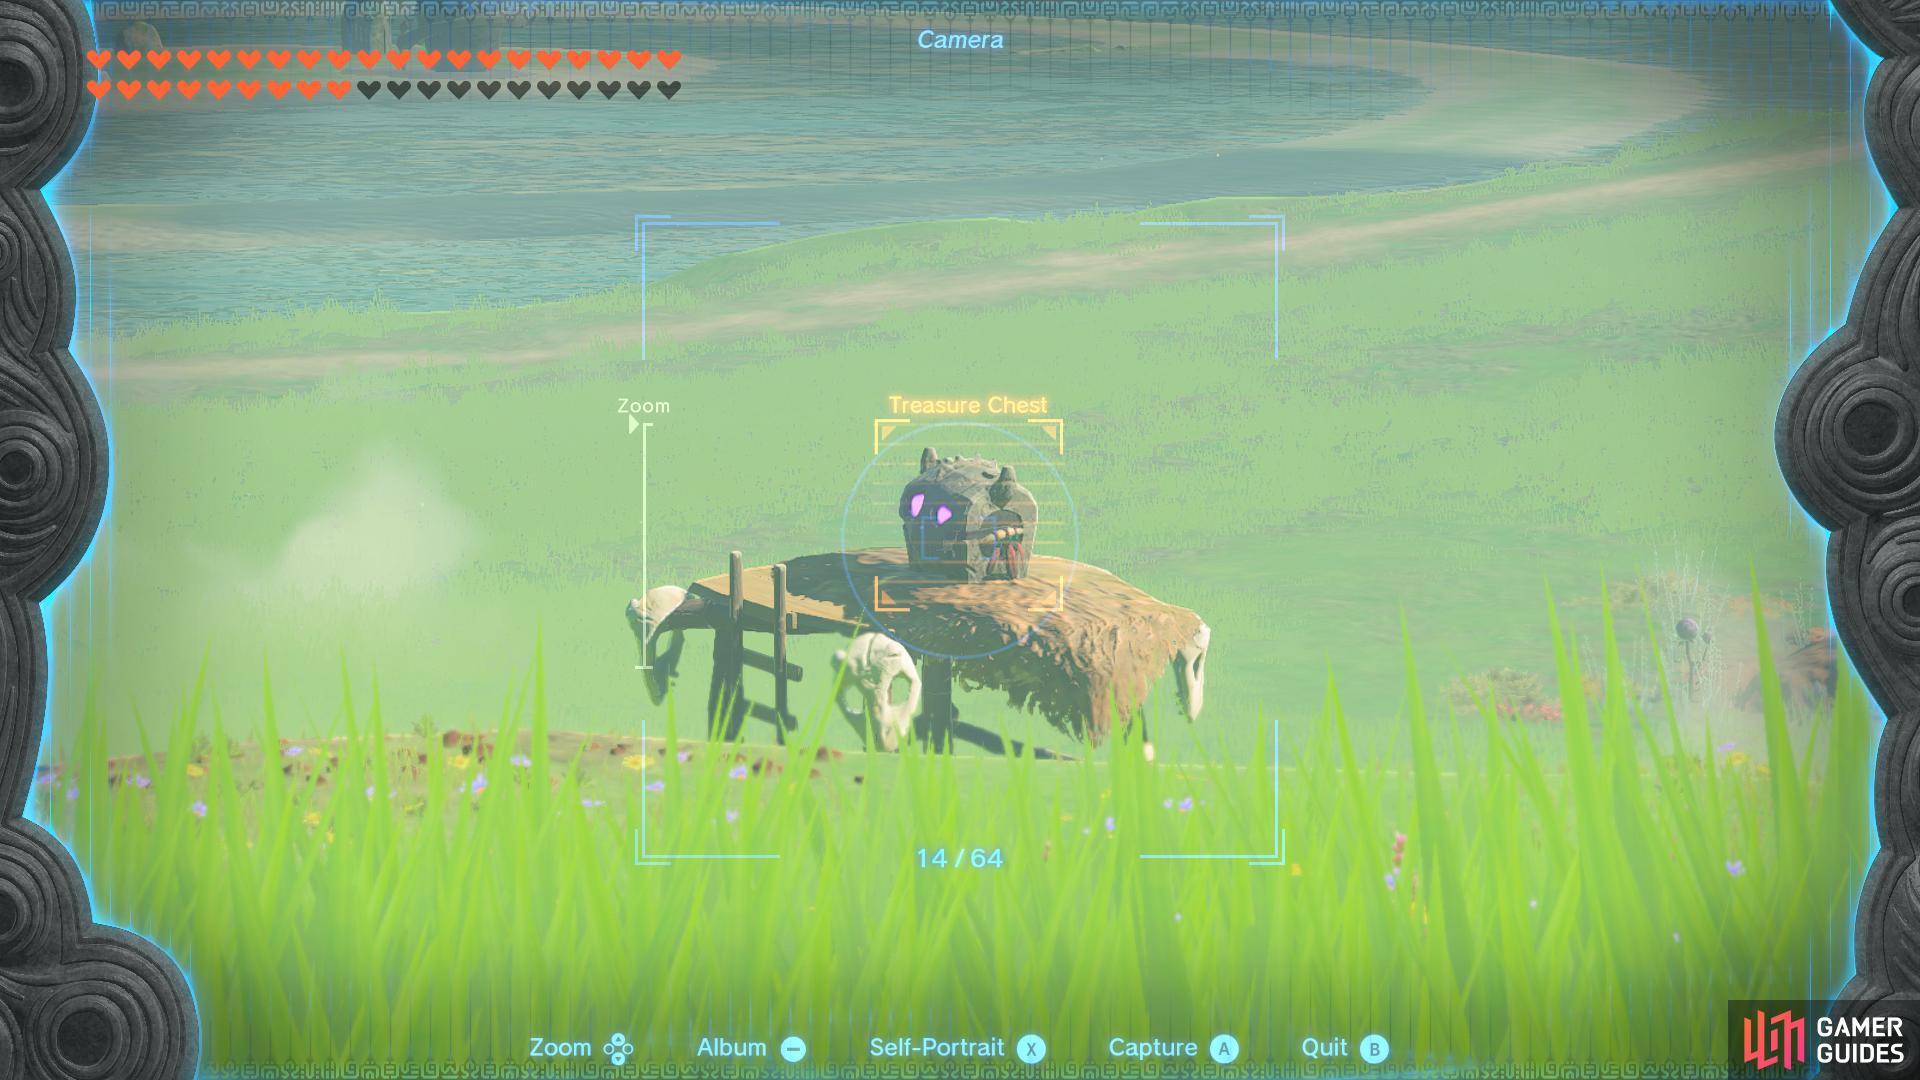
Treasure Chest
In-game Description
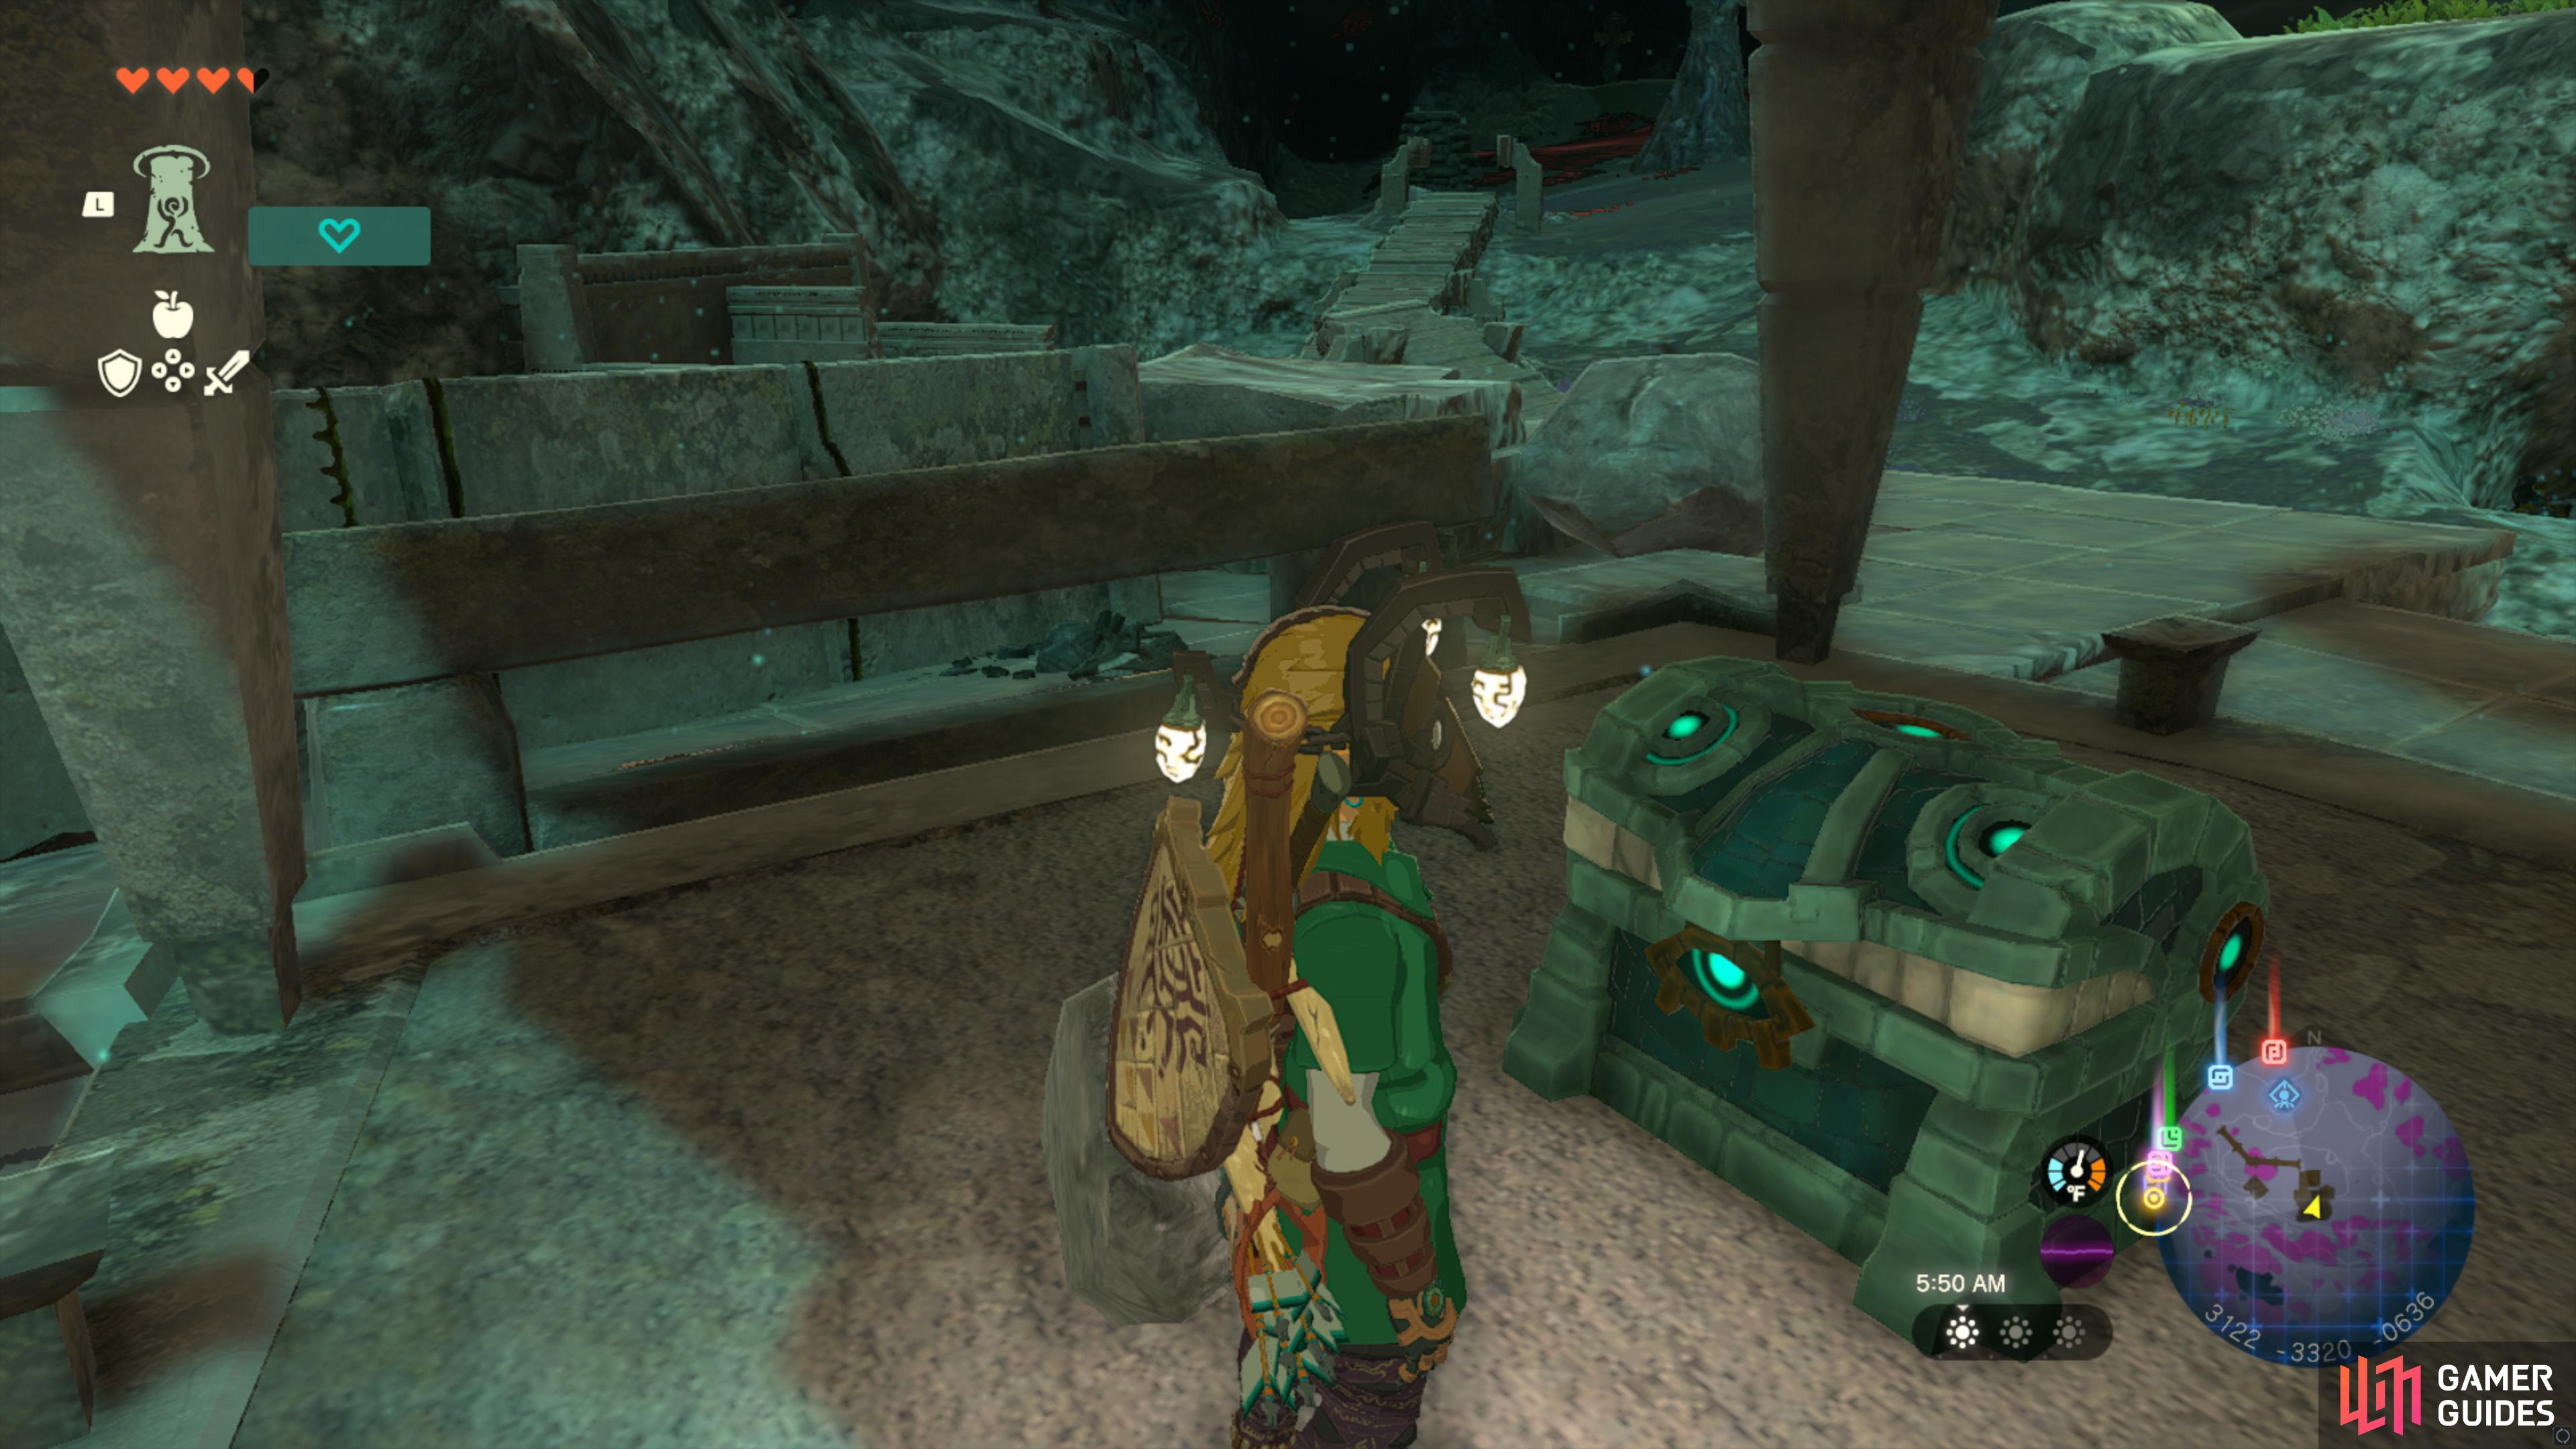
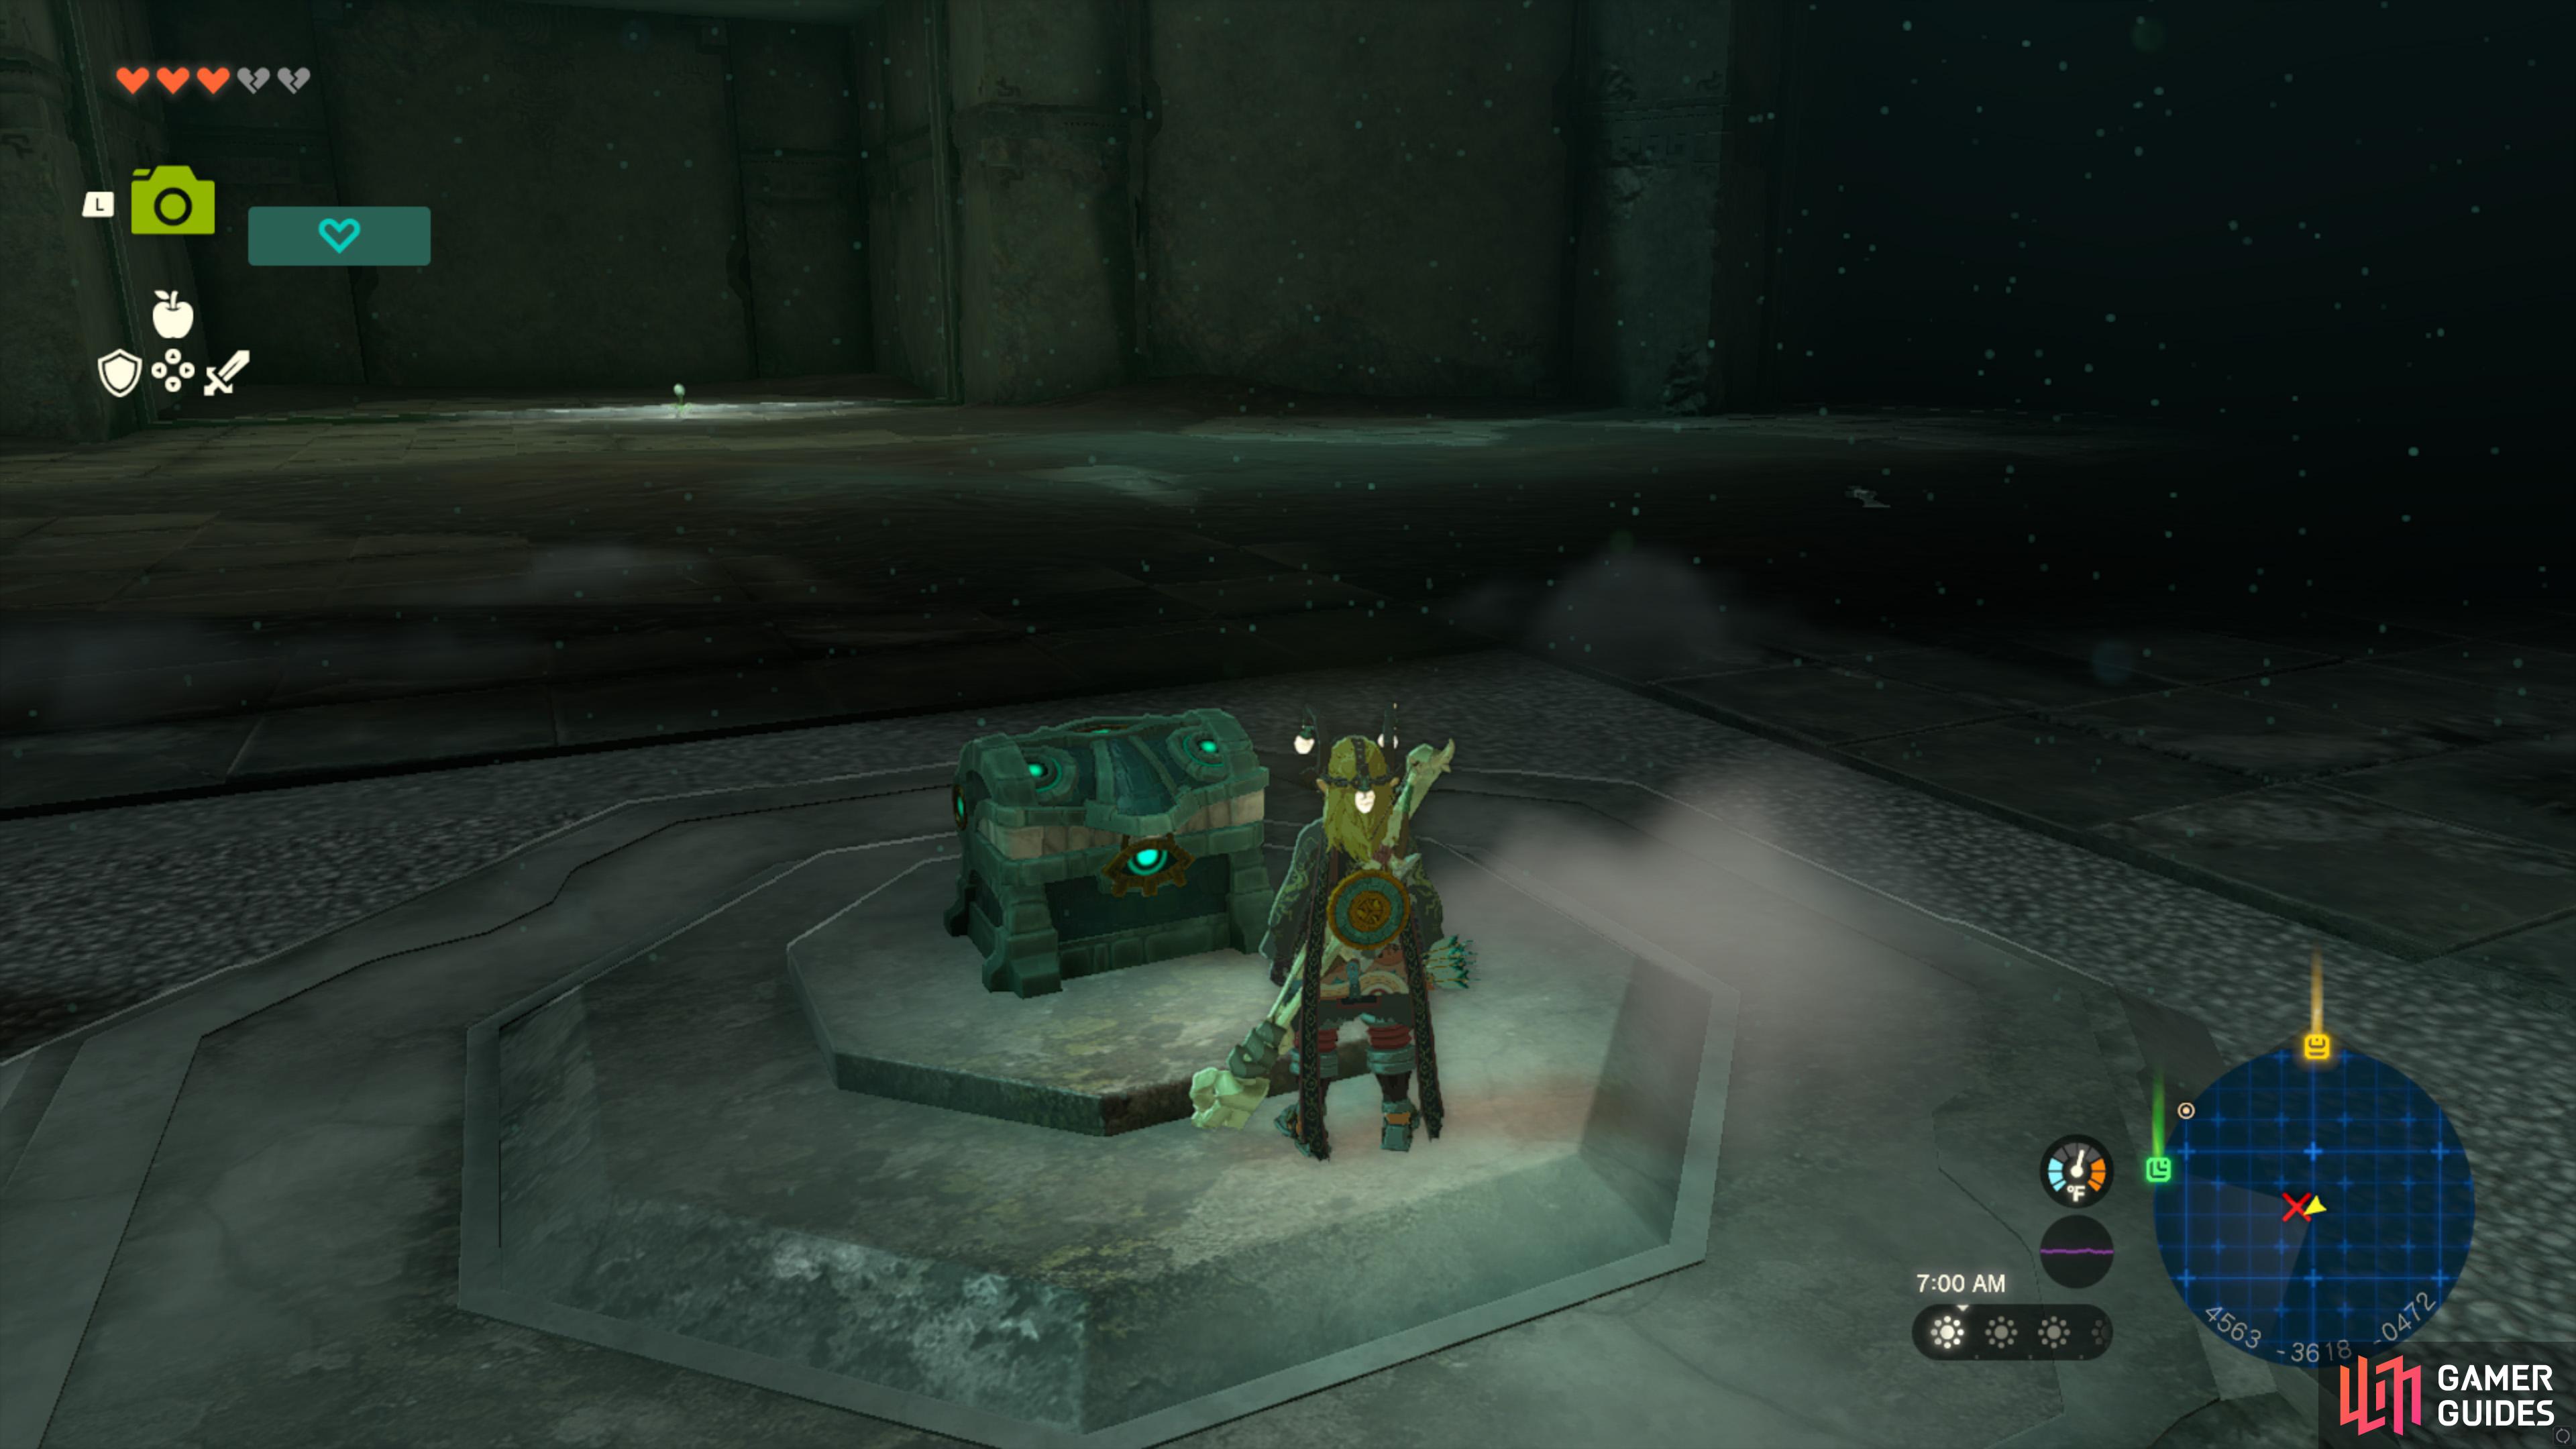
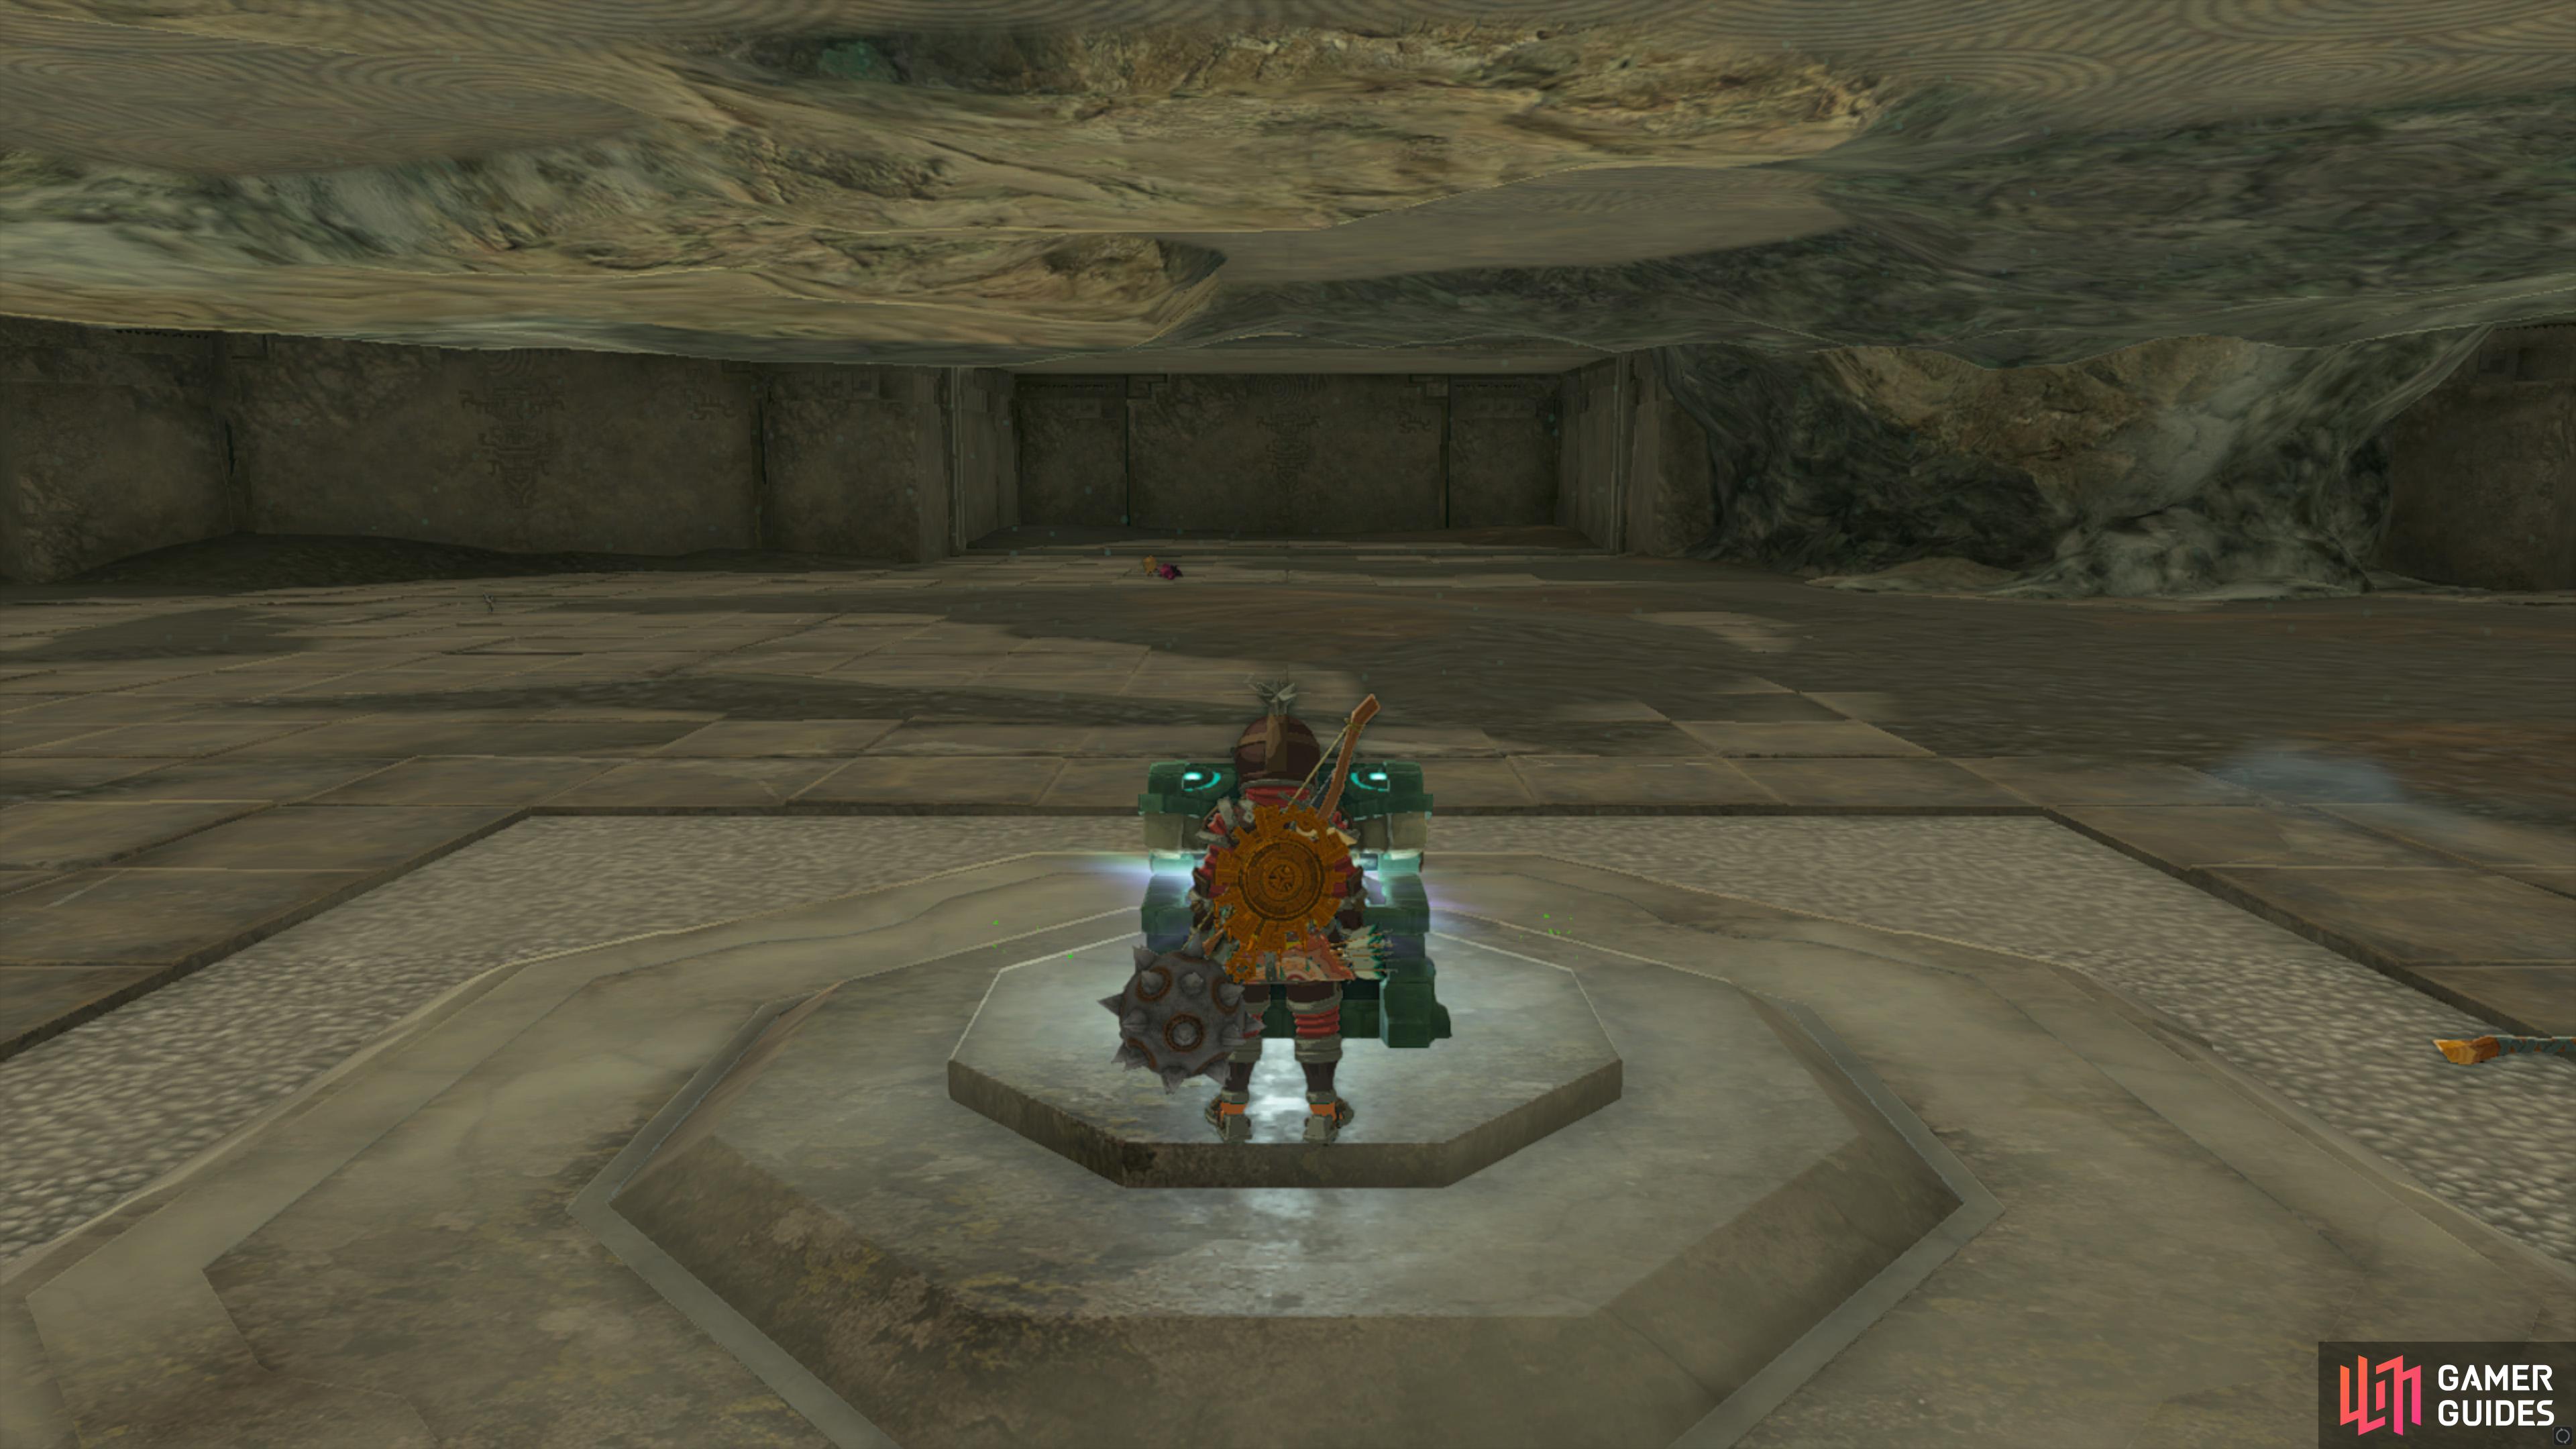
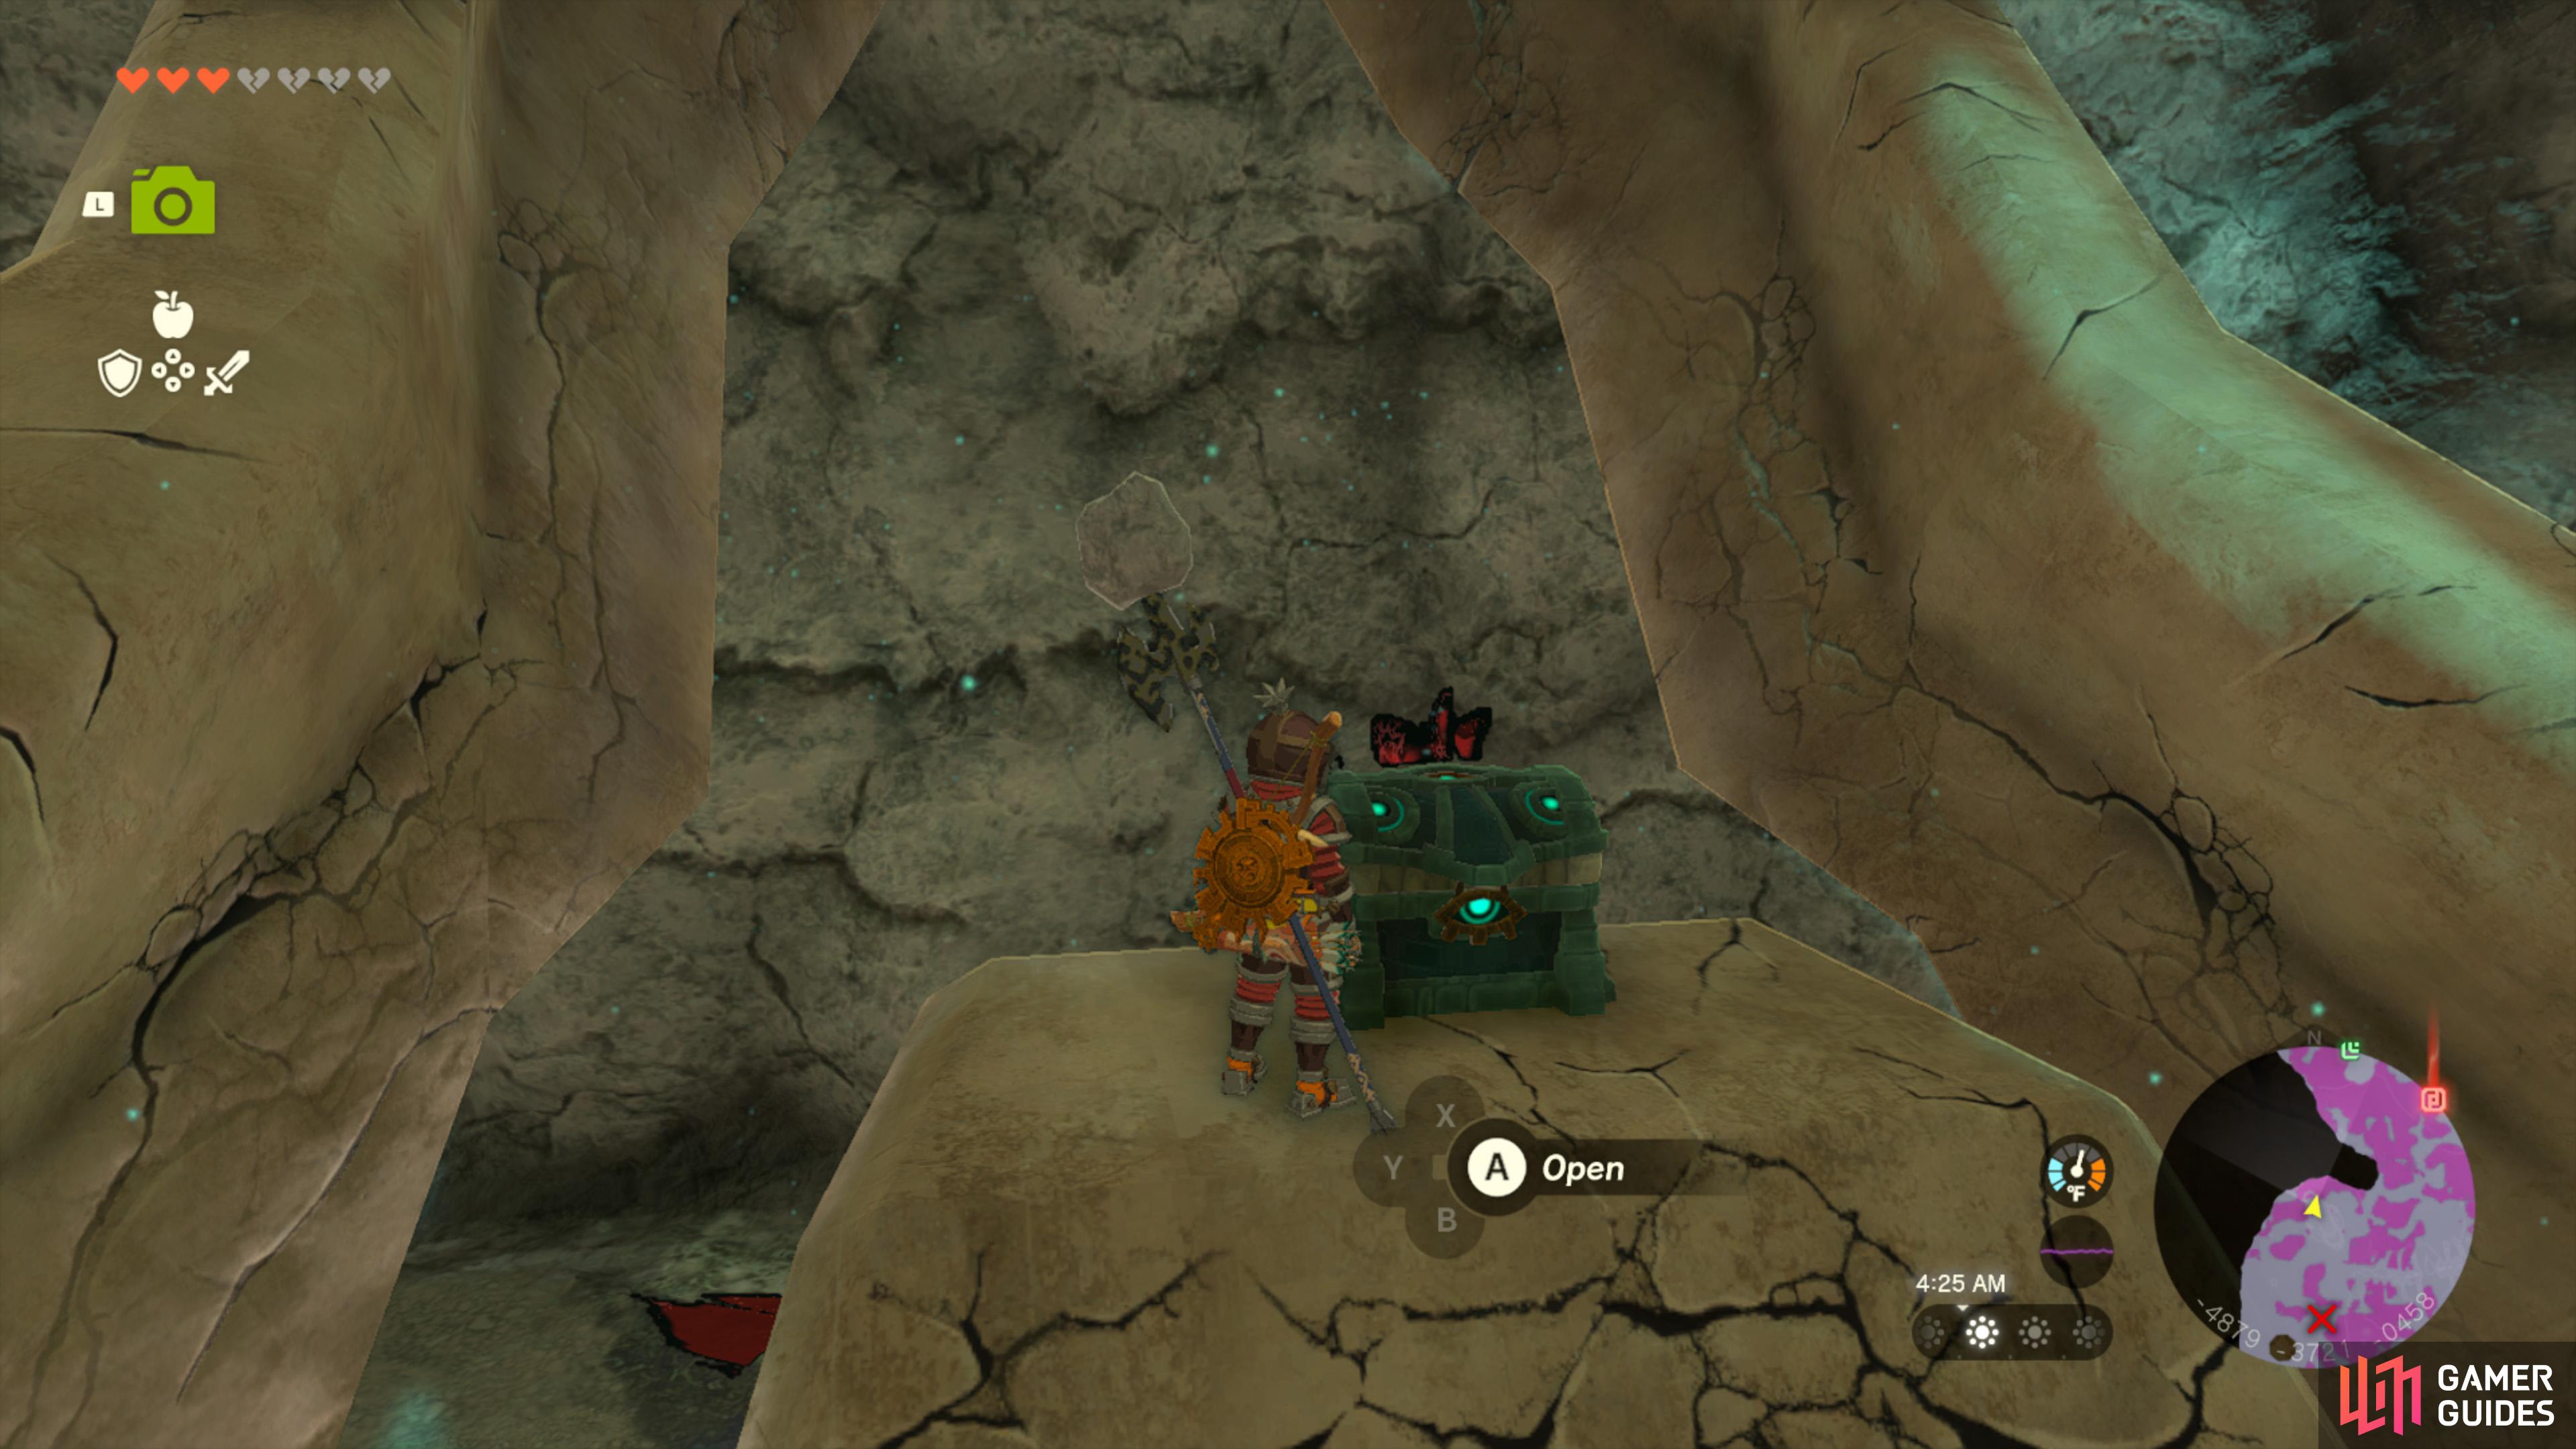
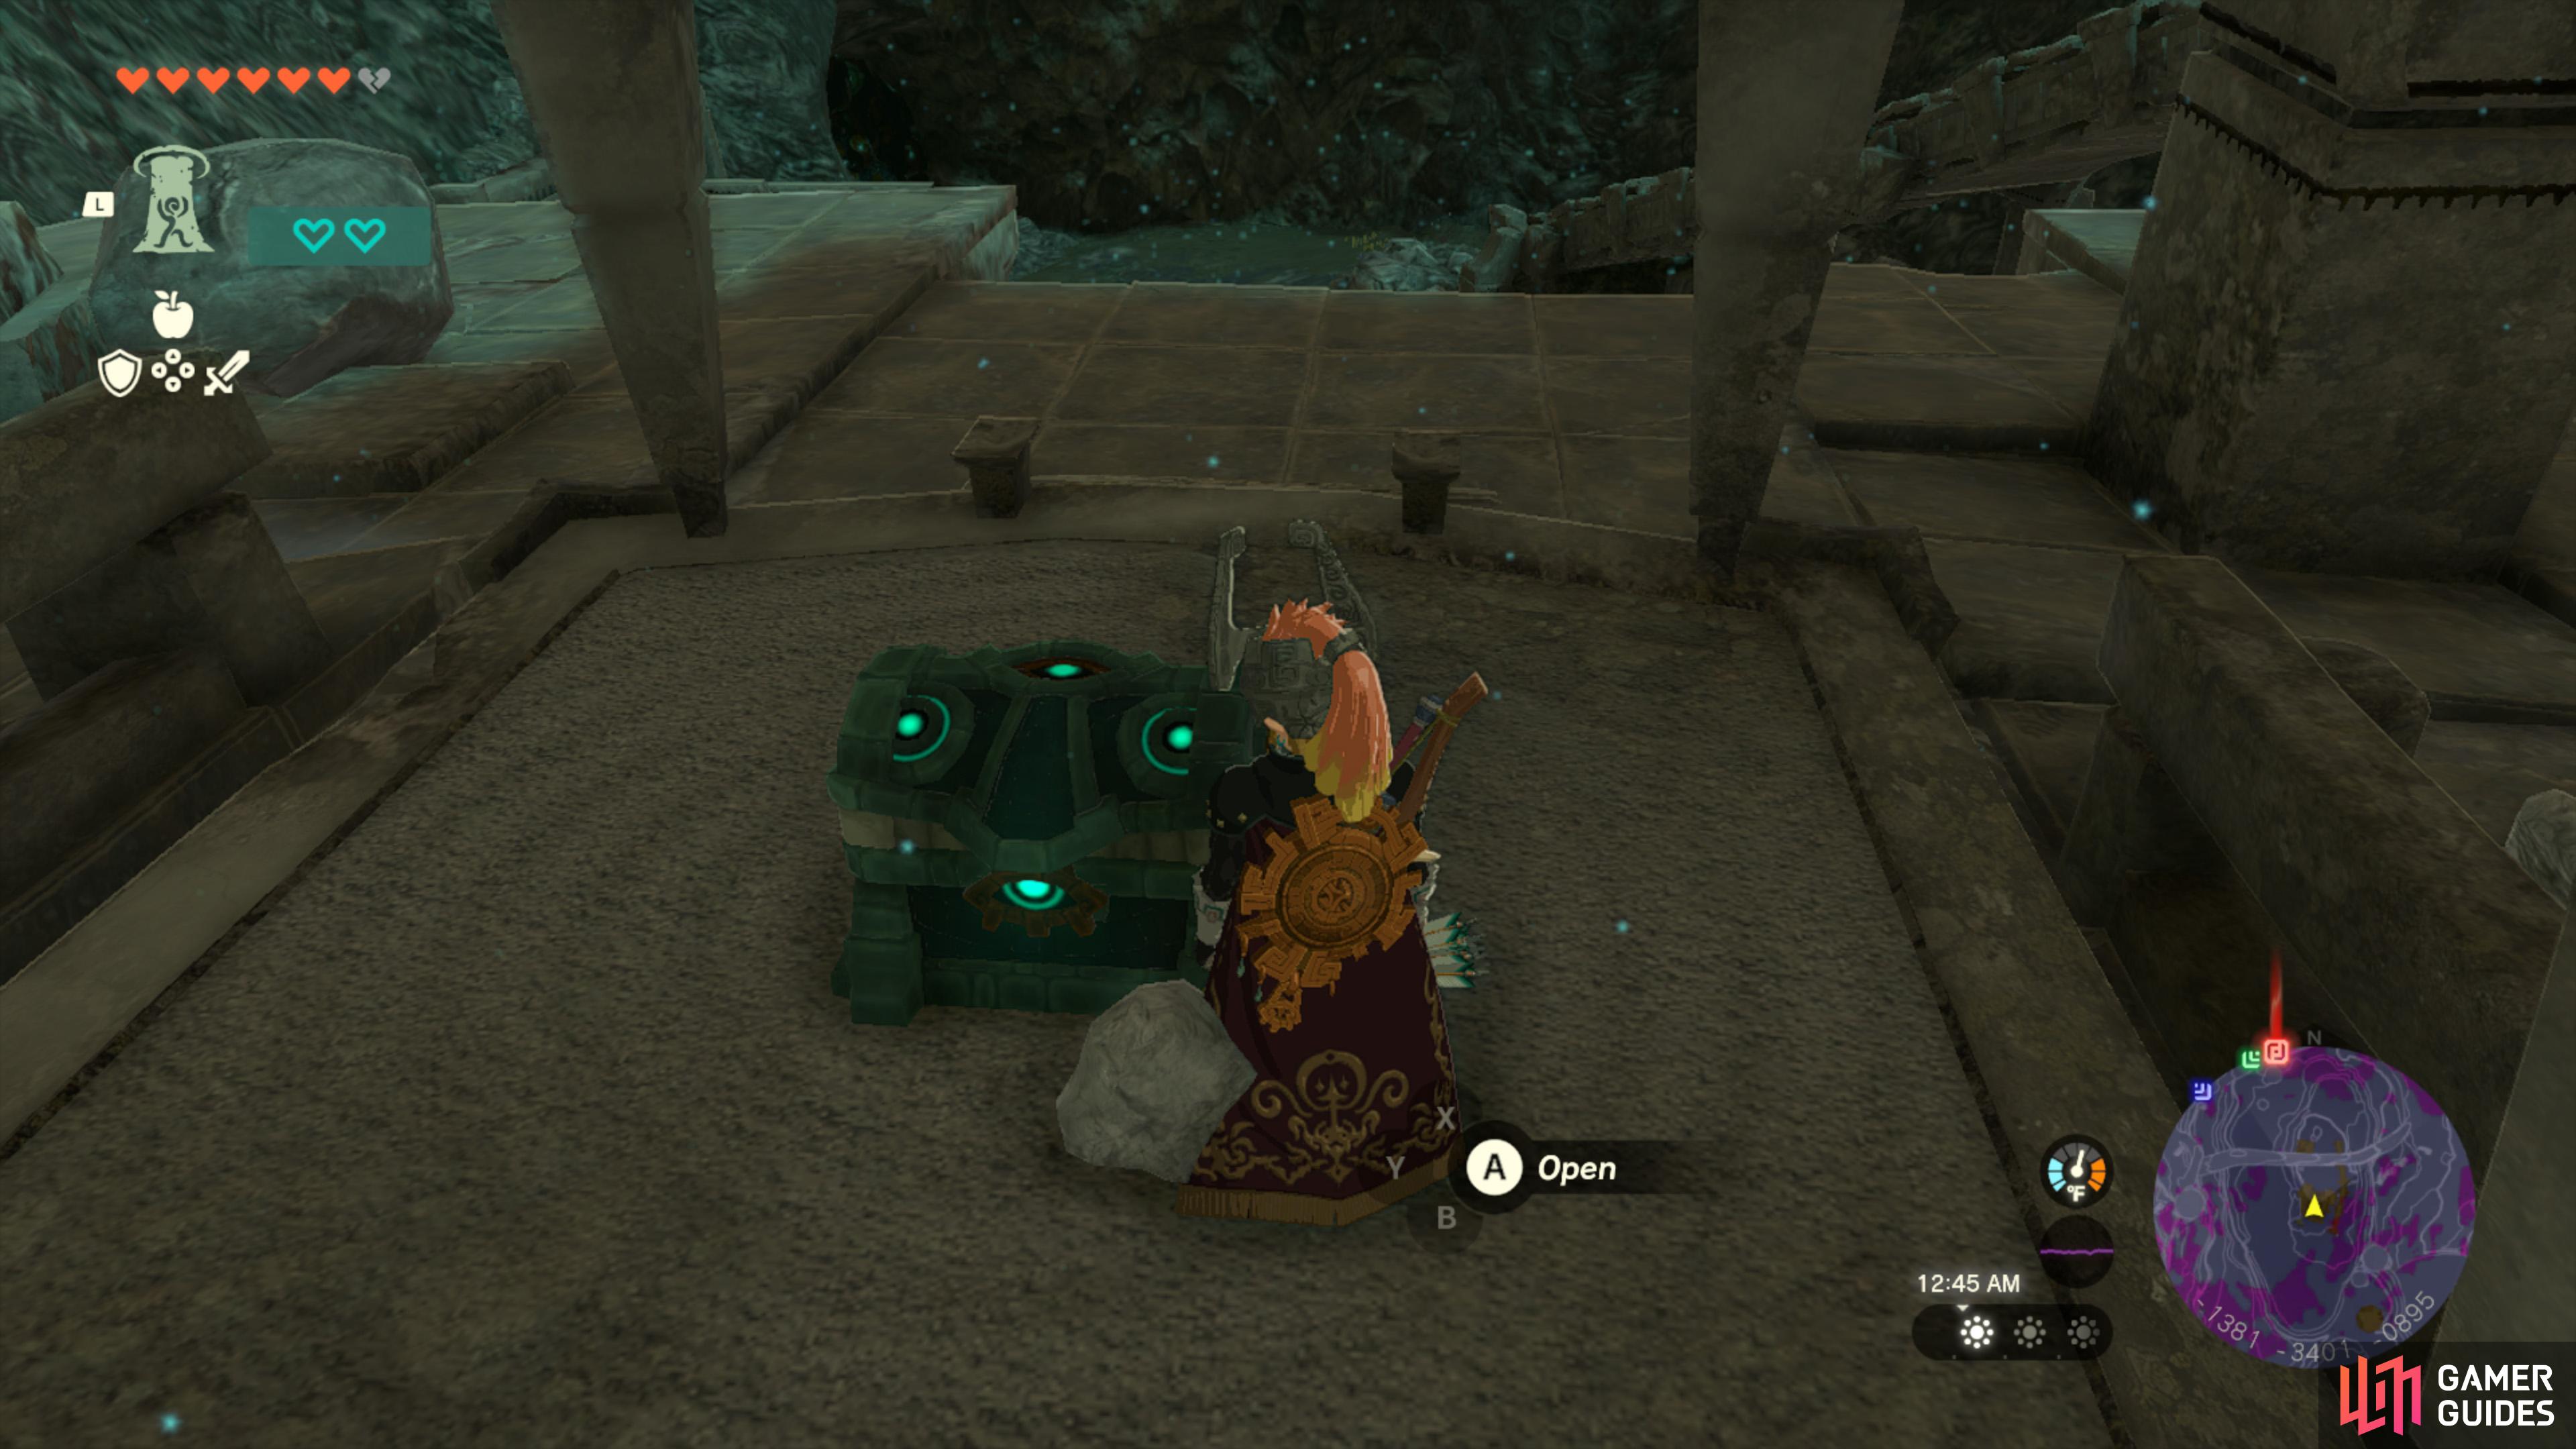
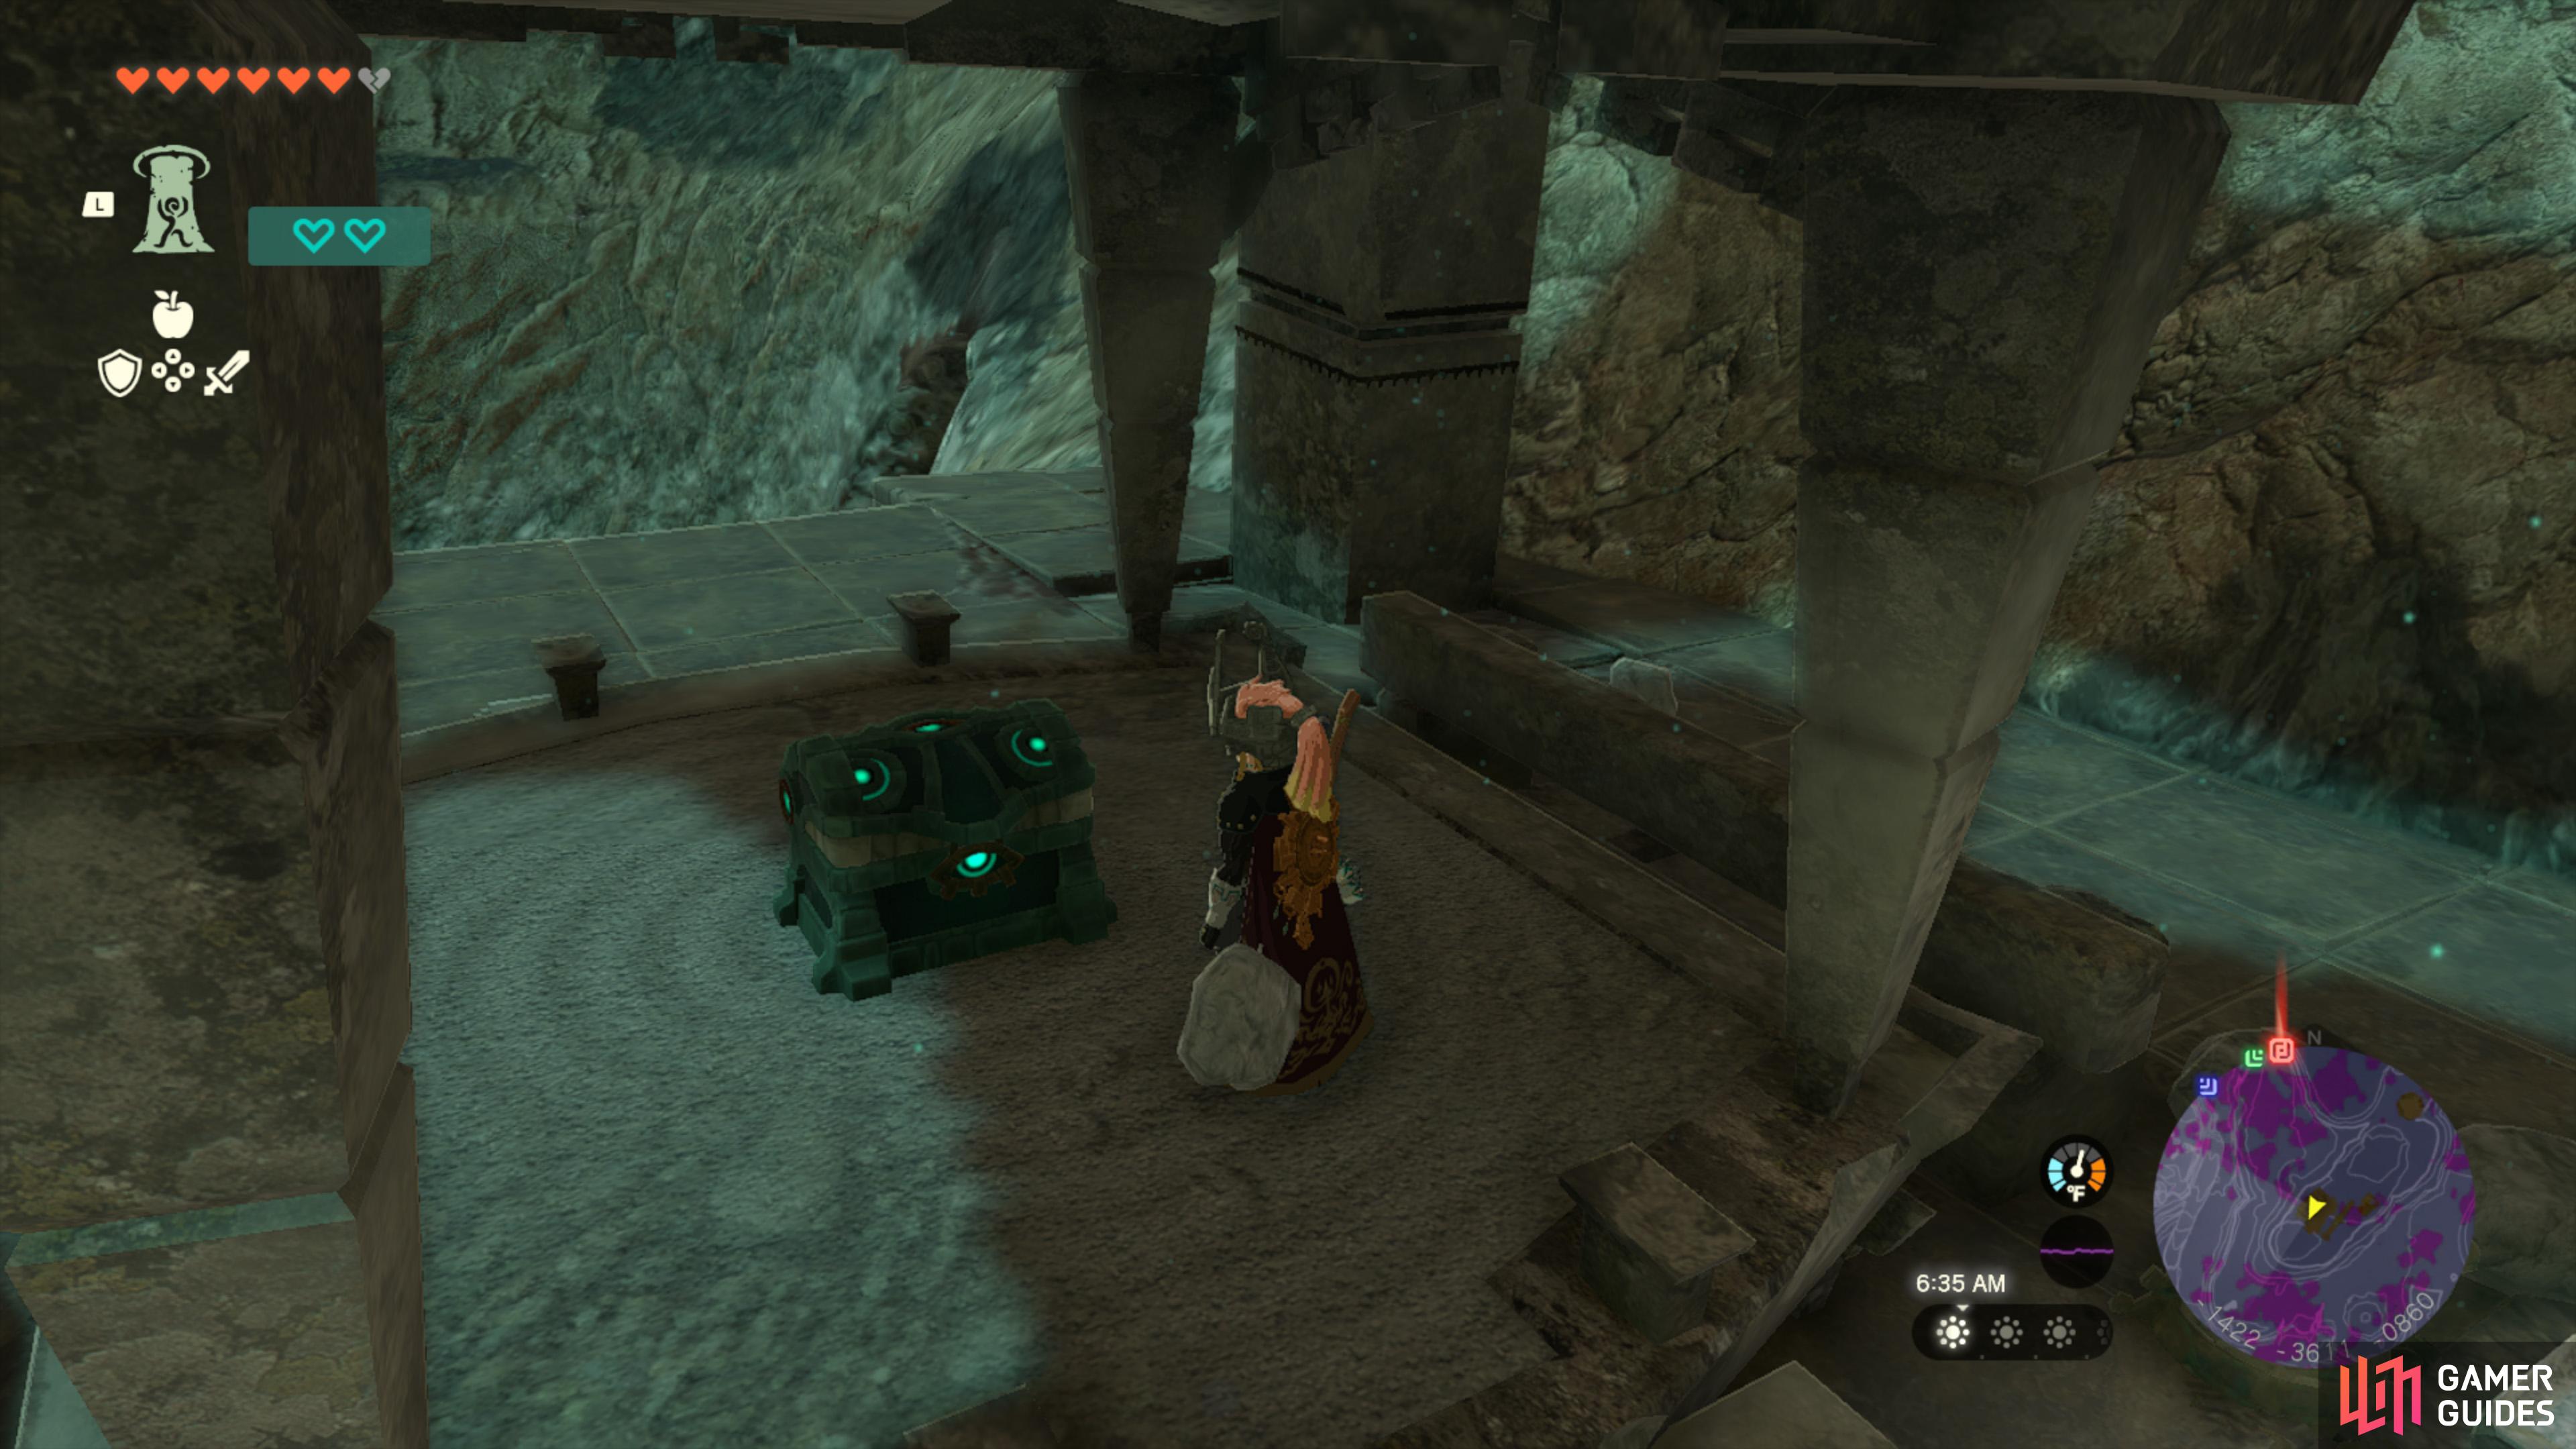
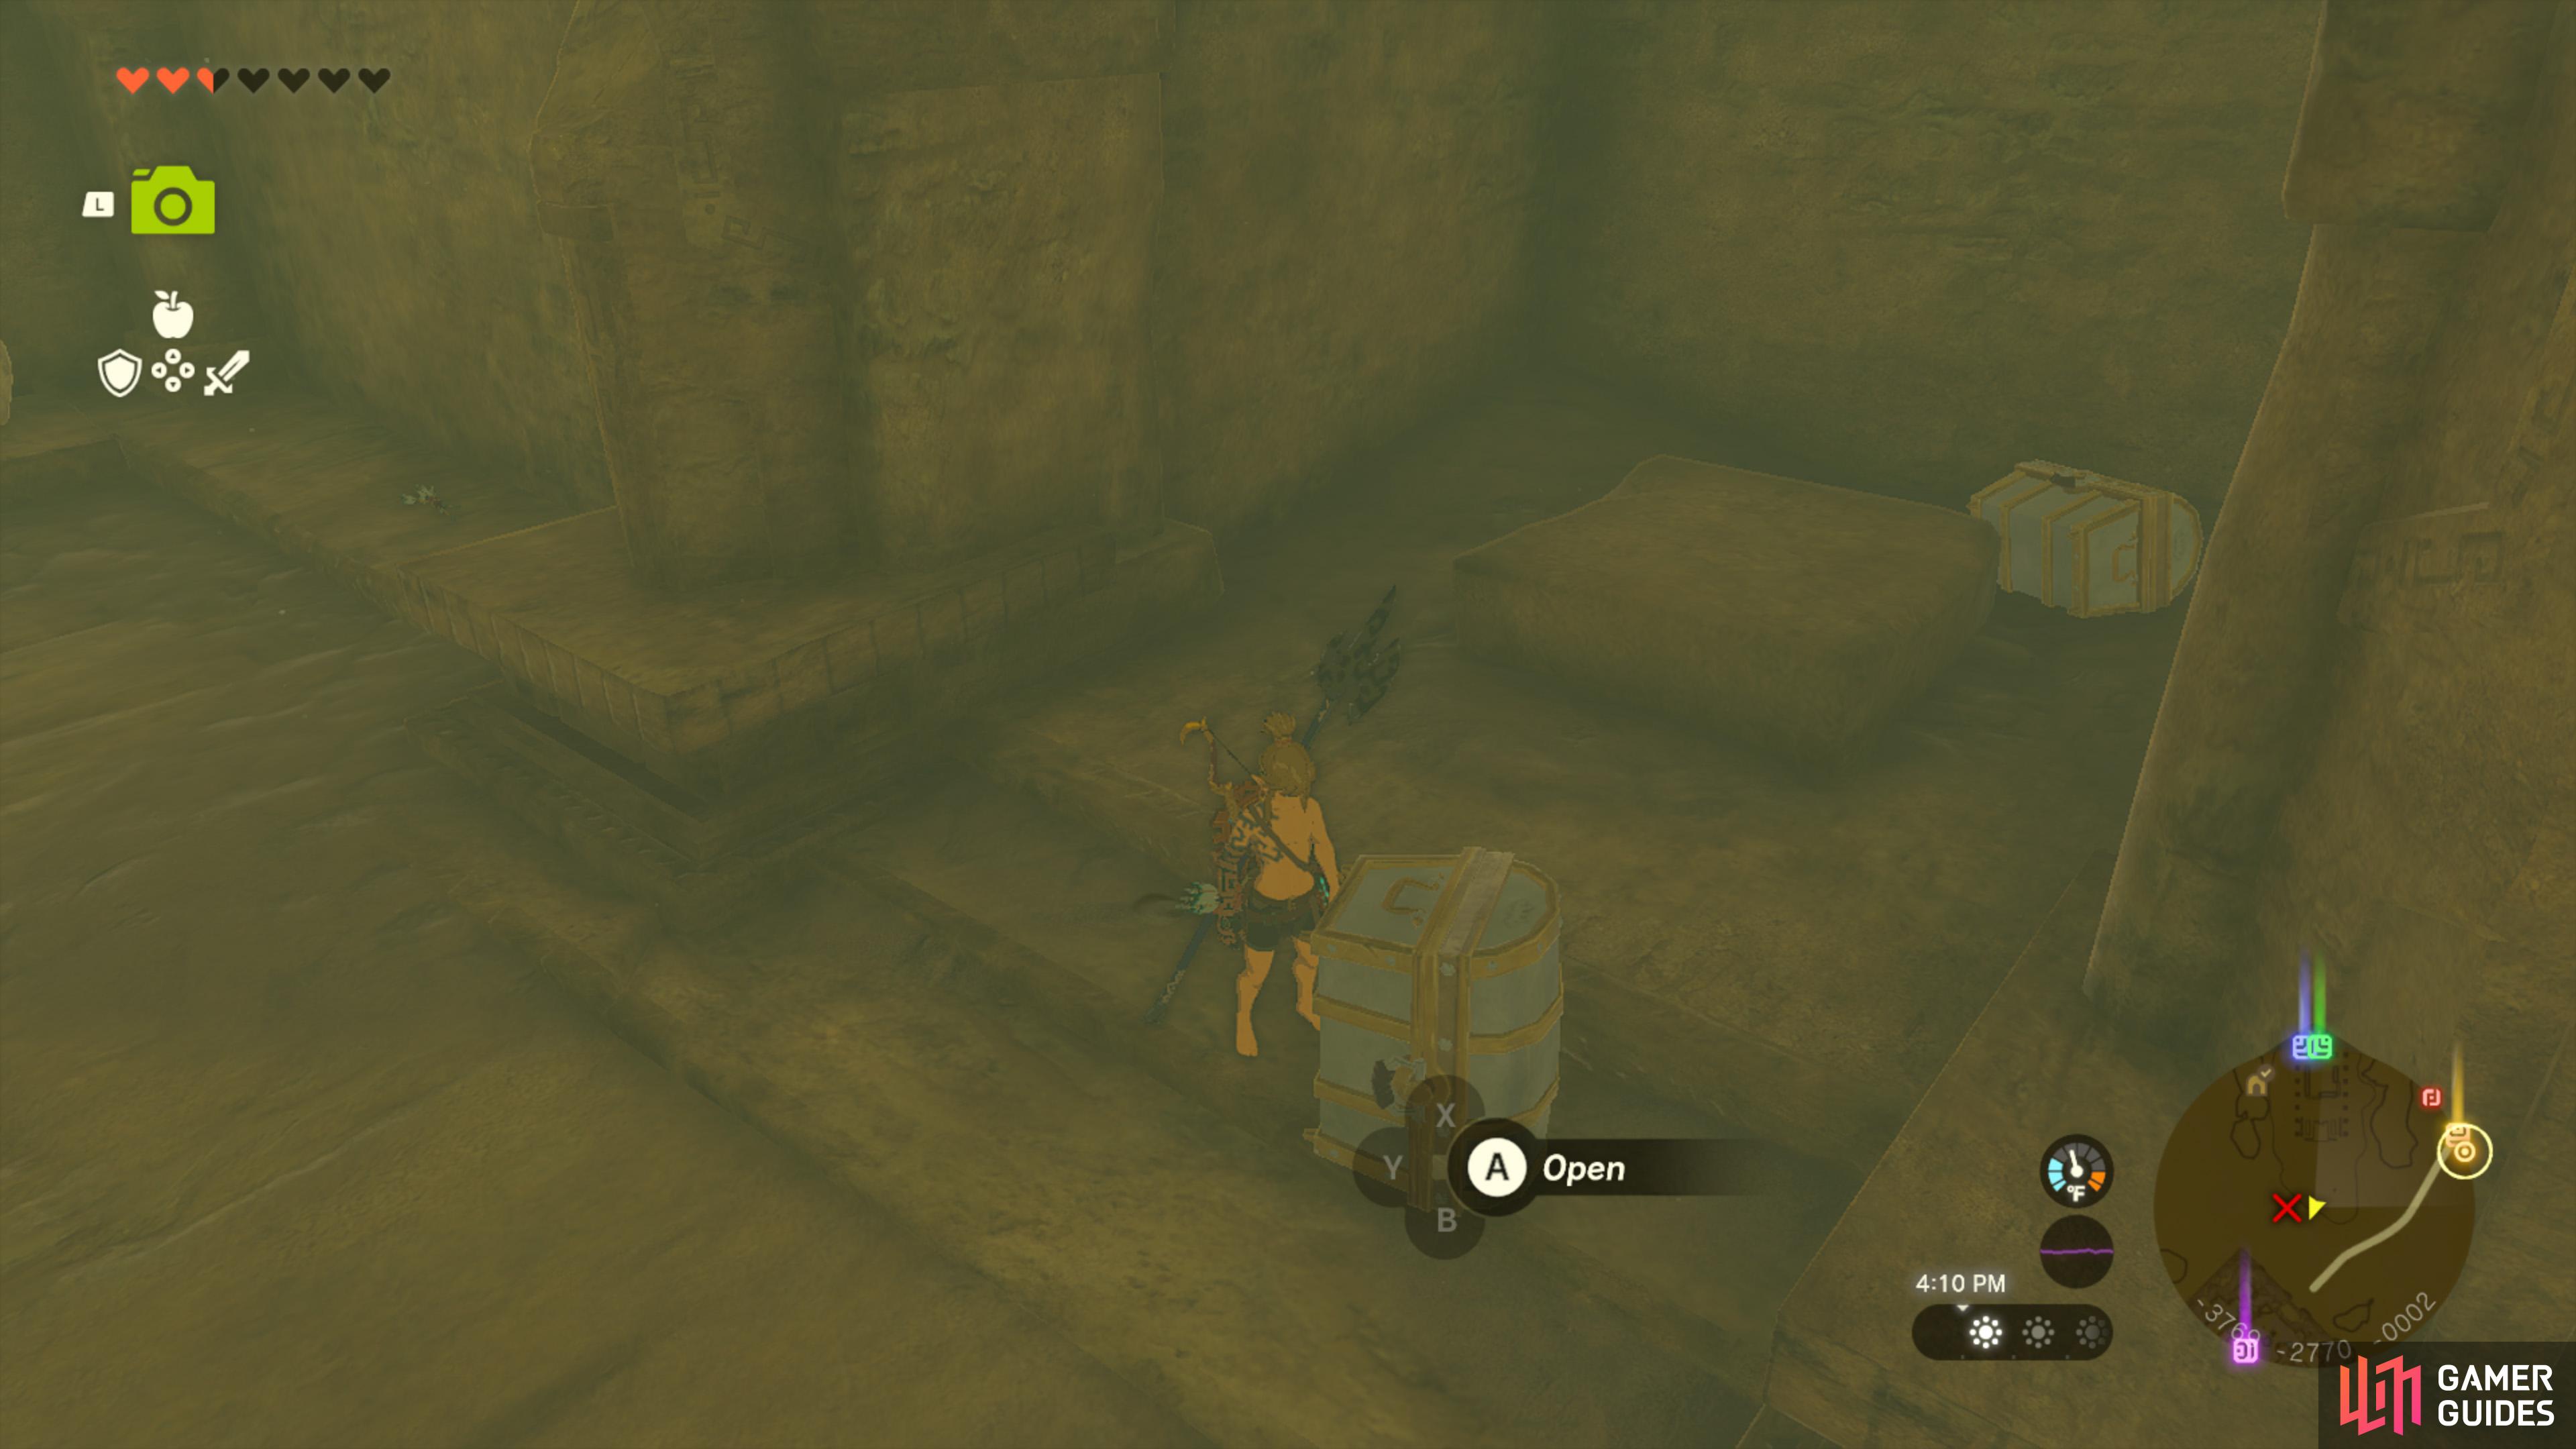
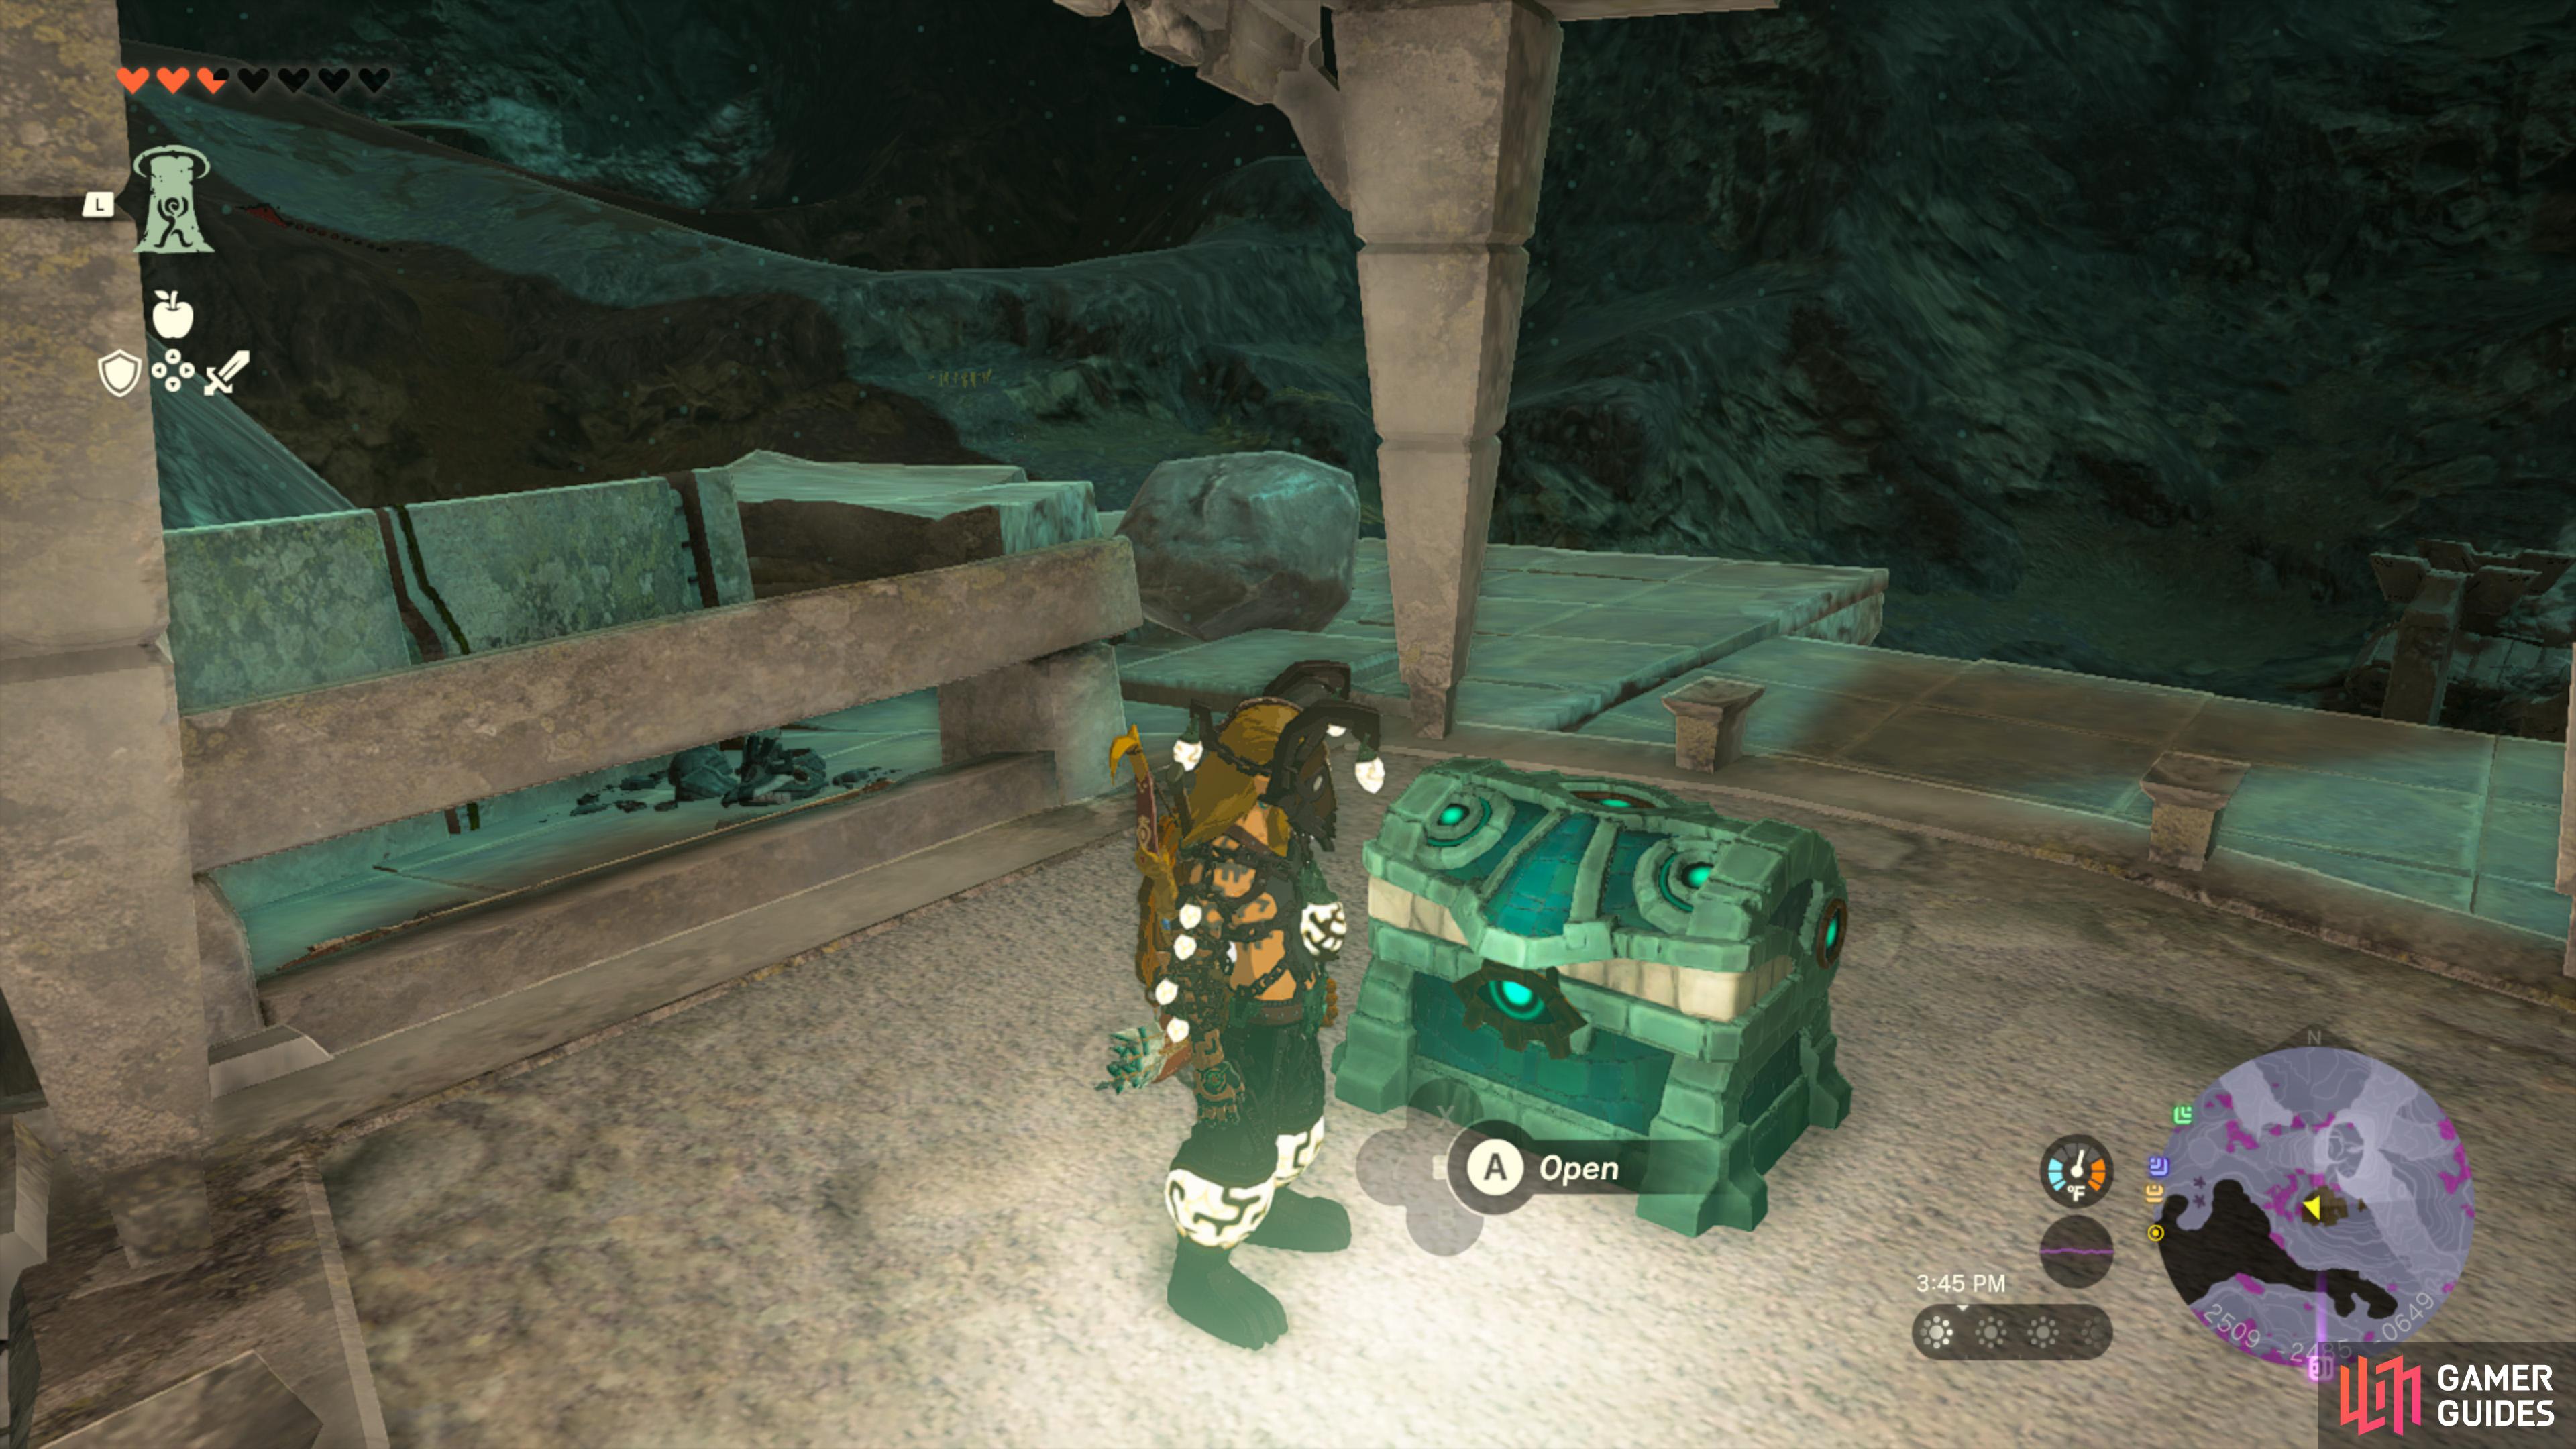
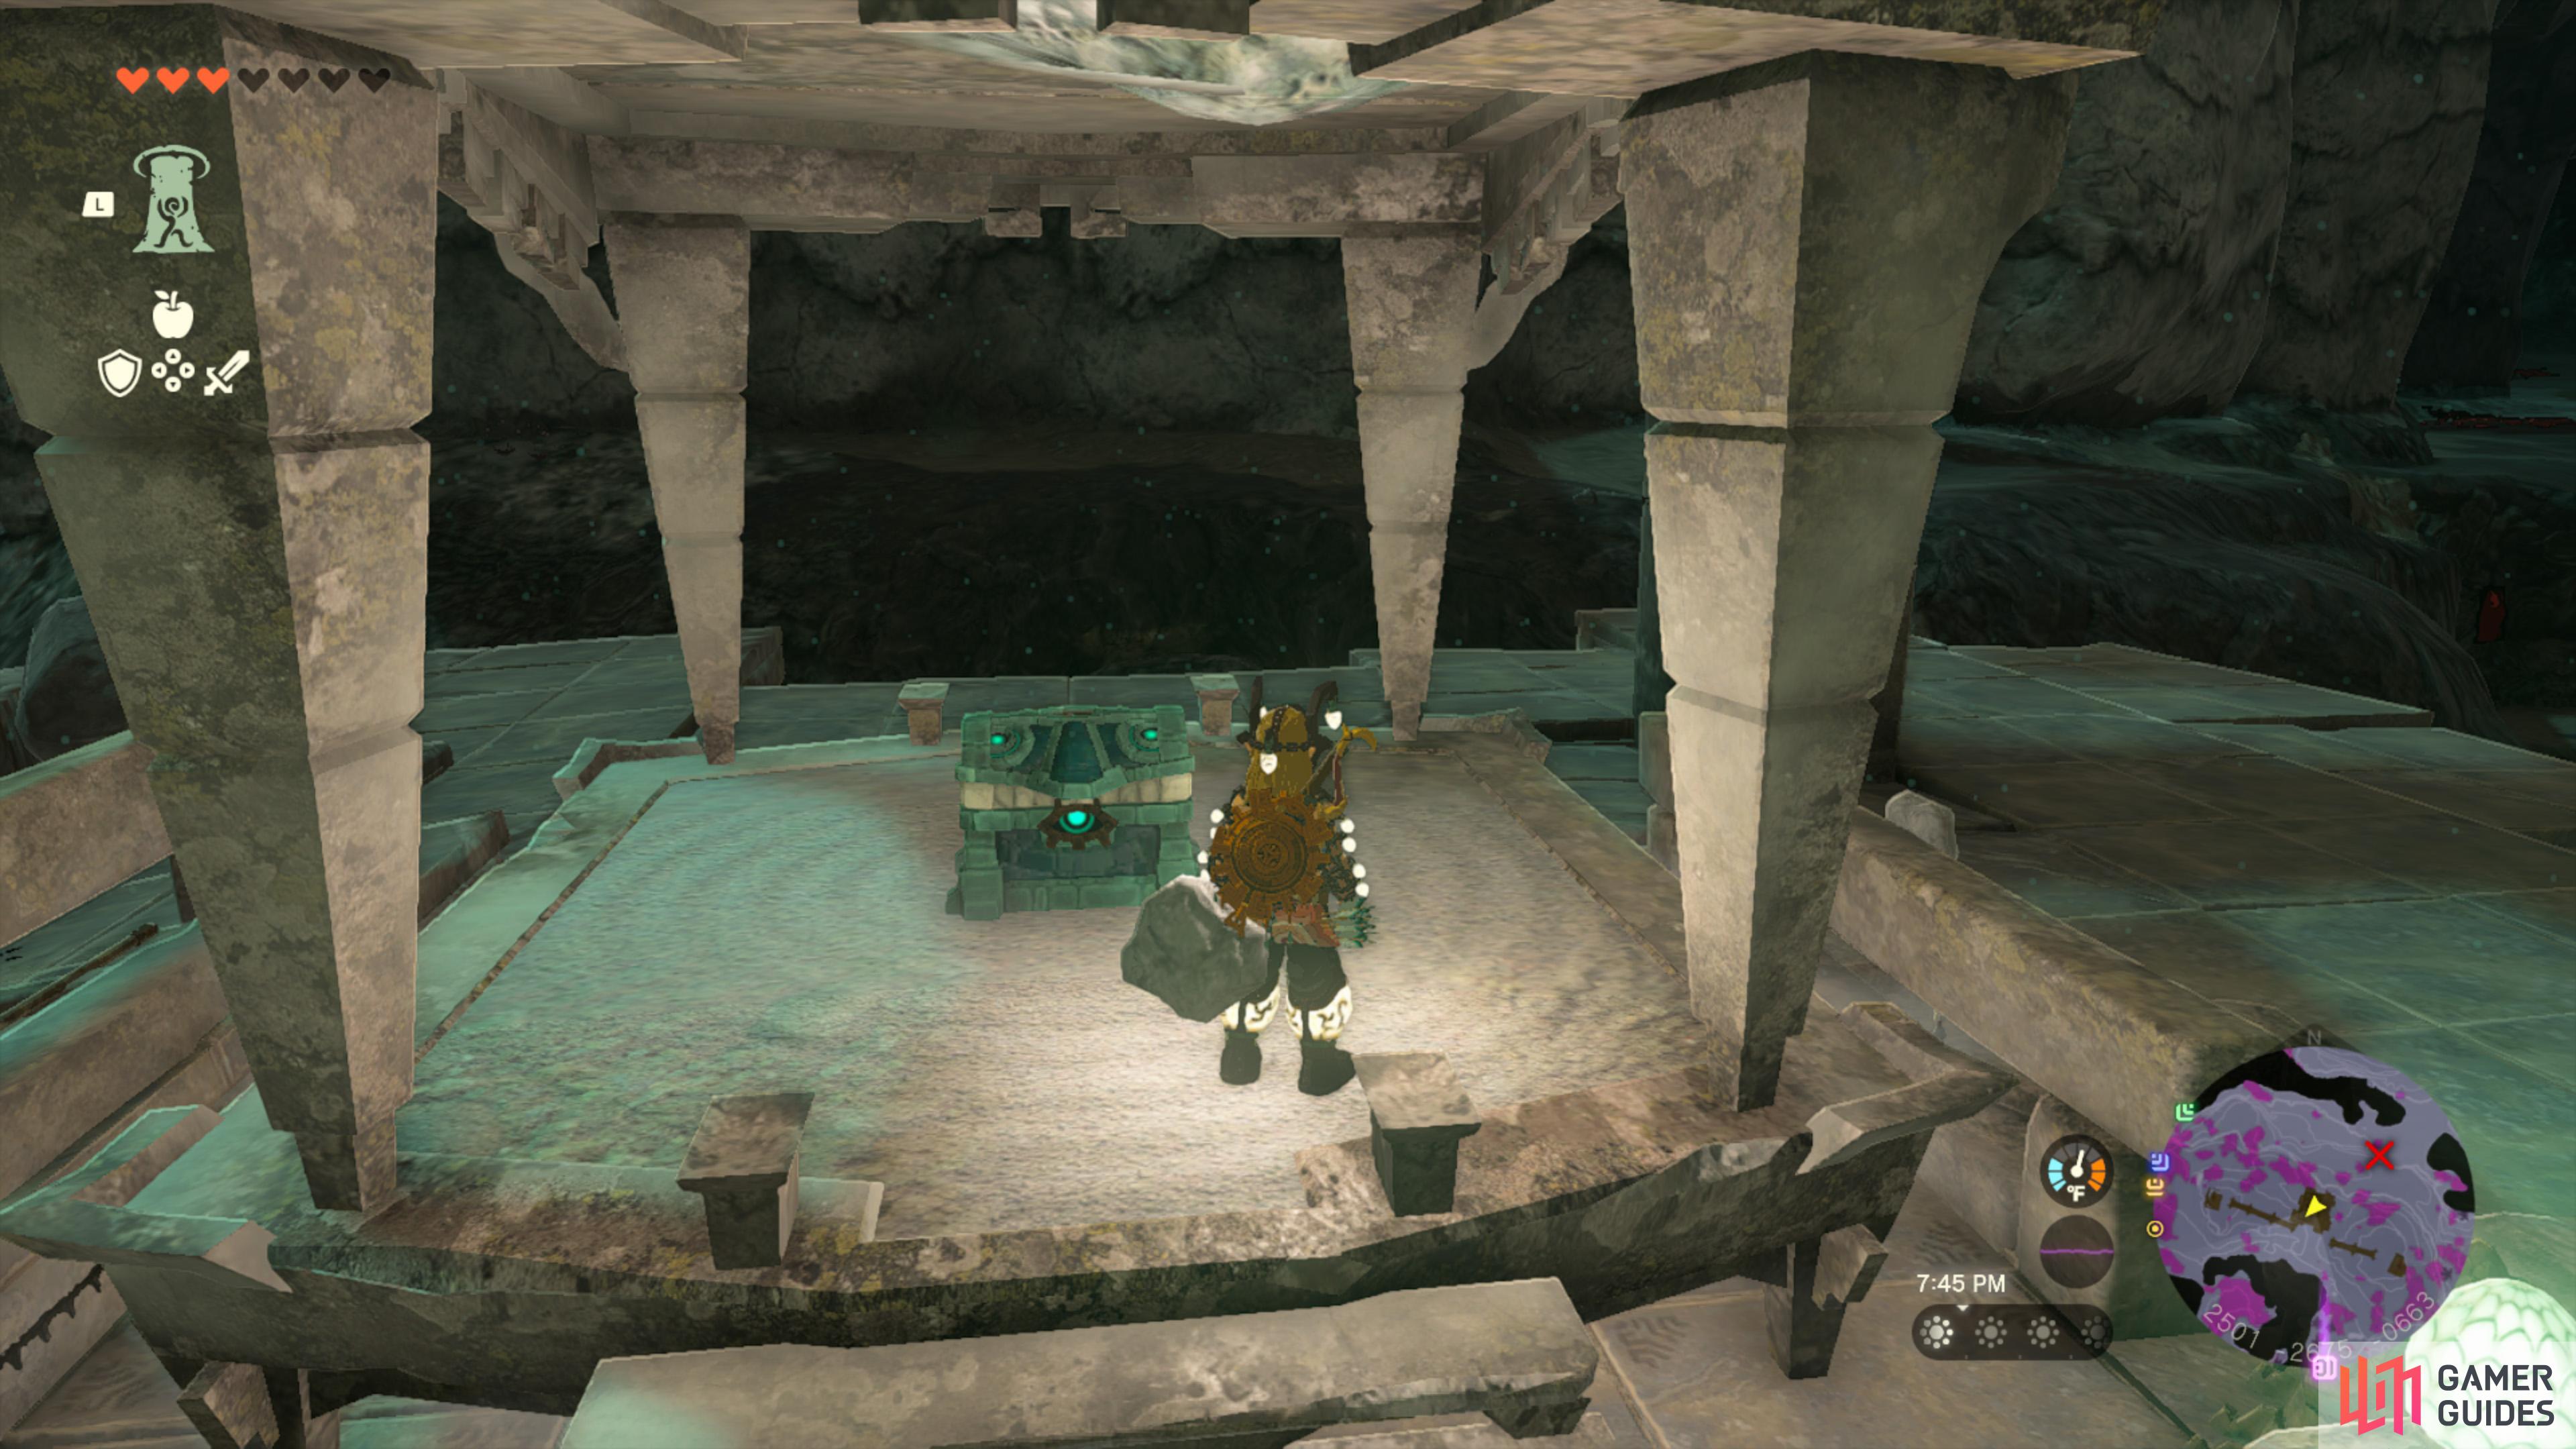
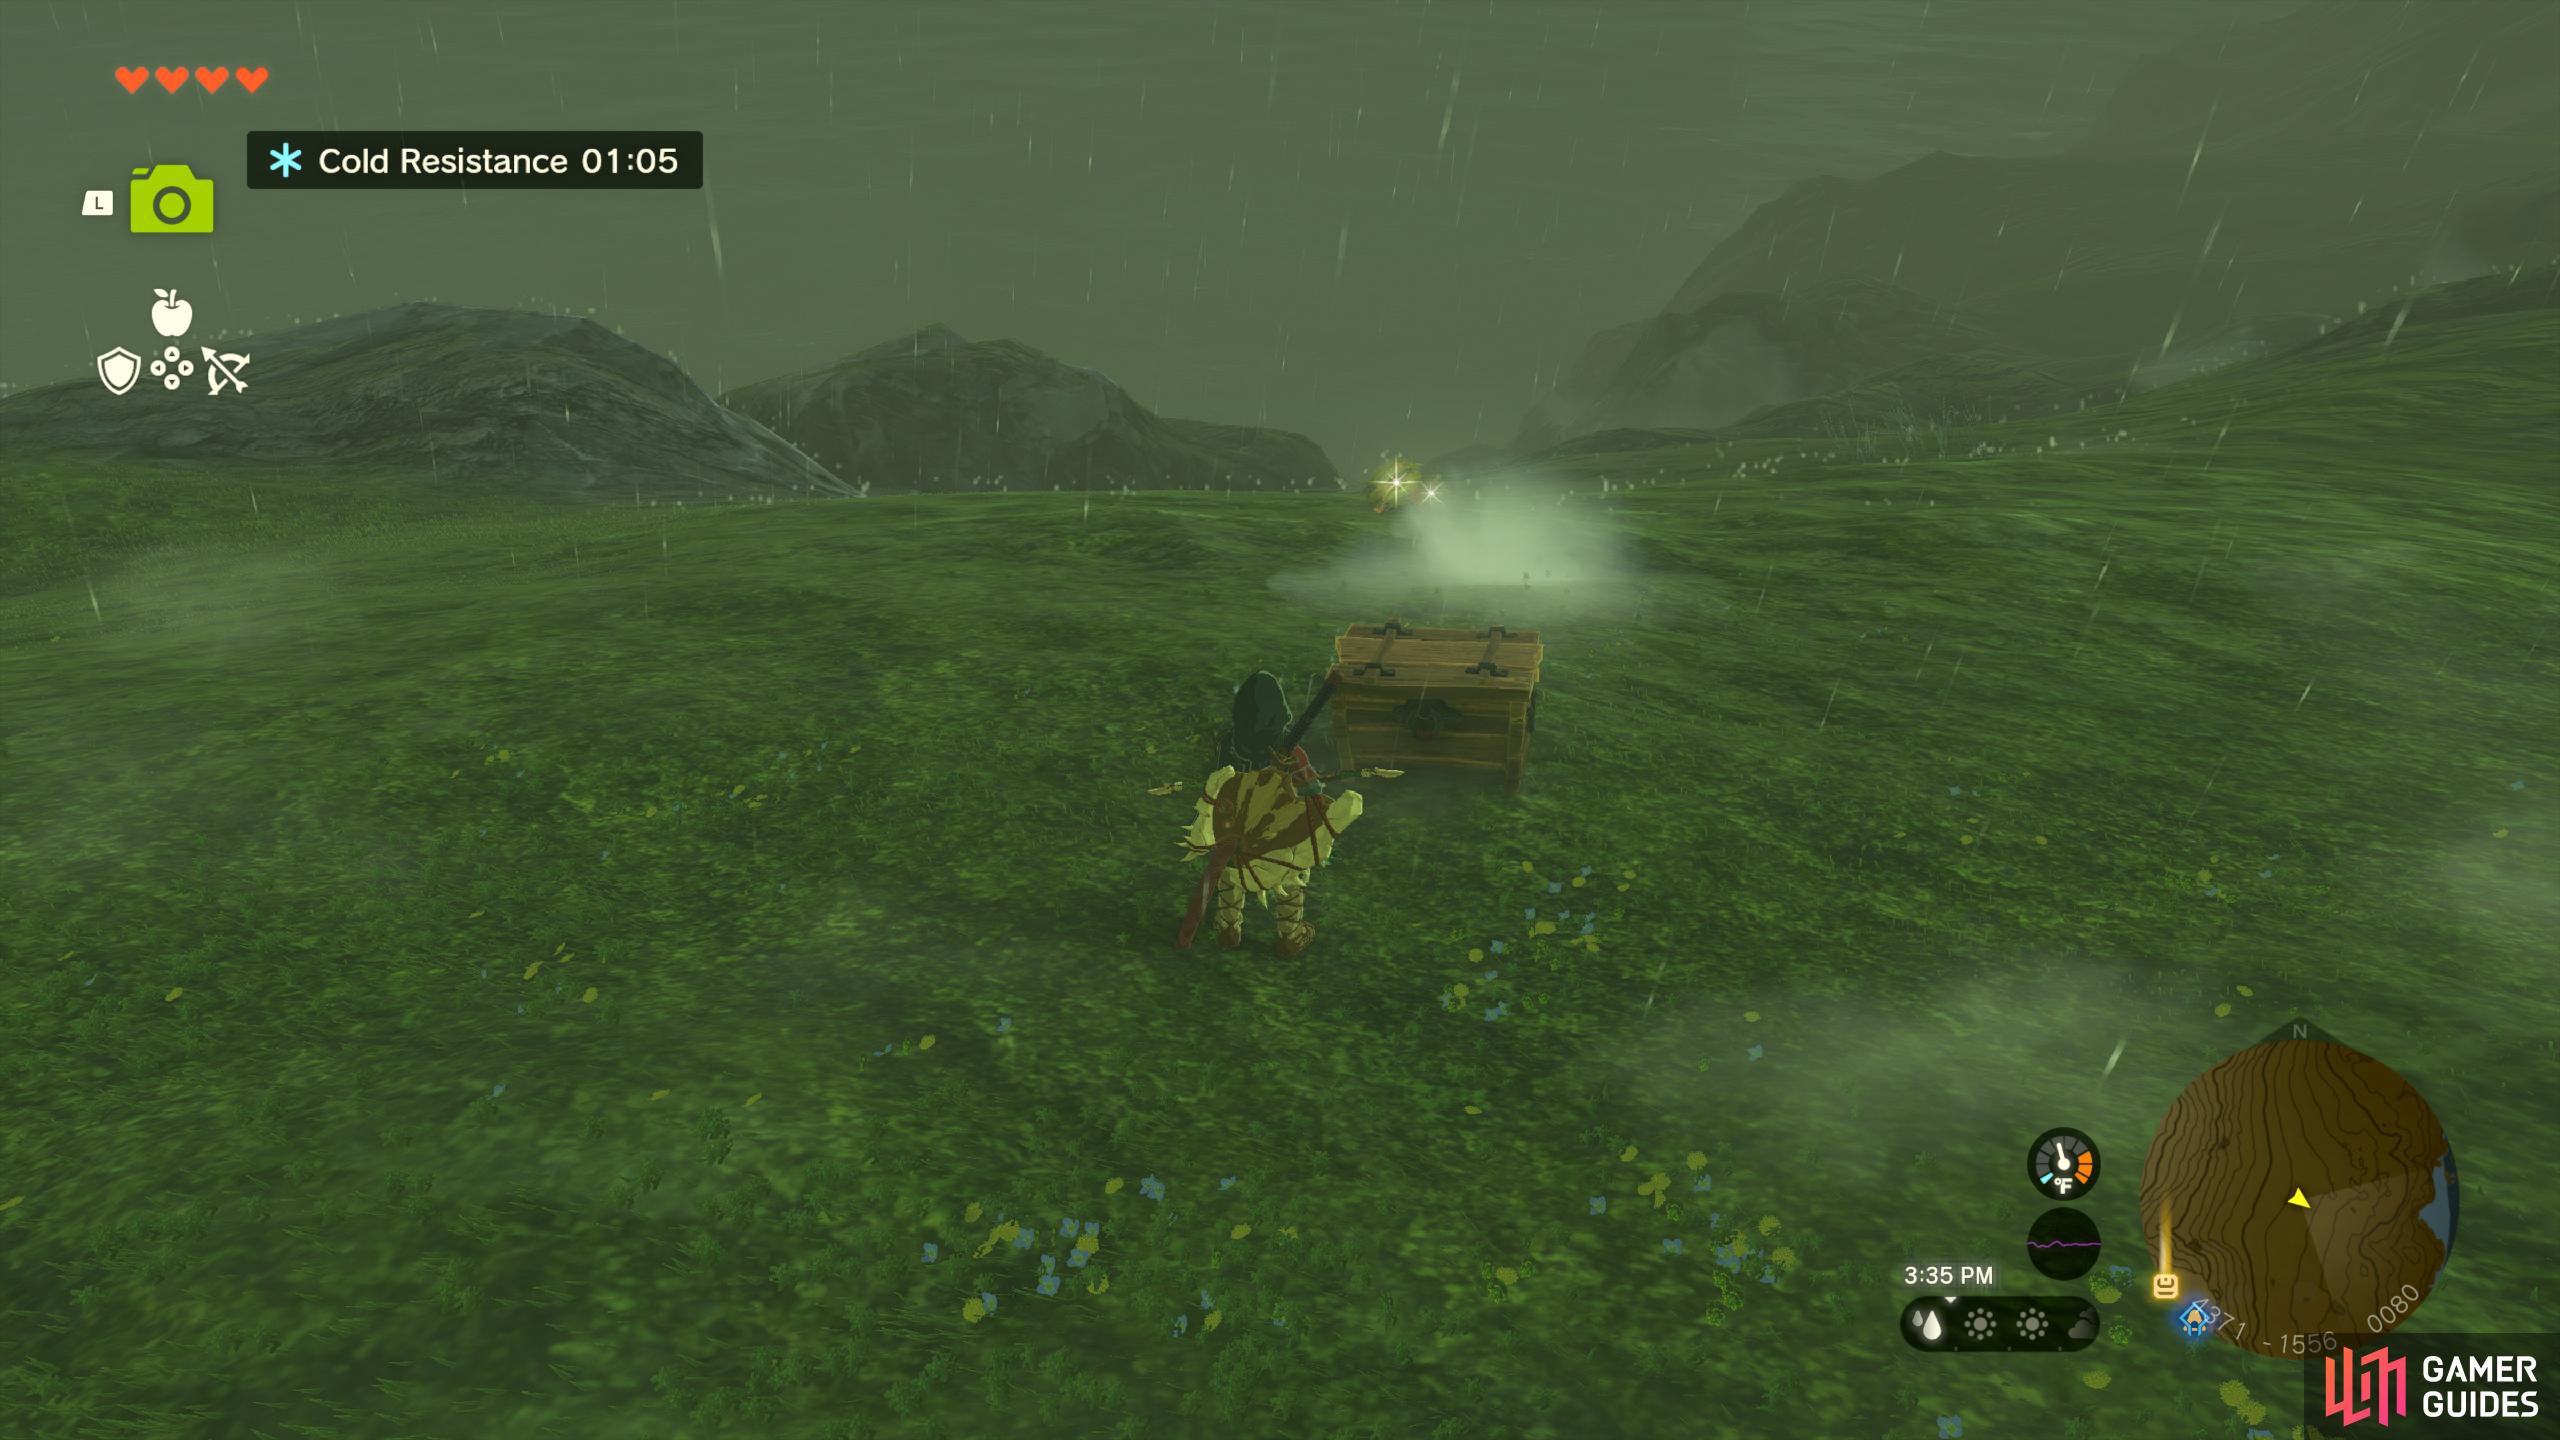
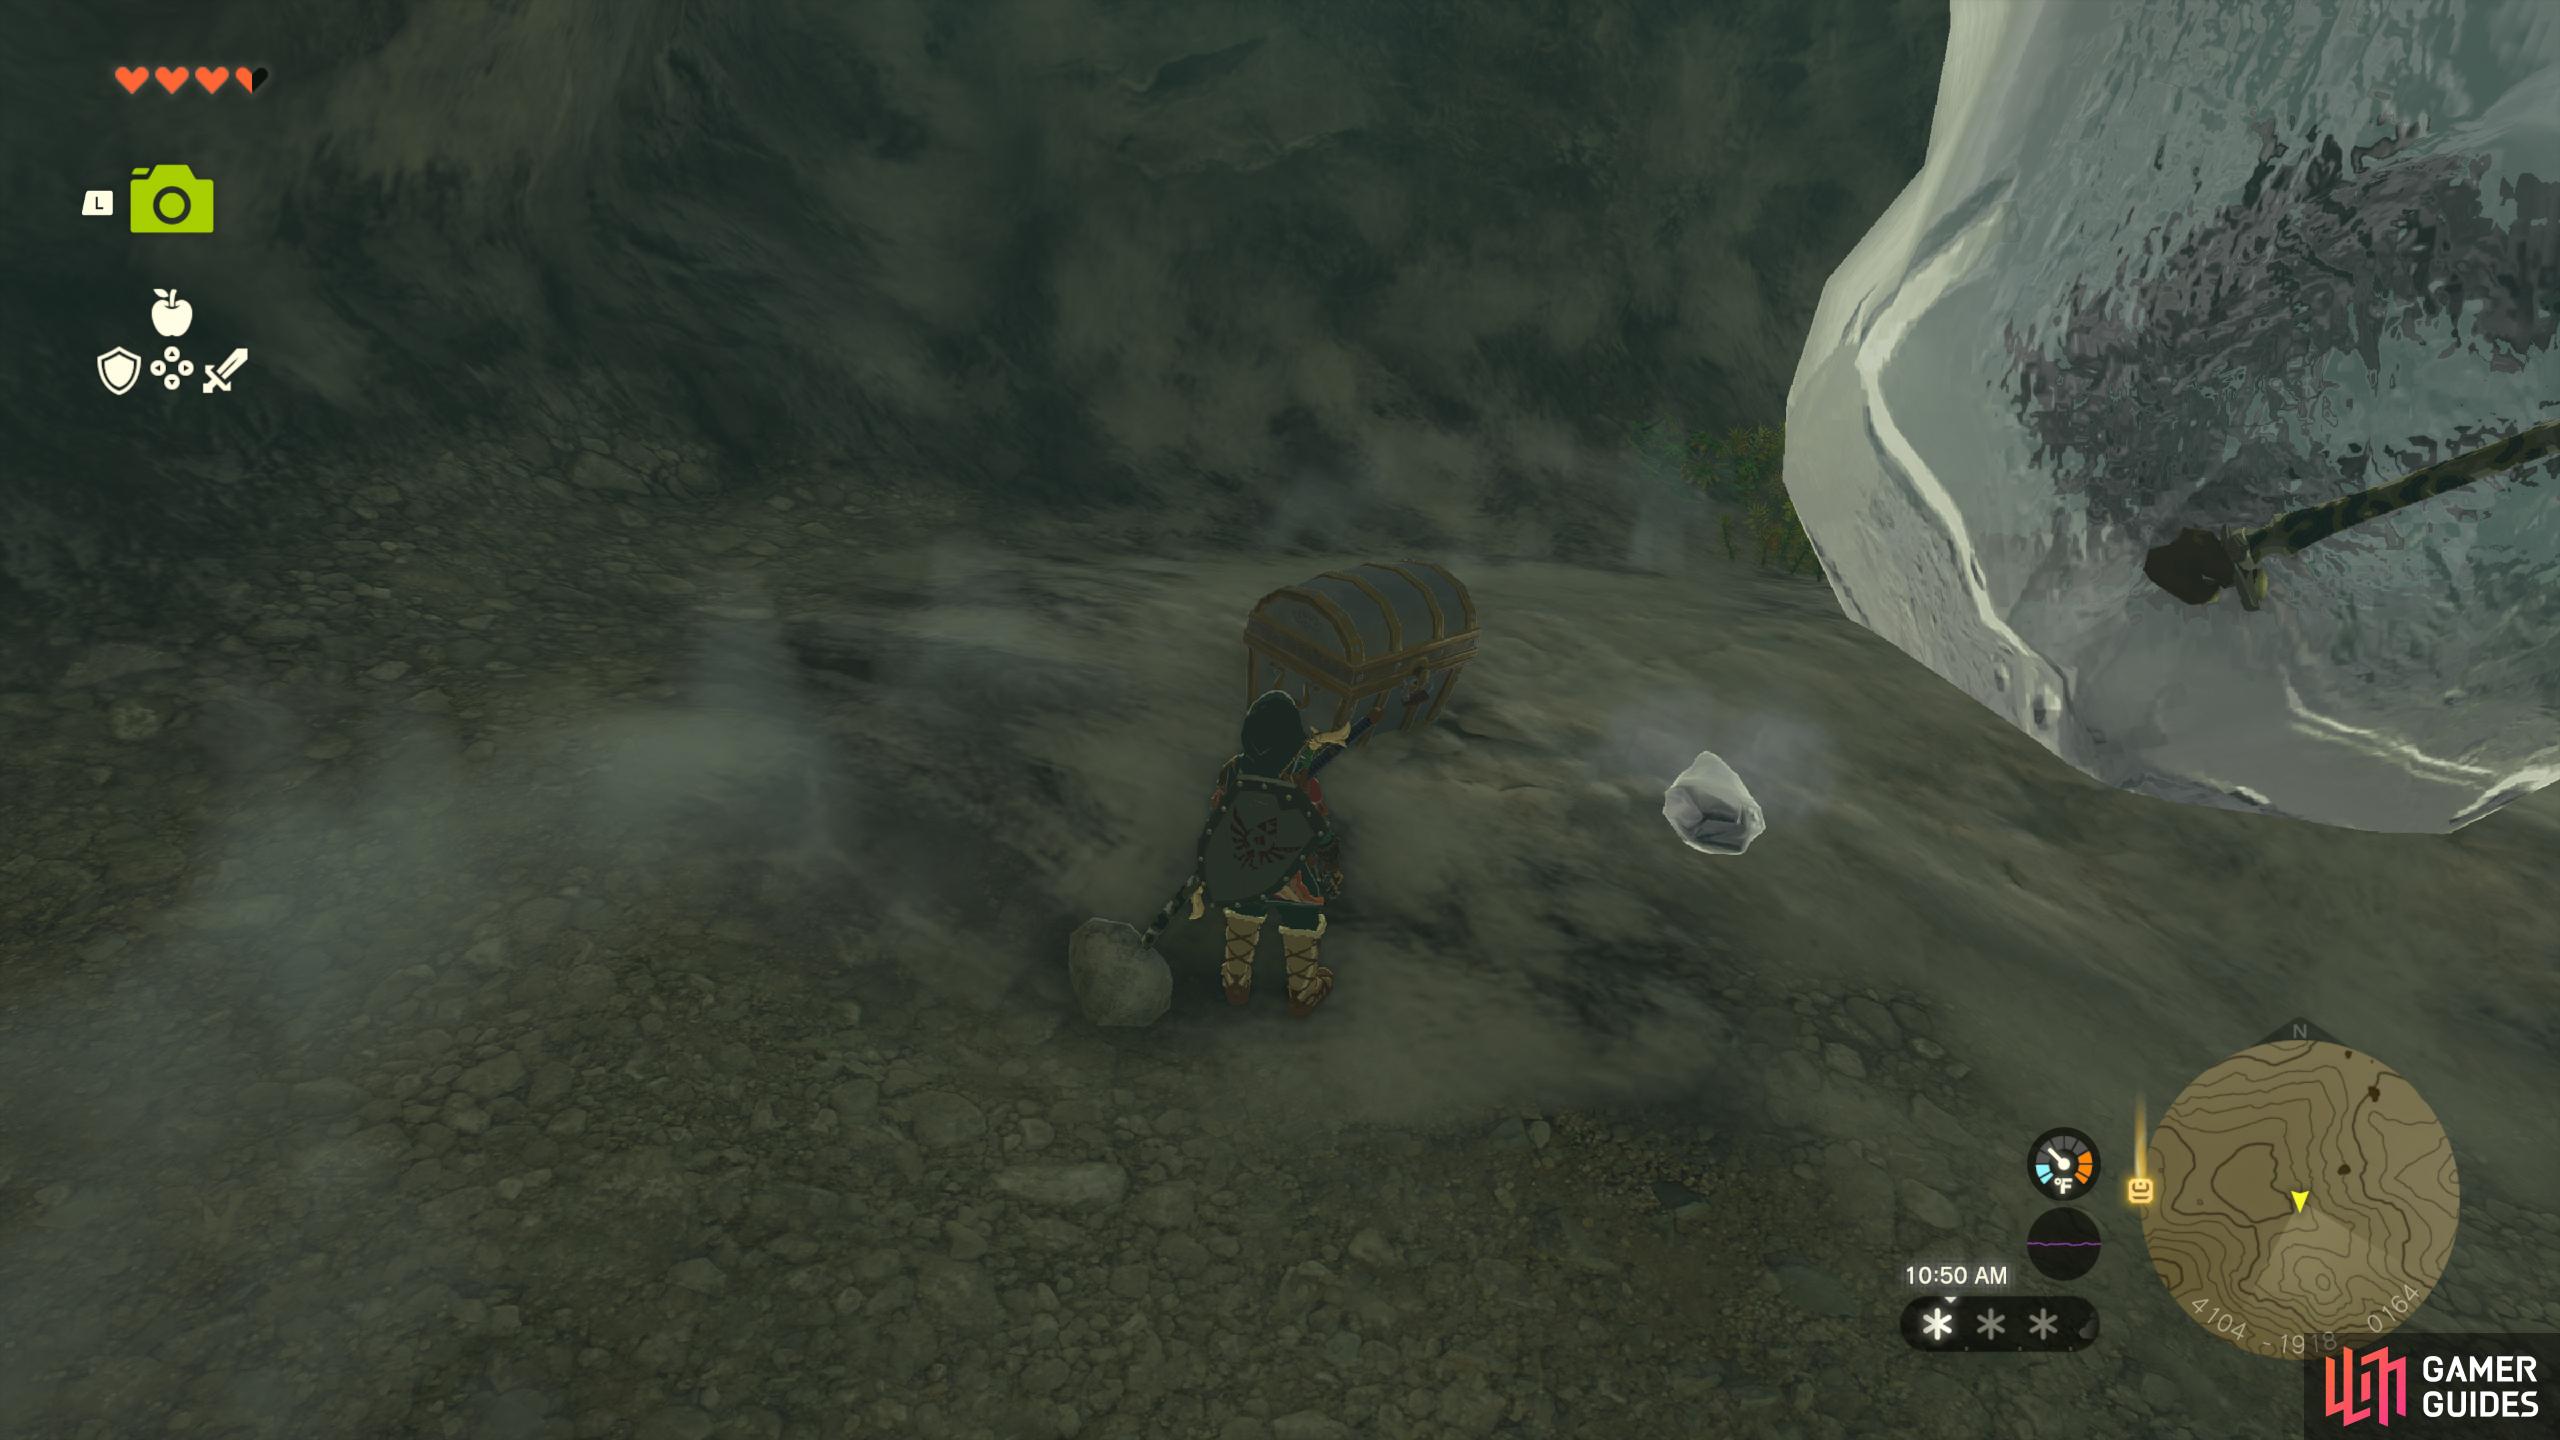
Fortunes untold (potentially) await the lucky adventurer who finds one of these. Chests can often be found within shrines or at enemy camps, but there may be some crafty folks who think they’re safer underground.
Screenshots
Interactive Map Locations
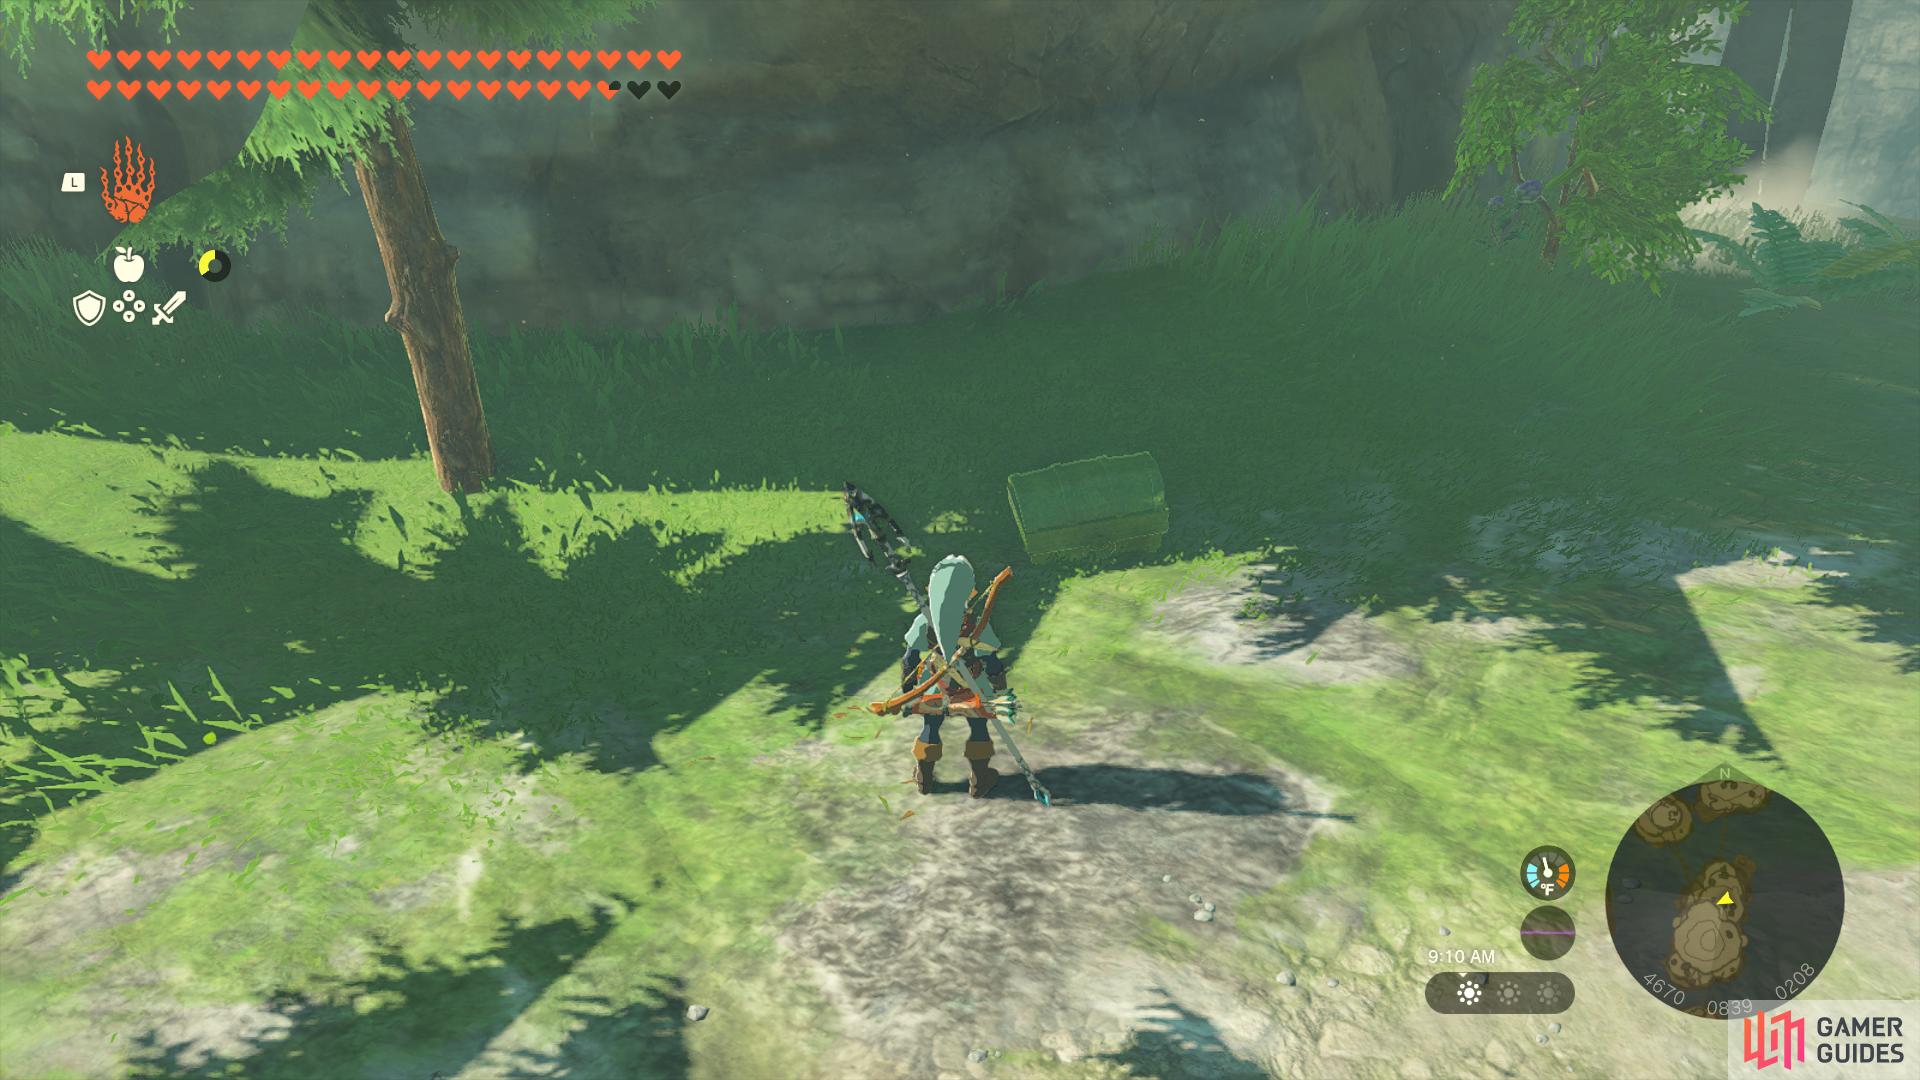
39871. Hyrule Sky Islands Map
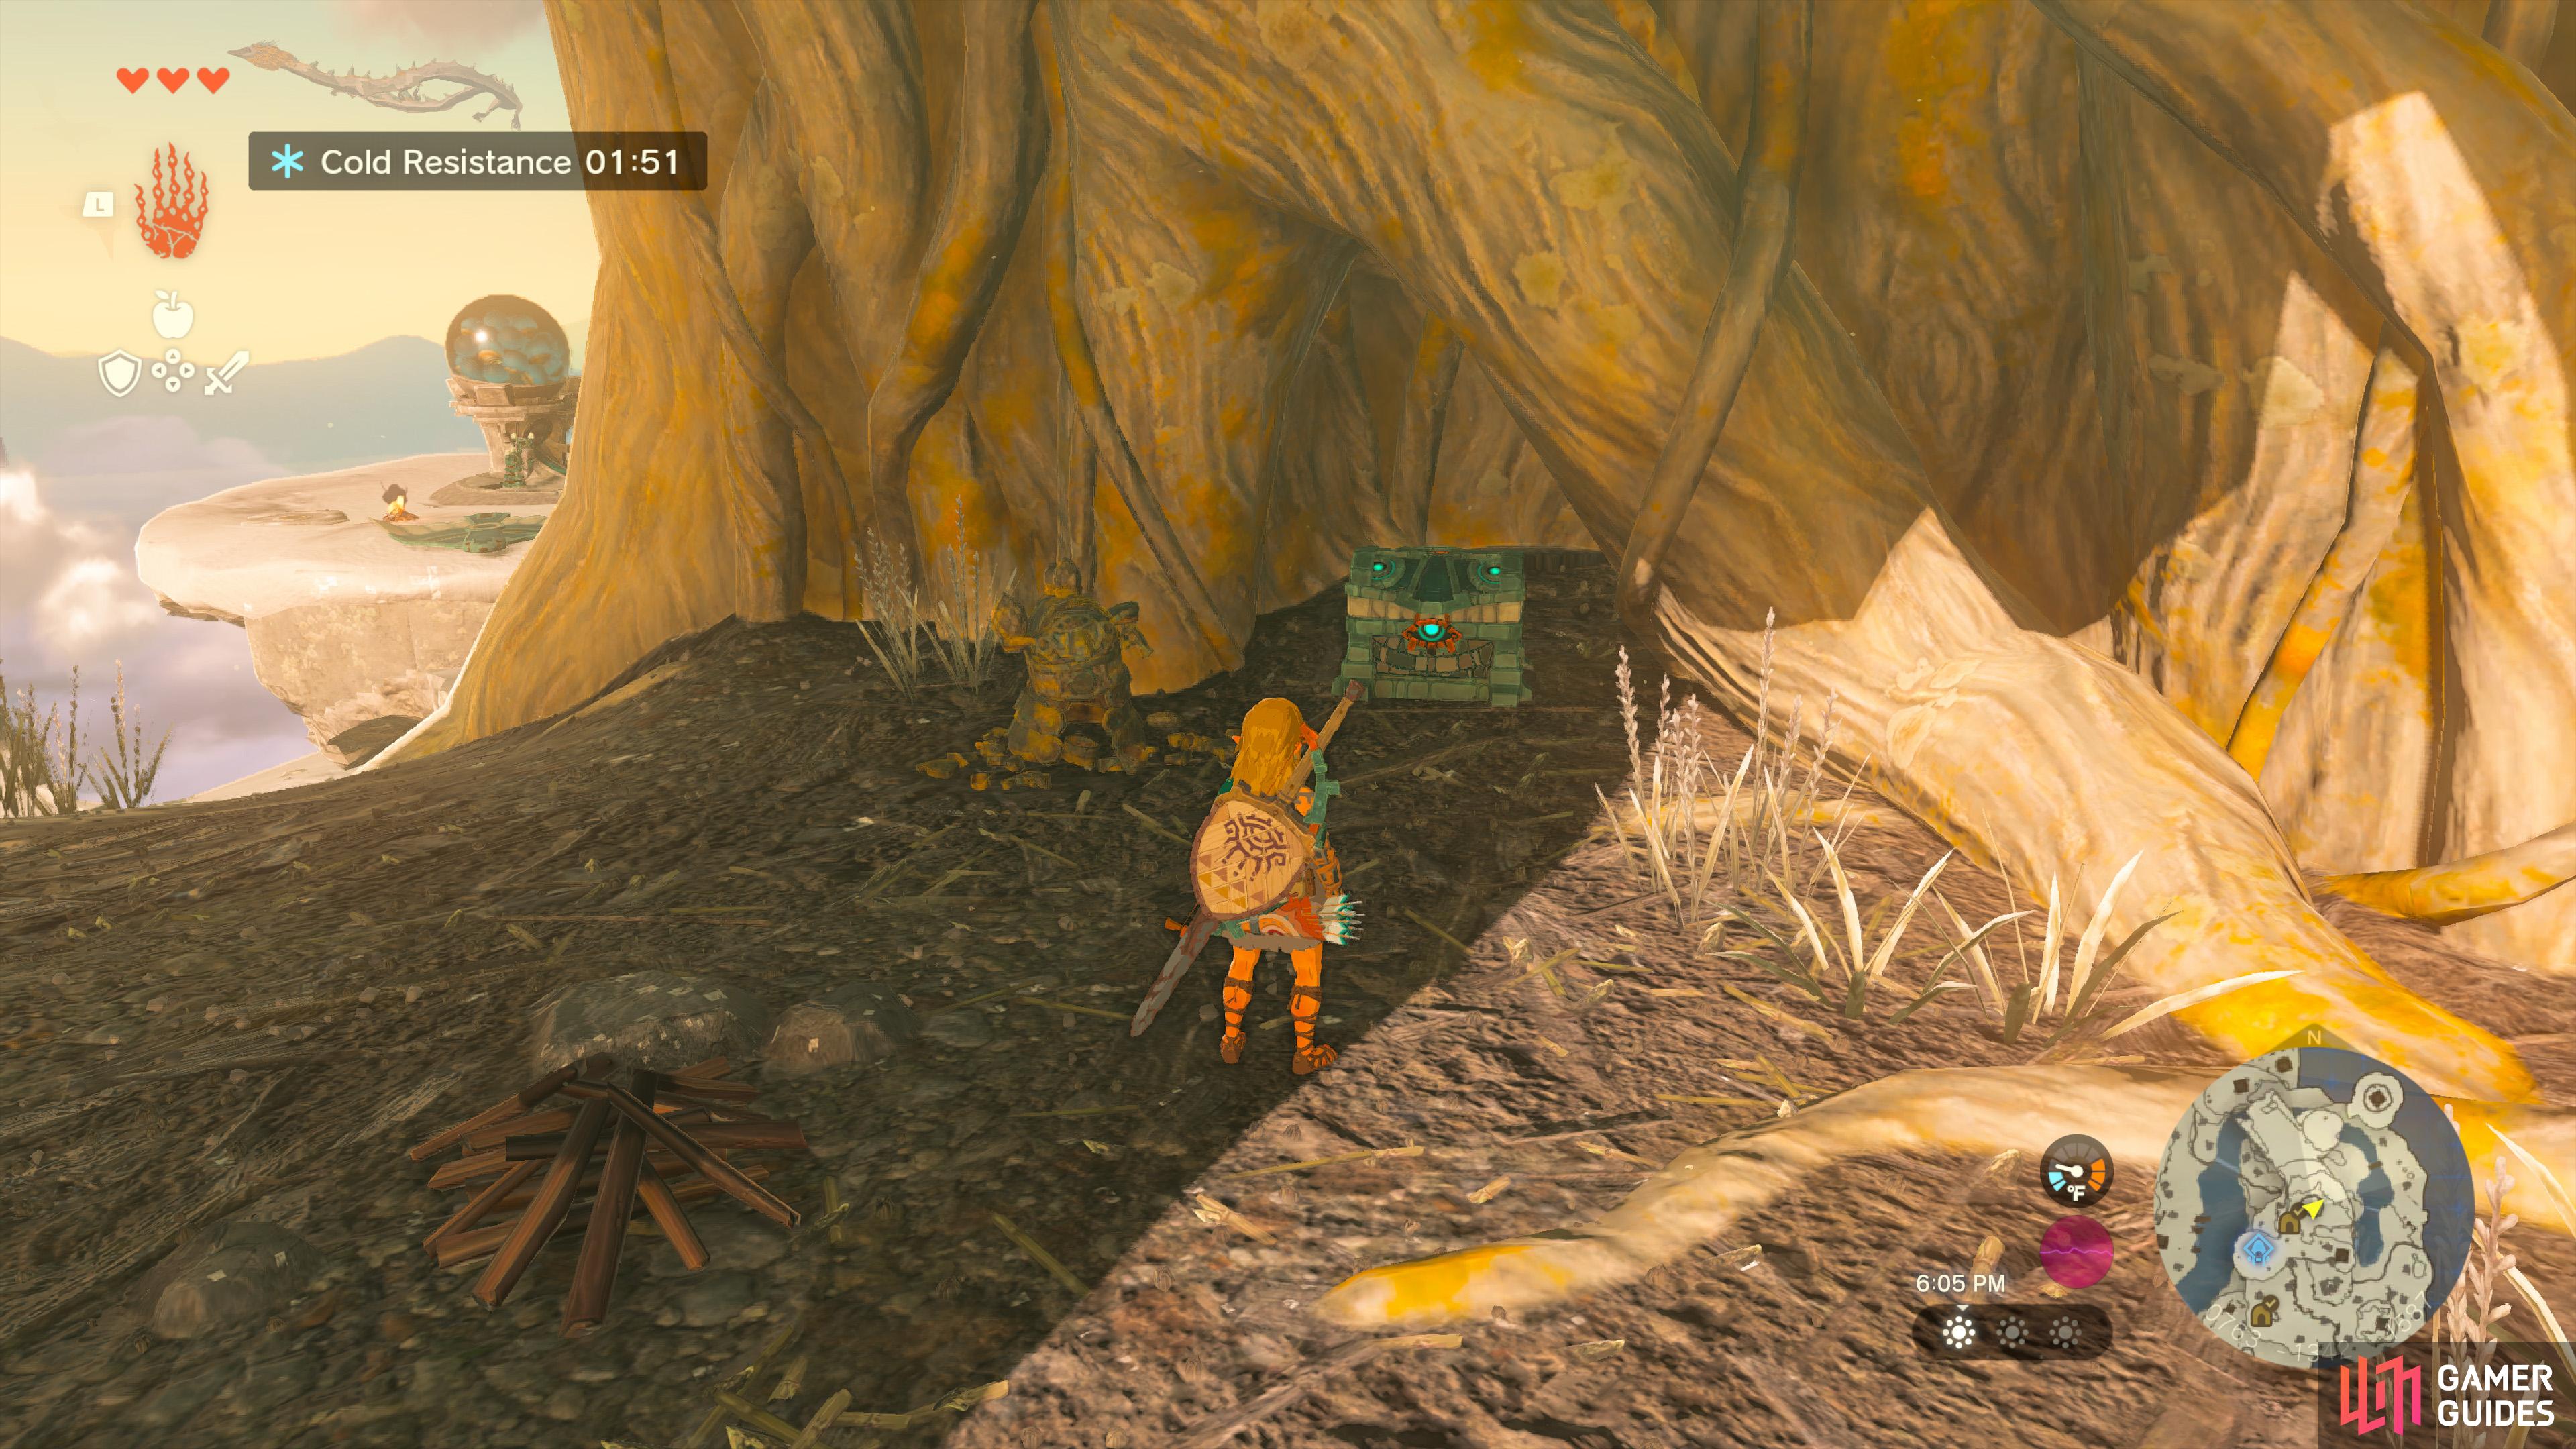
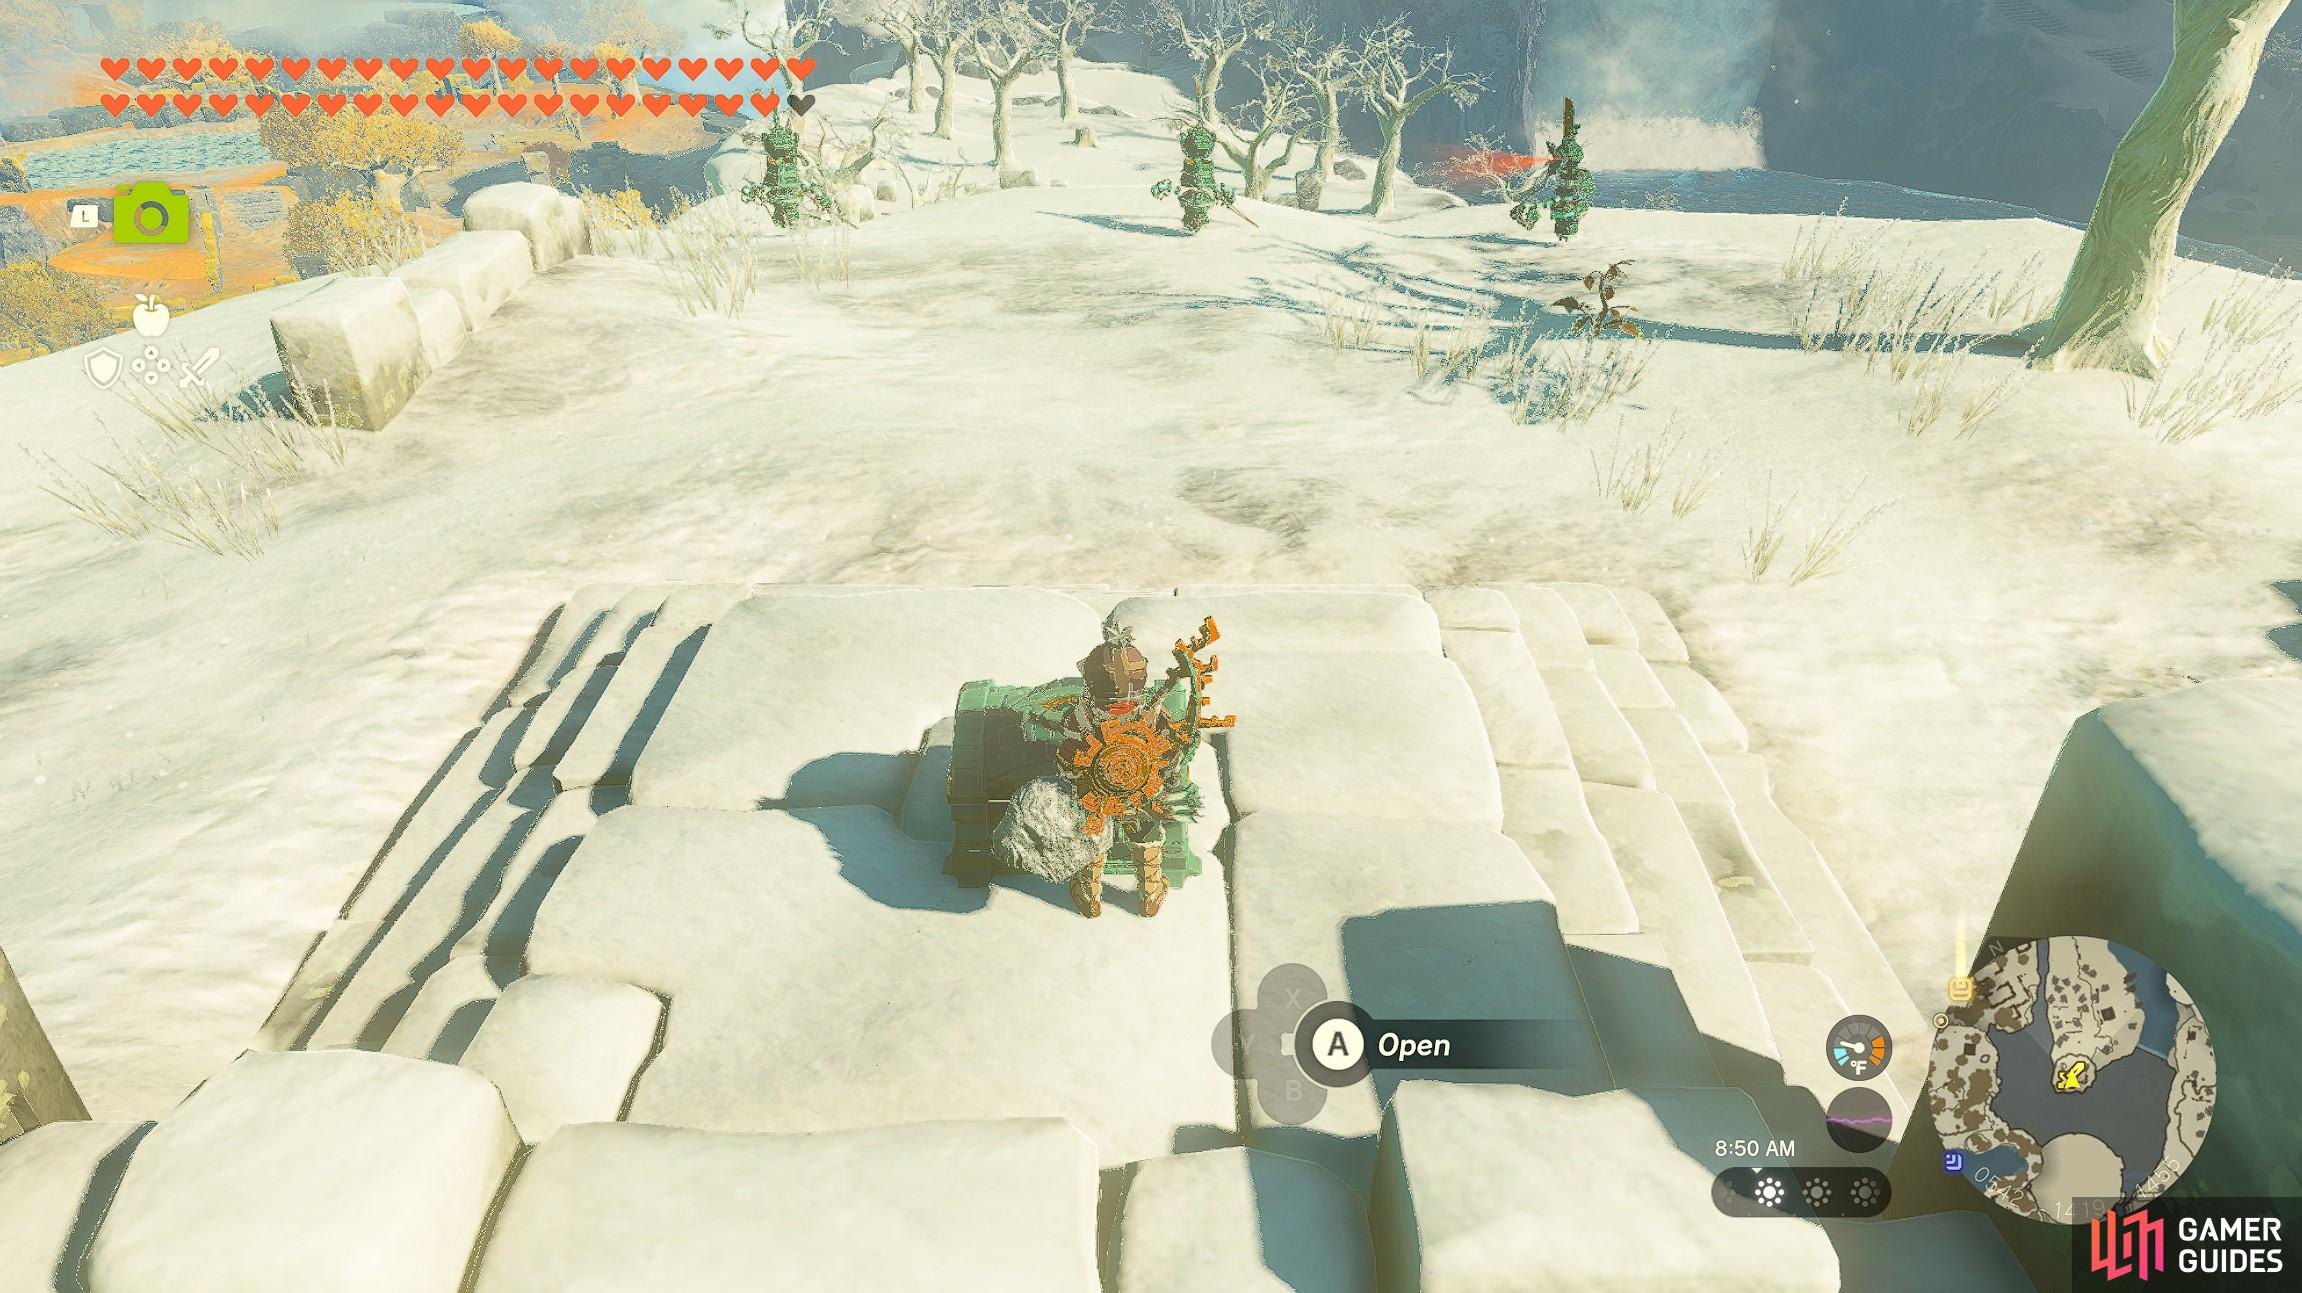
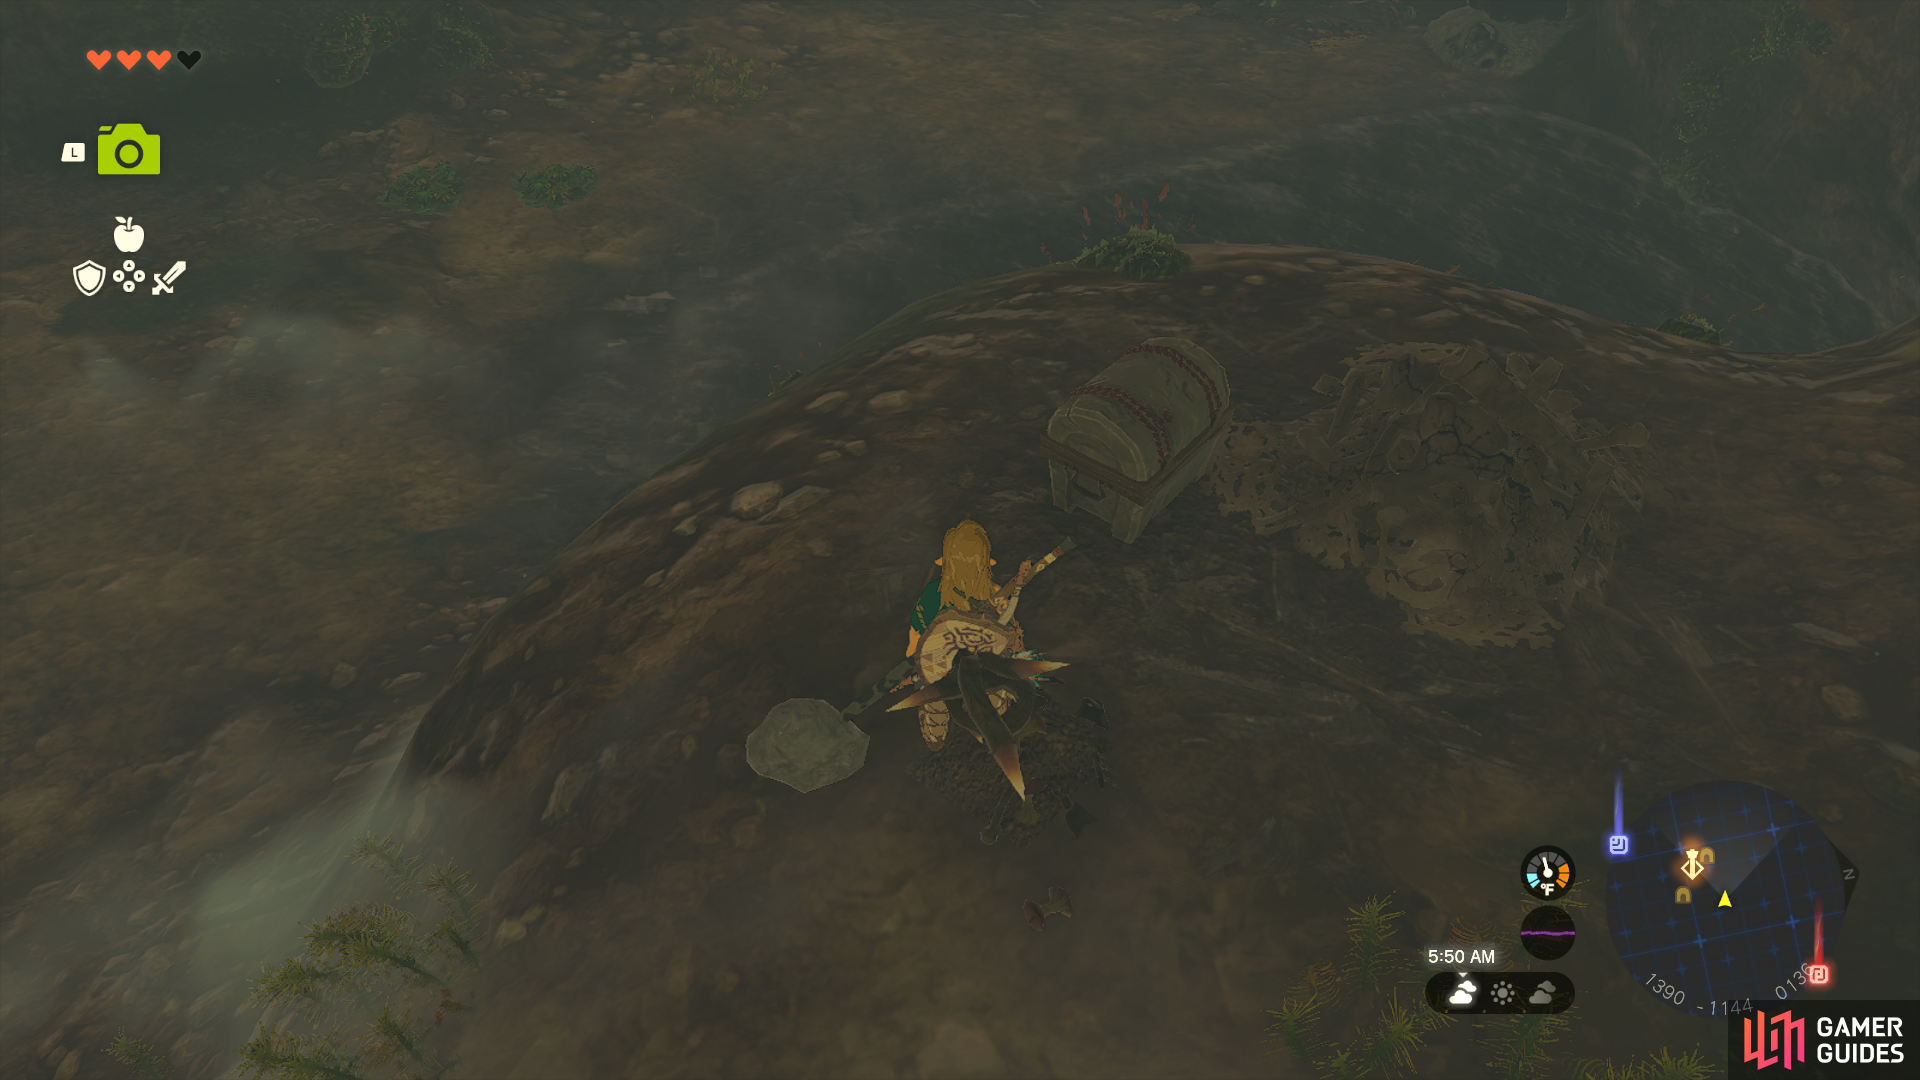
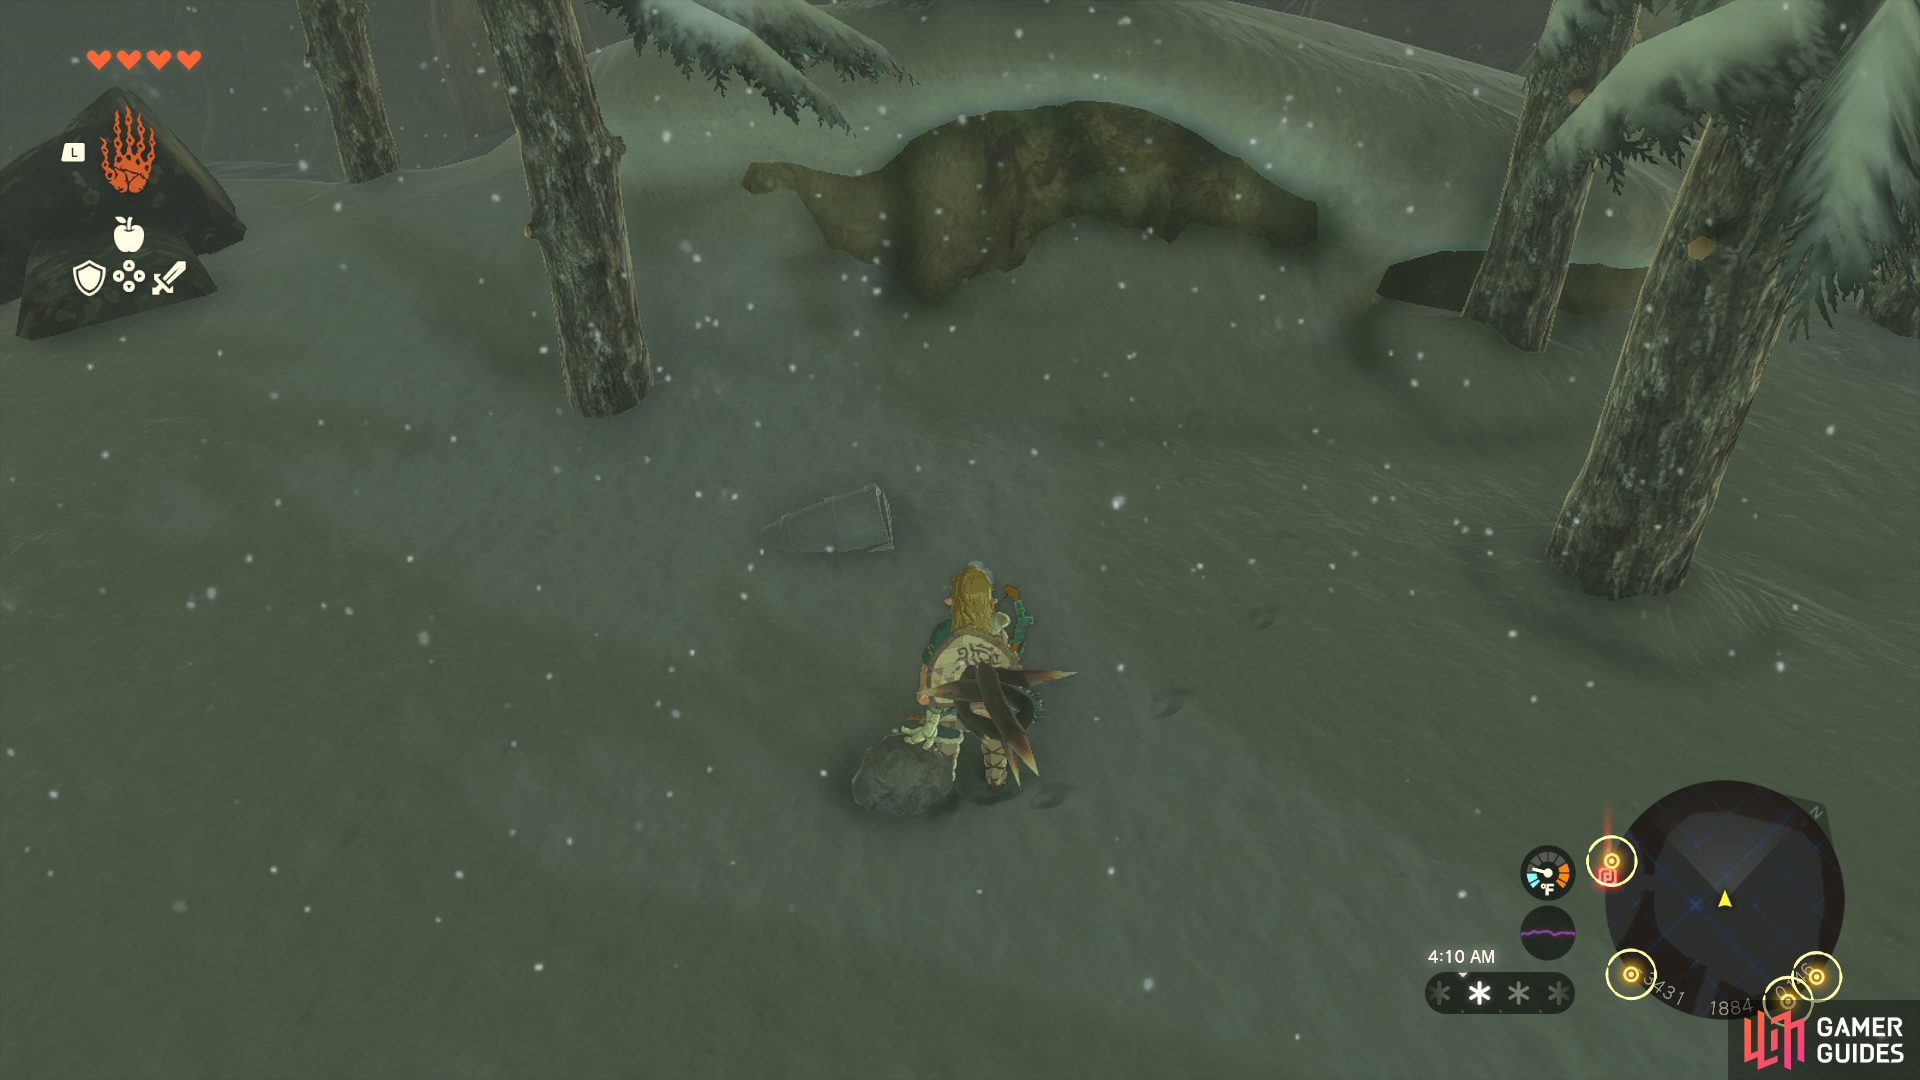
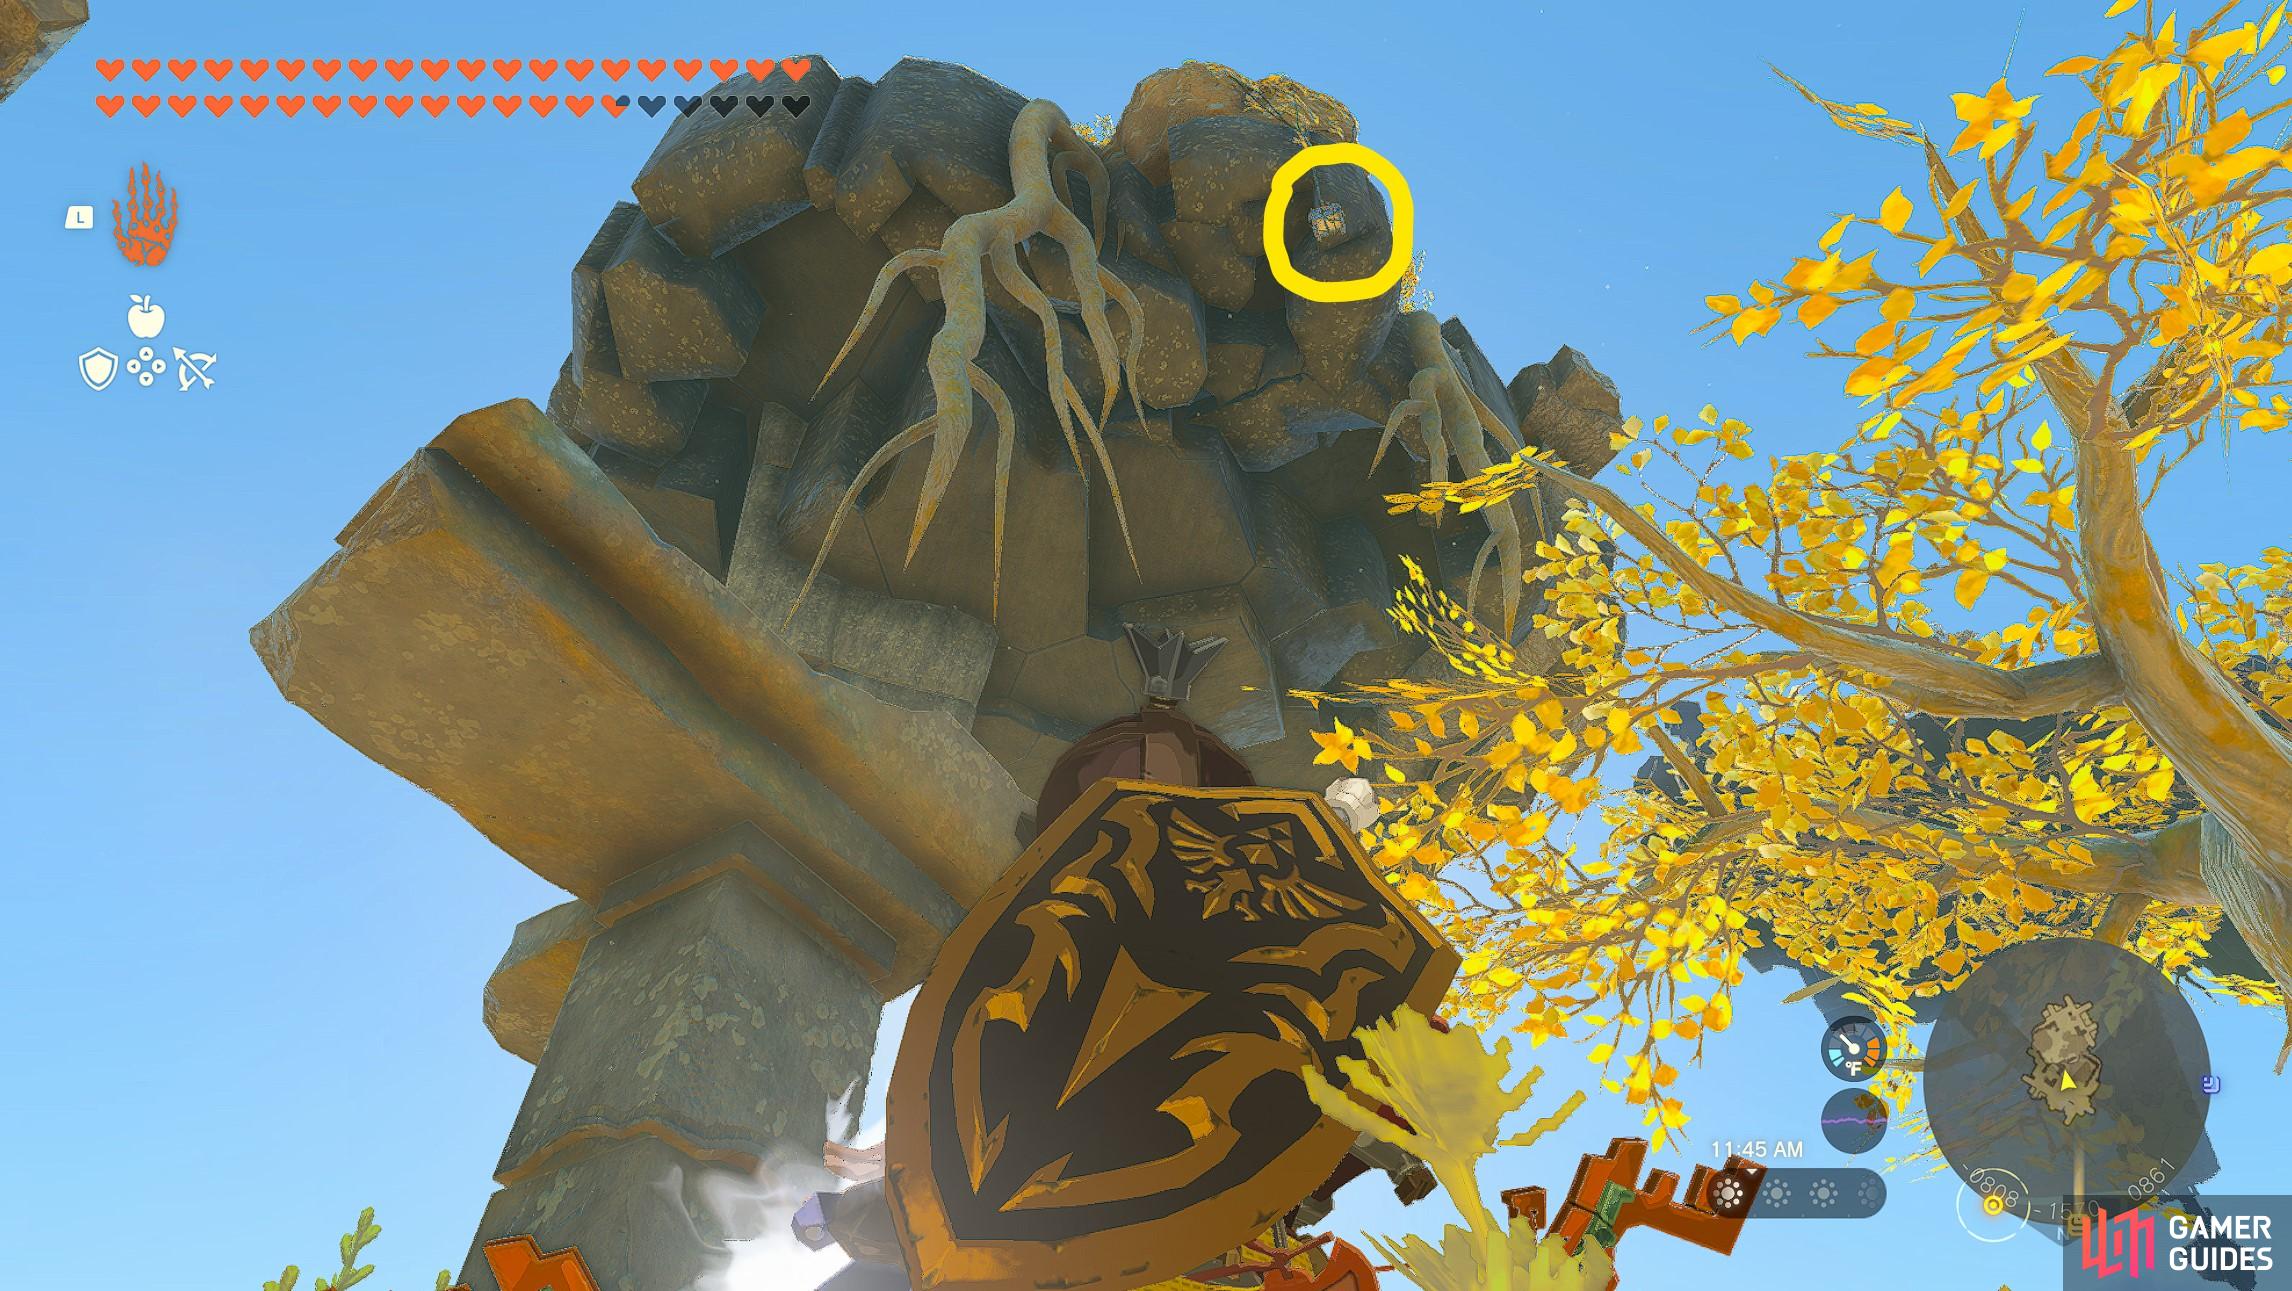
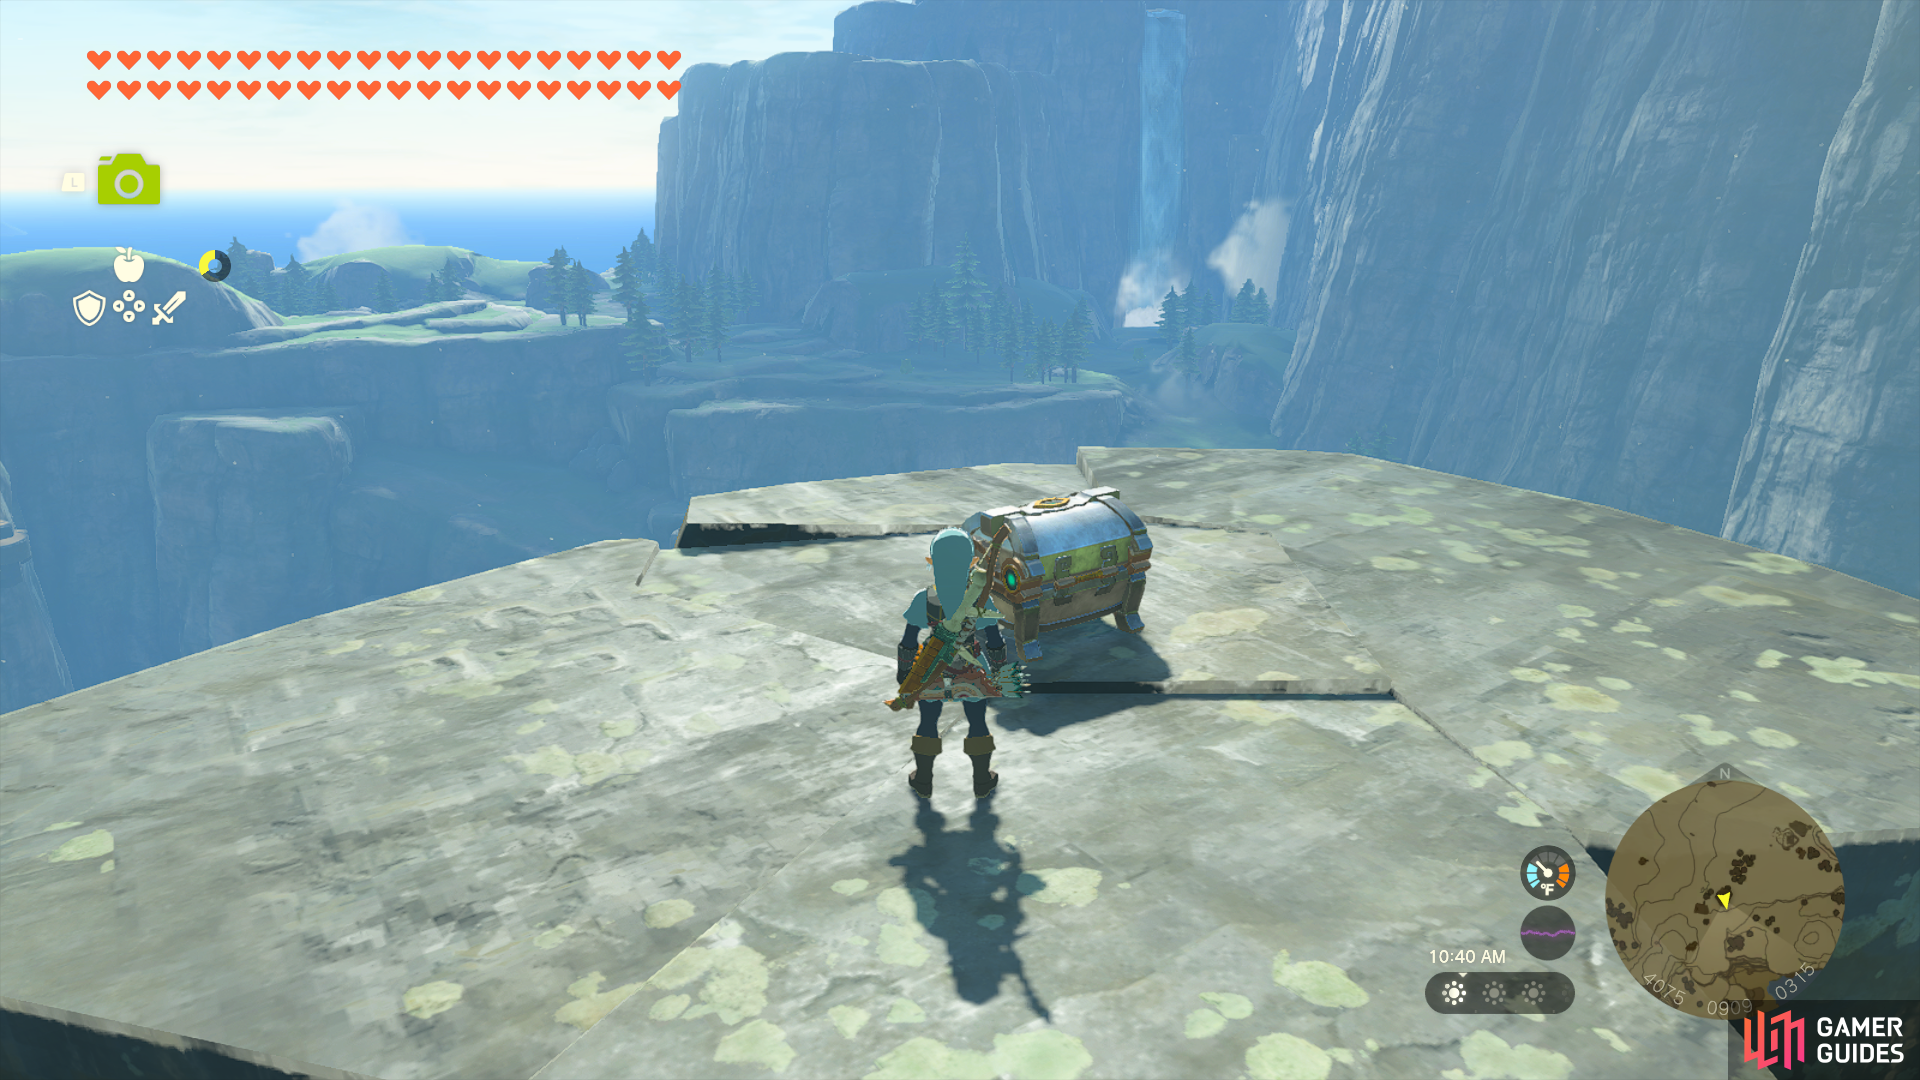
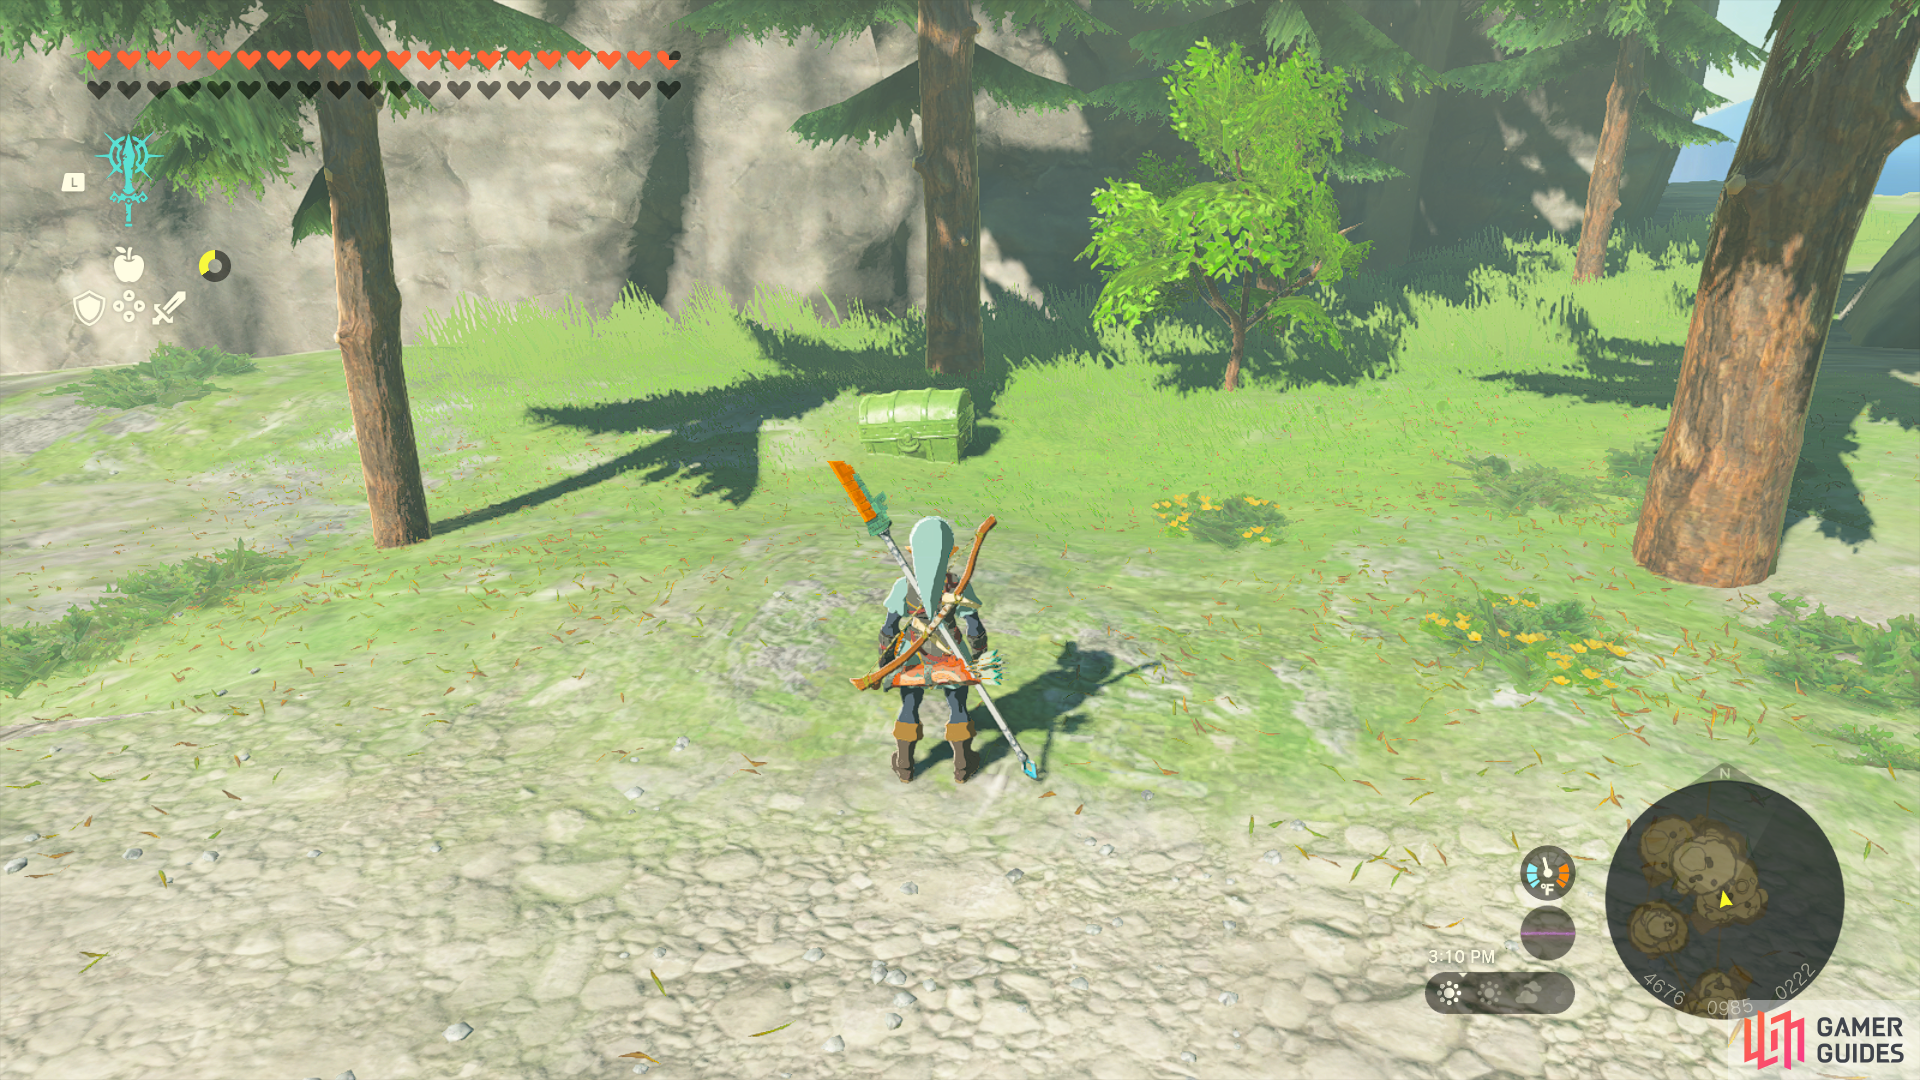
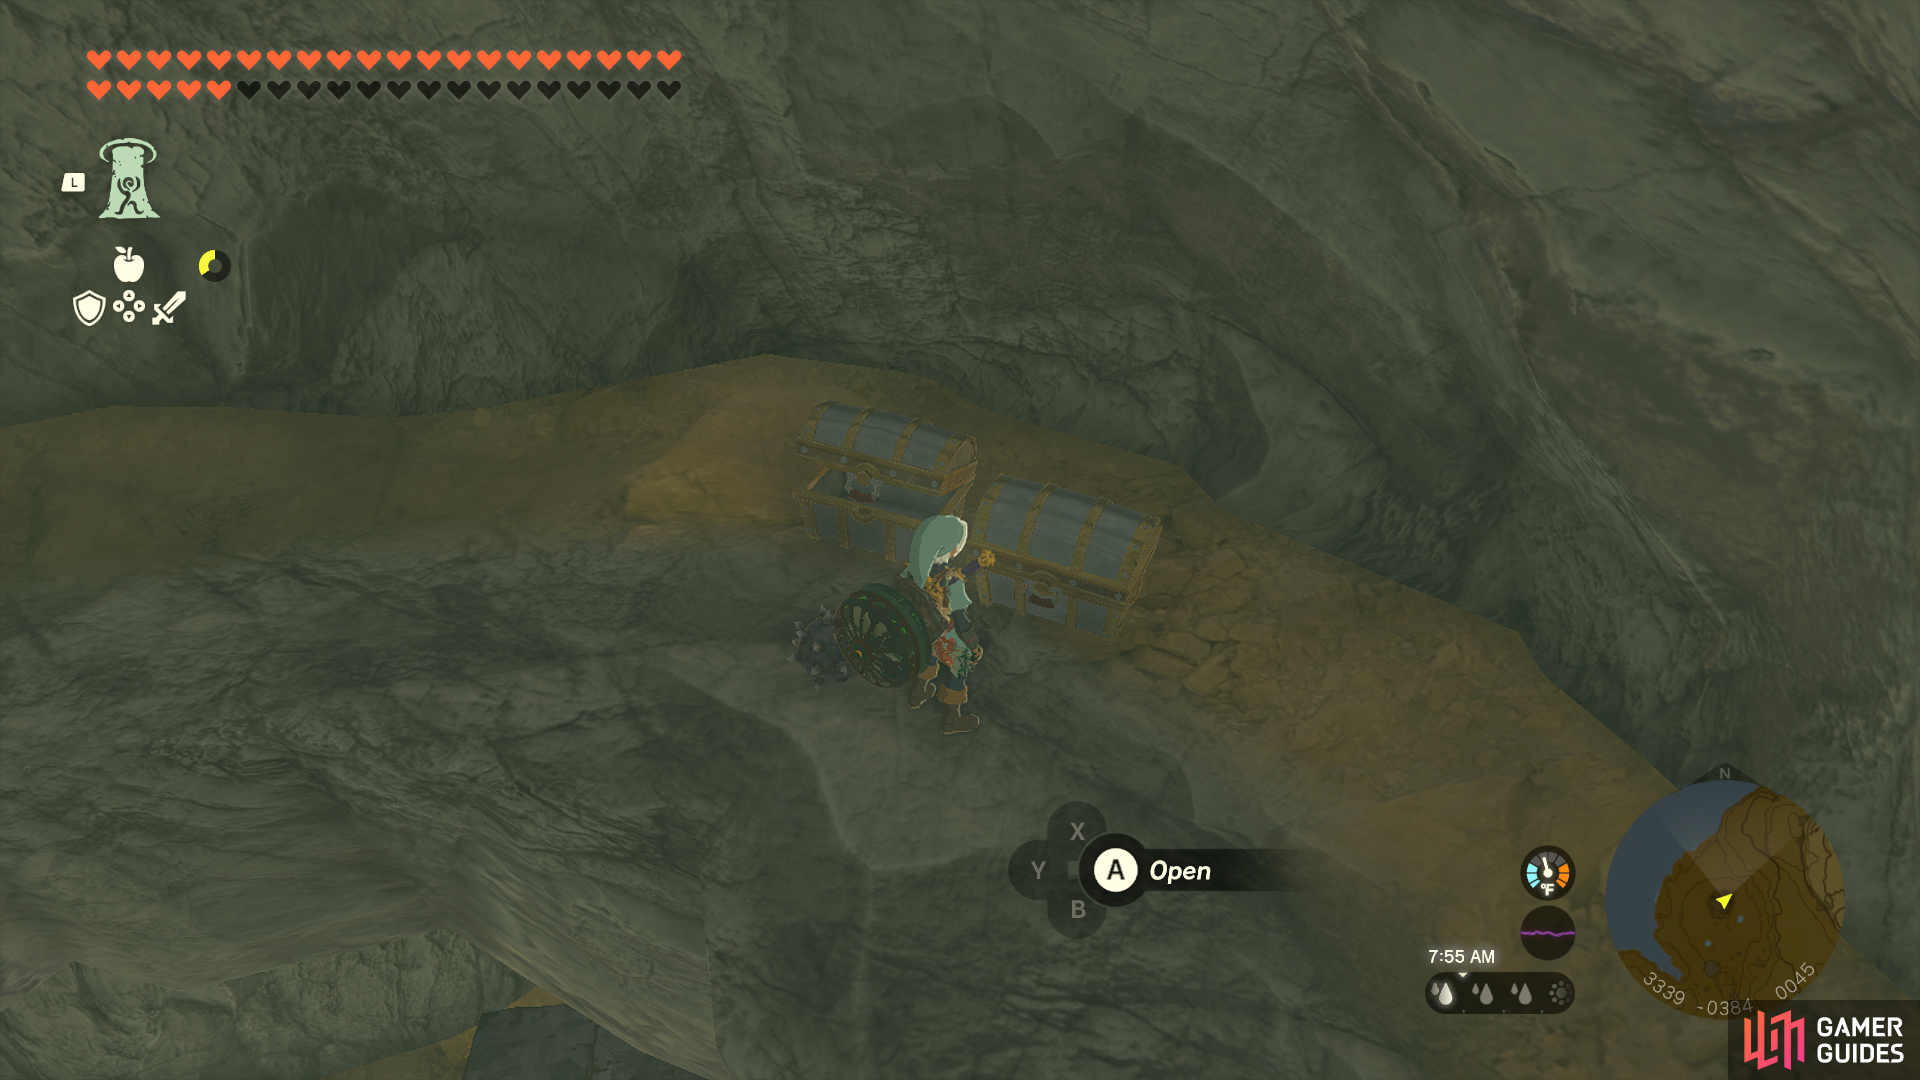
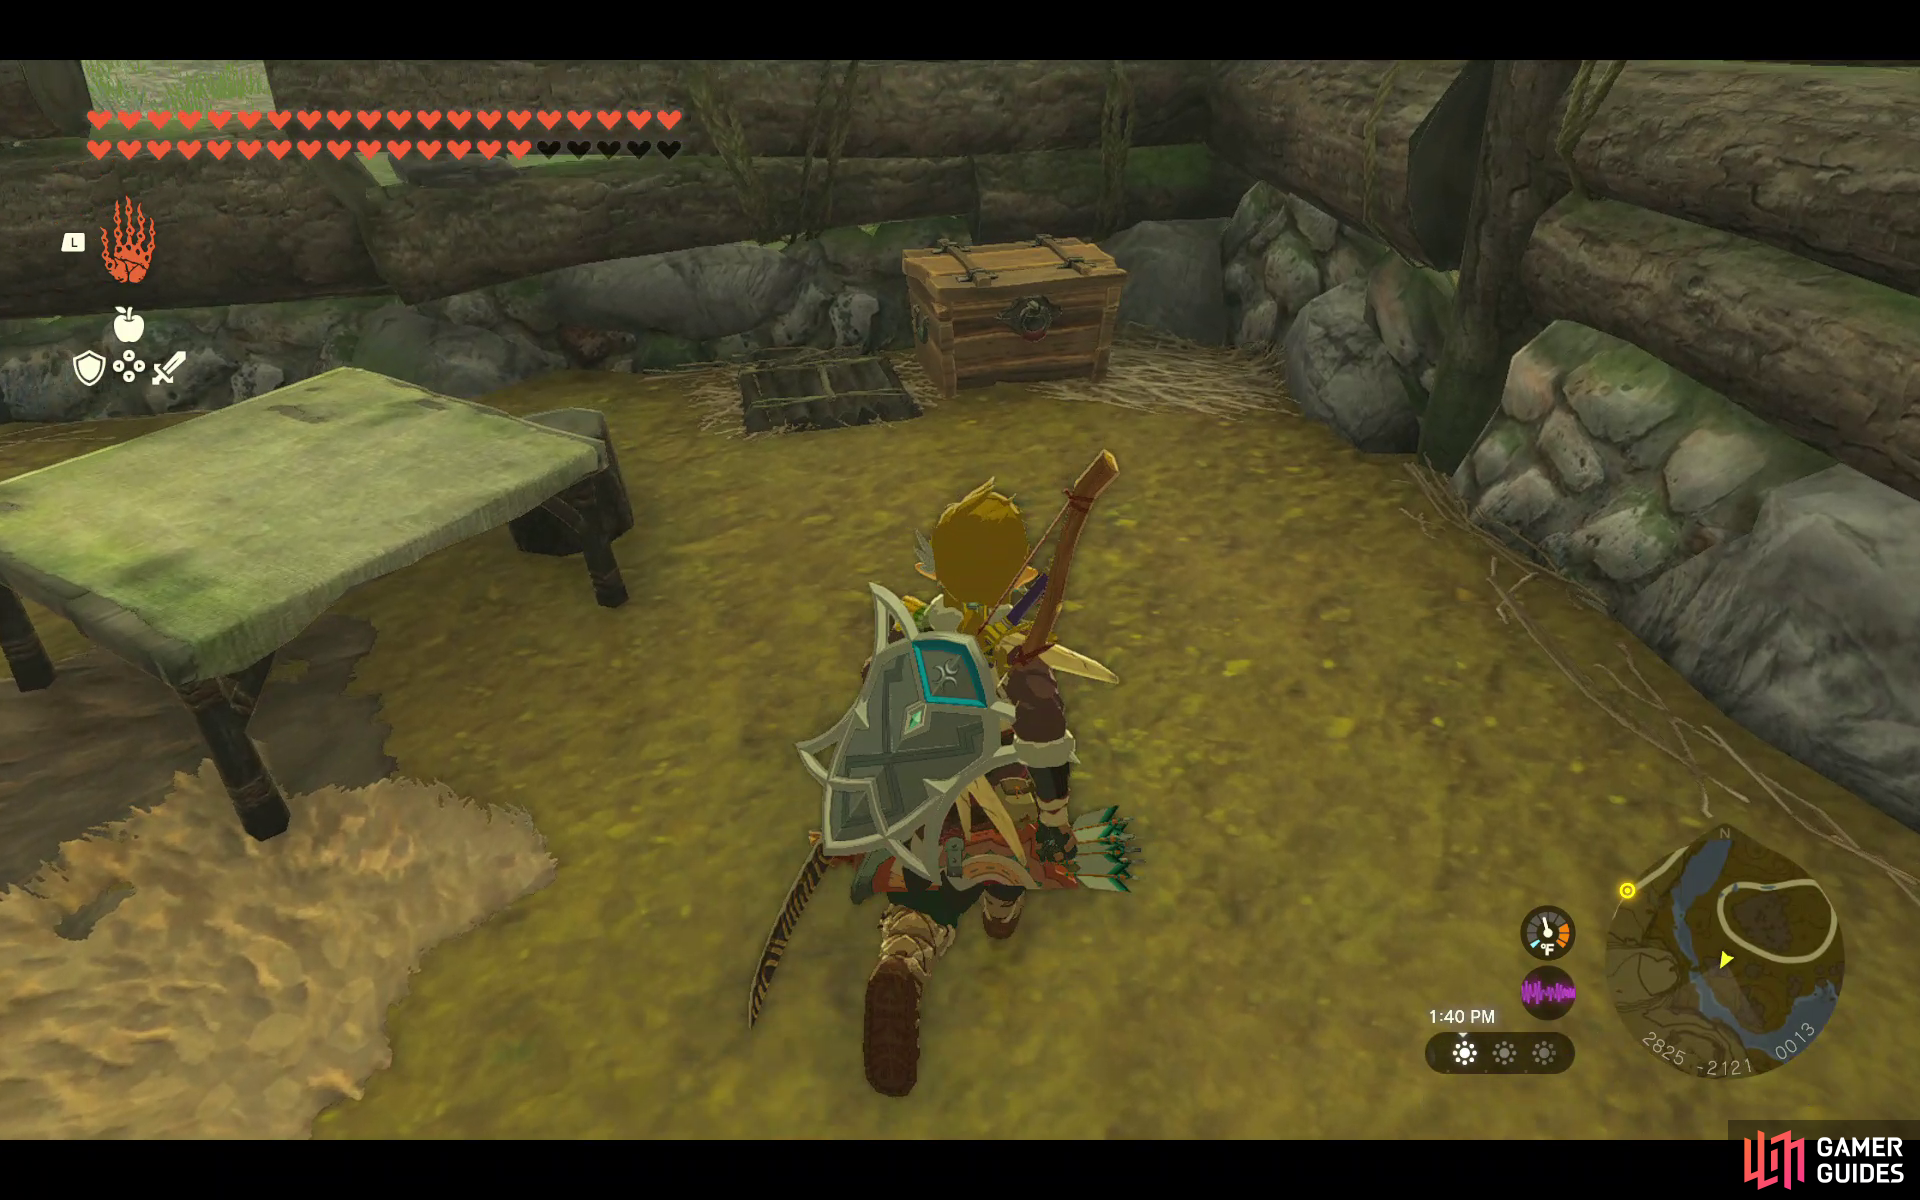
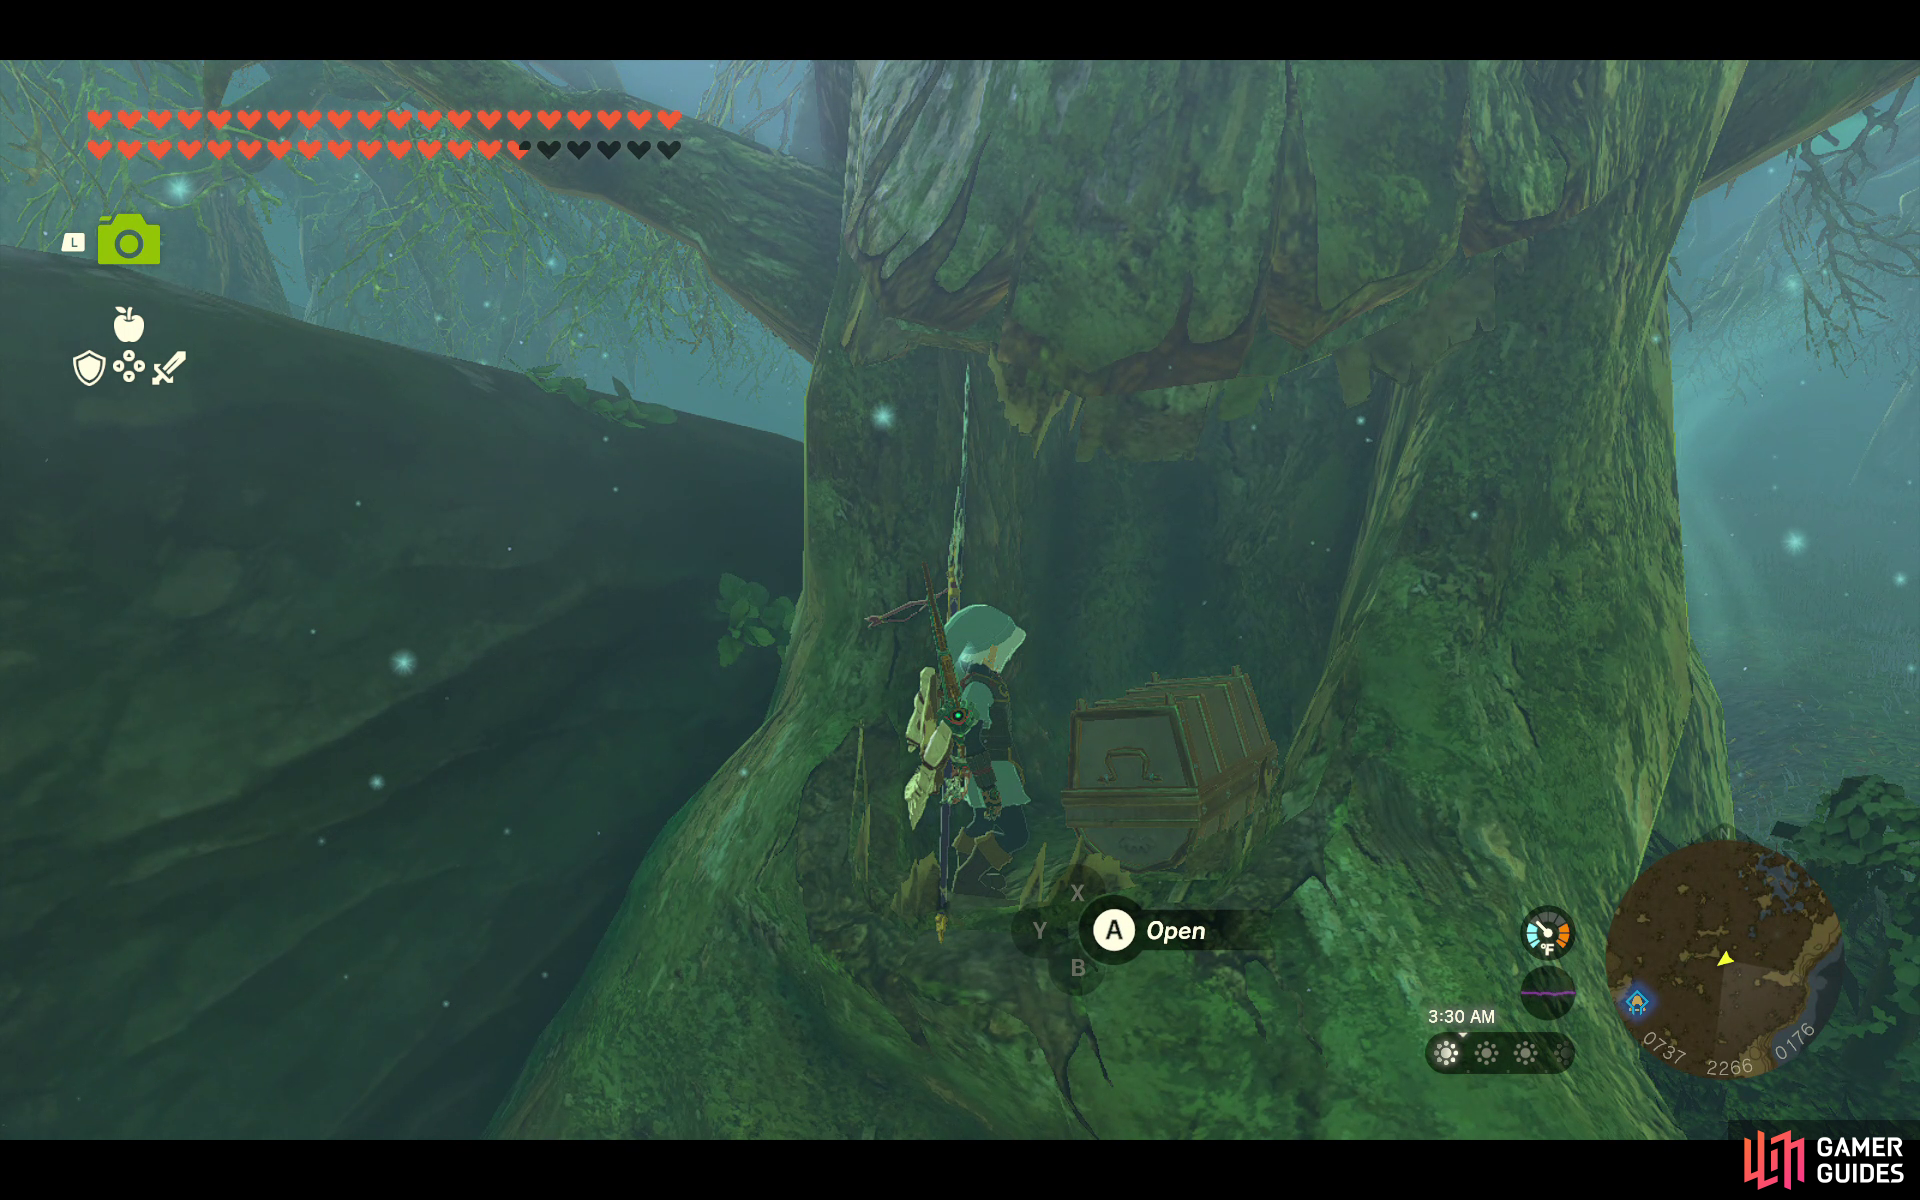
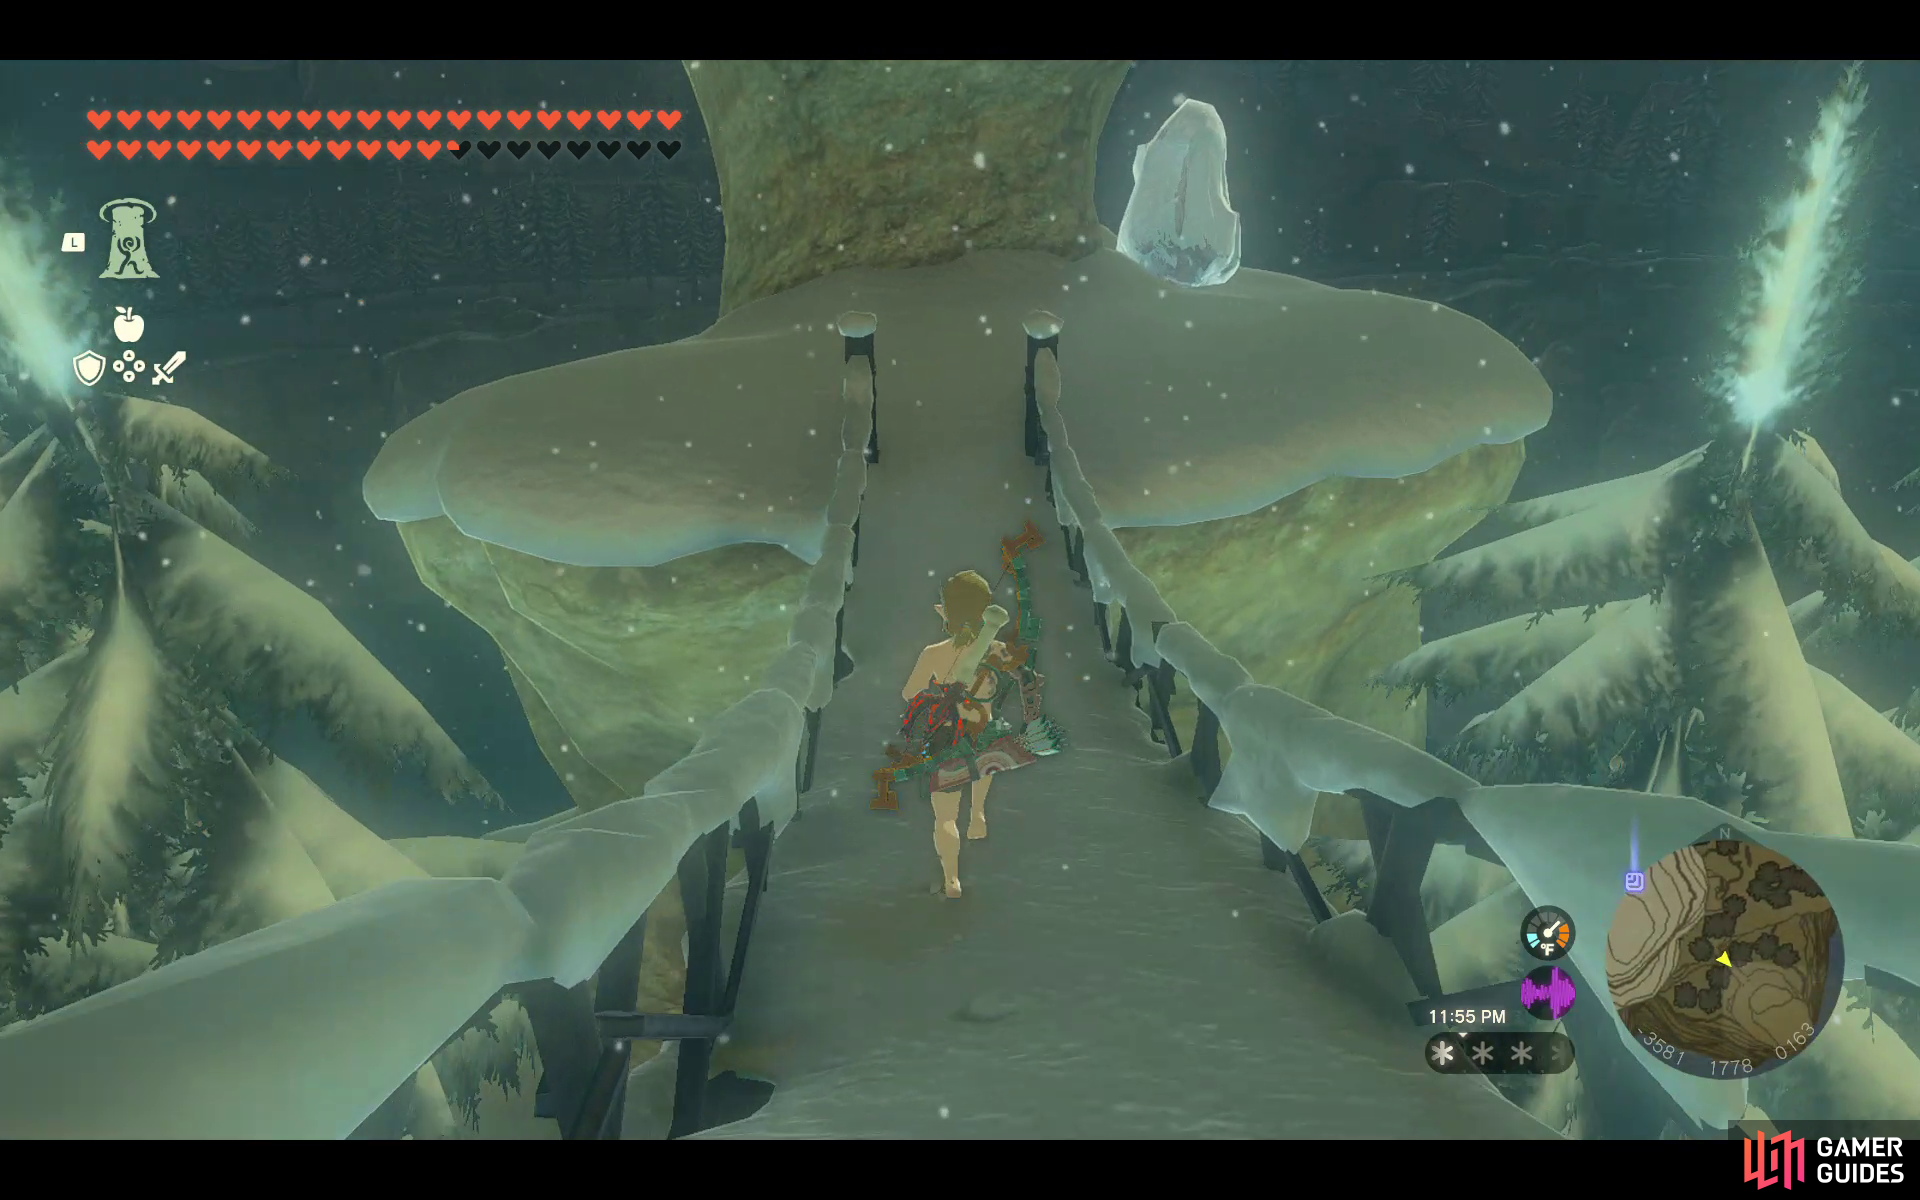
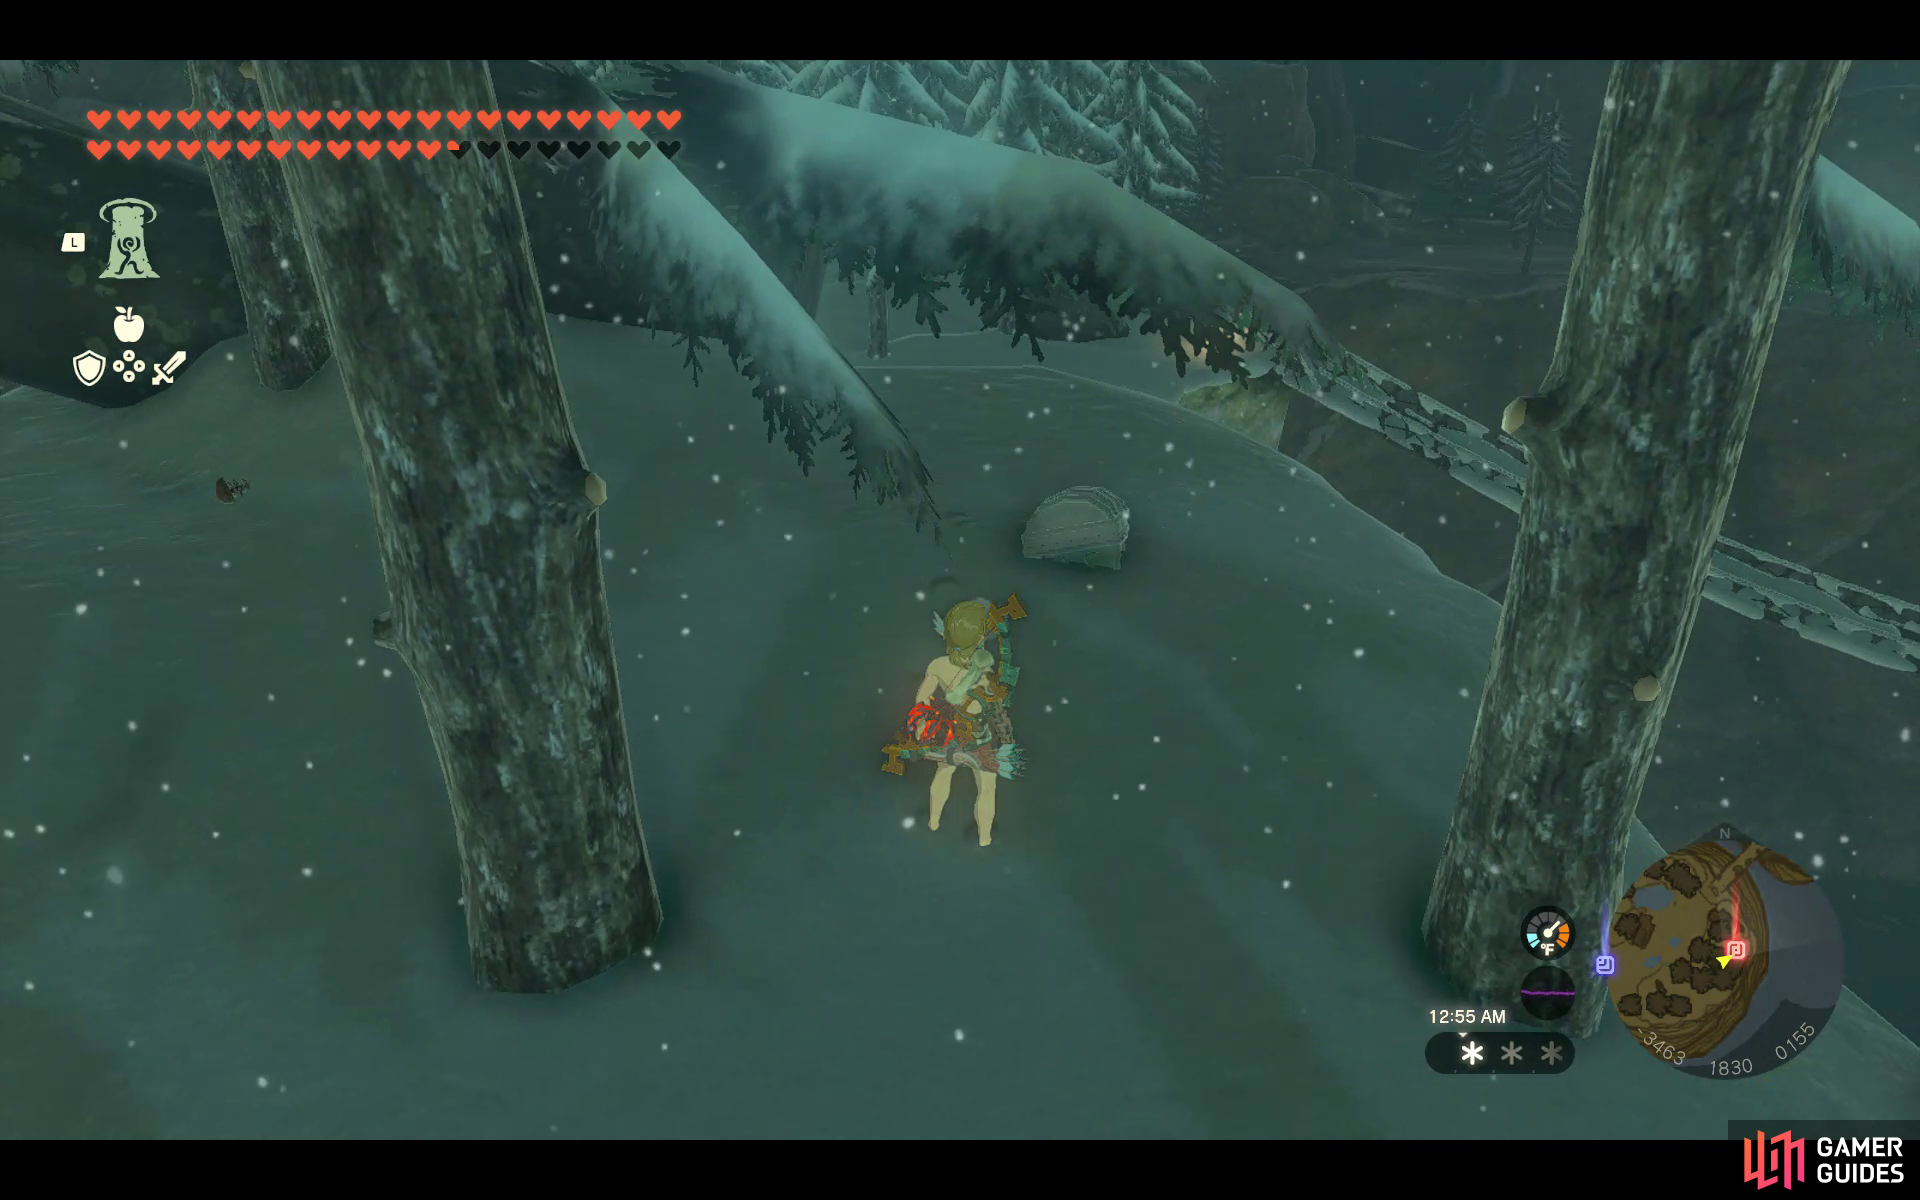
Found inside a hollowed out tree on the upper area of the mountain.
- Contains
 Archaic Warm Greaves.
39884. Hyrule Surface Map
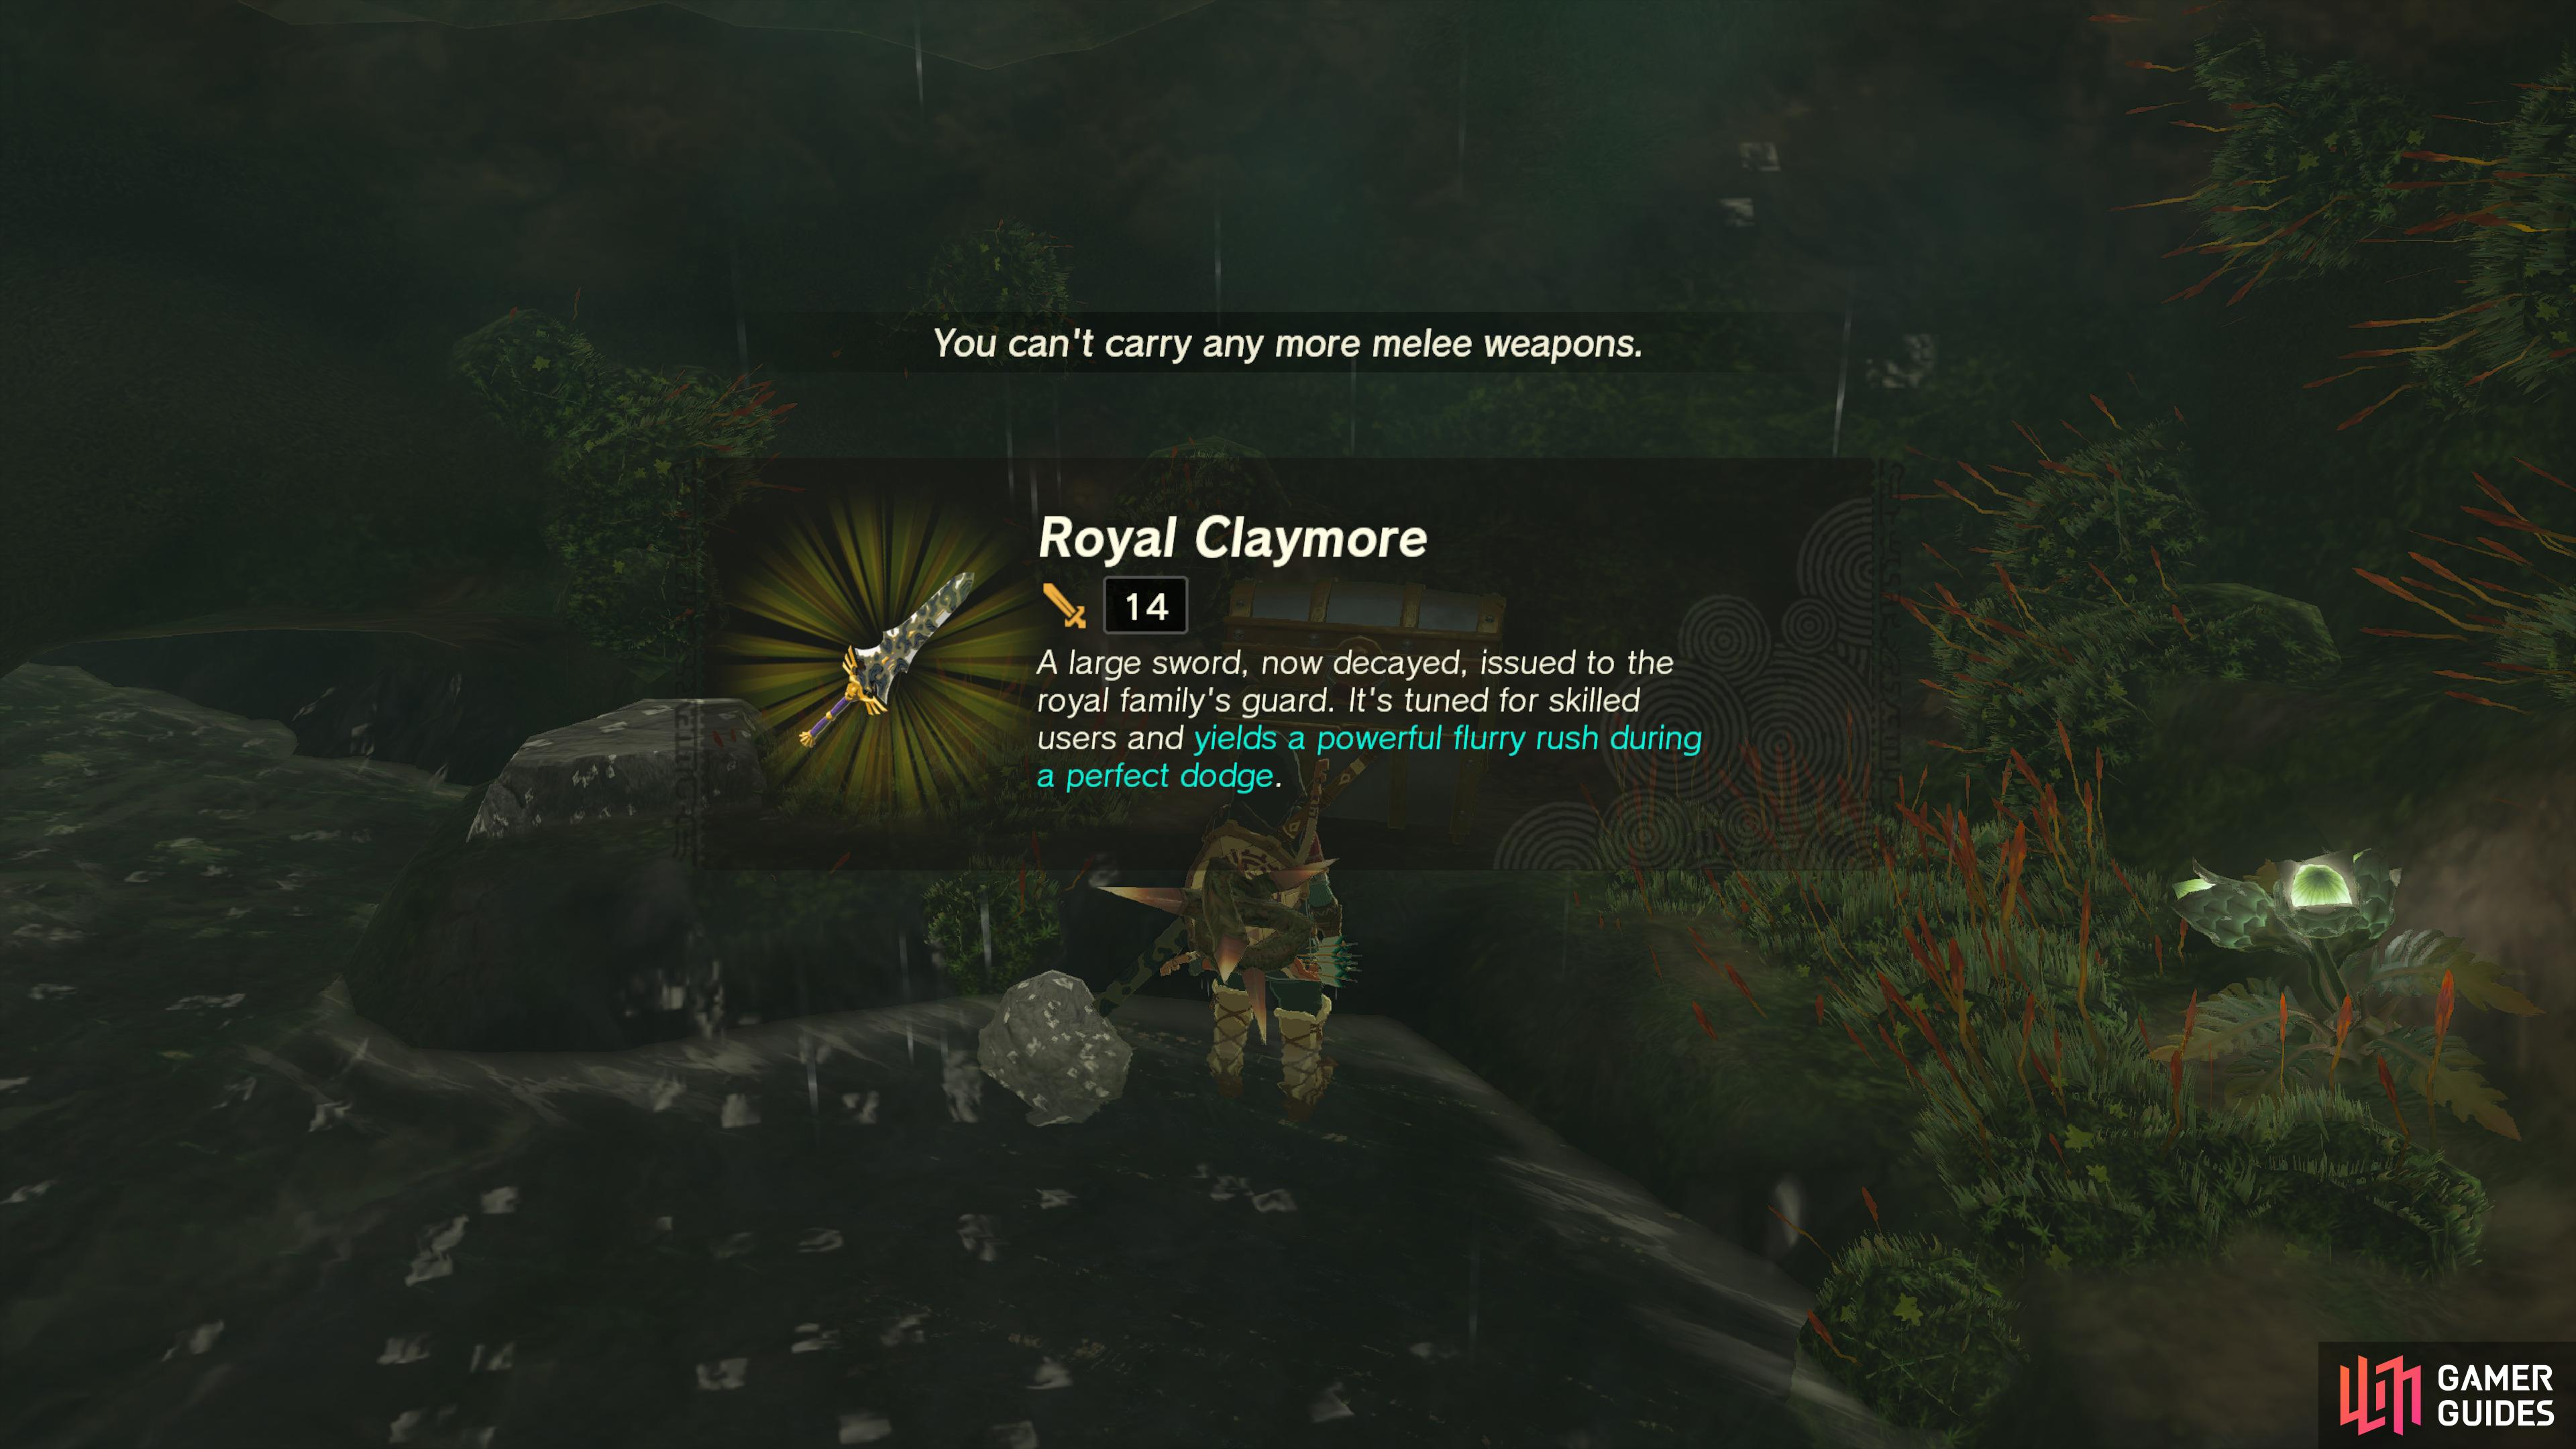
A ![]() Royal Claymore can be found inside a chest at the bottom of the nearby well.
Royal Claymore can be found inside a chest at the bottom of the nearby well.
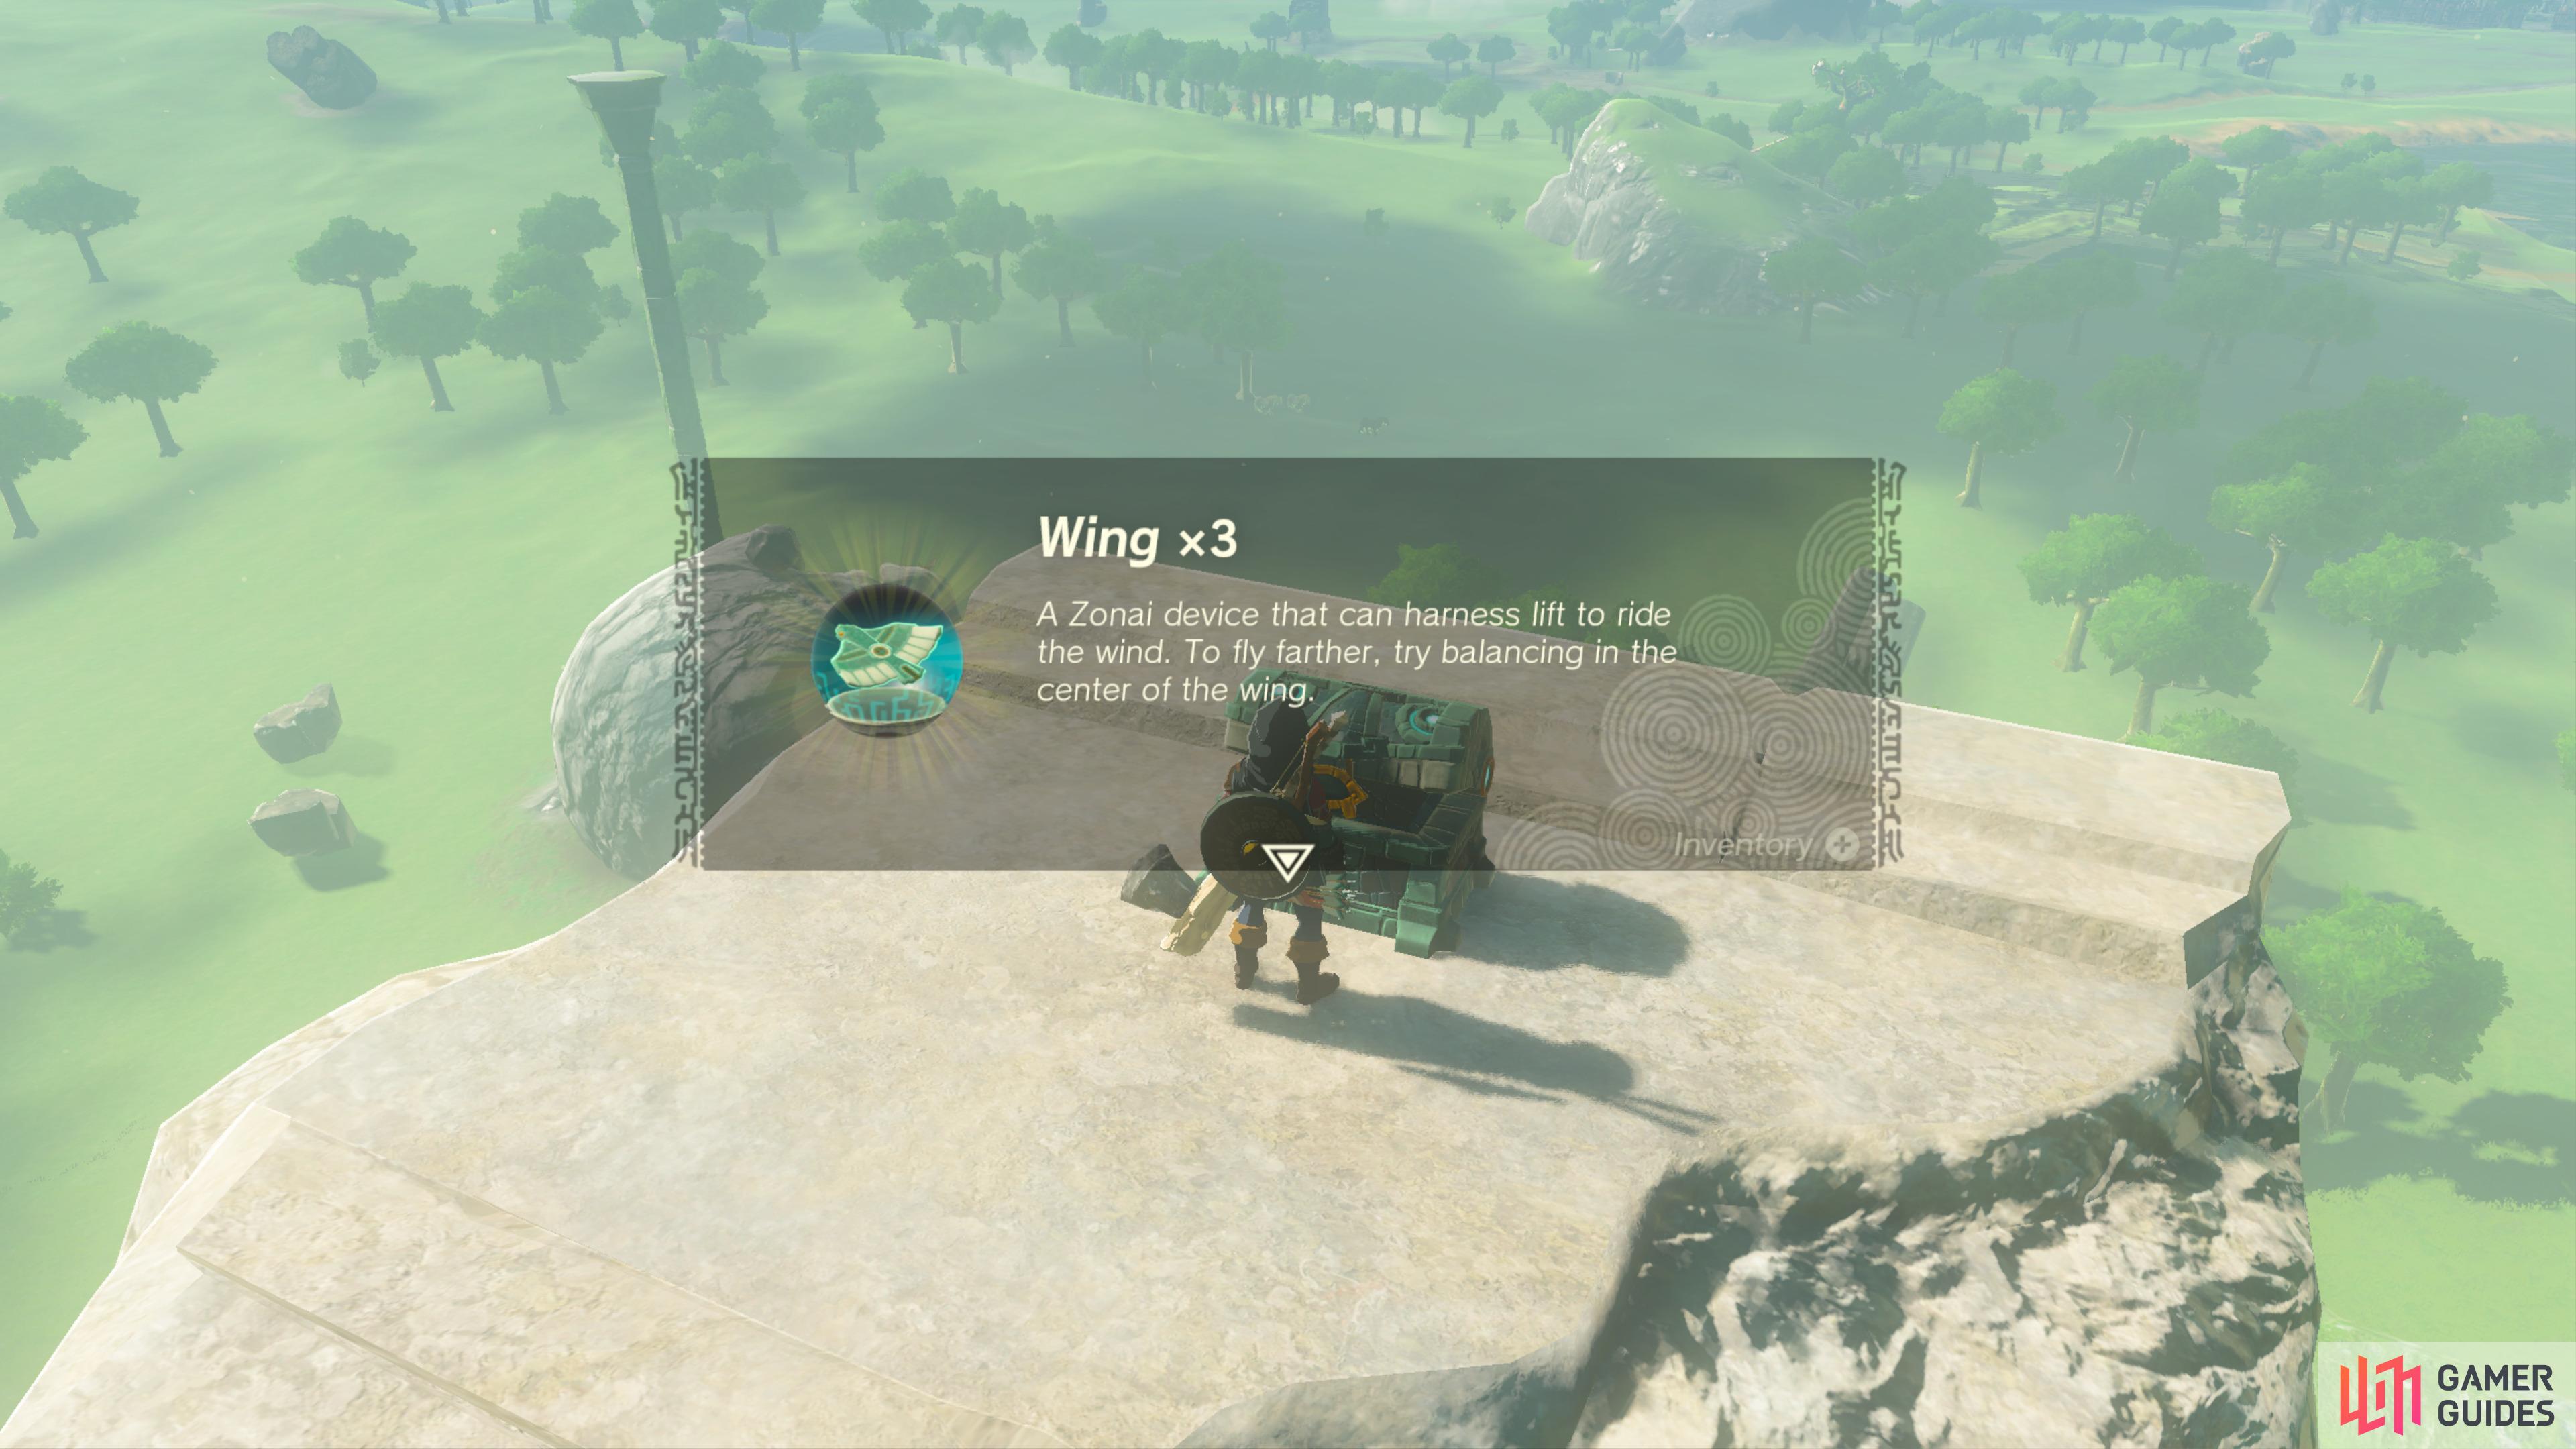
39921. Hyrule Sky Islands Map
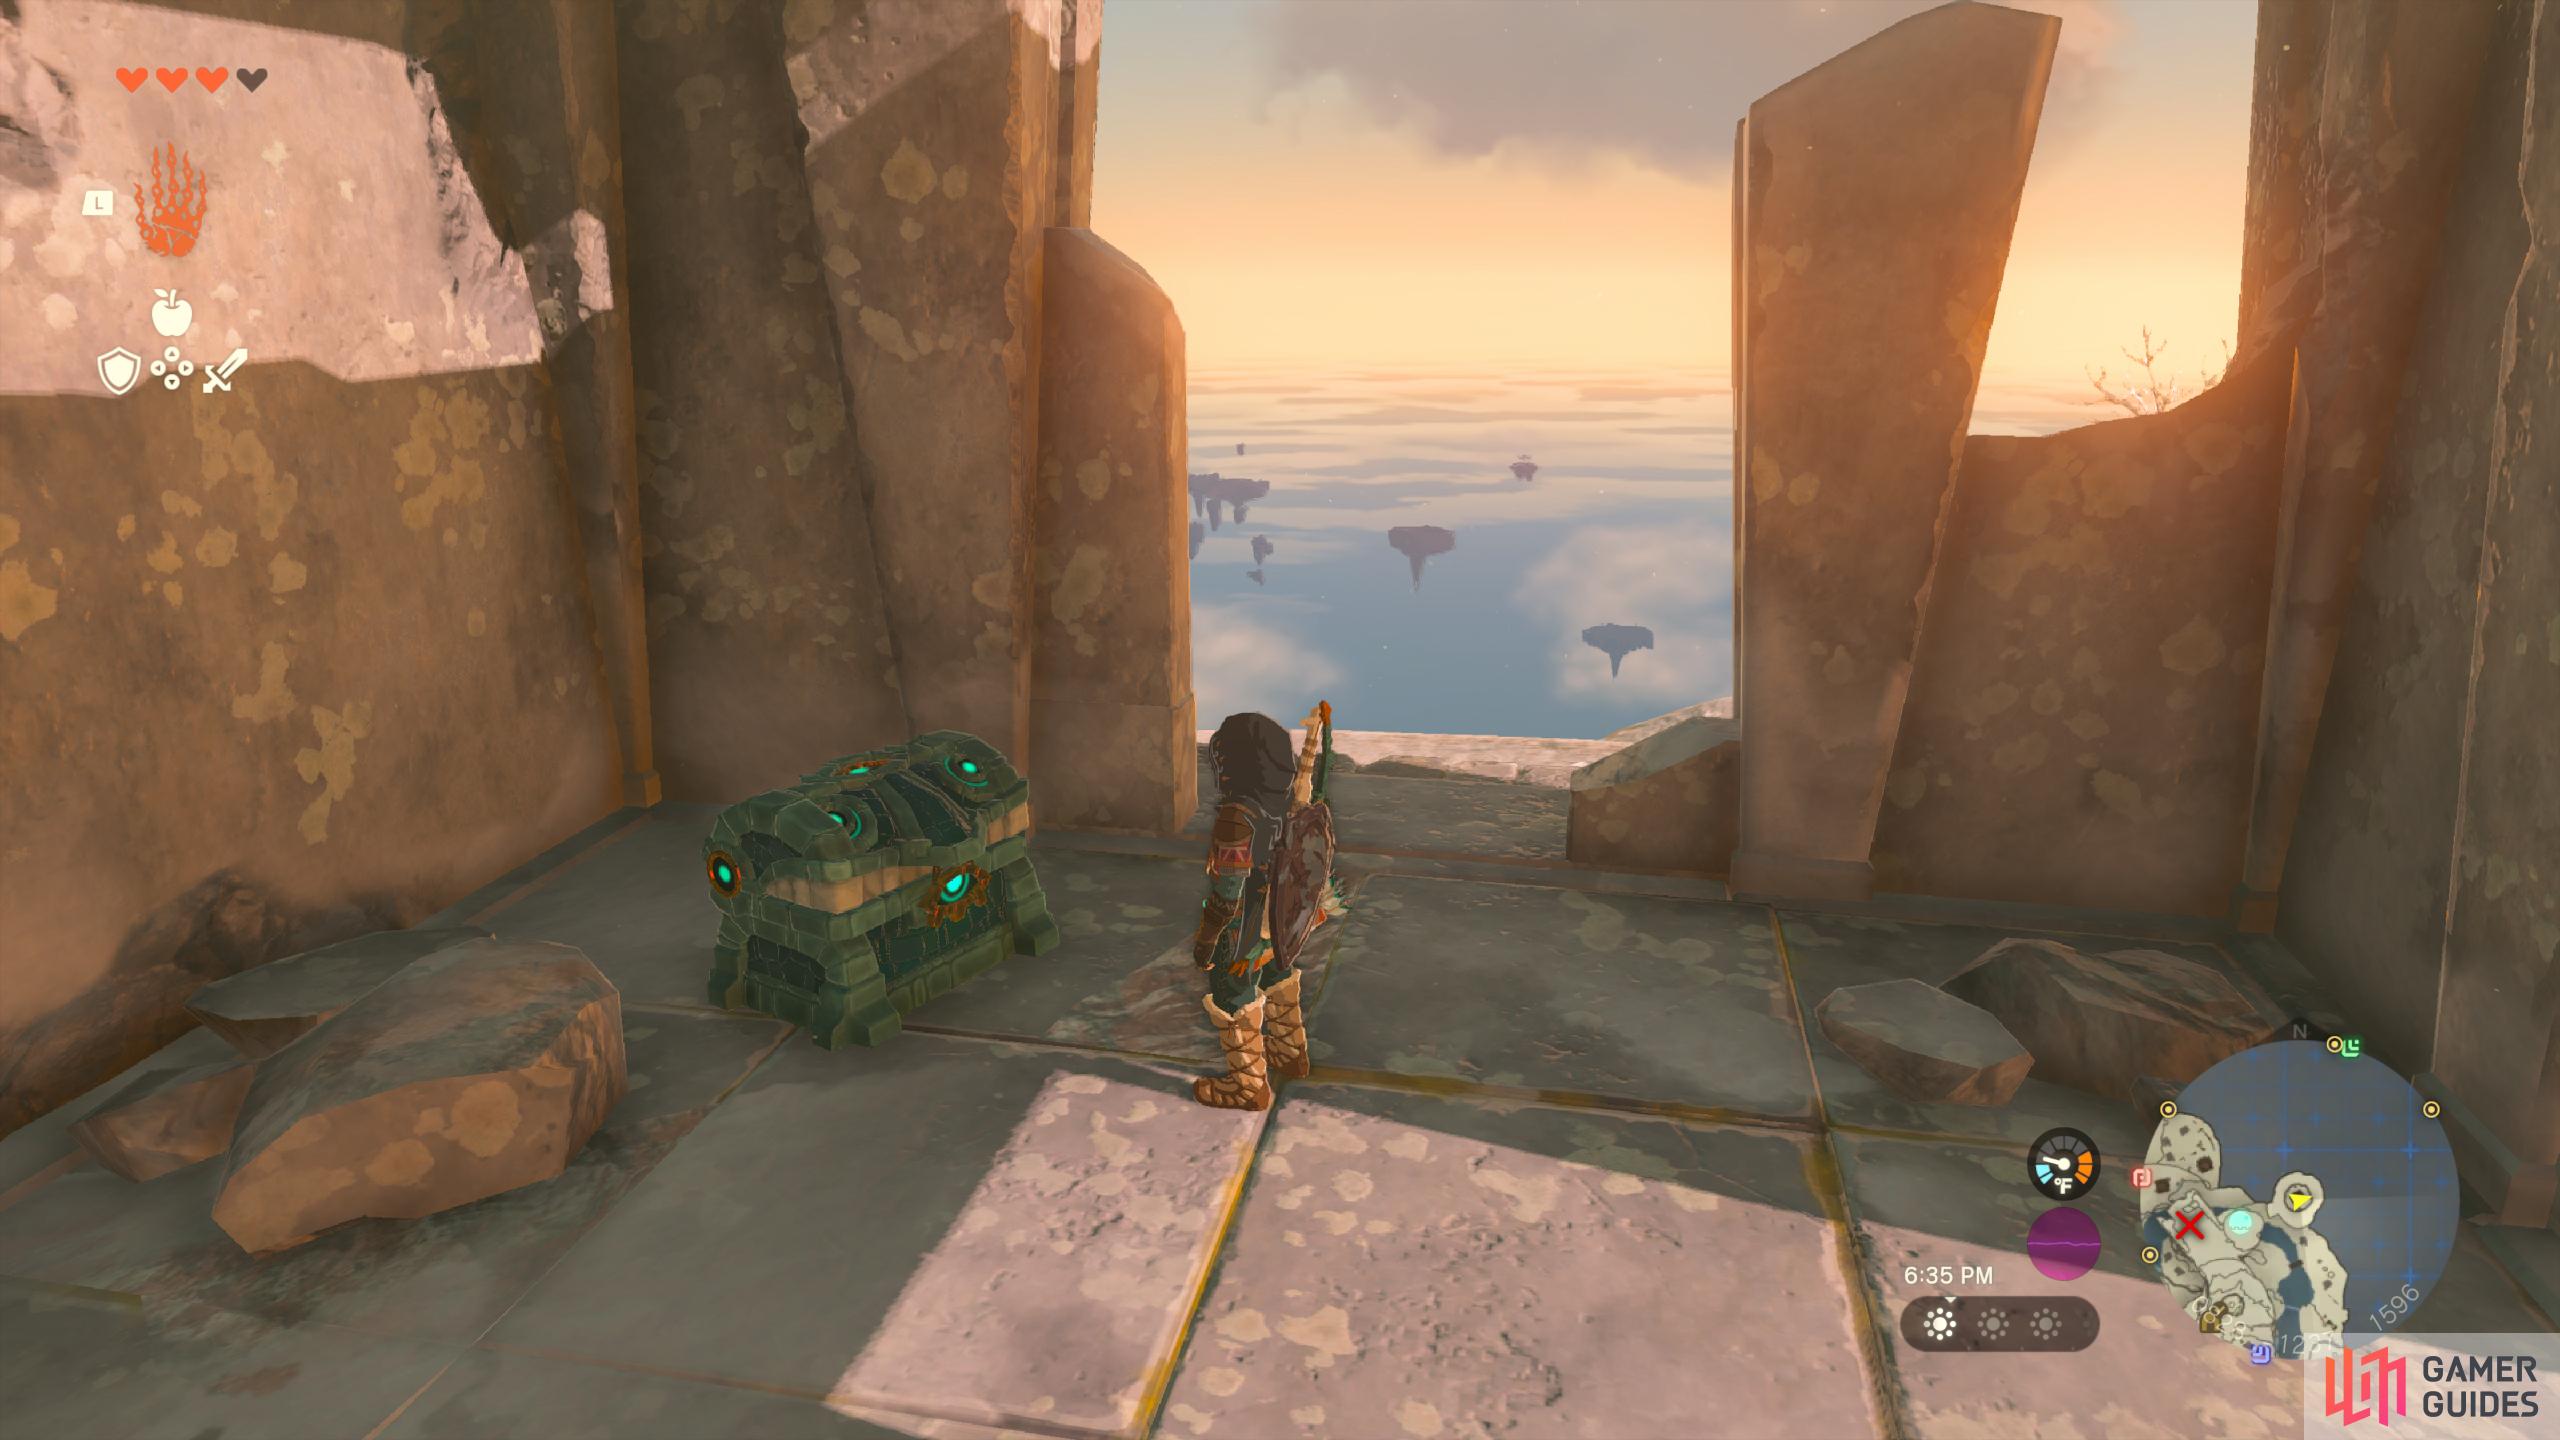
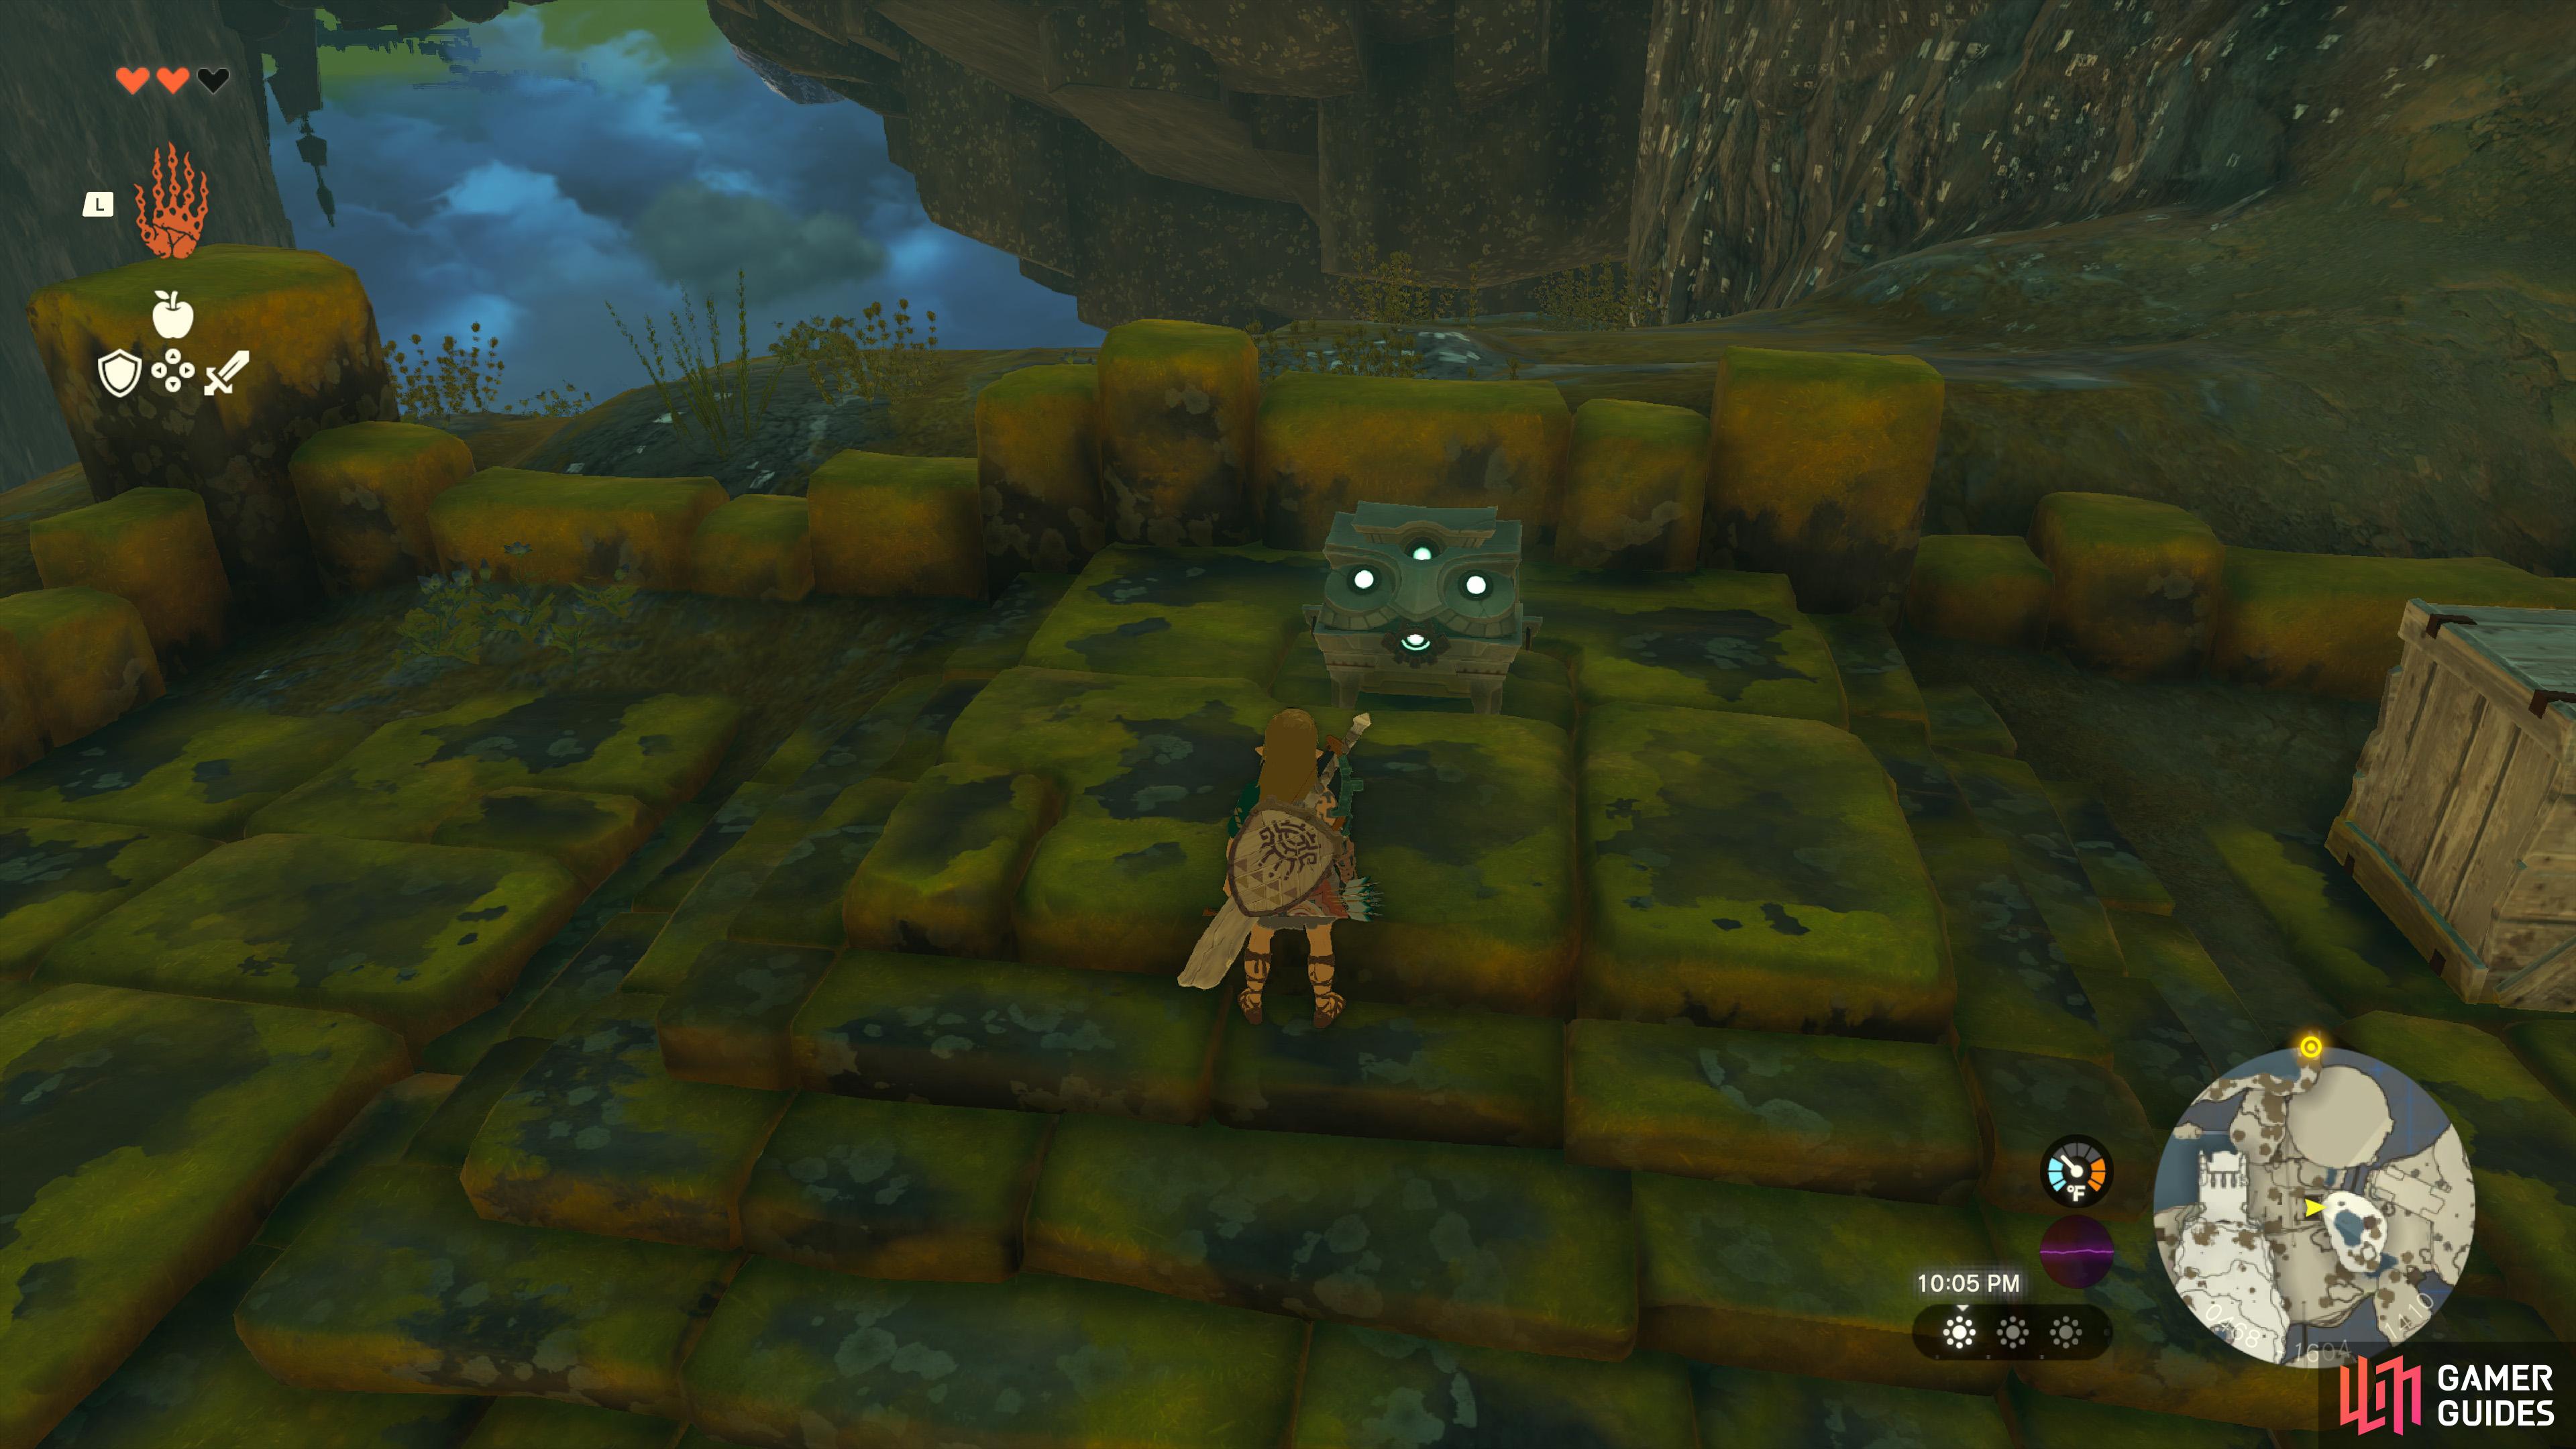
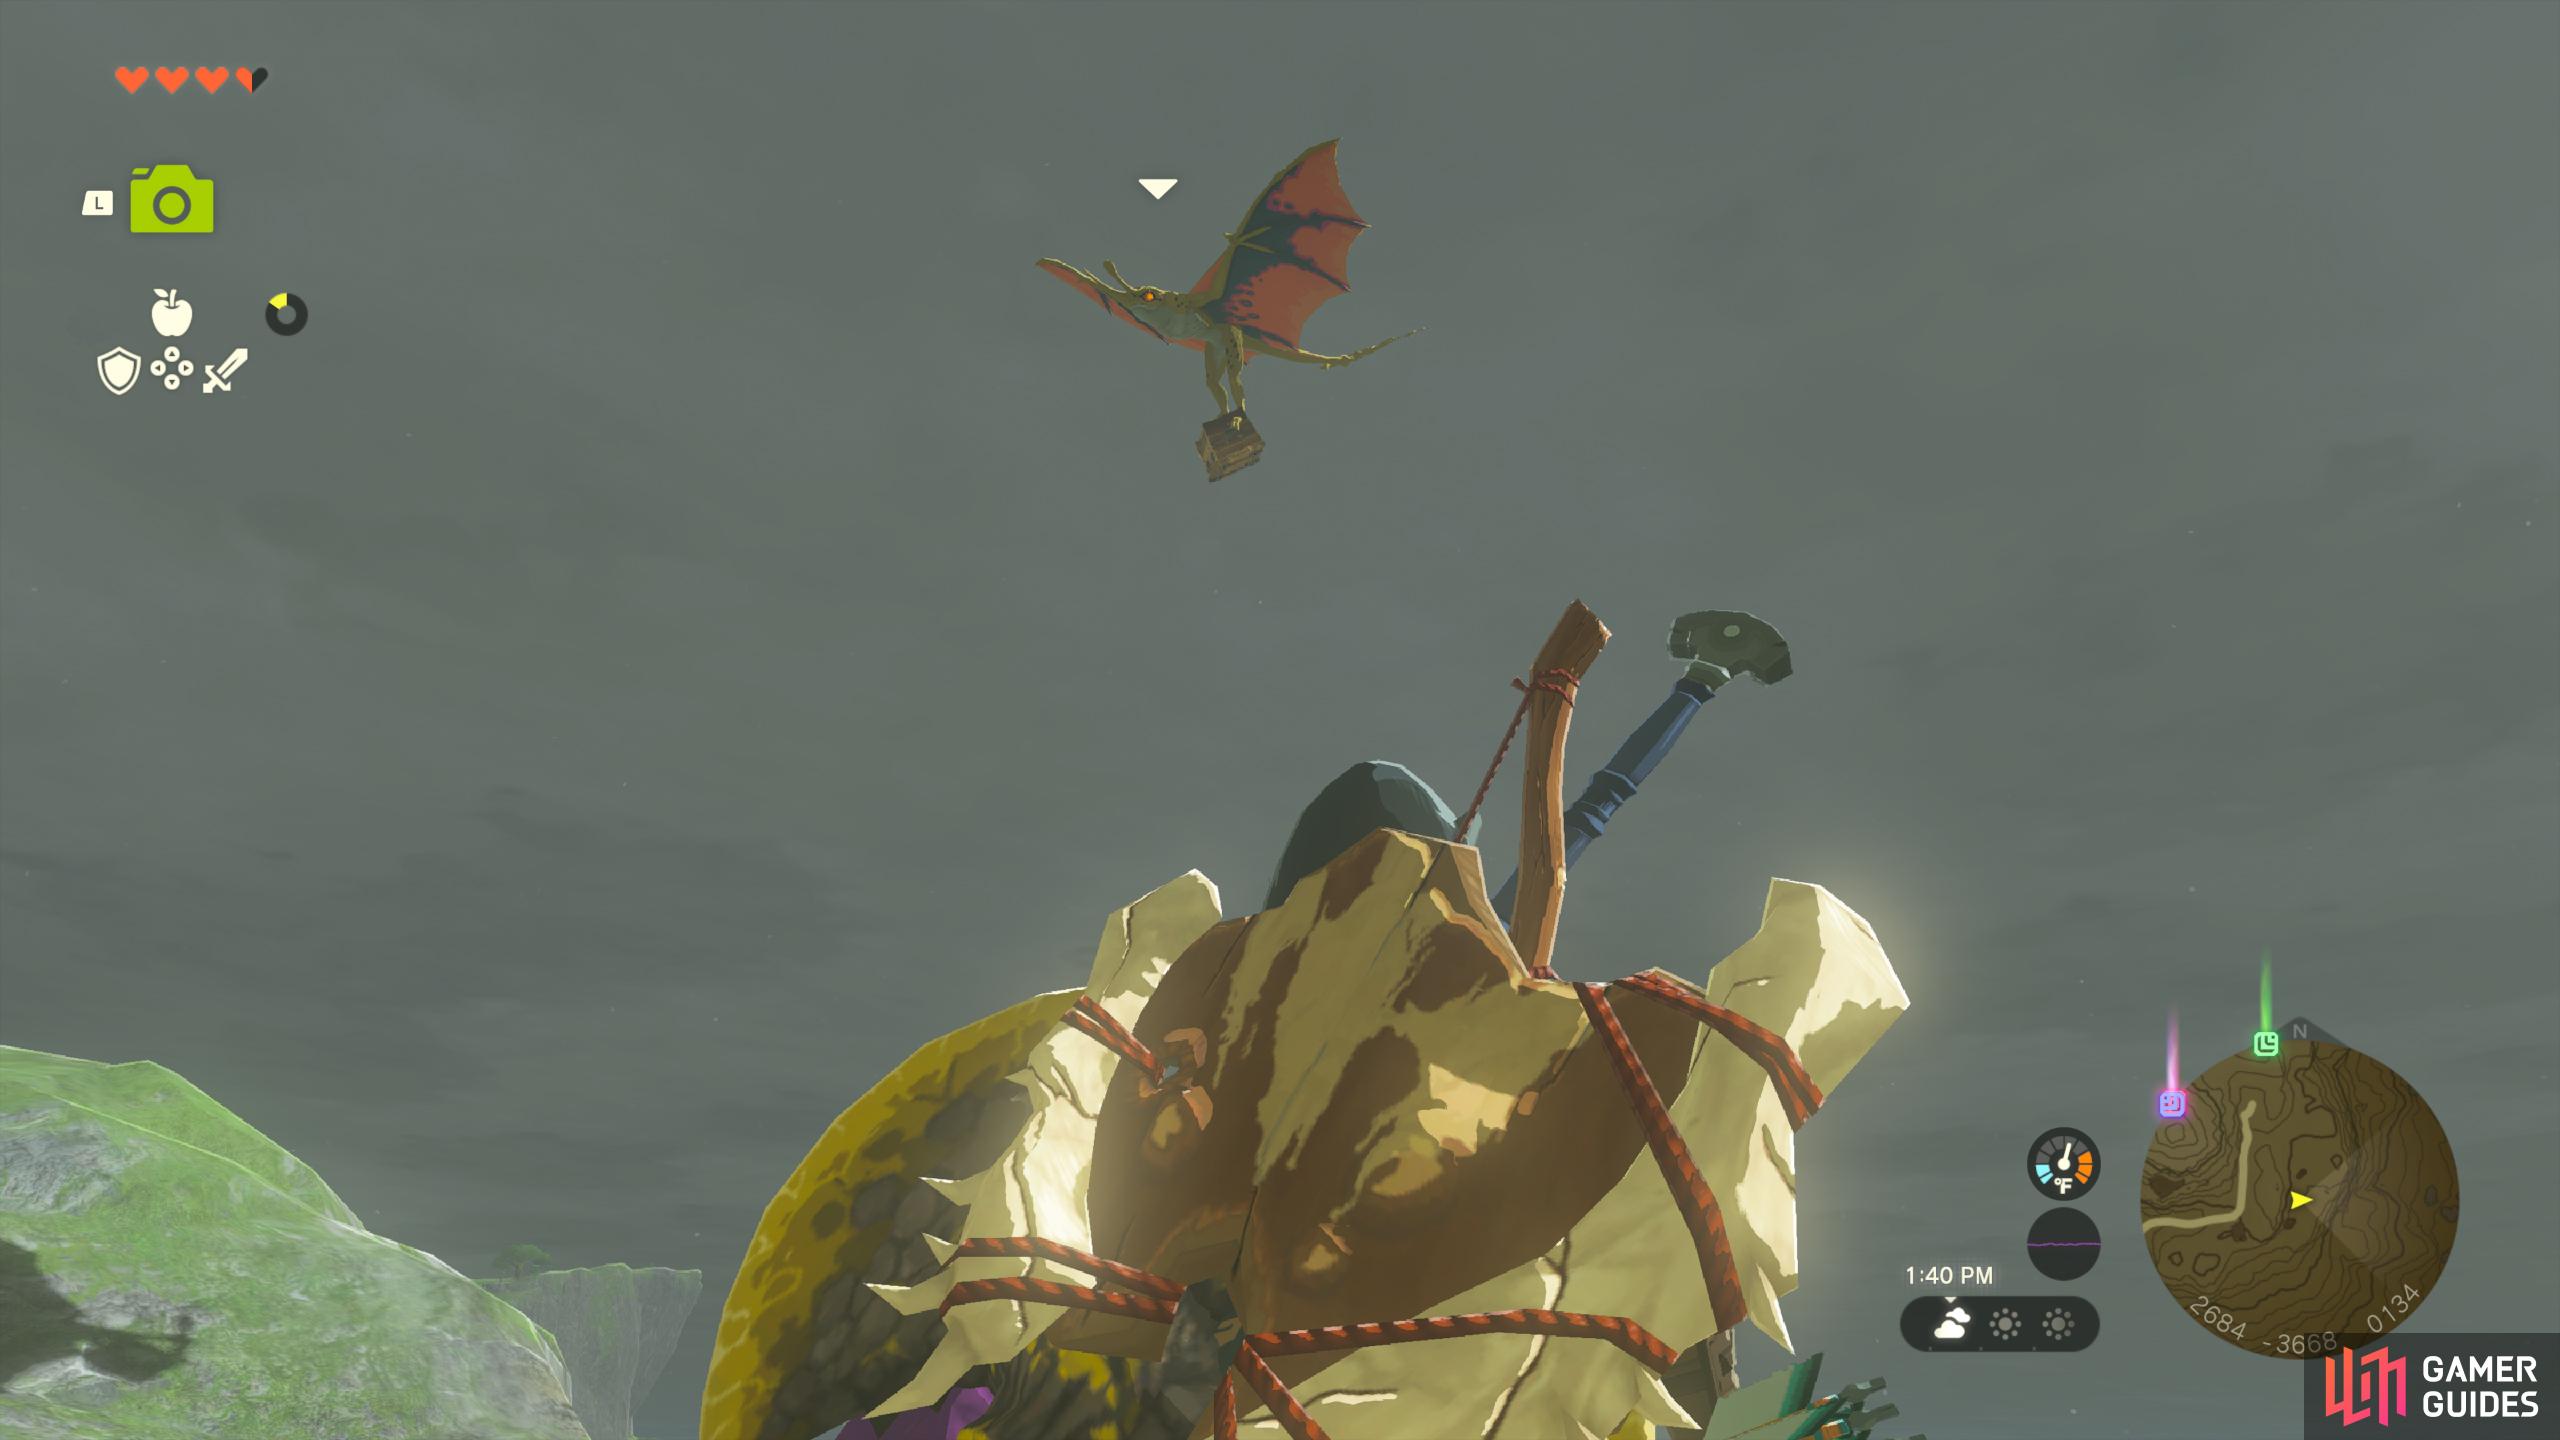
In the ruins of the floating island. Use the nearby bridge device to reach the island.
- Contains x3 Wing.
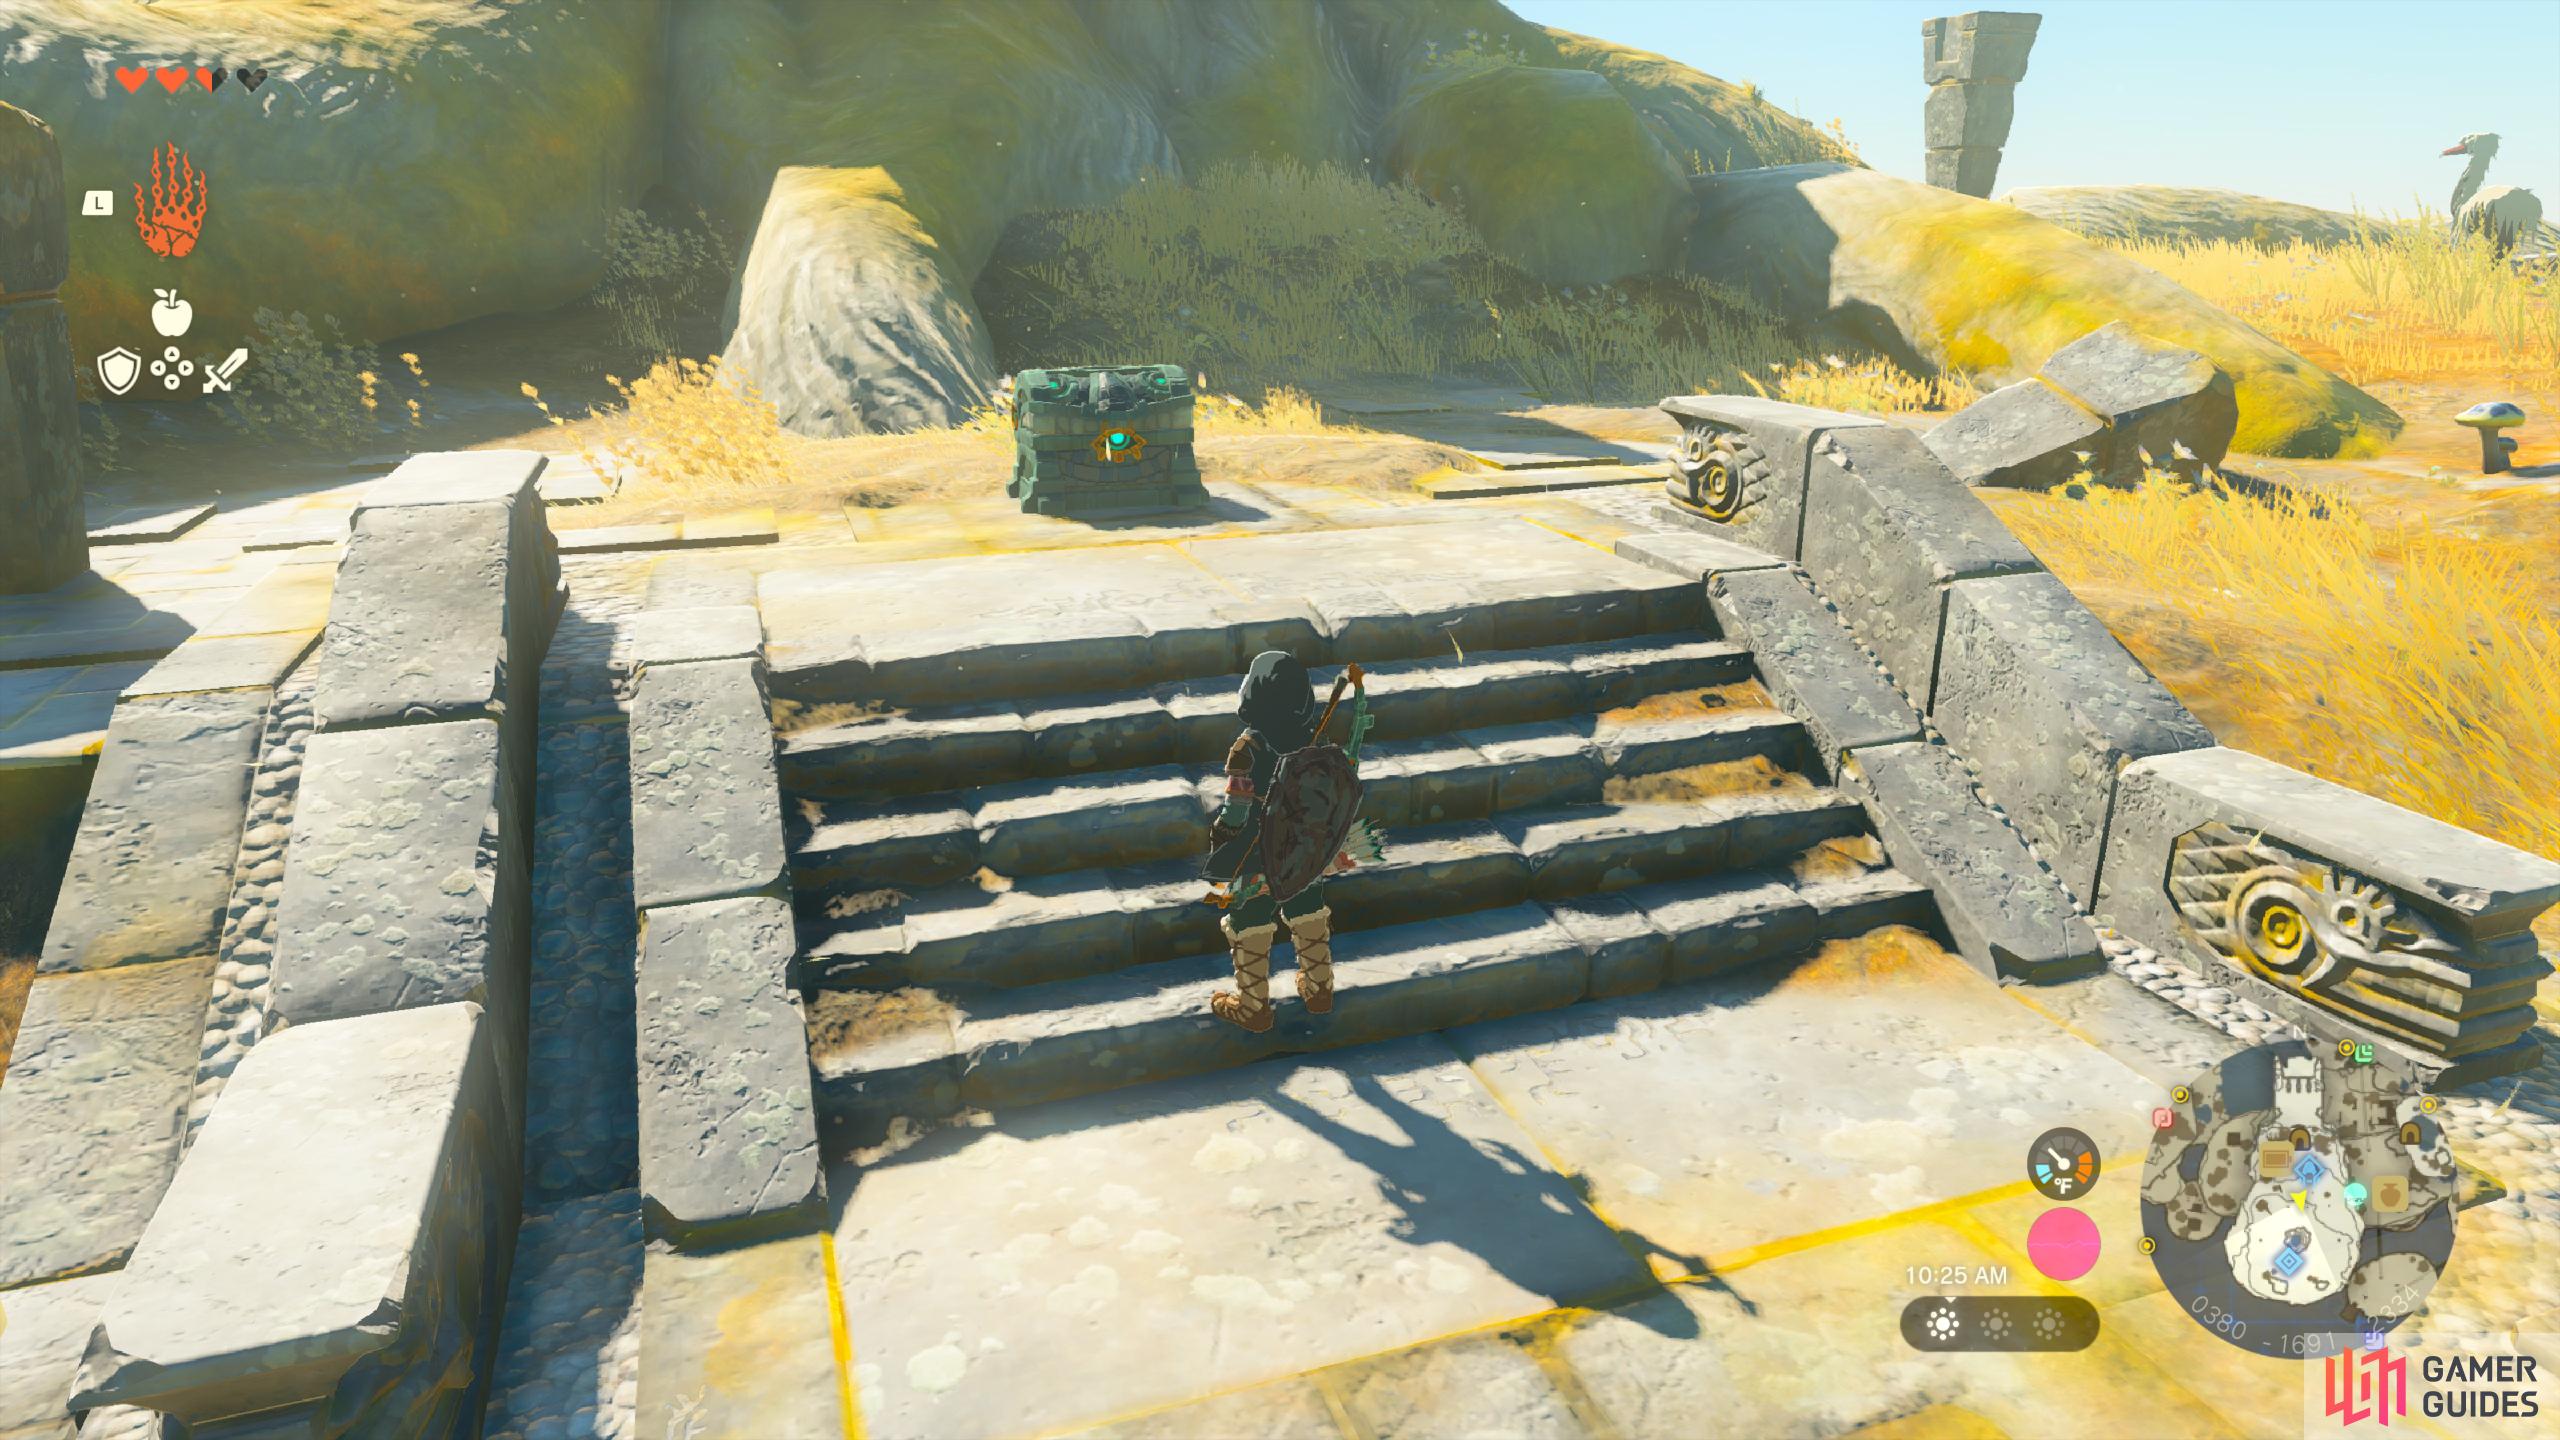
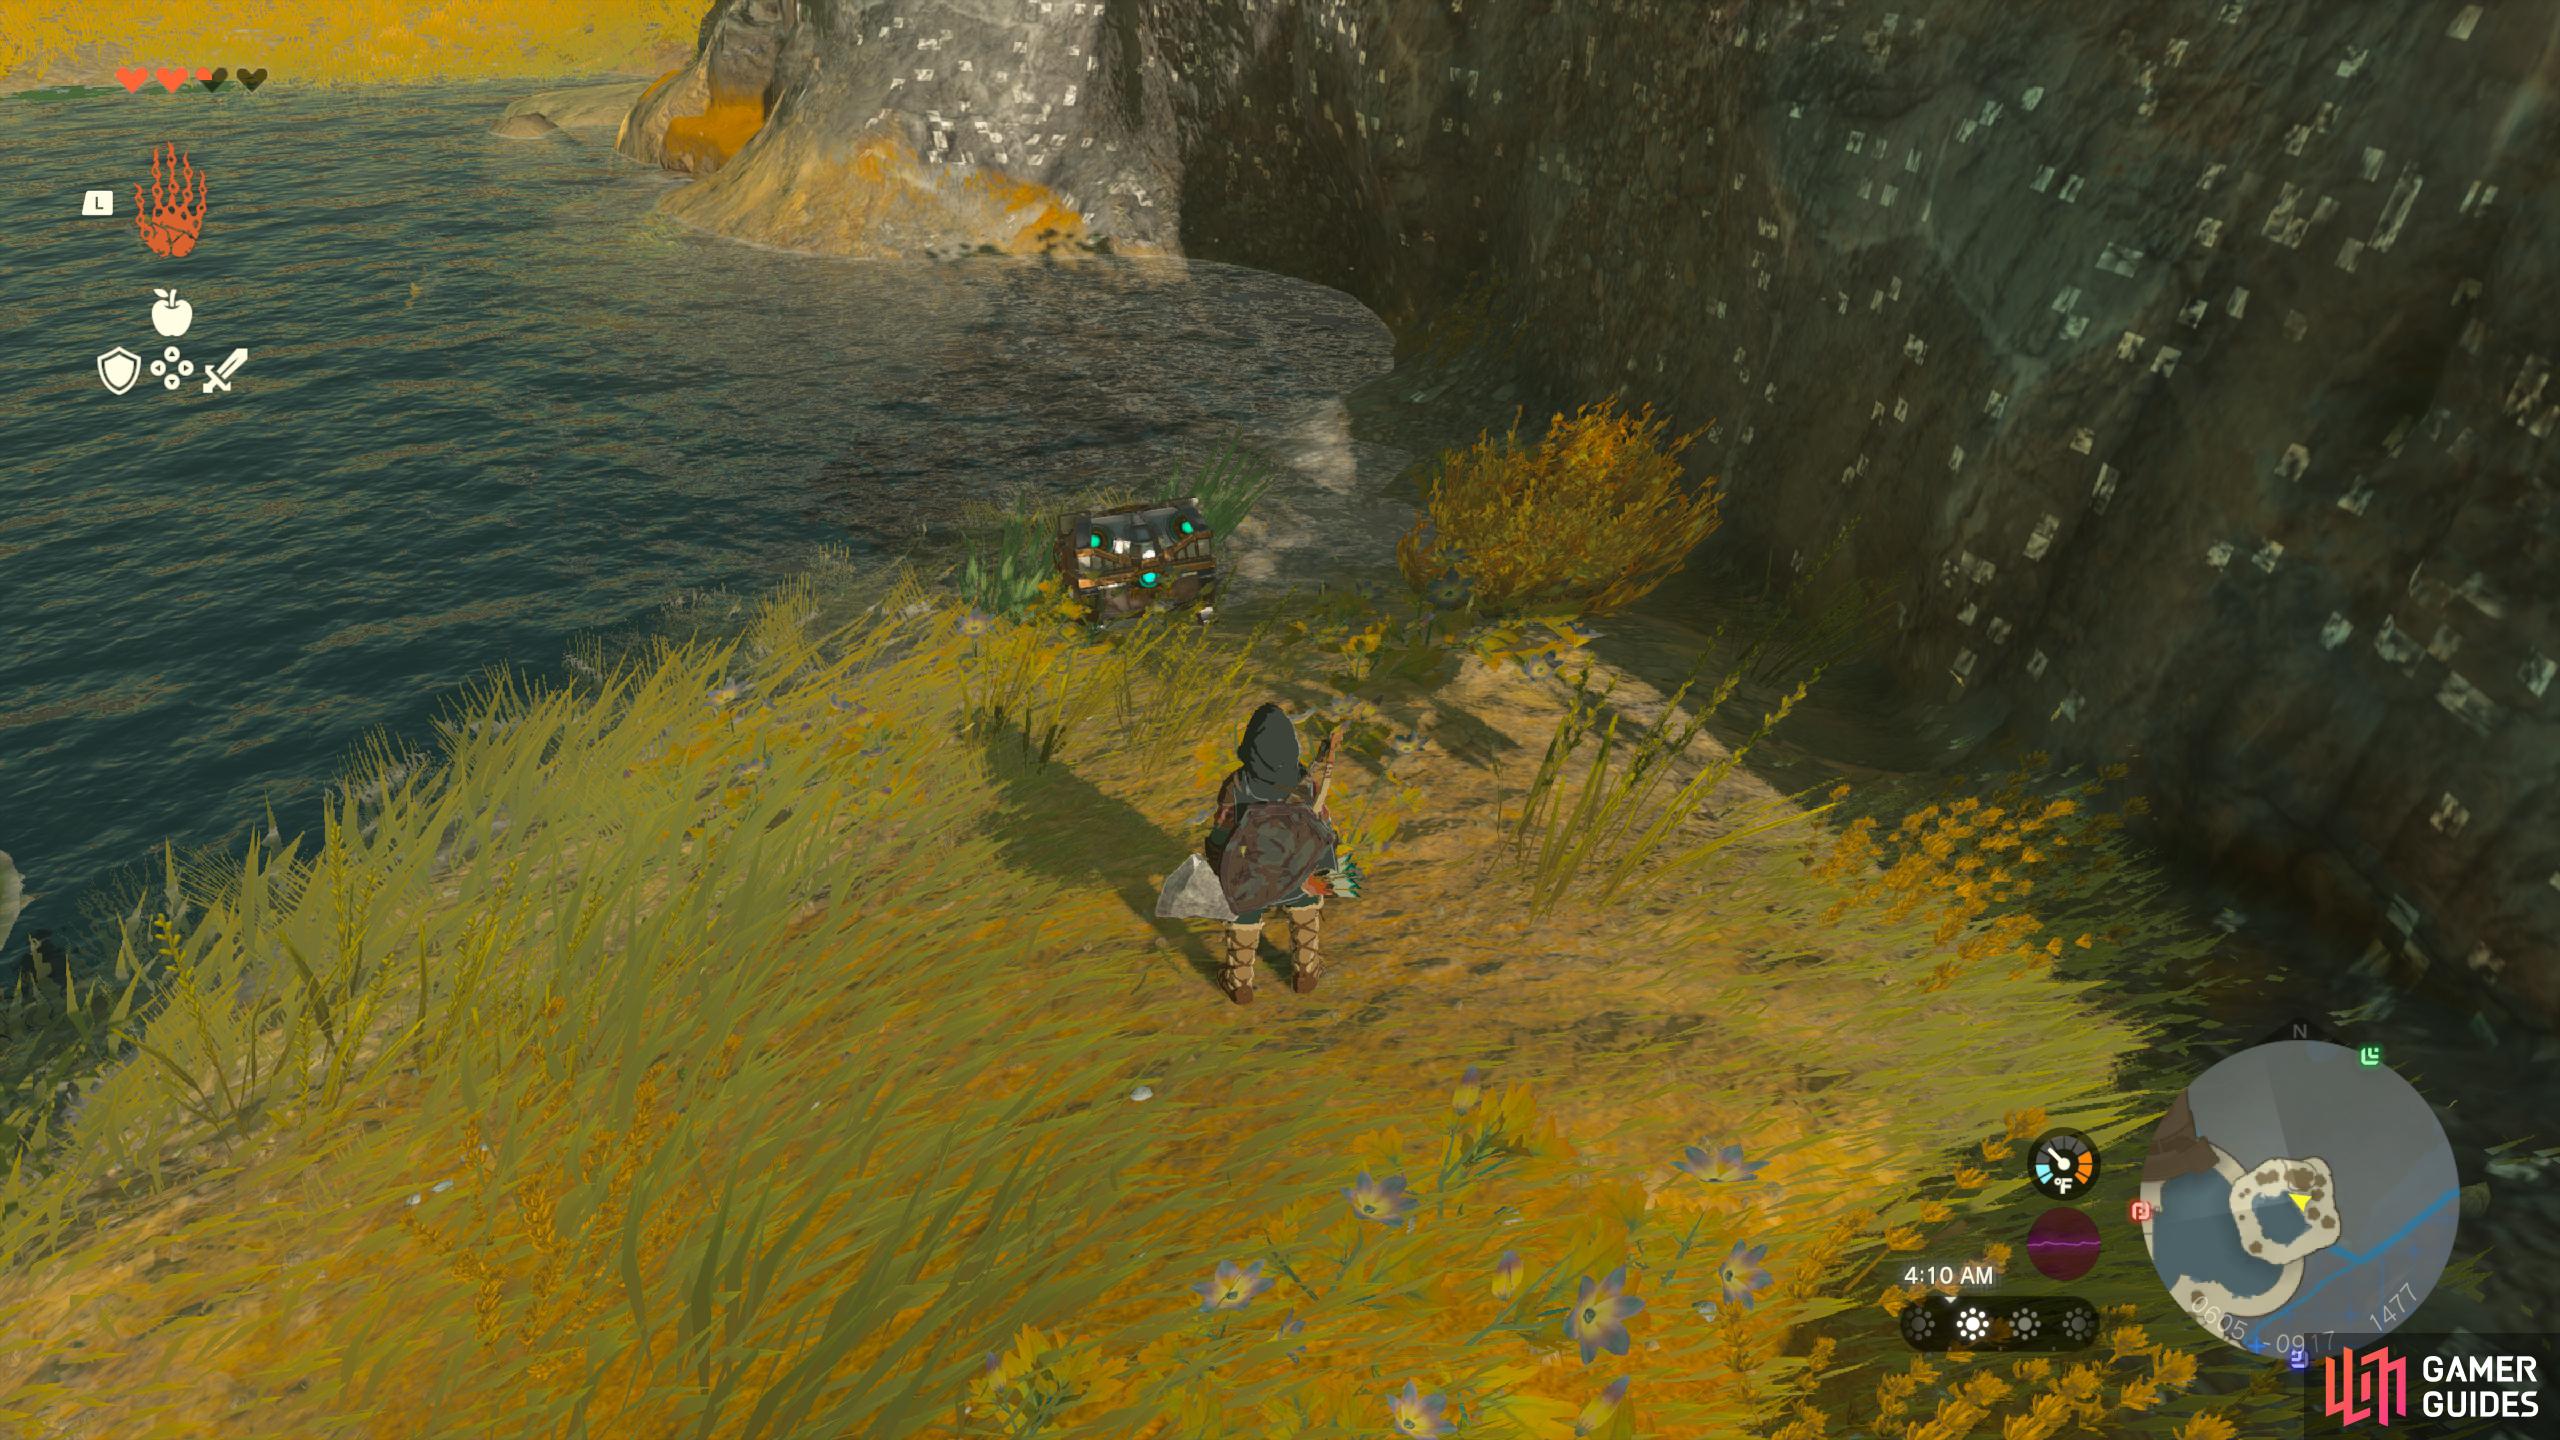
39924. Hyrule Surface Map
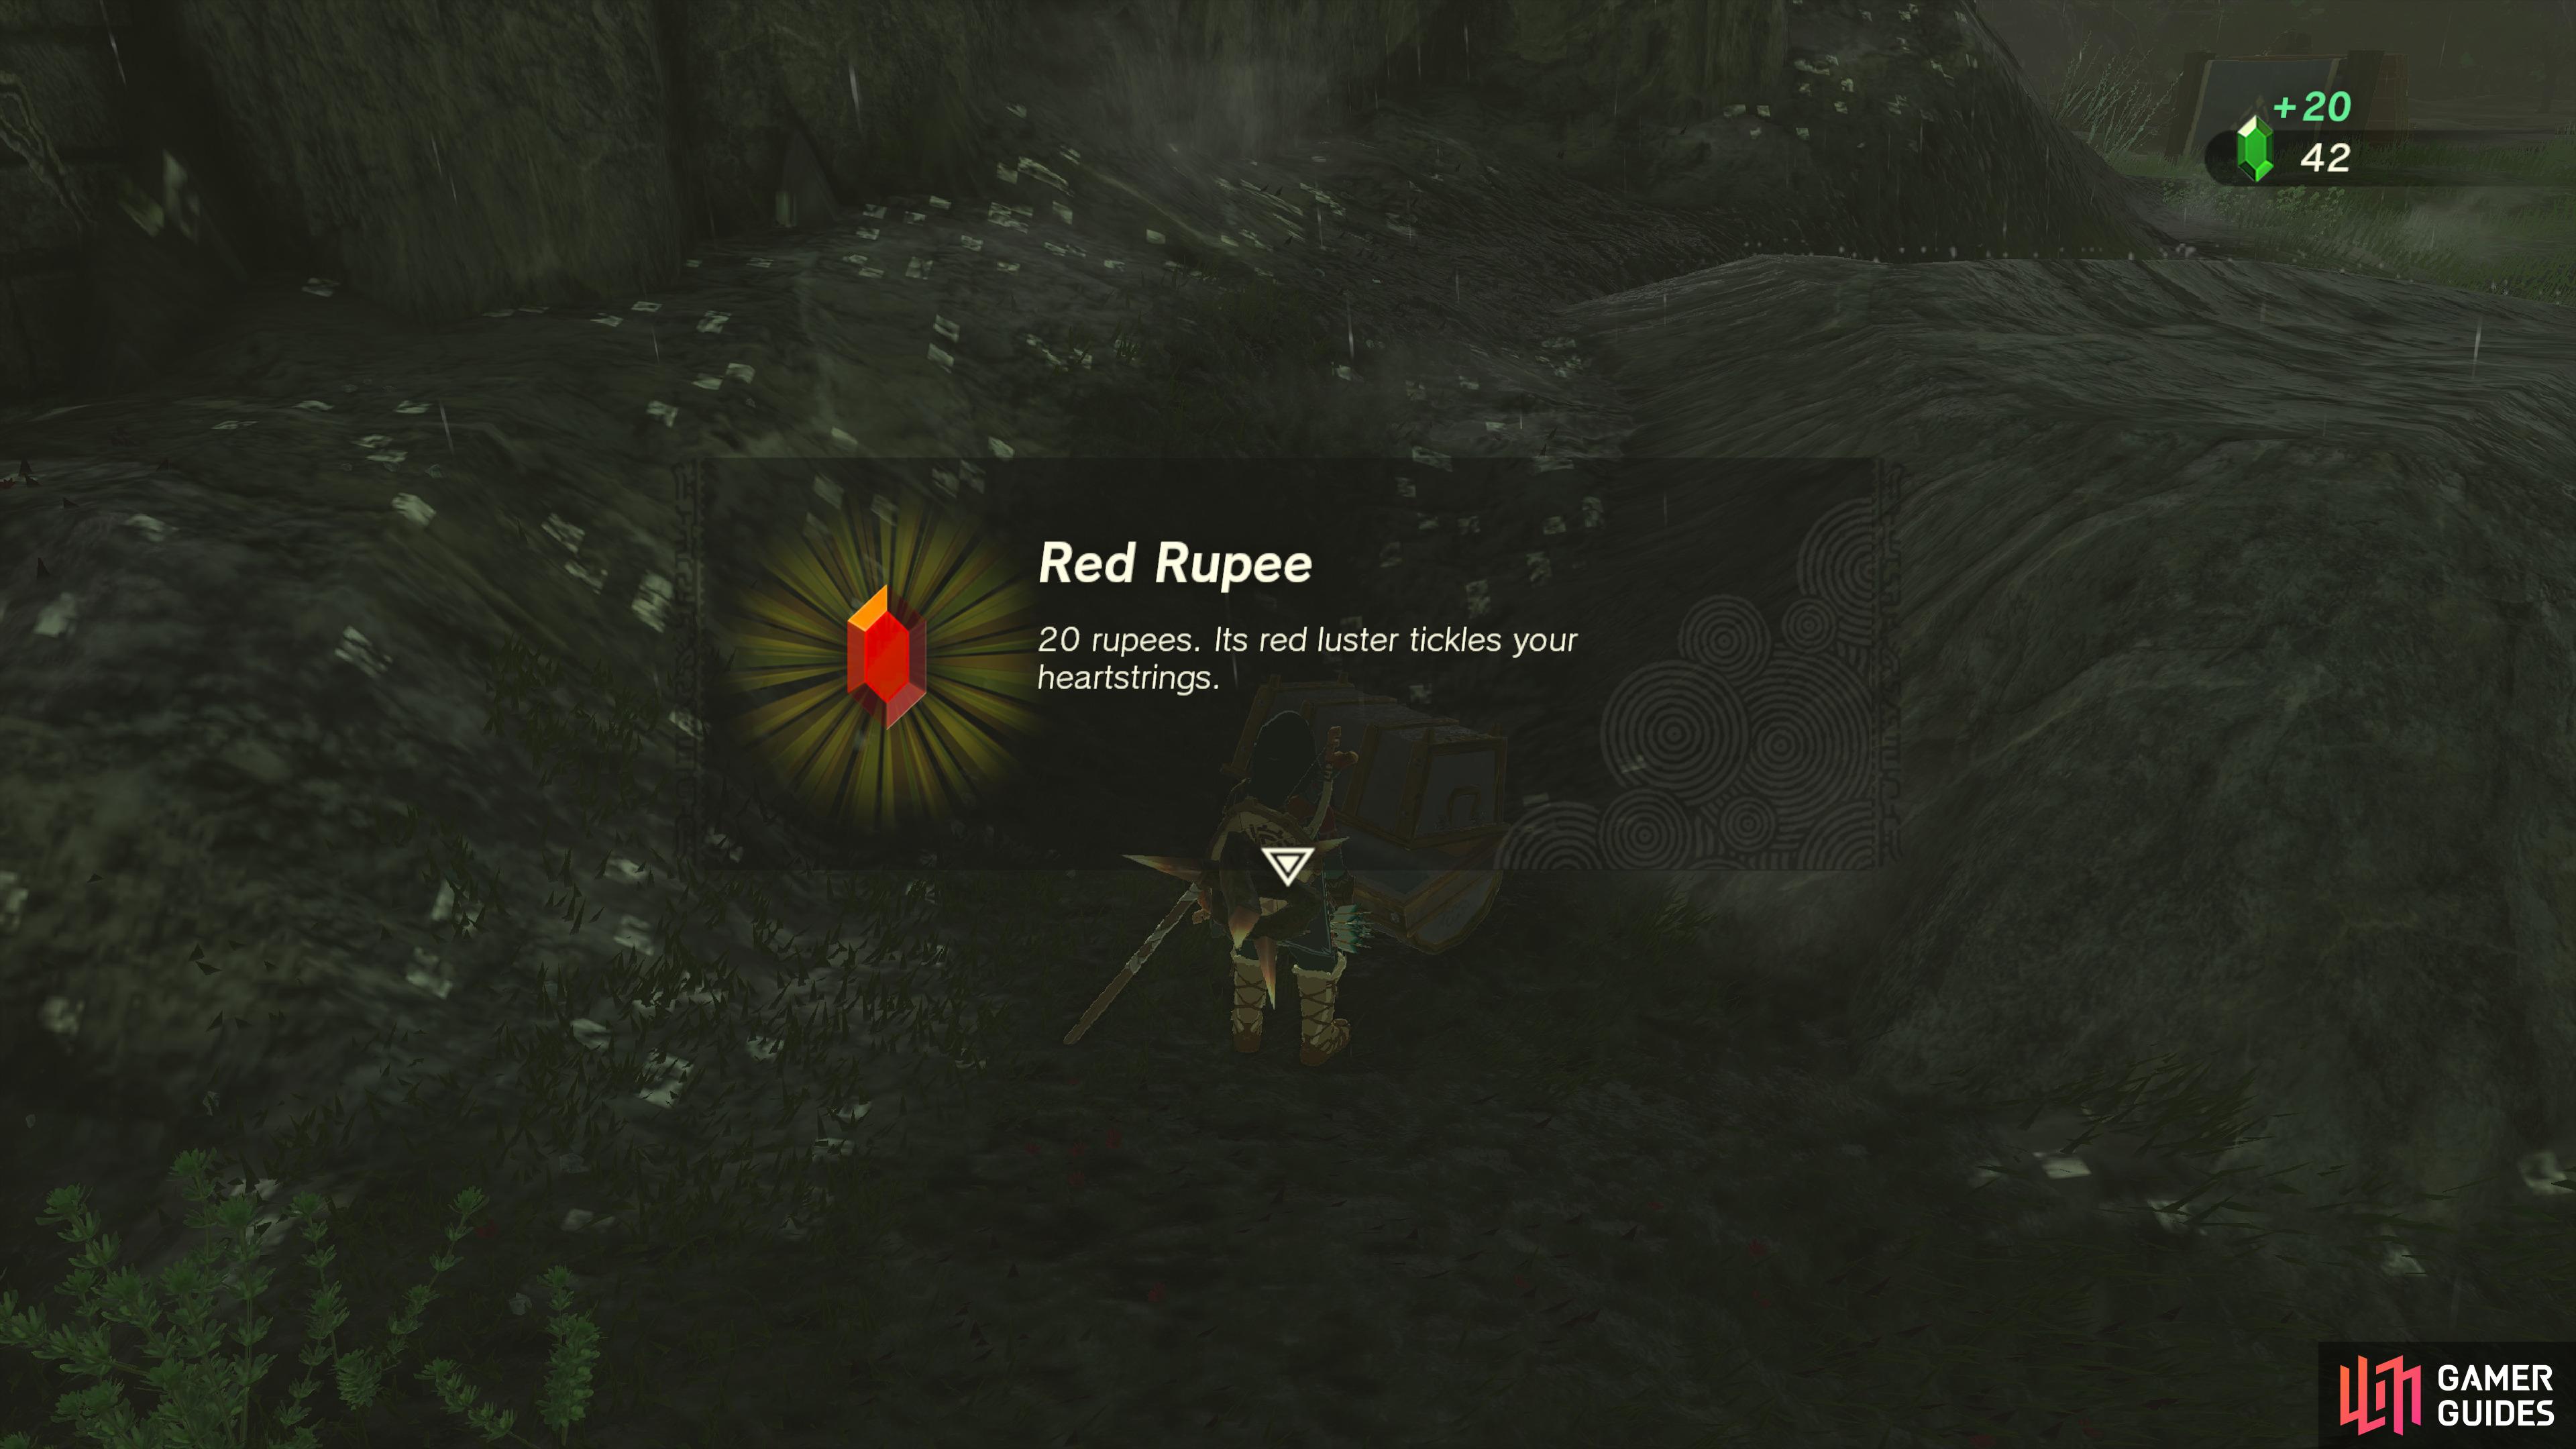
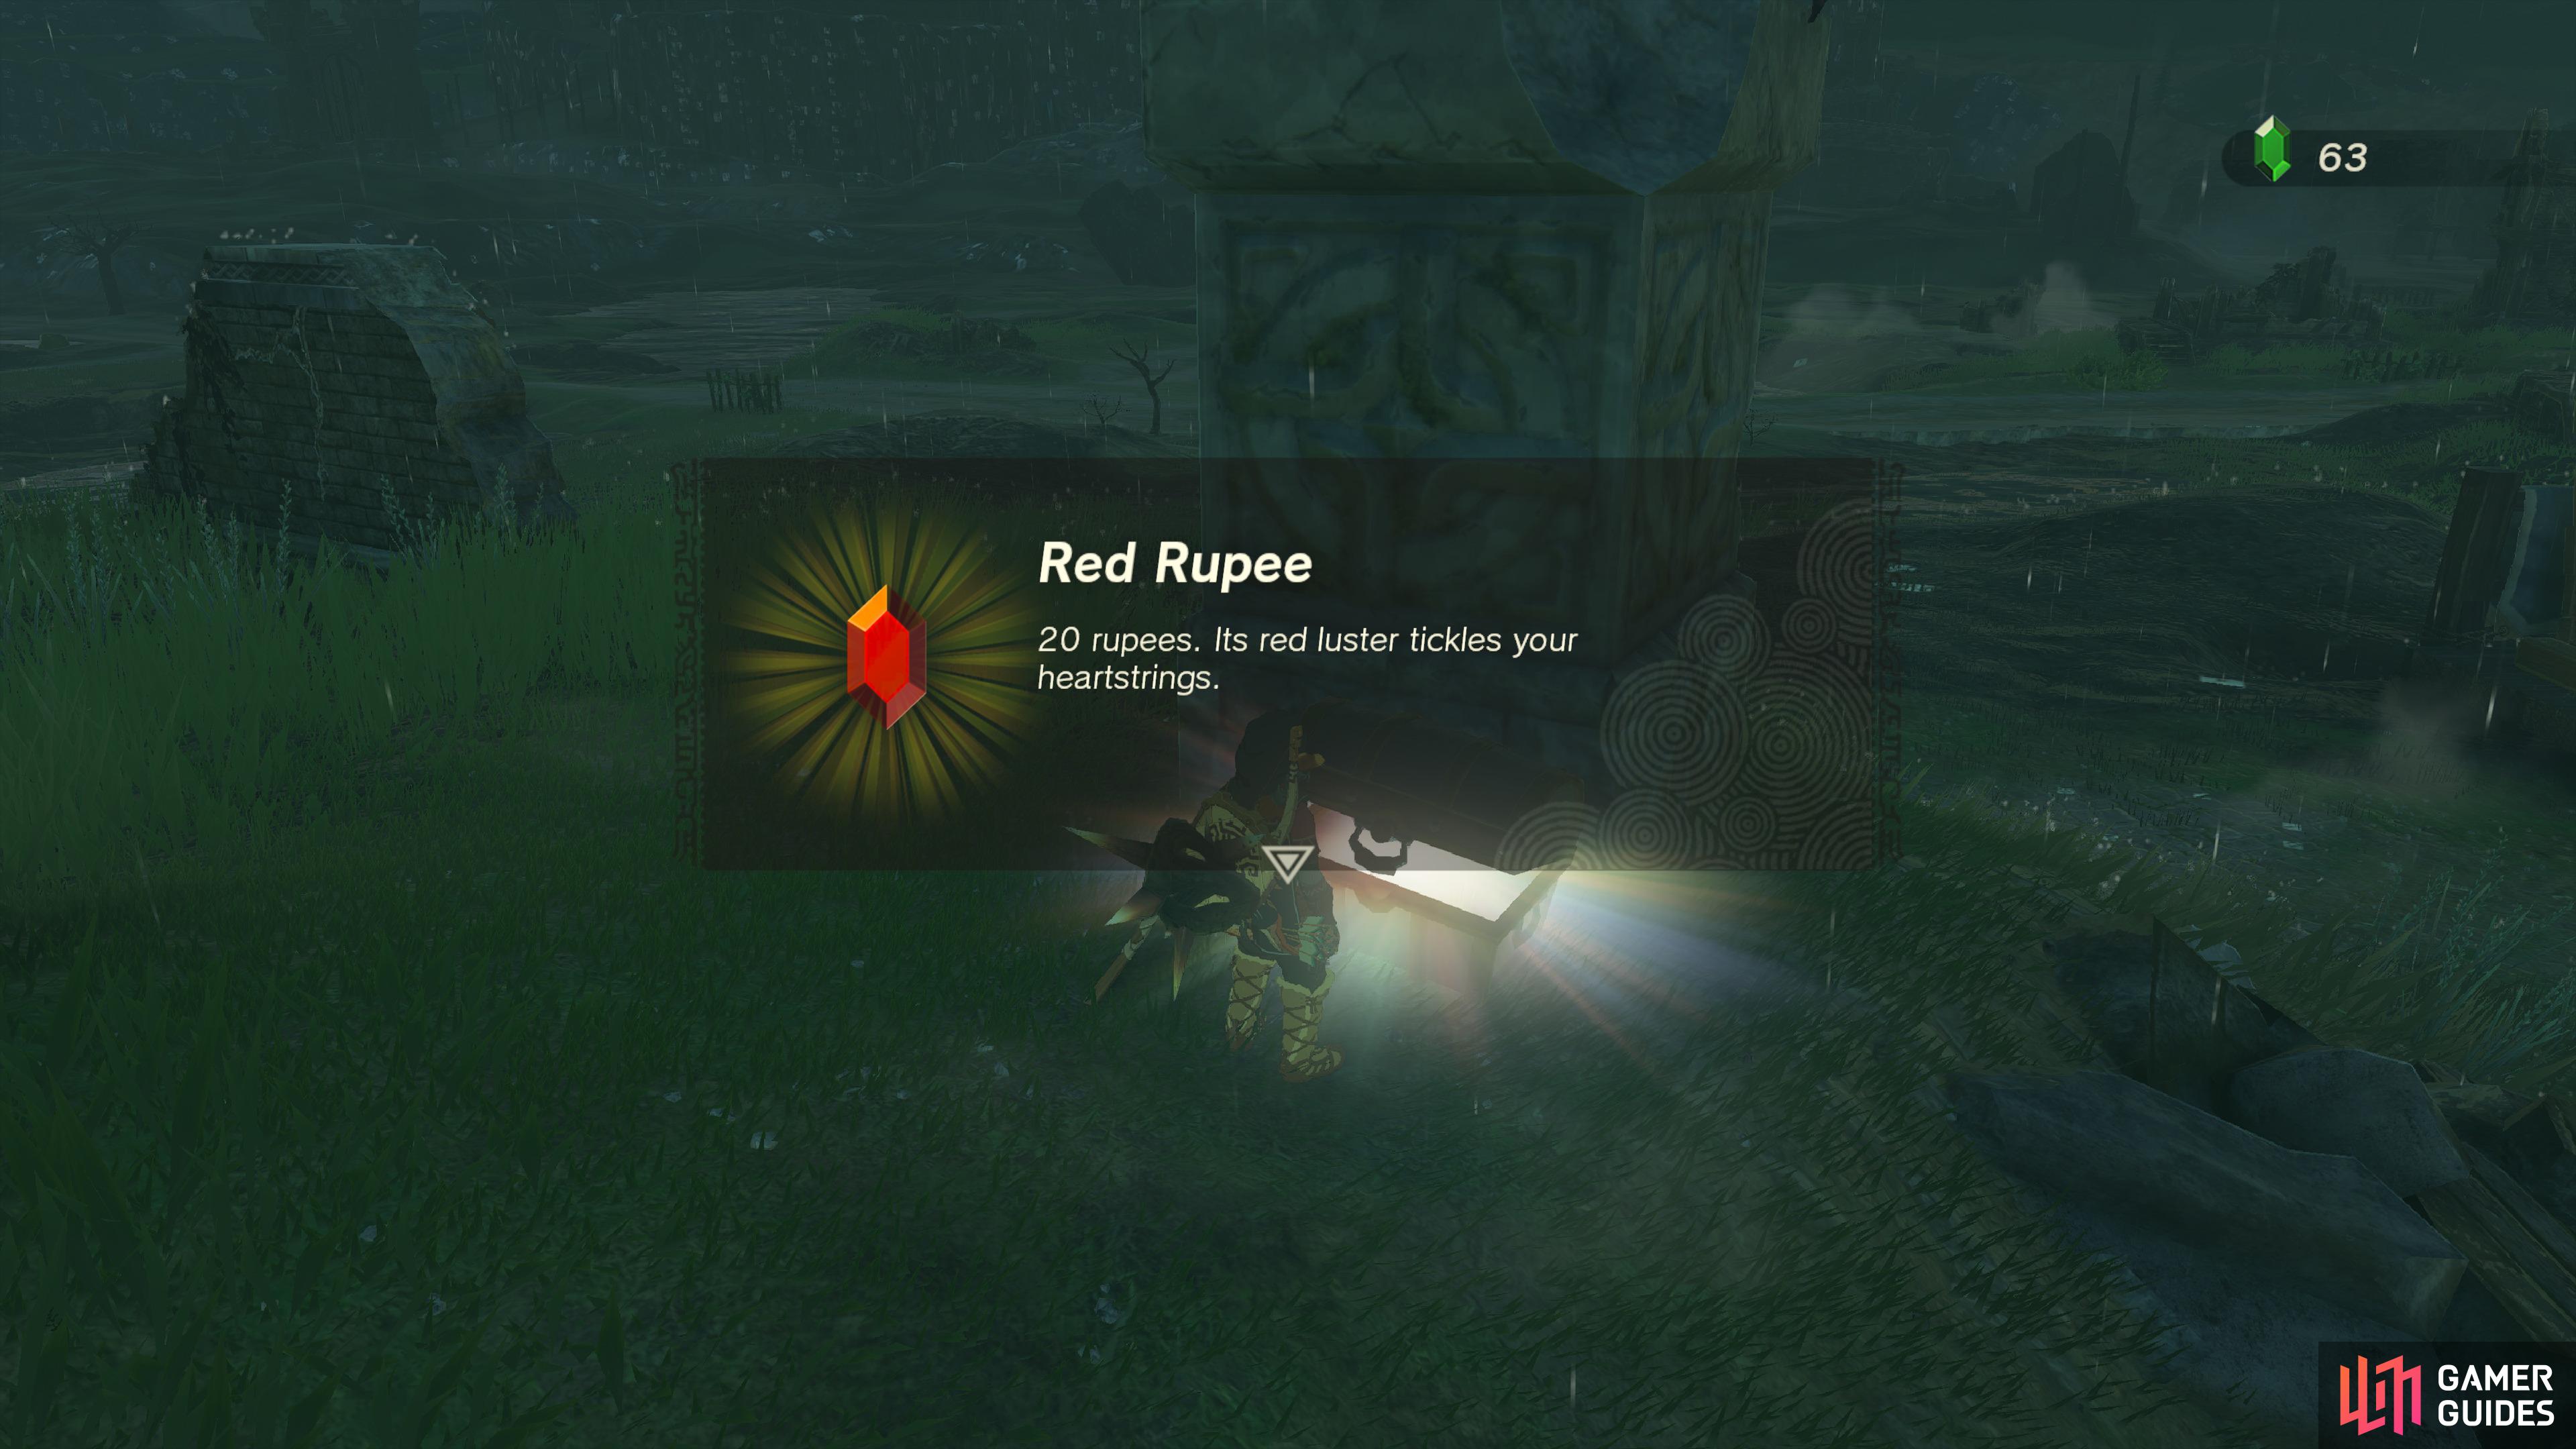
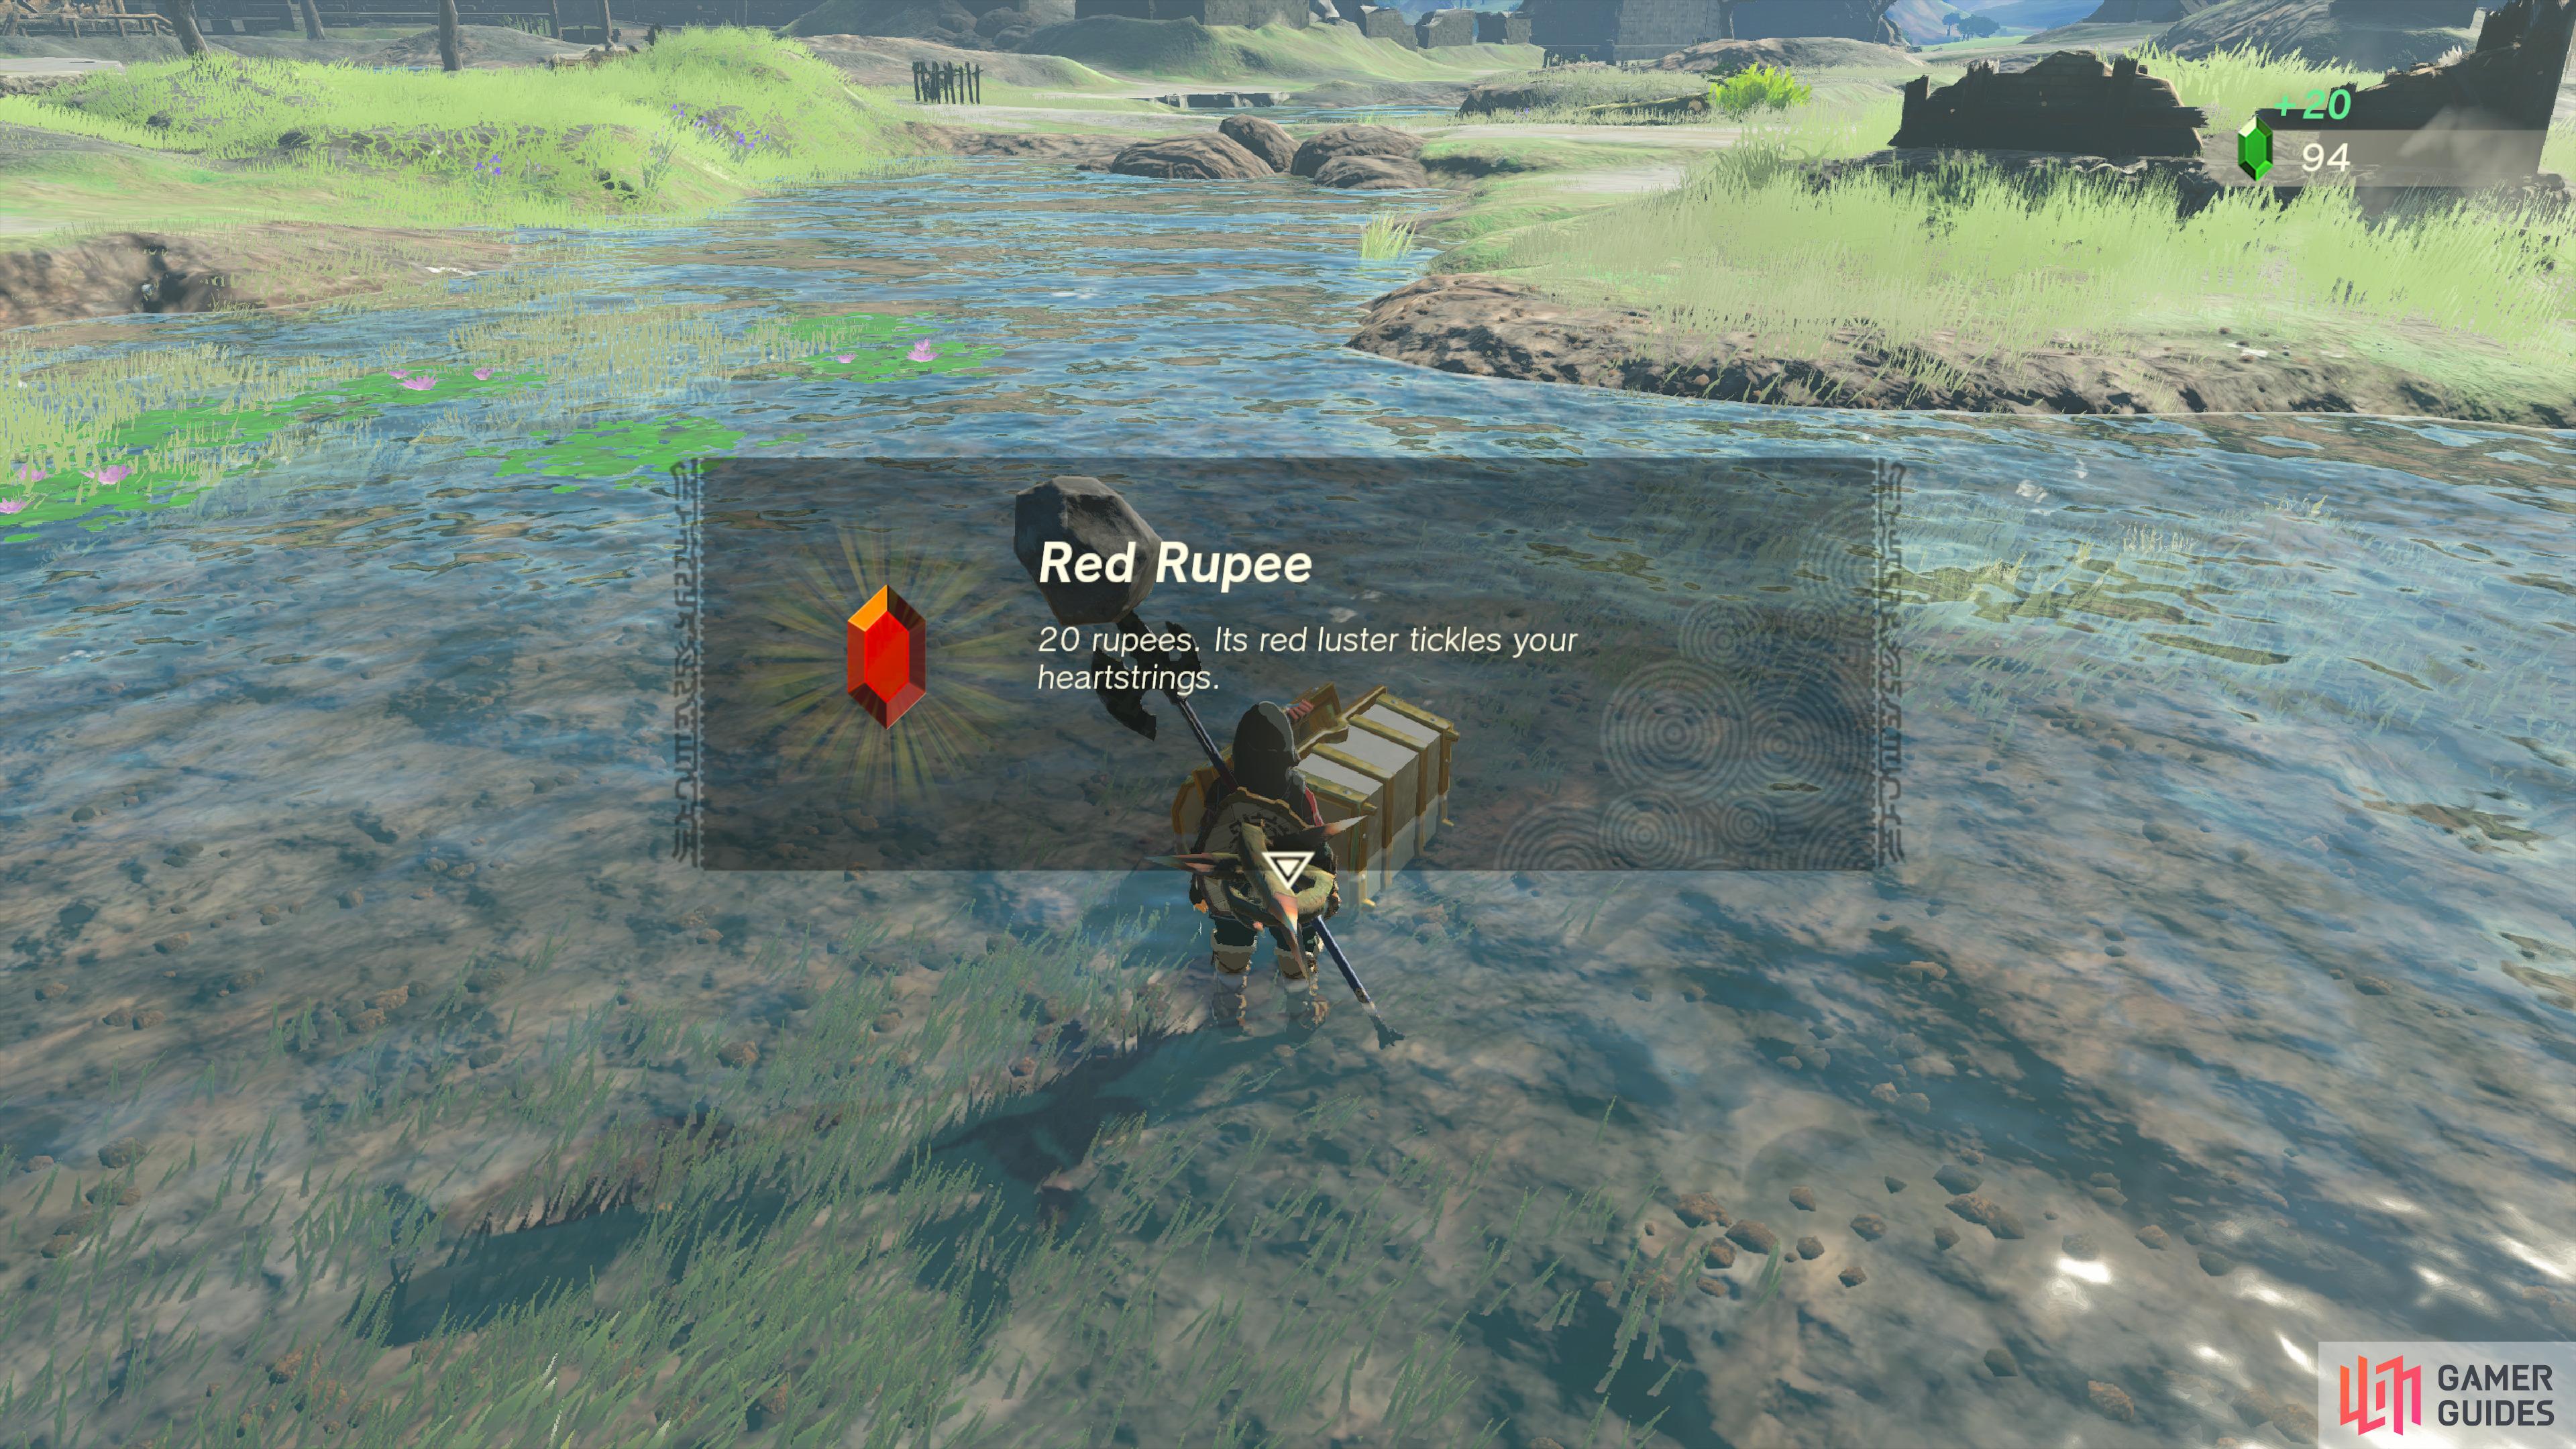
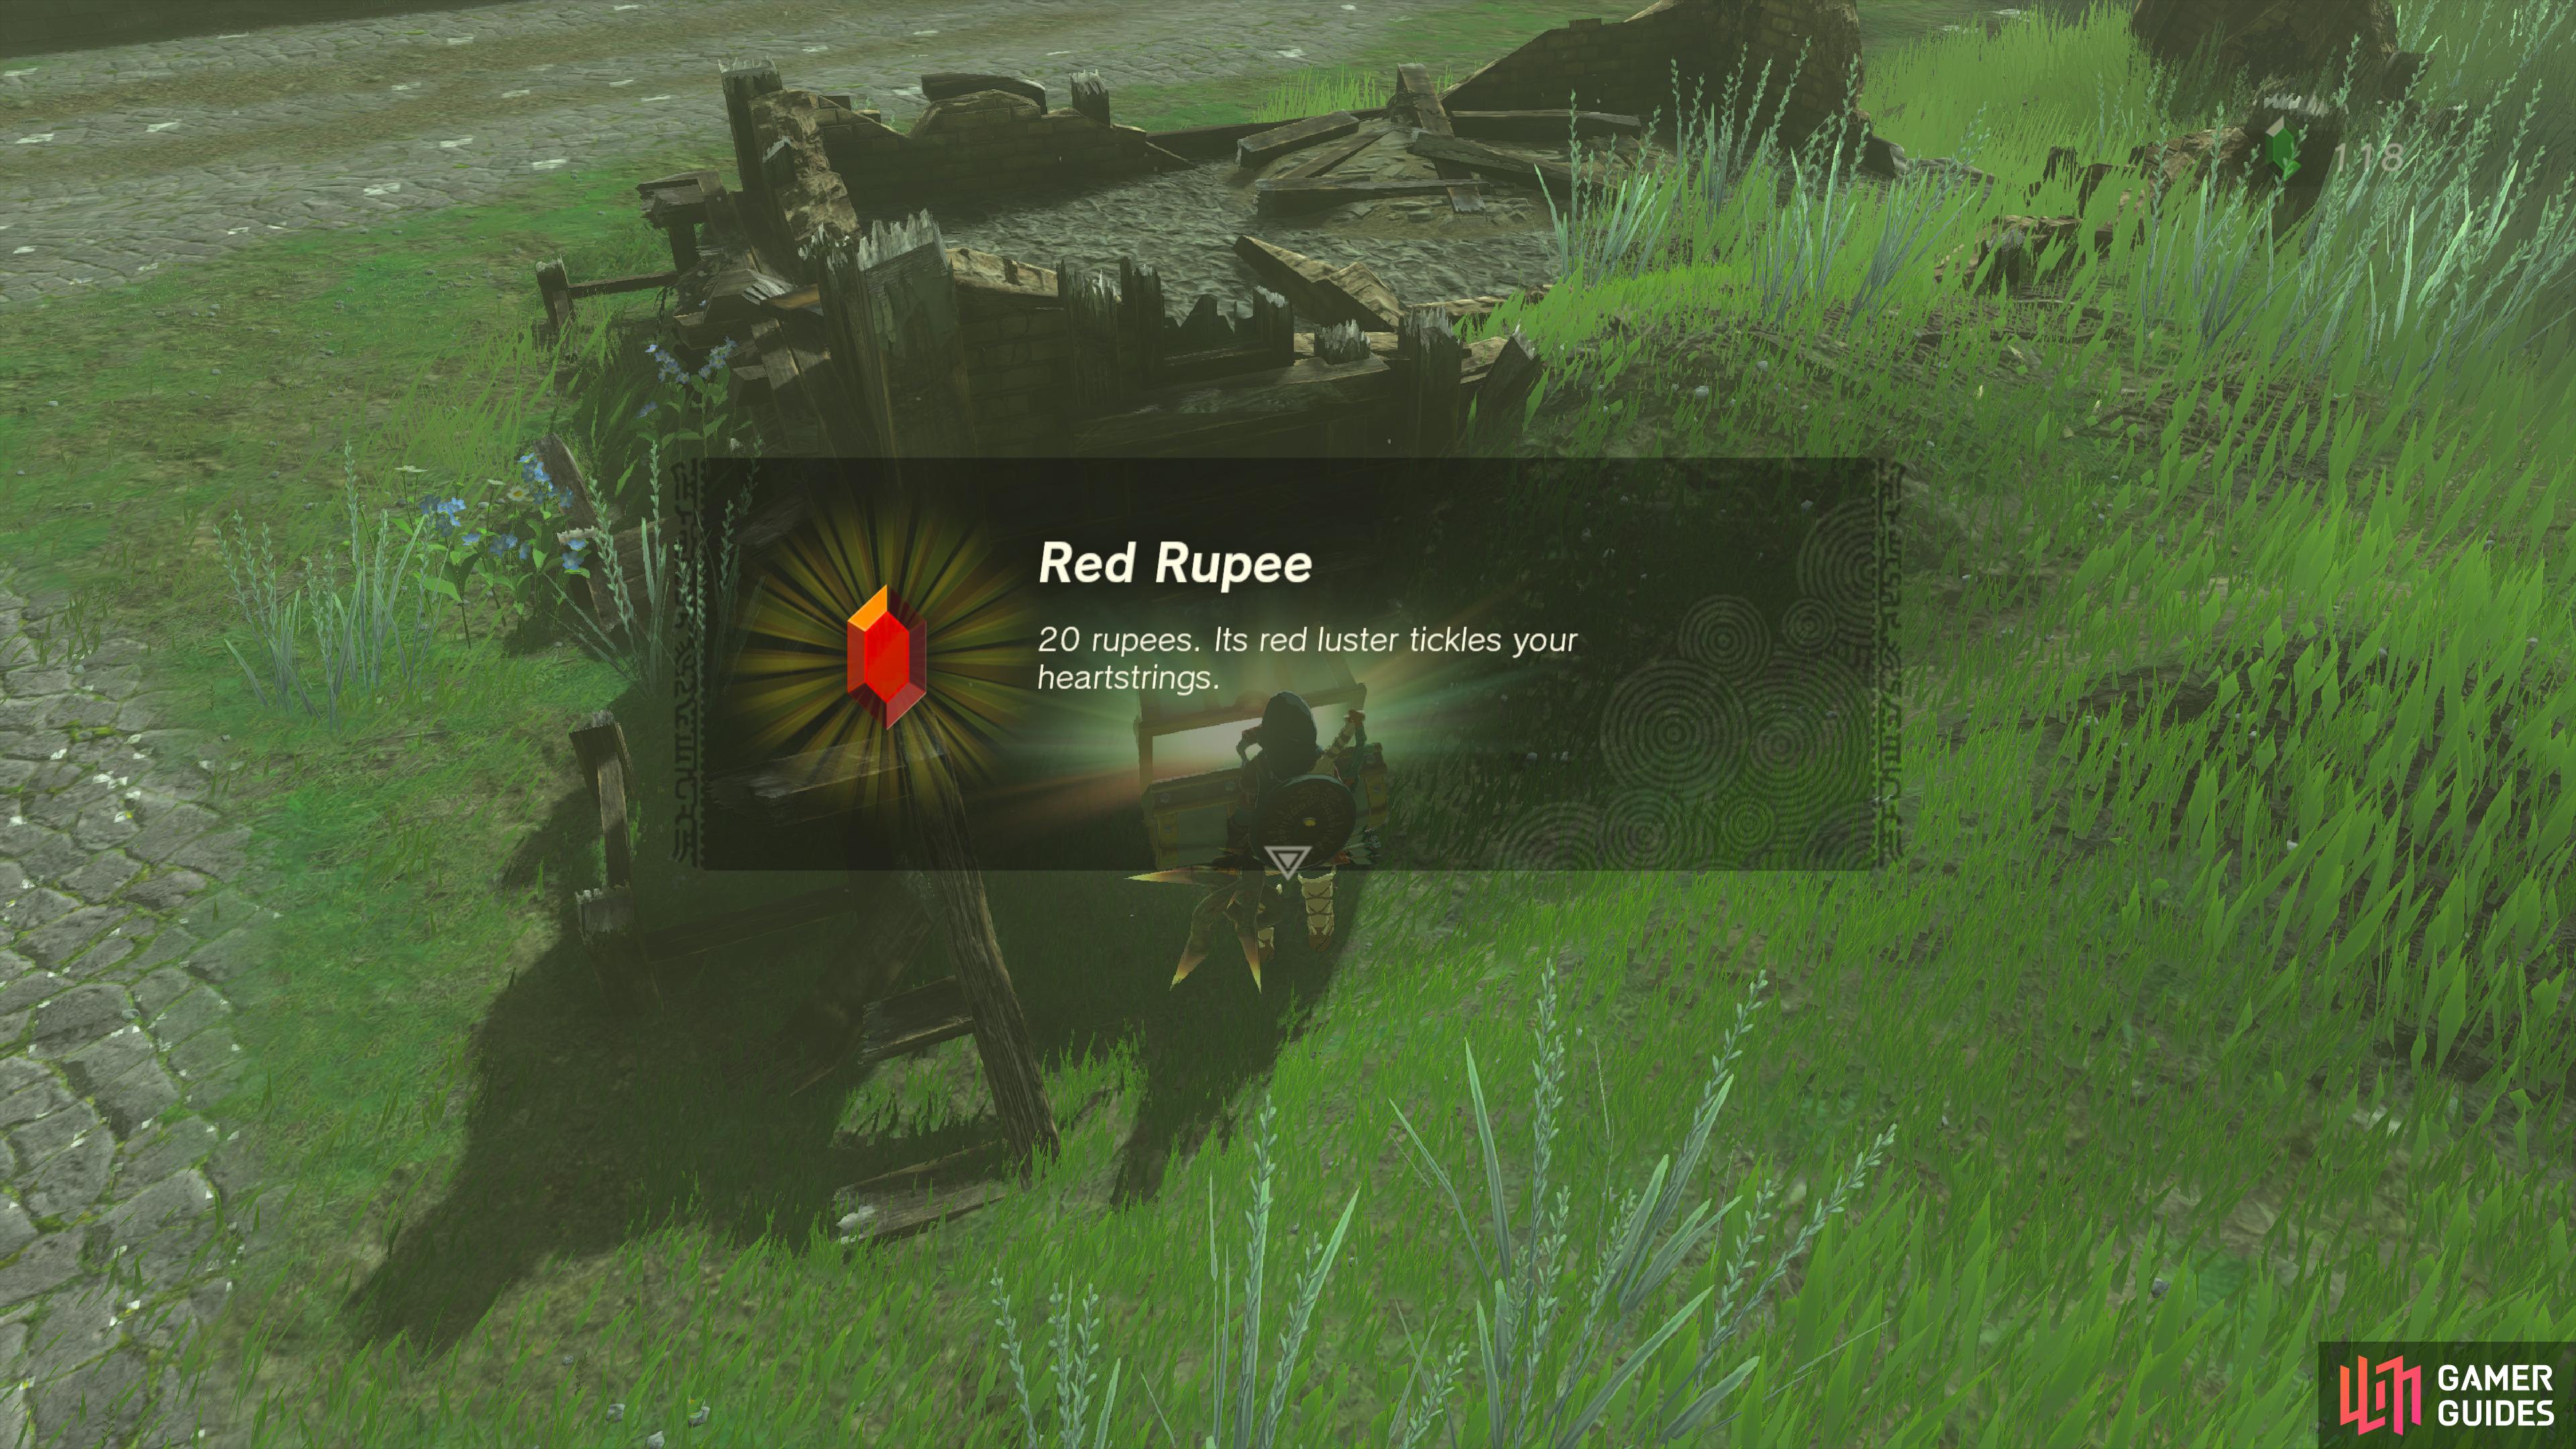
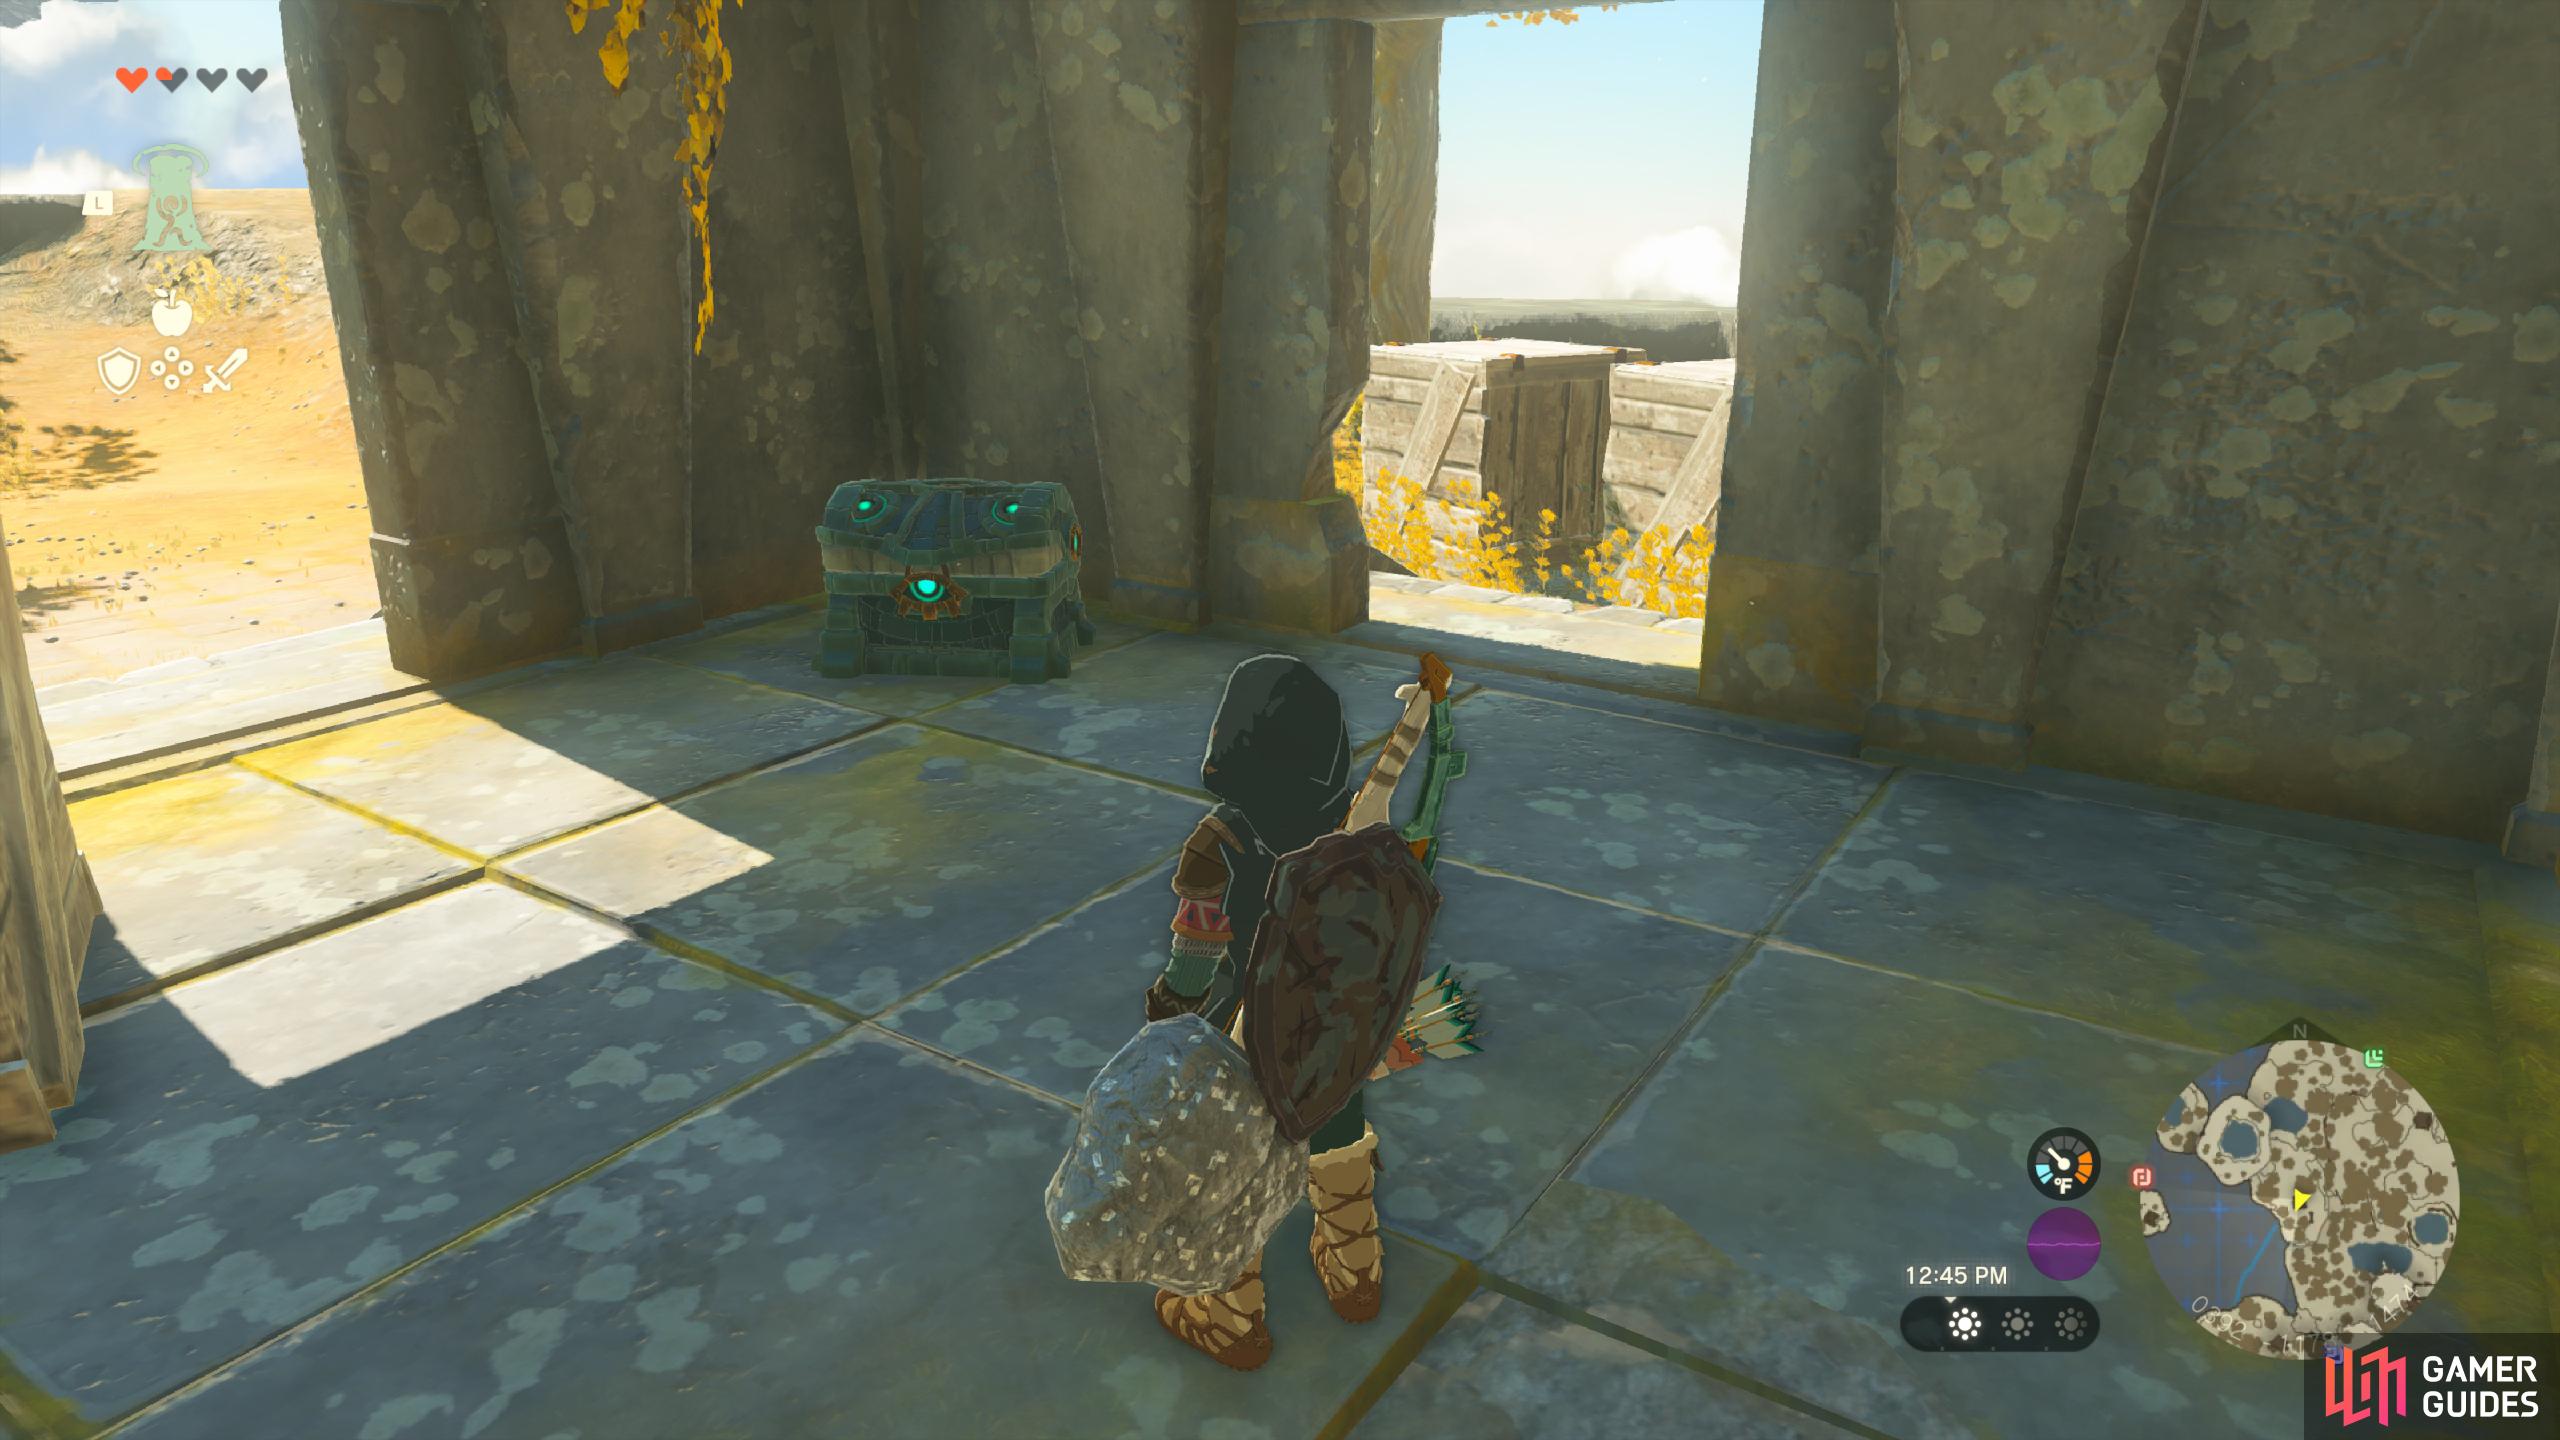
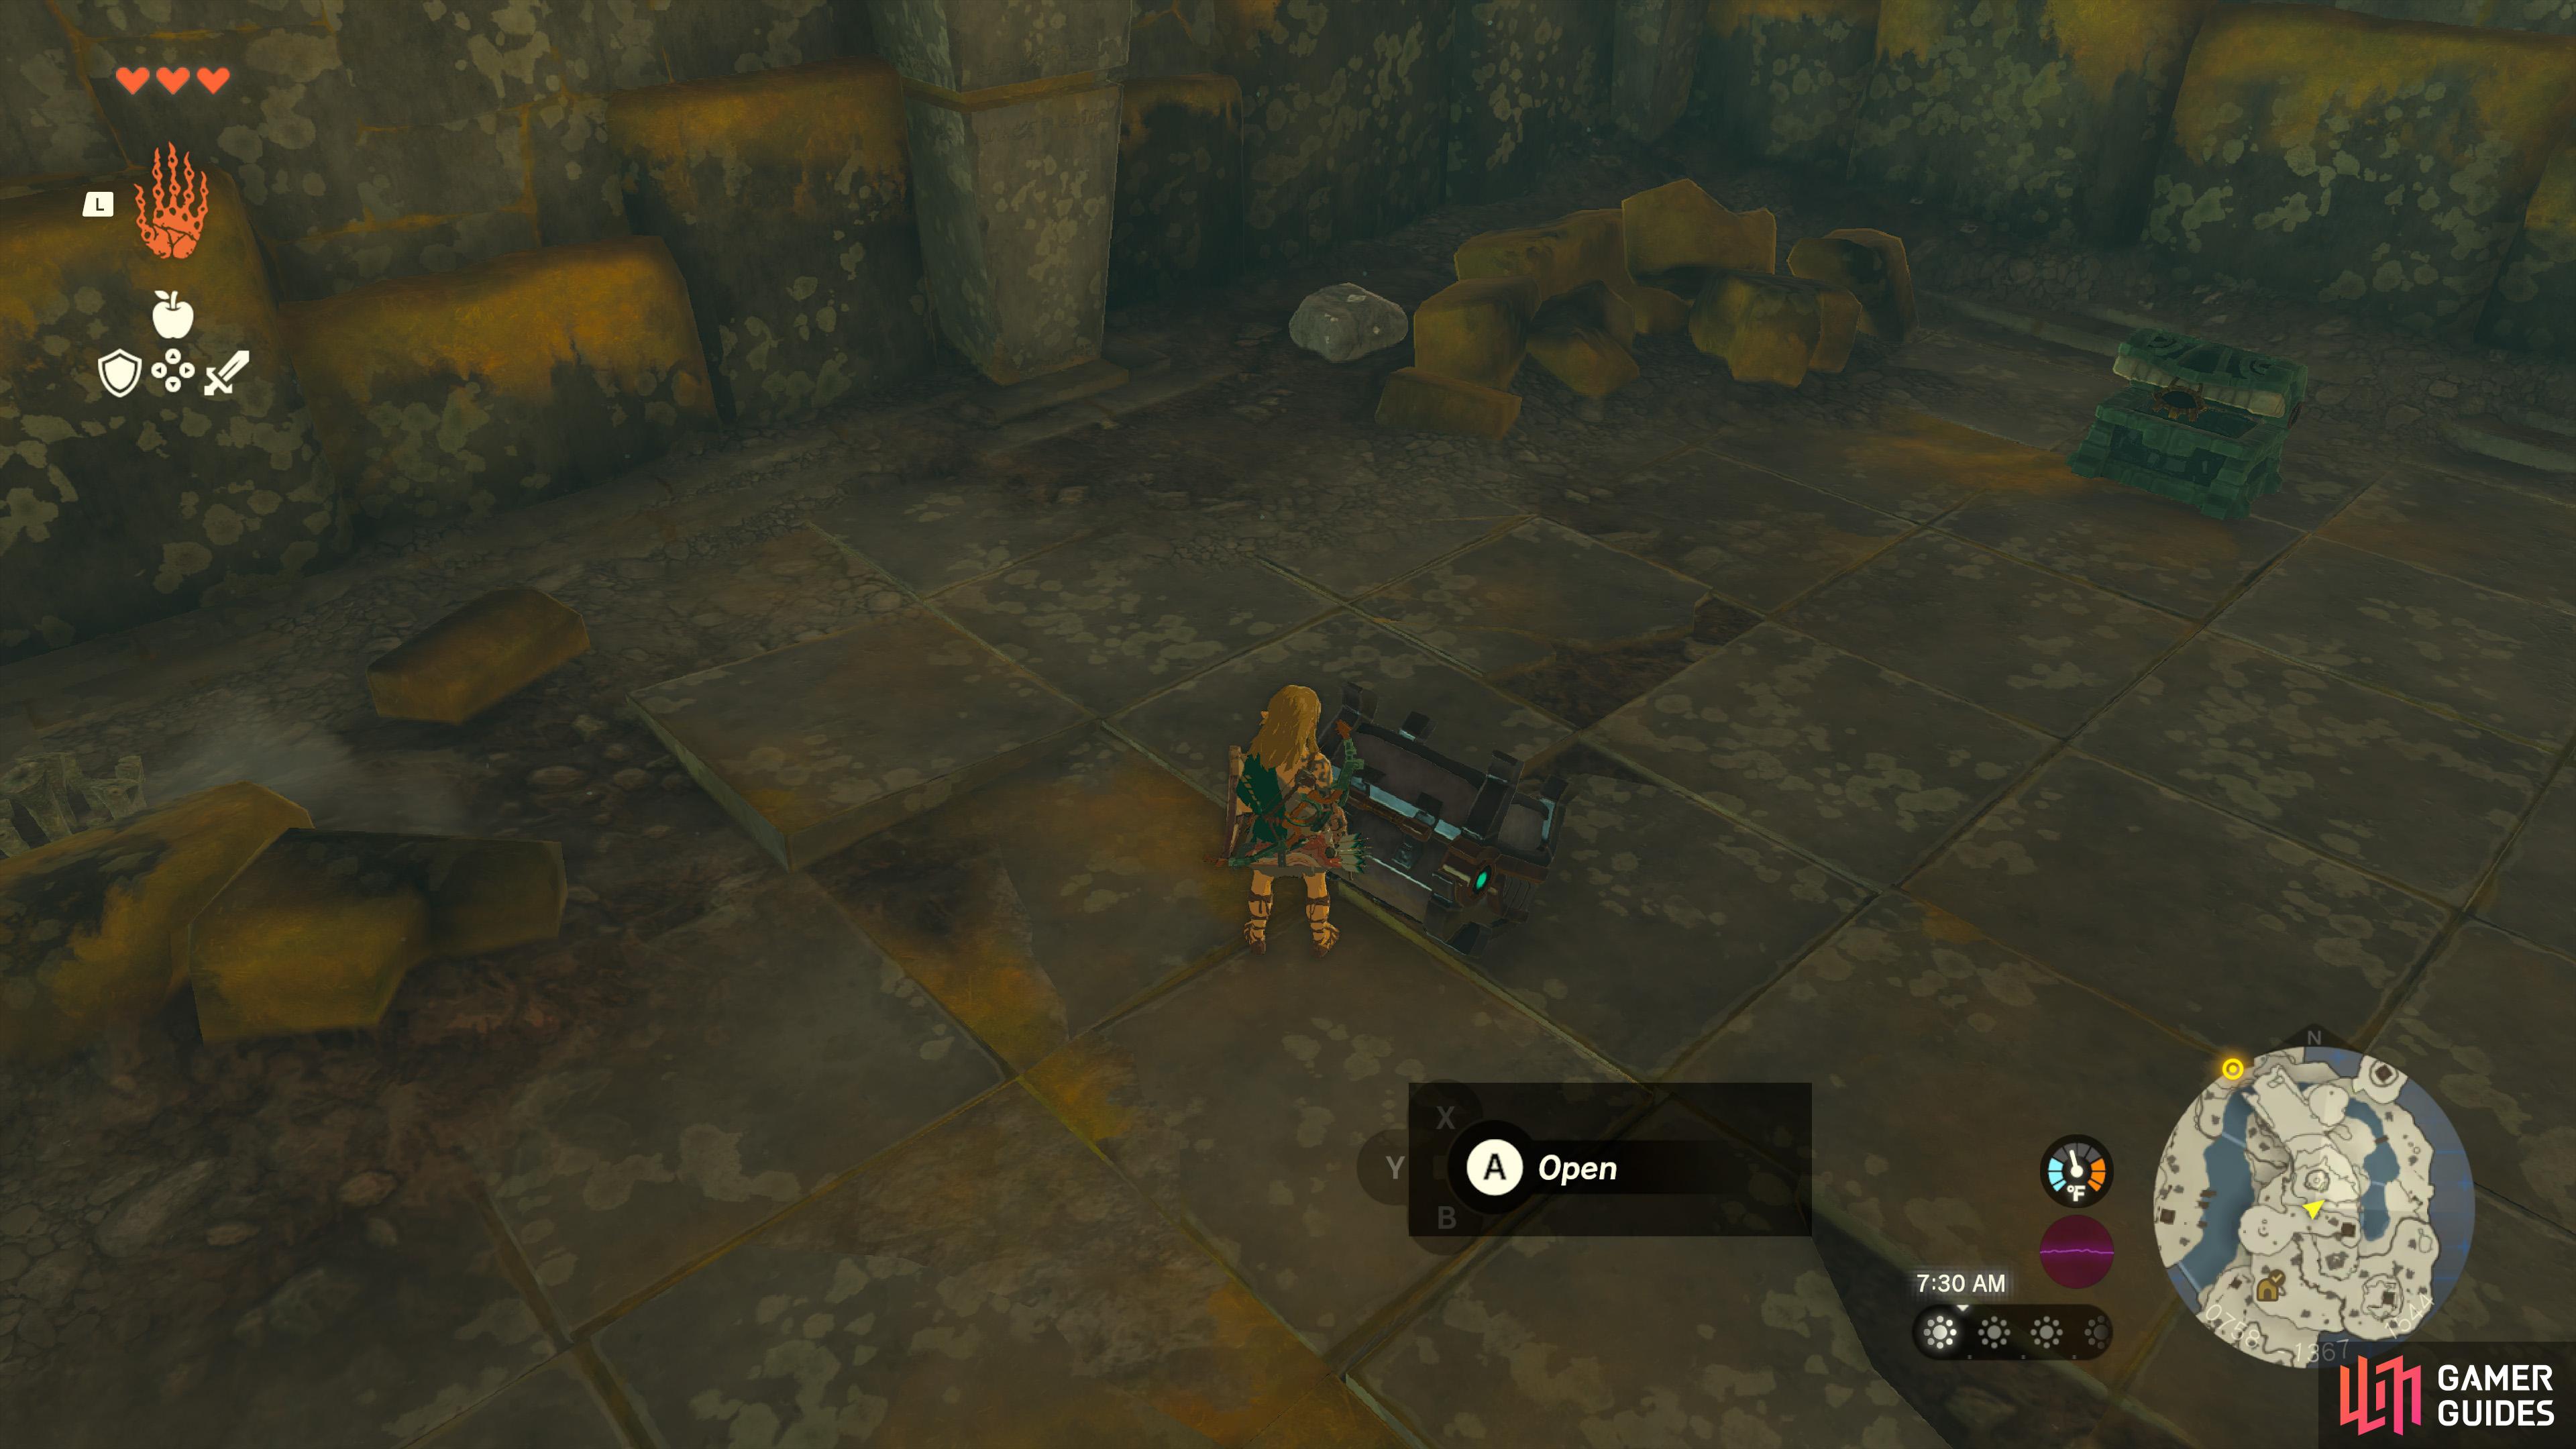
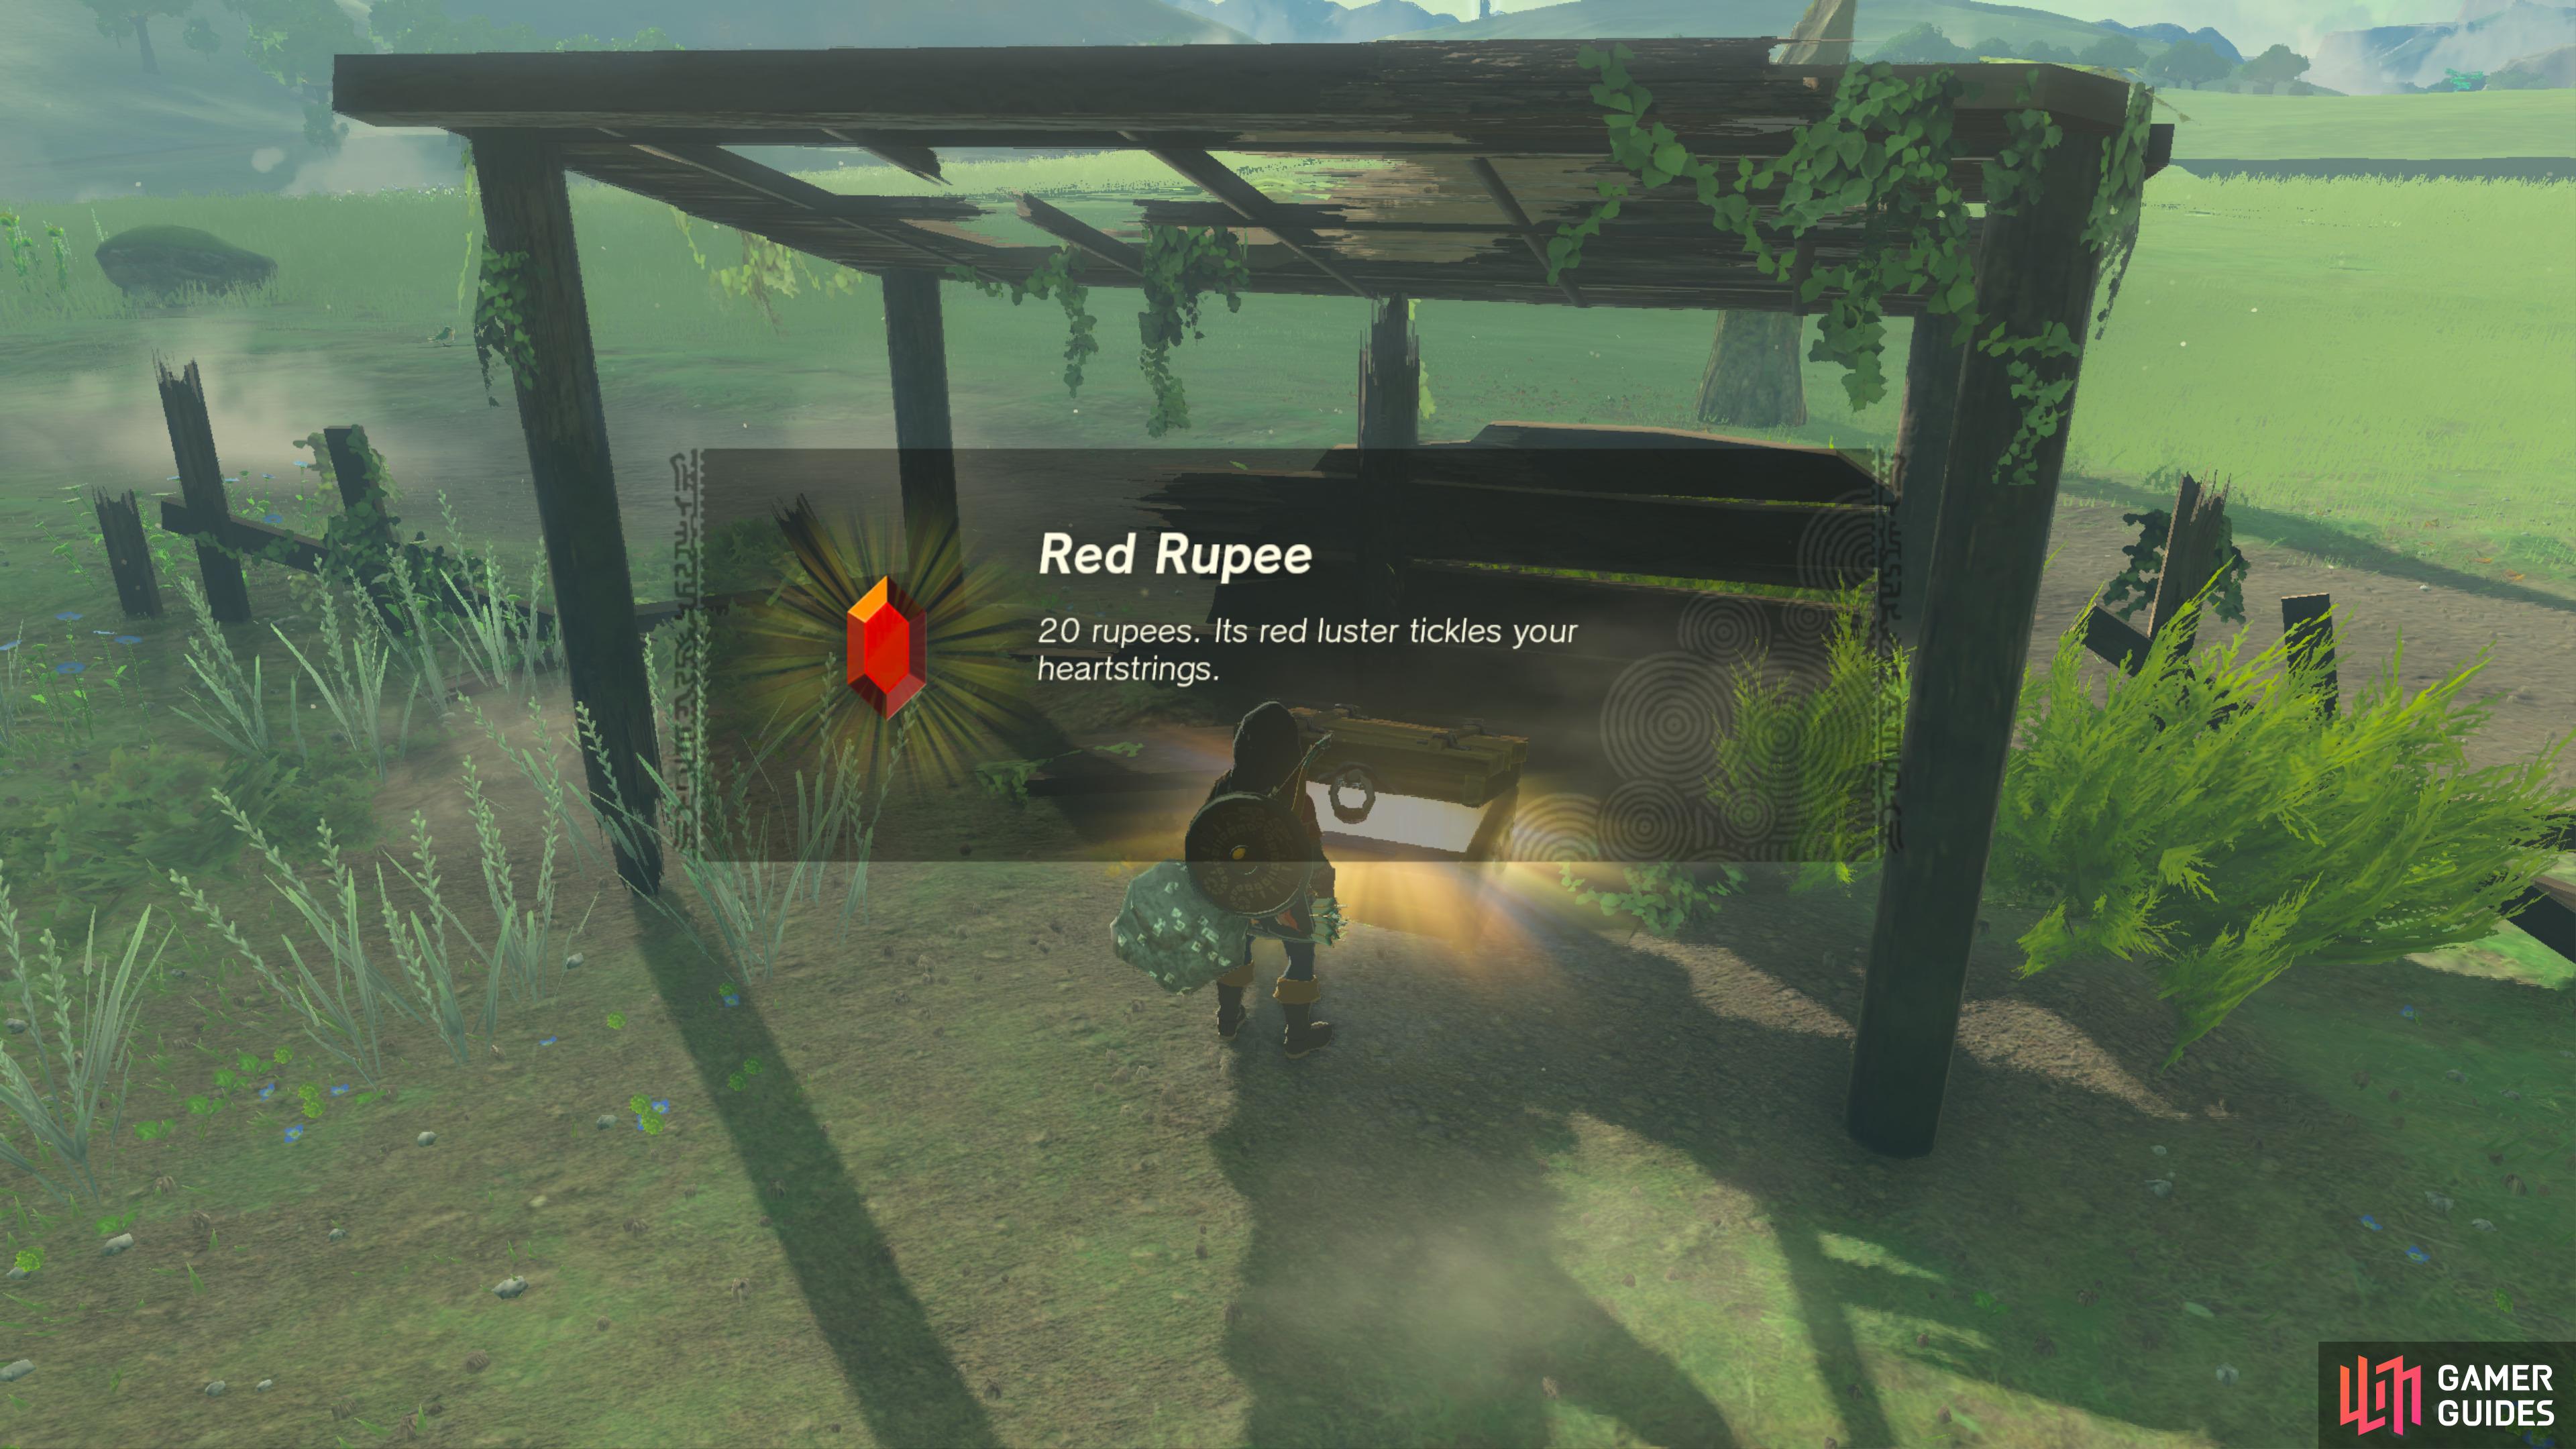
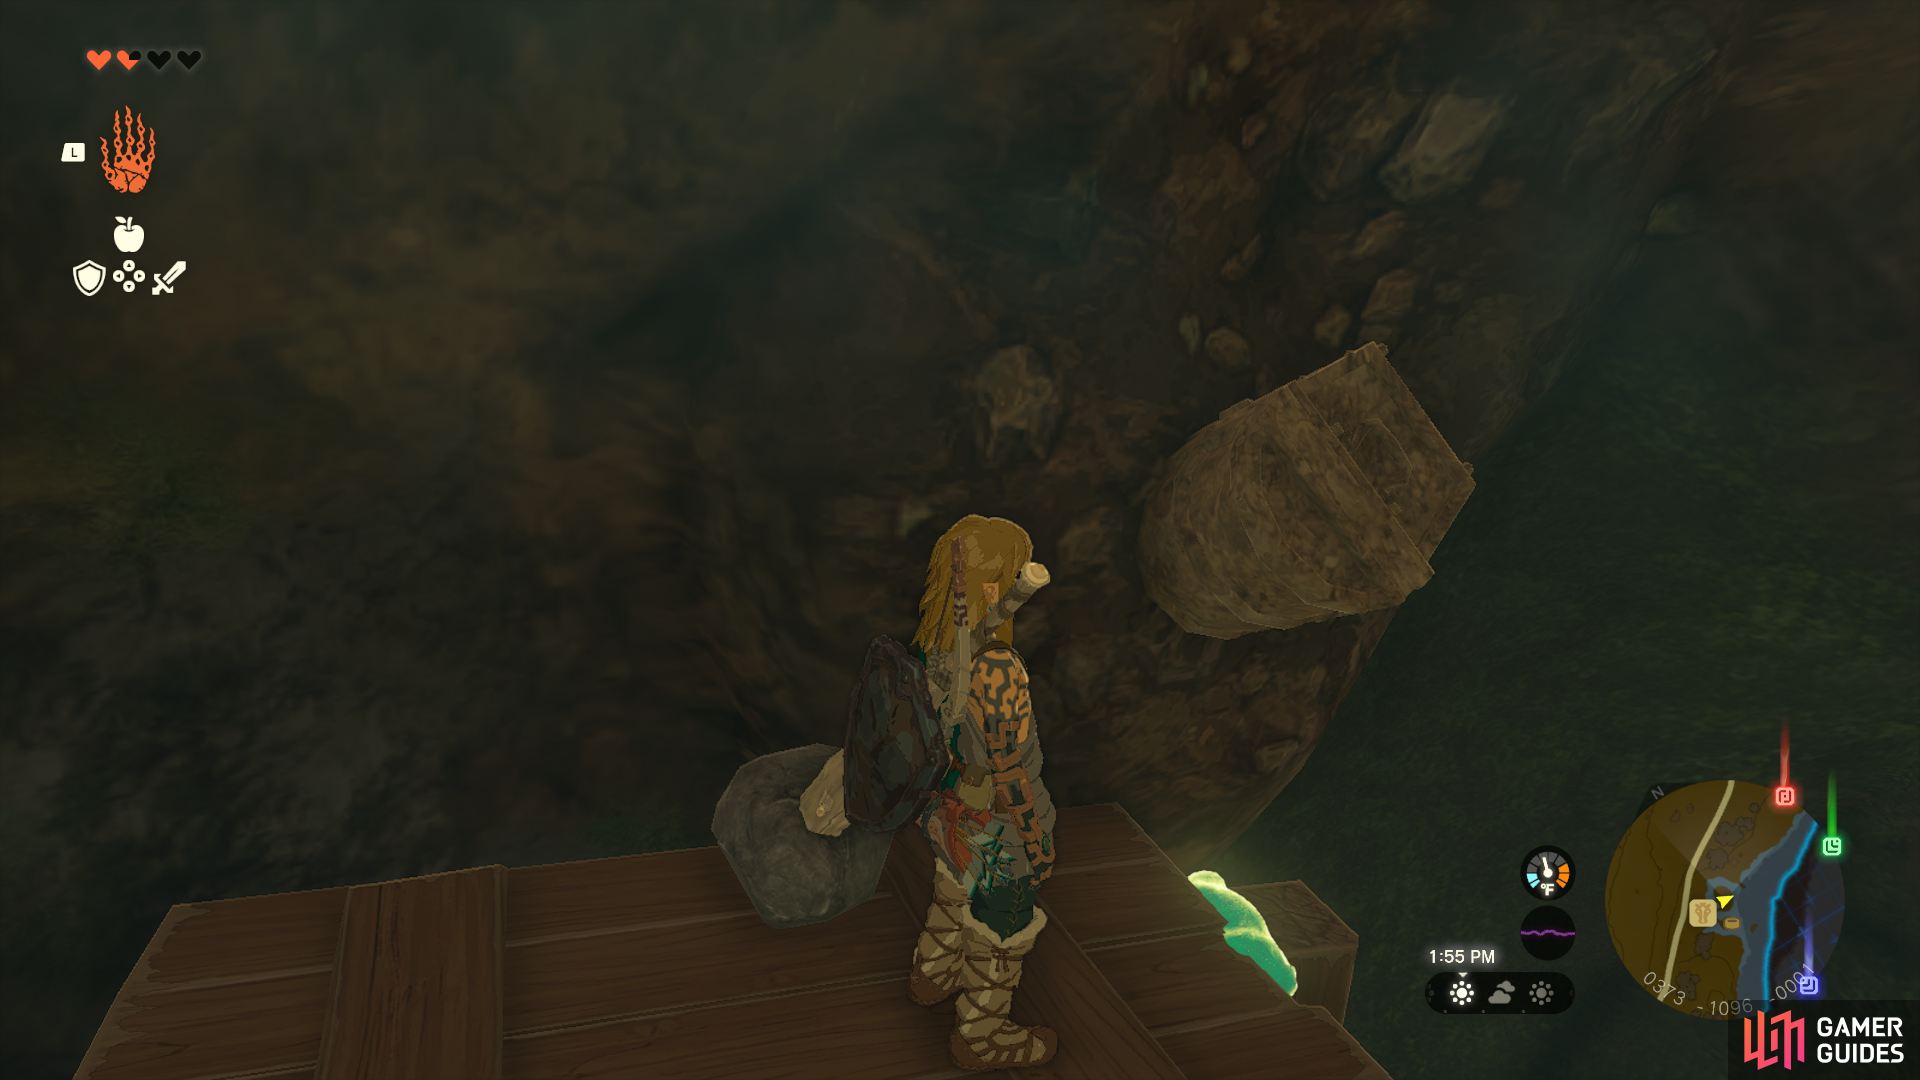
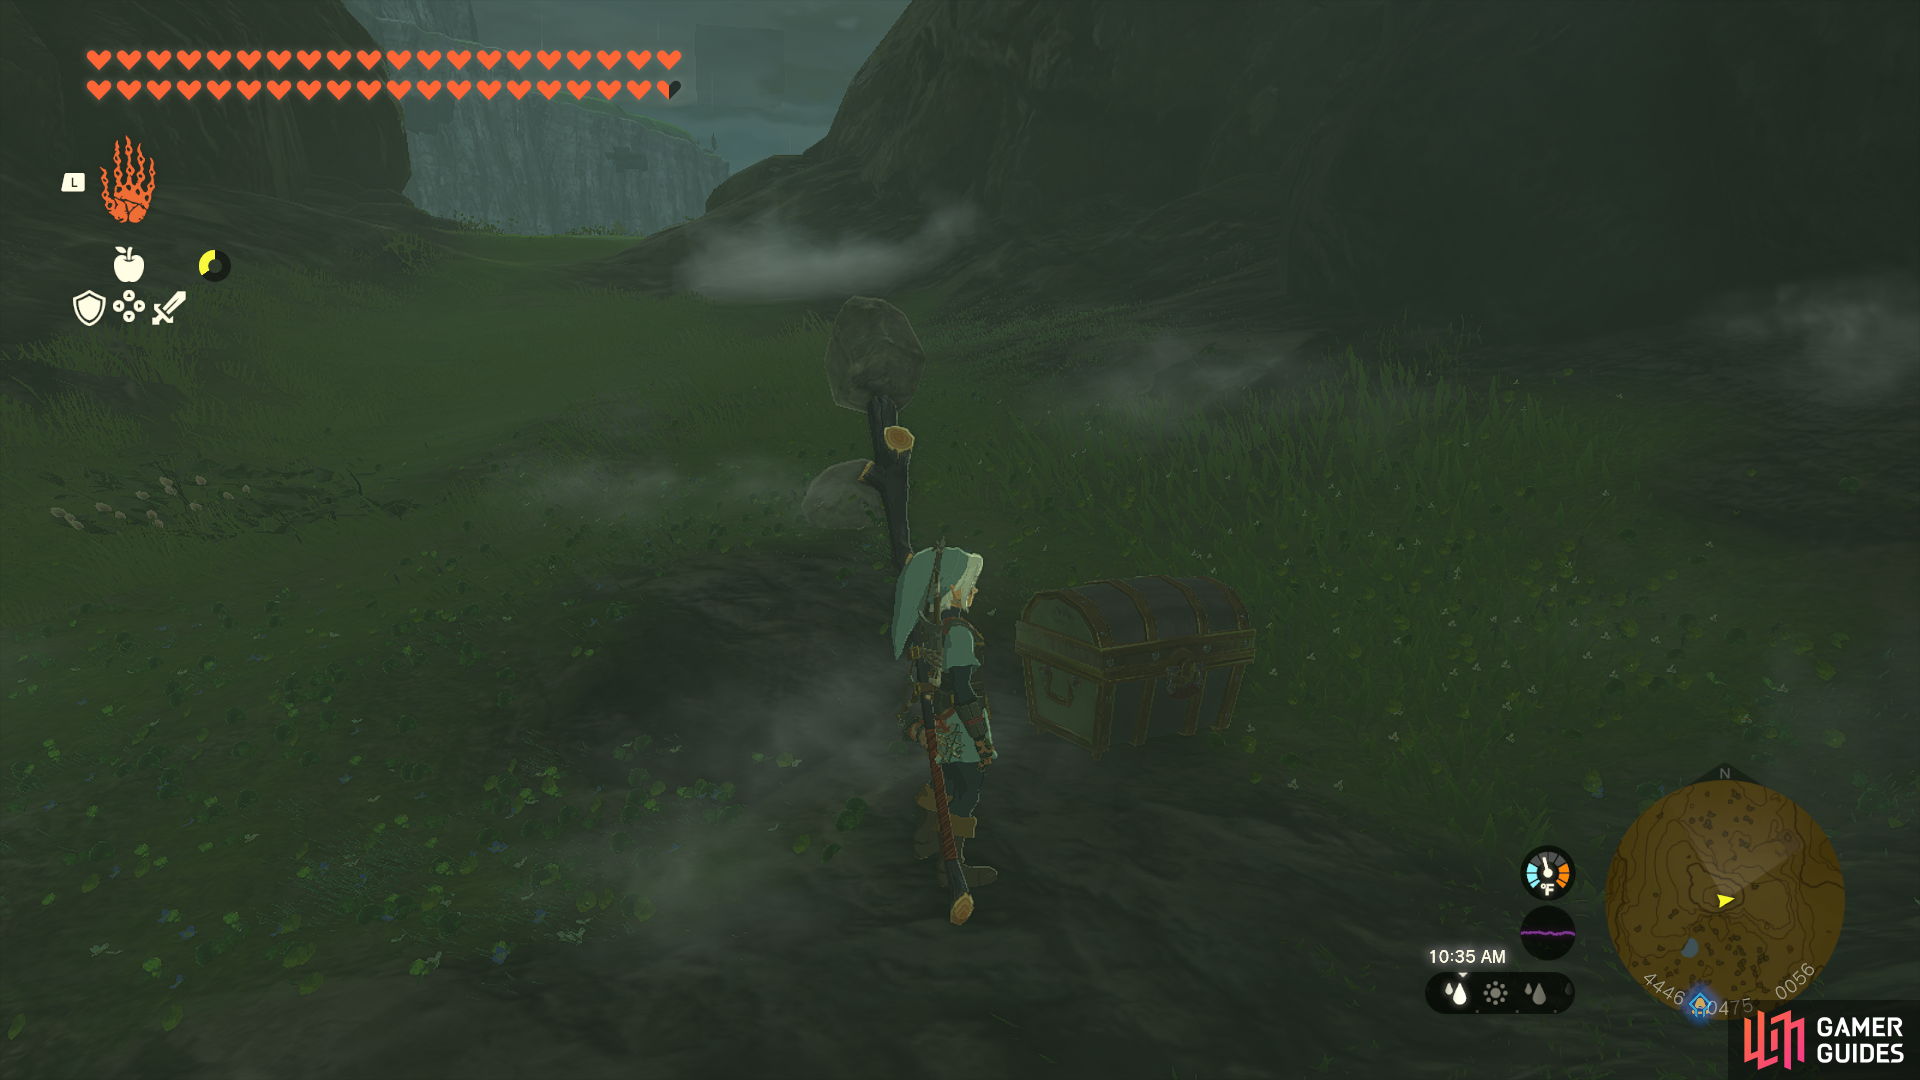
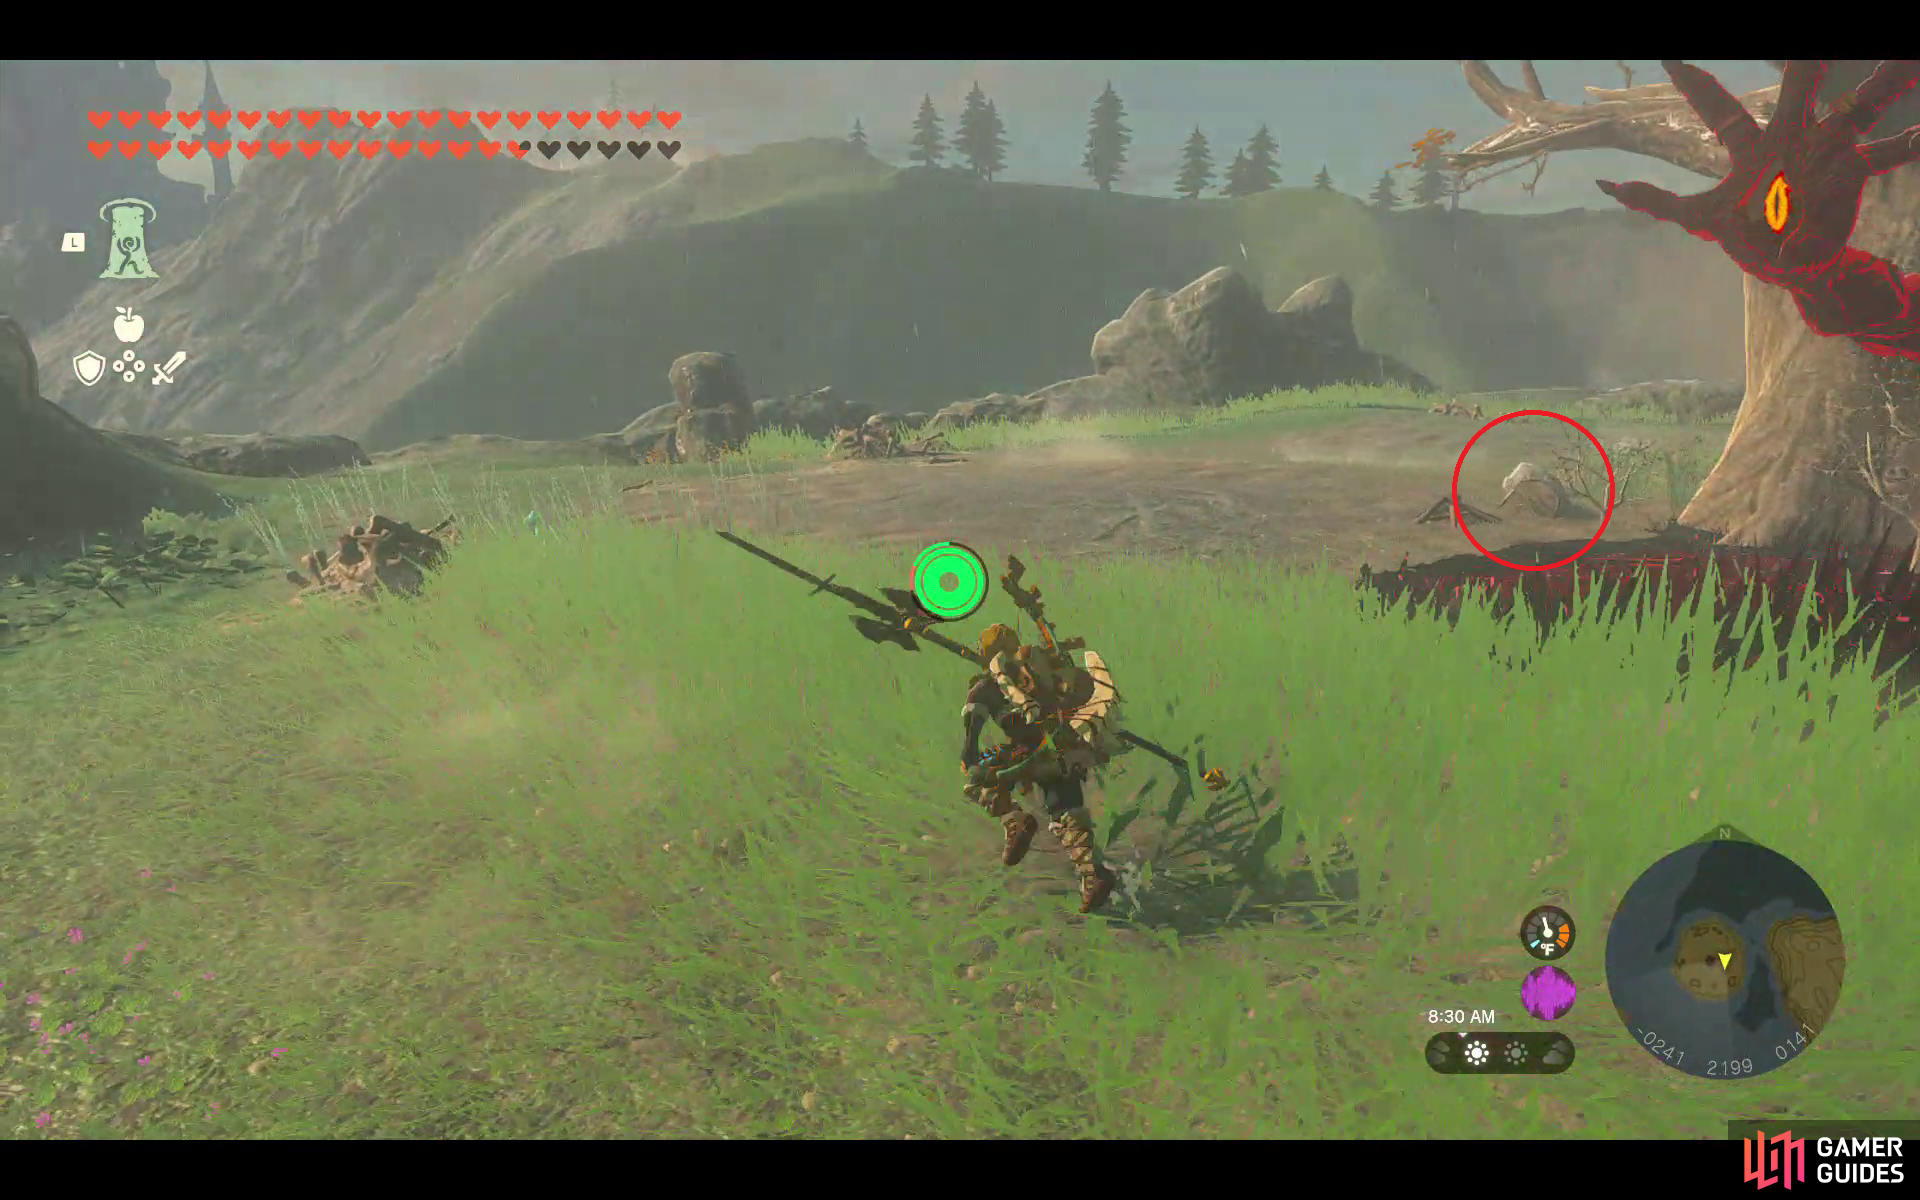
Use ![]() Ultrahand to pull this chest out of the ground. Contains a Red rupee (20).
Ultrahand to pull this chest out of the ground. Contains a Red rupee (20).
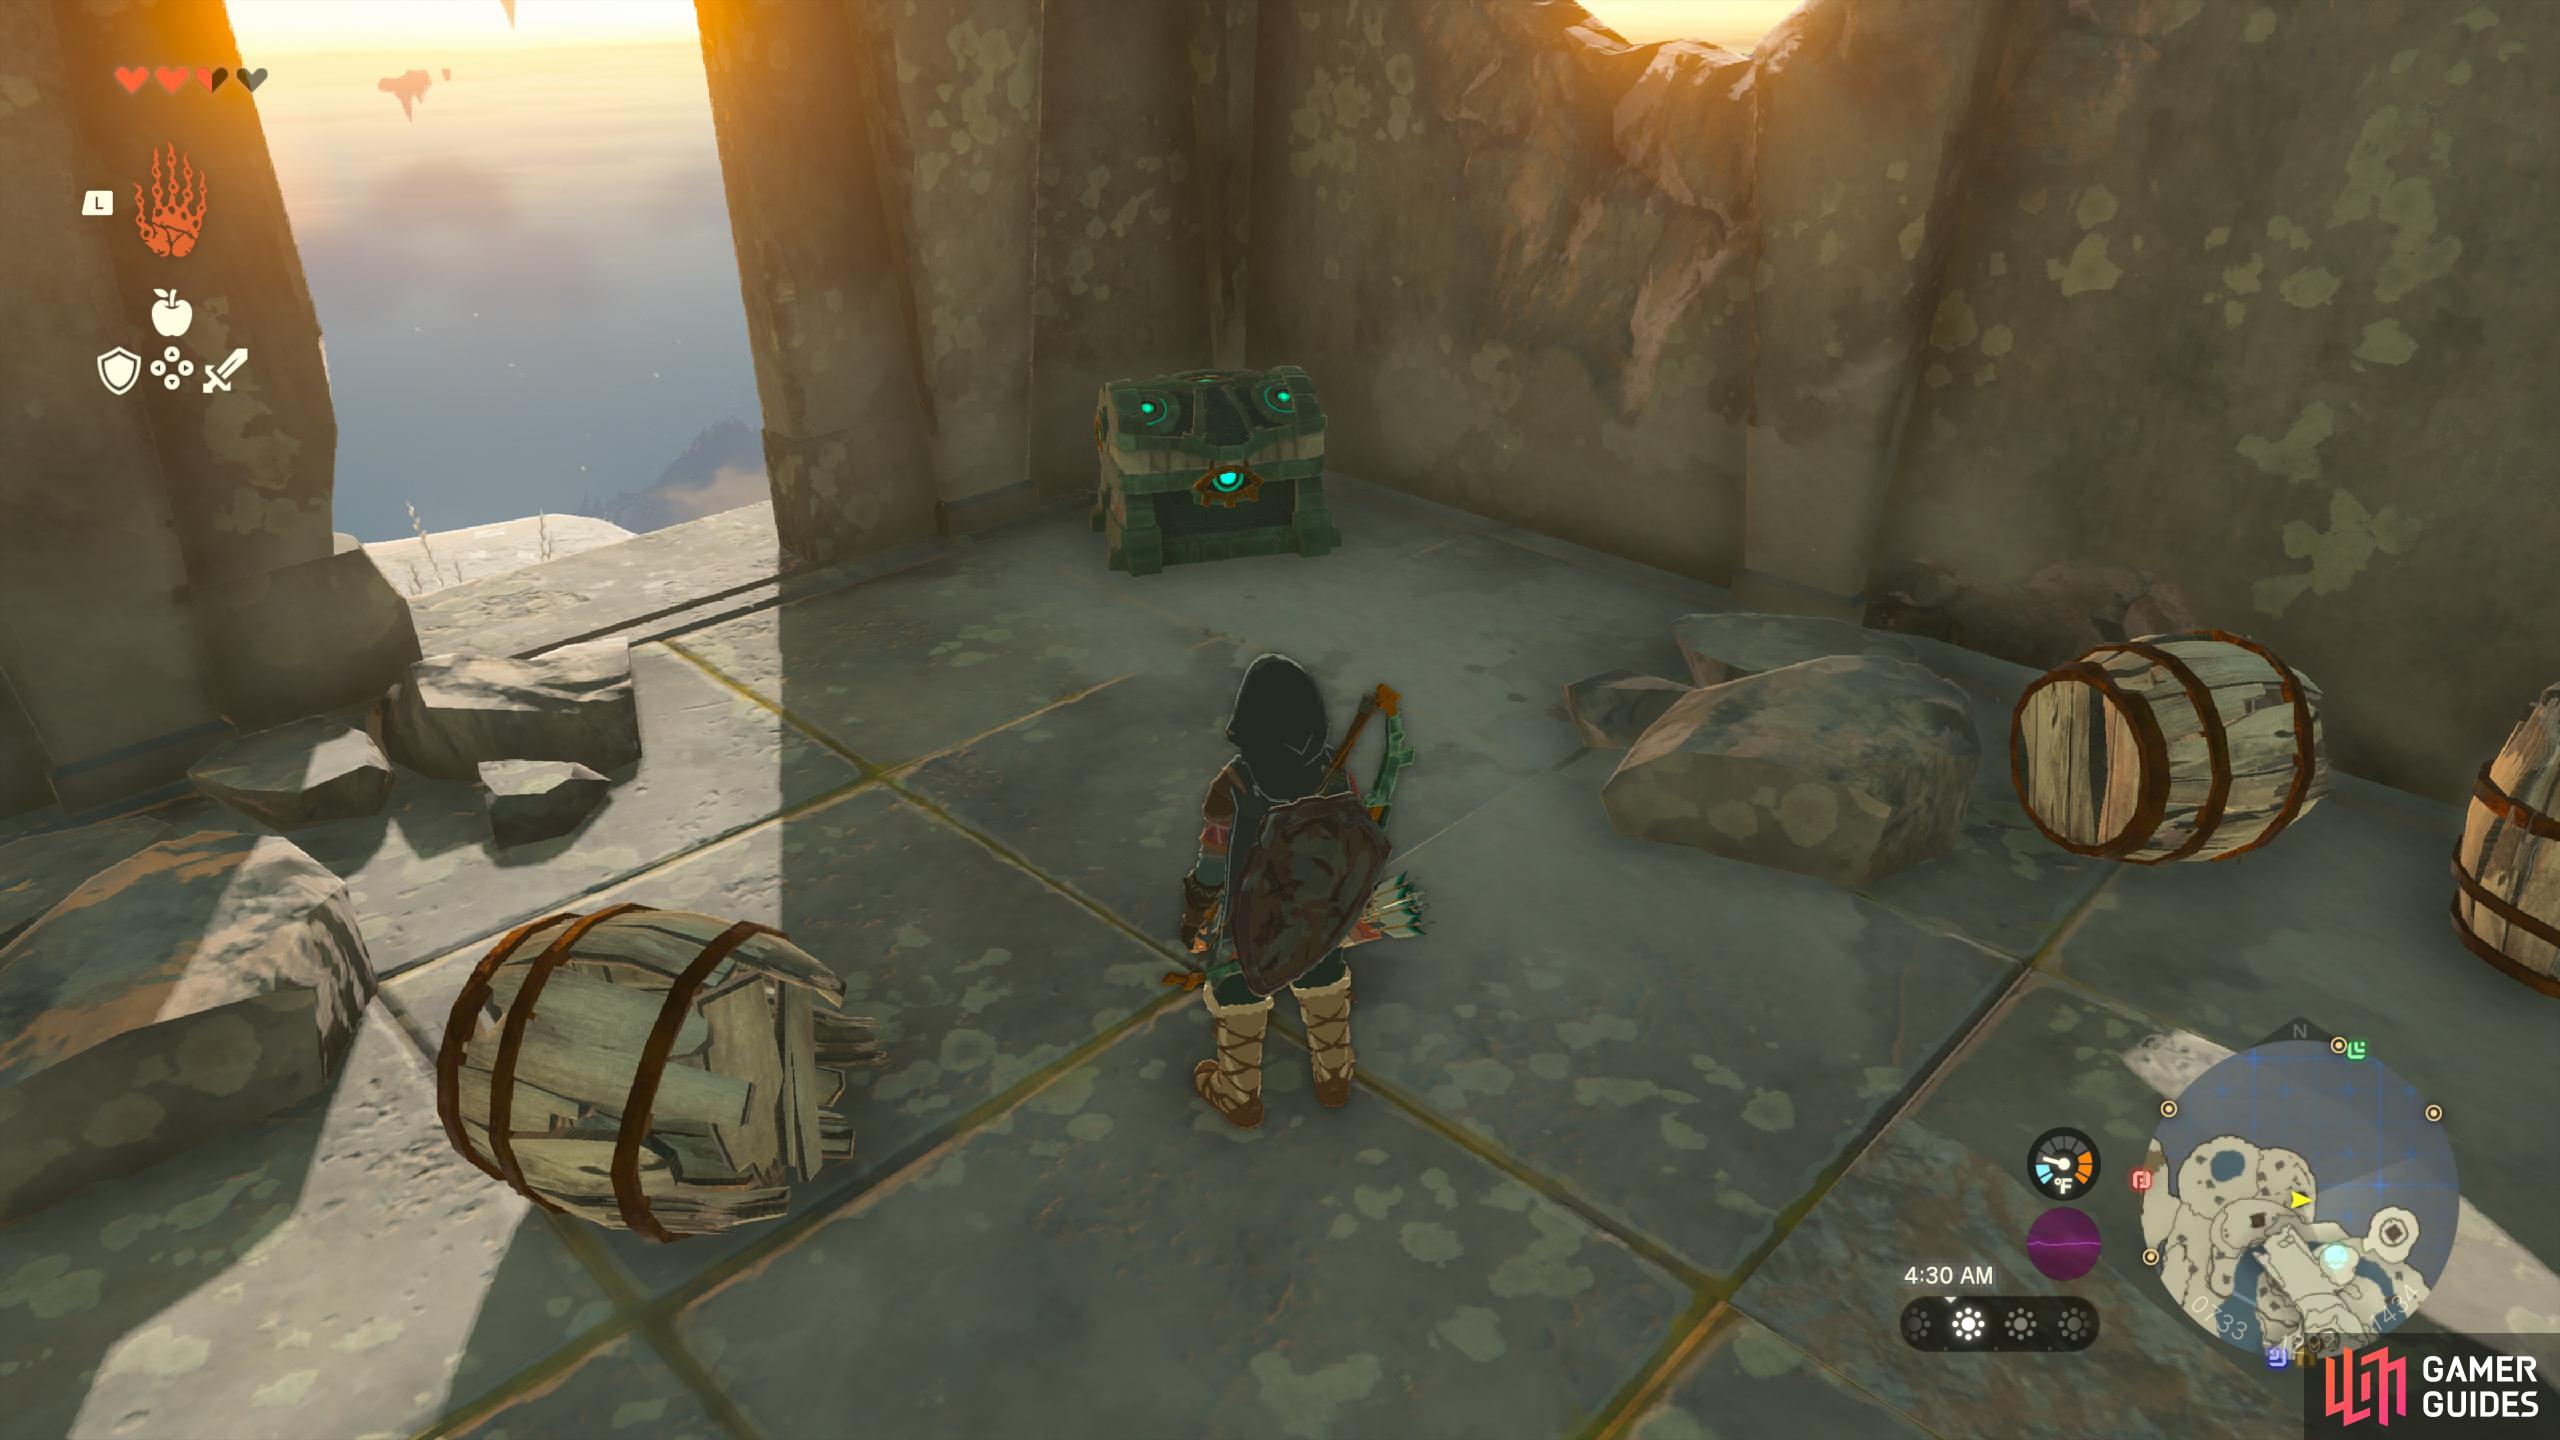
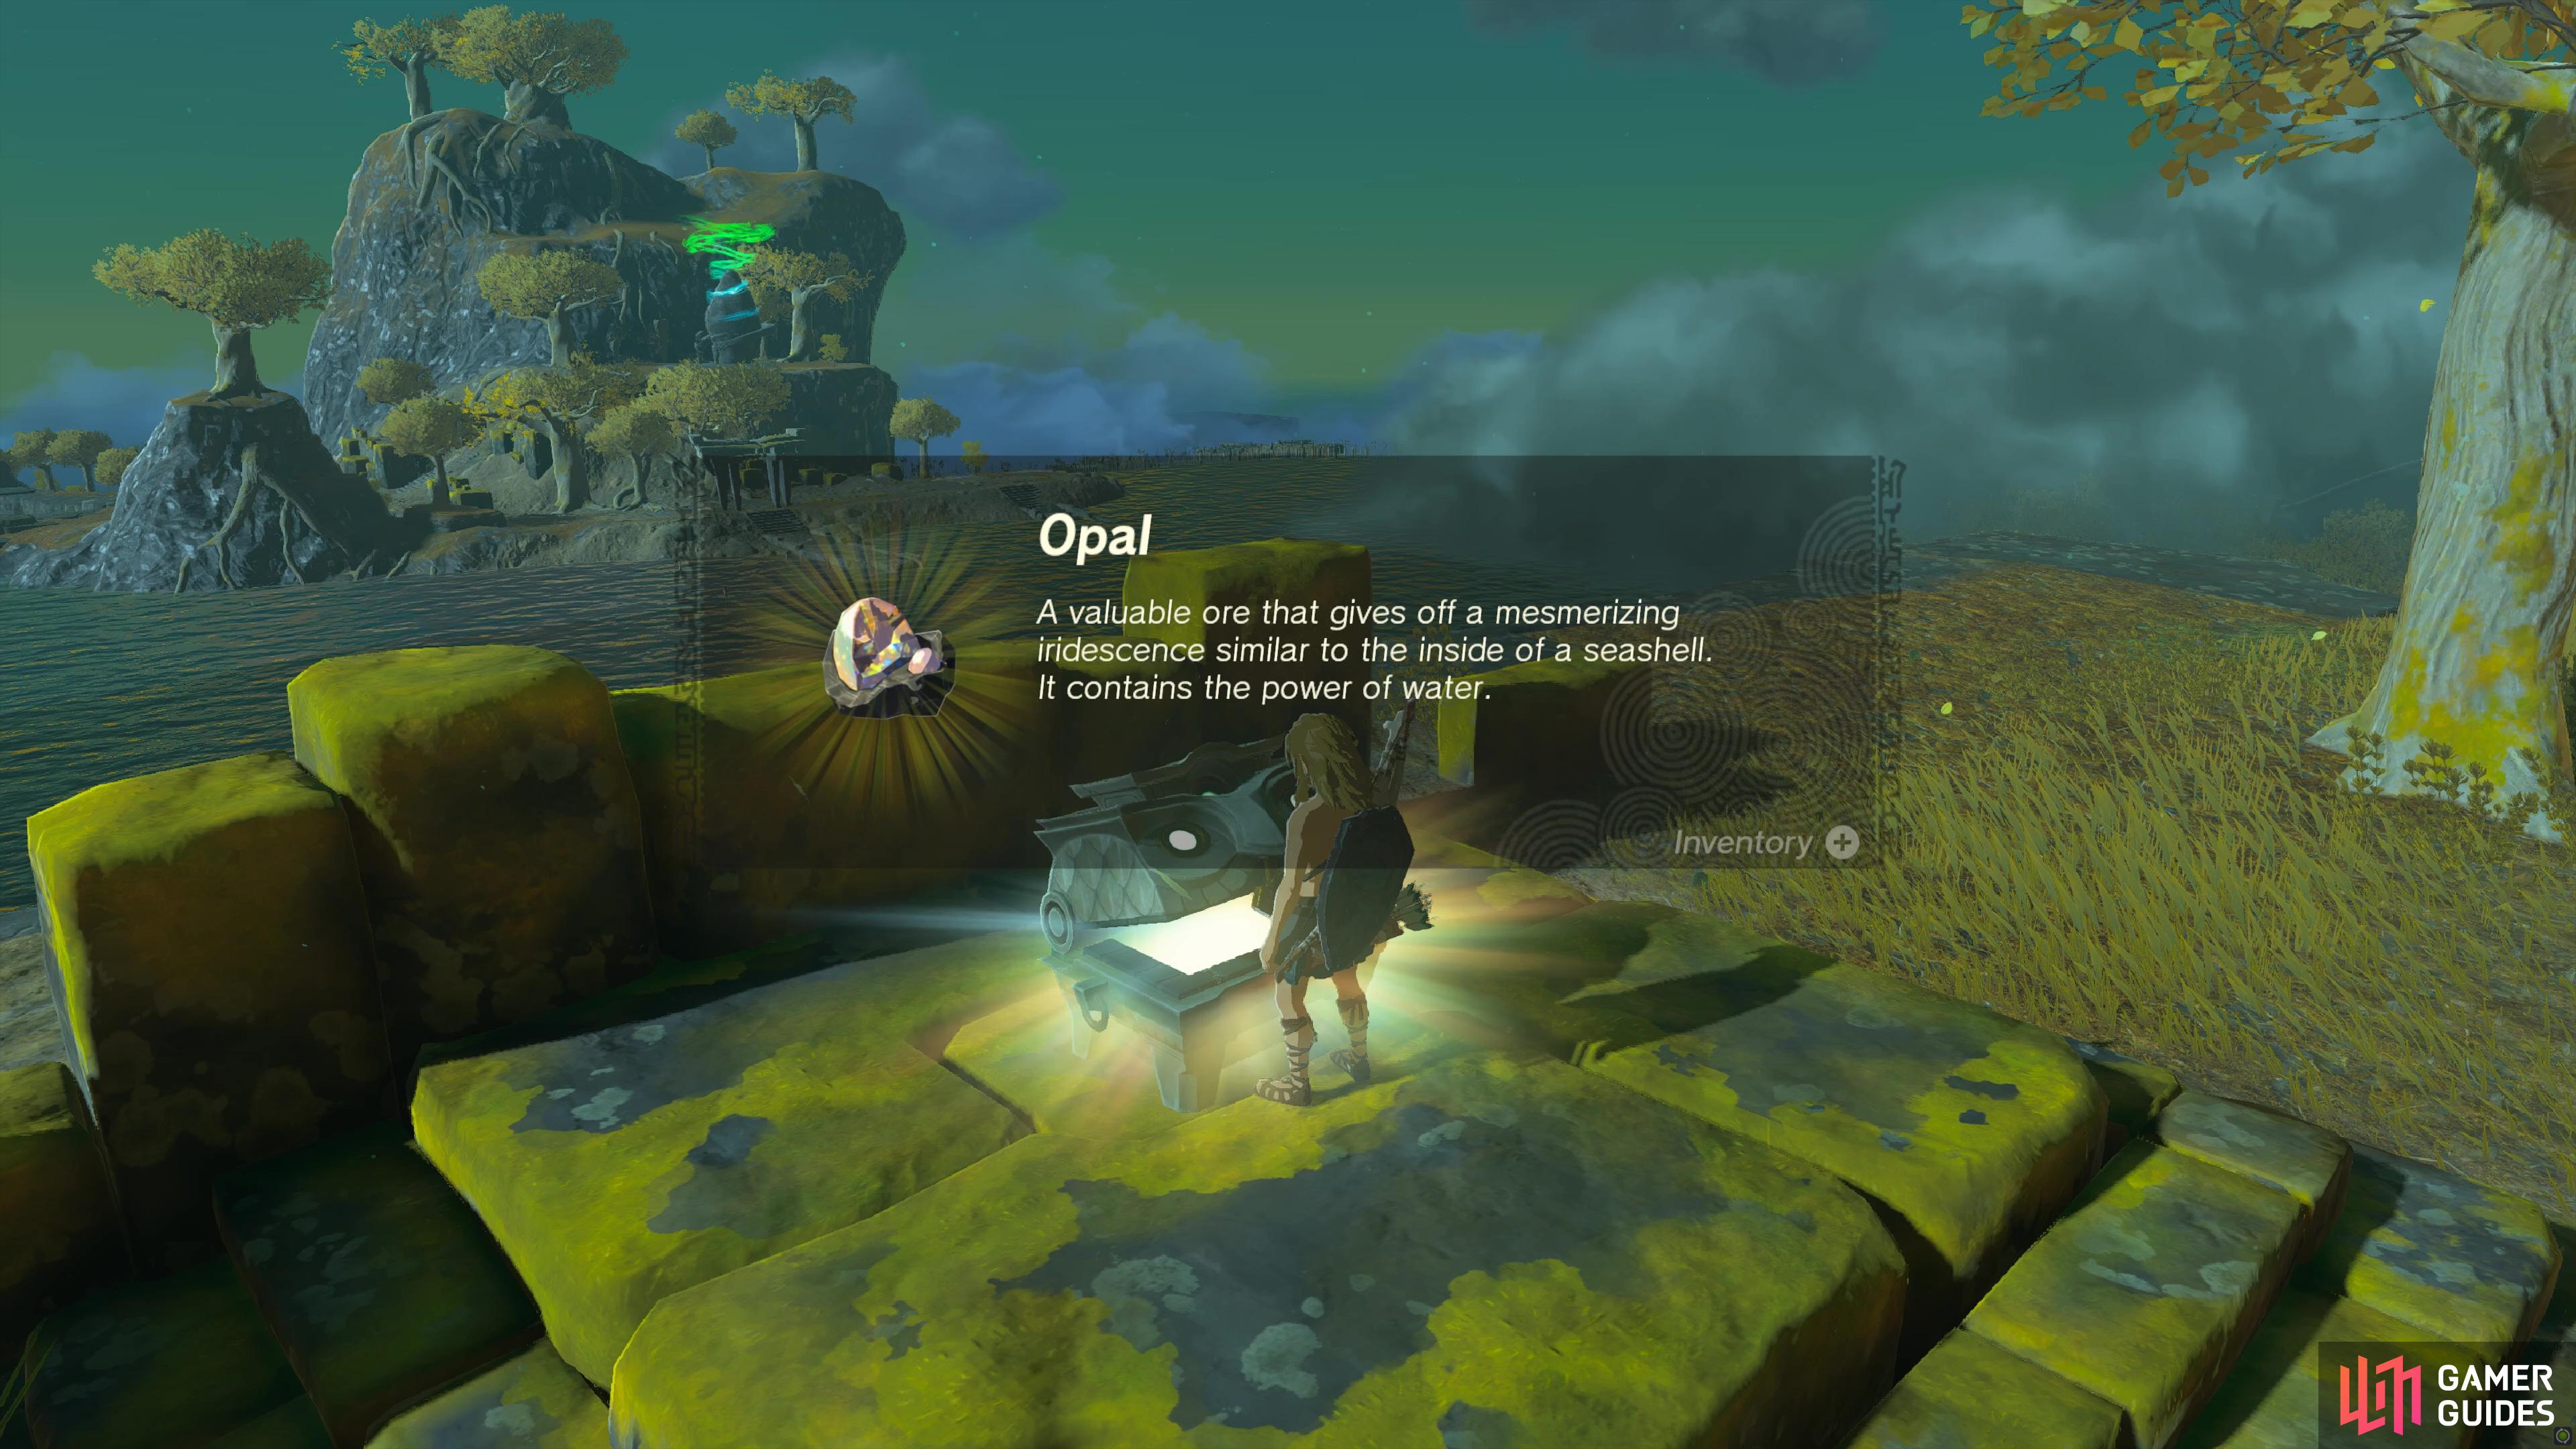
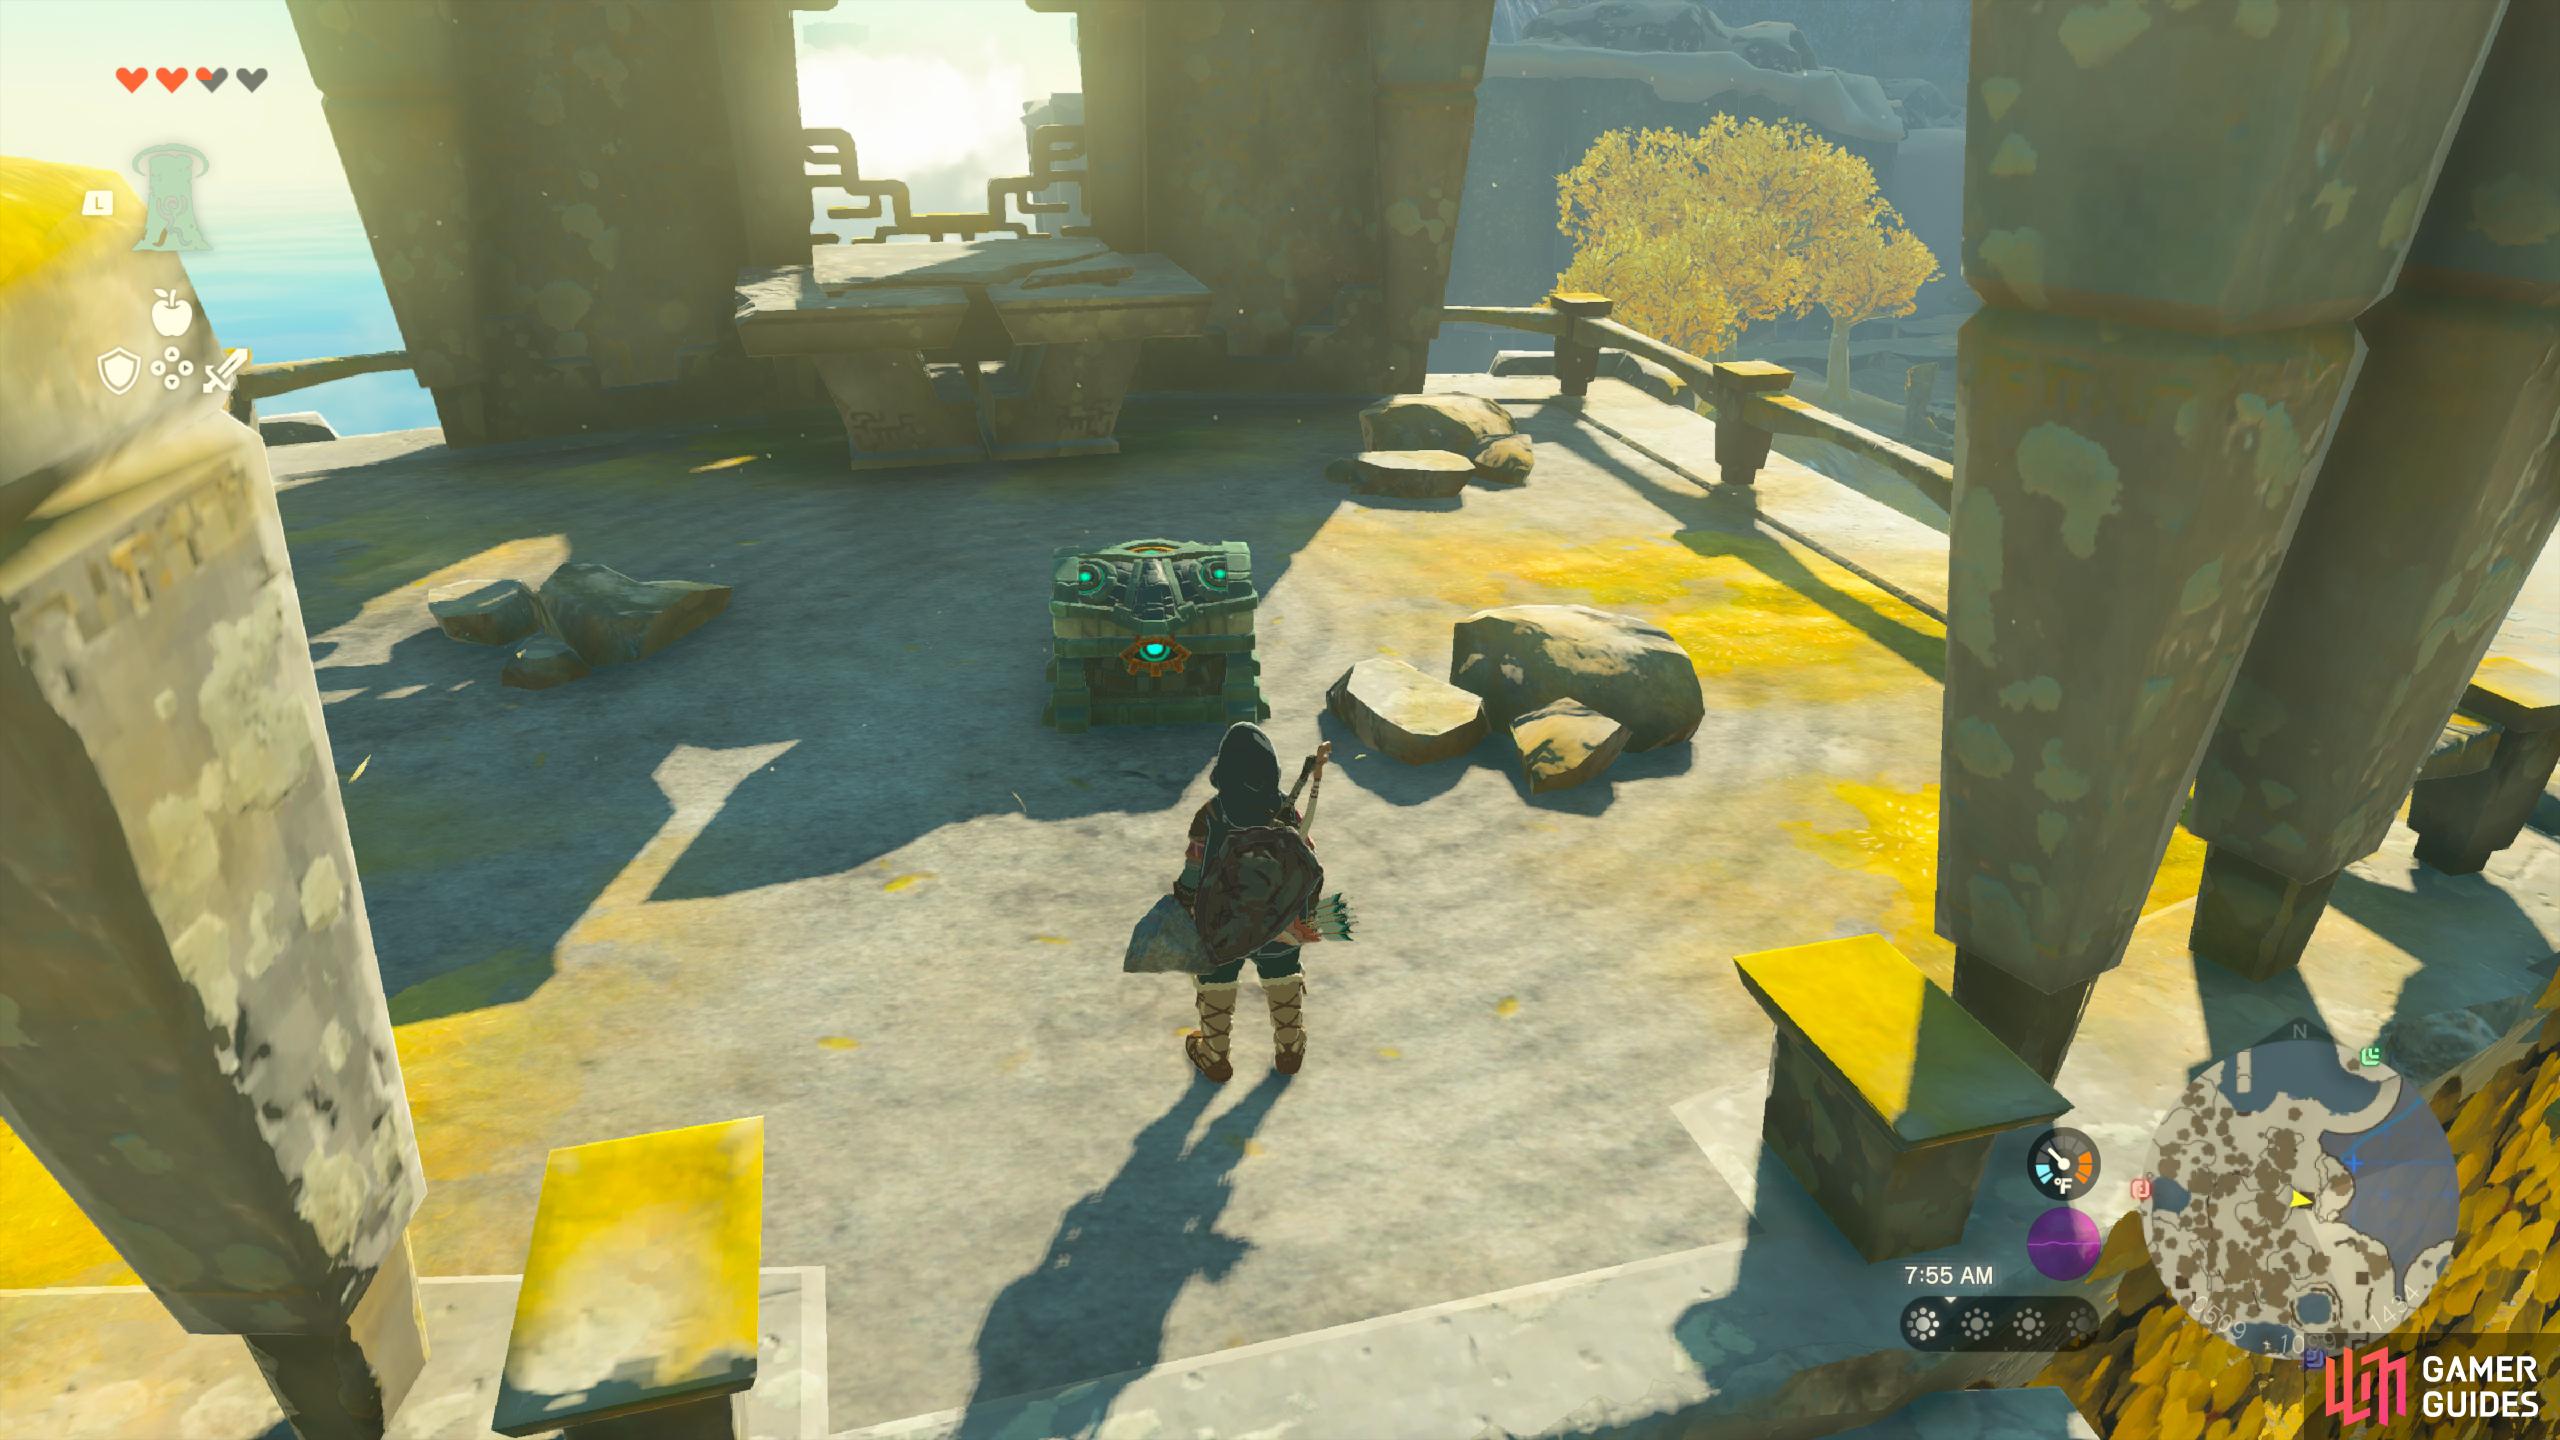
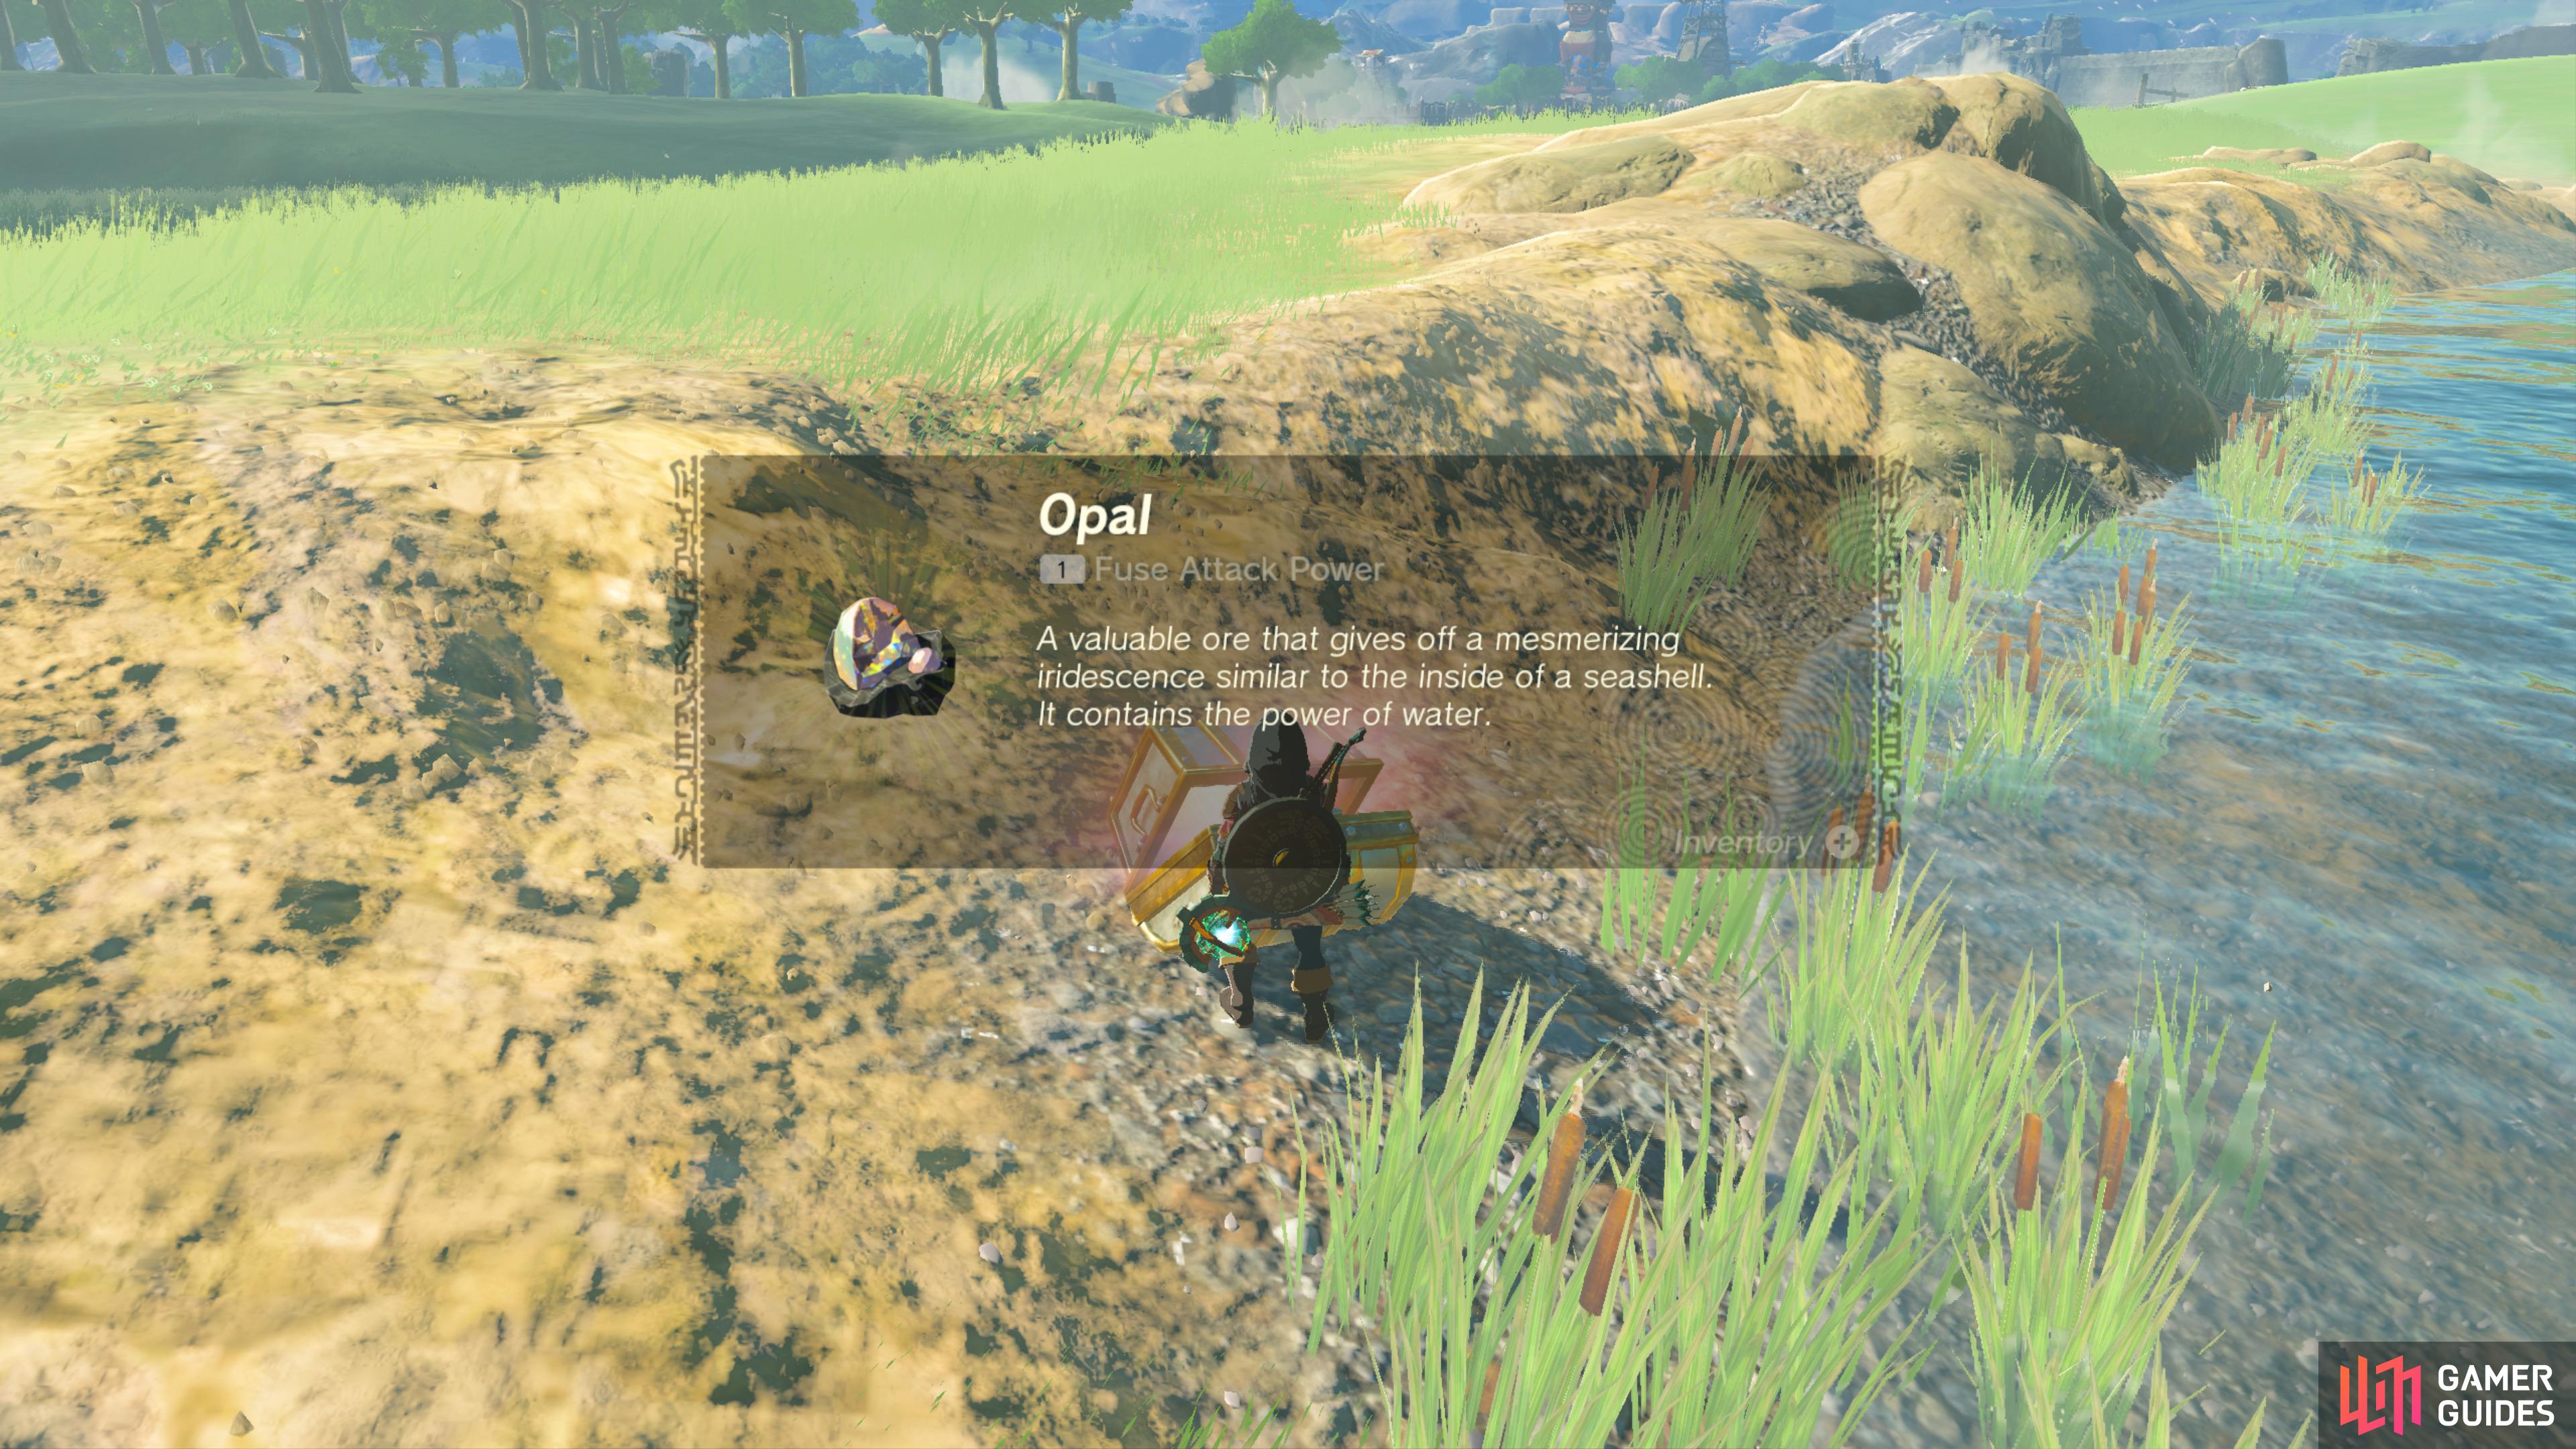
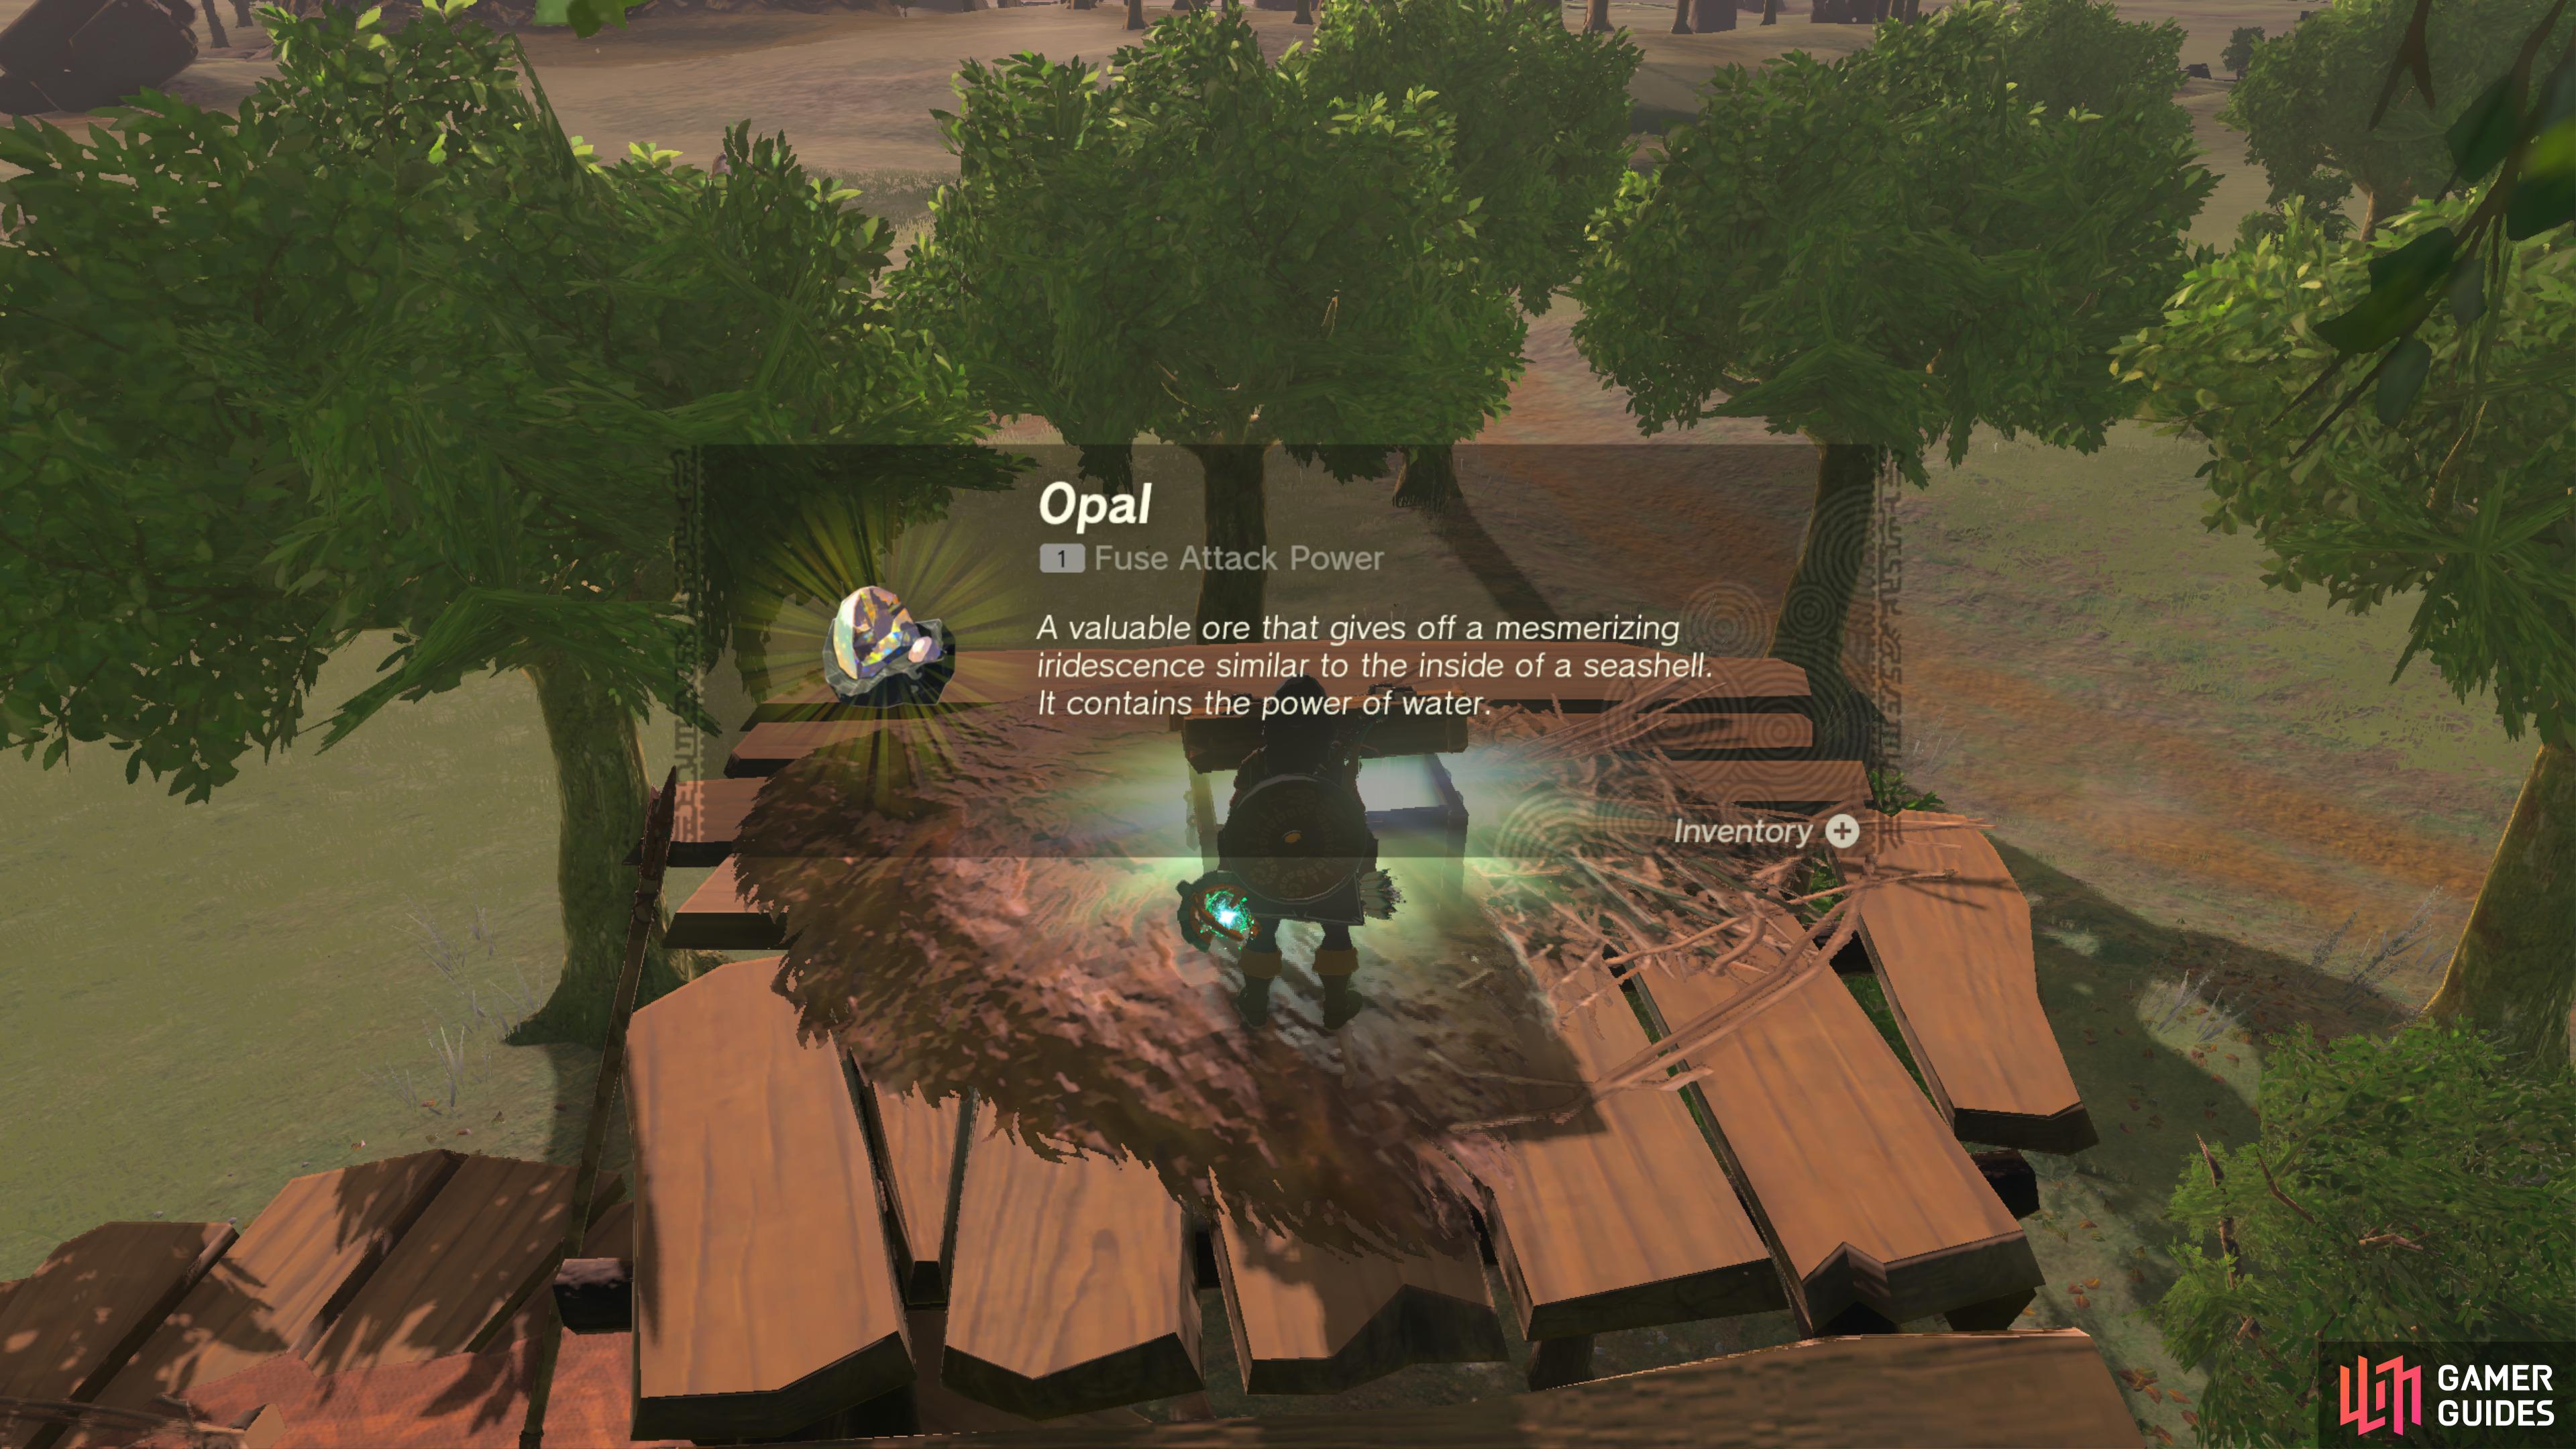
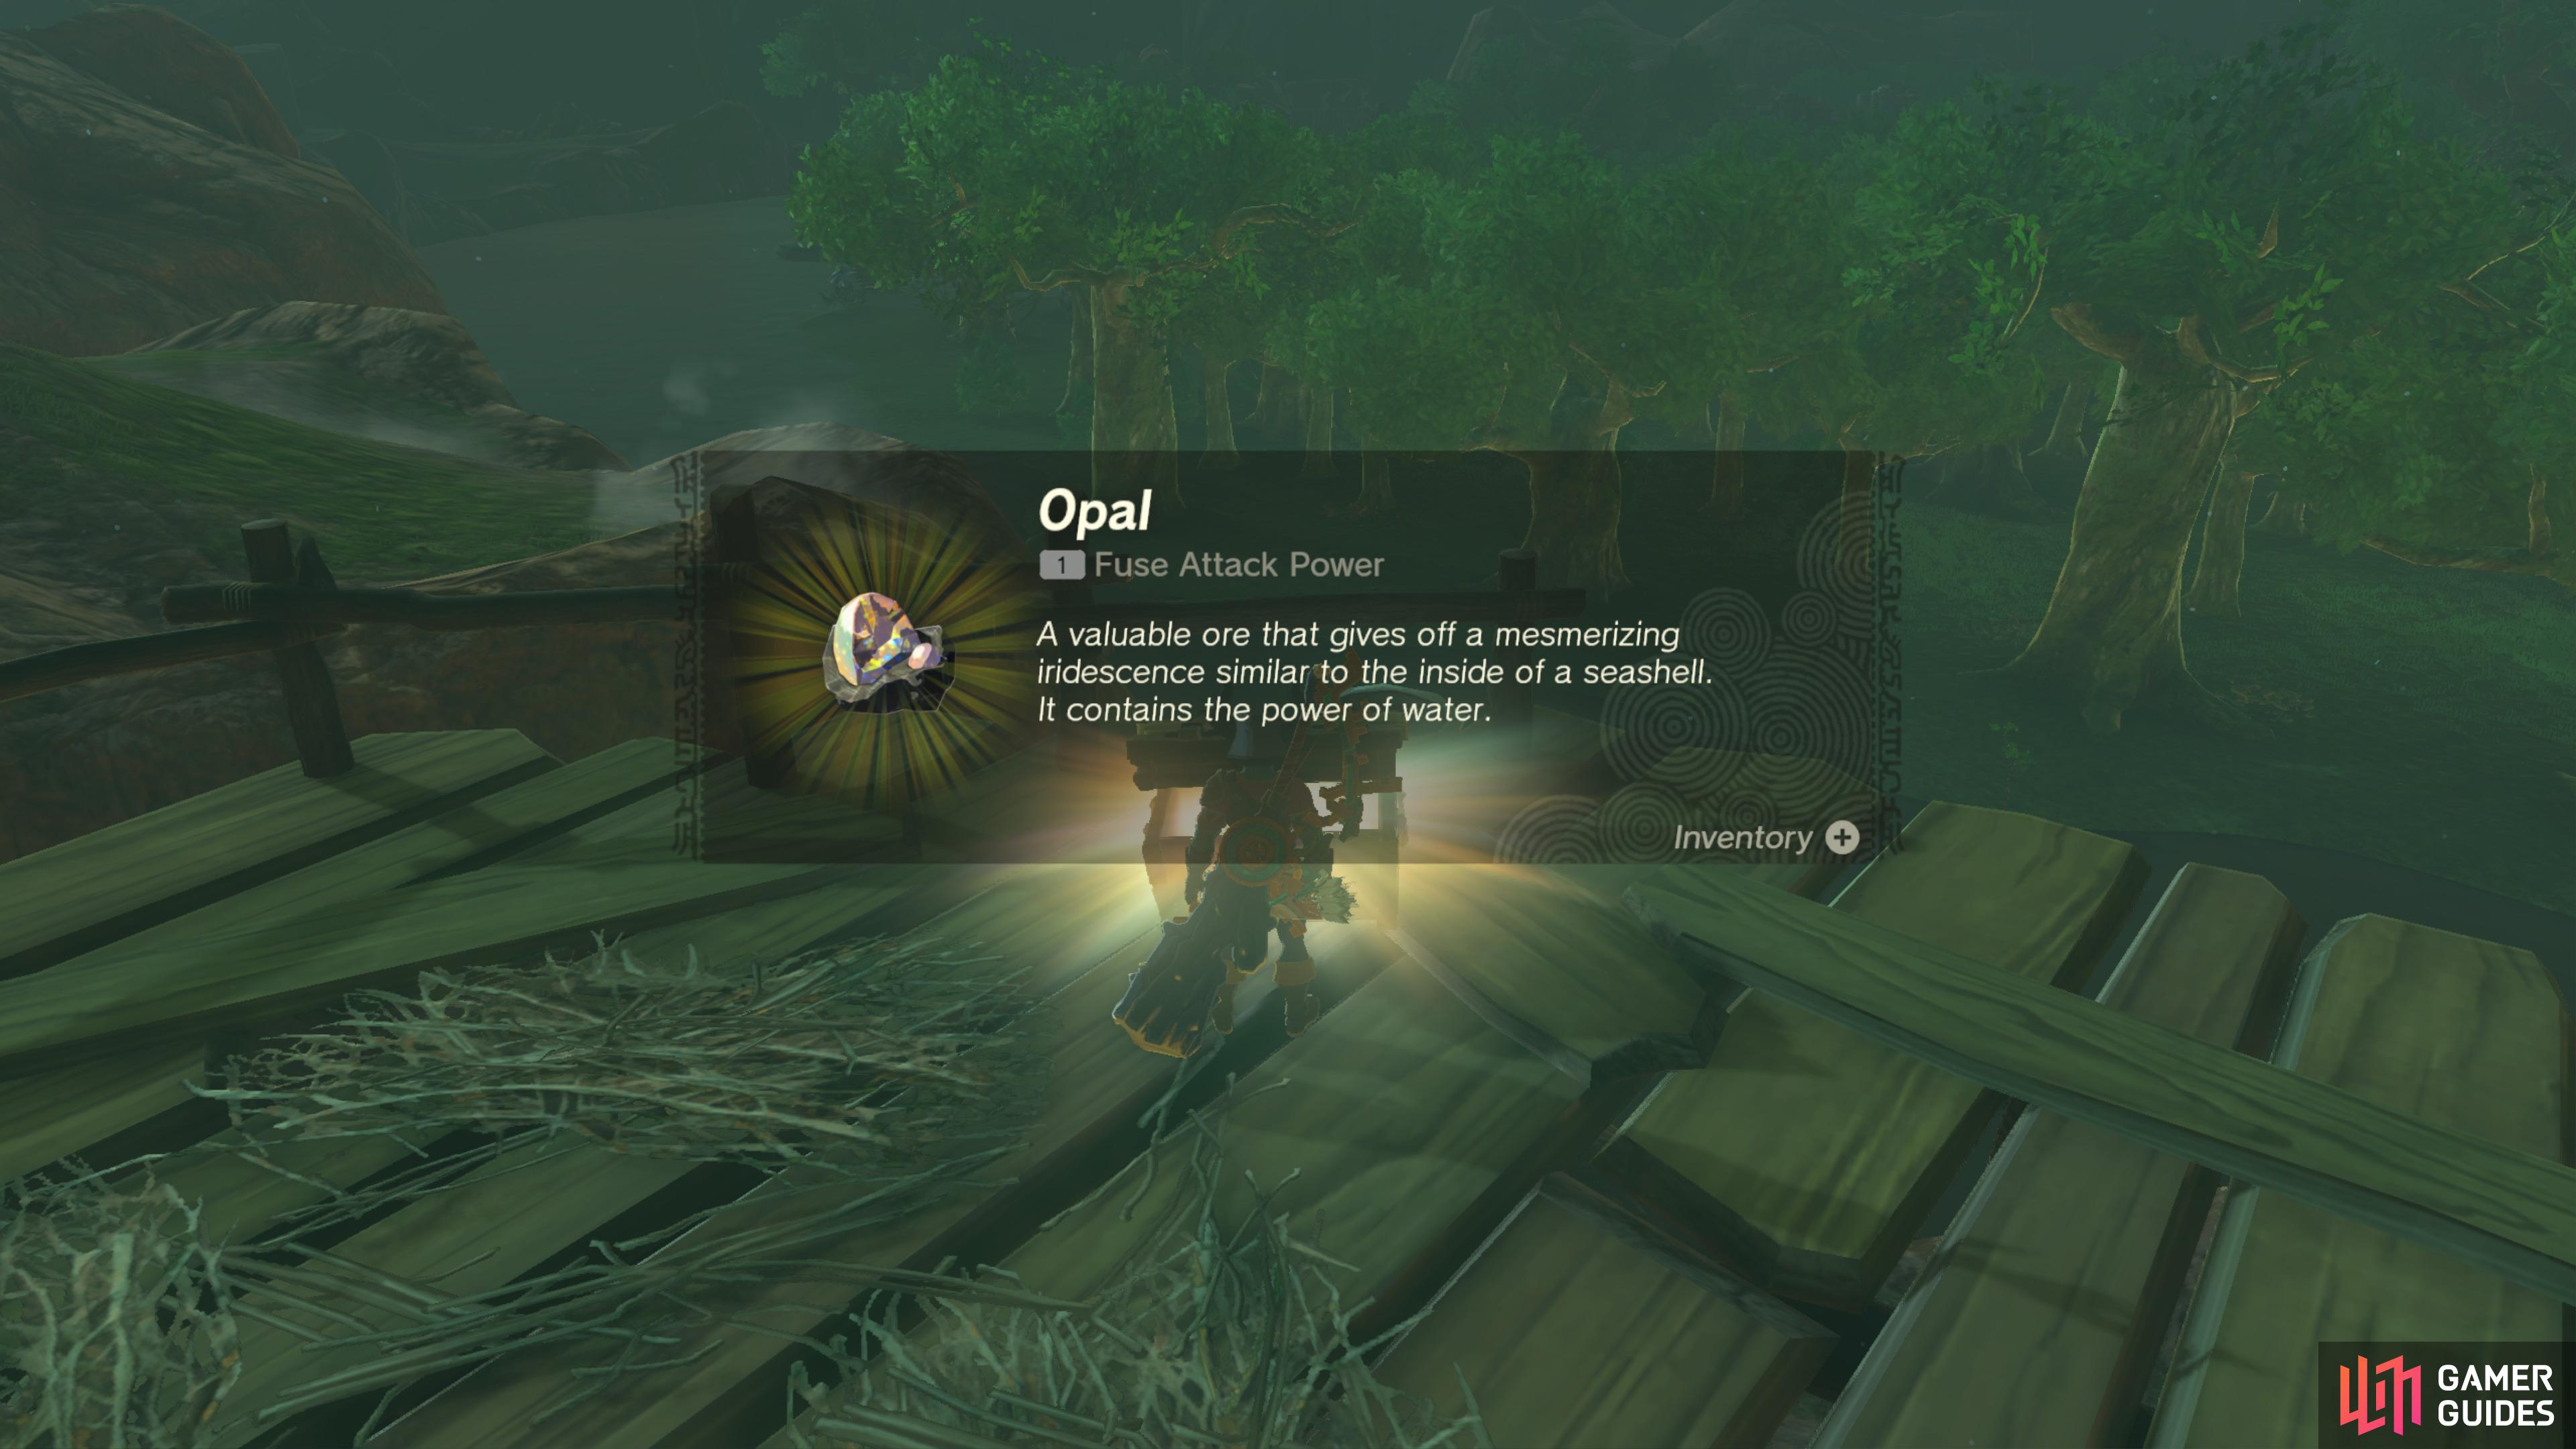
39926. Hyrule Sky Islands Map
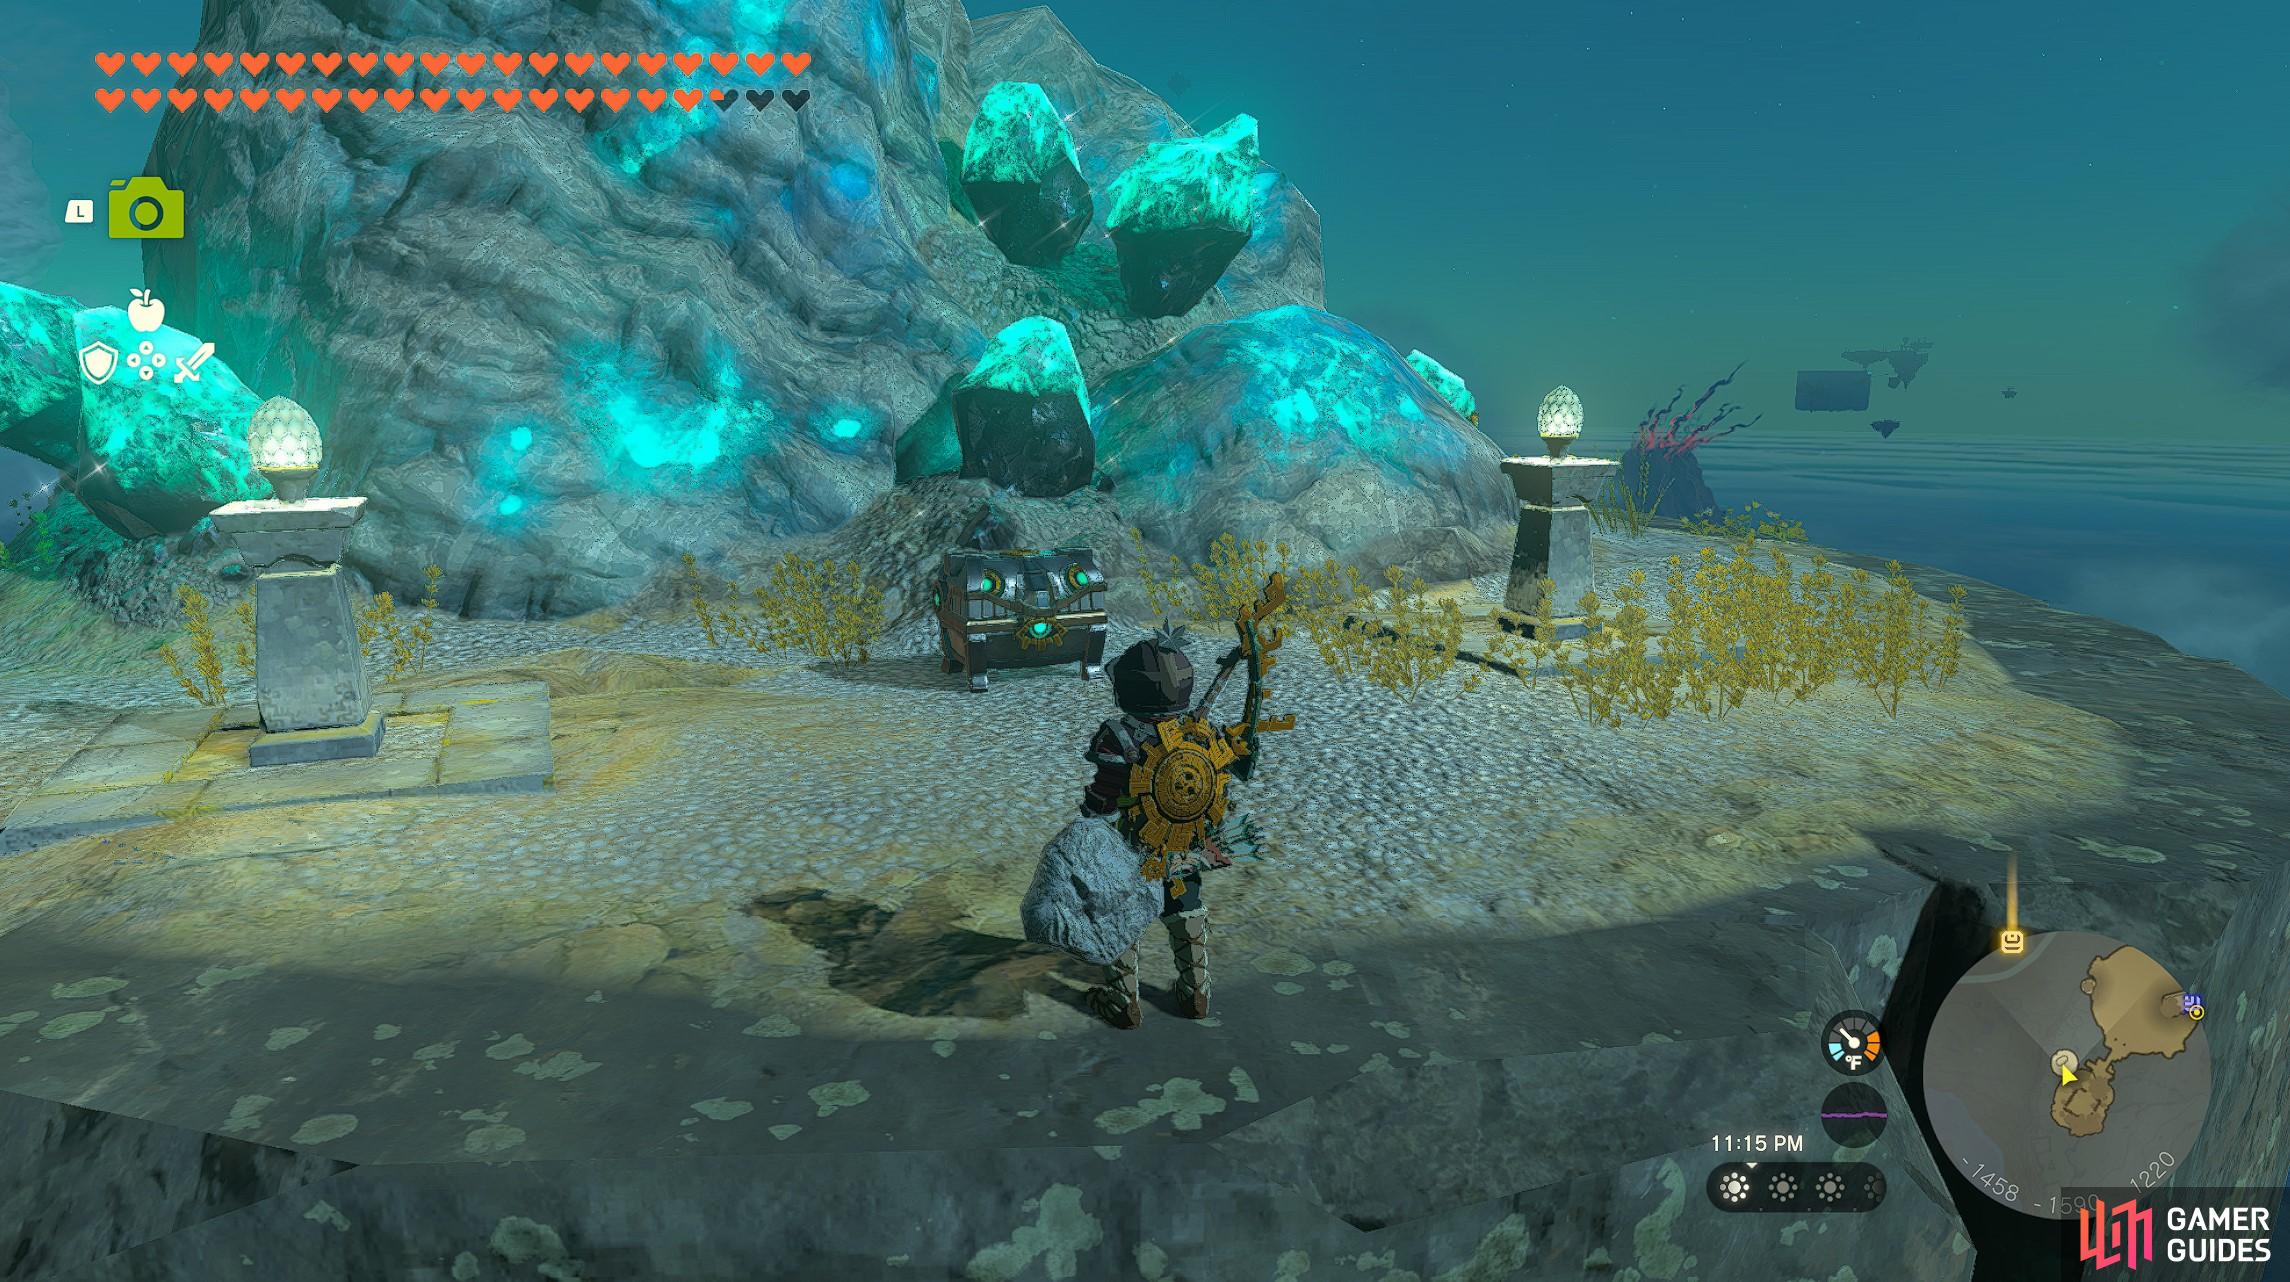
On top of the small mountain. Accessible by using the small climbing path up.
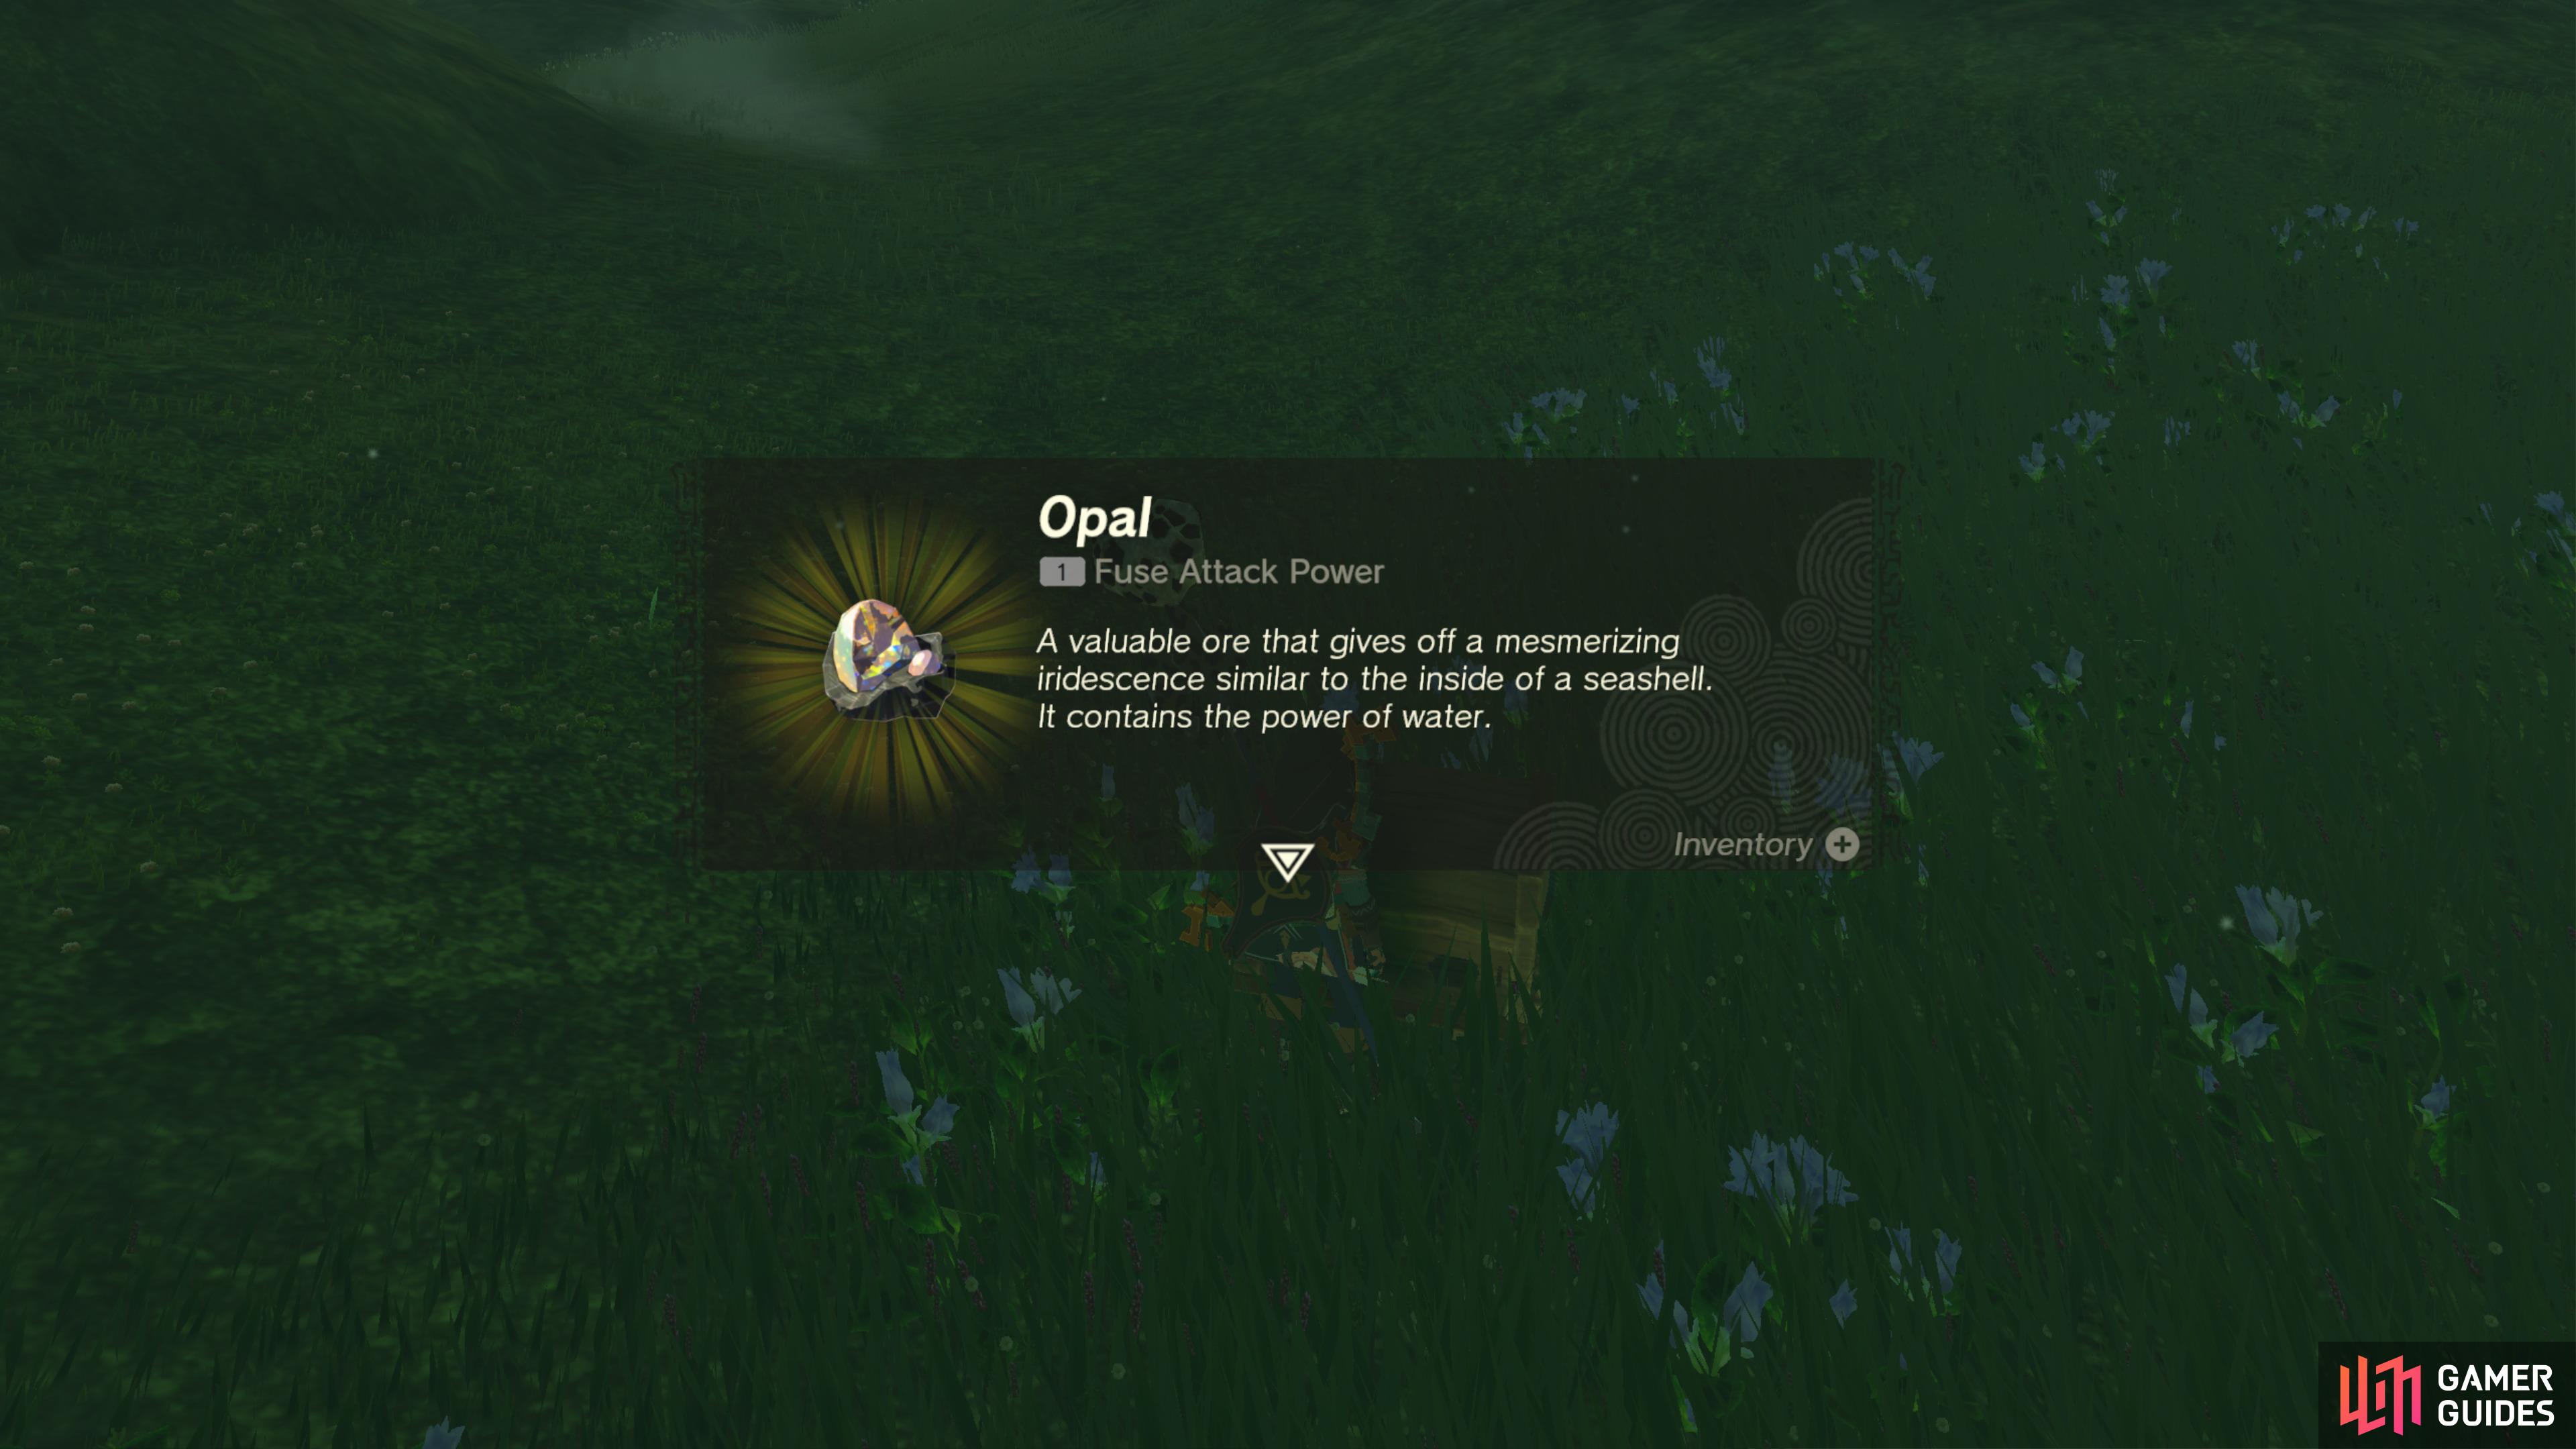
Defeat the two nearby ![]() Captain Constructs to unlock the chest.
Captain Constructs to unlock the chest.
- Contains an
 Opal.
Opal.

39930. Hyrule Surface Map
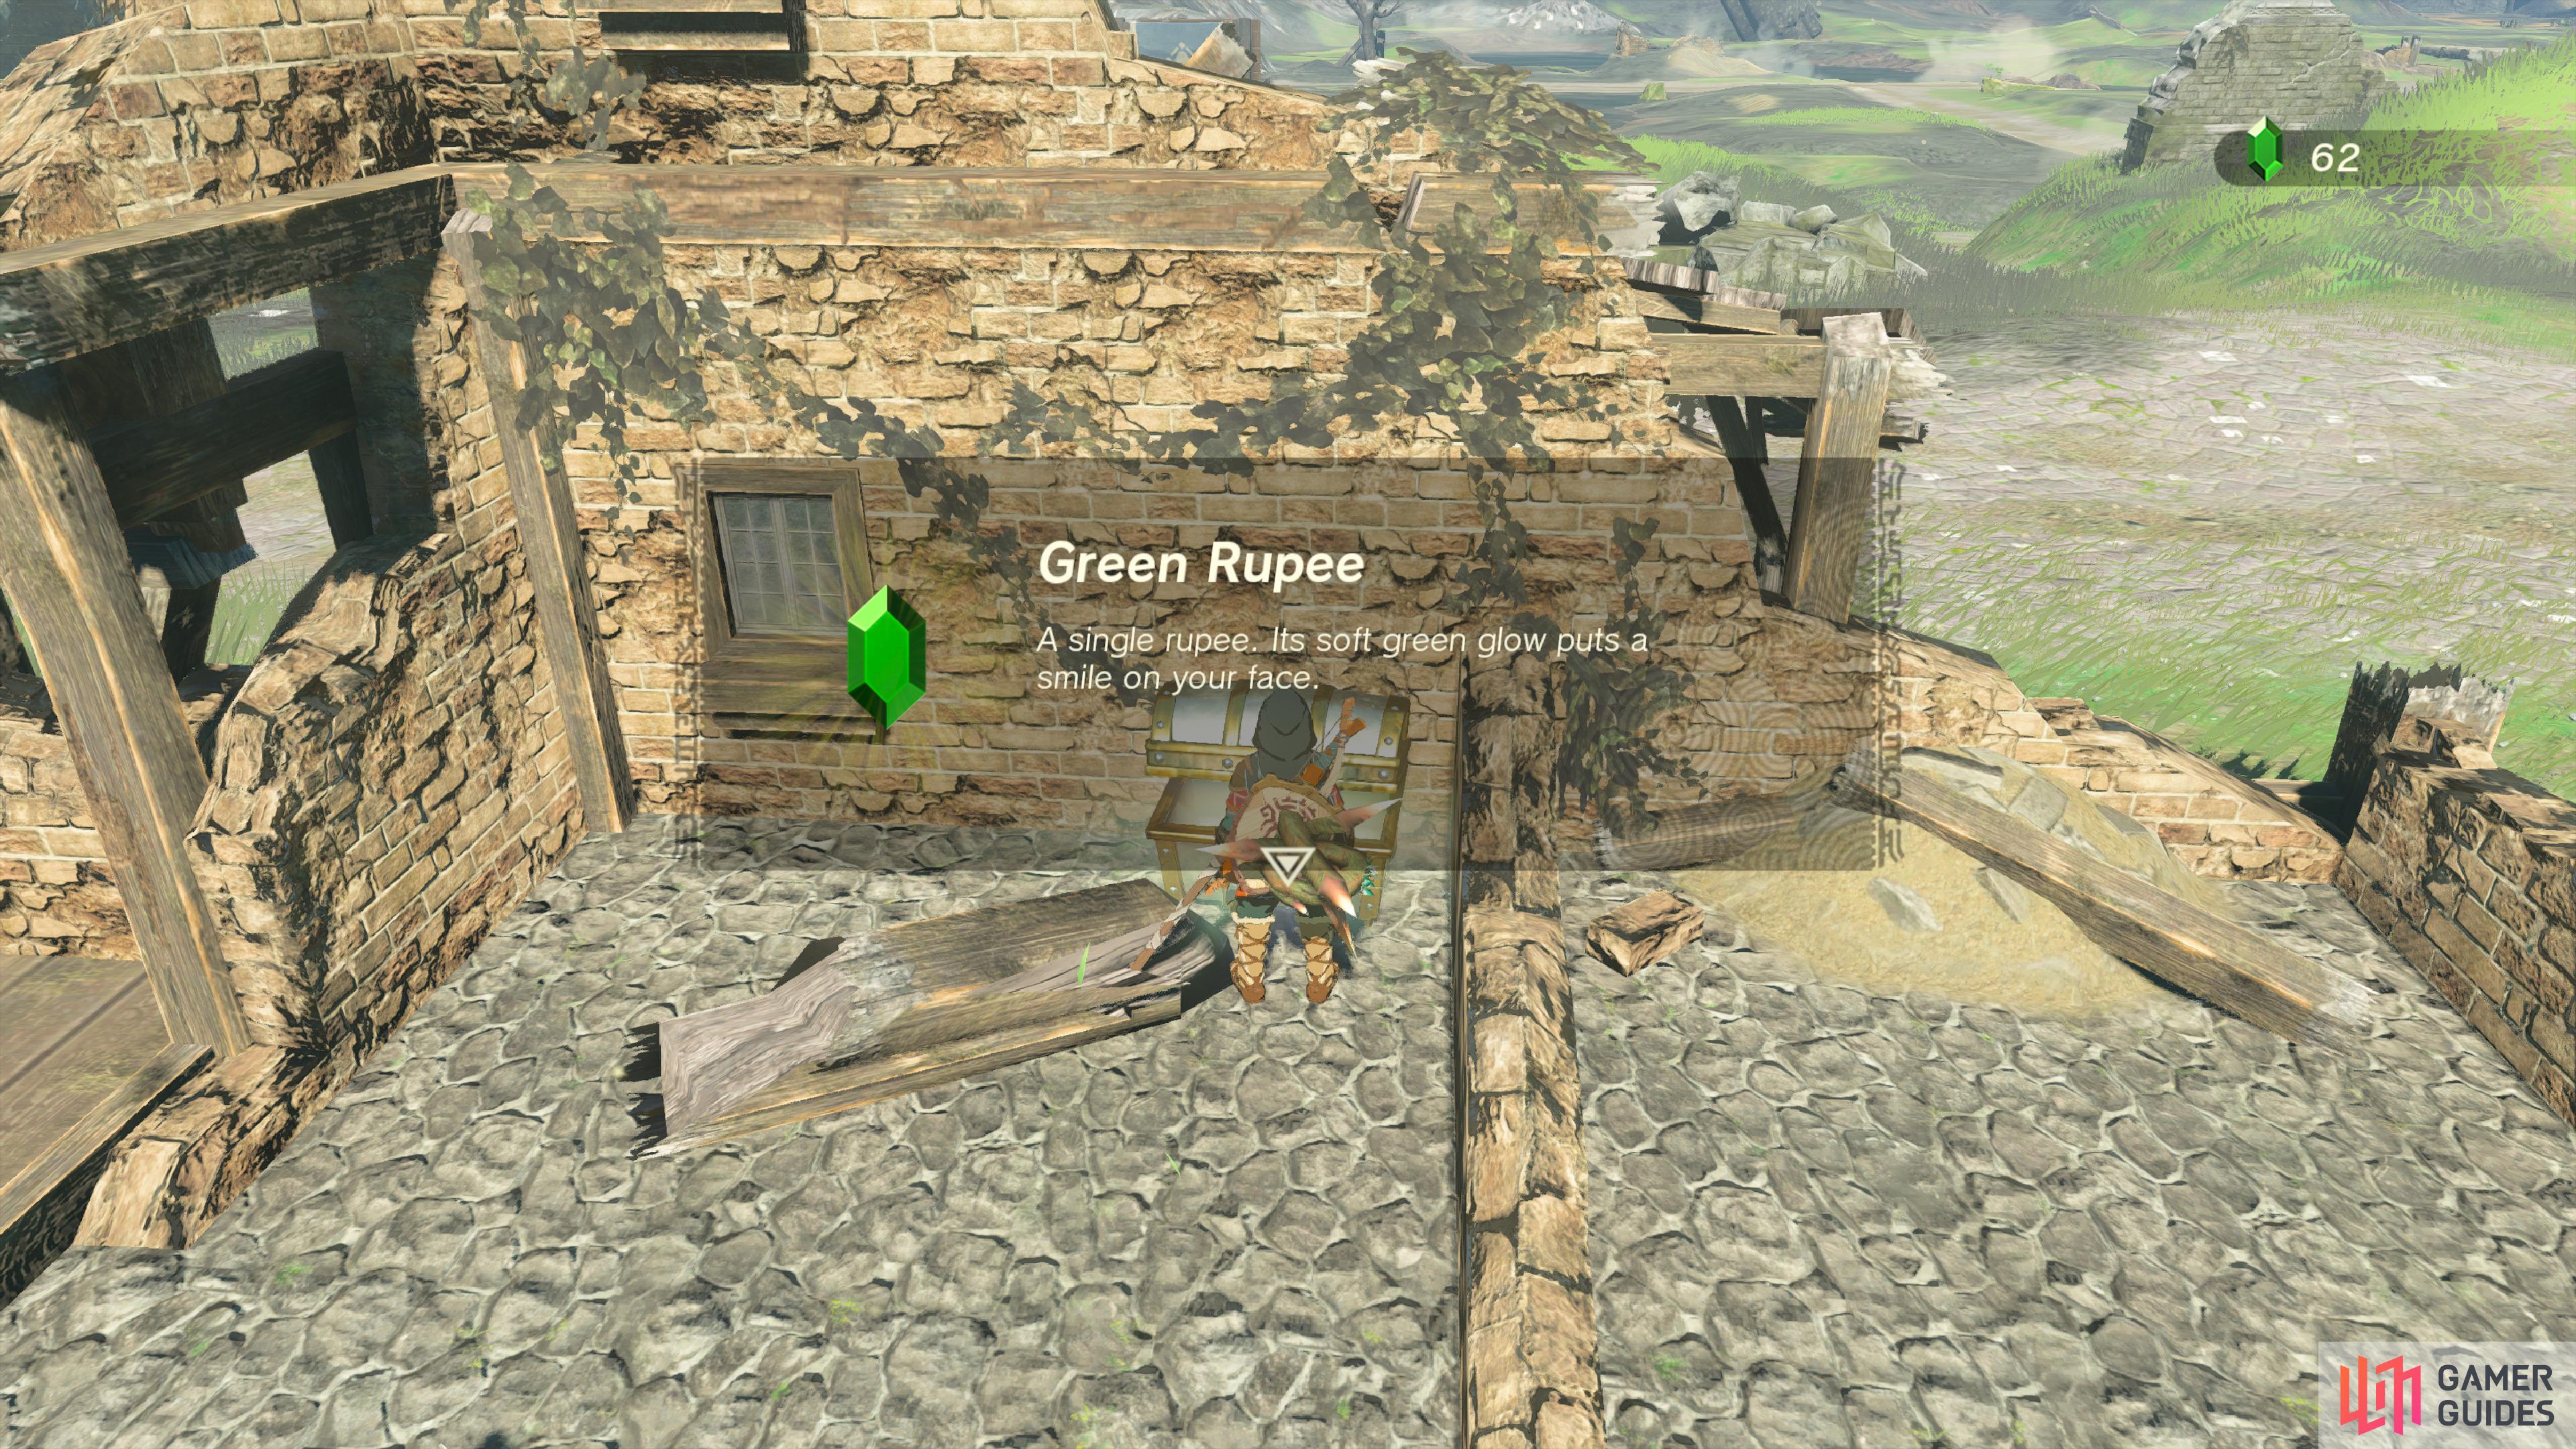
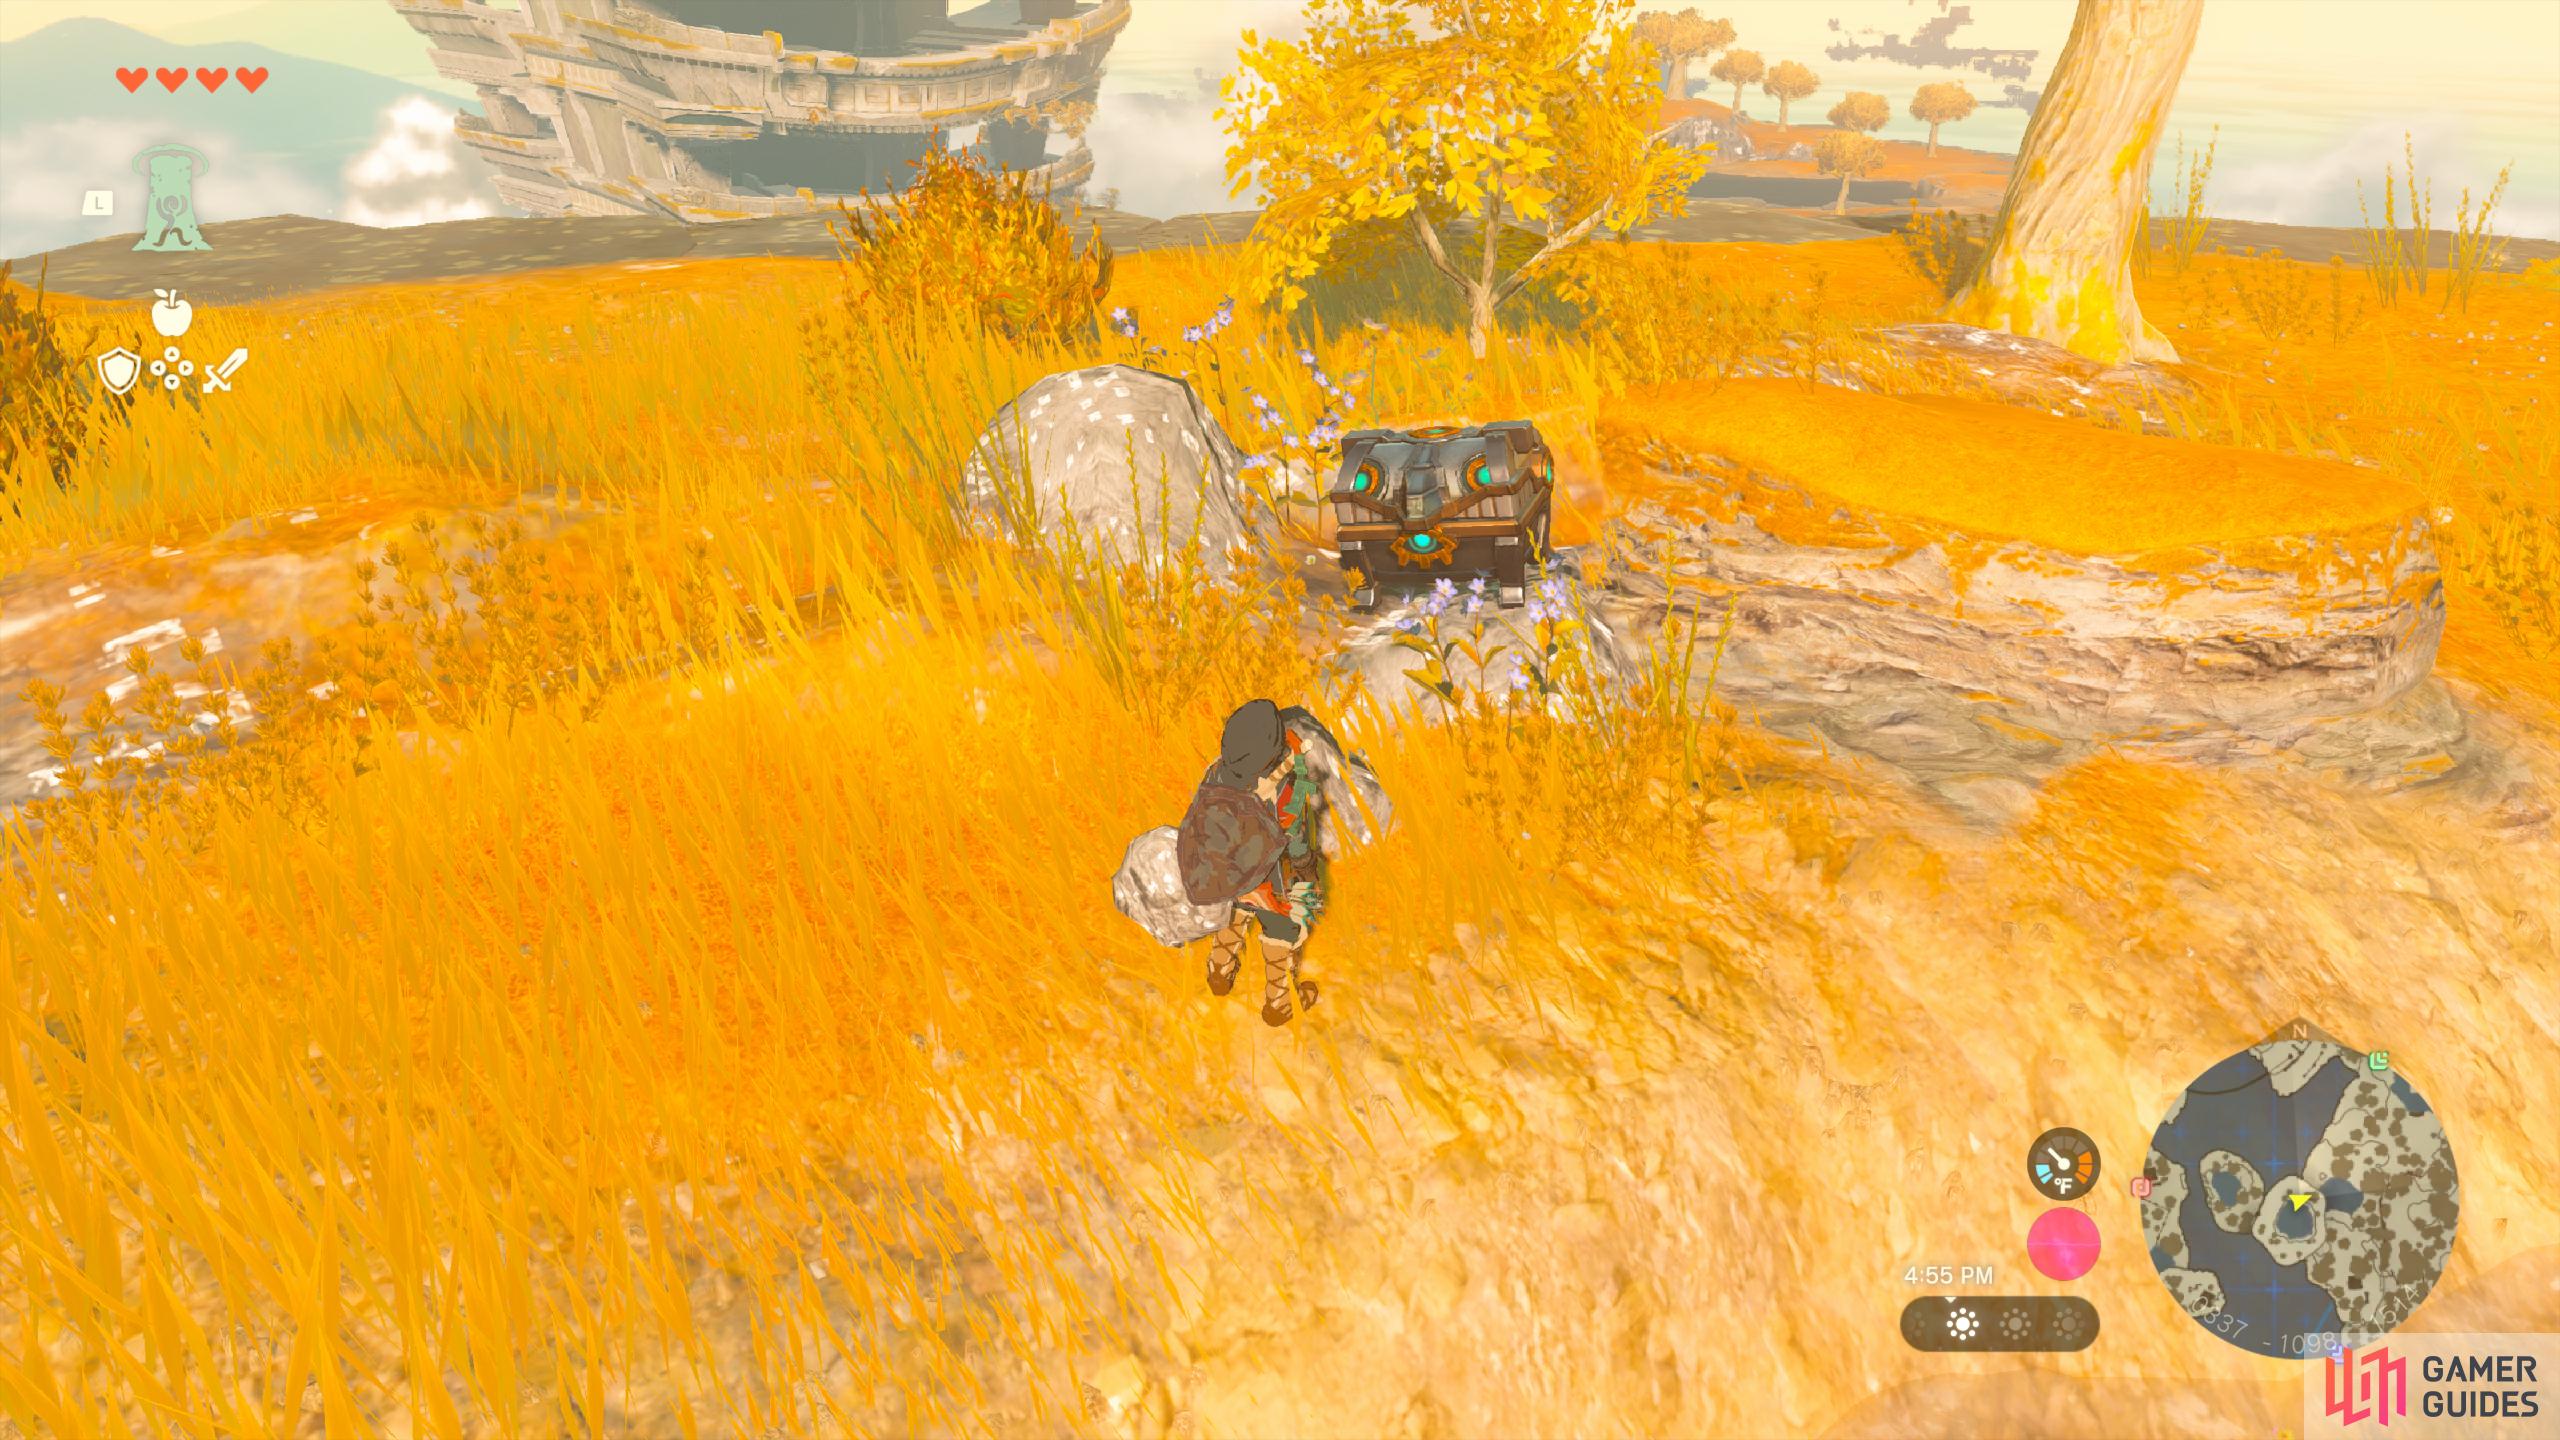
Use ![]() Ultrahand to pull this Chest out of the ground, it contains a single
Ultrahand to pull this Chest out of the ground, it contains a single ![]() Green Rupee.
Green Rupee.
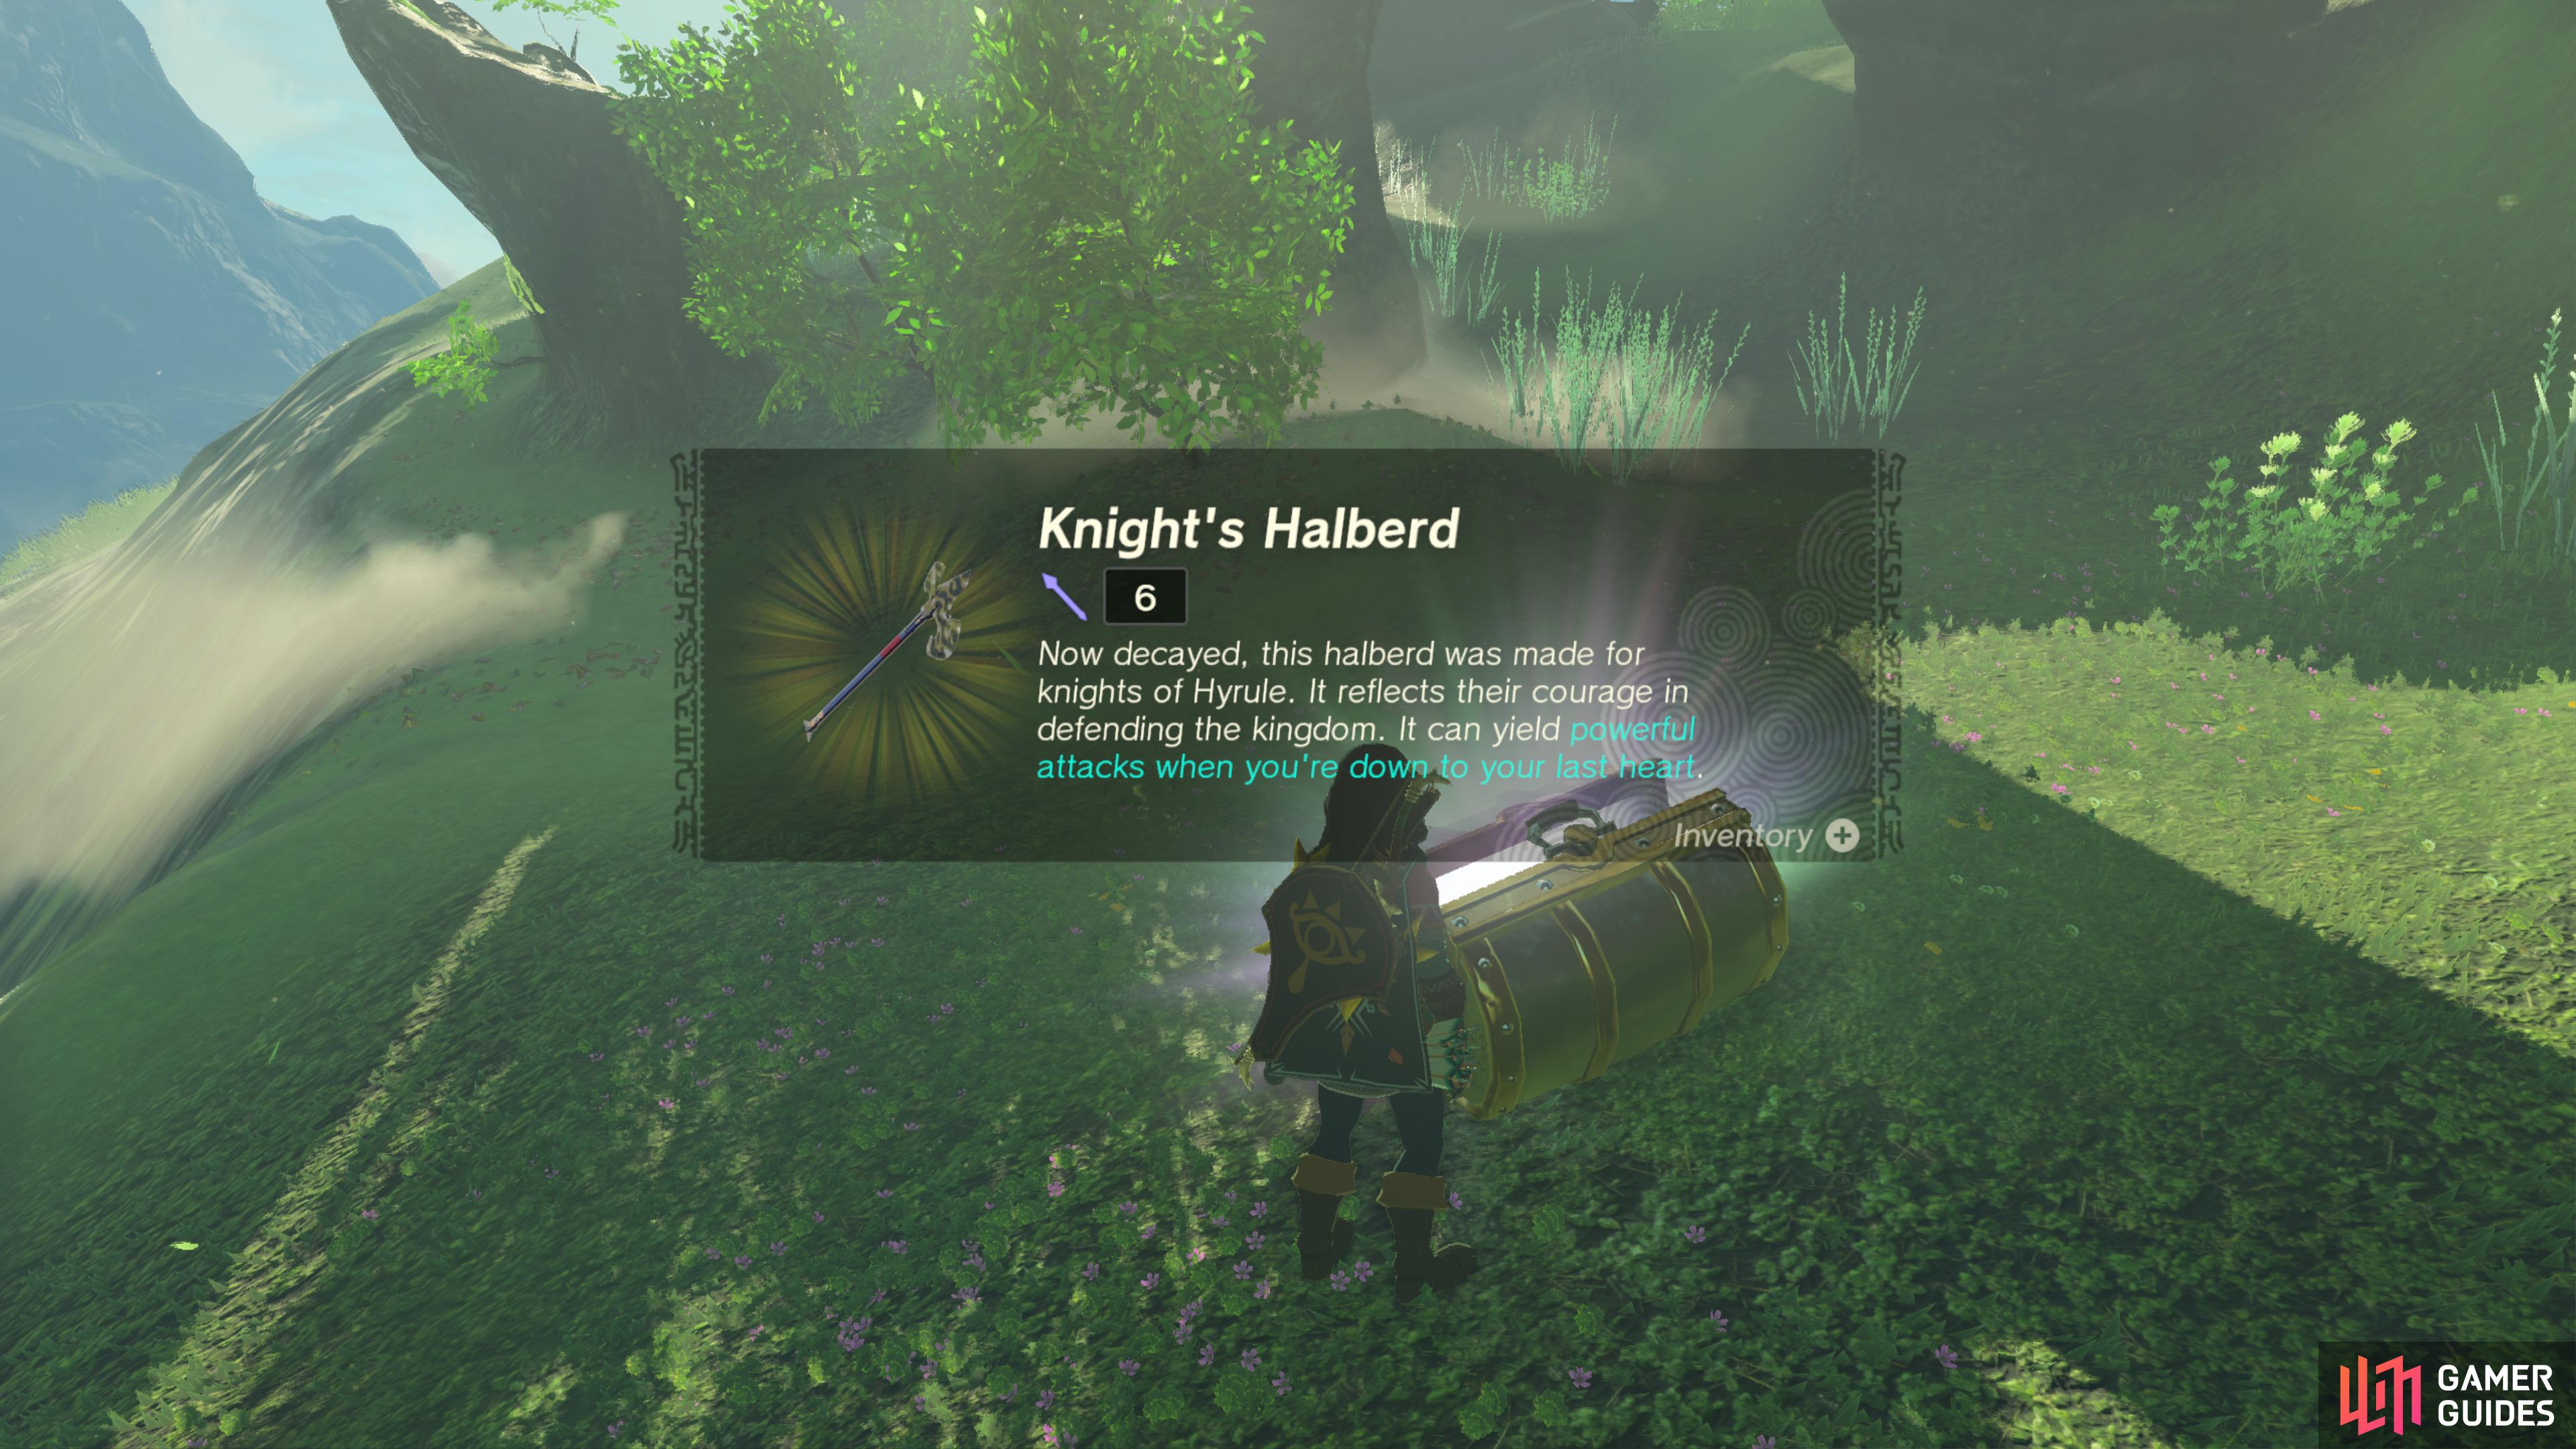
39942. Hyrule Surface Map
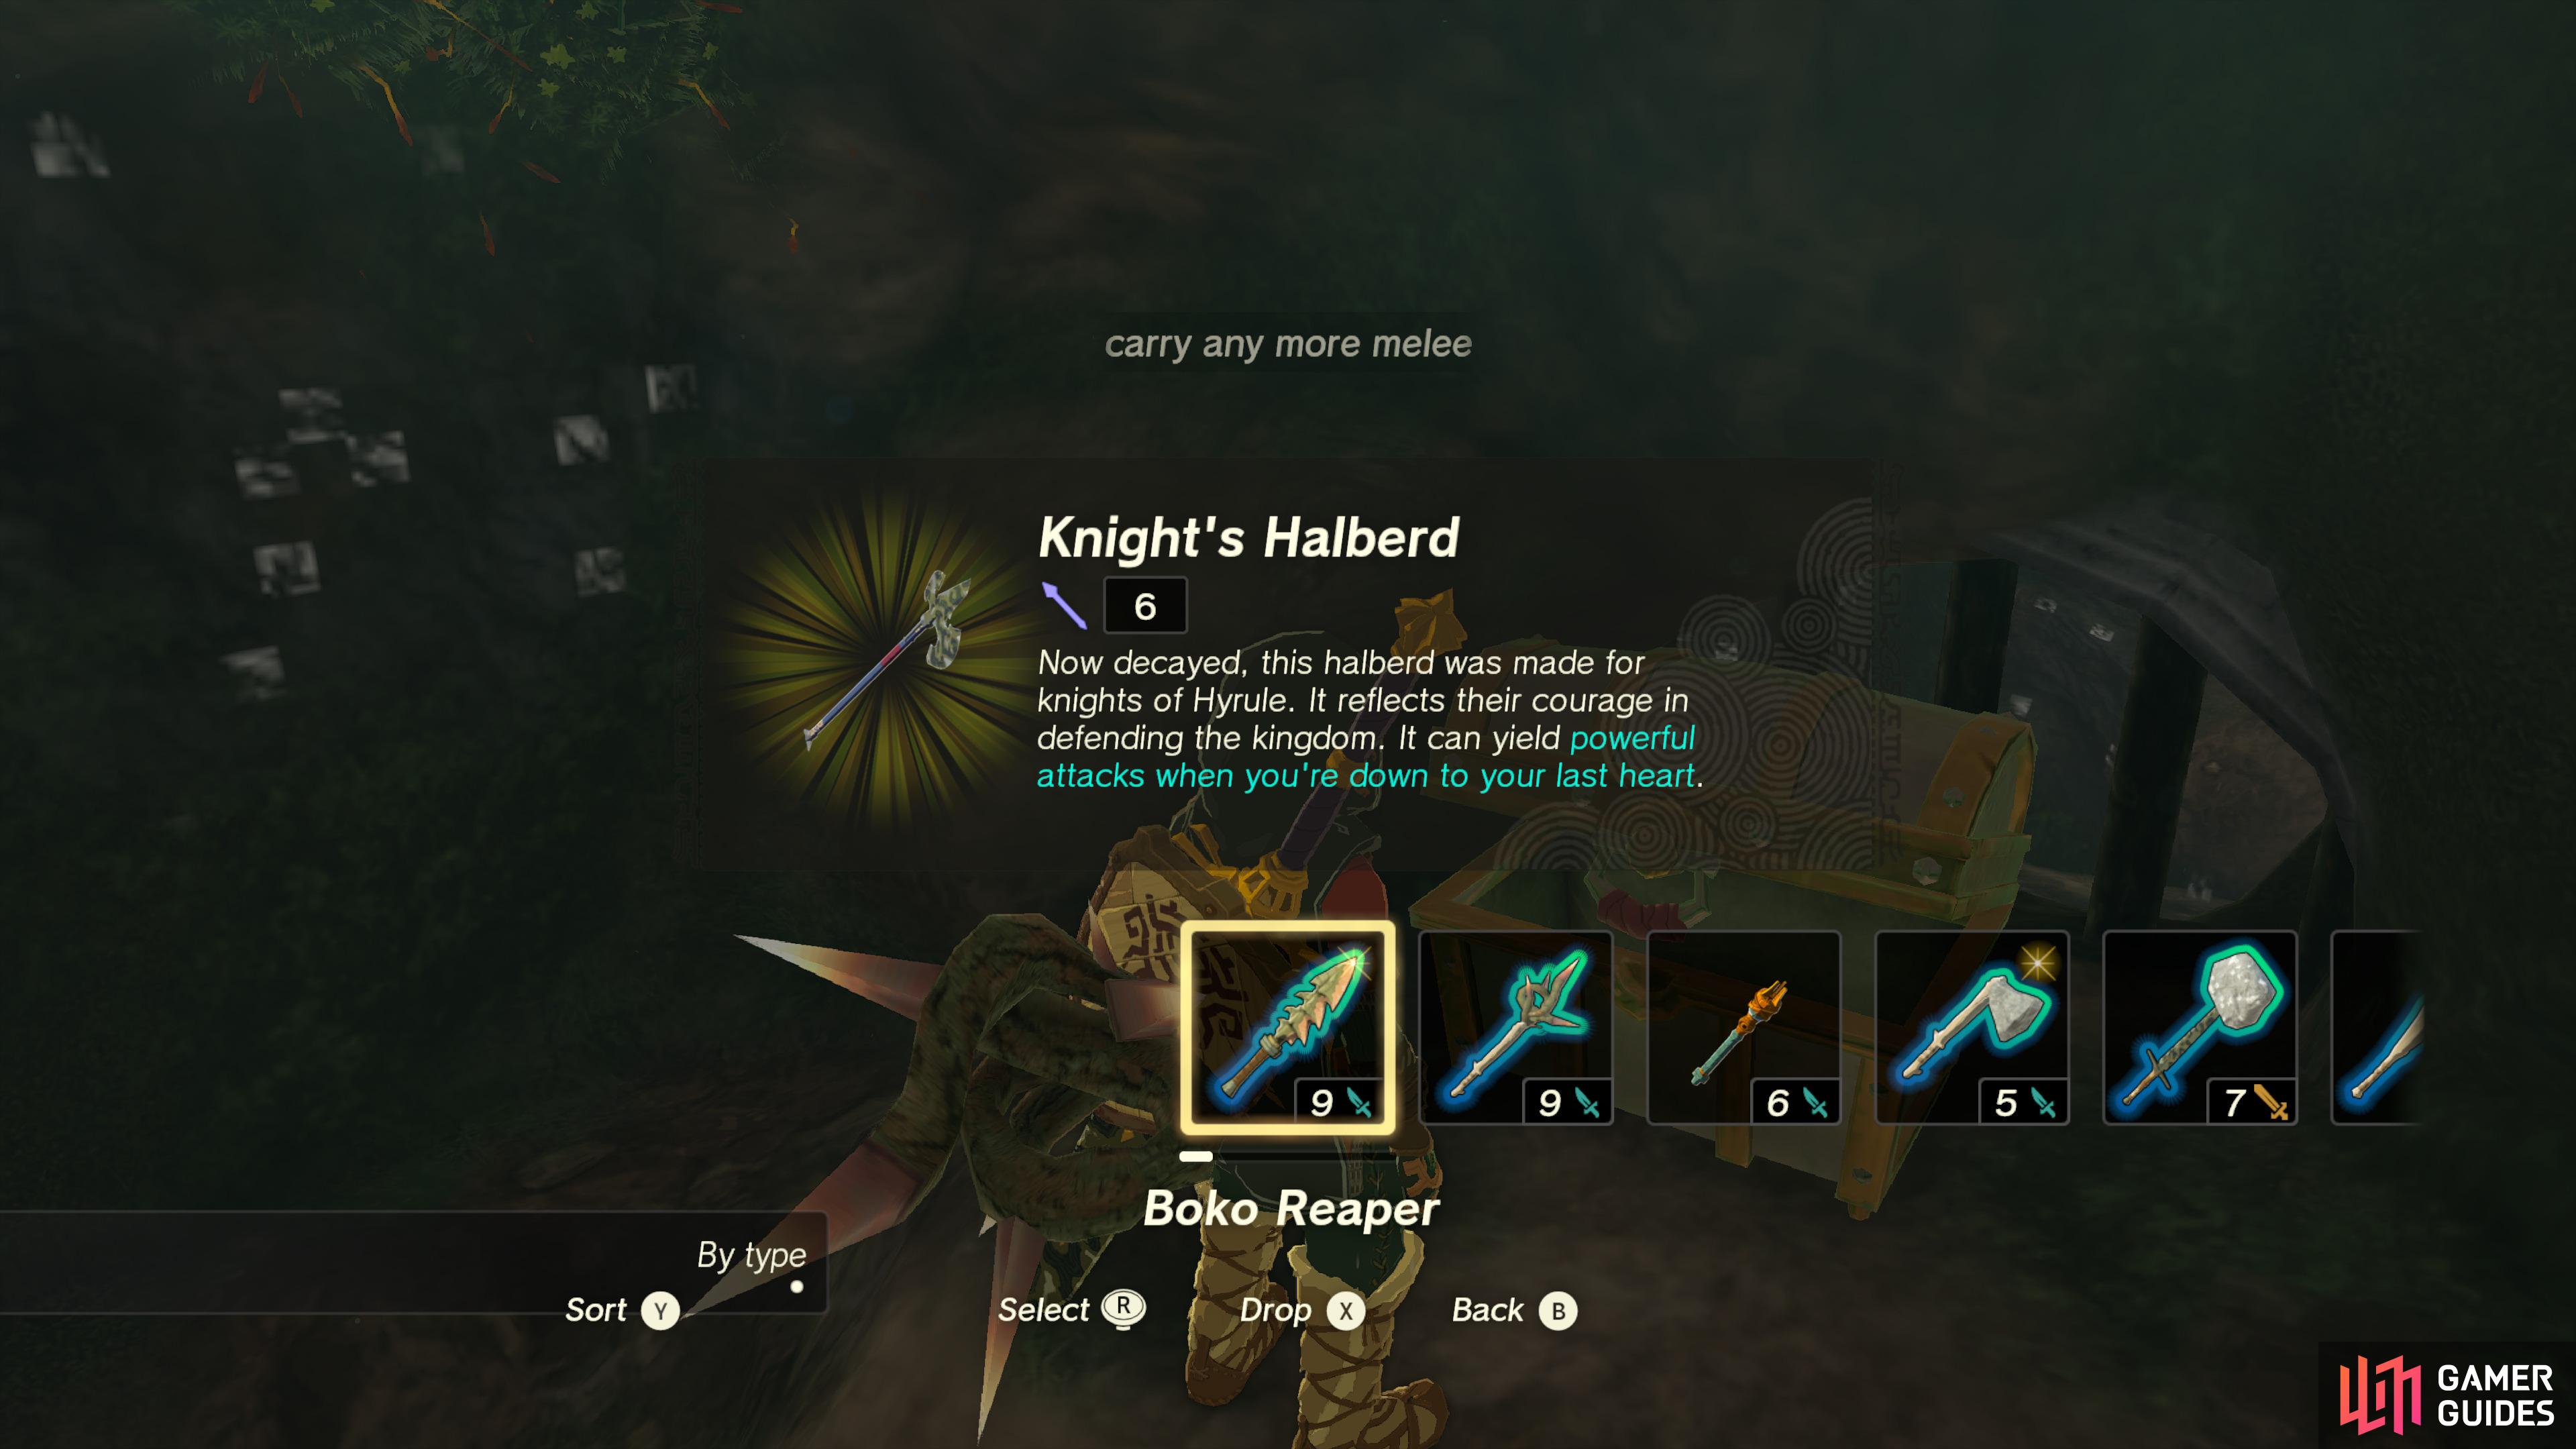
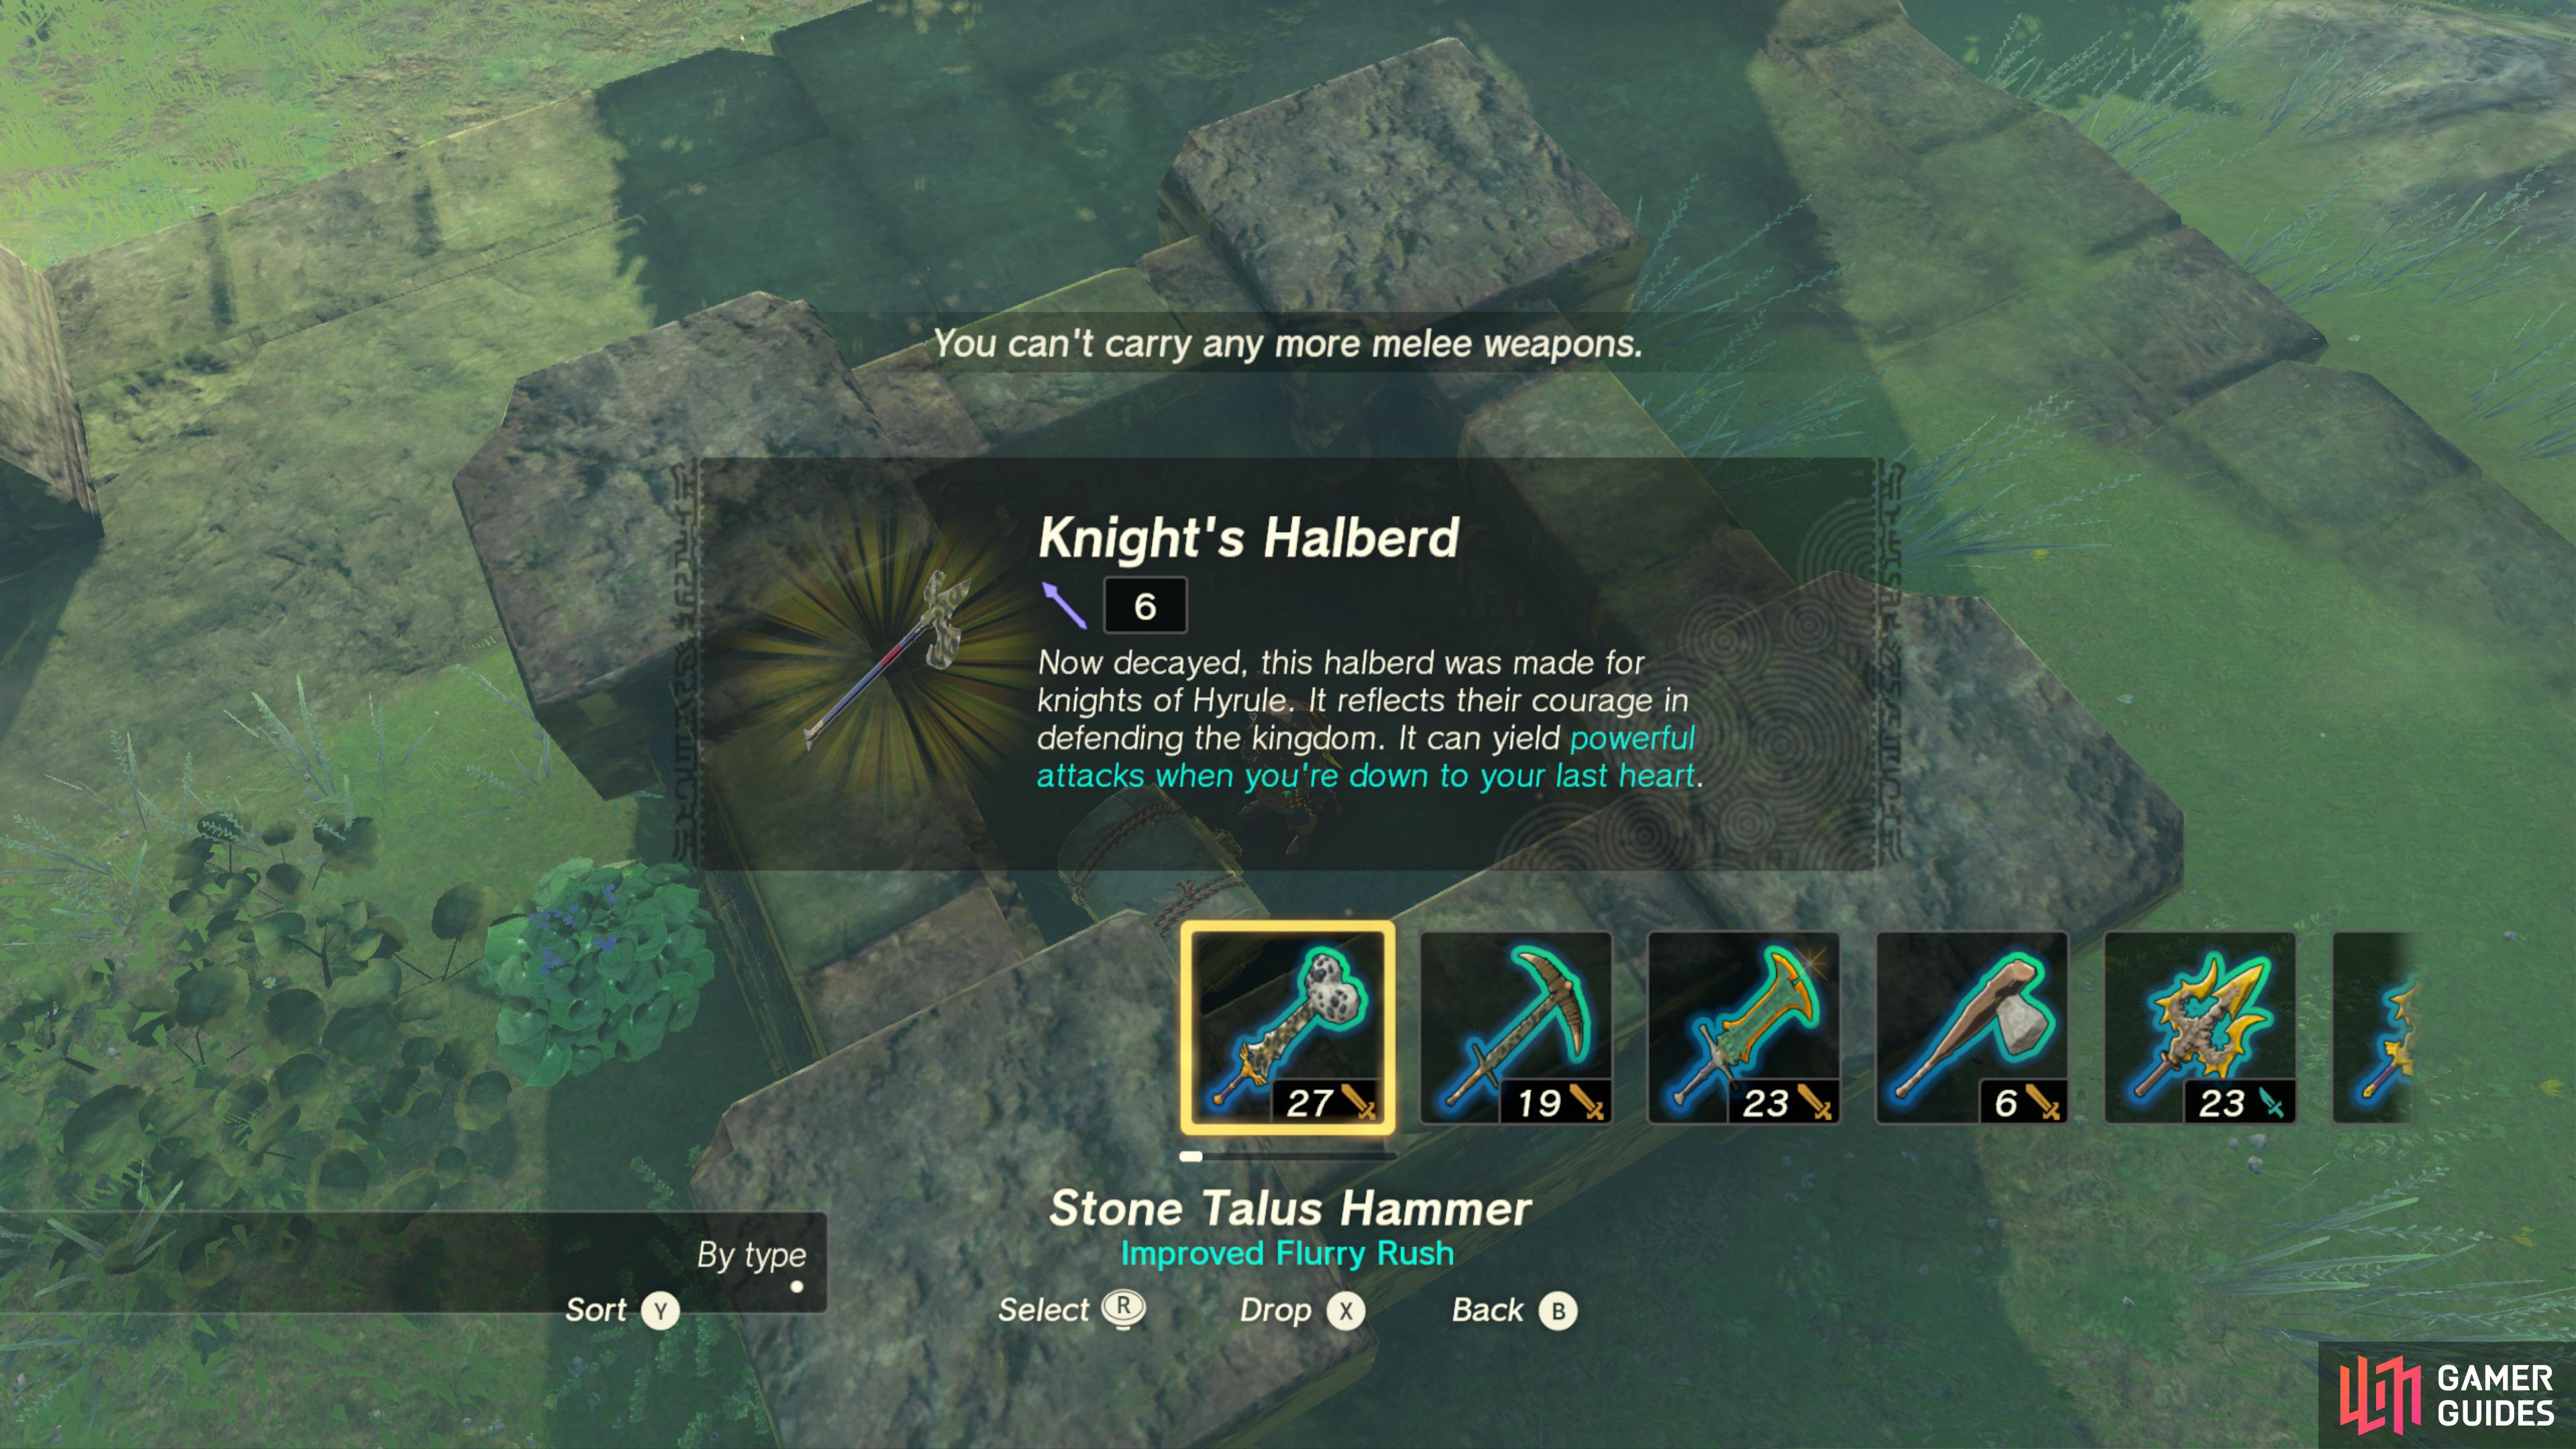
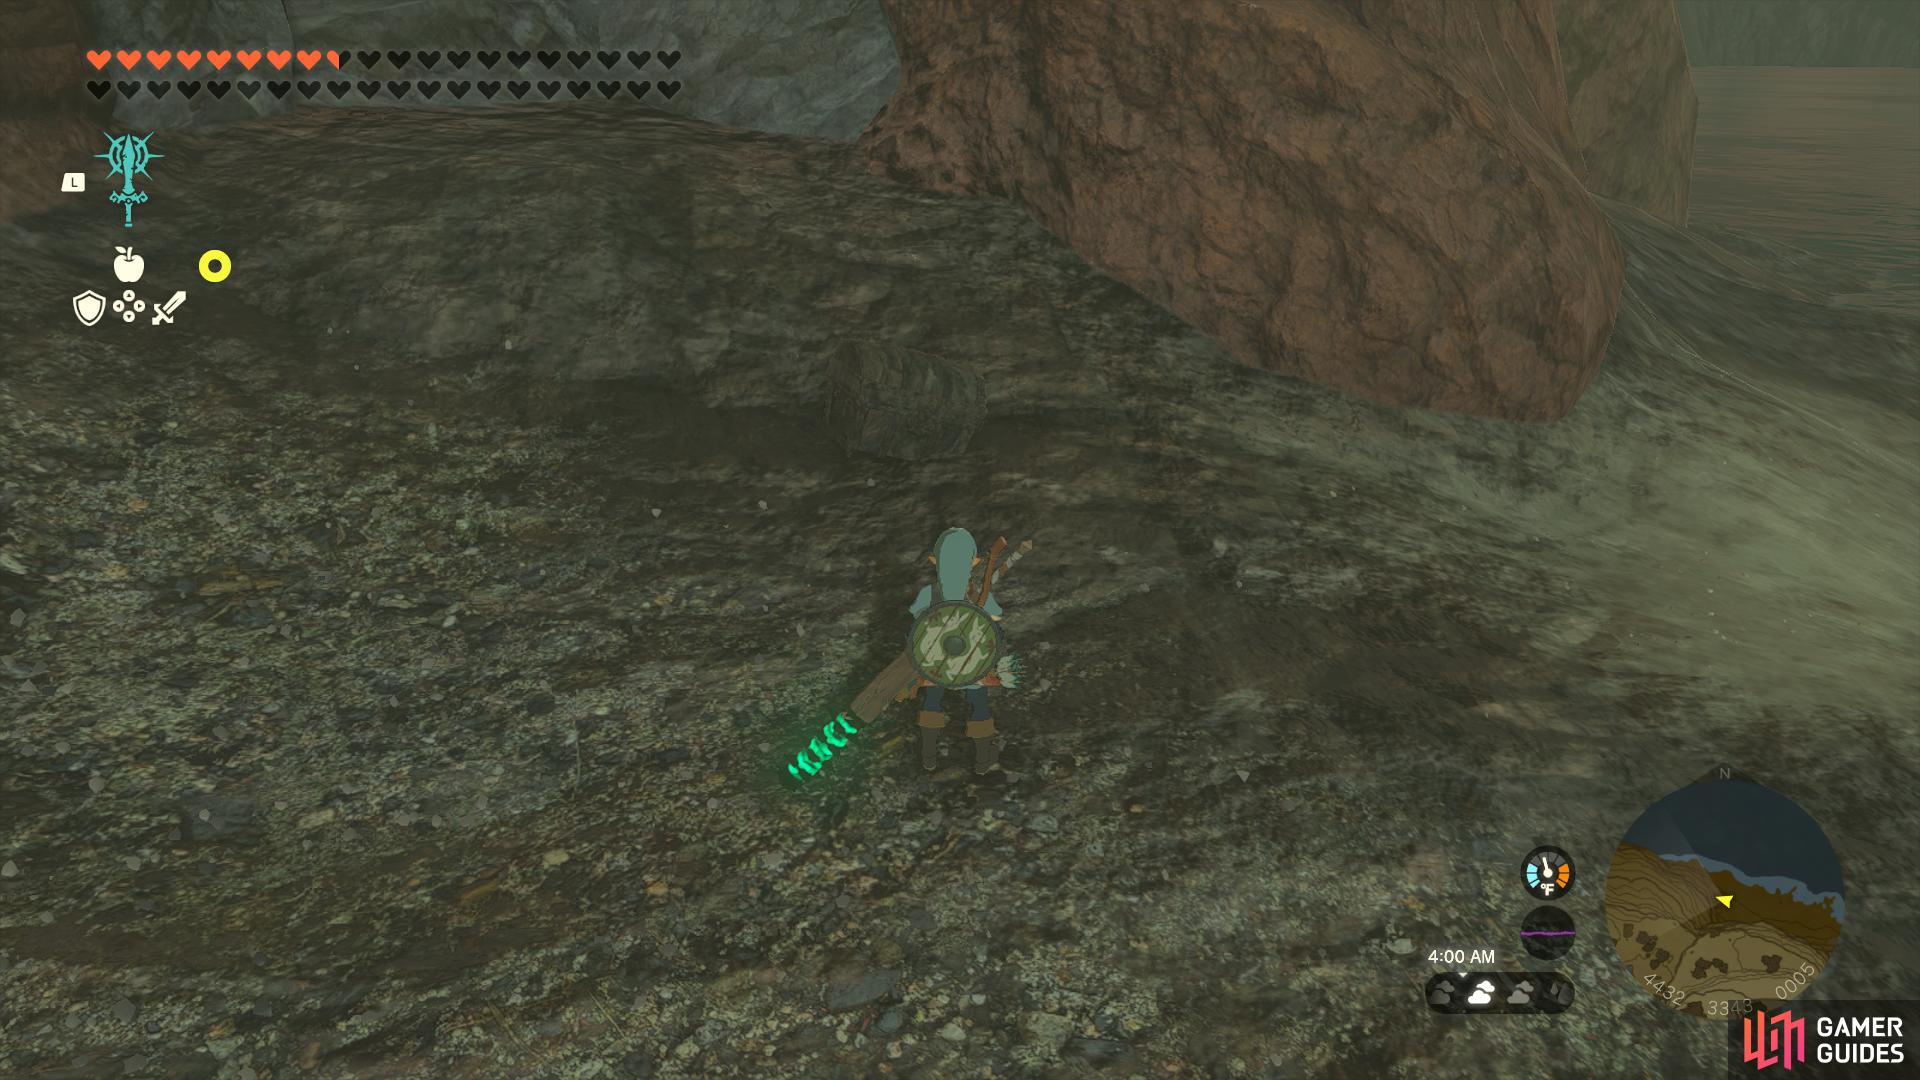
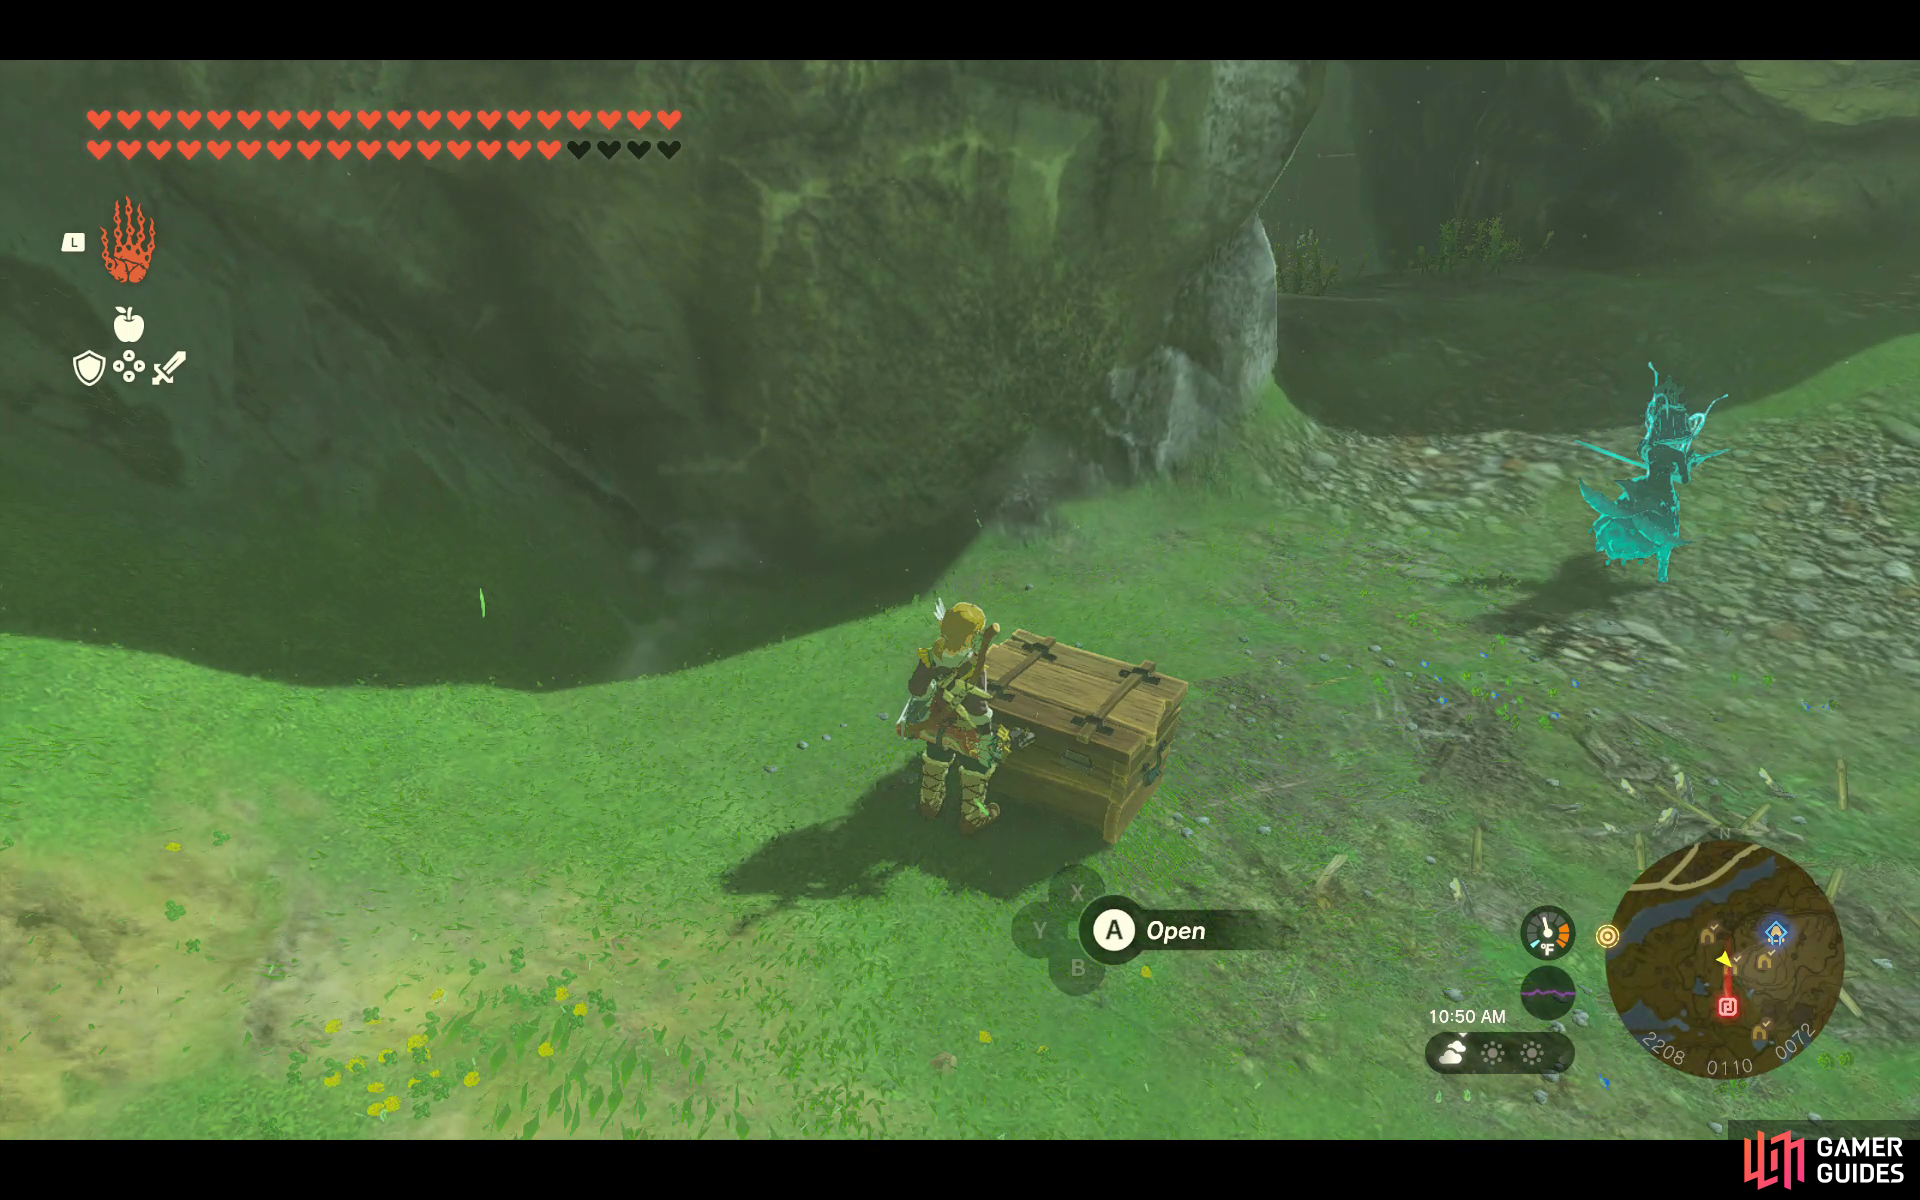
Found inside the cave at the bottom of the nearby Well. It contains a ![]() Knight’s Halberd.
Knight’s Halberd.
39947. Hyrule Surface Map
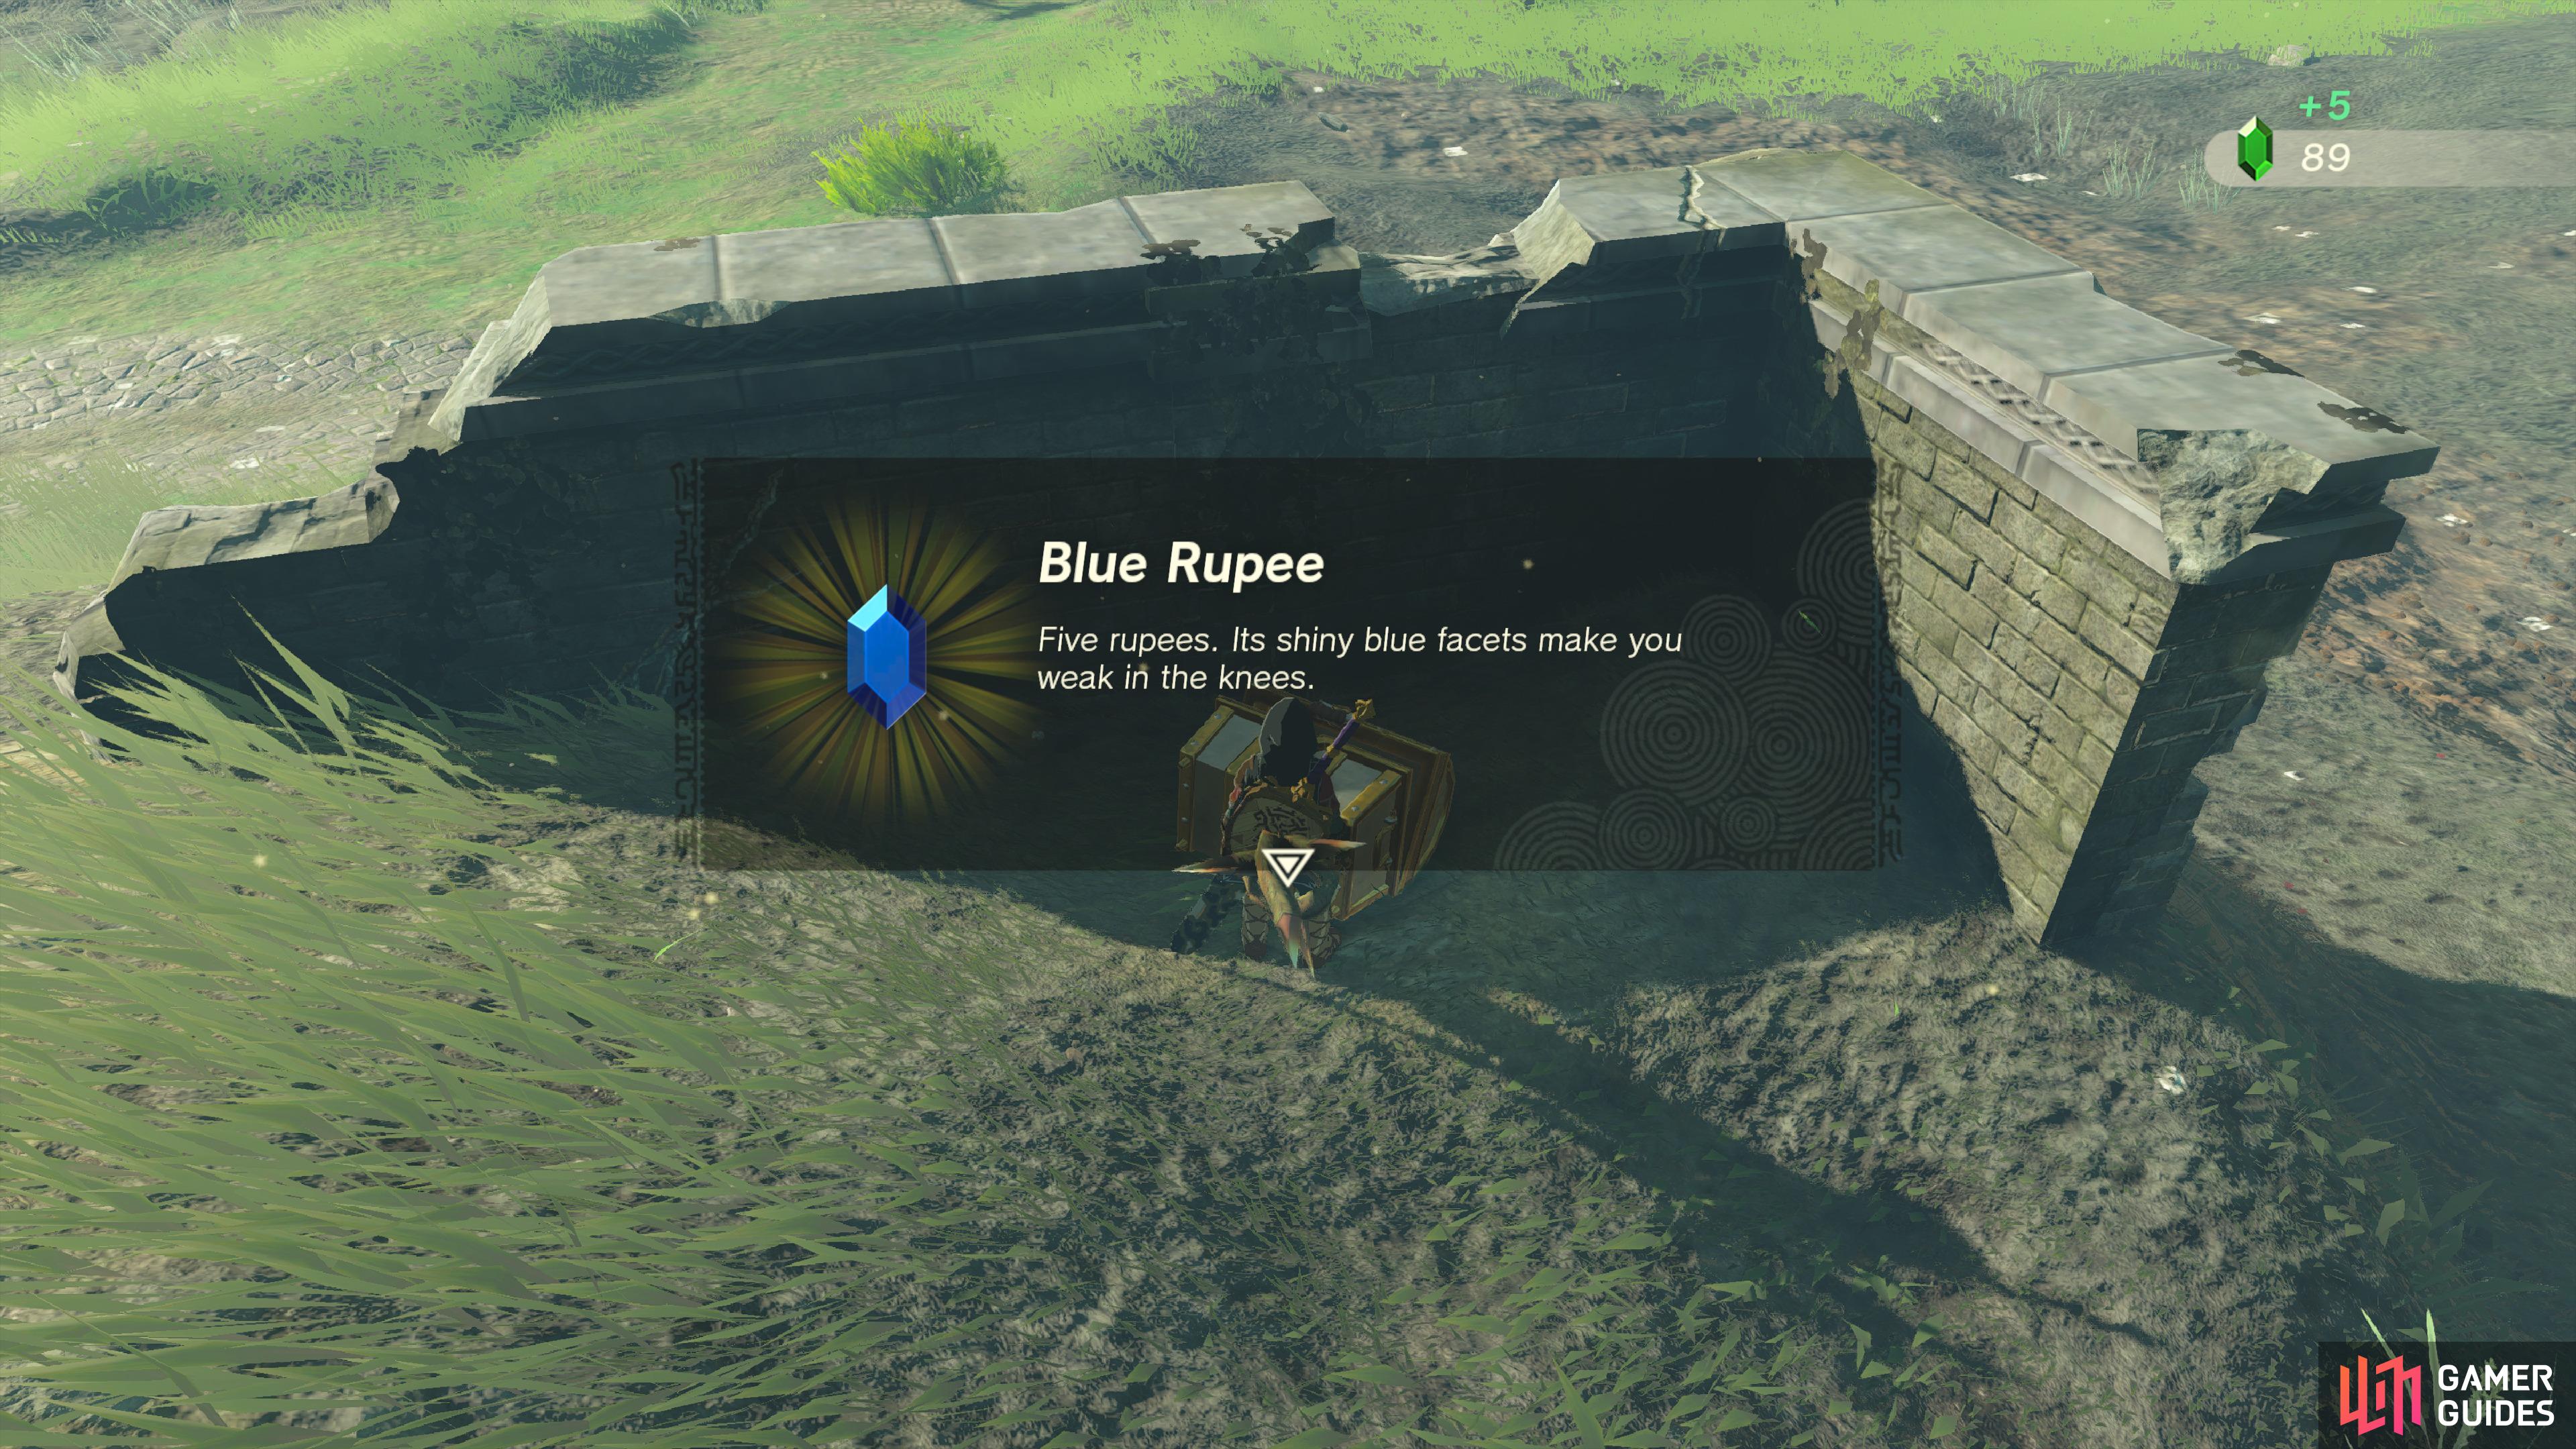
Pull this chest out of the ground with ![]() Ultrahand, contains a
Ultrahand, contains a ![]() Blue Rupee (5).
Blue Rupee (5).
39949. Hyrule Sky Islands Map
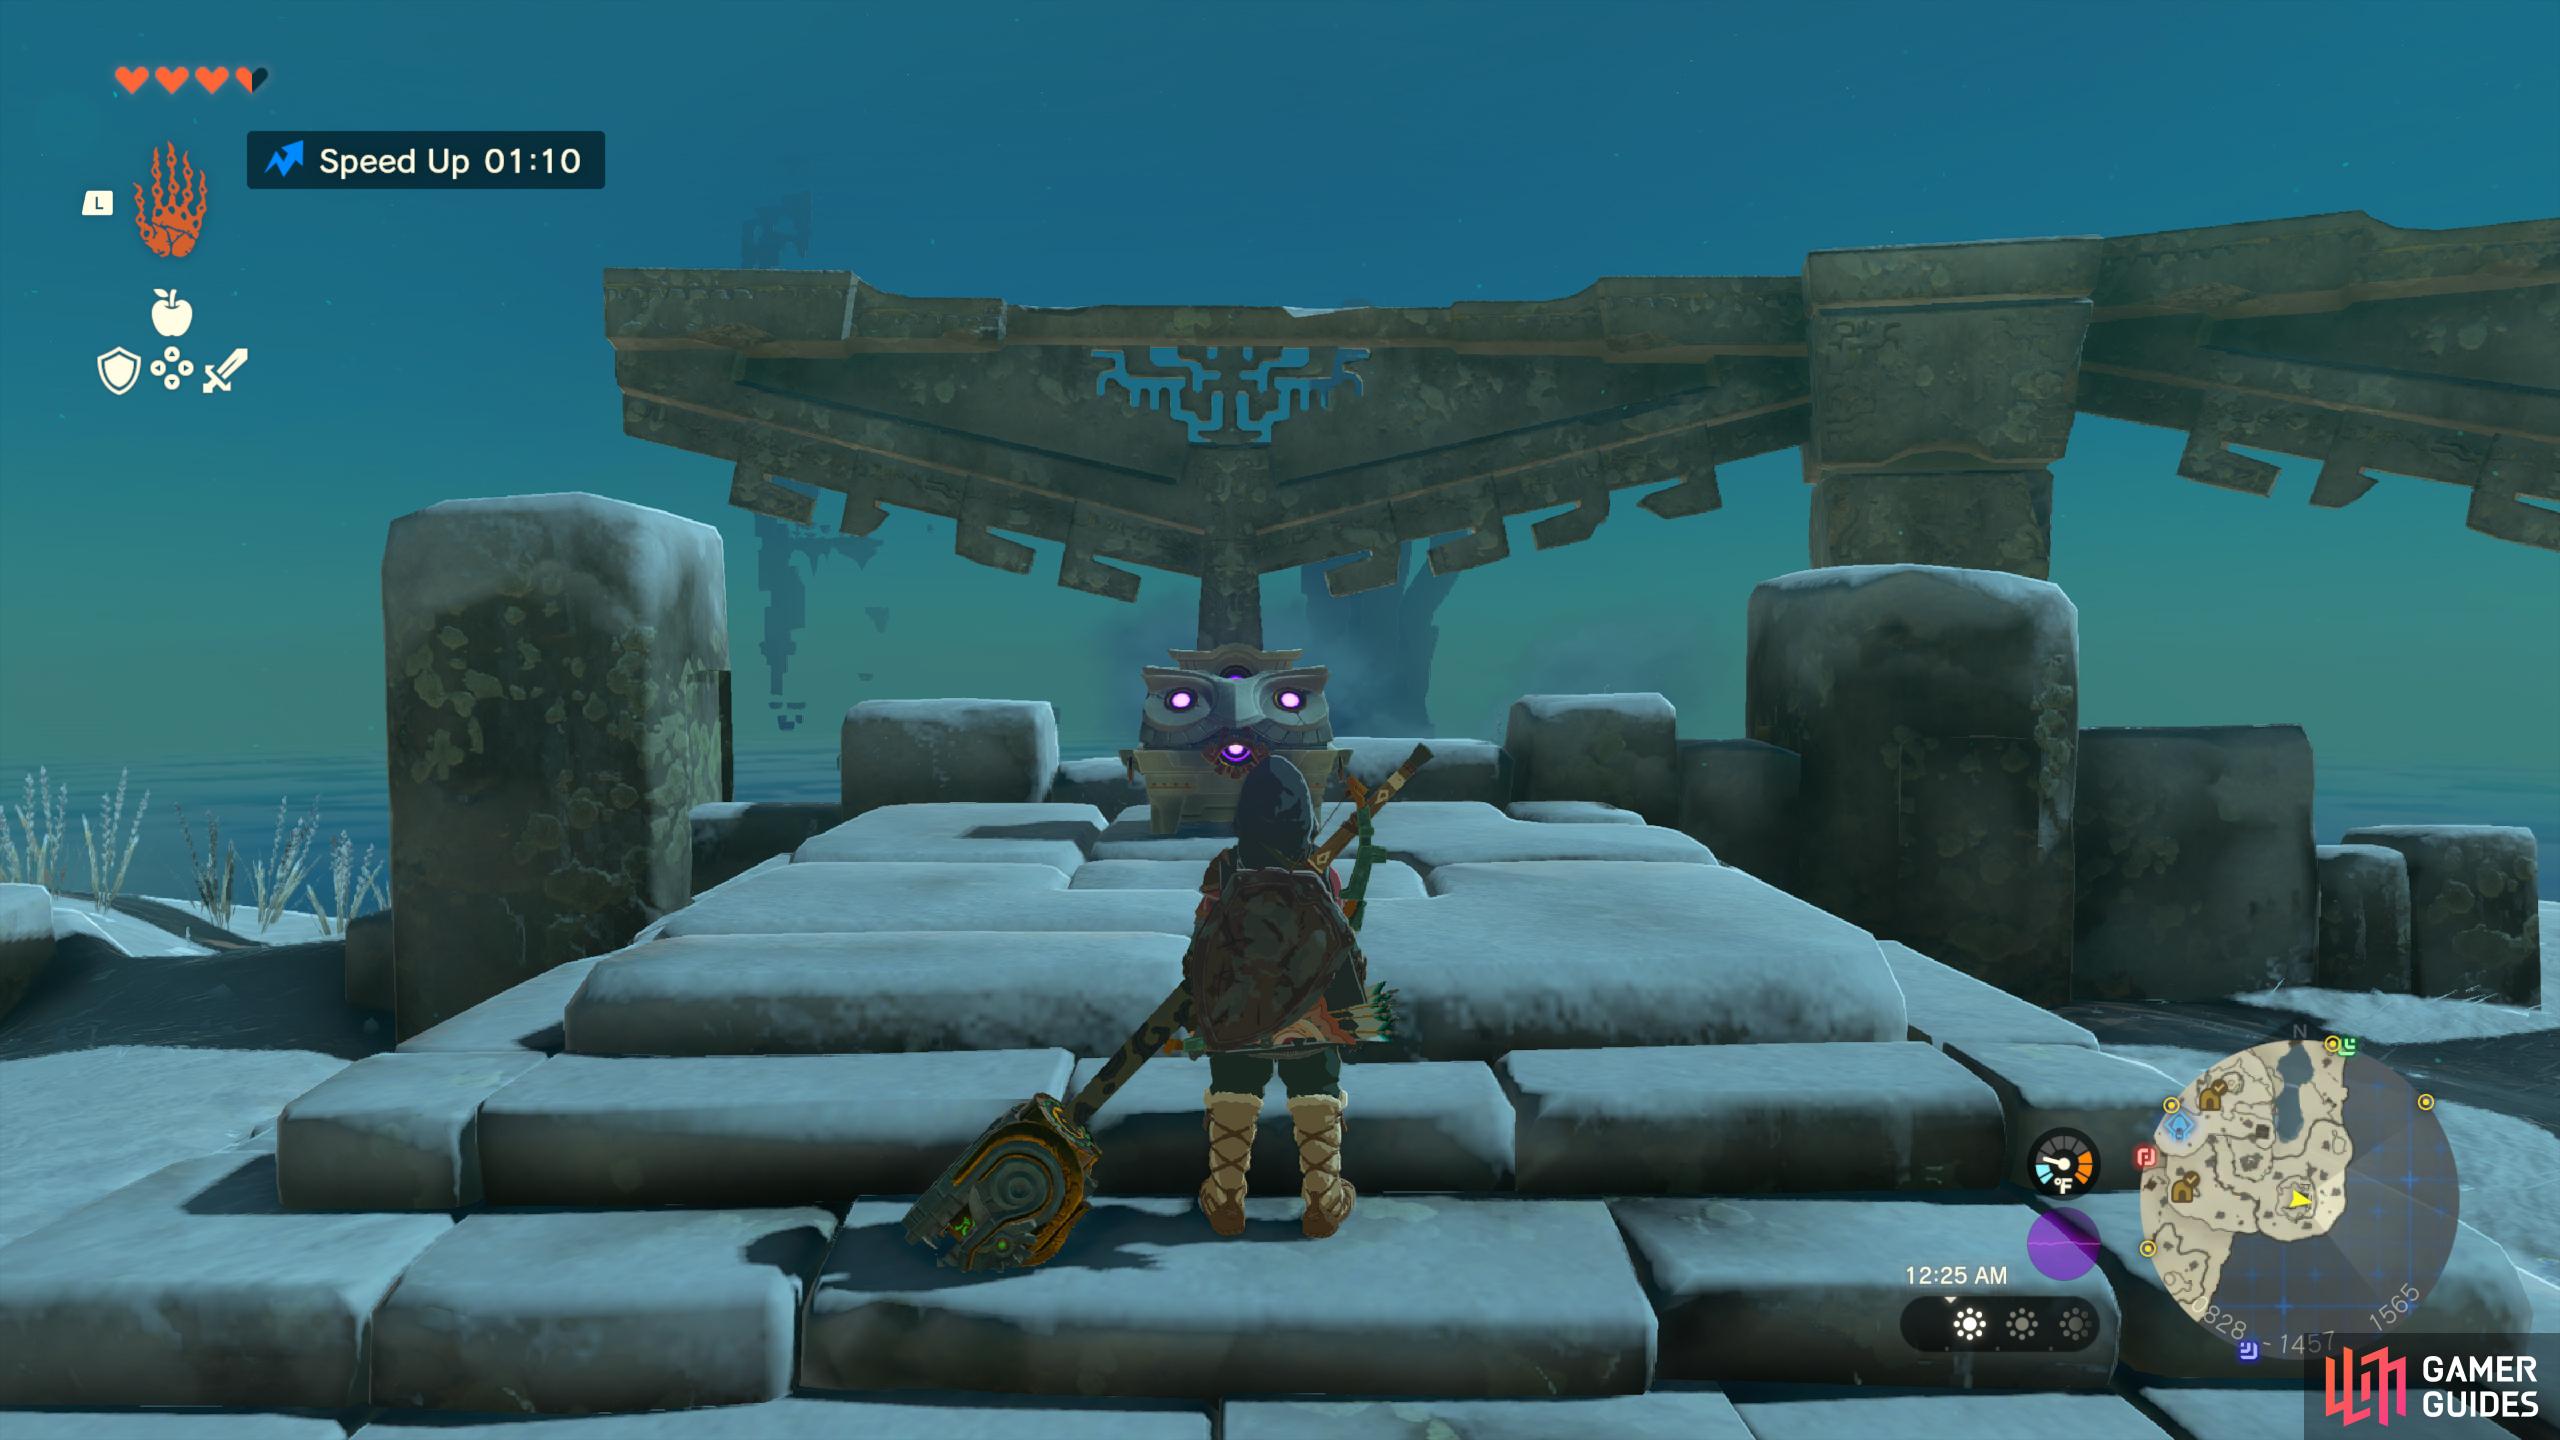
On top of the icy plateau. If you’re on the lower platform, you can use the ![]() Ascend ability on the snowy ledge to get on top, although it is finicky.
Ascend ability on the snowy ledge to get on top, although it is finicky.
- Contains x3 Fans.
39967. Hyrule Sky Islands Map
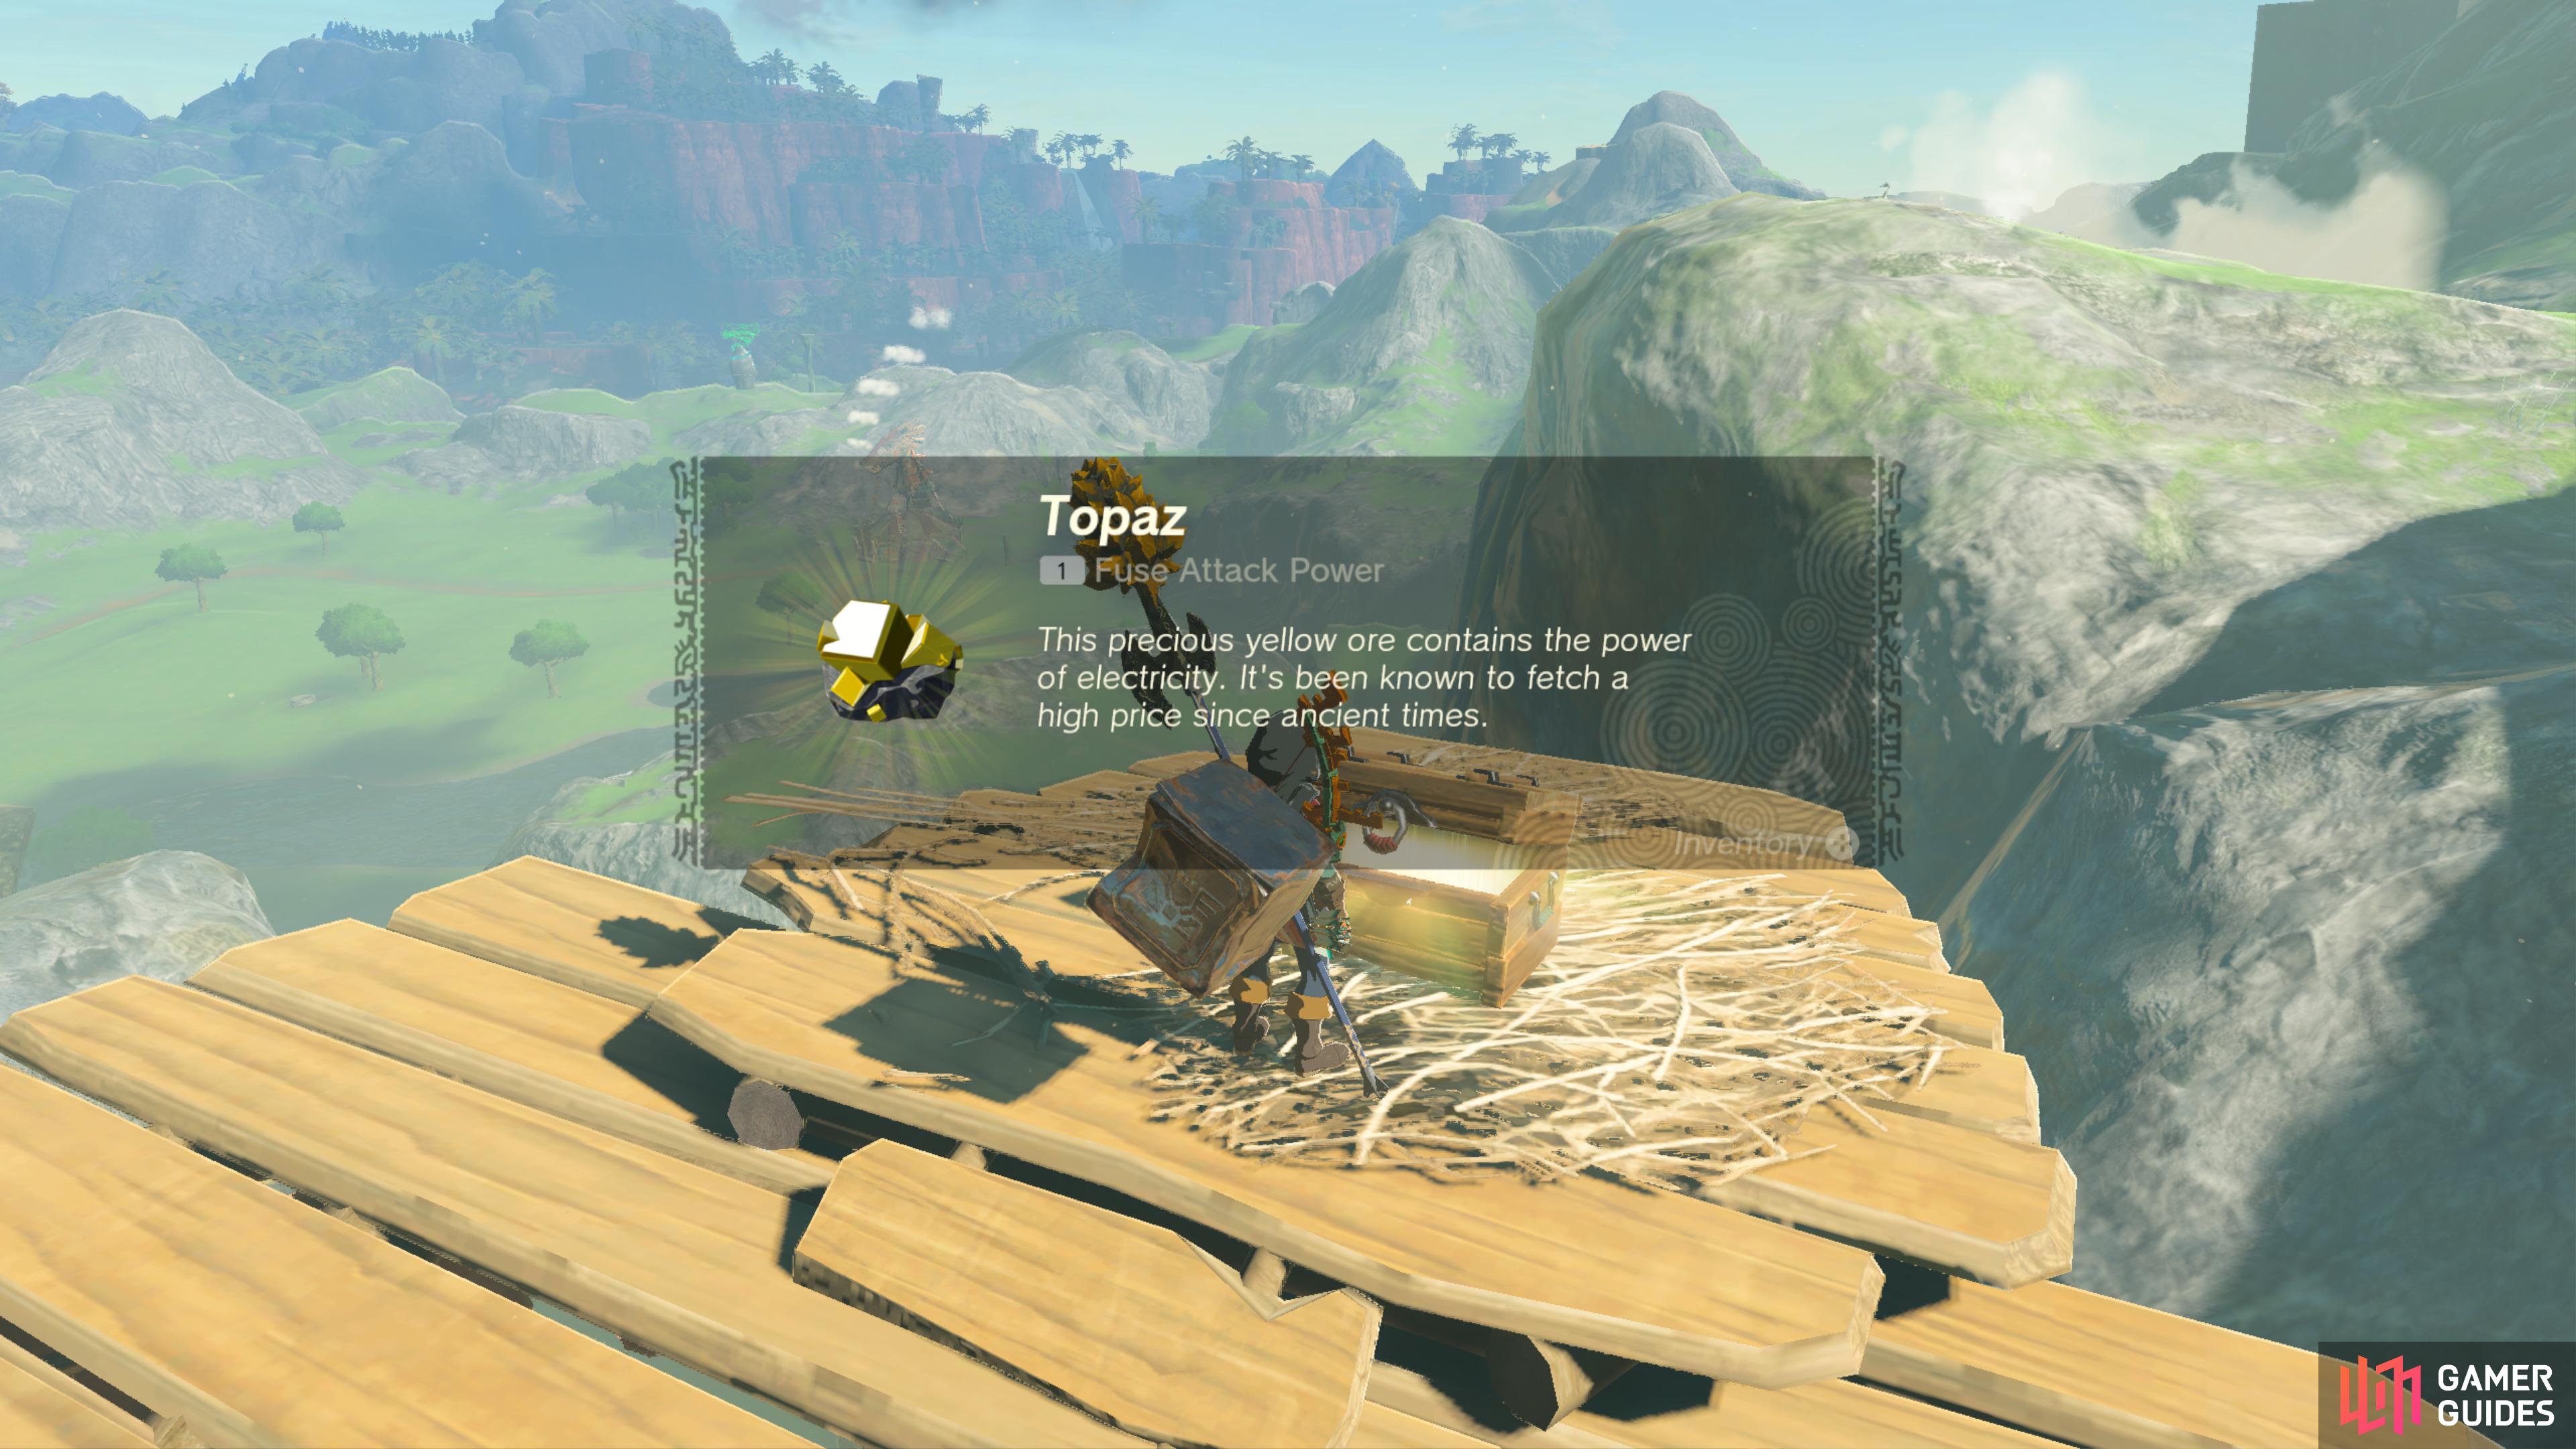
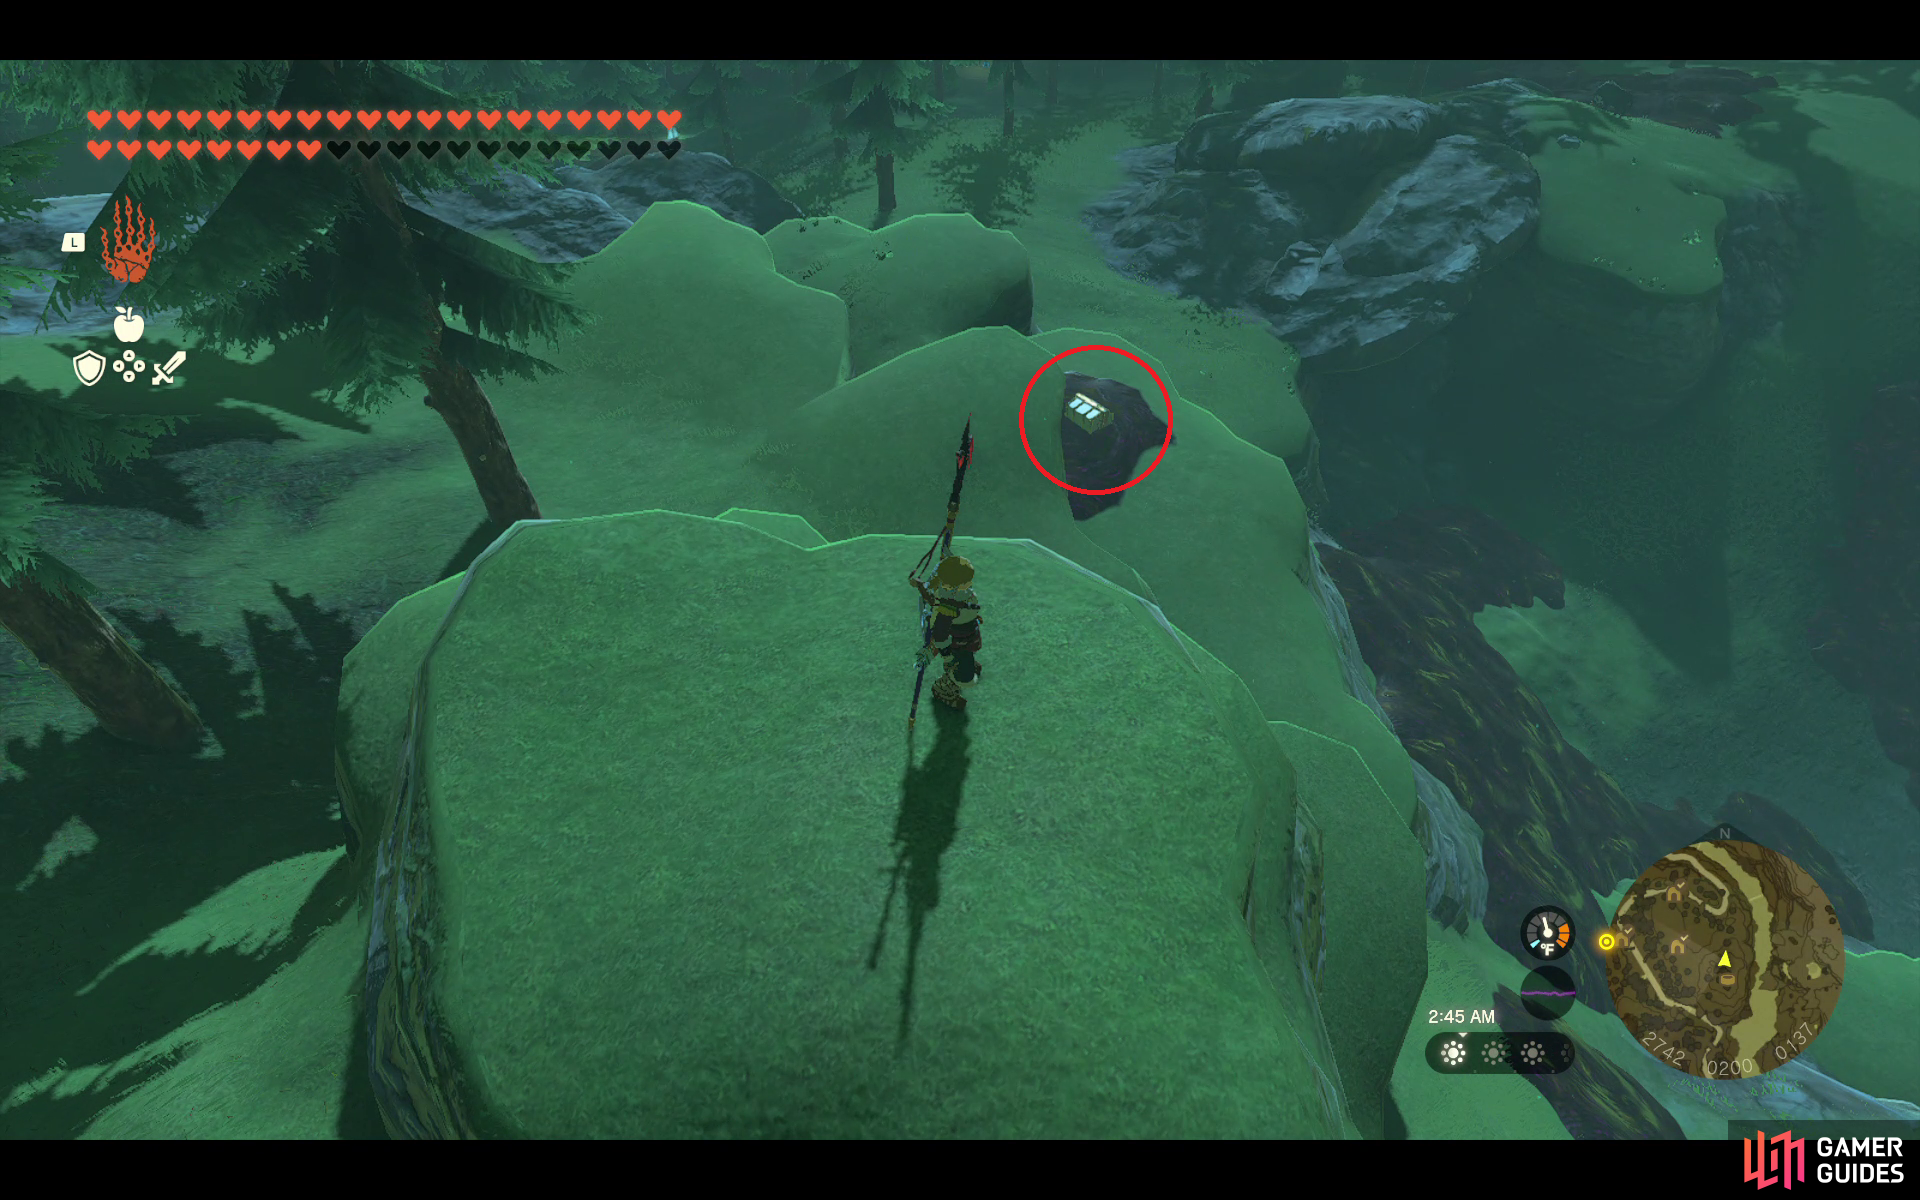
This is on top of the highest peak of the mountain. You can reach it by exiting the cave (where the wings are) and climb the rock face. Contains: ![]() Wing (Capsule) x3
Wing (Capsule) x3
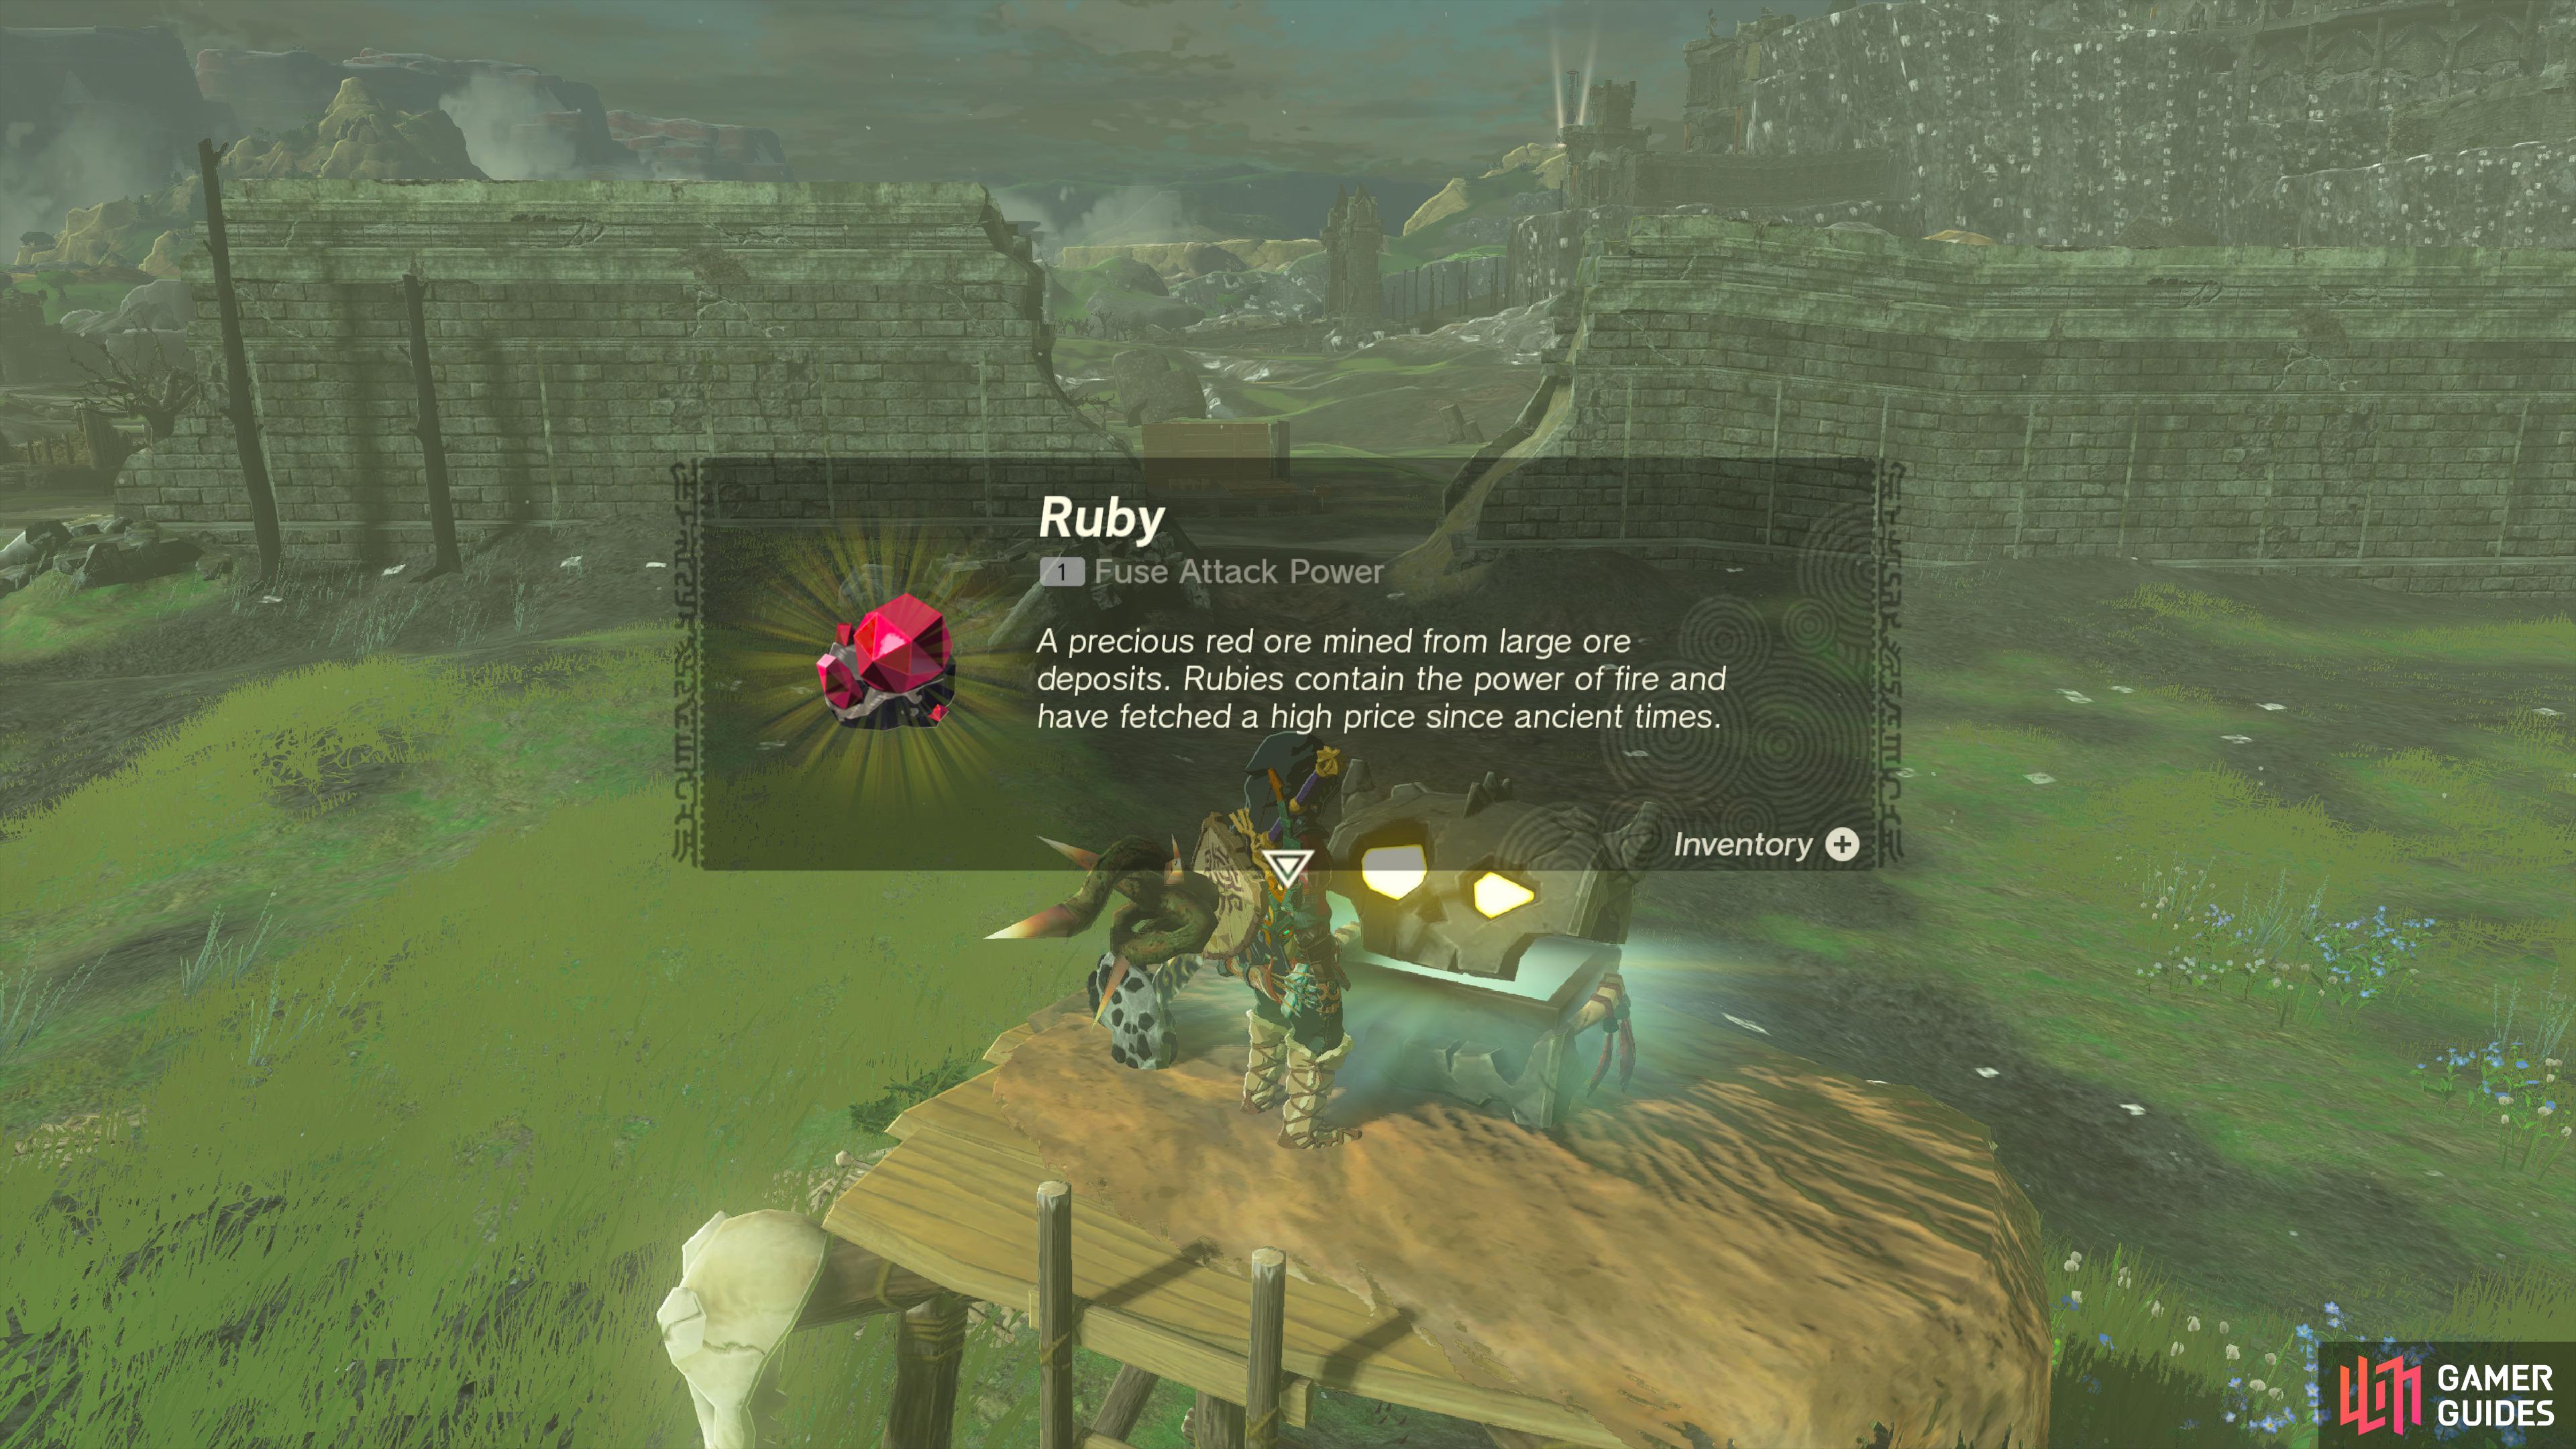
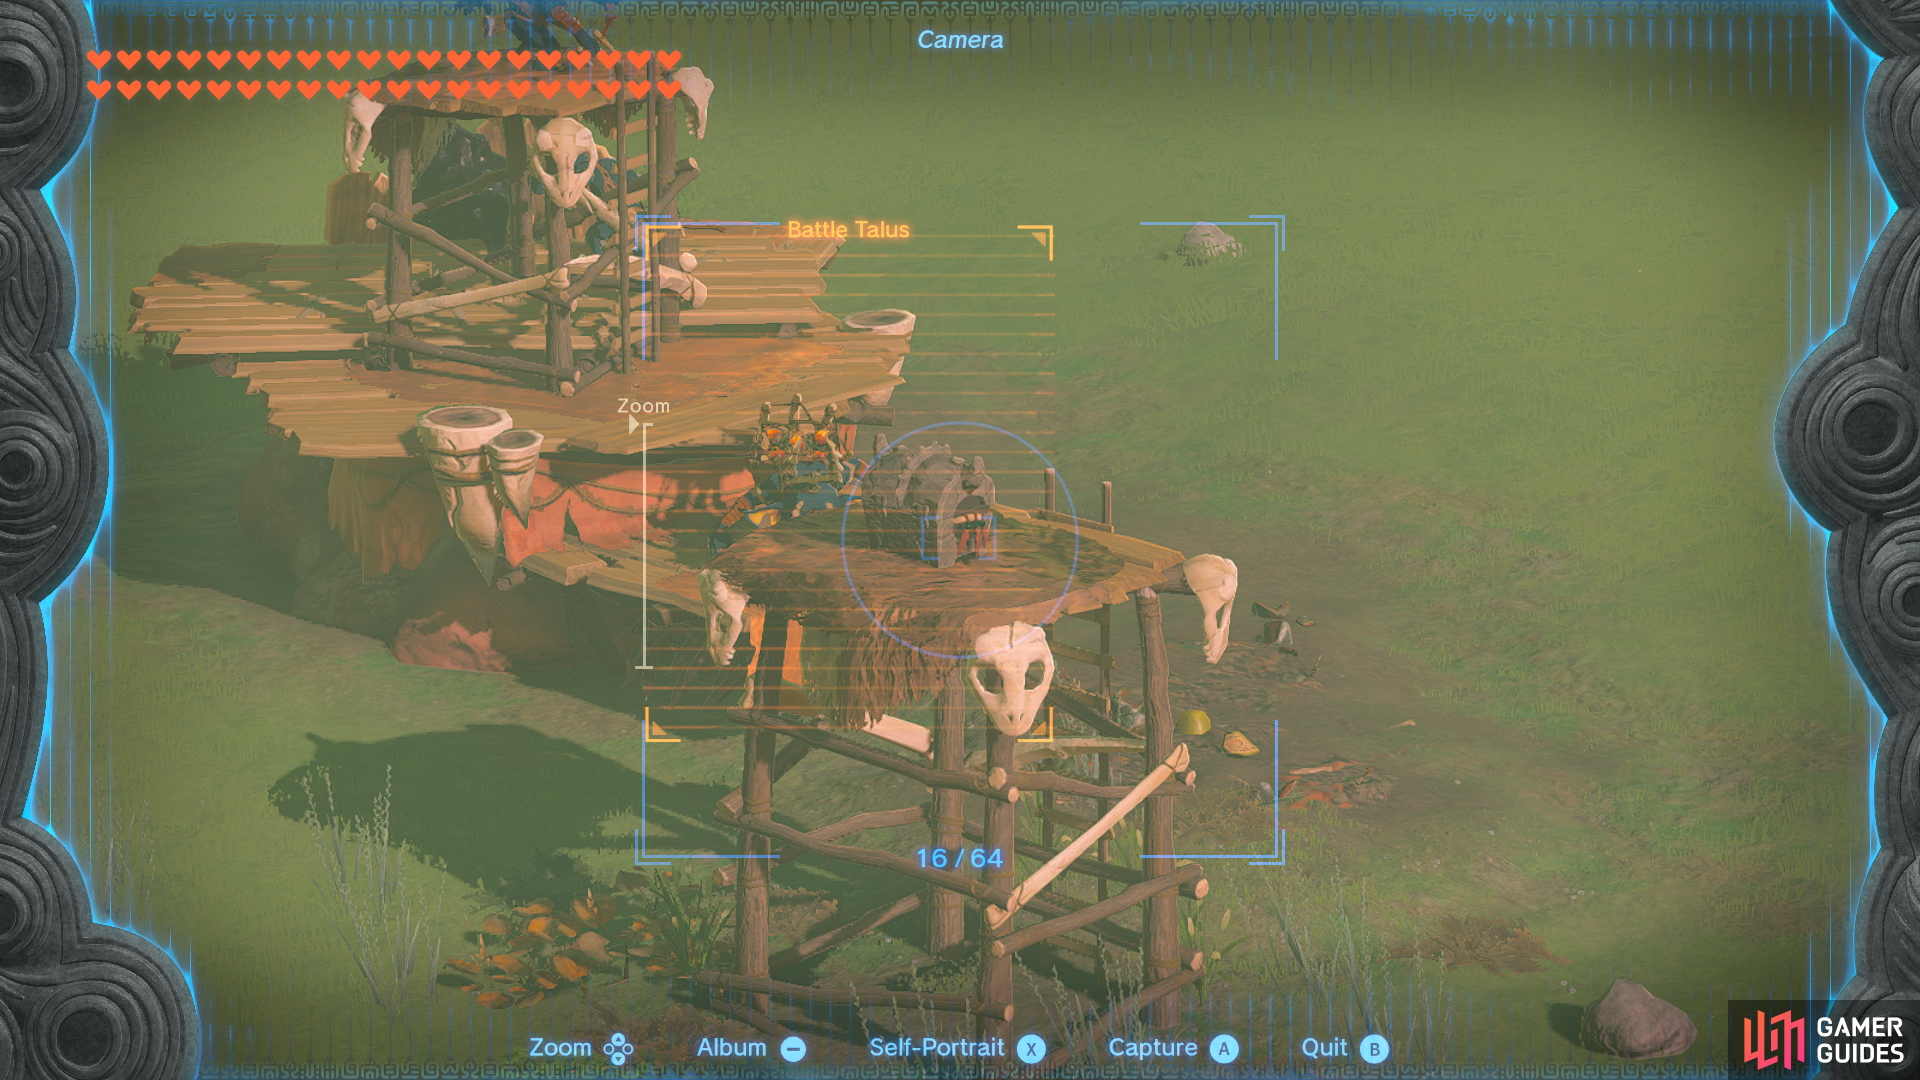
39983. Hyrule Surface Map
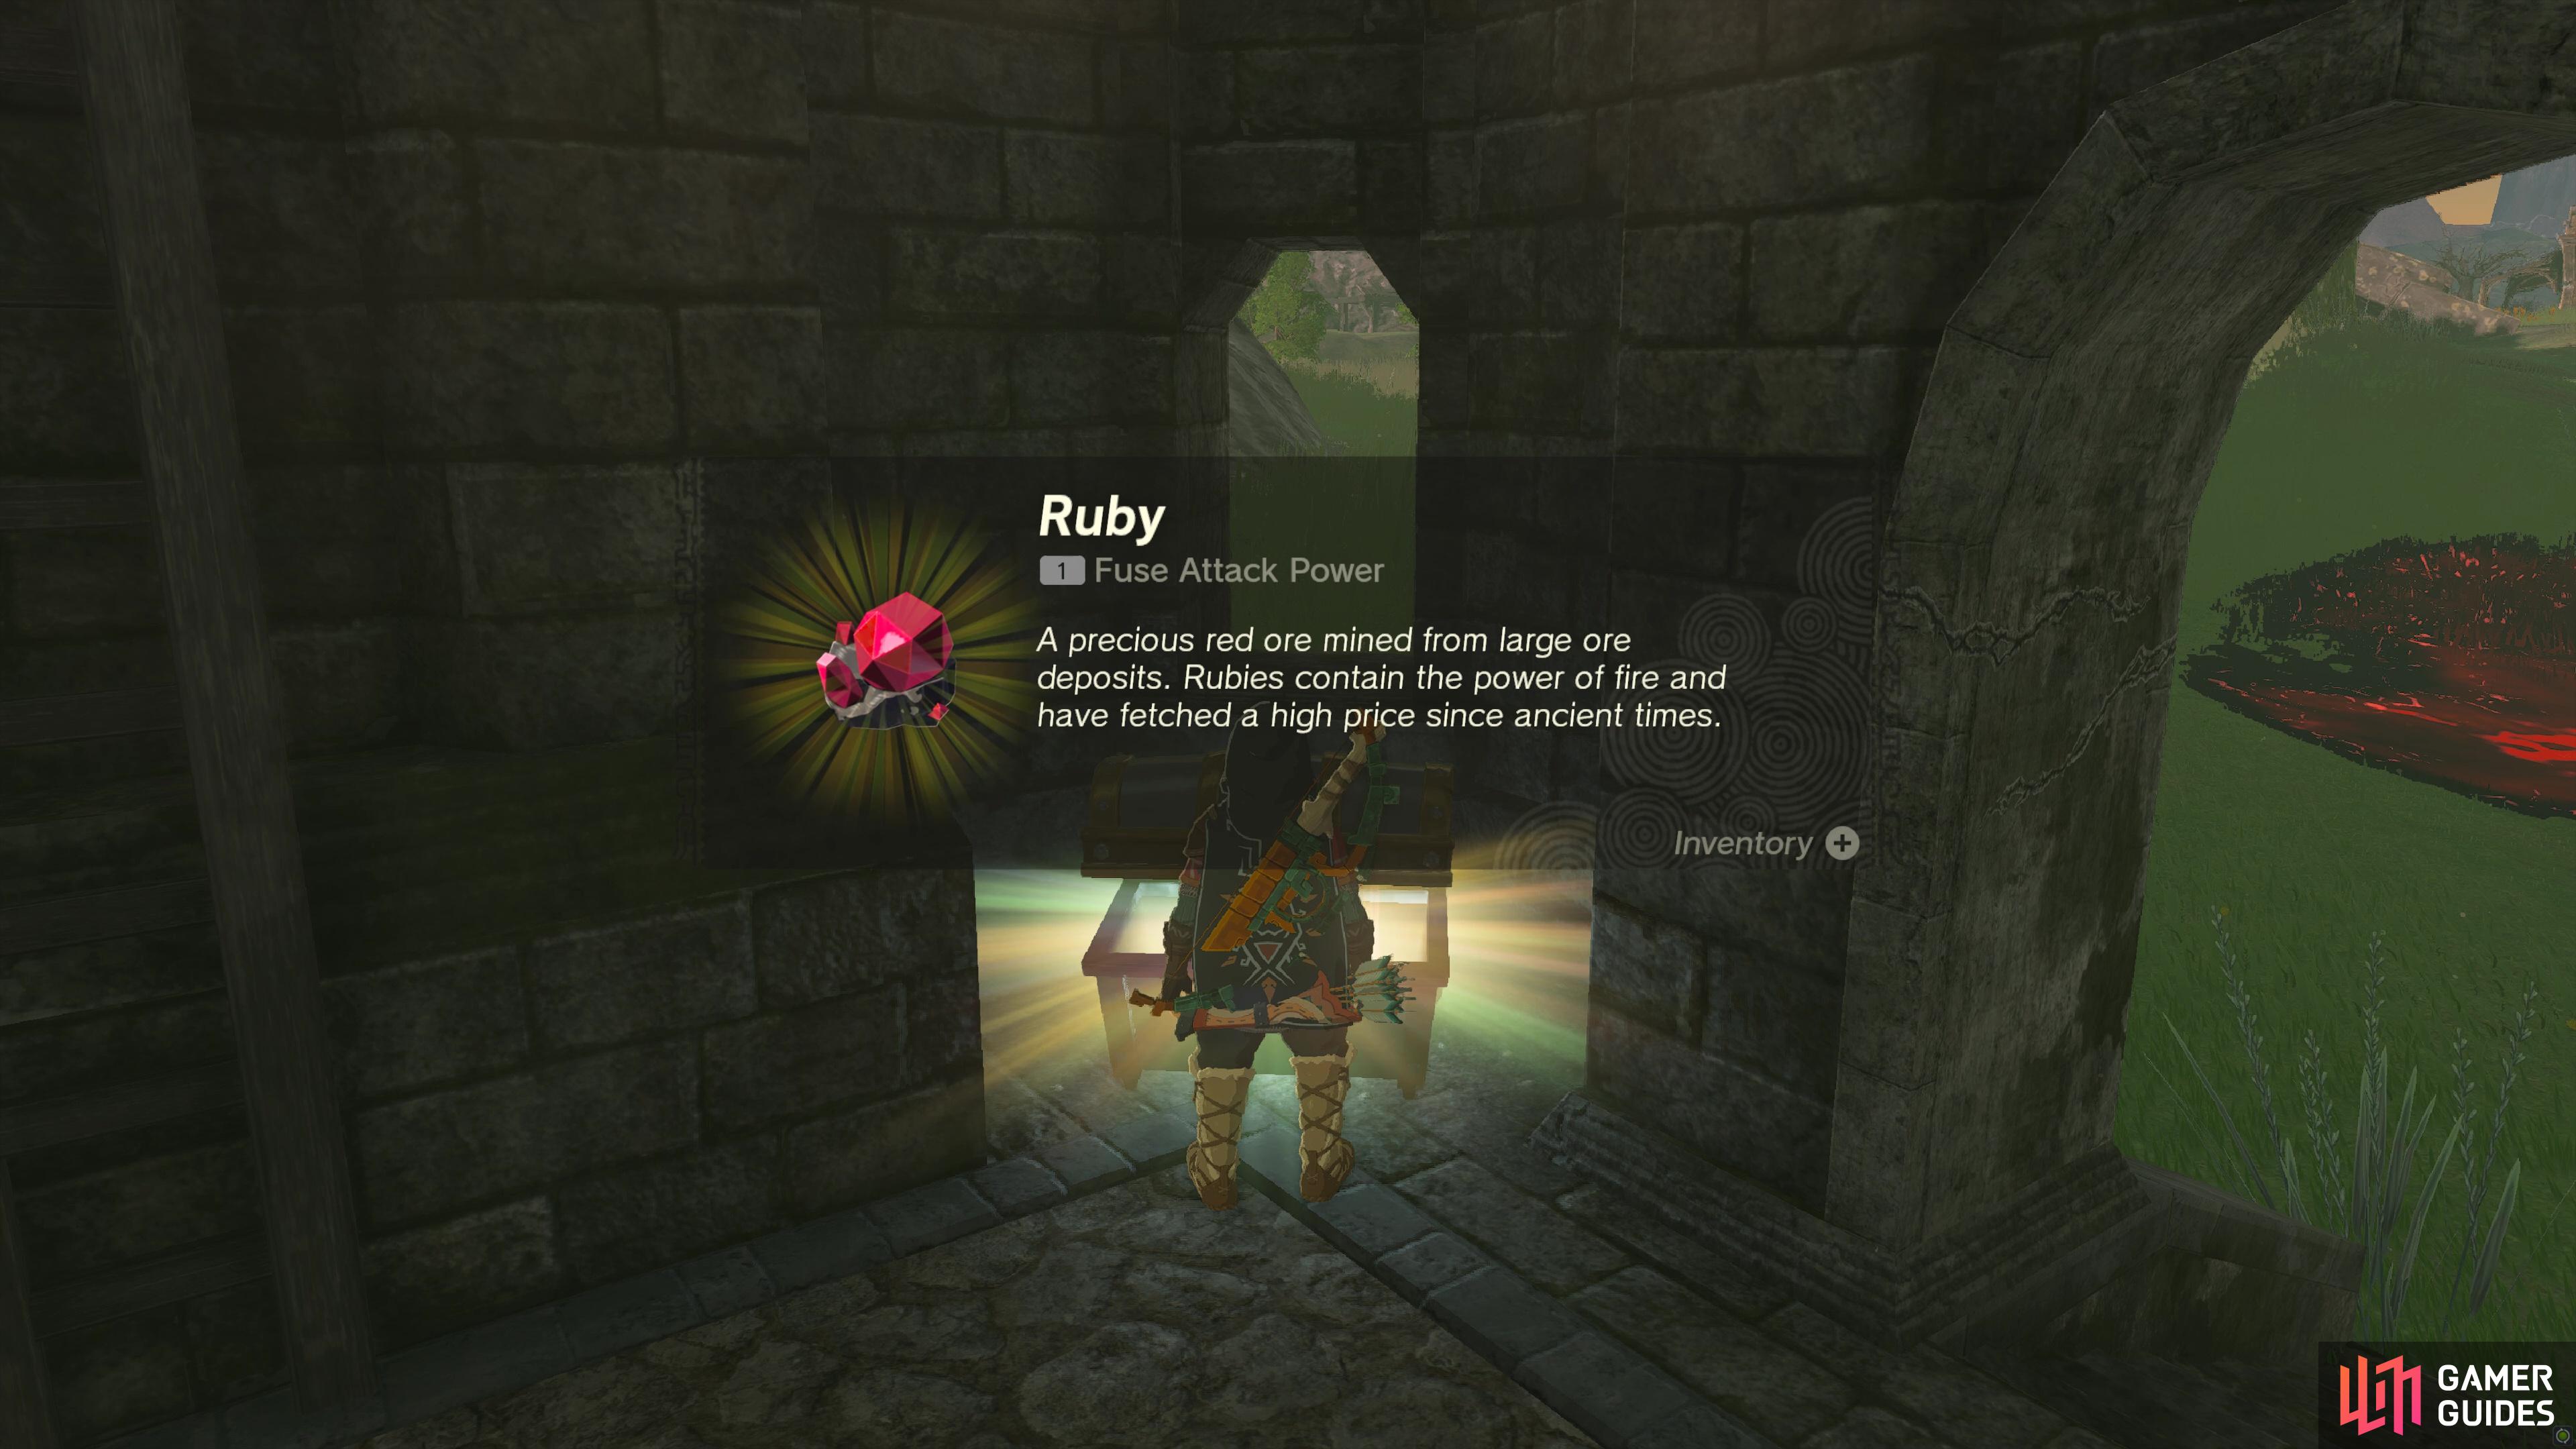
On the nearby platform, you must defeat the ![]() Battle Talus to unlock it.
Battle Talus to unlock it.
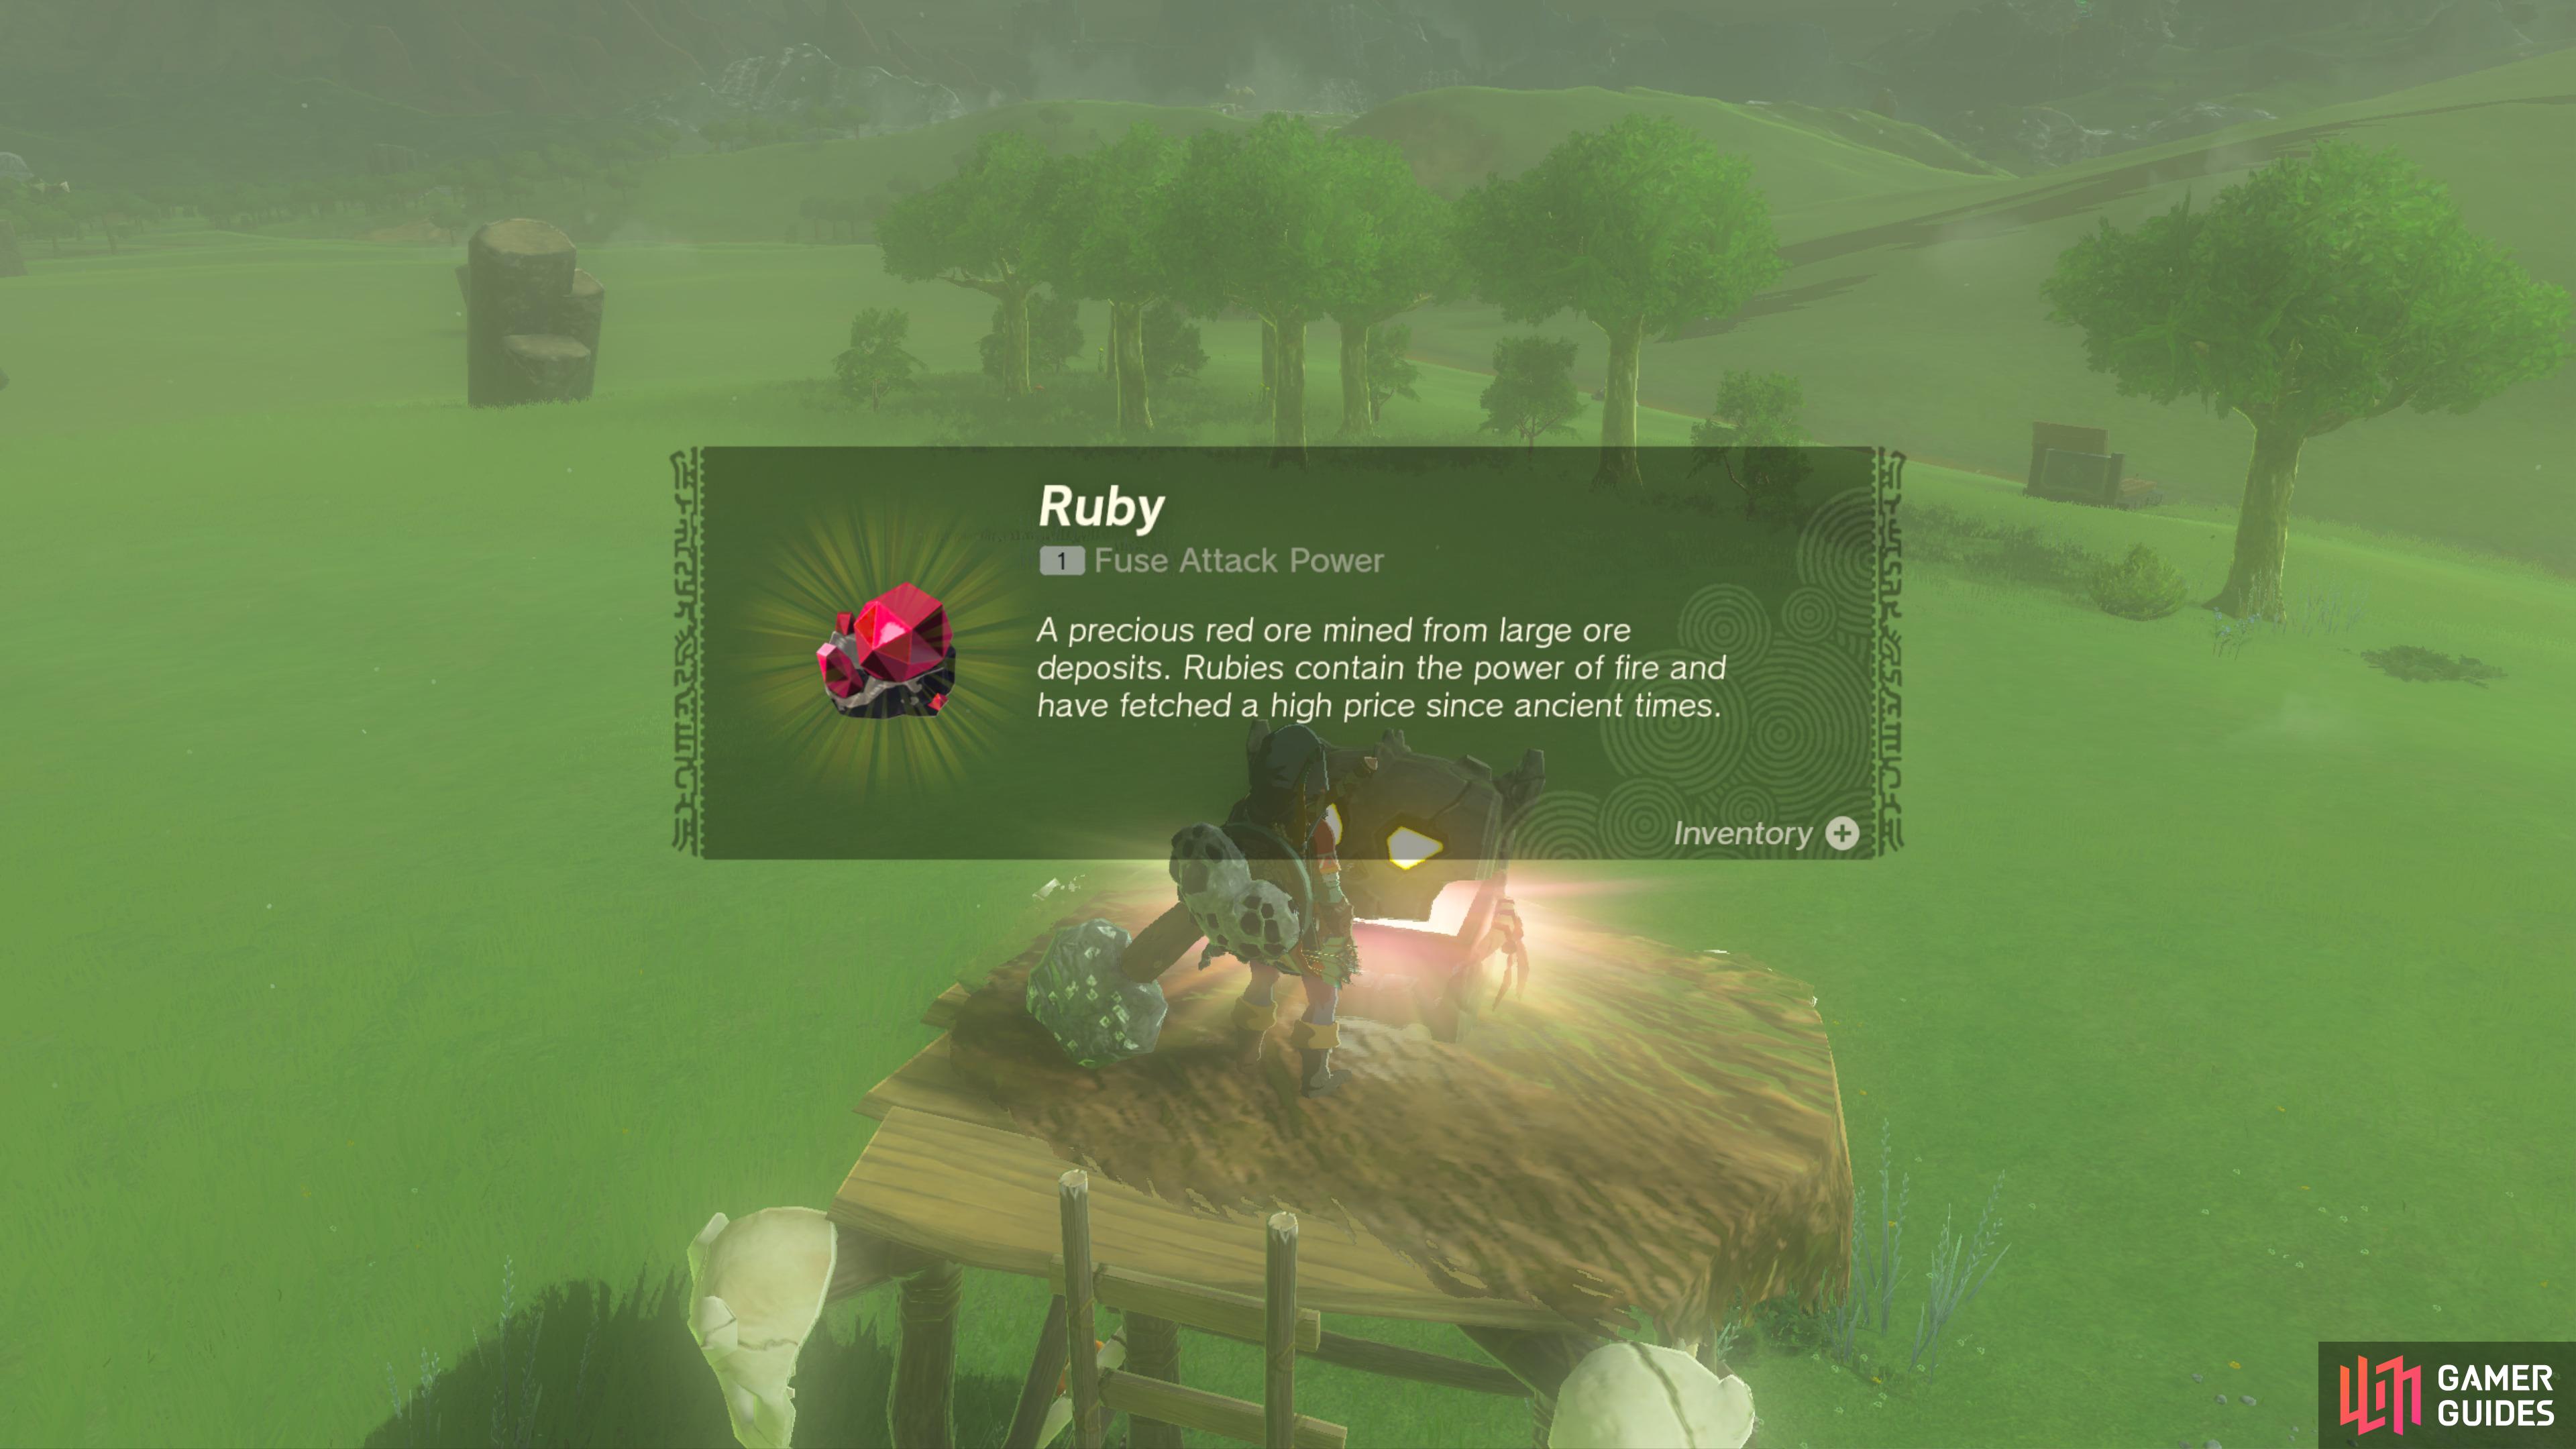
The Chest contains a Ruby.
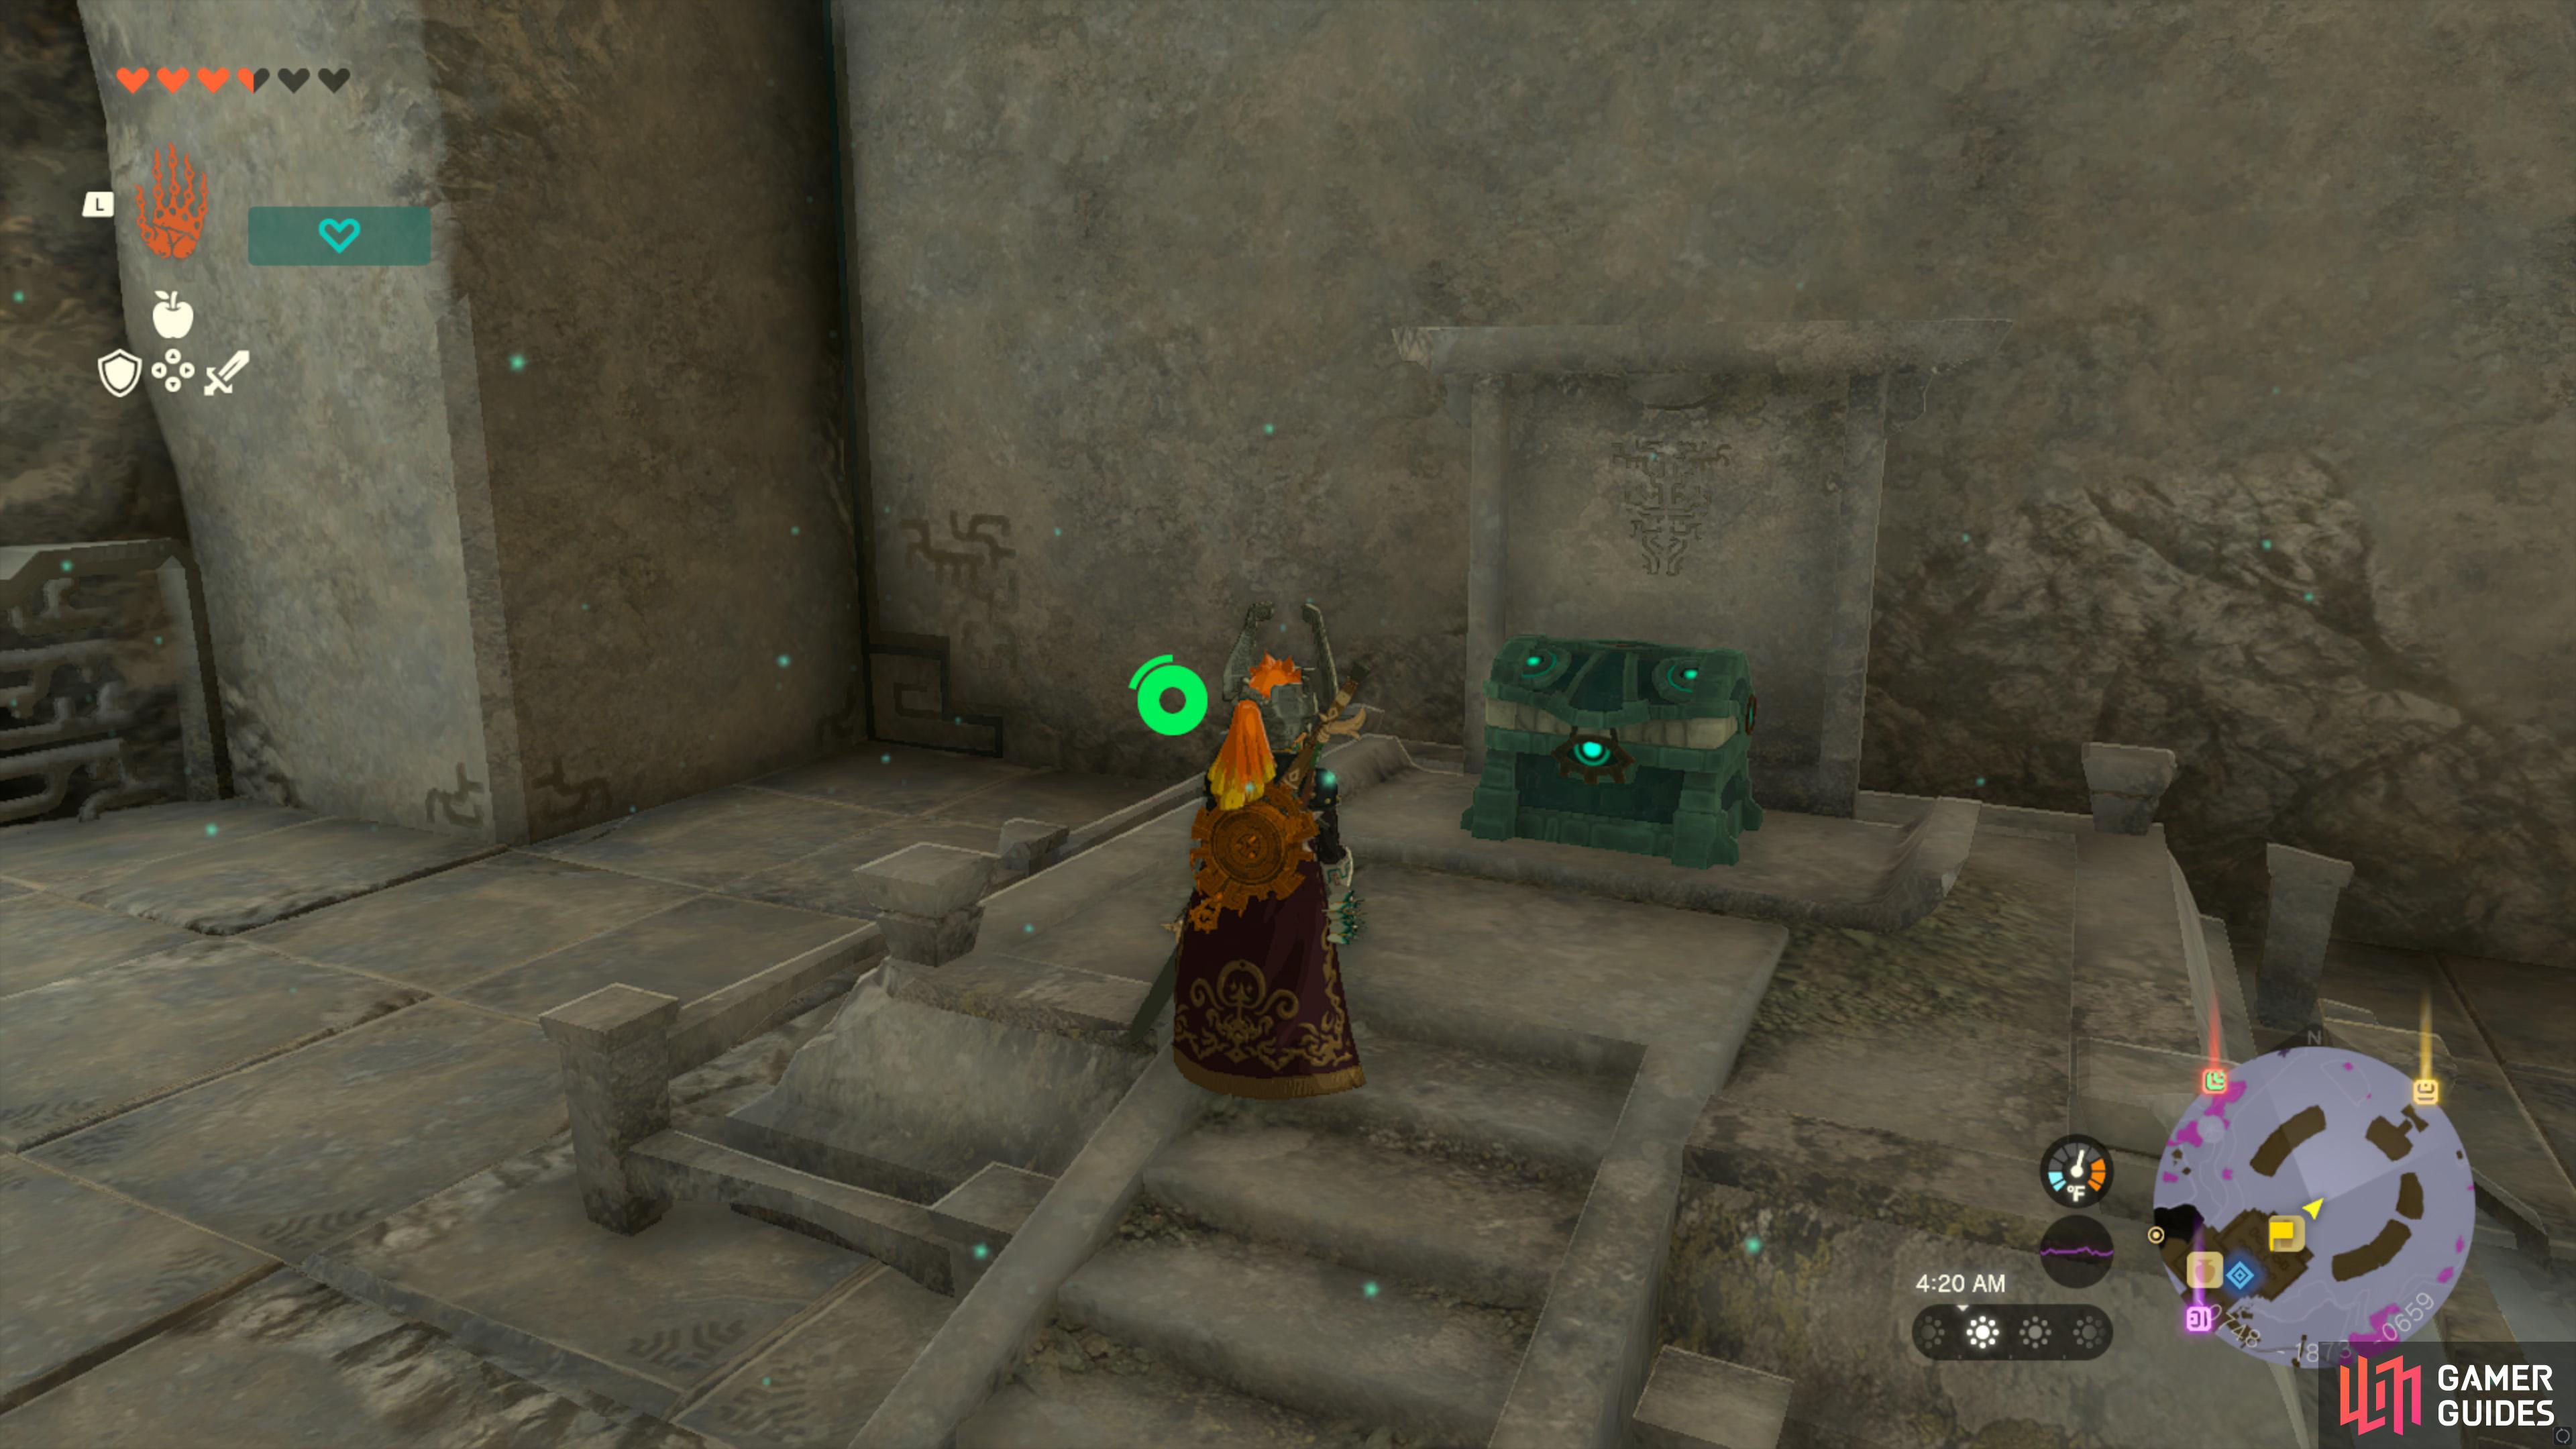
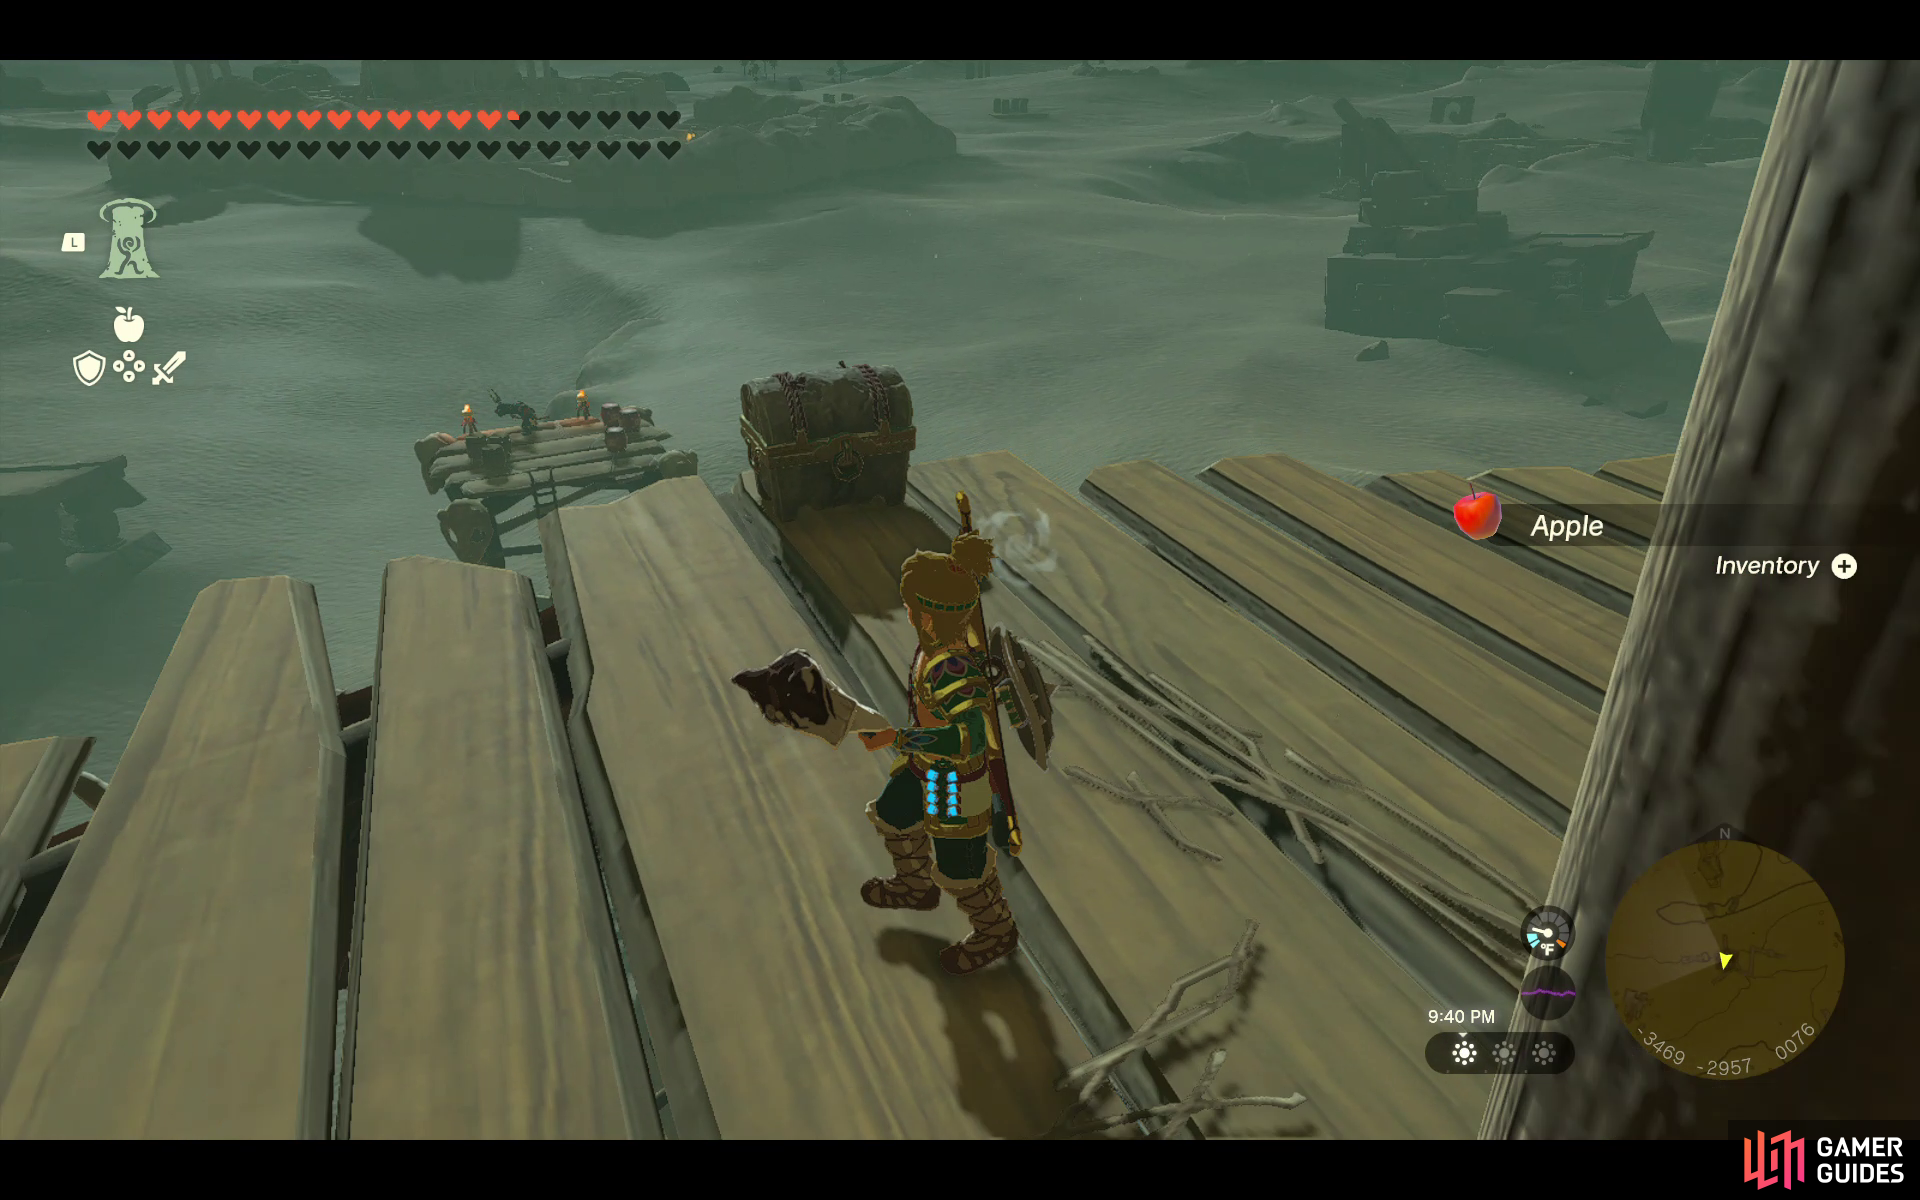
40130. Hyrule Sky Islands Map
Contains an ![]() Opal.
Opal.
Note: You must defeat all the enemies within the surrounding area to unlock the seal on the chest.
40139. Hyrule Sky Islands Map
Defeat the two Solider Constructs and the ![]() Captain Construct to unlock this chest to find an
Captain Construct to unlock this chest to find an ![]() Opal.
Opal.
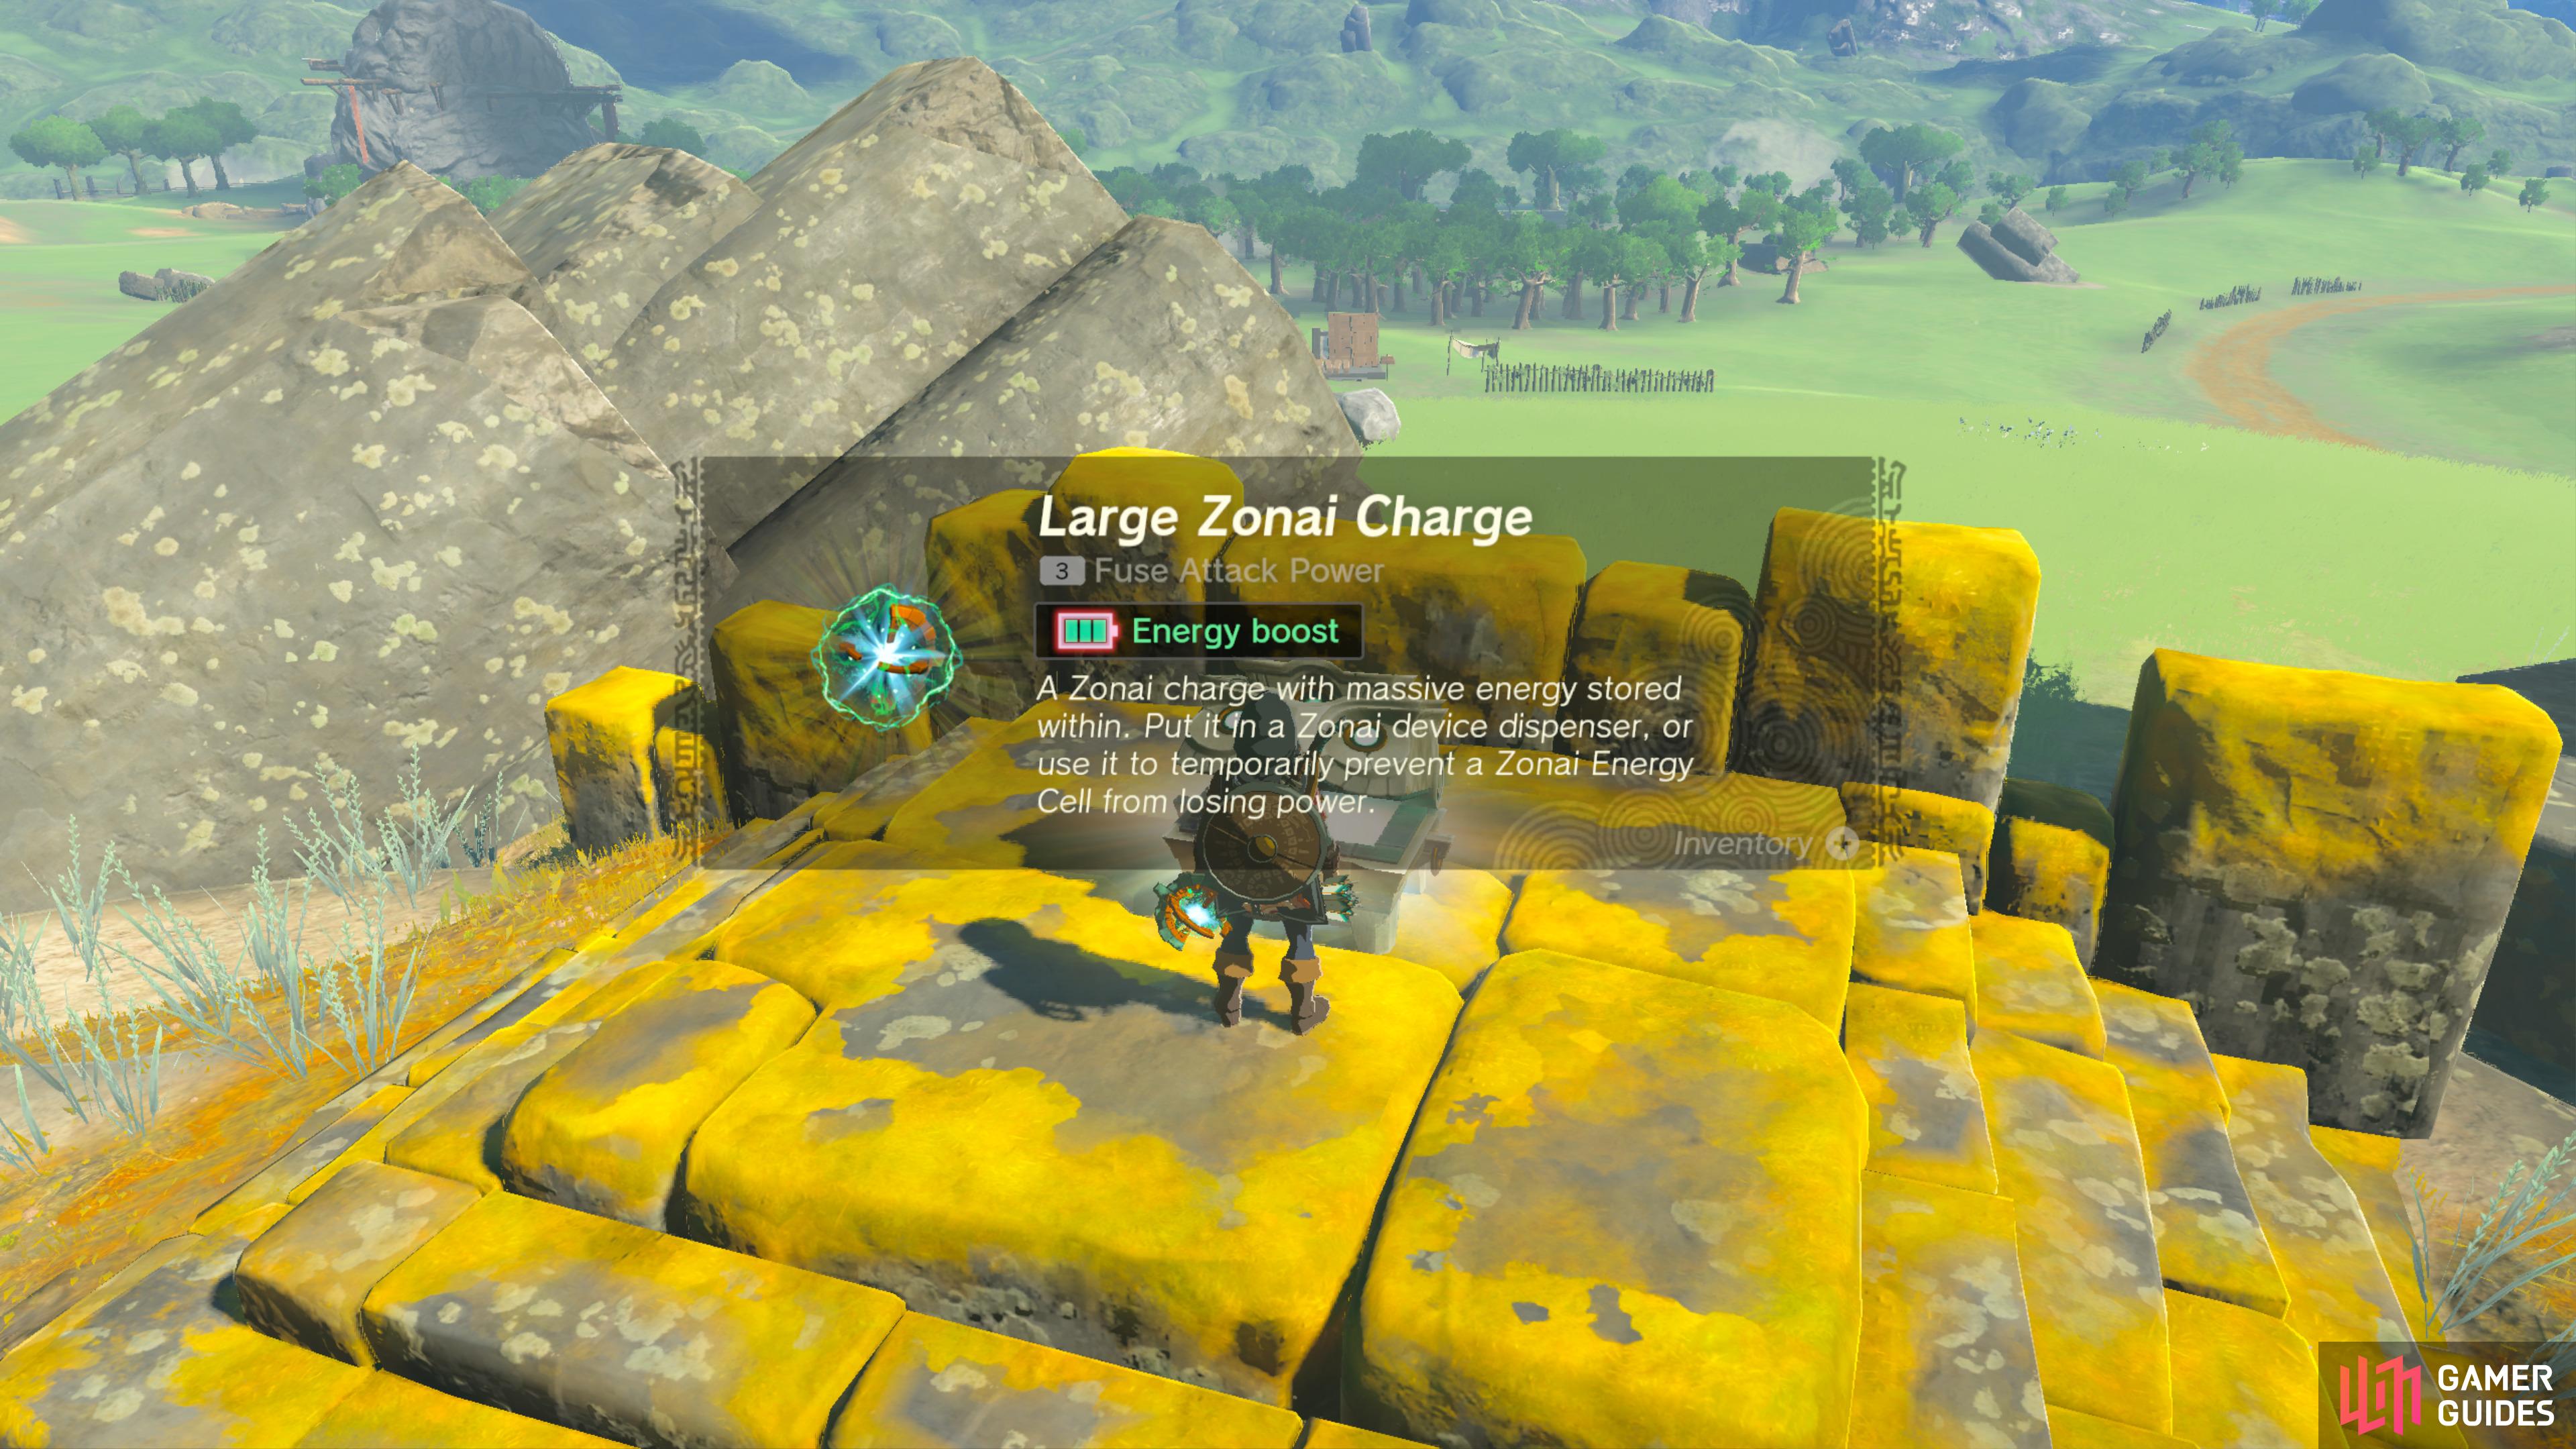
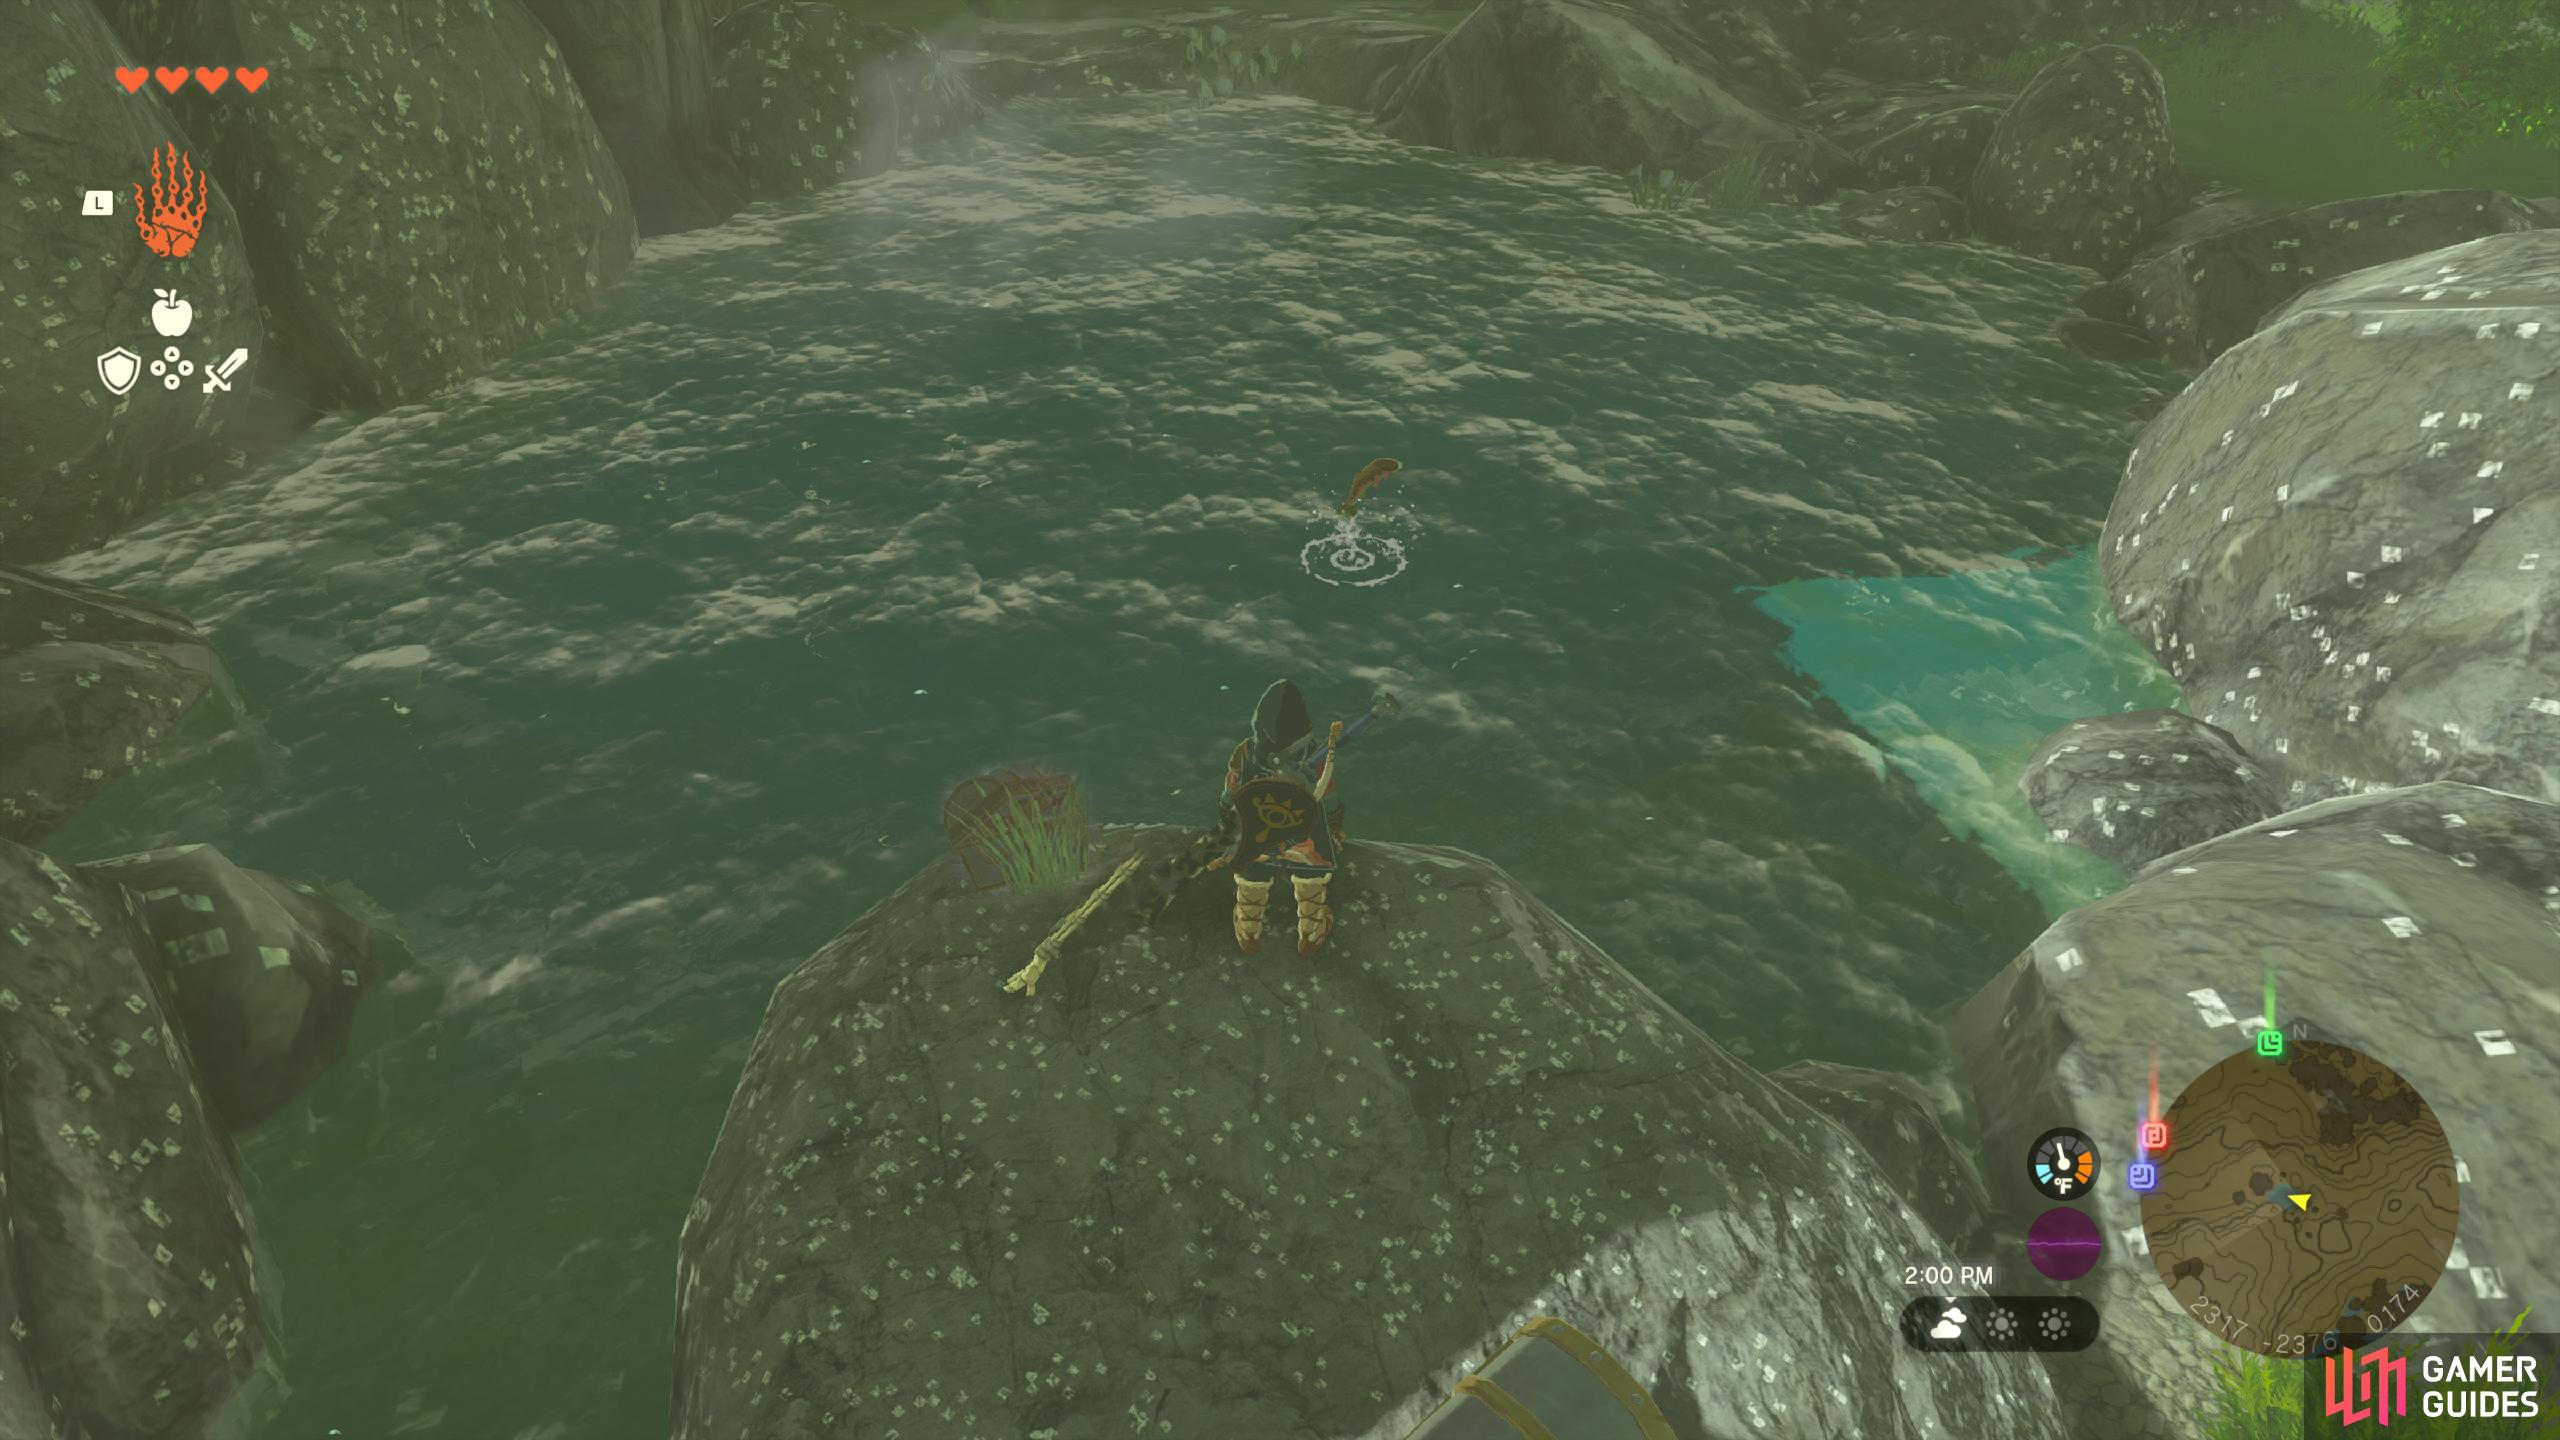
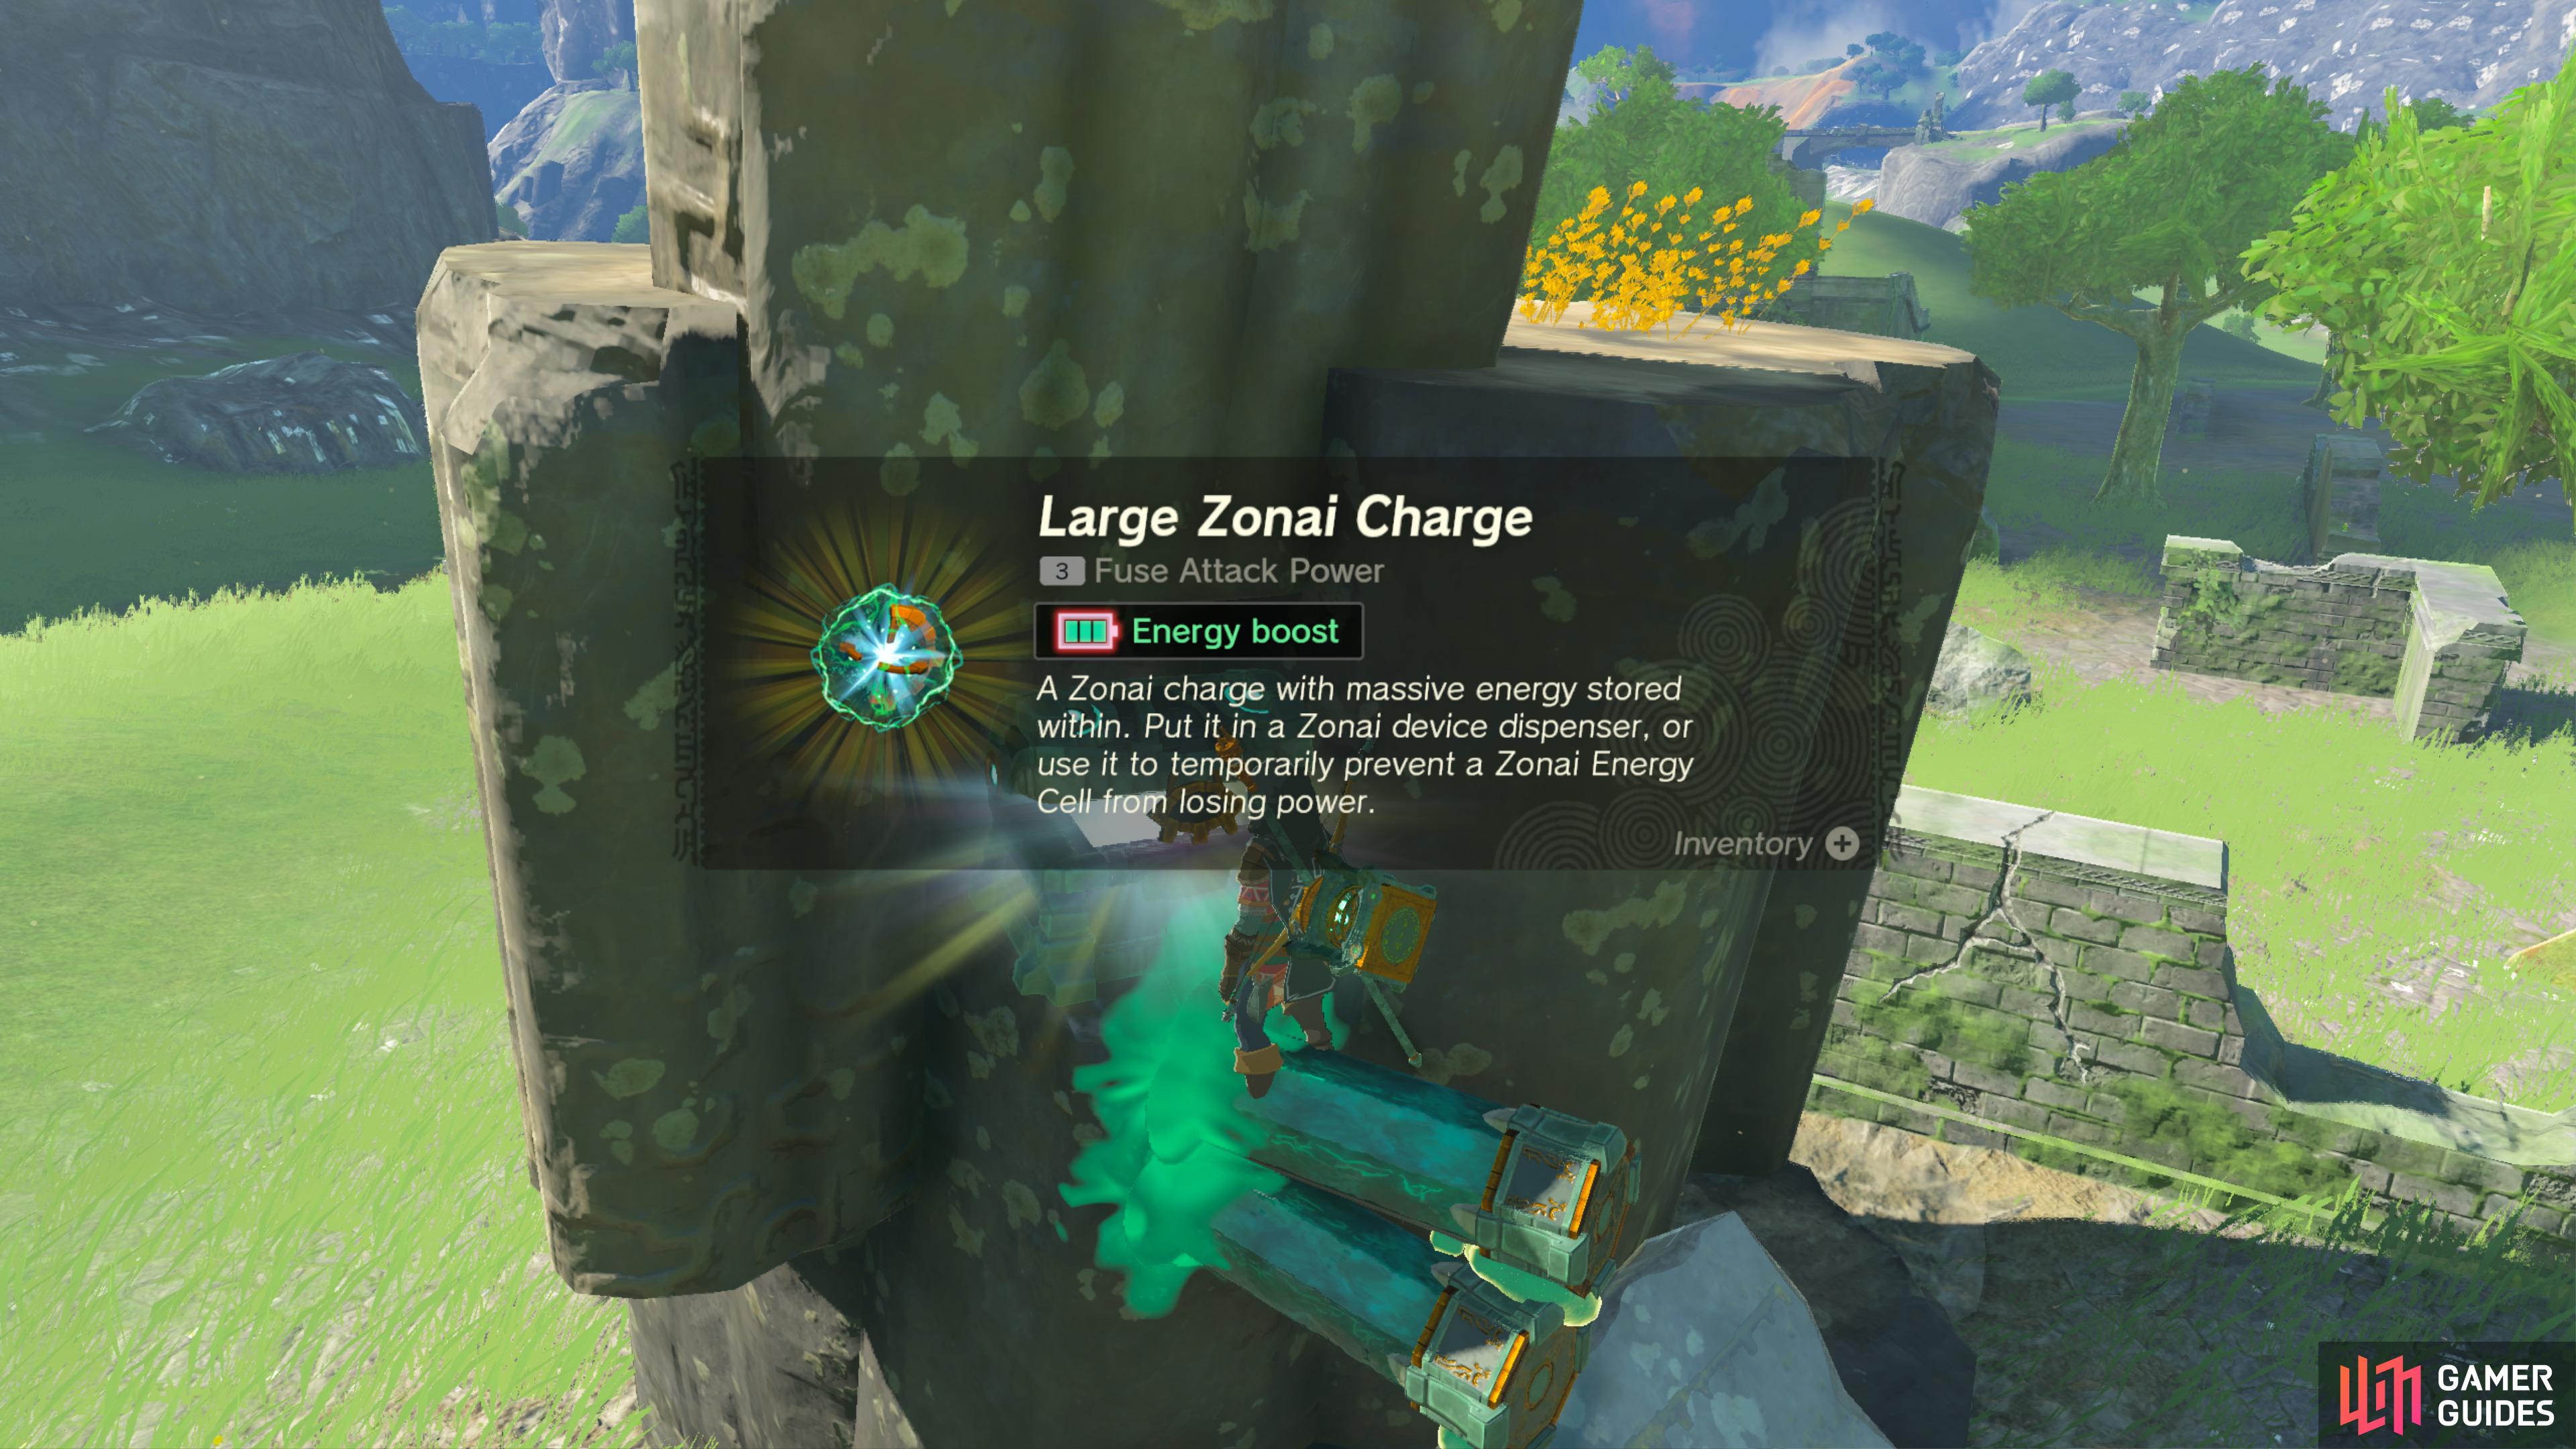
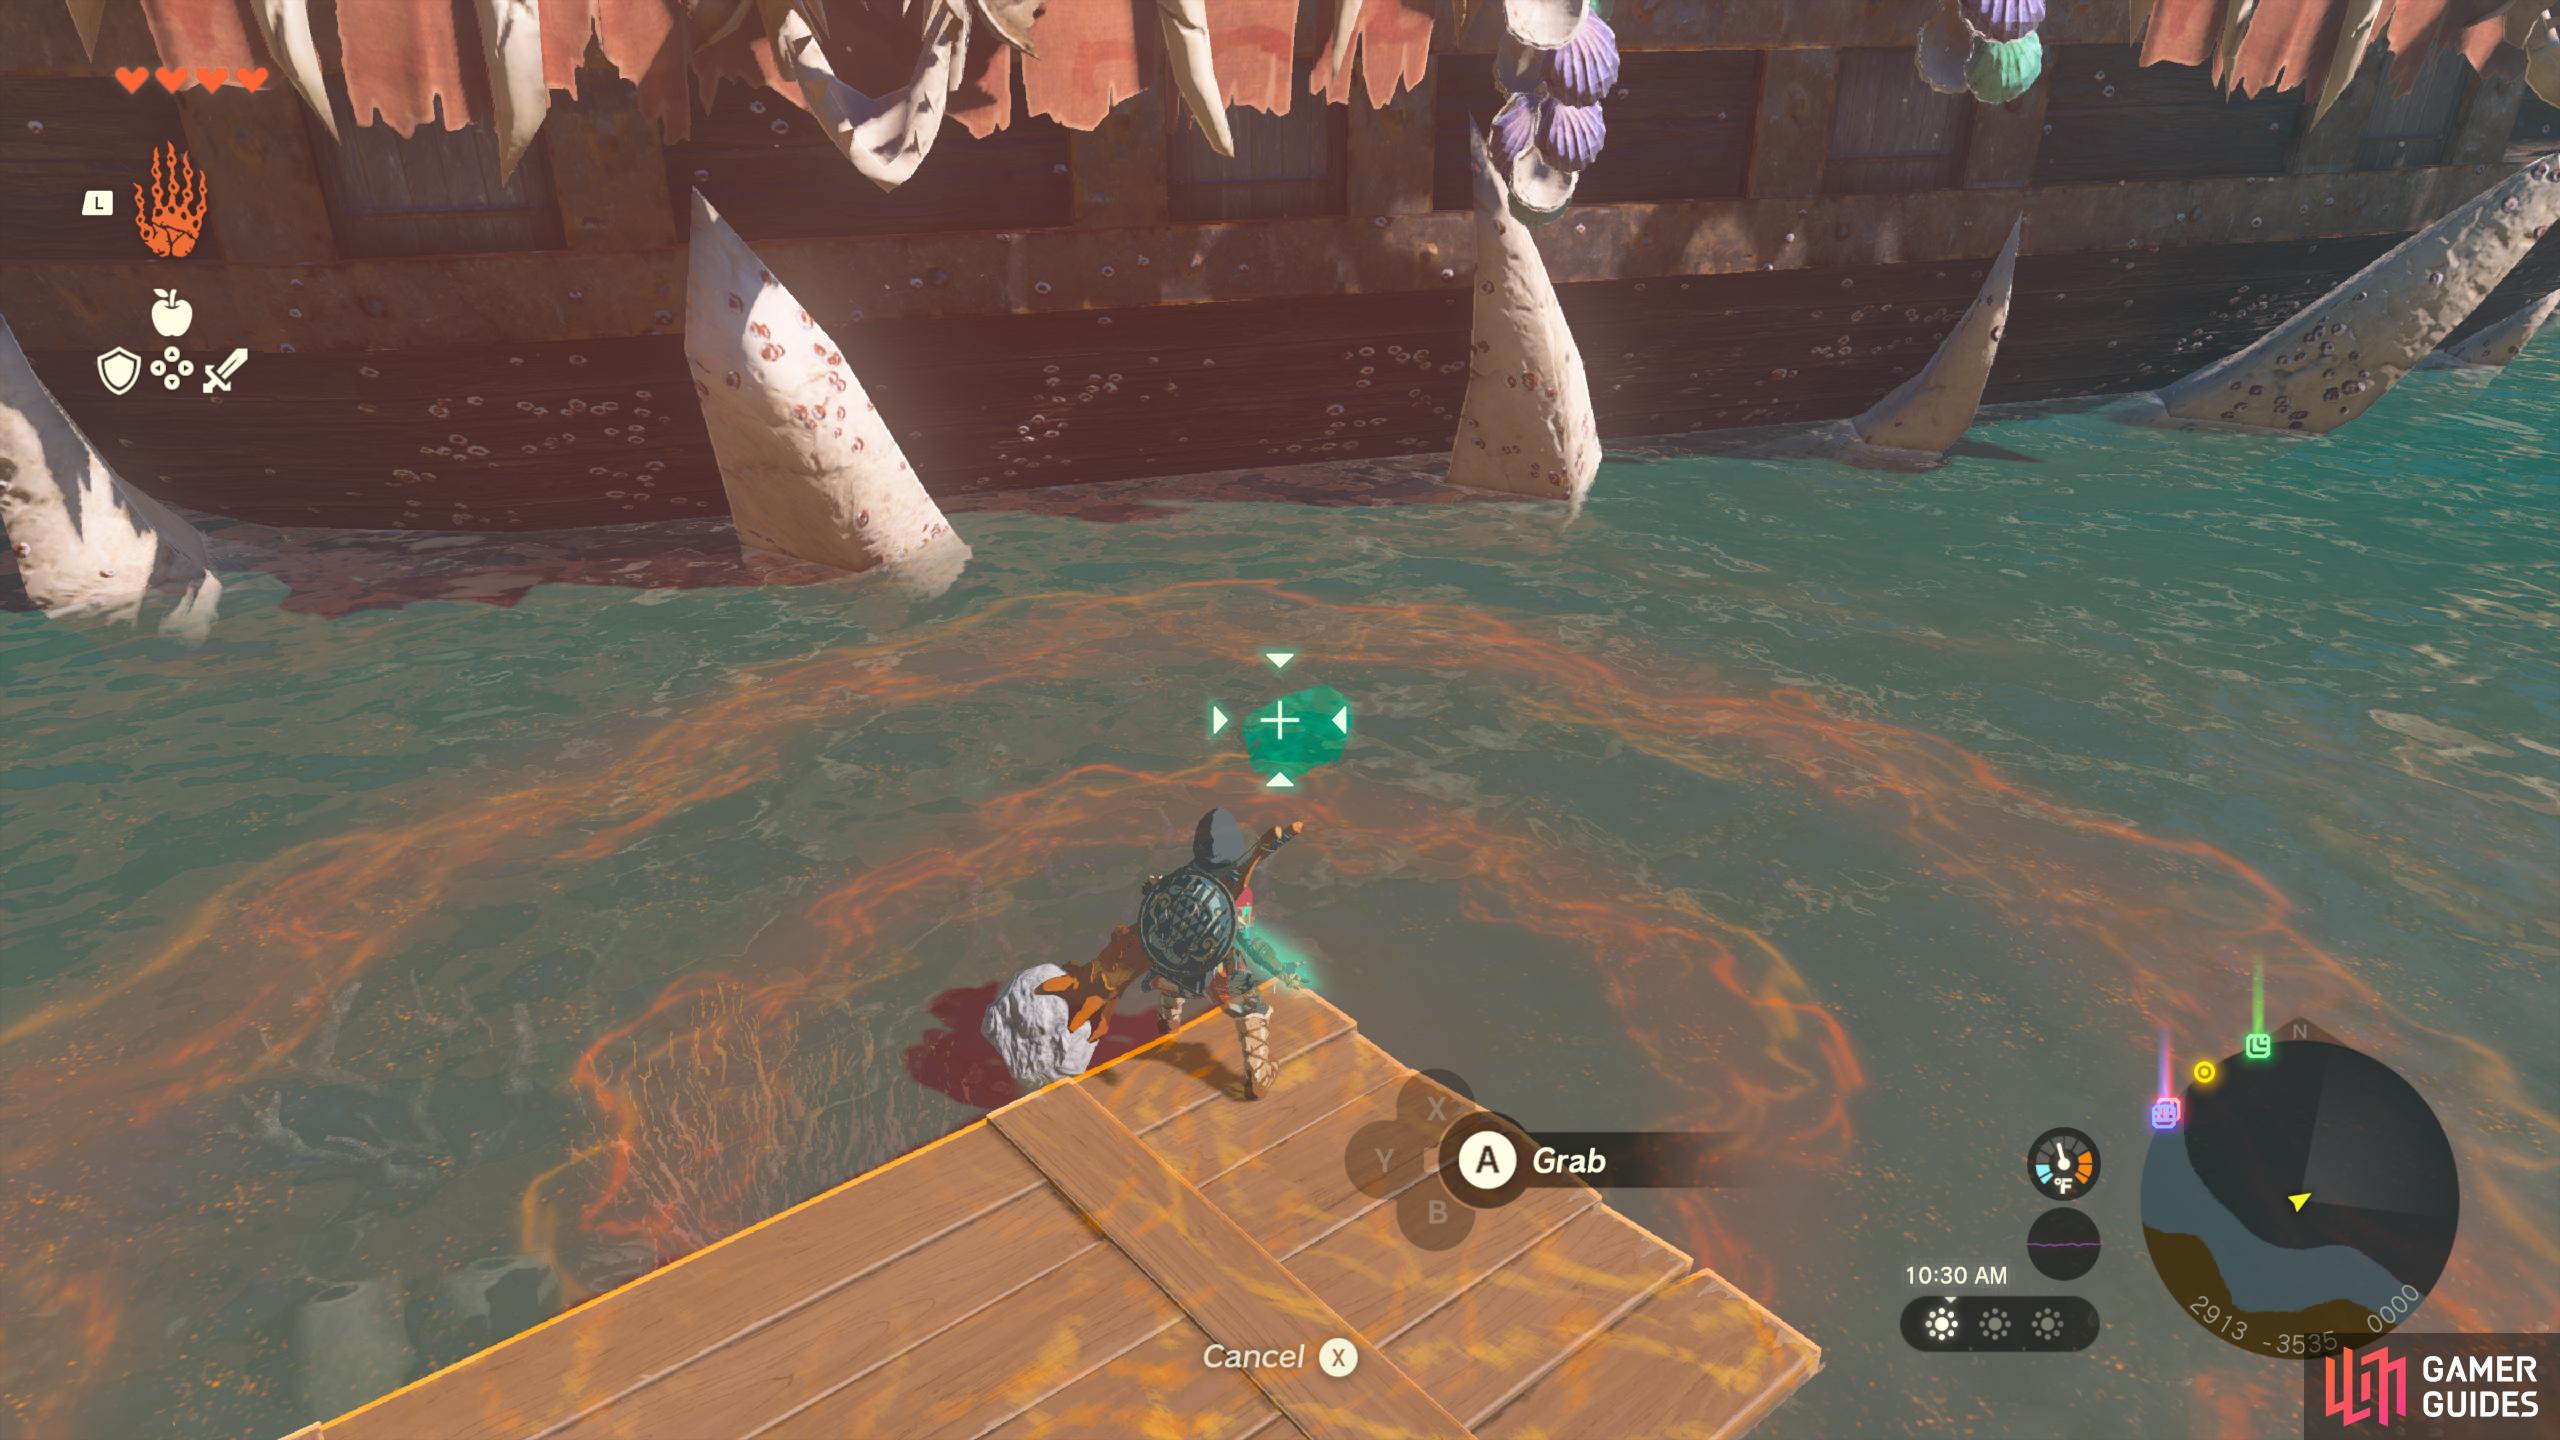
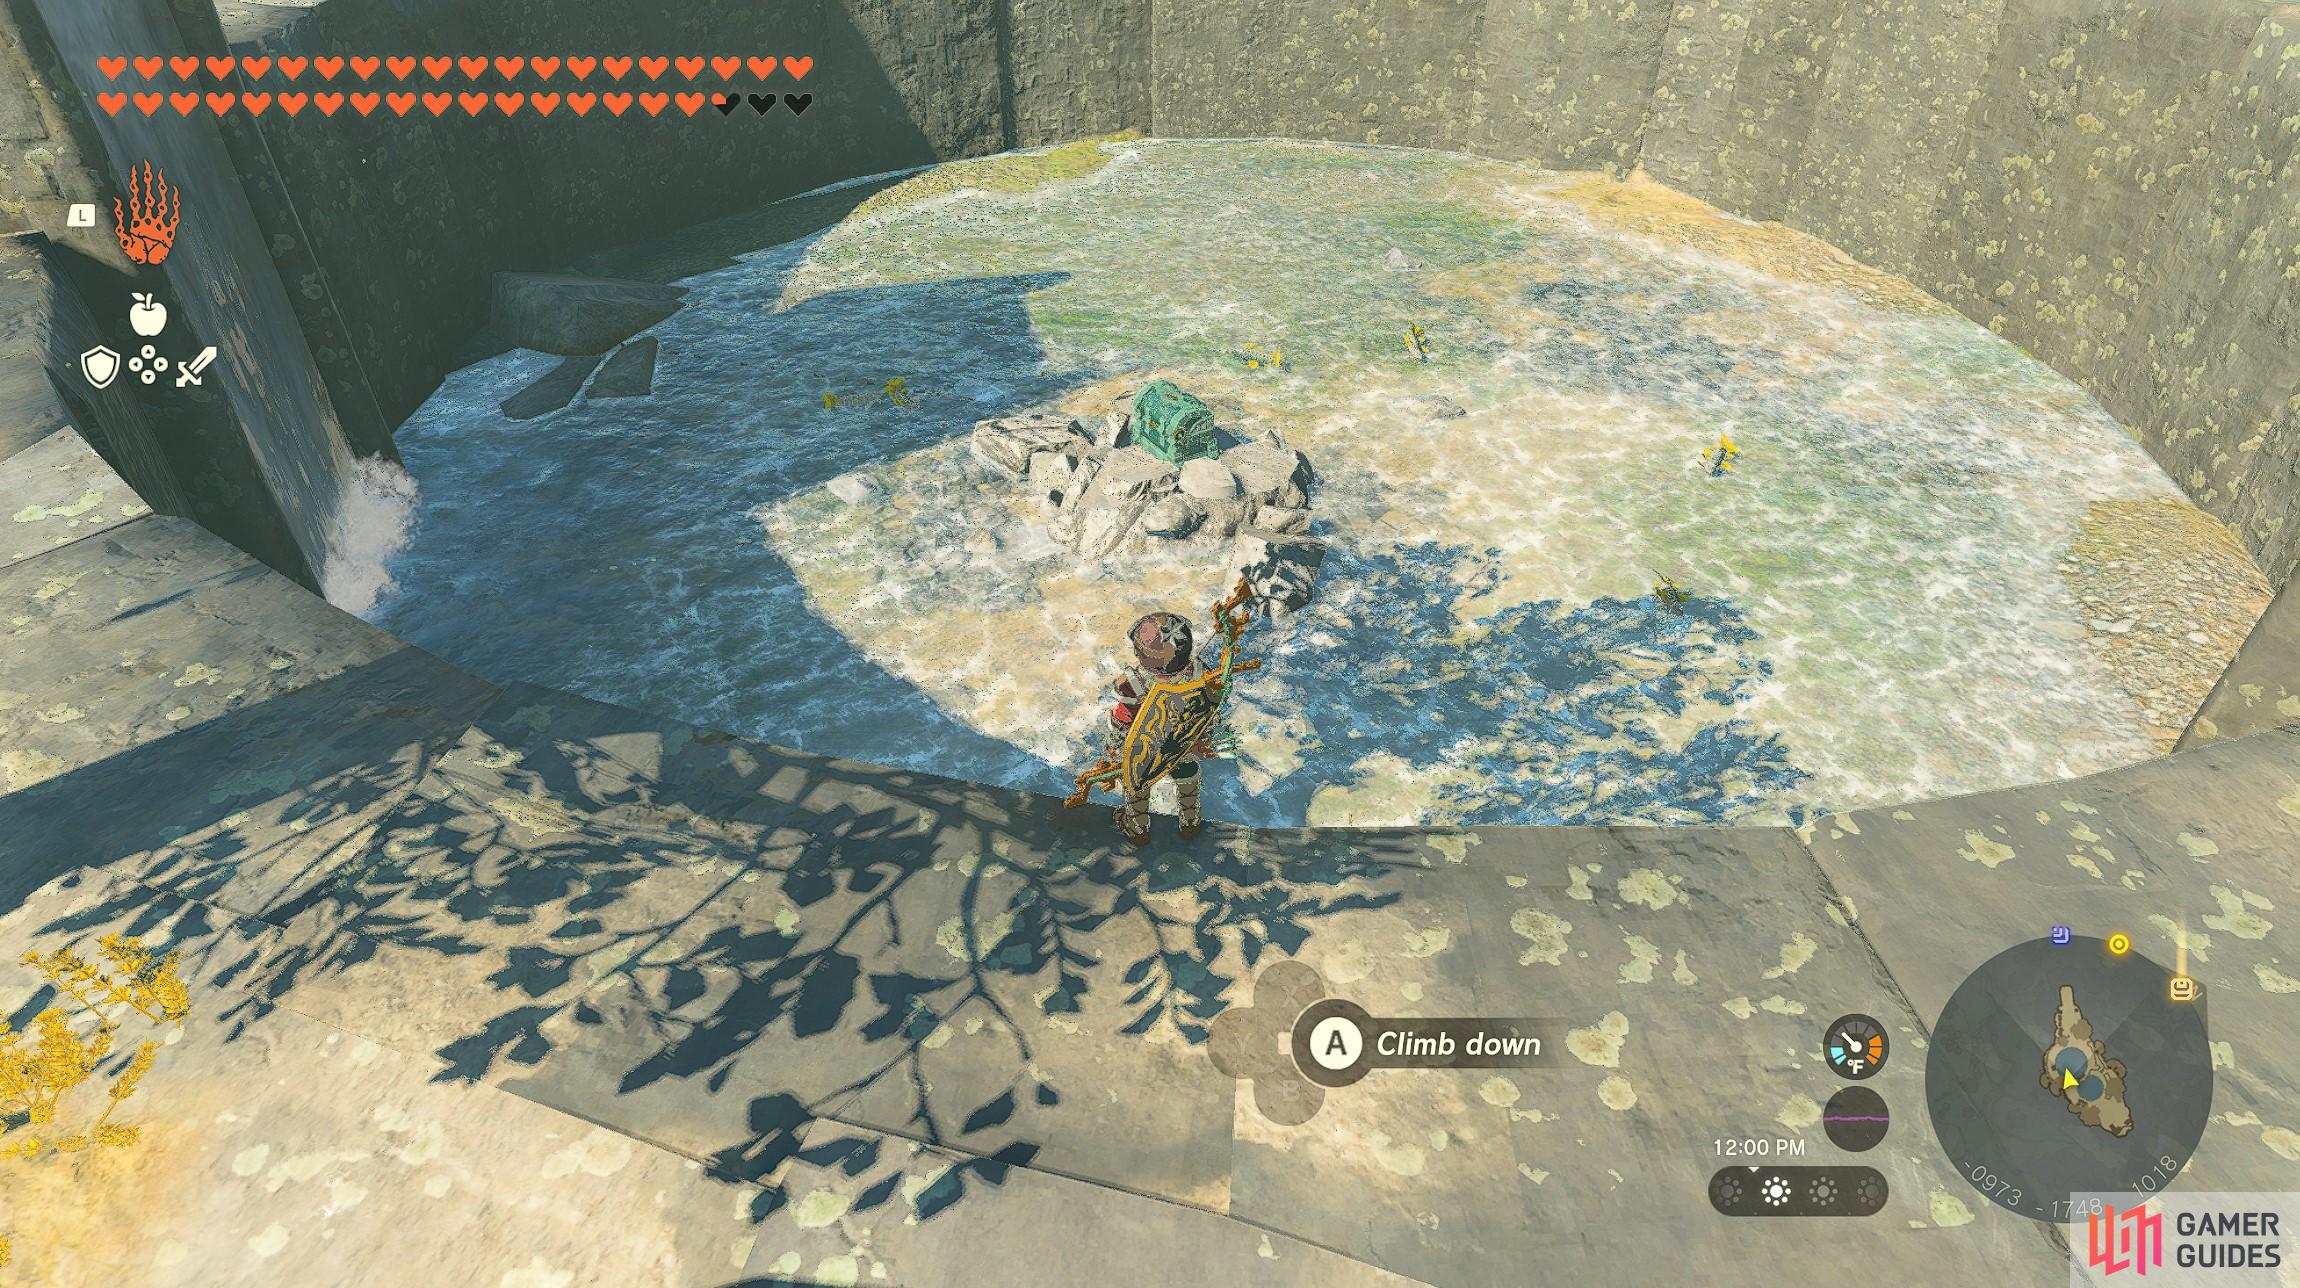
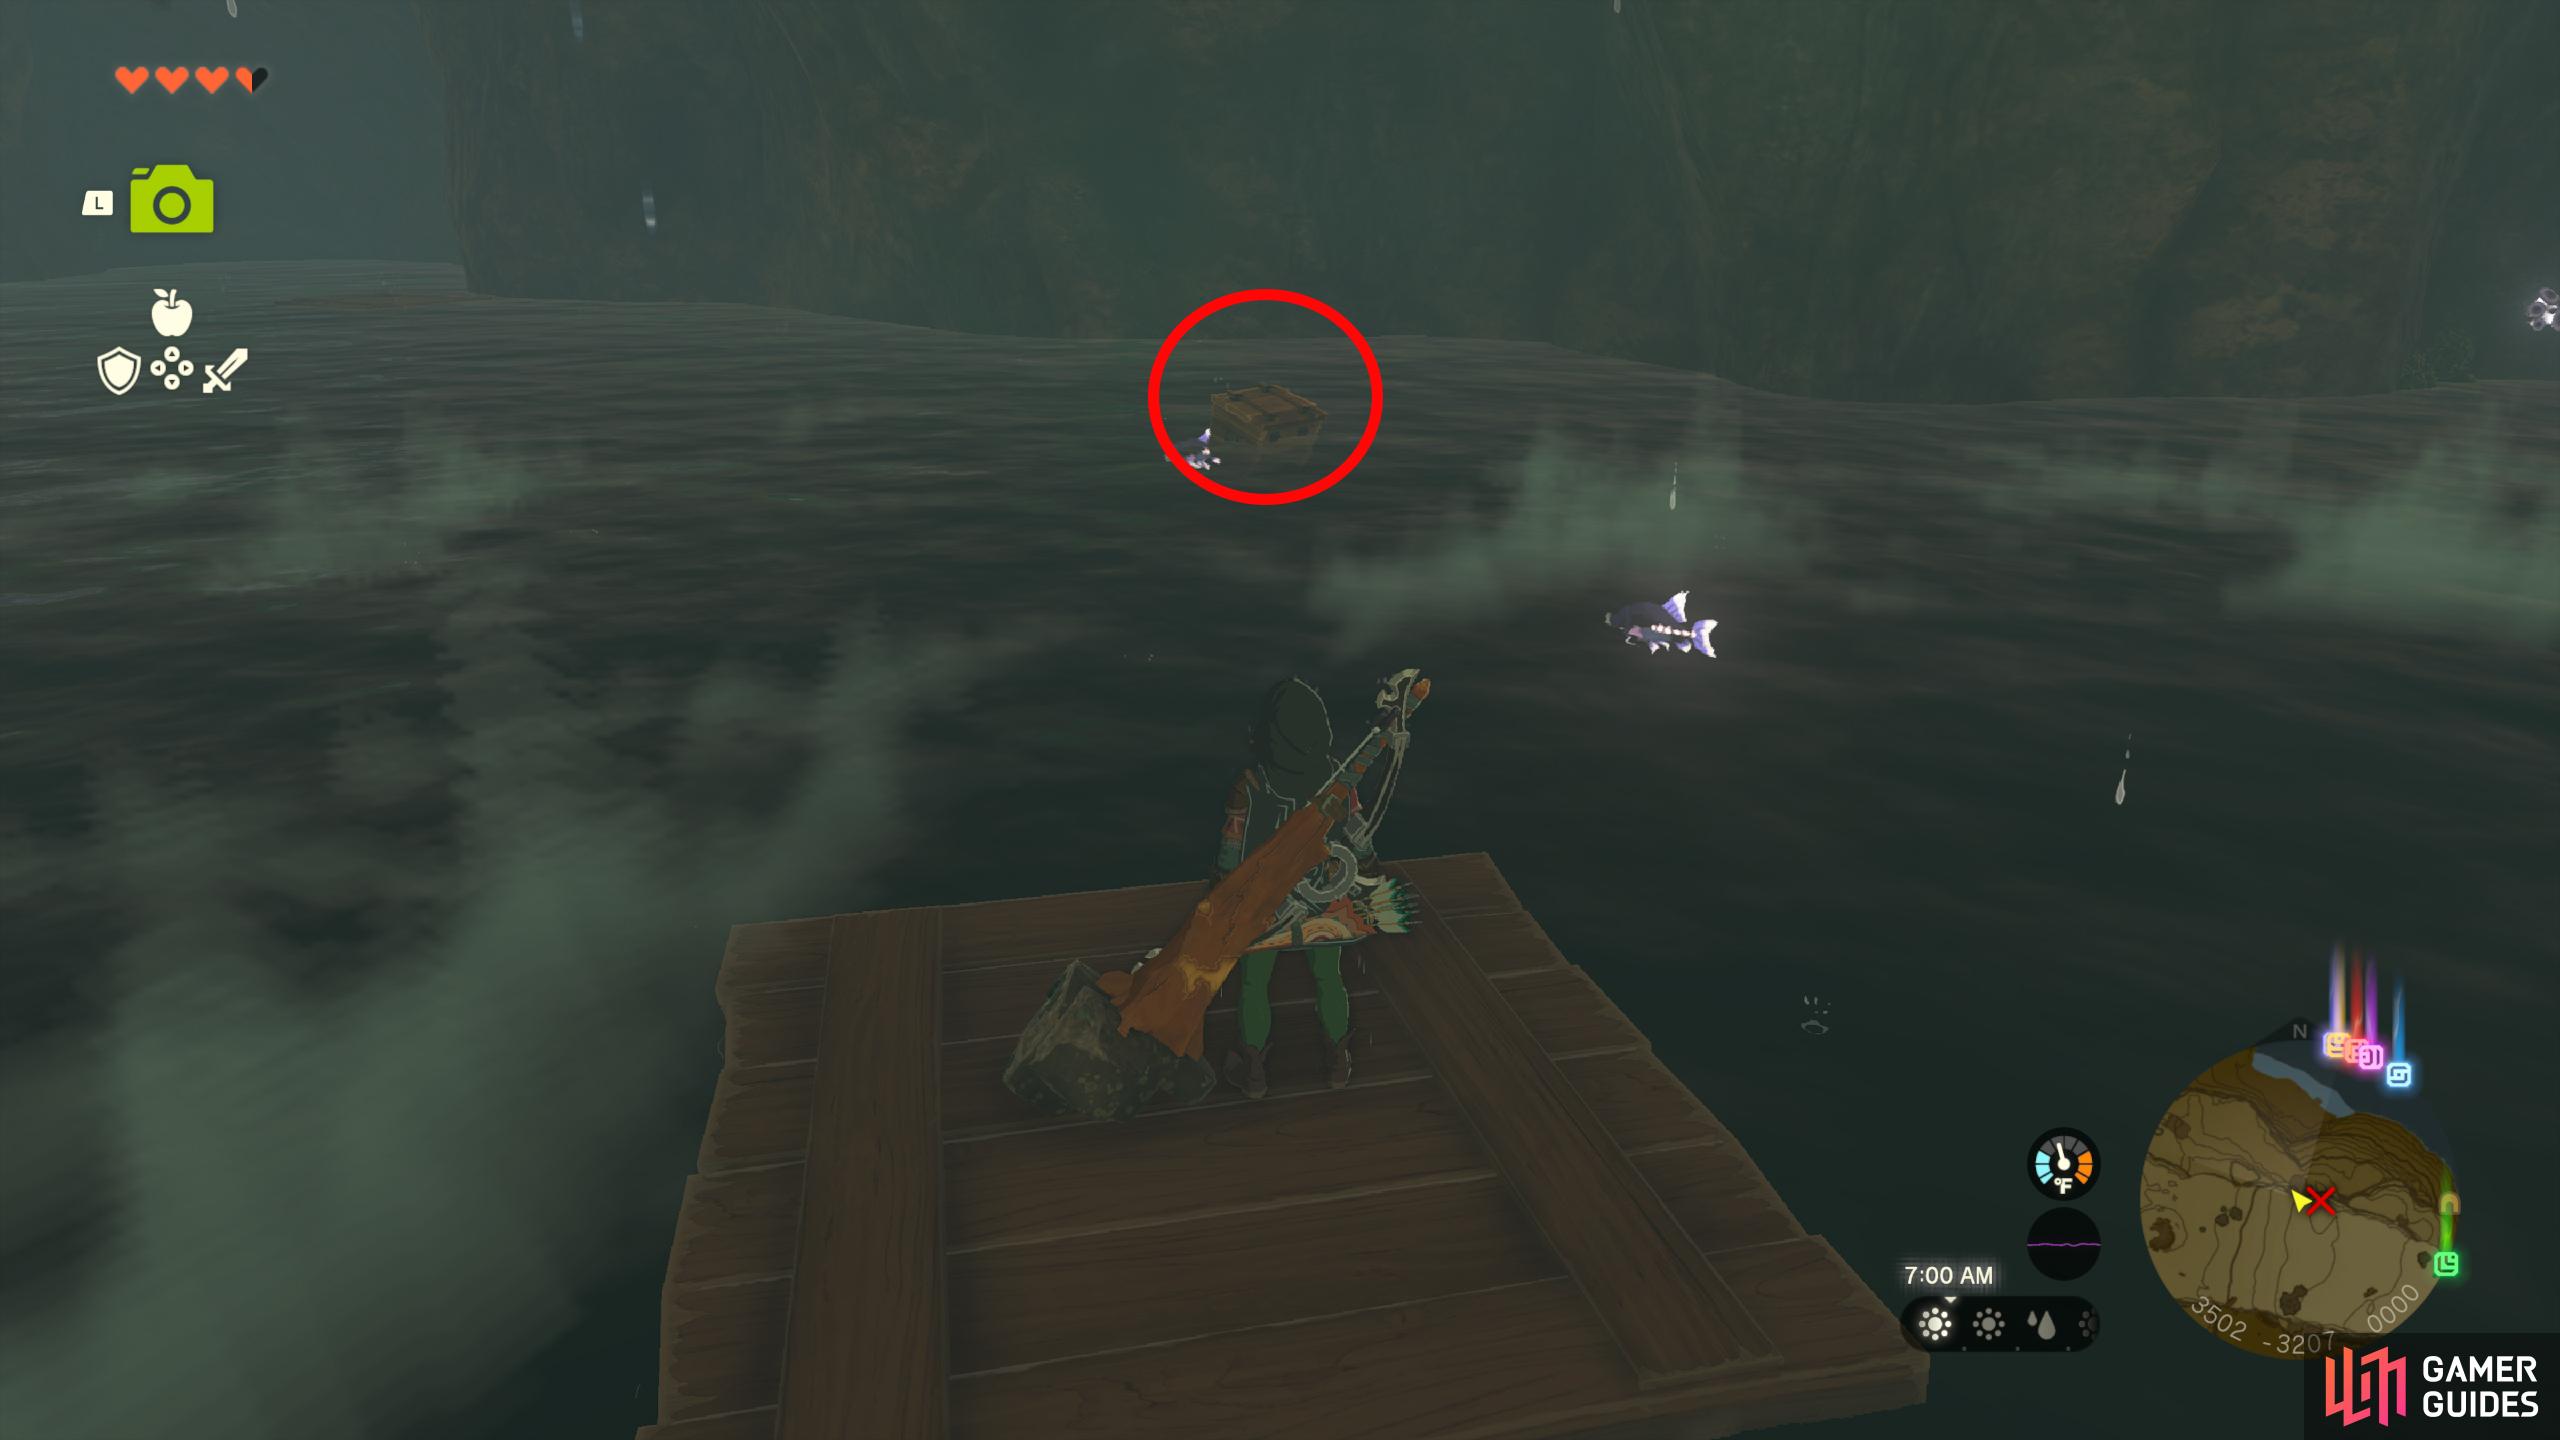
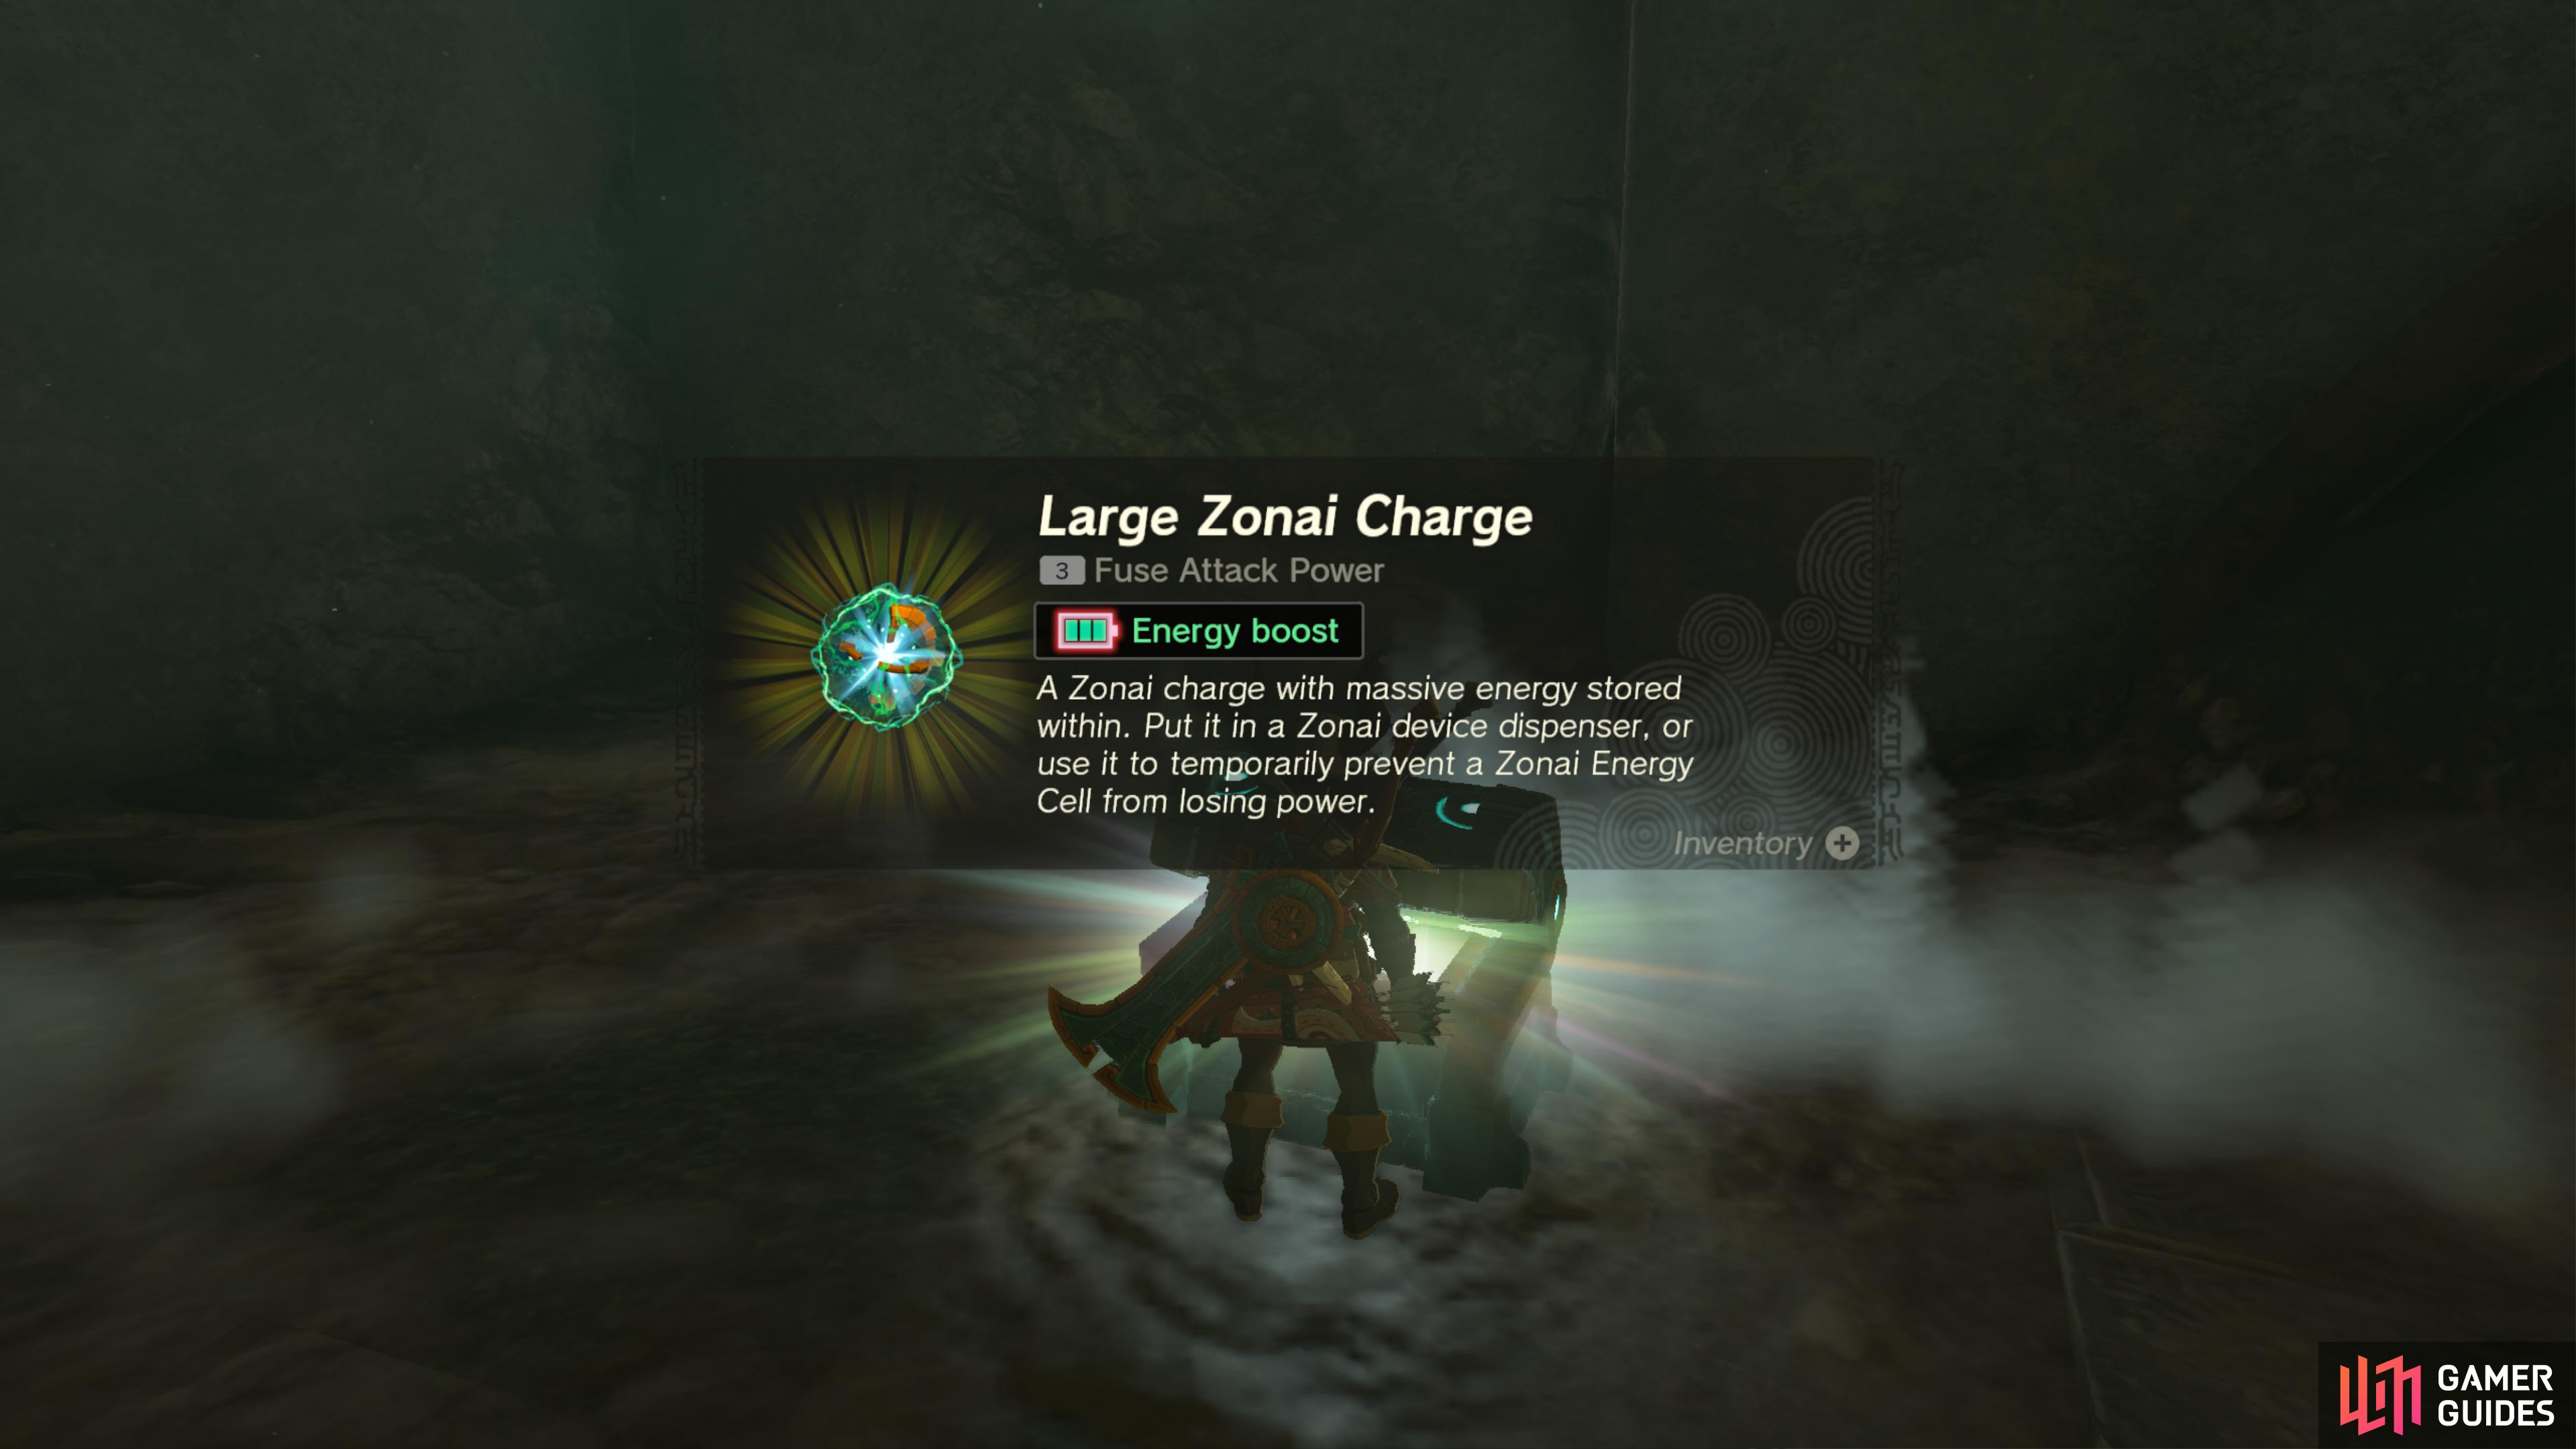
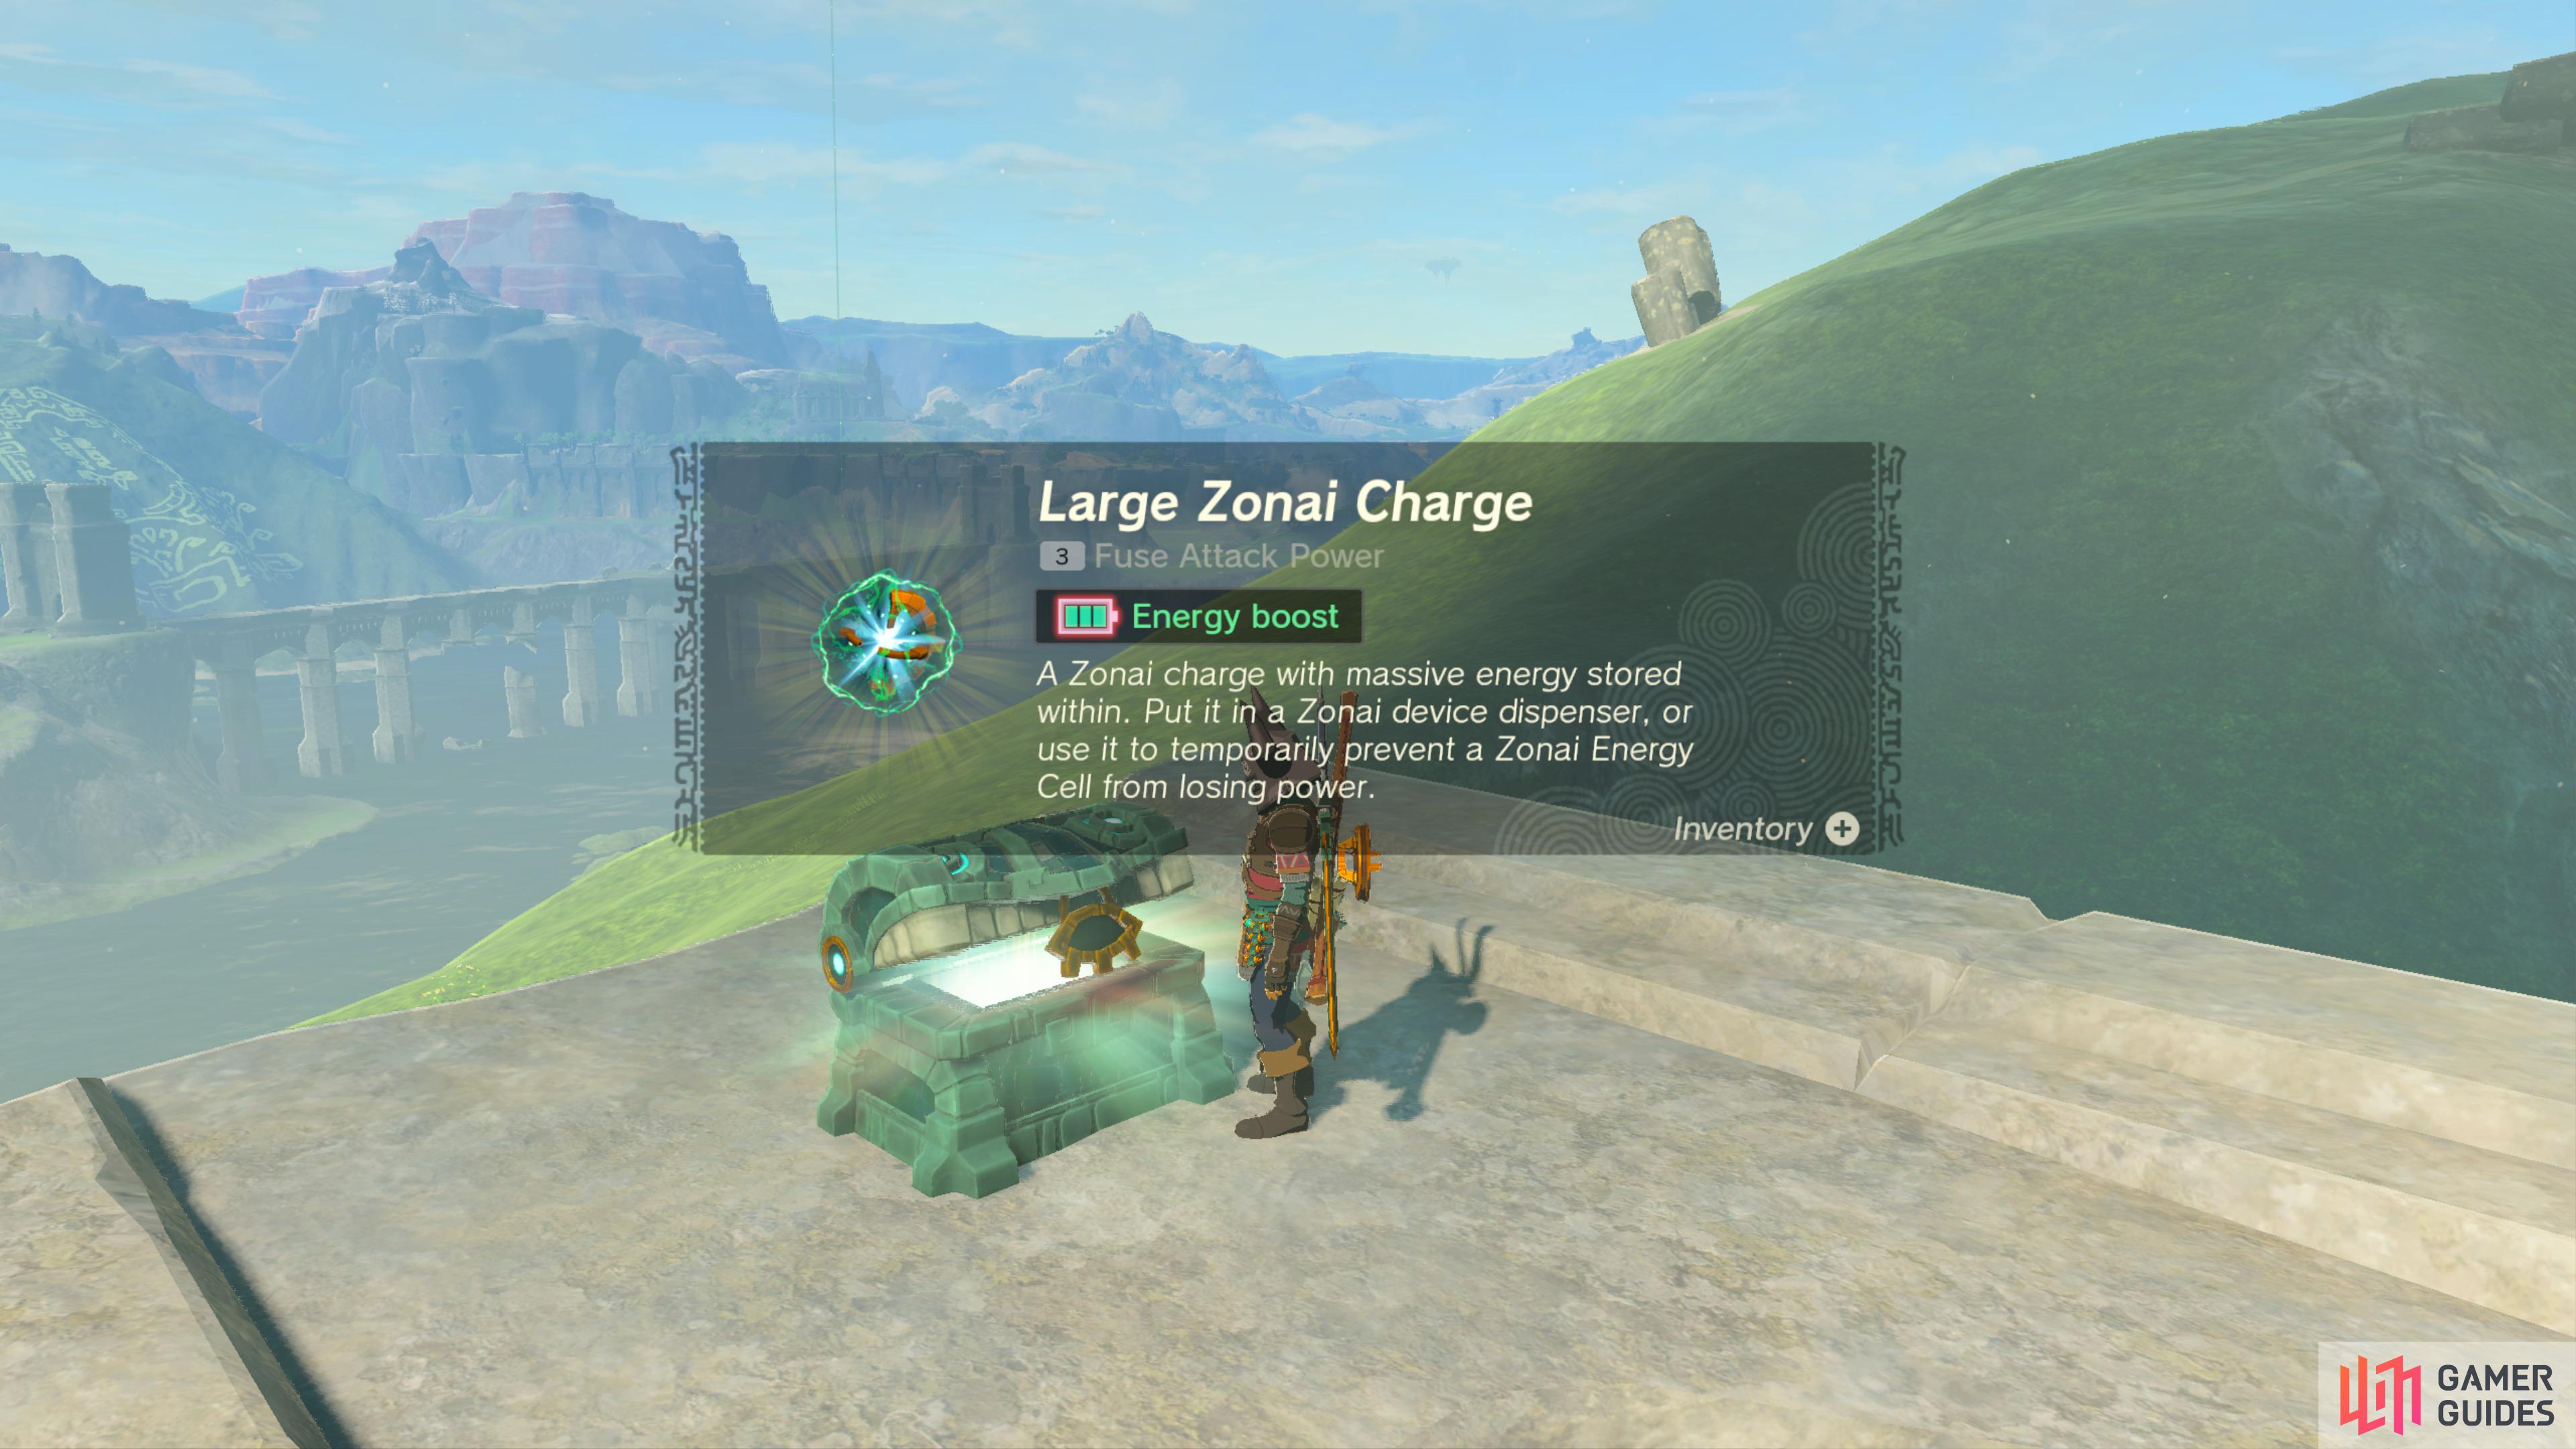
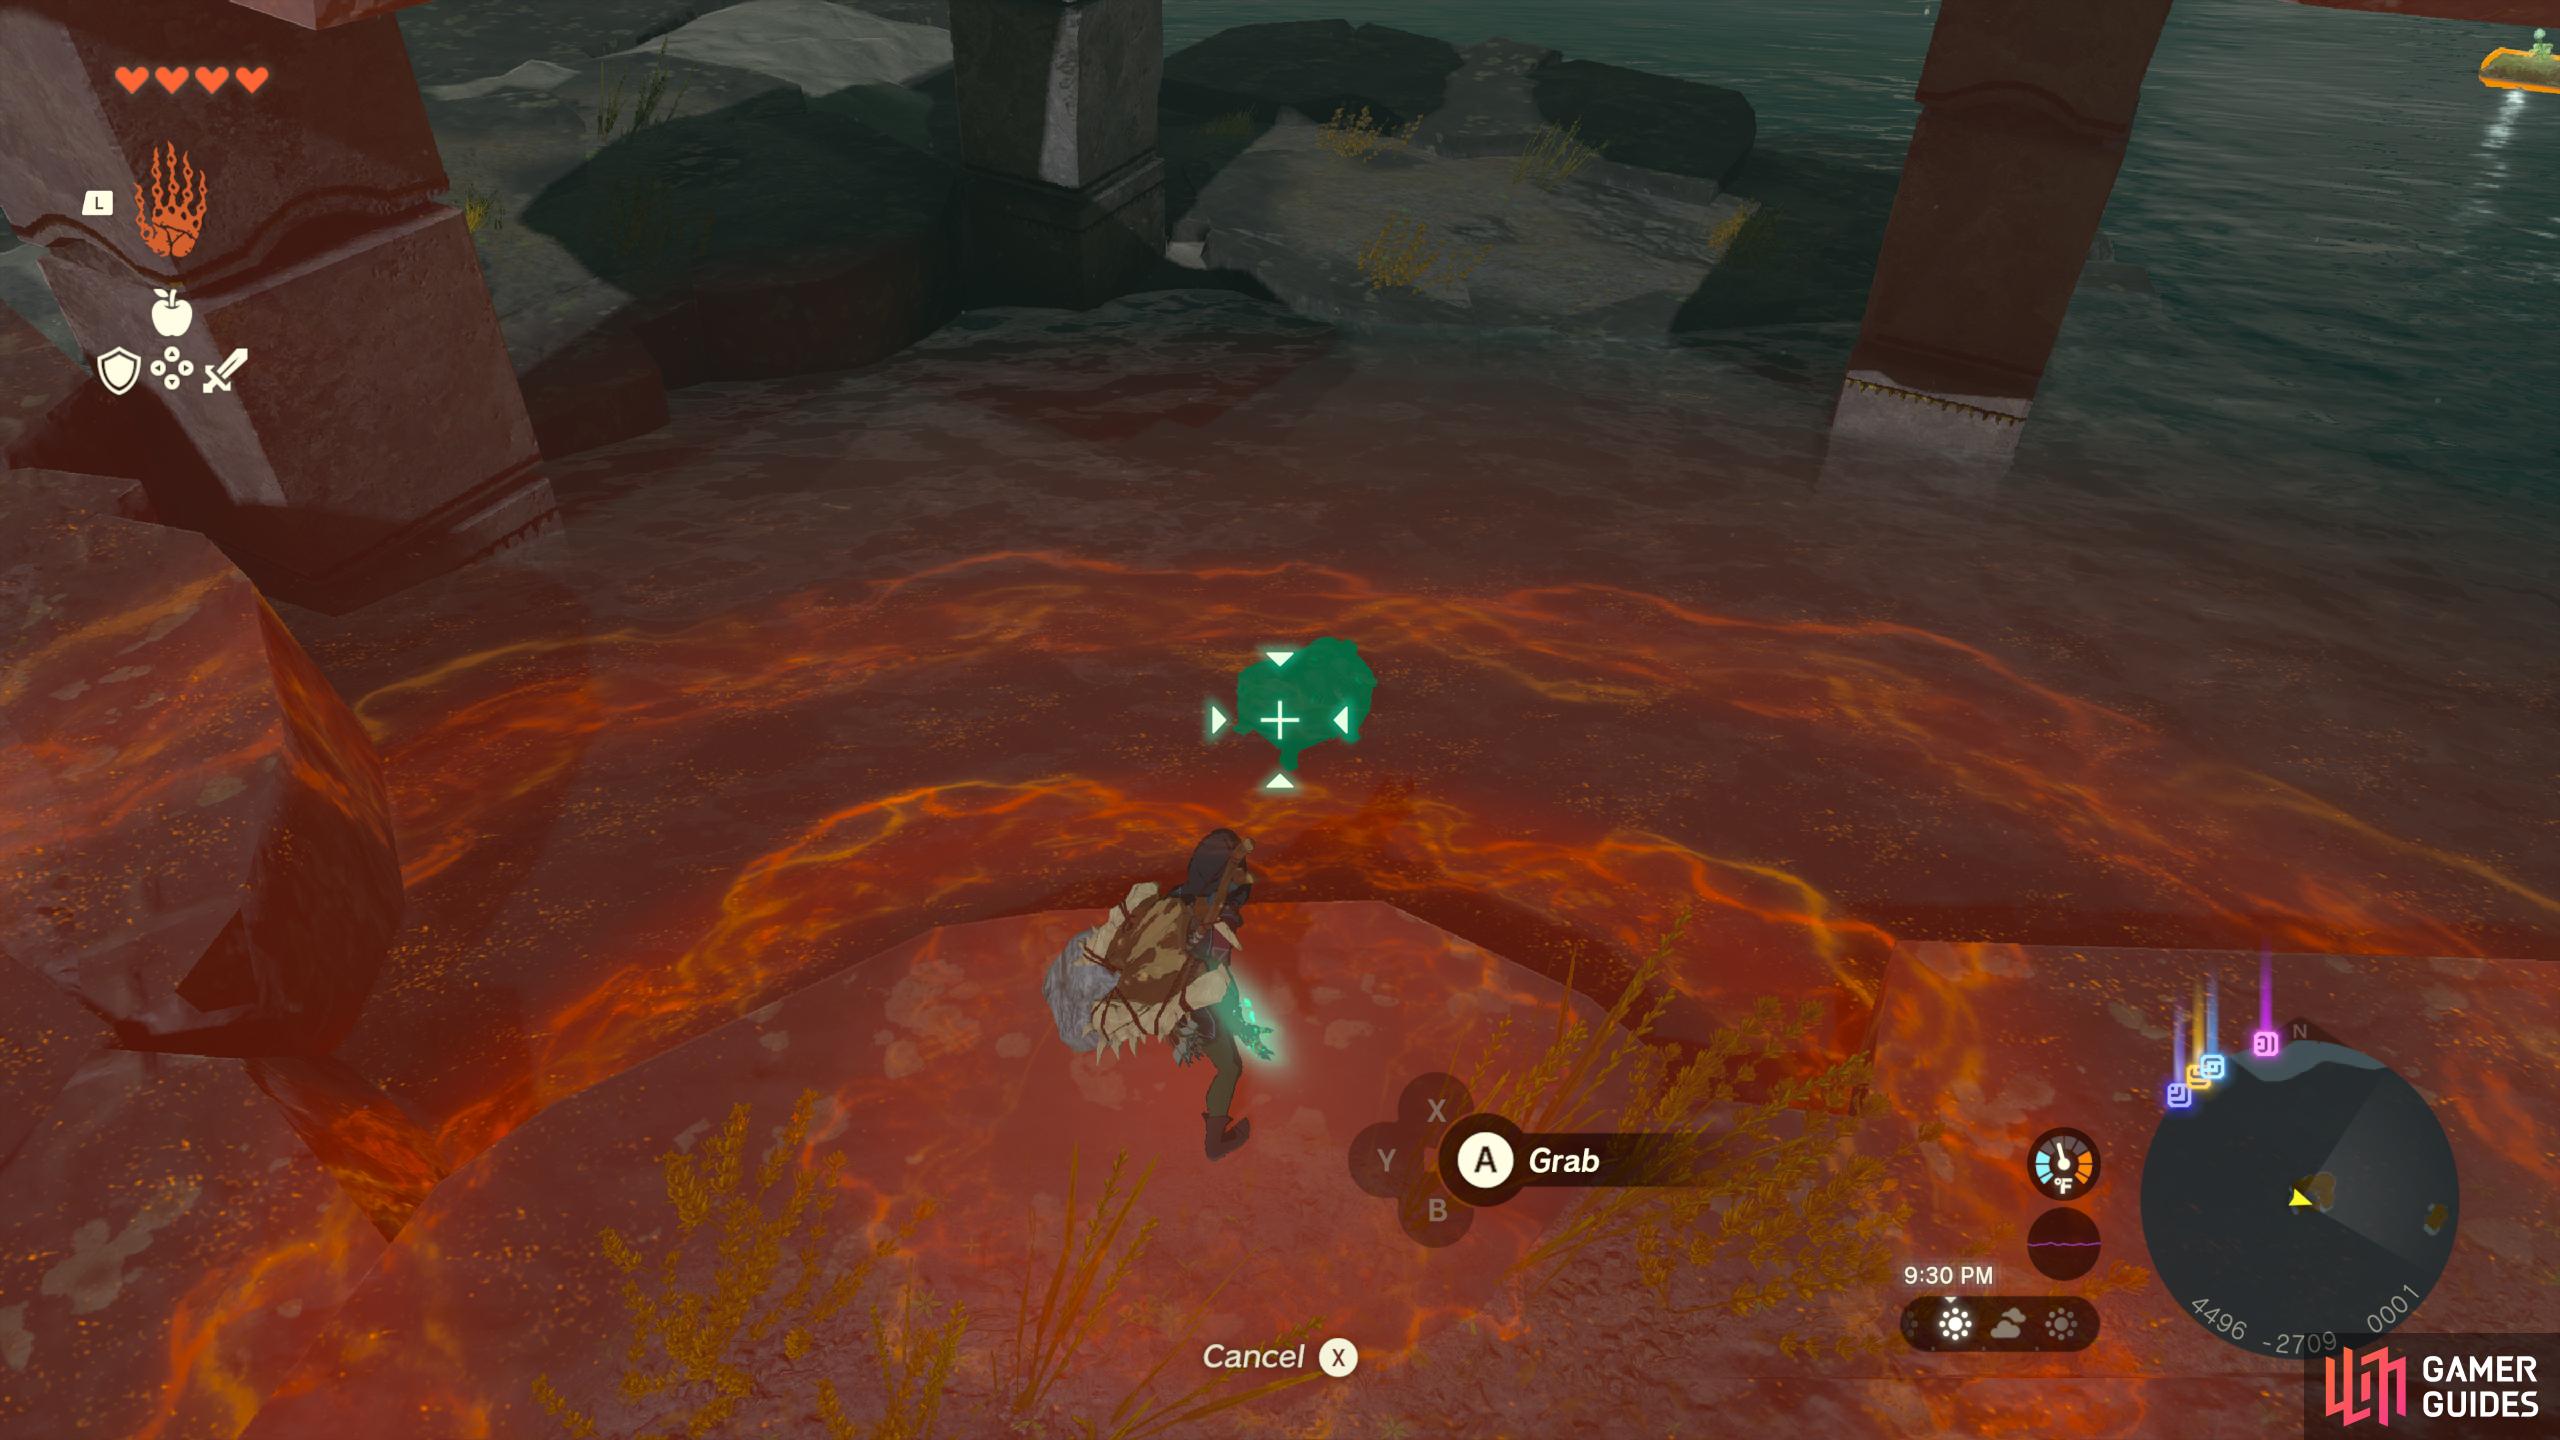
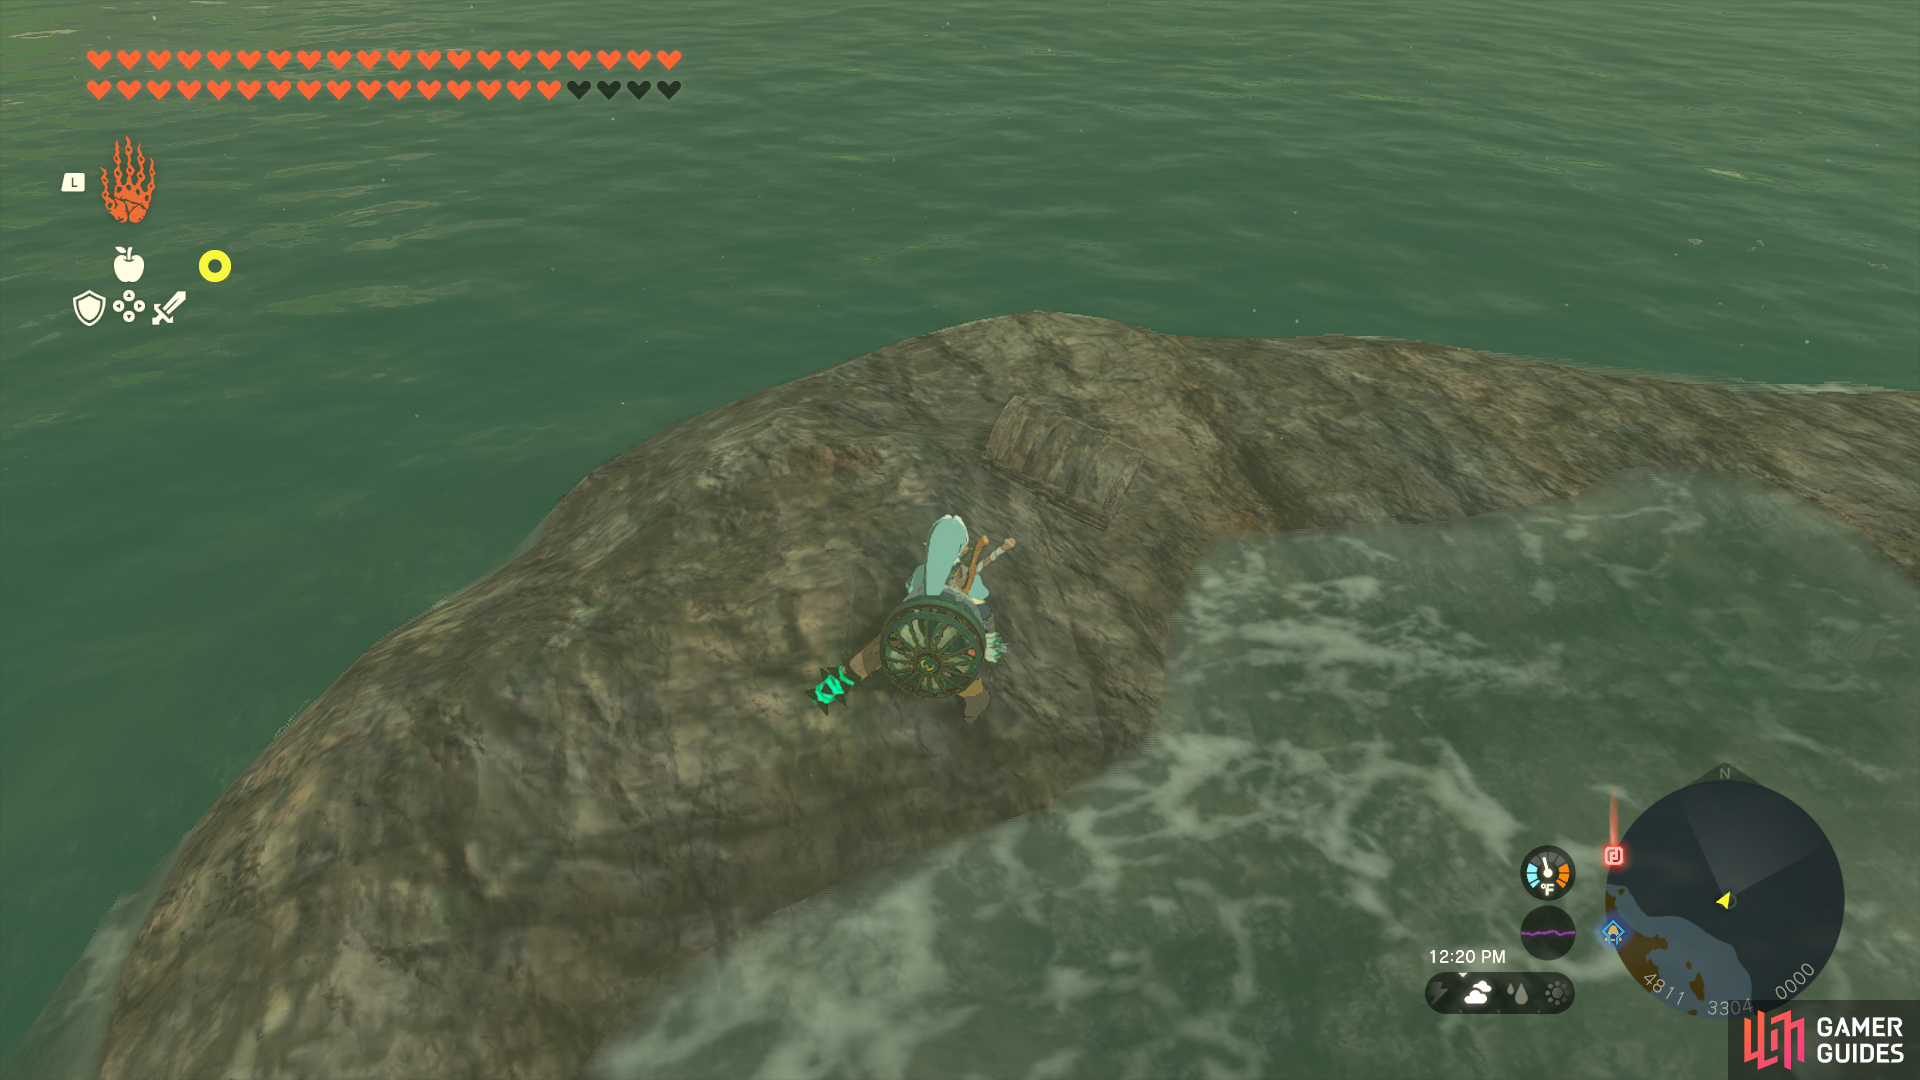
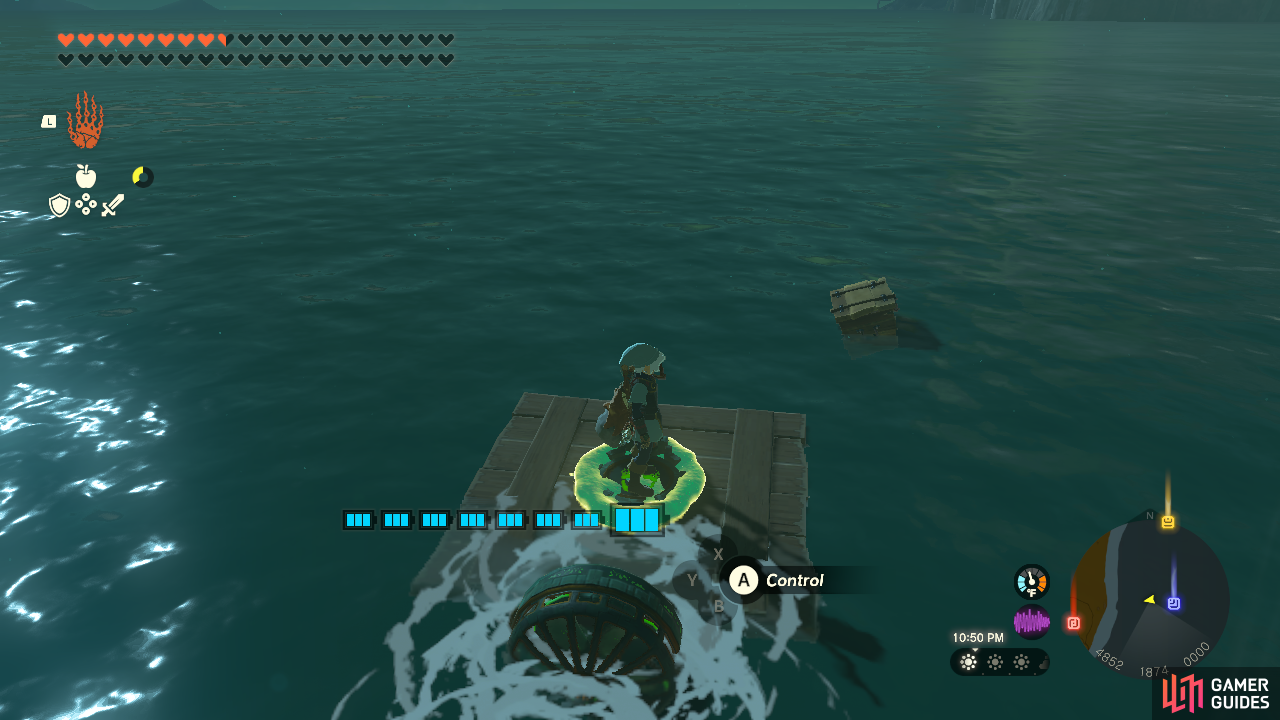
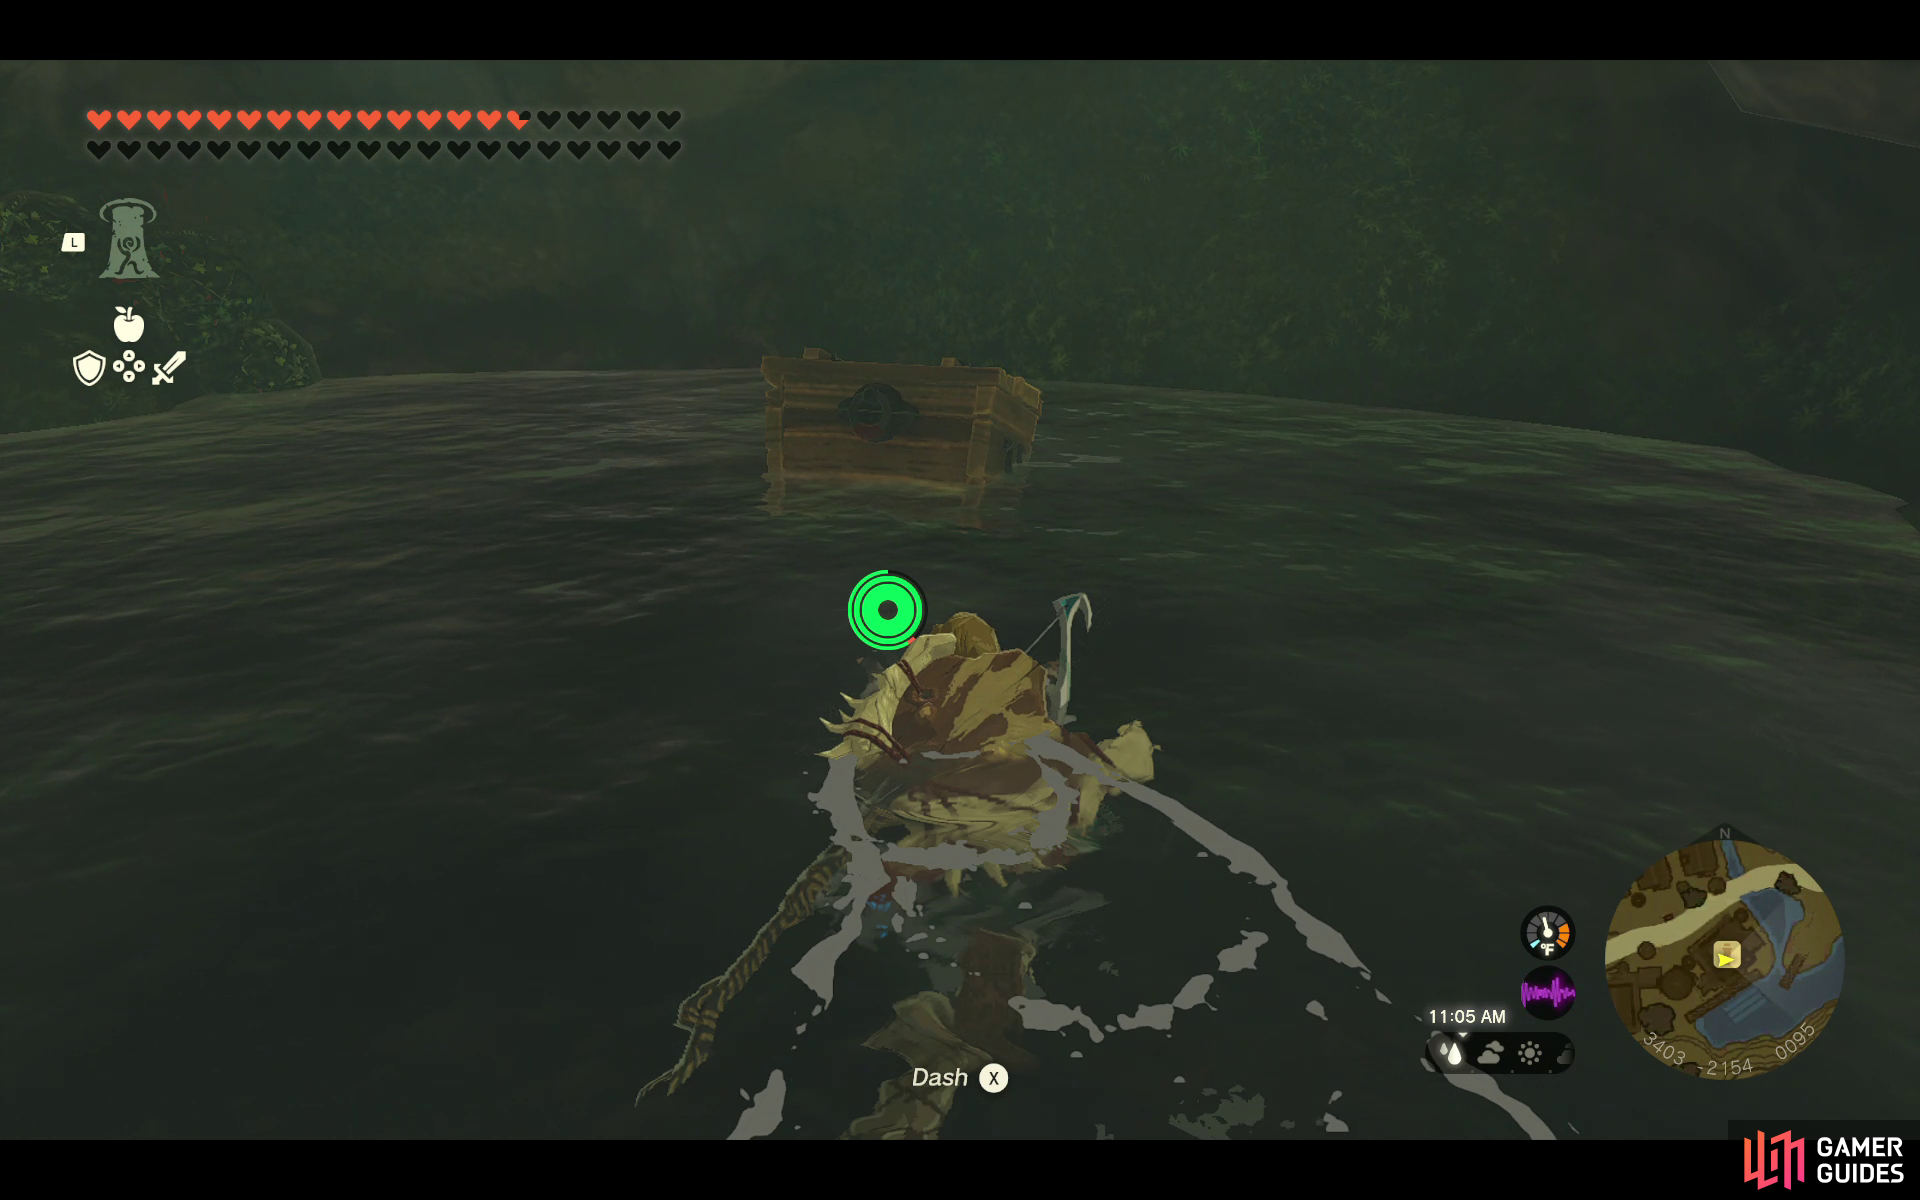
40175. Hyrule Sky Islands Map
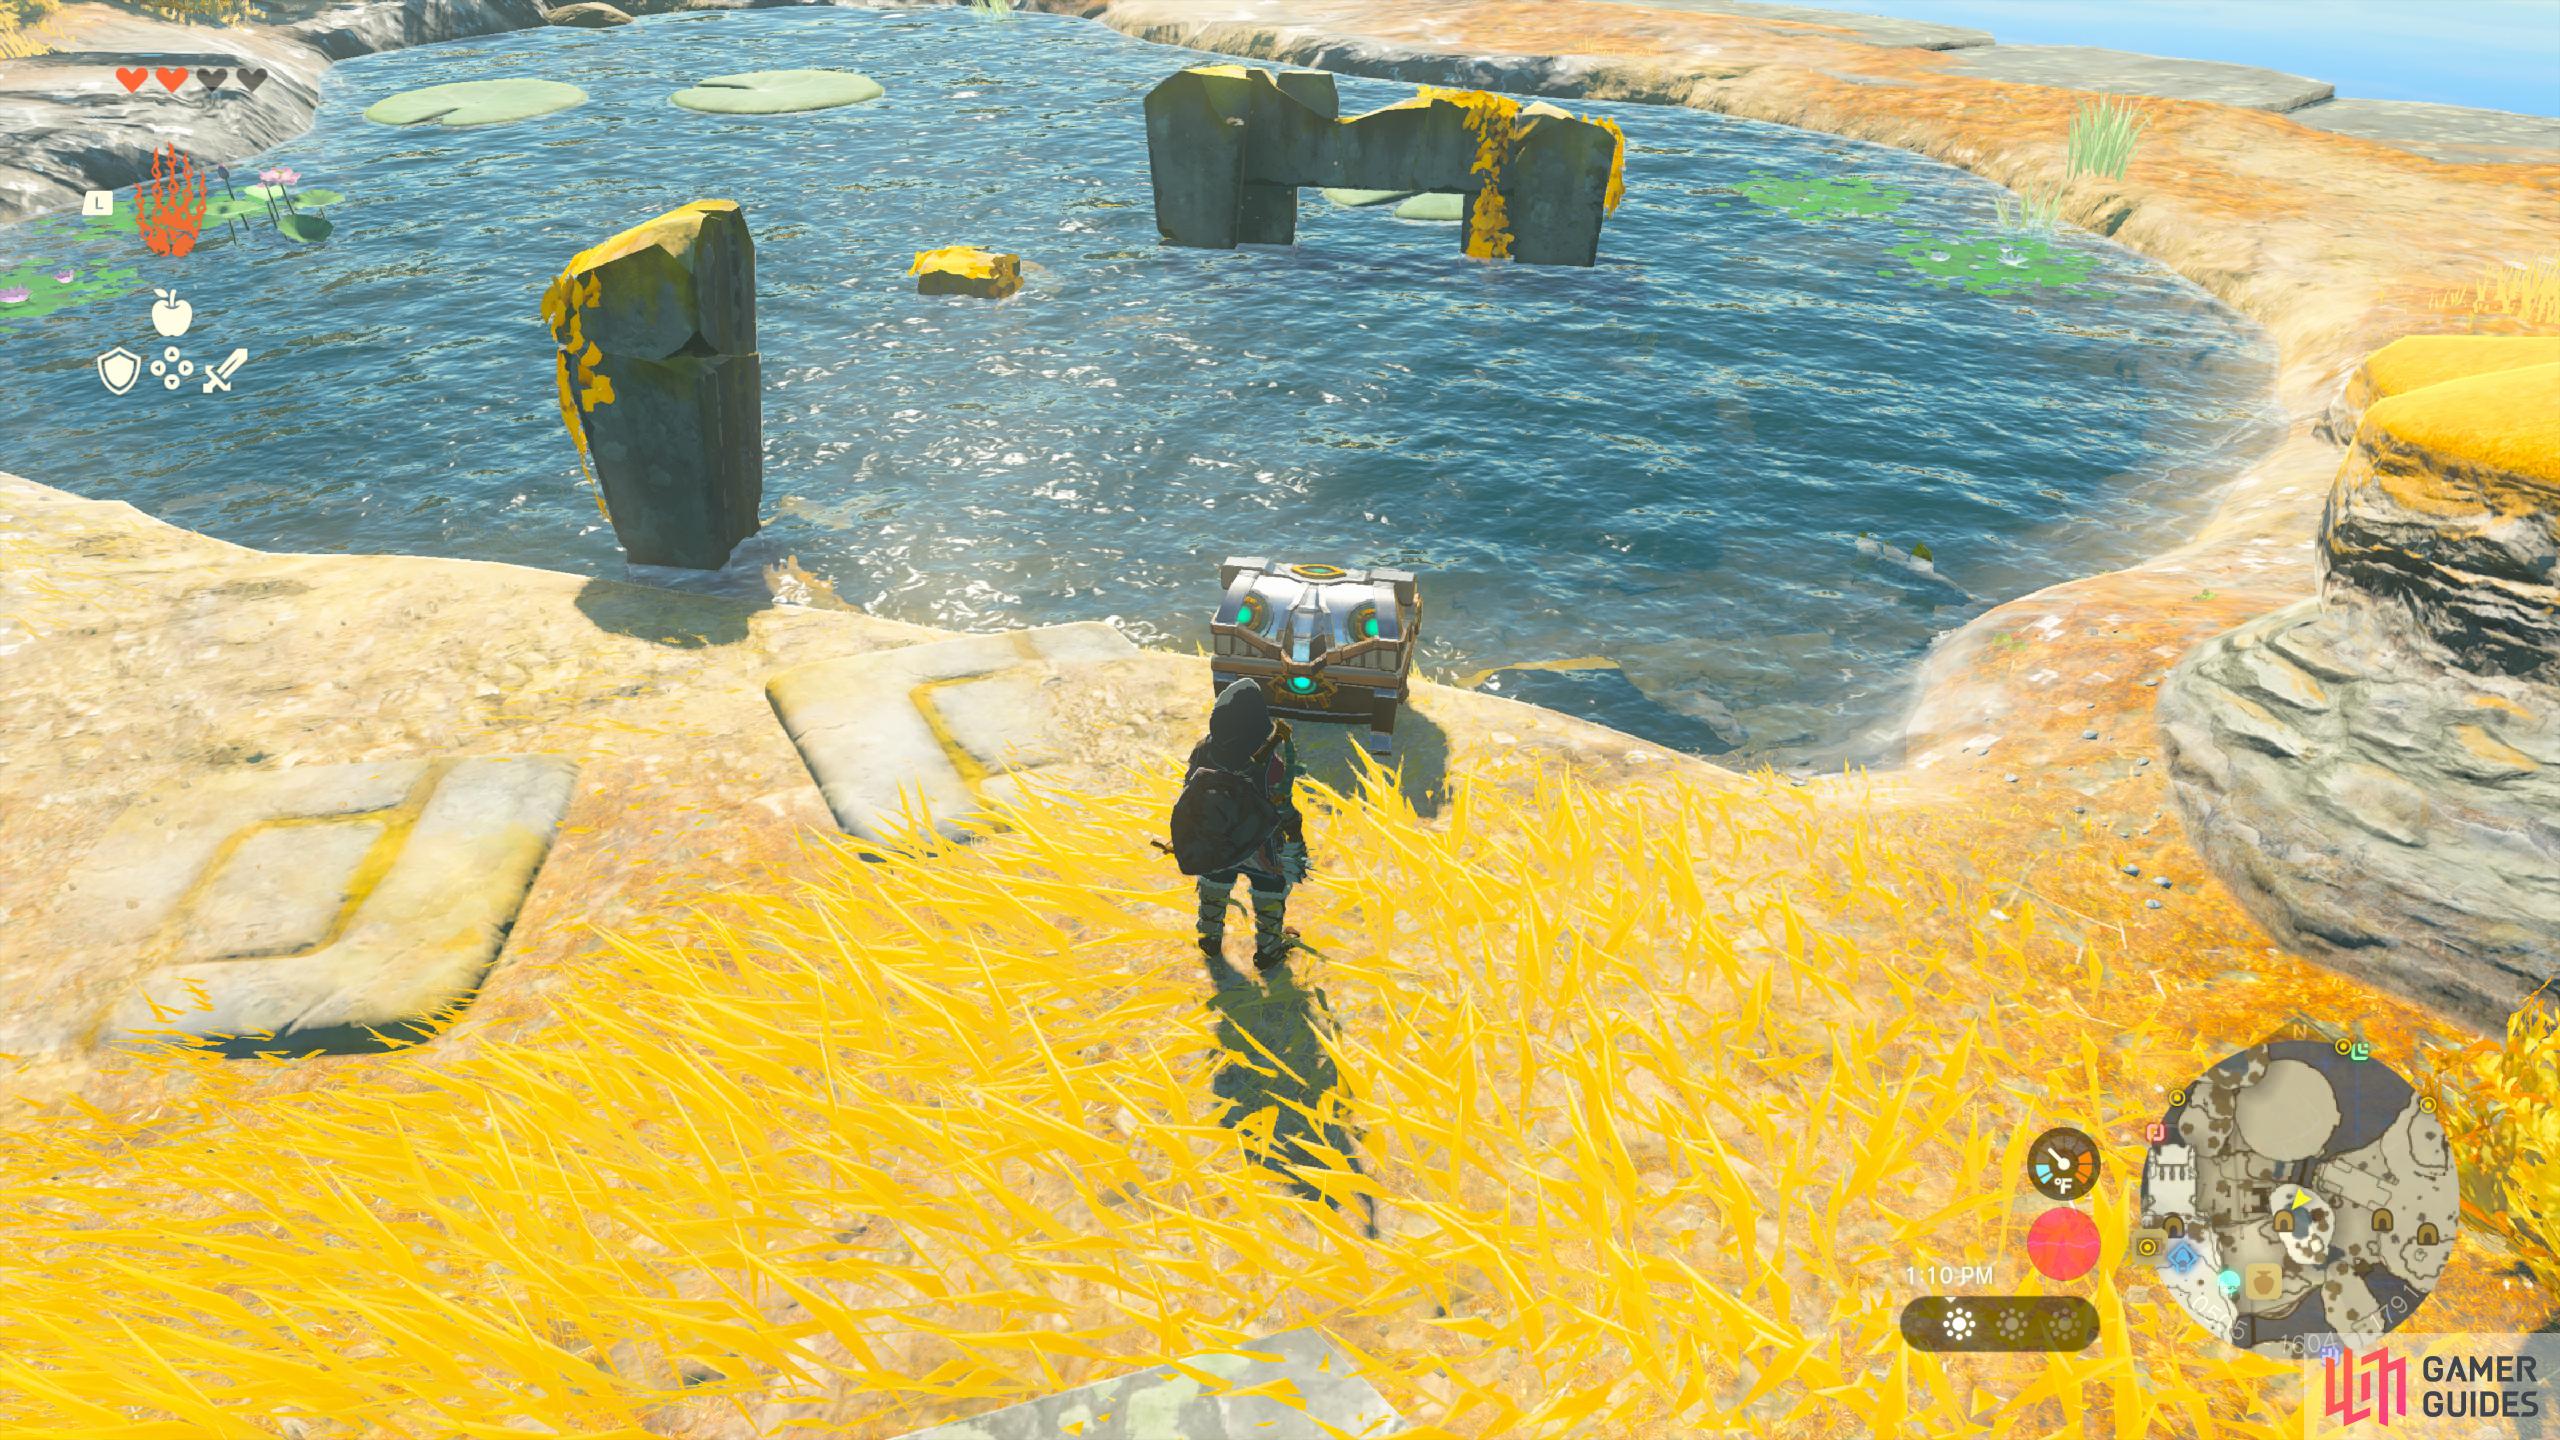
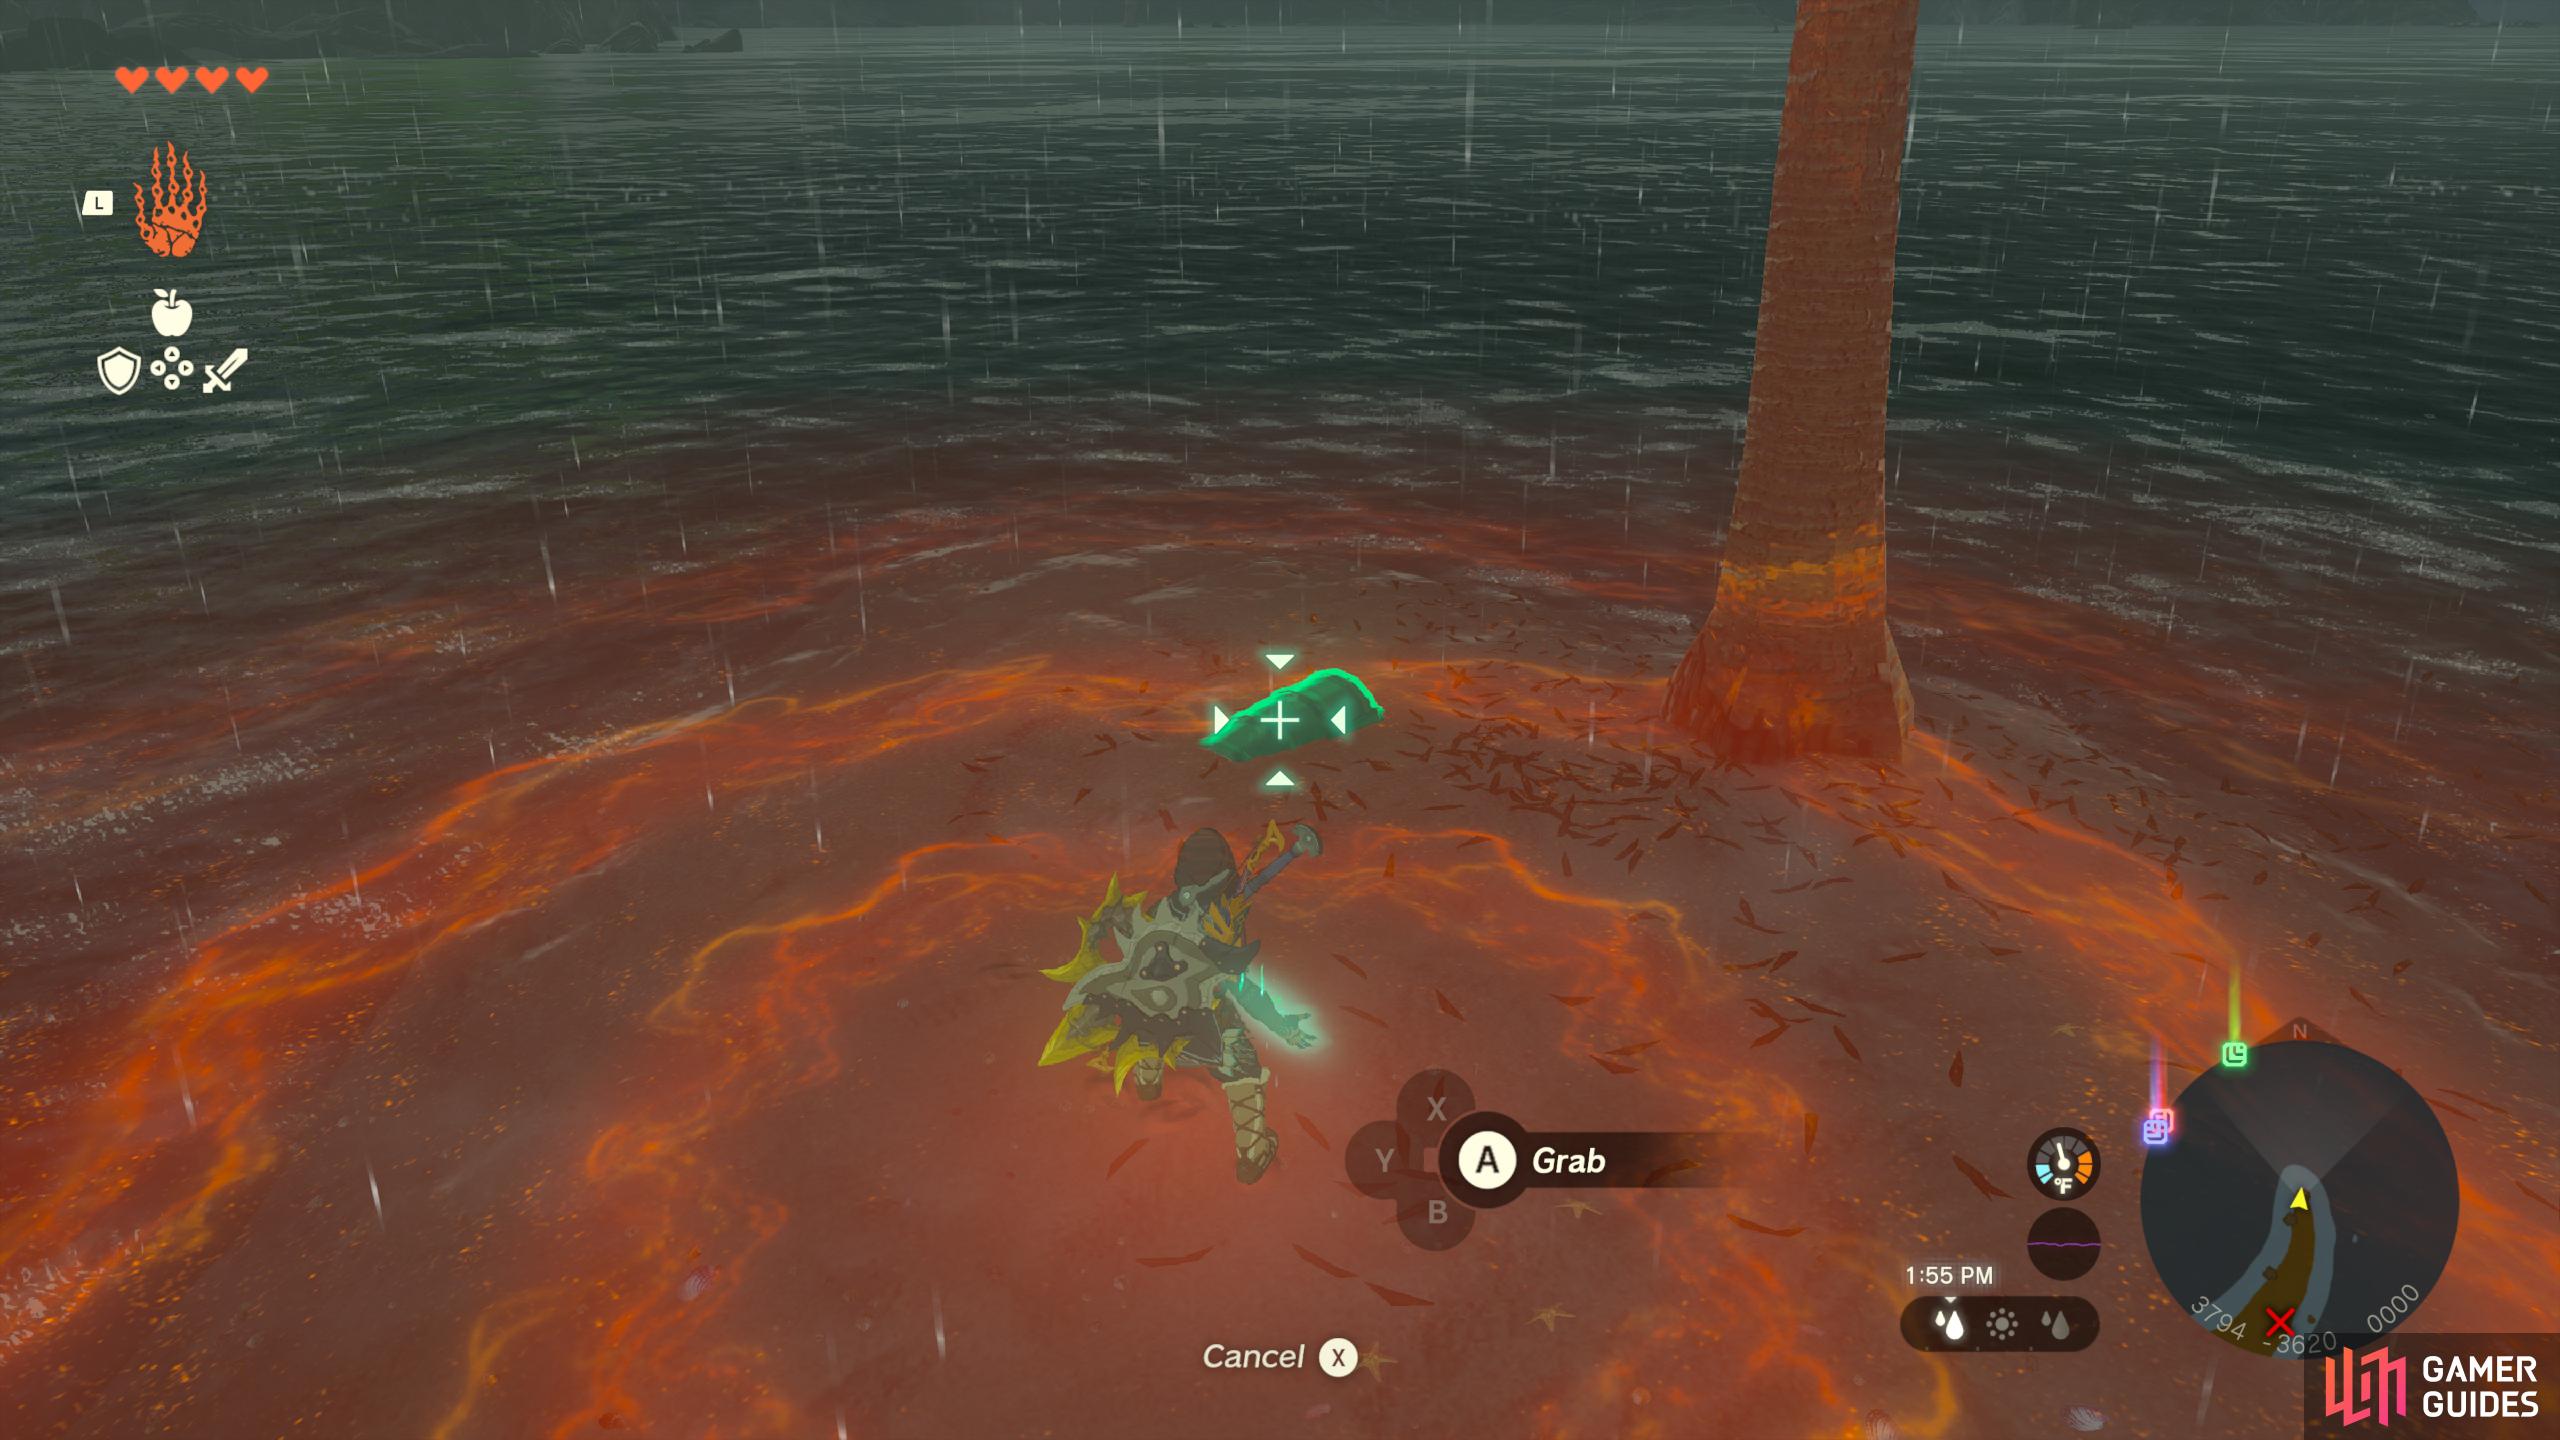
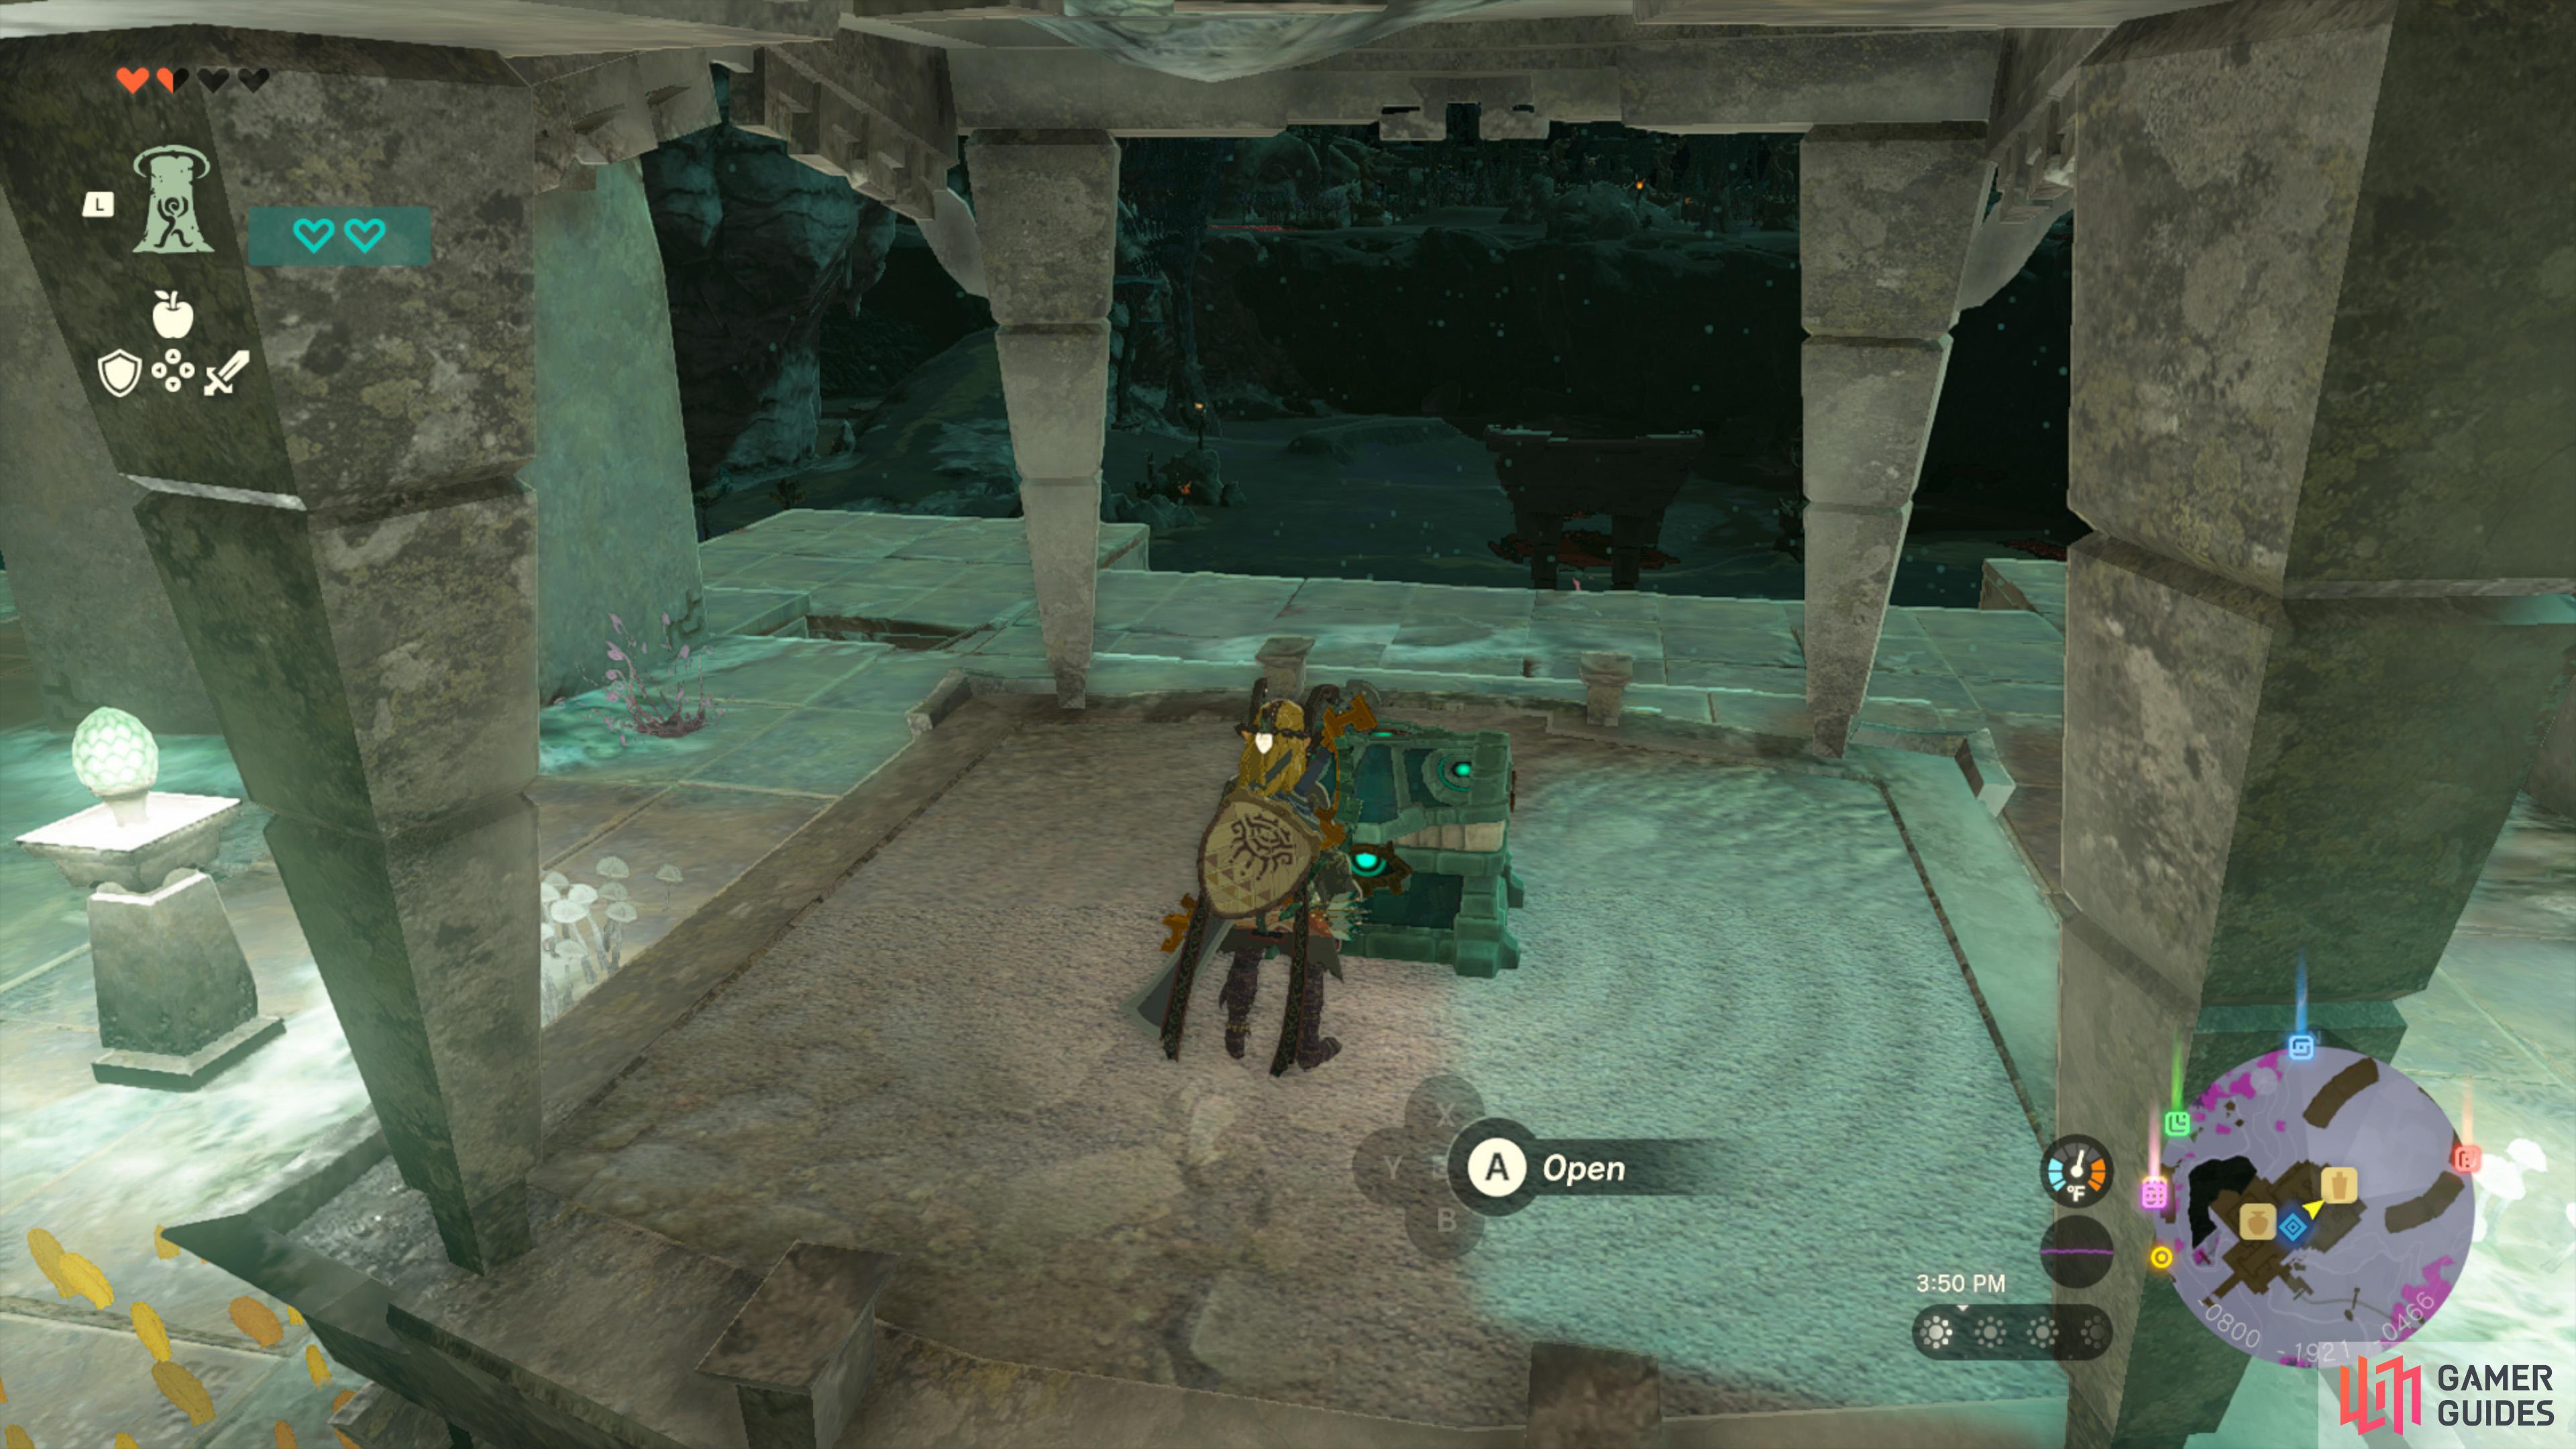
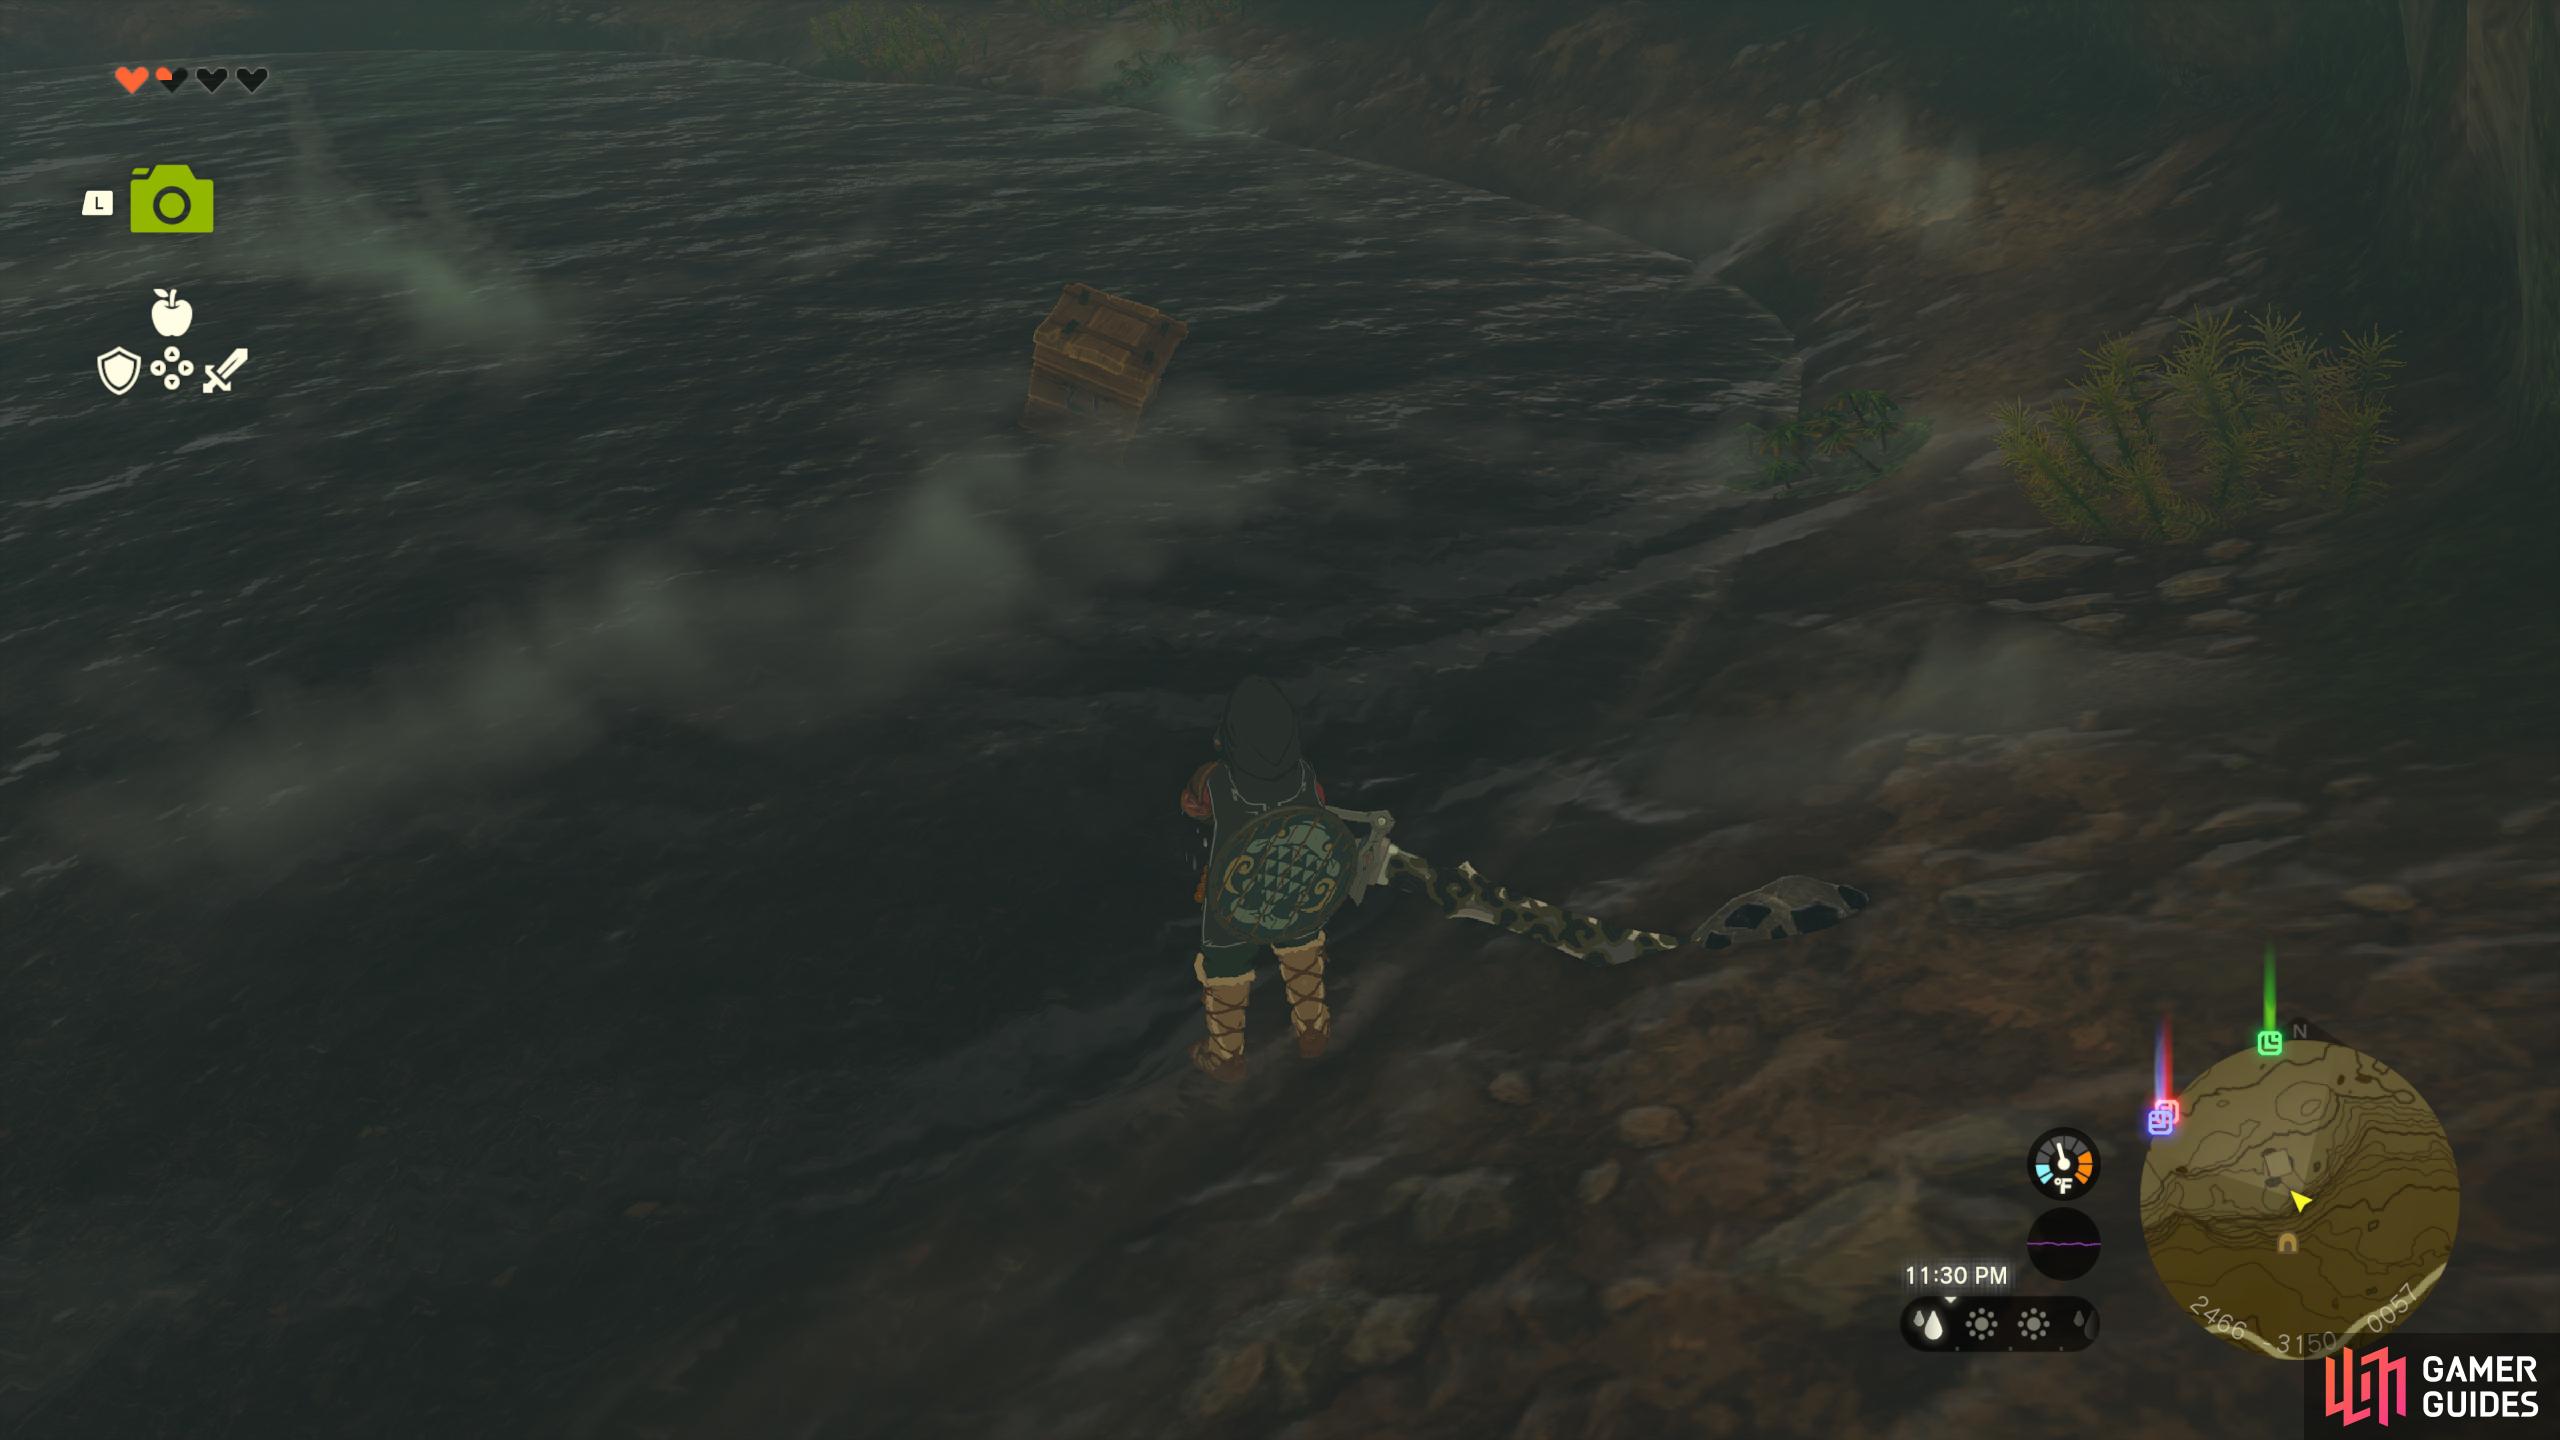
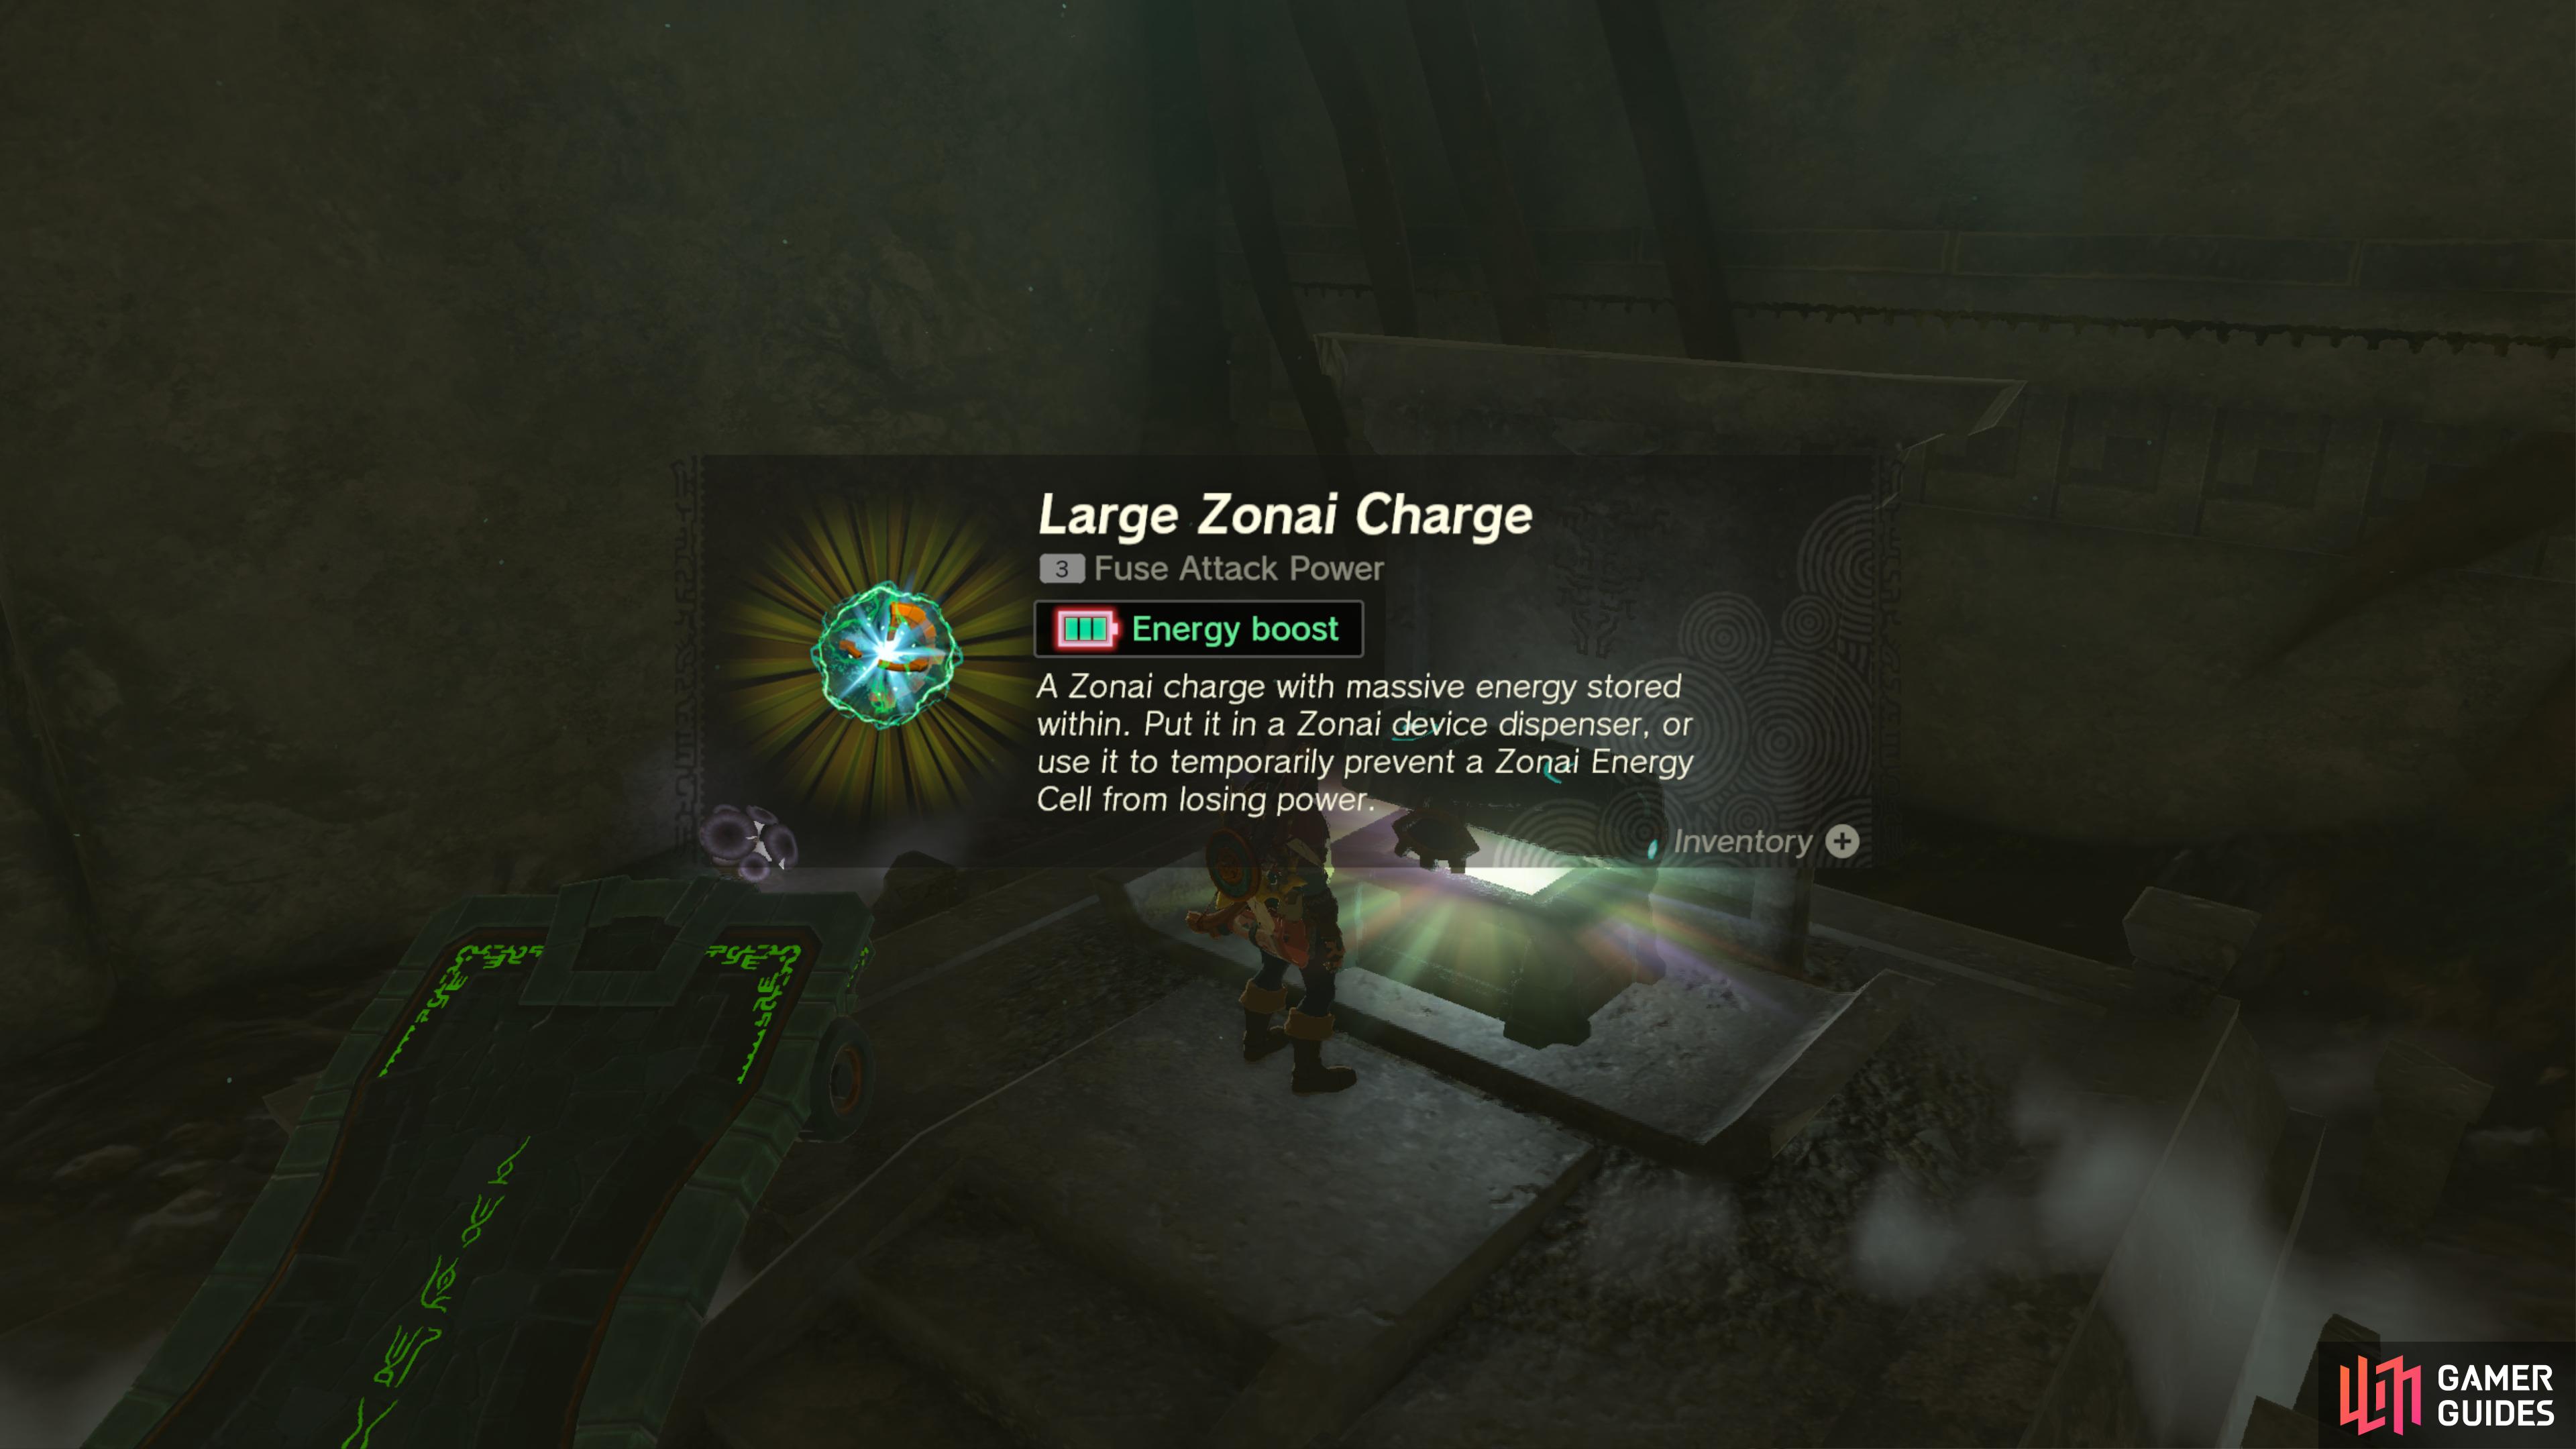
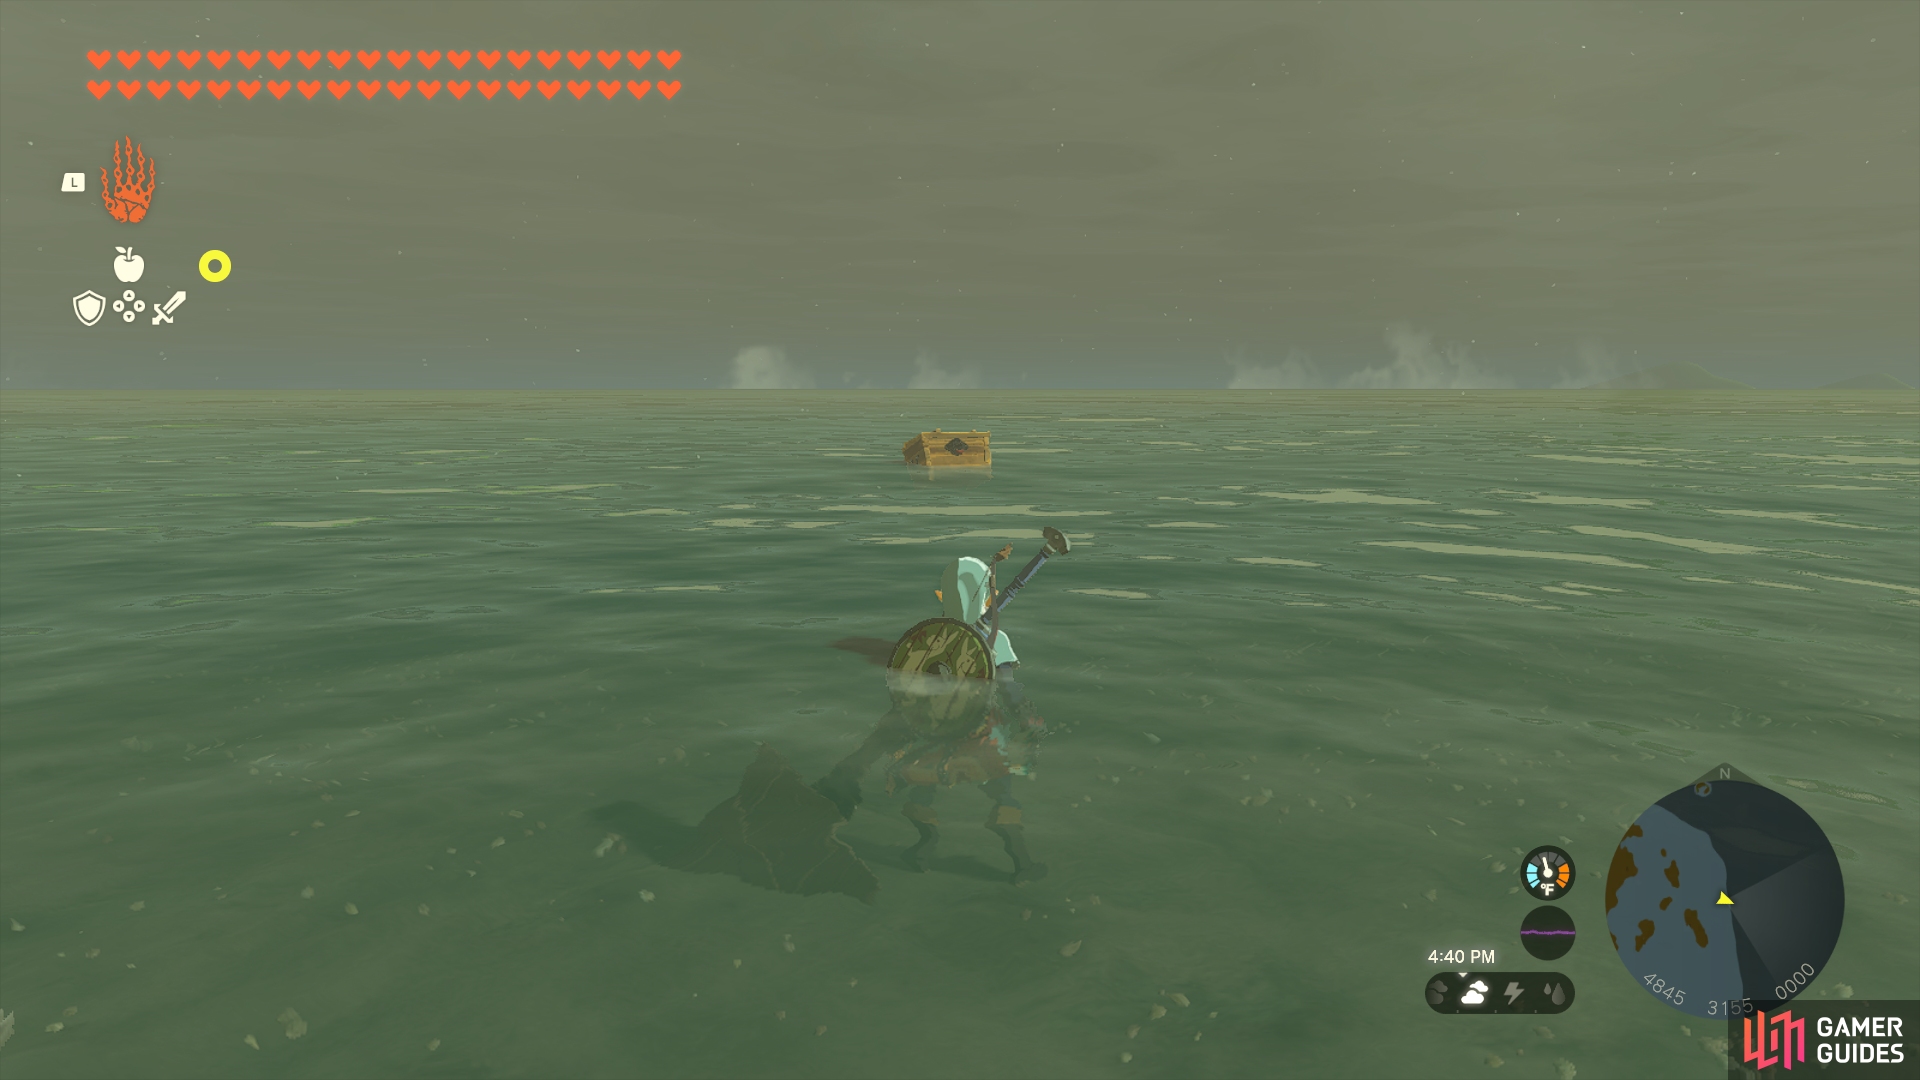
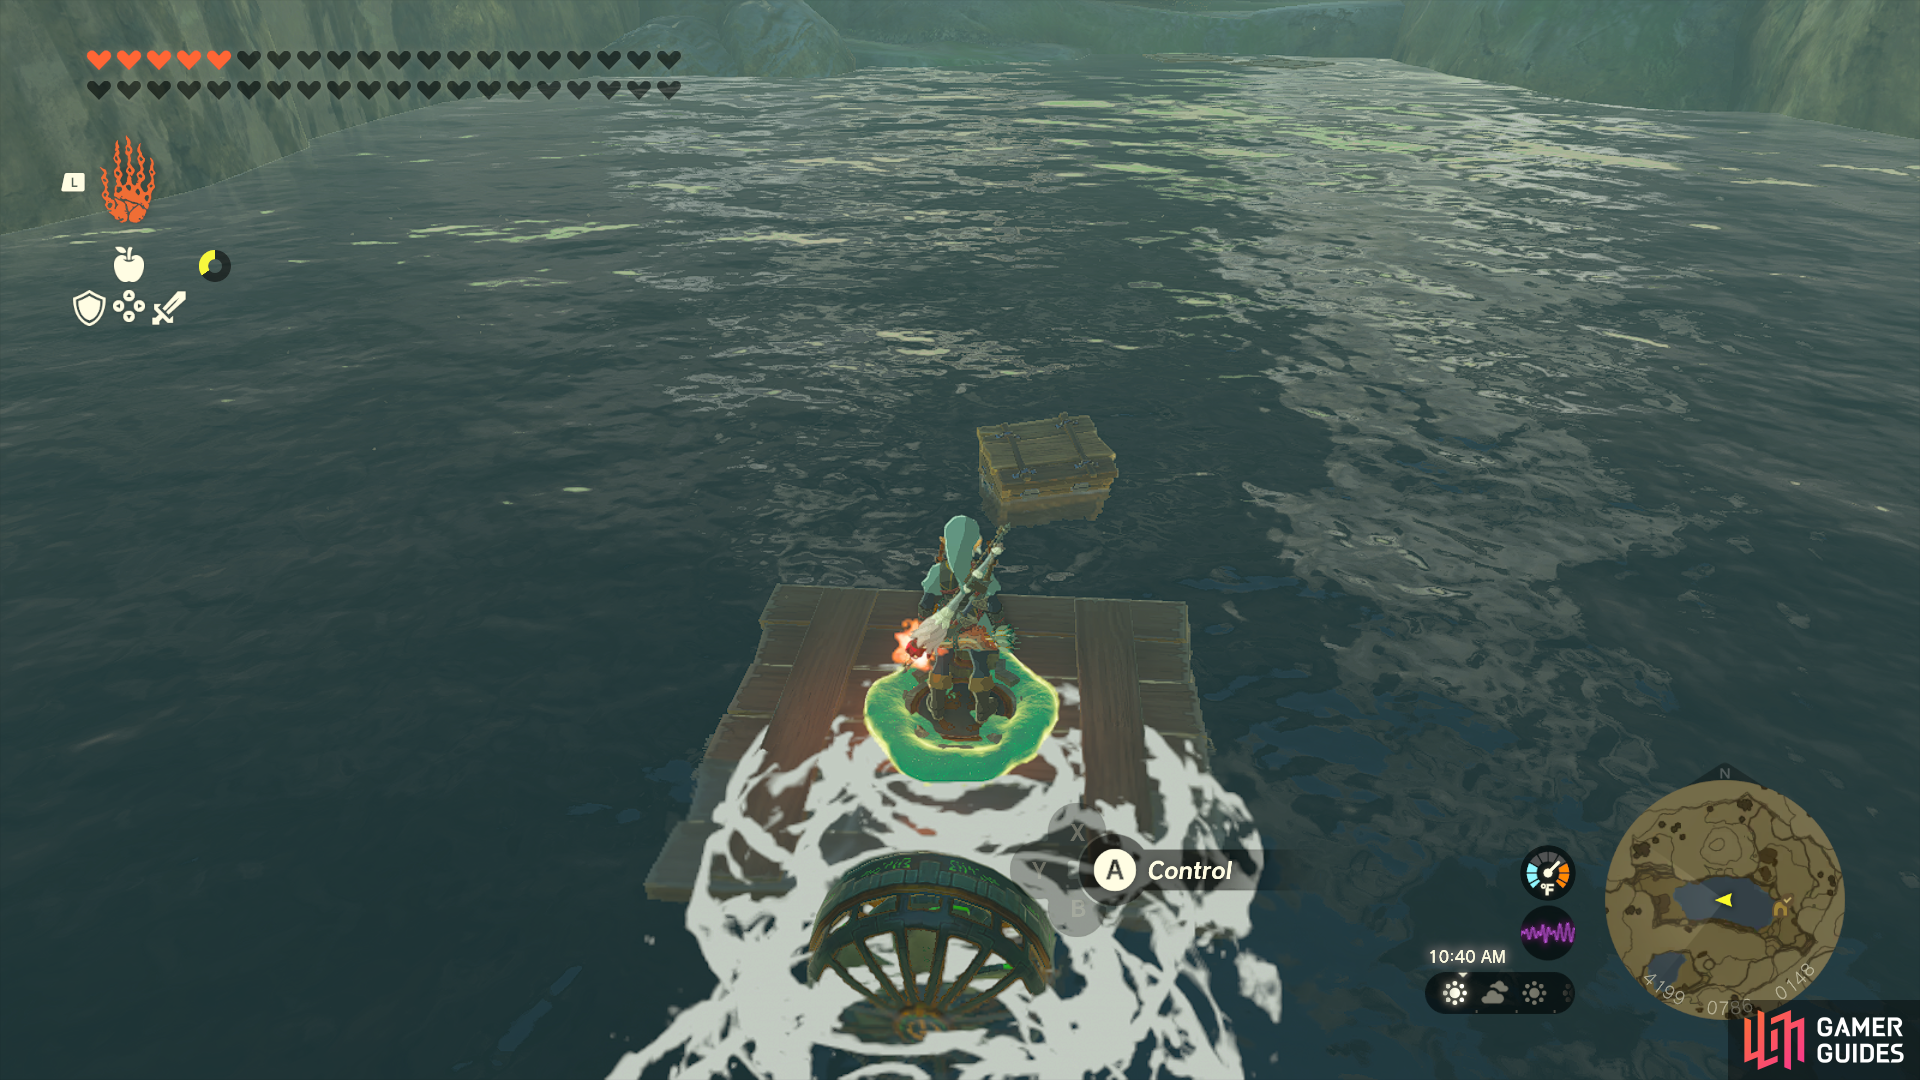
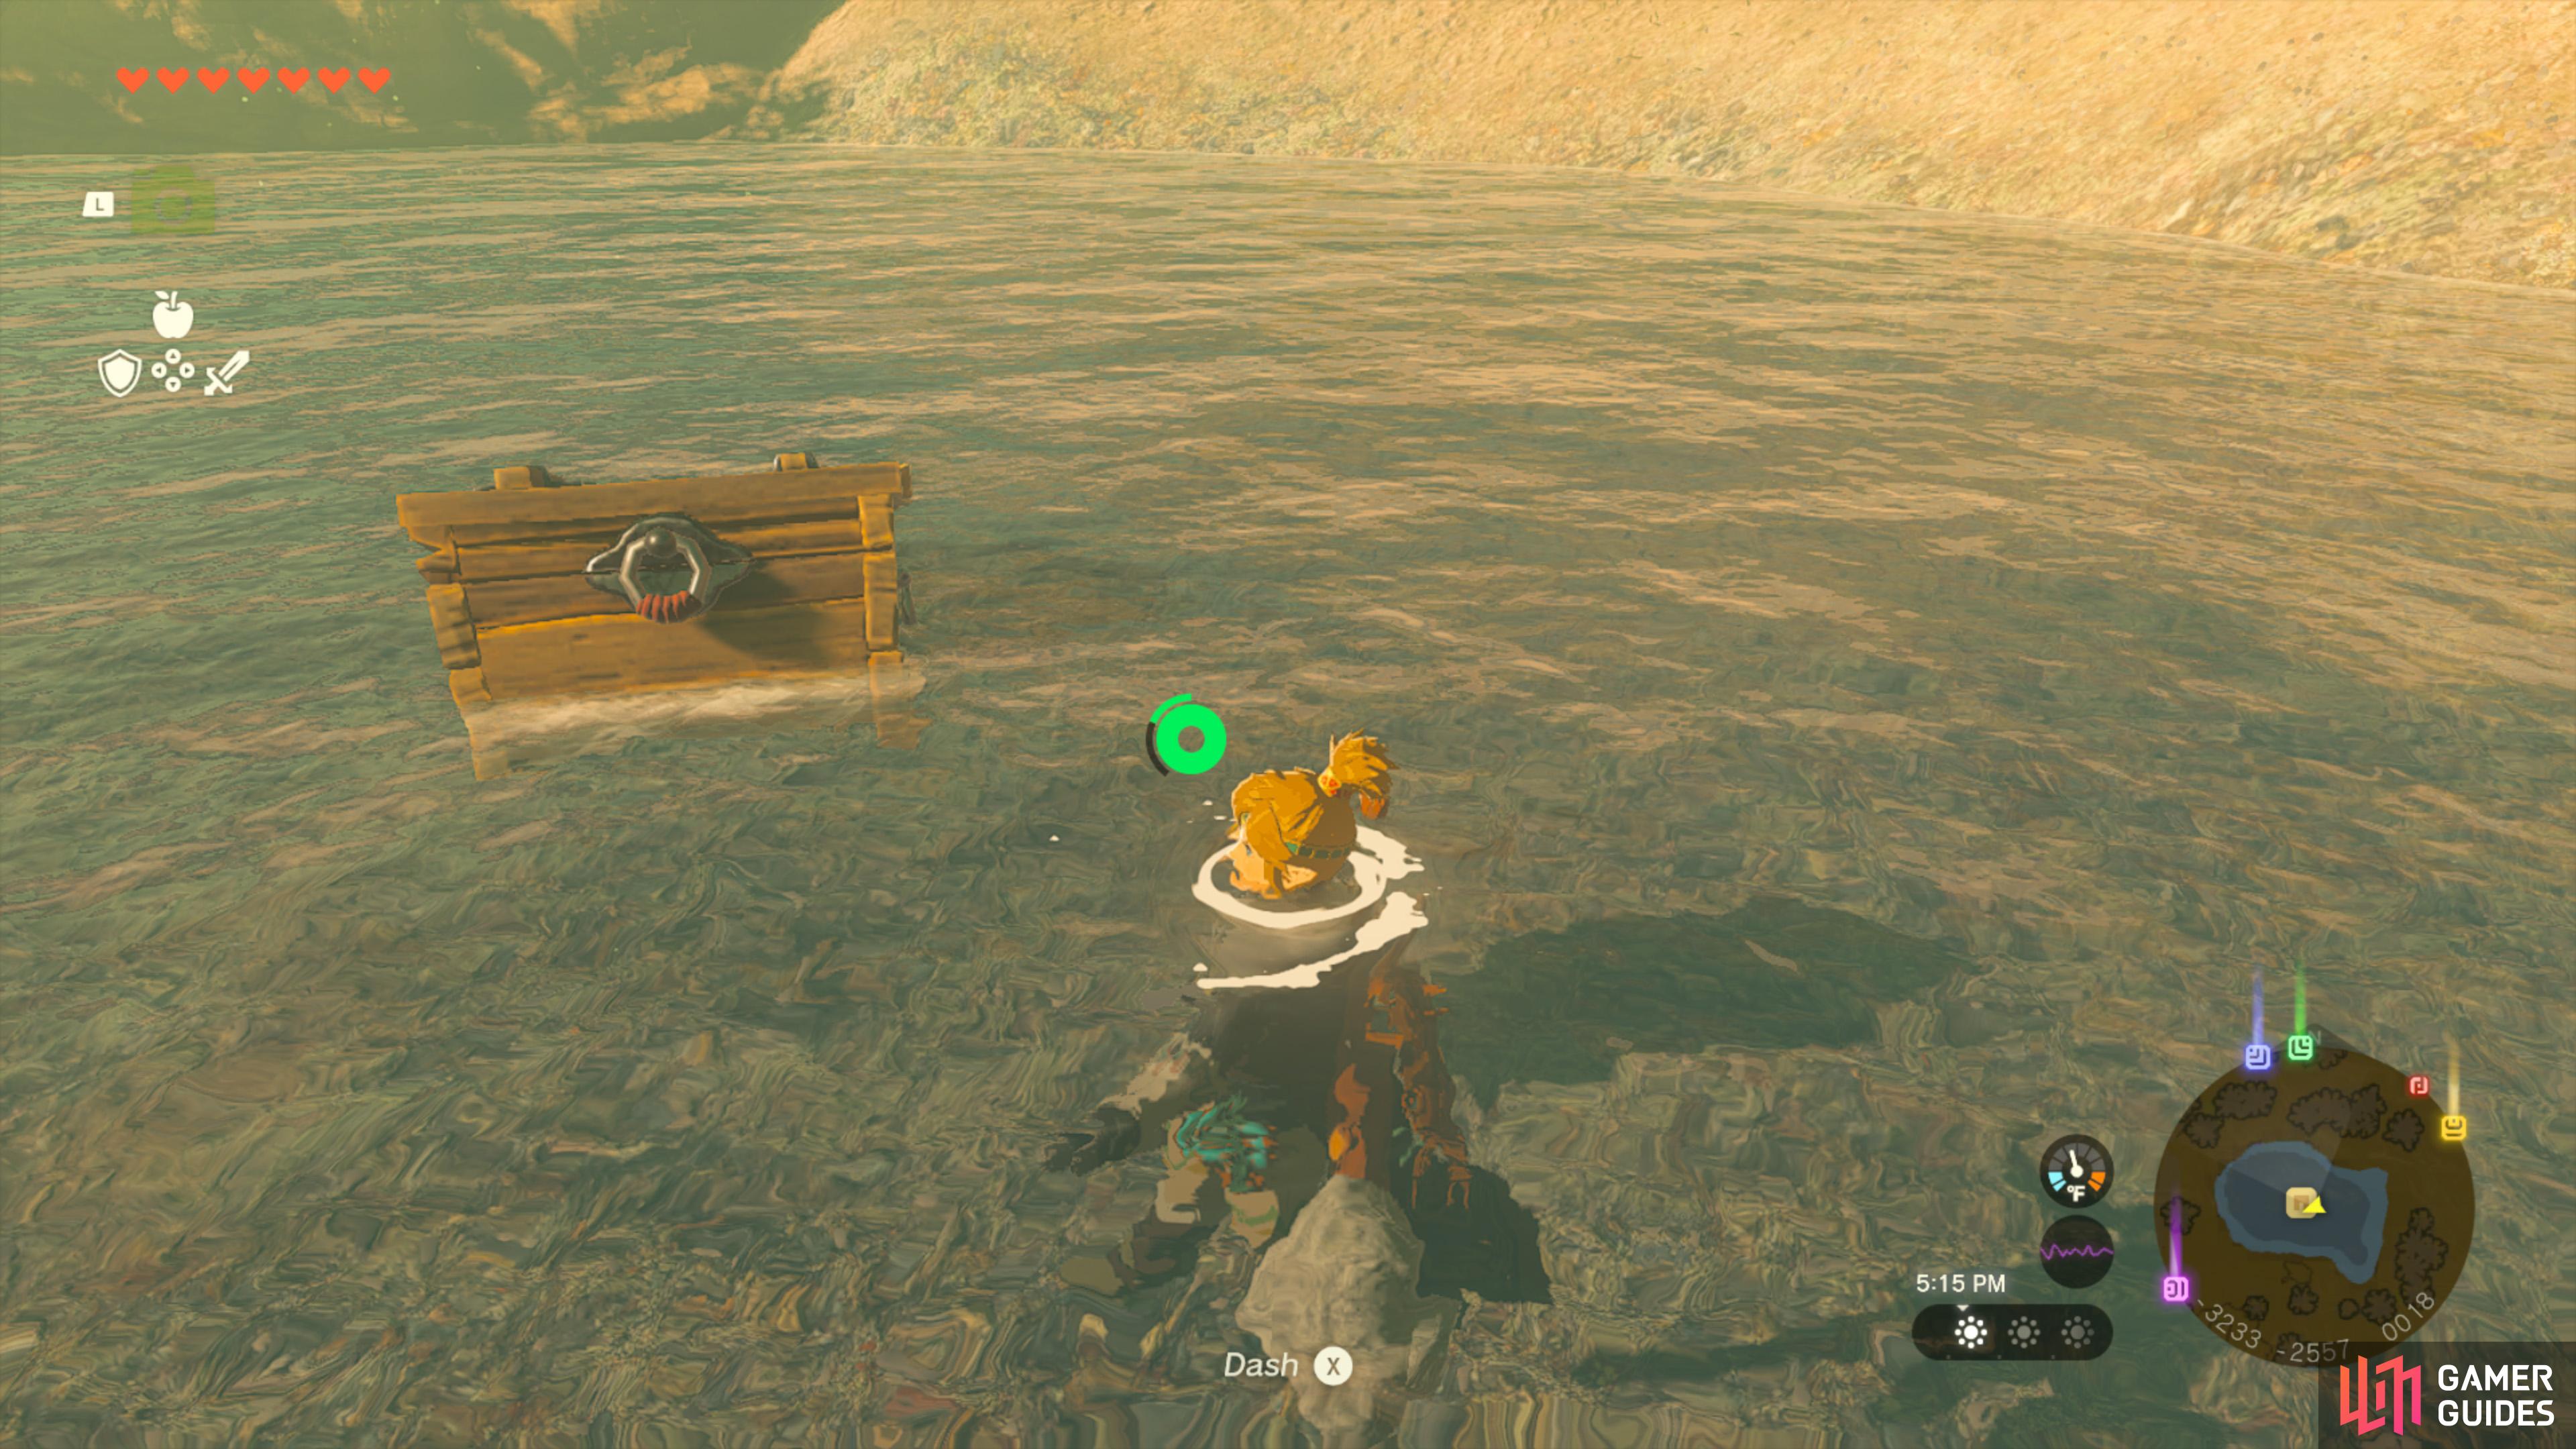
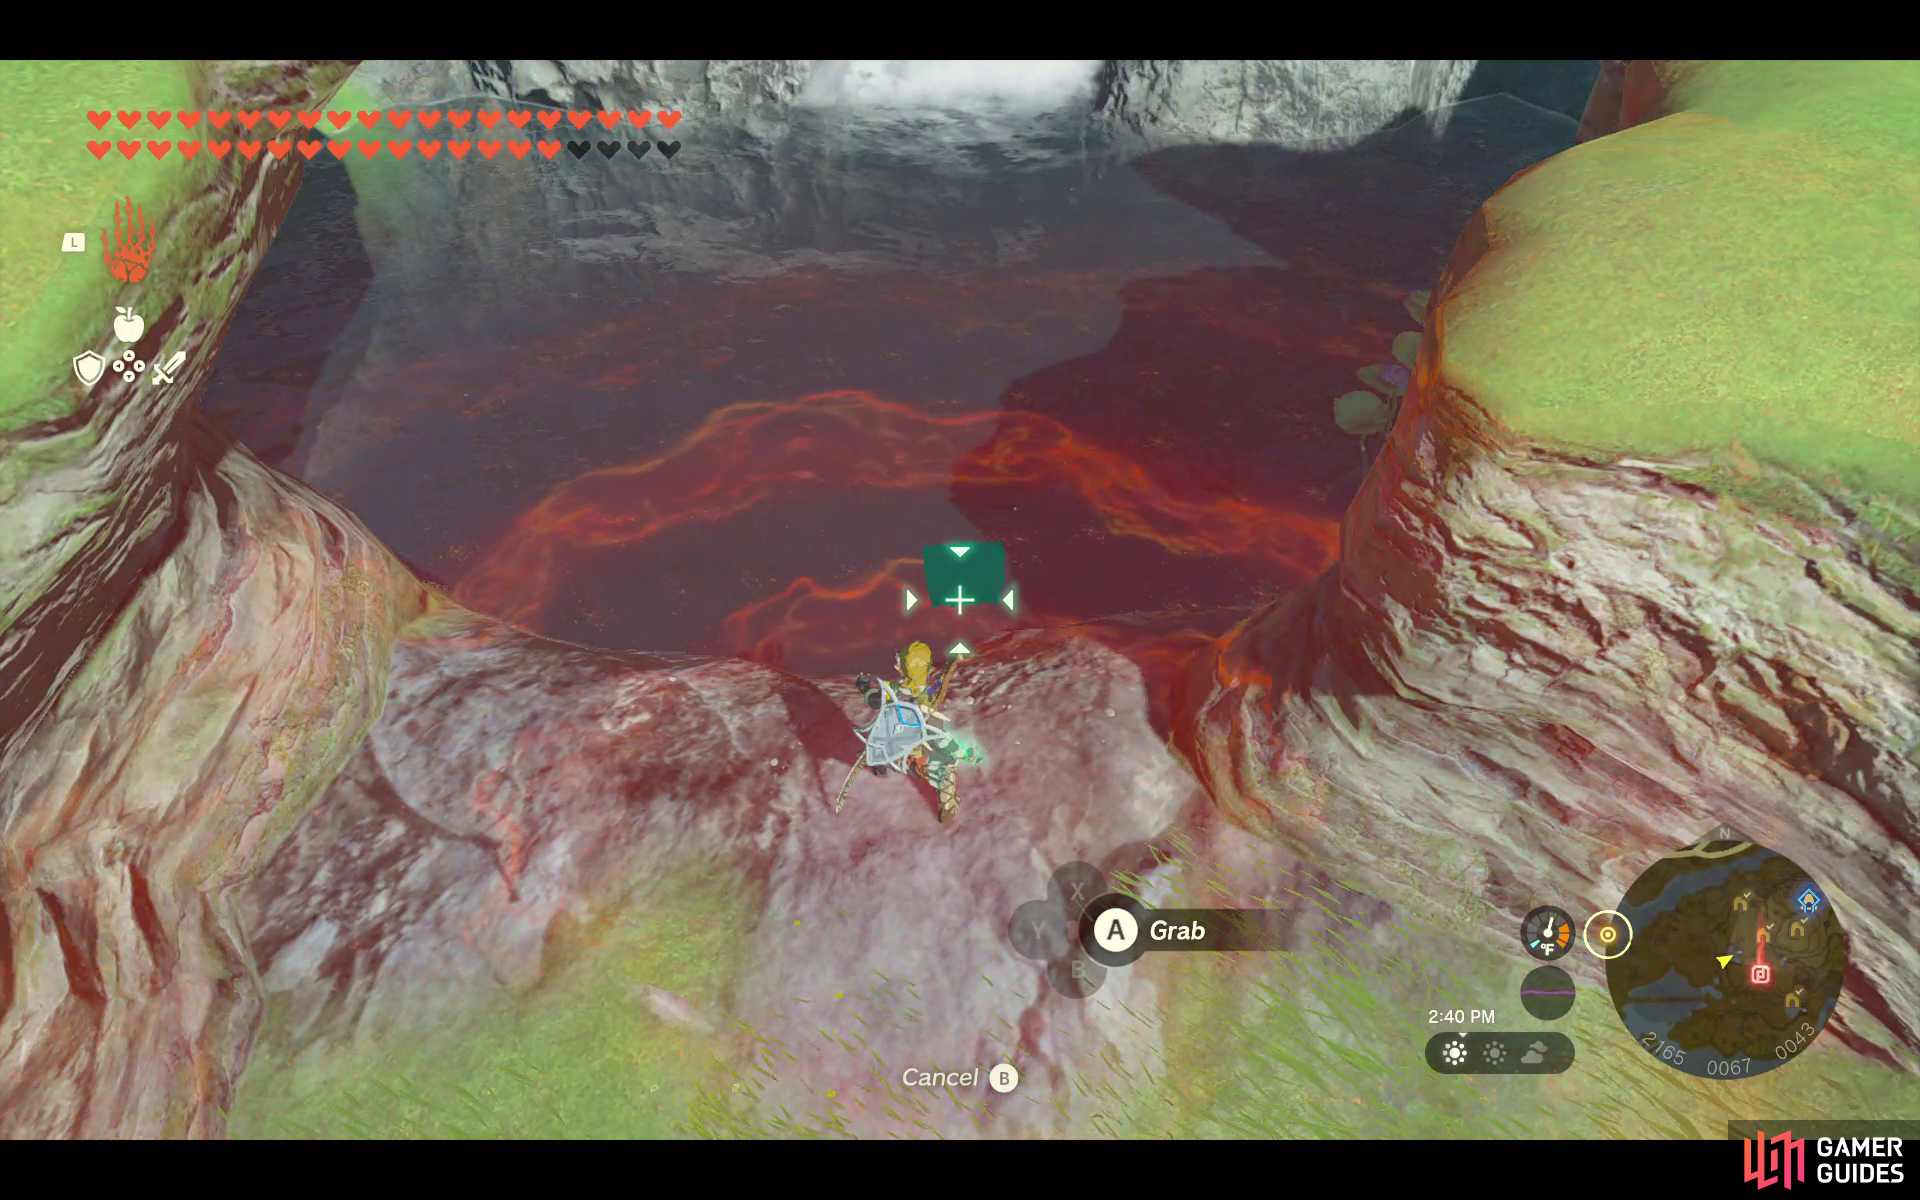
This chest is hidden under the water. Use ![]() Ultrahand to grab it.
Ultrahand to grab it.
- Contains 1x
 Large Zonai Charge.
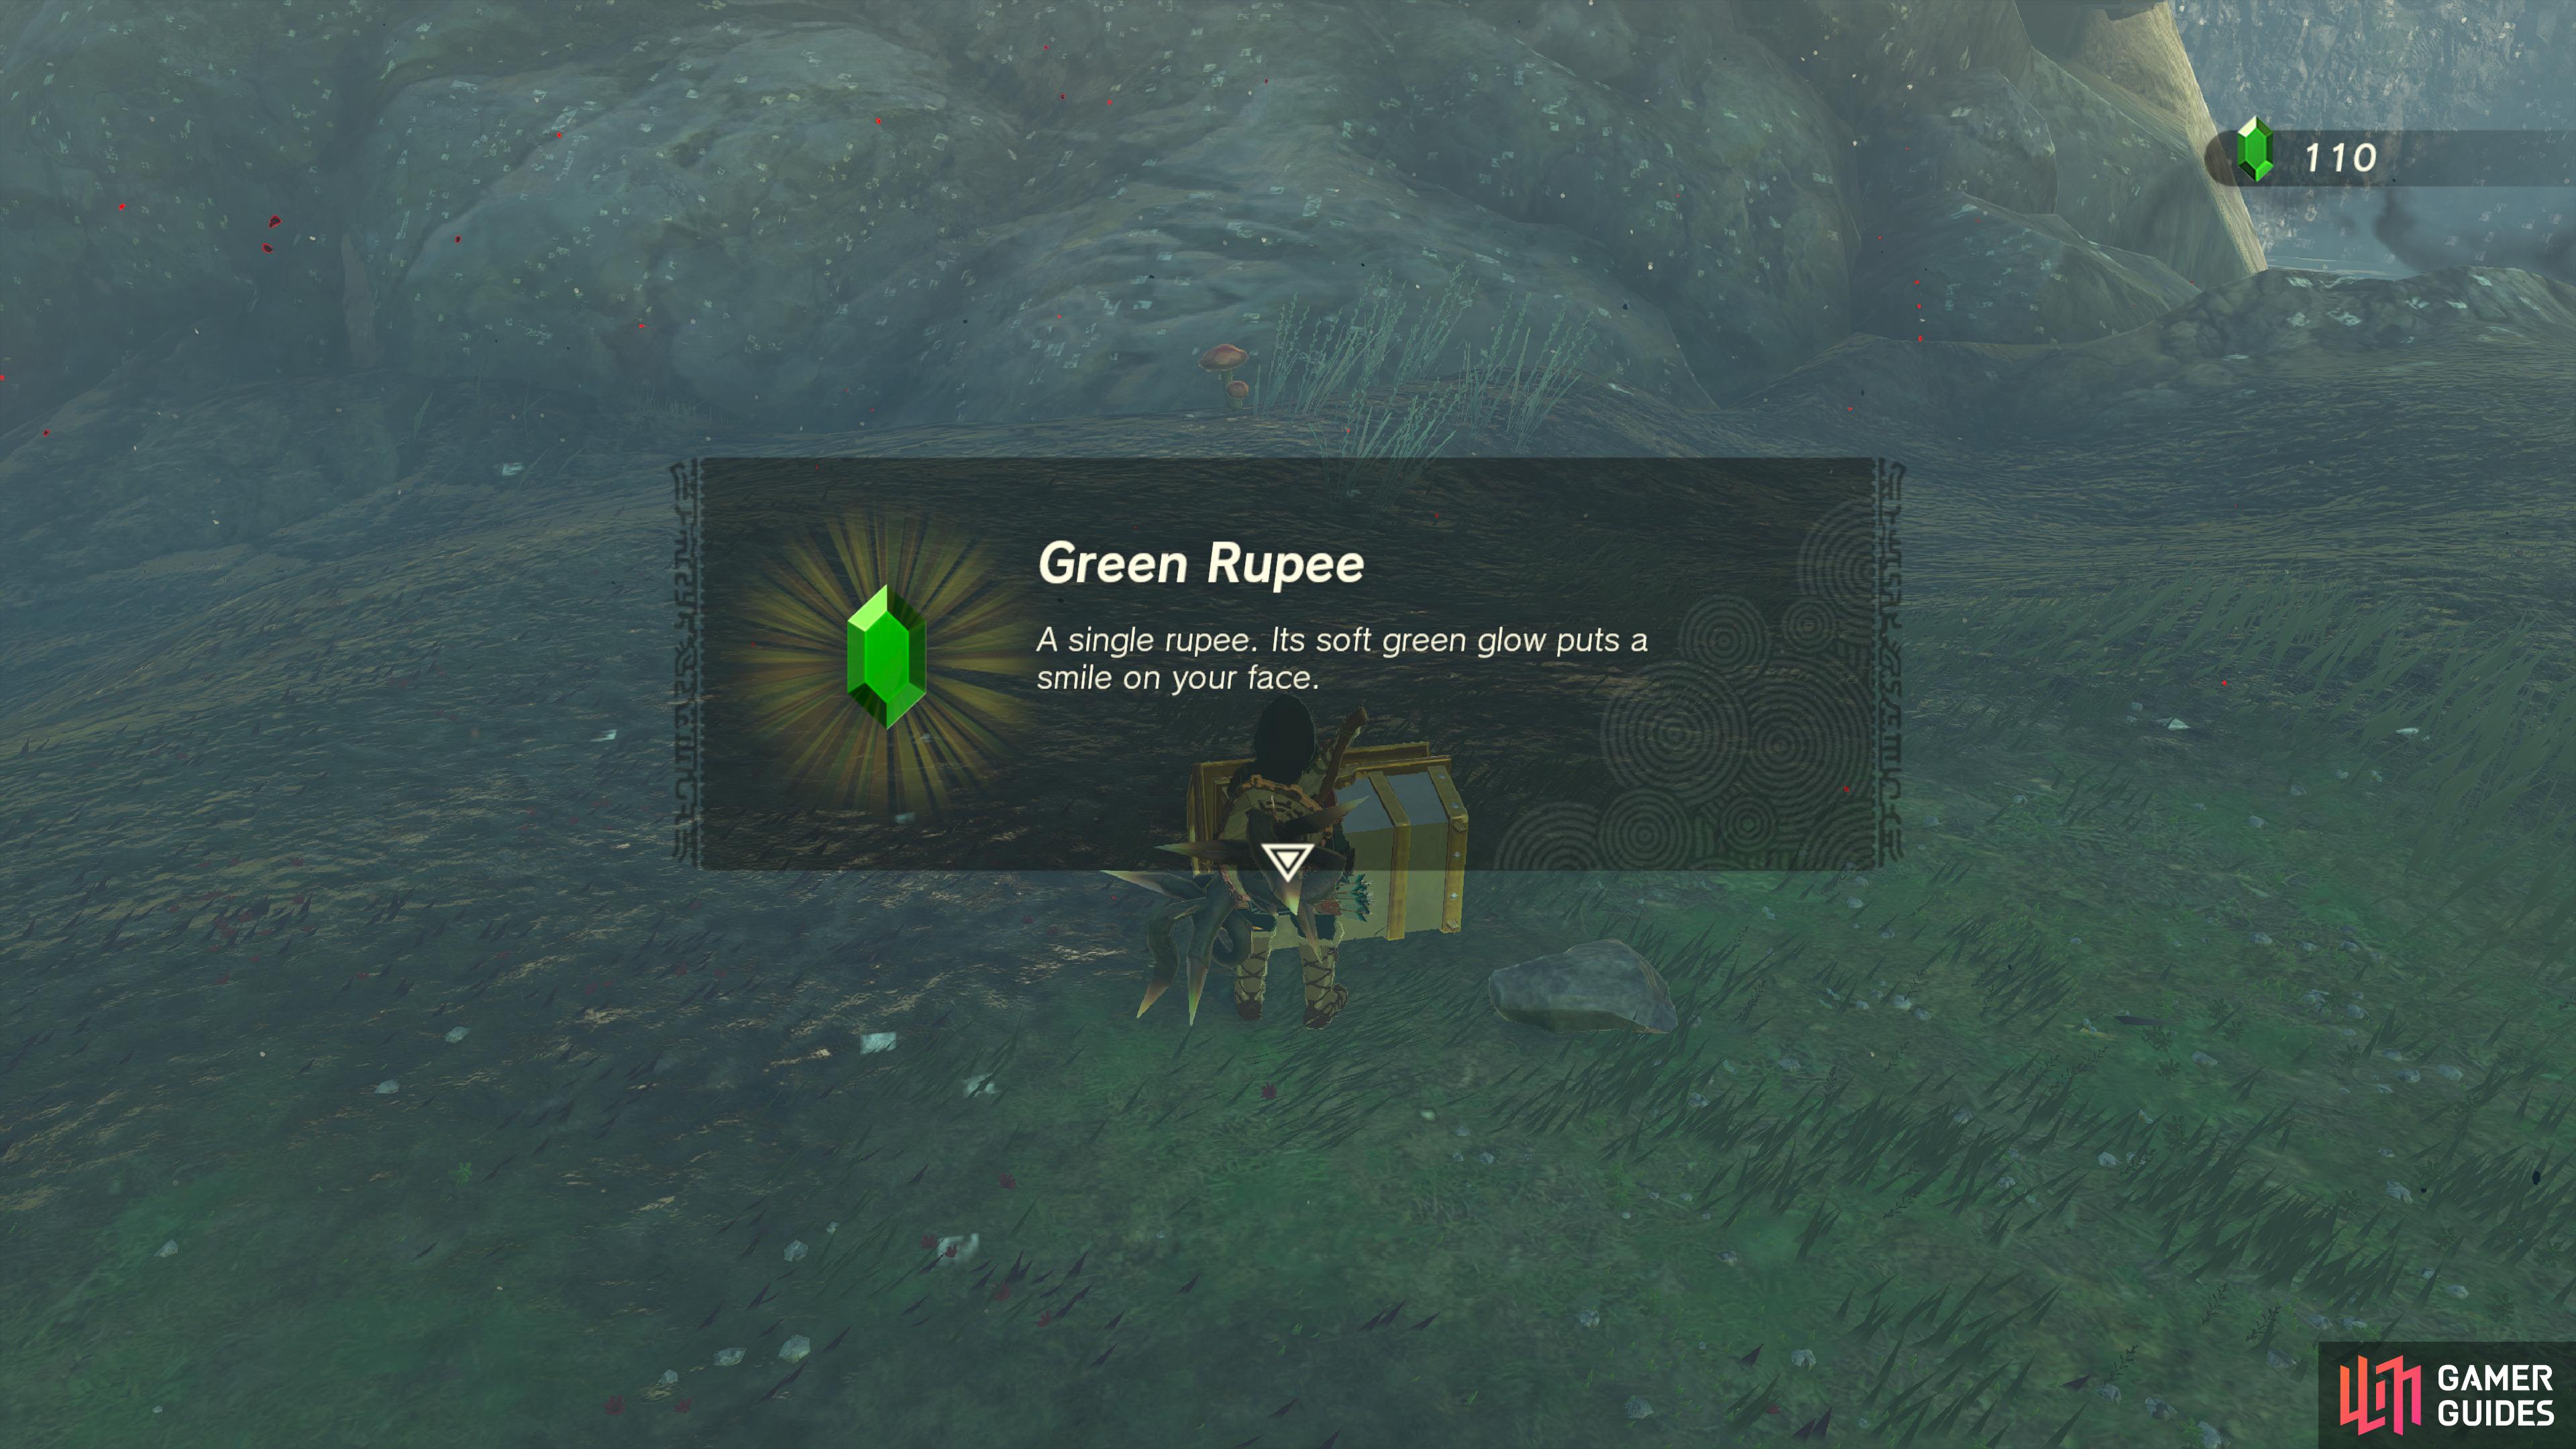
40201. Hyrule Surface Map
Pull this Chest out of the ground with ![]() Ultrahand, it contains a single
Ultrahand, it contains a single ![]() Green Rupee (1).
Green Rupee (1).
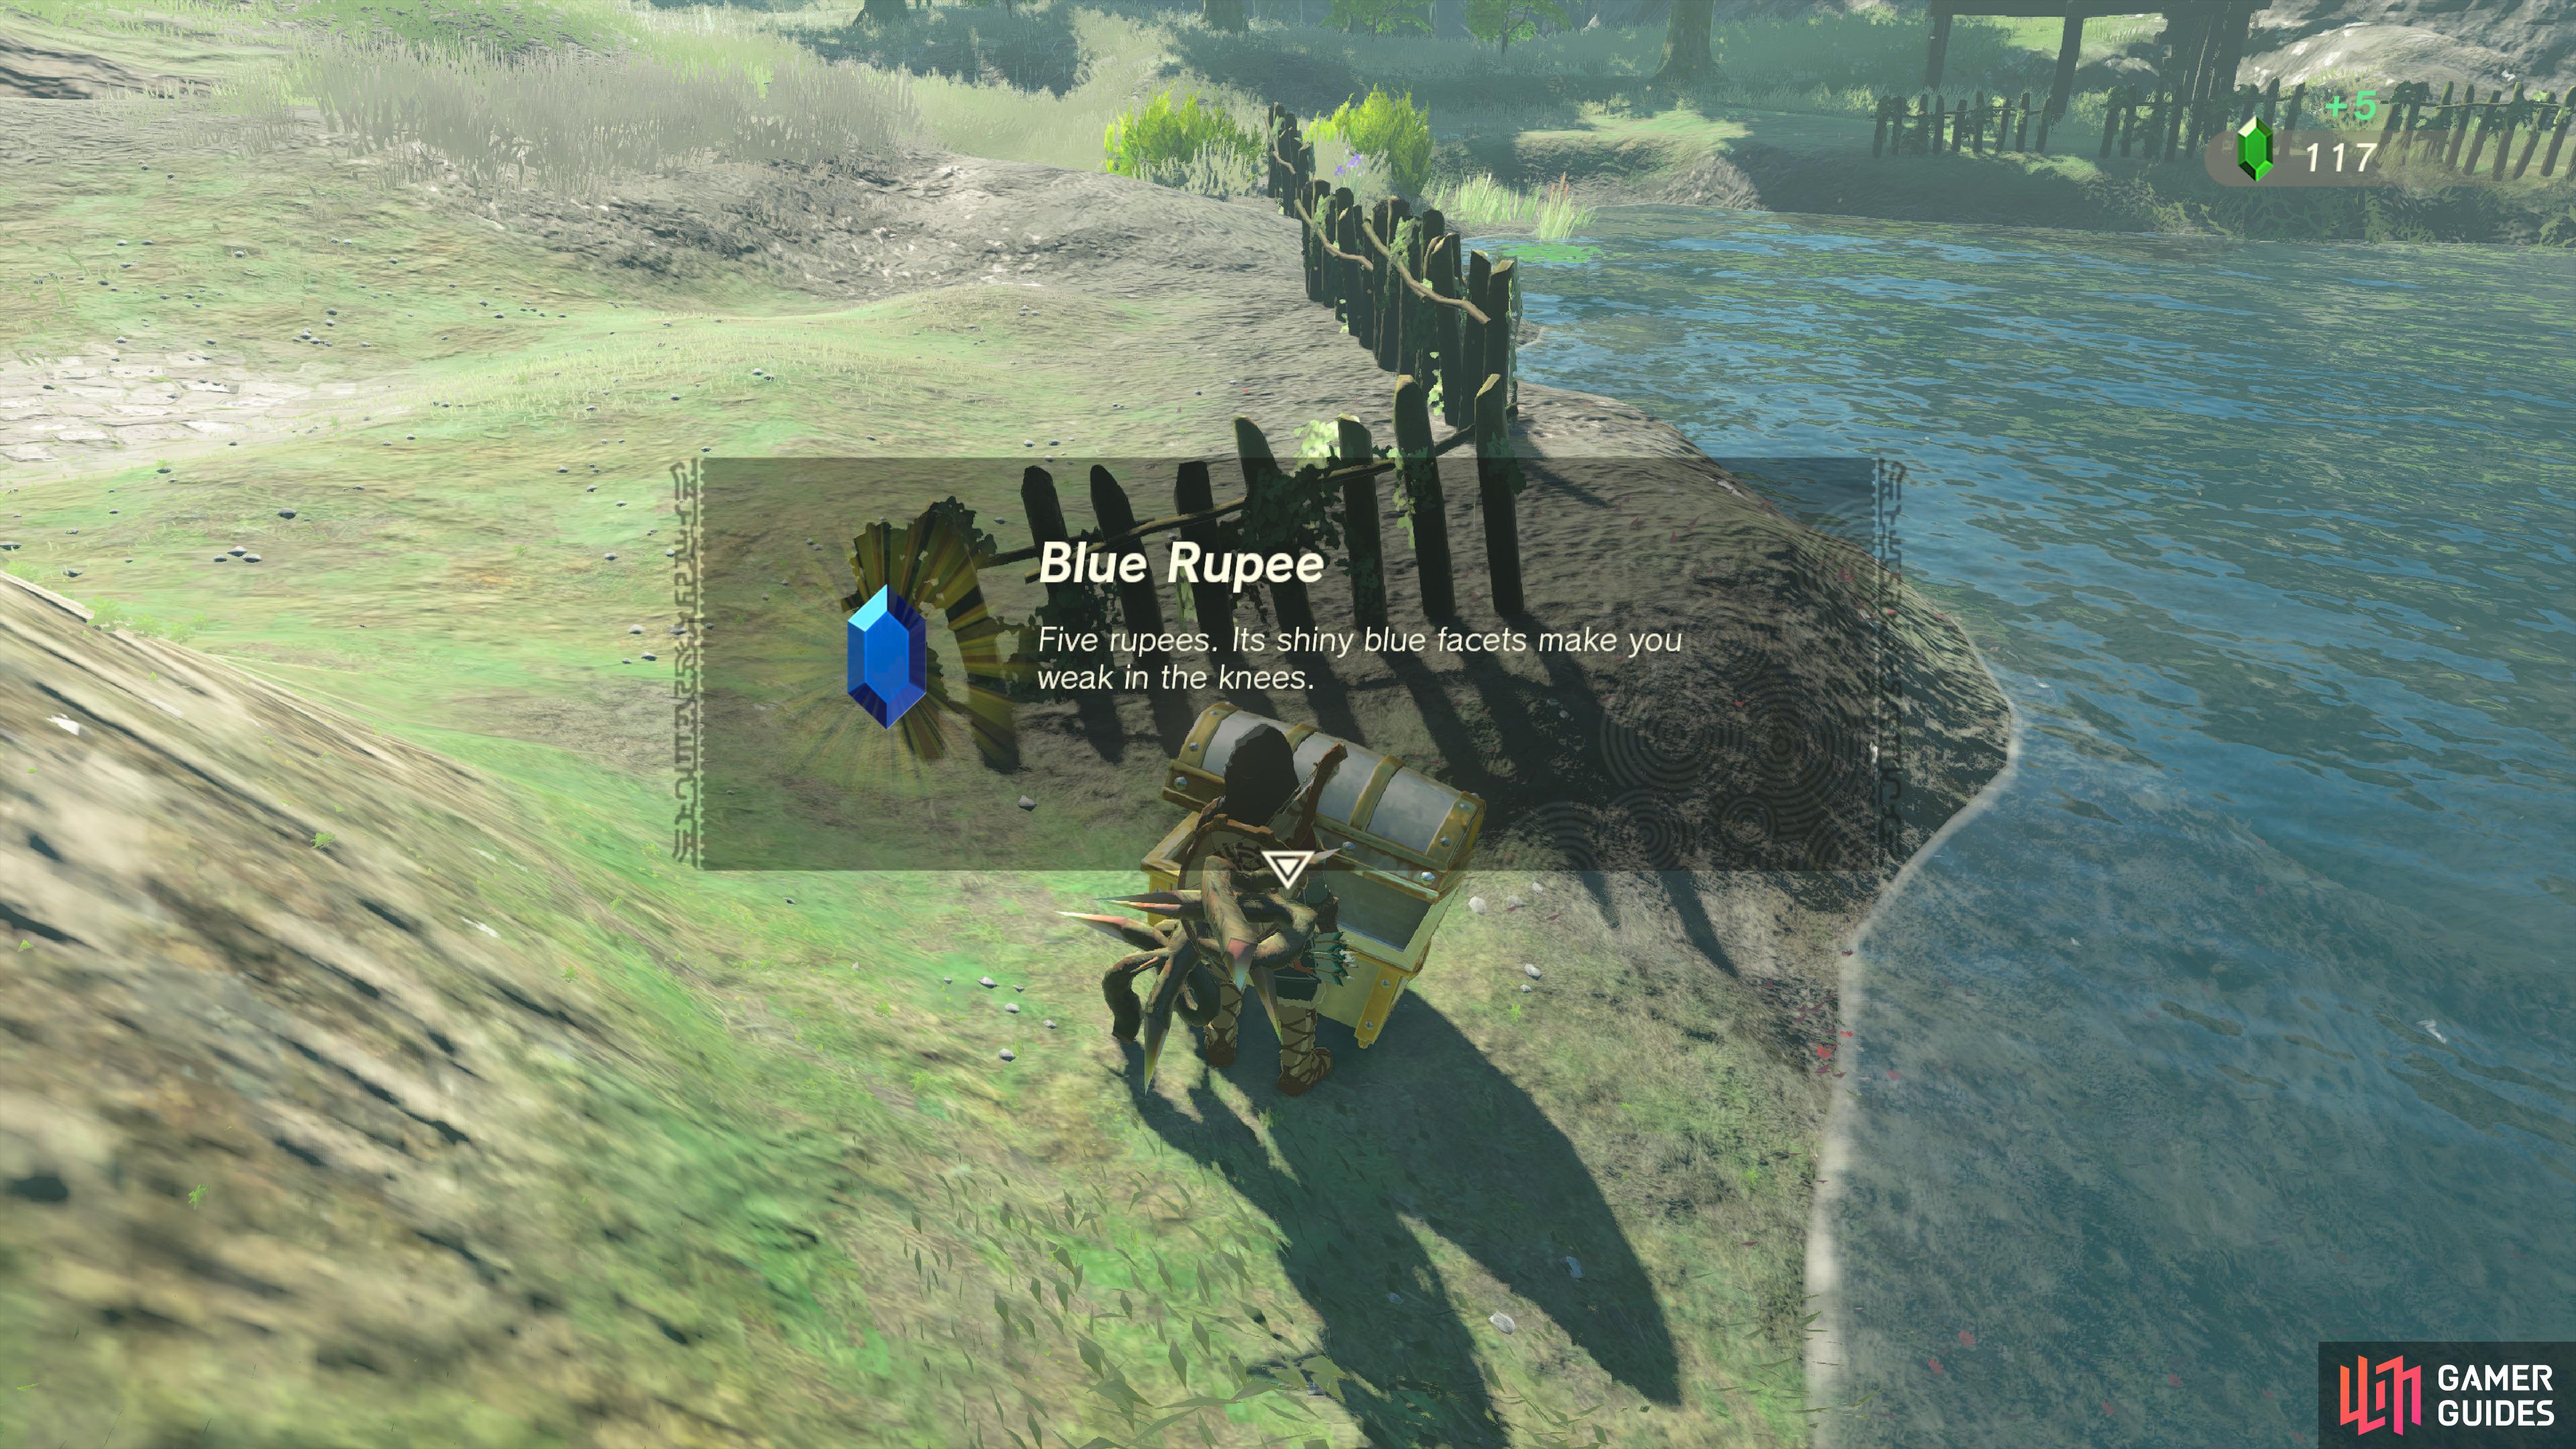
40207. Hyrule Surface Map
Use ![]() Ultrahand to pull it out of the water, contains a
Ultrahand to pull it out of the water, contains a ![]() Blue Rupee (5).
Blue Rupee (5).
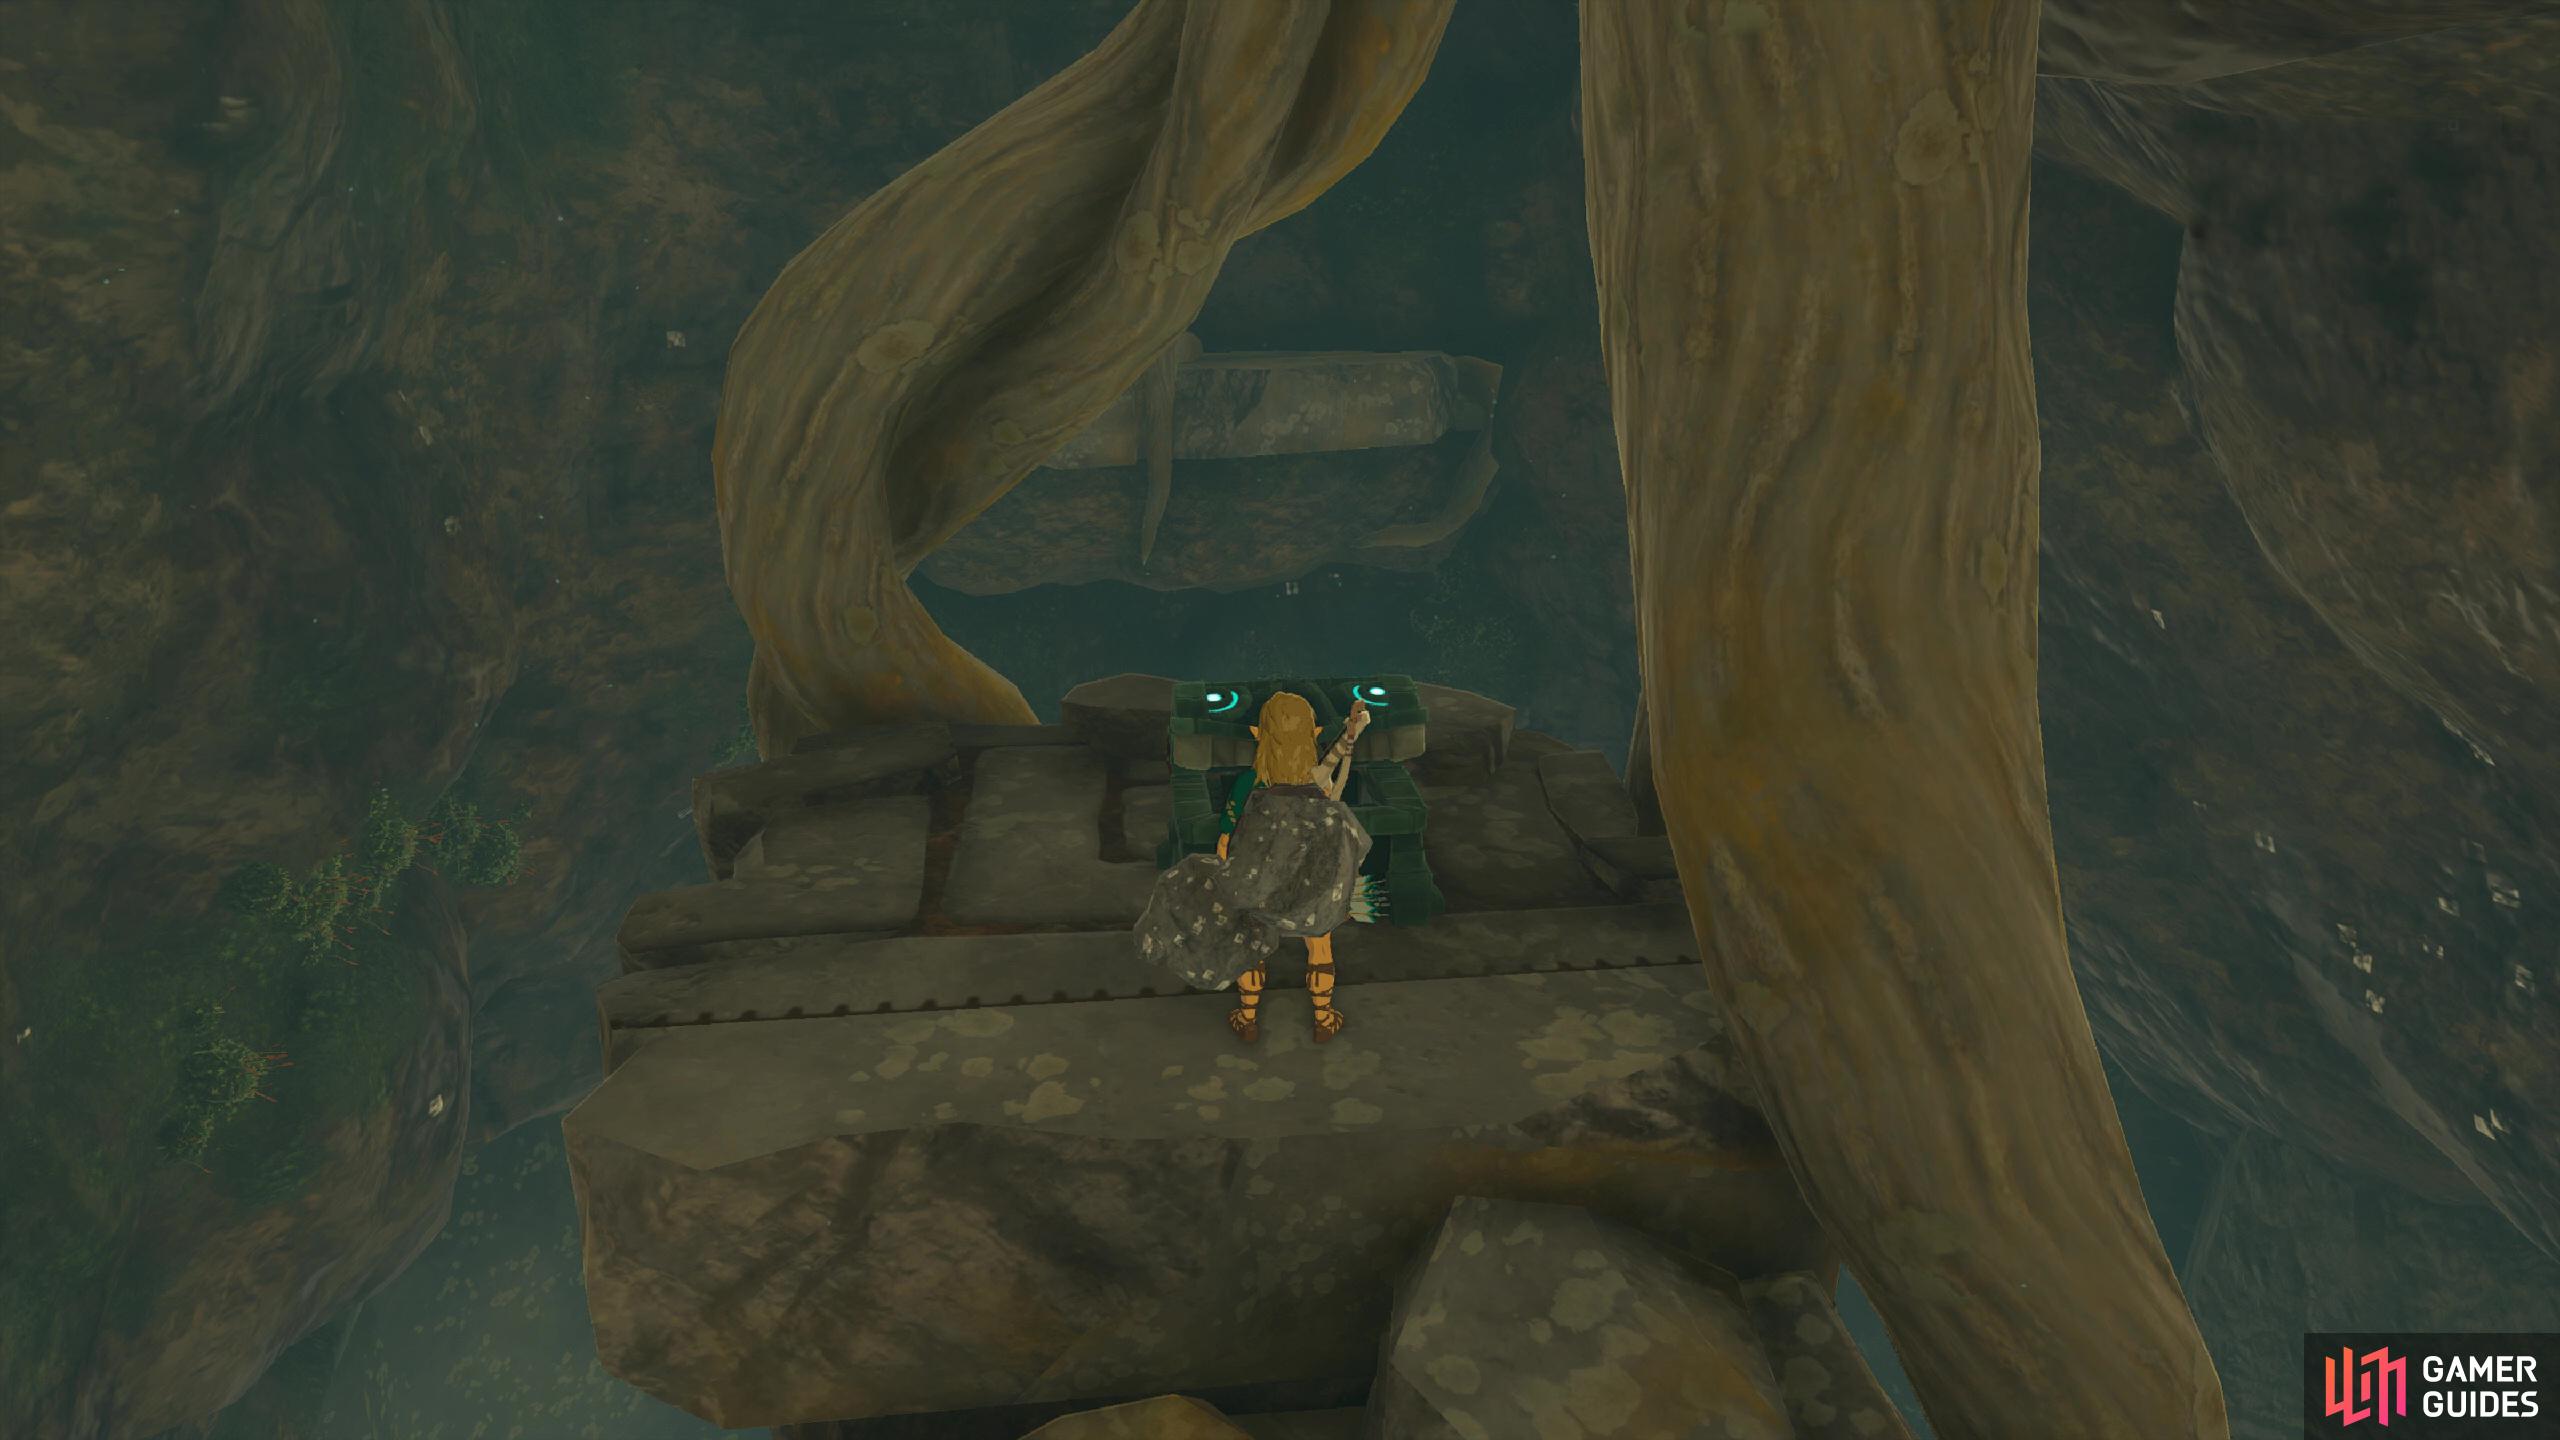
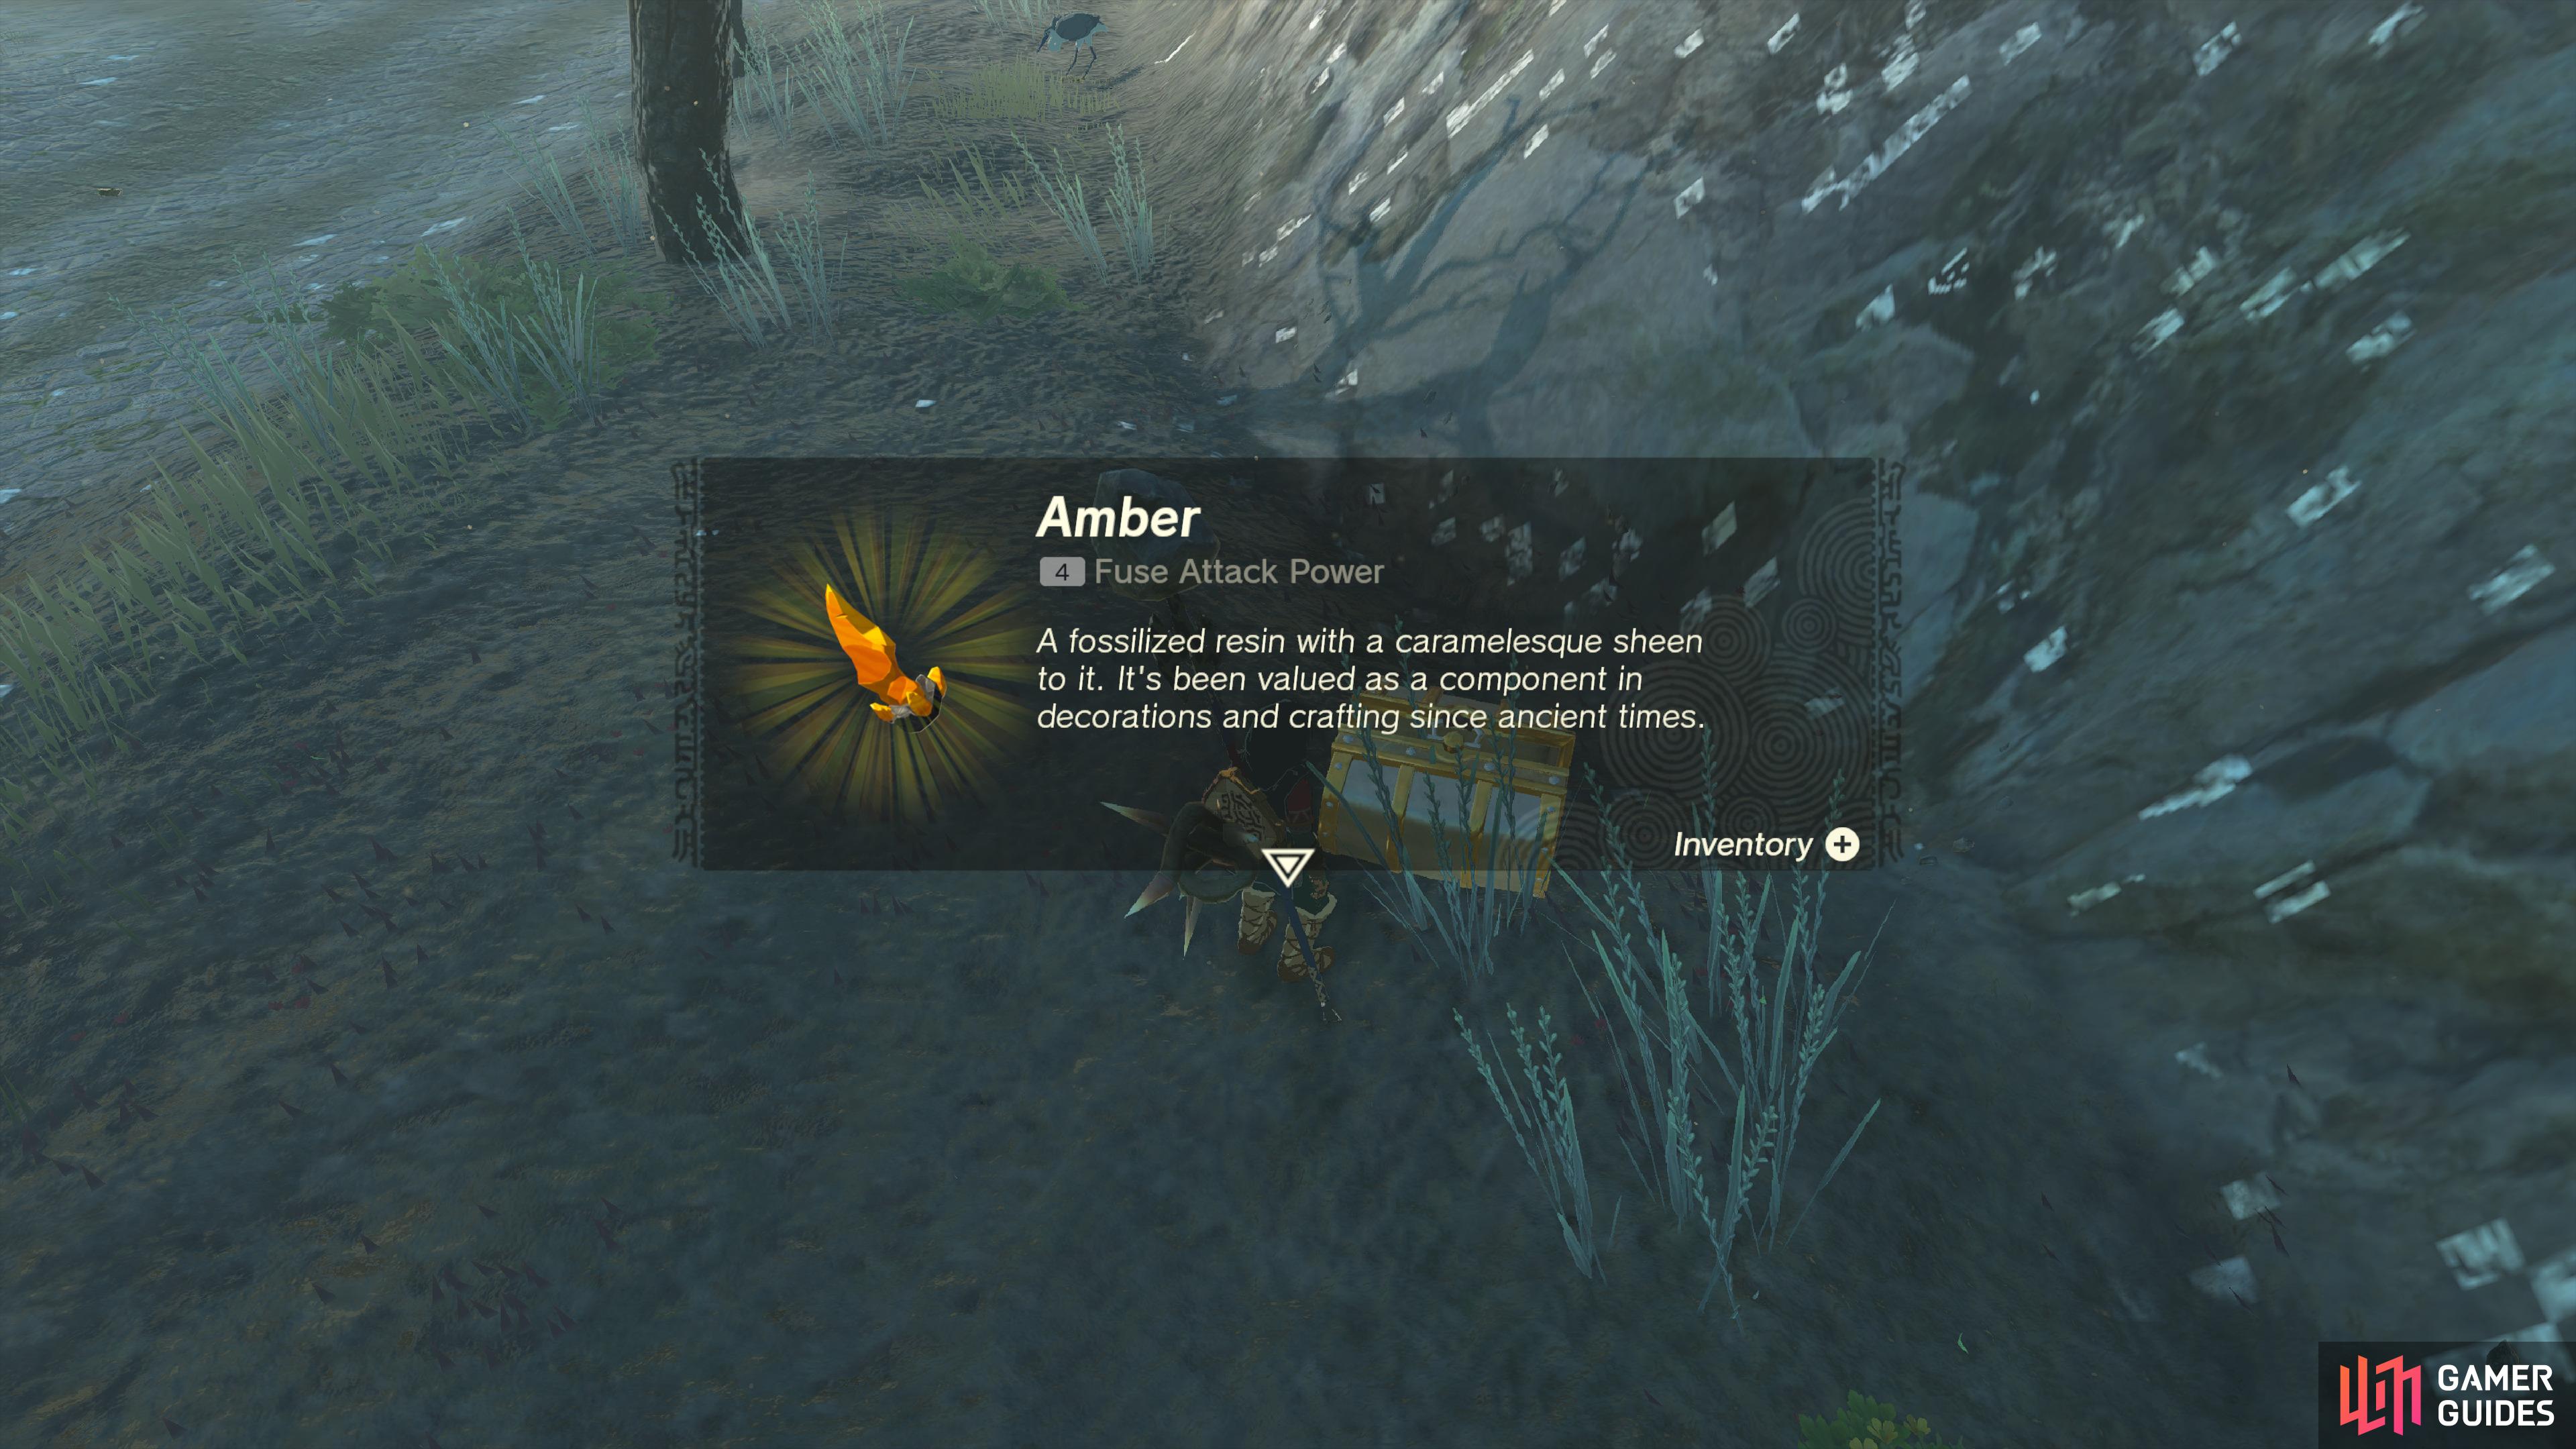
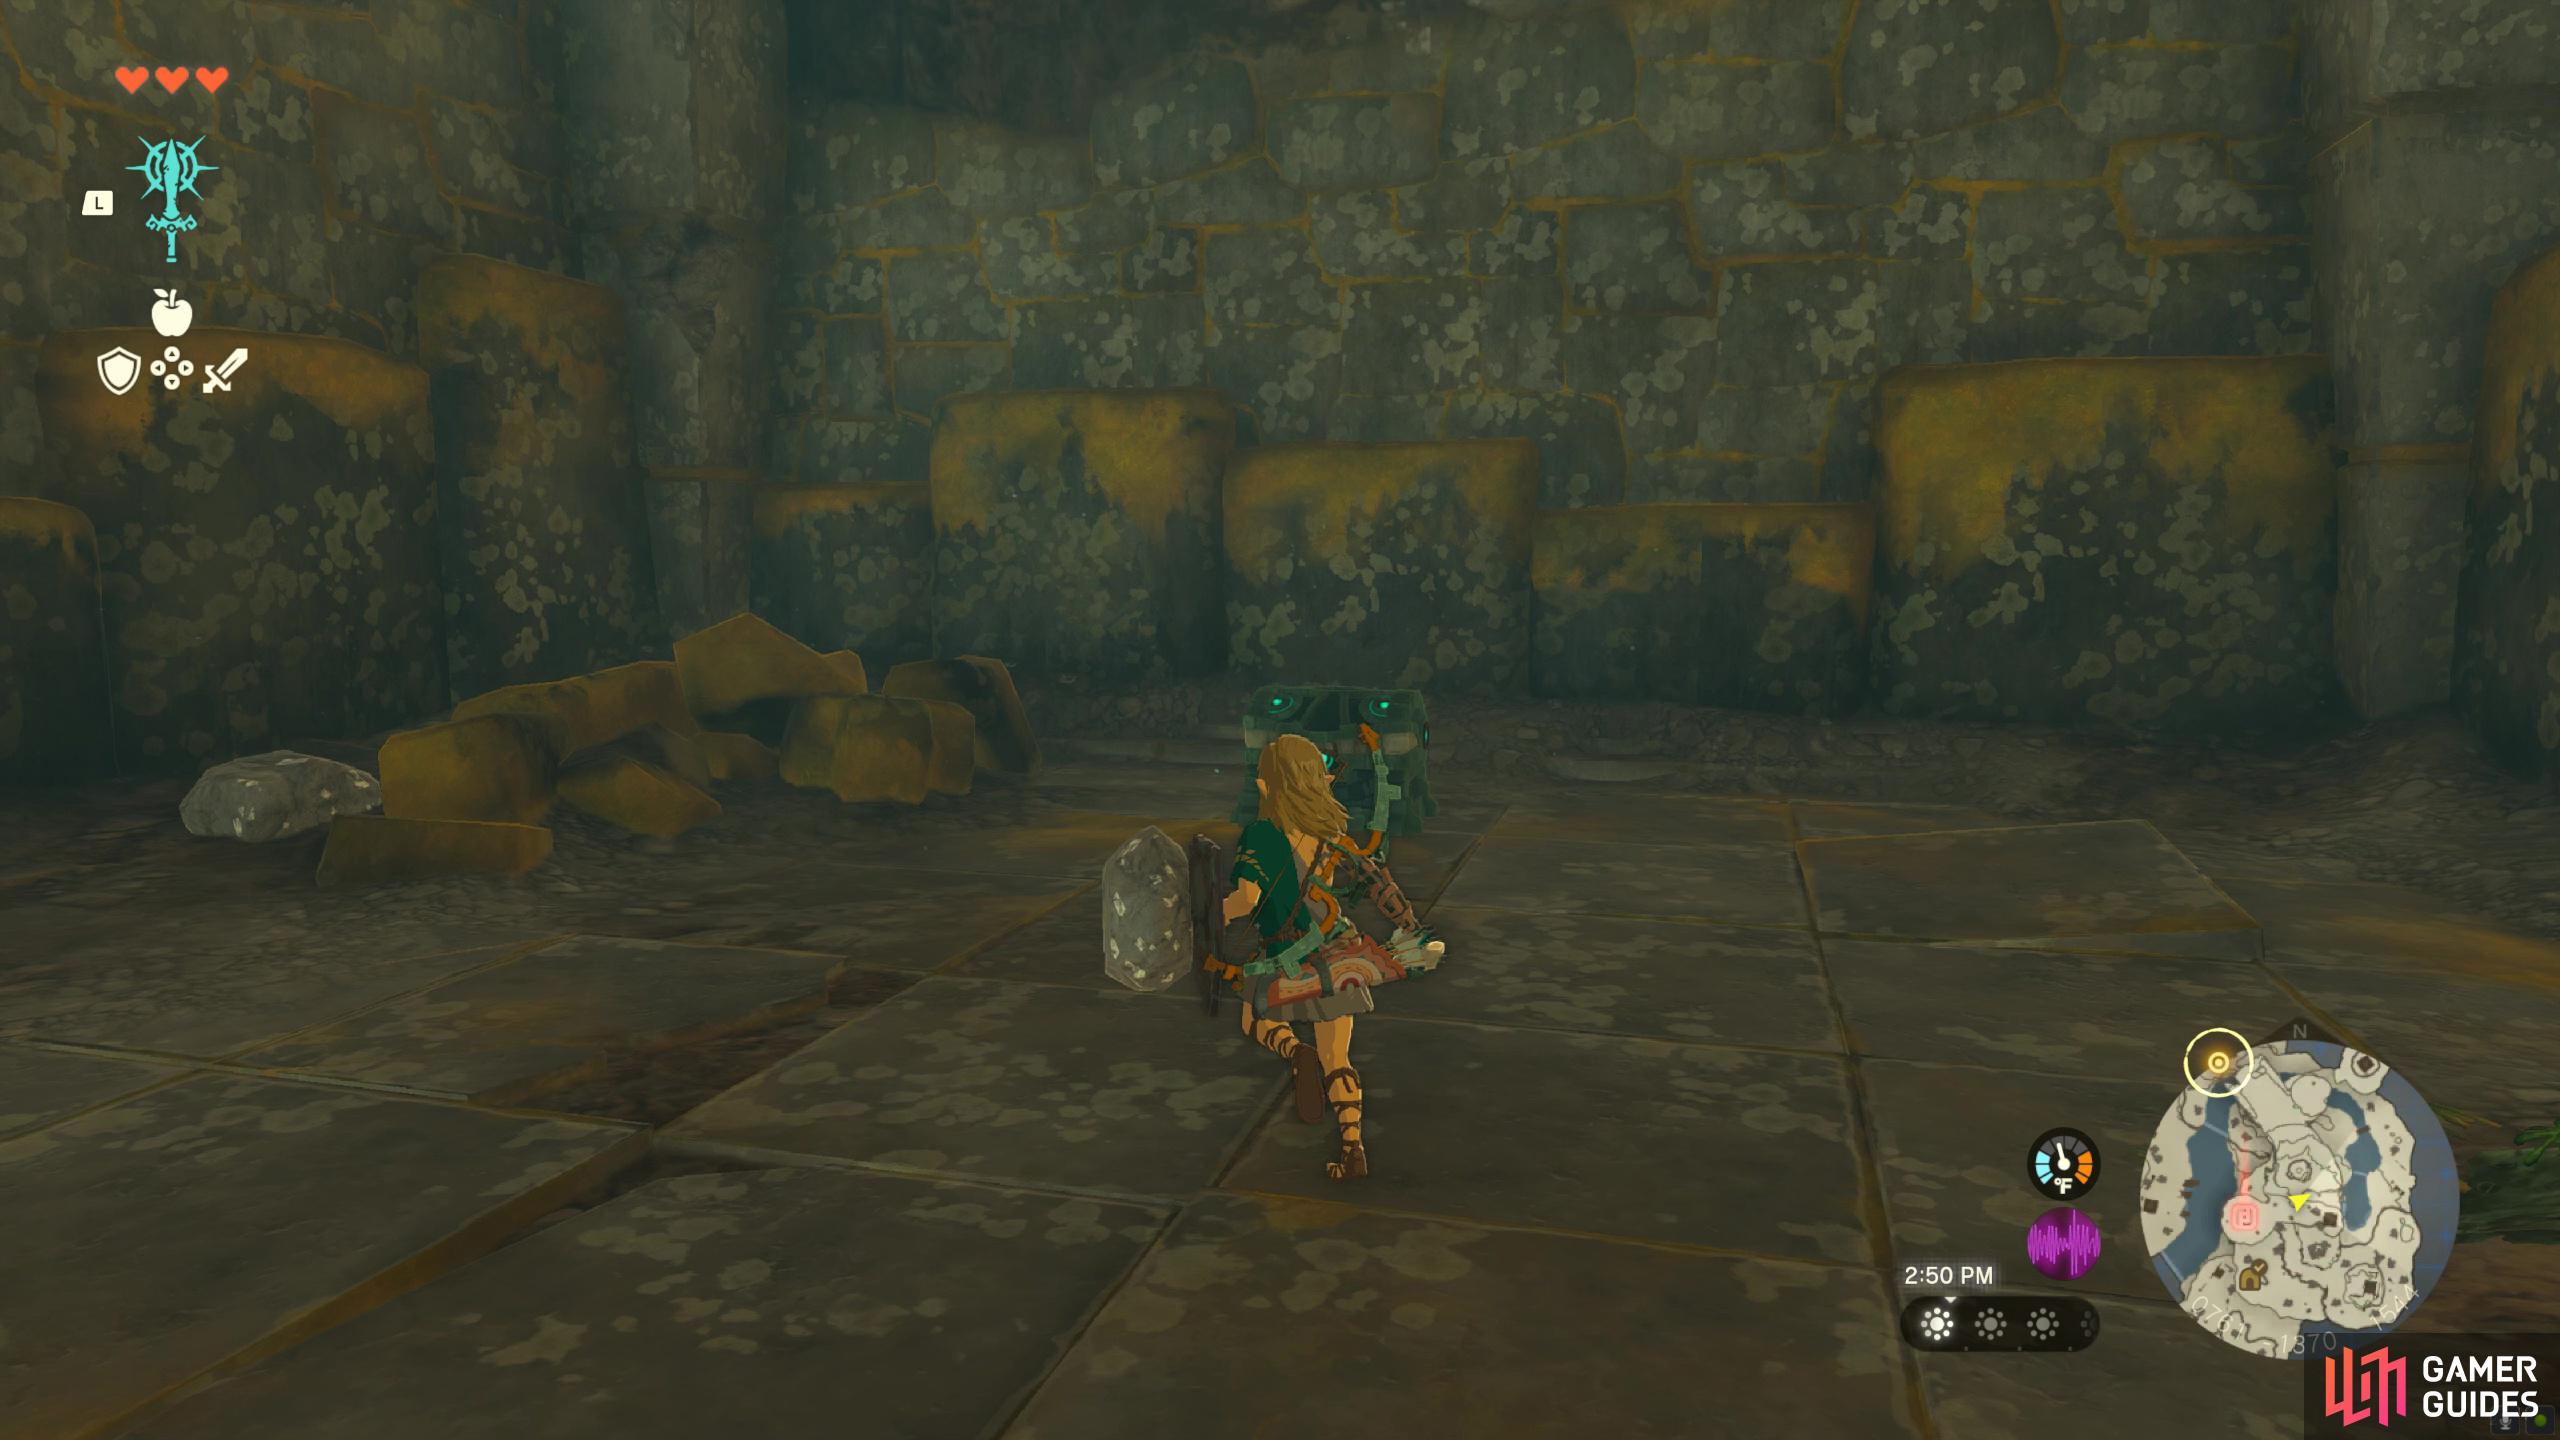
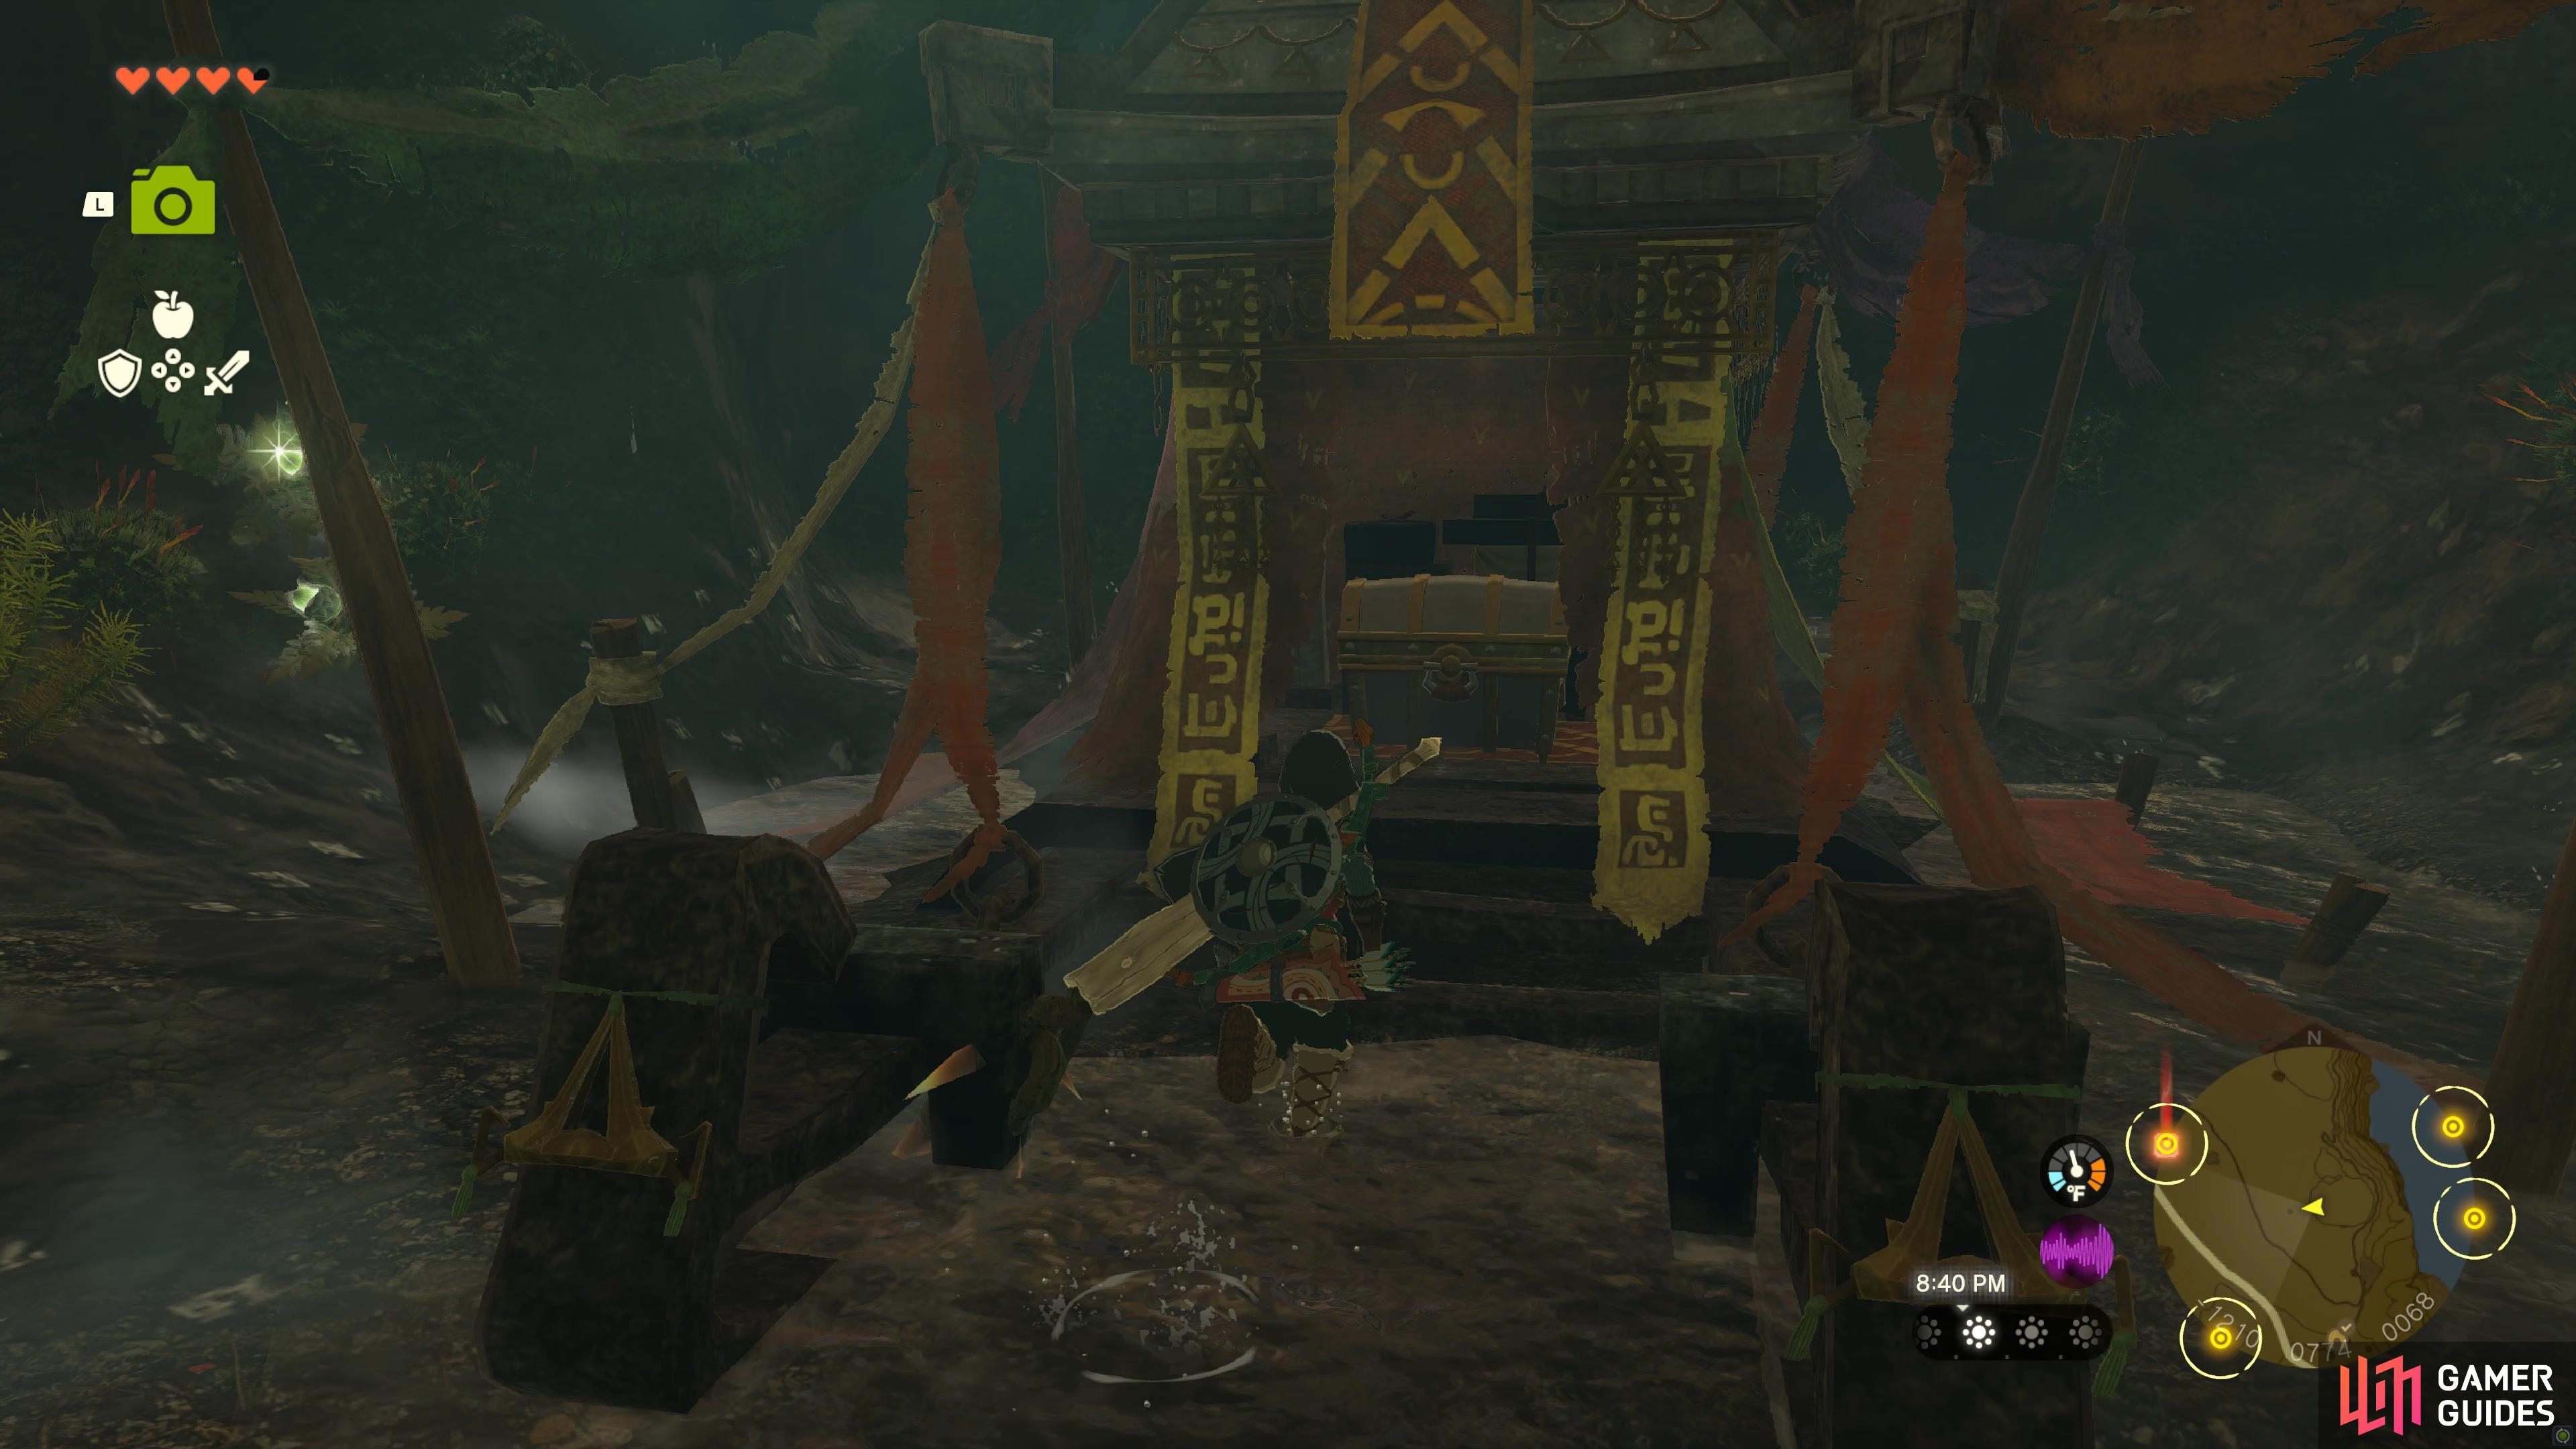
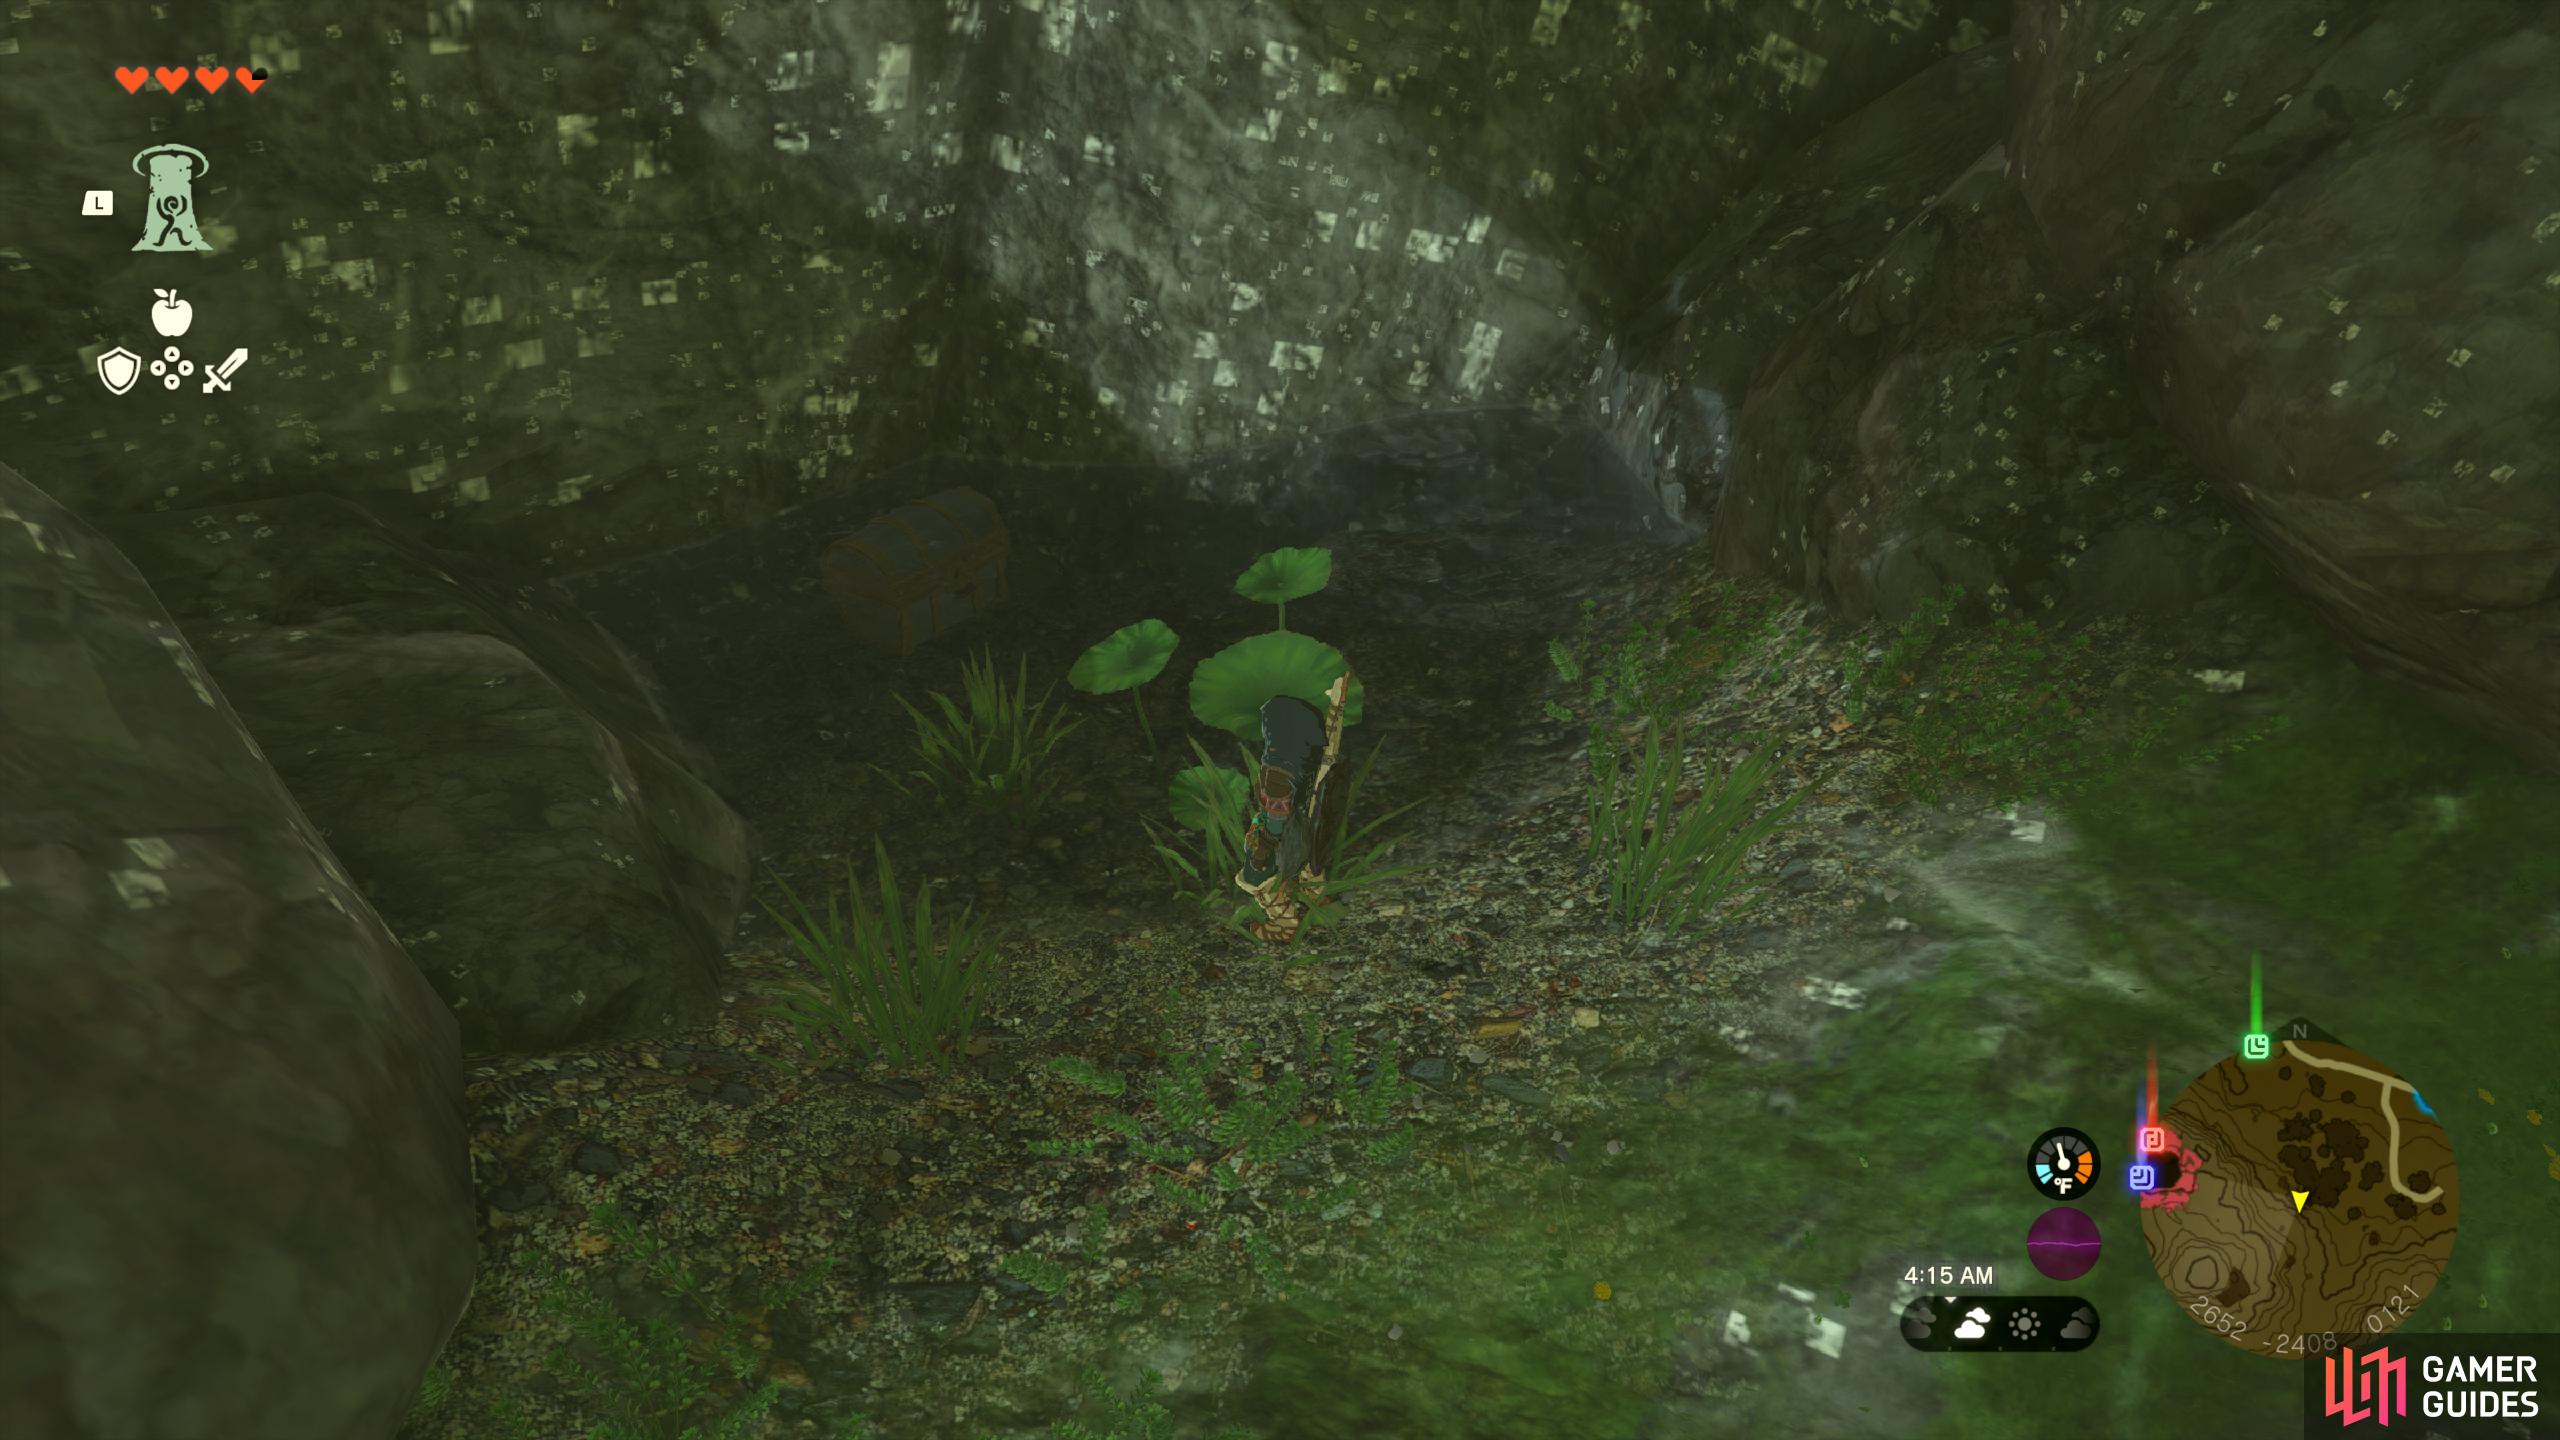
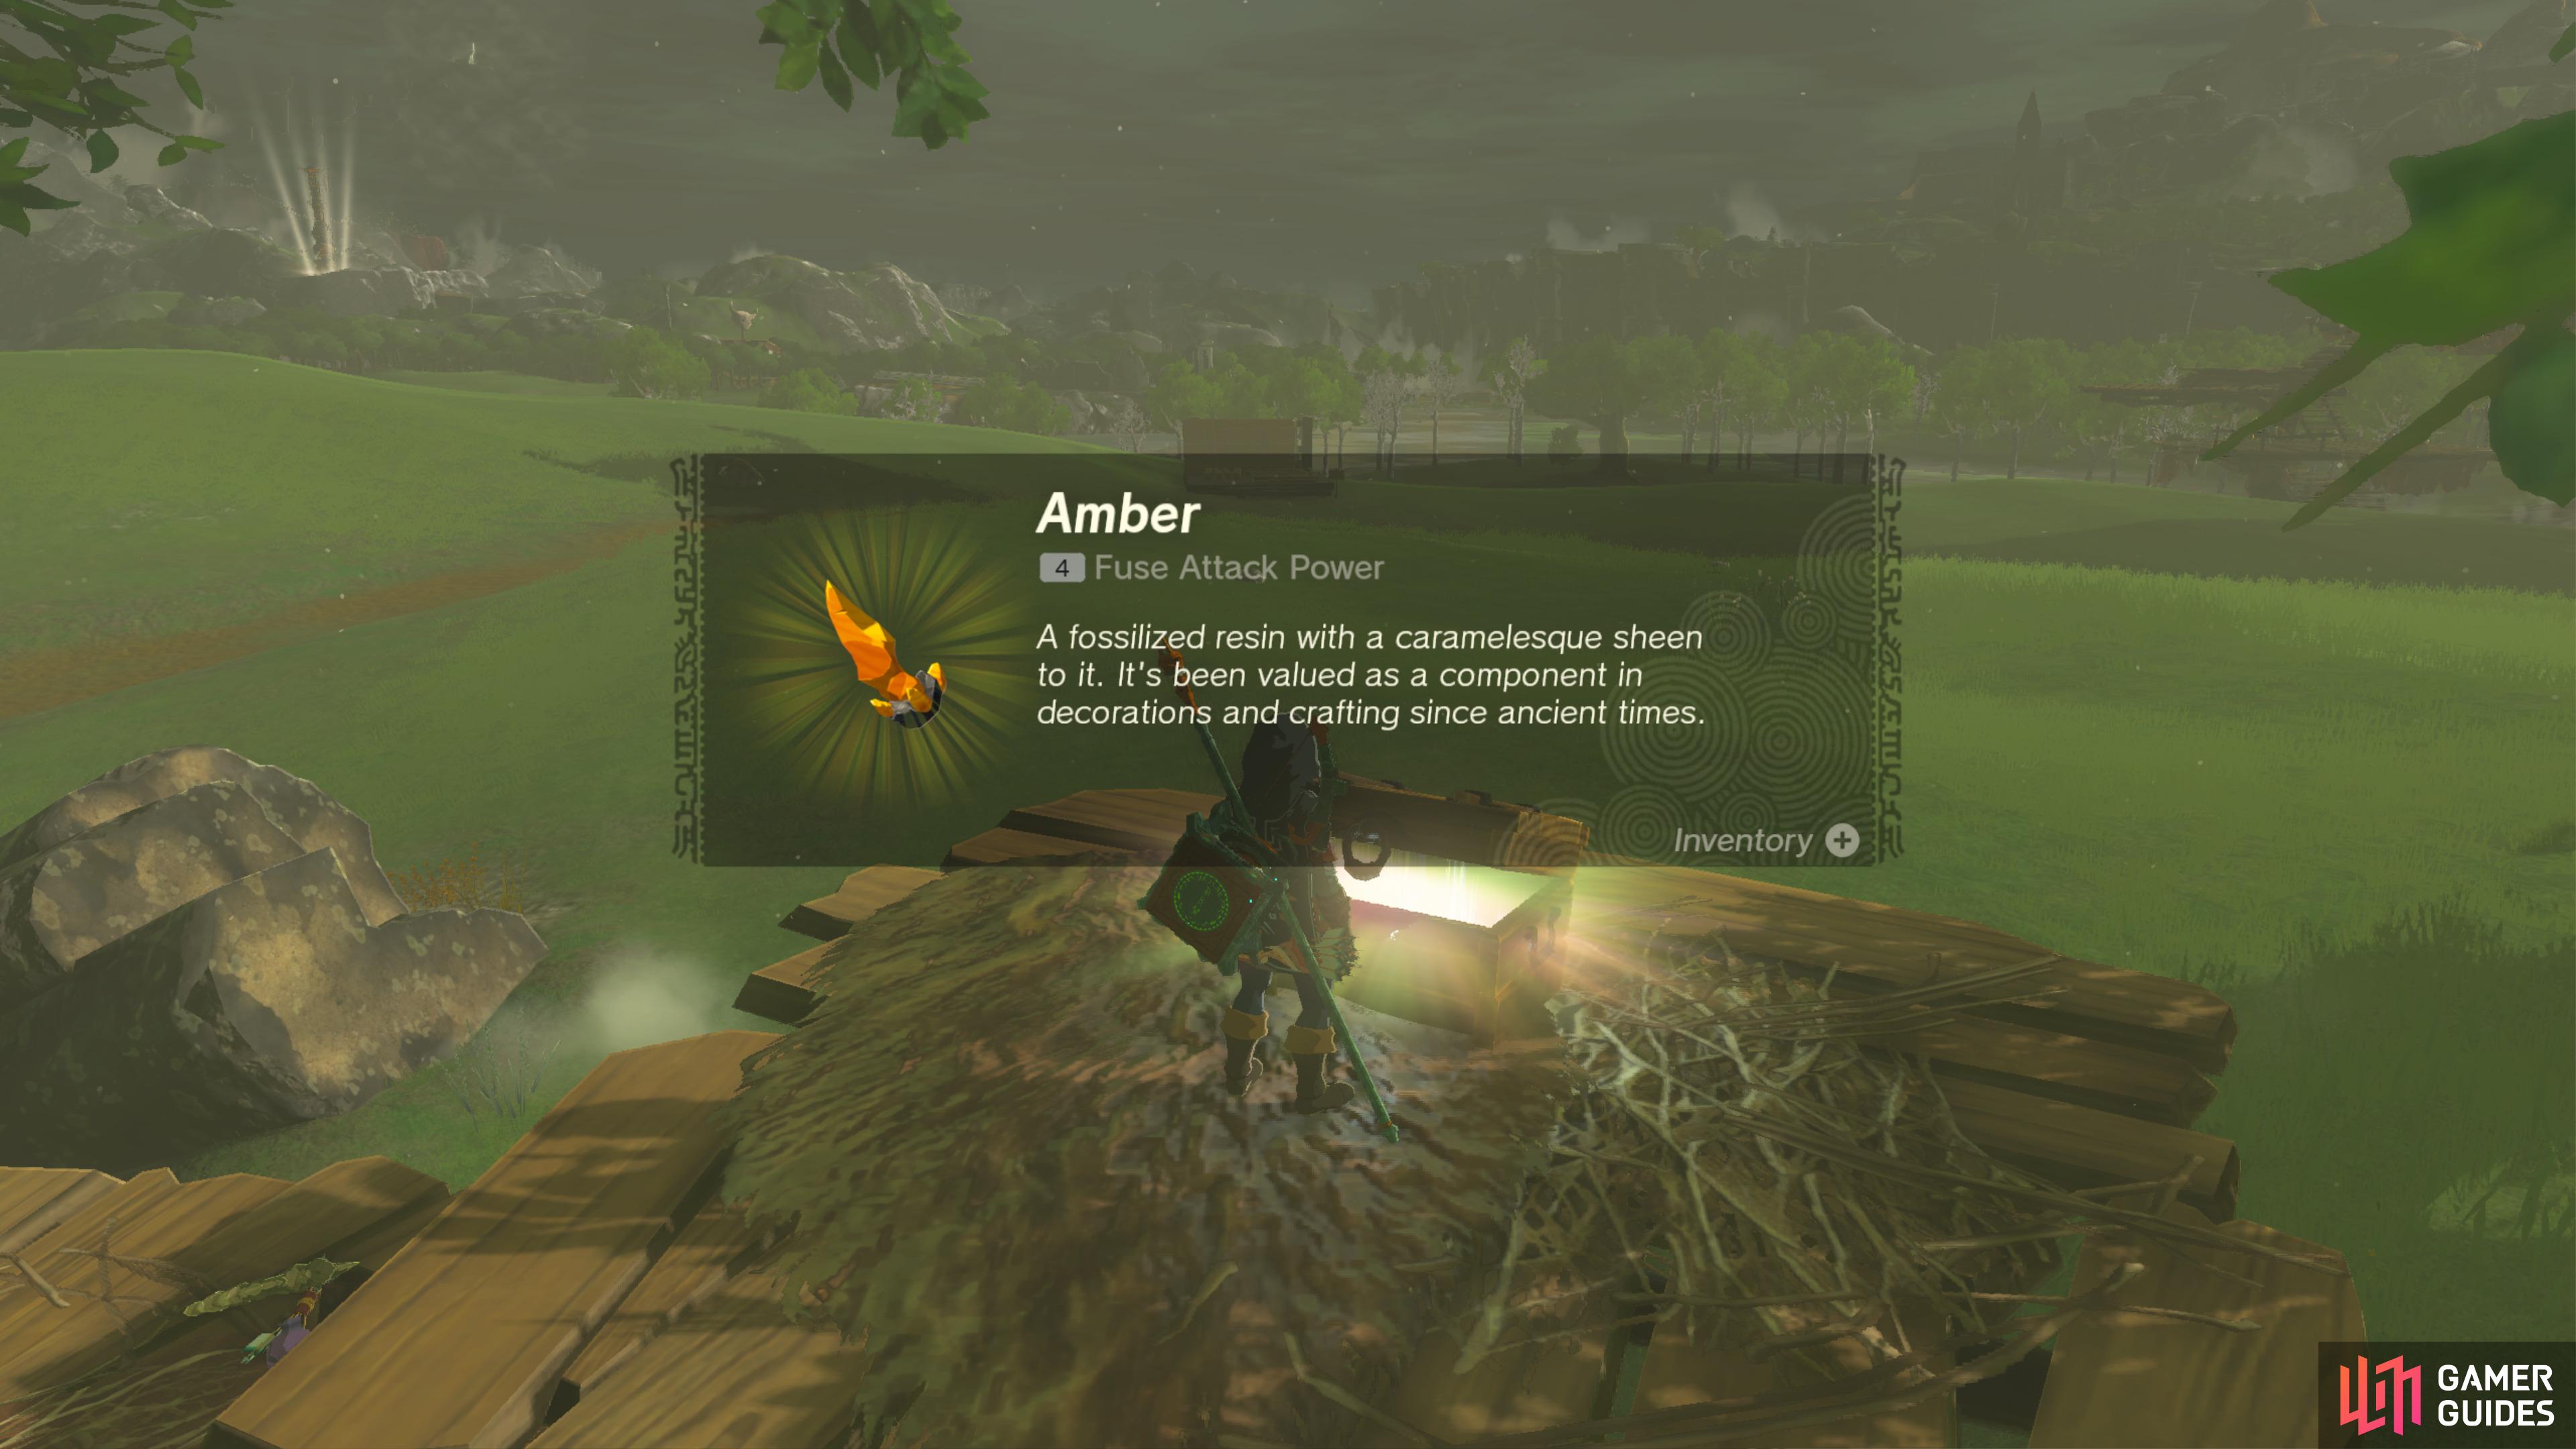
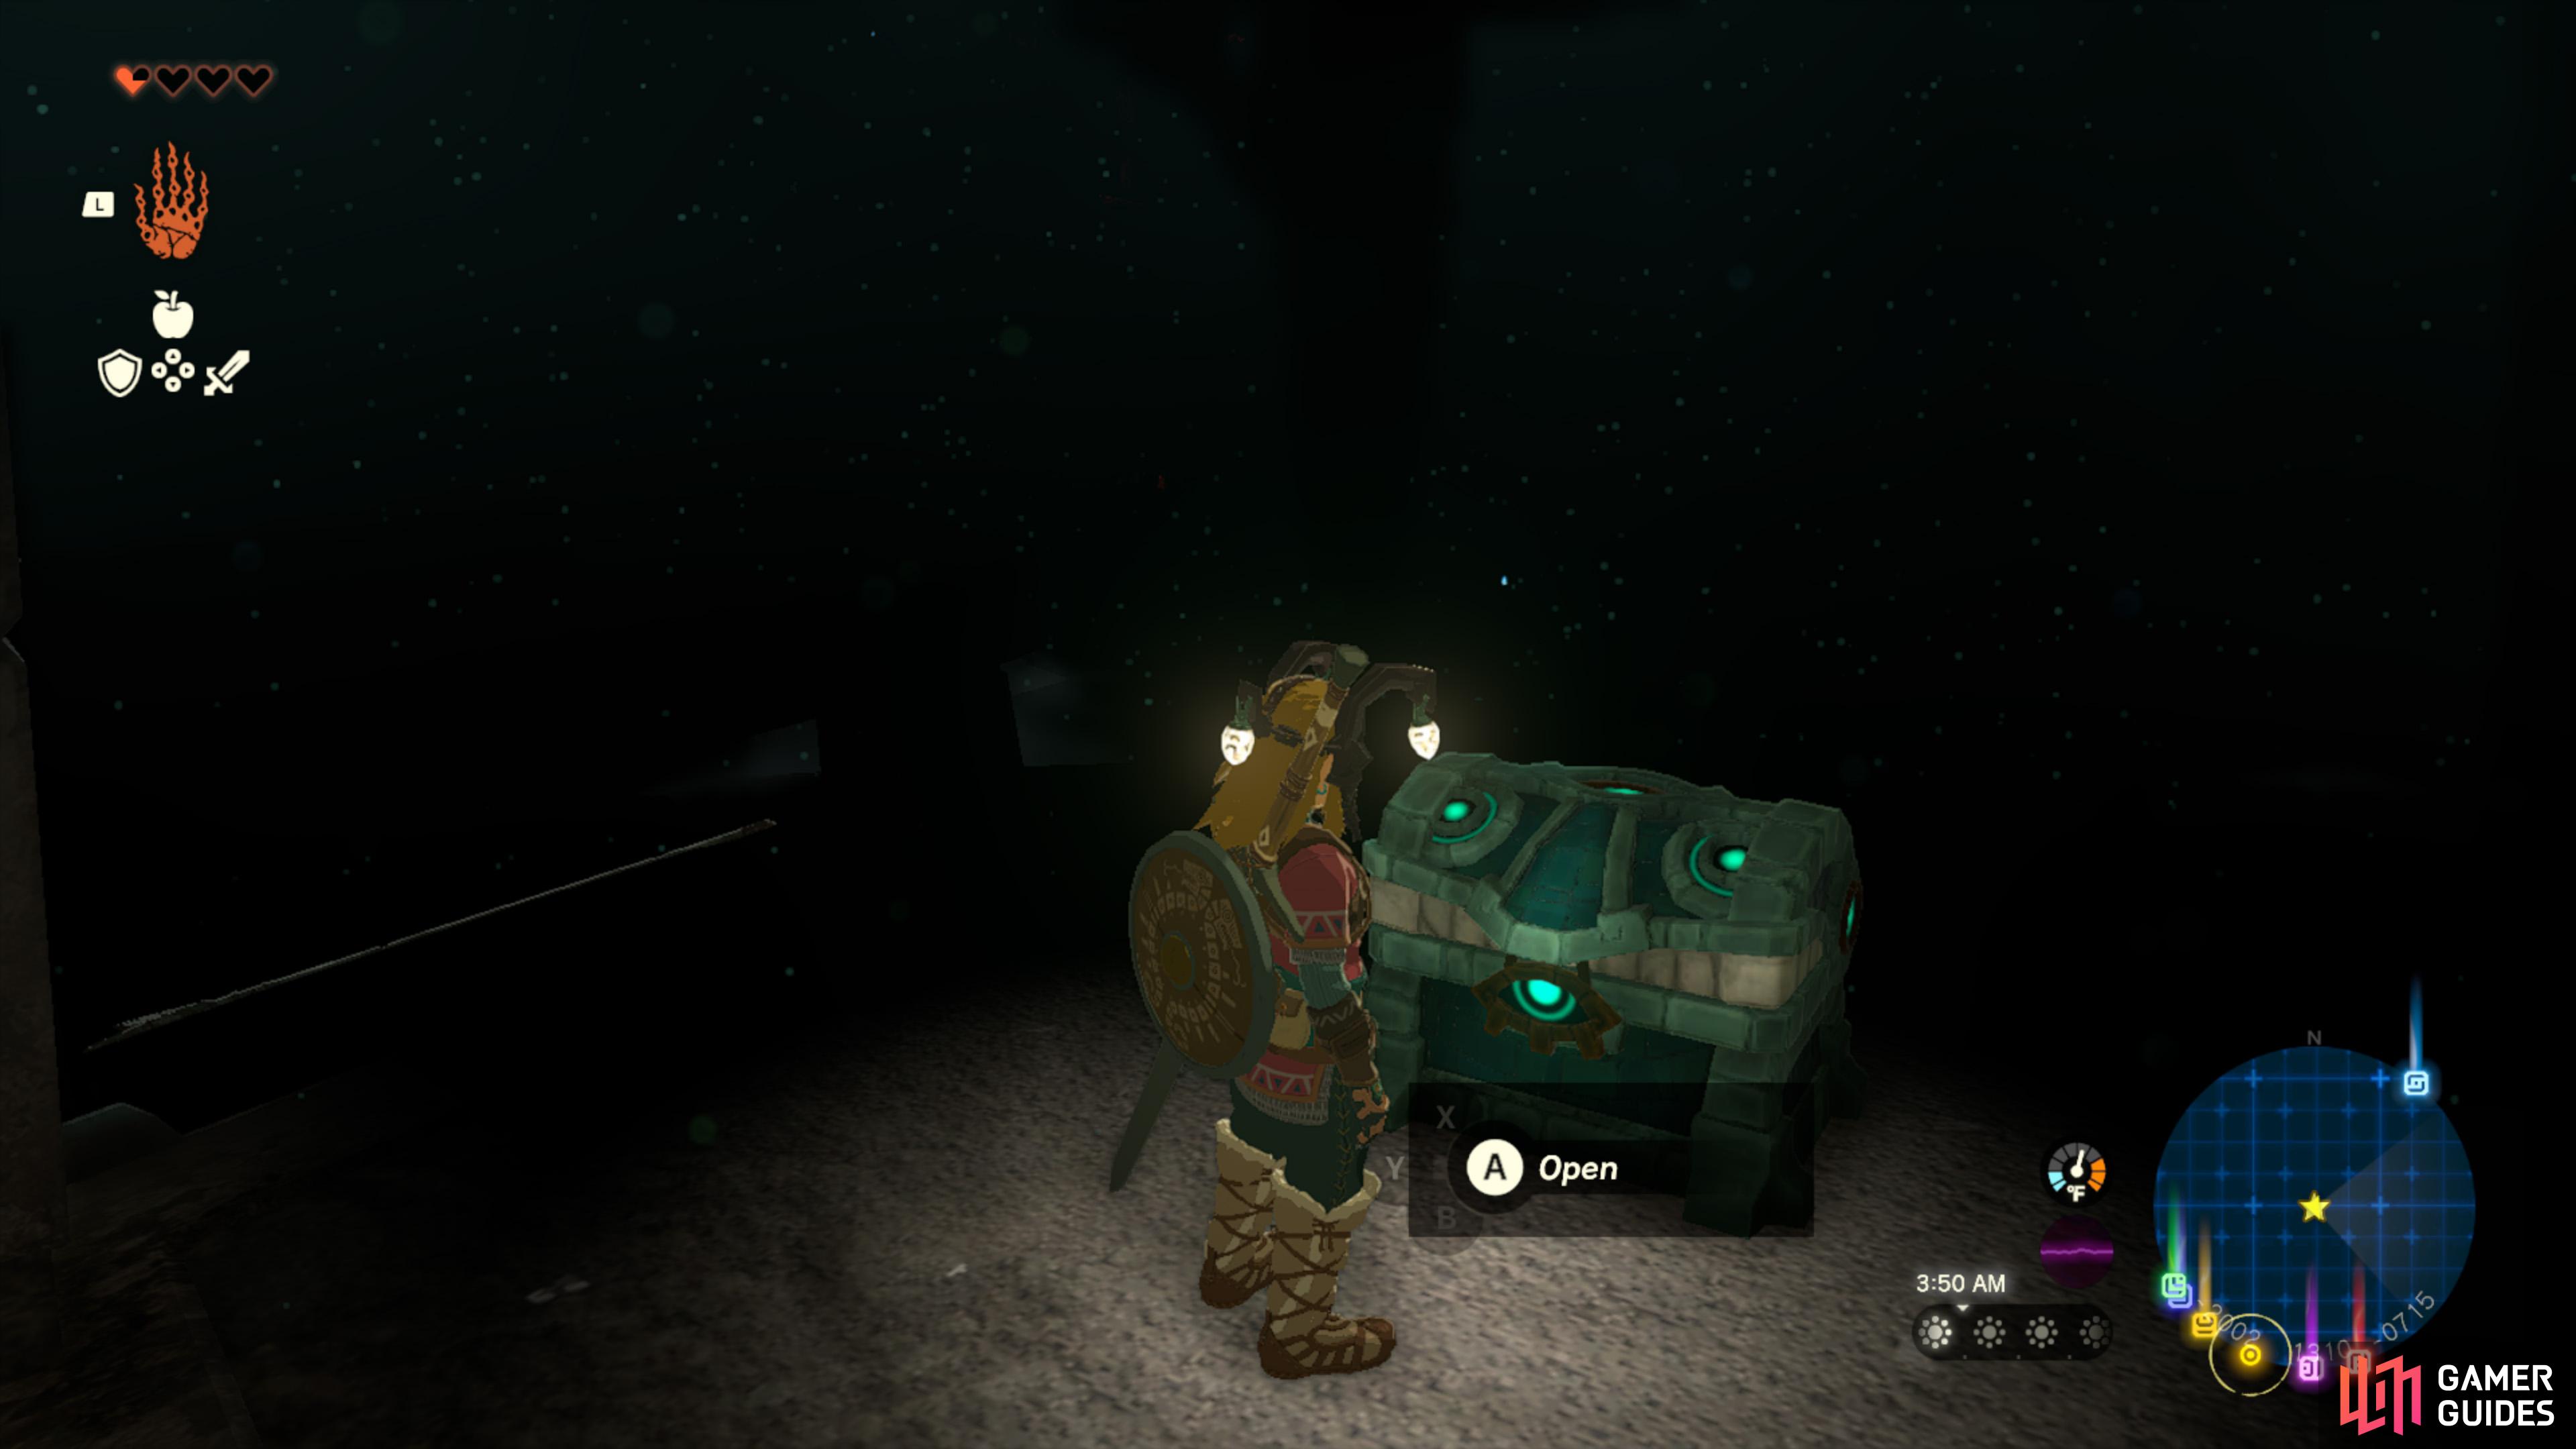
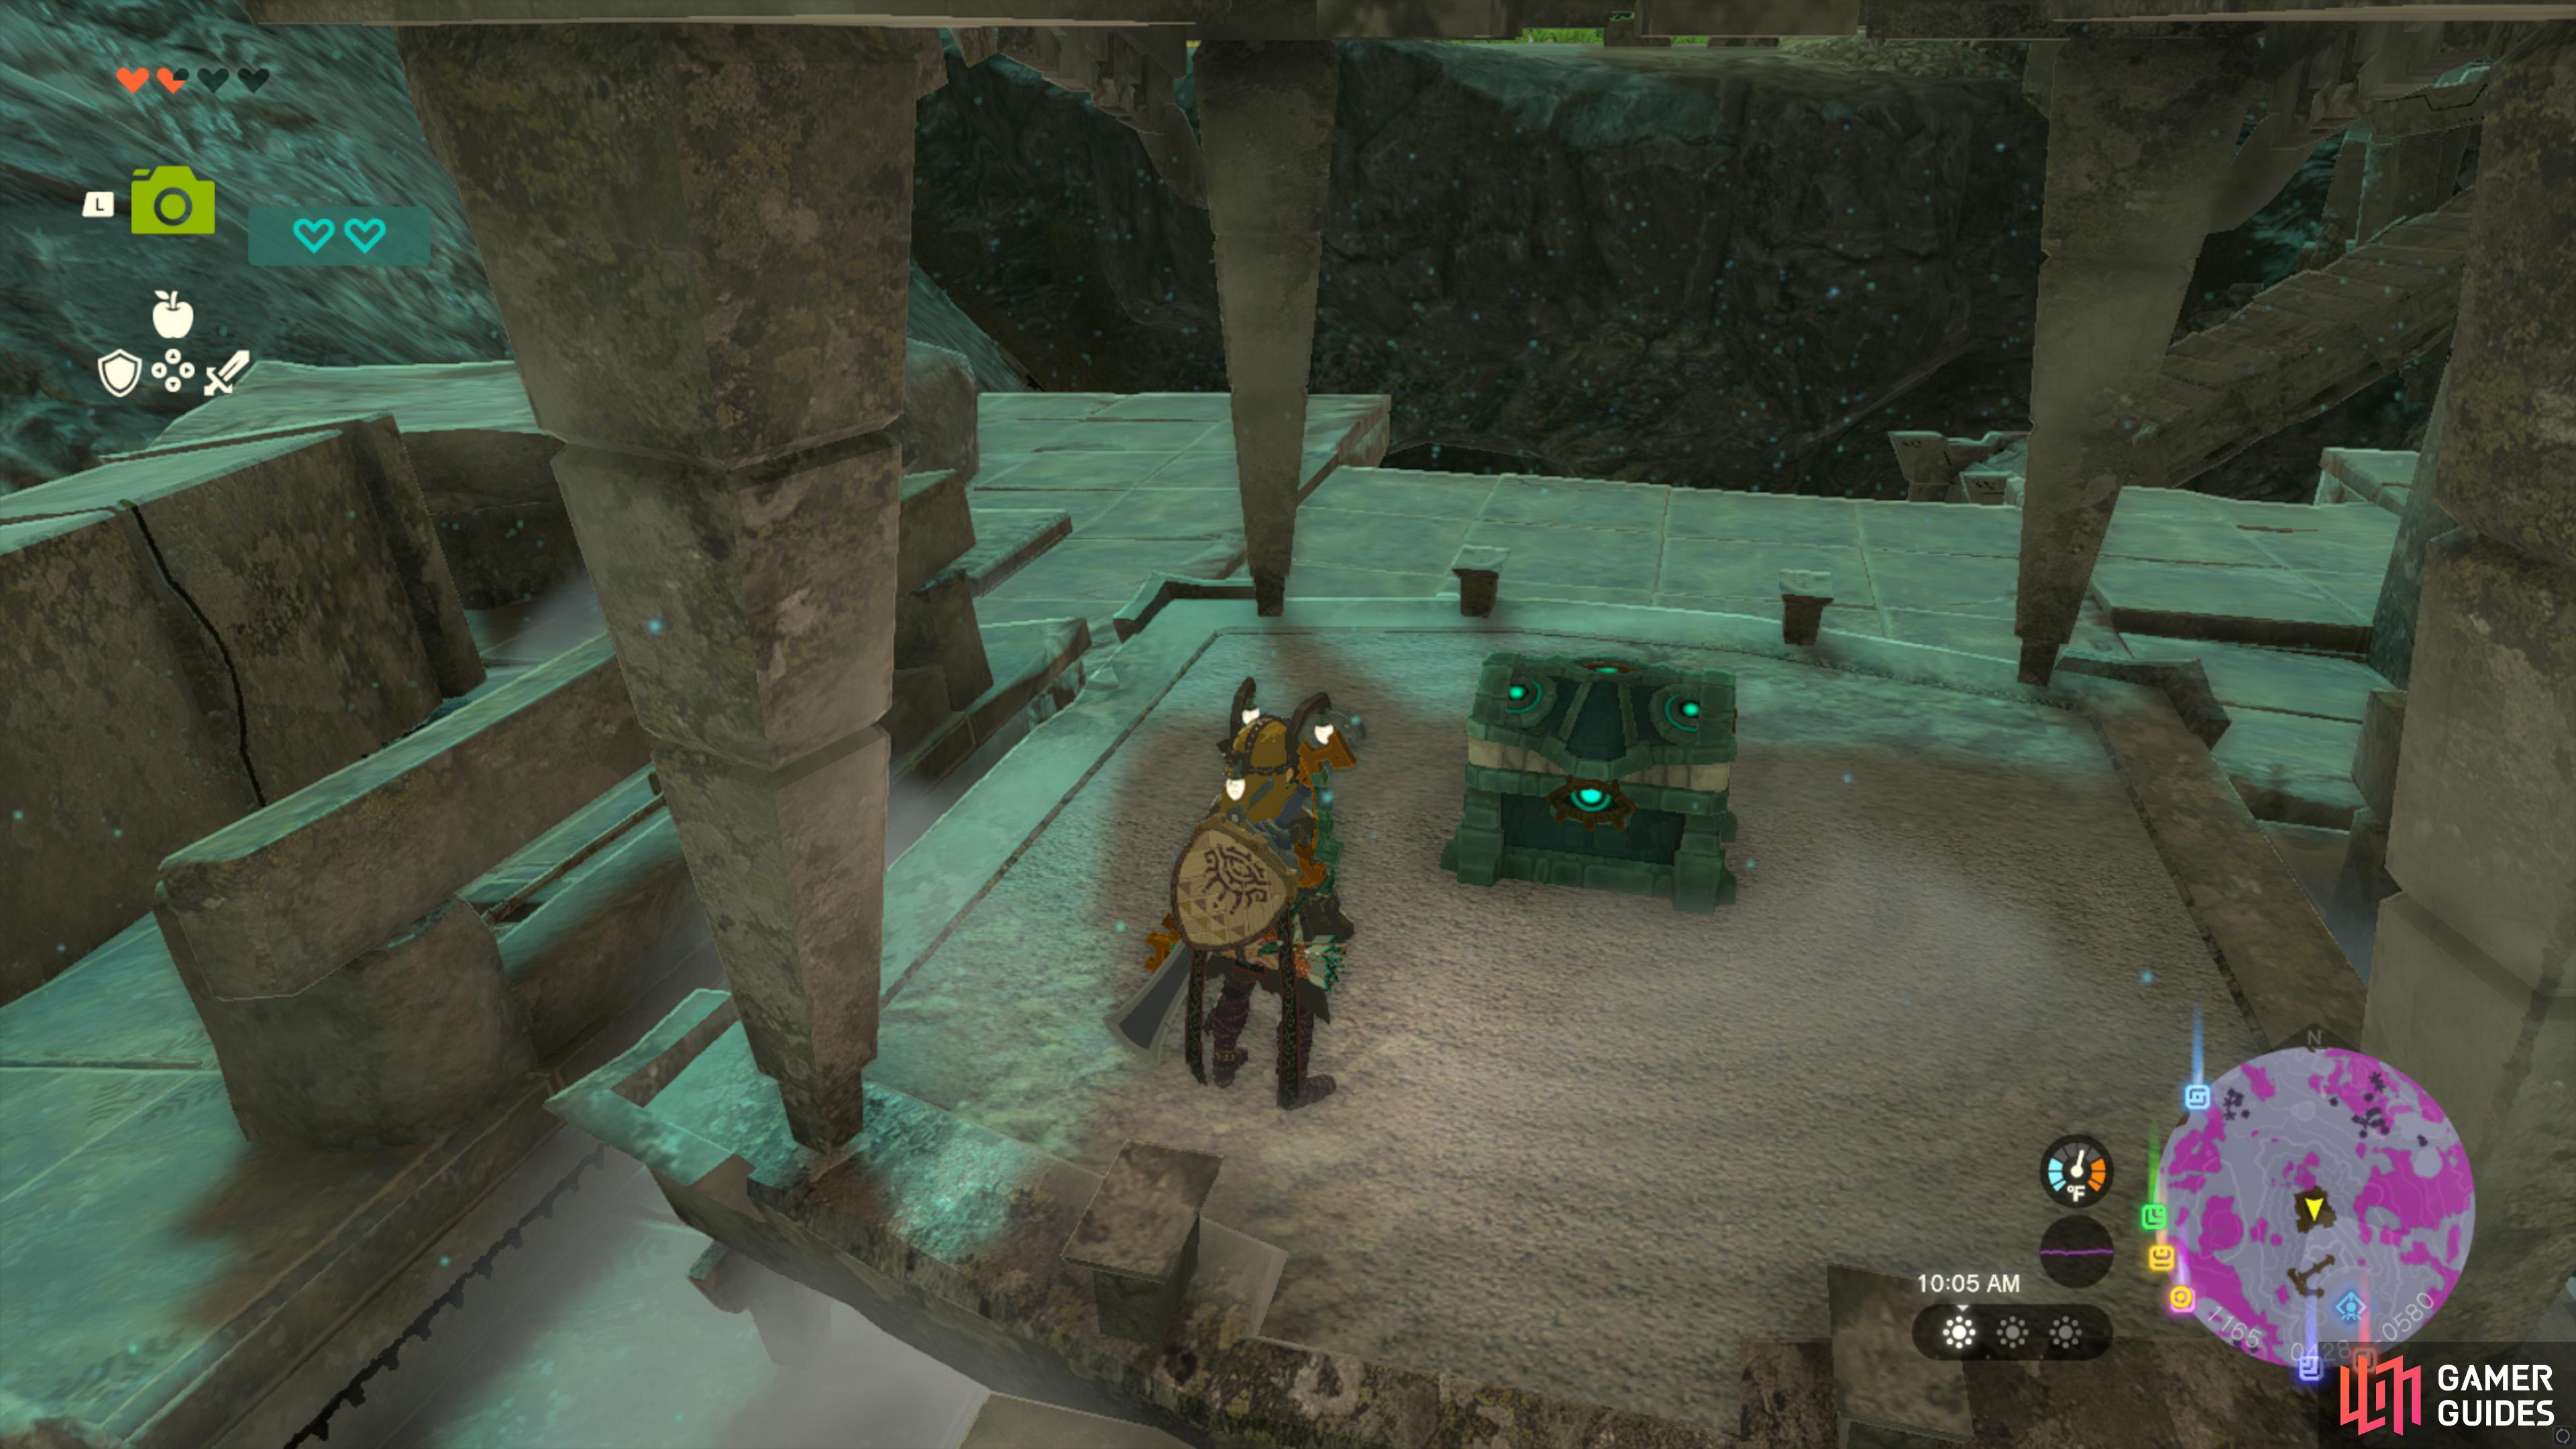
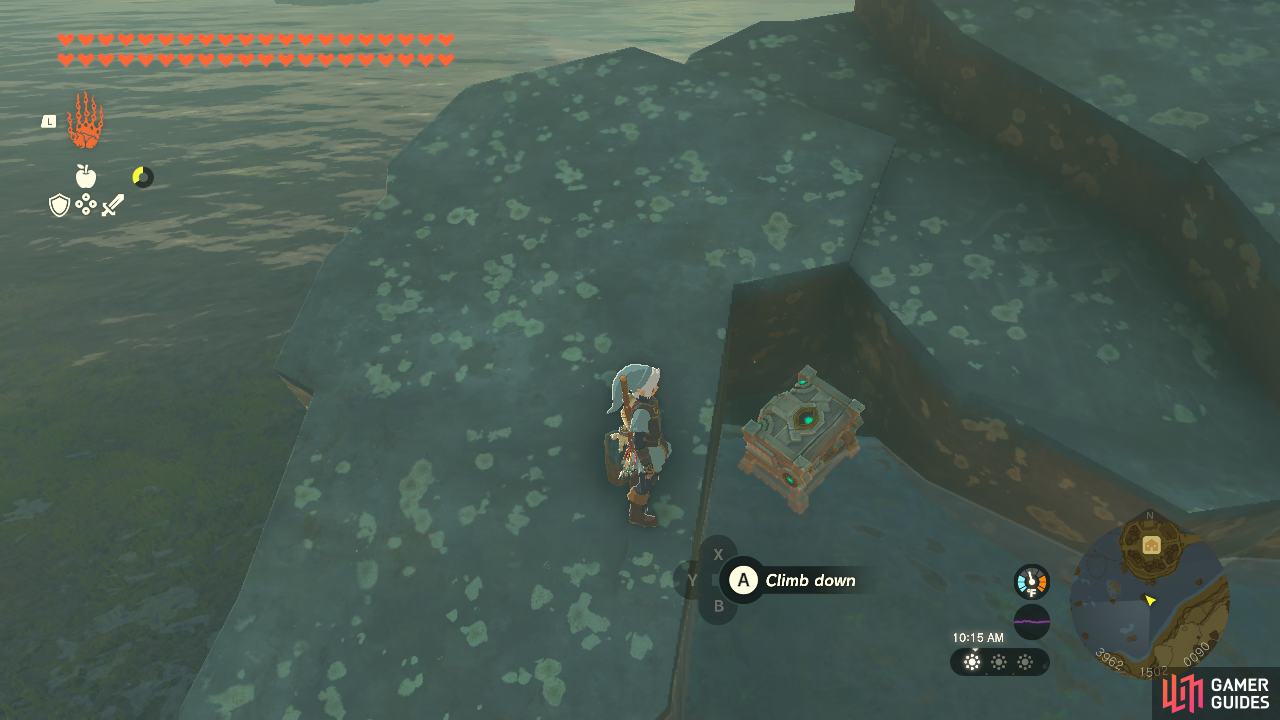
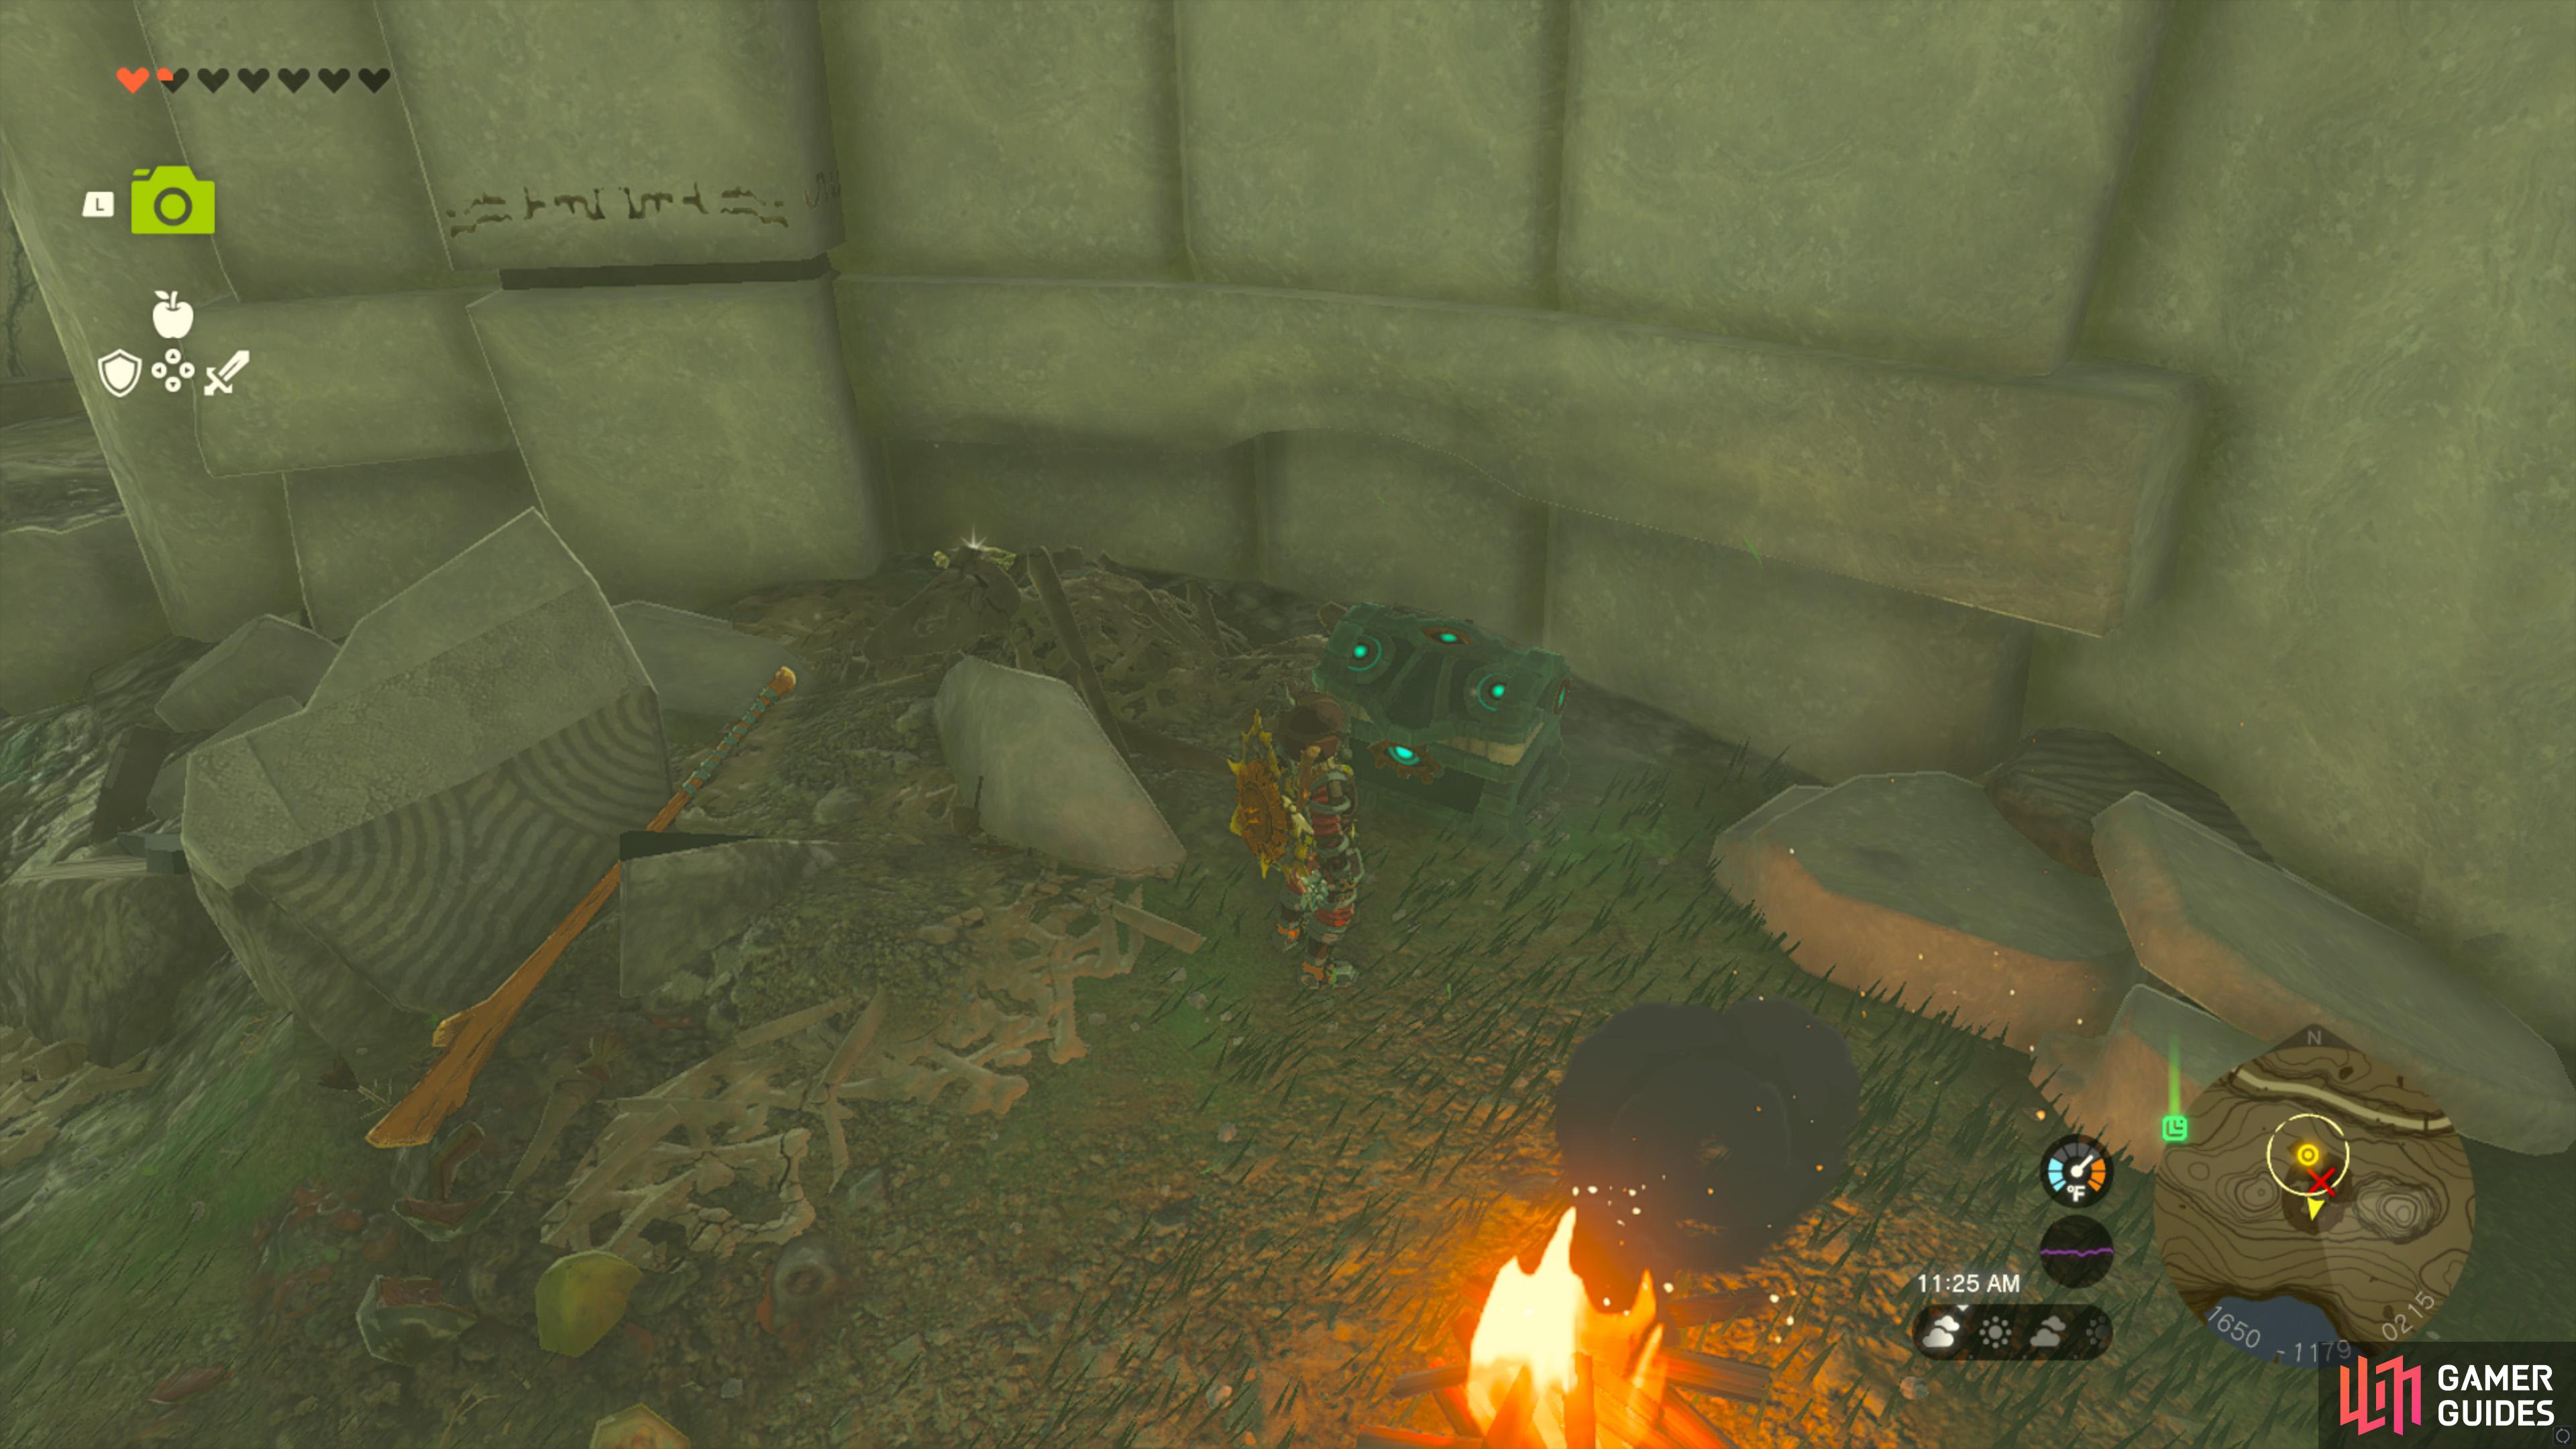
40220. Hyrule Sky Islands Map
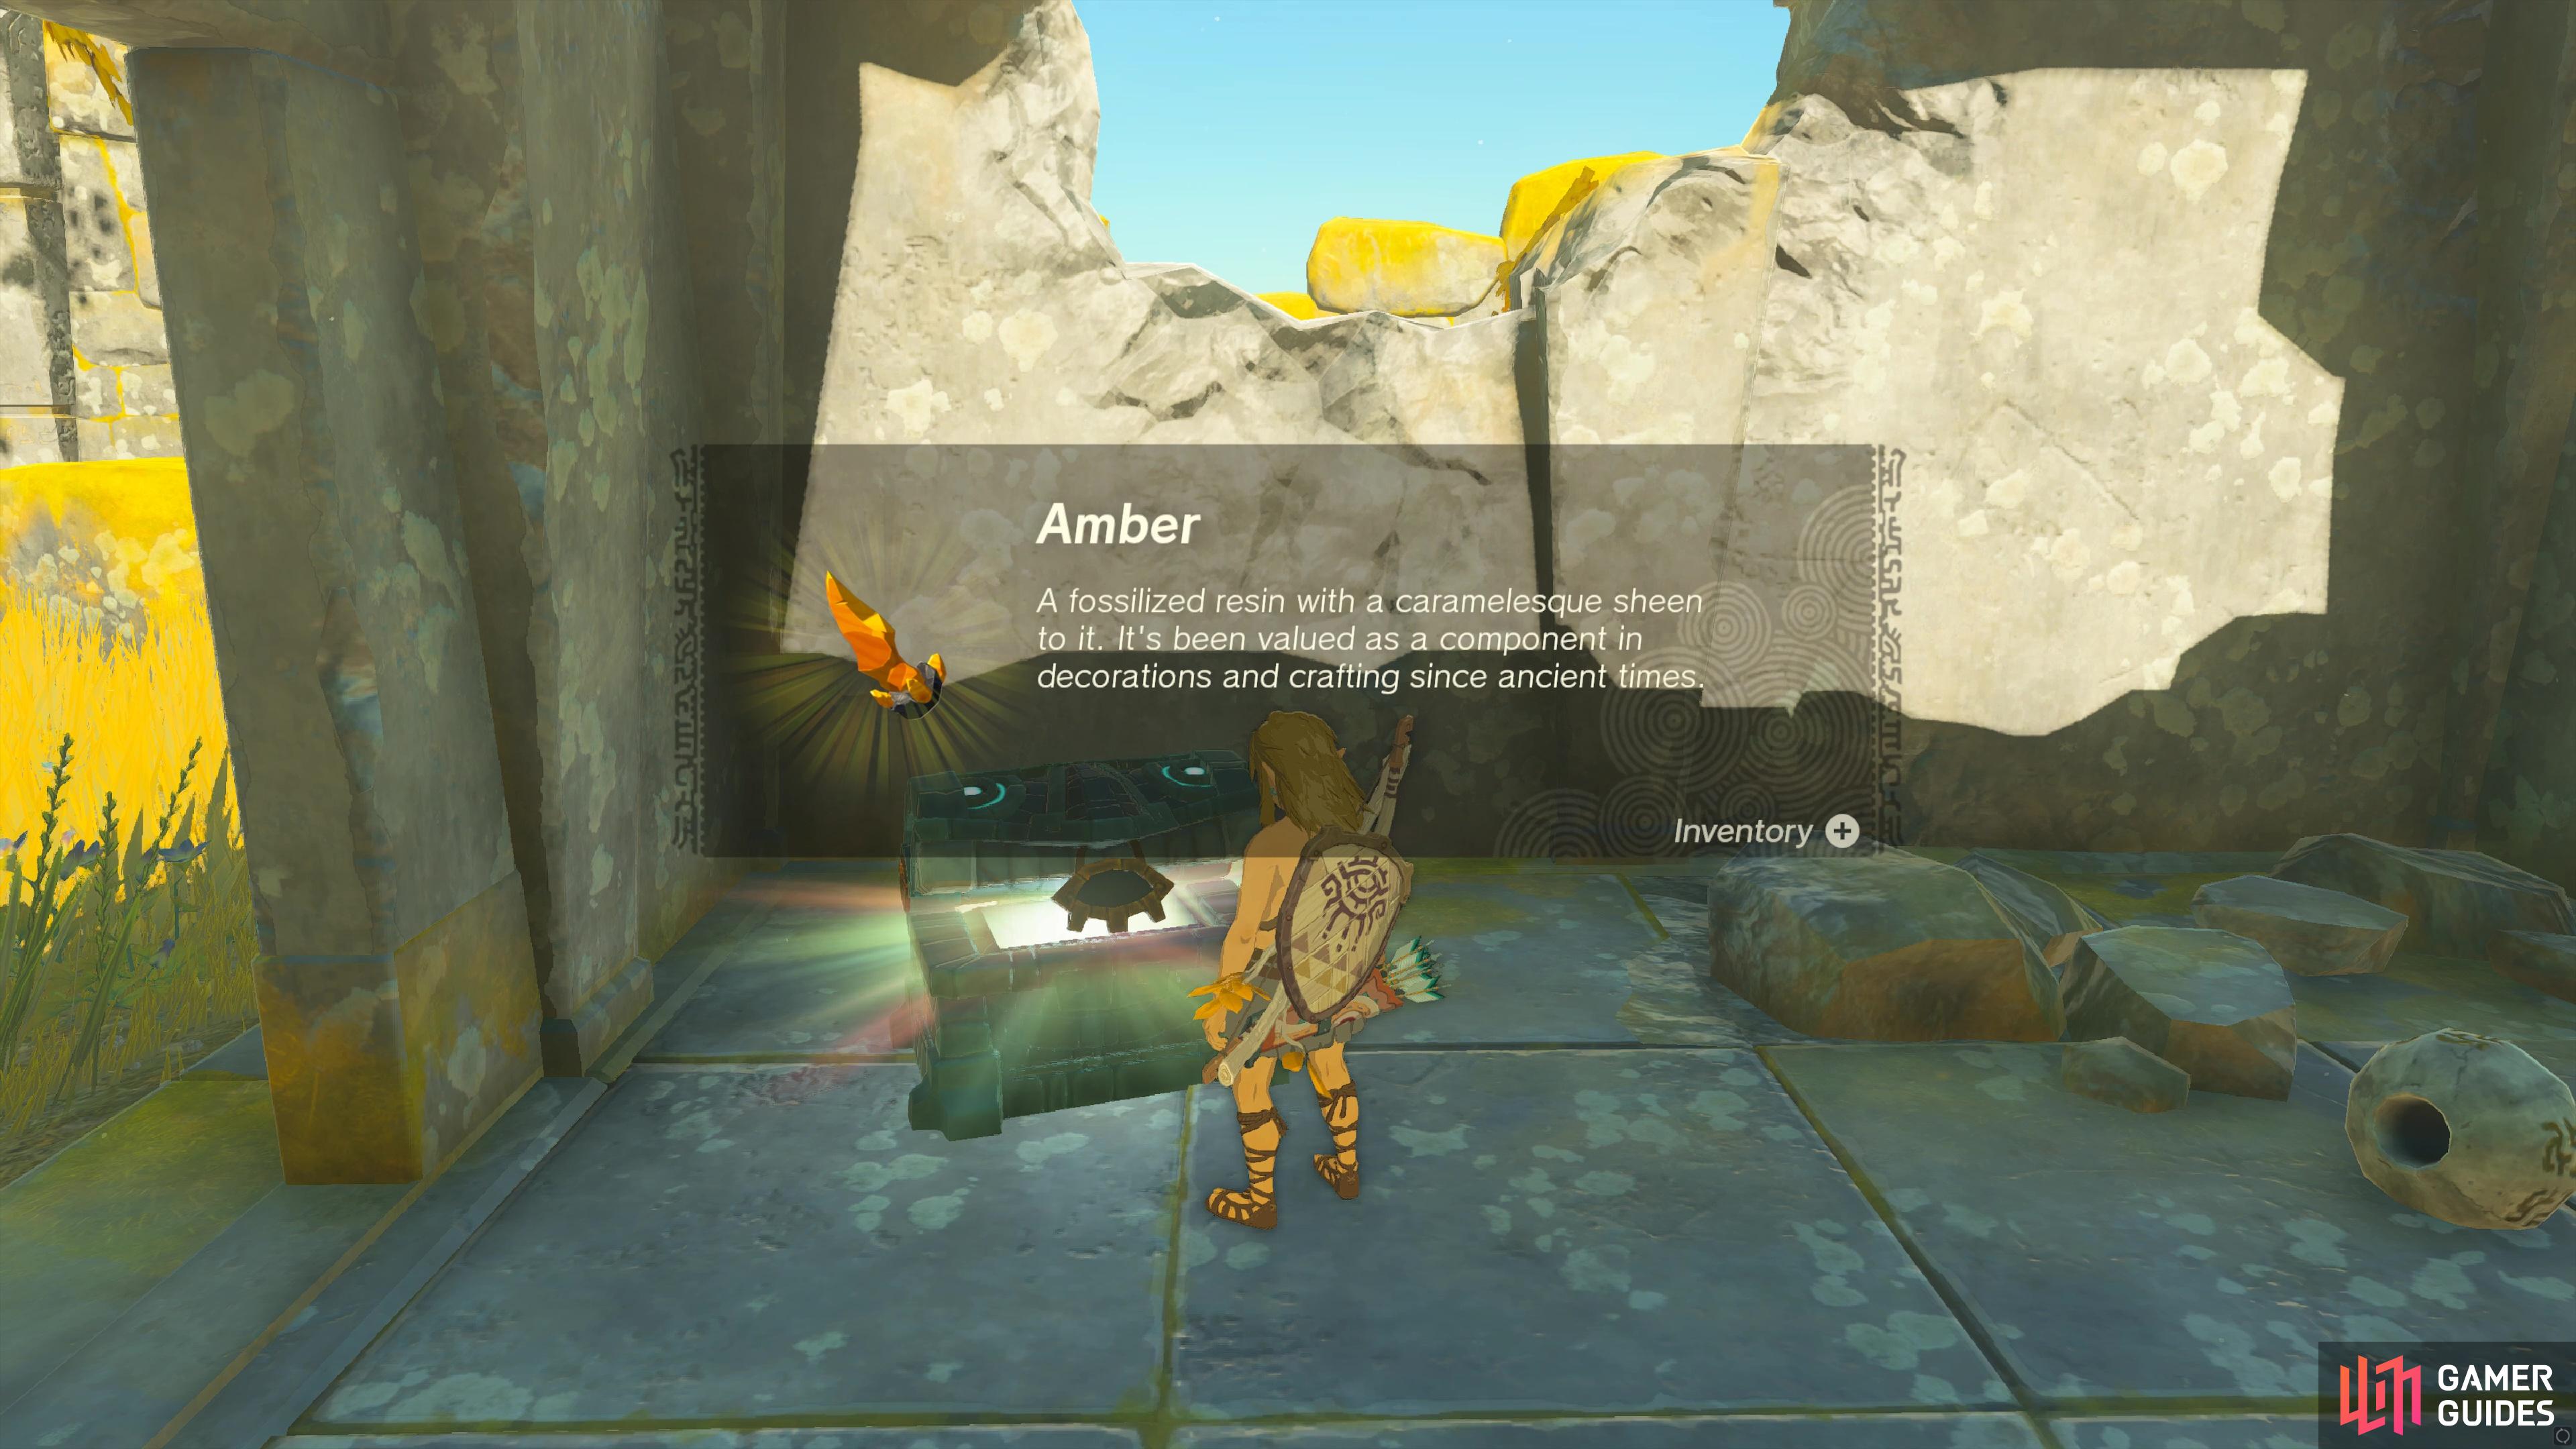
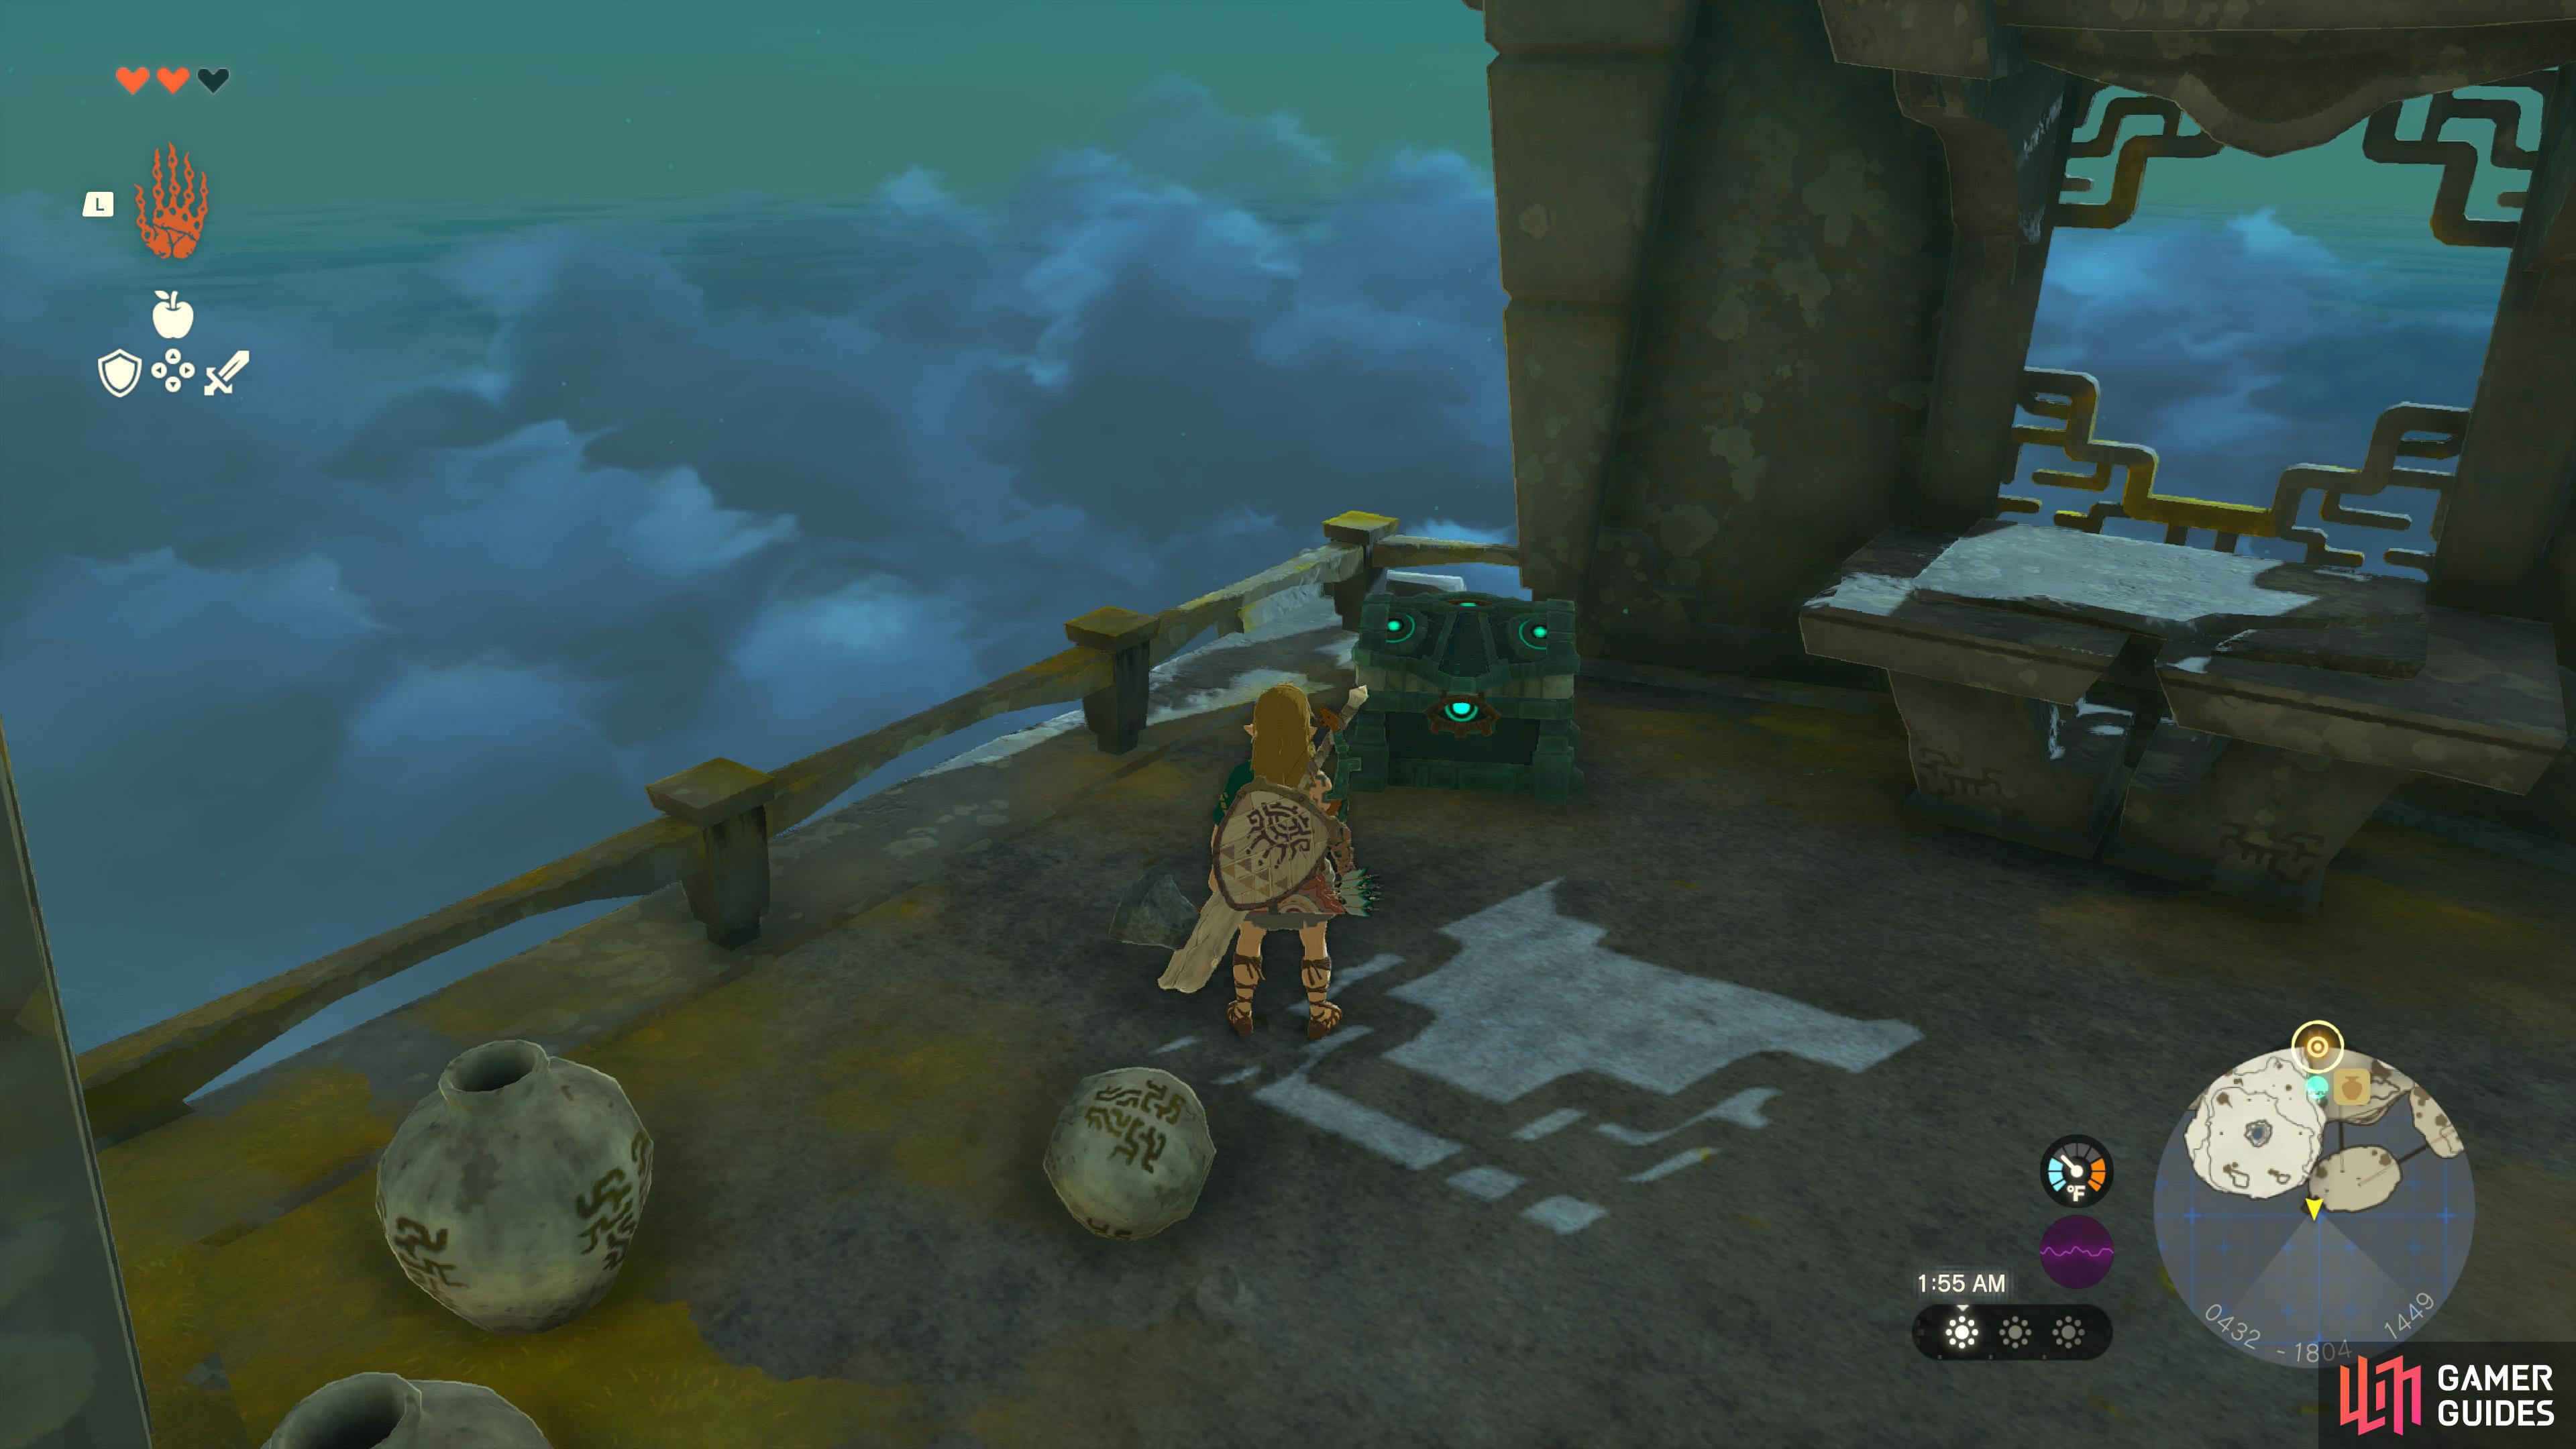
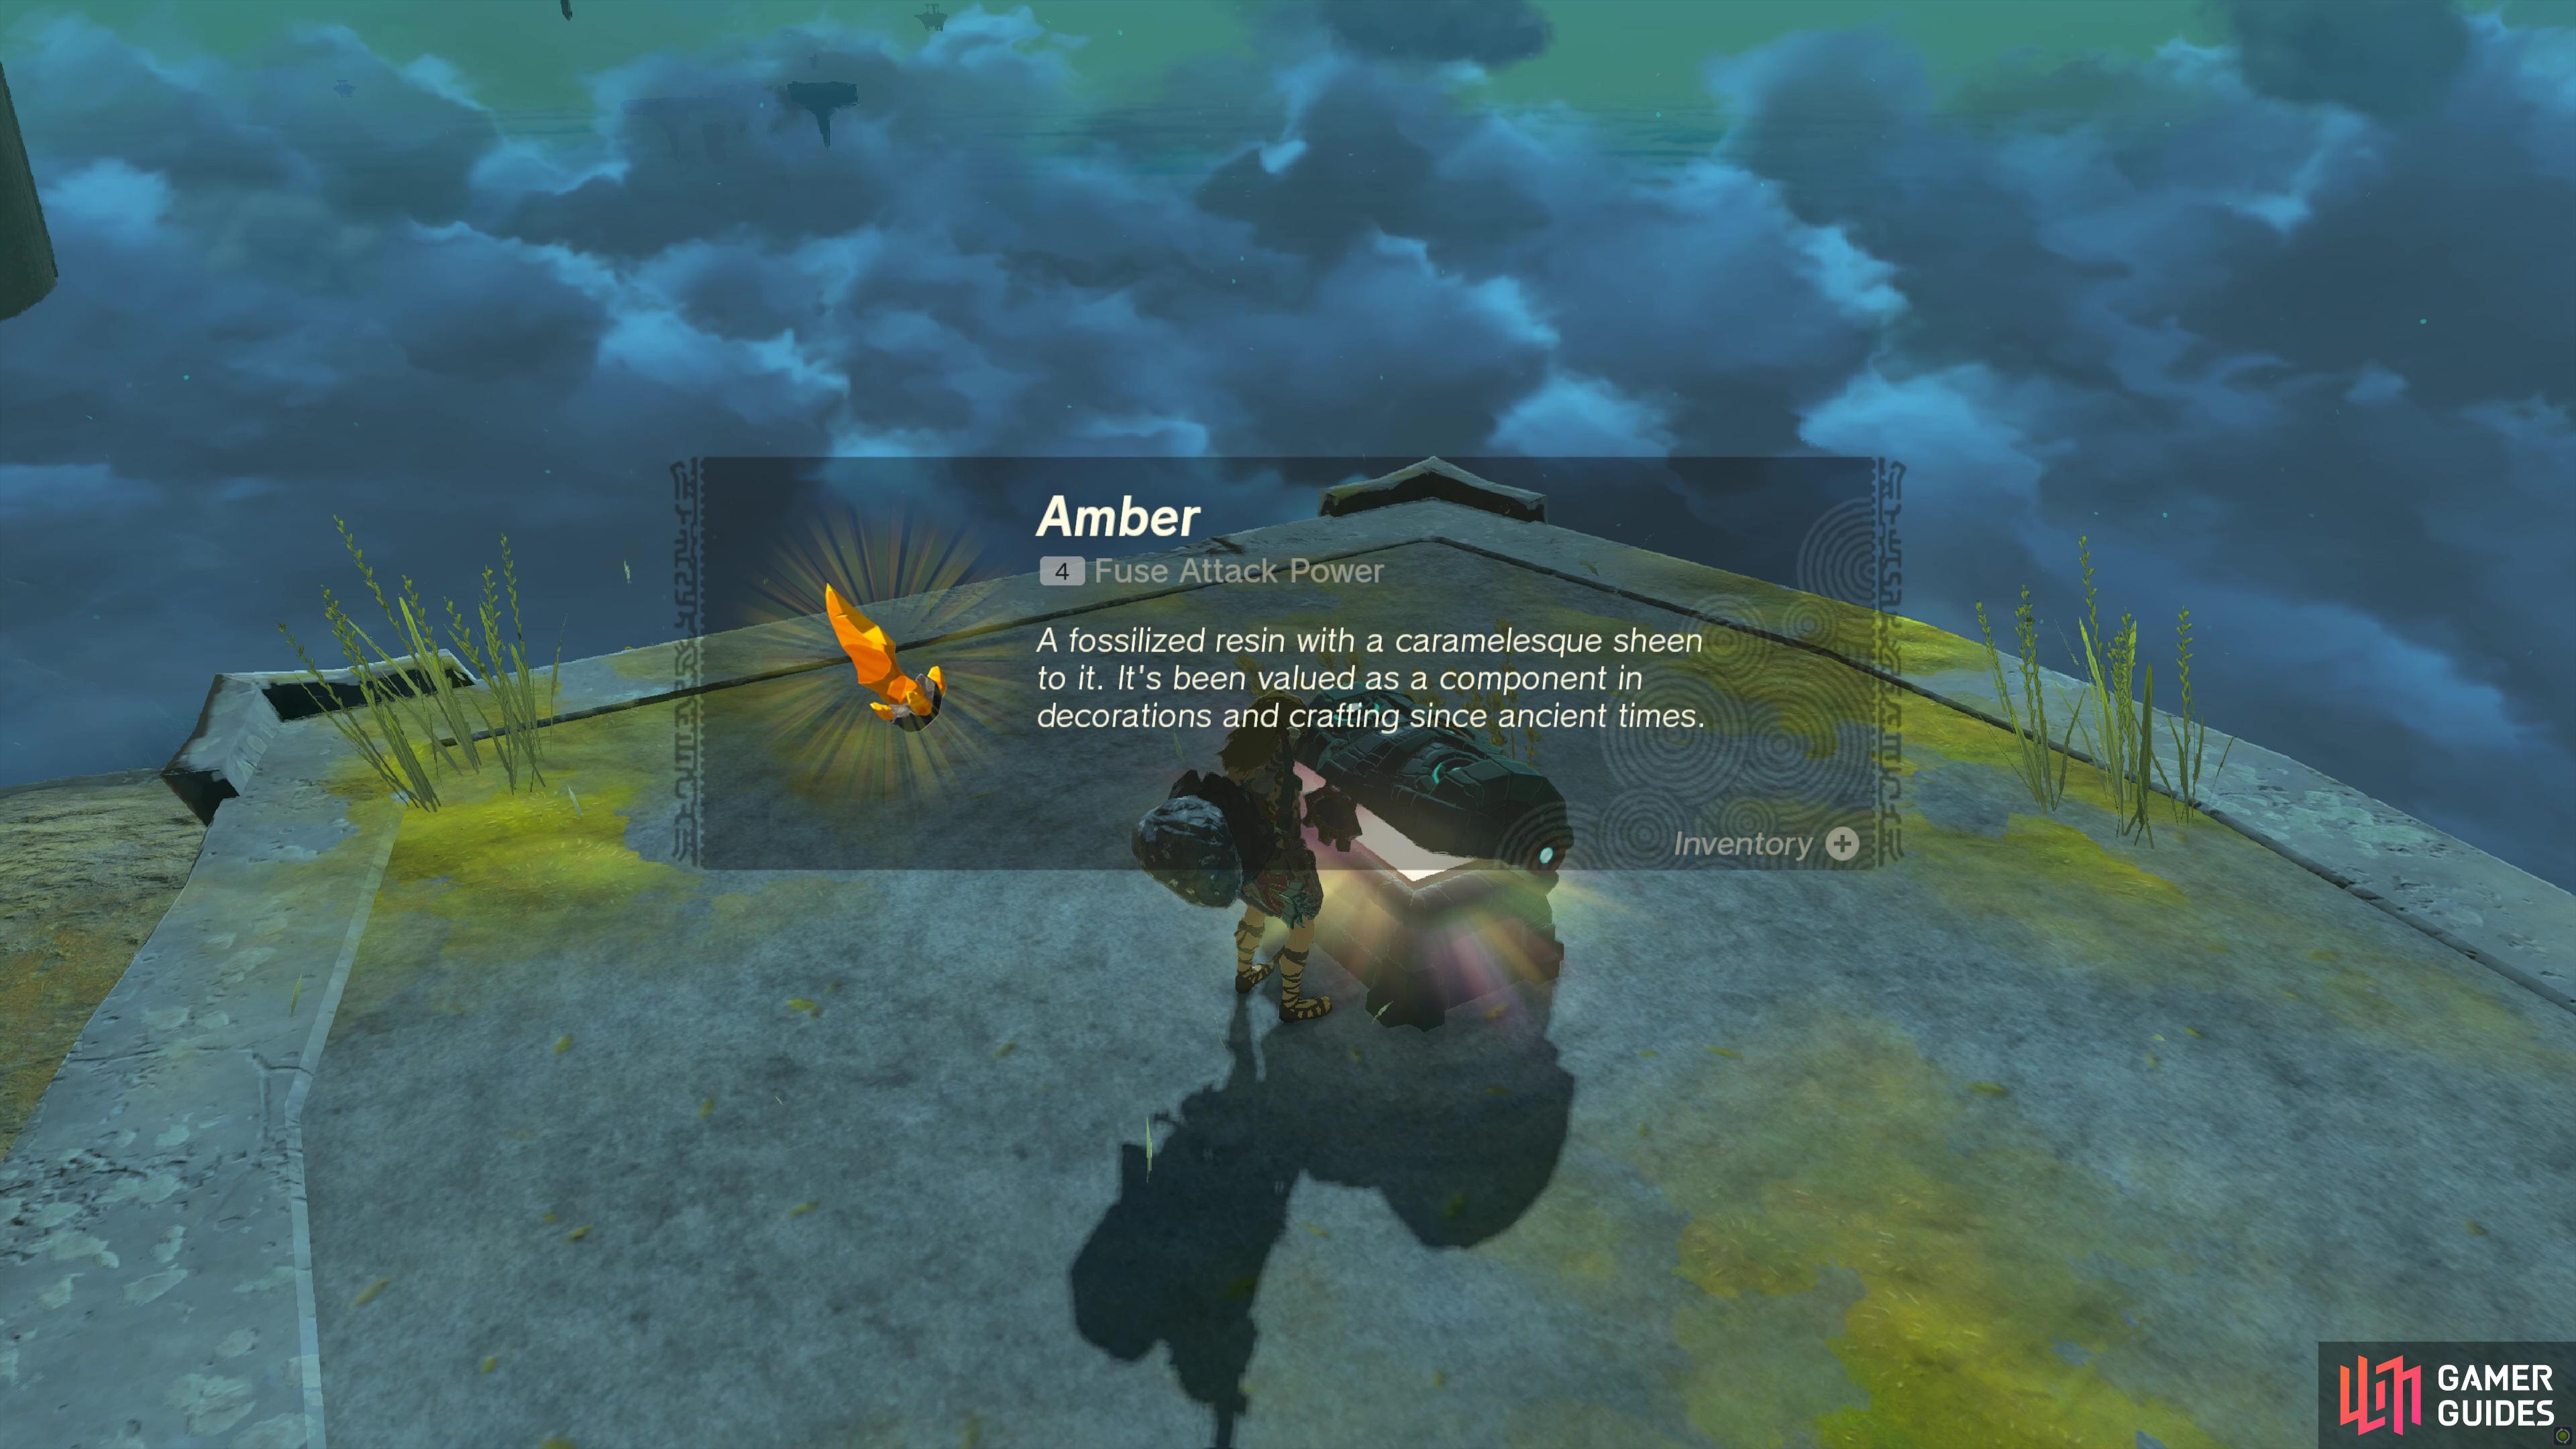
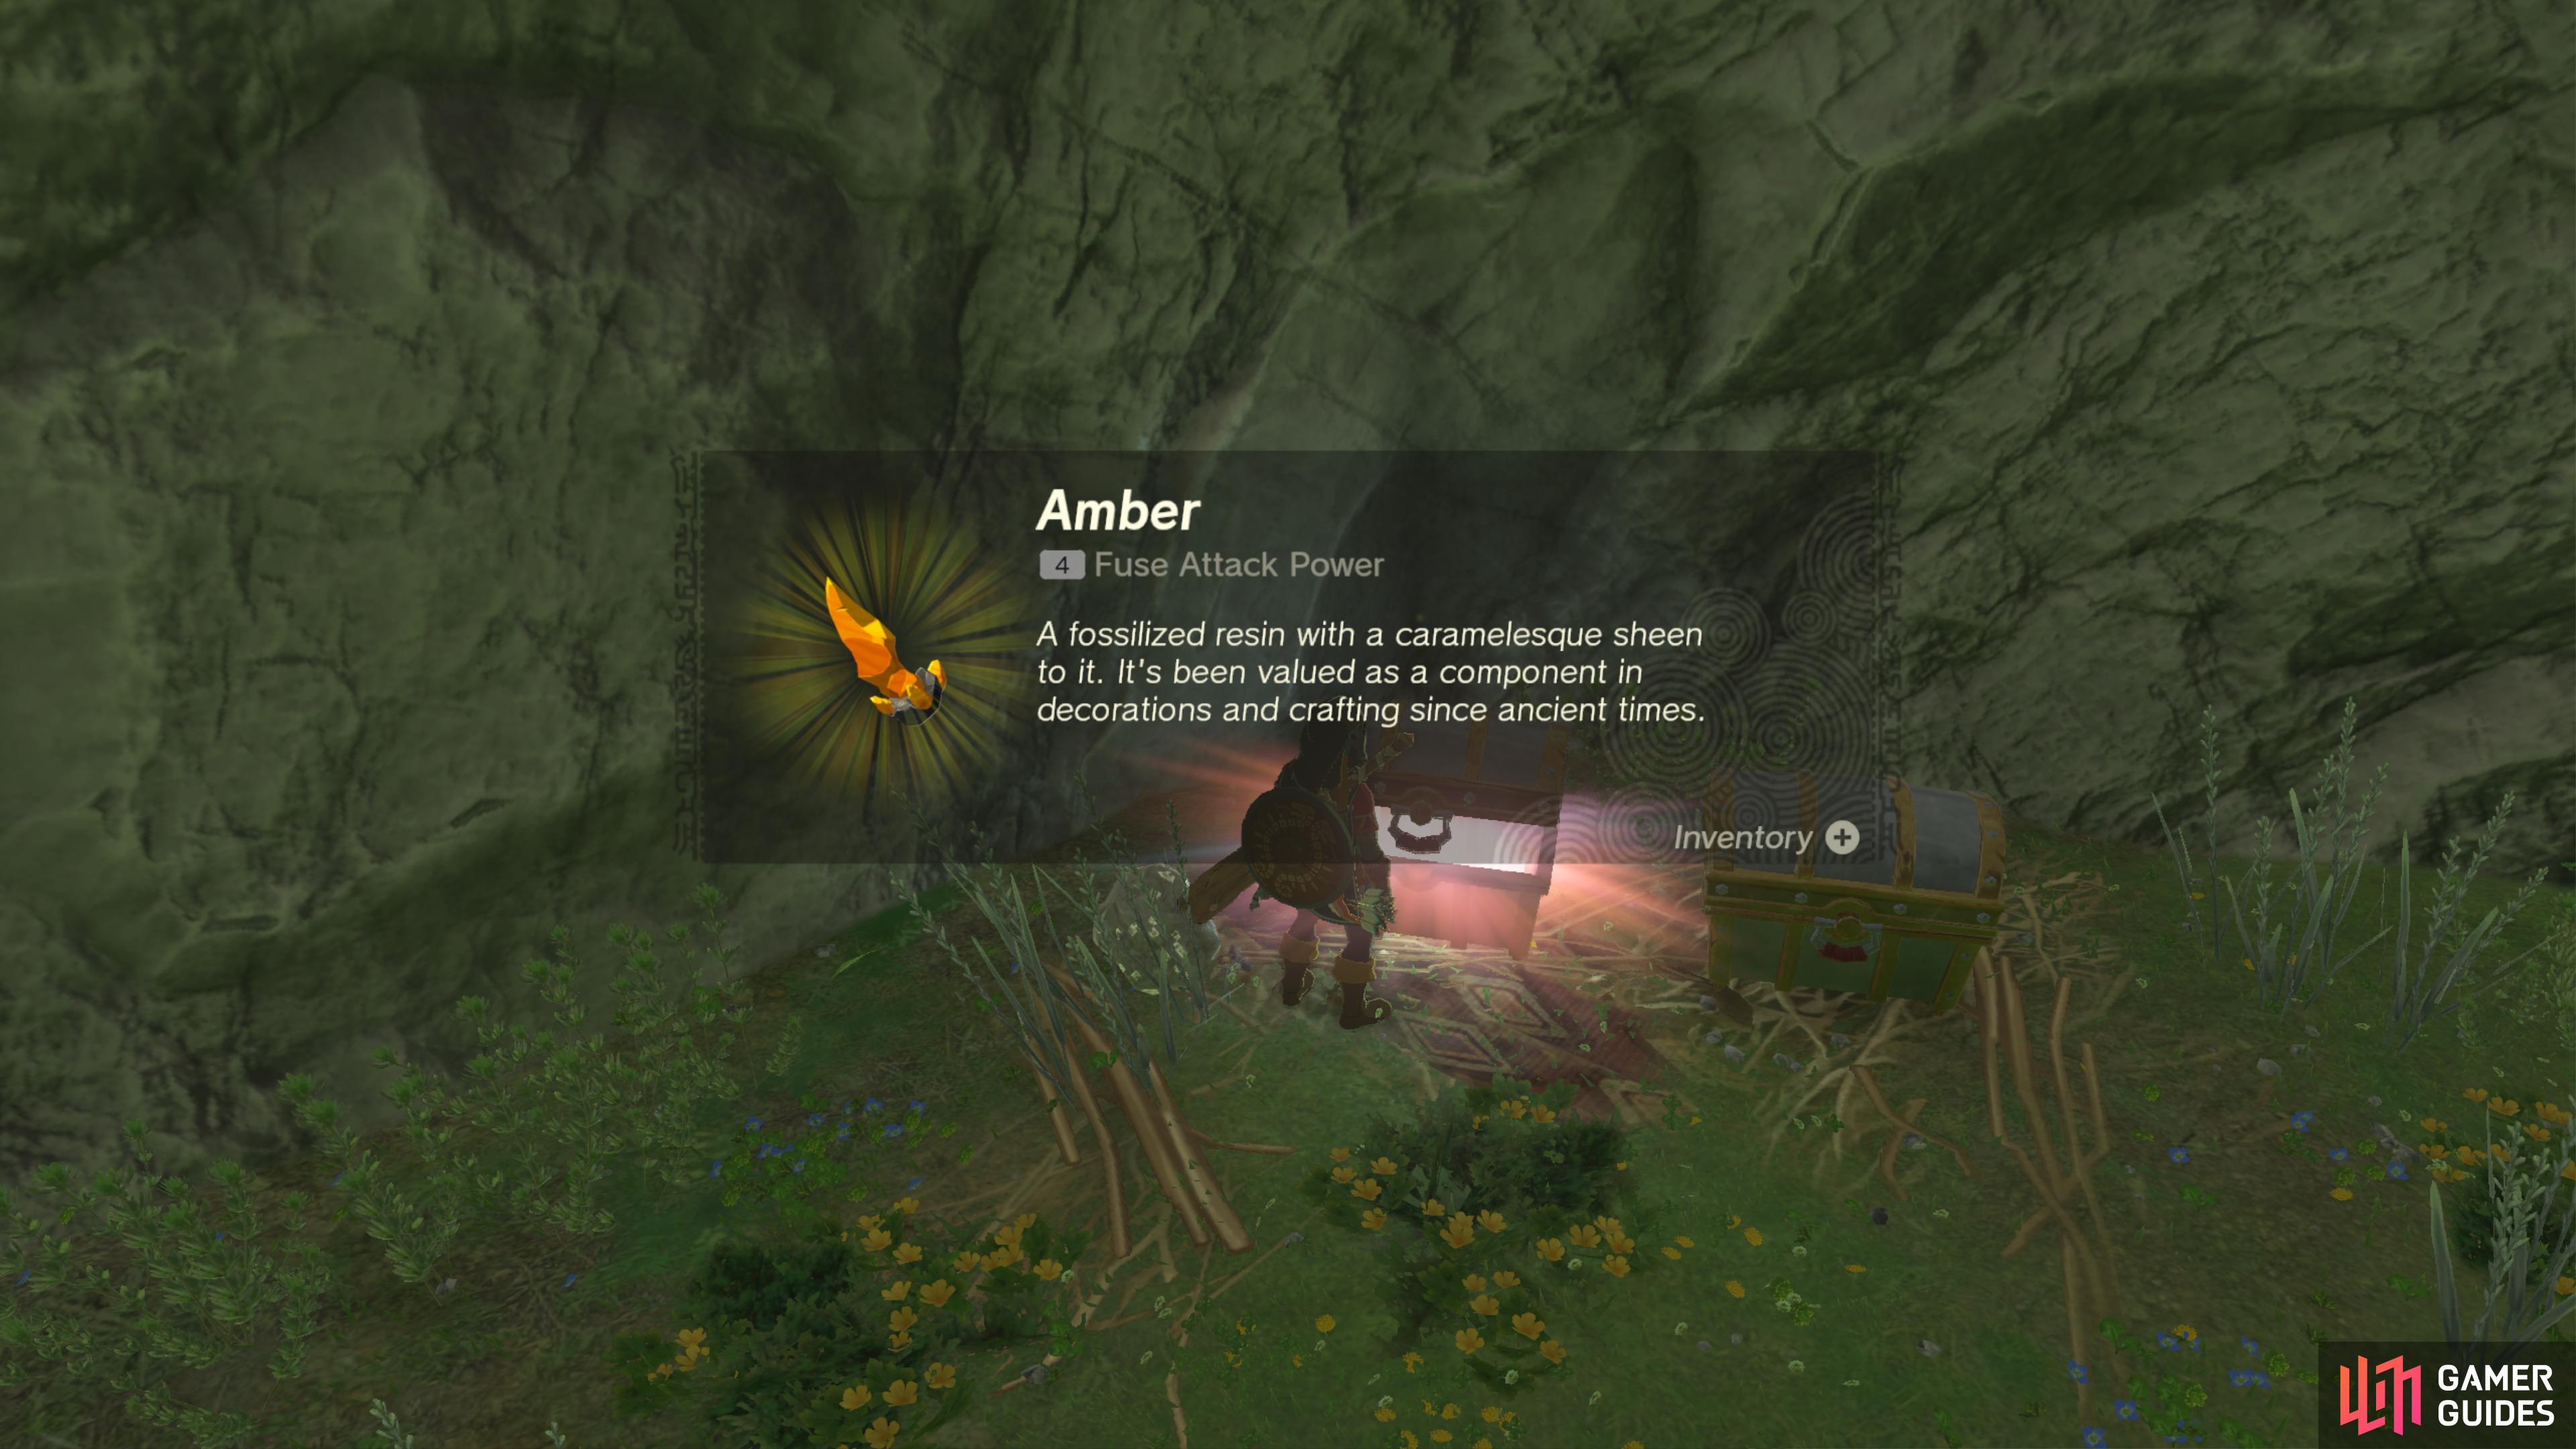
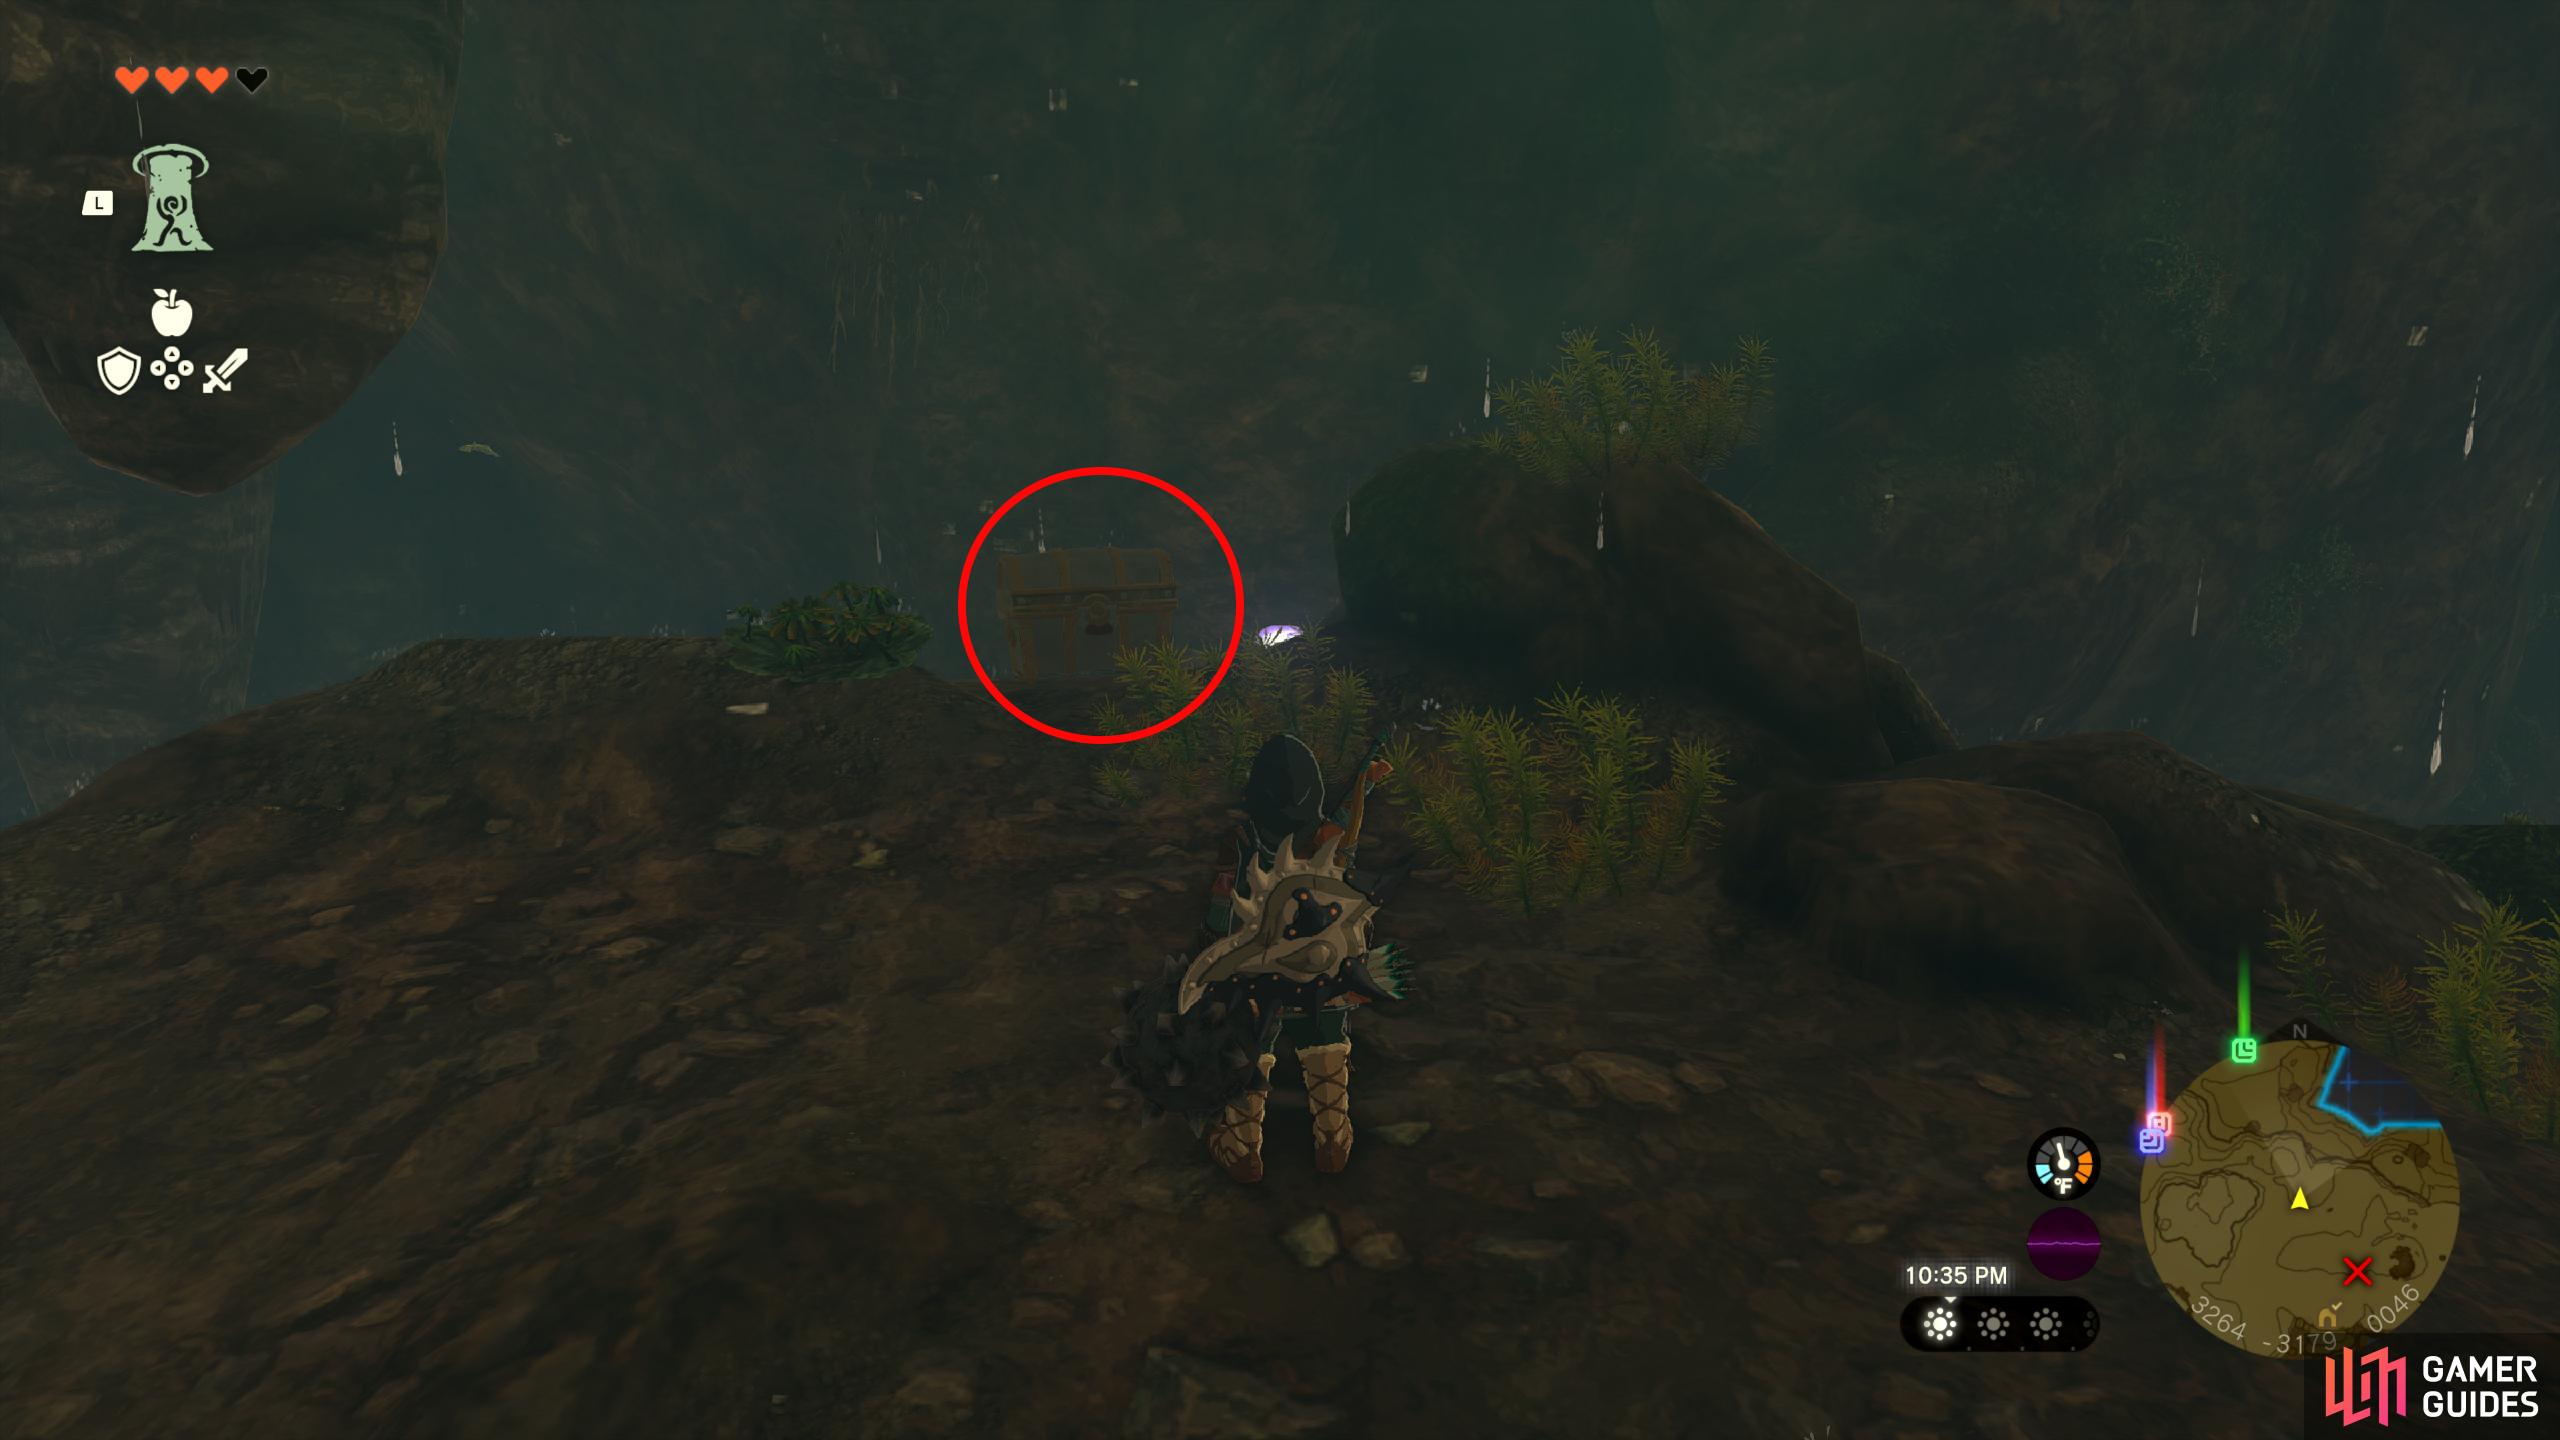
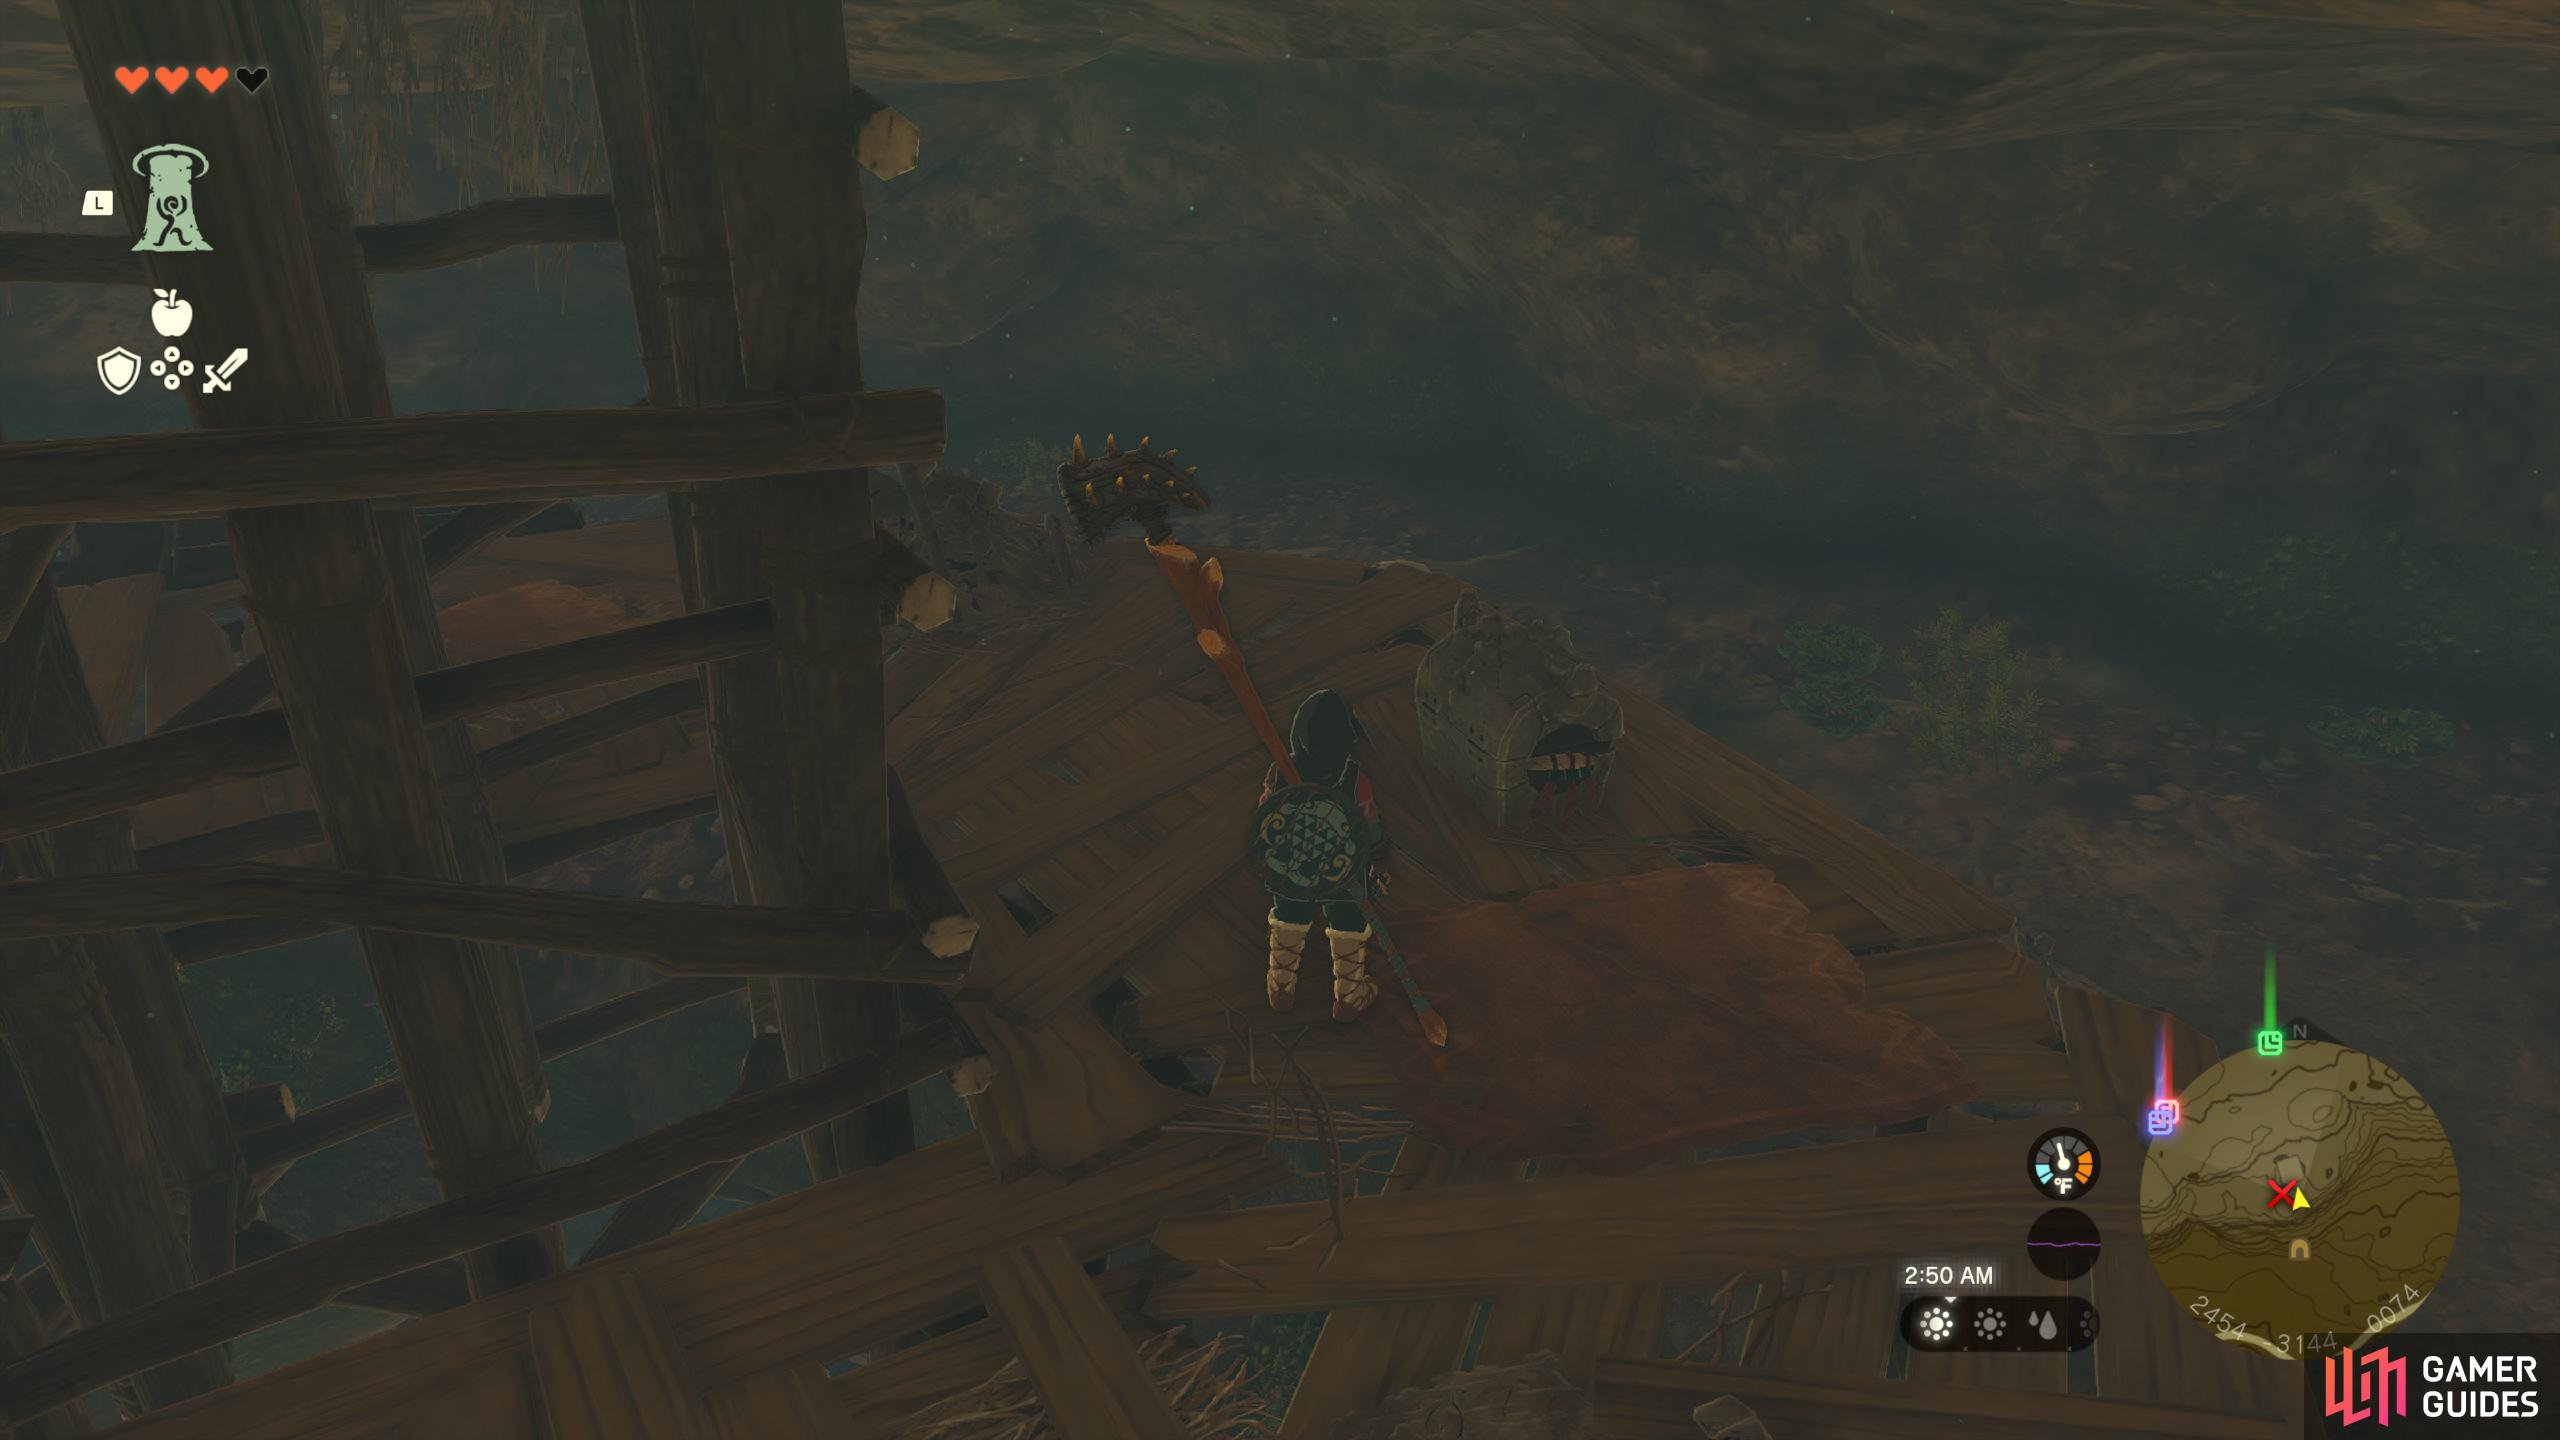
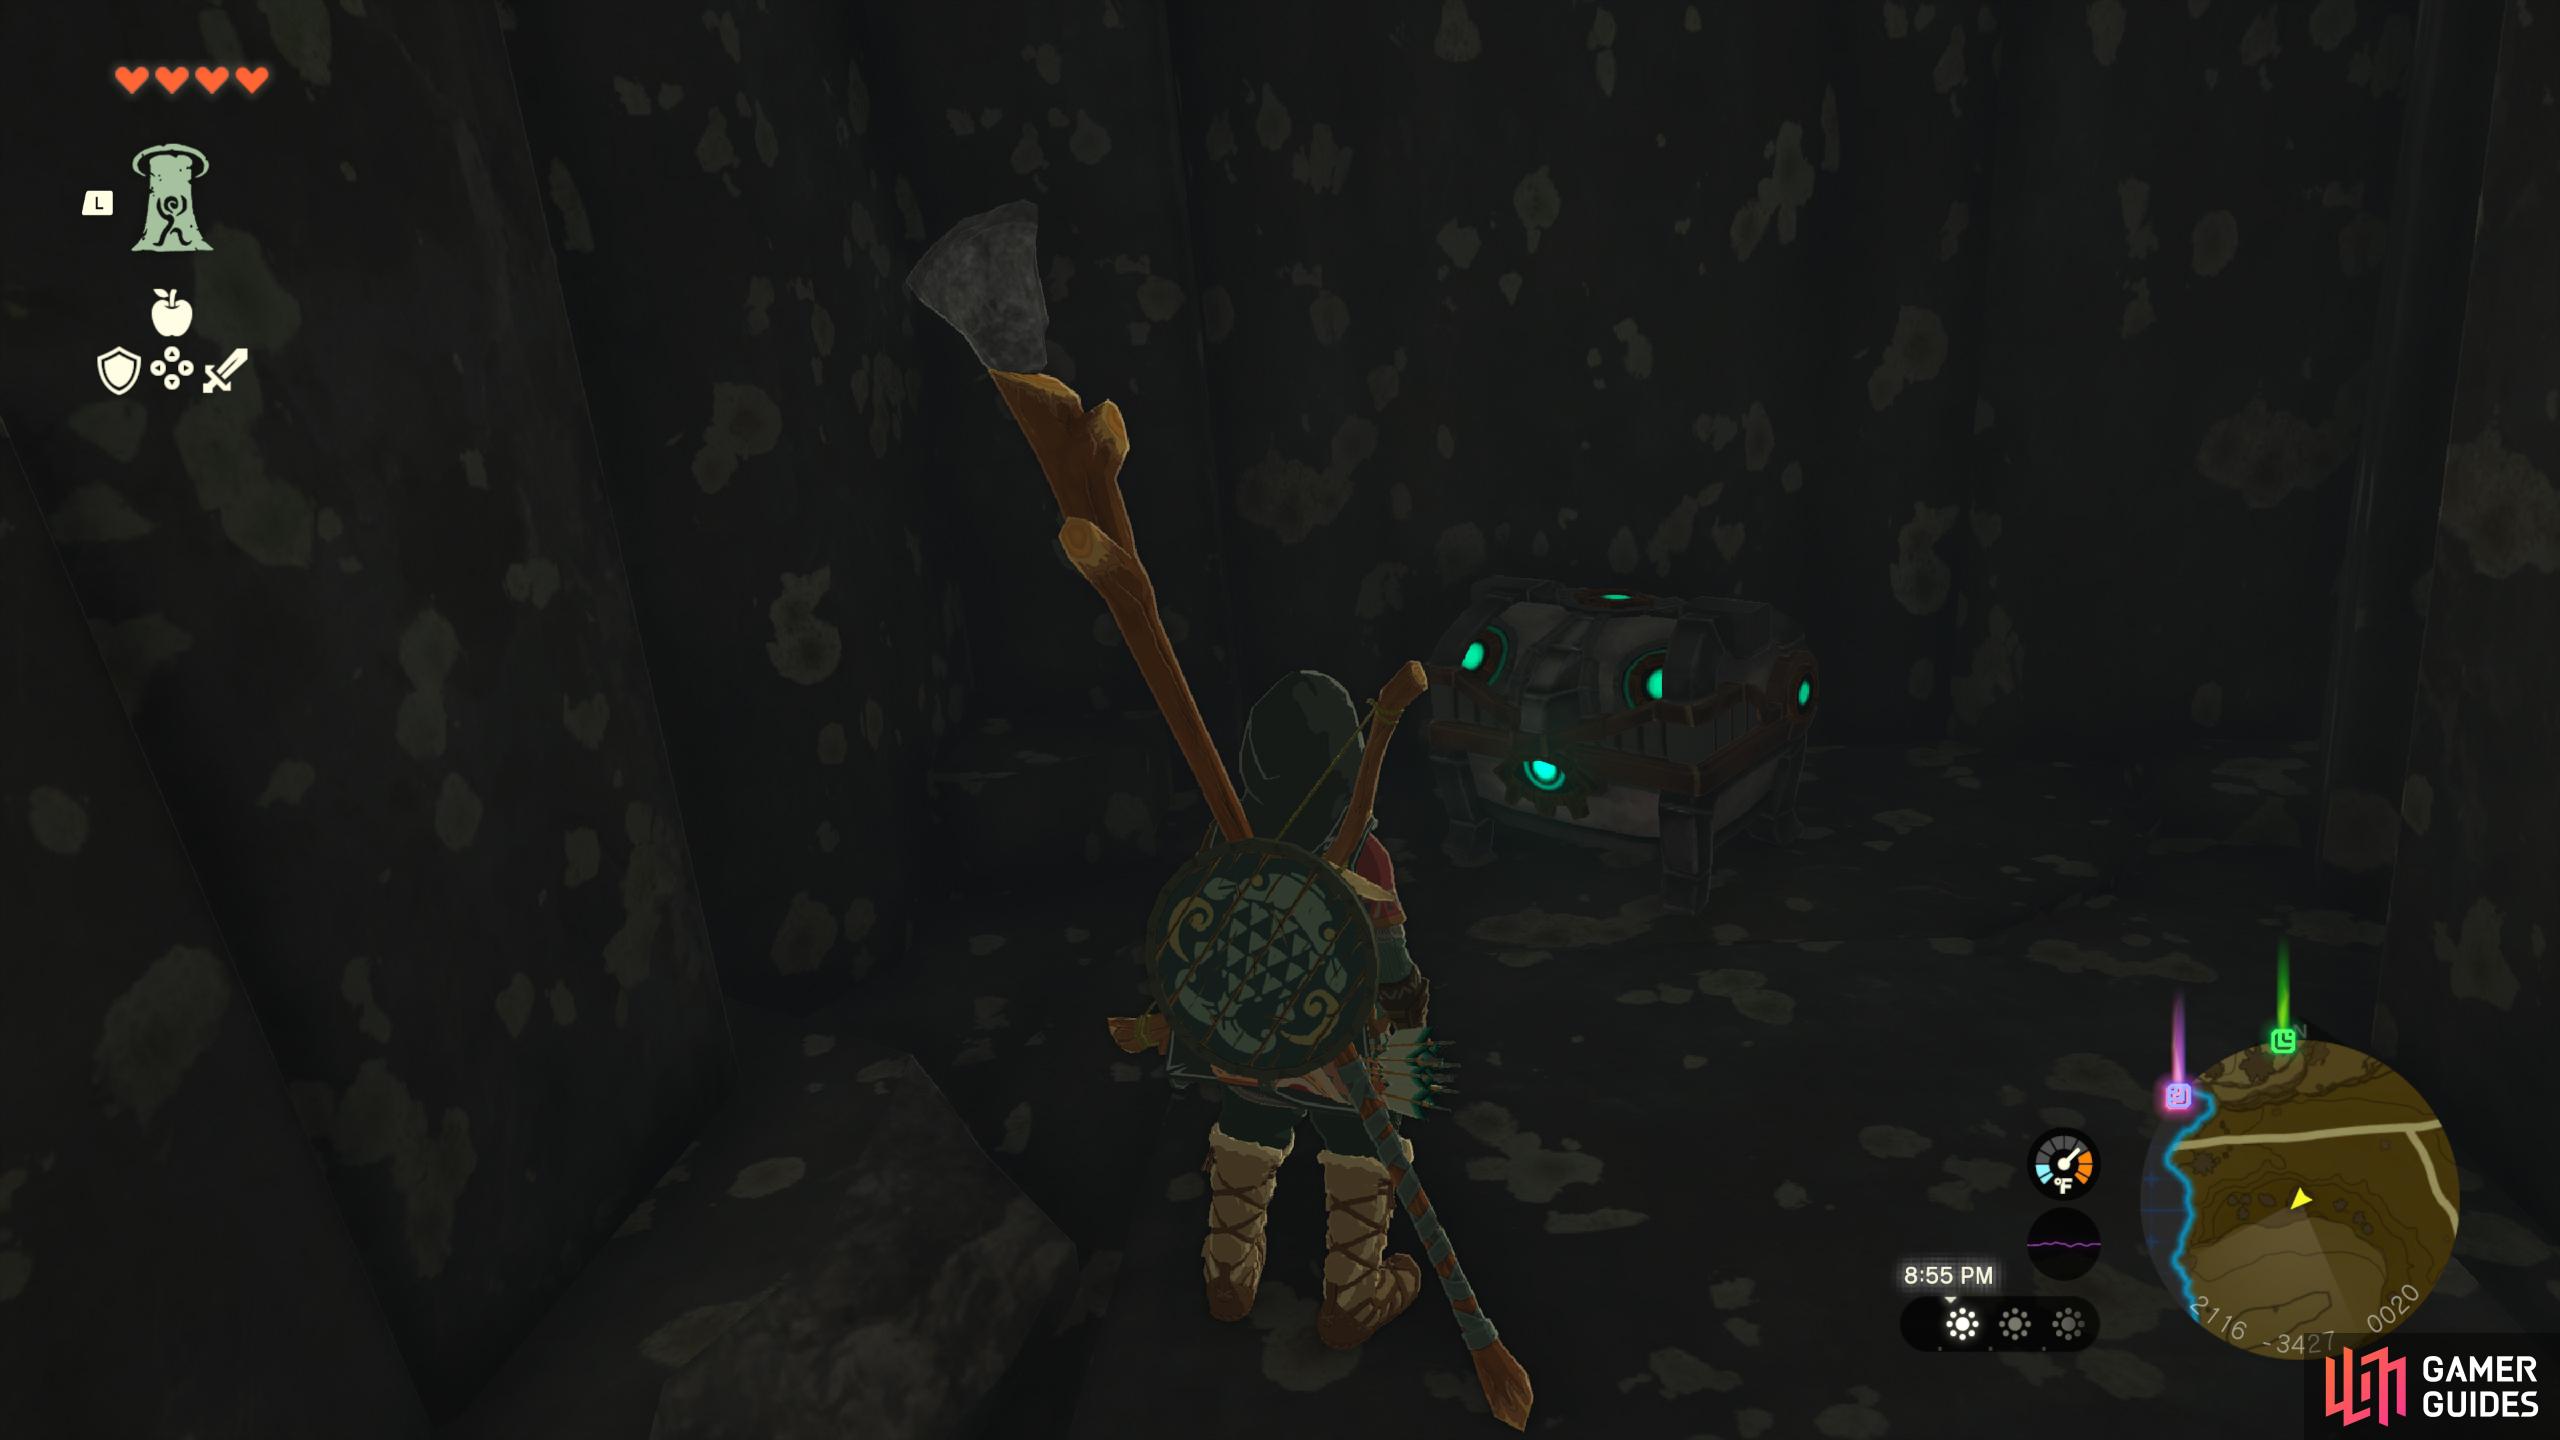
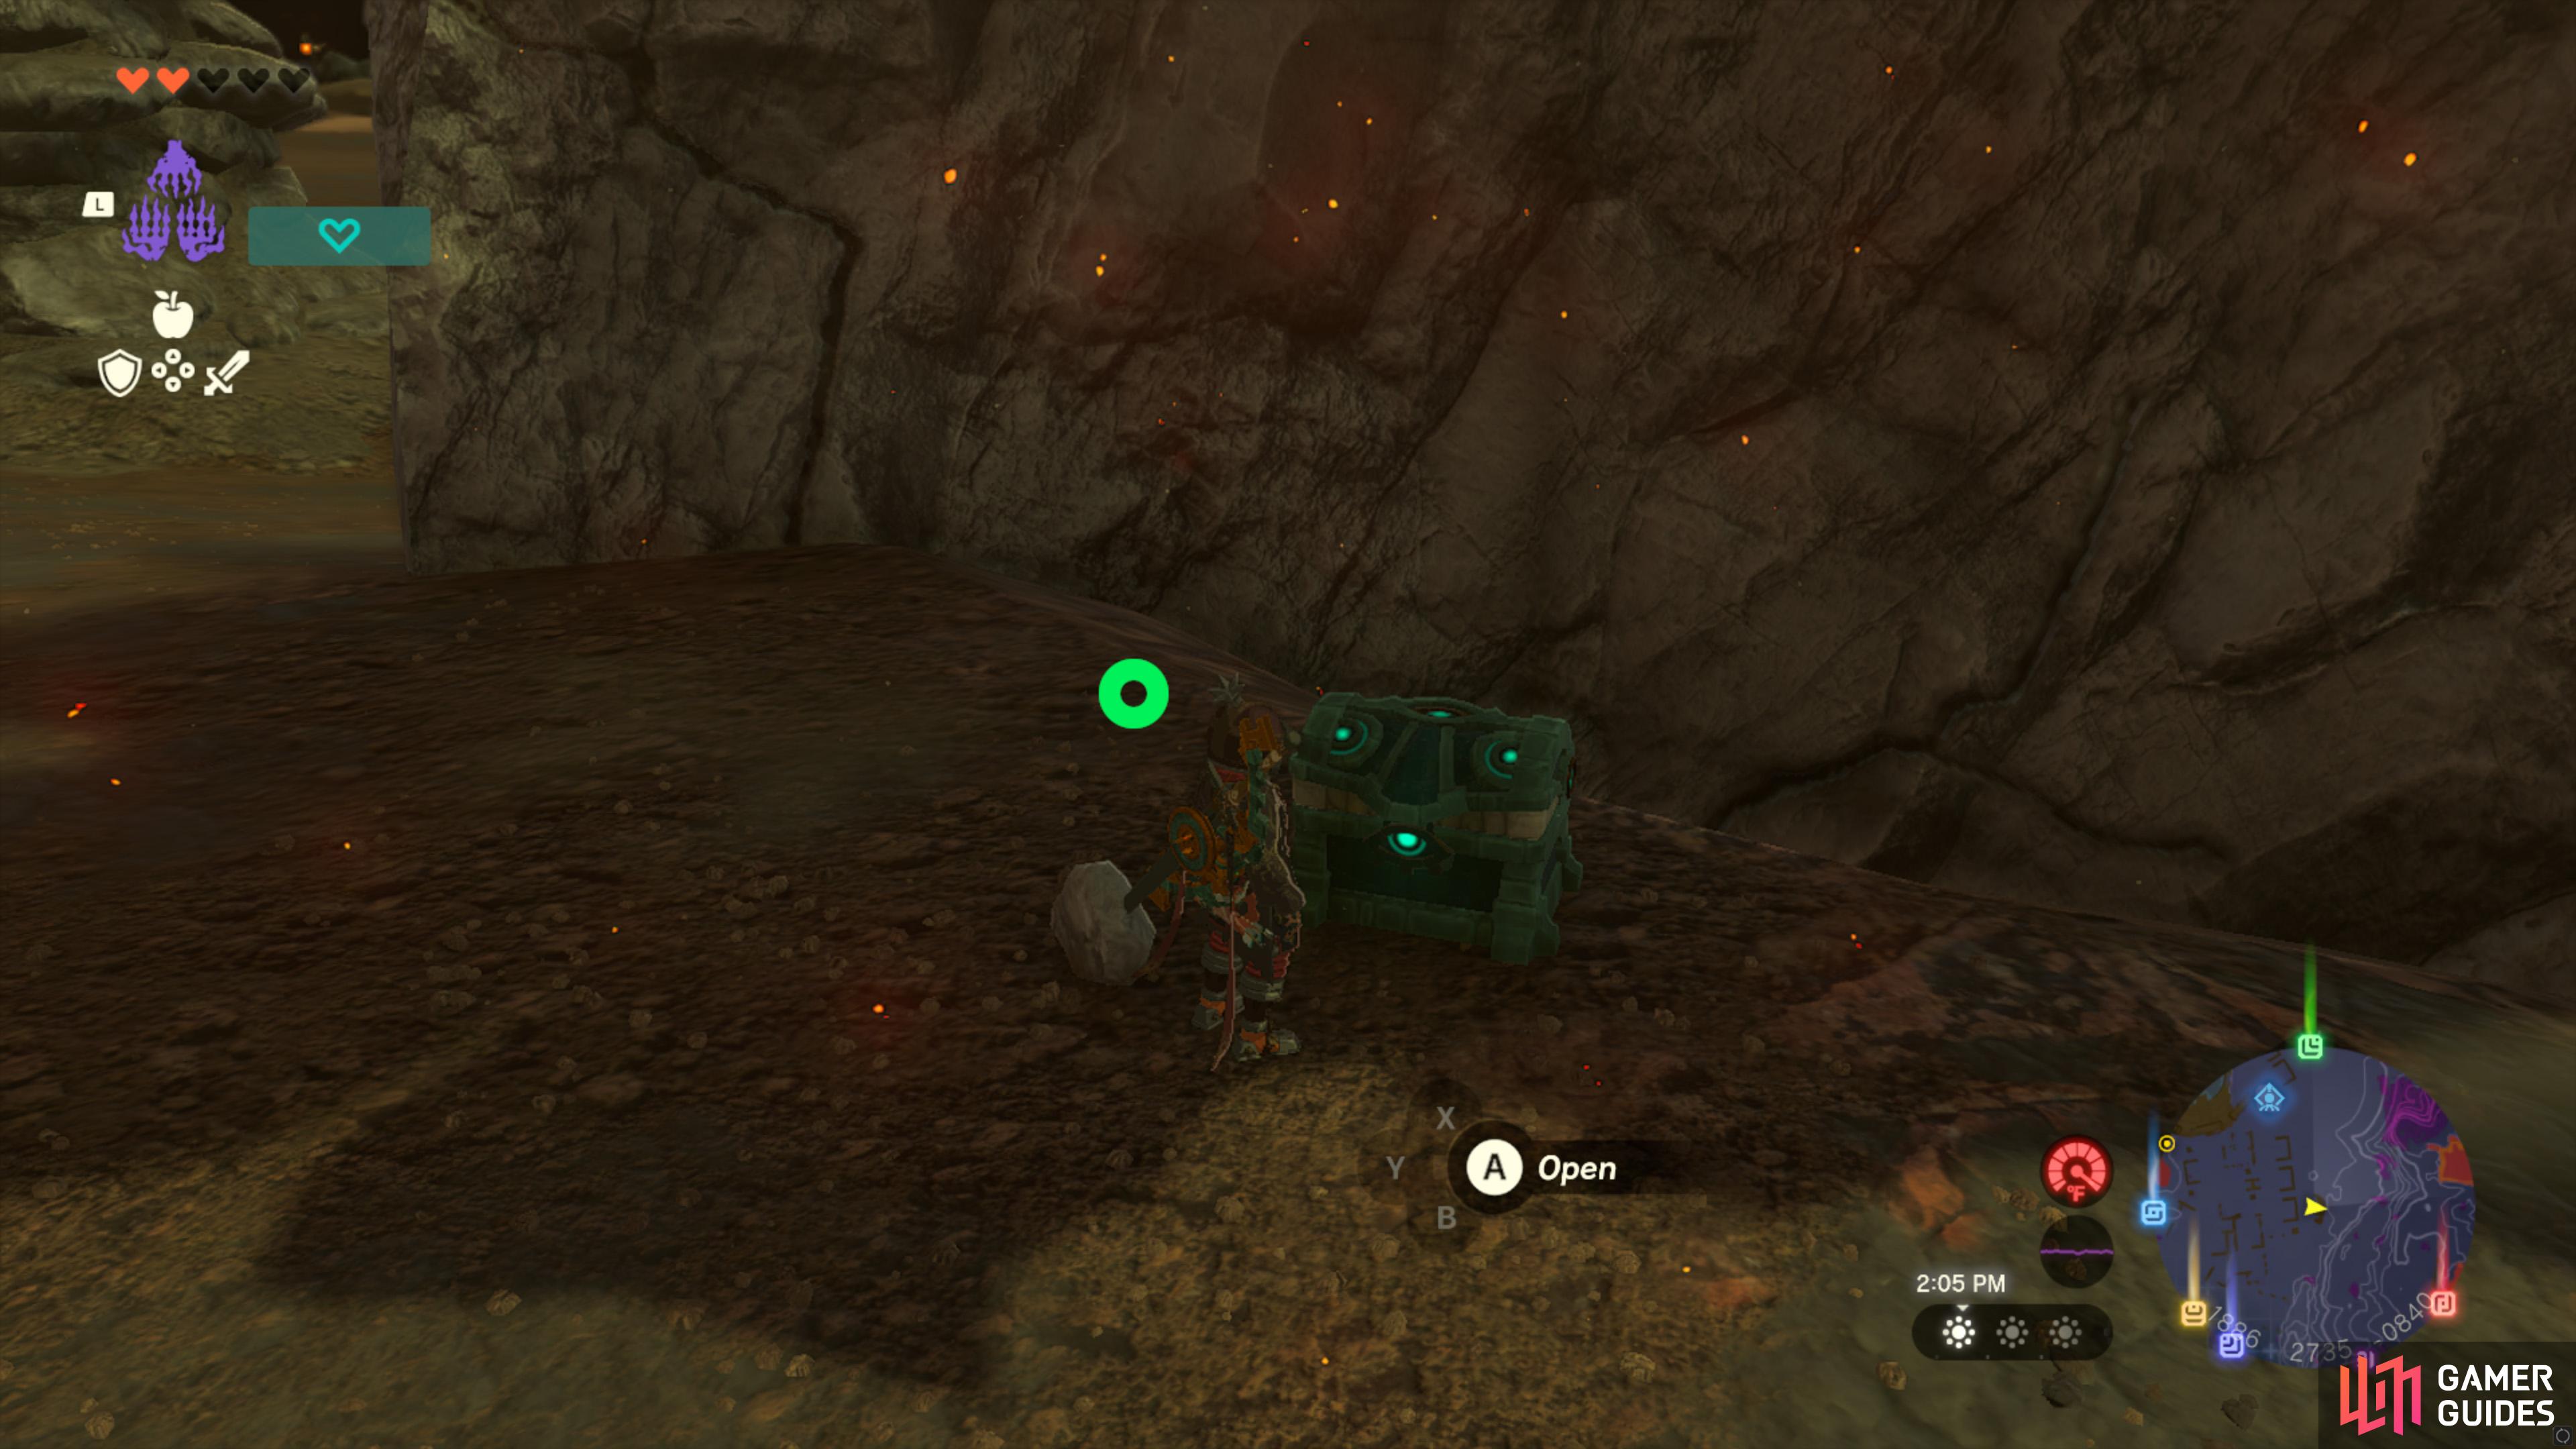
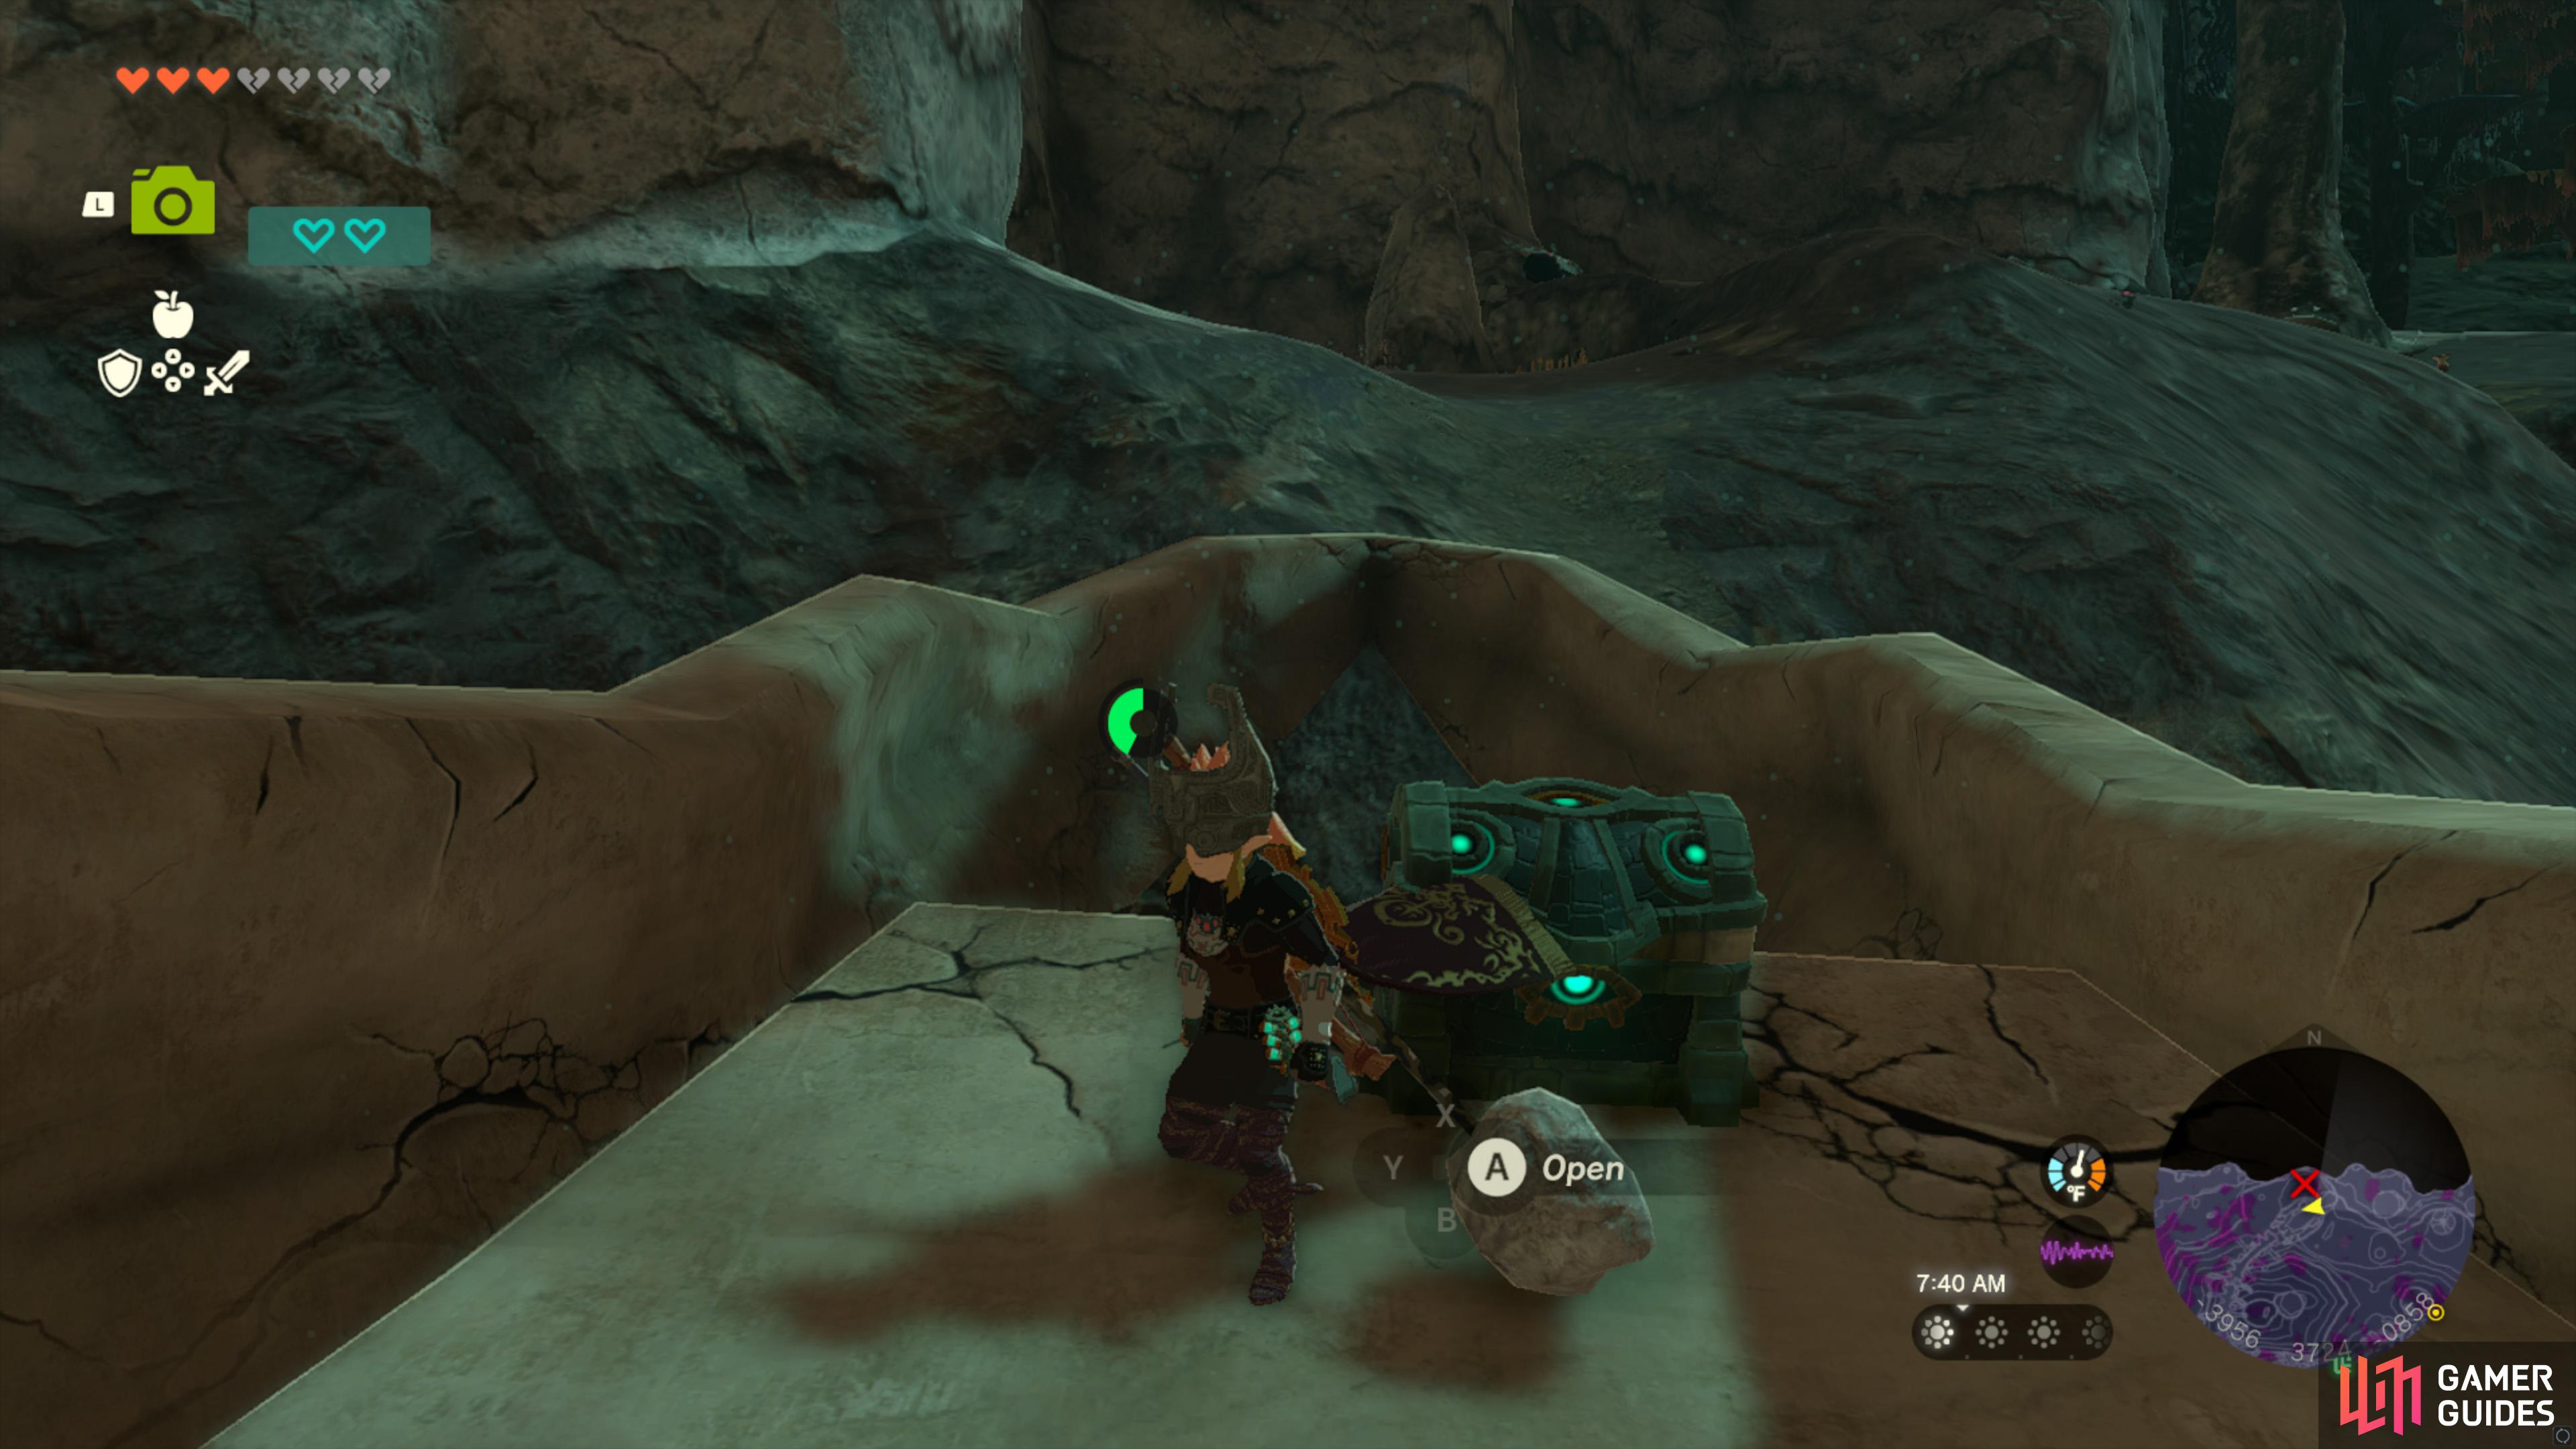
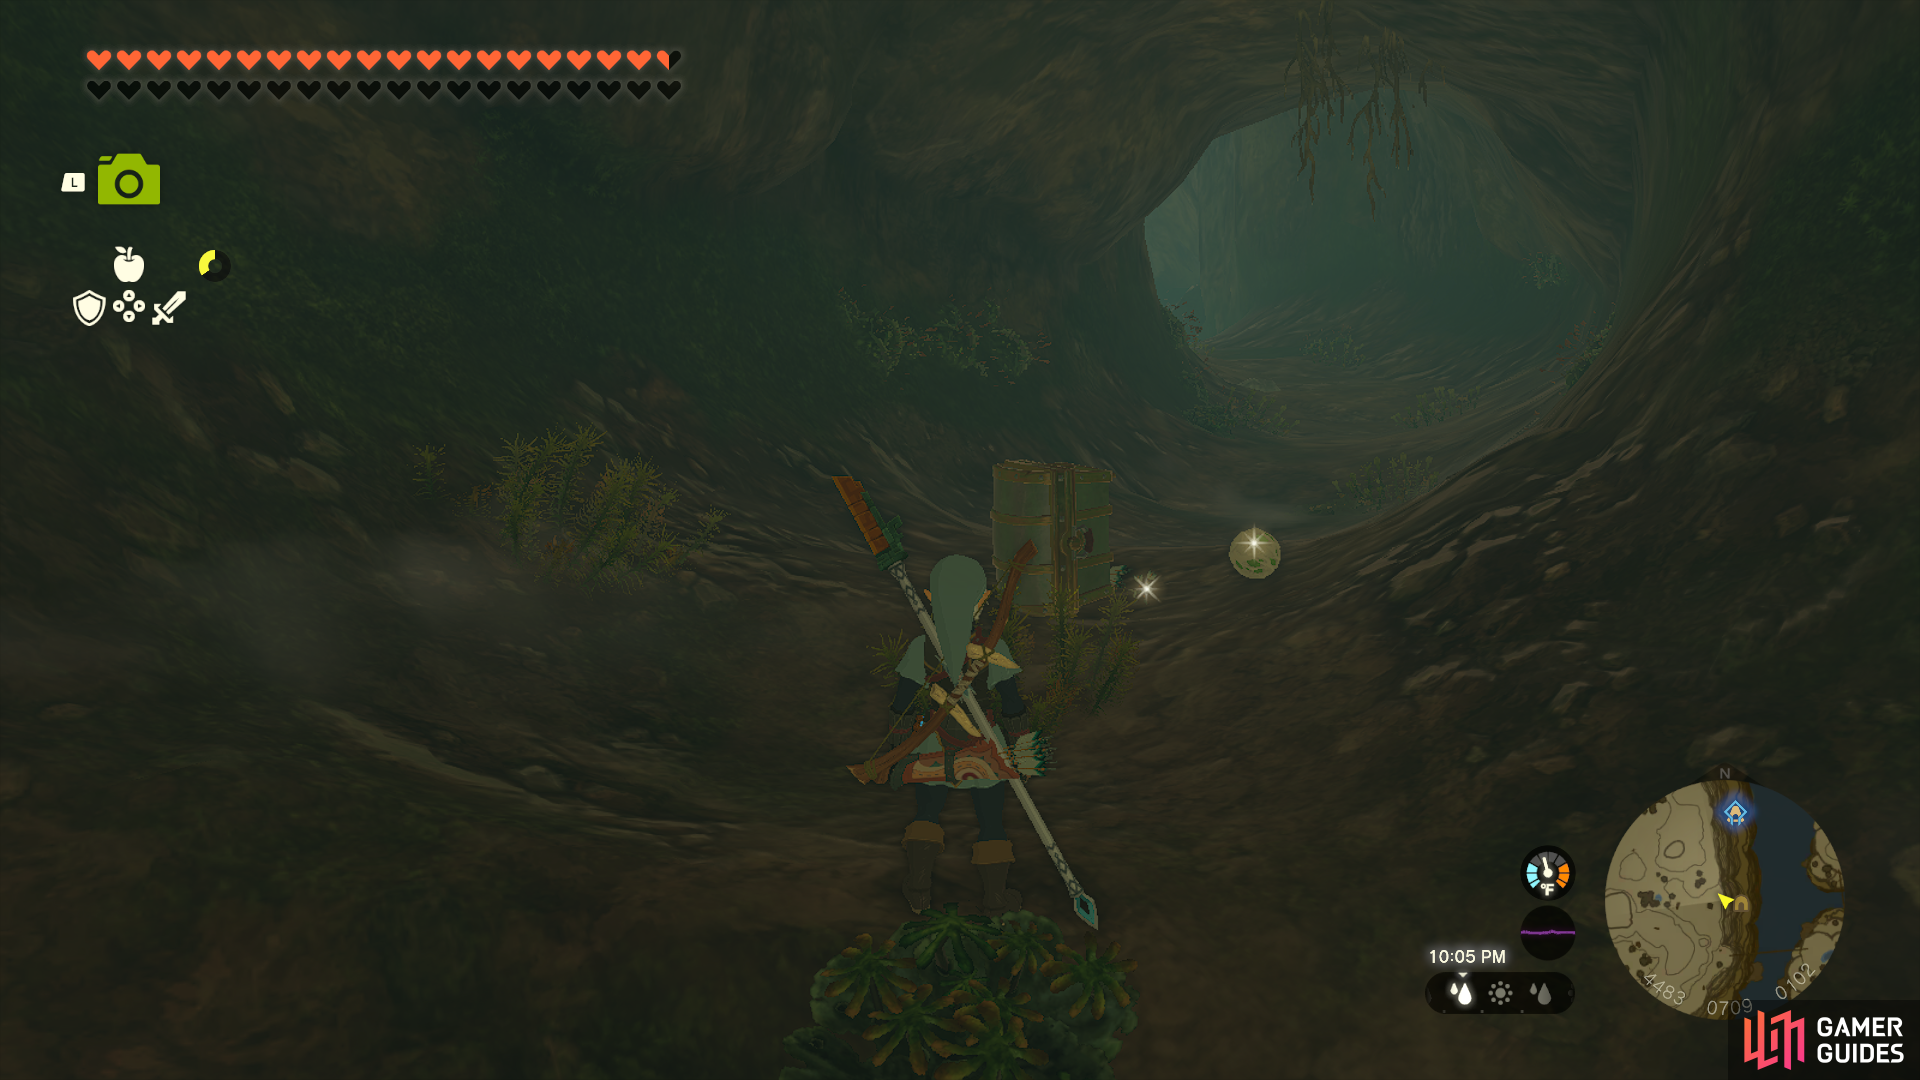
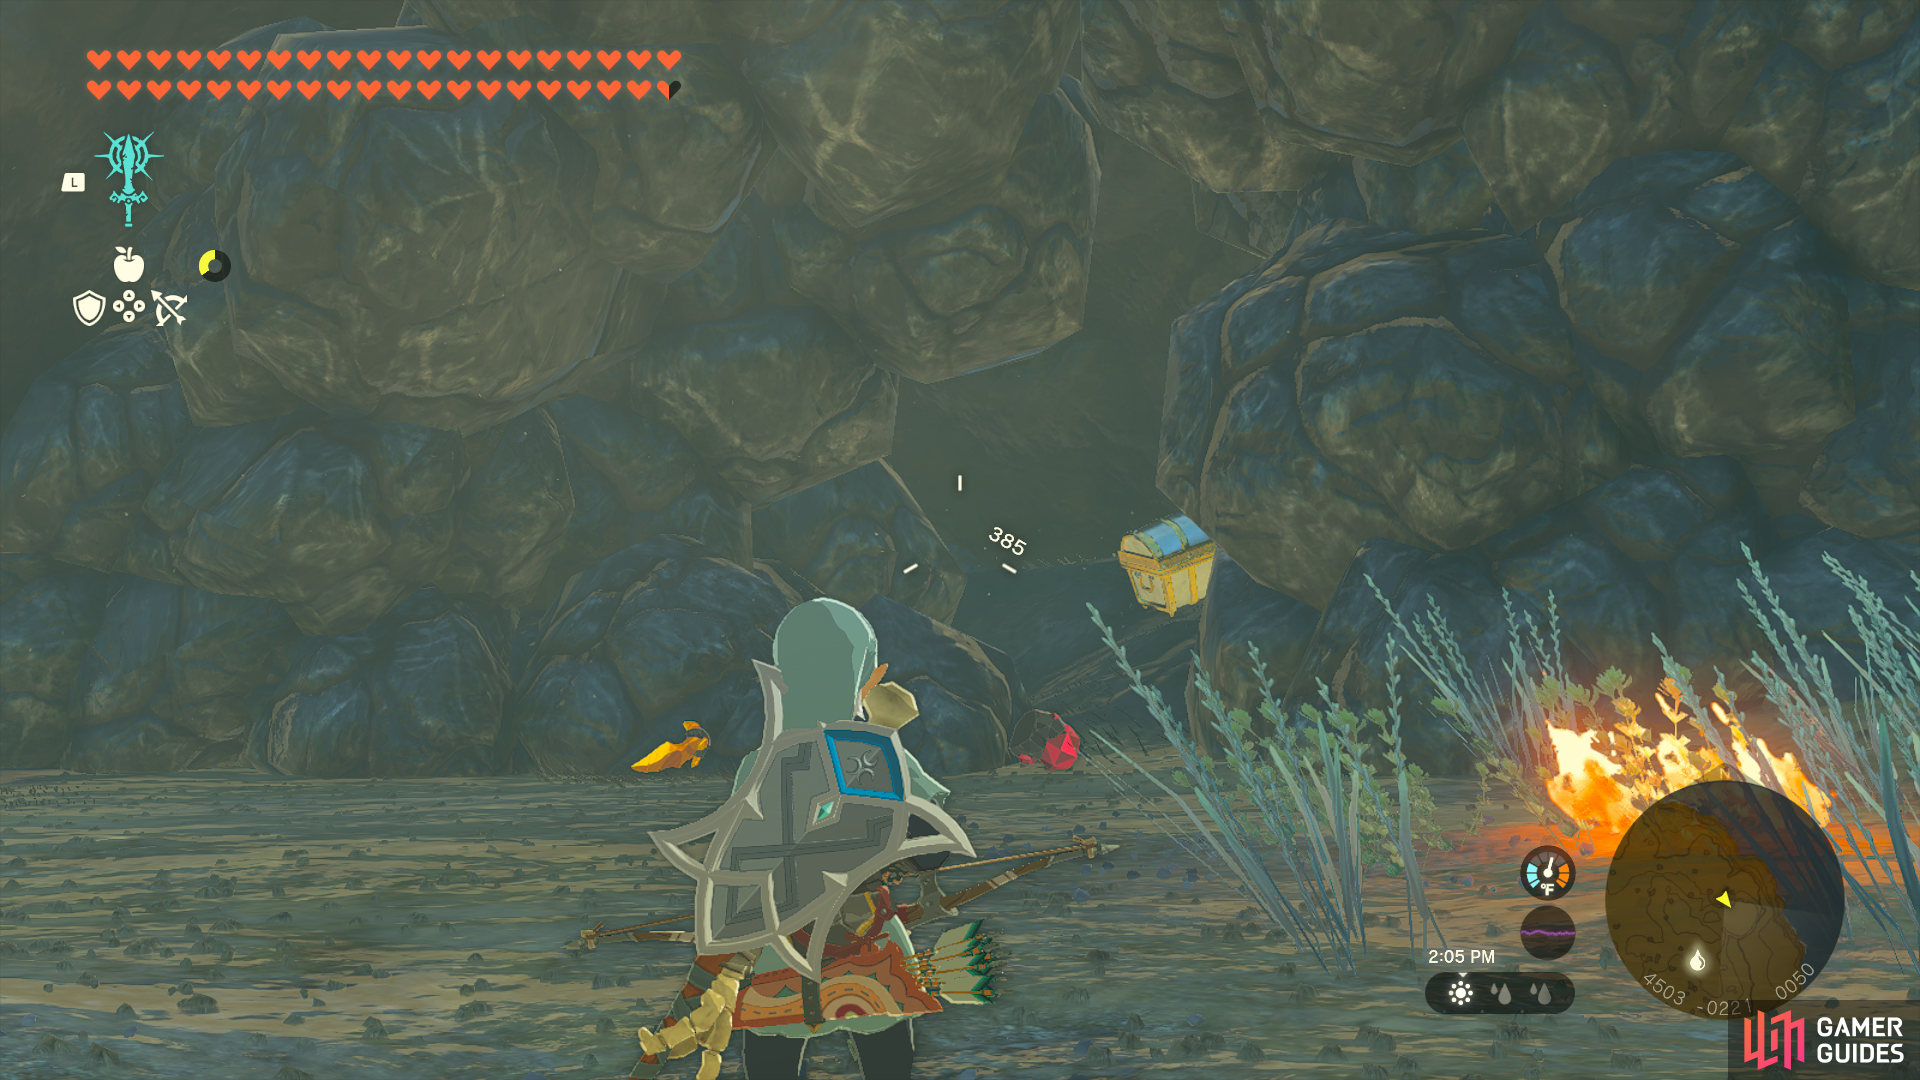
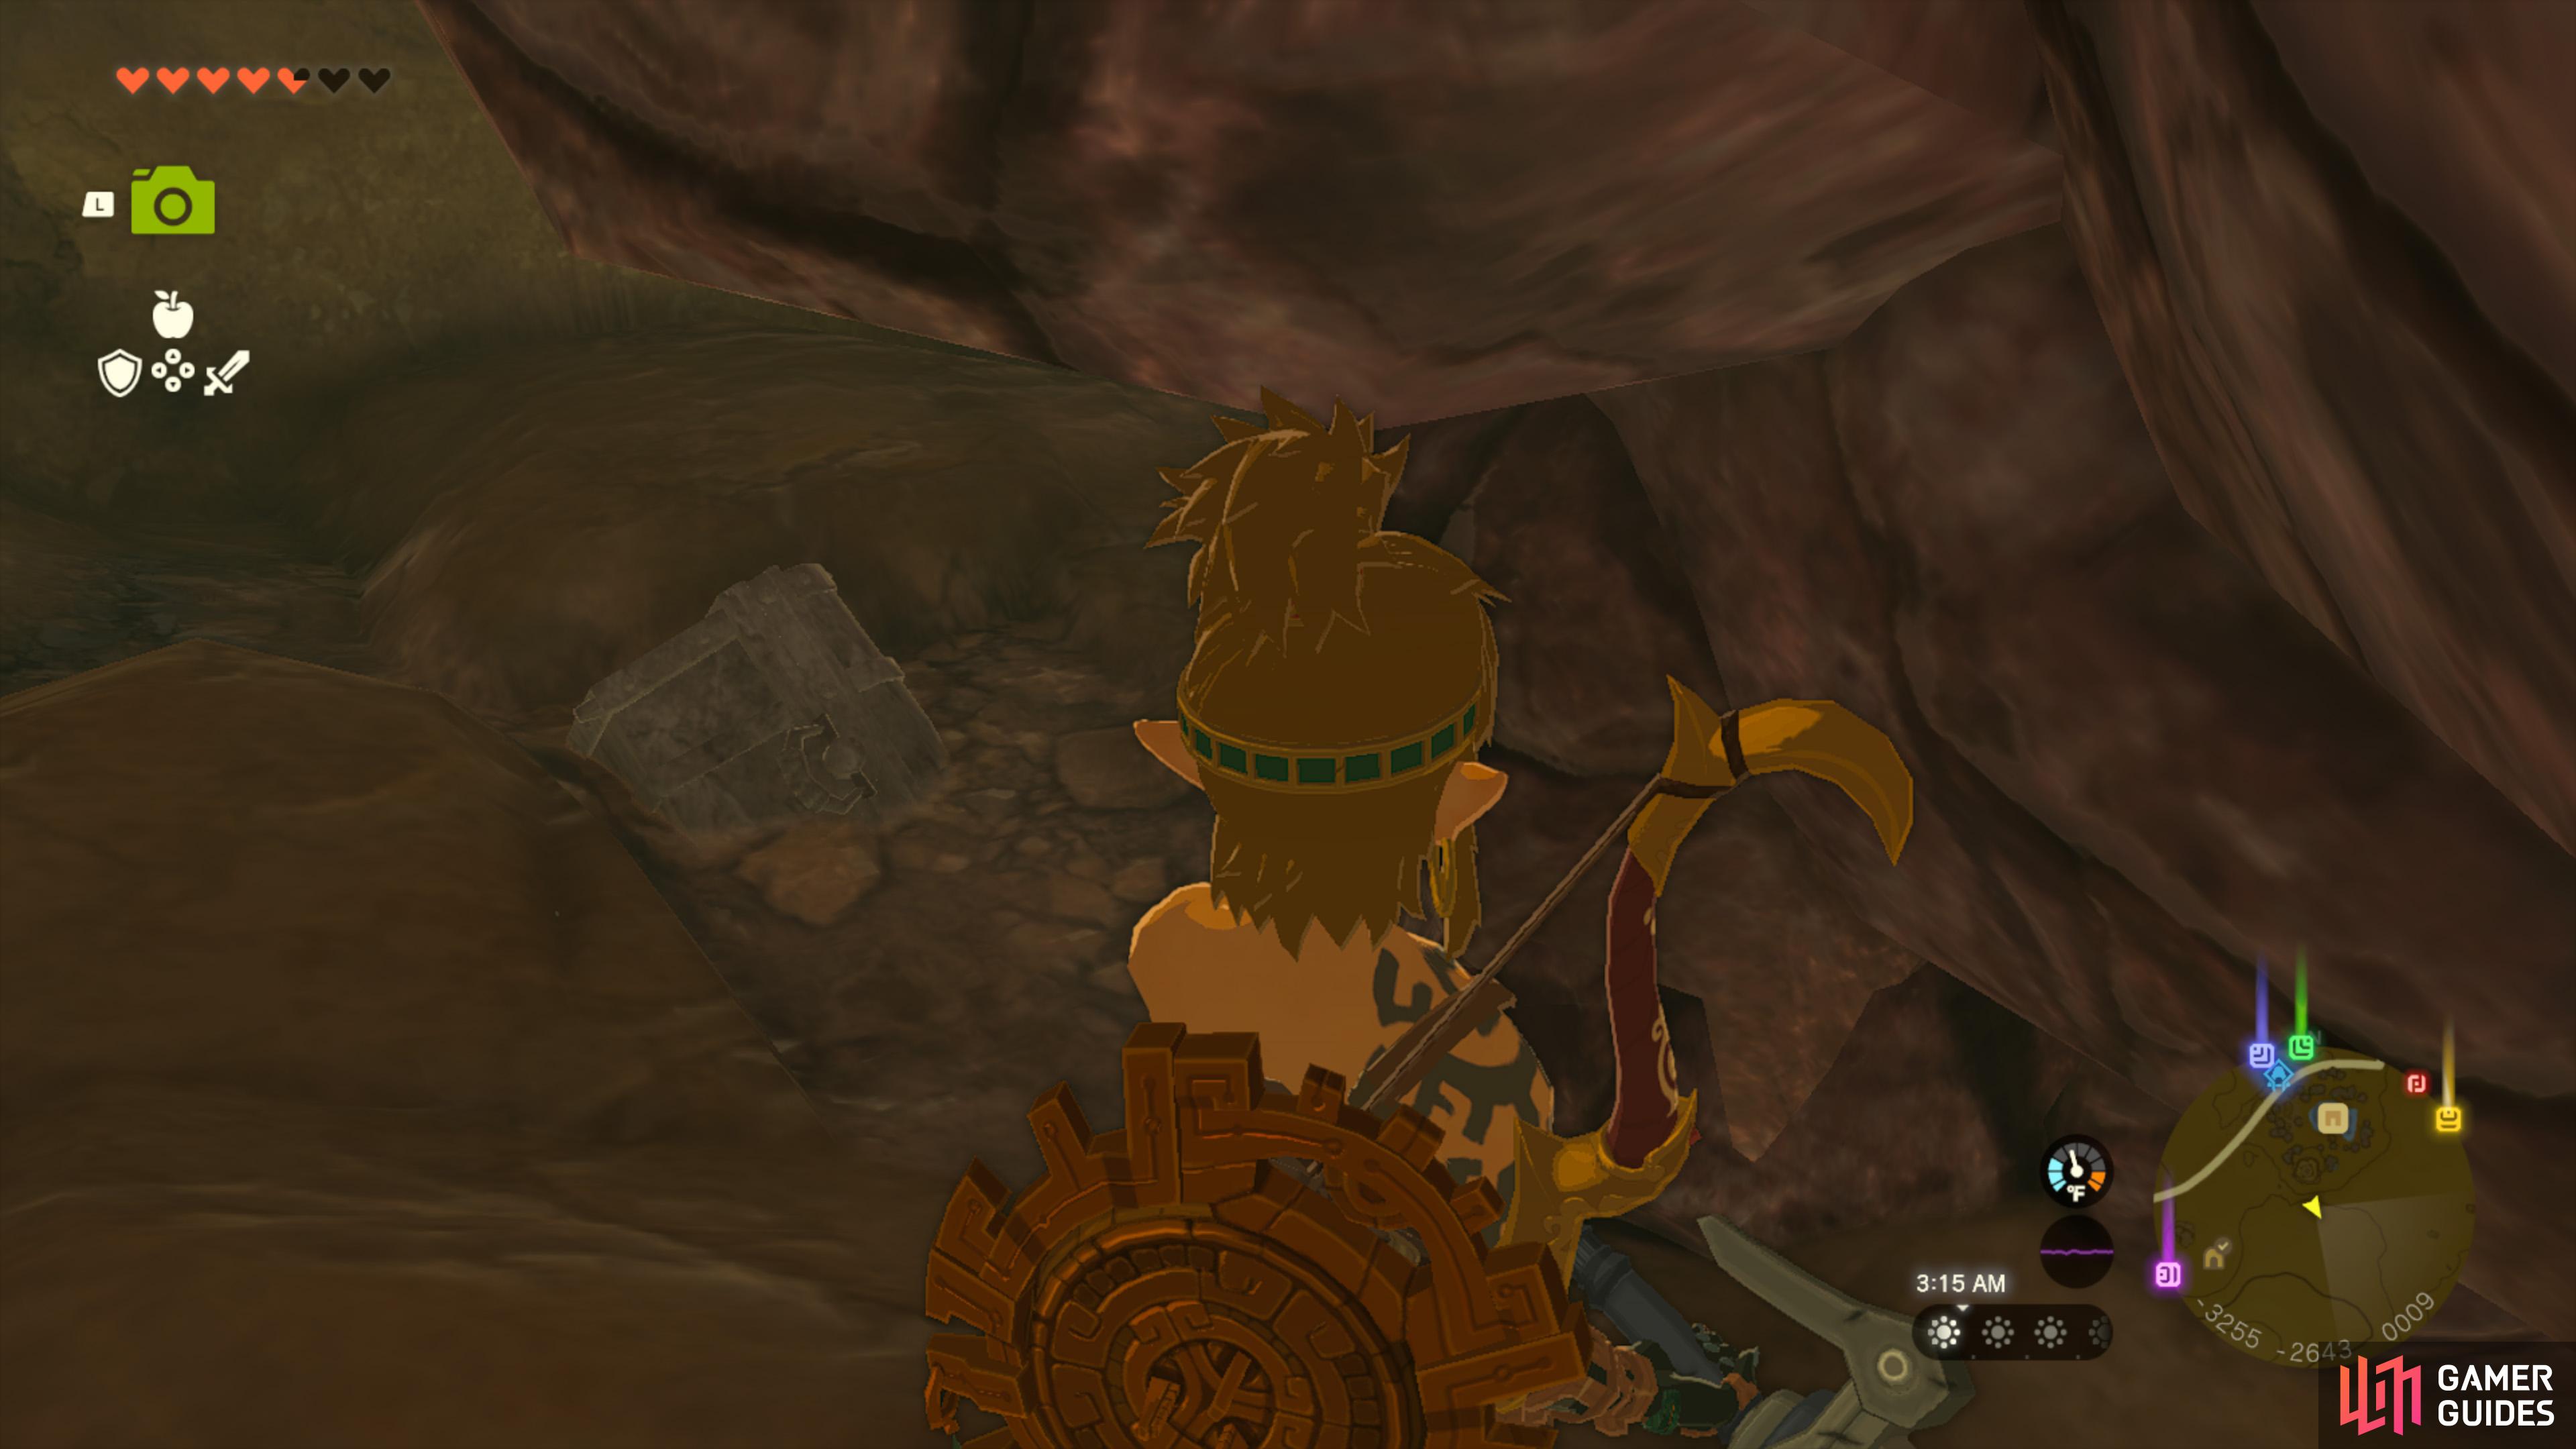
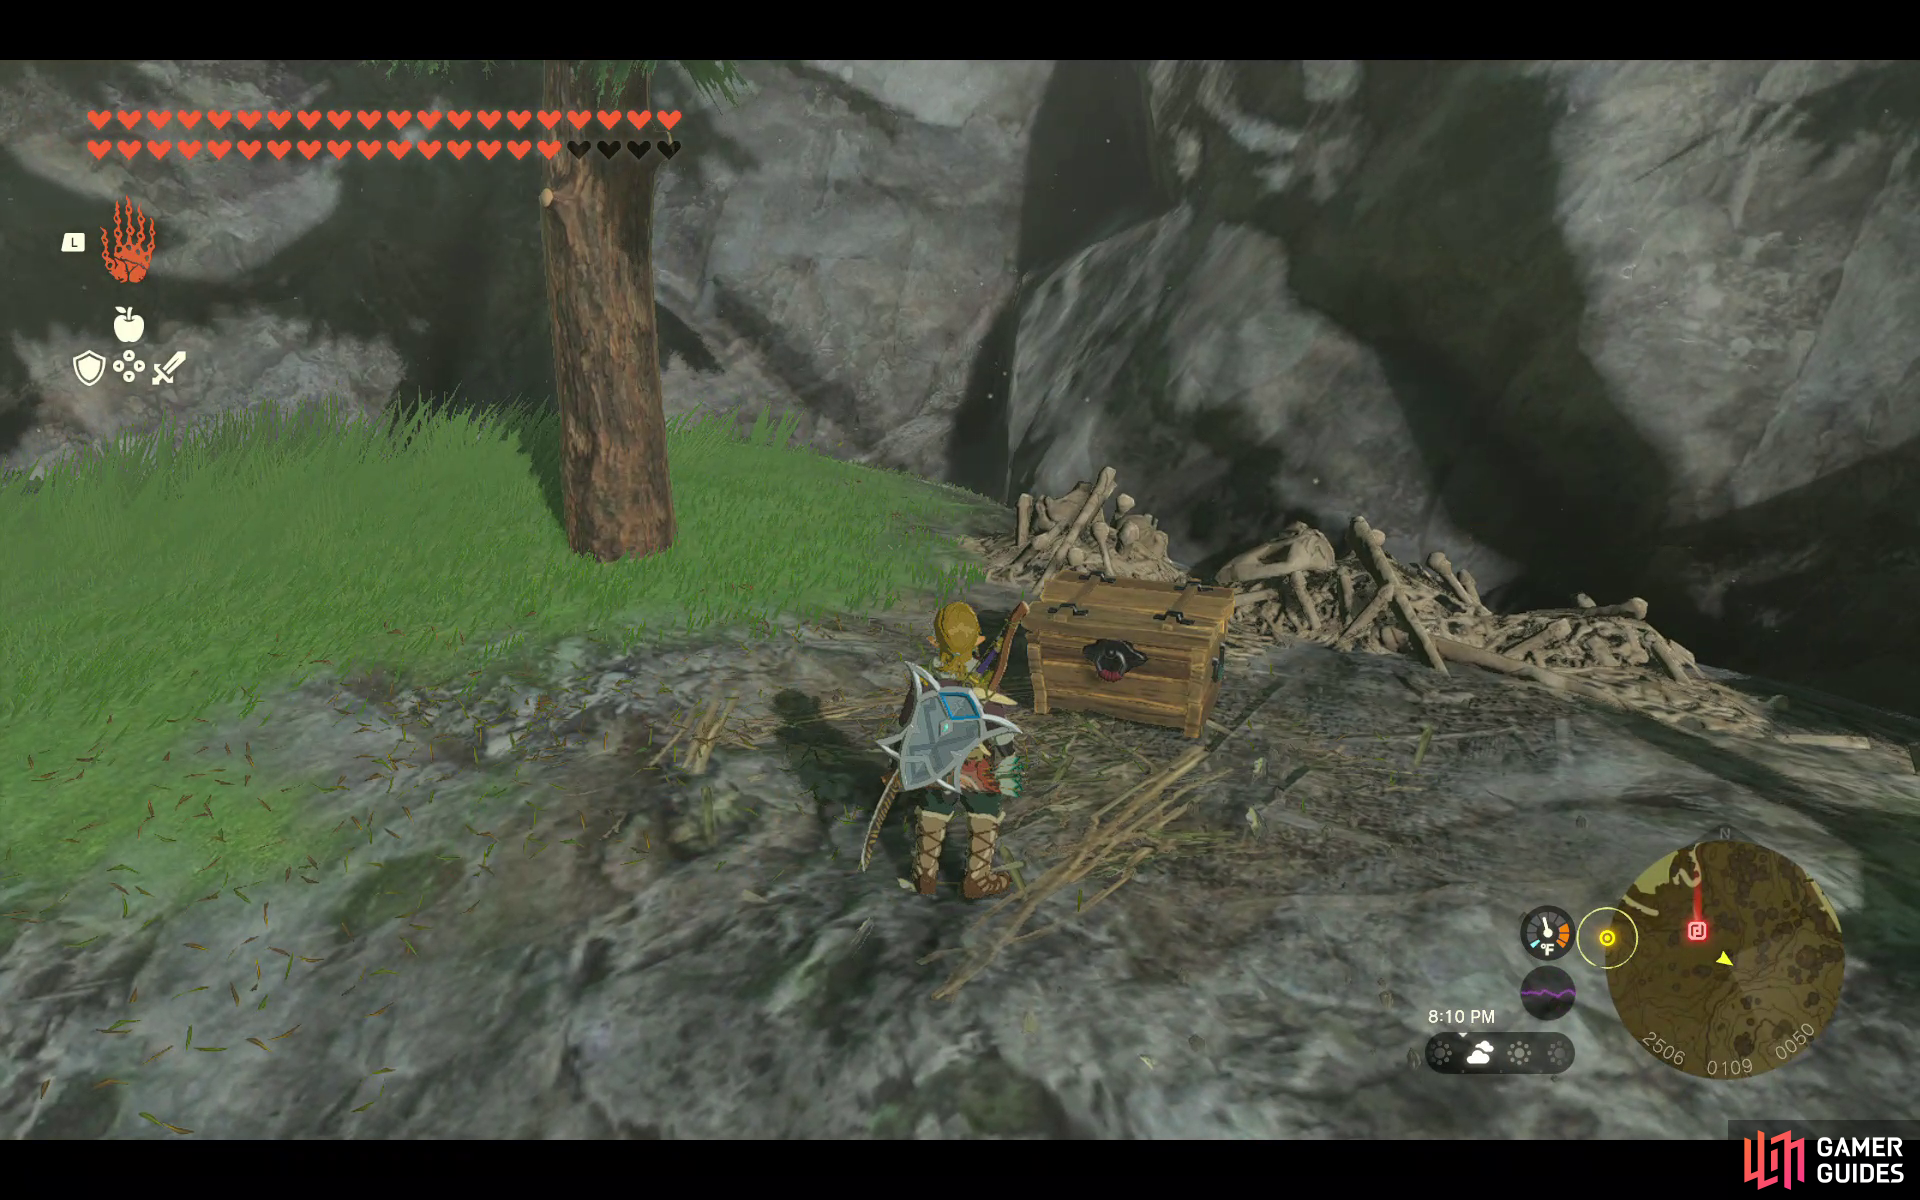
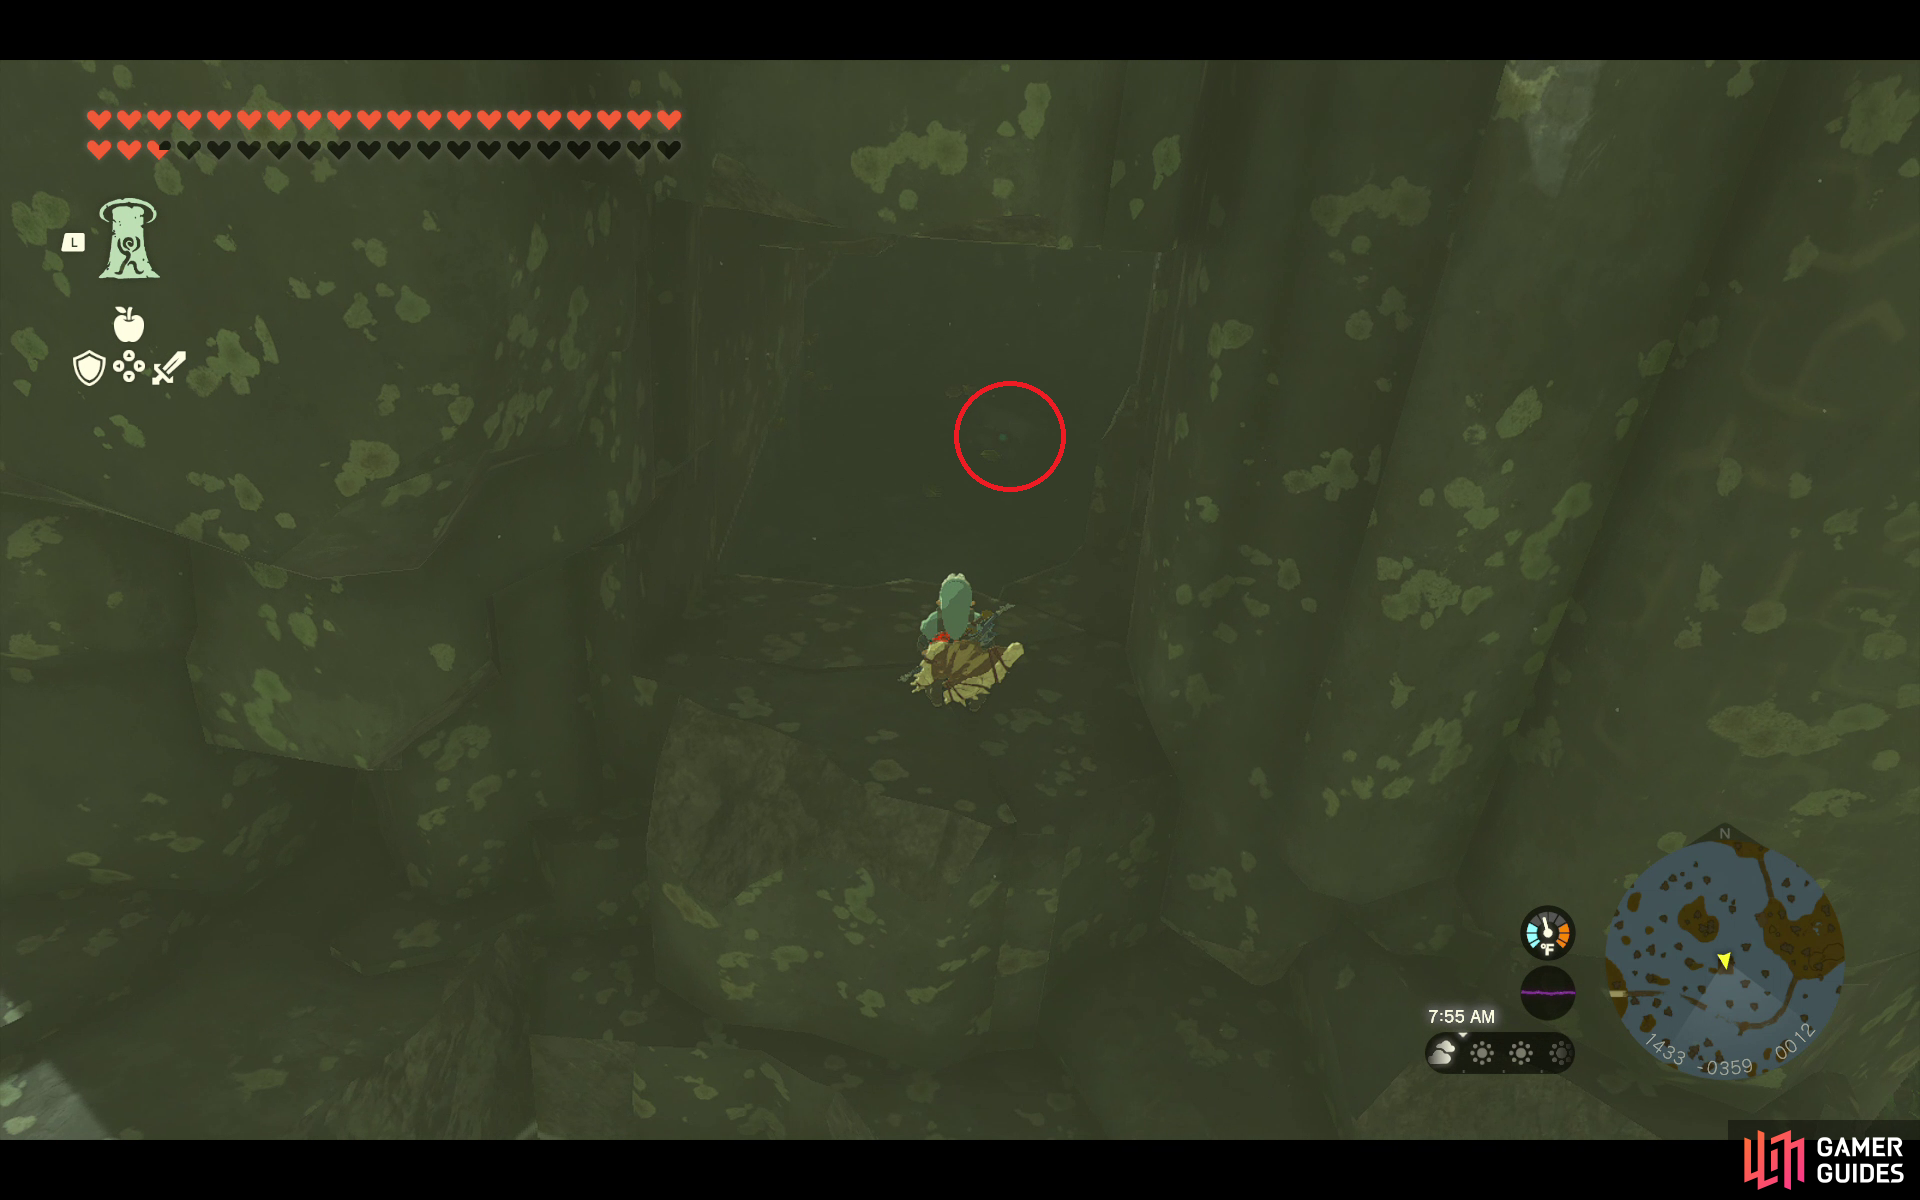
In the ![]() Bottomless Cave. As you enter the cave follow the broken stone path to find the chest sitting on a small platform at the end of it.
Bottomless Cave. As you enter the cave follow the broken stone path to find the chest sitting on a small platform at the end of it.
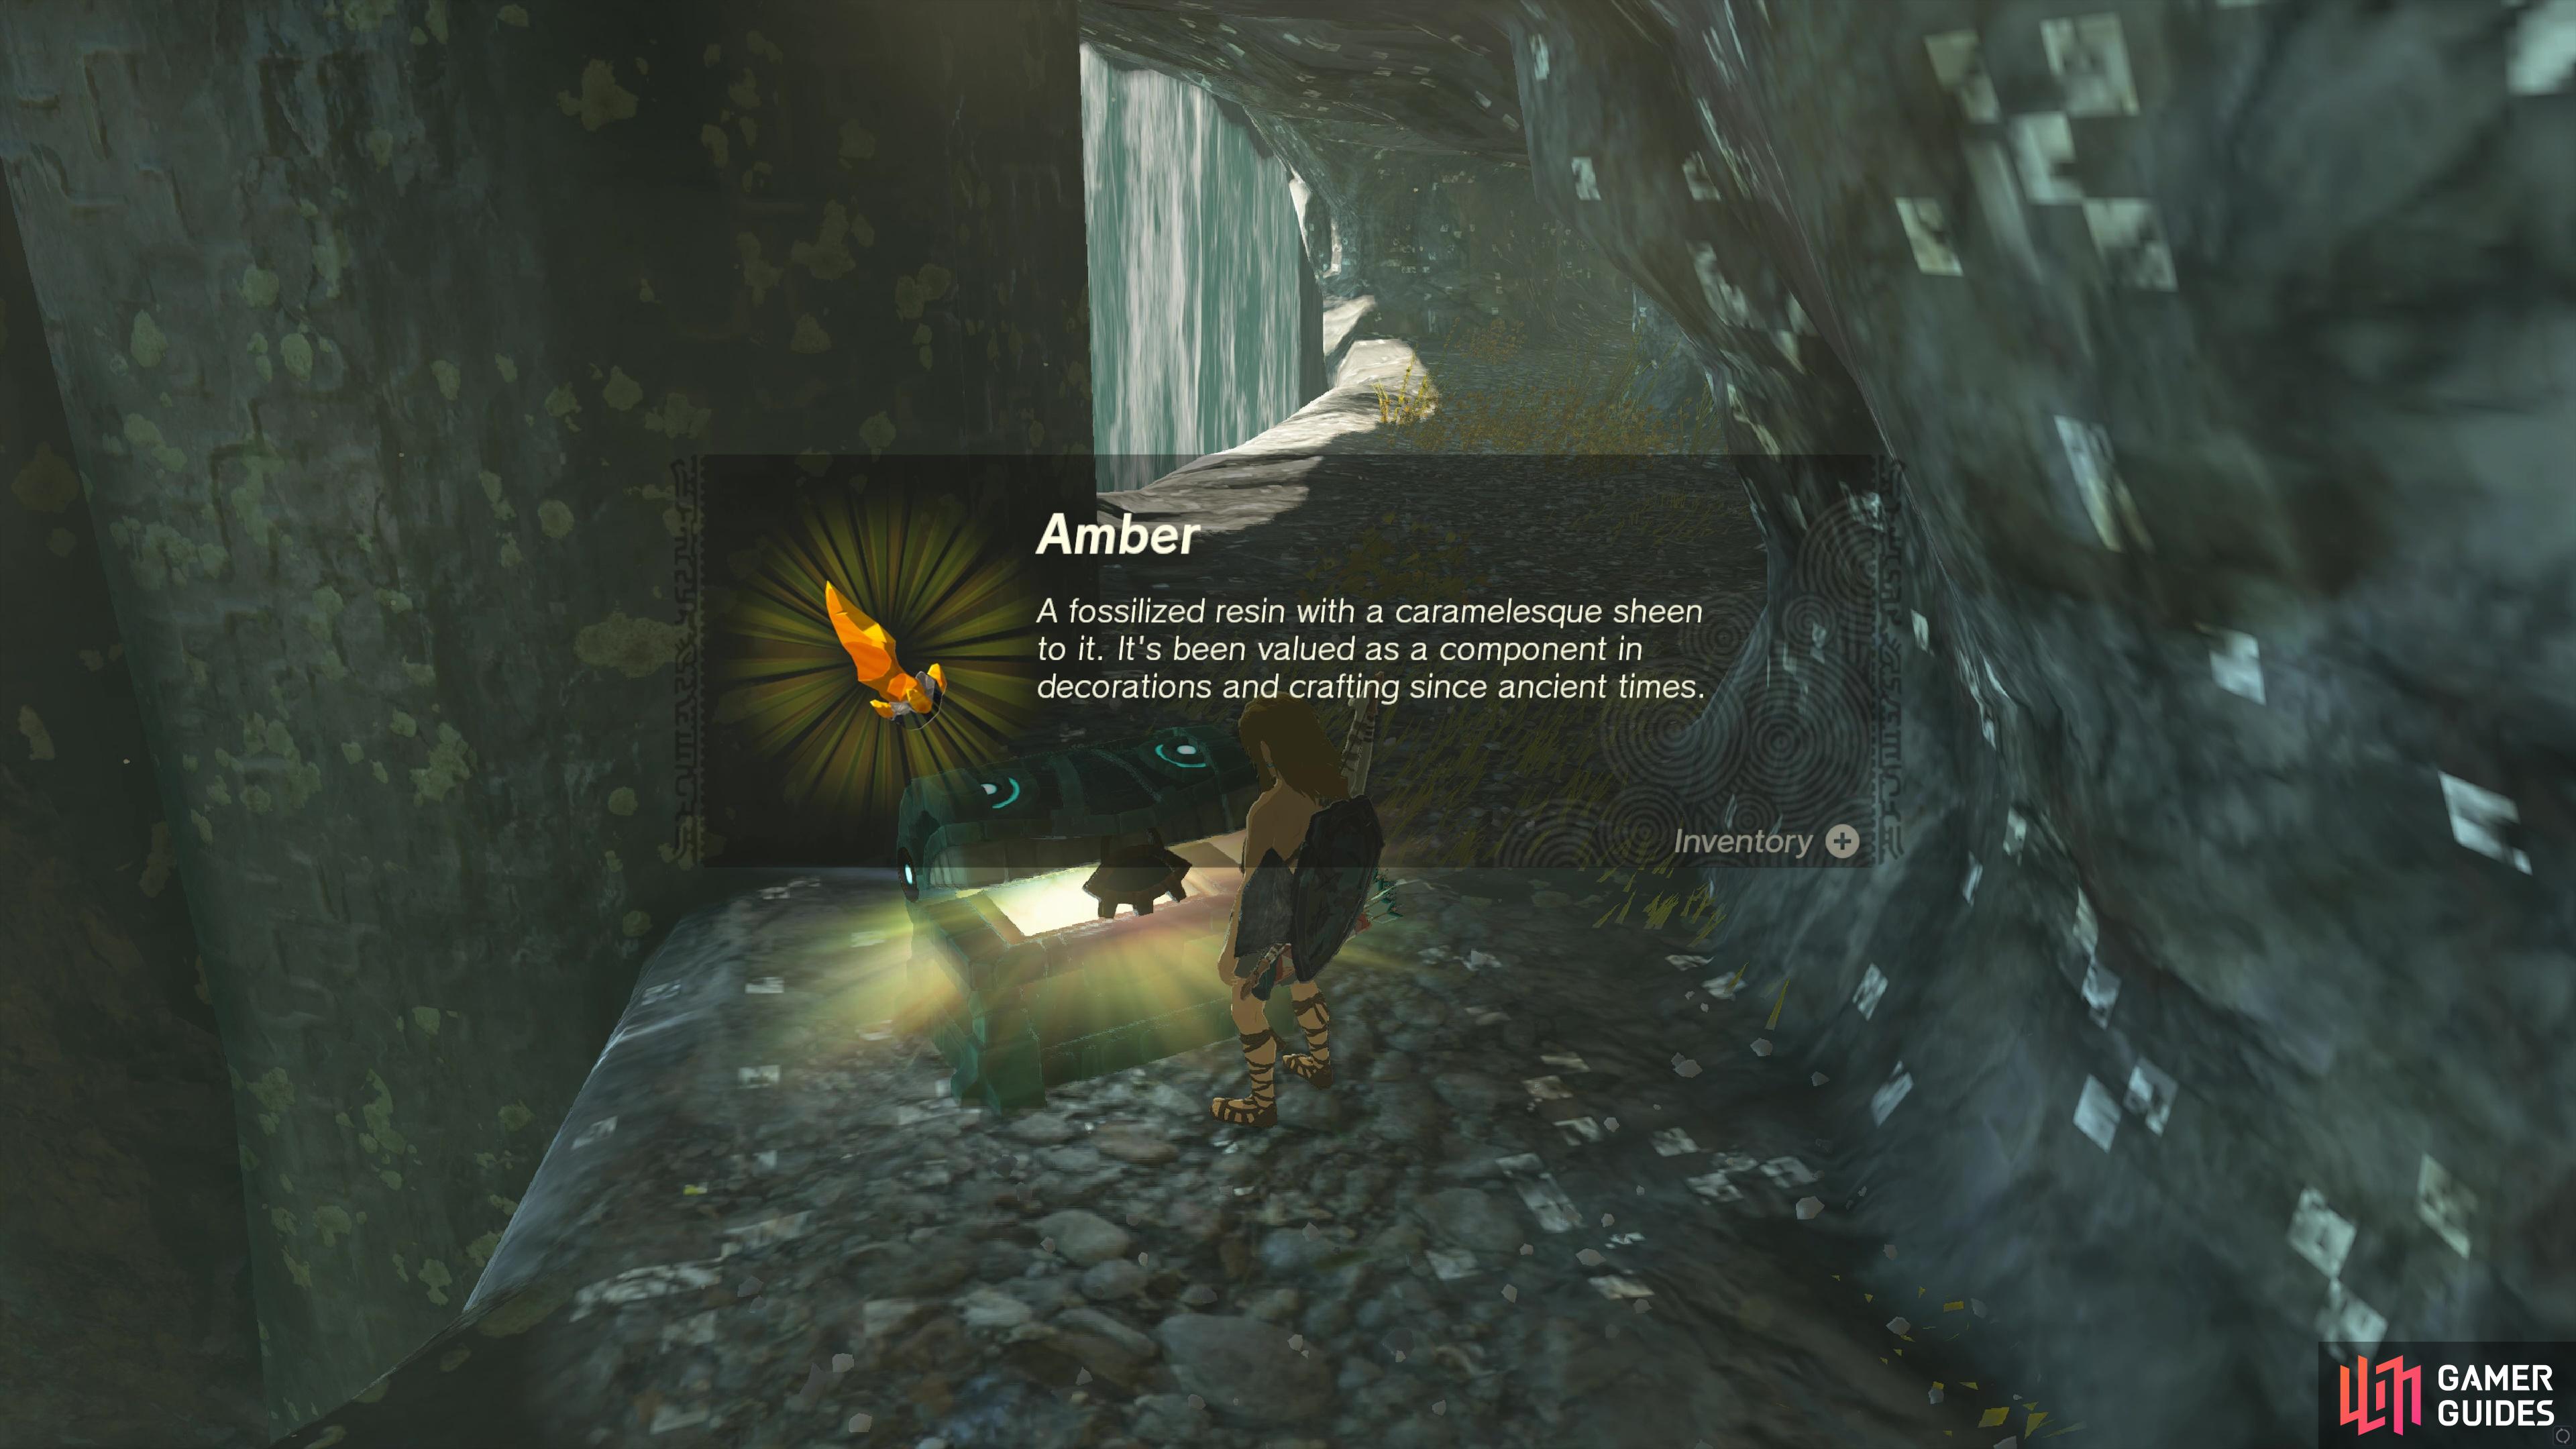
- Contains
 Amber.
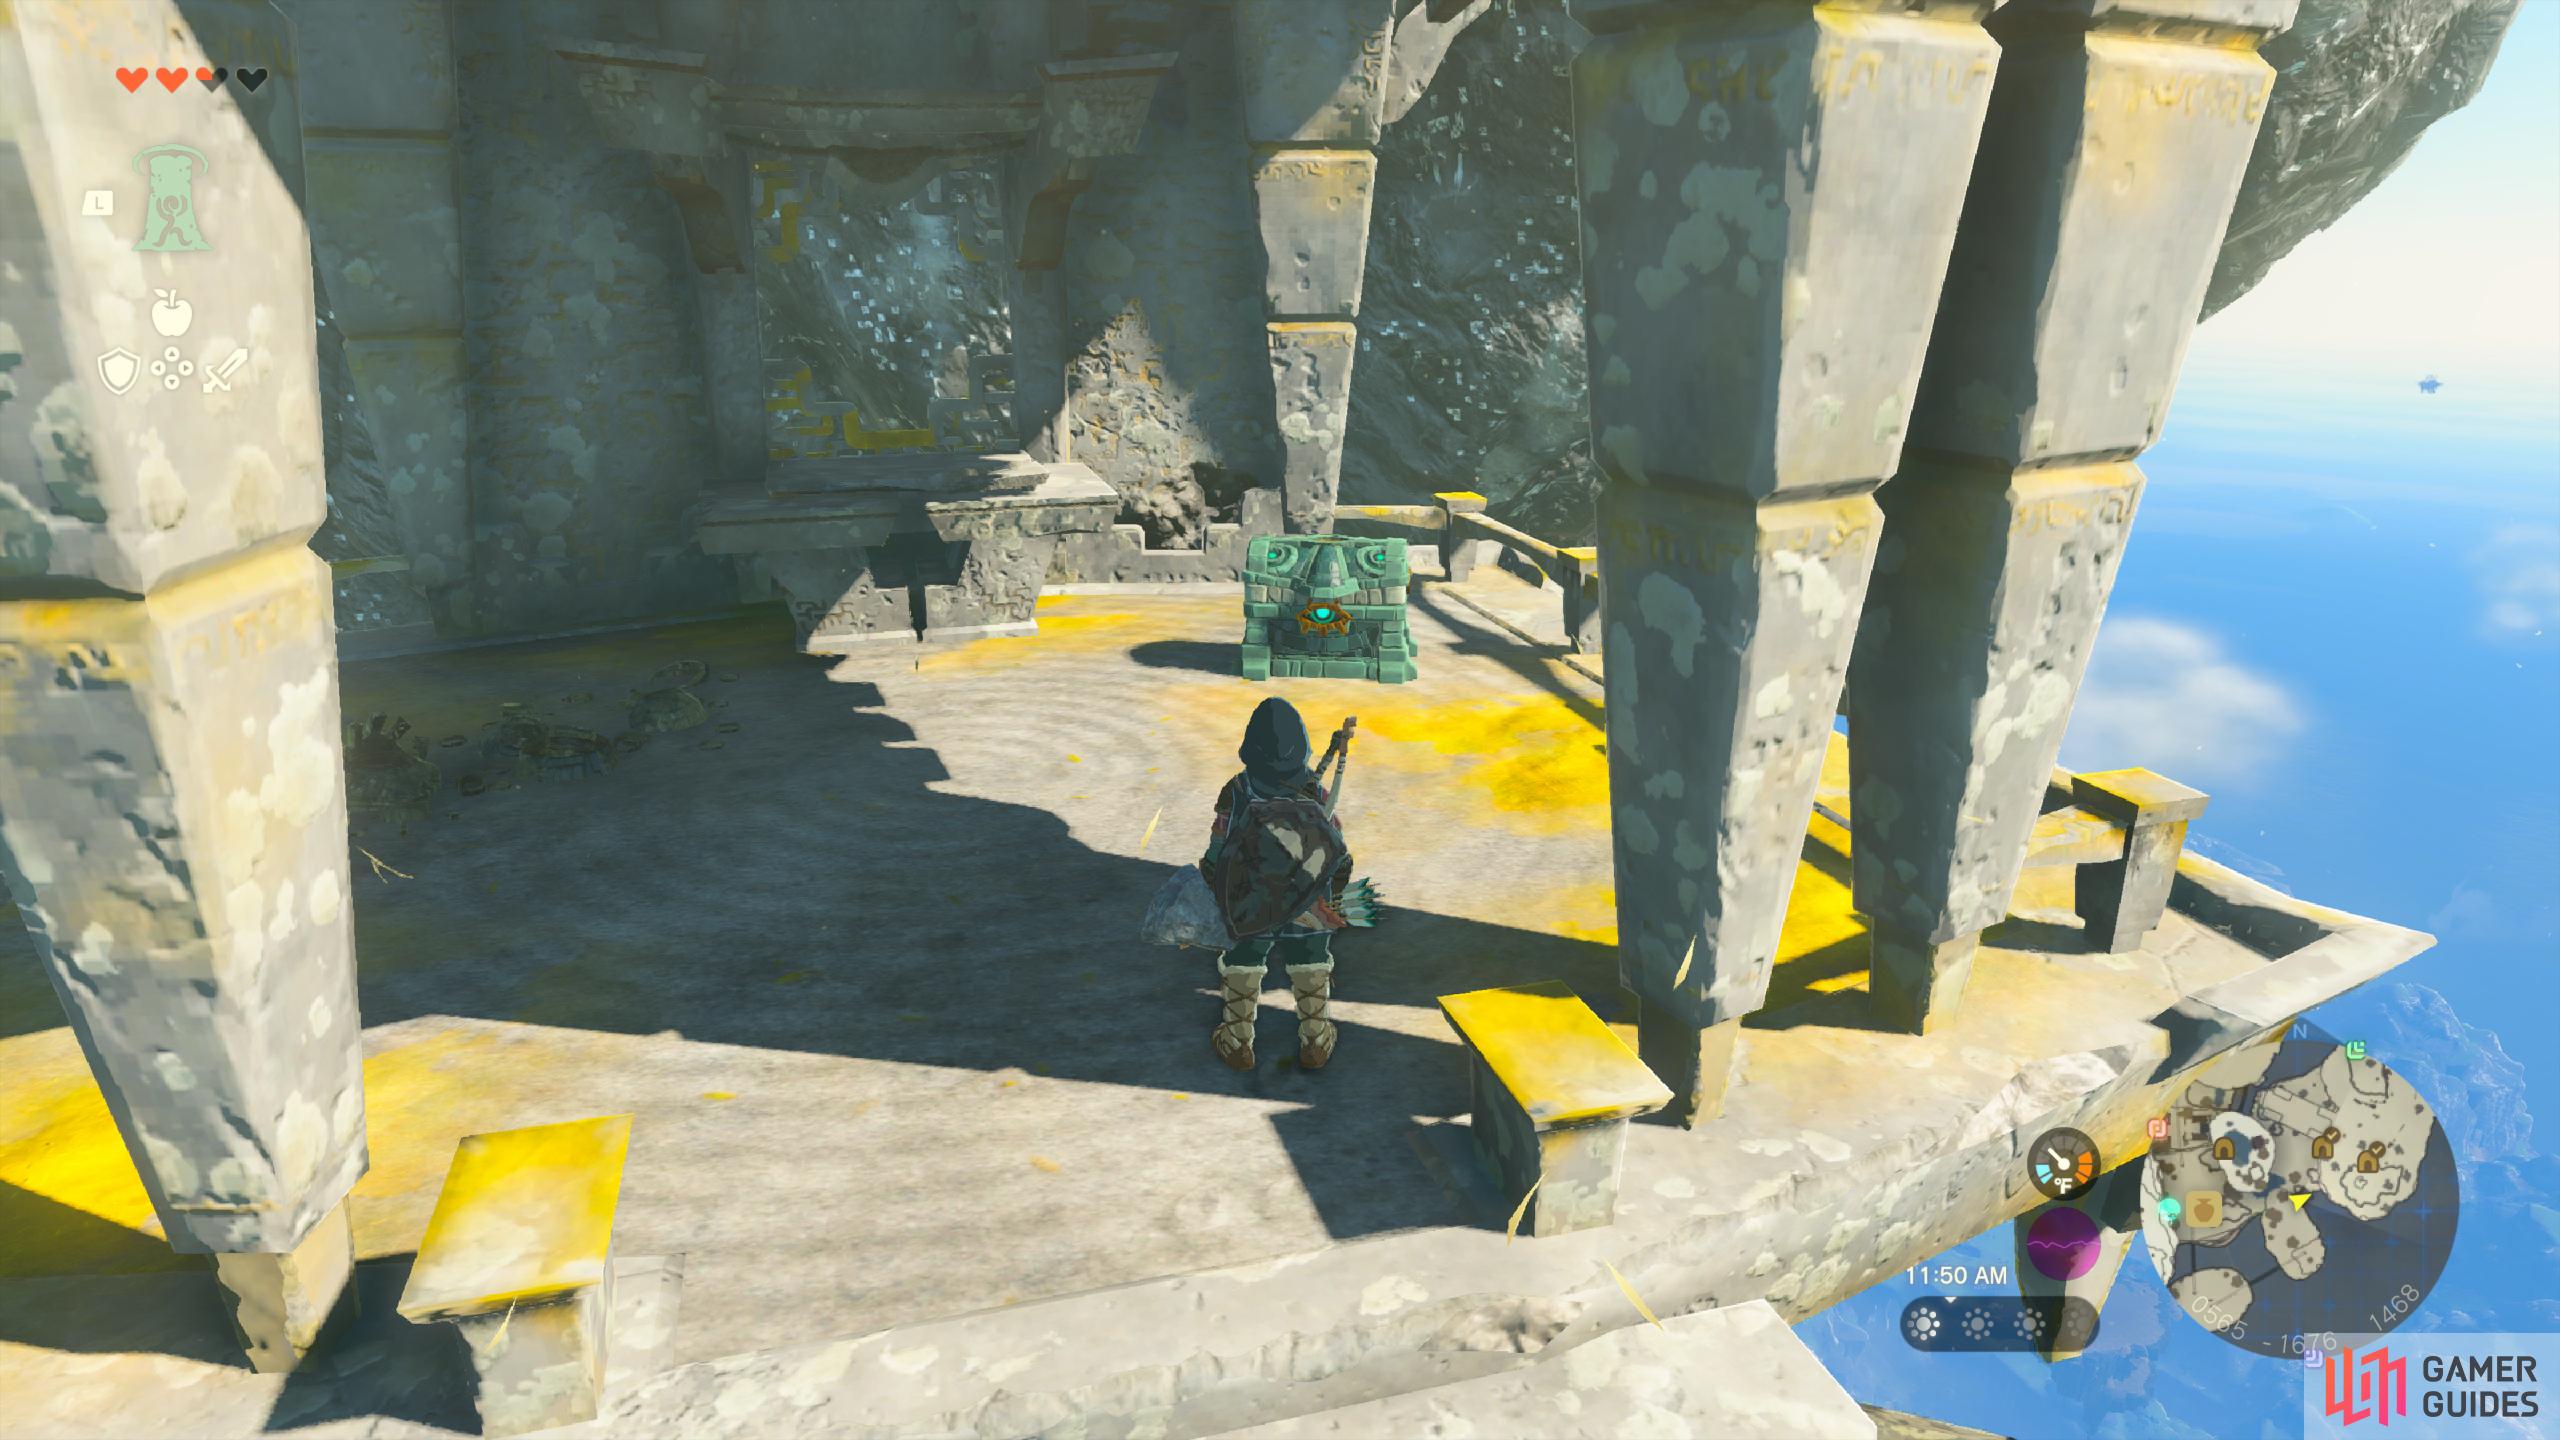
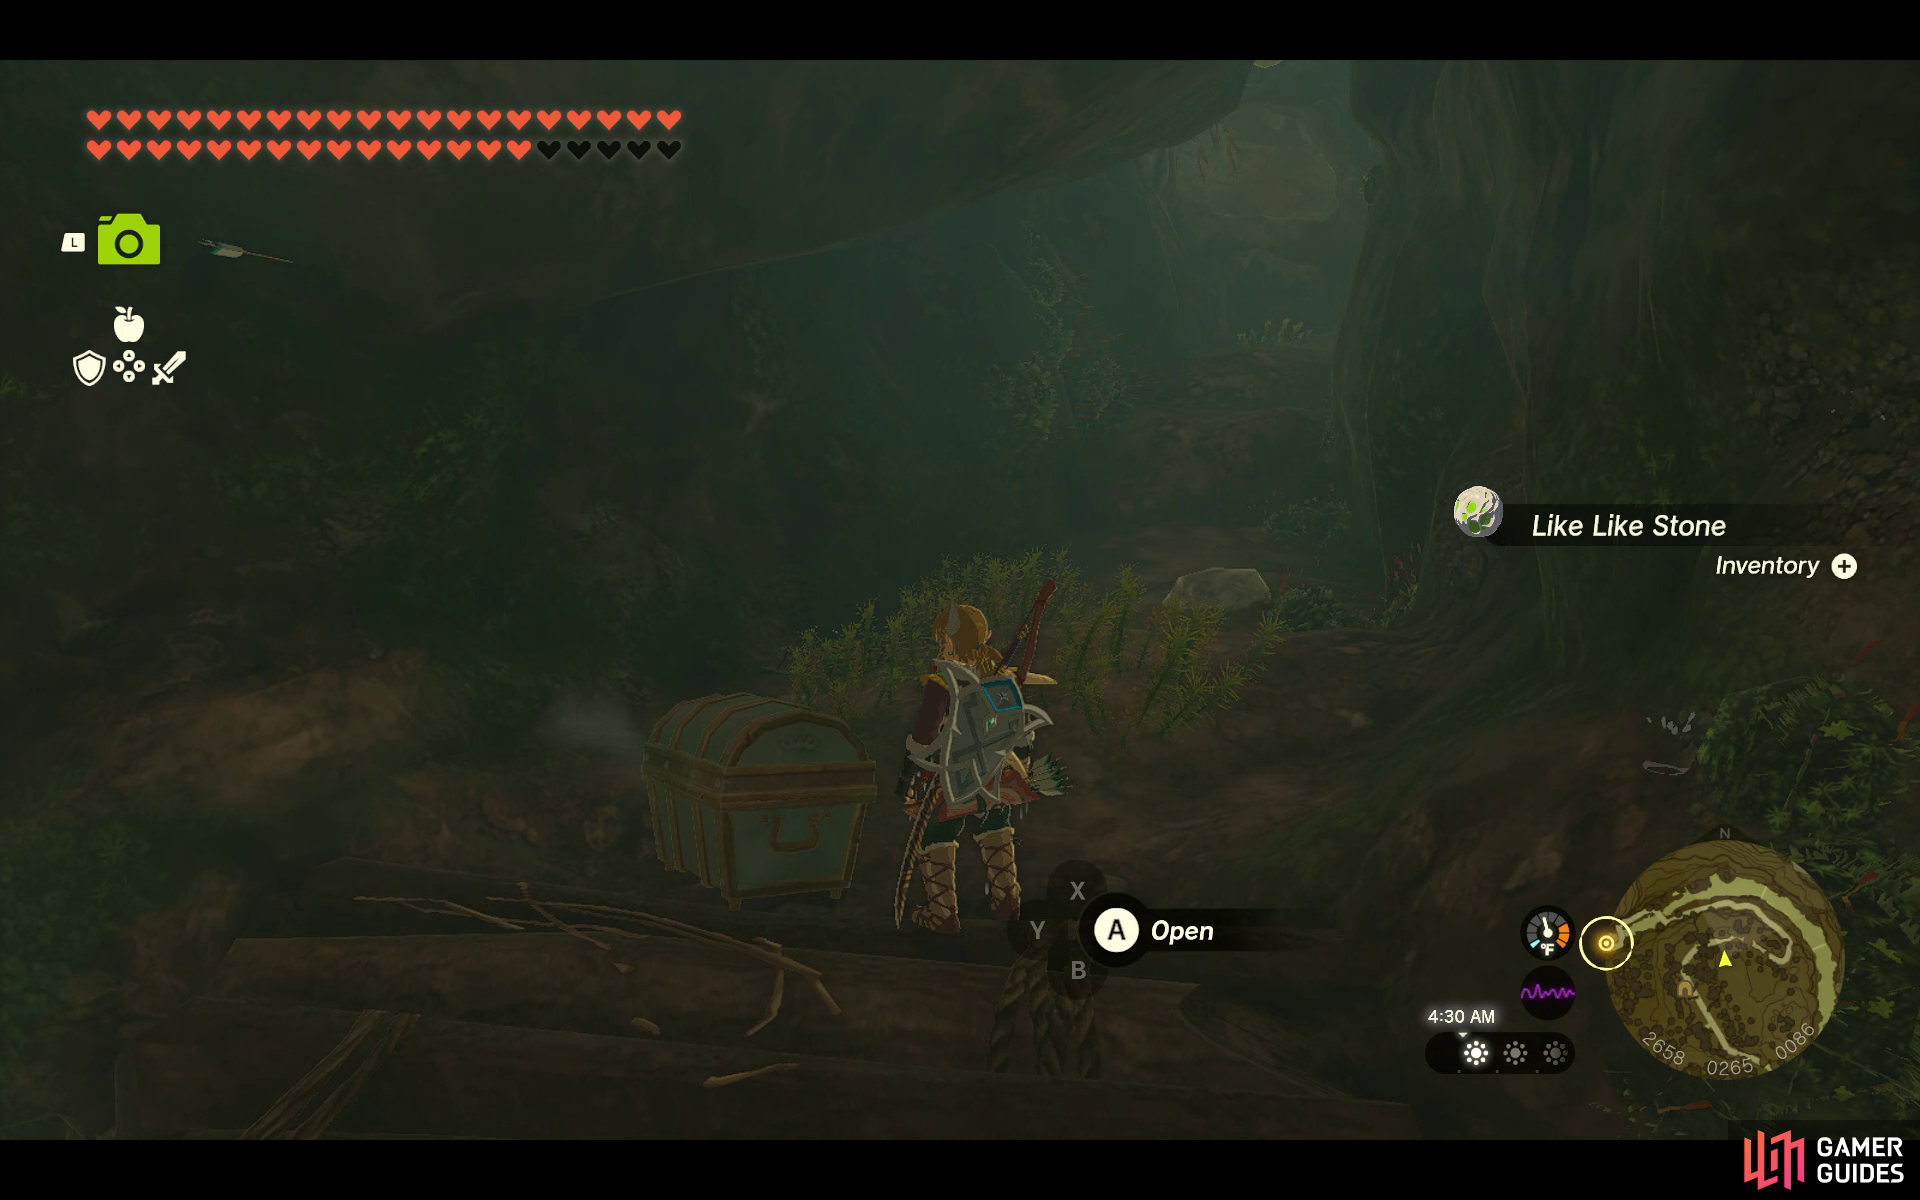
40222. Hyrule Sky Islands Map
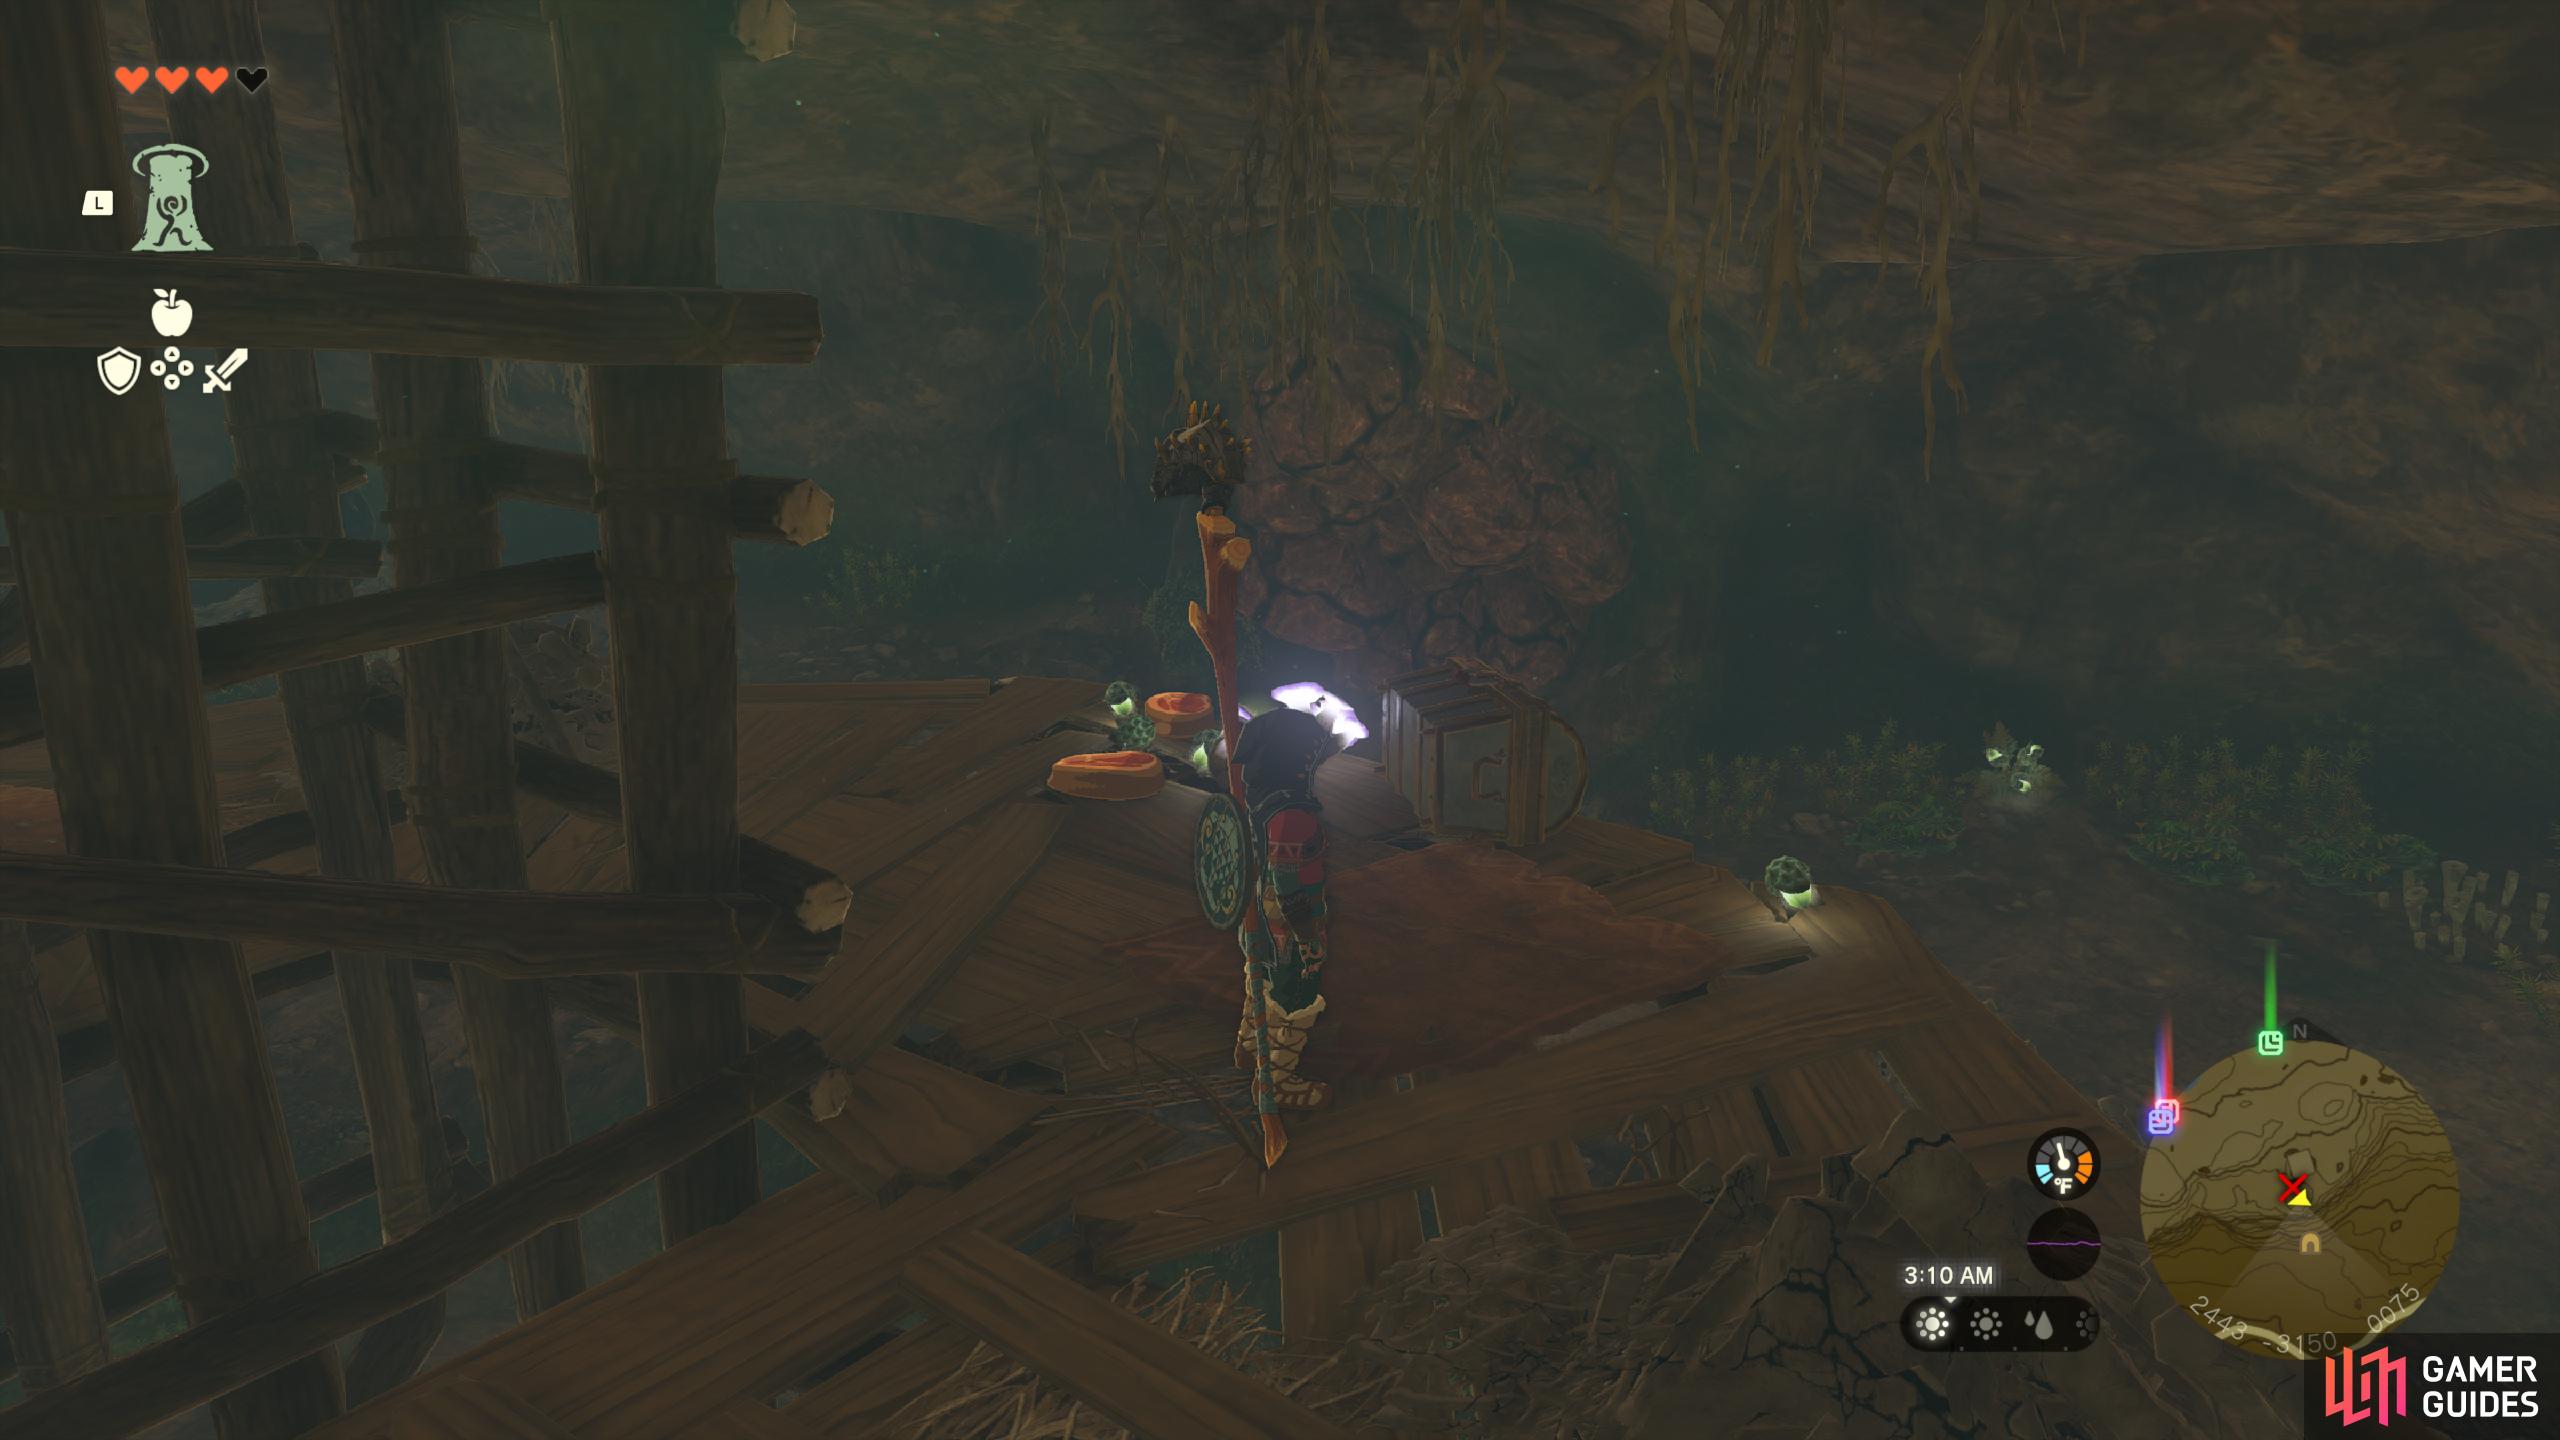
In the ![]() Bottomless Cave, near the cave exit. There is a
Bottomless Cave, near the cave exit. There is a ![]() Like Like guarding it, although you can run past and open it.
Like Like guarding it, although you can run past and open it.
- Contains a Flame Emitter.
40228. Hyrule Sky Islands Map
Found on the cliff path at the edge of the massive waterfall. Contains ![]() Amber.
Amber.
40248. Hyrule Sky Islands Map
In a small stone gazebo on the upper platform where you’ll need to glide down from above (near the shrine).
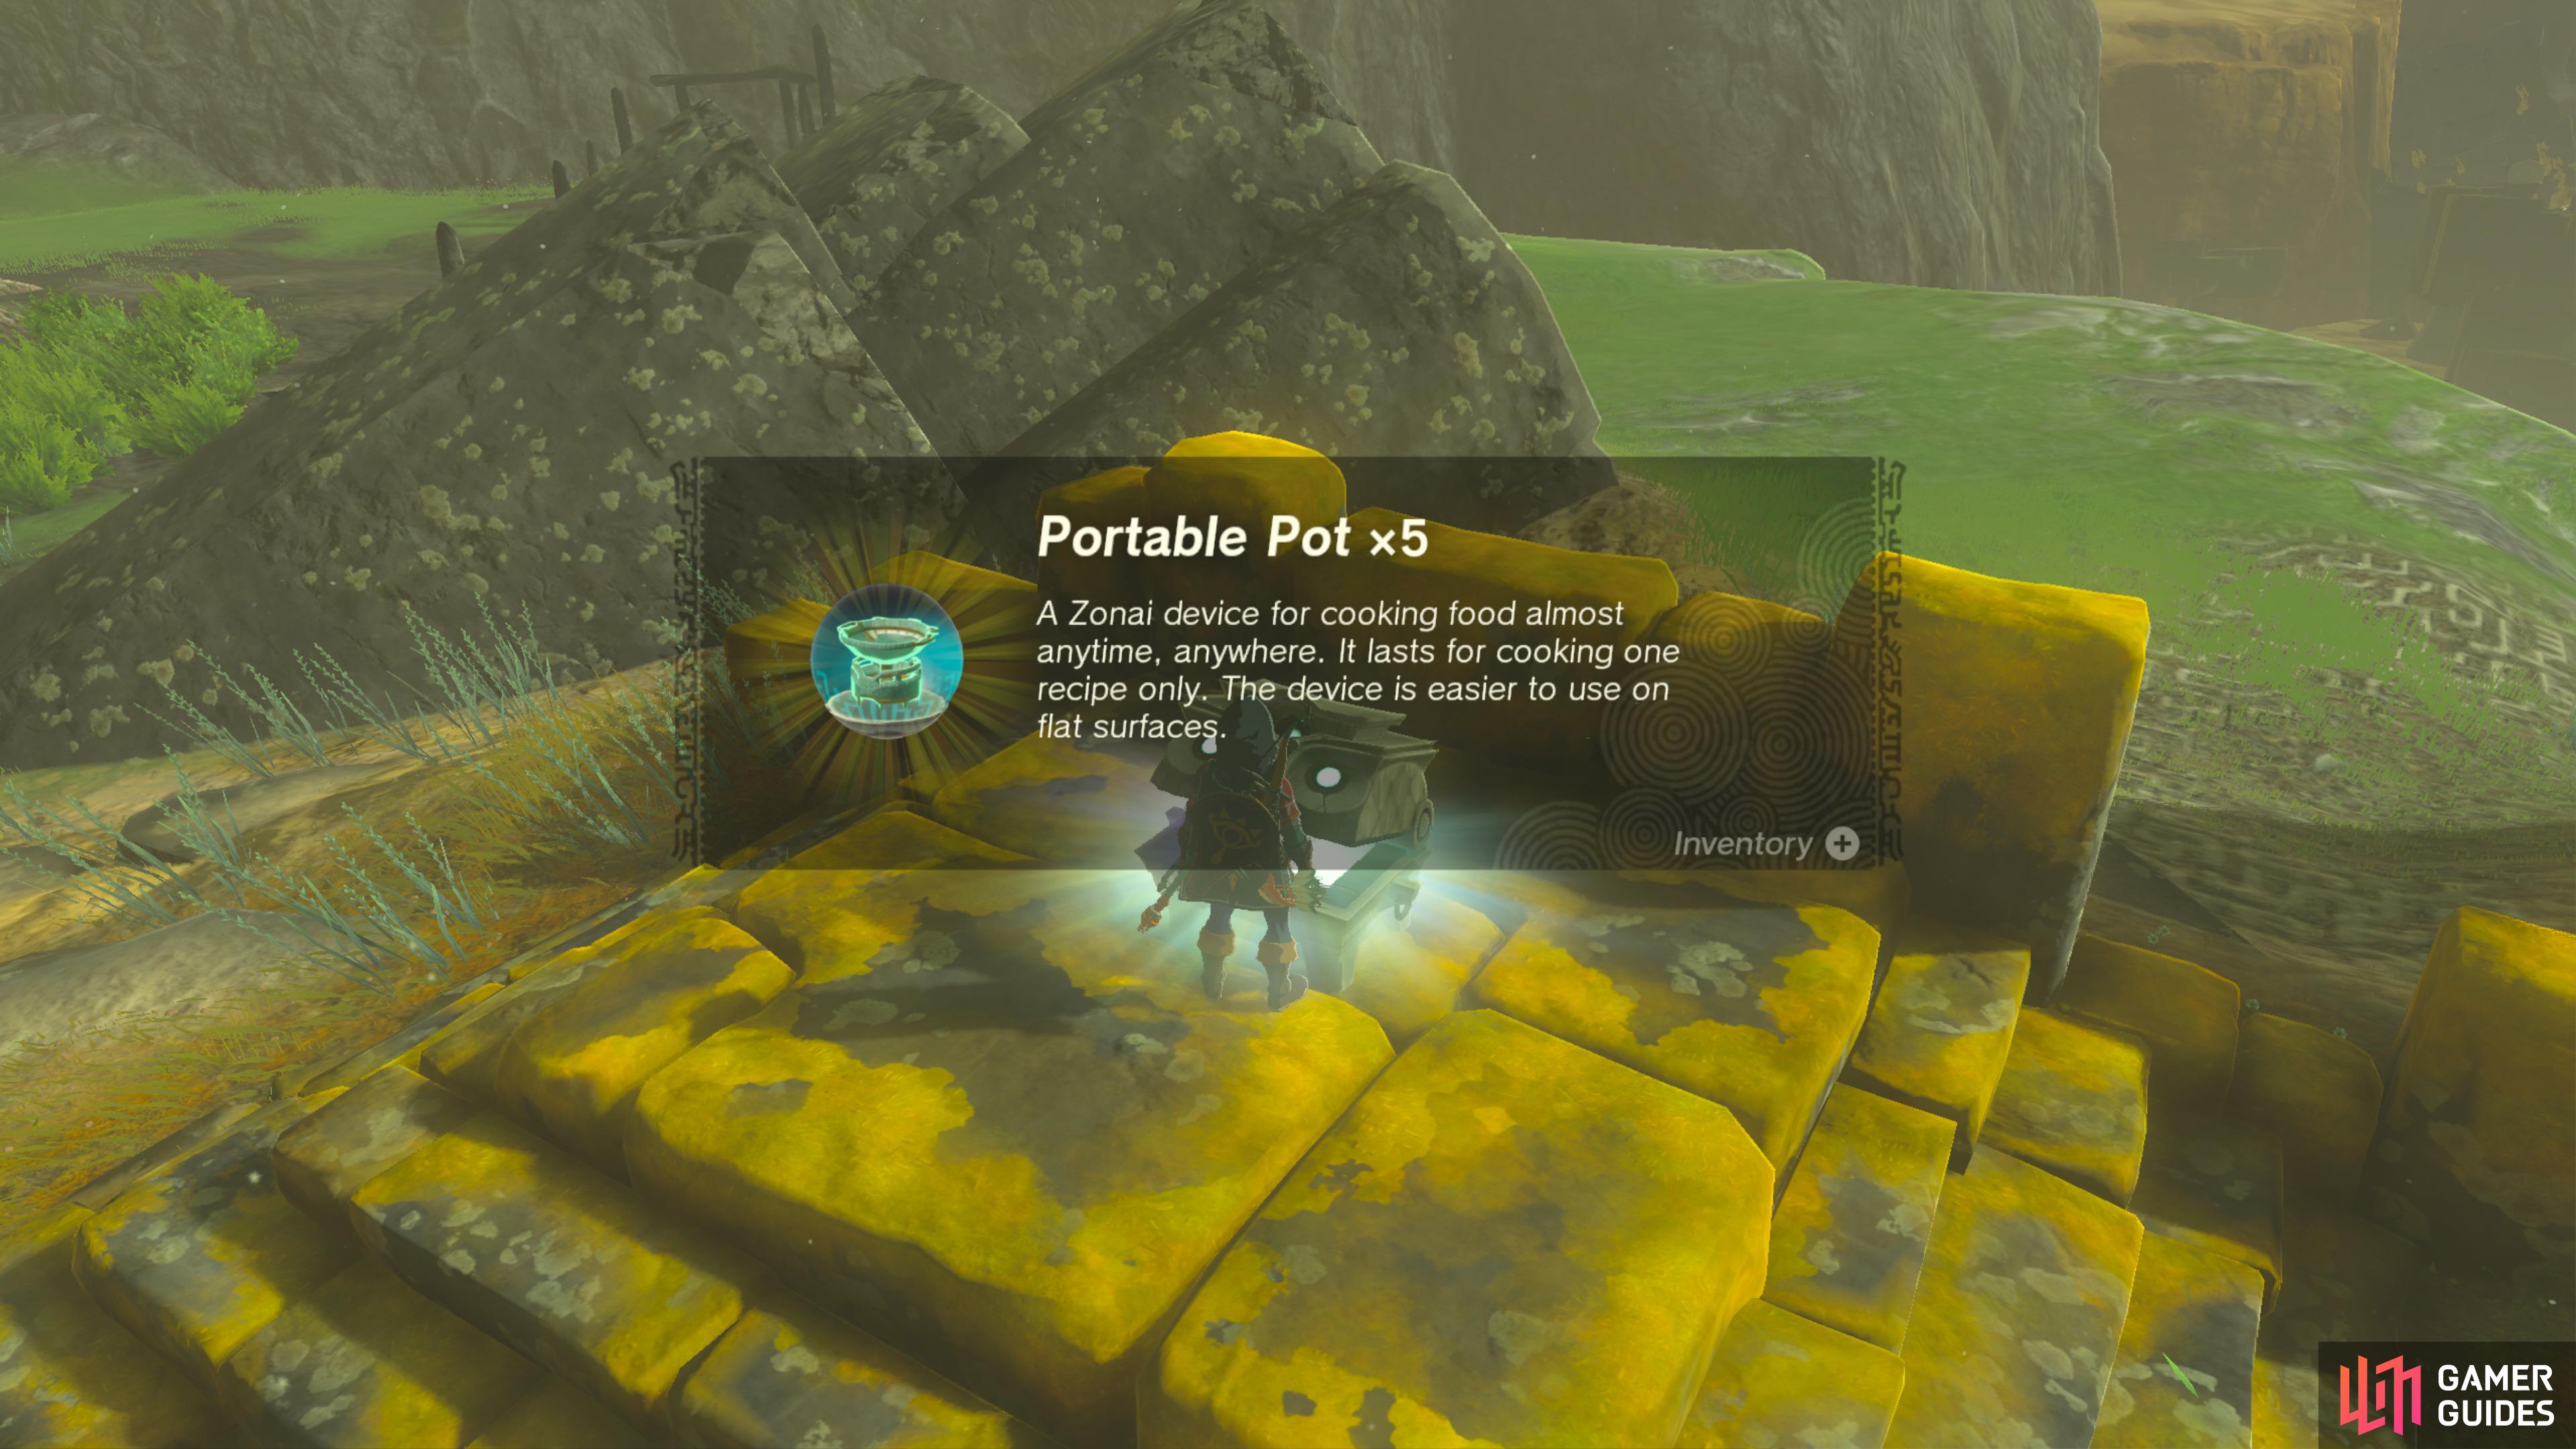
- Contains 1x Portable Pot.
40259. Hyrule Sky Islands Map
On the upper island which you can reach by using a Wing from the Room of Awakening in the south. May need the ![]() Paraglider too.
Paraglider too.
This Chest can be found in the pool of water on the east side. Use ![]() Ultrahand to grab it.
Ultrahand to grab it.
- Contains 1x
 Large Zonaite.
40265. Hyrule Sky Islands Map
On the floating ruin. Either use the ![]() Ascend ability, or glide from a higher platform to reach it.
Ascend ability, or glide from a higher platform to reach it.
- Contains 3x Wings.
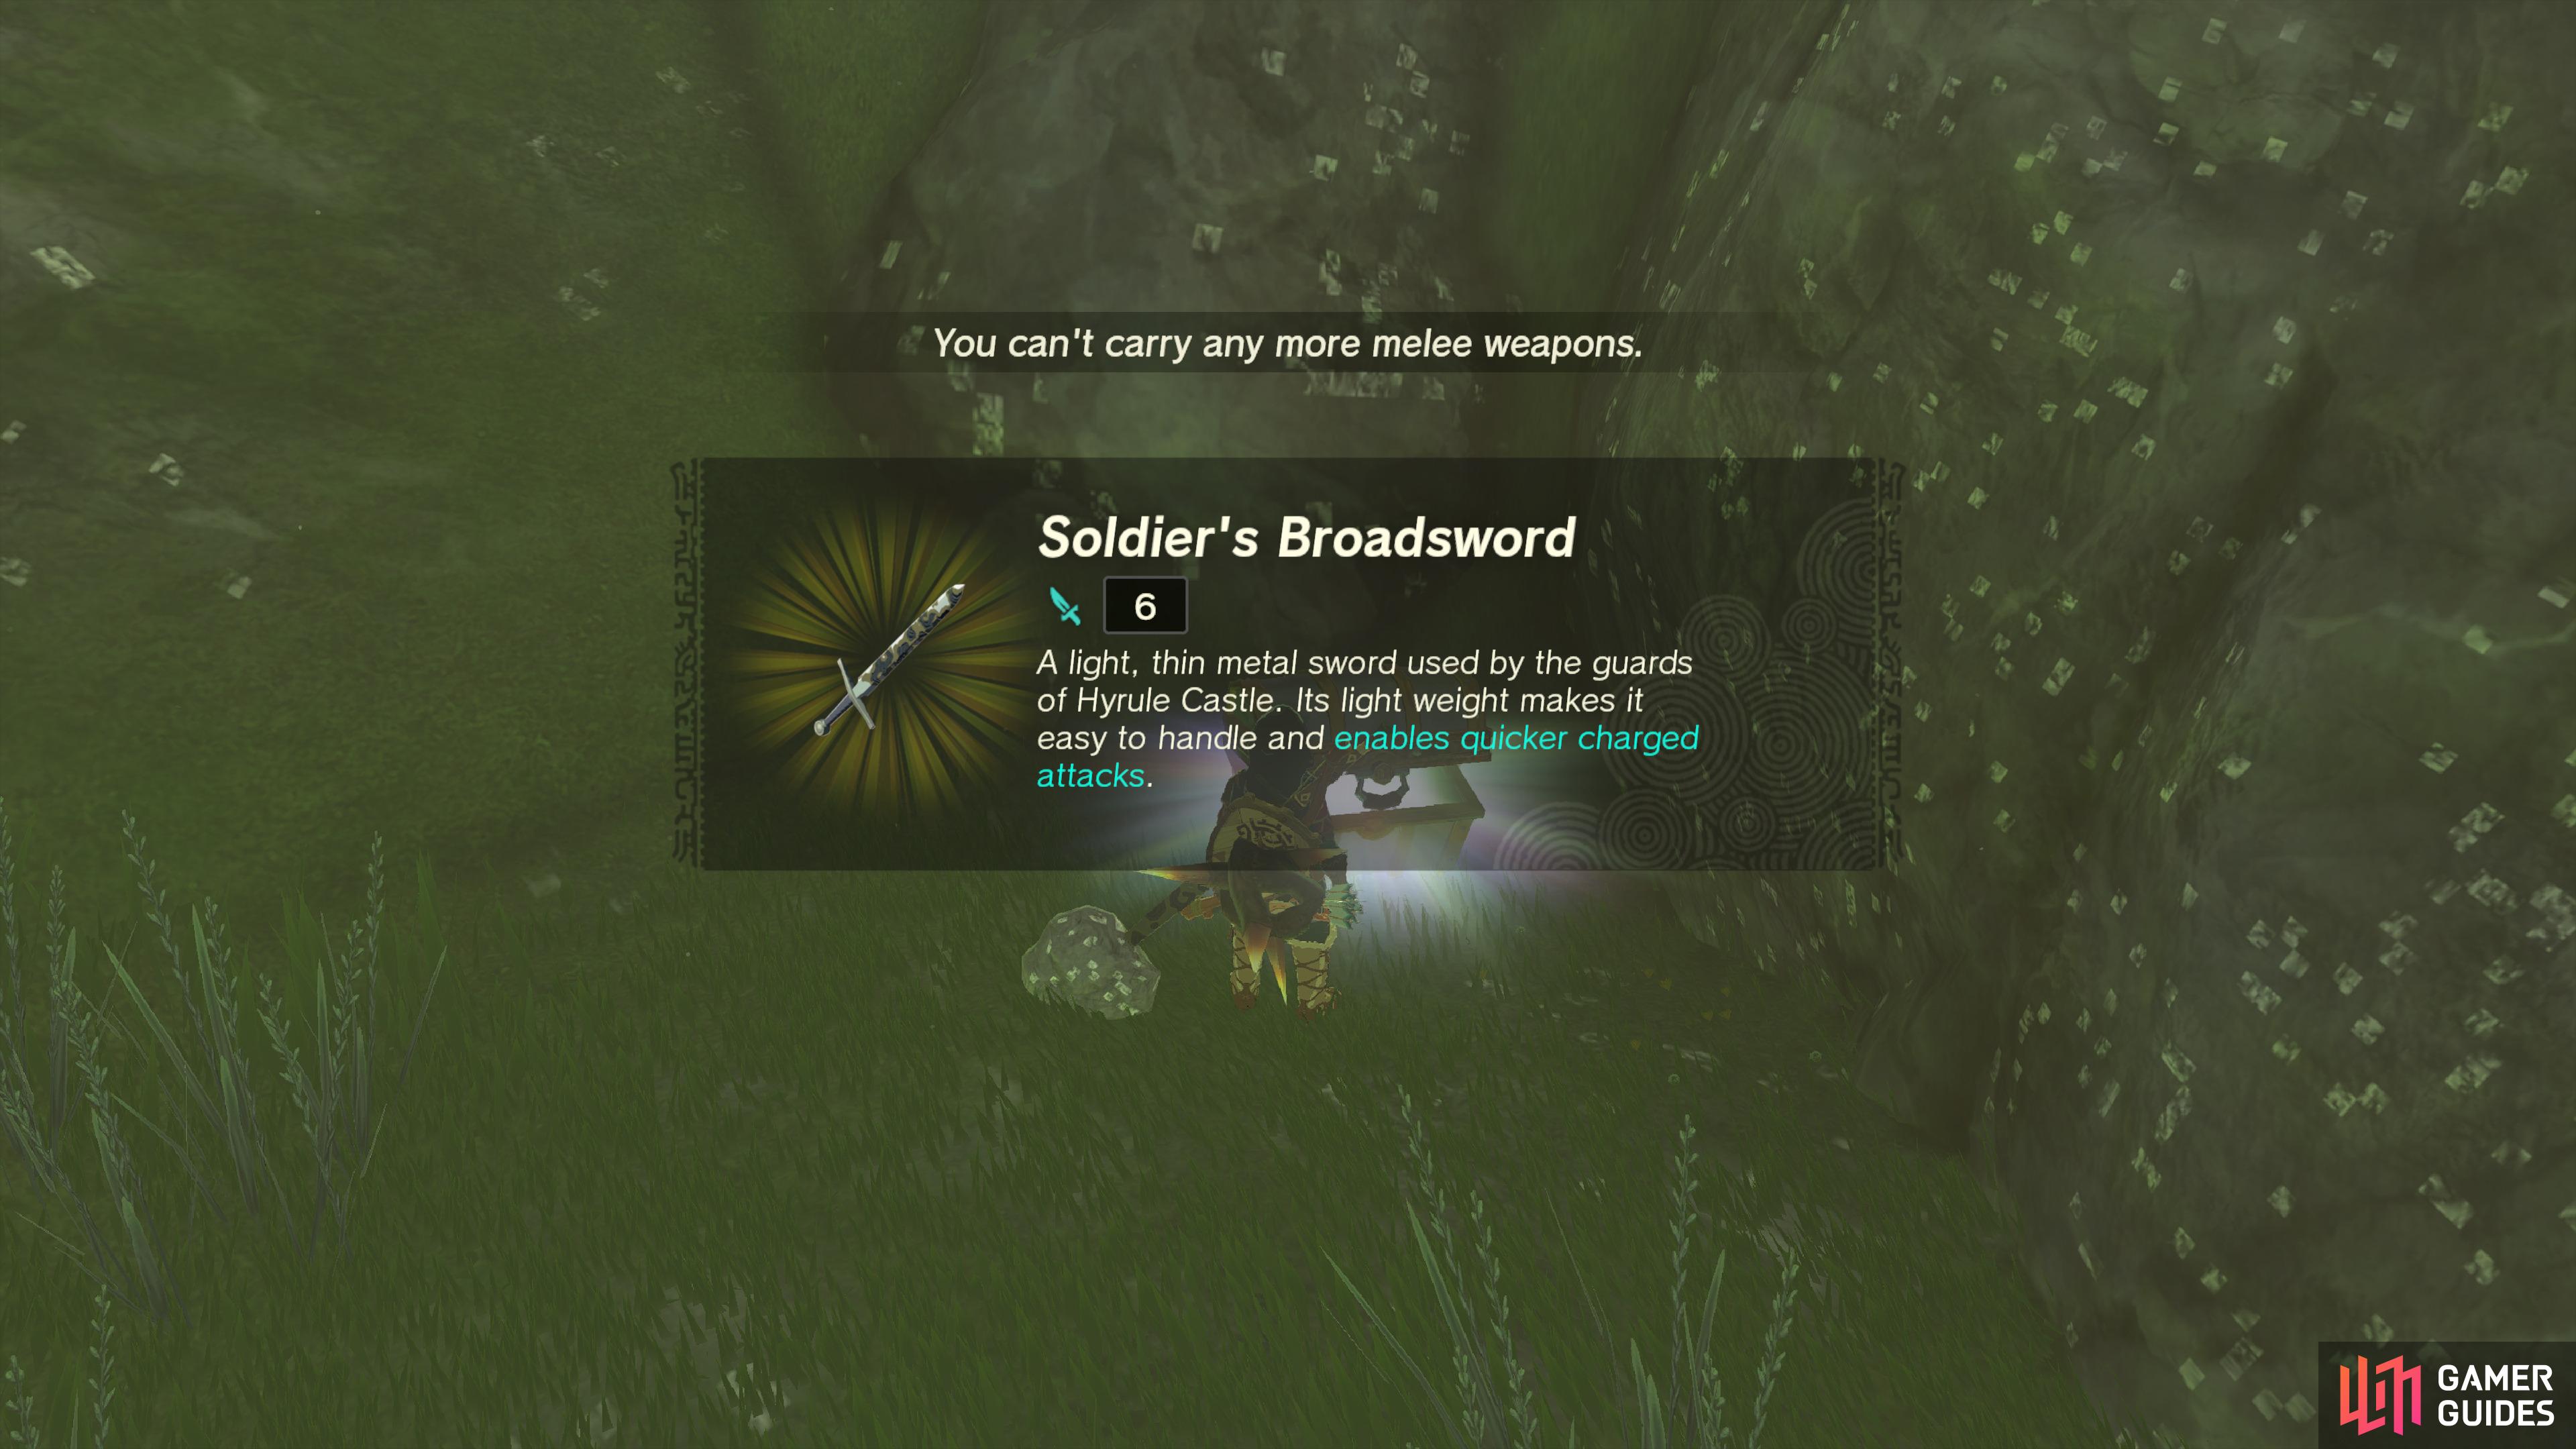
40266. Hyrule Surface Map
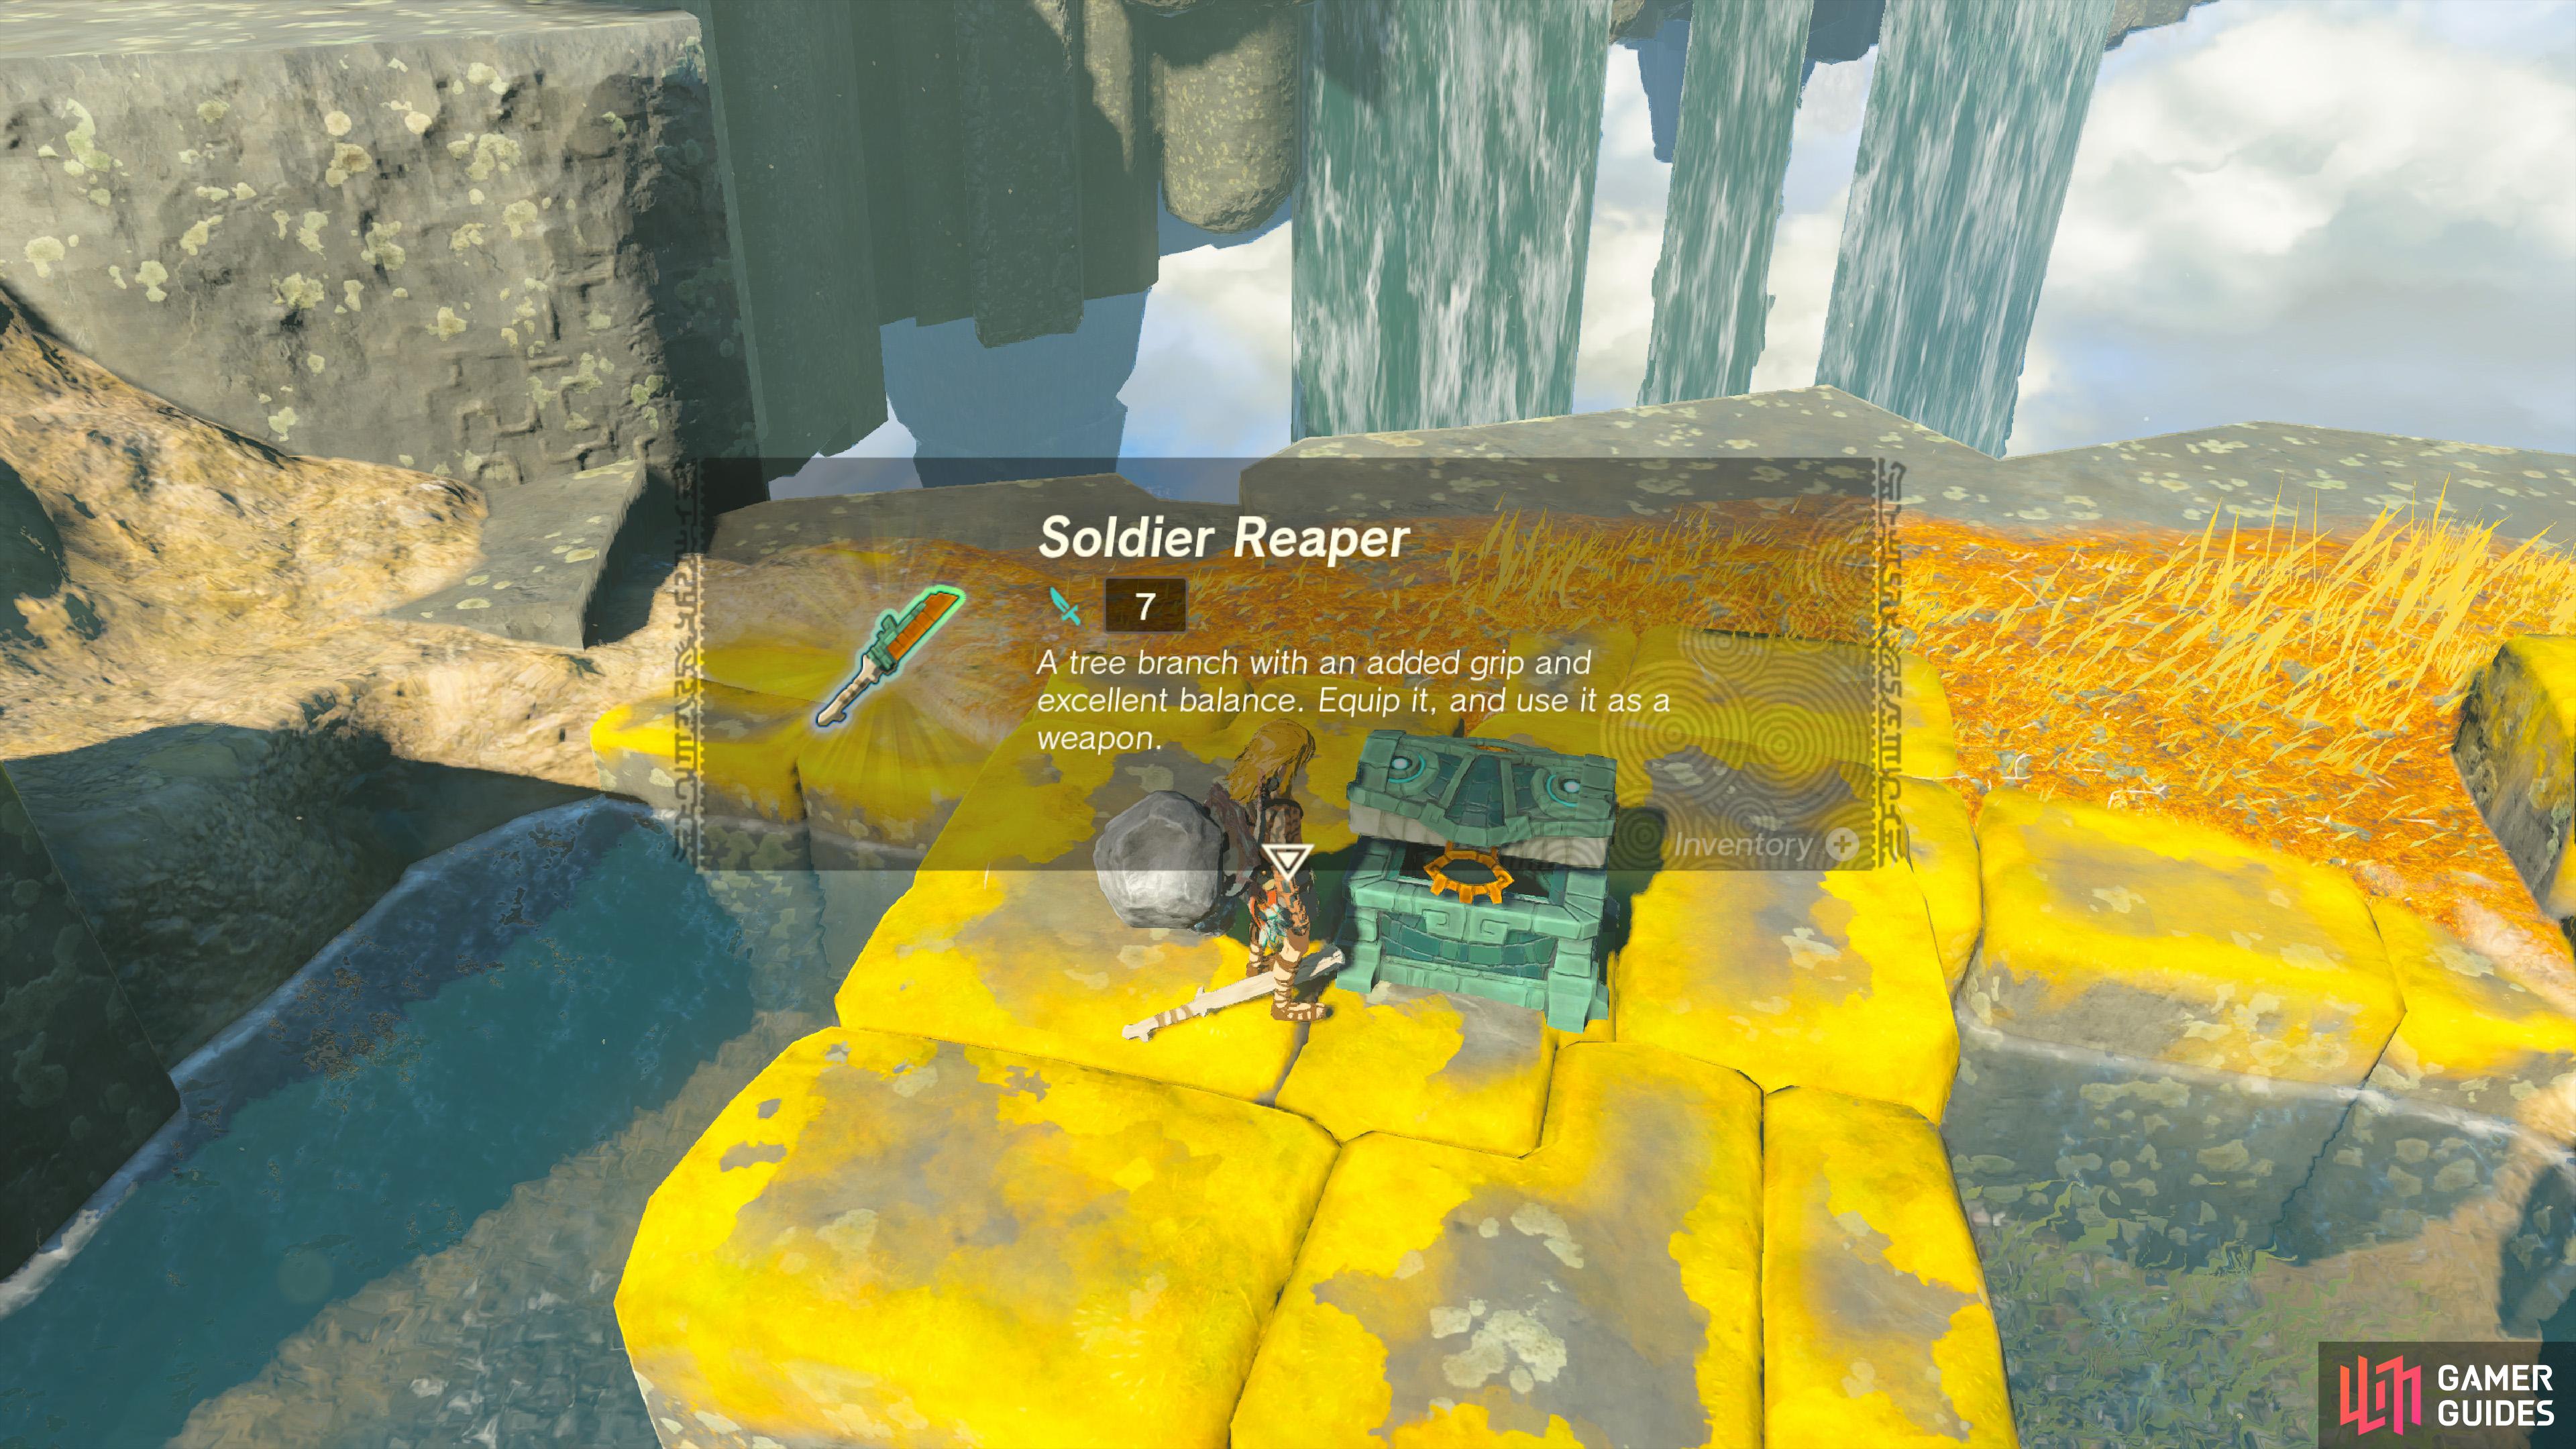
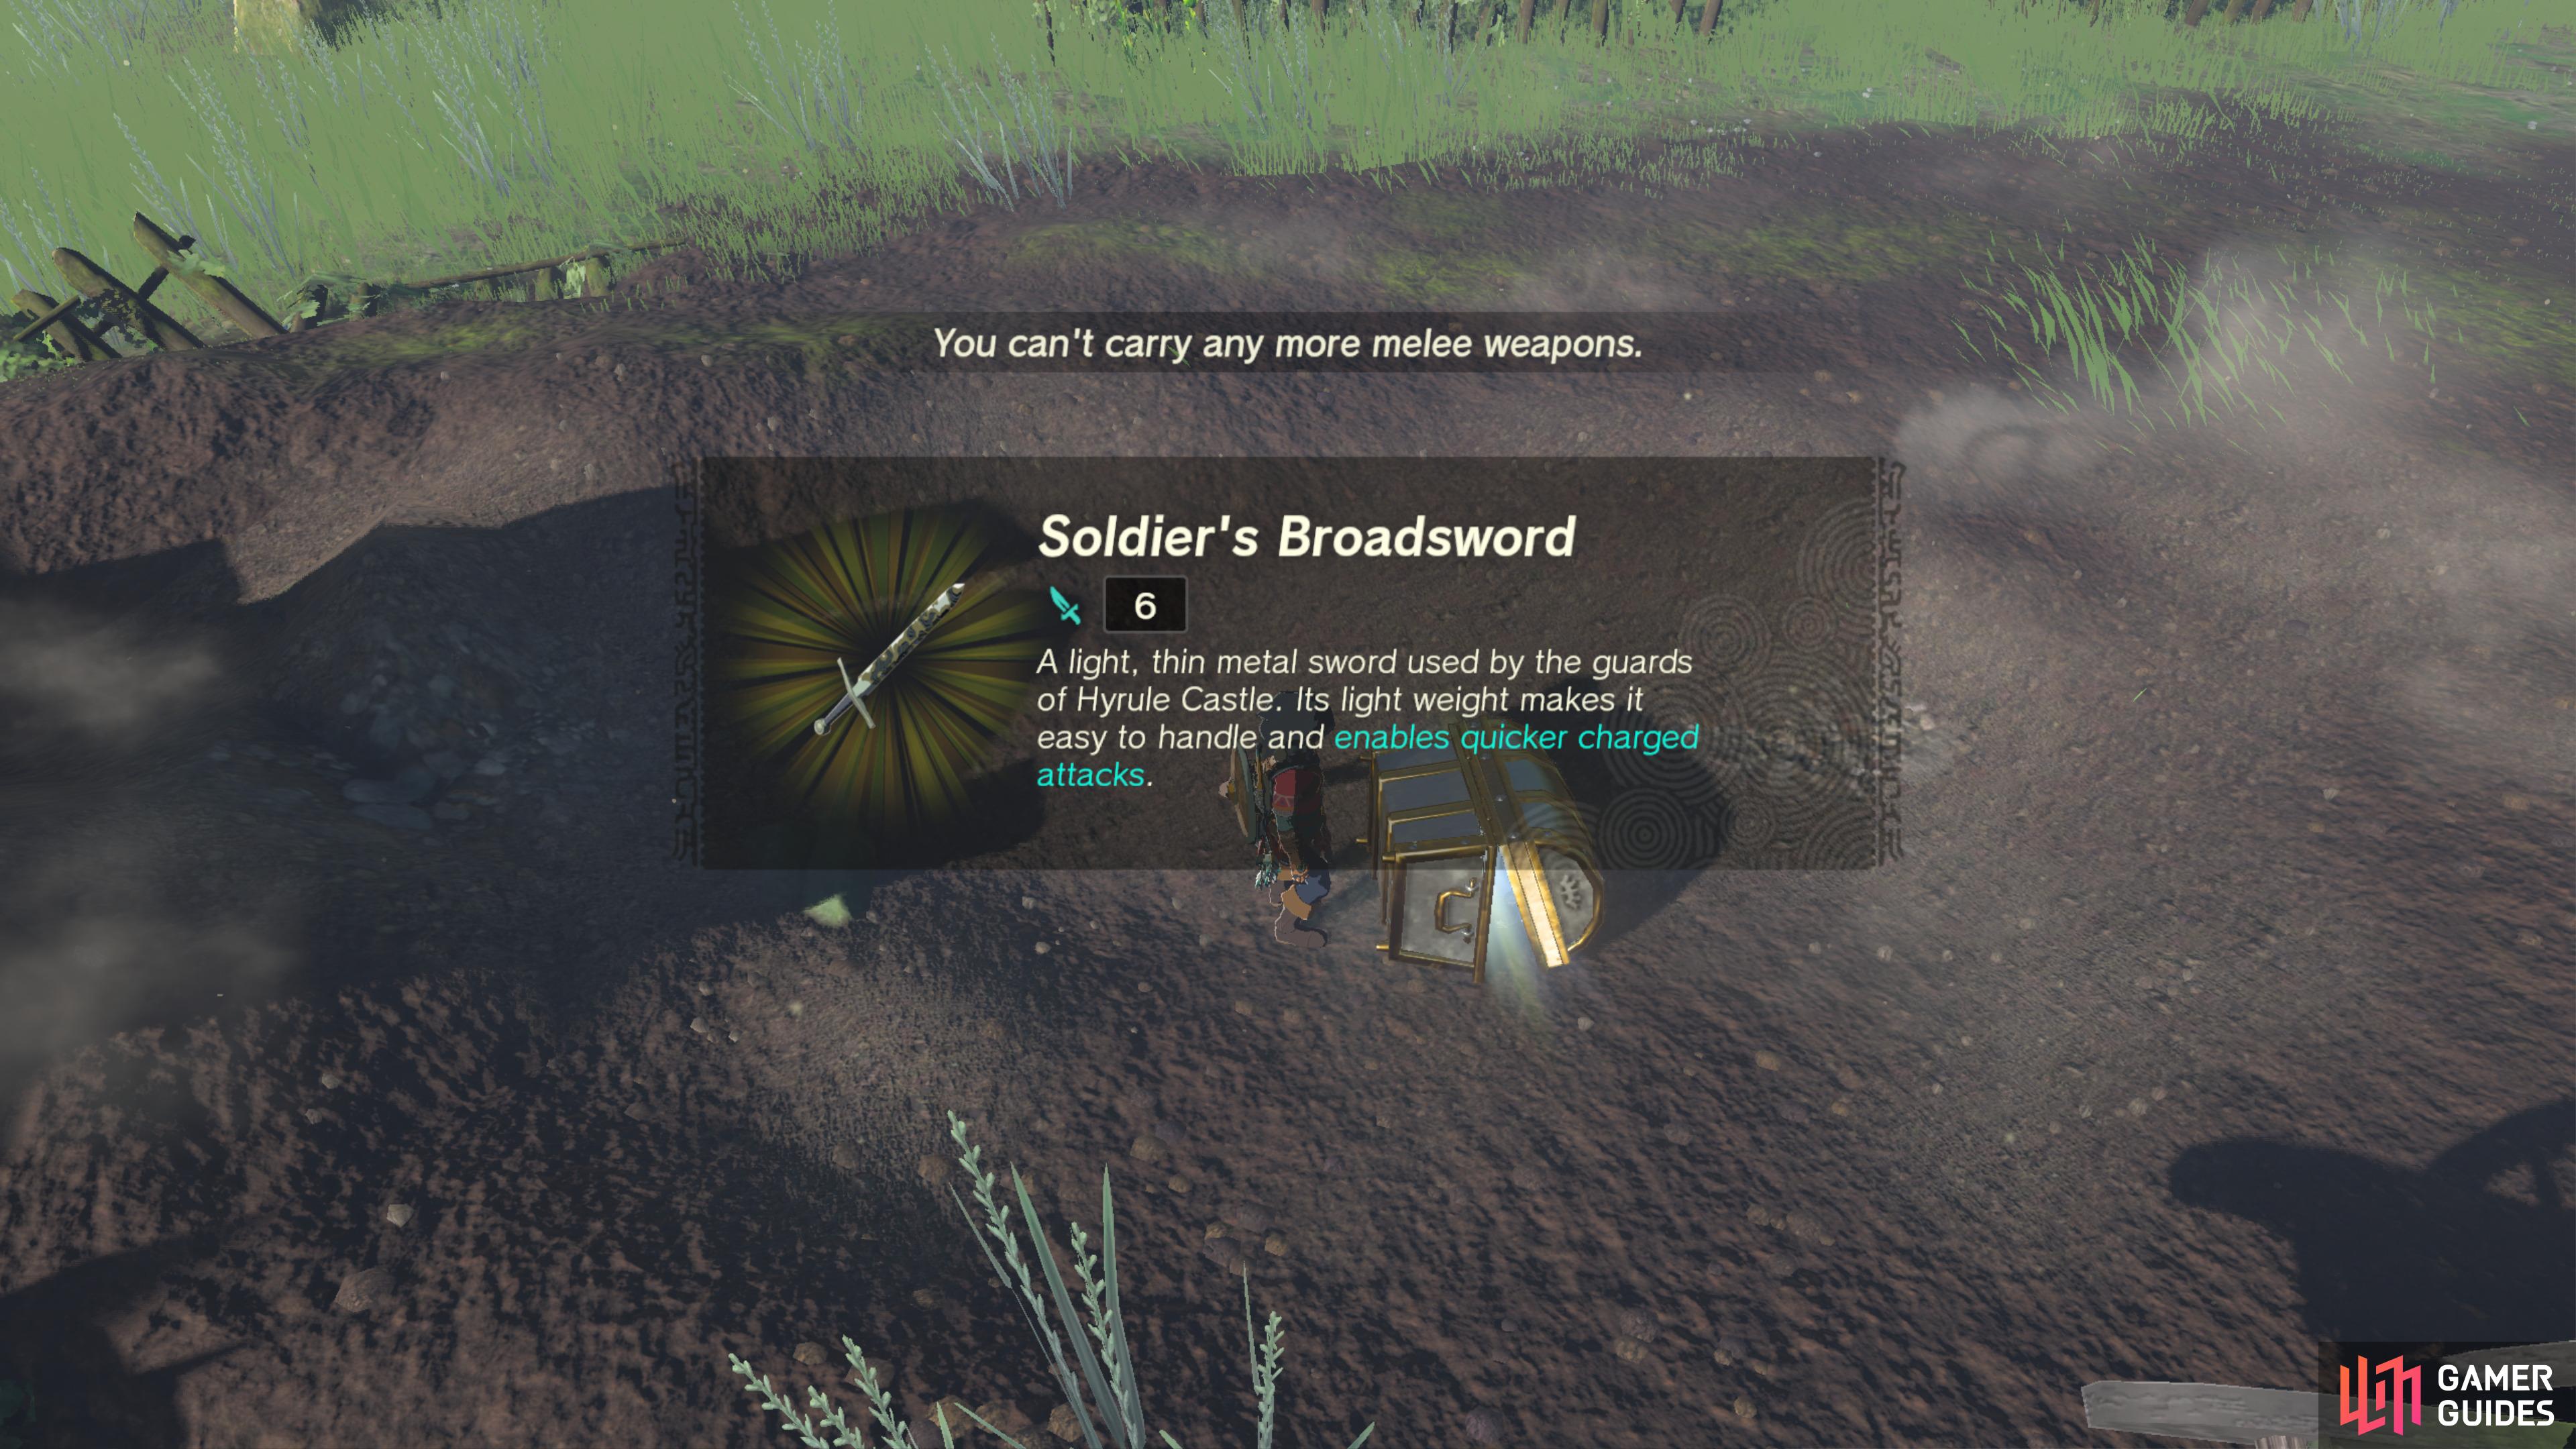
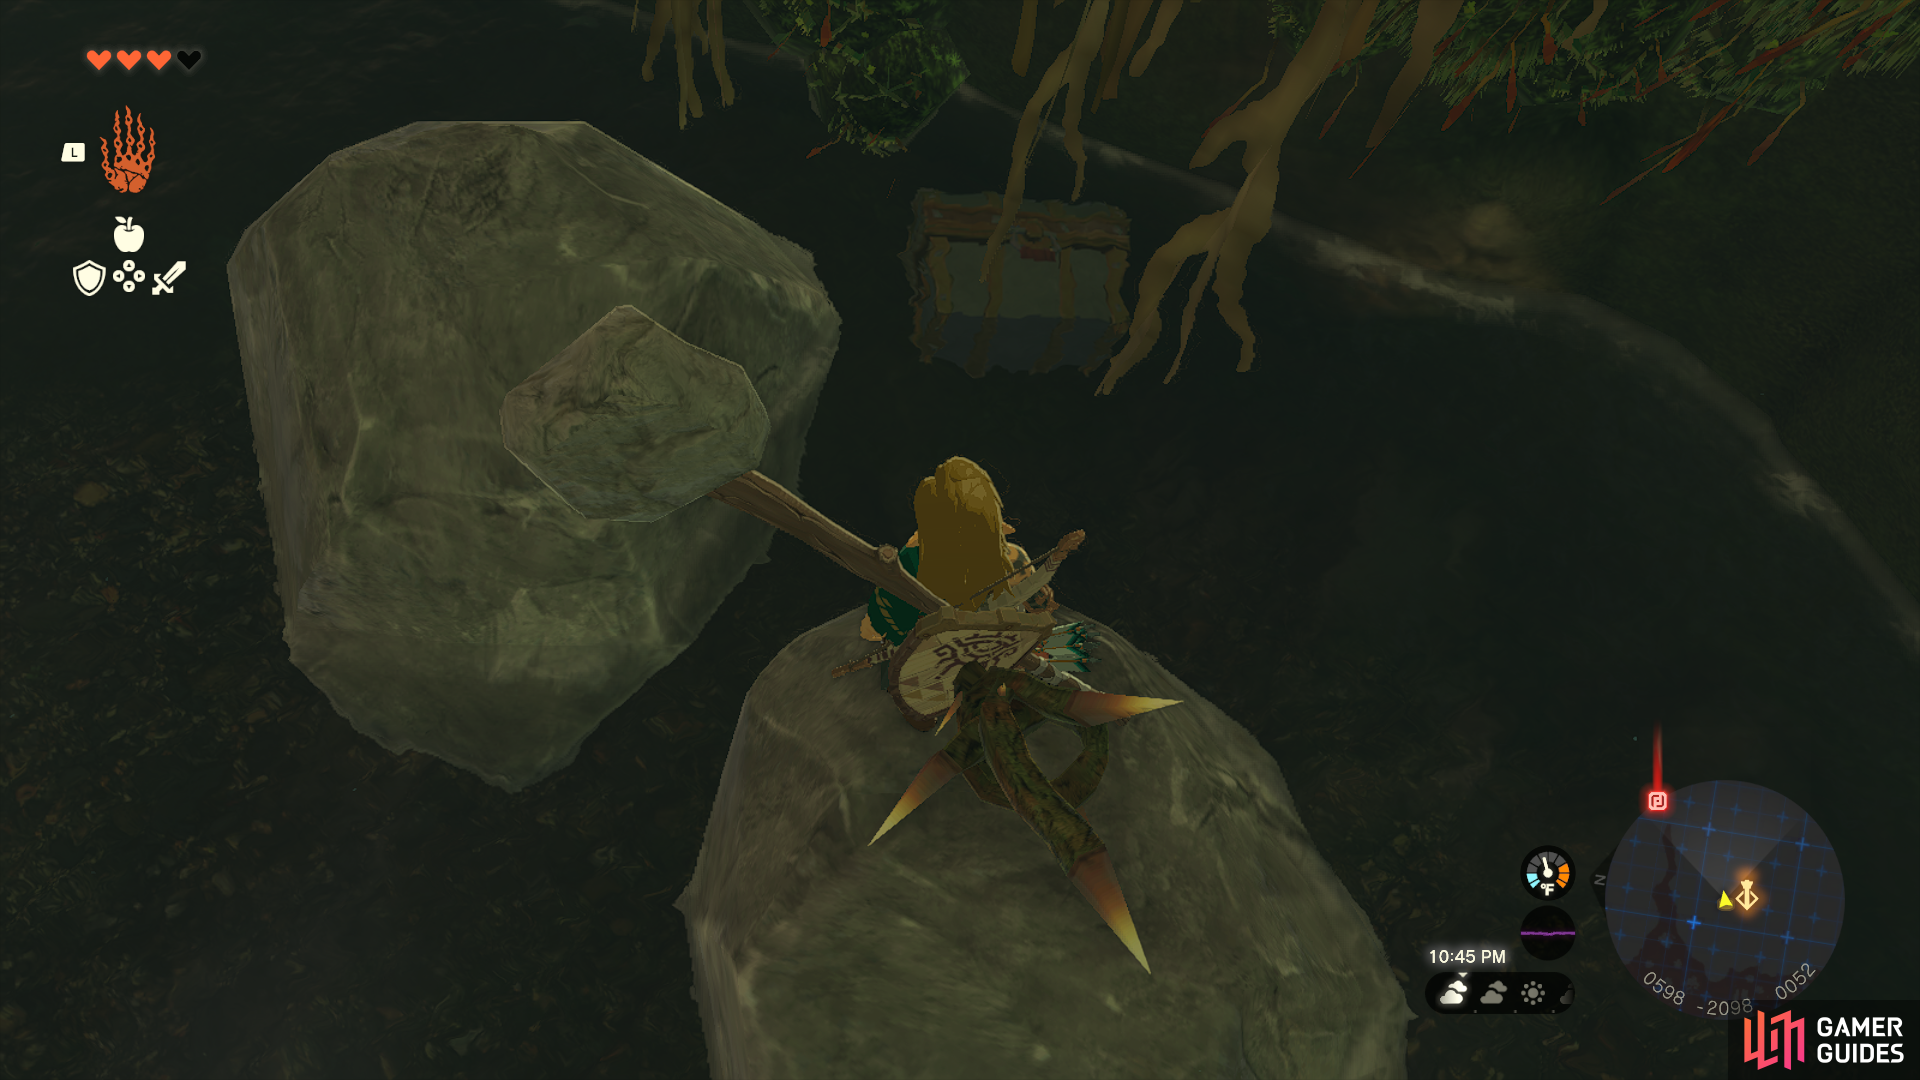
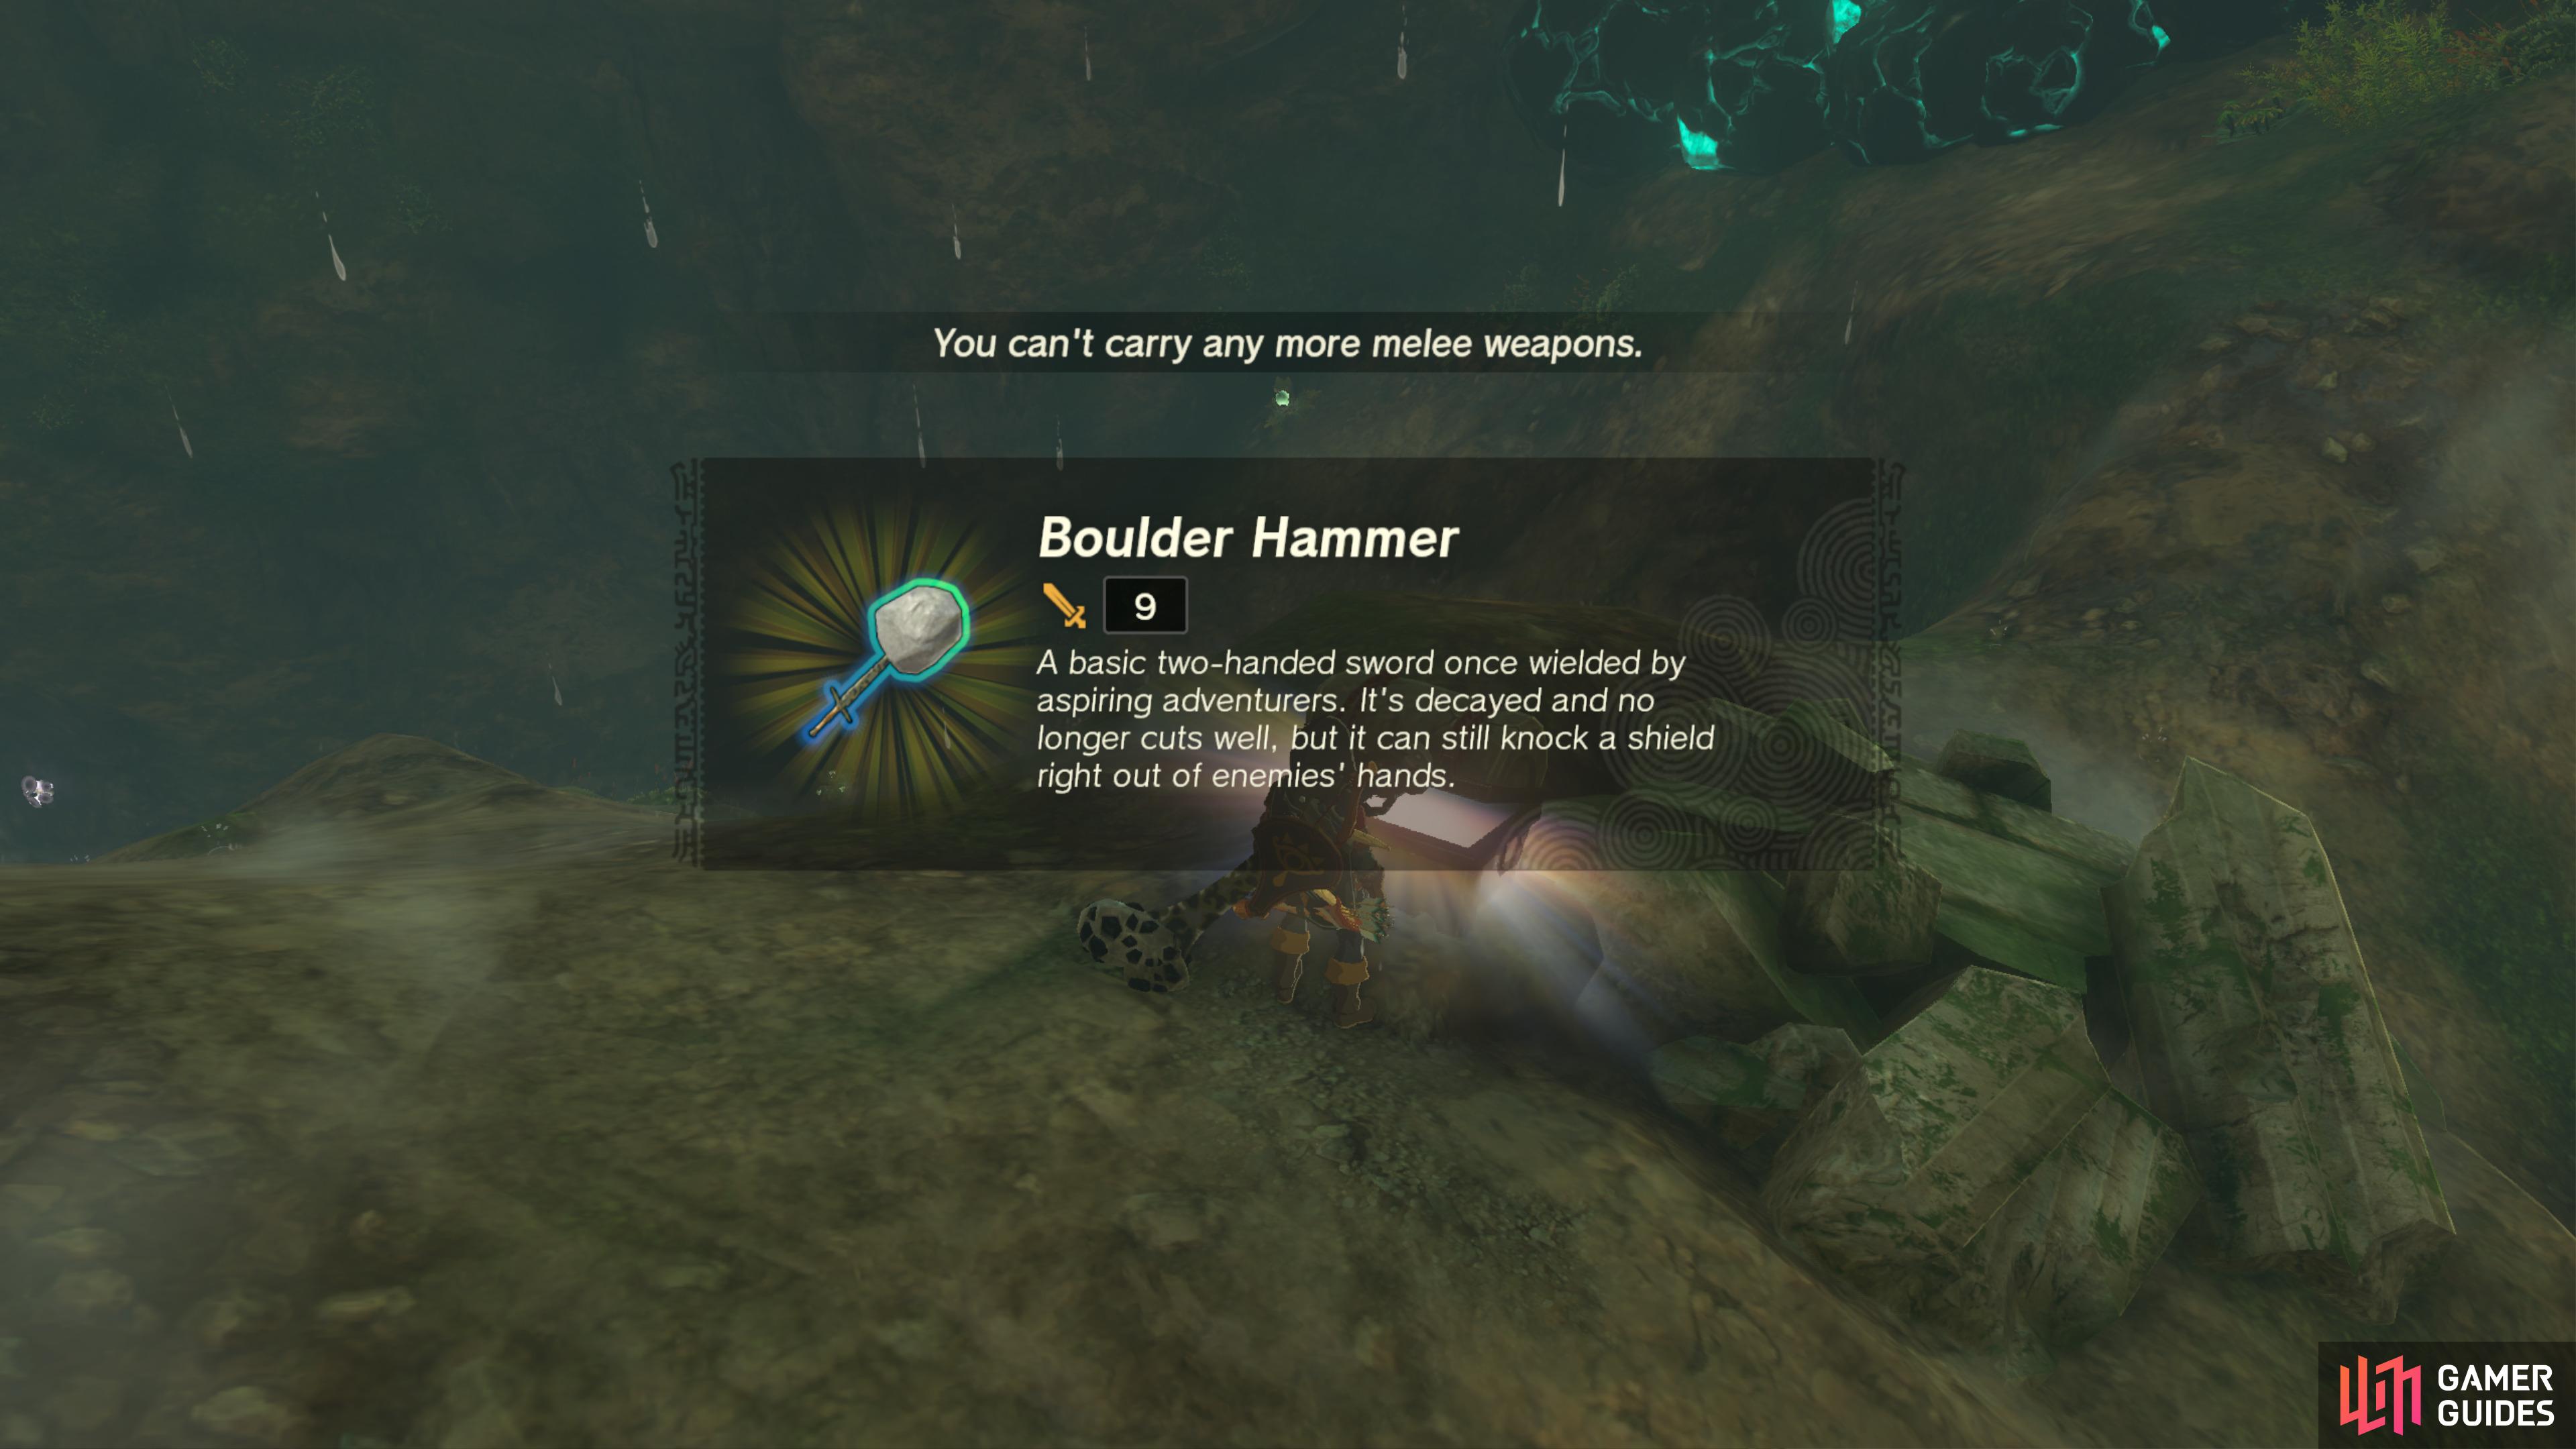
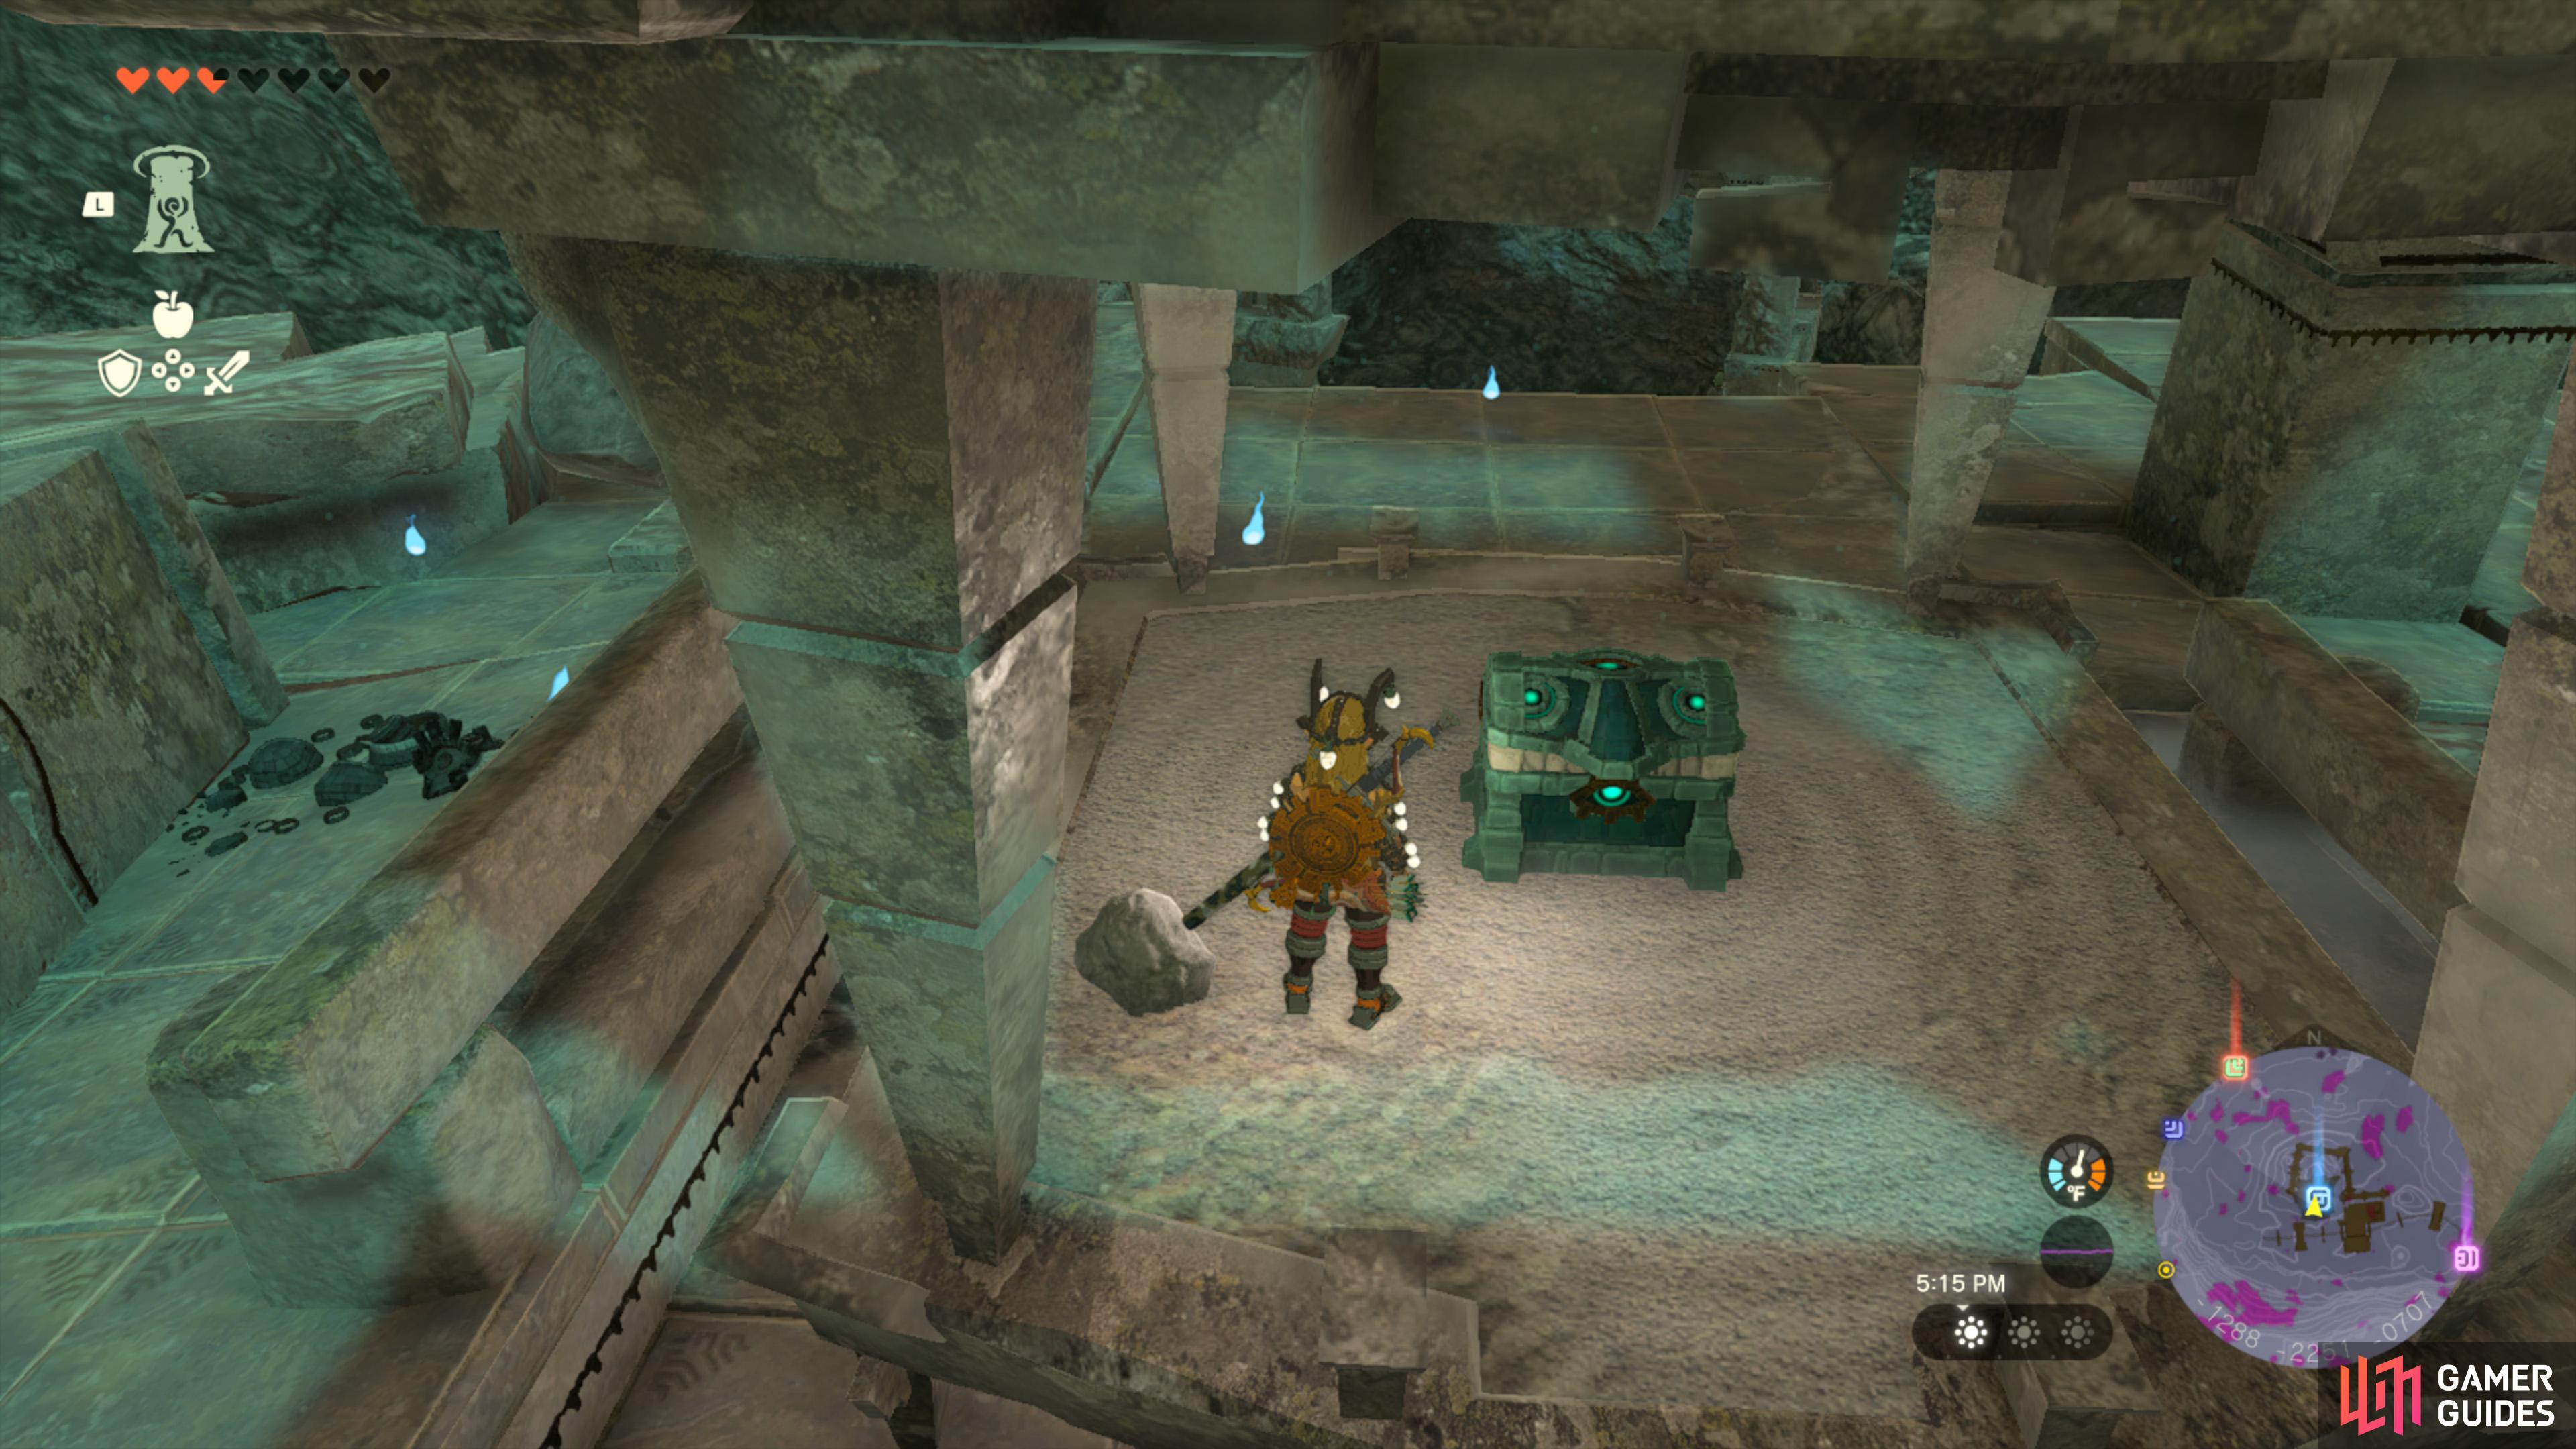
Break the rocks with a hammer type weapon (sword + rock) to reveal the Chest.
It contains a ![]() Soldier’s Broadsword.
Soldier’s Broadsword.
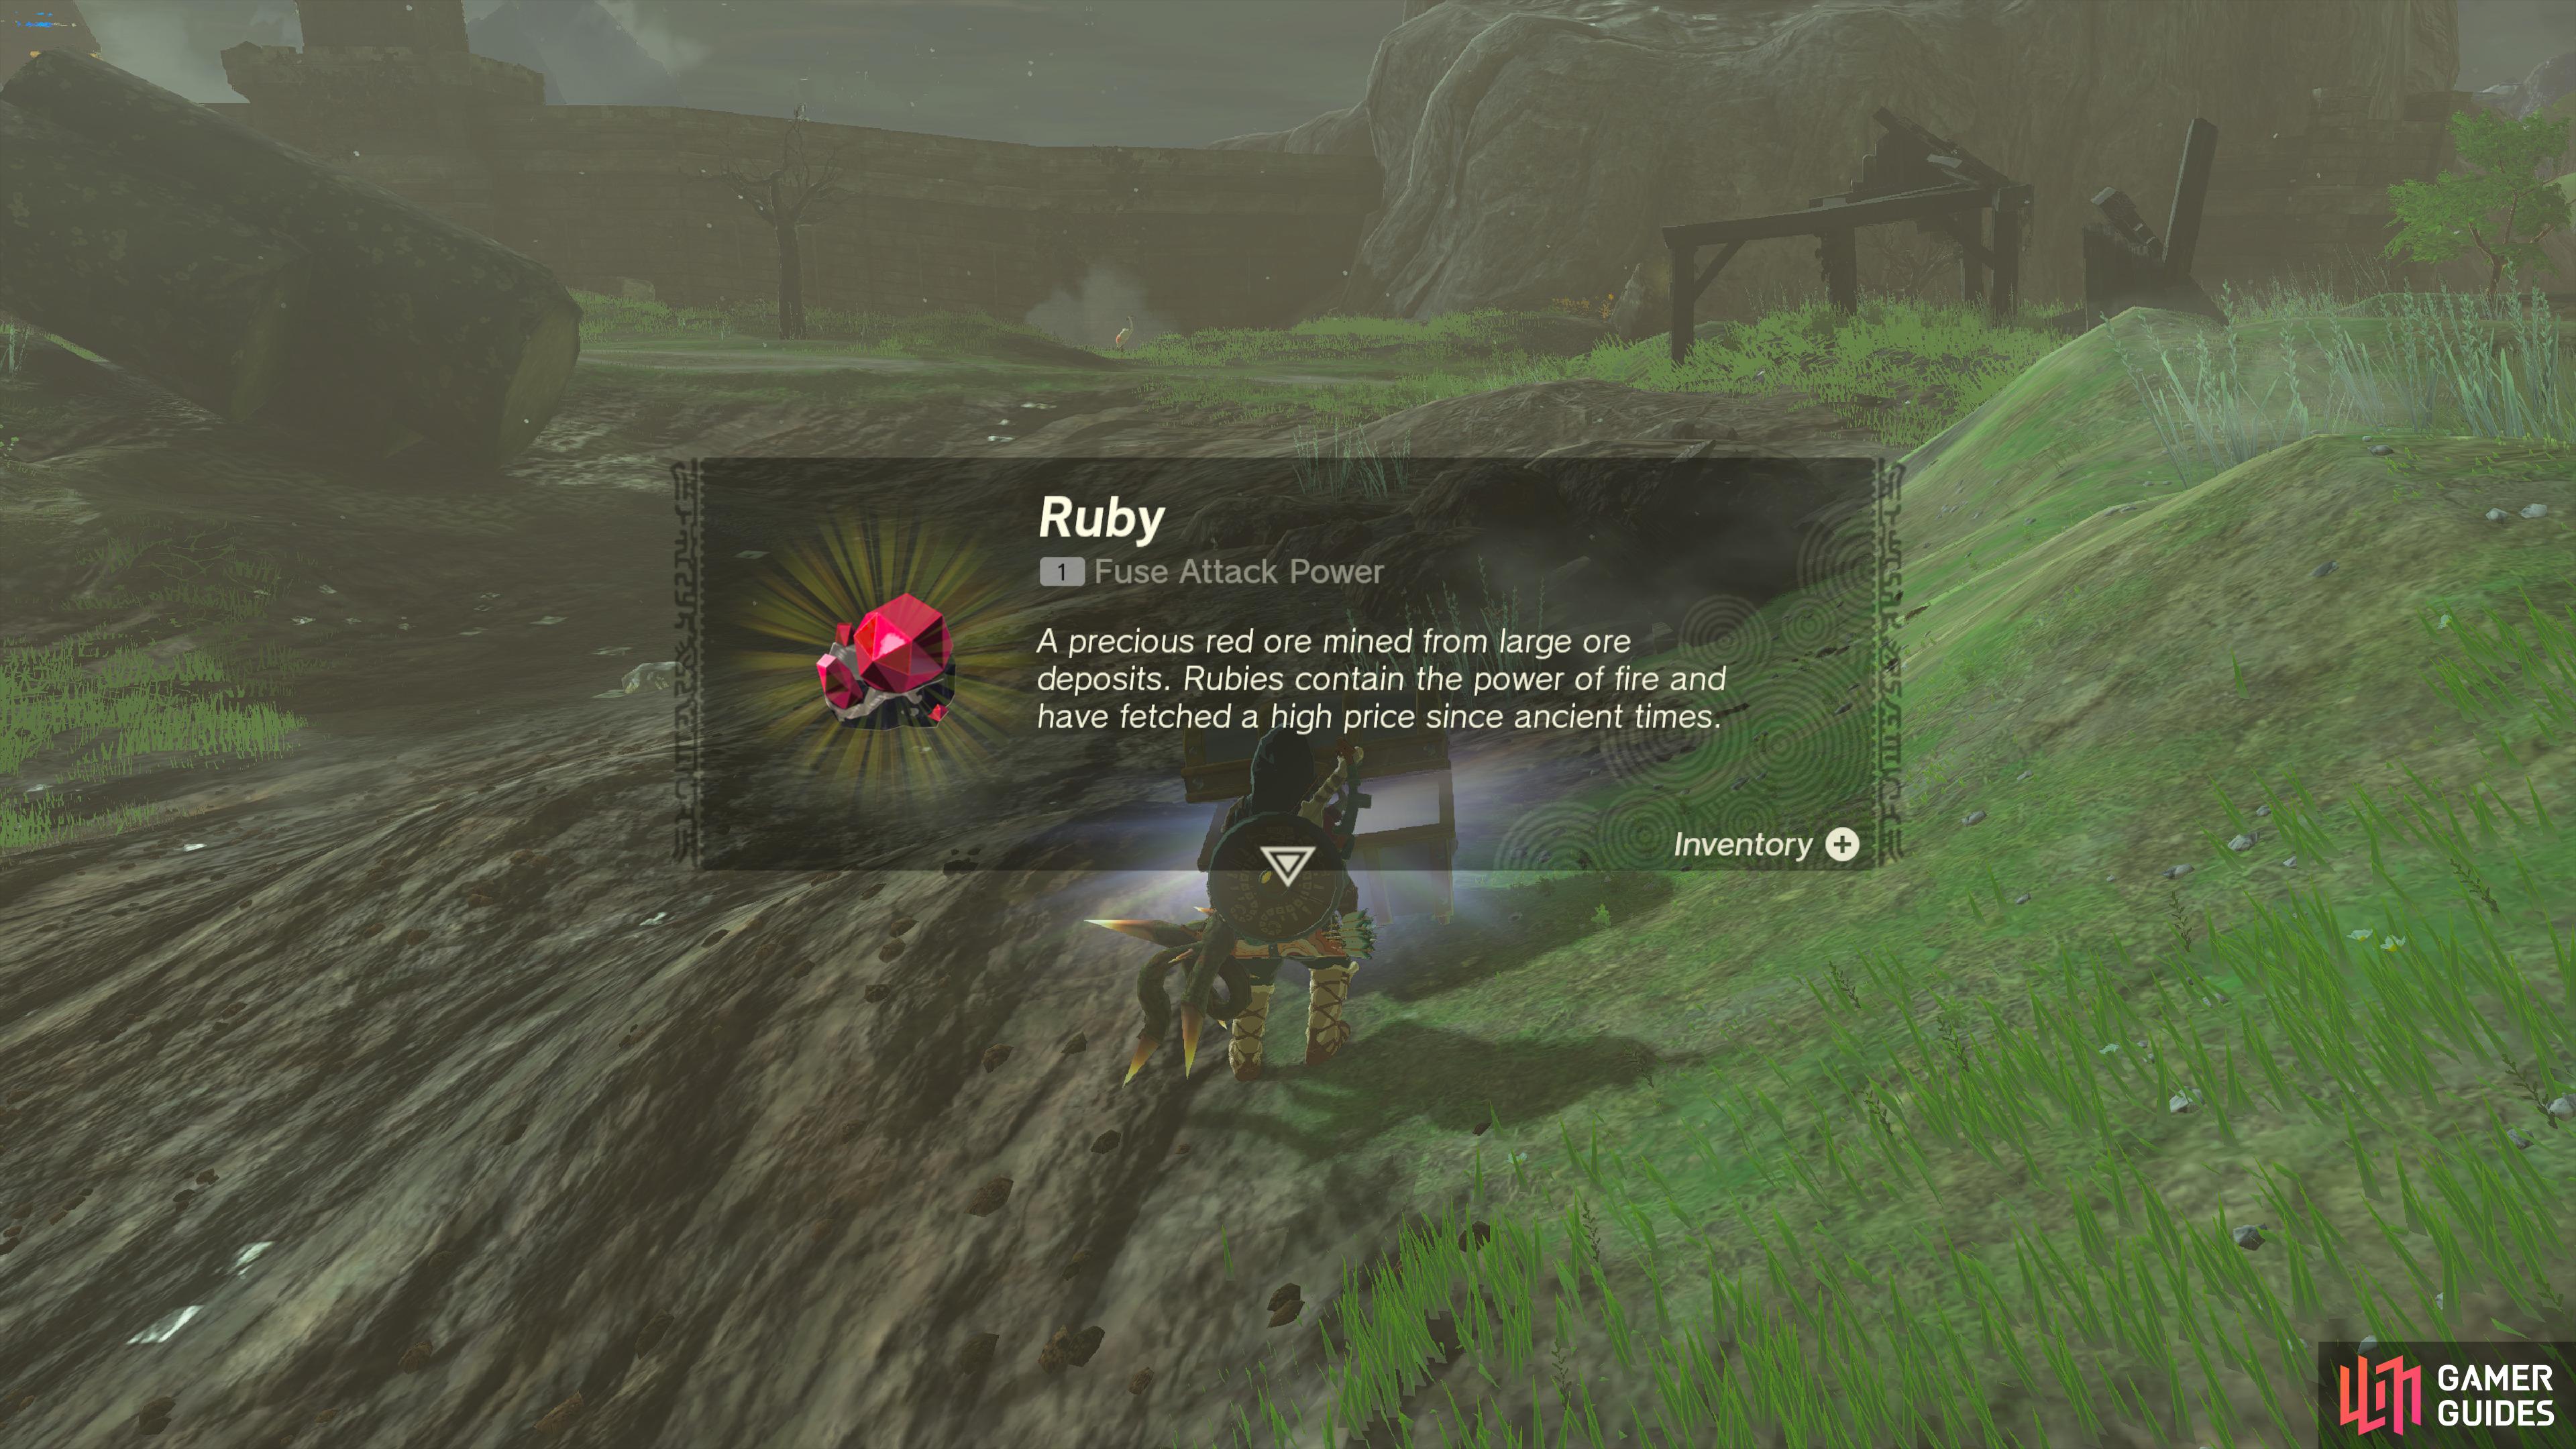
40312. Hyrule Surface Map
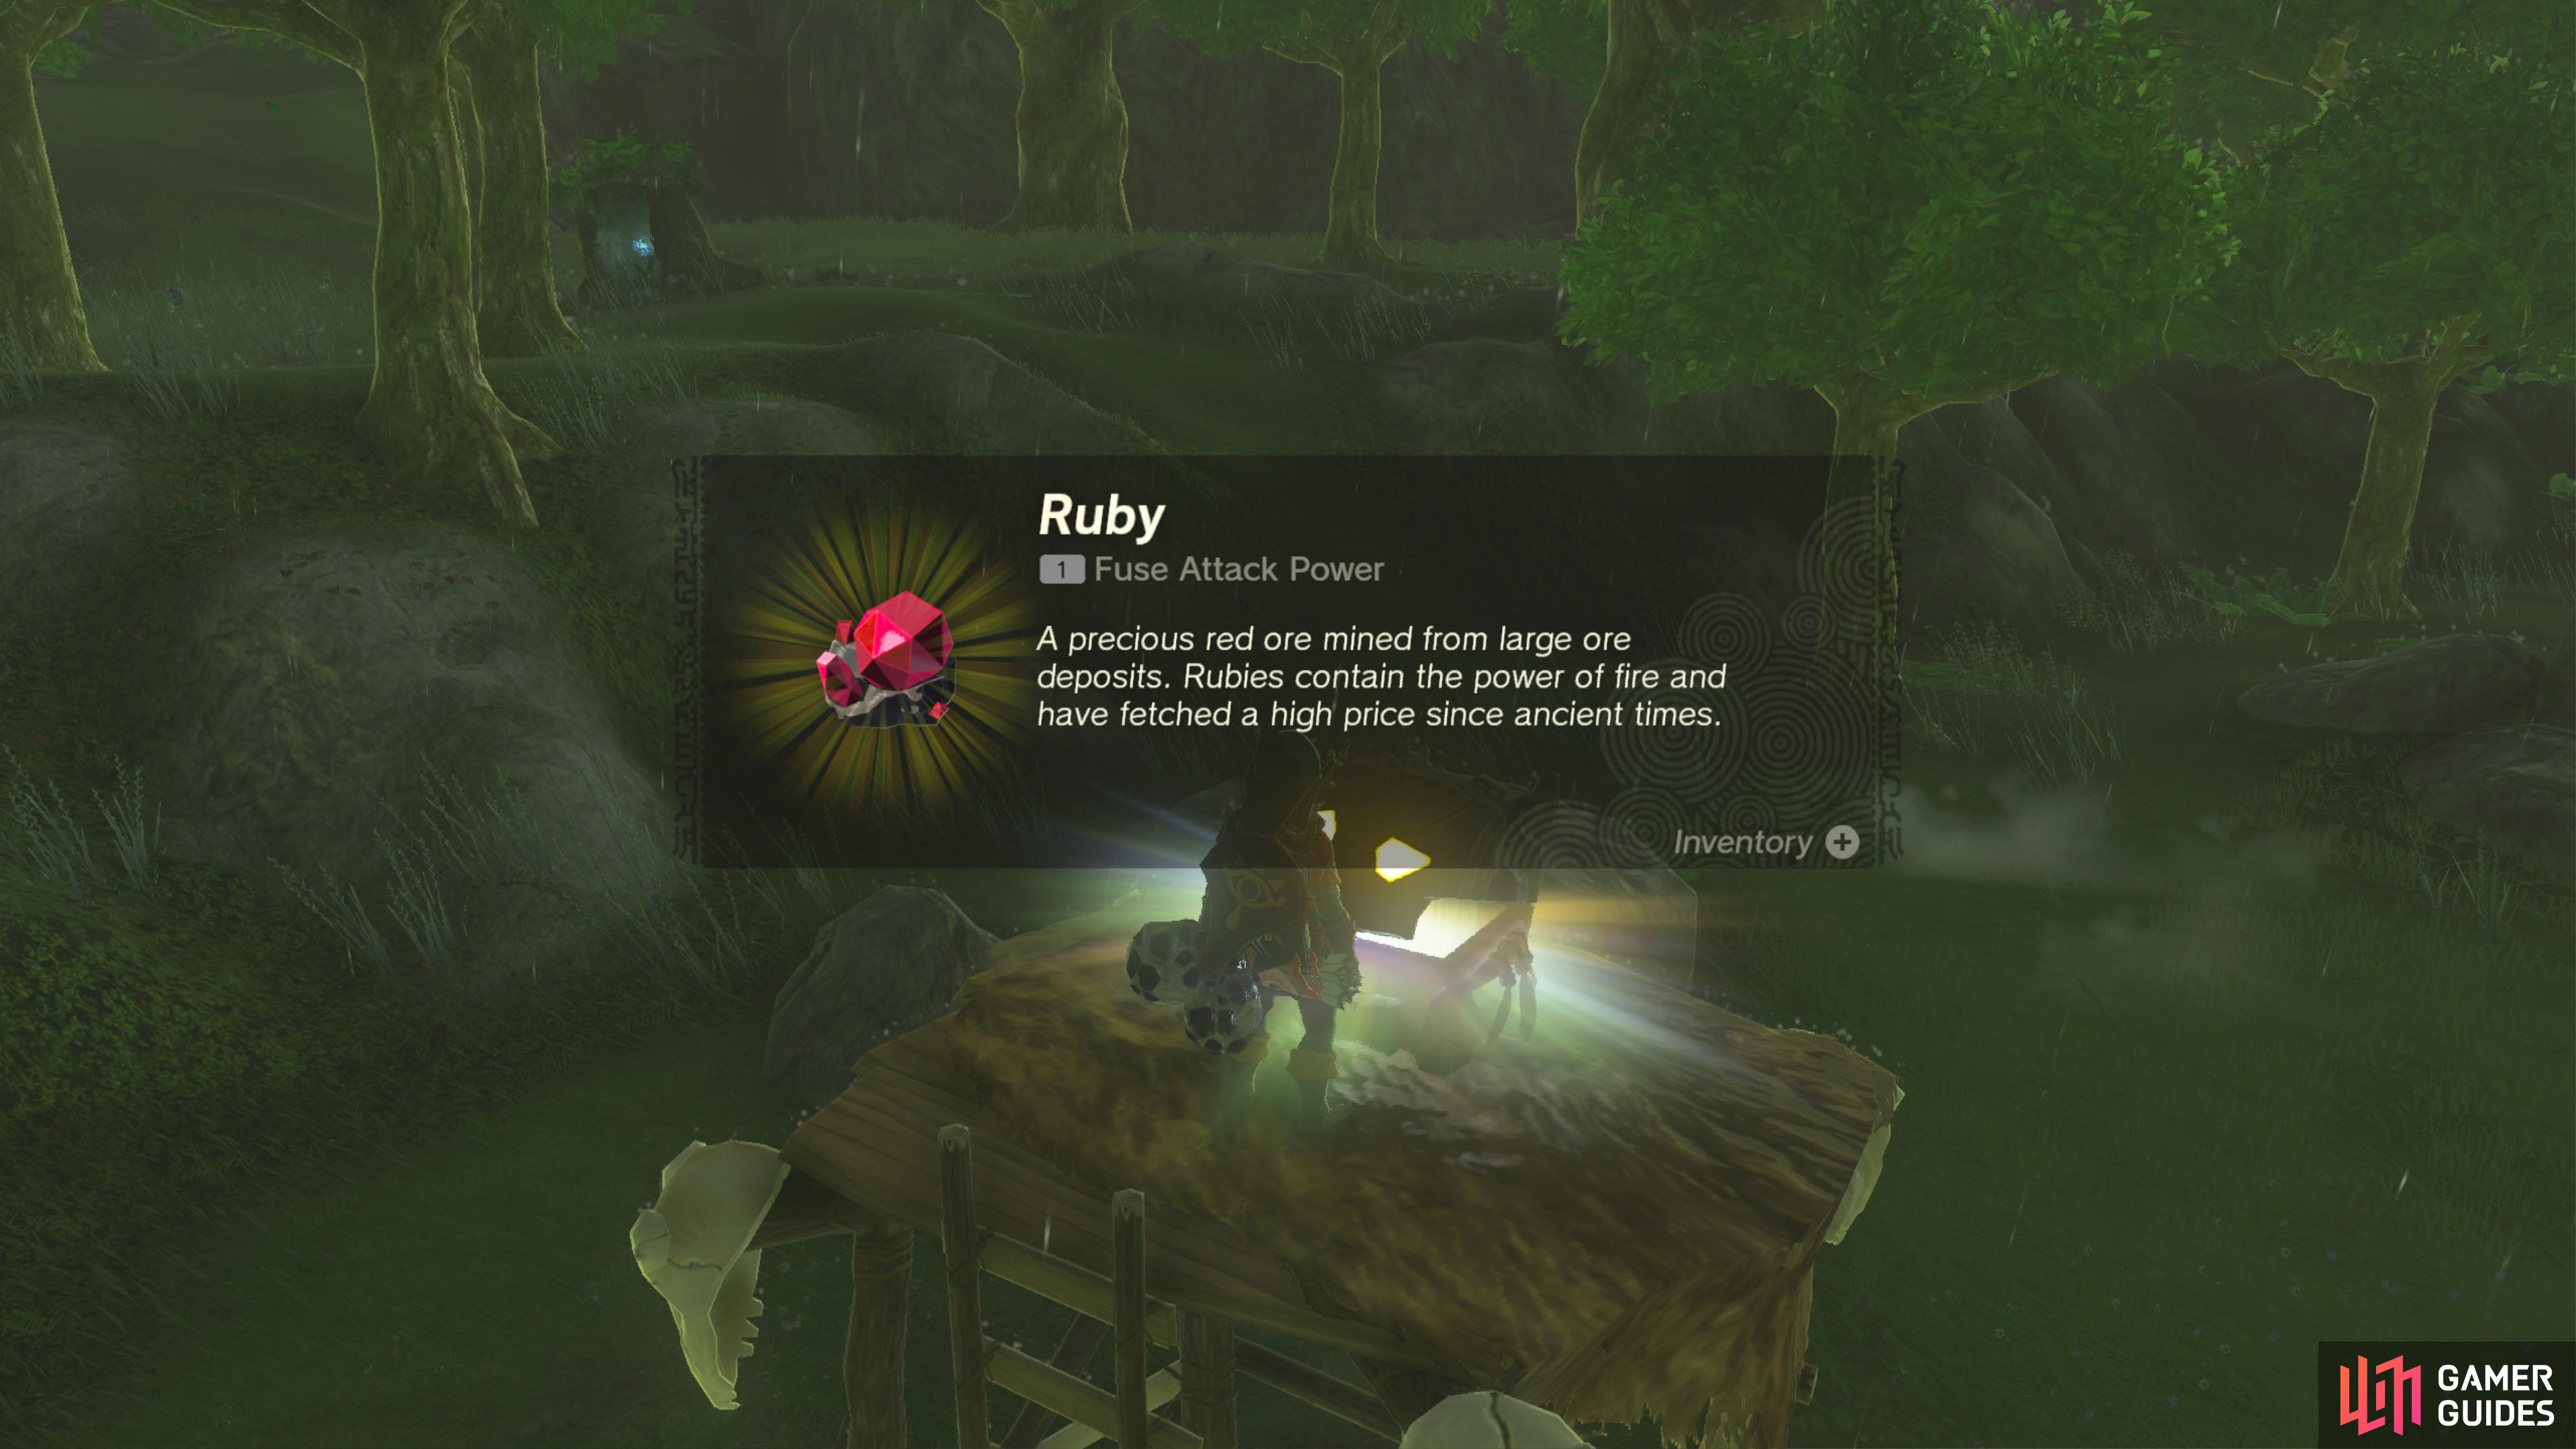
Use ![]() Ultrahand to pull this Chest out of the ground.
Ultrahand to pull this Chest out of the ground.
It contains a Ruby.
40323. Hyrule Surface Map
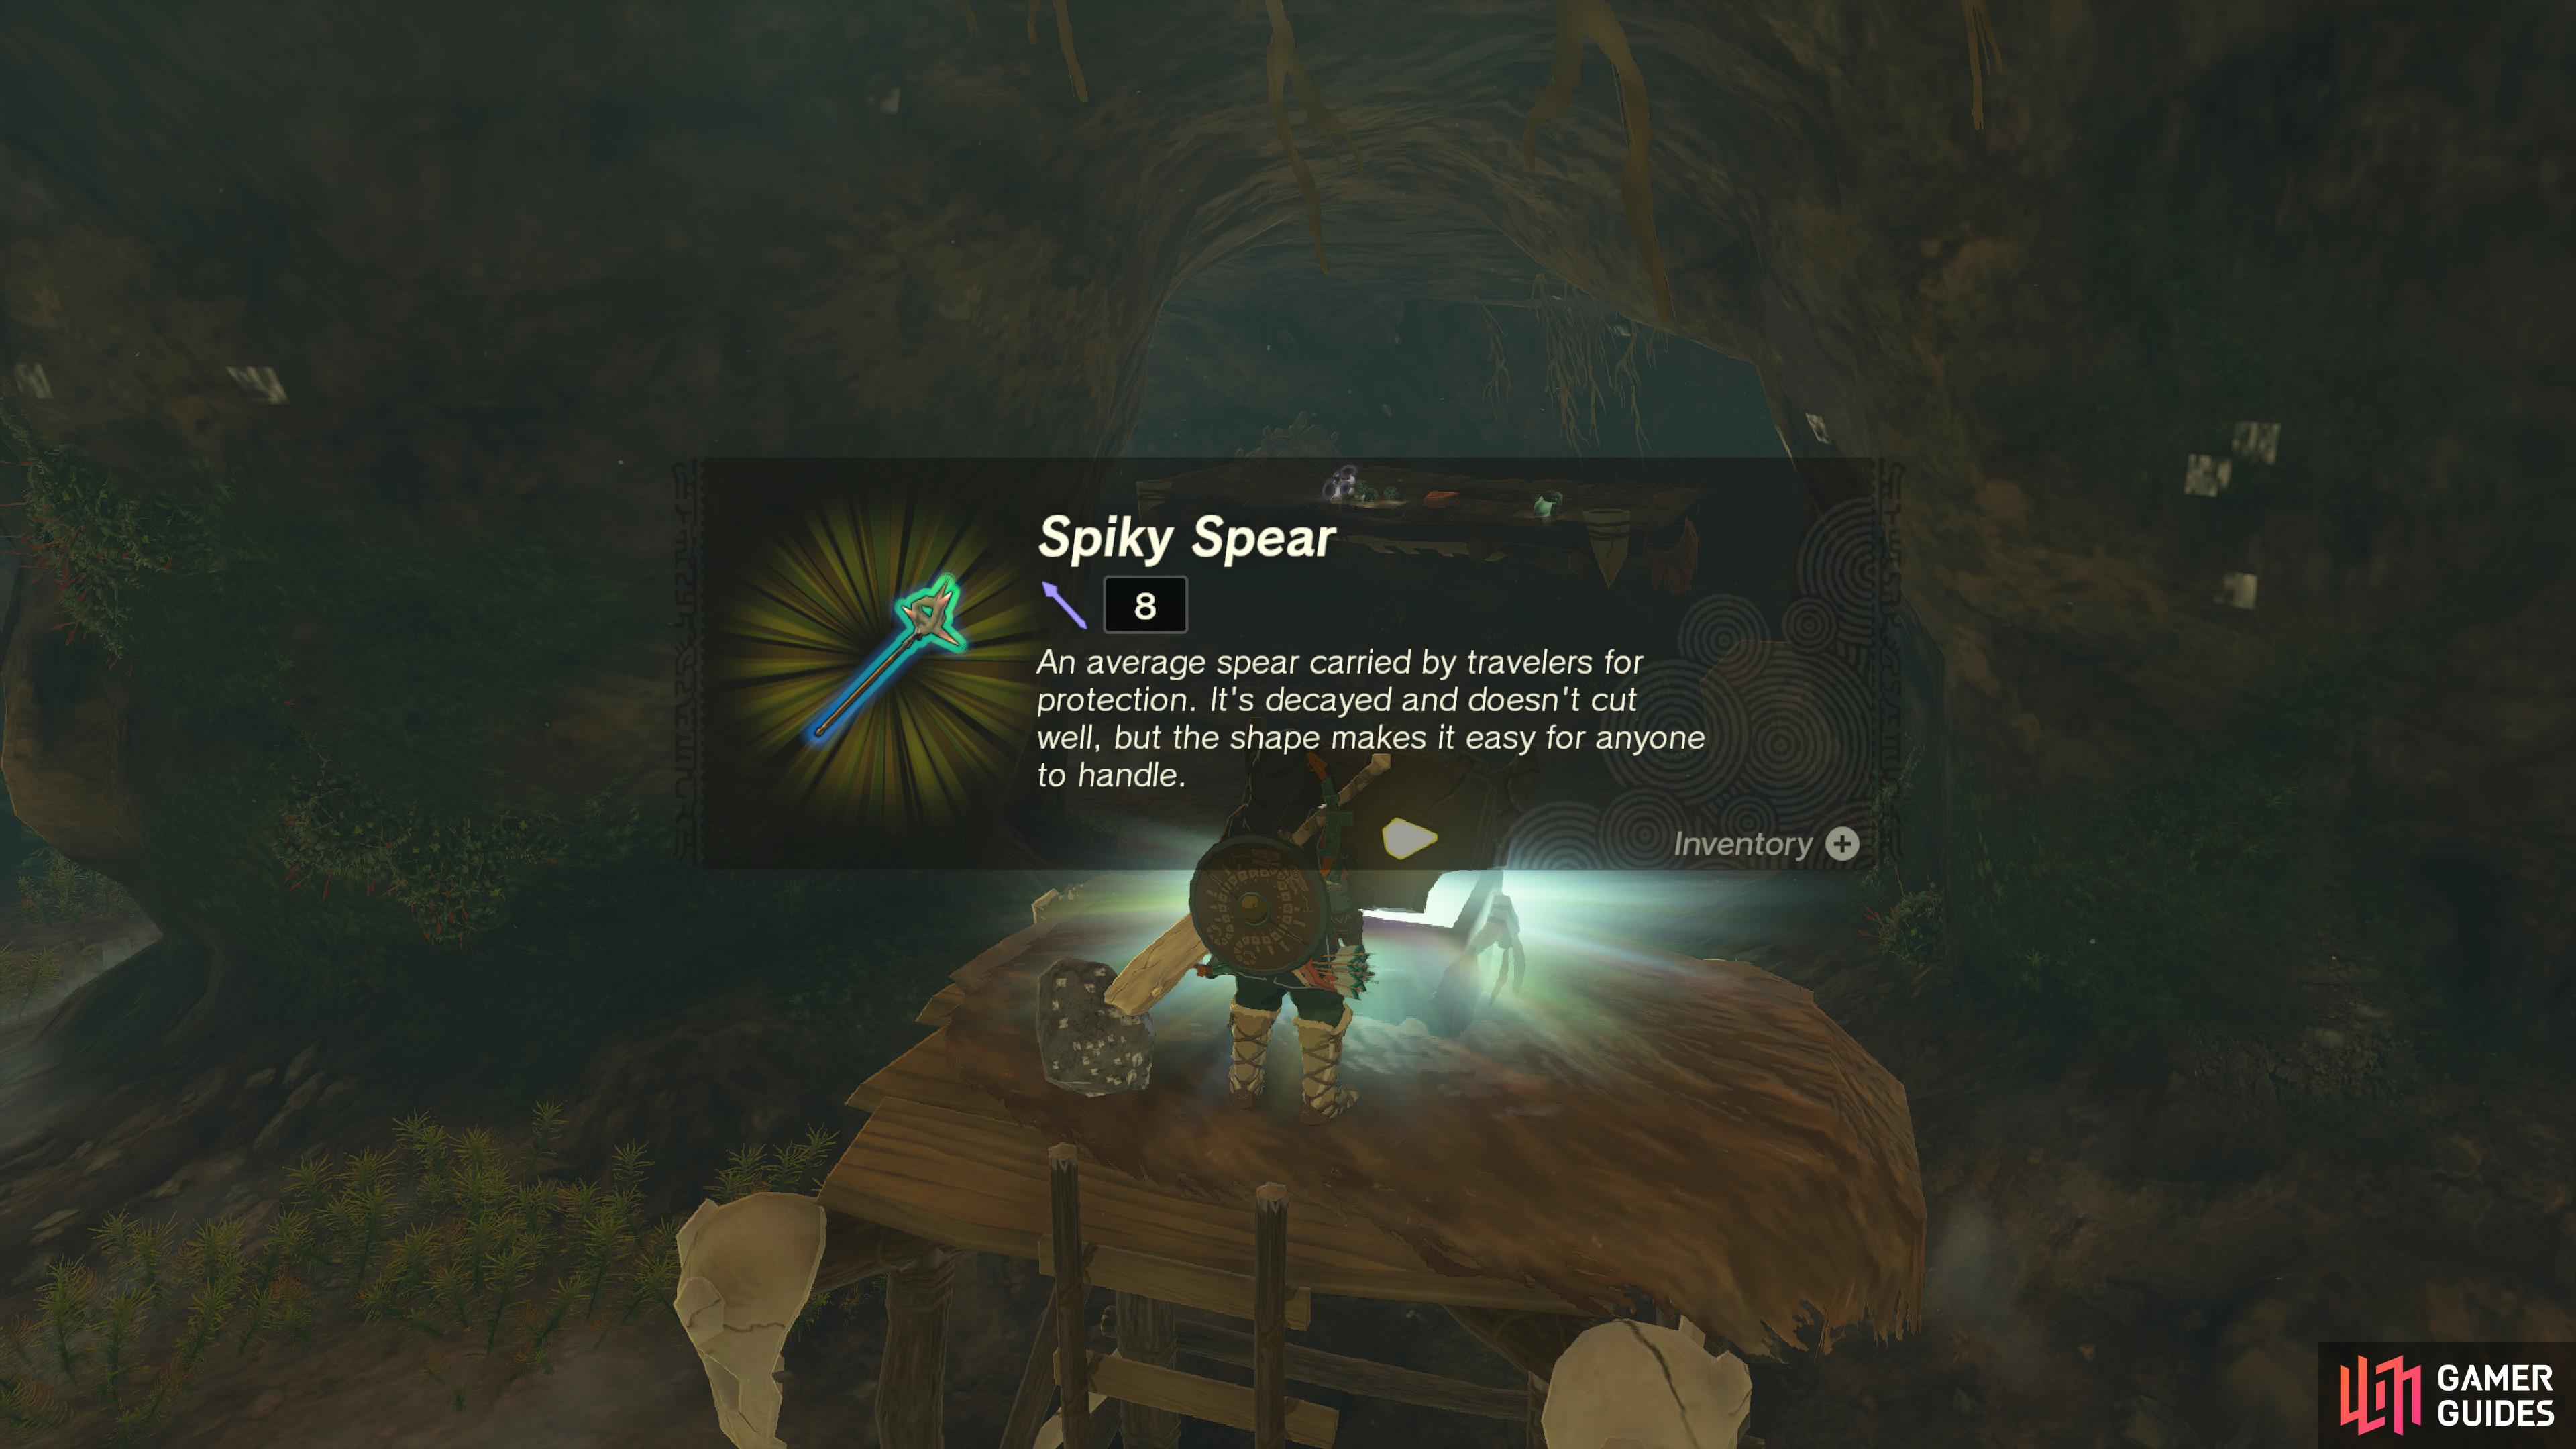
Defeat the ![]() Horriblins in this Cave to unlock the Chest.
Horriblins in this Cave to unlock the Chest.
It contains a Spiky Spear.
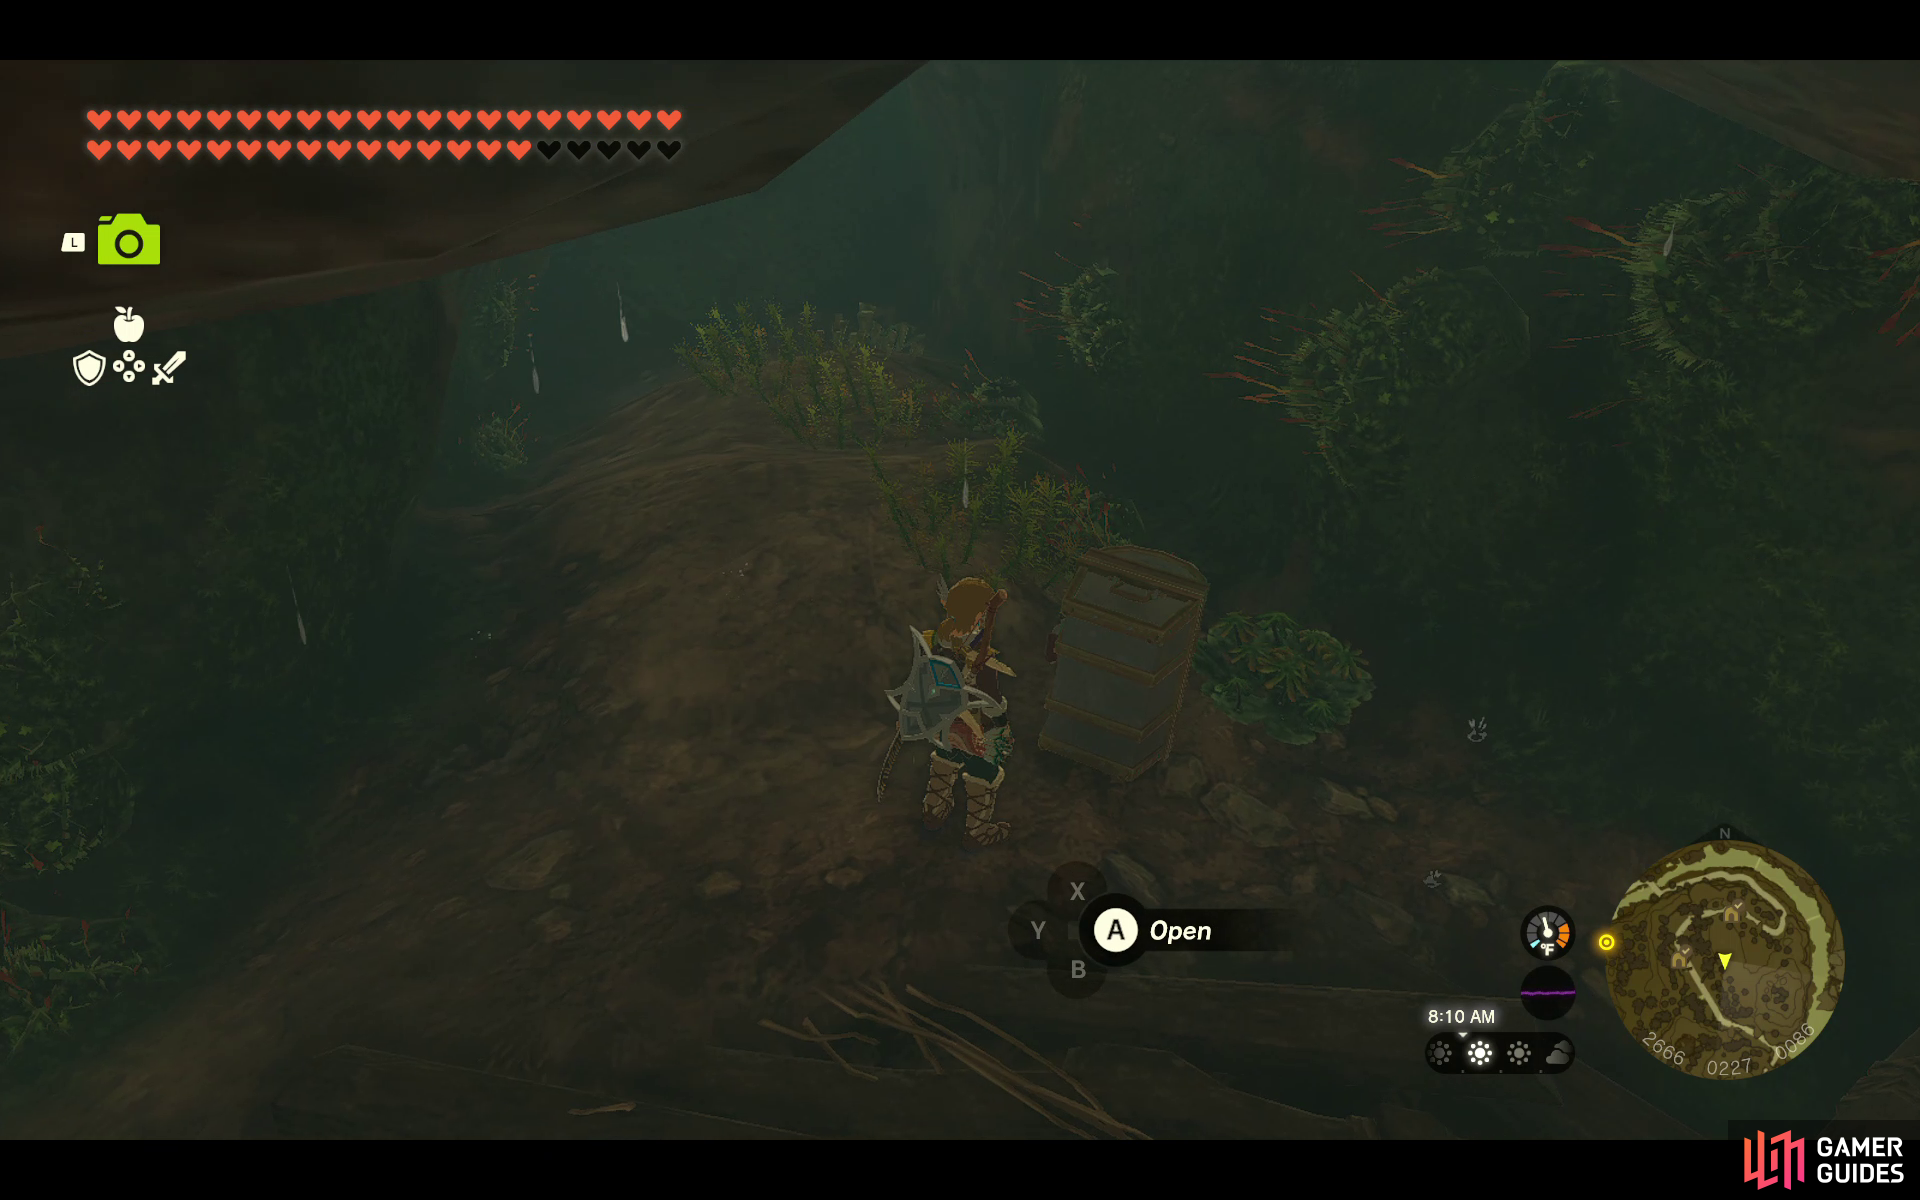
40354. Hyrule Sky Islands Map
Contains ![]() Amber.
Amber.
Tip: You can chop down the trees in the area and create a log to climb so you can reach the platform.
40412. Hyrule Surface Map
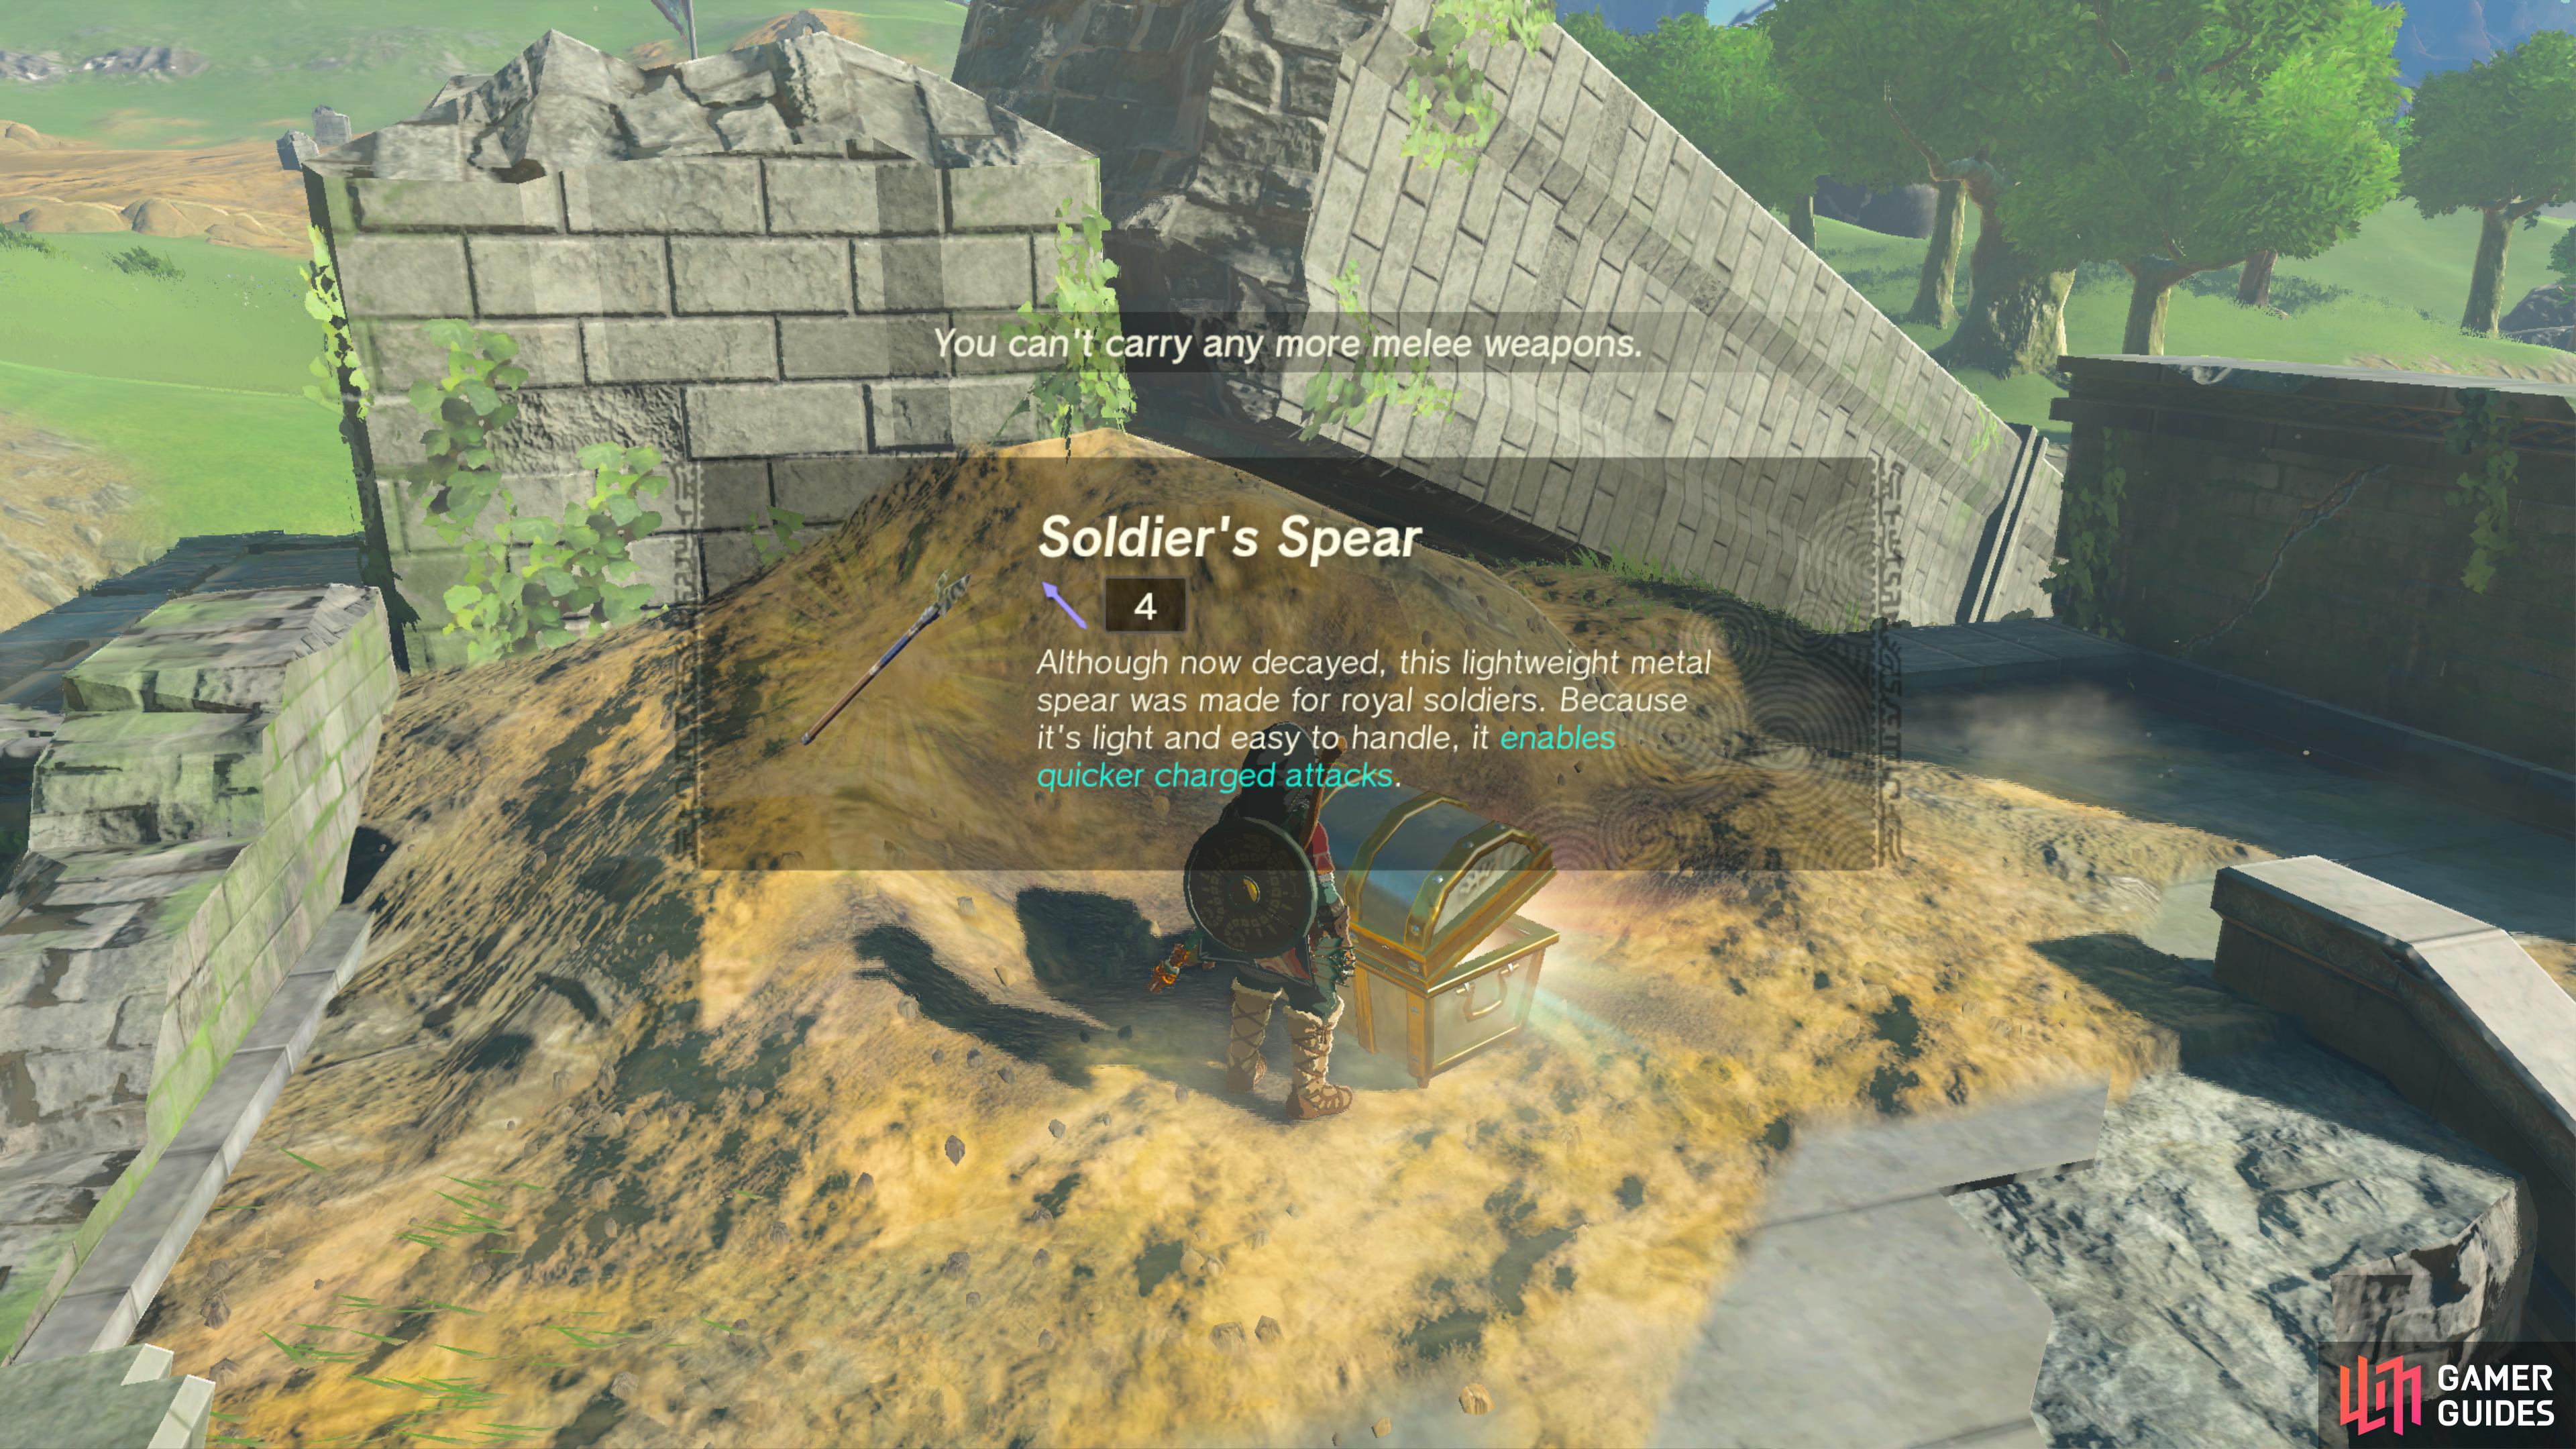
Use ![]() Ultrahand to pull this Chest out of the ground, it contains a
Ultrahand to pull this Chest out of the ground, it contains a ![]() Soldier’s Spear.
Soldier’s Spear.
40423. Hyrule Sky Islands Map
A Chest near the pool of water. Either glide, or use ![]() Ascend to reach it.
Ascend to reach it.
- Contains 1x Large Zonai Charge

40488. Hyrule Surface Map
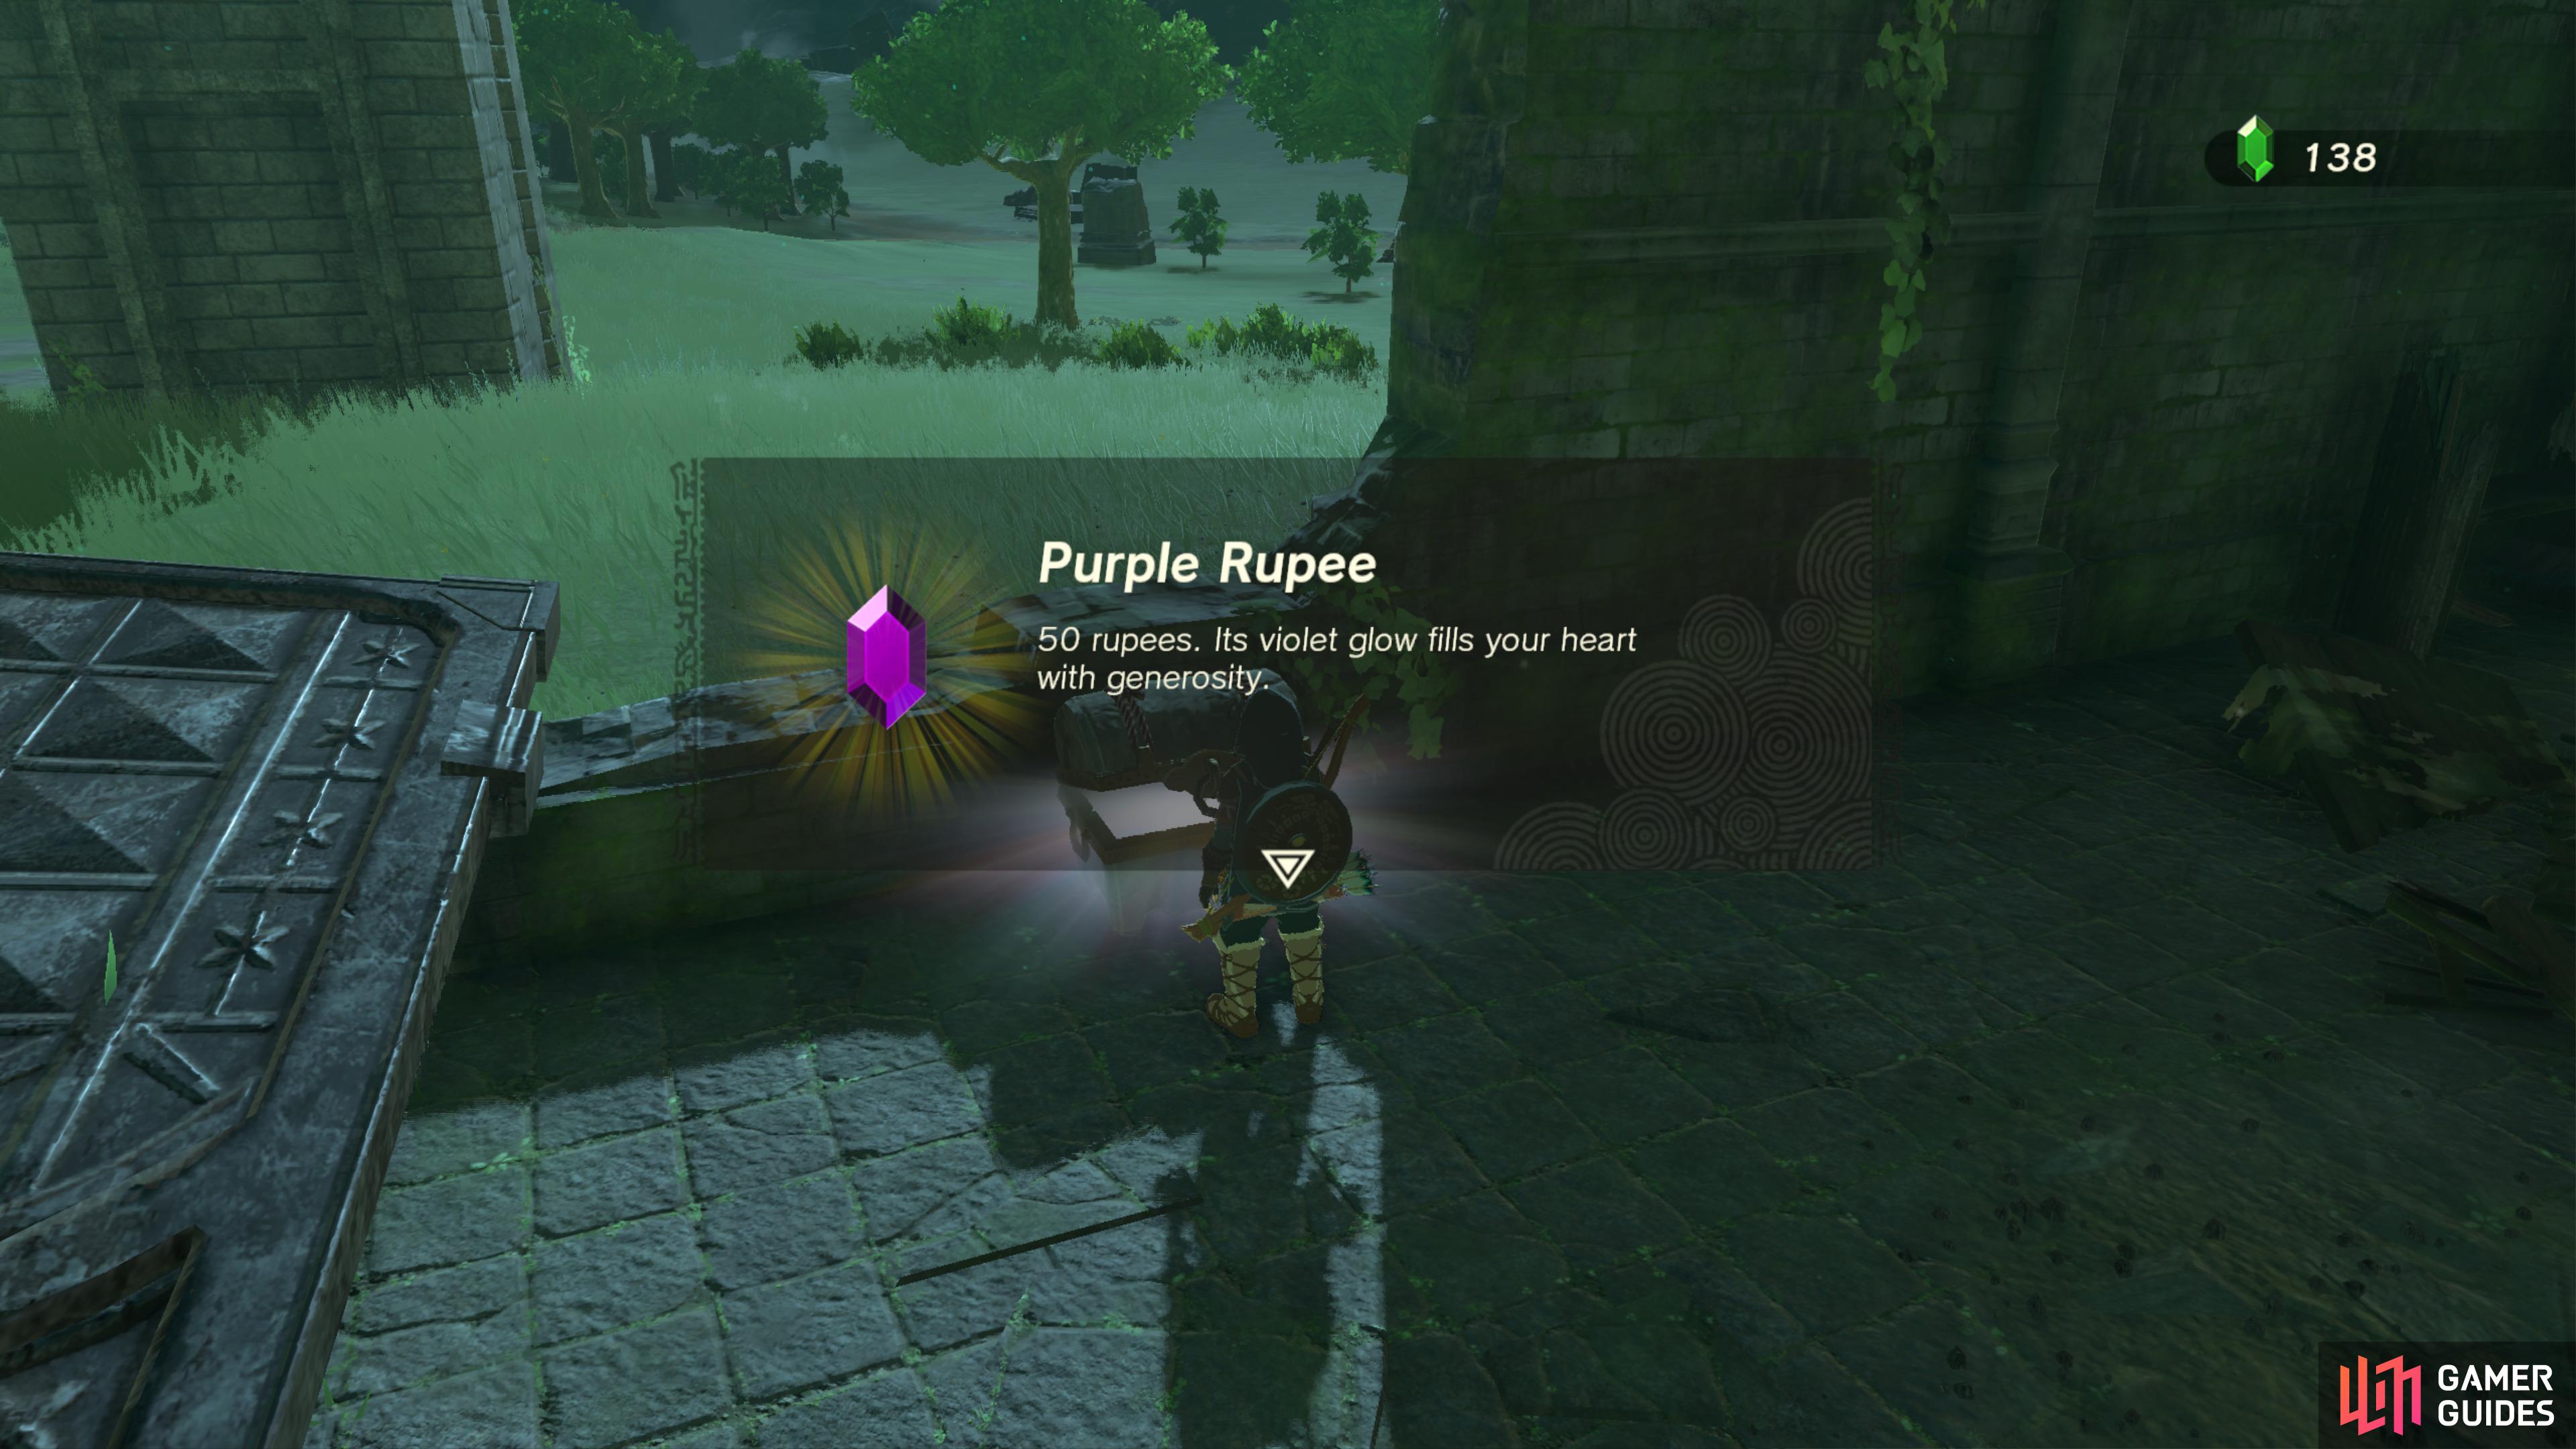
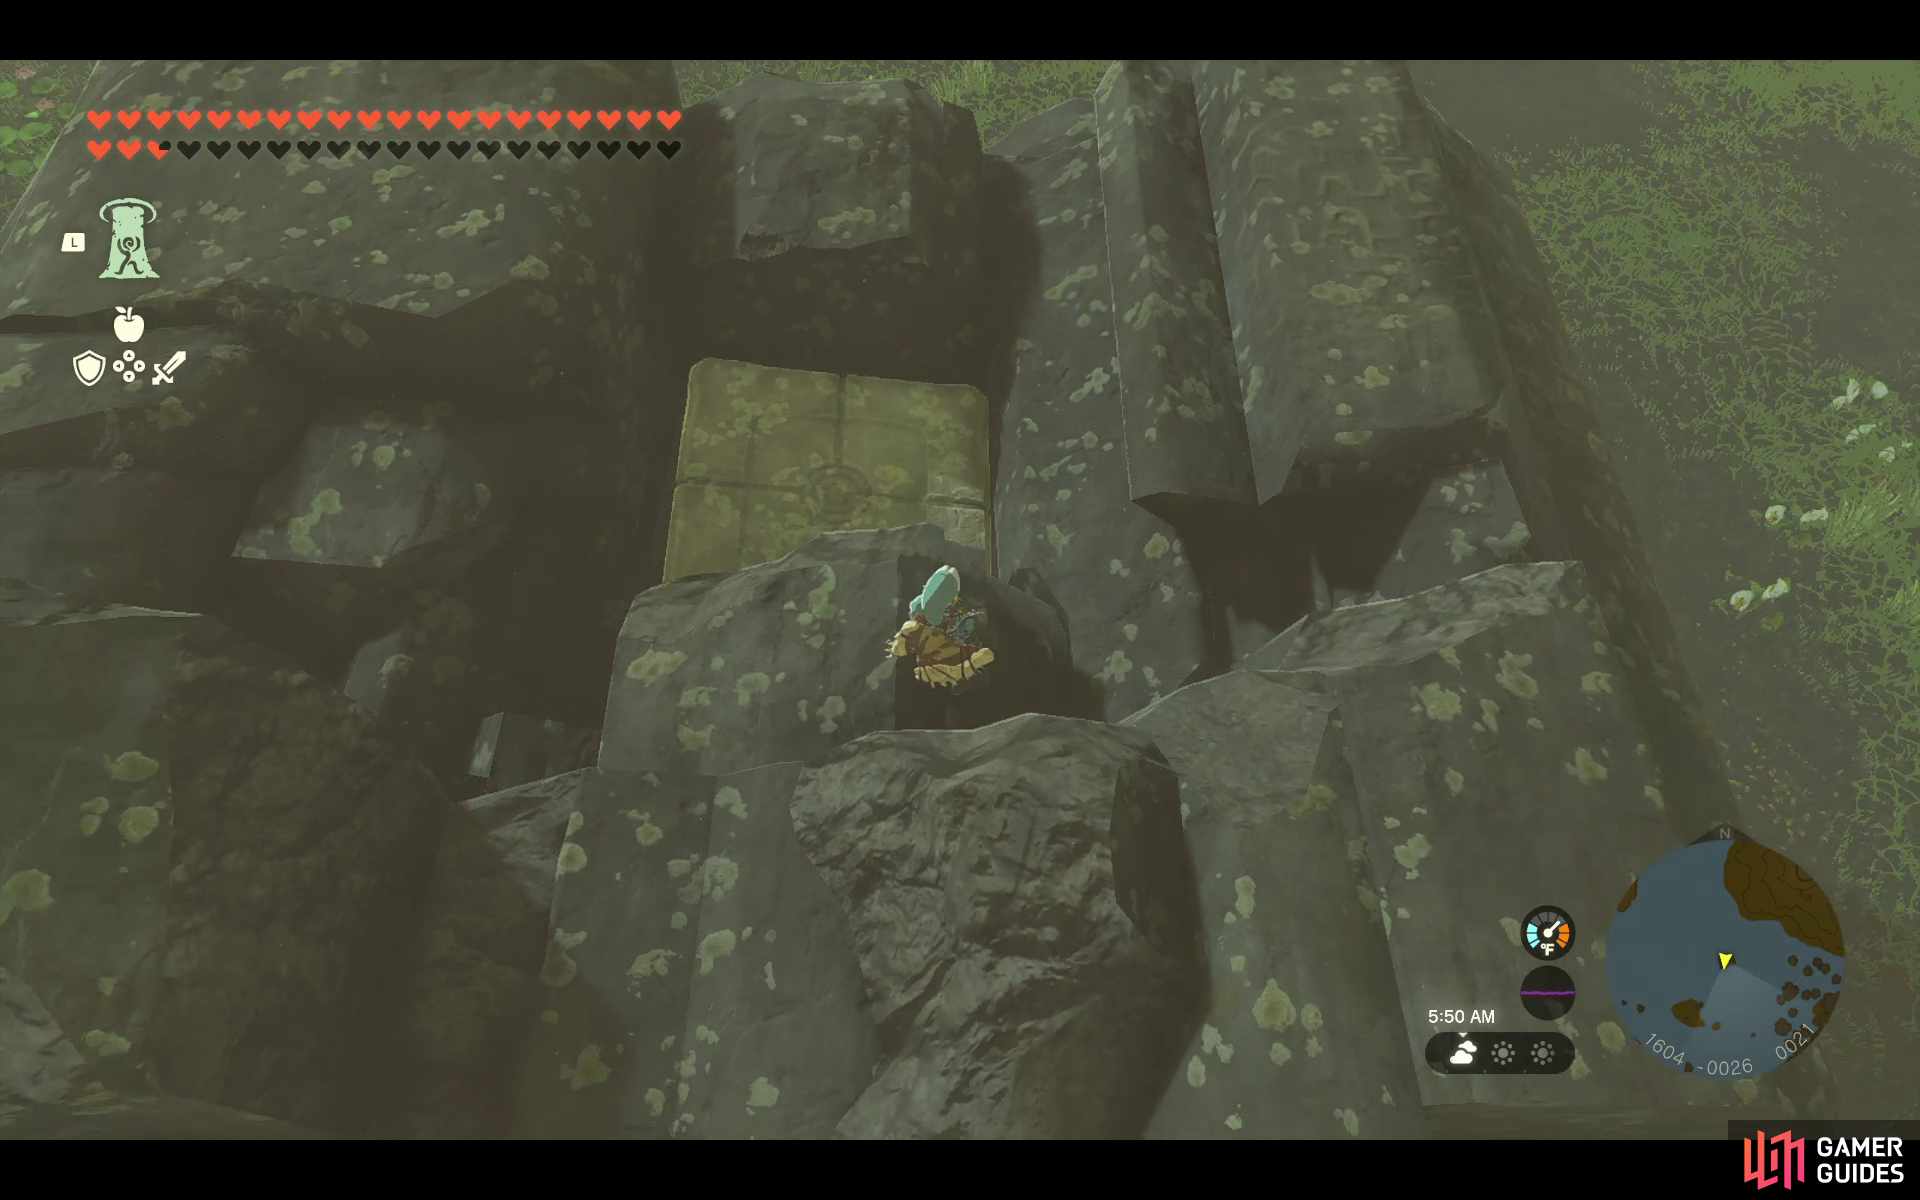
Life the large door here with ![]() Ultrahand to find a Chest under it.
Ultrahand to find a Chest under it.
It contains a ![]() Purple Rupee (50).
Purple Rupee (50).
40493. Hyrule Surface Map
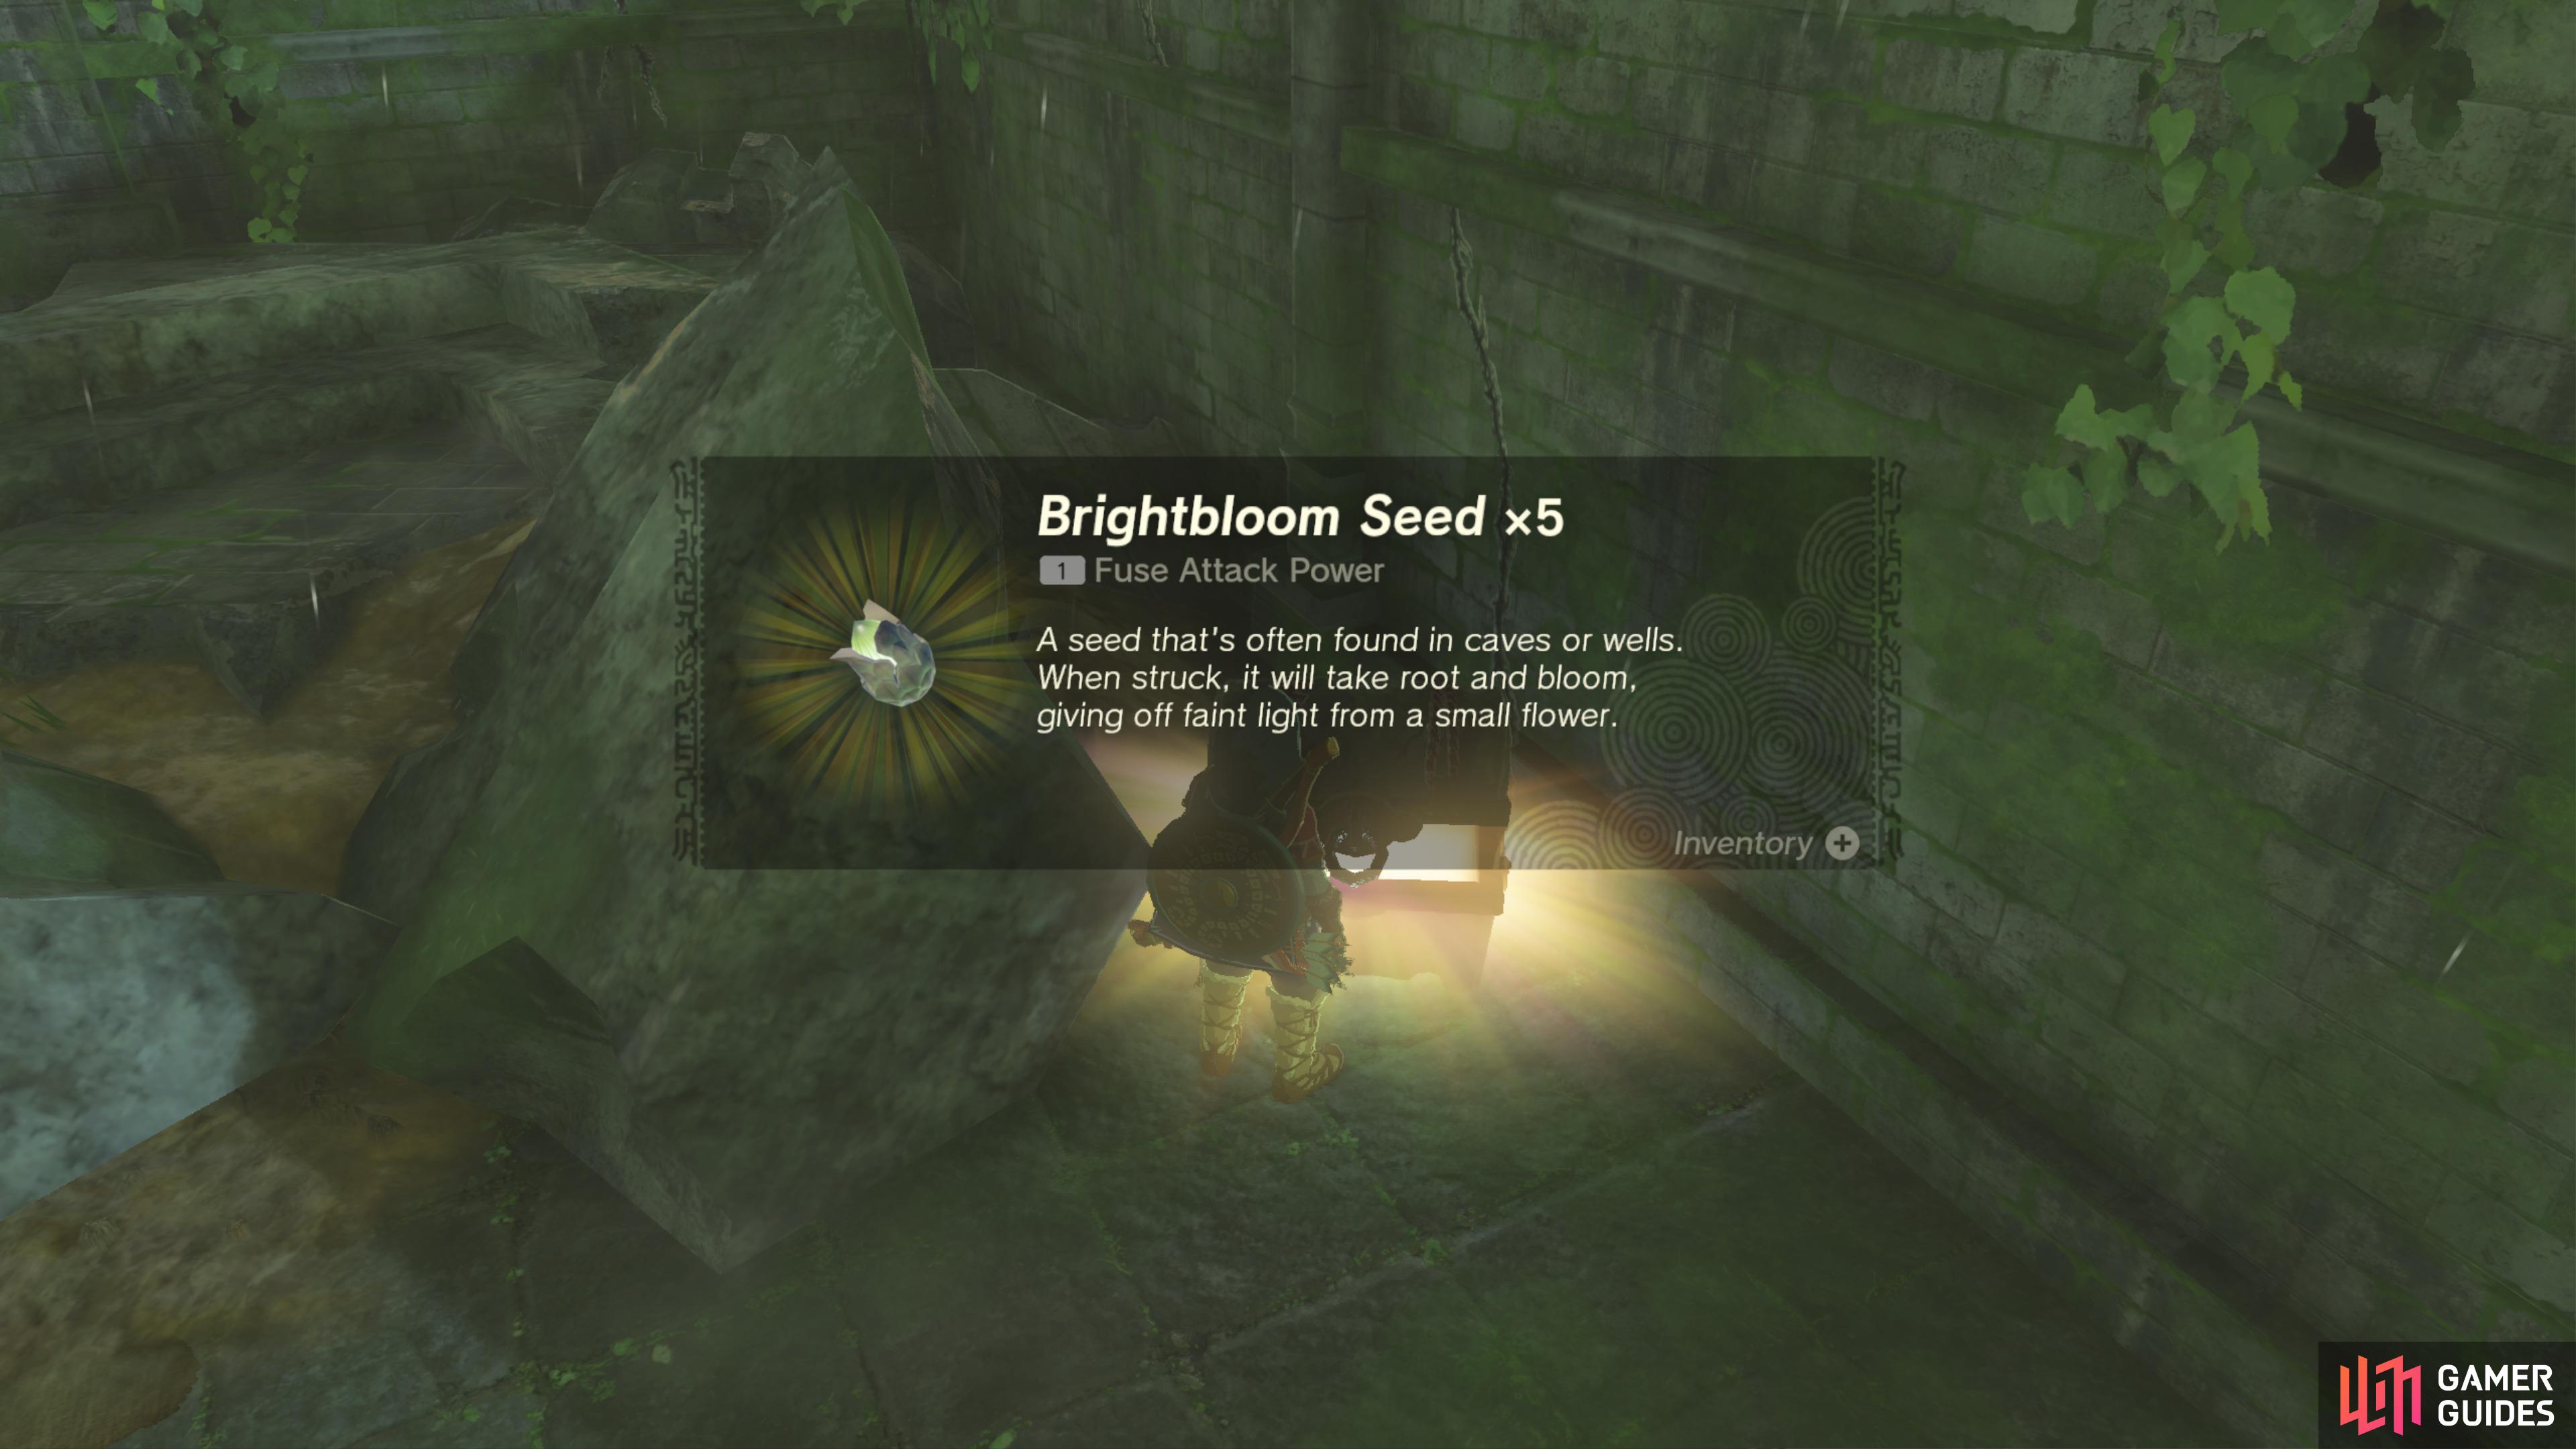
Found amongst the rubble, it contains five ![]() Brightbloom Seeds.
Brightbloom Seeds.

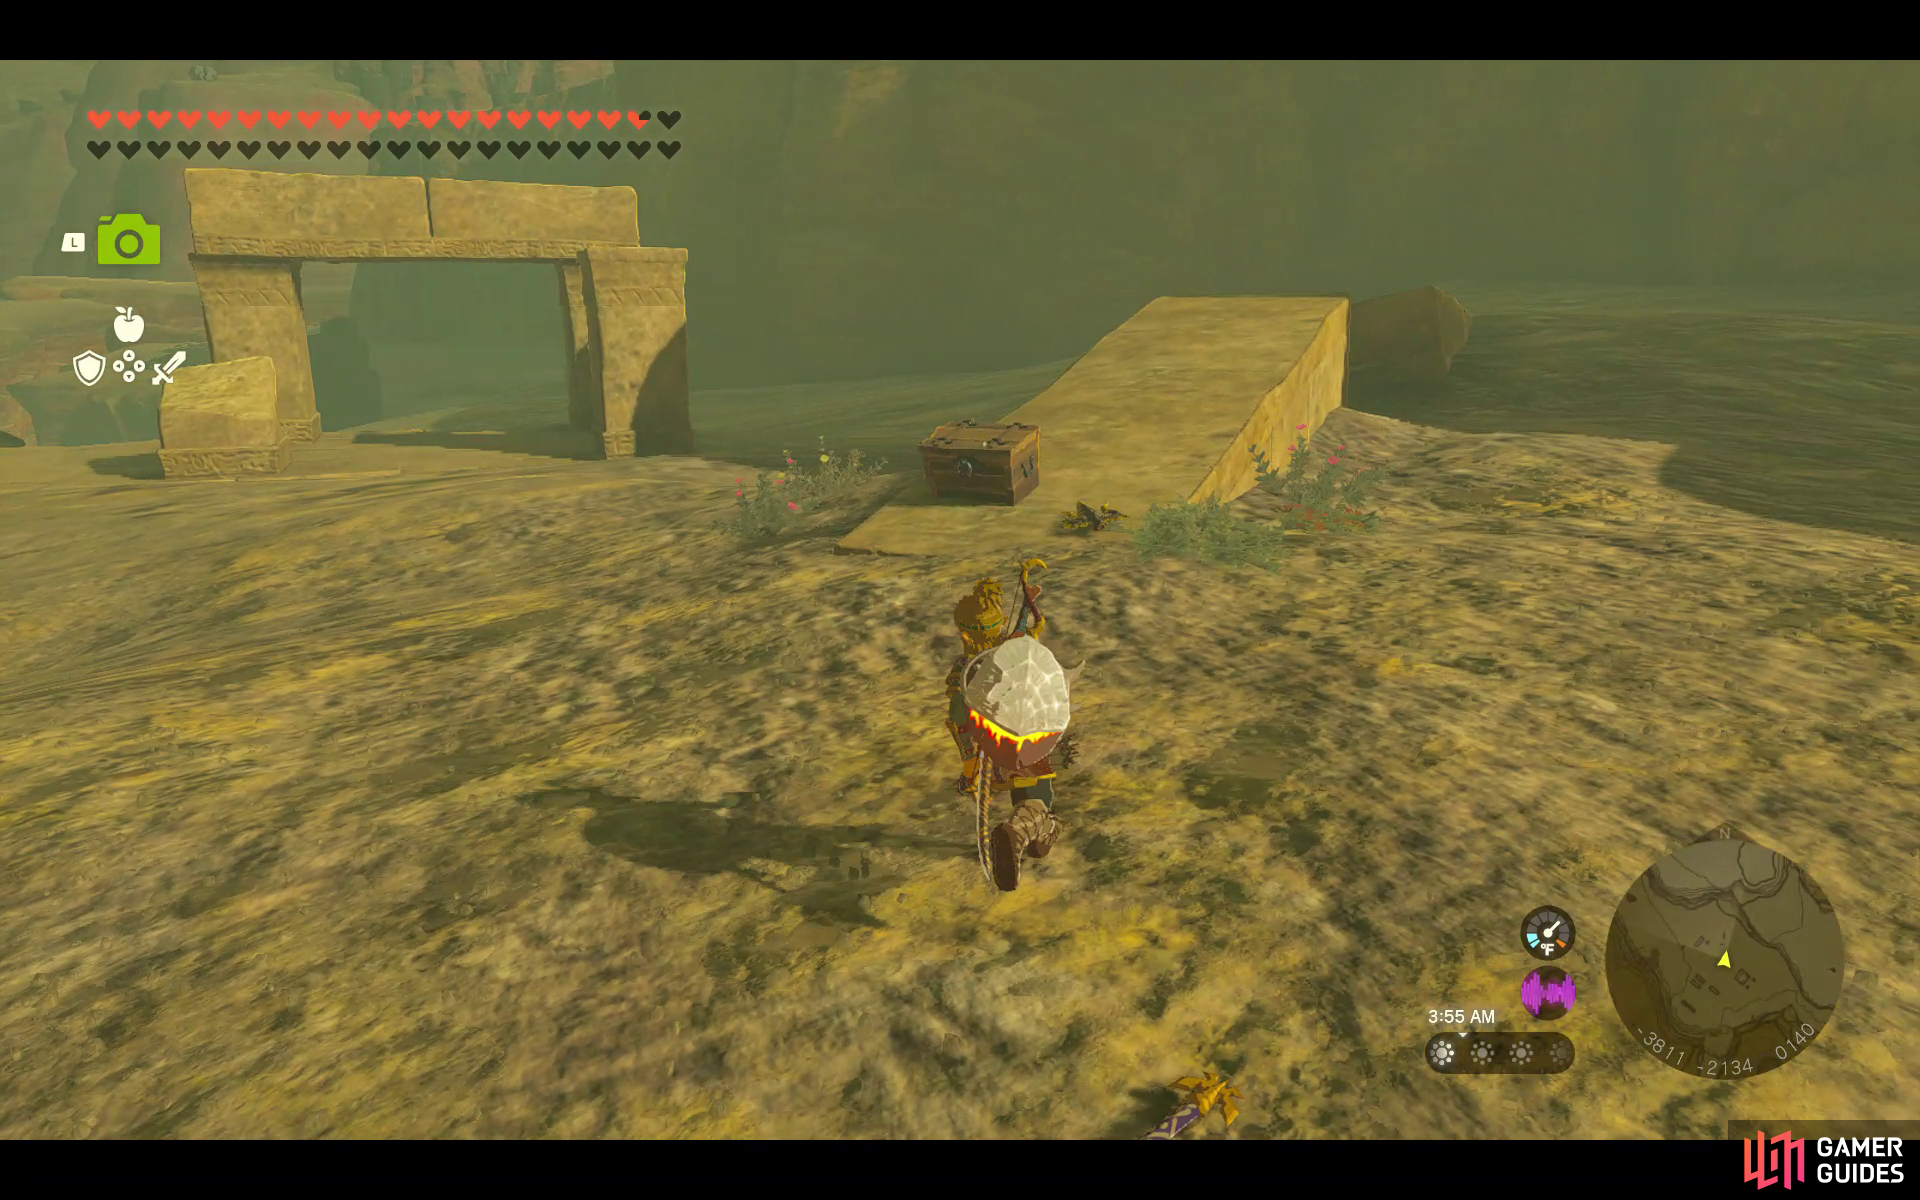
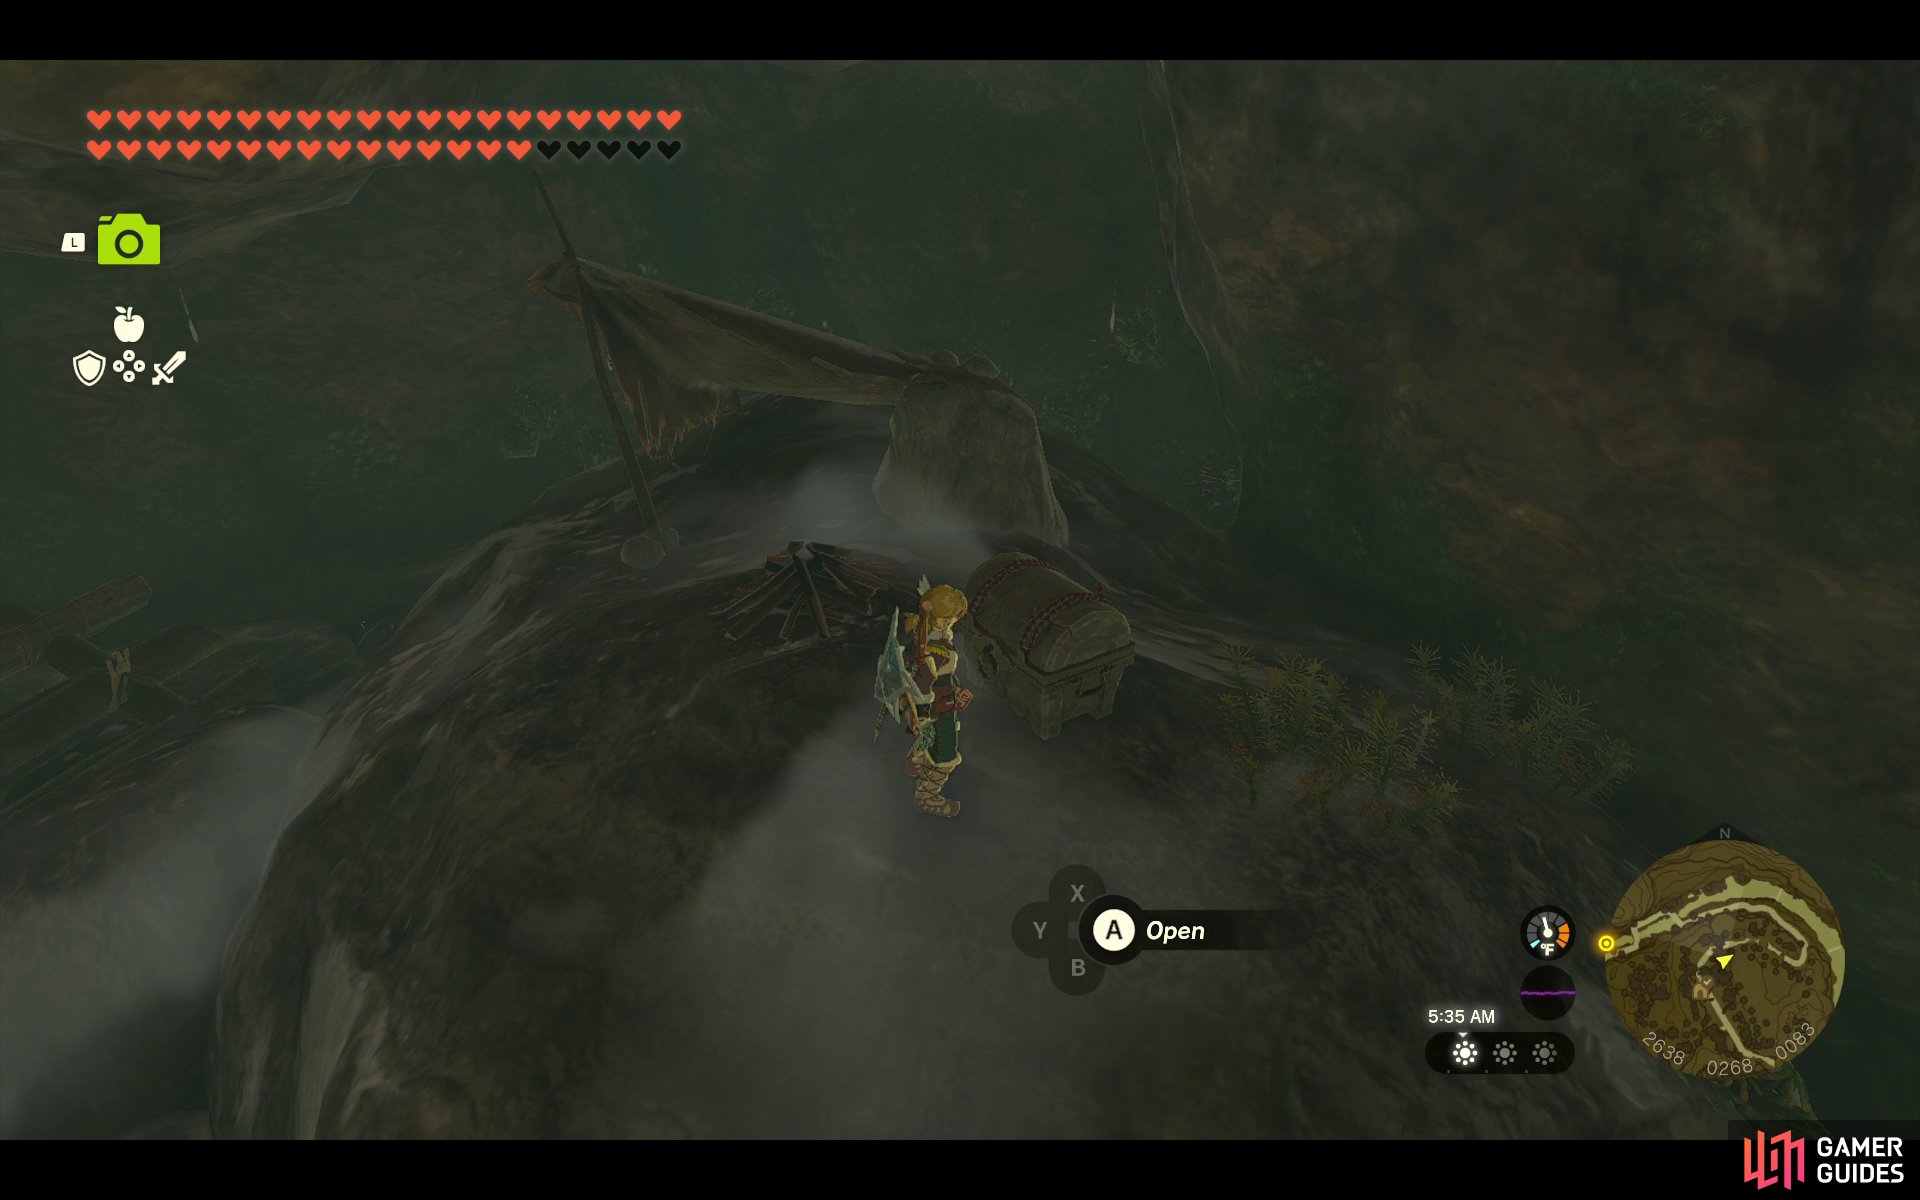
40666. Hyrule Surface Map
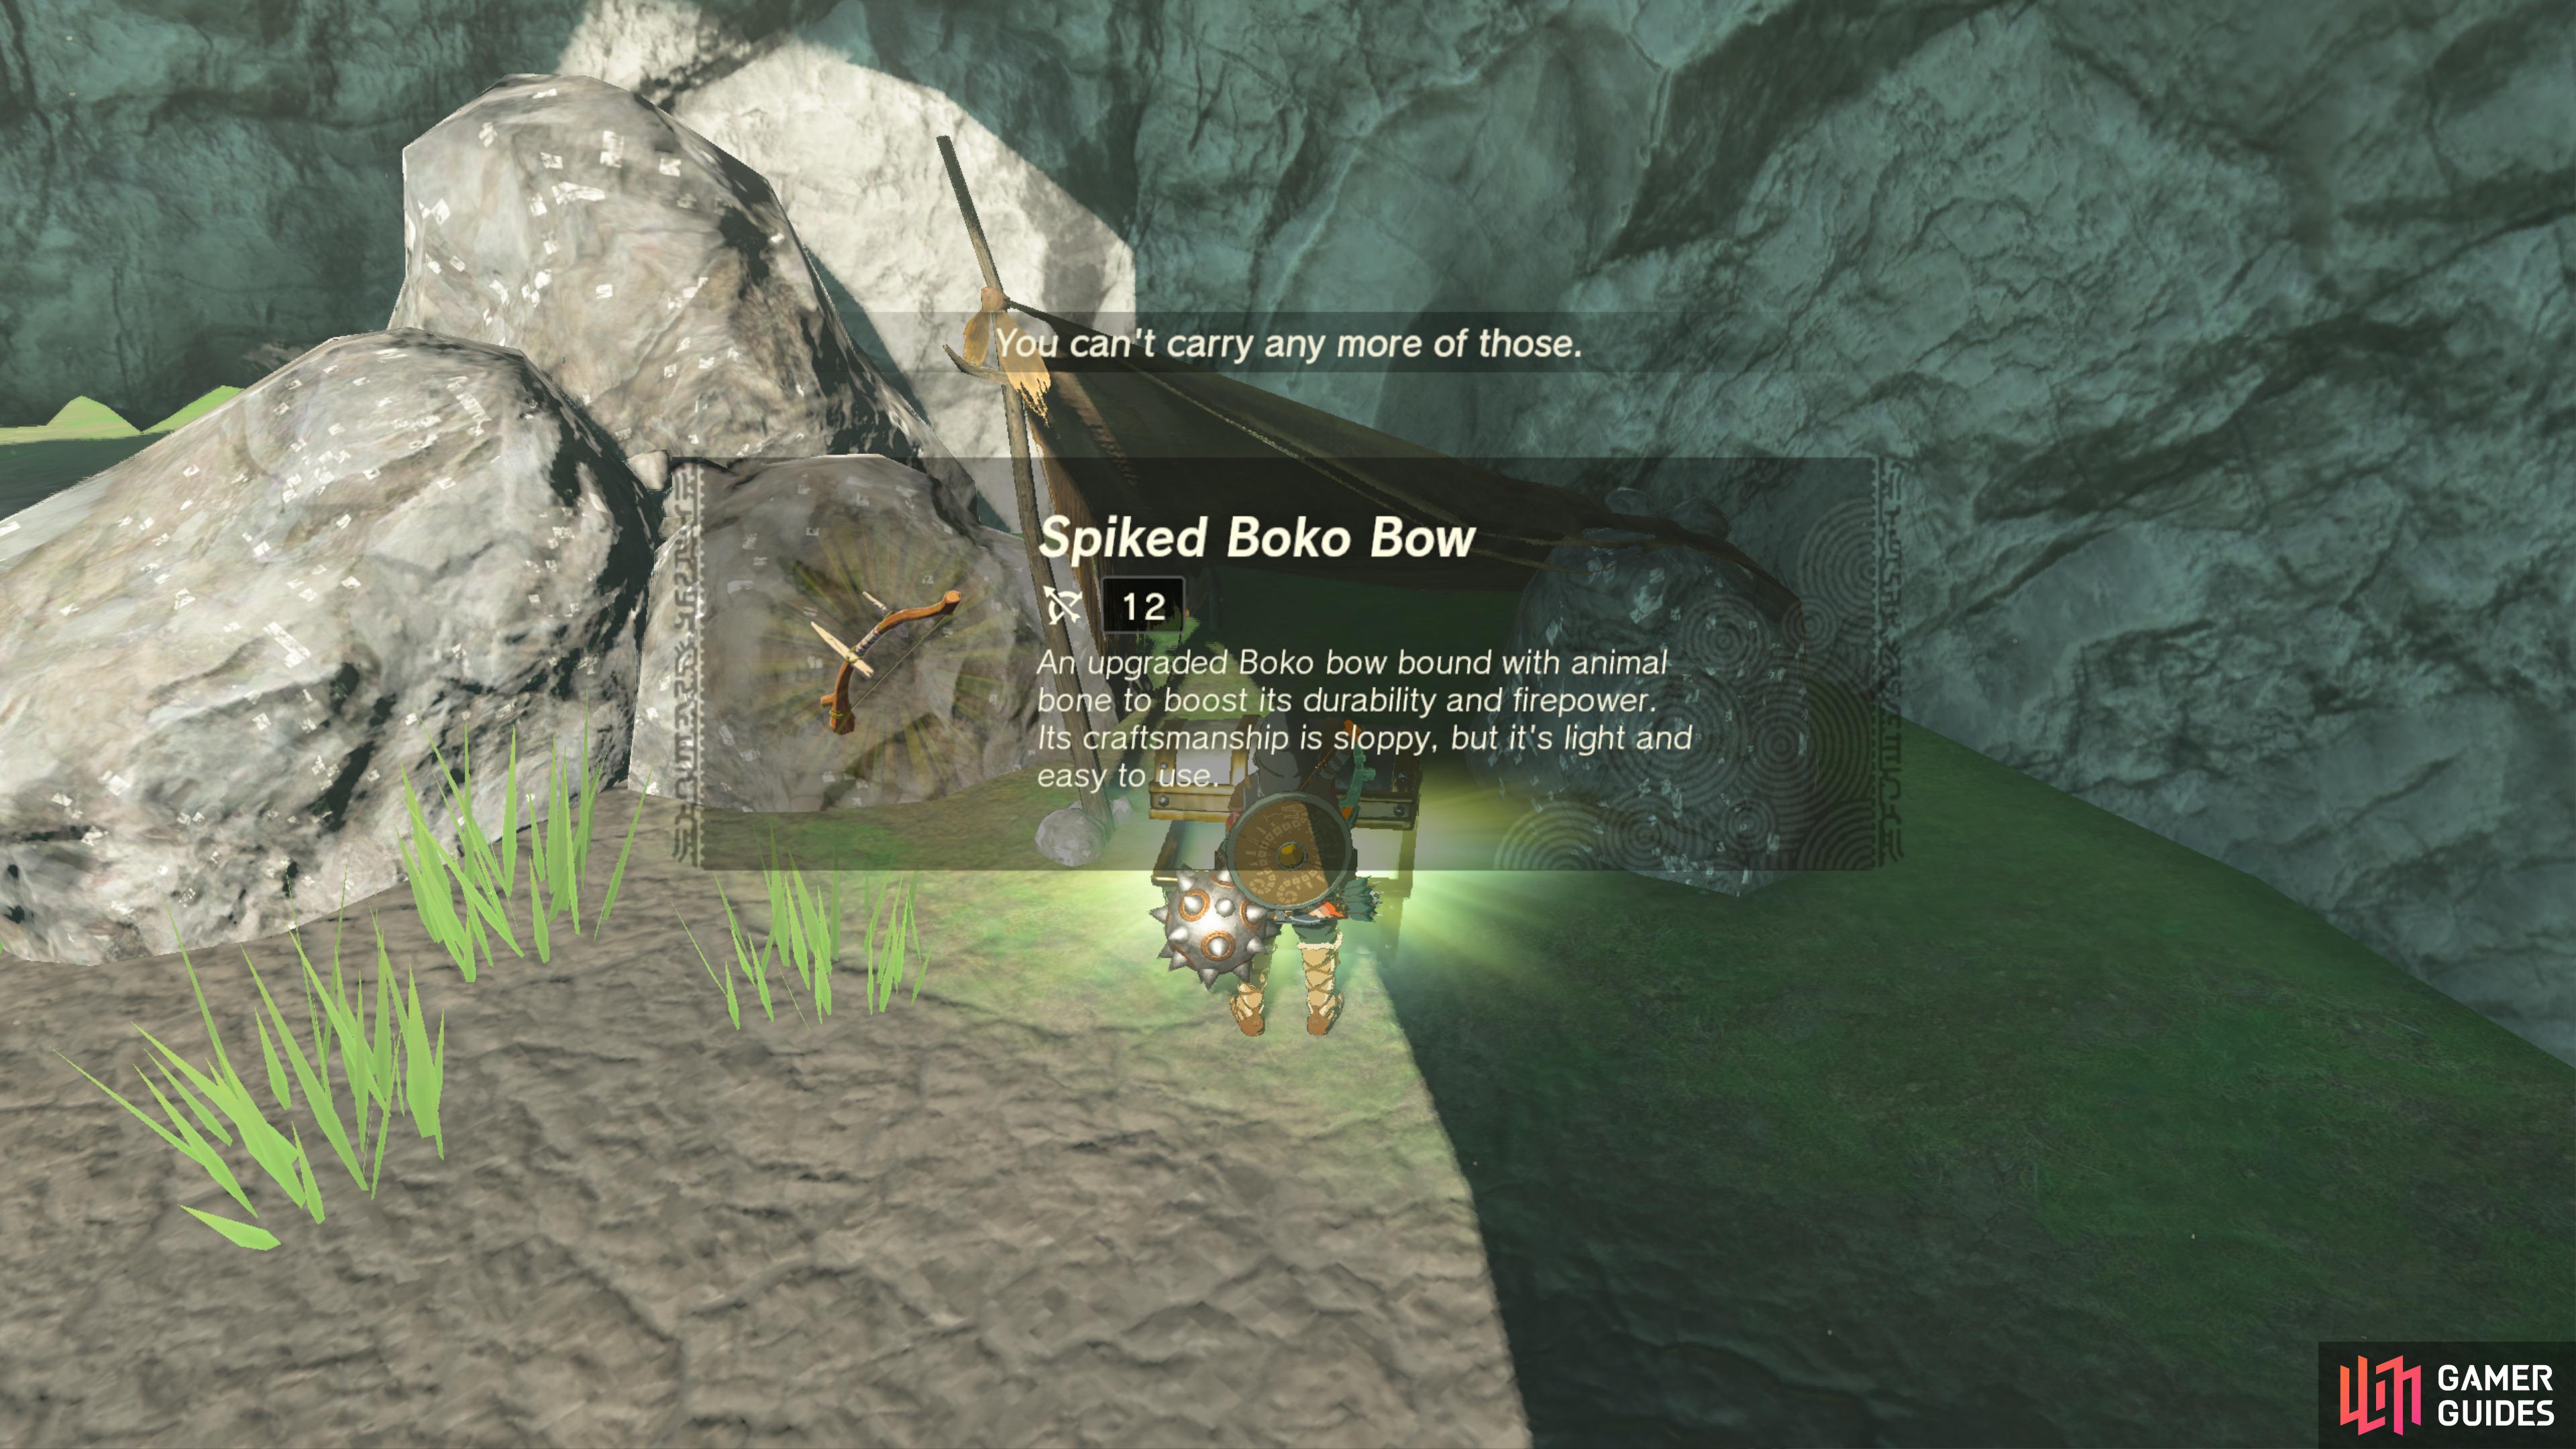
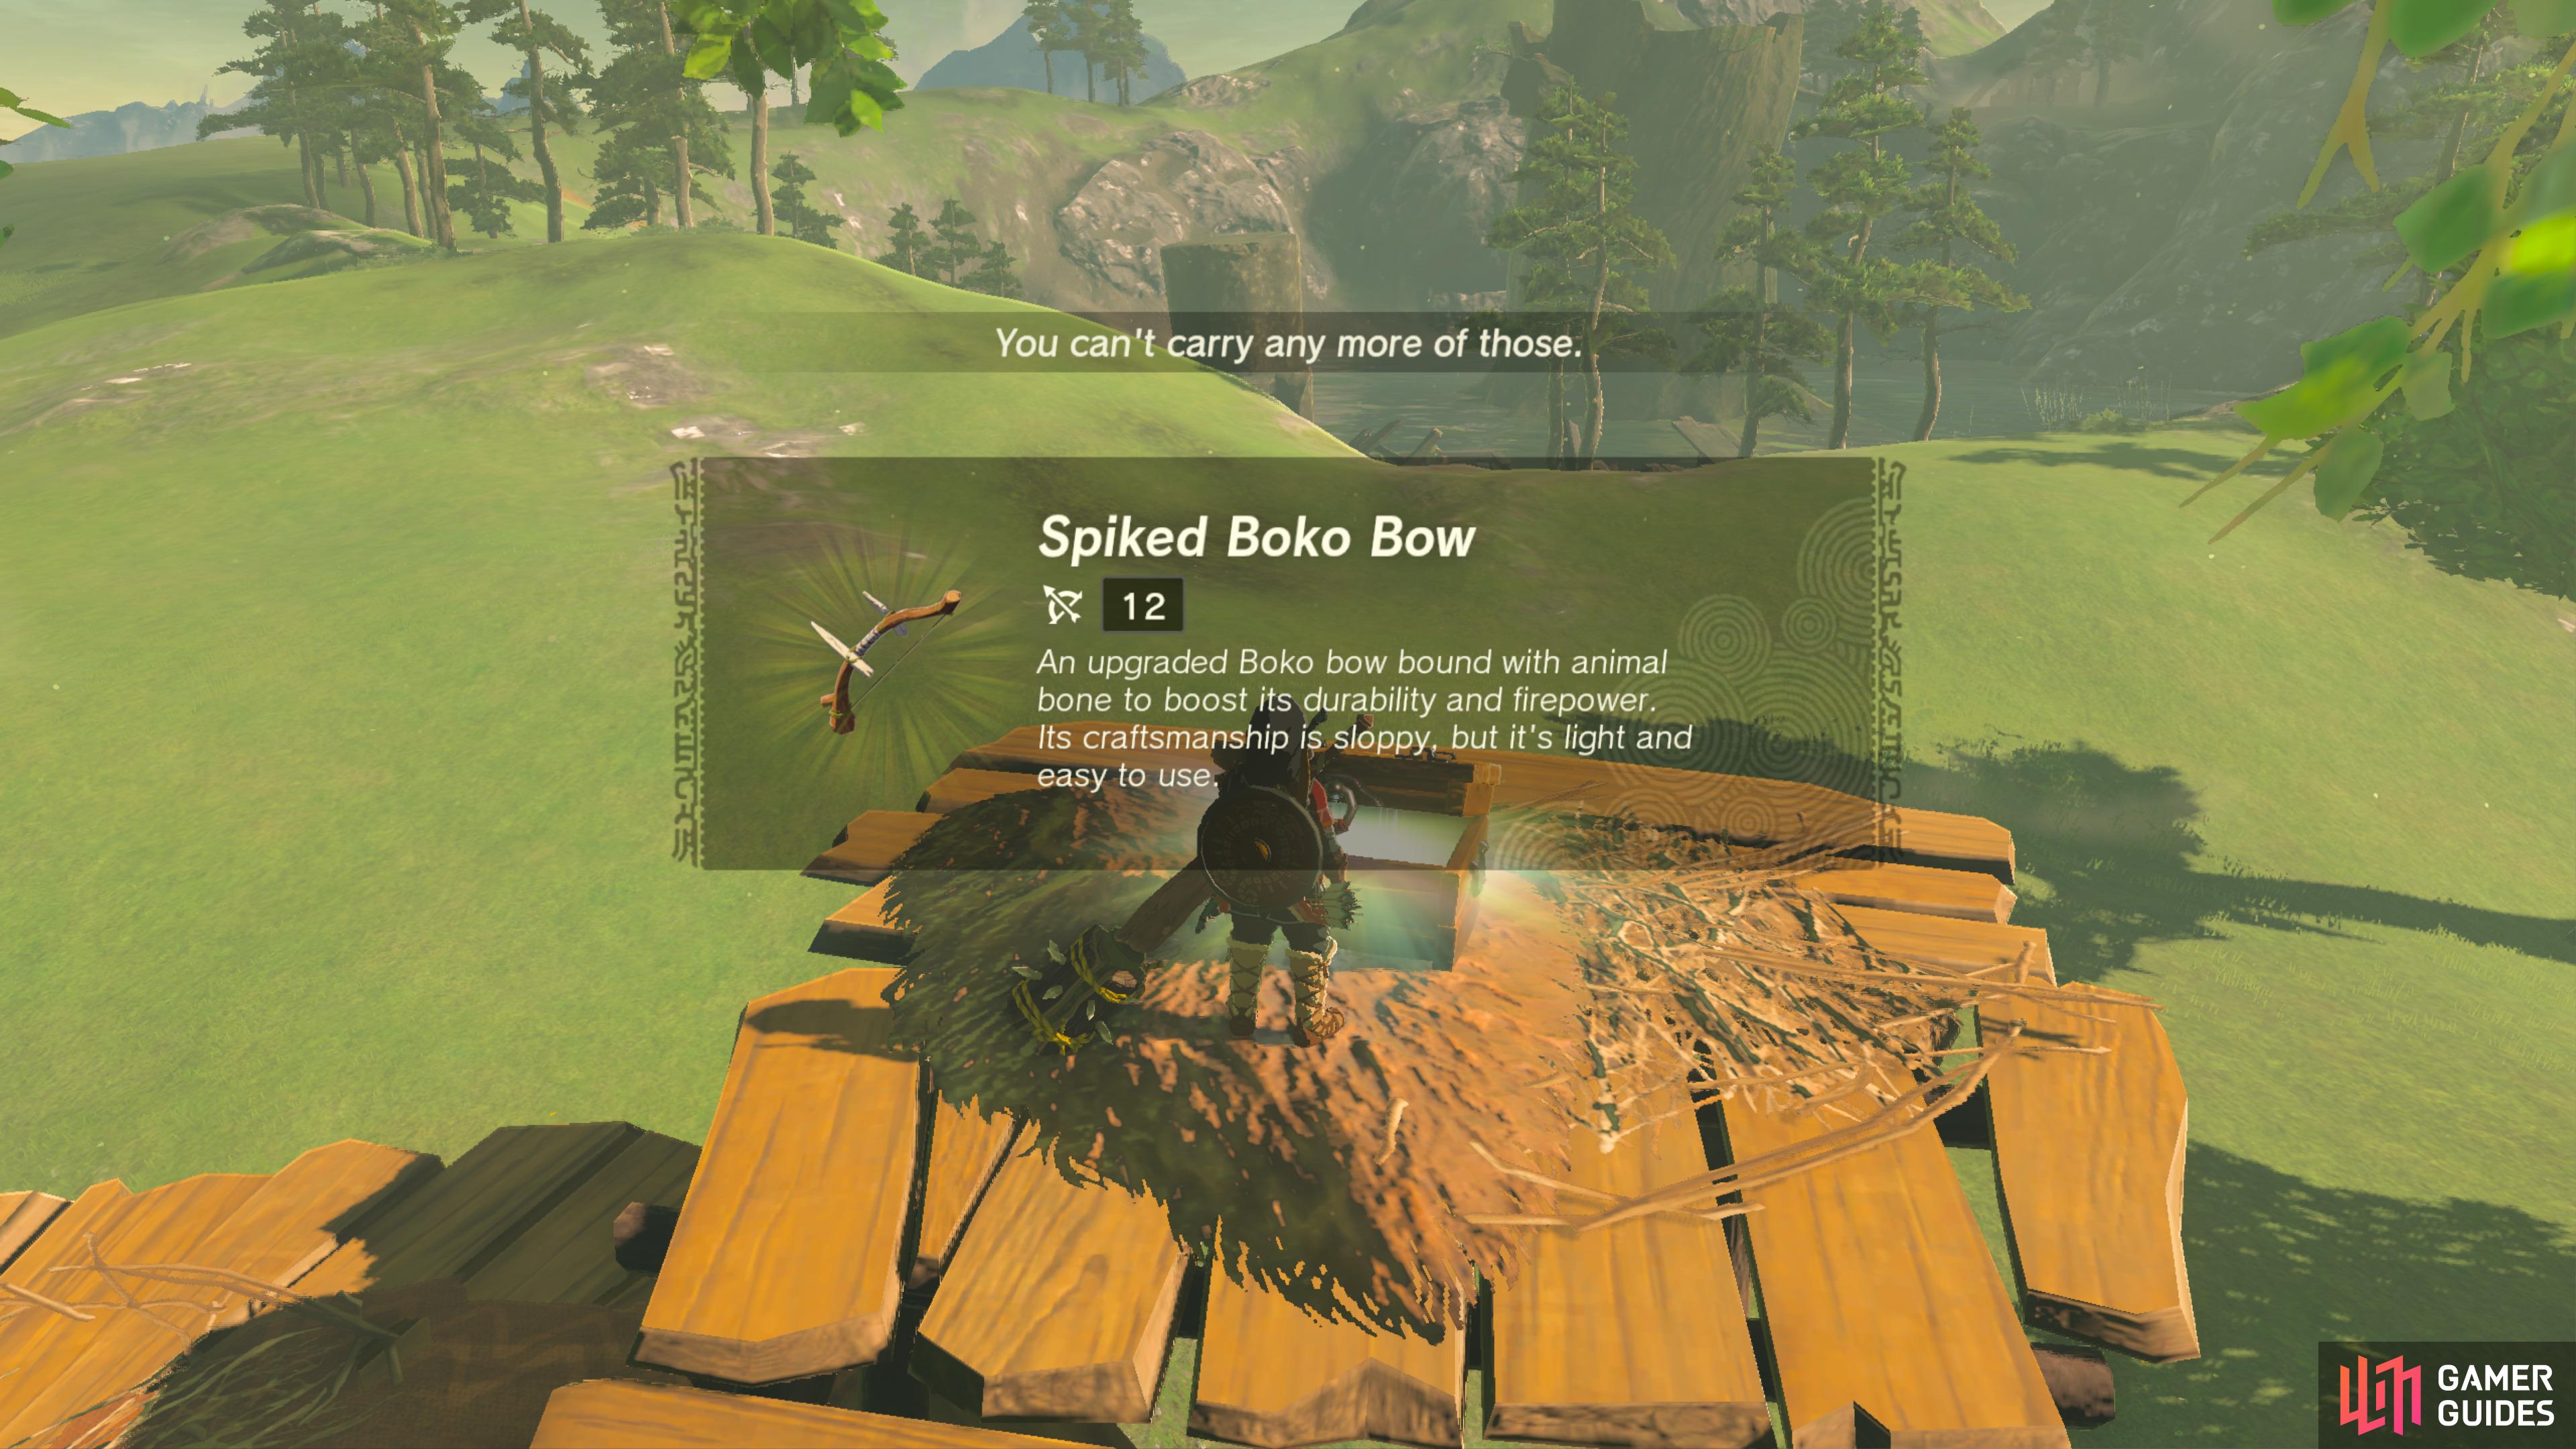
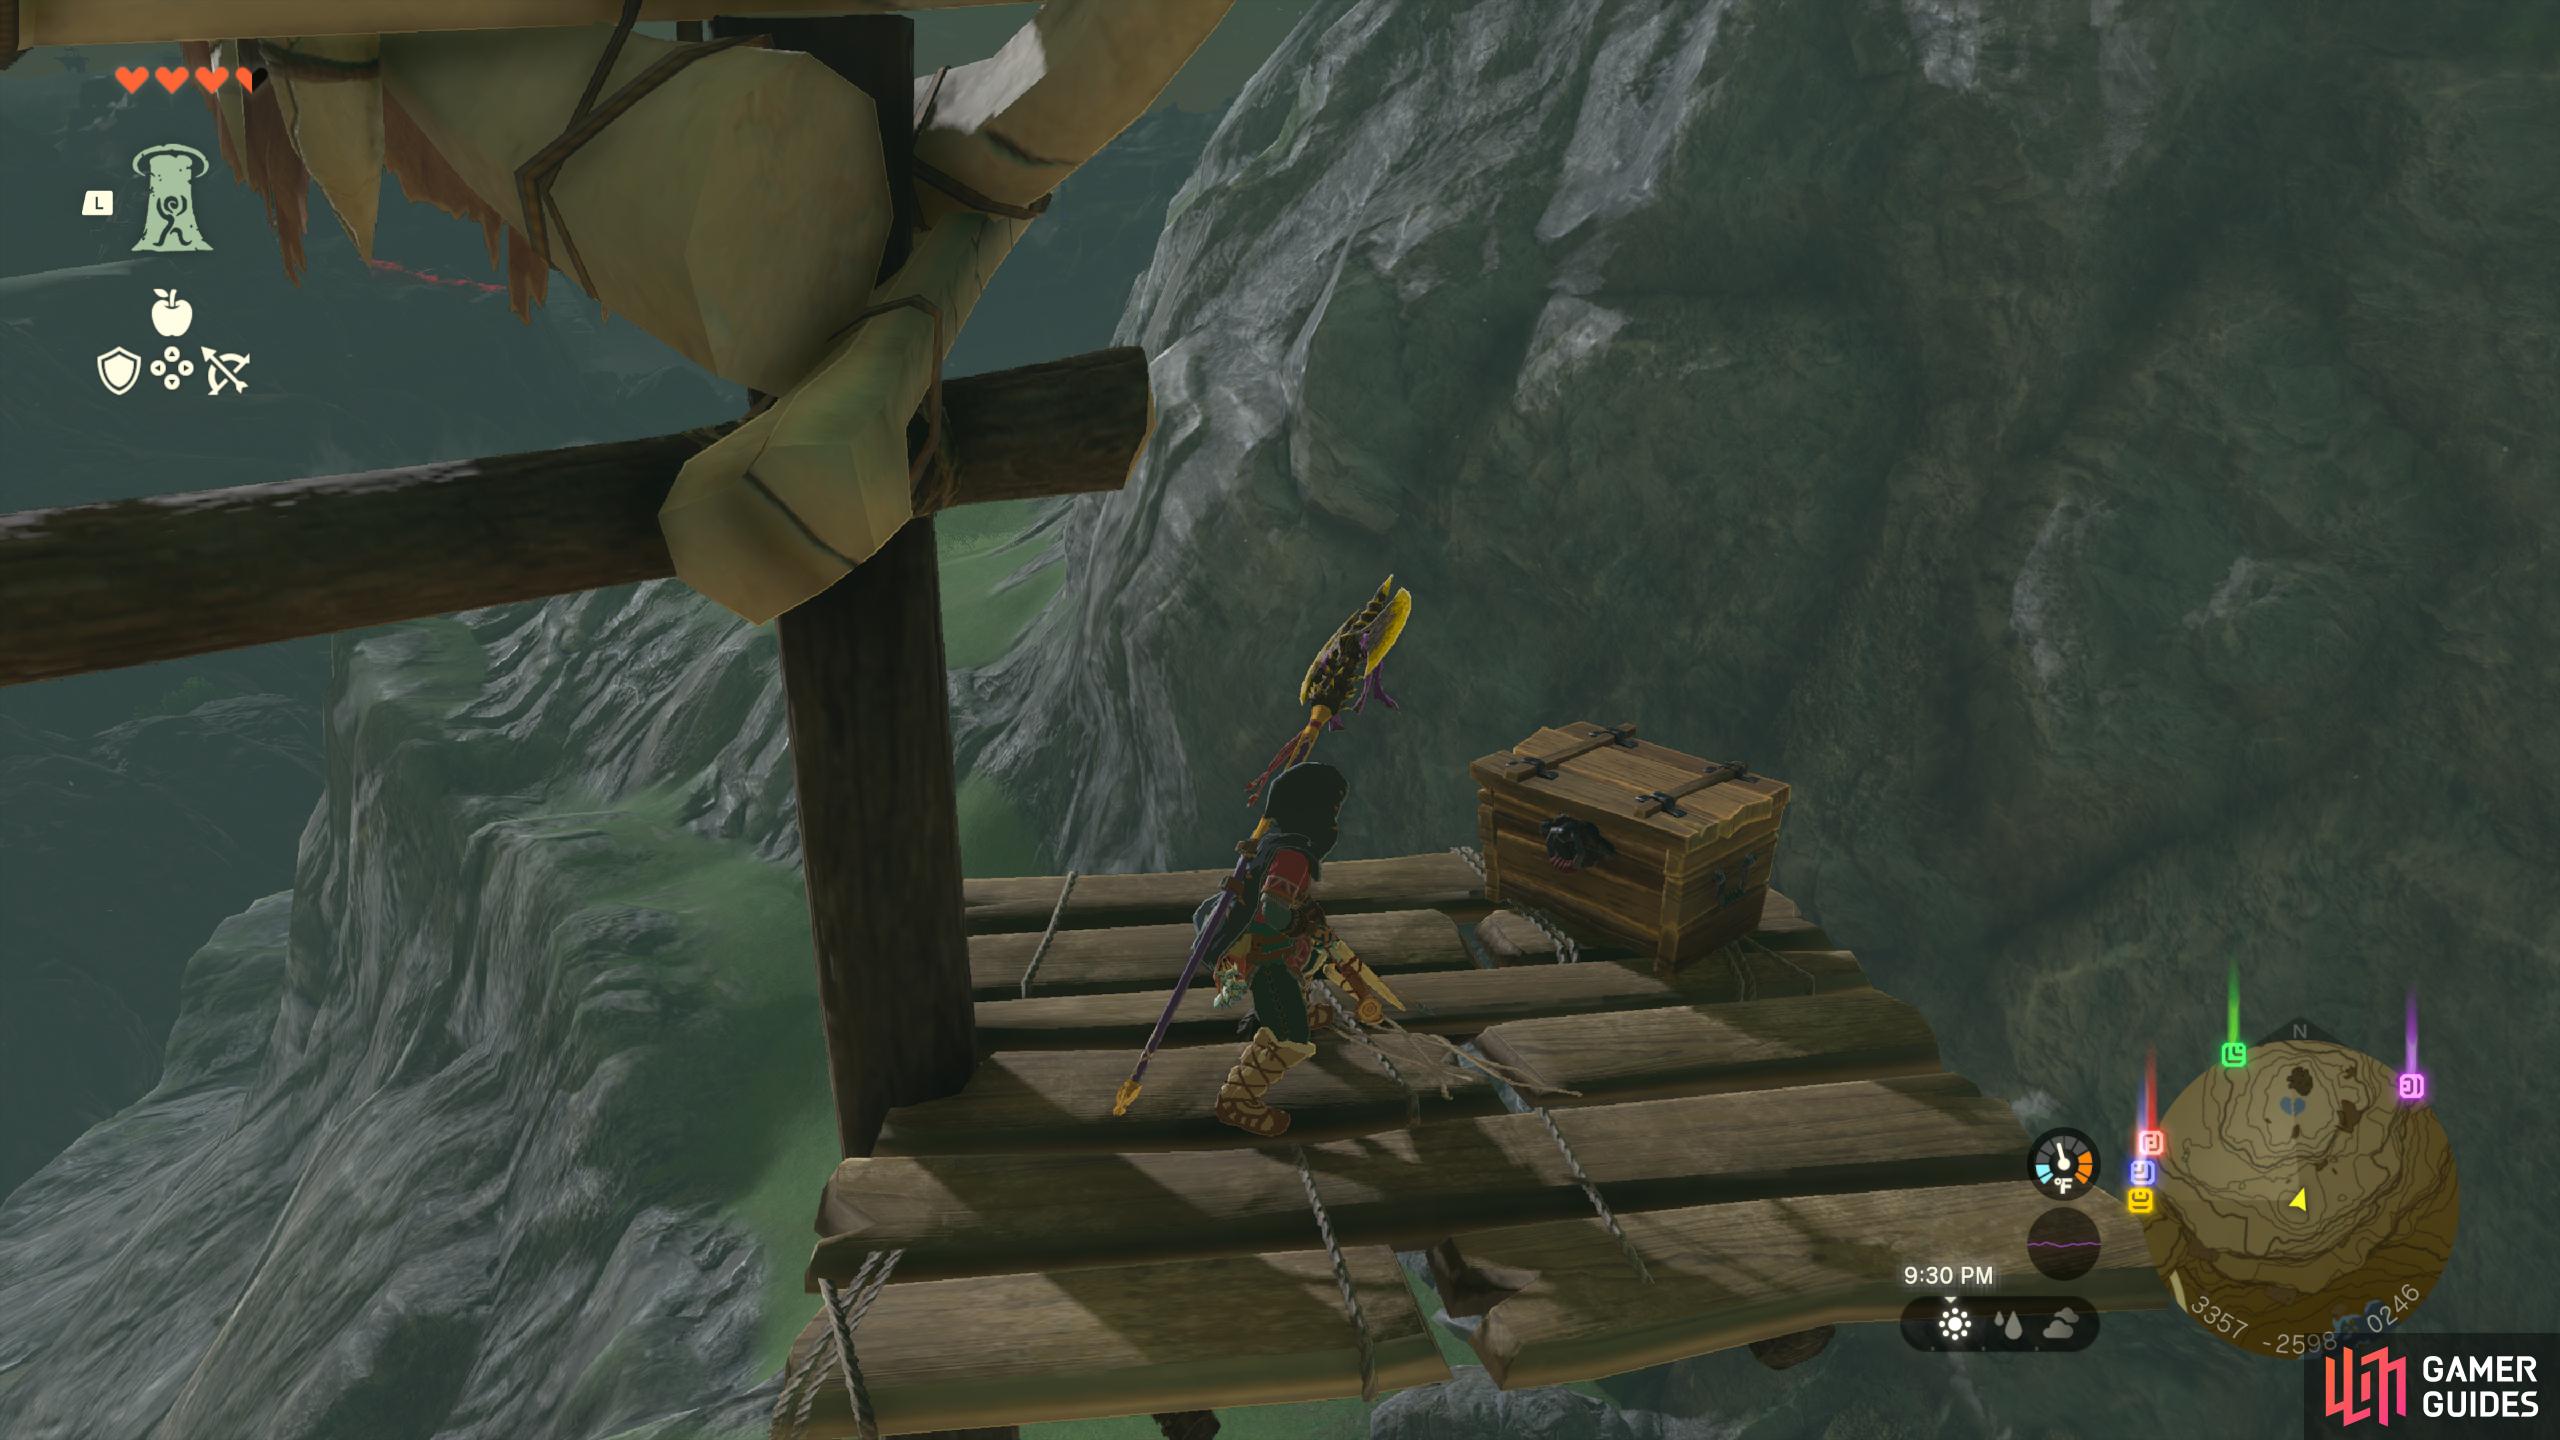
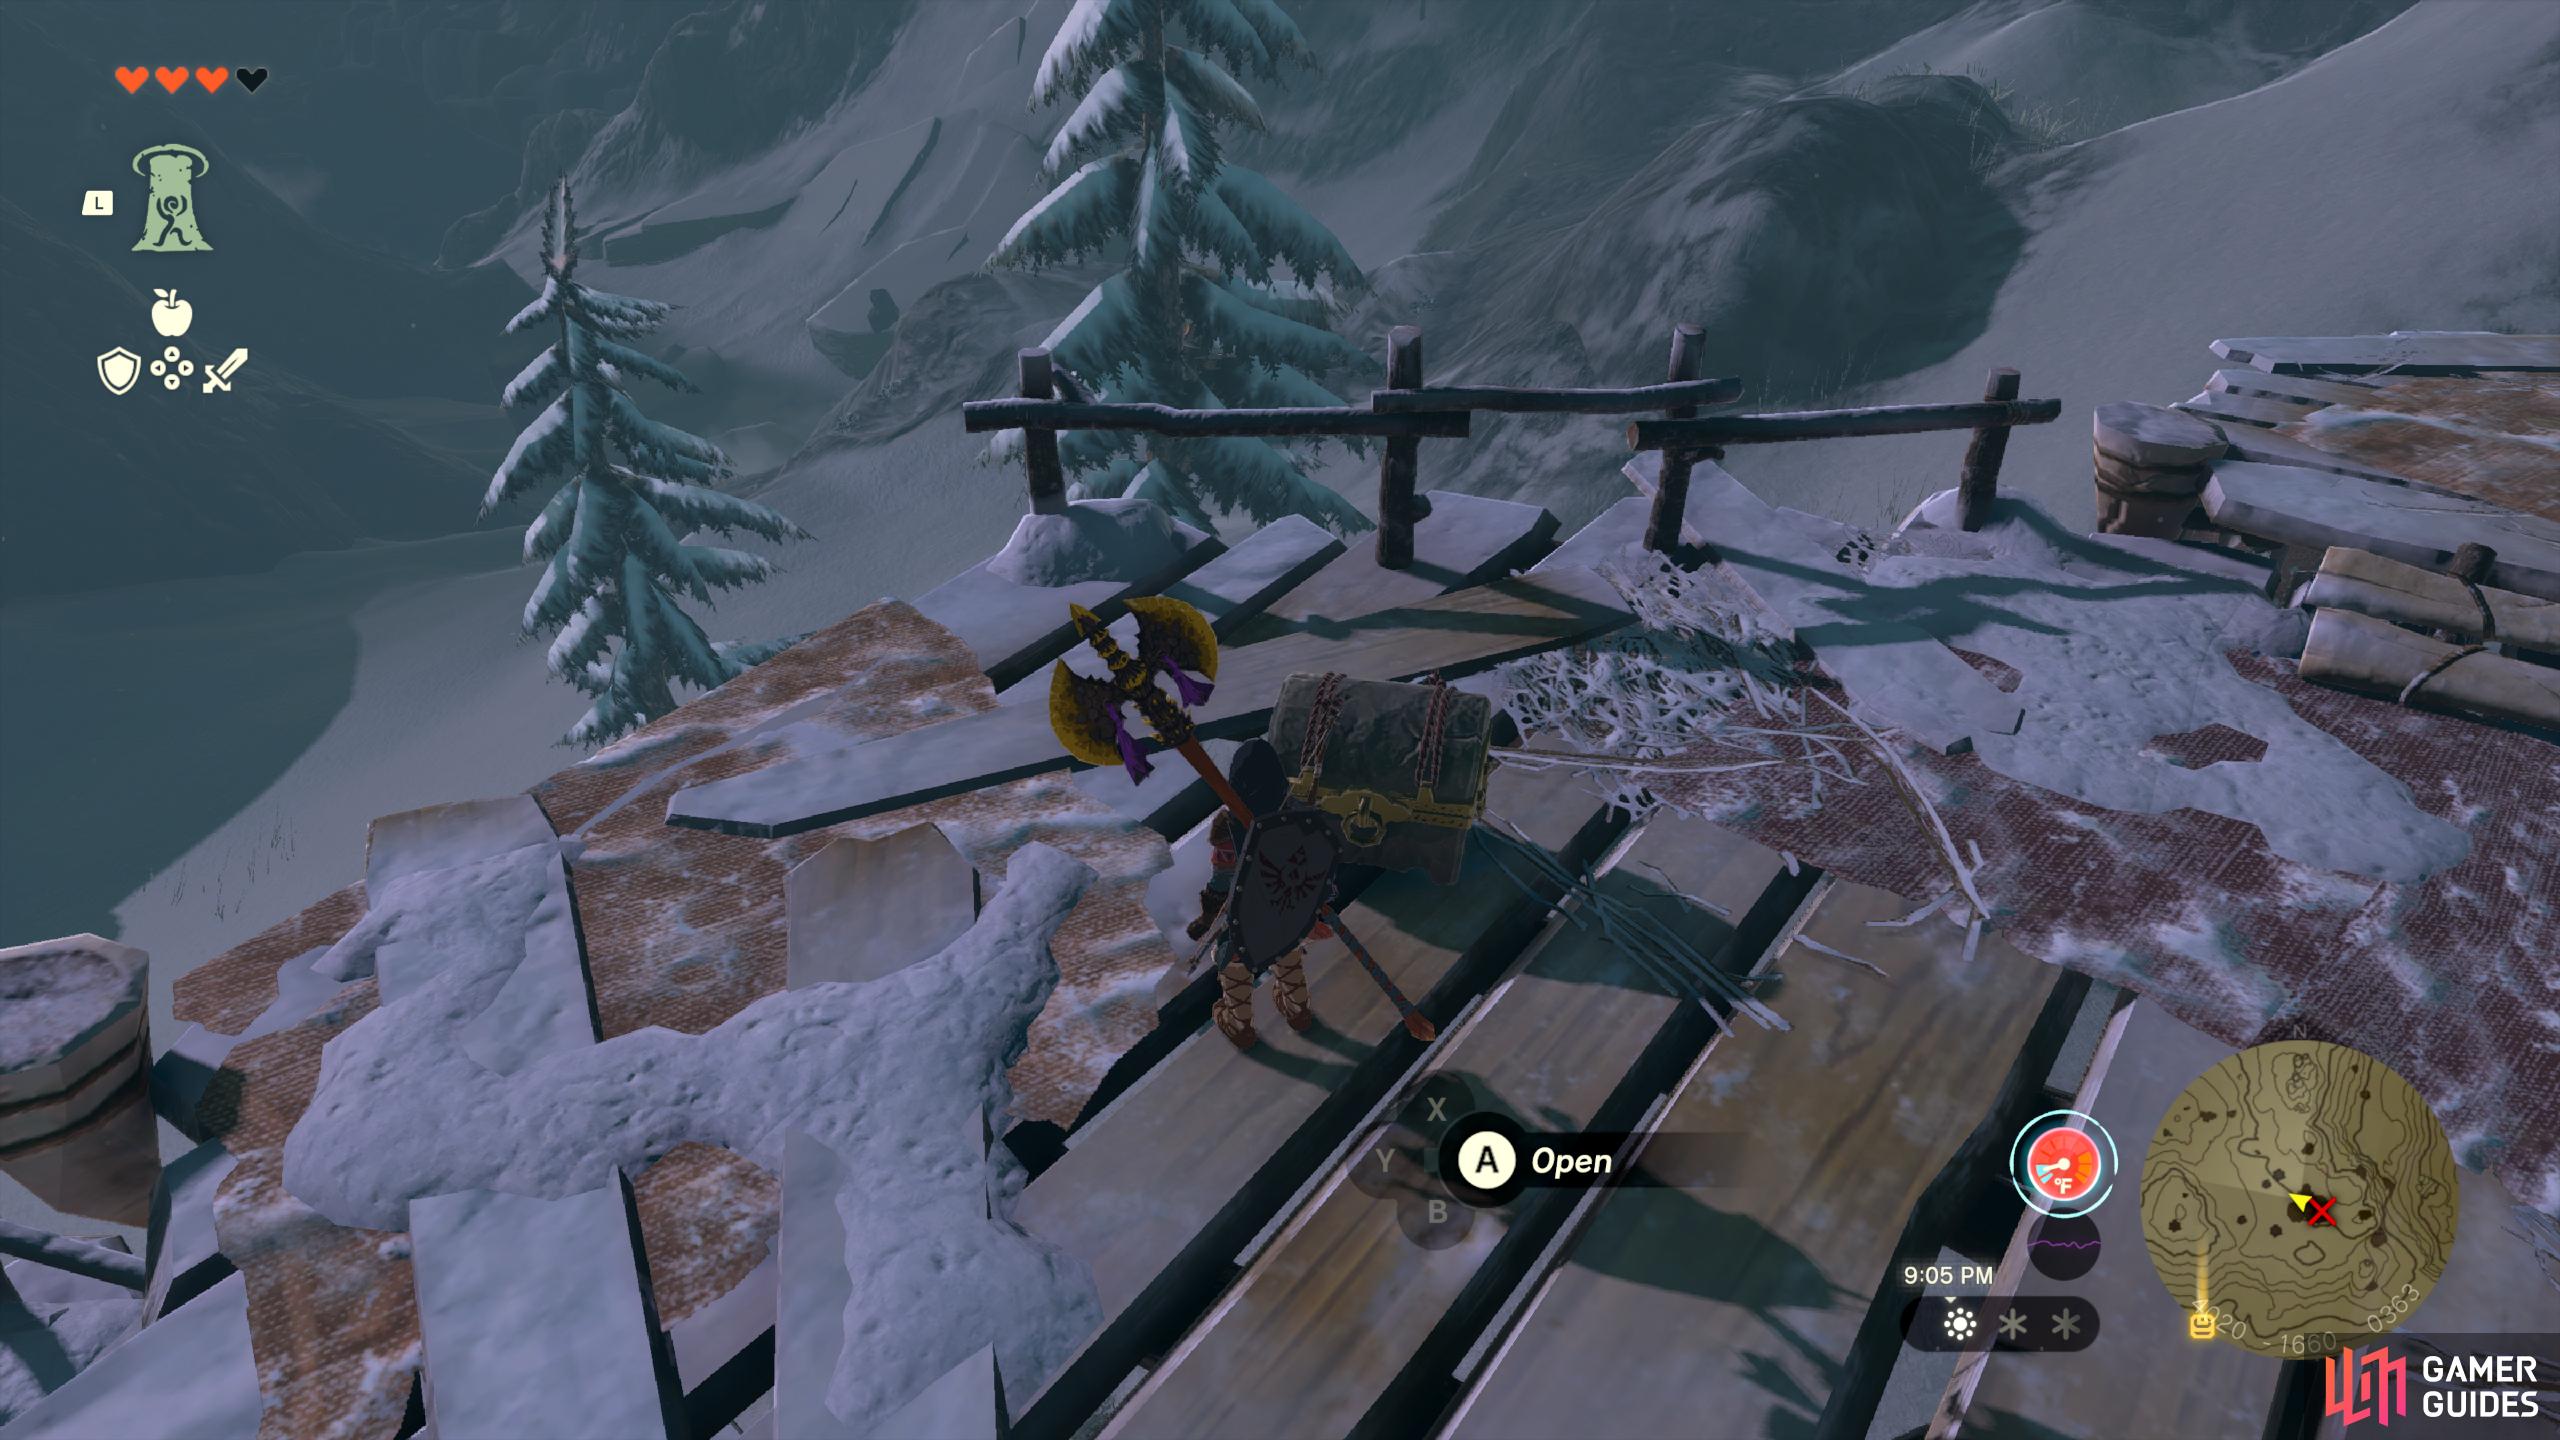
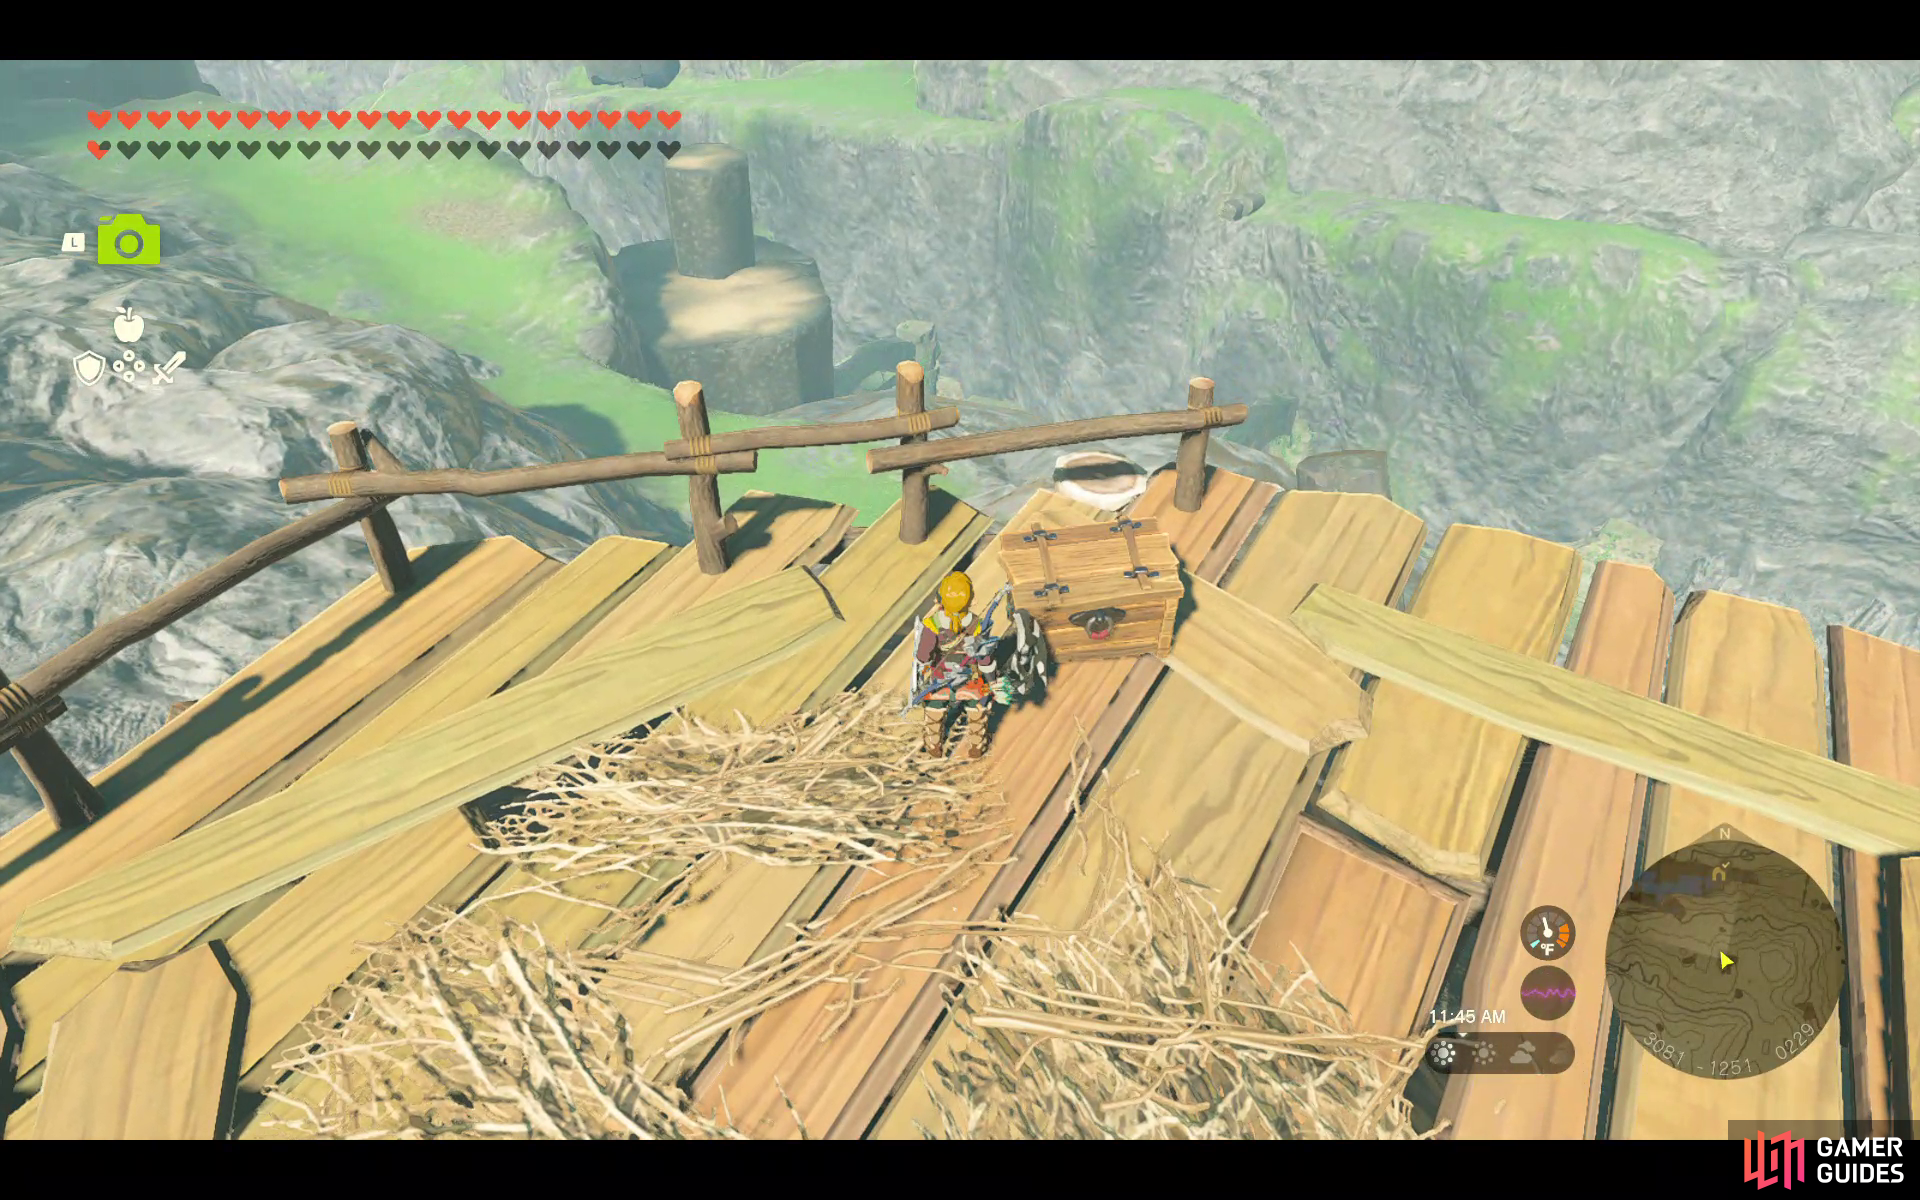
Found inside the camp on top of this bridge.
It contains a ![]() Spiked Boko Bow.
Spiked Boko Bow.
40667. Hyrule Surface Map
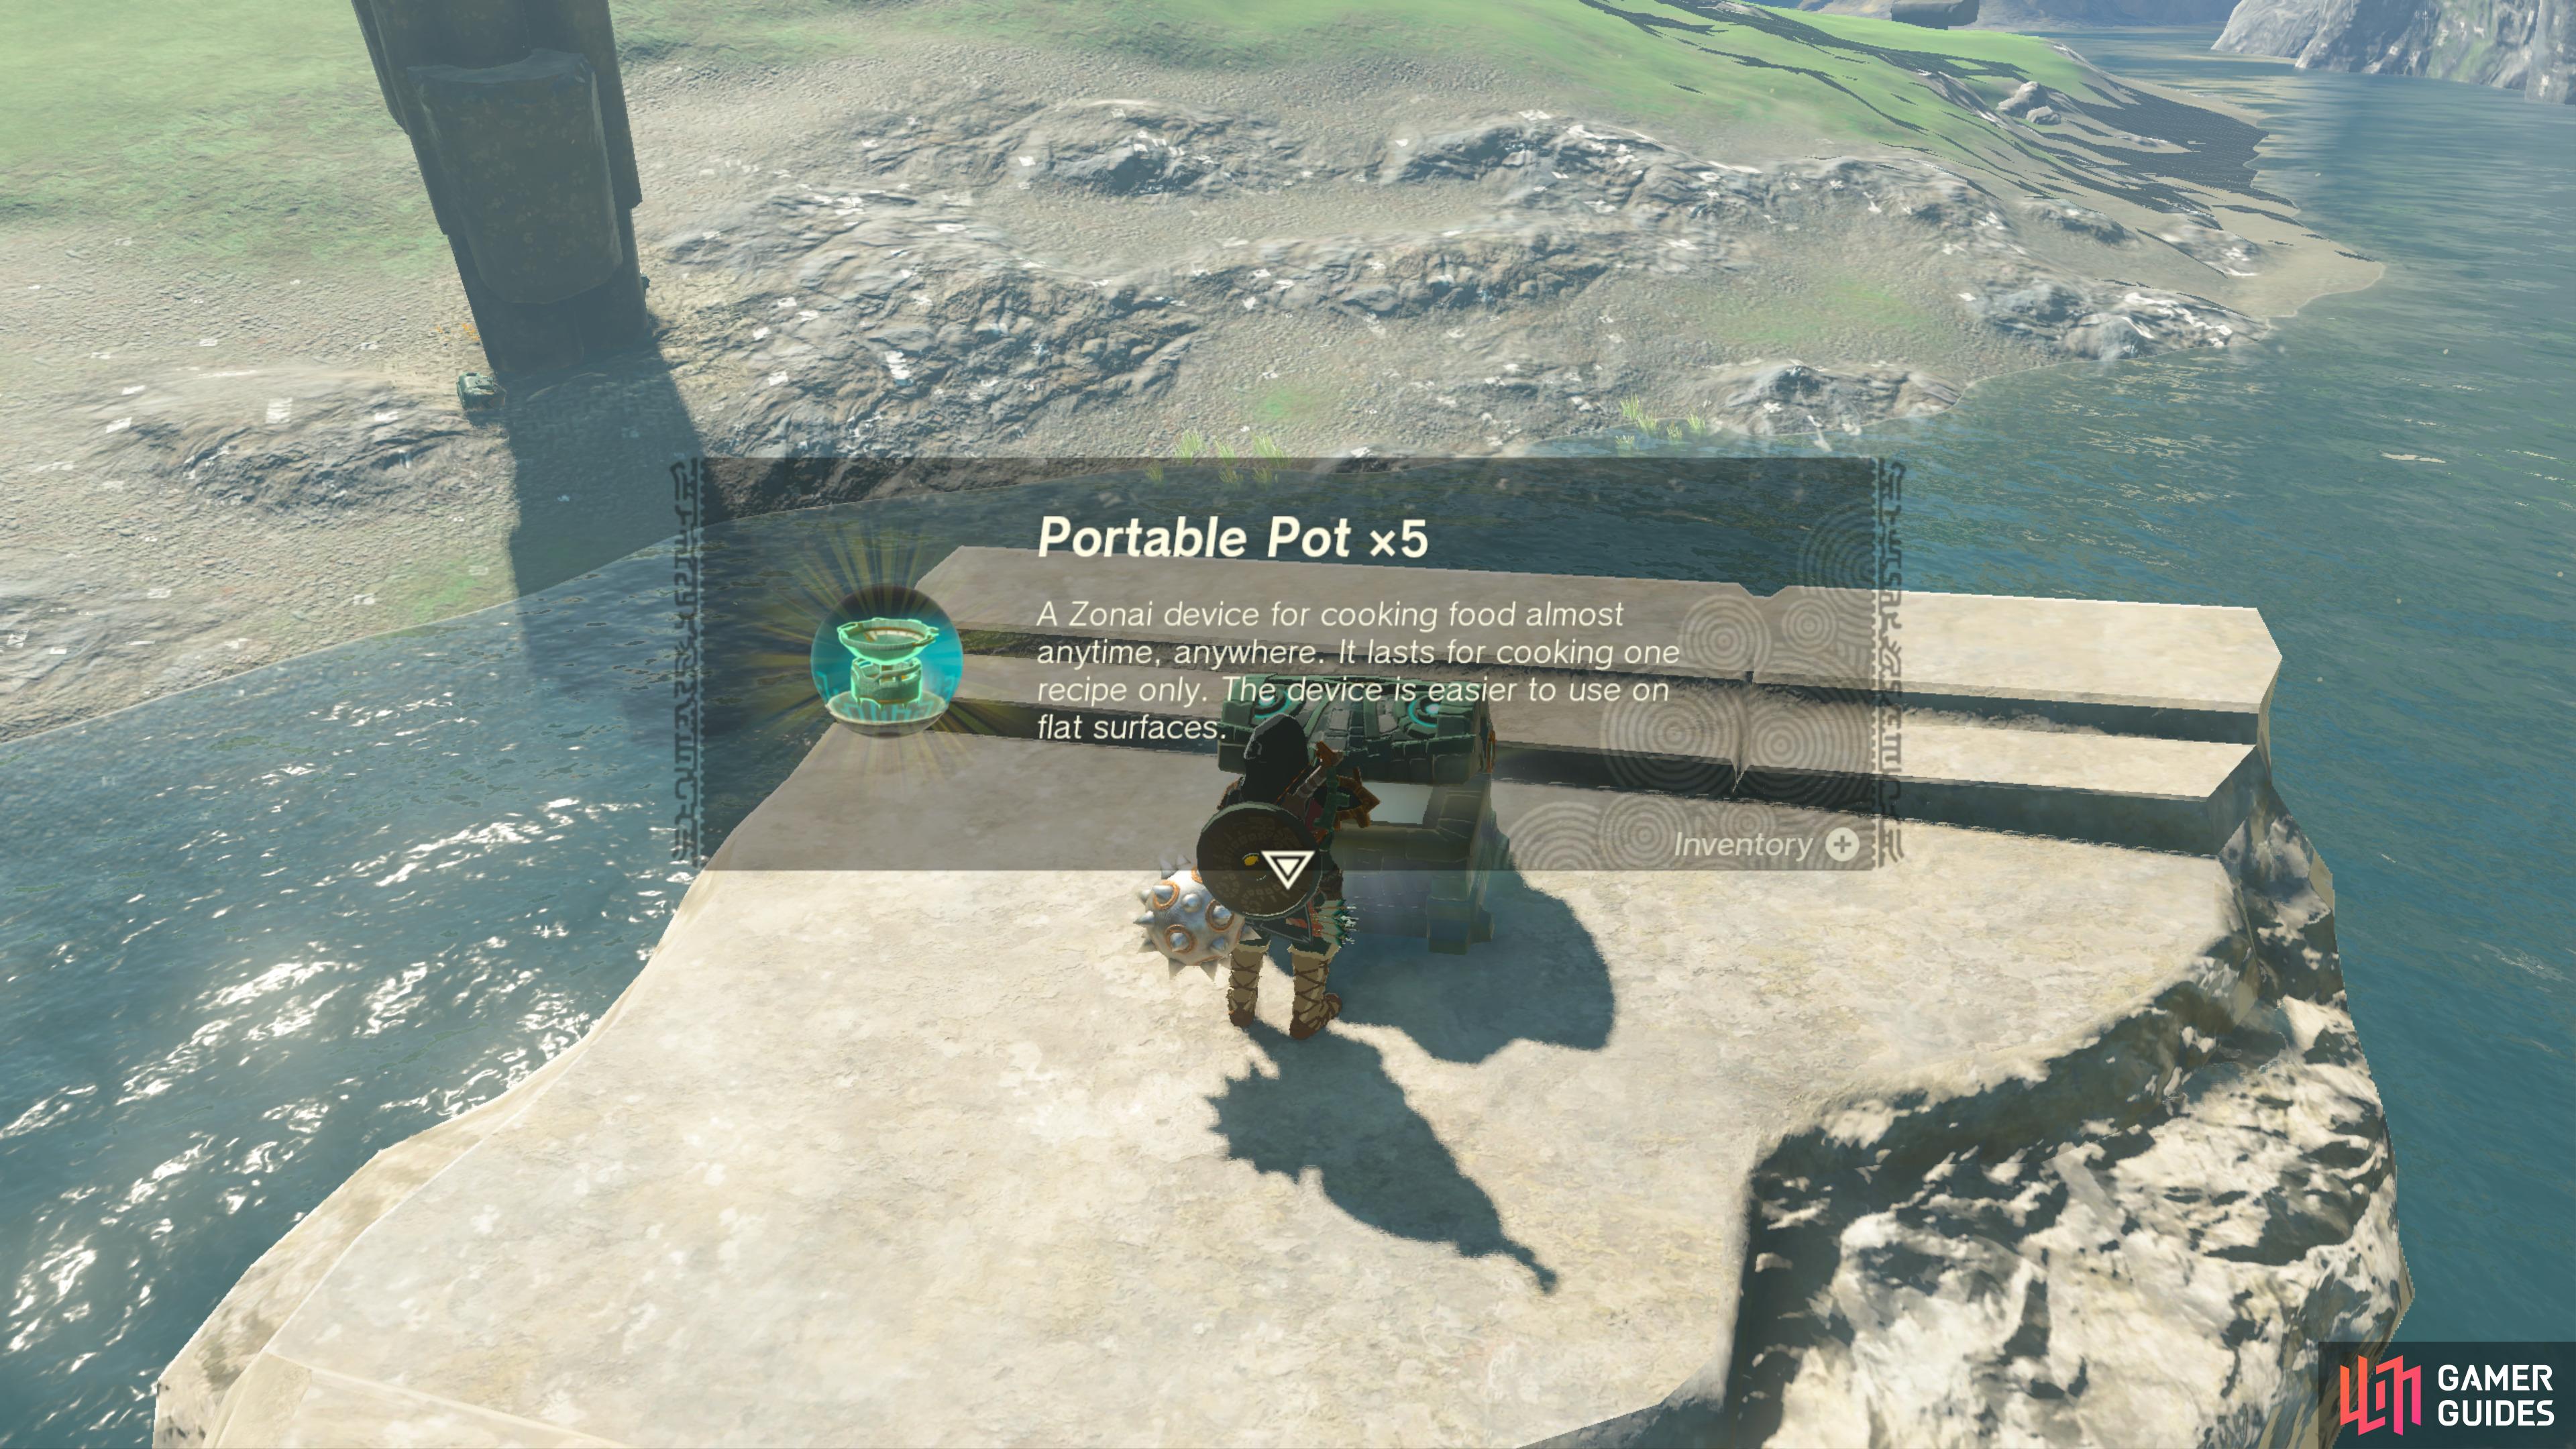
Glide over from the mountains to land on this platform. The !Chest contains 5 Portable Pots.
You can also use the building materials nearby to build a ramp to reach it instead.
40711. Hyrule Surface Map
Found inside the nearby Cave, break the rocks to the left of the cave to reach it.
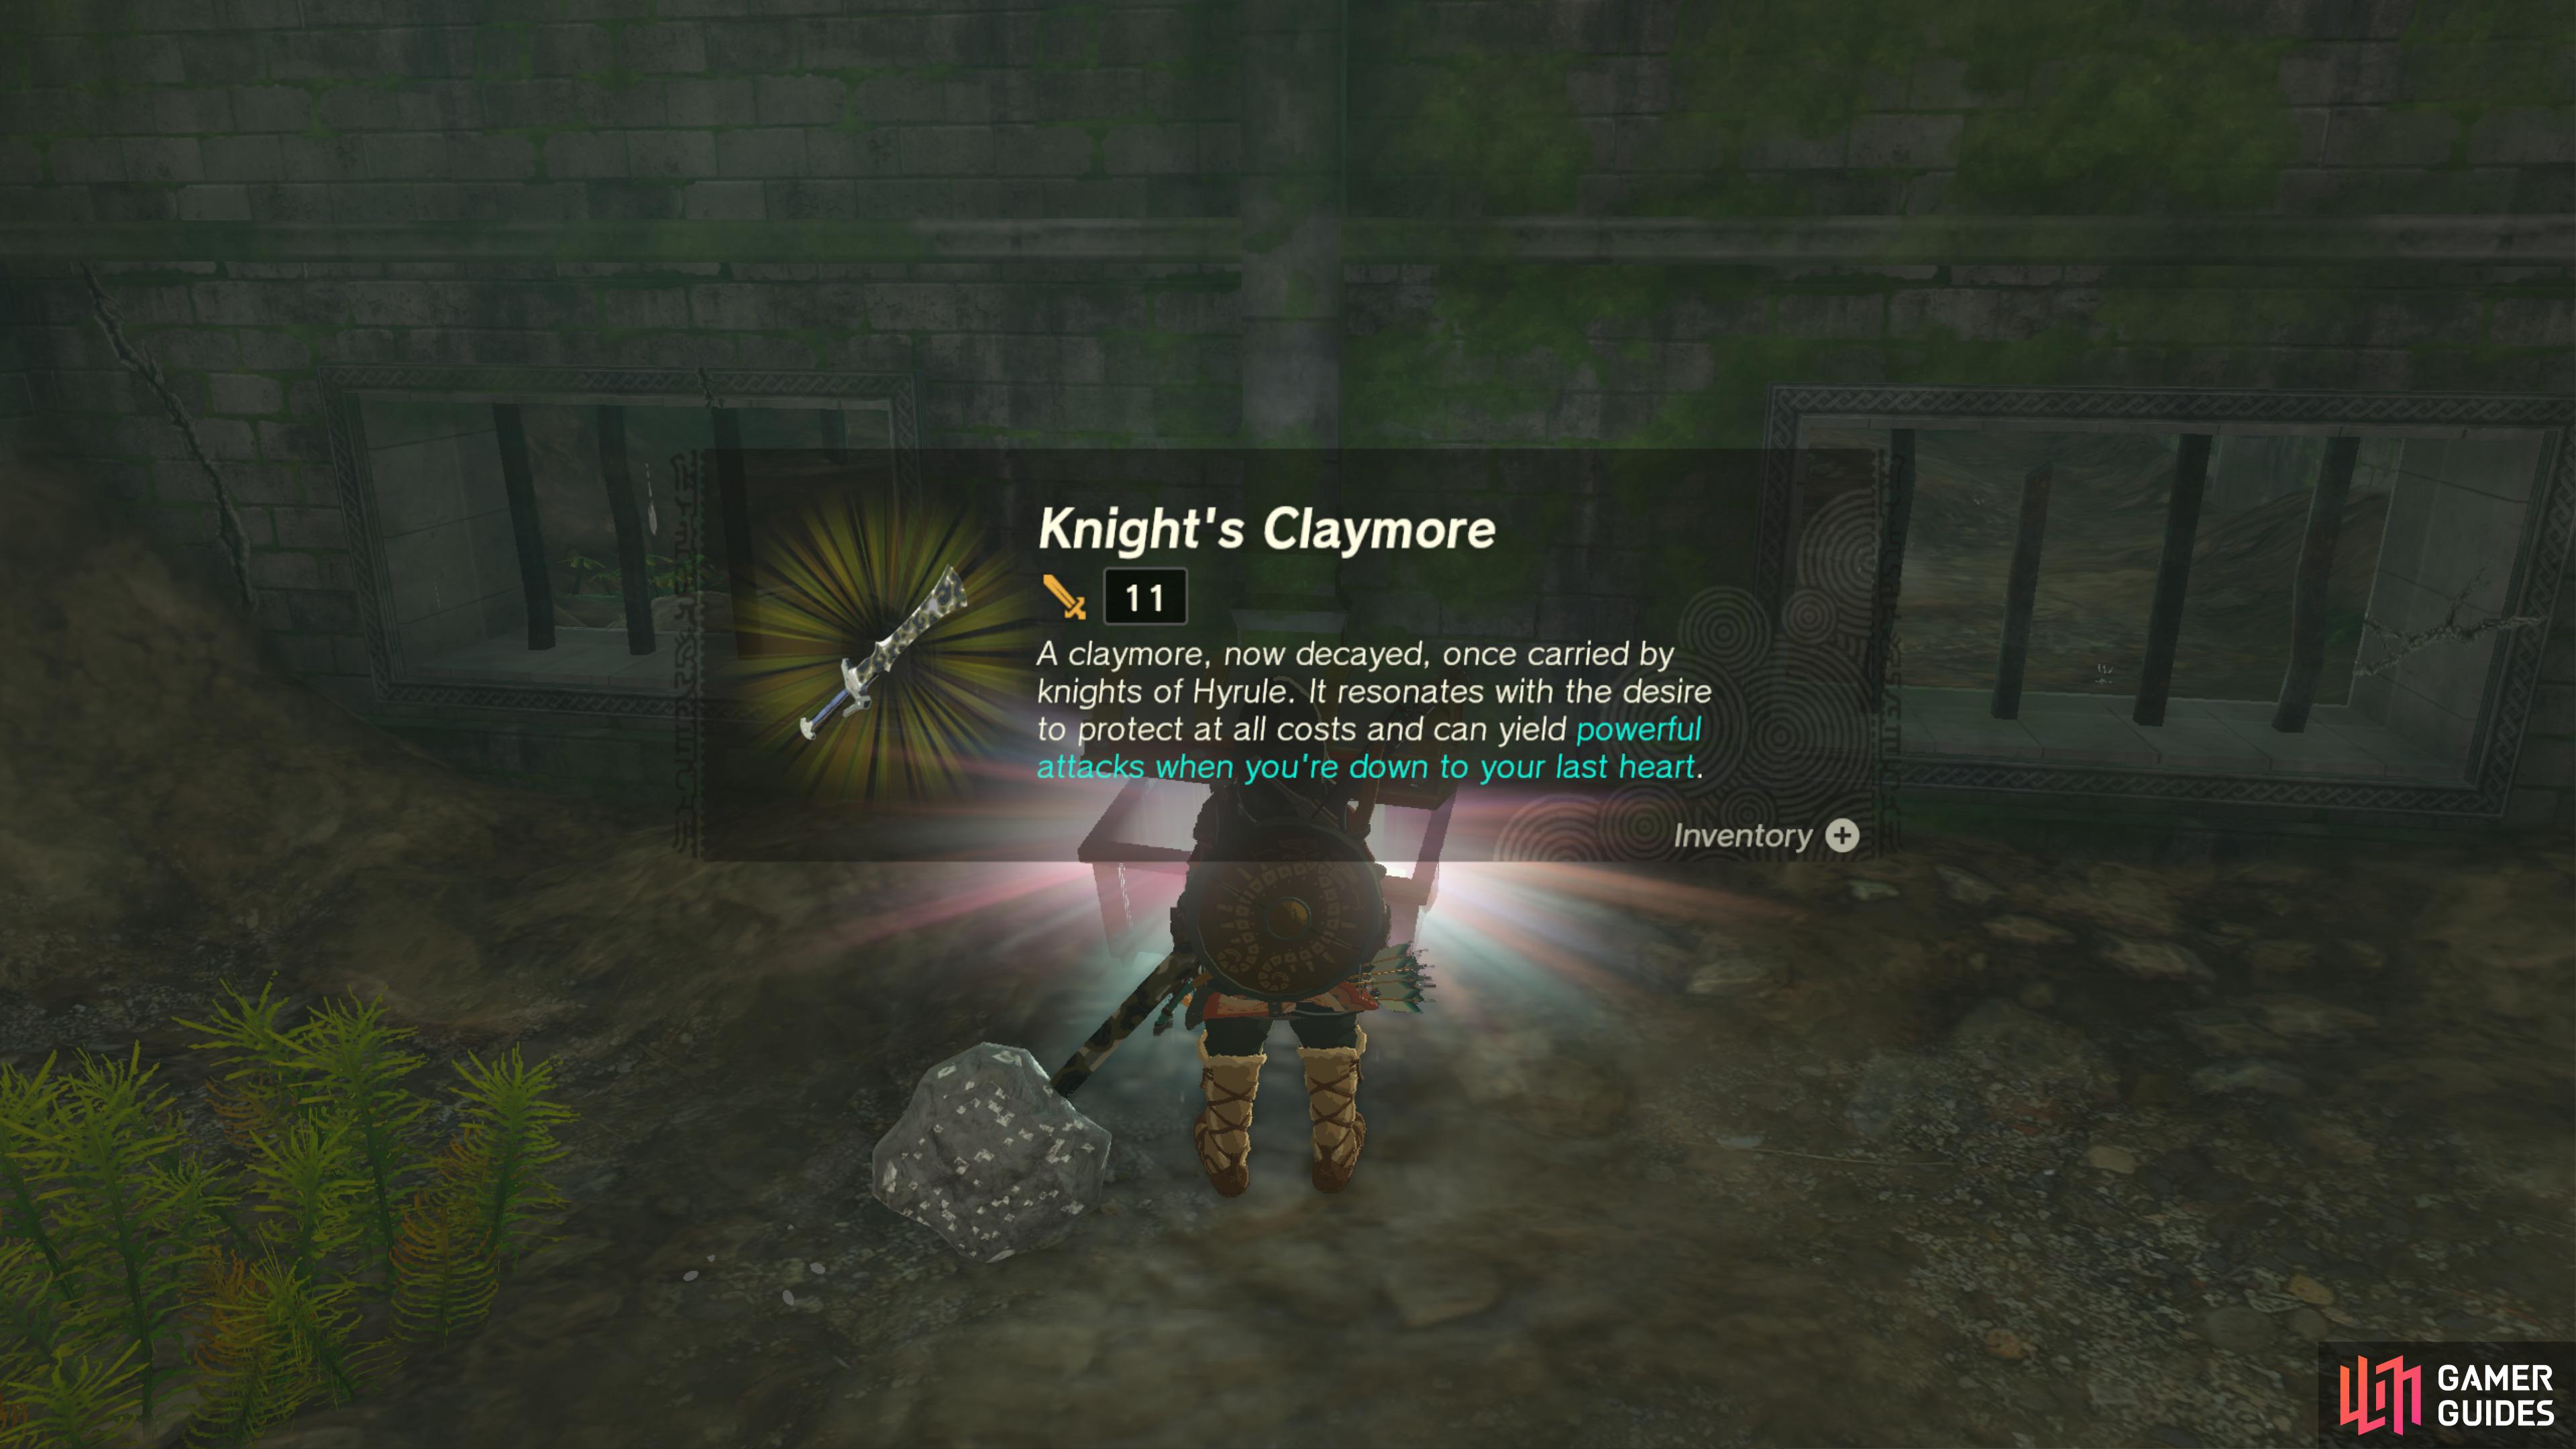
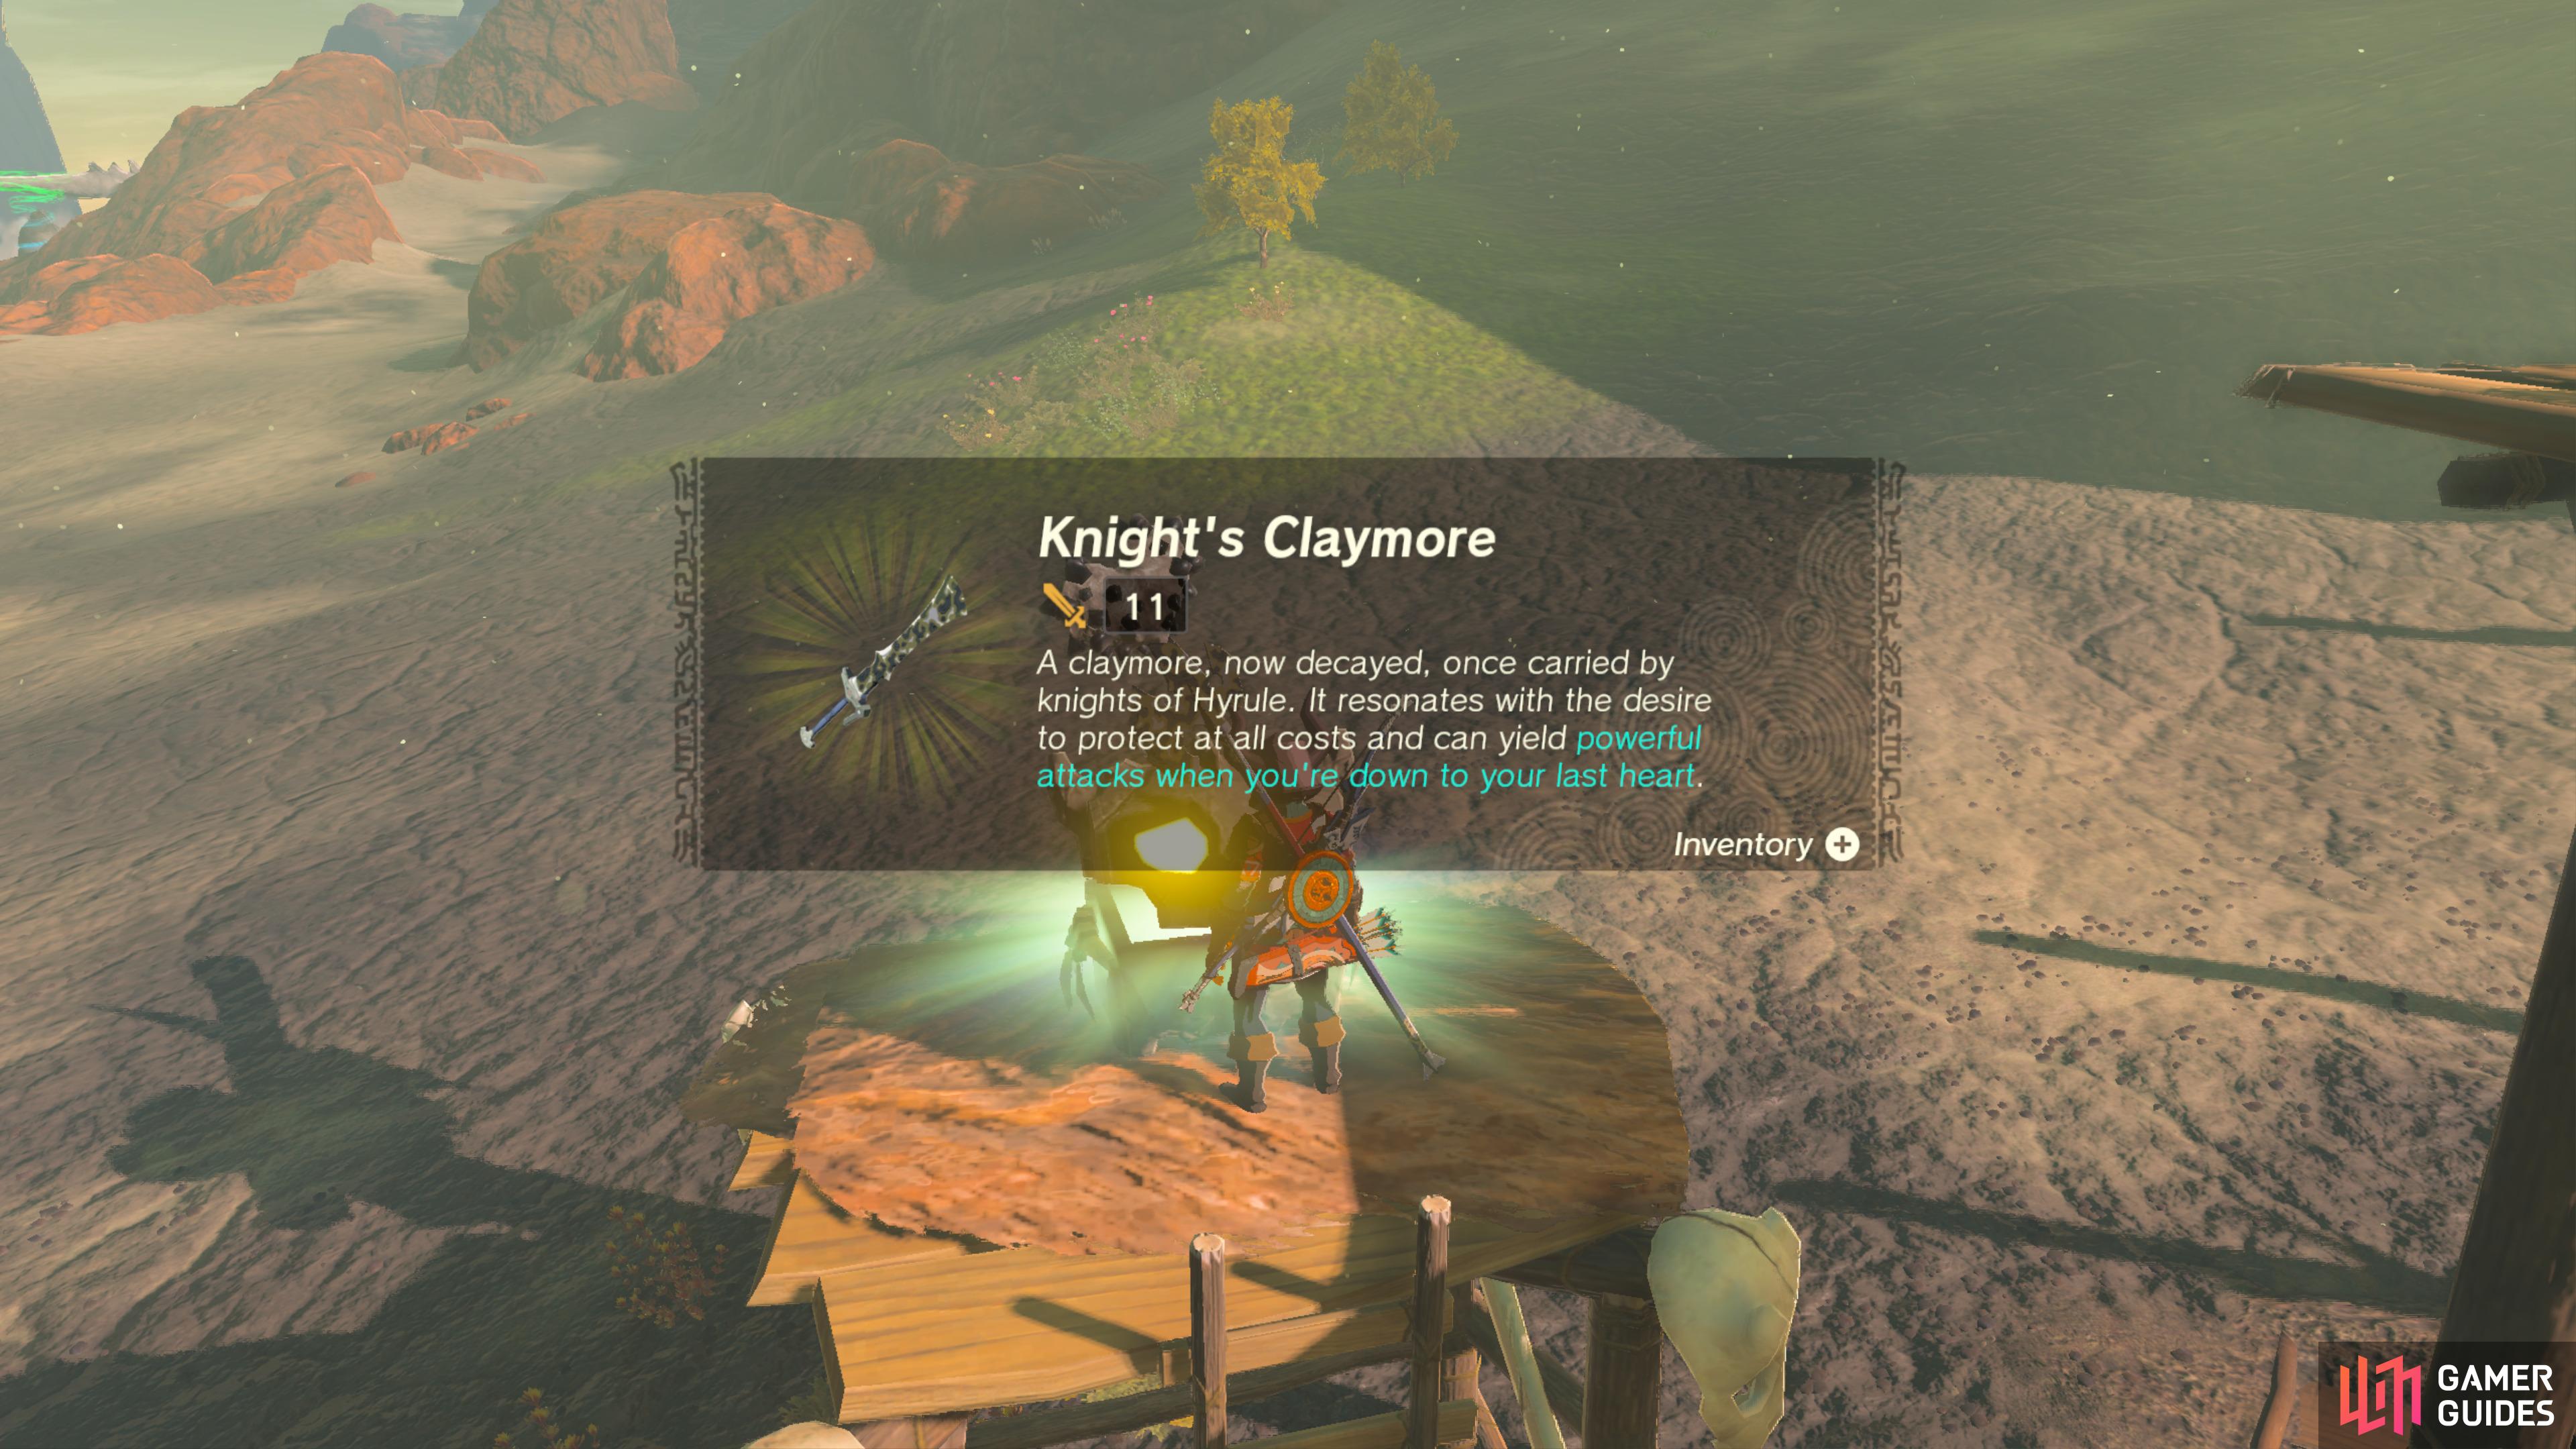
It contains a ![]() Knight’s Claymore.
Knight’s Claymore.
40741. Hyrule Surface Map
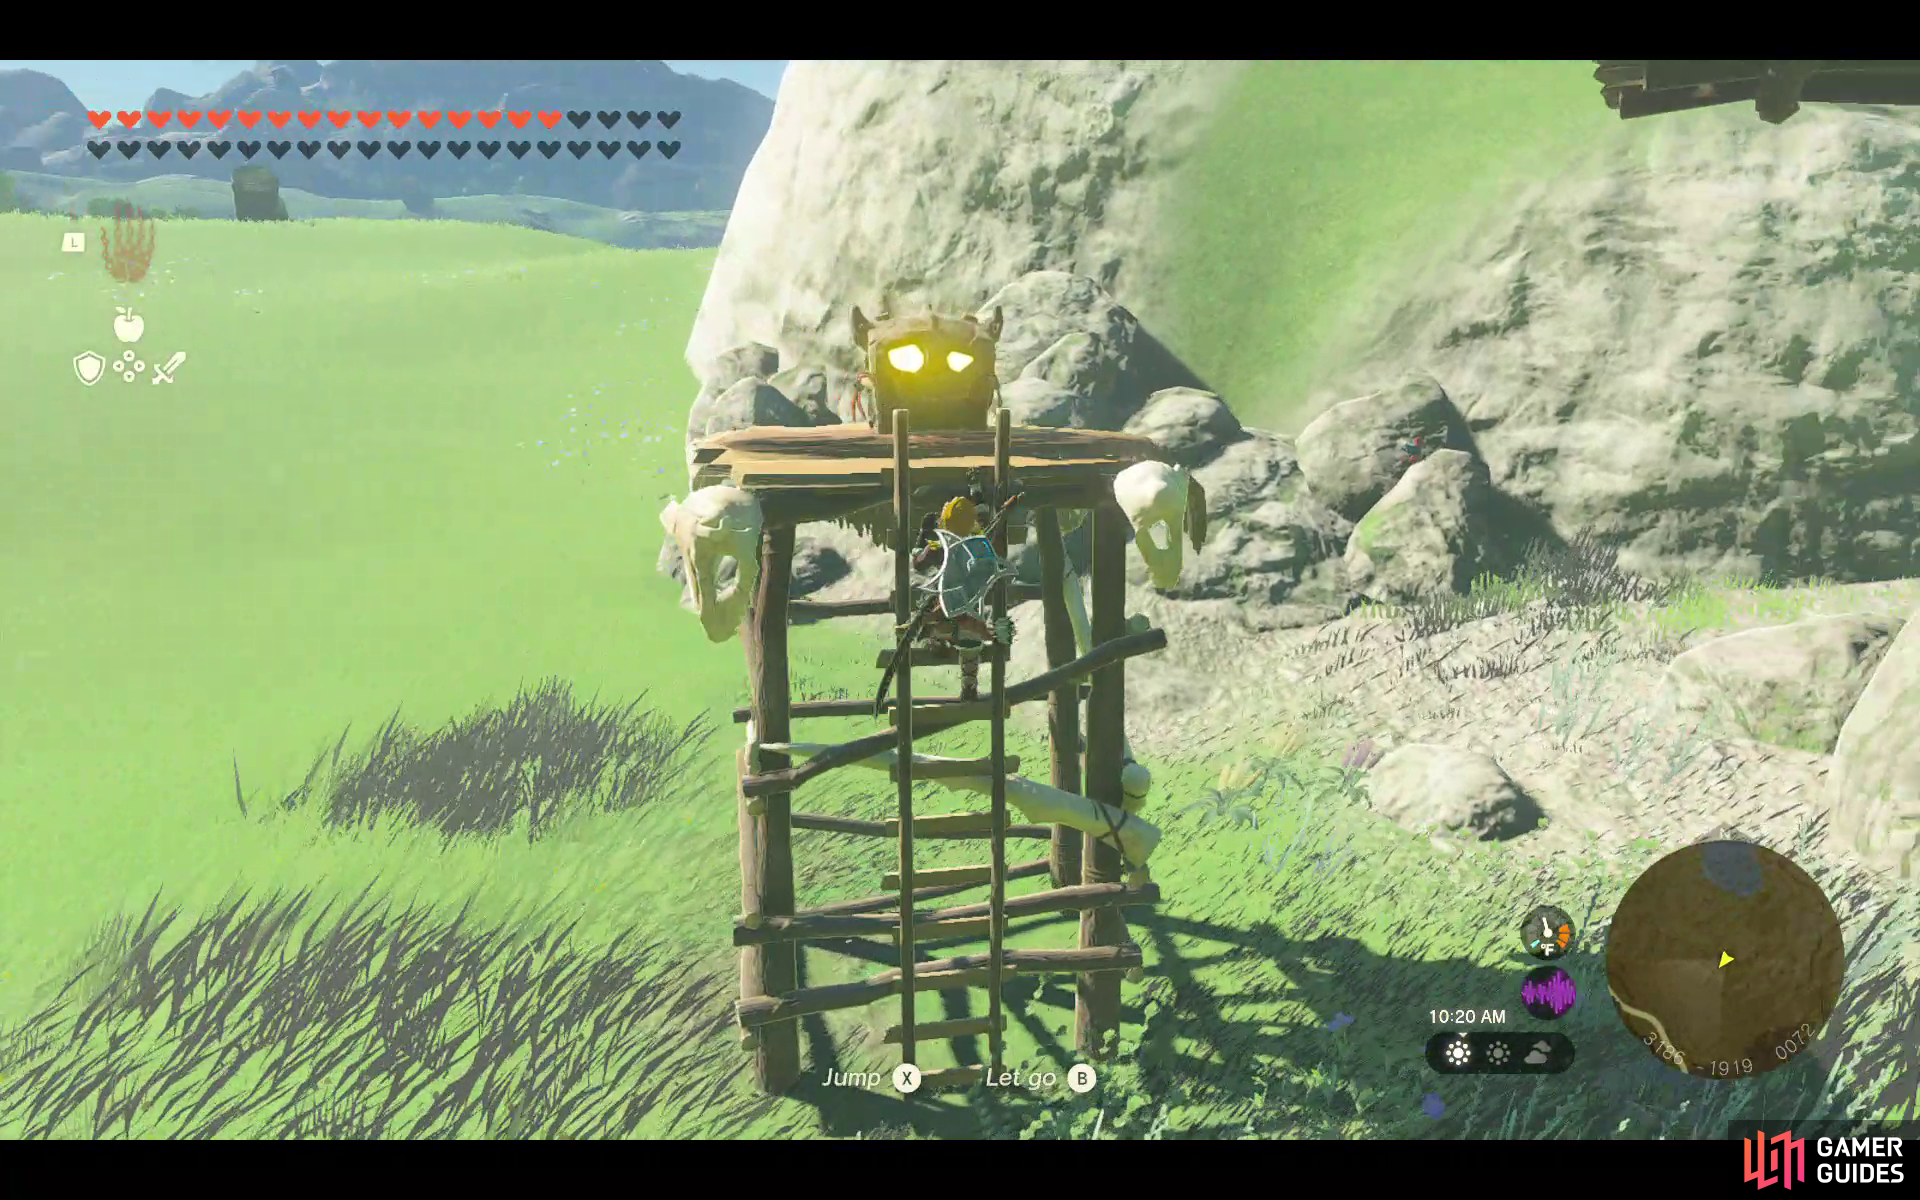
You can find this chest on top of the tower of this ![]() Bokoblin camp.
Bokoblin camp.
It contains a ![]() Spiked Boko Bow.
Spiked Boko Bow.
40755. Hyrule Surface Map
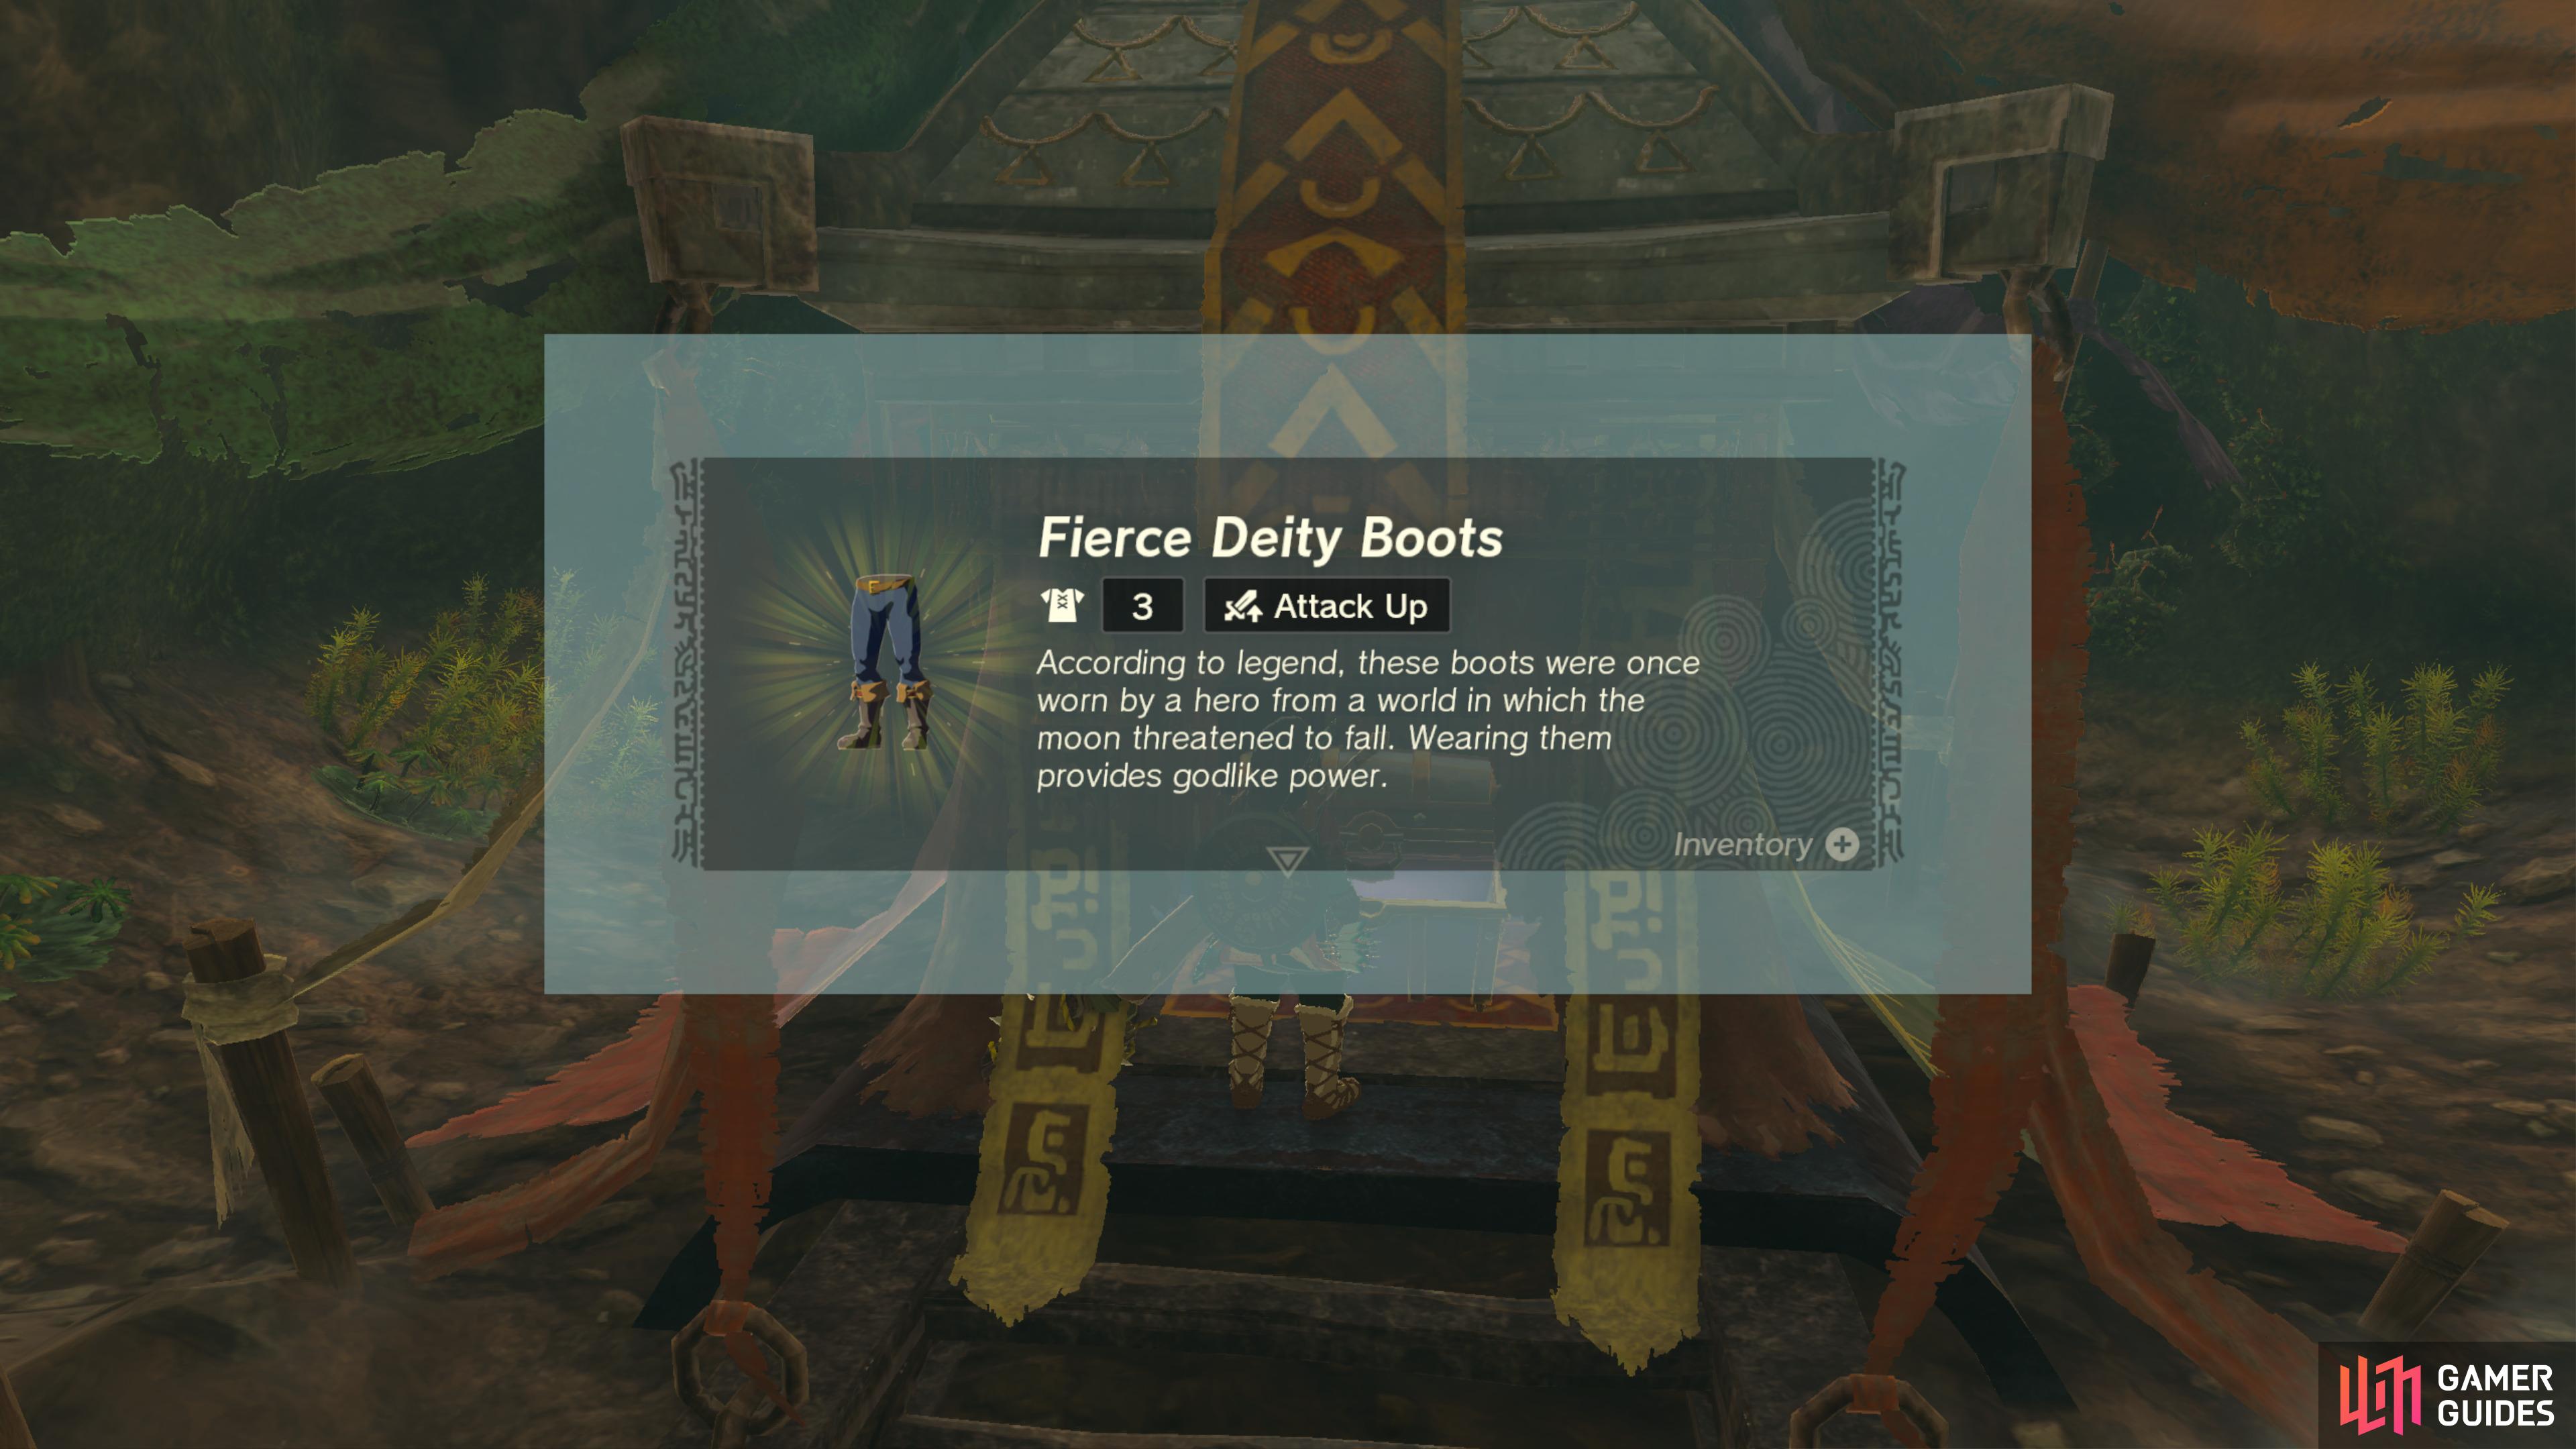
Found inside the ![]() Ancient Tree Stump Cave. You must climb up to a shrine inside, where you will find the chest.
Ancient Tree Stump Cave. You must climb up to a shrine inside, where you will find the chest.
Contains the ![]() Fierce Deity Boots.
Fierce Deity Boots.
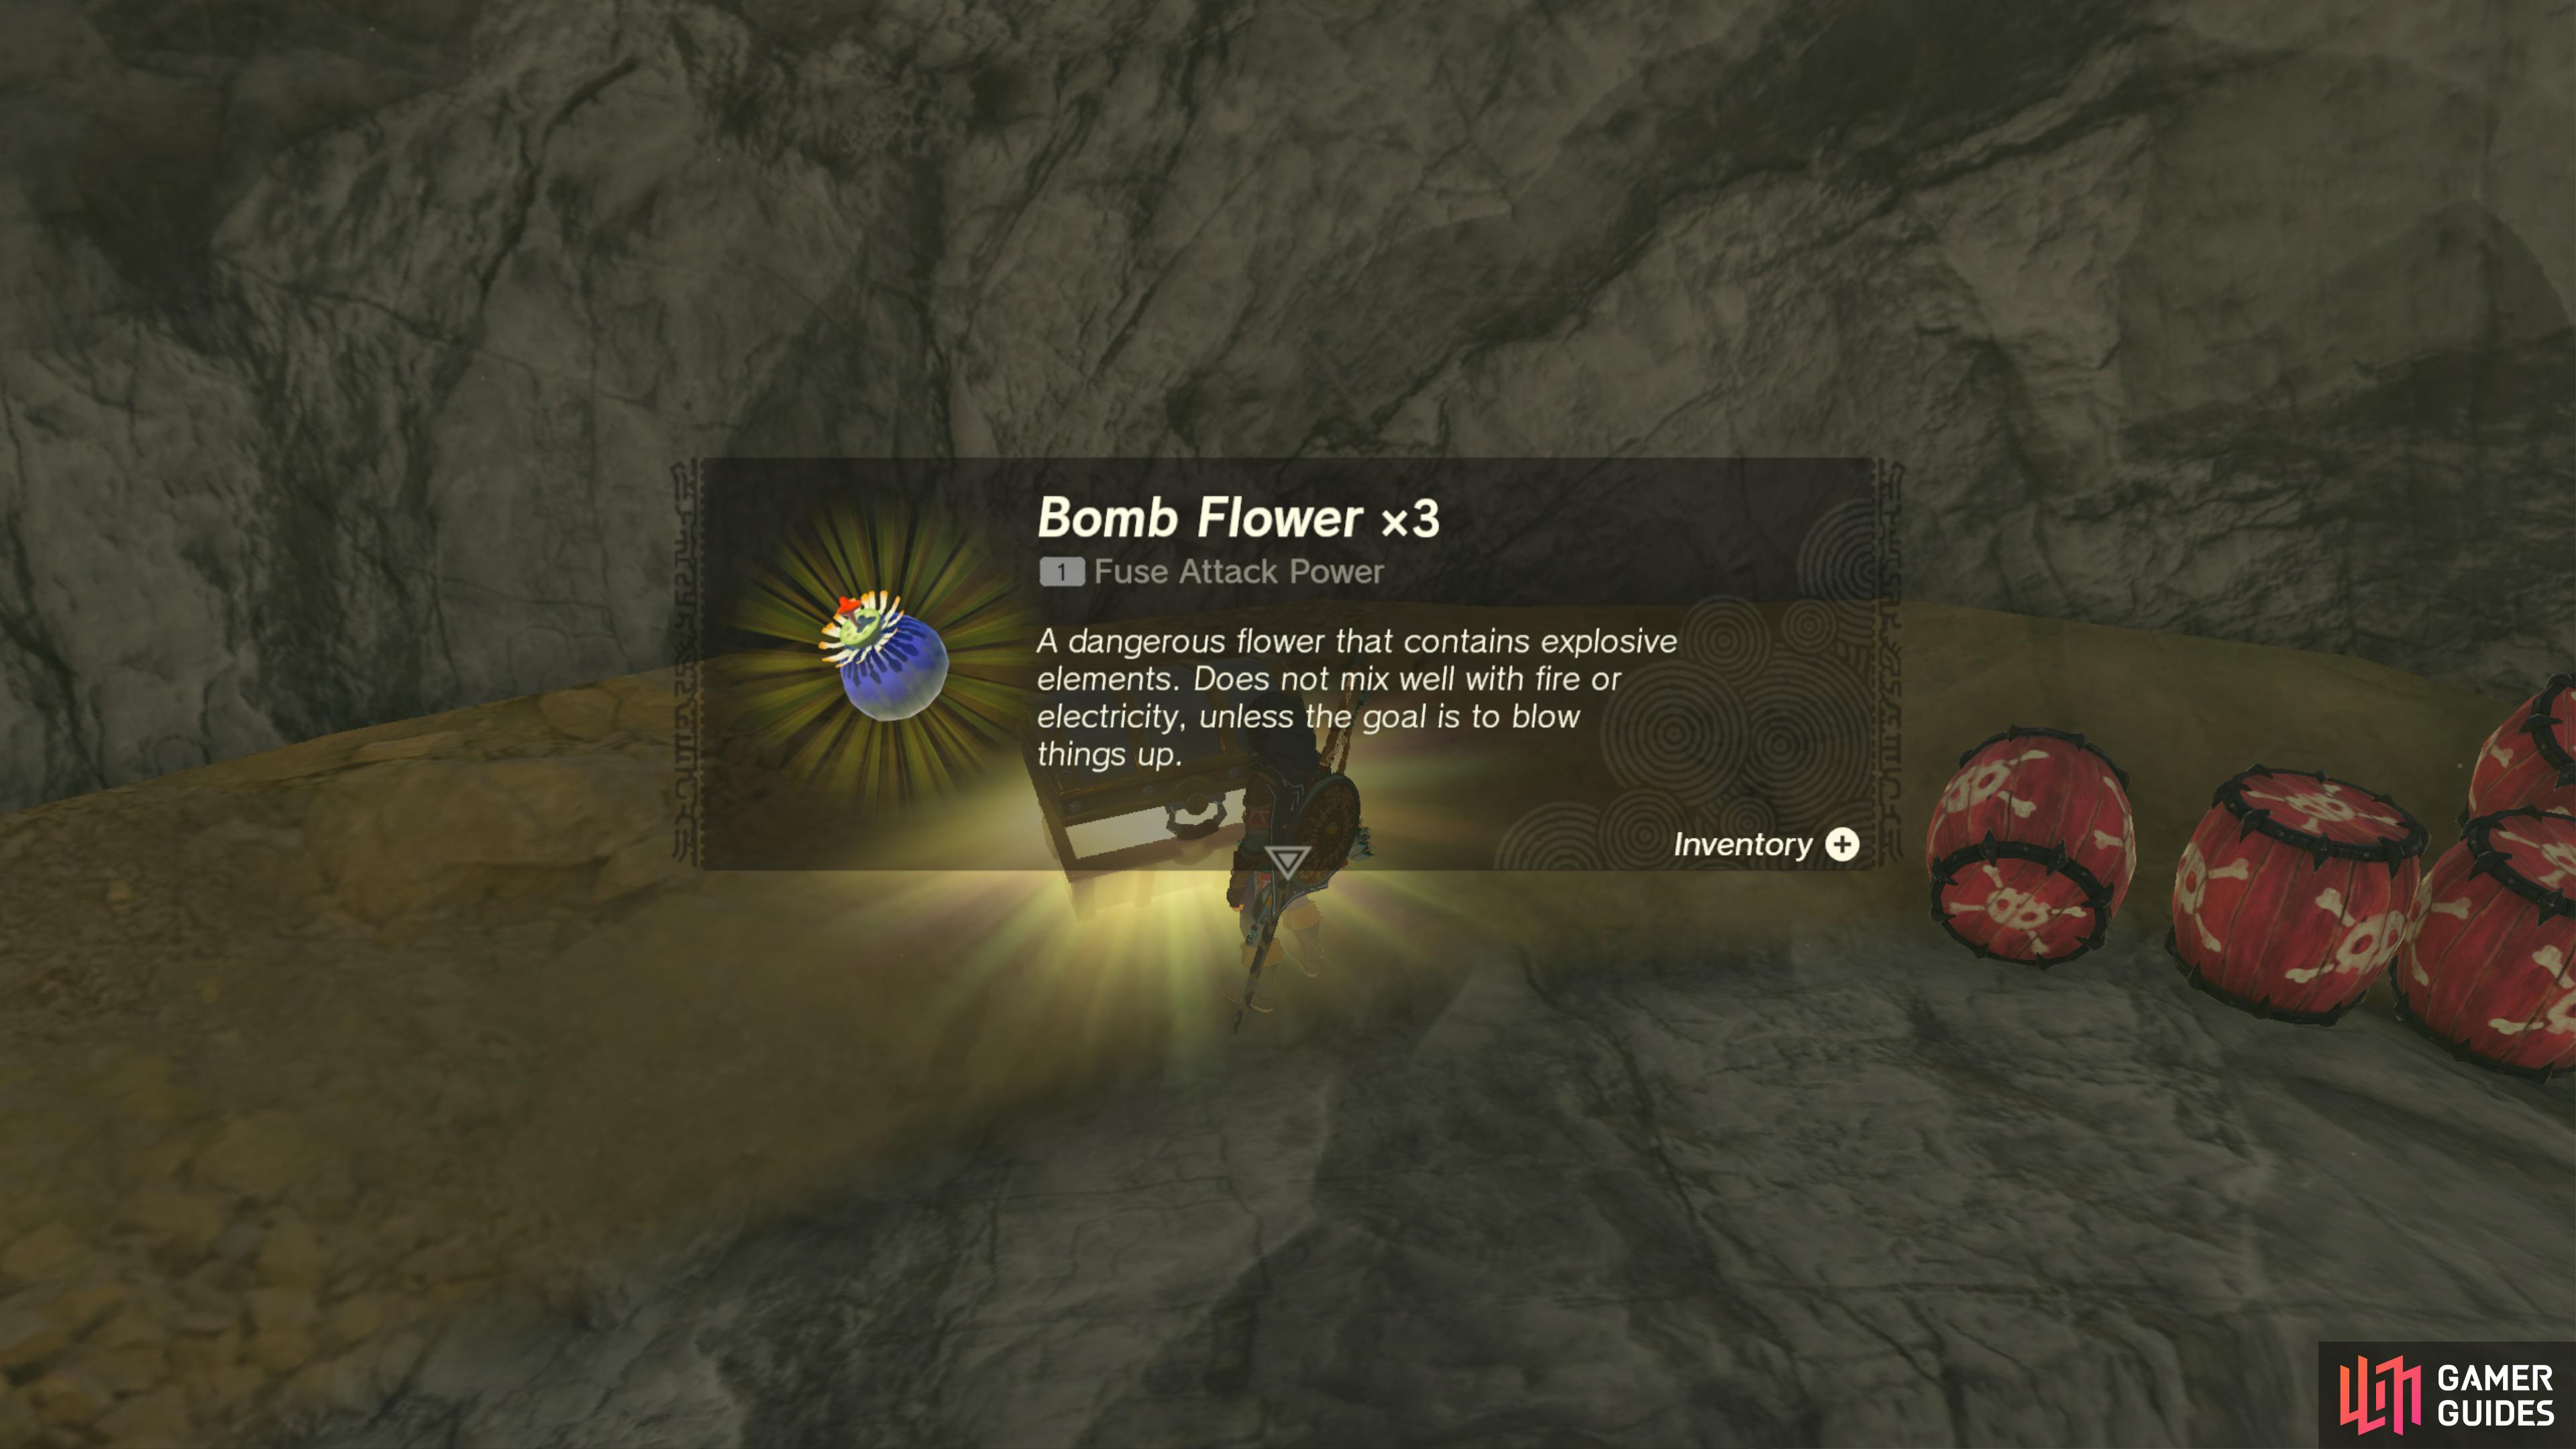
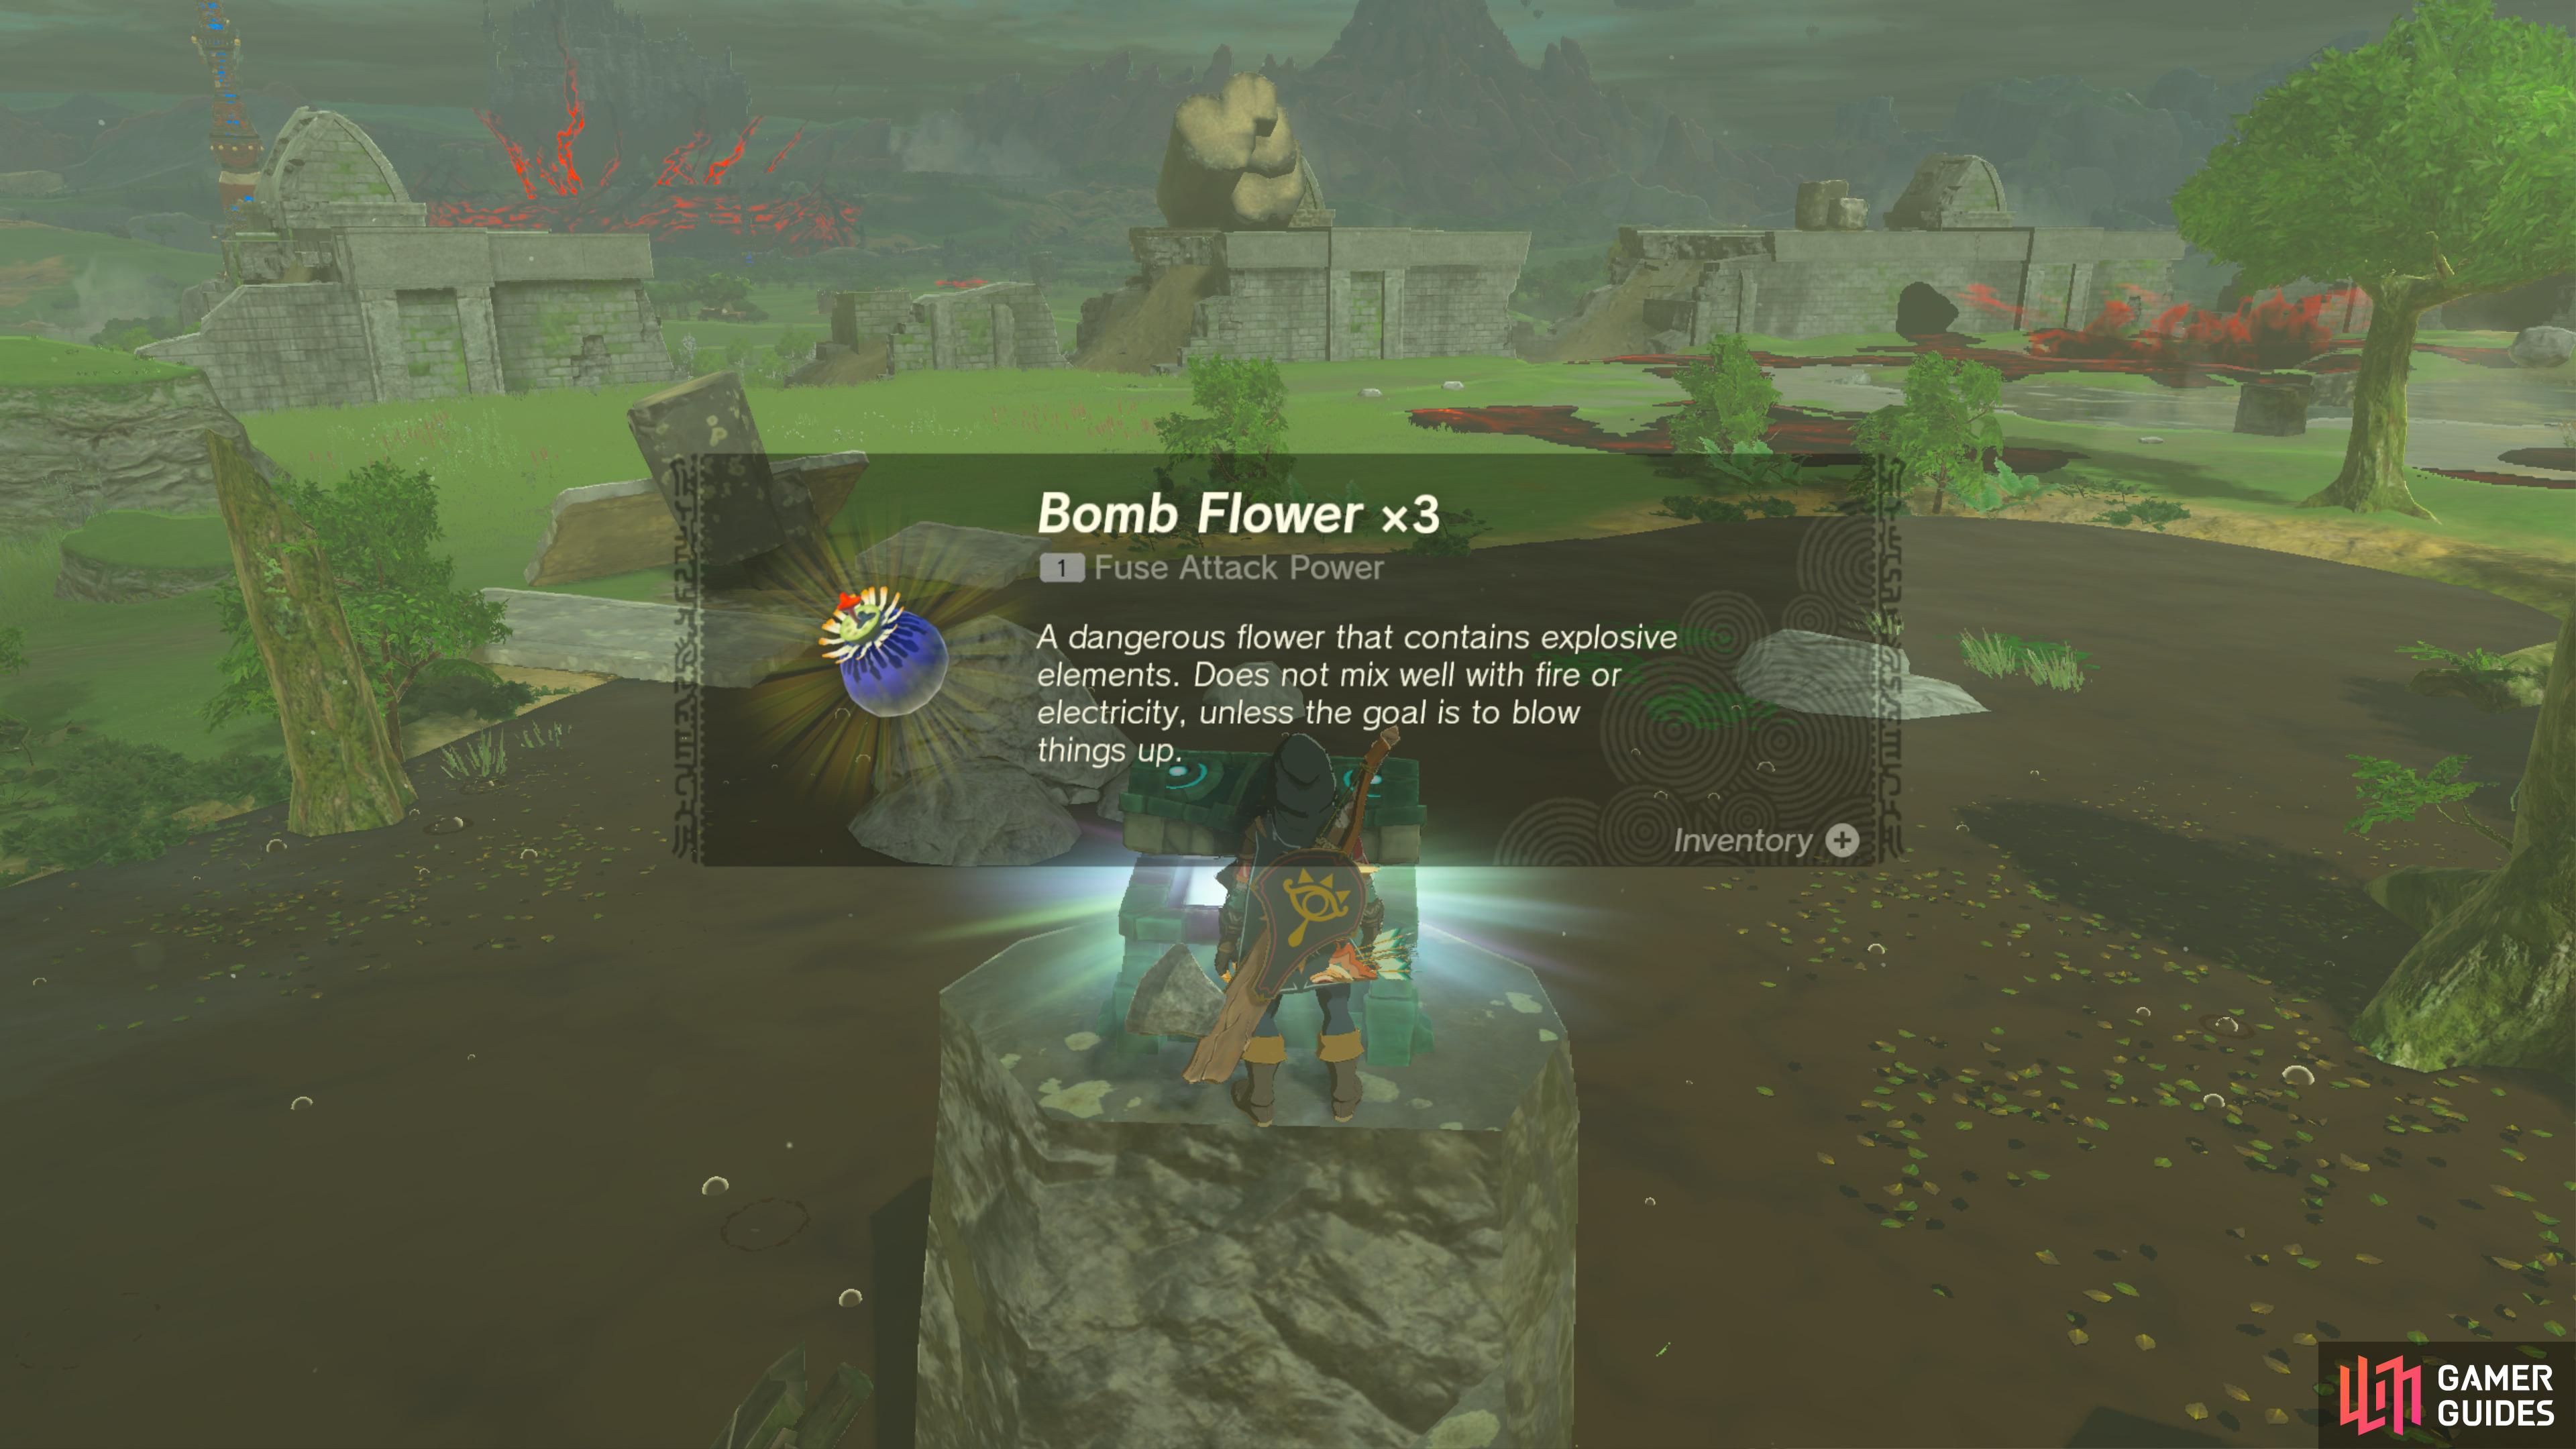
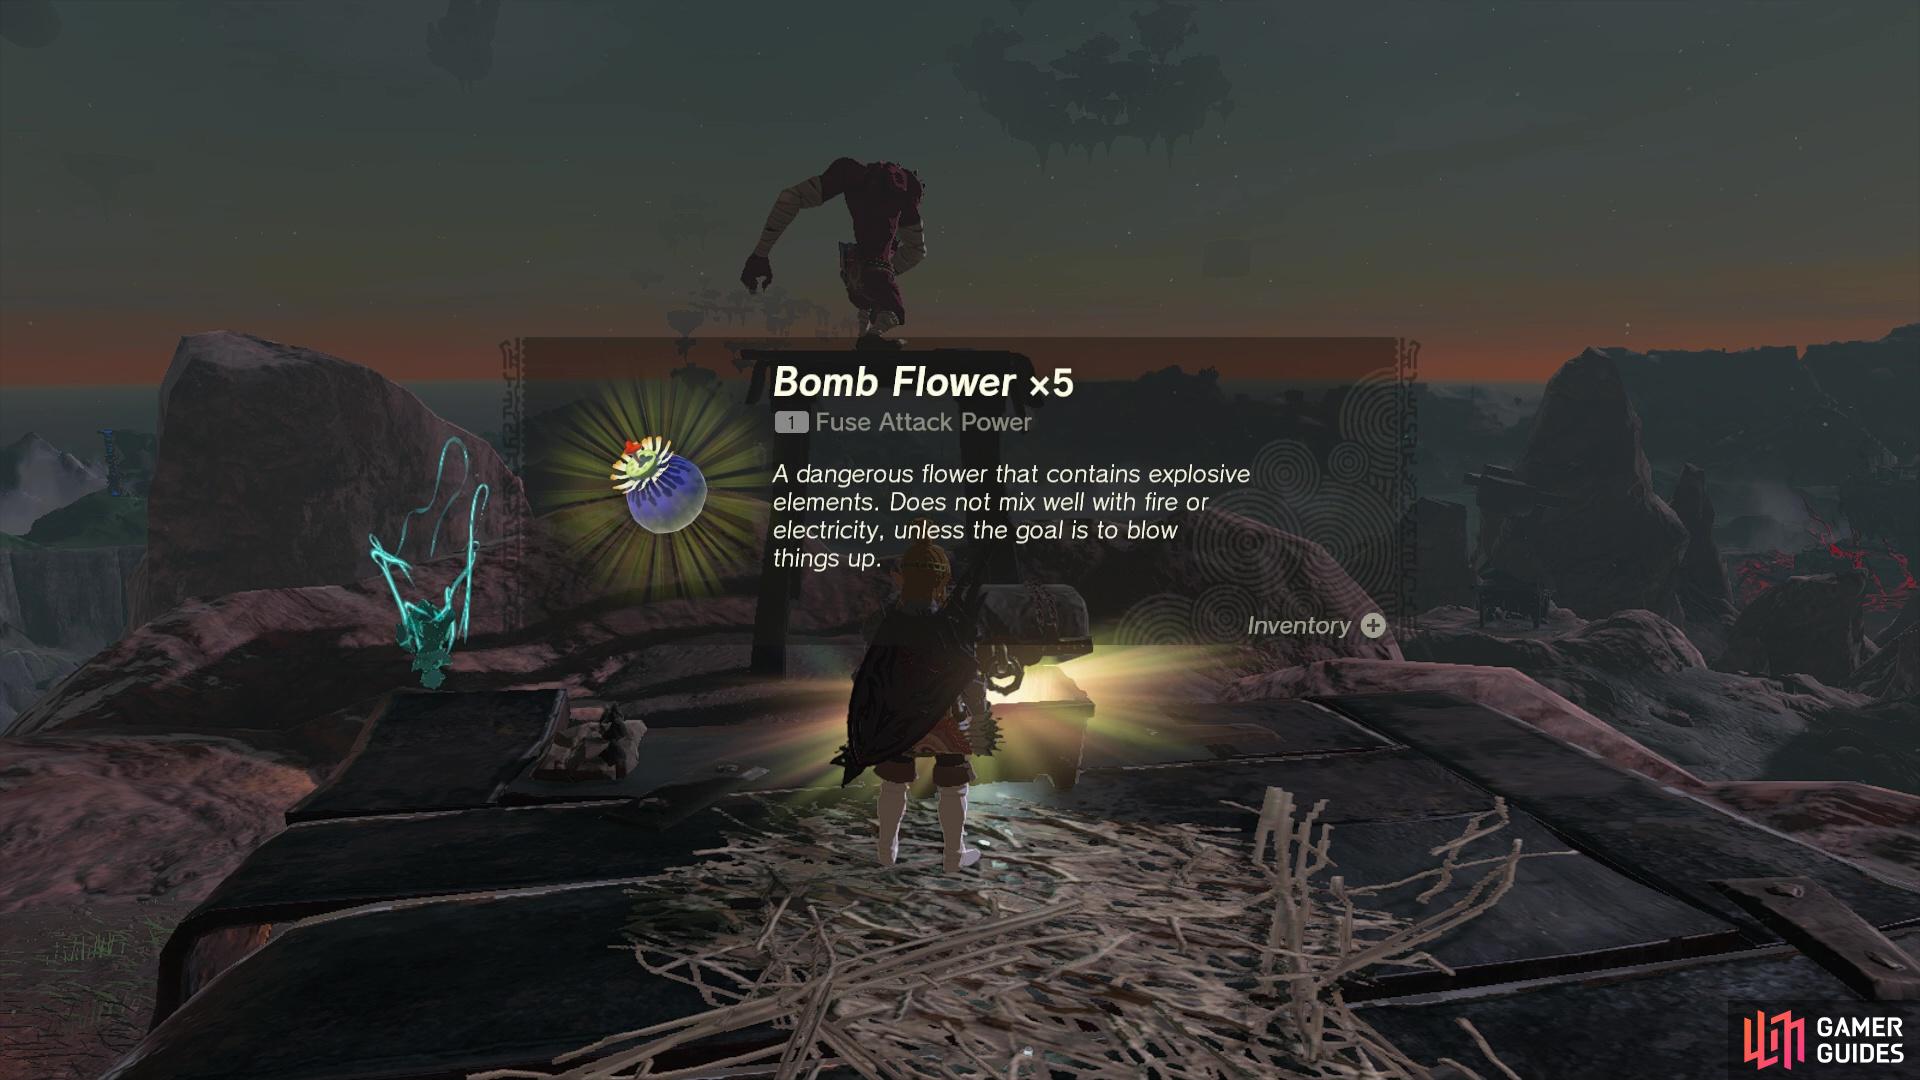
40900. Hyrule Surface Map
Found on the top floor of the camp (climb outside to find the entrance).
Contains three ![]() Bomb Flowers.
Bomb Flowers.
40952. Hyrule Surface Map
Defeat the nearby Constructs to unlock this Chest.
It contains a ![]() Large Zonai Charge.
Large Zonai Charge.
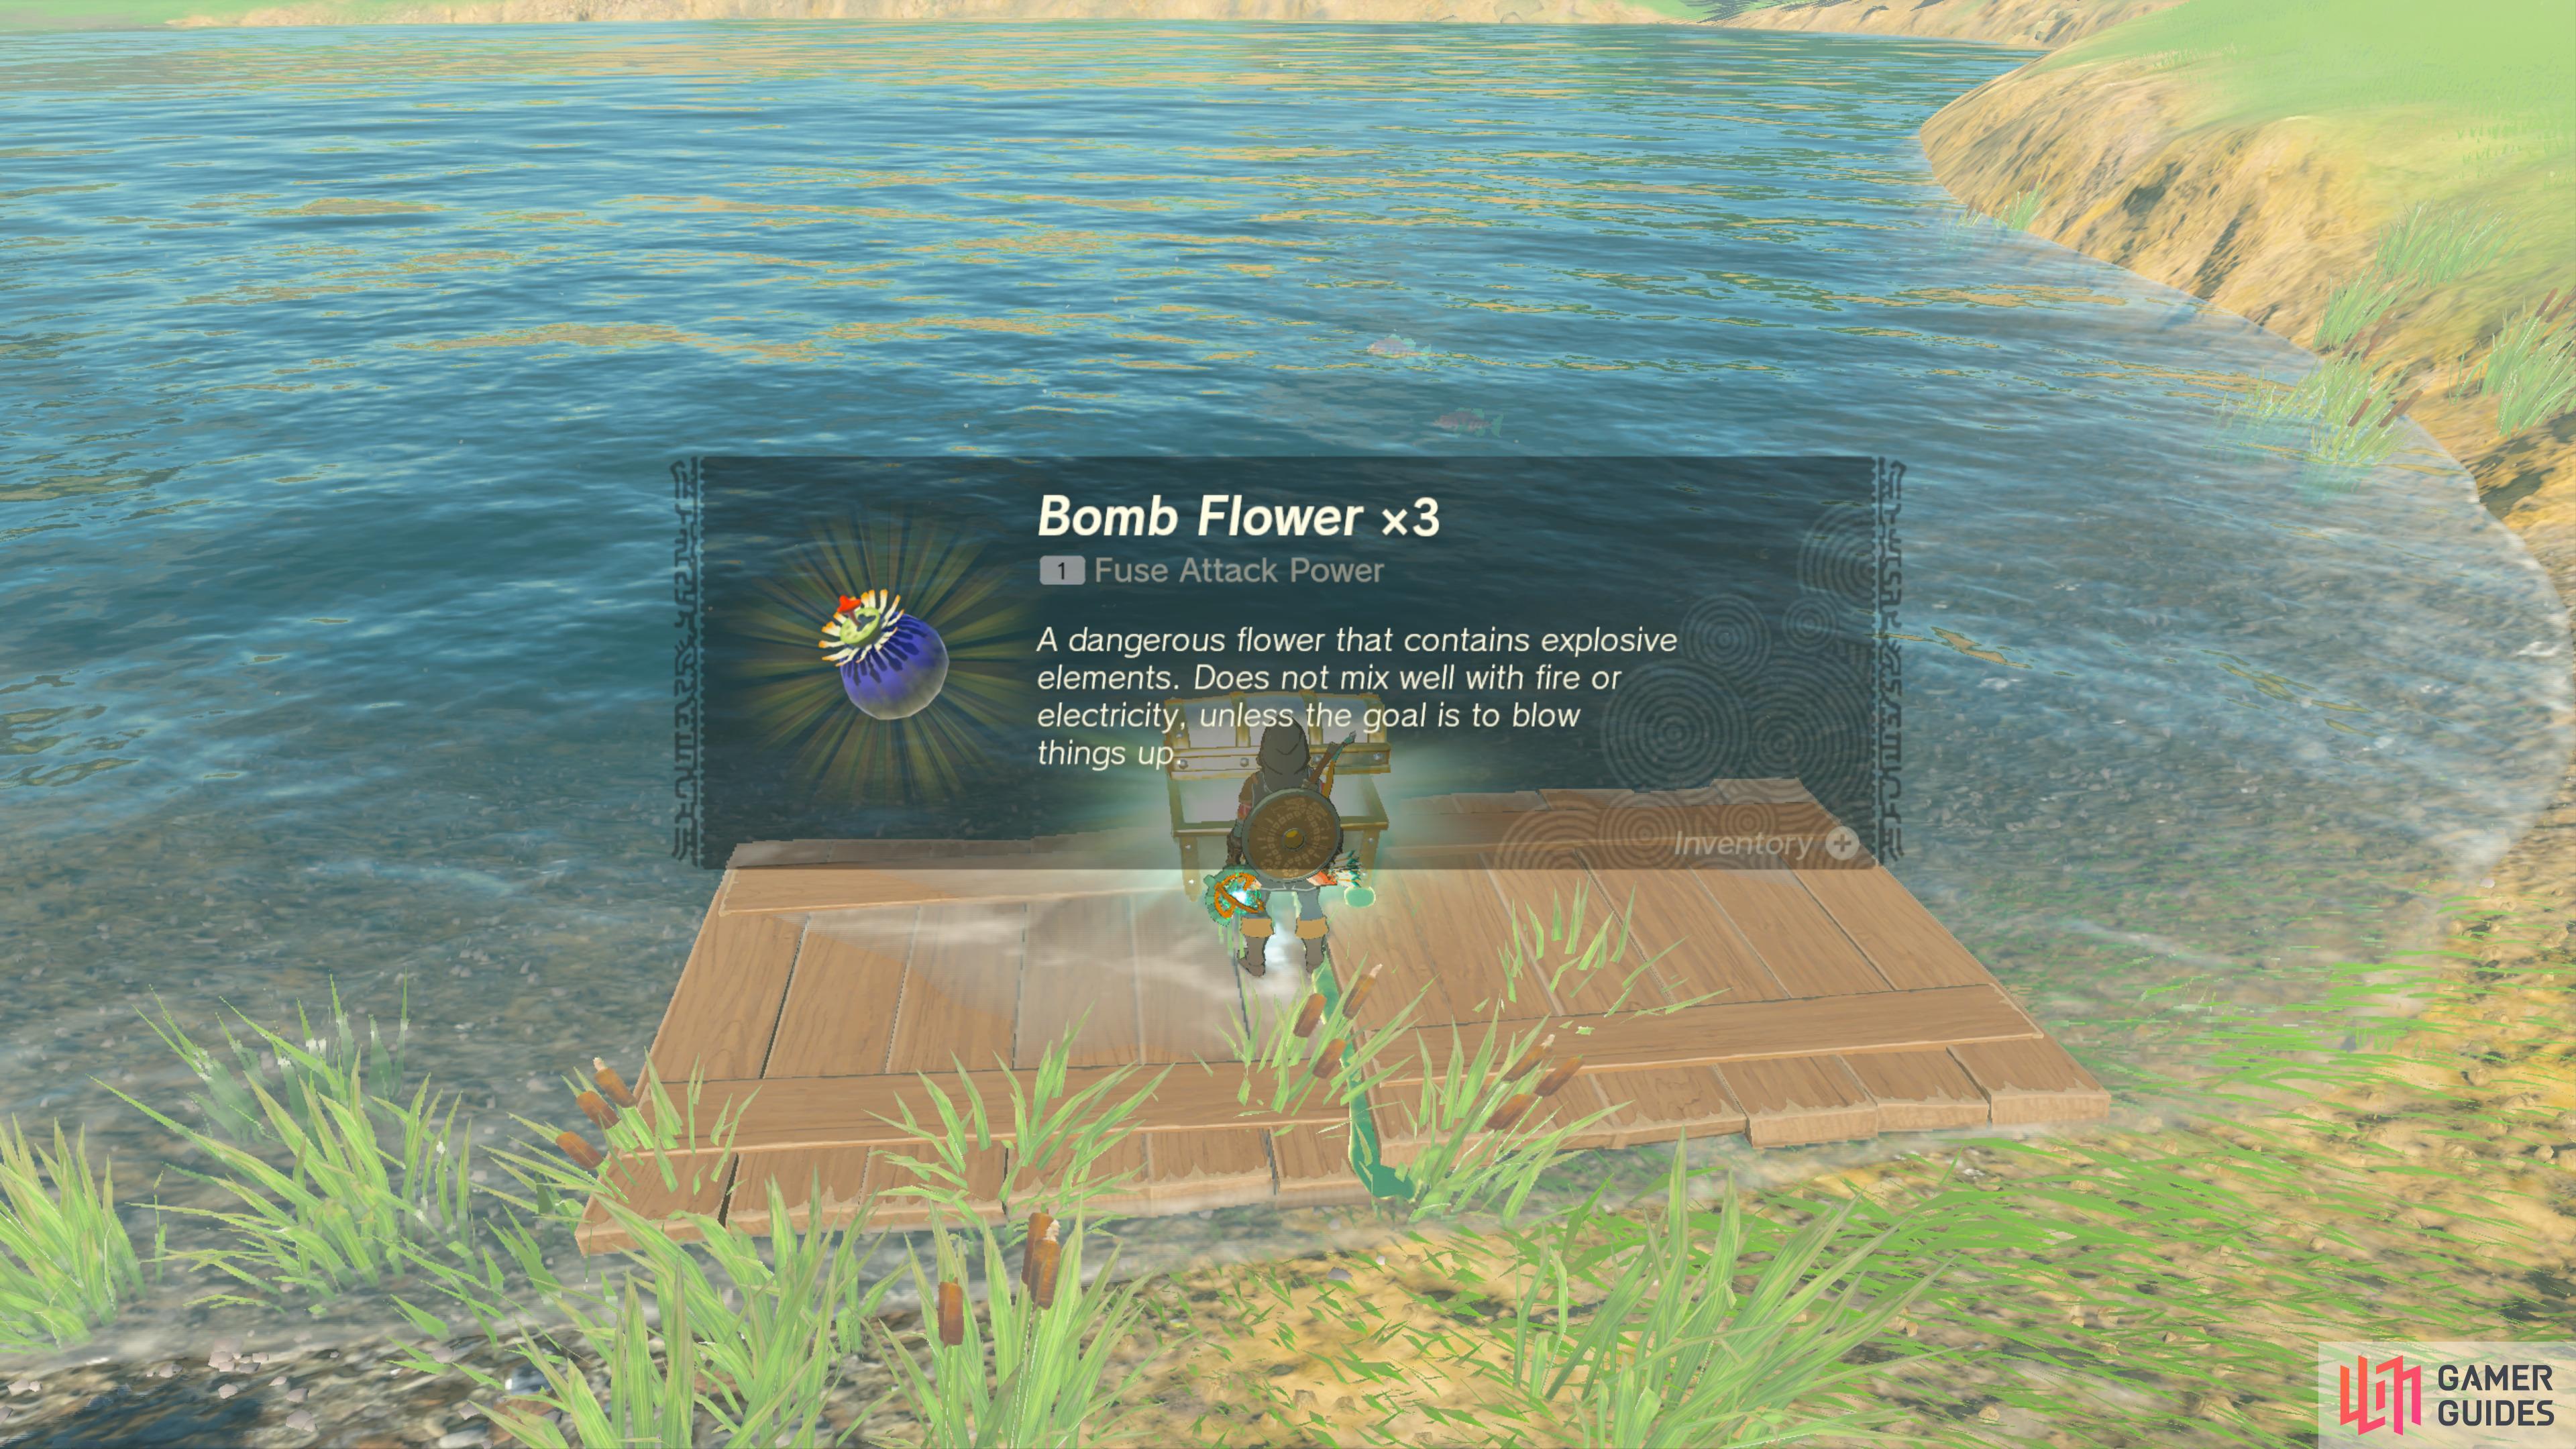
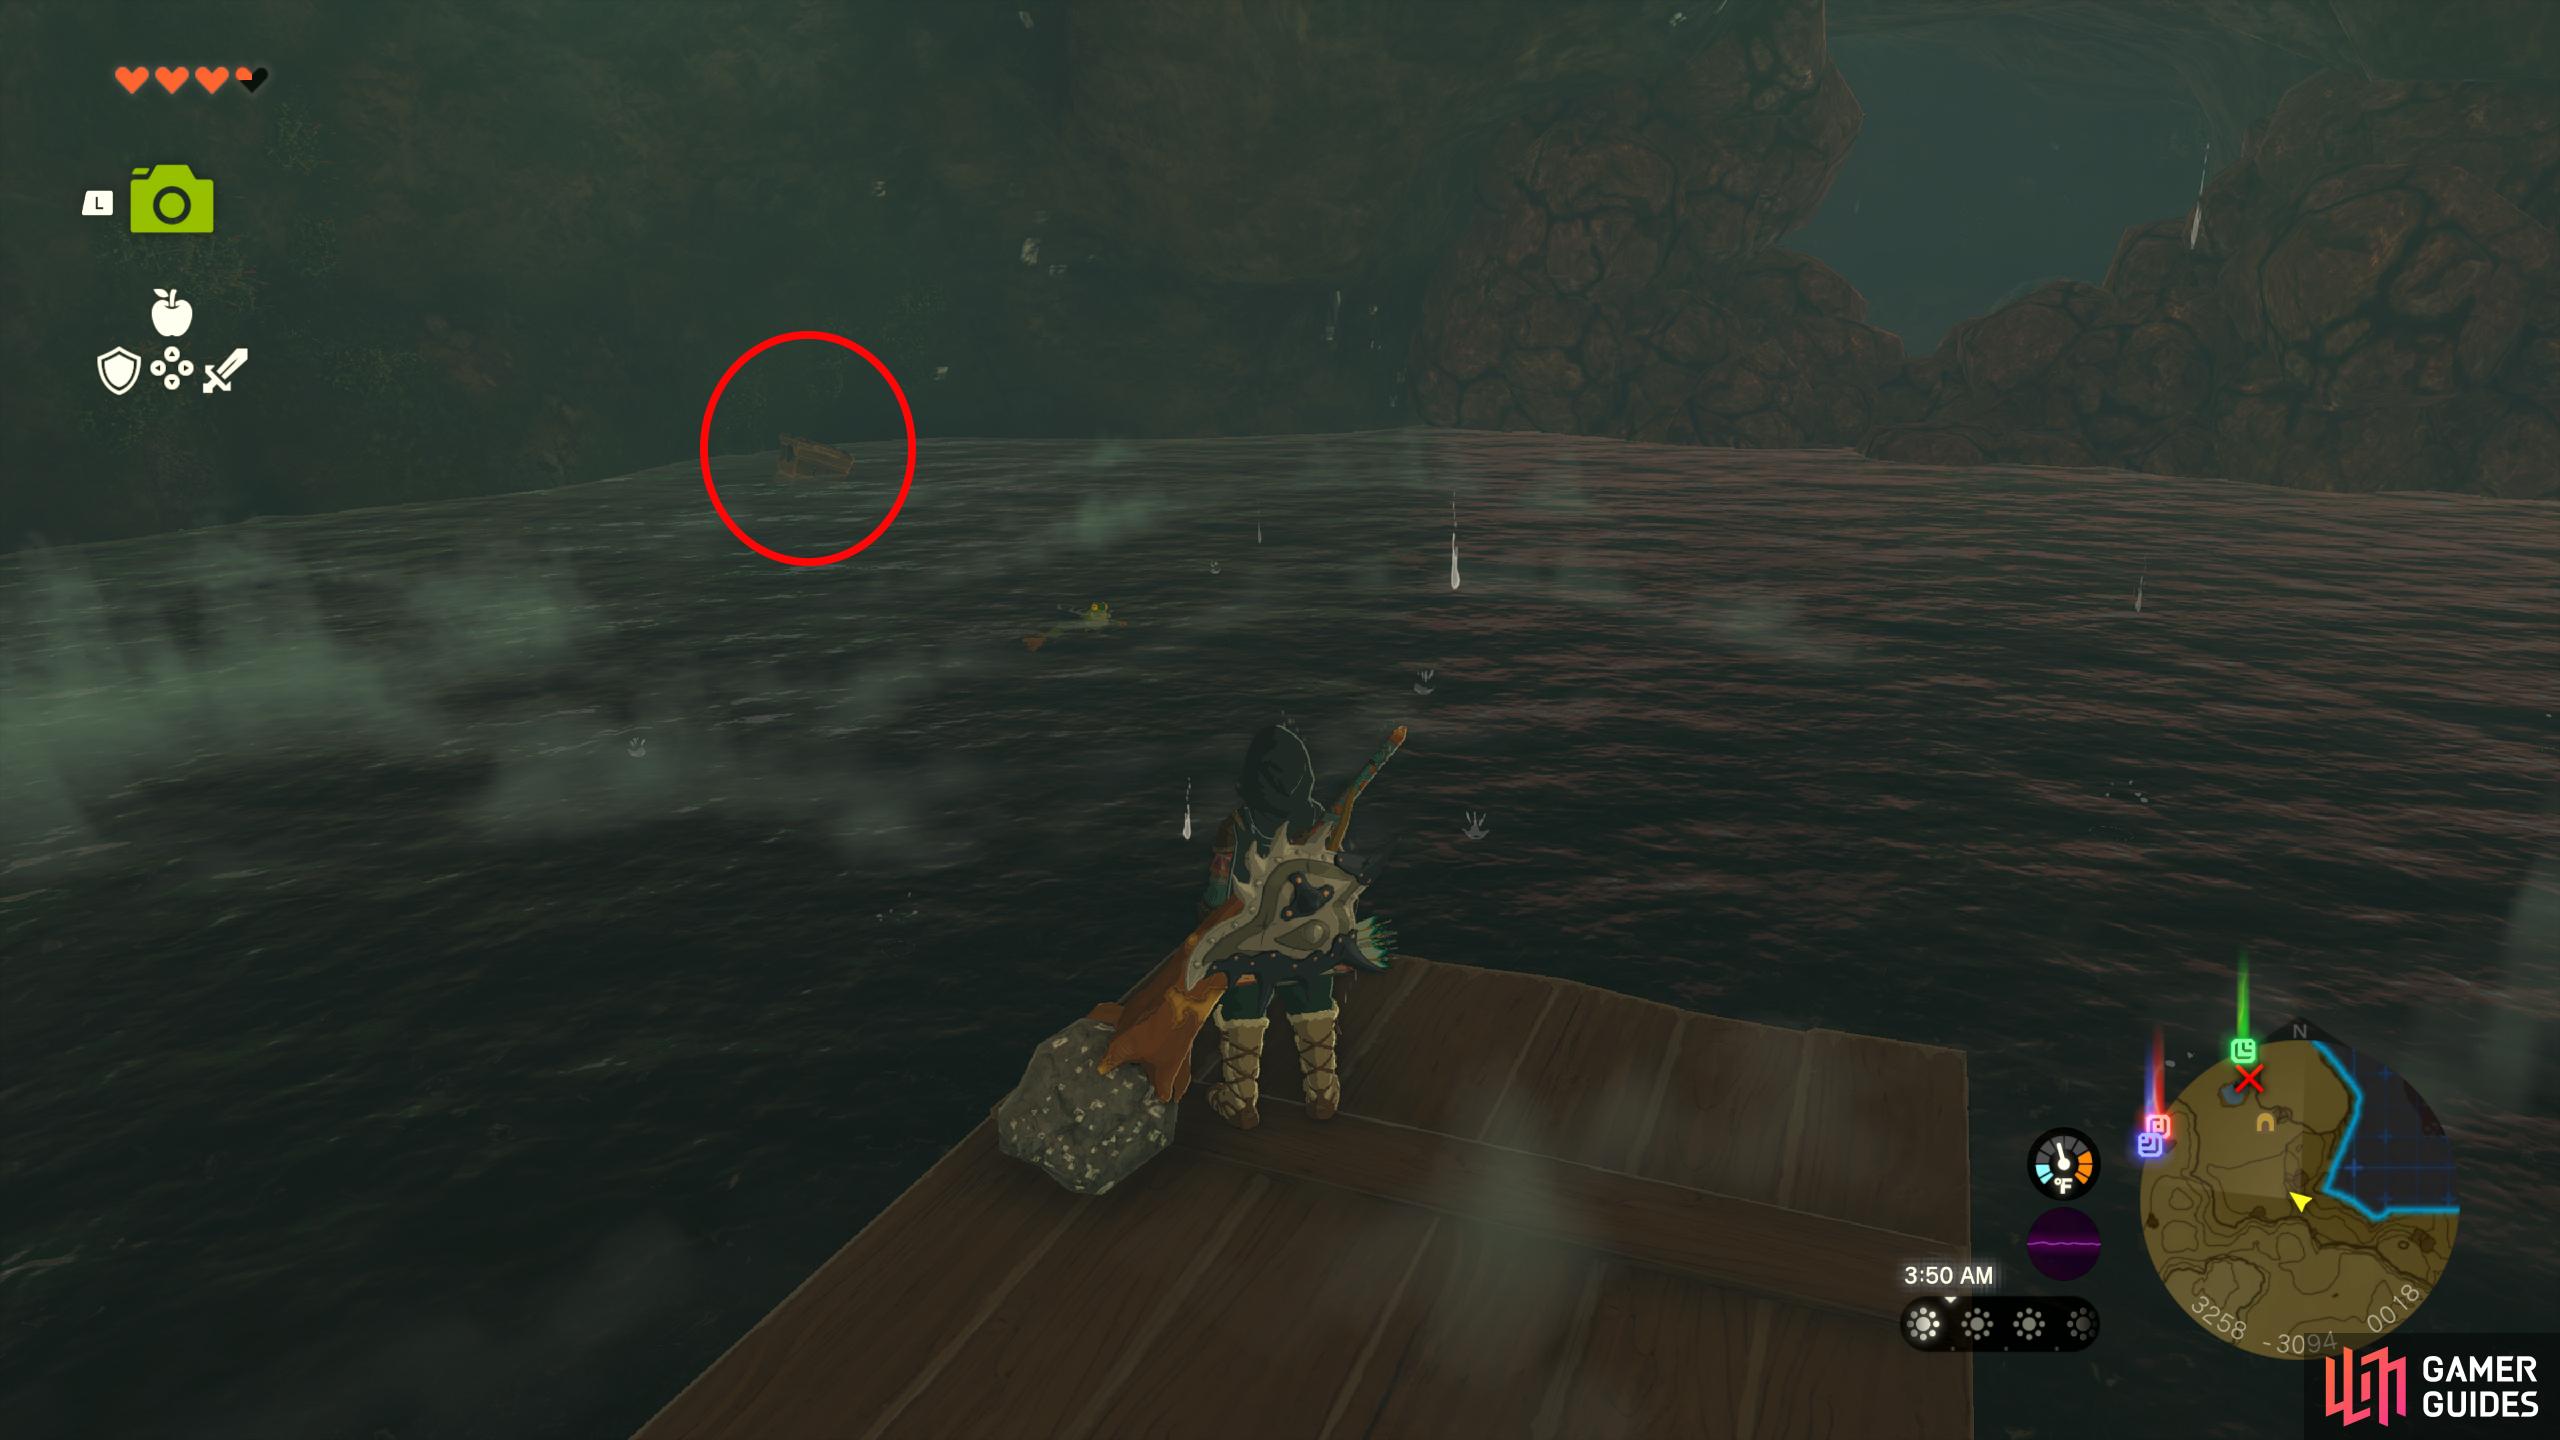
40954. Hyrule Surface Map
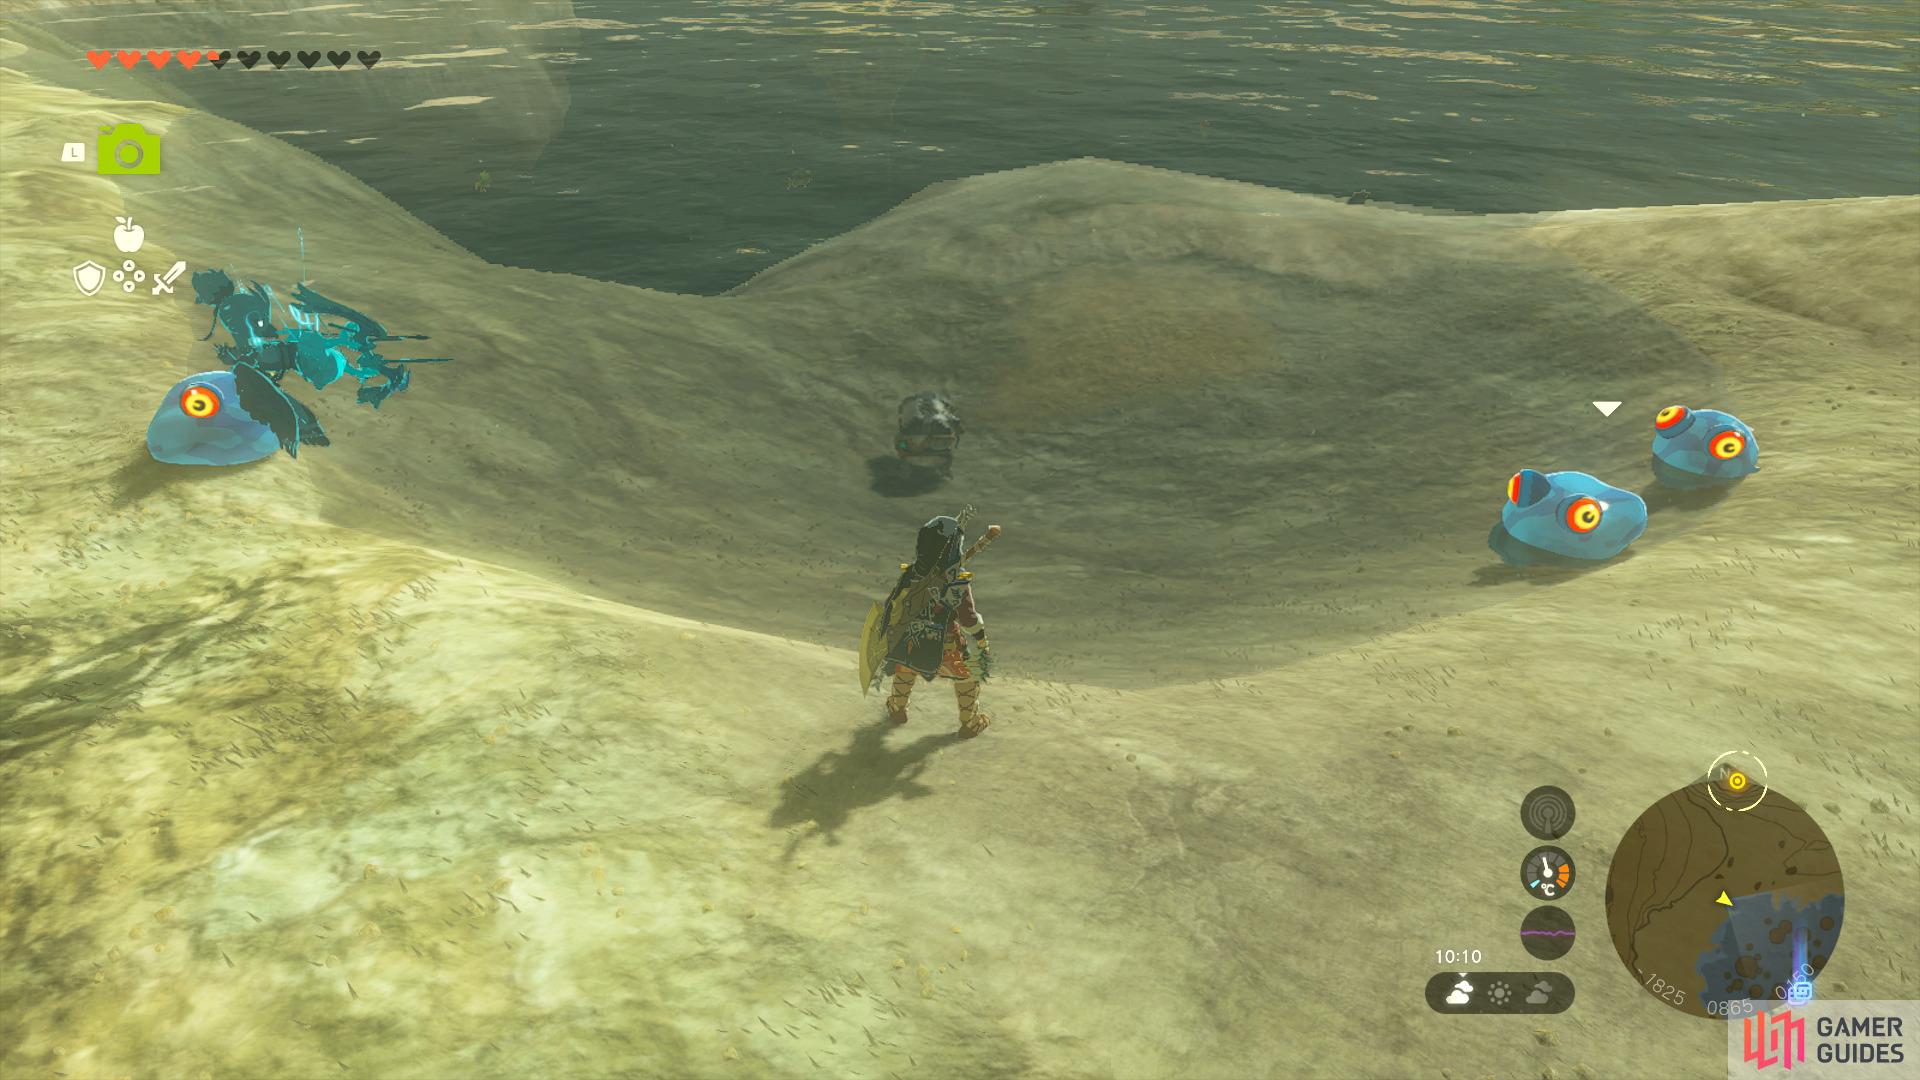
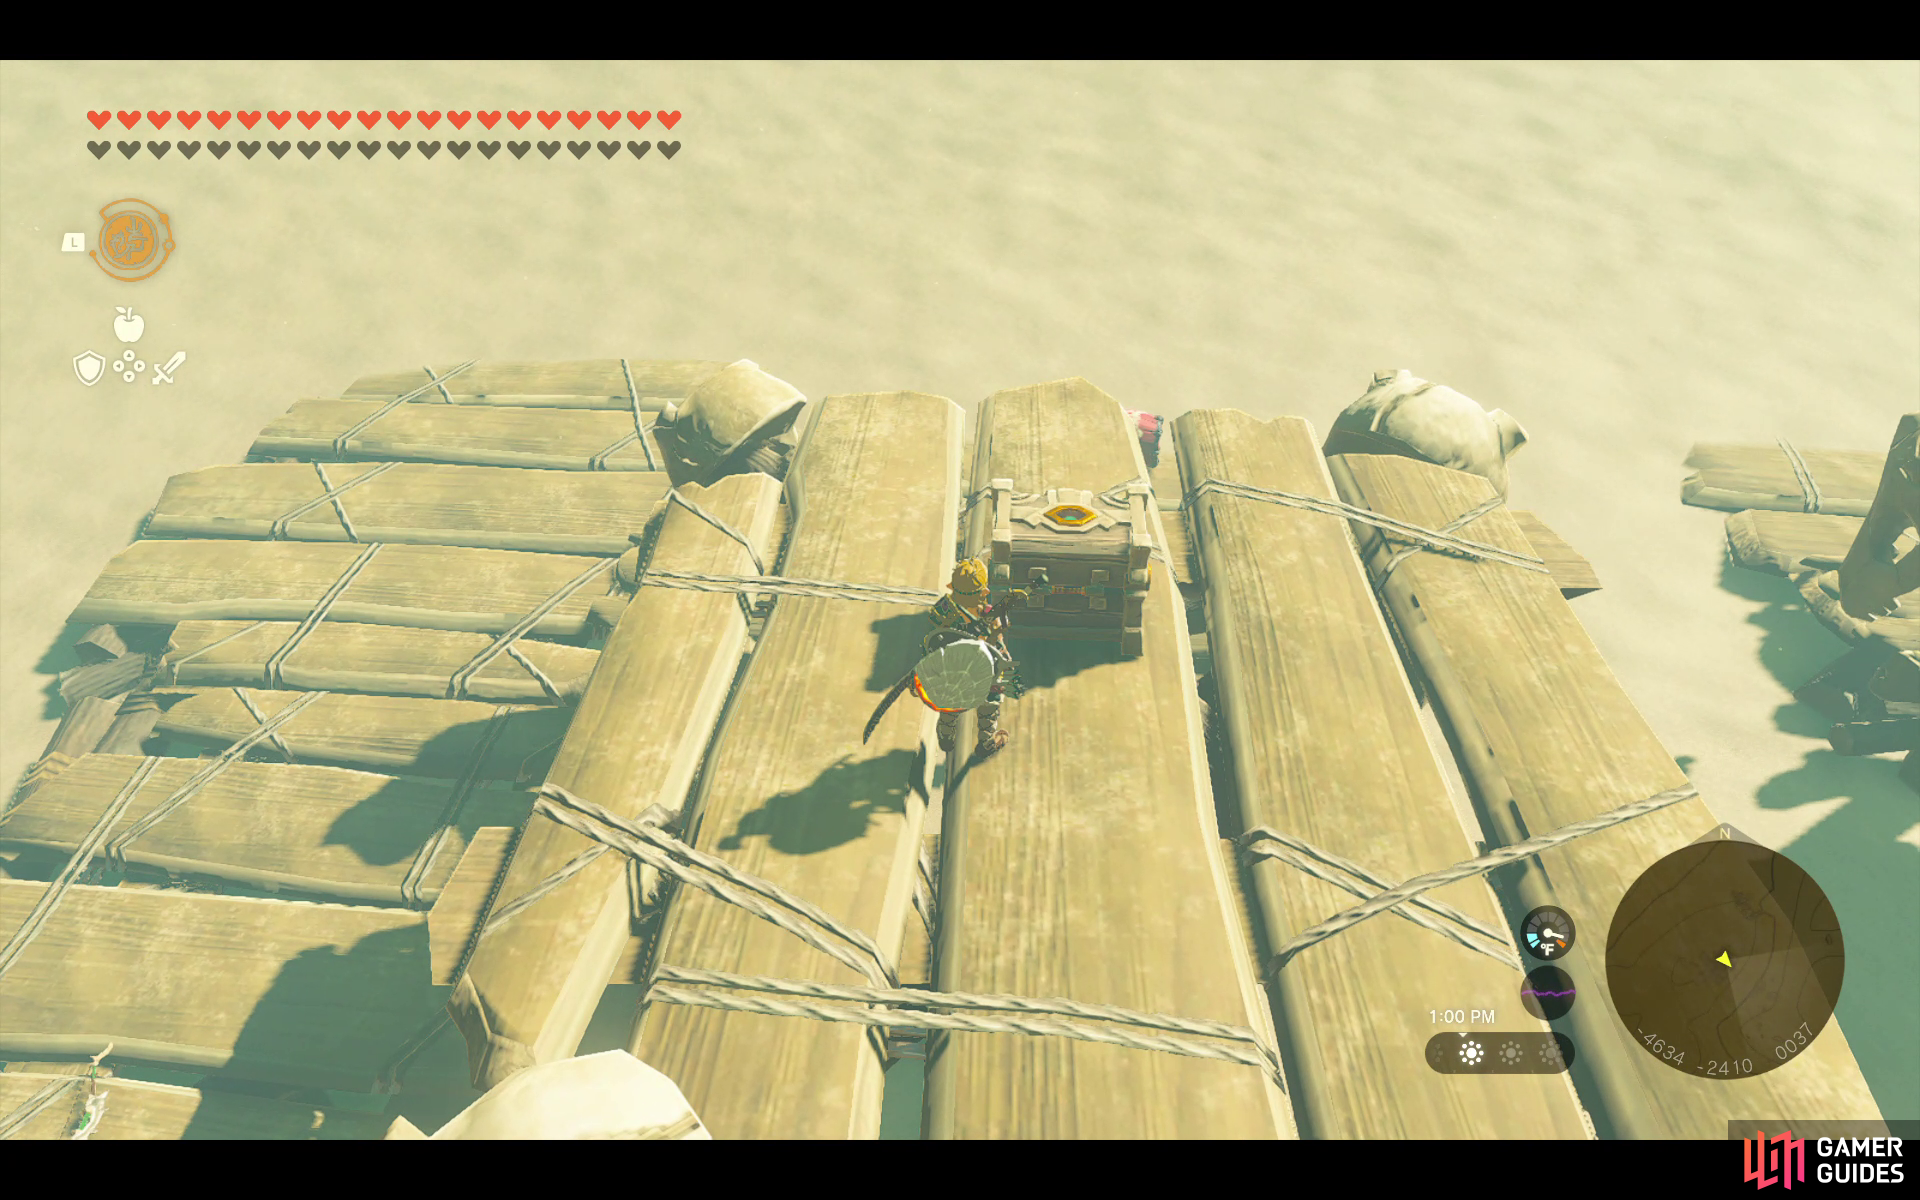
Use the nearby planks to make a bridge, then step on to it and use ![]() Ultrahand to pull the Chest out of the water.
Ultrahand to pull the Chest out of the water.
It contains three ![]() Bomb Flowers.
Bomb Flowers.
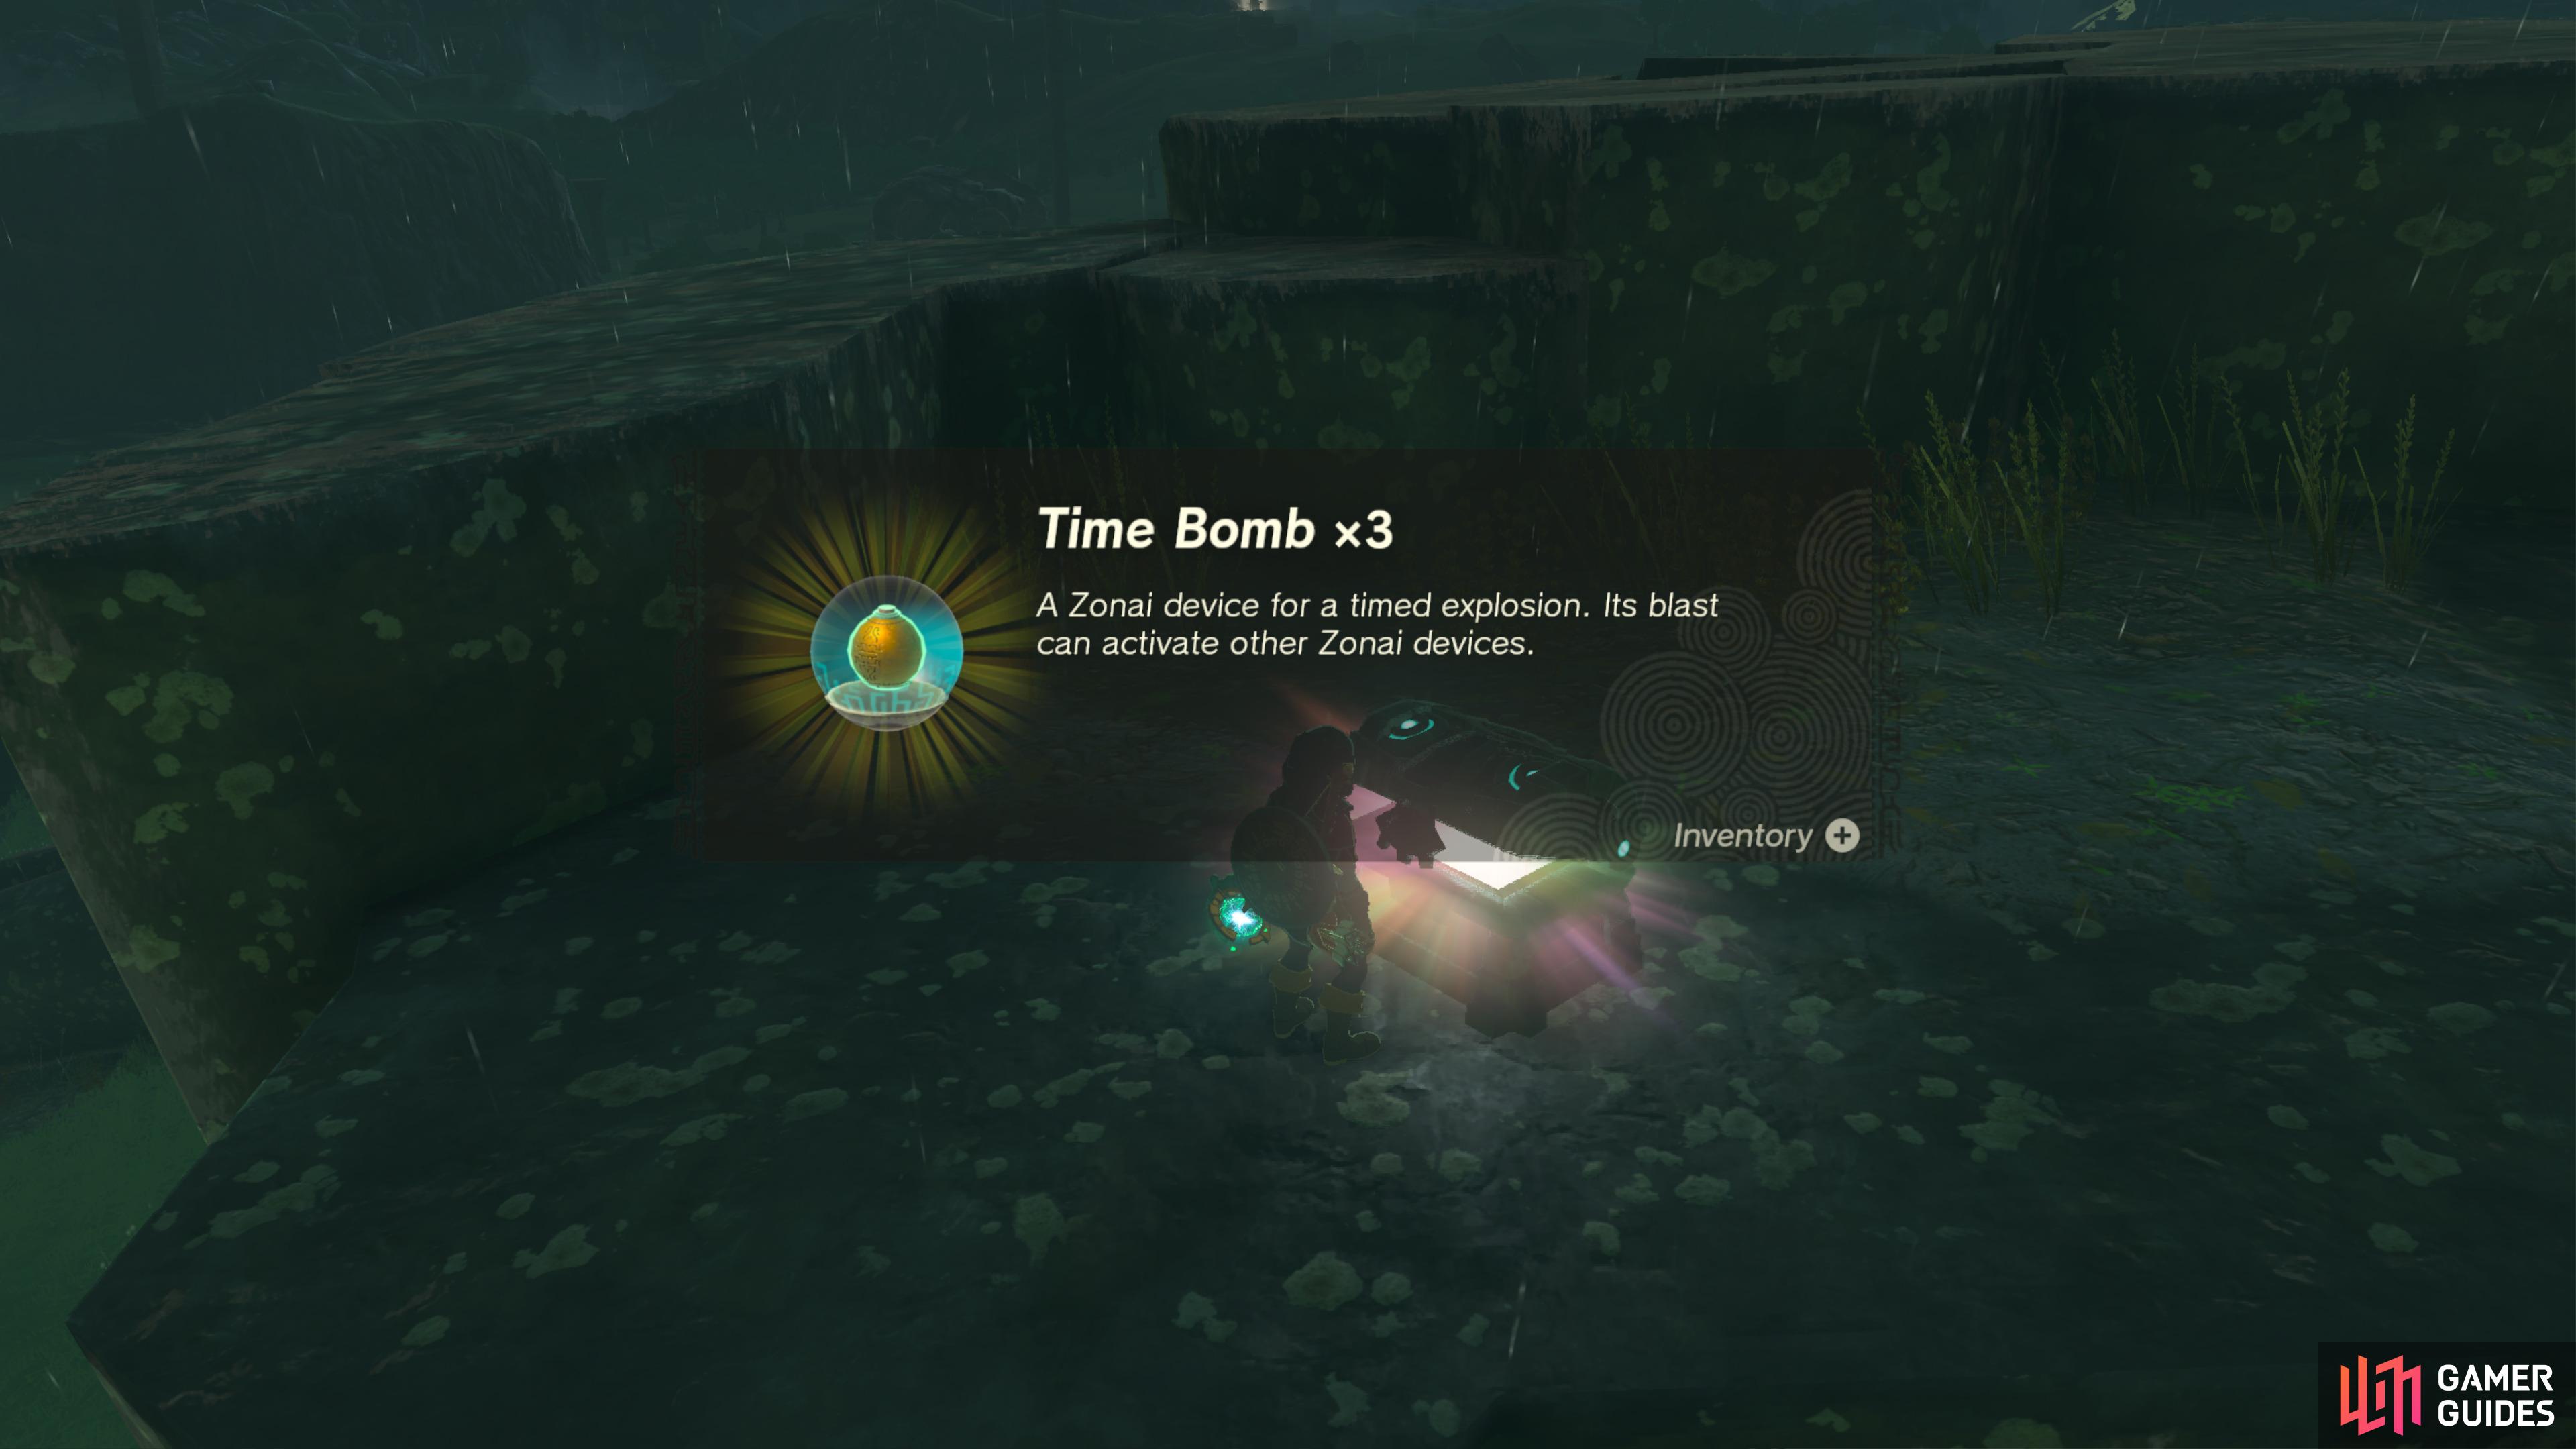
40976. Hyrule Surface Map
Use ![]() Ascend to reach the top of the rock formation here. It contains three
Ascend to reach the top of the rock formation here. It contains three ![]() Time Bomb (Capsule)
Time Bomb (Capsule)
40995. Hyrule Surface Map
Use the nearby Balloon and fly up, then glide over to the top of this pillar.
The chest contains three Wings.
41001. Hyrule Surface Map
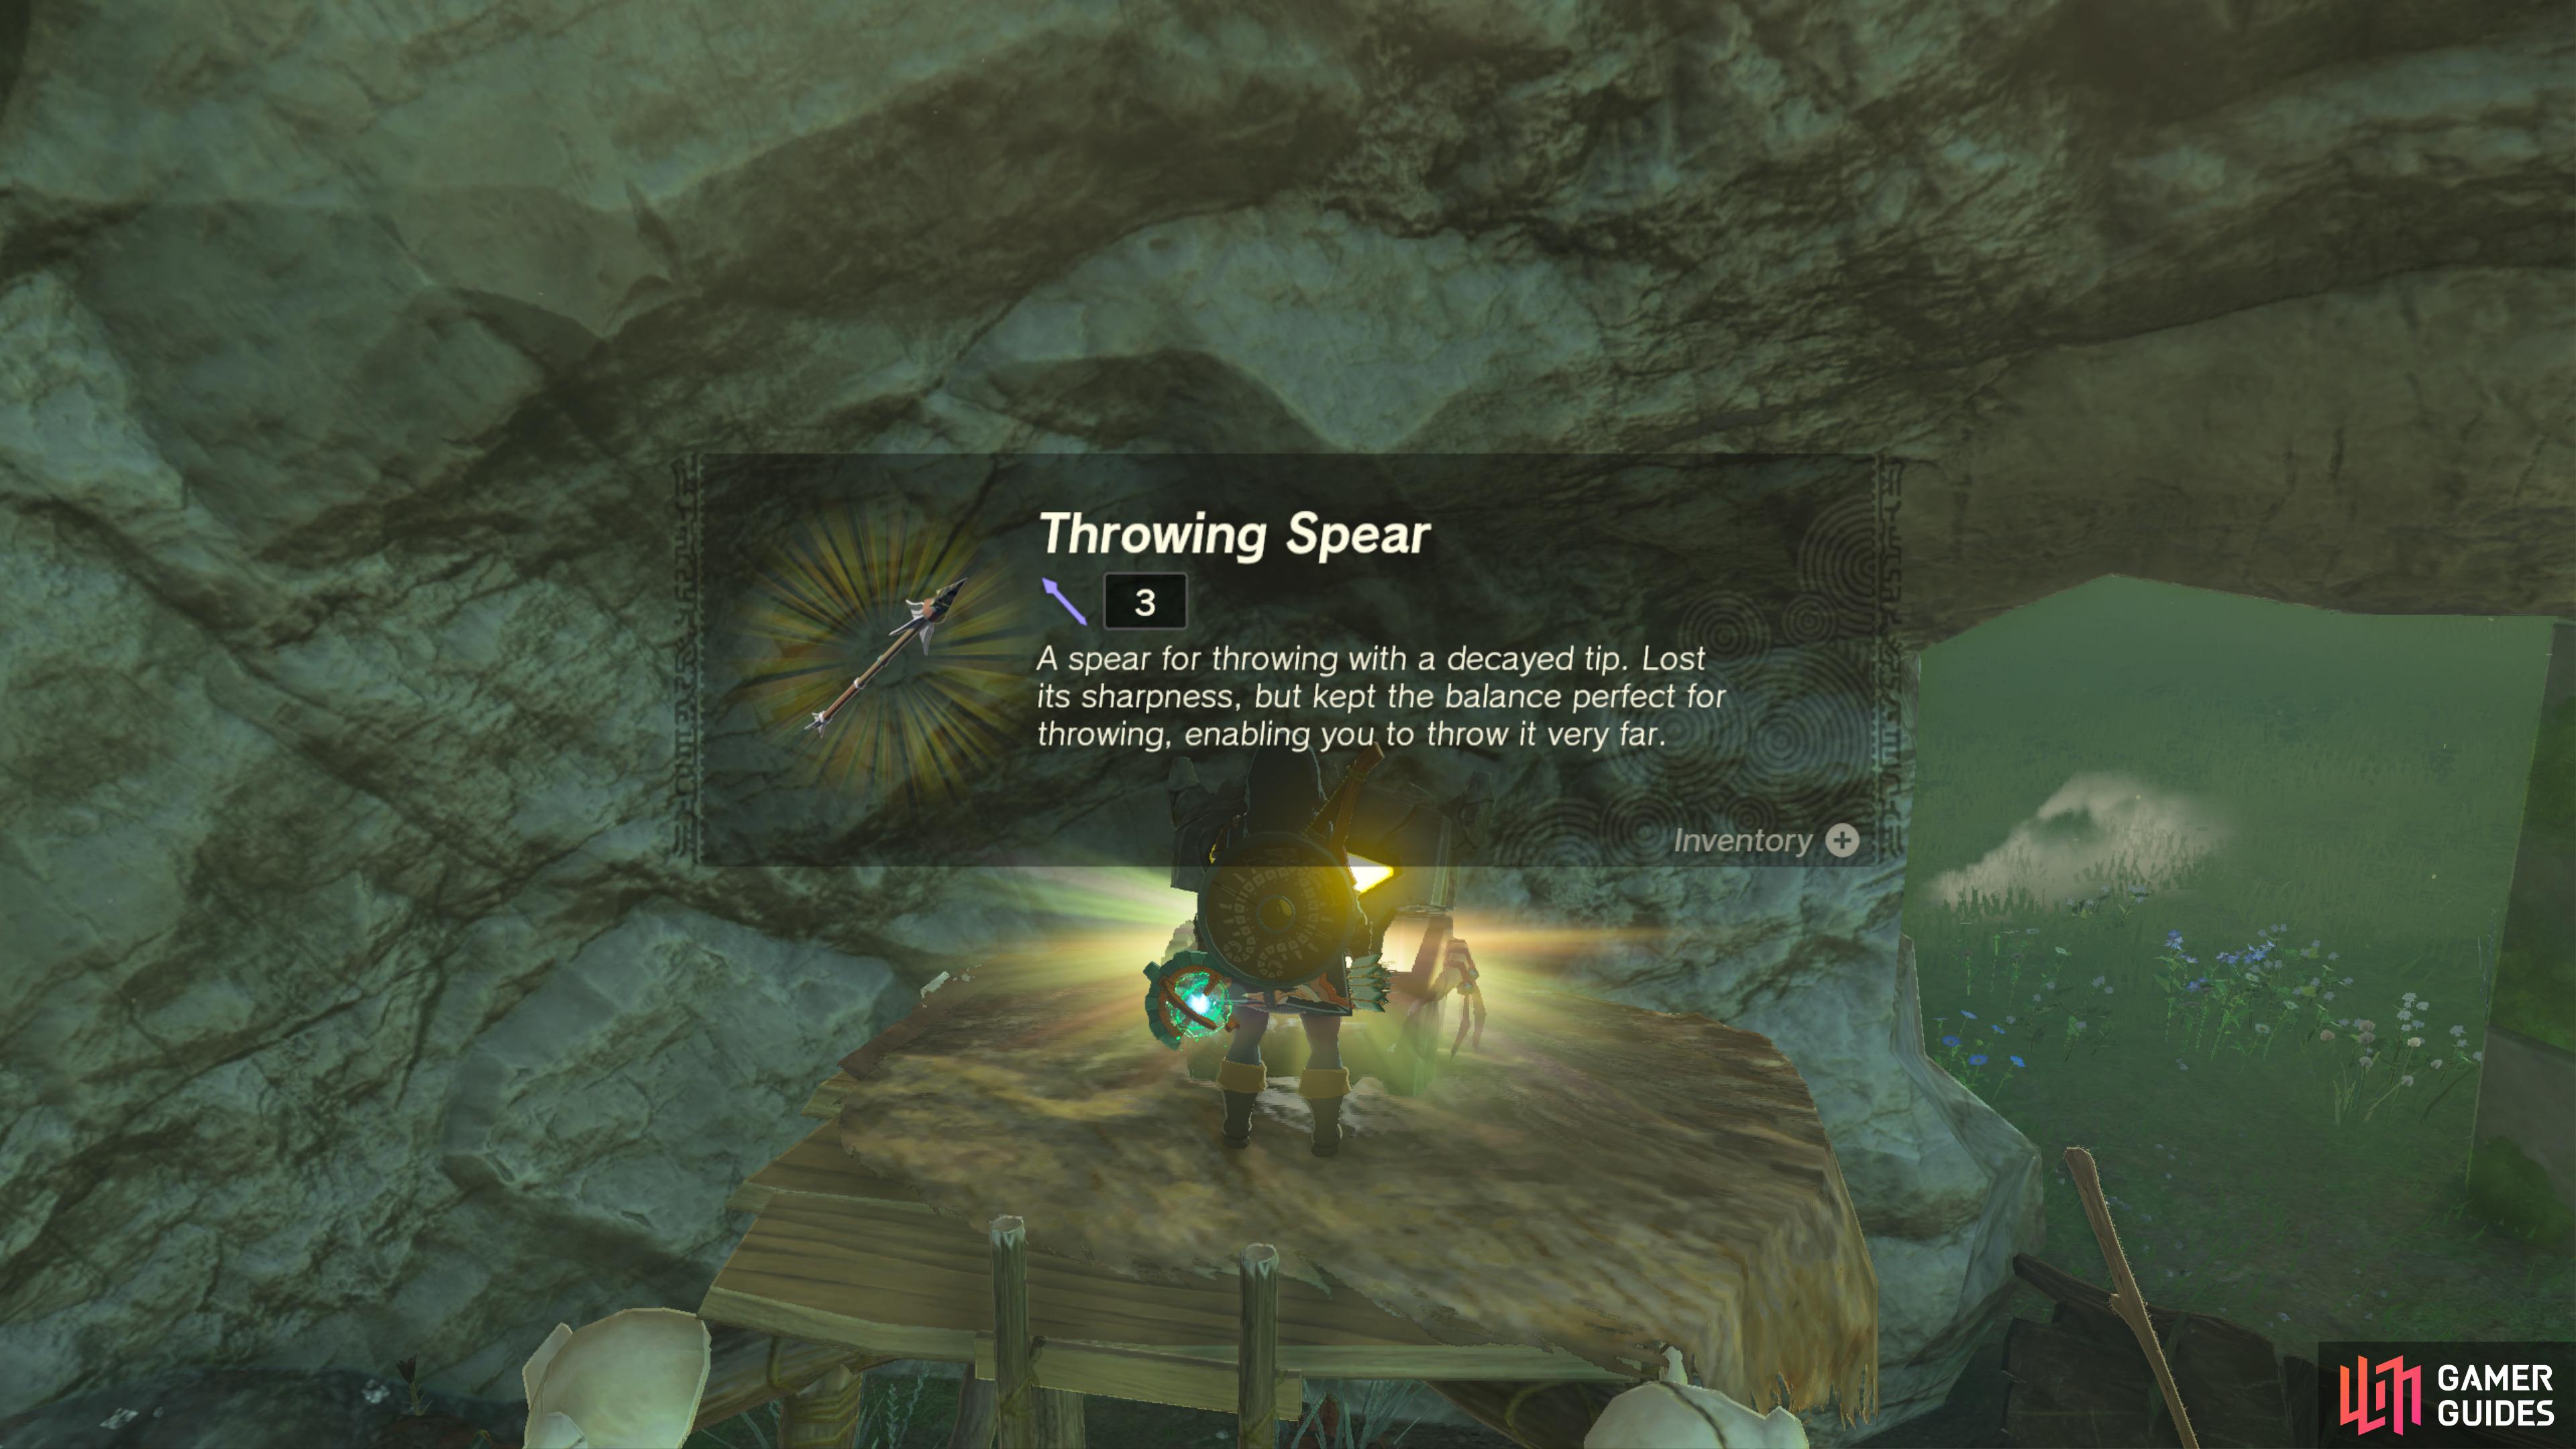
Defeat the ![]() Bokoblins in this camp to unlock this Chest.
Bokoblins in this camp to unlock this Chest.
It contains a ![]() Throwing Spear.
Throwing Spear.
41060. Hyrule Surface Map
Found behind the waterfall at the back of ![]() North Hyrule Plain Cave where the
North Hyrule Plain Cave where the ![]() Glowing Cave Fish swim. You must drop down from the area with the Bubbelfrog to access.
Glowing Cave Fish swim. You must drop down from the area with the Bubbelfrog to access.
Contains ![]() Climbing Gear.
Climbing Gear.

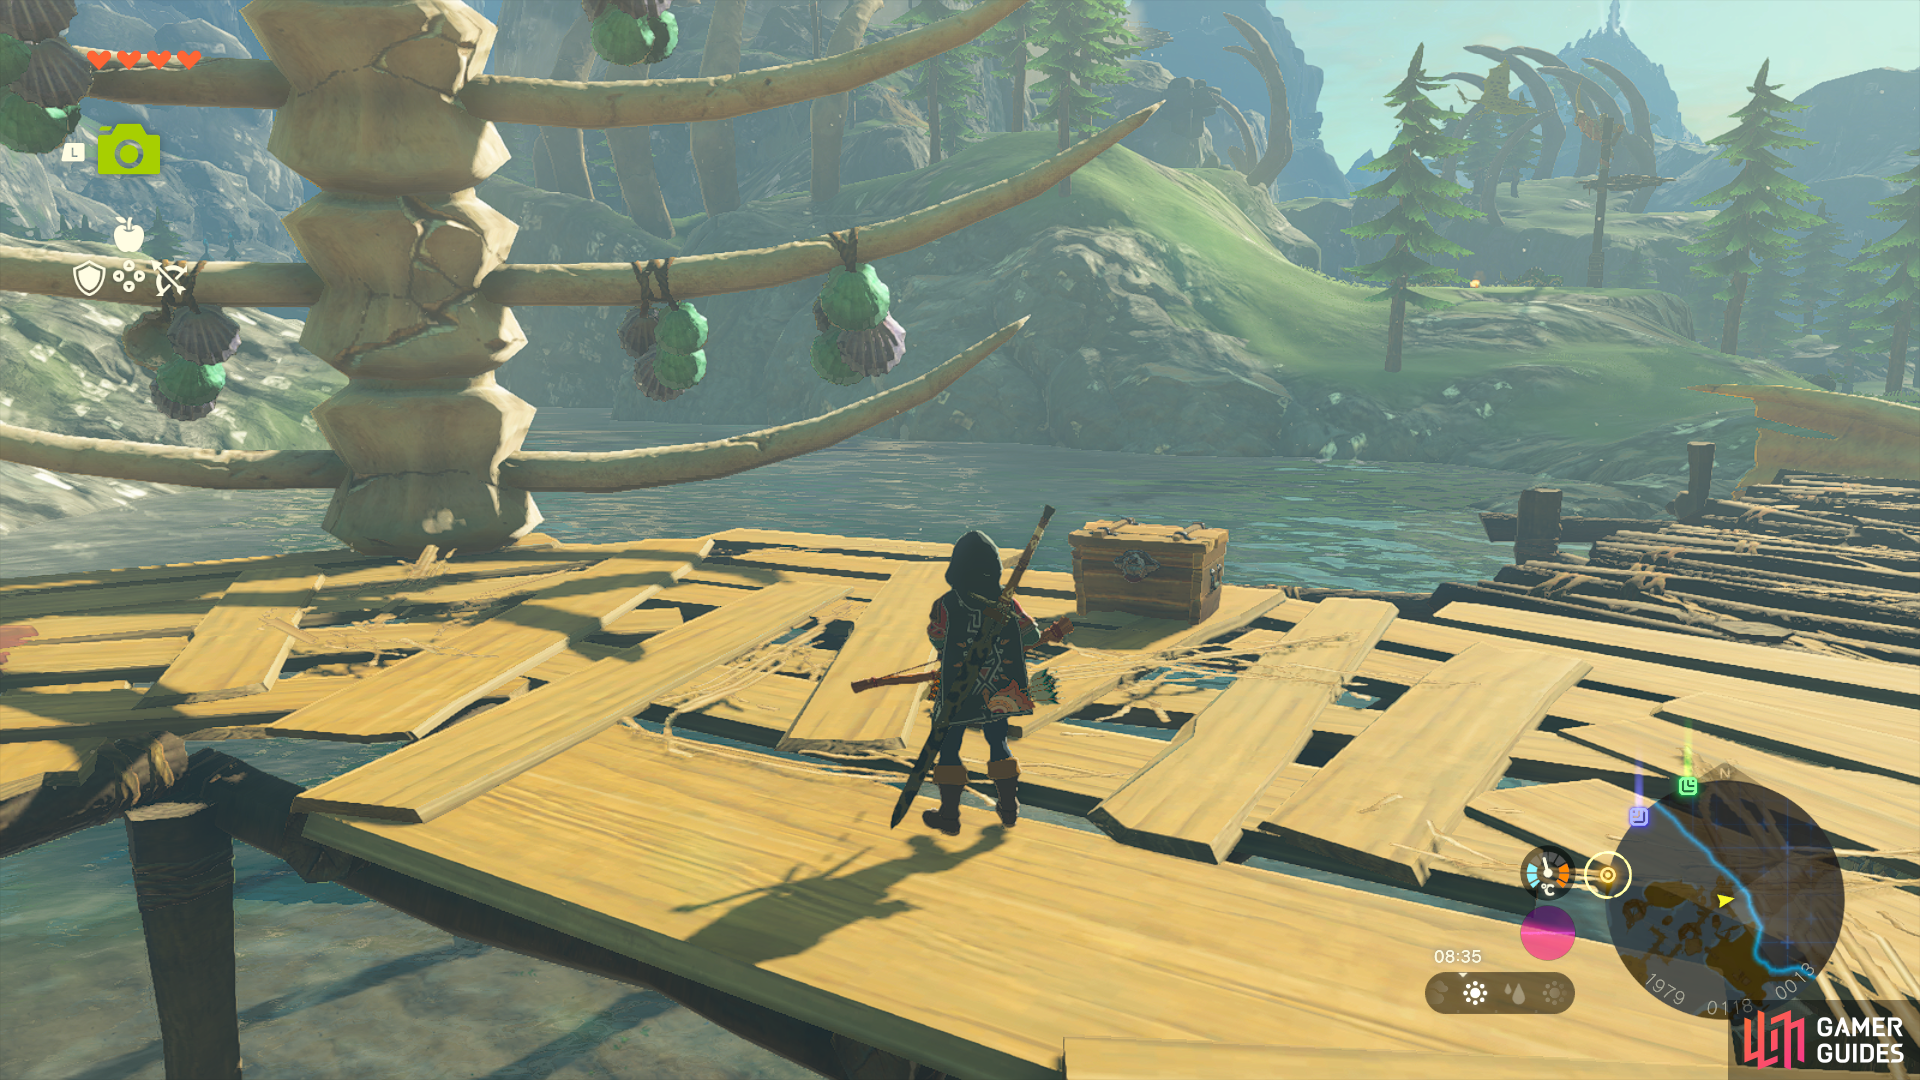
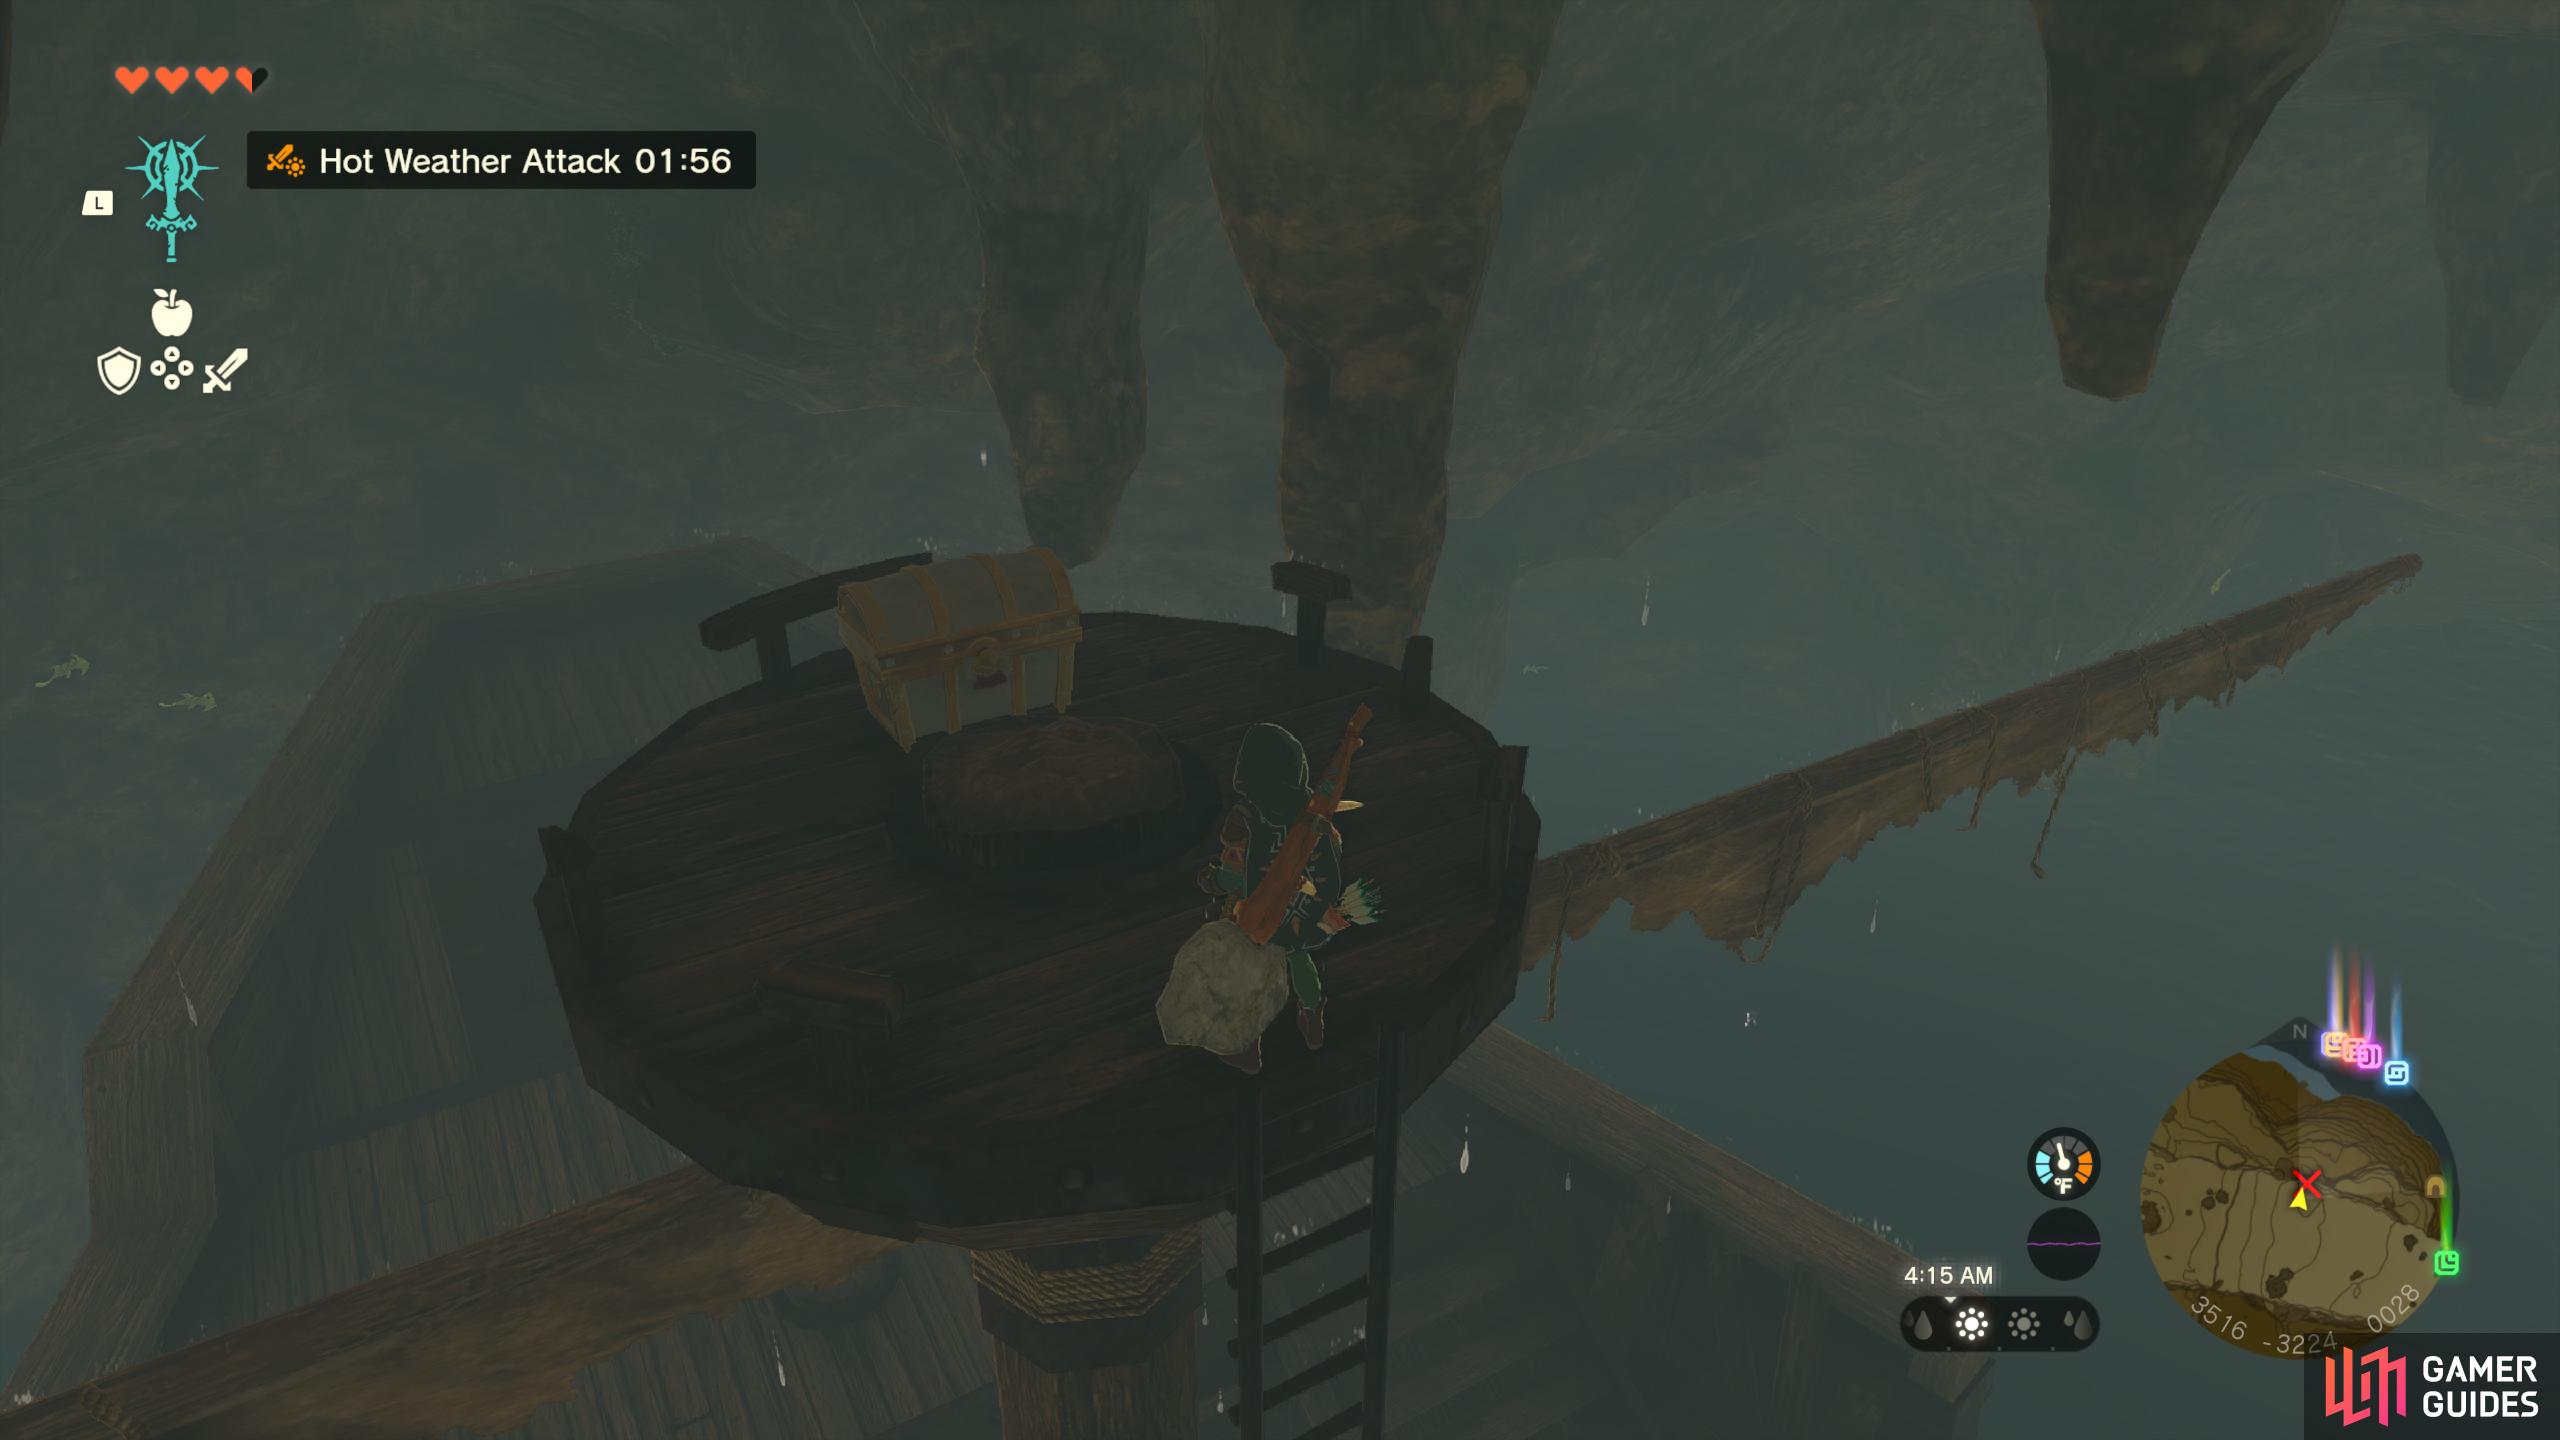
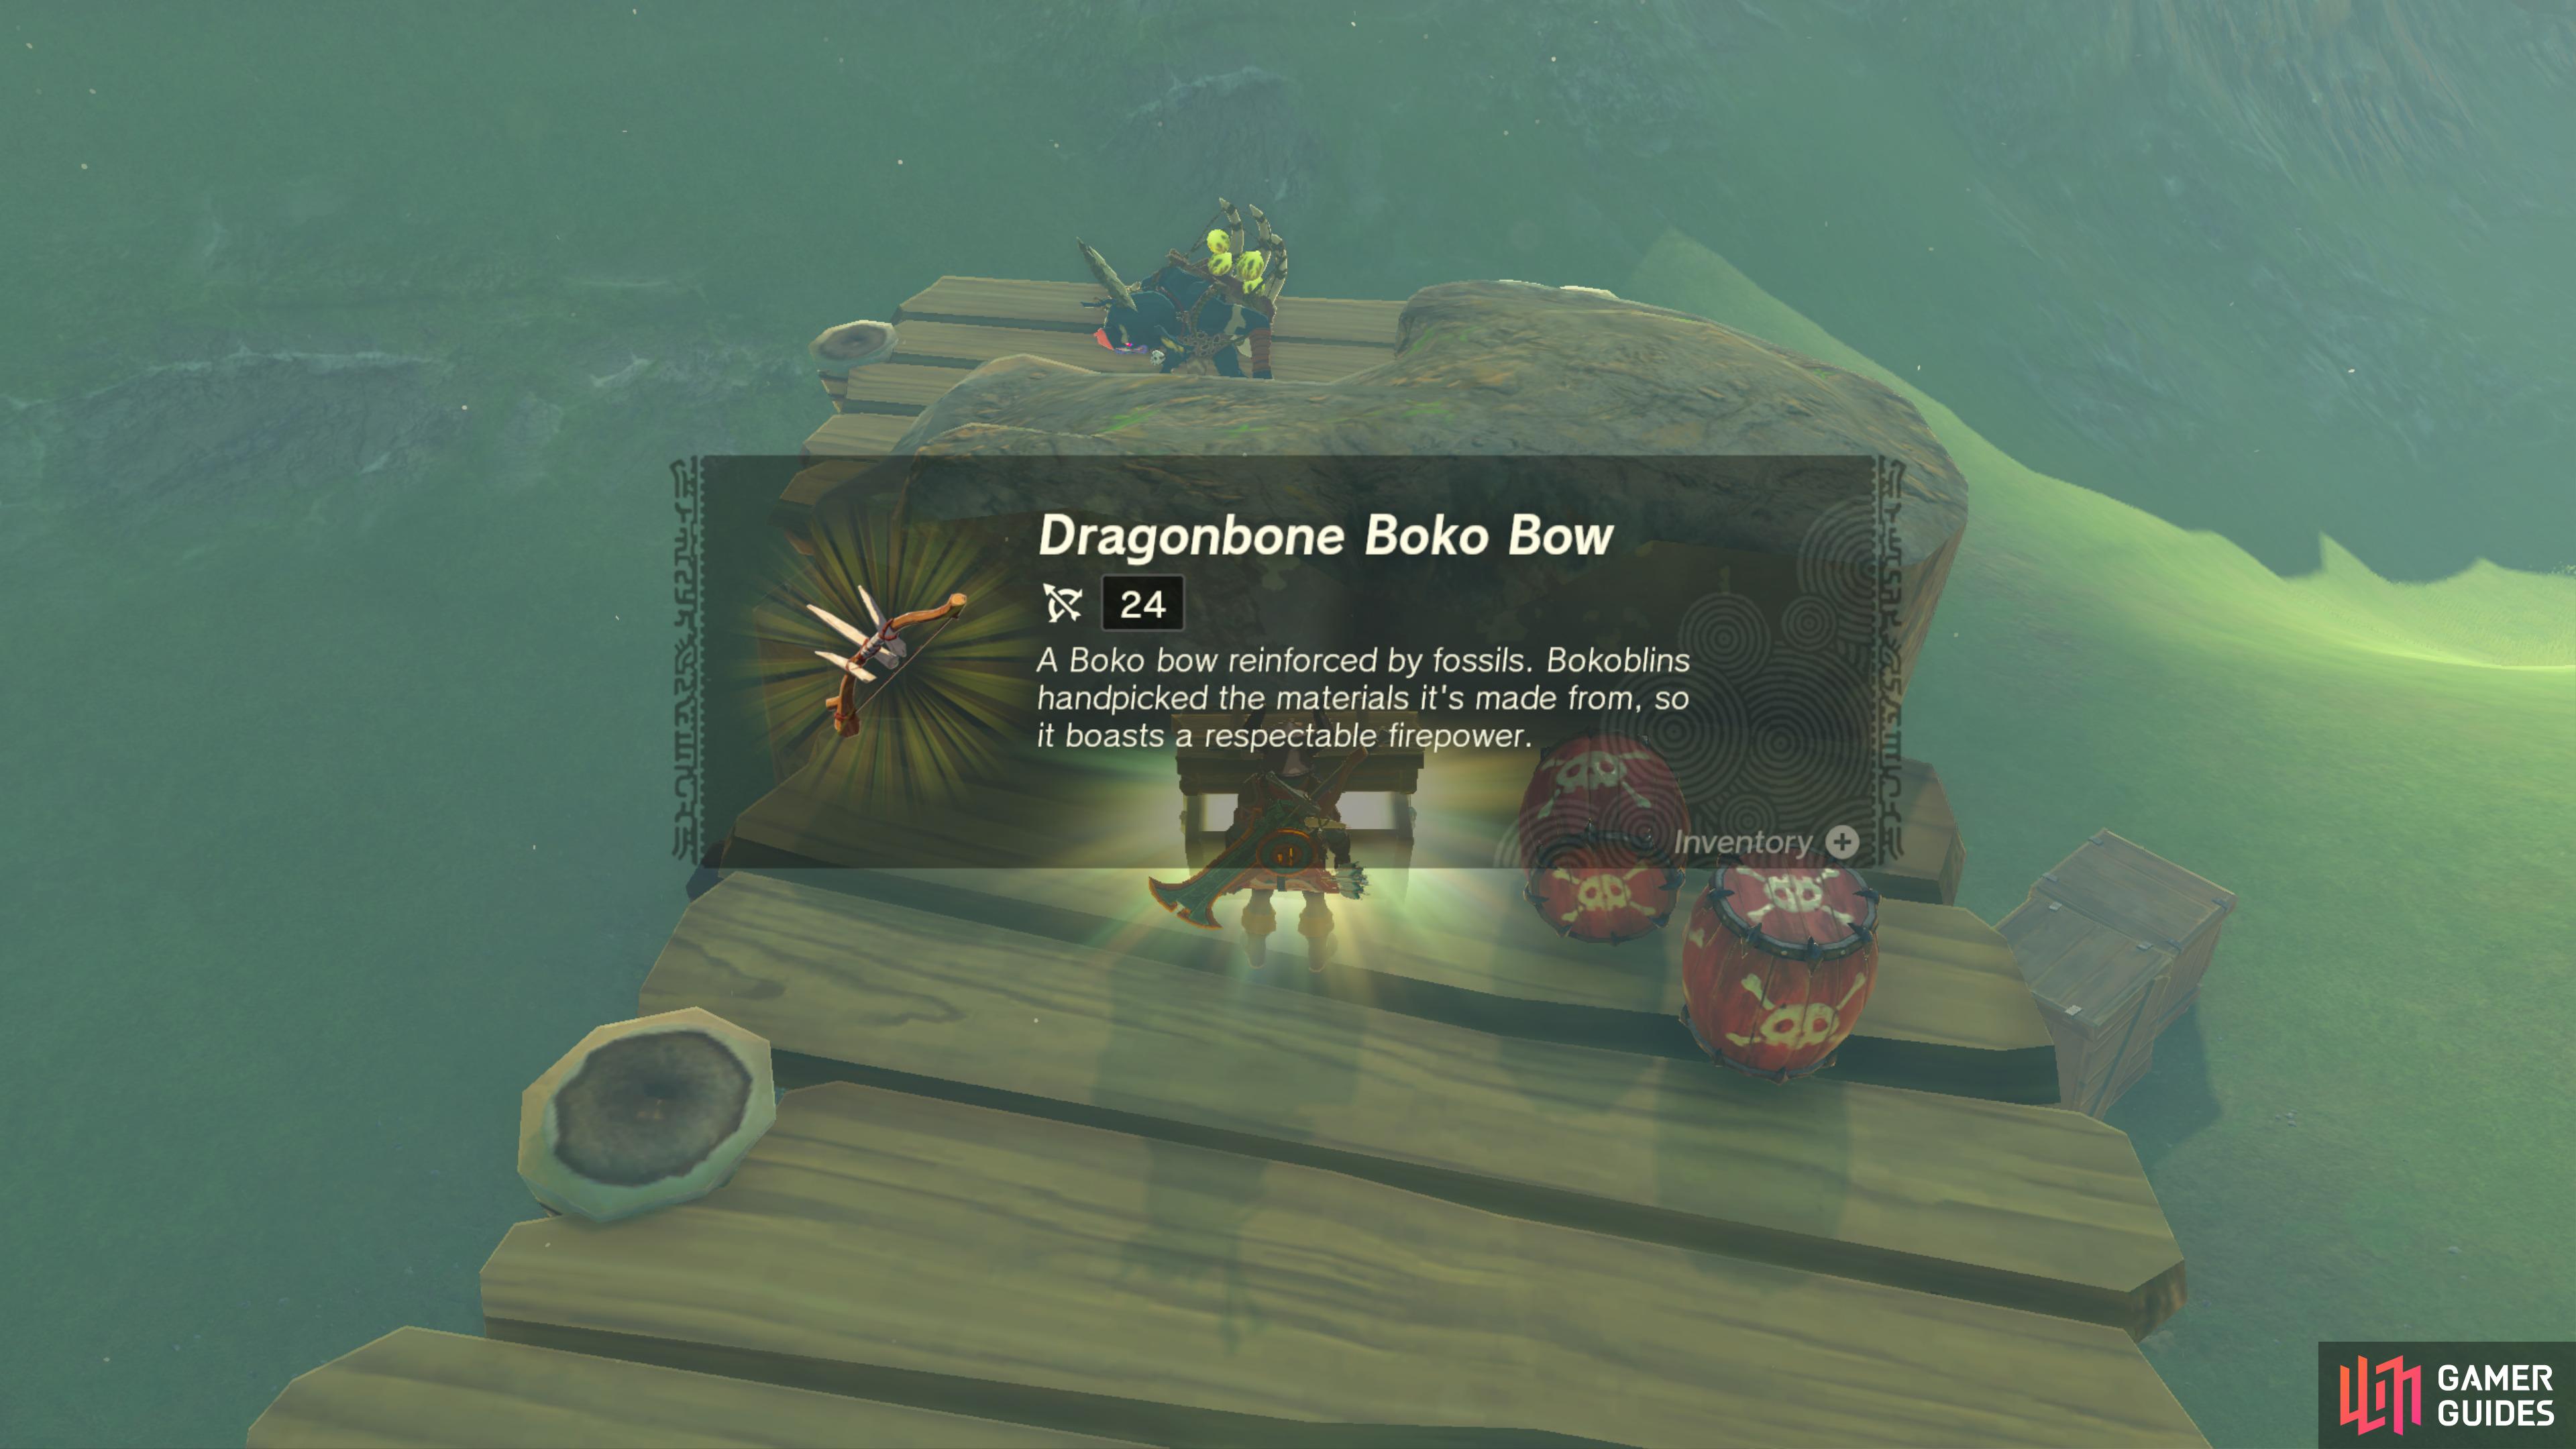
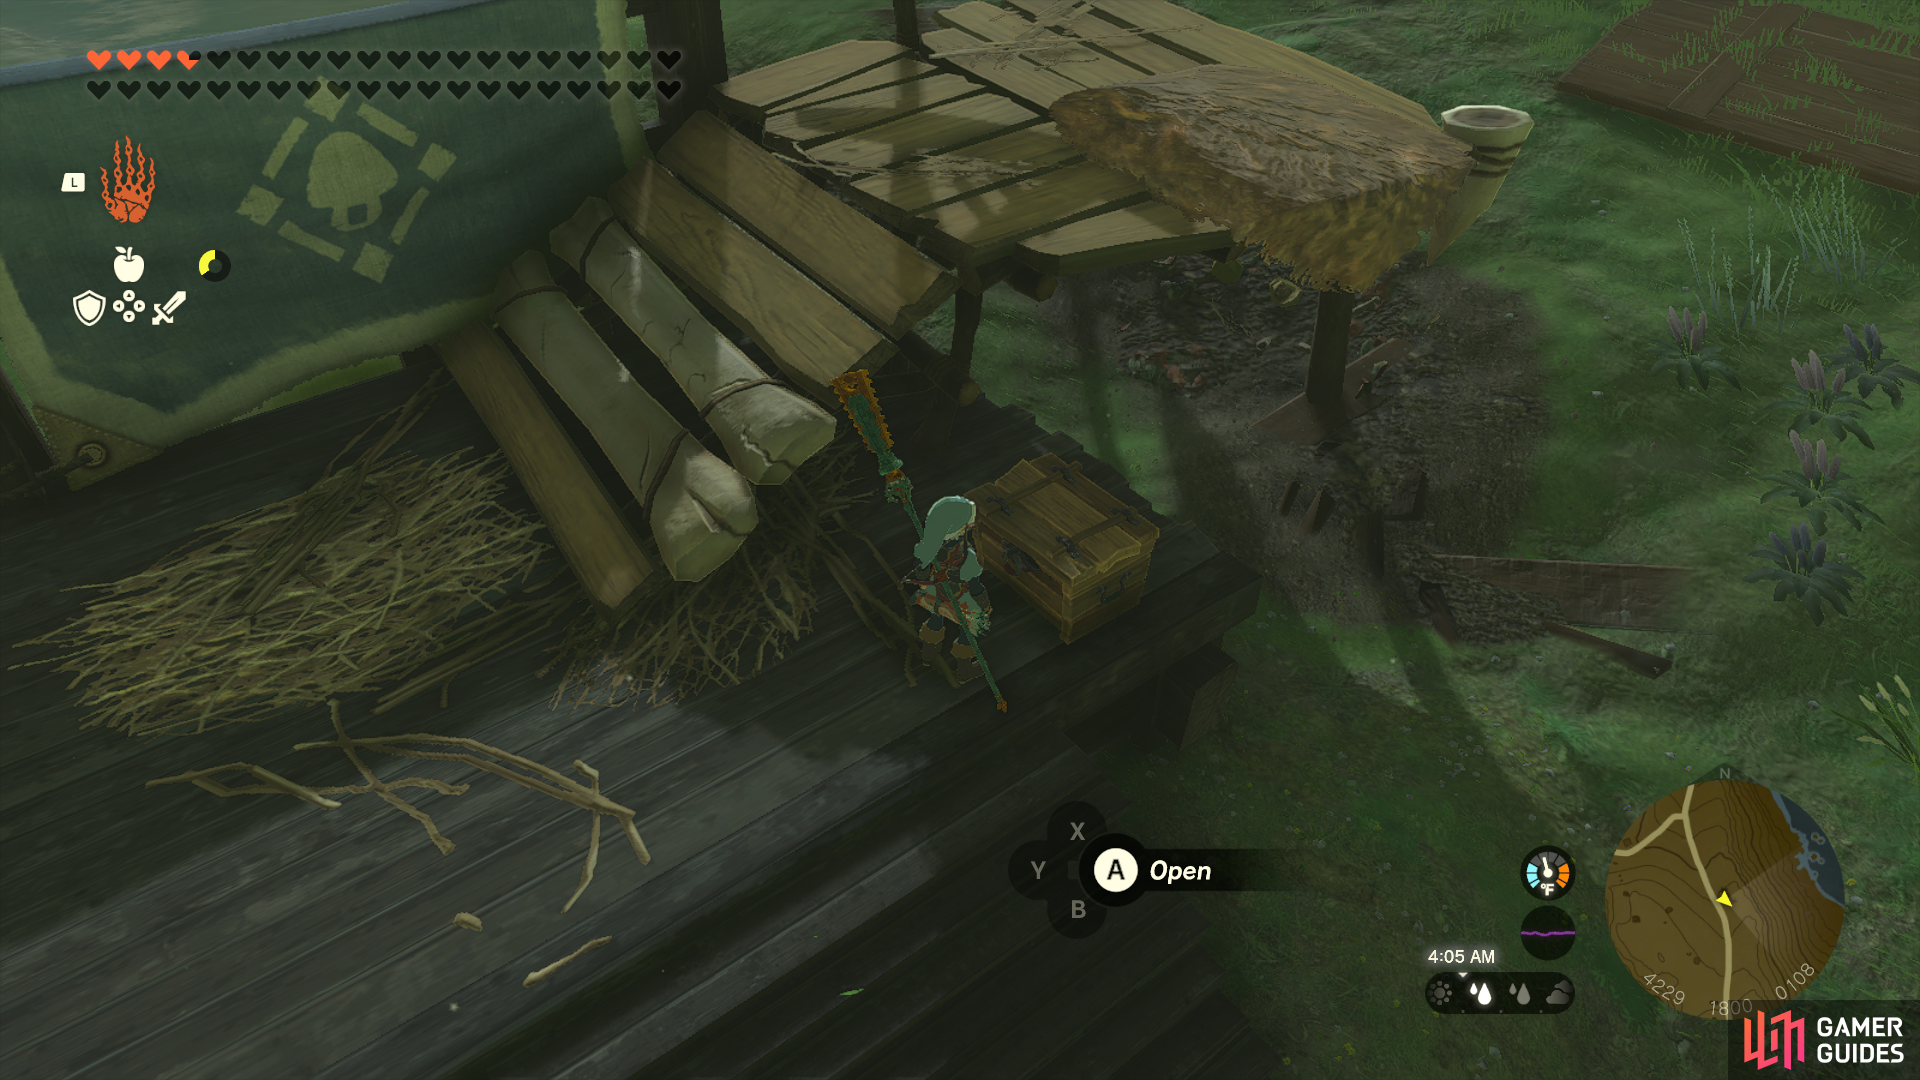
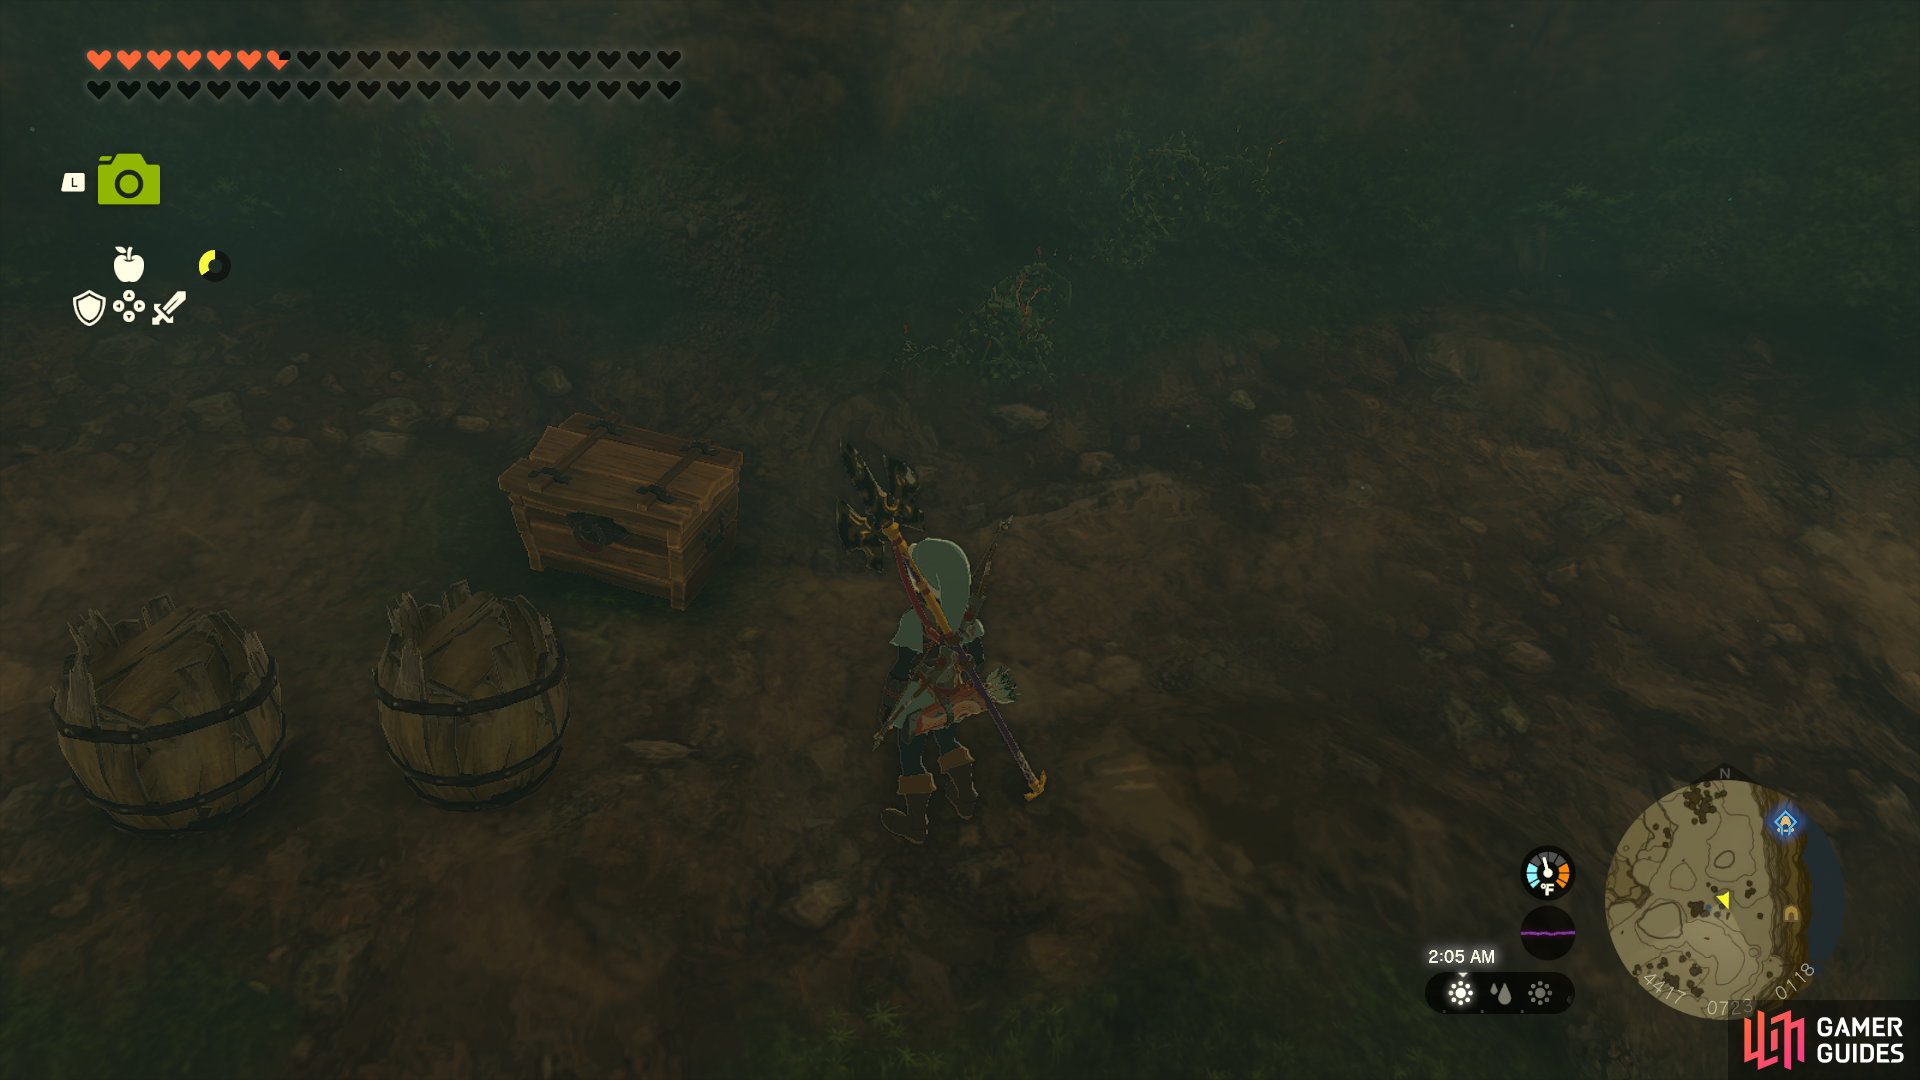
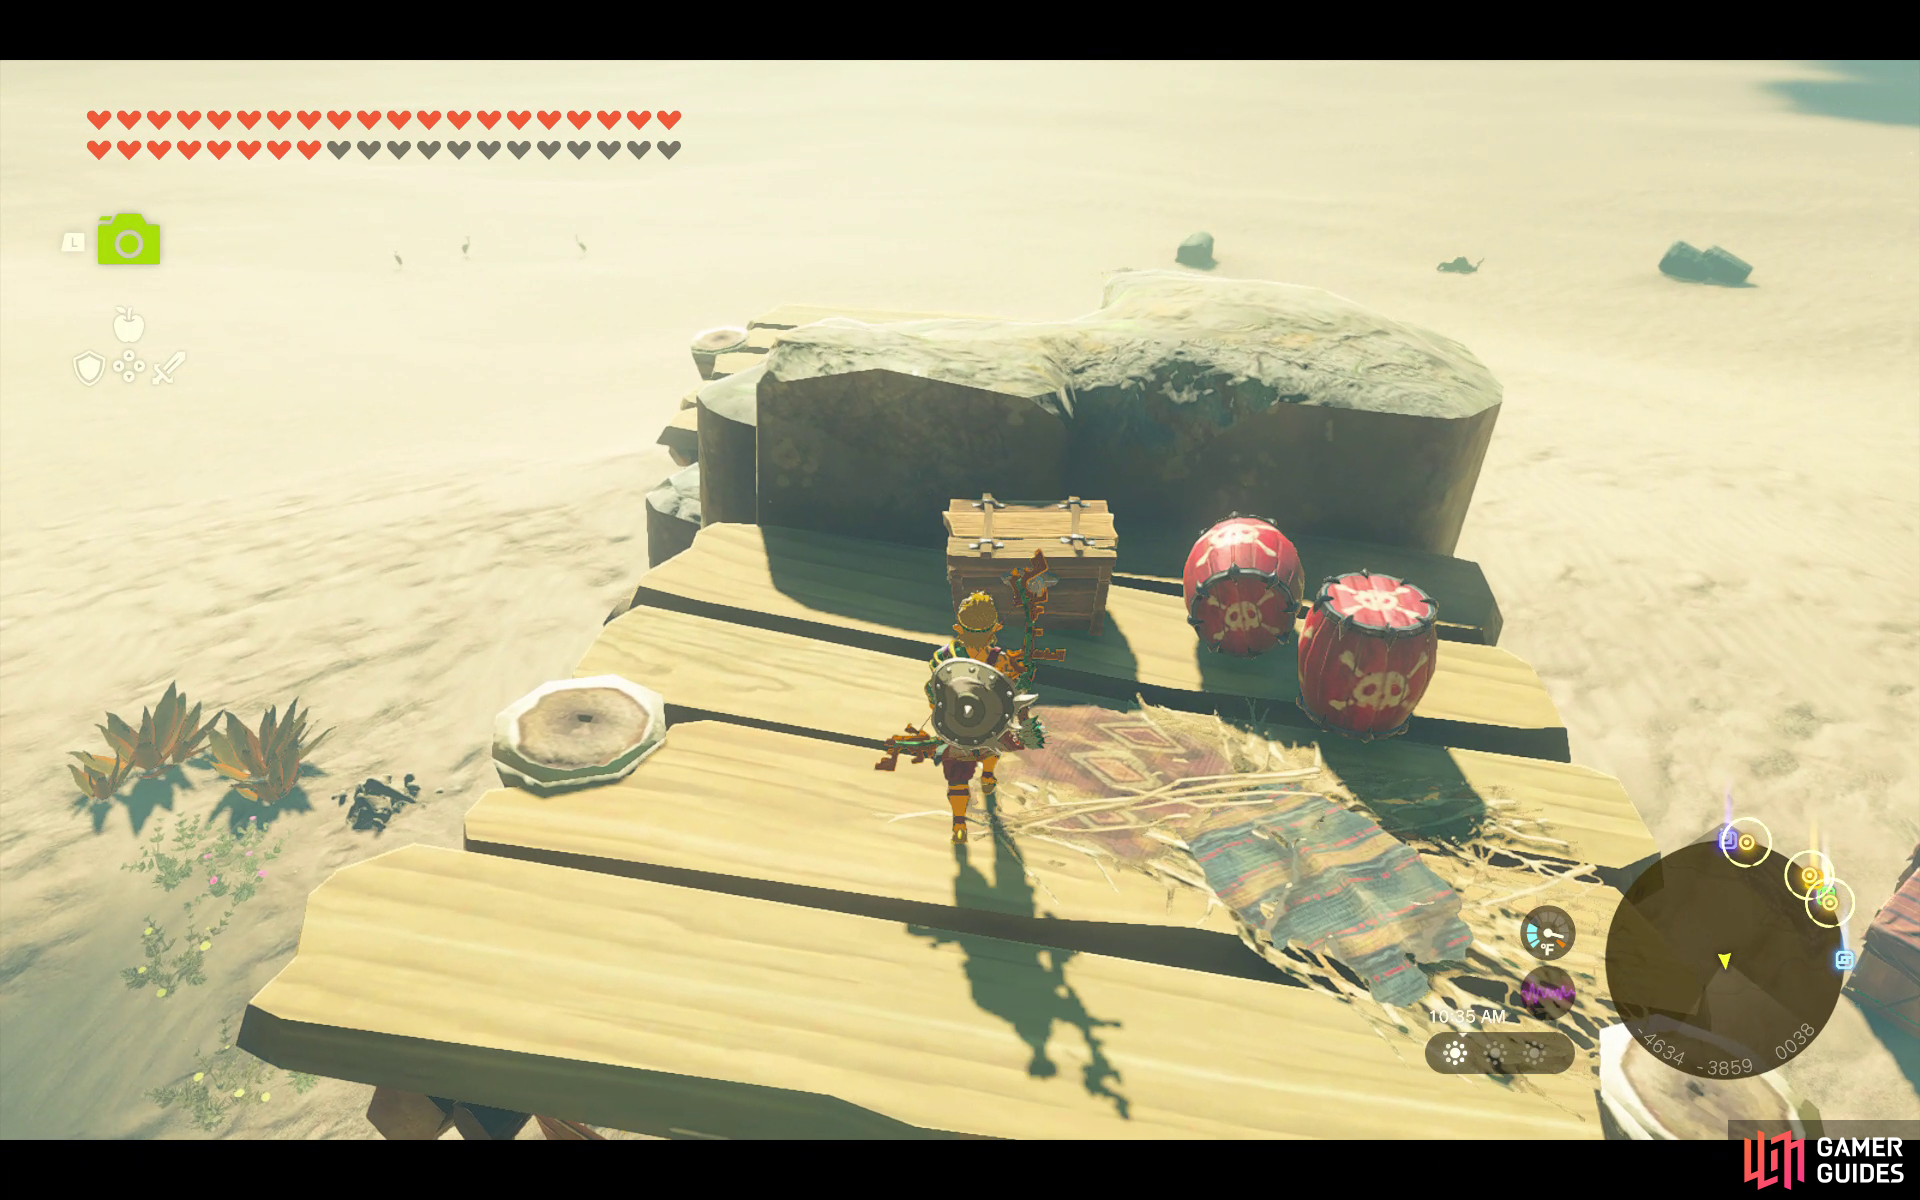
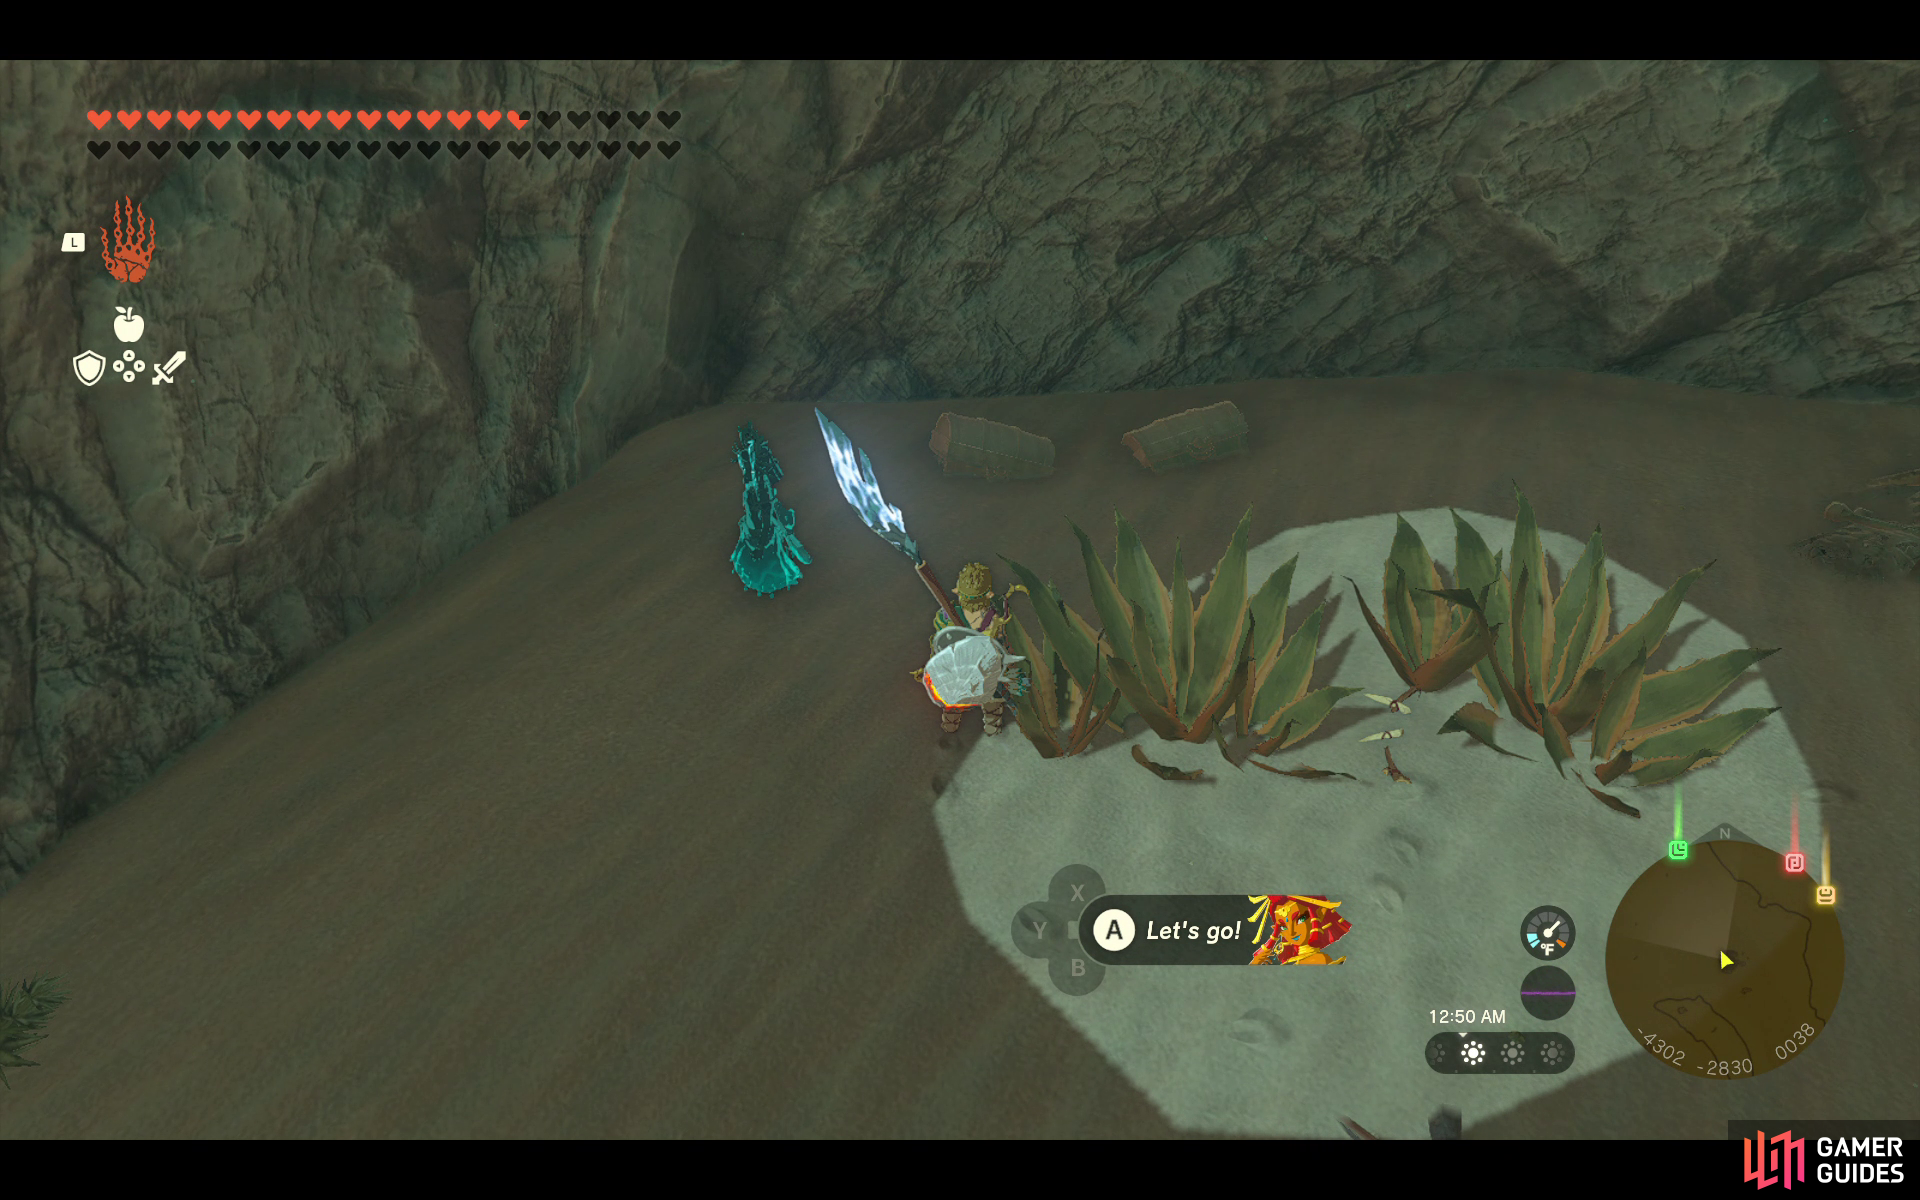
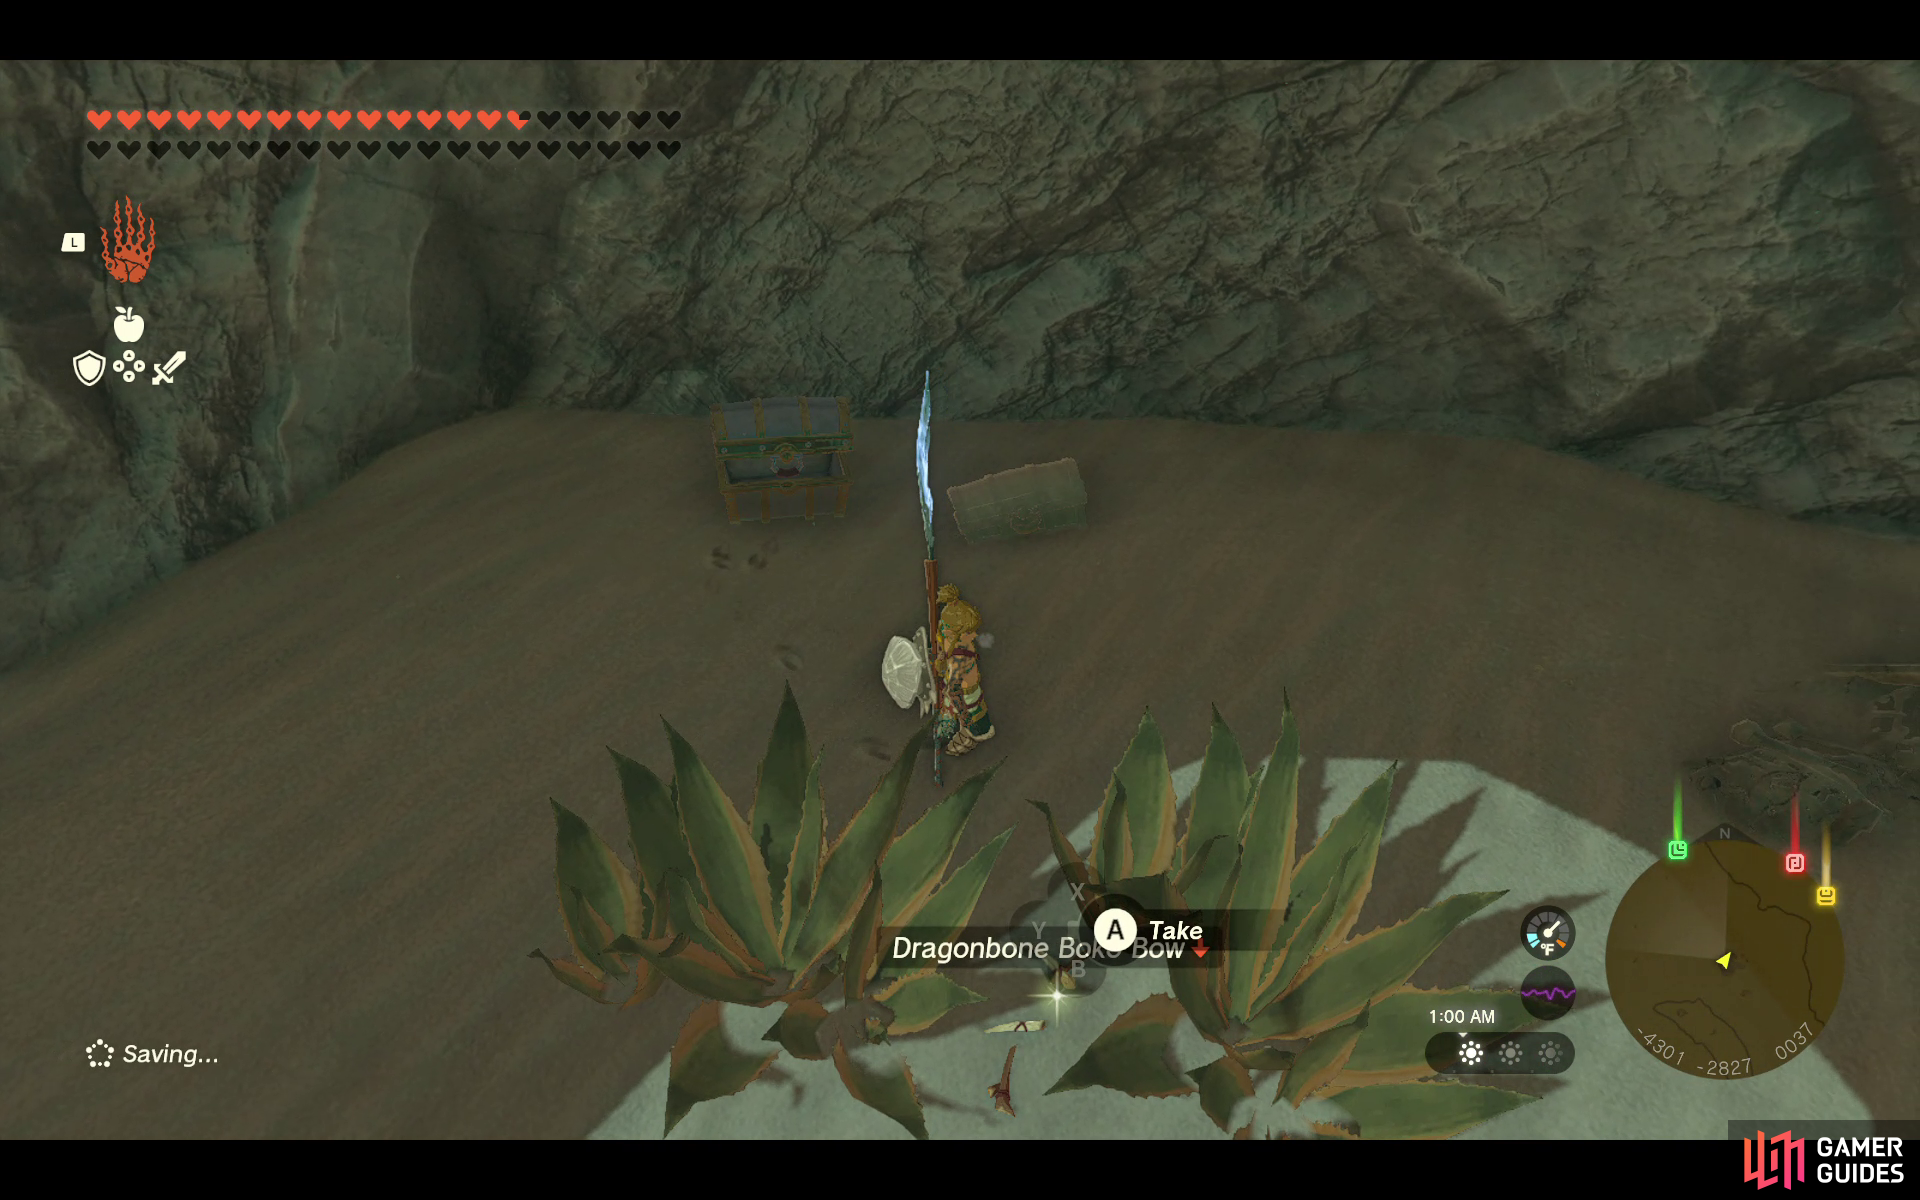
41113. Hyrule Surface Map
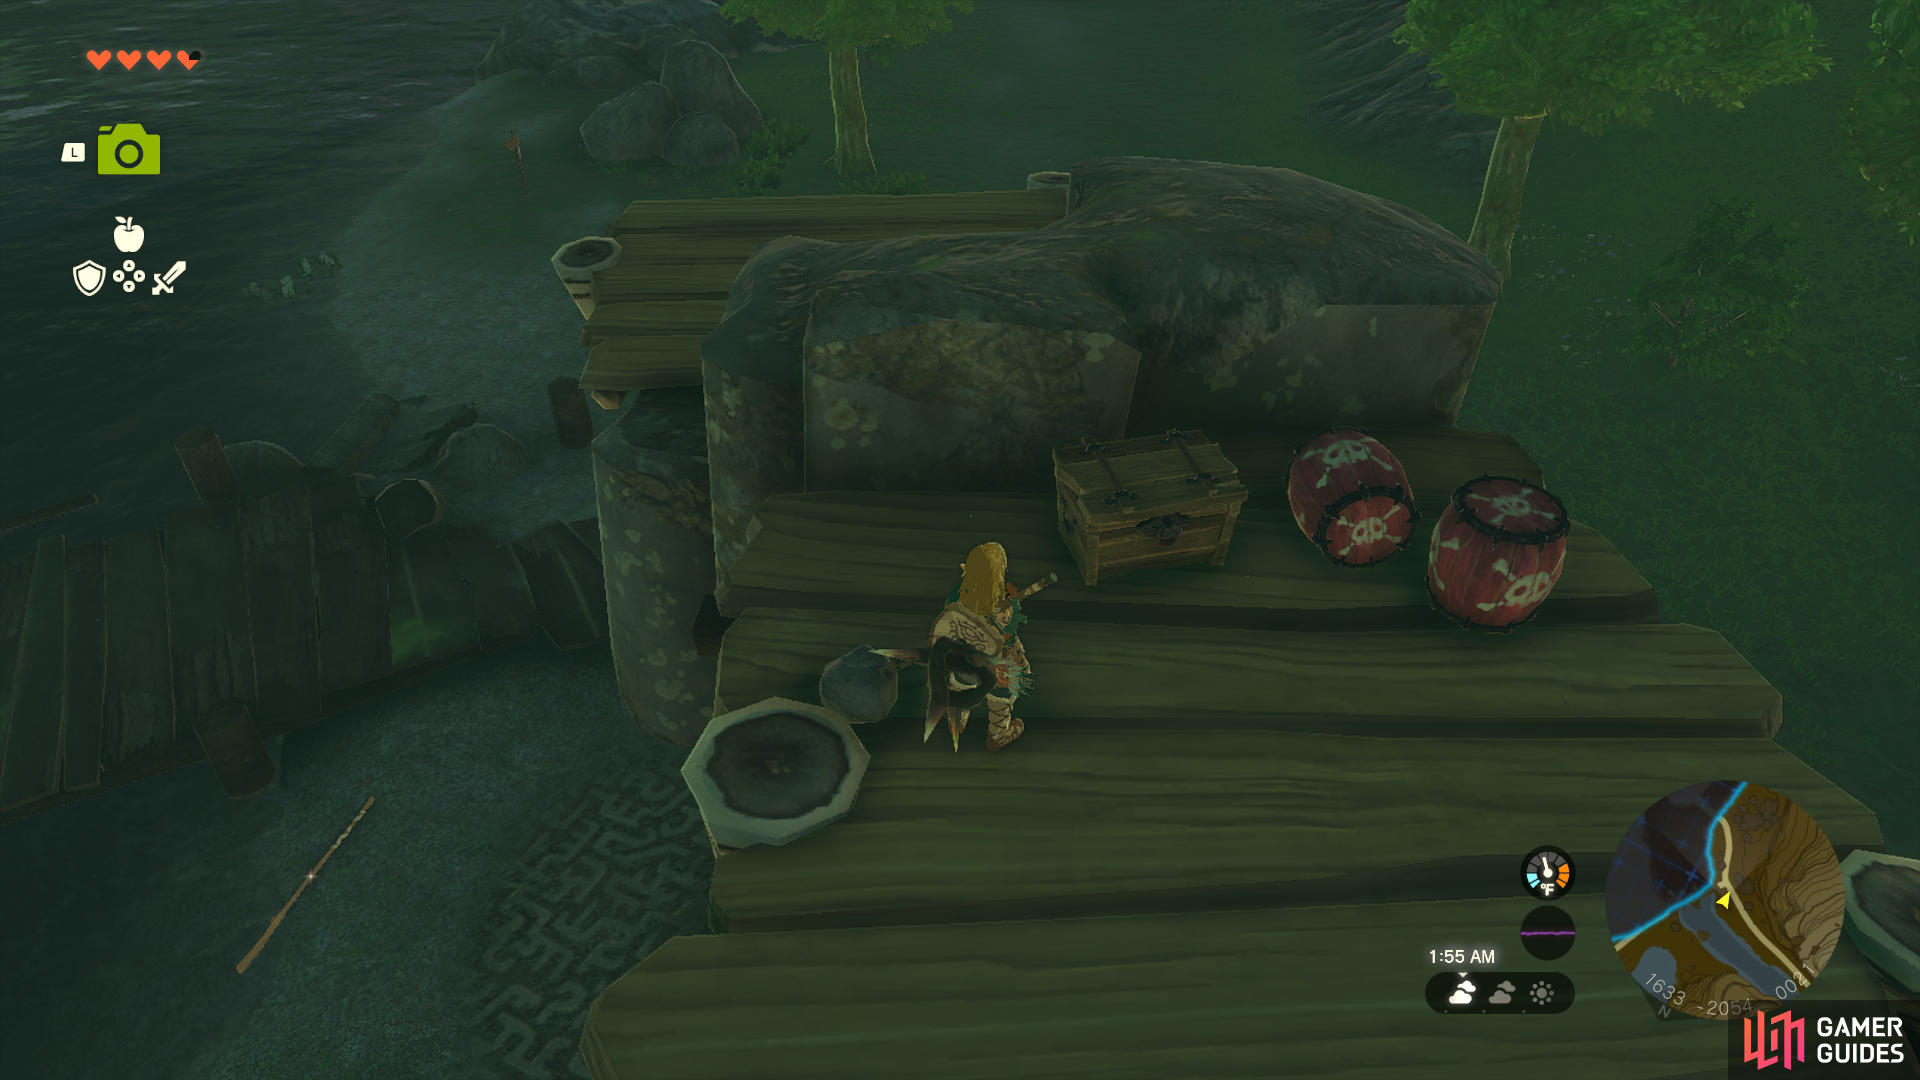
Sitting on top of the wooden platform next to the explosive barrels.
- Contains
 Dragonbone Boko Bow
41139. Hyrule Surface Map
Hidden in-between the mountains in a small pool of water. Use ![]() Ultrahand to place it on land to open it.
Ultrahand to place it on land to open it.
- Contains
 Phrenic Bow.

41149. Hyrule Surface Map
This Chest contains three Rockets (Capsule), useful to attach to a raft to help the ![]() Korok Friend across the river.
Korok Friend across the river.
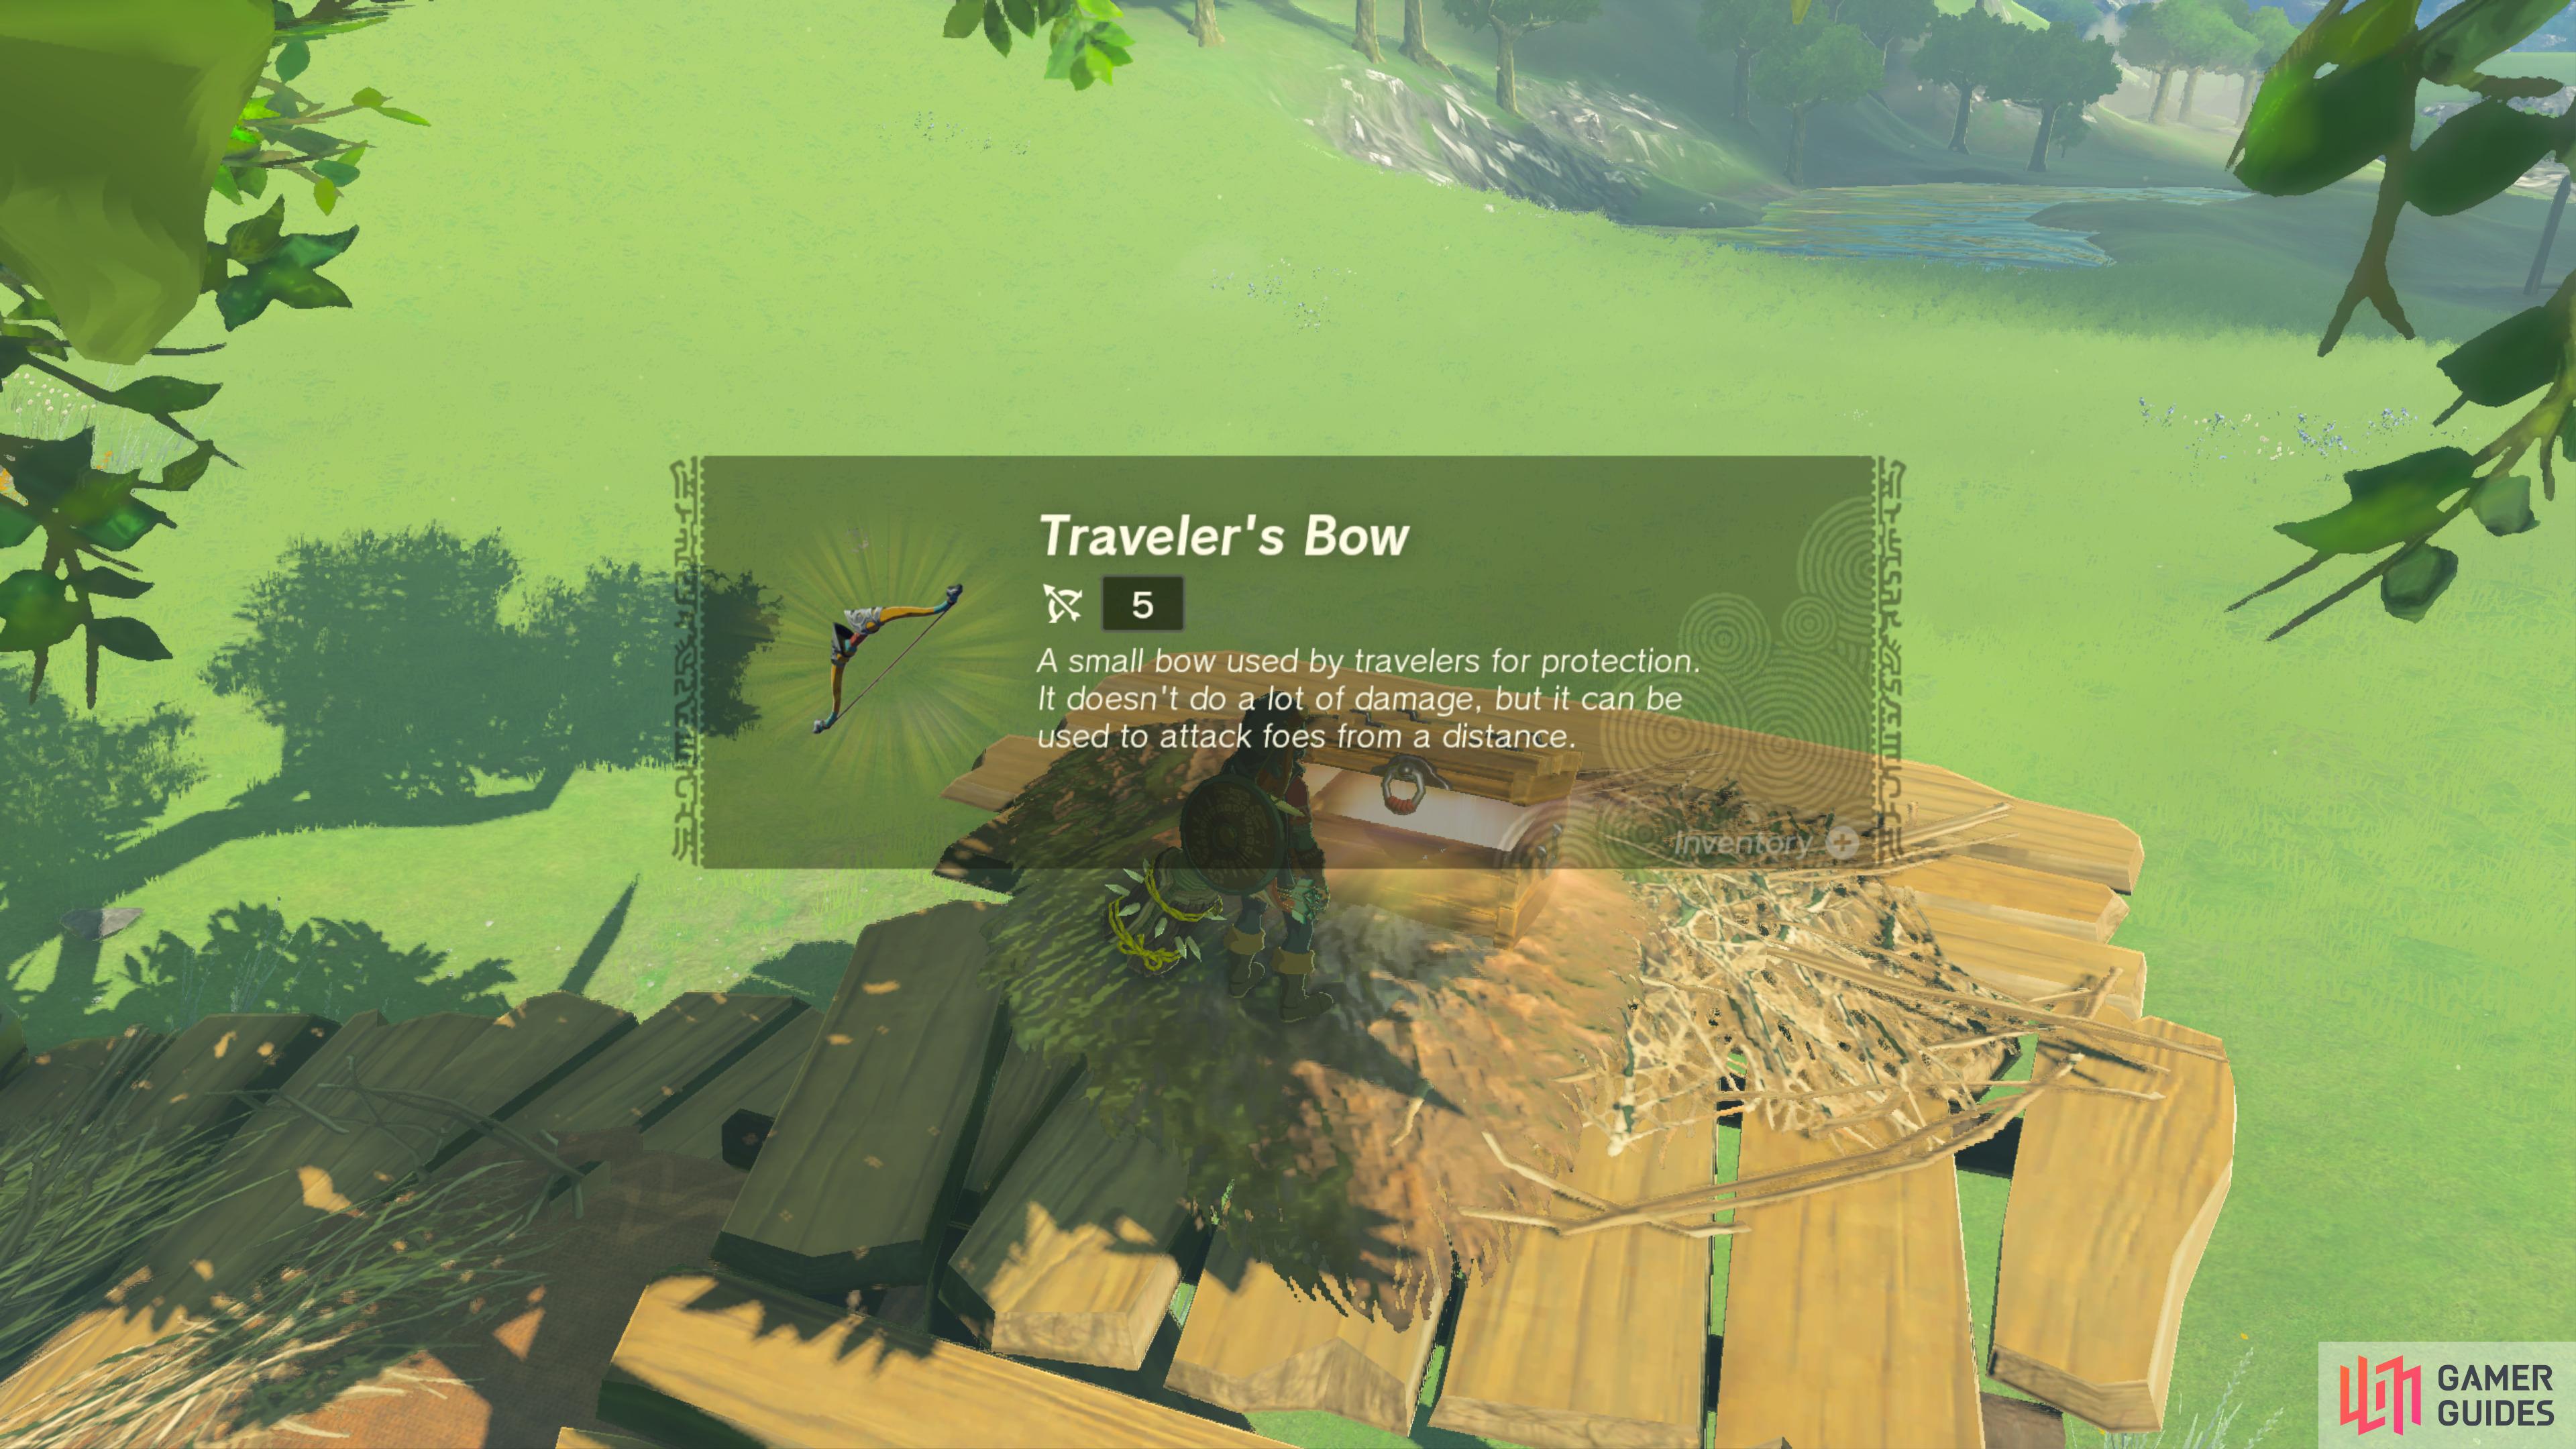
41164. Hyrule Surface Map
There is a Chest on top of the tower of this nearby camp.
It contains a ![]() Traveler’s Bow.
Traveler’s Bow.
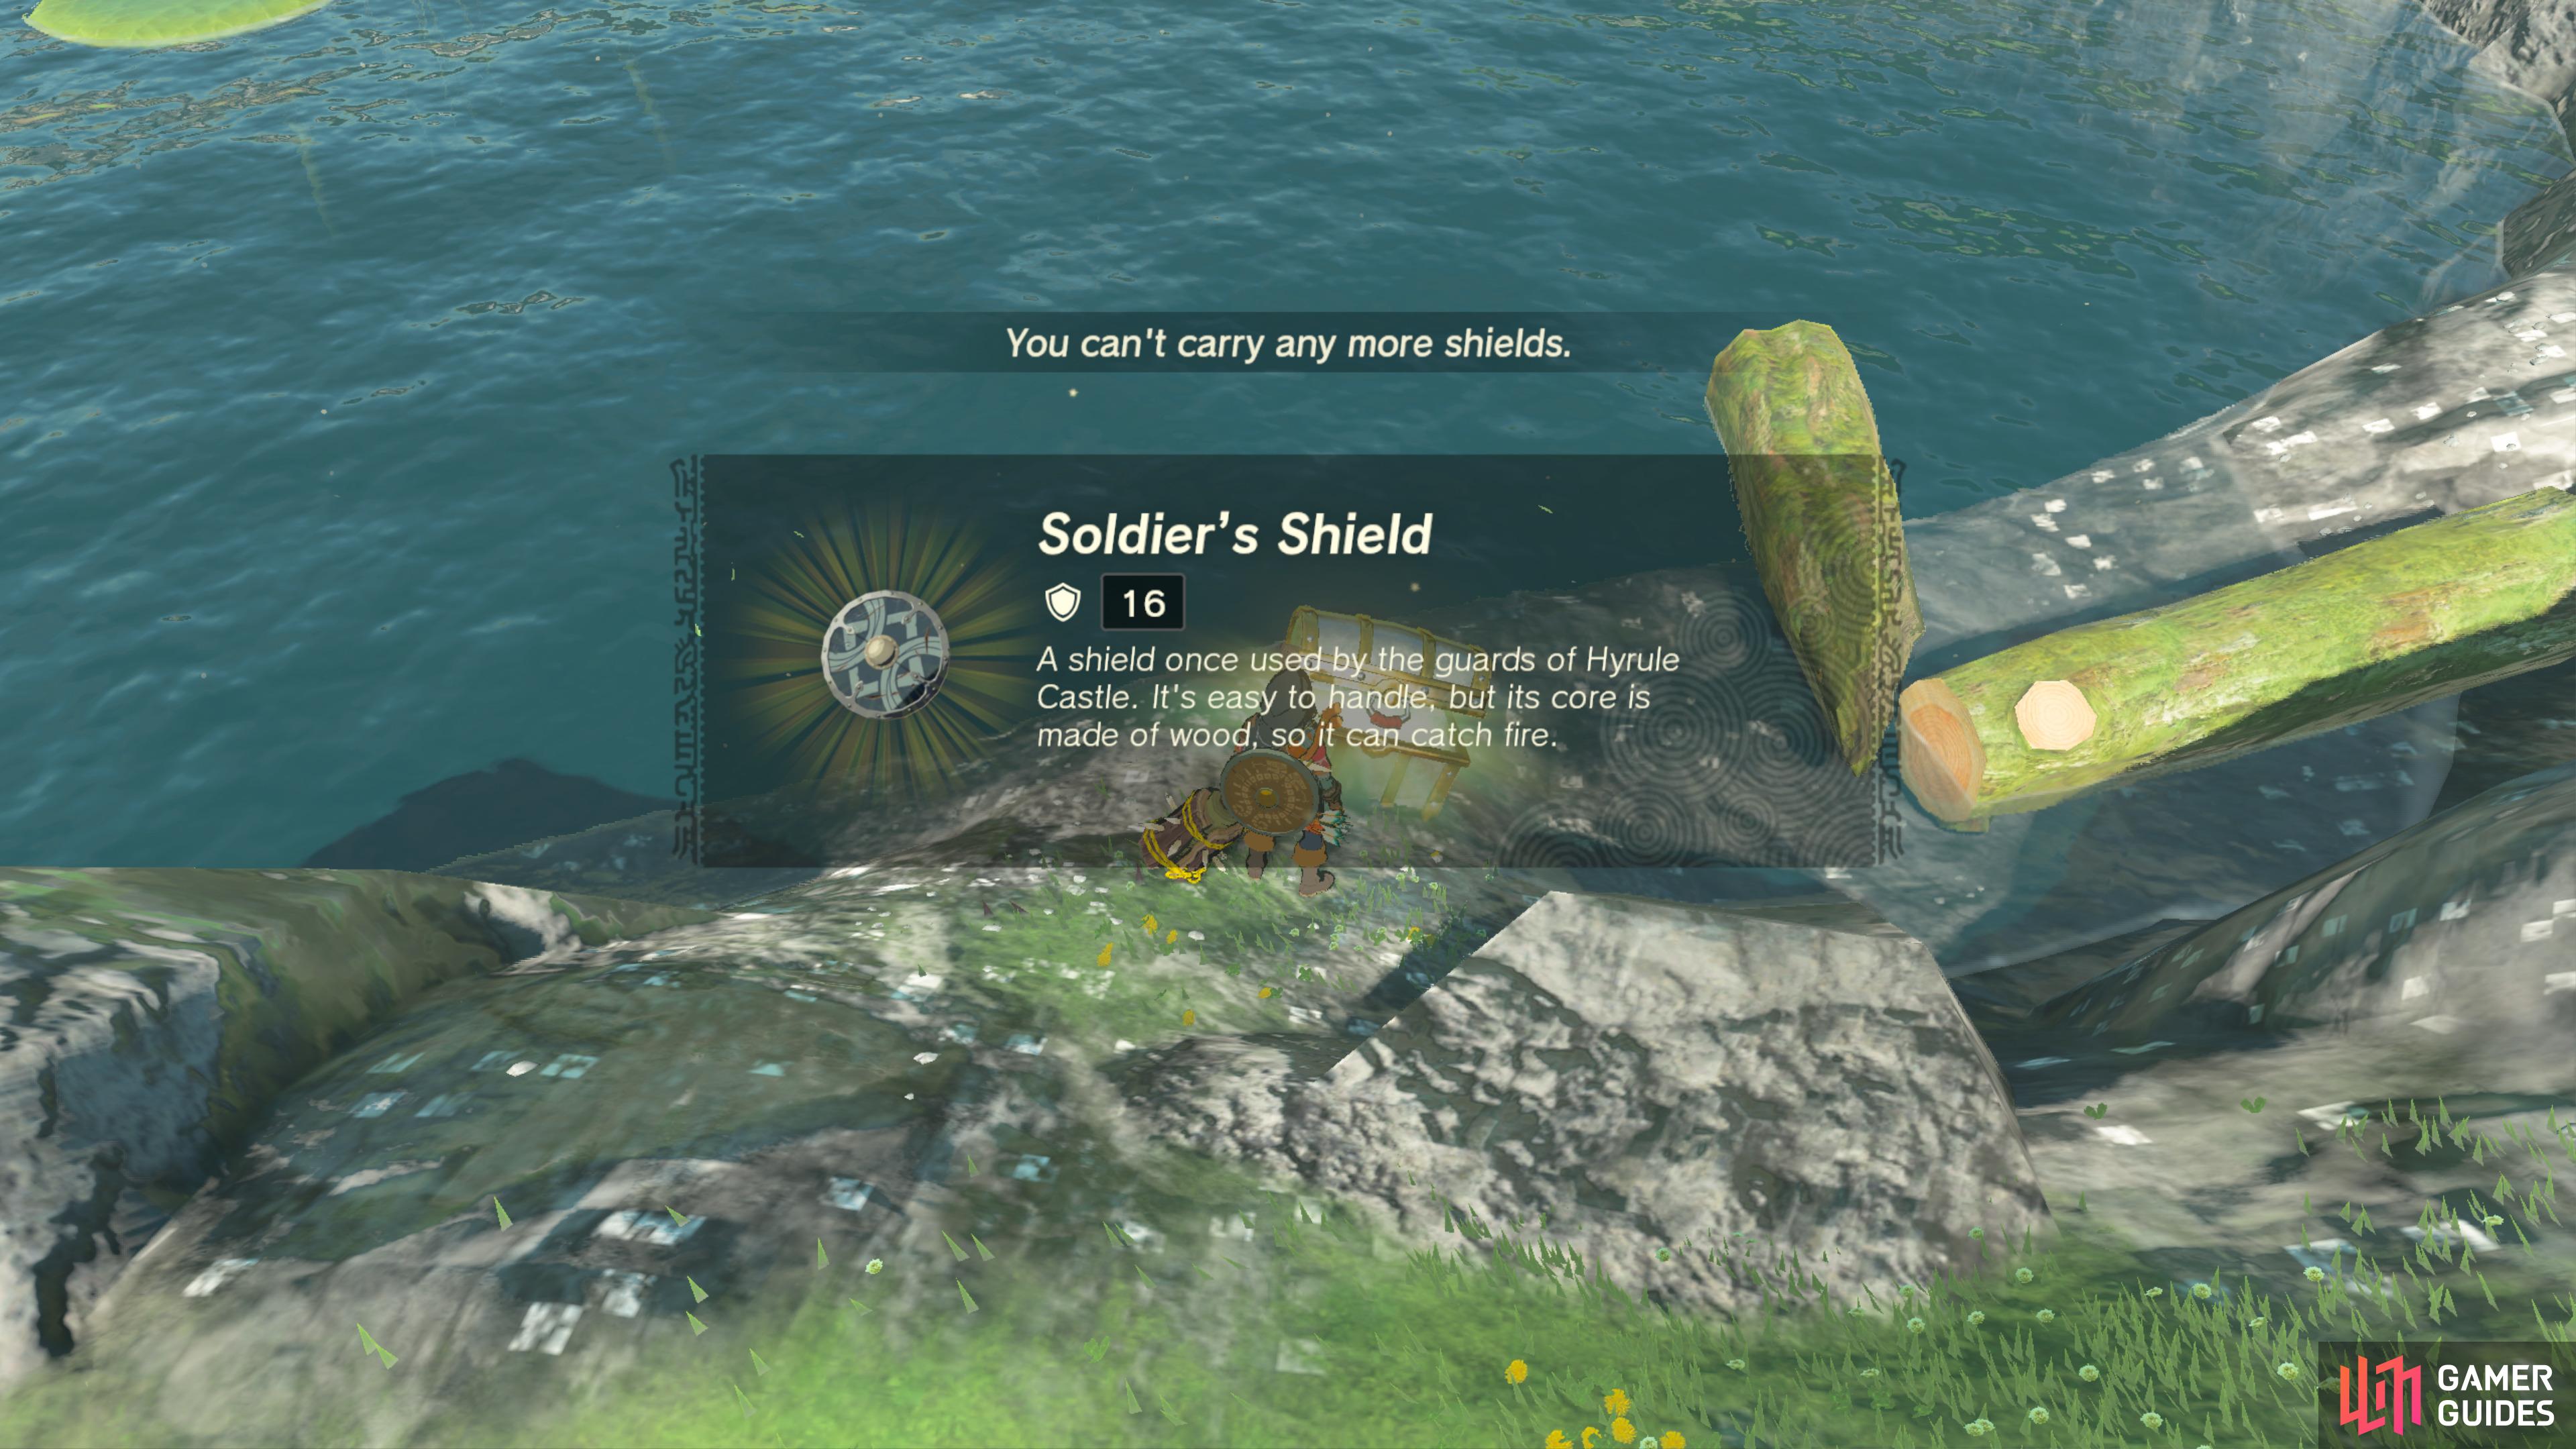
41184. Hyrule Surface Map
Use ![]() Ultrahand to pull this Chest out of the water.
Ultrahand to pull this Chest out of the water.
It contains a ![]() Soldier’s Shield.
Soldier’s Shield.
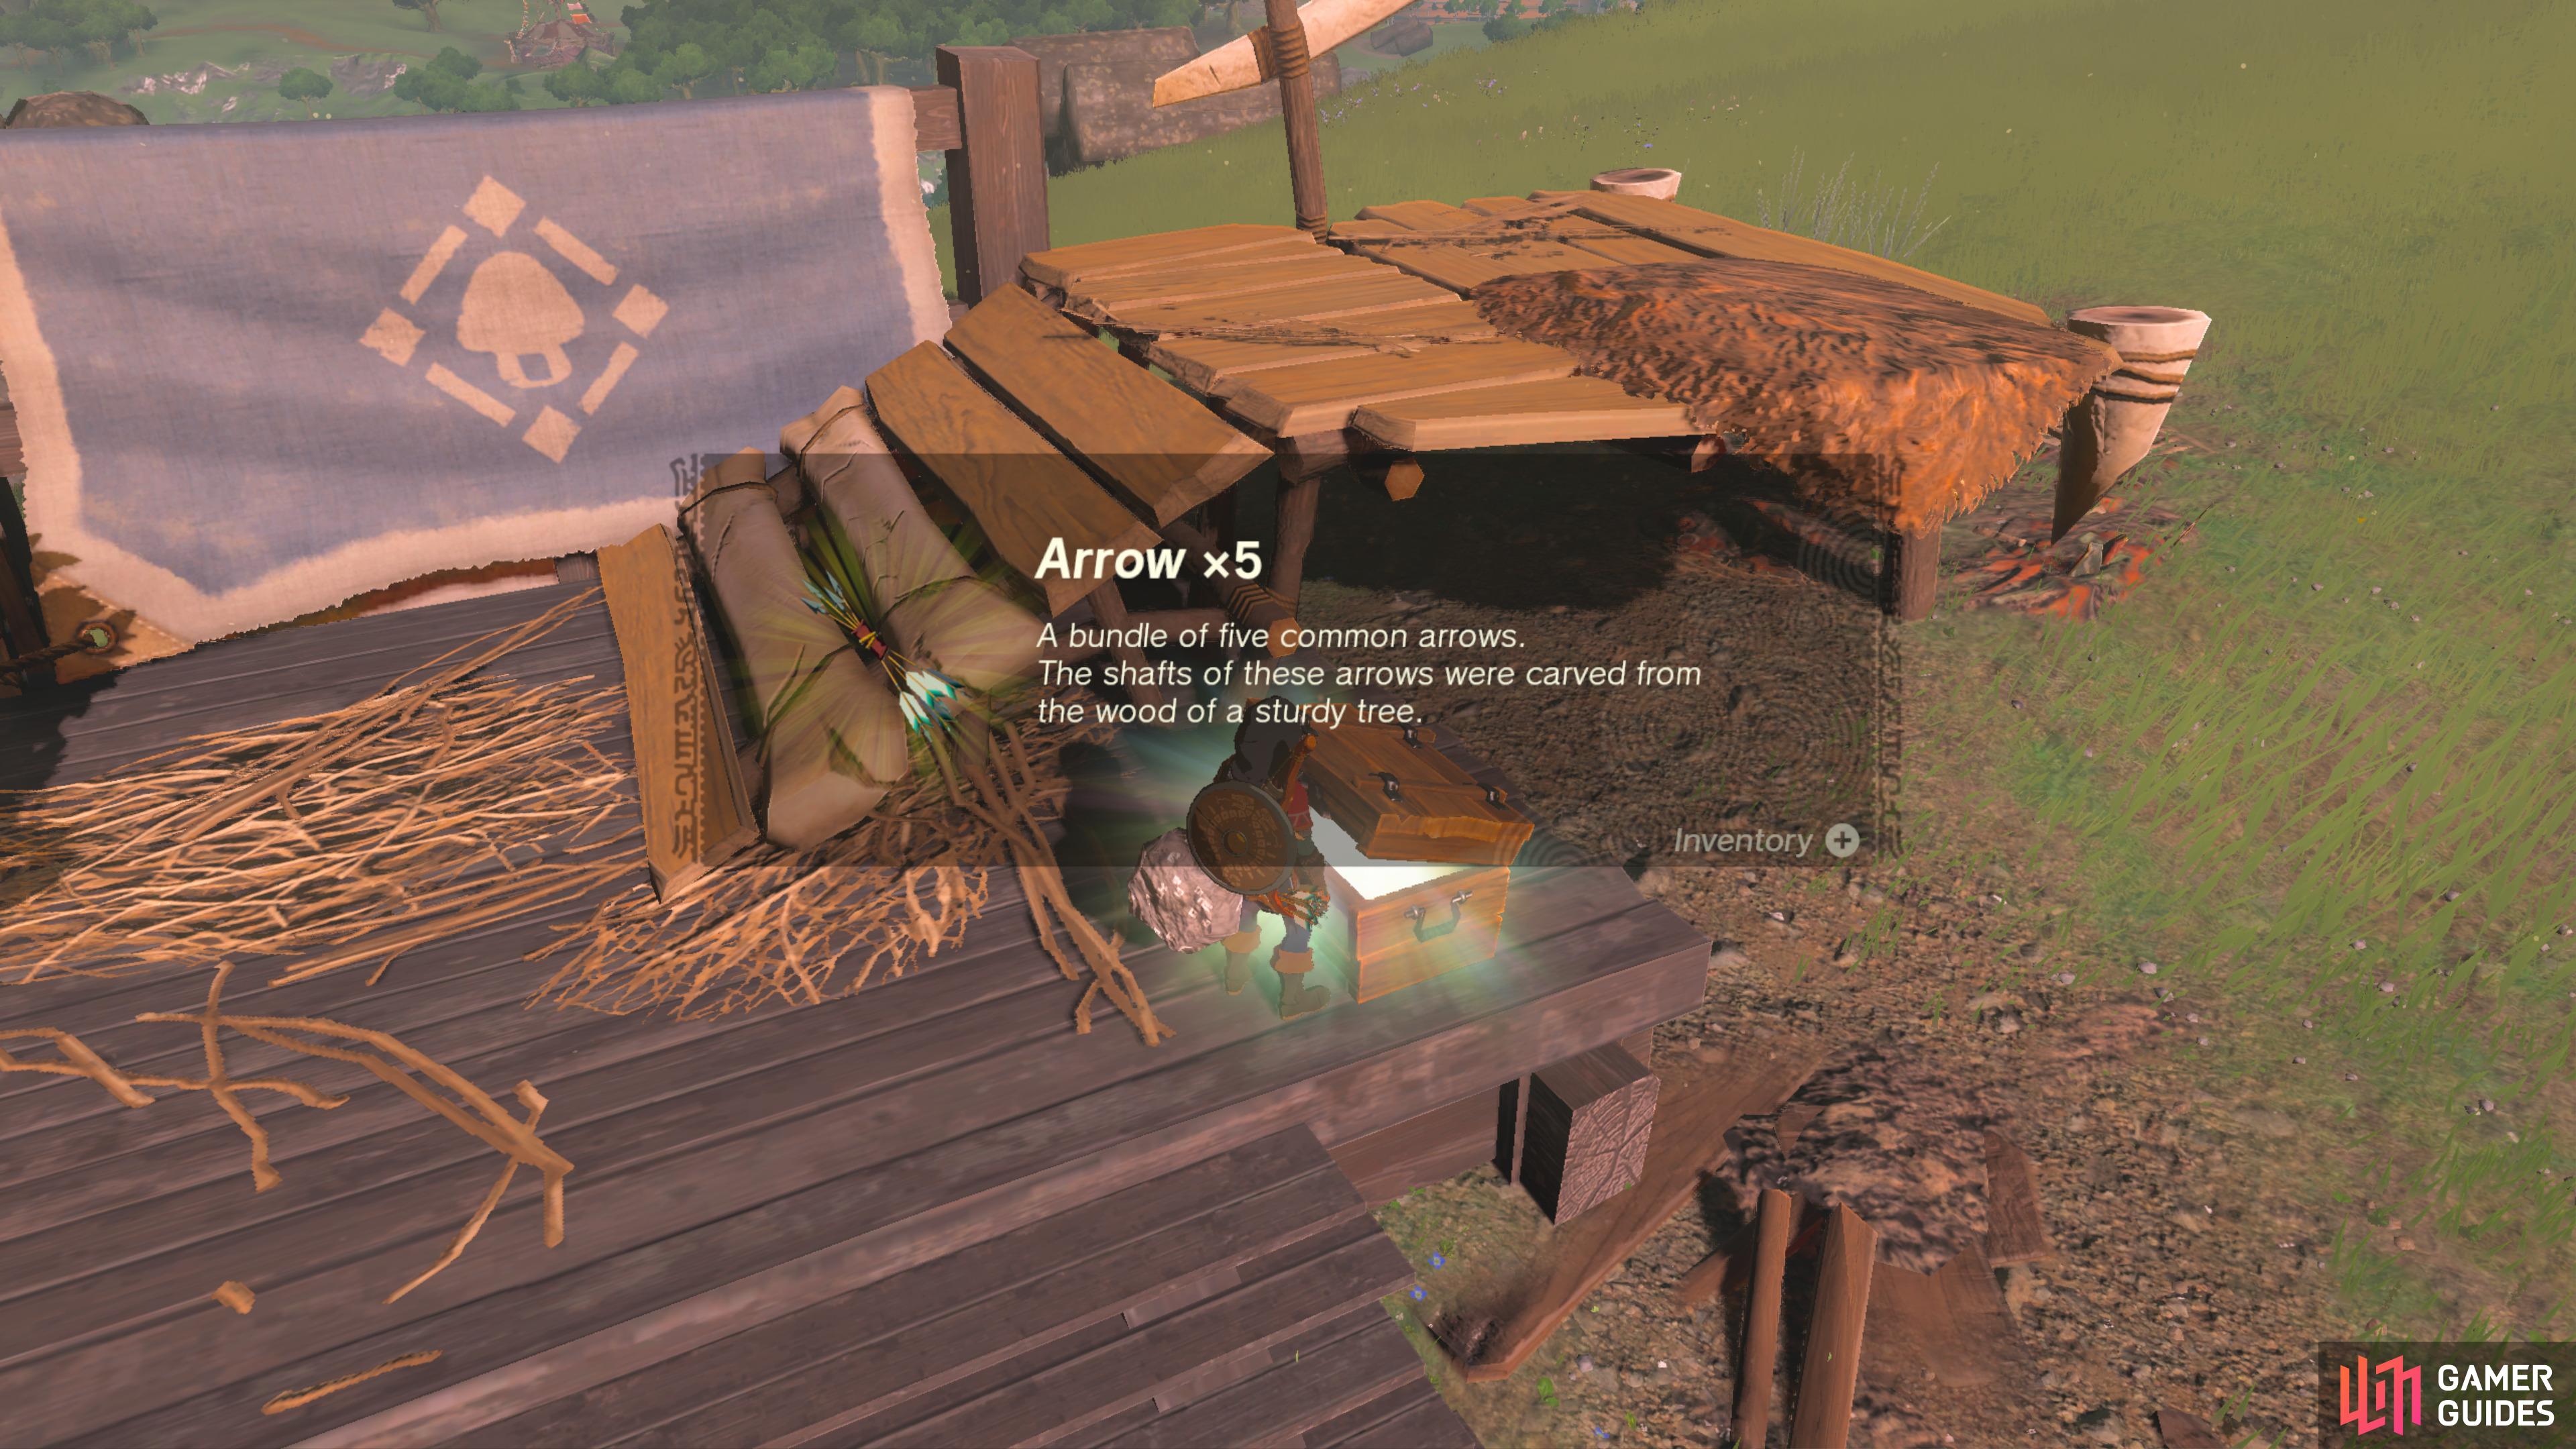
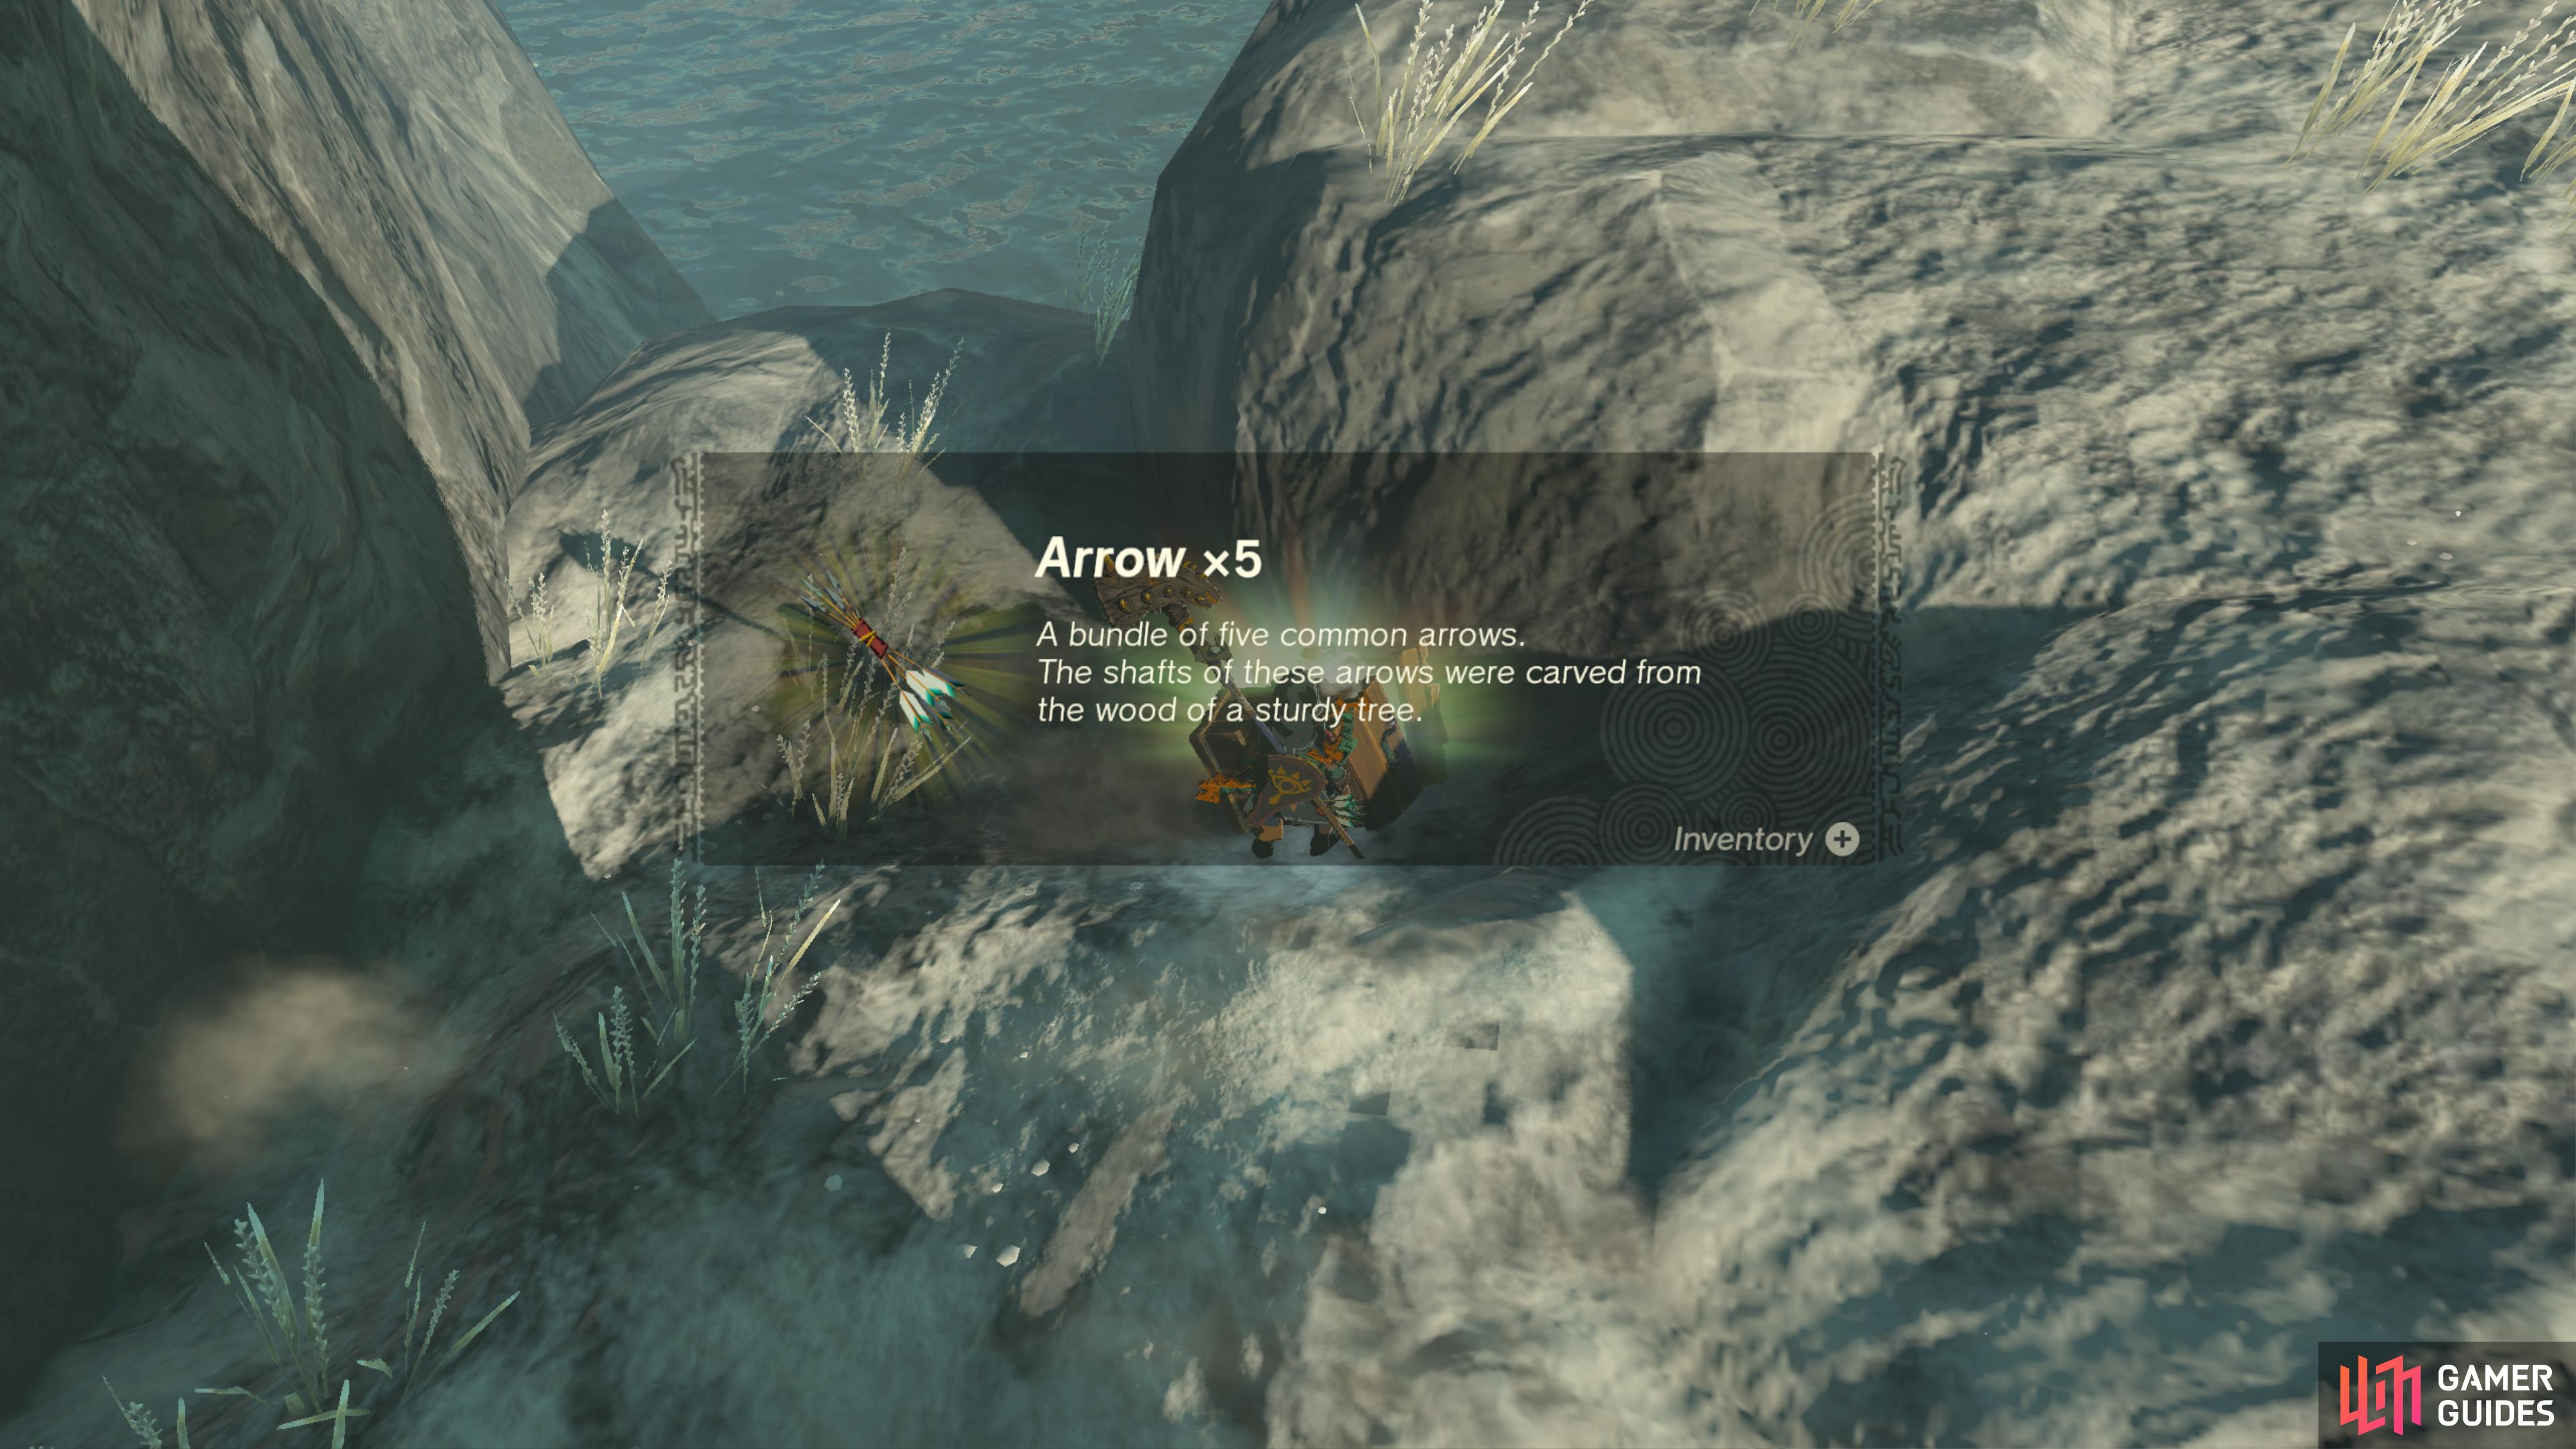
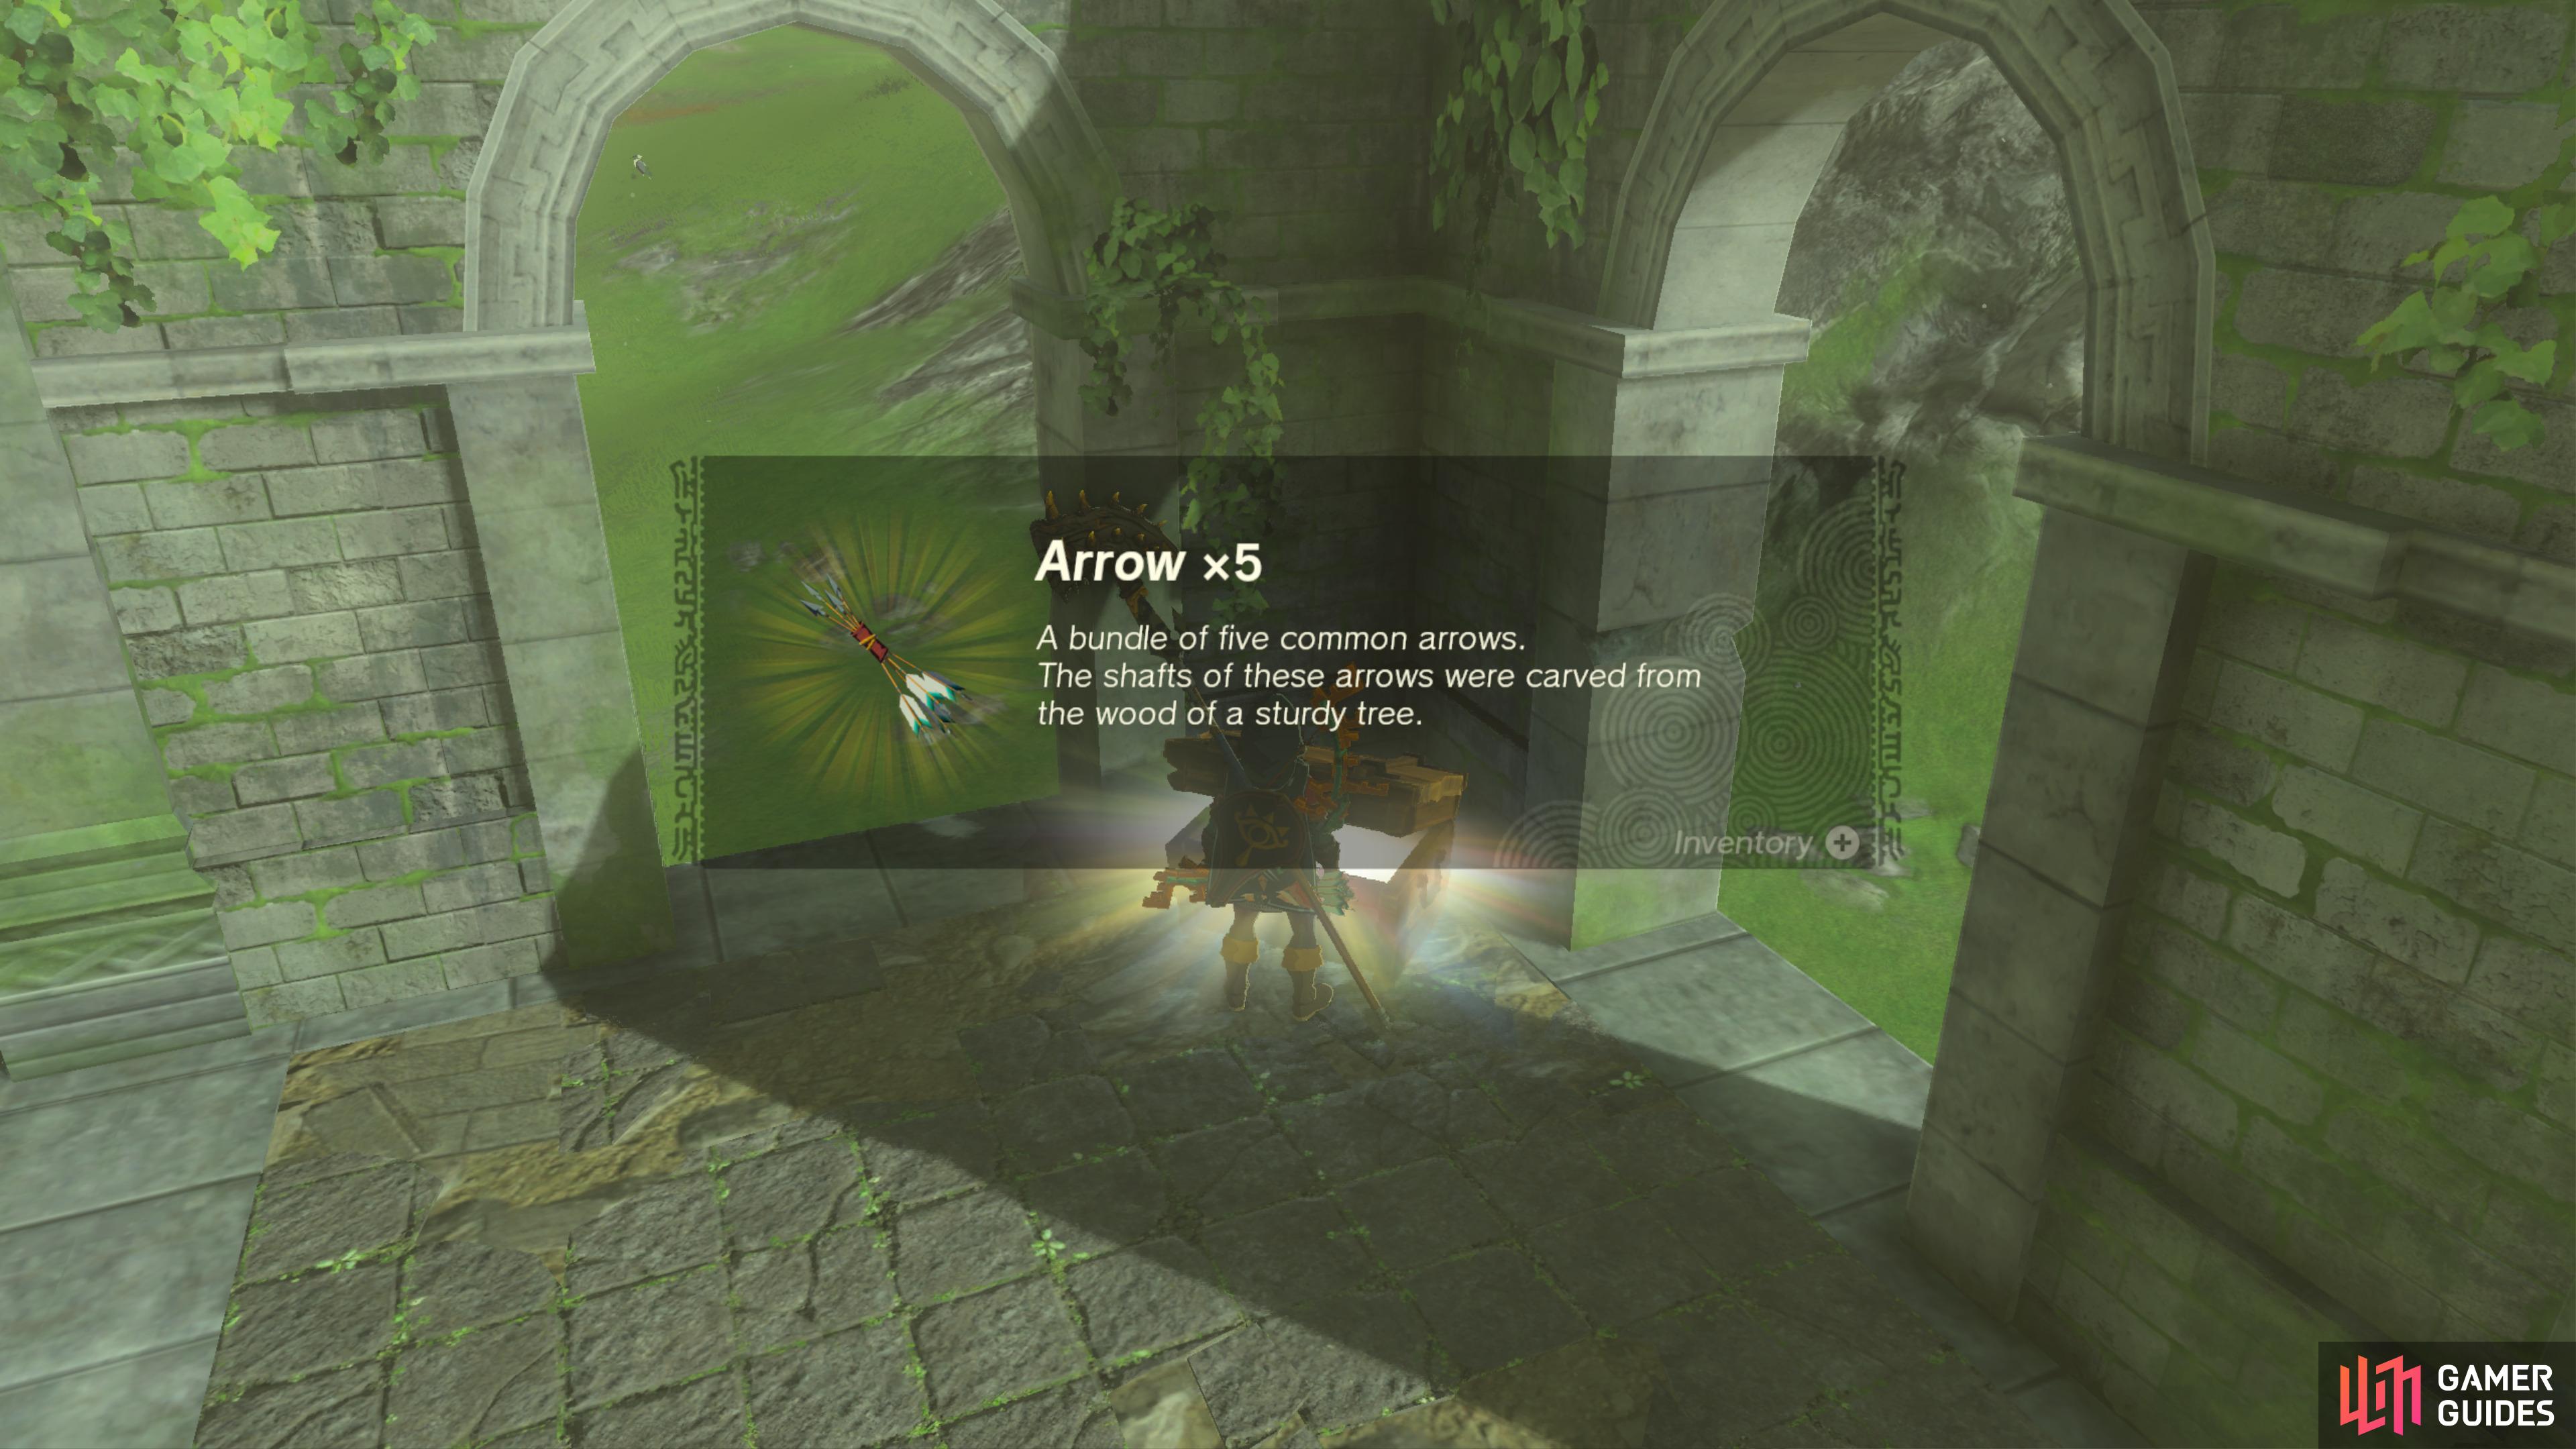
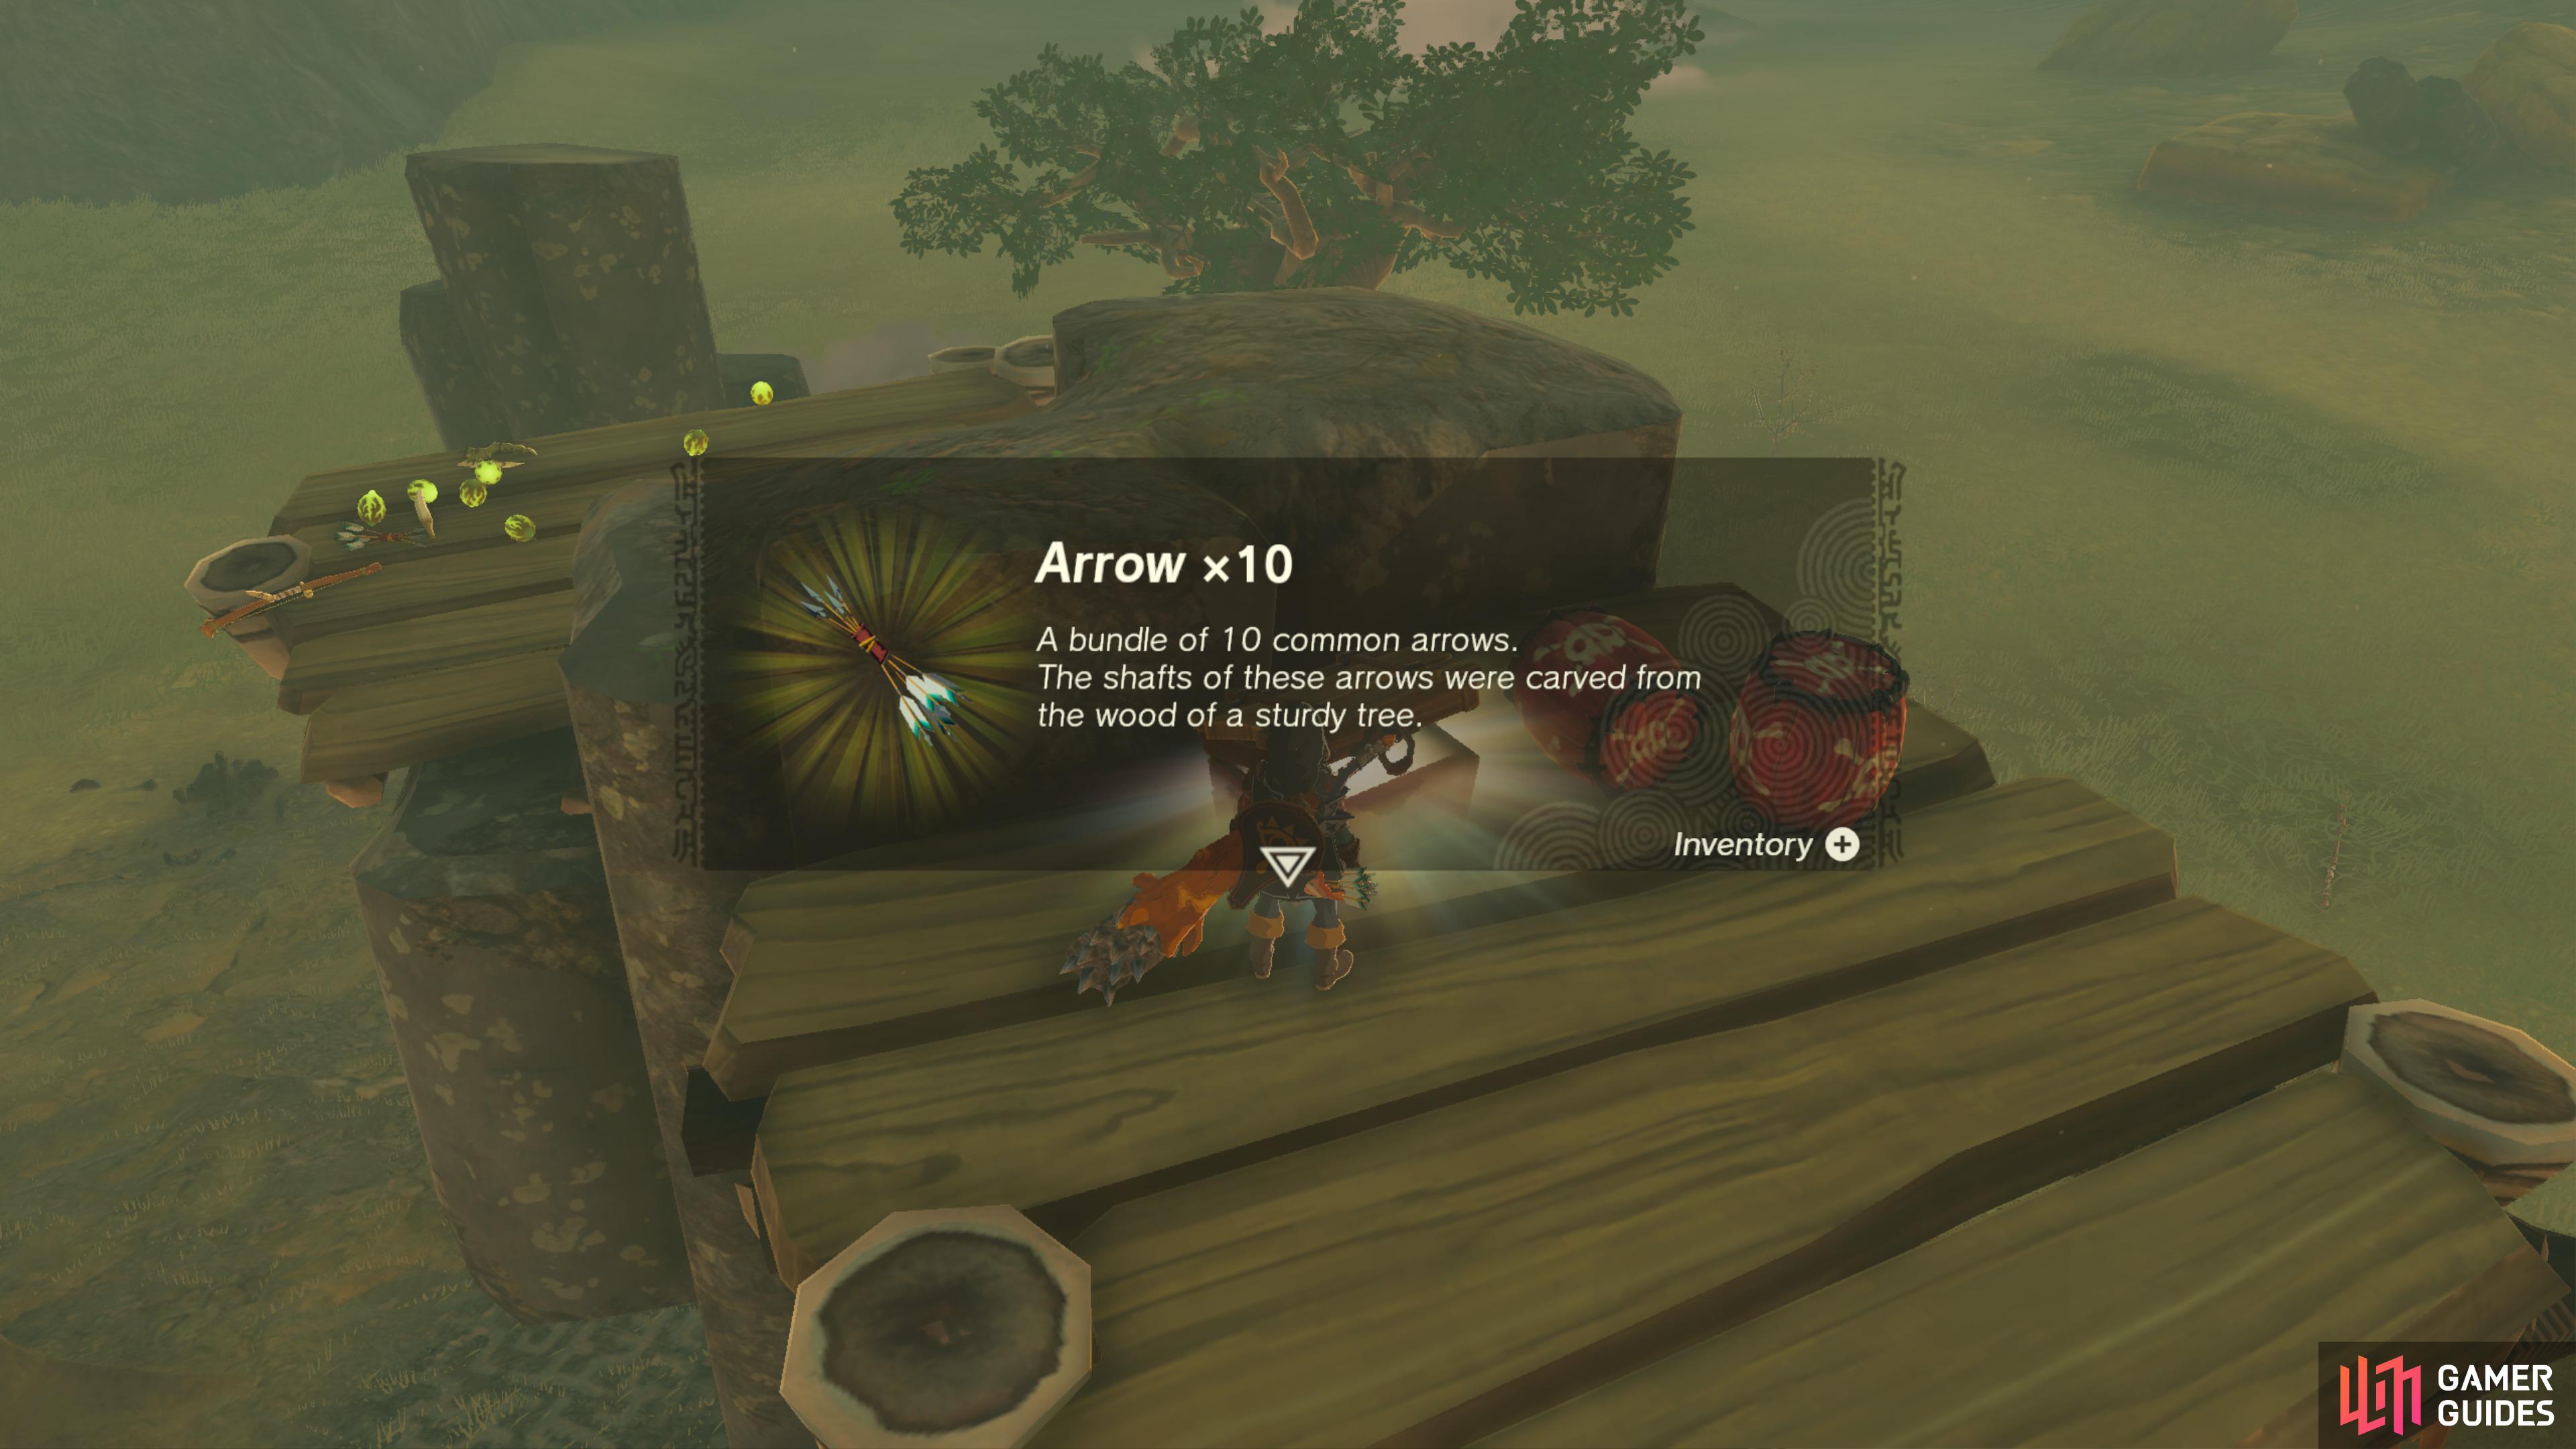
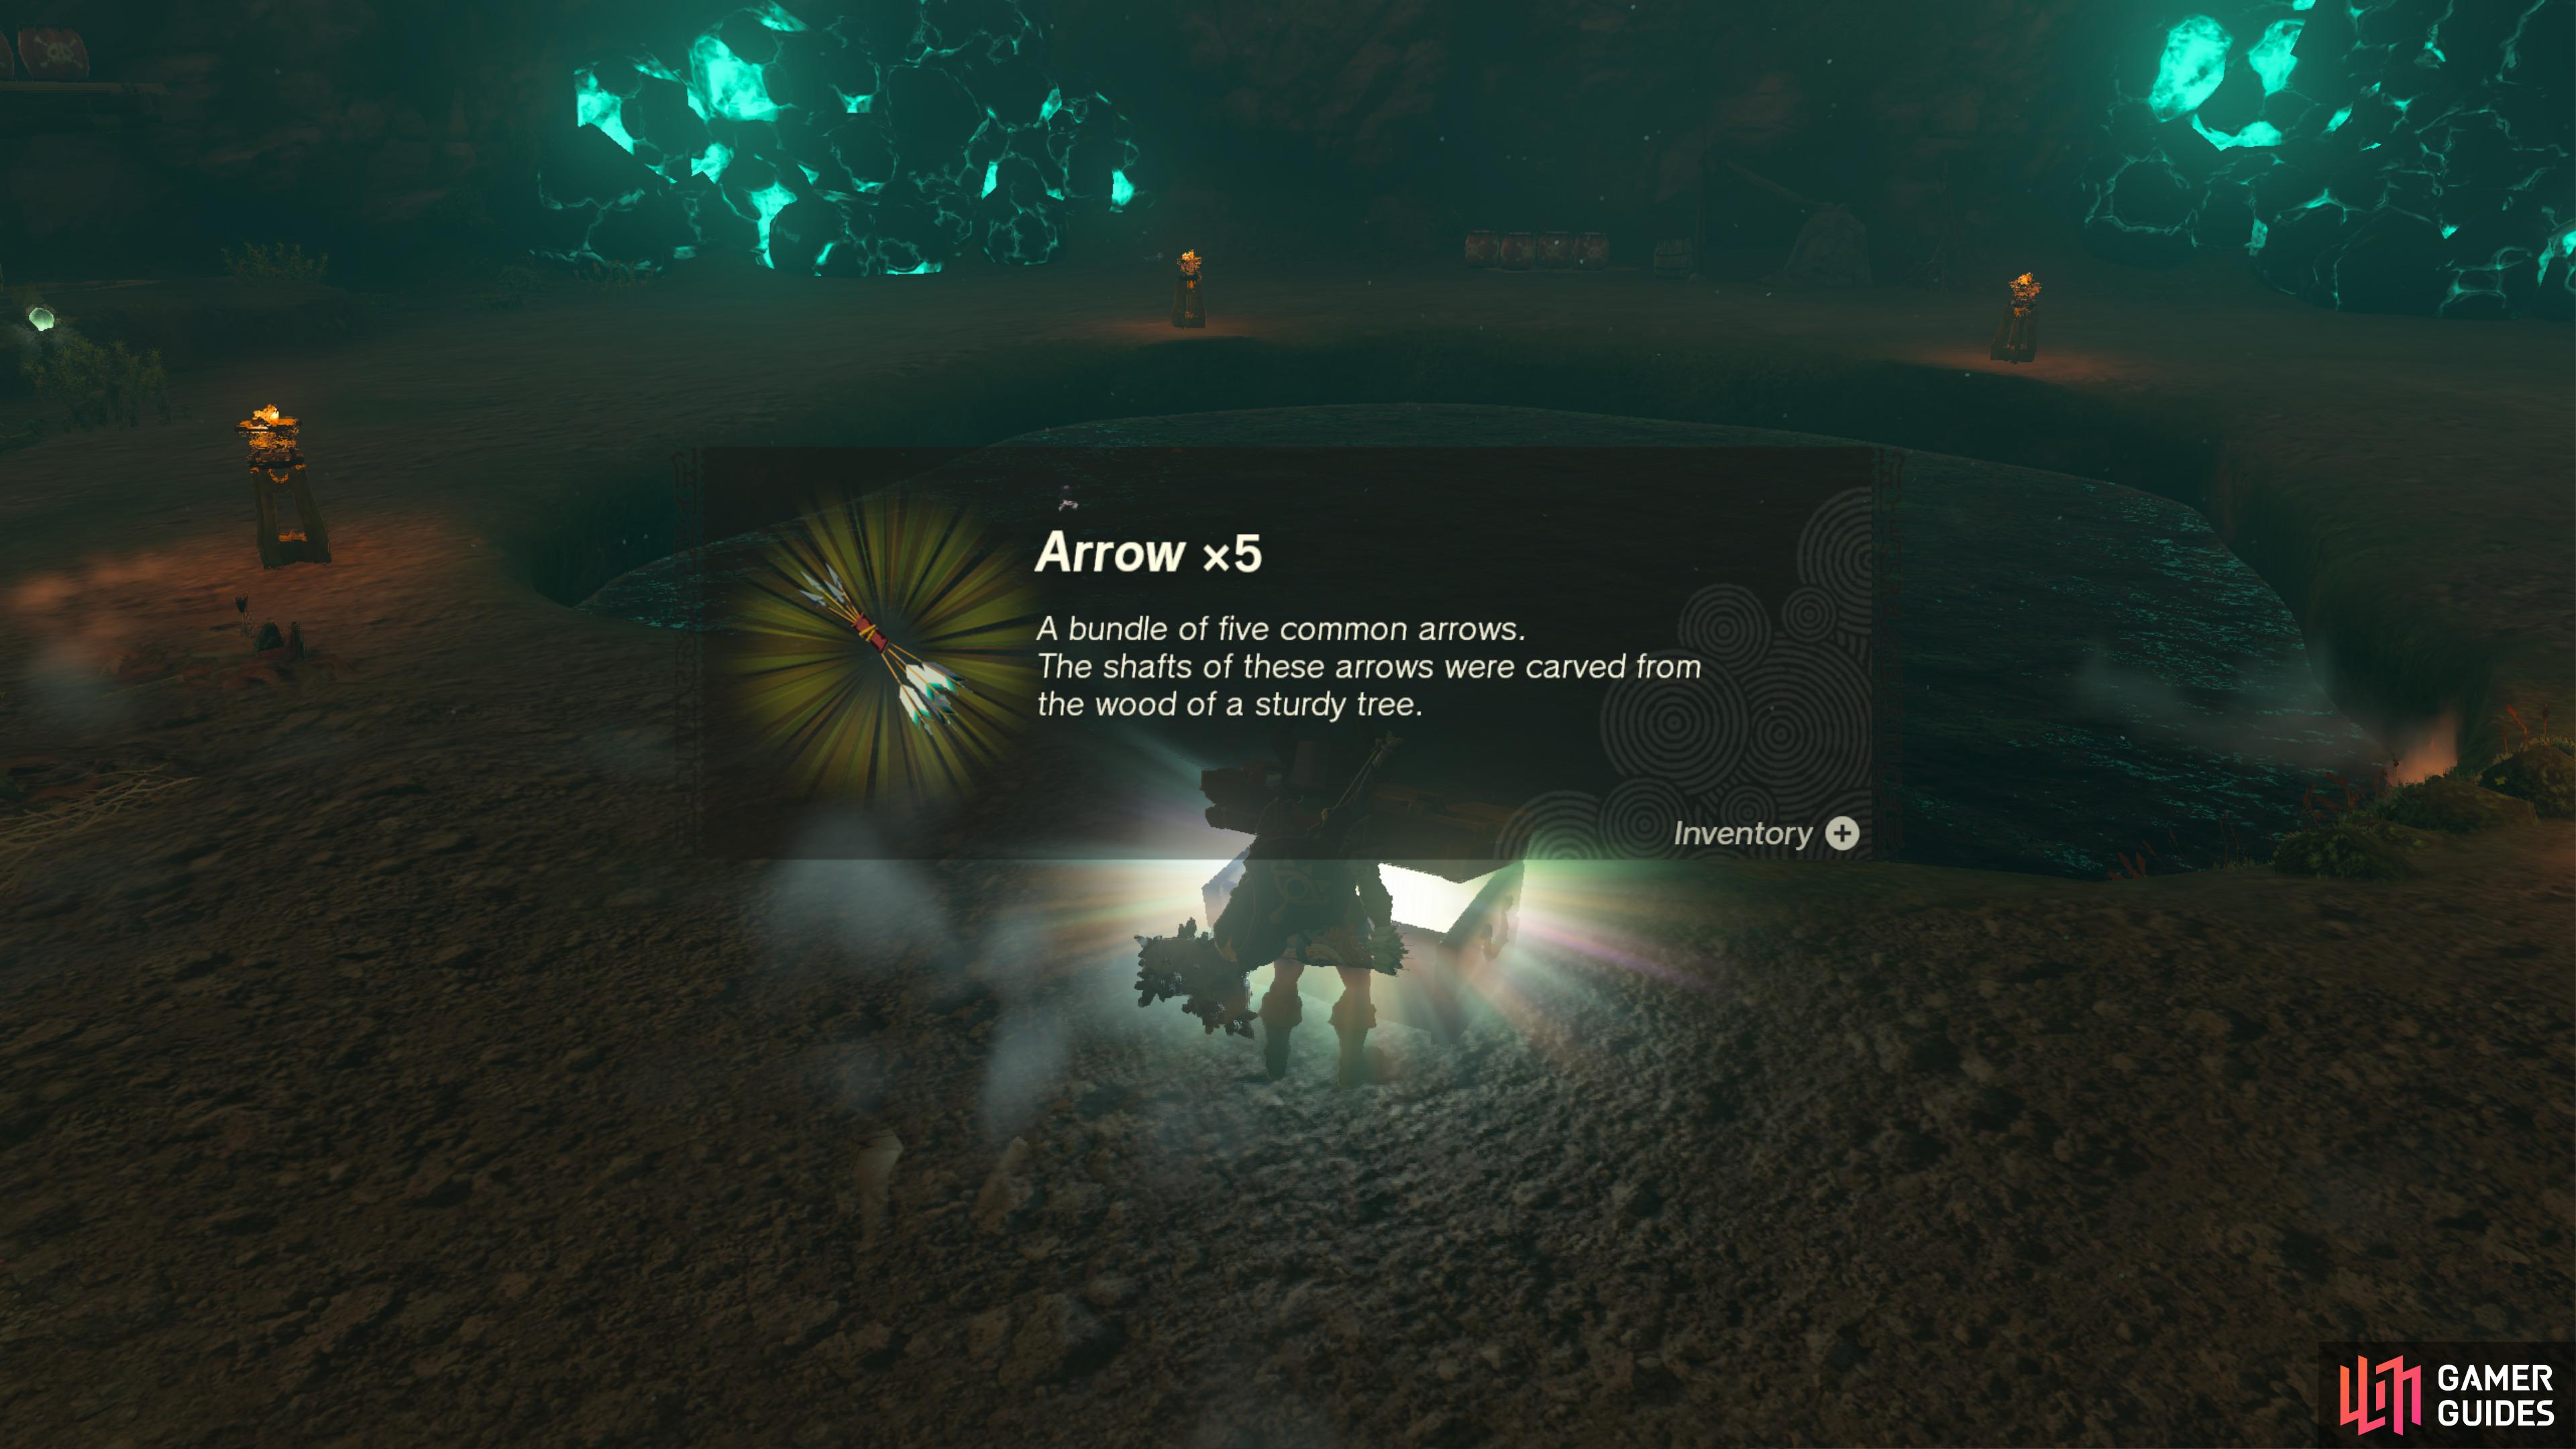
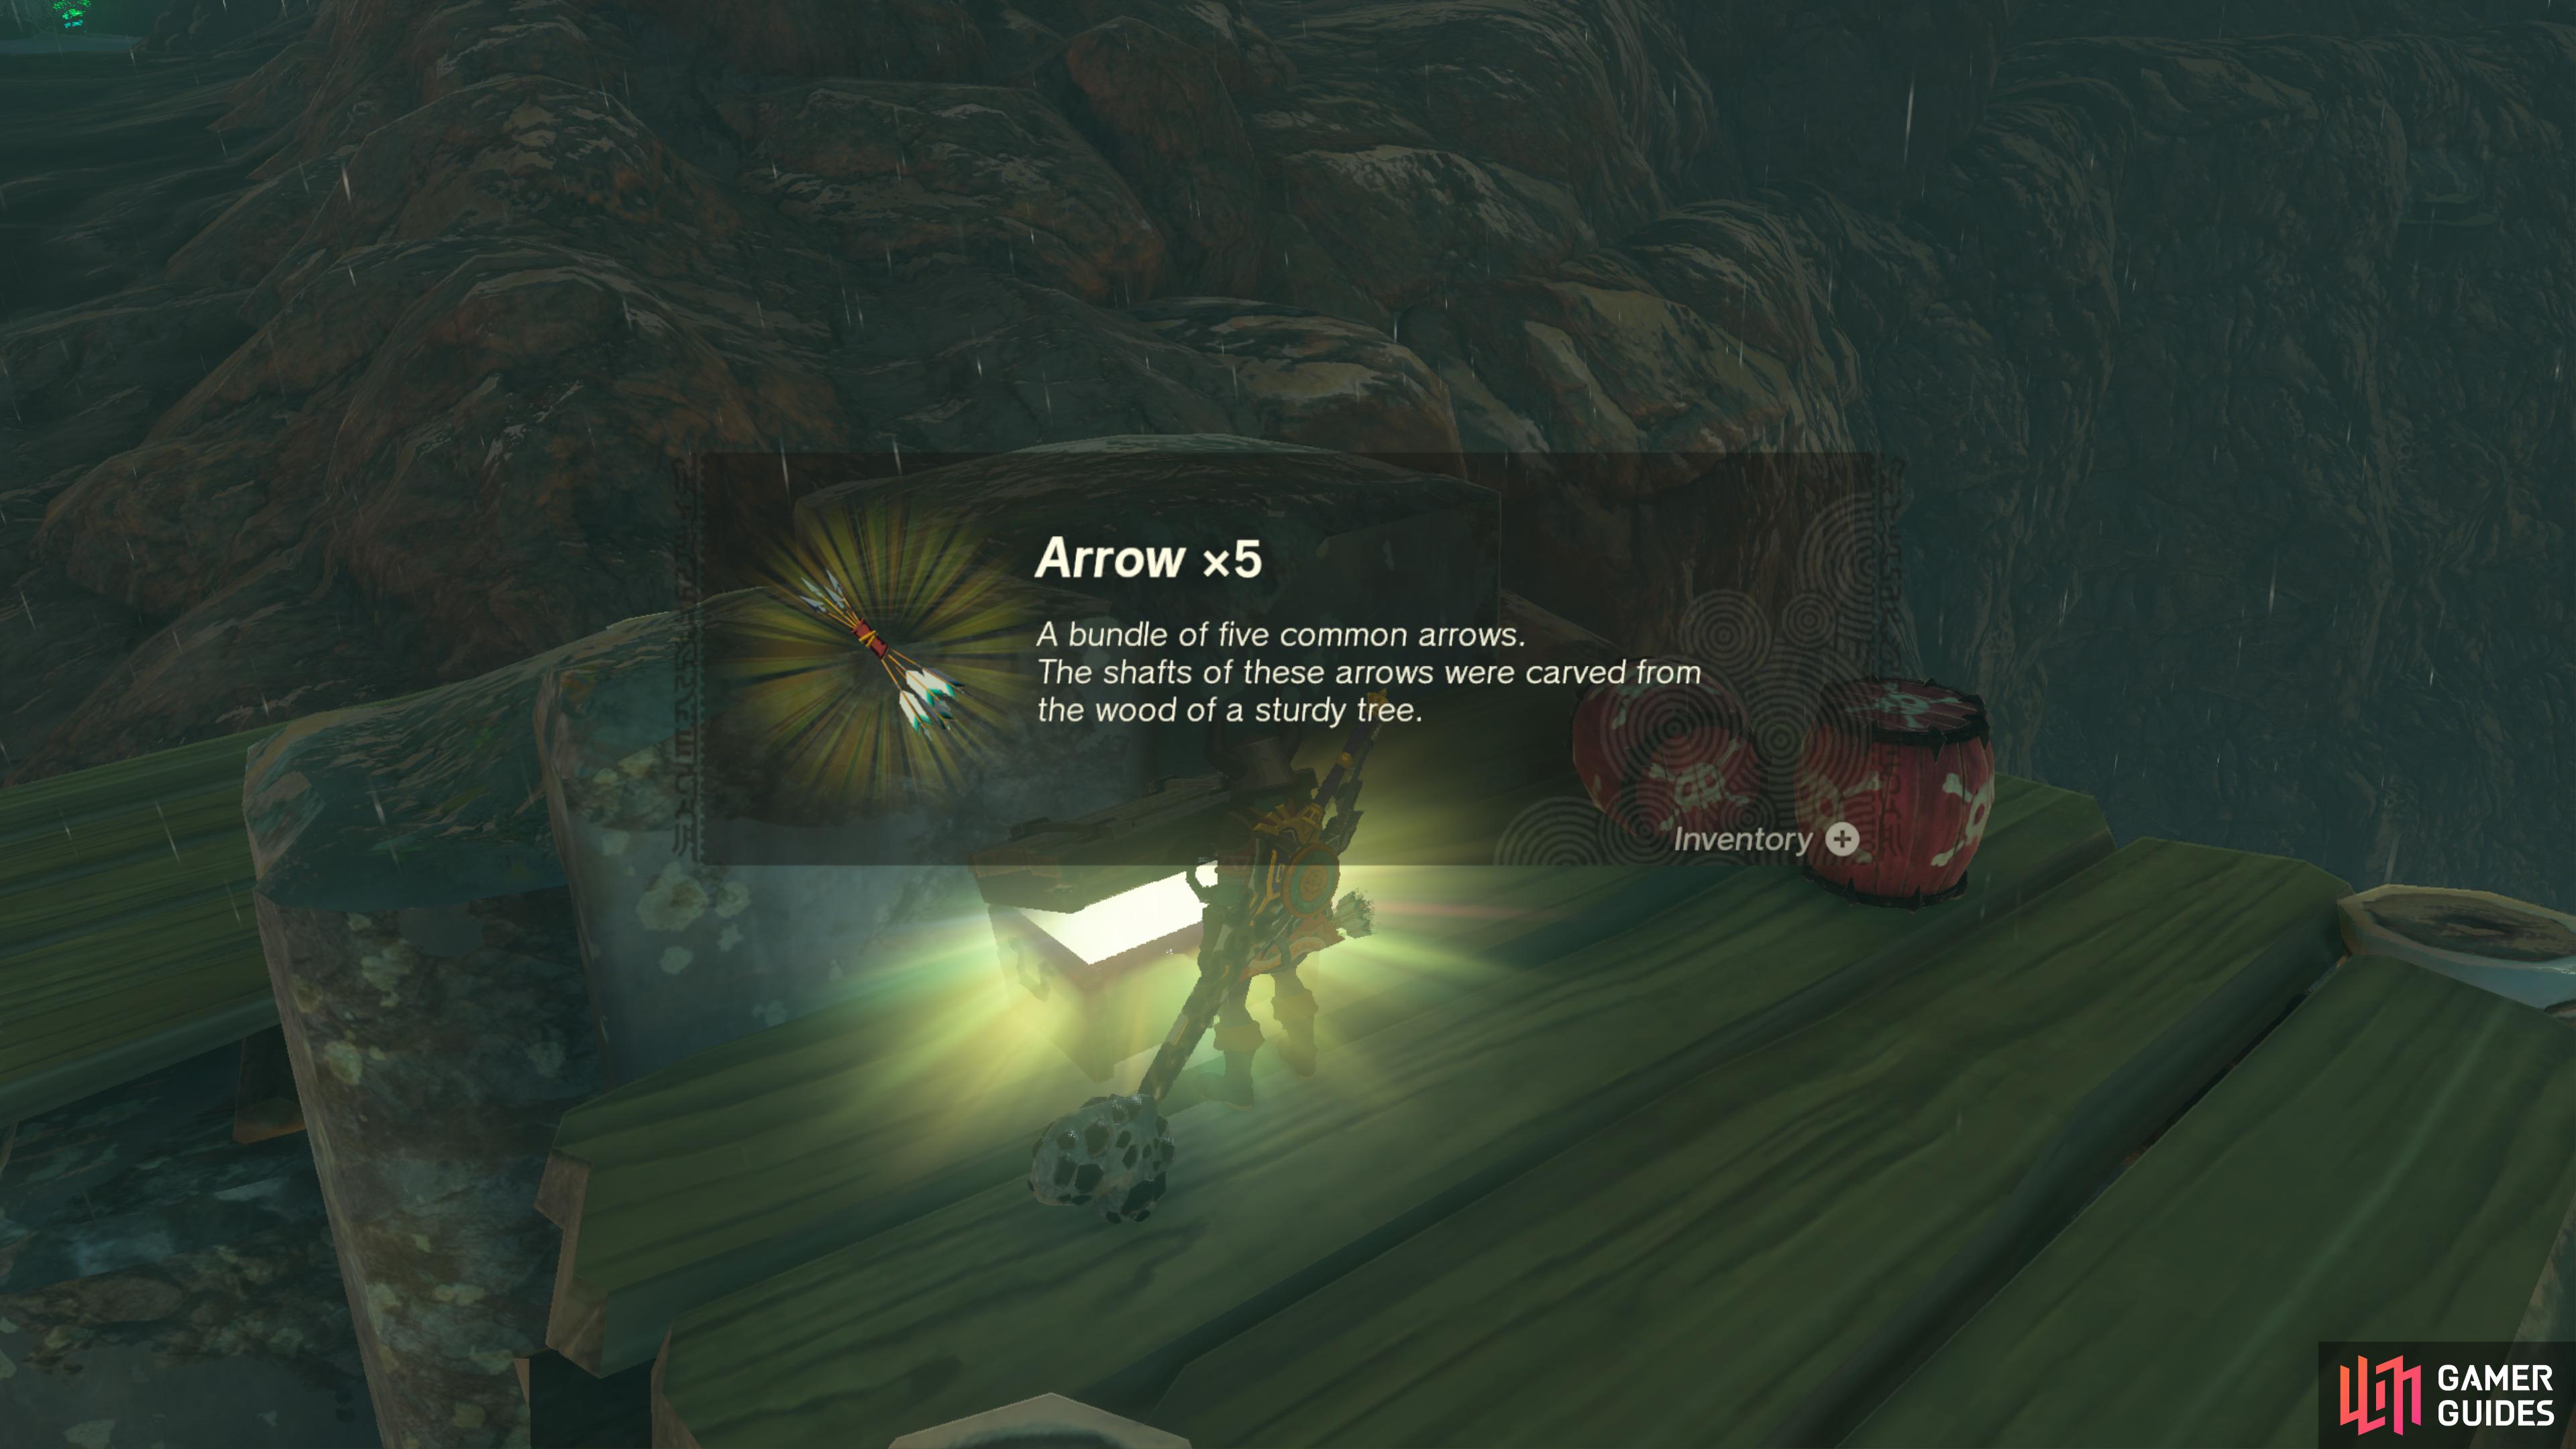
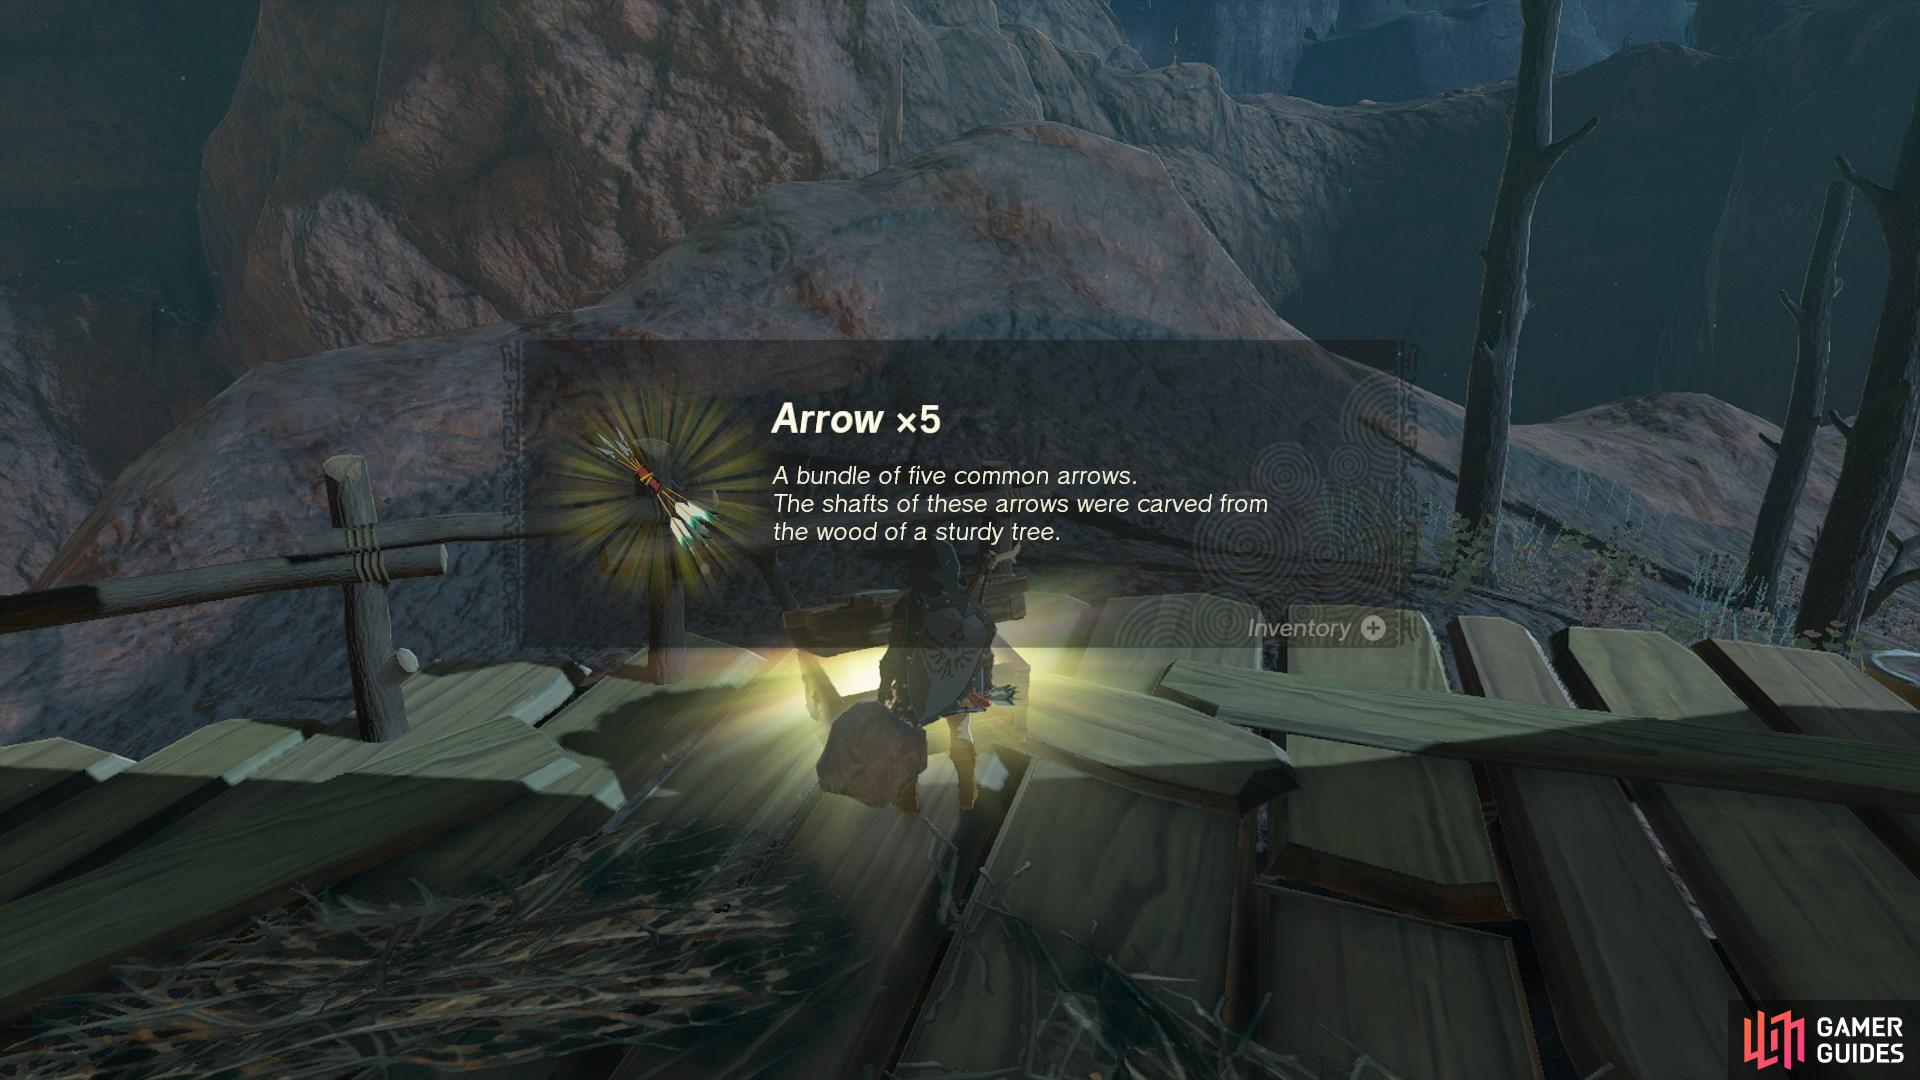
41198. Hyrule Surface Map
Found on a platform at this small camp.
It contains five ![]() Arrows.
Arrows.
41200. Hyrule Surface Map
At the bottom of the pool of water. Use ![]() Ultrahand to place the chest on land.
Ultrahand to place the chest on land.
- Contains
 Shield of the Mind’s Eye.
41271. Hyrule Surface Map
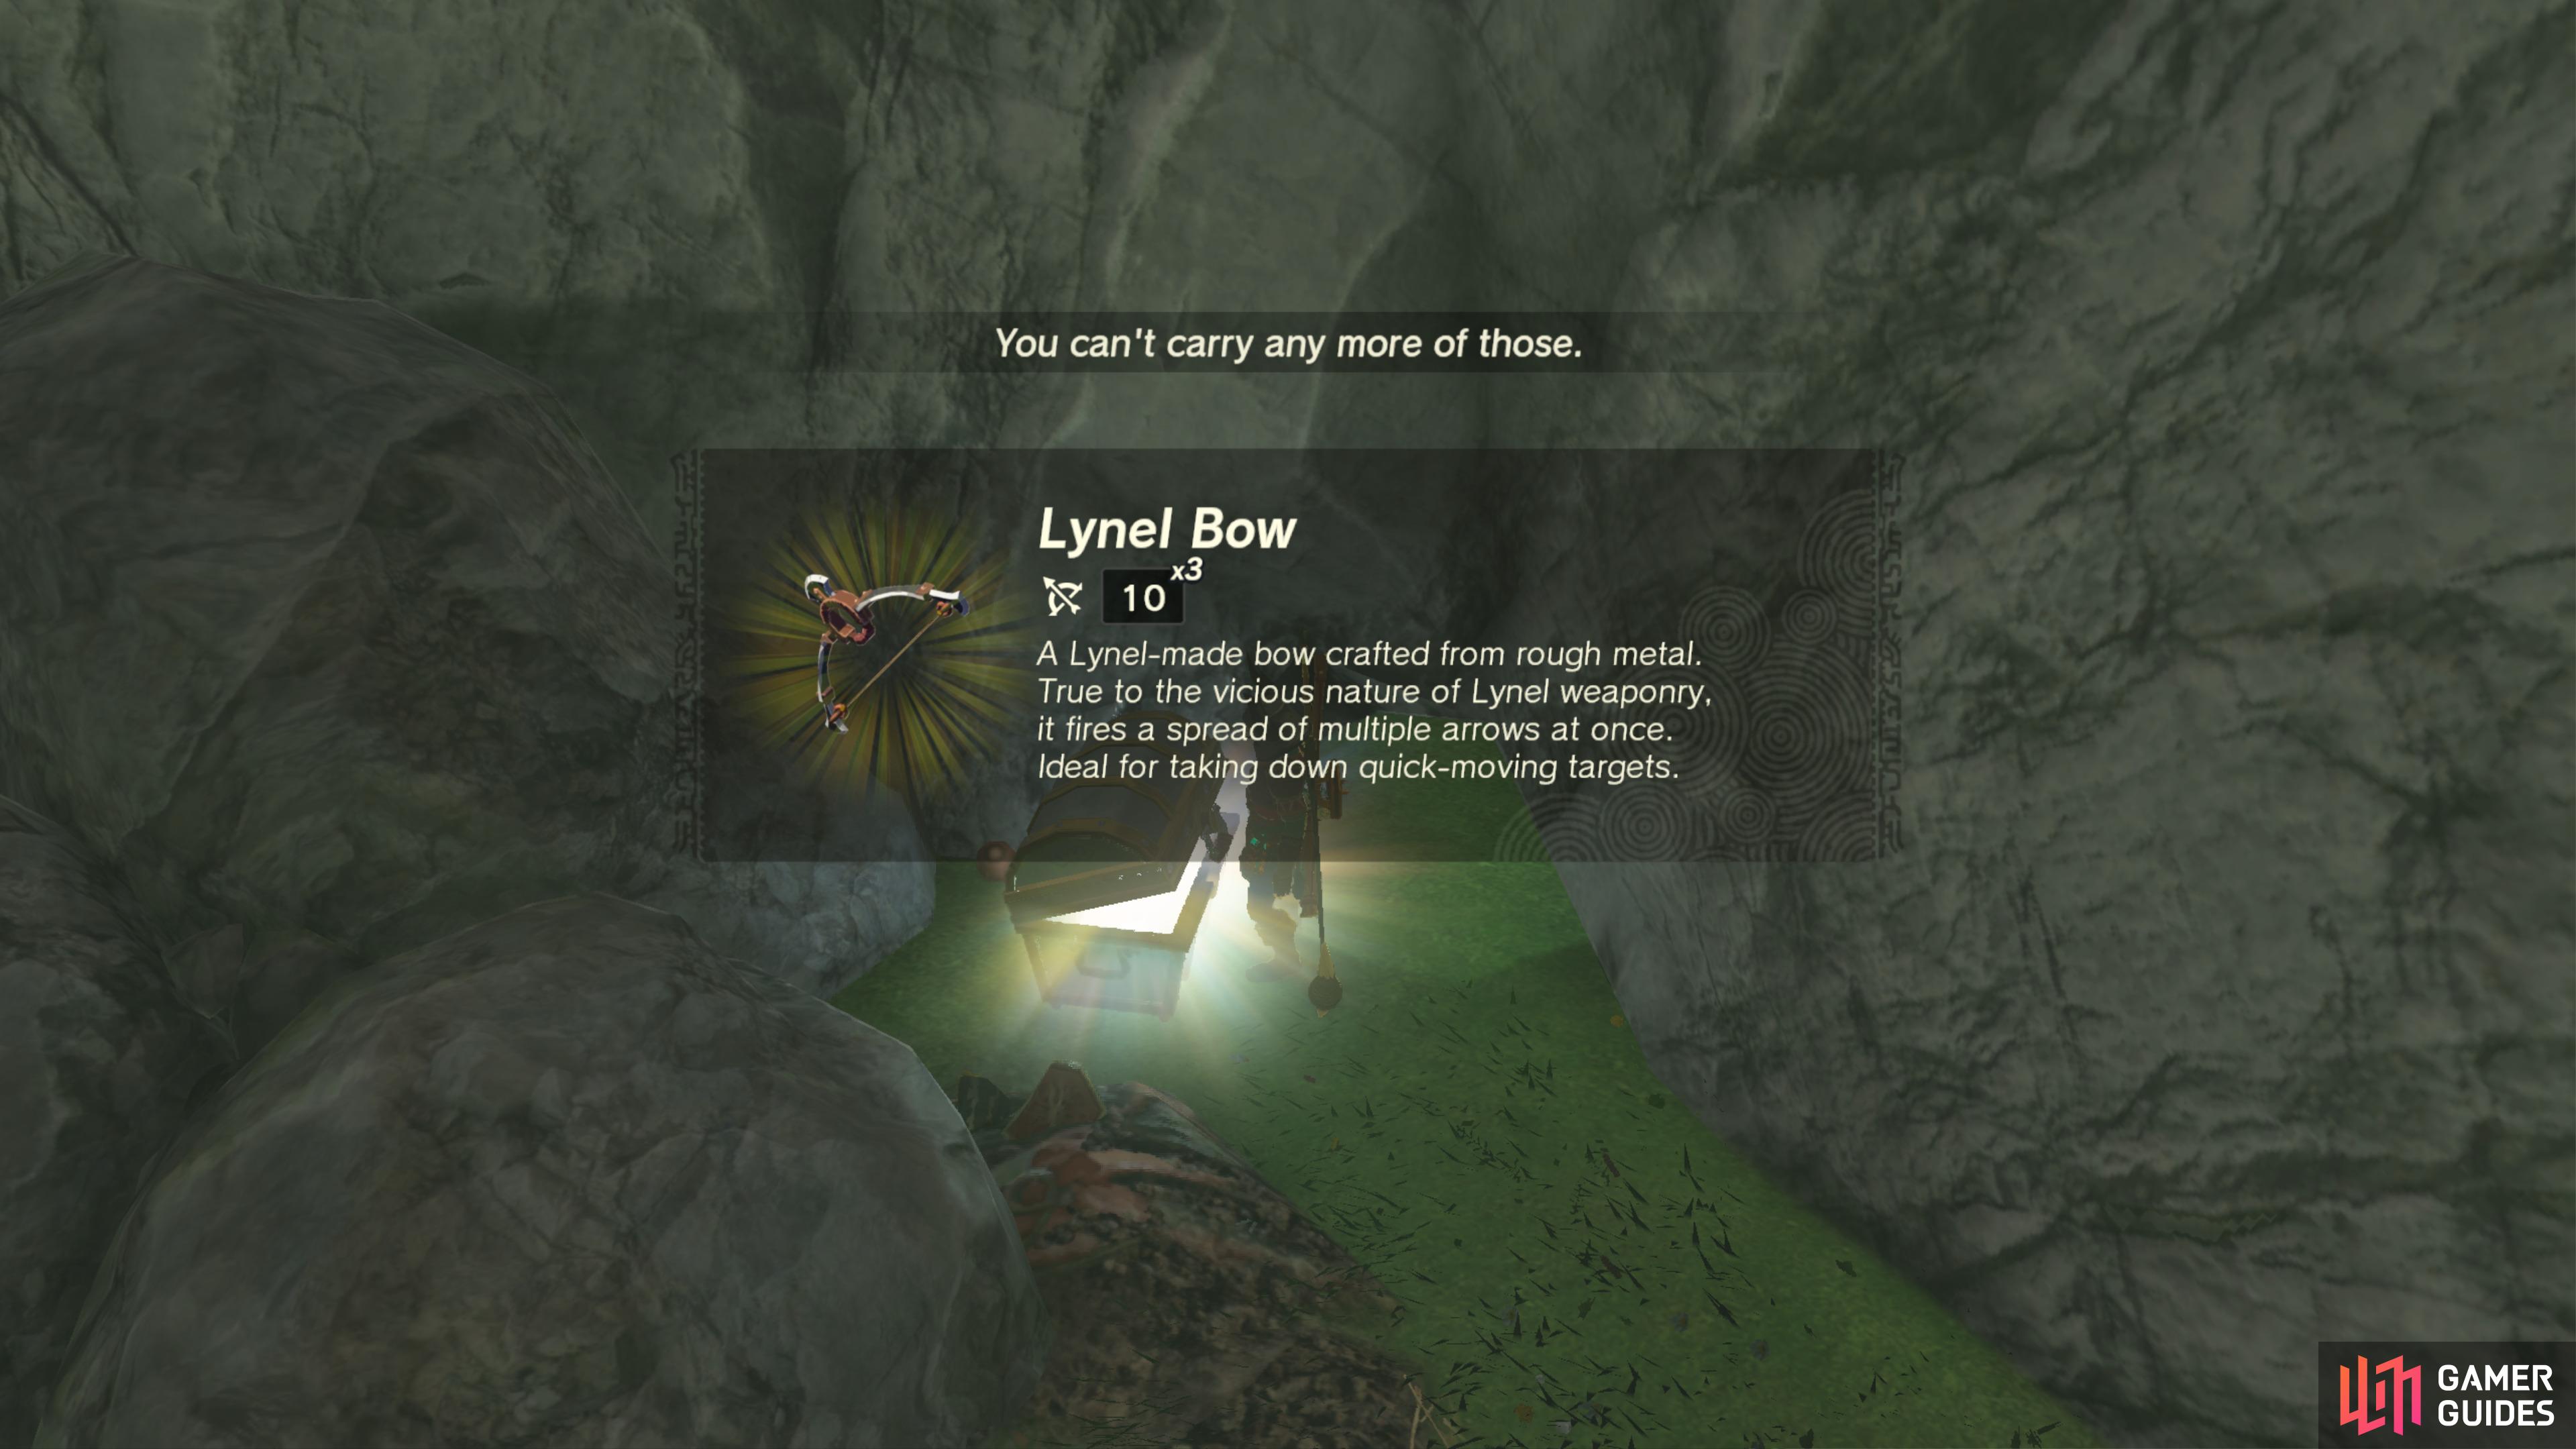
Defeat all the ![]() Bokoblin’s in the camp to unlock the chest. The chest is sitting on one of the platforms.
Bokoblin’s in the camp to unlock the chest. The chest is sitting on one of the platforms.
- Contains
 Lynel Bow.
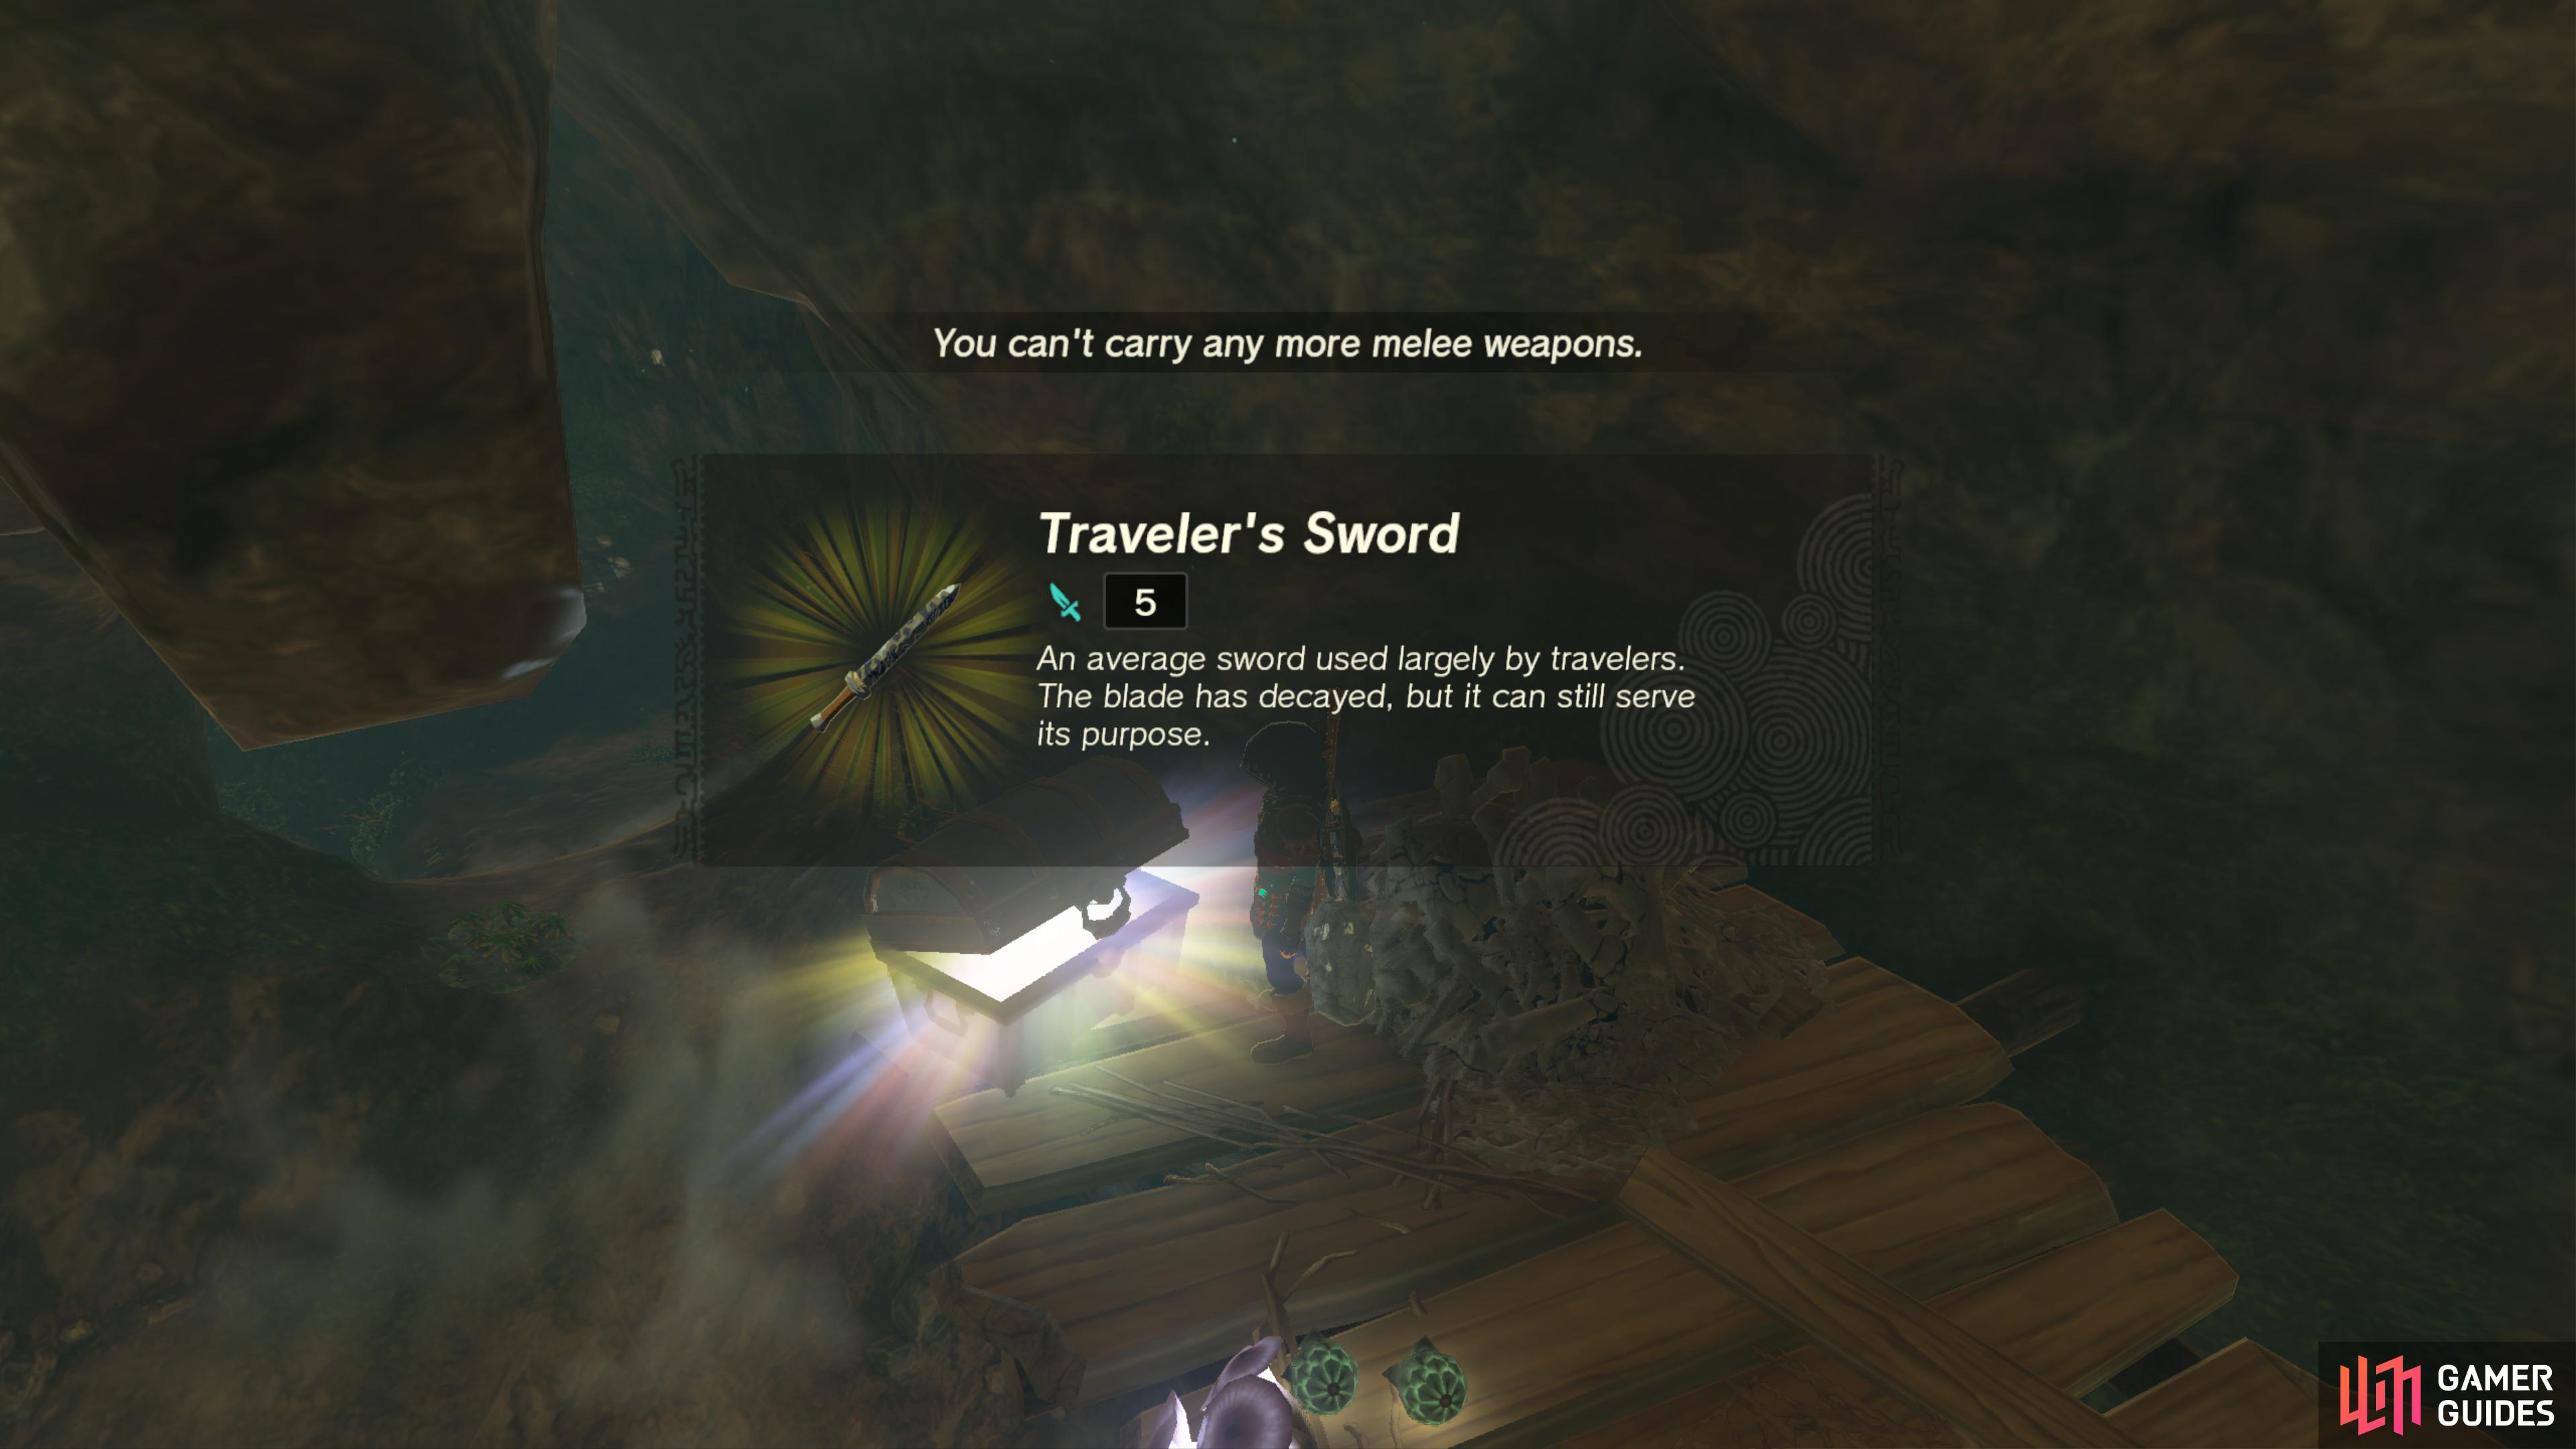
41274. Hyrule Surface Map
Found inside the nearby cave. Use ![]() Ascend to reach the platform it sits on.
Ascend to reach the platform it sits on.
It contains a ![]() Traveler’s Sword.
Traveler’s Sword.
41318. Hyrule Surface Map
Use ![]() Ultrahand to pull this Chest out of the ground.
Ultrahand to pull this Chest out of the ground.
It contains a ![]() Soldier’s Broadsword.
Soldier’s Broadsword.
41325. Hyrule Surface Map
You must defeat the nearby ![]() Battle Talus to unlock this Chest.
Battle Talus to unlock this Chest.
It contains a Ruby.
41589. Hyrule Surface Map
Careful. The muddy bog will cause Link to drown instantly.
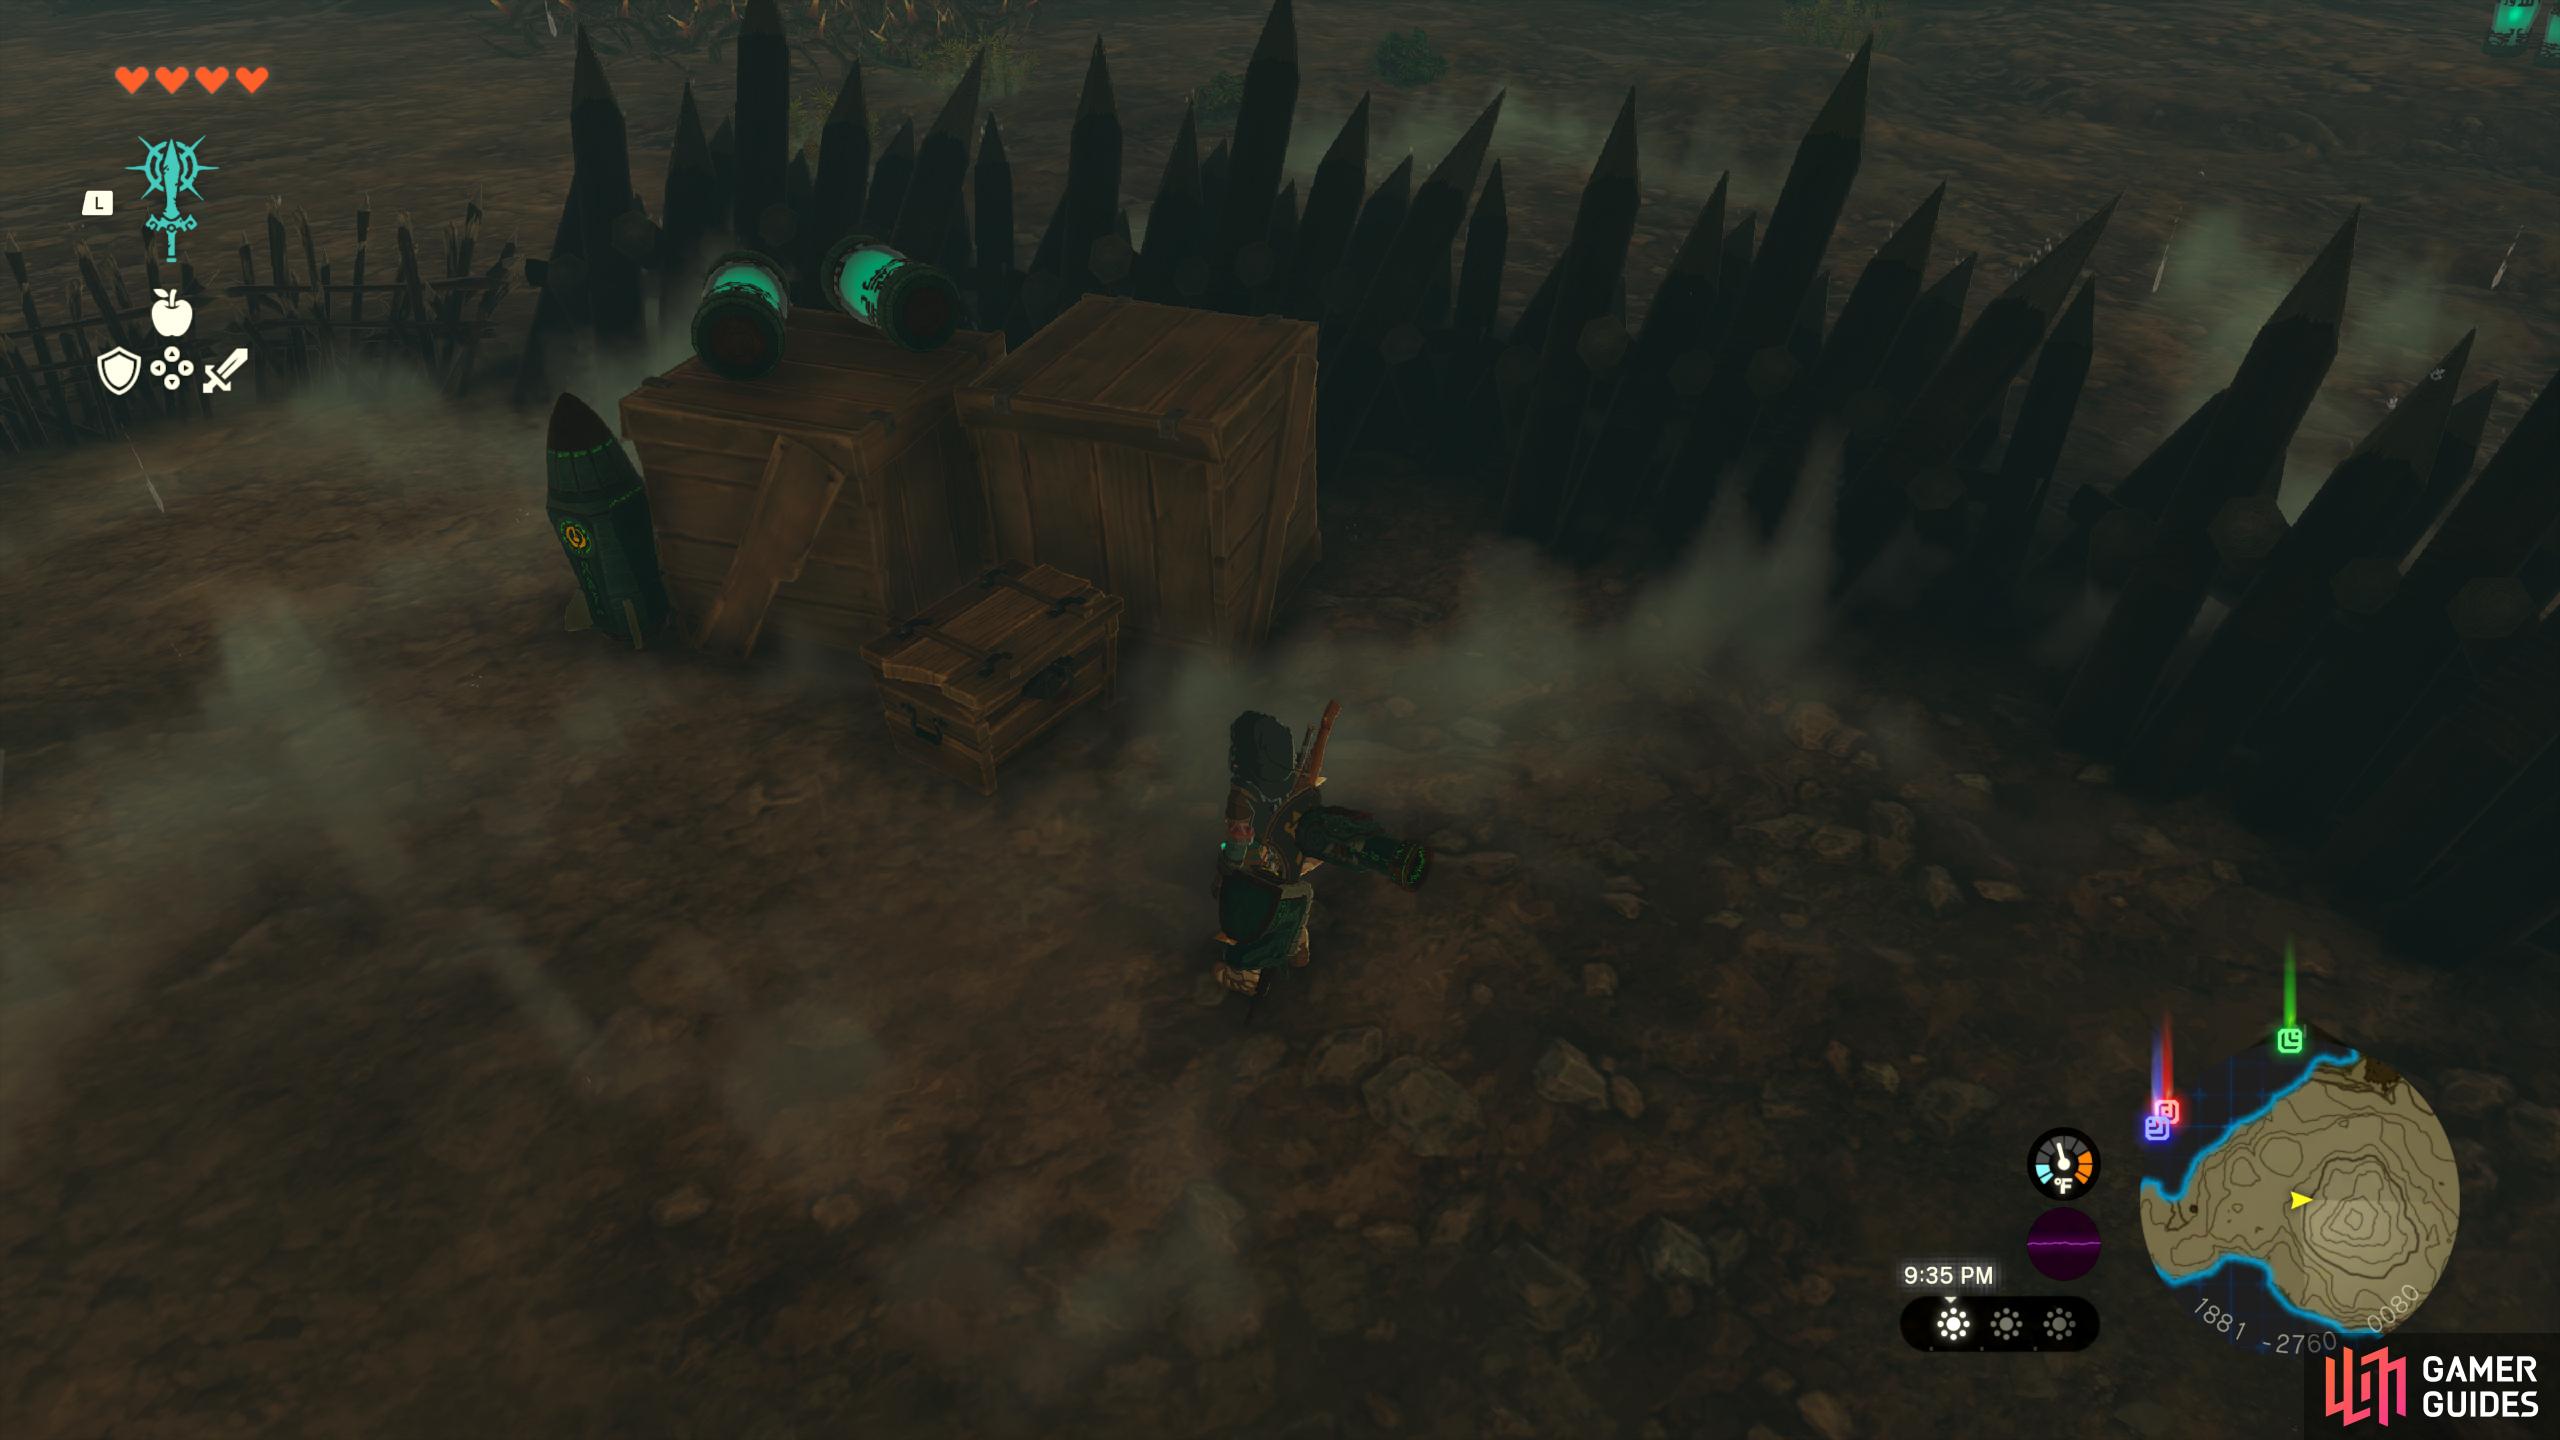
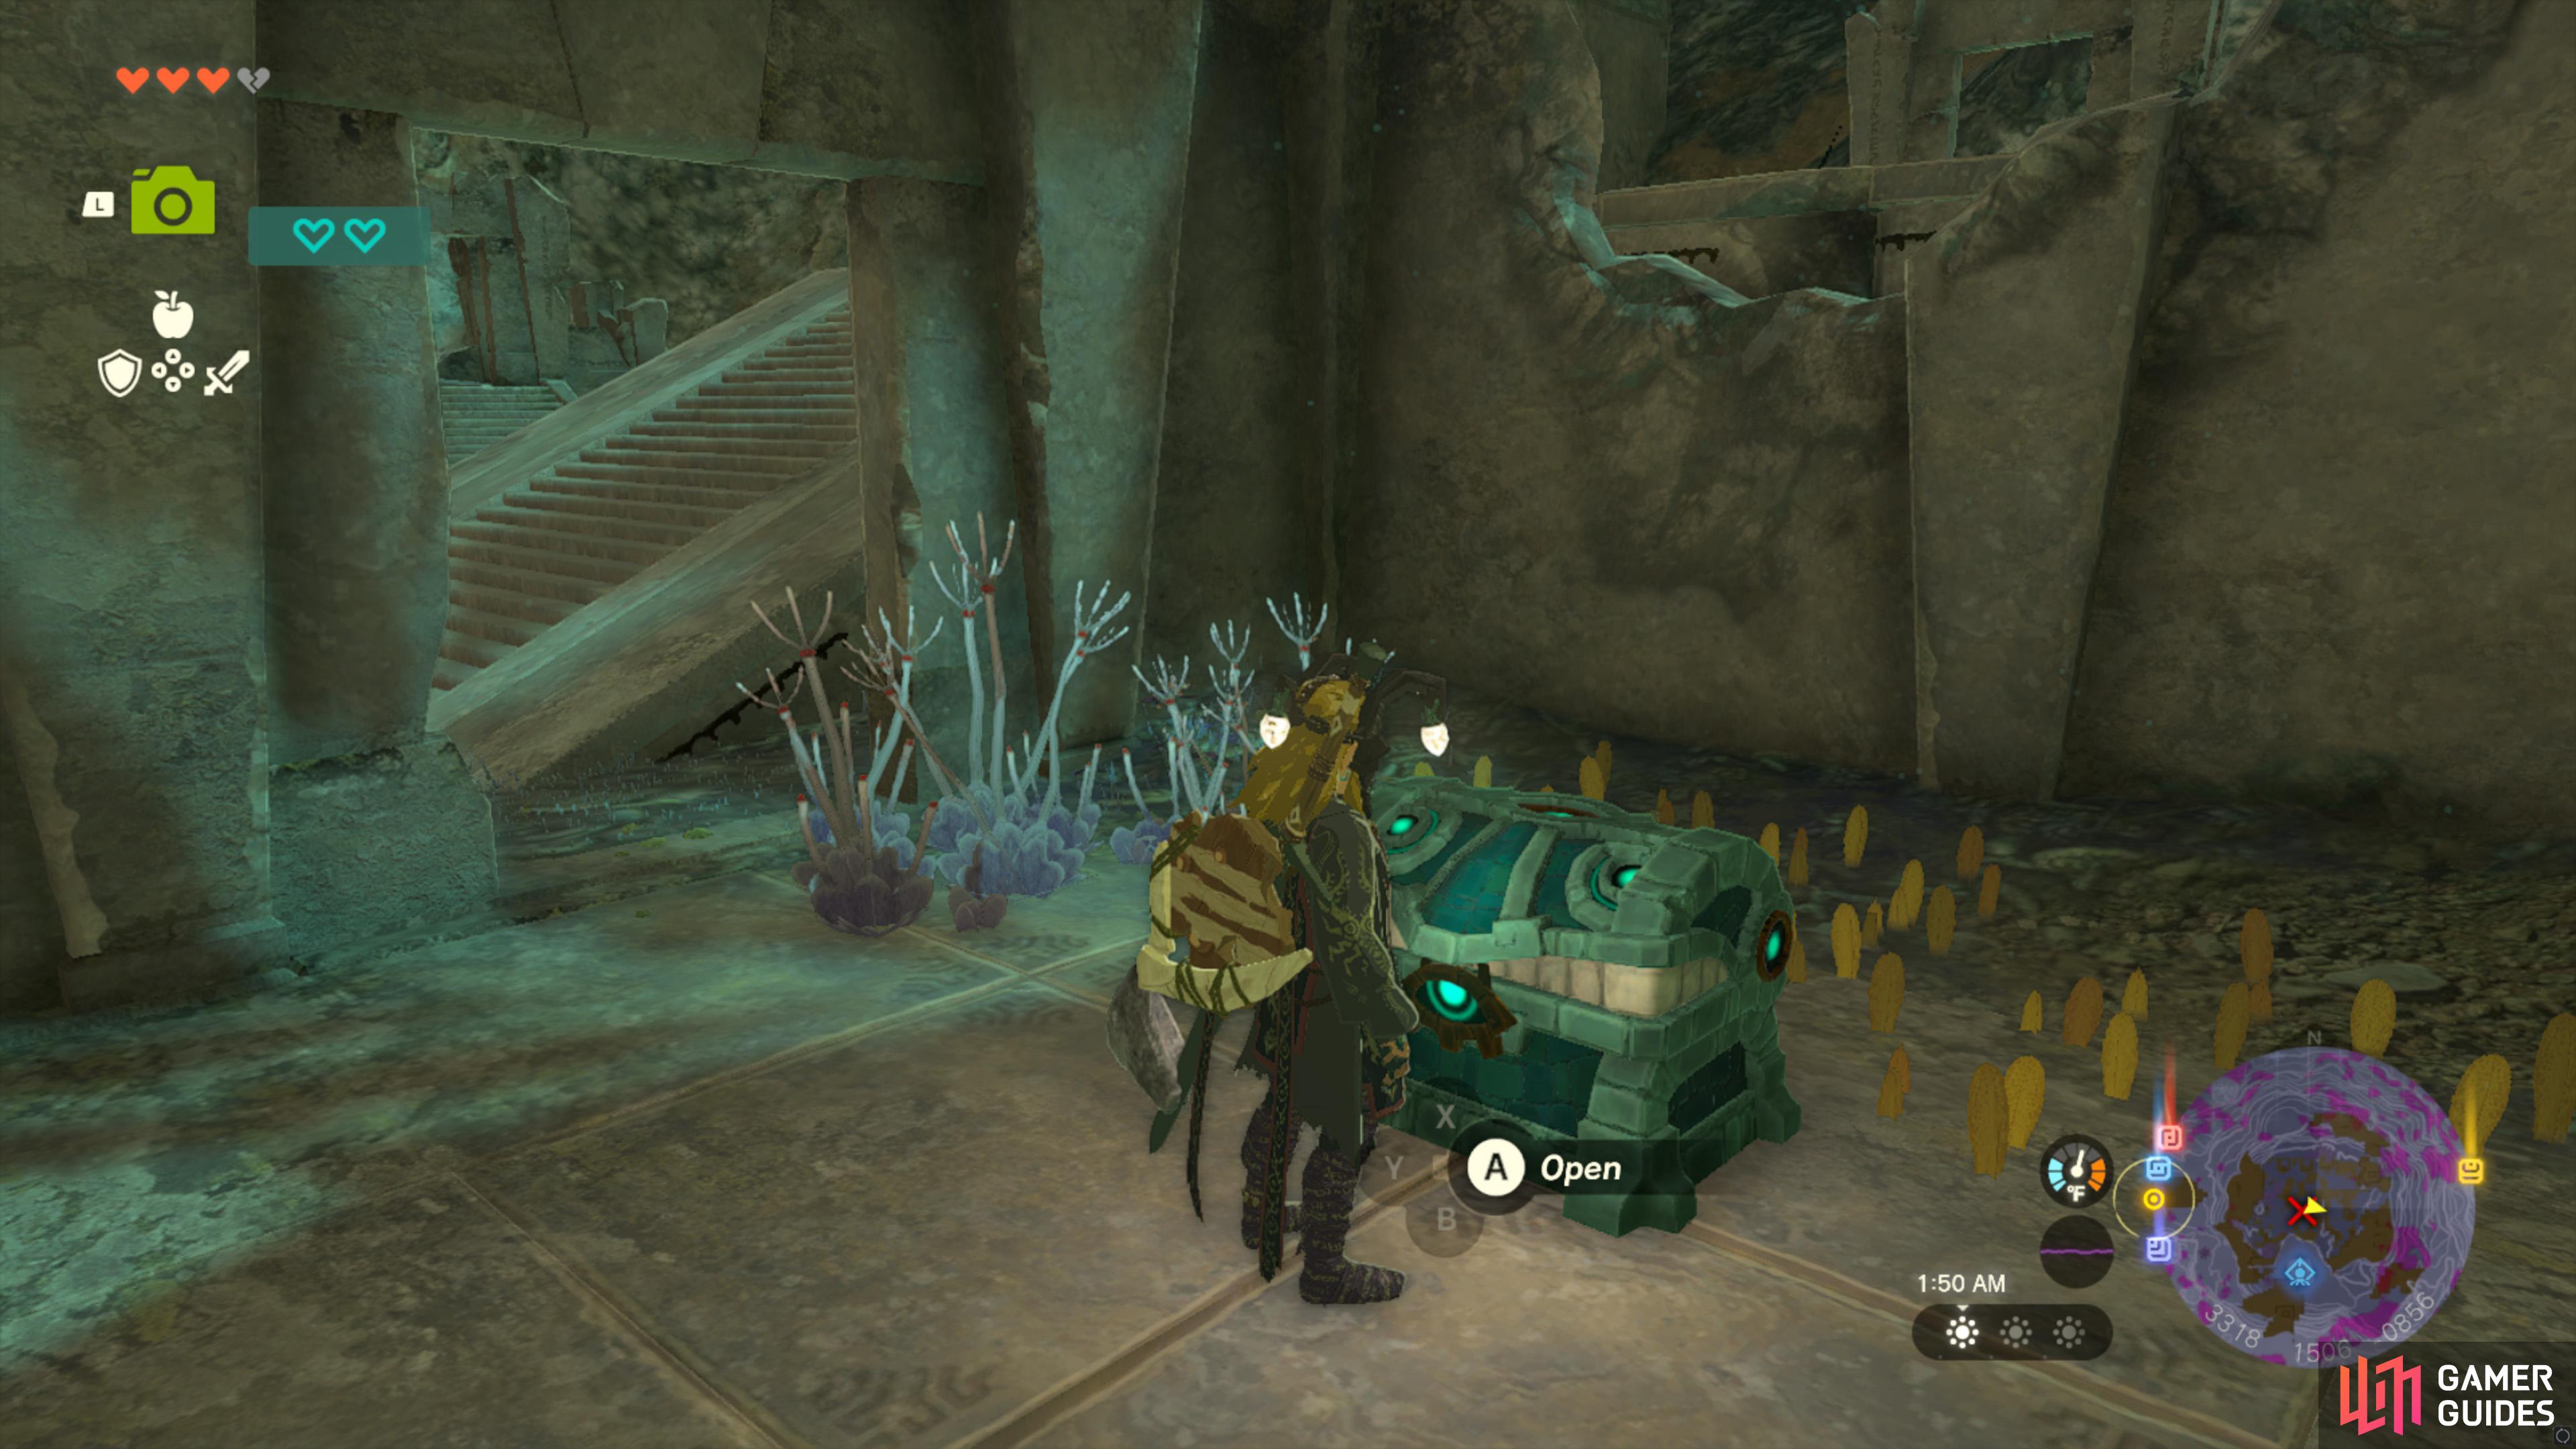
41624. Hyrule Surface Map
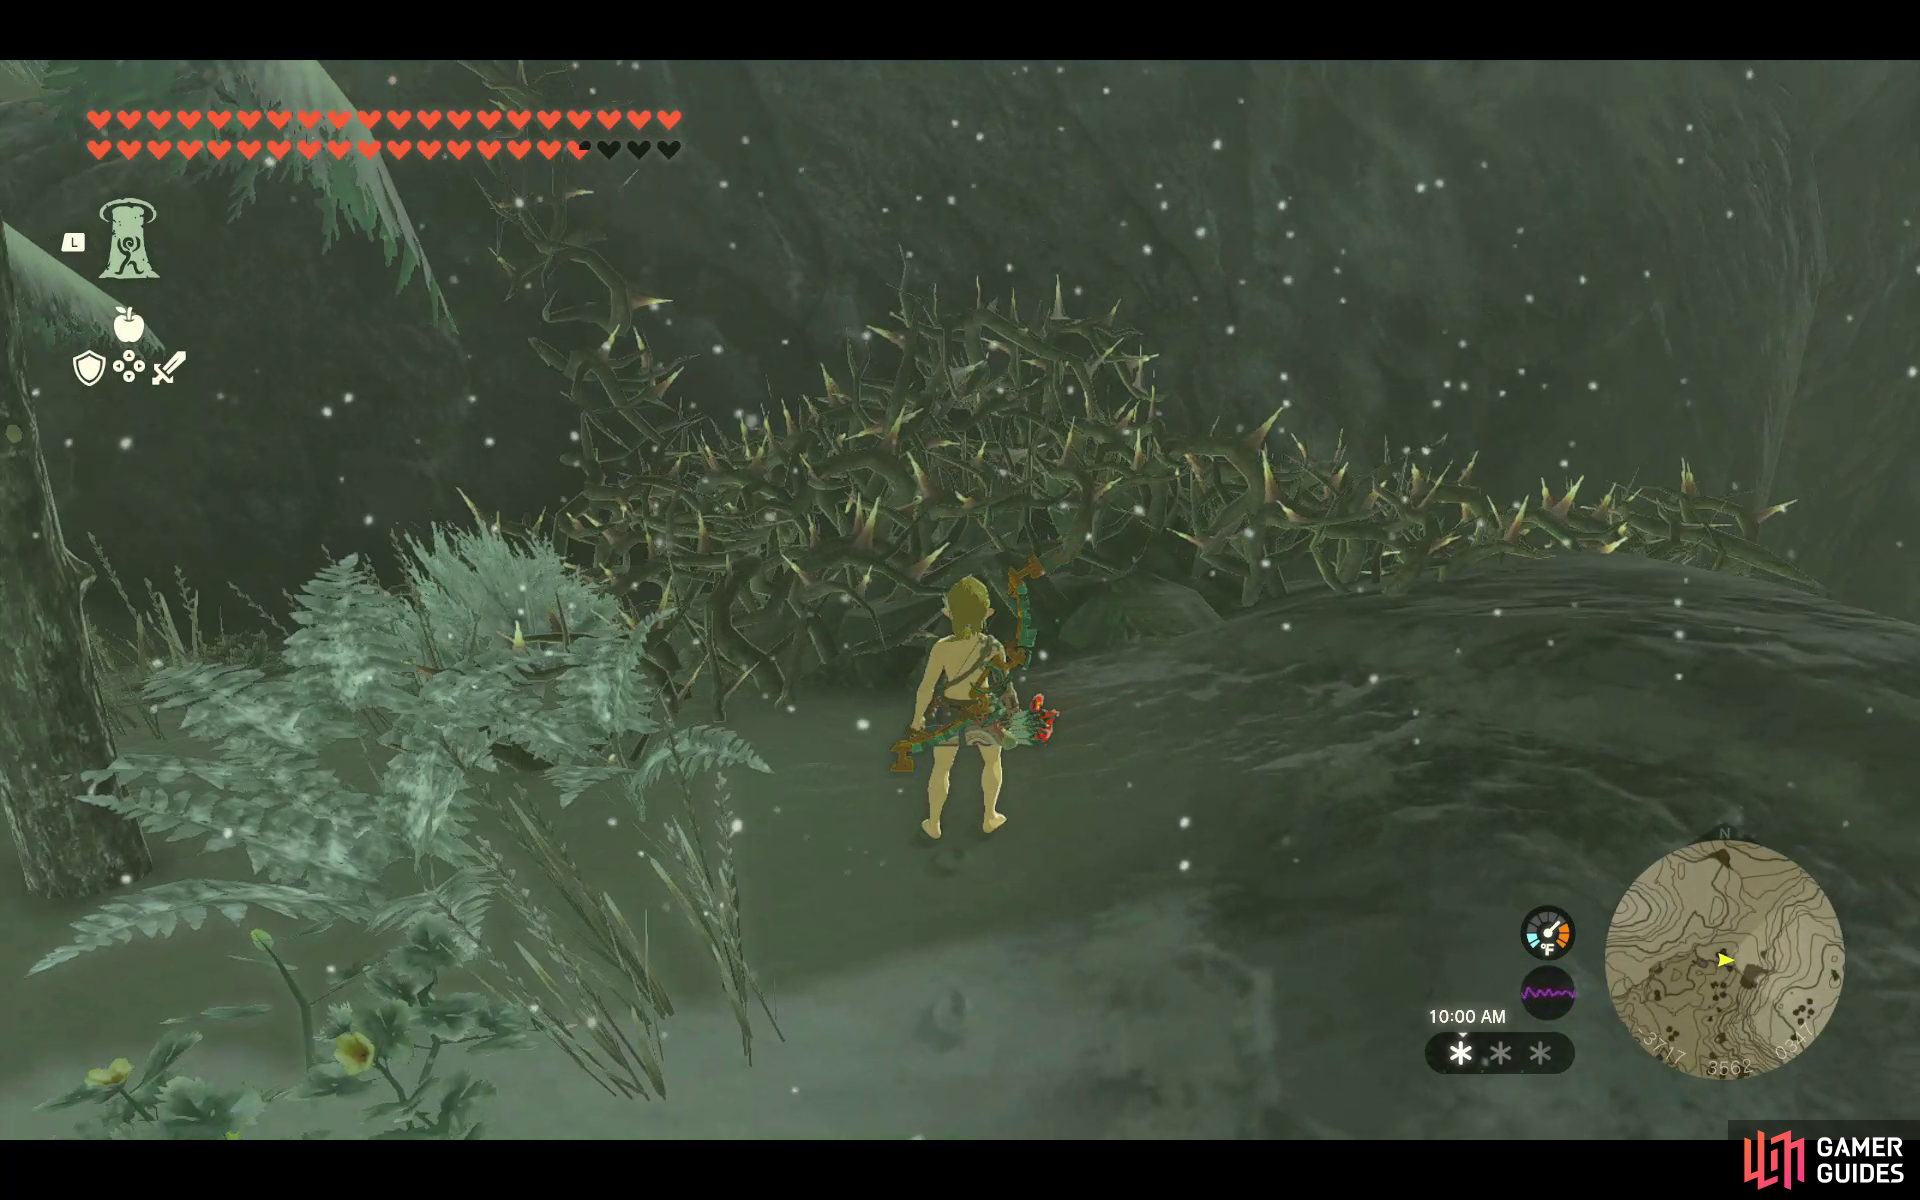
Inside the ![]() Mount Floria Cave. You’ll need to build a car to get to this room.
Mount Floria Cave. You’ll need to build a car to get to this room.
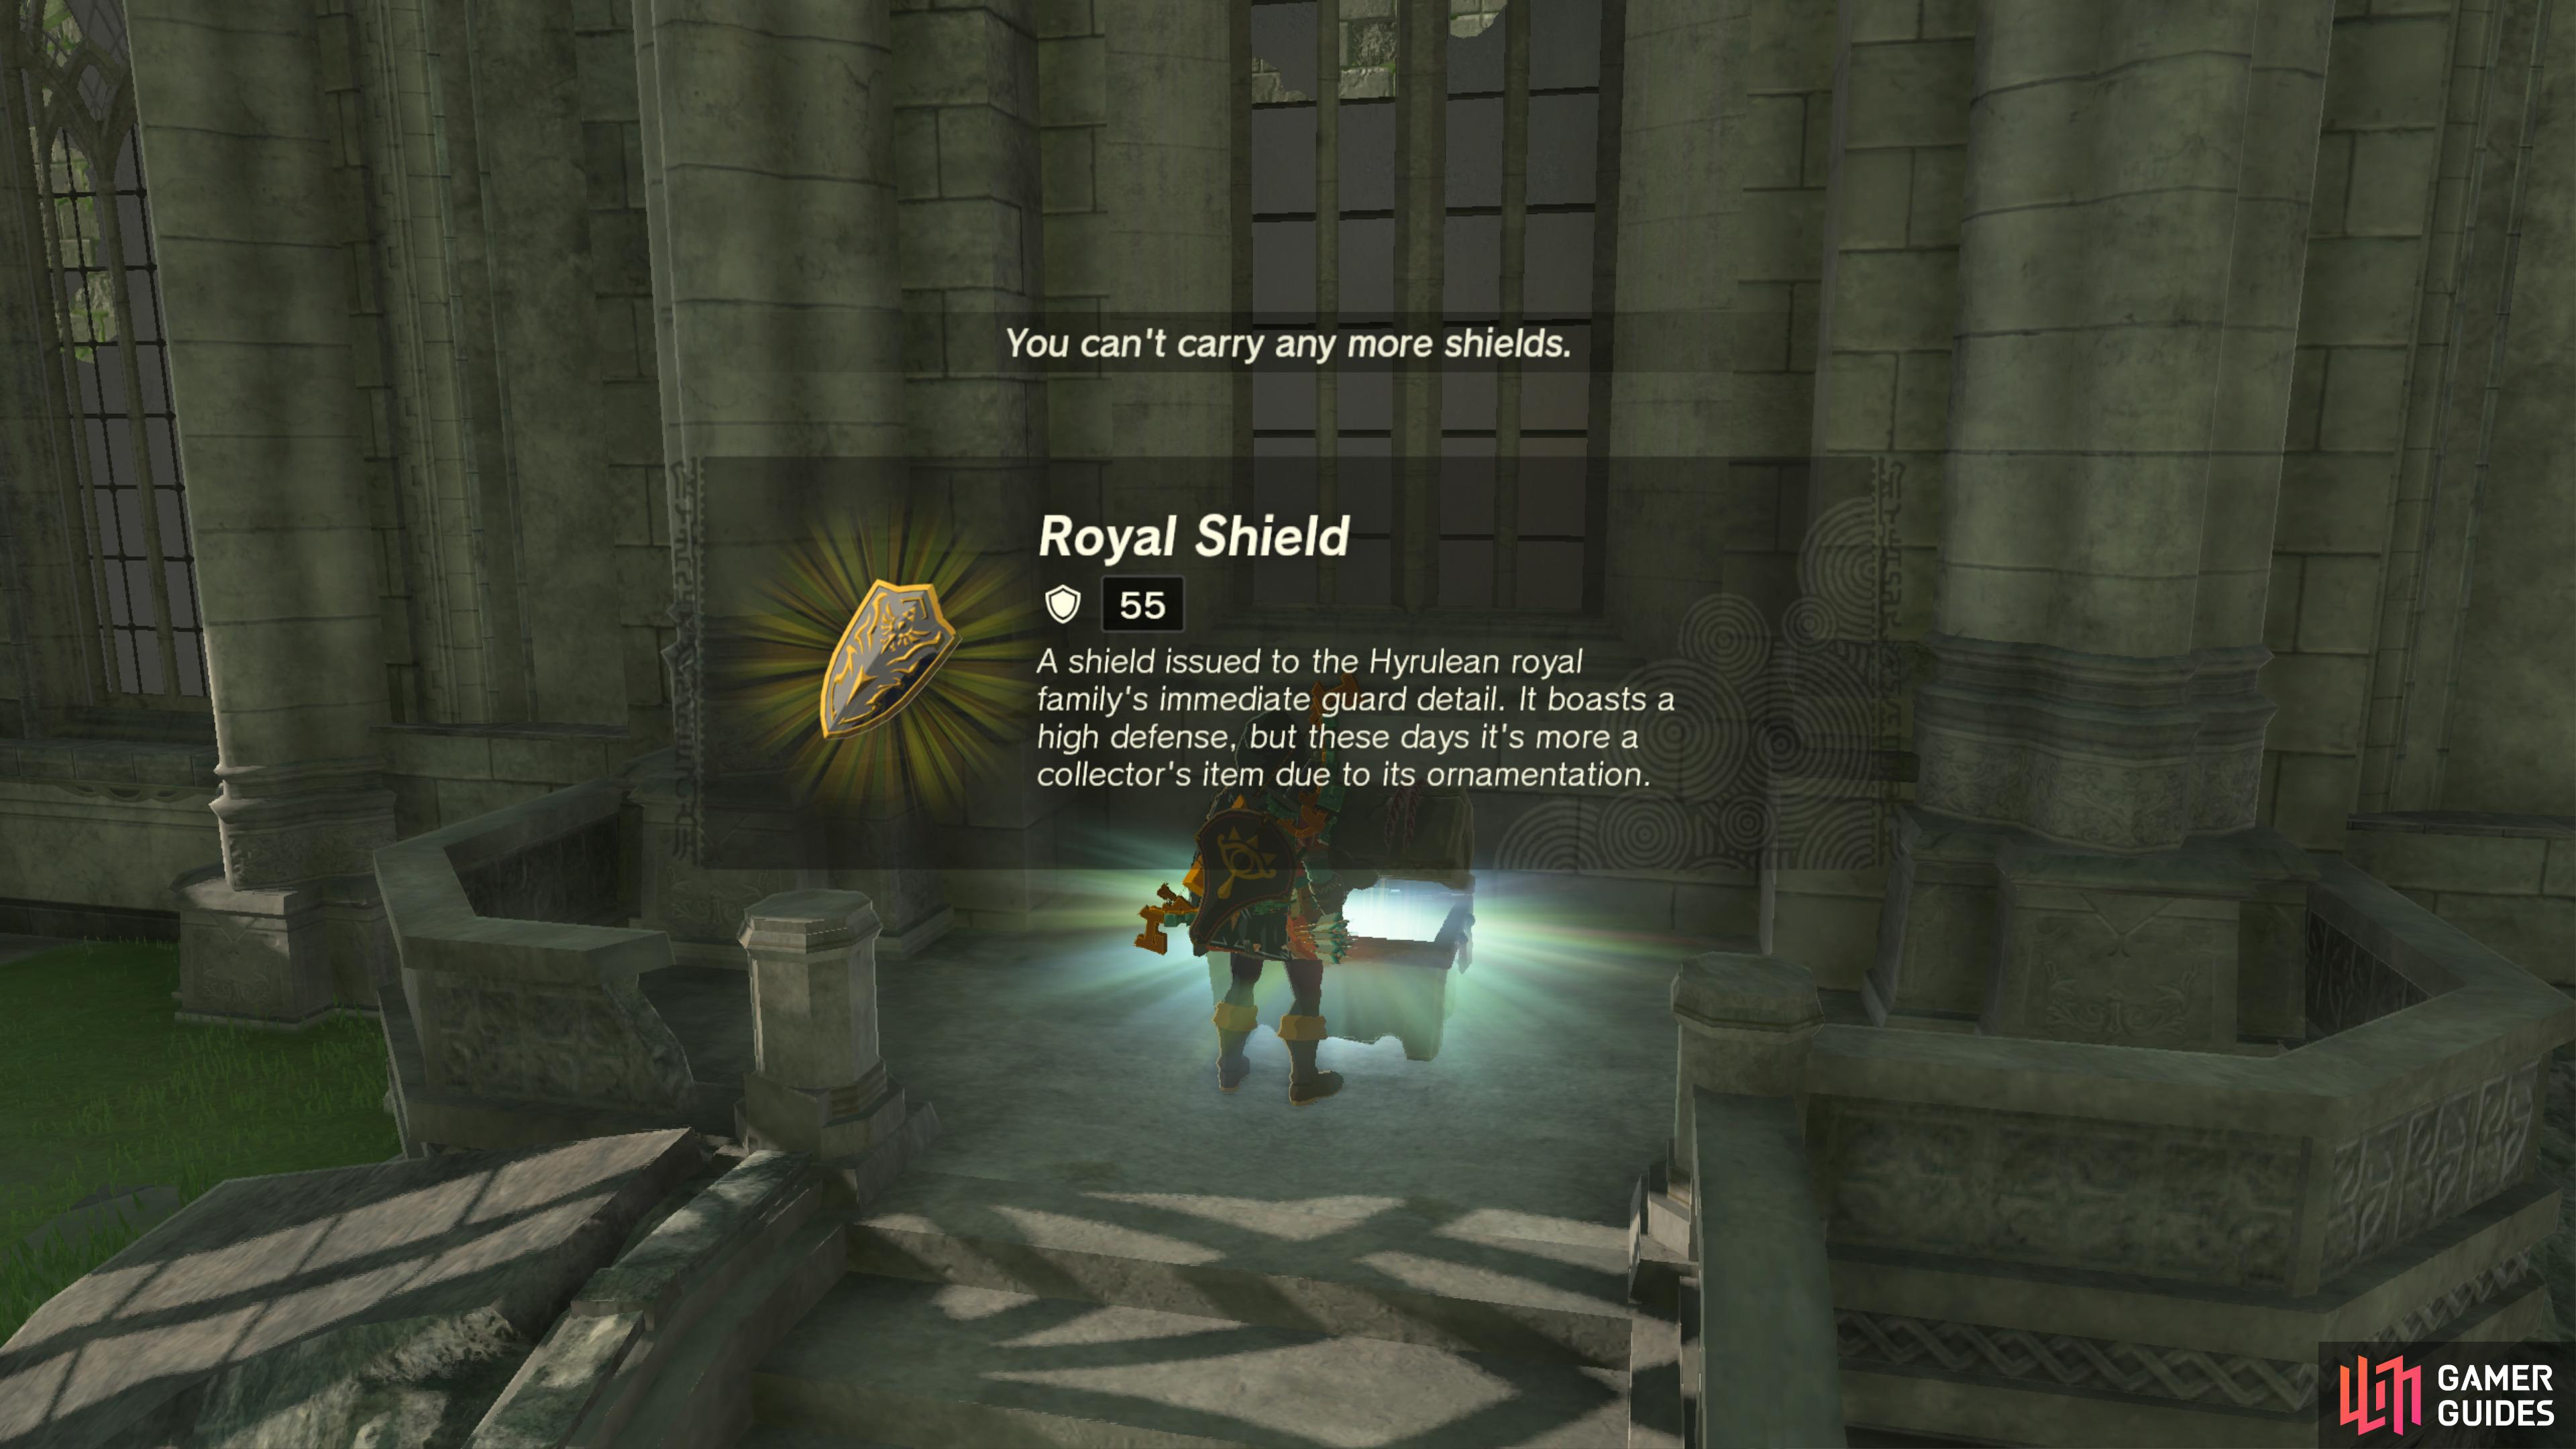
Take the car into the next large room through the thorn-covered tunnel. Defeat the ![]() Blue Bokoblins to find the wooden Chest among some crates and zonai device.
Blue Bokoblins to find the wooden Chest among some crates and zonai device.
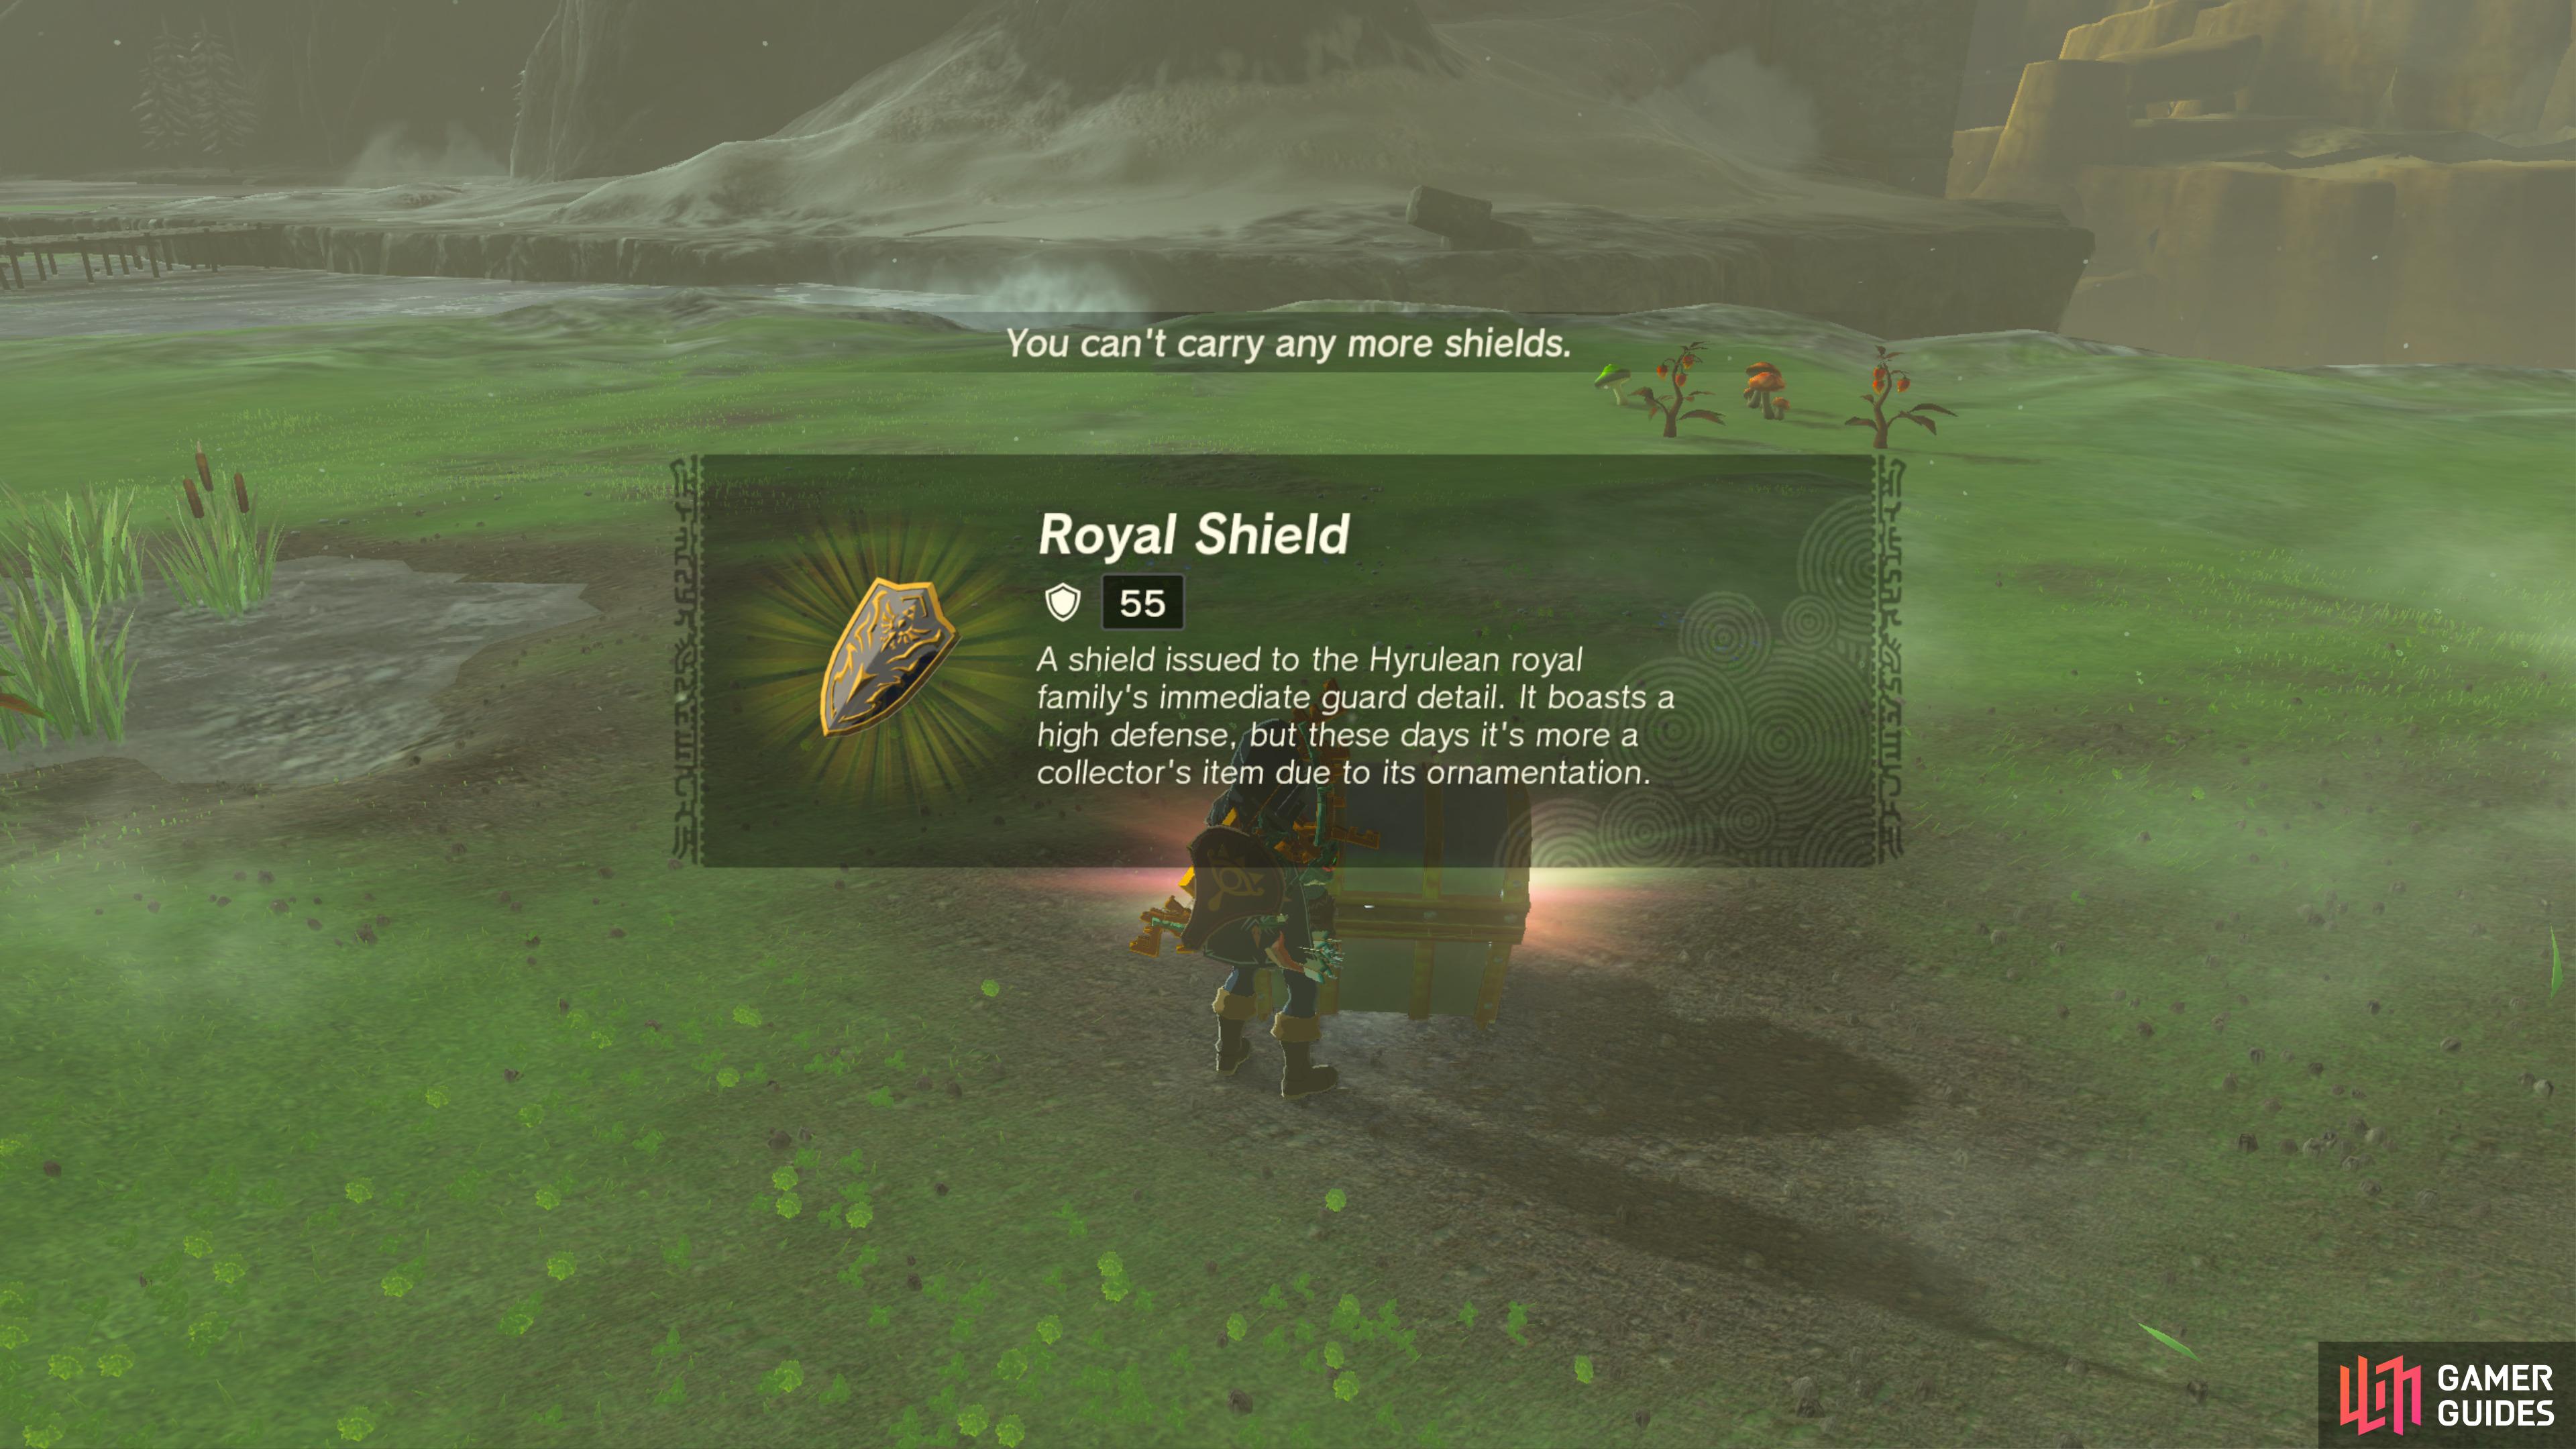
- Contains
 Royal Shield.
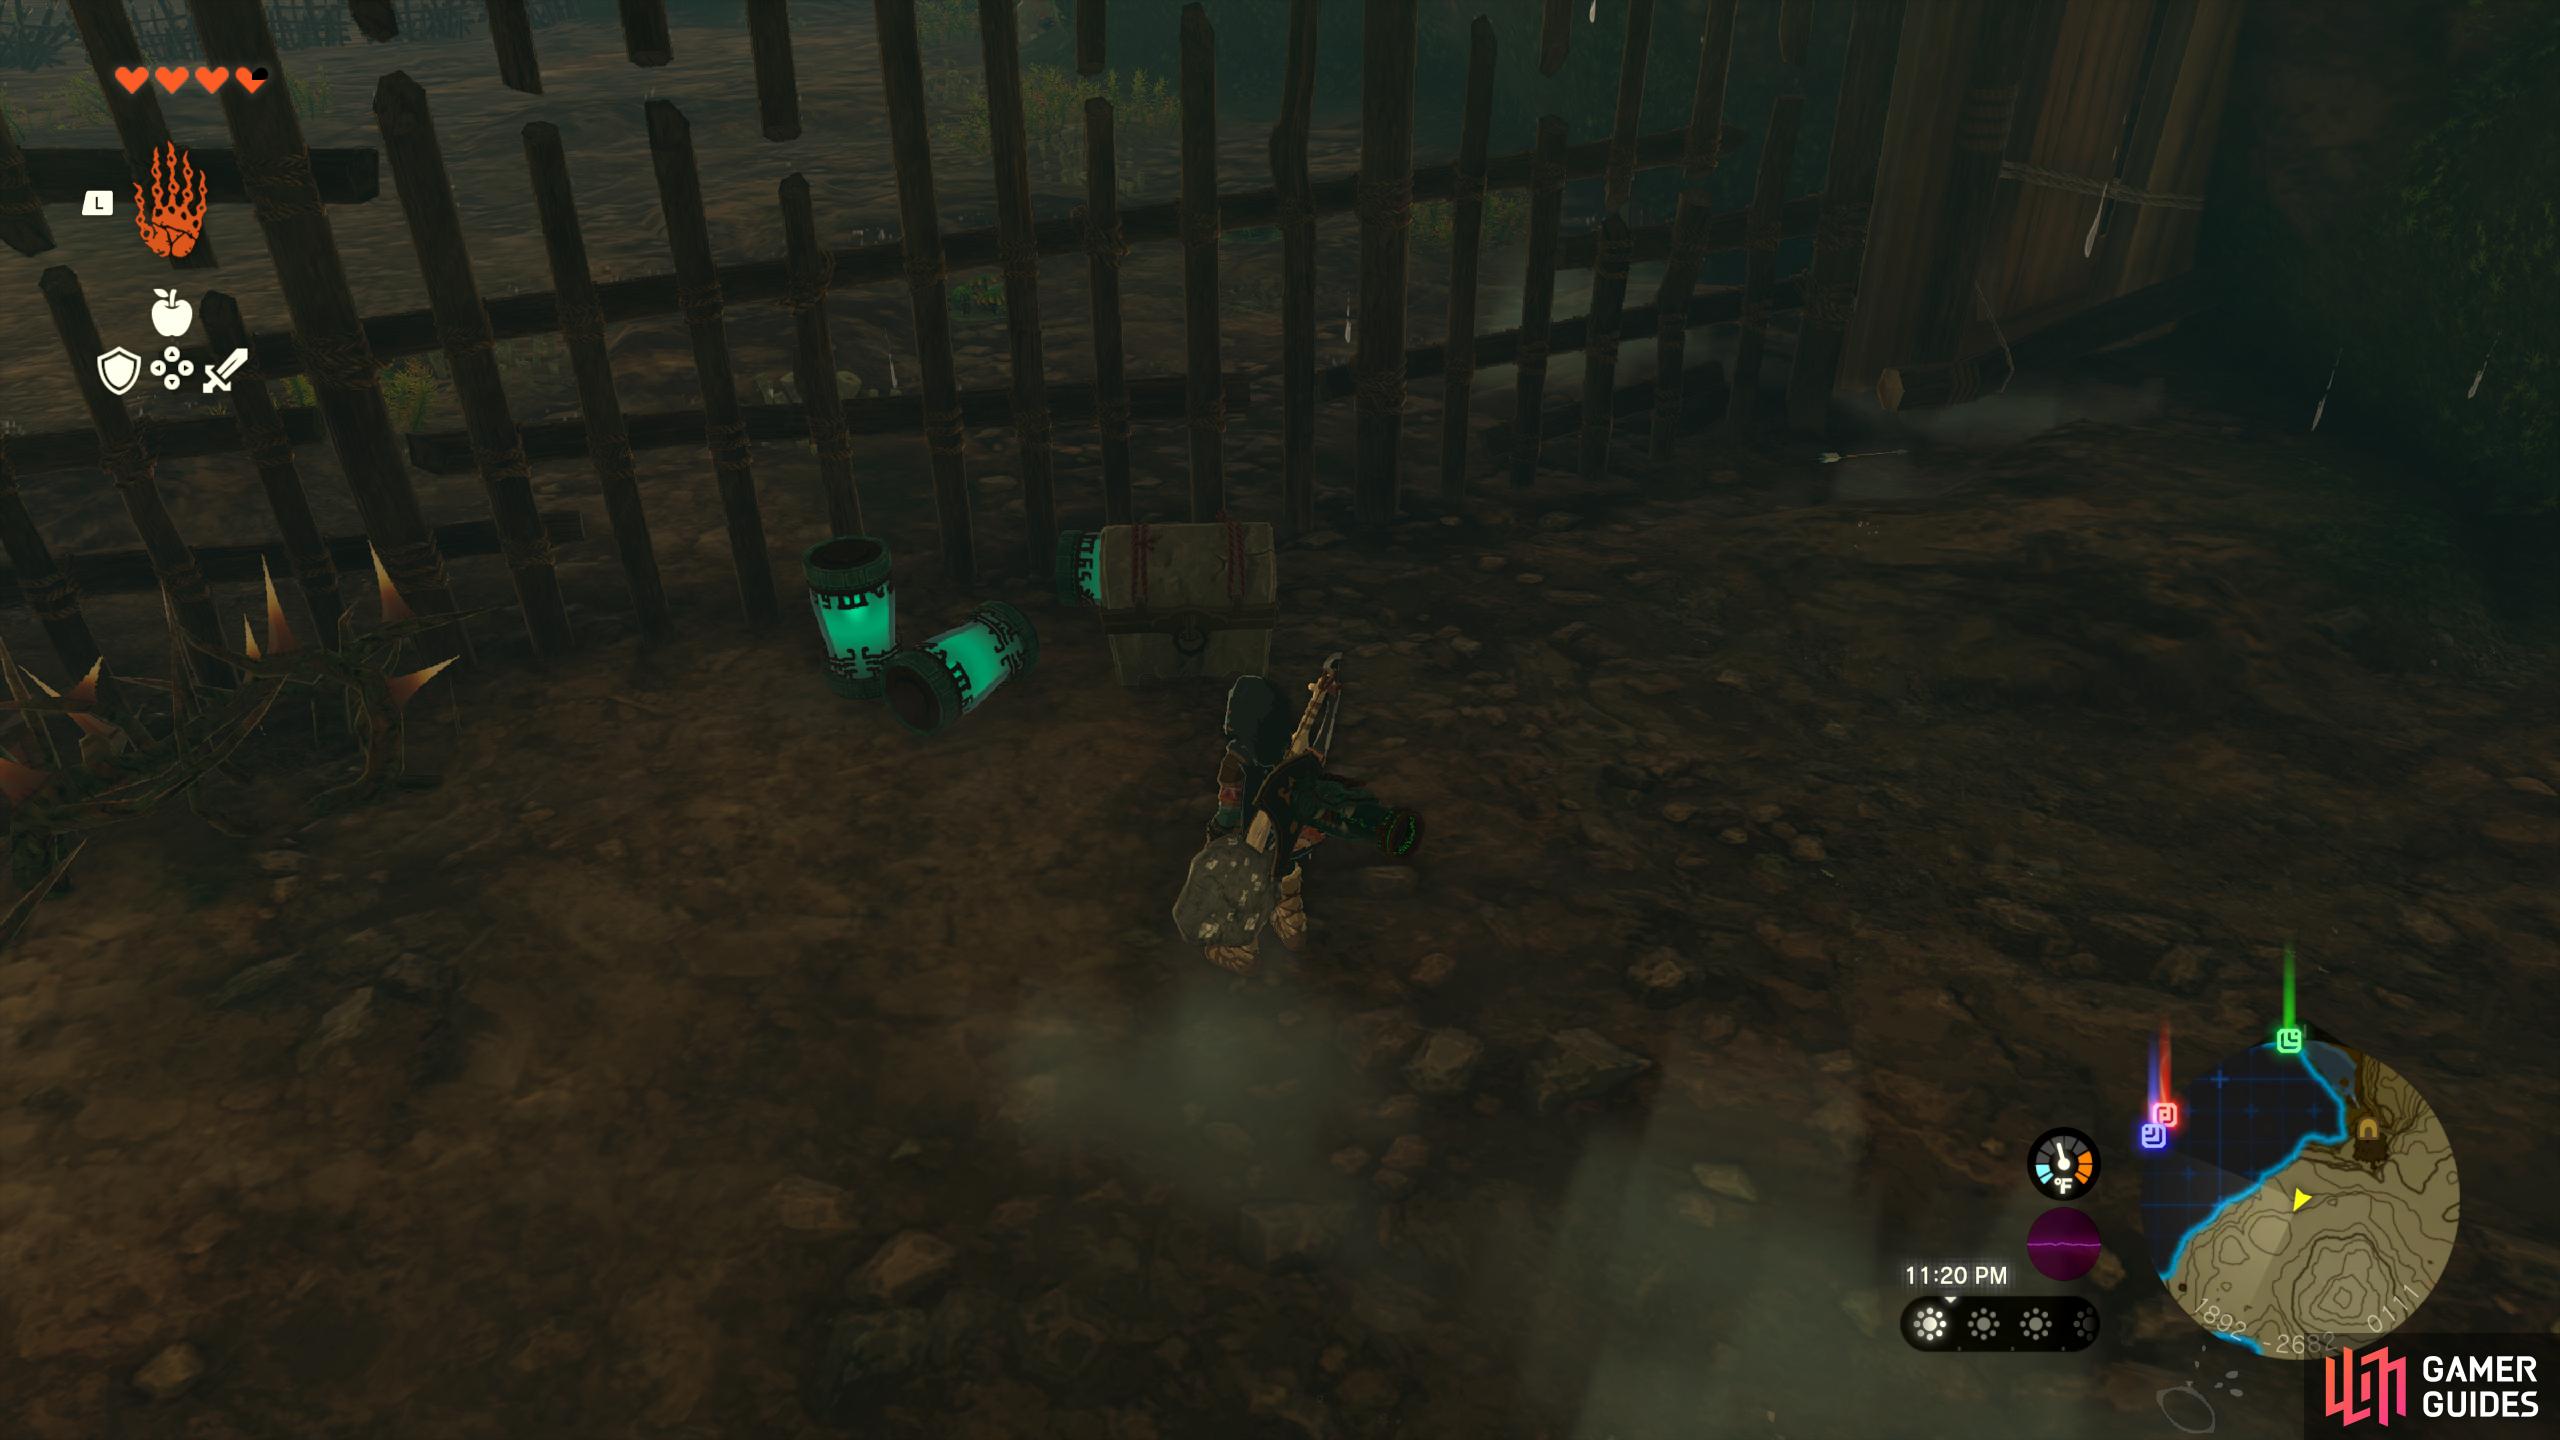
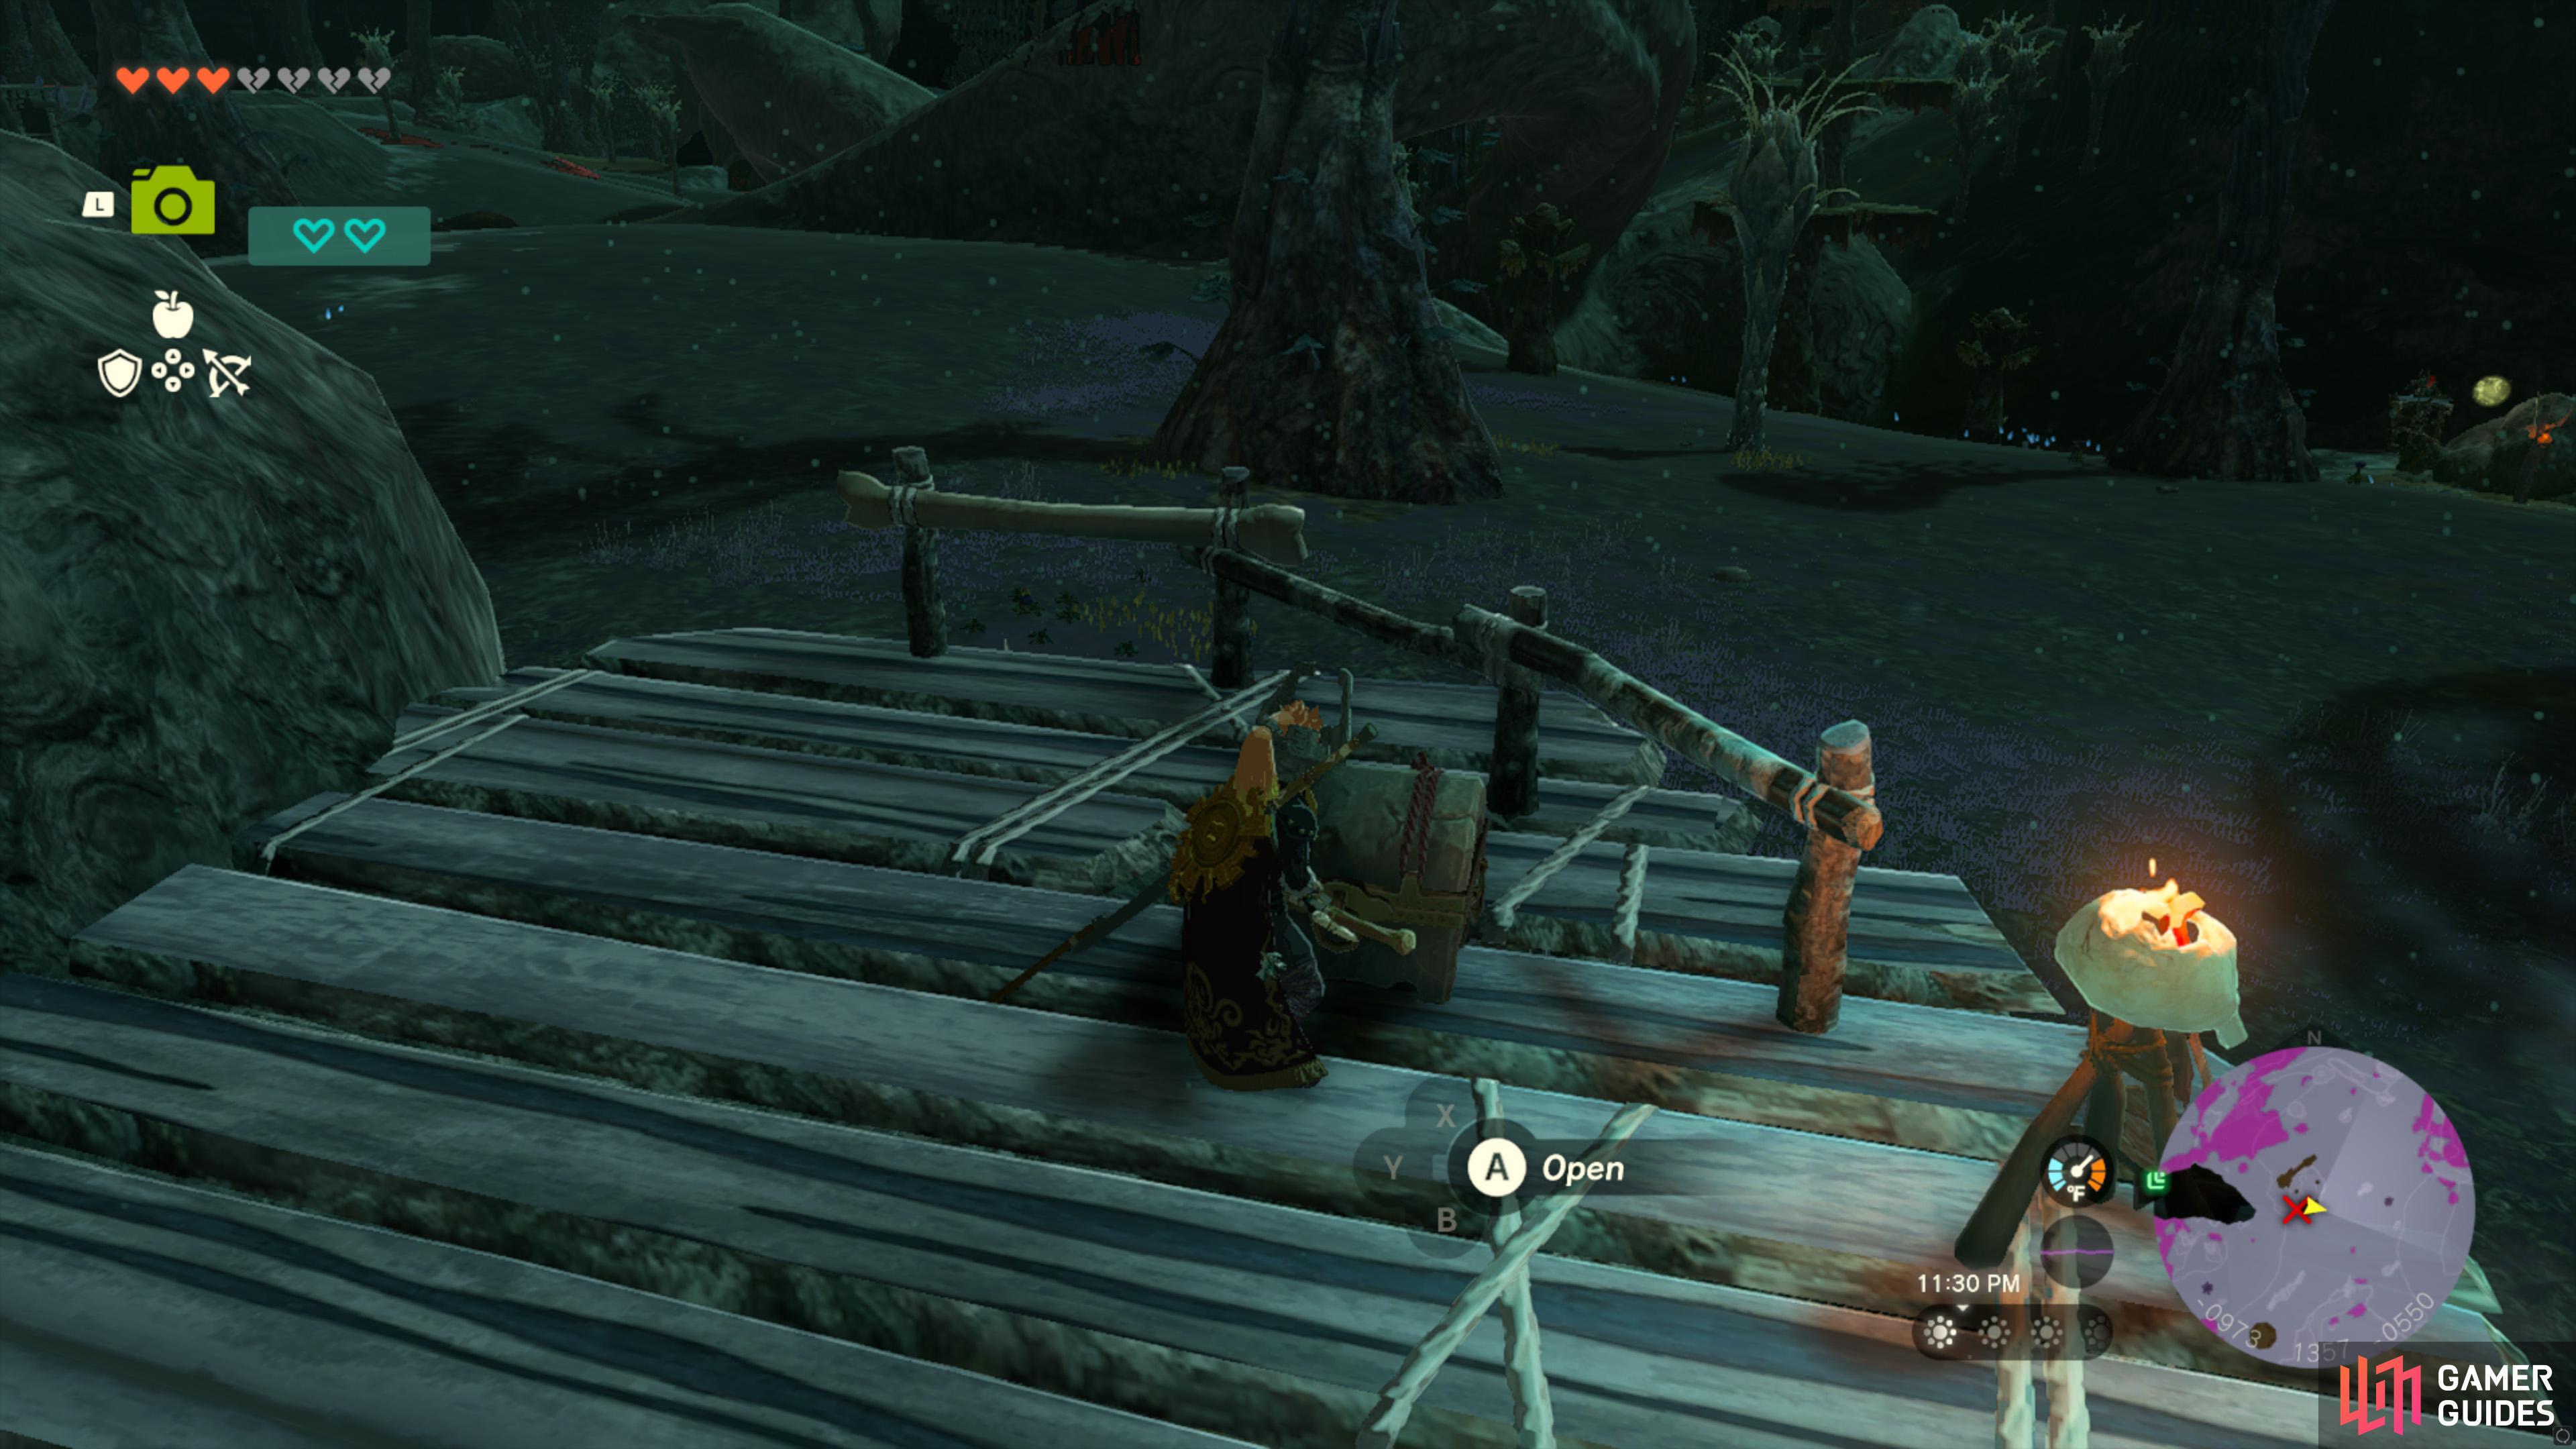
41695. Hyrule Surface Map
Inside the ![]() Mount Floria Cave. On the upper floor, you’ll find a large wooden fence blocking your progress. Next to it is a breakable wall which will reveal the room, but will have thorns blocking your way.
Mount Floria Cave. On the upper floor, you’ll find a large wooden fence blocking your progress. Next to it is a breakable wall which will reveal the room, but will have thorns blocking your way.
Either get the car or use a nearby wooden barricade to climb over the thorns. The chest will be against the fence.
- Contains 1x
 Star Fragment.
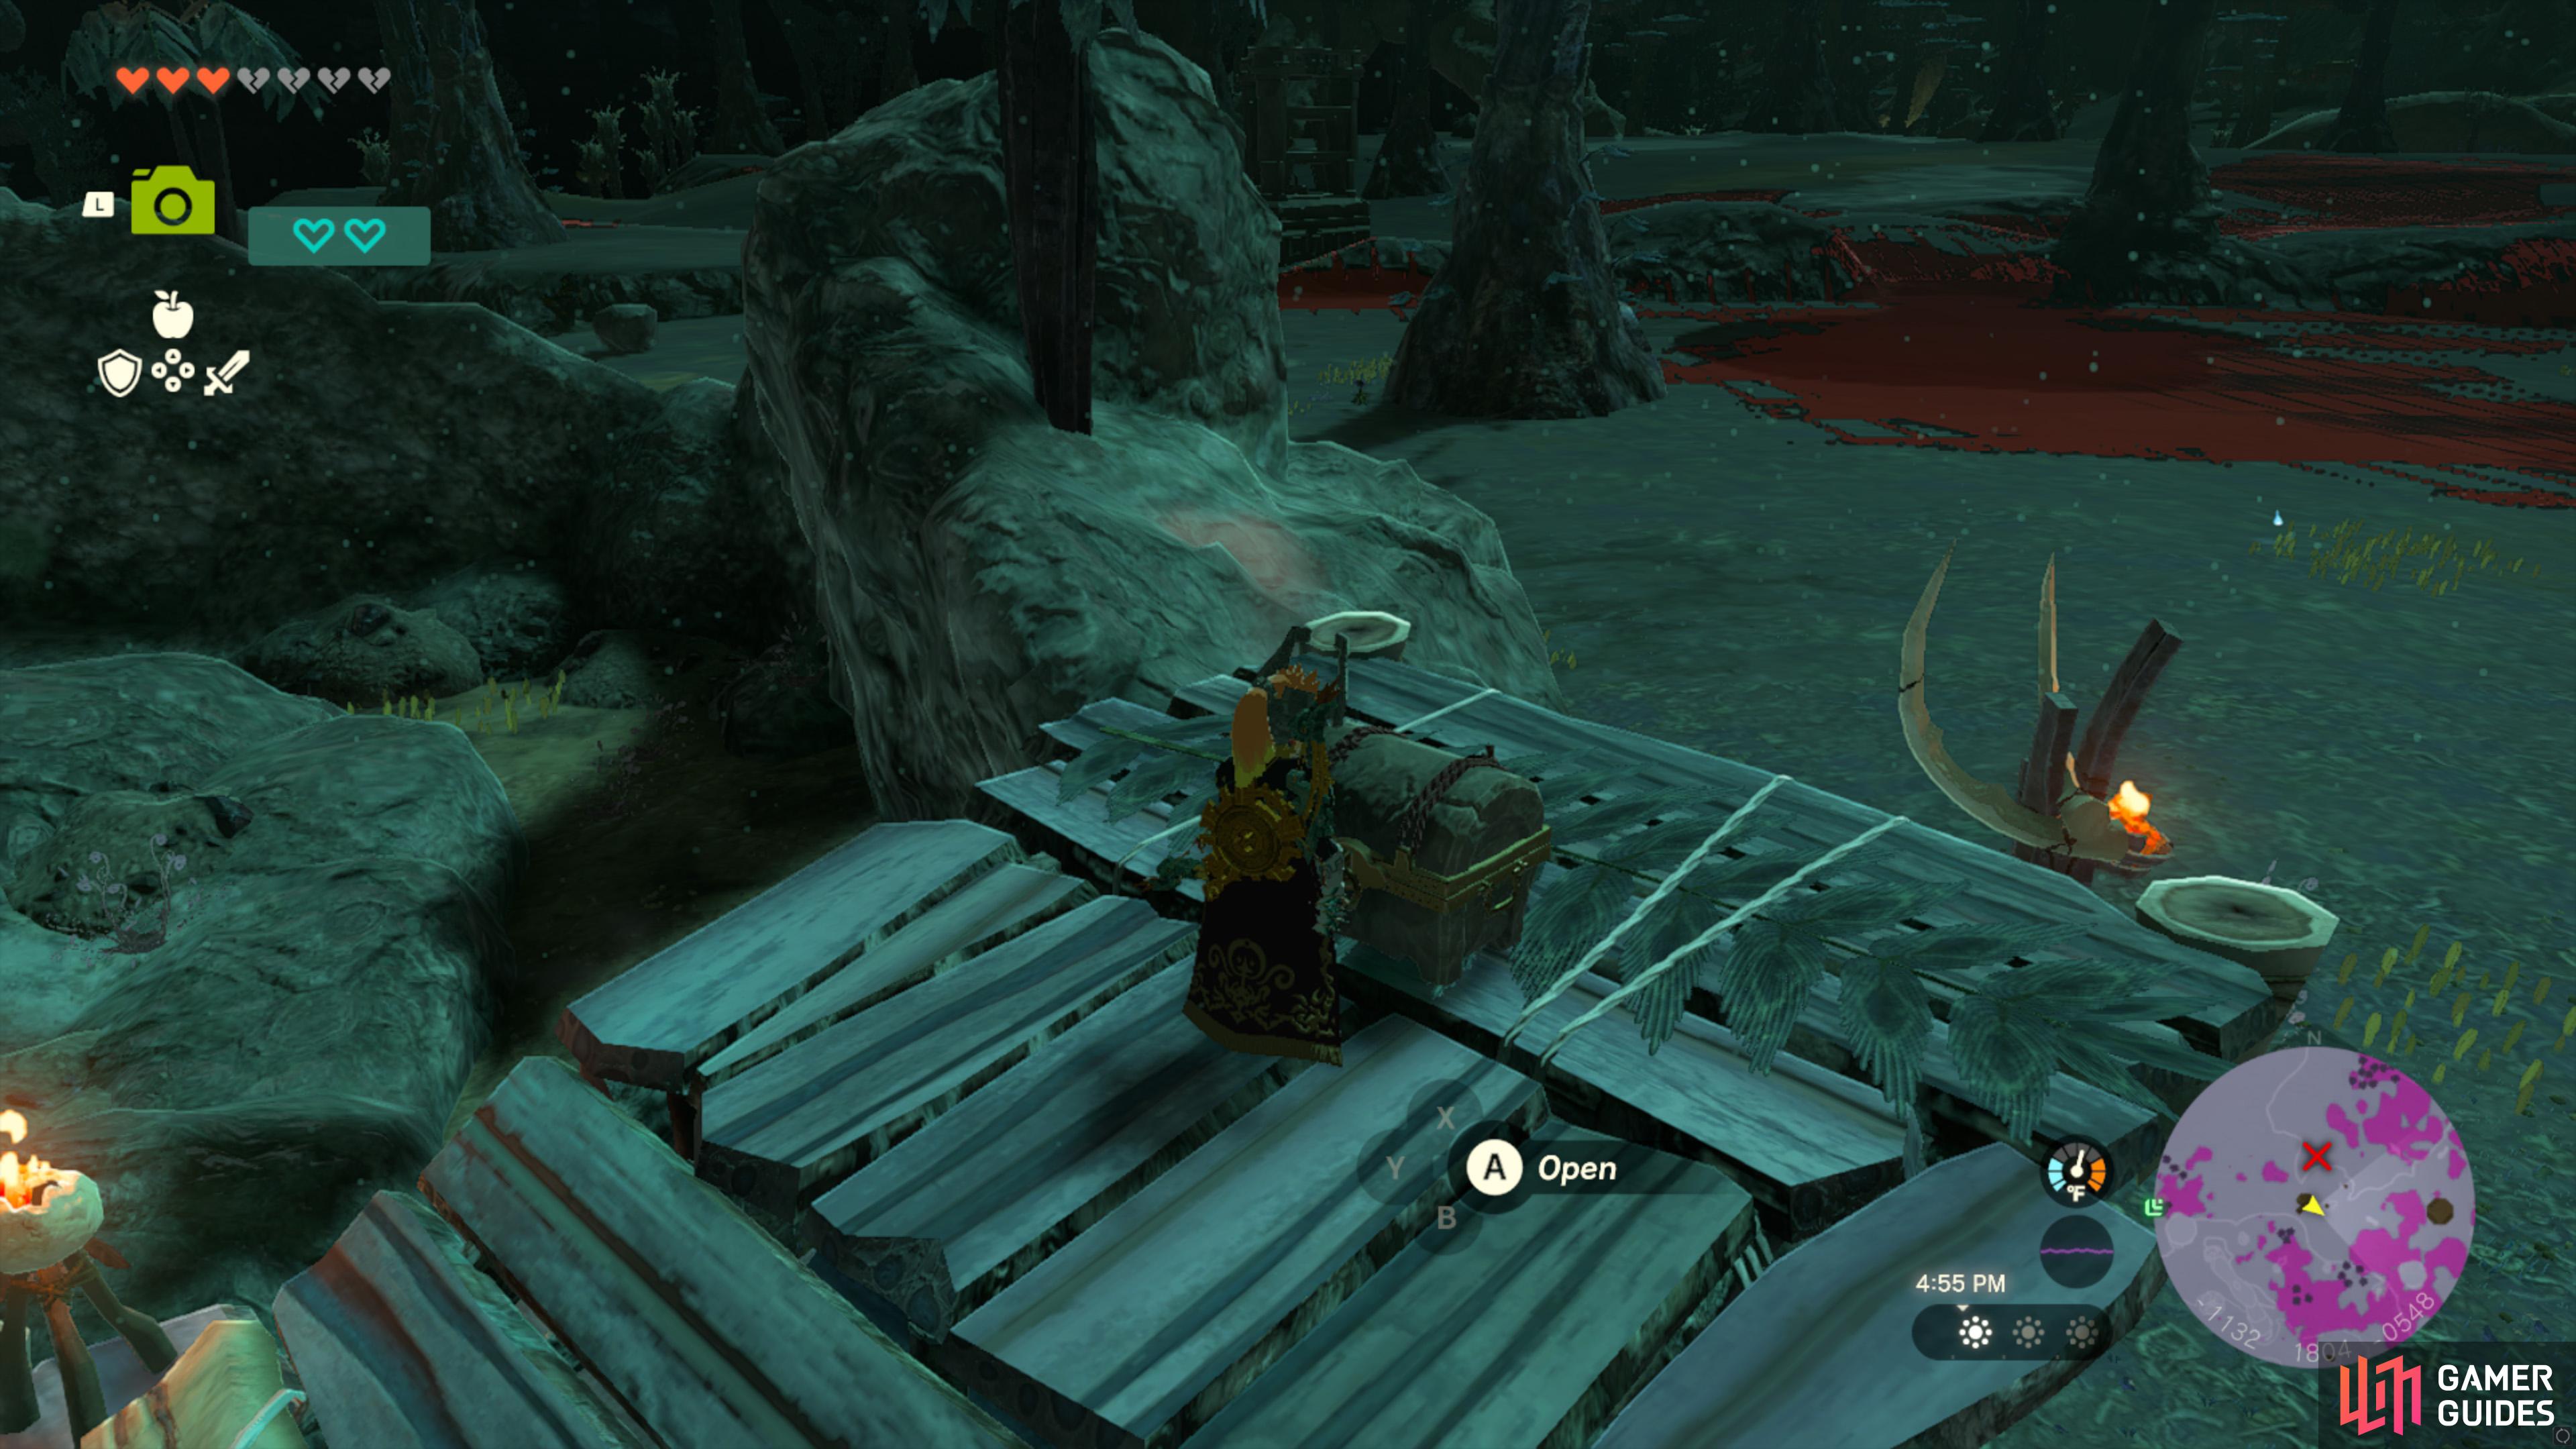
41704. Hyrule Surface Map
Use the nearby Stakes to allow you to get level to the chest and open it.
It contains a ![]() Large Zonai Charge.
Large Zonai Charge.
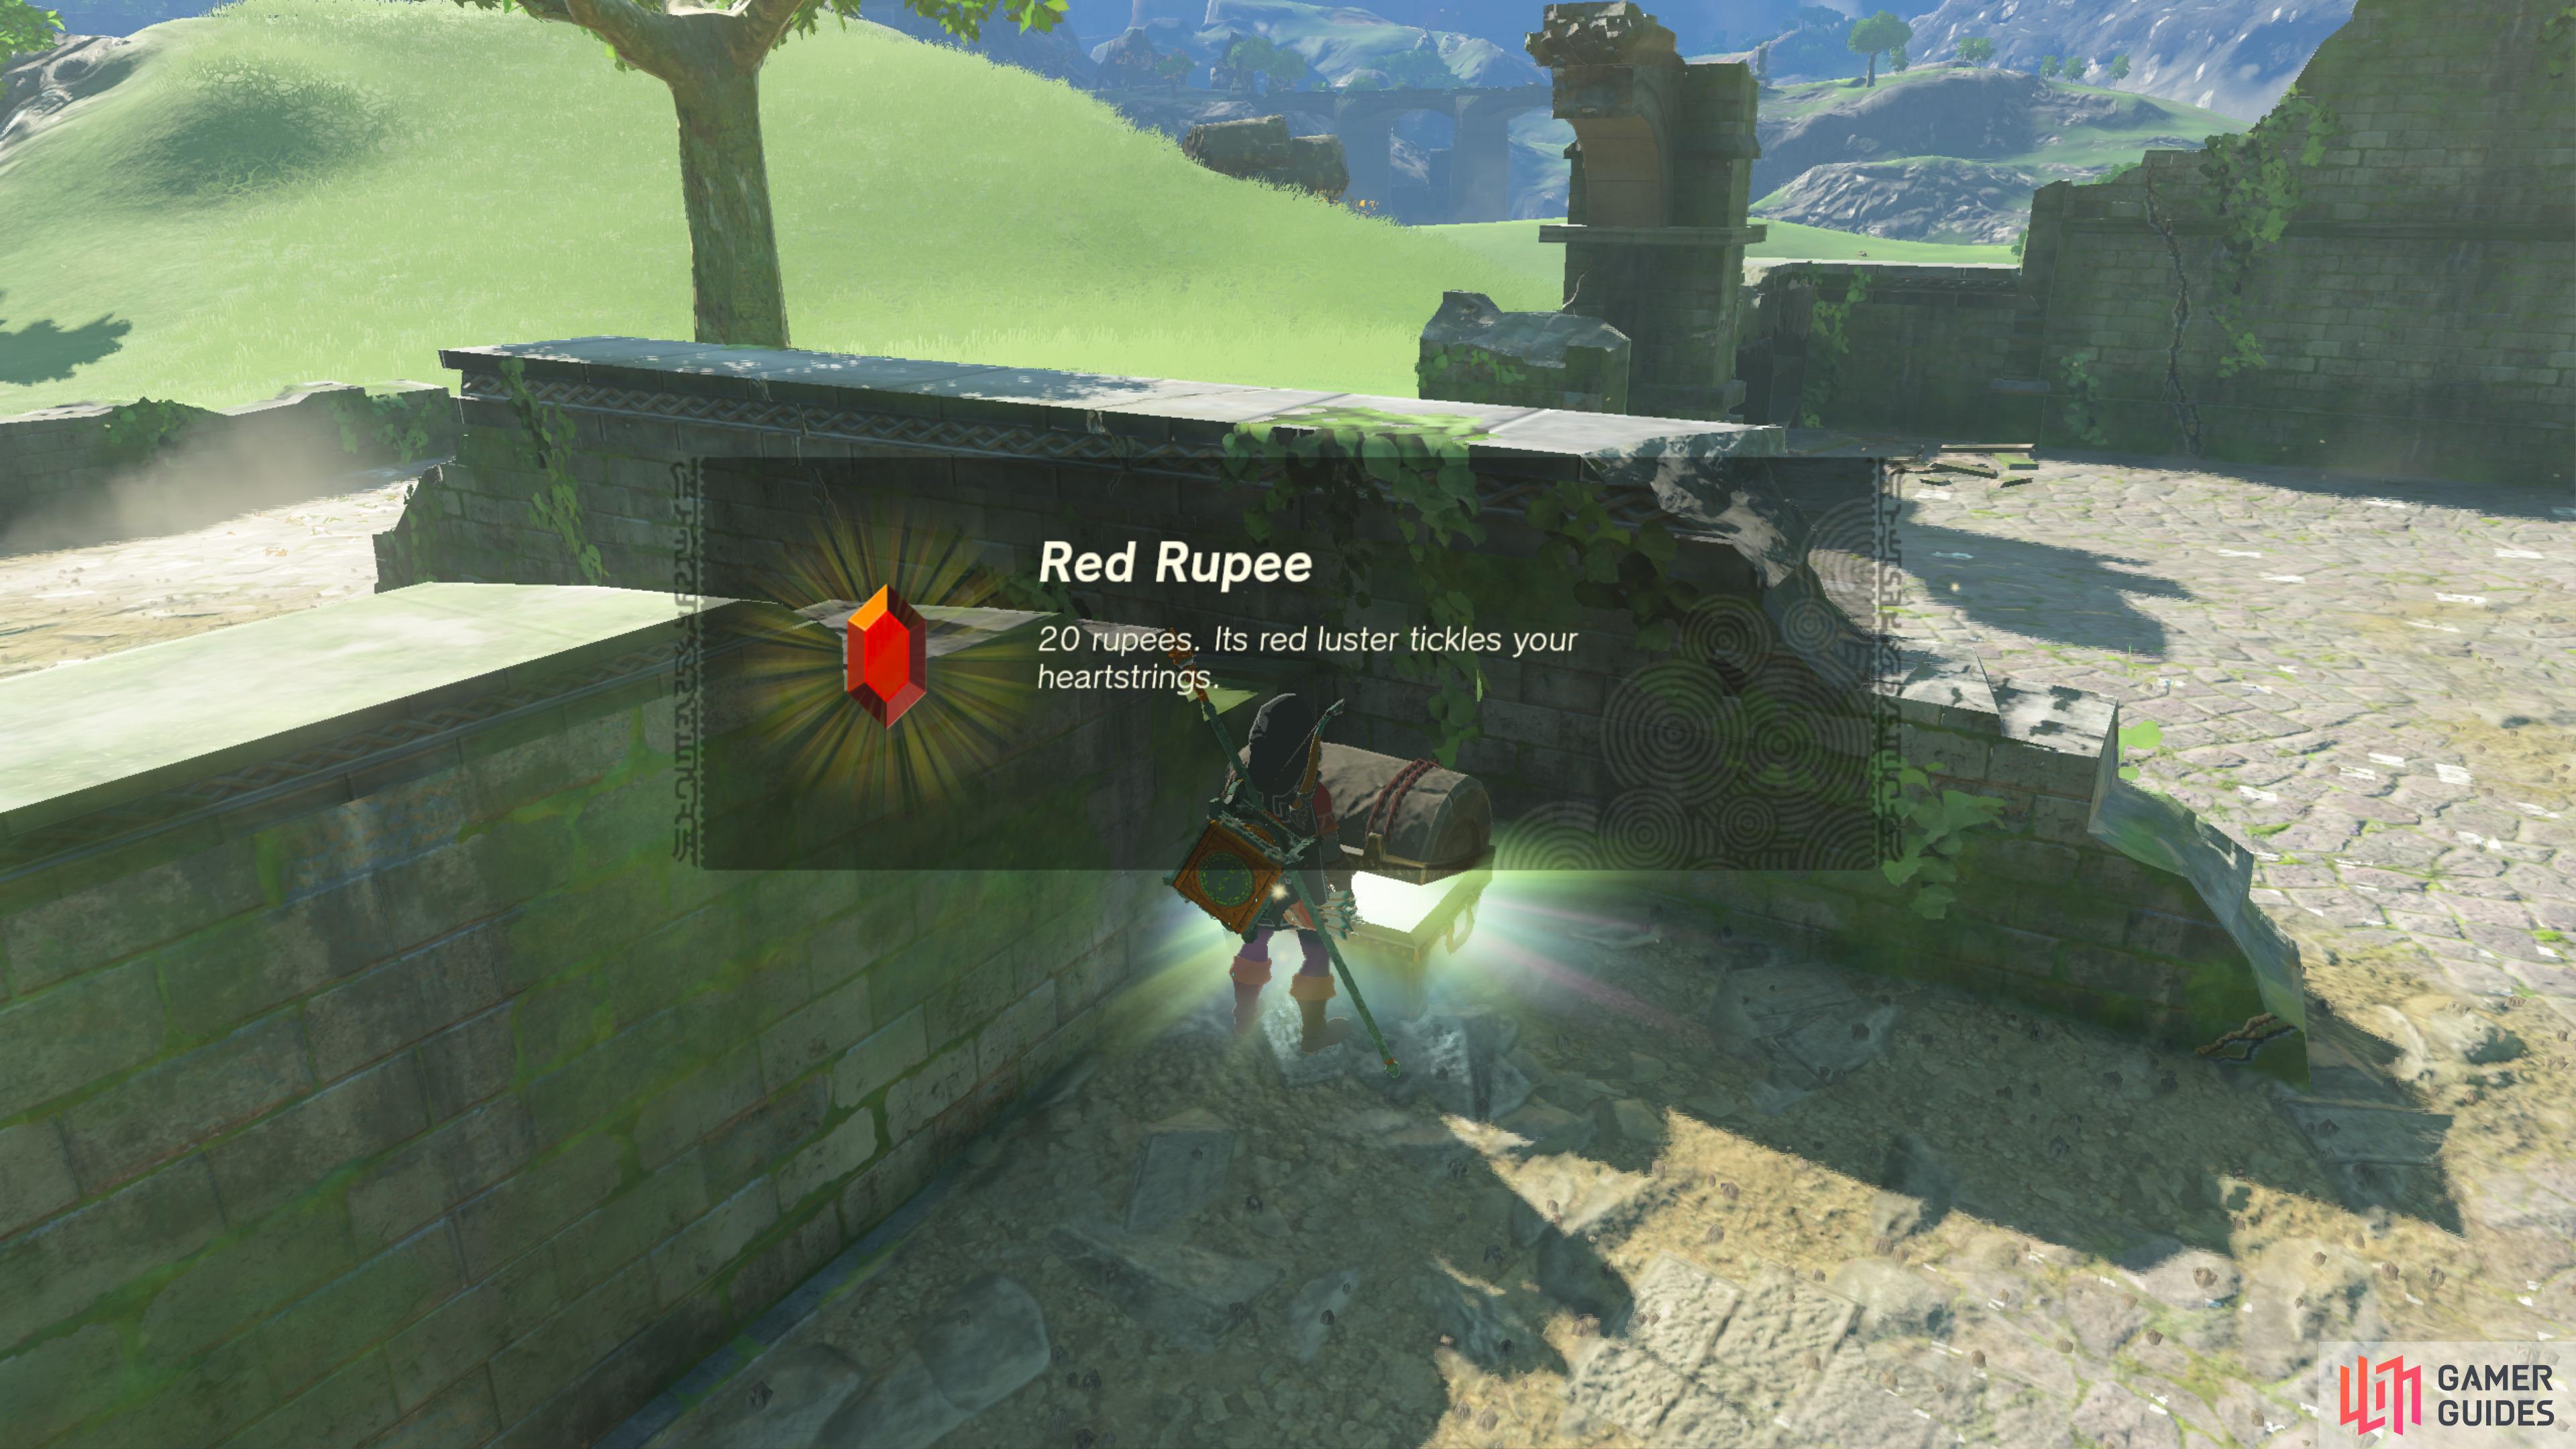
41707. Hyrule Surface Map
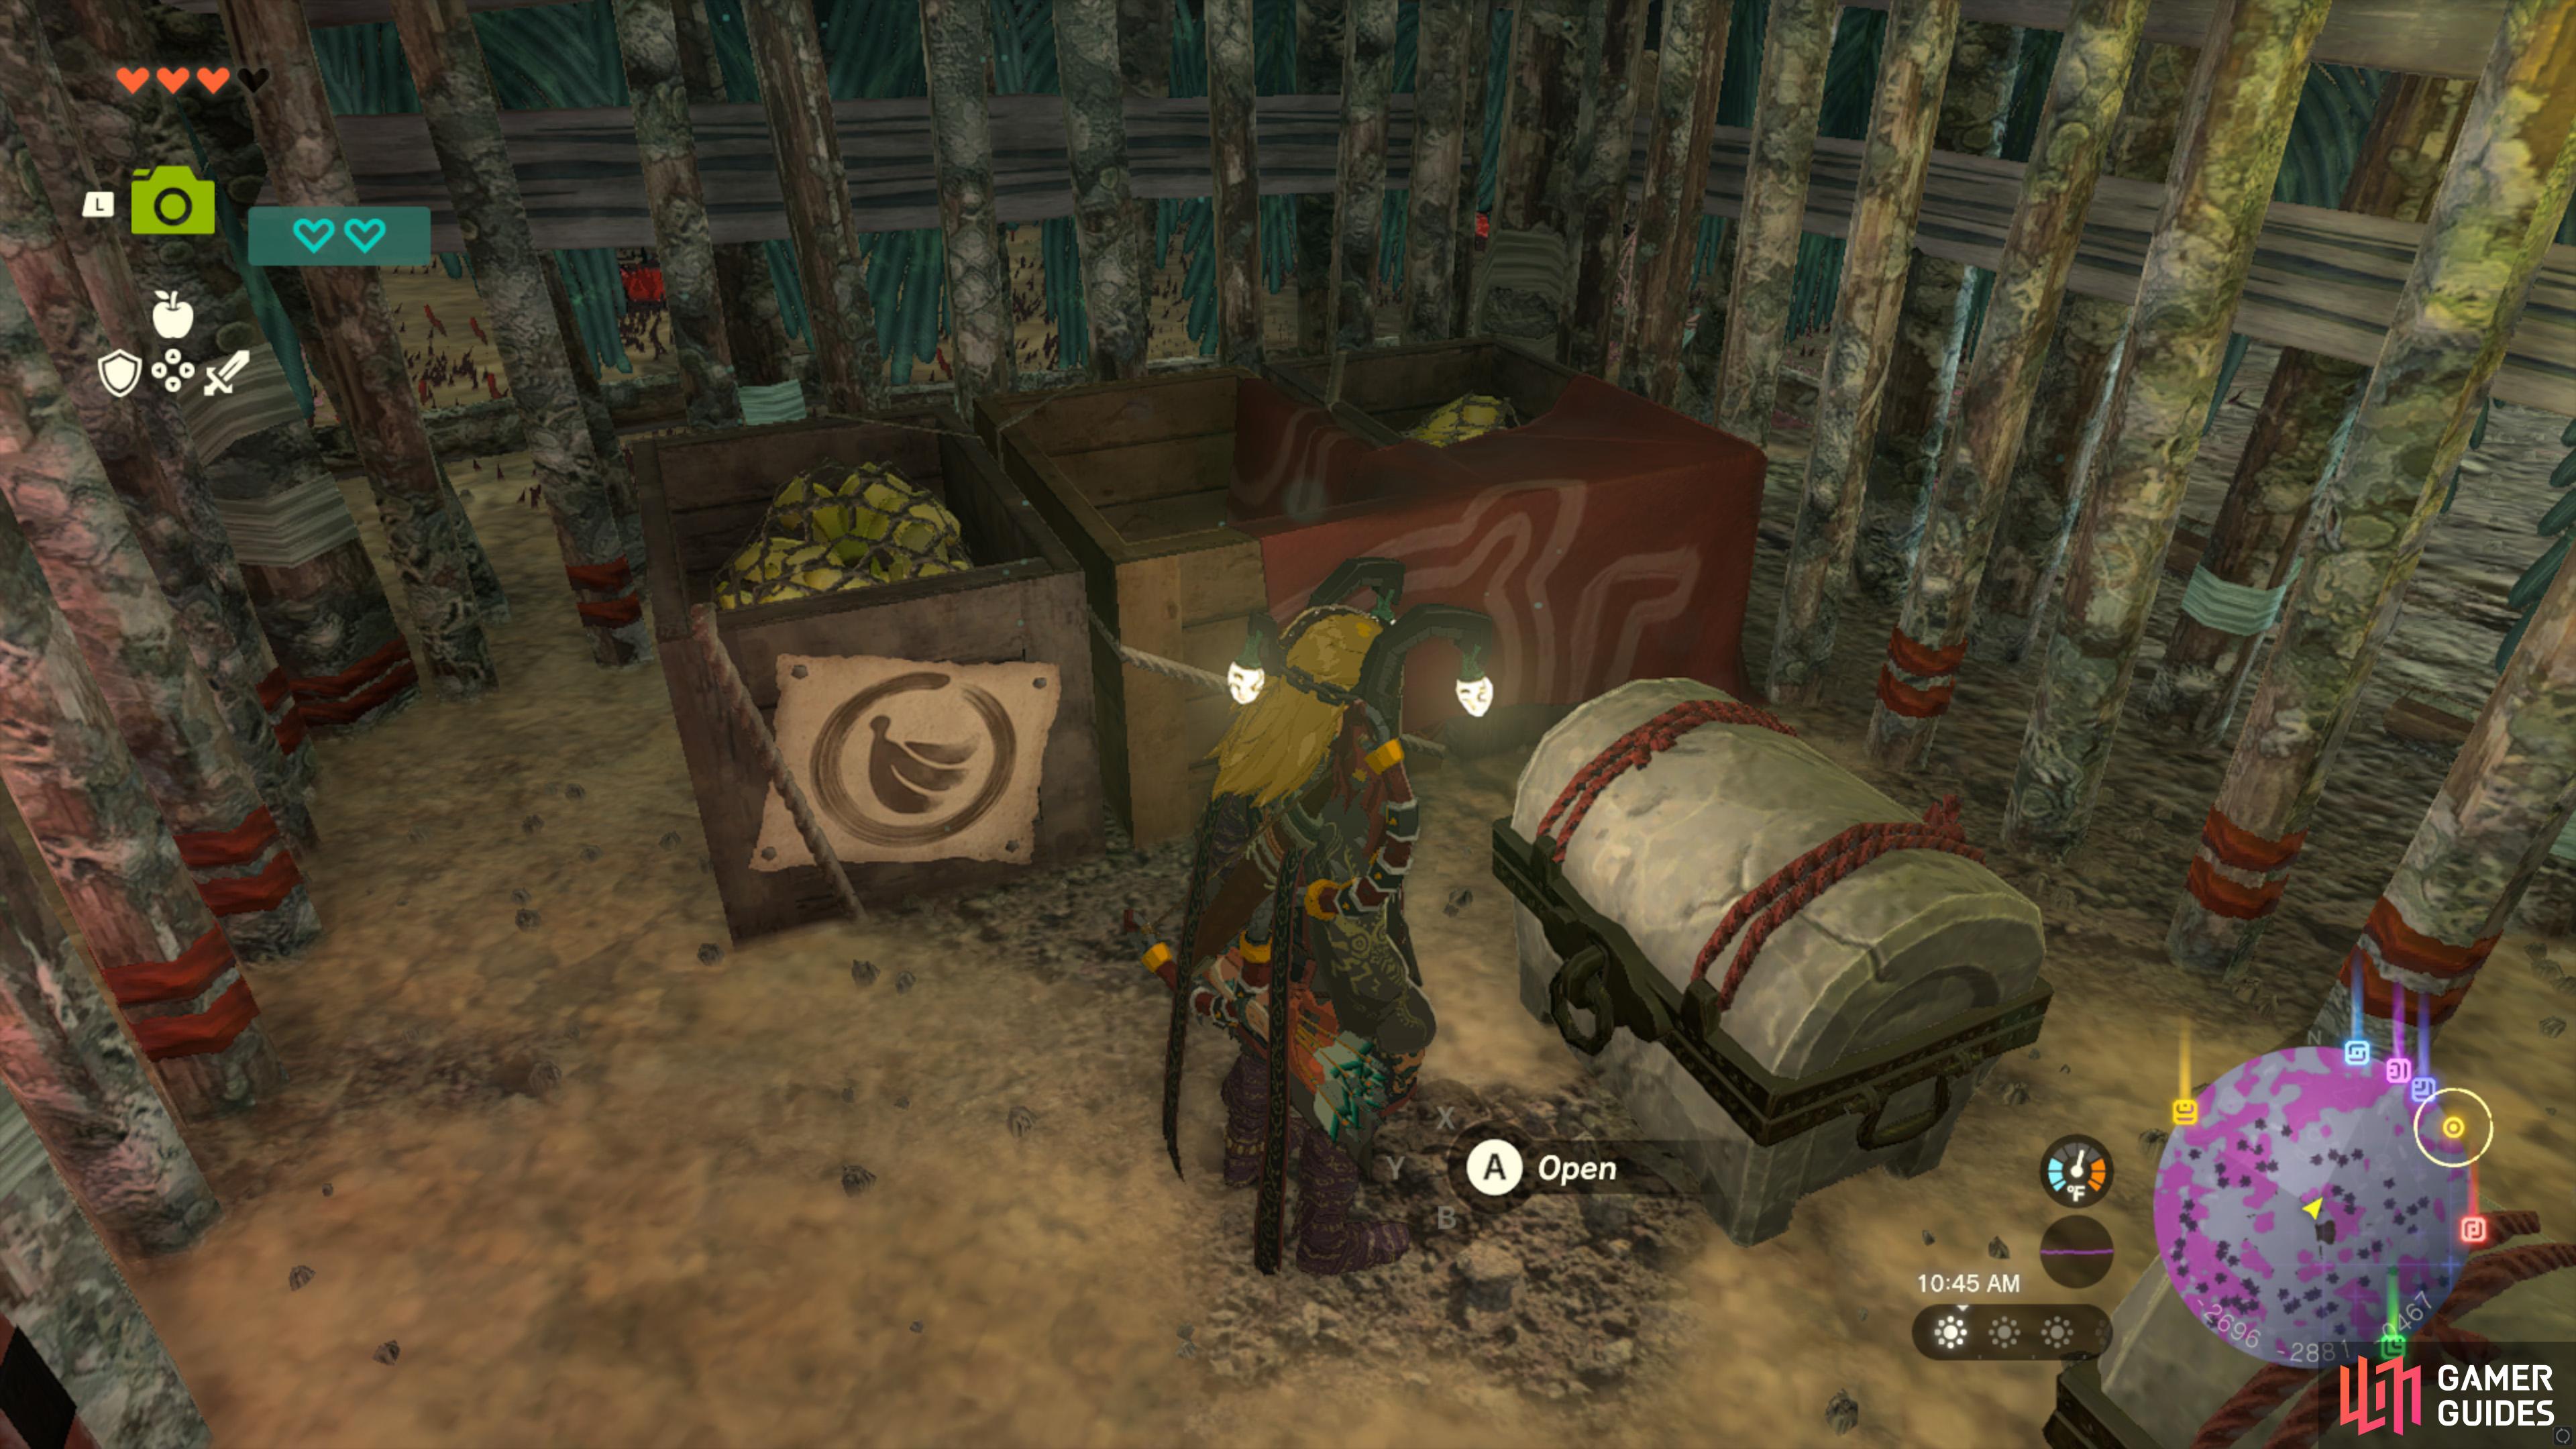
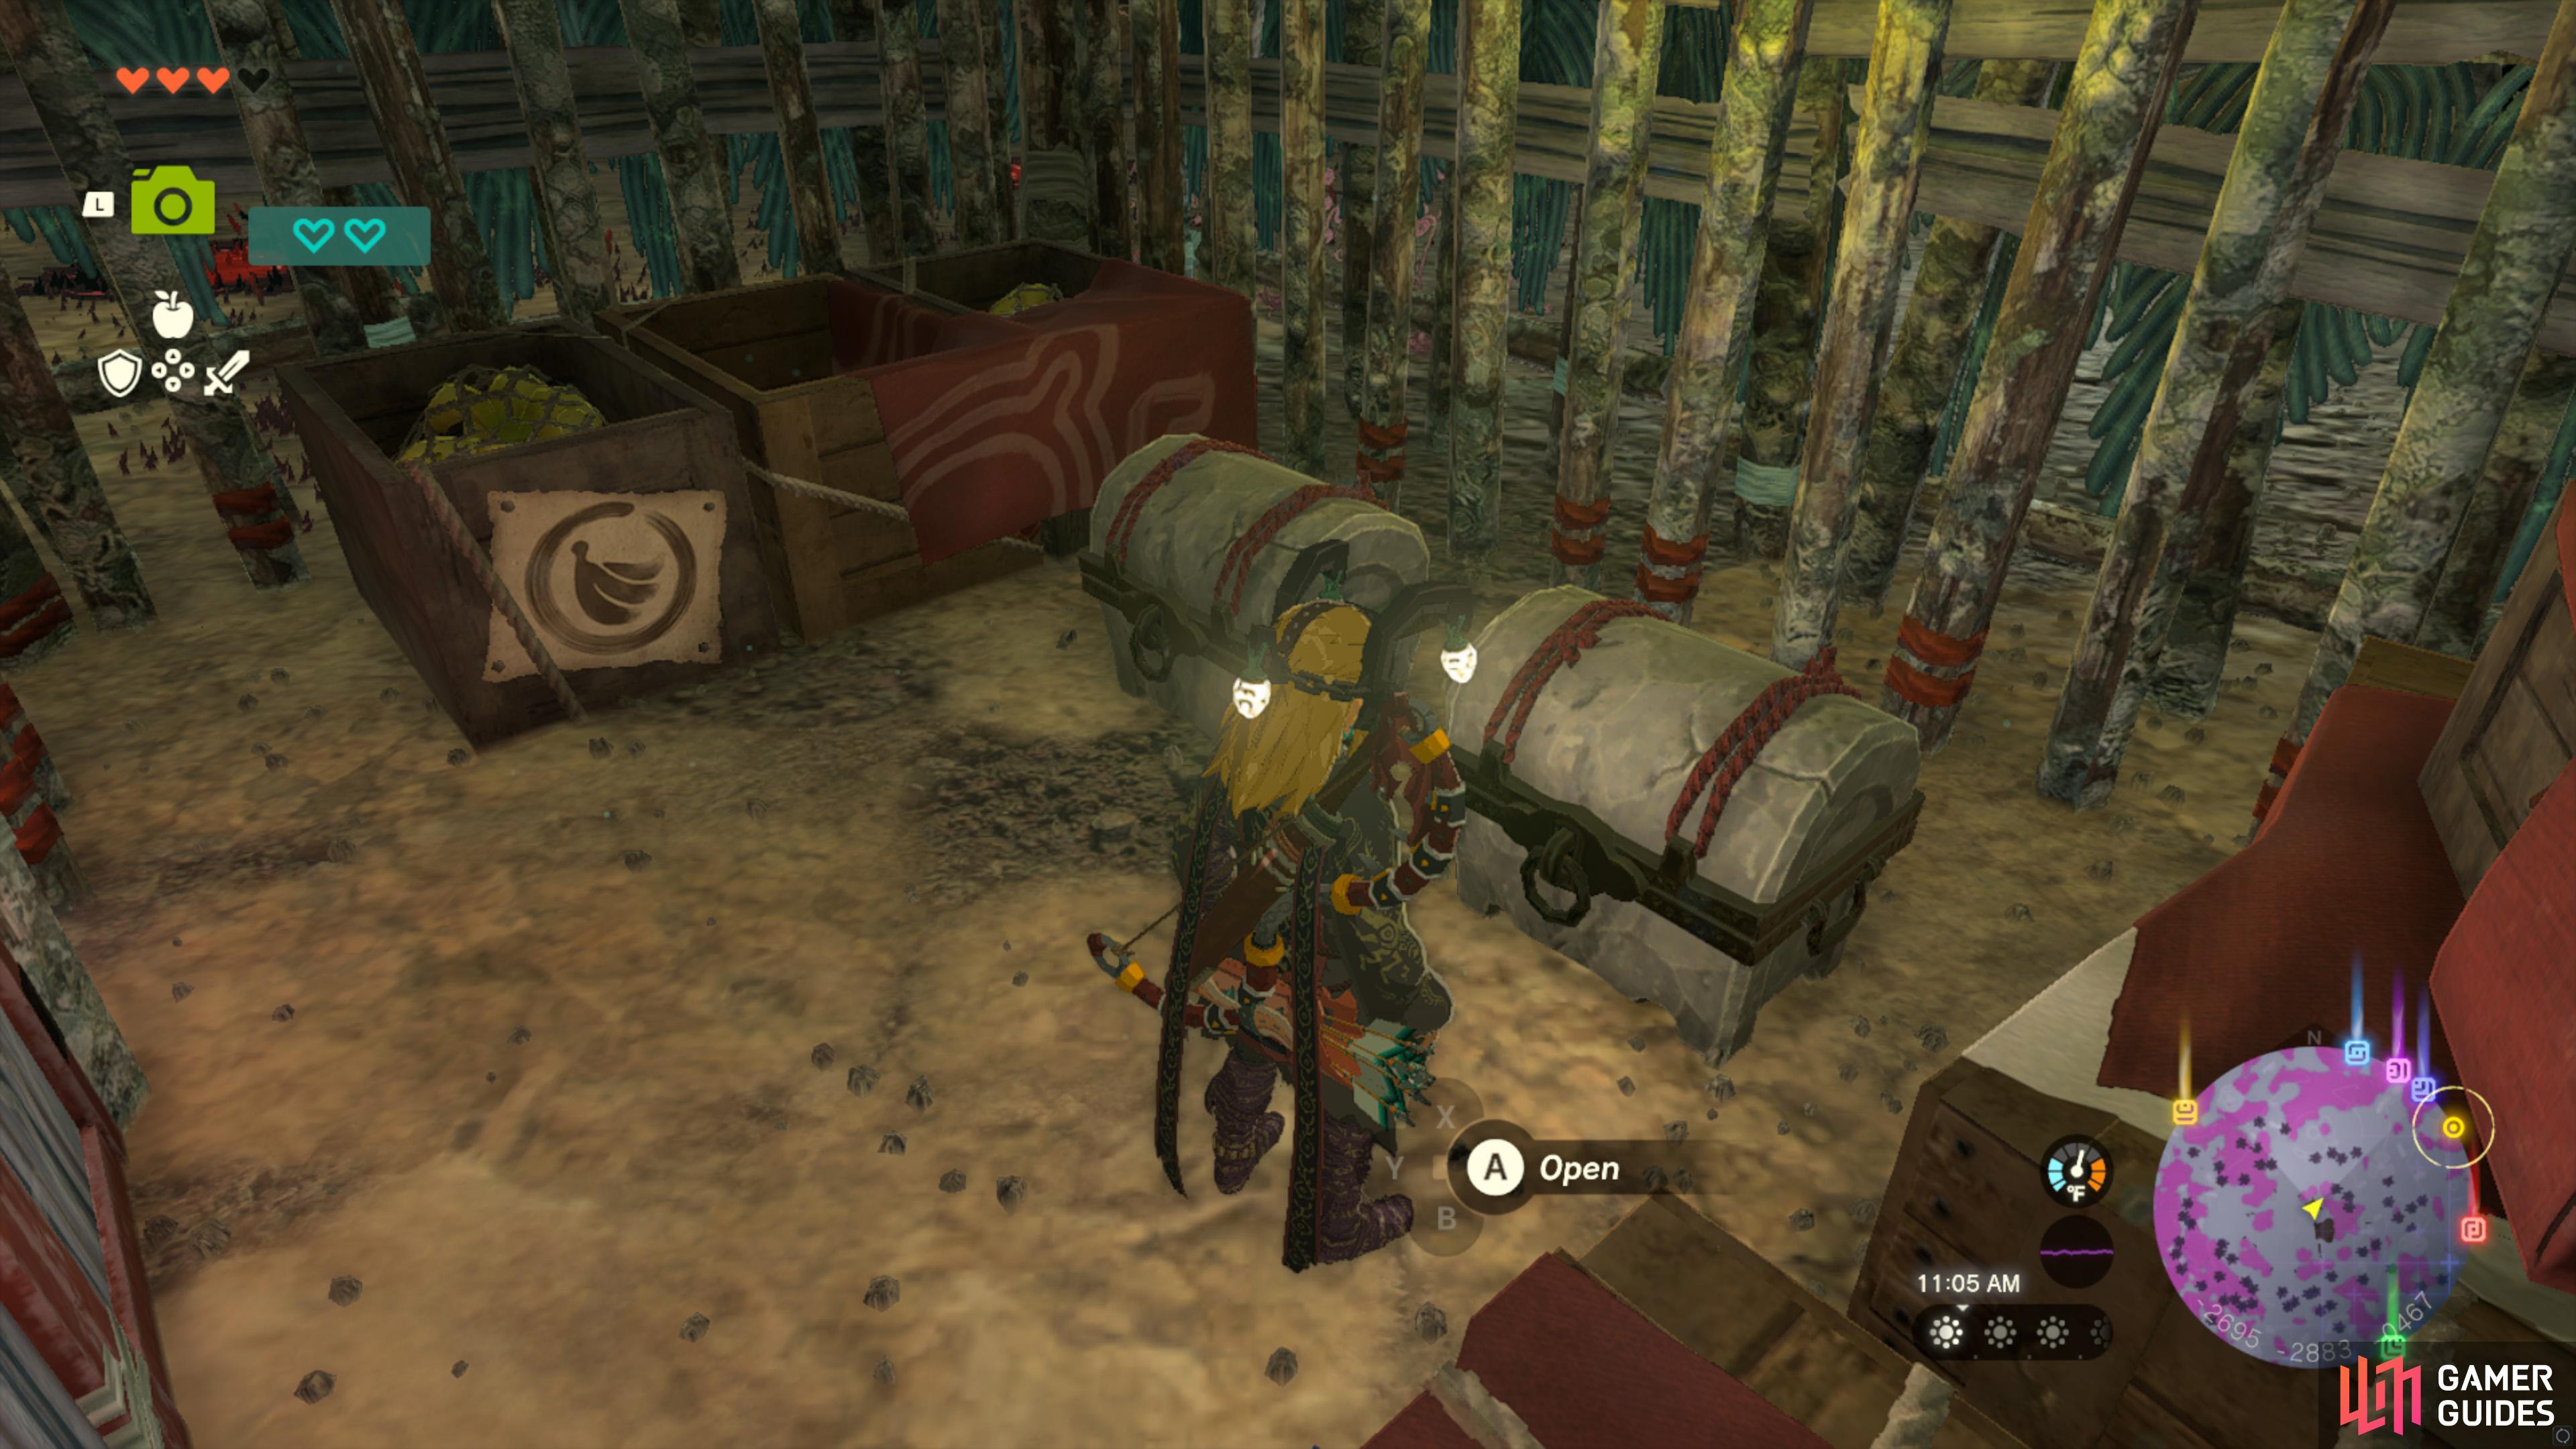
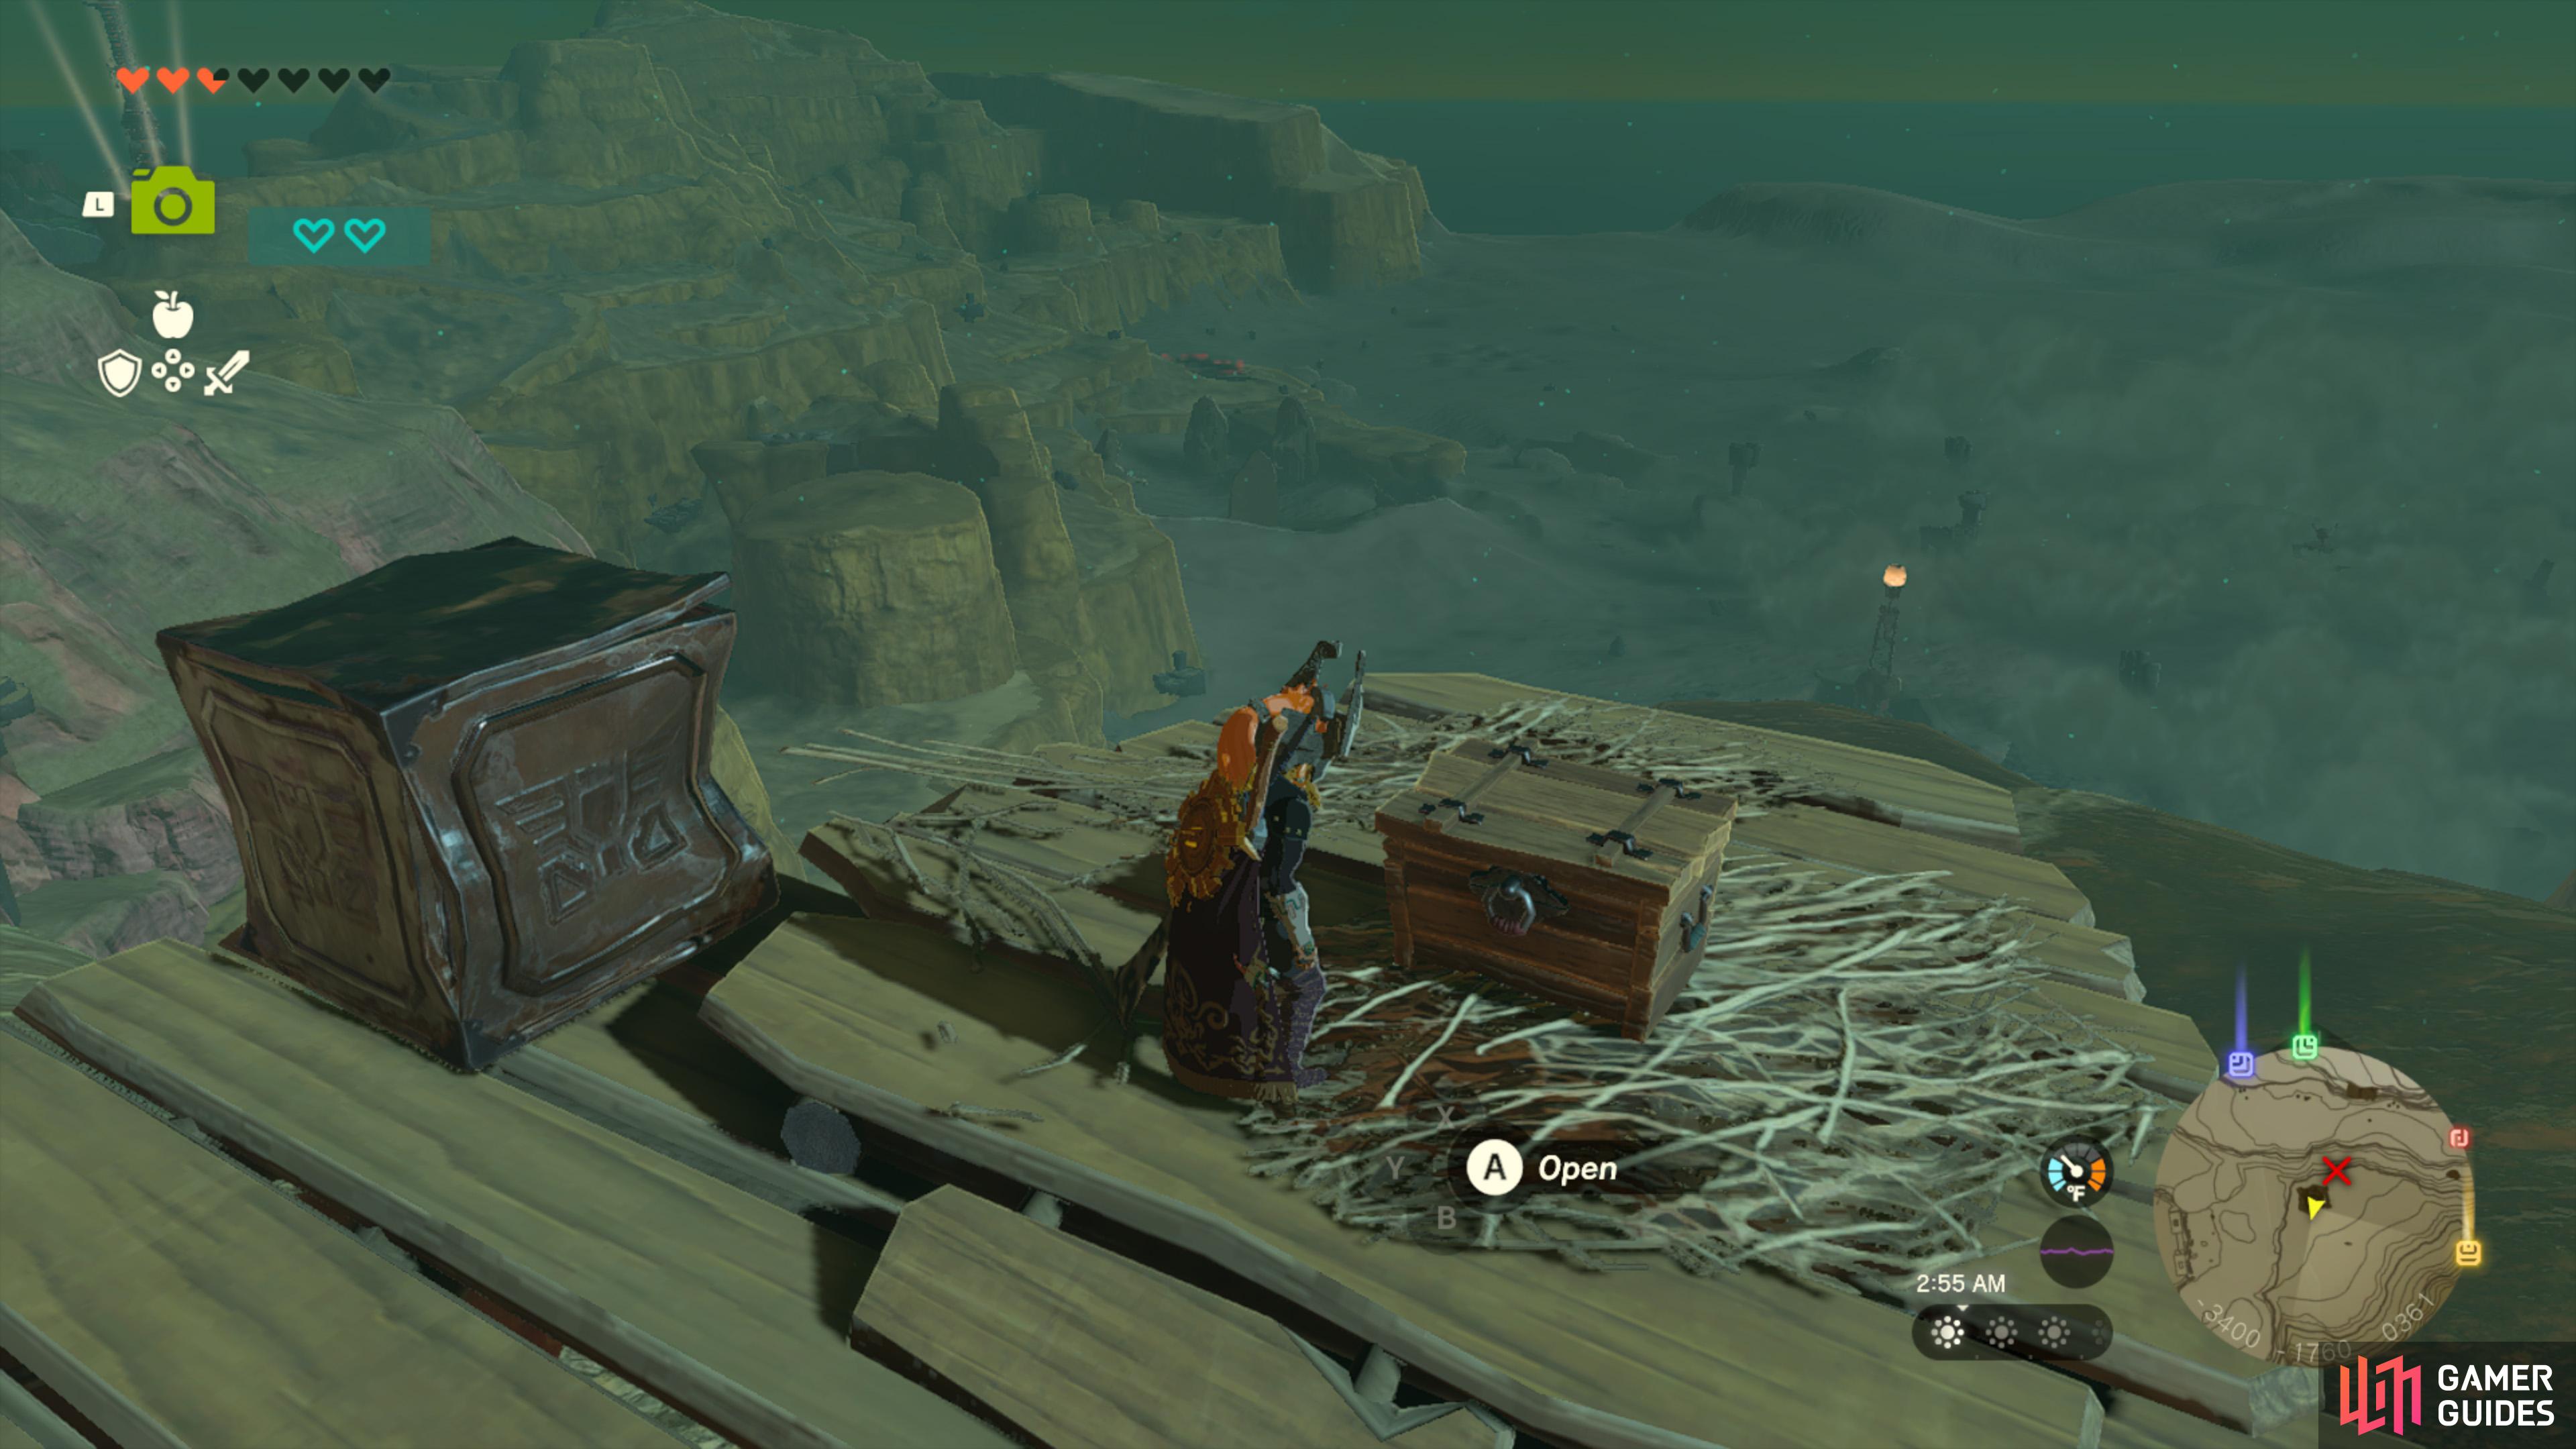
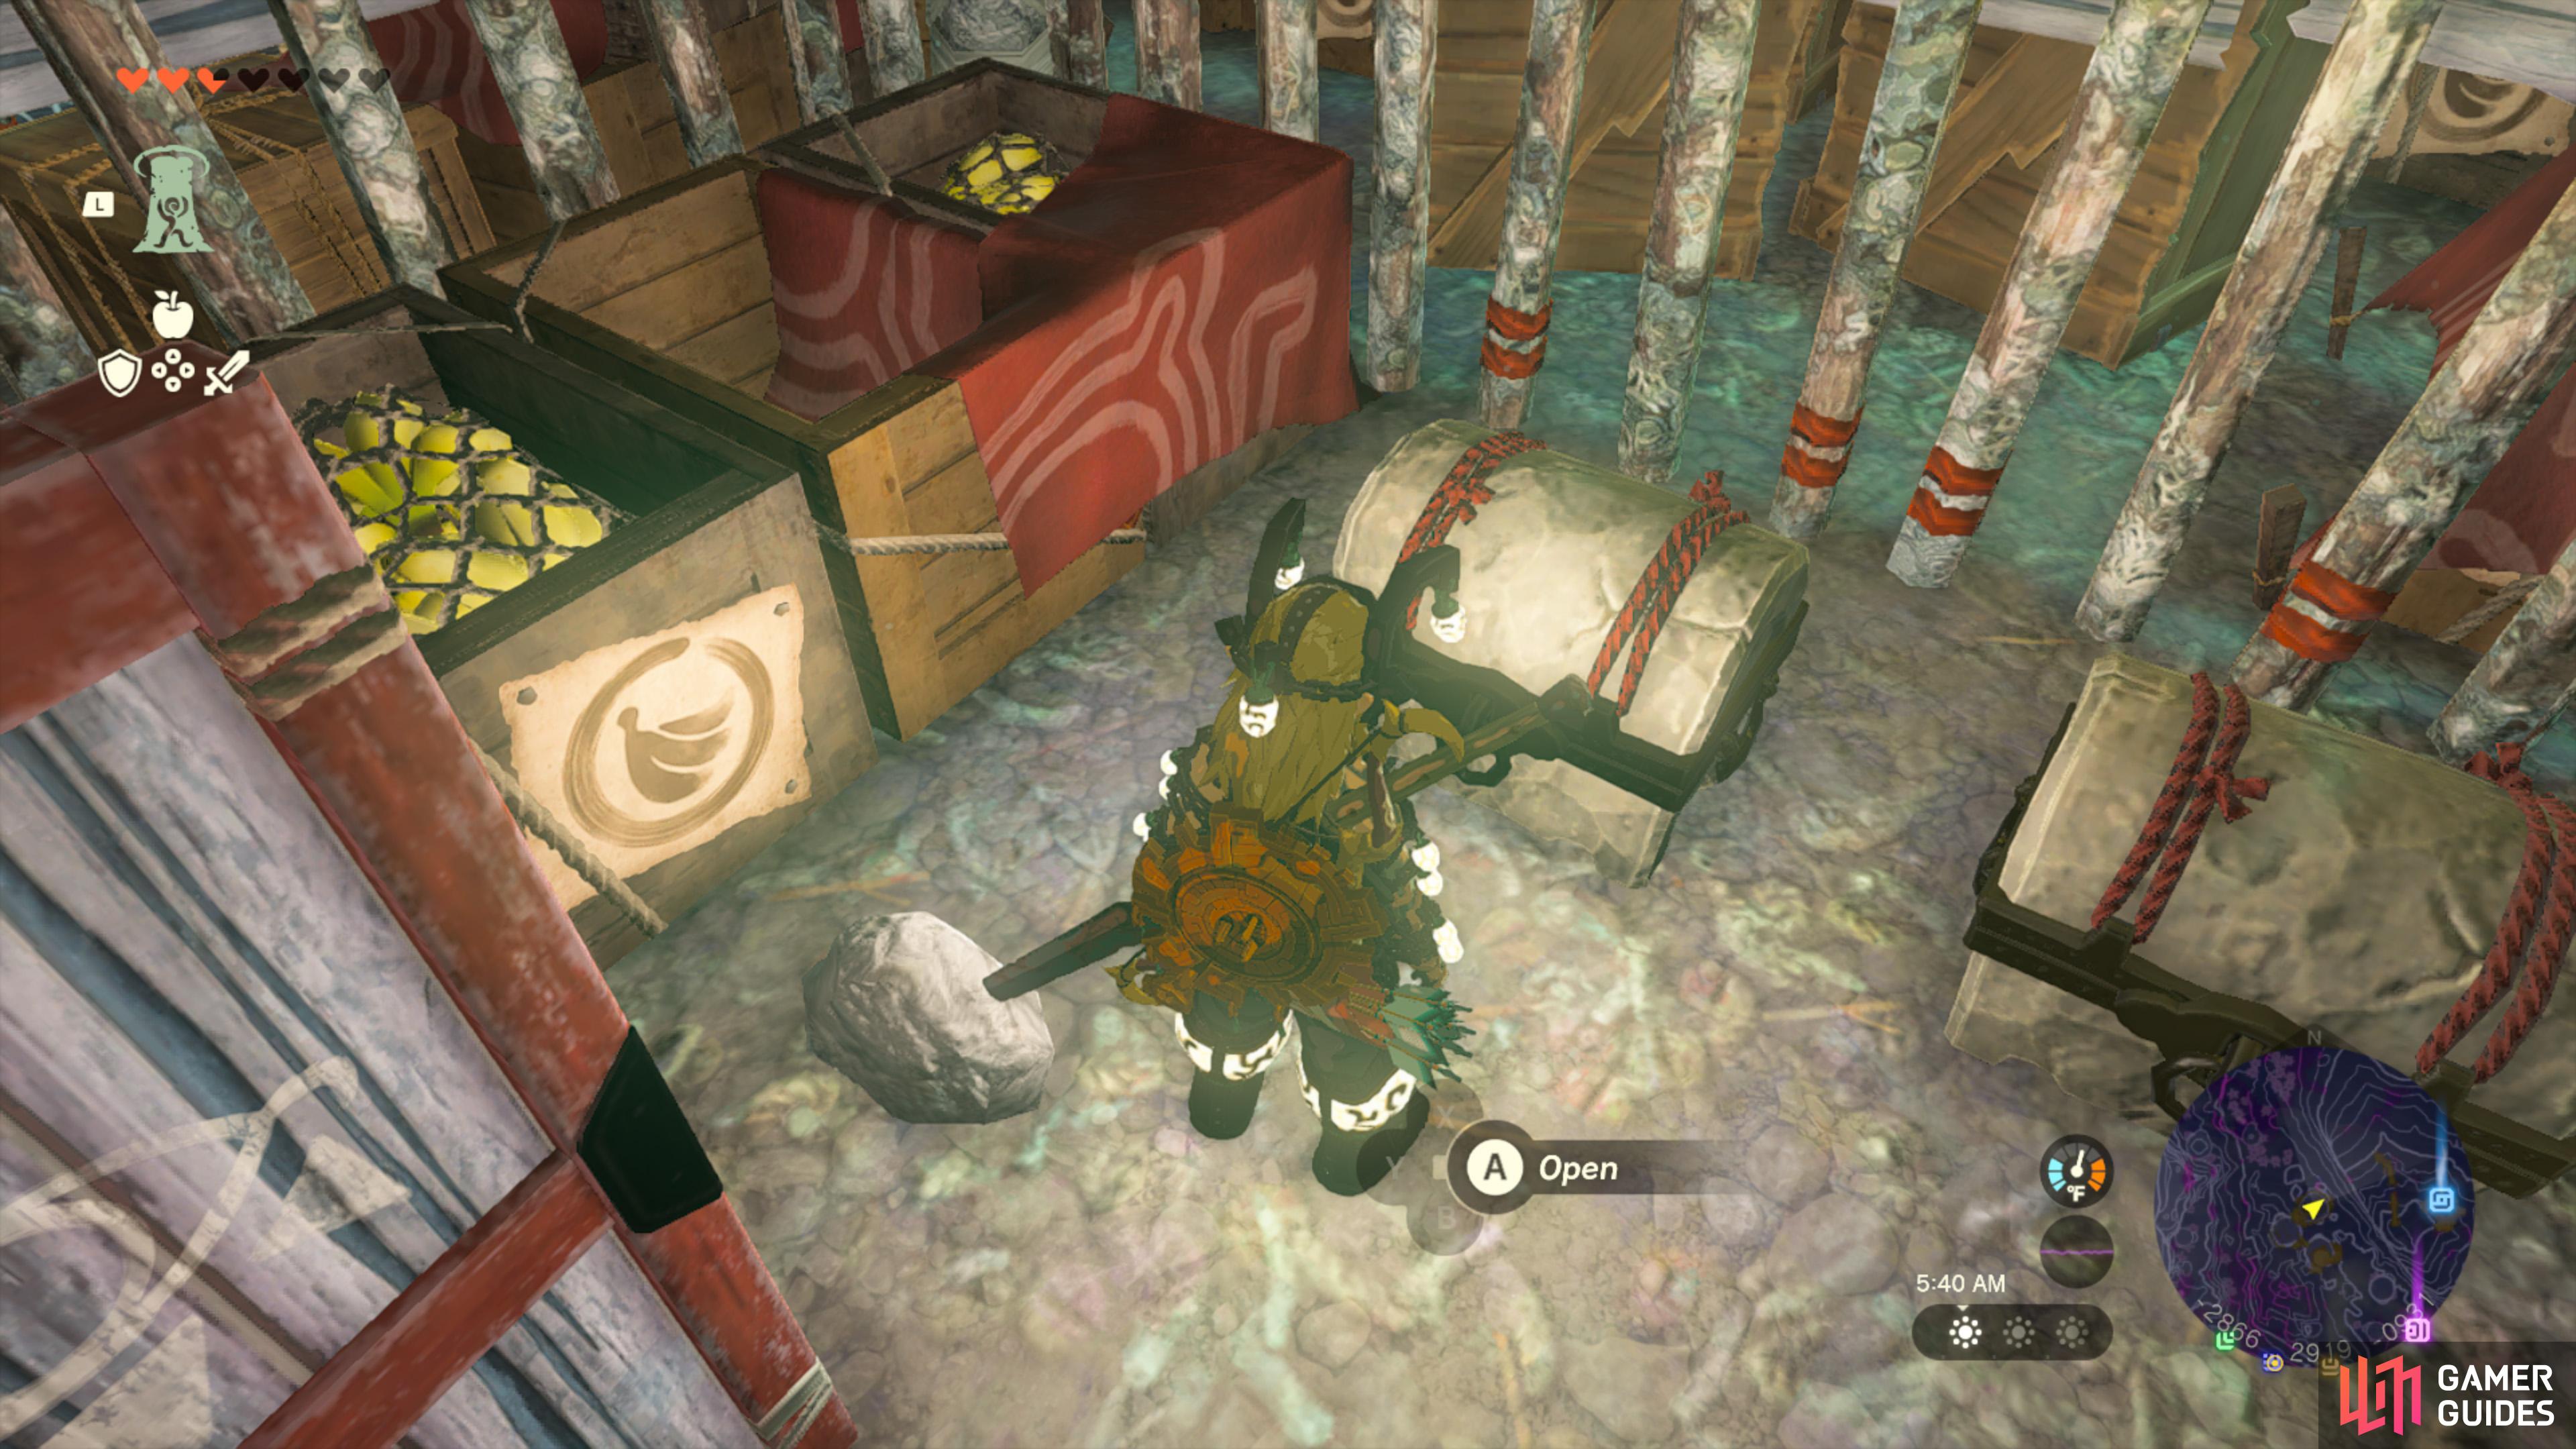
Lift the boxes out of the way to access this chest.
It contains a ![]() Red Rupee (20).
Red Rupee (20).
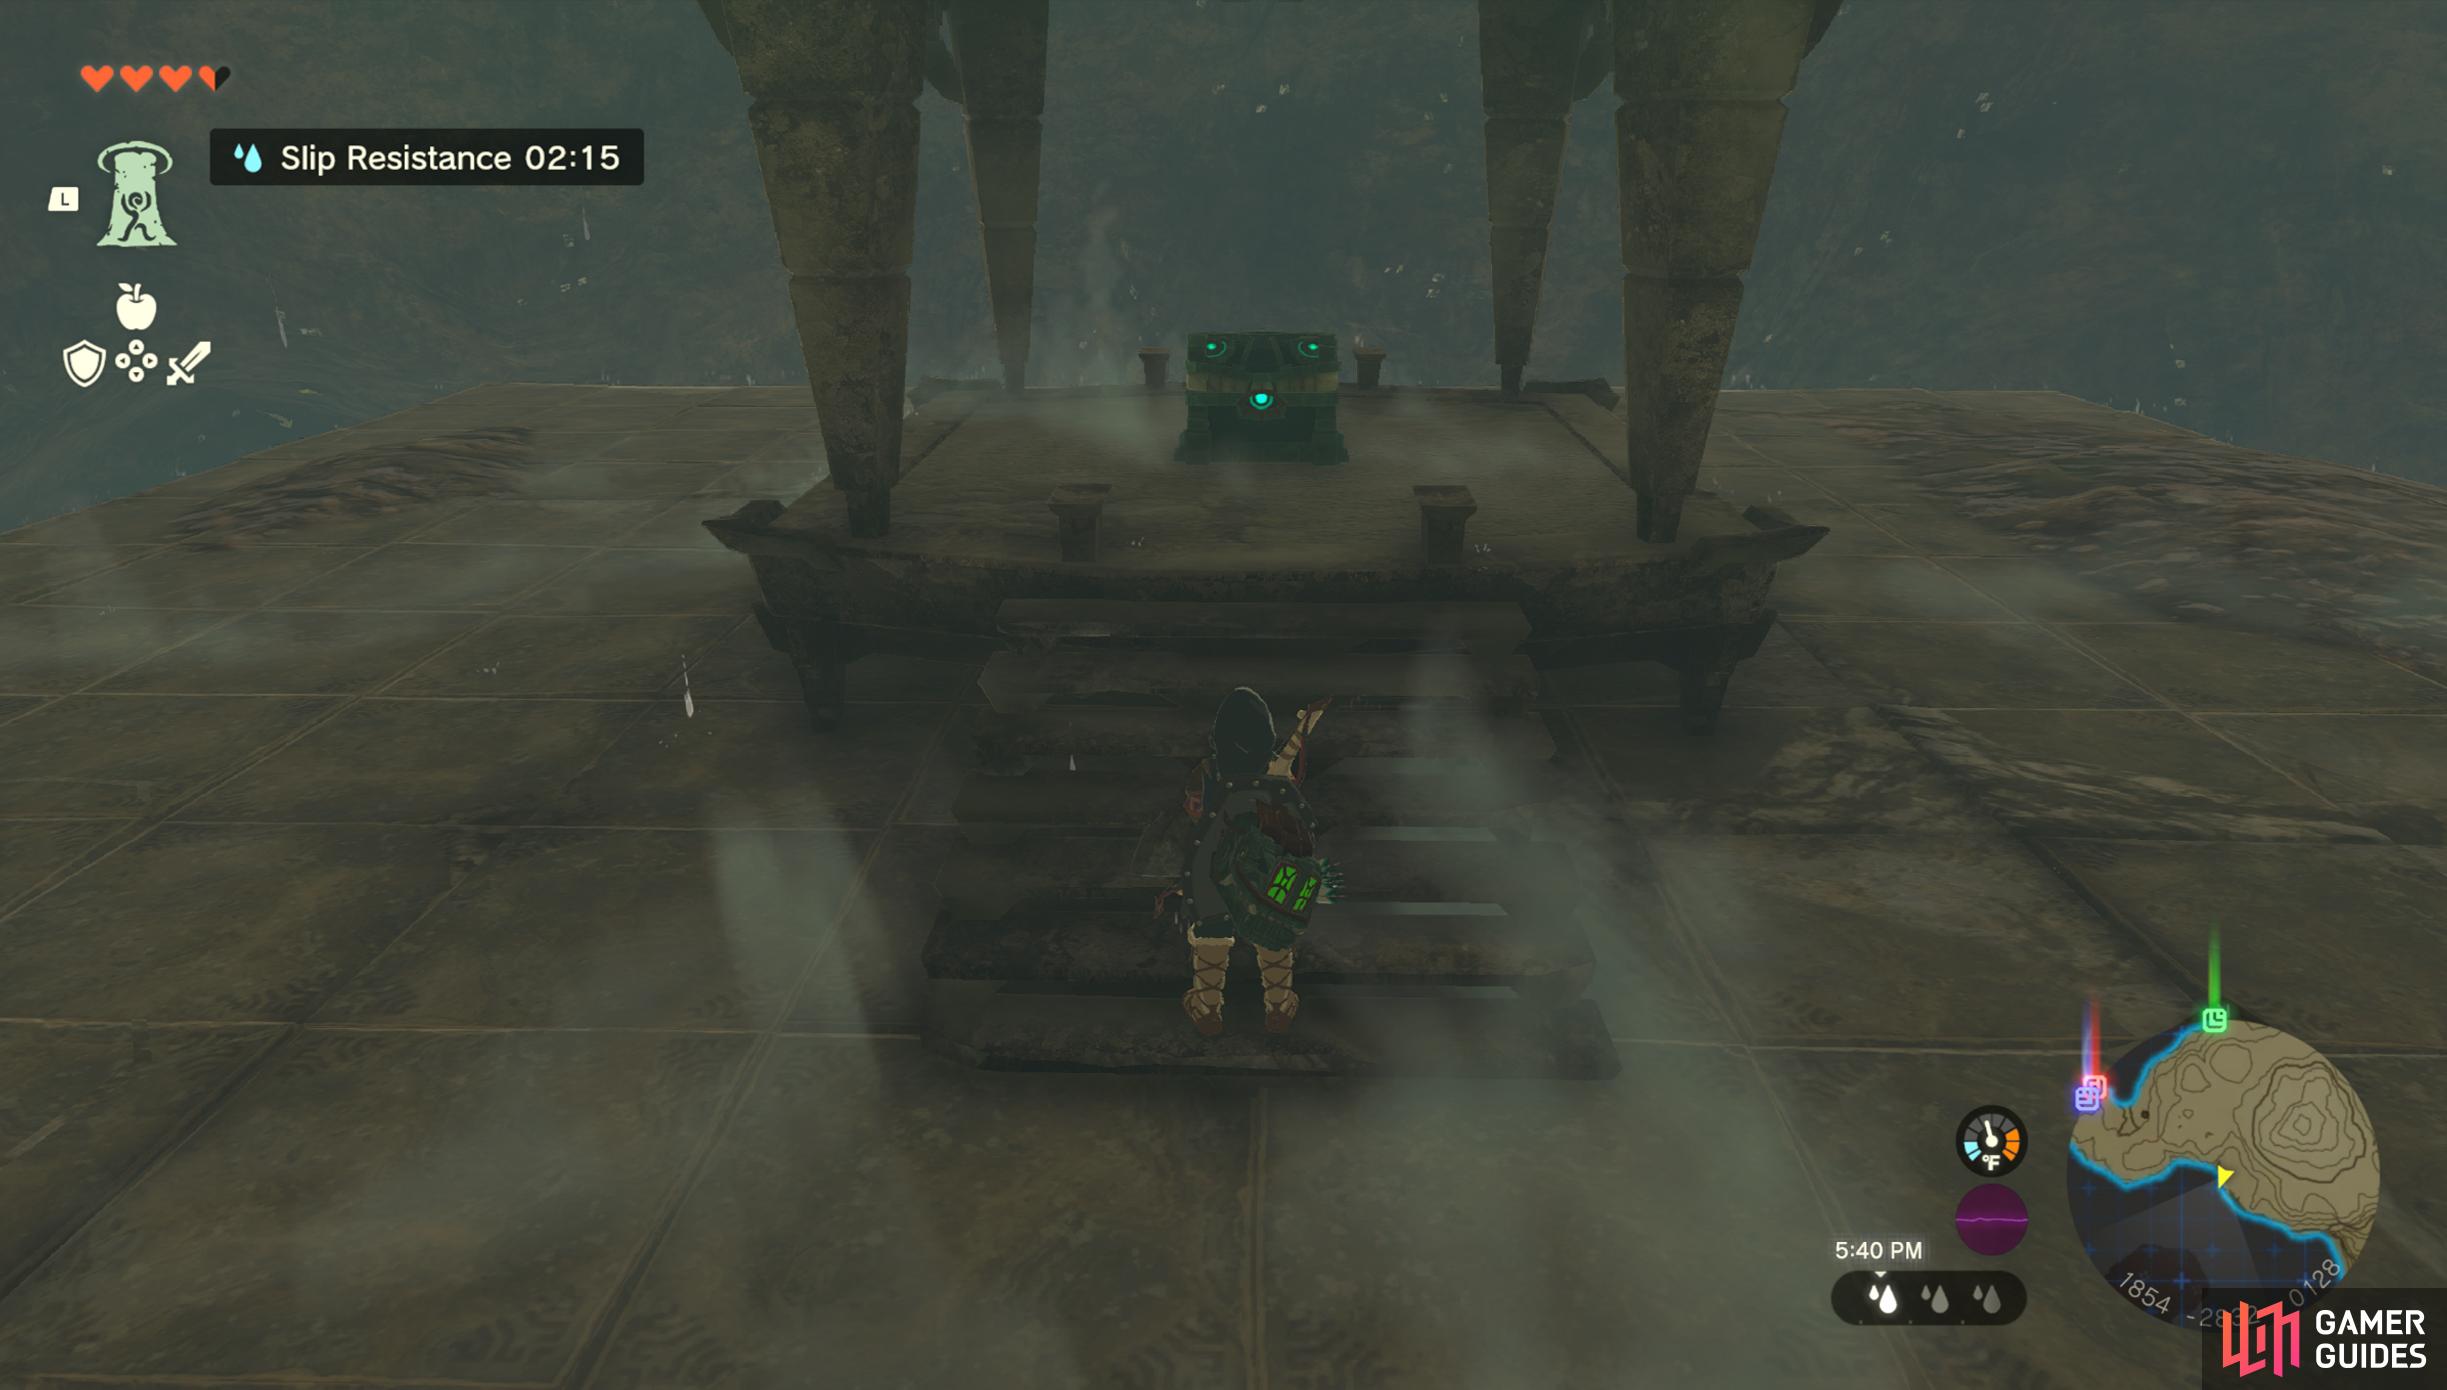
41812. Hyrule Surface Map
Inside the ![]() Mount Floria Cave. On the upper floor. With smart use of Slip resistance and
Mount Floria Cave. On the upper floor. With smart use of Slip resistance and ![]() Ascend you can climb the middle stone pillar. The chest will on top.
Ascend you can climb the middle stone pillar. The chest will on top.
- Contains Large Zonai Charge.
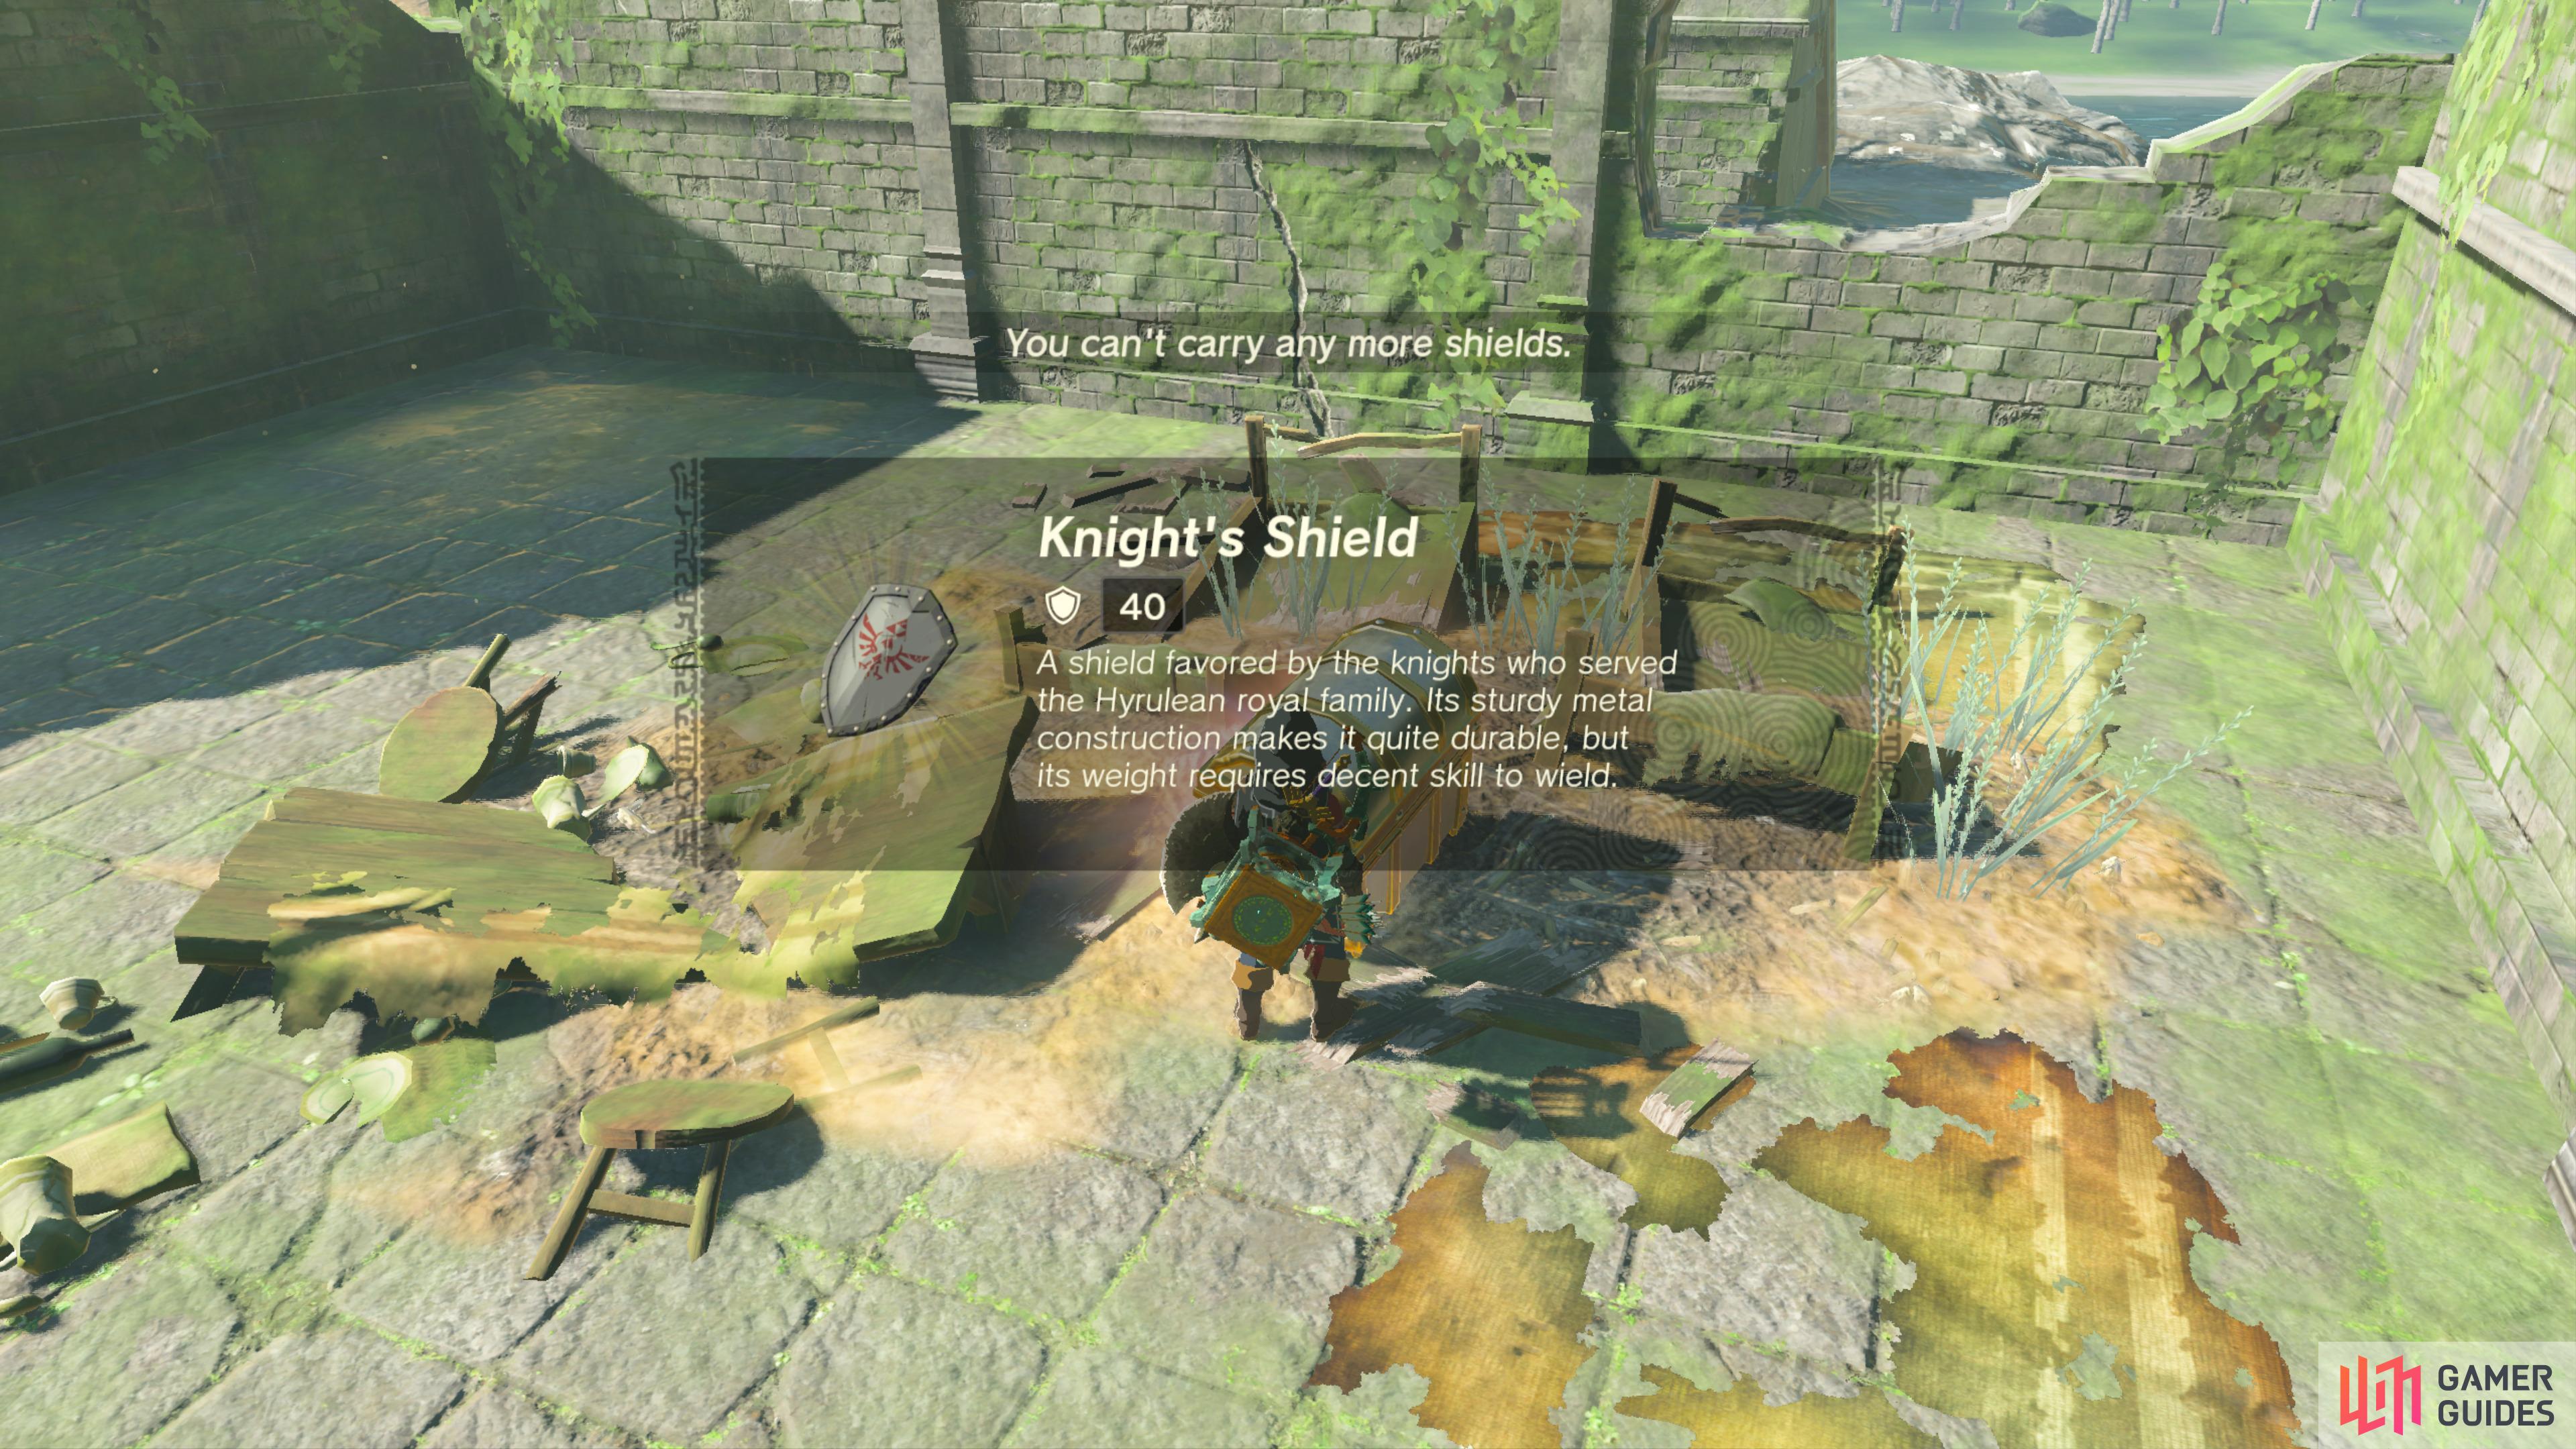
41848. Hyrule Surface Map
Use ![]() Ultrahand to pull this Chest out of the ground.
Ultrahand to pull this Chest out of the ground.
It contains a ![]() Knight’s Shield.
Knight’s Shield.
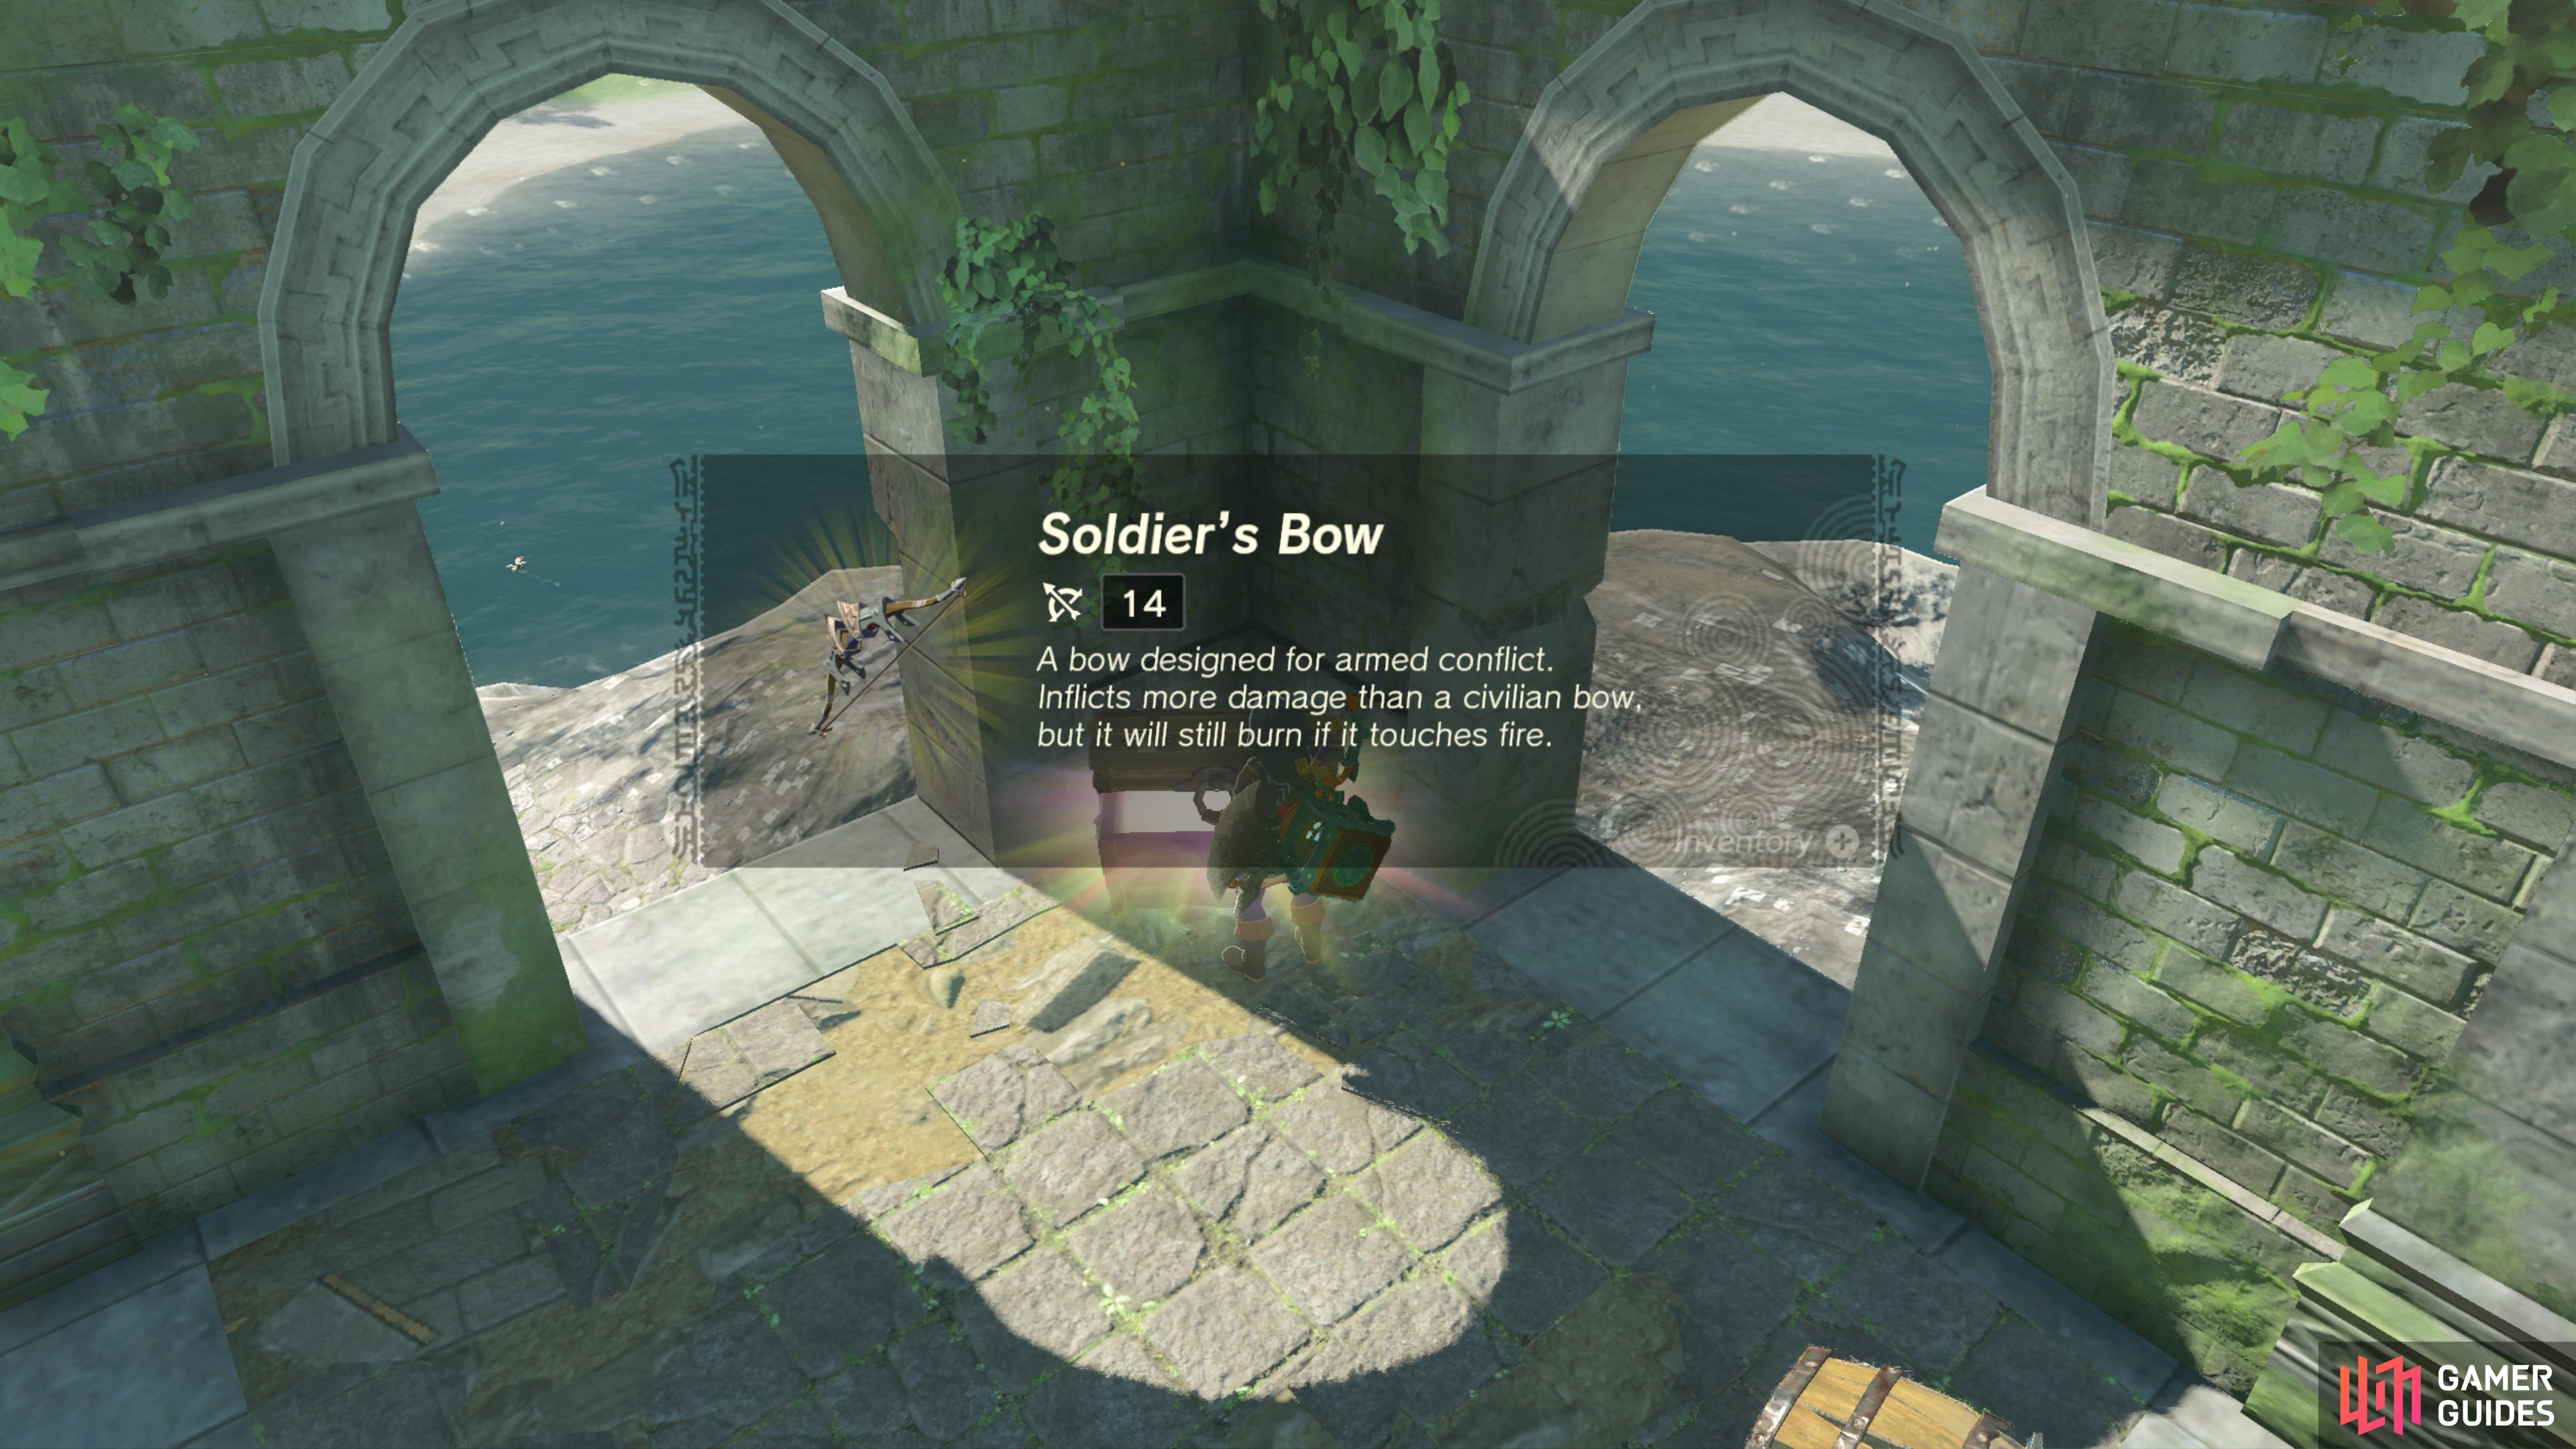
41852. Hyrule Surface Map
Climb up the stairs and move the crate out of the way to find this Chest.
It contains a ![]() Soldier’s Bow.
Soldier’s Bow.
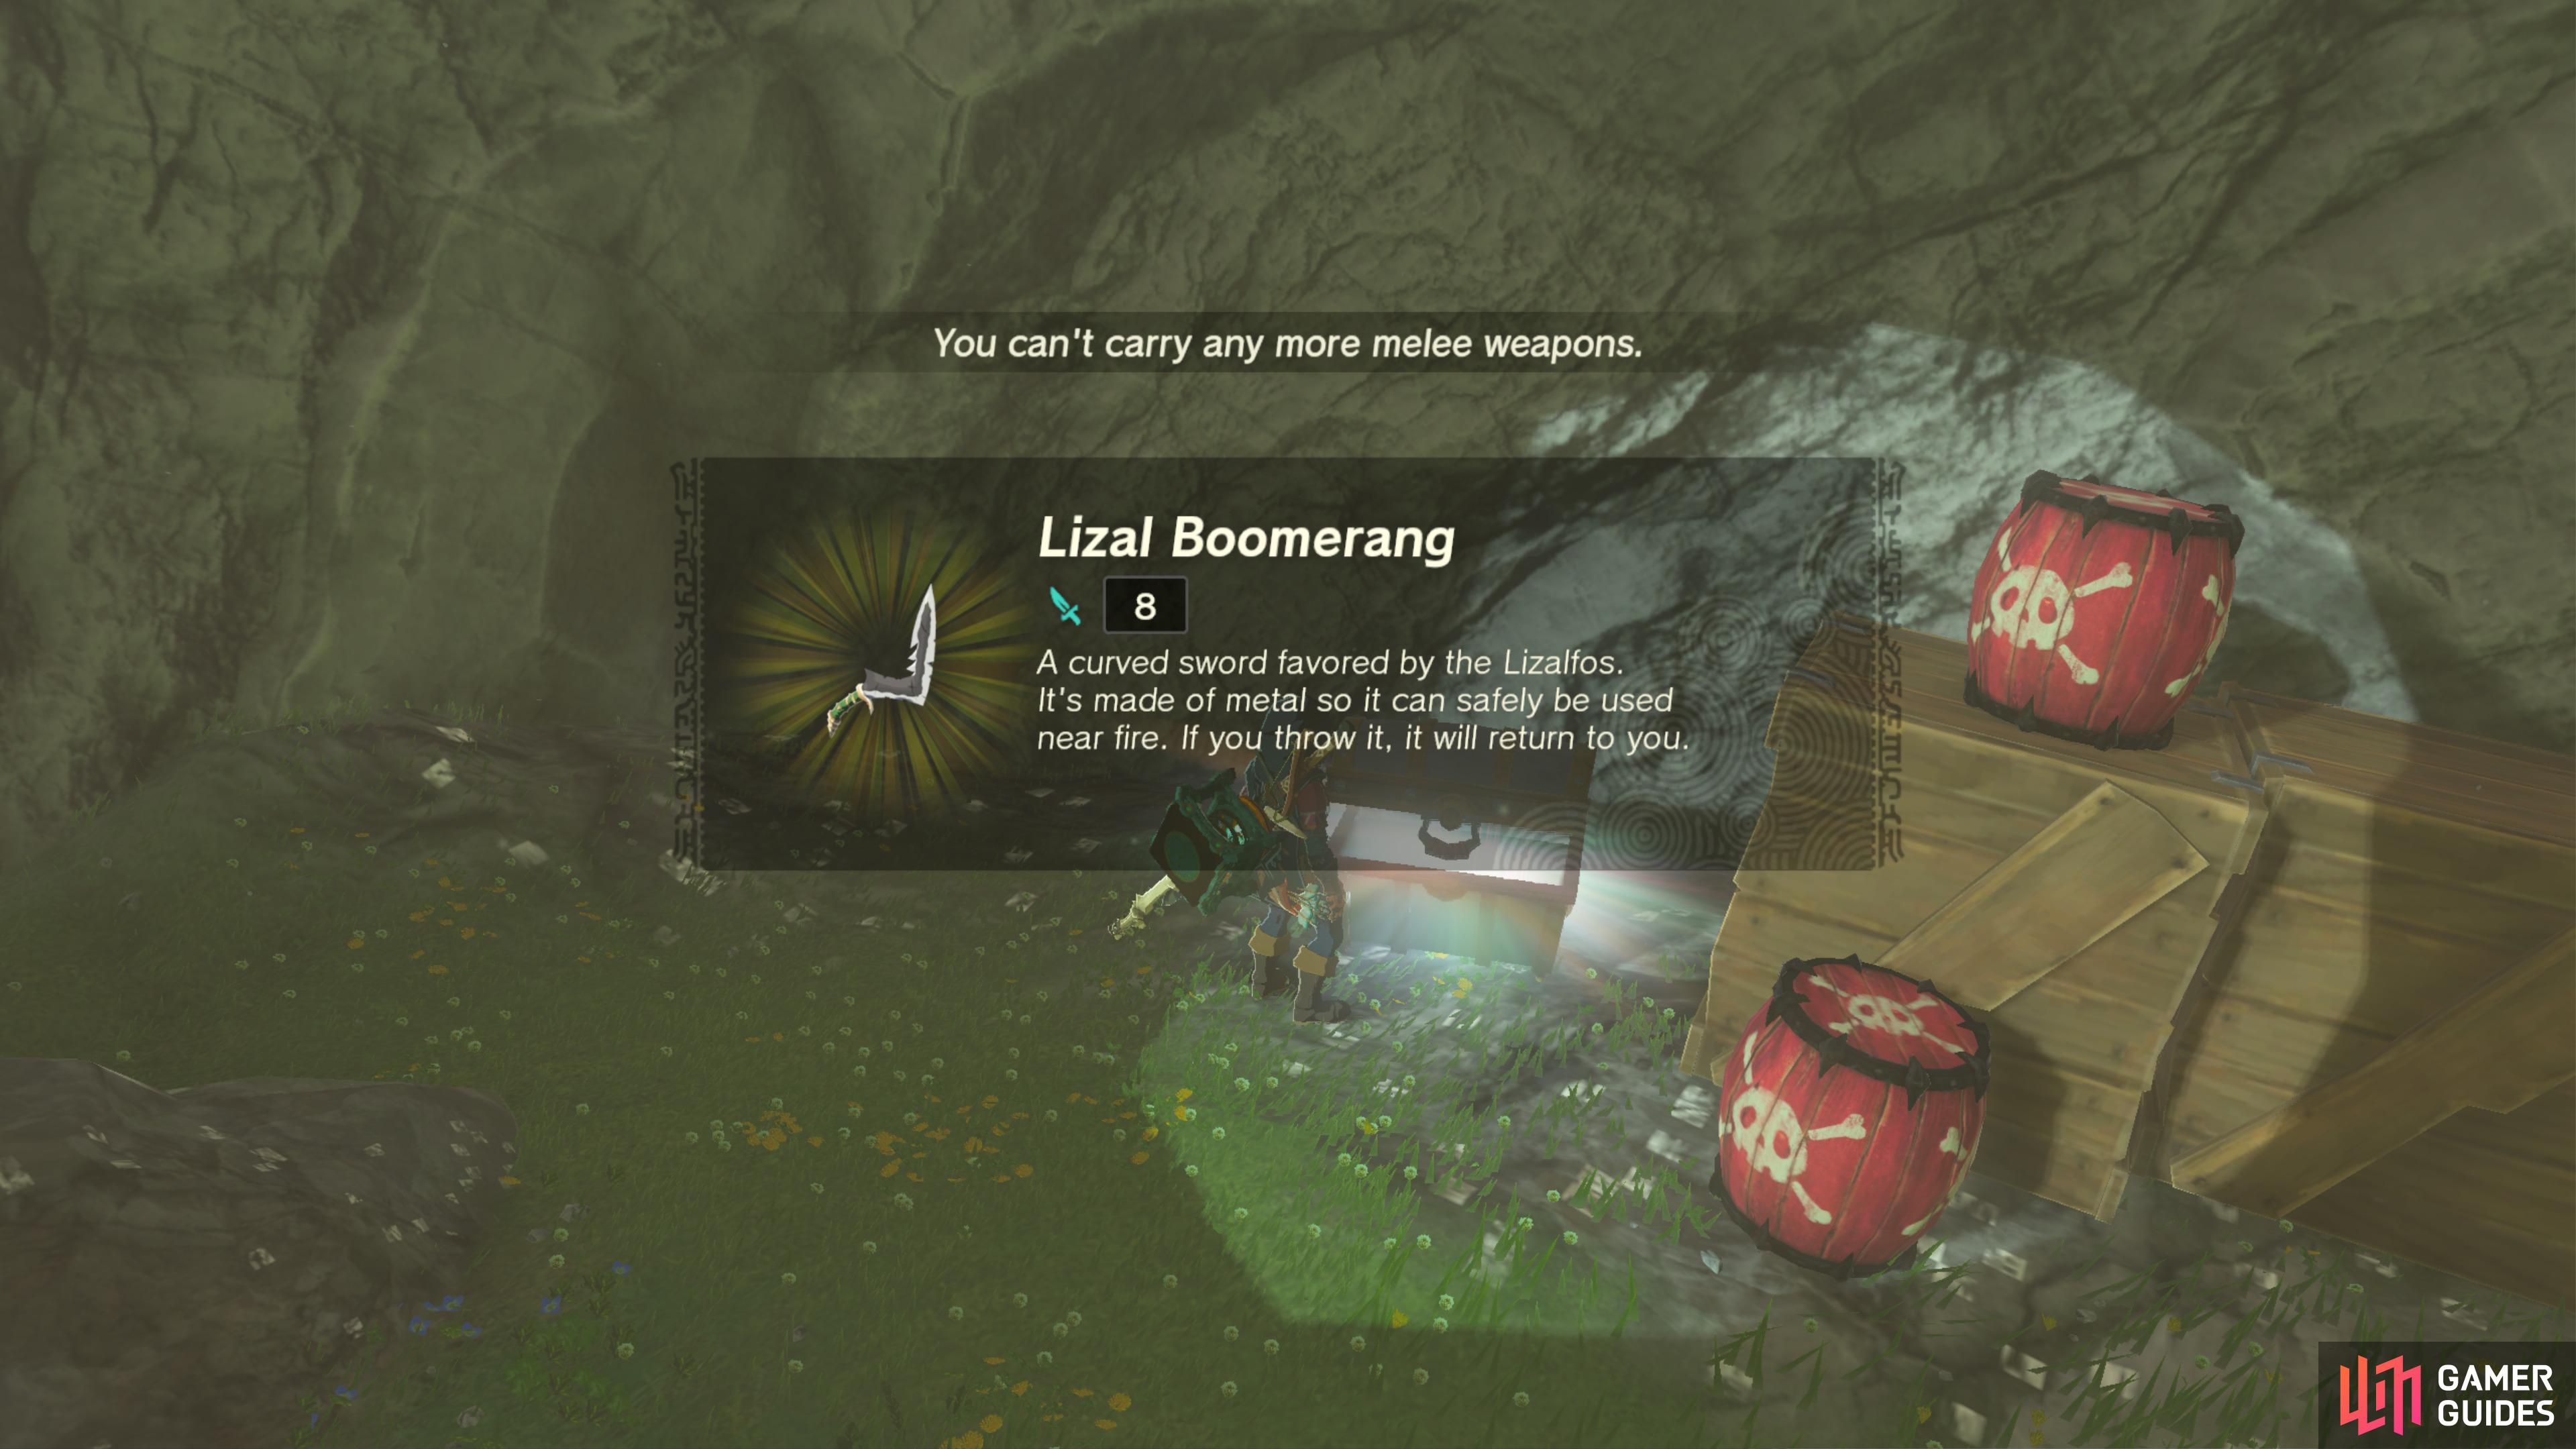
41928. Hyrule Surface Map
In the back of this ![]() Bokoblin camp.
Bokoblin camp.
It contains a ![]() Lizal Boomerang.
Lizal Boomerang.
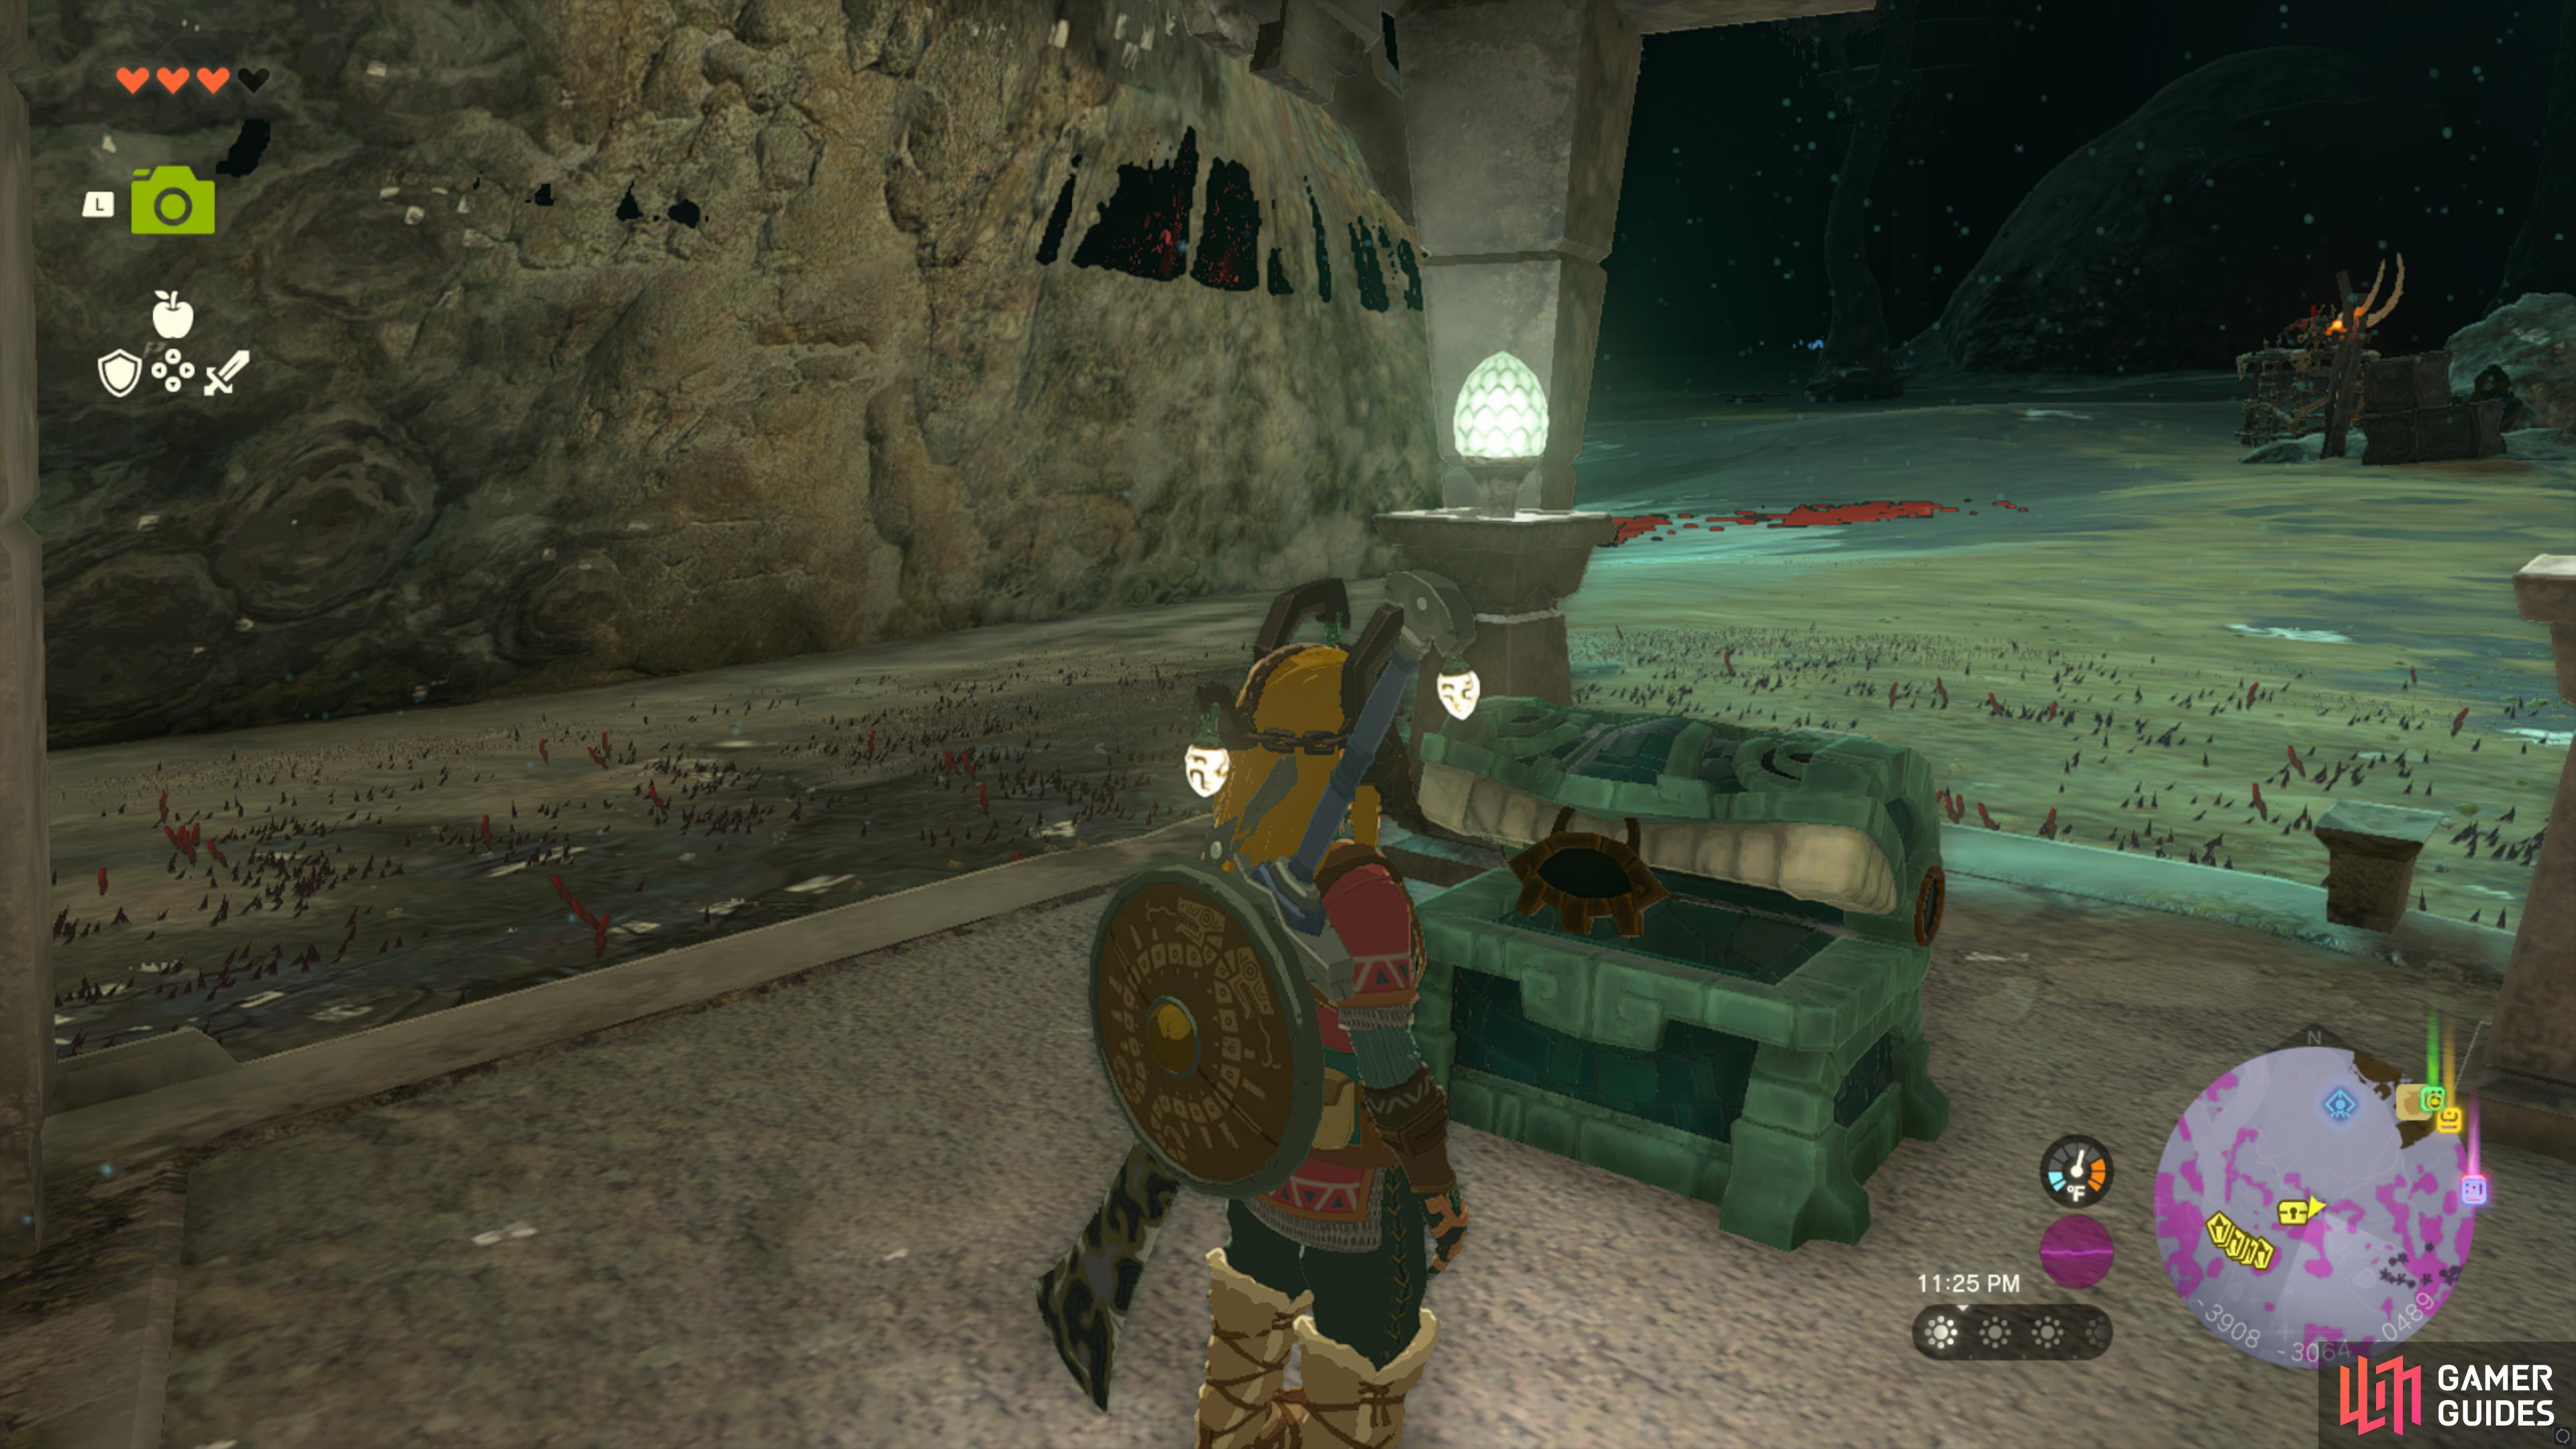
42076. Hyrule Depths Map
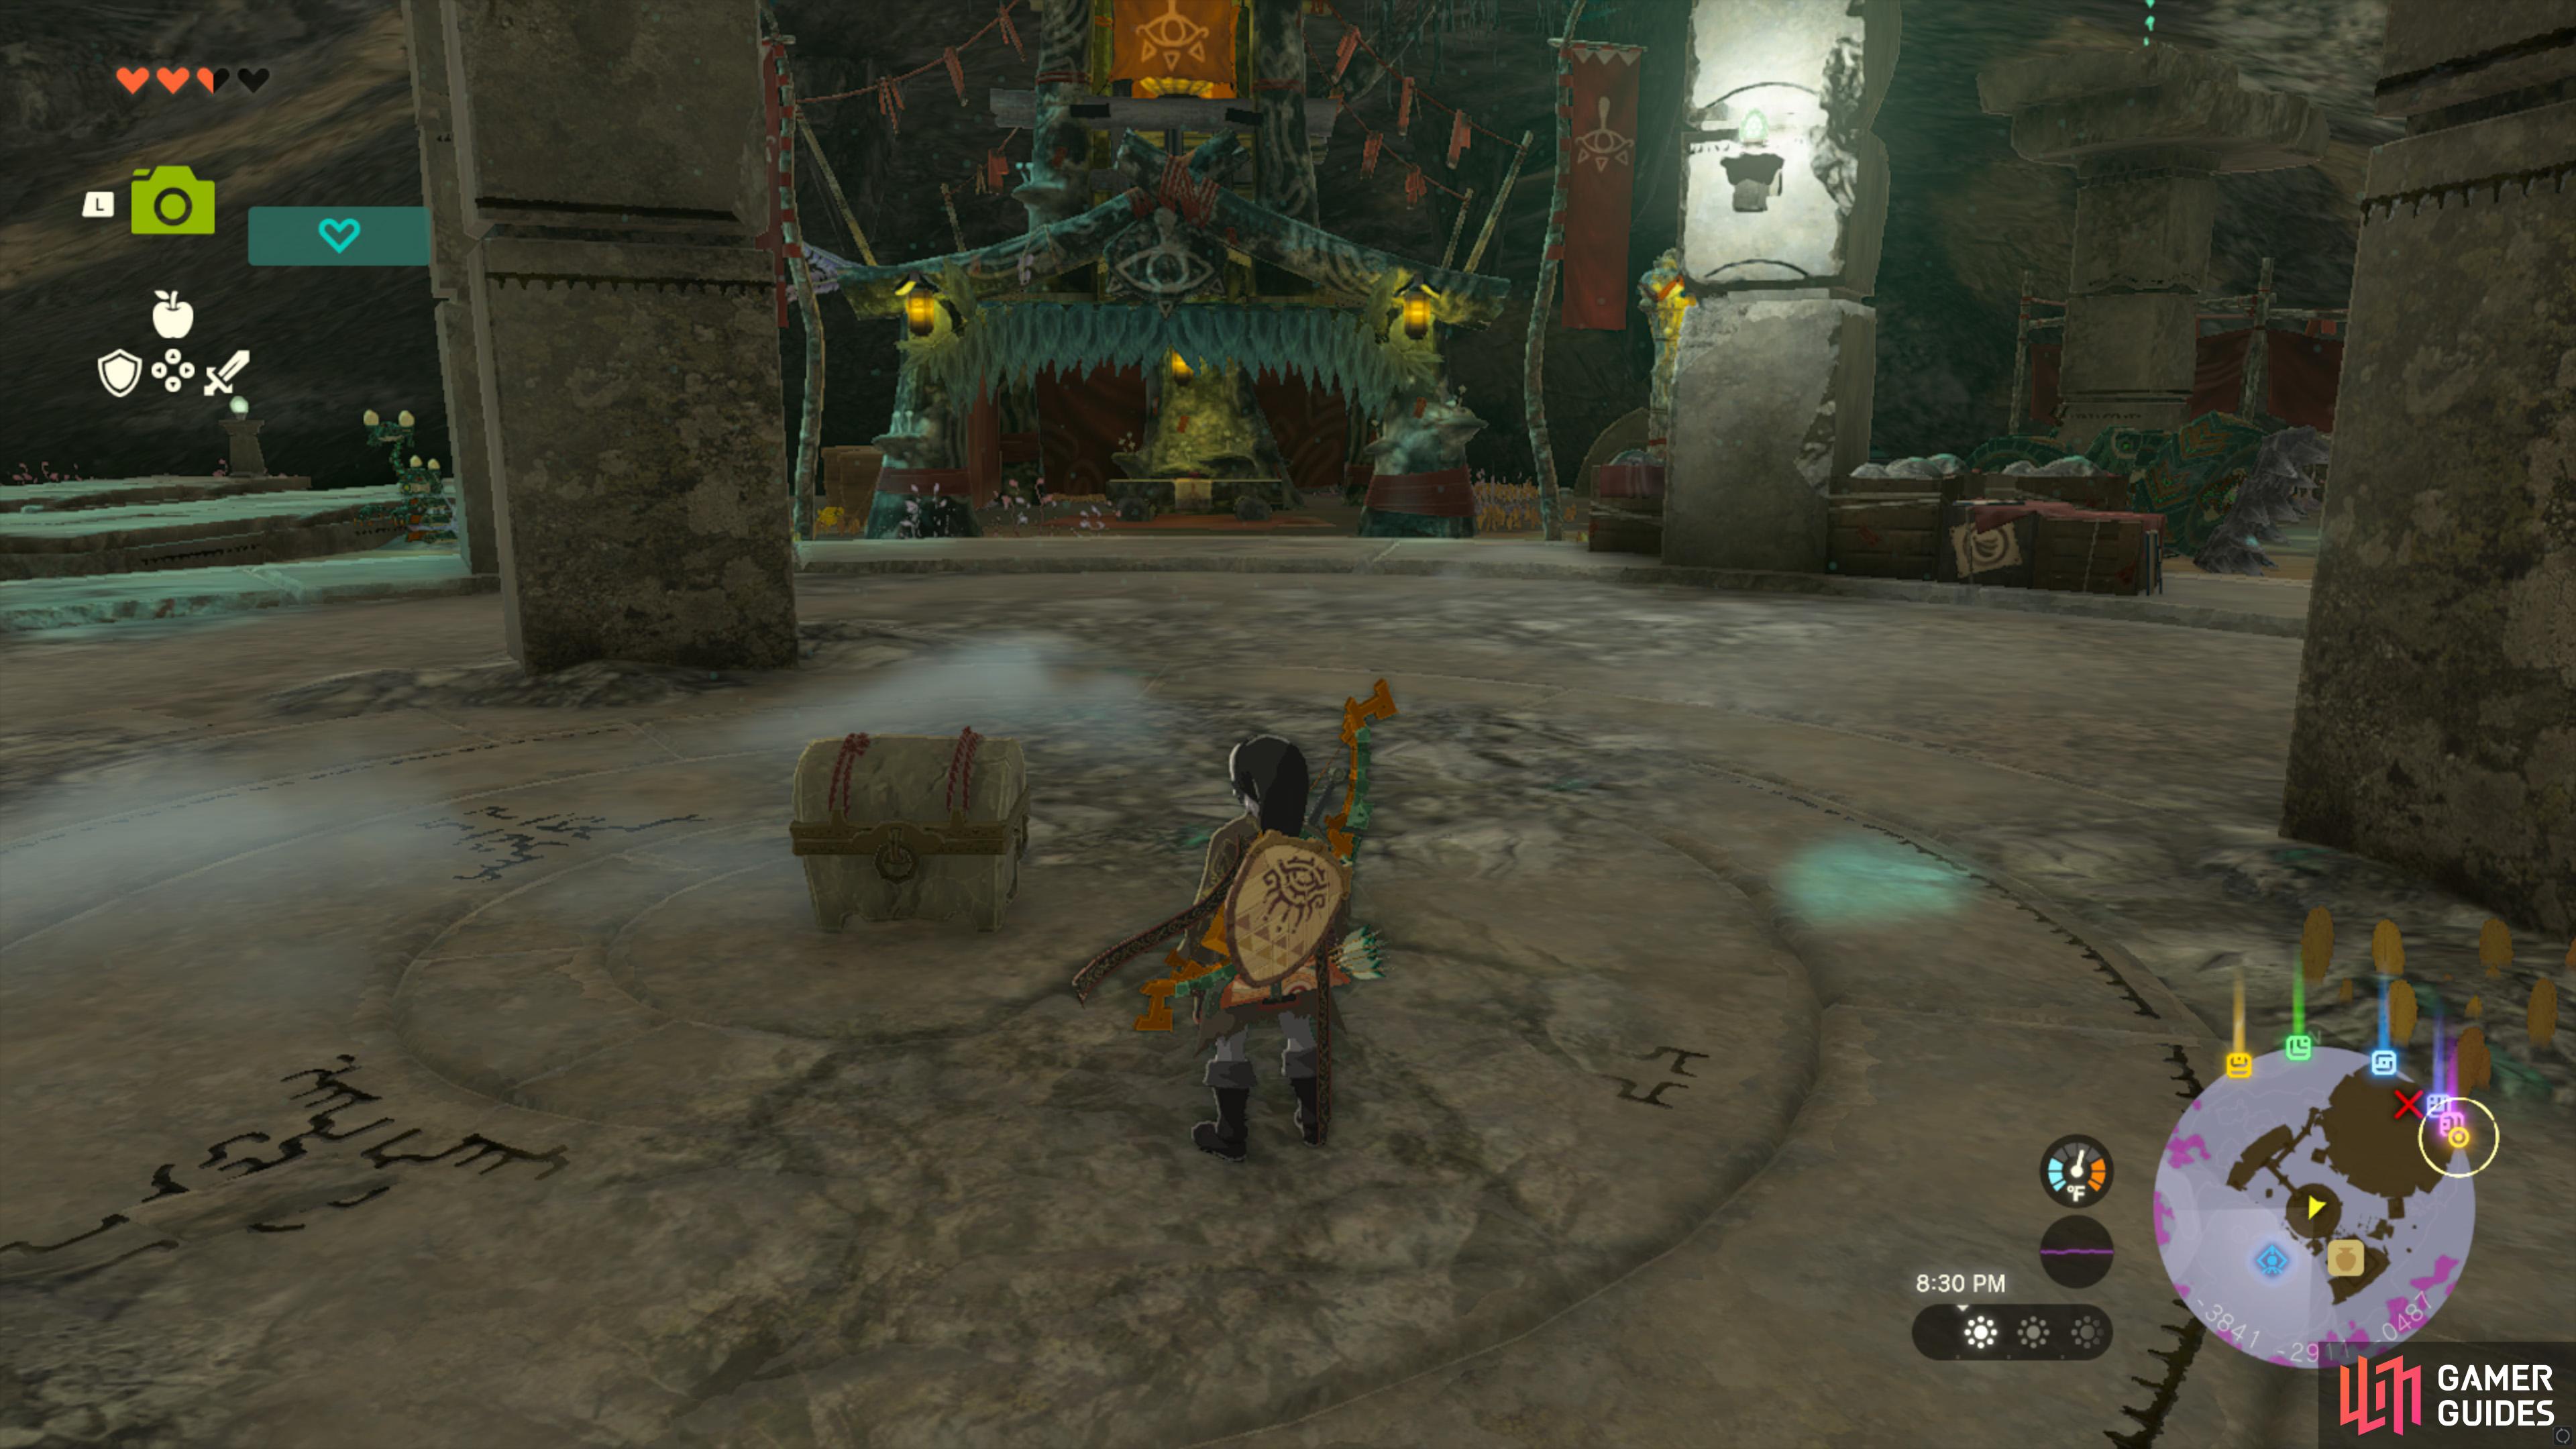
Special chest awarded after defeating ![]() Master Kohga for the first time.
Master Kohga for the first time.
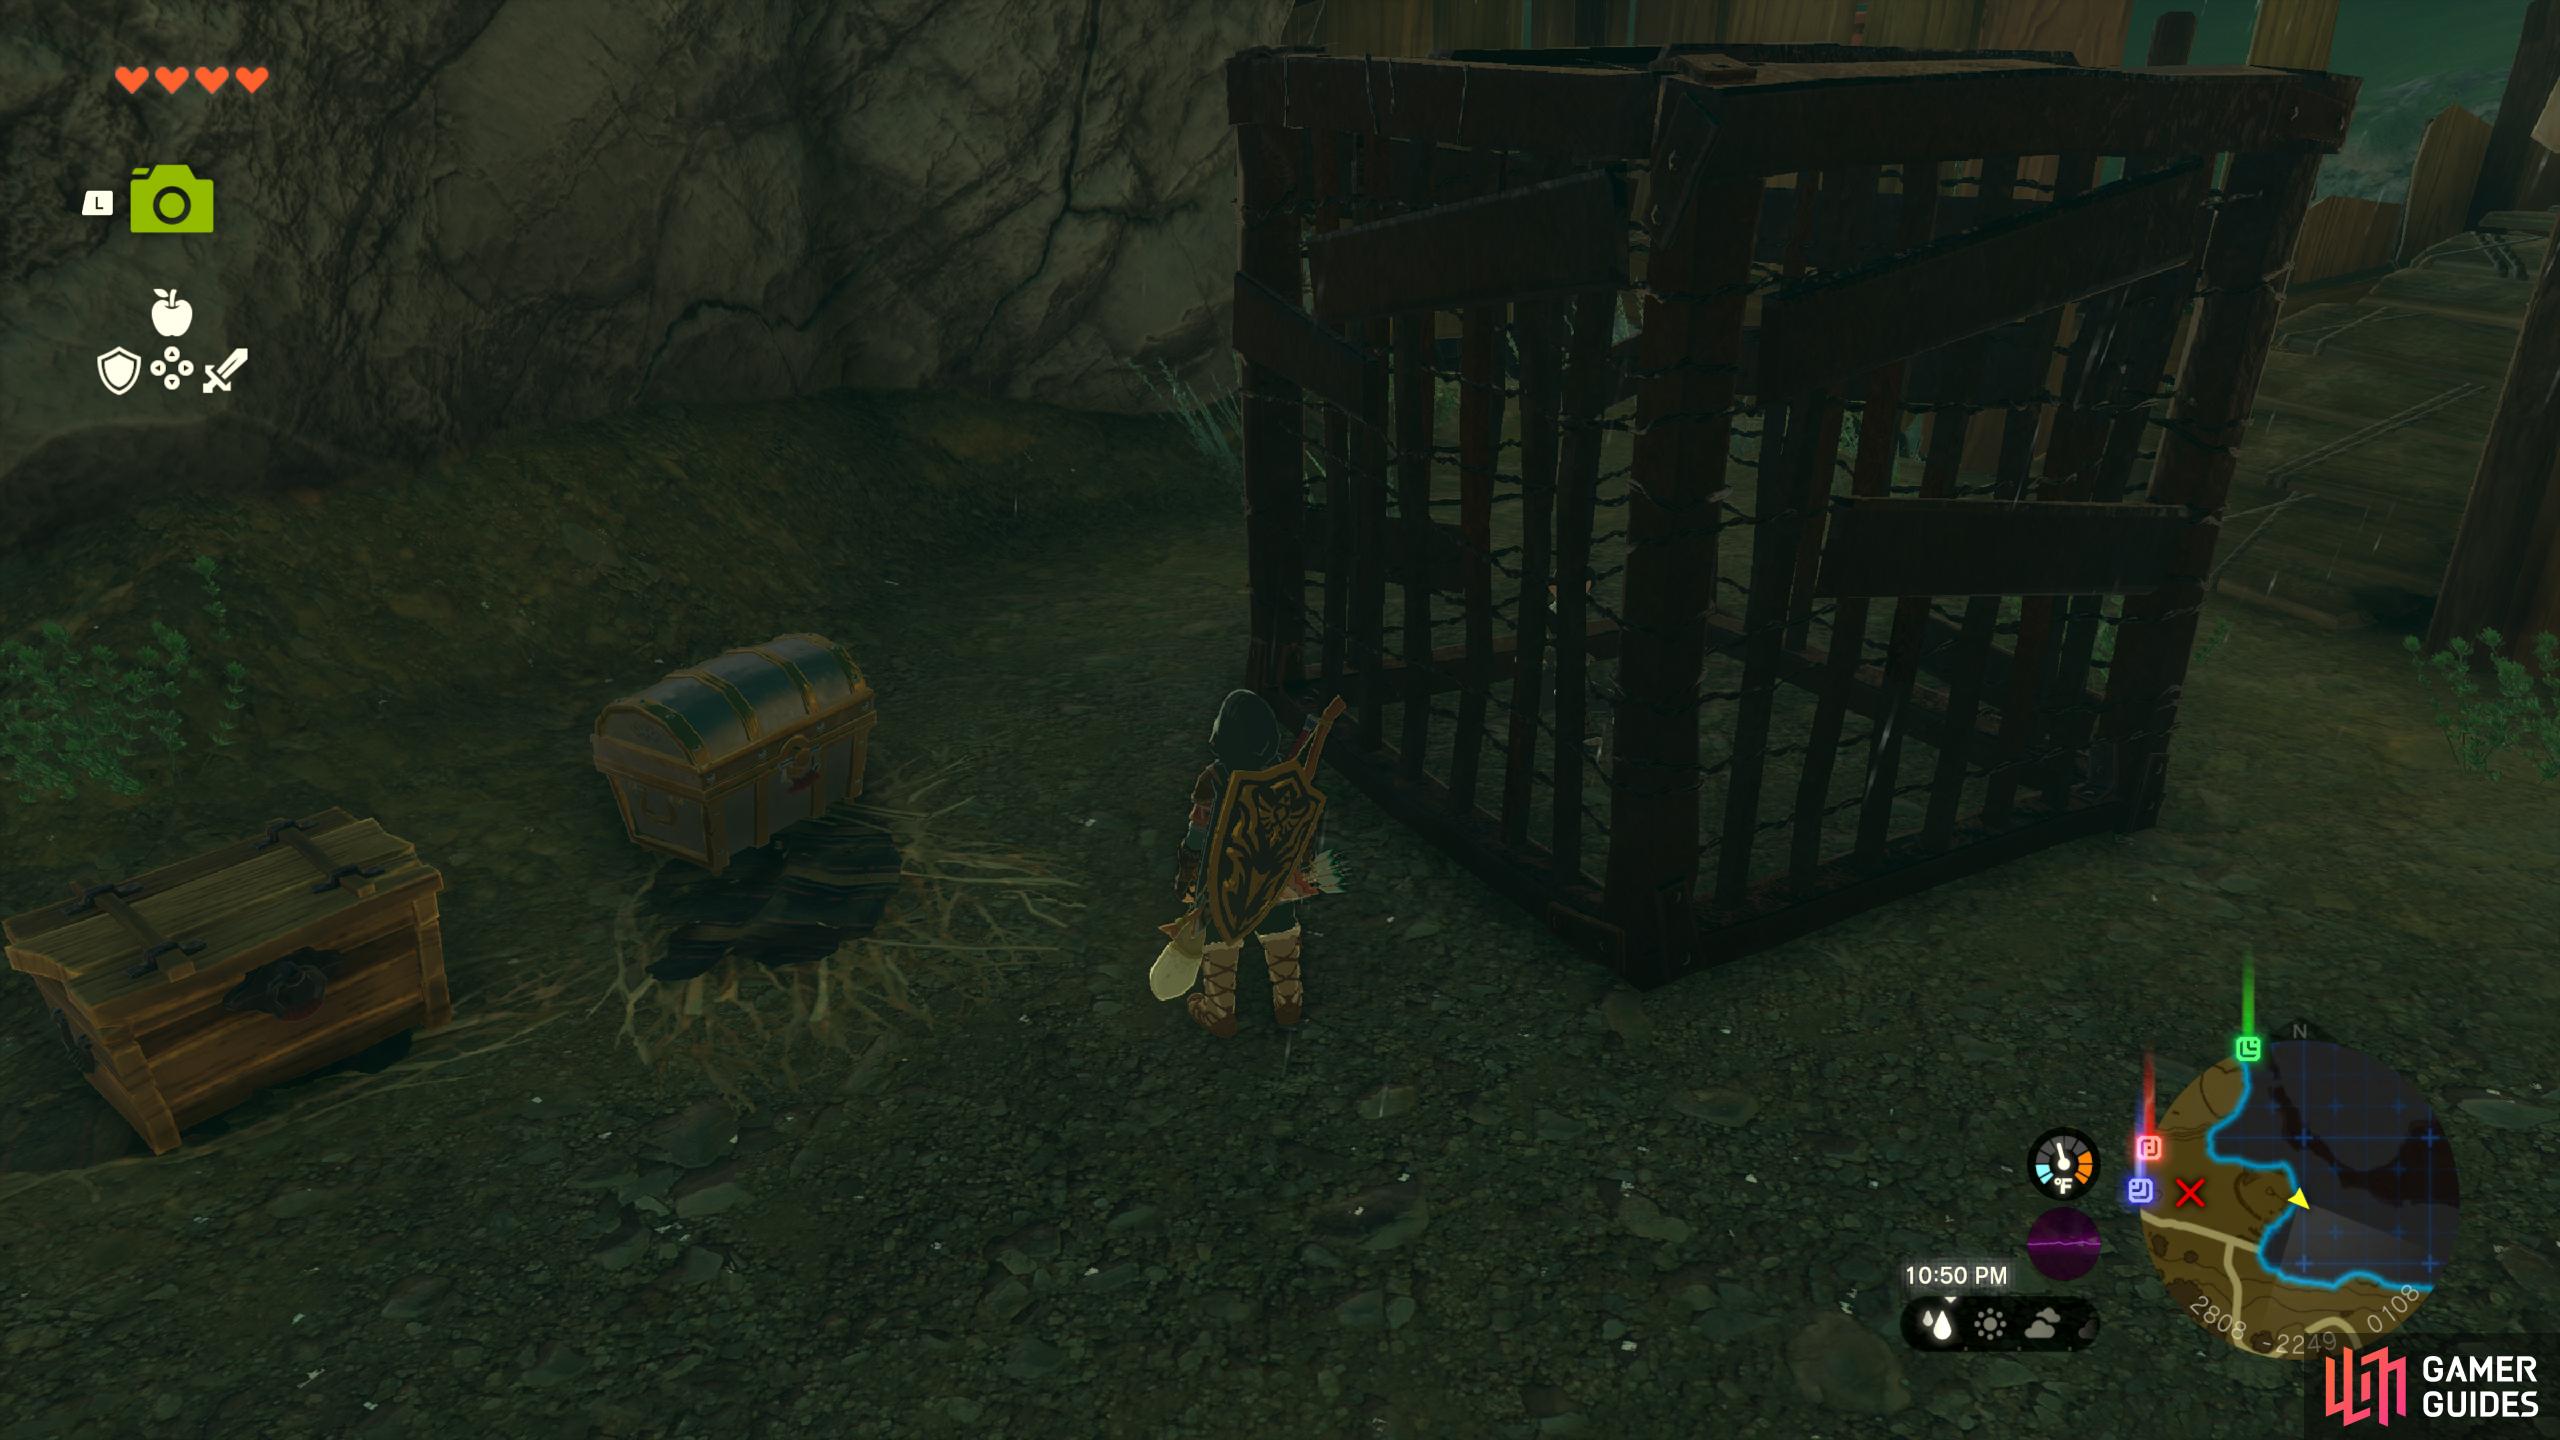
42229. Hyrule Surface Map
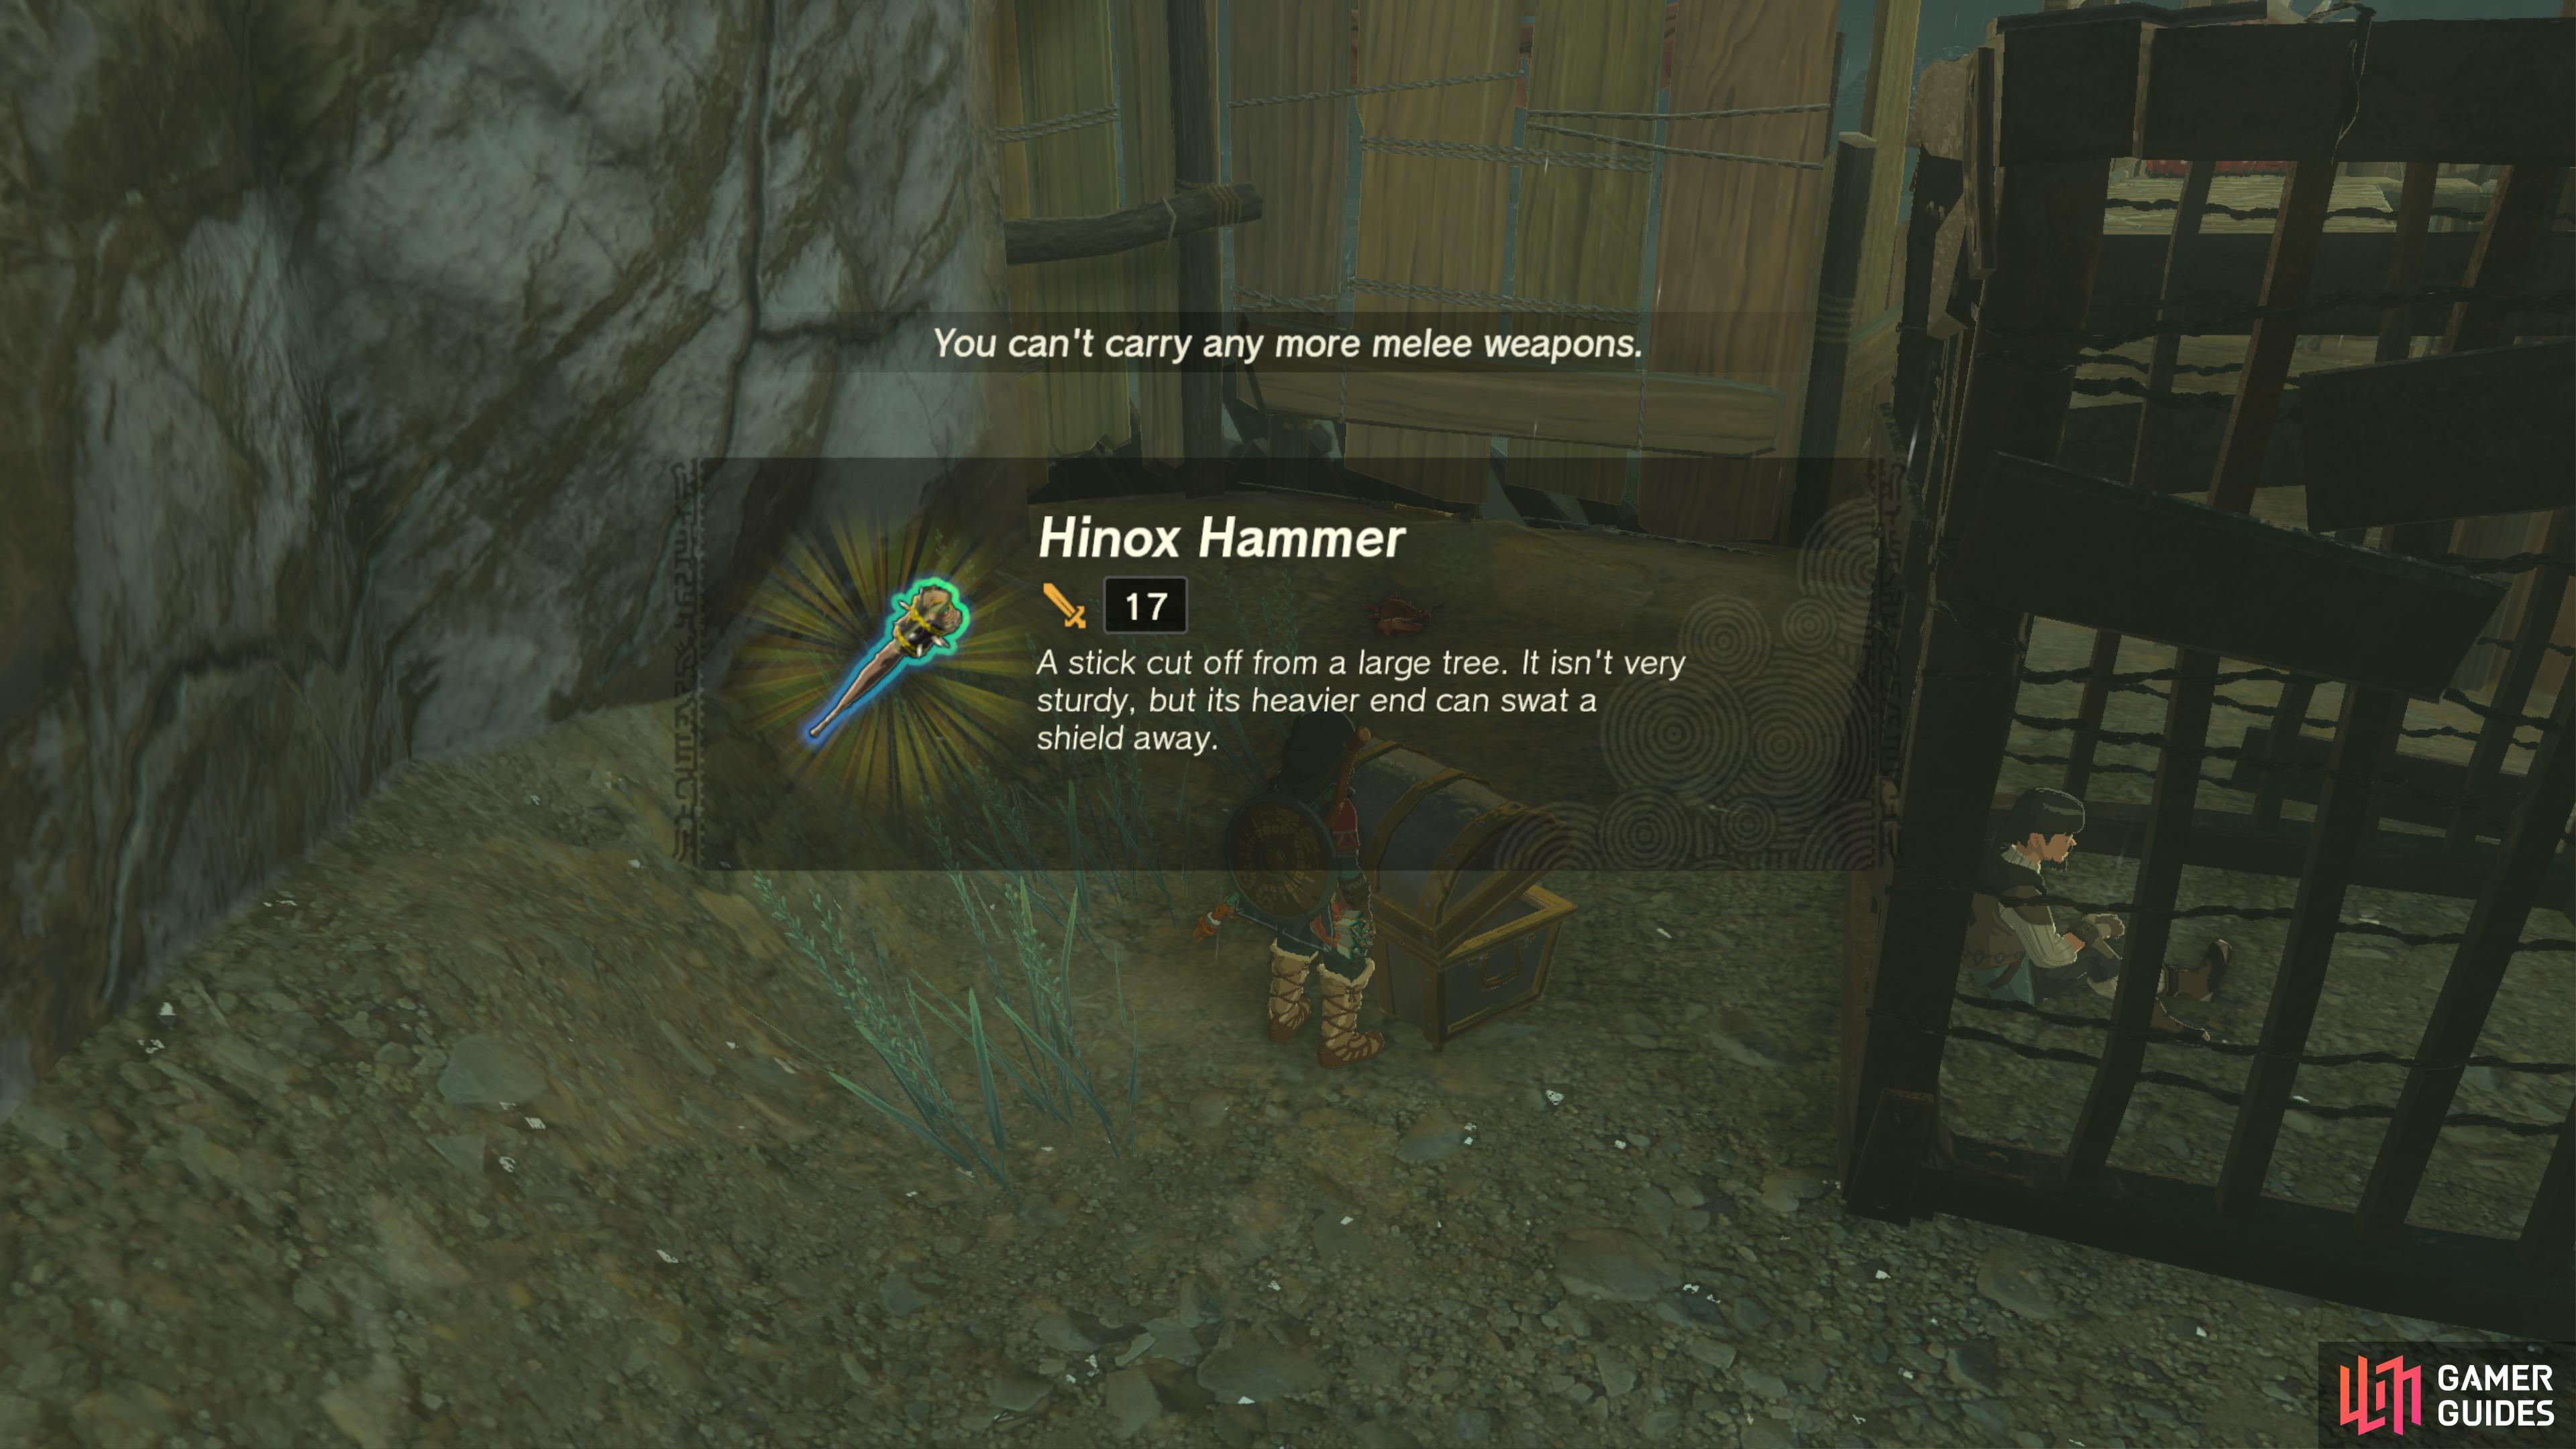
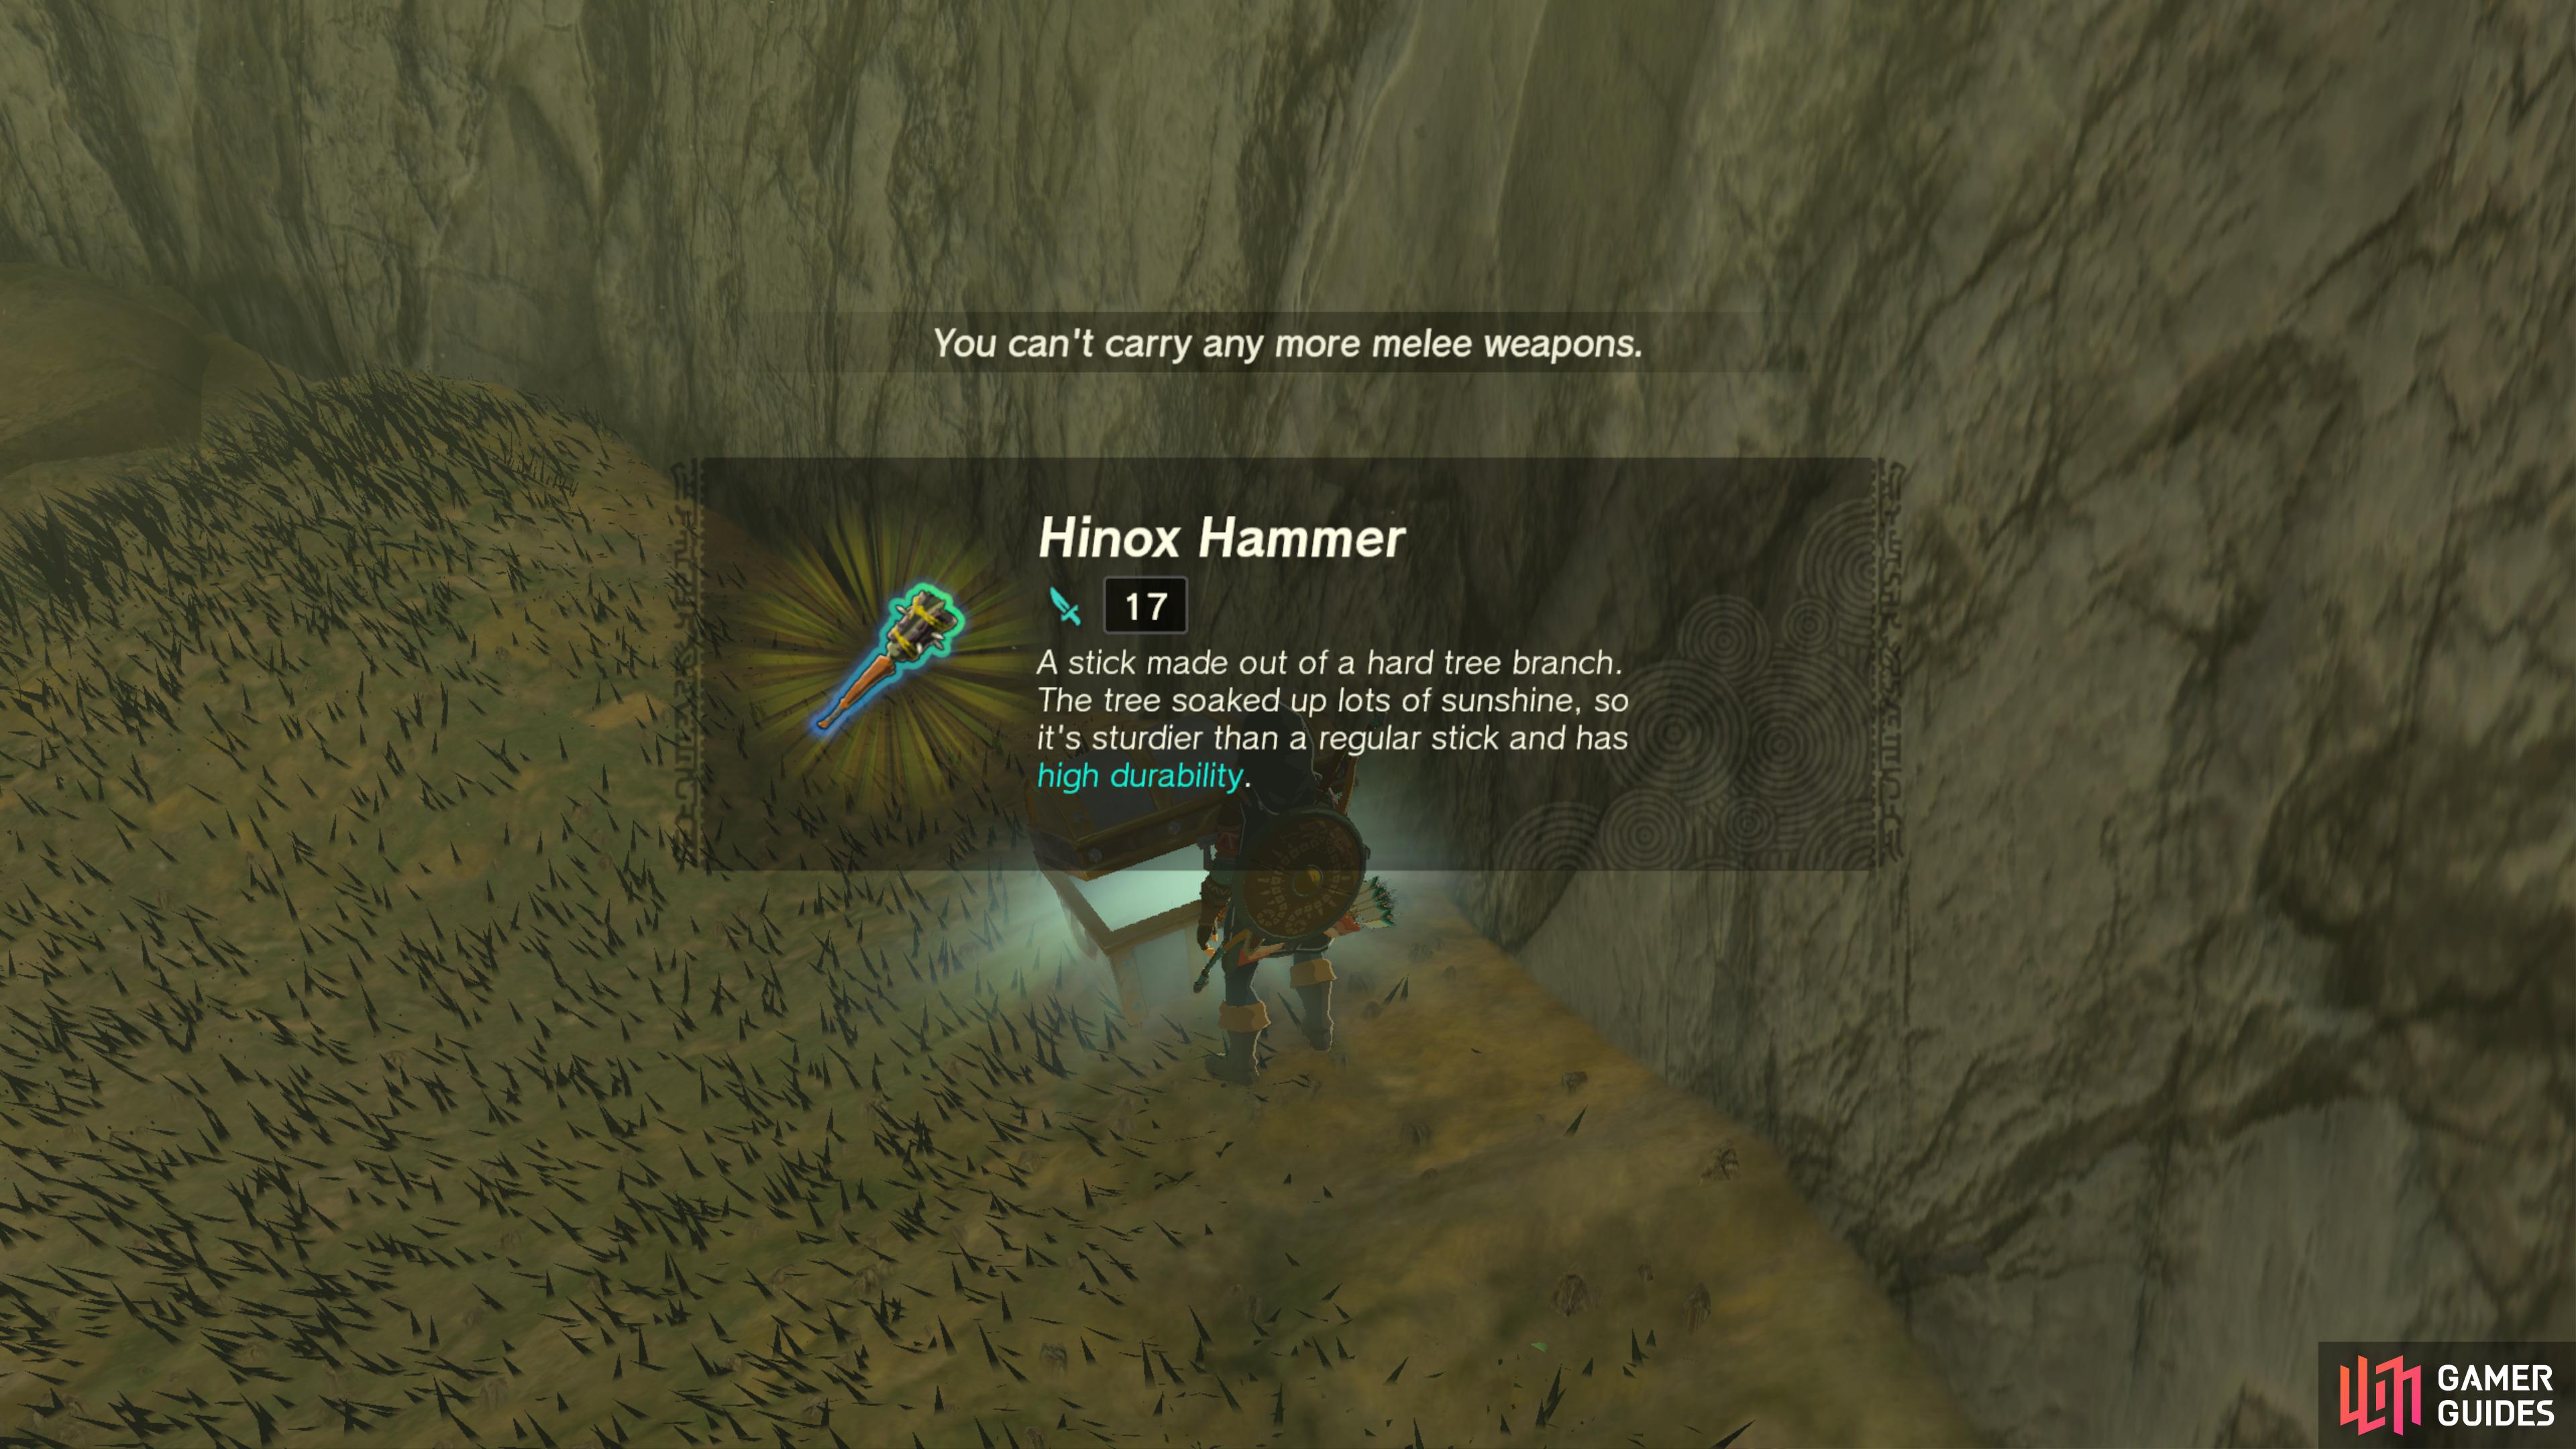
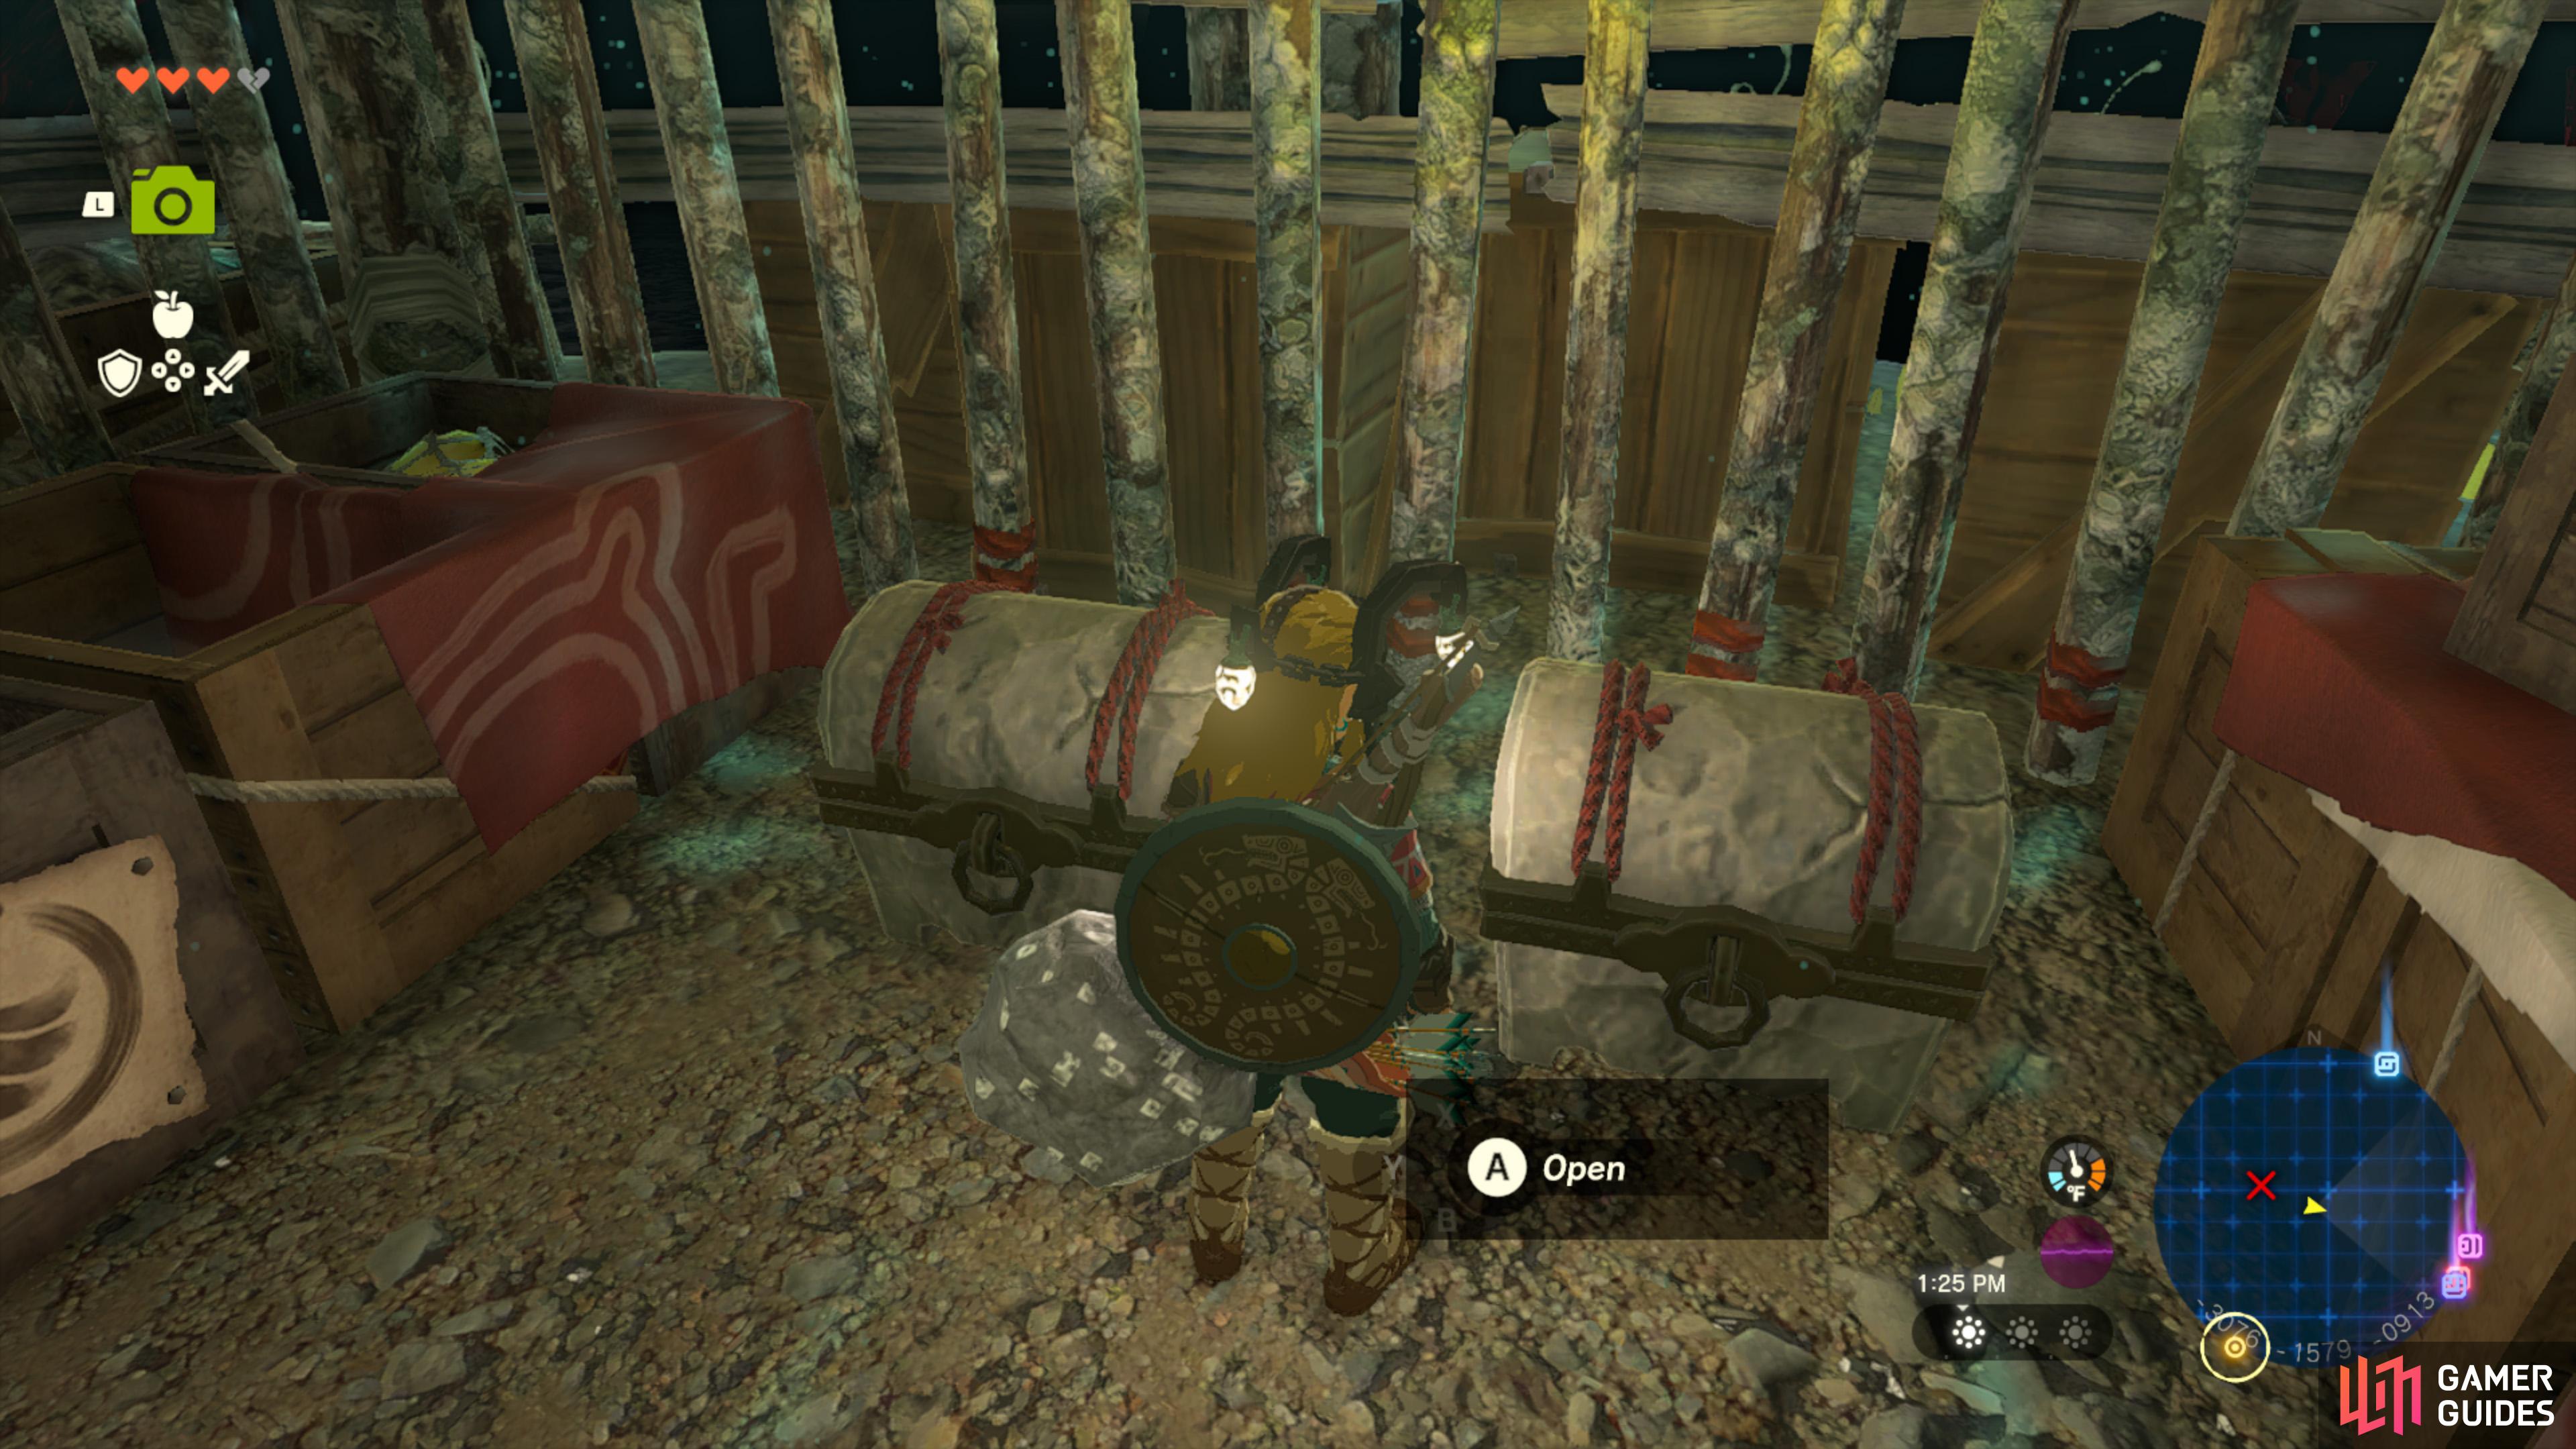
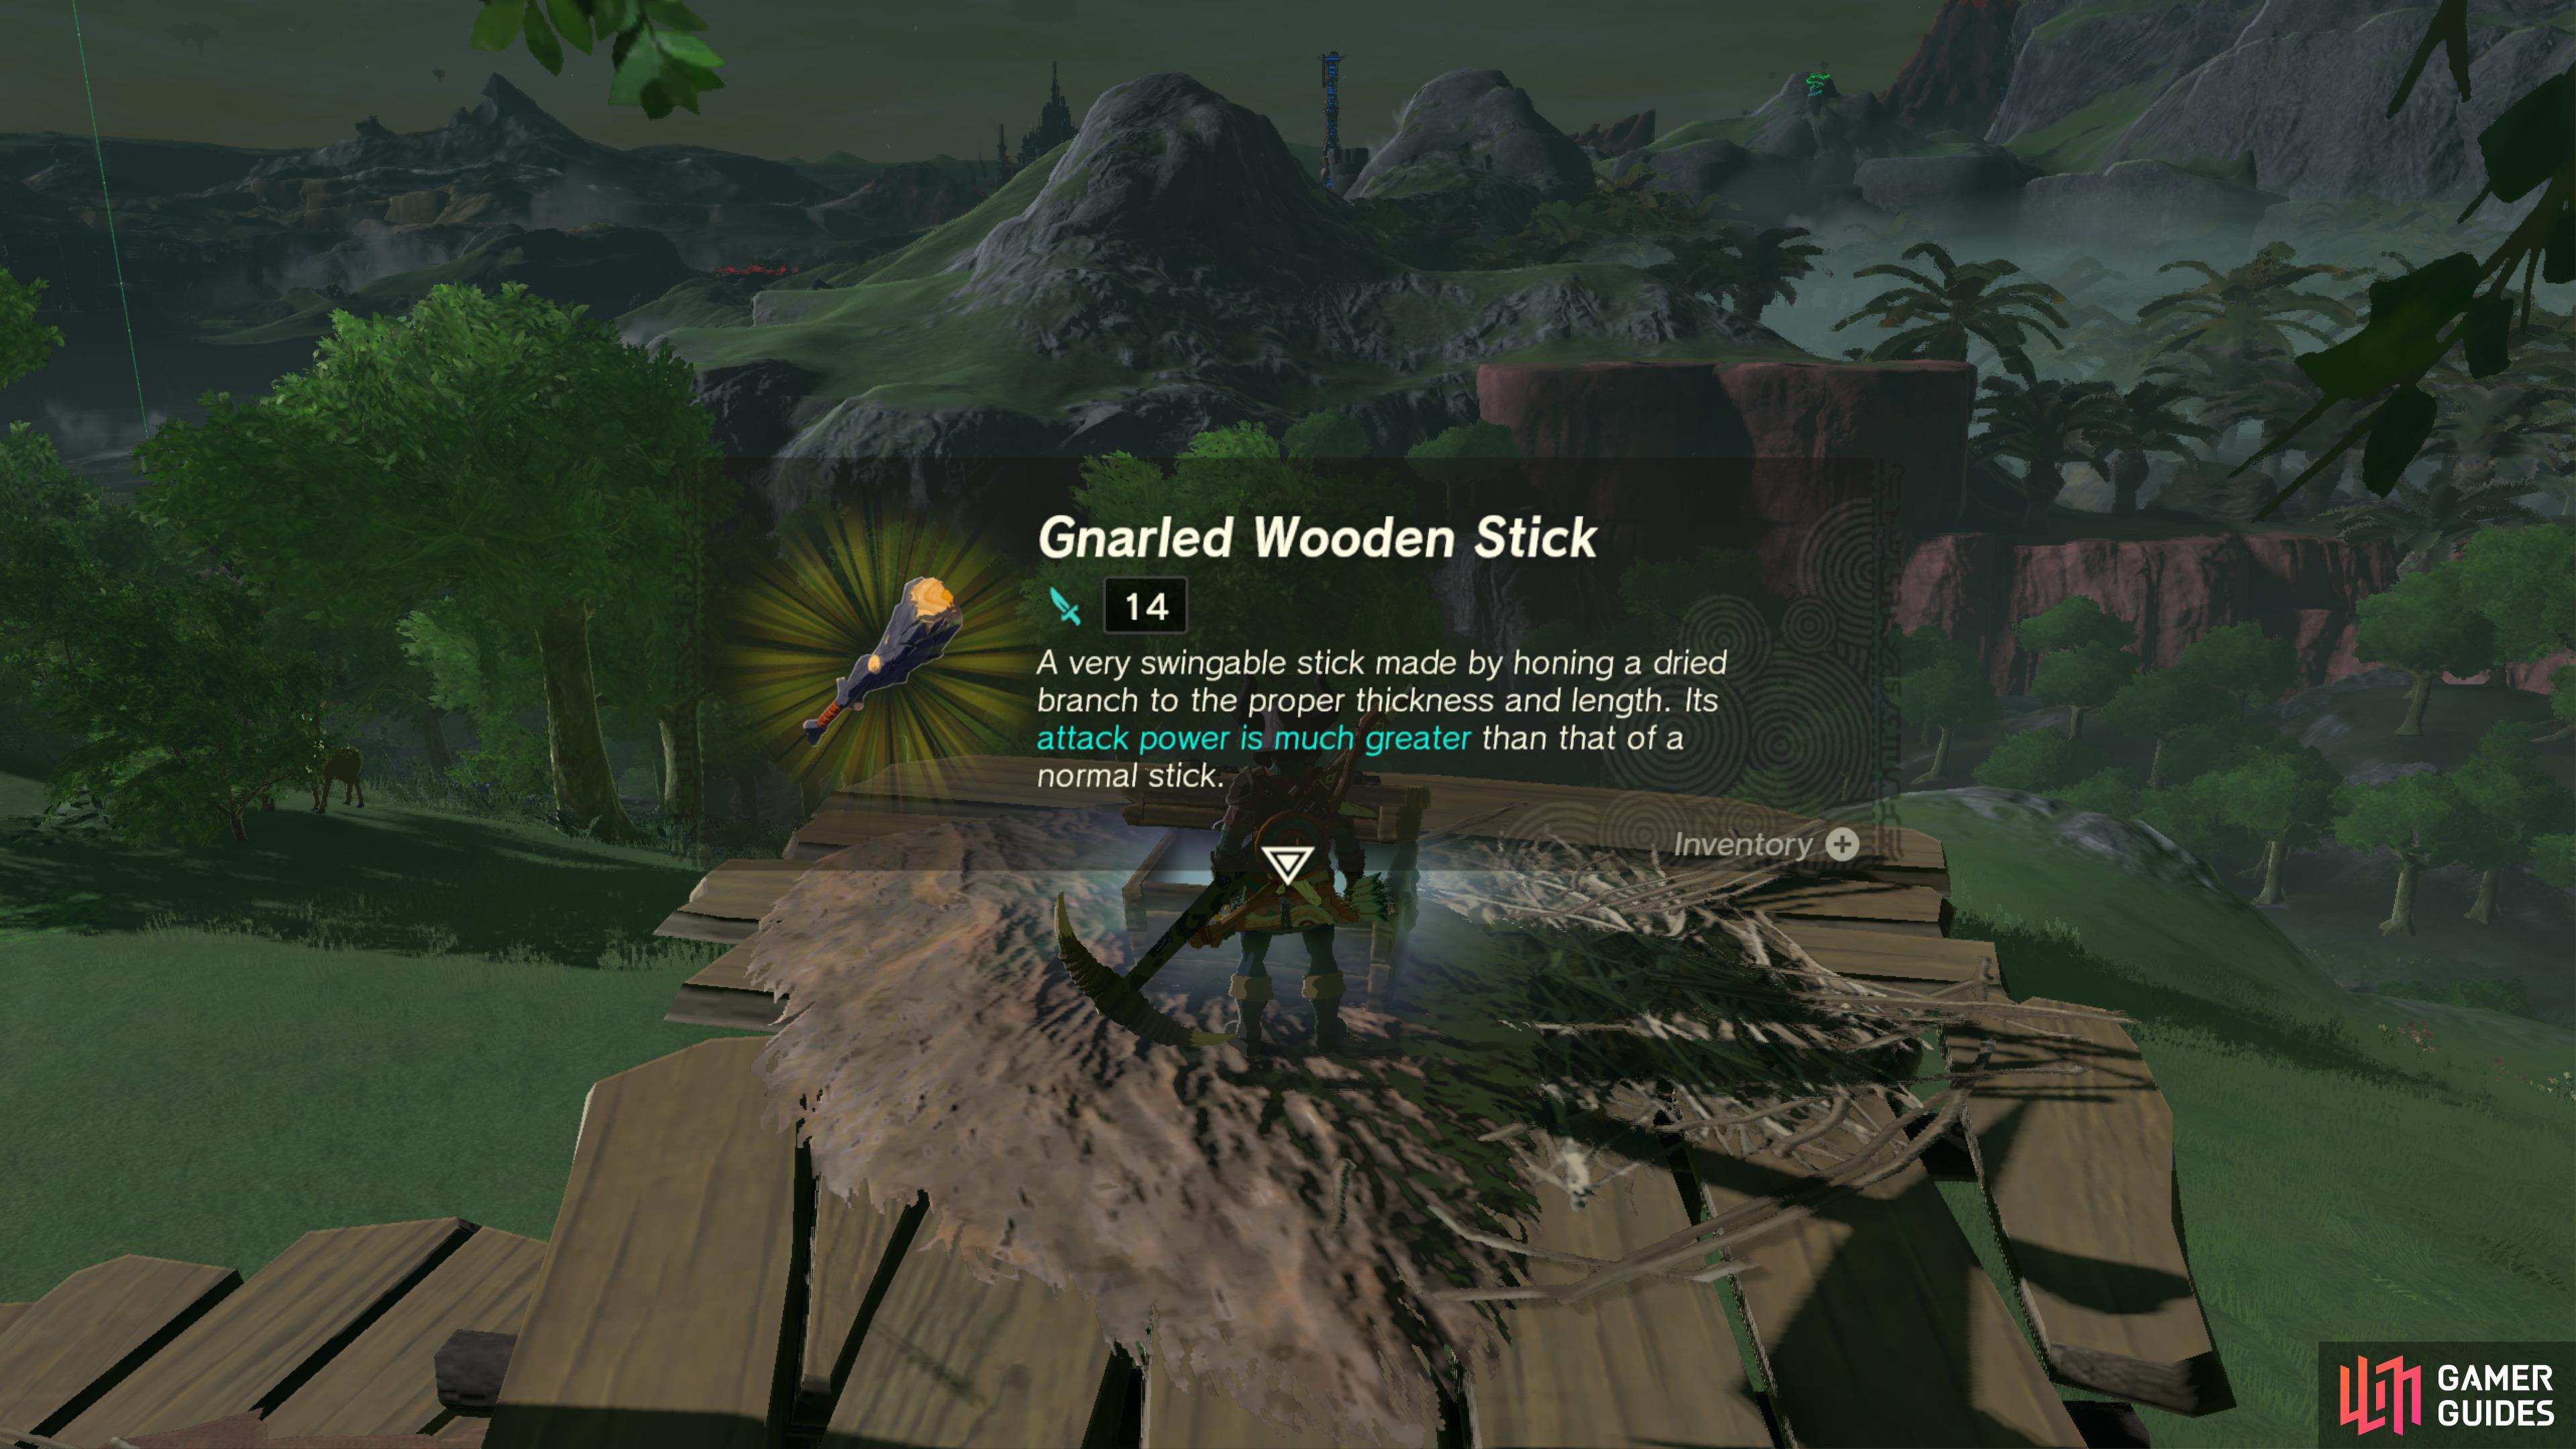
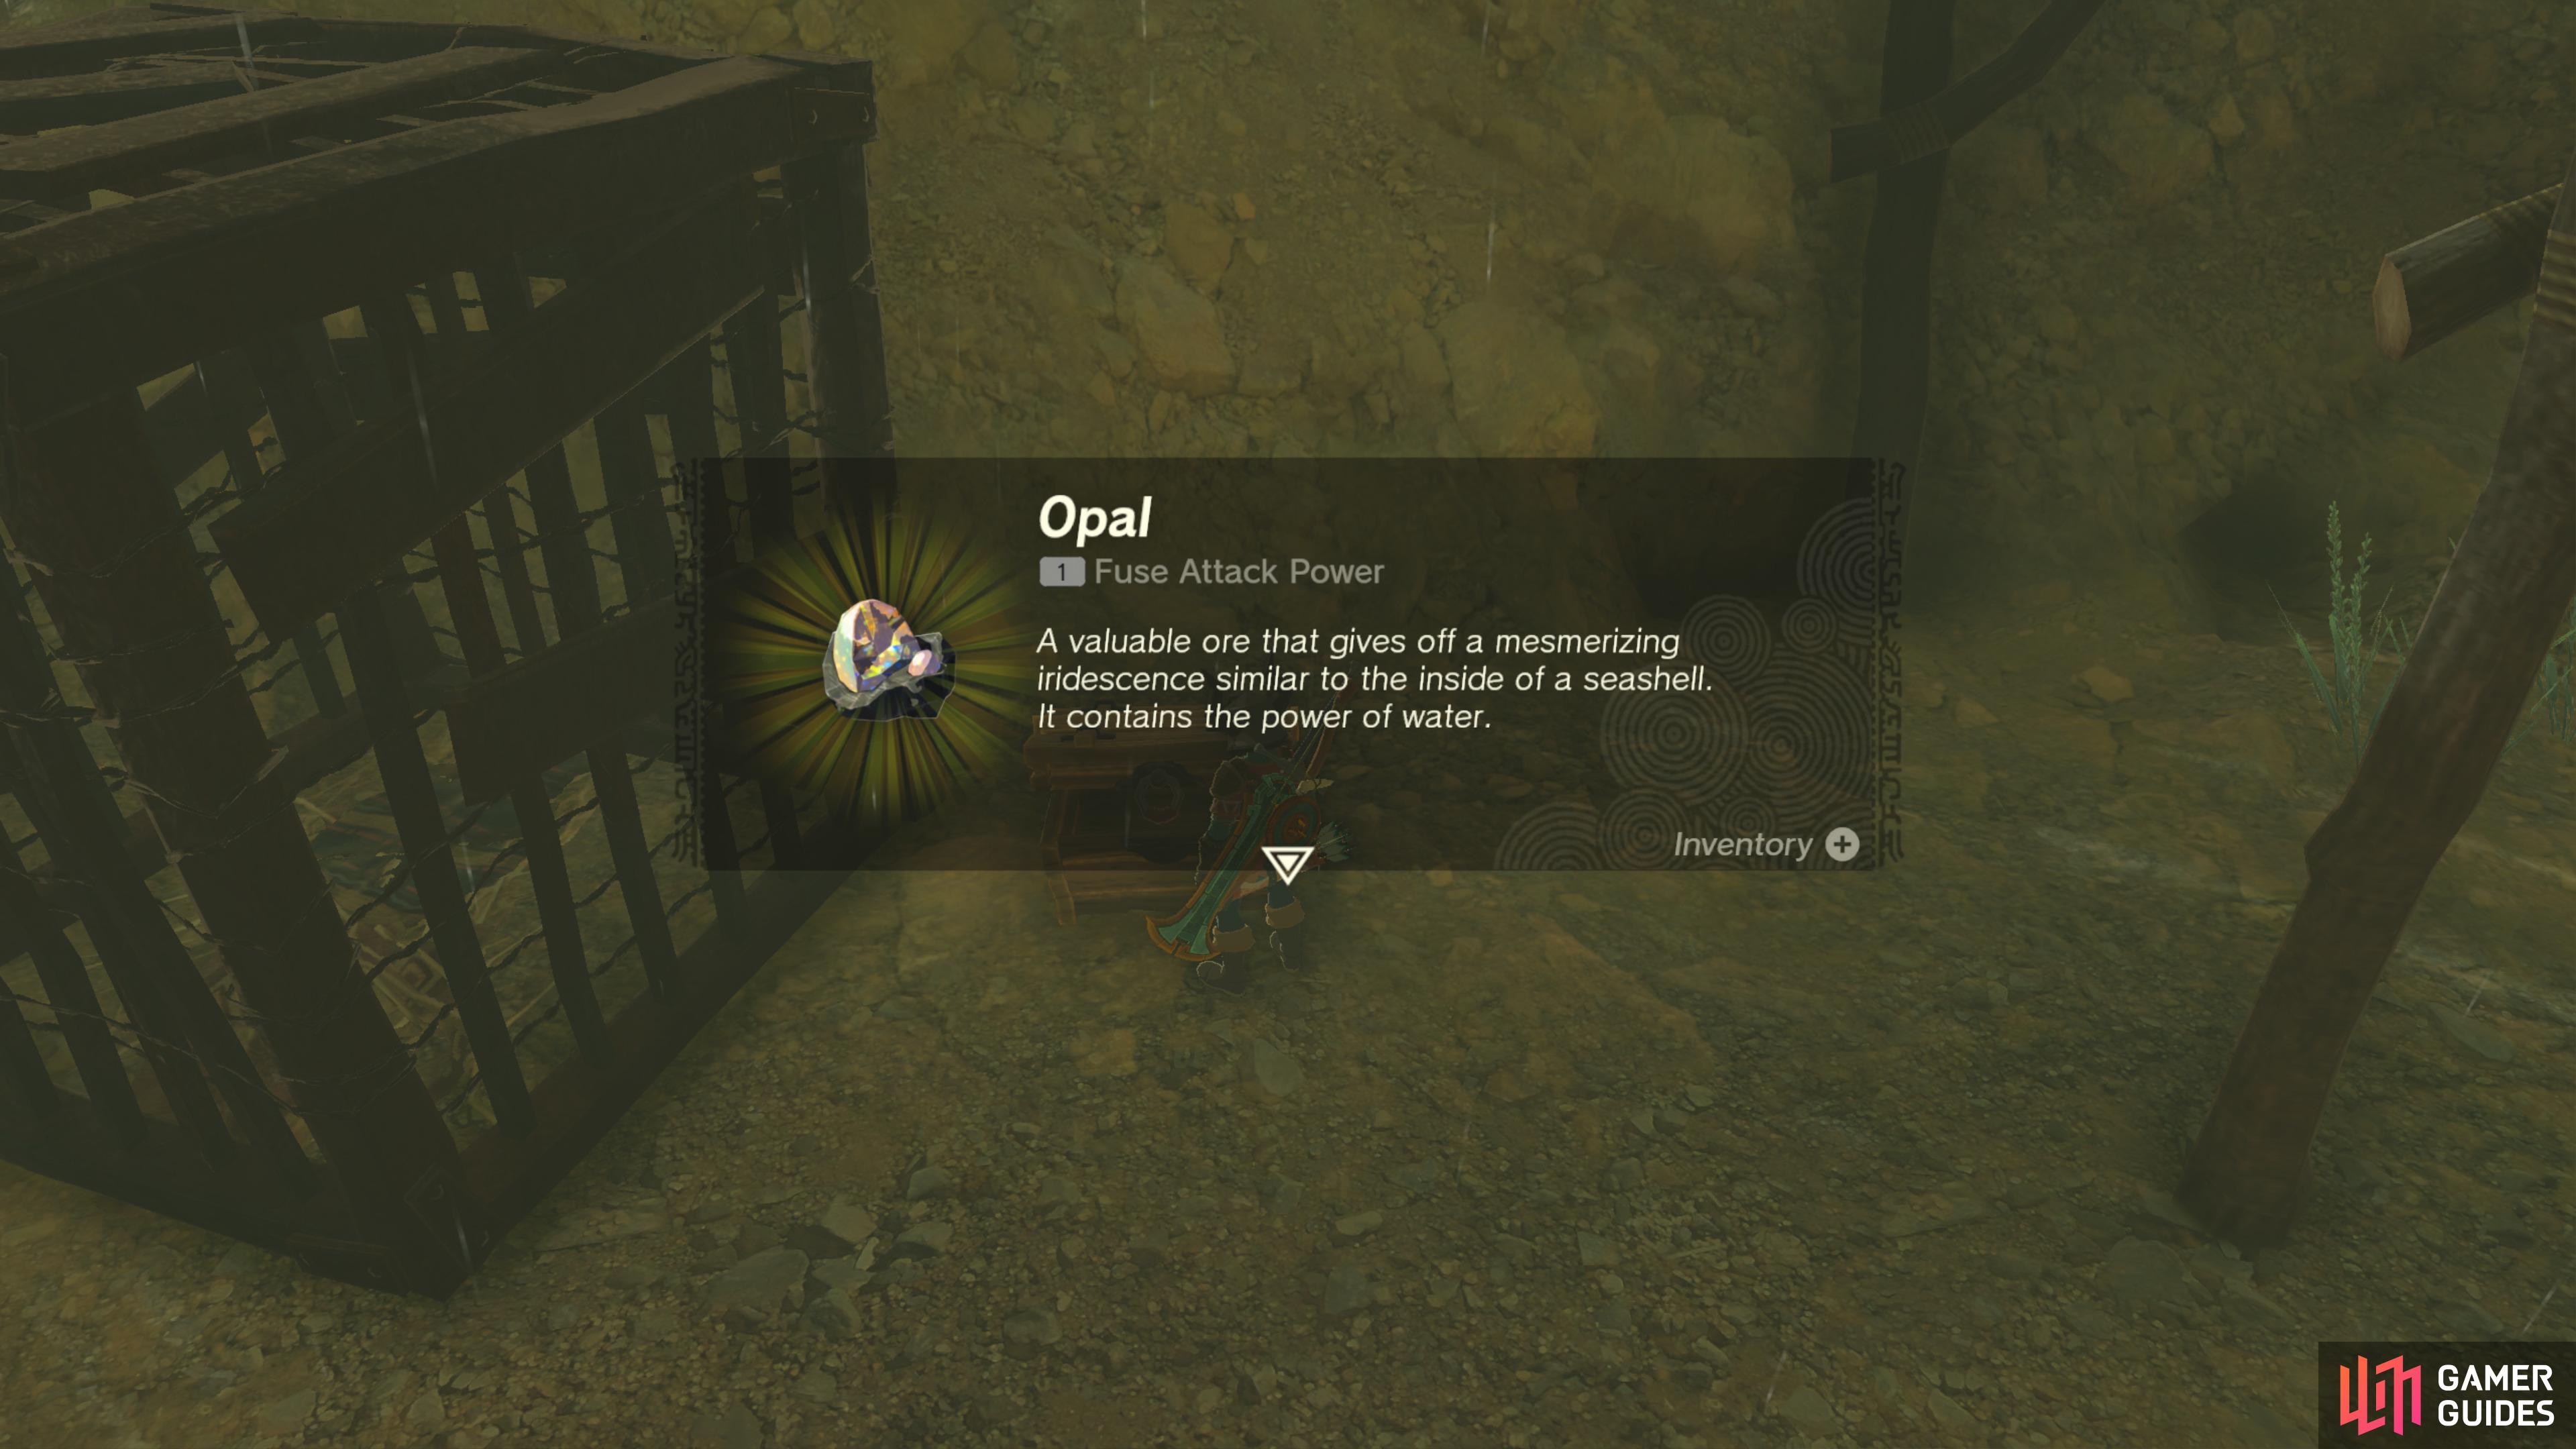
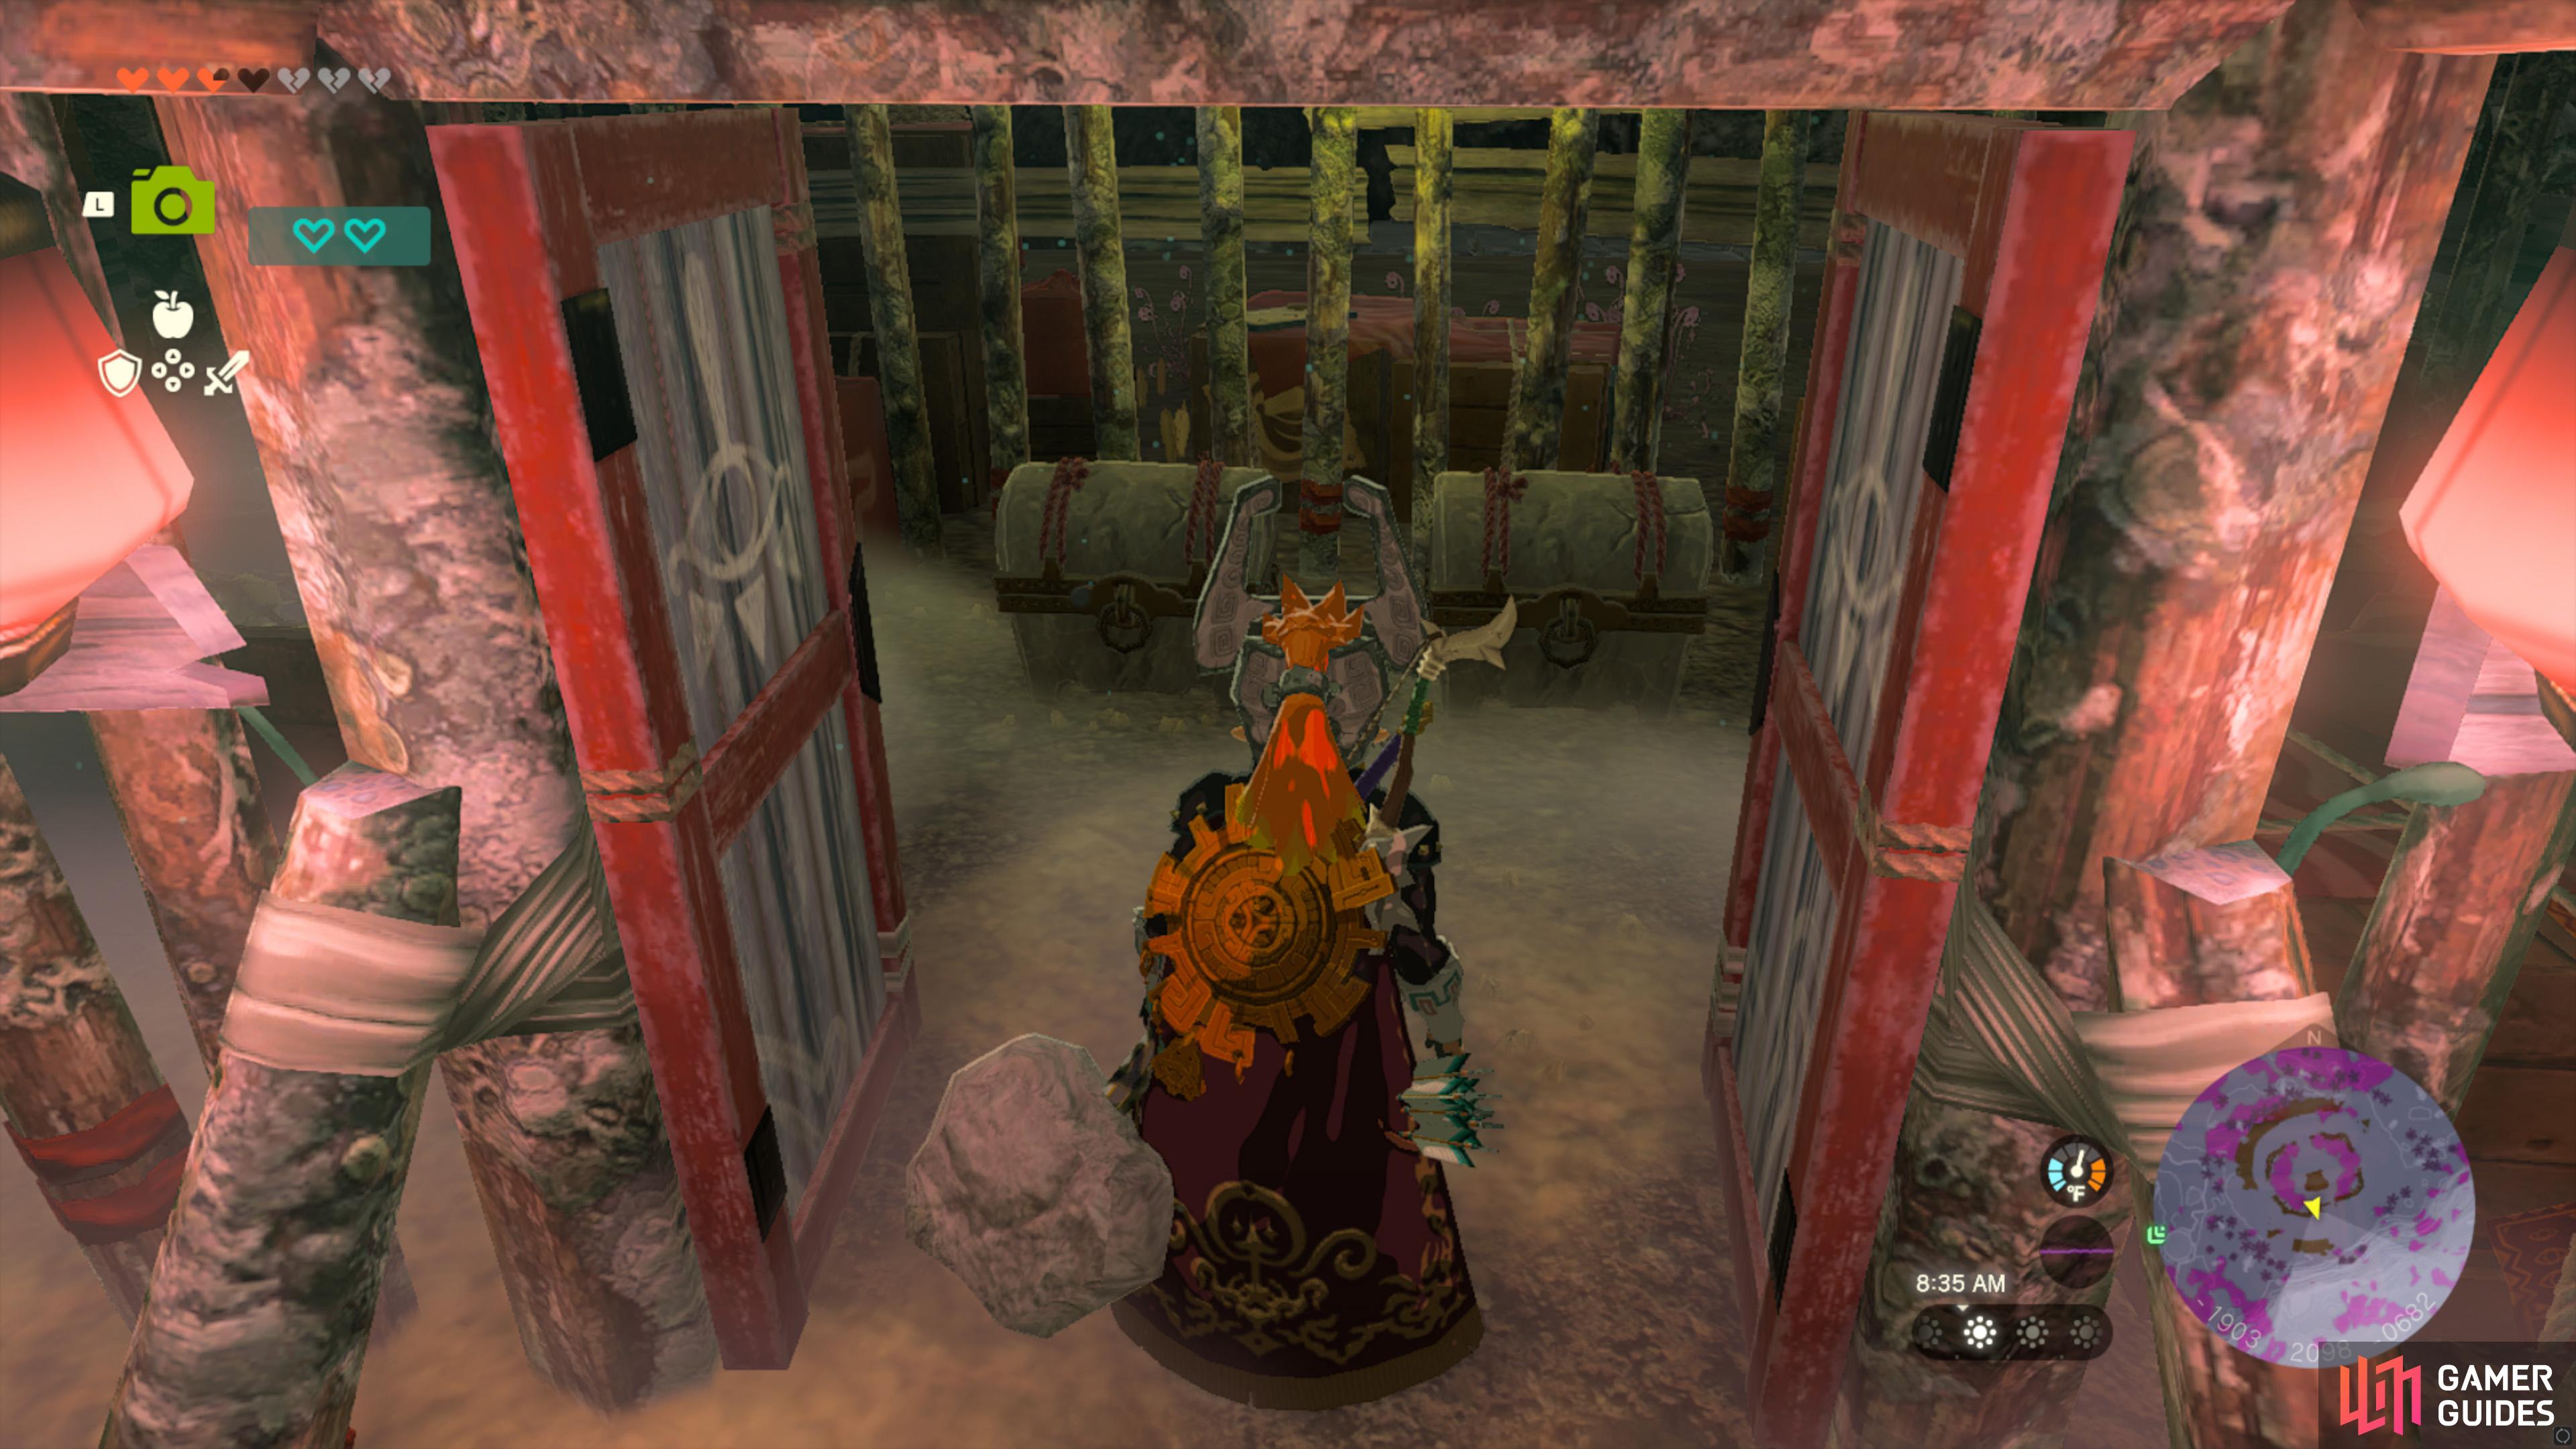
One of three chests at the back of the encampment, near the cage.
- Contains Gnarled
 Wooden Stick
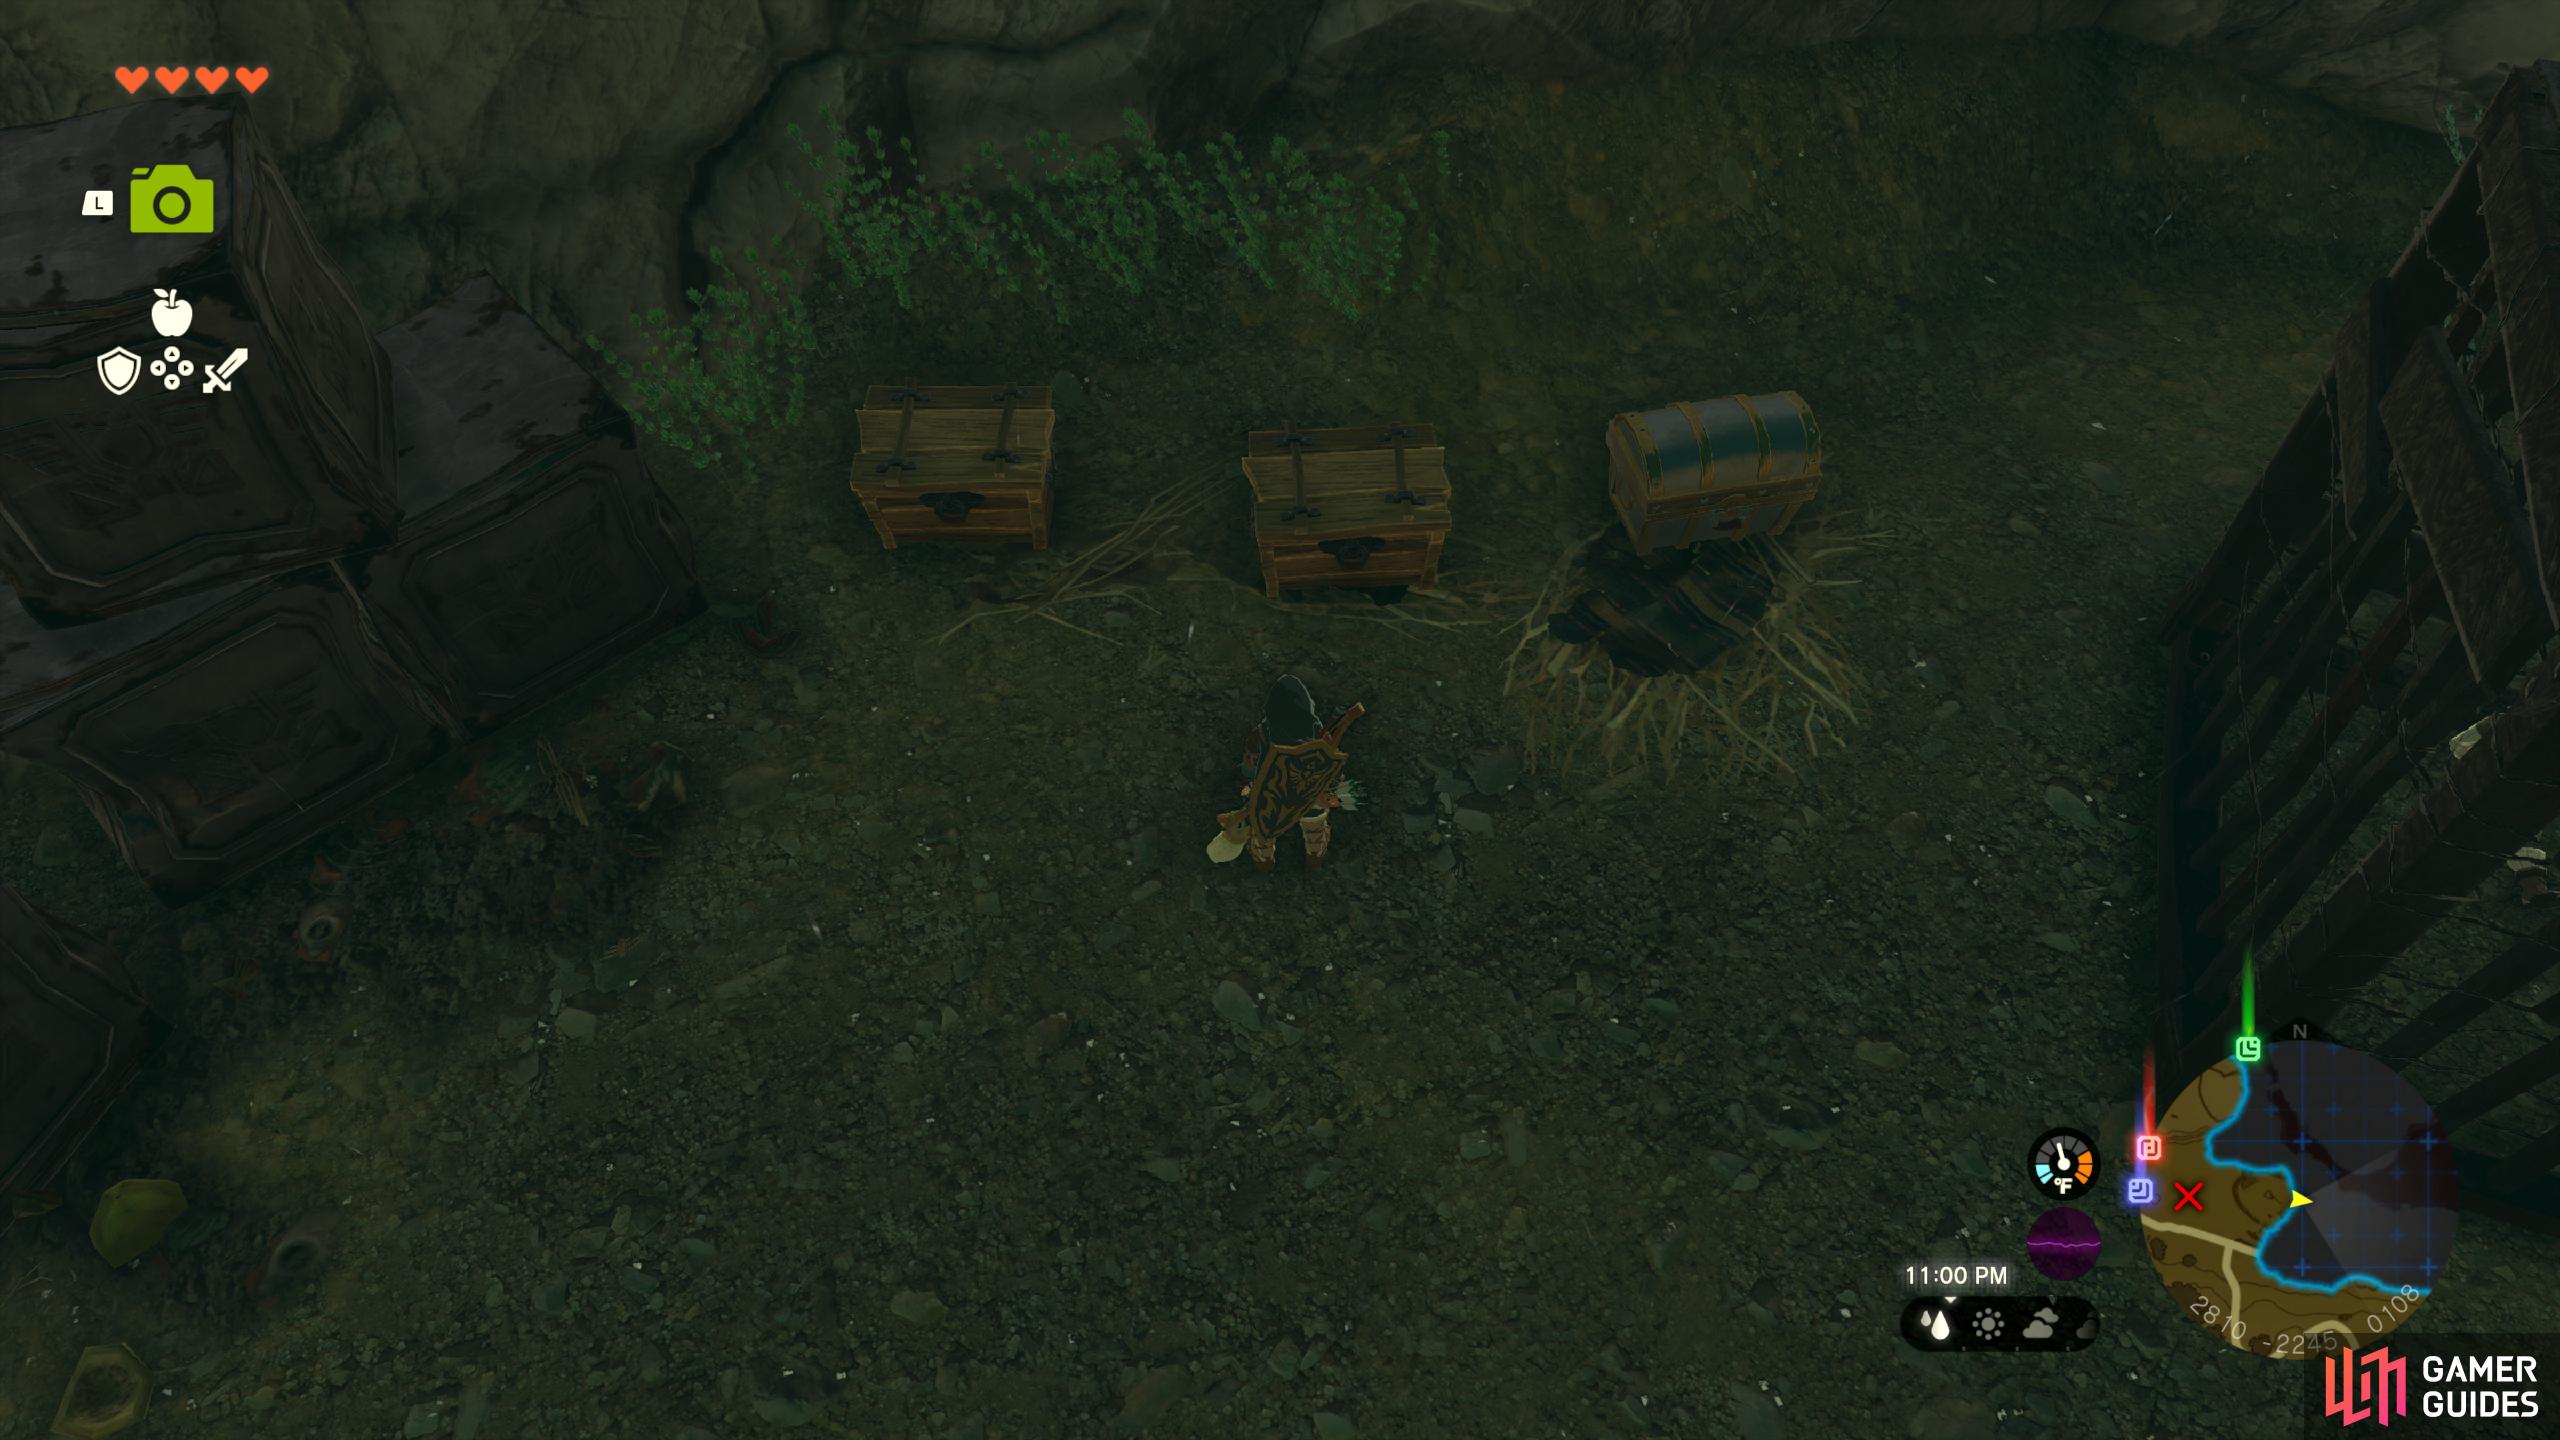
42230. Hyrule Surface Map
One of three chests at the back of the encampment, near the cage.
- Contains Opal
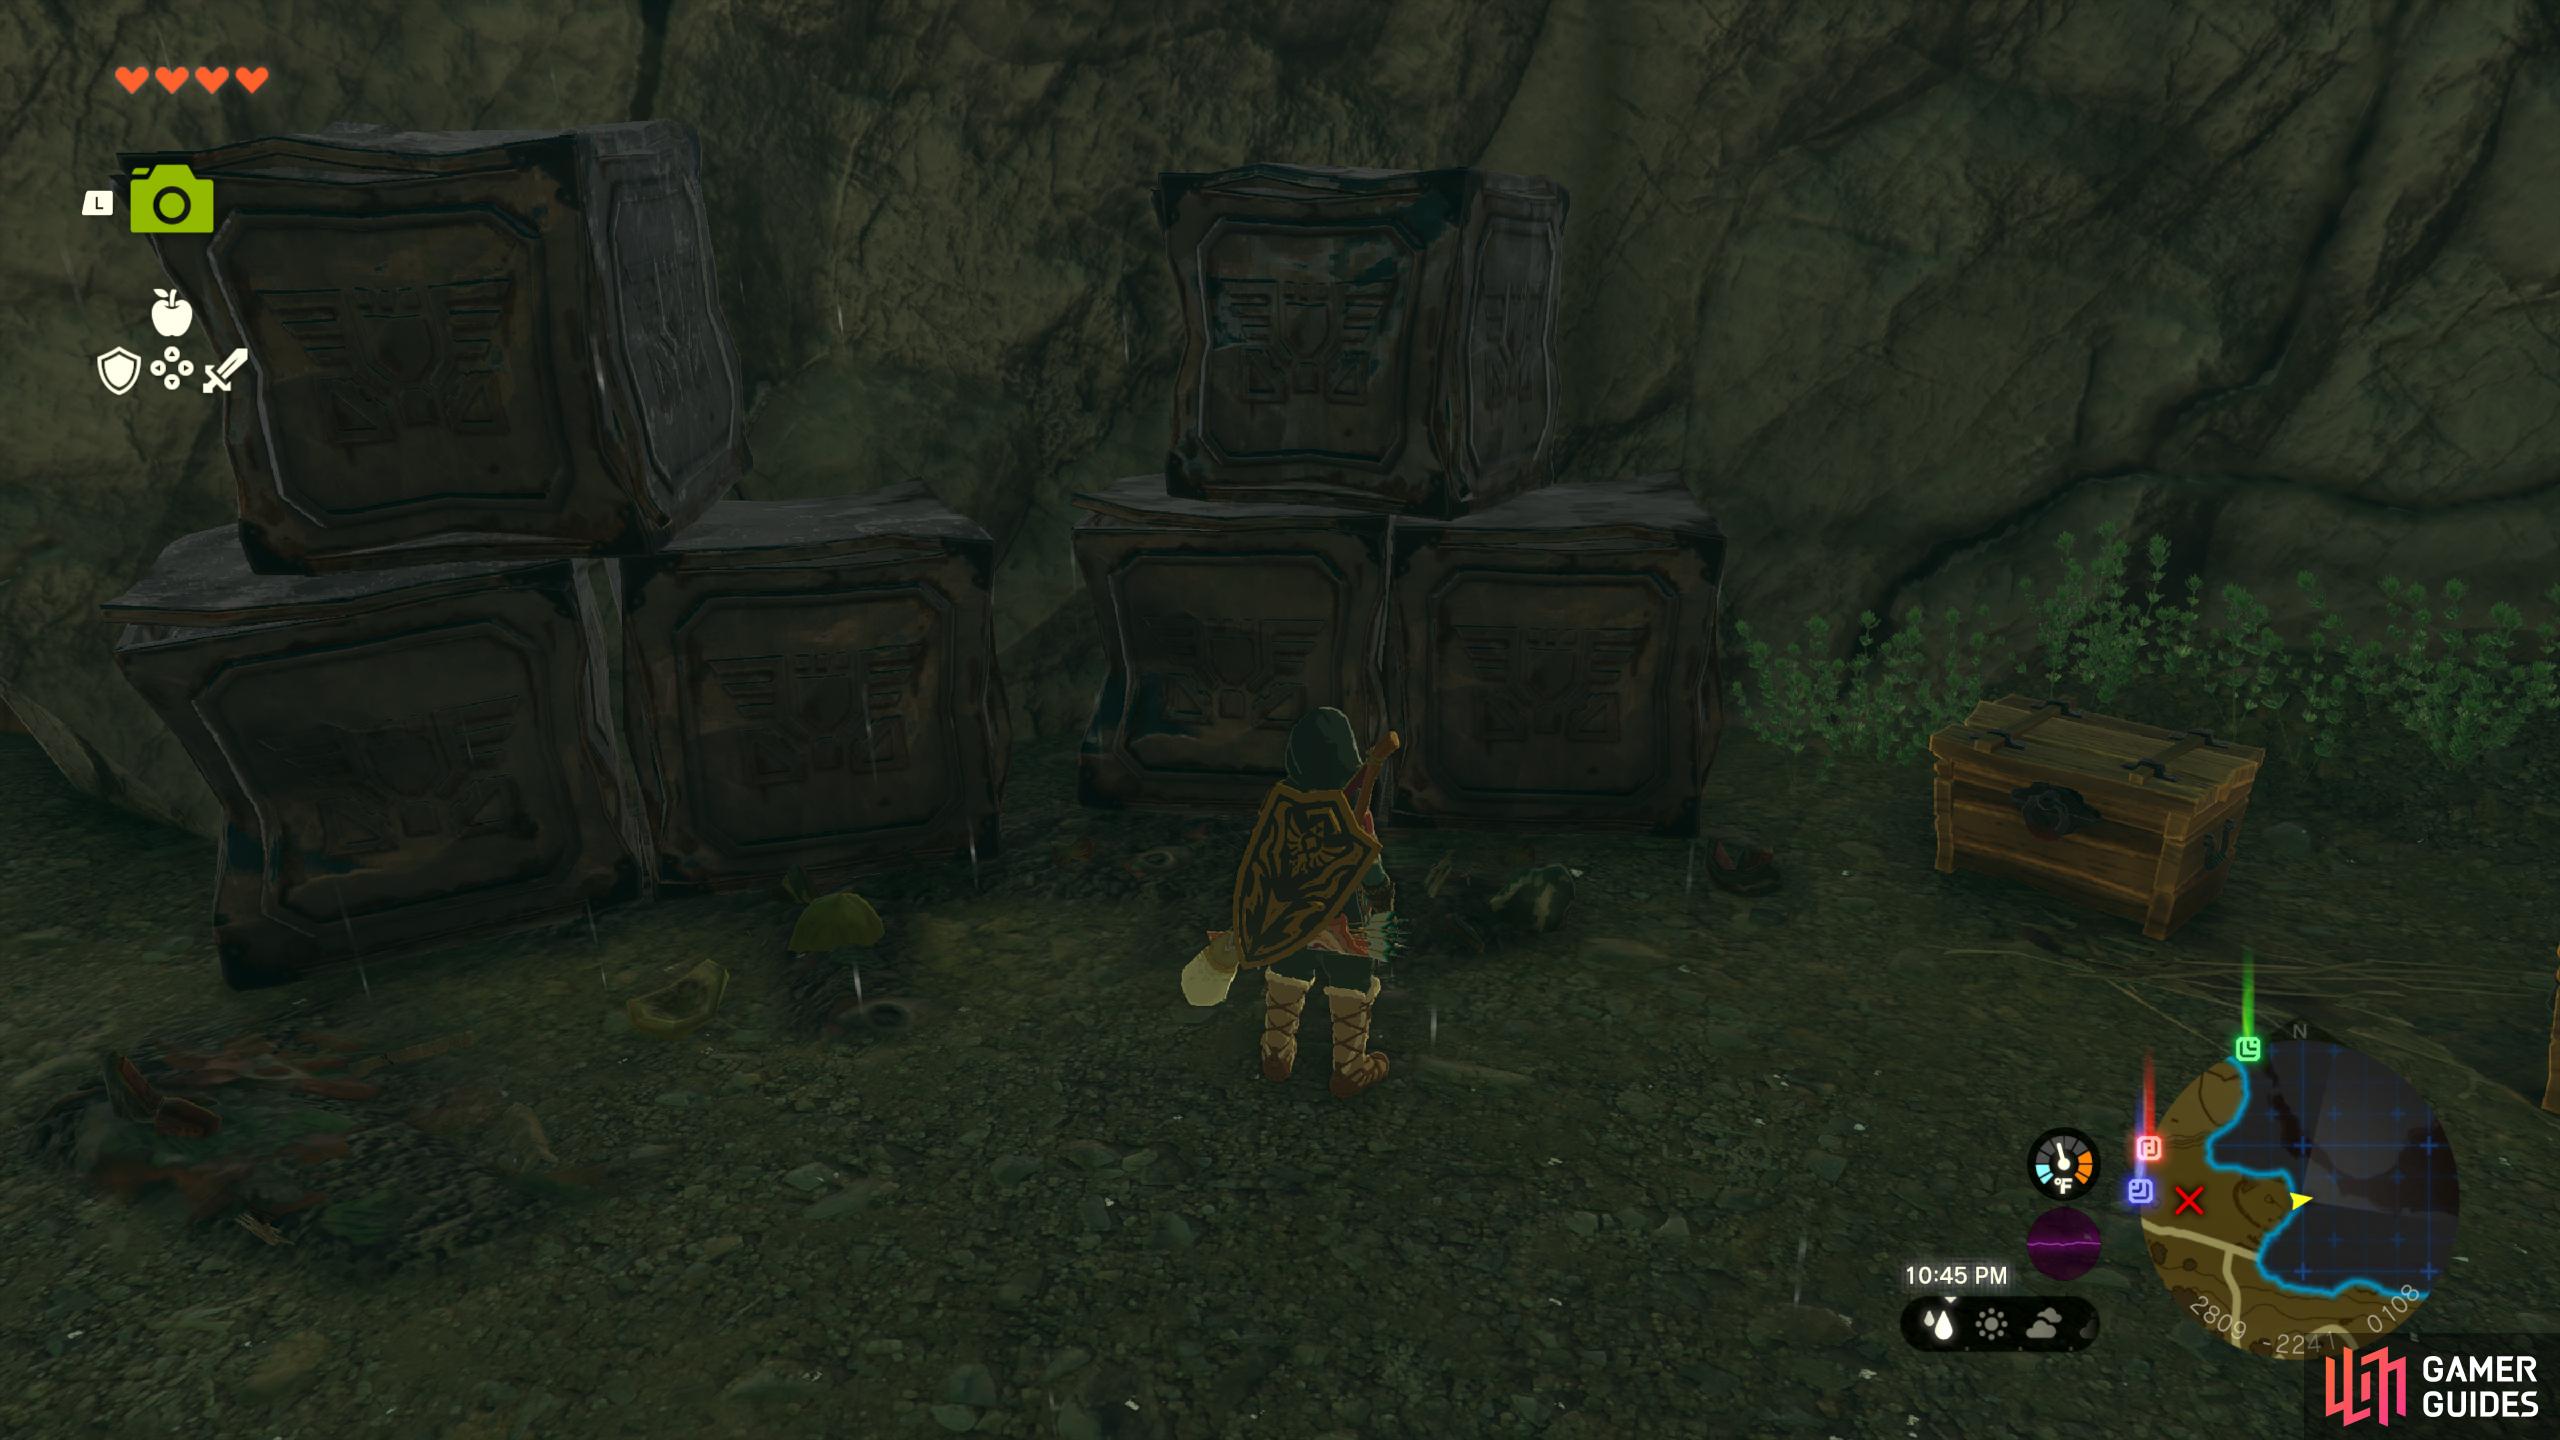
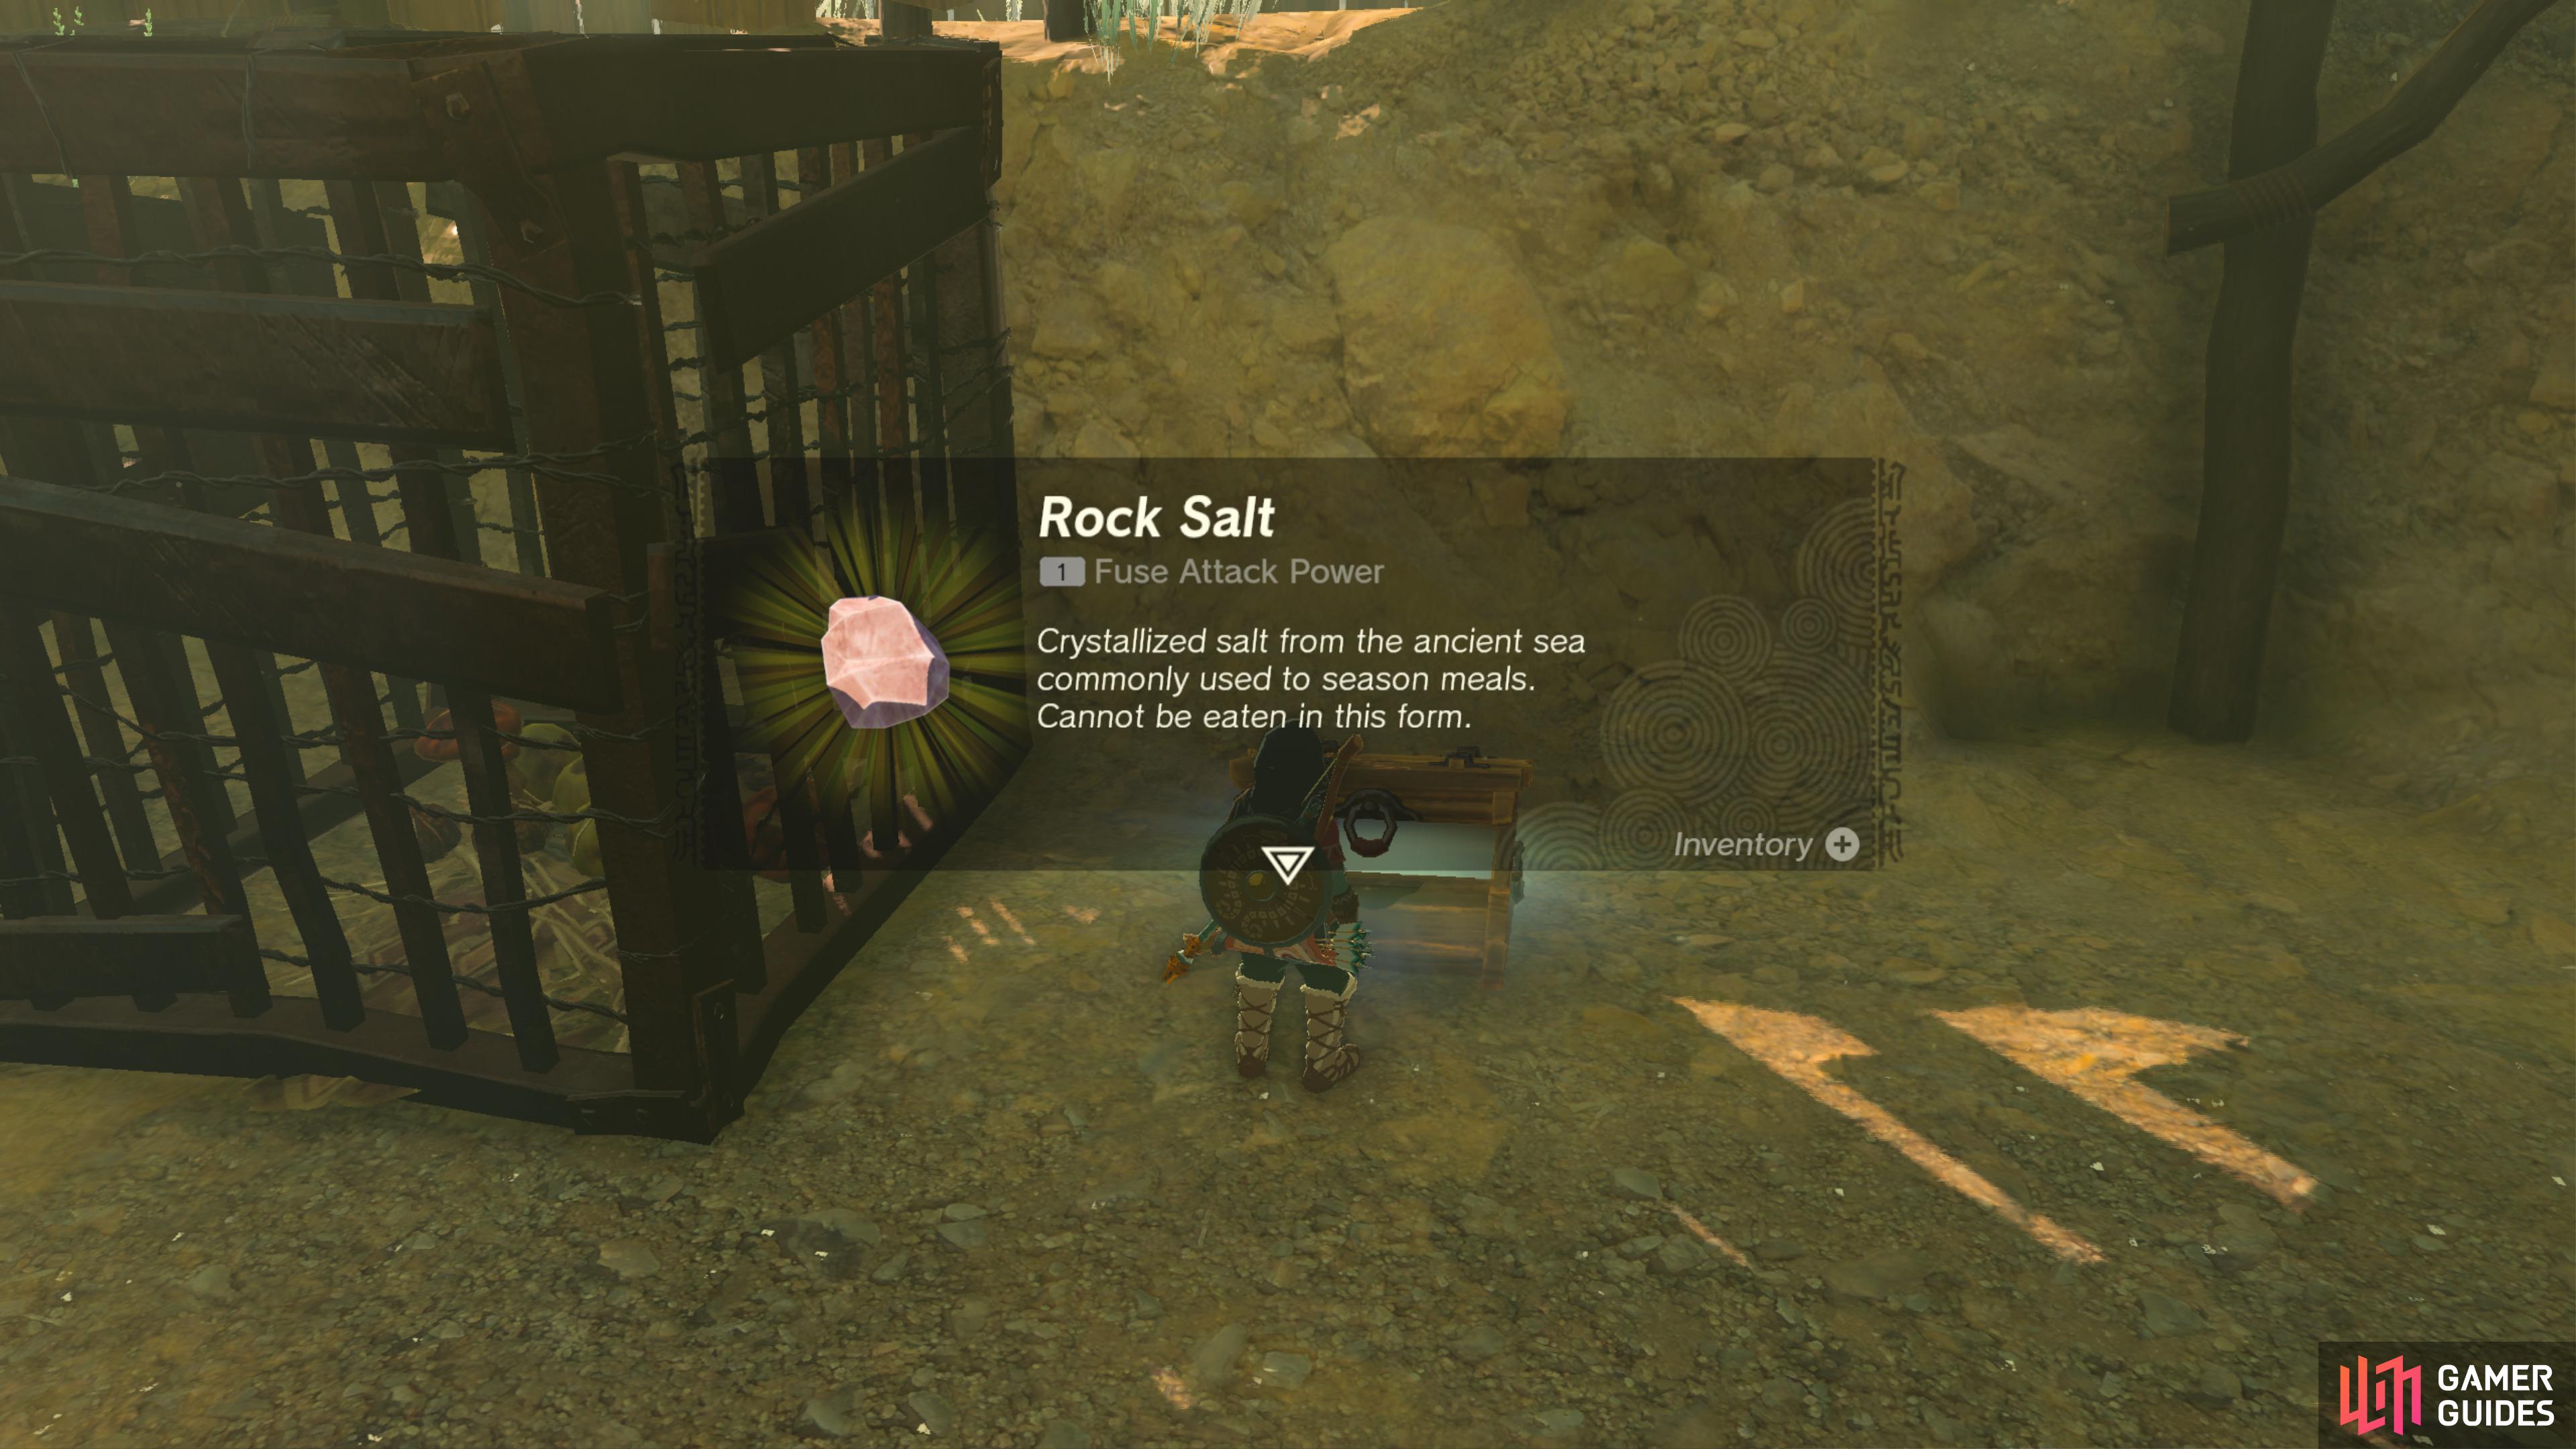
42231. Hyrule Surface Map
One of three chests at the back of the encampment, near the cage.
- Contains Amber
42234. Hyrule Surface Map
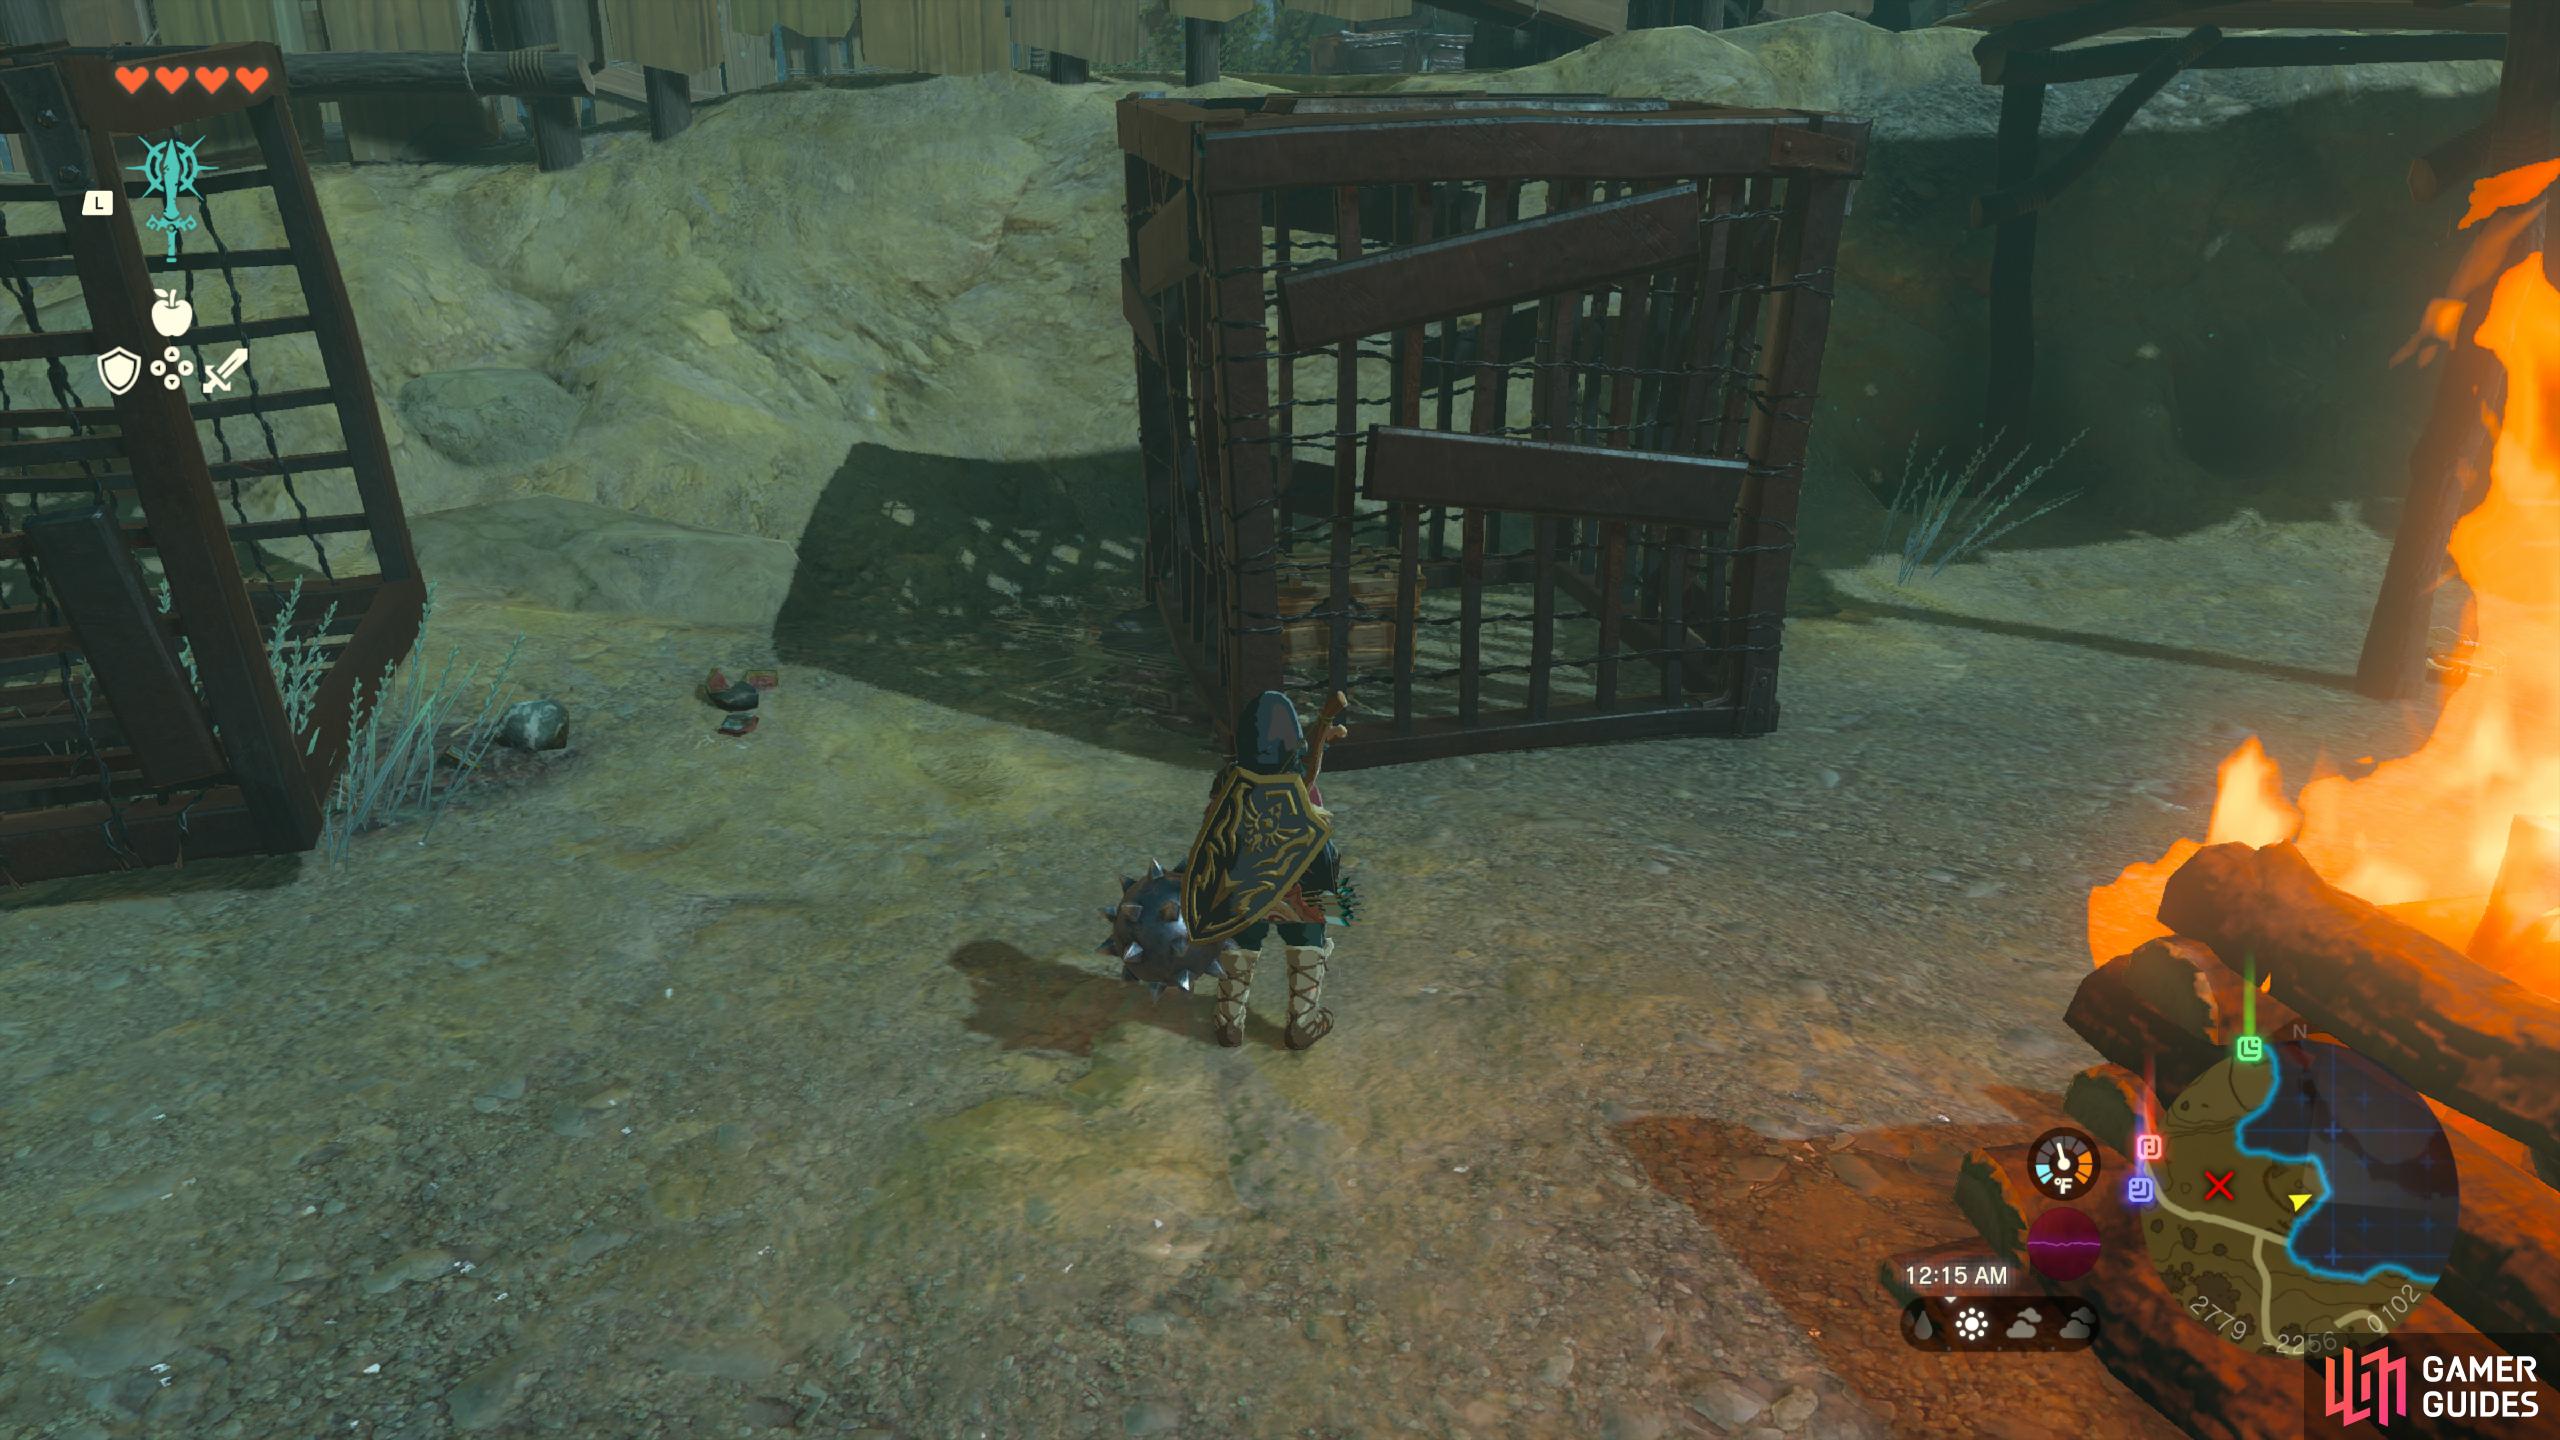
In a cage next to the explosive barrels. Use ![]() Ultrahand to move the cage off the Chest.
Ultrahand to move the cage off the Chest.
- Contains
 Luminous Stone

42314. Hyrule Surface Map
On top of the wooden platform in the encampment.
Defeat the nearby enemies to unlock the chest.
- Contains a
 Steel Lizal Shield.
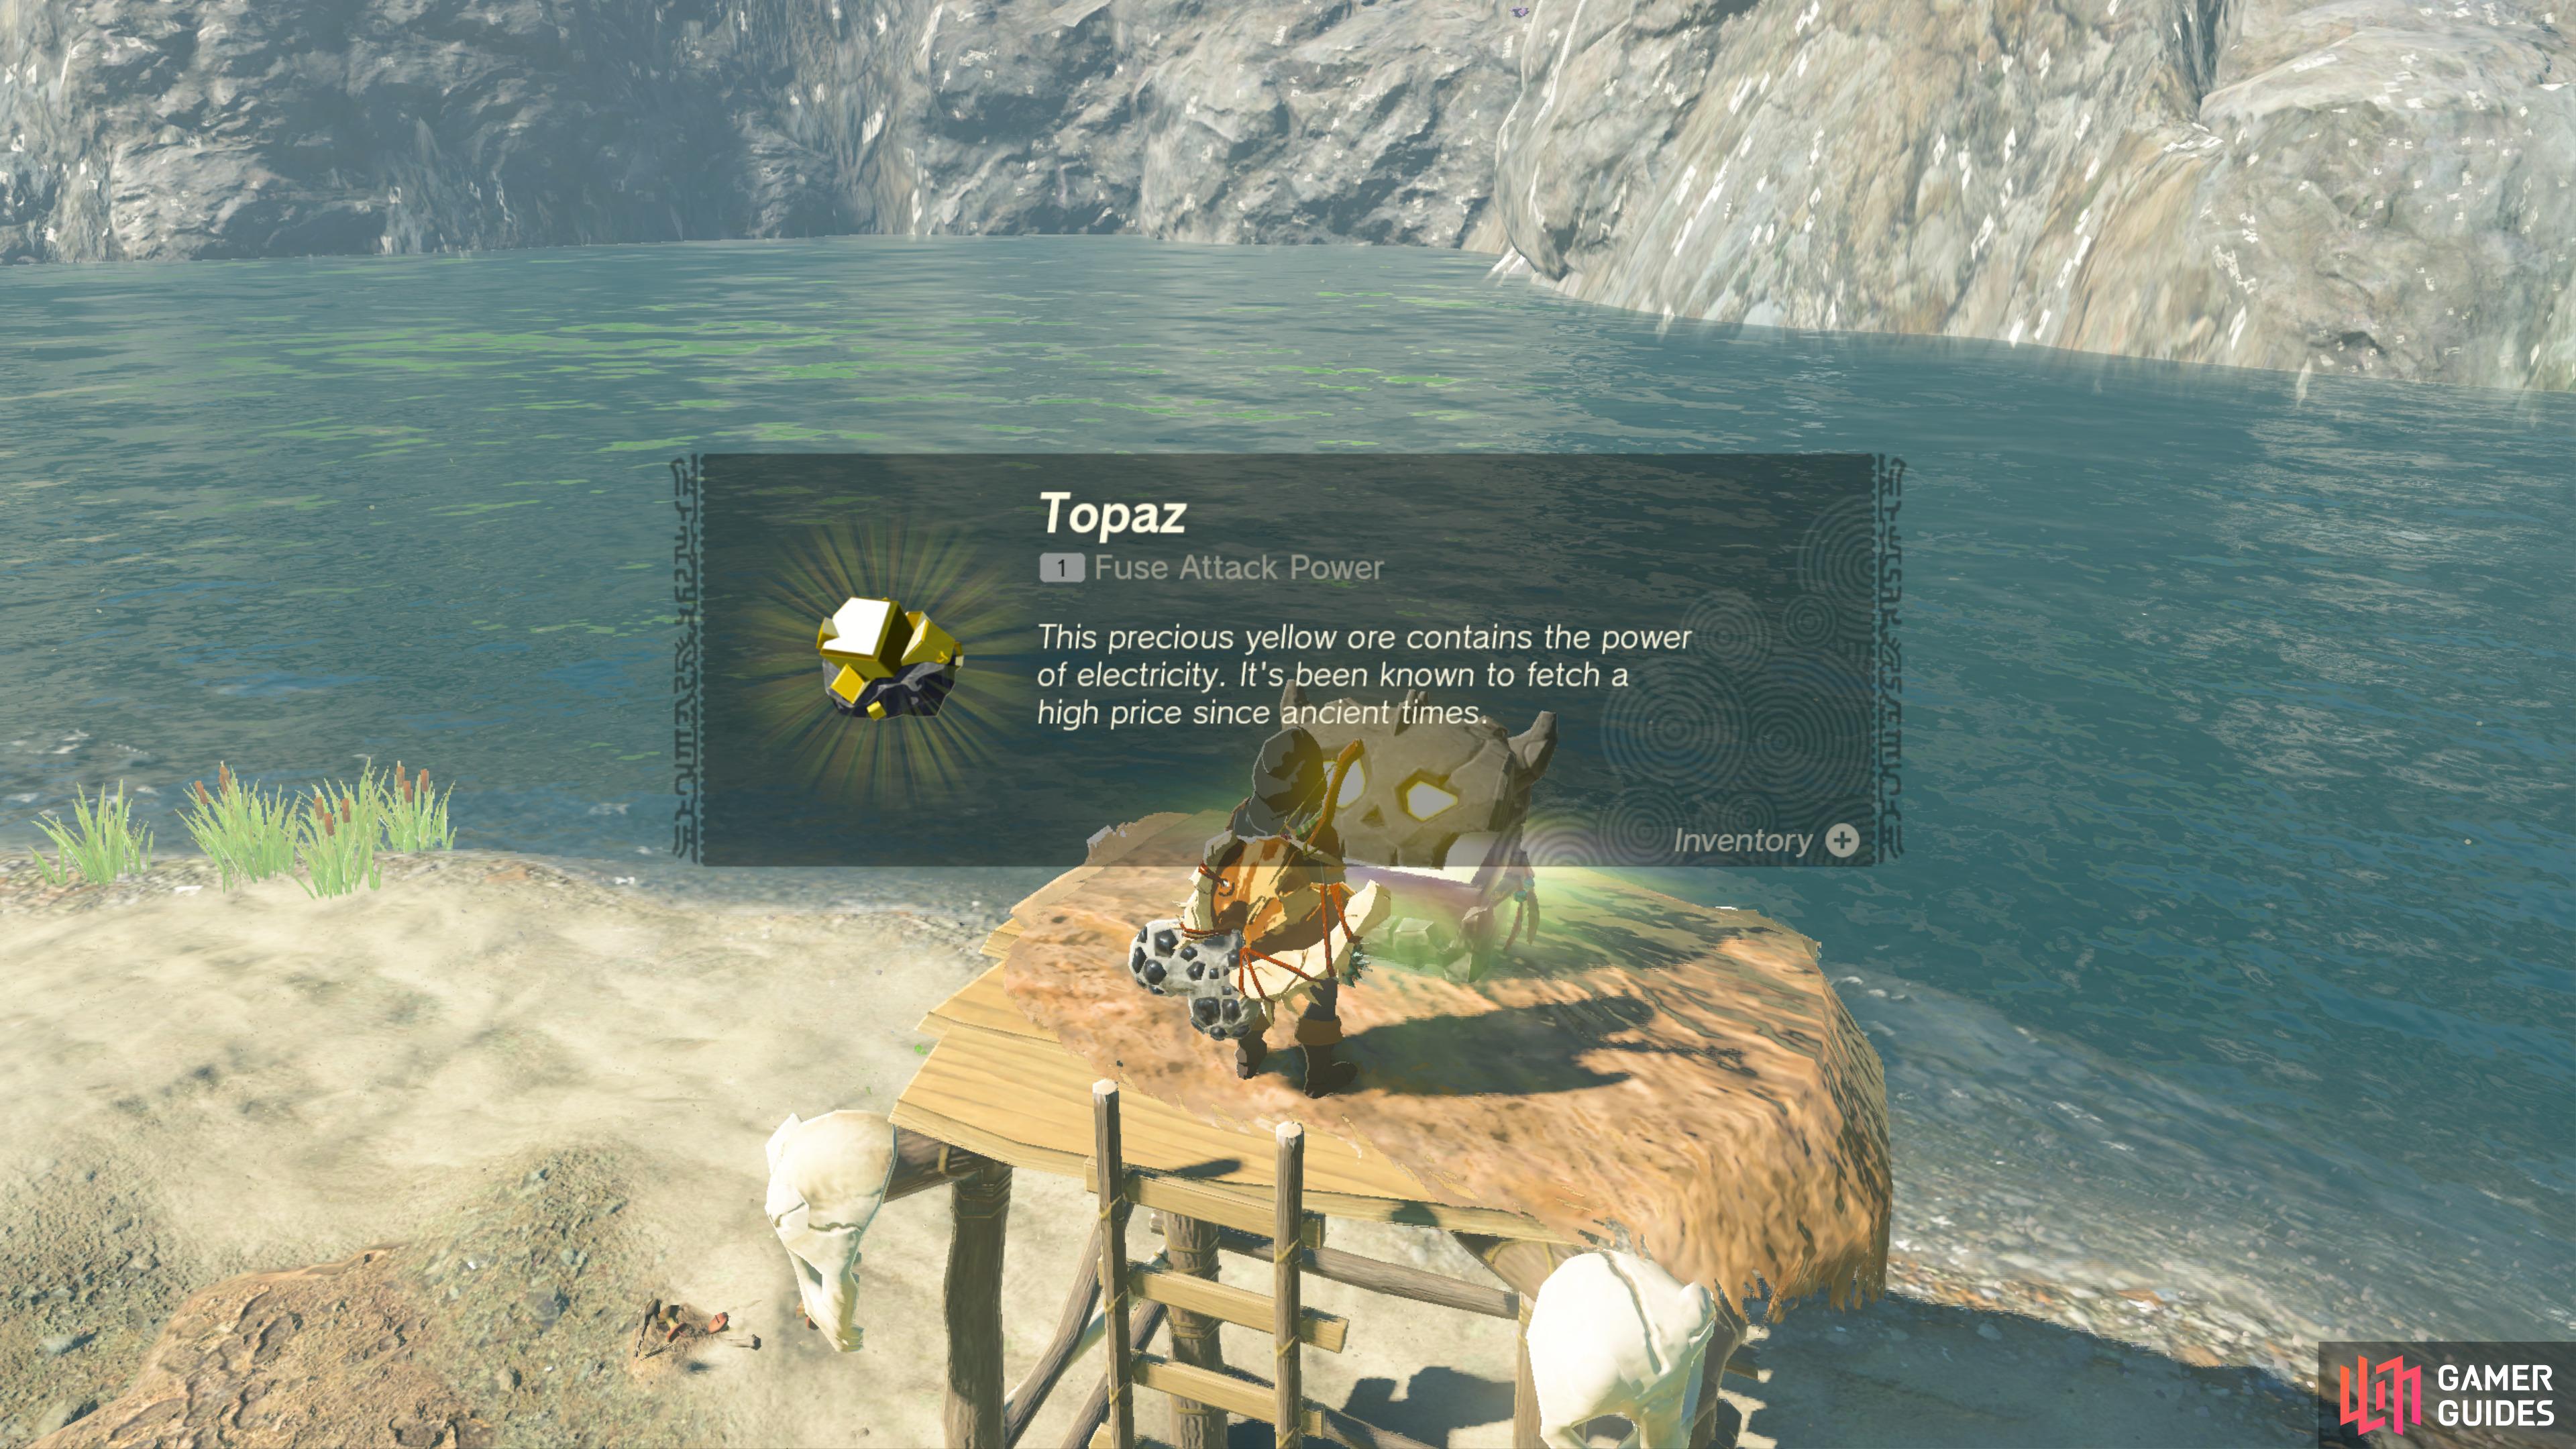
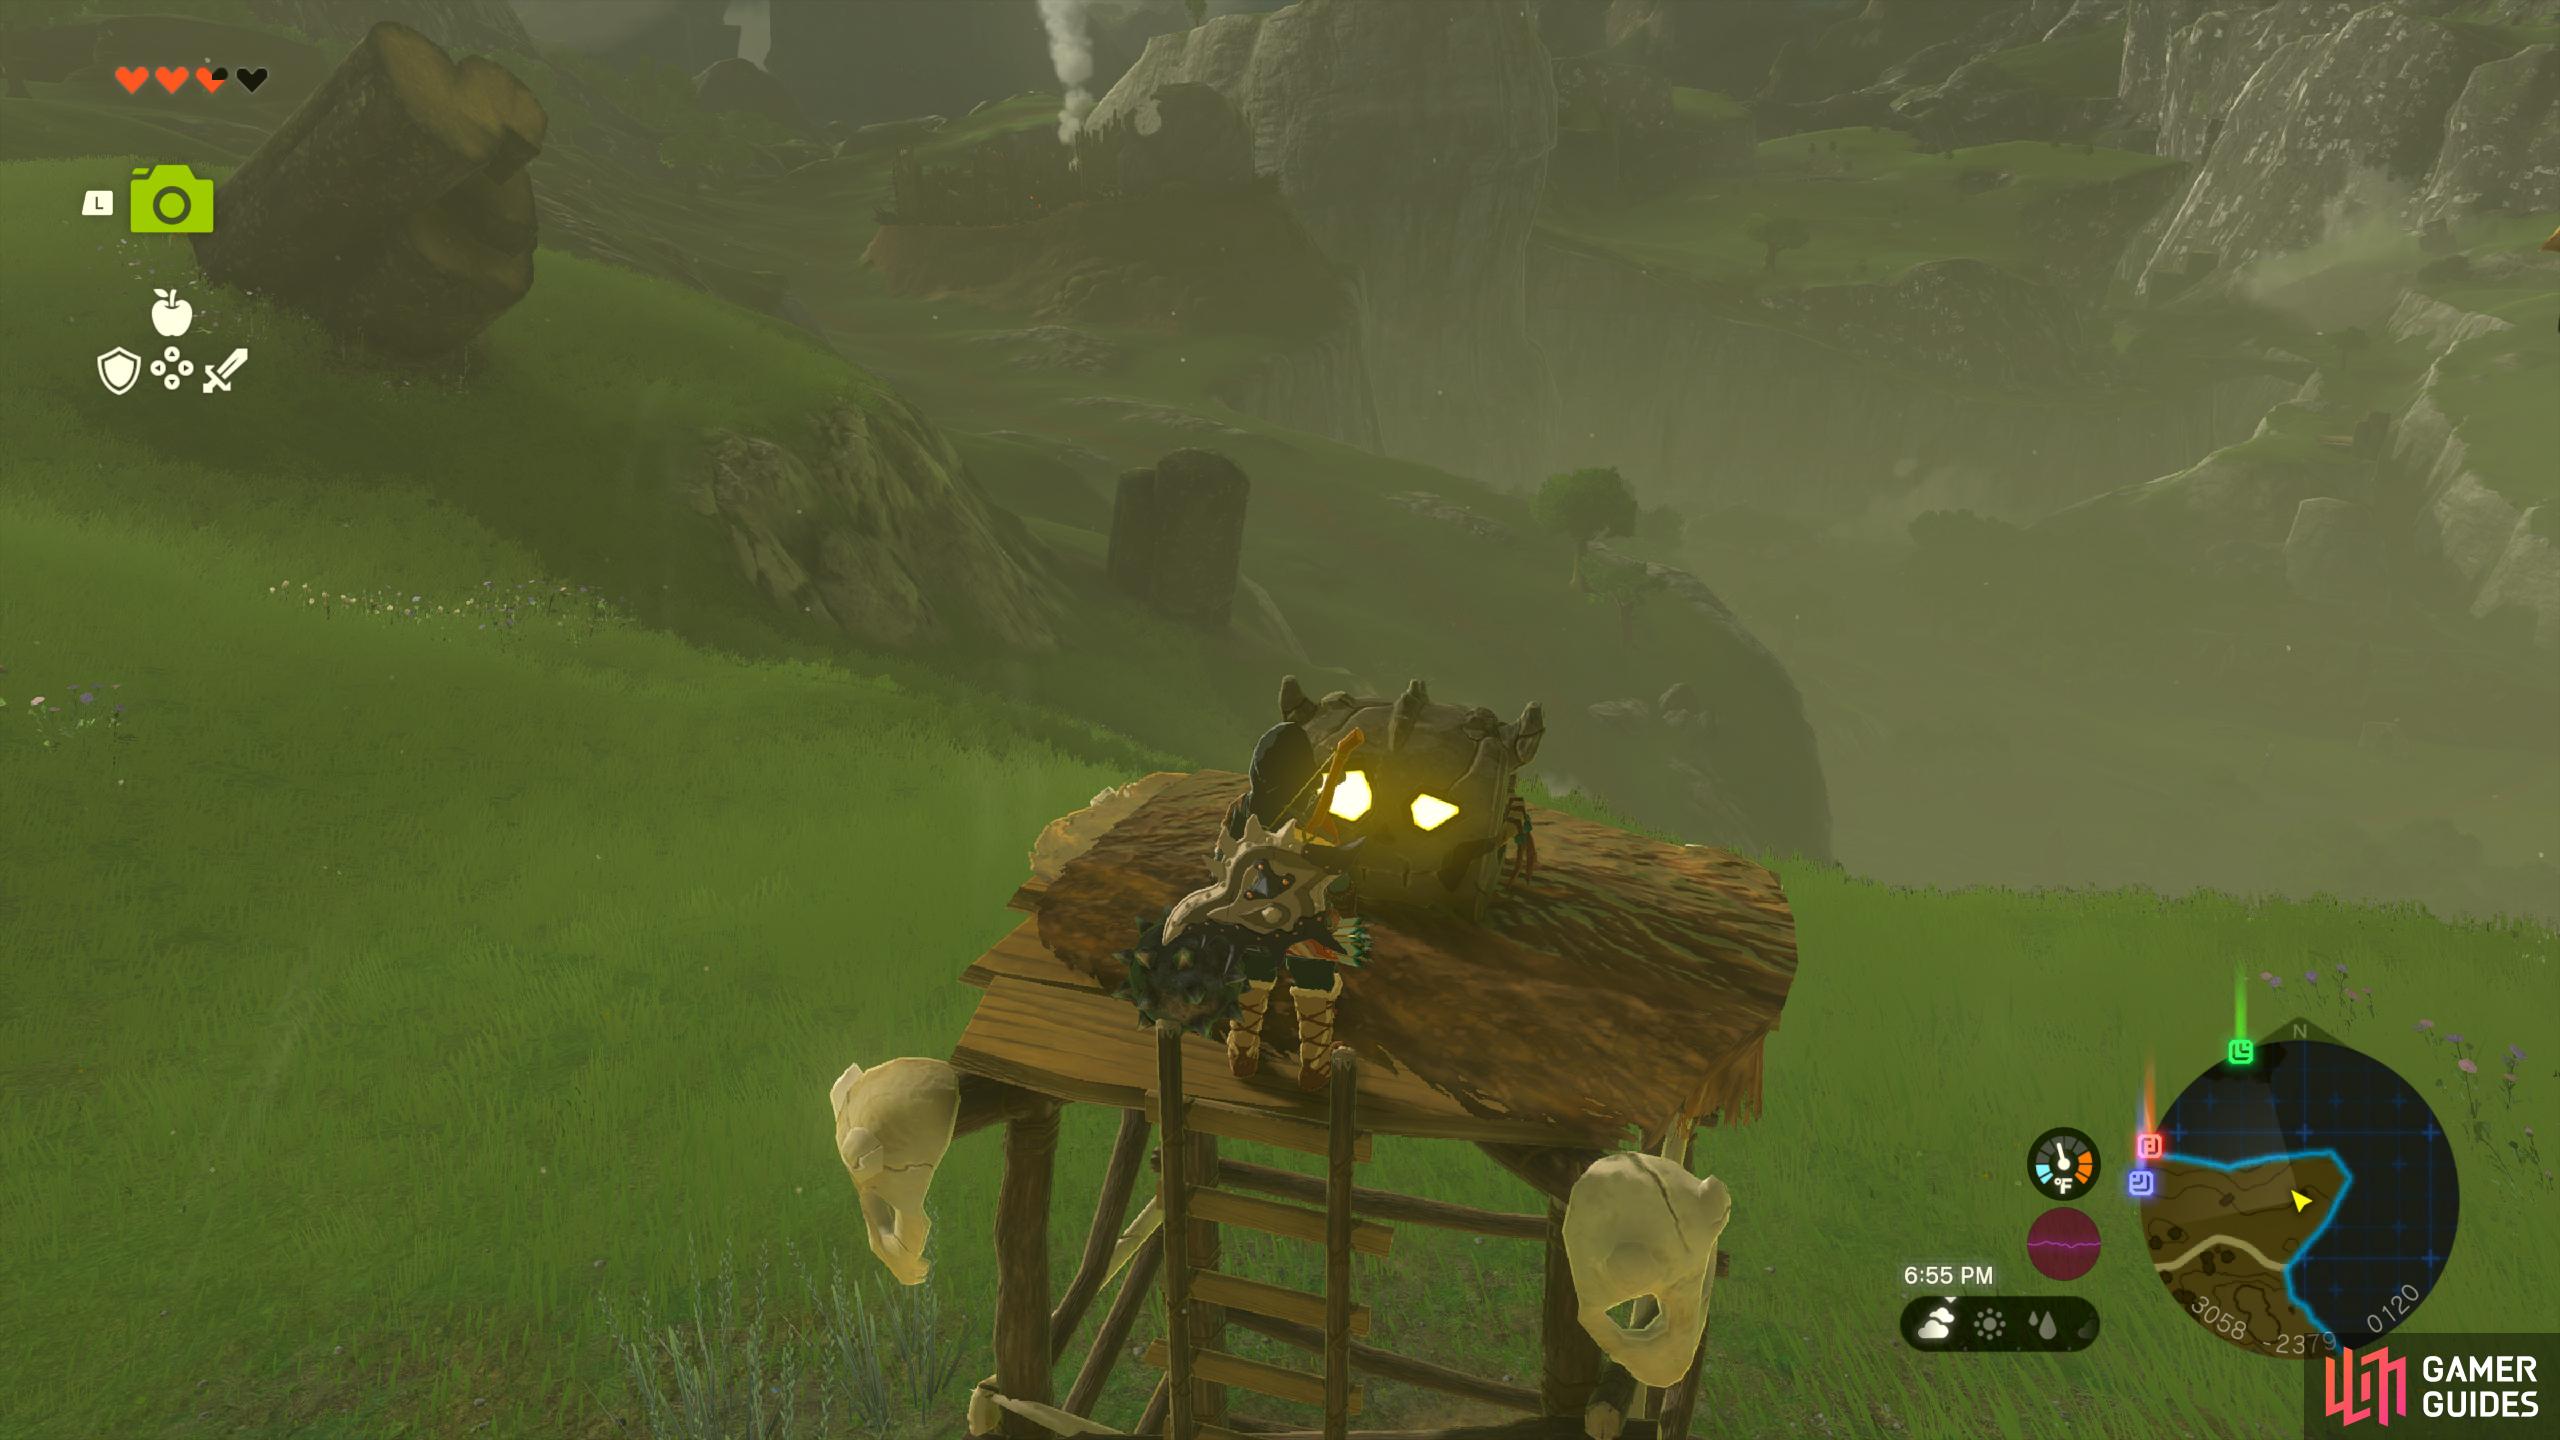
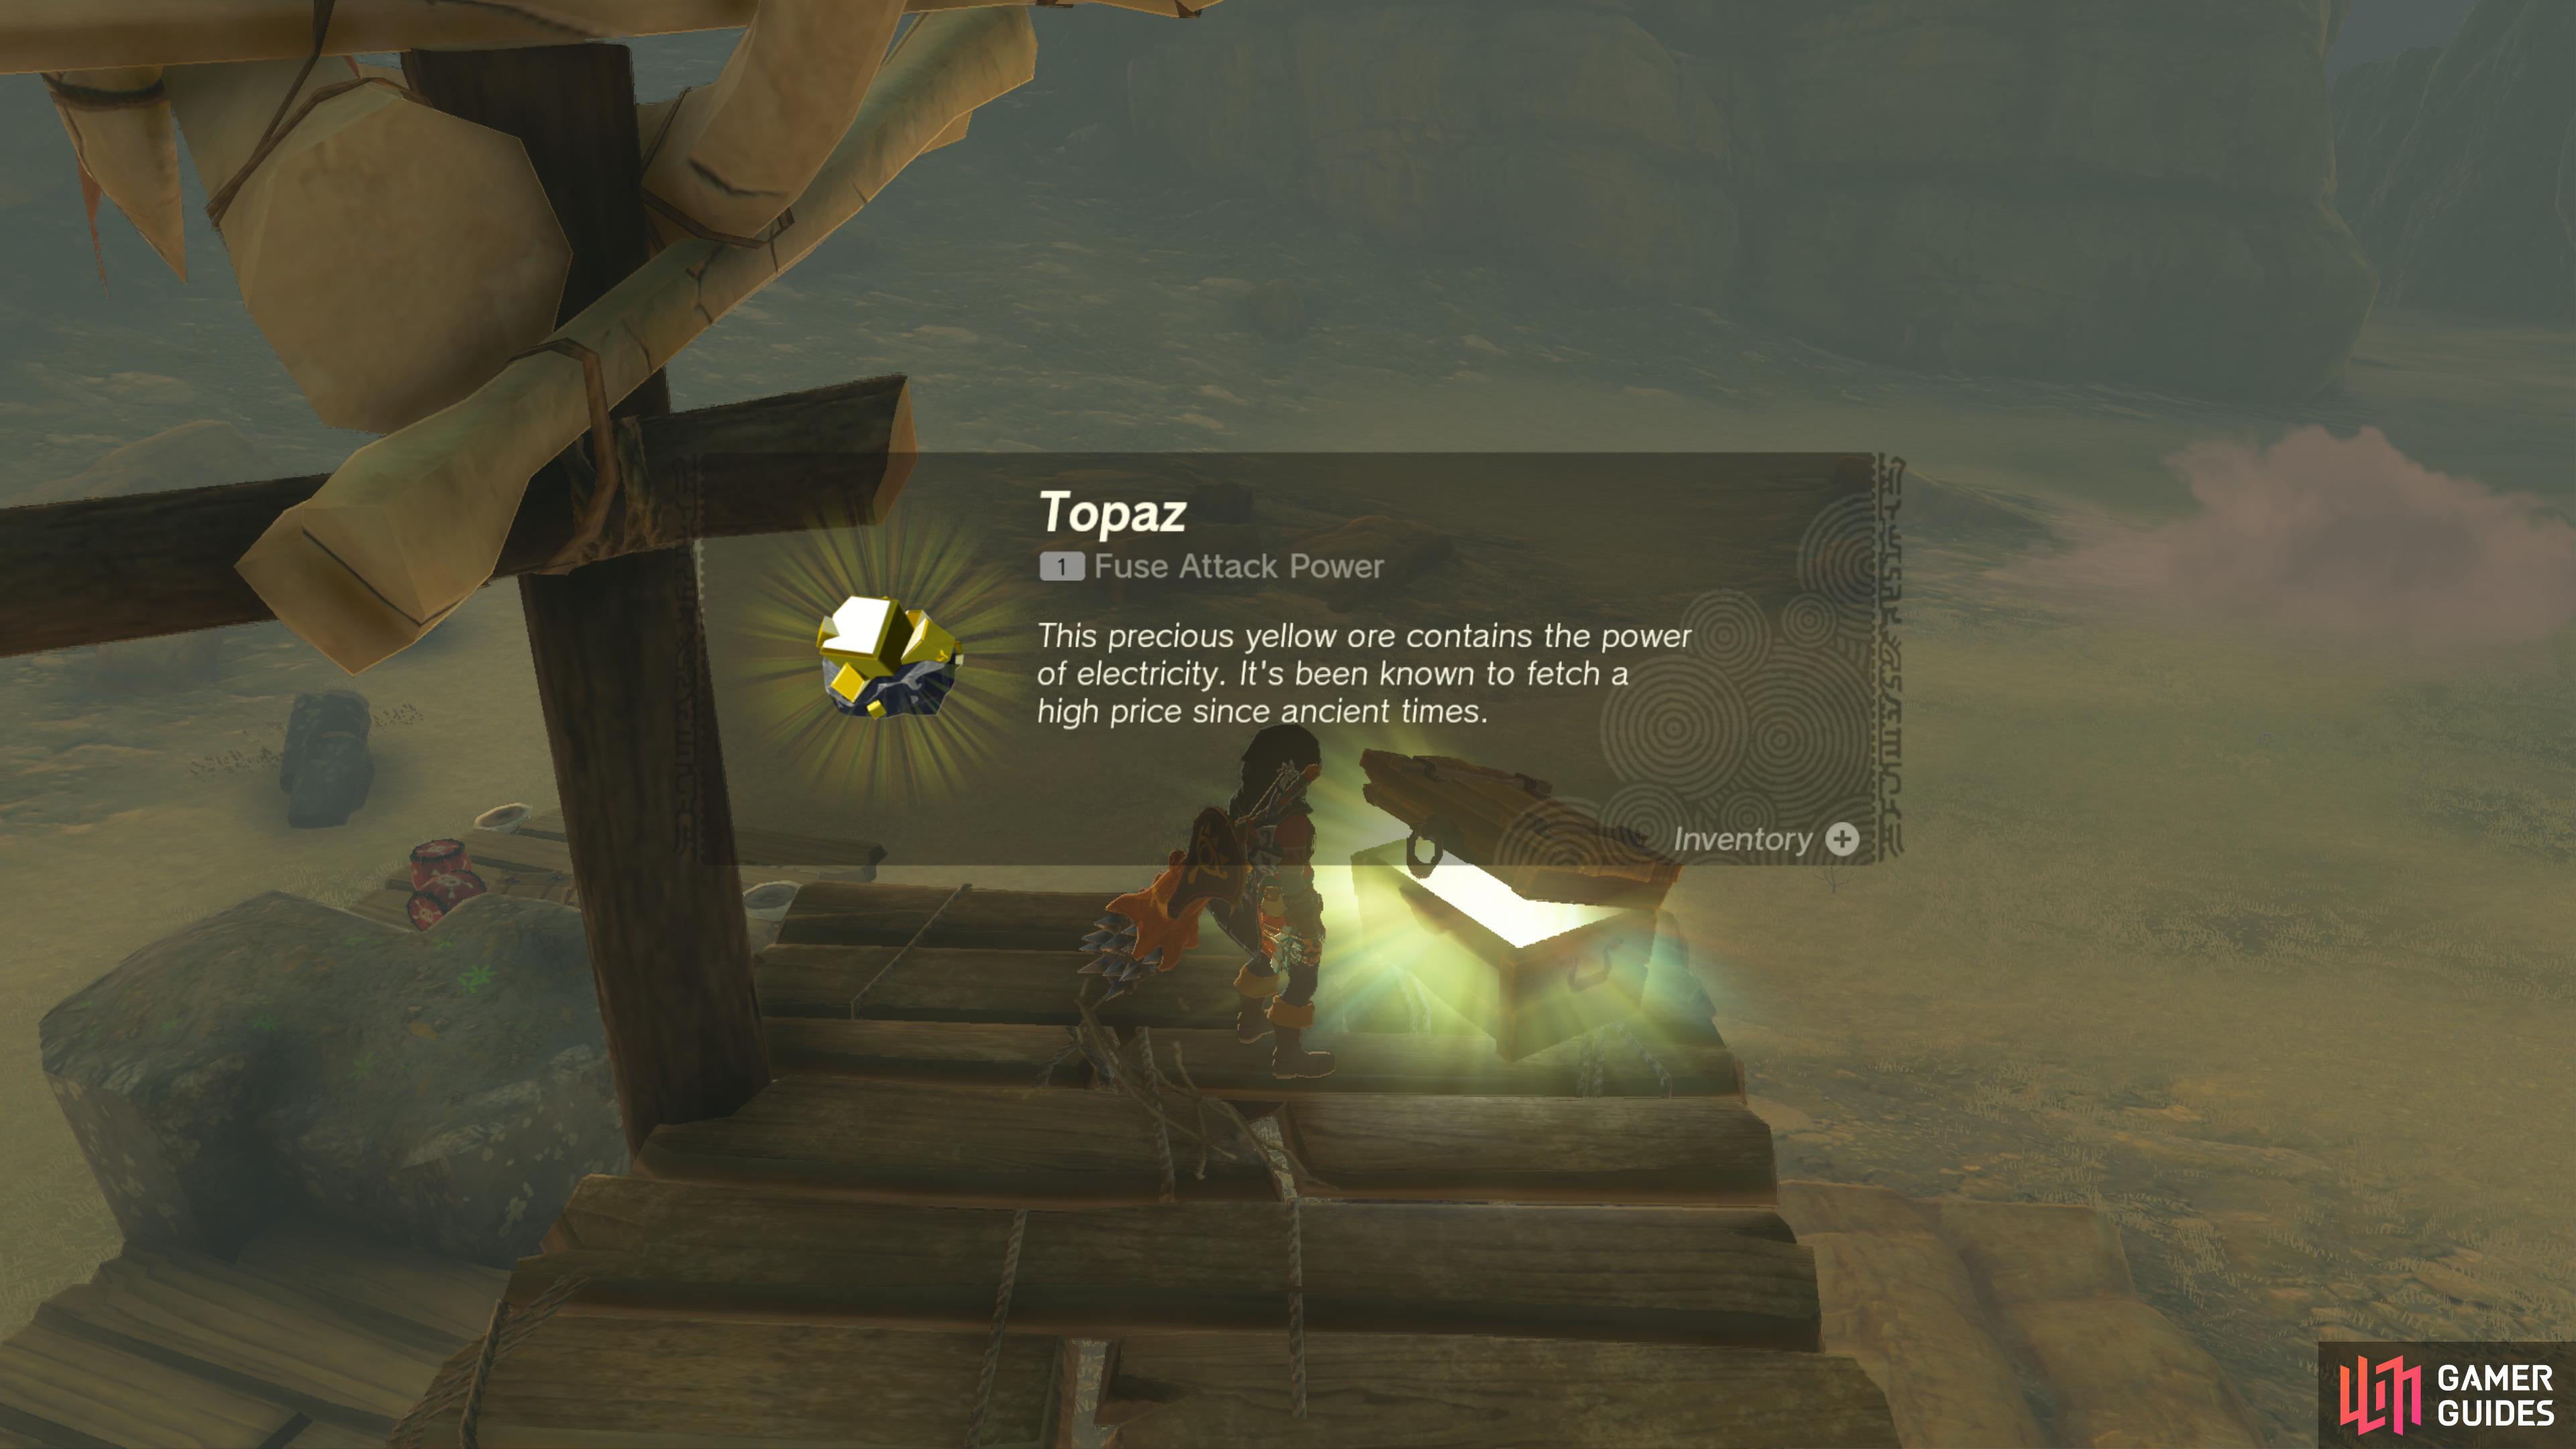
42404. Hyrule Surface Map
Defeat the nearby ![]() Battle Talus to unlock this Chest.
Battle Talus to unlock this Chest.
It contains a Topaz.
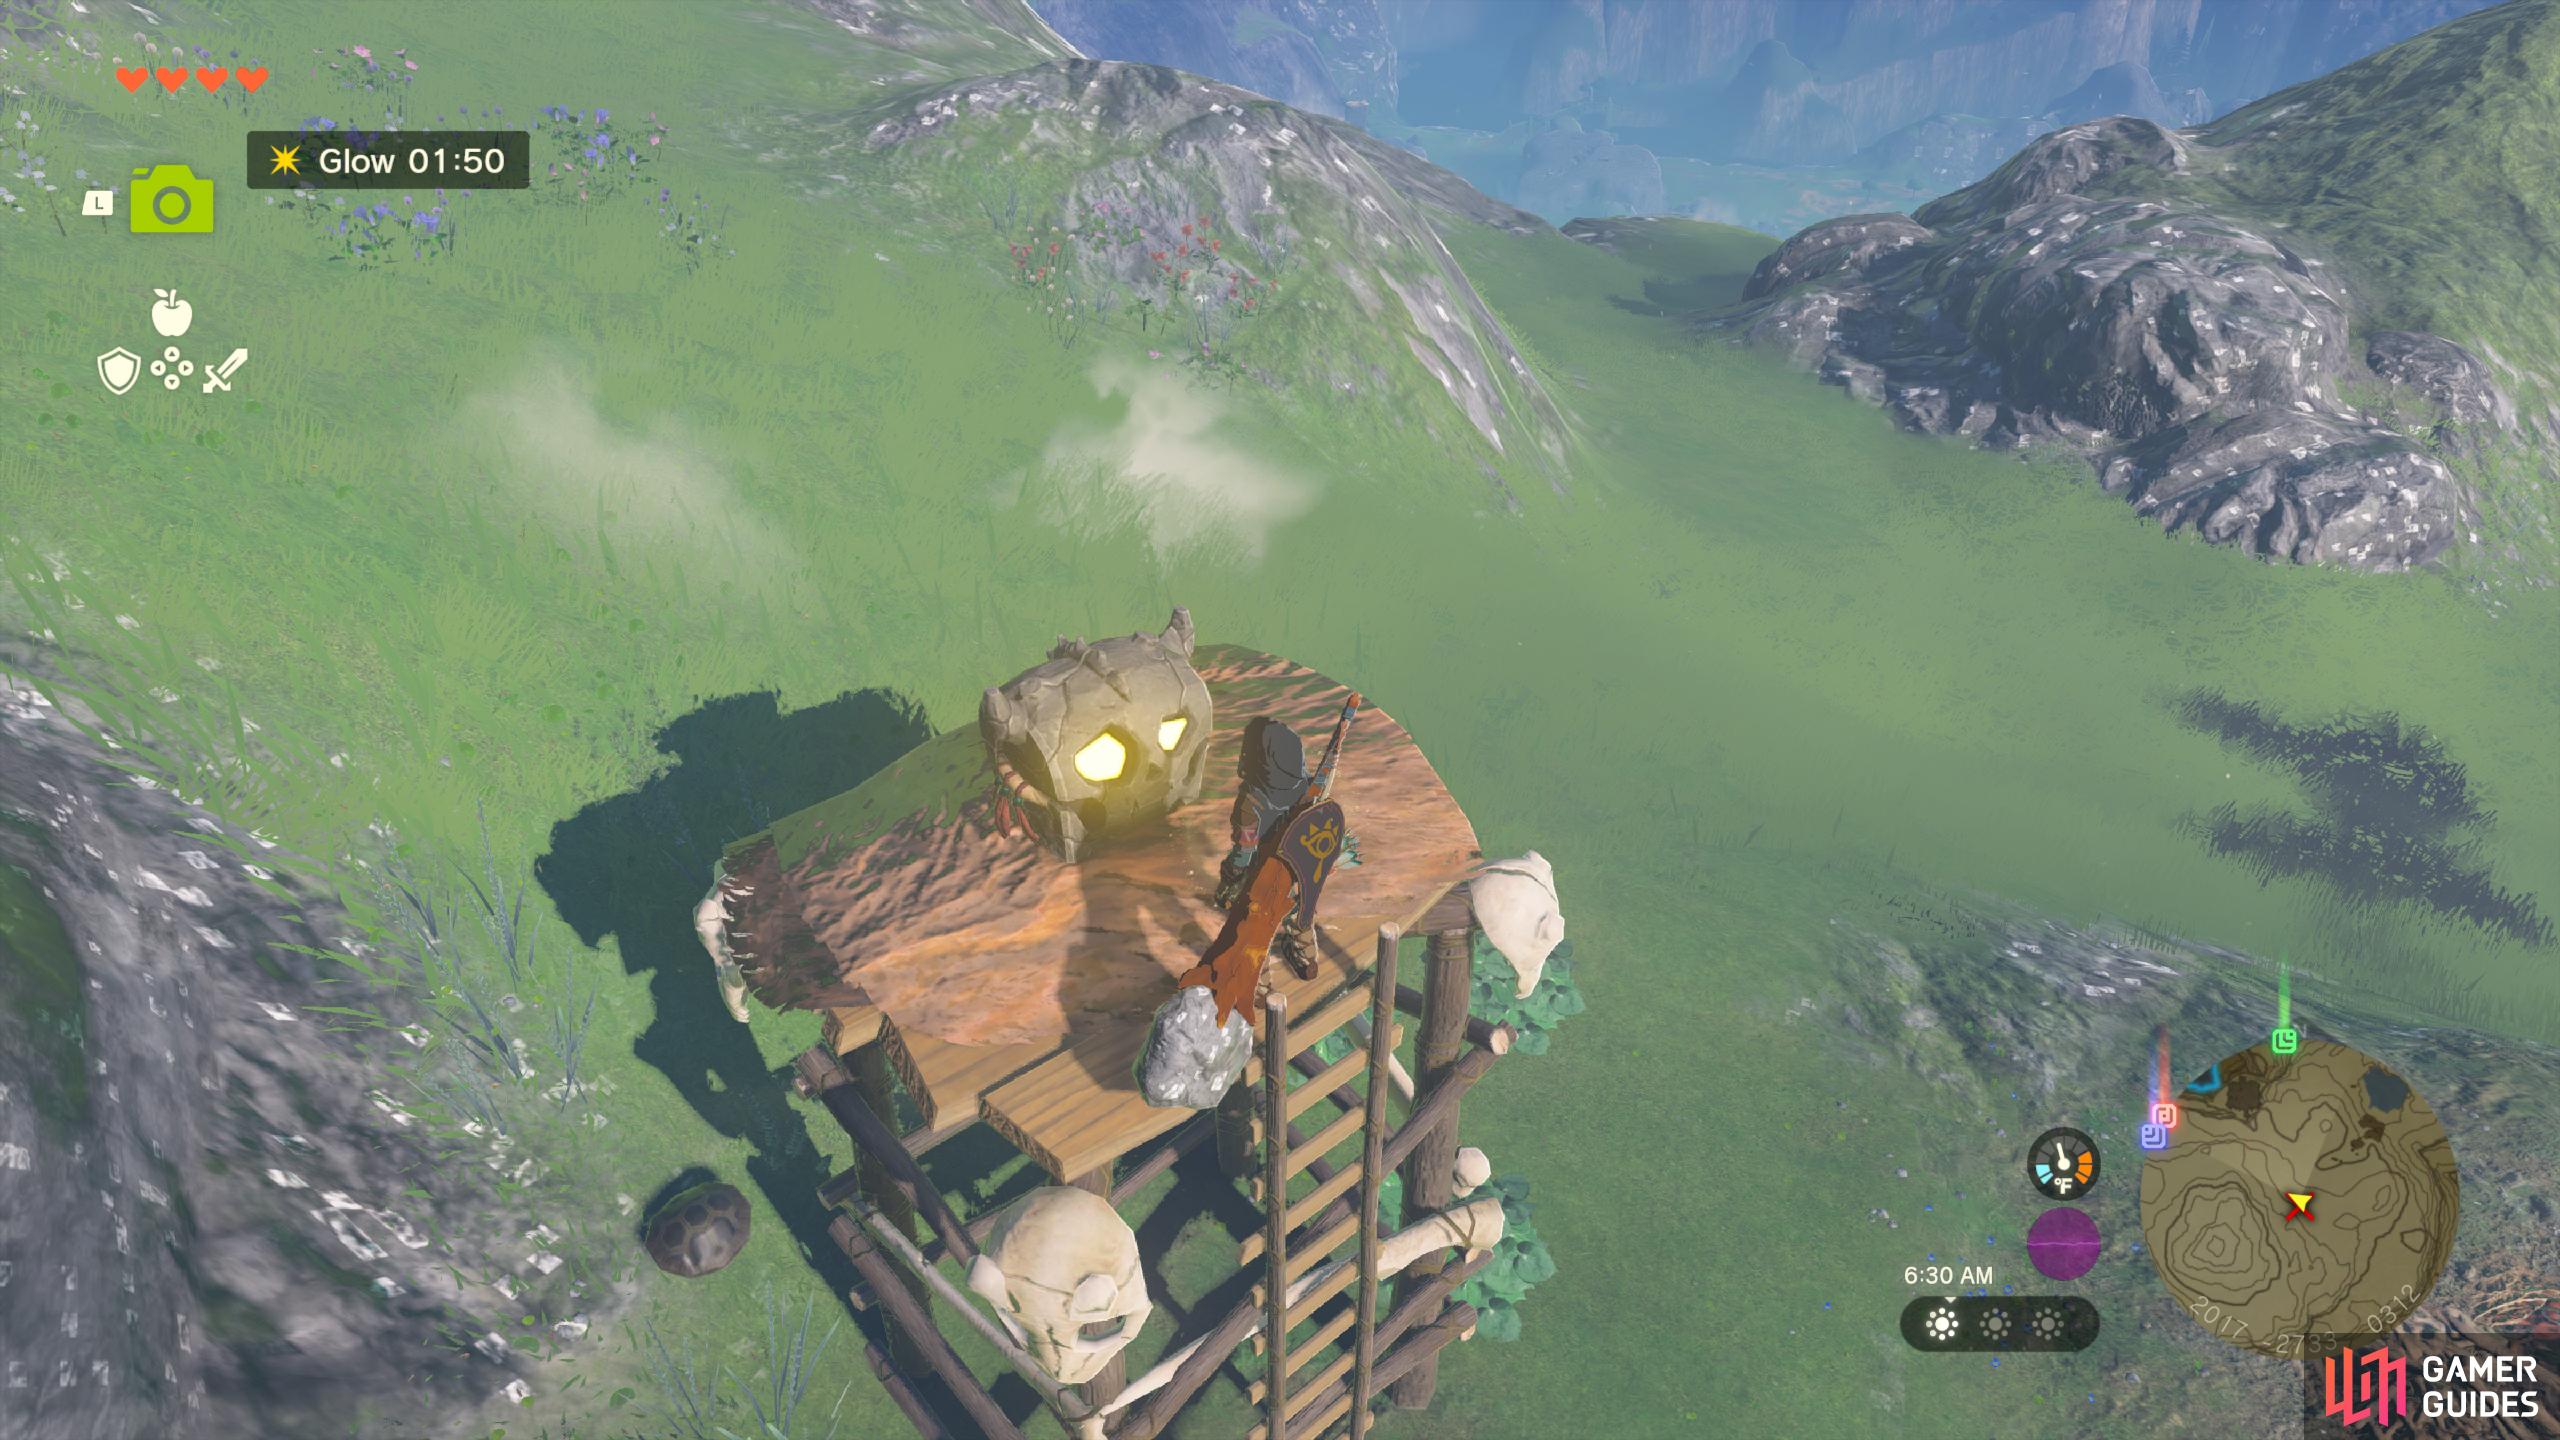
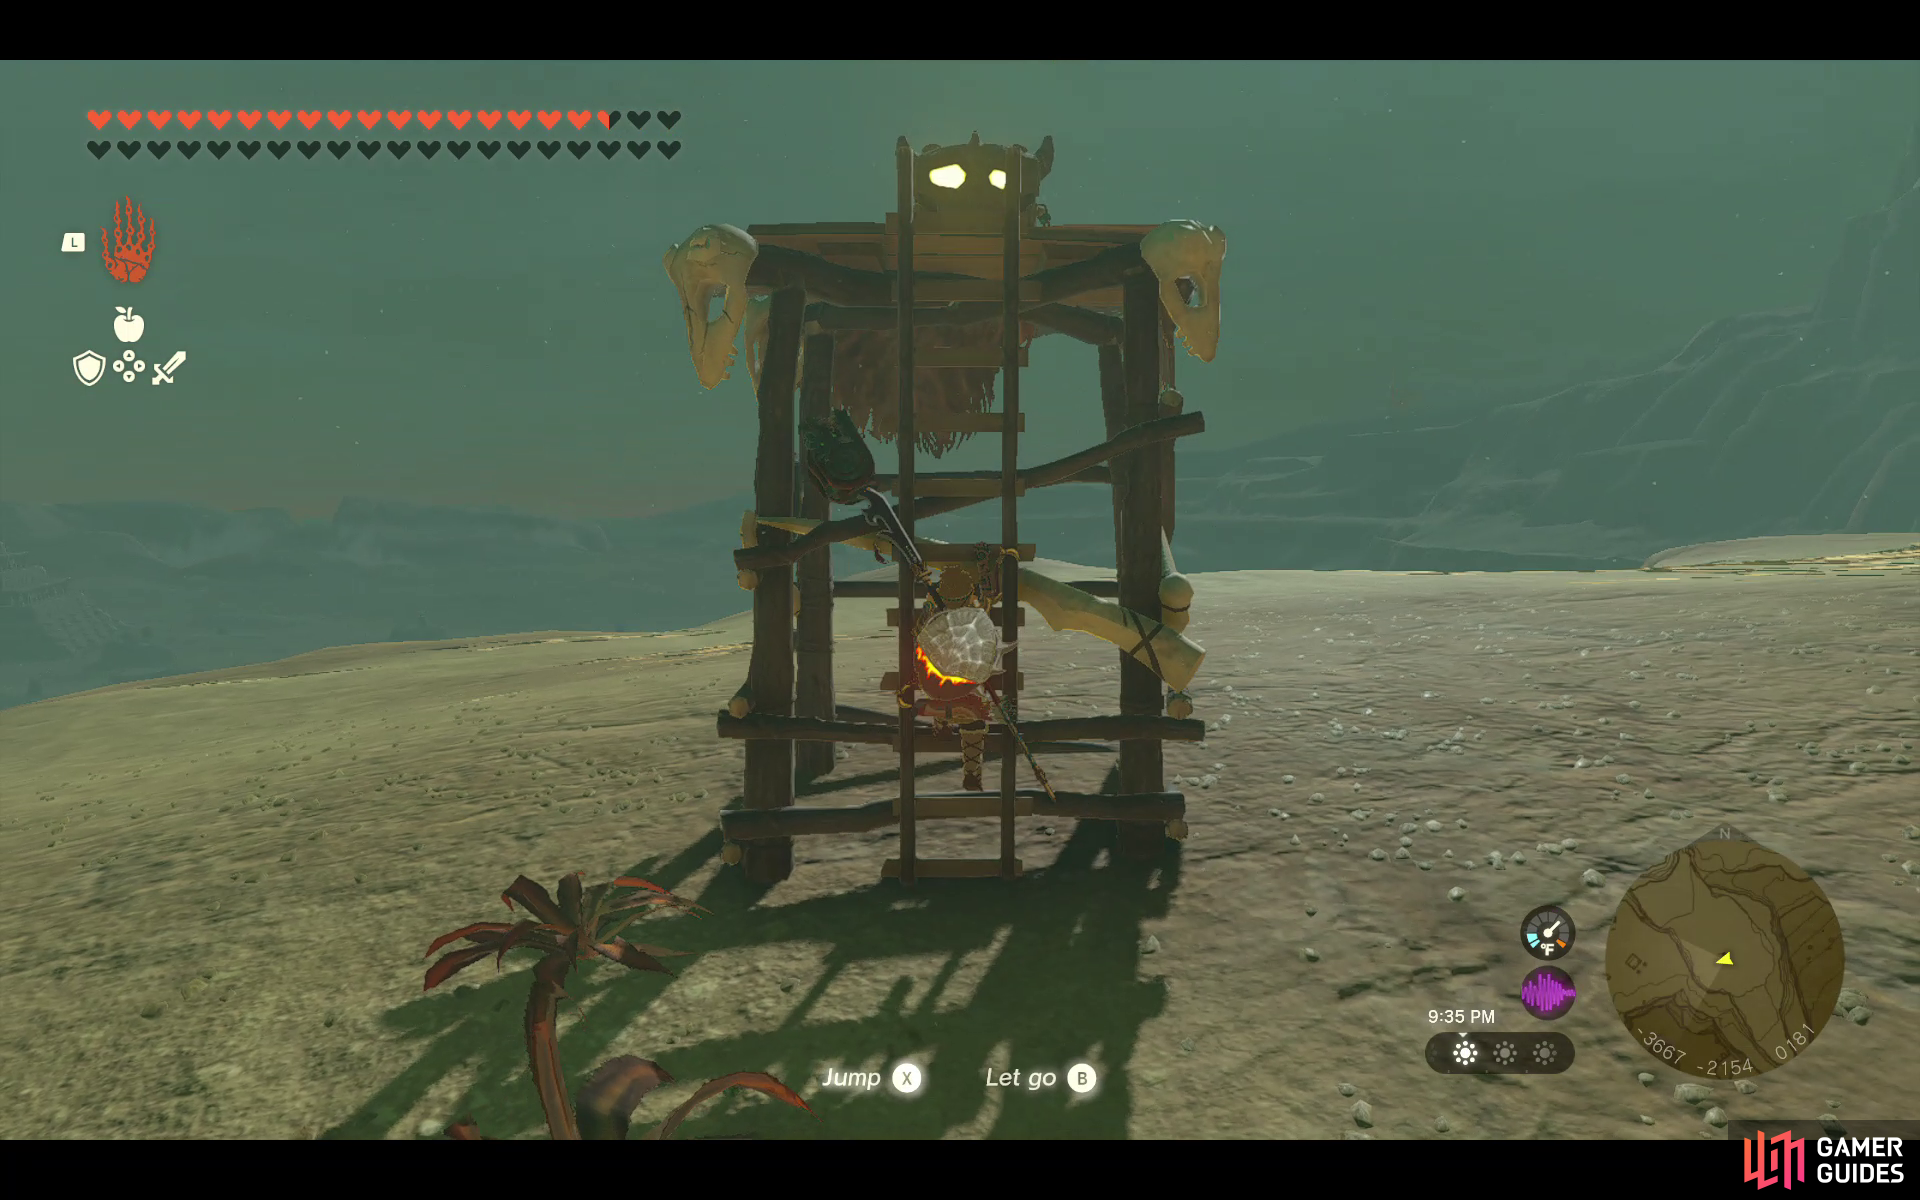
42618. Hyrule Surface Map
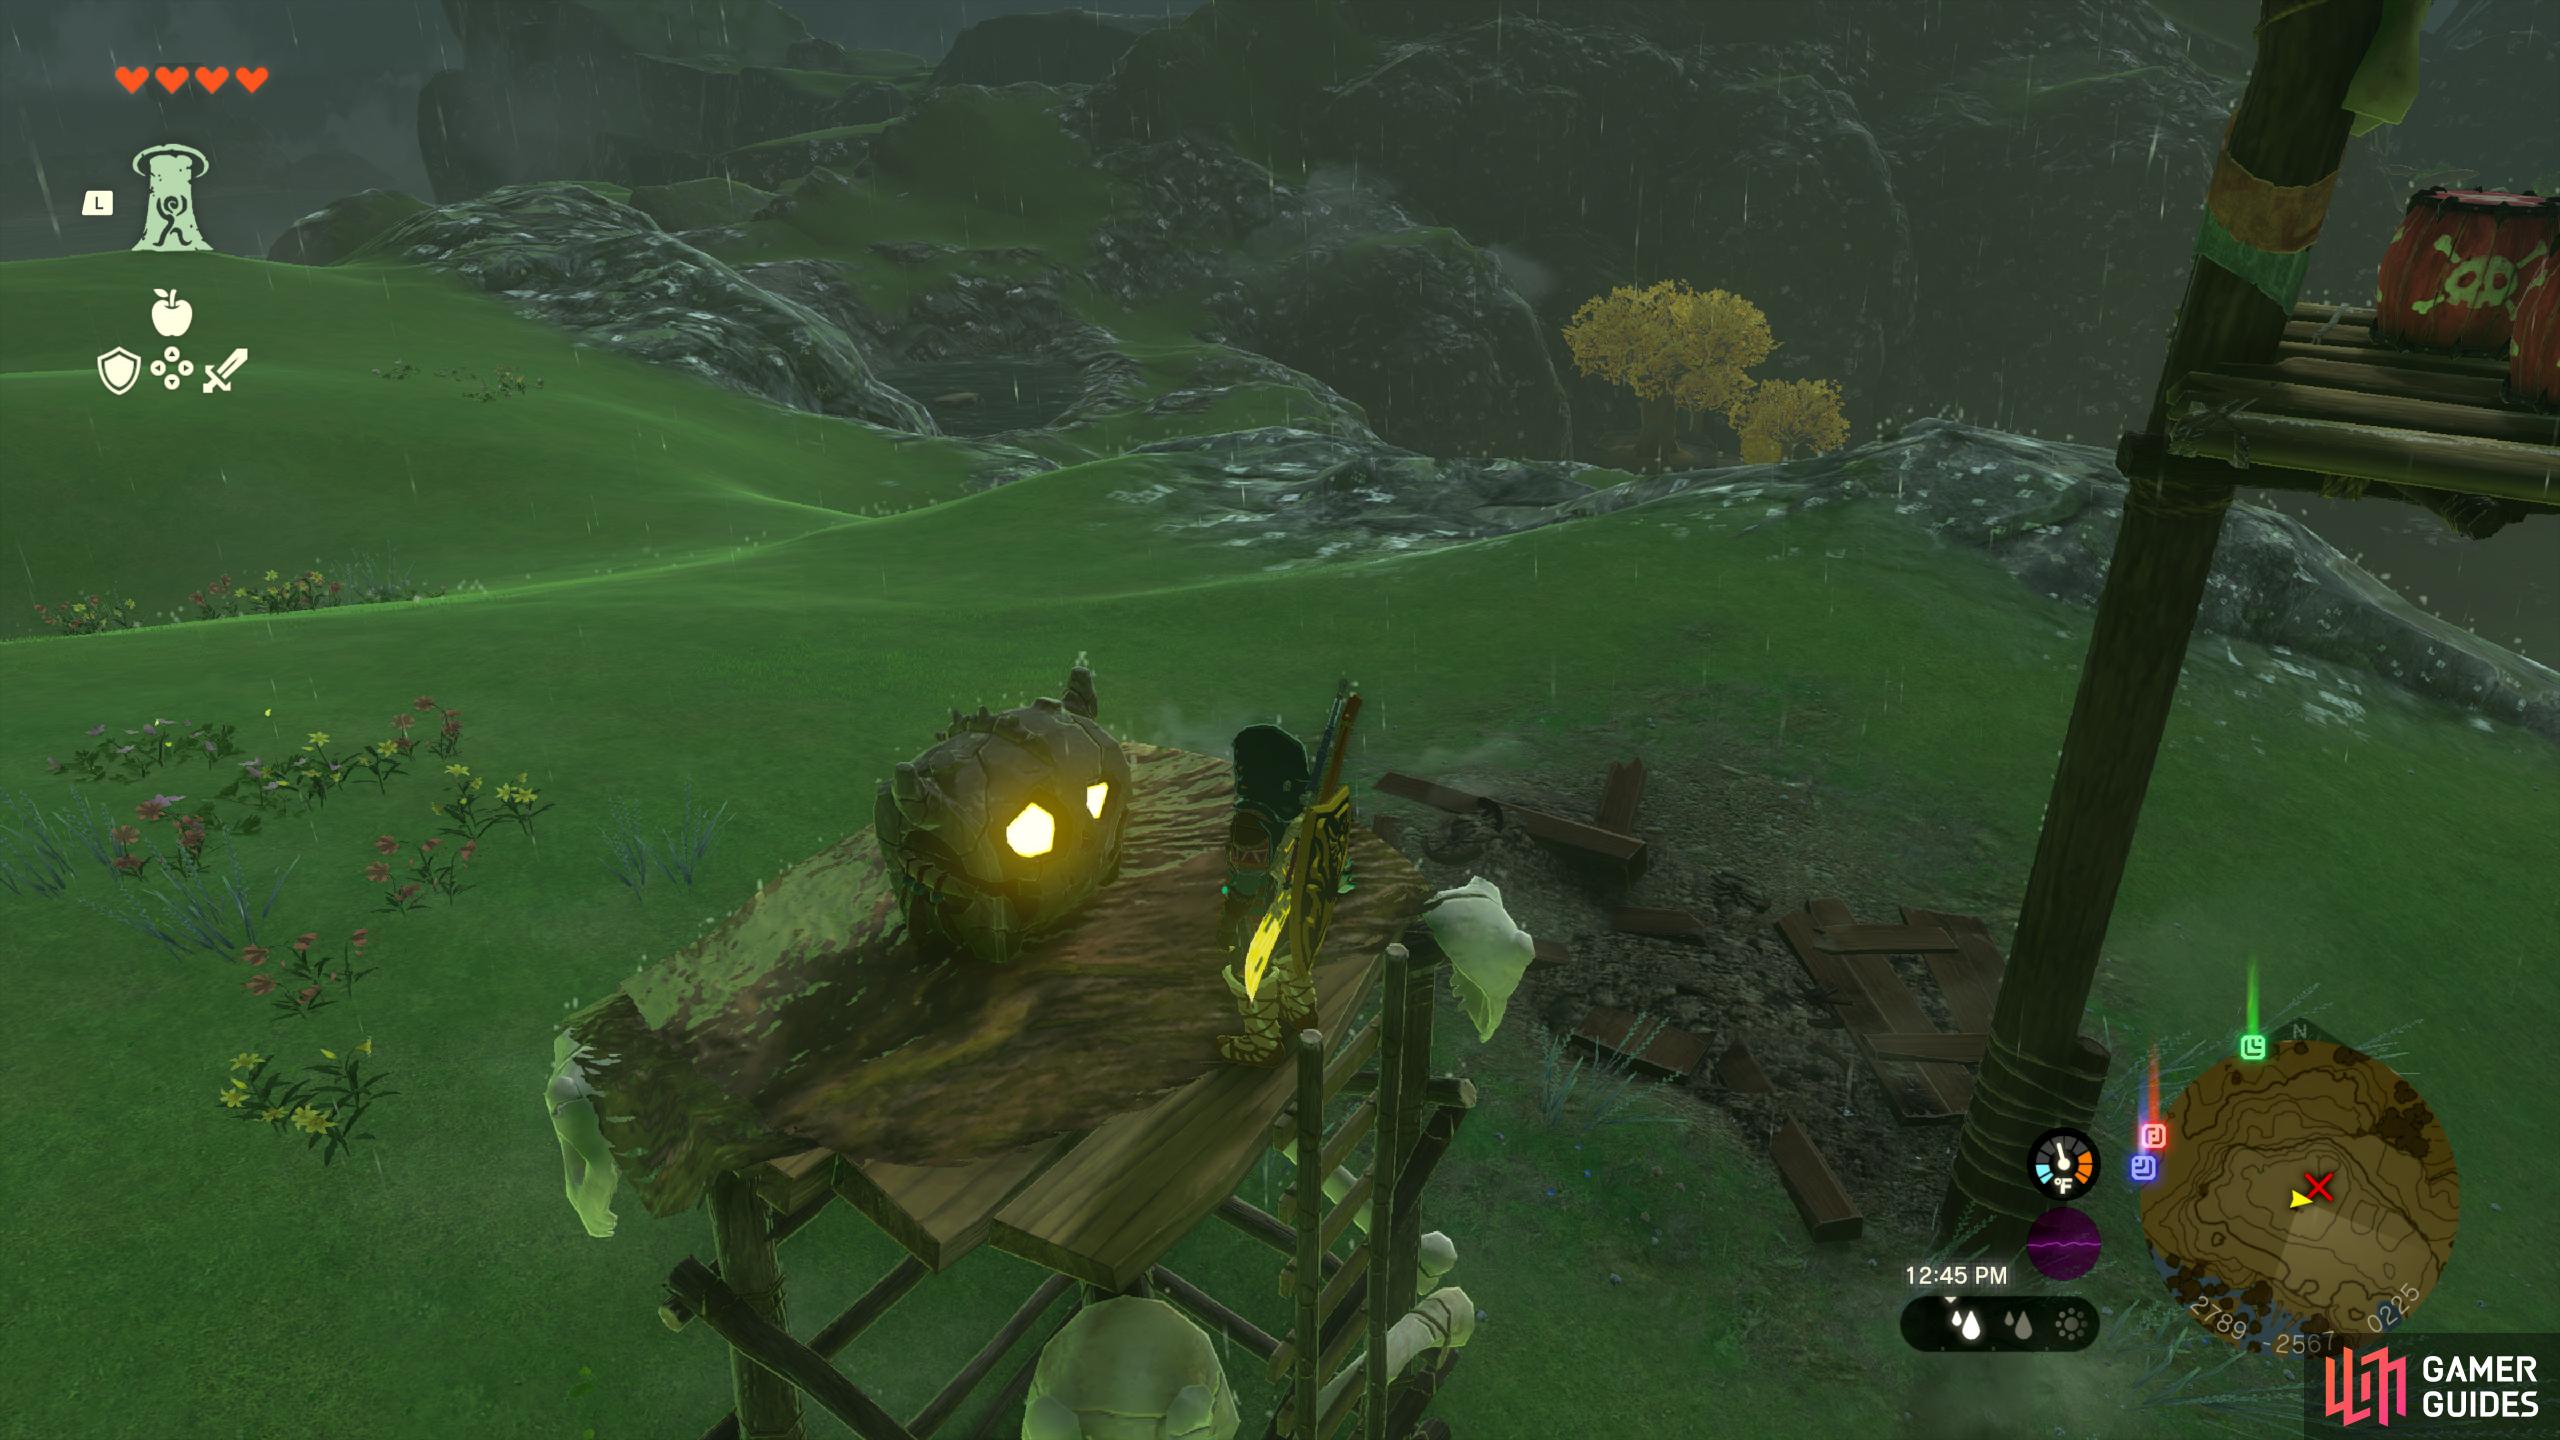
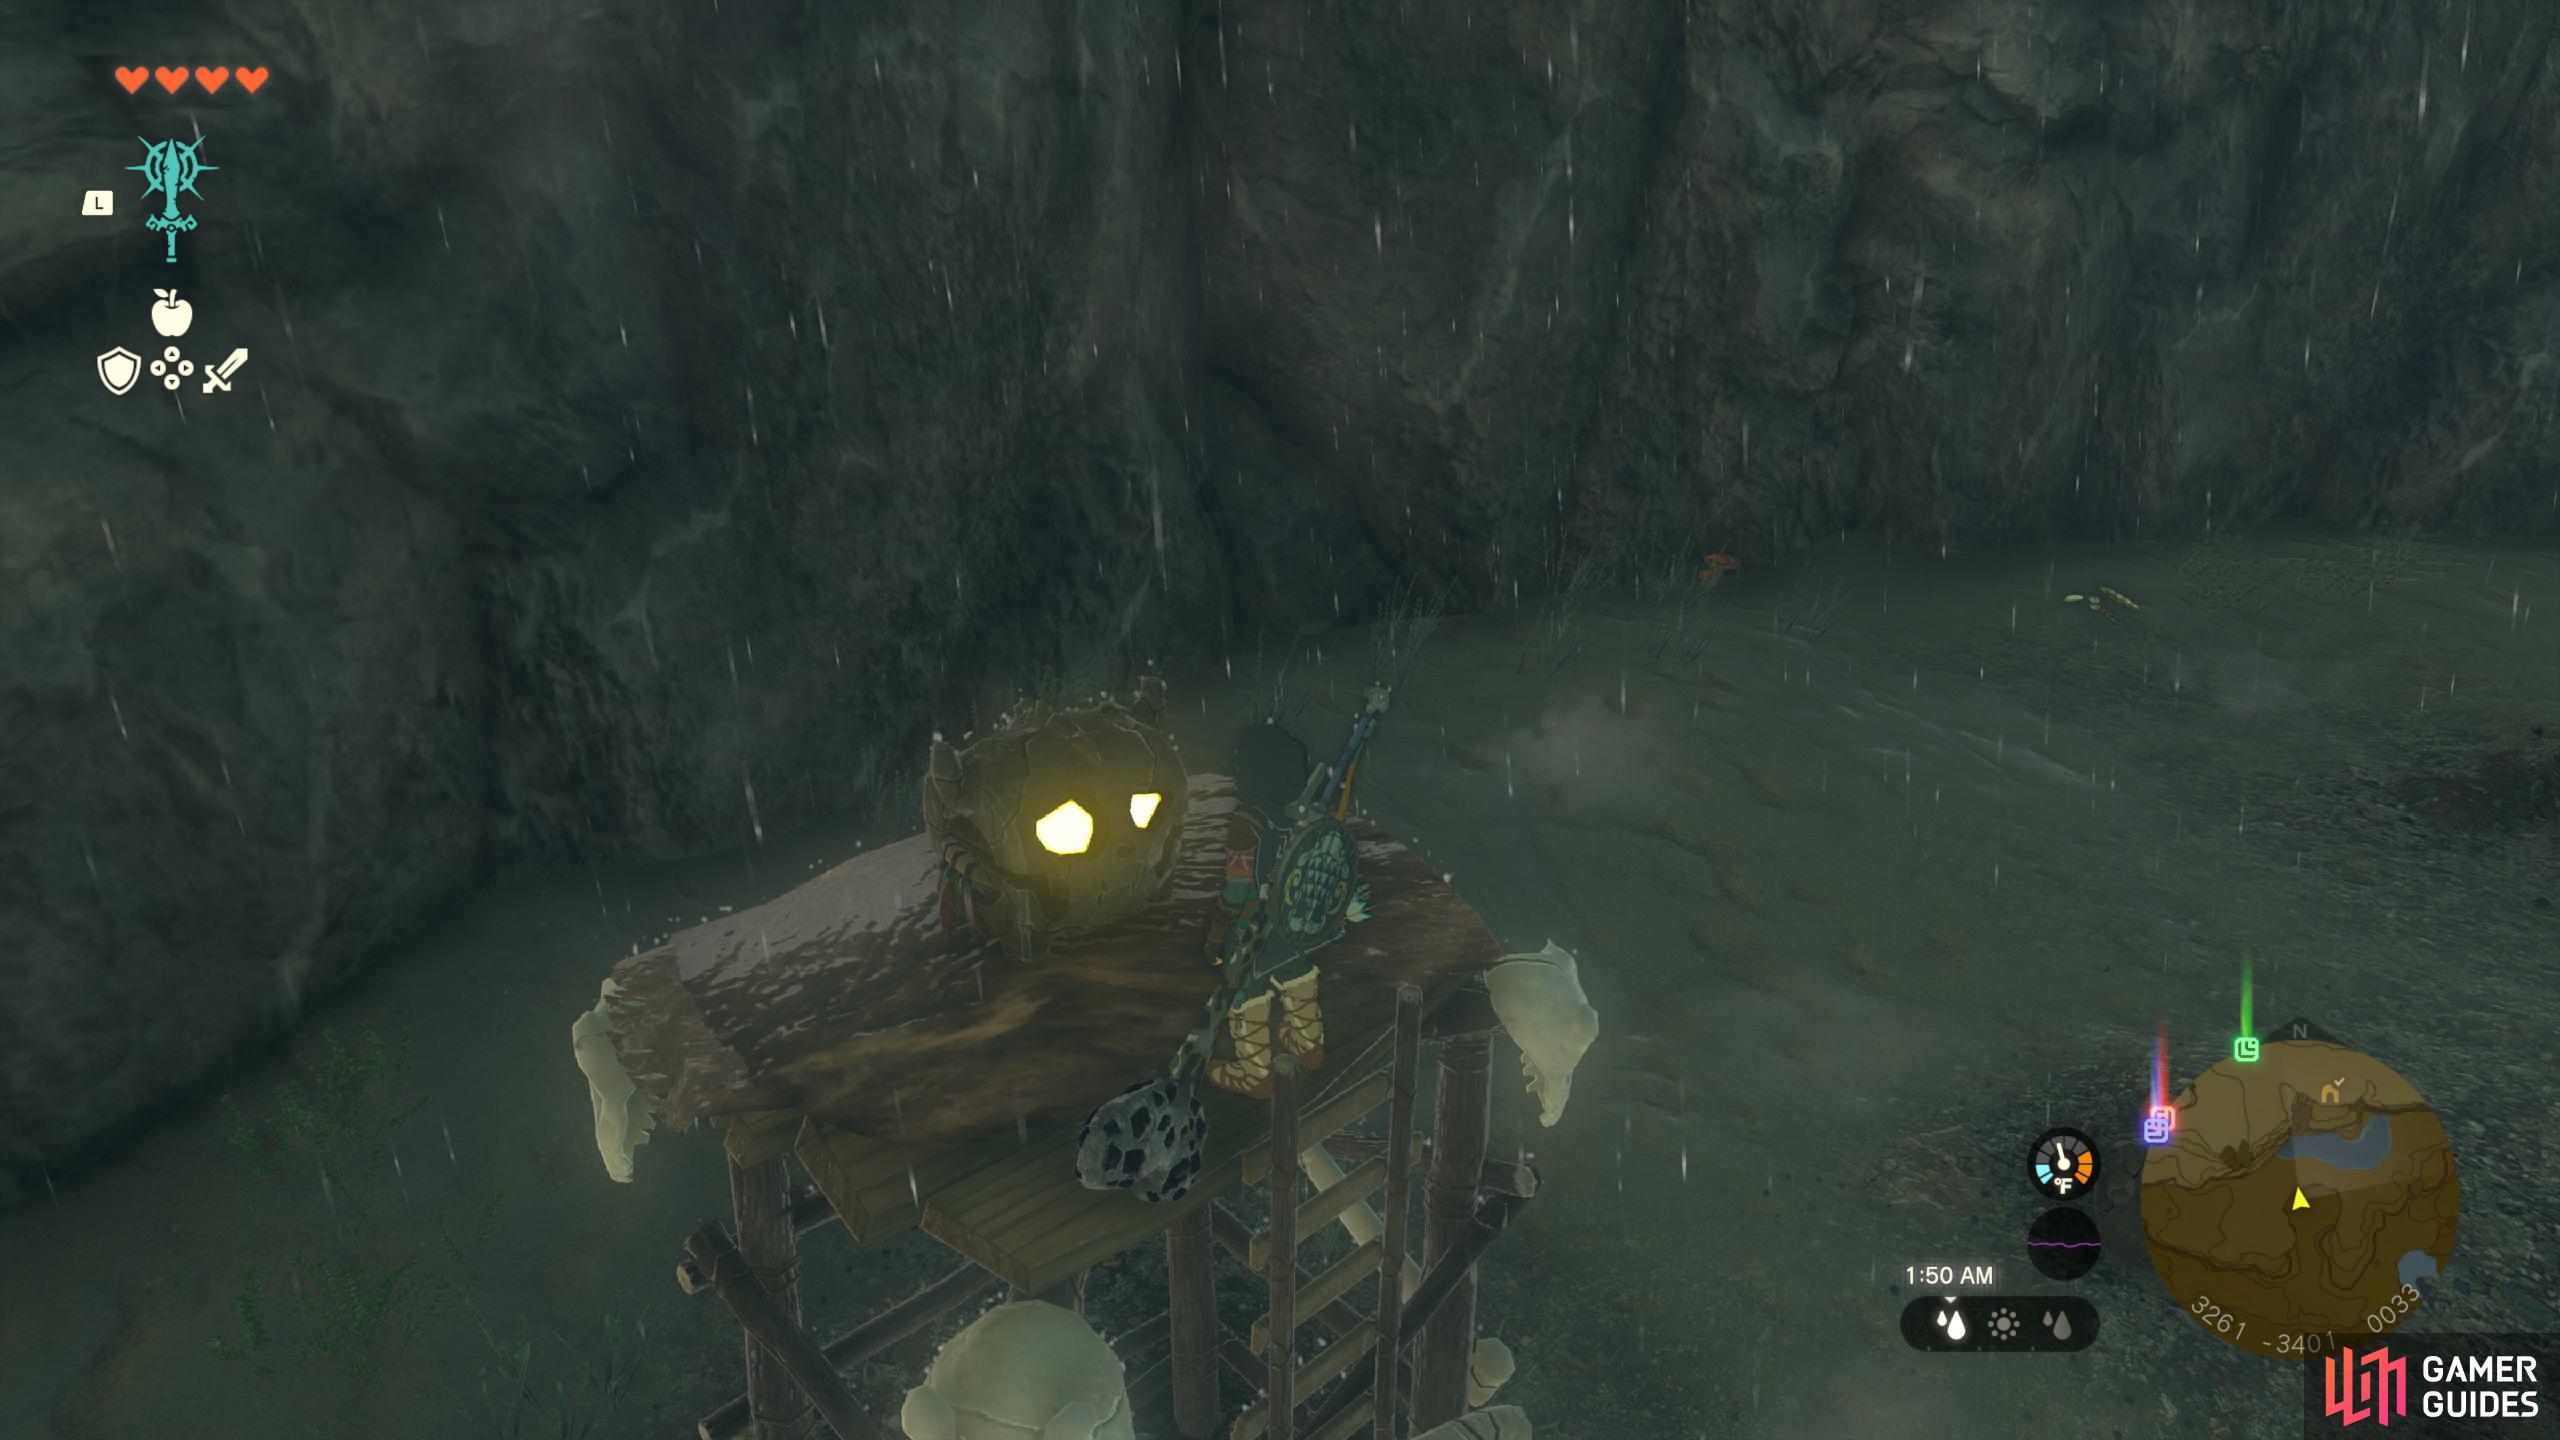
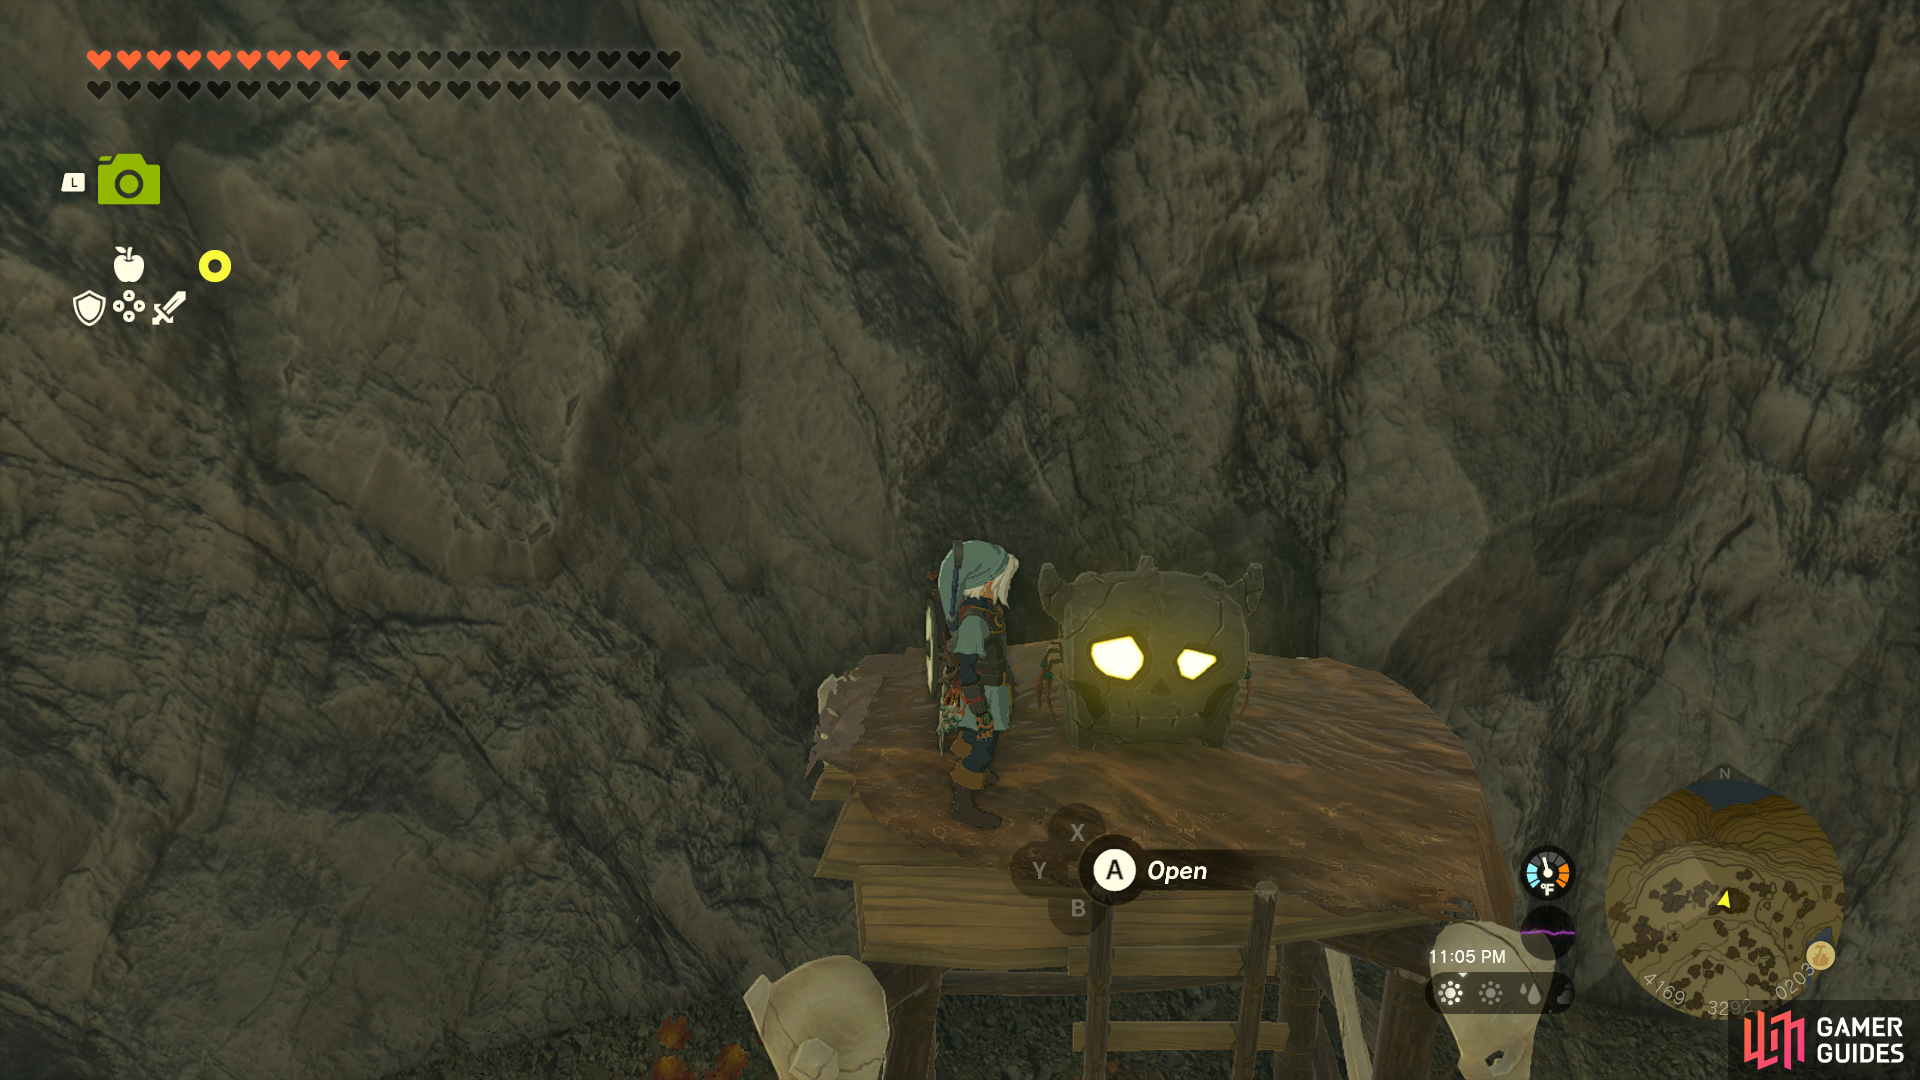
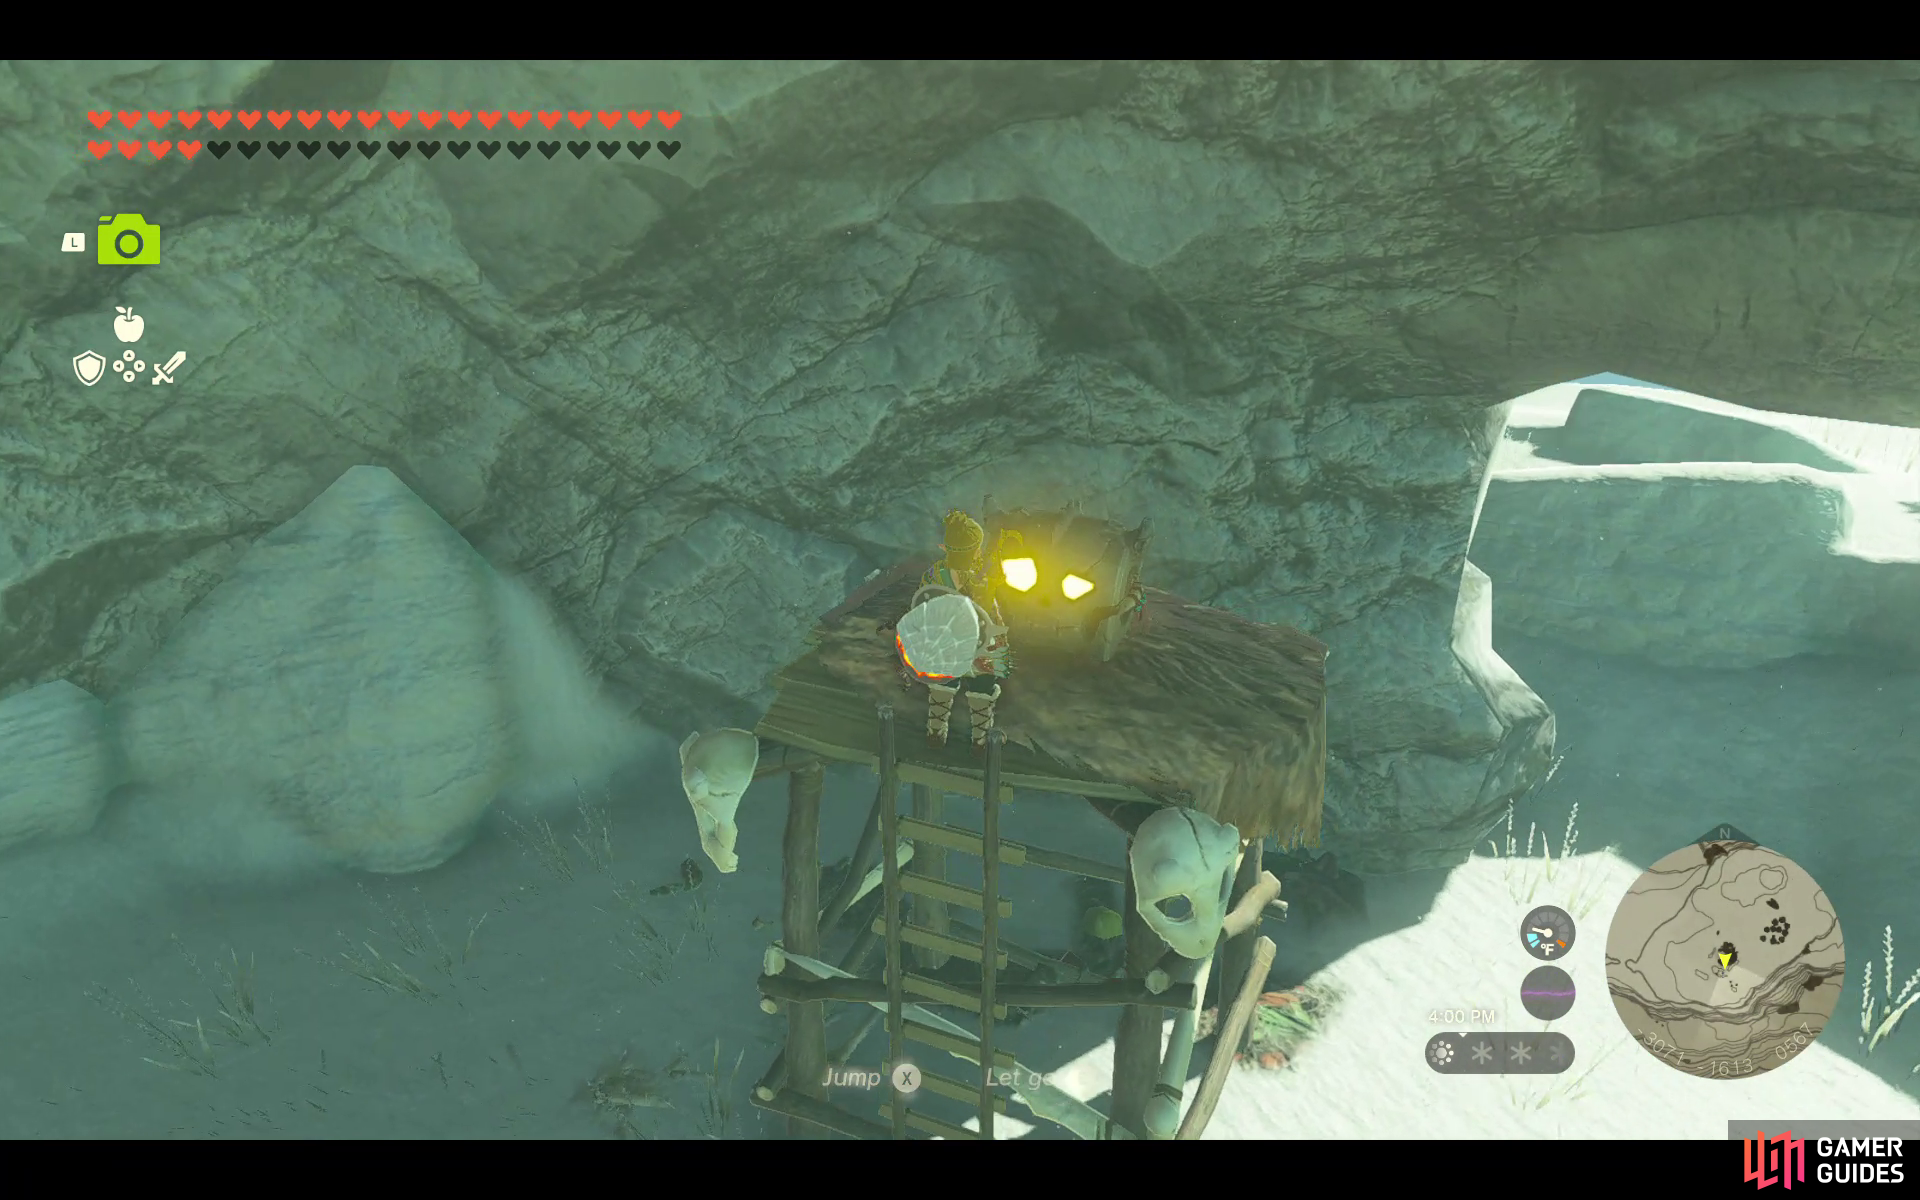
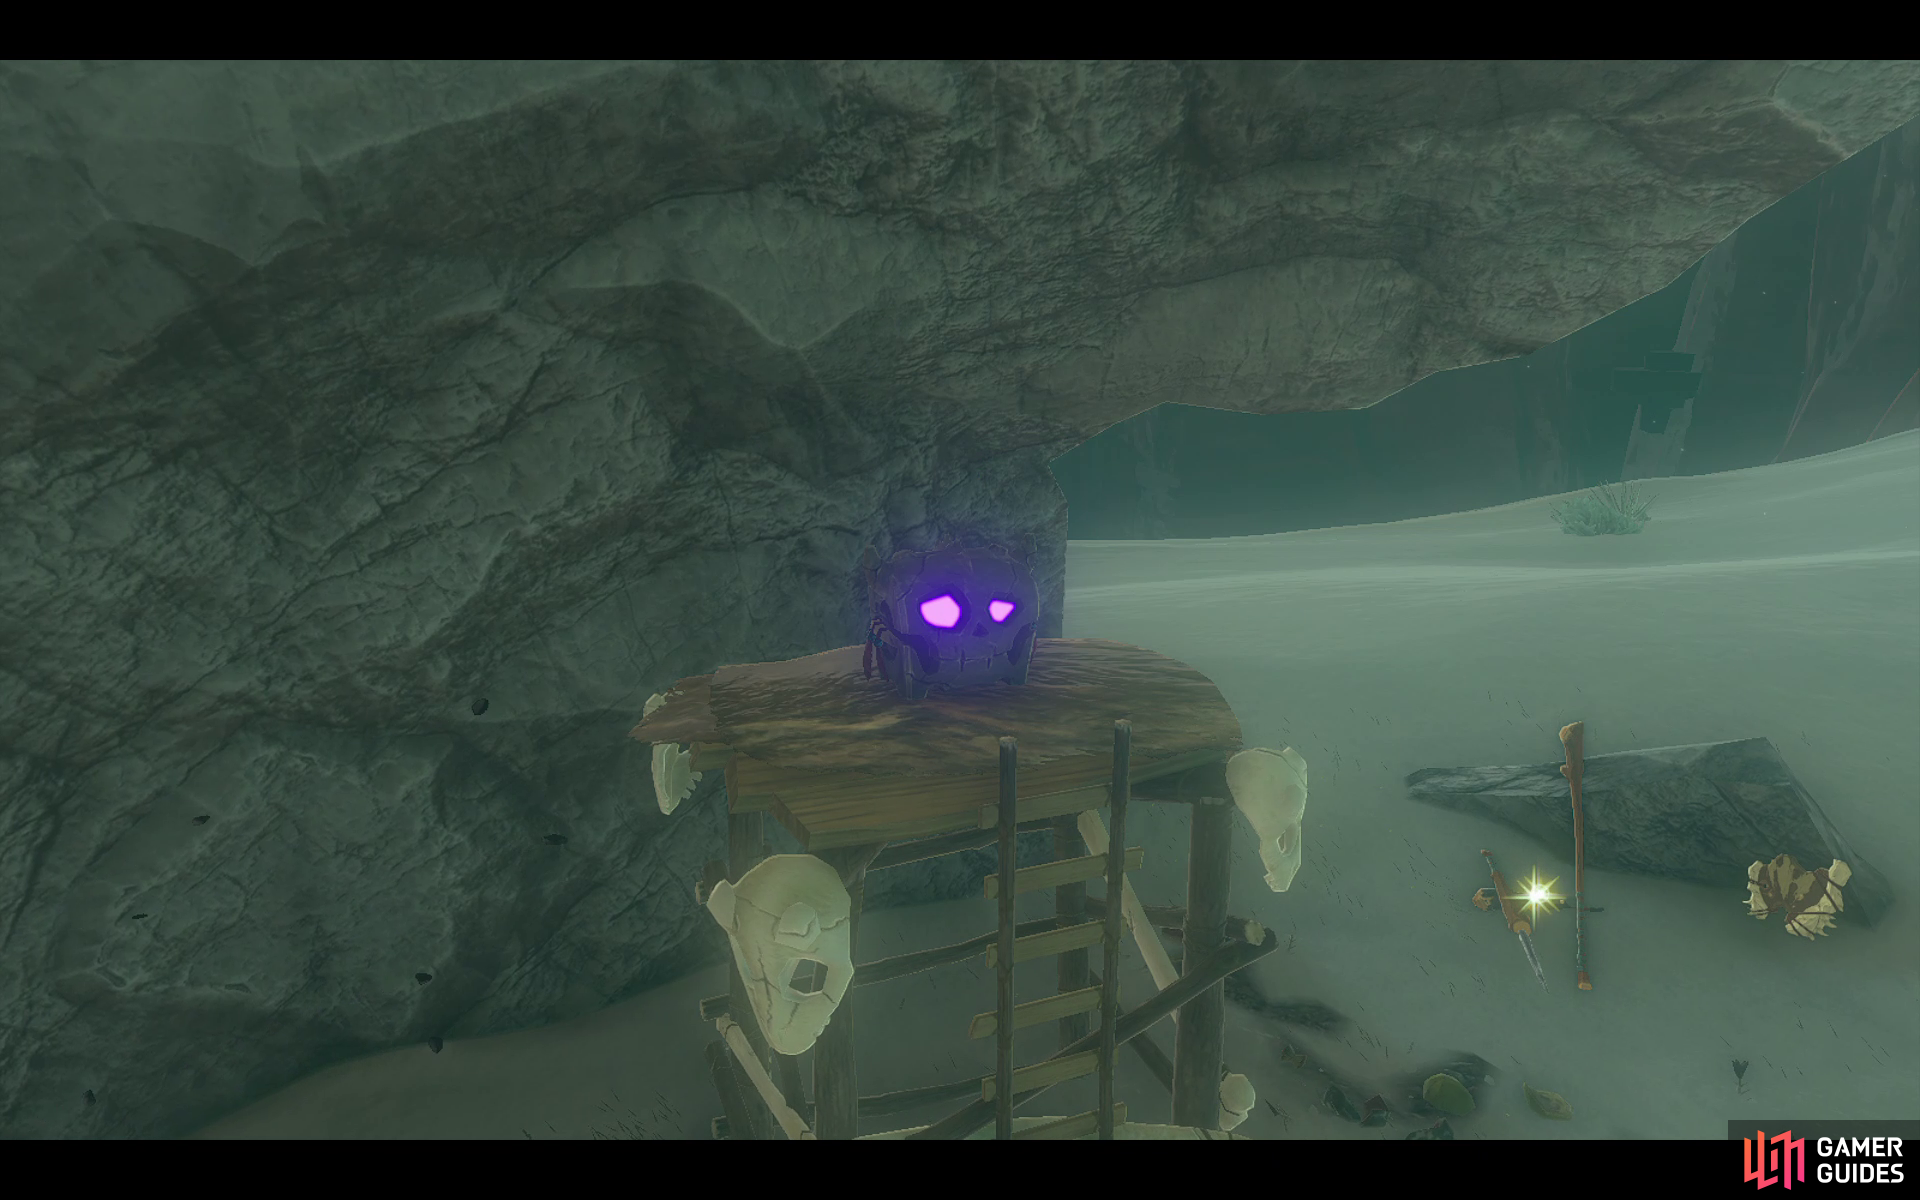
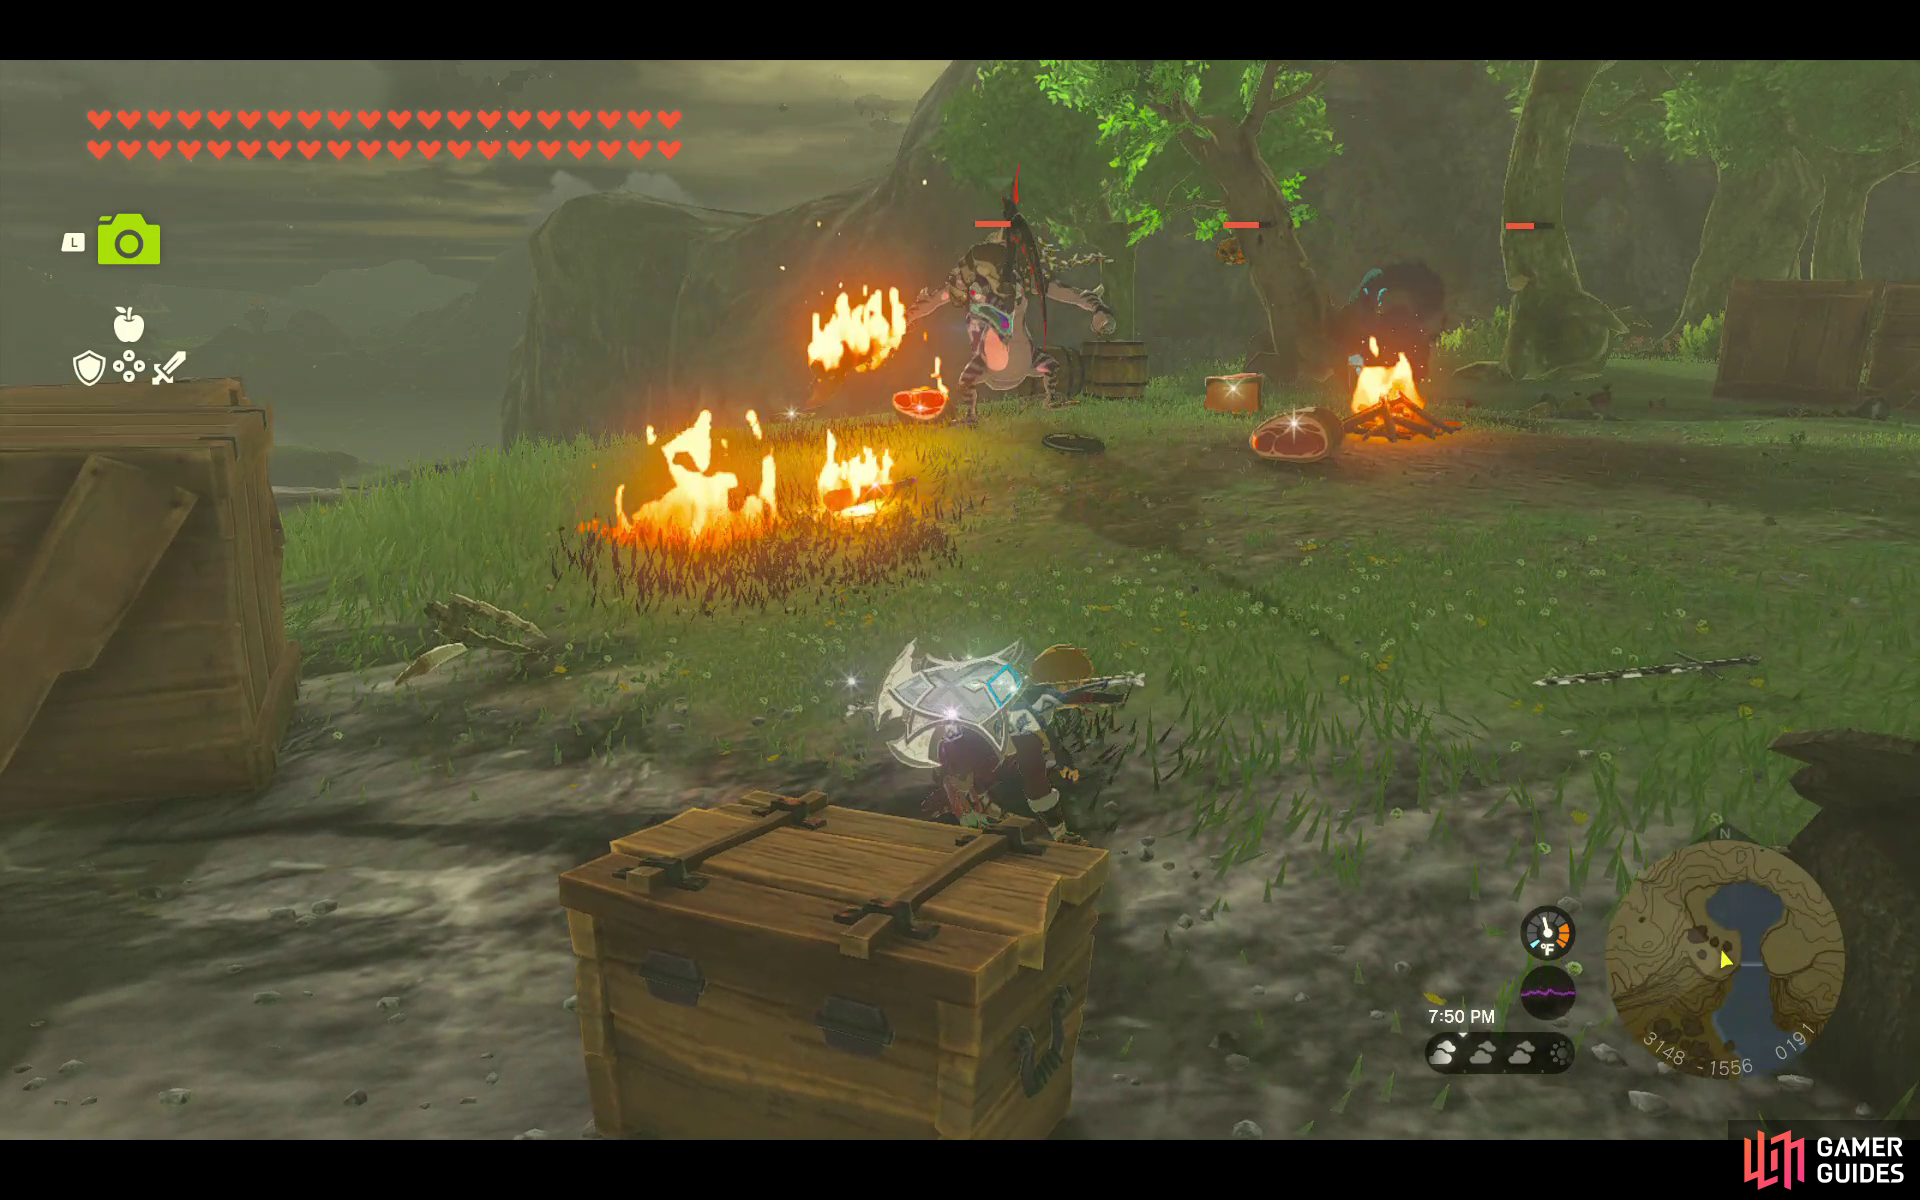
A skull chest that requires you to defeat all nearby enemies to unlock it.
The chest is on top of a small watchtower in the encampment.
- Contains Blue
 Boko Reaper.
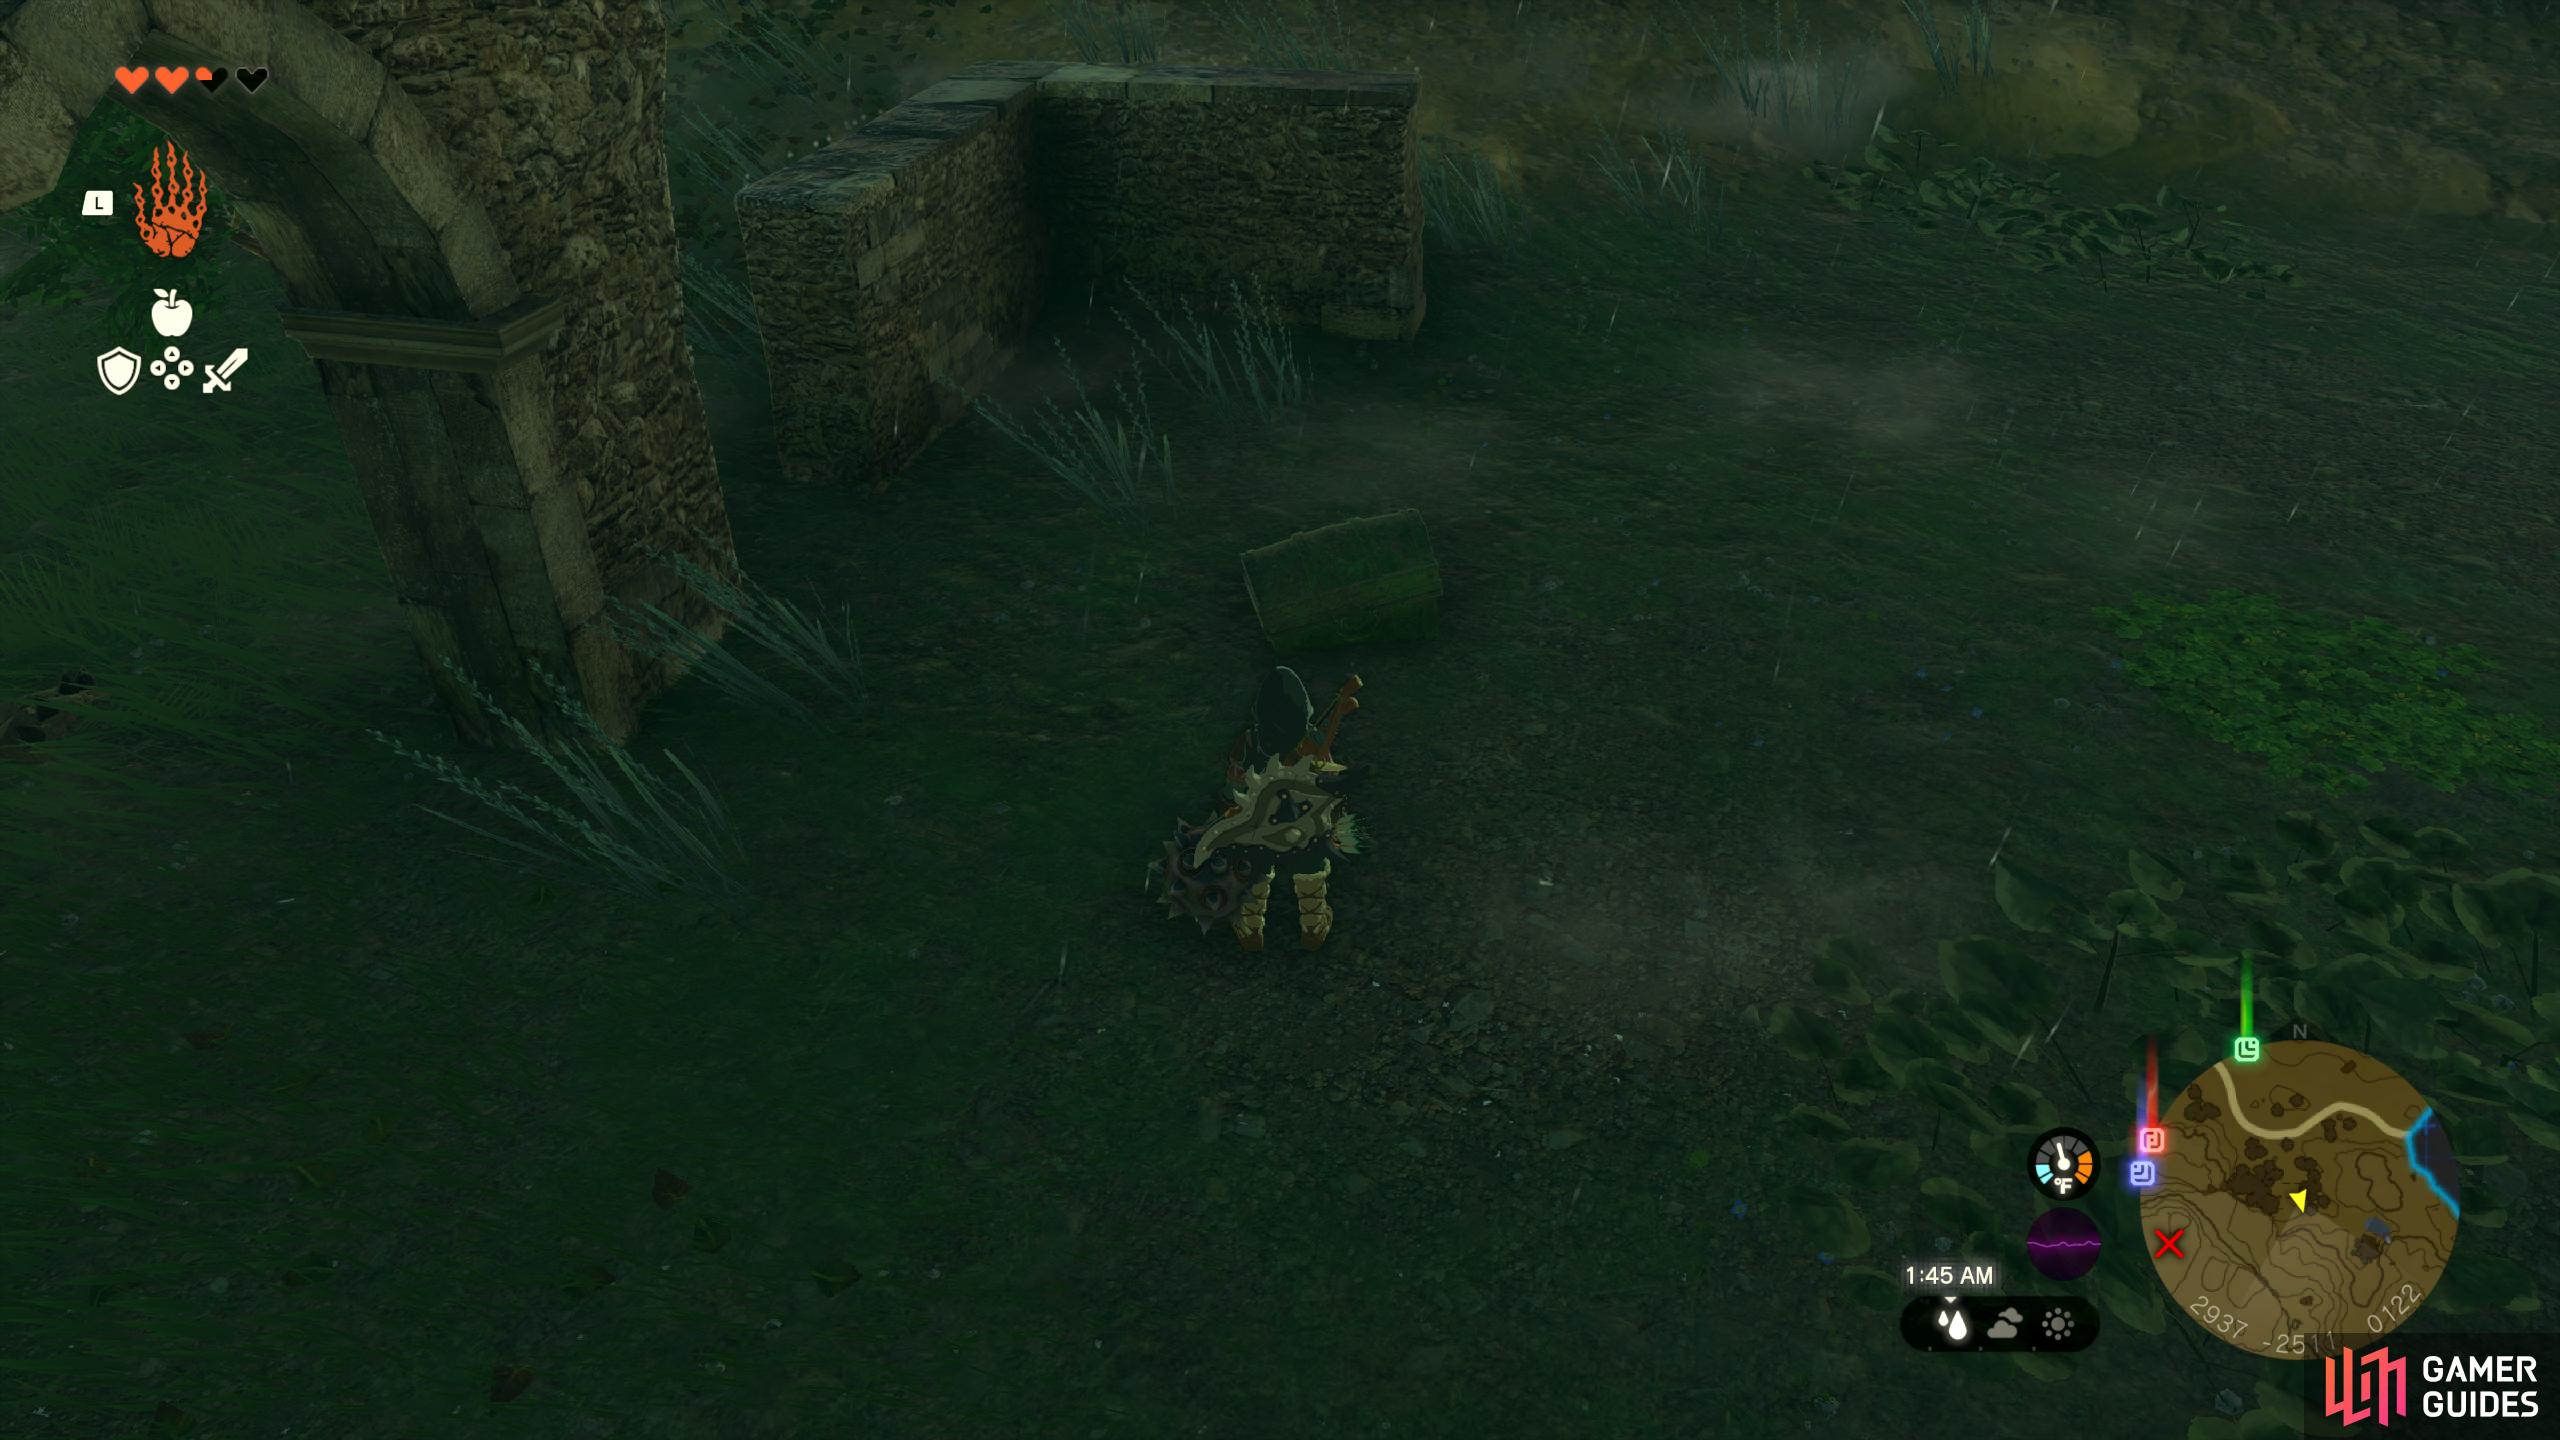
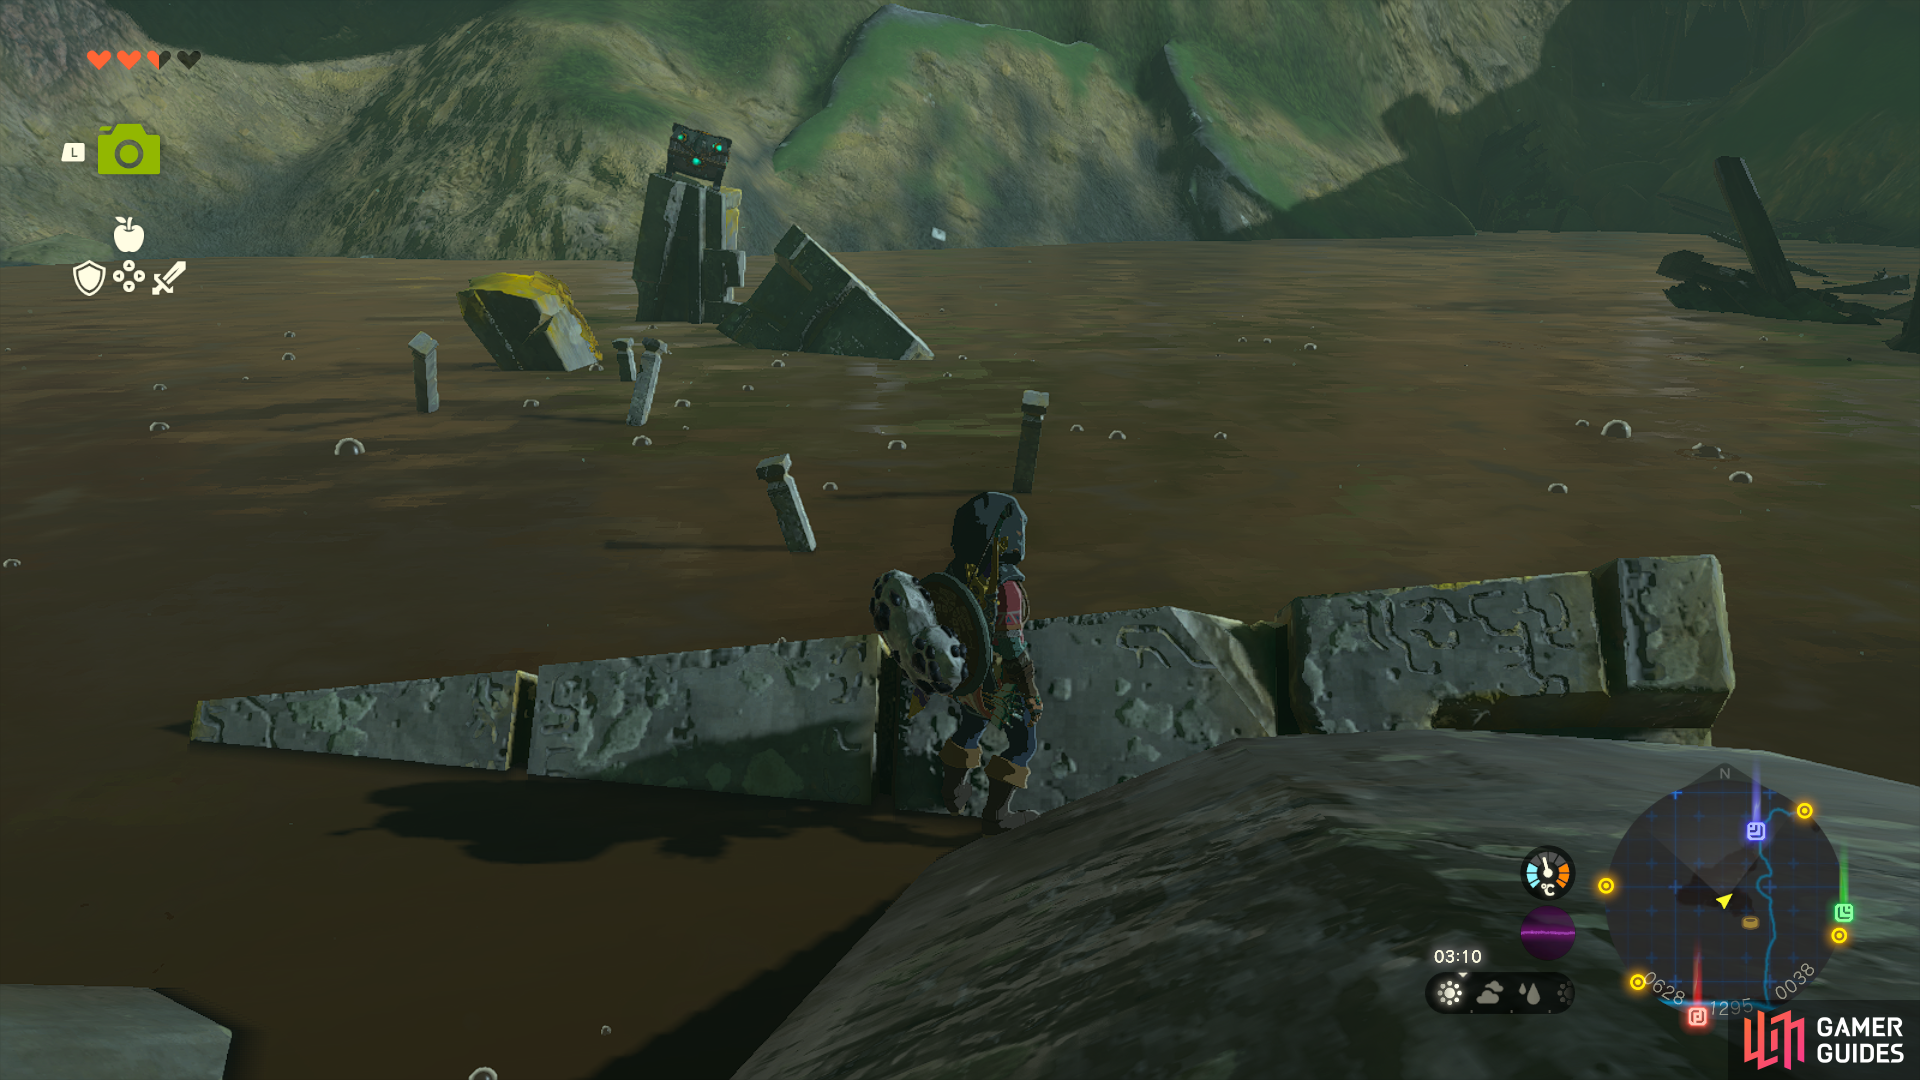
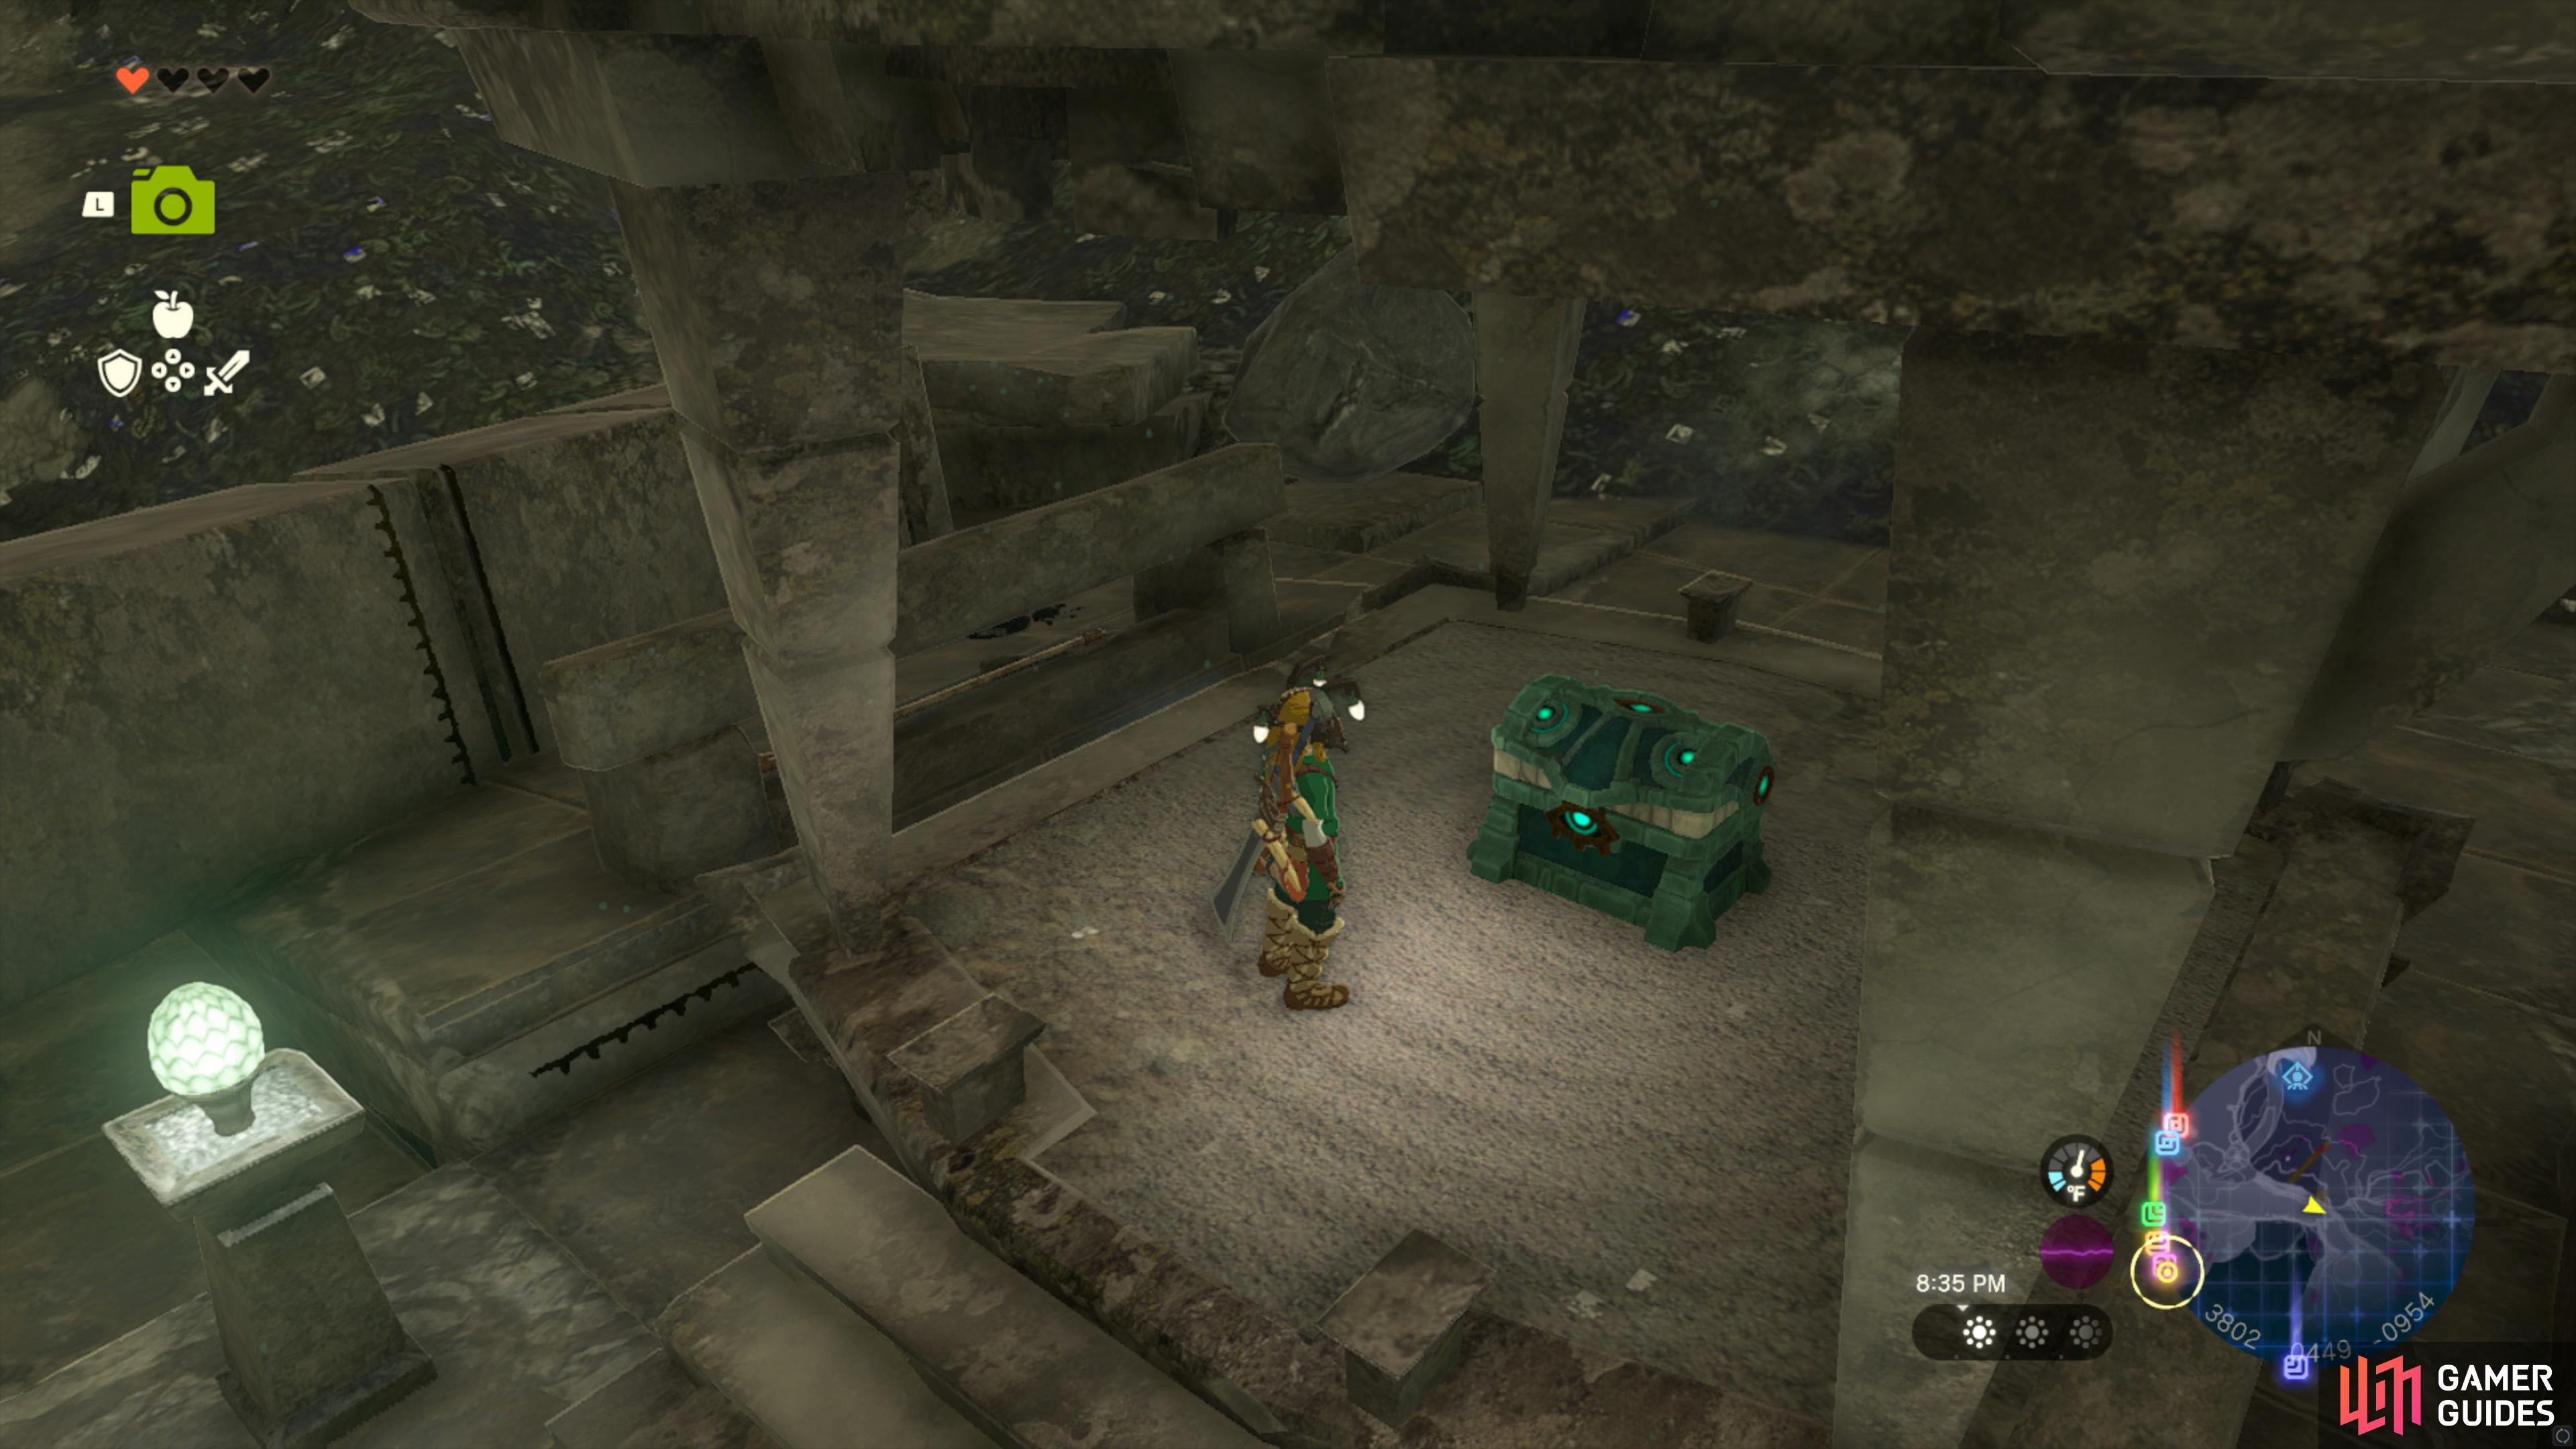
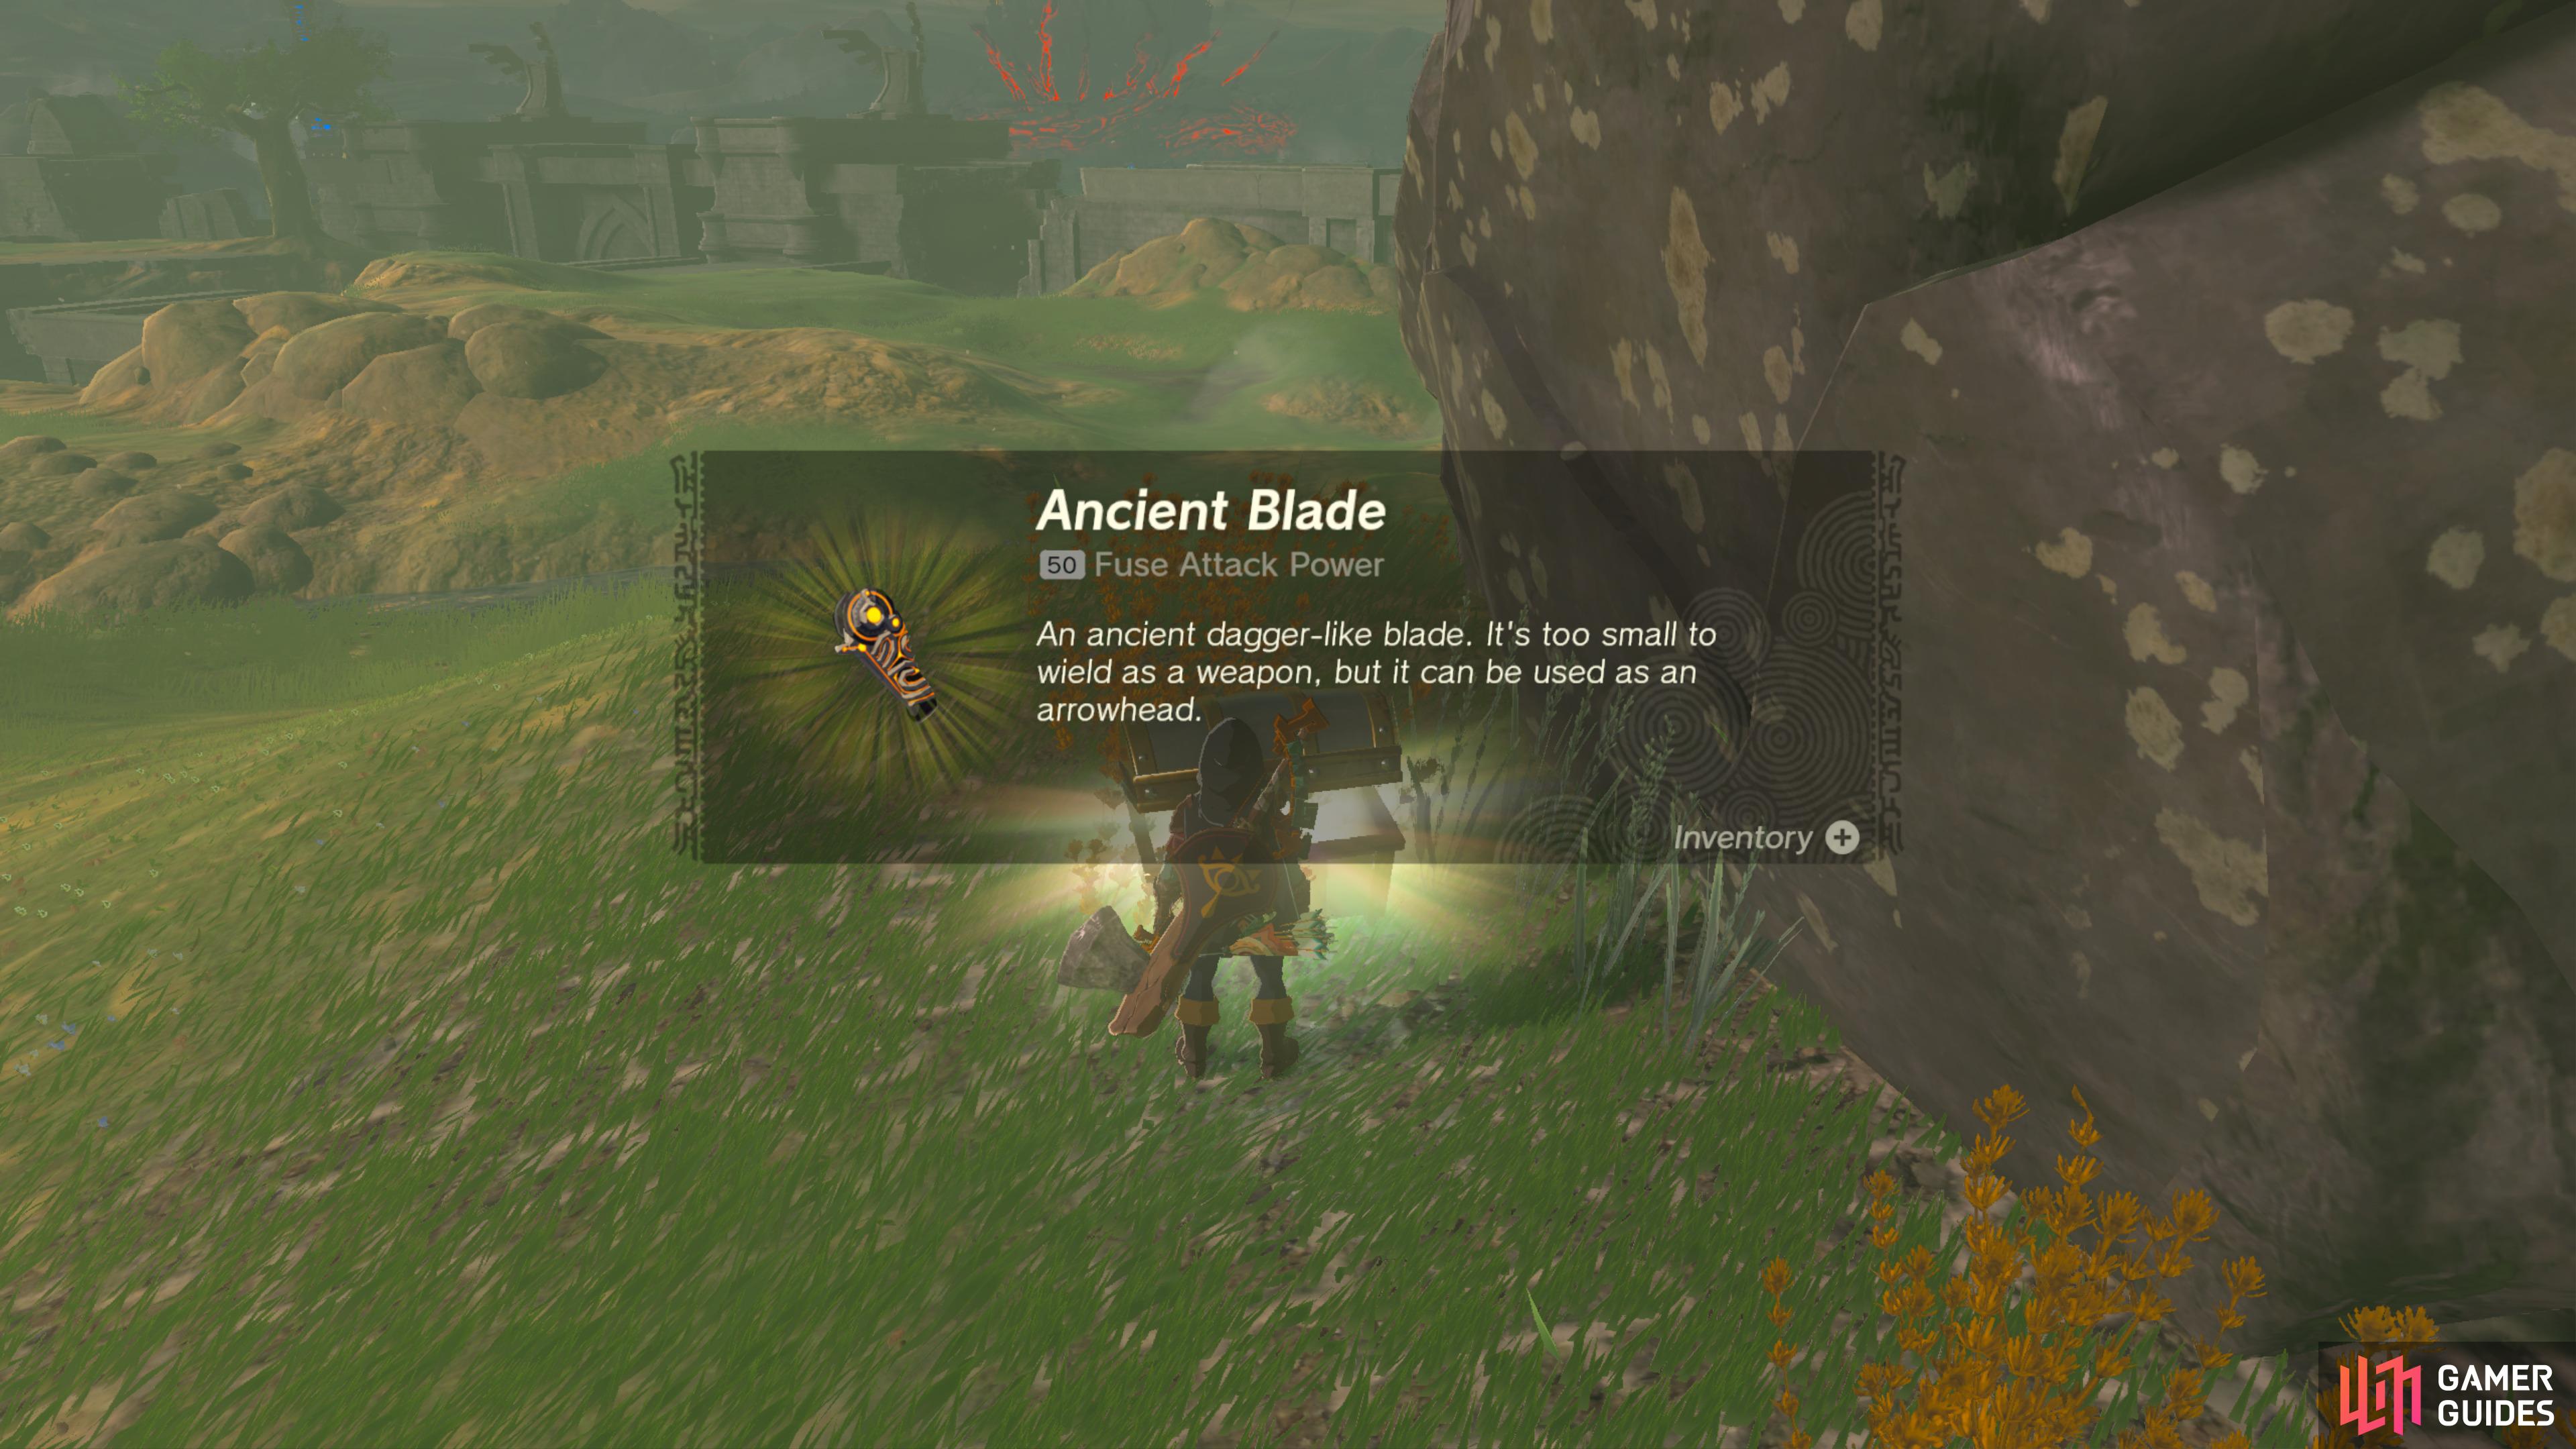
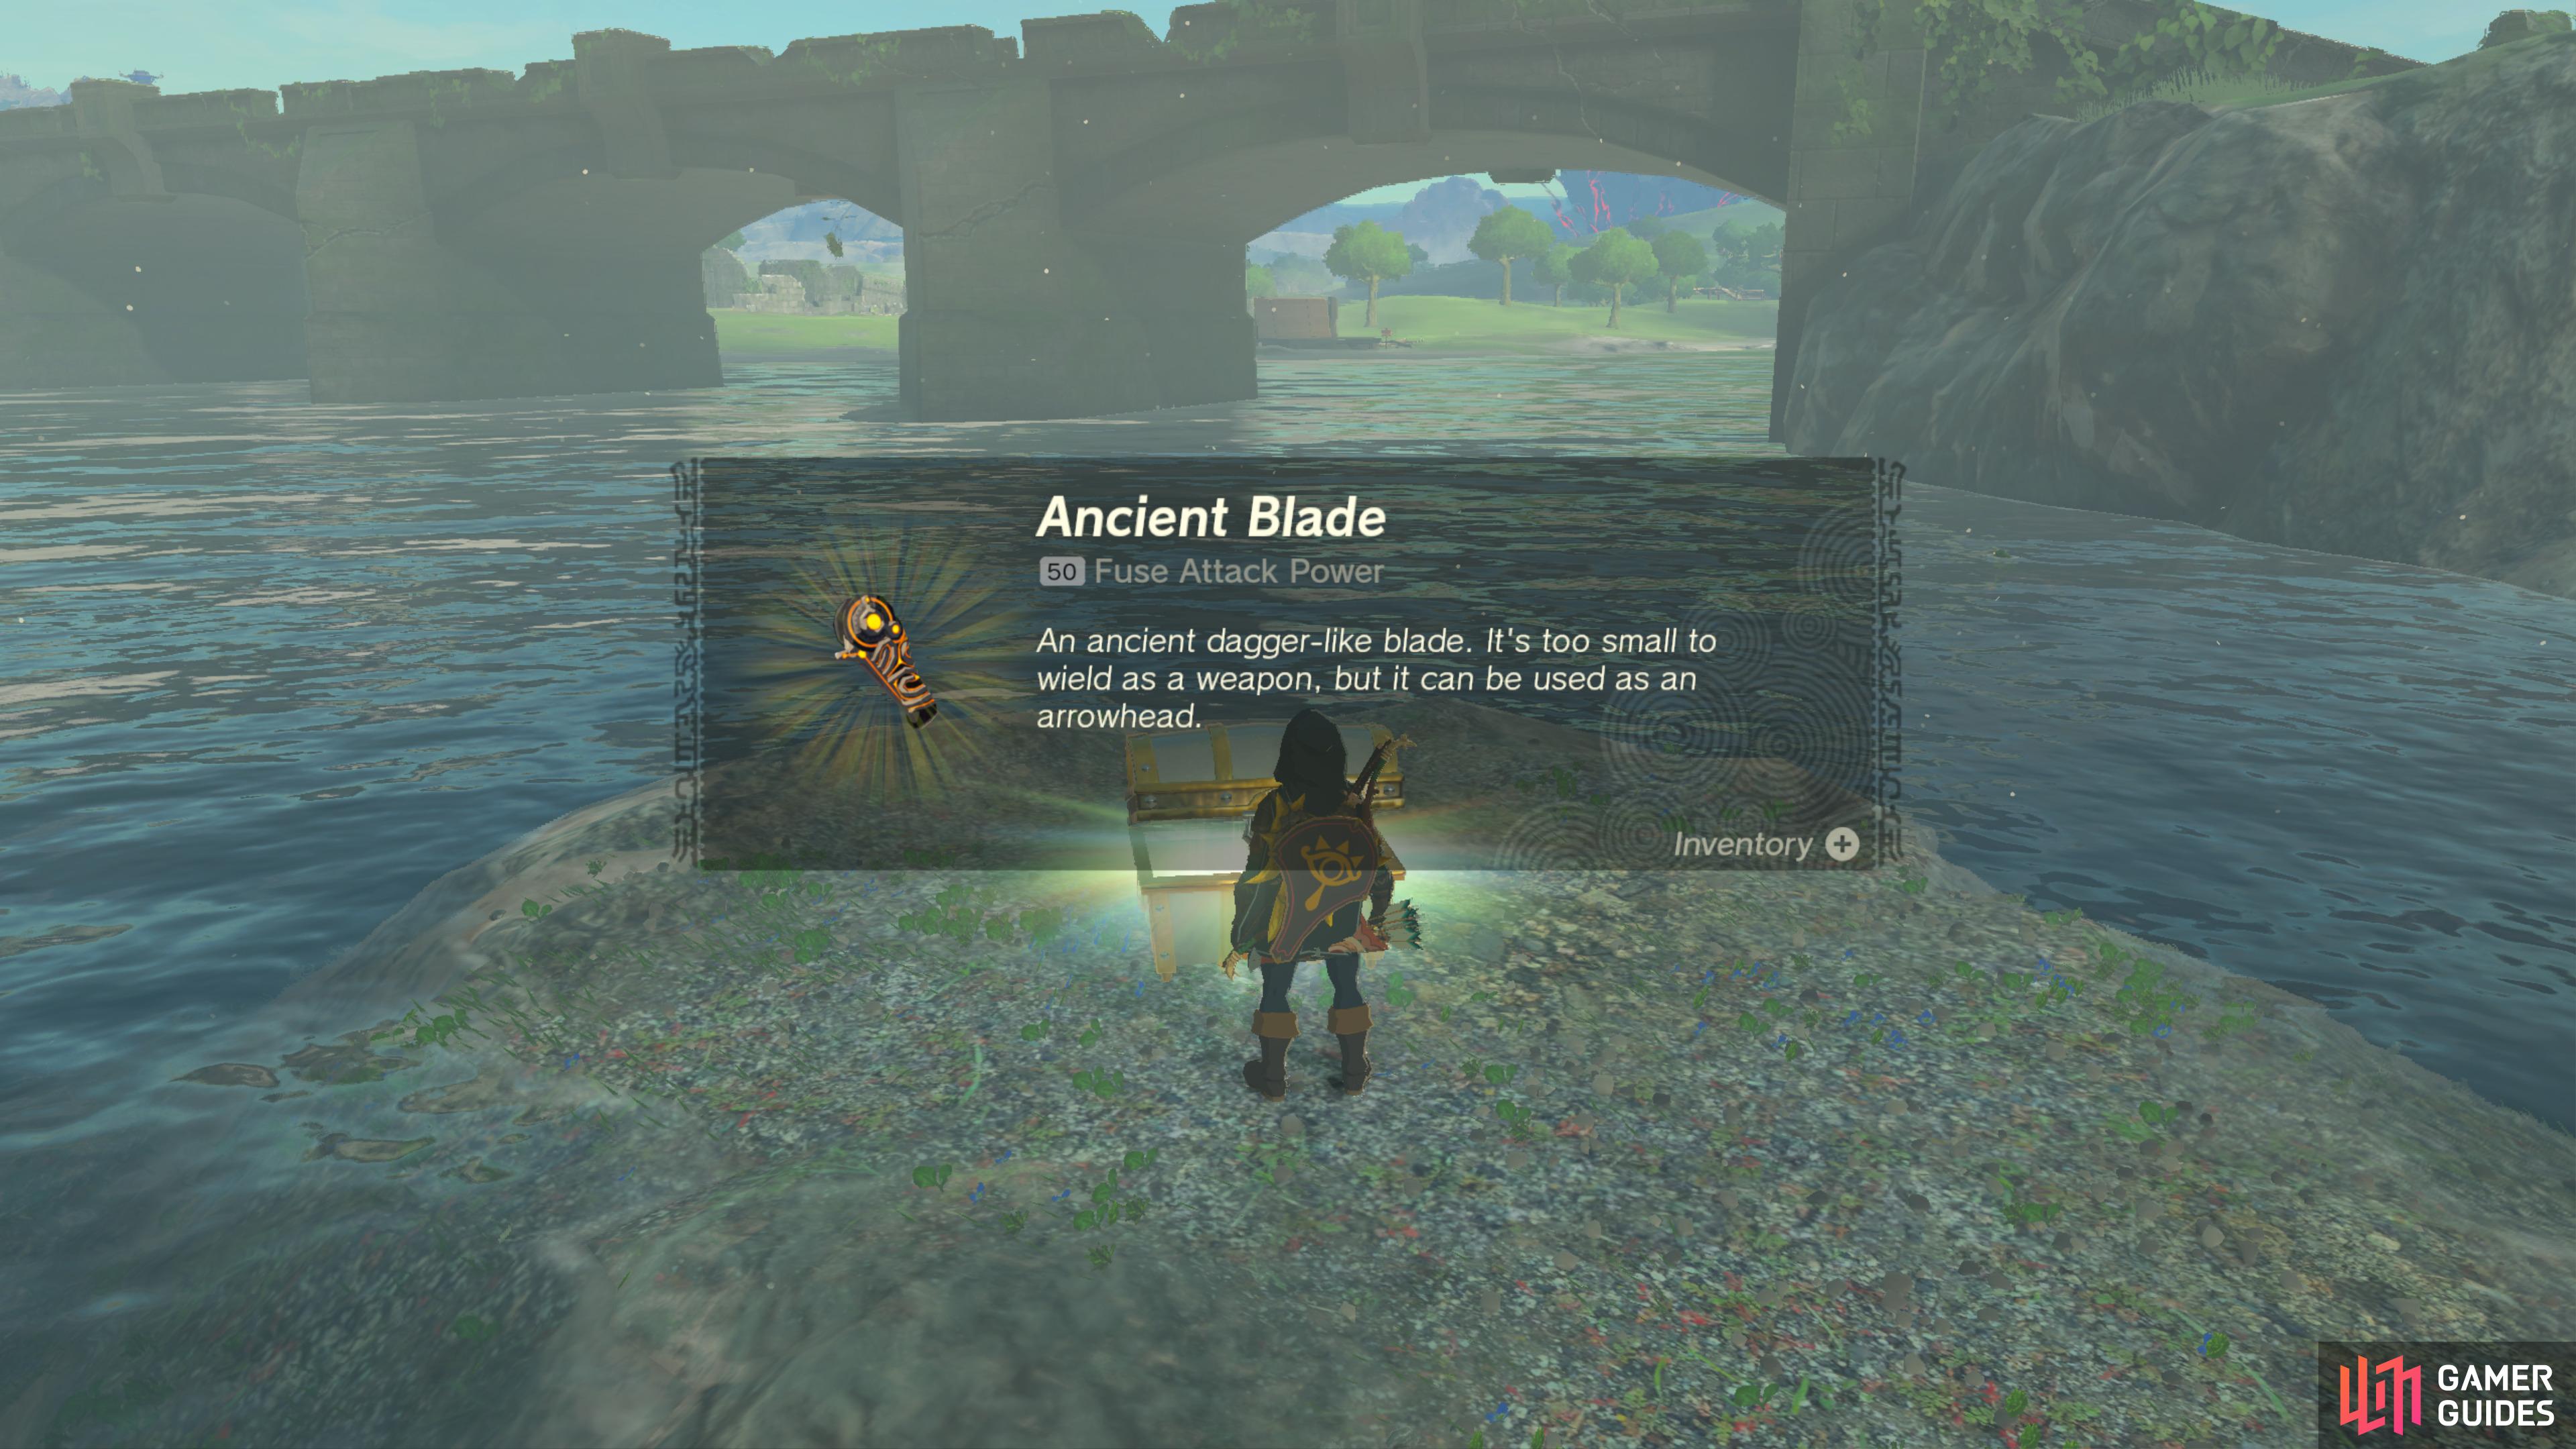
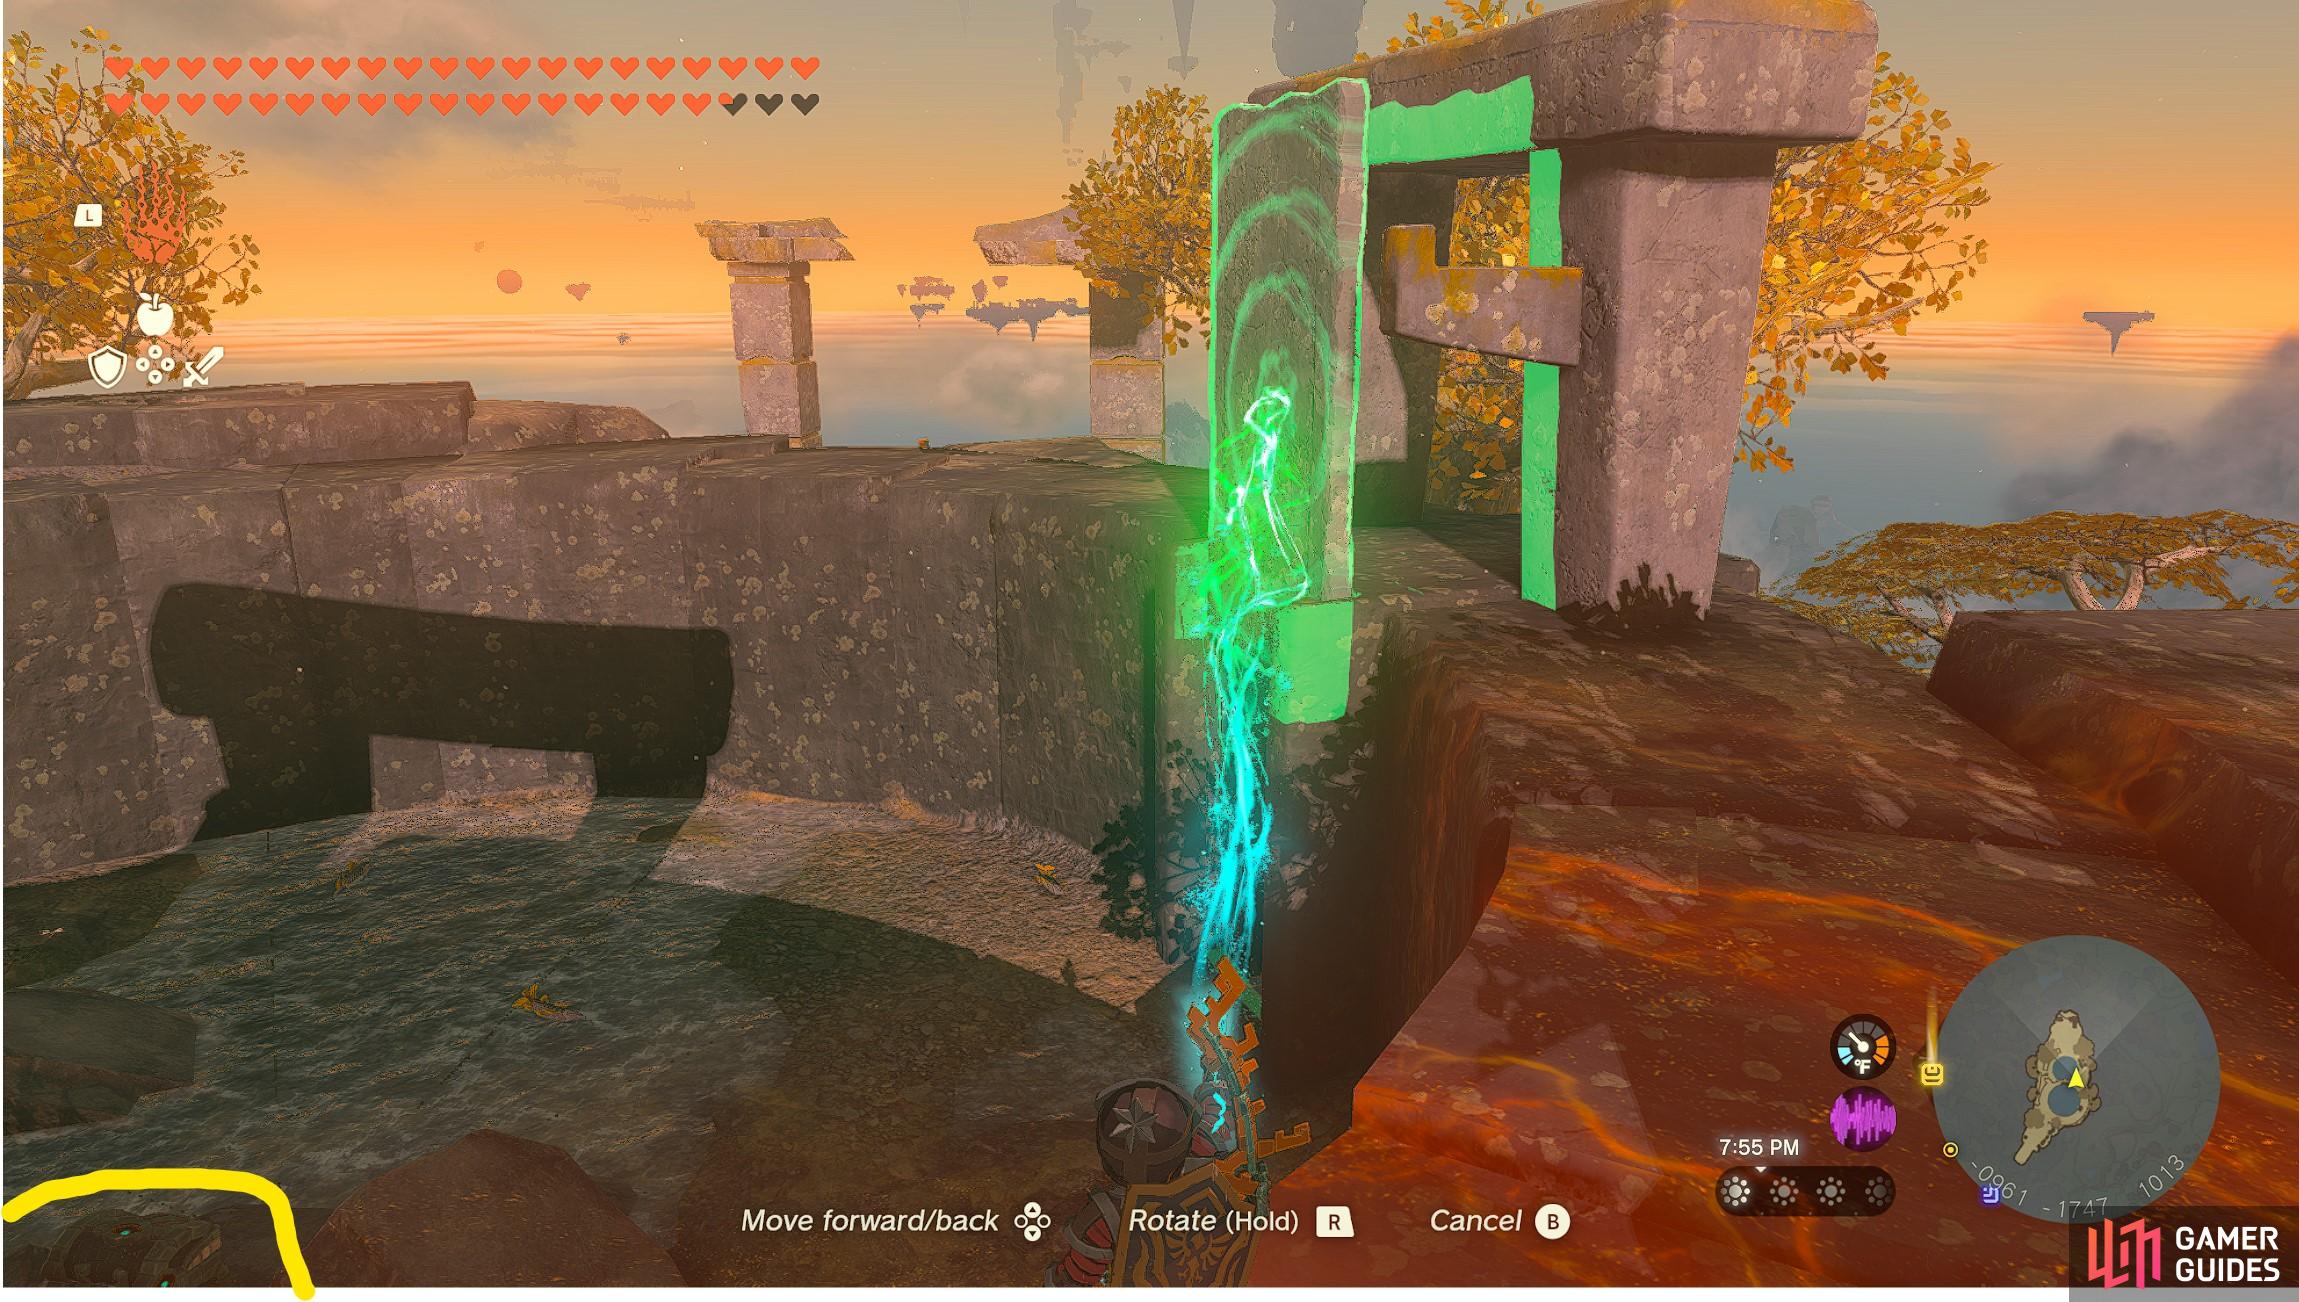
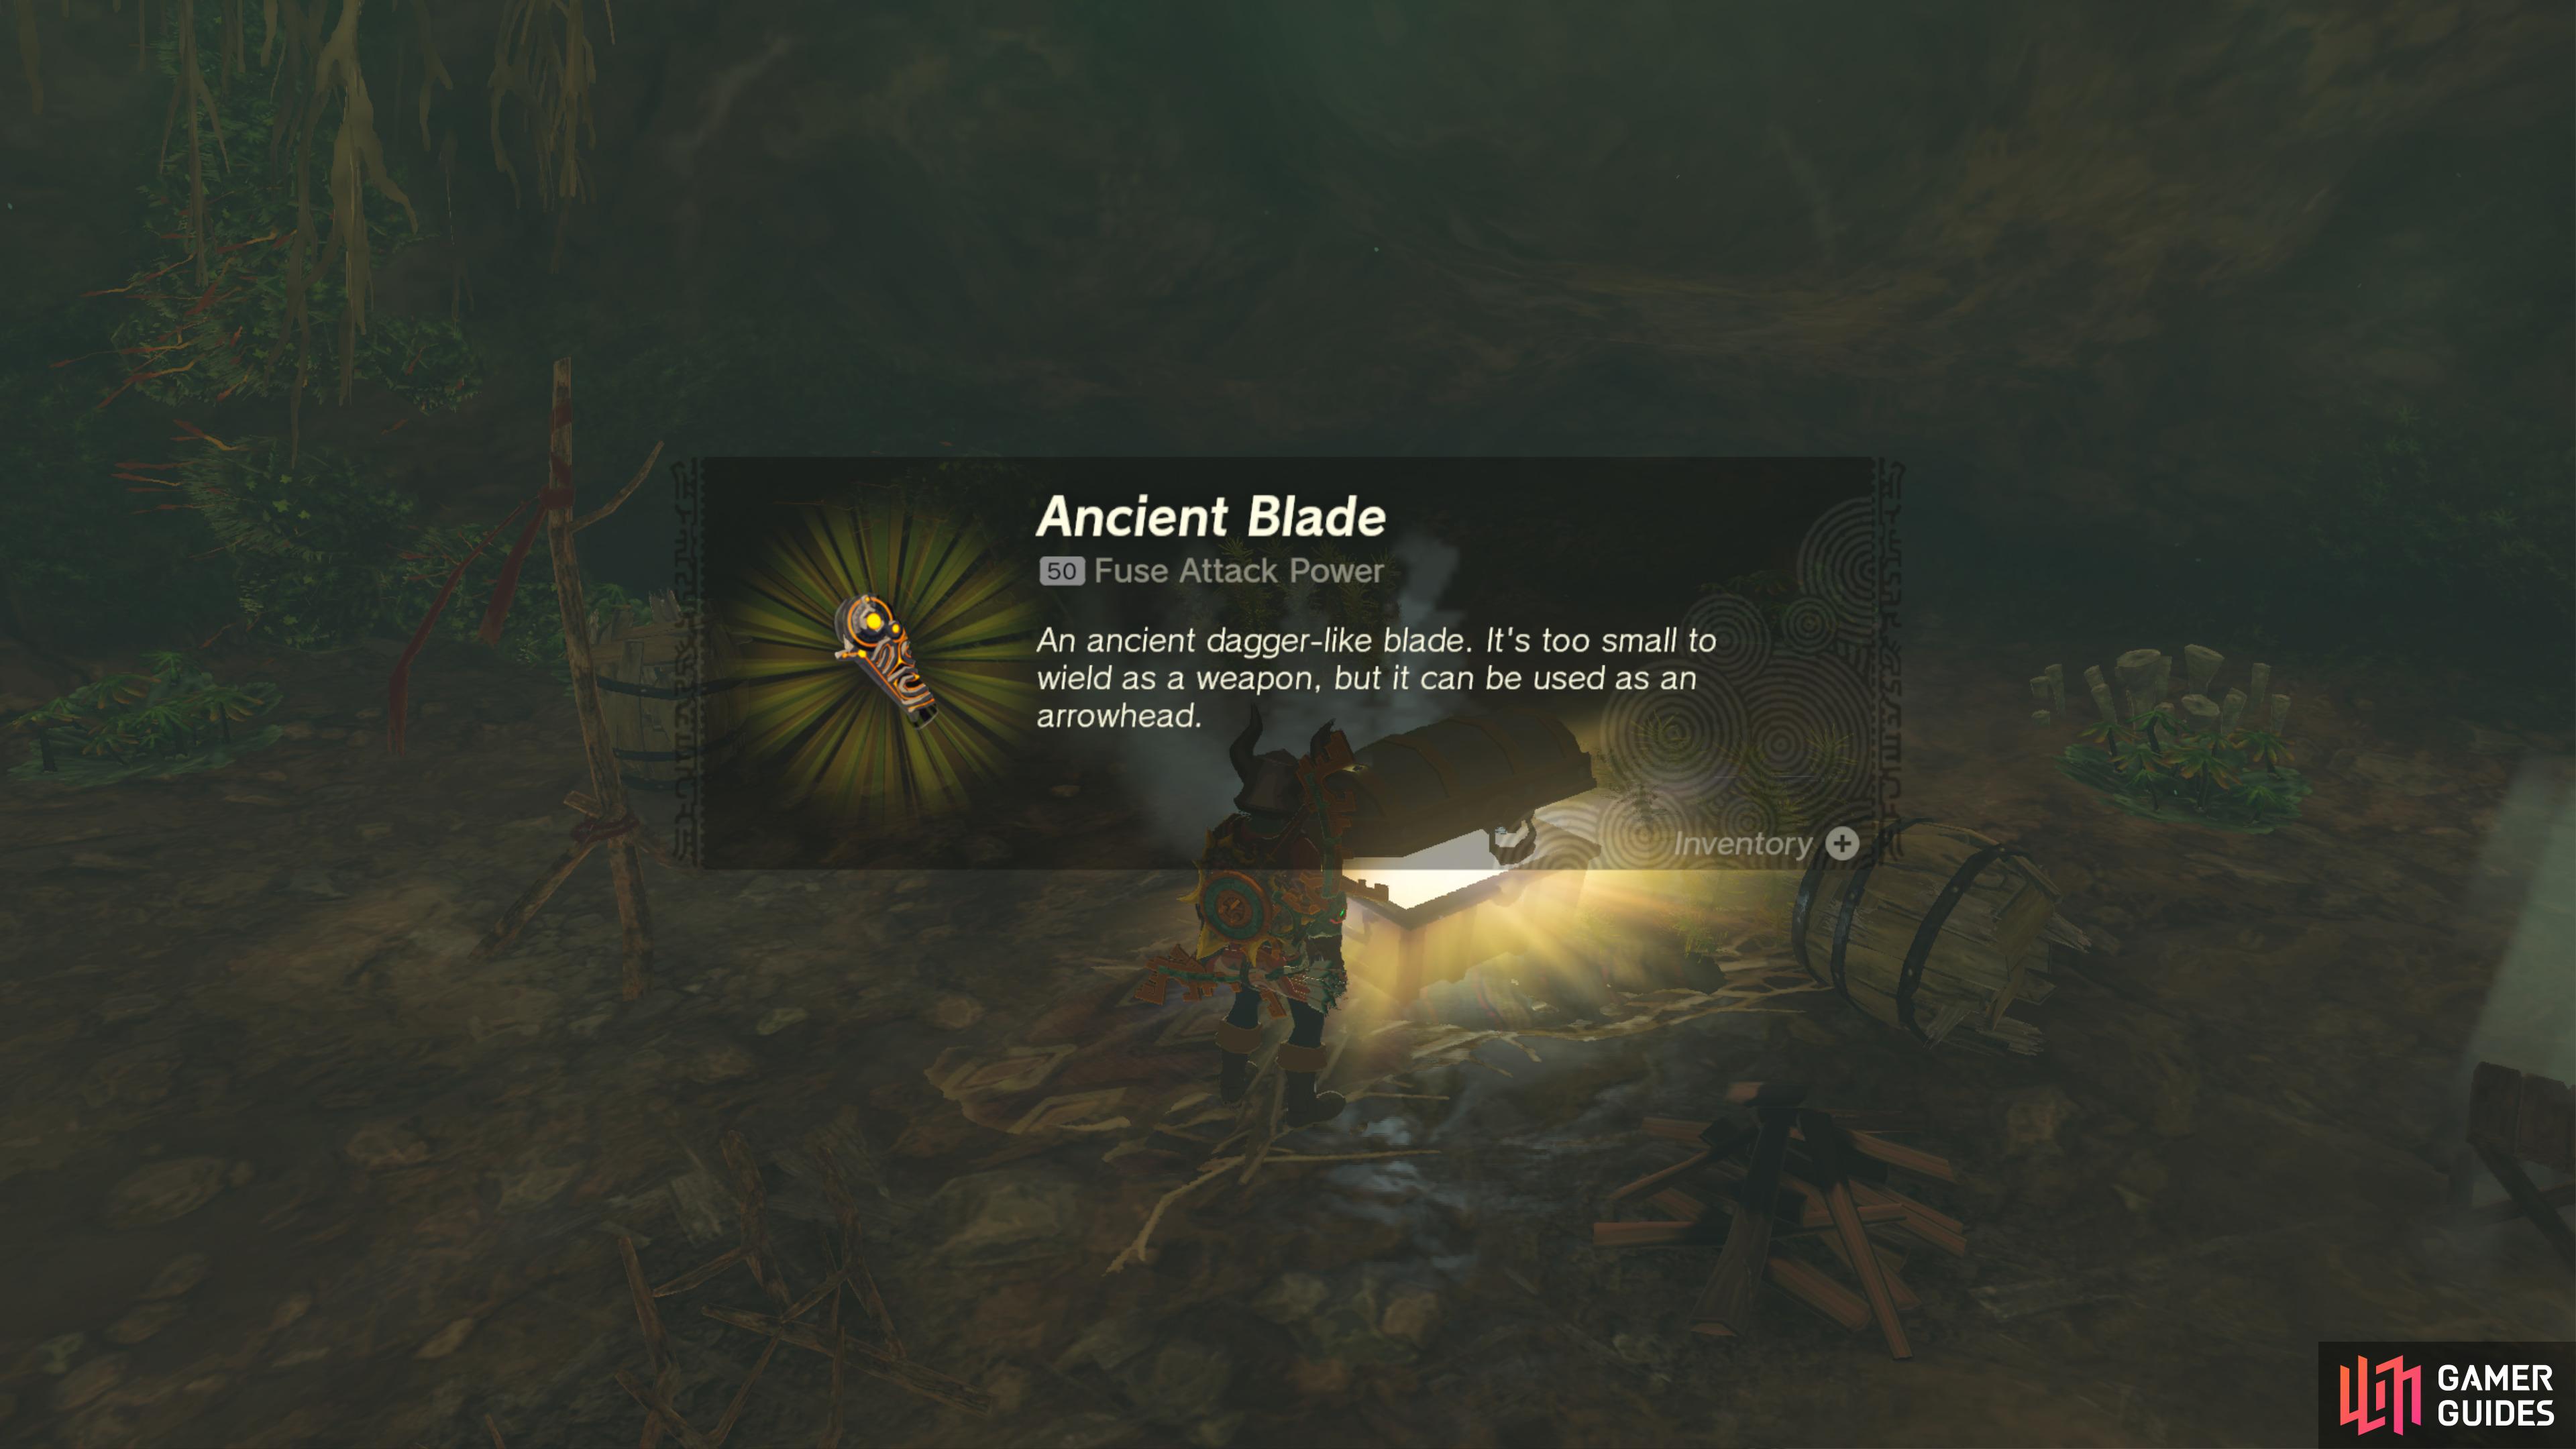
42640. Hyrule Surface Map
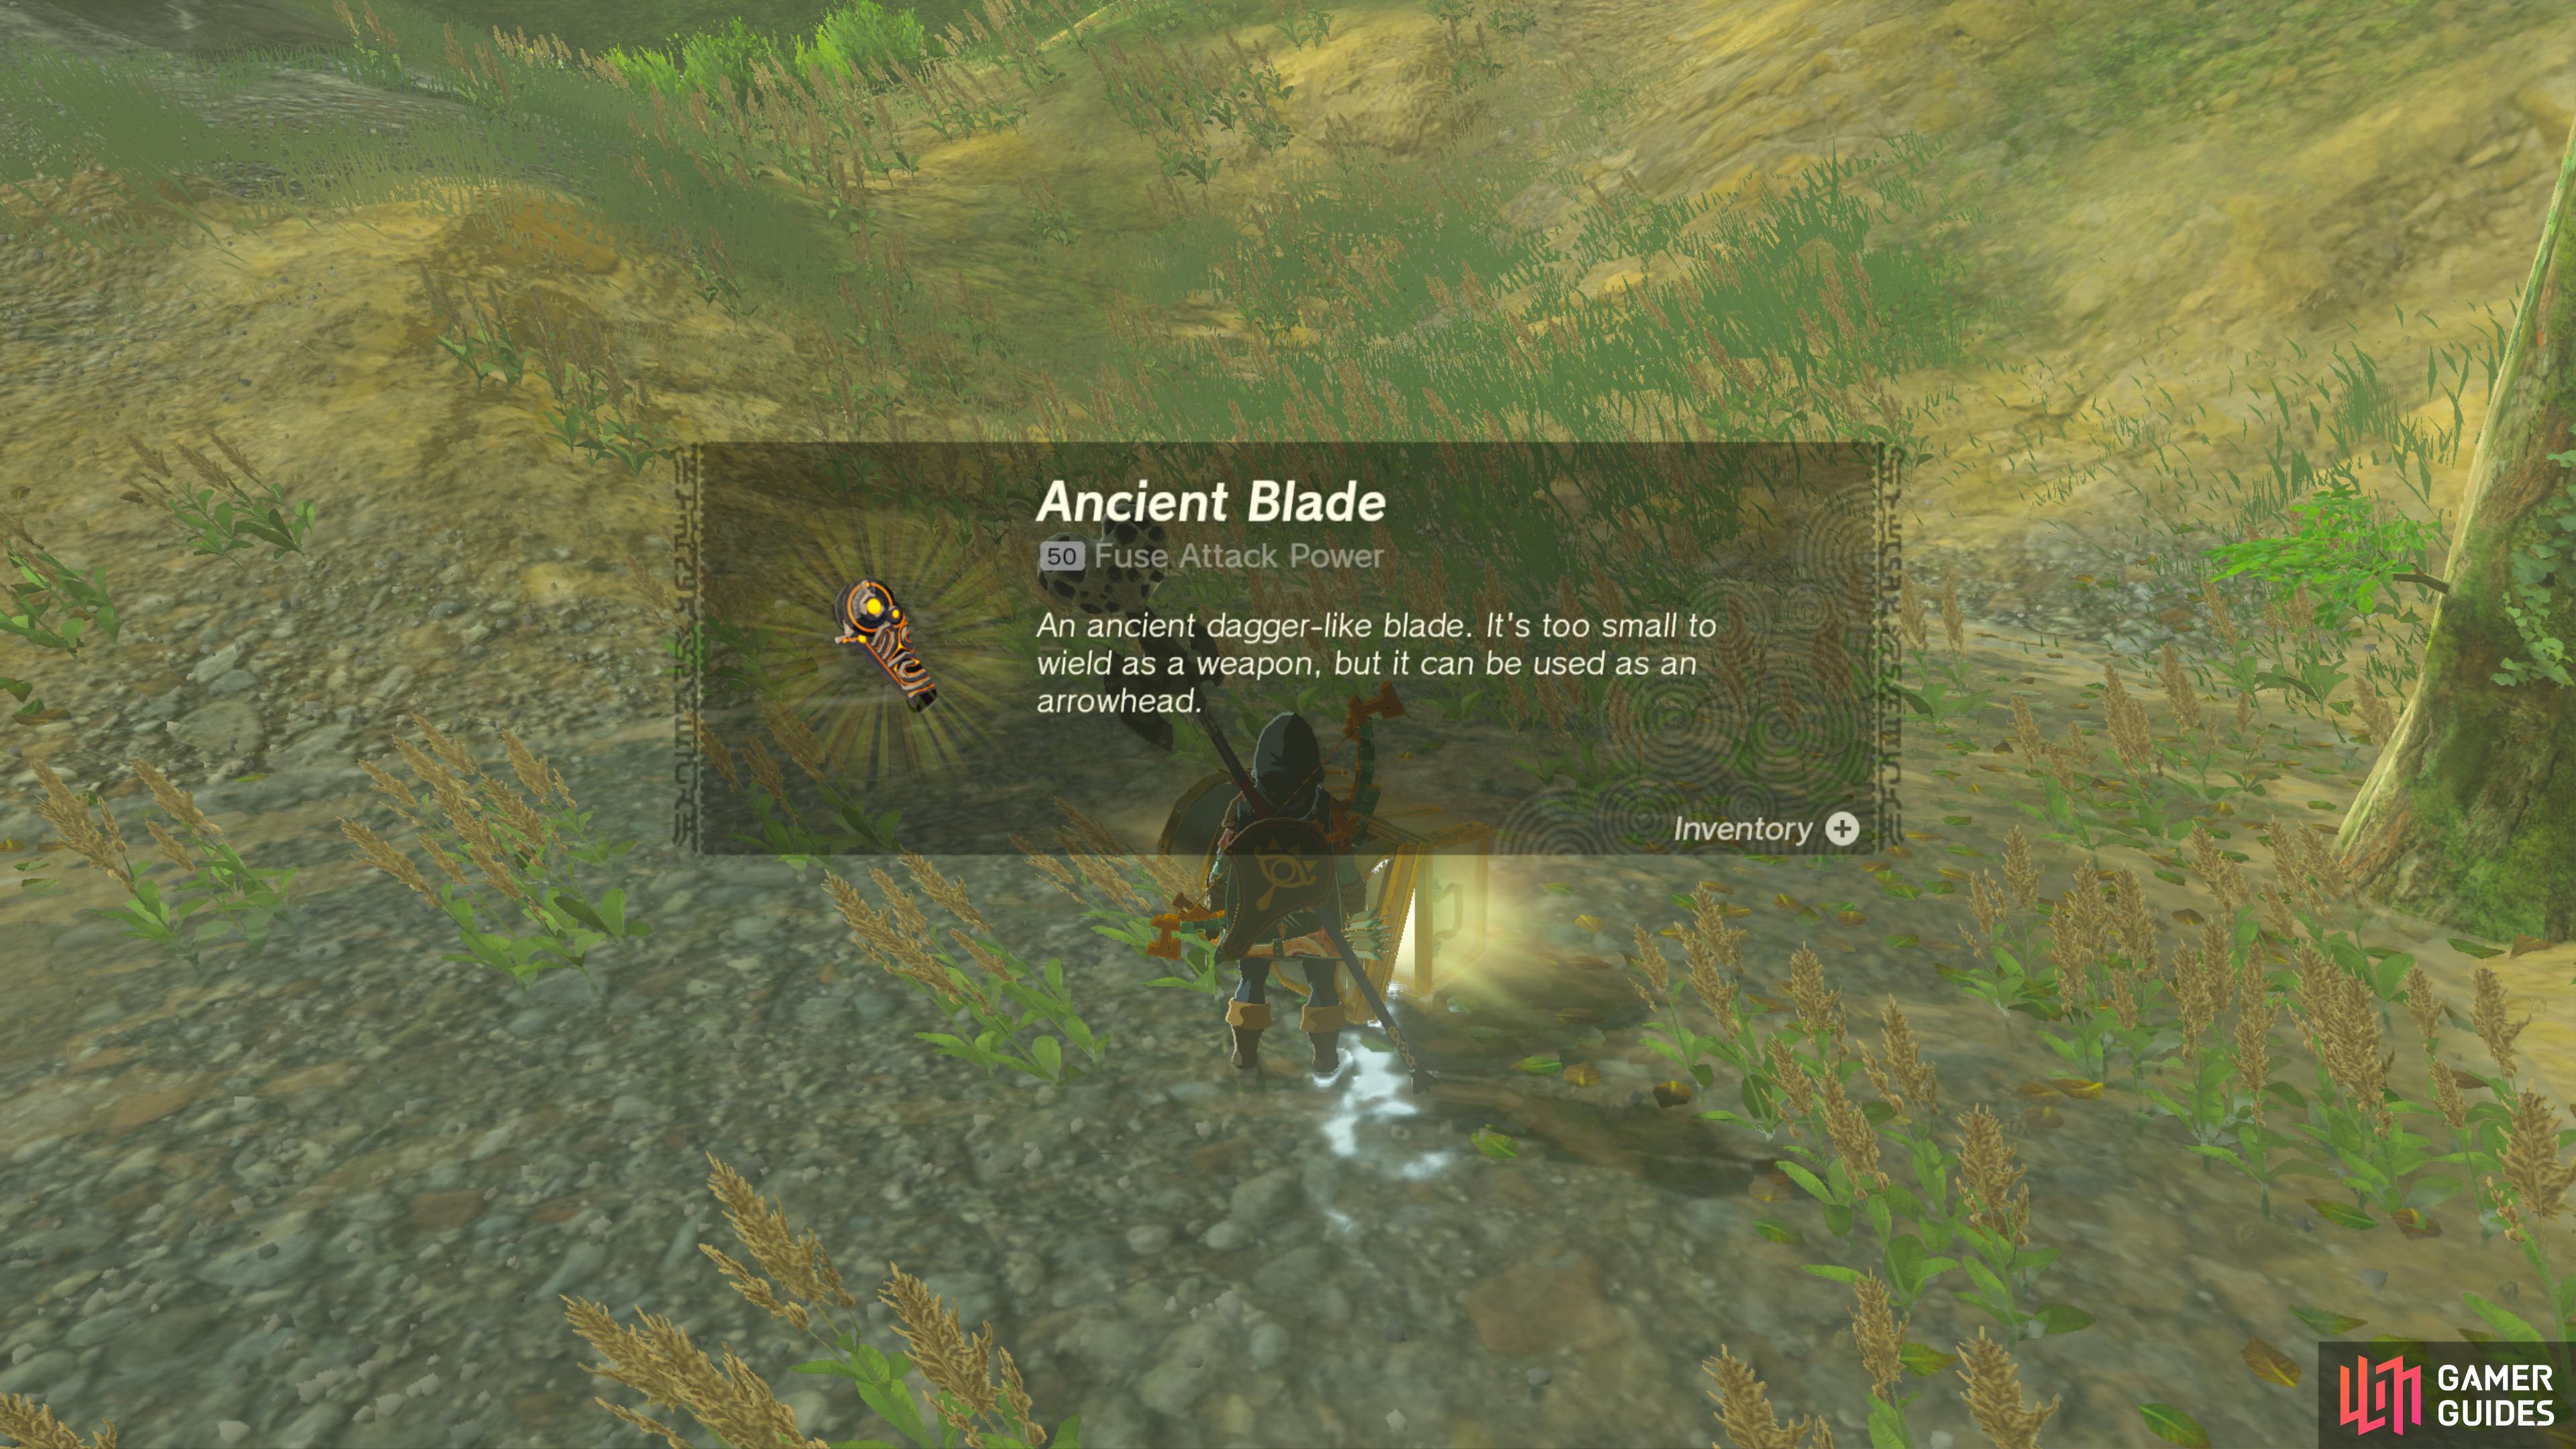
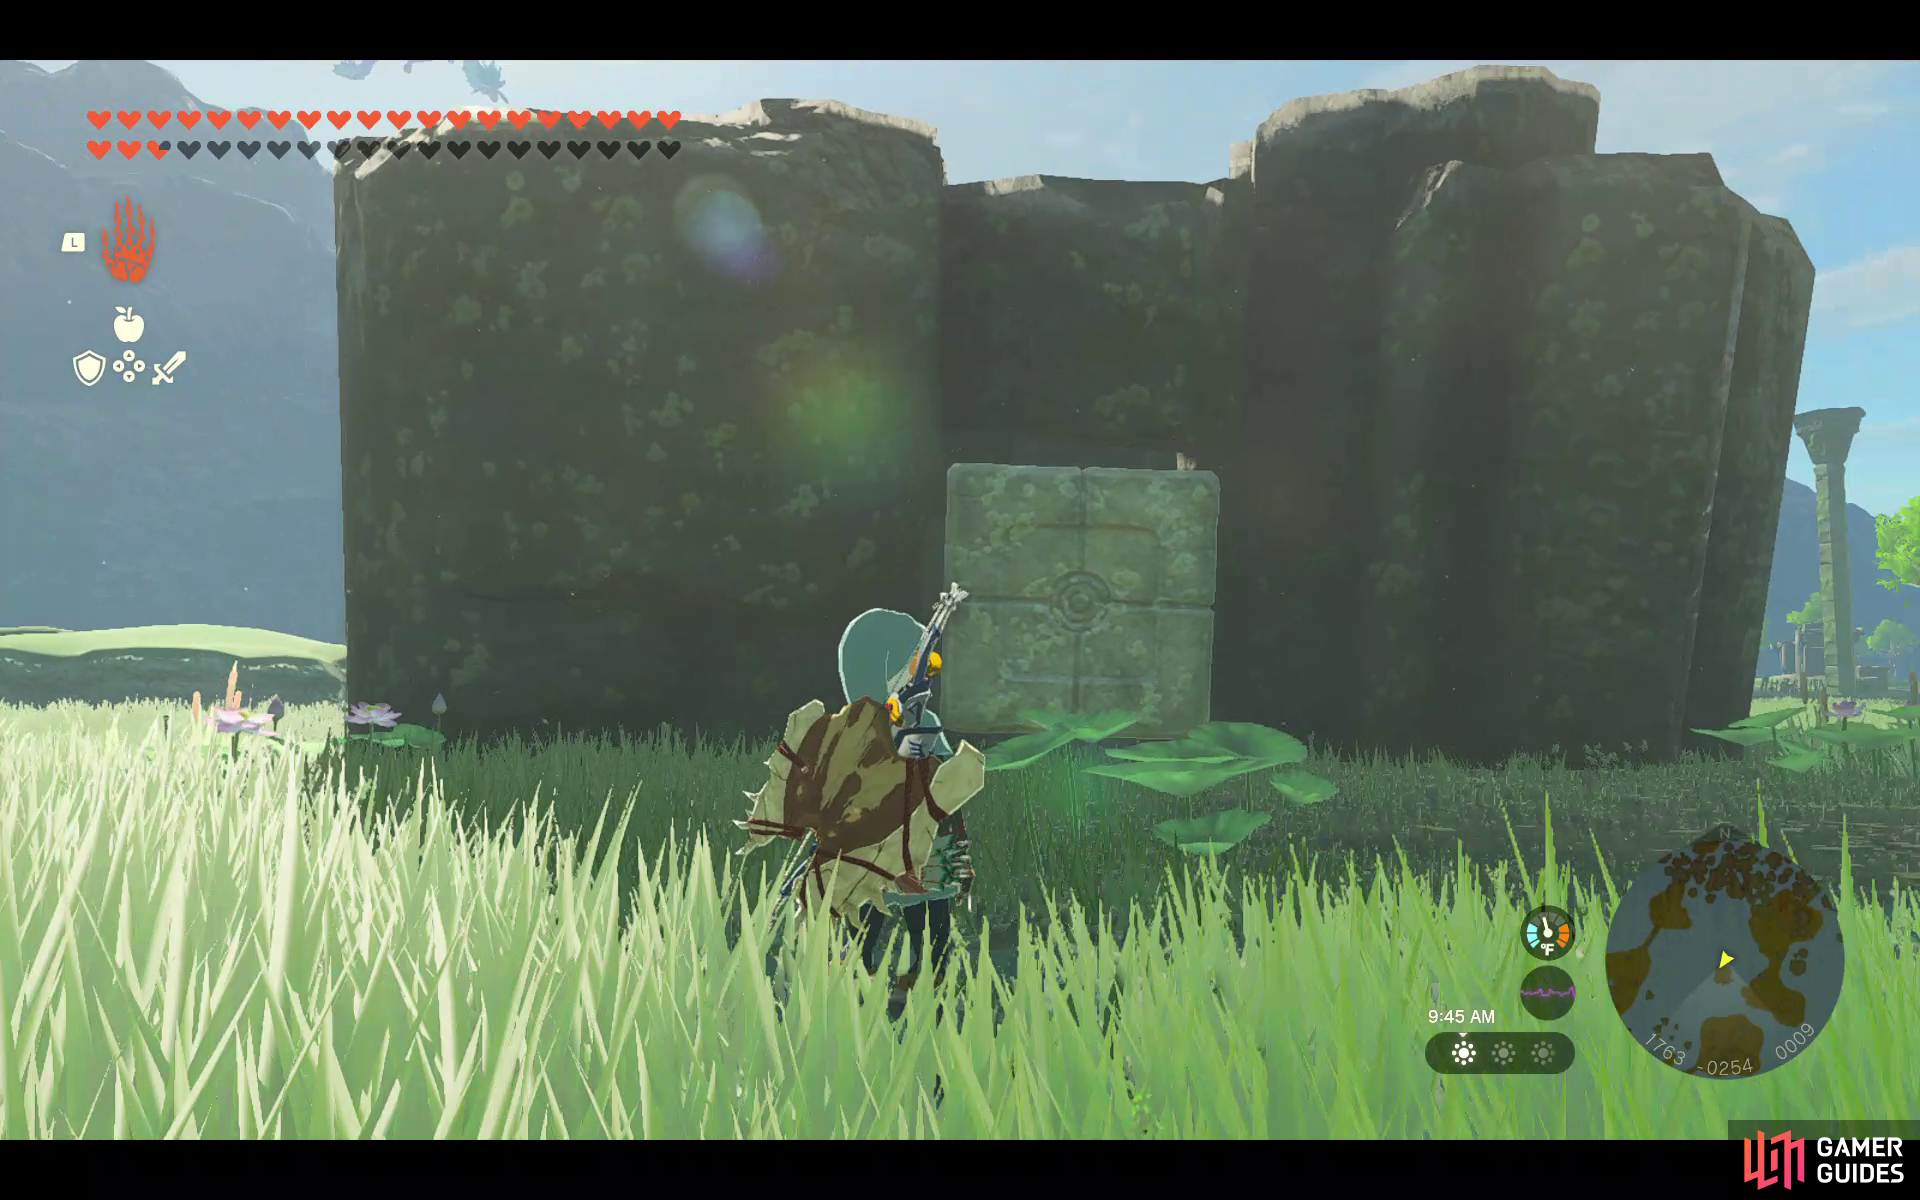
In the corner of the ruins is a chest stuck in the ground. Use ![]() Ultrahand to pull it out to access the chest.
Ultrahand to pull it out to access the chest.
- Contains
 Ancient Blade.
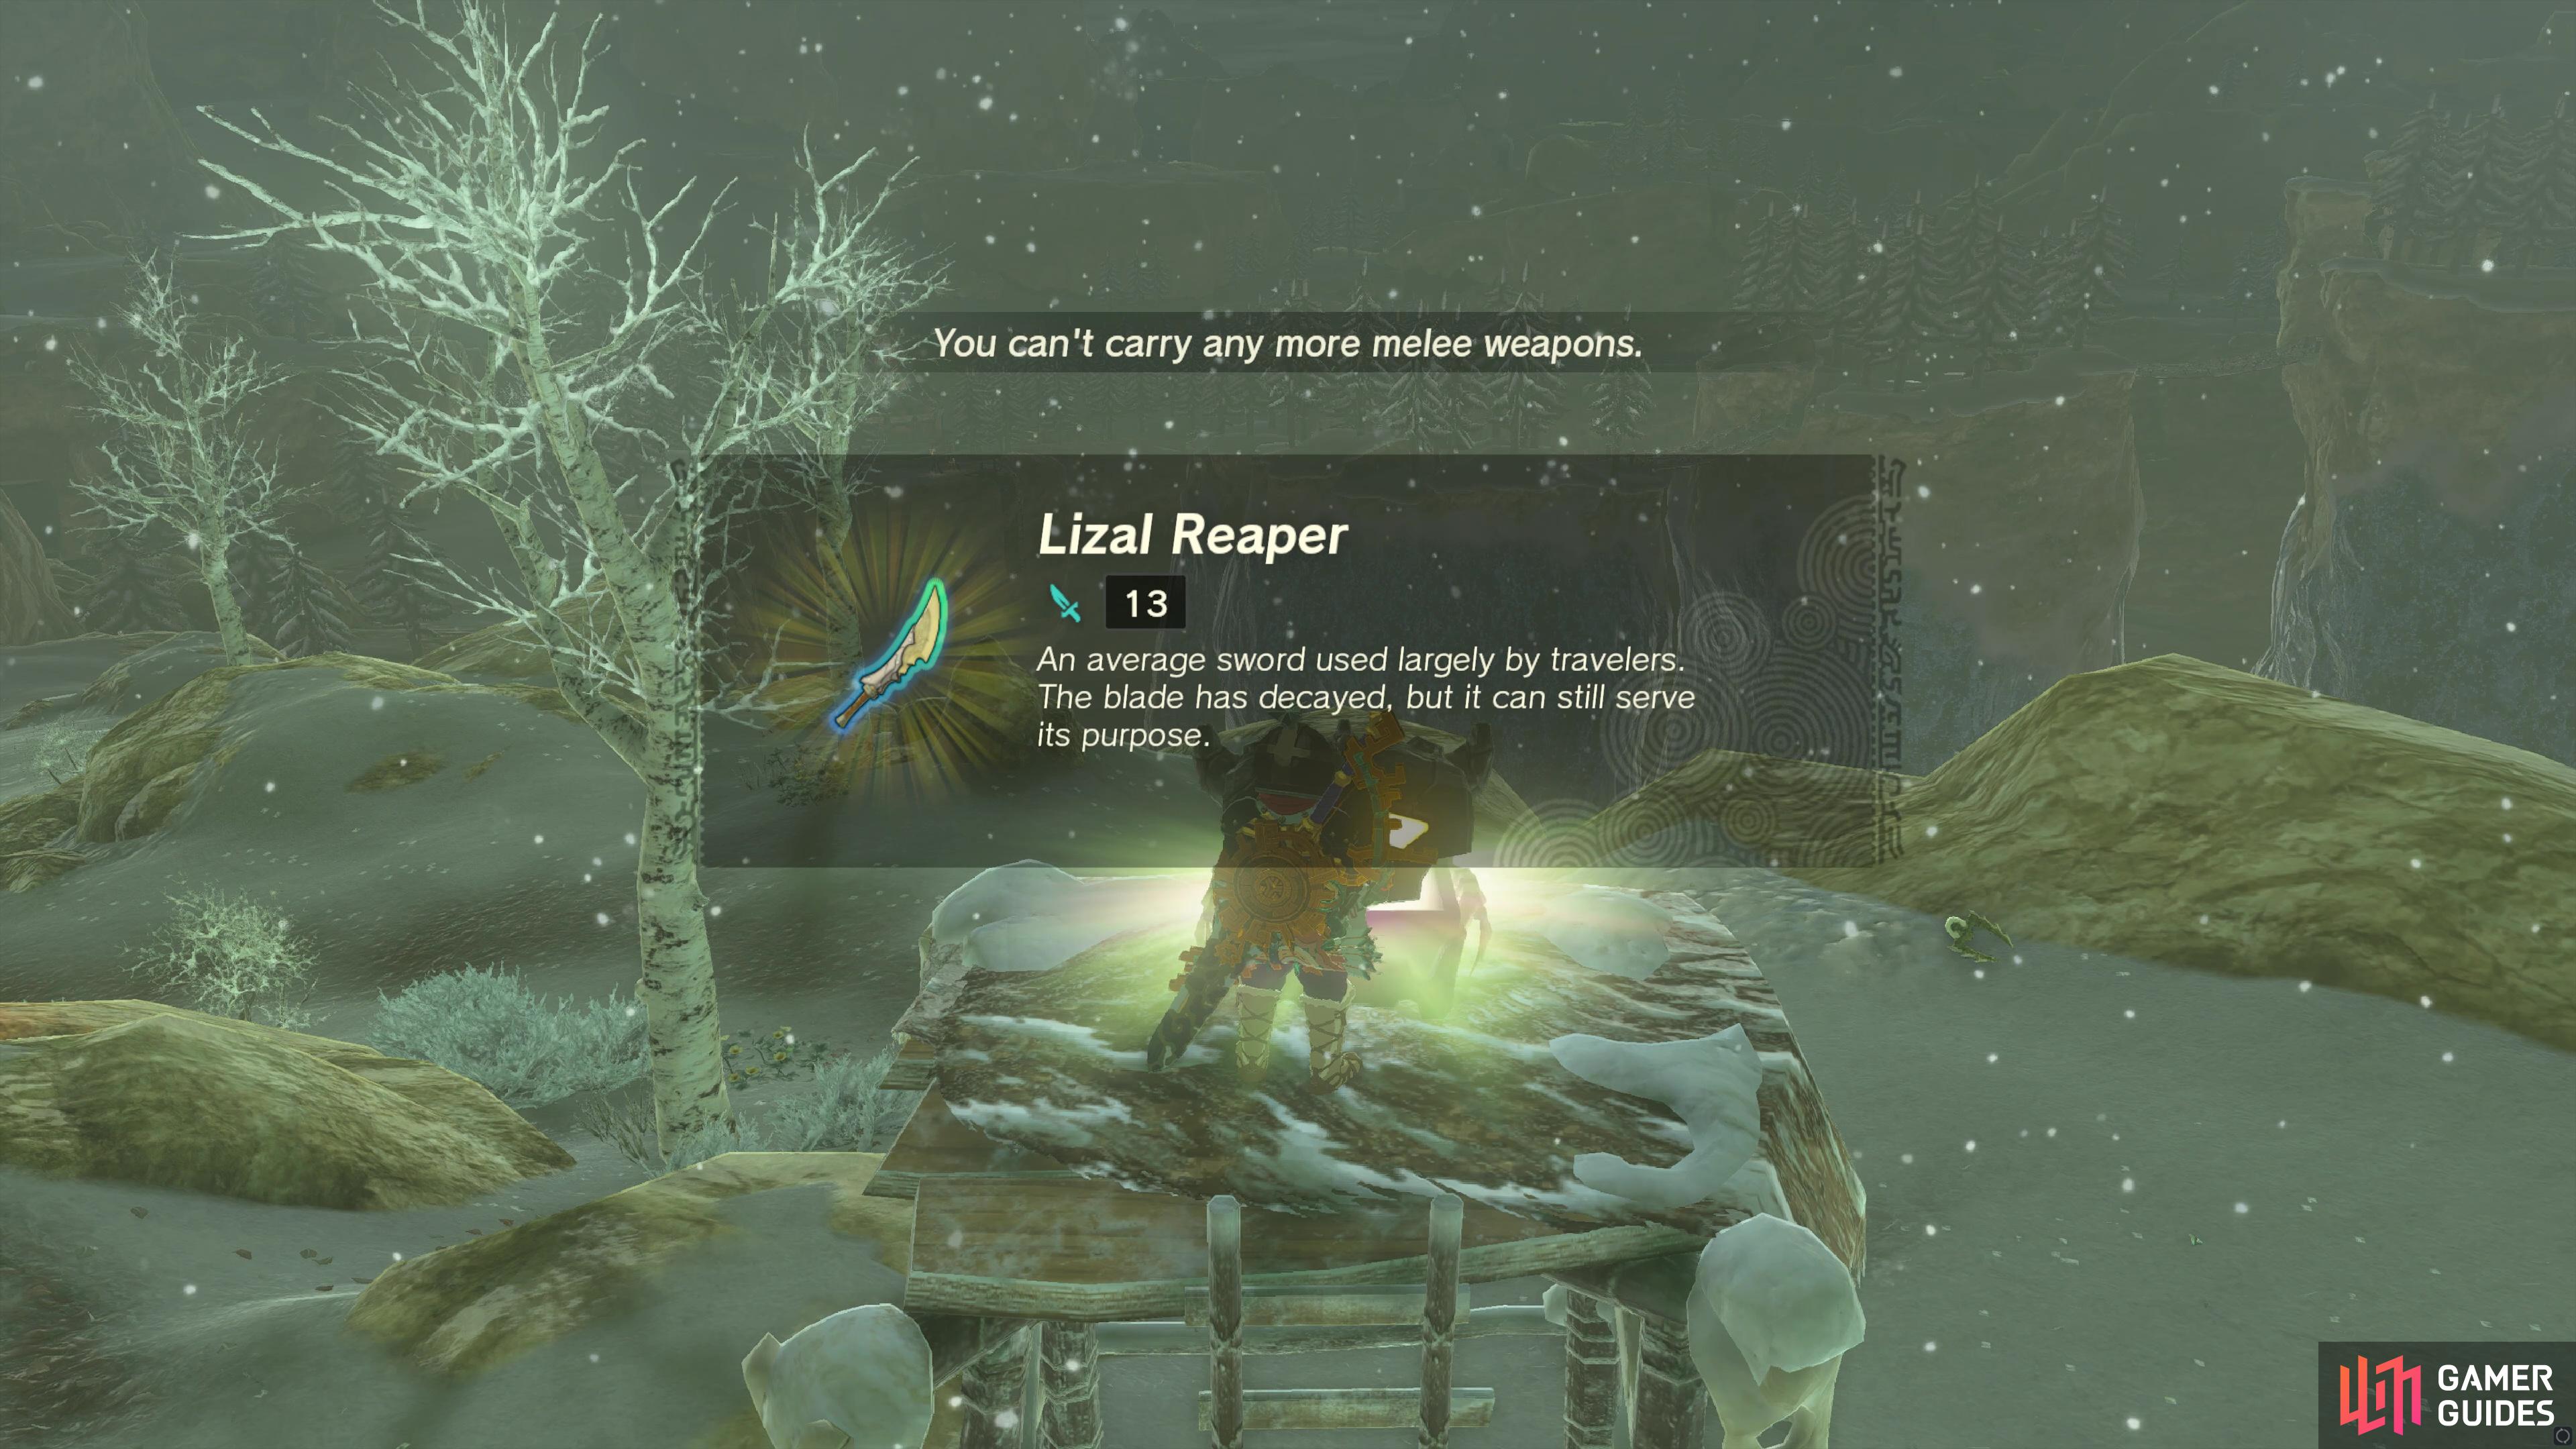
42660. Hyrule Surface Map
Contains ![]() Lizal Reaper.
Lizal Reaper.
You must clear the camp of enemies before the chest will unlock.
42749. Hyrule Surface Map
Behind the breakable rock wall.
- Contains a
 Knight’s Claymore.
42763. Hyrule Depths Map
Inside Ploymus Canyon Mine. Inside the chest is a ![]() Large Crystallized Charge.
Large Crystallized Charge.
42849. Hyrule Surface Map
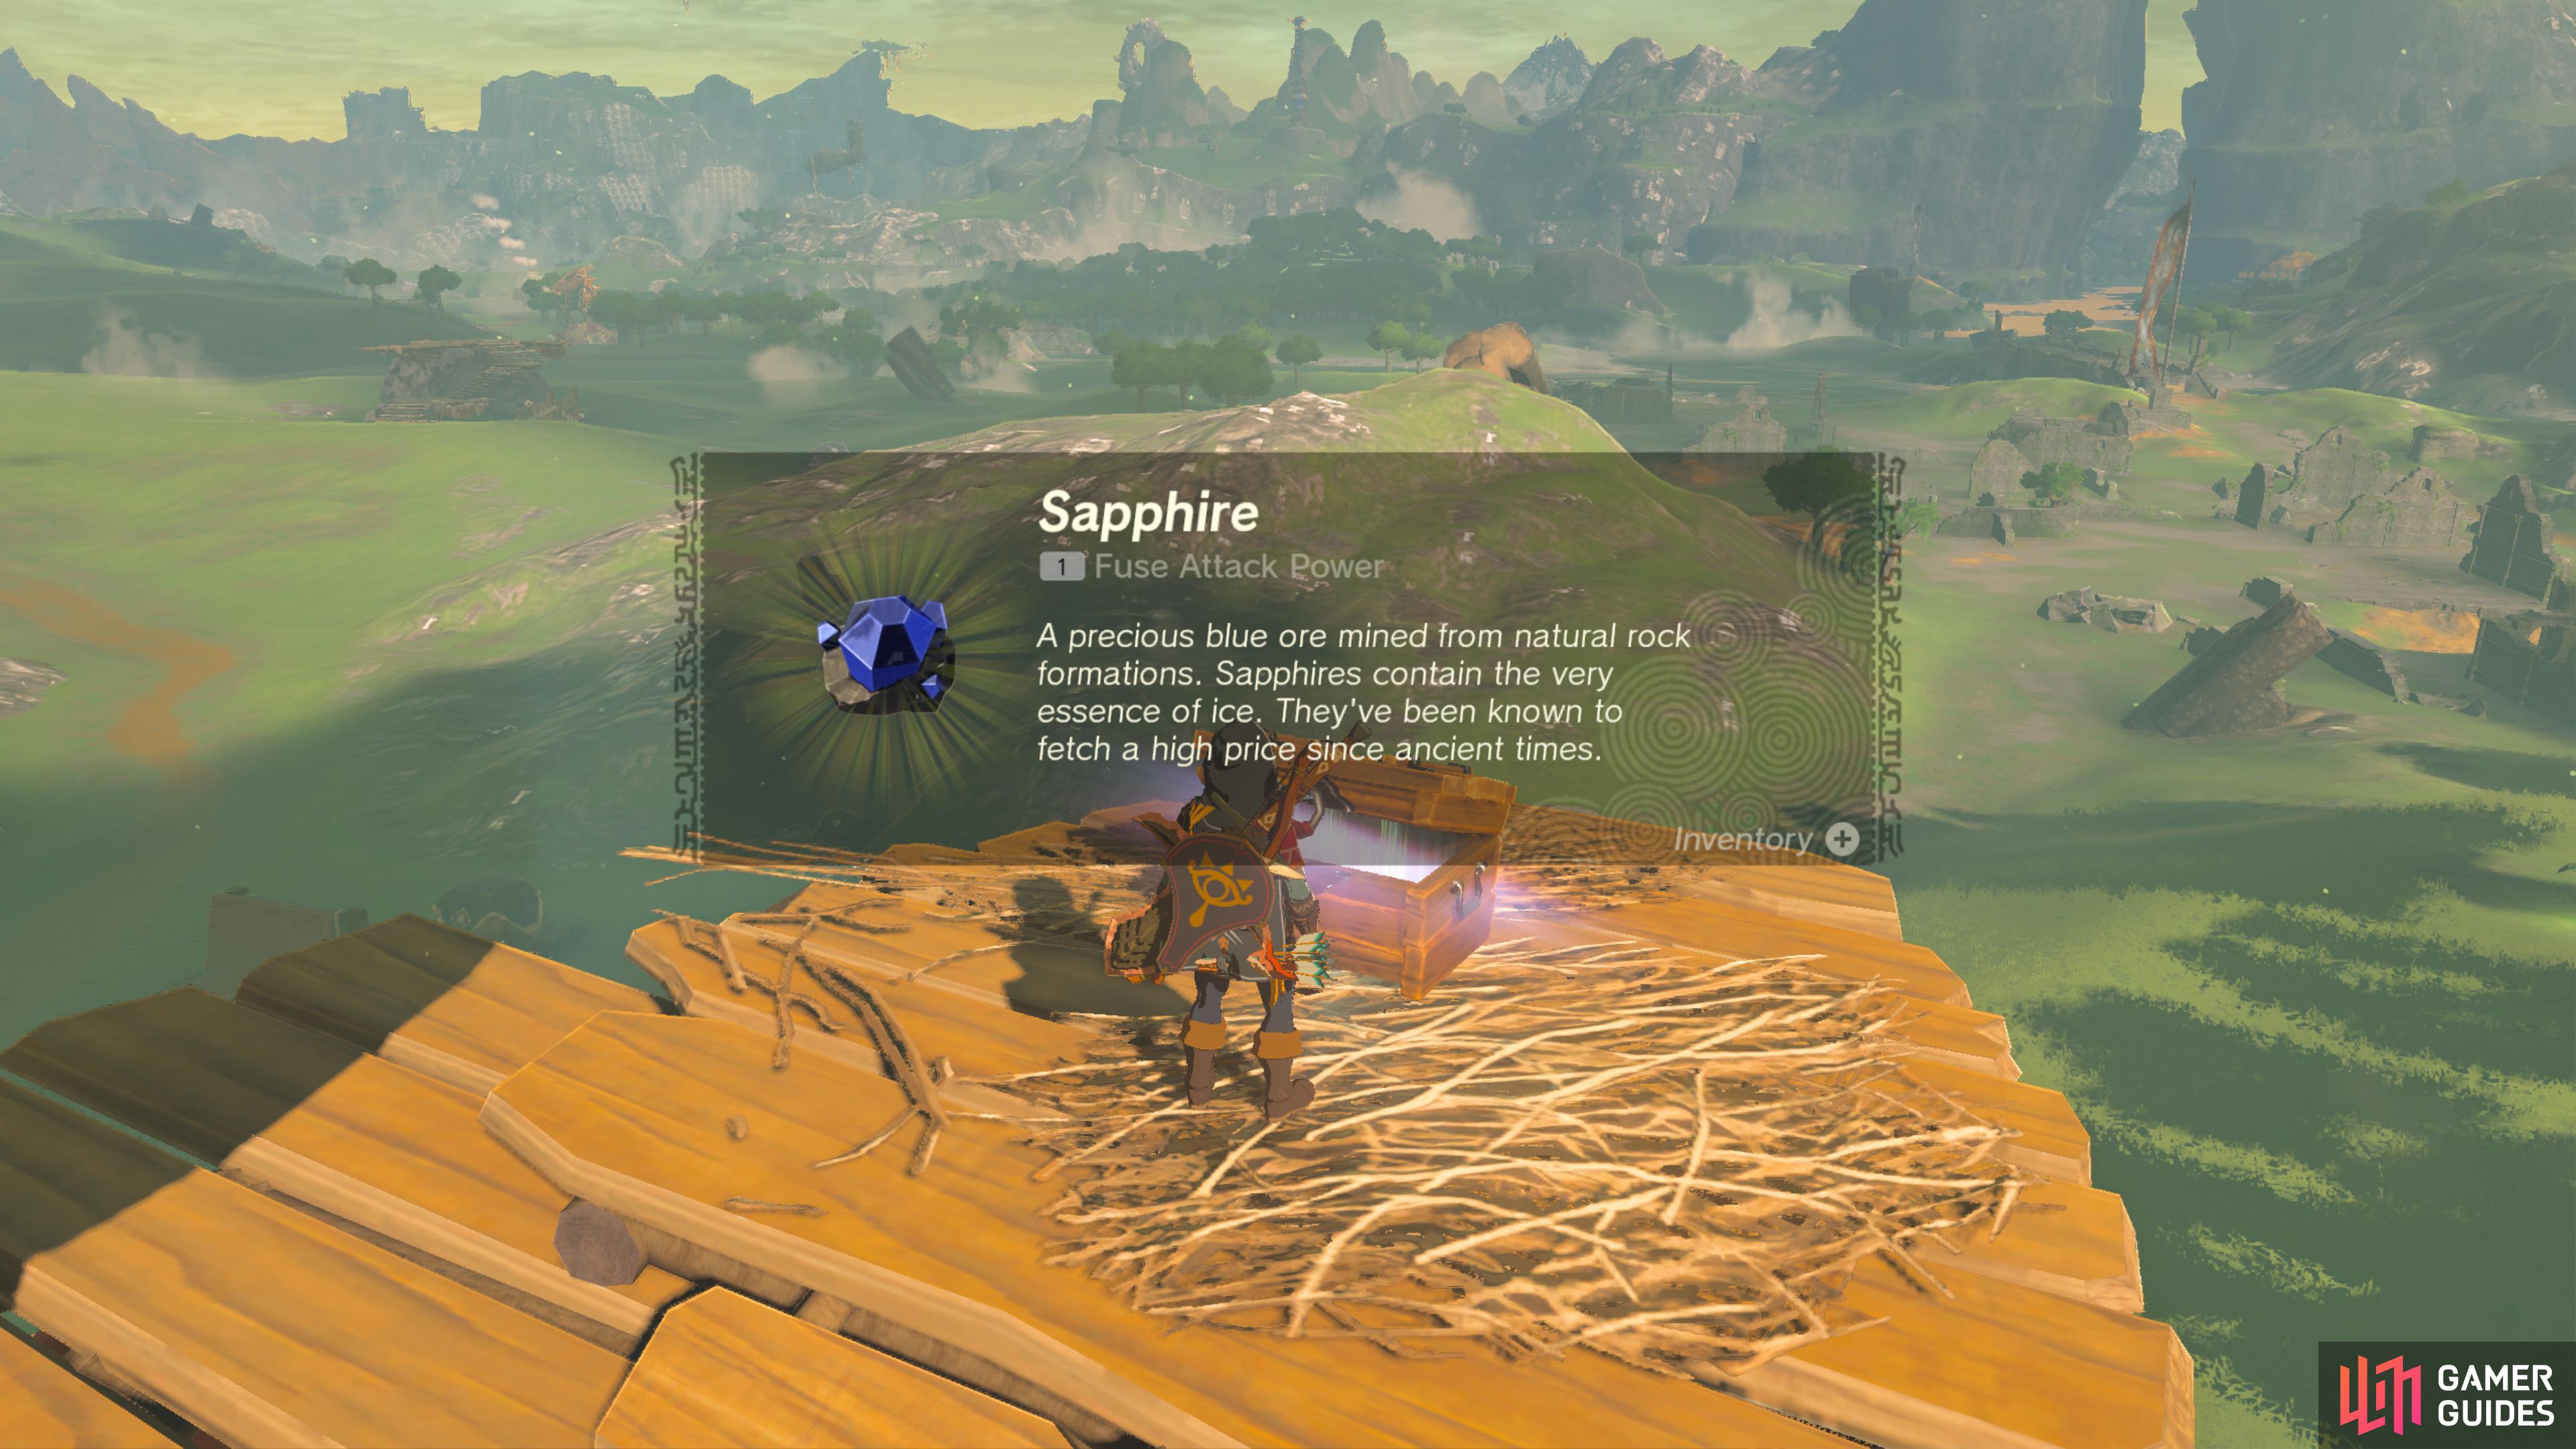
In ![]() Mount Dunsel Cave within the pool of water near the cave entrance.
Mount Dunsel Cave within the pool of water near the cave entrance.
You’ll need to use ![]() Ultrahand to pull a wooden board near to the Chest then use it again to pull it onto the other wooden board.
Ultrahand to pull a wooden board near to the Chest then use it again to pull it onto the other wooden board.
- Contains
 Sapphire.
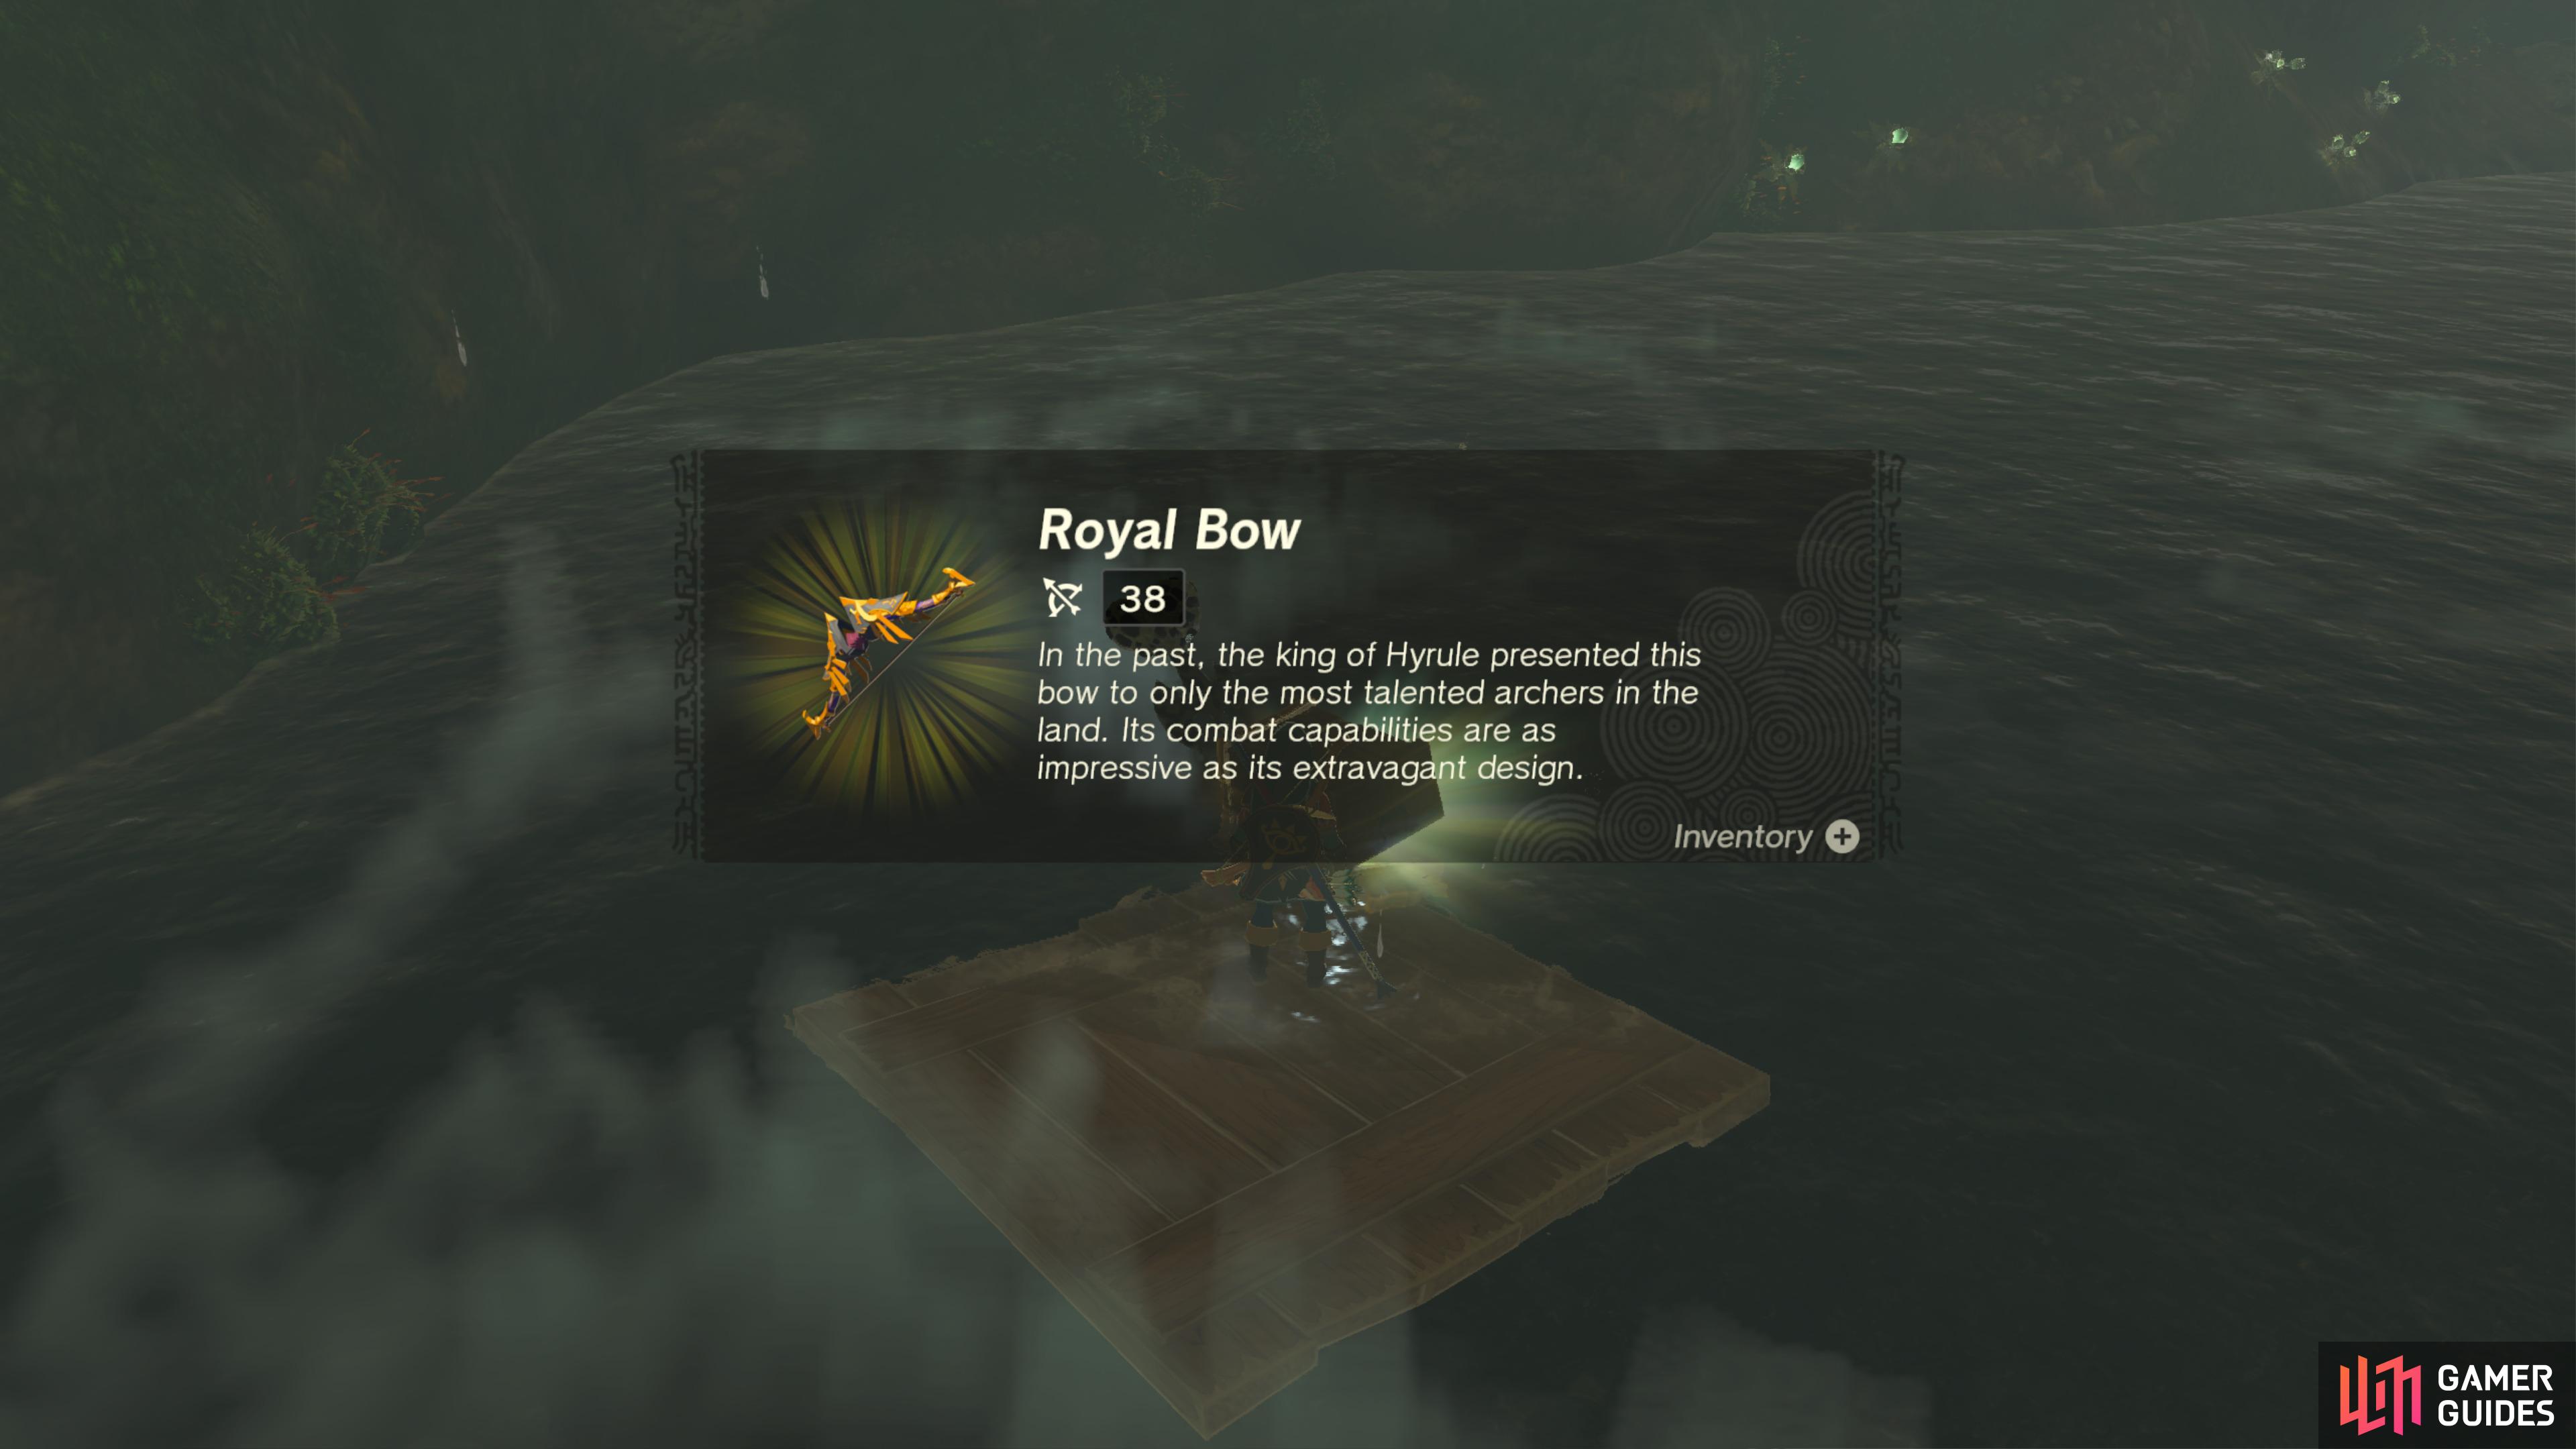
42905. Hyrule Surface Map
In ![]() Mount Dunsel Cave. Behind some vines near the
Mount Dunsel Cave. Behind some vines near the ![]() Black Horriblin. Use a Bomb
Black Horriblin. Use a Bomb ![]() Arrow to destroy the vines.
Arrow to destroy the vines.
- Contains
 Royal Bow.
42918. Hyrule Surface Map
In ![]() Mount Dunsel Cave. The Chest is on a raised platform. If you are coming from another entrance, you may be underneath it. Use
Mount Dunsel Cave. The Chest is on a raised platform. If you are coming from another entrance, you may be underneath it. Use ![]() Ultrahand to move the wooden board underneath the platform, in the water, and use
Ultrahand to move the wooden board underneath the platform, in the water, and use ![]() Ascend to get on top.
Ascend to get on top.
- Contains Royal Shield.
42982. Hyrule Surface Map
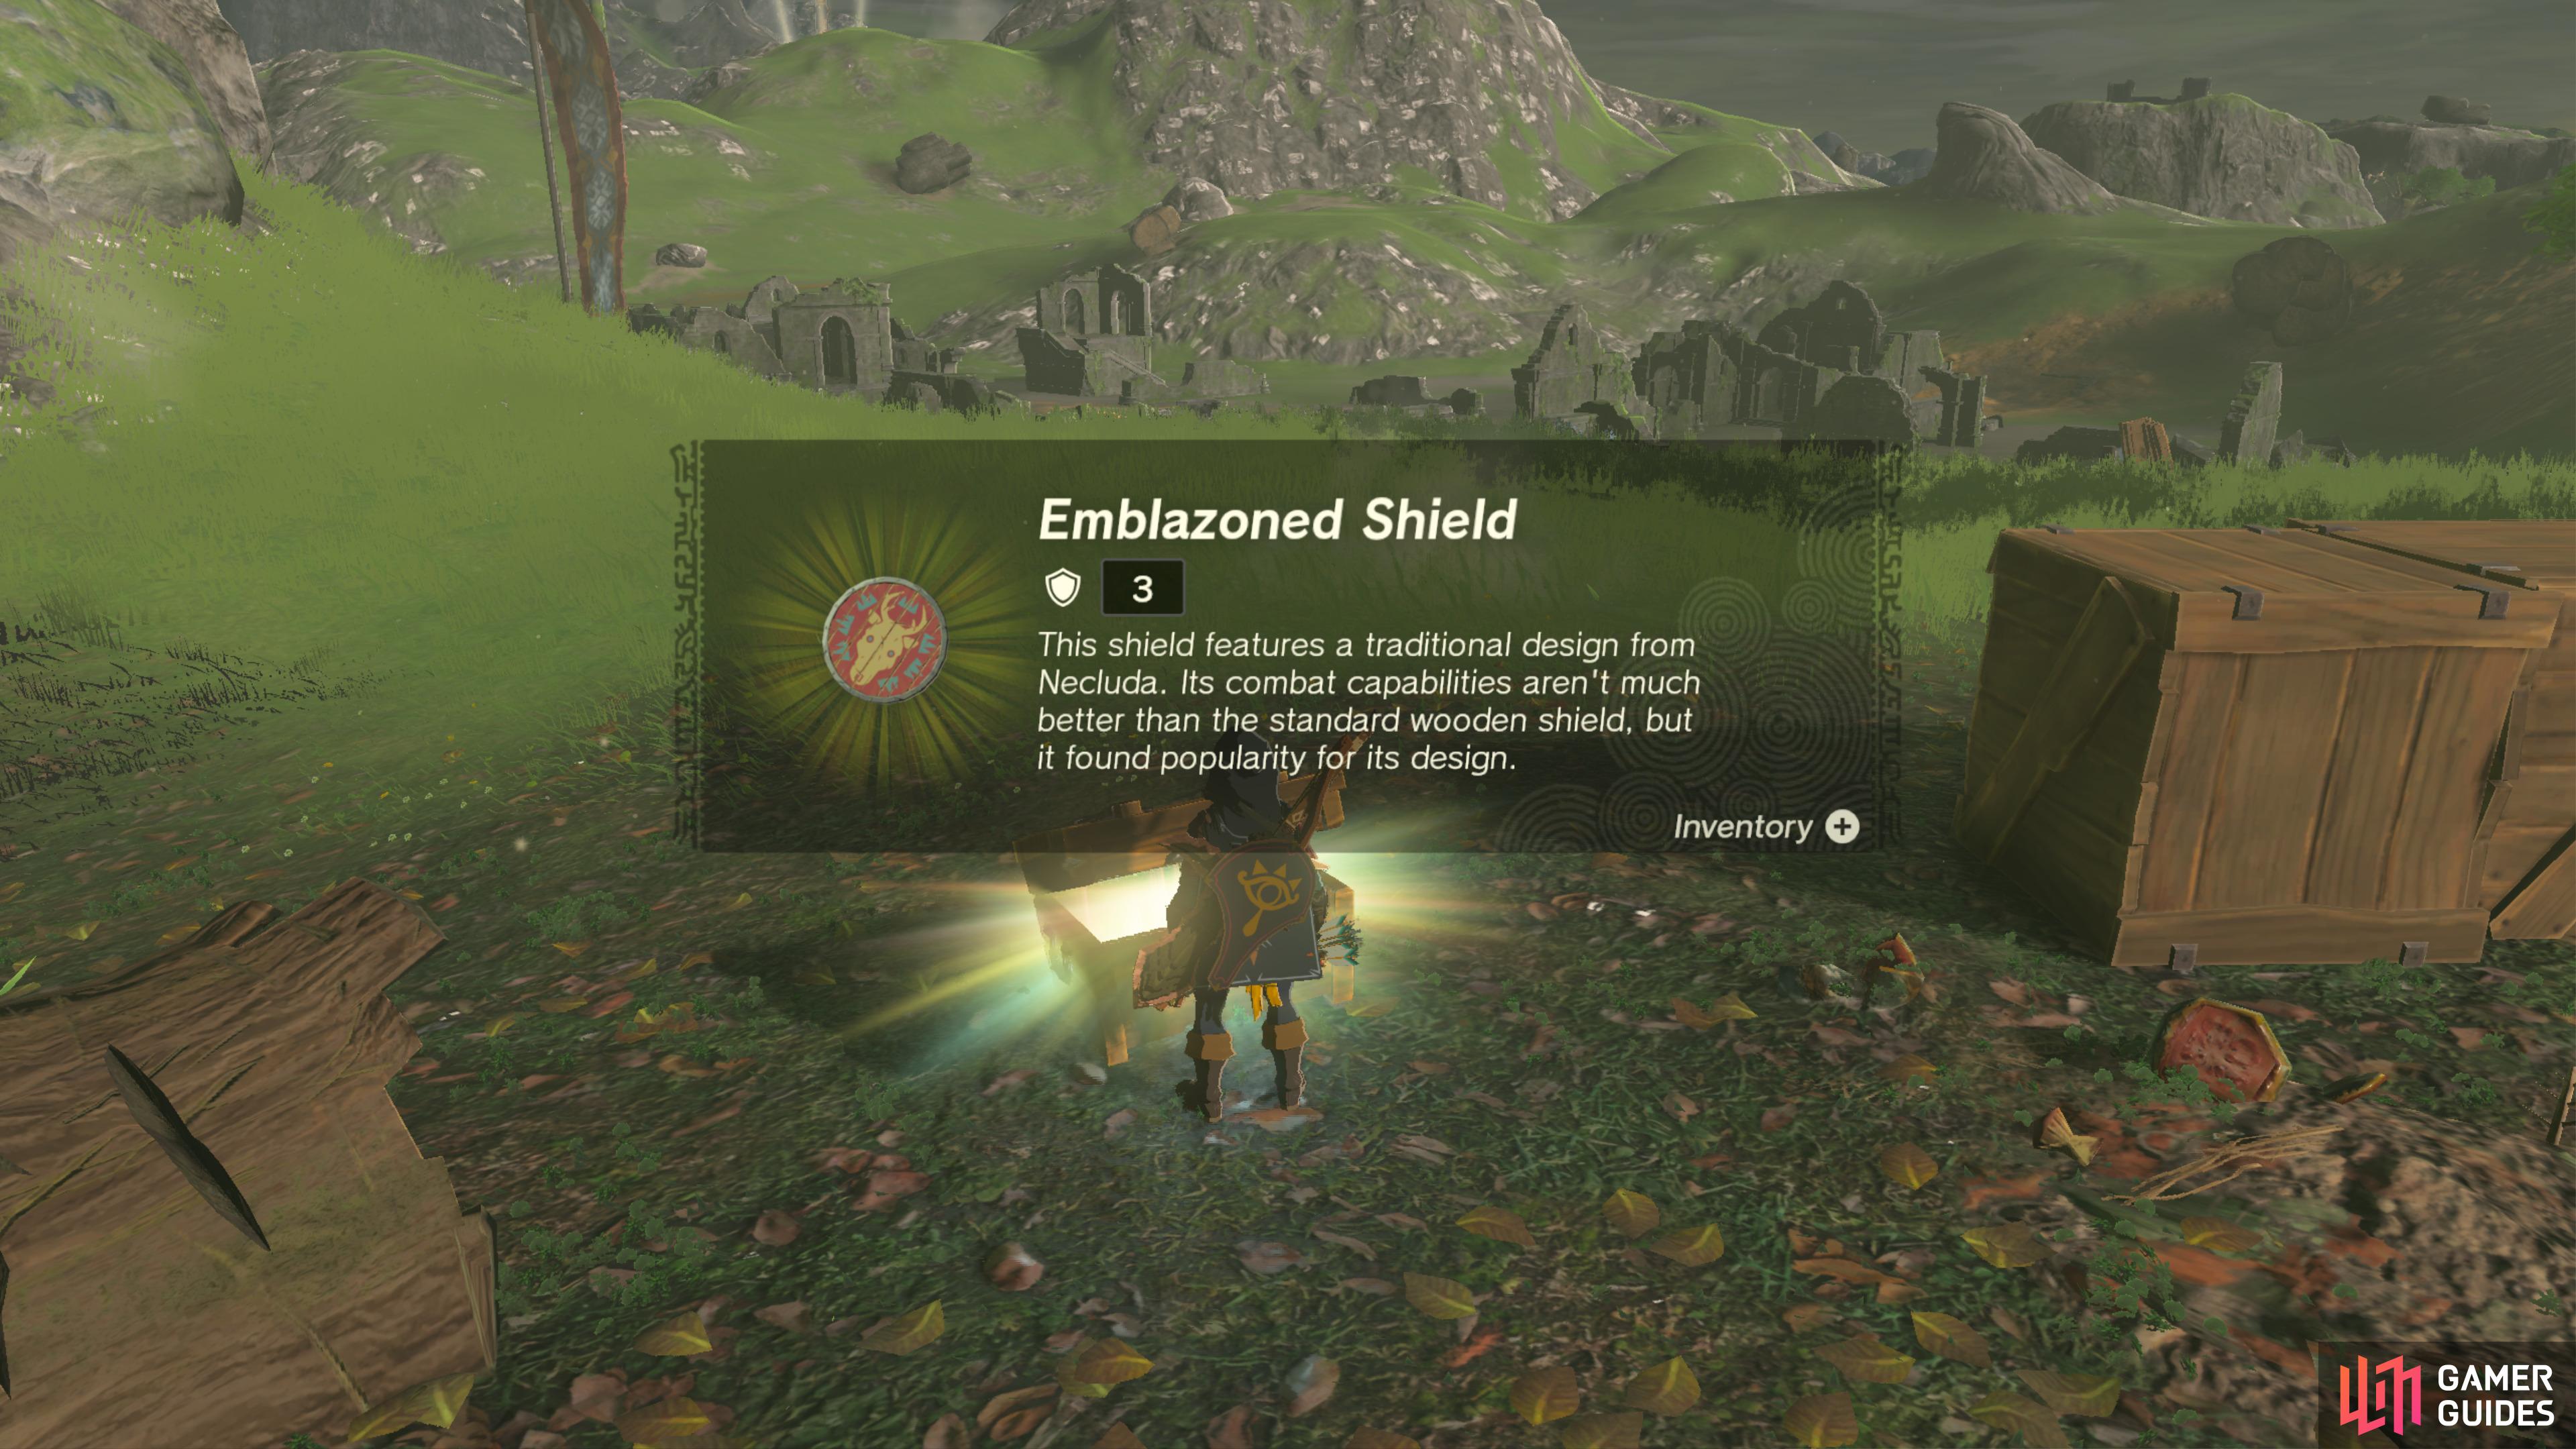
Found in the nearby ![]() Bokoblin camp.
Bokoblin camp.
Contains an Emblazoned Shield.
42986. Hyrule Surface Map
Lift the large metal door with ![]() Ultrahand to find it.
Ultrahand to find it.
It contains a ![]() Purple Rupee (50).
Purple Rupee (50).
42997. Hyrule Surface Map
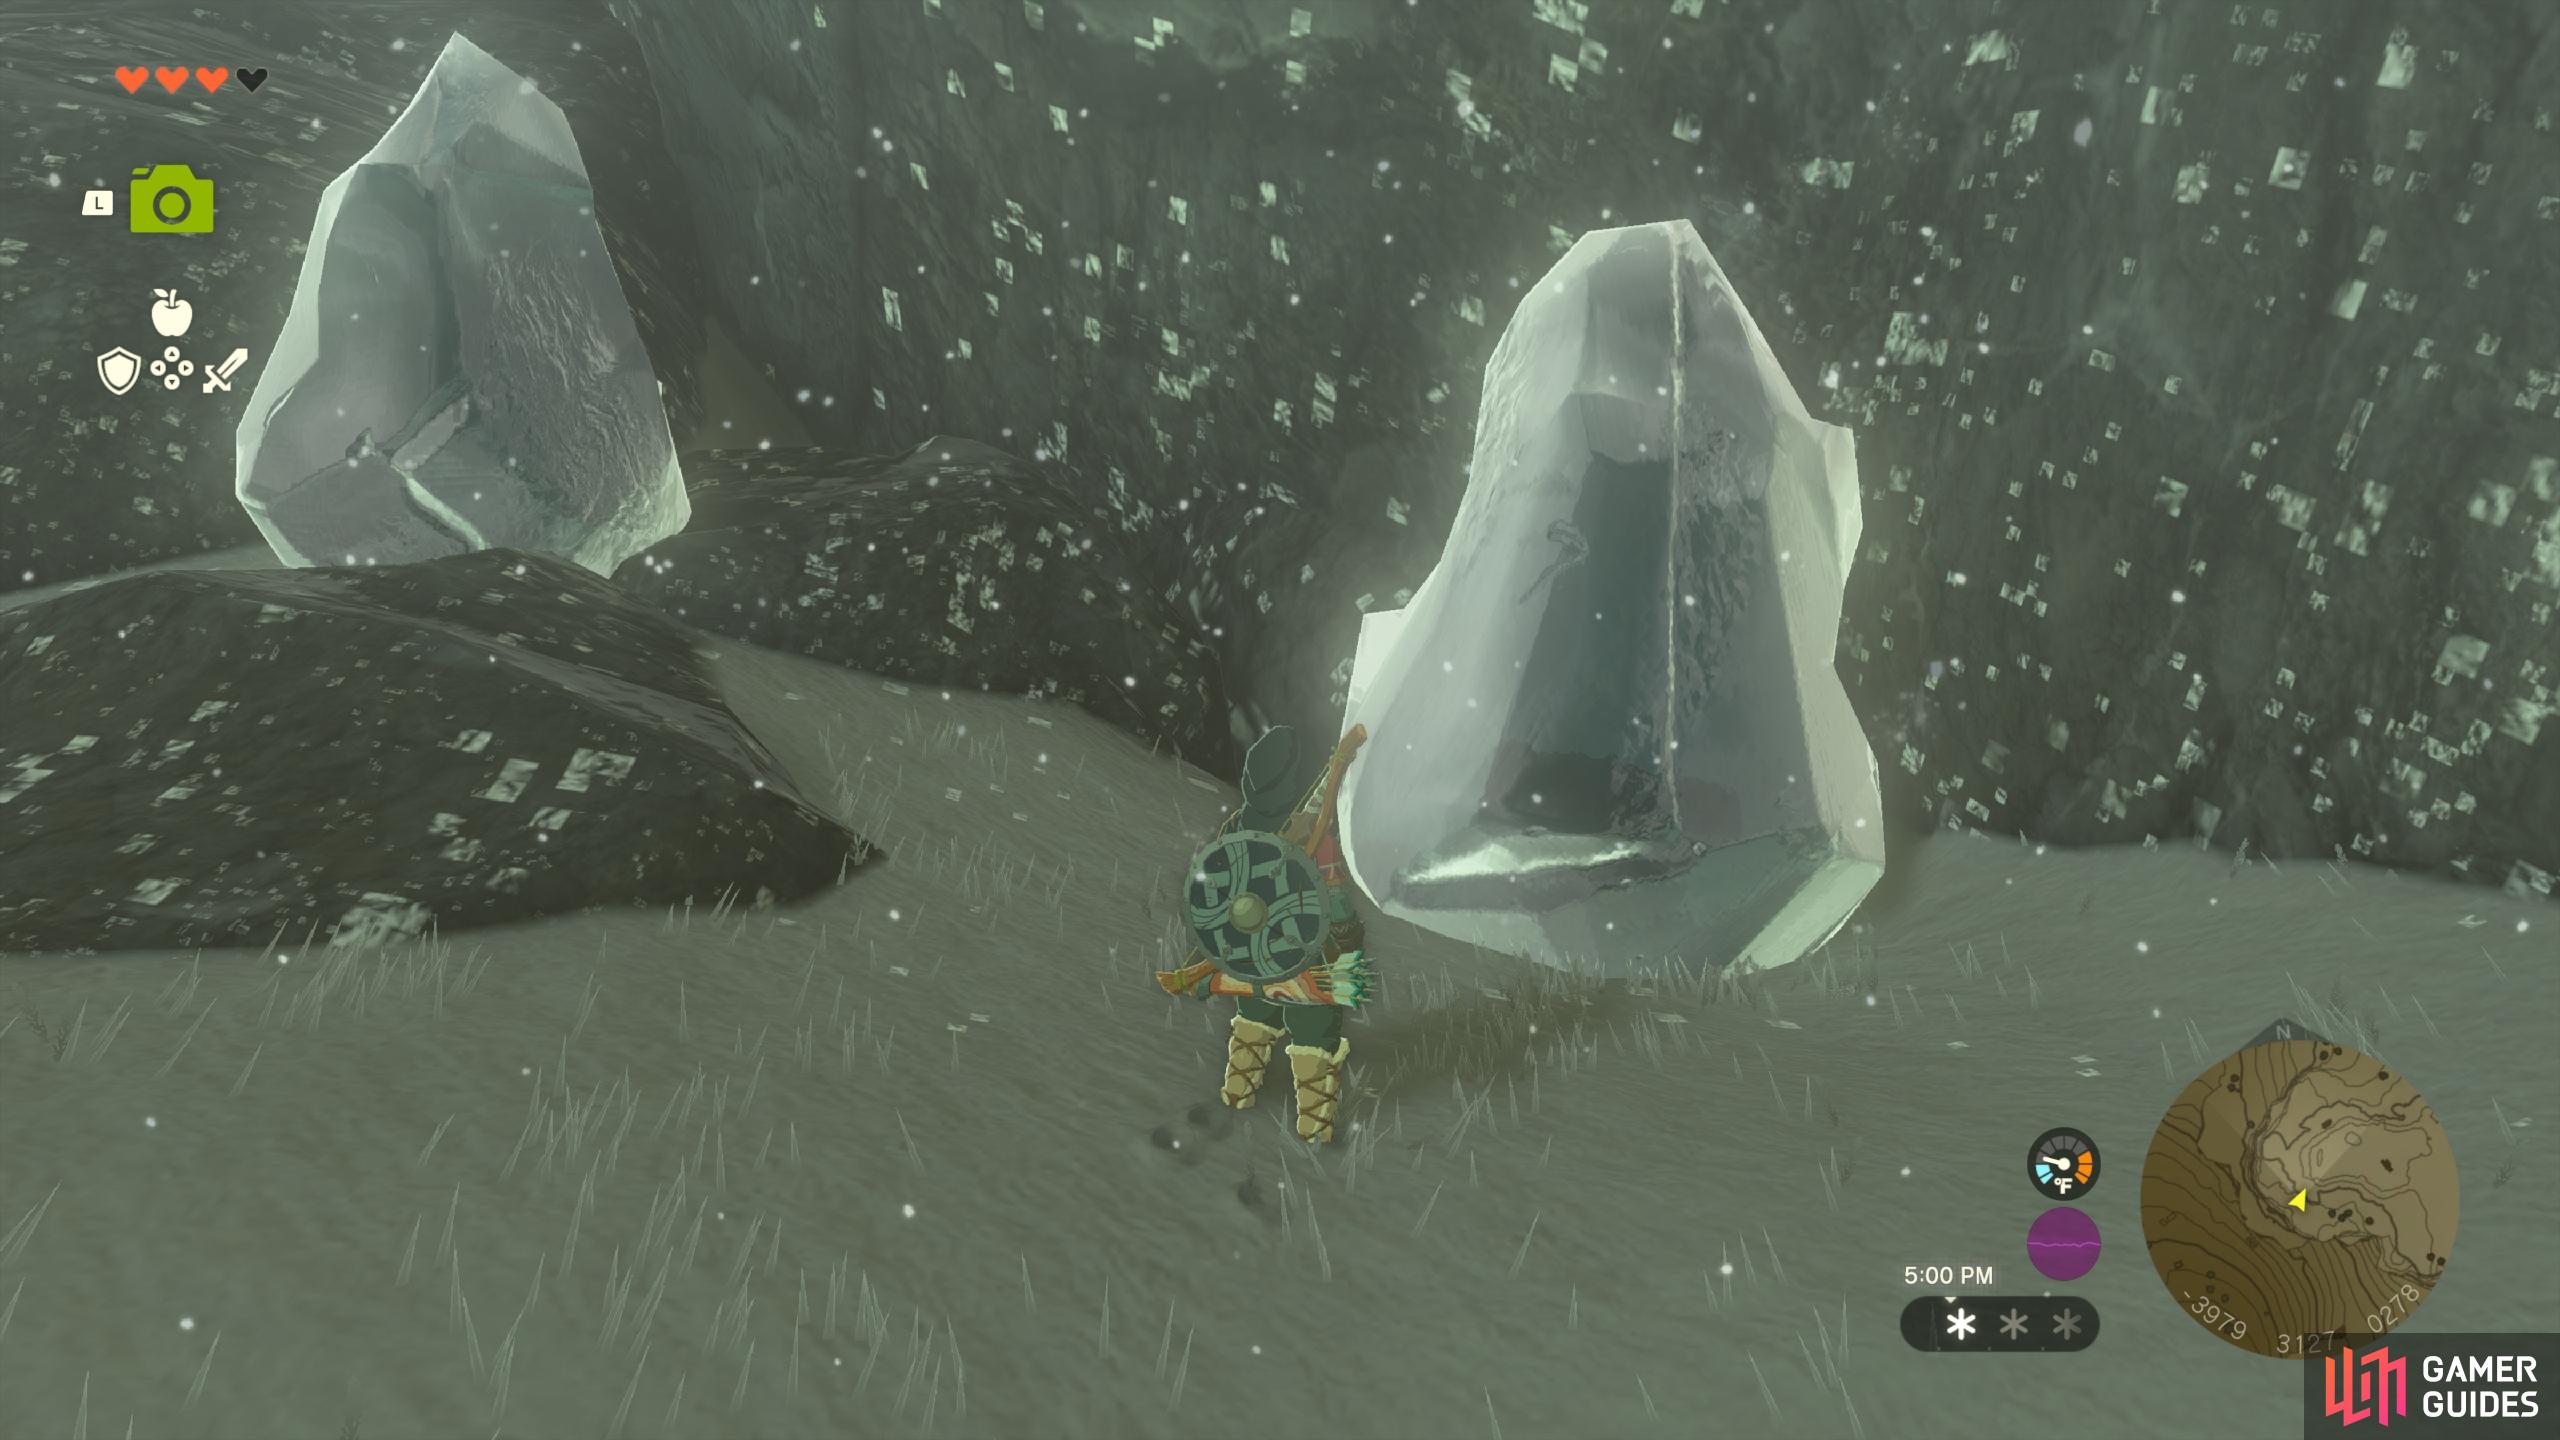
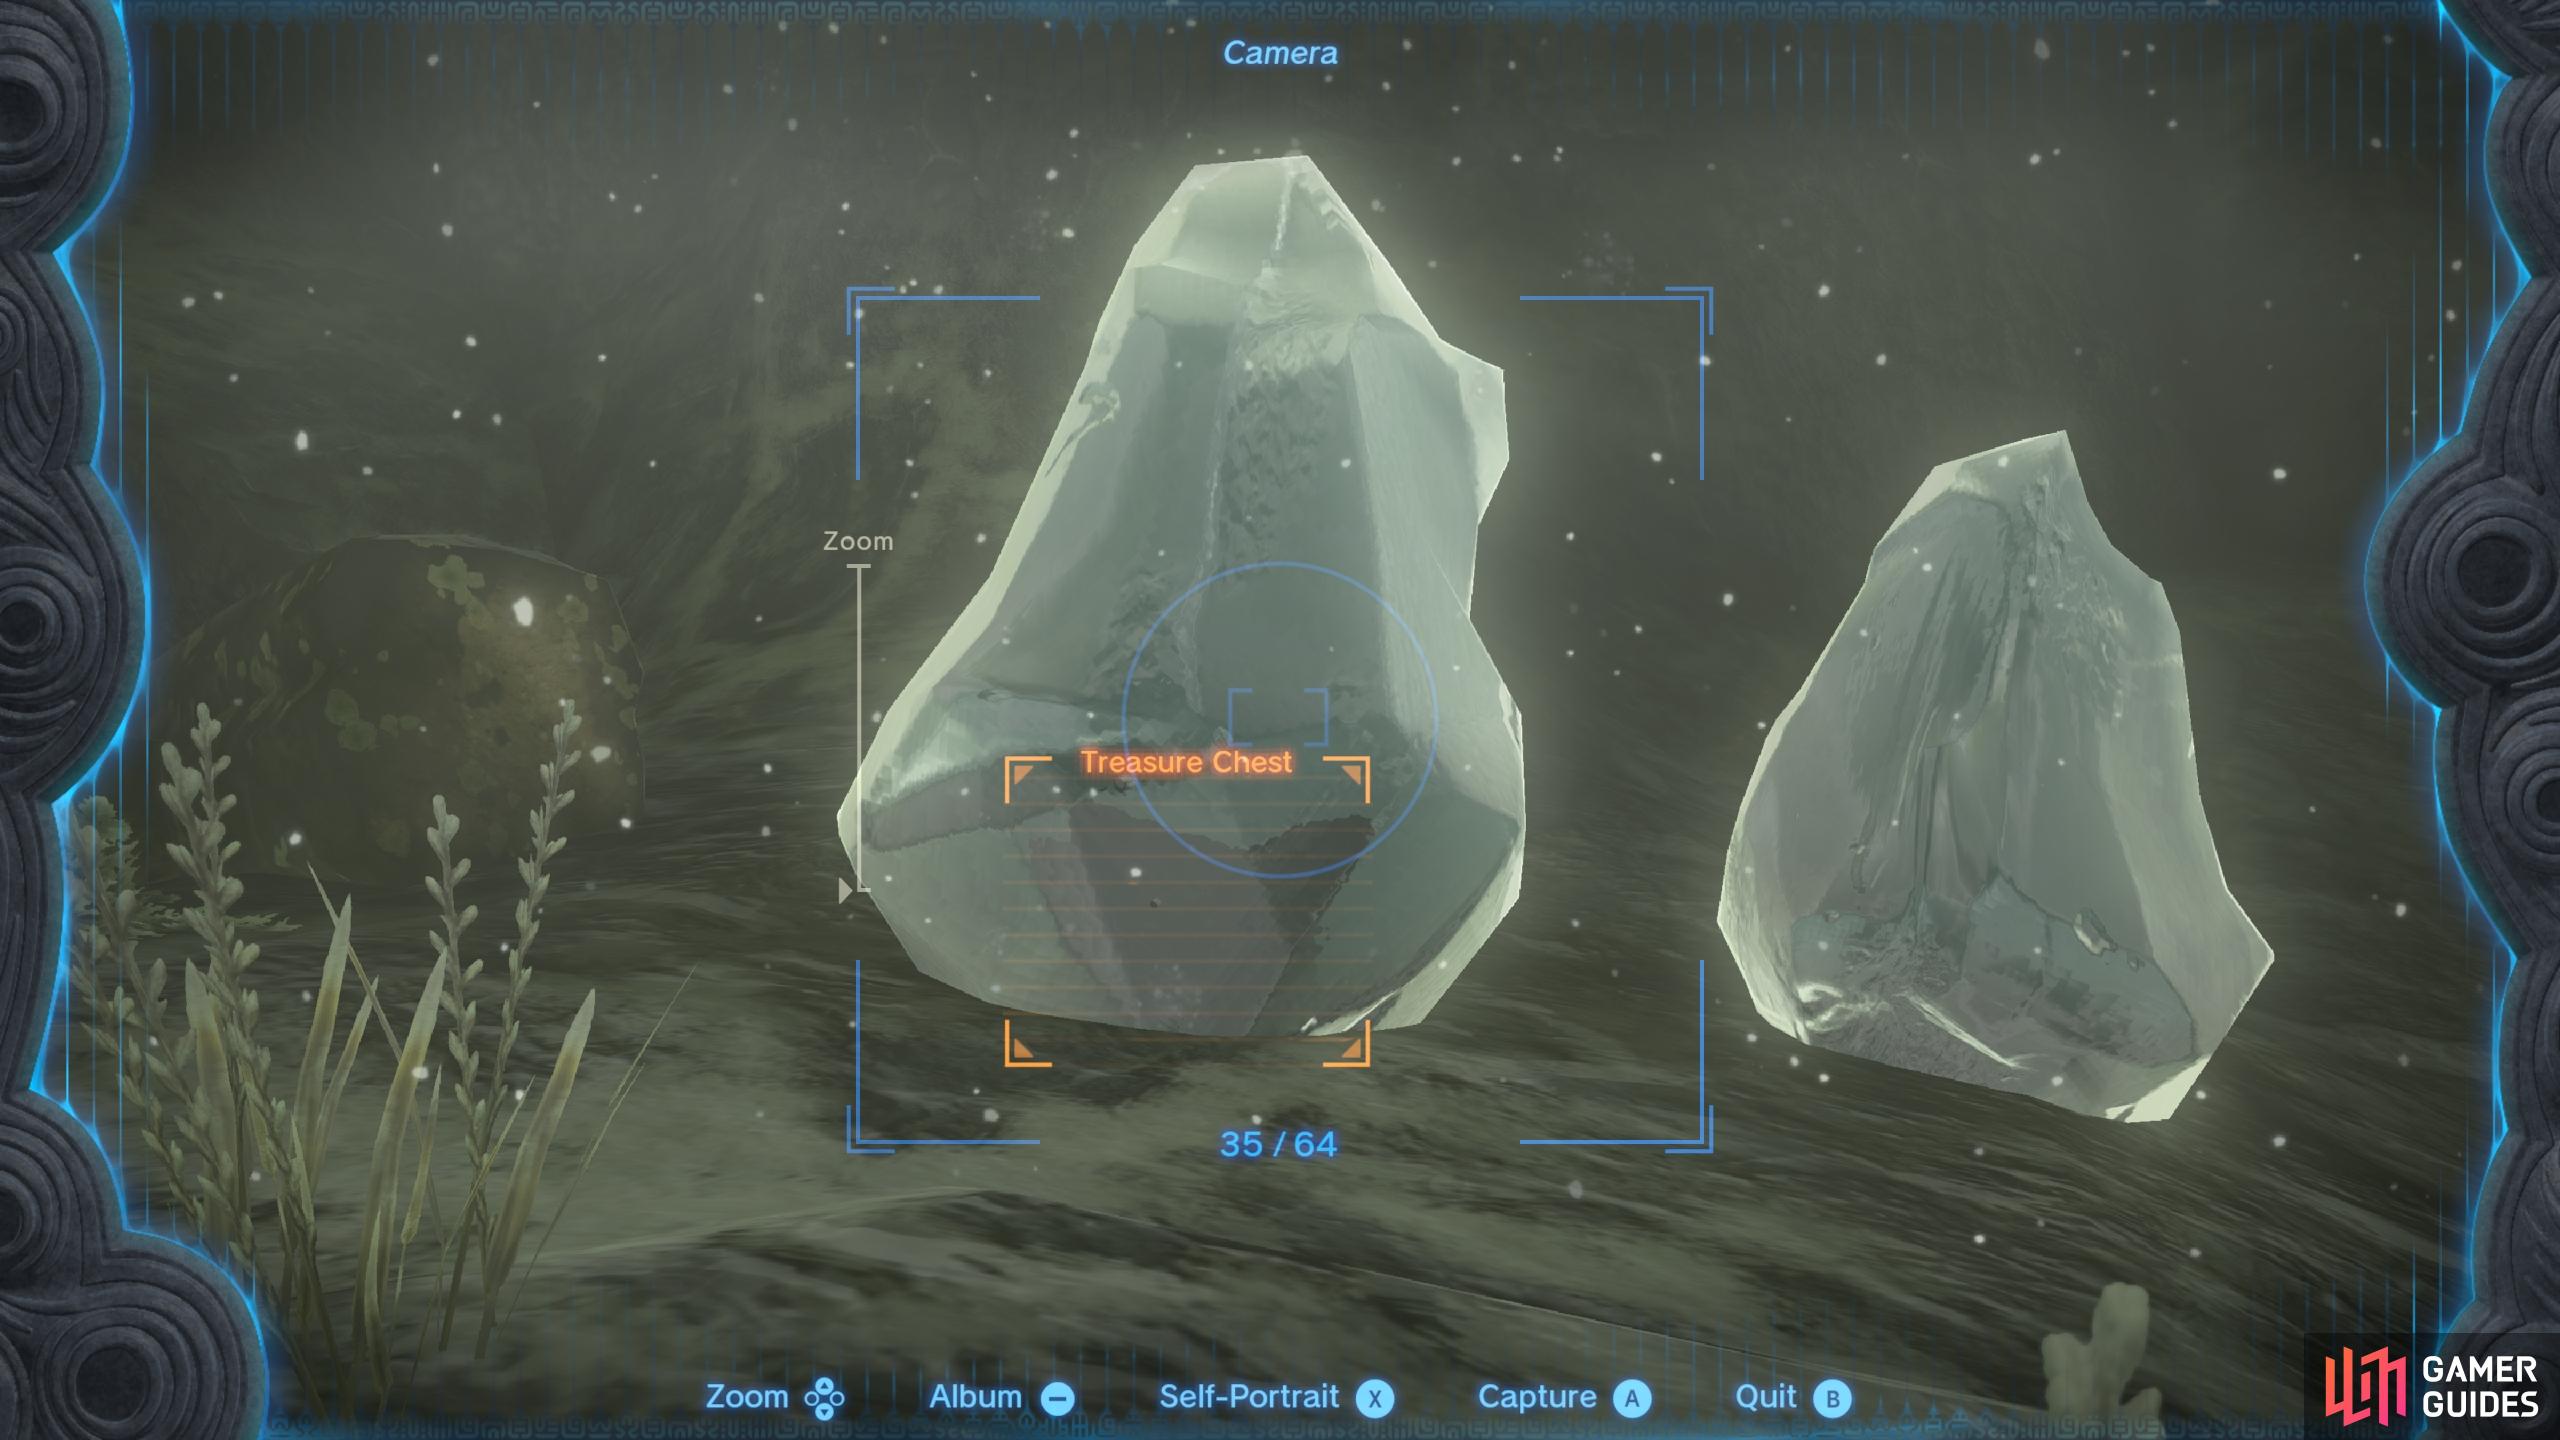
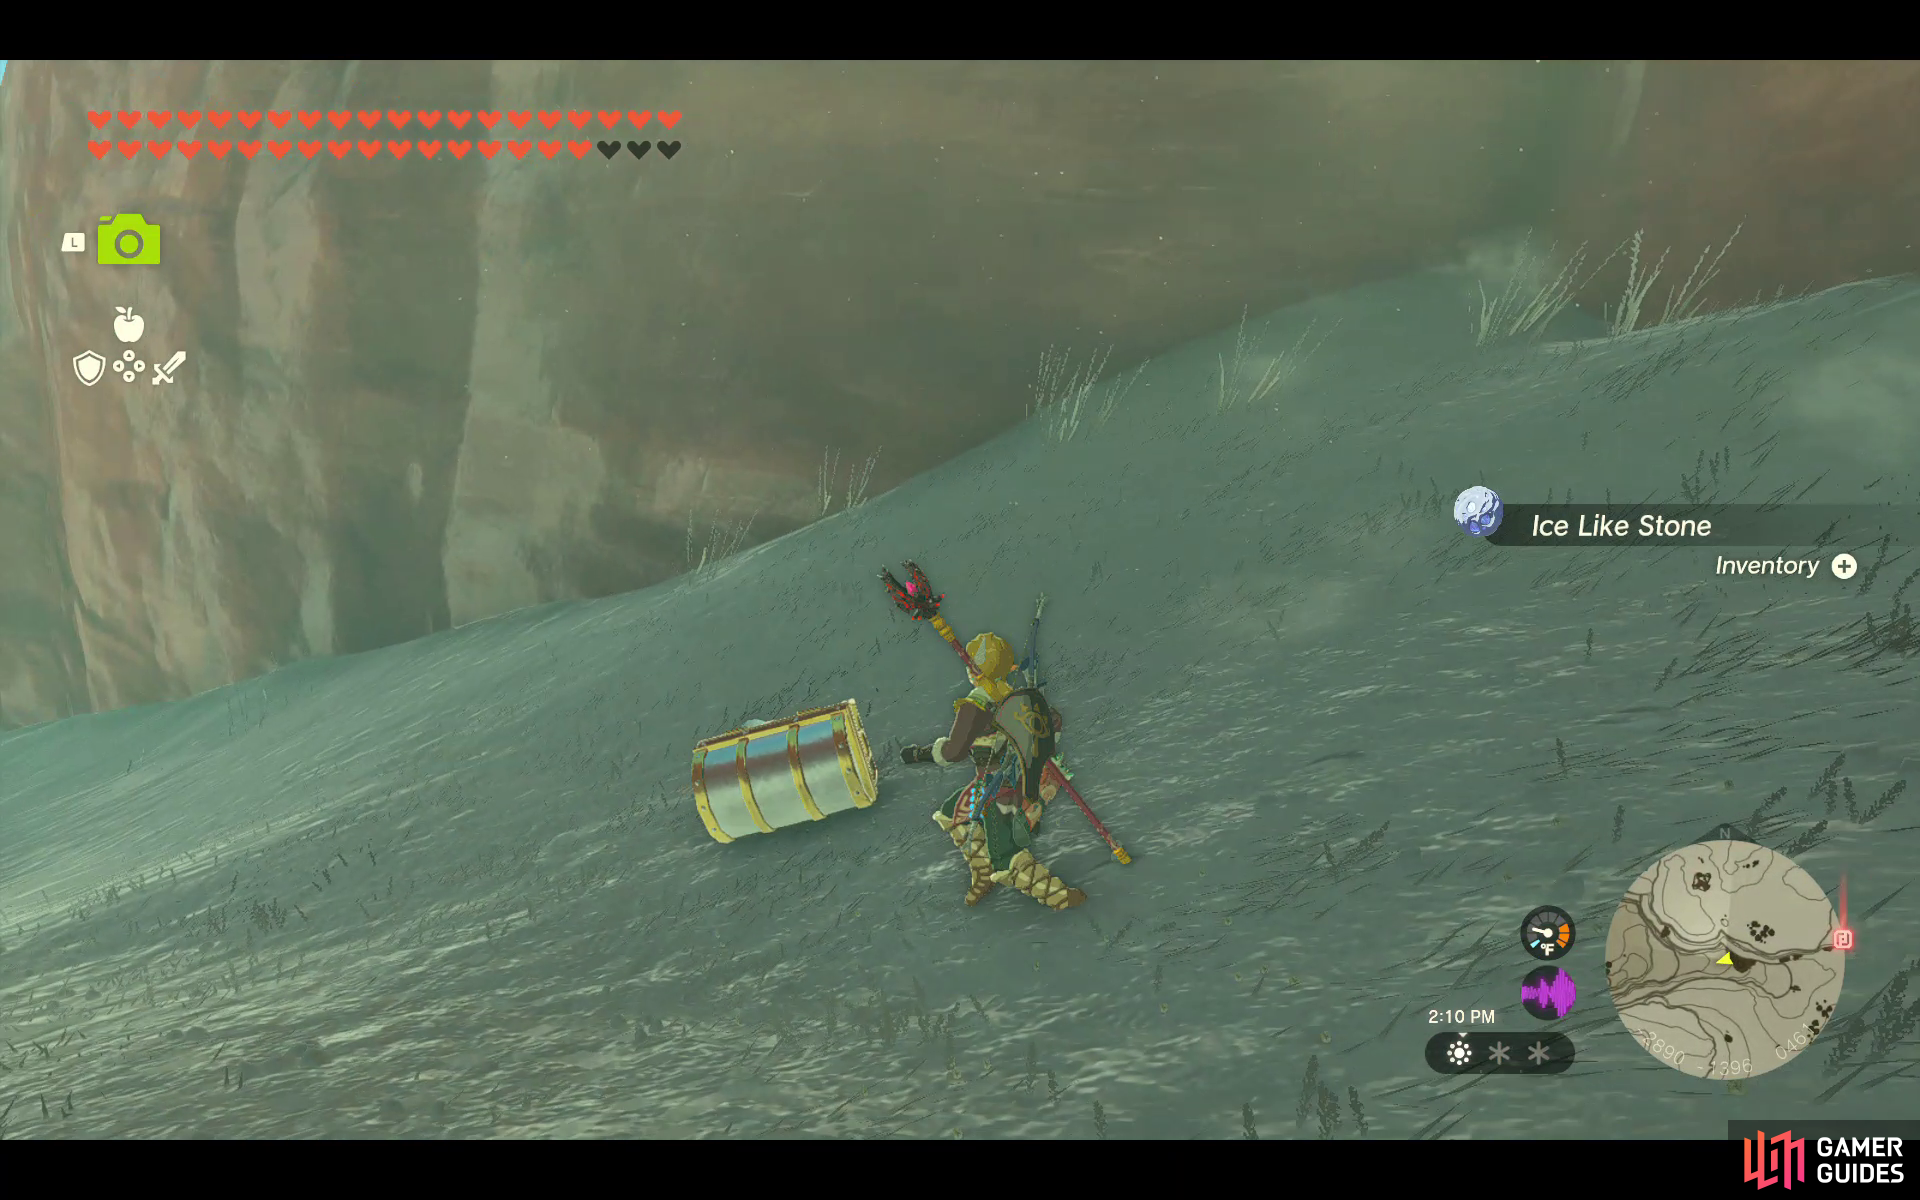
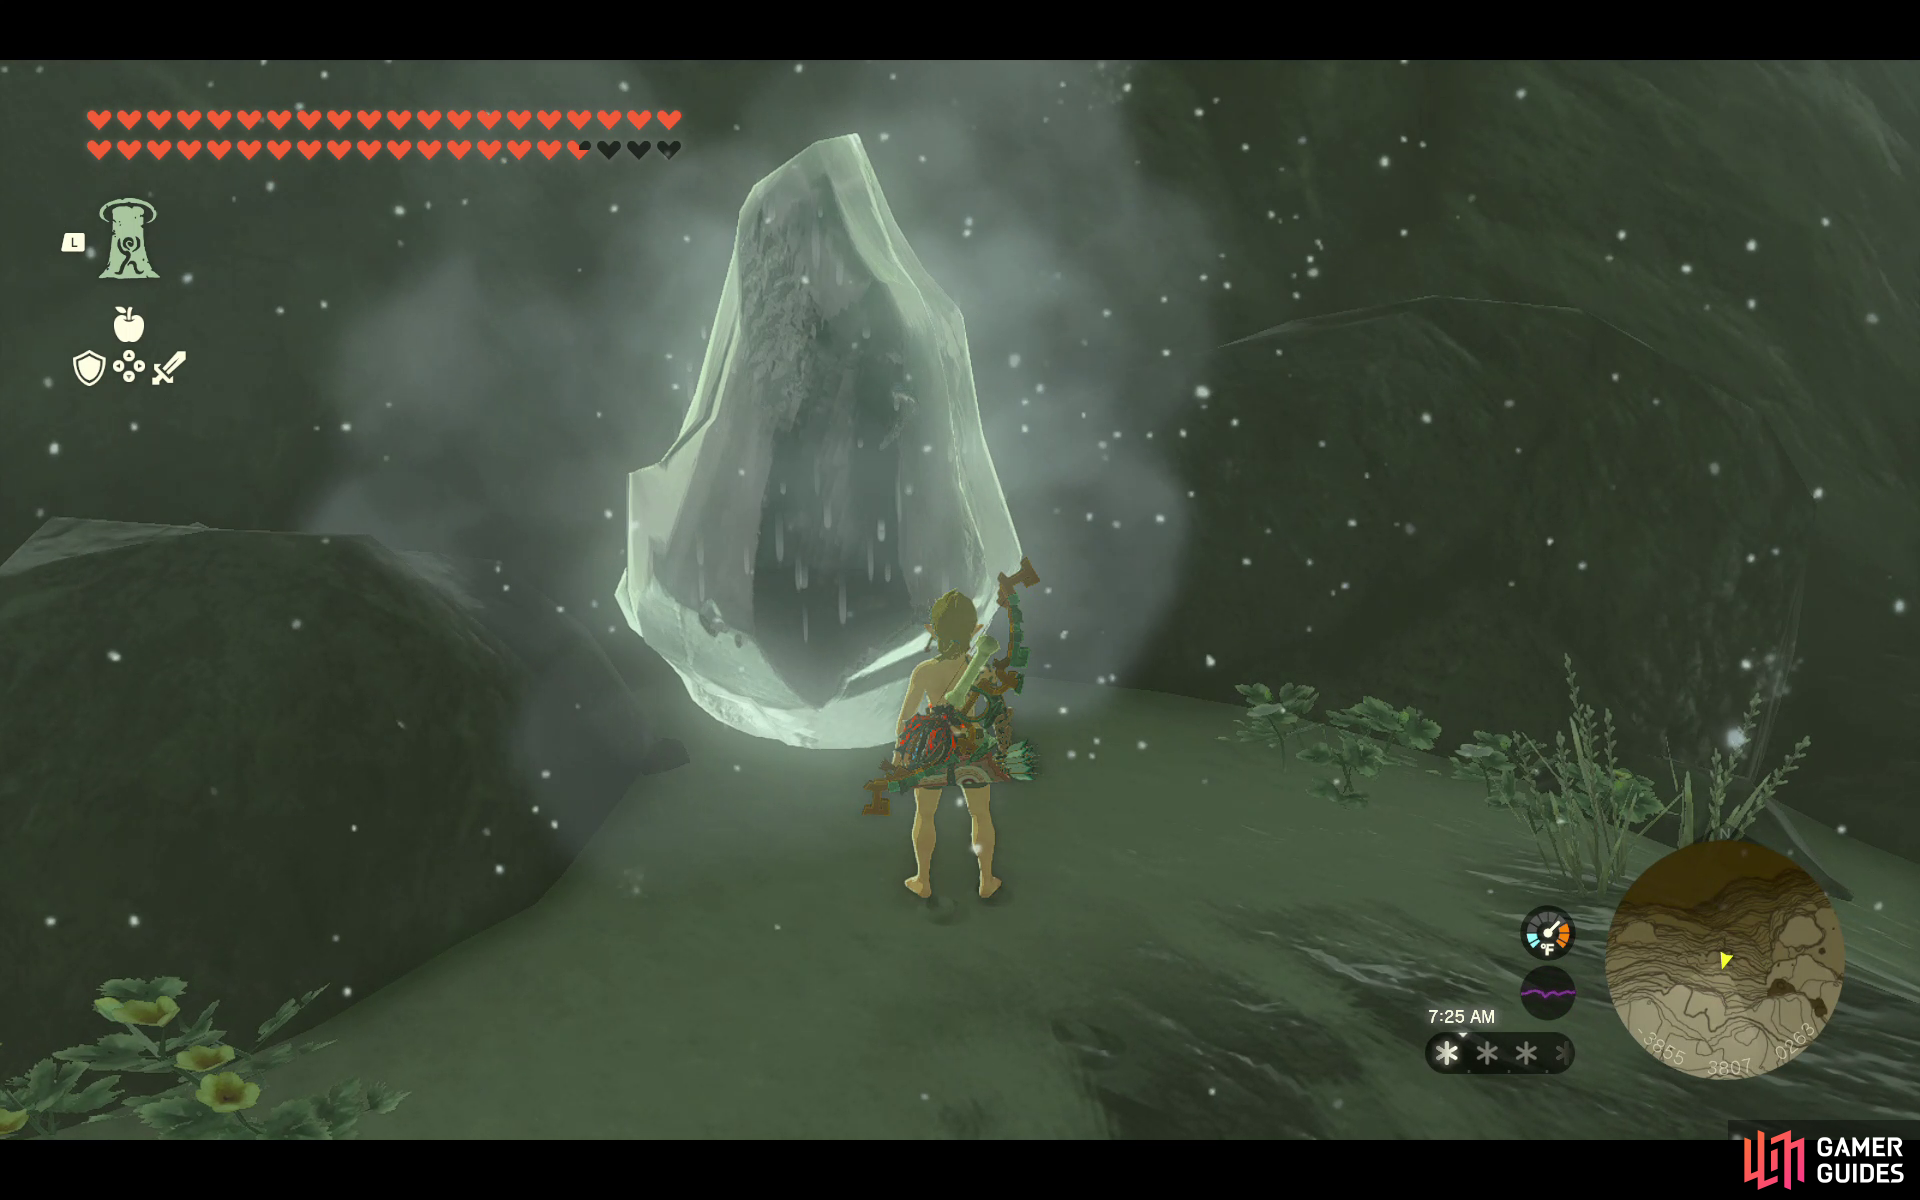
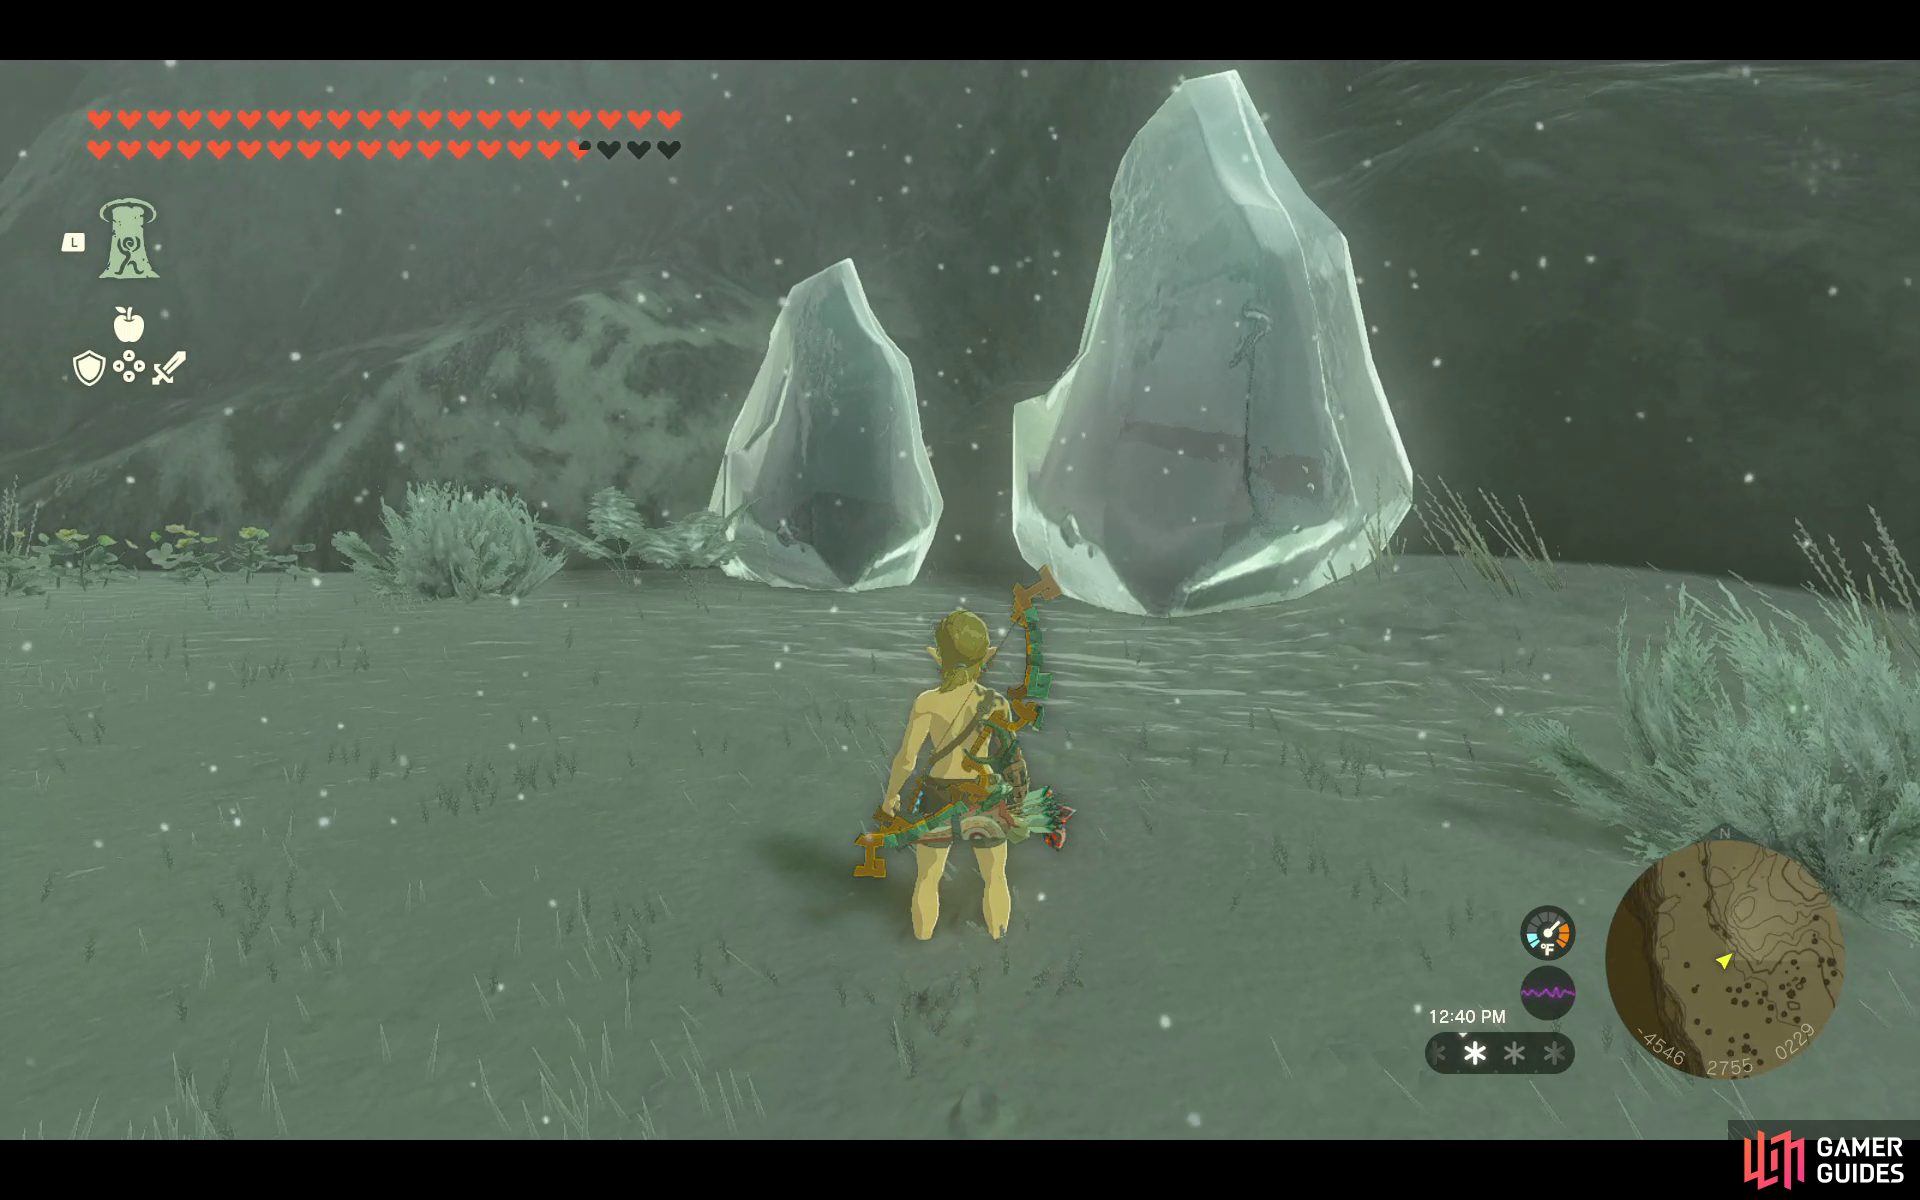
You’ll find a chest within this block of ice. Use ![]() Fire Fruit to melt the ice and reveal the chest. It may take more than one attempt to fully melt the ice!
Fire Fruit to melt the ice and reveal the chest. It may take more than one attempt to fully melt the ice!
43005. Hyrule Surface Map
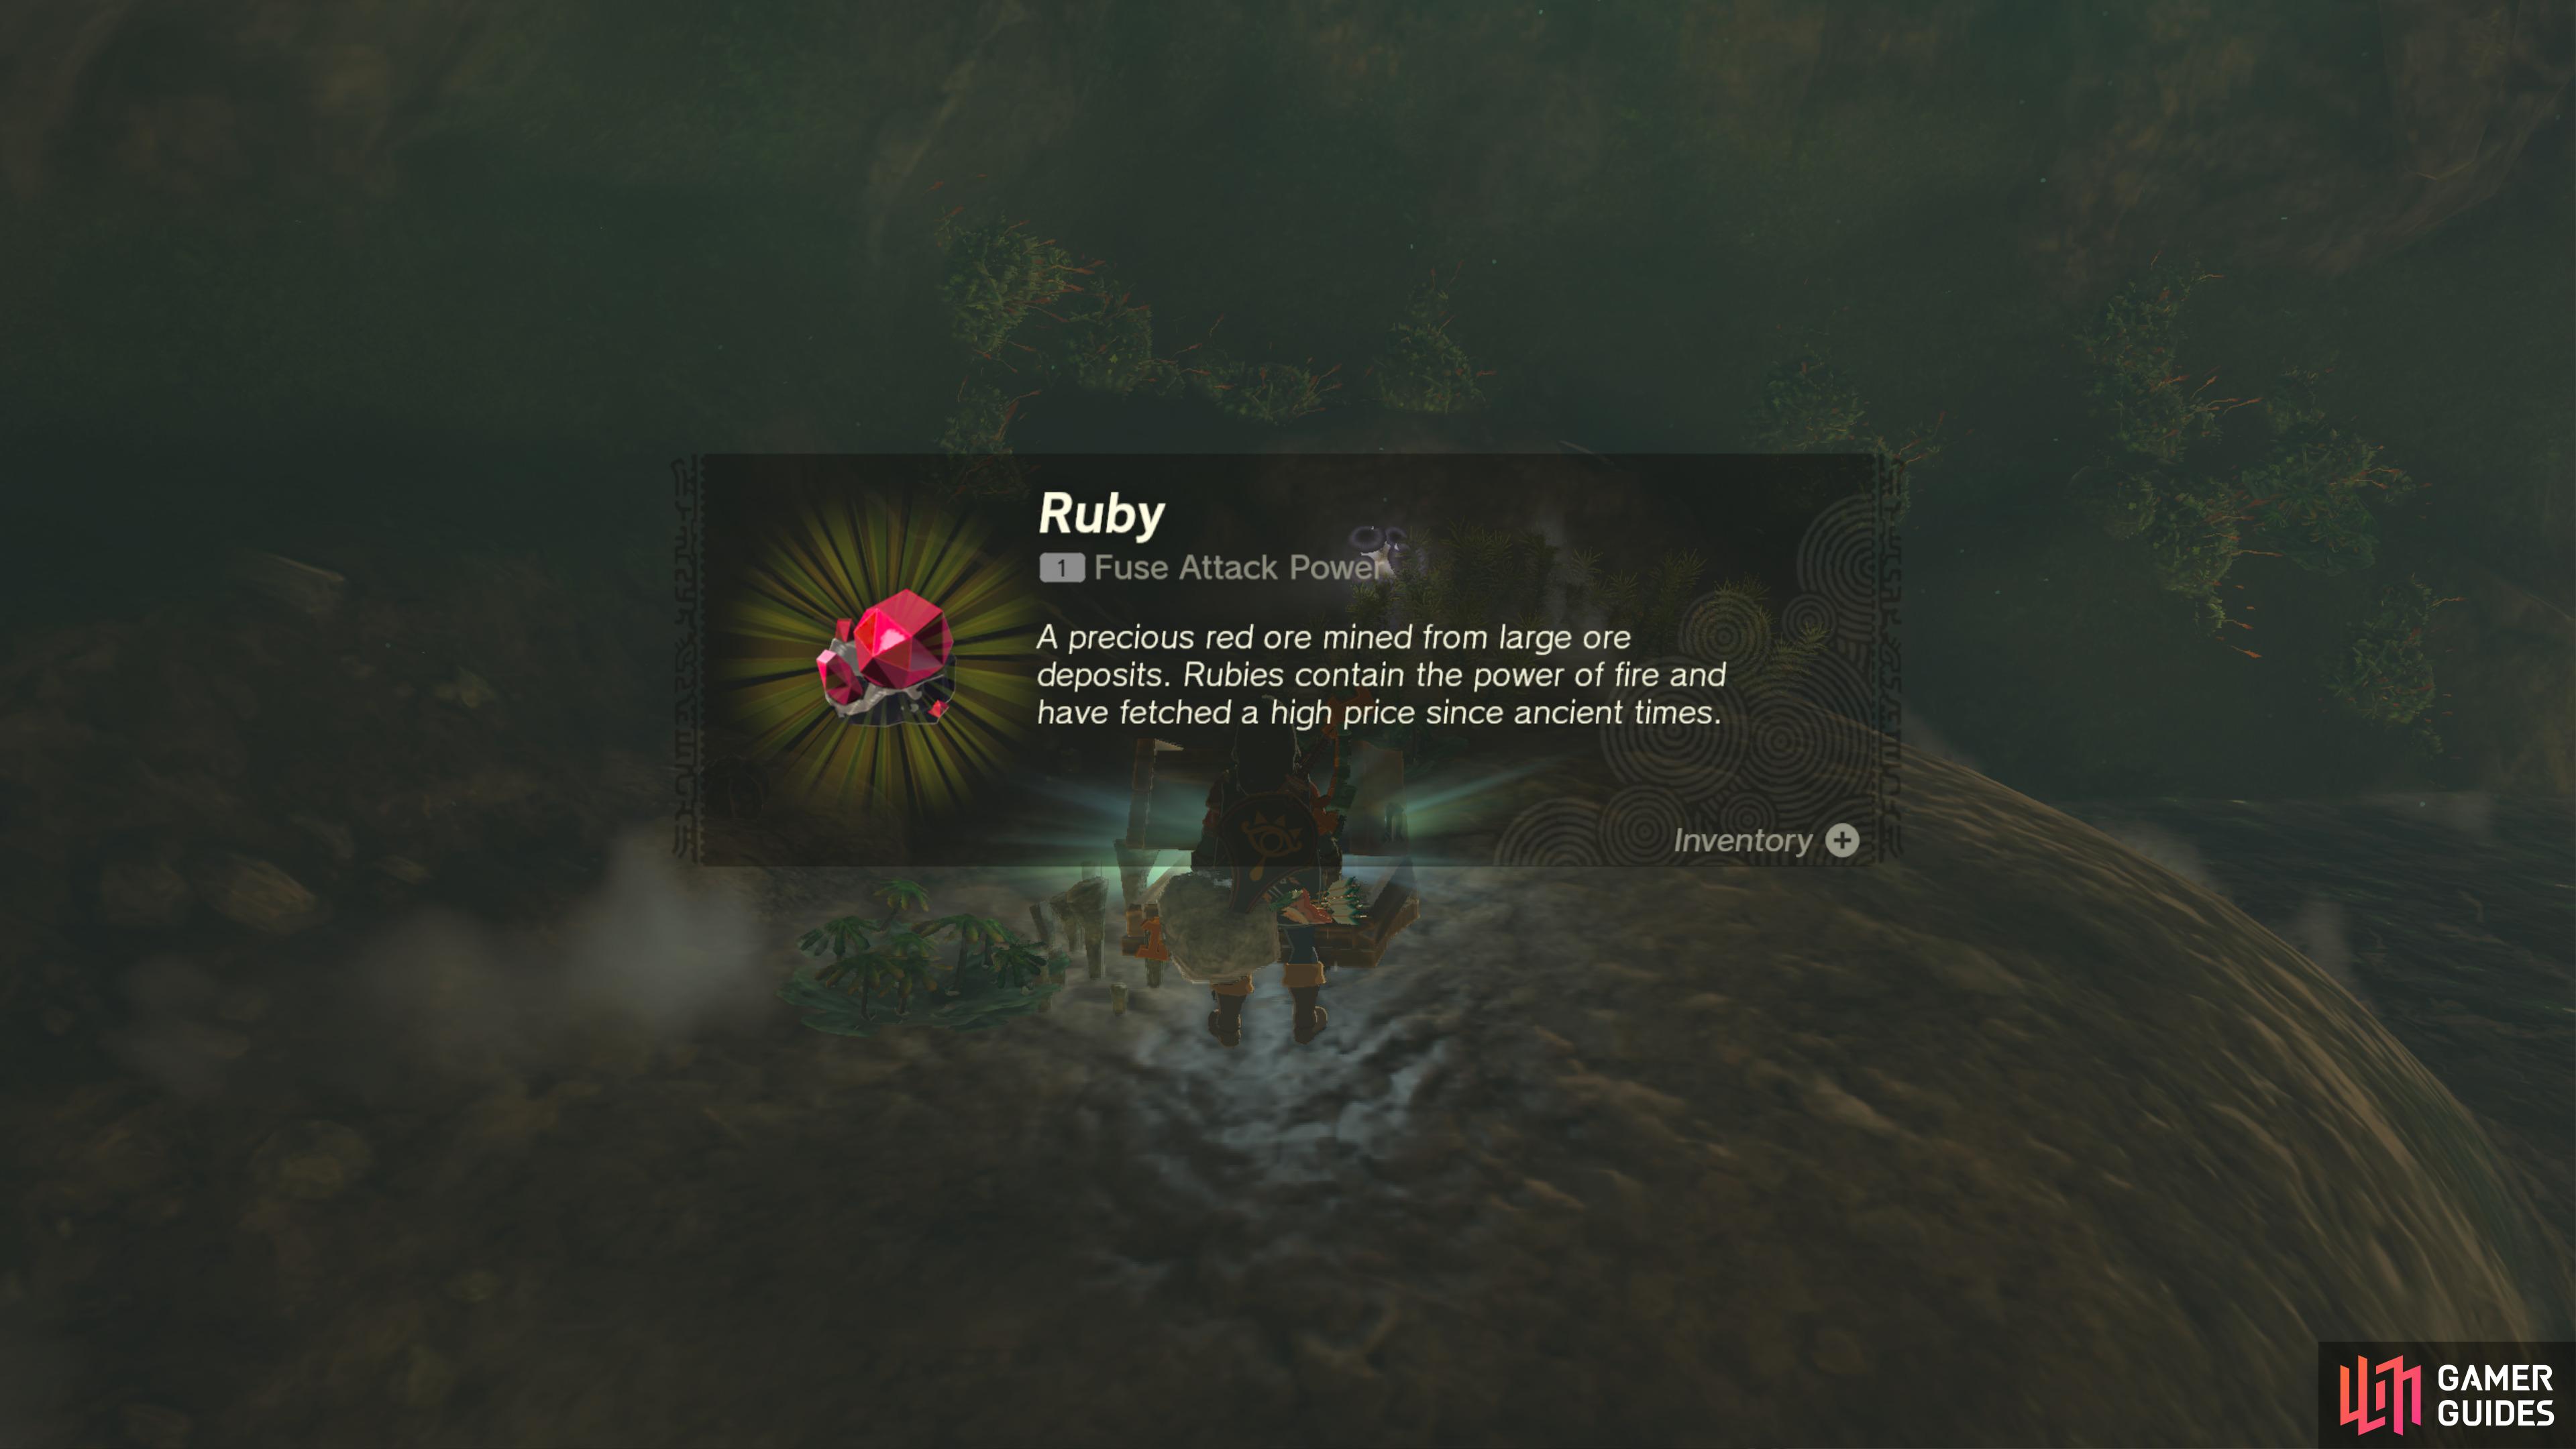
This chest sits in the water in these ruins.
It contains a Ruby.
43008. Hyrule Surface Map
Use ![]() Ultrahand to move the large metal door in the corner.
Ultrahand to move the large metal door in the corner.
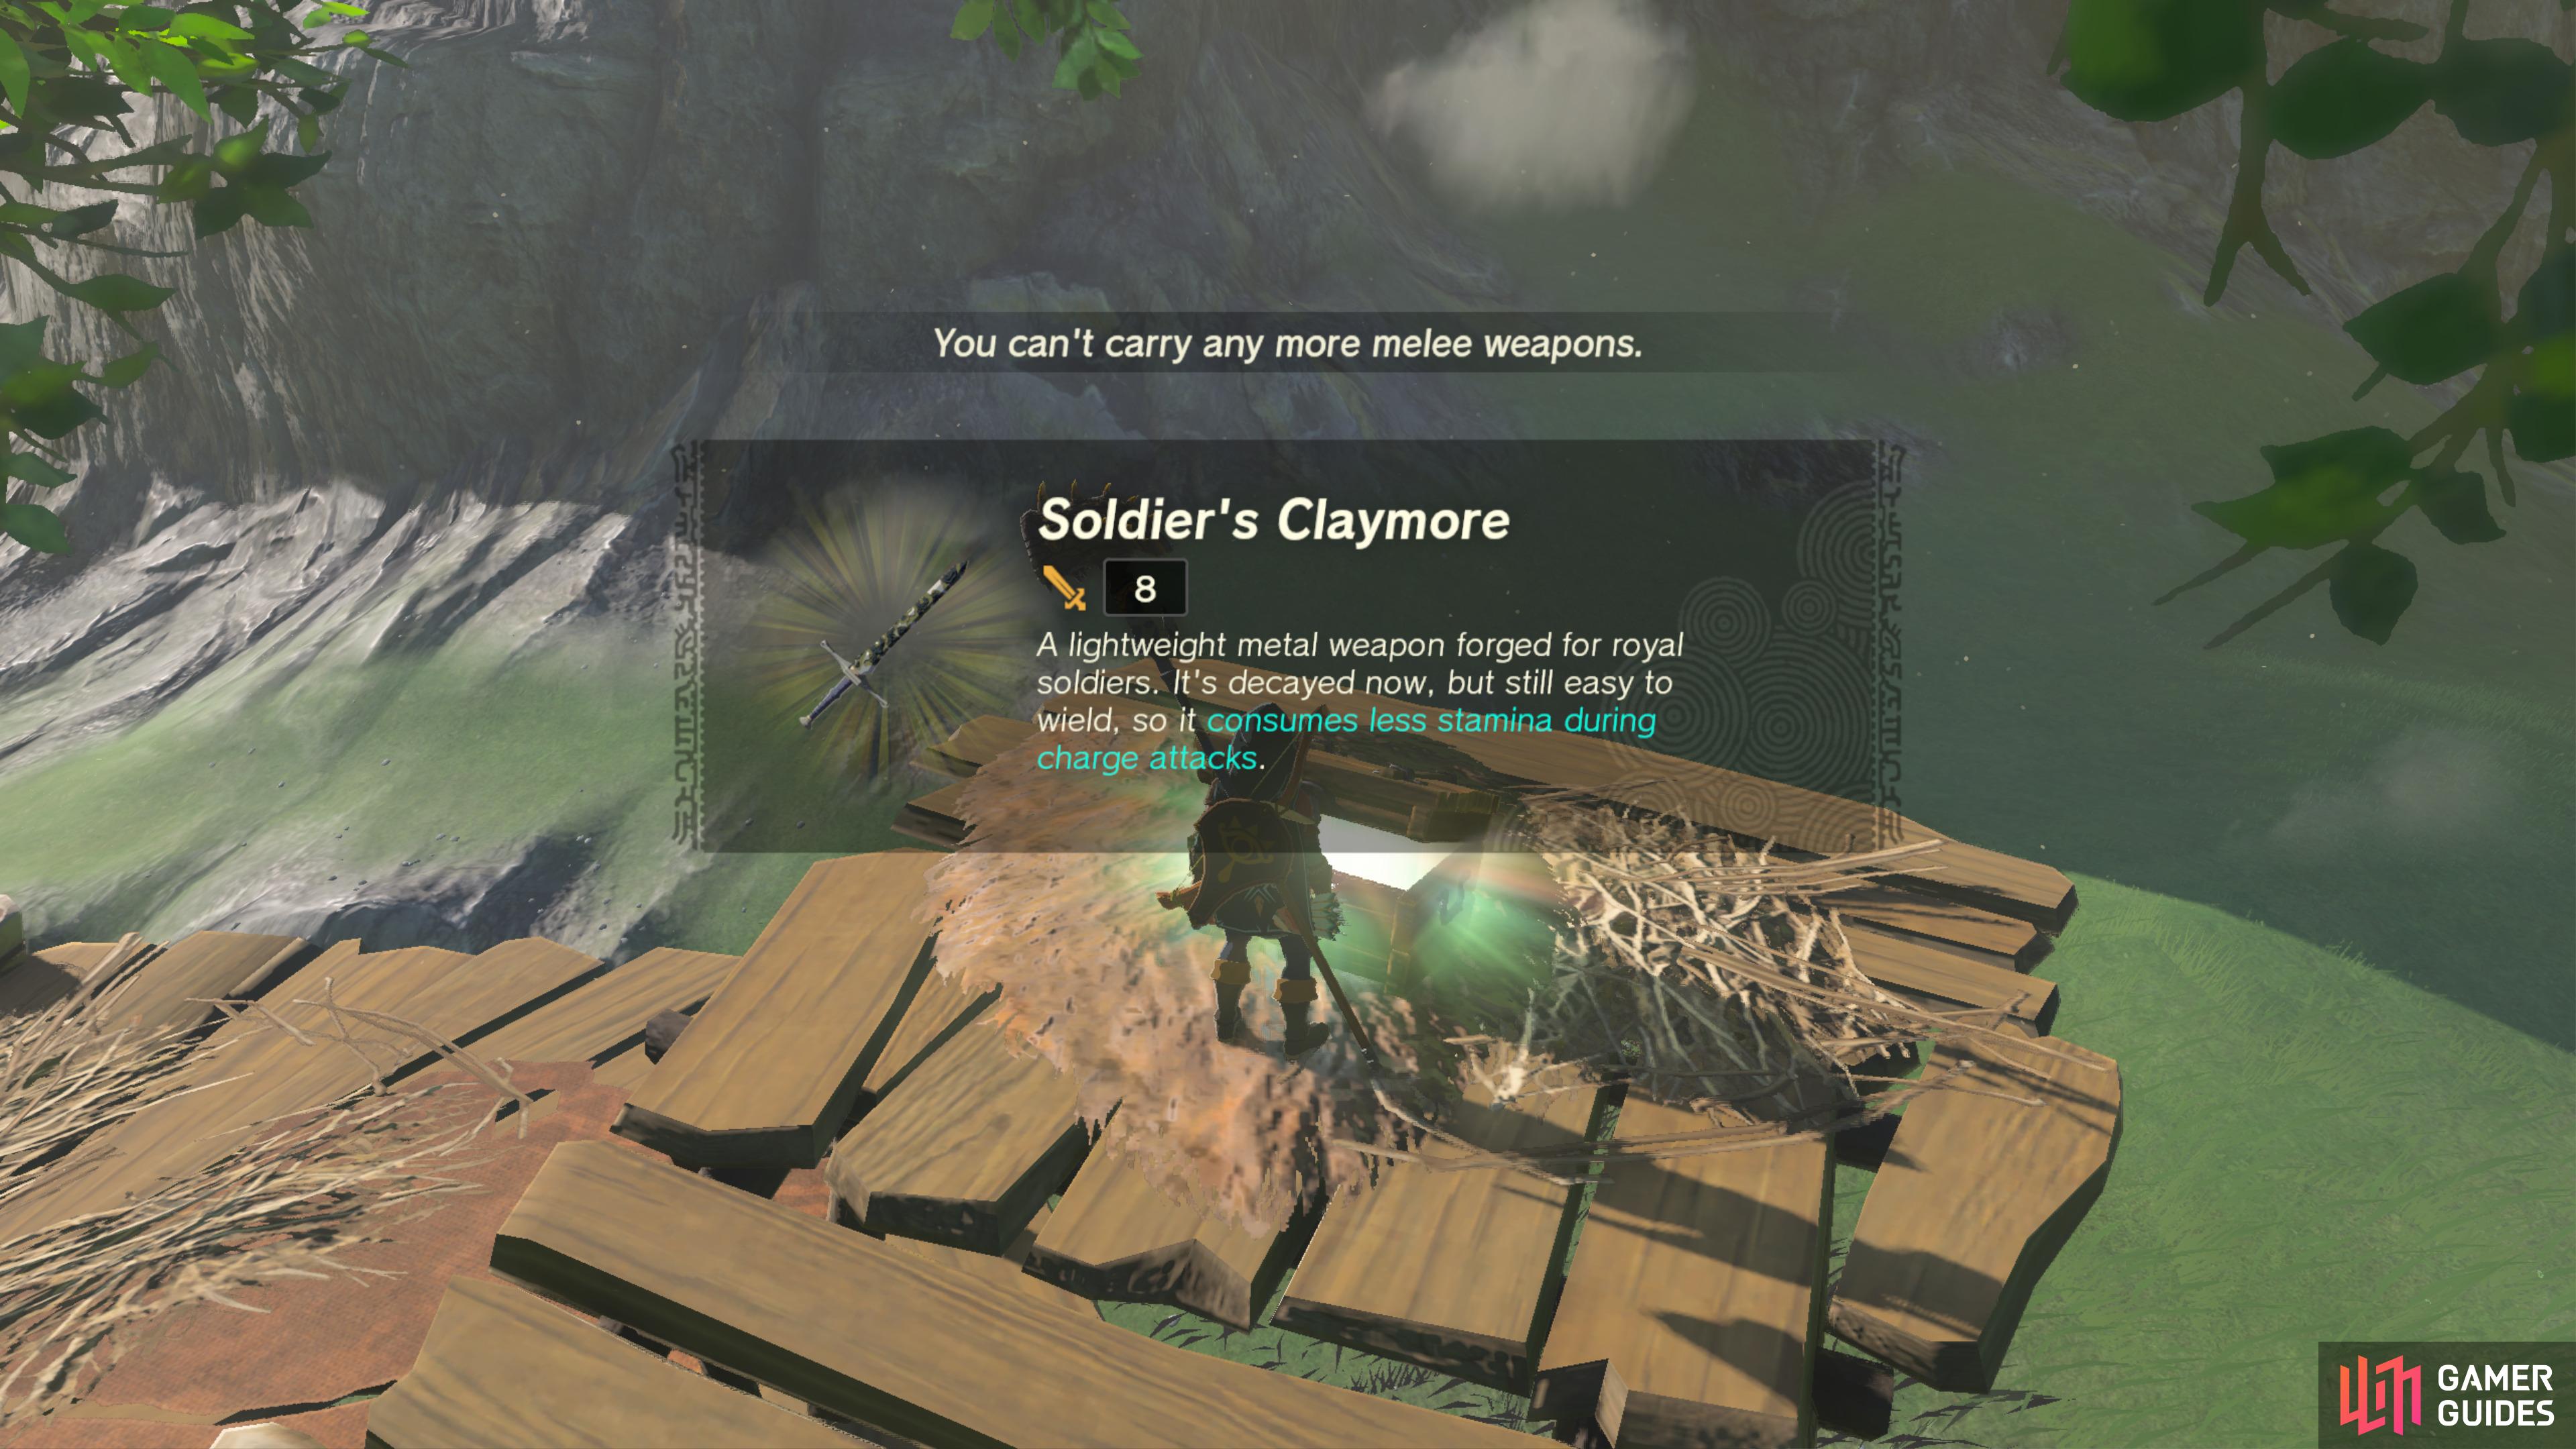
The chest contains a ![]() Soldier’s Claymore.
Soldier’s Claymore.
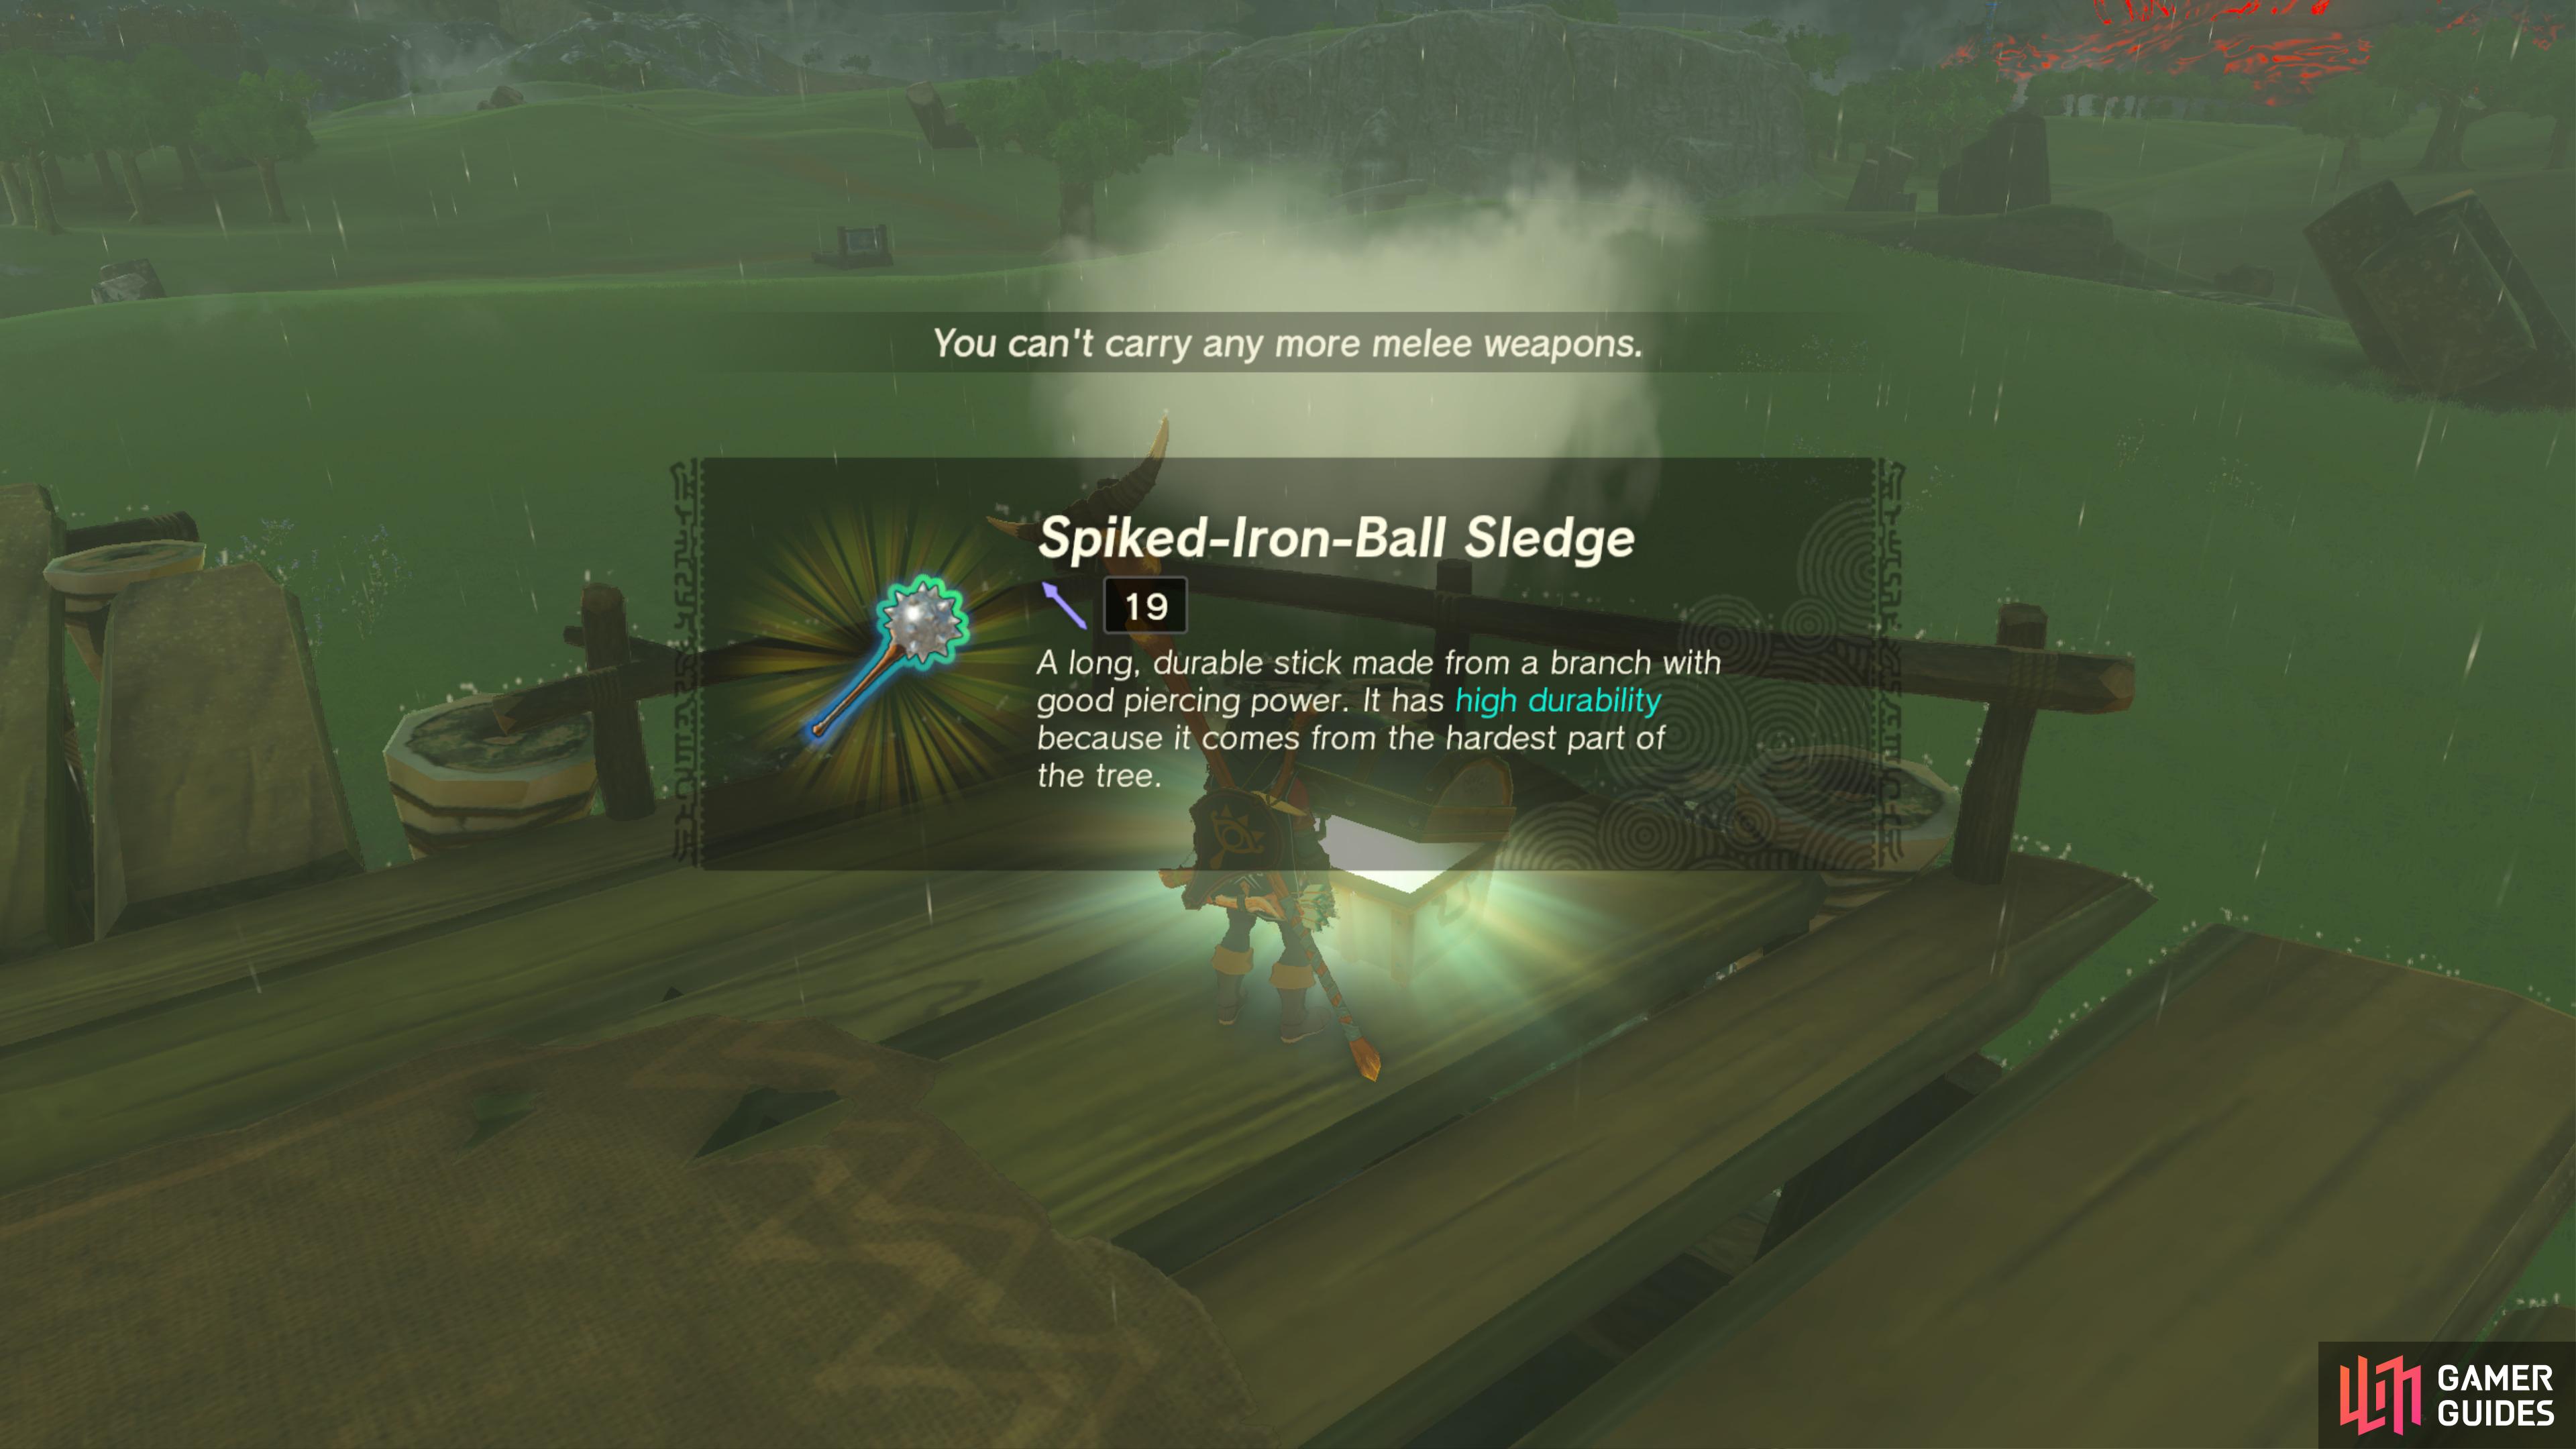
43012. Hyrule Surface Map
Found on top of this ![]() Bokoblin camp.
Bokoblin camp.
It contains a Spiked-Iron-Ball-Sledge.
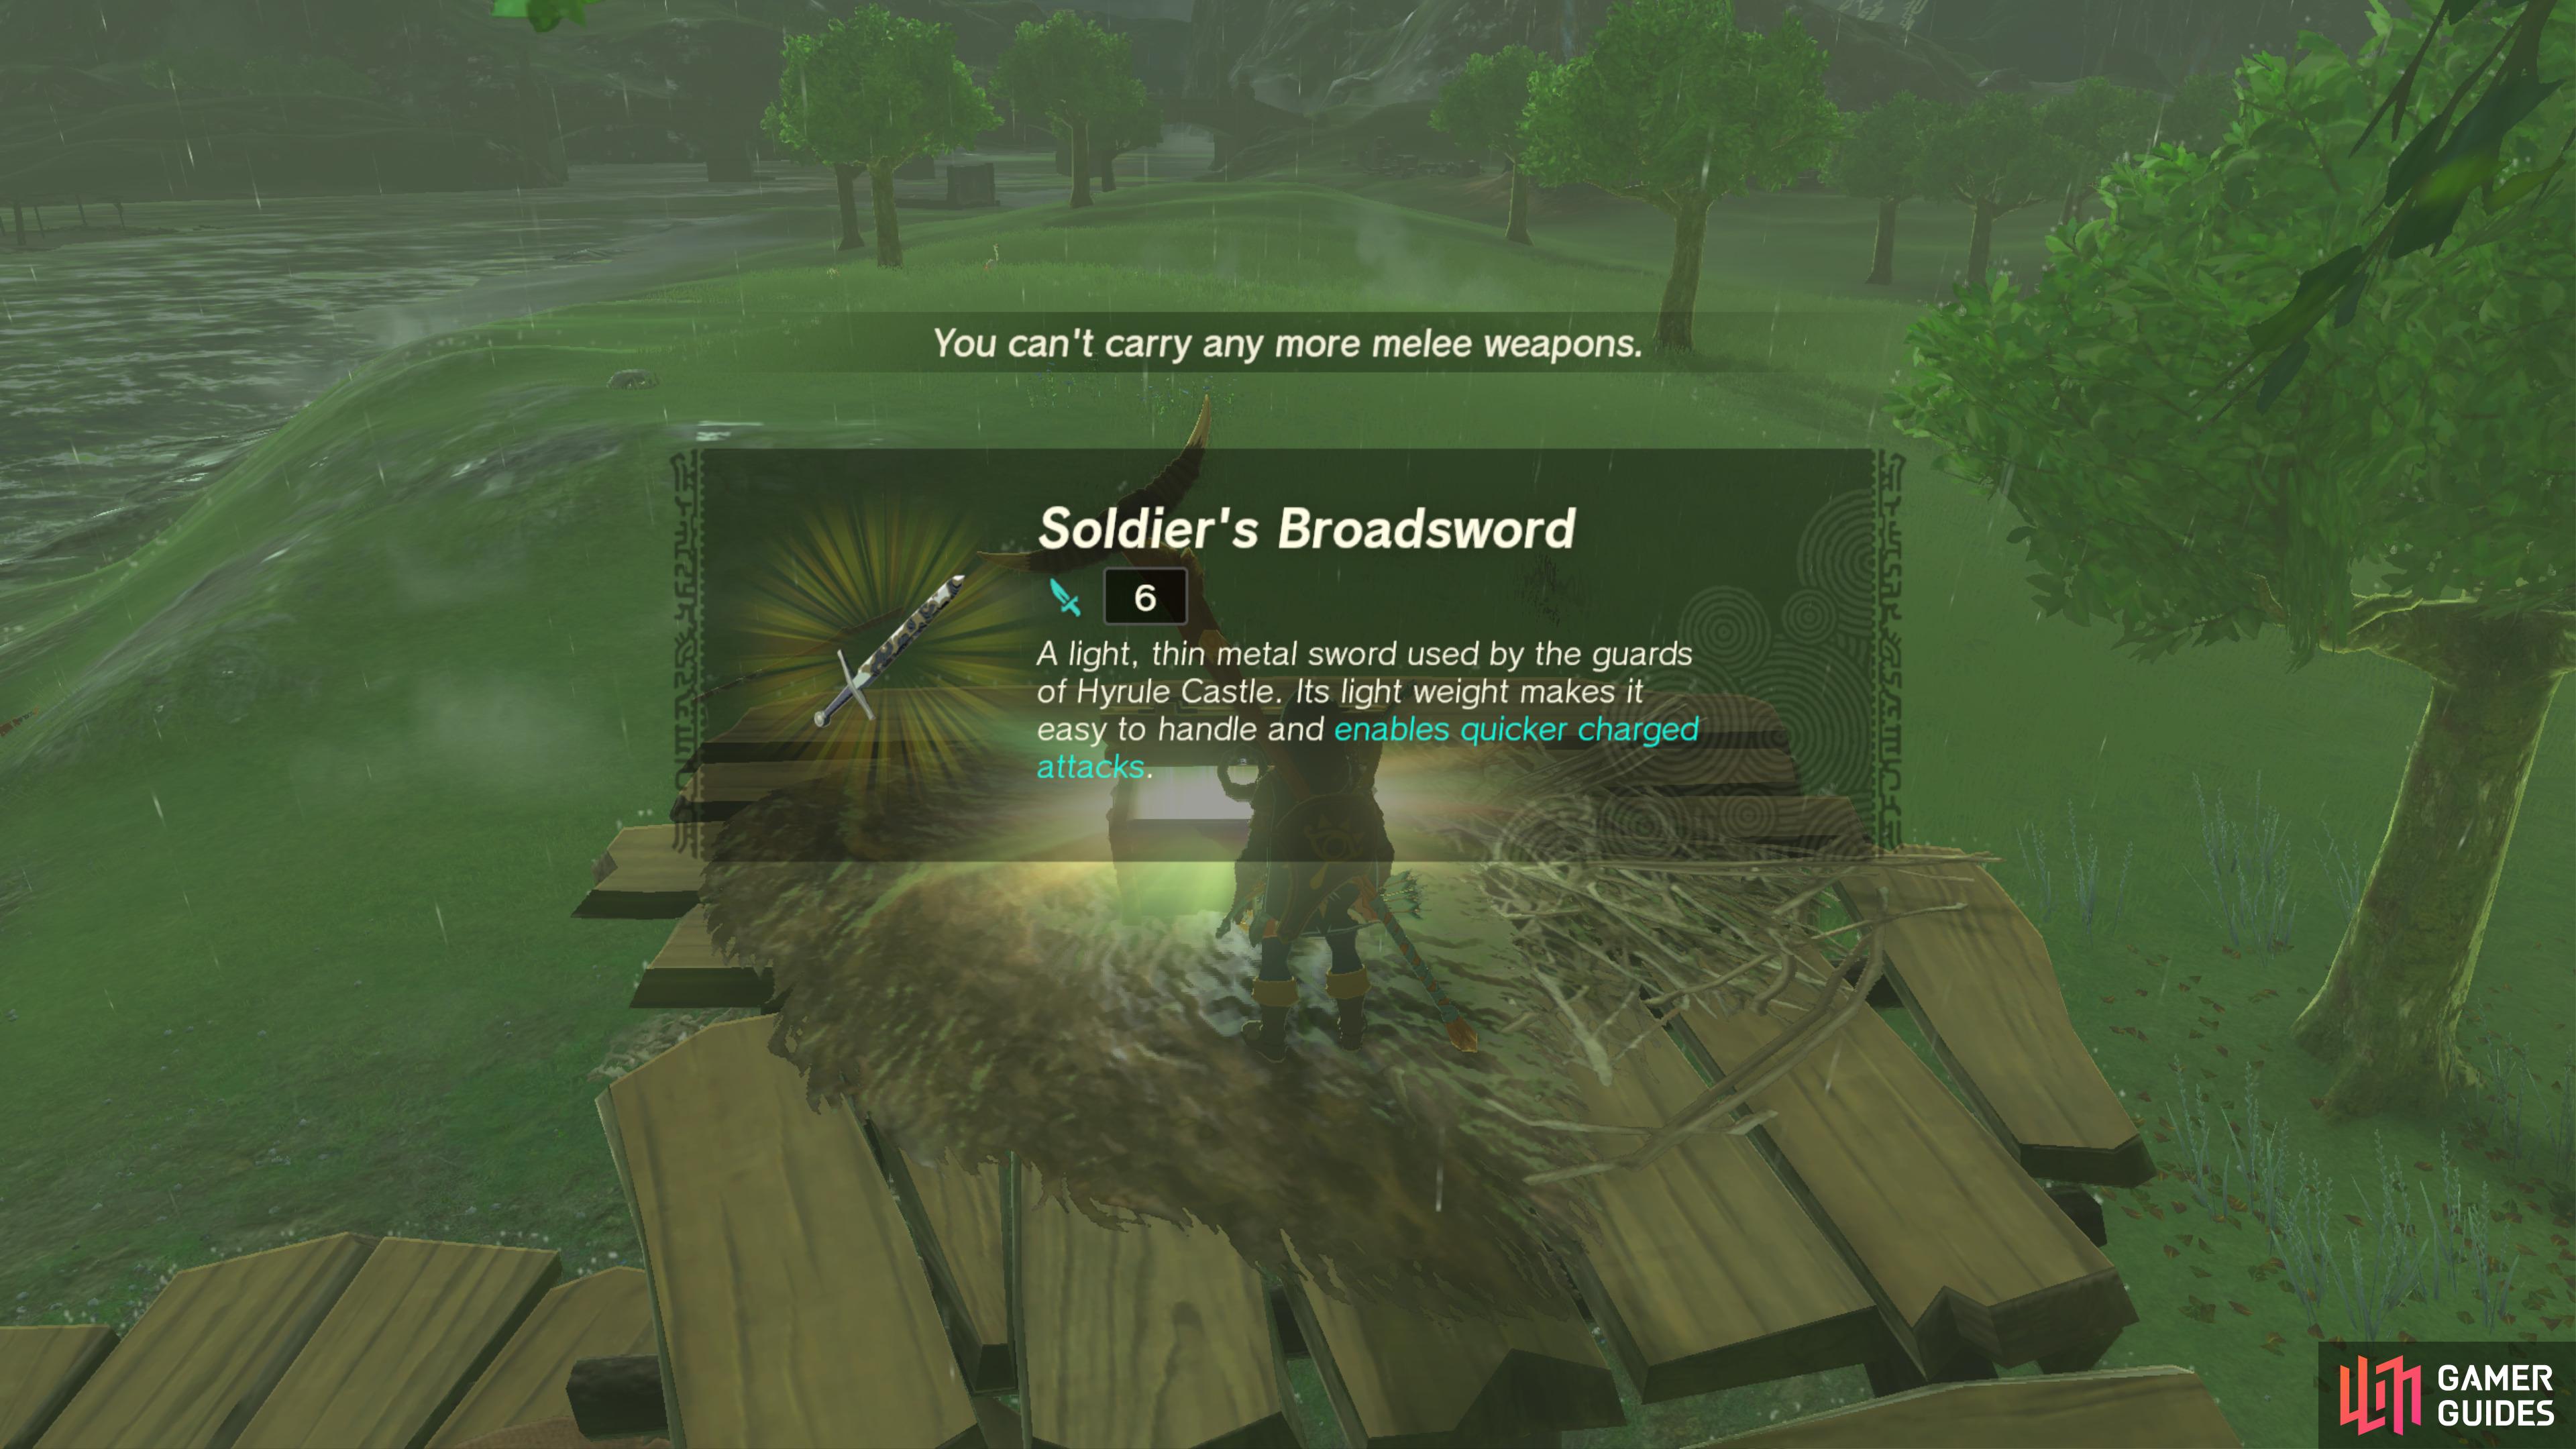
43015. Hyrule Surface Map
On top of the nearby ![]() Bokoblin camp.
Bokoblin camp.
It contains a ![]() Soldier’s Broadsword.
Soldier’s Broadsword.
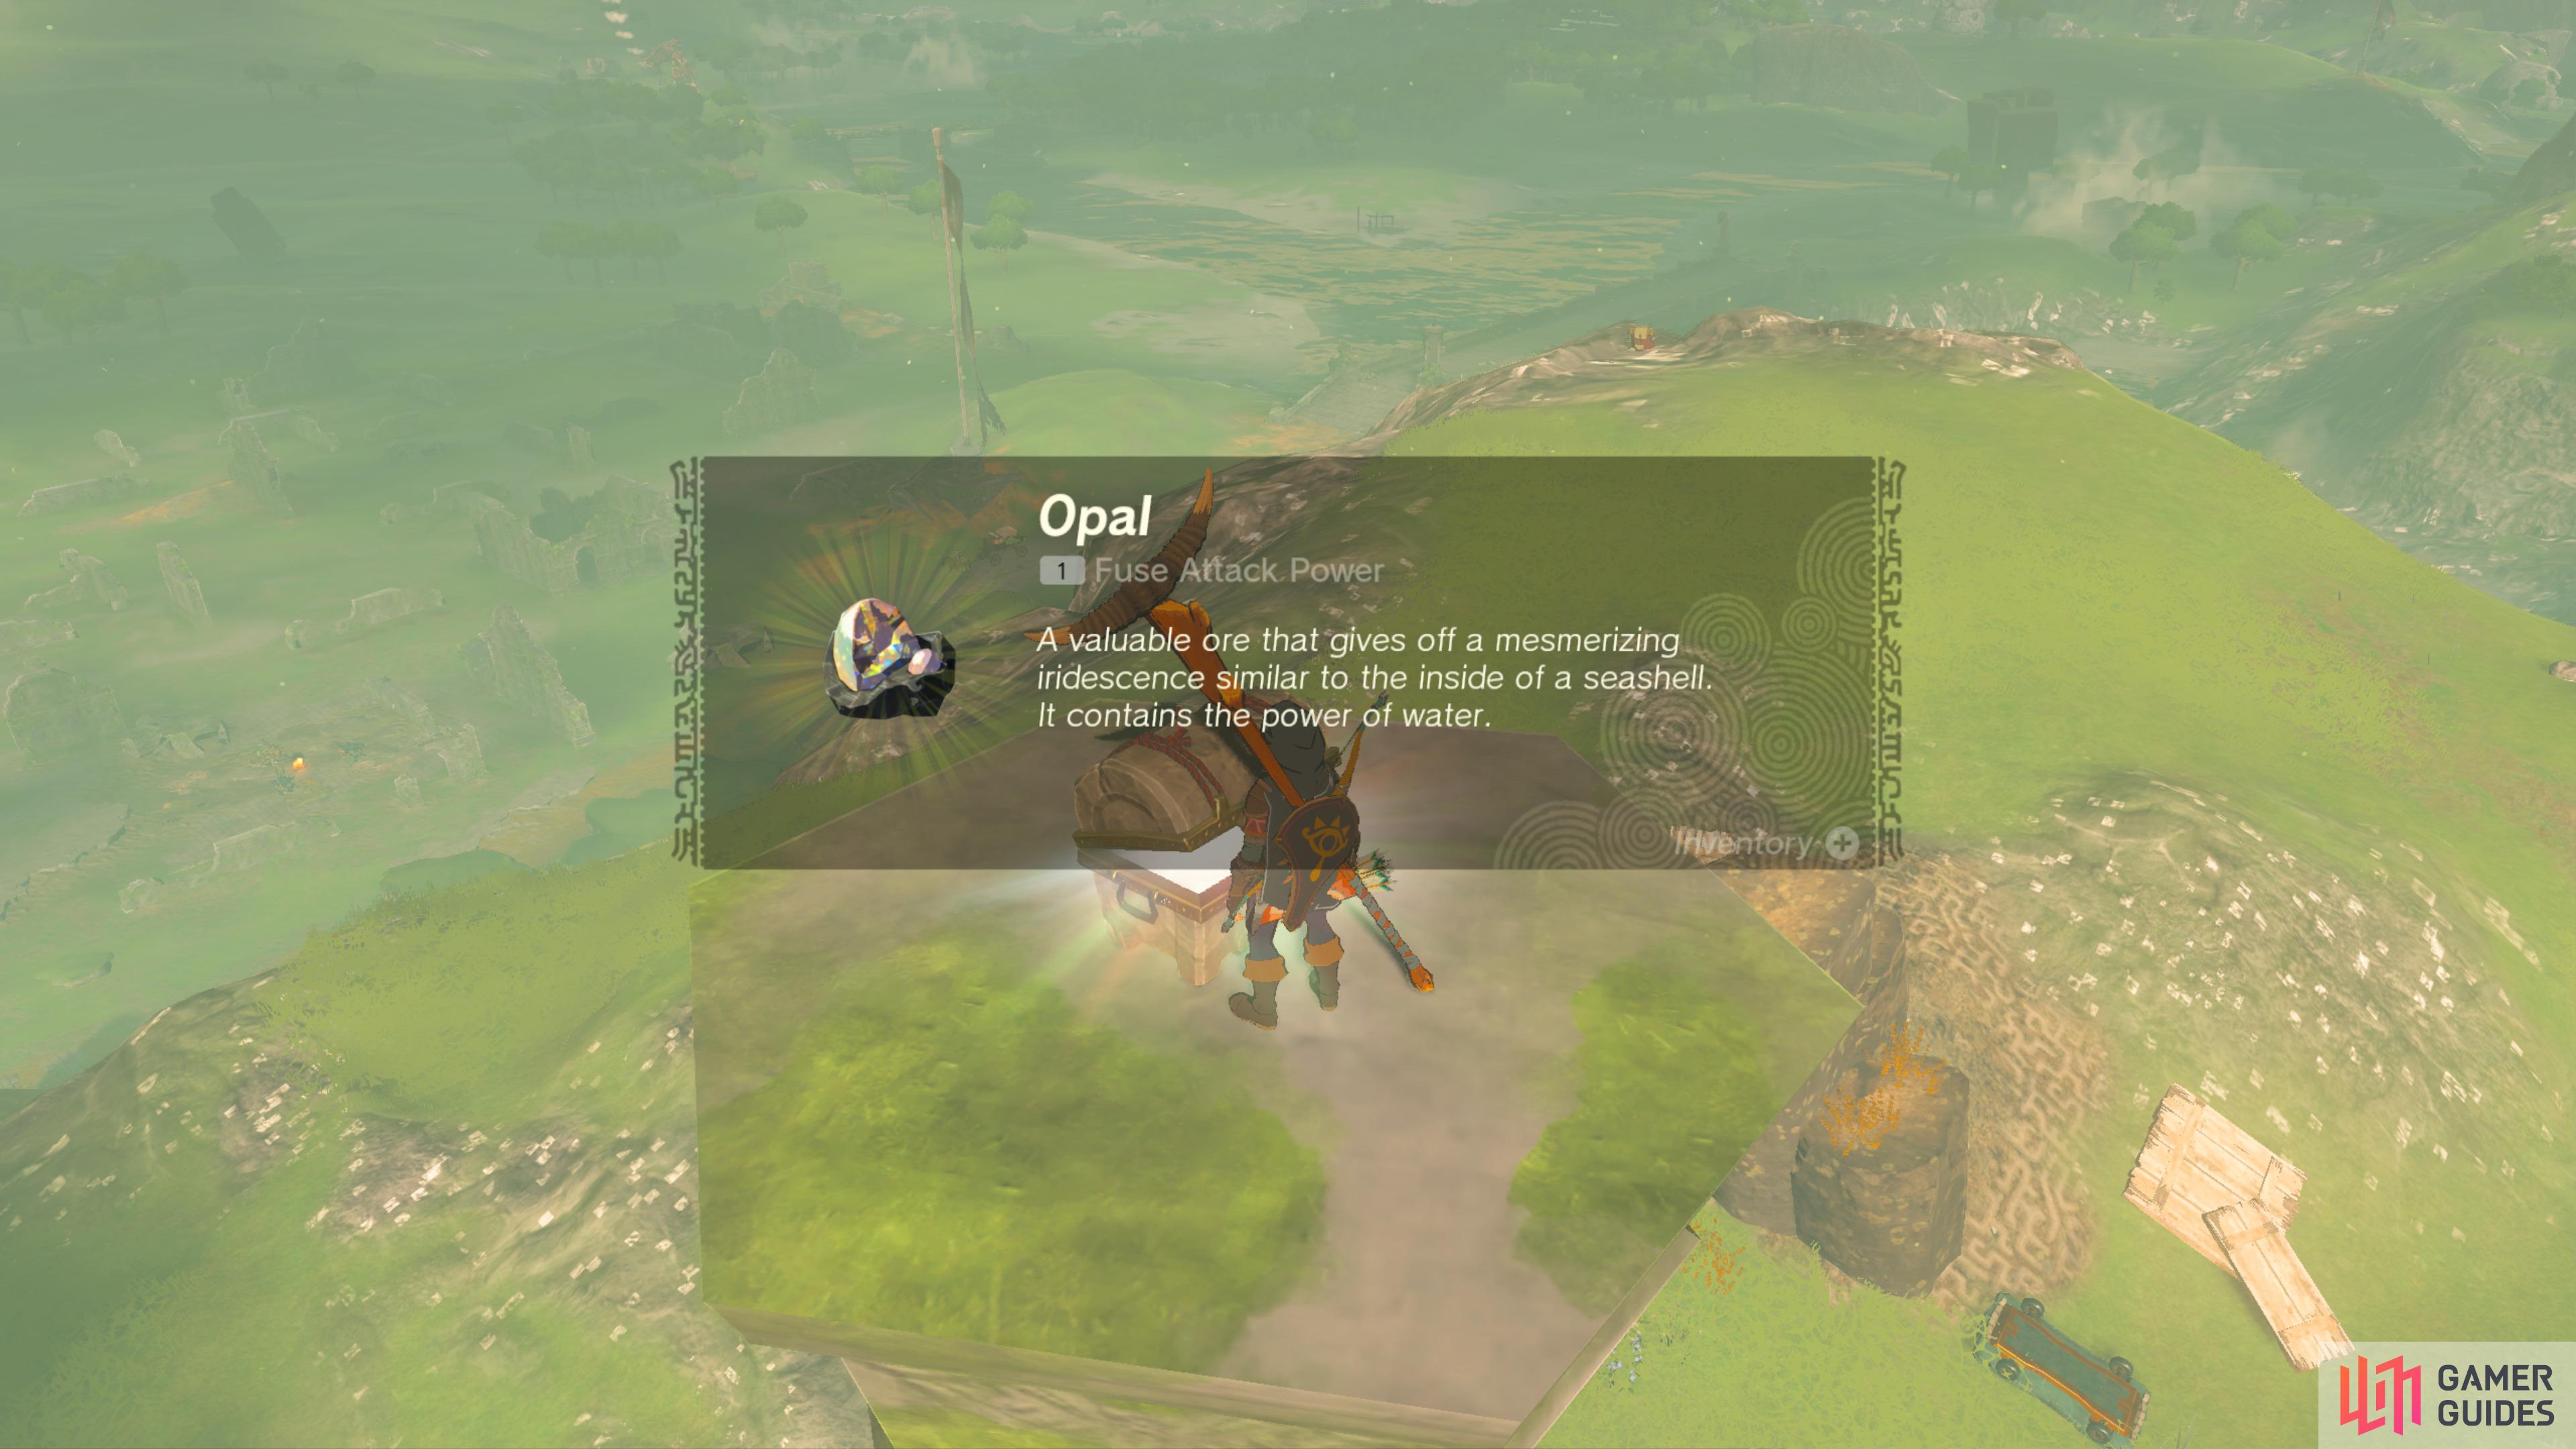
43021. Hyrule Surface Map
Use the nearby Spring to launch yourself in the air and land on the pillar.
The chest contains an ![]() Opal.
Opal.

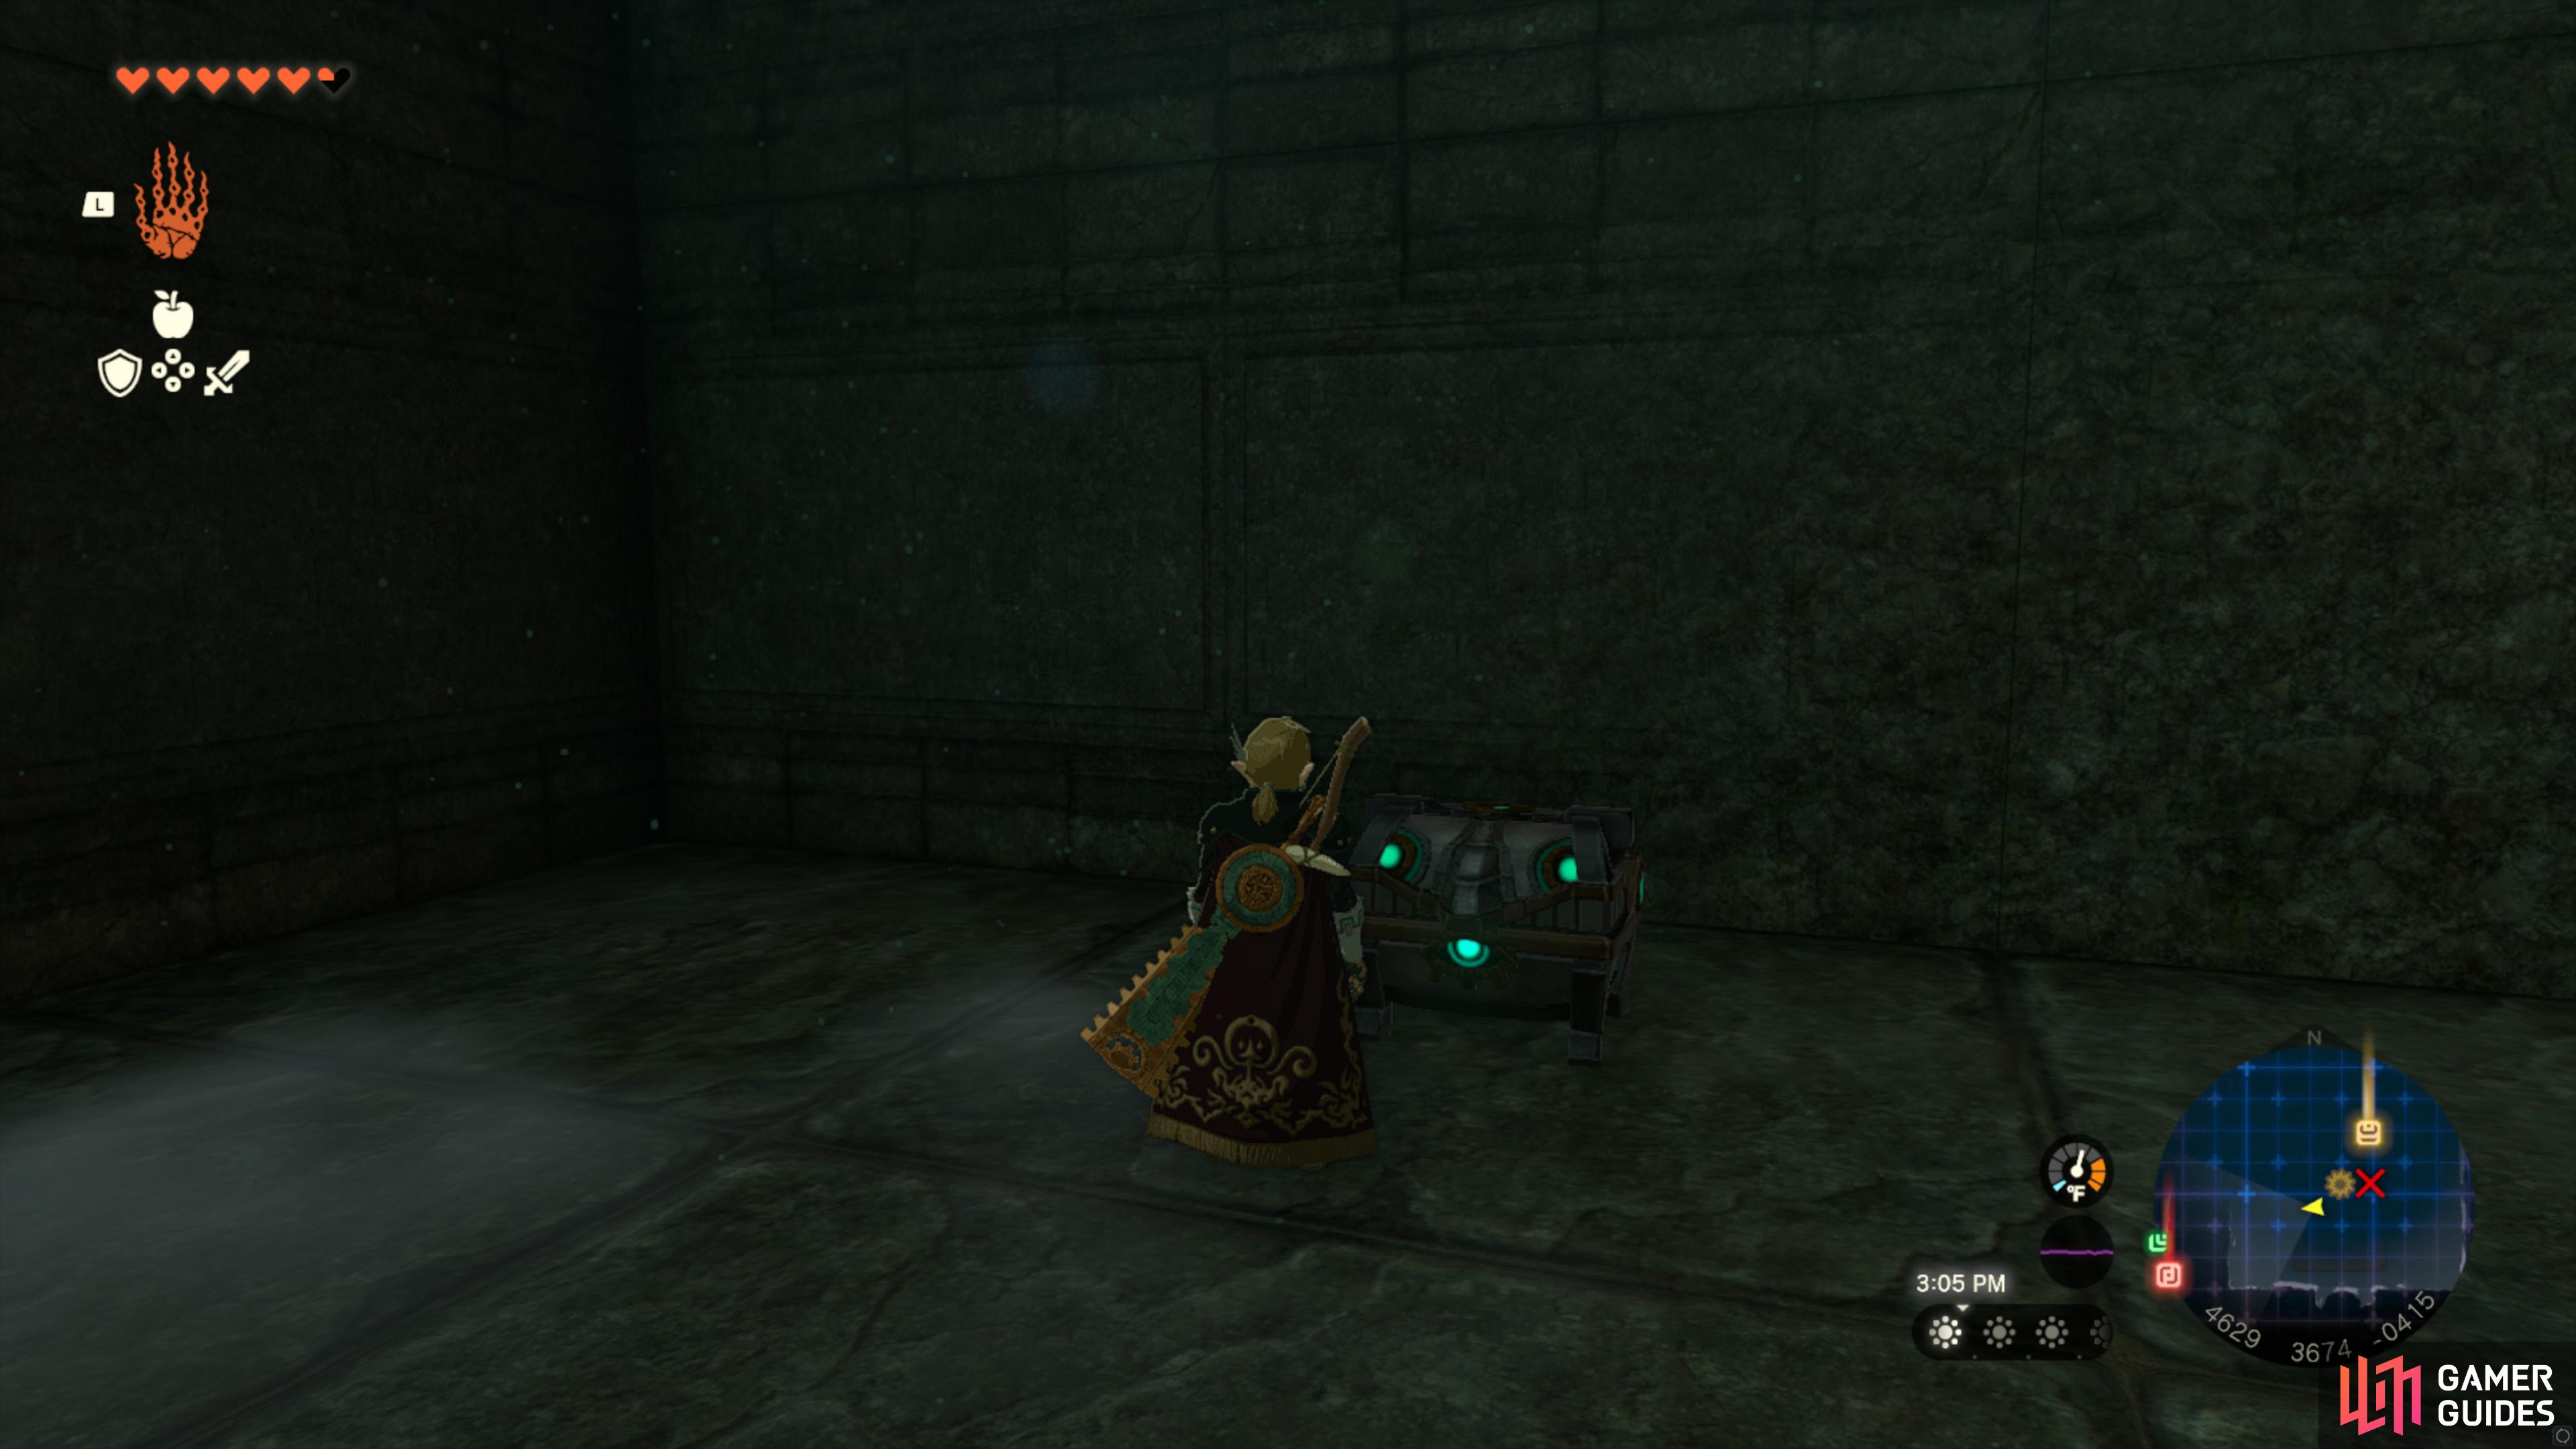
43160. Hyrule Depths Map
You must defeat the yiga solider on the flying vehicle to unlock this door.
43161. Hyrule Depths Map
You must defeat the yiga solider on the flying vehicle to unlock this door.
43265. Hyrule Surface Map
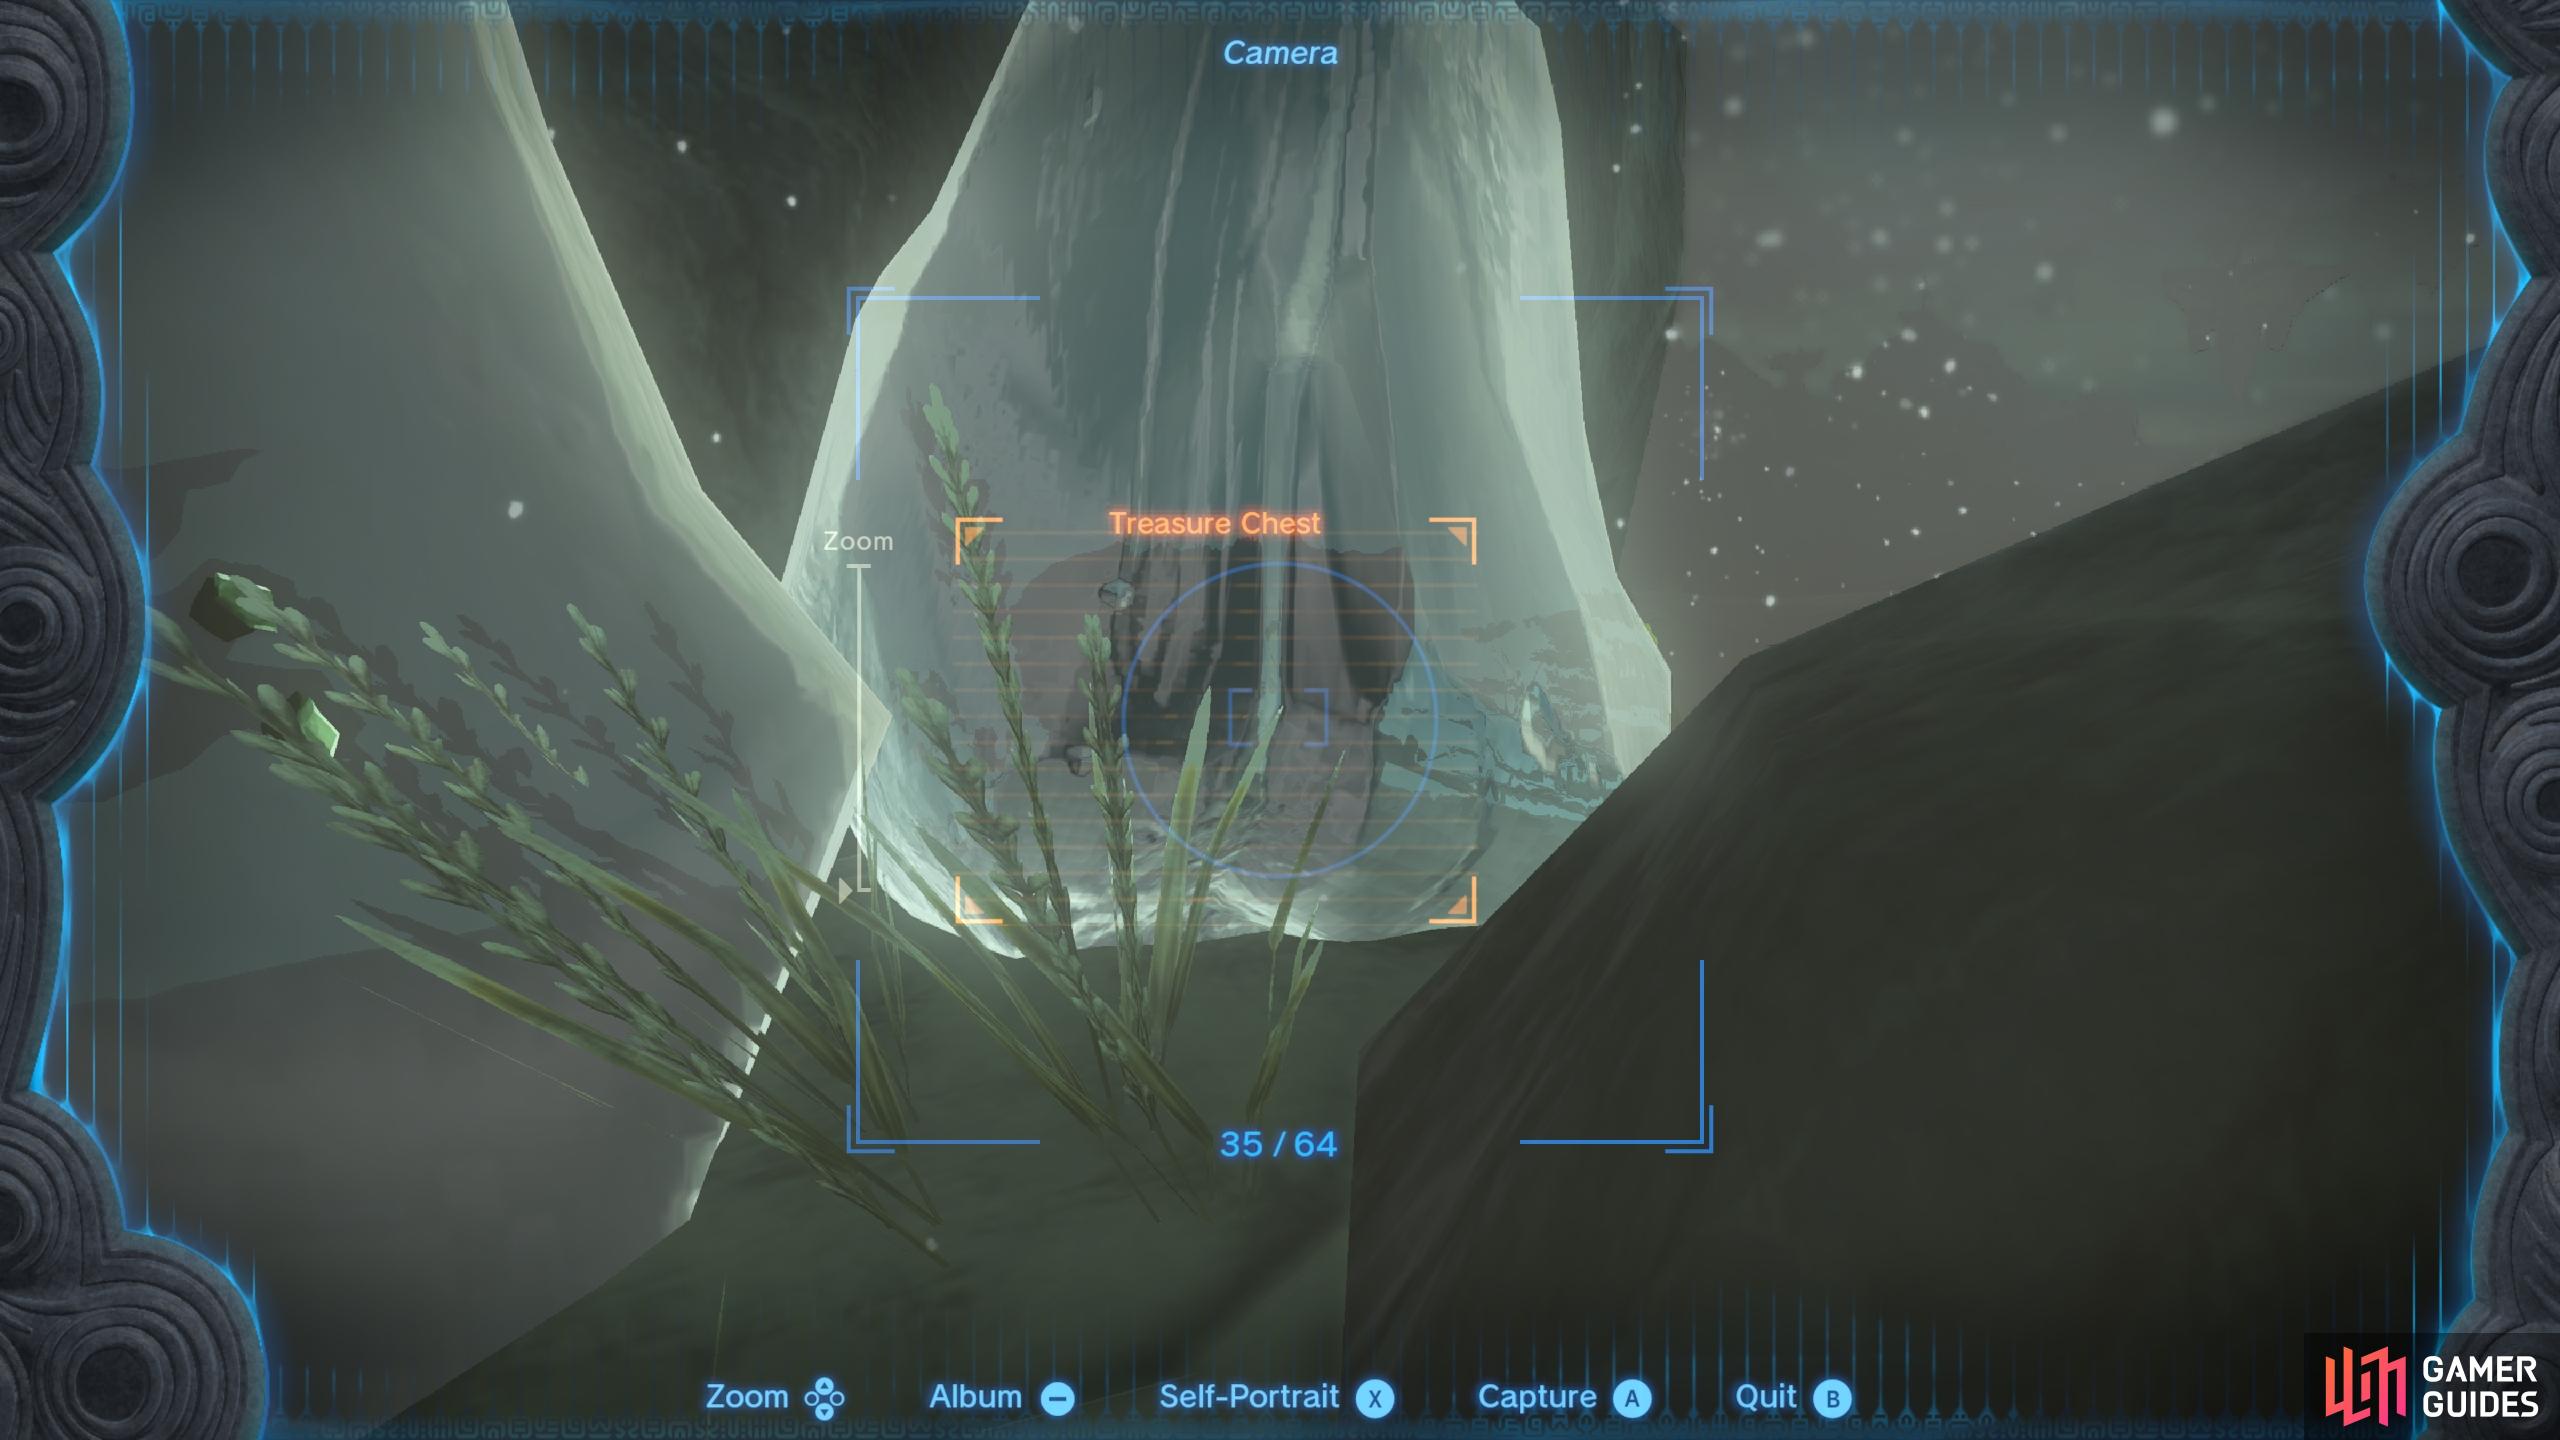
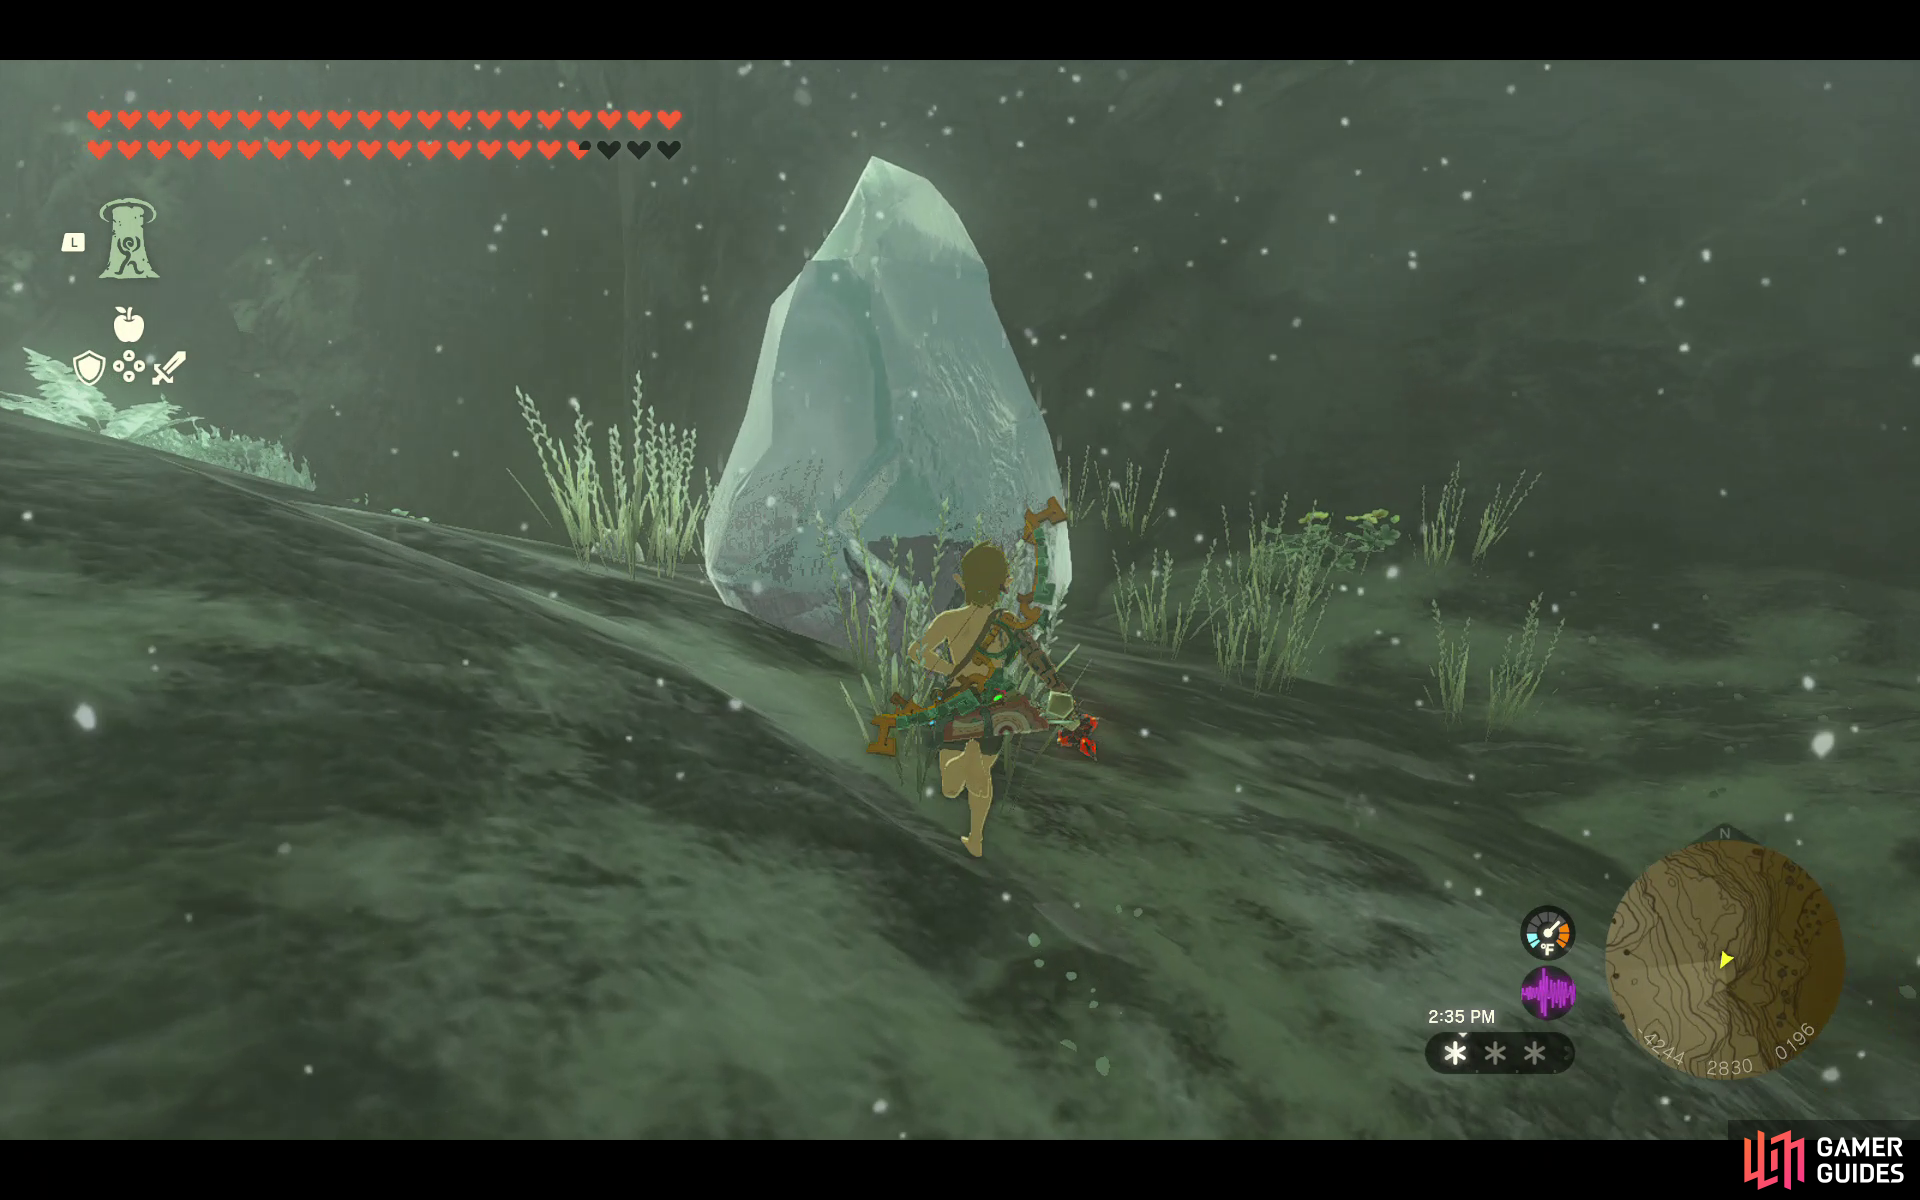
A chest can be found here within an ice block. Use a ![]() Fire Fruit to melt the ice and reveal the chest.
Fire Fruit to melt the ice and reveal the chest.
43298. Hyrule Surface Map
This is a Skull Chest that can only be unlocked by defeating the nearby enemies.
- Contains
 Royal Halberd
43306. Hyrule Surface Map
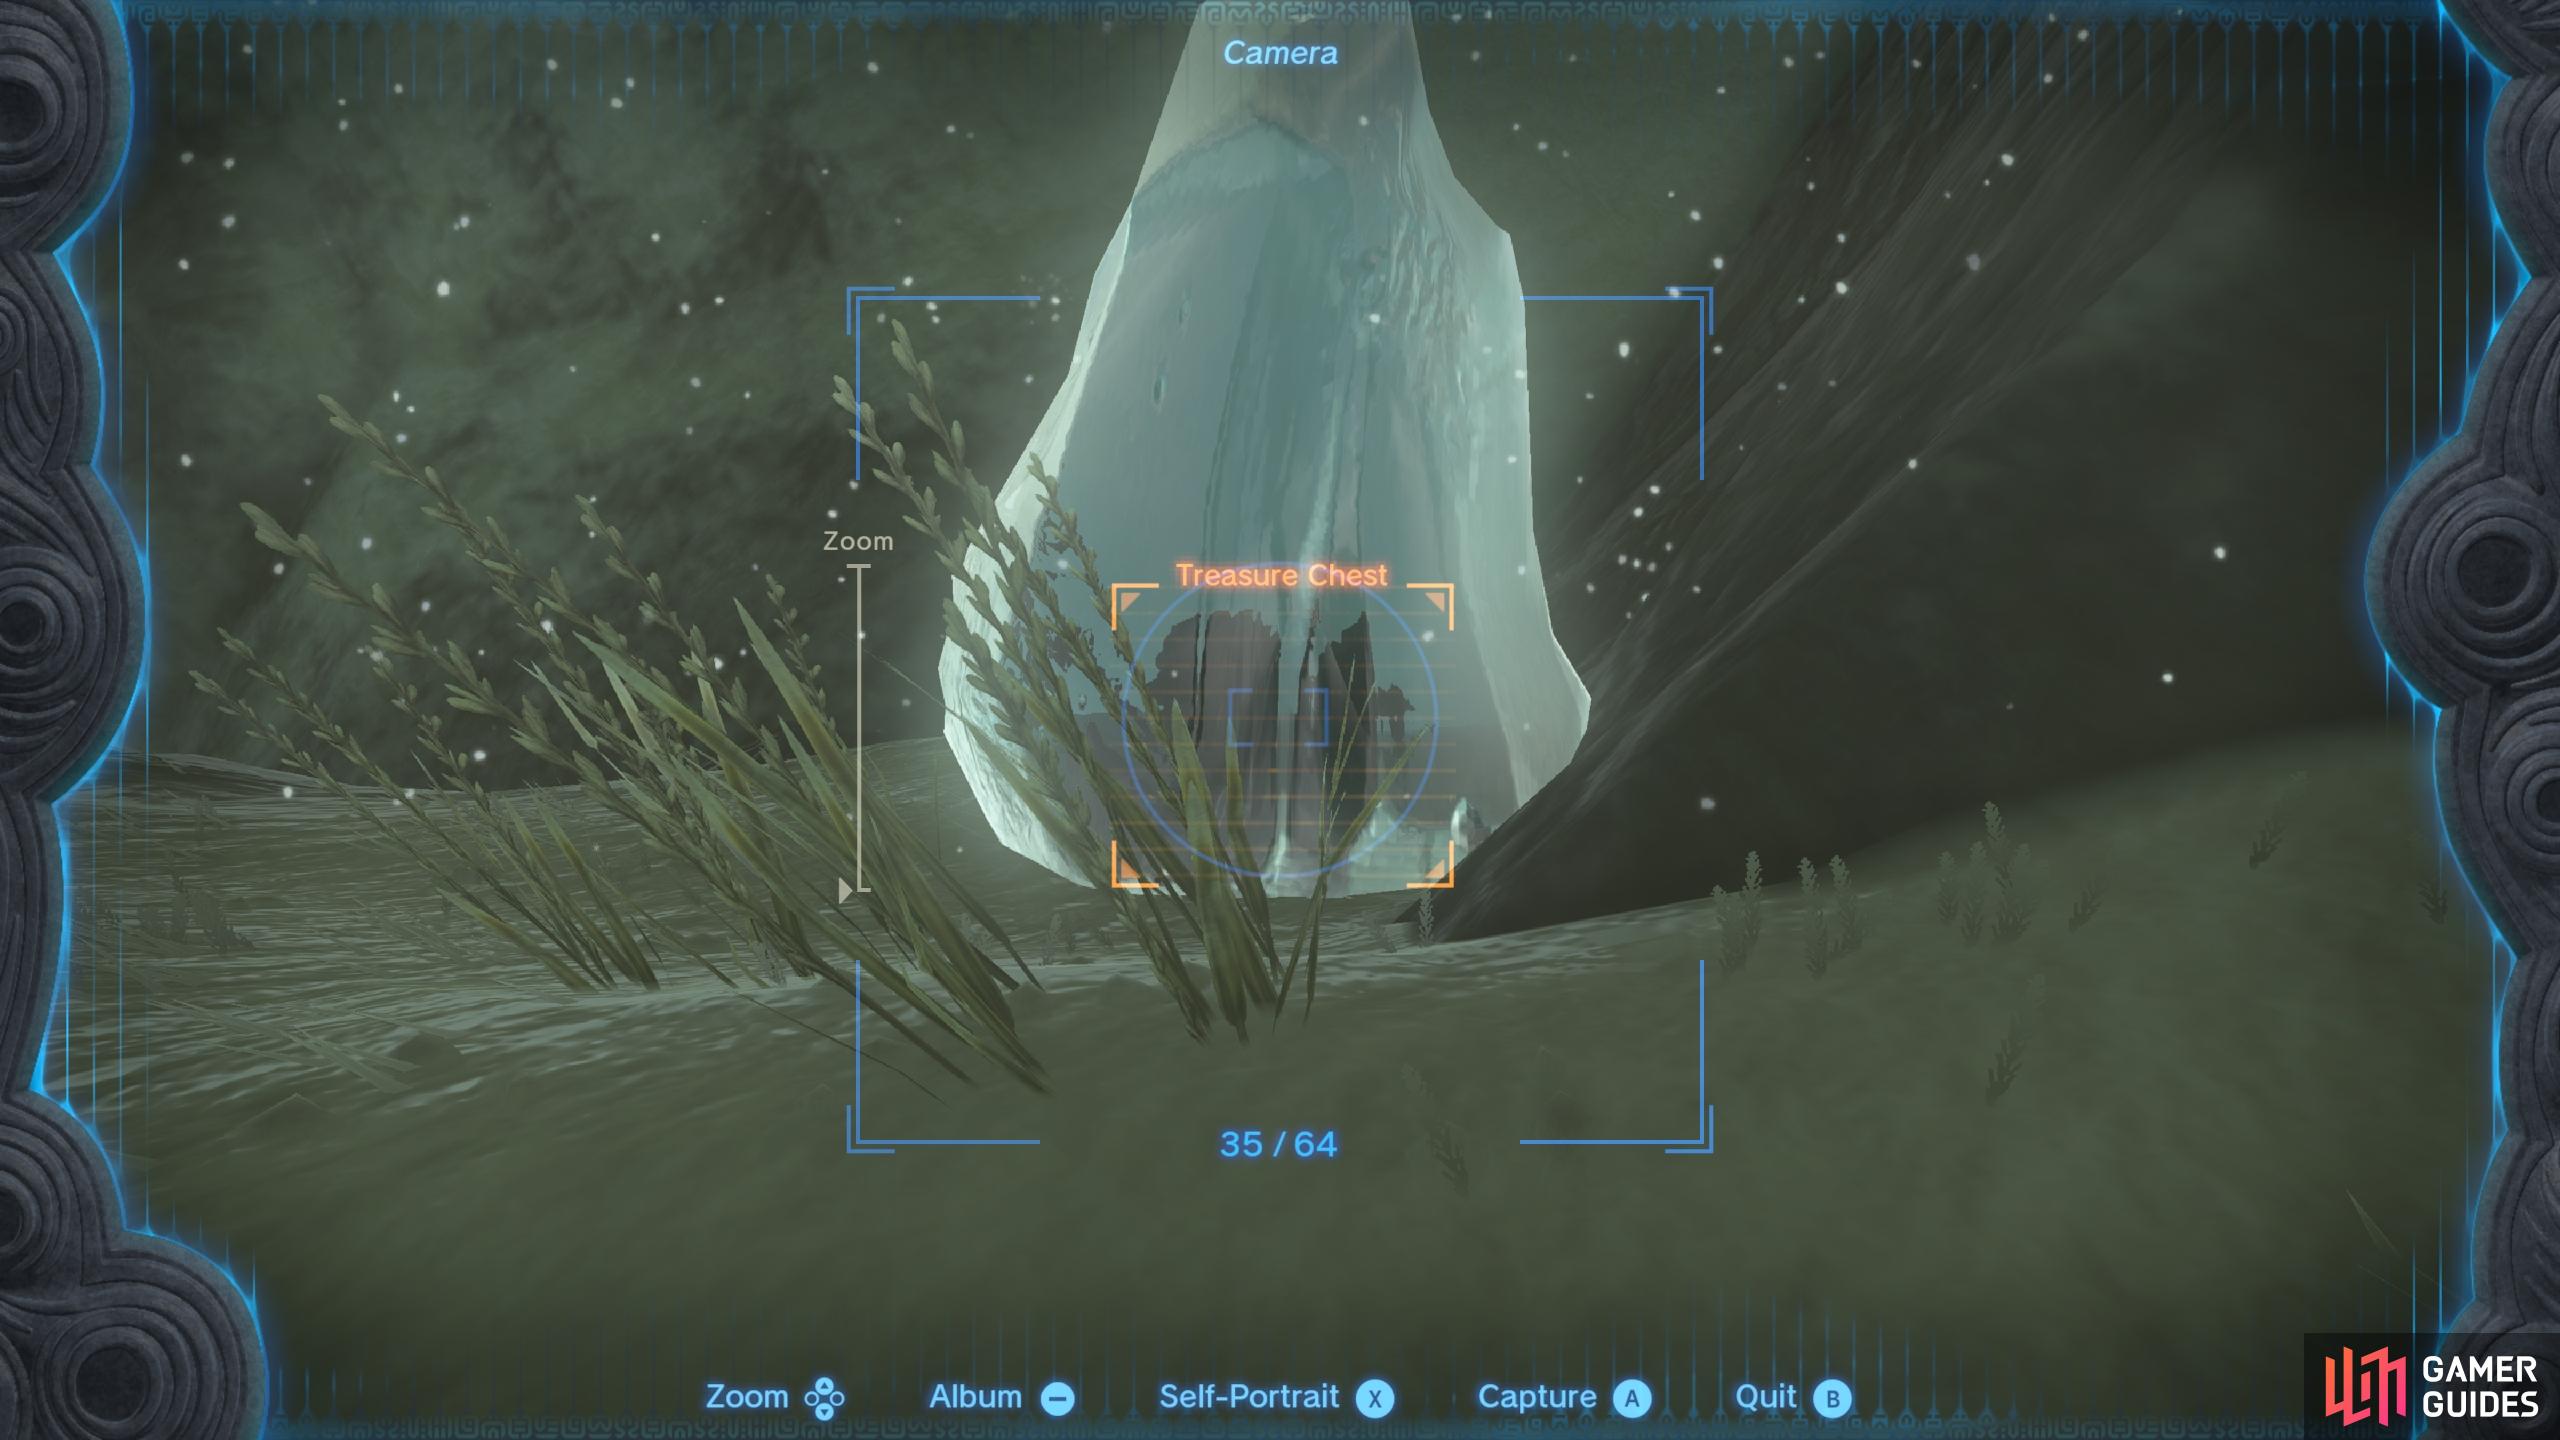
You need to melt the ice using ![]() Fire Fruit or an equivalent method to reveal the chest.
Fire Fruit or an equivalent method to reveal the chest.
43322. Hyrule Surface Map
Defeat the nearby Constructs to unlock this Chest.
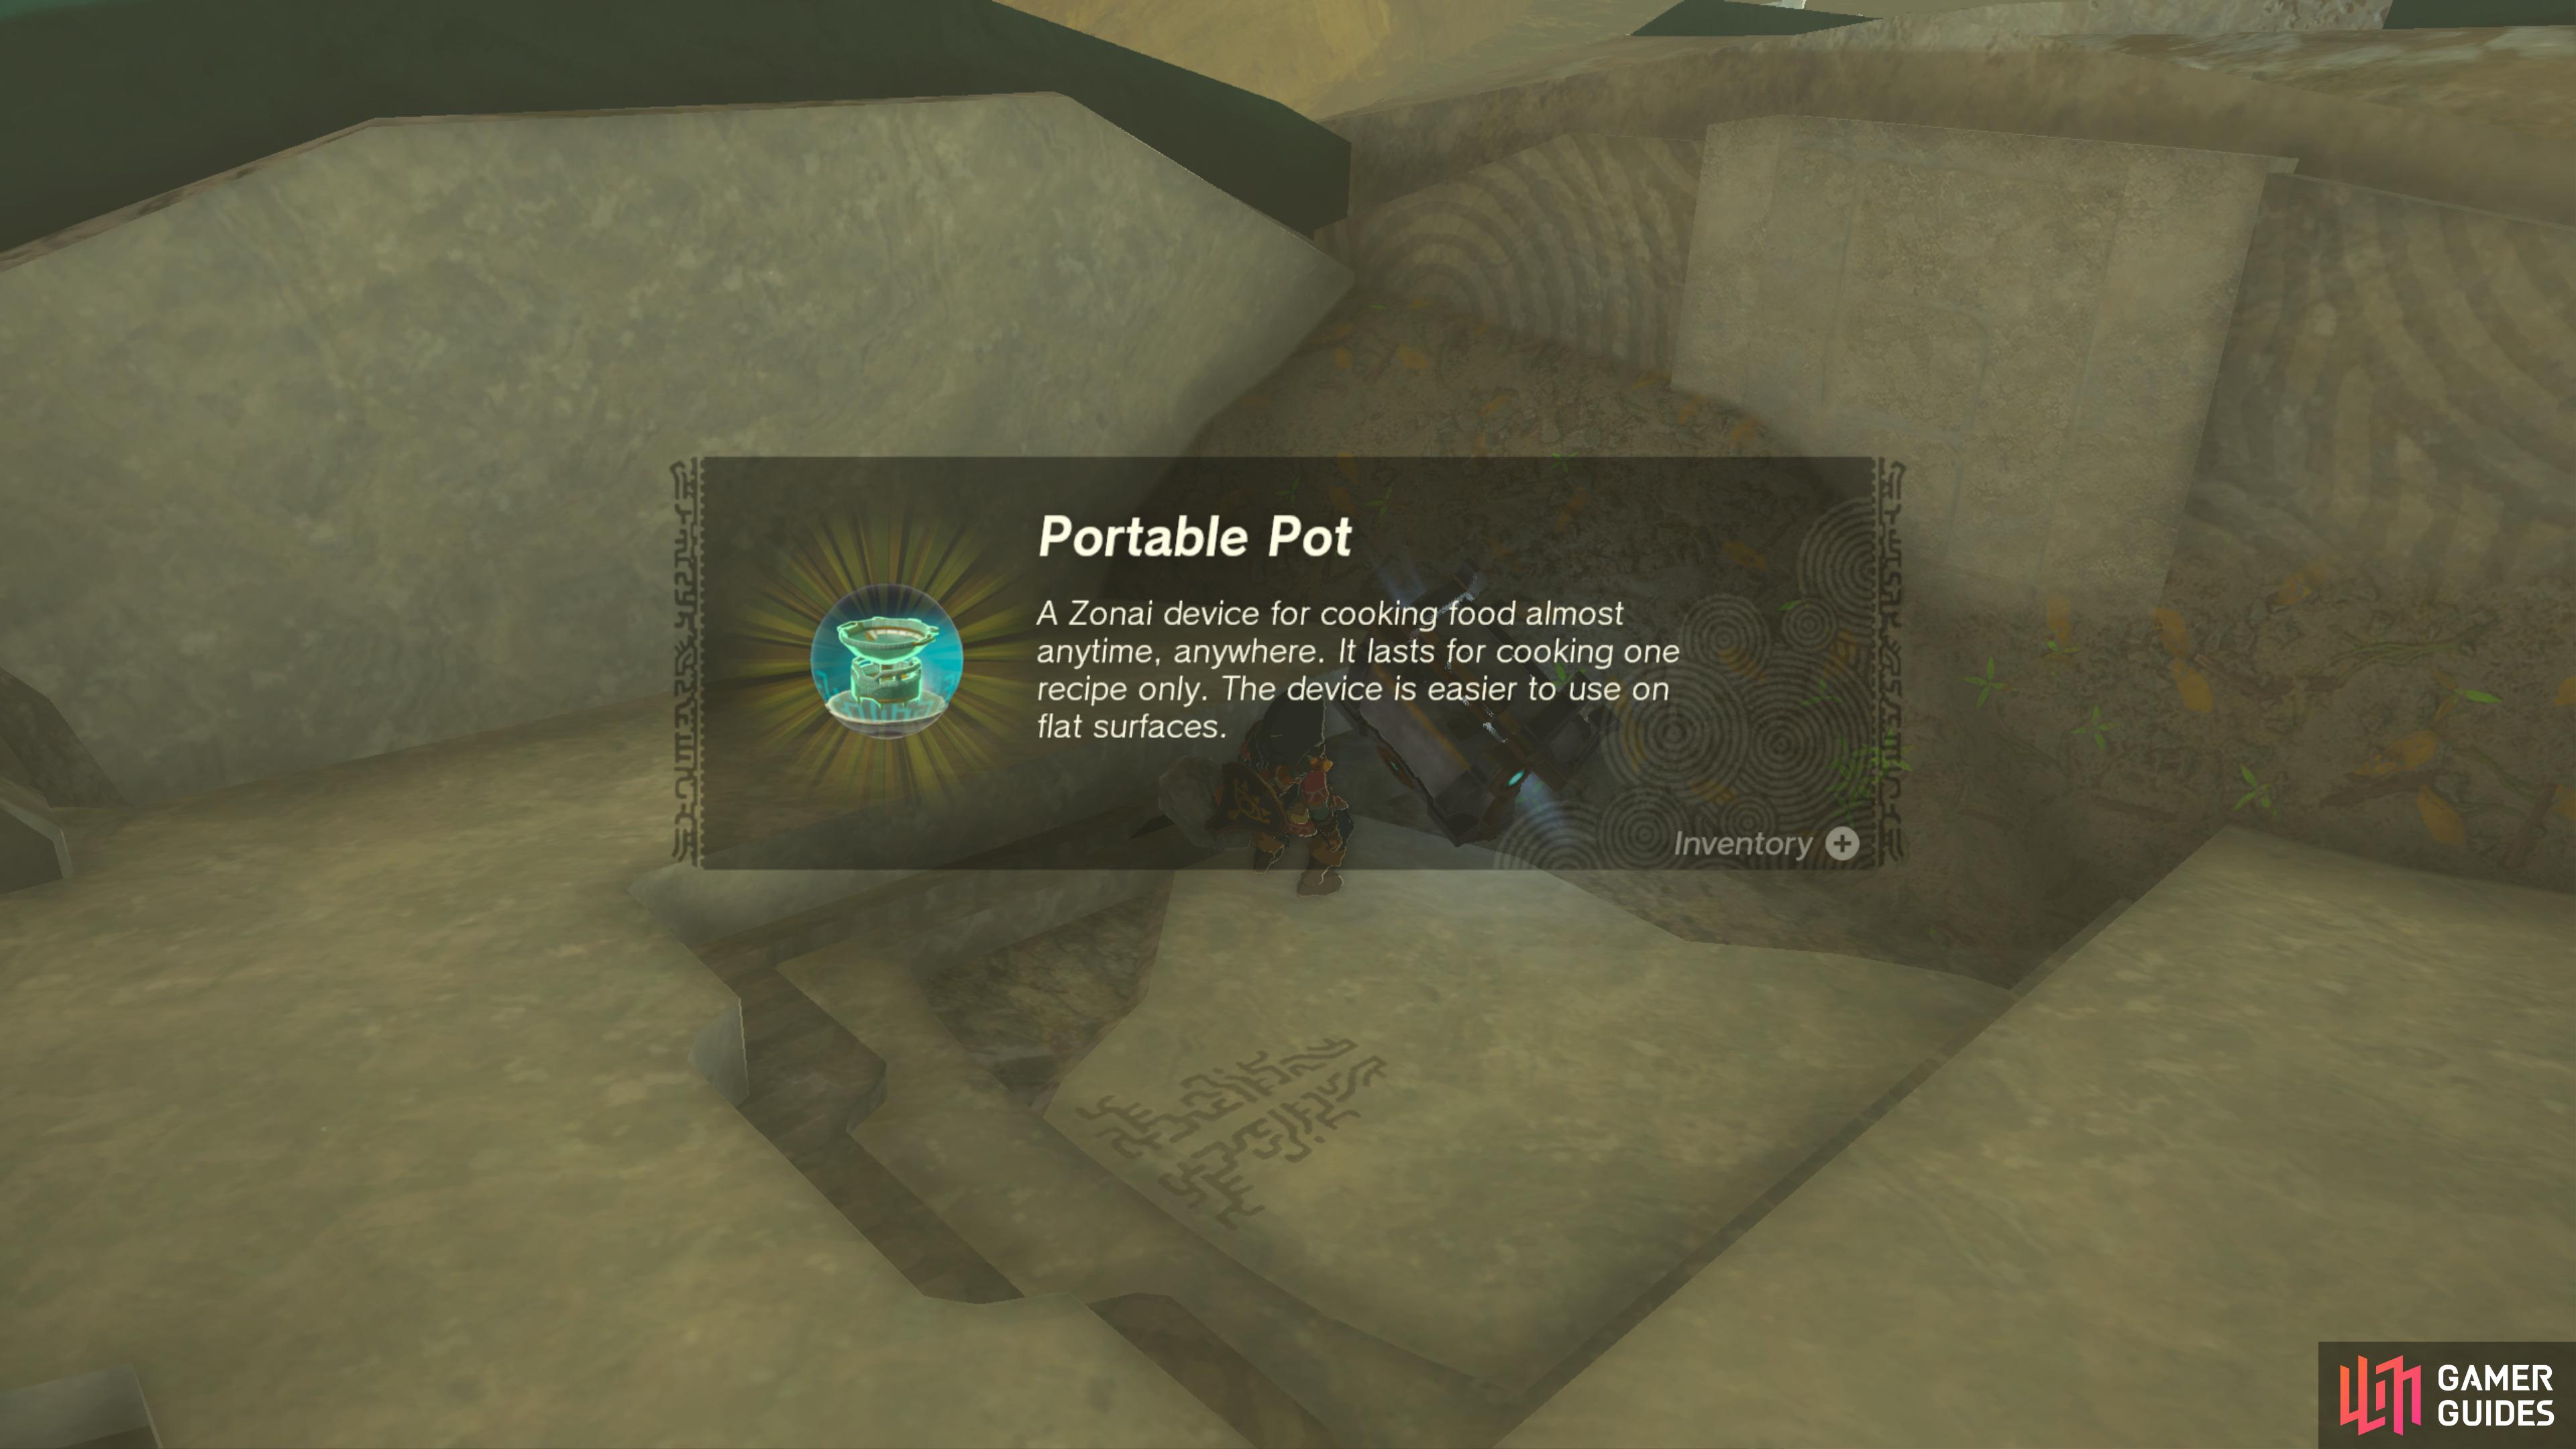
It contains five ![]() Portable Pot (Capsule).
Portable Pot (Capsule).
43339. Hyrule Surface Map
Climb to the top of the ruins here to find a chest at the very top.
It contains a ![]() Portable Pot (Capsule).
Portable Pot (Capsule).
43367. Hyrule Surface Map
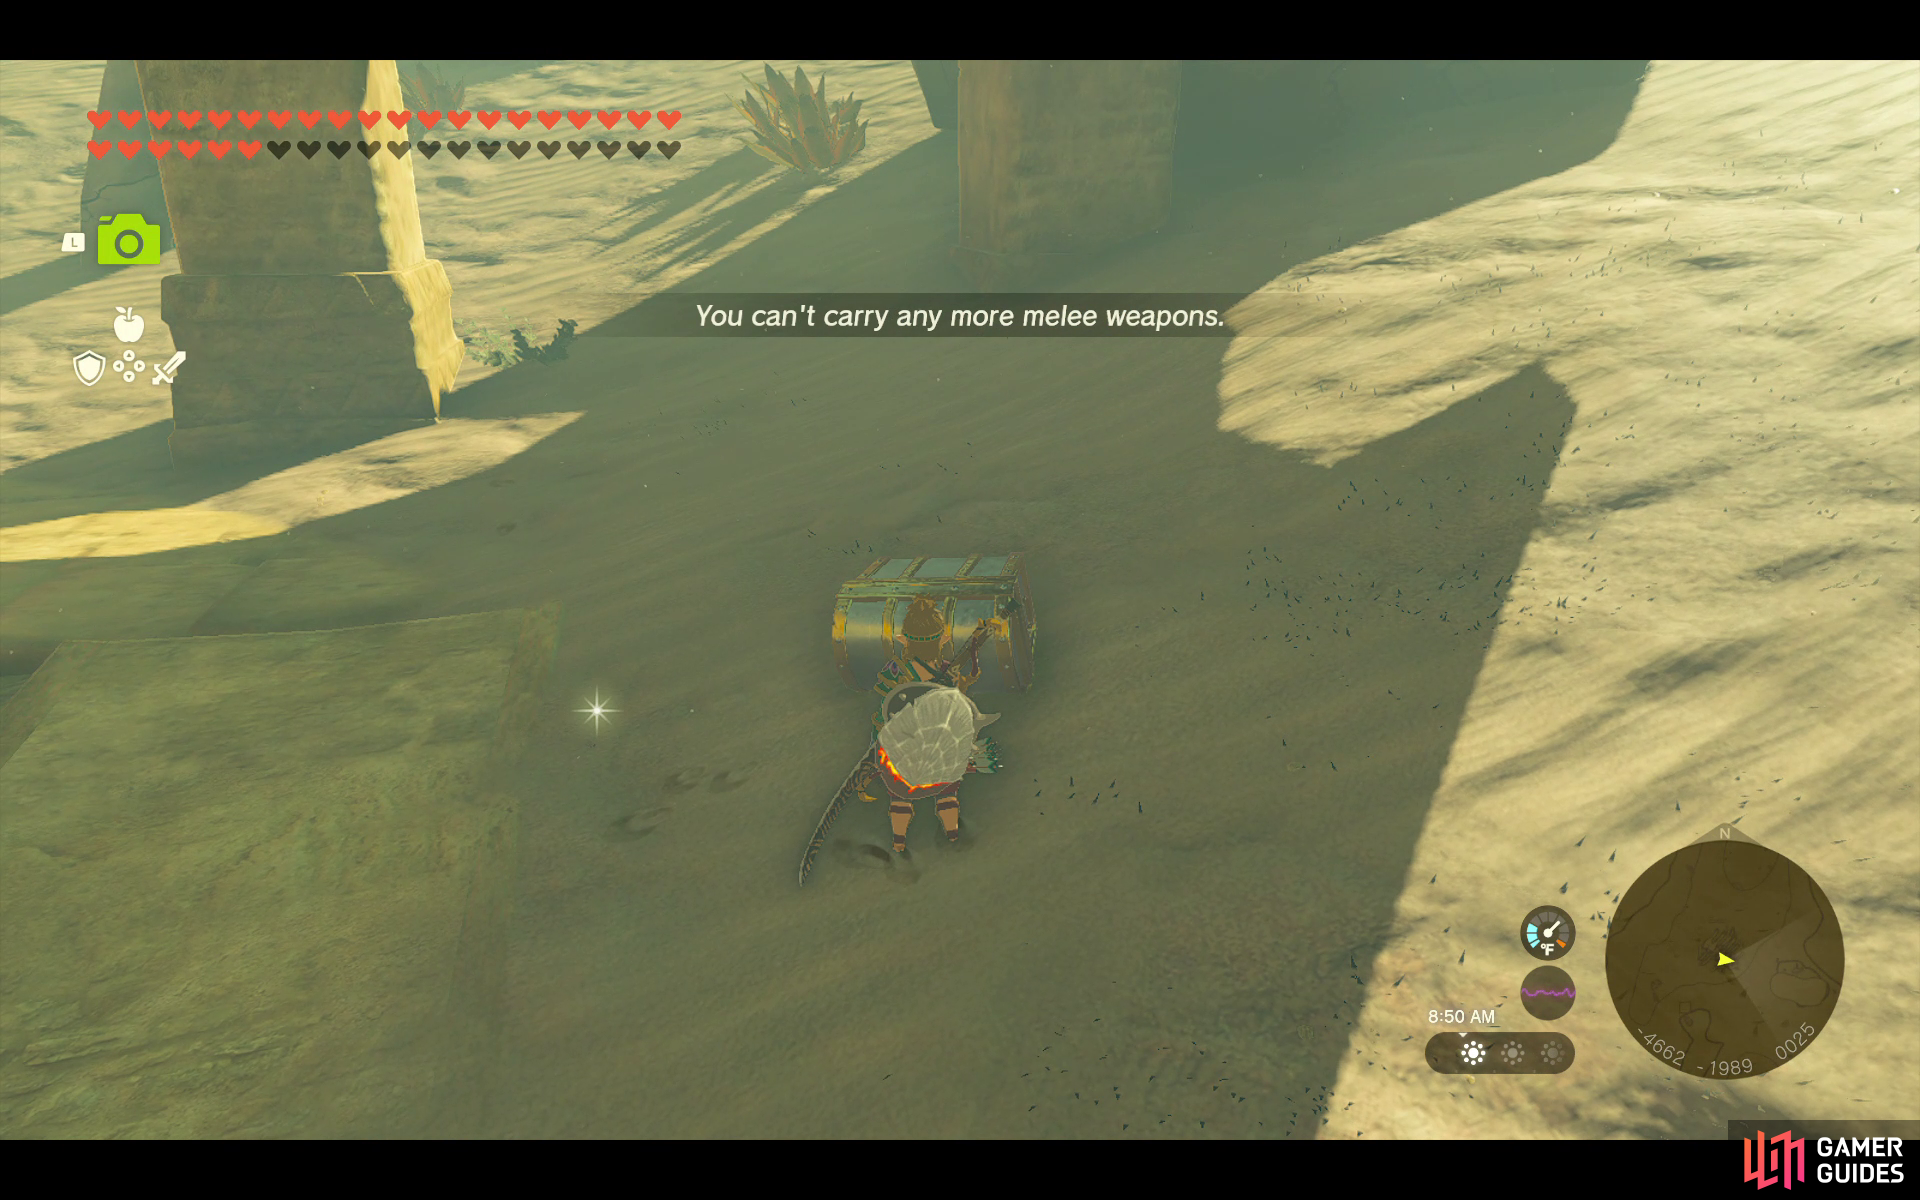
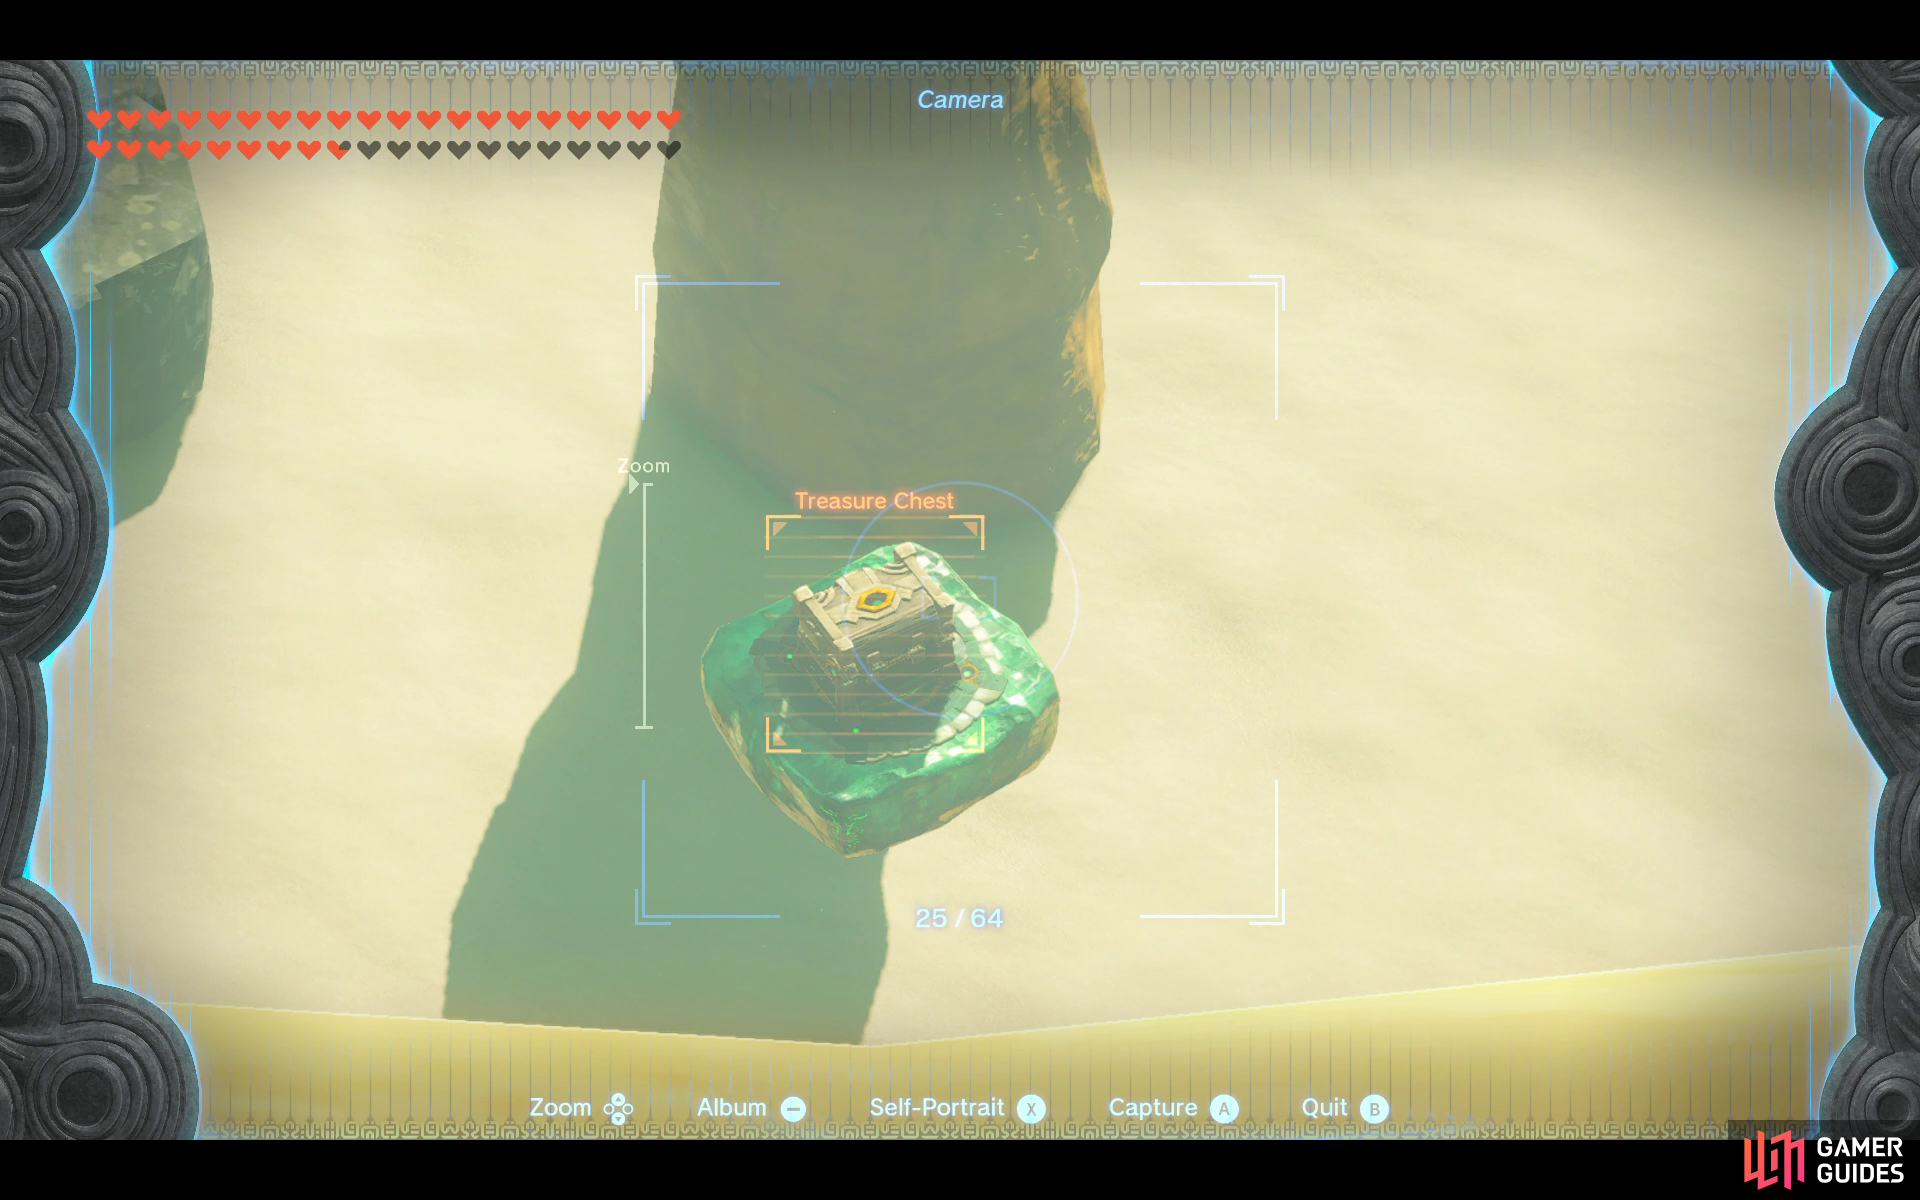
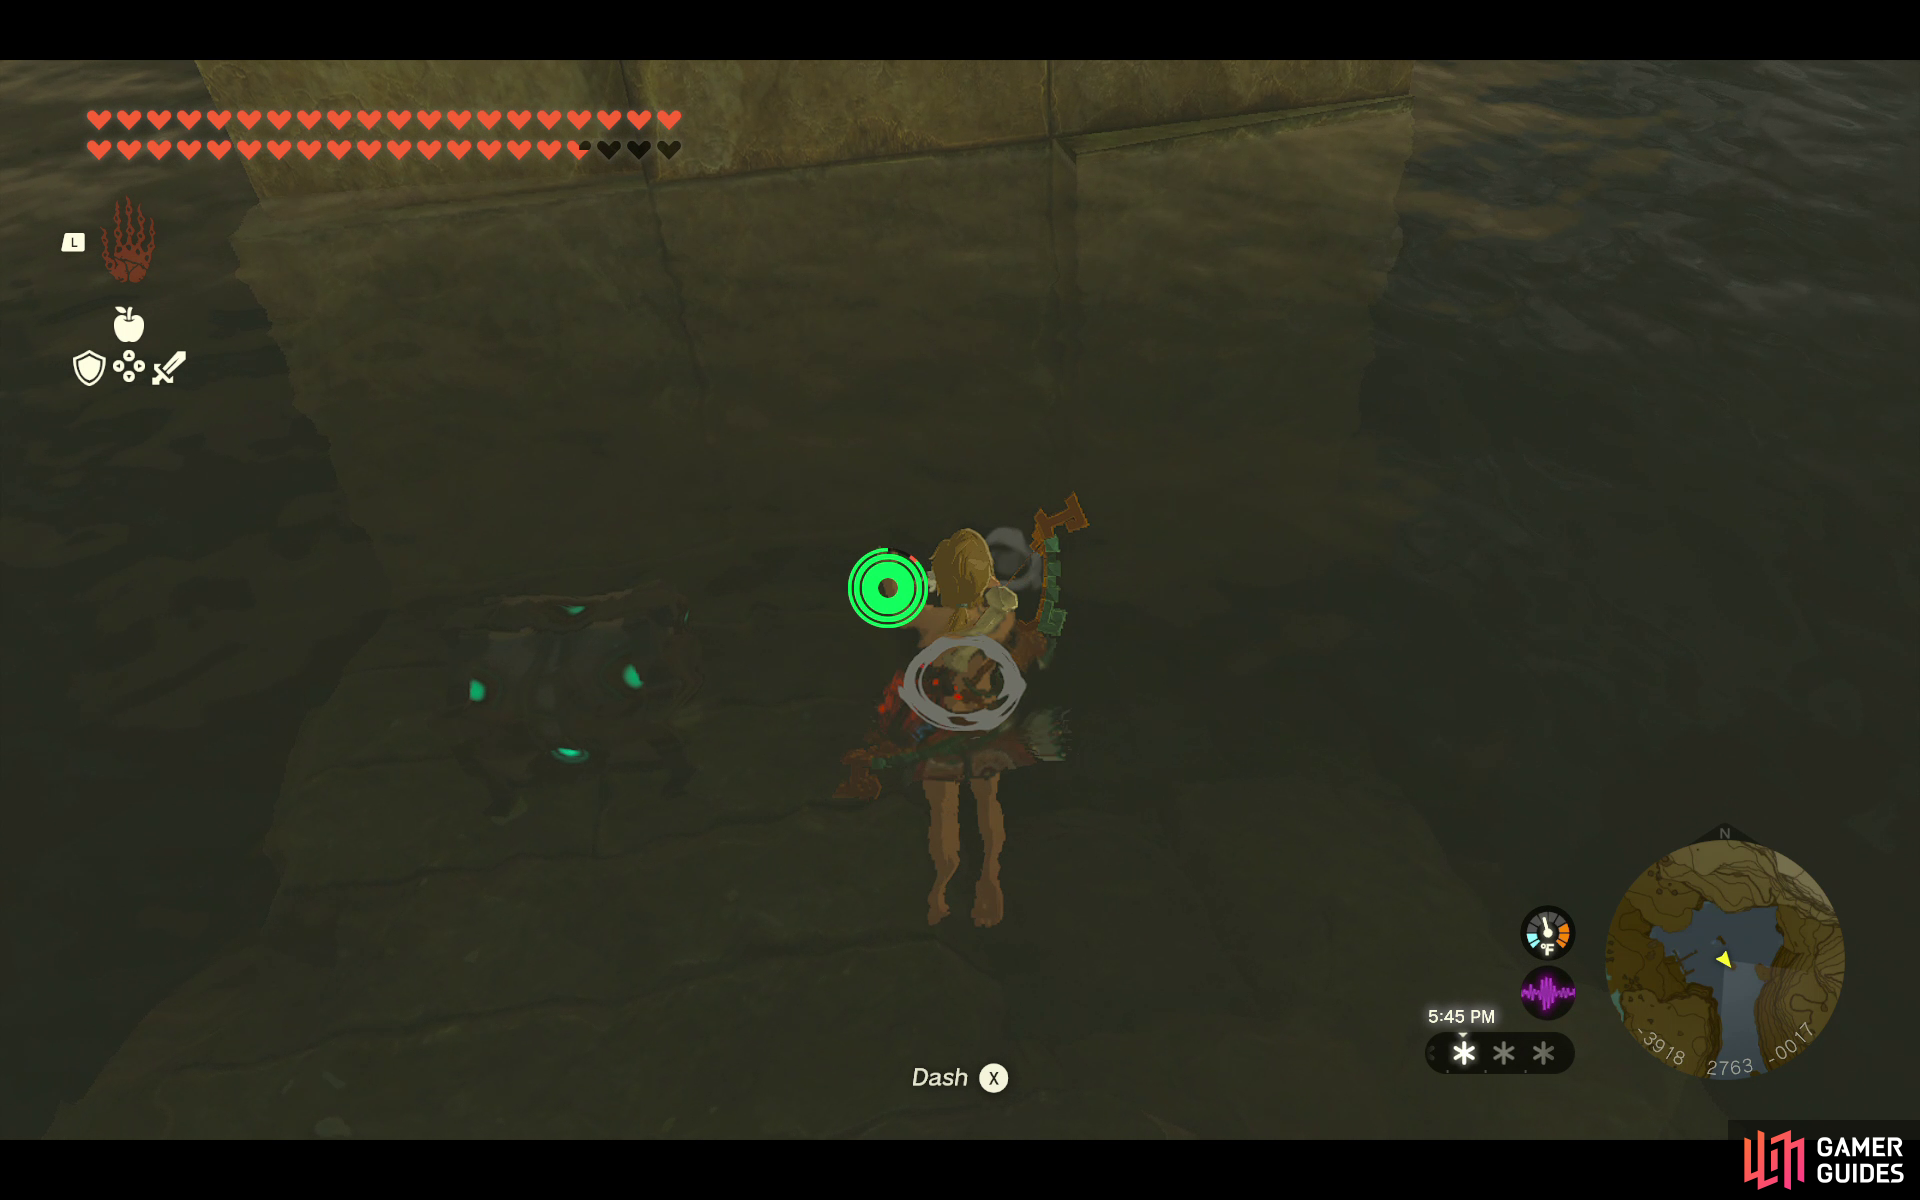
In Soka Point, at the tip of the beach is a Chest half buried underground. Use ![]() Ultrahand to pull it out of the sand to access it.
Ultrahand to pull it out of the sand to access it.
- Contains Star Fragment.
43373. Hyrule Surface Map
Use ![]() Ultrahand to pull the Chest out of the ground.
Ultrahand to pull the Chest out of the ground.
It contains a ![]() Royal Shield.
Royal Shield.
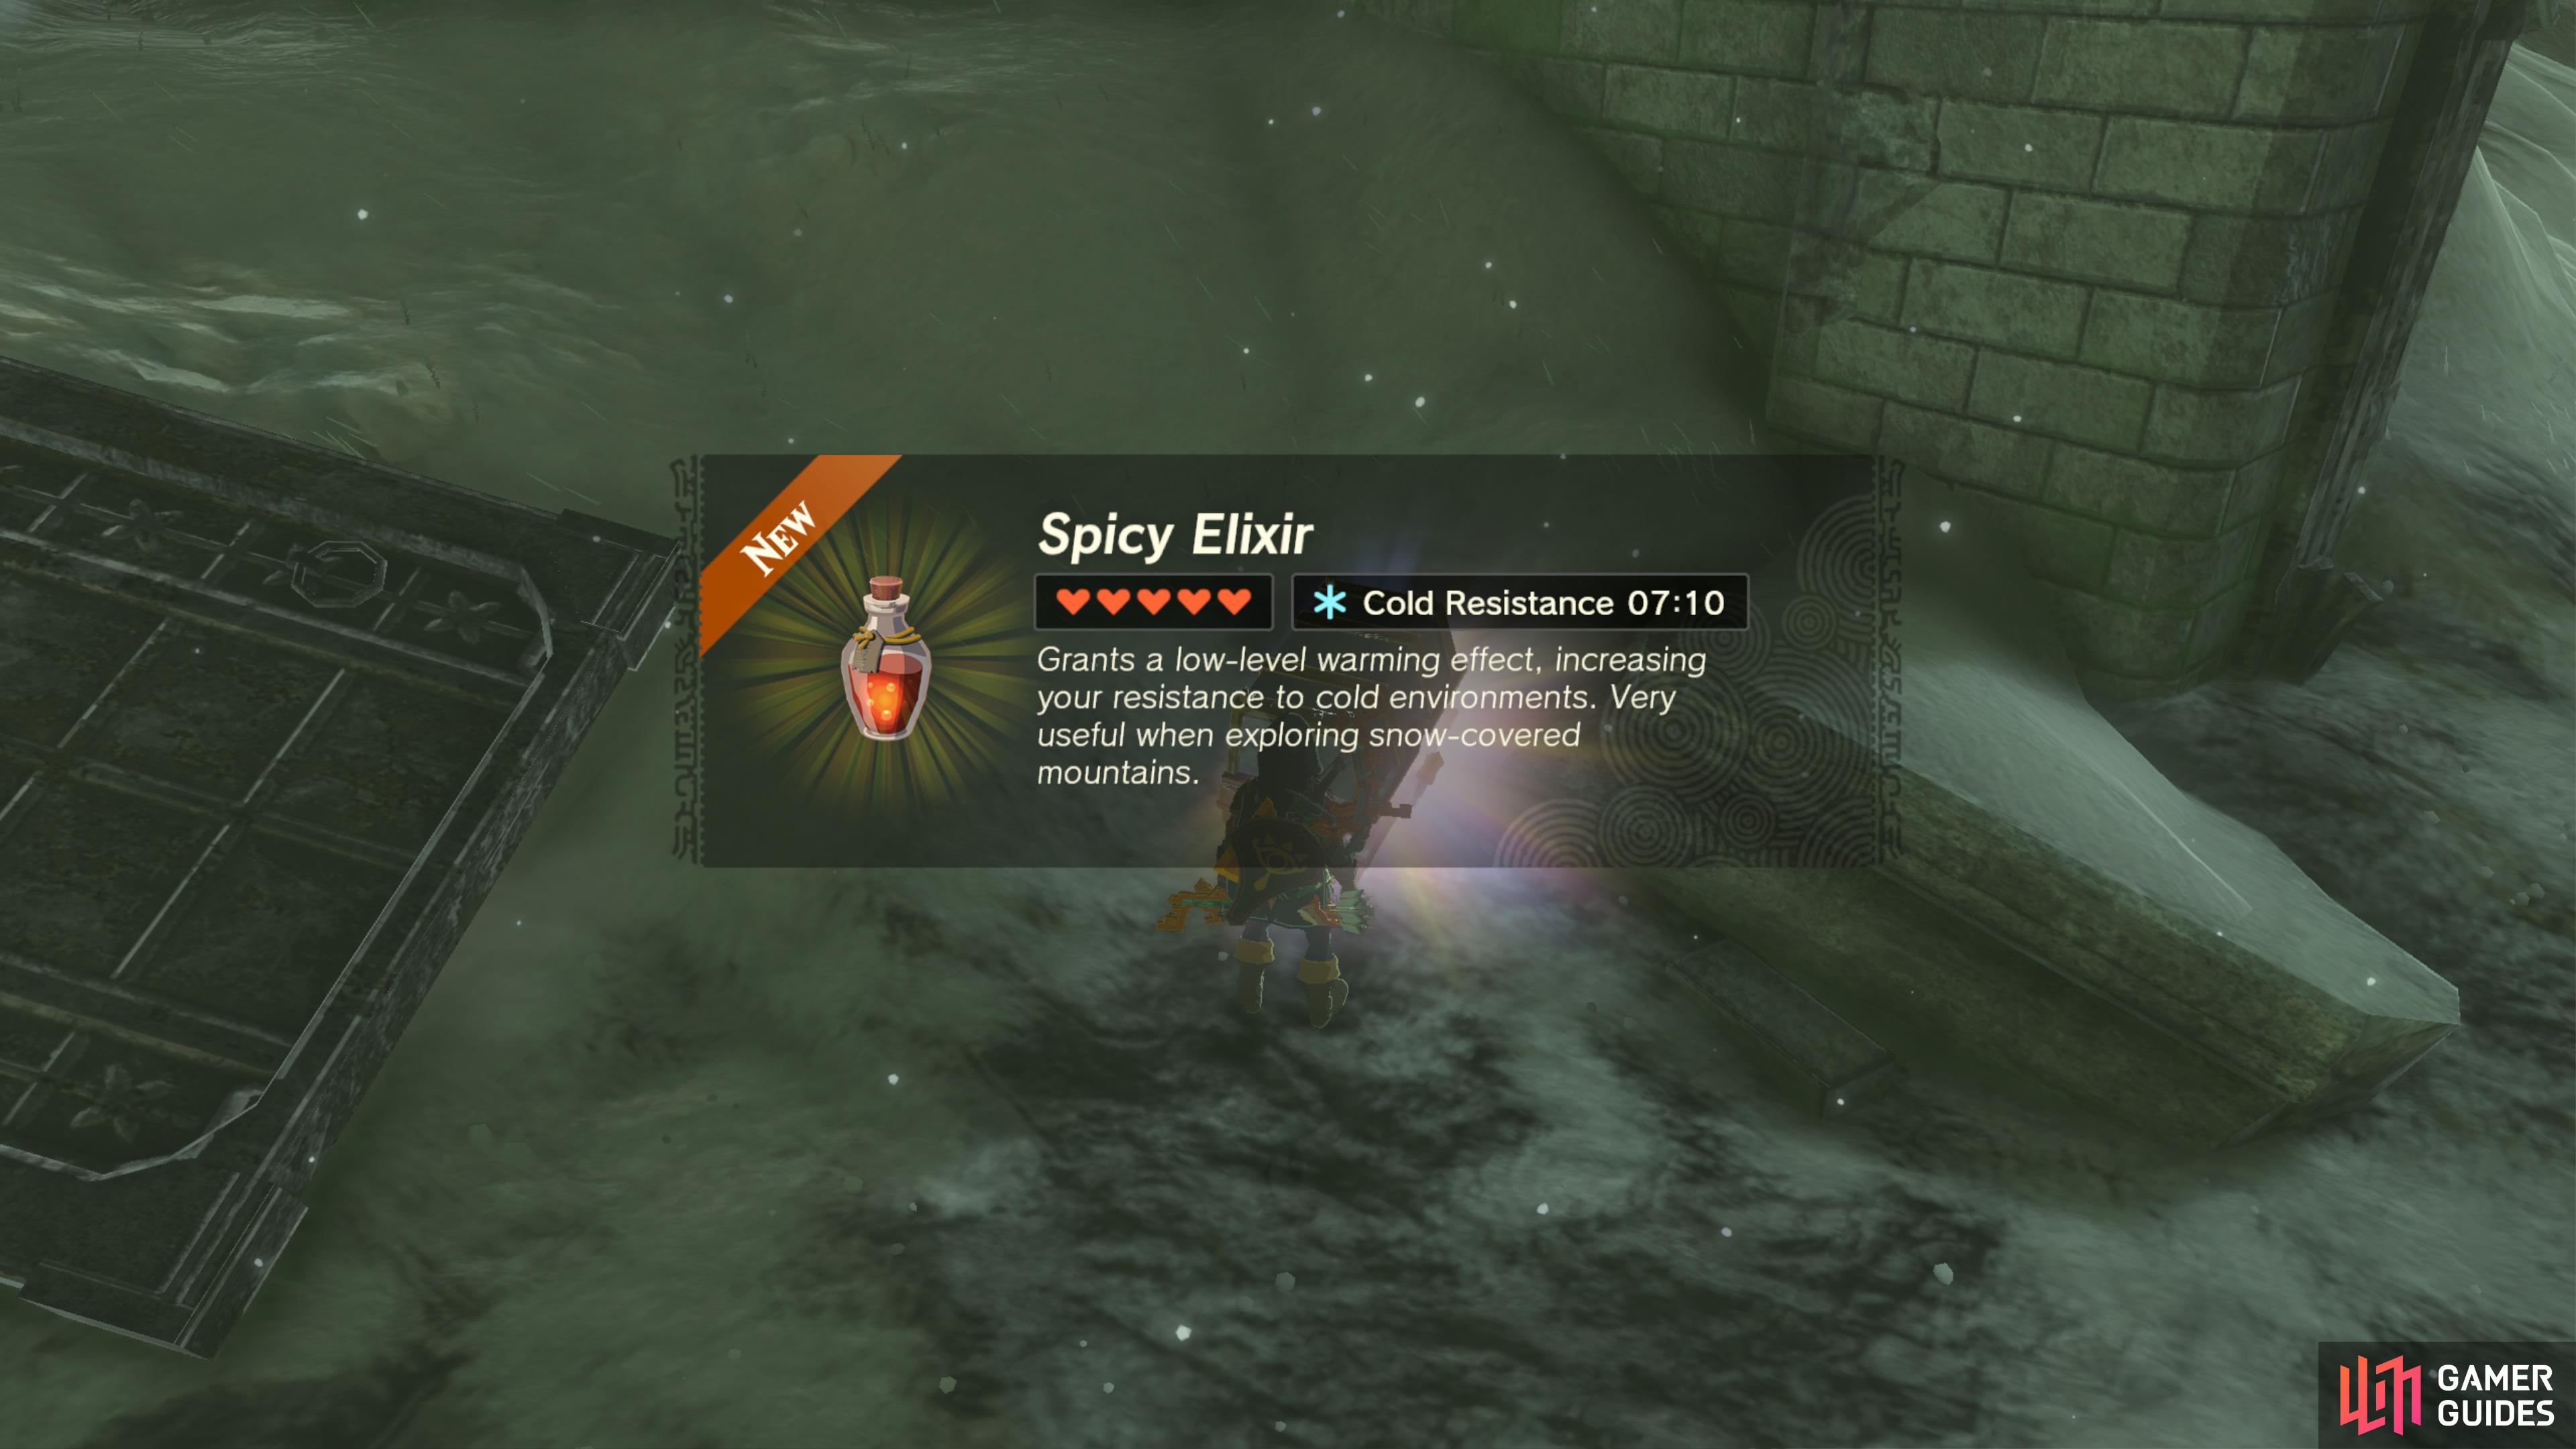
43376. Hyrule Surface Map
Use ![]() Ultrahand to pull the Chest out of the ground.
Ultrahand to pull the Chest out of the ground.
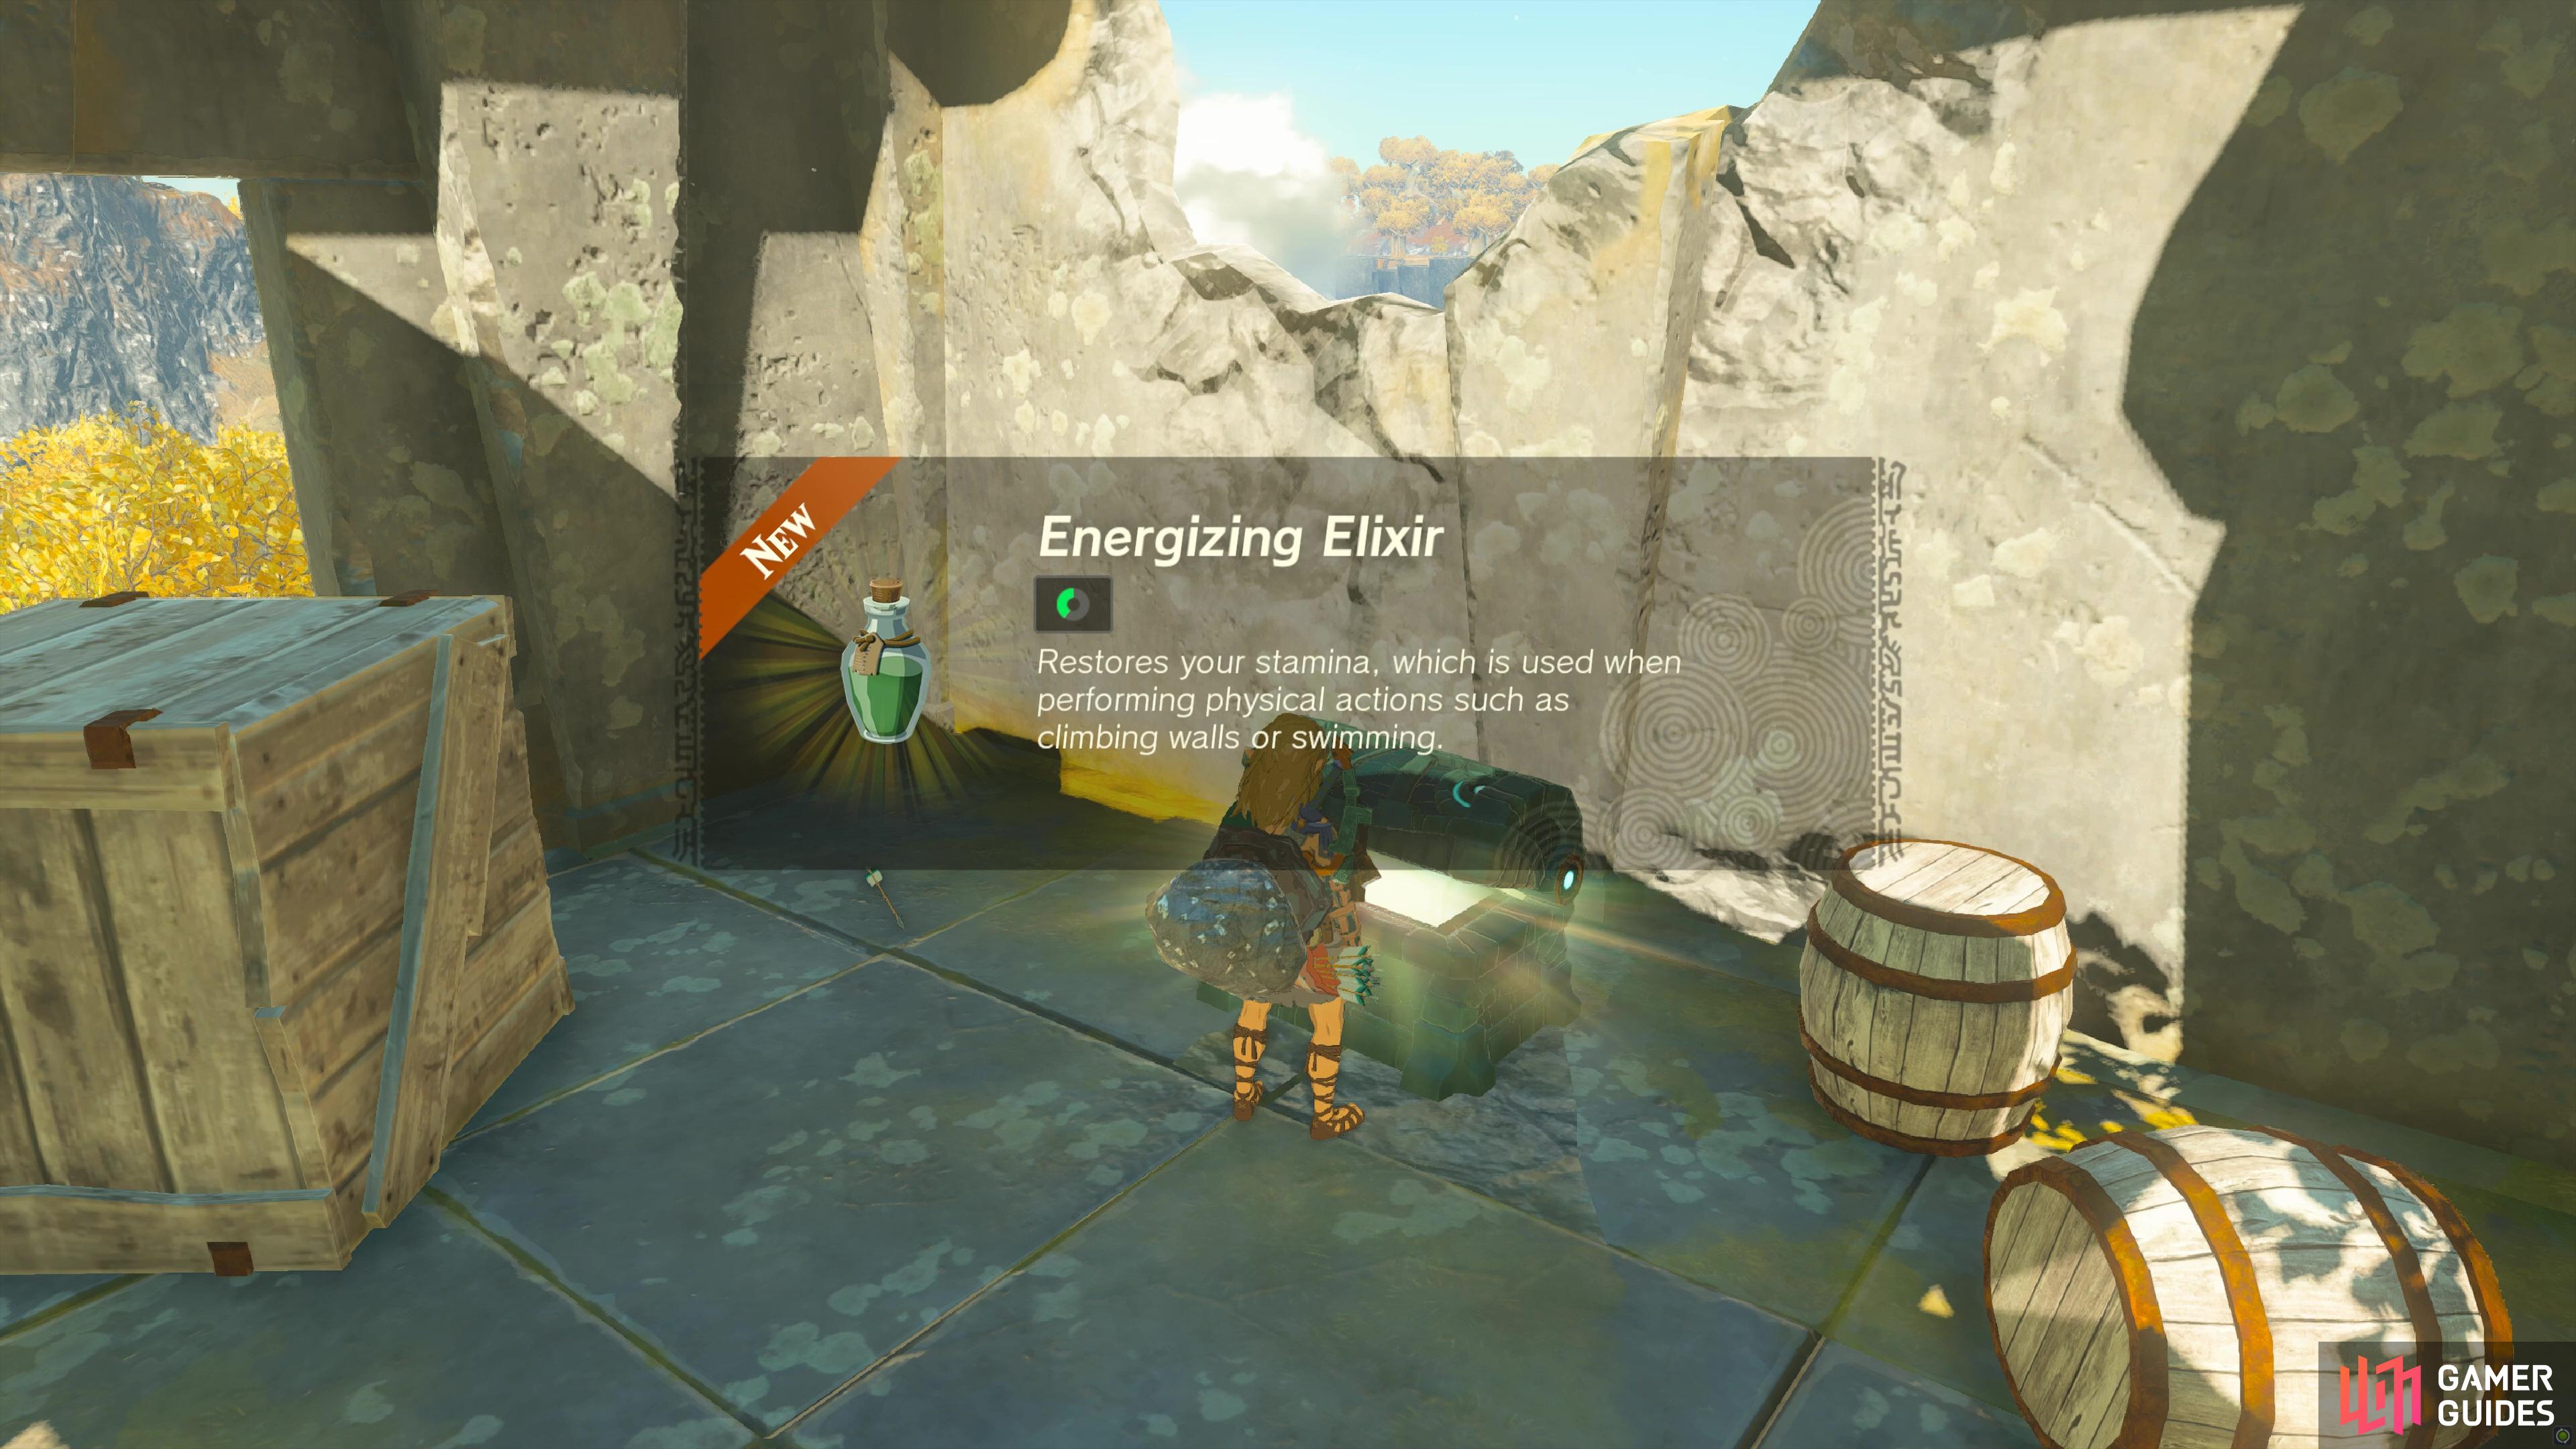
It contains a ![]() Spicy Elixir.
Spicy Elixir.
43492. Hyrule Surface Map
Defeat the nearby ![]() Battle Talus to unlock this Chest.
Battle Talus to unlock this Chest.
It contains a Ruby.
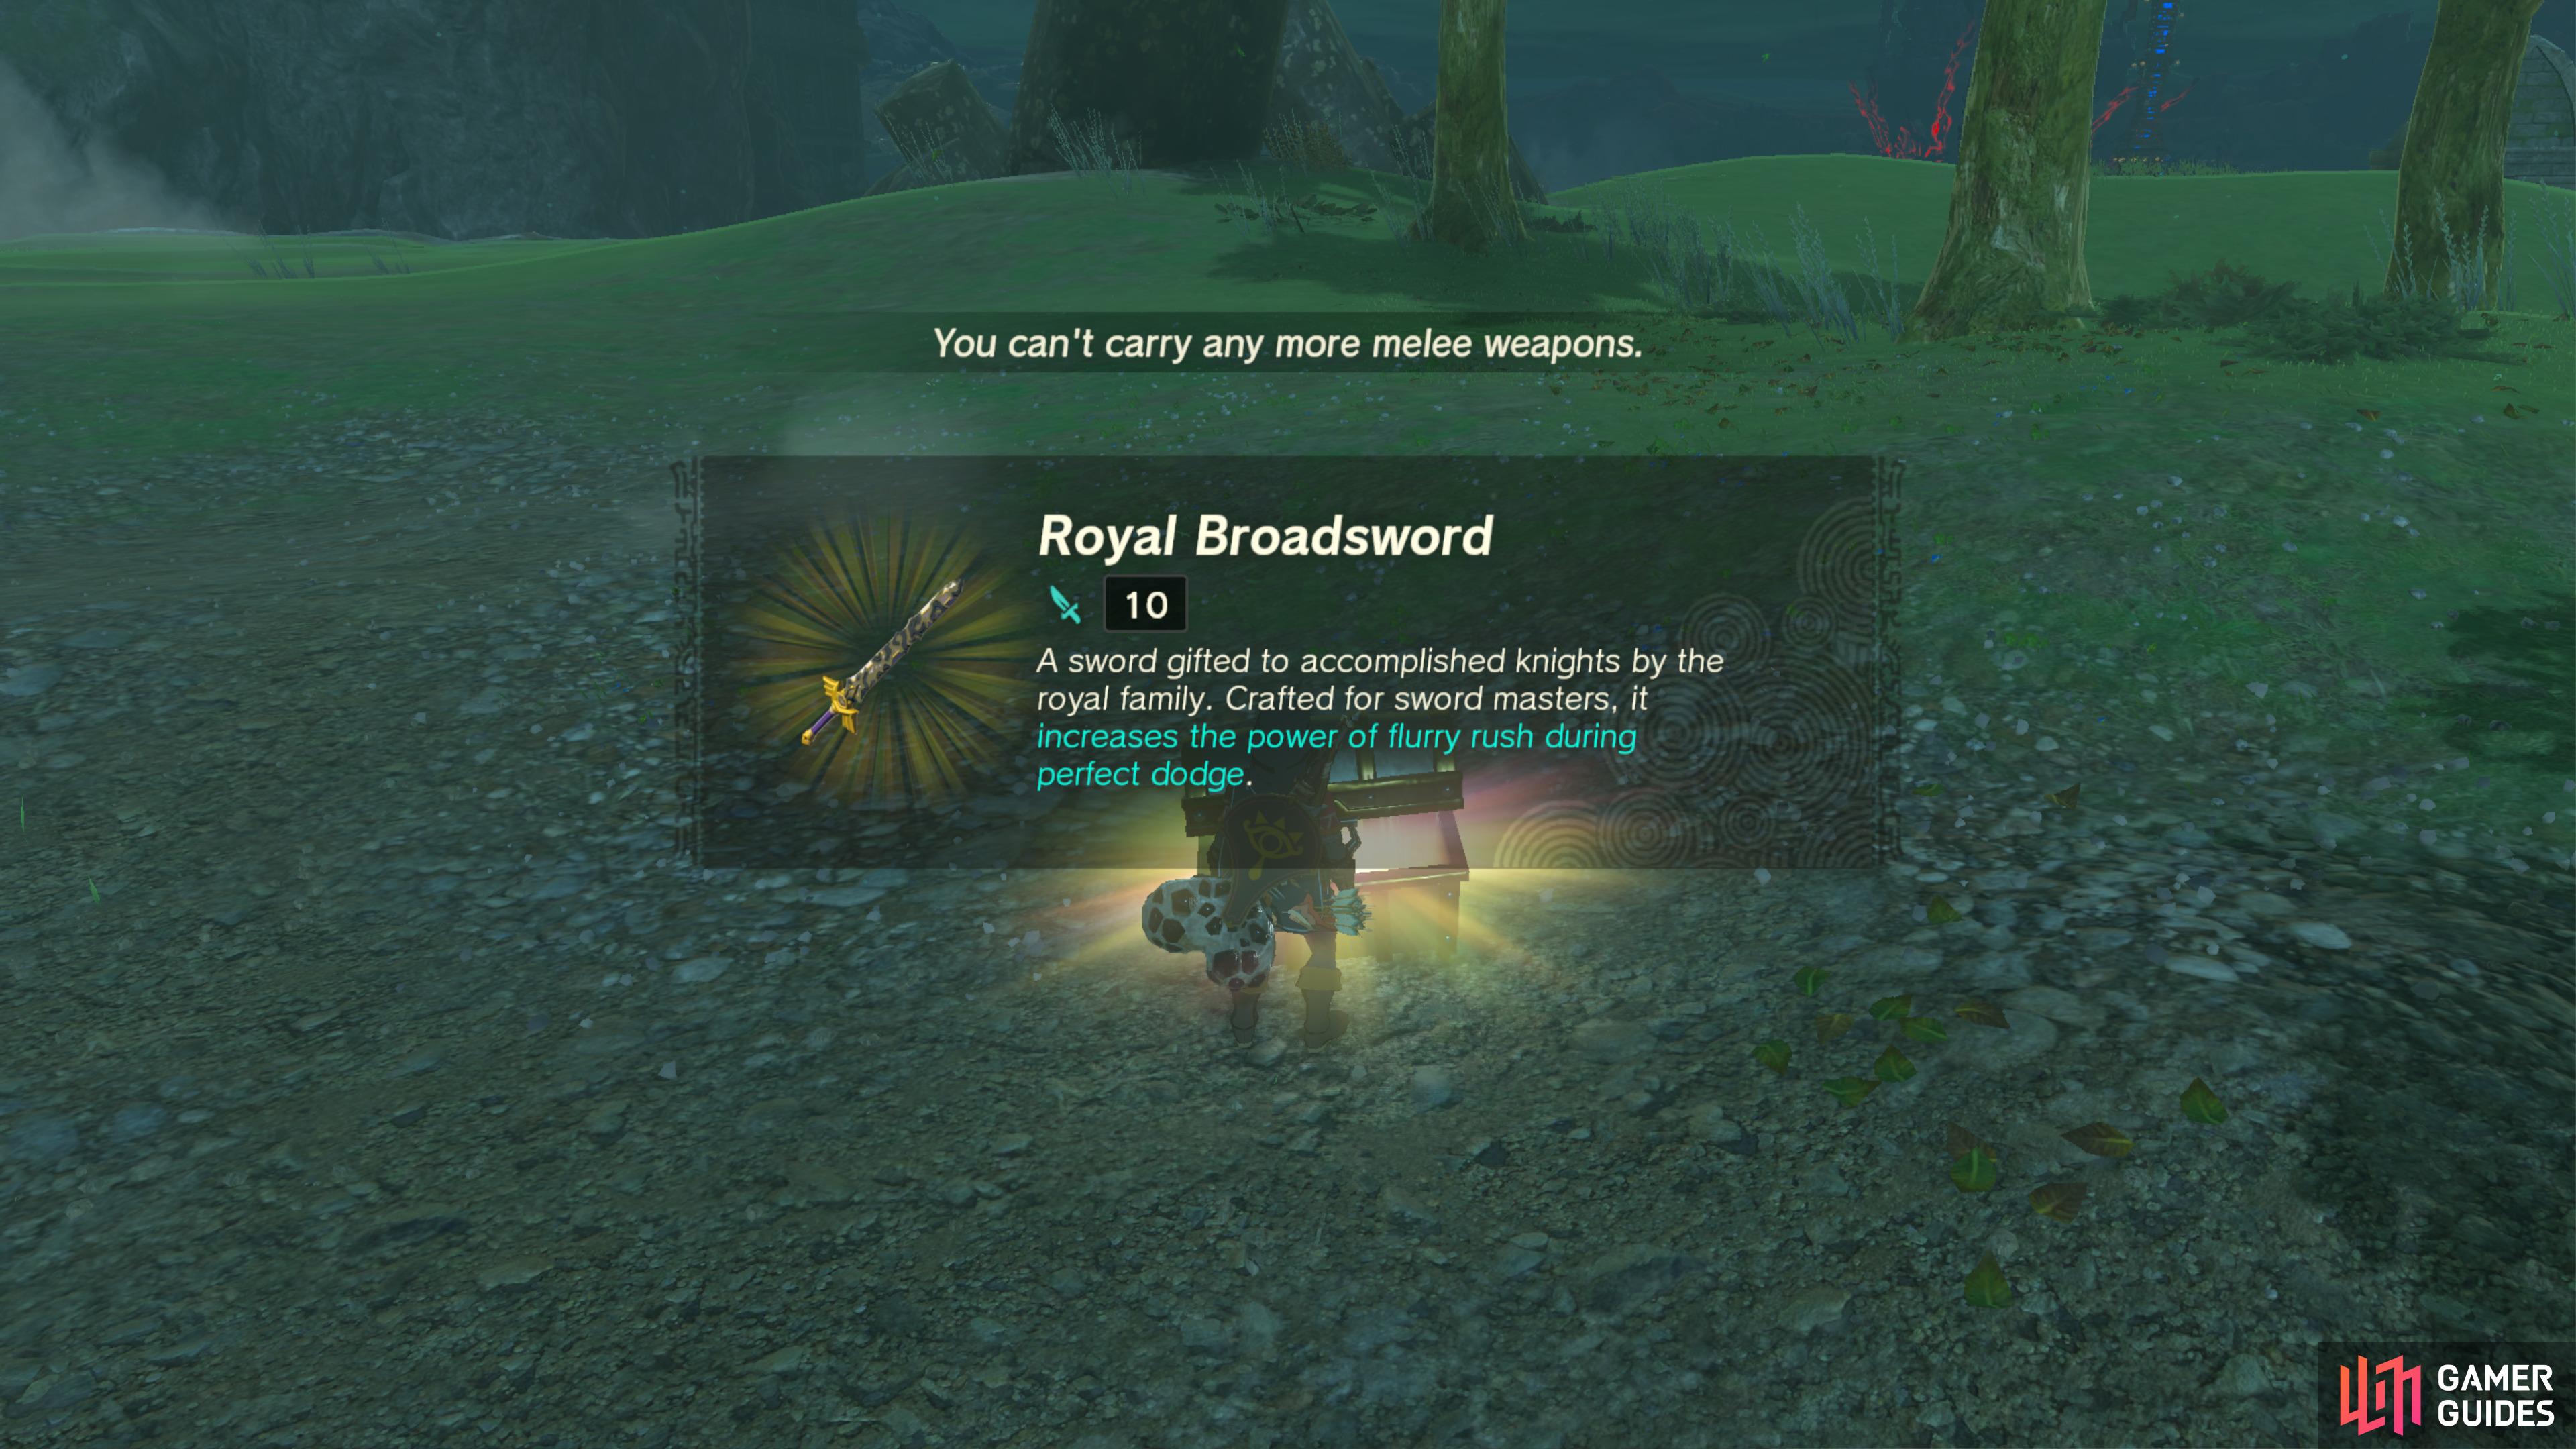
43532. Hyrule Surface Map
Use ![]() Ultrahand to pull this Chest out of the ground.
Ultrahand to pull this Chest out of the ground.
It contains a ![]() Royal Broadsword.
Royal Broadsword.
43653. Hyrule Surface Map
Jump across the platforms to reach this Chest.
It contains three ![]() Bomb Flowers.
Bomb Flowers.
43668. Hyrule Surface Map
In the water. Use ![]() Ultrahand to pull it out.
Ultrahand to pull it out.
- Contains
 Blue Rupee.
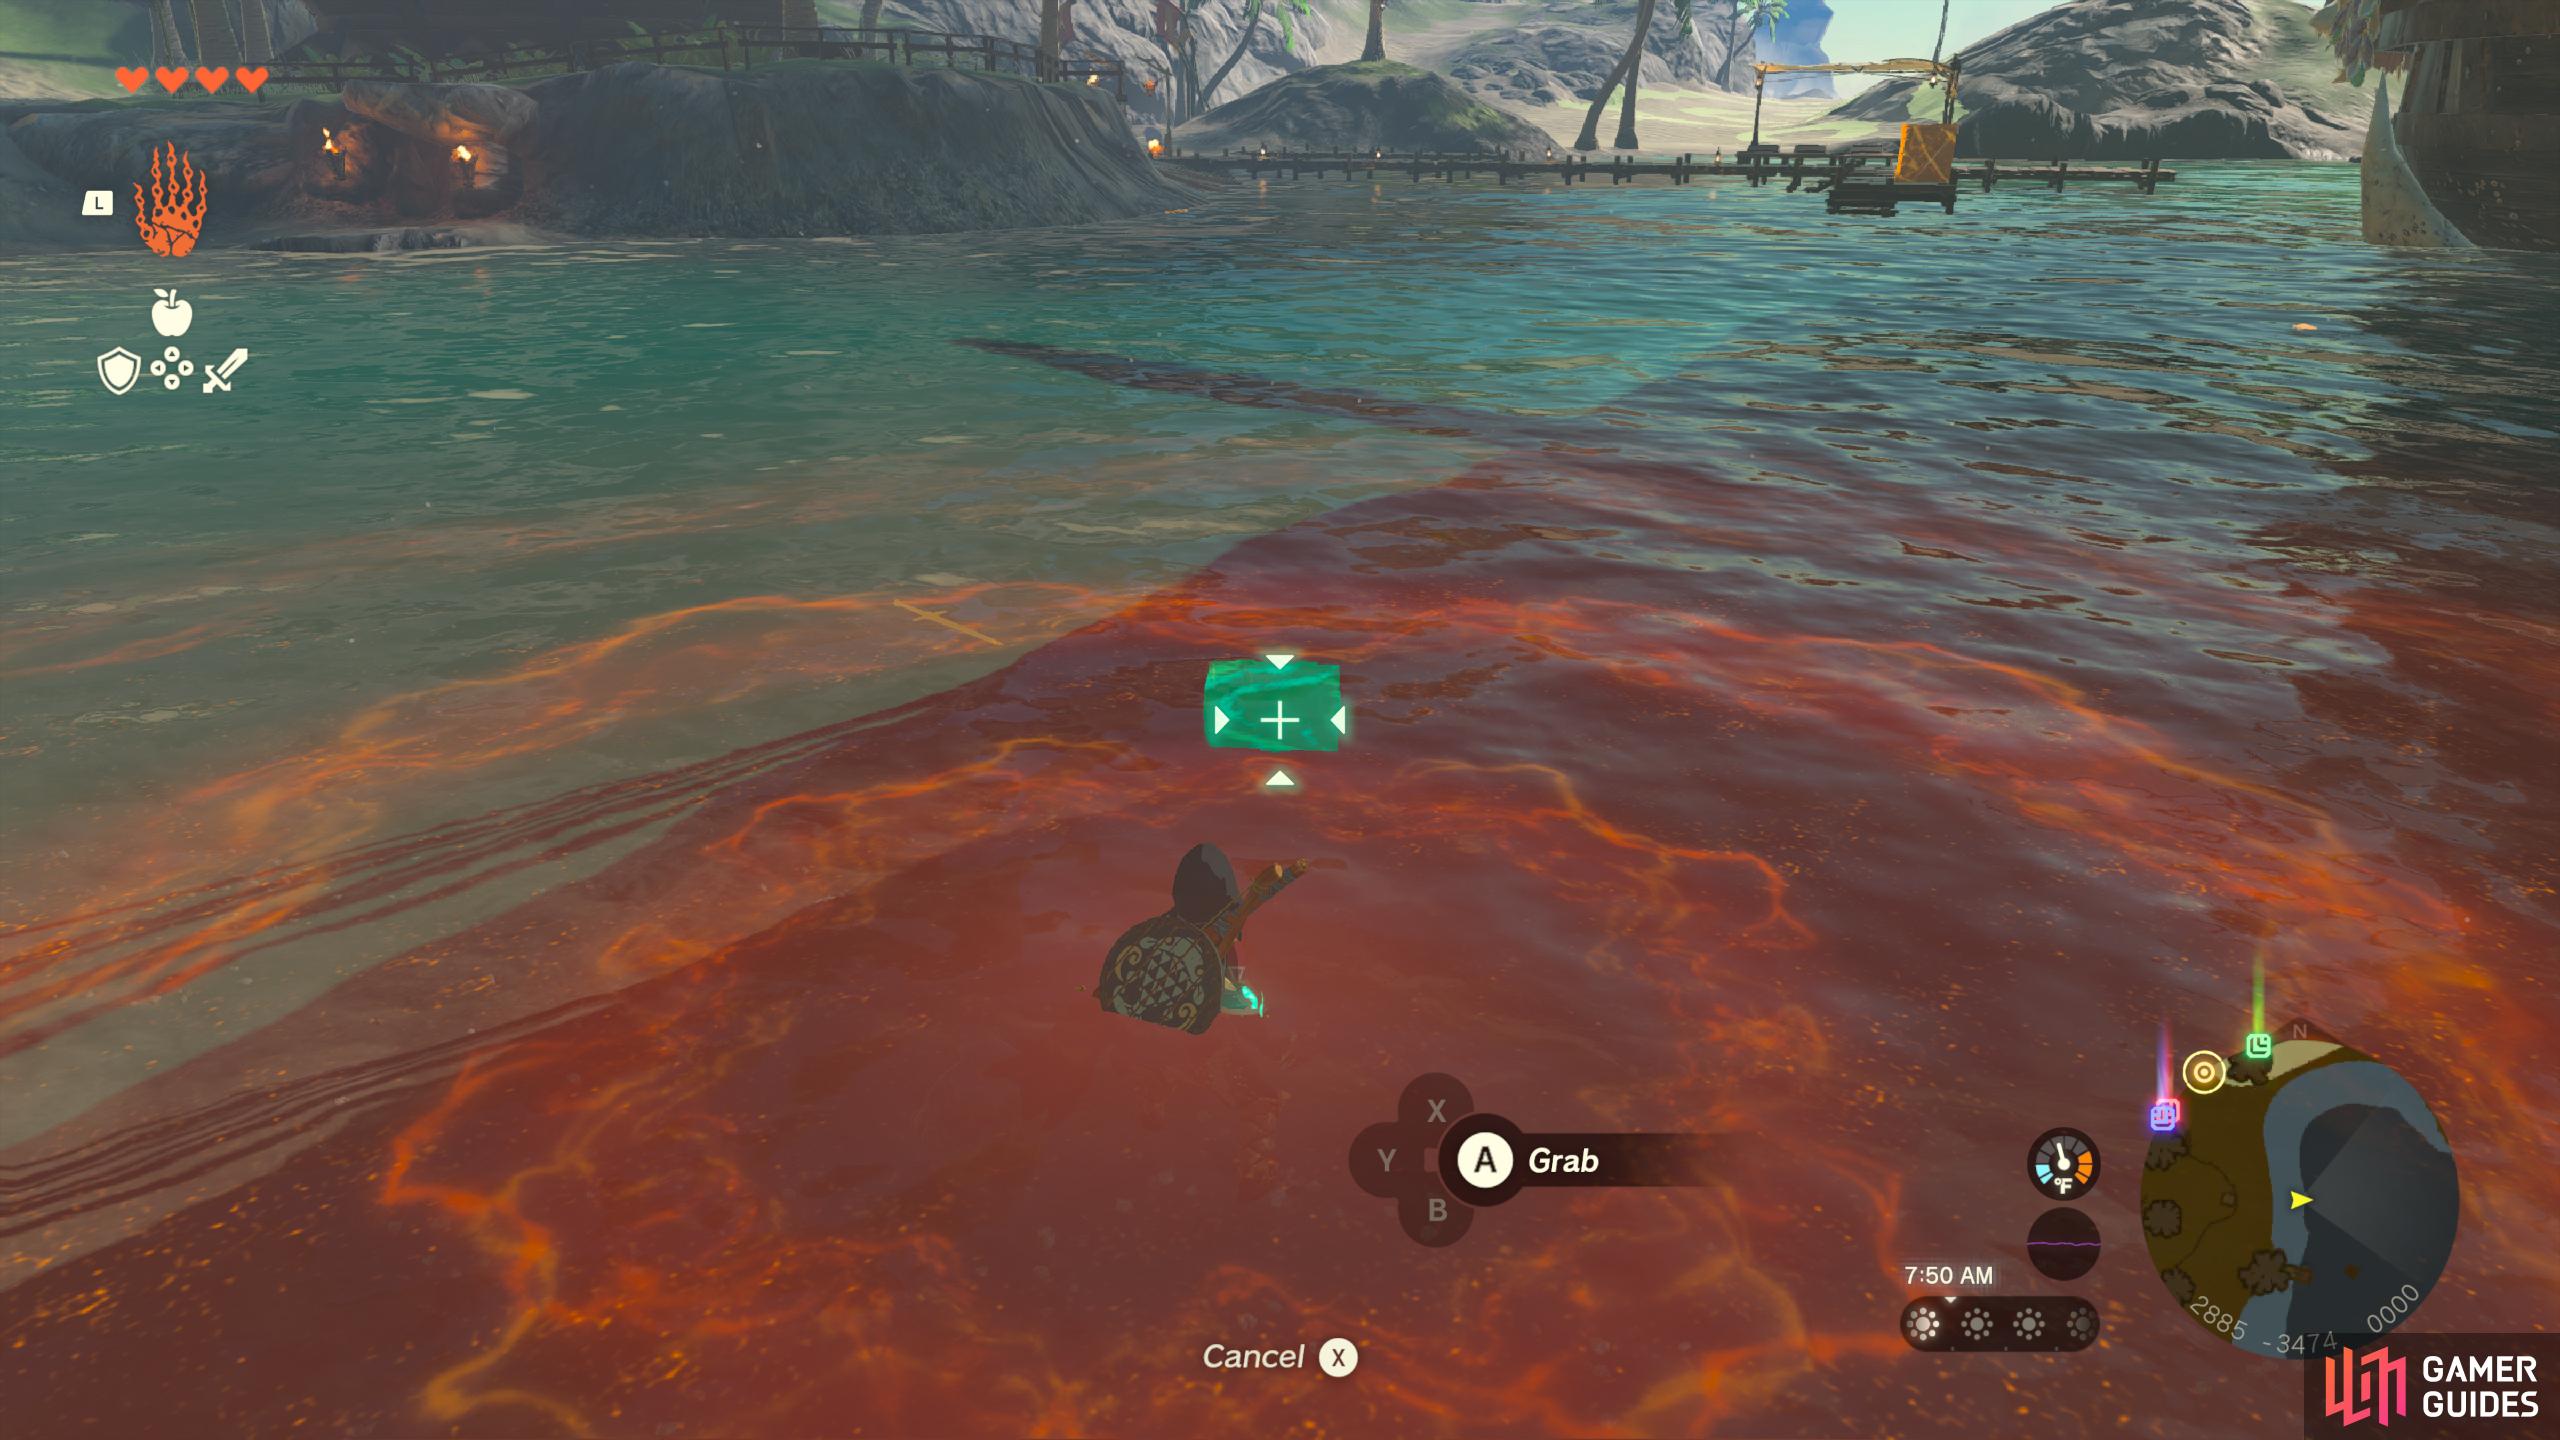
43670. Hyrule Surface Map
In the water. Use ![]() Ultrahand from the pier to grab it.
Ultrahand from the pier to grab it.
- Contains Blue Rupee.
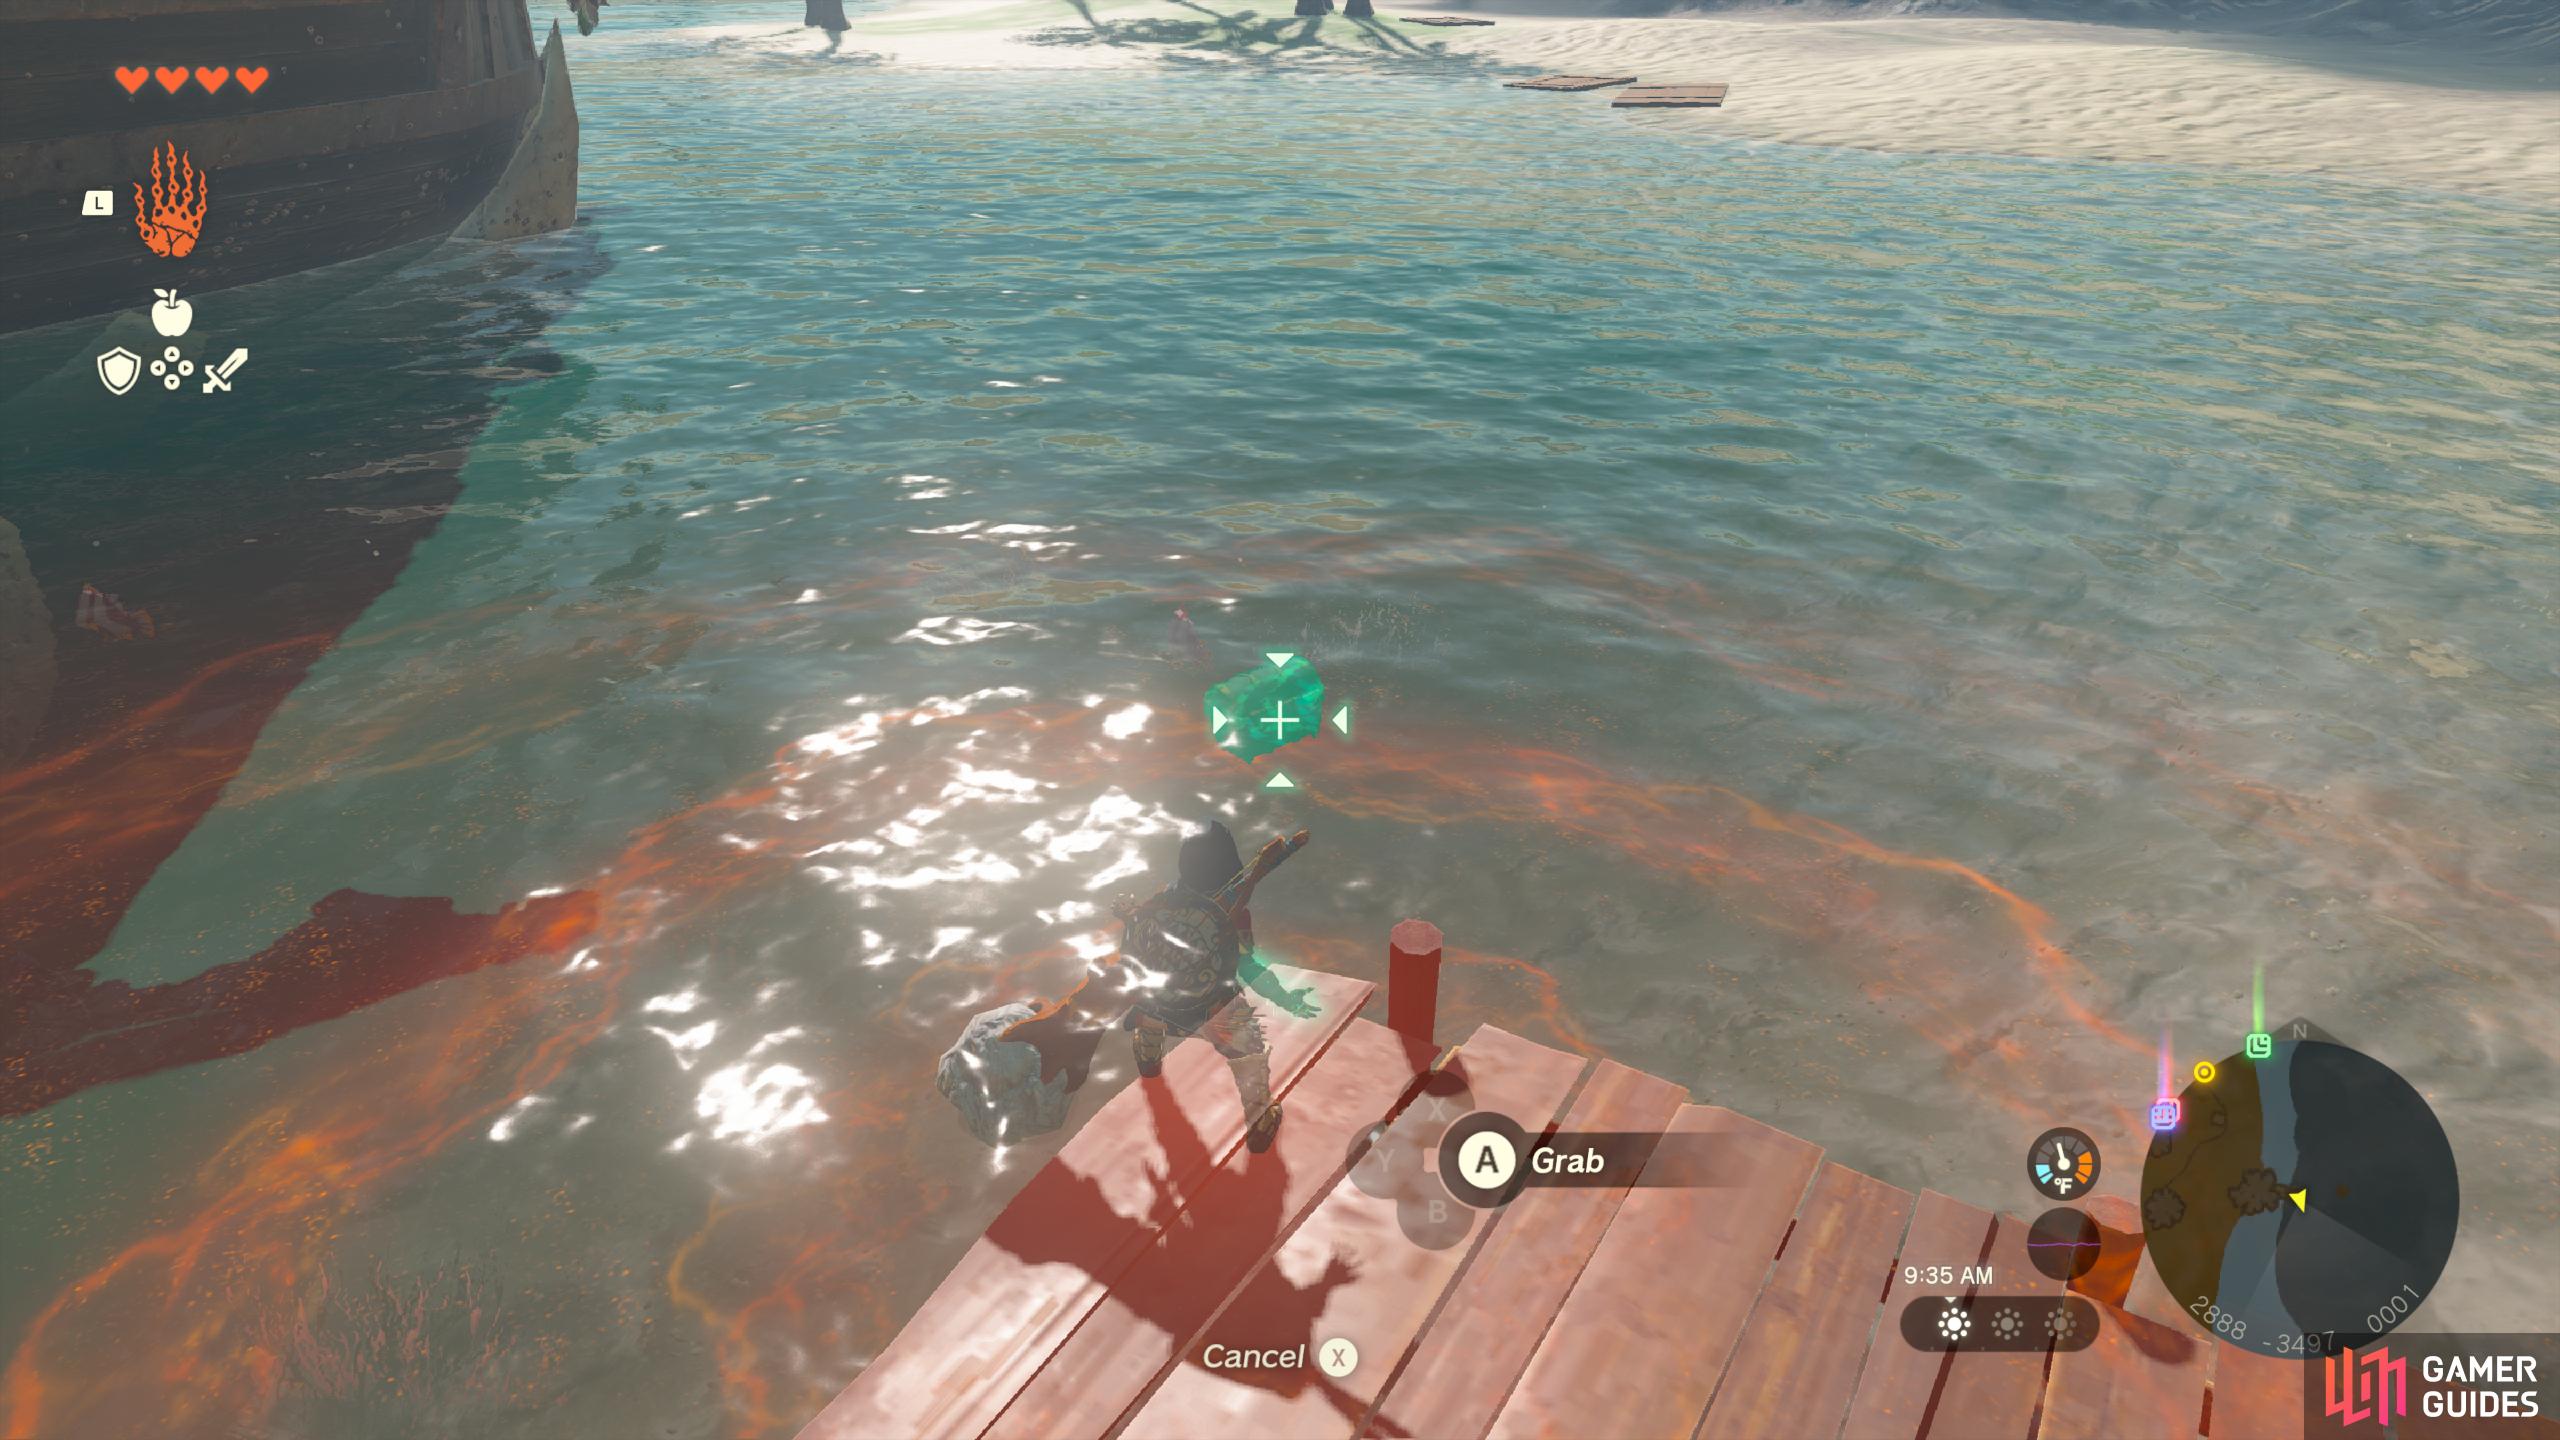
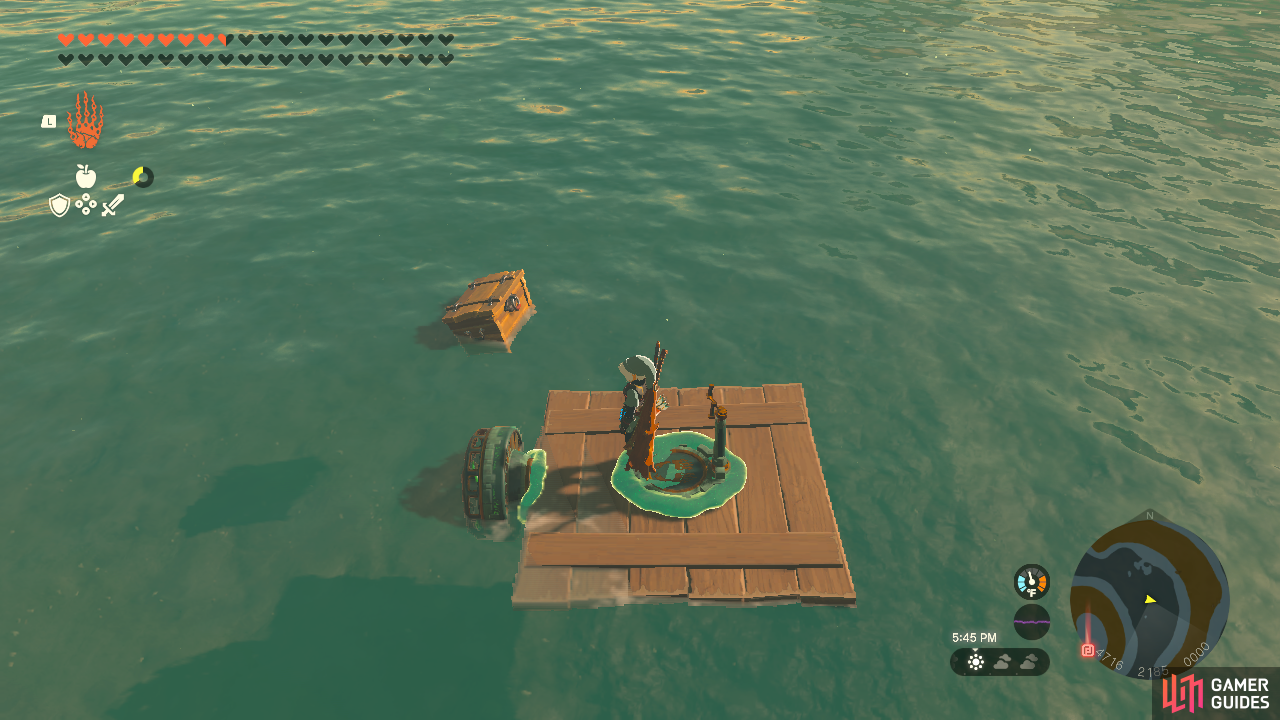
43673. Hyrule Surface Map
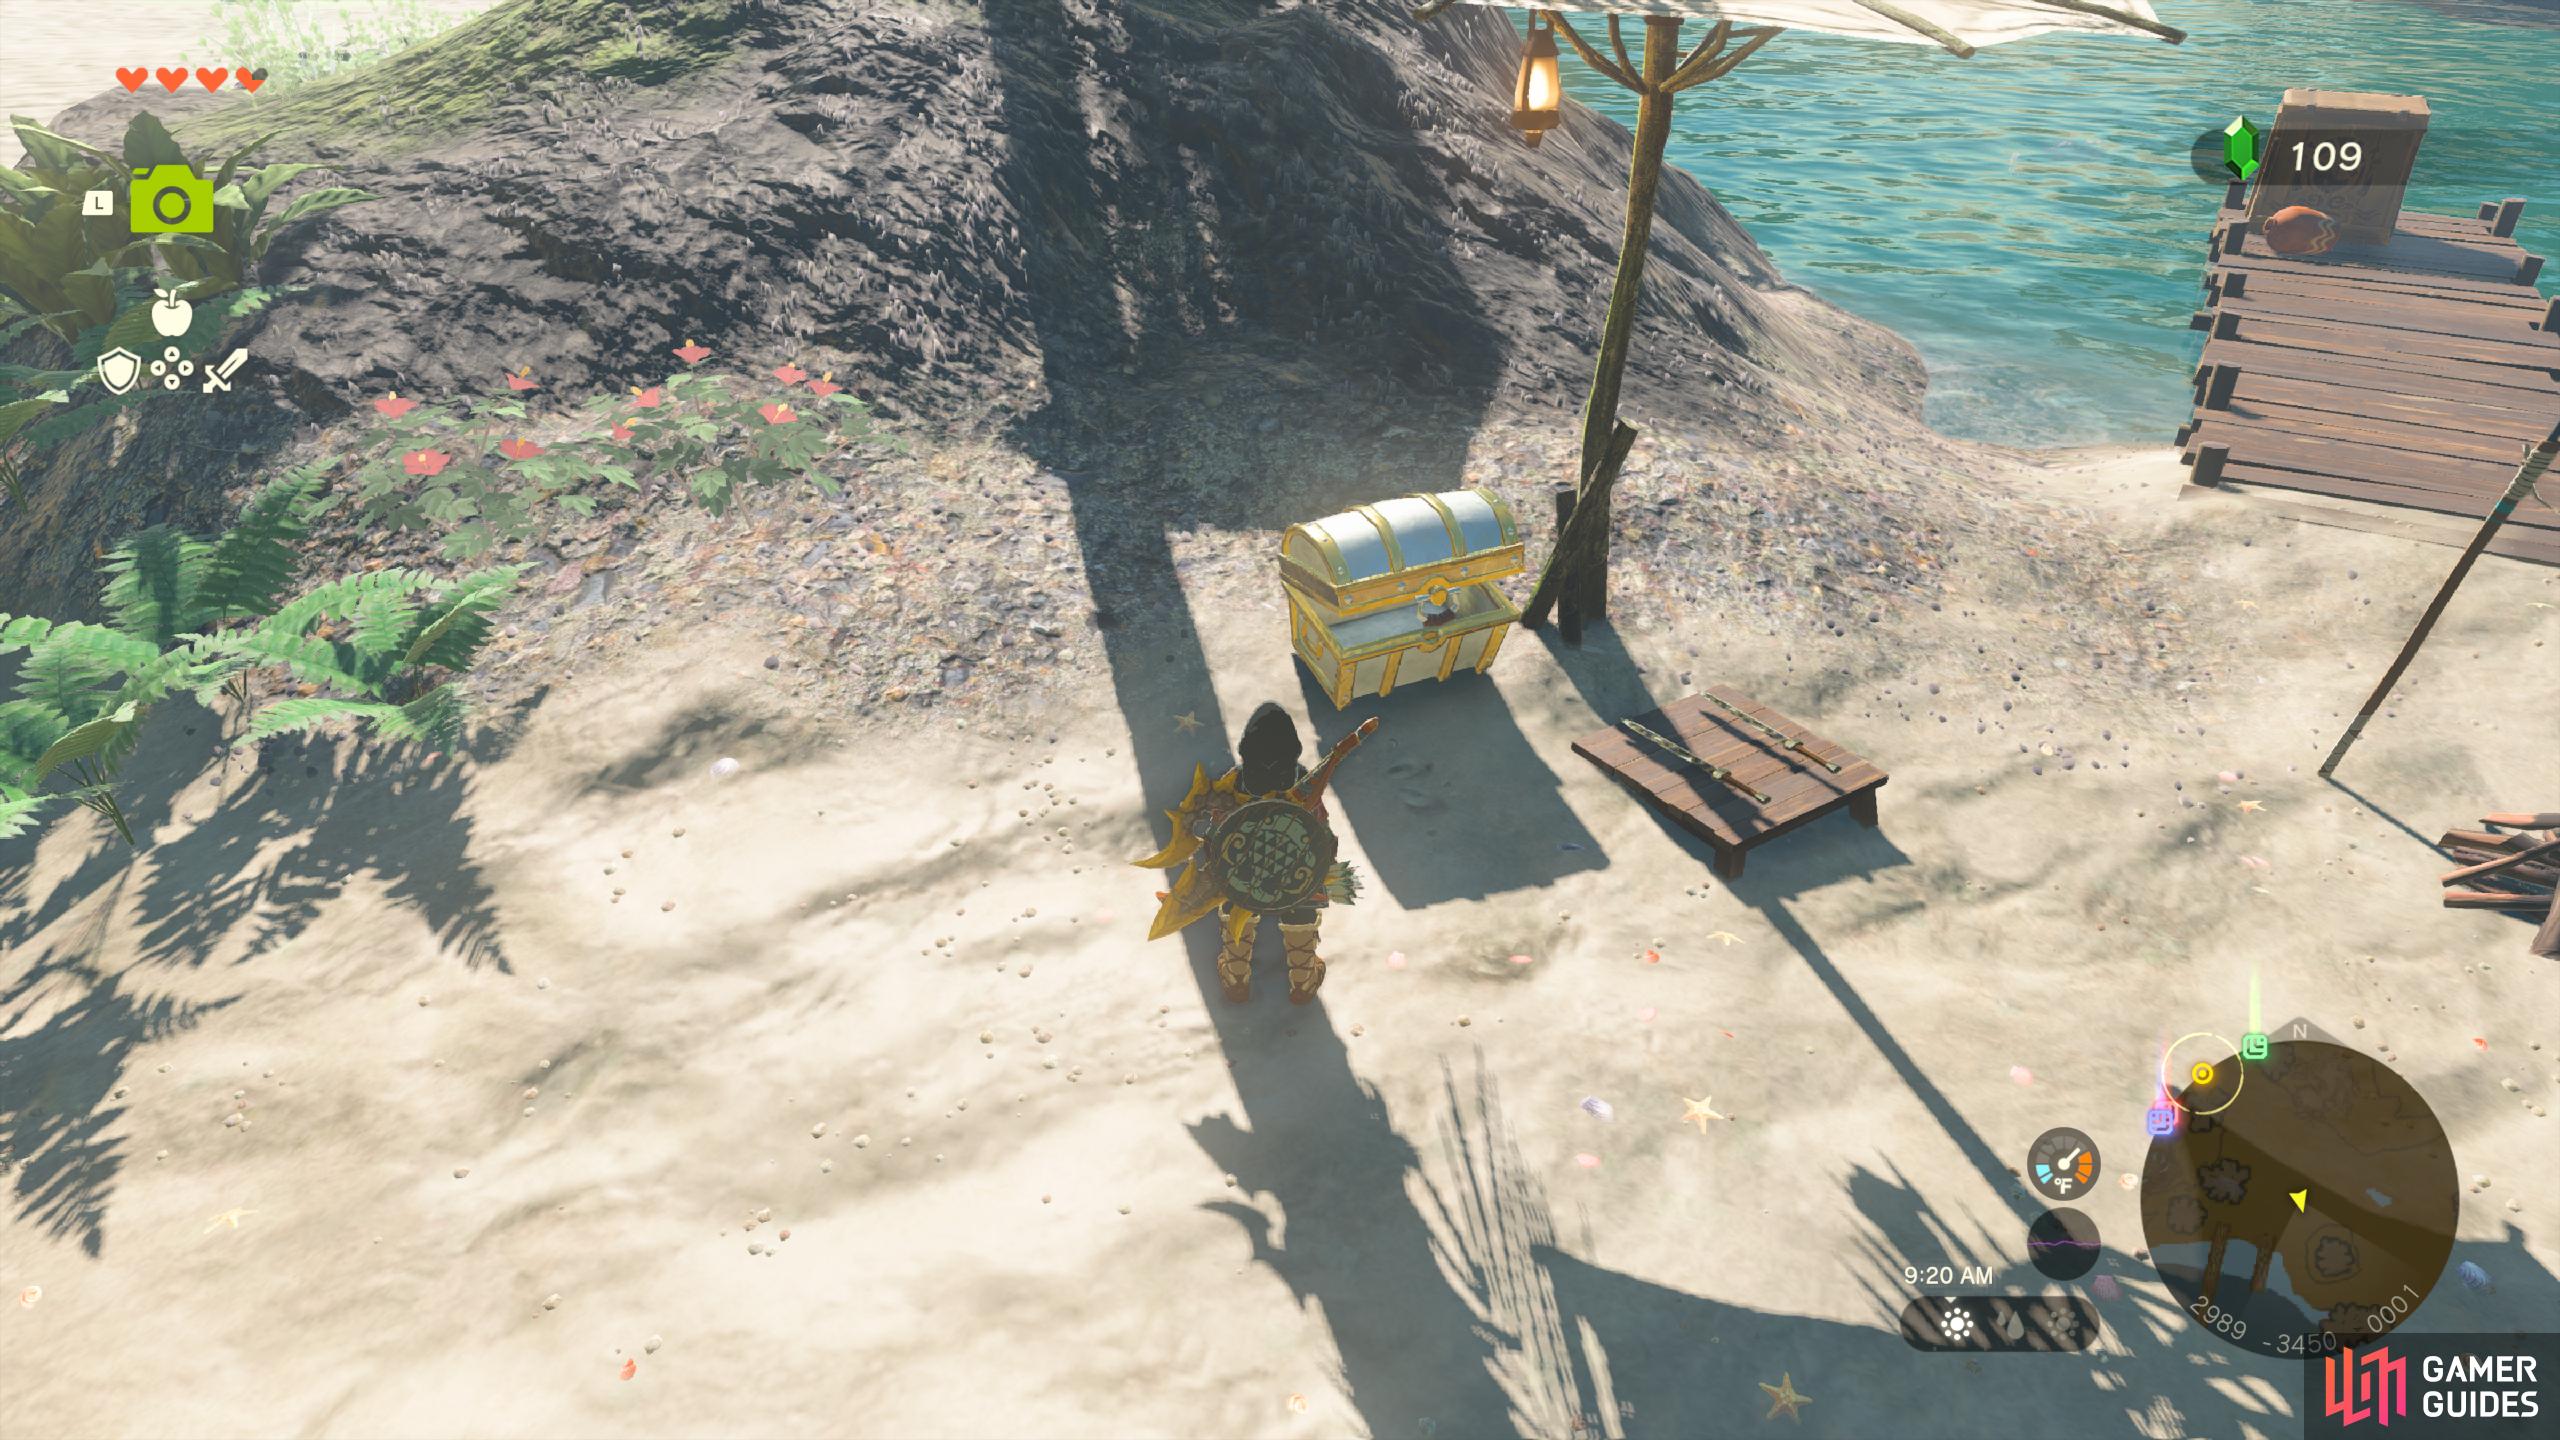
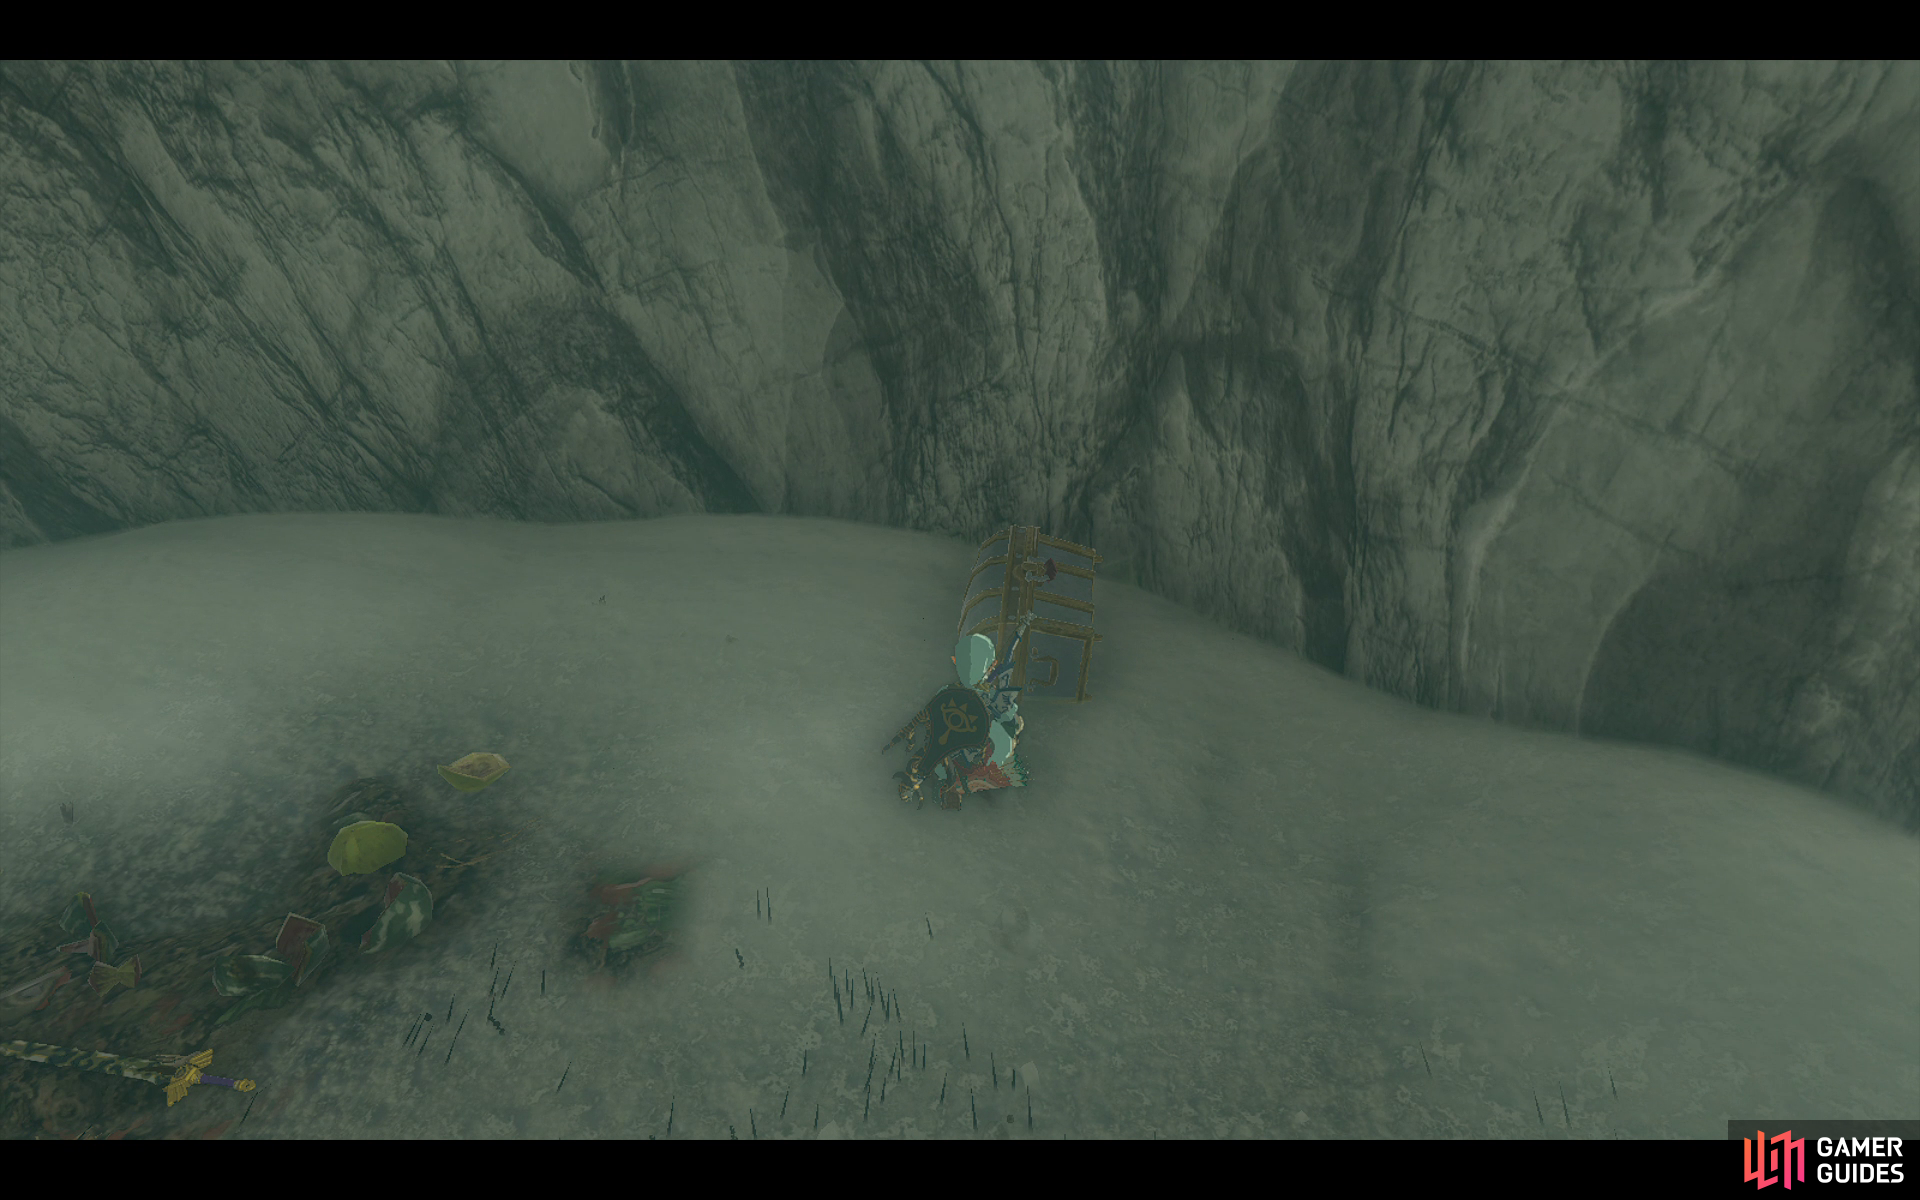
Under the ship, in the water. Place one of the numerous wooden boards on the beach near it, and use ![]() Ultrahand to grab it.
Ultrahand to grab it.
- Contains
 Island Lobster Shirt.
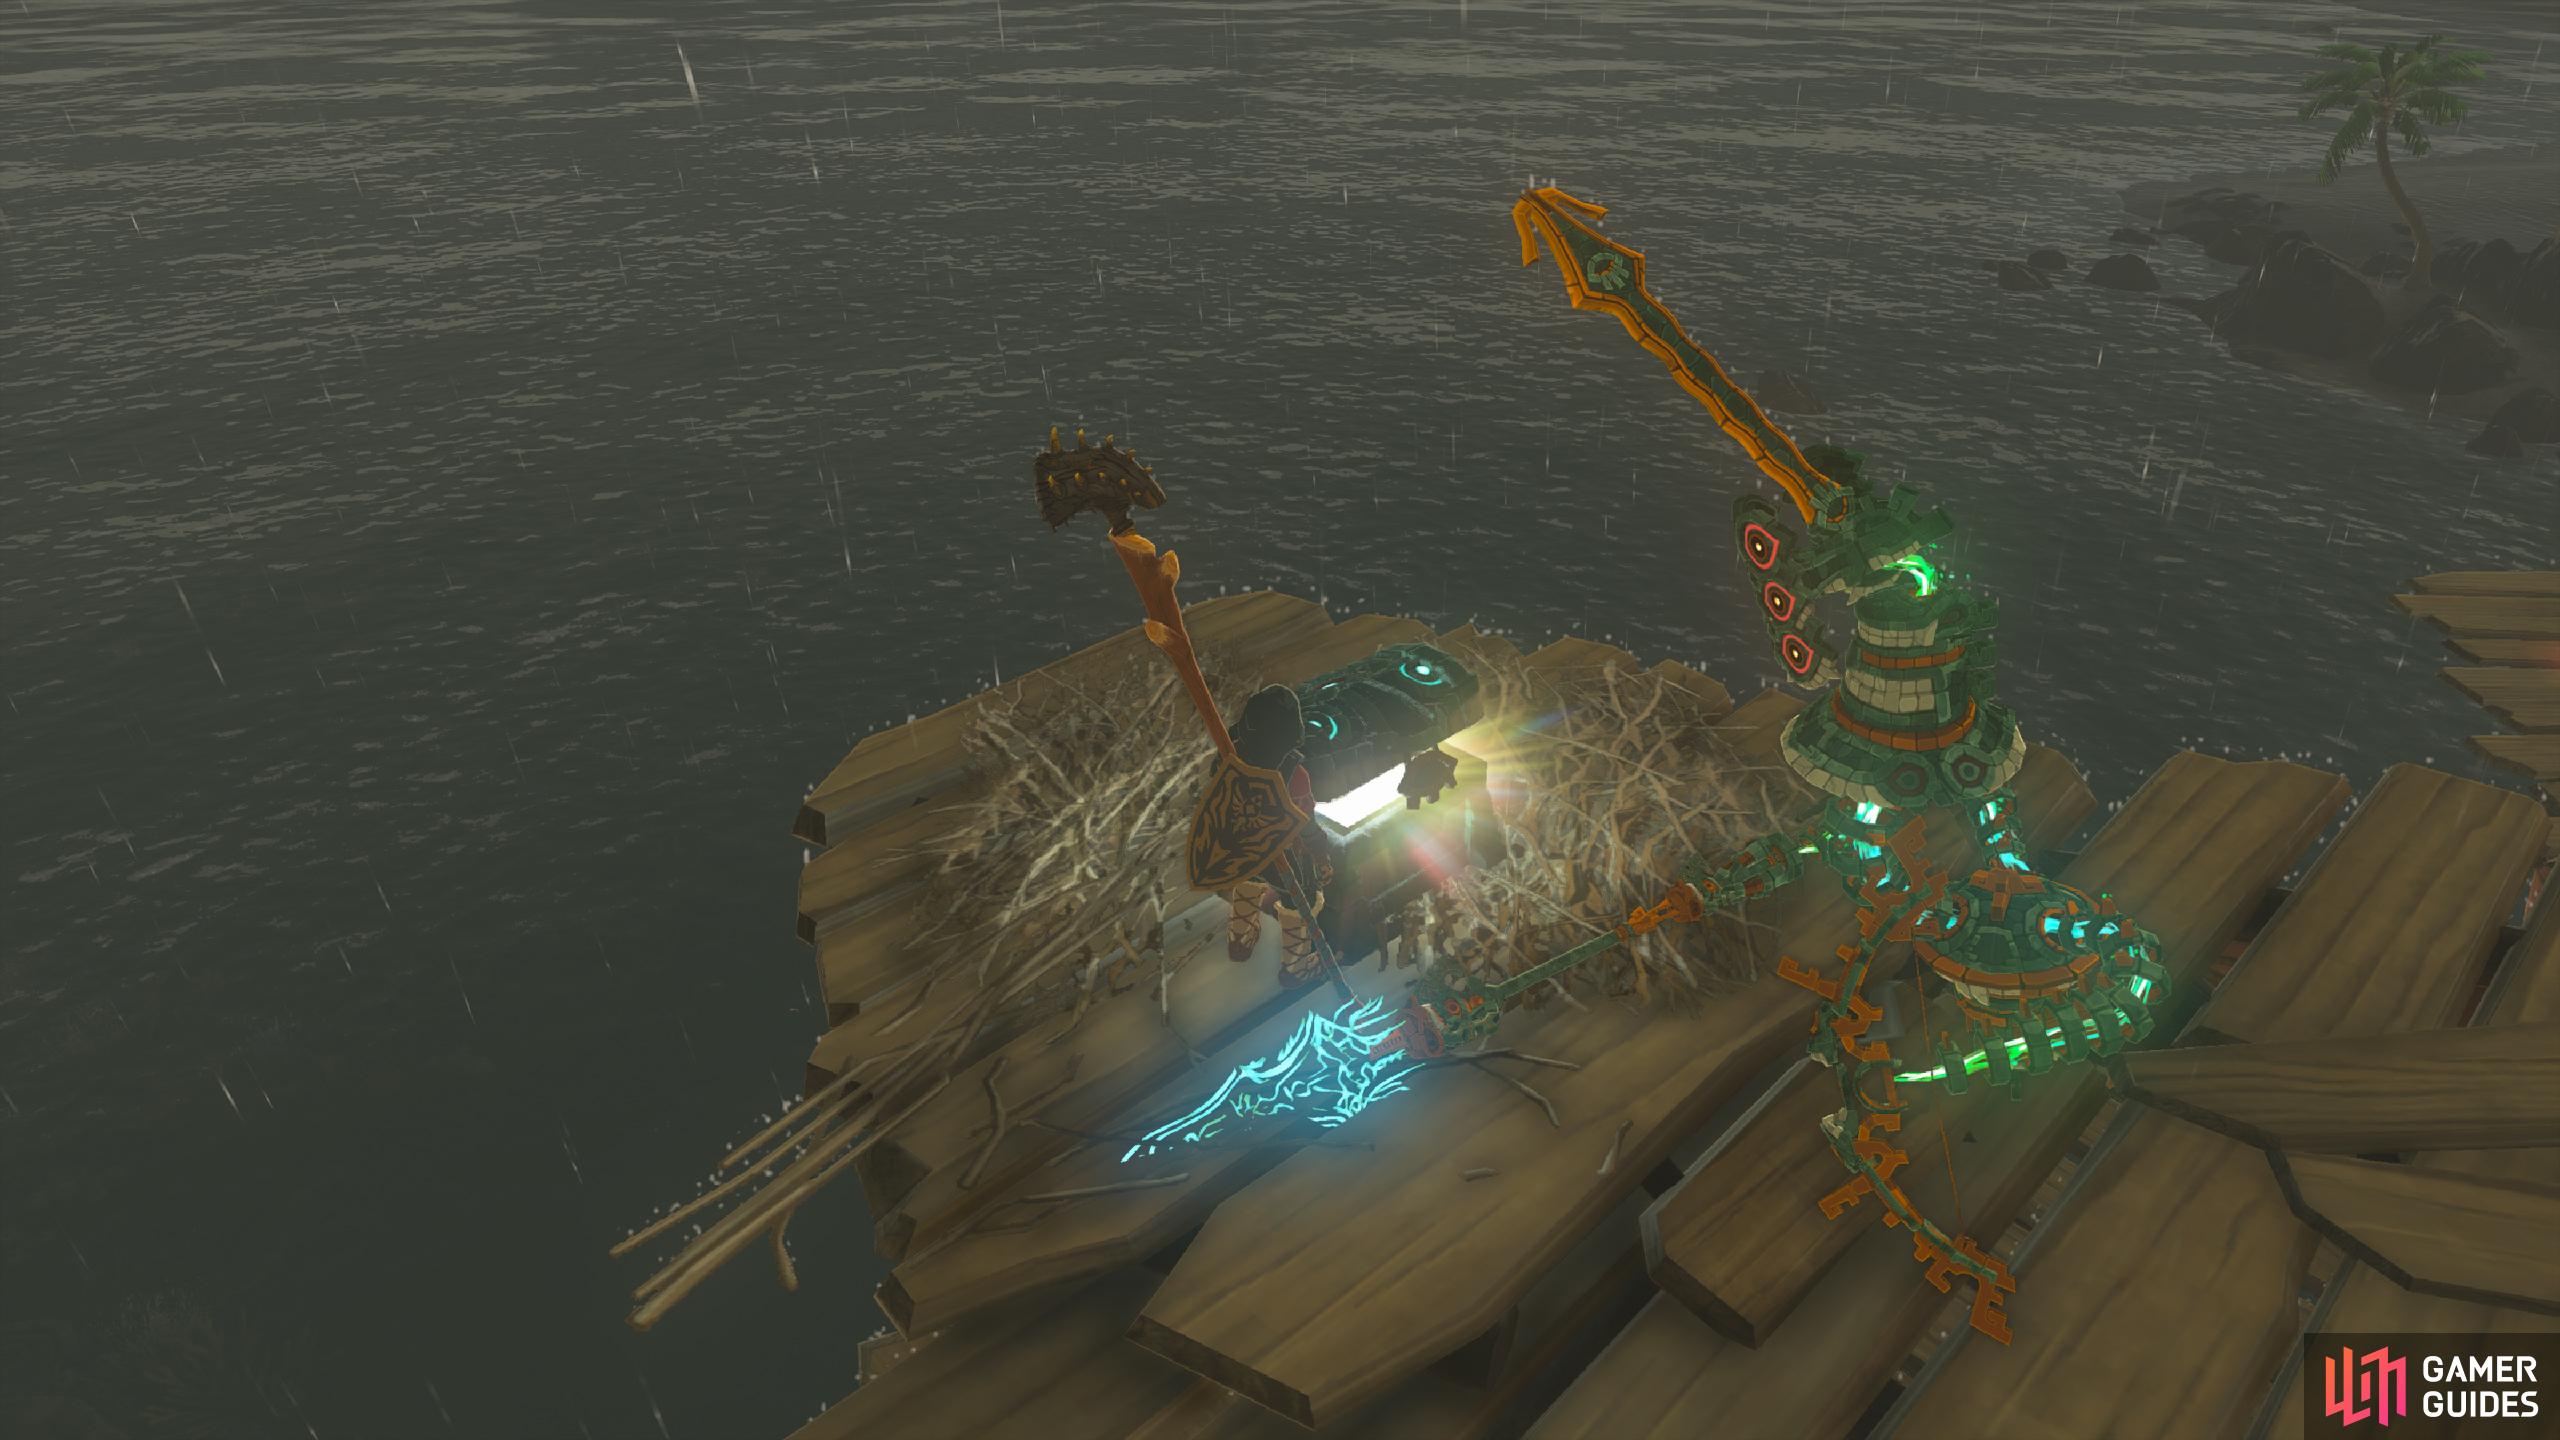
43791. Hyrule Surface Map
Use ![]() Ultrahand to pull this Chest out of the ground.
Ultrahand to pull this Chest out of the ground.
It contains an ![]() Ancient Blade.
Ancient Blade.
43800. Hyrule Surface Map
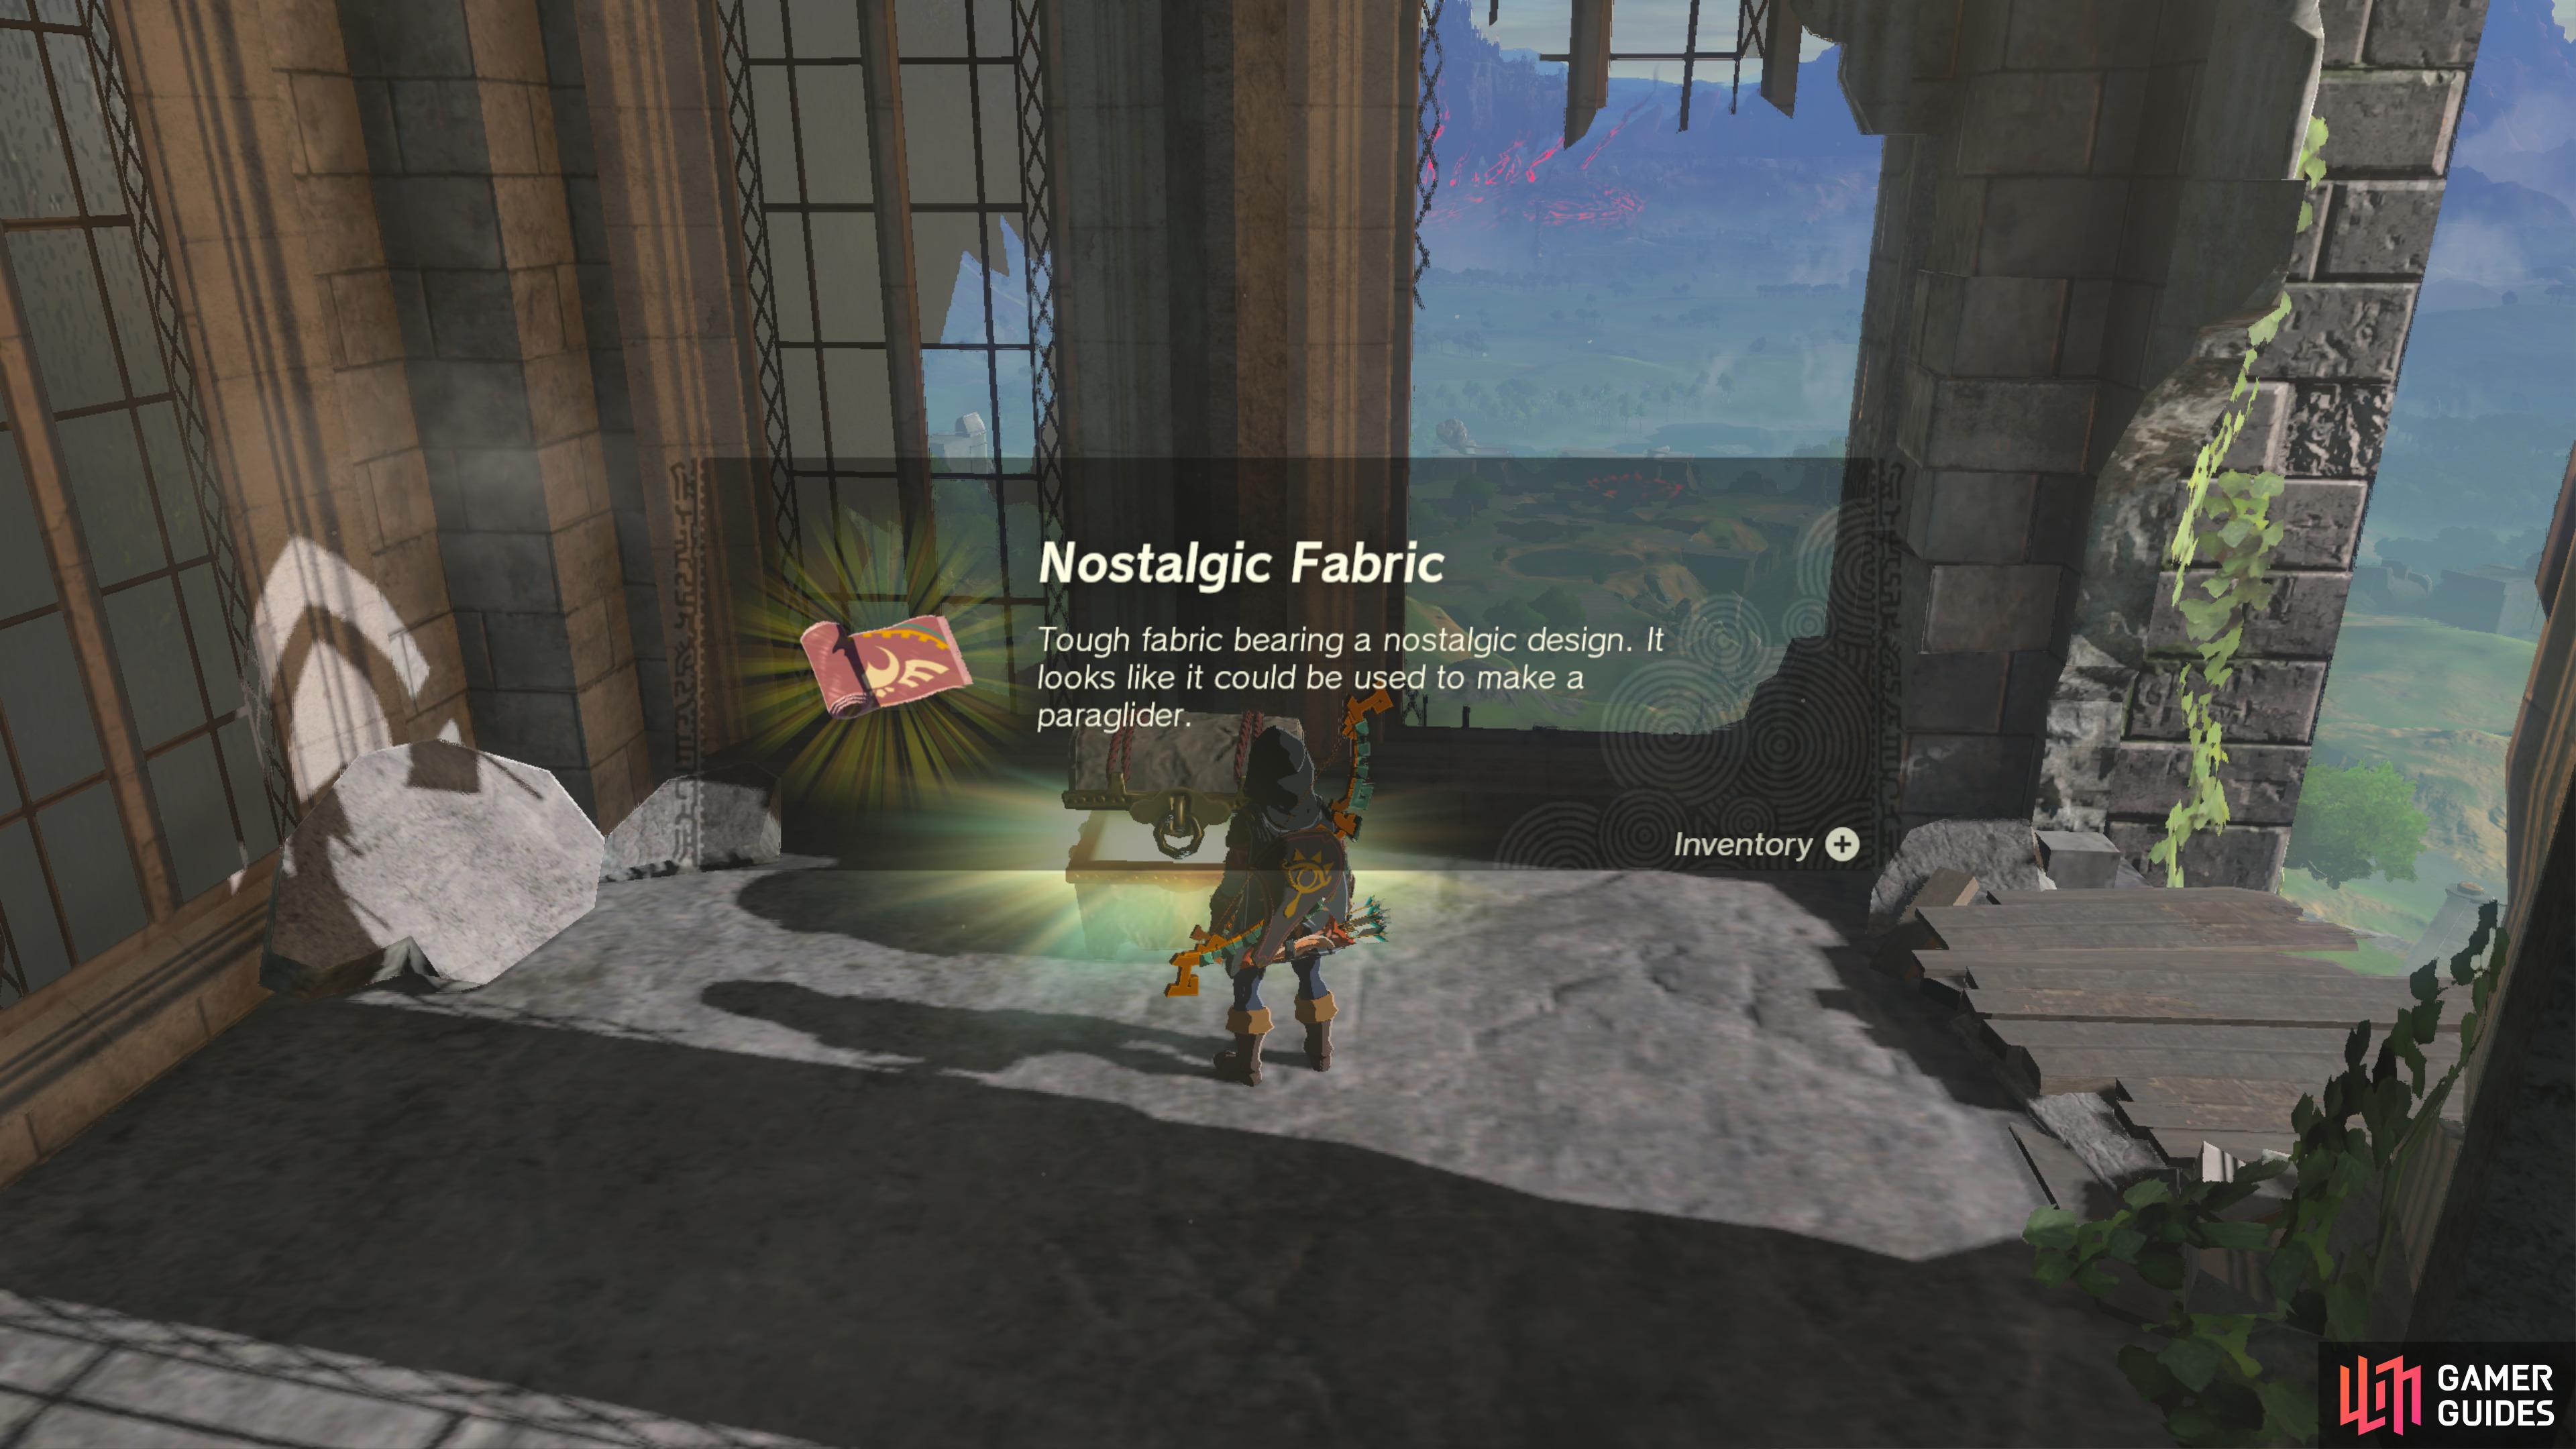
Keep using ![]() Ascend here to reach a room with the Chest.
Ascend here to reach a room with the Chest.
It contains ![]() Nostalgic Fabric.
Nostalgic Fabric.
43805. Hyrule Depths Map
A chest will be your reward for completing part 2 of the quest;.
43826. Hyrule Surface Map
This will only appear here after completing the “![]() Lurelin Village Restoration Project” Side Adventure.
Lurelin Village Restoration Project” Side Adventure.
- Contains
 Red Rupee.
44165. Hyrule Surface Map
There is a Chest on the platform with the enemies.
It contains Five ![]() Arrows.
Arrows.
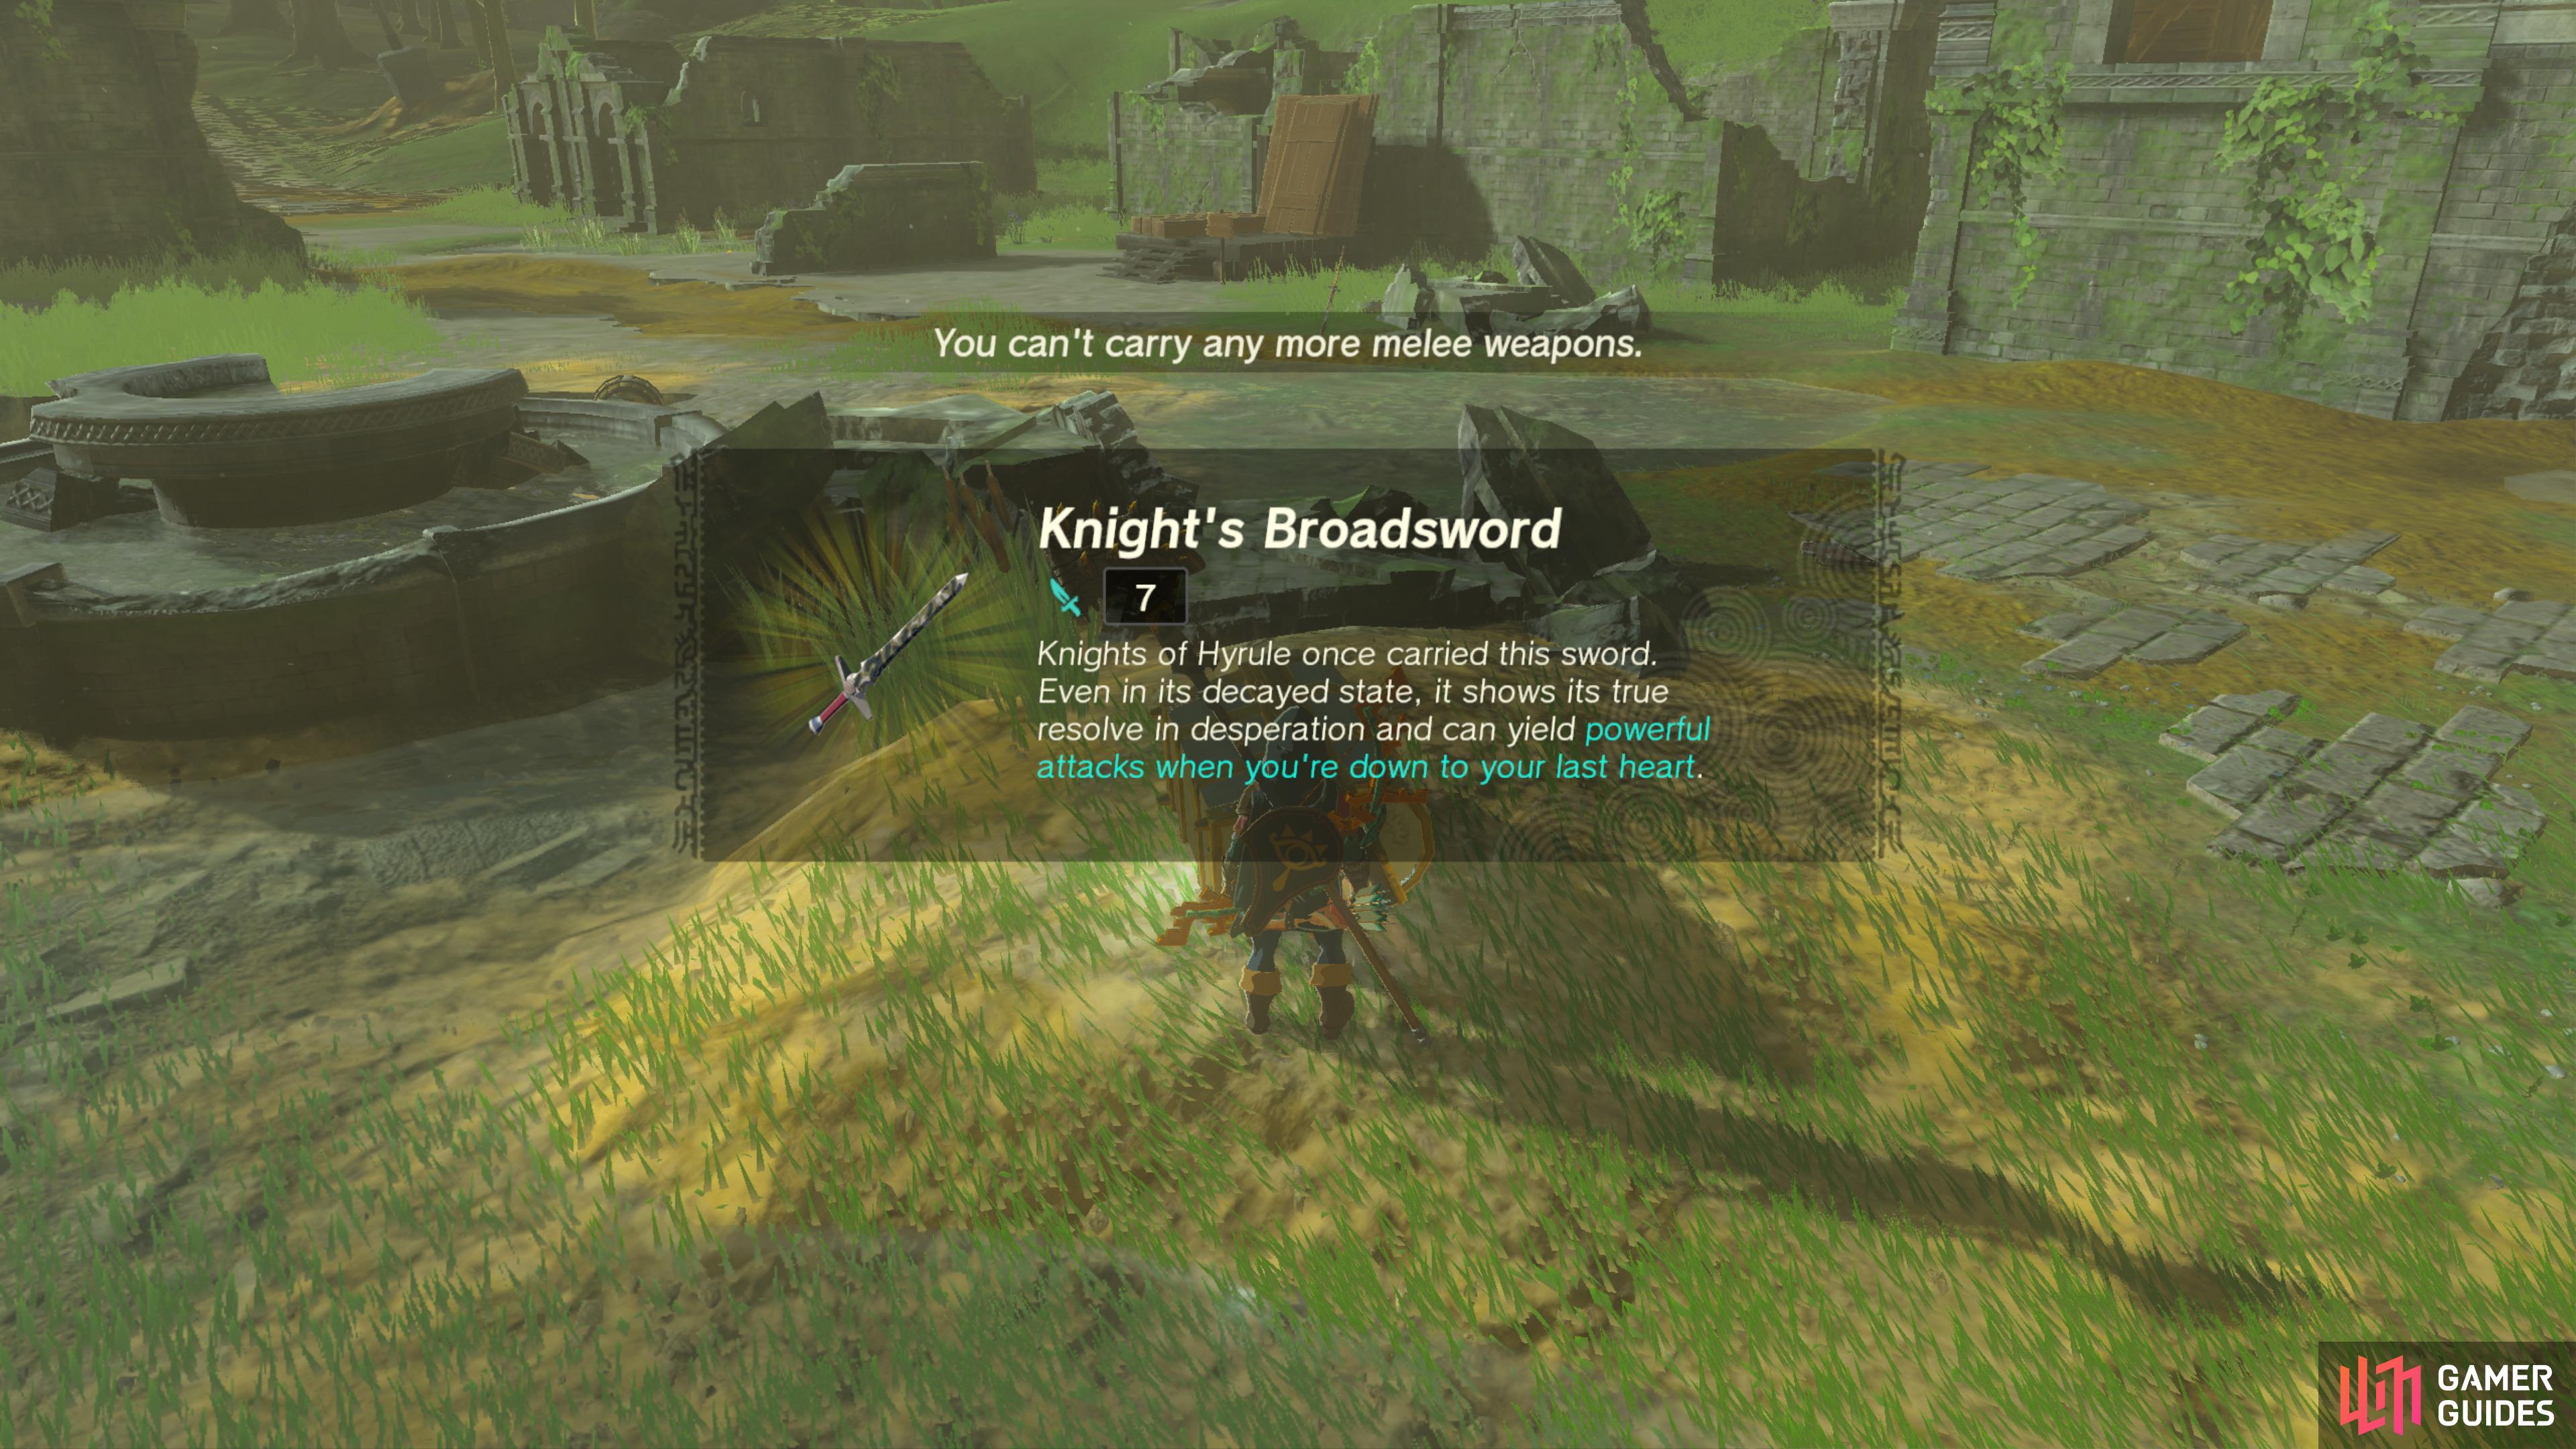
44166. Hyrule Surface Map
Use ![]() Ultrahand to pull this Chest out of the ground.
Ultrahand to pull this Chest out of the ground.
It contains a ![]() Knight’s Broadsword.
Knight’s Broadsword.
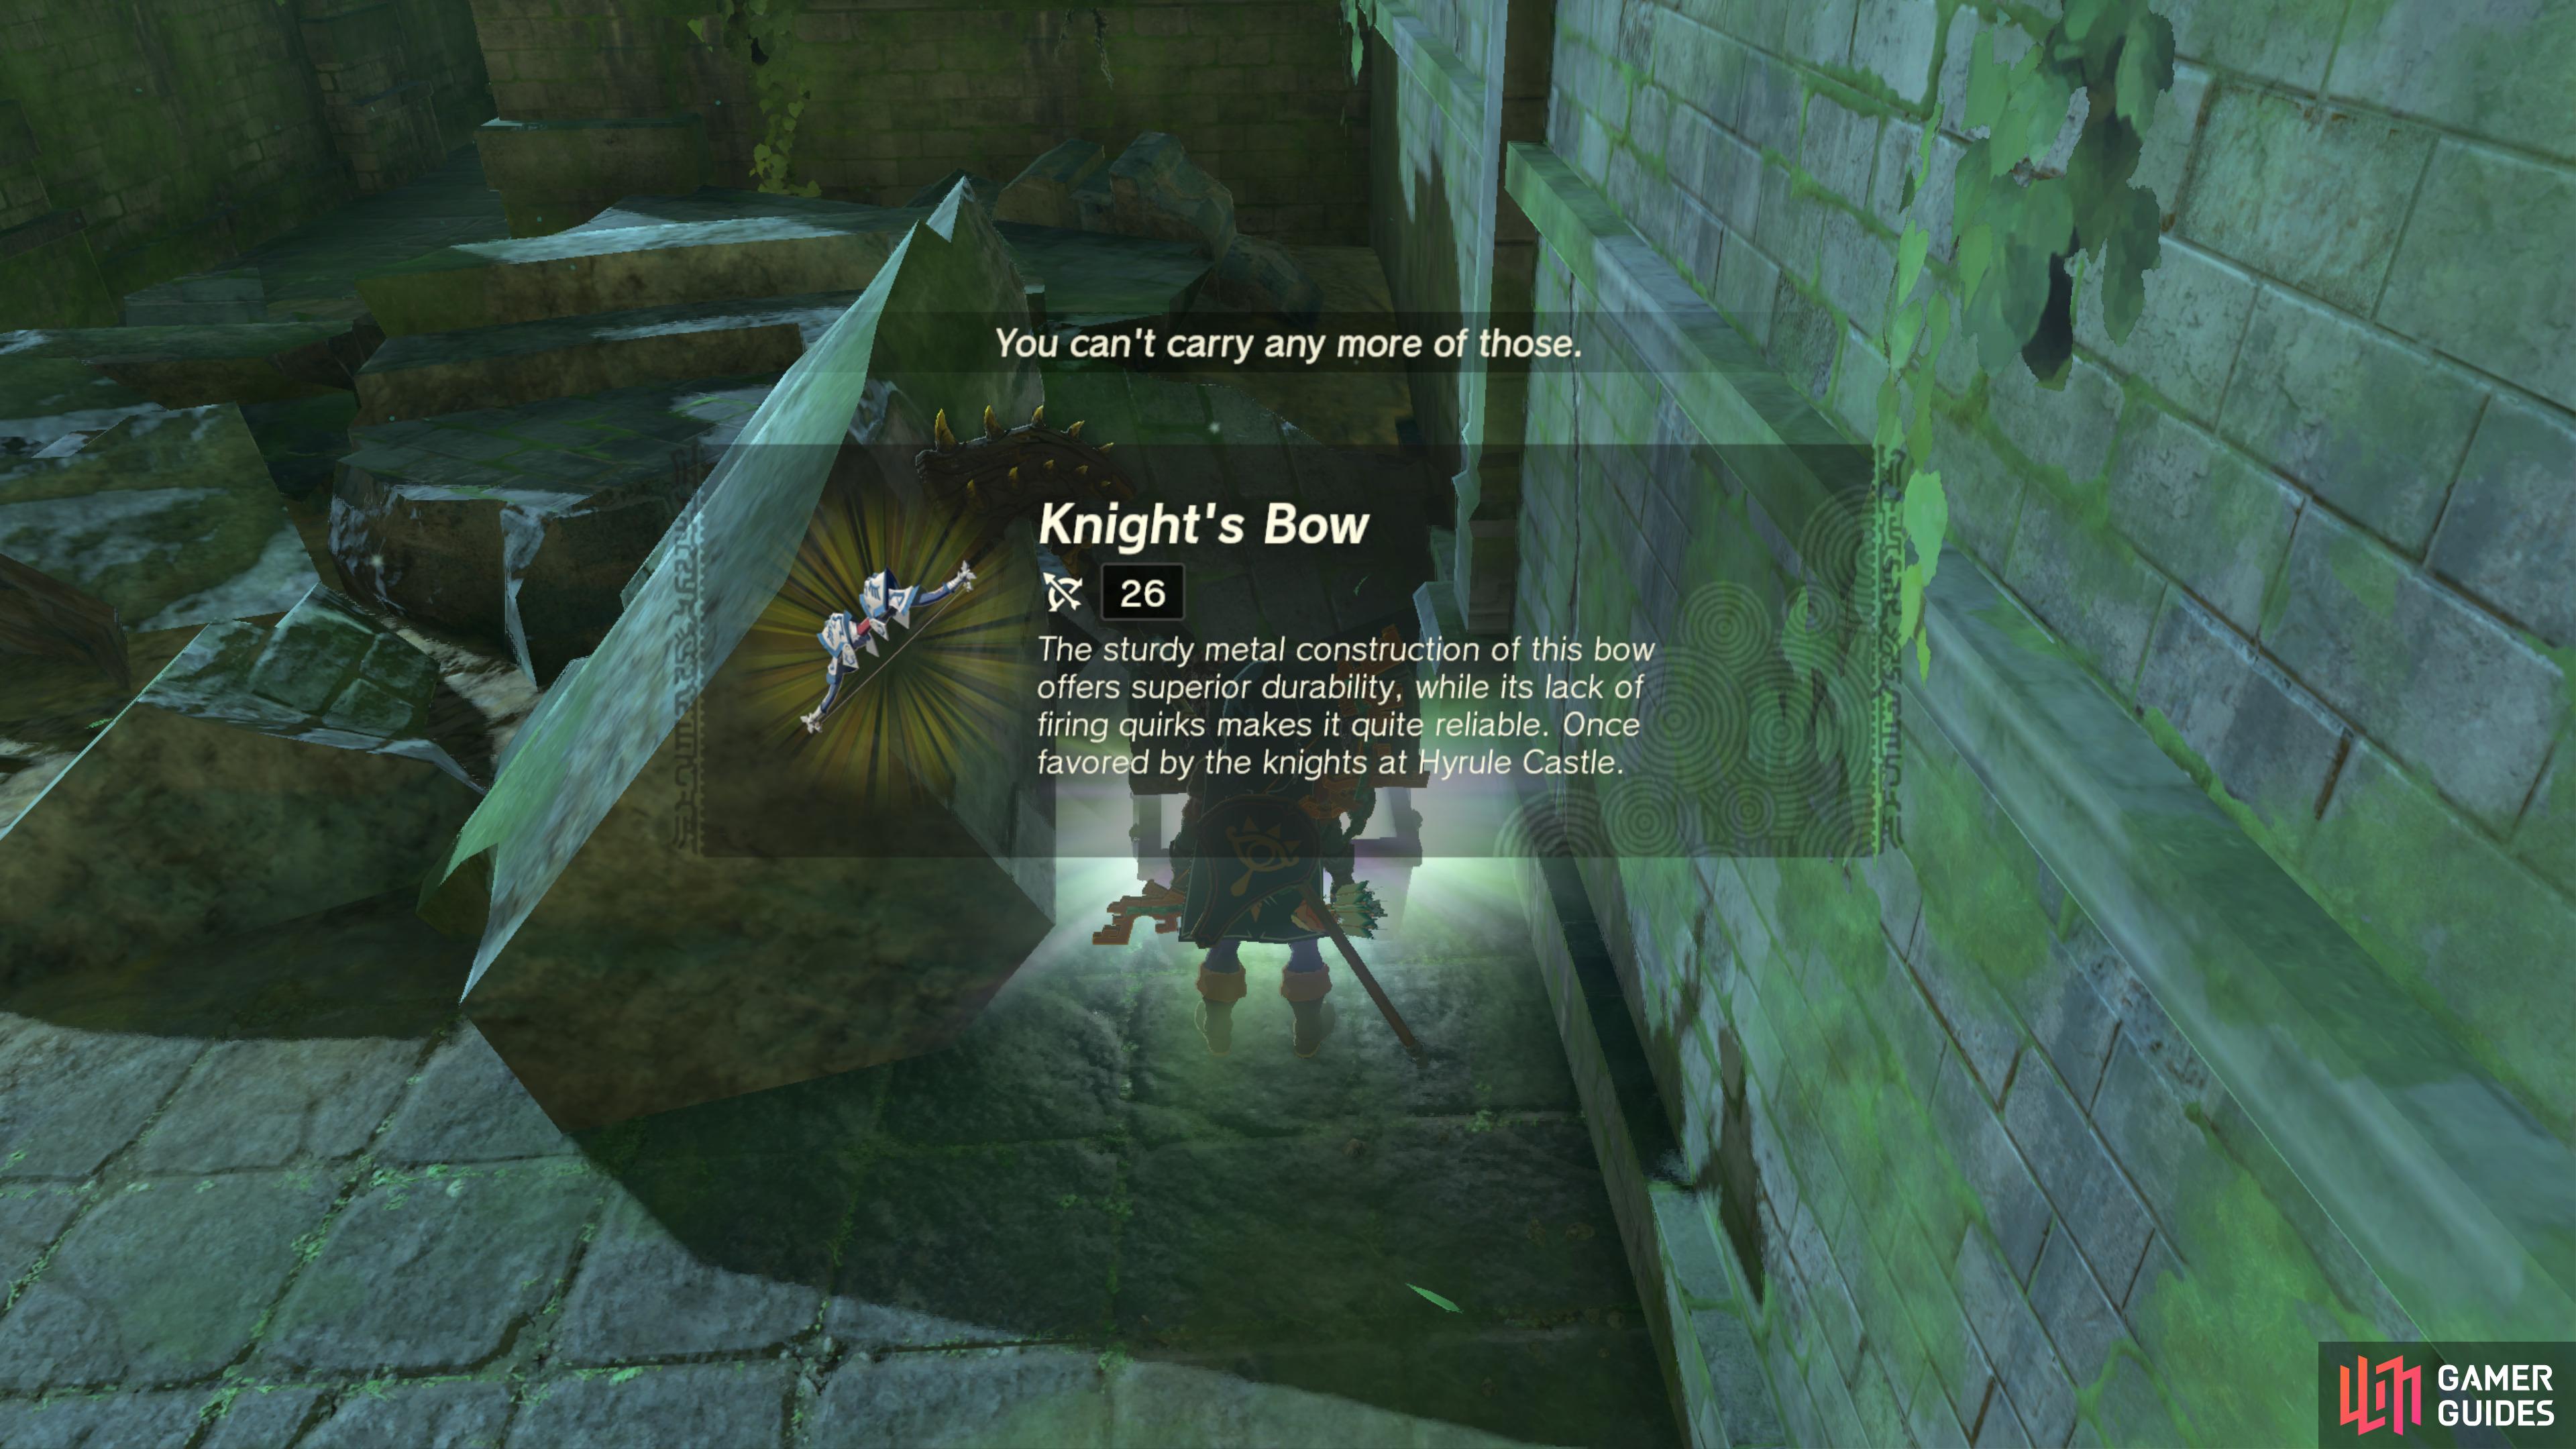
44175. Hyrule Surface Map
Search behind the rubble to find a Chest.
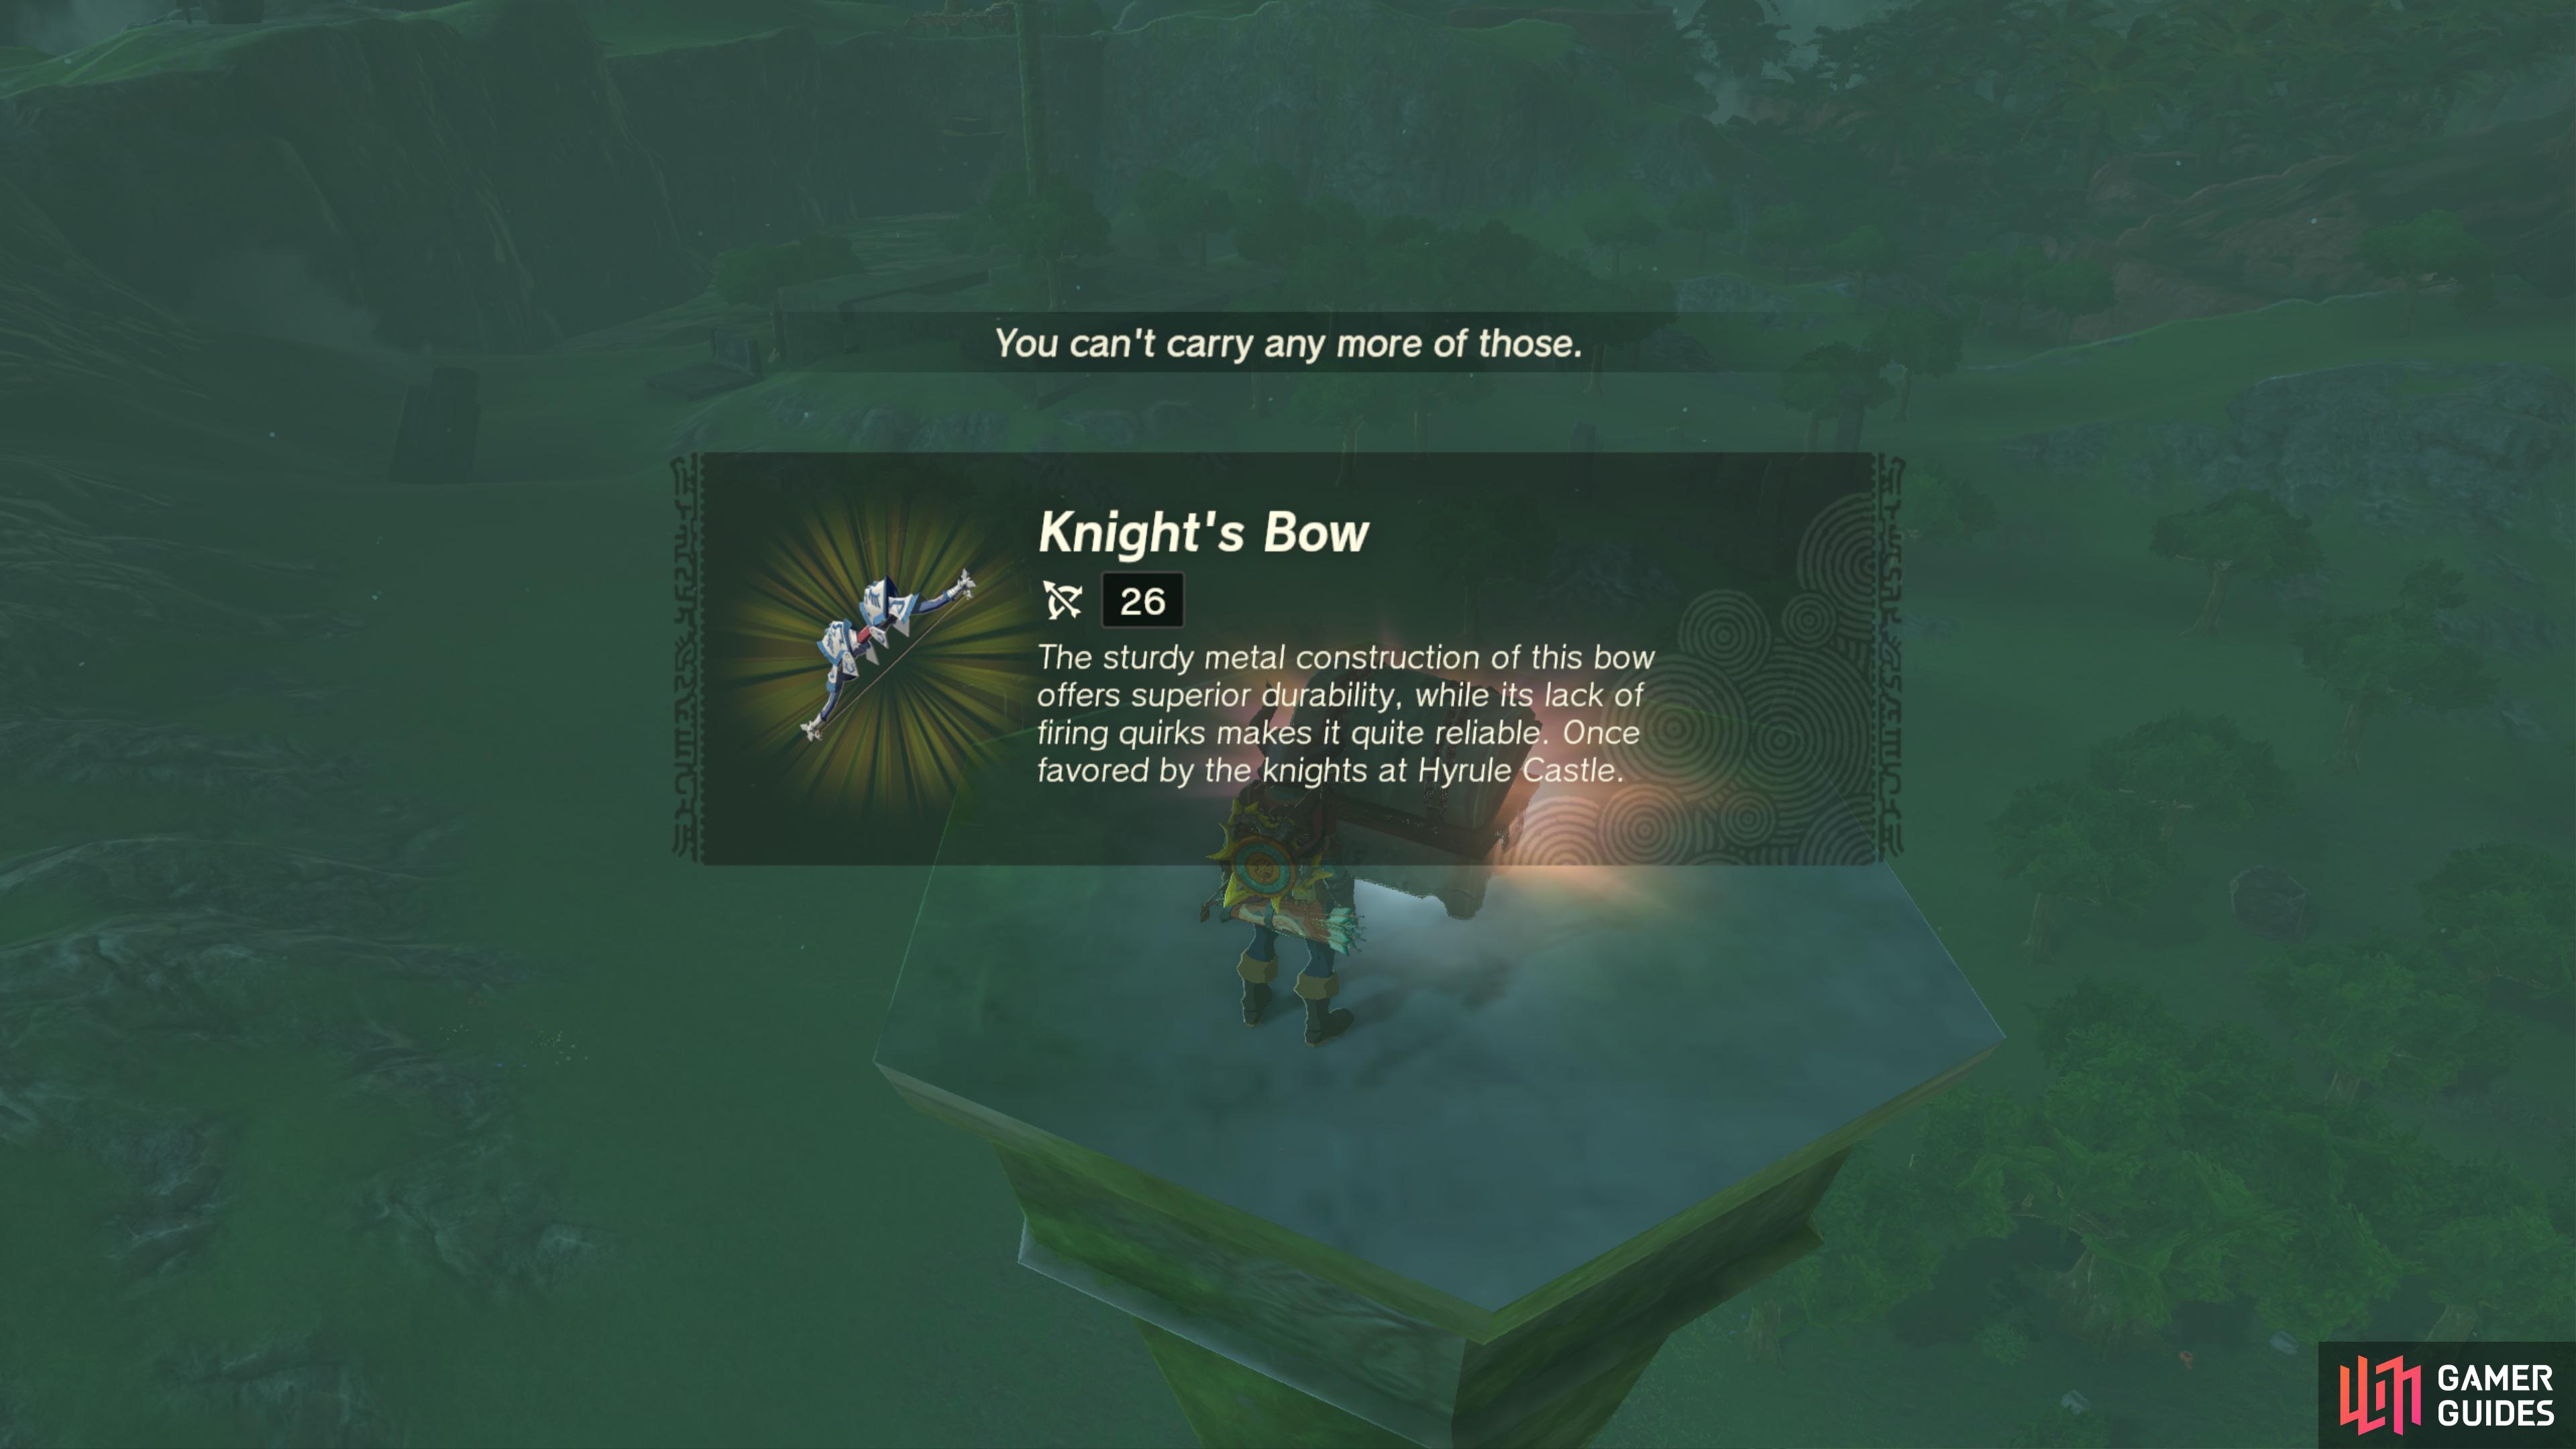
It contains a ![]() Knight’s Bow.
Knight’s Bow.
44180. Hyrule Surface Map
Found on the top platform of the nearby ![]() Bokoblin camp.
Bokoblin camp.
It contains a ![]() Soldier’s Claymore.
Soldier’s Claymore.
44214. Hyrule Surface Map
Defeat the nearby ![]() Battle Talus to unlock it.
Battle Talus to unlock it.
It contains a Topaz.
44379. Hyrule Depths Map
The ![]() Trousers of the Hero are in a chest at Corvash Canyon Mine.
Trousers of the Hero are in a chest at Corvash Canyon Mine.
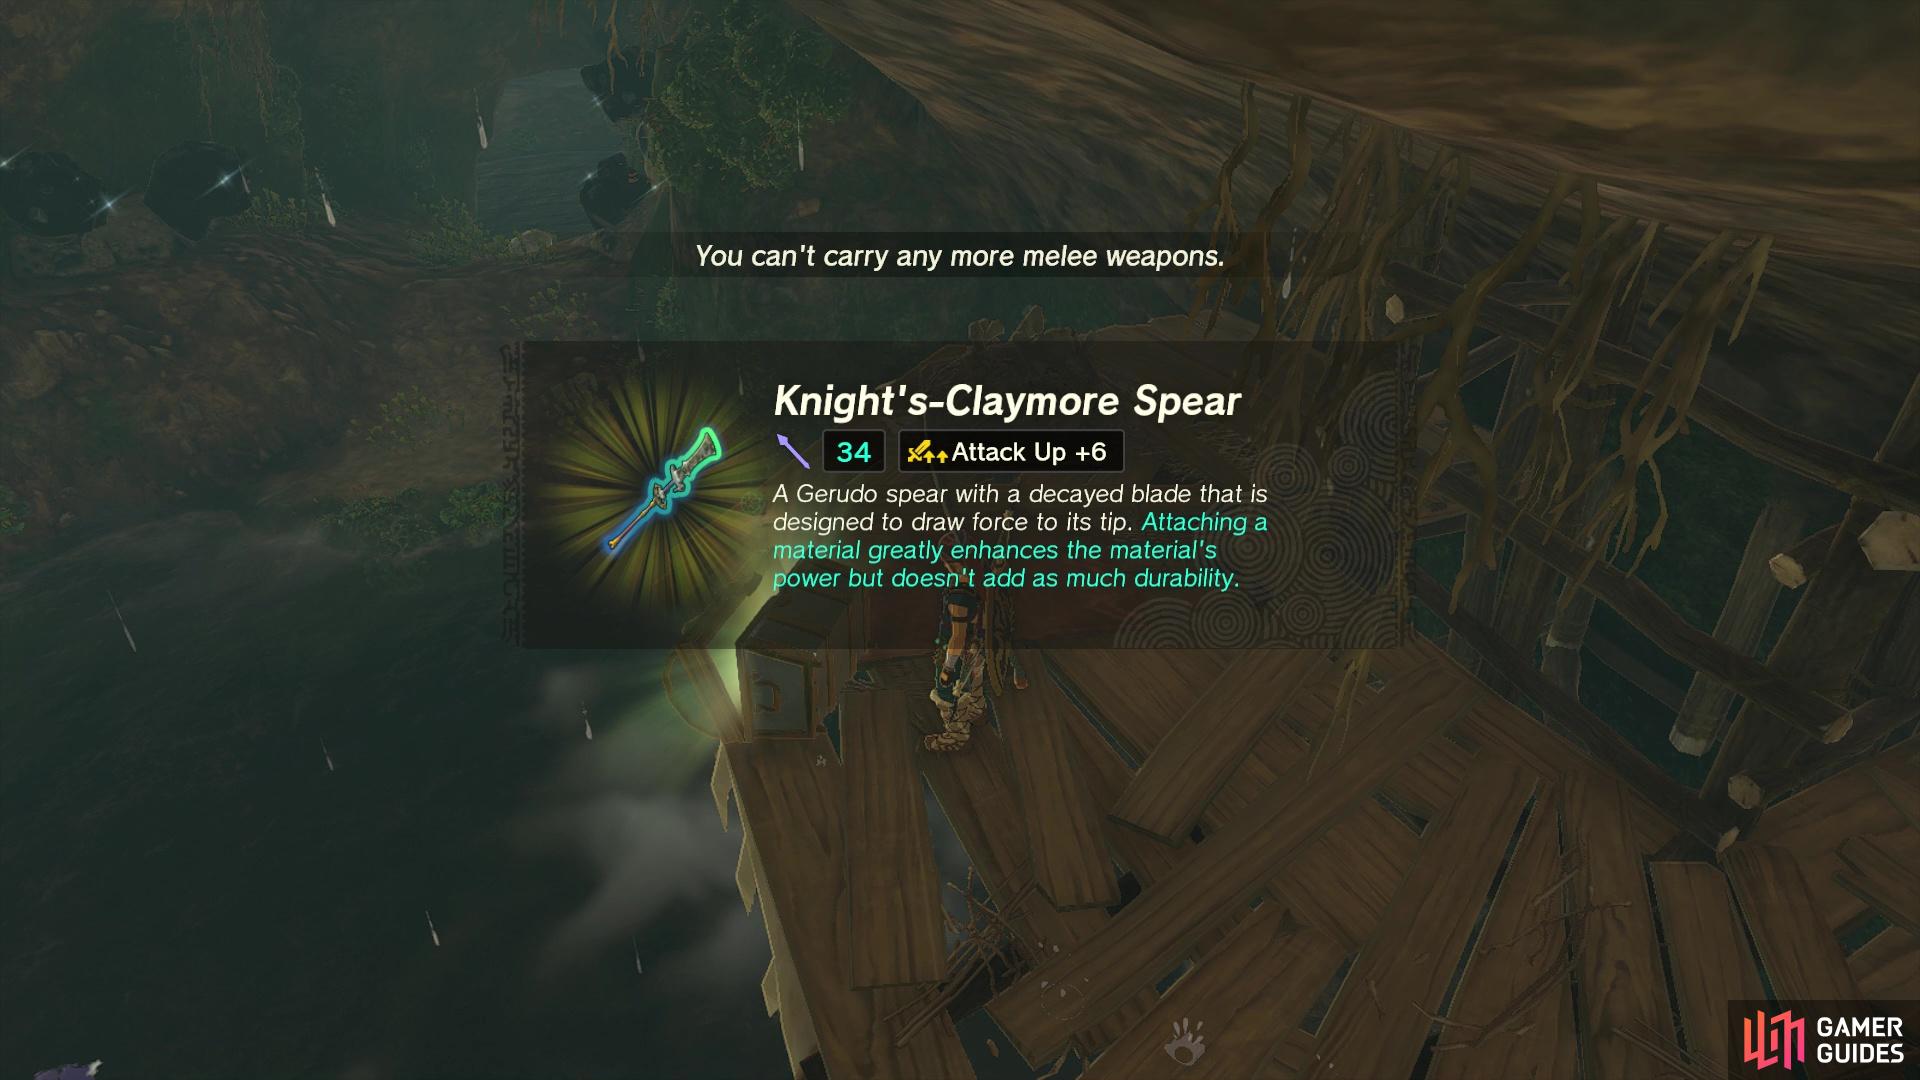
44415. Hyrule Surface Map
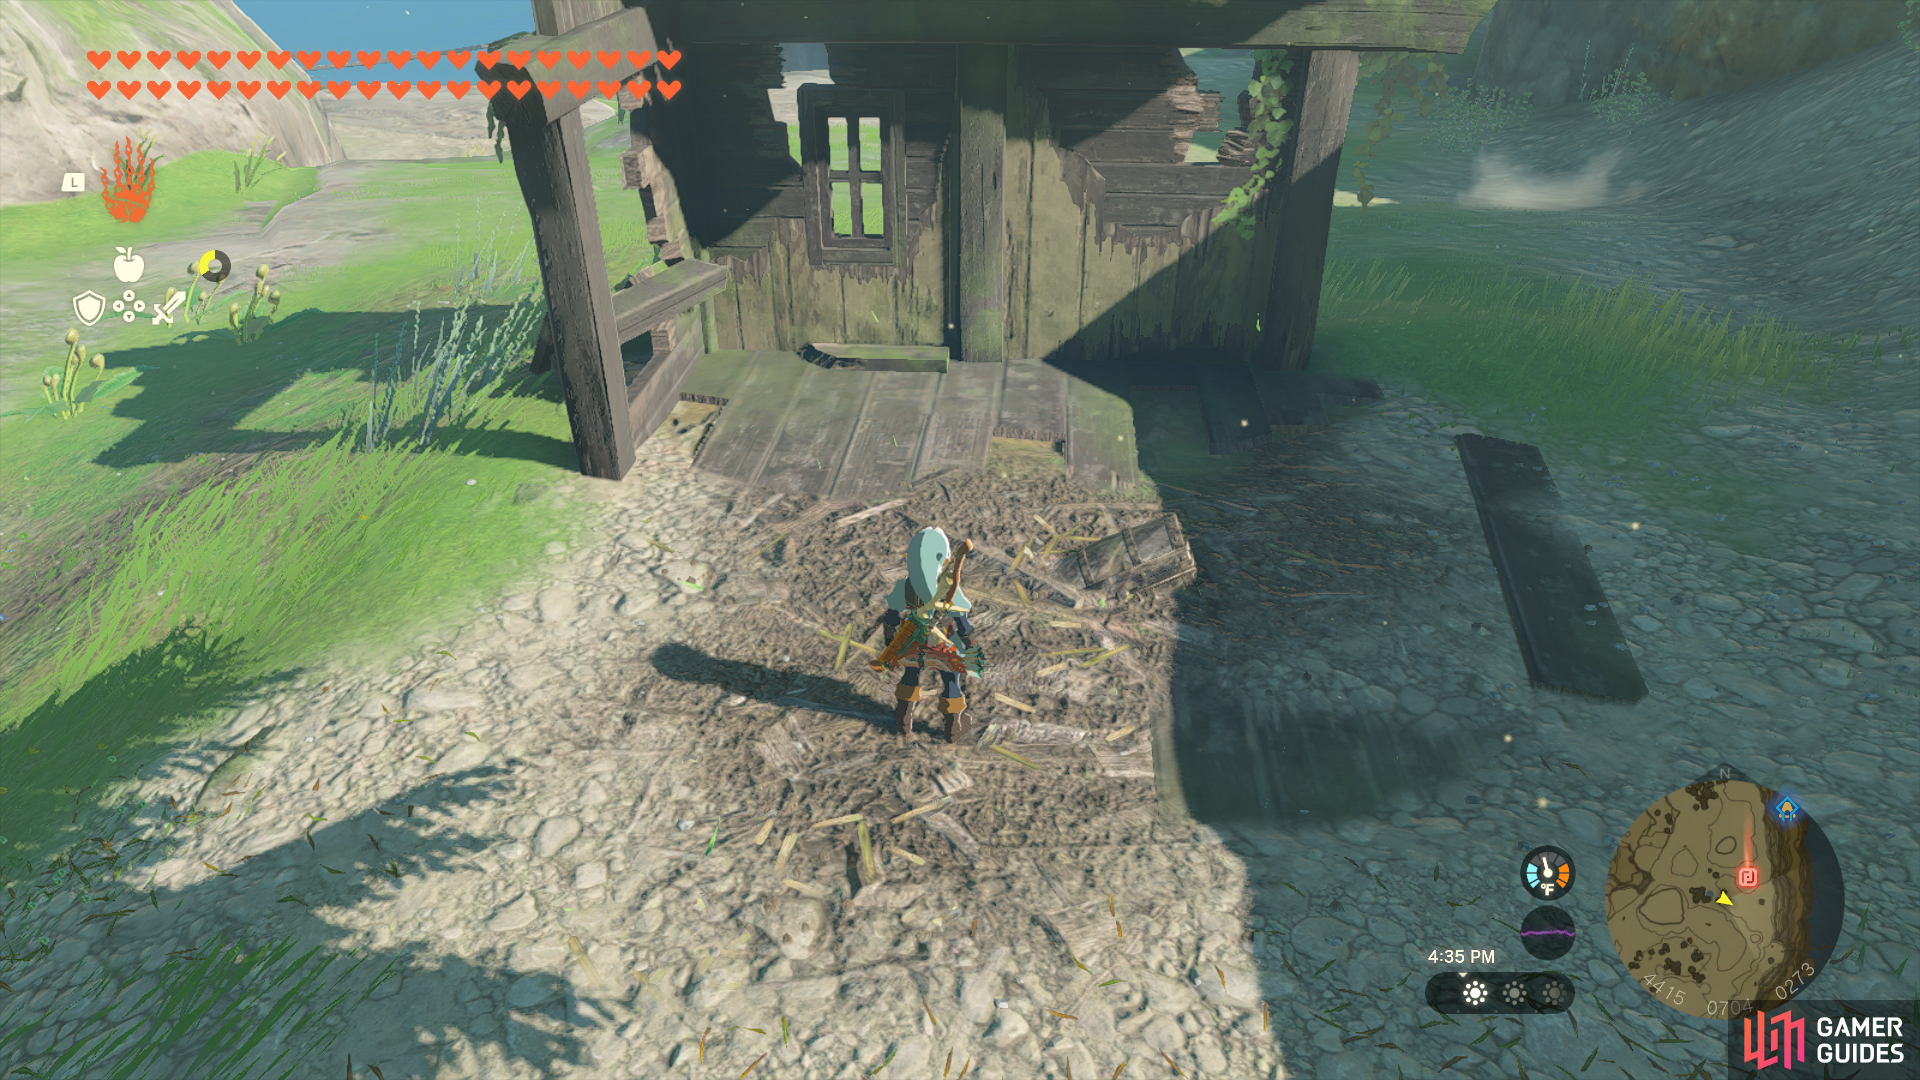
There is a chest lodged near the ceiling at the back wall of the well. Use the materials on the ground to build a structure to climb up to the chest. The chest can be pulled out of the wall with your ![]() Ultrahand ability. Open the chest to find a
Ultrahand ability. Open the chest to find a ![]() Throwing Spear.
Throwing Spear.

44622. Hyrule Surface Map
In the cove, next to the Talus. You’ll need to defeat the Talus nearby to unlock it.
- Contains Topaz.
44677. Hyrule Surface Map
Inside ![]() Atun Valley Cave. Found In the pool of water, in the top-right. Use
Atun Valley Cave. Found In the pool of water, in the top-right. Use ![]() Ultrahand to bring it to land.
Ultrahand to bring it to land.
- Contains
 Bomb Flower.
44688. Hyrule Surface Map
Inside ![]() Atun Valley Cave, on the second floor, above the pool of water. This chest is locked and requires you to defeat the nearby
Atun Valley Cave, on the second floor, above the pool of water. This chest is locked and requires you to defeat the nearby ![]() Horriblin’s to unlock it.
Horriblin’s to unlock it.
- Contains a Knight’s-Broadsword Halberd (Fused).
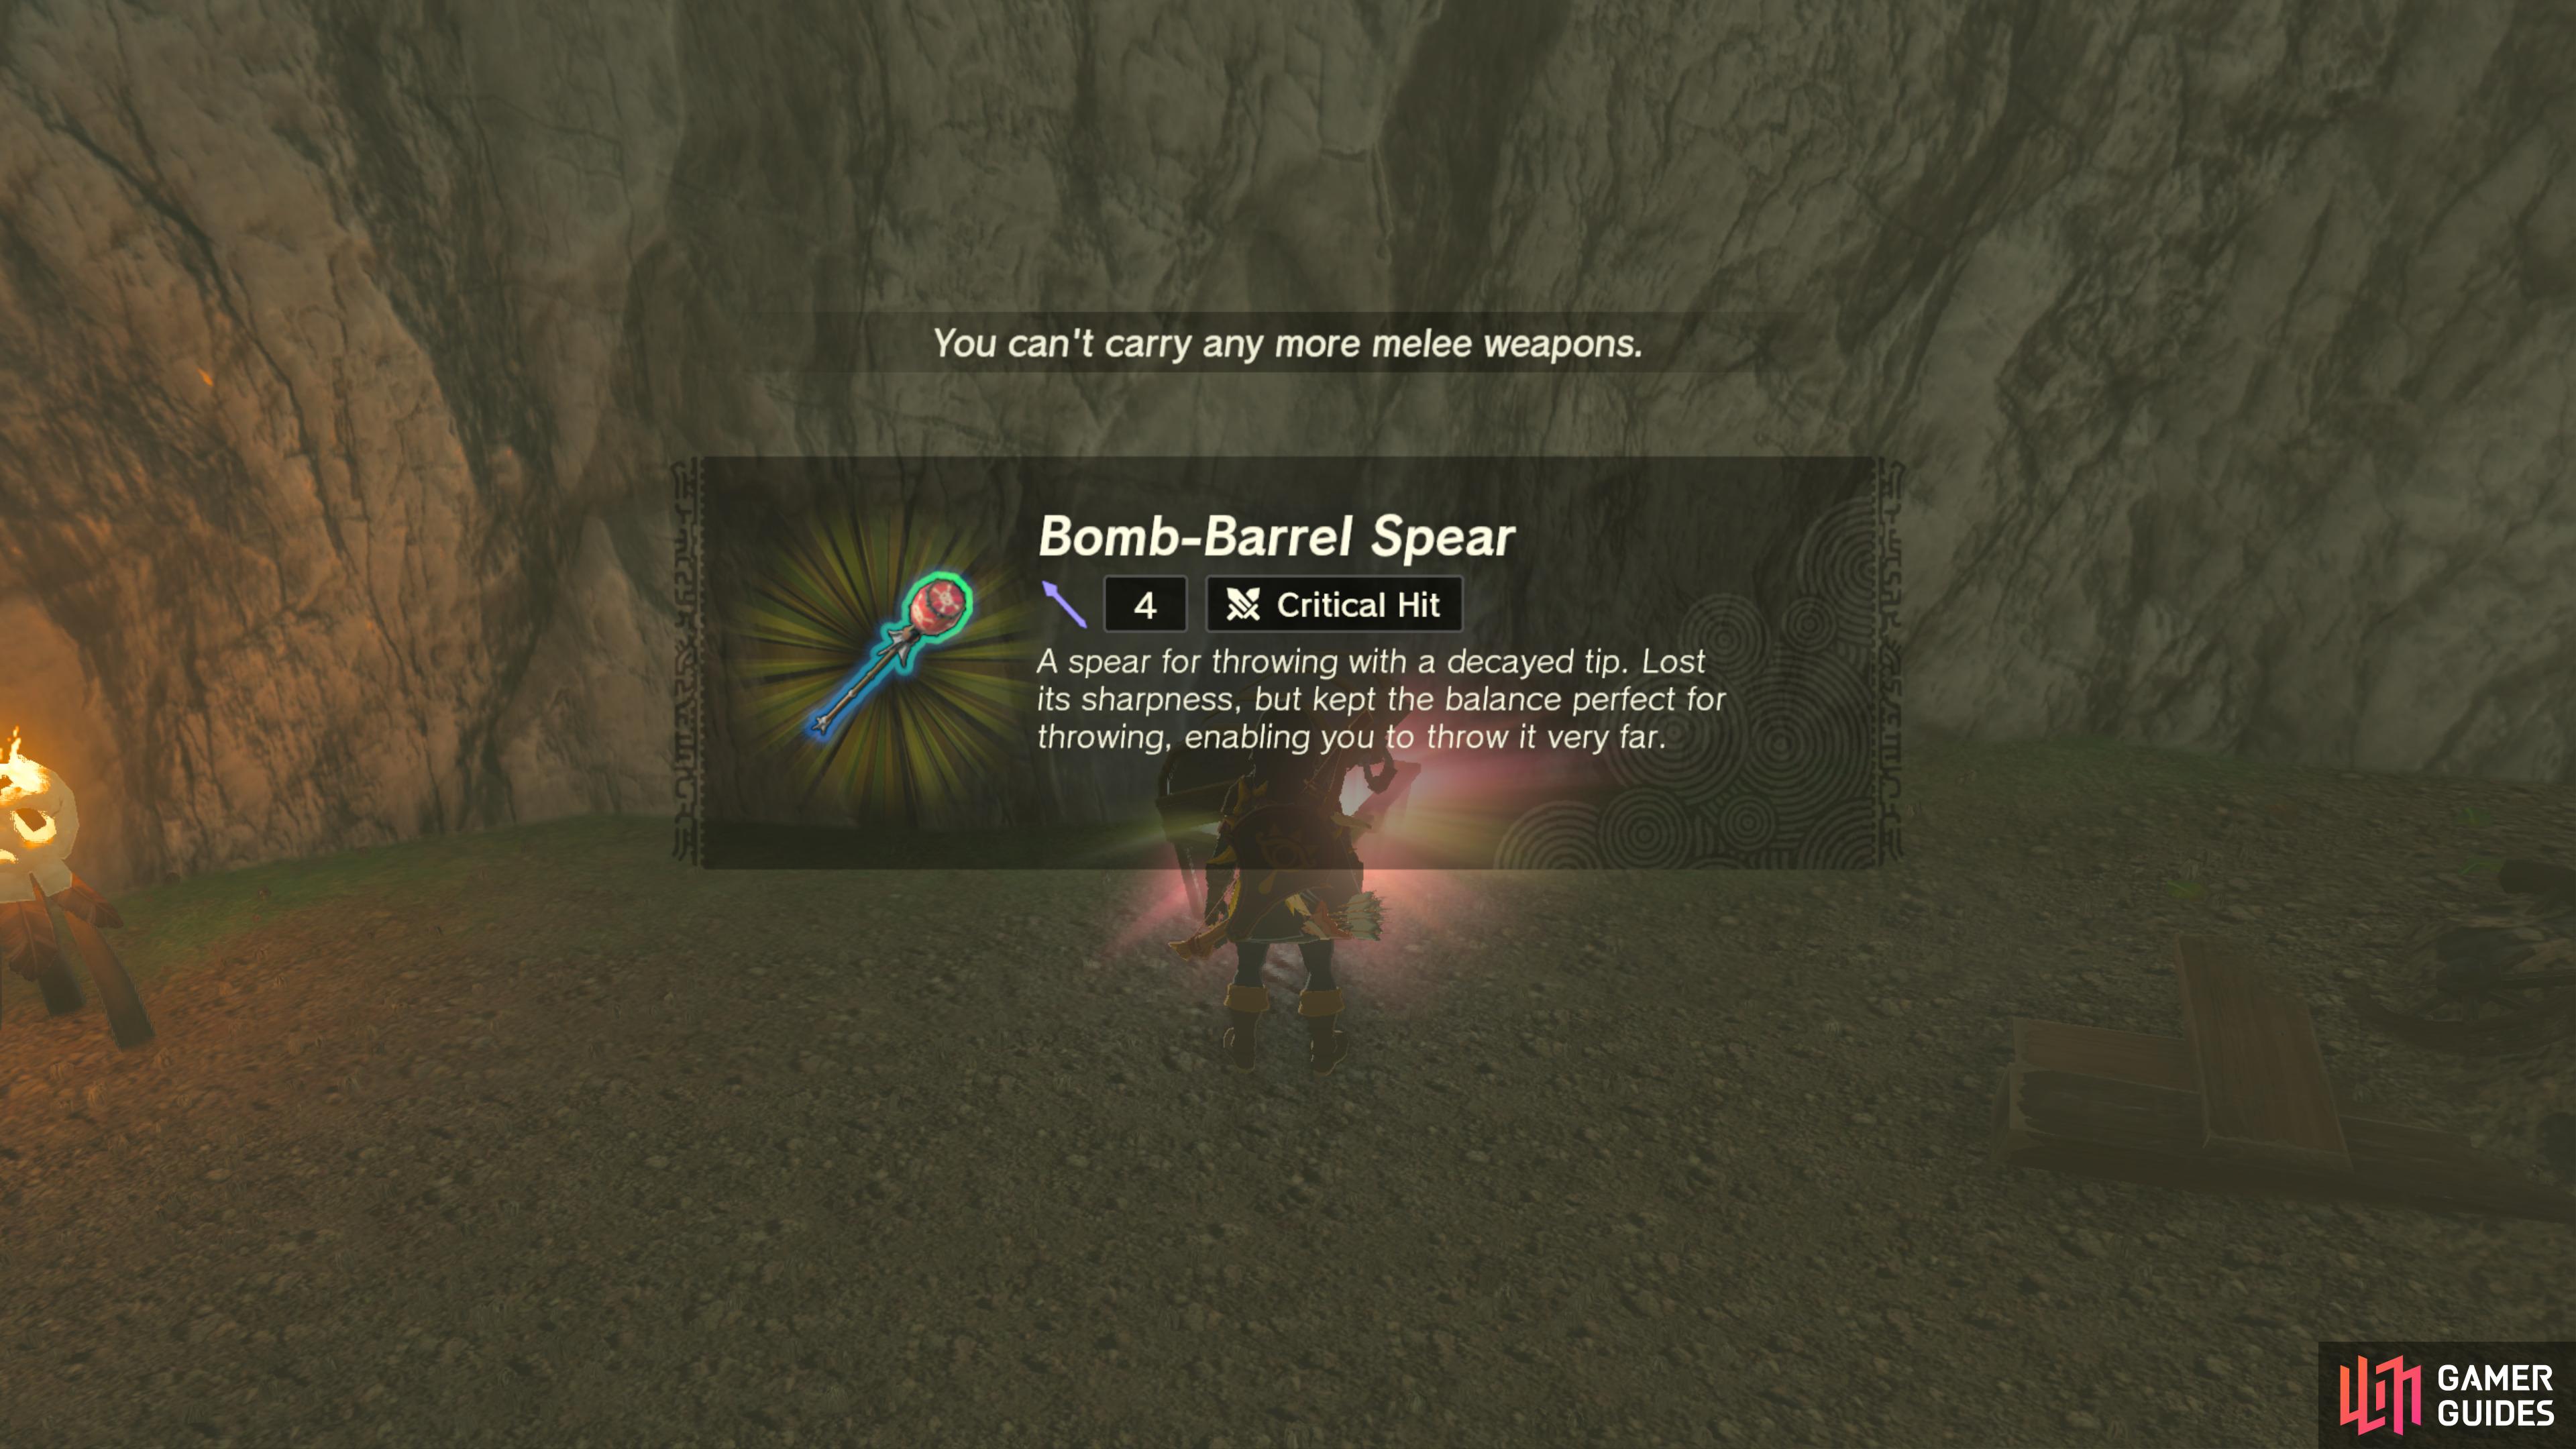
44691. Hyrule Surface Map
Inside ![]() Atun Valley Cave, on the second floor, above the pool of water. This Chest can be found along with a few
Atun Valley Cave, on the second floor, above the pool of water. This Chest can be found along with a few ![]() Brightbloom Seeds, a couple pieces of
Brightbloom Seeds, a couple pieces of ![]() Raw Meat, and some
Raw Meat, and some ![]() Brightcaps.
Brightcaps.
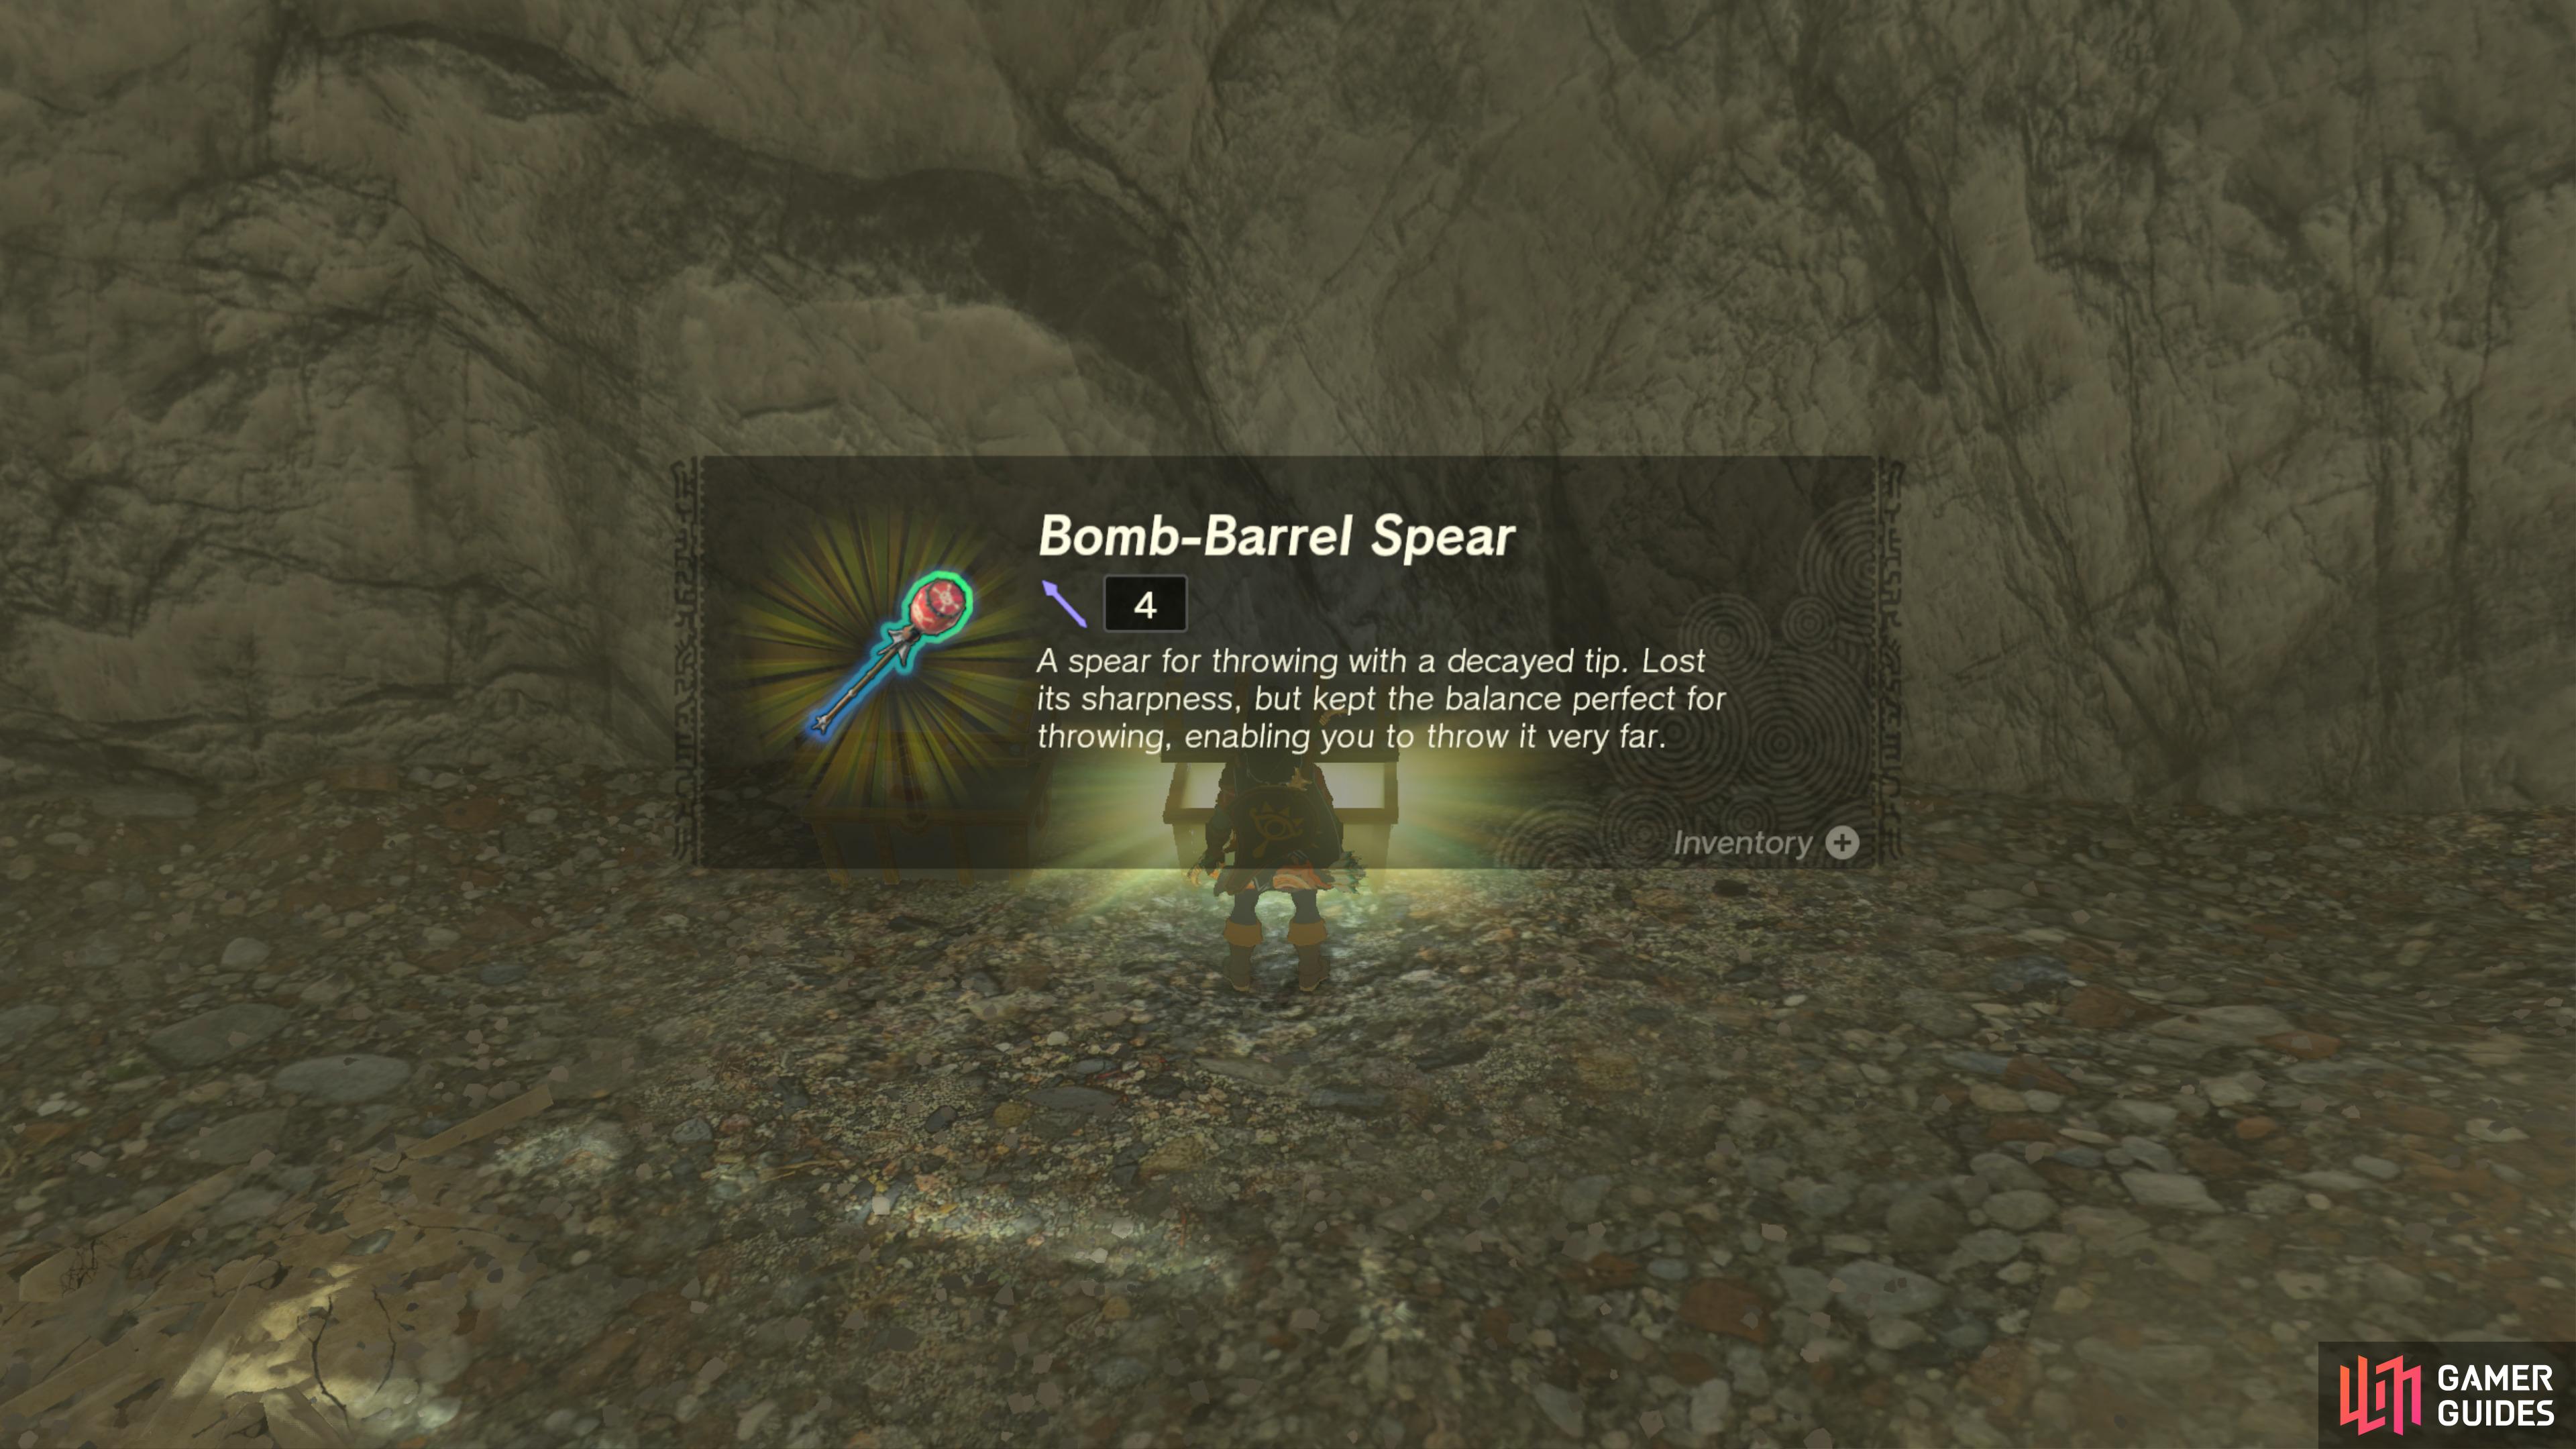
- Contains a Bomb-Barrel Spear (Fused).
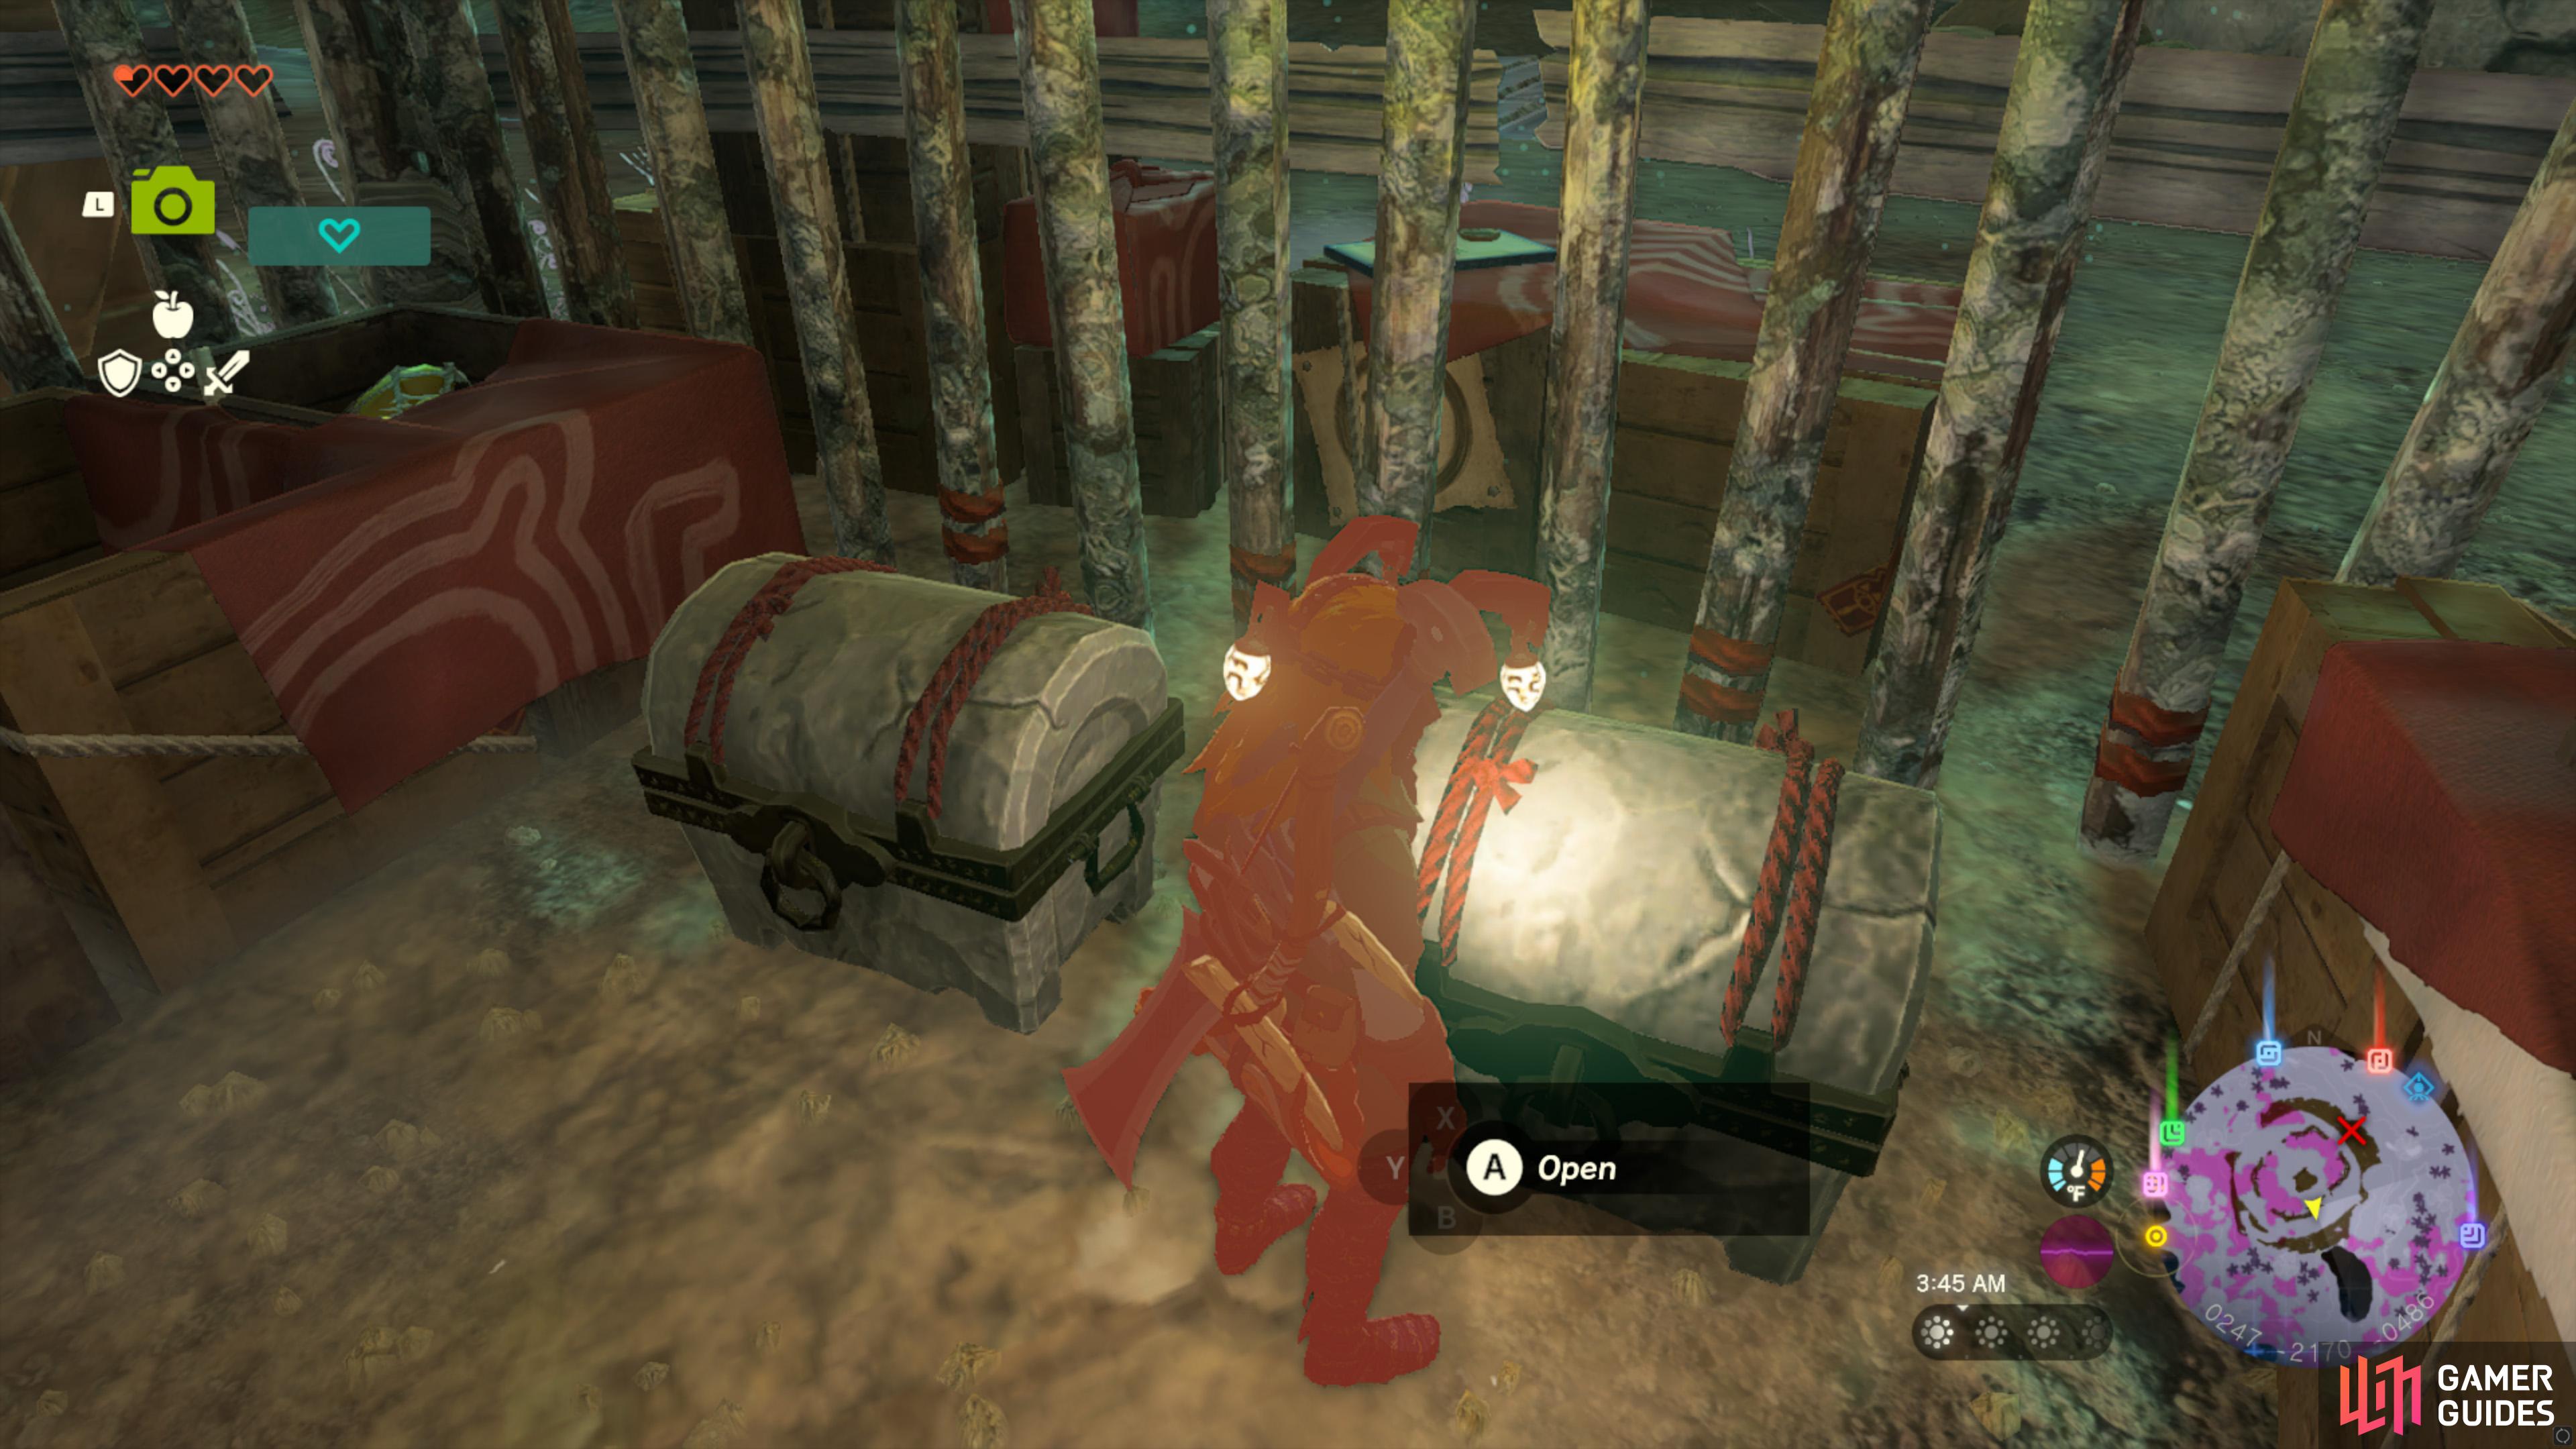
44702. Hyrule Surface Map
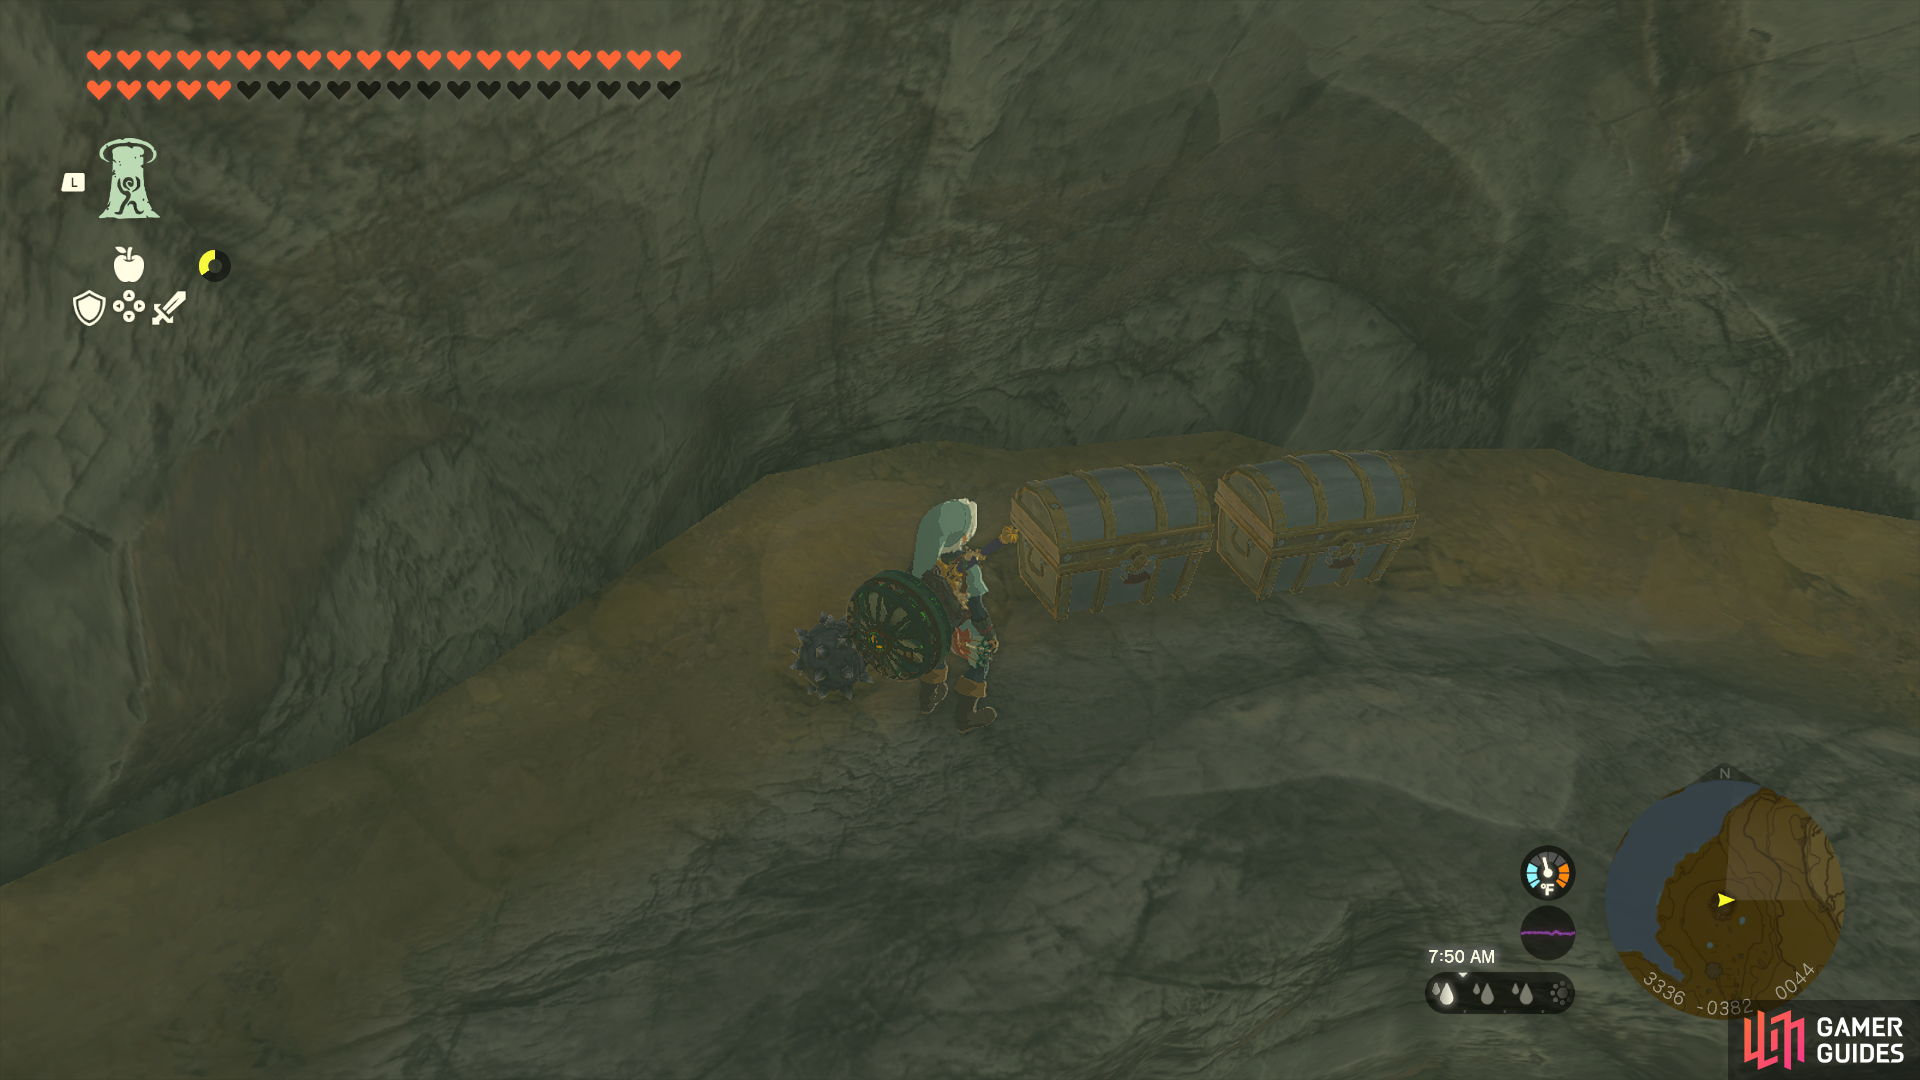
Work your way down to the bottom of this camp from the top to find two chests.
This chest contains five ![]() Bomb Flowers.
Bomb Flowers.
44703. Hyrule Surface Map
Work your way down to the bottom of this camp from the top to find two chests.
This chest contains five a Bomb-Barrel Spear.

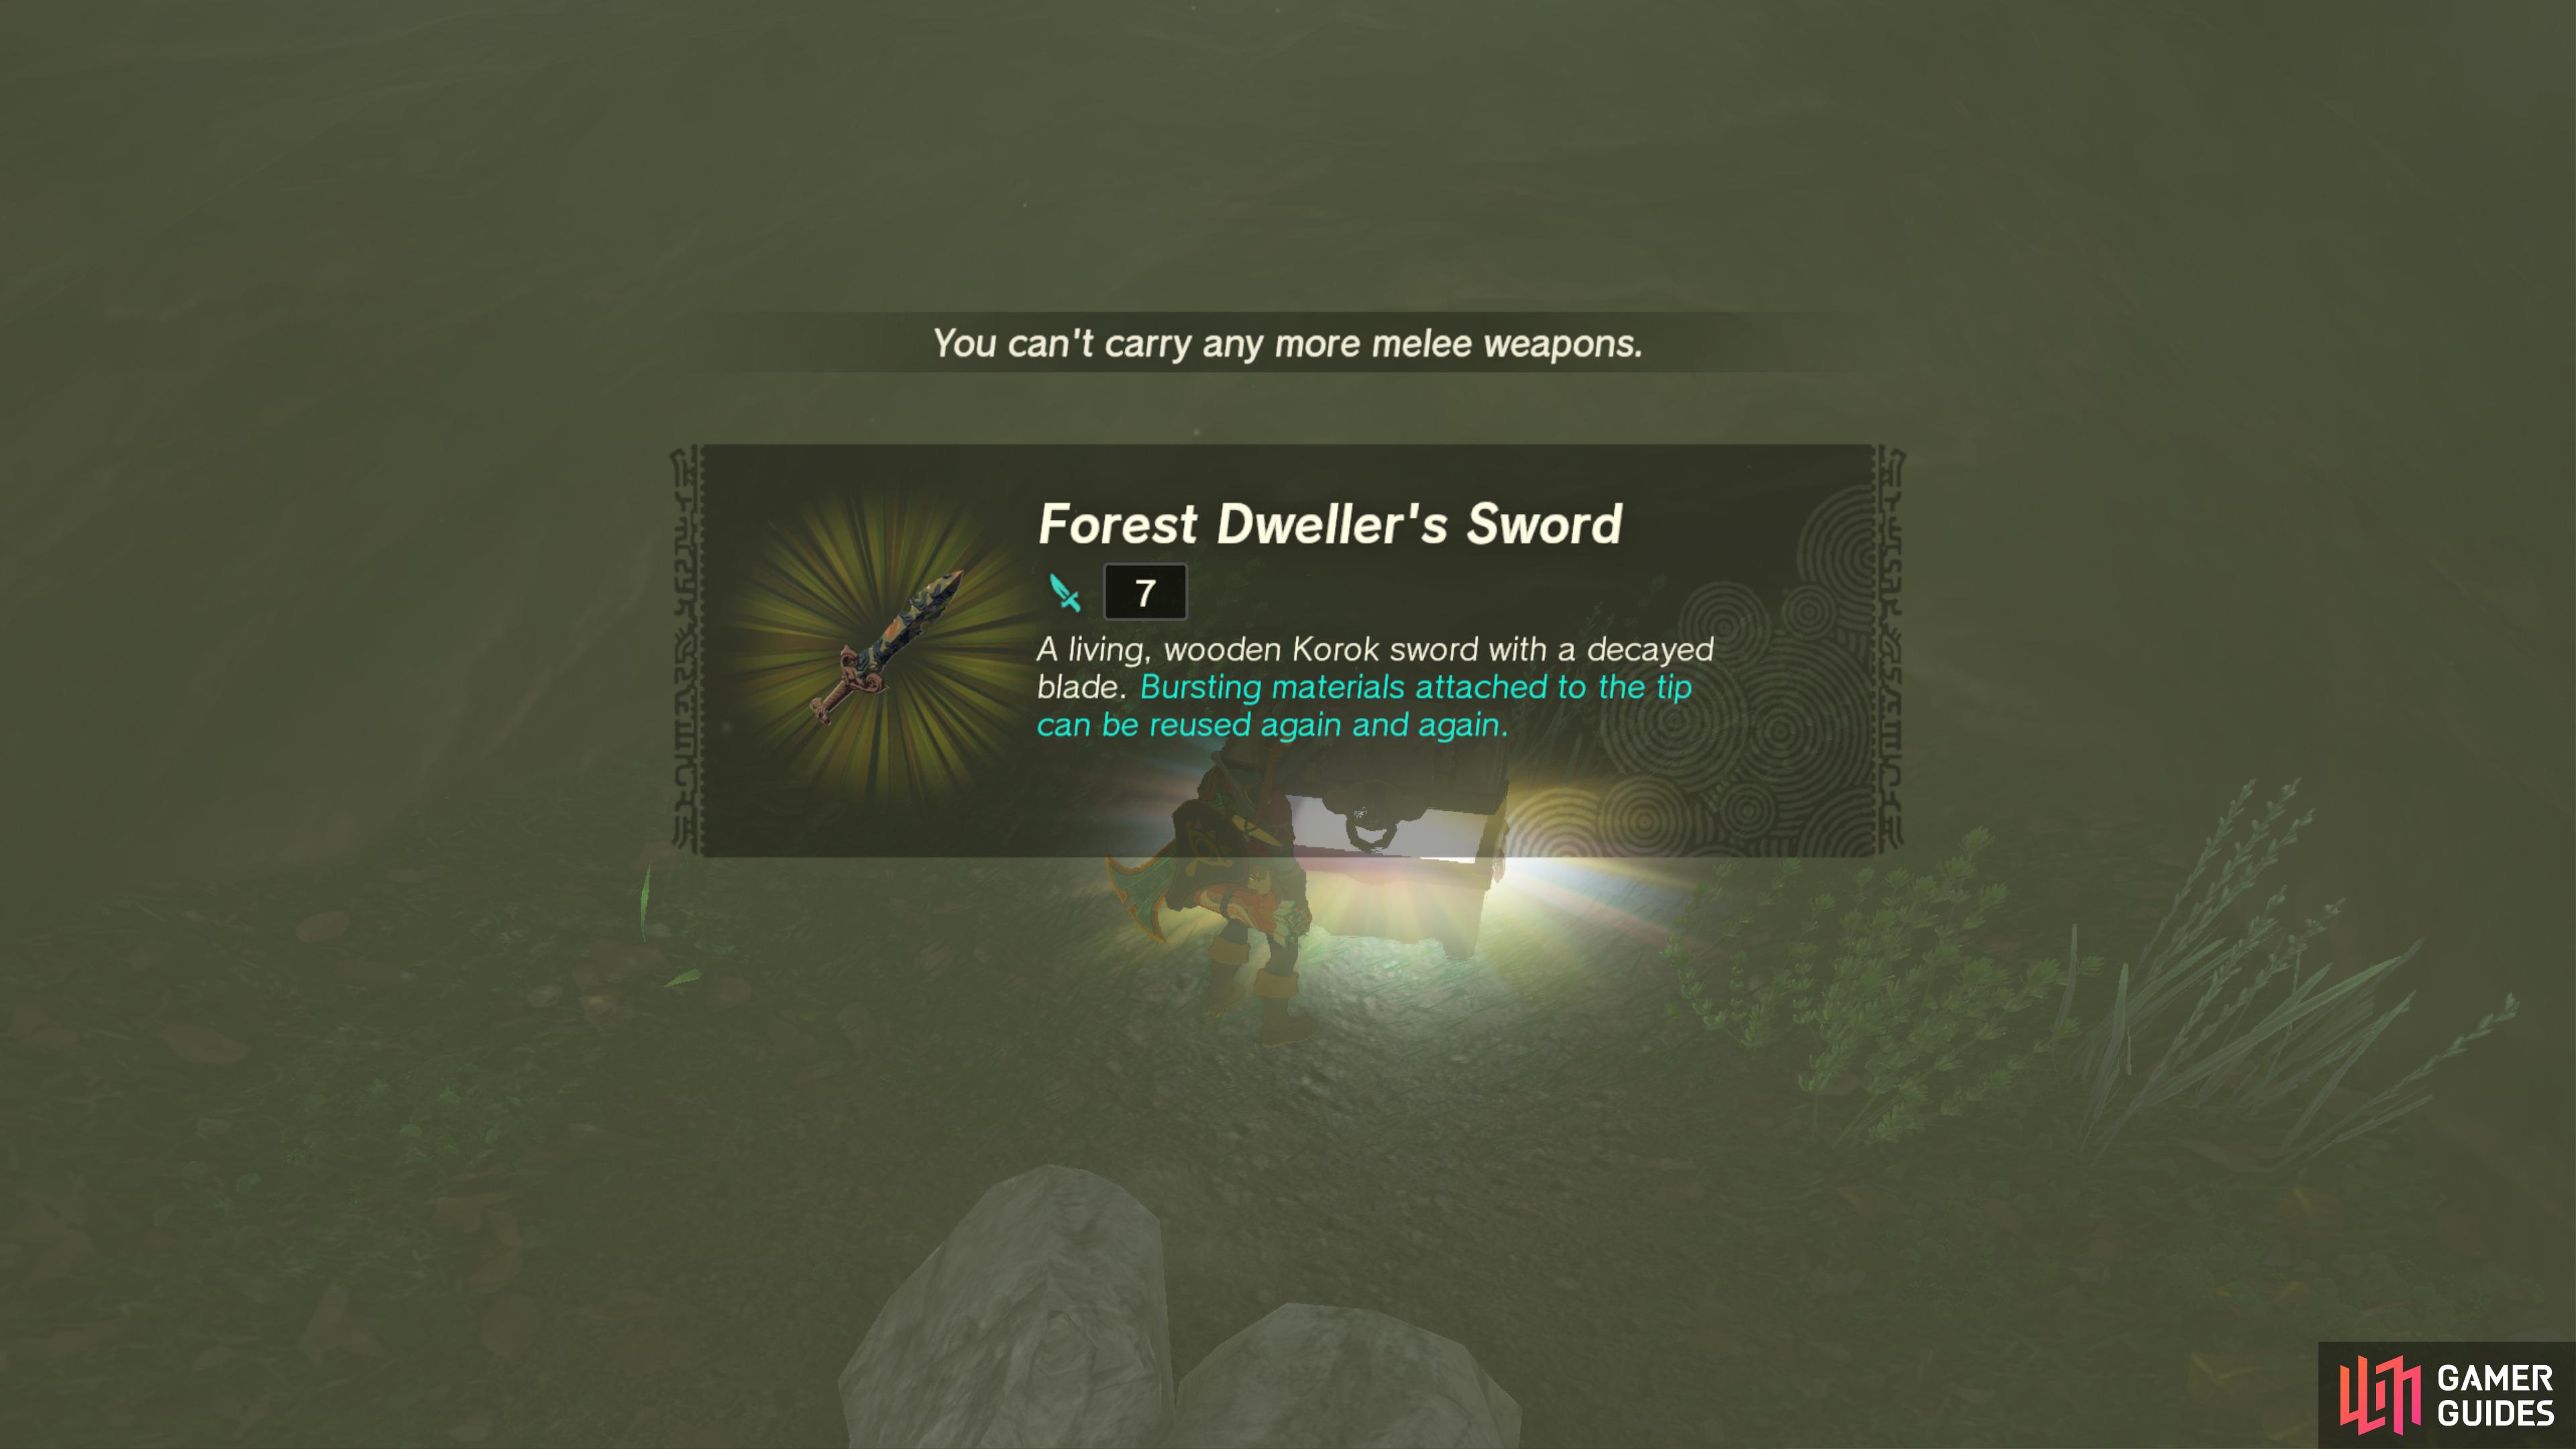
44728. Hyrule Surface Map
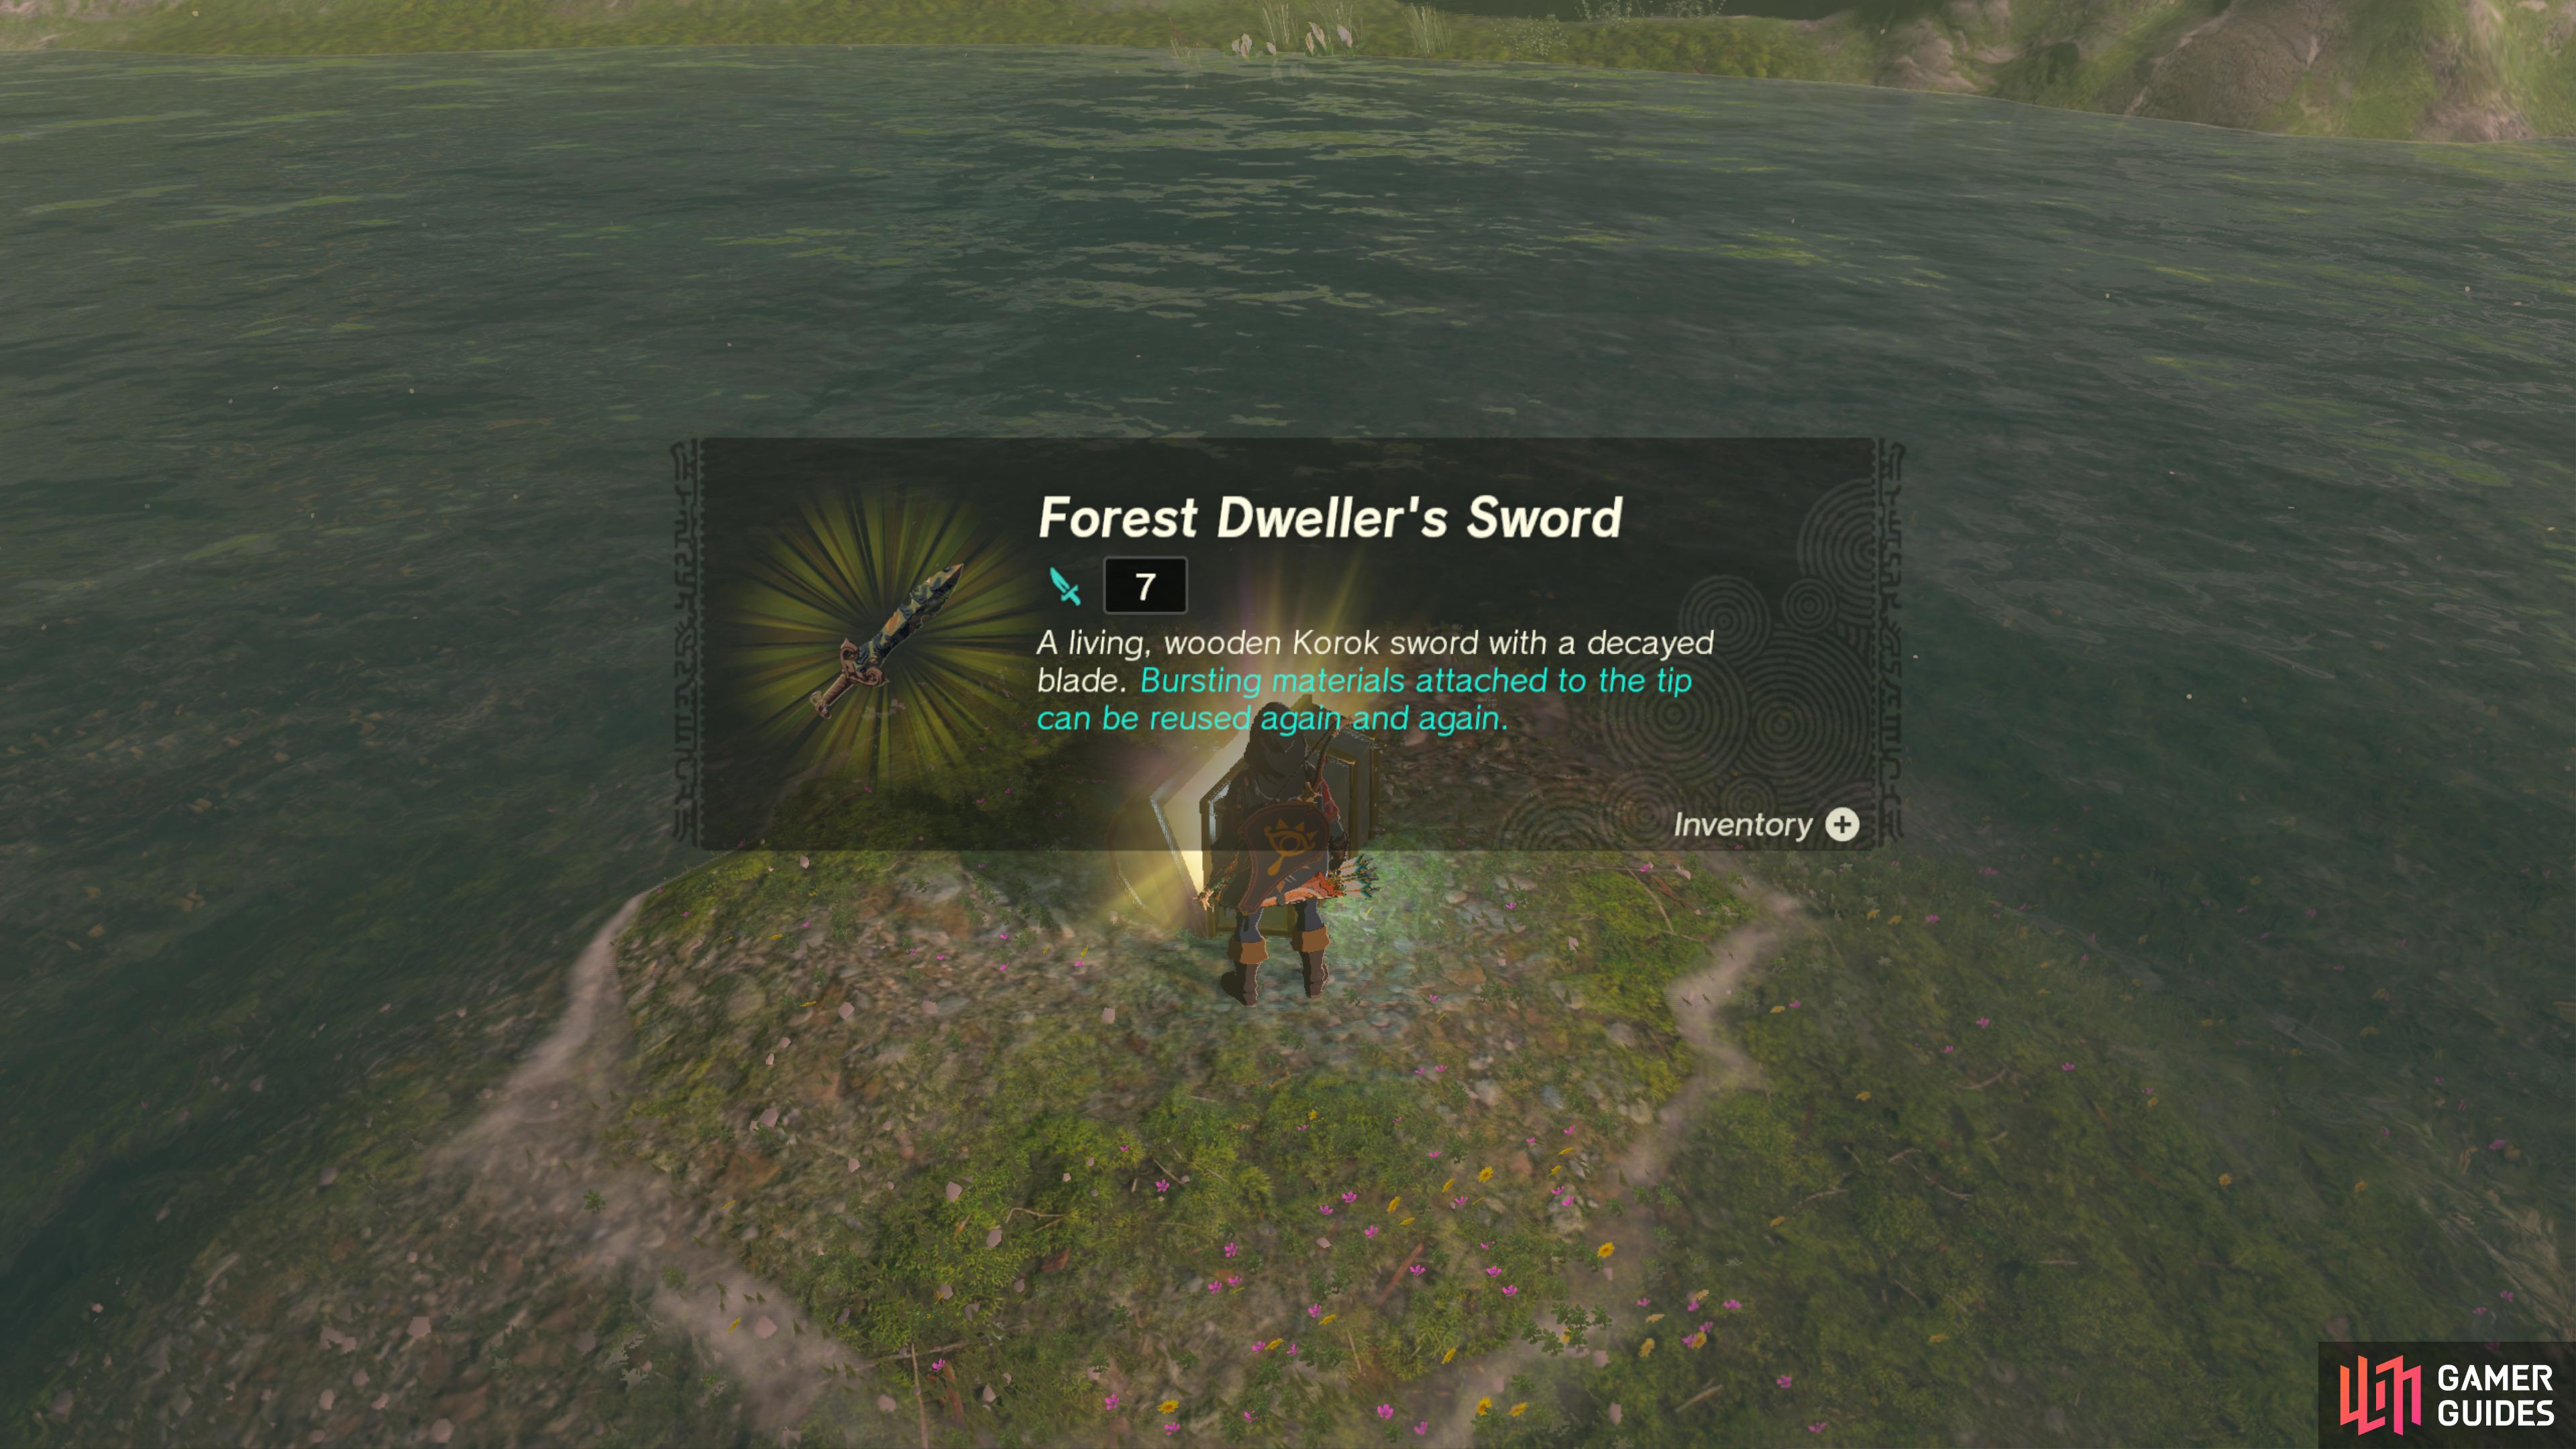
Use ![]() Ultrahand to pull this Chest out of the ground.
Ultrahand to pull this Chest out of the ground.
It contains a Forest Dweller’s Sword.
44748. Hyrule Surface Map
Use ![]() Ascend to reach the top of the rocks here to find this Chest.
Ascend to reach the top of the rocks here to find this Chest.
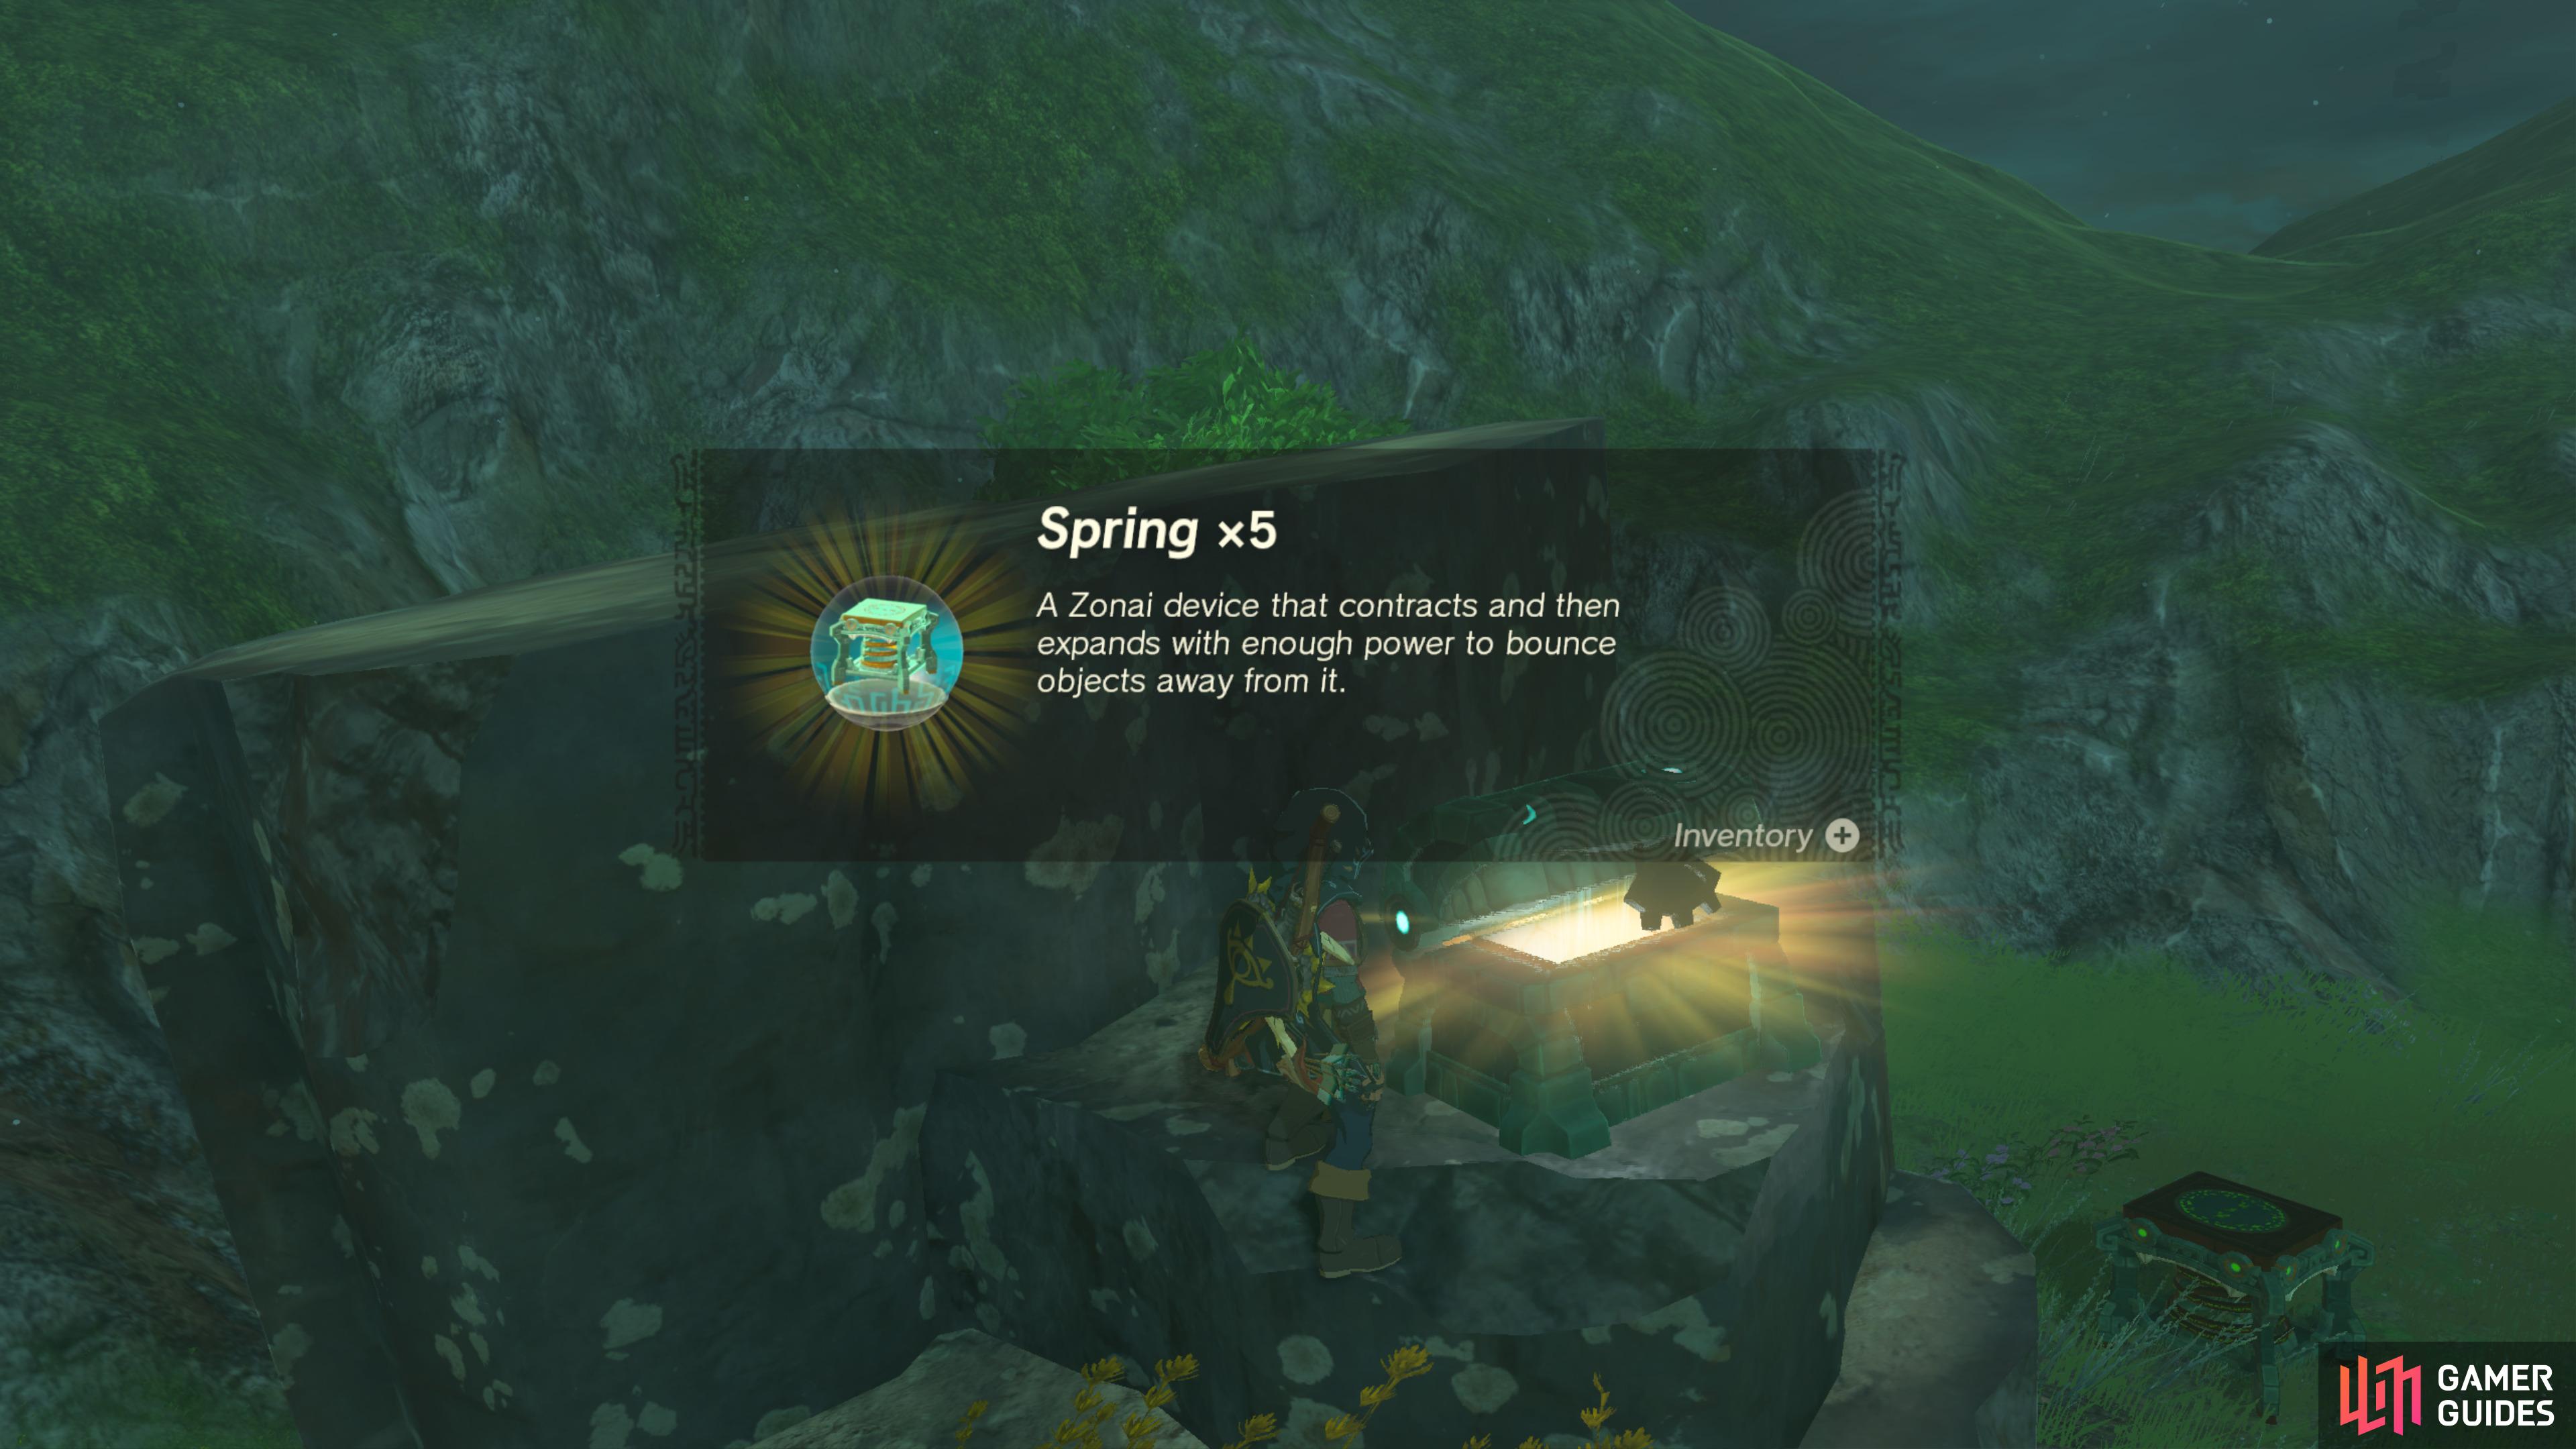
It contains three ![]() Spring (Capsule).
Spring (Capsule).
44796. Hyrule Surface Map
Use ![]() Ultrahand to pull this Chest out of the ground.
Ultrahand to pull this Chest out of the ground.
It contains an ![]() Ancient Blade.
Ancient Blade.
44799. Hyrule Surface Map
Next to the ![]() Captain Construct III on top of the encampment. It can be opened without defeating the constructs.
Captain Construct III on top of the encampment. It can be opened without defeating the constructs.
- Contains
 Cannon (Capsule) x3
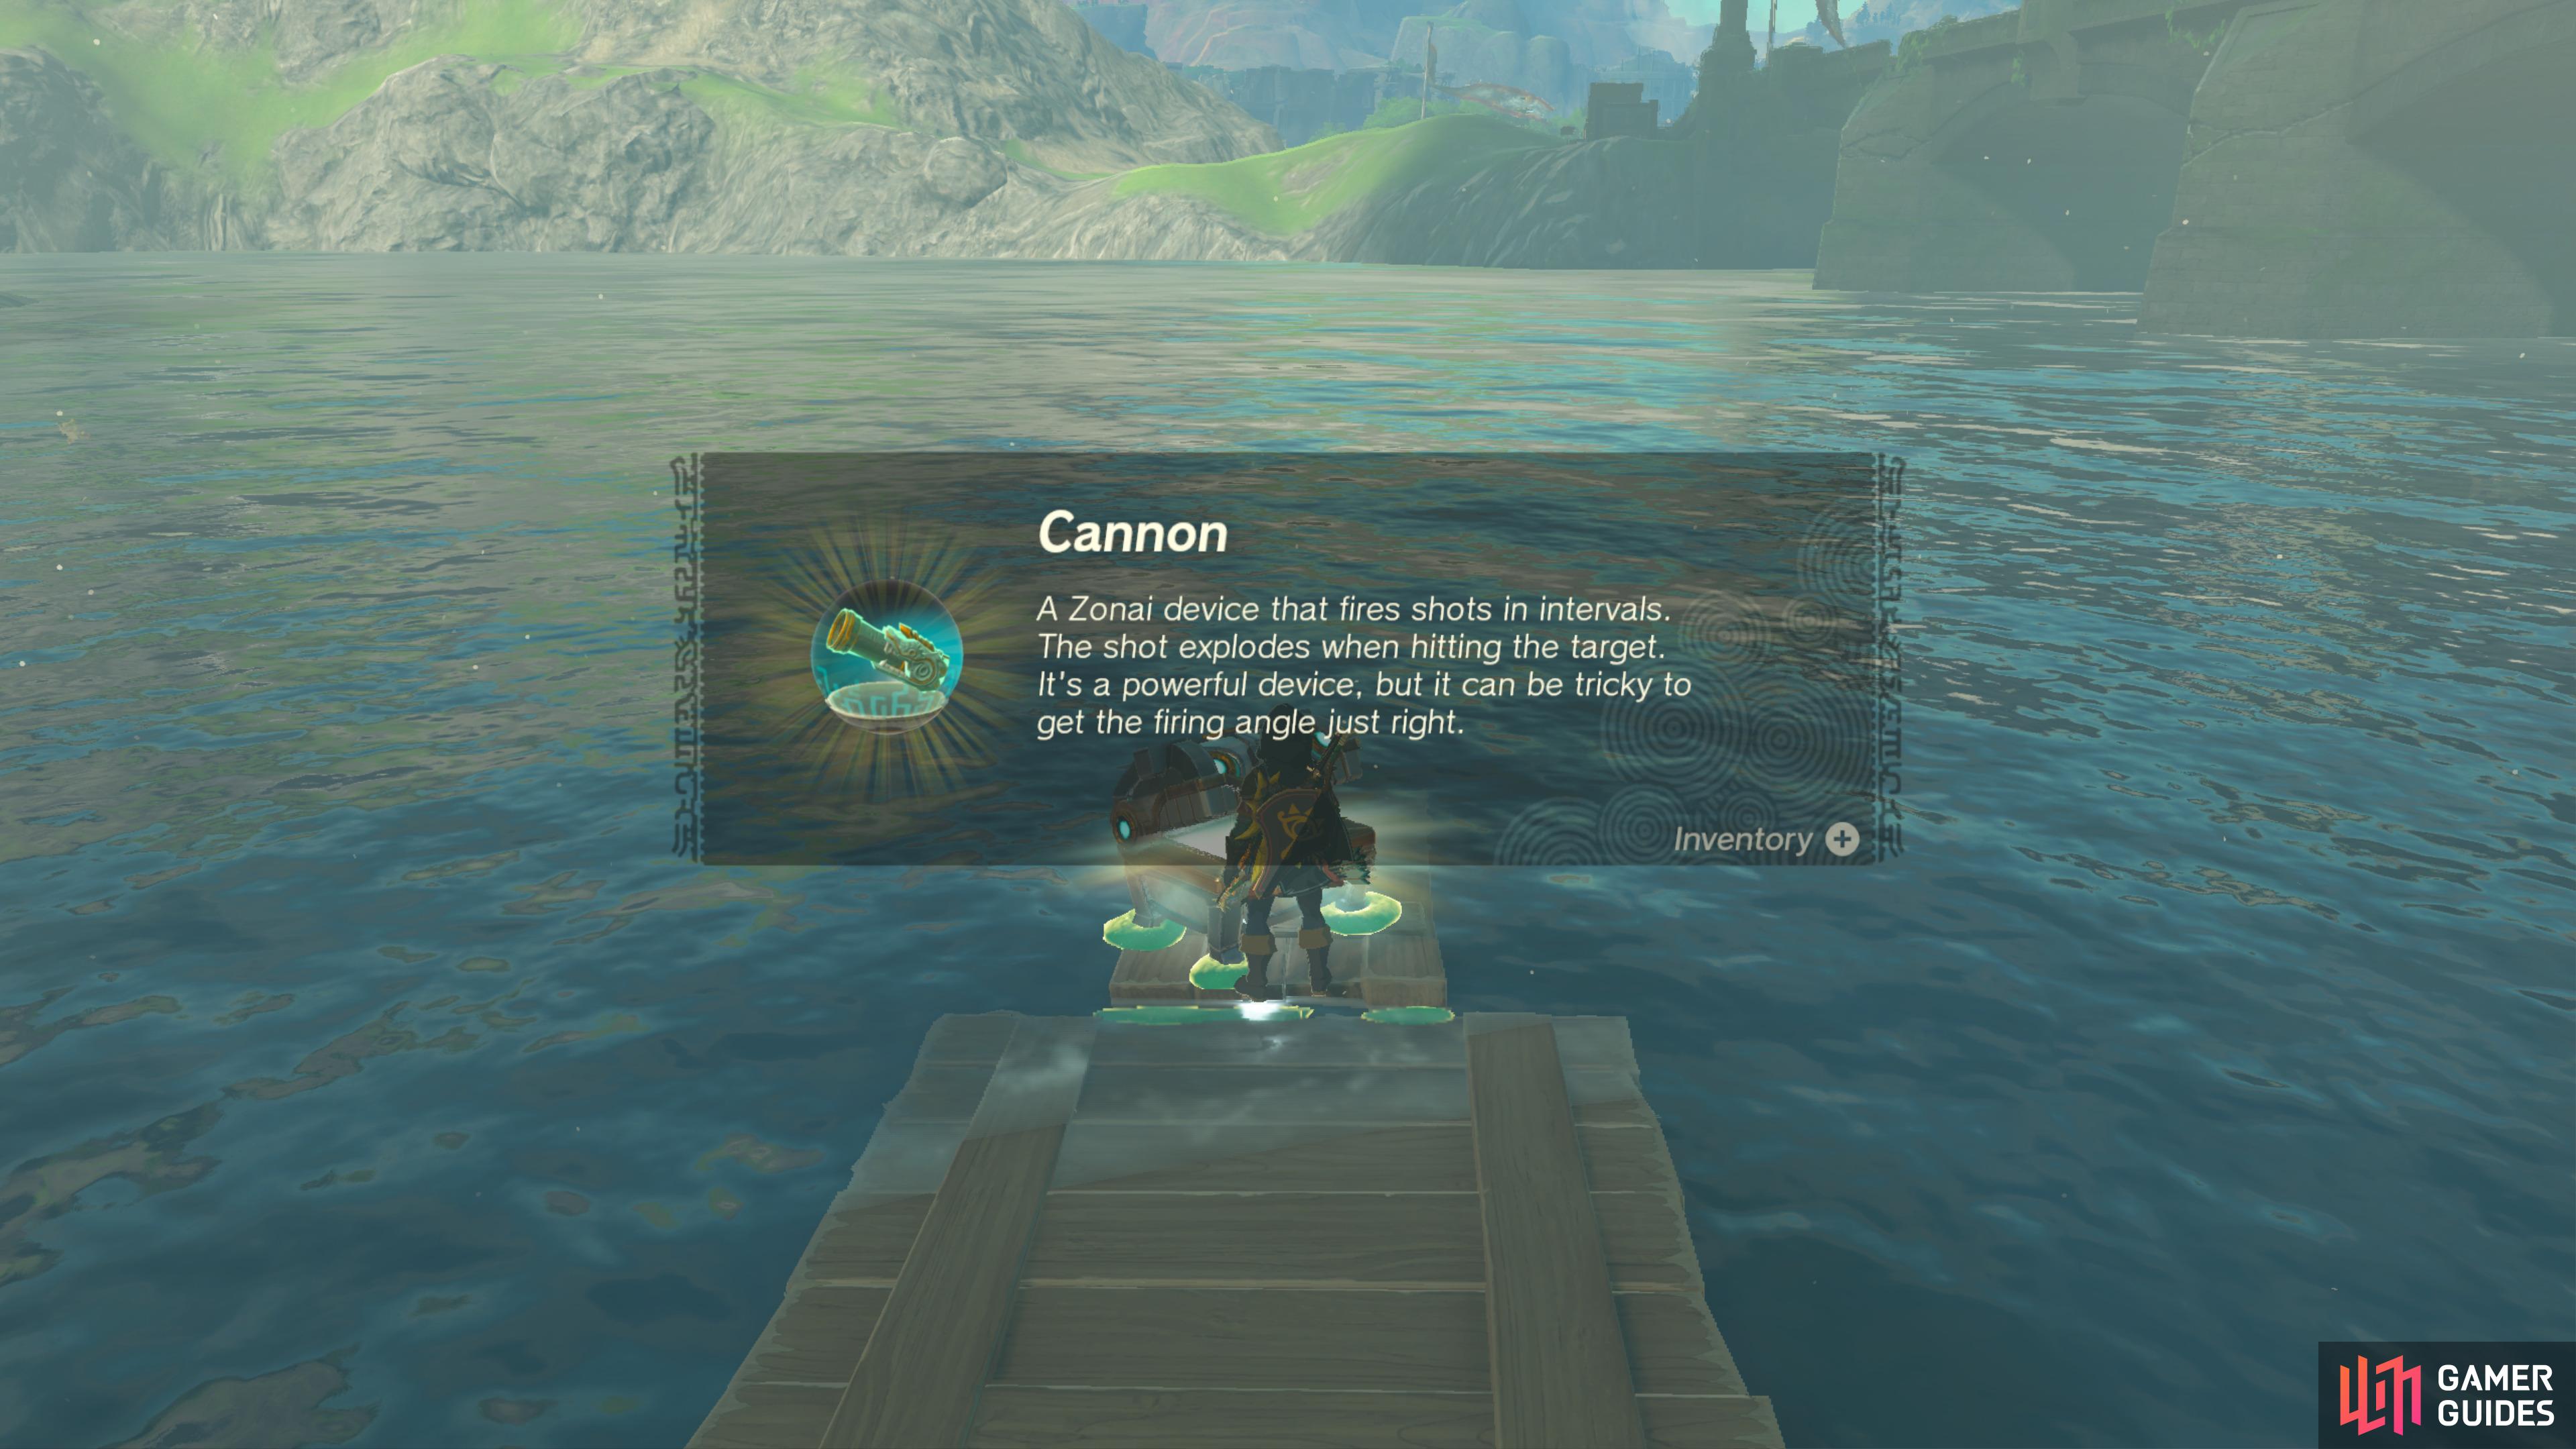
44800. Hyrule Surface Map
Use the nearby construction materials to create a small bridge into the water, then use ![]() Ultrahand to pull this chest out of it.
Ultrahand to pull this chest out of it.
It contains a Cannon (capsule).
44803. Hyrule Surface Map
Use ![]() Ultrahand to pull this Chest out of the ground.
Ultrahand to pull this Chest out of the ground.
It contains a ![]() Knight’s Halberd.
Knight’s Halberd.
44839. Hyrule Surface Map
Accessed via the ![]() Deya Village Ruins Well, drop the board close to it and then use
Deya Village Ruins Well, drop the board close to it and then use ![]() Ultrahand to pull it out of the water.
Ultrahand to pull it out of the water.
It contains a ![]() Royal Bow.
Royal Bow.
44845. Hyrule Depths Map
For defeating master Kohga a third time a chest will appear.
44854. Hyrule Depths Map
Swim over or take a boat. Careful of the 3x ![]() Water Octorok. Chest contains a
Water Octorok. Chest contains a ![]() Large Crystallized Charge.
Large Crystallized Charge.
45190. Hyrule Surface Map
There’s a chest within the bramble here. You need to burn the bramble away to expose it.
45223. Hyrule Surface Map
Use ![]() Ultrahand to pull out the chest out of the ground.
Ultrahand to pull out the chest out of the ground.
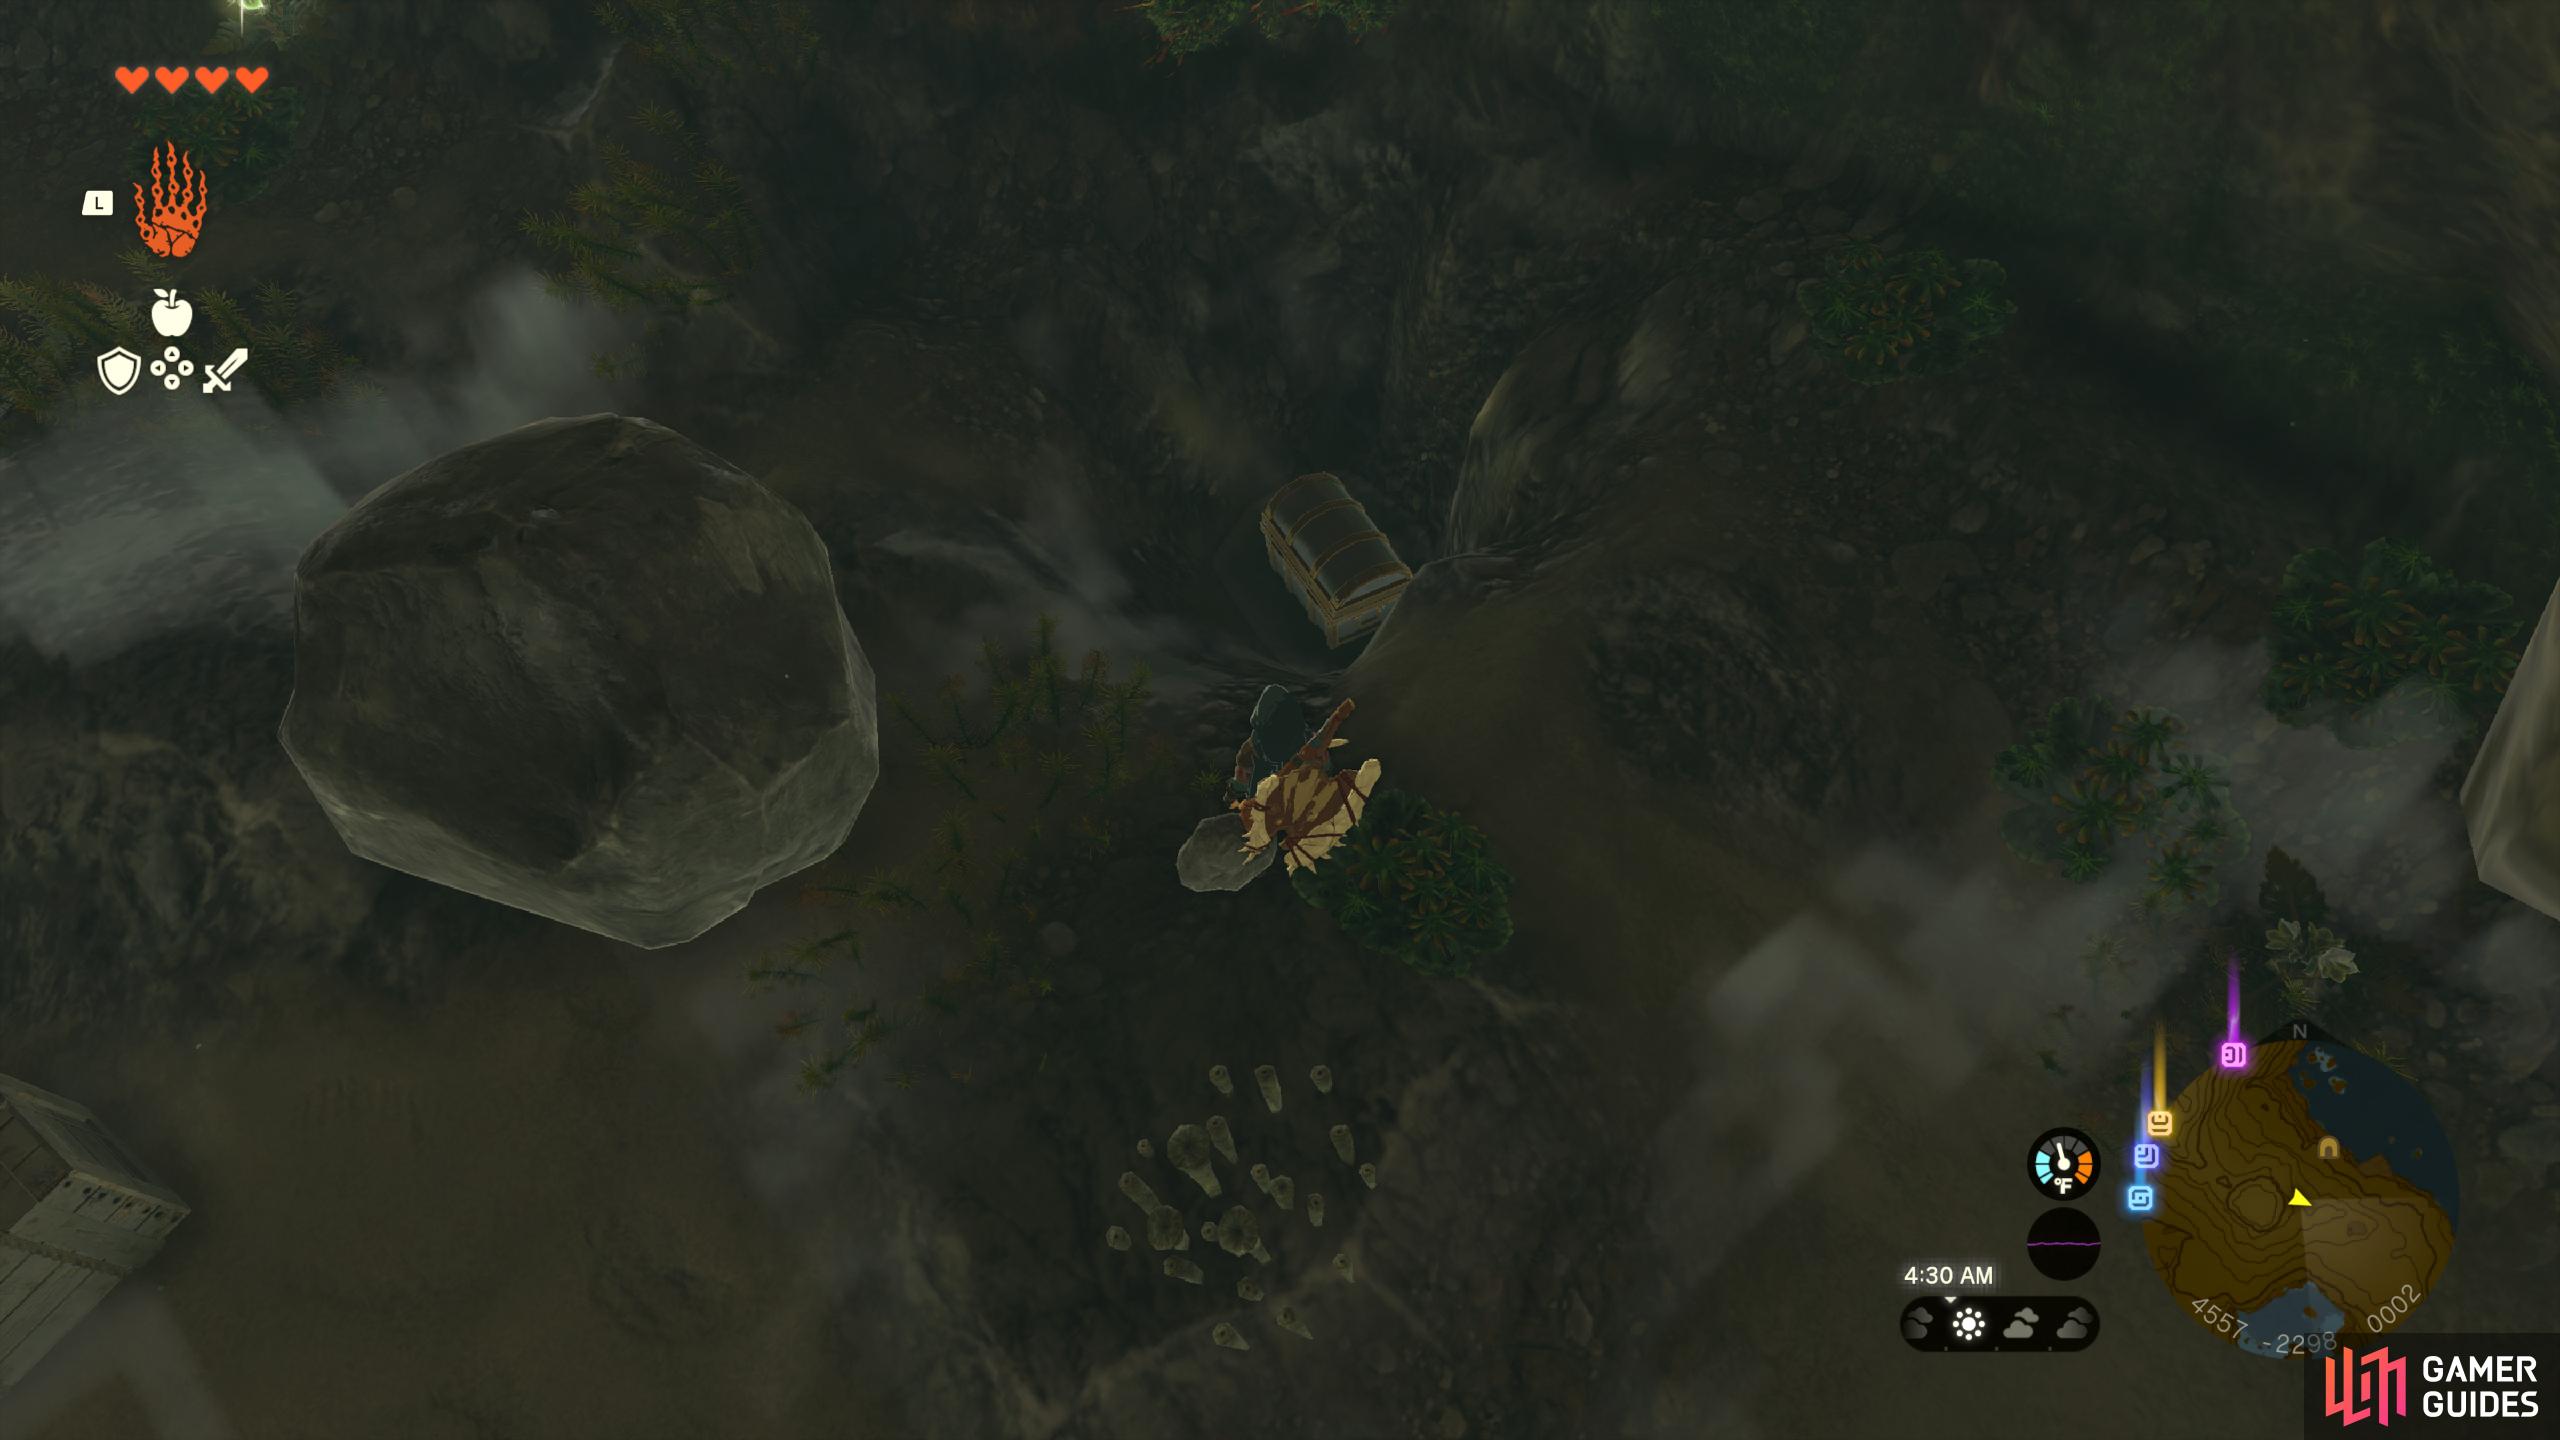
It contains an ![]() Ancient Blade.
Ancient Blade.
45261. Hyrule Surface Map
Found inside the nearby well, break the rocks to fill it with water, then use ![]() Ultrahand to pull it out.
Ultrahand to pull it out.
It contains a Ruby.
45361. Hyrule Surface Map
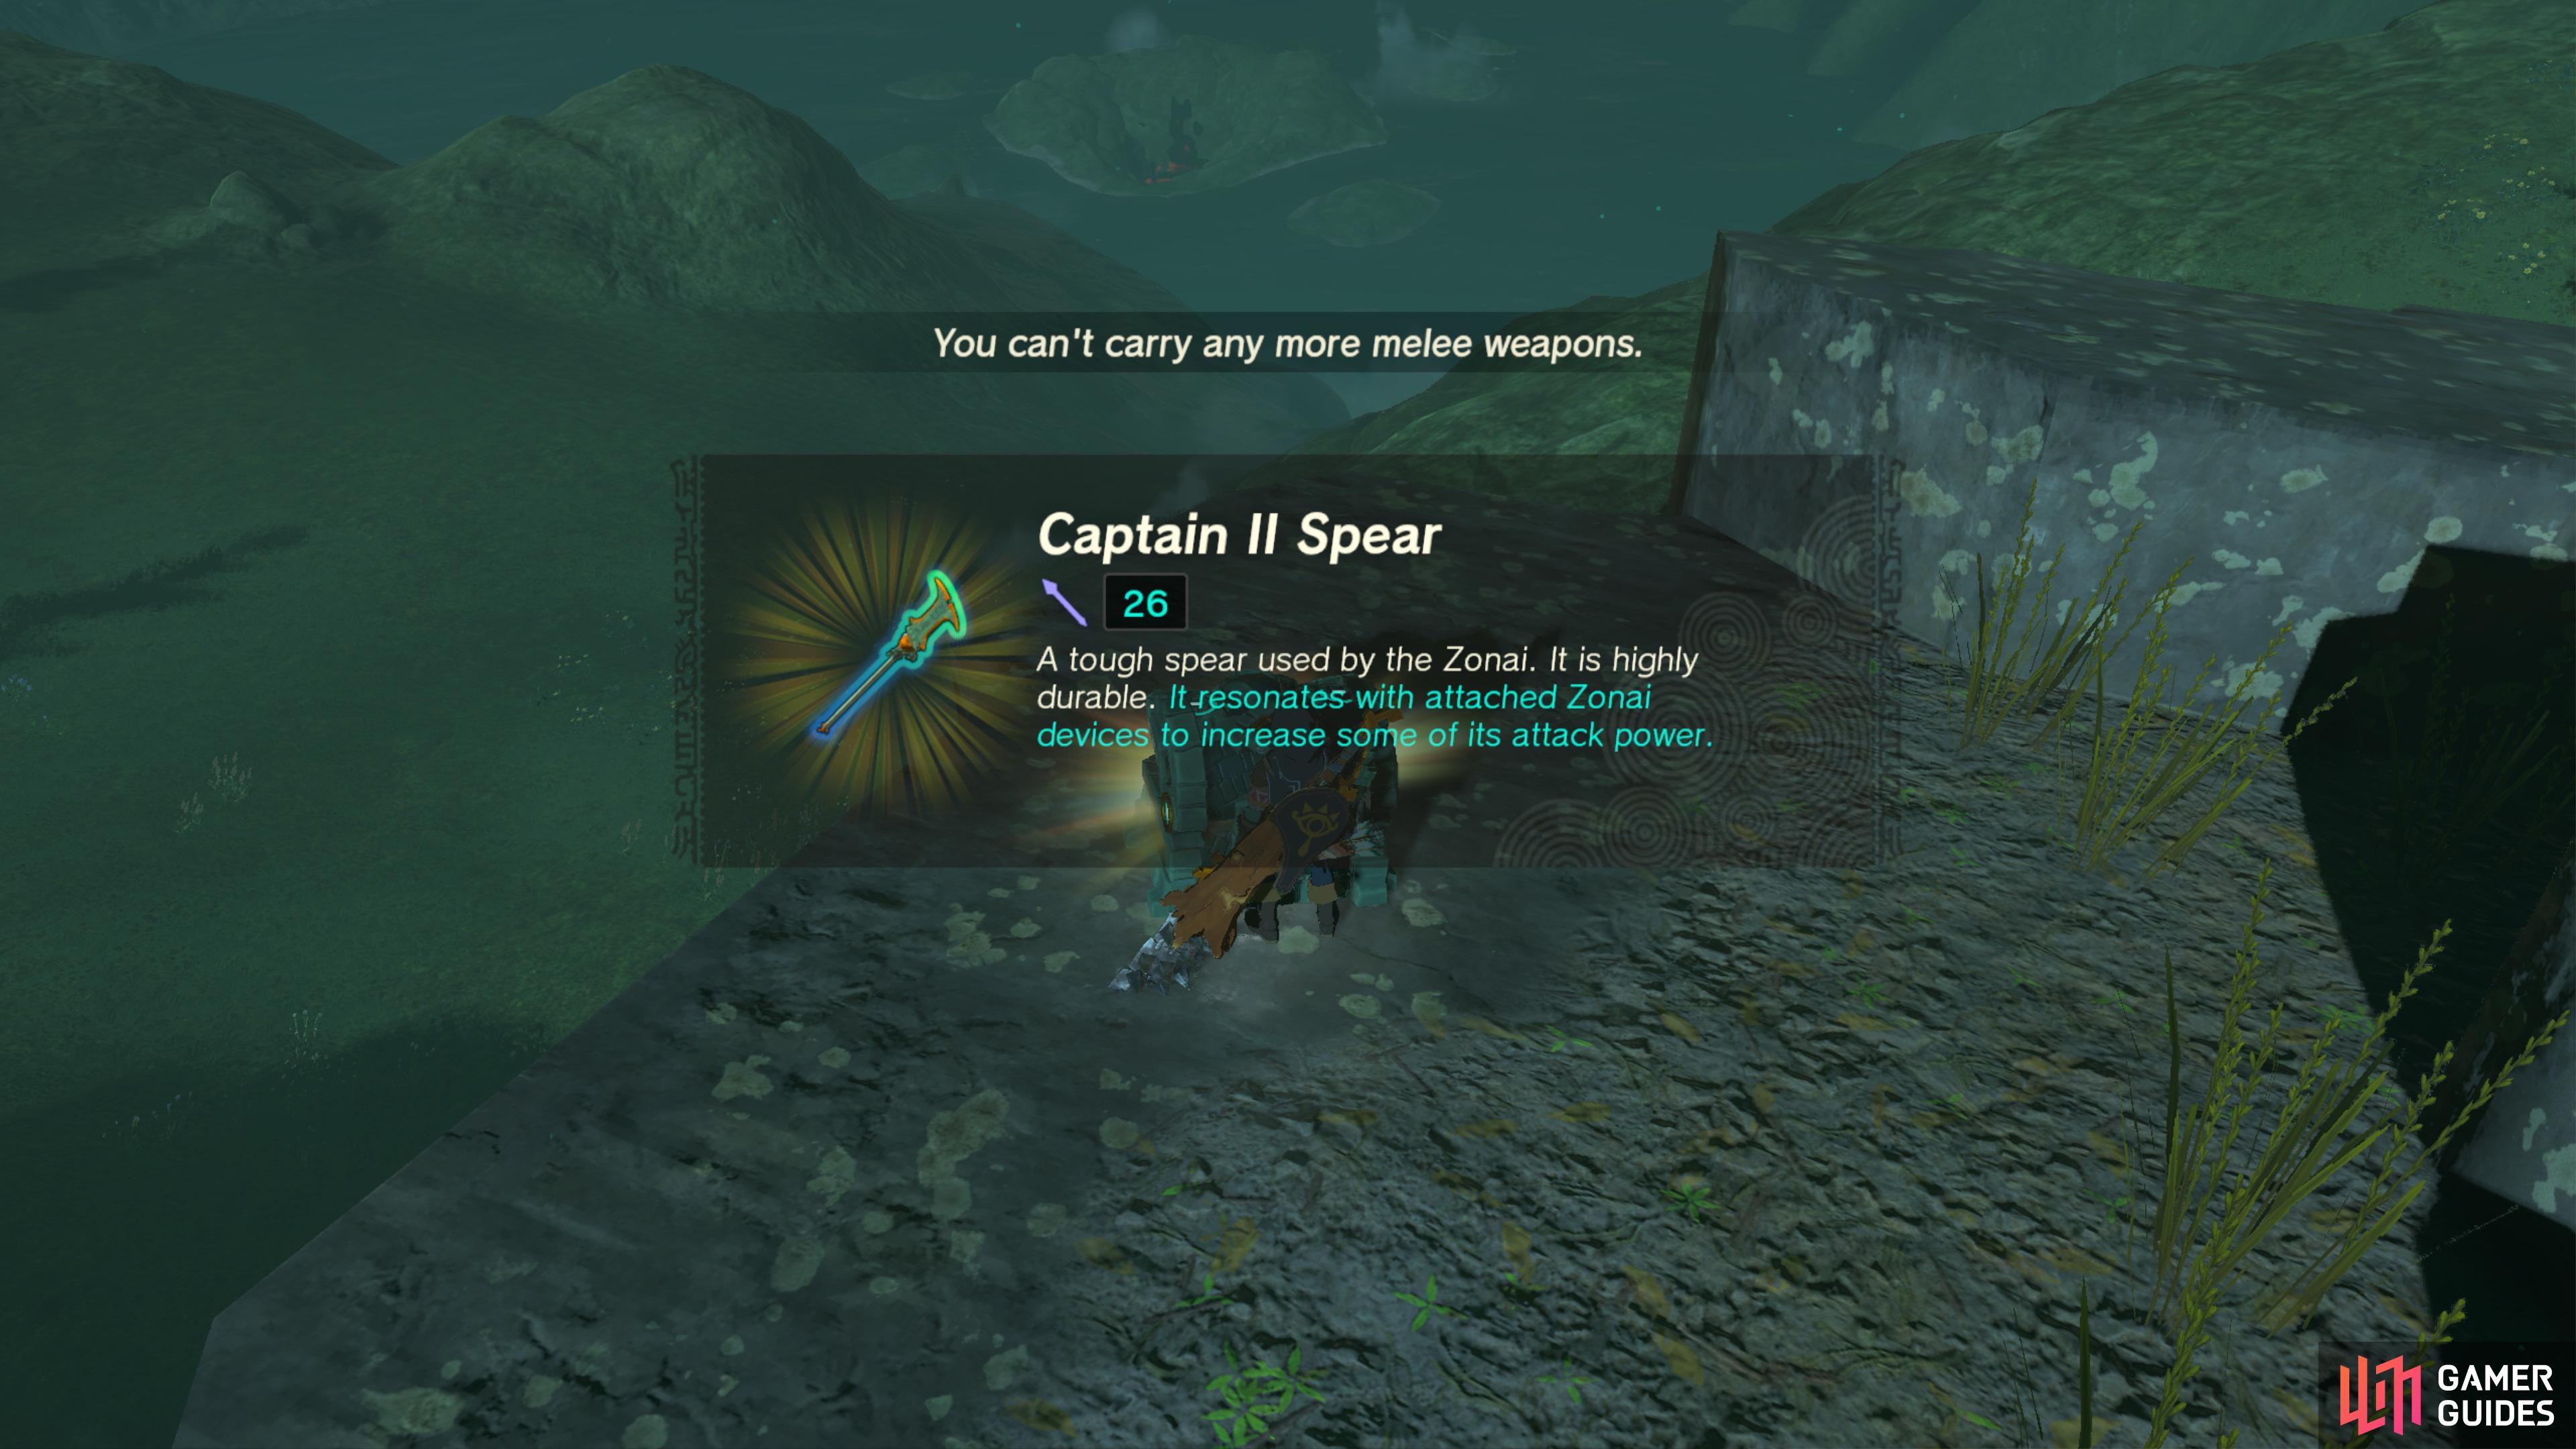
Climb to the top of the rocks here to find this Chest.
It contains a Captain’s Spear II.
45531. Hyrule Sky Islands Map
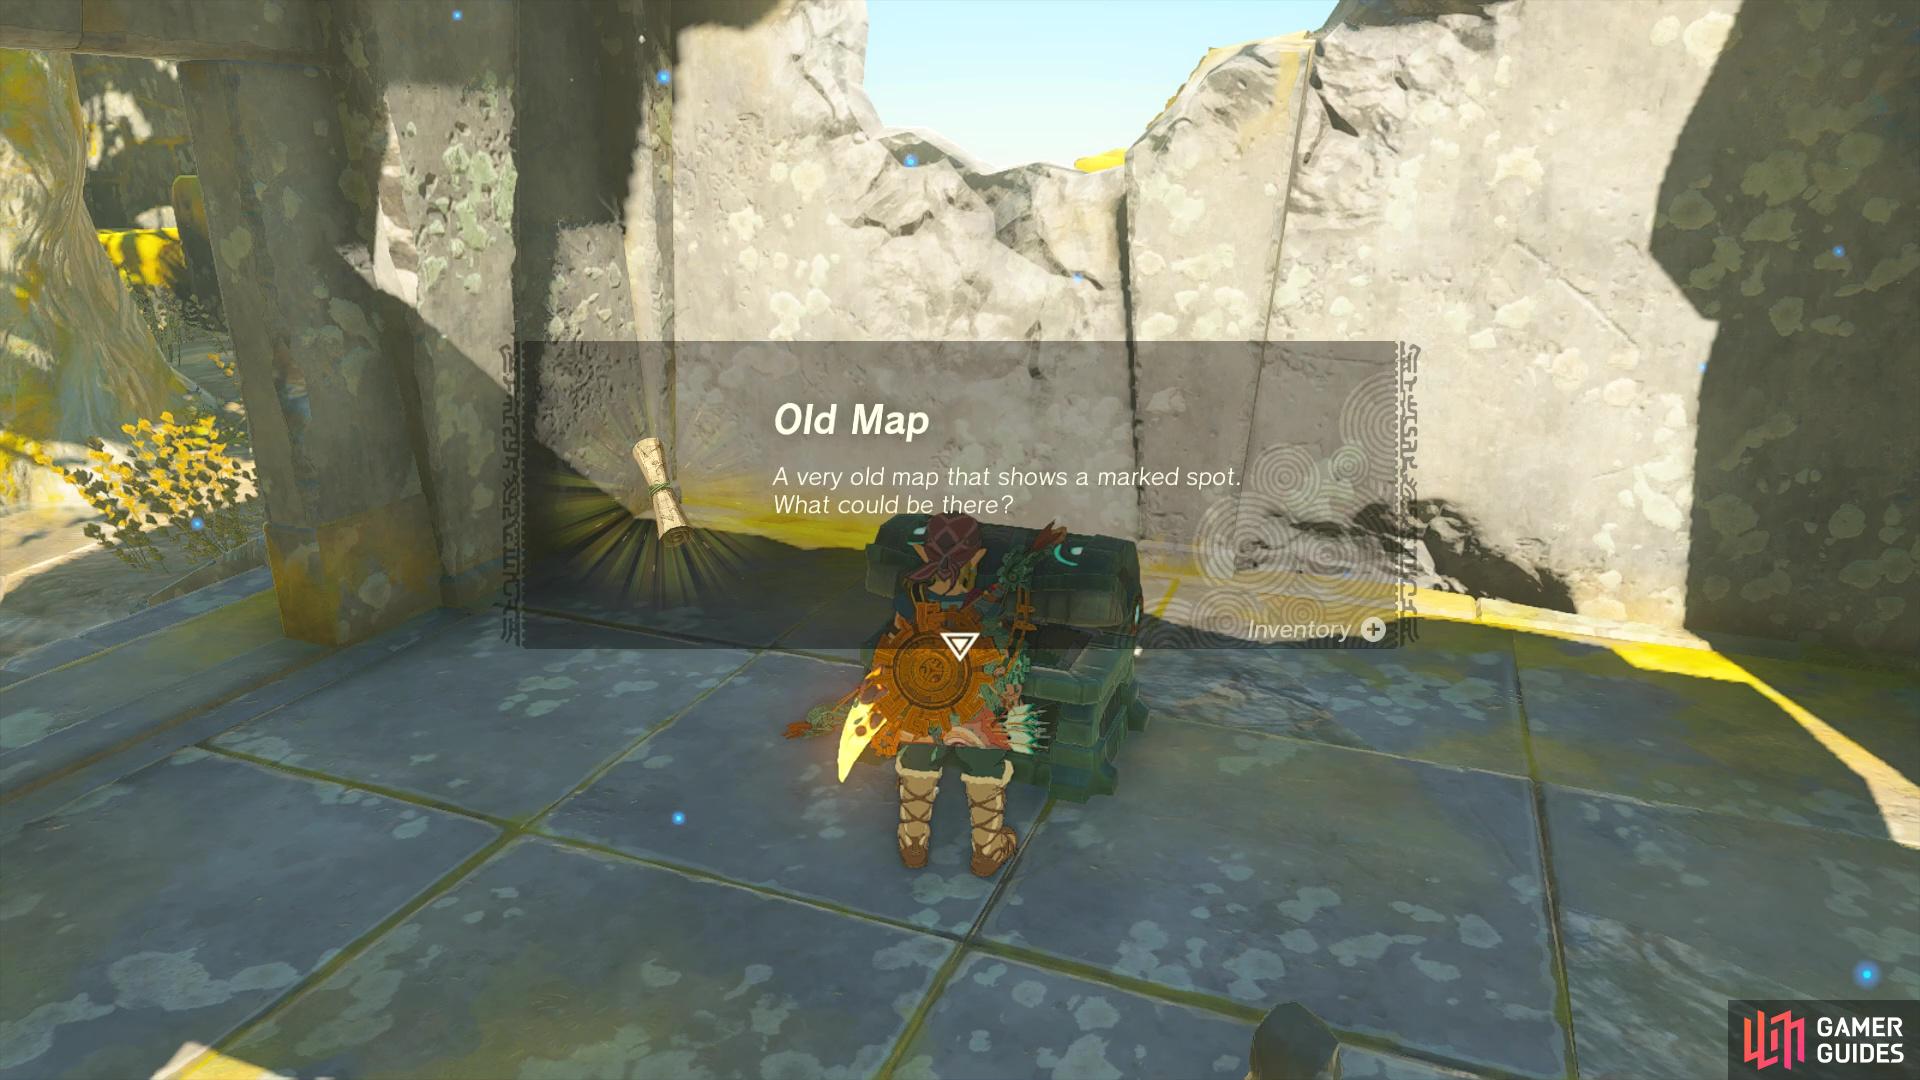
On the platform with the Flux Constructer II boss, you can head over to the edge, directly below this island, and find a platform with two frozen balloons. You need to hit it with an arrow, to get it to fly. It will run out of fuel before reaching the island, and so, you will need to spend at least two bars of battery to reach this island. Reaching this chest will award you with an ![]() Old Map, highlighting a marker towards the lower middle are in the north west quadrant of the Depth map.
Old Map, highlighting a marker towards the lower middle are in the north west quadrant of the Depth map.
45599. Hyrule Surface Map
Climb to the top of this rock platform to find this Chest.
It contains 10 ![]() Arrows.
Arrows.
45600. Hyrule Surface Map
![]() Ascend to the top of this platform to find this Chest.
Ascend to the top of this platform to find this Chest.
It contains a Topaz.
45644. Hyrule Surface Map
You must enter this camp from the top, and drop to the bottom to find two chests.
This one contains a Bomb-Barrel Spear.
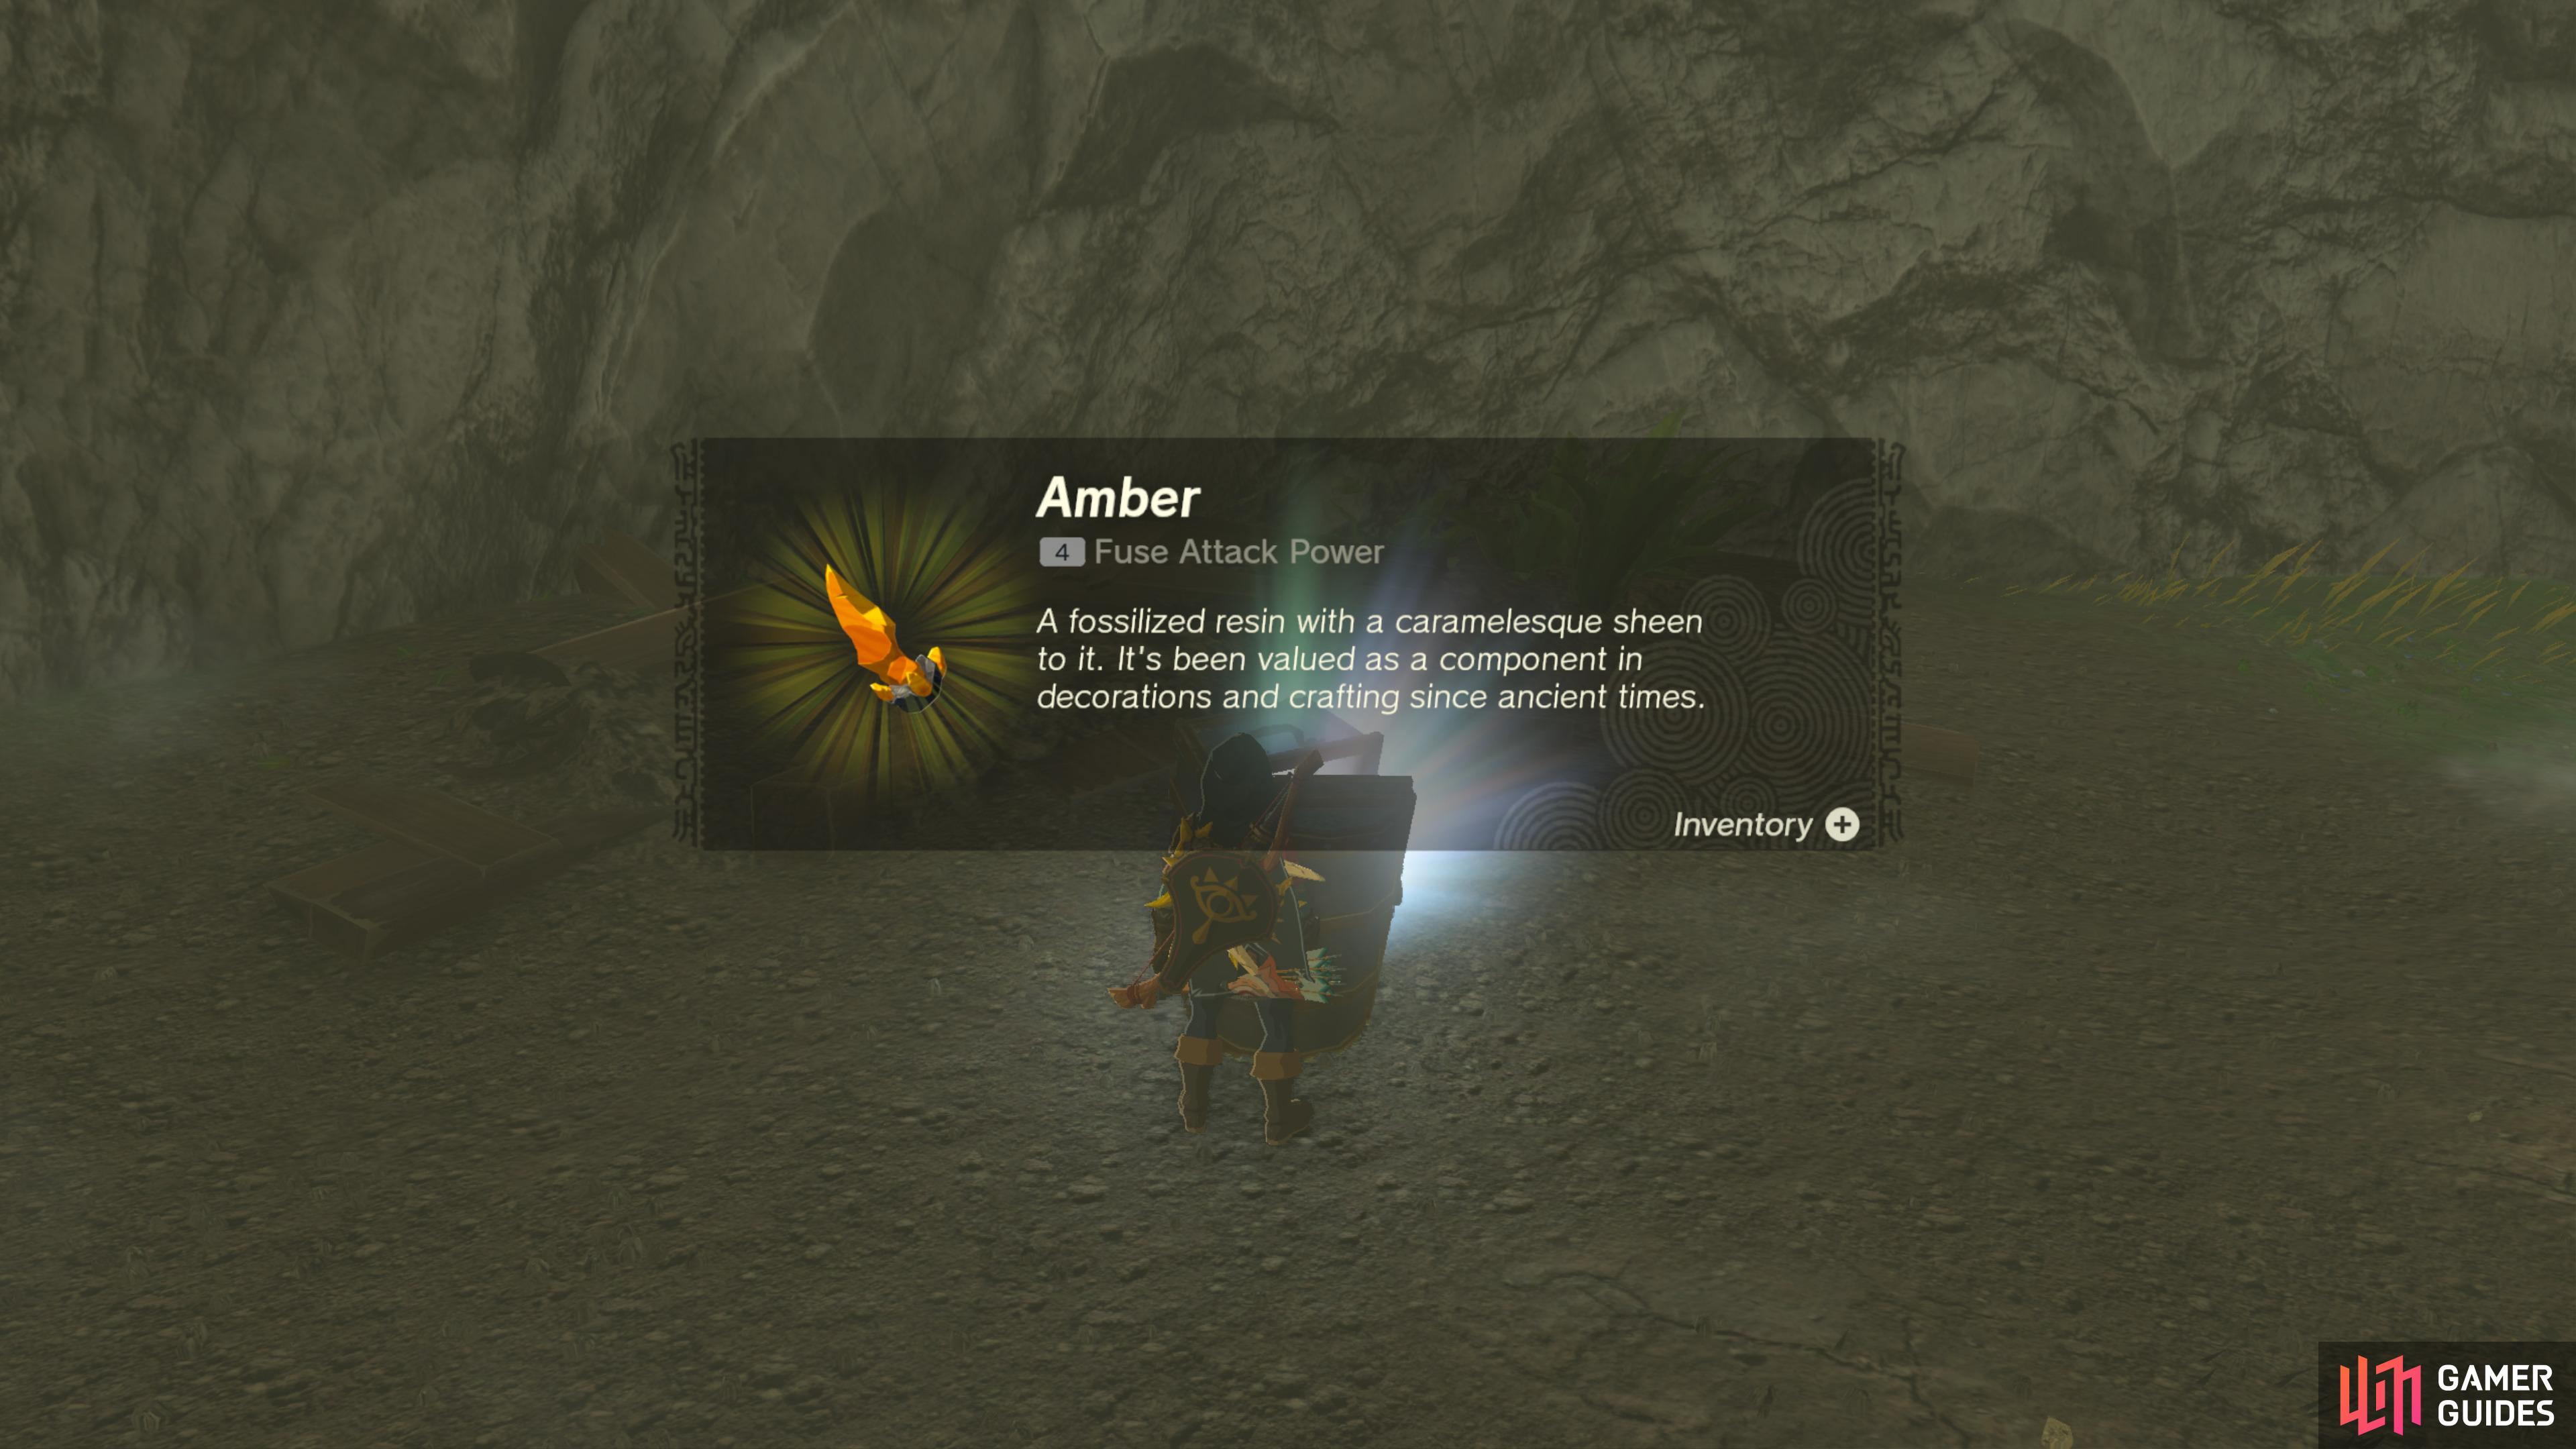
45646. Hyrule Surface Map
You must enter this camp from the top, and drop to the bottom to find two chests.
This one contains an ![]() Amber.
Amber.
45658. Hyrule Surface Map
Climb the rocks here to find a Chest.
It contains five Springs (Capsule).

45730. Hyrule Surface Map
Melt the chunk of ice to reveal a chest. Contains a ![]() Purple Rupee.
Purple Rupee.
45760. Hyrule Sky Islands Map
You need to solve the water hatch puzzle in both lakes to get this.
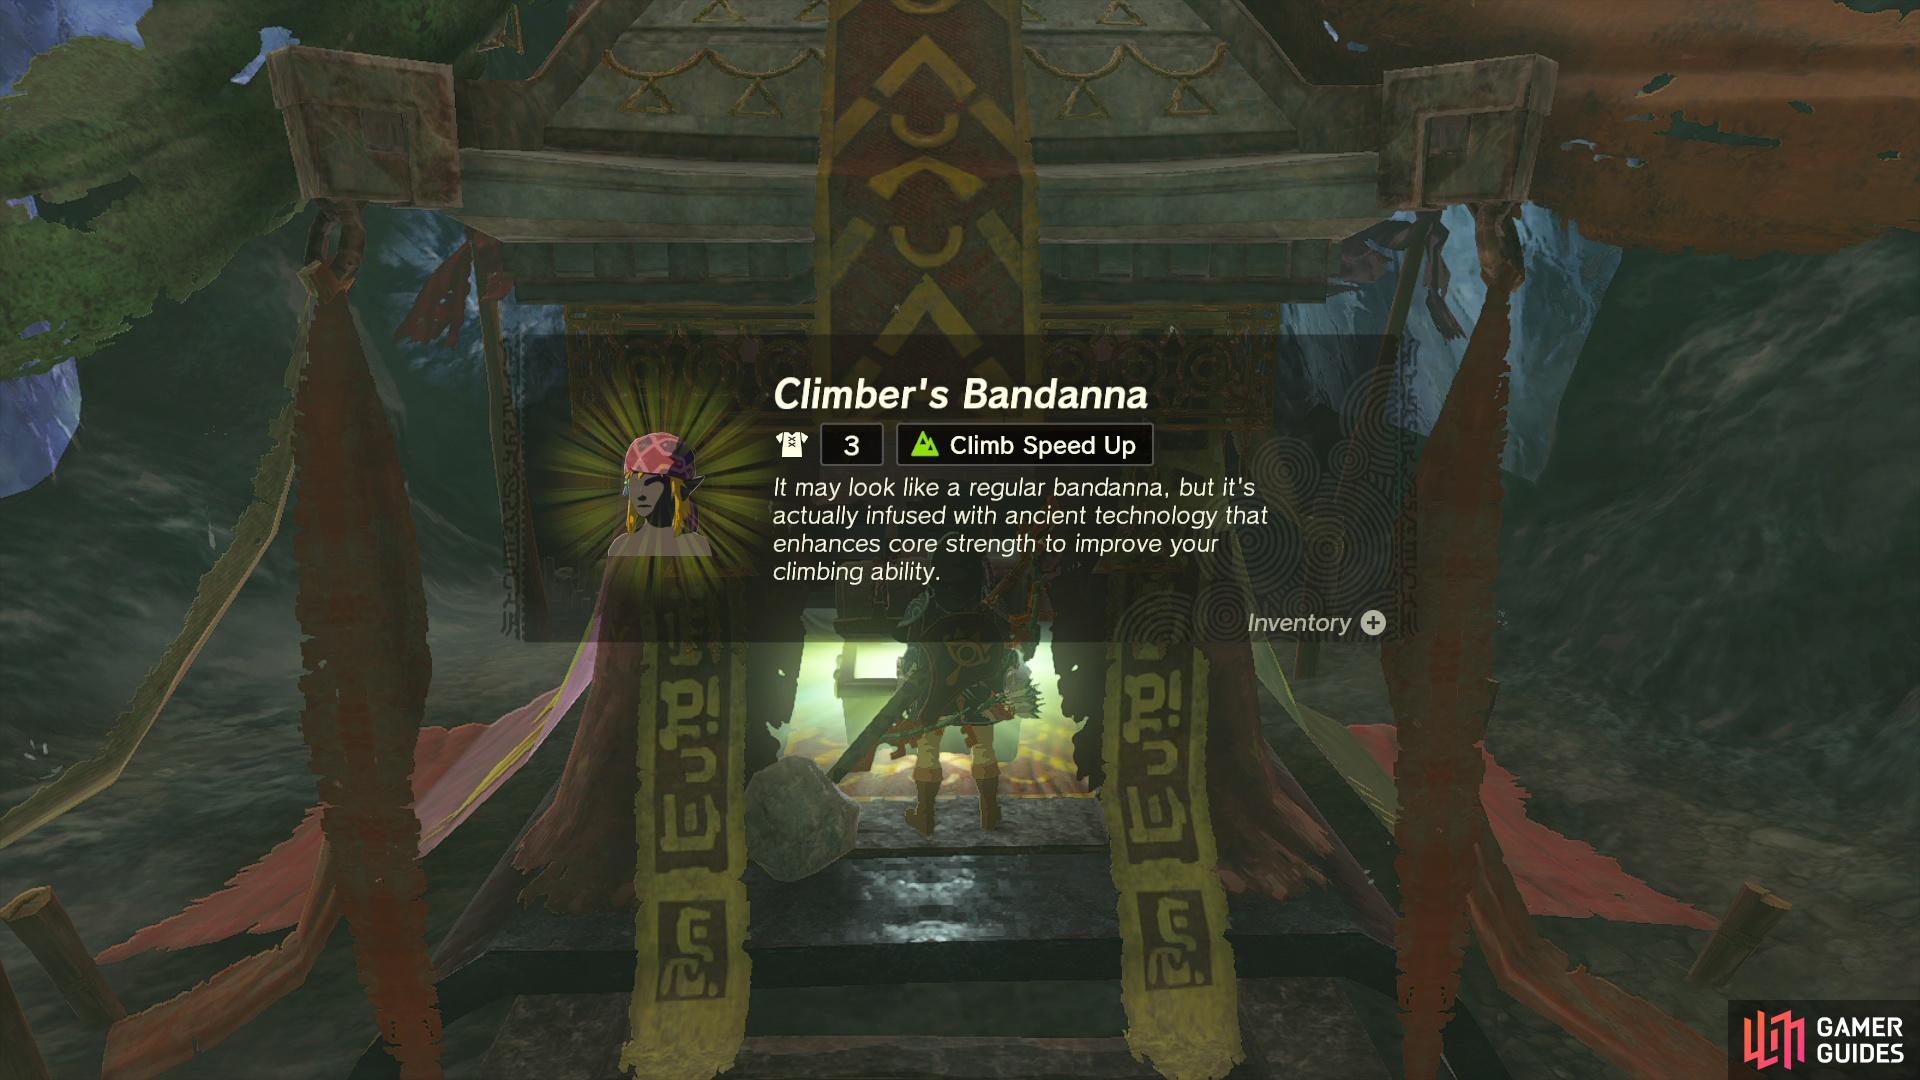
45762. Hyrule Surface Map
You must navigate up the nearby cave to reach the chest at the end.
It contains a ![]() Climber’s Bandanna.
Climber’s Bandanna.
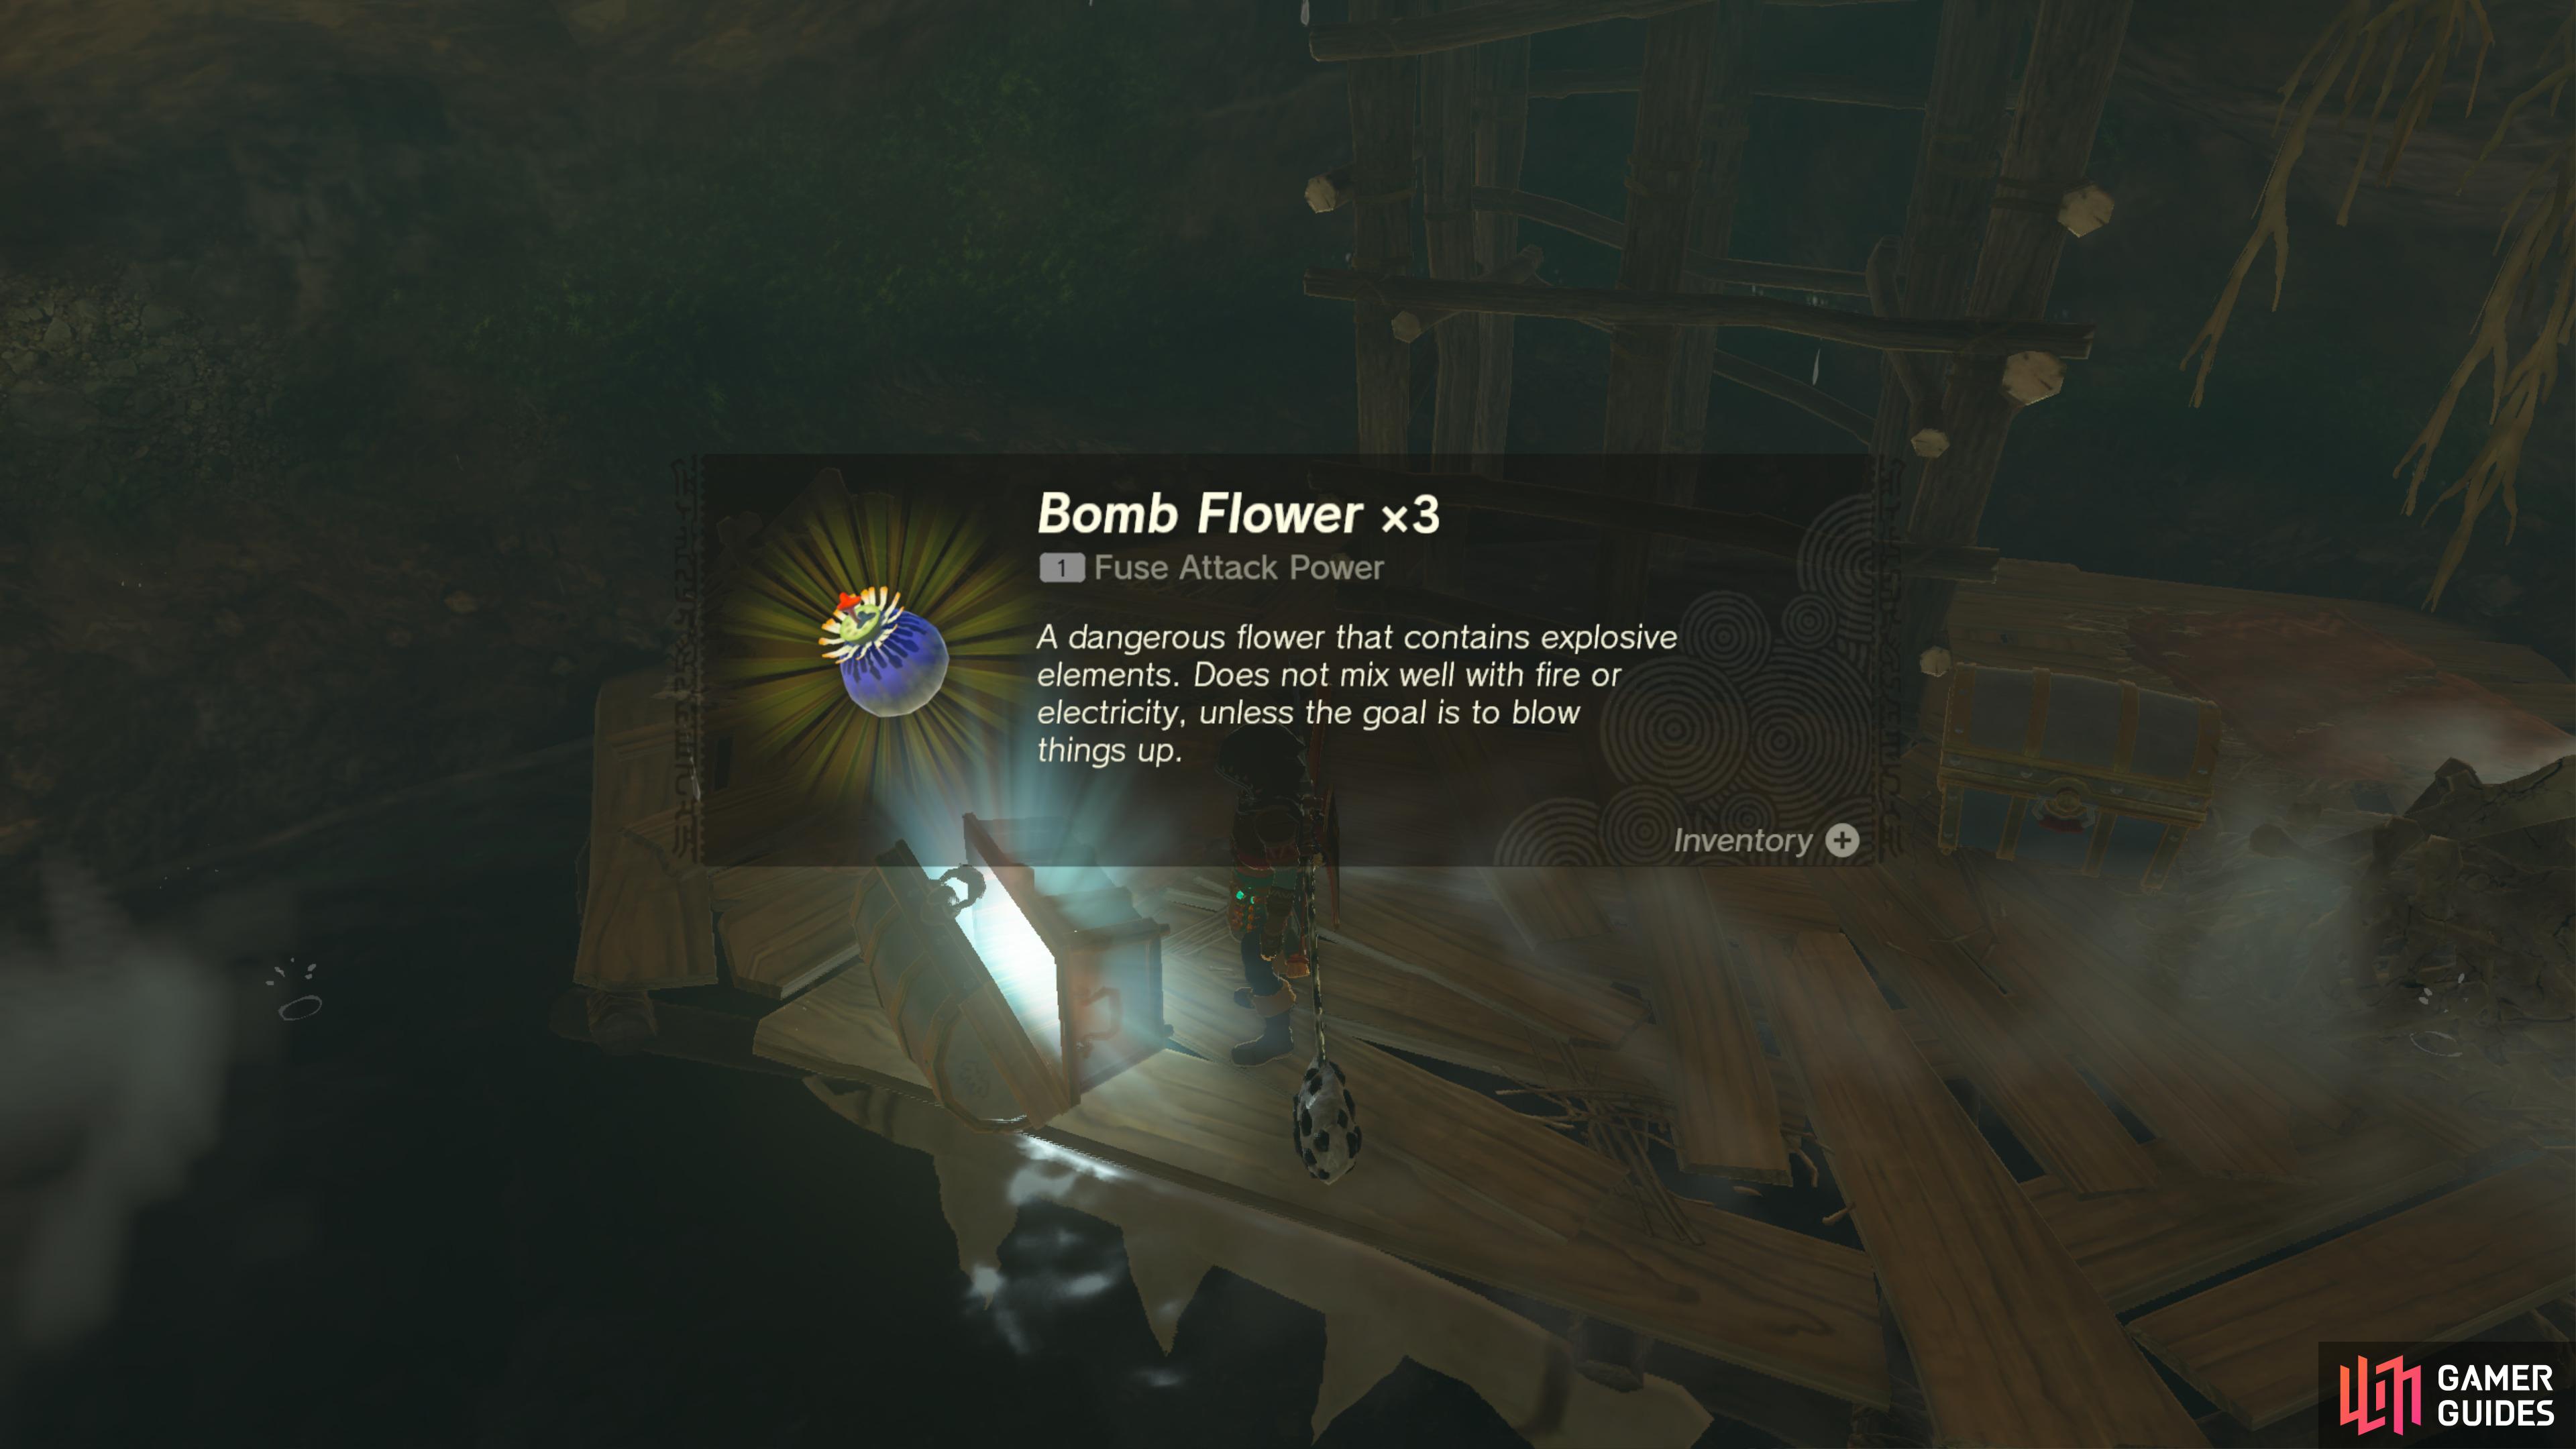
45870. Hyrule Surface Map
Found at the bottom of the nearby cave.
This Chest contains three ![]() Bomb Flowers.
Bomb Flowers.

45871. Hyrule Surface Map
Found at the bottom of the nearby cave.
This Chest contains a ![]() Knight’s Halberd.
Knight’s Halberd.
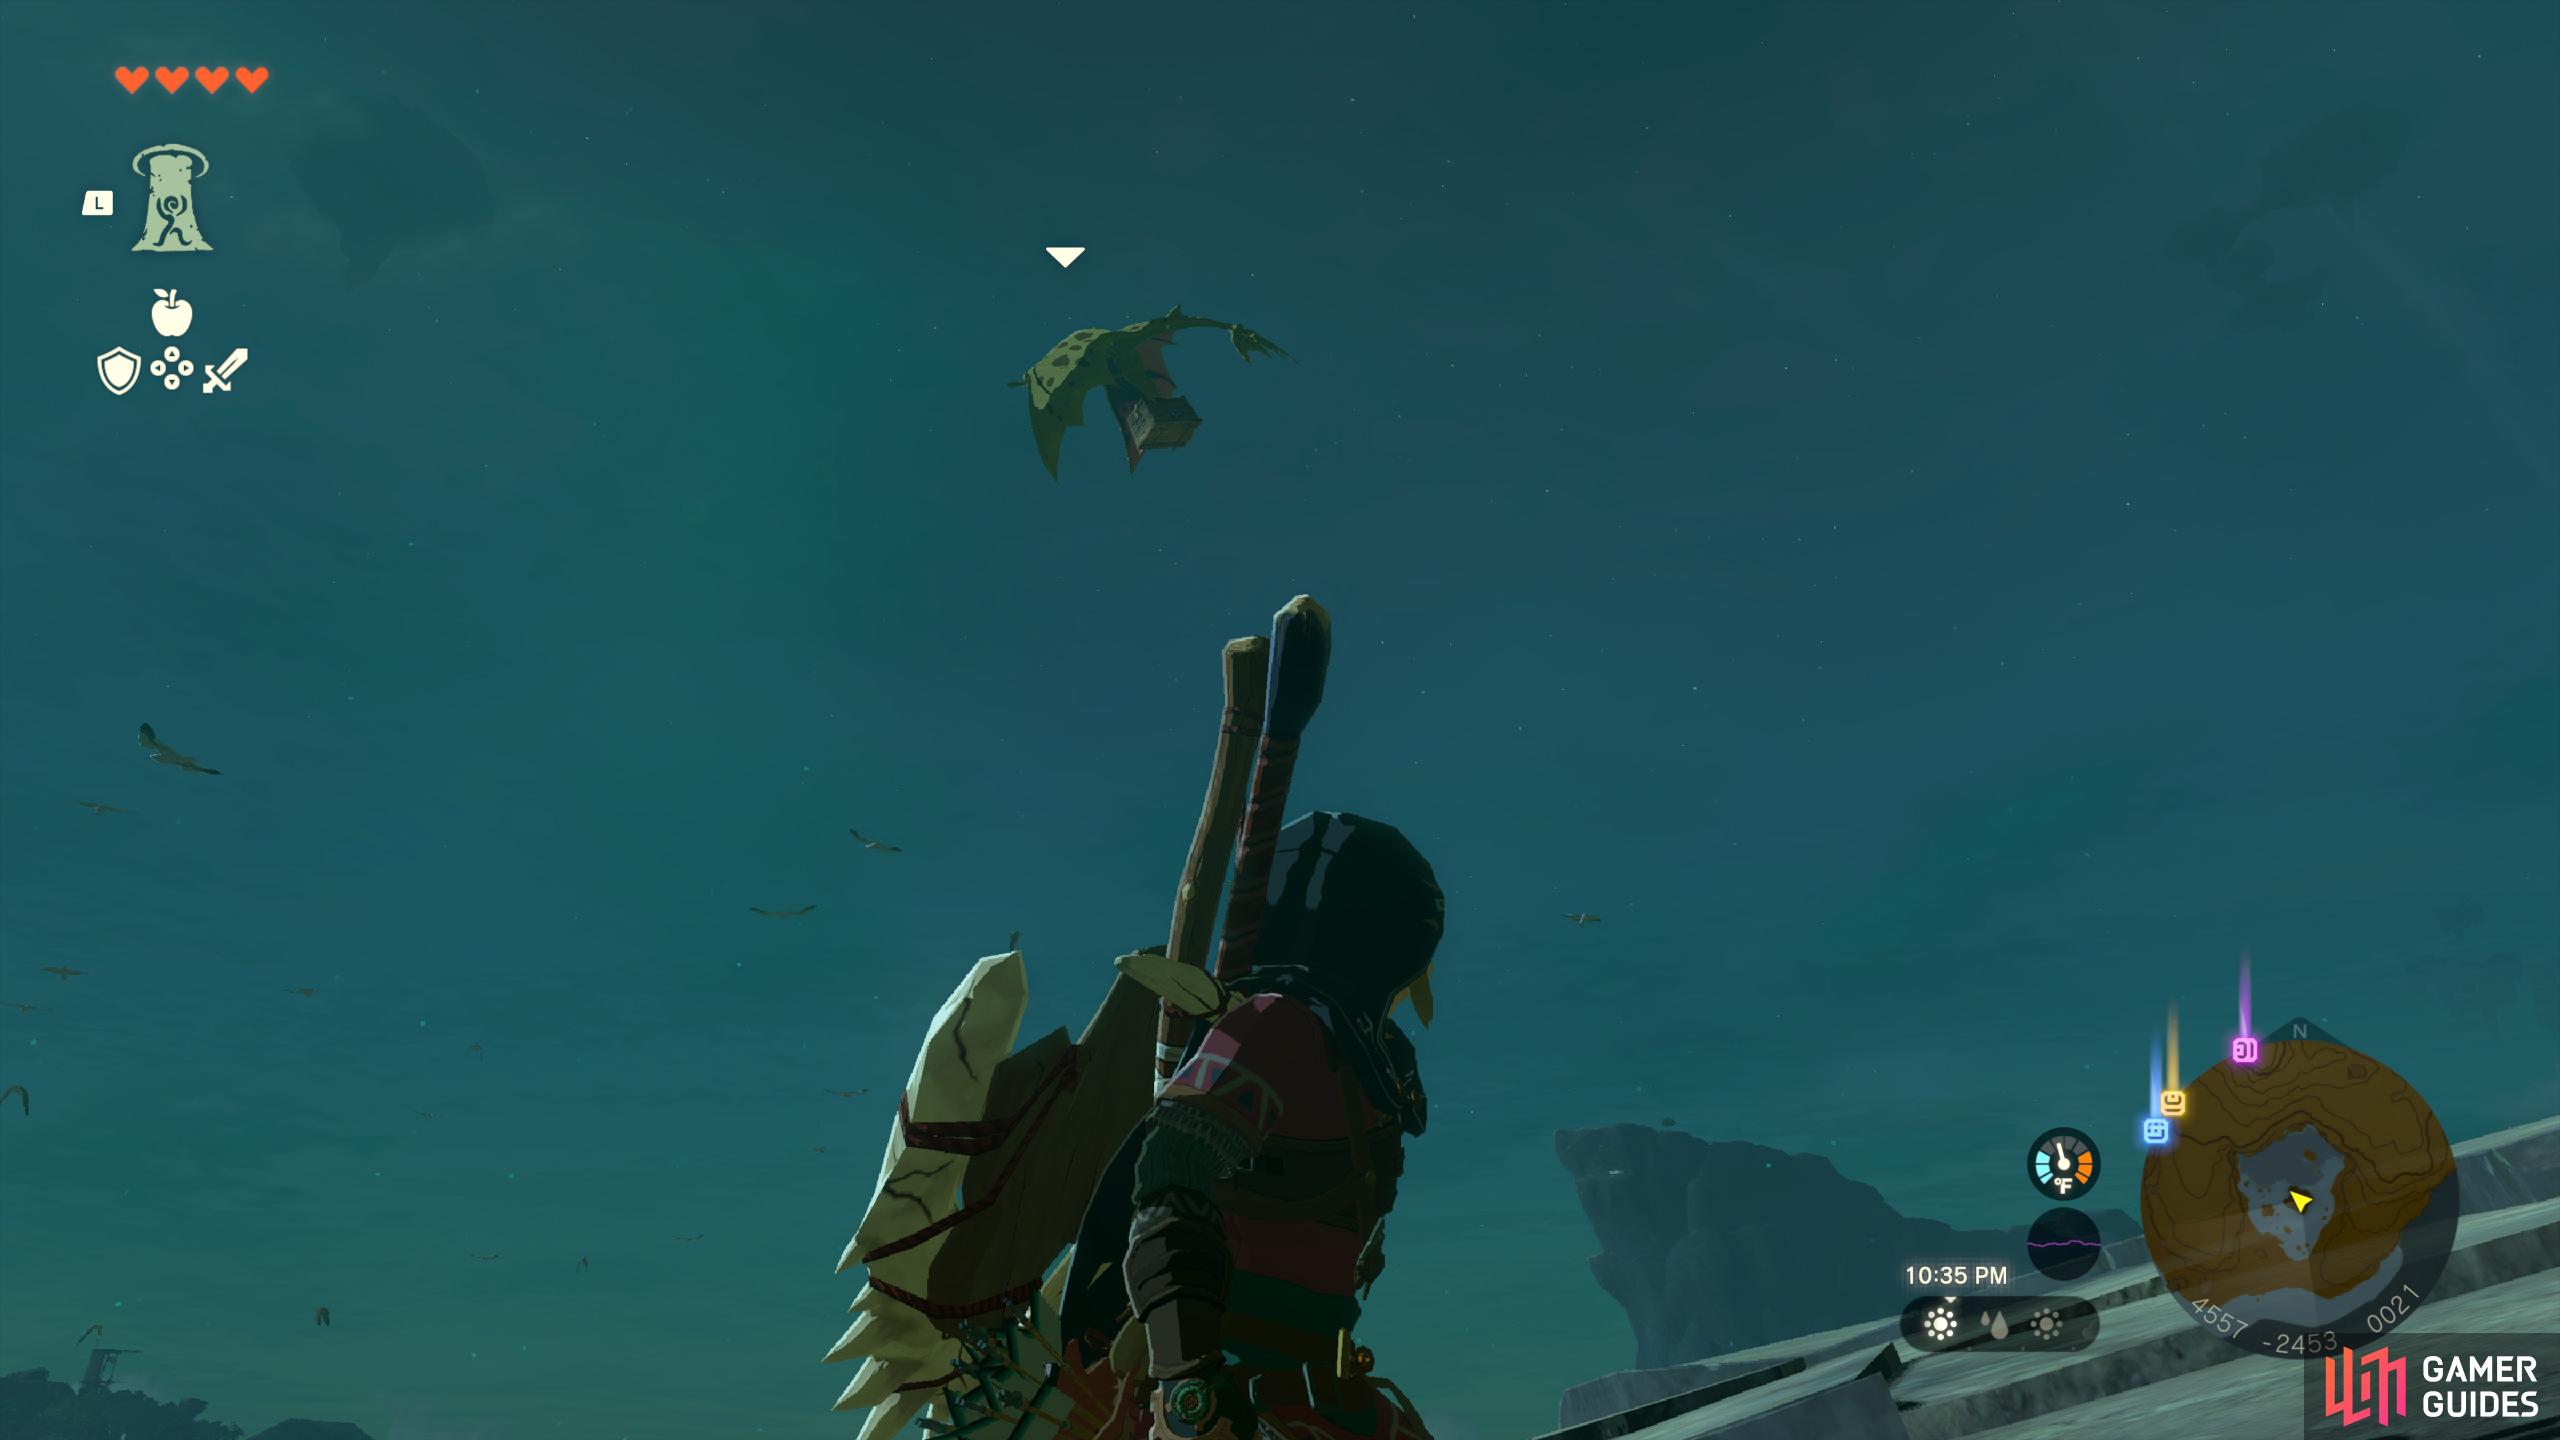
45882. Hyrule Sky Islands Map
Shoot the chest tangled in the vines from the island above with an arrow.
Awards an ![]() Old Map.
Old Map.
45996. Hyrule Surface Map
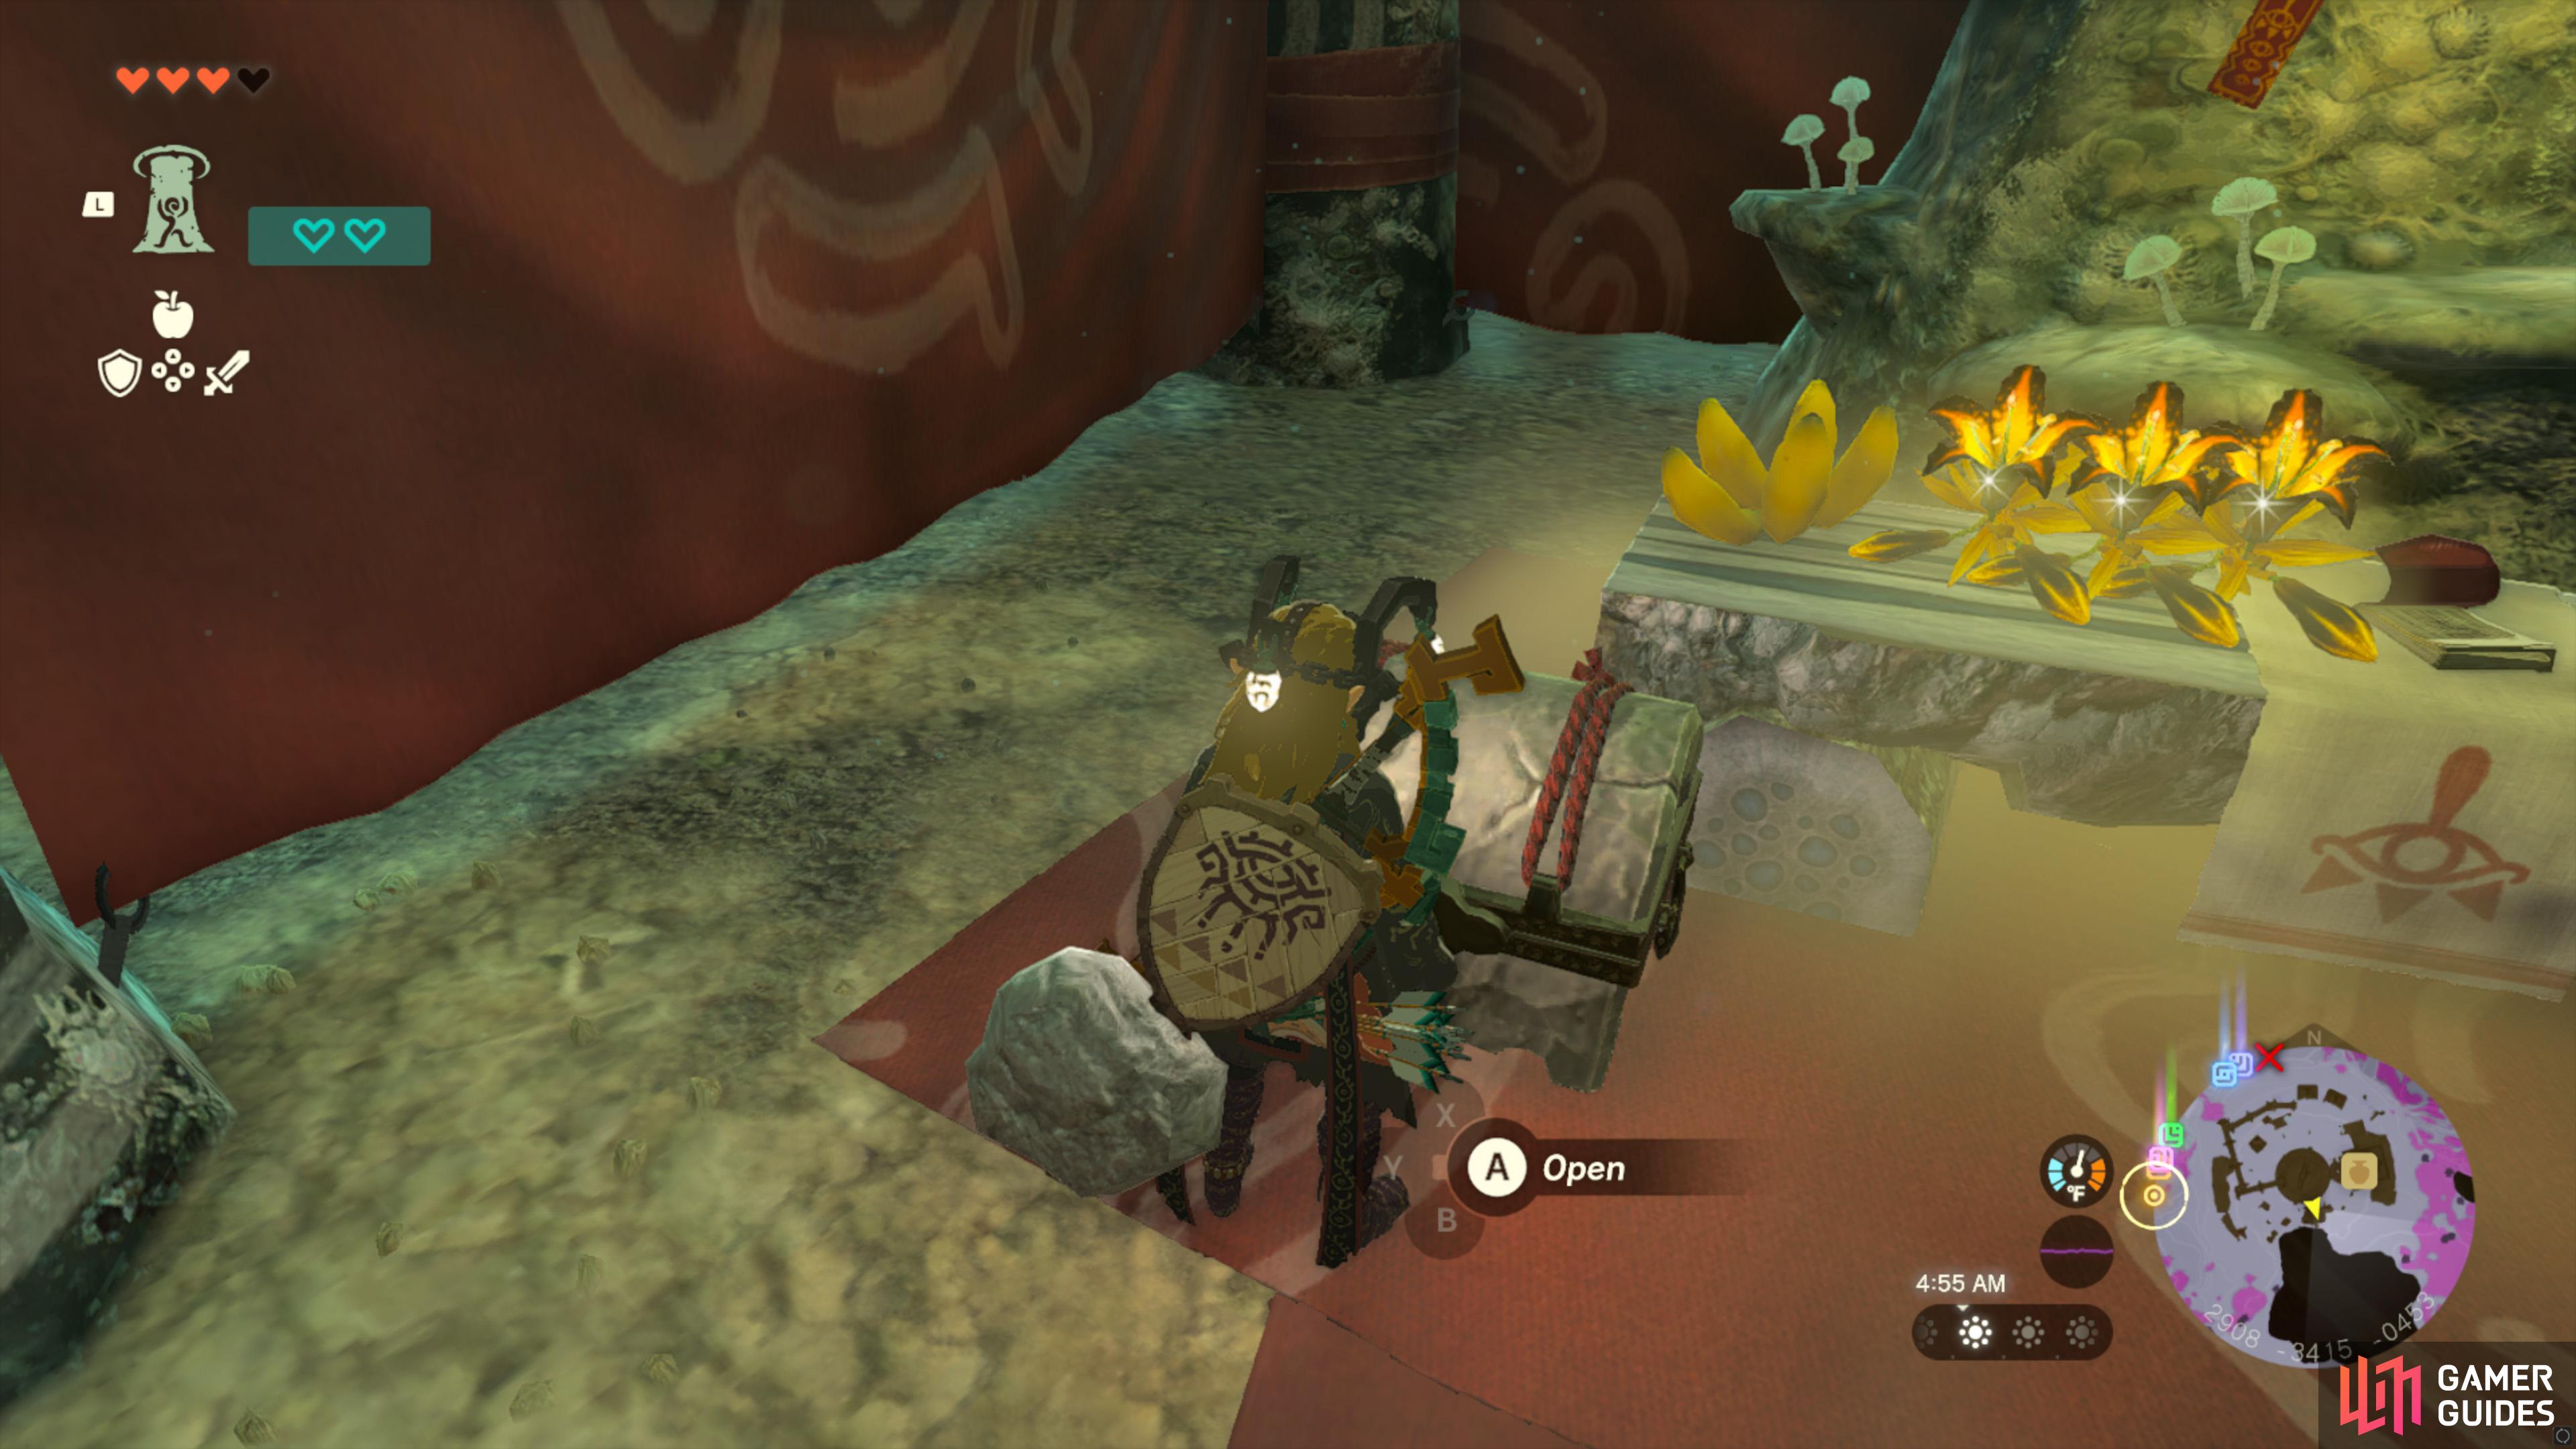
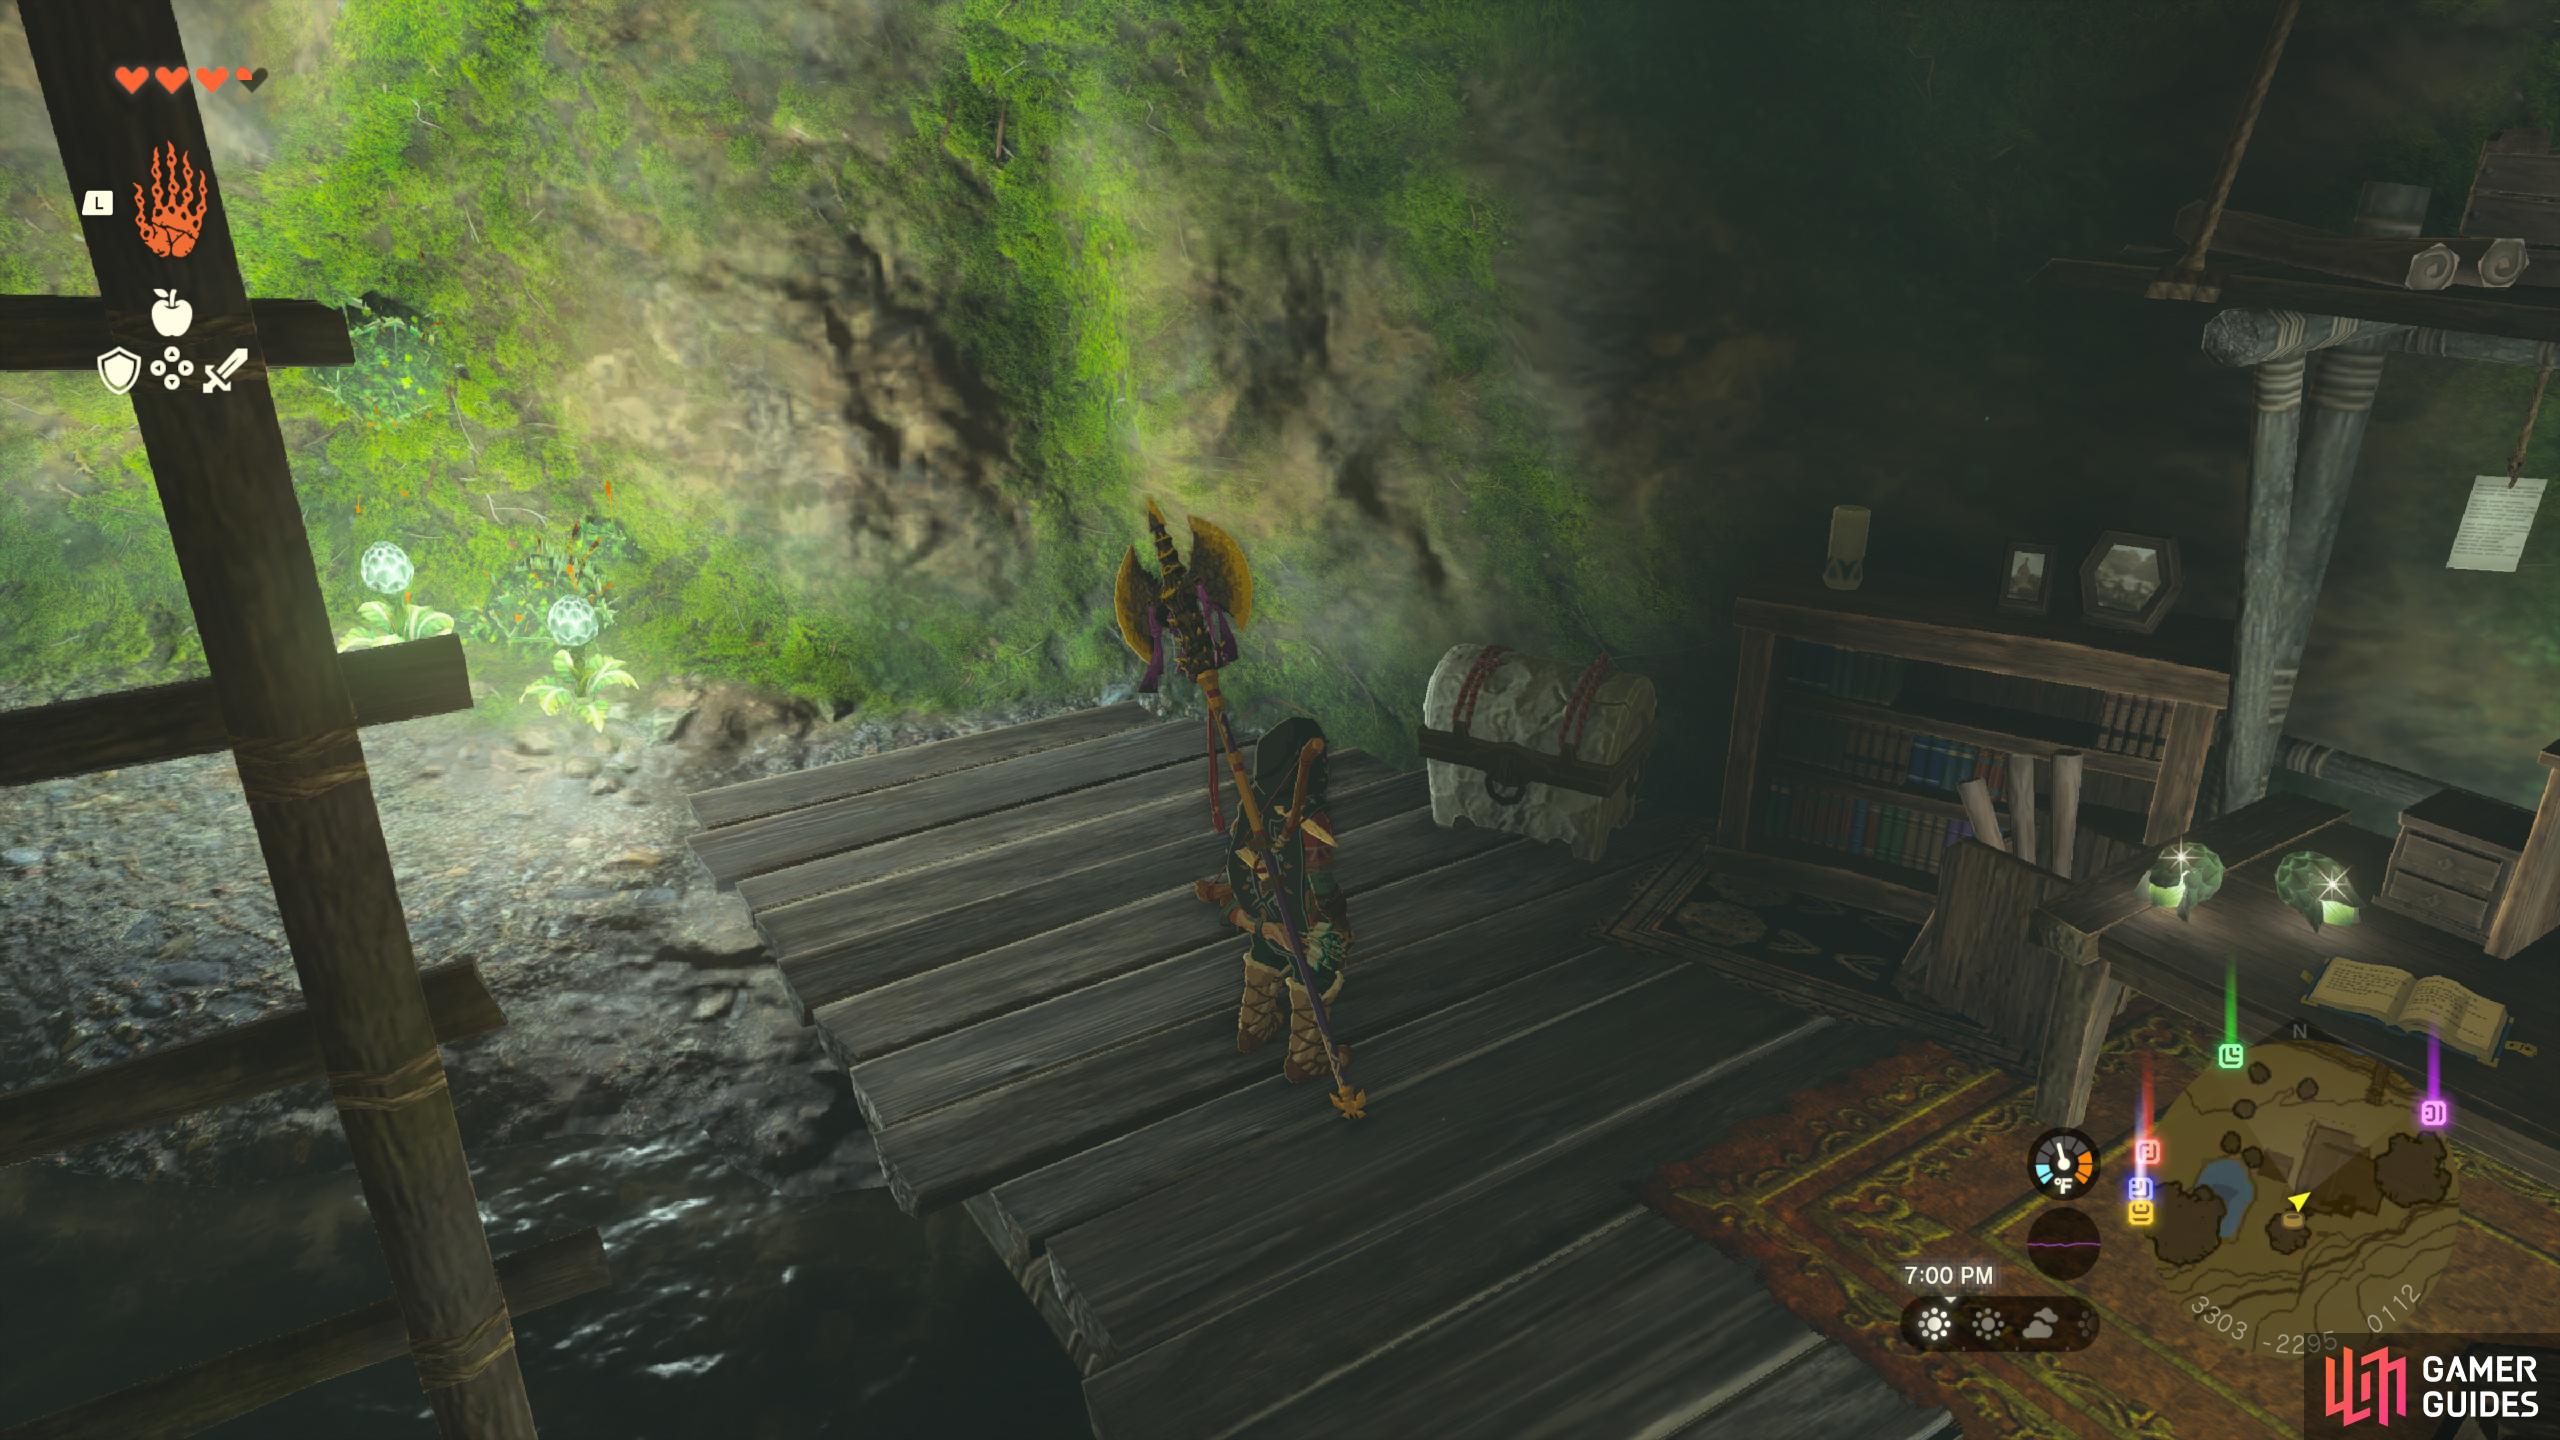
Inside ![]() Zelda’s Secret Well, next to the desk.
Zelda’s Secret Well, next to the desk.
- Contains
 Well-Worn Hair Band.
46013. Hyrule Surface Map
Found at the top of this ![]() Bokoblin tower.
Bokoblin tower.
It contains a Topaz.
46033. Hyrule Surface Map
On the higher wooden platform of the small encampment.
- Contains
 Arrows x5
46042. Hyrule Surface Map
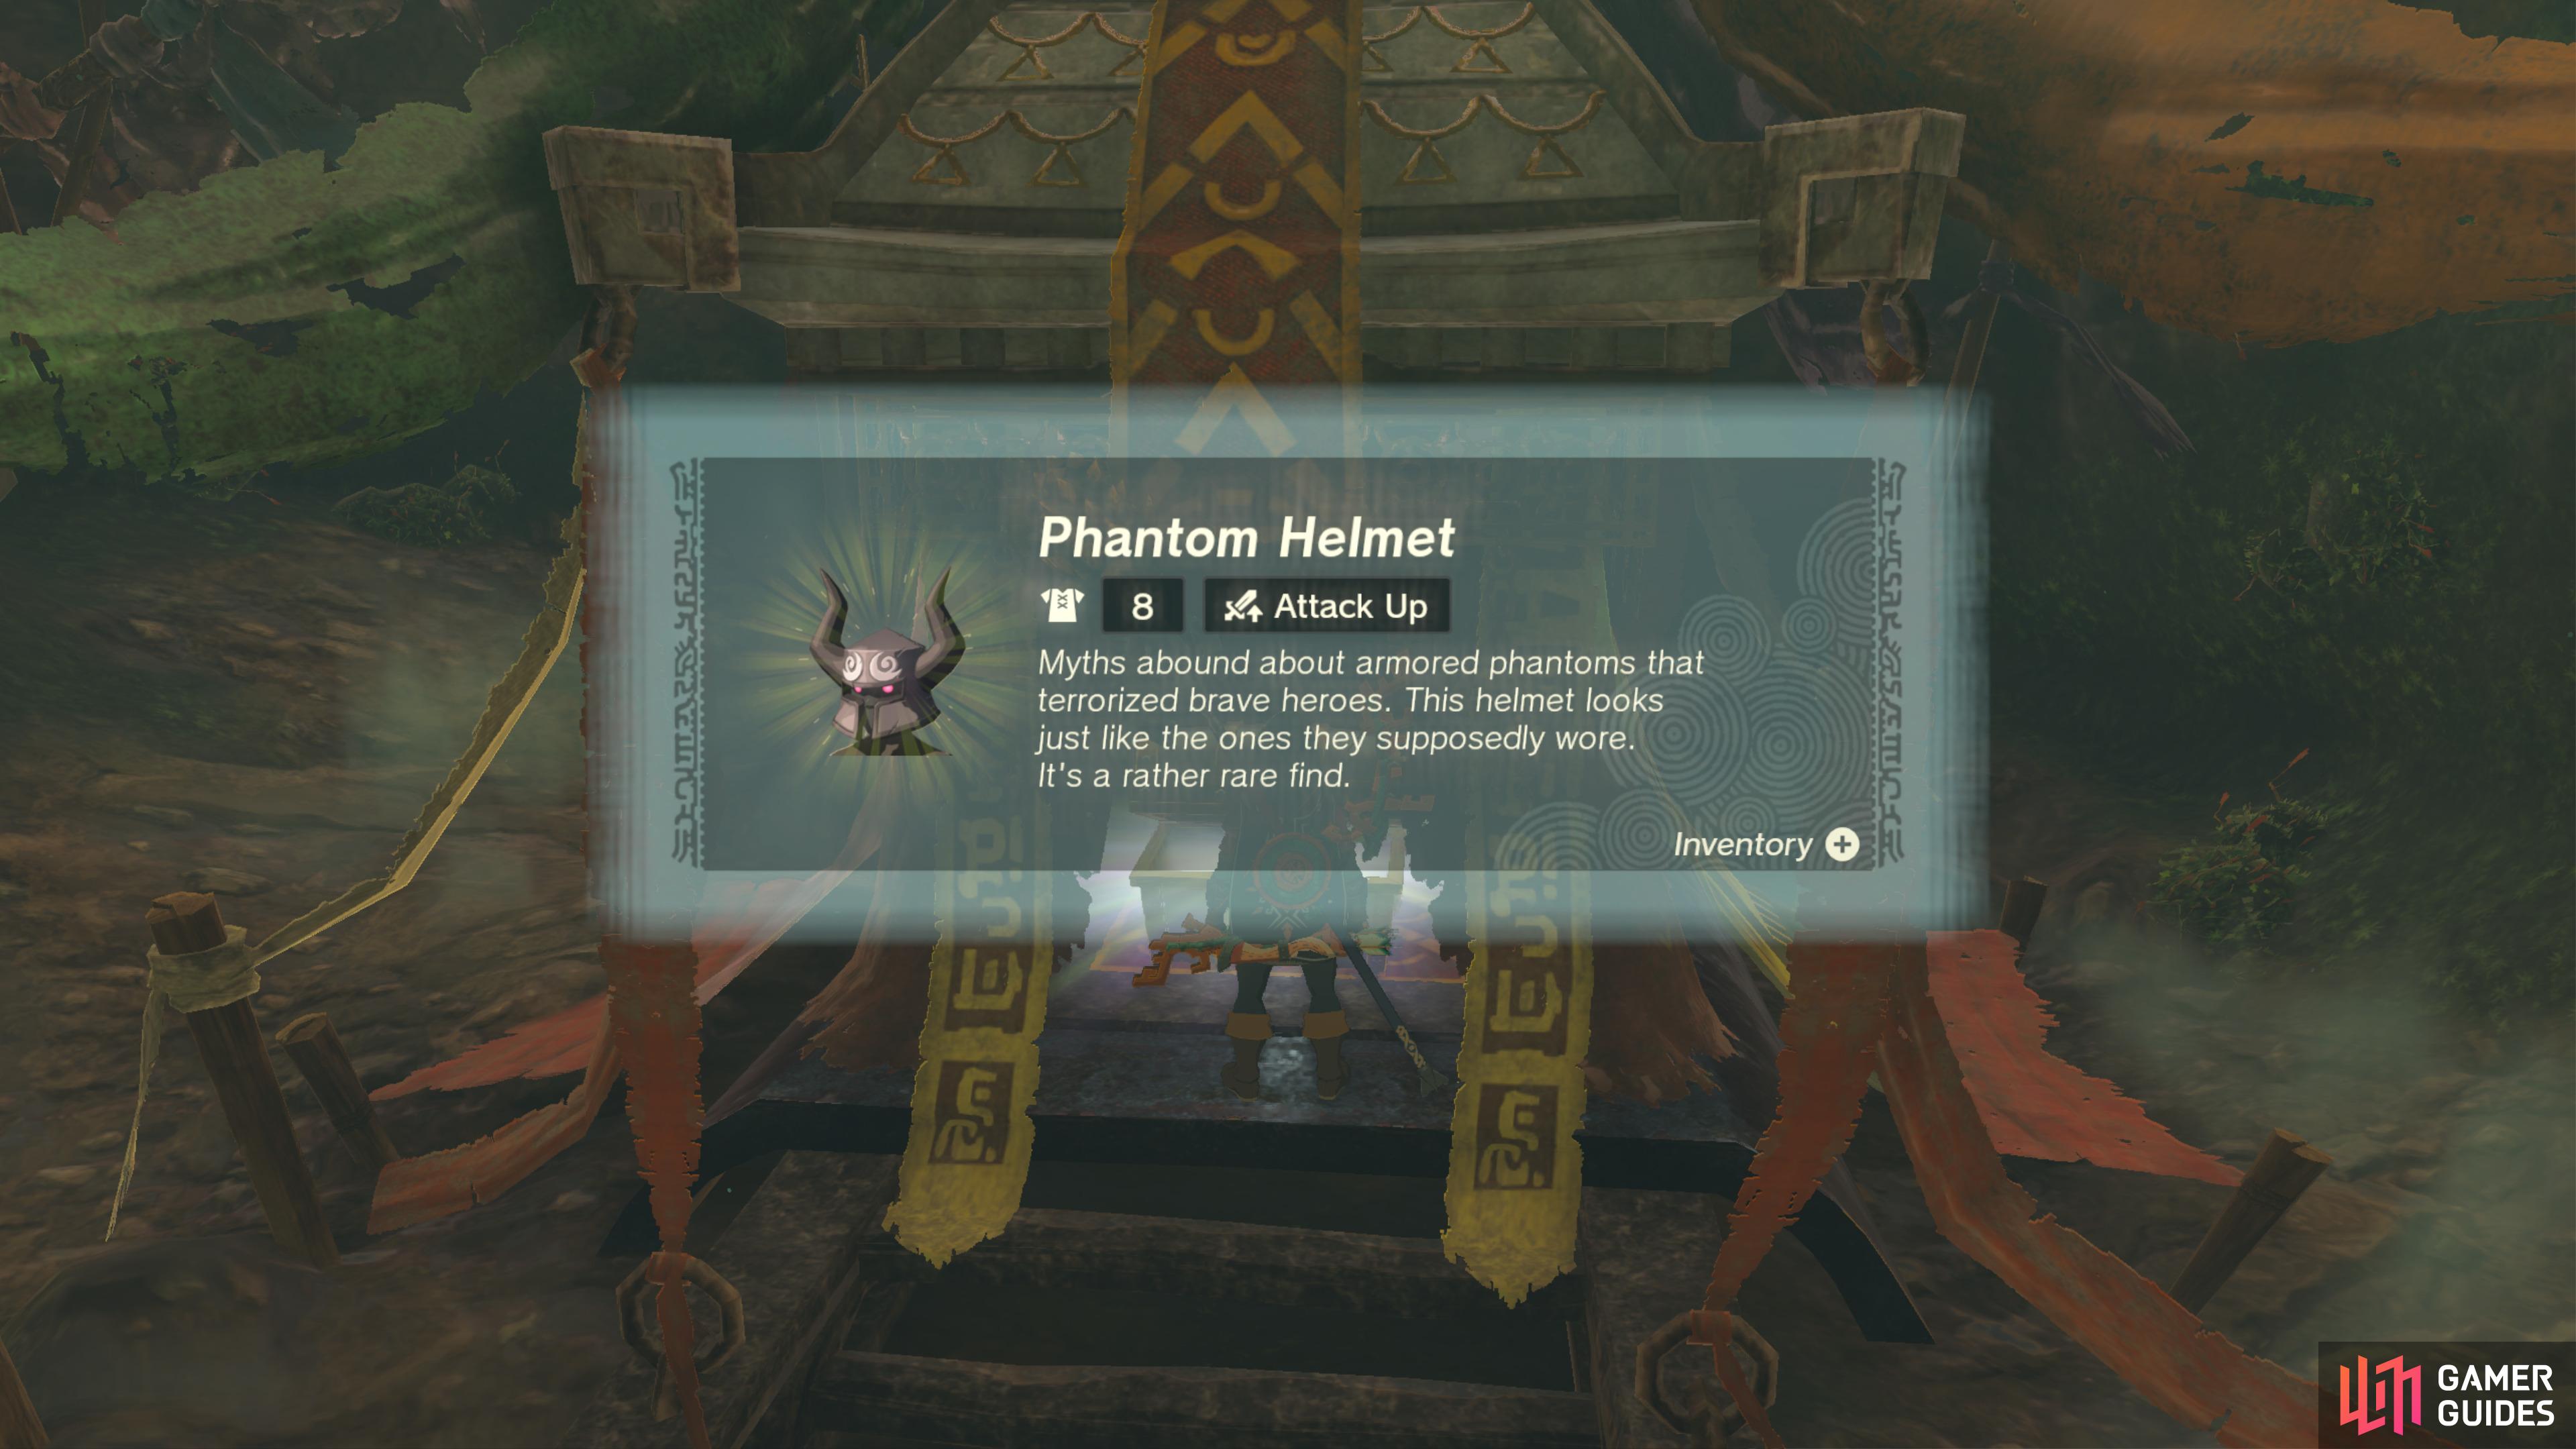
Found at the back of ![]() Puffer Beach Overhead Cave.
Puffer Beach Overhead Cave.
It contains the ![]() Phantom Helmet.
Phantom Helmet.

46068. Hyrule Surface Map
Found inside ![]() Komo Shoreline Cave.
Komo Shoreline Cave.
It contains a ![]() Knight’s Broadsword.
Knight’s Broadsword.
46074. Hyrule Surface Map
Found inside ![]() Komo Shoreline Cave.
Komo Shoreline Cave.
It contains an ![]() Ancient Blade.
Ancient Blade.
46278. Hyrule Surface Map
Climb to the top of this pillar to find a Chest.
It contains a ![]() Knight’s Bow.
Knight’s Bow.
46284. Hyrule Surface Map
Climb to the top of the pillar here to find a Chest.
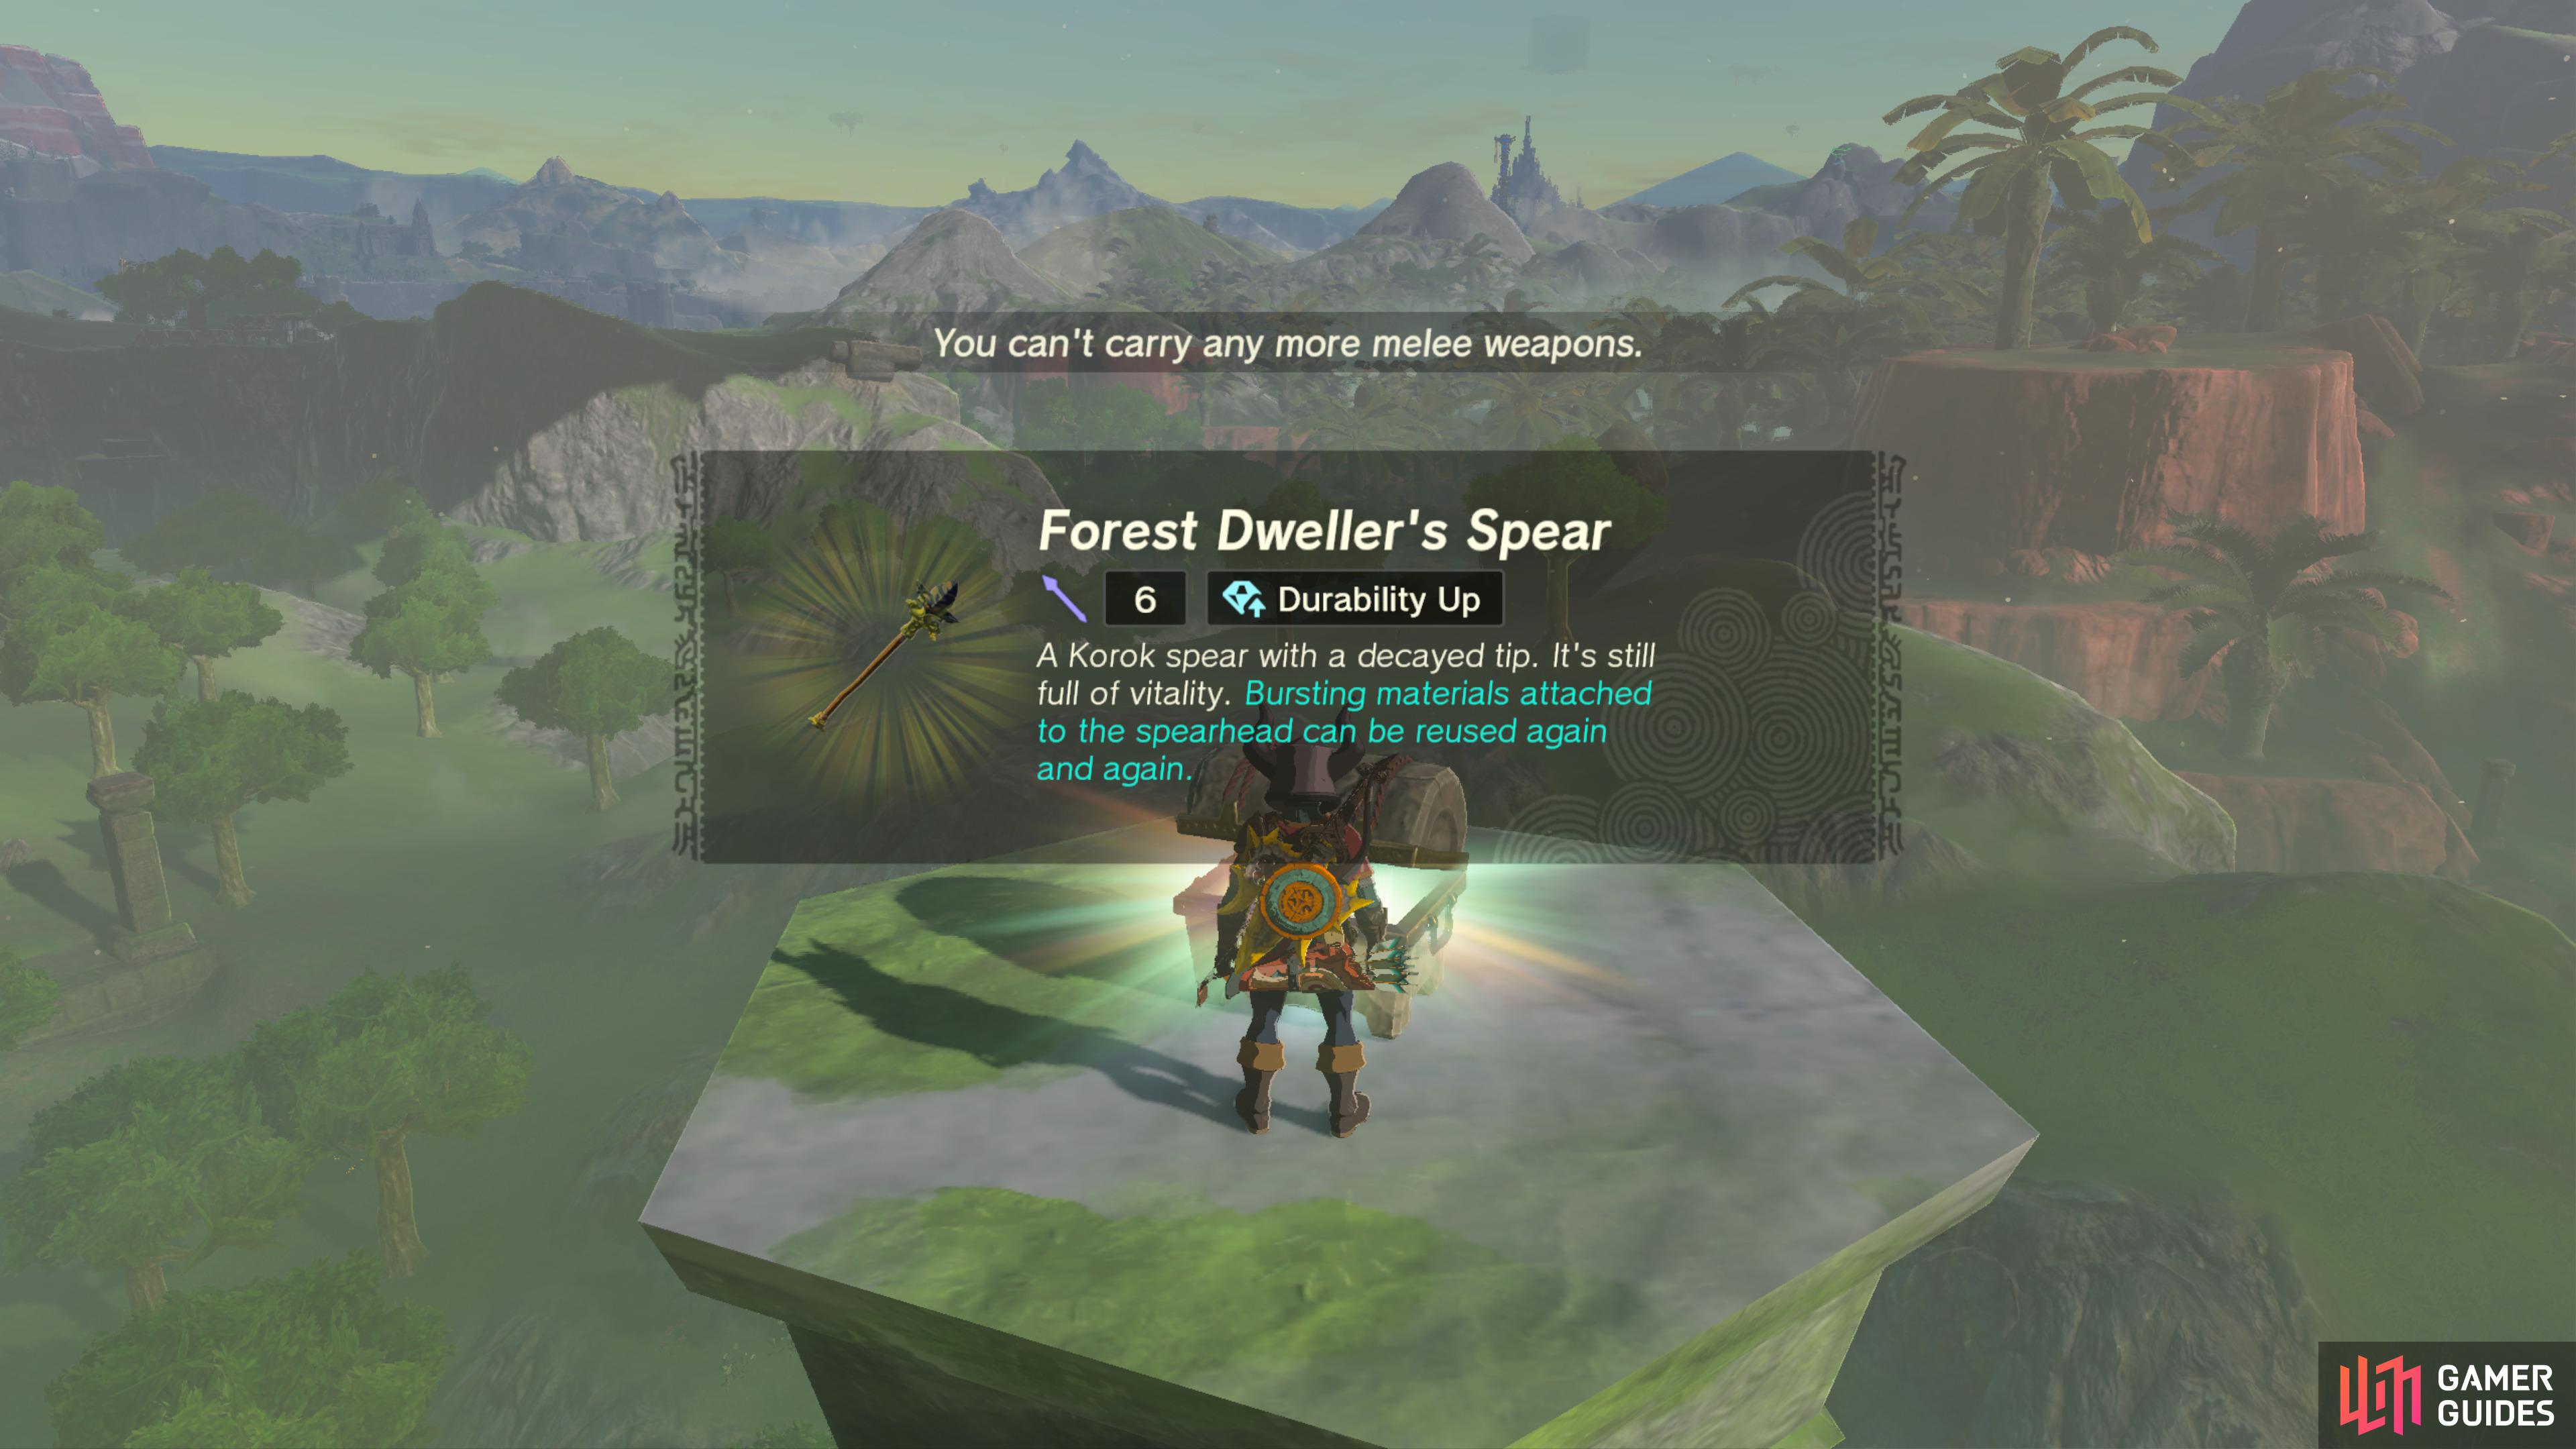
It contains a ![]() Forest Dweller’s Spear.
Forest Dweller’s Spear.
46289. Hyrule Surface Map
Break the rocks with a hammer type weapon in these ruins to reveal a Chest.
It contains a ![]() Knight’s Halberd.
Knight’s Halberd.
46306. Hyrule Surface Map
Inside the nearby cave. You must use a cart with a fan to shoot through all lasers and open the door to it.
It contains a ![]() Large Zonai Charge.
Large Zonai Charge.
46325. Hyrule Surface Map
At the top of the nearby ![]() Bokoblin camp.
Bokoblin camp.
It contains a Gnarled ![]() Wooden Stick.
Wooden Stick.
46336. Hyrule Surface Map
Found in the back of the nearby ![]() Bokoblin camp.
Bokoblin camp.
It contains a Lynel Bow.
46439. Hyrule Surface Map
Inside ![]() Cape Cales Cliffbase Cave, on the ship. Climb up the northern mast to find the chest.
Cape Cales Cliffbase Cave, on the ship. Climb up the northern mast to find the chest.
- Contains
 Mighty Lynel Bow.
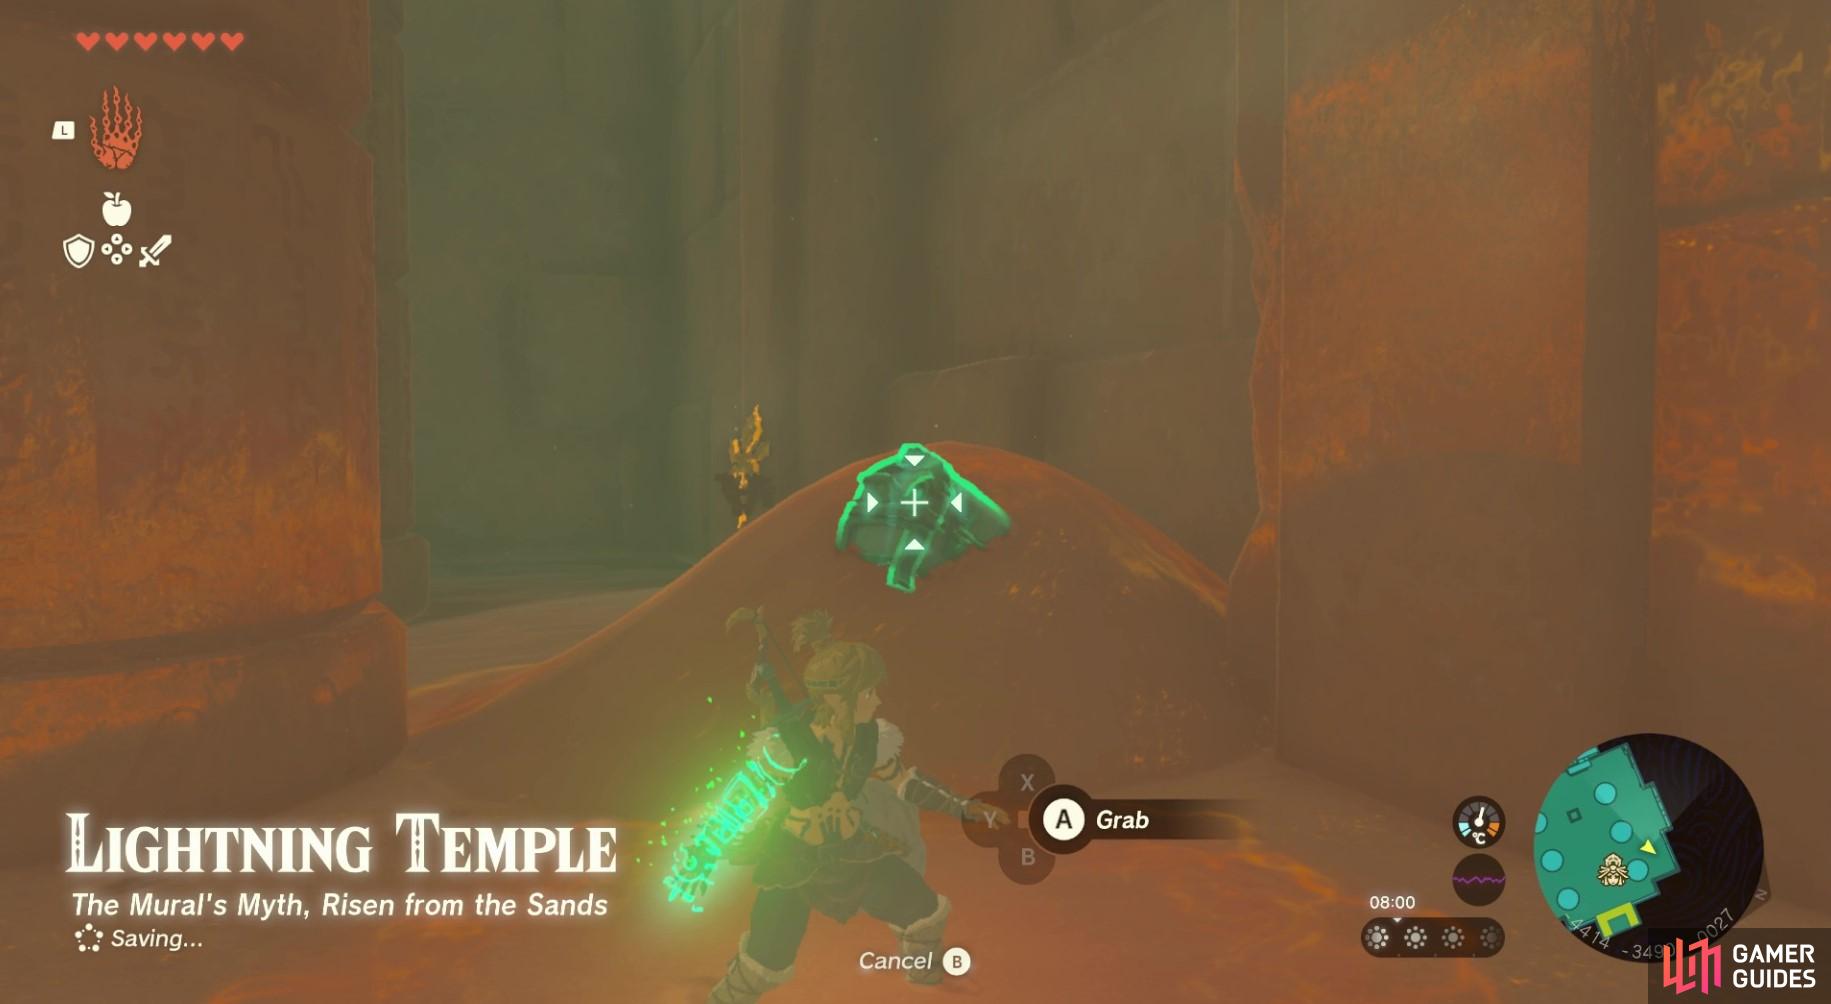
46446. Lightning Temple Map
The chest can be pulled out of the sand pile using ultrahand. It contains x1 Flame Emitter.
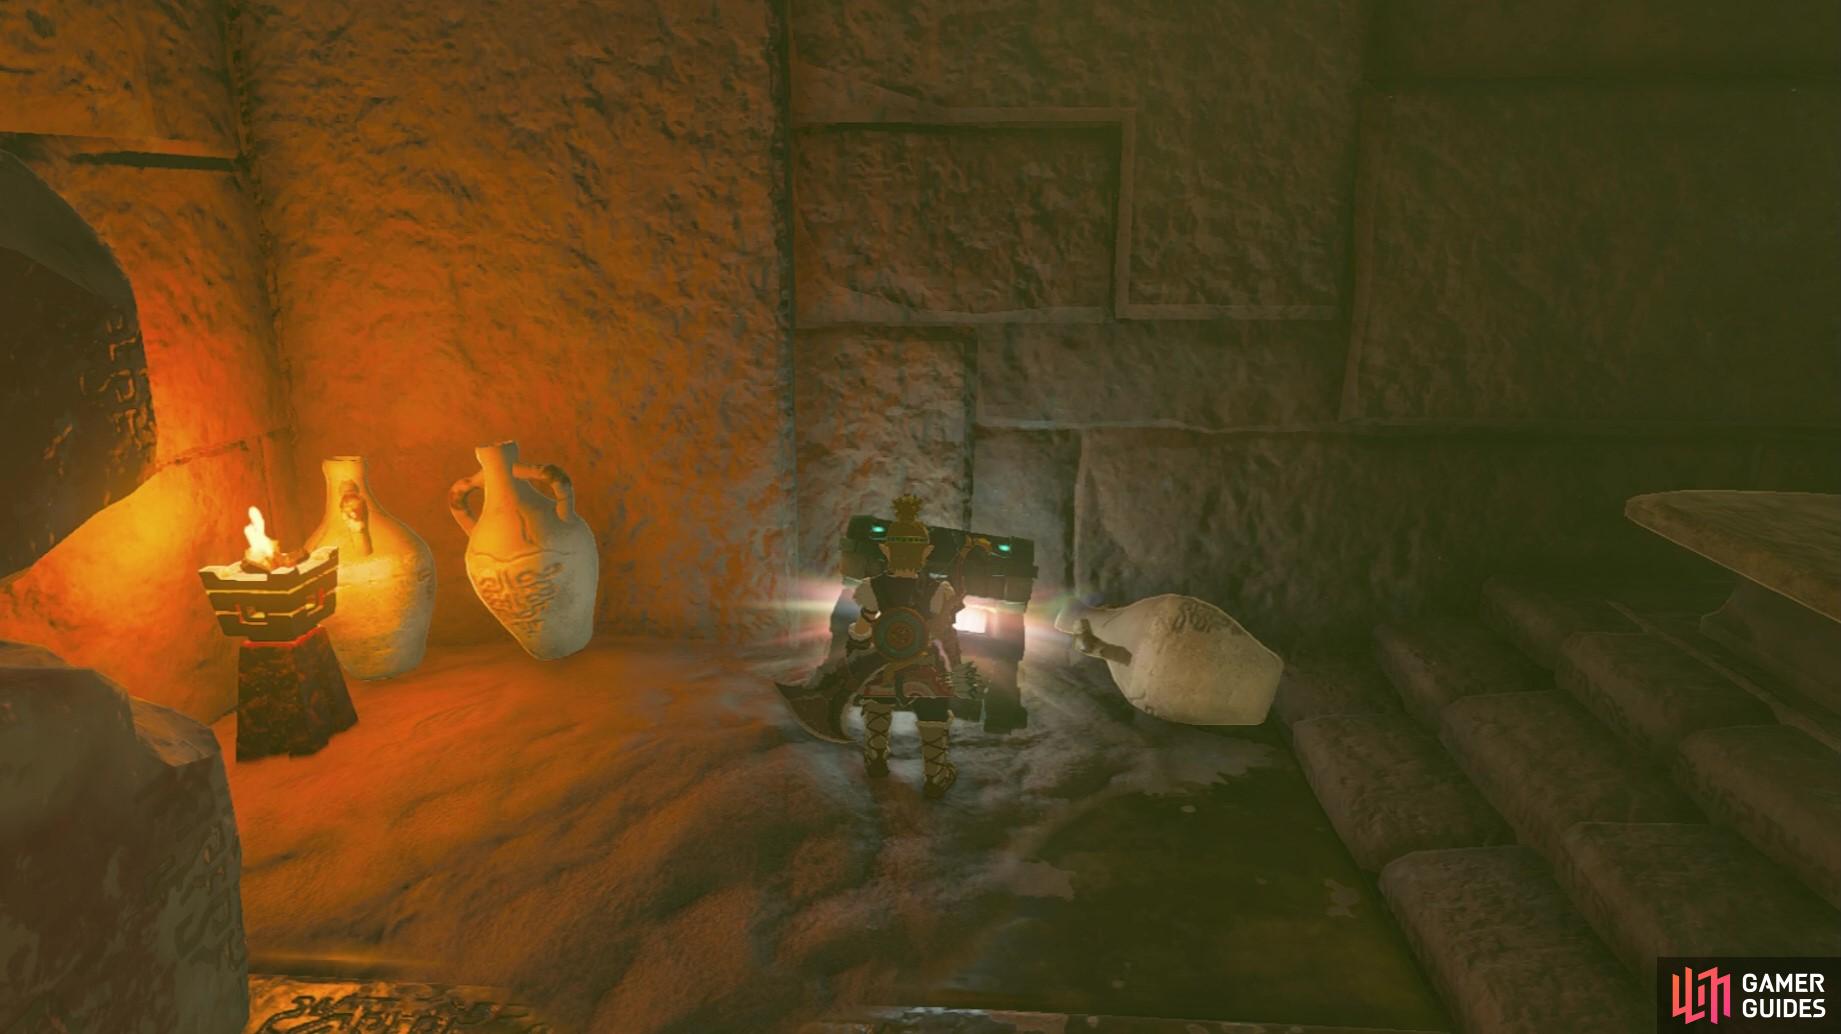
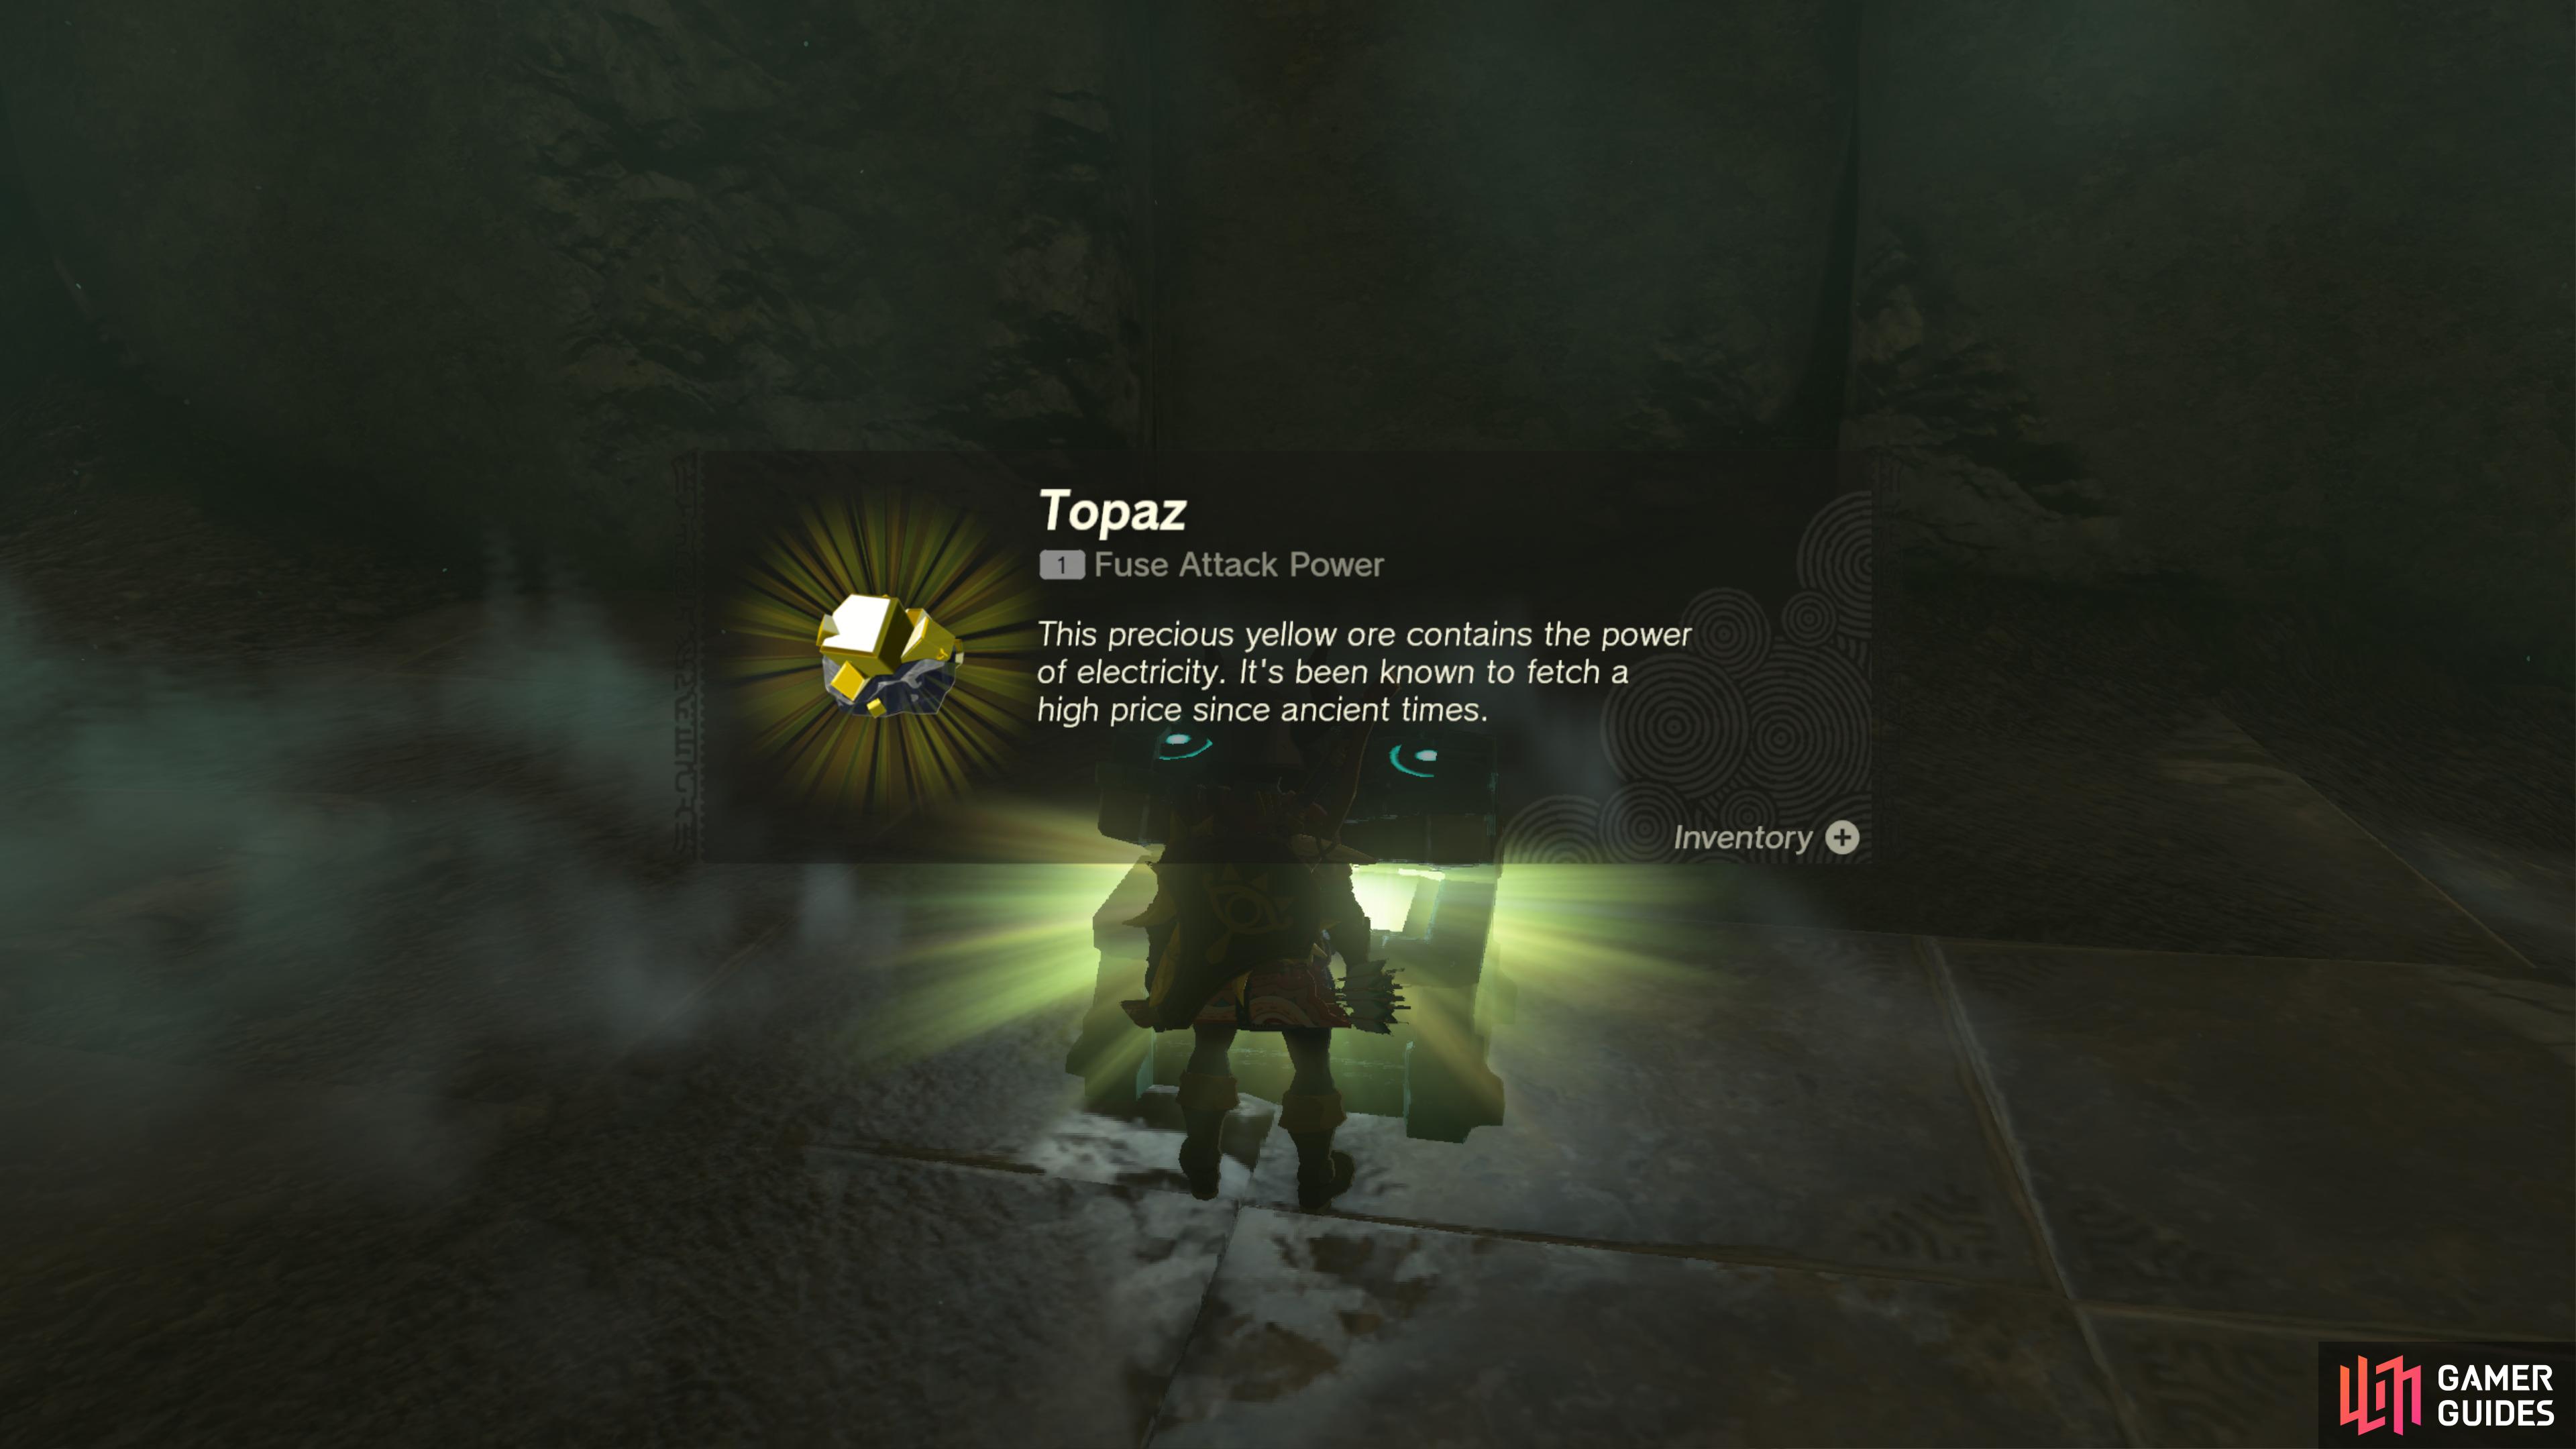
46482. Lightning Temple Map
A chest found in a hidden room behind some movable bricks.
It contains a Topaz.
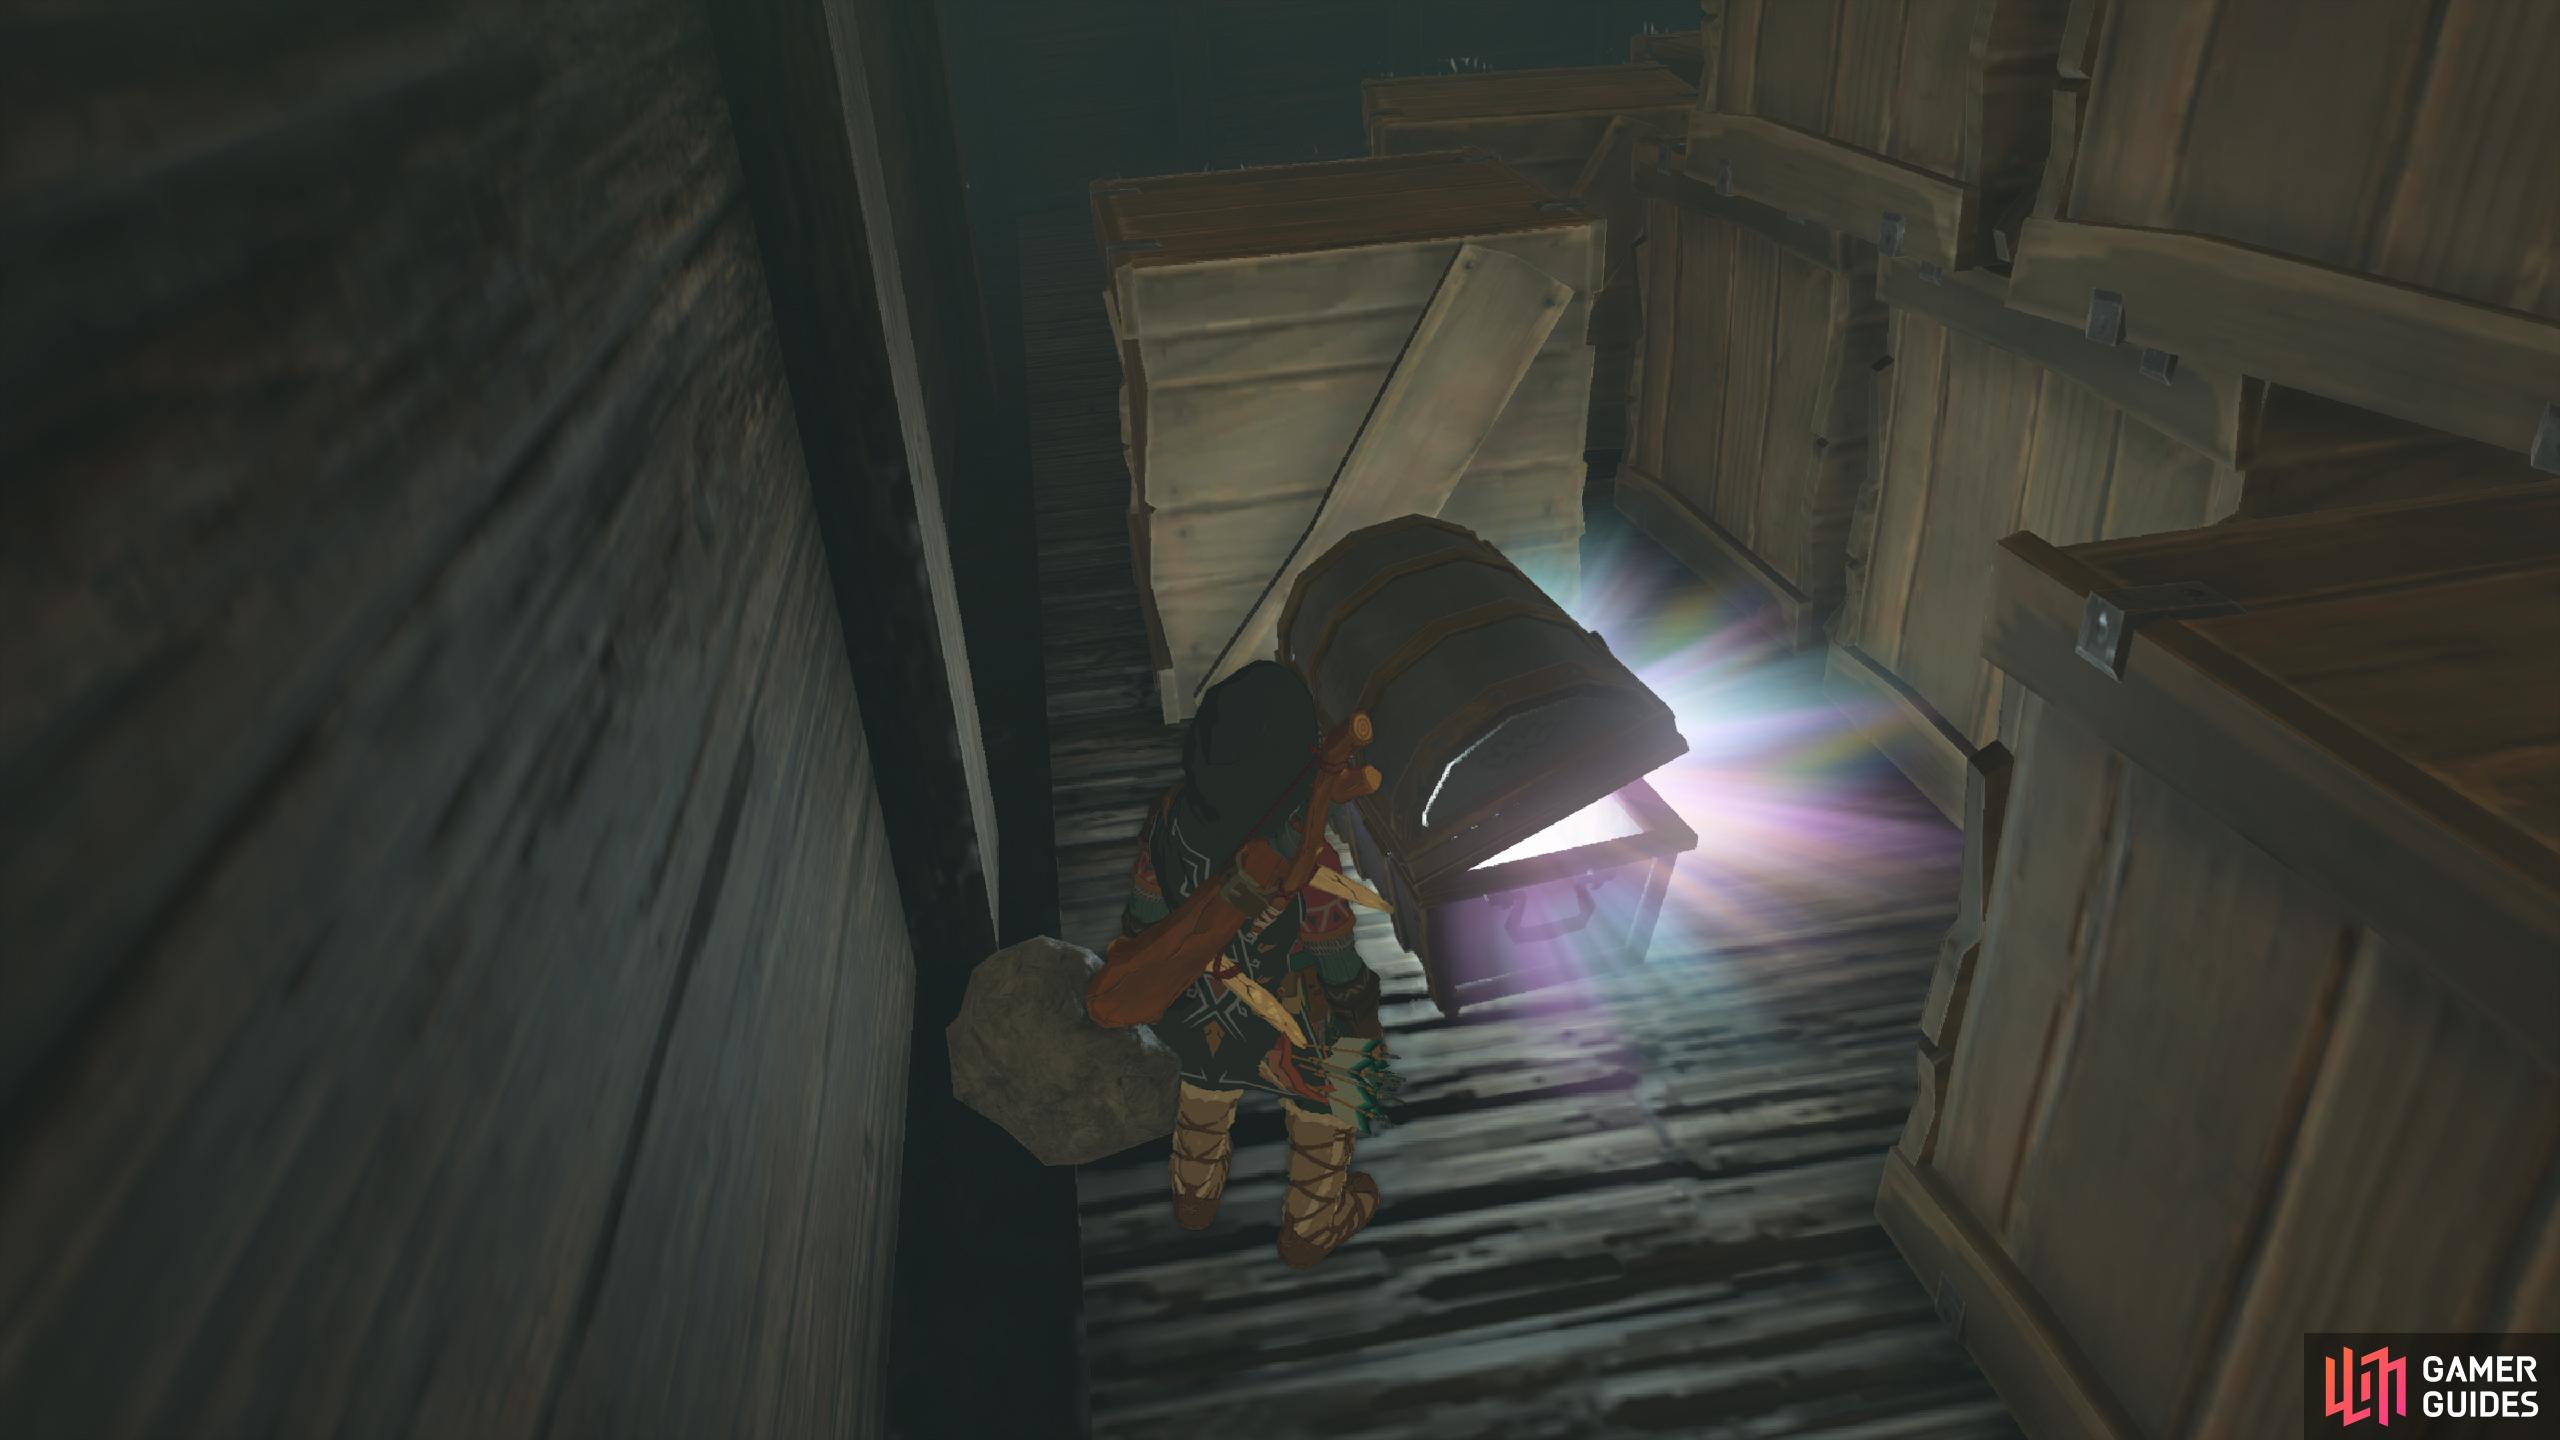
46512. Hyrule Surface Map
Inside ![]() Cape Cales Cliffbase Cave, on the ship. Behind the crates on the deck.
Cape Cales Cliffbase Cave, on the ship. Behind the crates on the deck.
- Contains
 Tingle’s Tights.
46516. Hyrule Surface Map
Inside ![]() Cape Cales Cliffbase Cave. The chest can be found floating in the water northwest from the ship. Use
Cape Cales Cliffbase Cave. The chest can be found floating in the water northwest from the ship. Use ![]() Ultrahand to drag it on to the nearby floating wooden platform.
Ultrahand to drag it on to the nearby floating wooden platform.
- Contains
 Royal Broadsword.
46606. Hyrule Surface Map
Open the gate using the lever (place a Big Wheel on one side and activate it) to reach the Chest.
It contains a ![]() Large Zonai Charge.
Large Zonai Charge.
46643. Hyrule Surface Map
A Chest can be found on top of the pillar here.
It contains a ![]() Large Zonai Charge.
Large Zonai Charge.
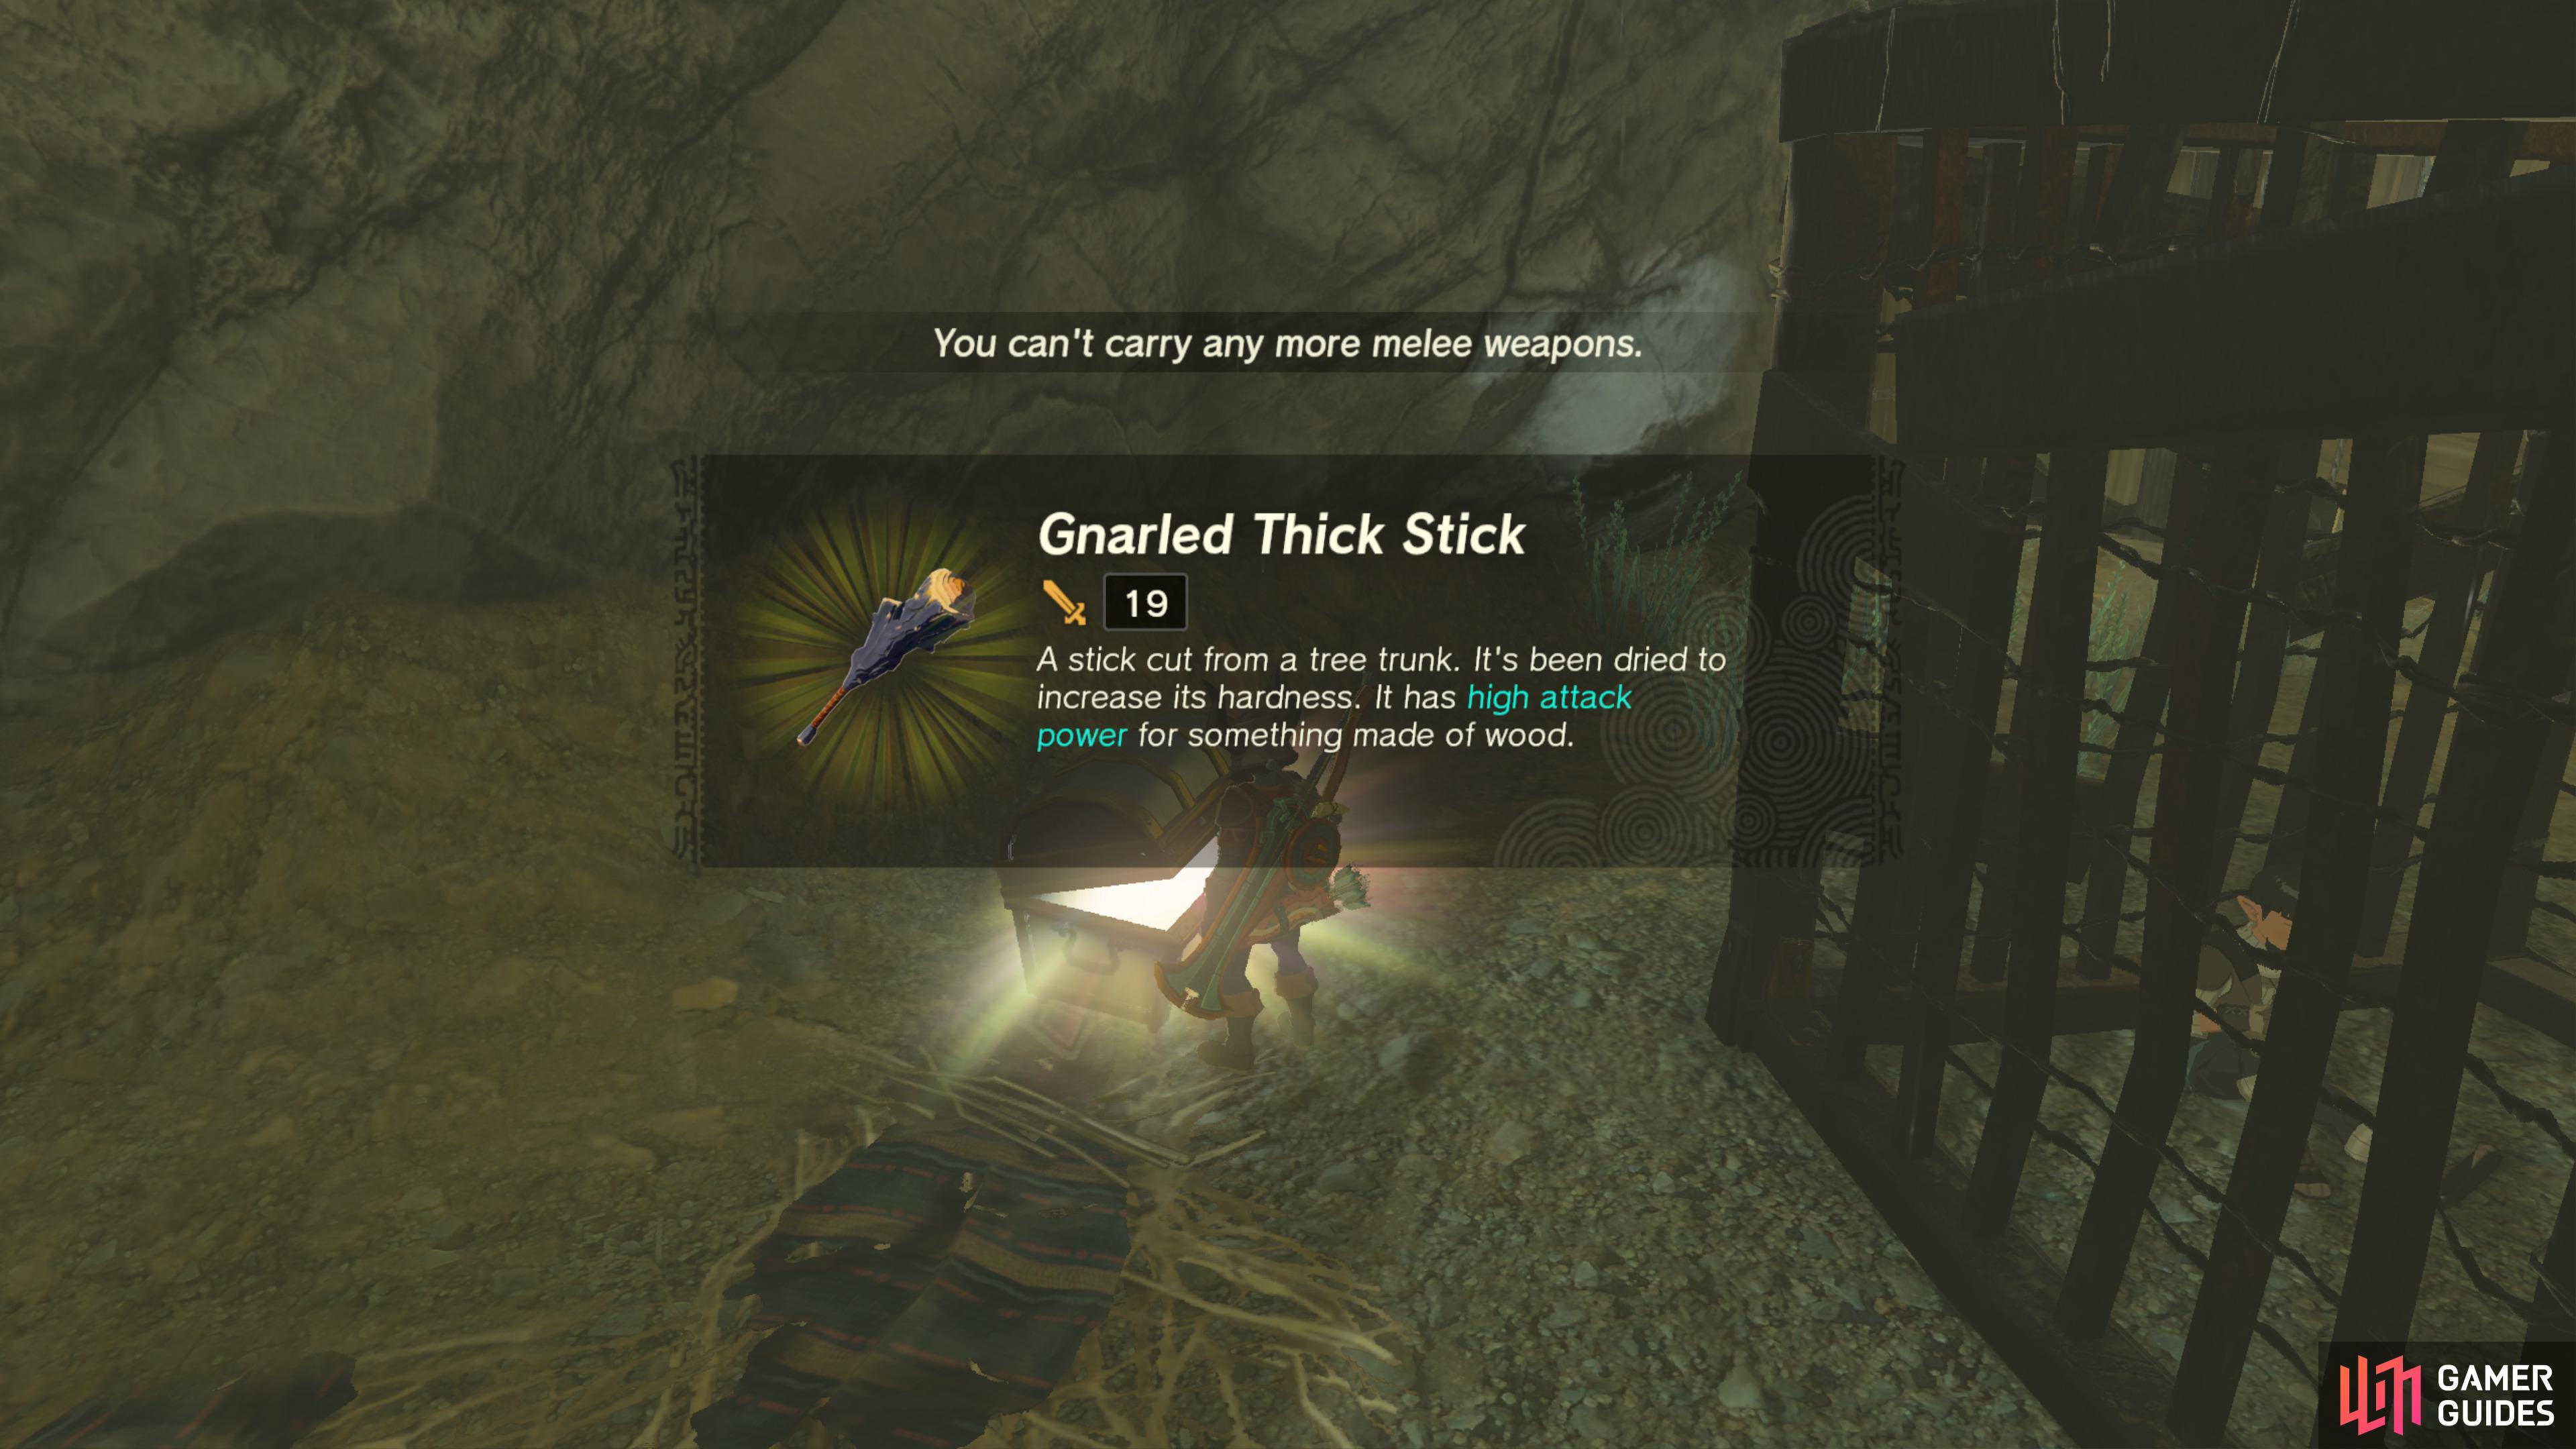
46689. Hyrule Surface Map
Found at the back of the ![]() Bokoblin fort.
Bokoblin fort.
It contains a Gnarled Thick Stick.
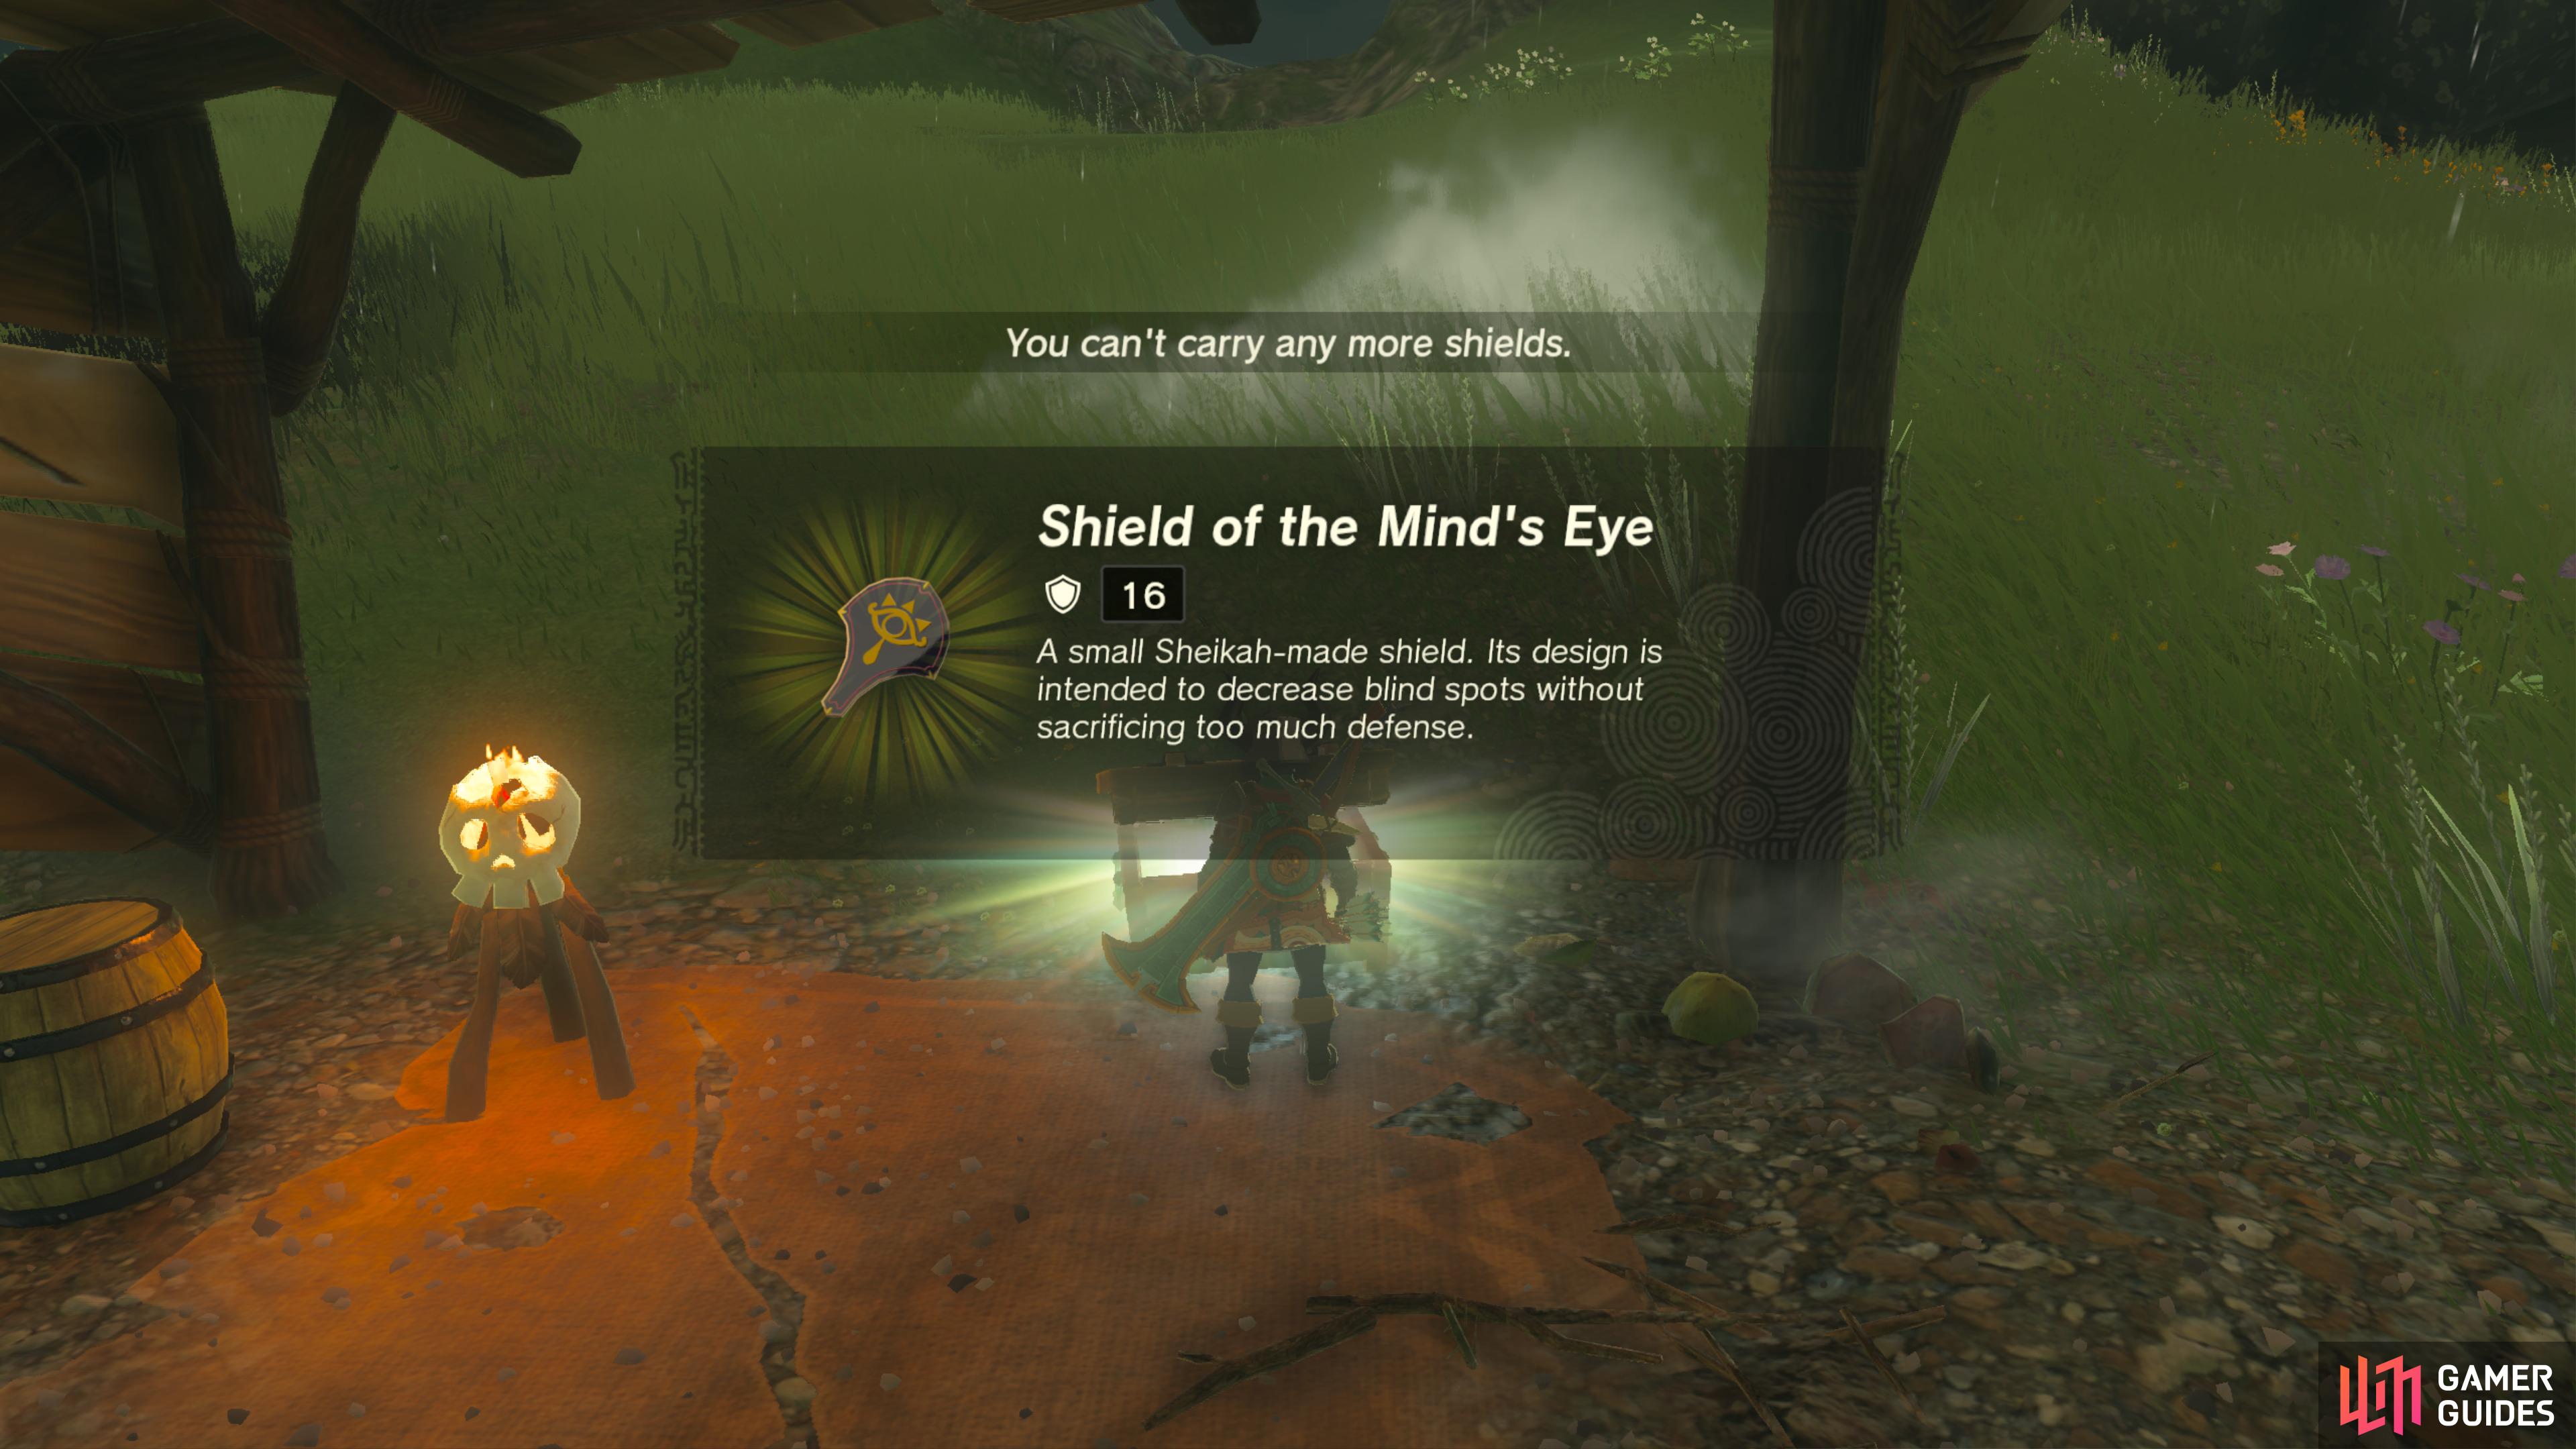
47609. Hyrule Surface Map
Found at the nearby ![]() Bokoblin camp.
Bokoblin camp.
It contains a ![]() Shield of the Mind’s Eye.
Shield of the Mind’s Eye.
47620. Hyrule Surface Map
In the water under the ruins. Use ![]() Ultrahand to place it on land.
Ultrahand to place it on land.
- Contains Large Zonai Charge.
47629. Hyrule Surface Map
This Chest can be found on top of the platform here.
It contains a ![]() Dragonbone Boko Bow.
Dragonbone Boko Bow.
47664. Hyrule Surface Map
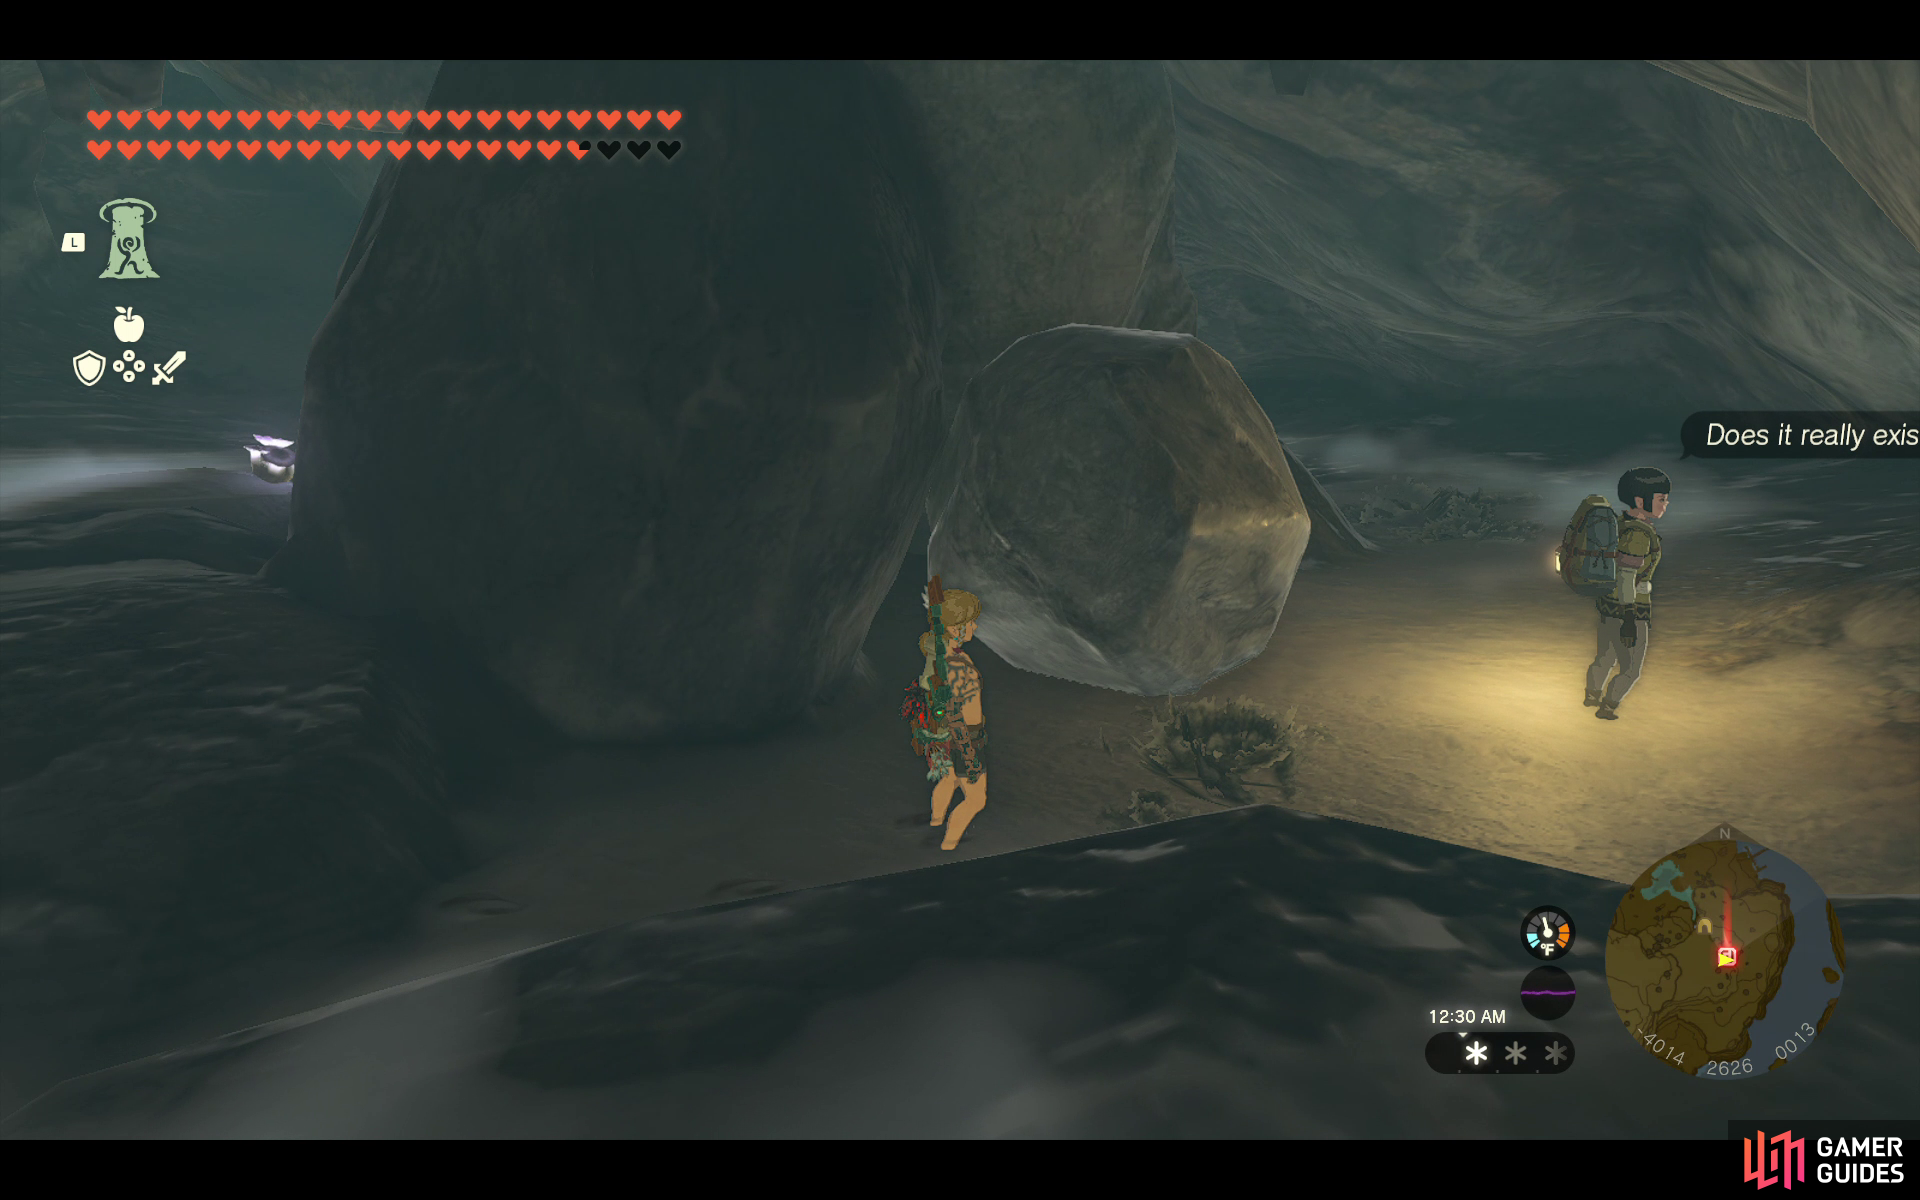
Underneath the boulder. Use ![]() Ultrahand to move the boulder to reveal the chest.
Ultrahand to move the boulder to reveal the chest.
- Contains
 Purple Rupee.
47715. Hyrule Surface Map
Break the rocks here with a hammer type weapon to find the Chest inside.
It contains a Forest Dweller’s Sword.
47725. Hyrule Surface Map
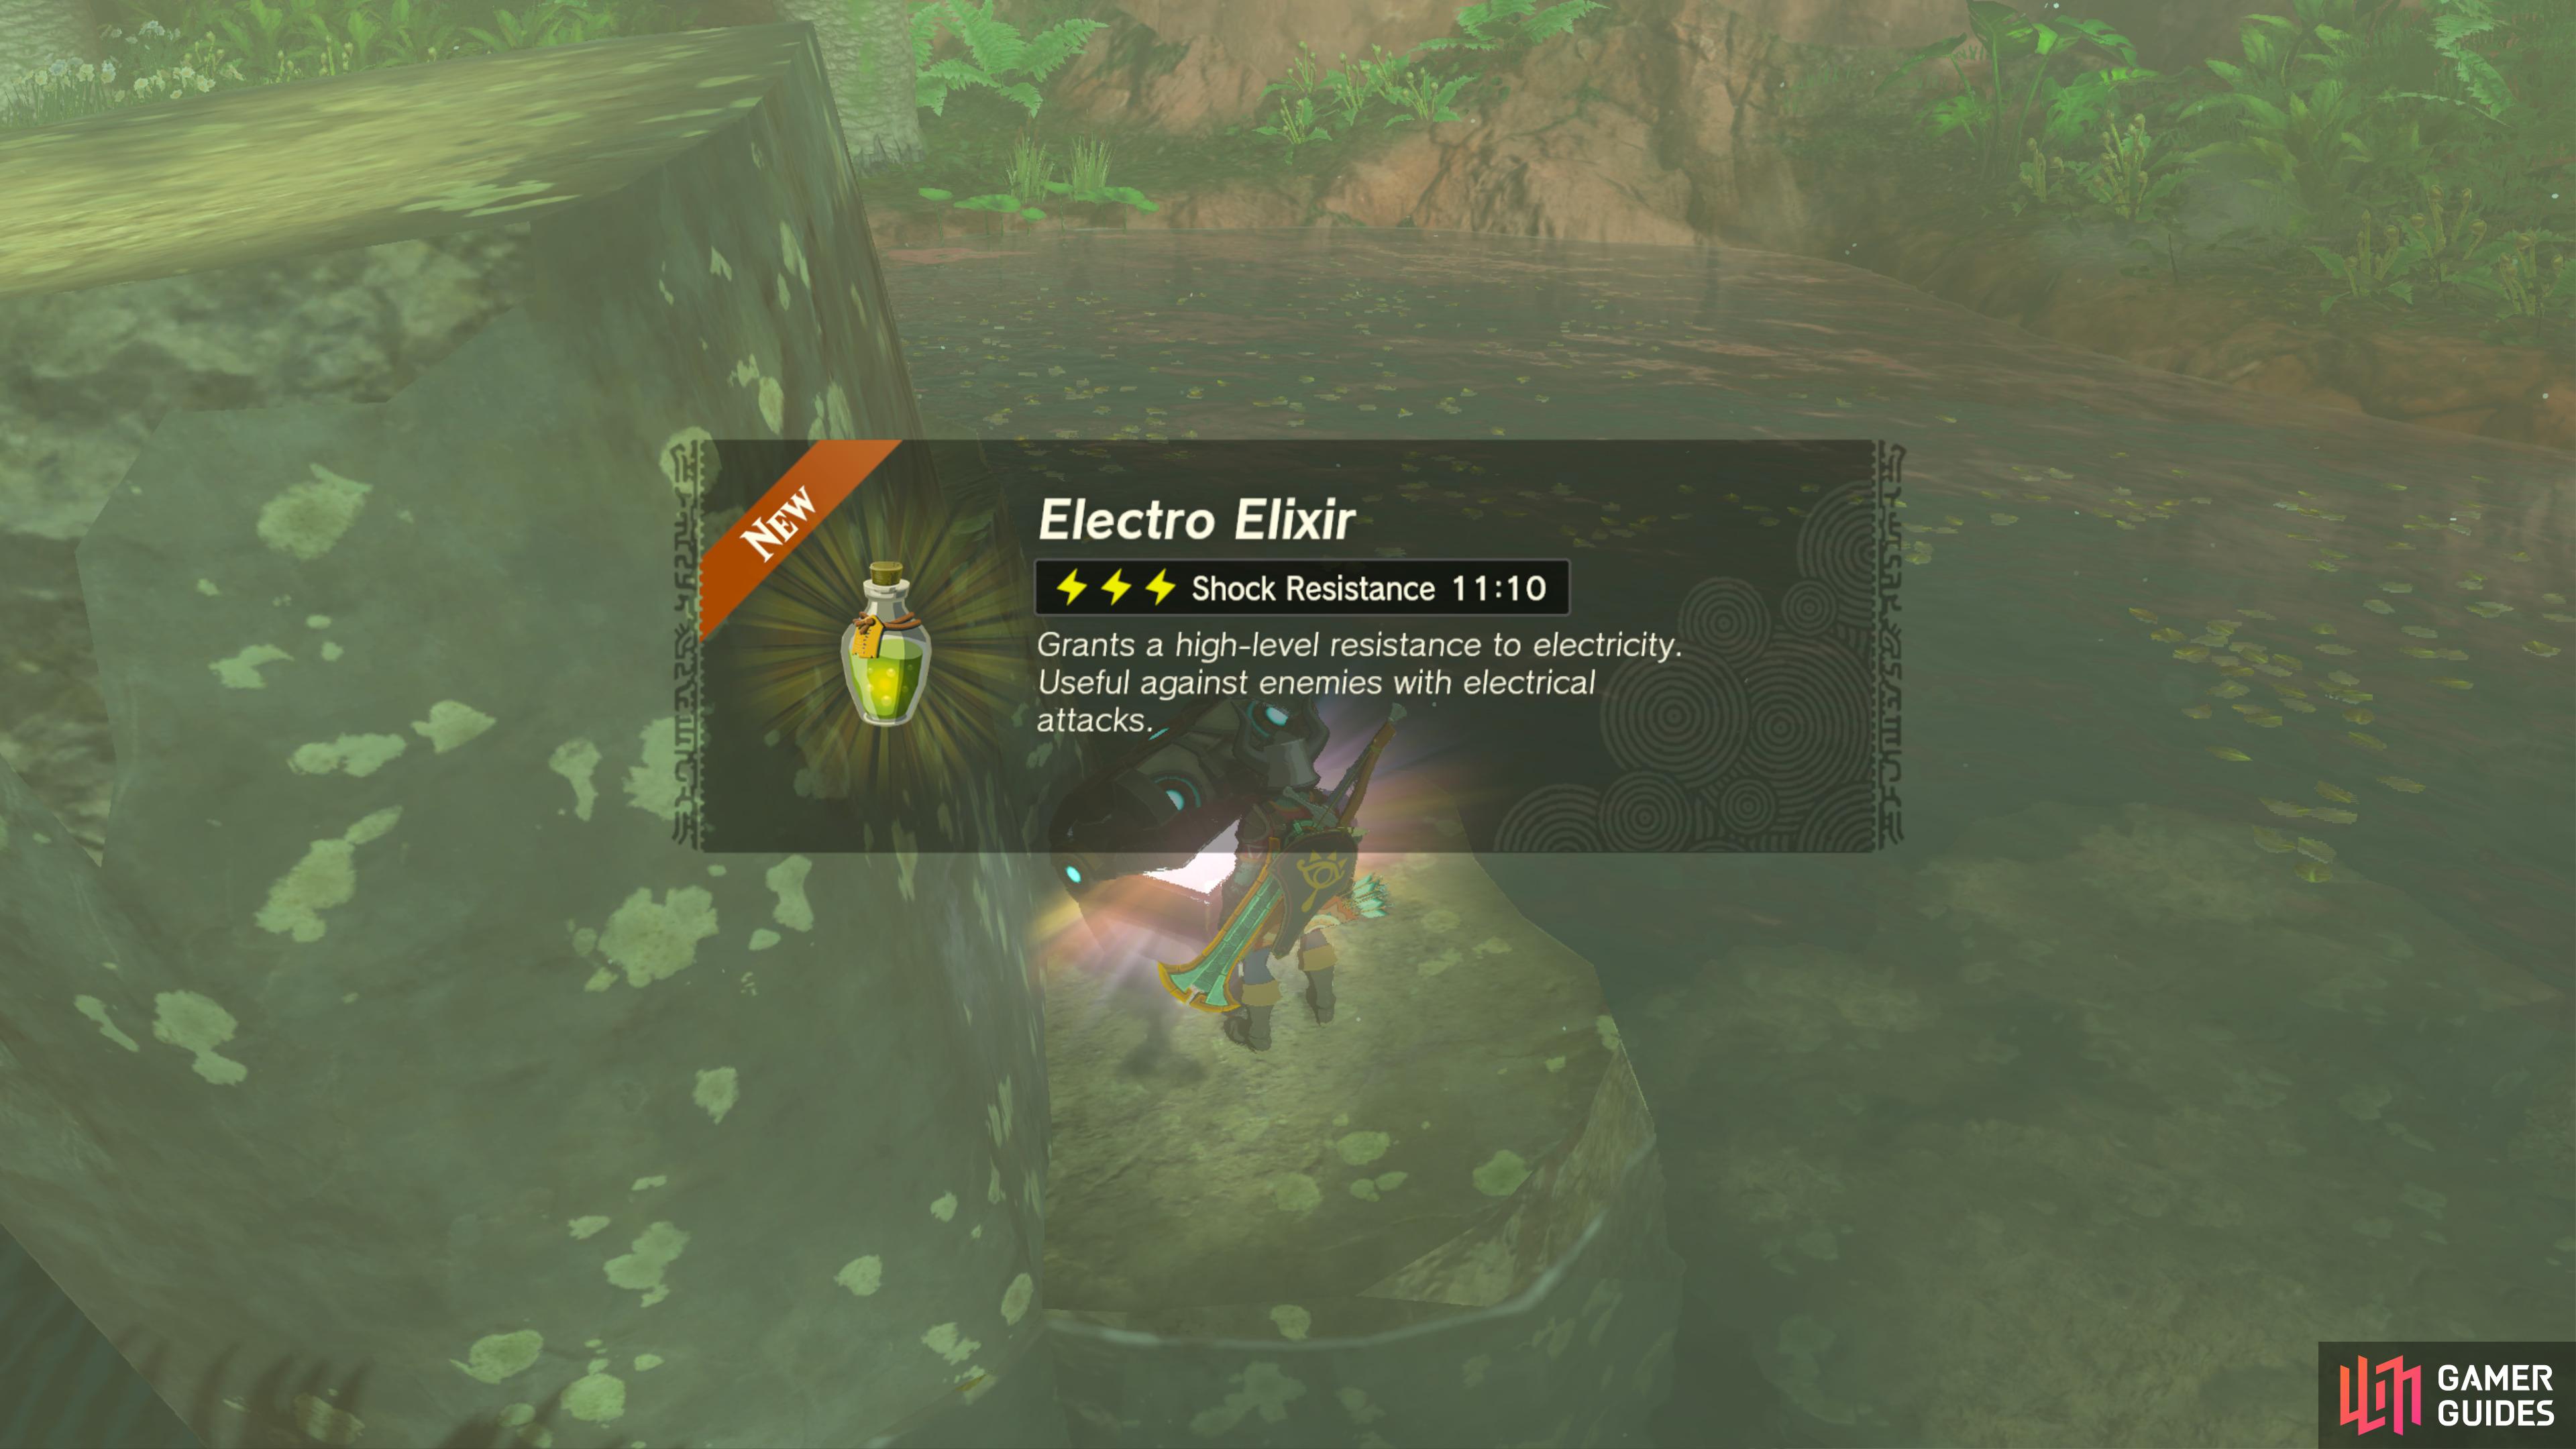
Use ![]() Ultrahand to pull this Chest out of the water.
Ultrahand to pull this Chest out of the water.
It contains an Electro Elixir.
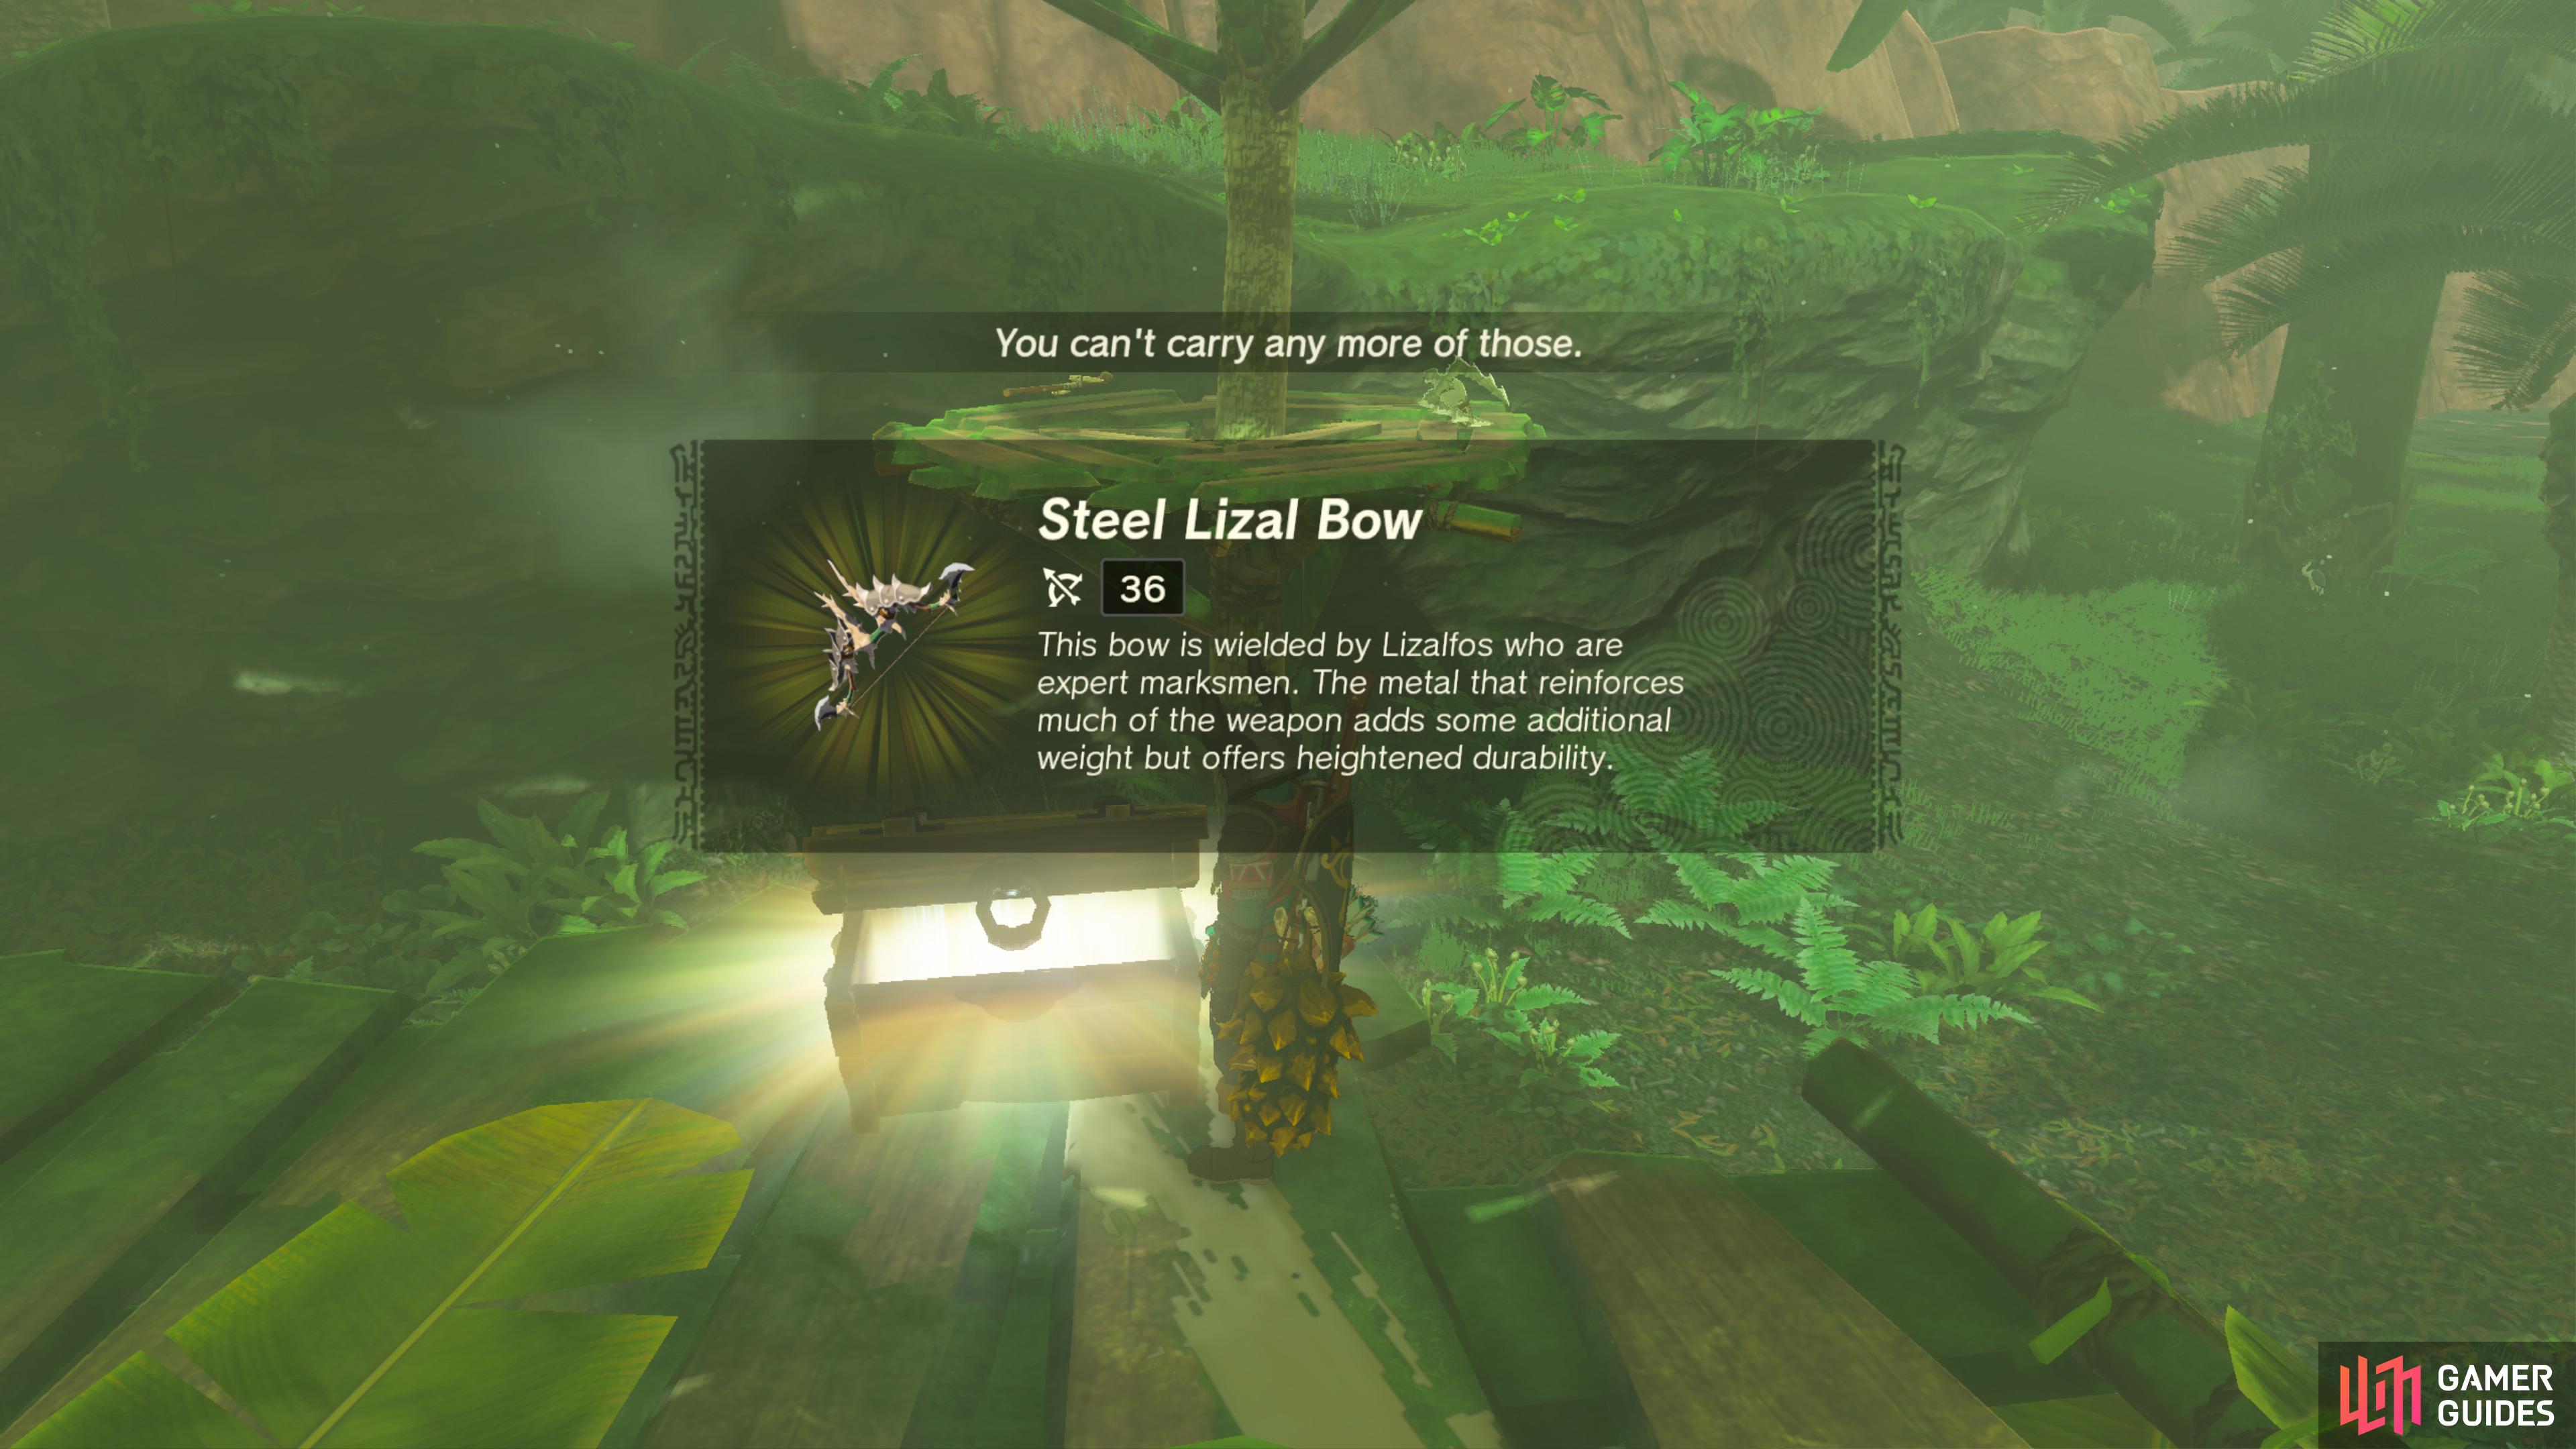
47755. Hyrule Surface Map
At the top of the platform at this ![]() Bokoblin camp.
Bokoblin camp.
It contains a ![]() Steel Lizal Bow.
Steel Lizal Bow.

47792. Hyrule Surface Map
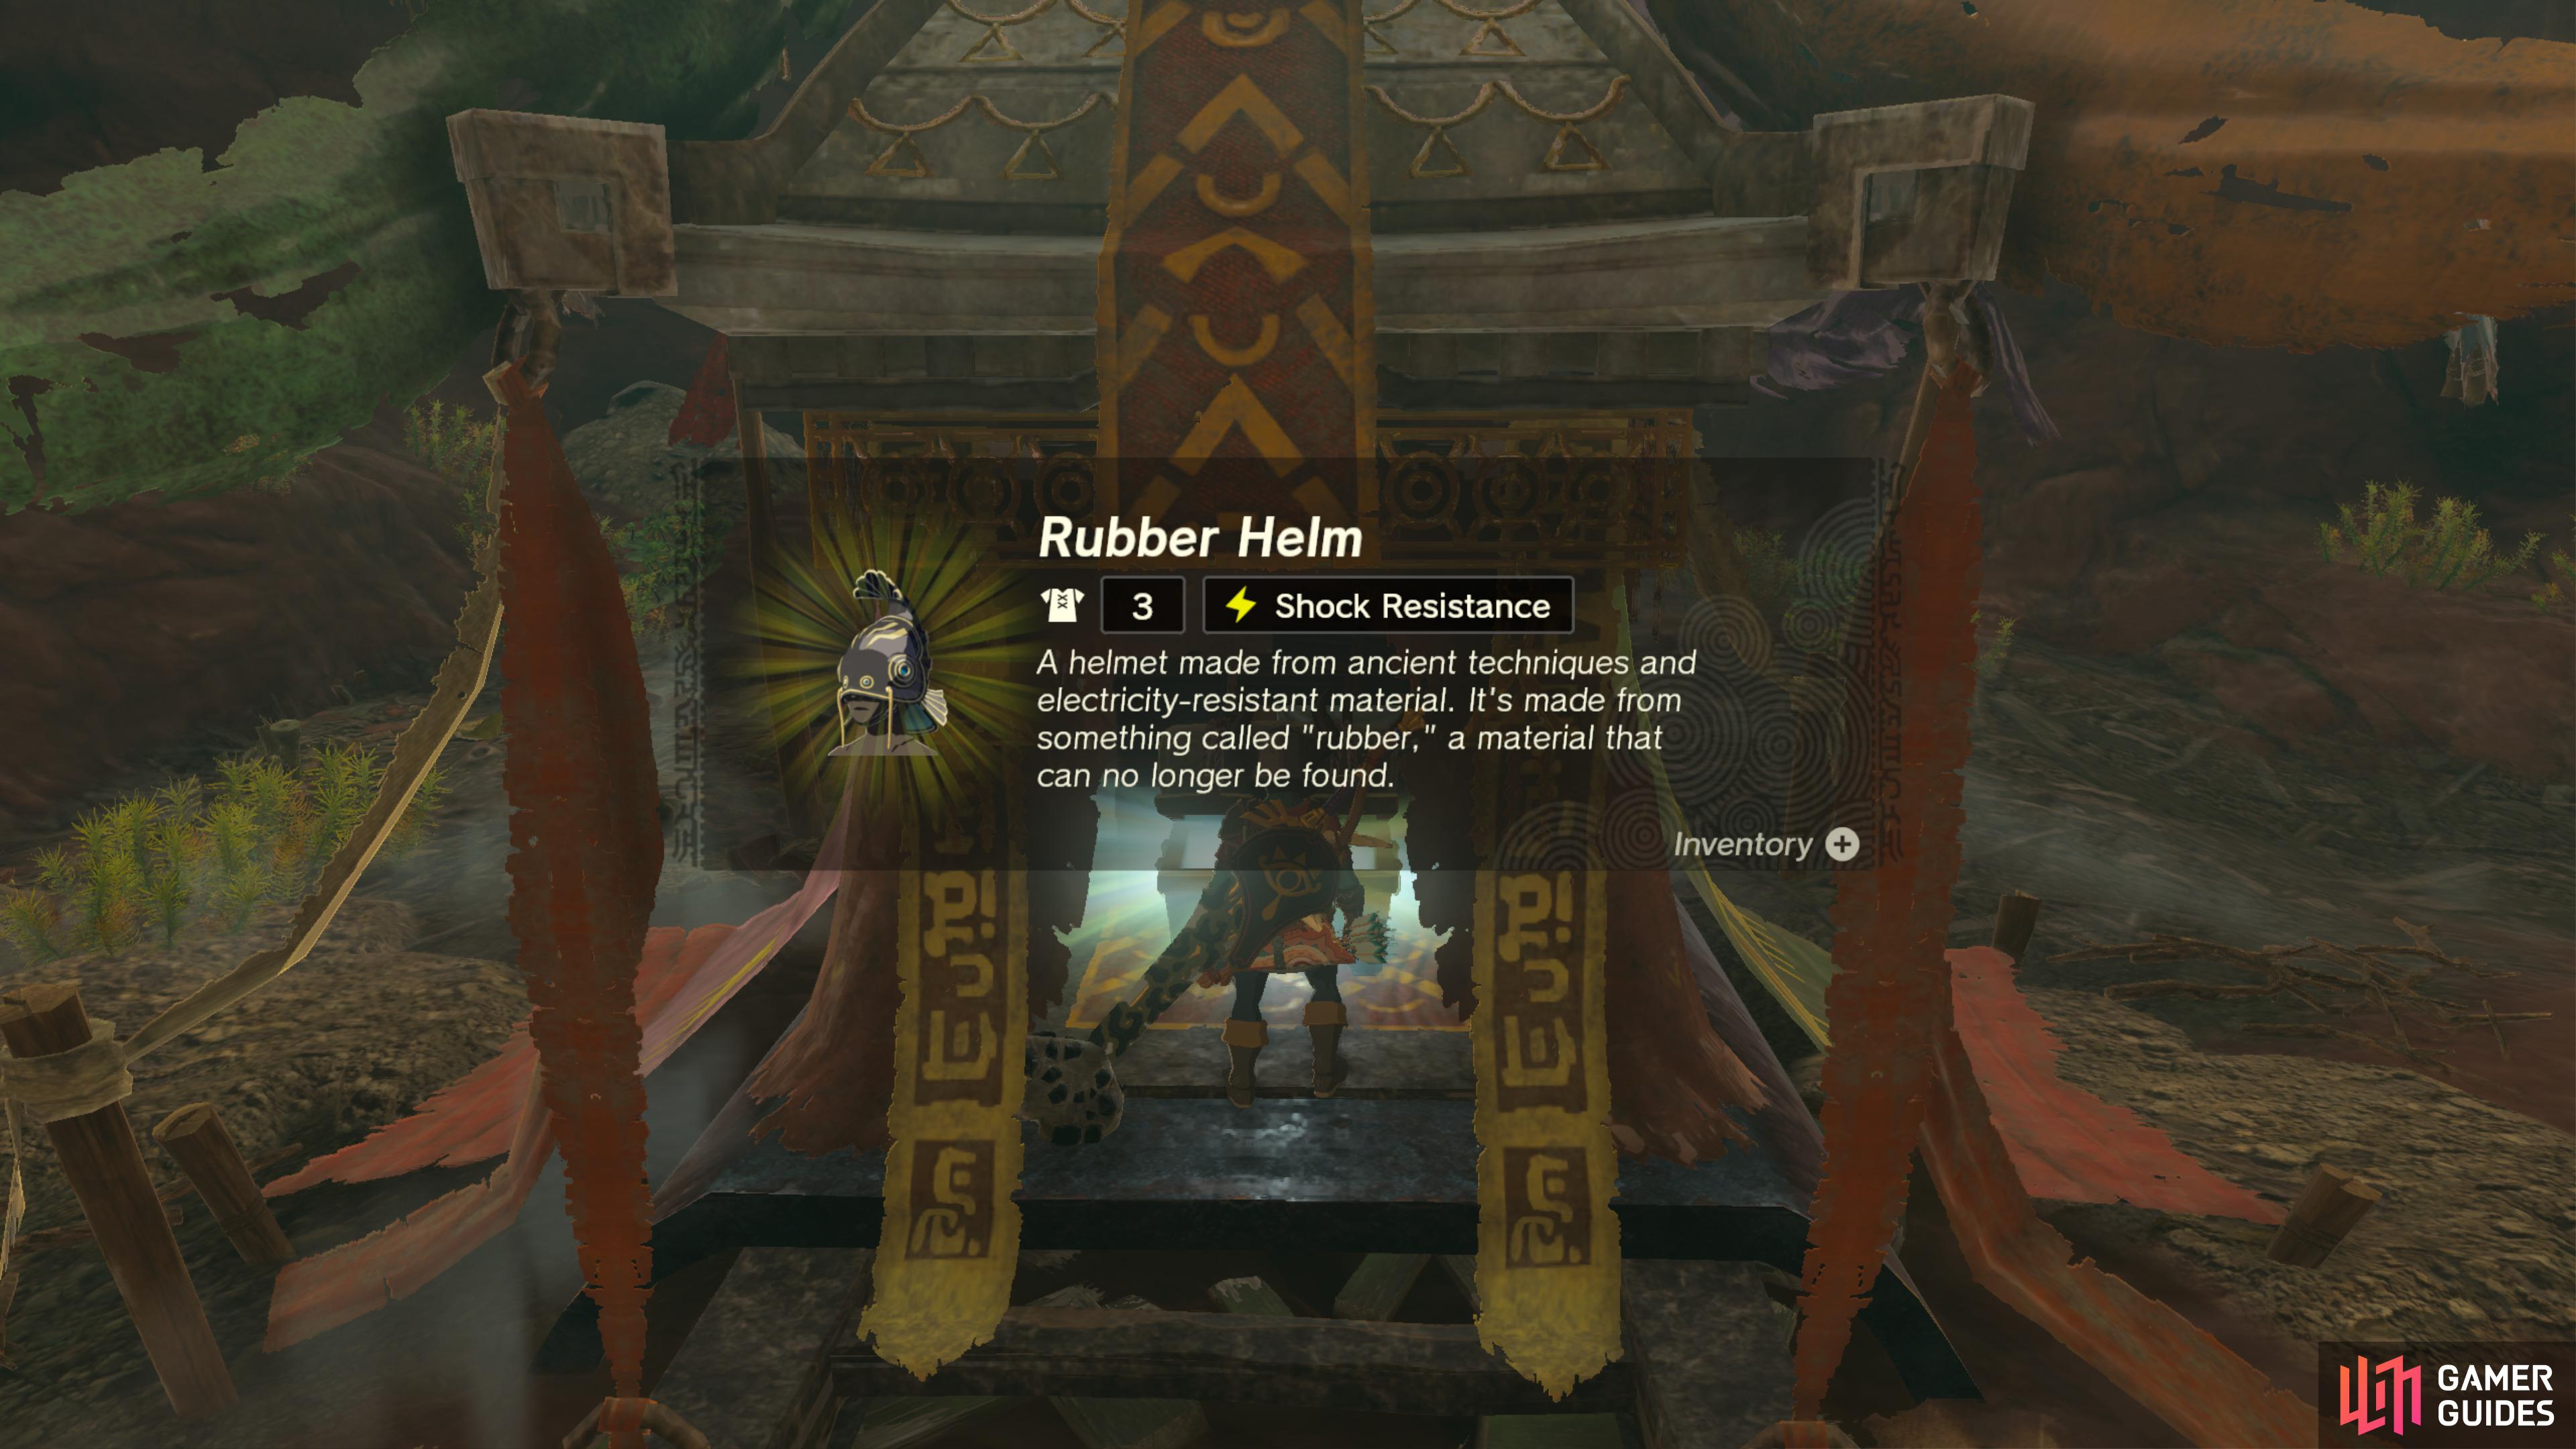
You must enter ![]() Sarjon Woods Cave to the southwest in
Sarjon Woods Cave to the southwest in ![]() Faron, and follow the stream to the end where you will find this Chest.
Faron, and follow the stream to the end where you will find this Chest.
It contains a ![]() Rubber Helm.
Rubber Helm.

47829. Hyrule Surface Map
Break the rocks to reveal a Chest underneath.
It contains a ![]() Knight’s Halberd.
Knight’s Halberd.
47910. Hyrule Surface Map
Found at the bottom of the ![]() Calora Lake Cave, pull it out of the water with
Calora Lake Cave, pull it out of the water with ![]() Ultrahand.
Ultrahand.
It contains five ![]() Arrows.
Arrows.
48148. Hyrule Surface Map
Chest lodged in the rock. Use ![]() Ultrahand ability to dislodge, there is a
Ultrahand ability to dislodge, there is a ![]() Bomb Flower x10 inside.
Bomb Flower x10 inside.
48159. Hyrule Surface Map
Use ![]() Ultrahand ability to remove from the ground. Contains a
Ultrahand ability to remove from the ground. Contains a ![]() Royal Broadsword.
Royal Broadsword.
48655. Hyrule Depths Map
There is a ![]() Large Zonaite in a chest deep under the Great Abandoned Central Mine.
Large Zonaite in a chest deep under the Great Abandoned Central Mine.

48682. Hyrule Surface Map
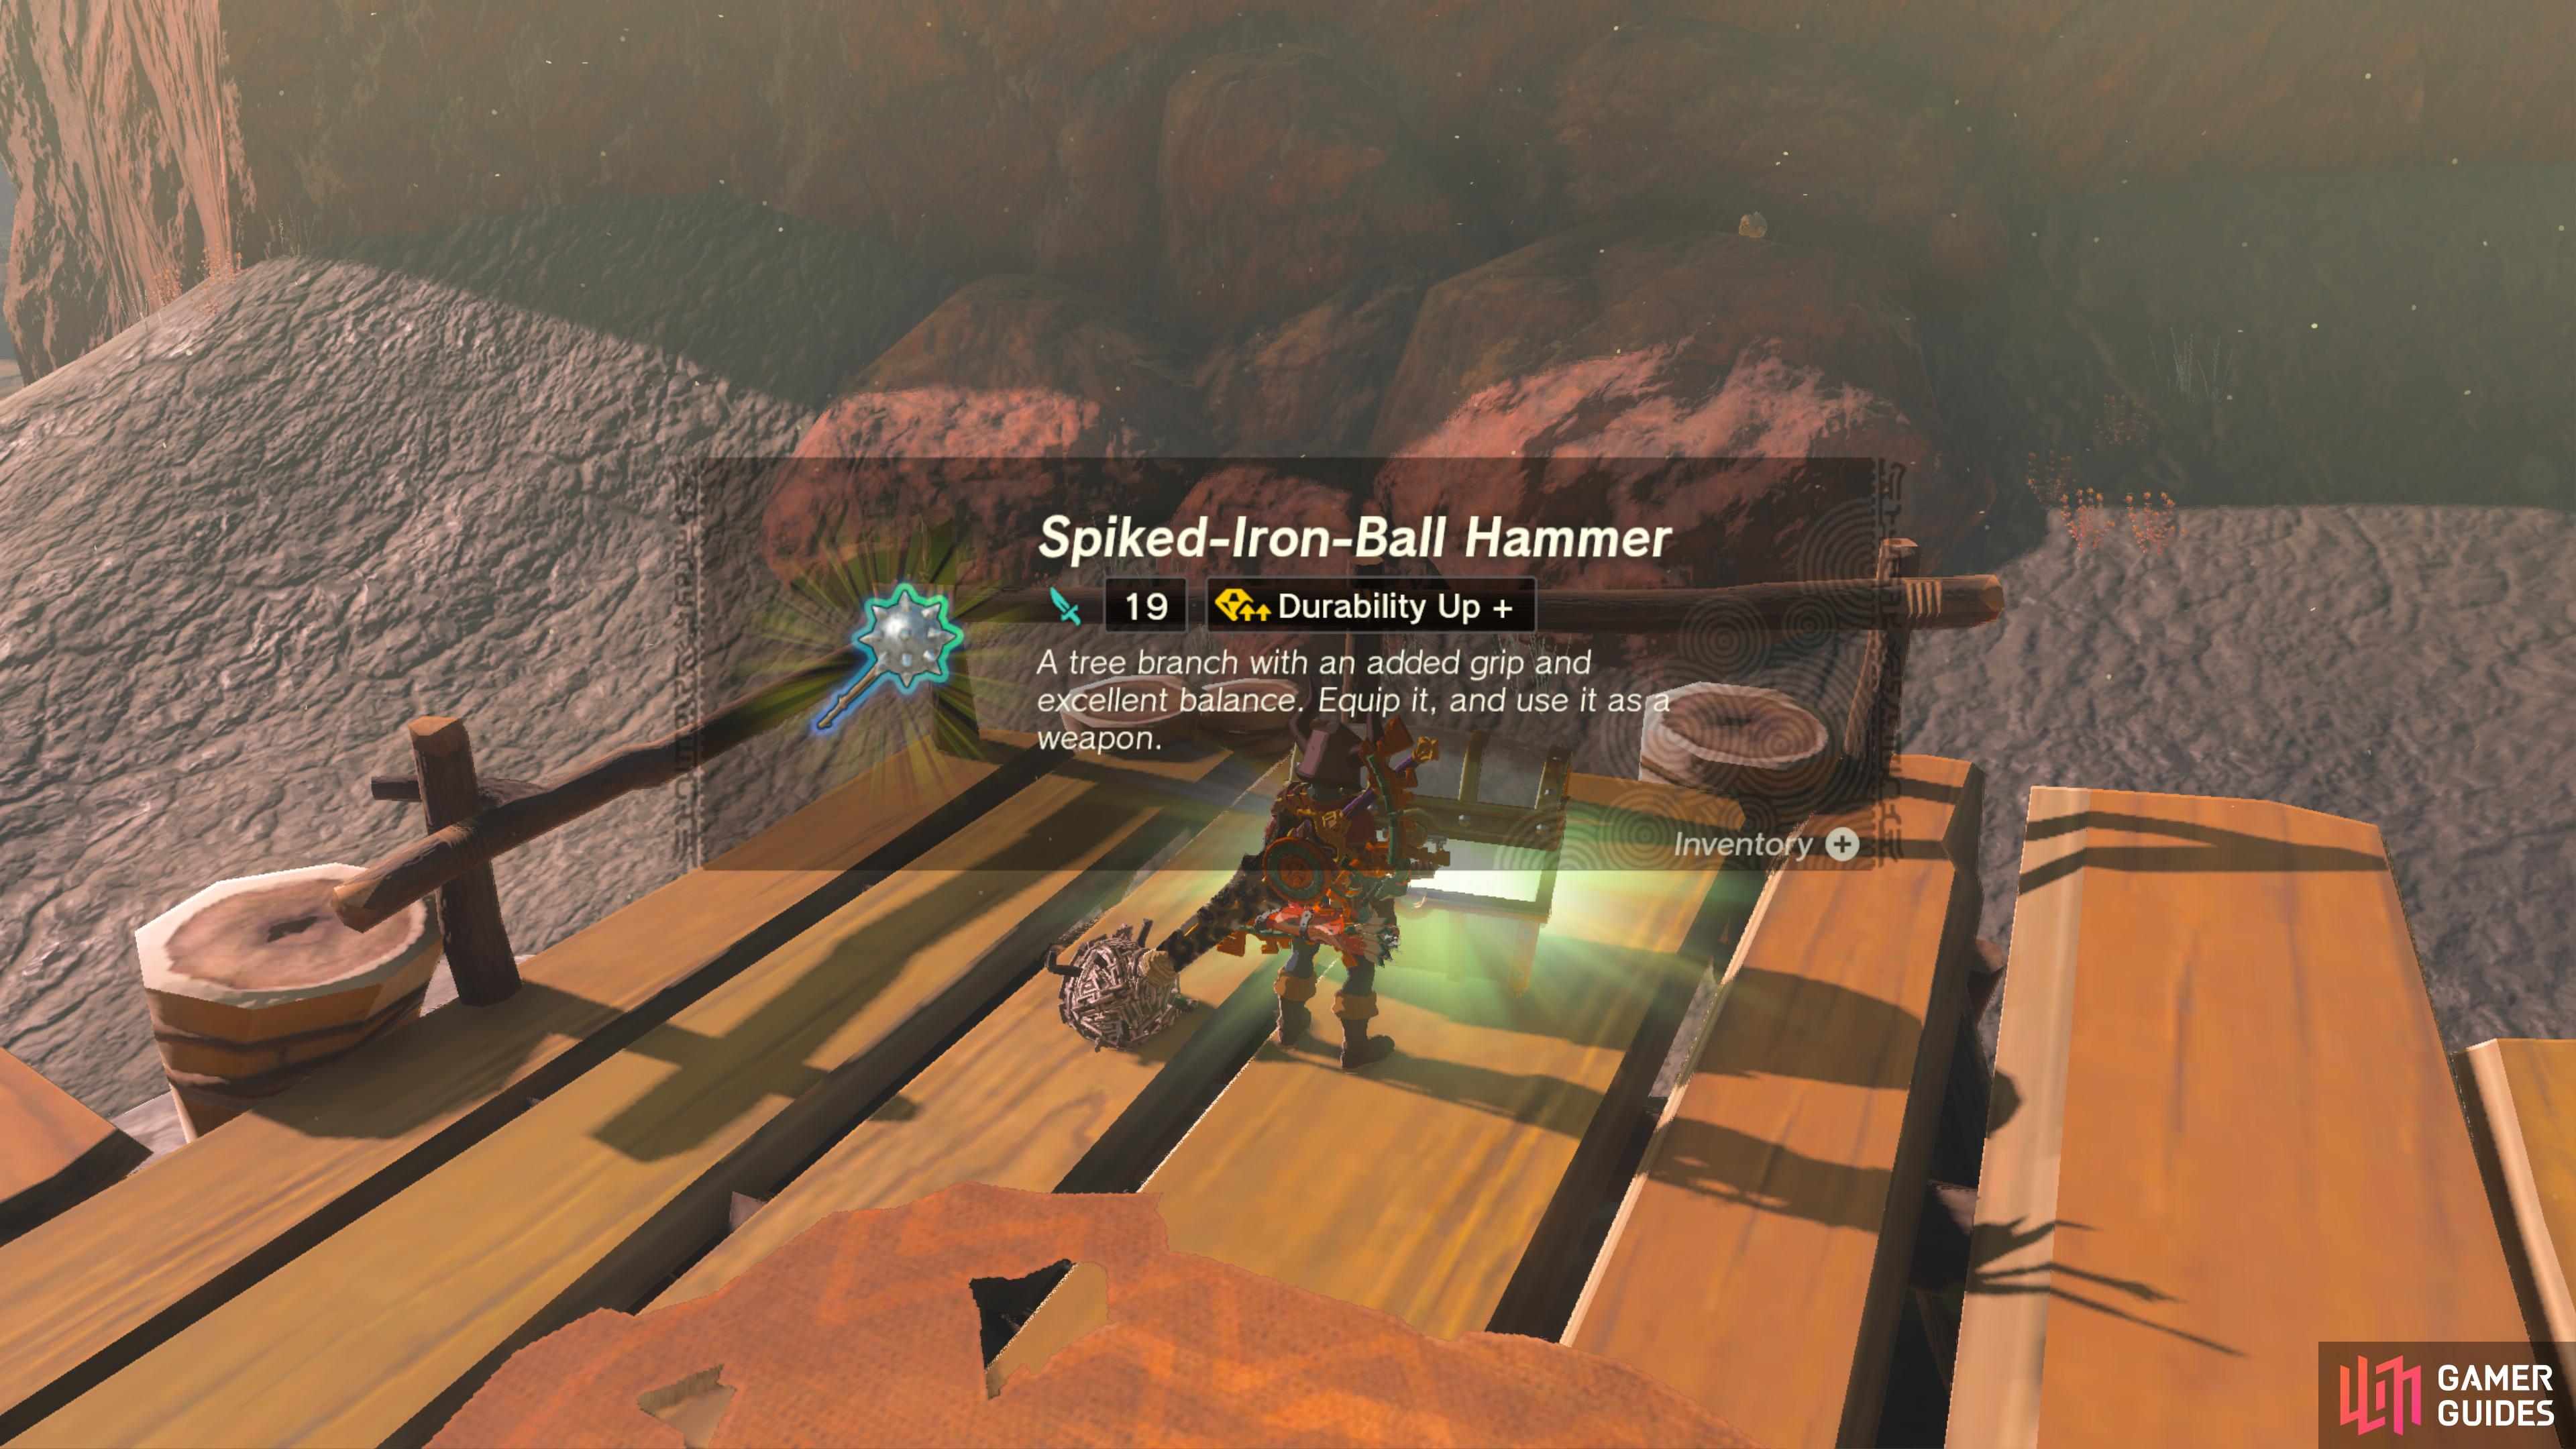
Defeat all nearby enemies to unlock the chest. Contains a ![]() Spiked-Iron-Ball Hammer.
Spiked-Iron-Ball Hammer.


50147. Hyrule Surface Map
Use ![]() Ultrahand ability to dislodge chest from the ground. Contains:
Ultrahand ability to dislodge chest from the ground. Contains: ![]() Zora Spear
Zora Spear

50538. Hyrule Surface Map
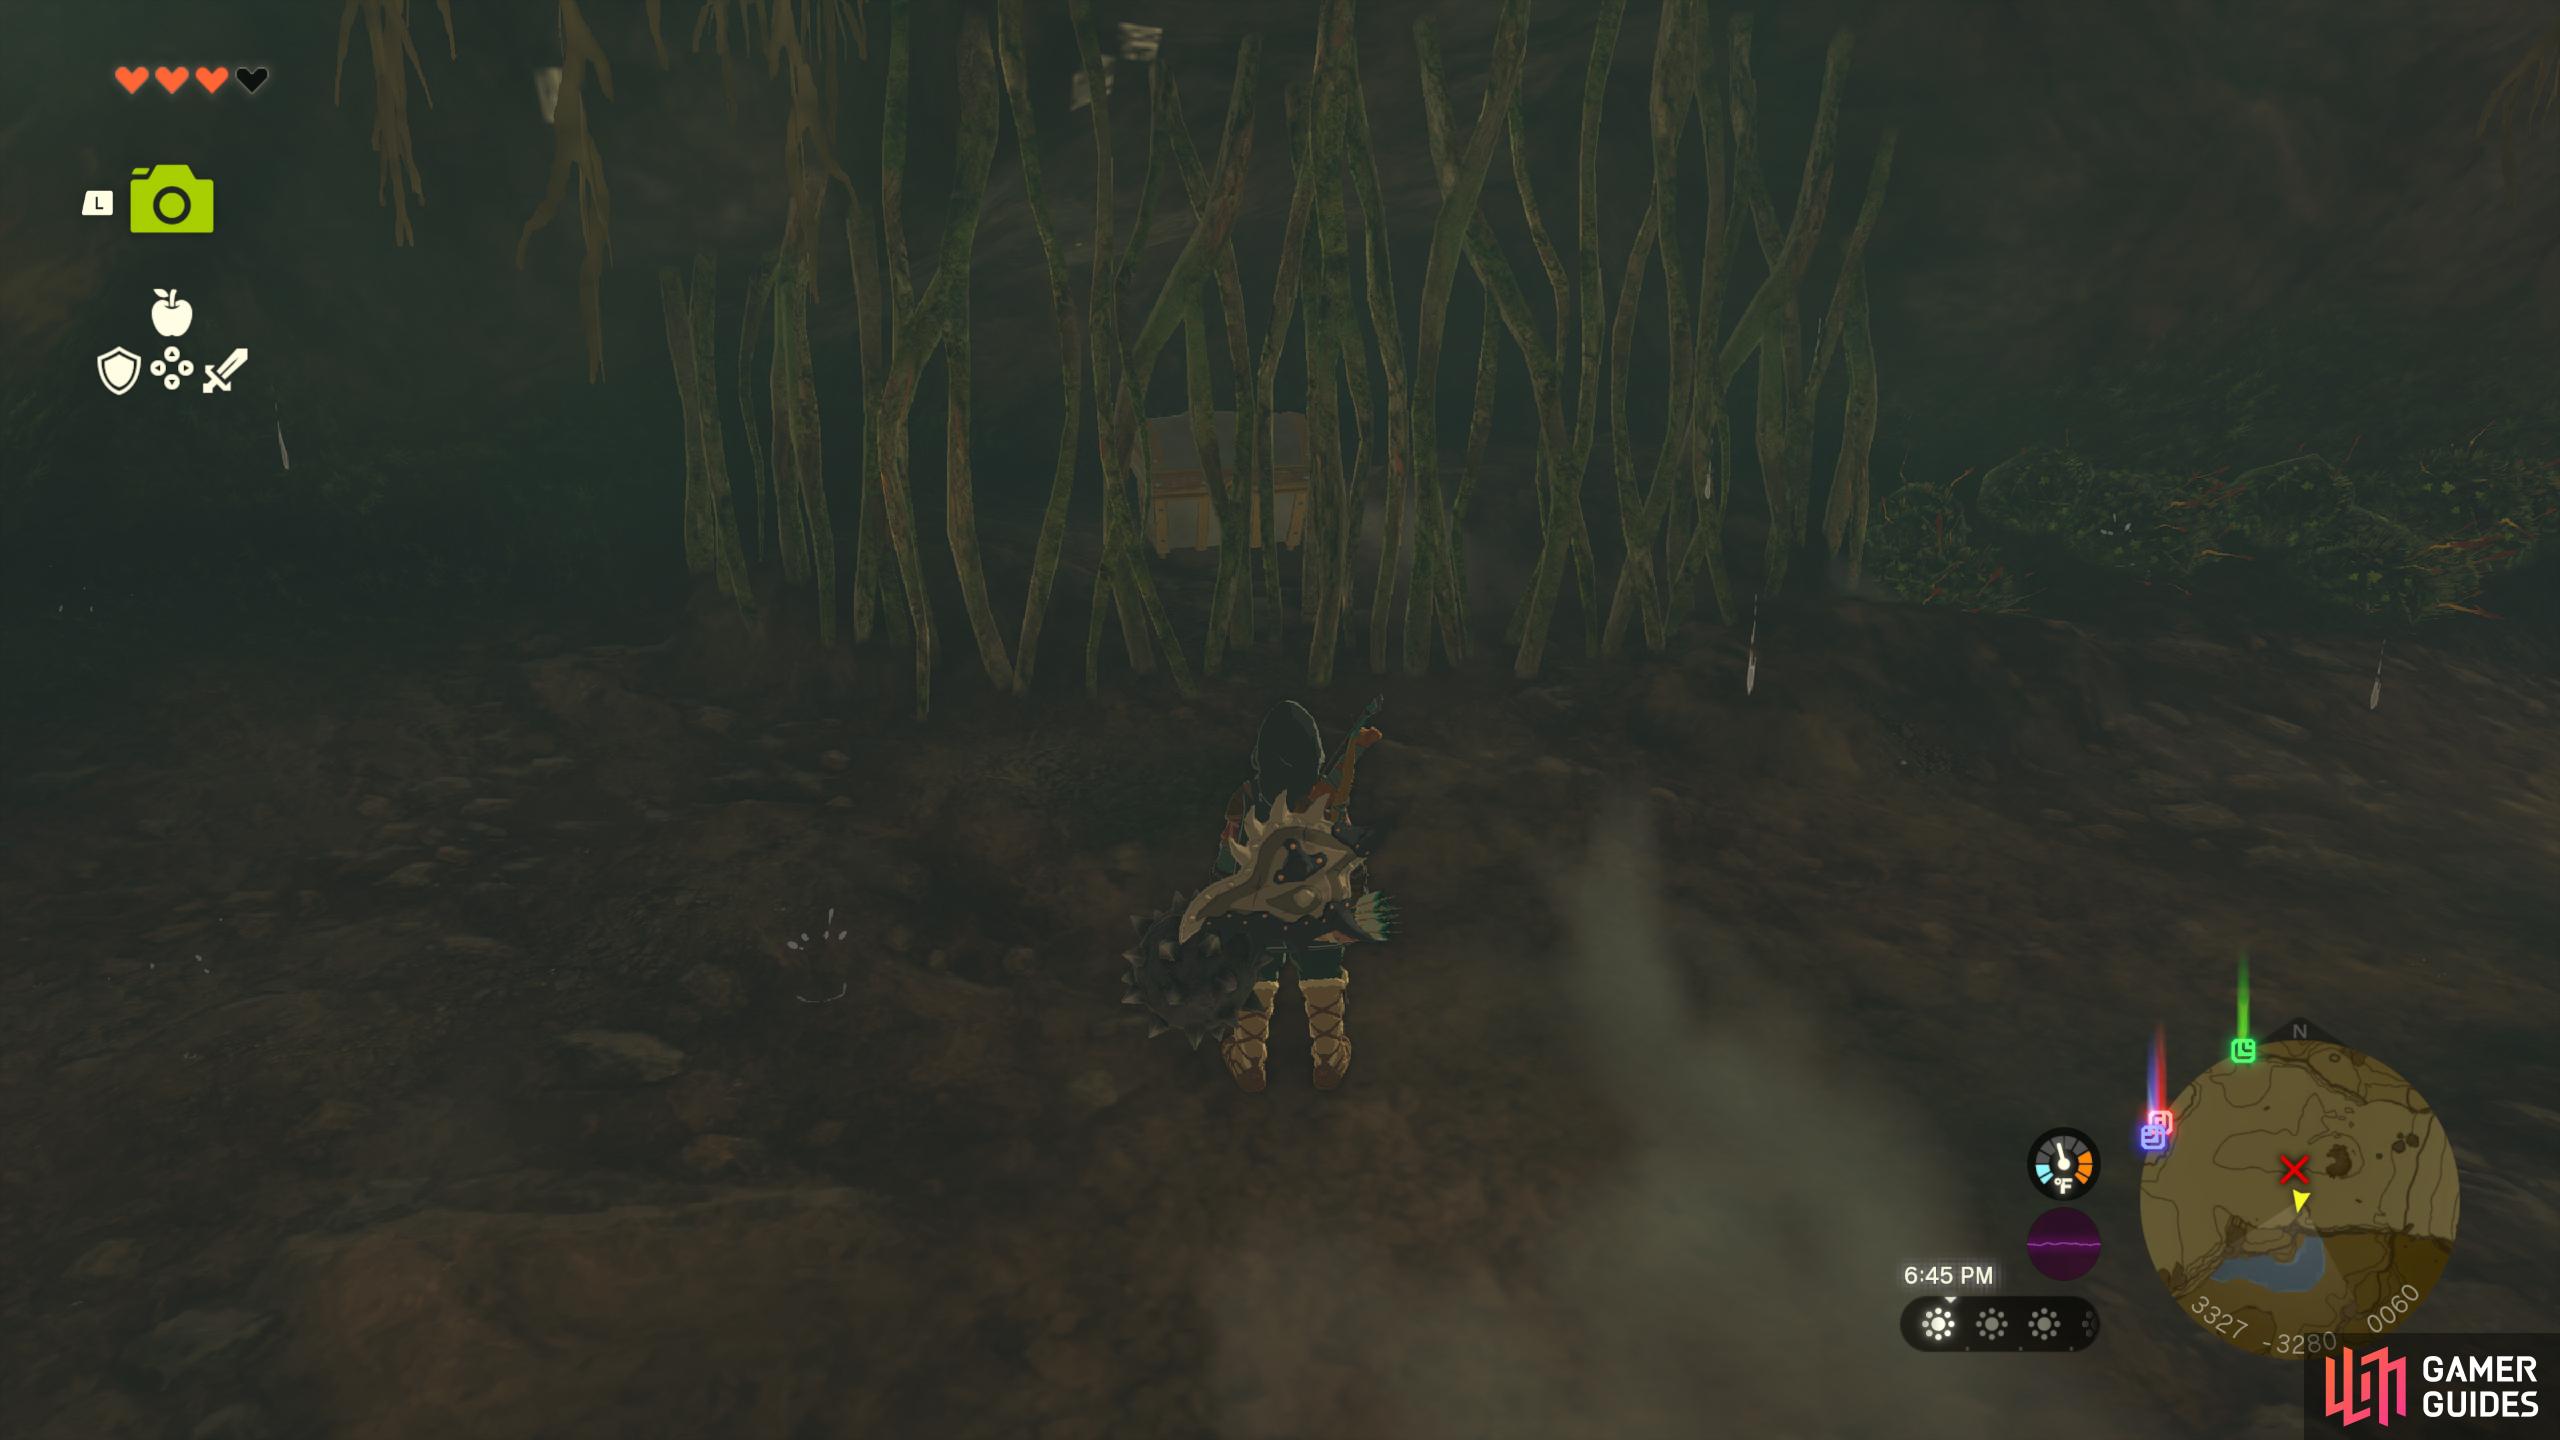
Hidden behind a curtain of leaves. The chest contains an ![]() Amber.
Amber.
50644. Hyrule Depths Map
Inside a chest at the head of the Hebra Dark Skeleton. is the ![]() Cap of the Wild.
Cap of the Wild.
50674. Hyrule Depths Map
Caution: You will need fire resistance gear/elixirs to get this chest. There is a ![]() Large Crystallized Charge inside the chest.
Large Crystallized Charge inside the chest.
50718. Hyrule Depths Map
Inside this chest which is protected by an ![]() Evermean there is the
Evermean there is the ![]() Sword of the Hero.
Sword of the Hero.
50723. Hyrule Surface Map
Use ![]() Ultrahand ability to remove chest from the ground.
Ultrahand ability to remove chest from the ground.
Contains: ![]() Bomb Flower x5
Bomb Flower x5
50736. Hyrule Surface Map
Dropped by ![]() Like Like inside
Like Like inside ![]() Ulria Grotto East Cave.
Ulria Grotto East Cave.
Contains: ![]() Opal
Opal
50746. Hyrule Surface Map
Inside ![]() Ulria Grotto East Cave.
Ulria Grotto East Cave.
Contains: ![]() Royal Broadsword
Royal Broadsword

51418. Hyrule Depths Map
The chest at the Granajh Canyon Mine contains a ![]() Large Crystallized Charge.
Large Crystallized Charge.
51467. Hyrule Surface Map
There is a rock wall here that can be broken using bomb arrows or boulder weapons. There is a chest behind the wall containing ![]() Ancient Blade.
Ancient Blade.
52144. Hyrule Surface Map
On the third level of the enemy camp there are two chests. The first contains ![]() Bomb Flower x5.
Bomb Flower x5.
52145. Hyrule Surface Map
On the third level of the enemy camp there are two chests. The second contains ![]() Spiked-Iron-Ball Hammer.
Spiked-Iron-Ball Hammer.
52374. Hyrule Surface Map
Use ![]() Ultrahand to move the chest onto the bank of the oasis where it can be opened to find a
Ultrahand to move the chest onto the bank of the oasis where it can be opened to find a ![]() Gerudo Bow.
Gerudo Bow.
52463. Hyrule Surface Map
There is a chest inside the ![]() Oasis Source cave behind a light rock wall. Use
Oasis Source cave behind a light rock wall. Use ![]() Ultrahand to free it from the floor. The chest contains a
Ultrahand to free it from the floor. The chest contains a ![]() Radiant Shield.
Radiant Shield.
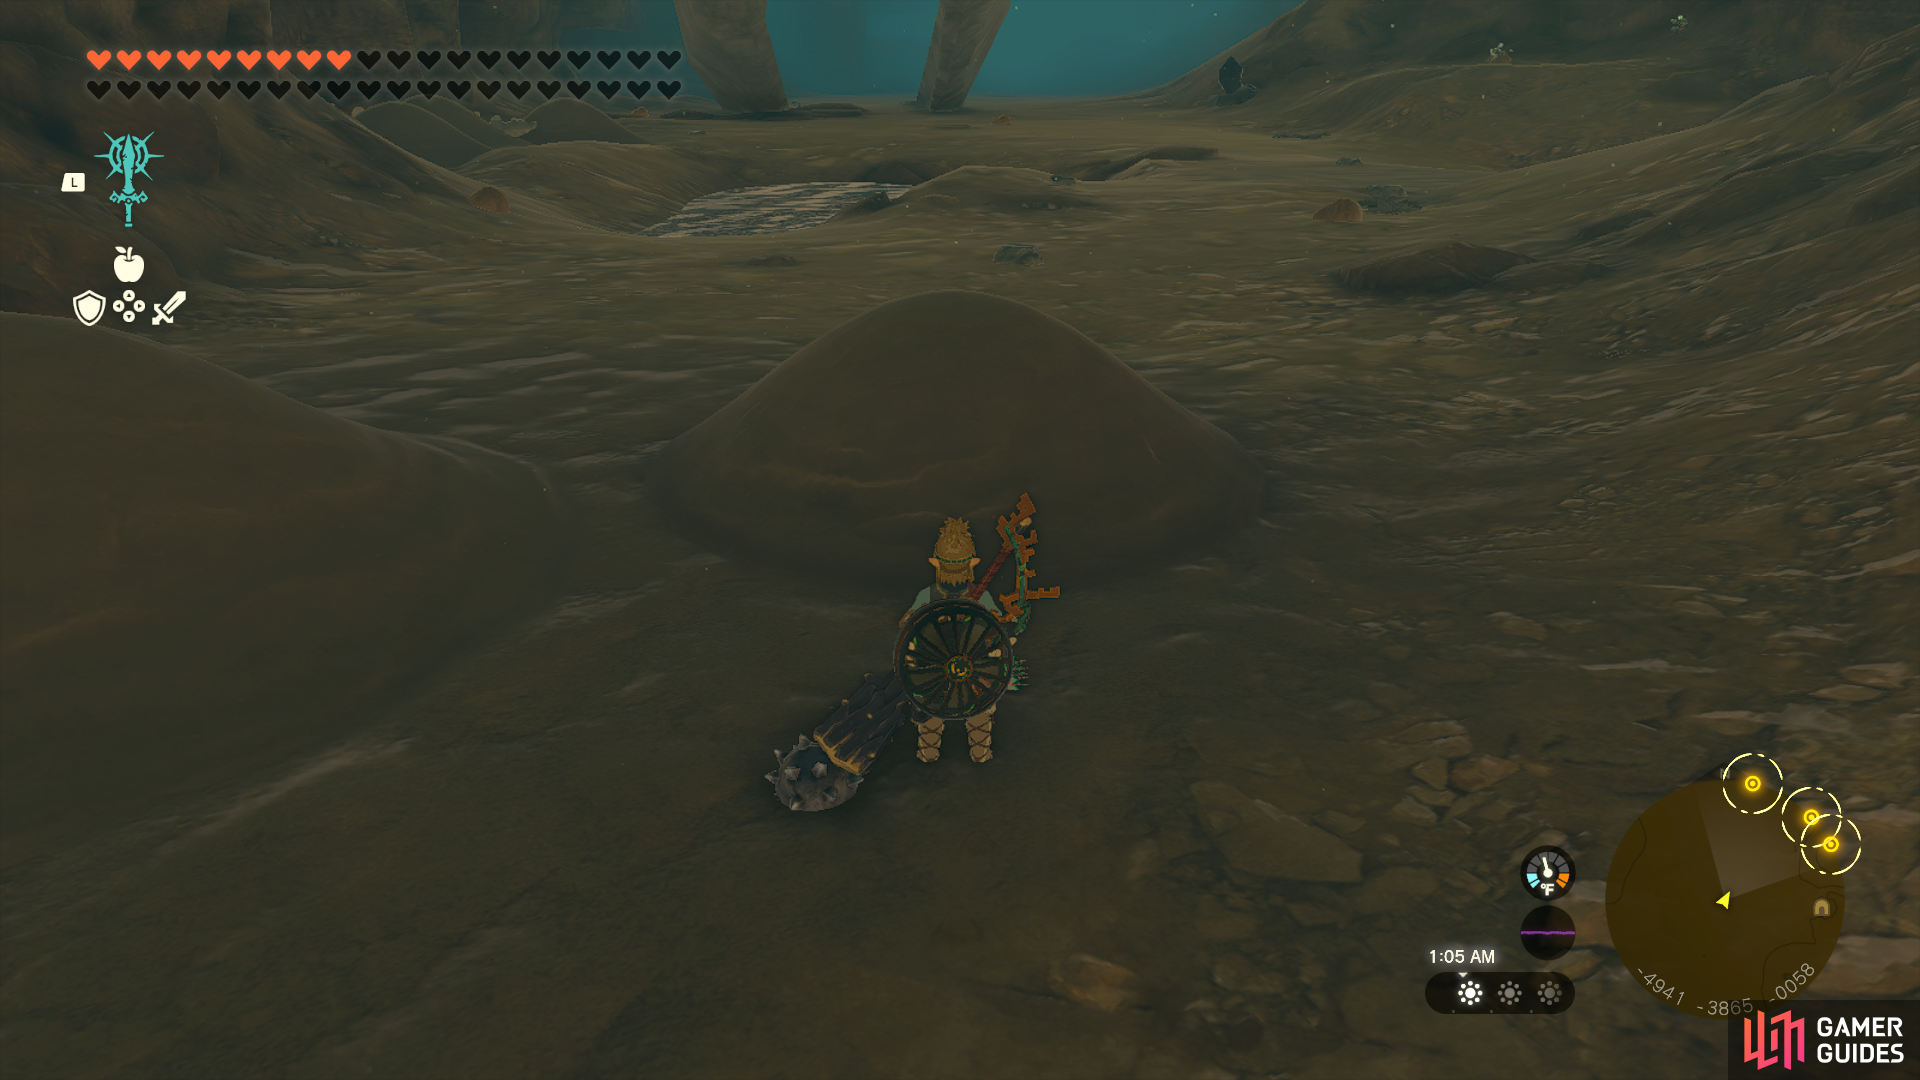
52519. Hyrule Surface Map
There is a ![]() Treasure Chest at the bottom of the
Treasure Chest at the bottom of the ![]() Valley of Silent Statues. Use
Valley of Silent Statues. Use ![]() Ultrahand to remove it from the quicksand. It contains
Ultrahand to remove it from the quicksand. It contains ![]() Arrow x10.
Arrow x10.
52559. Hyrule Surface Map
Dropped by the ![]() Shock Like in the
Shock Like in the ![]() Valley of Silent Statues. Contains a
Valley of Silent Statues. Contains a ![]() Gerudo Shield.
Gerudo Shield.
52561. Hyrule Surface Map
Inside a chest guarded by a ![]() Shock Like in the
Shock Like in the ![]() Valley of Silent Statues.
Valley of Silent Statues.
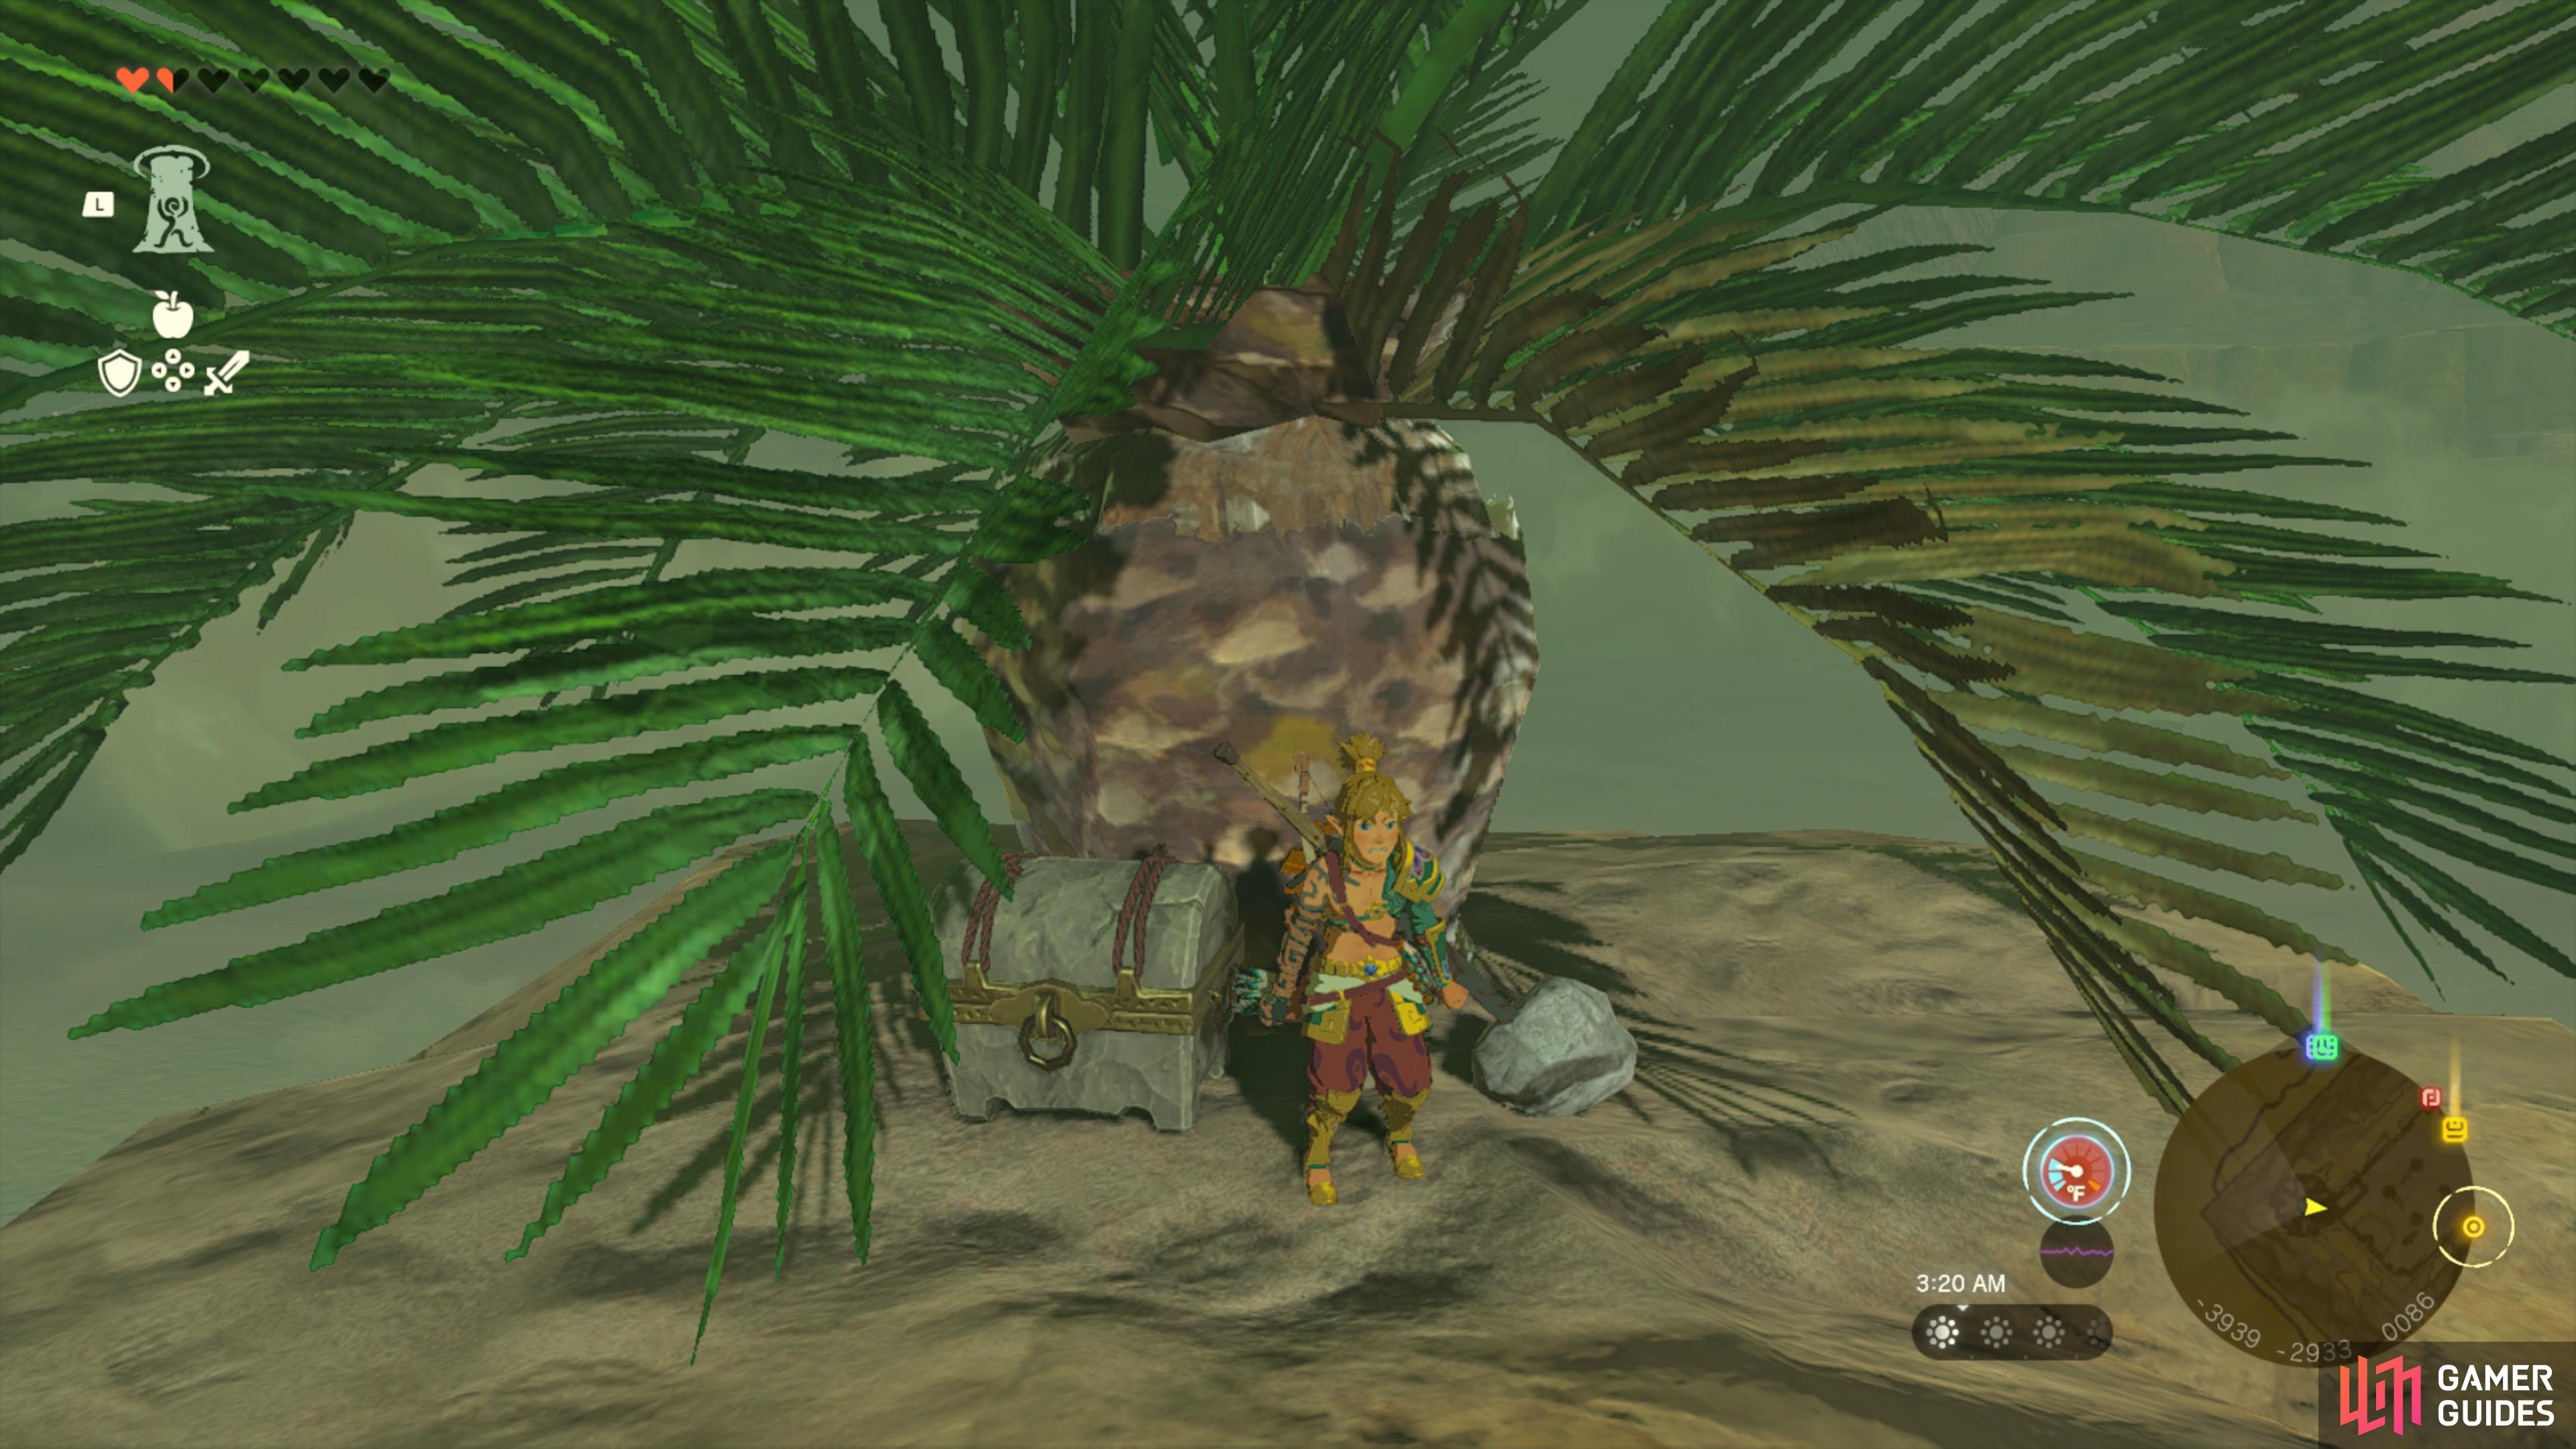
52605. Hyrule Surface Map
![]() Ascend to the top of this tower to find a Chest containing a
Ascend to the top of this tower to find a Chest containing a ![]() Gerudo Shield underneath a palm tree next to a
Gerudo Shield underneath a palm tree next to a ![]() Knight’s Bow and
Knight’s Bow and ![]() Arrow x10.
Arrow x10.

52618. Hyrule Surface Map
There are x3 ![]() Treasure Chests beside the weapon rack next to Padda in Gerudo Town. This chest contain a
Treasure Chests beside the weapon rack next to Padda in Gerudo Town. This chest contain a ![]() Silver Rupee.
Silver Rupee.
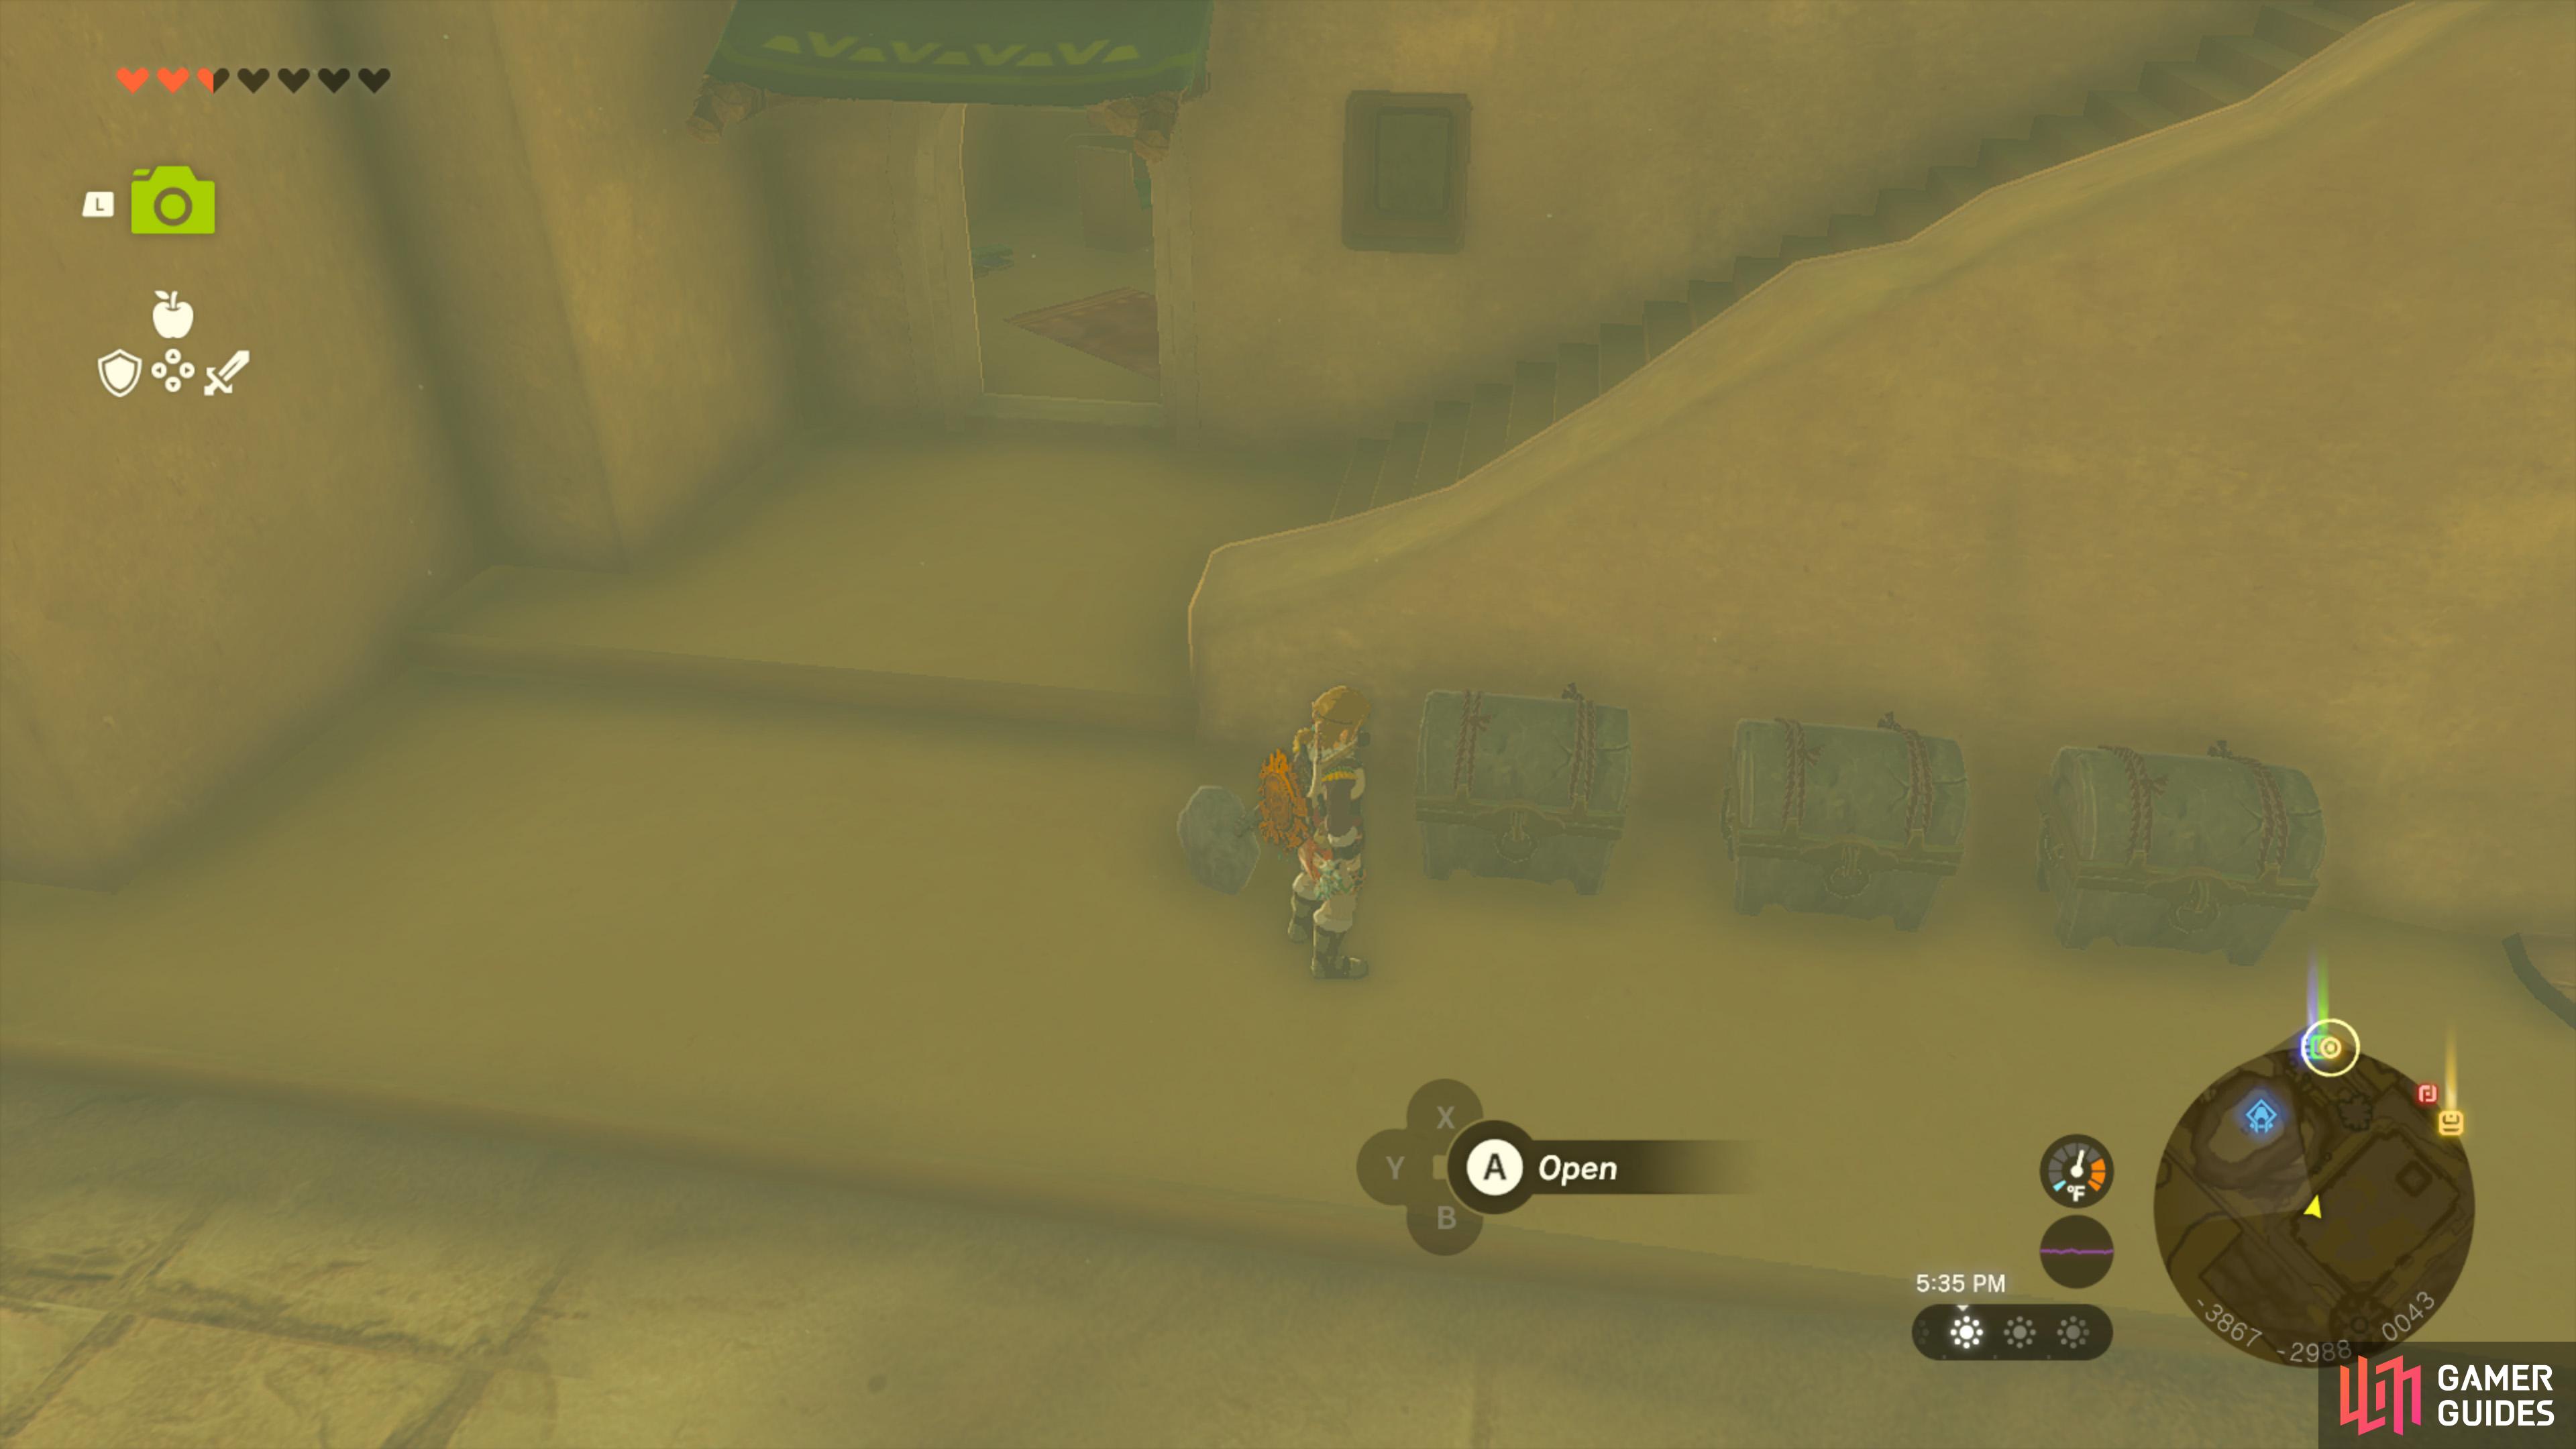
52619. Hyrule Surface Map
There are x3 ![]() Treasure Chests beside the weapon rack next to Padda in Gerudo Town. This chest contain a Topaz.
Treasure Chests beside the weapon rack next to Padda in Gerudo Town. This chest contain a Topaz.

52620. Hyrule Surface Map
There are x3 ![]() Treasure Chests beside the weapon rack next to Padda in Gerudo Town. This chest contain an
Treasure Chests beside the weapon rack next to Padda in Gerudo Town. This chest contain an ![]() Electric Lizalfos Horn.
Electric Lizalfos Horn.
52643. Hyrule Surface Map
There is a treasure chest at the top of the Lighting Temple. It contains a ![]() Mirror (Capsule) x3.
Mirror (Capsule) x3.
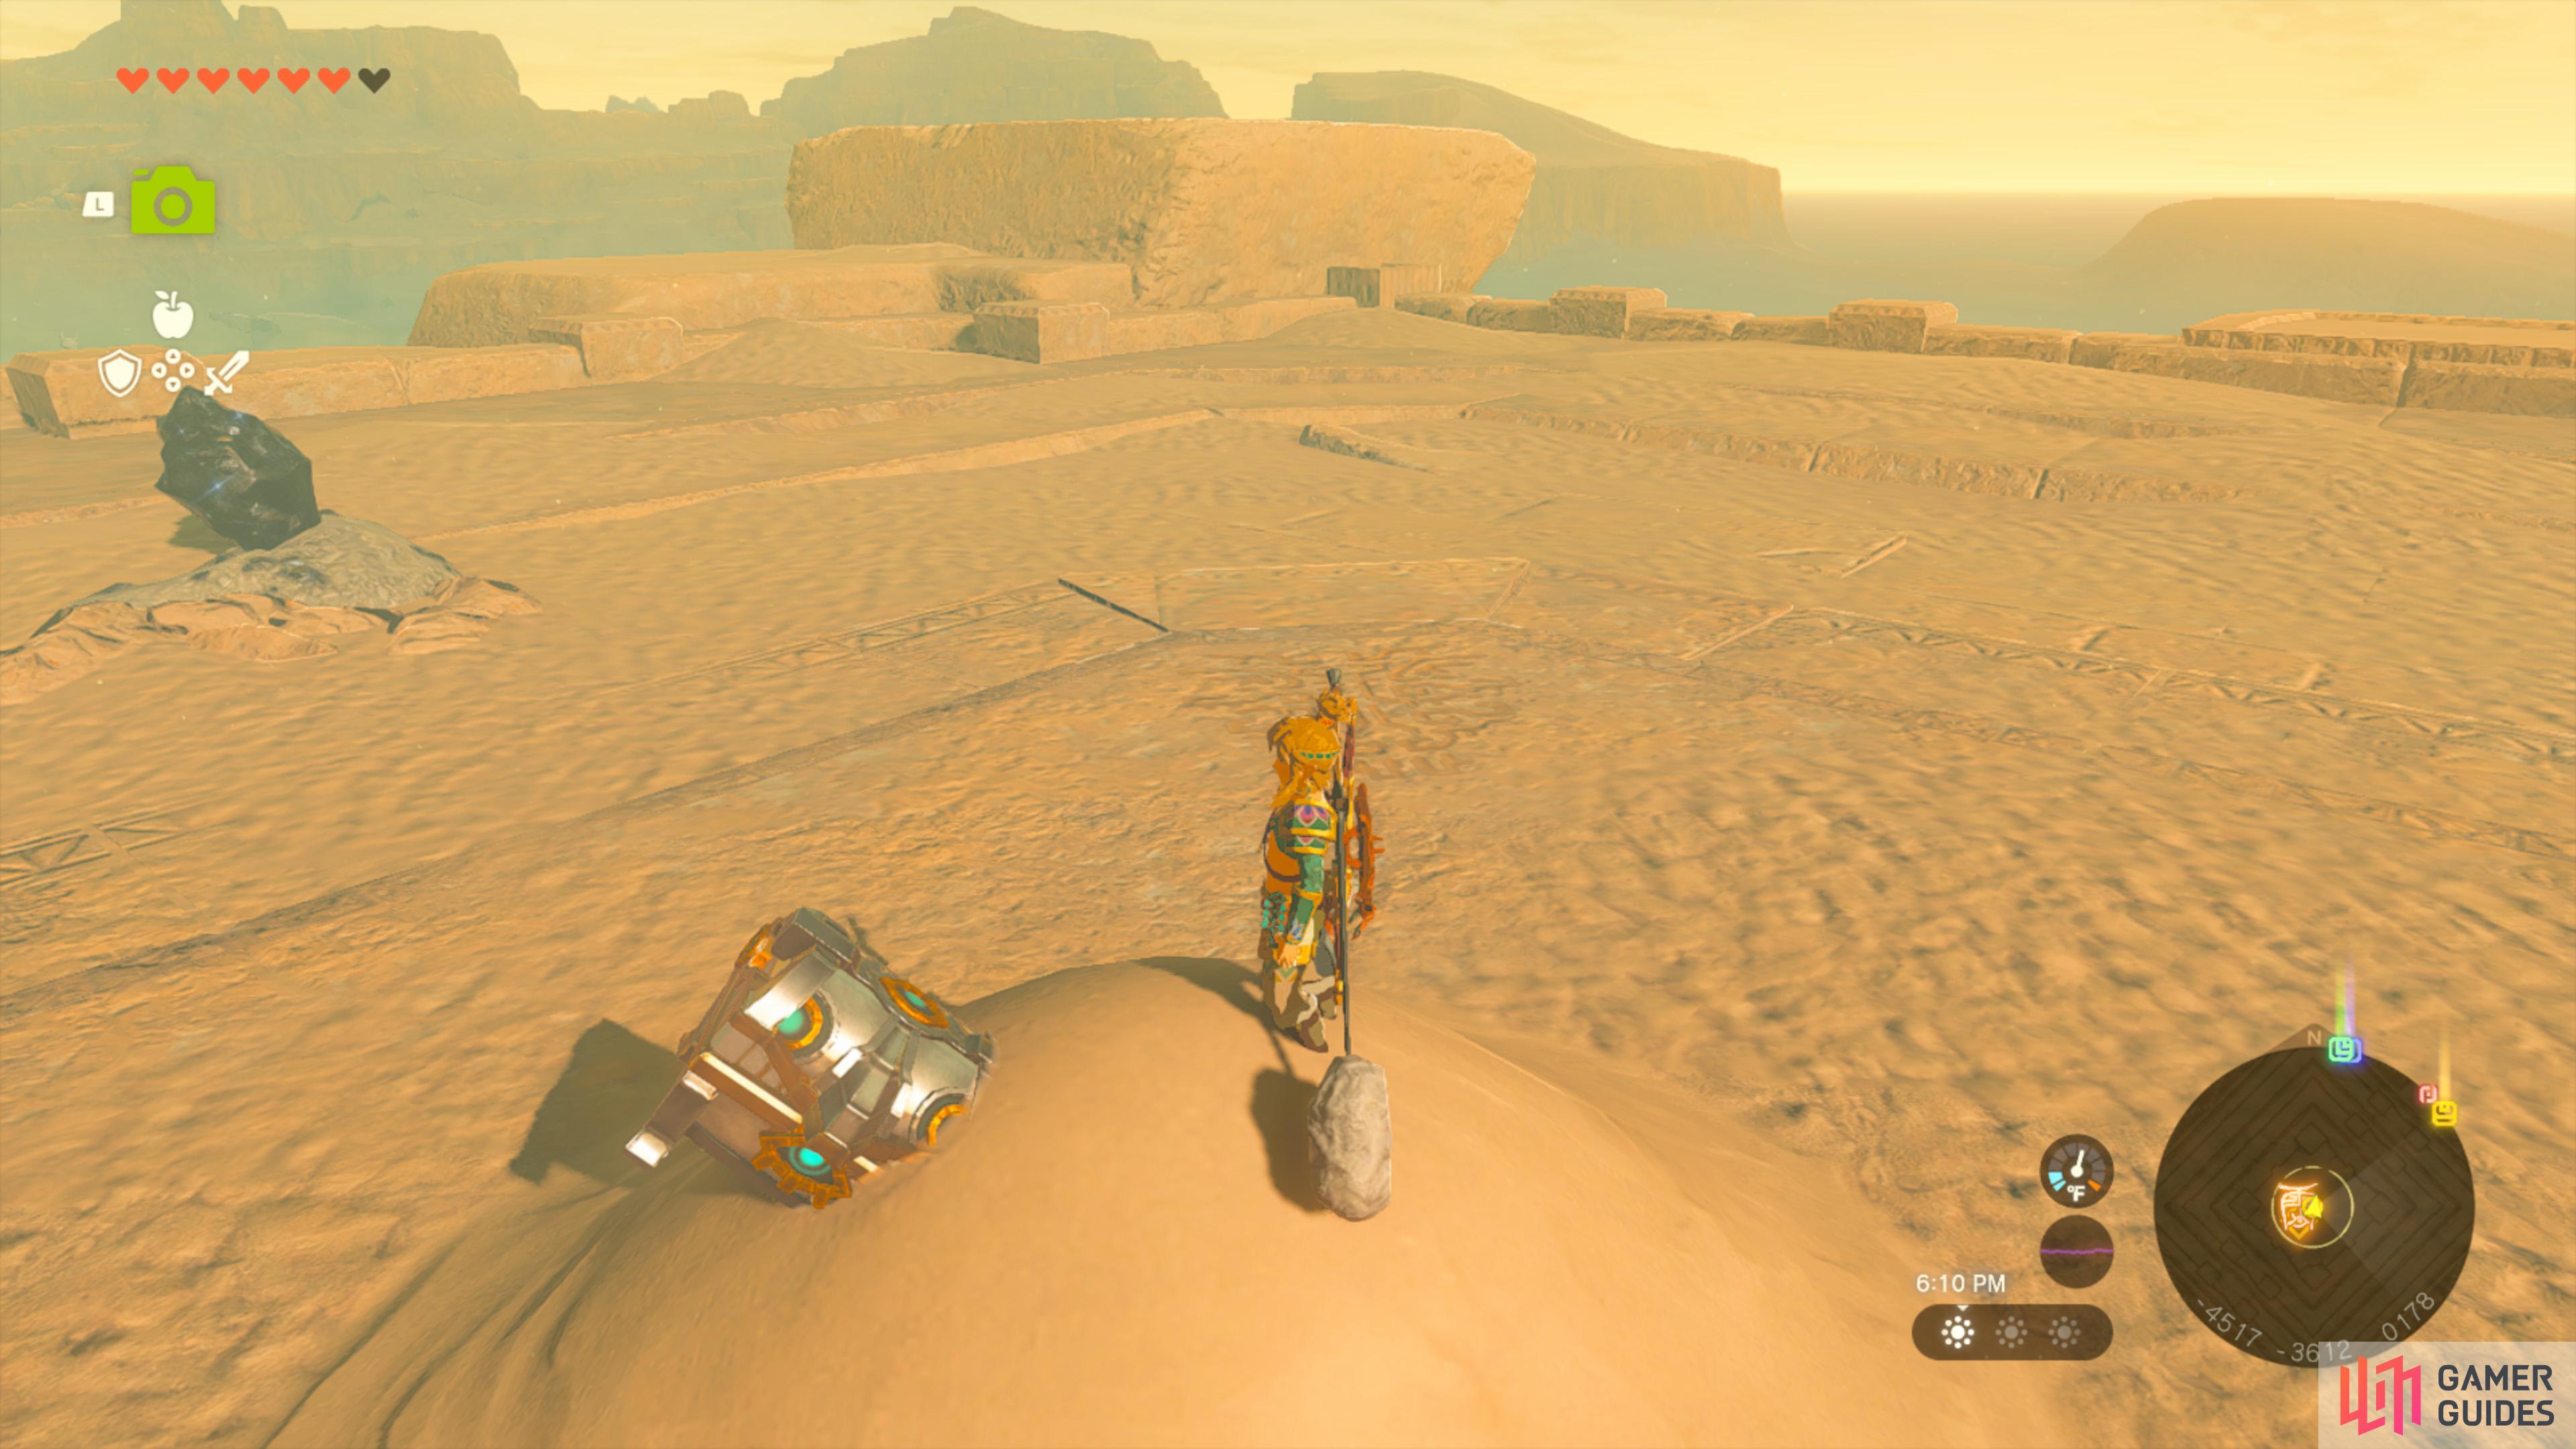
52708. Hyrule Surface Map
Inside ![]() Gerudo Great Skeleton. Use a fan to clear away the piles of sand to reveal a
Gerudo Great Skeleton. Use a fan to clear away the piles of sand to reveal a ![]() Treasure Chest with Topaz inside.
Treasure Chest with Topaz inside.
52798. Hyrule Depths Map
This chest is at the Daphnes Canyon Mine and contains the ![]() Miner’s Top.
Miner’s Top.
52812. Hyrule Depths Map
The reward for defeating ![]() Mucktorok, The Water Temple Boss rematch is a
Mucktorok, The Water Temple Boss rematch is a ![]() Huge Crystallized Charge.
Huge Crystallized Charge.
52817. Hyrule Depths Map
This chest contains a ![]() Huge Crystallized Charge - a reward for defeating
Huge Crystallized Charge - a reward for defeating ![]() Colgera in the Wind Temple boss rematch in the Depths.
Colgera in the Wind Temple boss rematch in the Depths.
52823. Hyrule Depths Map
The reward for defeating ![]() Marbled Gohma, the
Marbled Gohma, the ![]() Fire Temple boss, is a
Fire Temple boss, is a ![]() Huge Crystallized Charge.
Huge Crystallized Charge.
52828. Hyrule Depths Map
Thge Queen ![]() Gibdo Rematch in the Depths. The reward for defeating Queen Gibdo again is a
Gibdo Rematch in the Depths. The reward for defeating Queen Gibdo again is a ![]() Huge Crystallized Charge.
Huge Crystallized Charge.

53077. Hyrule Depths Map
A chest that contains the ![]() Sea-Breeze Boomerang at the Hebra Canyon Mine.
Sea-Breeze Boomerang at the Hebra Canyon Mine.
53084. Hyrule Depths Map
Insde the chest at the Meda Canyon Mine is a ![]() Large Crystallized Charge.
Large Crystallized Charge.
53099. Hyrule Depths Map
The ![]() Treasure Chest in the Taran Canyopn Mine in the East Necluda Depths contains a Large Crystalllized Charge.
Treasure Chest in the Taran Canyopn Mine in the East Necluda Depths contains a Large Crystalllized Charge.
53223. Hyrule Surface Map
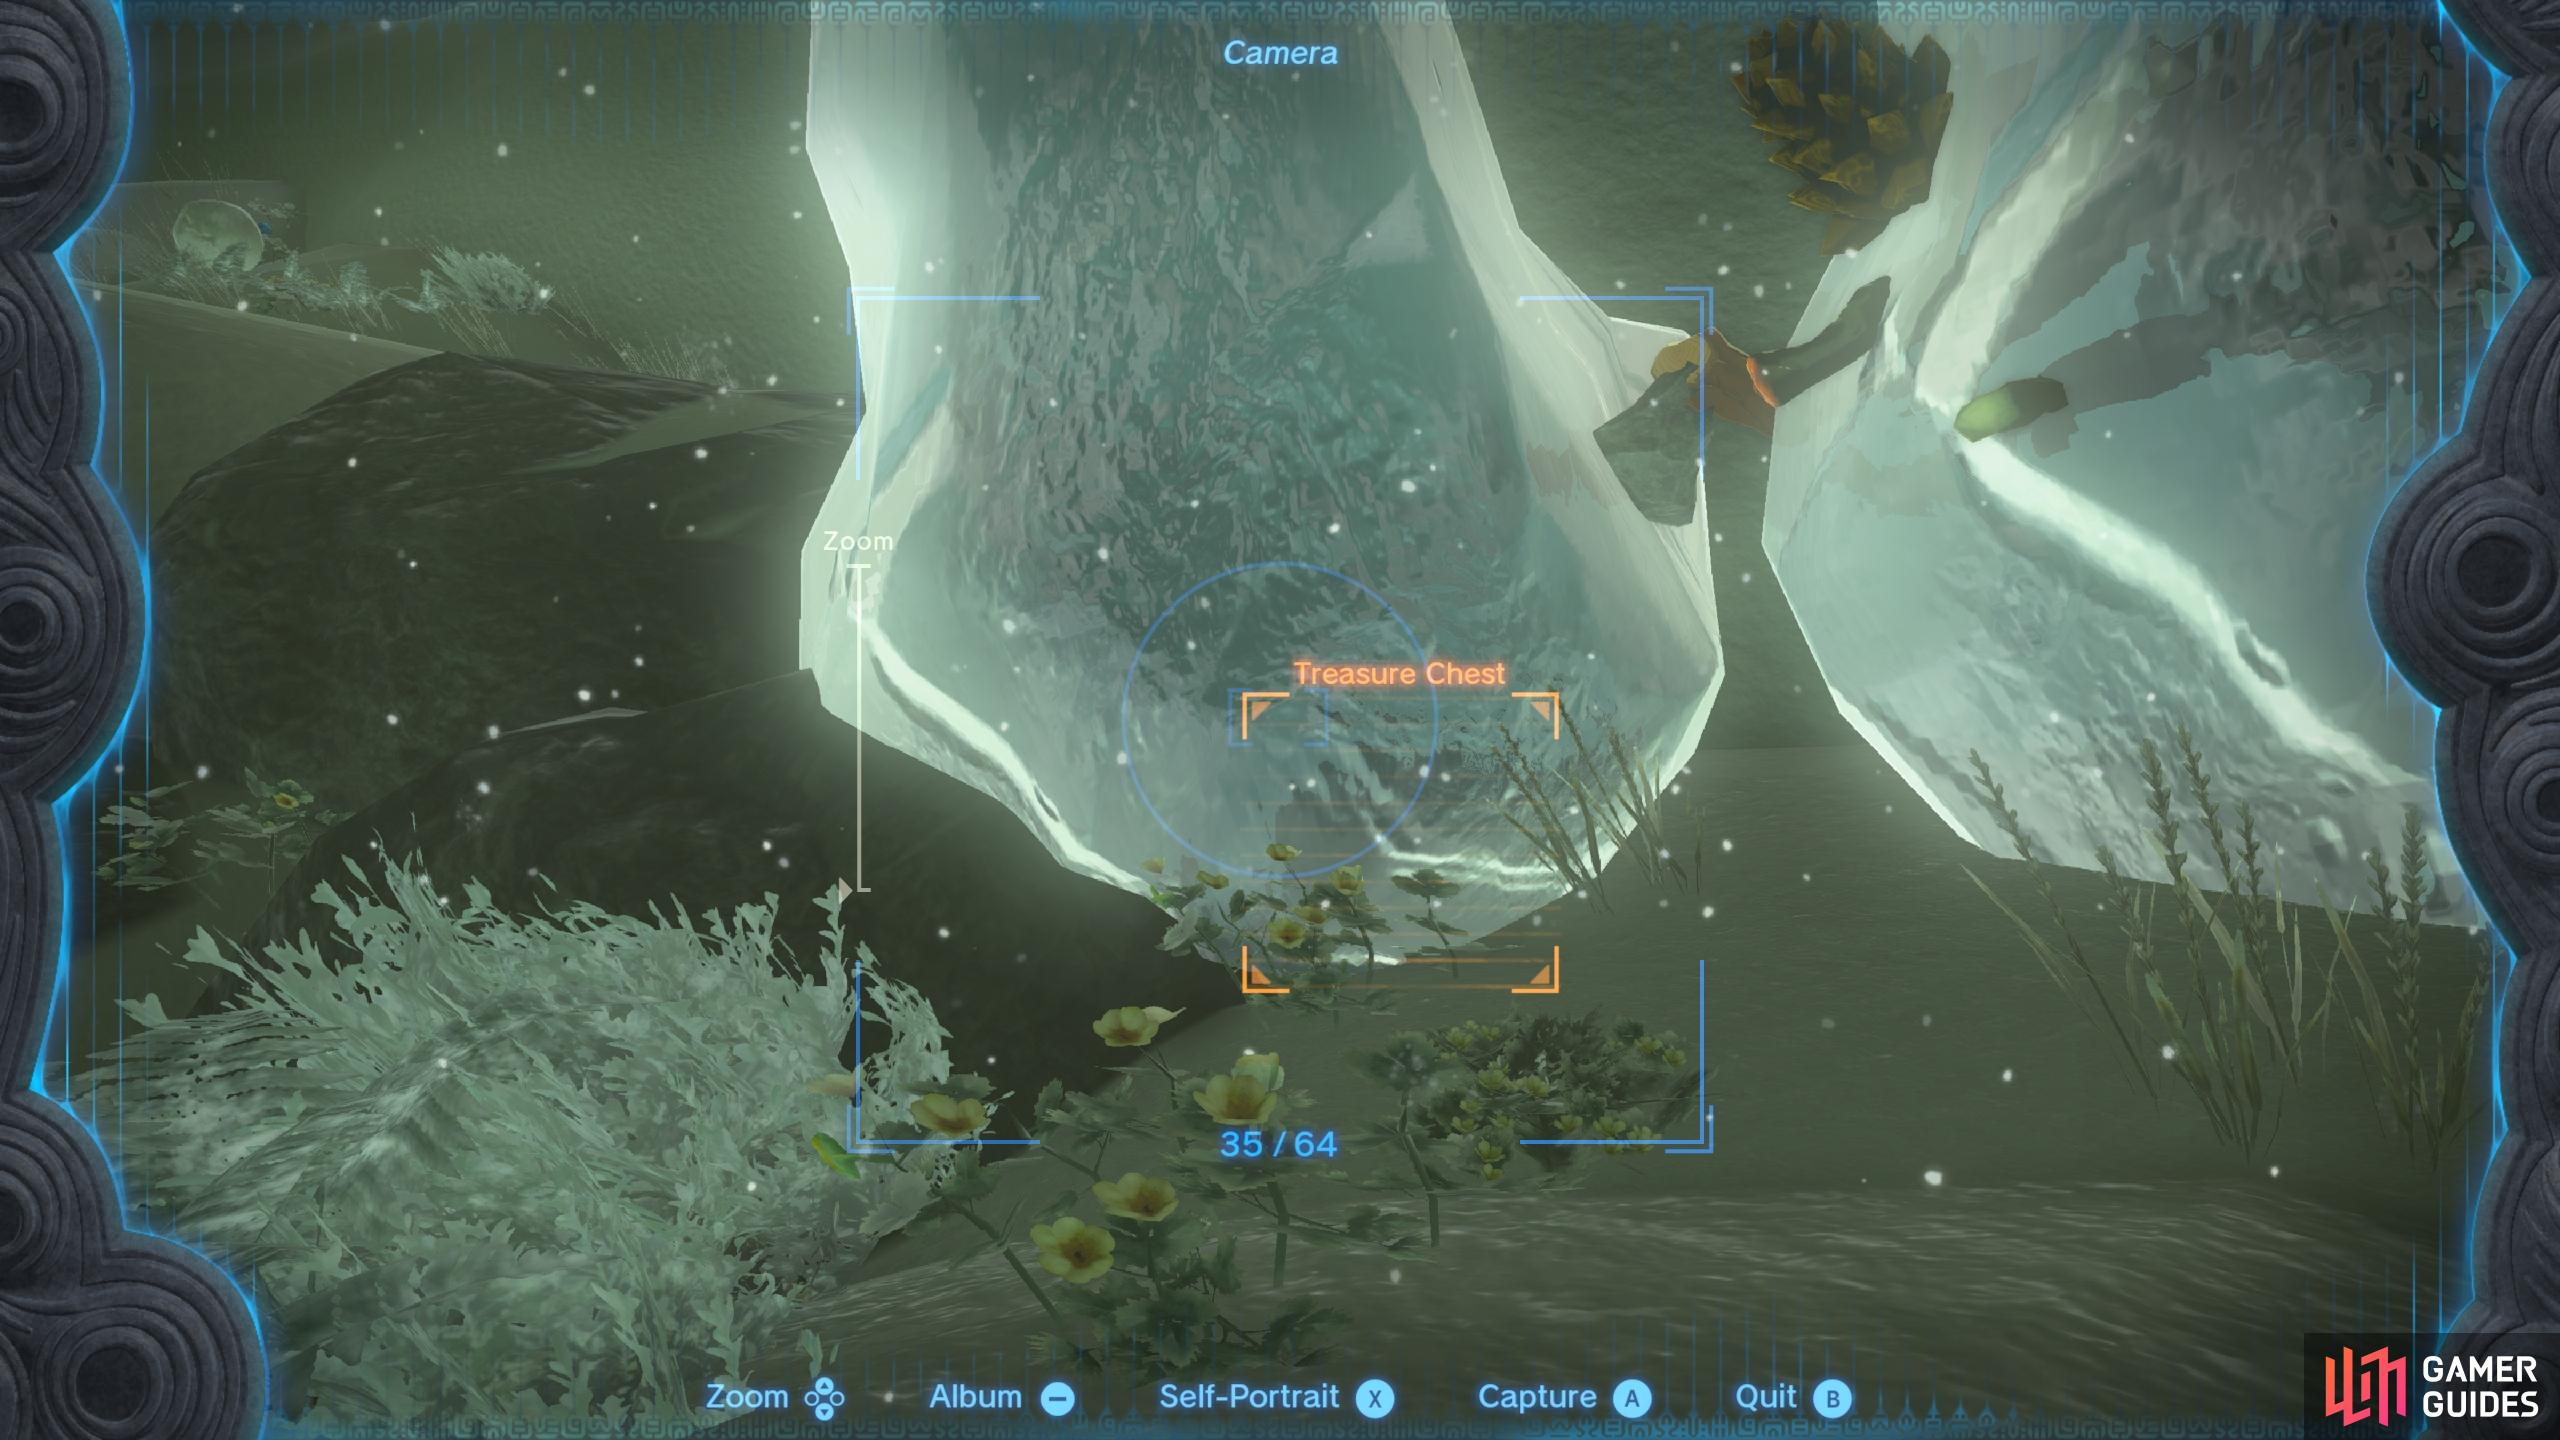
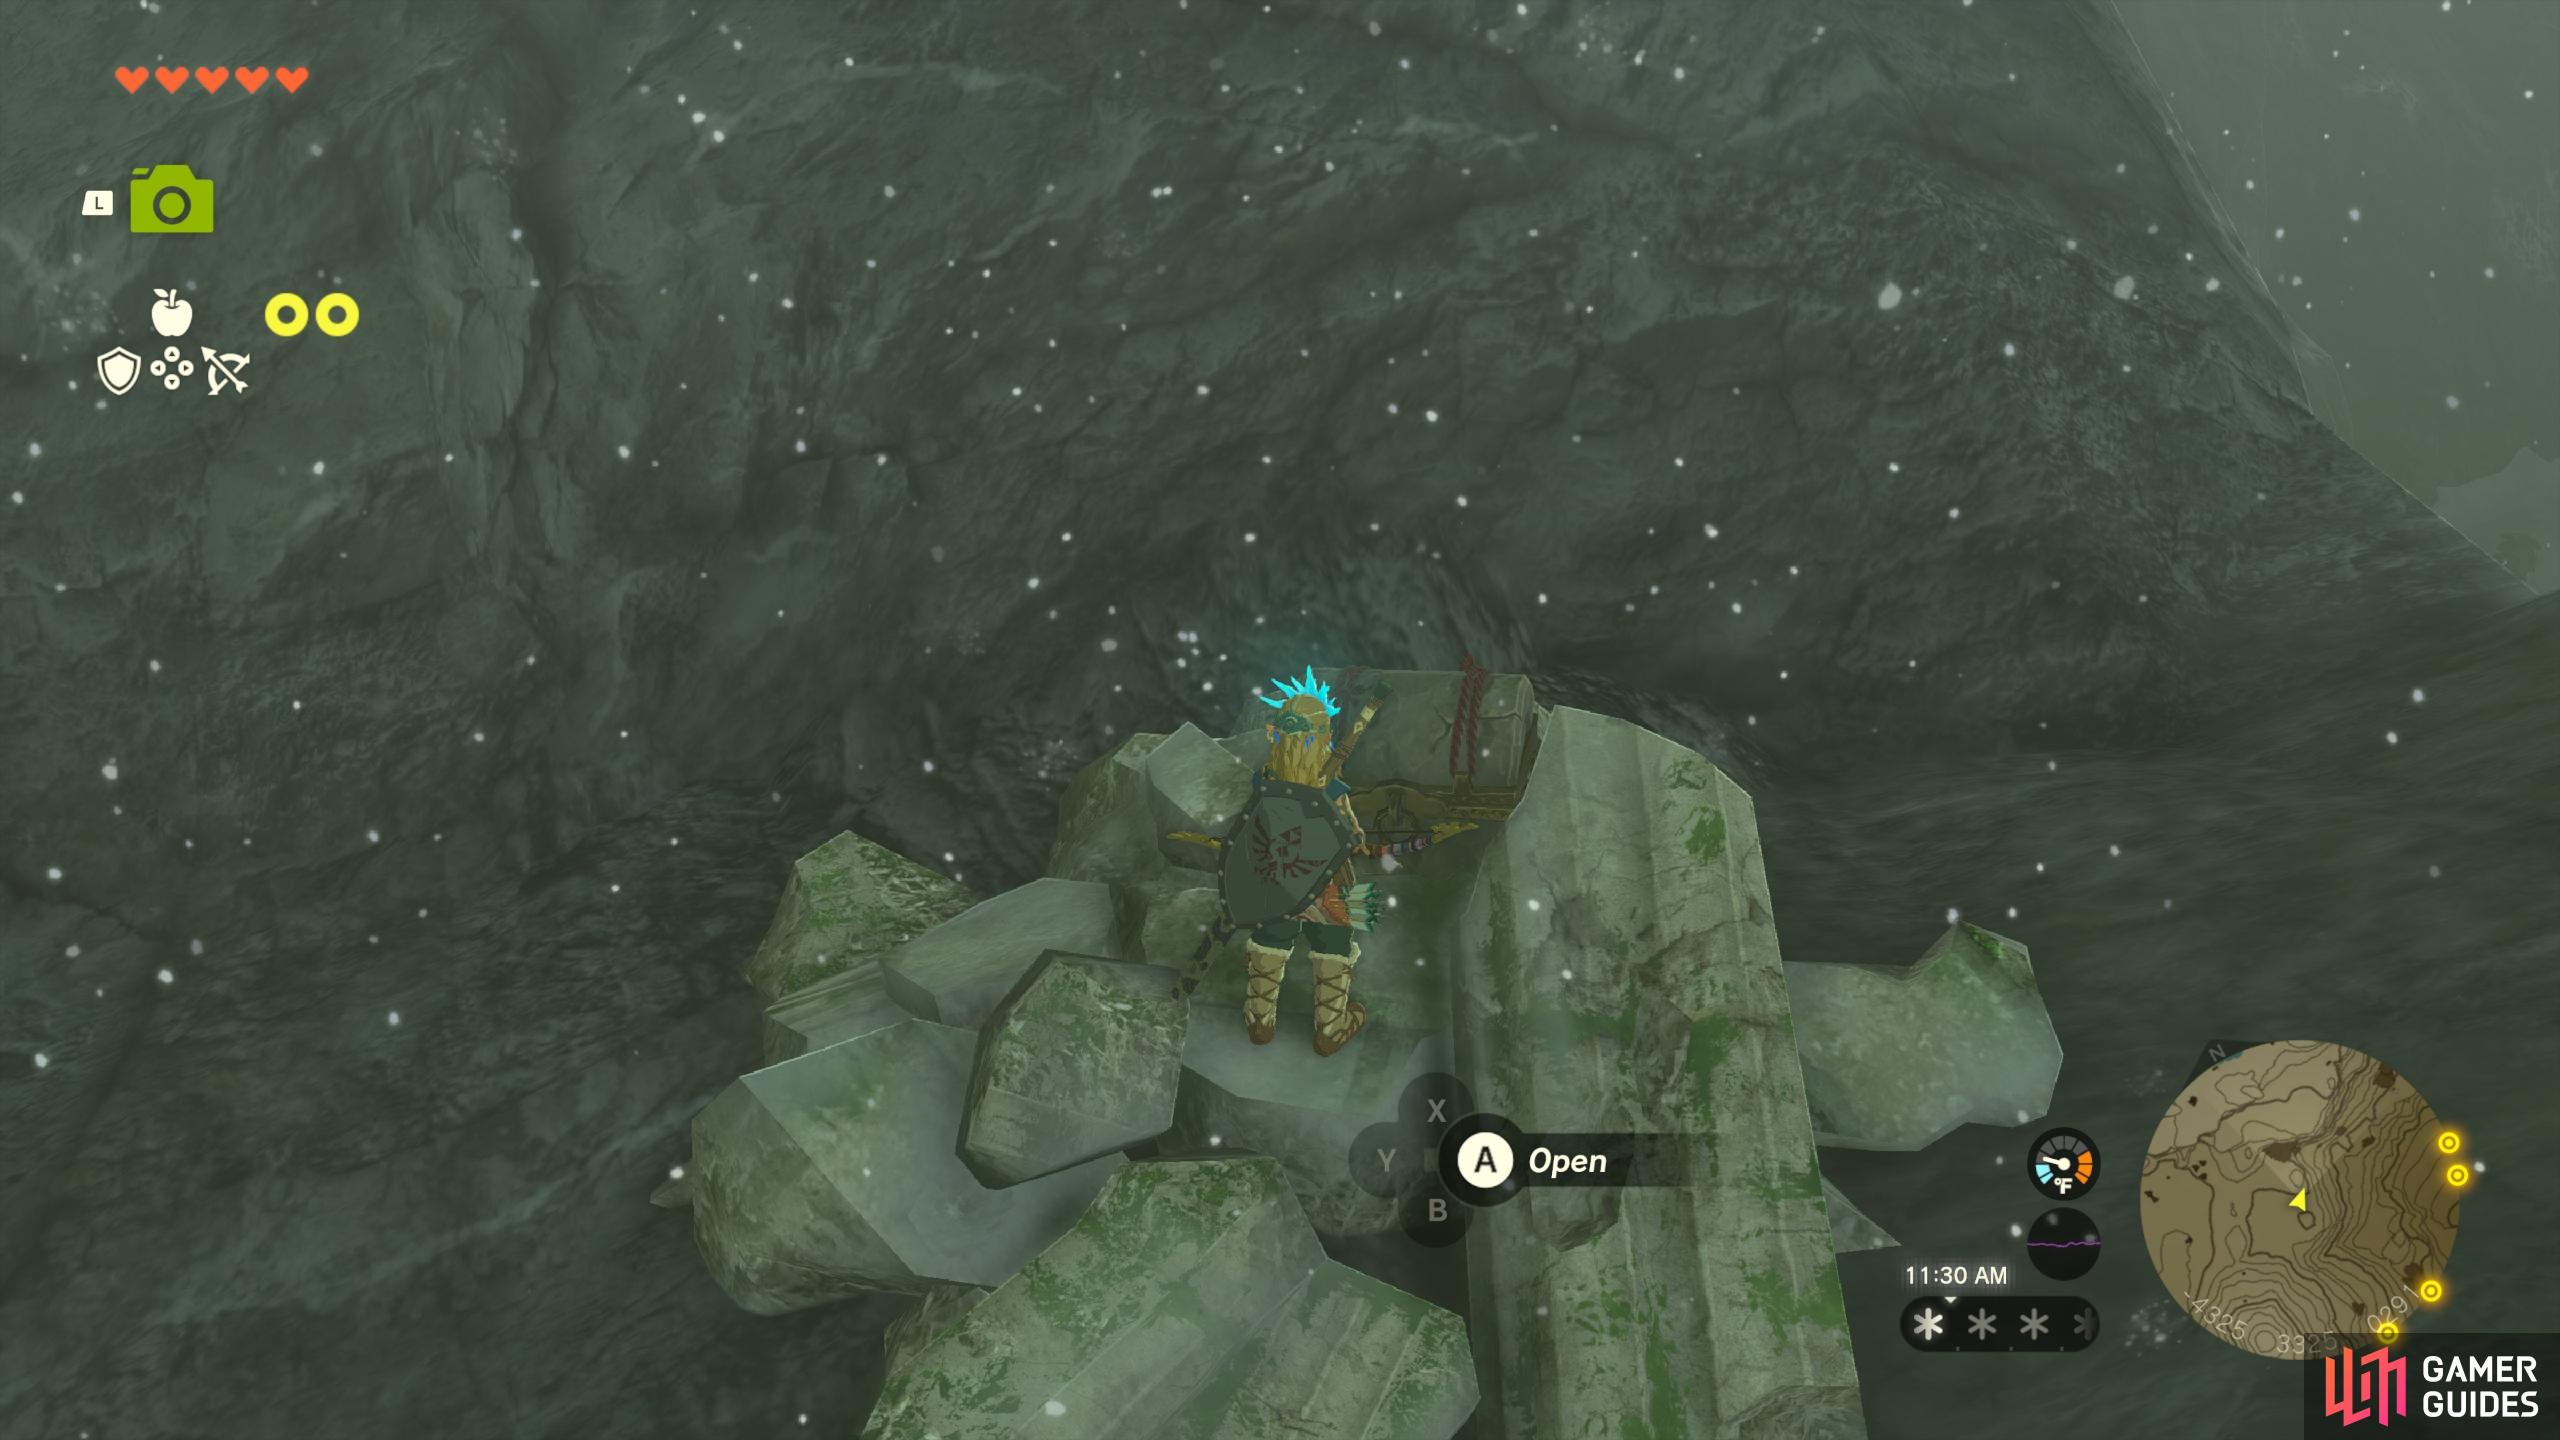
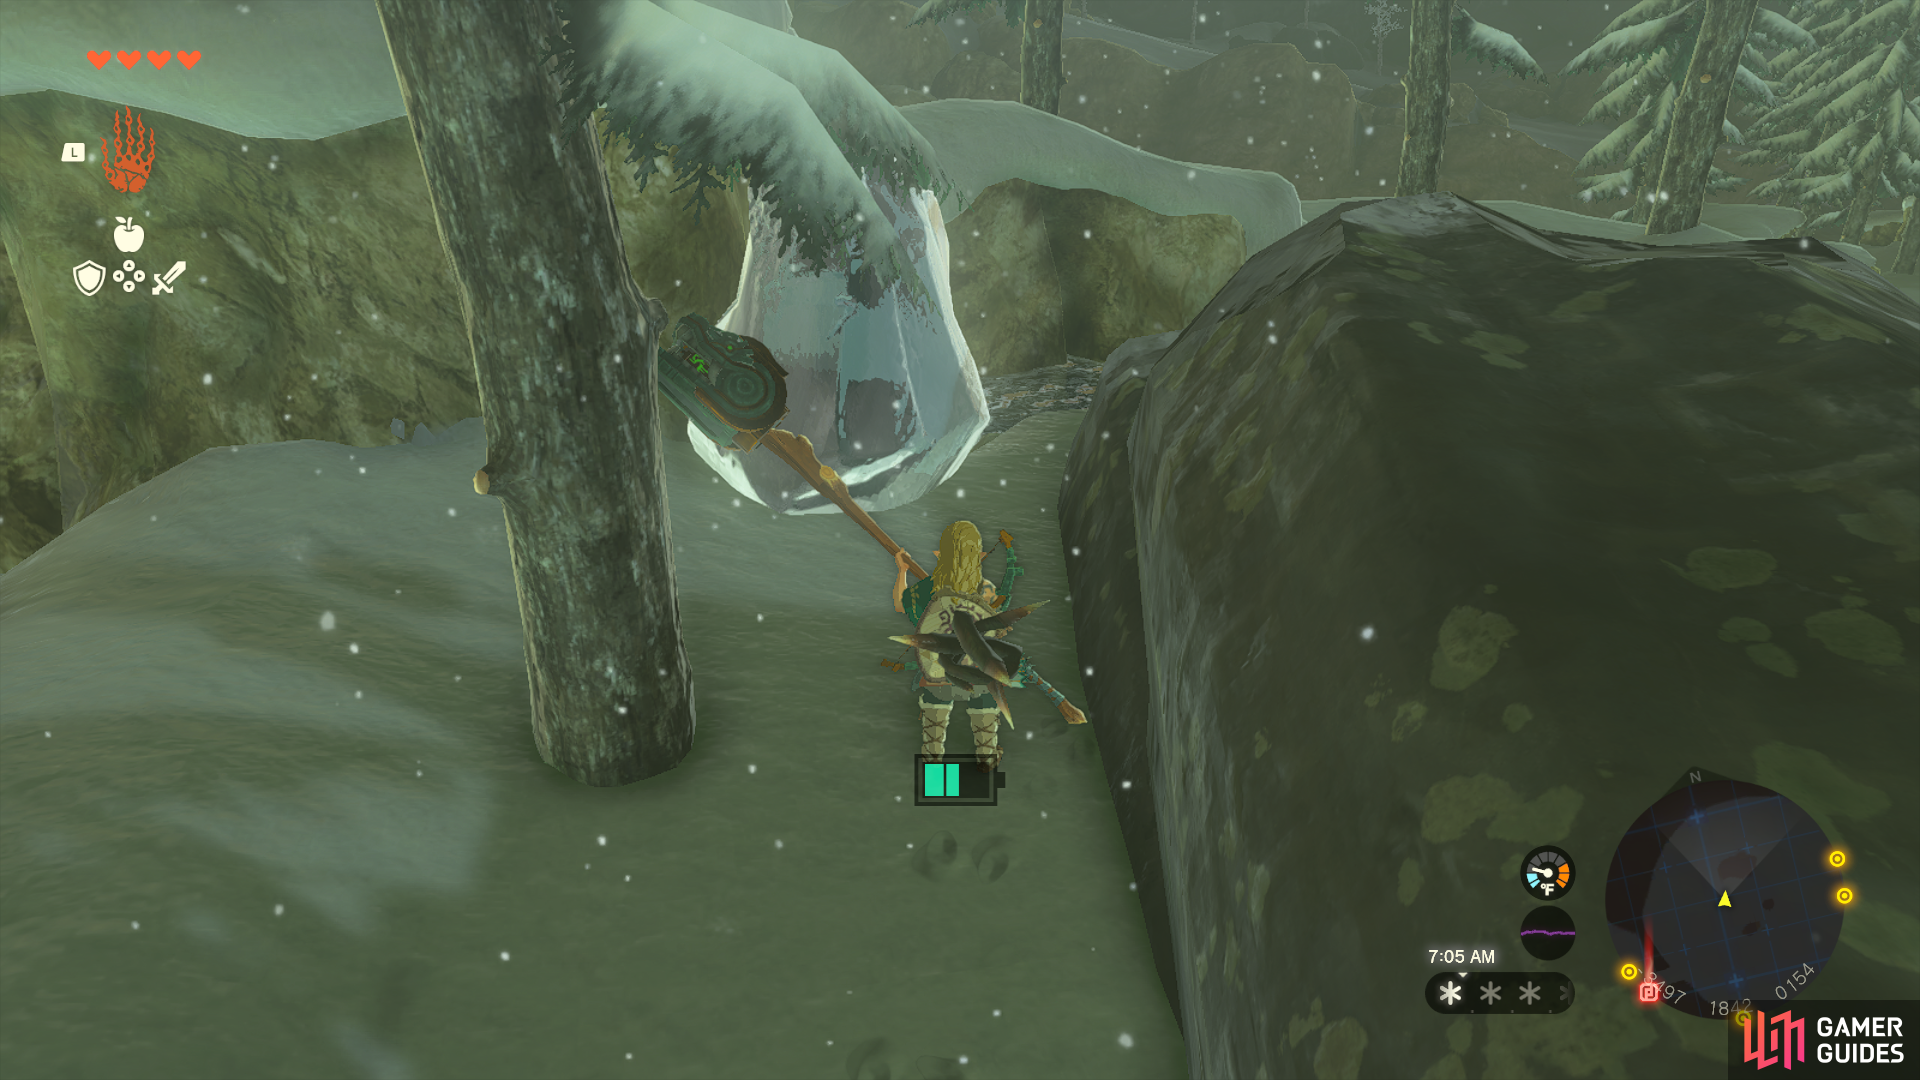
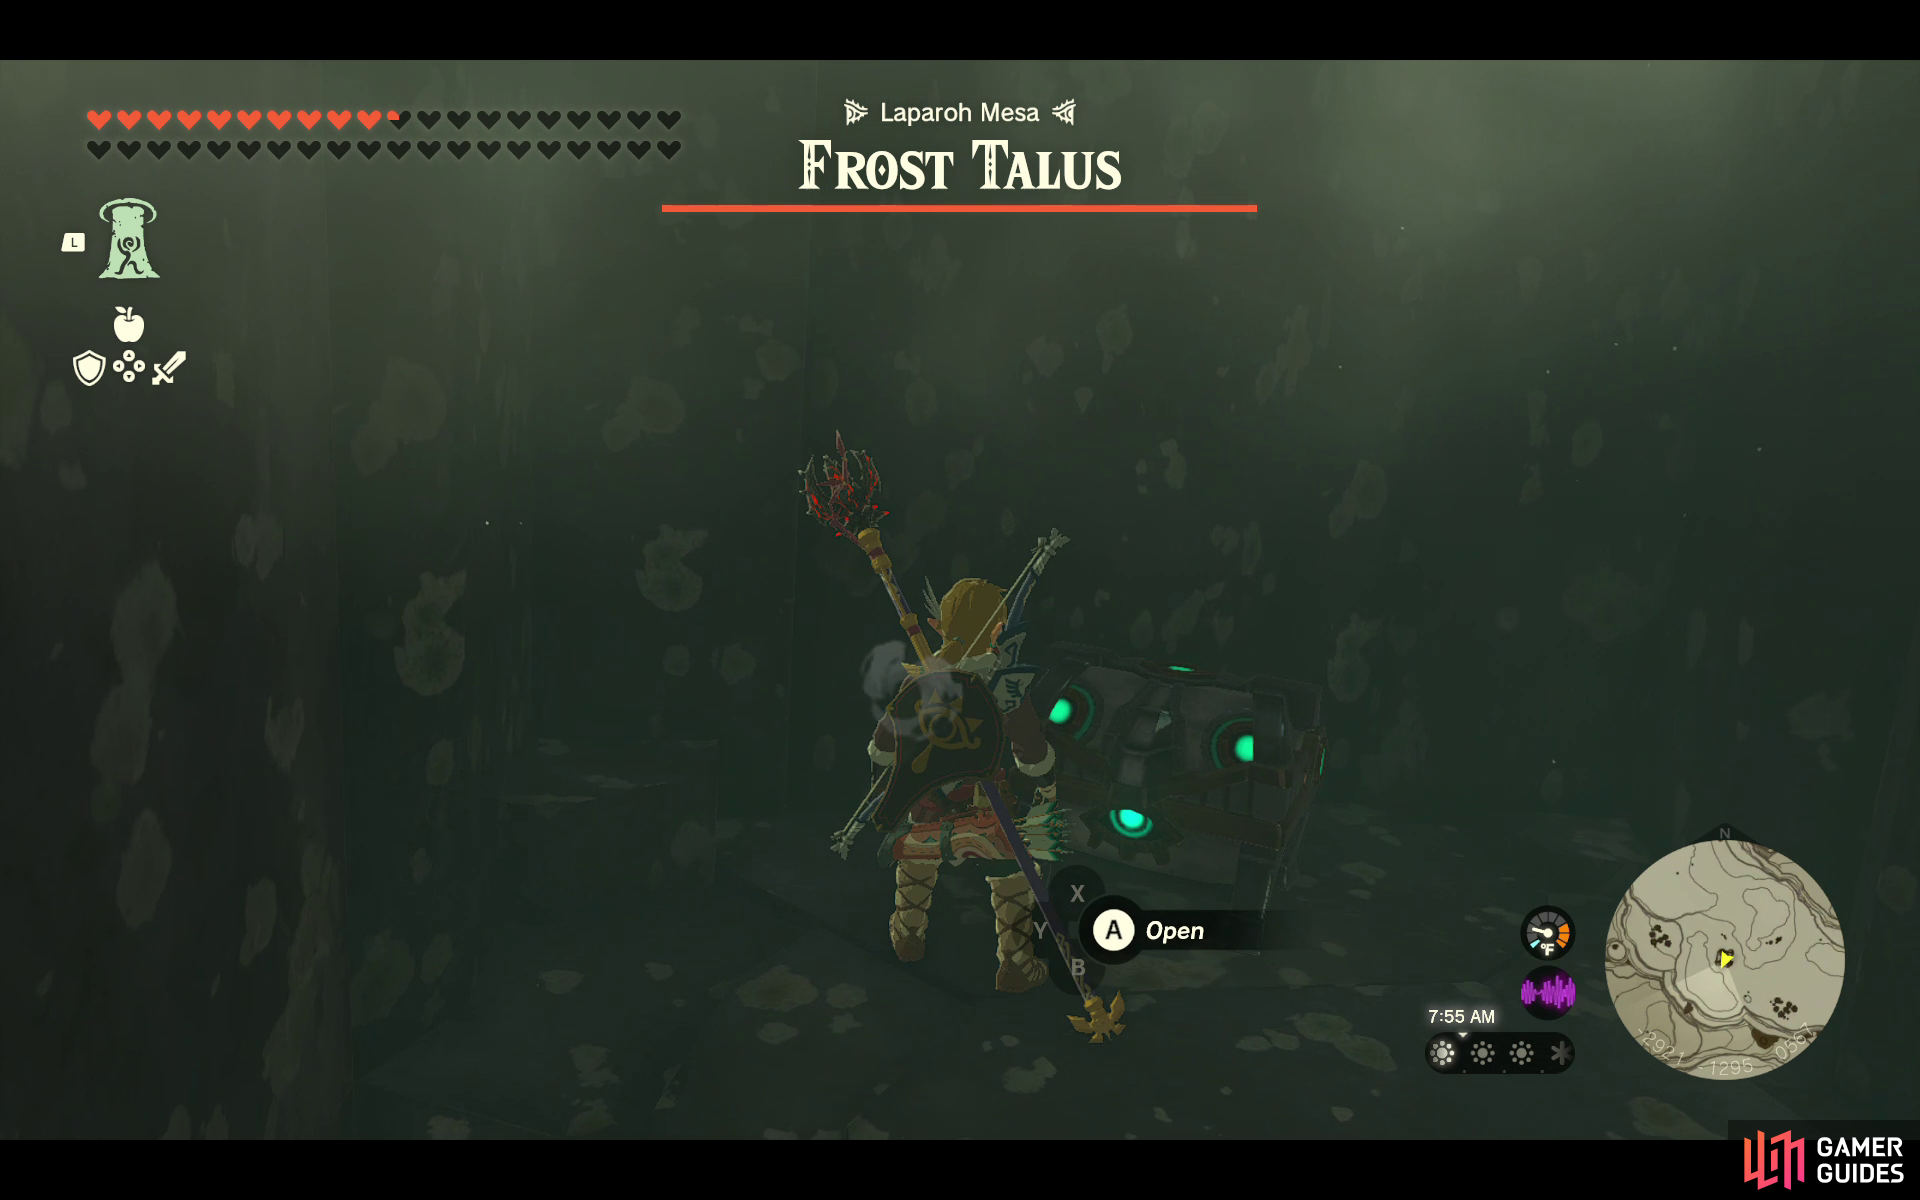
Inside ![]() Walnot Mountain Cave. Encased in a small block of ice on the upper path. Use Fire to melt away the ice to access the chest.
Walnot Mountain Cave. Encased in a small block of ice on the upper path. Use Fire to melt away the ice to access the chest.
- Contains a
 Knight’s Claymore (♦).
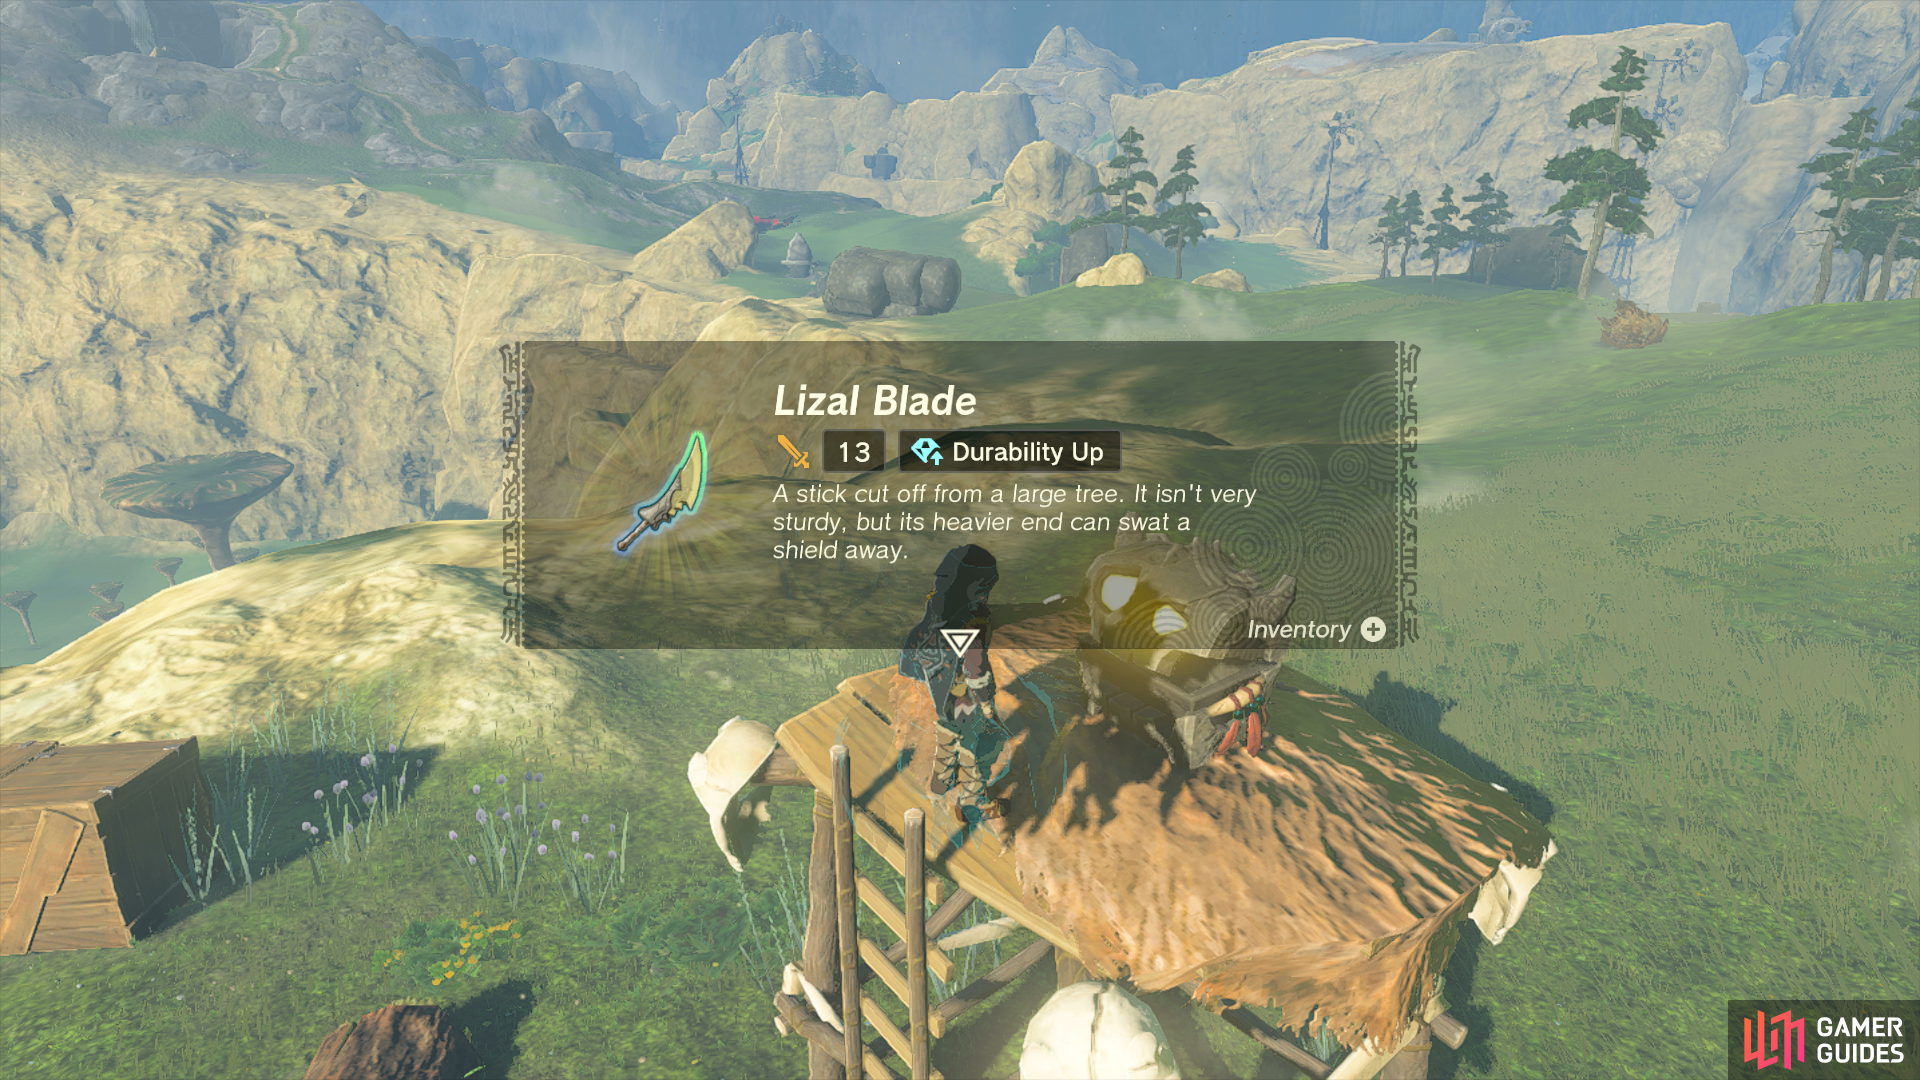
53224. Hyrule Surface Map
This Chest contains the Lizal Blade. However, you’ll need to defeat the nearby enemies before you can open it.
53248. Hyrule Surface Map
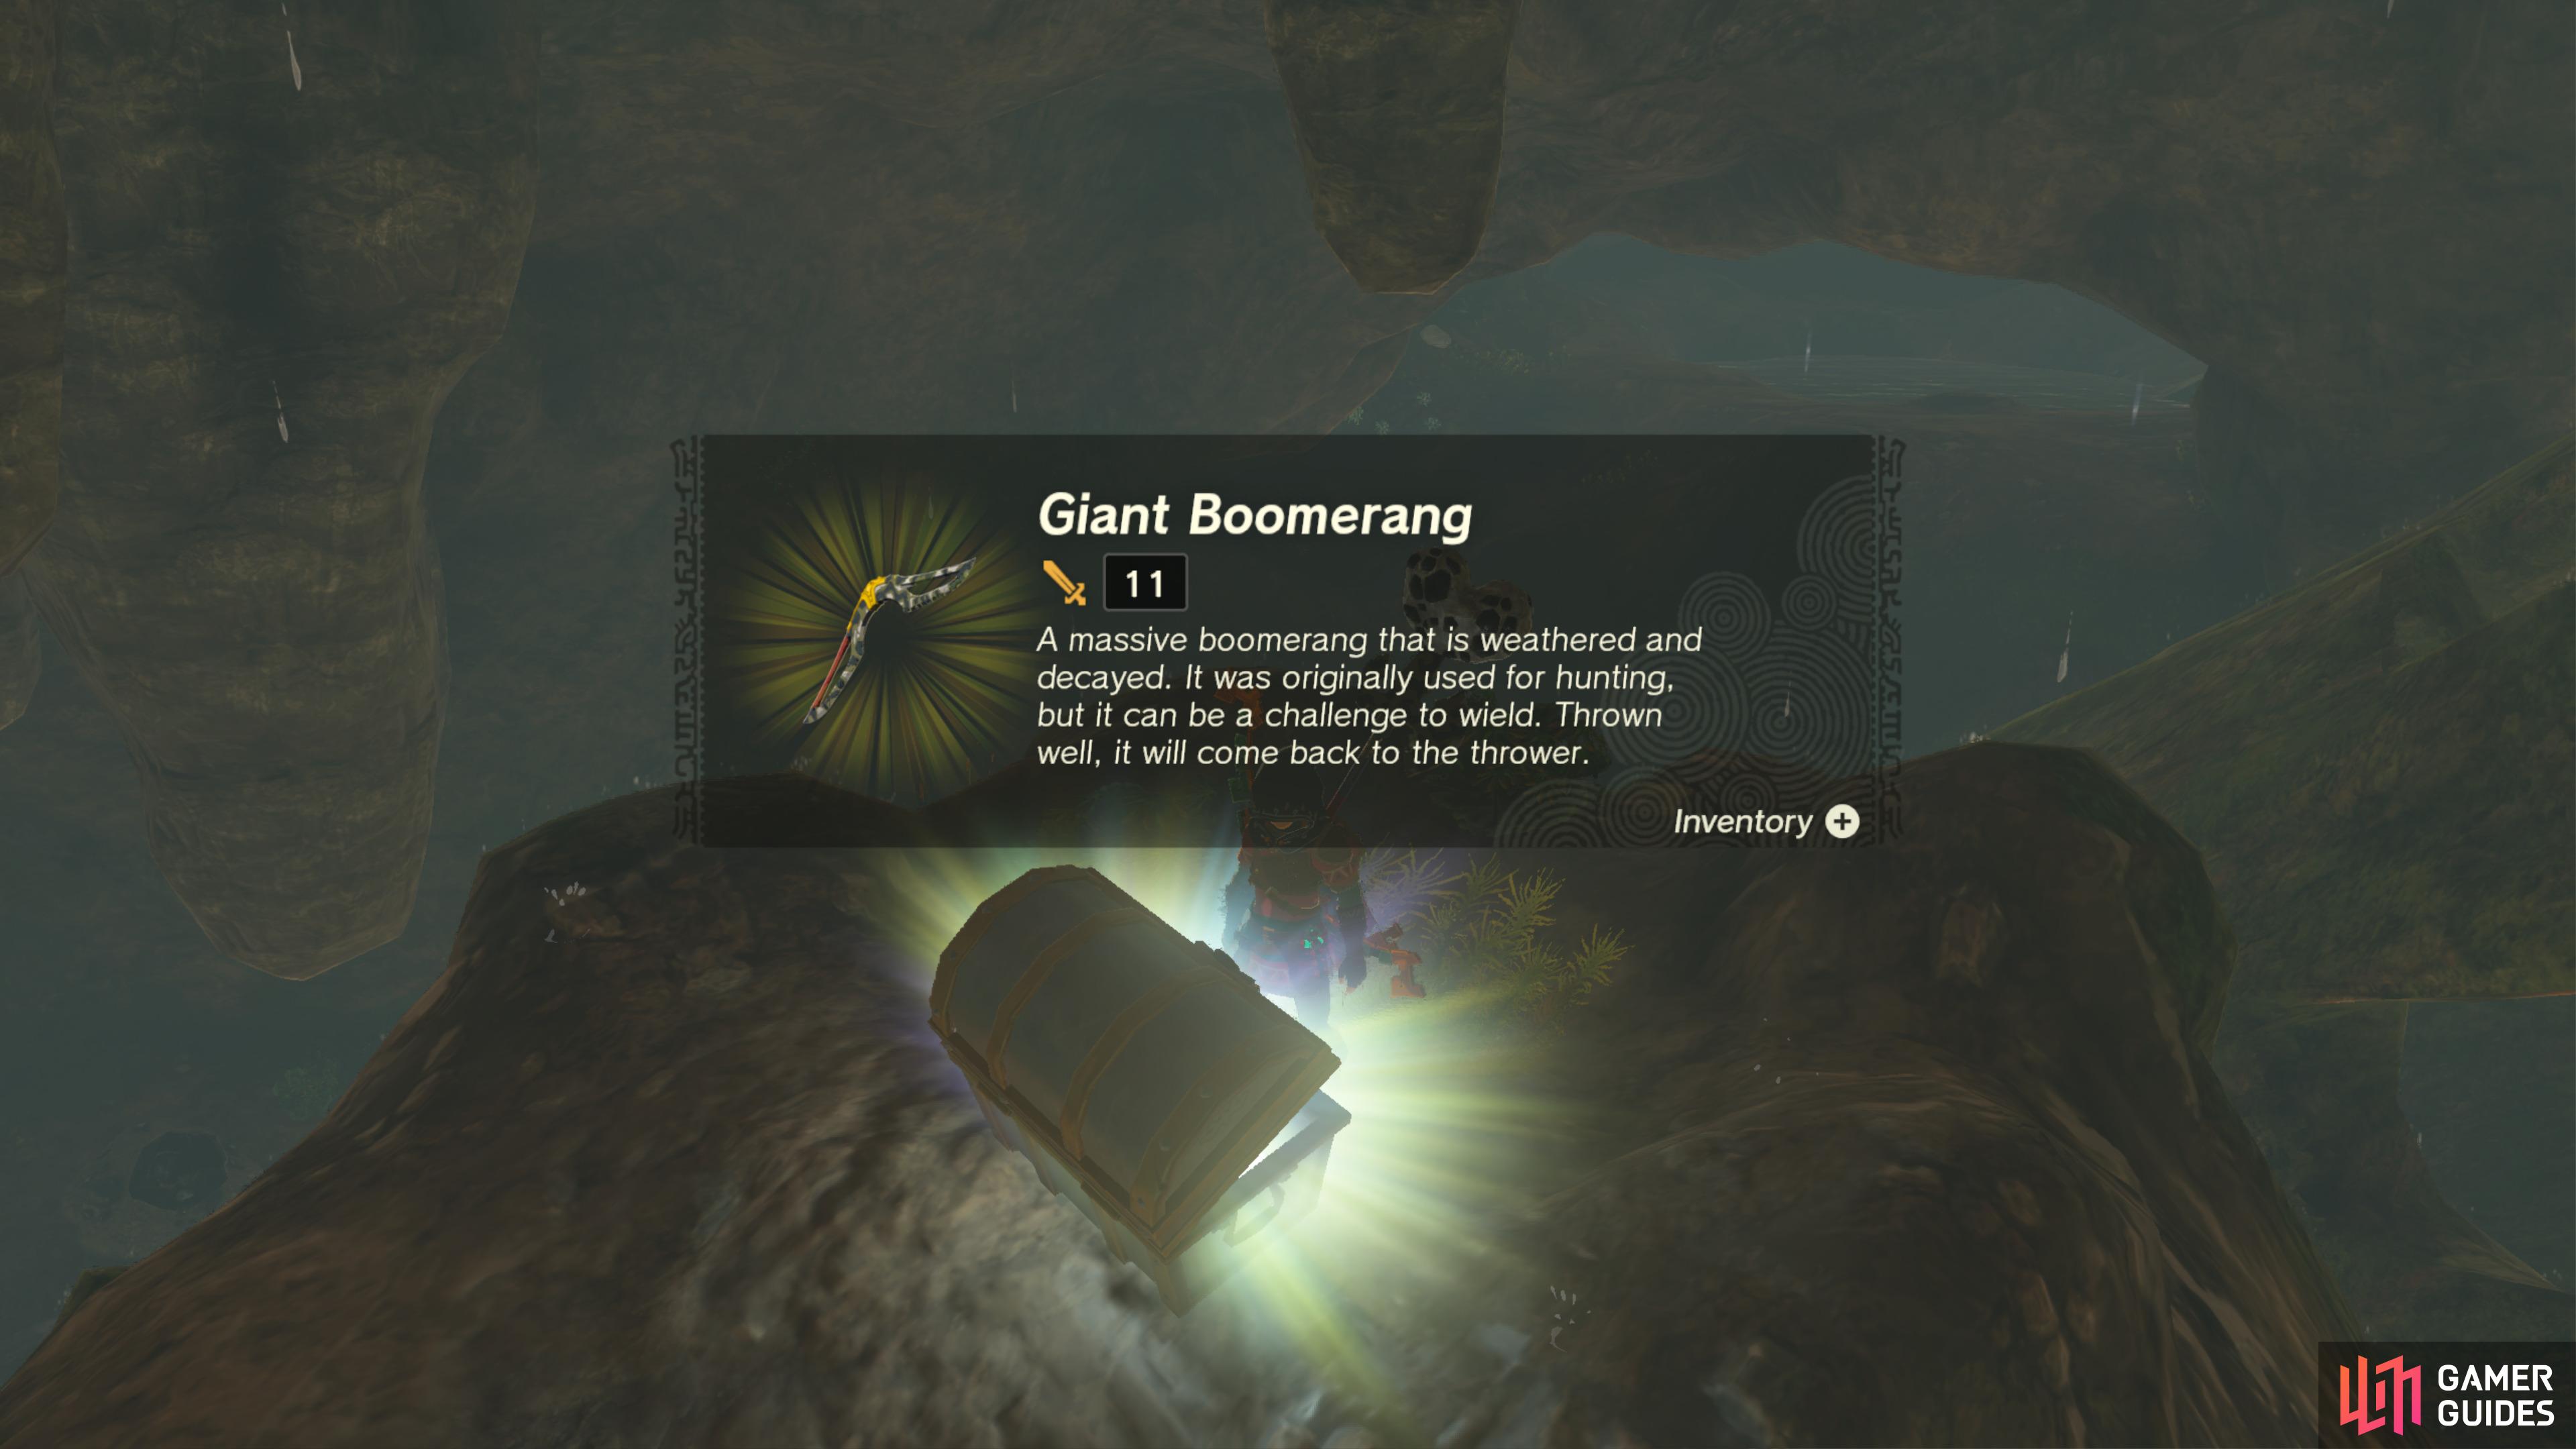
Inside ![]() Walnot Mountain Cave. Encased in a block of ice on the lower path. Melt the ice with fire to access the chest.
Walnot Mountain Cave. Encased in a block of ice on the lower path. Melt the ice with fire to access the chest.
- Contains Giant
 Boomerang.
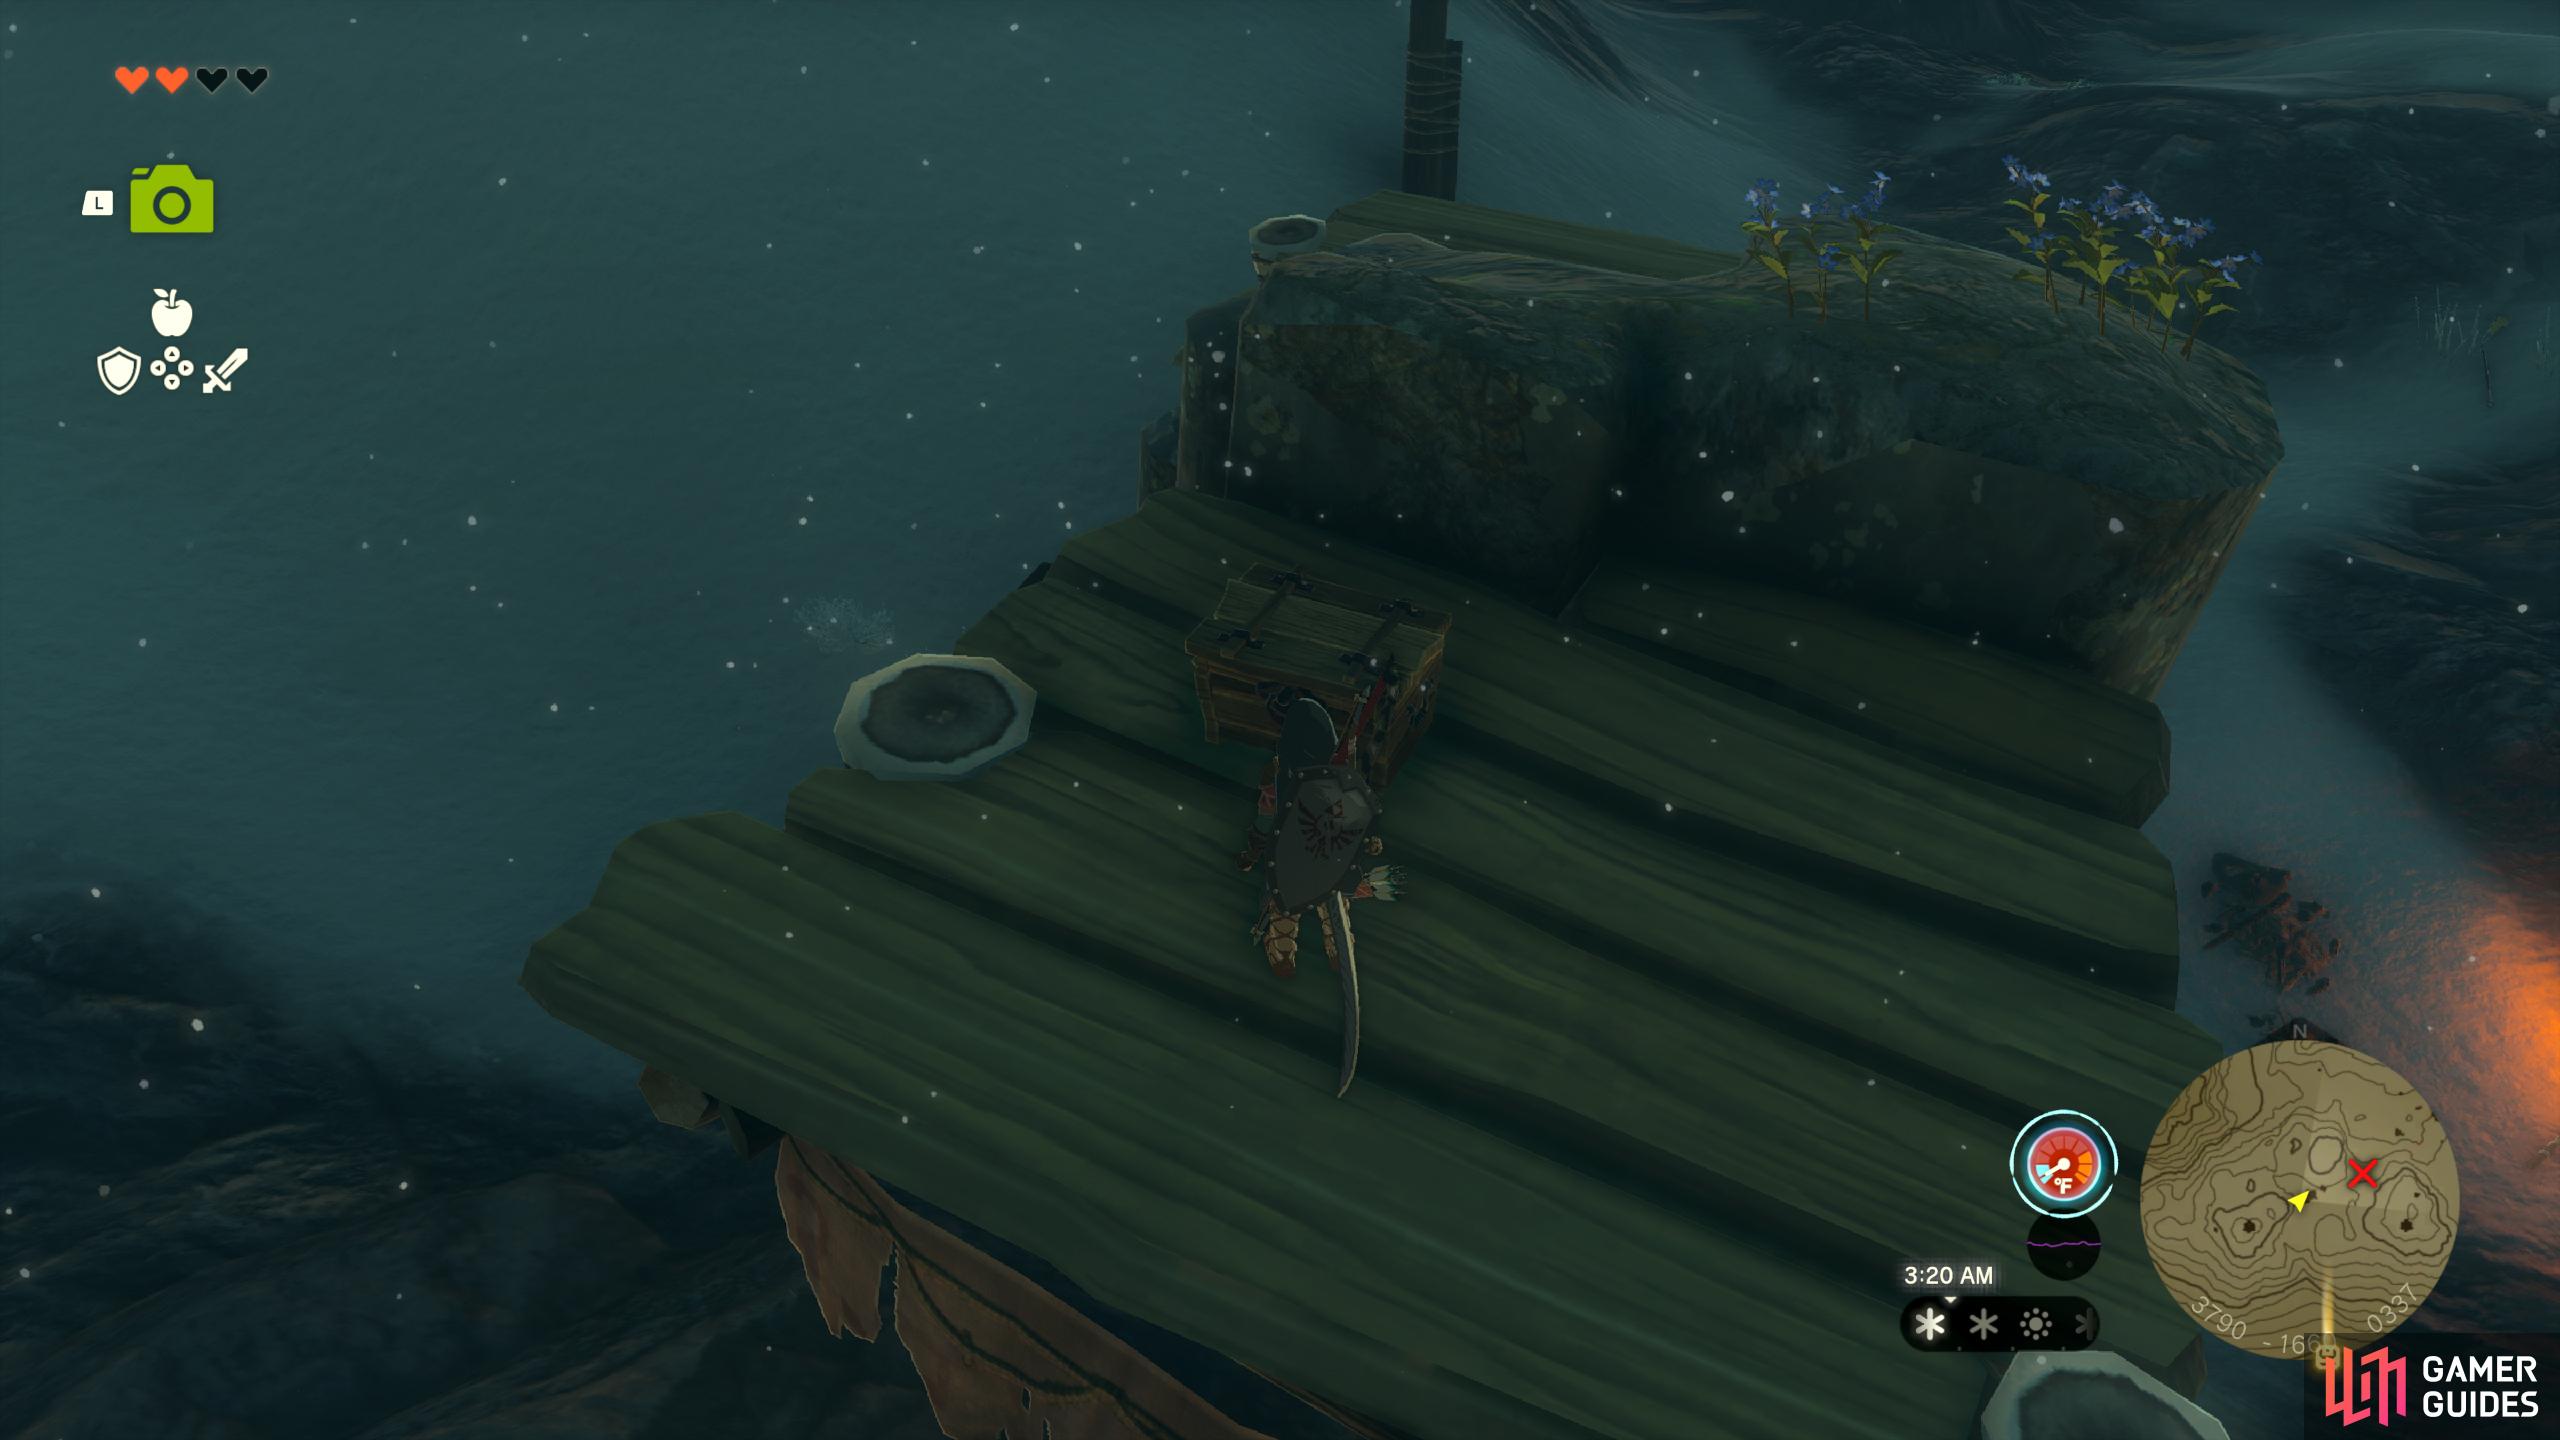
53260. Hyrule Surface Map
You’ll find a chest deep in the water. Use ![]() Ultrahand to pull it out, then you’ll obtain Flame Emitters x3
Ultrahand to pull it out, then you’ll obtain Flame Emitters x3
53262. Hyrule Surface Map
You’ll find the Chest sitting underneath the water. Use ![]() Ultrahand to pull it out, then open it for a Fan.
Ultrahand to pull it out, then open it for a Fan.
53297. Hyrule Surface Map
You’ll find a small chest sitting under water. Pull it out with ![]() Ultrahand and open it for a Rocket.
Ultrahand and open it for a Rocket.
53305. Hyrule Surface Map
At the top of the encampment. It’s unlocked so you can ![]() Ascend > Open Chest if you want to ignore the enemies.
Ascend > Open Chest if you want to ignore the enemies.
- Contains
 Blue-Maned Lynel Reaper.
53314. Hyrule Surface Map
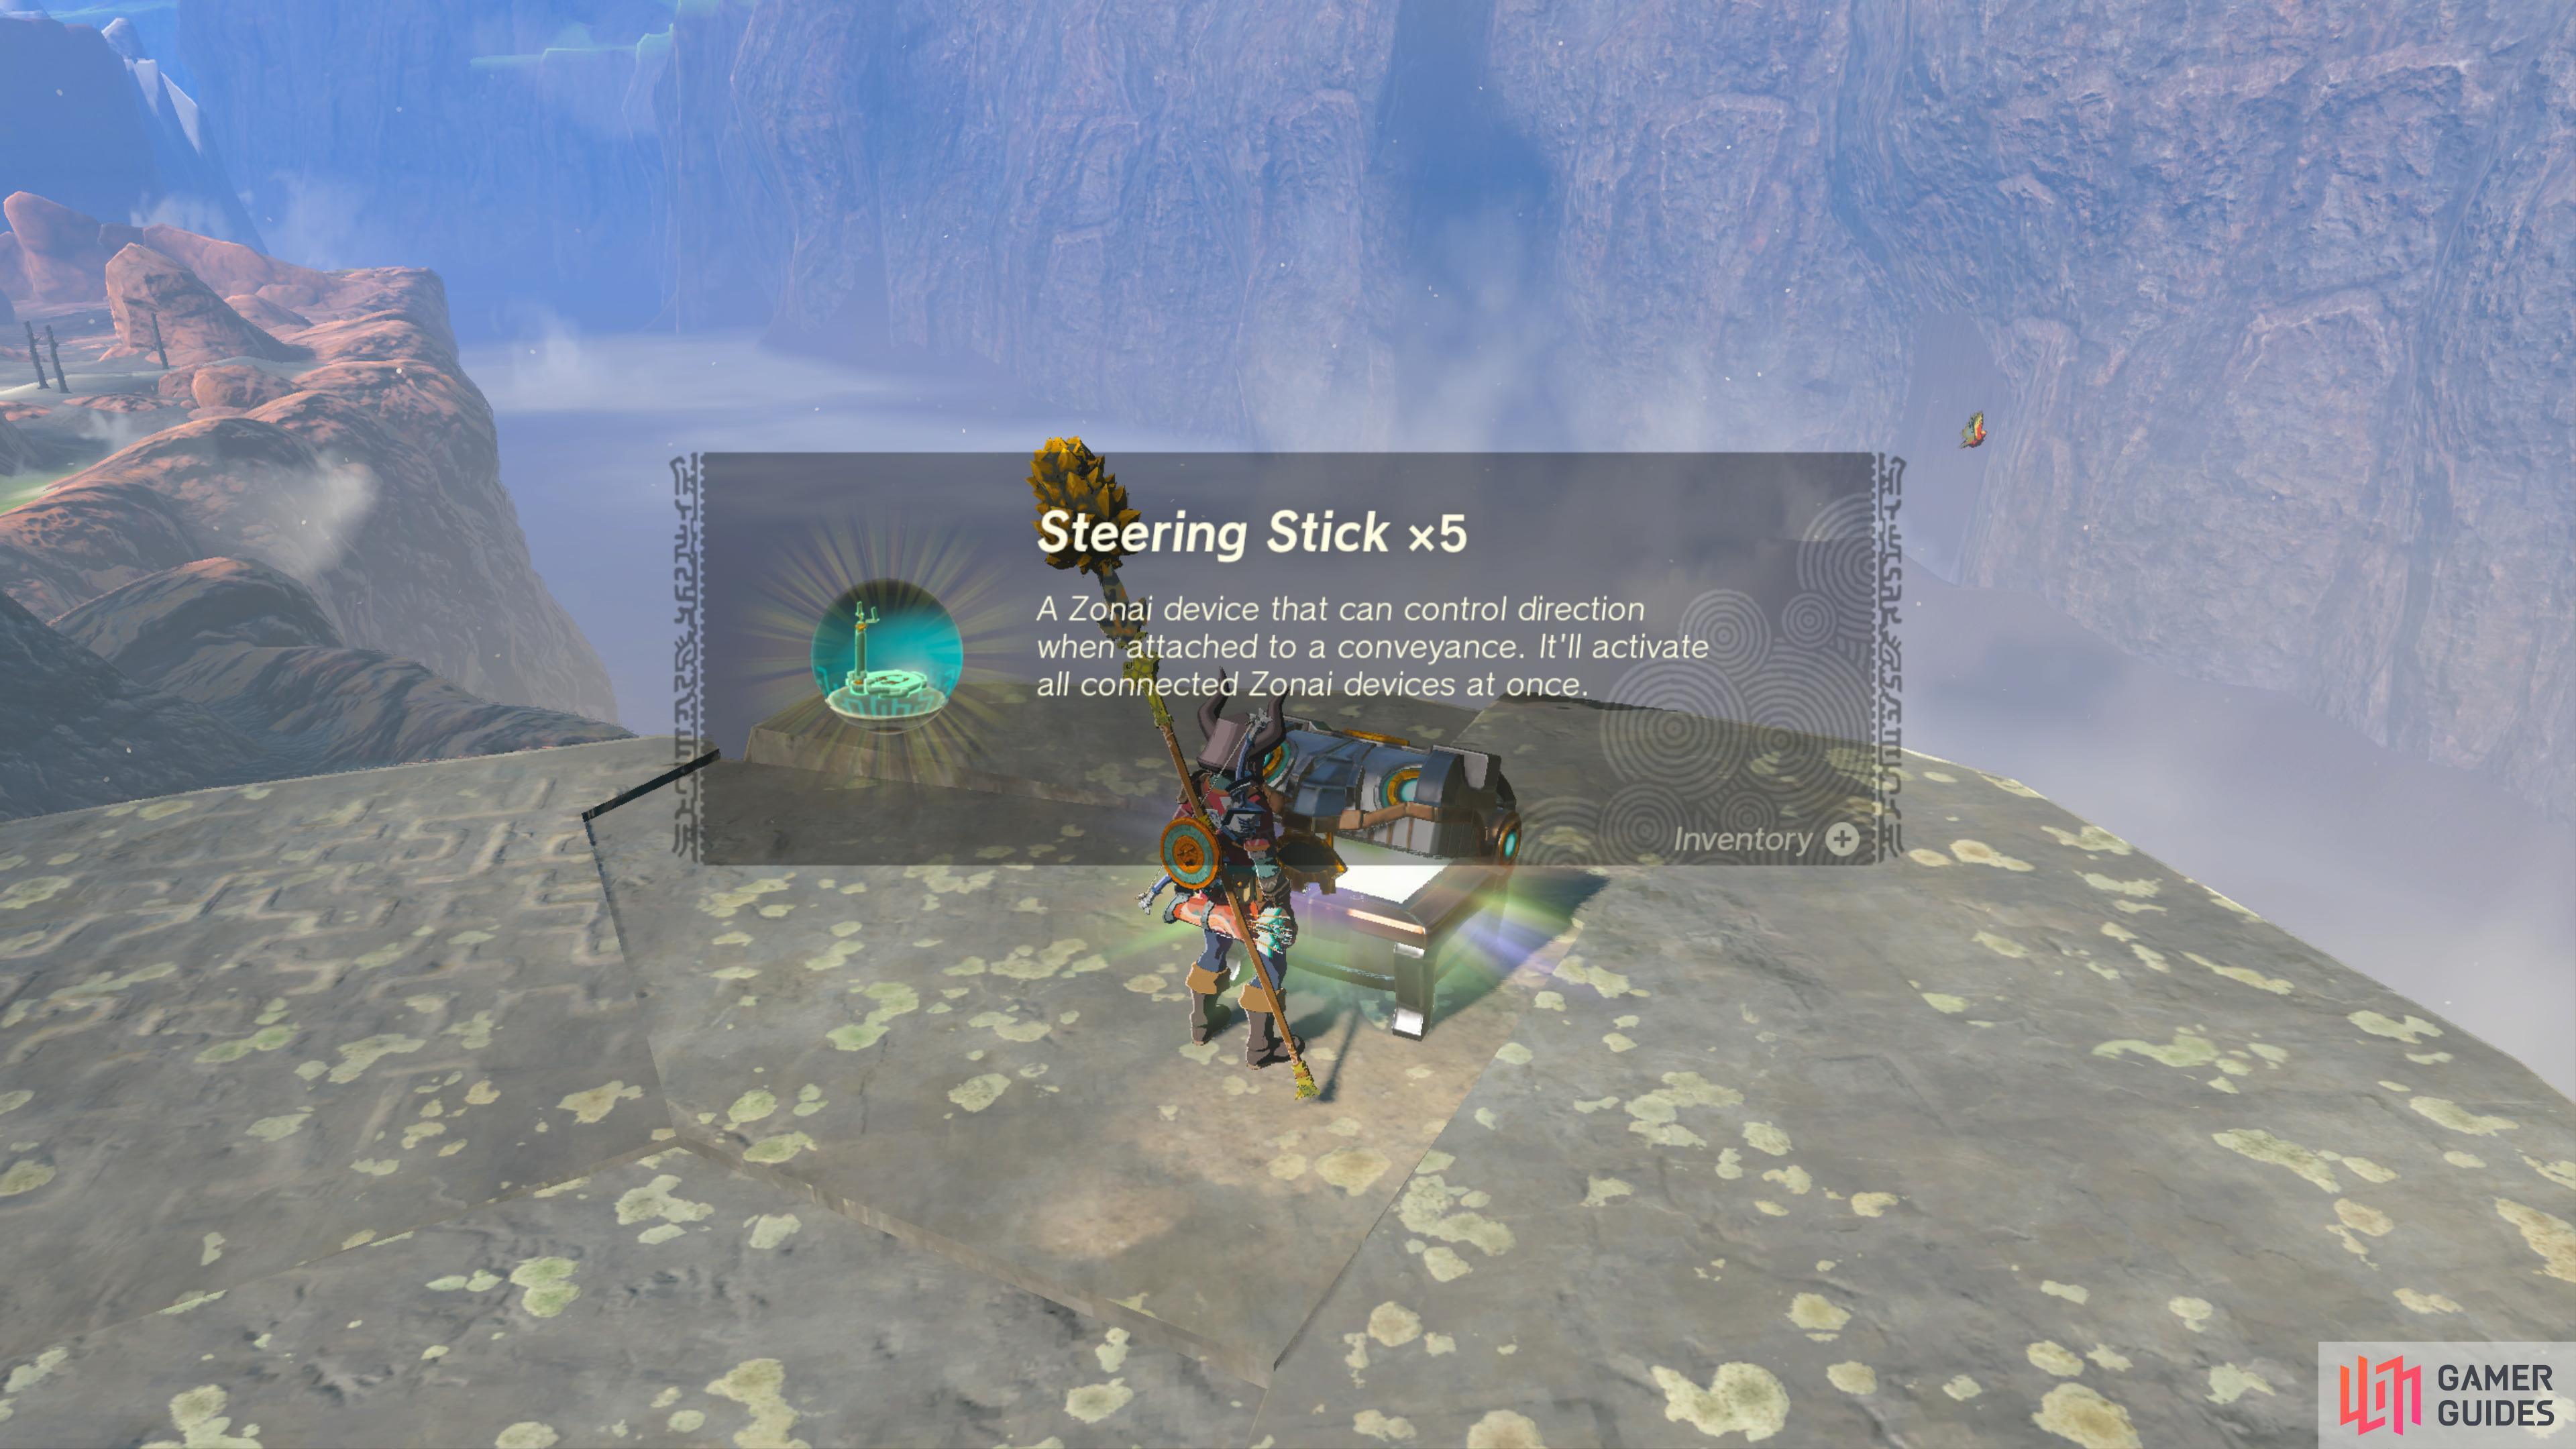
Use ![]() Ascend to reach the top of this rock.
Ascend to reach the top of this rock.
It contains ![]() Steering Stick (Capsule) x5.
Steering Stick (Capsule) x5.
53320. Hyrule Surface Map
Atop the mountain. At the back, on the top wooden platform.
- Contains Arrows x10
53326. Hyrule Surface Map
You must defeat all of the enemies at this camp to unlock this ![]() Treasure Chest.
Treasure Chest.
It contains a ![]() Knight’s Claymore.
Knight’s Claymore.
53334. Hyrule Surface Map
This Chest can be found in the rocks here.
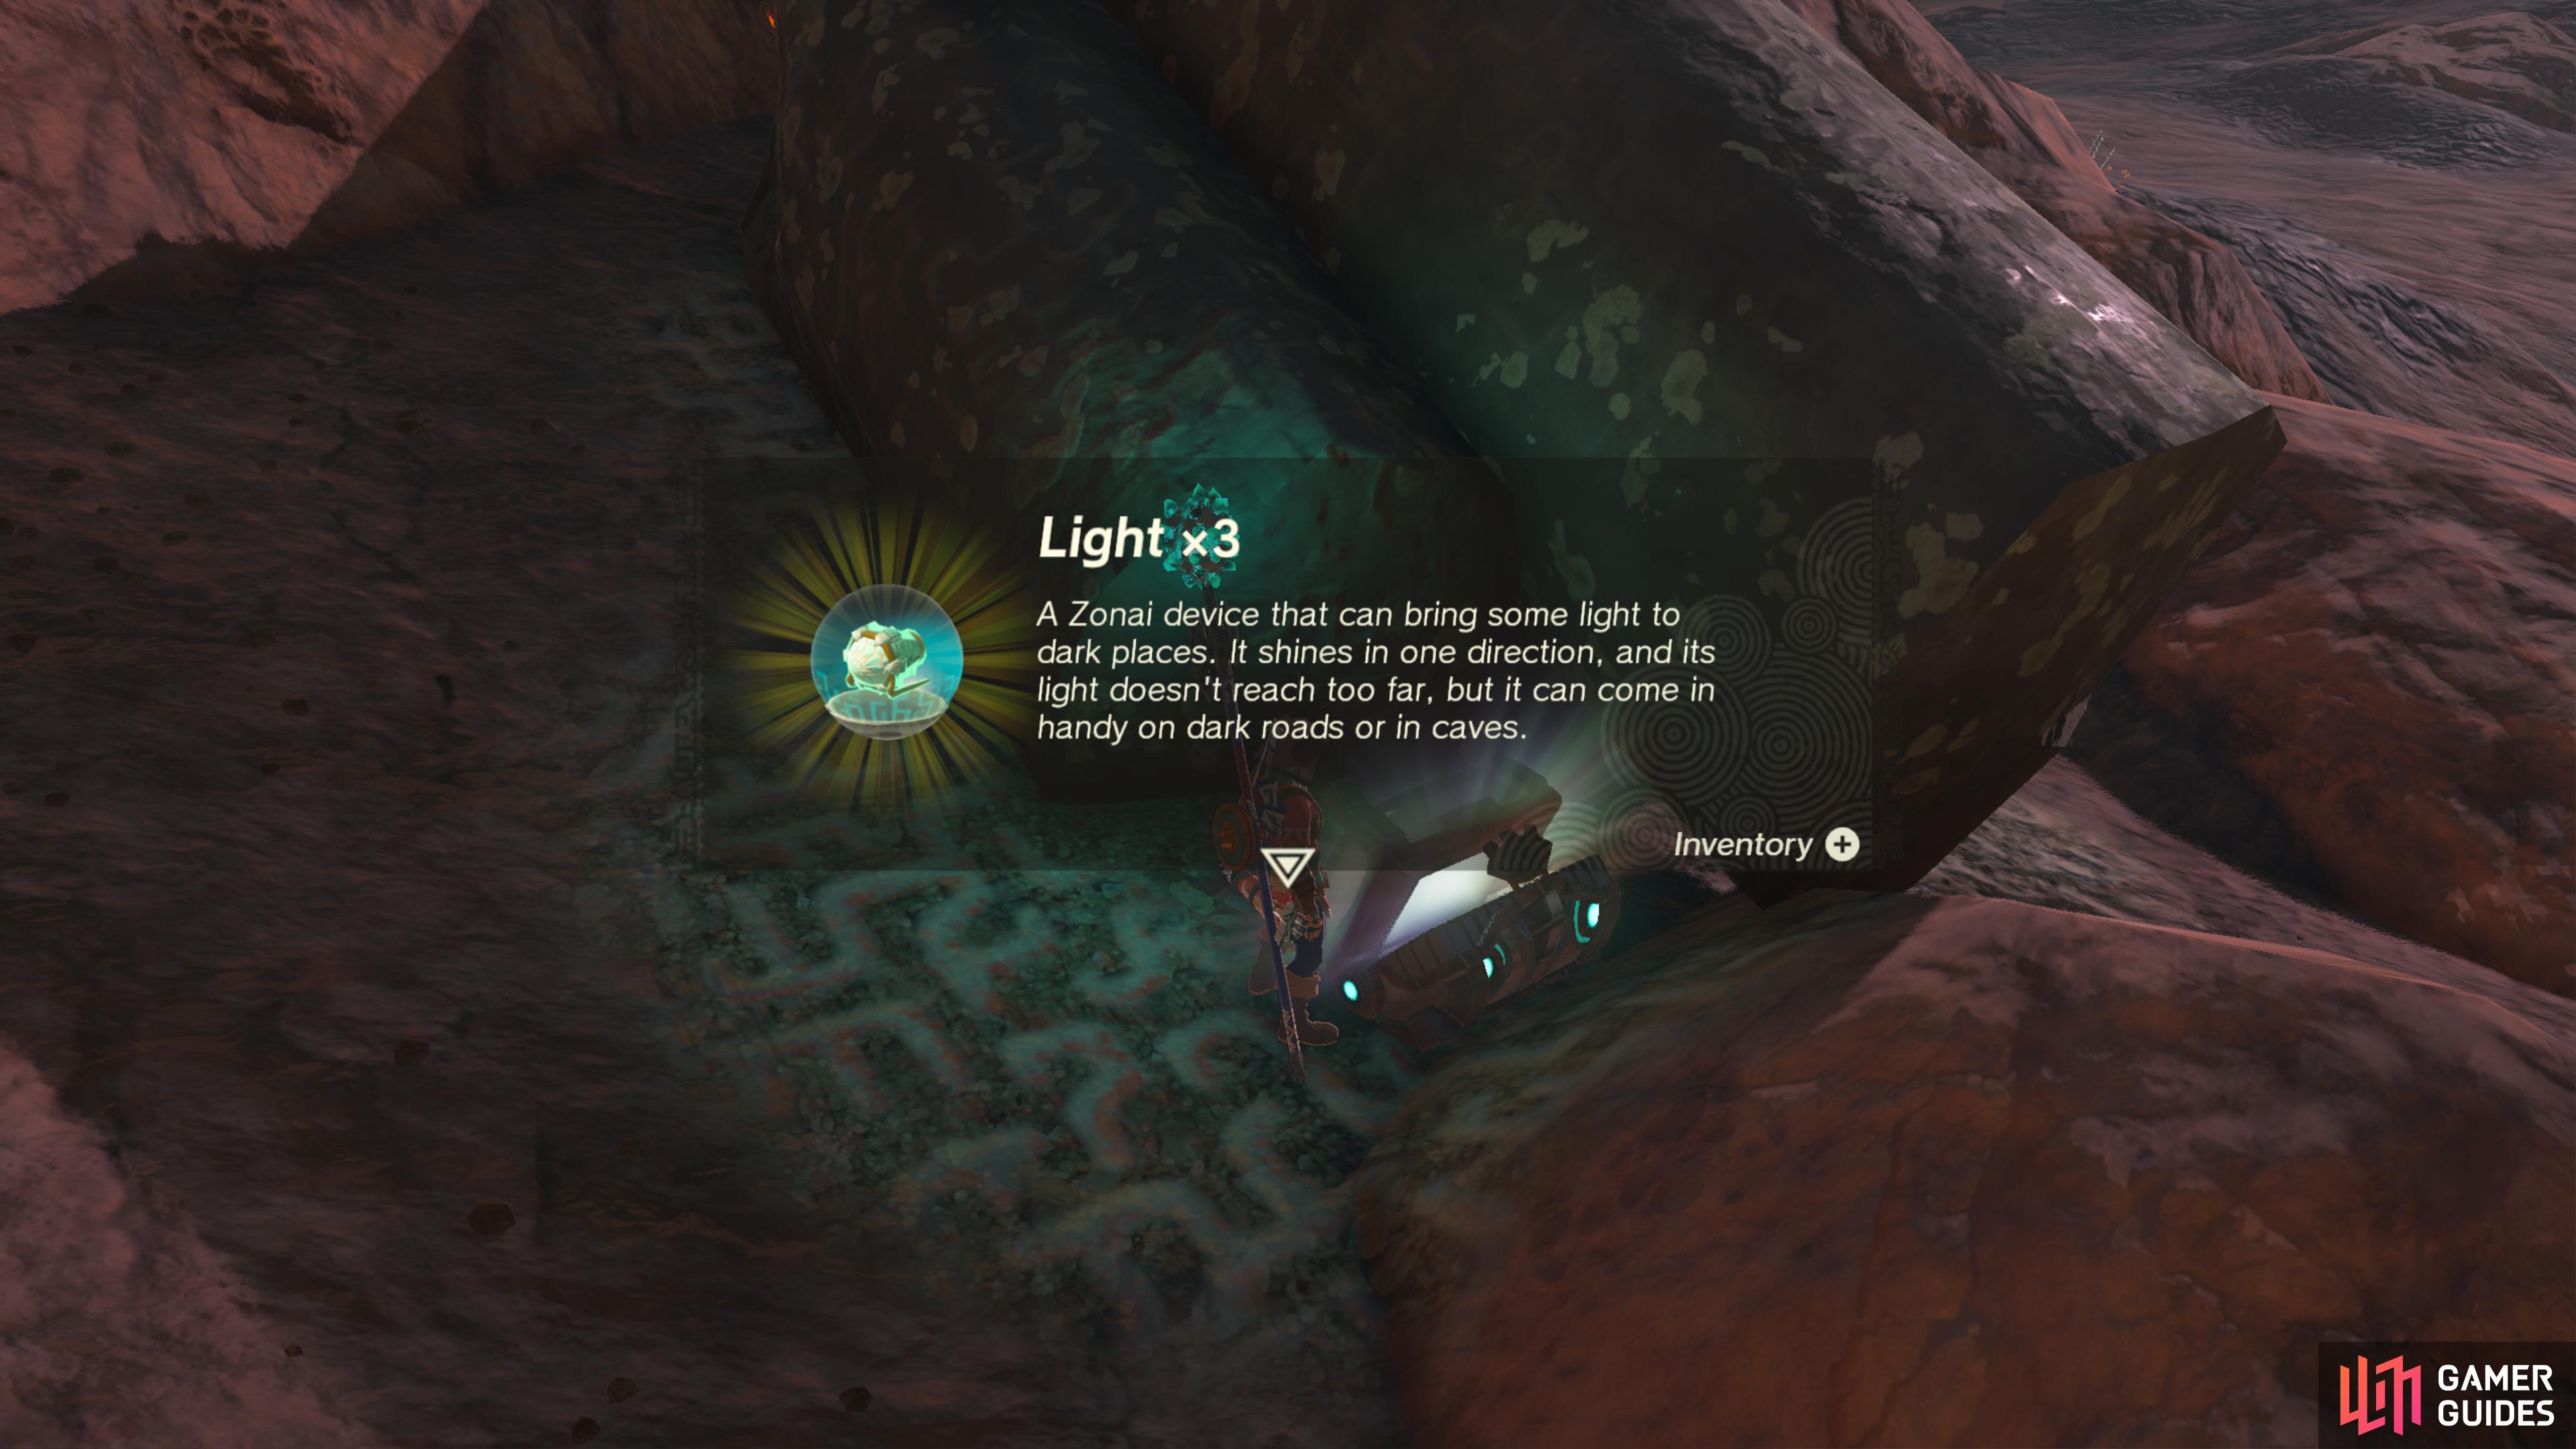
It contains ![]() Light (Capsule) x3.
Light (Capsule) x3.
53351. Hyrule Surface Map
Found inside the nearby ![]() Bokoblin camp.
Bokoblin camp.
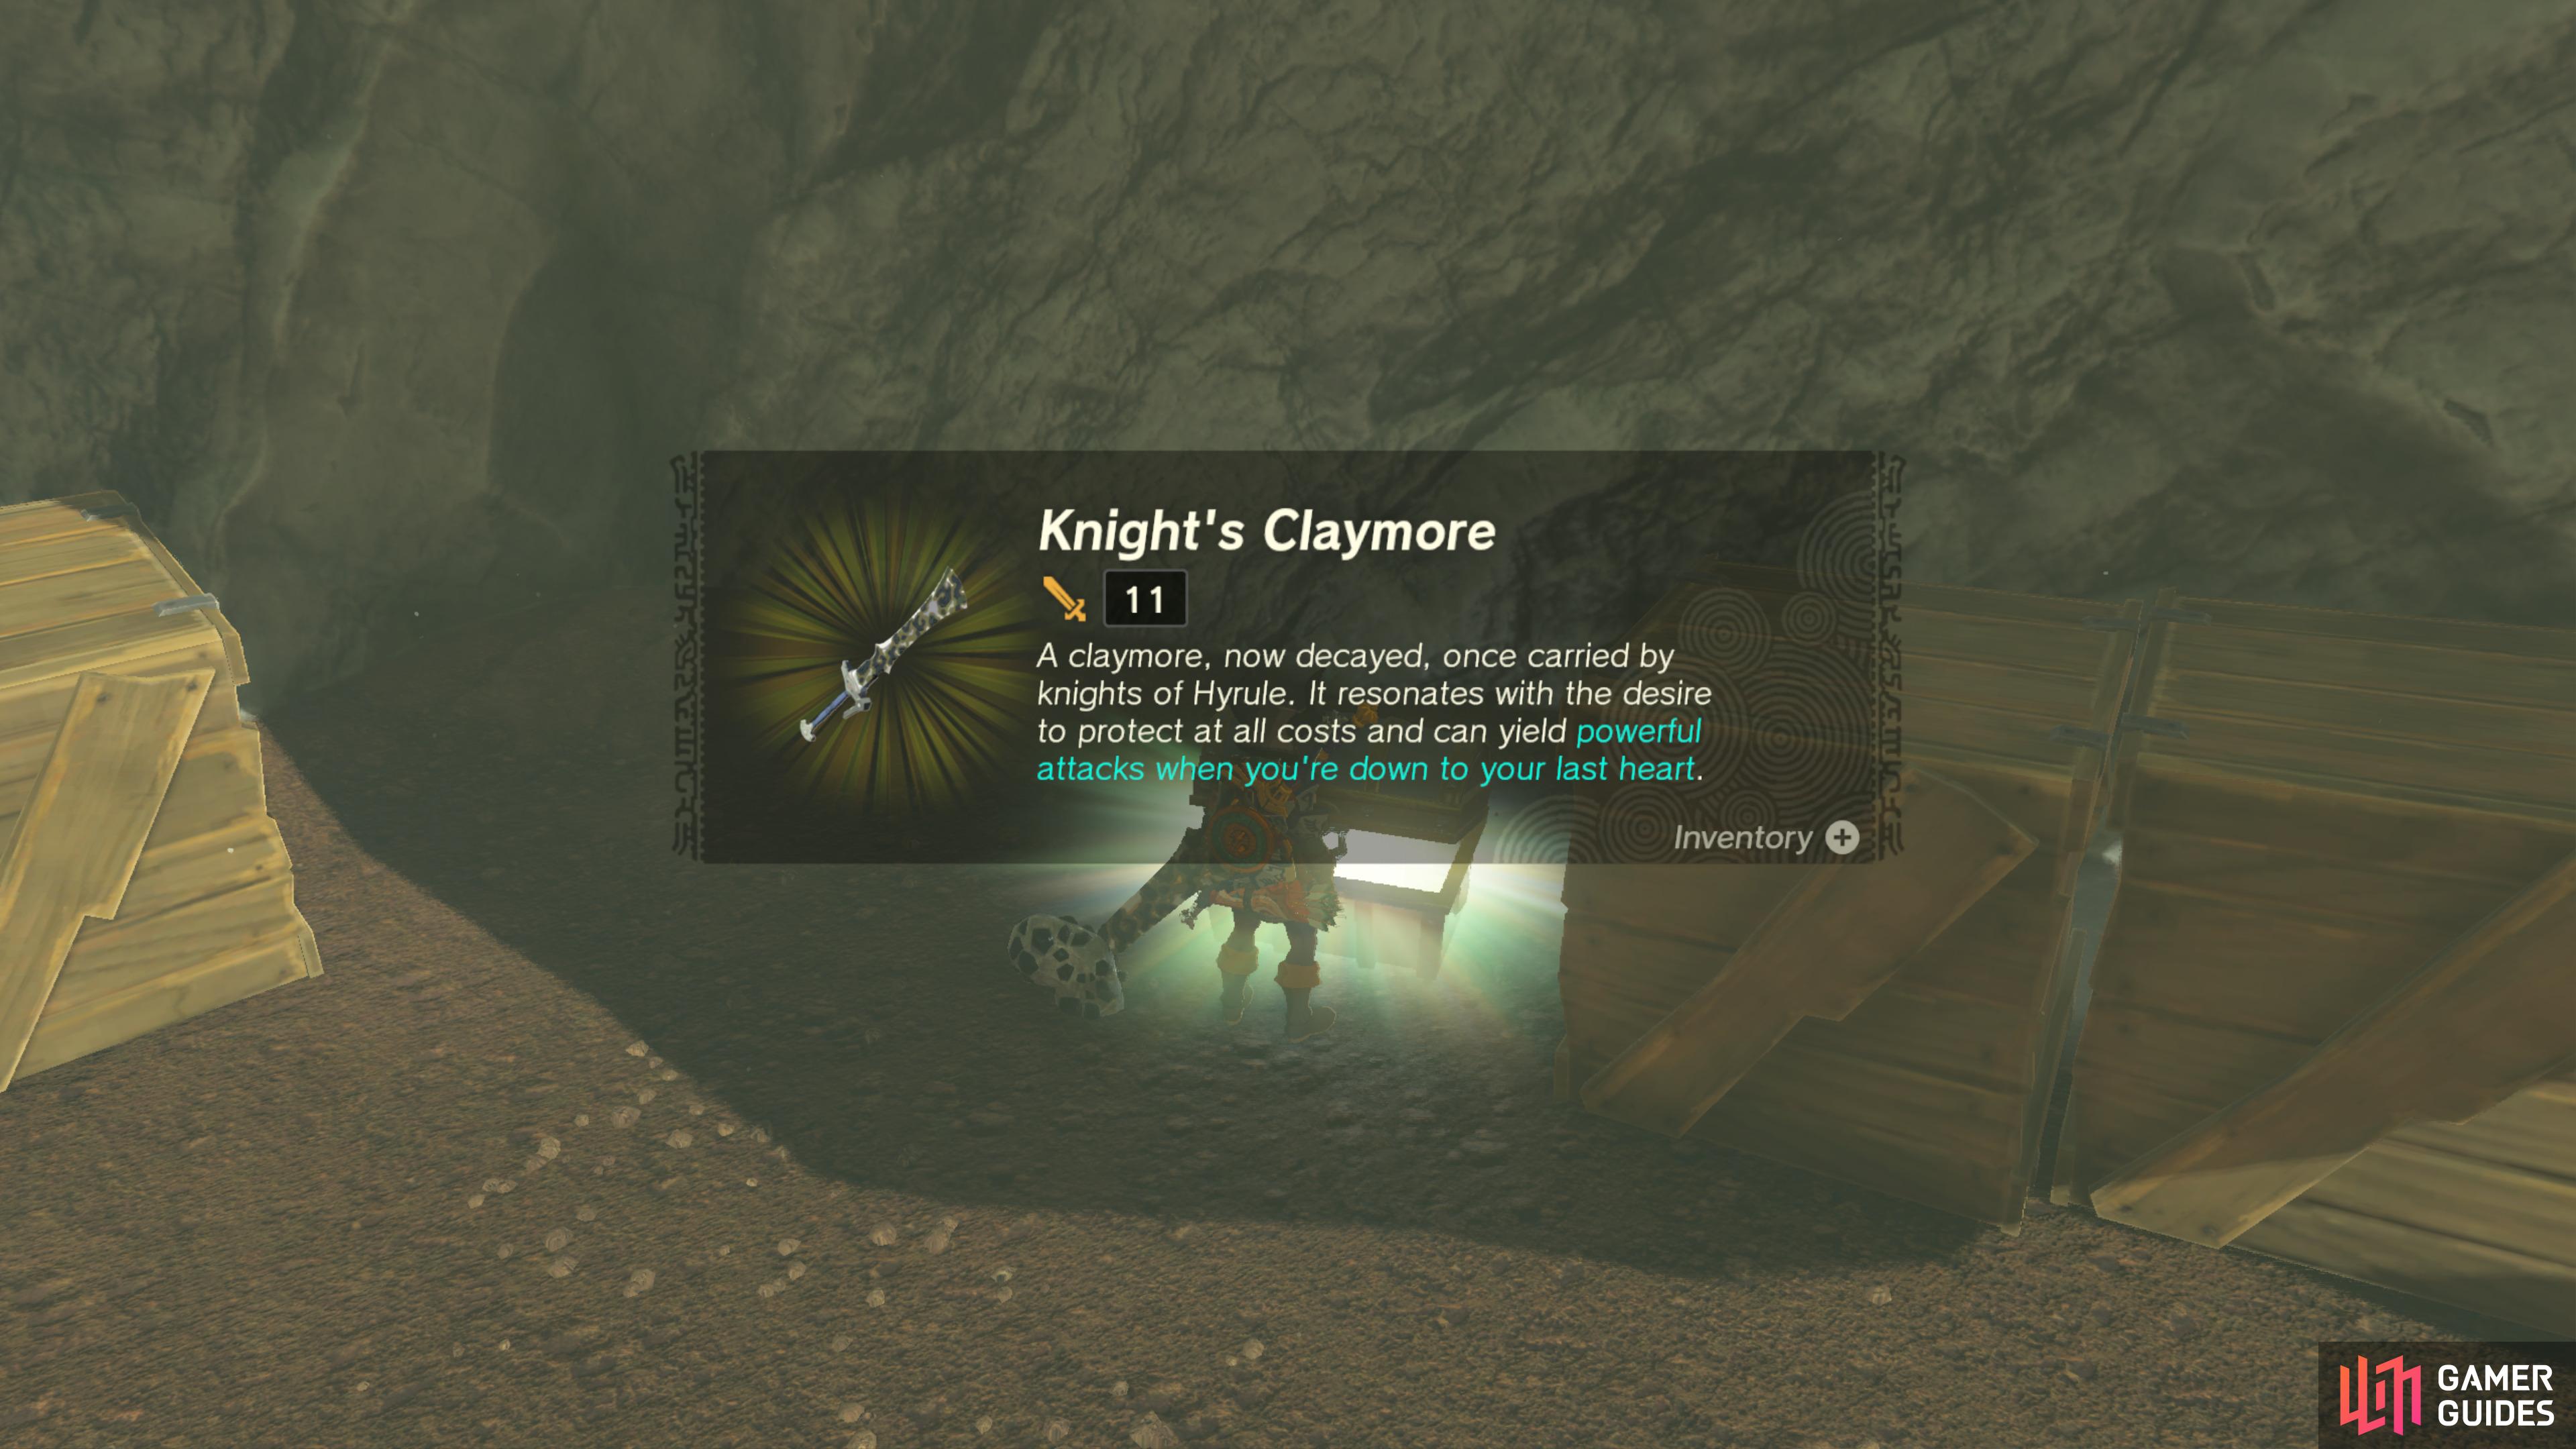
It contains a ![]() Knight’s Claymore.
Knight’s Claymore.
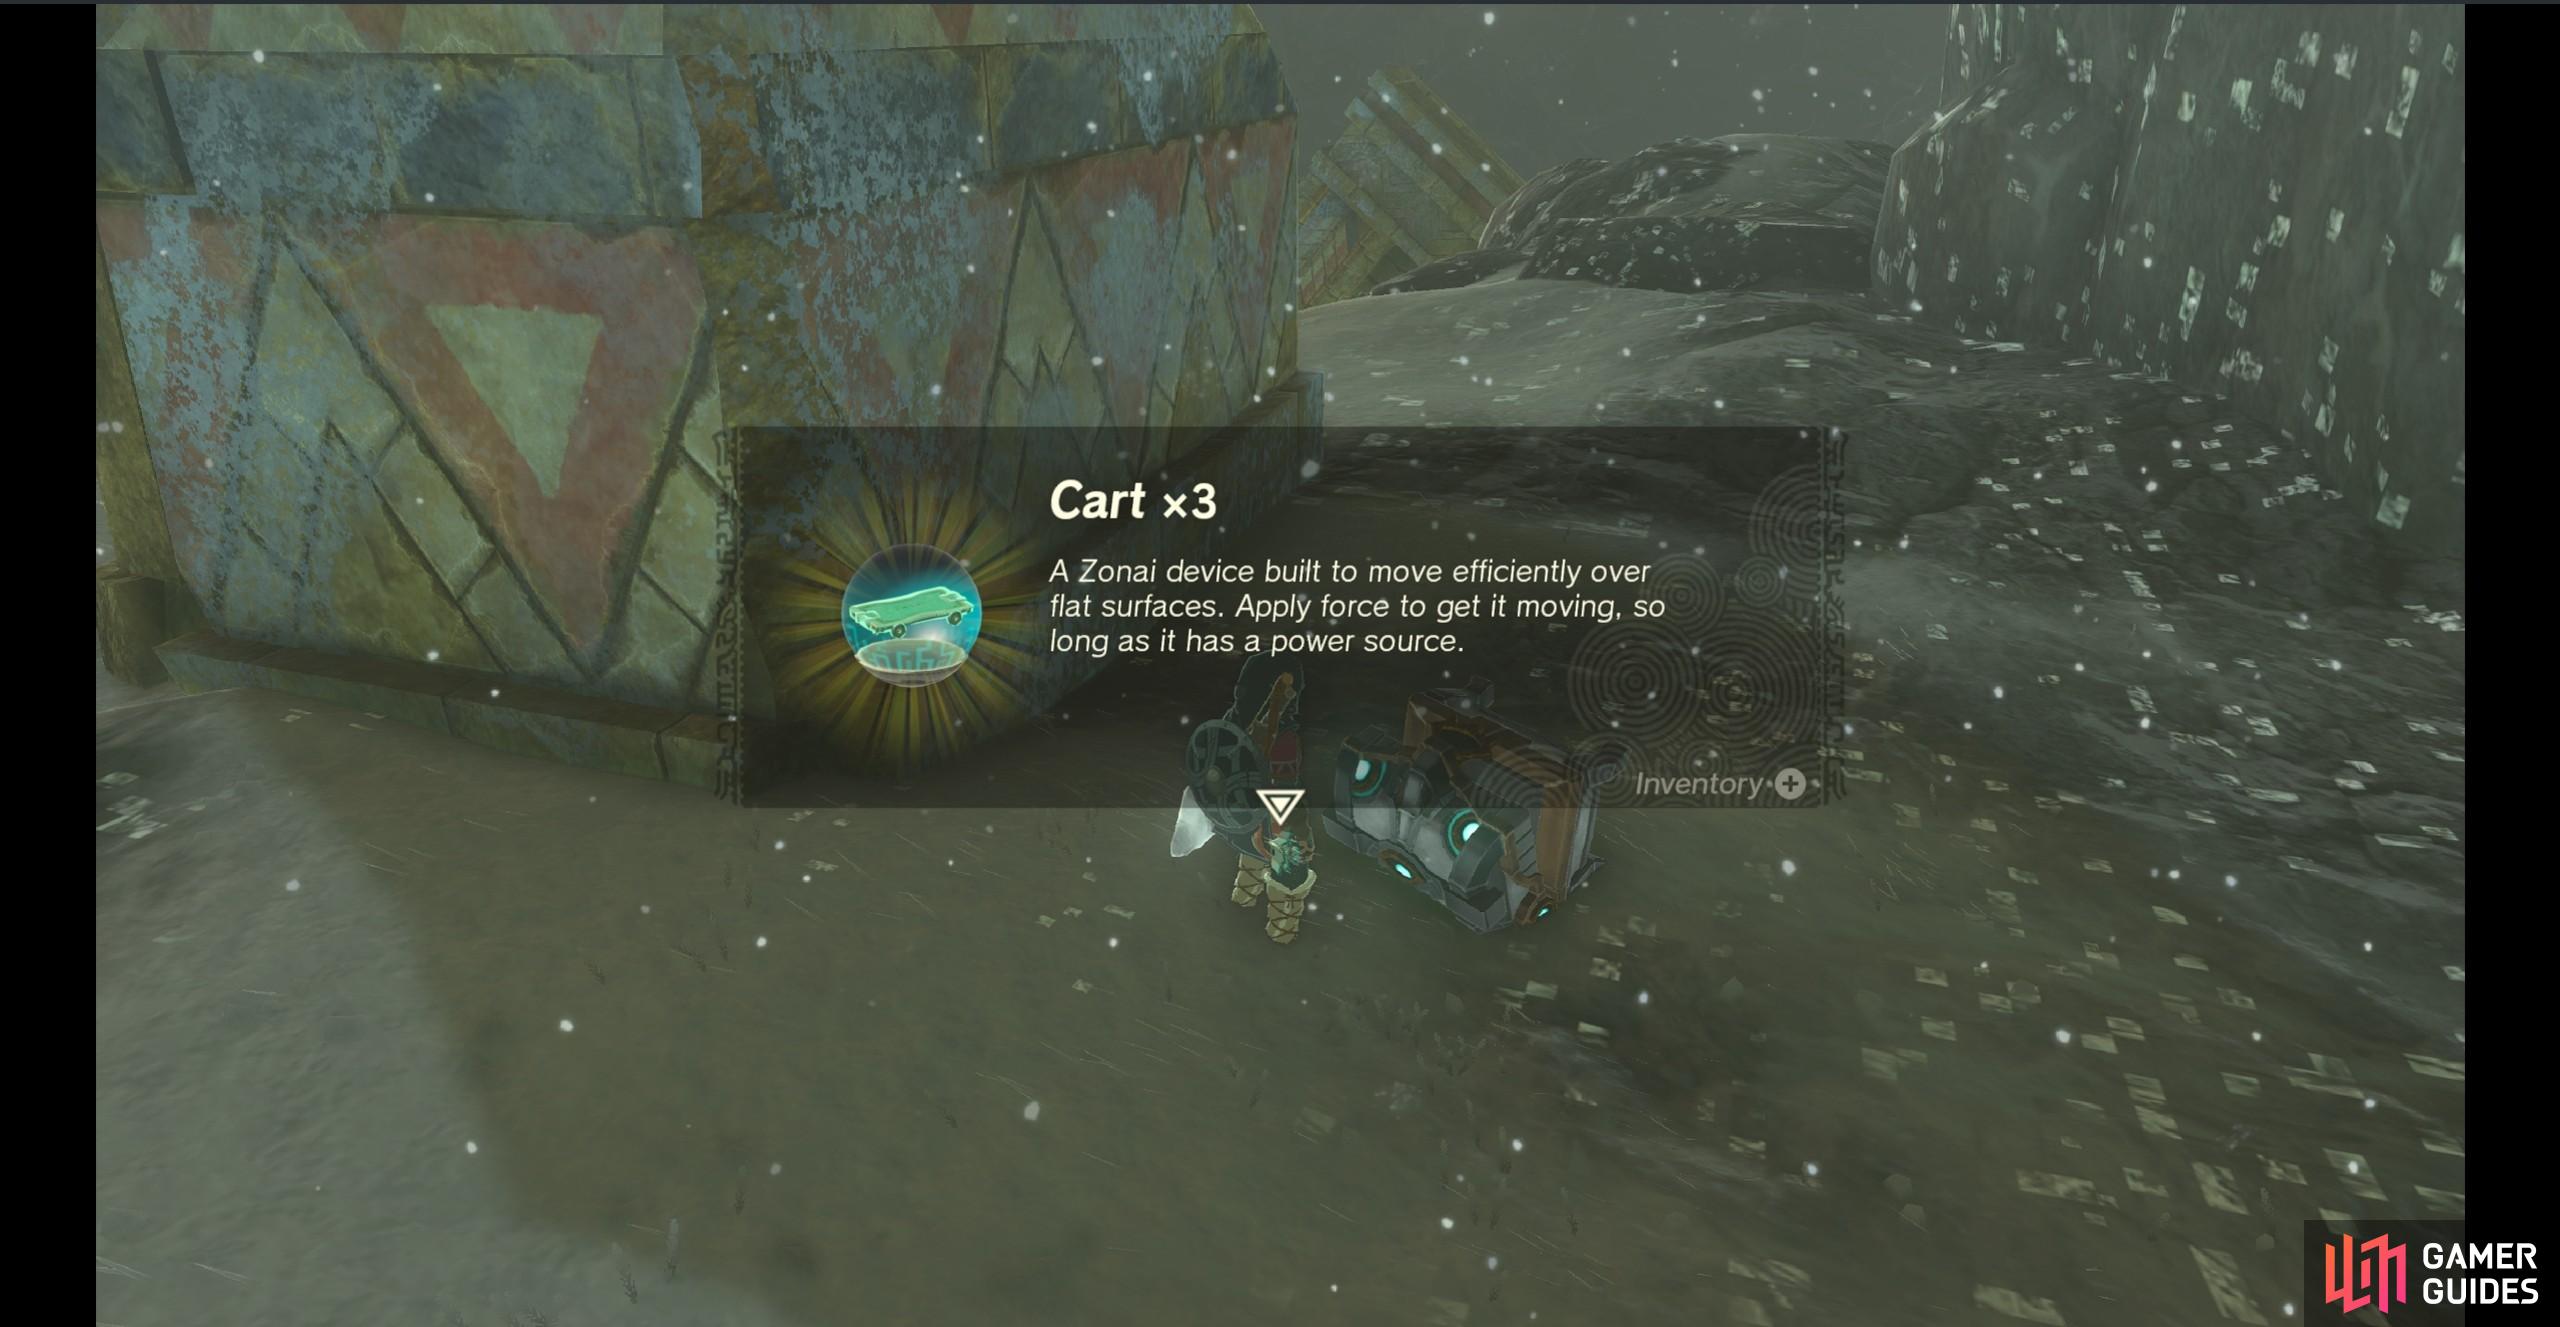
53354. Hyrule Surface Map
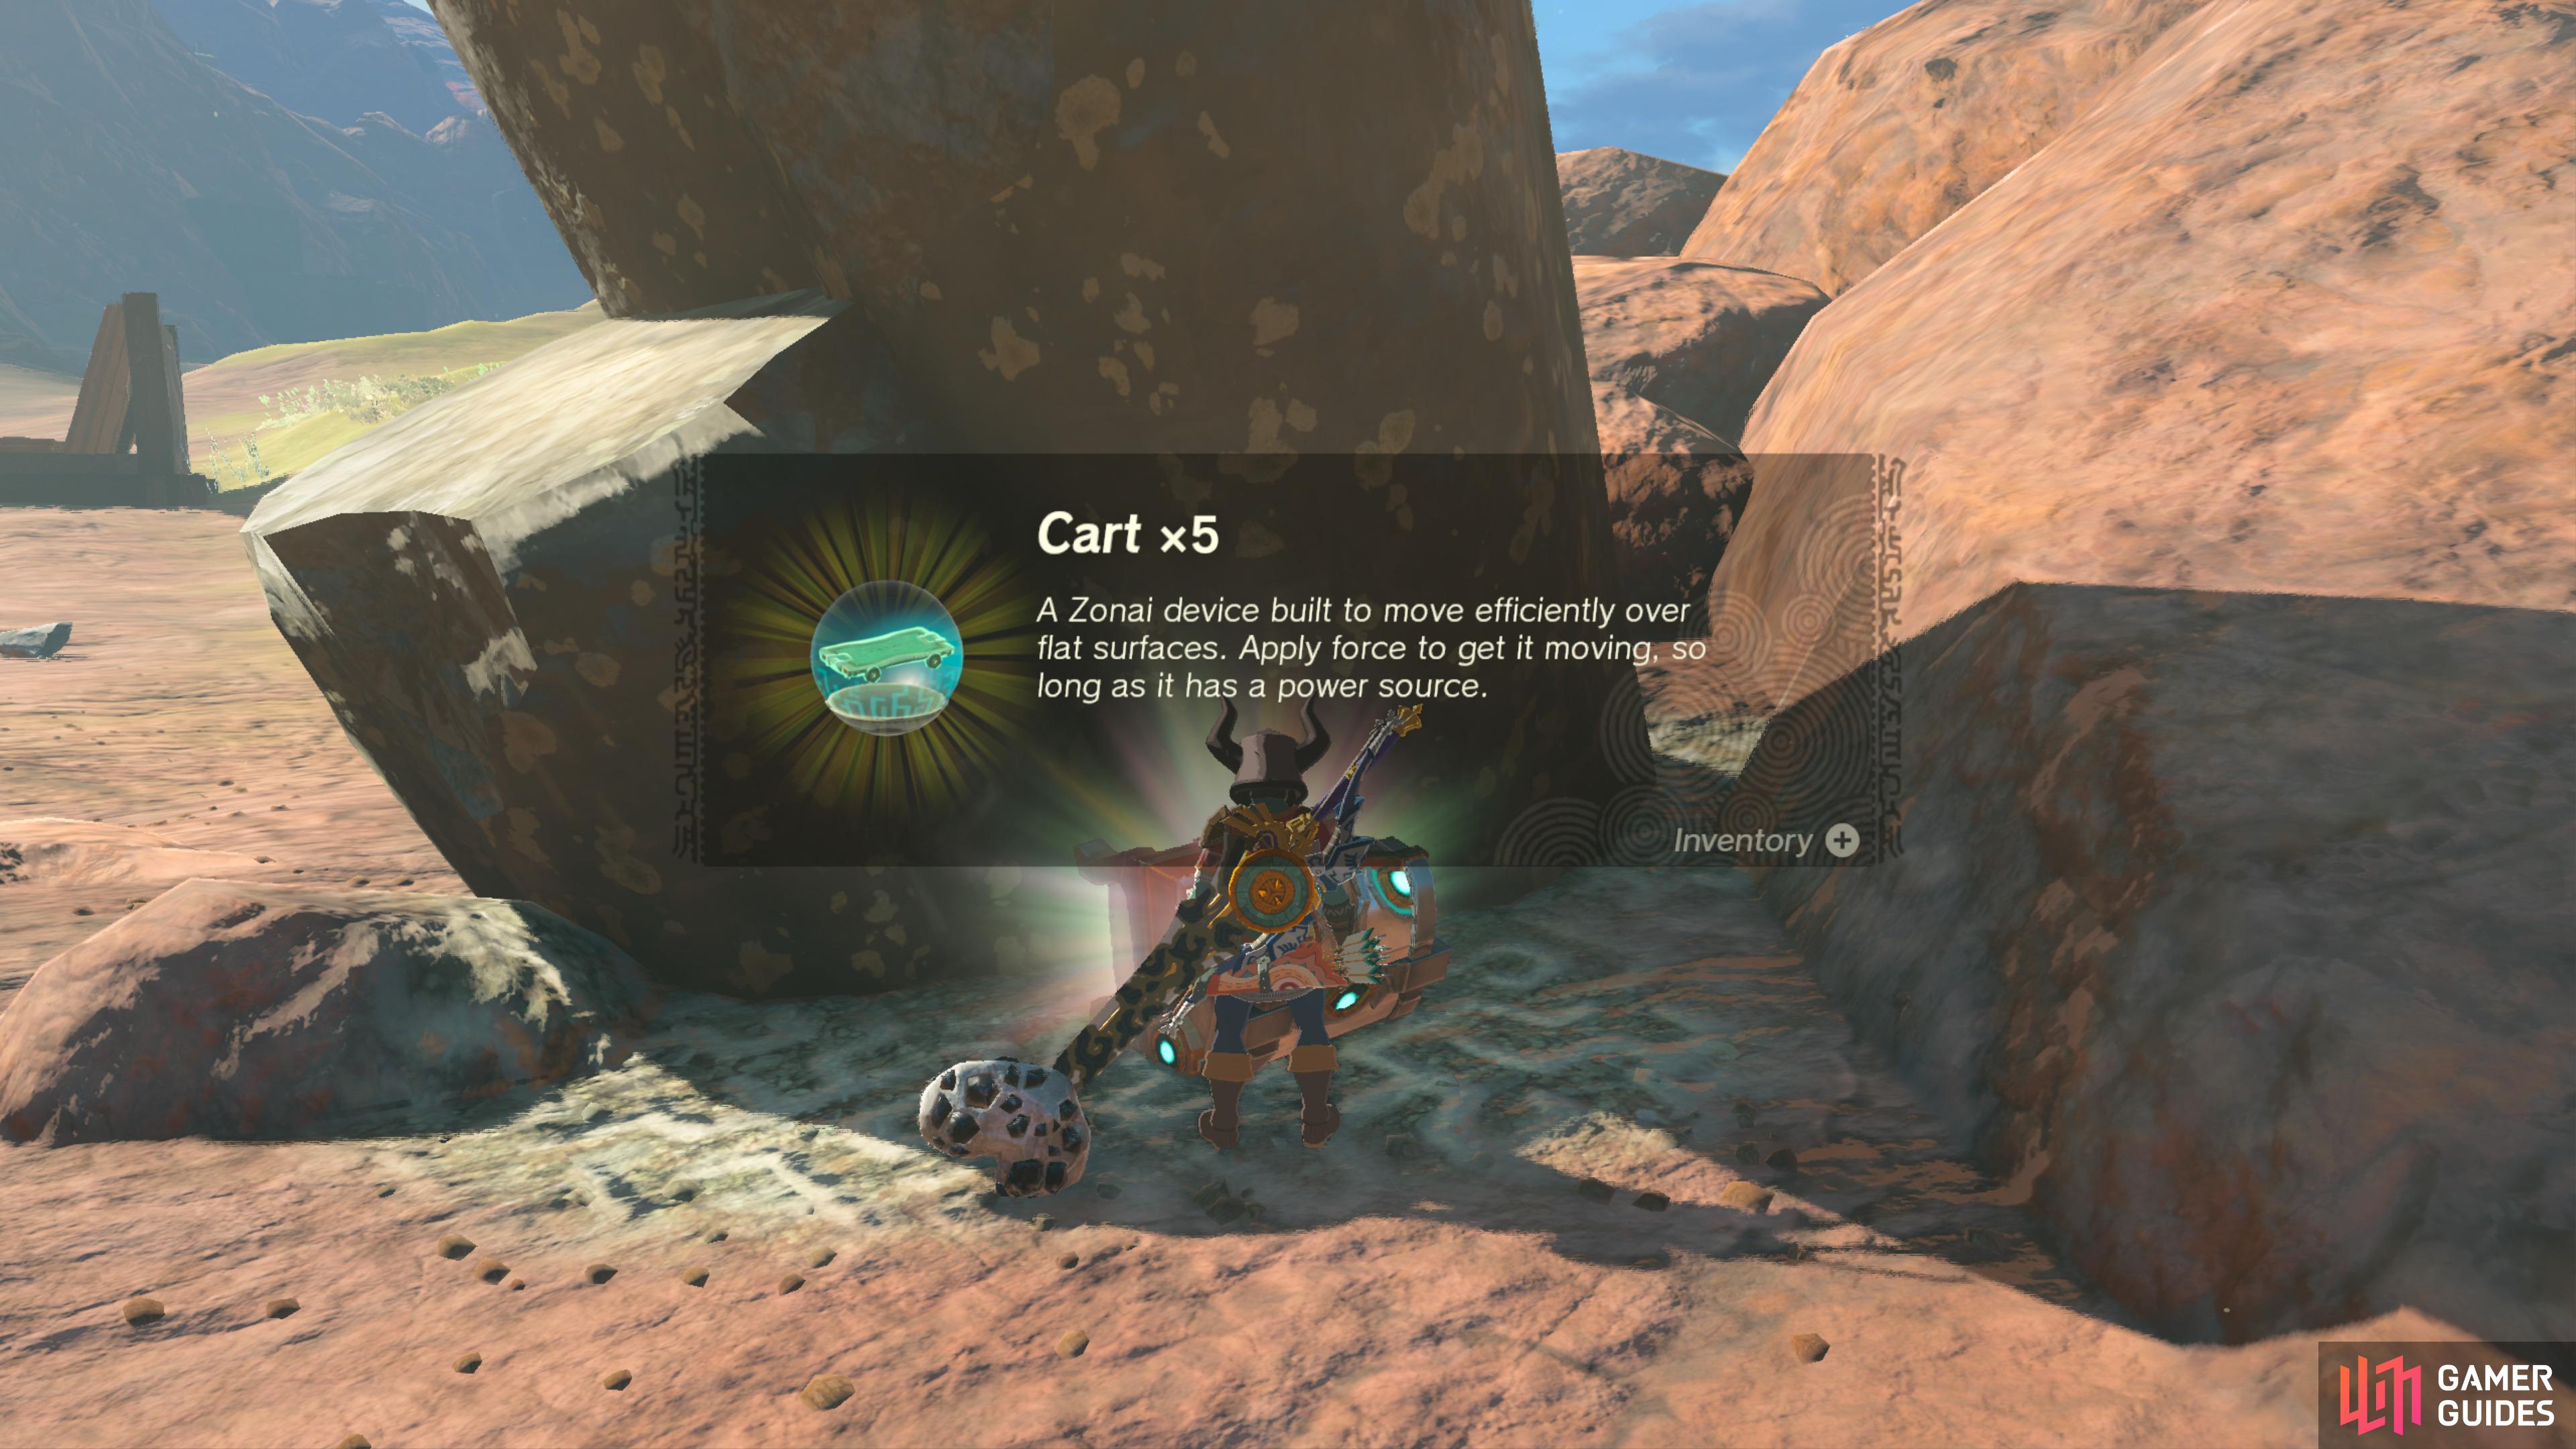
Found upside down next to the rocks here.
It contains ![]() Cart (Capsule) x5.
Cart (Capsule) x5.

53498. Hyrule Surface Map
You can the chest sitting on top of a large rock. Use ![]() Ascend to reach the top, then open the chest for a
Ascend to reach the top, then open the chest for a ![]() Zonaite Bow.
Zonaite Bow.
53535. Hyrule Surface Map
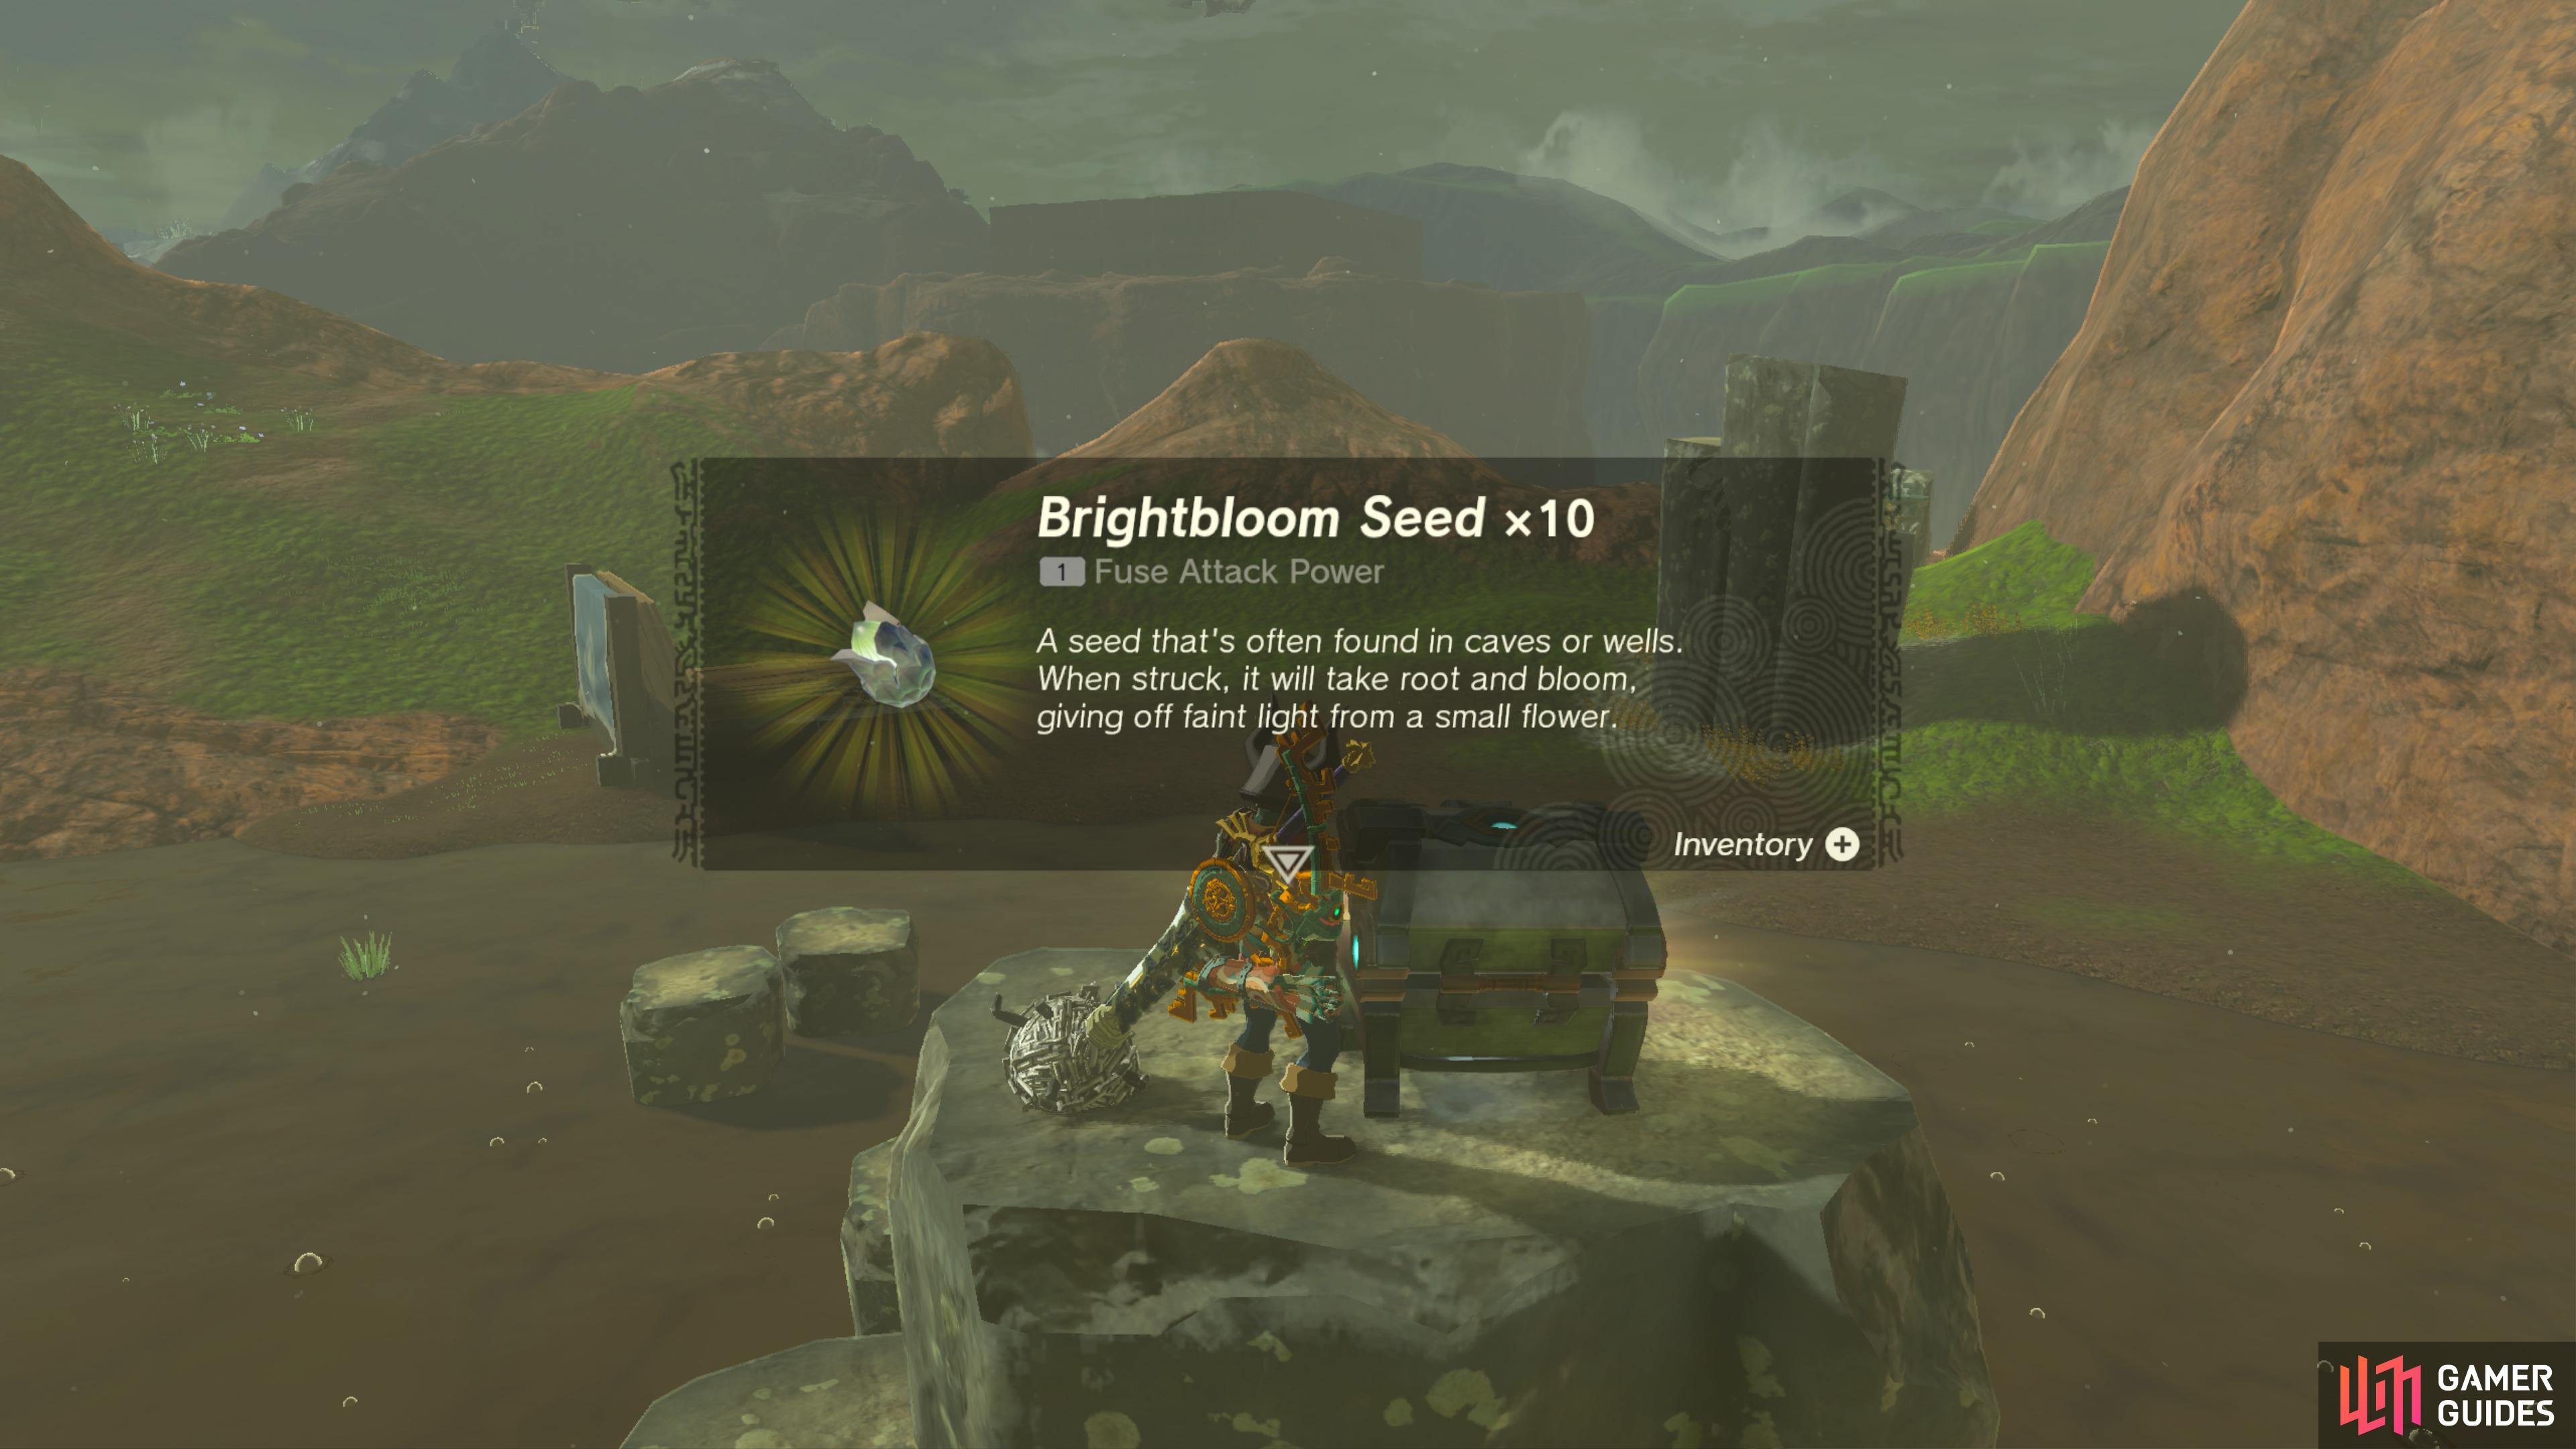
Climb to the top of the rocks here in this swamp to find a Chest containing 10 ![]() Brightbloom Seeds.
Brightbloom Seeds.
53556. Hyrule Surface Map
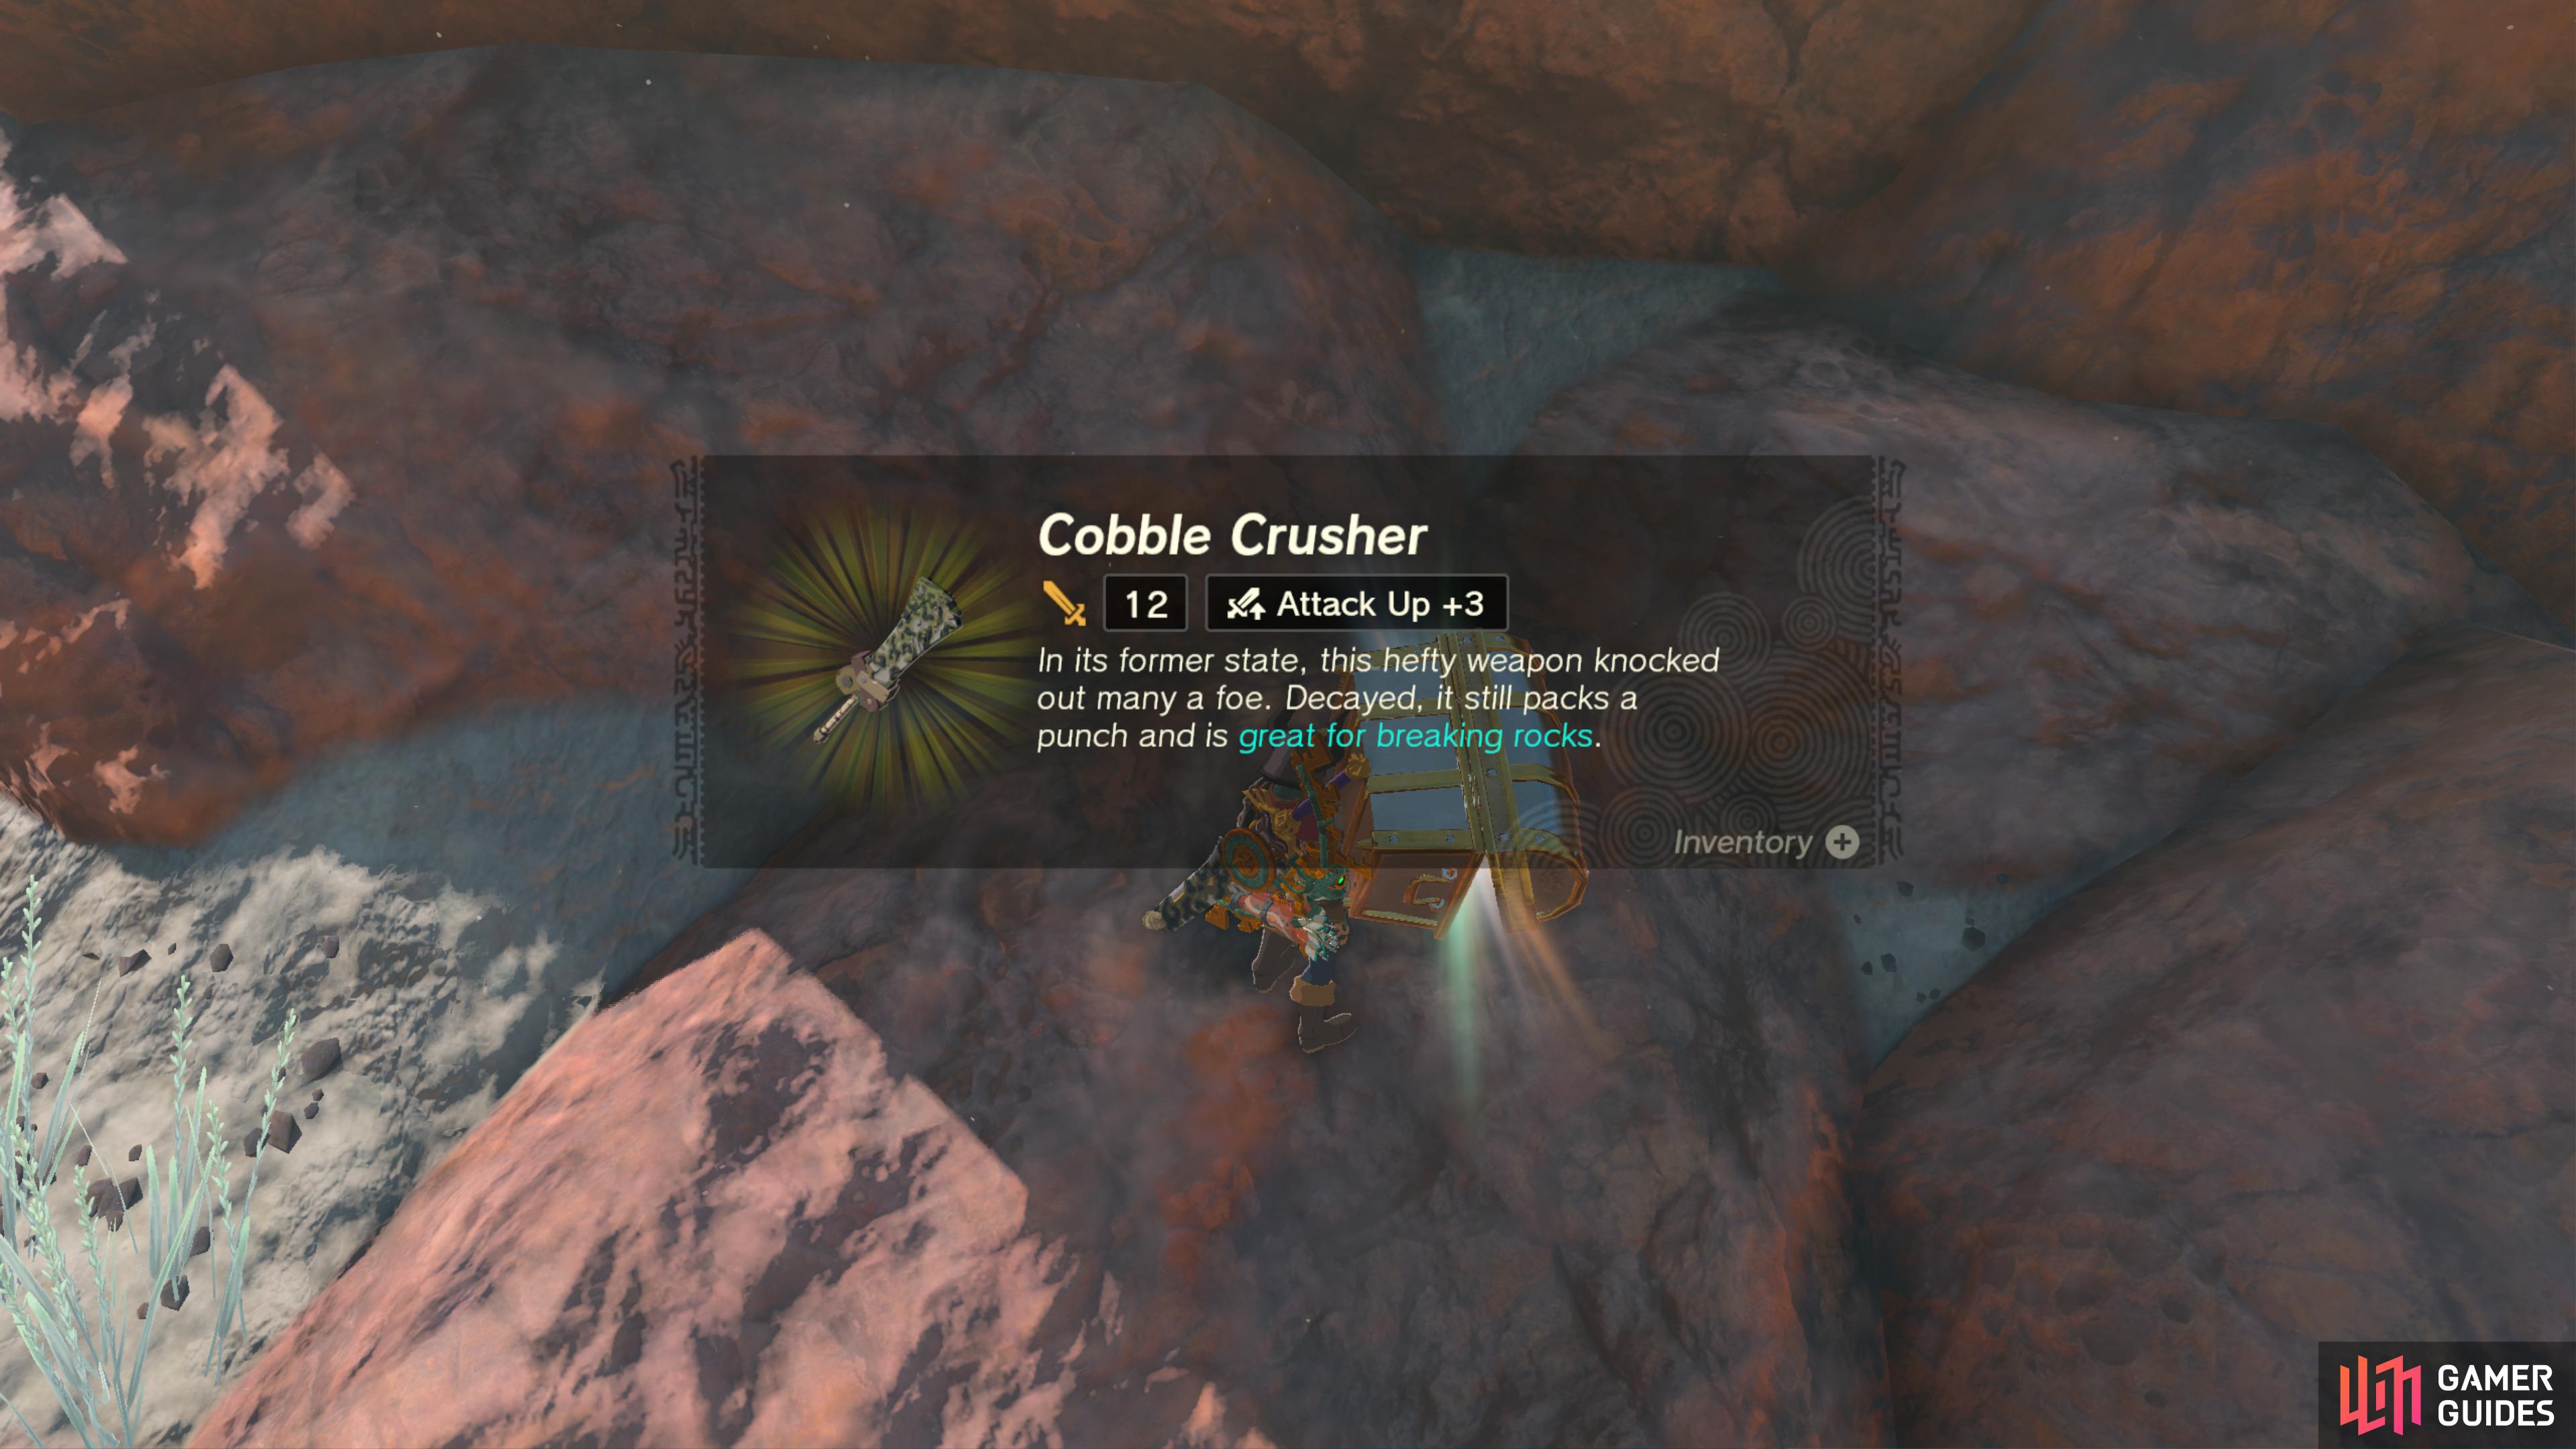
Break the rocks at the base of this cliff to find the Chest.
It contains a ![]() Cobble Crusher.
Cobble Crusher.
53561. Hyrule Surface Map
Found on top of this ![]() Bokoblin camp.
Bokoblin camp.
It contains a Spiked-Iron-Ball-Hammer.
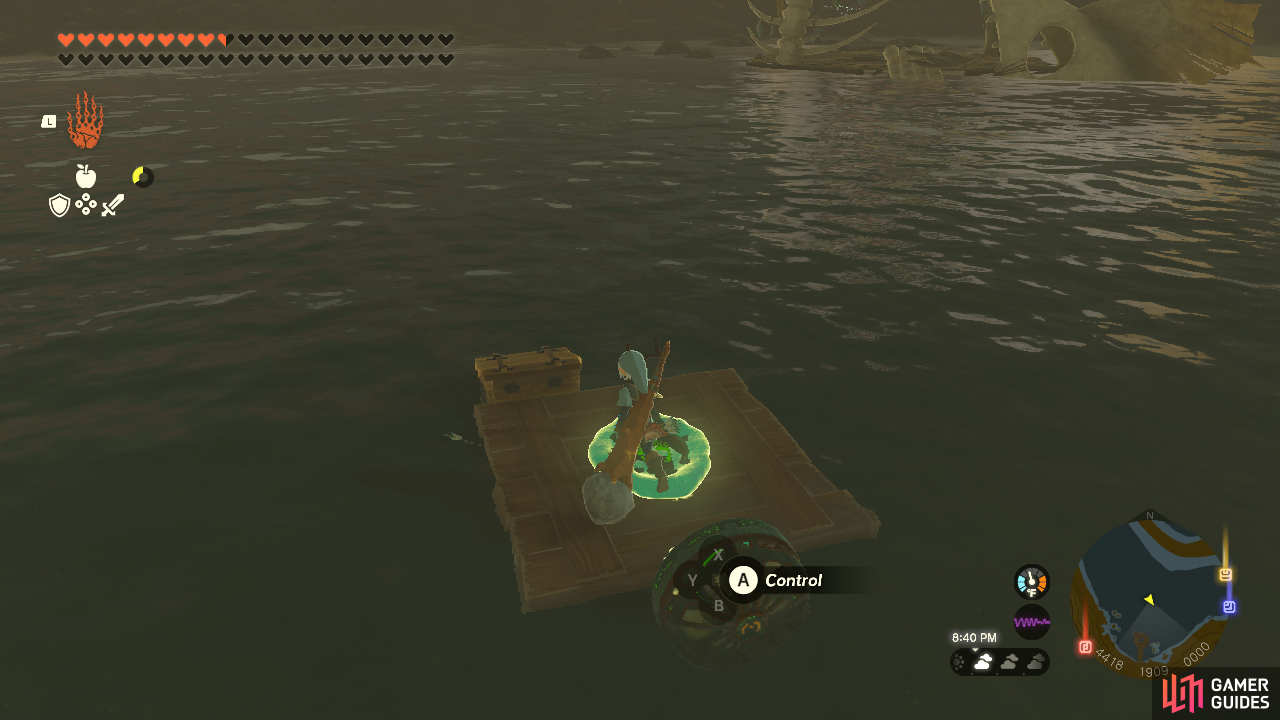
53627. Hyrule Surface Map
Inside Hateno Village West Well. In the water. You’ll need to move the nearby wooden board close to it, and then use ![]() Ultrahand to place it on your makeshift raft.
Ultrahand to place it on your makeshift raft.
- Contains Shield of the Mind’s Eye.
53818. Hyrule Surface Map
Defeat all enemies in this area to unlock the chest. Contains: ![]() Royal Bow.
Royal Bow.
54249. Hyrule Surface Map
Use ![]() Ultrahand to pull from the sand. Contains:
Ultrahand to pull from the sand. Contains: ![]() Bomb Flower x3
Bomb Flower x3
54251. Hyrule Surface Map
Use ![]() Ultrahand ability to pull from the sand. Contains:
Ultrahand ability to pull from the sand. Contains: ![]() Gerudo Scimitar
Gerudo Scimitar
54278. Hyrule Surface Map
Use ![]() Ultrahand ability to remove from the sand. Contains:
Ultrahand ability to remove from the sand. Contains: ![]() Gerudo Spear
Gerudo Spear
54678. Hyrule Depths Map
![]() Treasure Chest containing a
Treasure Chest containing a ![]() Huge Crystallized Charge for defeating
Huge Crystallized Charge for defeating ![]() Mucktorok.
Mucktorok.
54715. Hyrule Surface Map
Defeat all nearby enemies to unlock. Contains: ![]() Bomb Flower x5
Bomb Flower x5
54727. Hyrule Surface Map
Defeat all nearby enemies to unlock. Contains: ![]() Royal Halberd
Royal Halberd
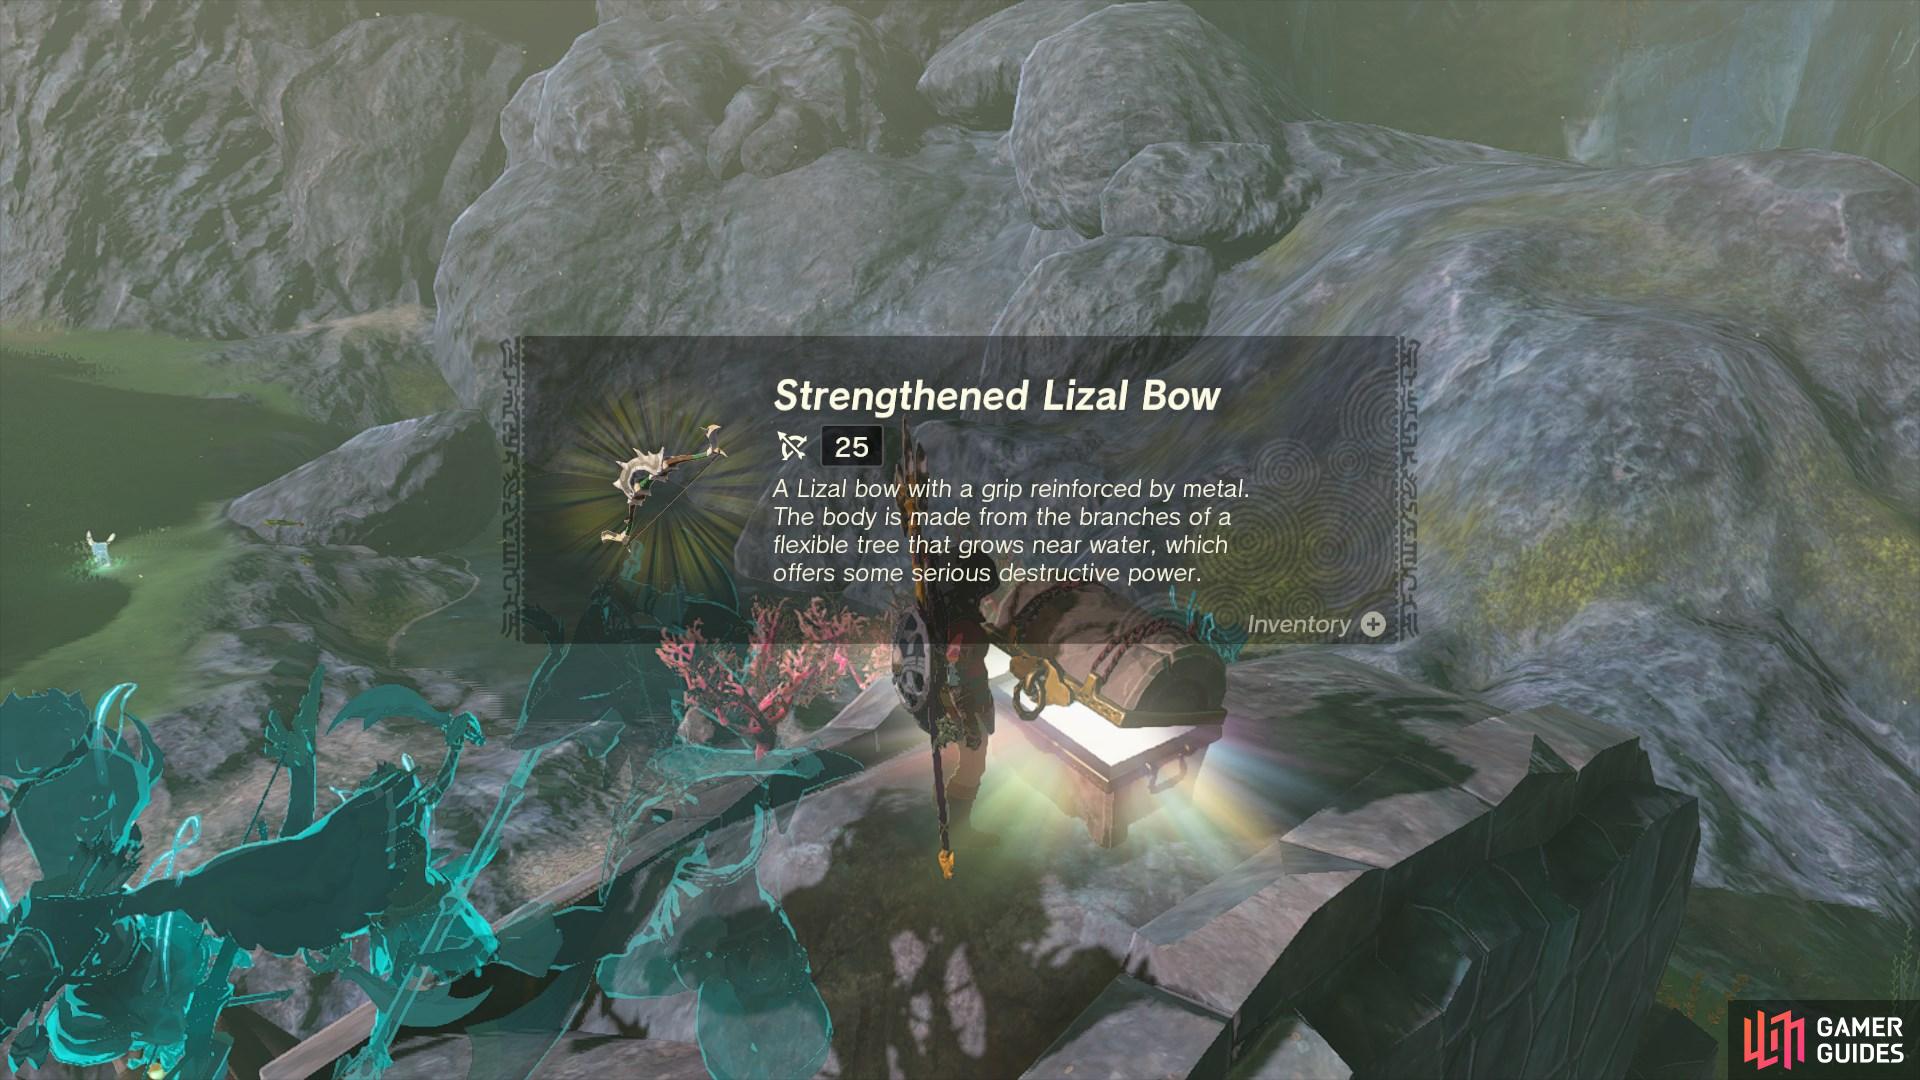
56967. Hyrule Surface Map
A chest guarded by ![]() Lizalfos enemies containing a
Lizalfos enemies containing a ![]() Strengthened Lizal Bow.
Strengthened Lizal Bow.
57122. Hyrule Surface Map
Defeat all nearby enemies to unlock. Contains: ![]() Dragonbone Boko Bow
Dragonbone Boko Bow
58836. Hyrule Surface Map
Use ![]() Ultrahand to dislodge the chest from the ground. Contains:
Ultrahand to dislodge the chest from the ground. Contains: ![]() Cobble Crusher
Cobble Crusher
58838. Hyrule Surface Map
Remove the block with ![]() Ultrahand to access the chest inside. Contains: Beam Emitter x3.
Ultrahand to access the chest inside. Contains: Beam Emitter x3.

58840. Hyrule Surface Map
![]() Ascend through the bottom of the rock to access the chest inside. Contains: Rocket x3.
Ascend through the bottom of the rock to access the chest inside. Contains: Rocket x3.
58842. Hyrule Surface Map
Use ![]() Ultrahand ability to pull the chest from the pool of water inside the rock. Contains: Hydrant x3
Ultrahand ability to pull the chest from the pool of water inside the rock. Contains: Hydrant x3
58844. Hyrule Surface Map
Use ![]() Ultrahand to remove the block from the side of the rock. The chest inside contains: Portable Pot x3
Ultrahand to remove the block from the side of the rock. The chest inside contains: Portable Pot x3
58872. Hyrule Surface Map
Dropped by ![]() Shock Like. Contains:
Shock Like. Contains: ![]() Forest Dweller’s Shield.
Forest Dweller’s Shield.
58883. Hyrule Surface Map
Buried chest containing ![]() Forest Dweller’s Spear. Use
Forest Dweller’s Spear. Use ![]() Ultrahand to pull from the ground.
Ultrahand to pull from the ground.
59131. Hyrule Surface Map
Melt the ice to access the treasure chest. Contains: ![]() Sapphire
Sapphire
59132. Hyrule Surface Map
Burn away the thorns to access the chest. Contains a ![]() Kite Shield.
Kite Shield.
59133. Hyrule Surface Map
Melt the smaller ice block to access a treasure chest with ![]() Brightbloom Seed x10 contained inside. Watch out for the bokoblin contained in the large ice block.
Brightbloom Seed x10 contained inside. Watch out for the bokoblin contained in the large ice block.
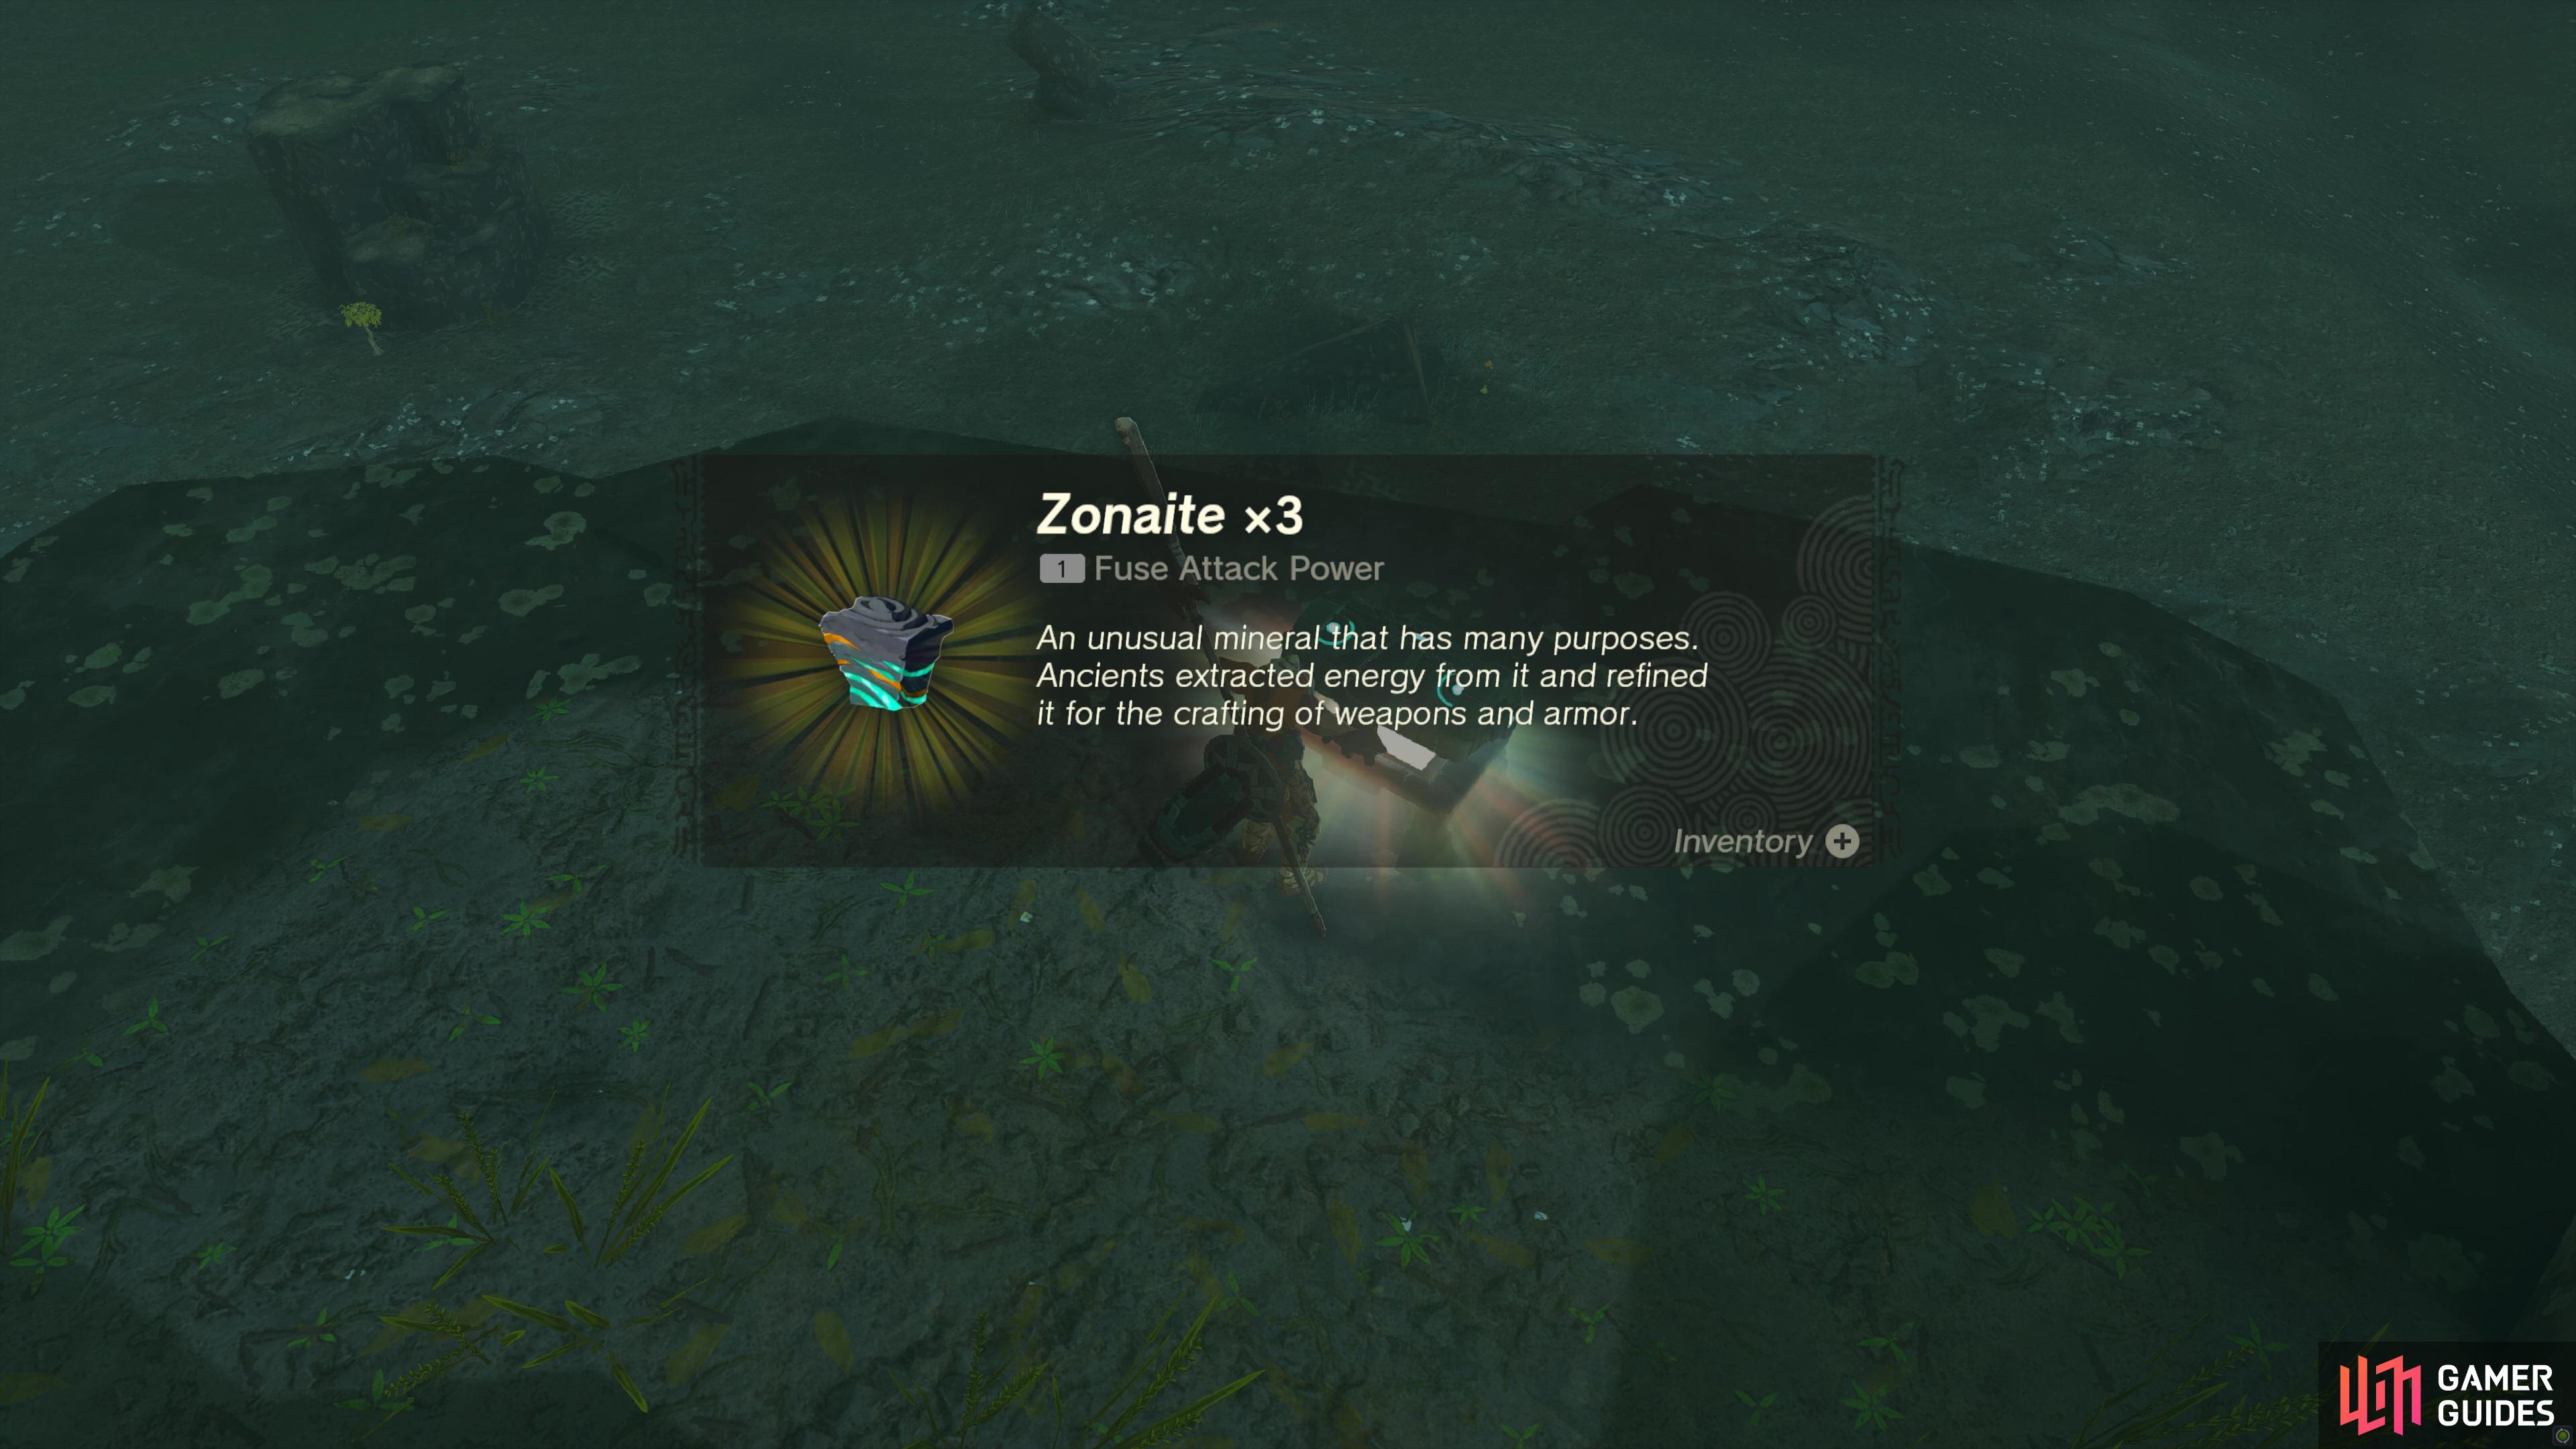
59134. Hyrule Surface Map
Melt the ice to access the treasure chest. Contains: ![]() Zonaite x3
Zonaite x3
59136. Hyrule Surface Map
Move the boulder with ![]() Ultrahand to reveal a chest. Contains:
Ultrahand to reveal a chest. Contains: ![]() Royal Claymore
Royal Claymore
59165. Hyrule Surface Map
Melt the ice block to reveal the treasure chest. Contains: ![]() Opal
Opal
No Comments