Full Synchronisation Requirement - Do not take any damage
This is one of the hardest full synchronisation sections in the game, so it’s best to prepare appropriately with some bombs! Sticky Shrapnel Bombs would be ideal, along with Impact Smoke Screen bombs – you’ll see why! Note: if you don’t have the ingredients lying around you should try and buy what you need from the Black Market Bomb Merchants.
Remember that huge rock tower from “The Hidden City”? Climb all the way up it again! Well, not all the way, you’ll see a set of cables extending out to the far cave wall. Follow the path along (Note there is an Animus Data Fragment on this path that’s easily missed when searching for them later!) and then swing from pole to pole and jump from beam to beam until you reach the hanging crates from the cutscene and see the difficult part of this Memory. In the next area there are five groups of guards, each group including the fearsome Almogavar axe men you’ve probably seen in certain areas of the game. Even if you block their attacks with a 5/5/5 weapon (i.e. Yusuf’s Turkish Kijil) you’ll still take some damage, and thus fail the objective. The easiest way to take care of at least three of the groups is to use the aforementioned Sticky Splinter Bombs. Stick one on a member of the pack and back away, count to 5 and it should kill all of them.
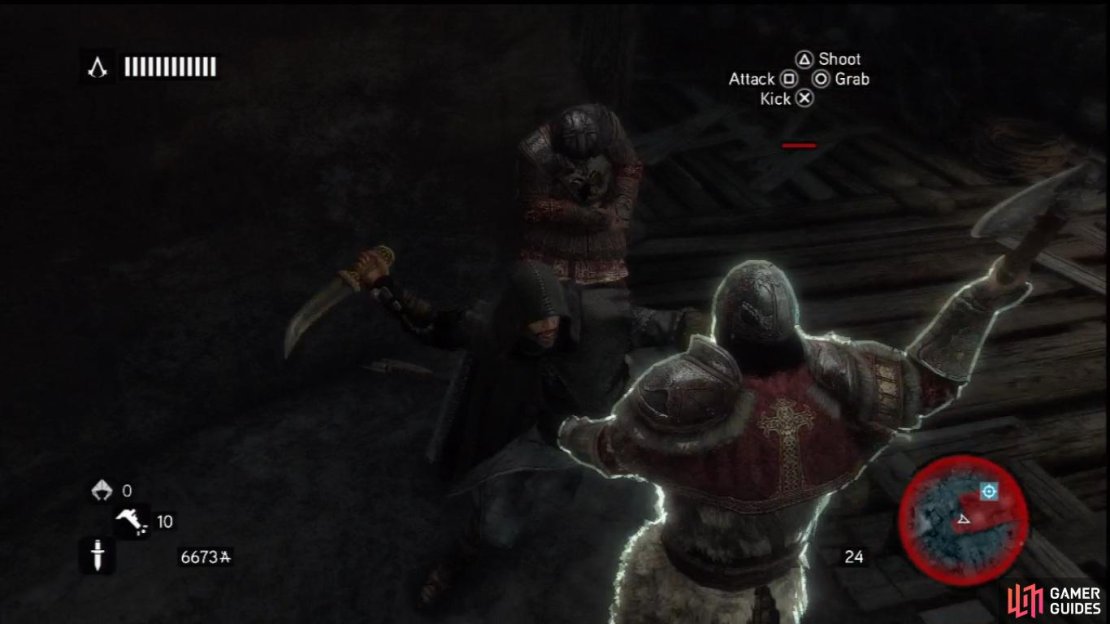
Repeat this tactic for the next groups, making sure they’re all advancing on you together or you might not get all of them in one bomb. When you run out of Lethal Bombs, you’ll need to switch over to the Smoke Bombs and quickly assassinate them. Alternatively, if you’re confident, you can use counter kills and executions (as in my video below) to clear them out with careful timing.
Follow the marker to the chest to retrieve the explosive/incendiary device. Keep pushing on through the area using the same tactics on the guard groups, and drop down to where the glowing door/gate is and press the interact button to plant the bomb and bring an end to this challenging segment of the game, after a cutscene.
Using counters is the risky way to get through this area with the optional objective intact.

No Comments