0 of 49 collected
Checklist complete: 49 of 49 locations collected.
Sign in to save your progress across every device.

-
1
-
2
-
3
-
4
-
5
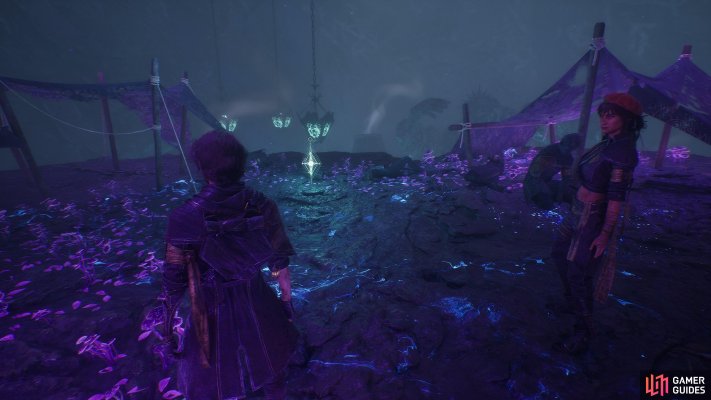
Expedition 66
View on mapAfter crossing the pillar that Esquie knocks down for you in a cutscene, look to the right as you enter then next area. You’ll find this on a nearby outcrop next to a tent and a corpse.
-
6
-
7
-
8
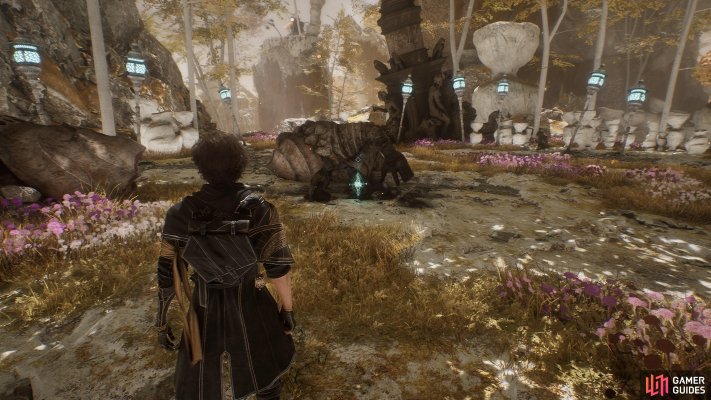
Expedition 38
View on mapAscend the sloping path in
 Harvester’s Hollow and you’ll find this in the area at the top.
-
9
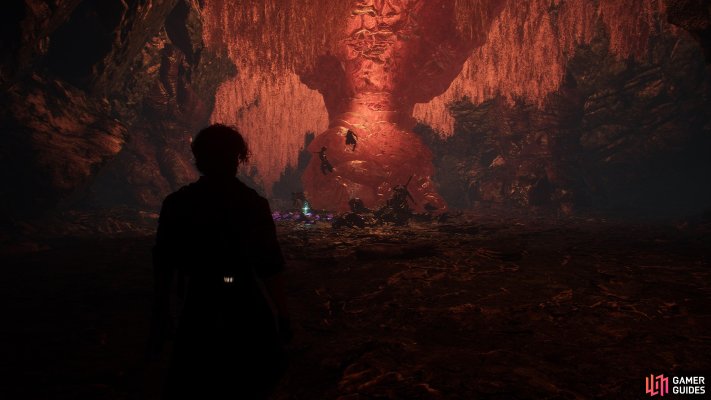
Expedition 59
View on mapAt the foot of the strange red tree to the right of the
 Yellow Spire Wrecks flag.
-
10
-
11
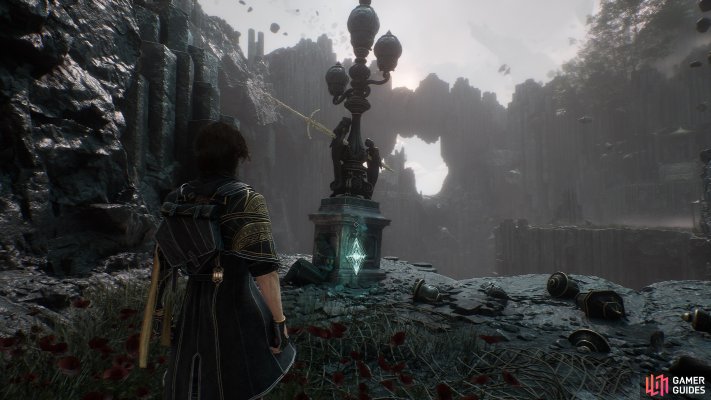
Expedition 56
View on mapBy the lantern skewered by a sword in the first open area that you see
 Reaper Cultists.
-
12
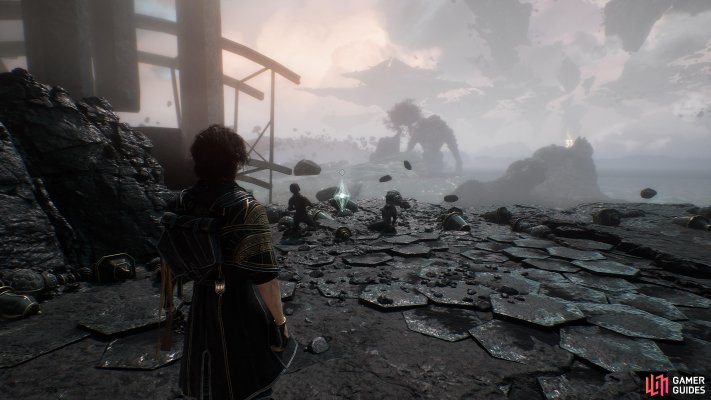
Expedition 50
View on mapFrom the
 Paintress Shrine flag, go downhill and hug the left wall after you get ambushed by a
 Rocher. You’ll find this on a cliff edge by two kneeling corpses.
-
13
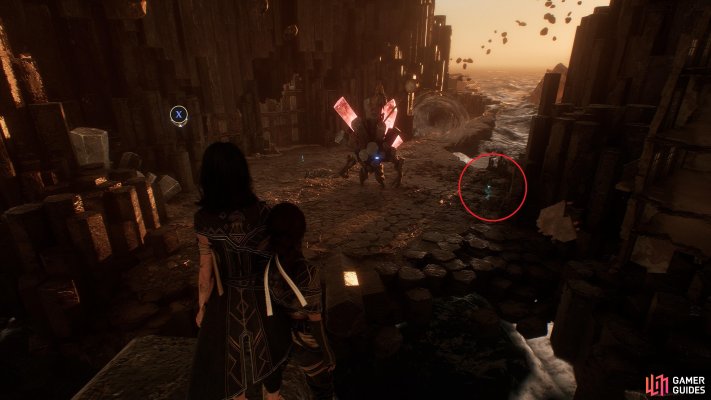
Expedition 54
View on mapFound next to the
 Chromatic Hexga. It is possible to grab the journal without fighting the boss.
-
14
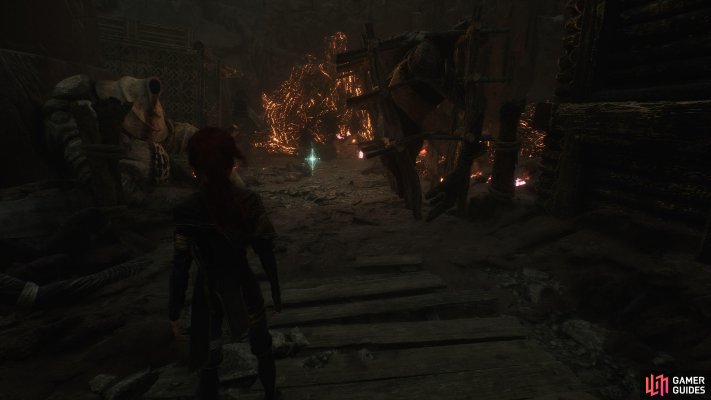
Expedition 41
View on mapTurn right at the Fading Woman and go into the trench. Look to your left after passing under the wooden bridge to find this journal.
-
15
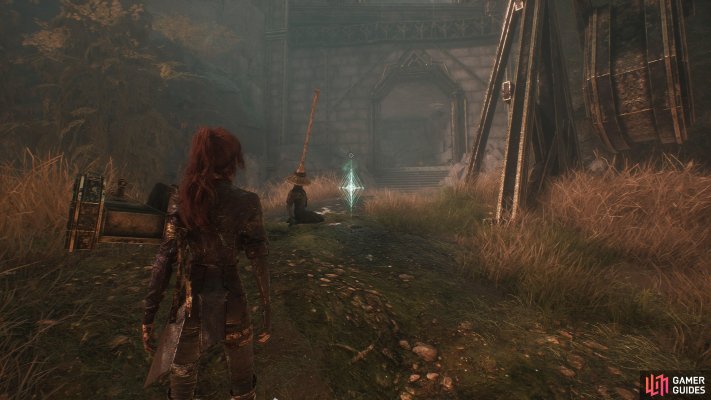
Expedition 57
View on mapBy a corpse wearing a trumpet on its head. Very stylish. You’ll find it in the area beyond the trench behind the Fading Woman.
-
16
-
17
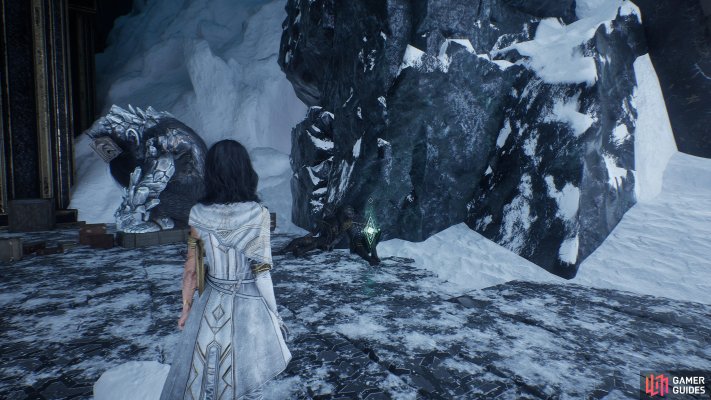
-
18
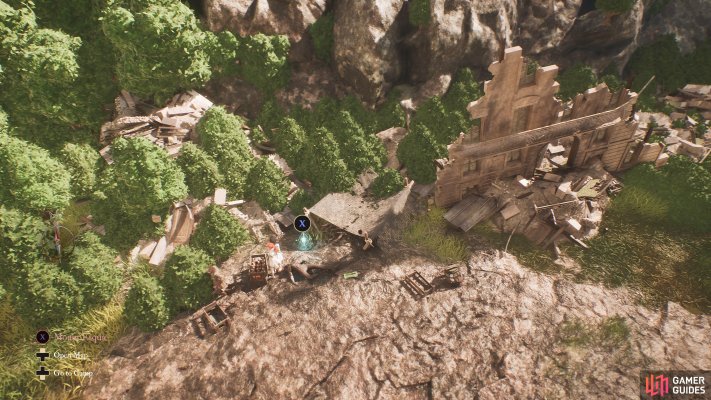
-
19
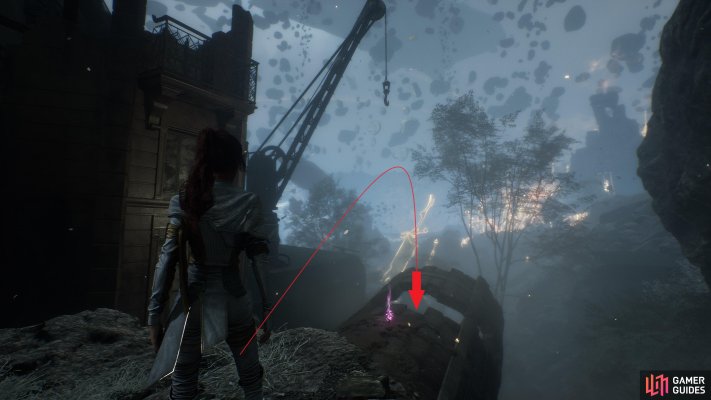
Fracture Survivor
View on mapAfter the
 Left Street Expedition Flag, head through the broken archway and look to your right. You’ll see a crane hook overhead, and a large broken pipe jutting out of the wall with a glowing purple item pickup perched on it. Grab the item then drop into the the pipe through the hole.
Turn around and you’ll see a corpse and a journal behind locked metal gate. You’ll need the
 Old Key to open it and snag the journal inside. If you didn’t get the key during the Prologue, unfortunately it’s too late… for this playthrough. Remember this one for new game plus.
-
20
-
21
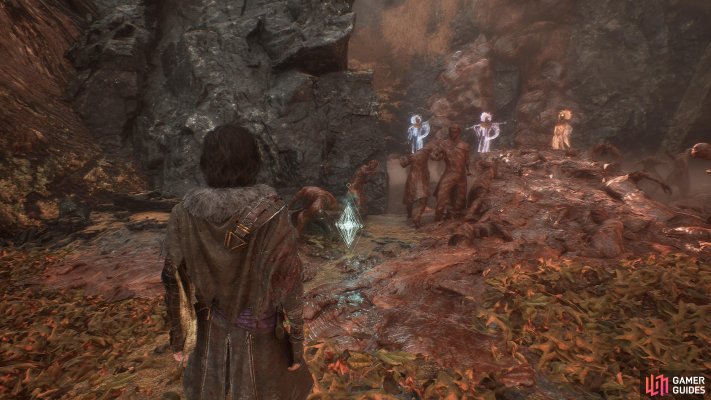
Expedition 35
View on mapFrom the Lady of Sap on the lower level, take a right and climb up to the area above using the handholds. Look to the left and you’ll see this journal at the foot of a bridge created from human corpses. It’s probably fine, right?
-
22
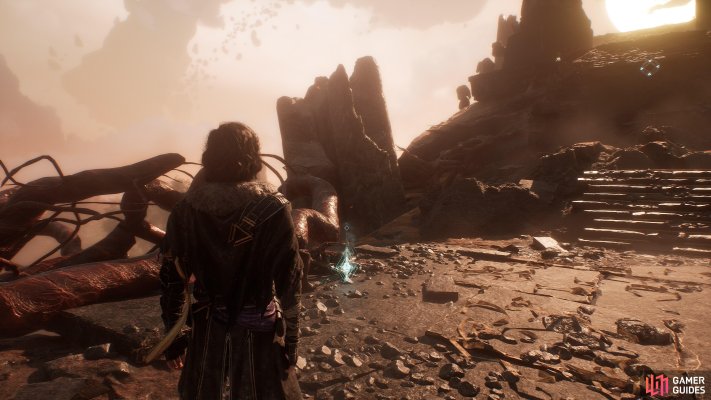
Expedition 49
View on mapSpeak to the young boy standing in front of the closed door on the right side of the
 Resinveil Grove. He will request that you go to the Lady of Sap and ask her a question.
Head to the lower level and speak to the Lady of Sap, ask her the question, then return to the boy. He will open the door for you.
Go through the door, follow the path around, and use the rope to climb to the peak. At the top, you’ll find this journal that gives you some helpful info about the impending boss fight…
-
23
-
24
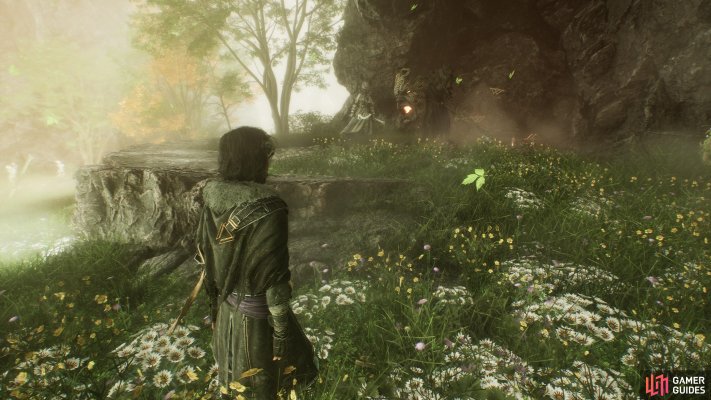
Expedition 69
View on mapFrom the
 Joy Vale flag, hug the left-hand wall and make your way around the area until you see two enemies joyfully dancing around on a raised outcrop. Shame to break up the party, but they’re guarding the journal.
-
25
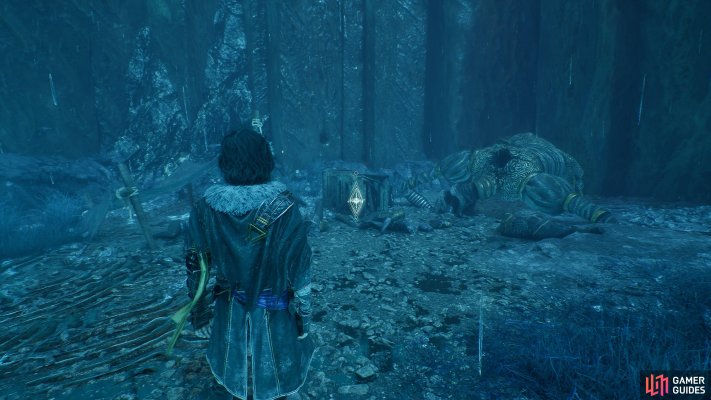
Expedition 39
View on mapFrom
 Sadness Vale, go downhill a little and take a right. You’ll see two paths. Take the one on the left and follow it uphill. The path splits again past the group of enemies. Hop up onto the rocky ledge to the right and you’ll find this journal at a little campsite.
-
26
-
27
-
28
-
29
-
30
-
31
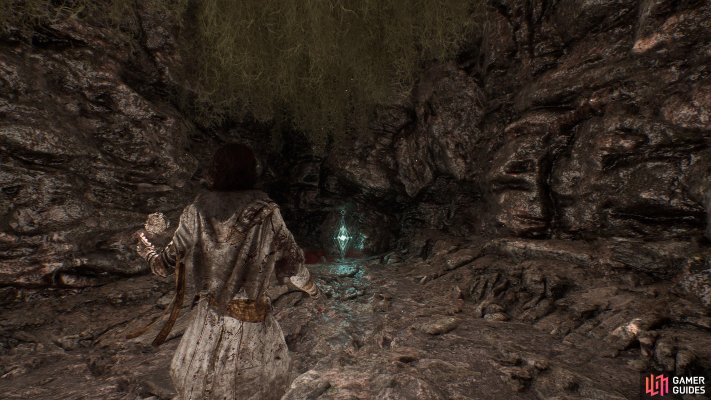
Expedition 45
View on mapAfter defeating the
 Giant Sapling, zip up the rope and you’ll see this ahead of you, in the same cavern as the
 Colour of Lumina.
-
32
-
33
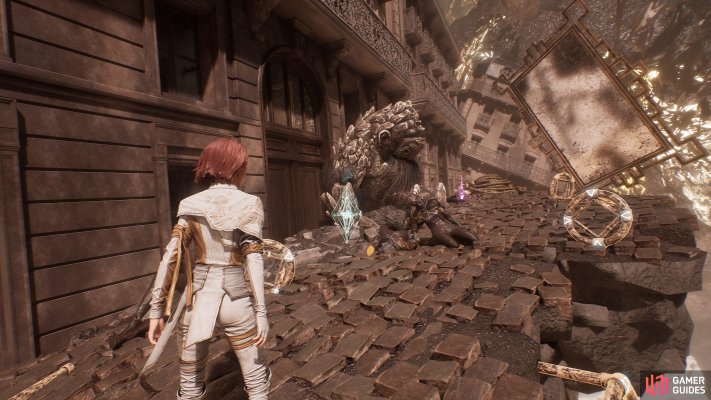
Expedition 70
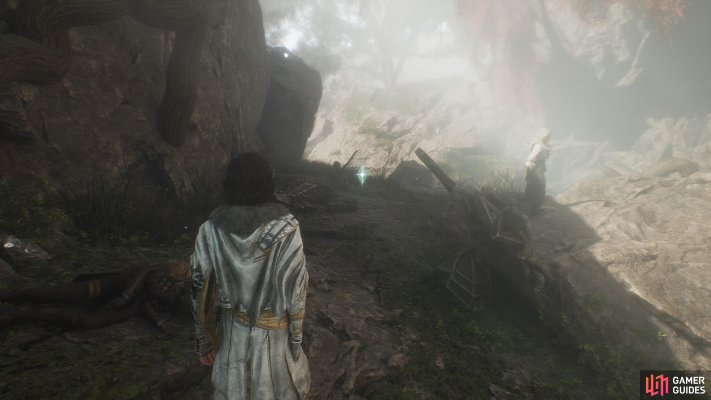
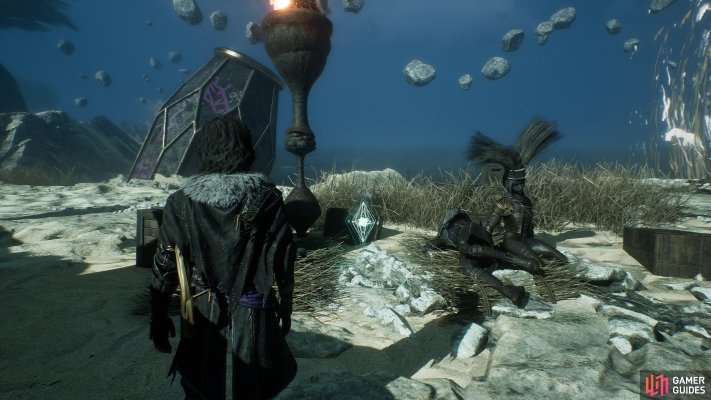
View on mapAfter the monochrome section, head forward into the plaza with the large golden tree in the middle. Hug the right wall until you find an opening. Grapple over and defeat the enemies. You’ll find this journal just past them, around the corner.
-
34
-
35
-
36
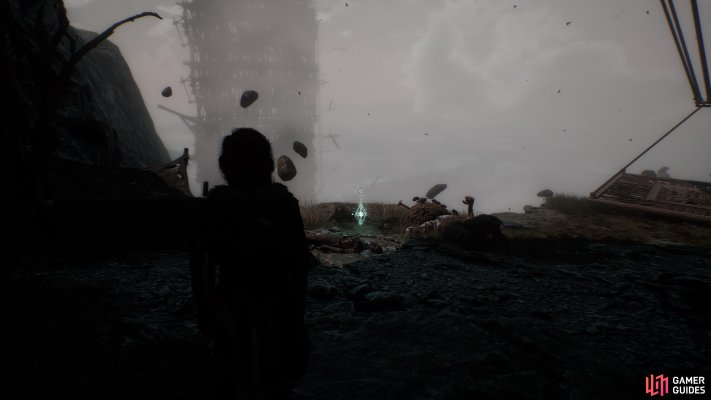
Expedition 61
View on mapFrom the
 Foggy Area flag, go down the sloping path, then when you reach the grassy area, go right up the hill and follow the path around. You’ll find another hot air balloon at the end of the path, and the journal just to the left.
-
37
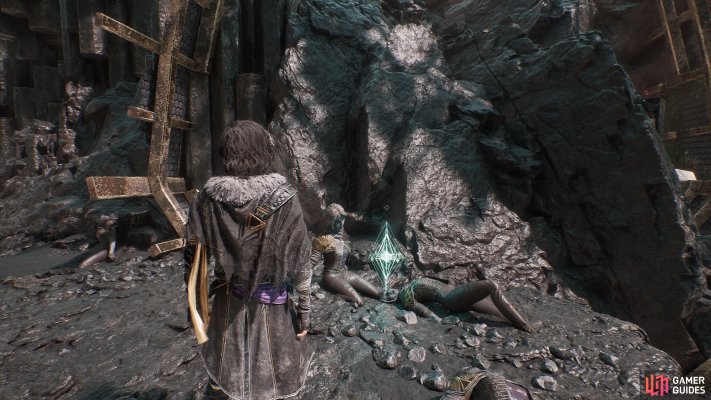
Expedition 78
View on mapFrom the entrance flag, hug the right wall and look for a rope. You’ll find the journal at the top.
-
38
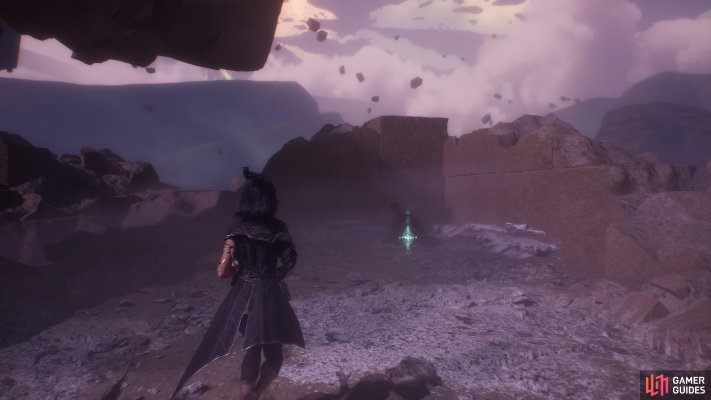
-
39
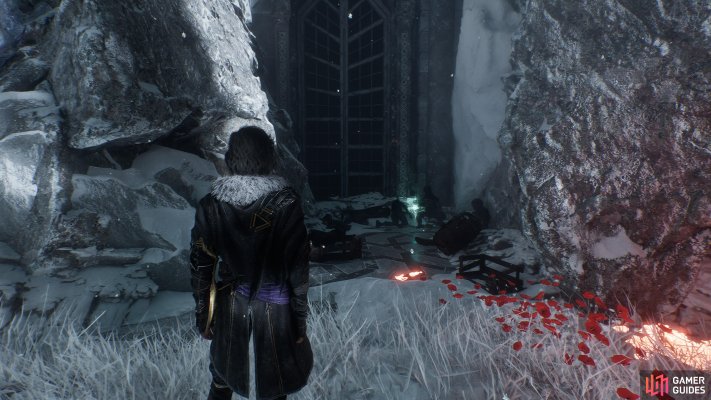
-
40
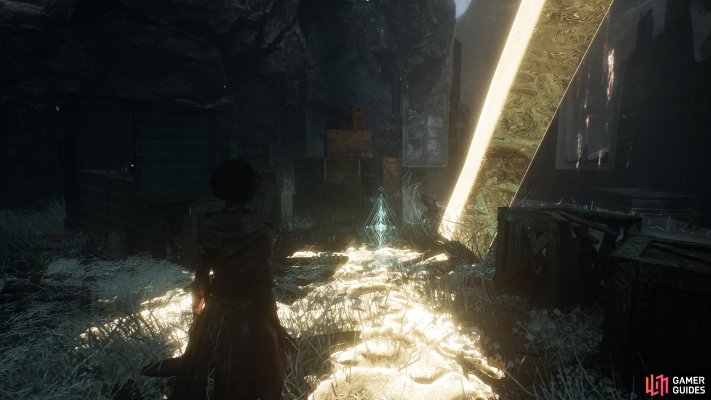
Expedition 42
View on mapReturn to
 Old Lumière (North Entrance) and take the left path. Drop down the rope just up the hill ahead to find it.
-
41
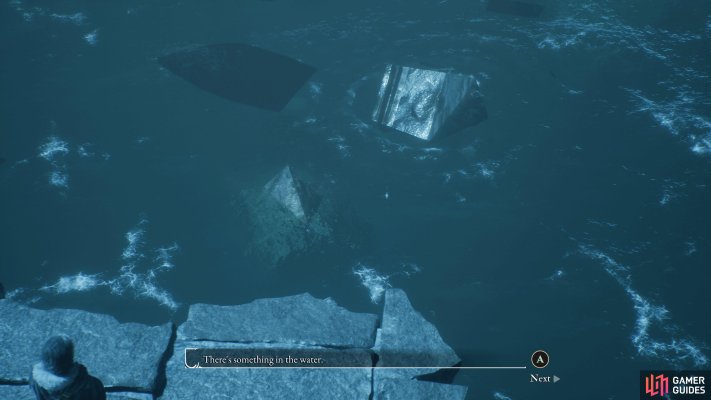
Expedition 60
View on mapWhen you reach the entrance to the
 Opera House, go to the right (when facing the entrance) and you can interact with the water to get Esquie to bring it to you.
-
42
-
43
-
44
-
45
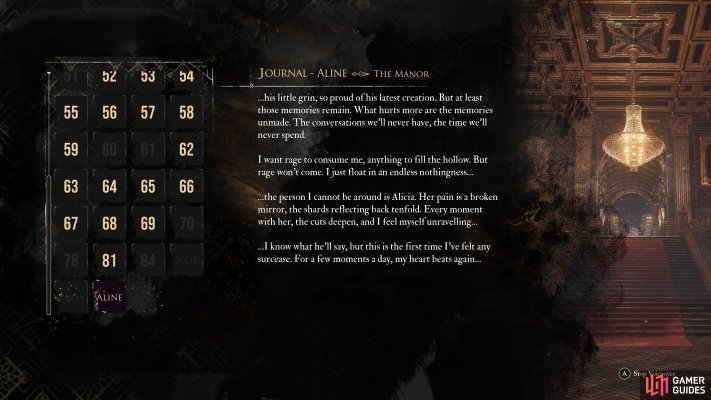
Aline's Journal
View on mapEnter
 The Manor through the entrance in the
 Tainted Battlefield area to find this.
-
46
-
47
-
48
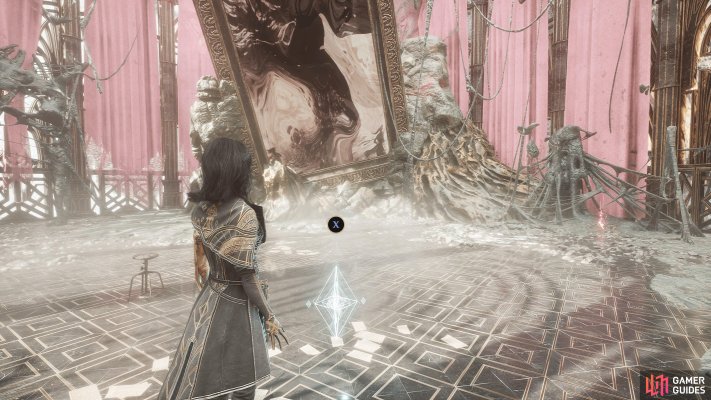
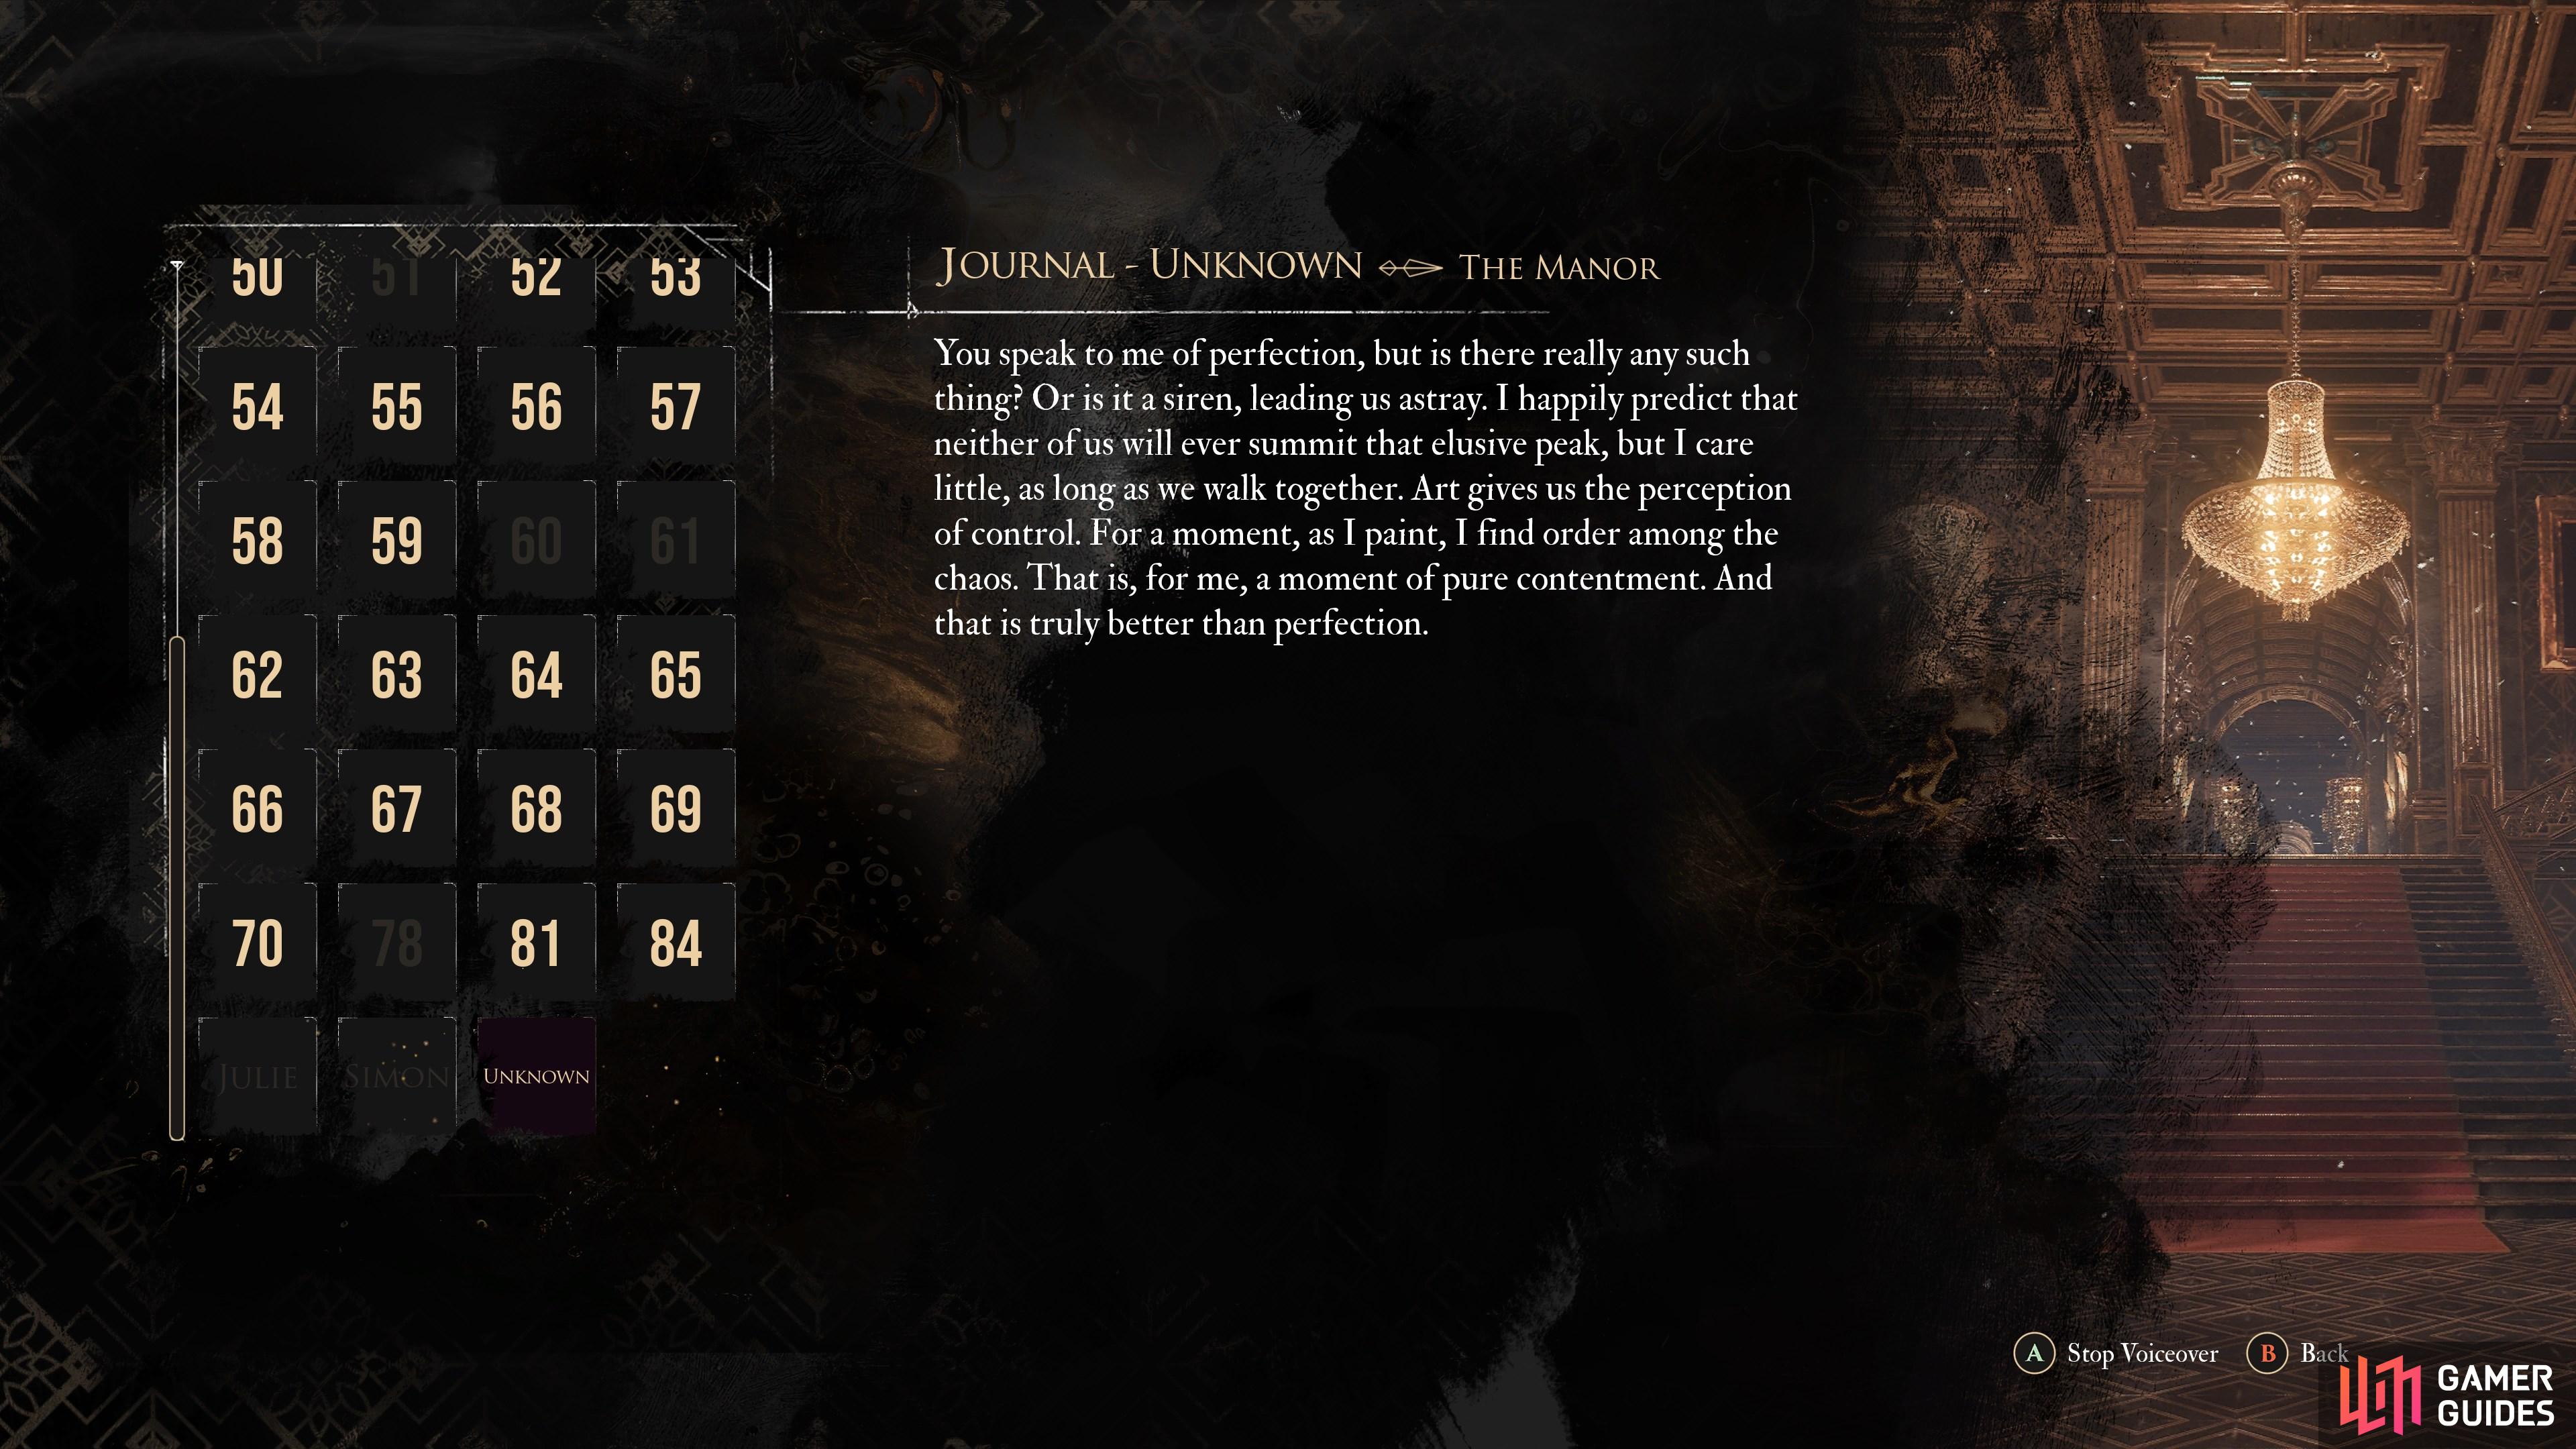
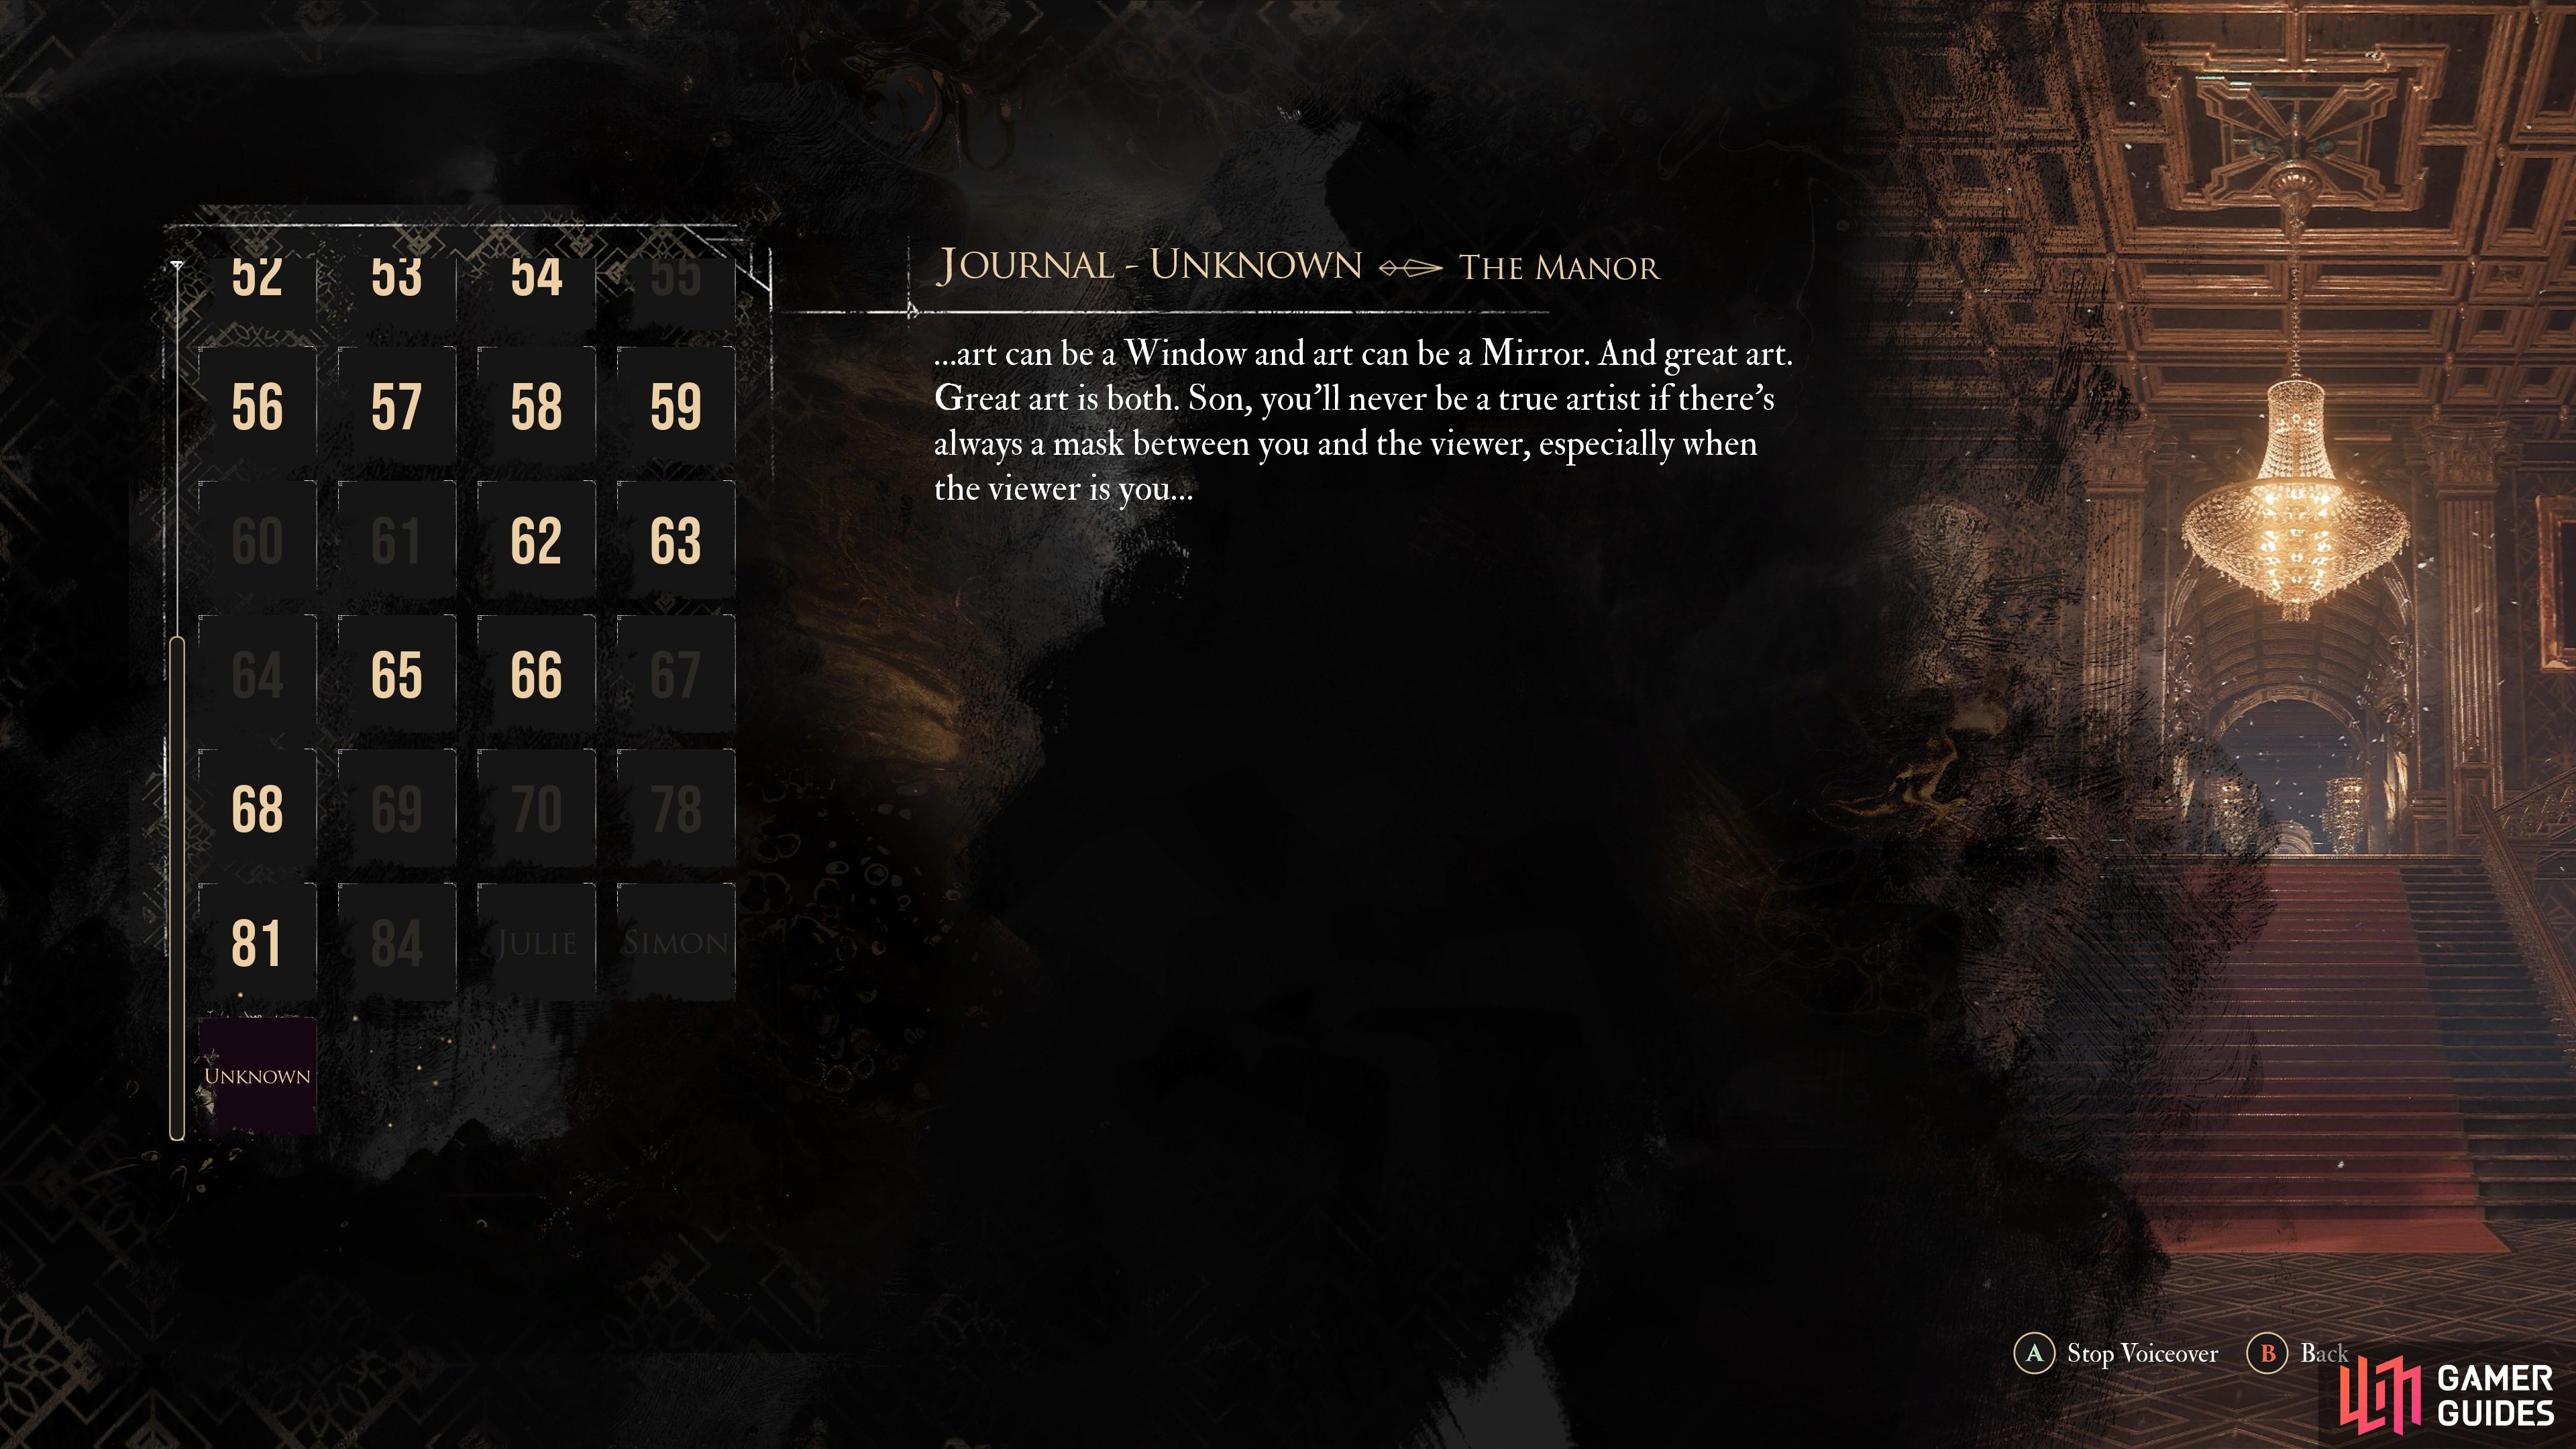
Unknown (3)
View on mapUse the
 Manor Family Canvas on the empty picture frame on the staircase by the
 Entry Hall flag. This will unlock the door at the corridor in the dining room where you will find the journal.
-
49
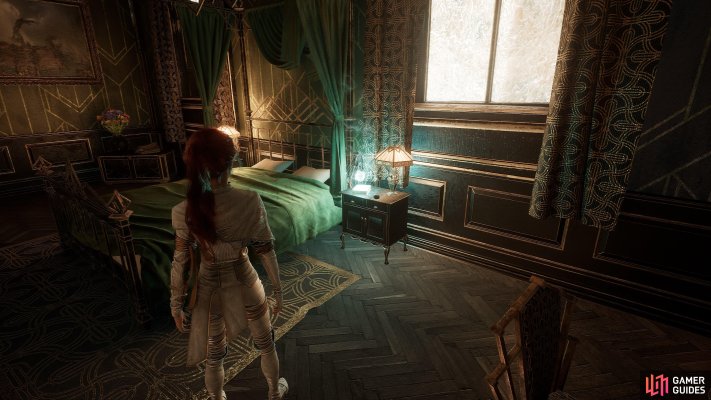
Renoir's Journal
View on mapBy the bed in the bedroom accessible via the
Old Lumière Manor entrance.





No locations match this filter.