0 of 228 collected
Checklist complete: 228 of 228 locations collected.
Sign in to save your progress across every device.

-
1

-
2

Critical Burn
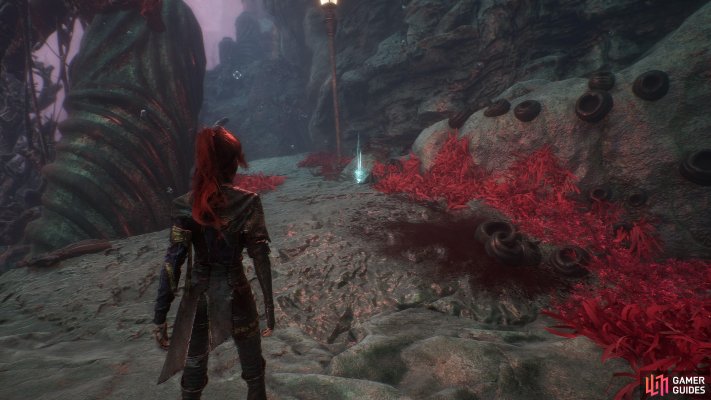
View on mapTurn right at the lamppost in the area immediately after your first fight with two
 Lancelier. You’ll find this at the end of a crevice in the rocks next to a corpse.
-
3

-
4

Burning Shots
View on mapAfter exiting the cave where you found the Nevron, Jar, hug the left wall and follow the path round to a cliff edge.
-
5

-
6

Empowering Attack
View on mapAt the edge of a cliff to the left of the red “33” message, close to the area exit.
-
7
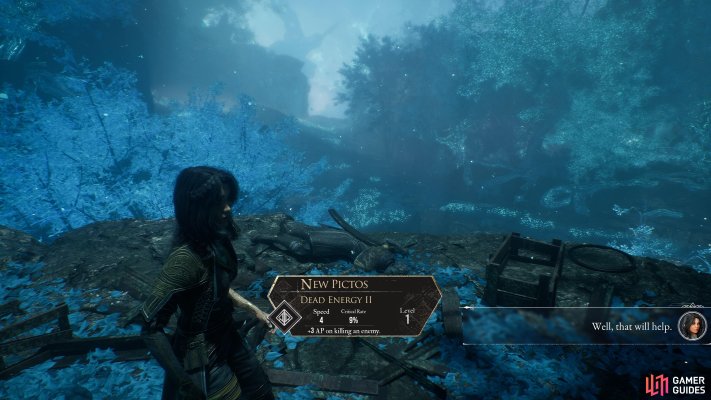
Dead Energy II
View on mapTake a right after the path forks when you exit the Jar the Nevron’s cave.
-
8
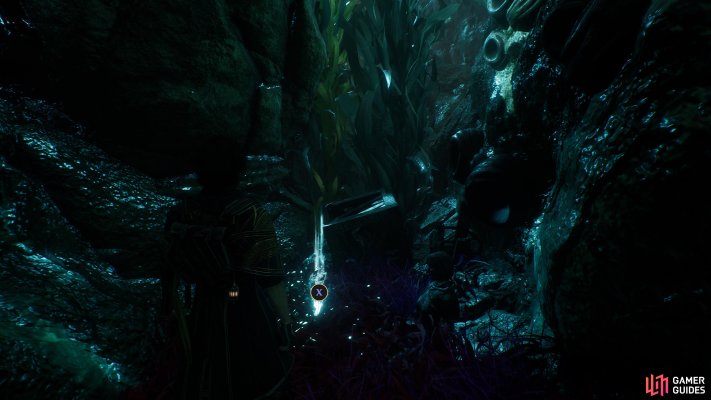
SOS Shell
View on mapTake a left immediately after entering
 Flying Waters from the Overworld Map and follow the path between the reeds.
-
9

Marking Shots
View on mapFight the two
 Luster guarding it. To find them, follow the path up and to the left after your first encounter with a Luster.
-
10

Exposing Attack
View on mapFight
 Noco the merchant to unlock the ability to buy this from his inventory.
-
11

Augmented Aim
View on mapHigh above the entrance to the sunken ship. Look for some hand holds on the nearby corkscrew pillars. Climb up and use your grapple to reach this ledge.
-
12

-
13

-
14

Versatile
View on mapDefeat the
 Bruler standing on the building in the
 Lumièran Streets then look for the grapple point in this image. The Pictos is on the roof of the adjacent building.
-
15
-
16

-
17

-
18

Burning Mark
View on mapFollow the stream from the Entrance flag to a cliff. Use the hand holds on the rock wall to climb down.
-
19

Energising Start II
View on mapIn the area past the crawlspace in
 Sanctuary Maze, use the handholds to climb a rock wall then follow the path around.
-
20

-
21

-
22

Stun Boost
View on mapAfter fighting
 Ultimate Sakapatate, look for a crawlspace on the right-hand side of the arena. You’ll find this Pictos inside.
-
23

Stun Boost
View on mapAmong the barrels and crates in the arena where you fight
Ultimate Sakapatate. -
24

Roulette
View on mapSpeak to the Gestral Gambler behind the wooden board at the casino entrance and answer his question with, “I don’t care”.
-
25

-
26

Healing Mark
View on mapAvailable for trade from
 Eesda. Go down the shady back-alley at the market and defeat Eesda in combat to unlock him as a trader.
-
27

-
28
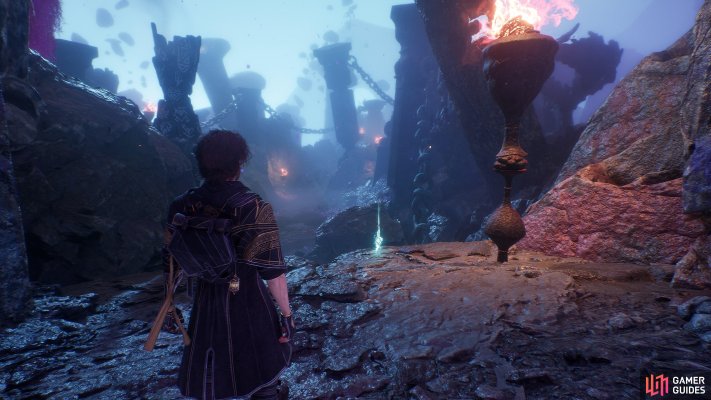
Energising Start III
View on mapOn the ledge as you exit
 Esquie’s Nest via the top exit. You’ll have seen this glittering away as you entered this area. Isn’t that satisfying?
-
29

-
30

-
31

-
32

-
33

Death Bomb
View on mapIn
 Harvester’s Hollow, hug the right wall and you’ll find this down a path between the rocks with a tent at the end.
-
34

-
35

-
36
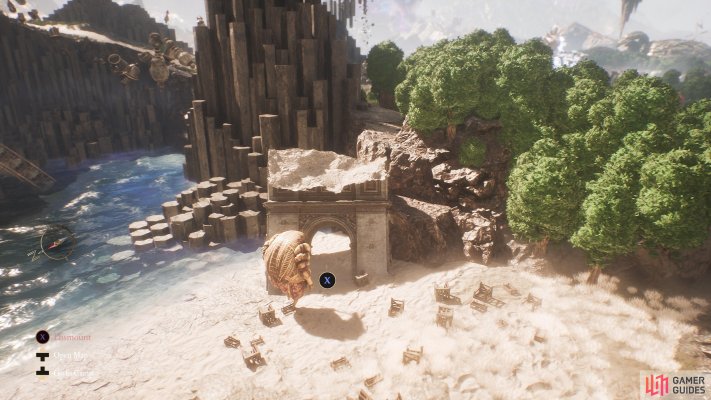
Energising Start I
View on mapOverworld Map: Under the ruined arch on the beach. Summon Esquie to traverse to Rocky Terrain to reach it.
-
37

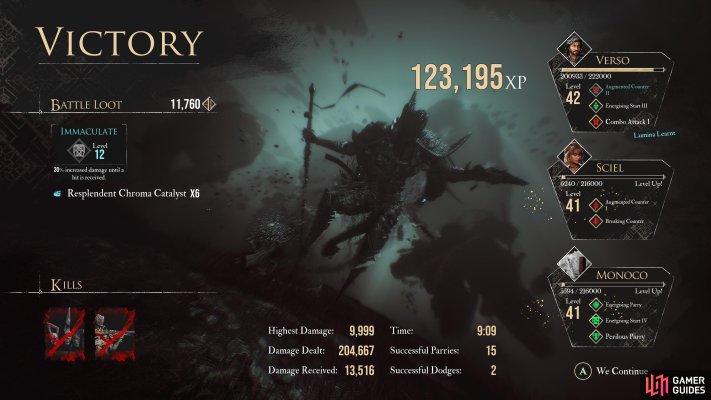
Augmented Counter I
View on mapBattle Loot from the
 Bourgeon. If you already have the Pictos, it will be upgraded to level 8 if yours is lower level.
-
38

-
39

-
40

-
41

-
42

First Strike
View on mapClimb the rocks on the right of the first area that you find the cultist enemies. You’ll find this on an old, ruined fireplace past a
 Greatsword Cultist.
-
43

SOS Power
View on mapAround the back of this strange rock in the cavern down the hill from the
 Paintress Shrine flag.
-
44

Breaking Shots
View on mapIn the
 Tide Caverns, descend the long rope then make your way to the back of the cavern.
There is a raised outcrop at the back where you will find a small platforming challenge. Jump across the stone pillars to grab this Pictos as your reward.
-
45

Auto Shell
View on mapFind three
 Rock Crystals and retrun them to the
 Hexga just outside the entrance to the Tide Caverns. You will be rewarded with this Pictos.
-
46

Perilous Parry
View on mapDefeat the Gold Chevalier at the bottom of the
Tide Caverns. You’ll be rewarded with this Pictos. -
47

Enfeebling Mark
View on mapIn the
 Flooded Buildings area, follow the carpet of red flowers and take a left just before the floating lanterns. Look for the building with the collapsing staircase and climb up, jumping over the gaps to ascend.
On the rocky cliff above, look for a grapple point on the left and zip over to pick this up.
-
48
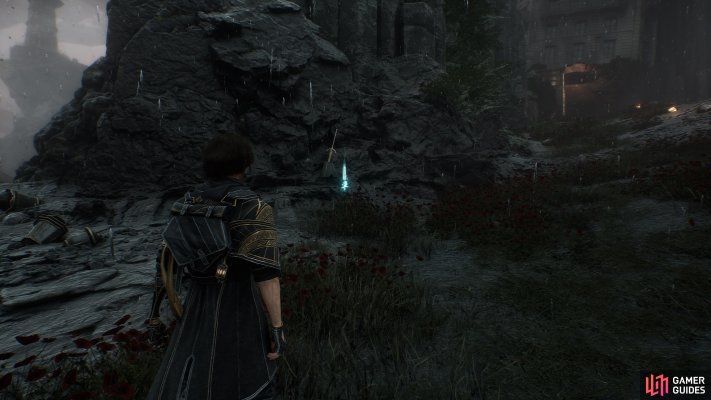
Healing Tint Energy
View on mapFrom the
Flooded Buildings flag, follow the path of red flowers and floating lanterns.You’ll find this in the area with the patrolling Hexga enemy. -
49

At Death's Door
View on mapBattle Loot from defeating the
 Lampmaster, a boss at the end of the area.
-
50

Defensive Mode
View on mapReturn to
 Stone Wave Cliffs in Act 2 to grab this. Enter through the back entrance (on the Beach) and you’ll find it next to the portal.
-
51

Exhausting Power
View on mapFound next to the
 Chromatic Hexga. It is possible to grab the Pictos without fighting the boss.
-
52

Confident
View on mapThe
Hexga in this encounter will drop this Pictos. If you already have it, the one in your inventory will level up if it is lower level. -
53

Confident
View on mapOverworld Map: The
Hexga in the nearby encounter will drop this weapon. If you already have it, the one in your inventory will level up if it is lower level. -
54

-
55

Longer Shell
View on mapDrops as Battle Loot from your first encounter with the
 Chalier enemies in normal play (not the scripted encounter at the start).
-
56

Energising Start IV
View on mapIn the trenches on the right side of the battlefield after going through the huge portcullis.
-
57

Sweet Kill
View on mapTo the left of the
 Main Gate, up on a raised area. You’ll need to go through the trench on the left-hand side of the battlefield, then climb the steps and cross the wooden bridge.
-
58

Energising Death
View on mapFrom the
 Fort Ruins flag, cross the handholds then proceed into the next area. Go past the glowing rock and climb the staircase into the ruined building with the pillars on your right. This Pictos is hidden on the other side of the left-hand doorway.
-
59

-
60

Empowering Tint
View on mapAt the Fading Woman near the
 Battlefield flag, turn right and enter the trench. Hug the right-hand wall and you’ll find a rope. Climb up to find this Pictos.
-
61

-
62

-
63

Revive Tint Energy
View on mapCross the
 Ancient Bridge and look for a small ruin on a rocky hill surrounded by golden trees. You’ll find the Pictos on the ground by the ruin.
-
64

Healing Parry
View on mapComplete the
 Troubadour’s three trials to receive this. If you already have this Pictos at a lower level, it will be upgraded.
-
65

-
66

-
67

Longer Shell
View on mapOverwold Map: Drops as Battle Loot from the
Chalier in the nearby Overworld Encounter. If you already have this Pictos at a lower level, this drop will upgrade it. -
68

Breaking Burn
View on mapOverworld Map: You’ll need to defeat the
Bourgeon standing in fornt of this Pictos in order to reach it. -
69

Augmented Counter I
View on mapOverworld Map: Battle Loot from the
Bourgeon nearby. If you already have this Pictos at a lower level, this drop will upgrade it. -
70

-
71

Protecting Heal
View on mapYou’ll receive this Pictos as a reward for bringing the
 Wood Boards to the talking orb.
-
72

-
73

-
74

Auto Rush
View on mapIn the solo
 Maelle section, take a left after the melting bridge. You’ll find three
 Ceramic Chevalière standing over this Pictos. It’s a tough fight without your party, but Maelle can handle it. Take them out and grab your prize.
-
75

-
76

SOS Rush
View on mapFrom the Lady of Sap on the lower level, take a right and climb up to the area above using the handholds. Look behind the massive tree stump to the right and you’ll find this Pictos.
-
77

-
78

-
79

Double Burn
View on mapStarting at the
 Anger Vale flag, jump down off the ledge and hug the right wall. You’ll soon enter a cave where the path will split. Take the left path and you’ll see a group of enemies standing over this Pictos. Take them out and claim your prize.
-
80

Powered Attack
View on mapFrom the
Anger Vale flag, head towards the gaping mouth in the distance but take a left down the rocky crevice. You’ll see a rope on the left and the Pictos in front of you. Watch out, though, because on the right is a  Contorsionniste, and it will charge at you when it sees you. Hug the wall to the right and get the jump on it instead. You can grab the Pictos when you’ve taken care of business.
-
81

Confident Fighter
View on mapFrom the
 Joy Vale flag, head towards the giant mask in the distance, but take a right before you reach it and head up the ridge instead. There’s a
 Boucheclier enemy up there, but you’ll also find this Pictos under a tree around the corner.
-
82

-
83
-
84

Shield Affinity
View on mapIn the room opposite where you find the
 Expedition 55 journal, take the rope down to the level below. At the bottom, use the grapple point and head down the stairs. You’ll find a paint cage on the left at the bottom.
You’ll see two of the three locks almost immediately. One, above the cage to the left, the second, on the top of the pillar behind the cage. To find the third and final lock, tun around and head over to the floating disc elevator, then turn to face the staircase you came down a moment ago. You’ll see the lock hidden by the rubble pile to the left. Destroy the locks and snag your prize.
-
85

-
86

Greater Shell
View on mapIn the room opposite where you find the
Expedition 55 journal, take the rope down to the level below. At the bottom, use the grapple point and head down the stairs. Take a ride on the floating disc elevator. You’ll find this at the end of the area ahead, past the patrolling  Ballet enemies.
-
87

Powerful On Shell
View on mapBattle Loot from the Bénisseur found in the area with the flowing fabric pathways.
-
88

Auto Regen
View on mapIn the area with the flowing fabric pathways, jump all the way down to the bottom. You’ll find this in the center among some corpses. Don’t worry, you can climb all the way back up.
-
89

Protecting Death
View on mapLook for this small step with an archway above it in the area just past the Fading Man. Hop up on the step and grab the Pictos.
-
90
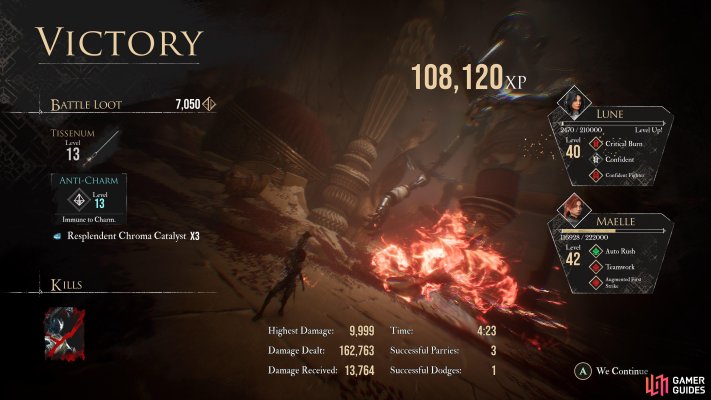
Anti-Charm
View on mapIf you choose to attack the
 Tisseur, you’ll receive this Pictos when you defeat it.
-
91

Healing Fire
View on mapFrom the
 Crumbling Path flag, hug the right wall and go around ruined wall towards where
 Sirène is singing. You’ll find a rope that will drop you down onto a hidden path. Follow the path and use the grapple point; you’ll eventually find a crawlspace that will take you to this very helpful Pictos. Once you’ve snagged it, look for another grapple point nearby to zip you back over to where you started.
-
92

-
93

Confident
View on mapOverworld Map: Battle Loot from the
Hexga in the nearby Overworld Encounter. If you already have this weapon at a lower level, this drop will upgrade it. -
94

-
95

Augmented Counter I
View on mapOverworld Map: Battle Loot from the nearby
Bourgeon. If you already have this Pictos at a lower level, this will level up the one in your inventory. -
96
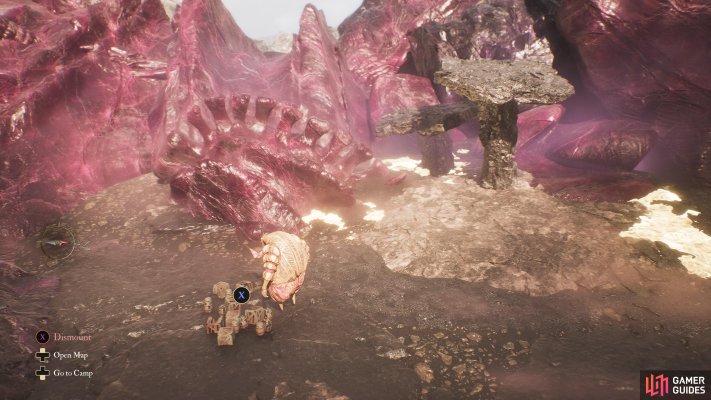
-
97
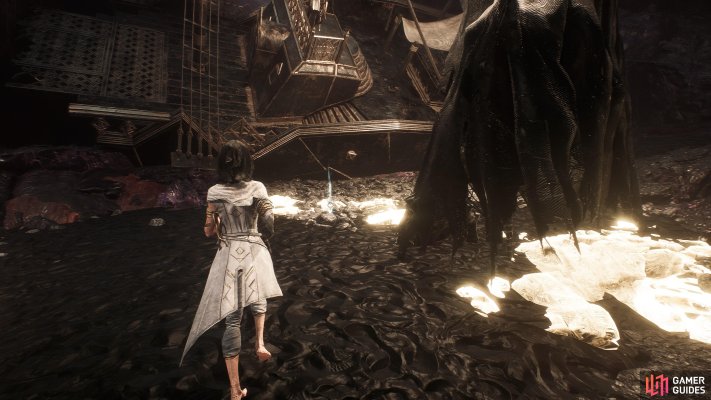
In Medias Res
View on mapGuarded by
 Noire enemies. You can kite them around to grab the Pictos if they’re too powerful to fight.
-
98

-
99

-
100

-
101

-
102

Energising Pain
View on mapOverworld Map: Battle loot from the
Greatsword Cultist in the nearby Overworld Encounter. -
103

-
104

-
105

-
106

Random Defense
View on mapIn the paint cage in the
 Tainted Sanctuary. You can find it through the crawlspace towards the end of the area.
There are three locks as usual. The first is on the huge stone column in the center of the area. The second is in the area just below, behind the golden Gestral with its arms folded. The third is behind the Black Rock near the cage. You need the Paint Break skill from collecting
 Lost Gestrals to break it.
-
107

-
108

Weakness Gain
View on mapIn the final section where you fight the
Hexga, look behind the large rock on the right, before you go through the pot. -
109

-
110

-
111

-
112

-
113

-
114

-
115

Perilous Parry
View on mapBattle Loot from
 Gold Chevalière, and the
 Chromatic Gold Chevalière in the area.
-
116

-
117

-
118

Base Shield
View on mapDefeat the four bosses in
 The Chosen Path, then collect this Pictos as your reward in the room at the end.
- 119
-
120

Draining Cleanse
View on mapAfter grappling over the large gap, past the hot air balloon, climb down the rope and look for the two
 Orphelin guarding this Pictos.
-
121

-
122

Longer Shell
View on mapFrom the
 Mountain flag, go uphill and turn right after the crashed hang glider. Platform your way over to the Pictos you can see on the other side of the rickety path.
-
123

Charging Attack
View on mapWhen you reach the hot air balloon ride in the
Mountain area, turn left instead and look for some handholds. Climb up all the way up this path and turn left and you’ll see a fading man. Chat to him if you feel like it (he’s a bit of a downer, though) then look for a grapple point behind him.Zip over and keep your eyes peeled for a crawlspace beneath the rock pictured here. Crawl through and drop down to the left to find this Pictos. Drop down again to get back to the Mountain flag area.
-
124

Protecting Tint
View on mapFrom the
 Foggy Area flag, go down the sloping path, then turn right immediately at the bottom. You’ll see this Pictos at the end of a plank.
-
125

-
126

Healing Boon
View on mapFrom the
Foggy Area flag, go down the sloping path, then when you reach the grassy area, hug the left wall and go downhill. Follow the path onto some wooden beams and go around the corner. On your right, you’ll see a rope. Zip down and take a ride on the hot air balloon you find at the bottom.It drops you off back at the
 Ladder Area, but in a location you couldn’t reach before. Just ahead there is a grapple point. Grapple over and then look for another grapple point on the other side of the platform, where you can see a rope leading down.
Zip over there and descend the rope. You’ll find the Pictos at the bottom. Phew! You’d better use it after all that effort.
-
127

-
128

-
129

-
130

-
131

-
132

-
133

- 134
-
135

Longer Rush
View on mapOverworld Map: In a small campsite. You’ll need the Flight skill to reach it.
-
136

-
137

Burning Break
View on mapUphill from the
 Glacial Falls flag on a rock column. You’ll need to jump over to grab it.
-
138

Burn Affinity
View on mapAs you are climbing the handholds up the railway track, clamber over the train on the right. Drop down on the icy platform and look out over the edge of the cliff to find a train carriage with a grapple point. Zip over and go down the rope to find this Pictos.
Credit to GG user Valdarak for the correction.
-
139

-
140

Energising Death
View on mapBring the
 Eternal Ice back to the
 Grandis Merchant to unlock this for trade.
-
141

Greater Rush
View on mapBring the
Eternal Ice back to the Grandis Merchant to unlock this for trade. -
142

-
143

-
144

-
145

-
146

-
147

-
148

-
149

-
150

-
151
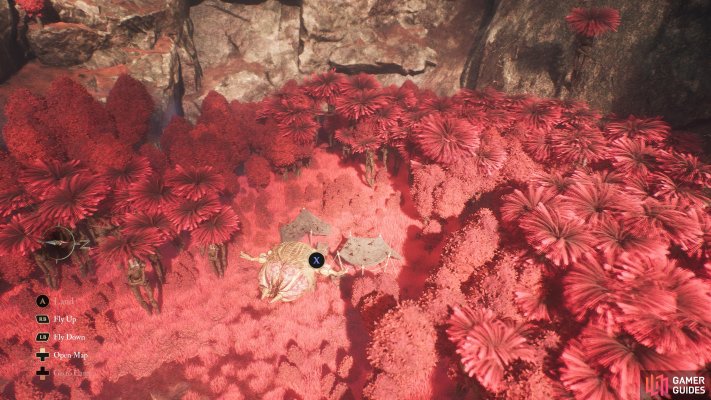
-
152

-
153
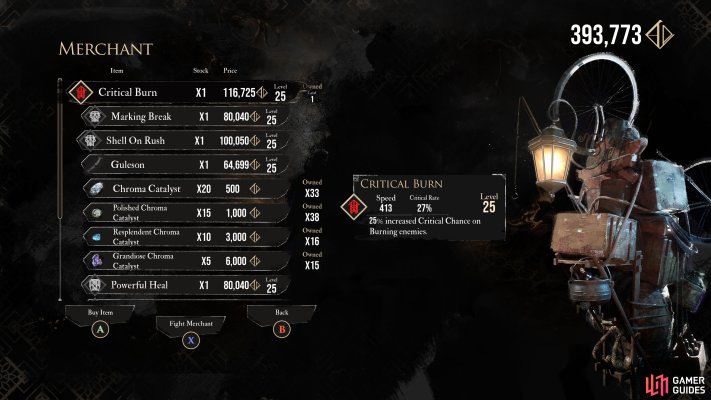
-
154

-
155

-
156

-
157

-
158

-
159

-
160

-
161

Energising Parry
View on mapAvailable from the
 Gestral Merchant in
 Sacred River. After you’ve given him a pummeling, anyway.
-
162

Solidifying
View on mapAvailable from the
Gestral Merchant in Sacred River. After you’ve given him a pummeling, anyway. -
163

Double Burn
View on mapAvailable from the
Gestral Merchant in Sacred River. After you’ve given him a pummeling, anyway. -
164

Rewarding Mark
View on mapAvailable from the
Gestral Merchant in Sacred River. After you’ve given him a pummeling, anyway. -
165

Stun Boost
View on mapAvailable from the
Gestral Merchant in Sacred River. After you’ve given him a pummeling, anyway. -
166

-
167

Glass Canon
View on mapAvailable from the
Gestral Merchant in Sacred River. After you’ve given him a pummeling, anyway. -
168

Empowering Attack
View on mapAvailable from the
Gestral Merchant in Sacred River. After you’ve given him a pummeling, anyway. -
169

Revive Tint Energy
View on mapAvailable from the
Gestral Merchant in Sacred River. After you’ve given him a pummeling, anyway. -
170

Burning Shots
View on mapAvailable from the
Gestral Merchant in Sacred River. After you’ve given him a pummeling, anyway. -
171

-
172

Energising Turn
View on mapAvailable from the
Gestral Merchant in Sacred River. After you’ve given him a pummeling, anyway. -
173

-
174

Powerful Revive
View on mapInside the paint cage in the area to the right of the
 Dualliste, over the grapple point. The three locks are fairly easy to spot around the arena. You know the drill by now.
- 175
- 176
-
177

Energising Stun
View on mapFound in a paint cage. Two of the three locks are easy to spot close by, the third is hiding behind a Black Rock that you’ll need the Pain Break skill to smash.
From the Central Plaza, head to the right-hand side and jump up on the huge painting frame. Far off in the distance, you’ll notice a grapple point that will bring you to this area.
-
178

Roulette
View on mapAt the back of the room where you fight
 Évêque there is a small doorway leading to the room where you’ll find this Pictos.
-
179

Painter
View on mapUp on the broken walkway in the area where you fight
Évêque. Use your grapple to reach it. -
180

Empowering Break
View on mapFrom the Central Plaza, take the elevator up then descend the nearby rope. You’ll din this Pictos in the area below, behind the patrolling
 Cruler.
-
181

-
182

-
183

- 184
-
185

Charging Burn
View on mapAt the end of a broken walkway, accessible from the roof where you find
 Grour. There’s a grapple point on the side of the building.
-
186

Charging Critical
View on mapFrom the roof where you find
Grour, hop over the floating platforms to find this Pictos. -
187

Rush On Powerful
View on mapFrom the
 Golden Tree flag, go up hill, but instead of going through the exit leading to
 The Abyss, head left and look out for the grapple point on the building behind the exit portal. Grapple up and make your way around the path to find this.
-
188

-
189
Energising Powerful
View on mapClimb the rope at the end of the
 Harbour and take a right. Grapple over the rooftop and return to the place from the very beginning of the game.
-
190

-
191

Healing Stun
View on mapExit the
 Opera House, then use the two grapple points. Hug the edge of the right path to find a trio of enemies guarding the Pictos.
An identical version of this can be found by heading left after the grapple points instead. If you collect both, the second will be converted to 1,520
 Chroma.
-
192

Gradient Fighter
View on mapUp some steps on the left side of the gardens. Two
 Aberrations will spawn at the bottom of the steps as you approach.
-
193

-
194

-
195

-
196

-
197

-
198

-
199

Rejuvenating Revive
View on mapAfter you gain the Paint Break ability, return to the
 Old Farm flag and go to the far end of the chamber with the wooden huts. You’ll find the black rock in a rocky crevice. Smash your way through and you’ll find the a boss wandering around the area beyond, and this Pictos hidden behind a hut on the left-hand side.
-
200

-
201

Piercing Shot
View on mapBreak the Paint Spike at the
Sanctuary Maze area (you need the Paint Break skill first), then progress to the next area. At the  Gestral Totem flag, push forwards and follow the water between the rocks to find this.
-
202

-
203

-
204

-
205

-
206

Healing Death
View on mapWarp to the
 Manor Gardens flag and take a right up the hill. Push forward and use two grapple points, then climb the ladder. Use another two grapple points ahead, tthen climb the handholds up the rock to your right to find this area above. The Pictos waits ahead.
-
207

-
208
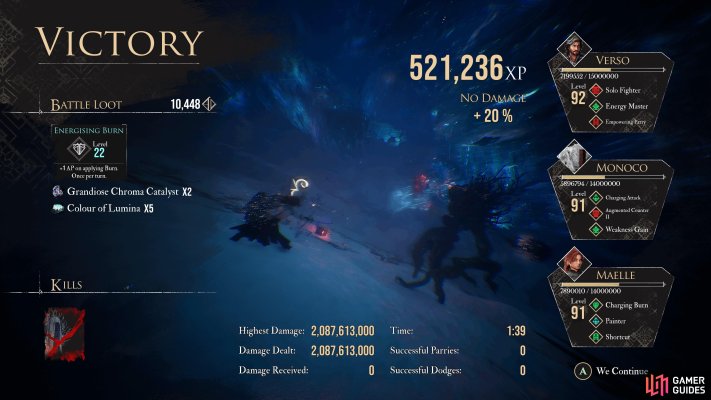
-
209

Anti-Freeze
View on mapIn the icy cave where the
 Chromatic Veilleur lives, go down the icy corridor guarded by two
 Braseleur. On the other side, there is a paint cage on the left.
The three locks are easy to spot: one is directly above, you’ll see the second on the stalagmites if you turn around, and the third is on the crane overhead.
-
210

-
211

-
212

-
213

Quick Break
View on mapAt the fork in the path after the entrance, go left and grapple up to reach an open area. You’ll see this Pictos in the gaping mouth of a huge head statue, guarded by a trio of enemies. Take them out to grab the prize.
-
214

-
215

Energising Attack I
View on mapAvailable for trade from
Grour. You must first defeat him in a duel. -
216

-
217

Augmented First Strike
View on mapAvailable for trade from
Grour. You must first defeat him in a duel. -
218

-
219

Augmented Counter I
View on mapAvailable for trade from
Grour. You must first defeat him in a duel. -
220

Solo Fighter
View on mapAvailable for trade from “
Grour” iconGrour. You must first defeat him in a duel. -
221

-
222

-
223

Charging Counter
View on mapWhen you reach the hot air balloon ride in the
Mountain area, turn left instead and look for some handholds. Climb up and turn left and you’ll see a fading man. Chat to him if you feel like it (he’s a bit of a downer, though) then look for a grapple point behind him.Zip over and head to the right to find this Pictos guarded by two enemies.
Credit to GG user BG for the info.
-
224
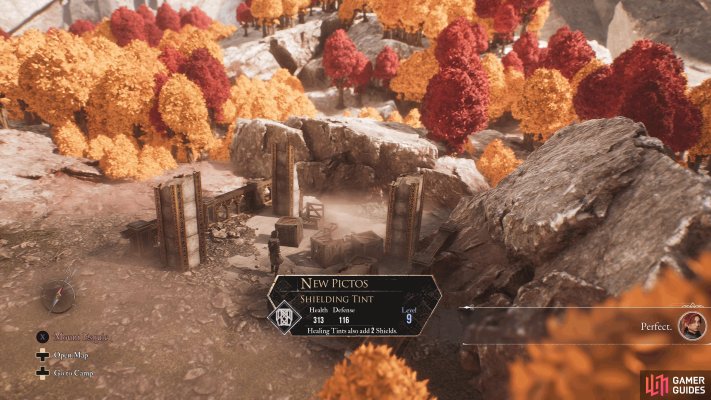
Shielding Tint
View on mapOverworld Map: In a small ruin.
Credit to GG user Blenacup for spotting this one.
-
225

Protecting Shots
View on mapEnter the
 Flying Manor through the world map entrance, and head down the stairs. At the bottom, turn 180° and go behind the staircase and look over the edge of the rocks where you can see the large golden disc in the sky beyond.
If you look carefully, you’ll notice a rope heading down. Zip down, then climb on top of the picture frame you find at the bottom, jutting out of the ground. You’ll see this Pictos on the edge of the frame.
Credit to Reddit user Jockstew for bringing this to our attention.
-
226
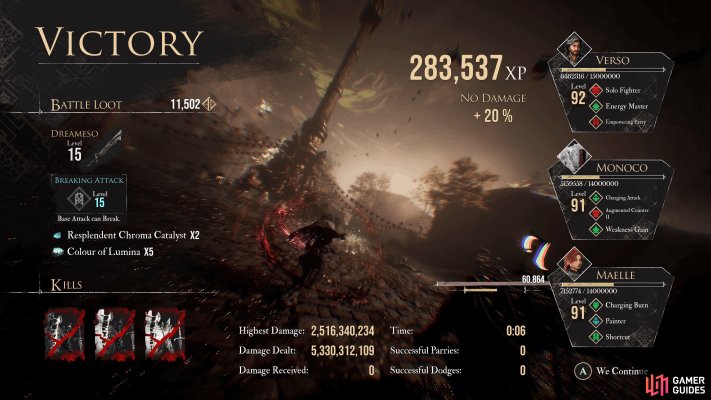
-
227

Enfeebling Attack
View on mapFound on a corpse opposite the merchant,
 Melosh.
Credit to GG user MikeDon227 for having better eyes than us.
-
228

Empowering Parry
View on mapOn the left side of
 Tainted Hearts, past the
 Gargant, look for a grapple point on the other side of the rocky chasm.
You’ll find this Pictos inside a paint cage on the other side. The three locks are all easy to spot in this tiny area.


No locations match this filter.