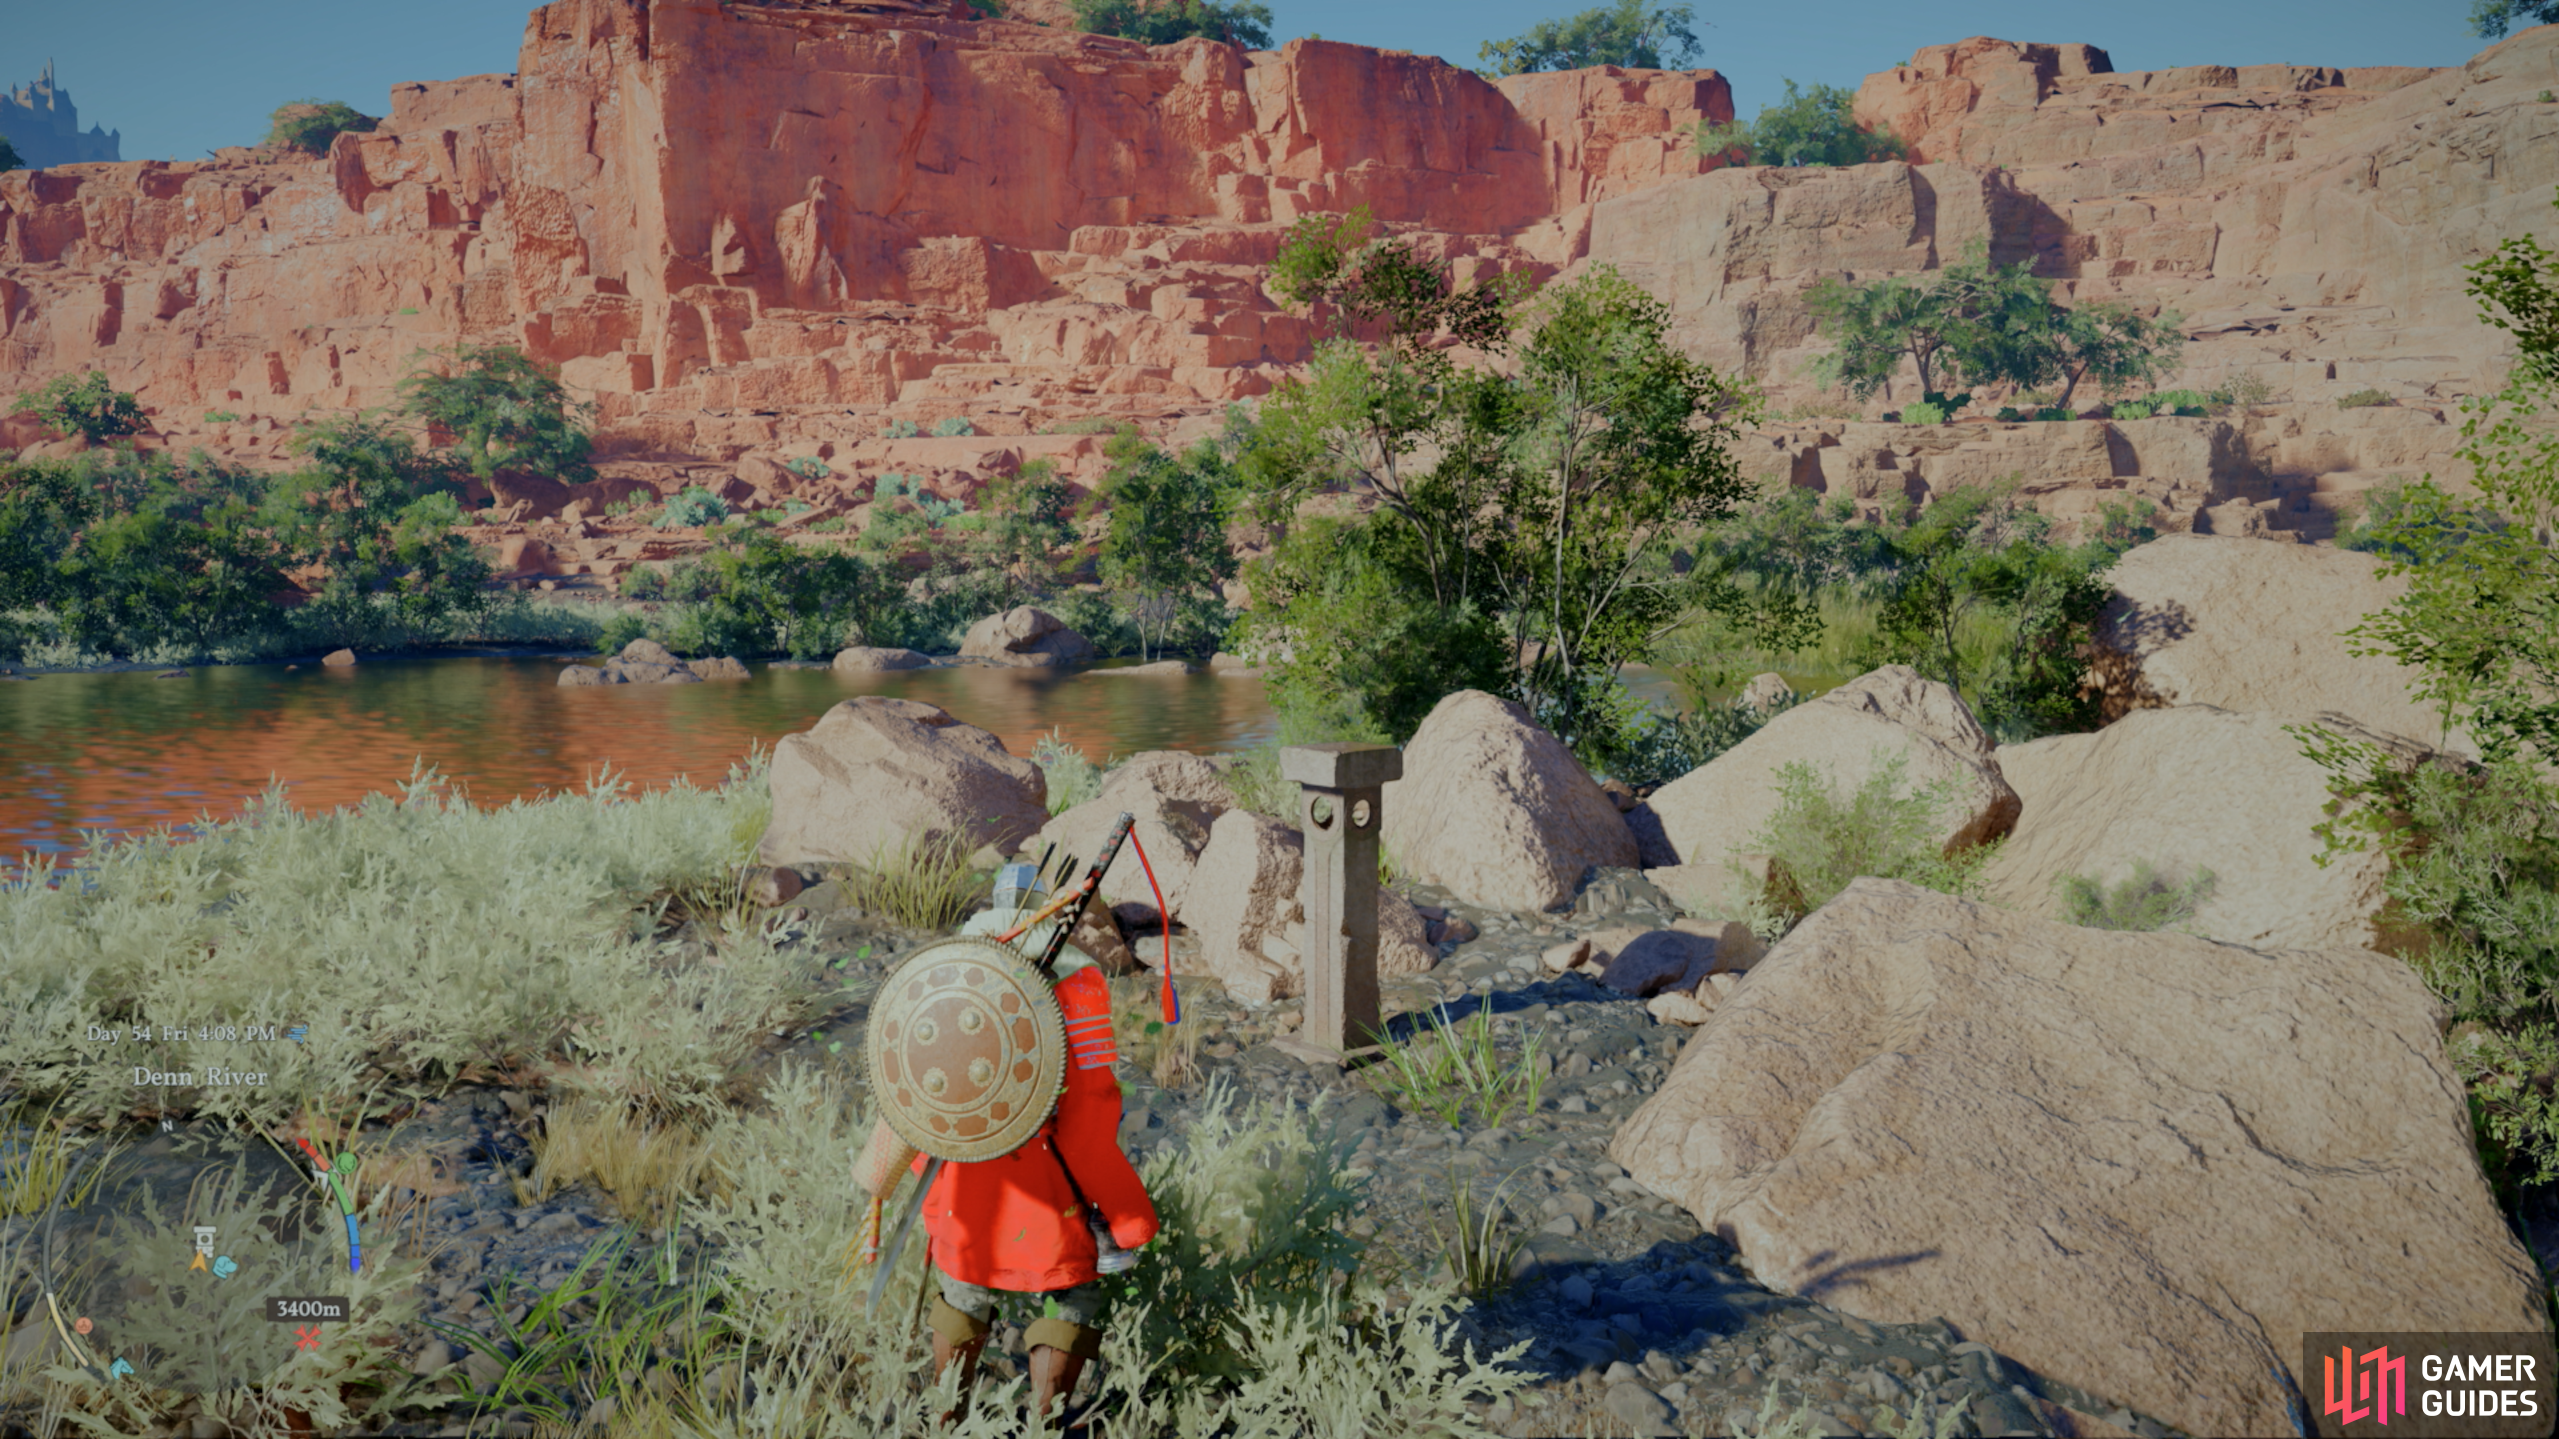
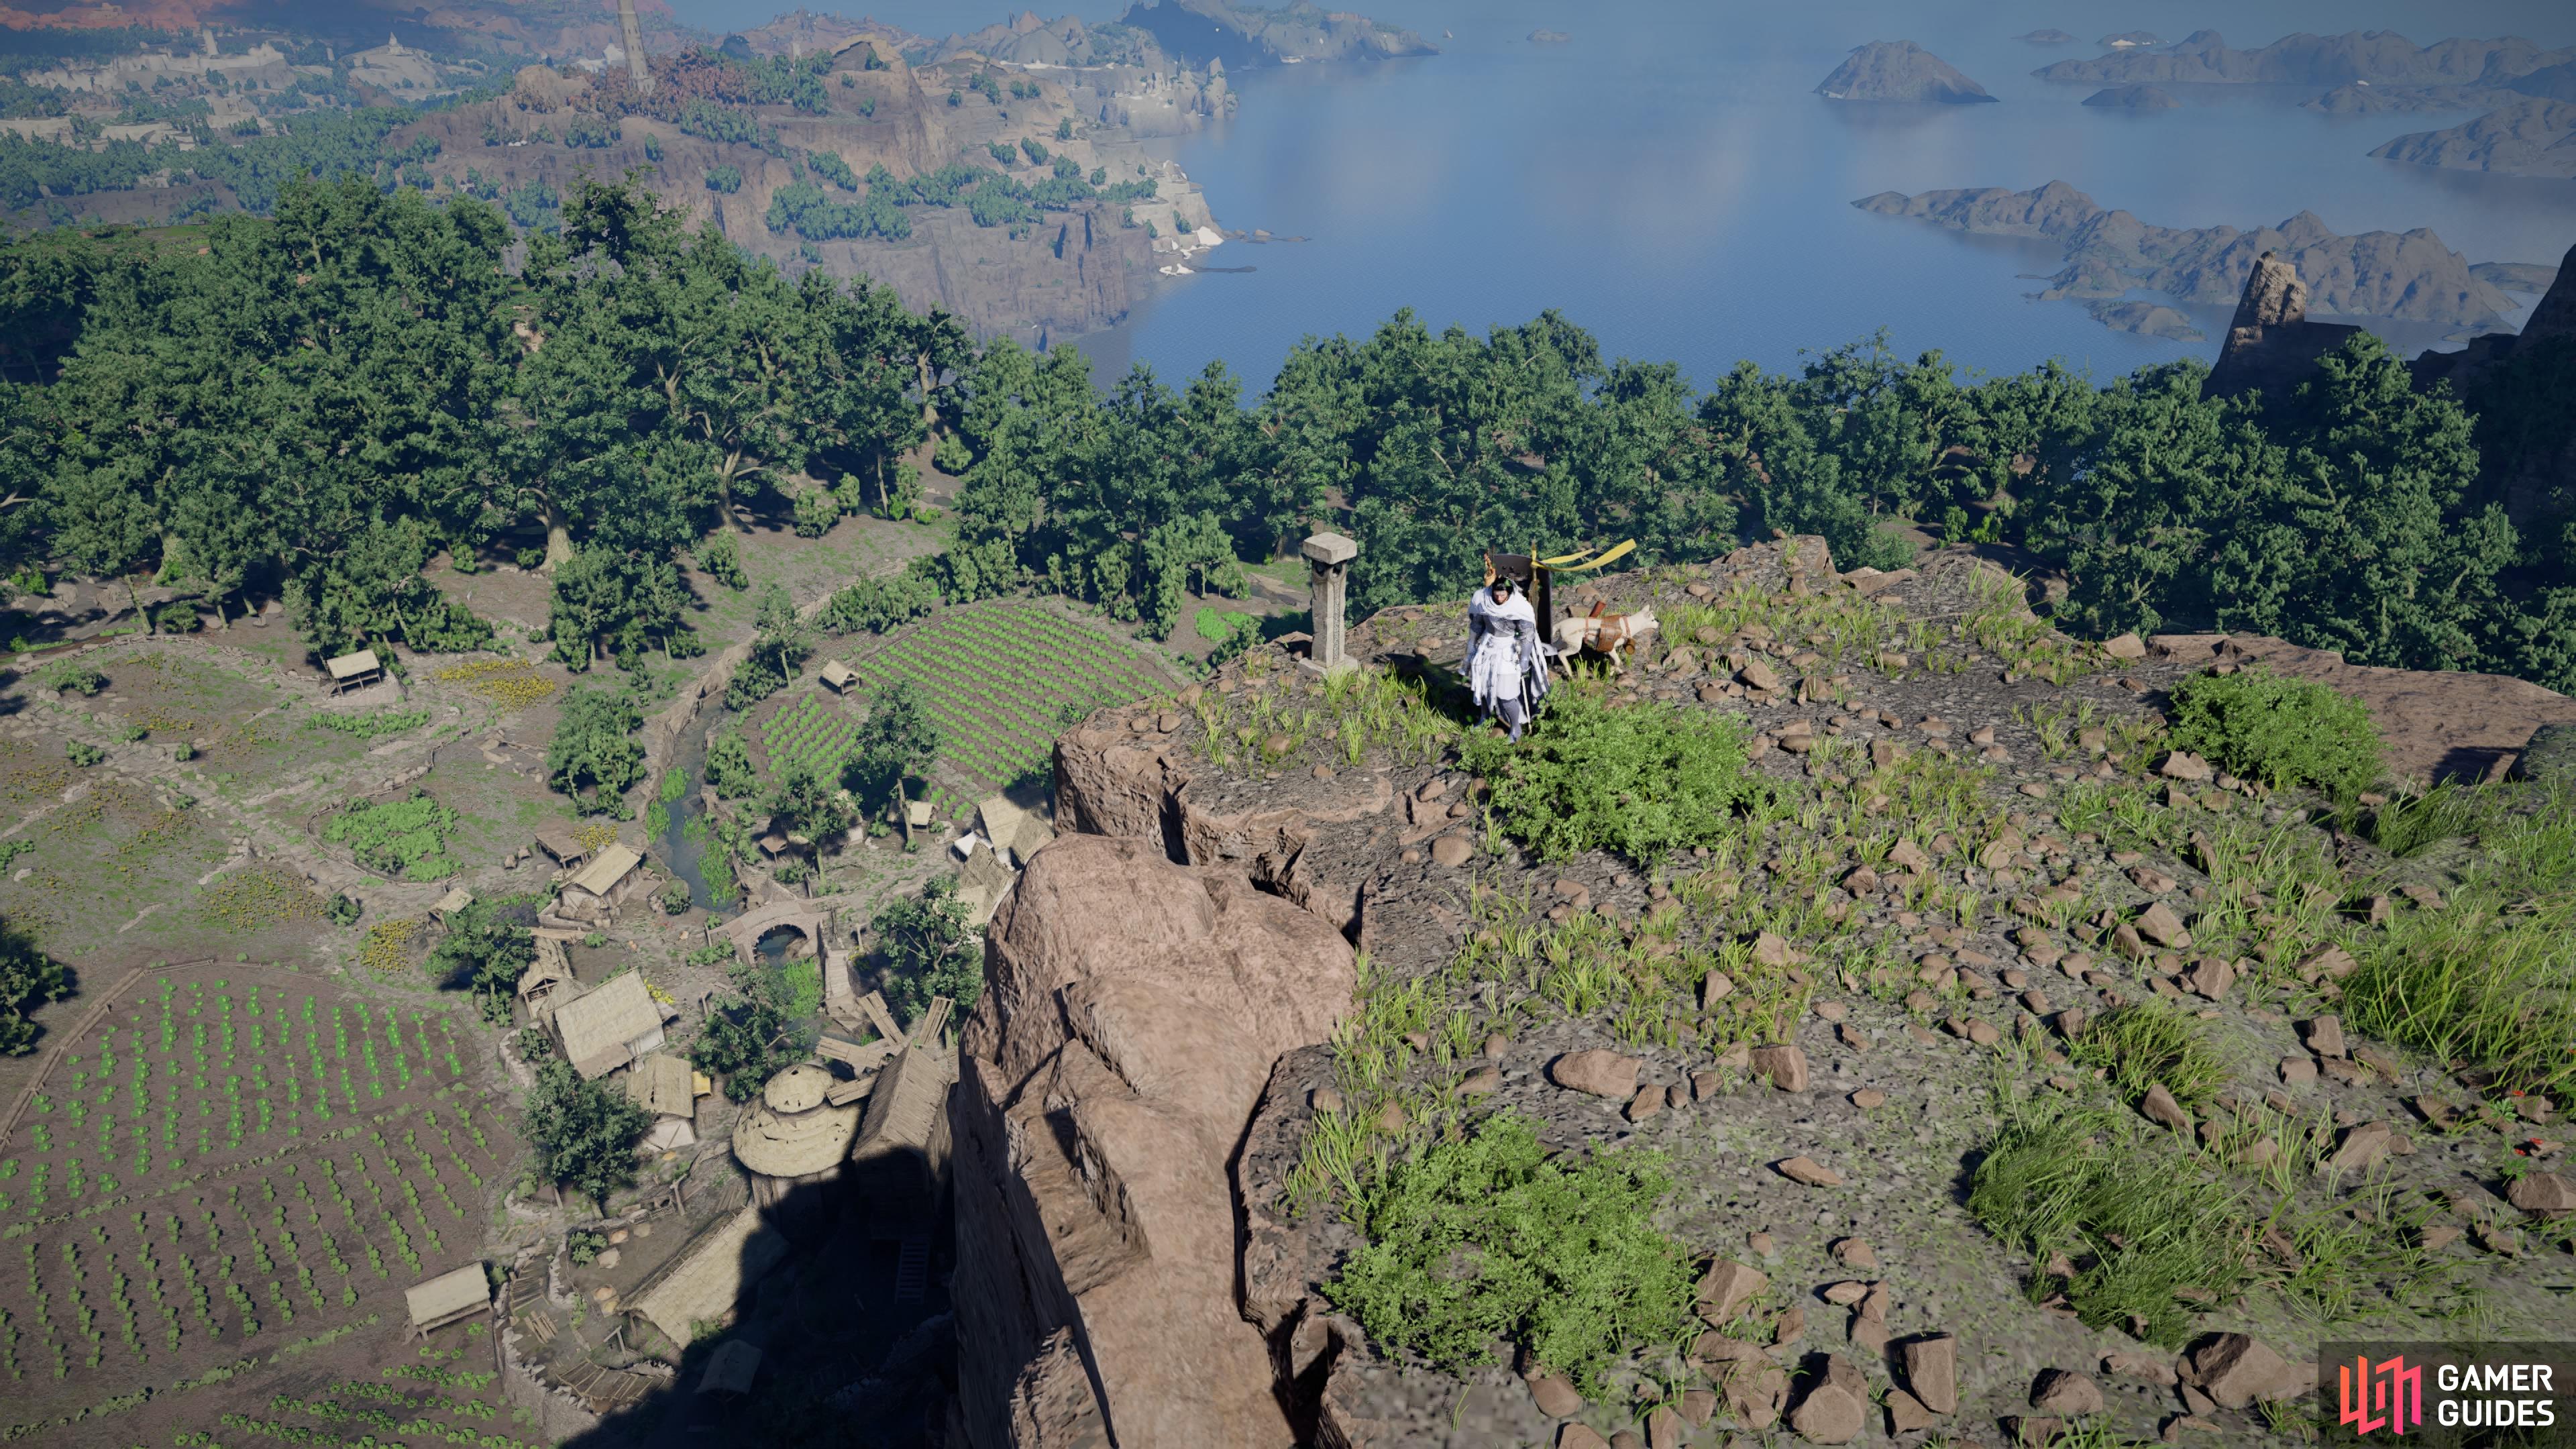
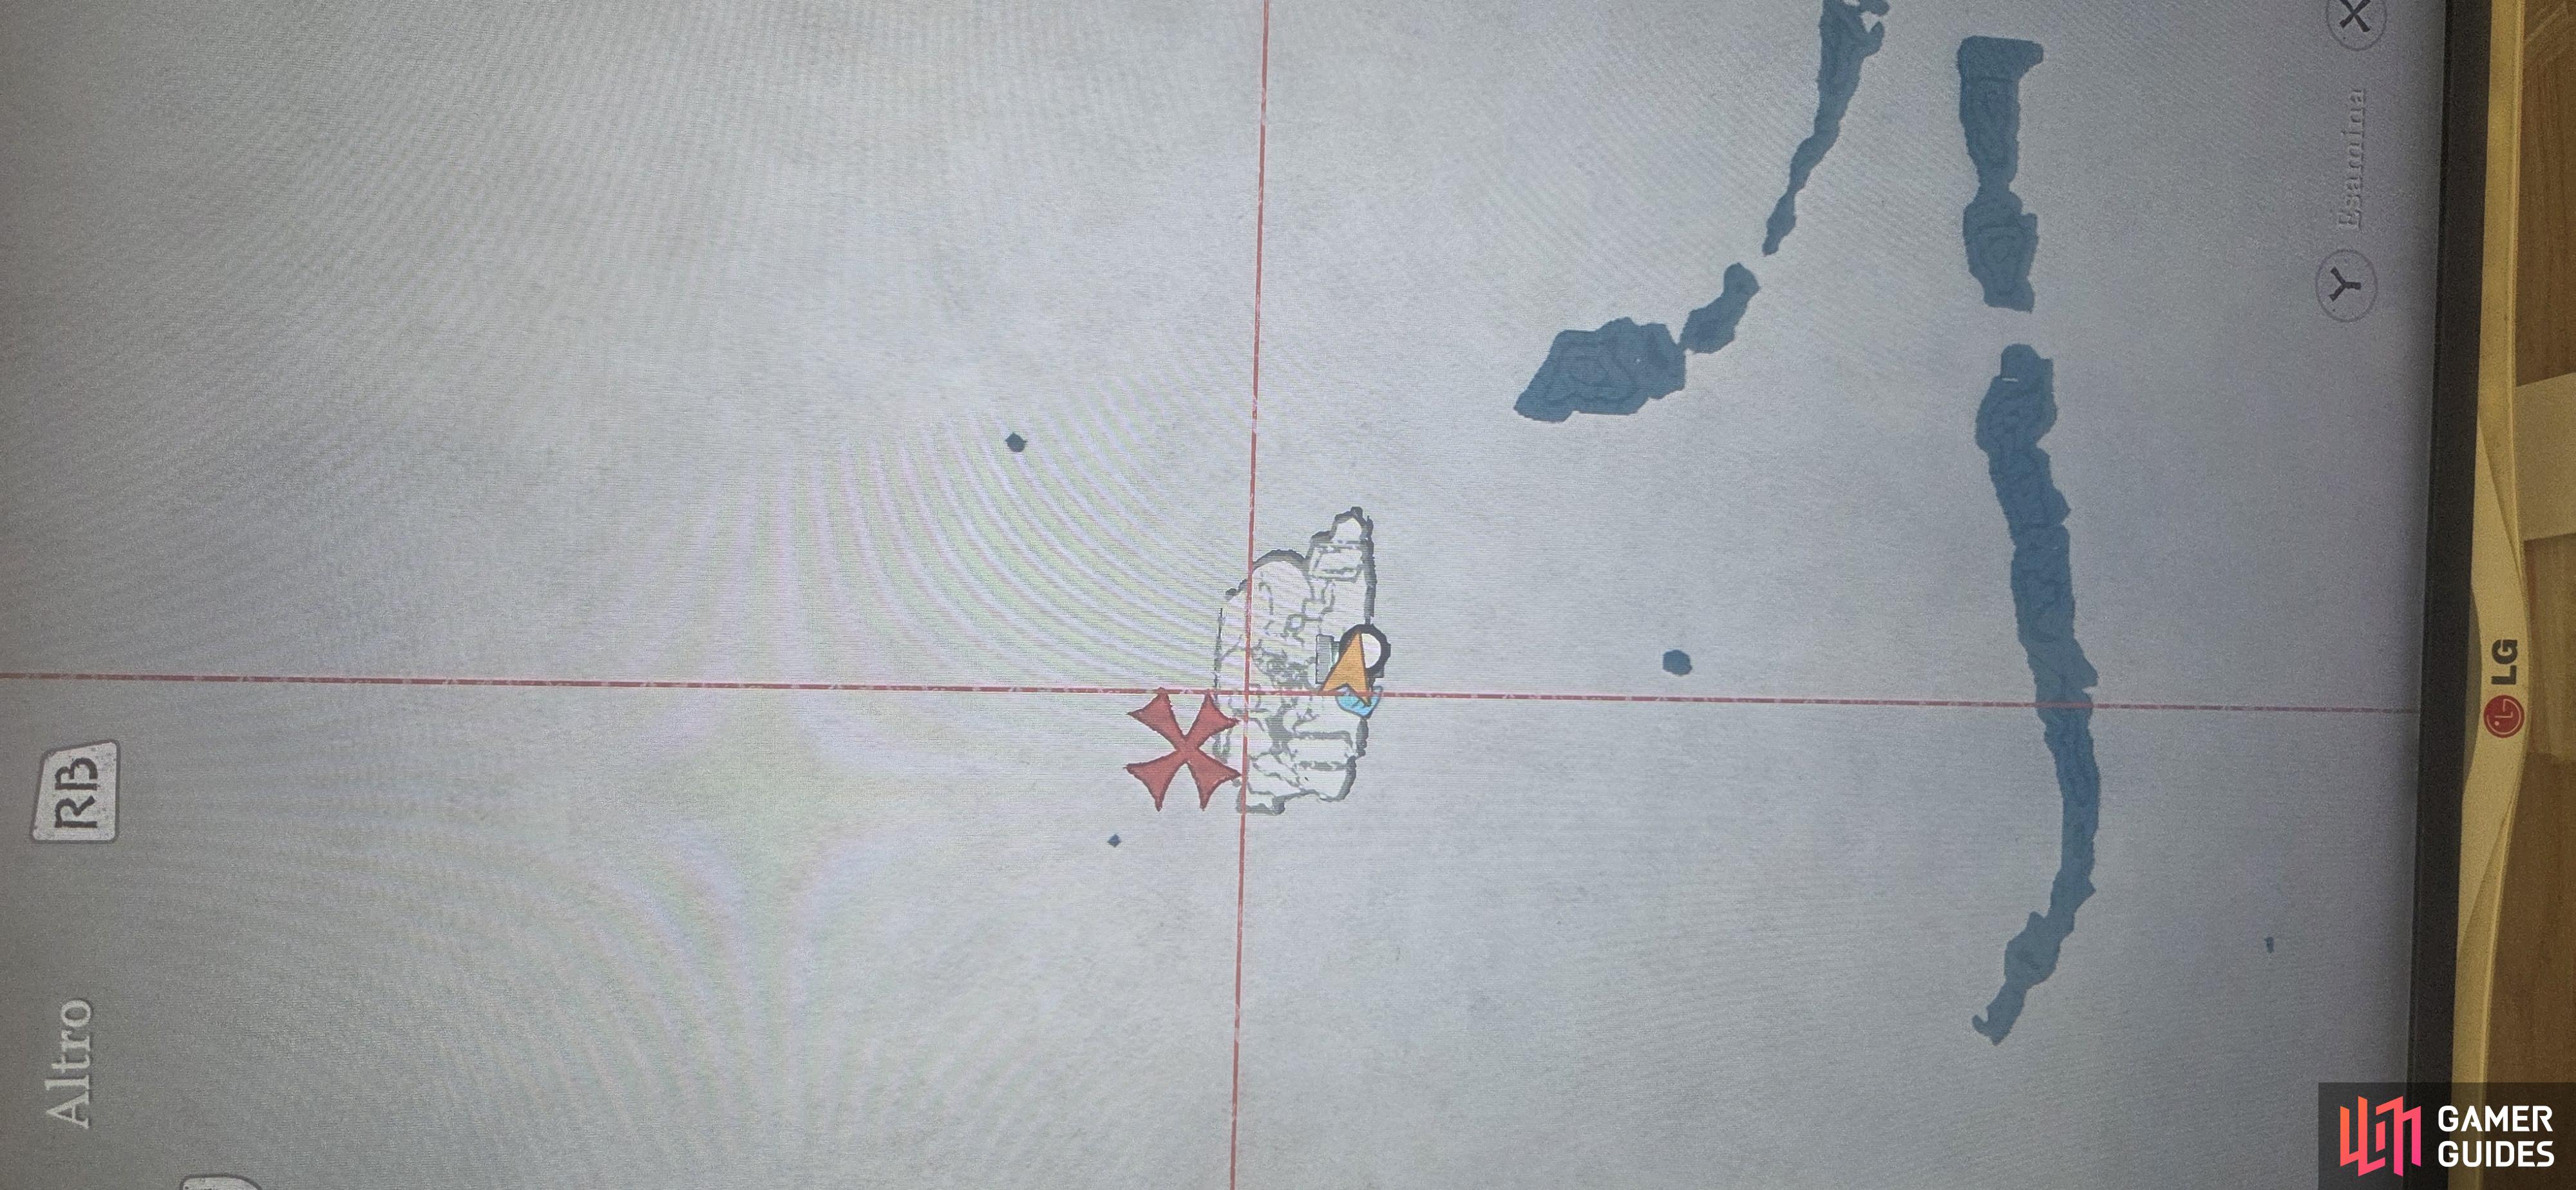
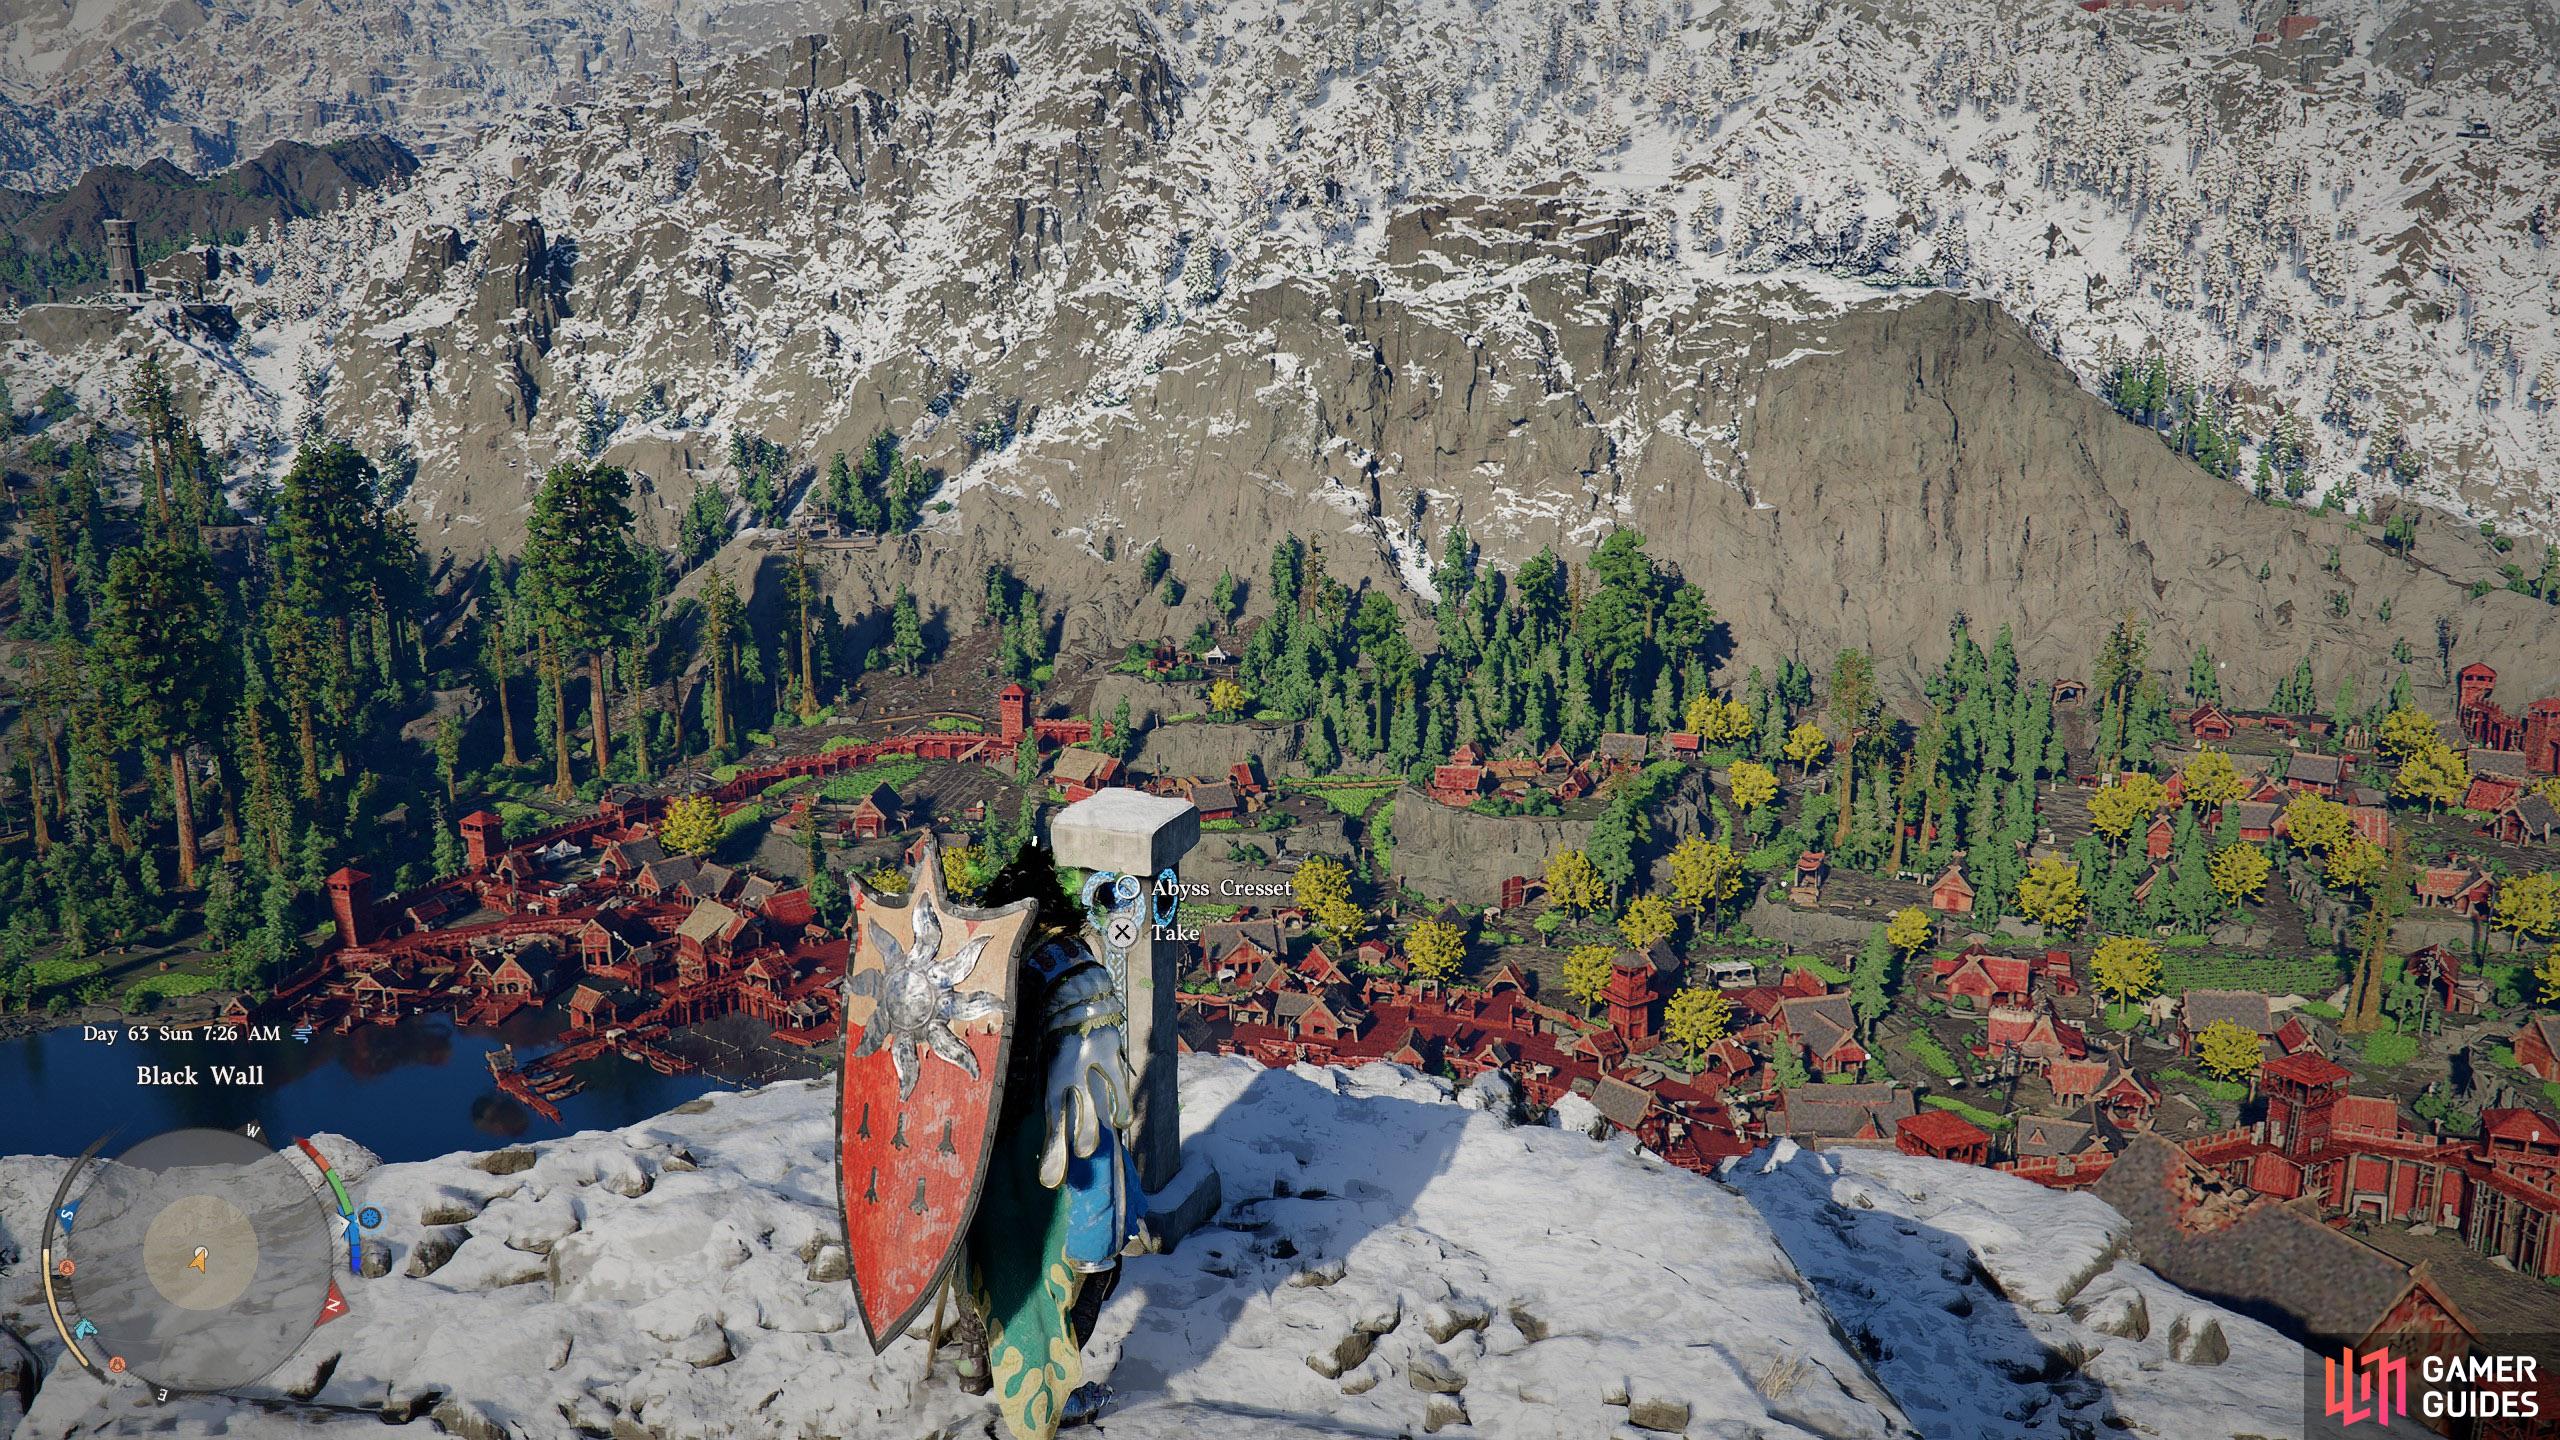
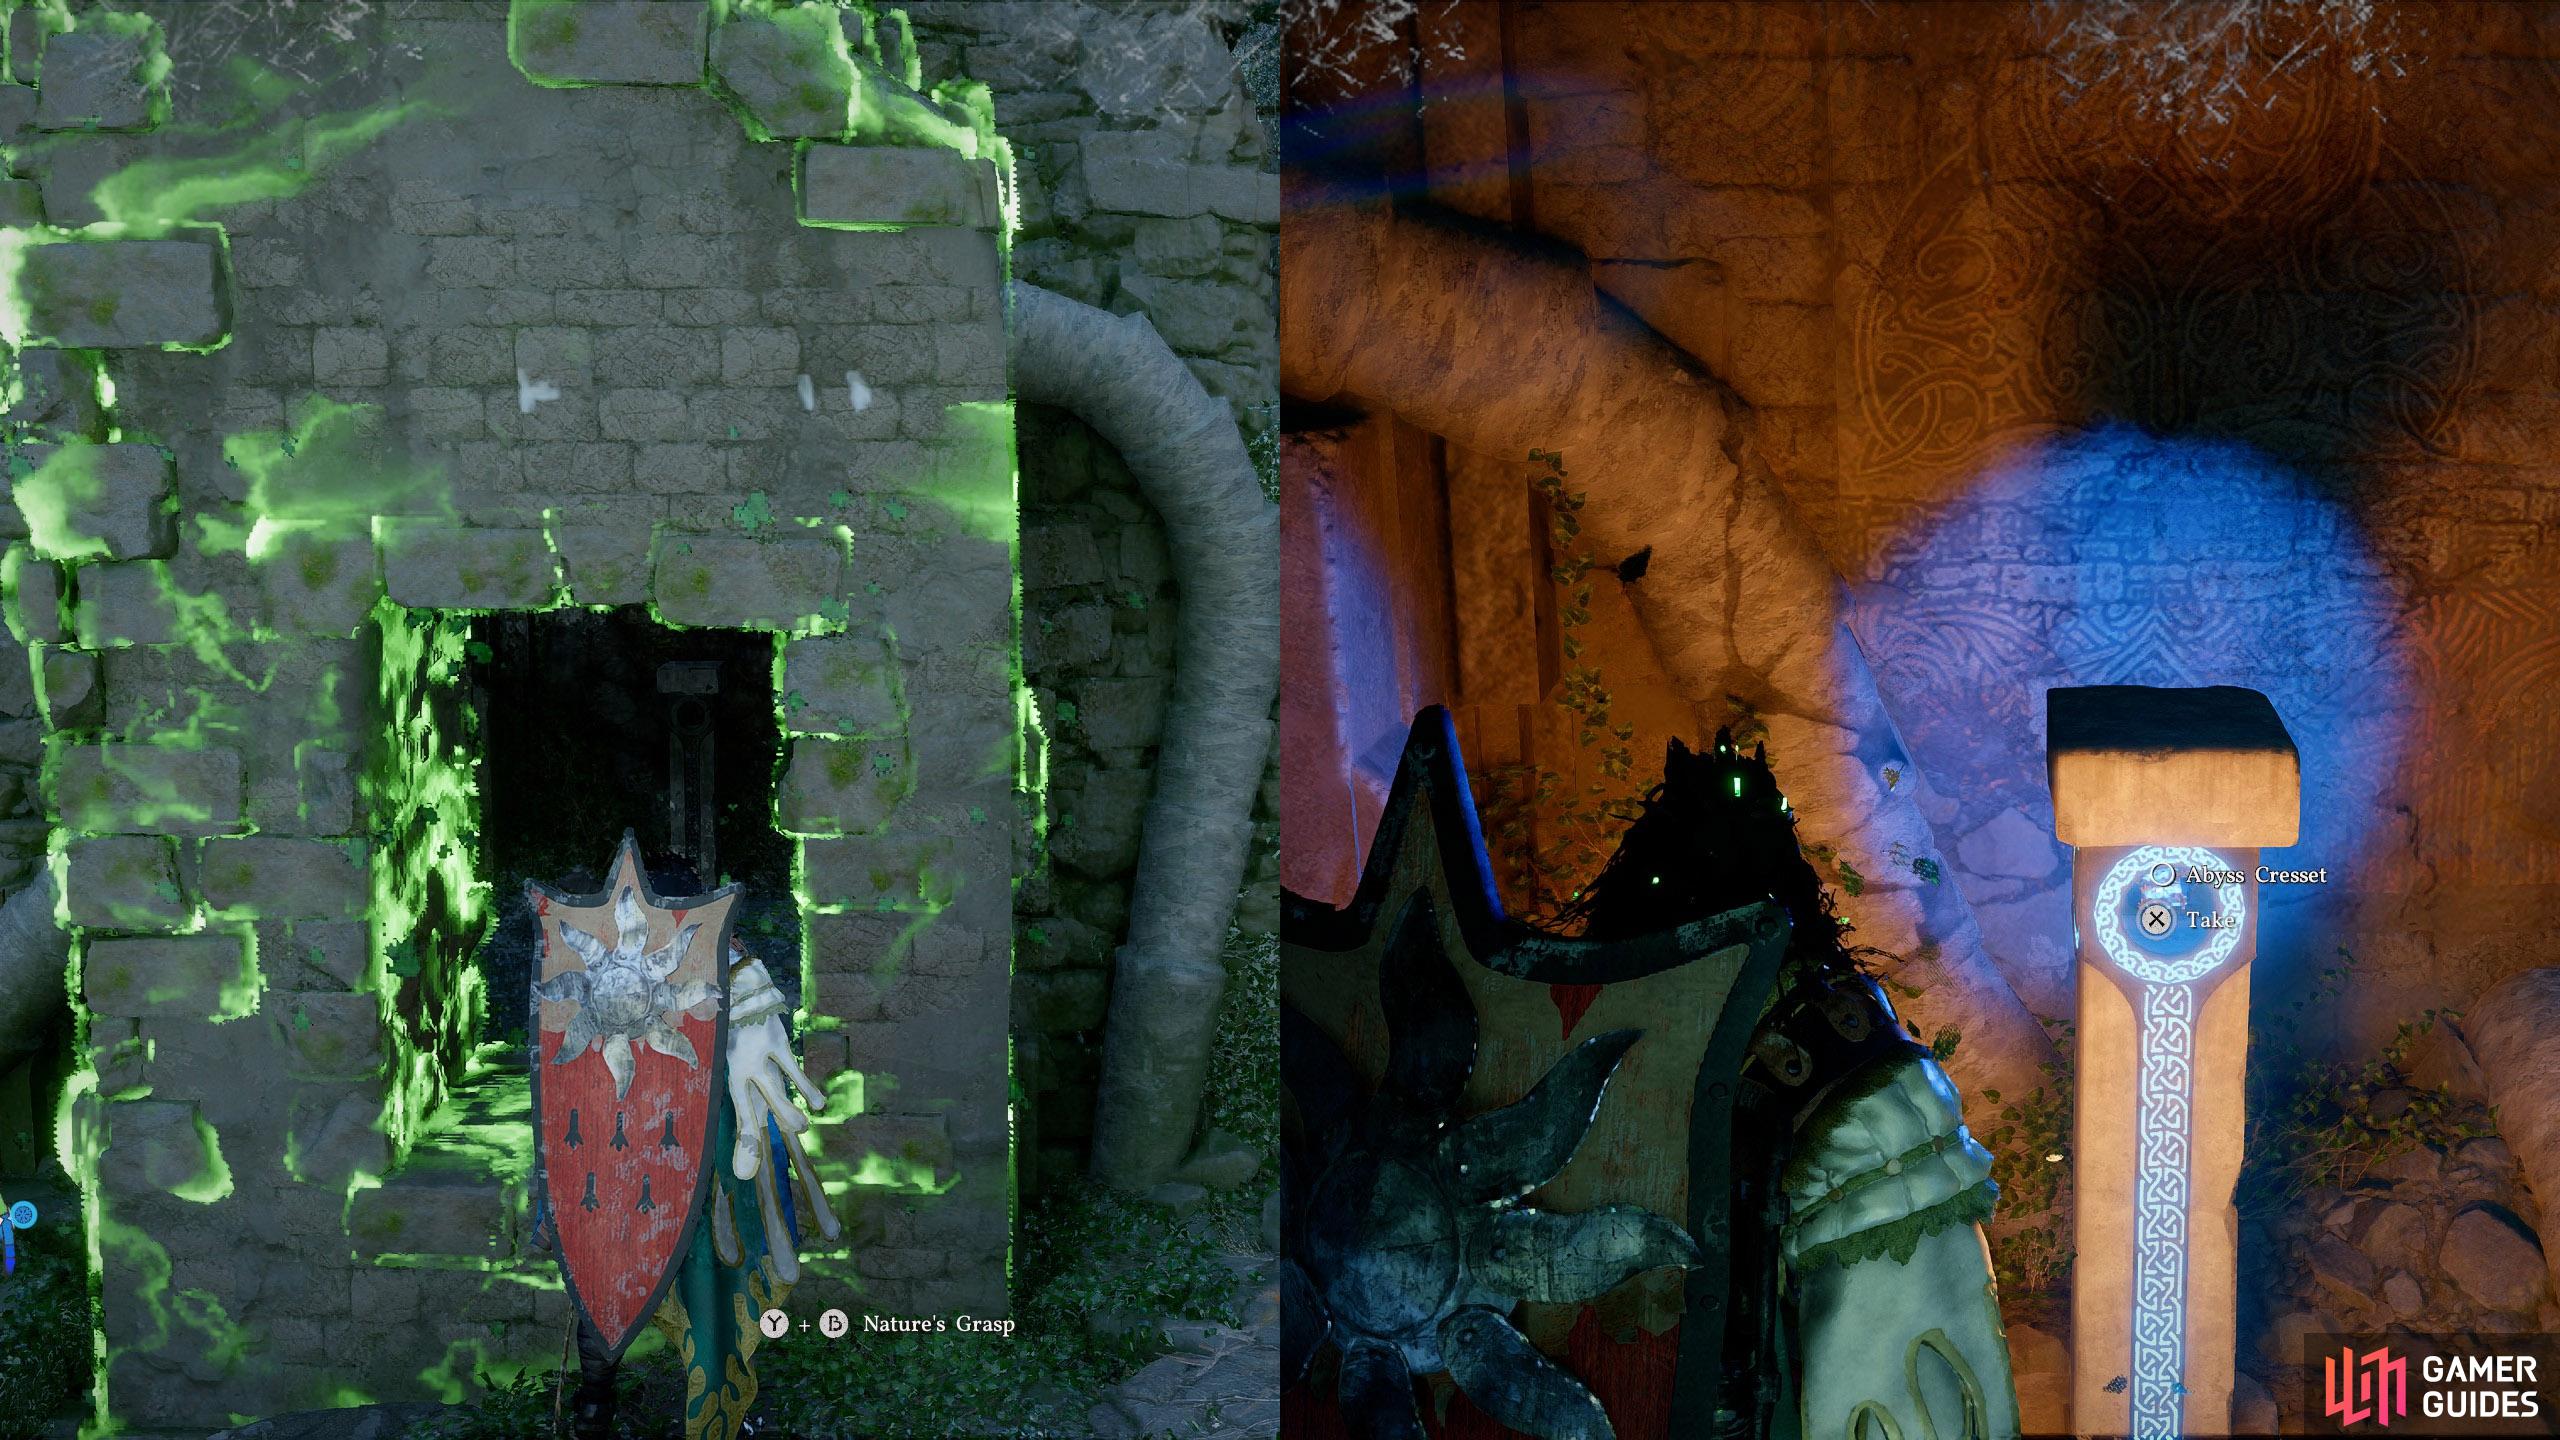
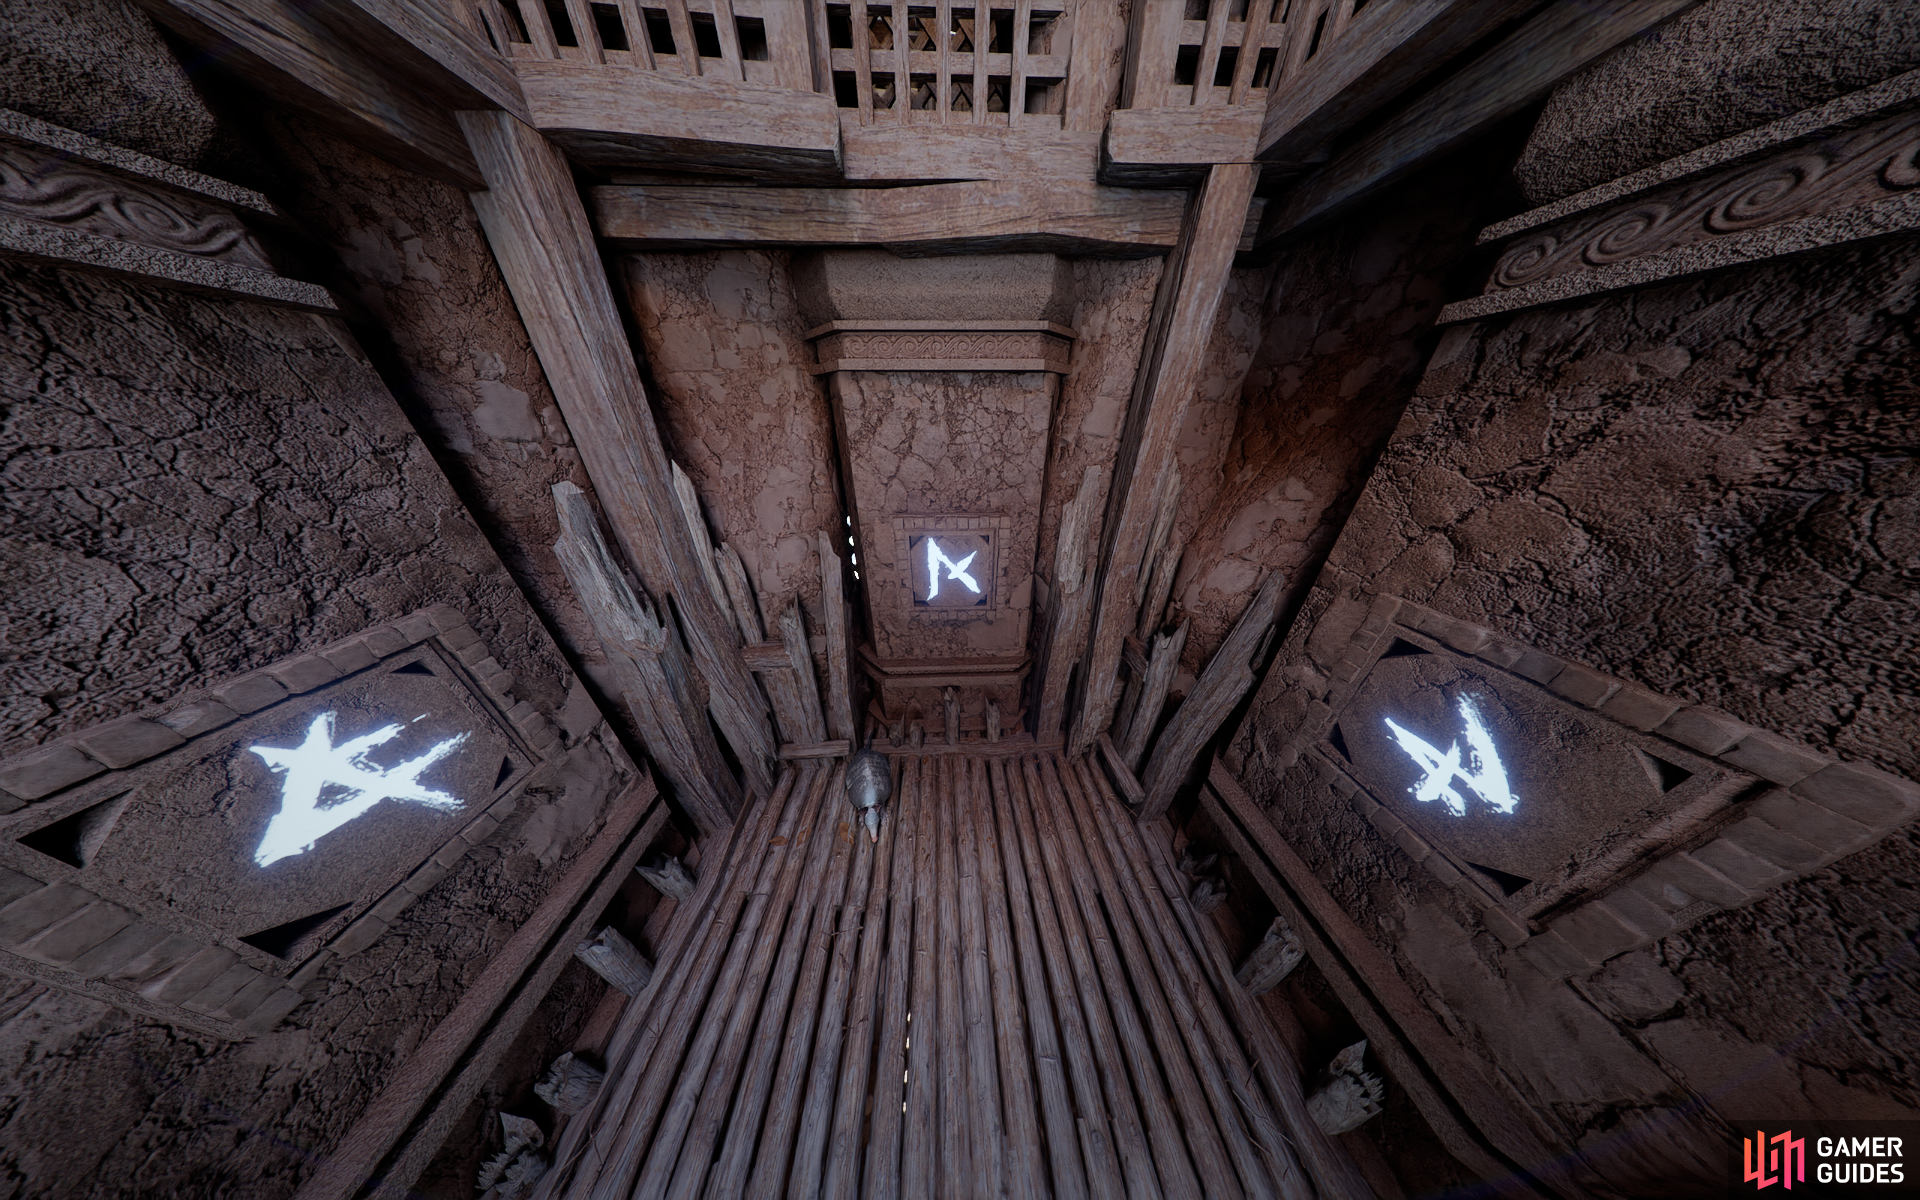
Checklist

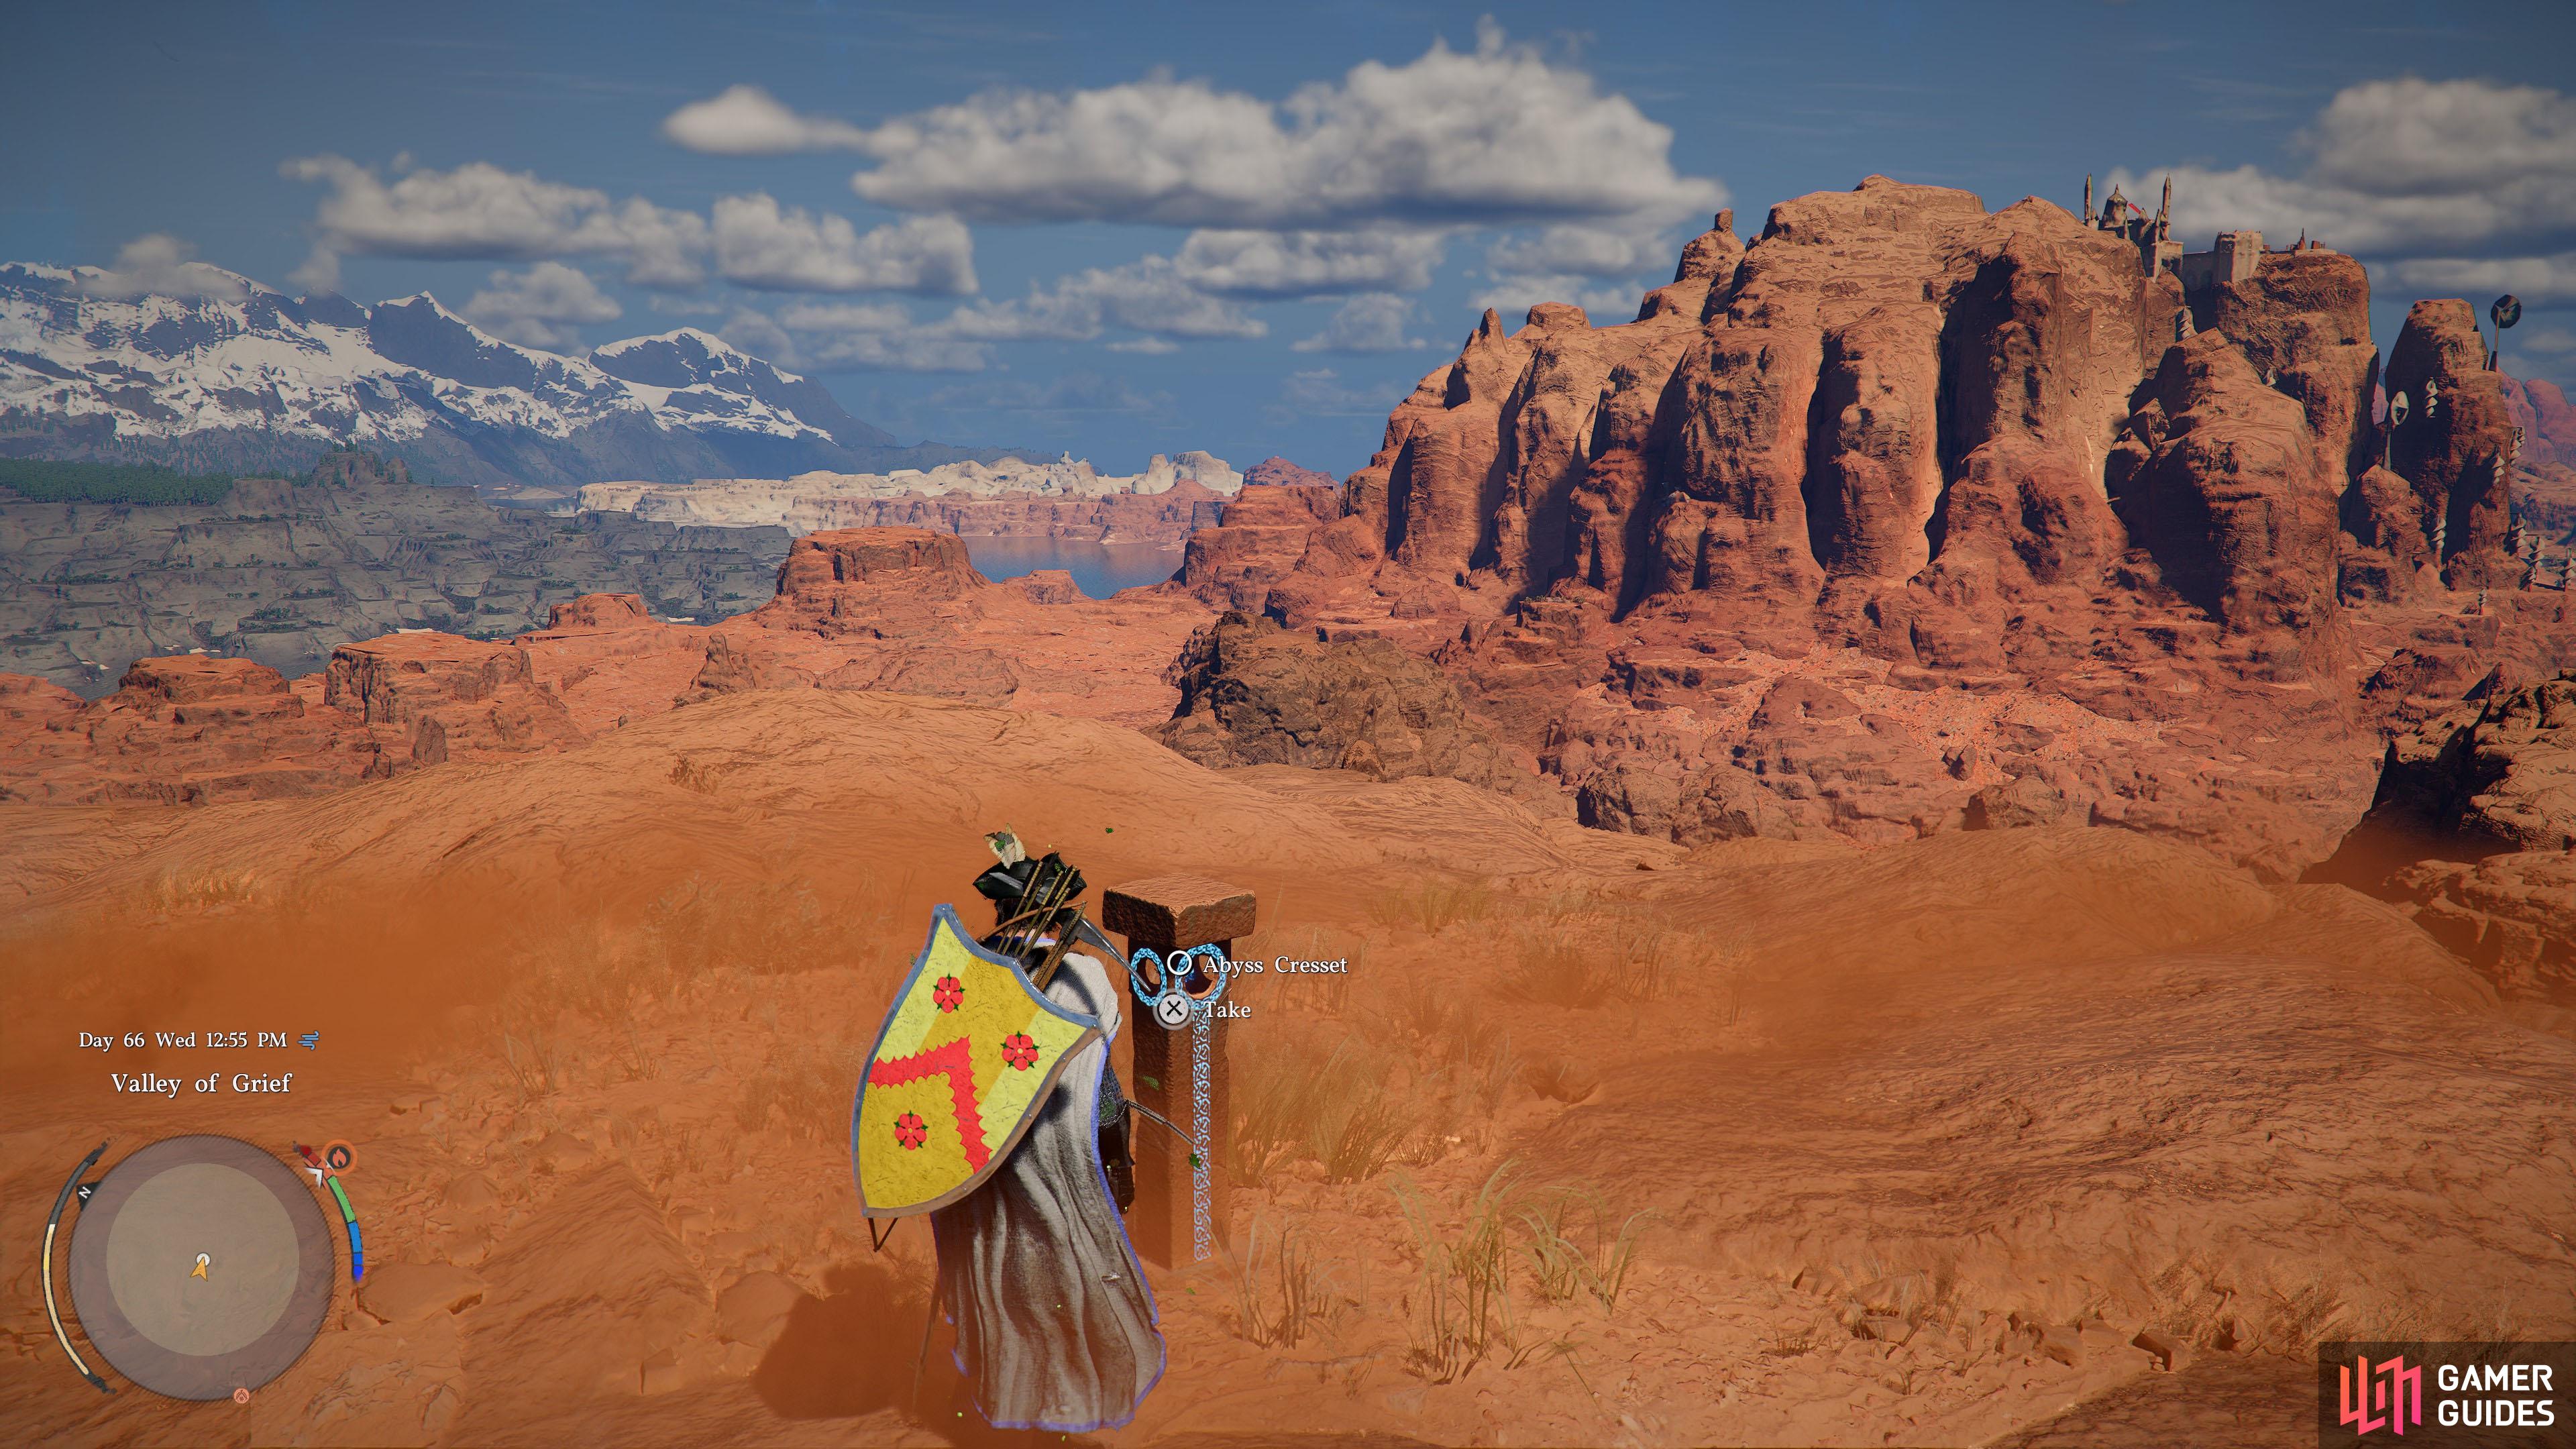
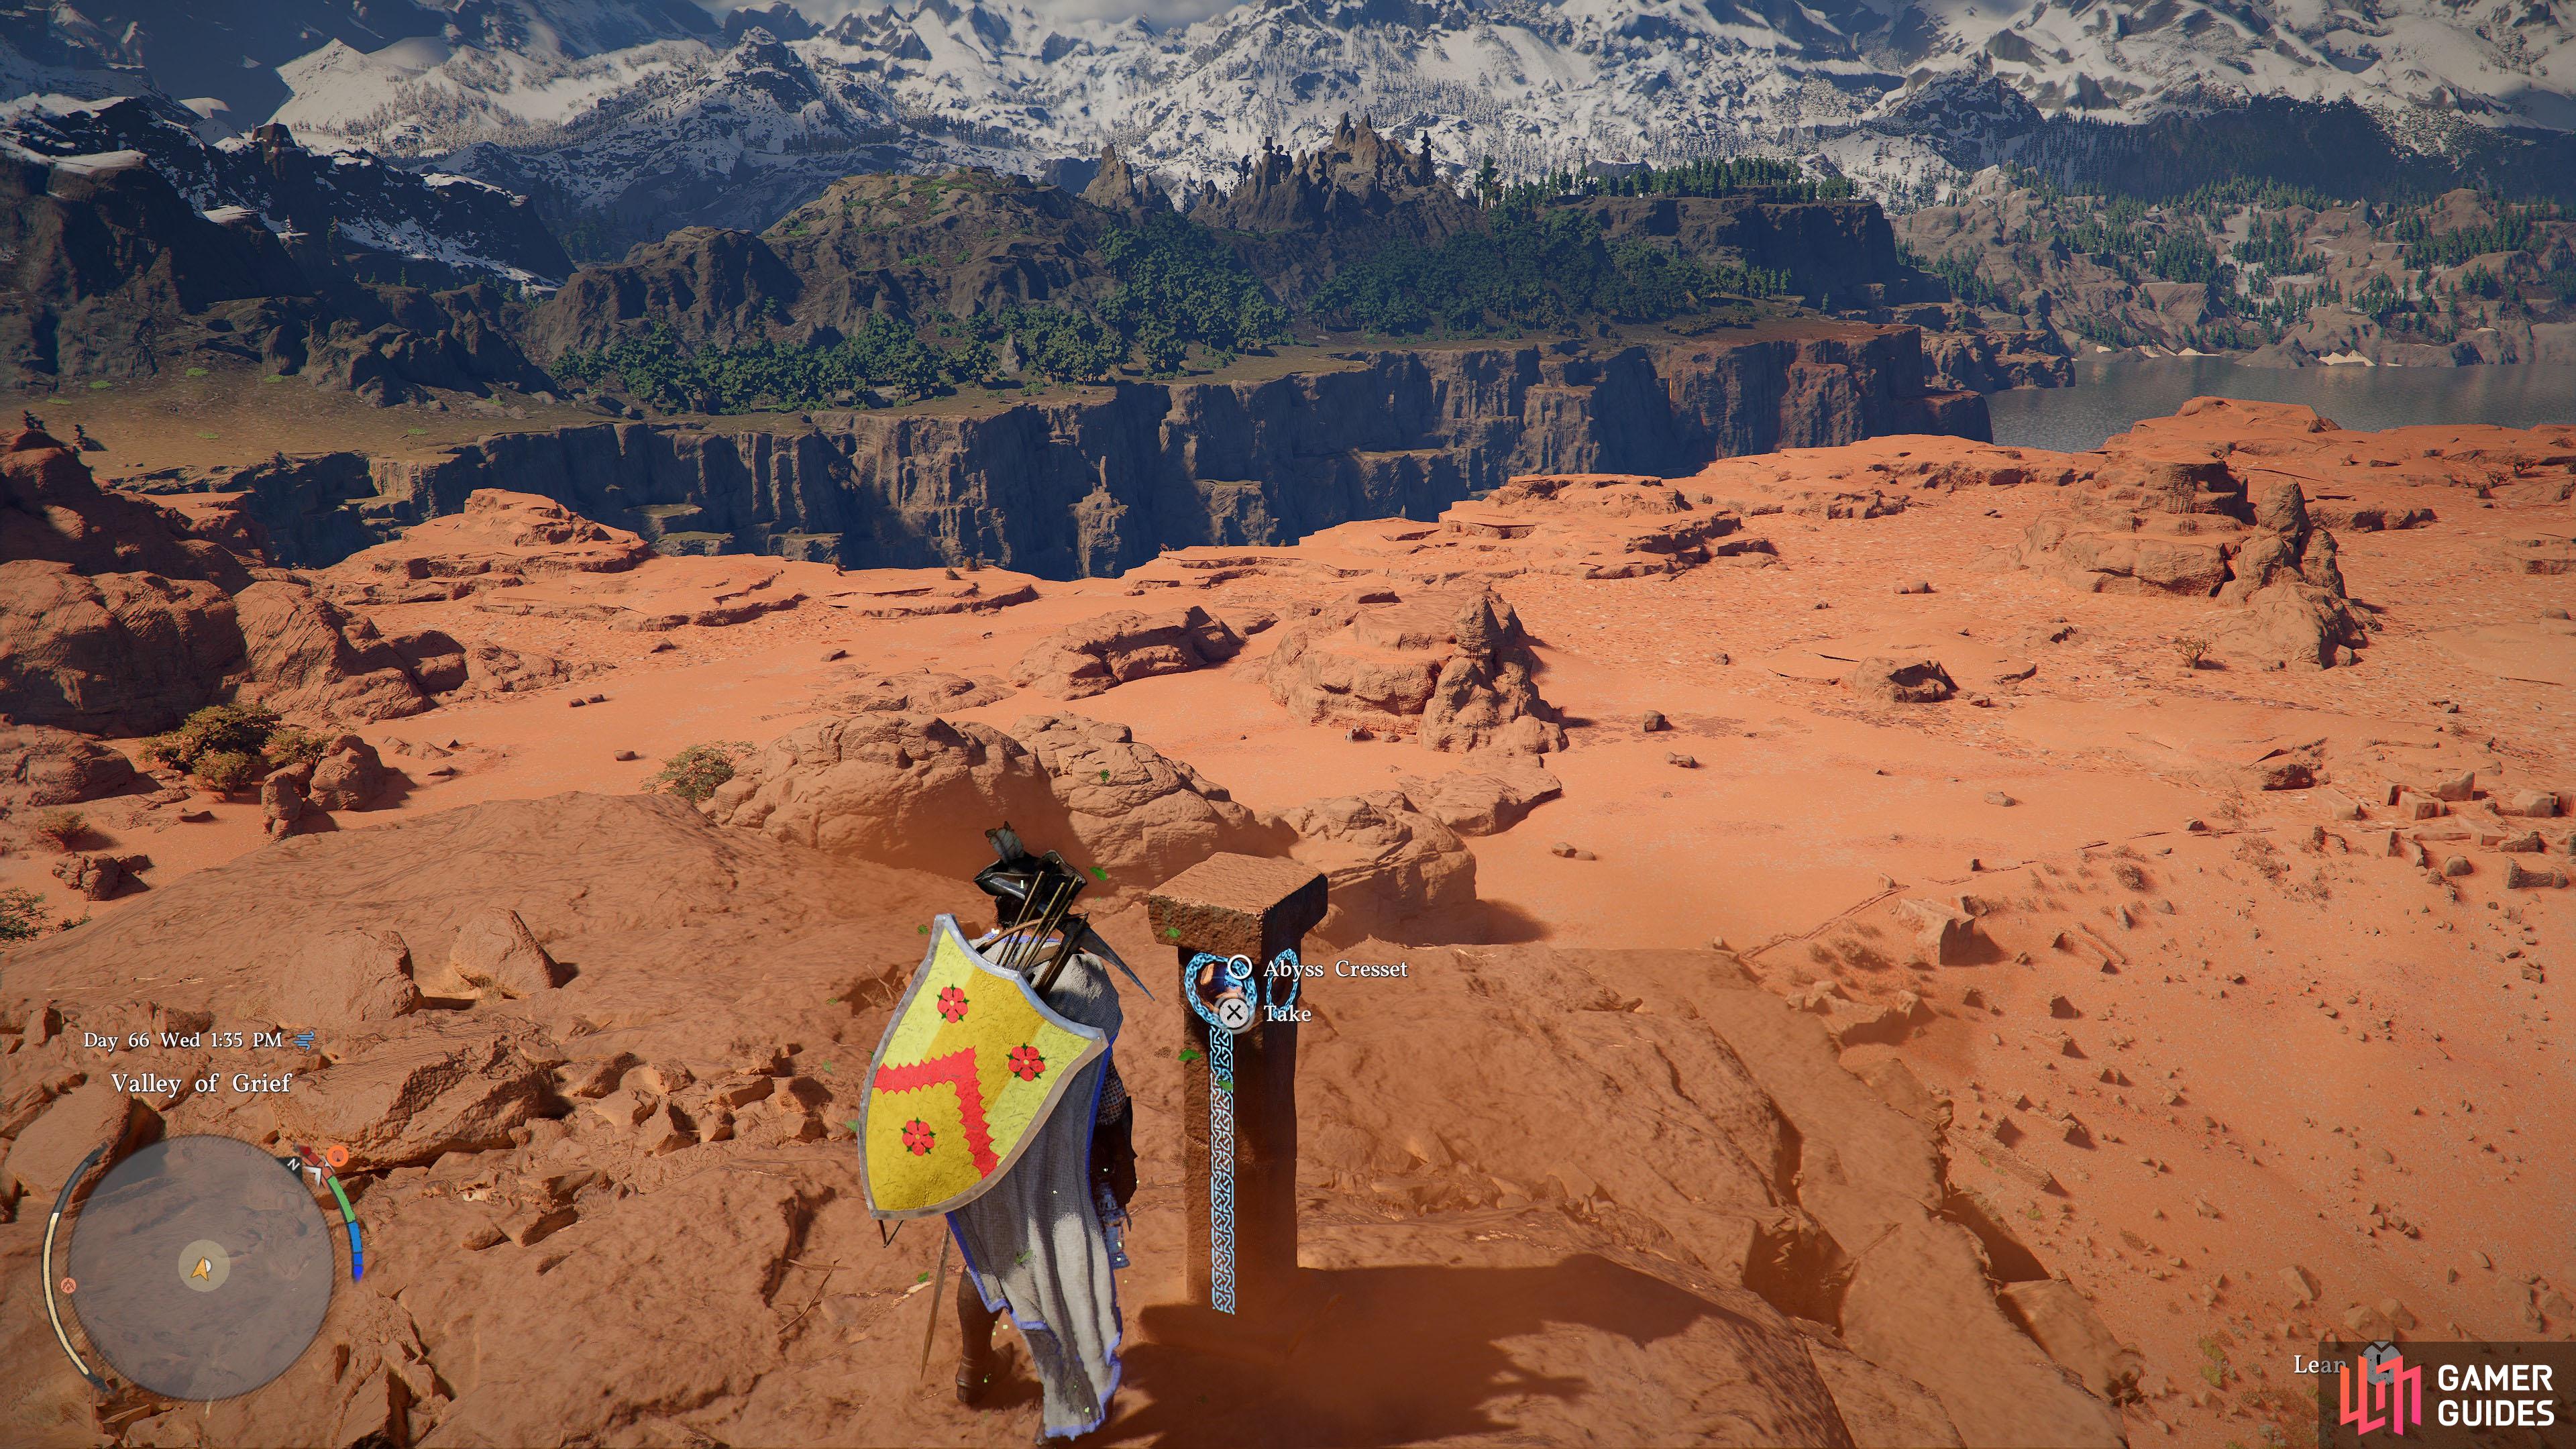
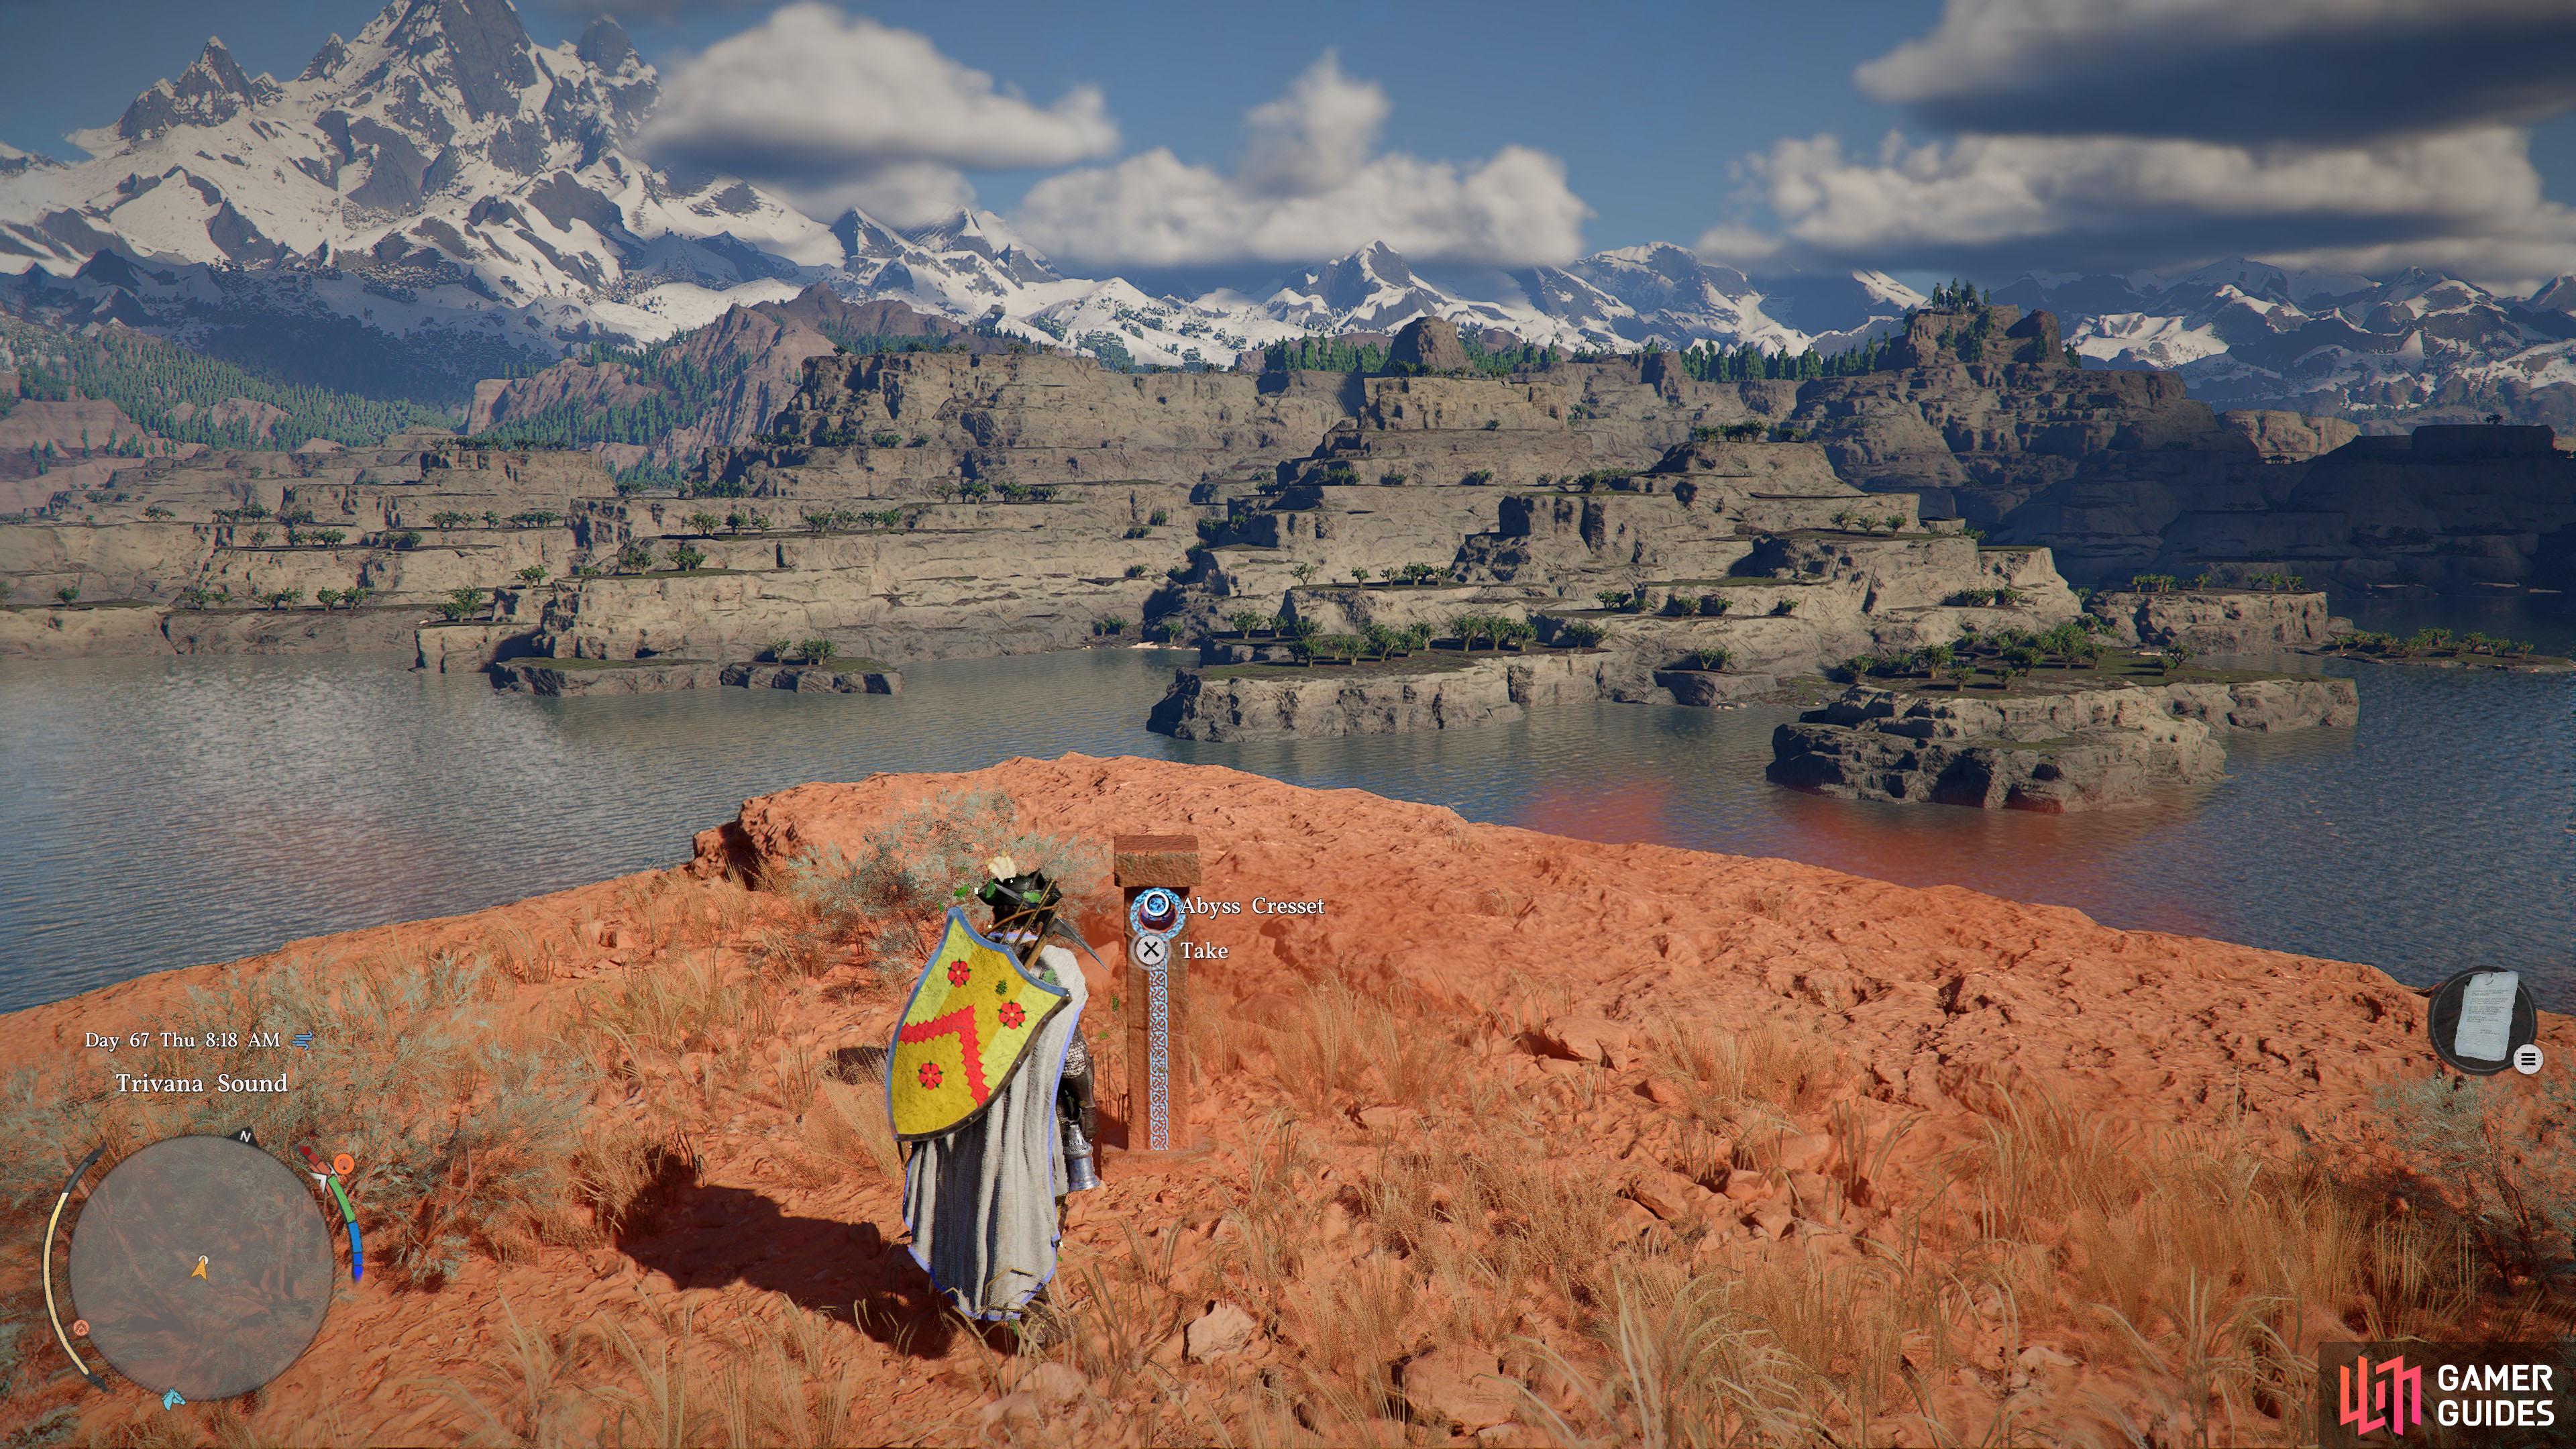
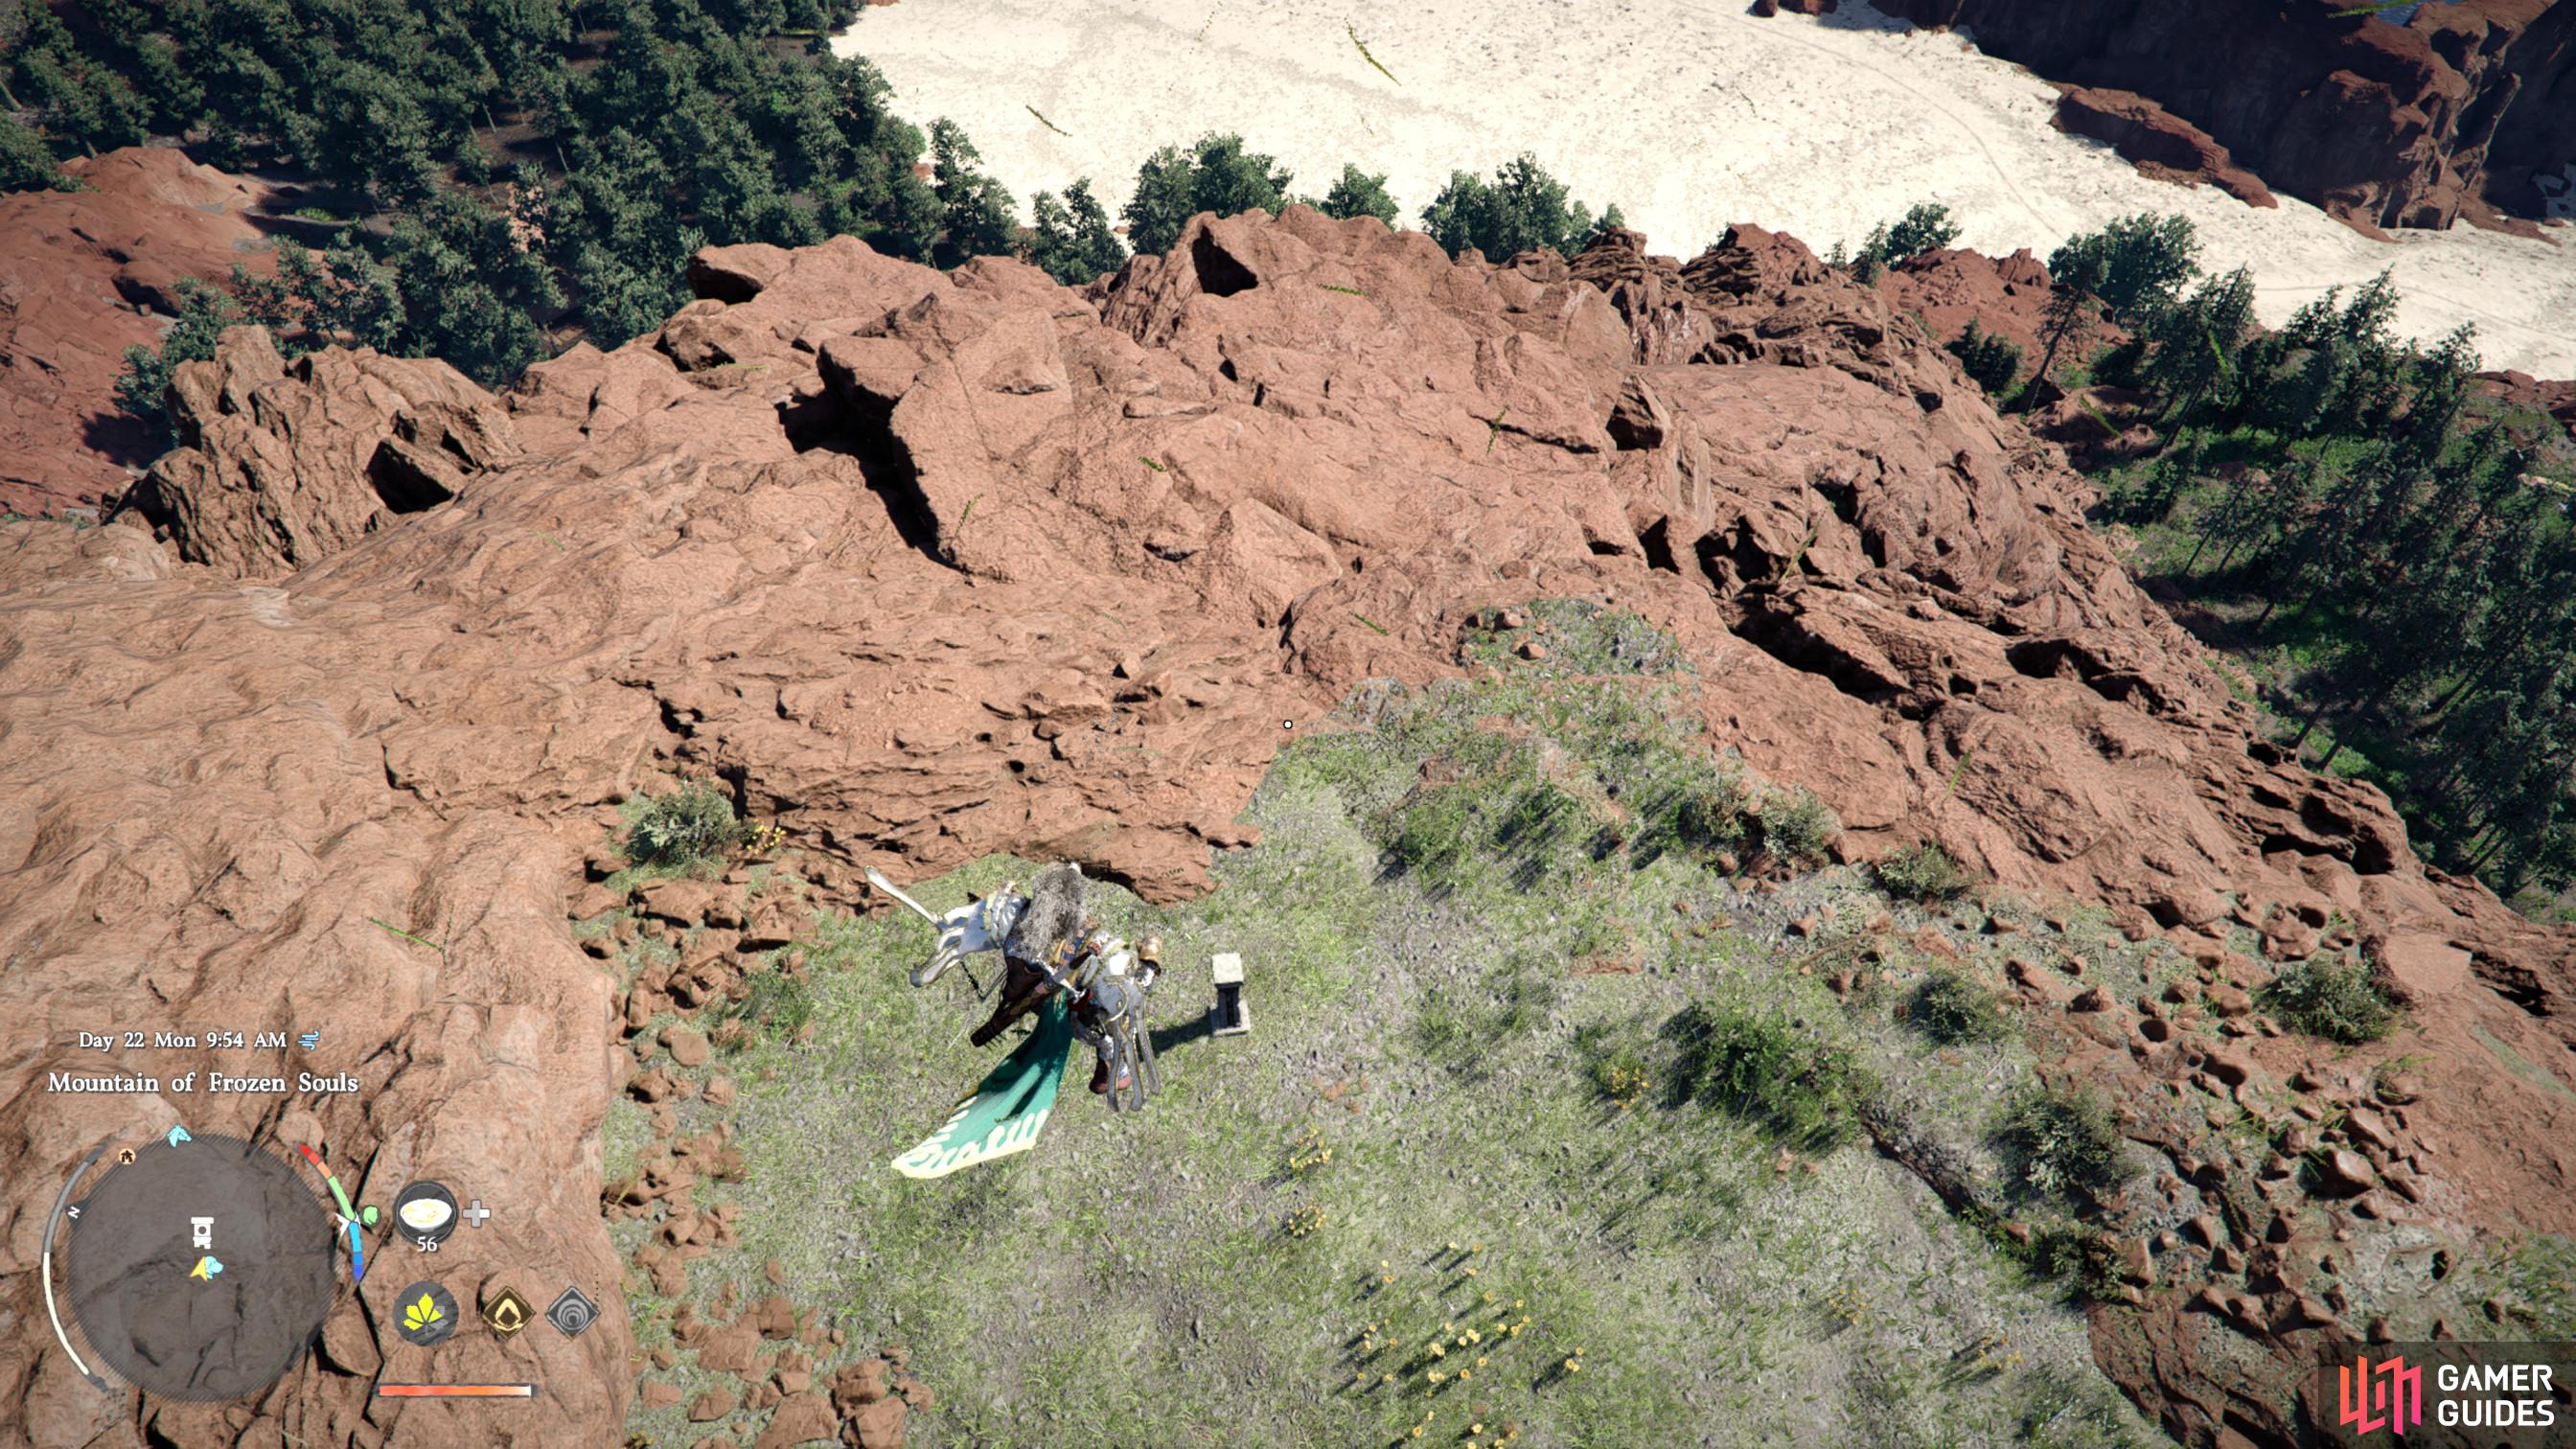
All Abyss Cresset Locations in Crimson Desert

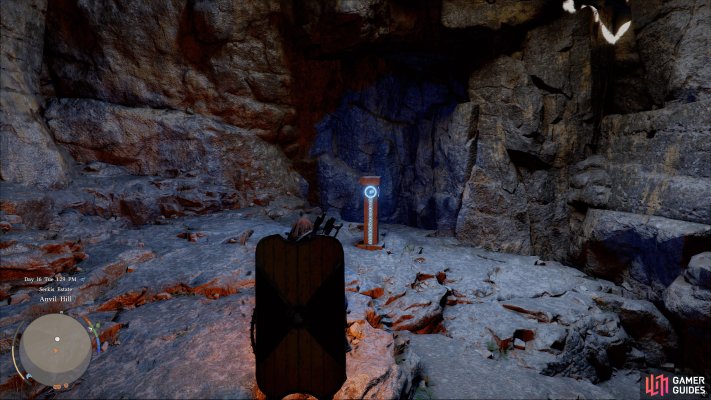
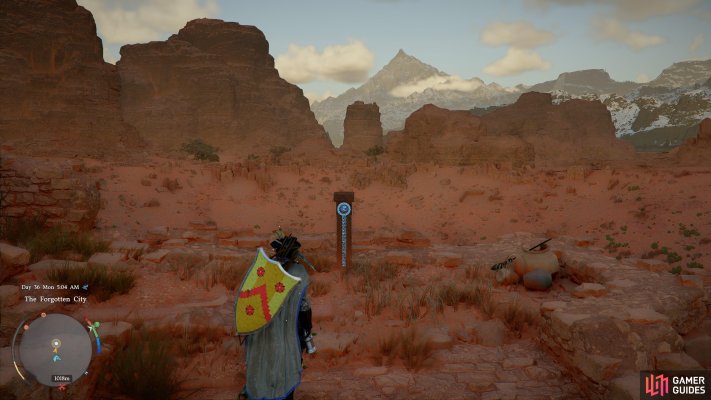
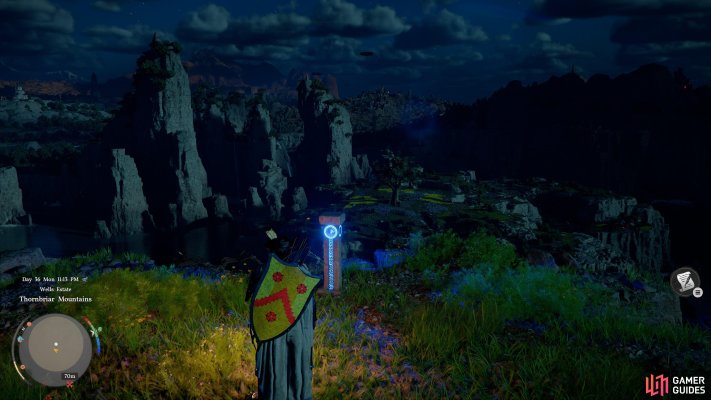
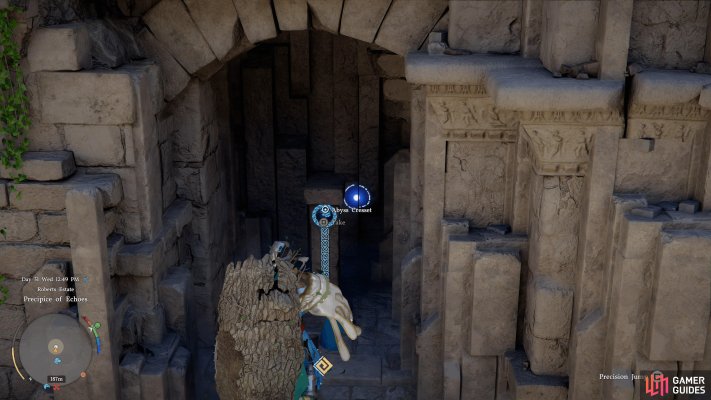
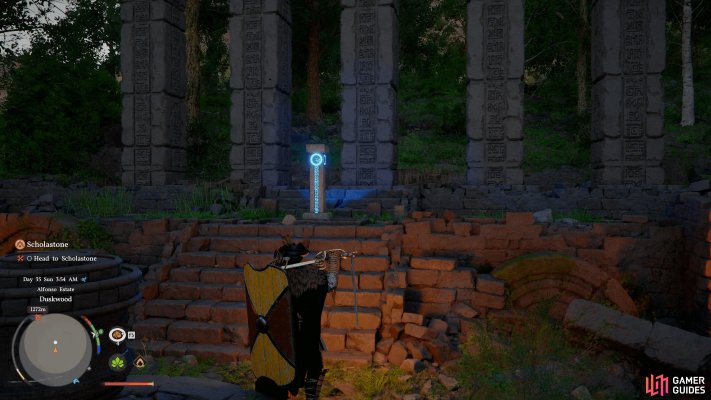
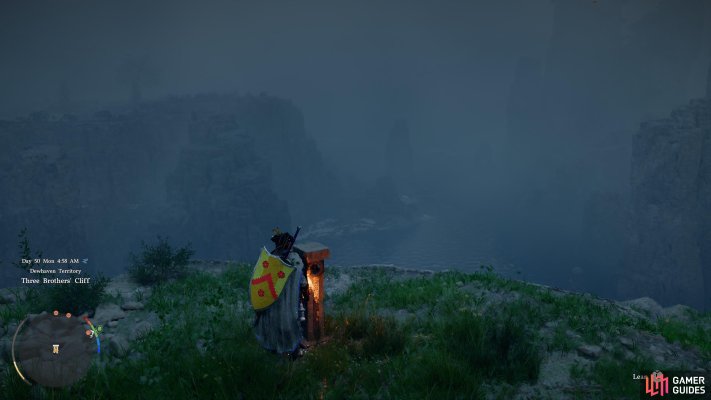
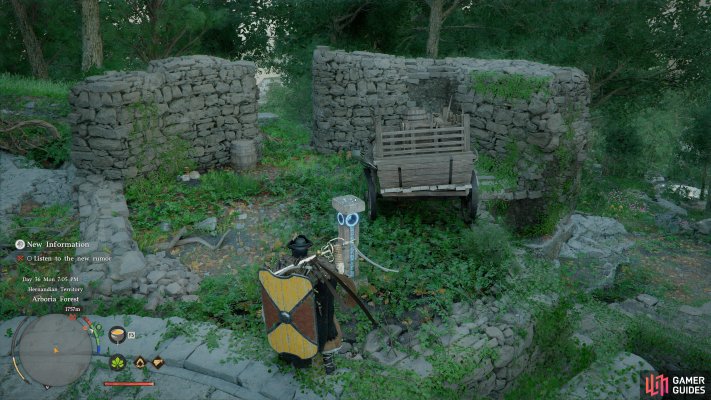
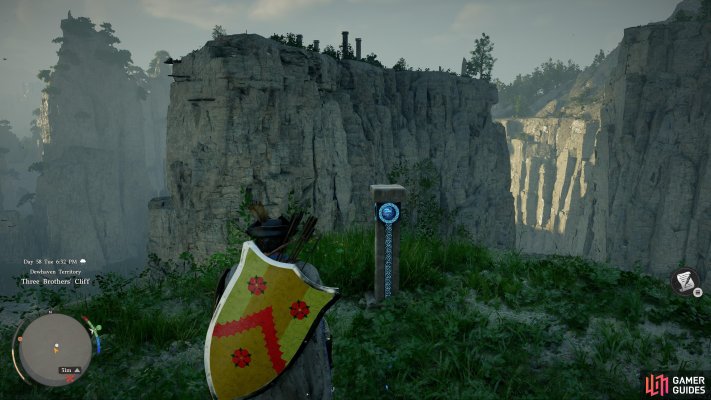
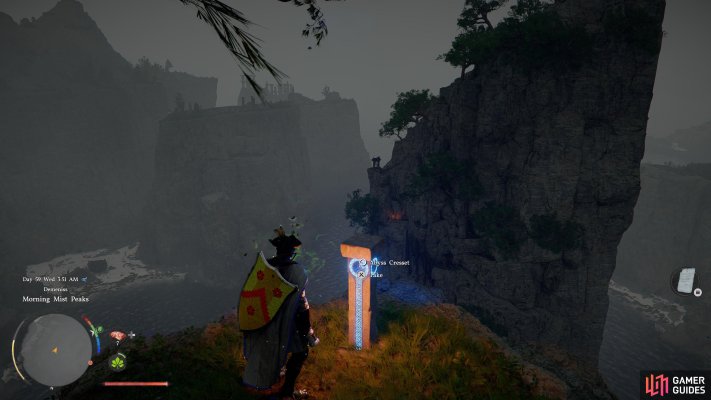
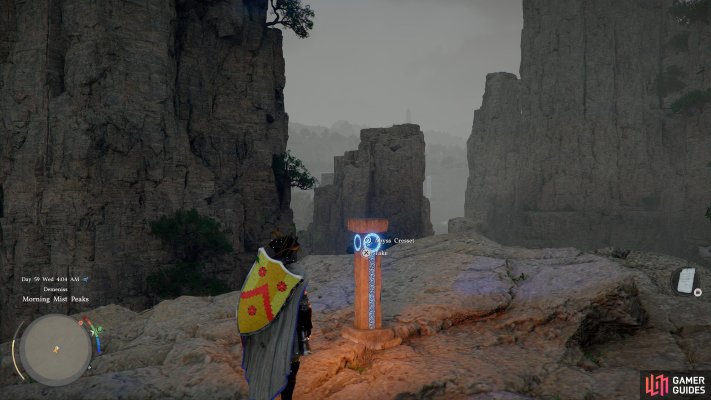
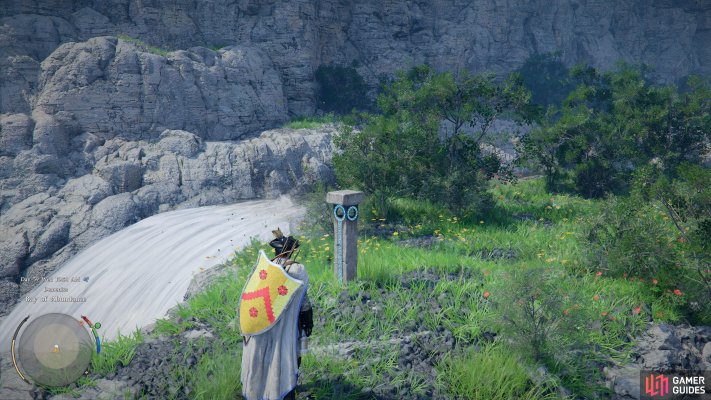
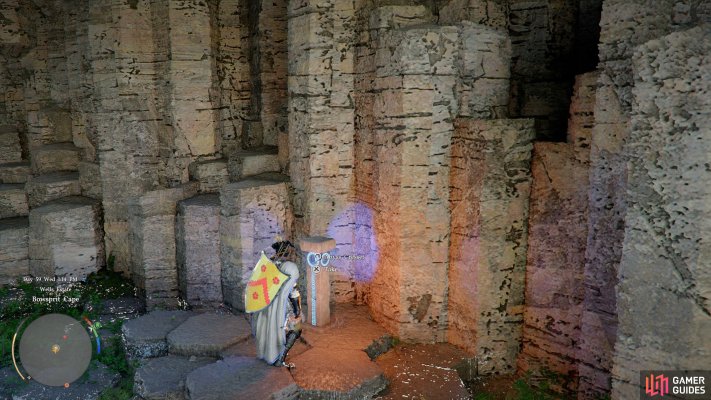
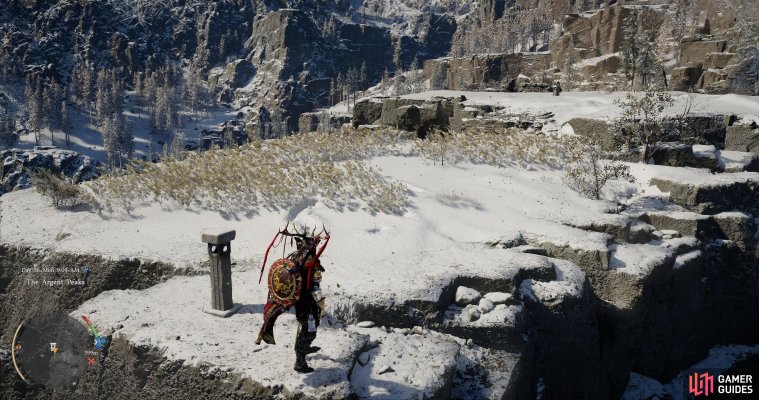
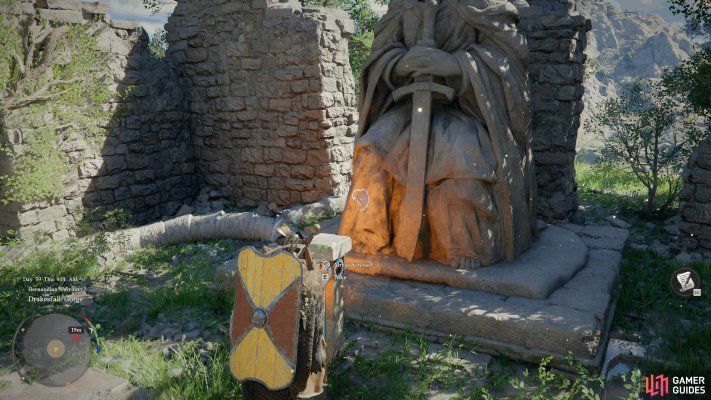
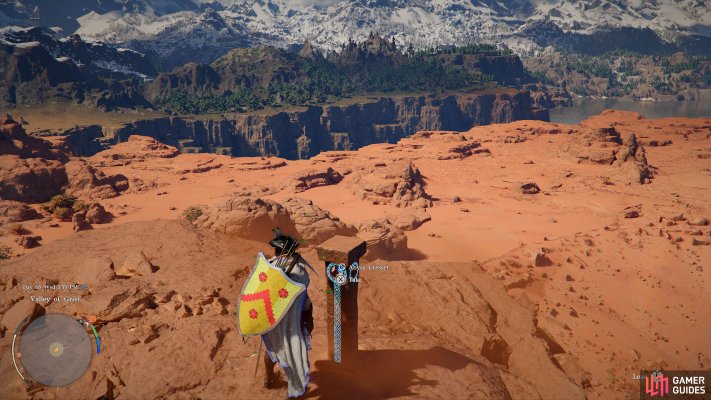
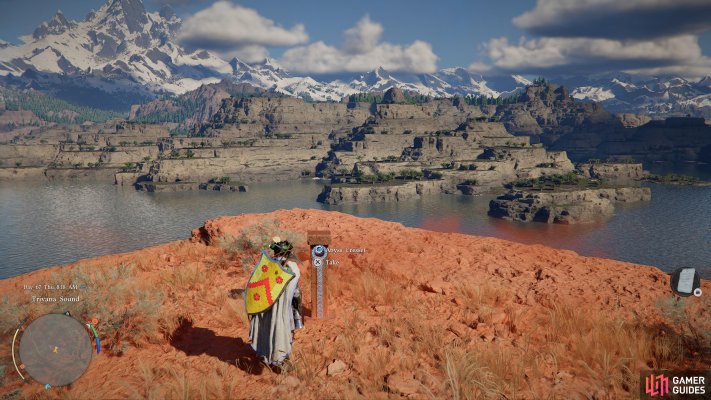
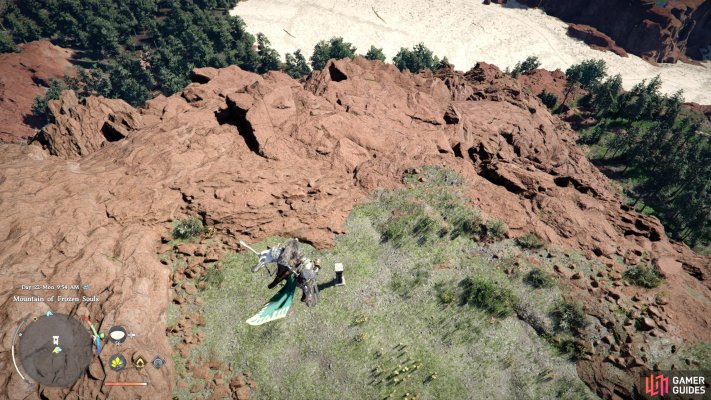
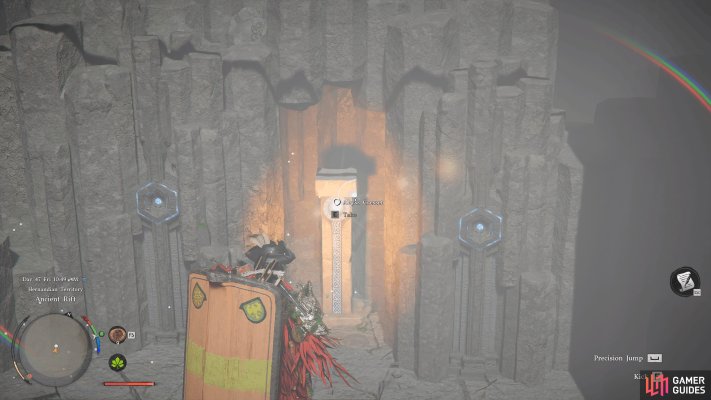
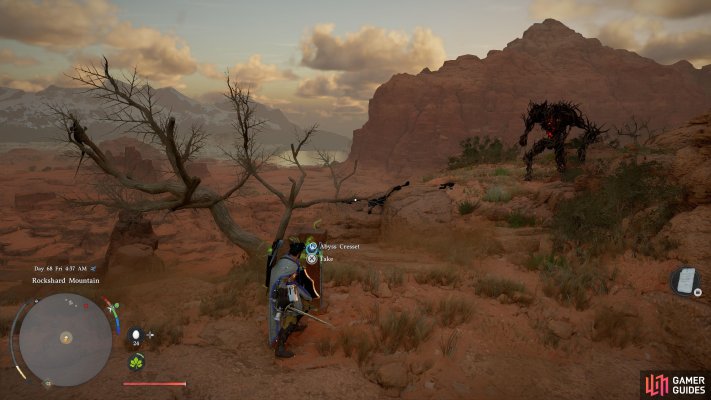
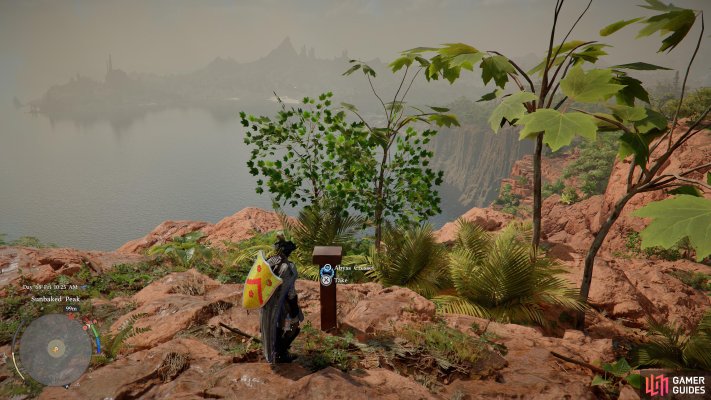
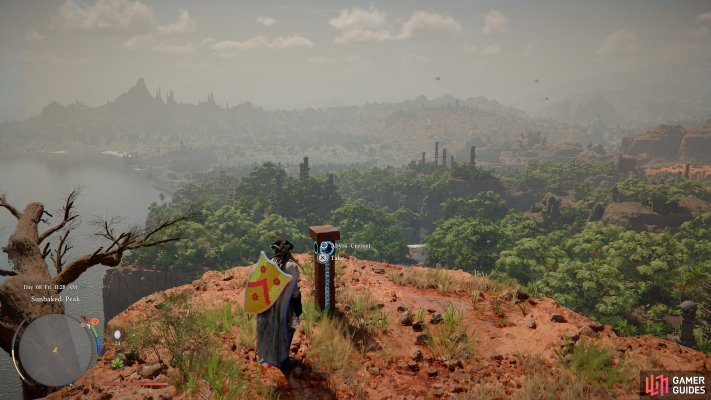
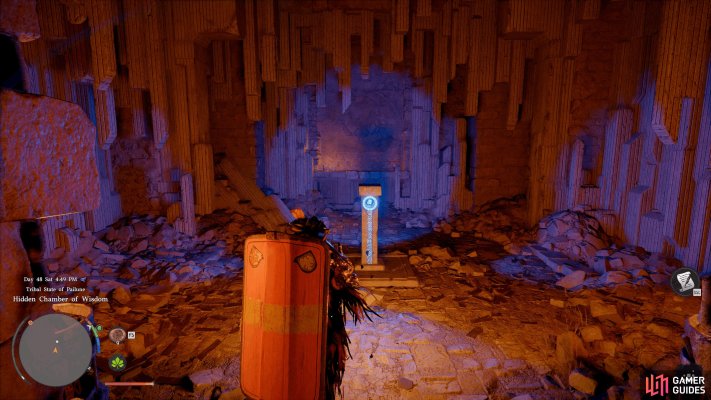
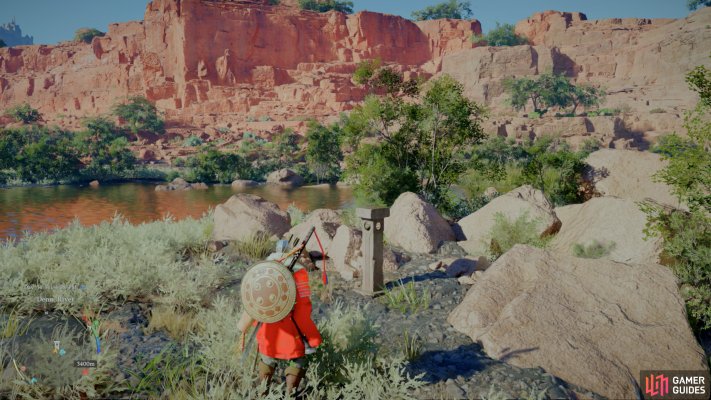
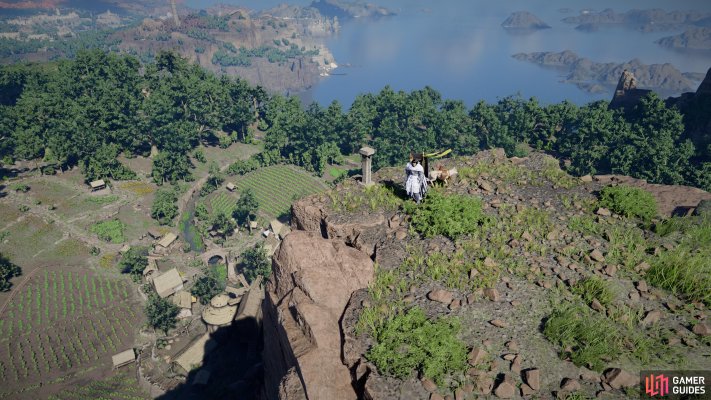
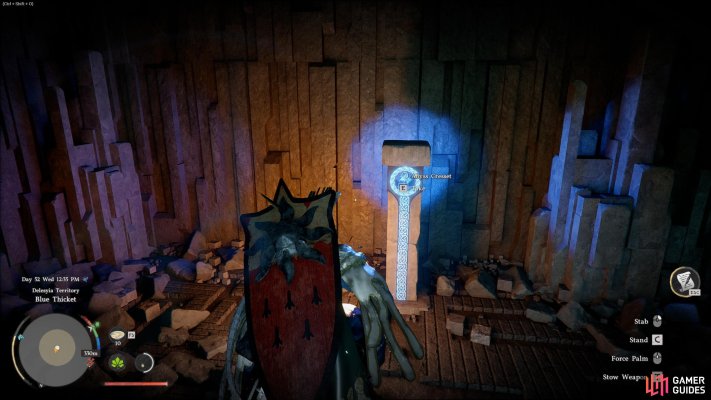
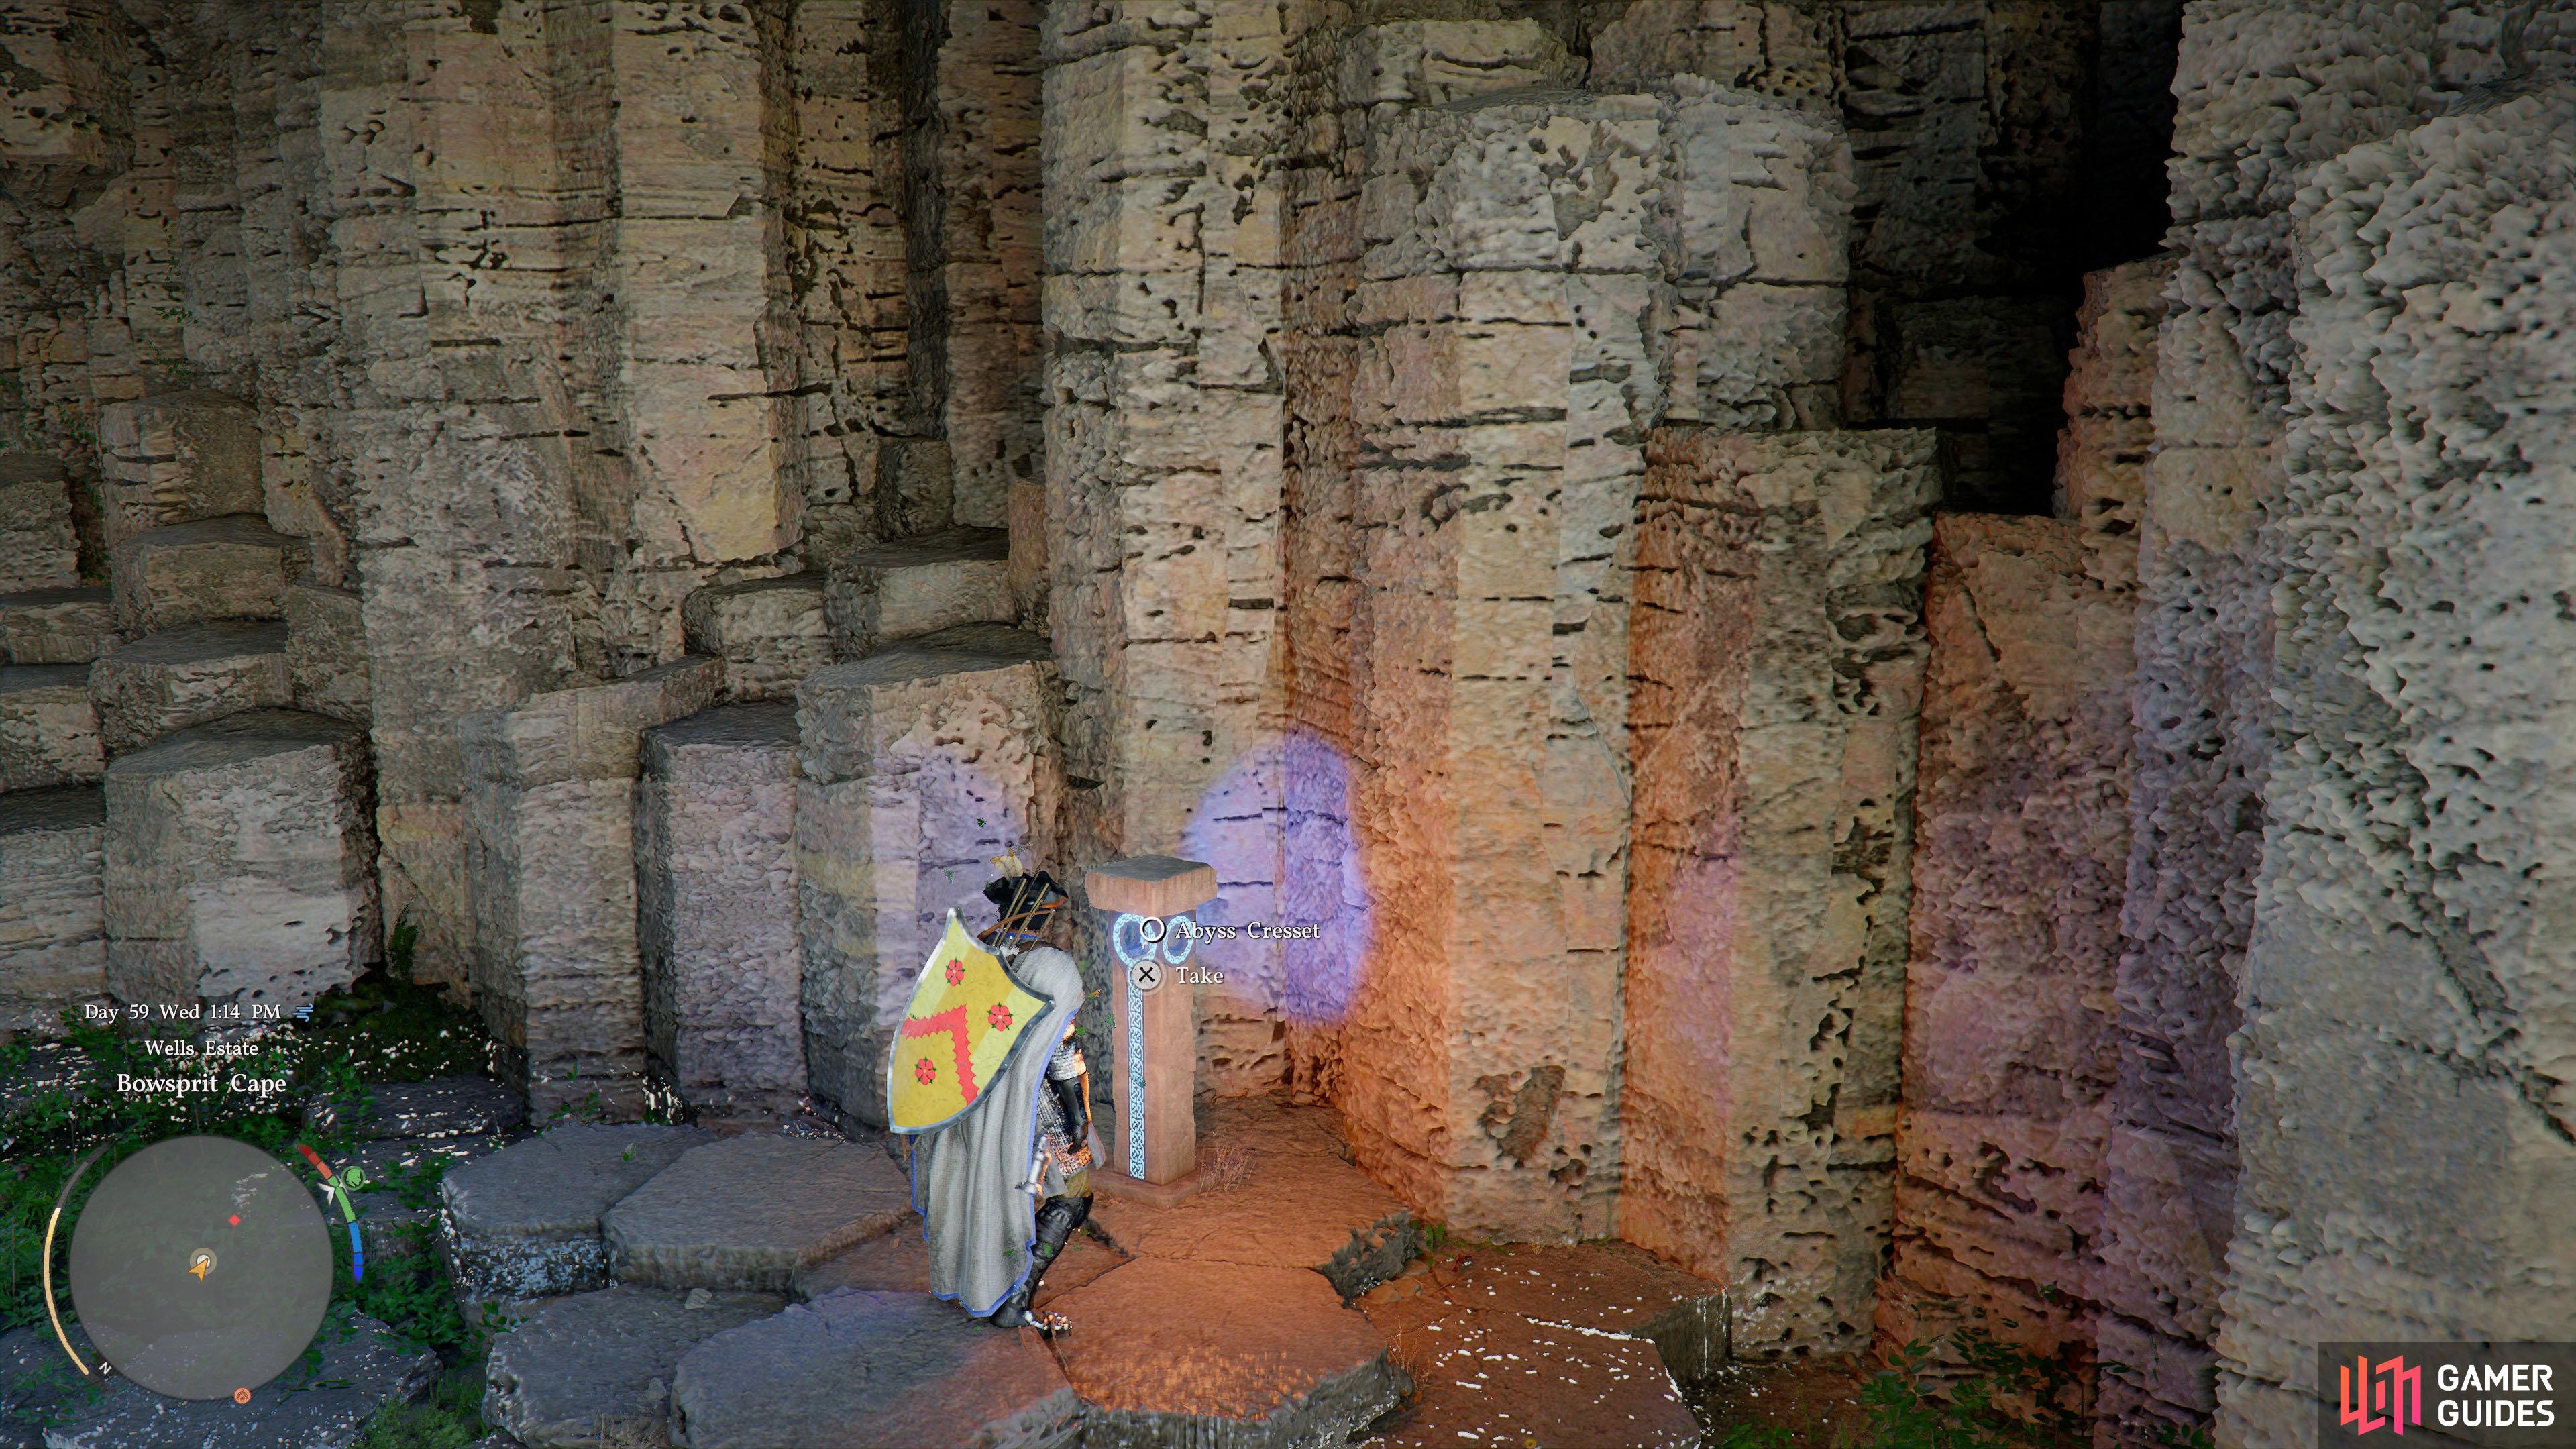
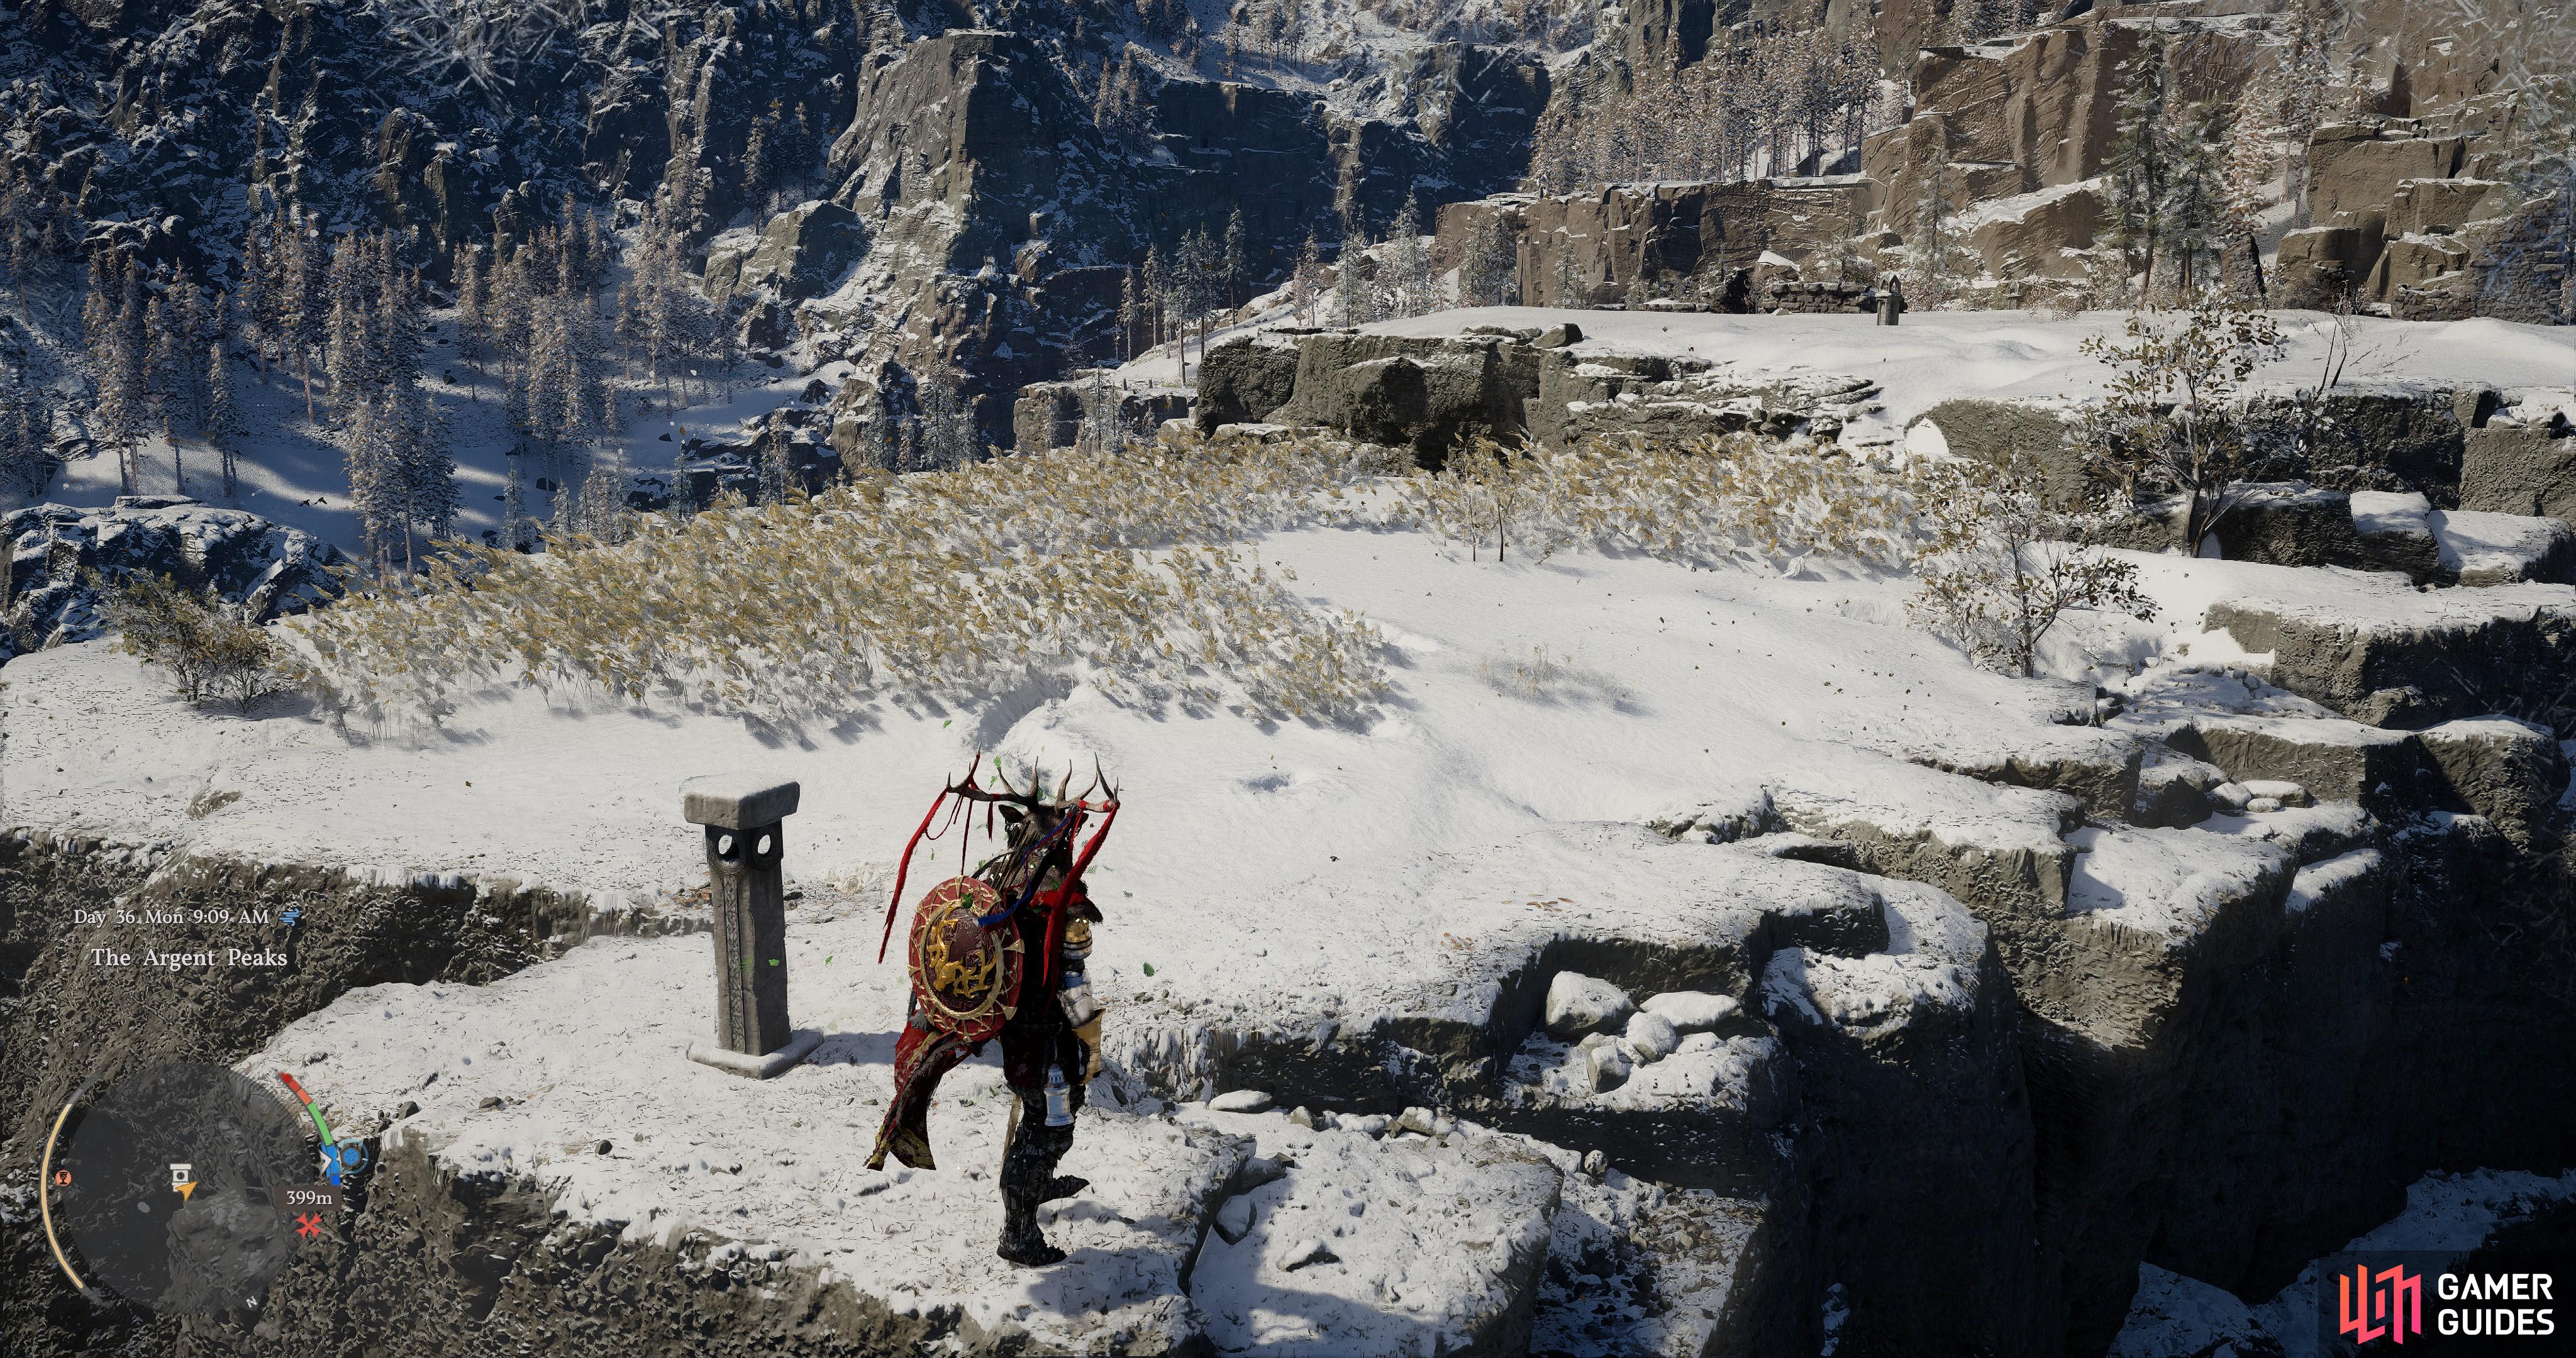
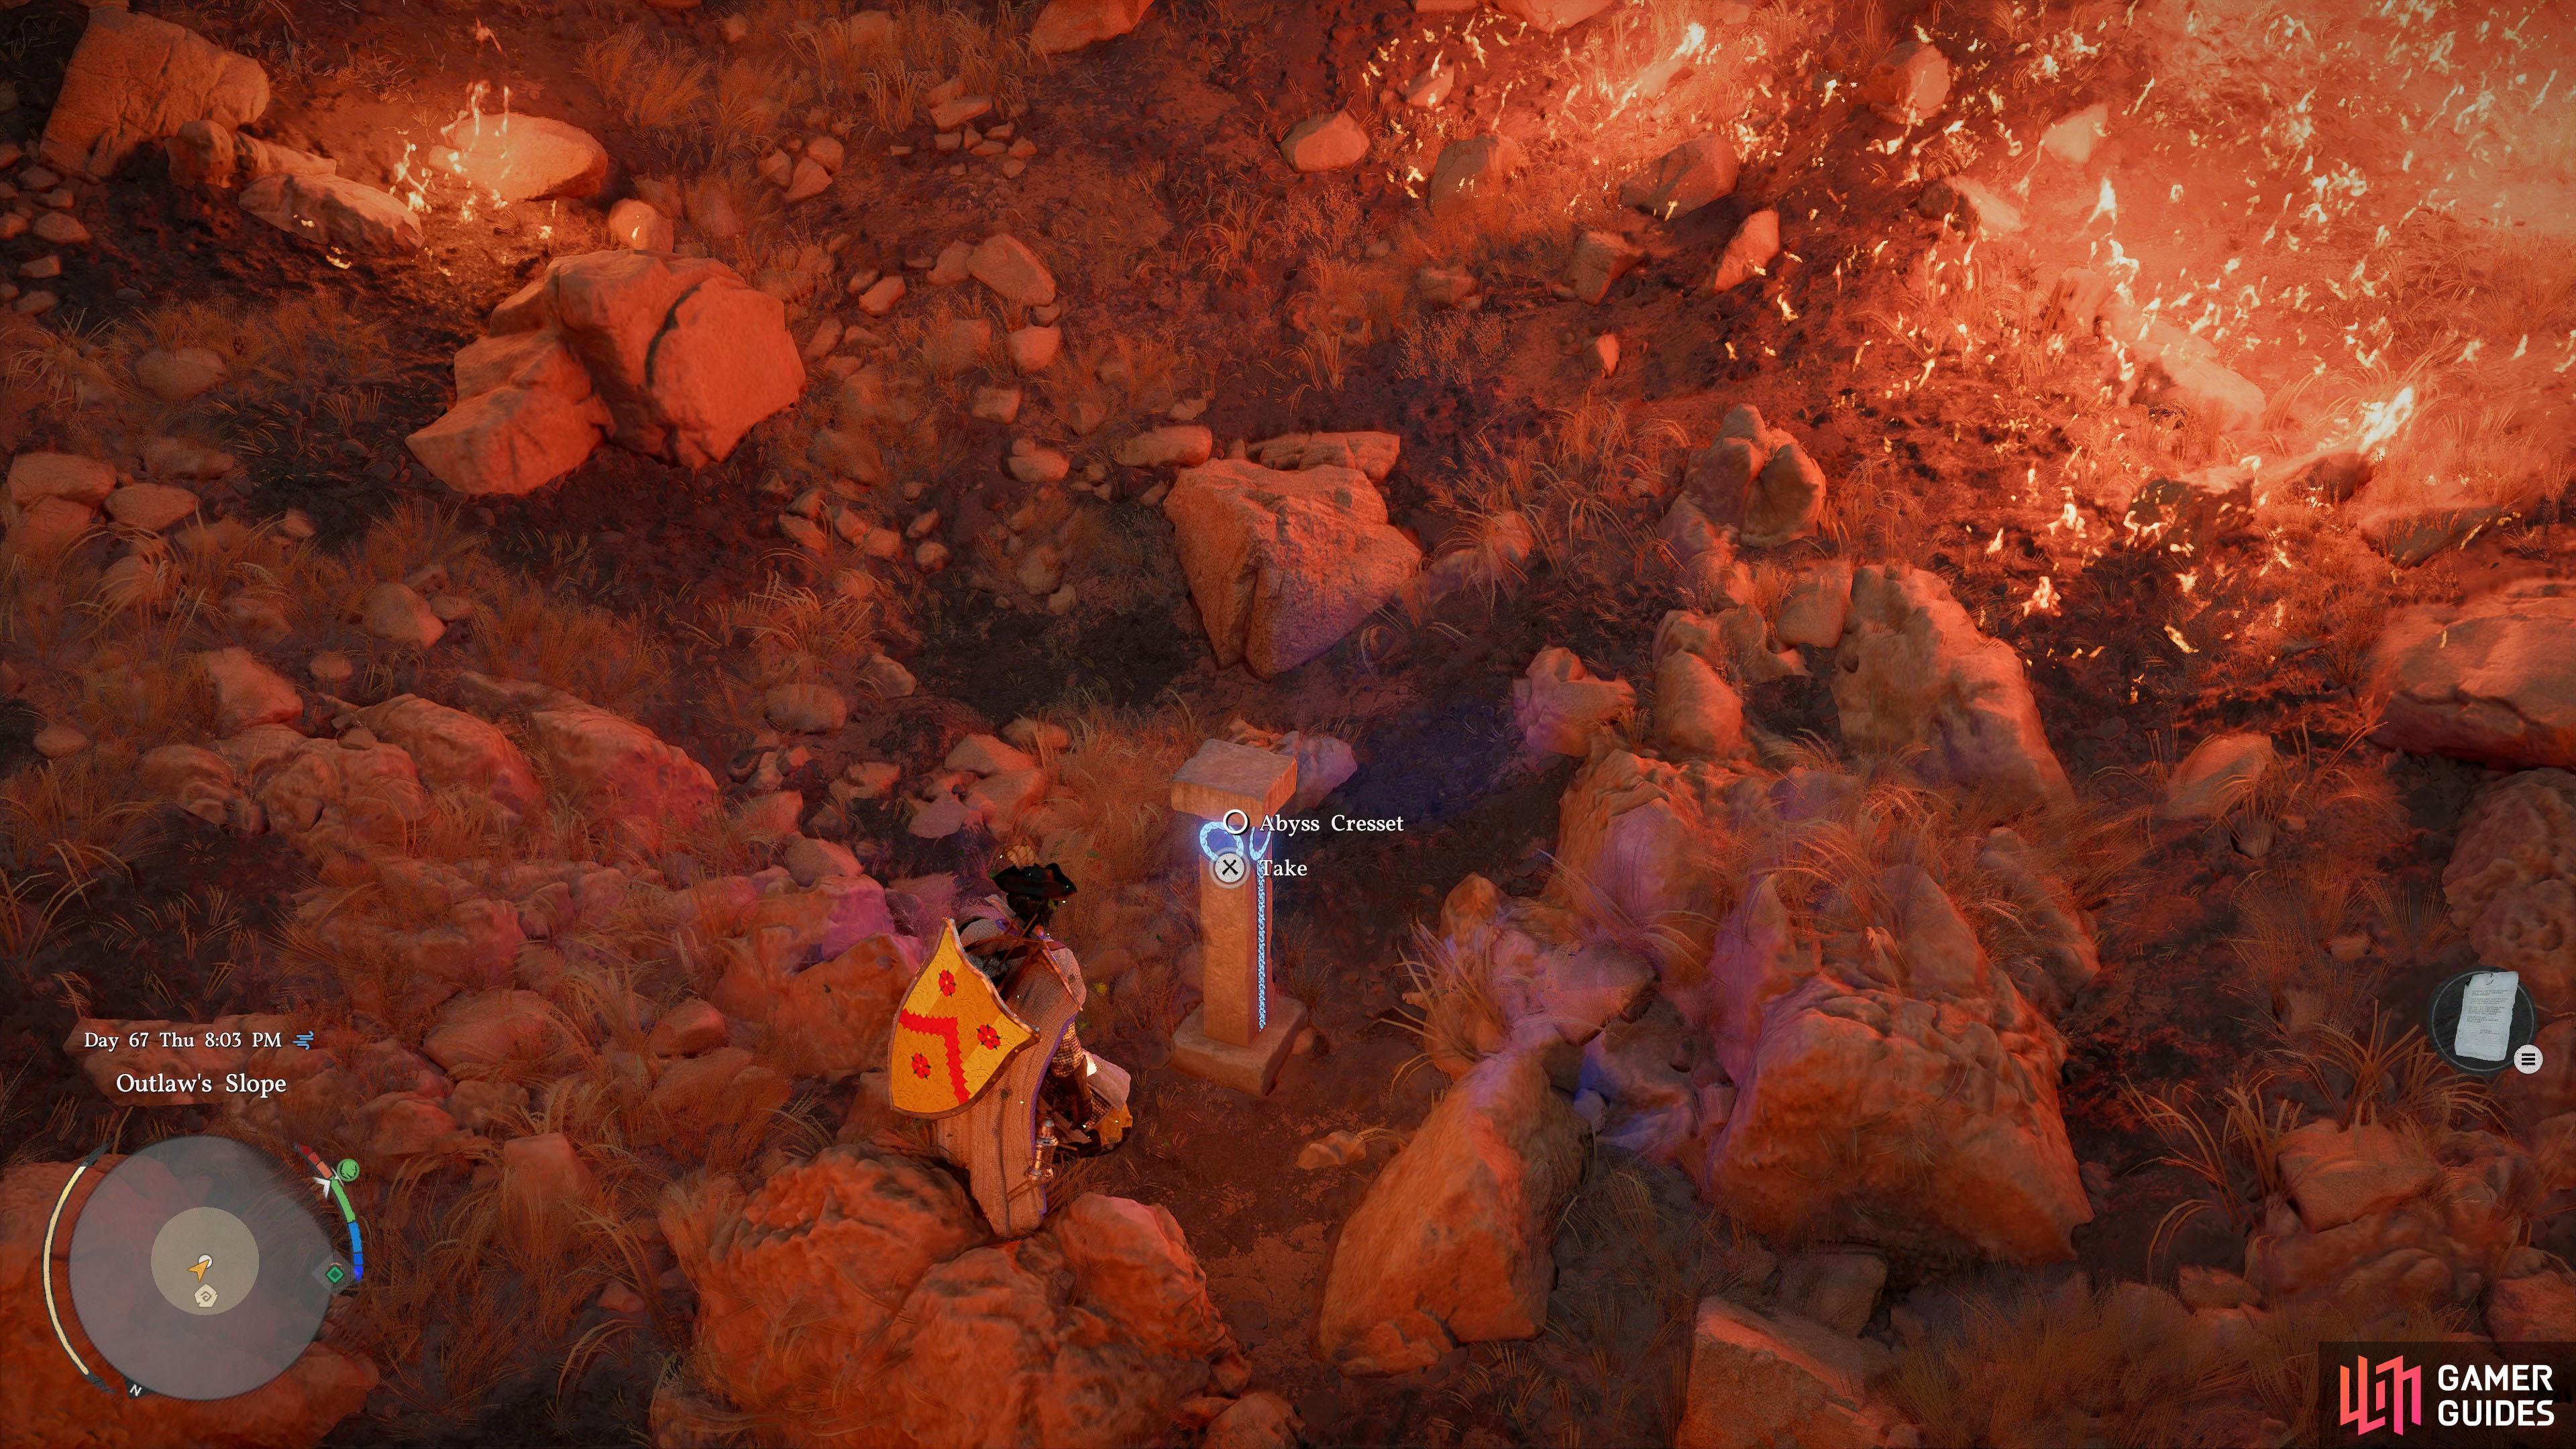
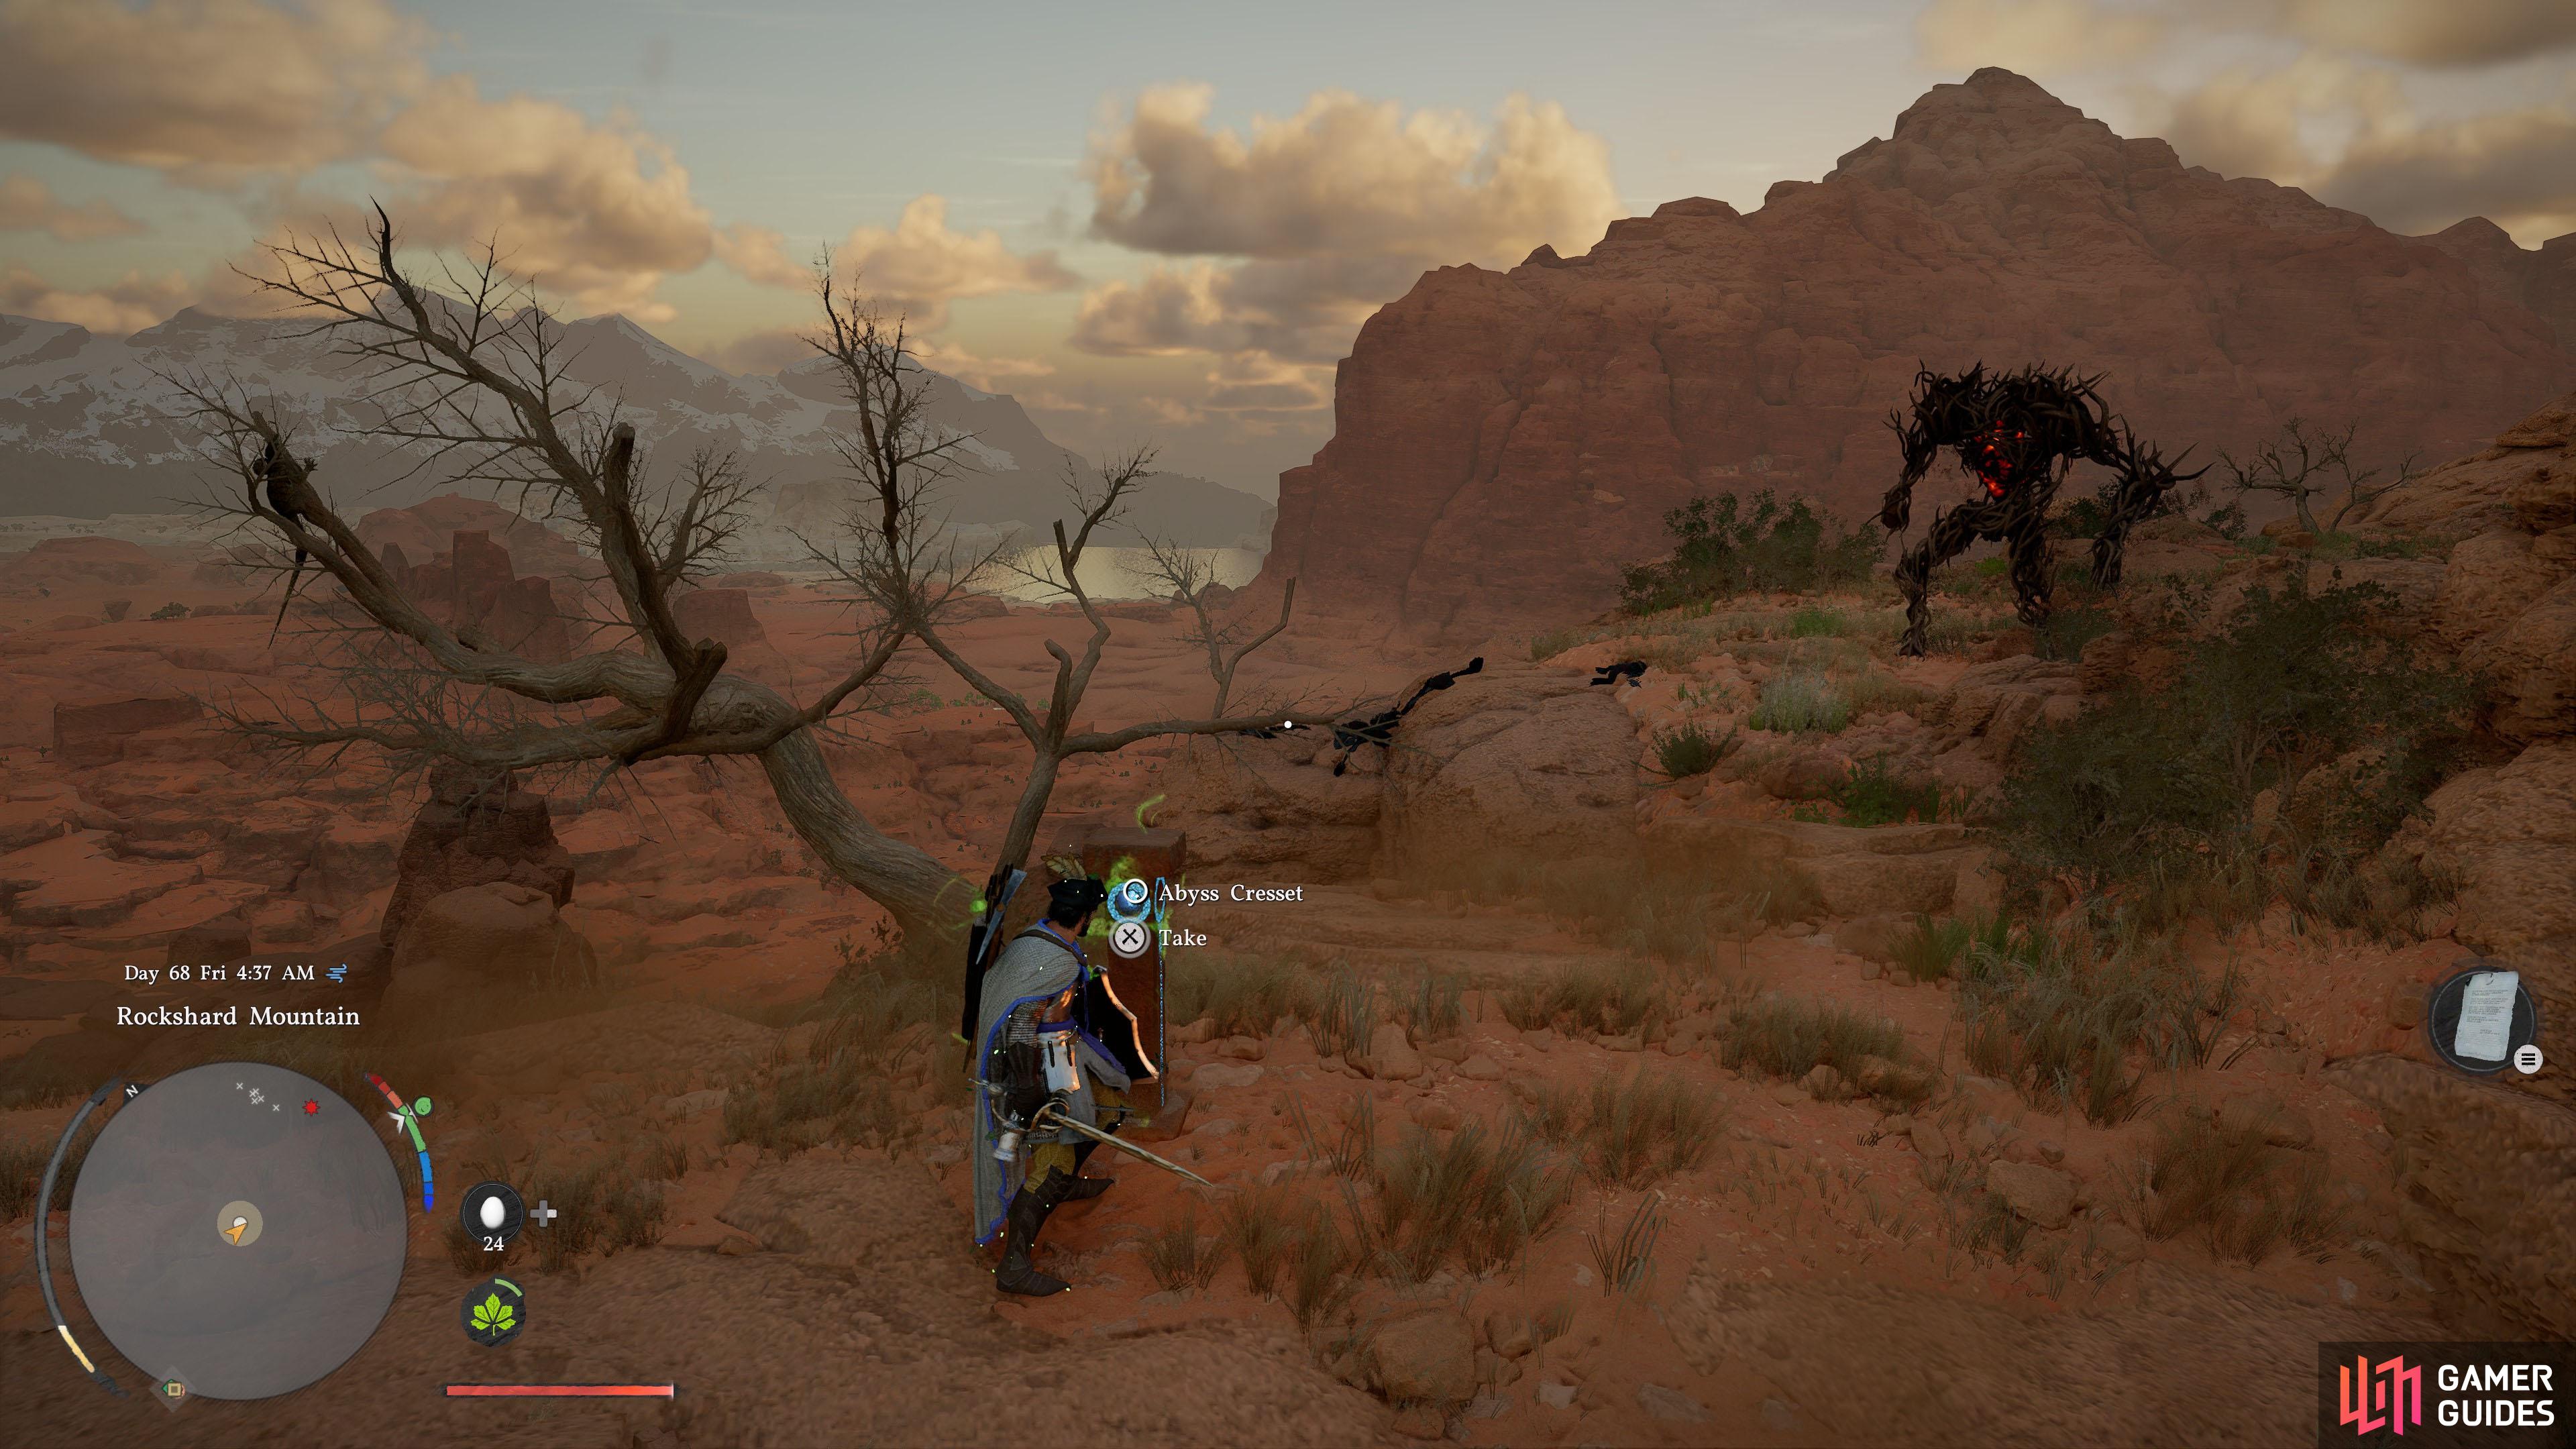
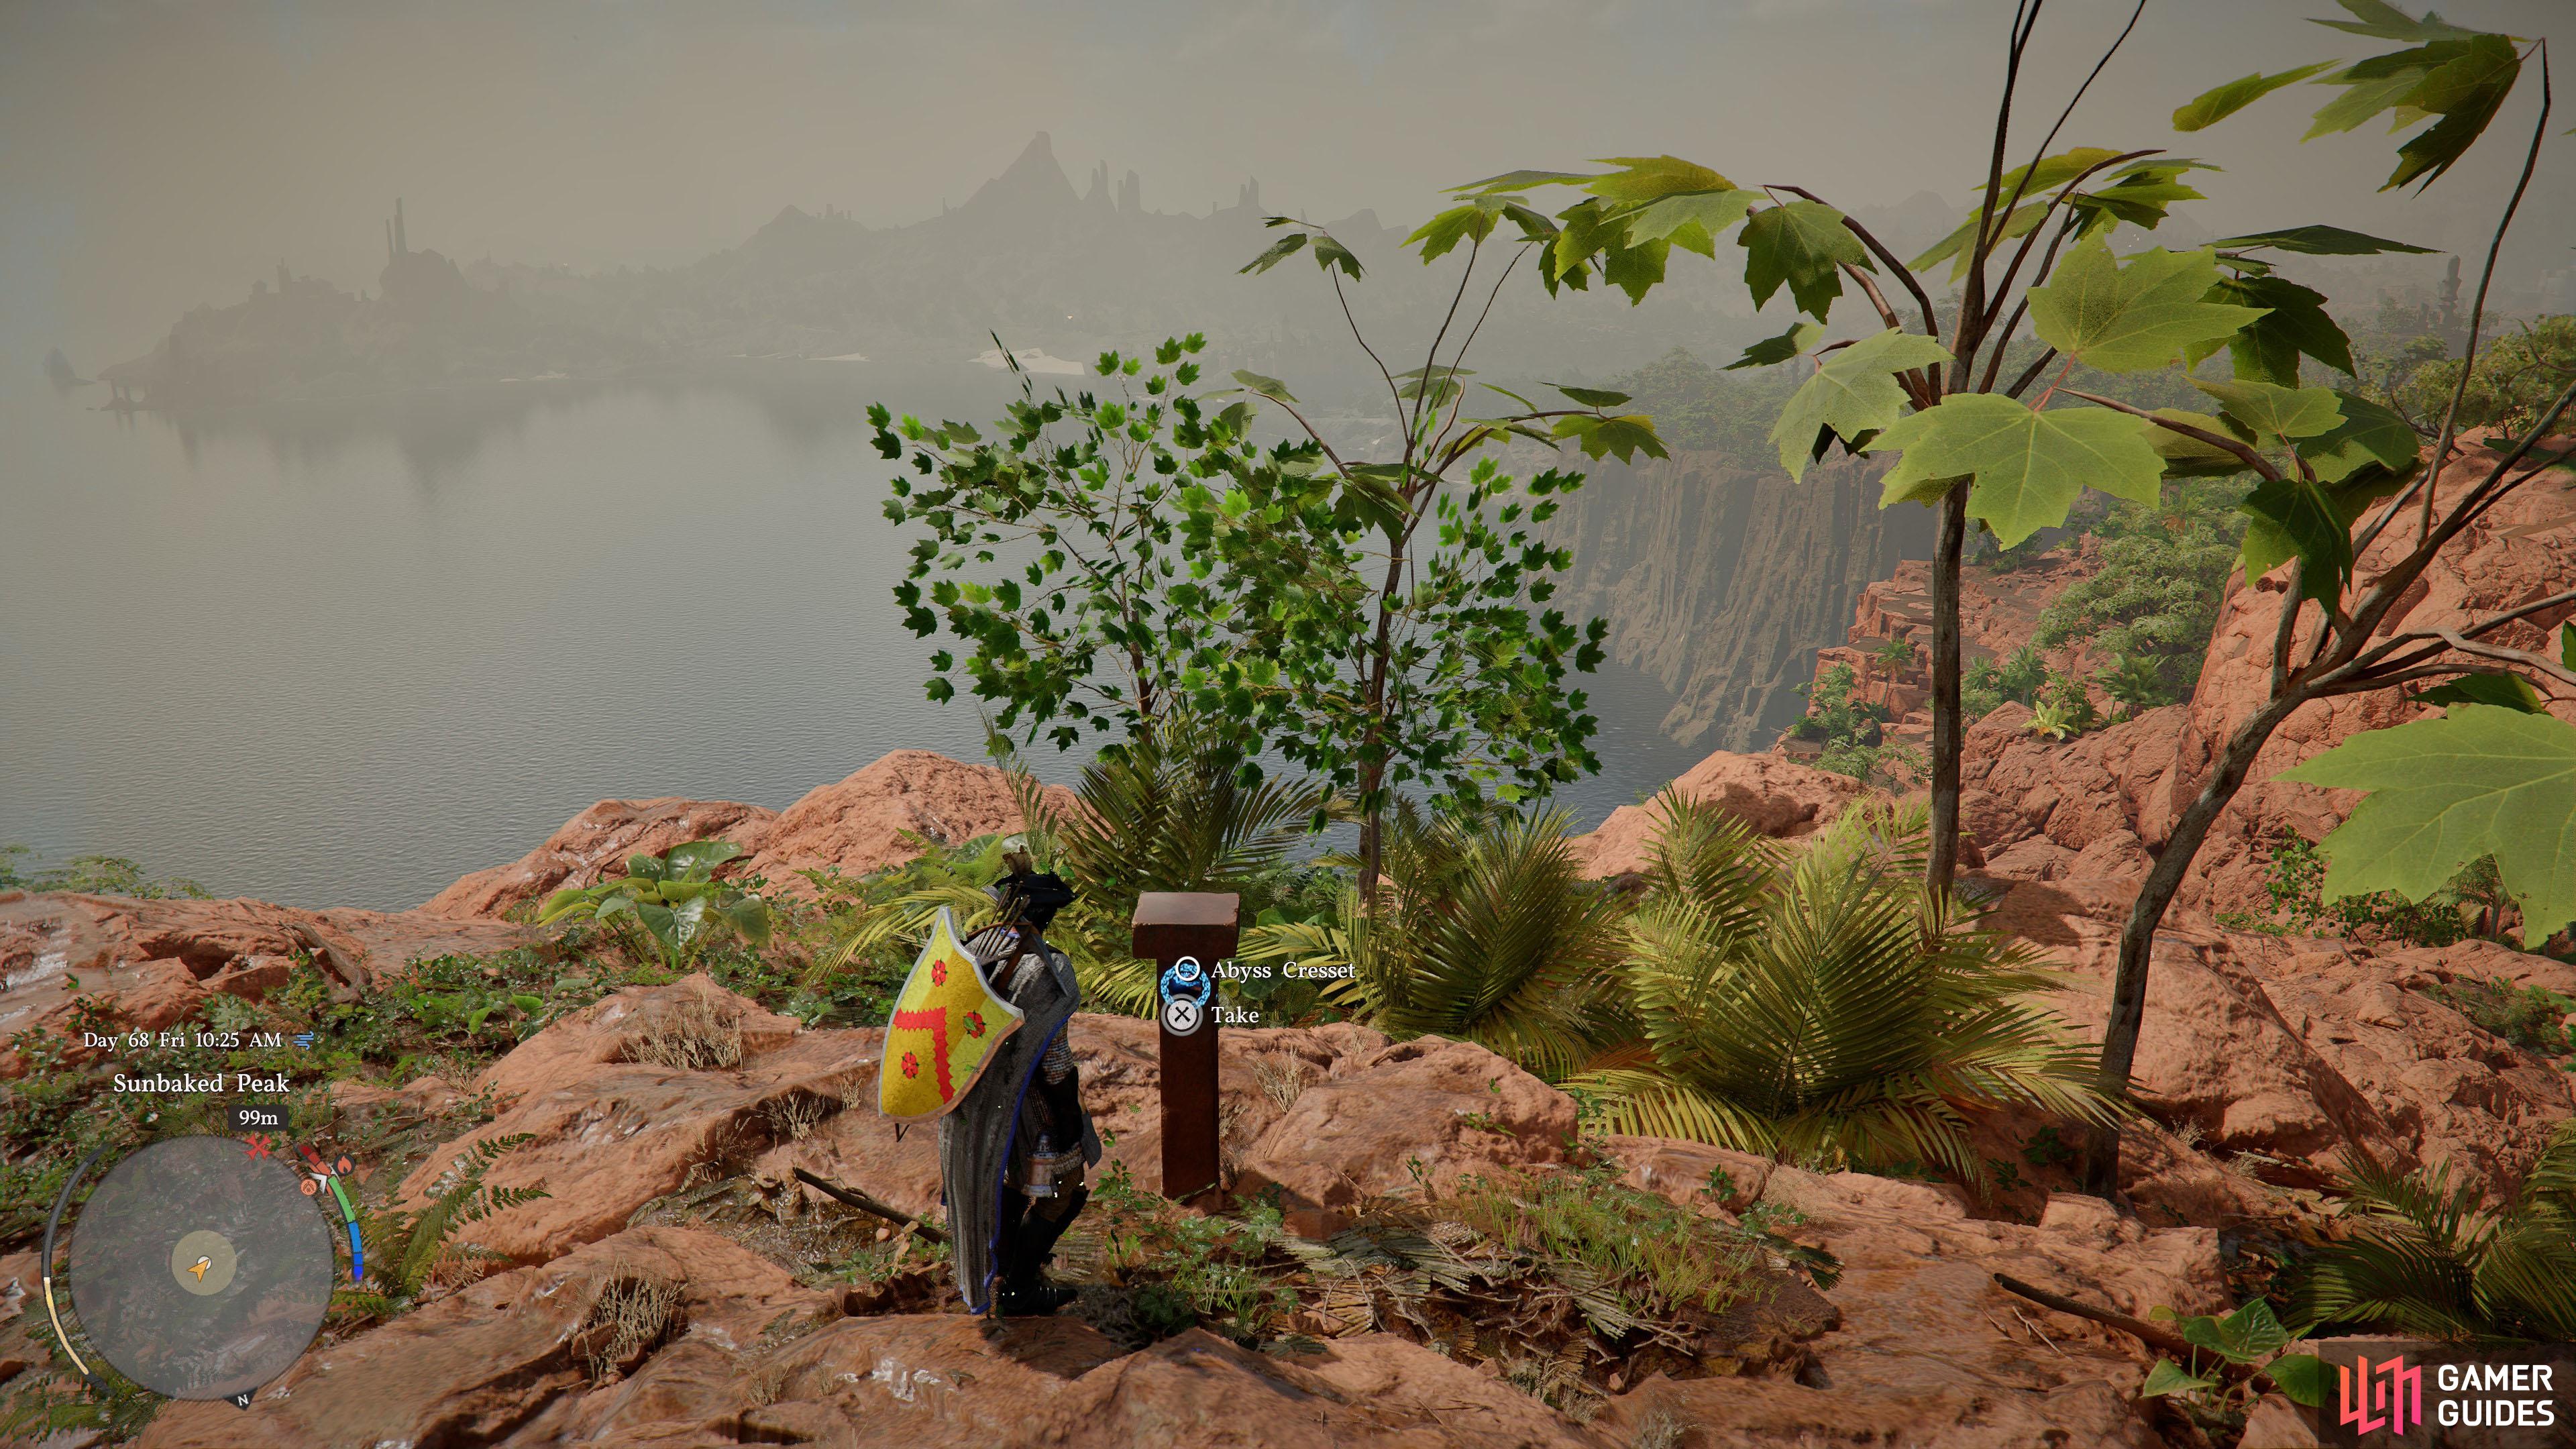
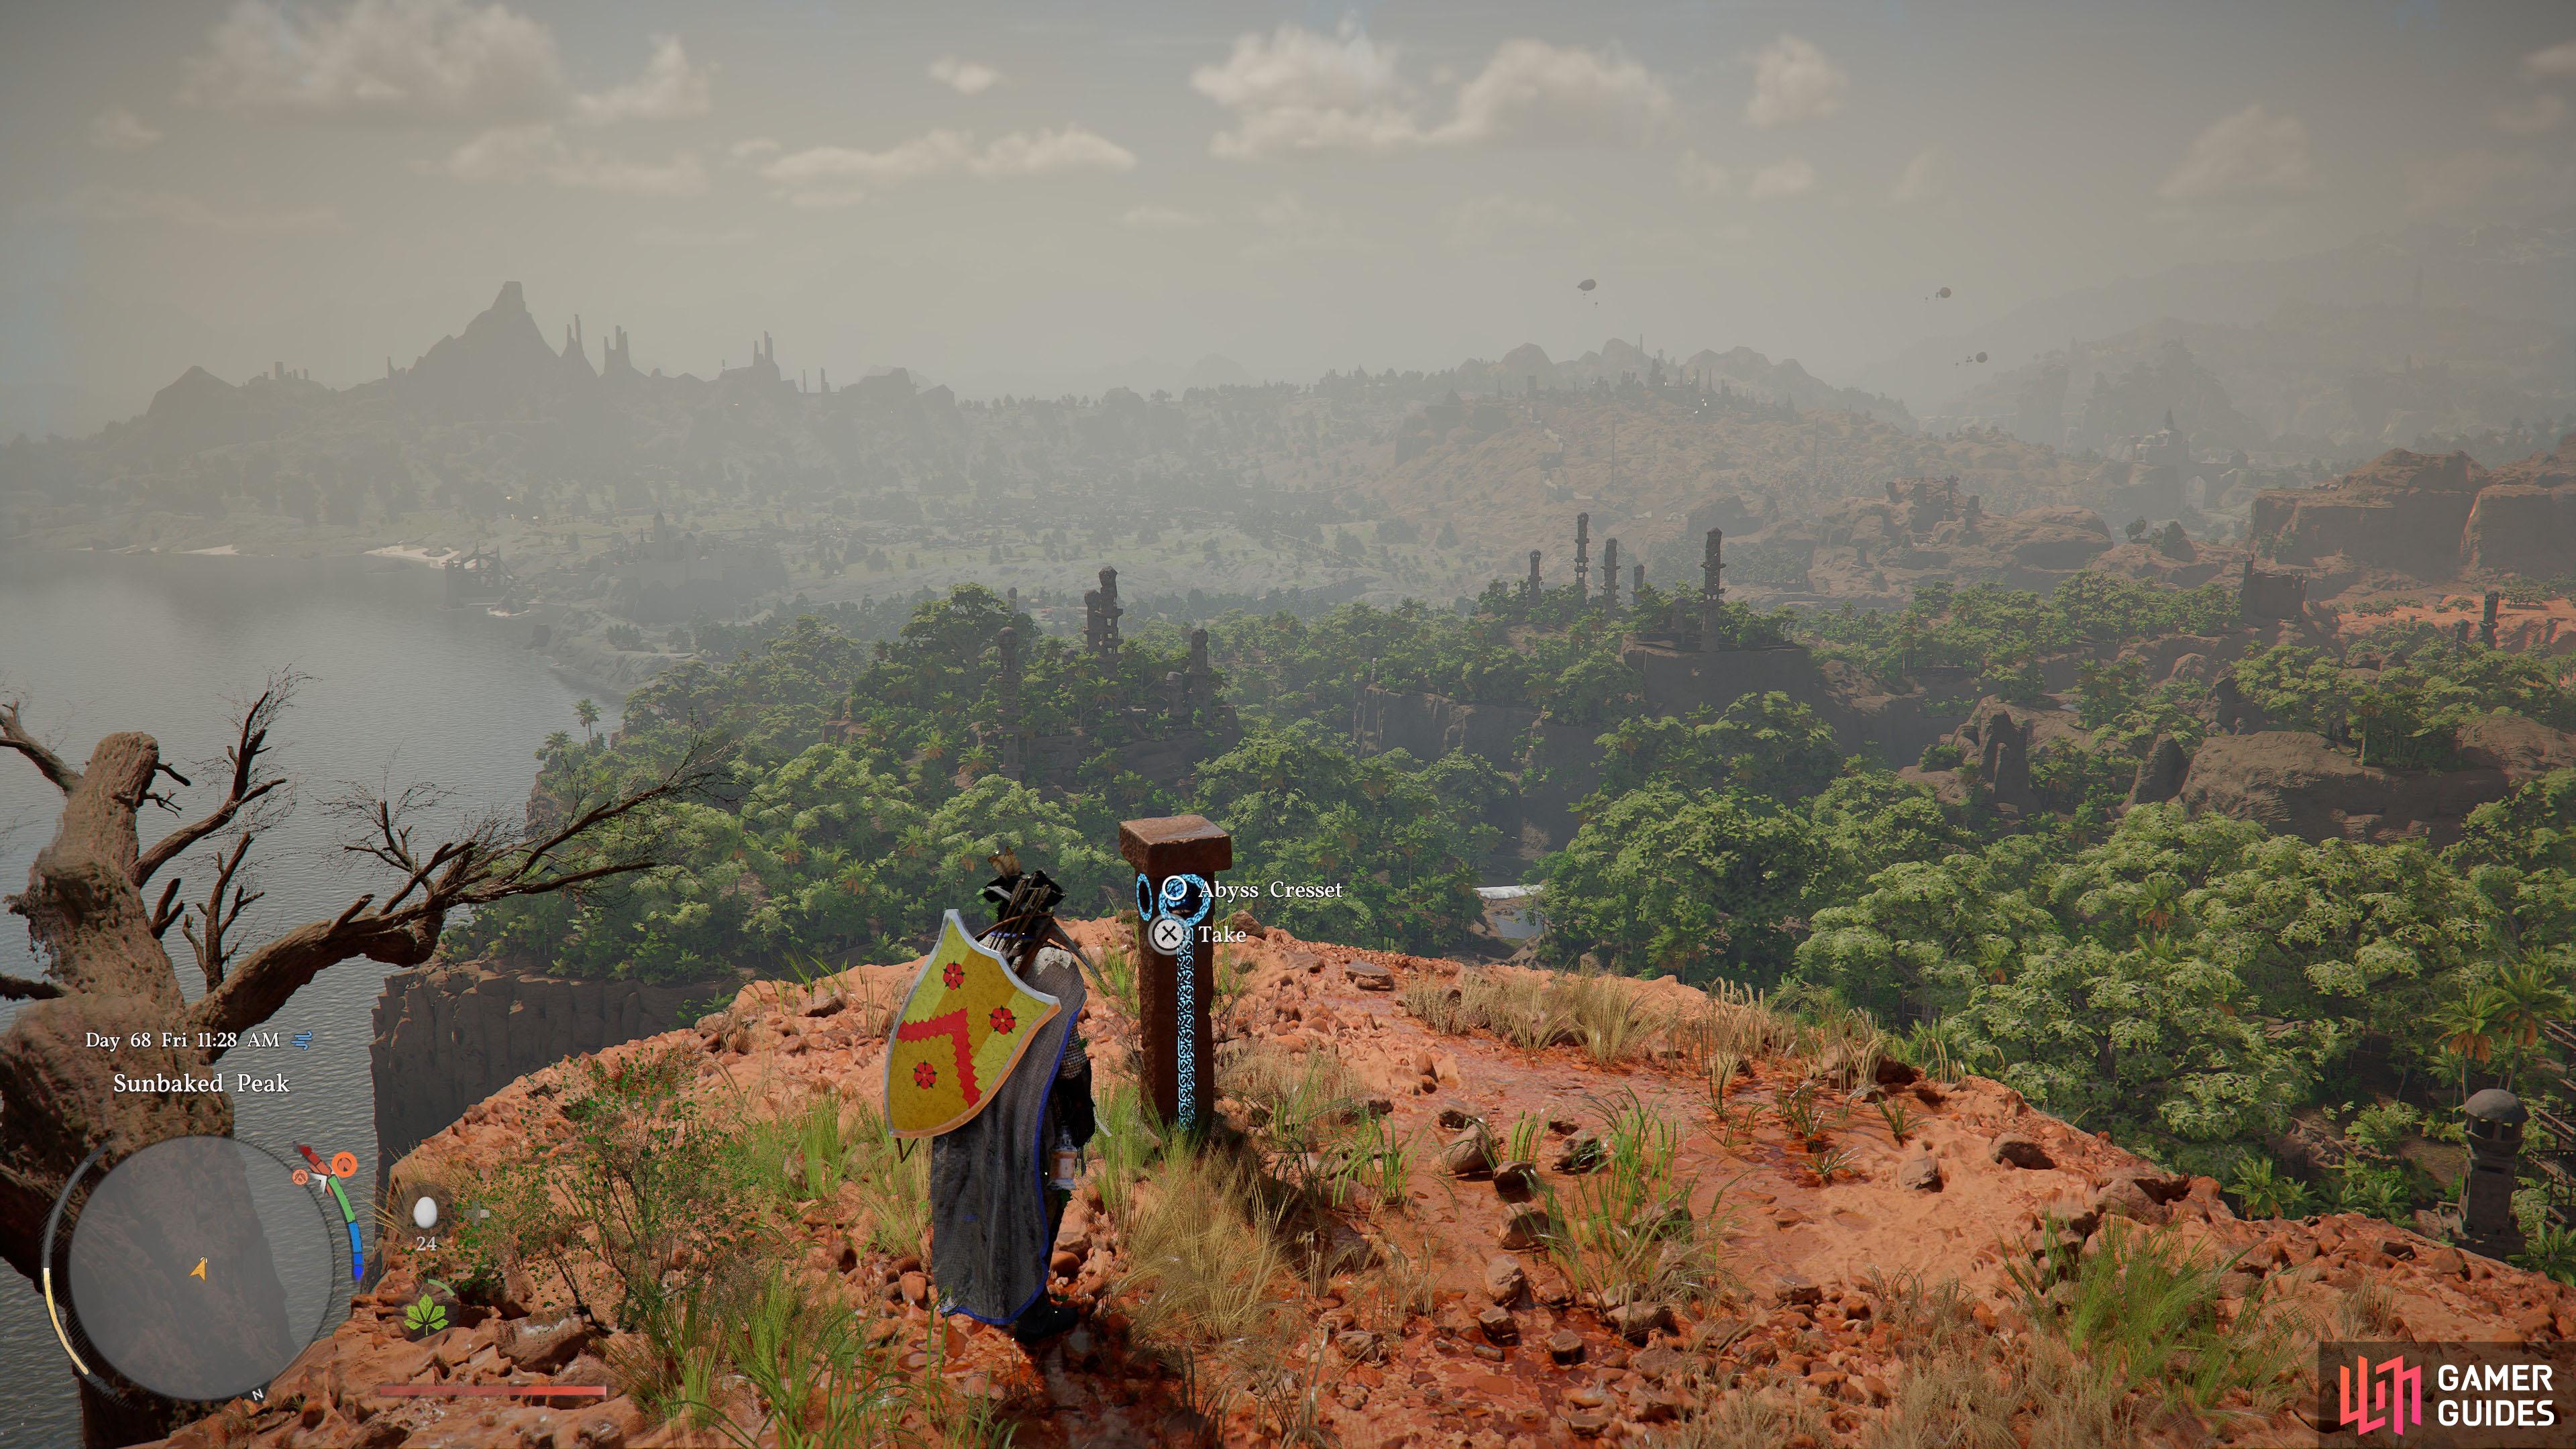
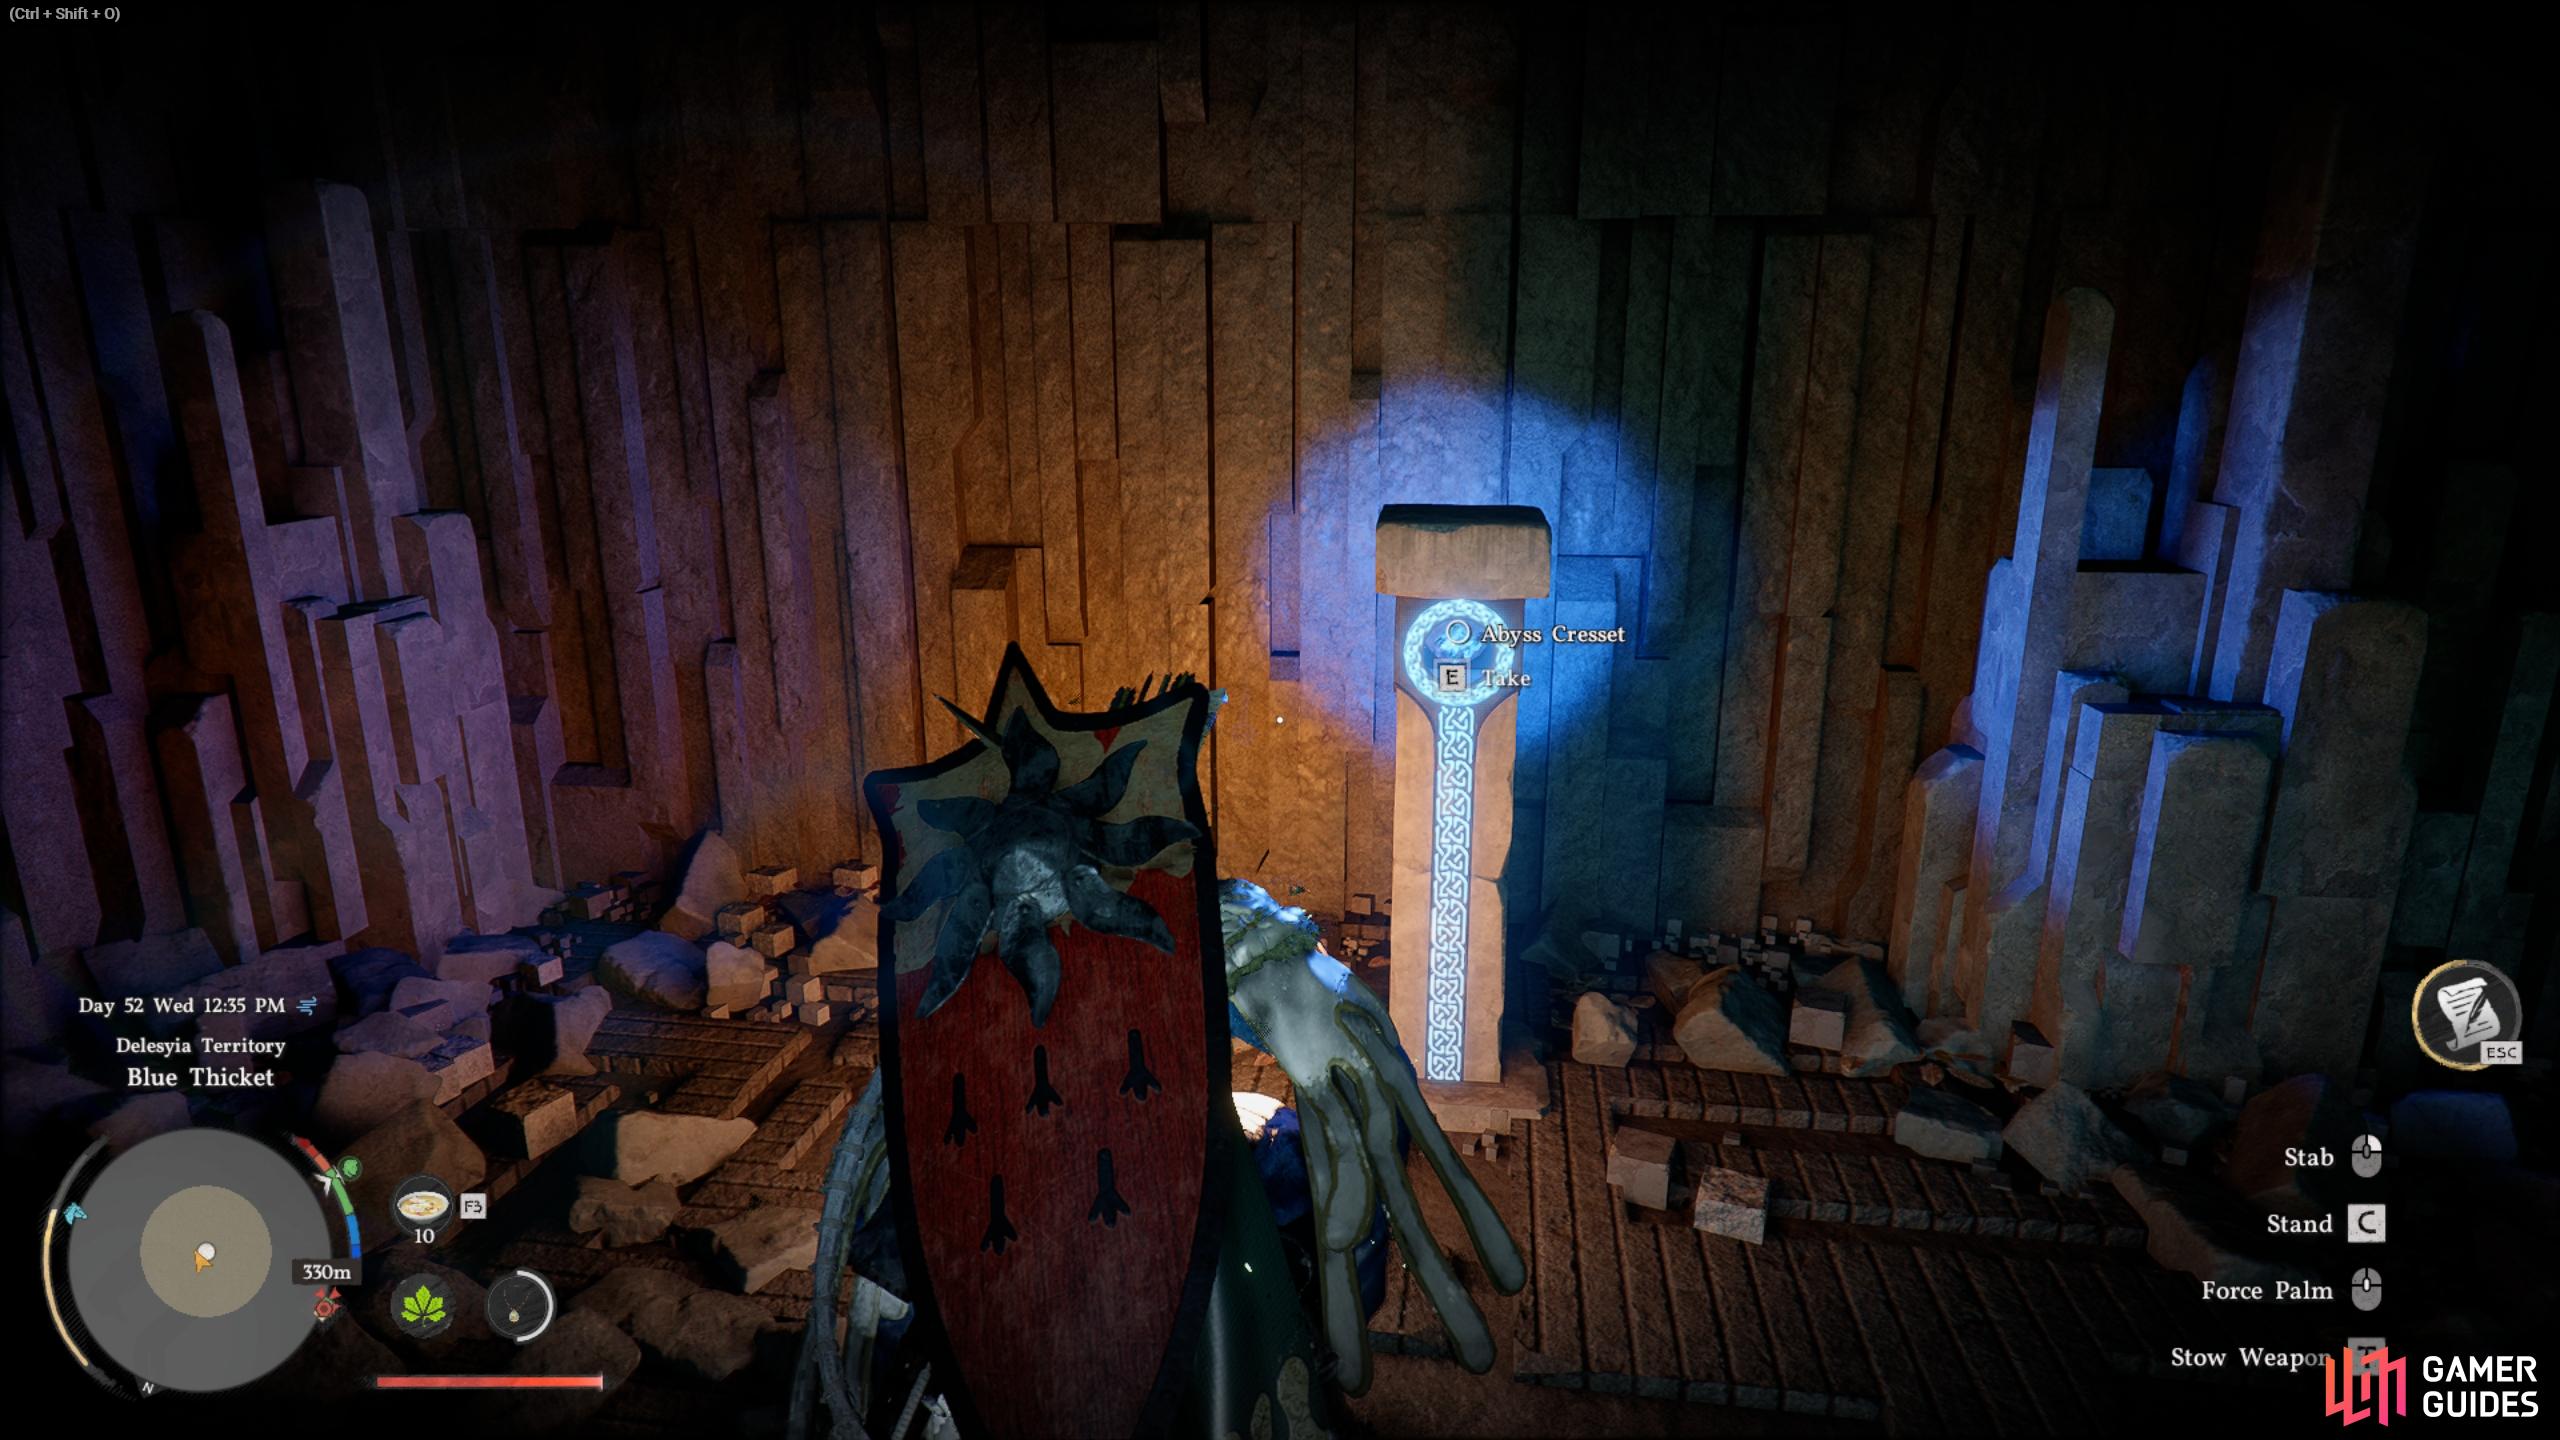
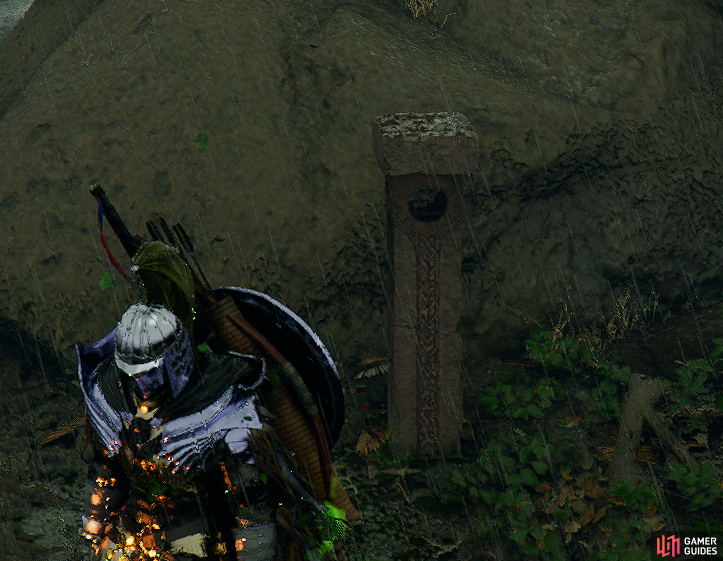
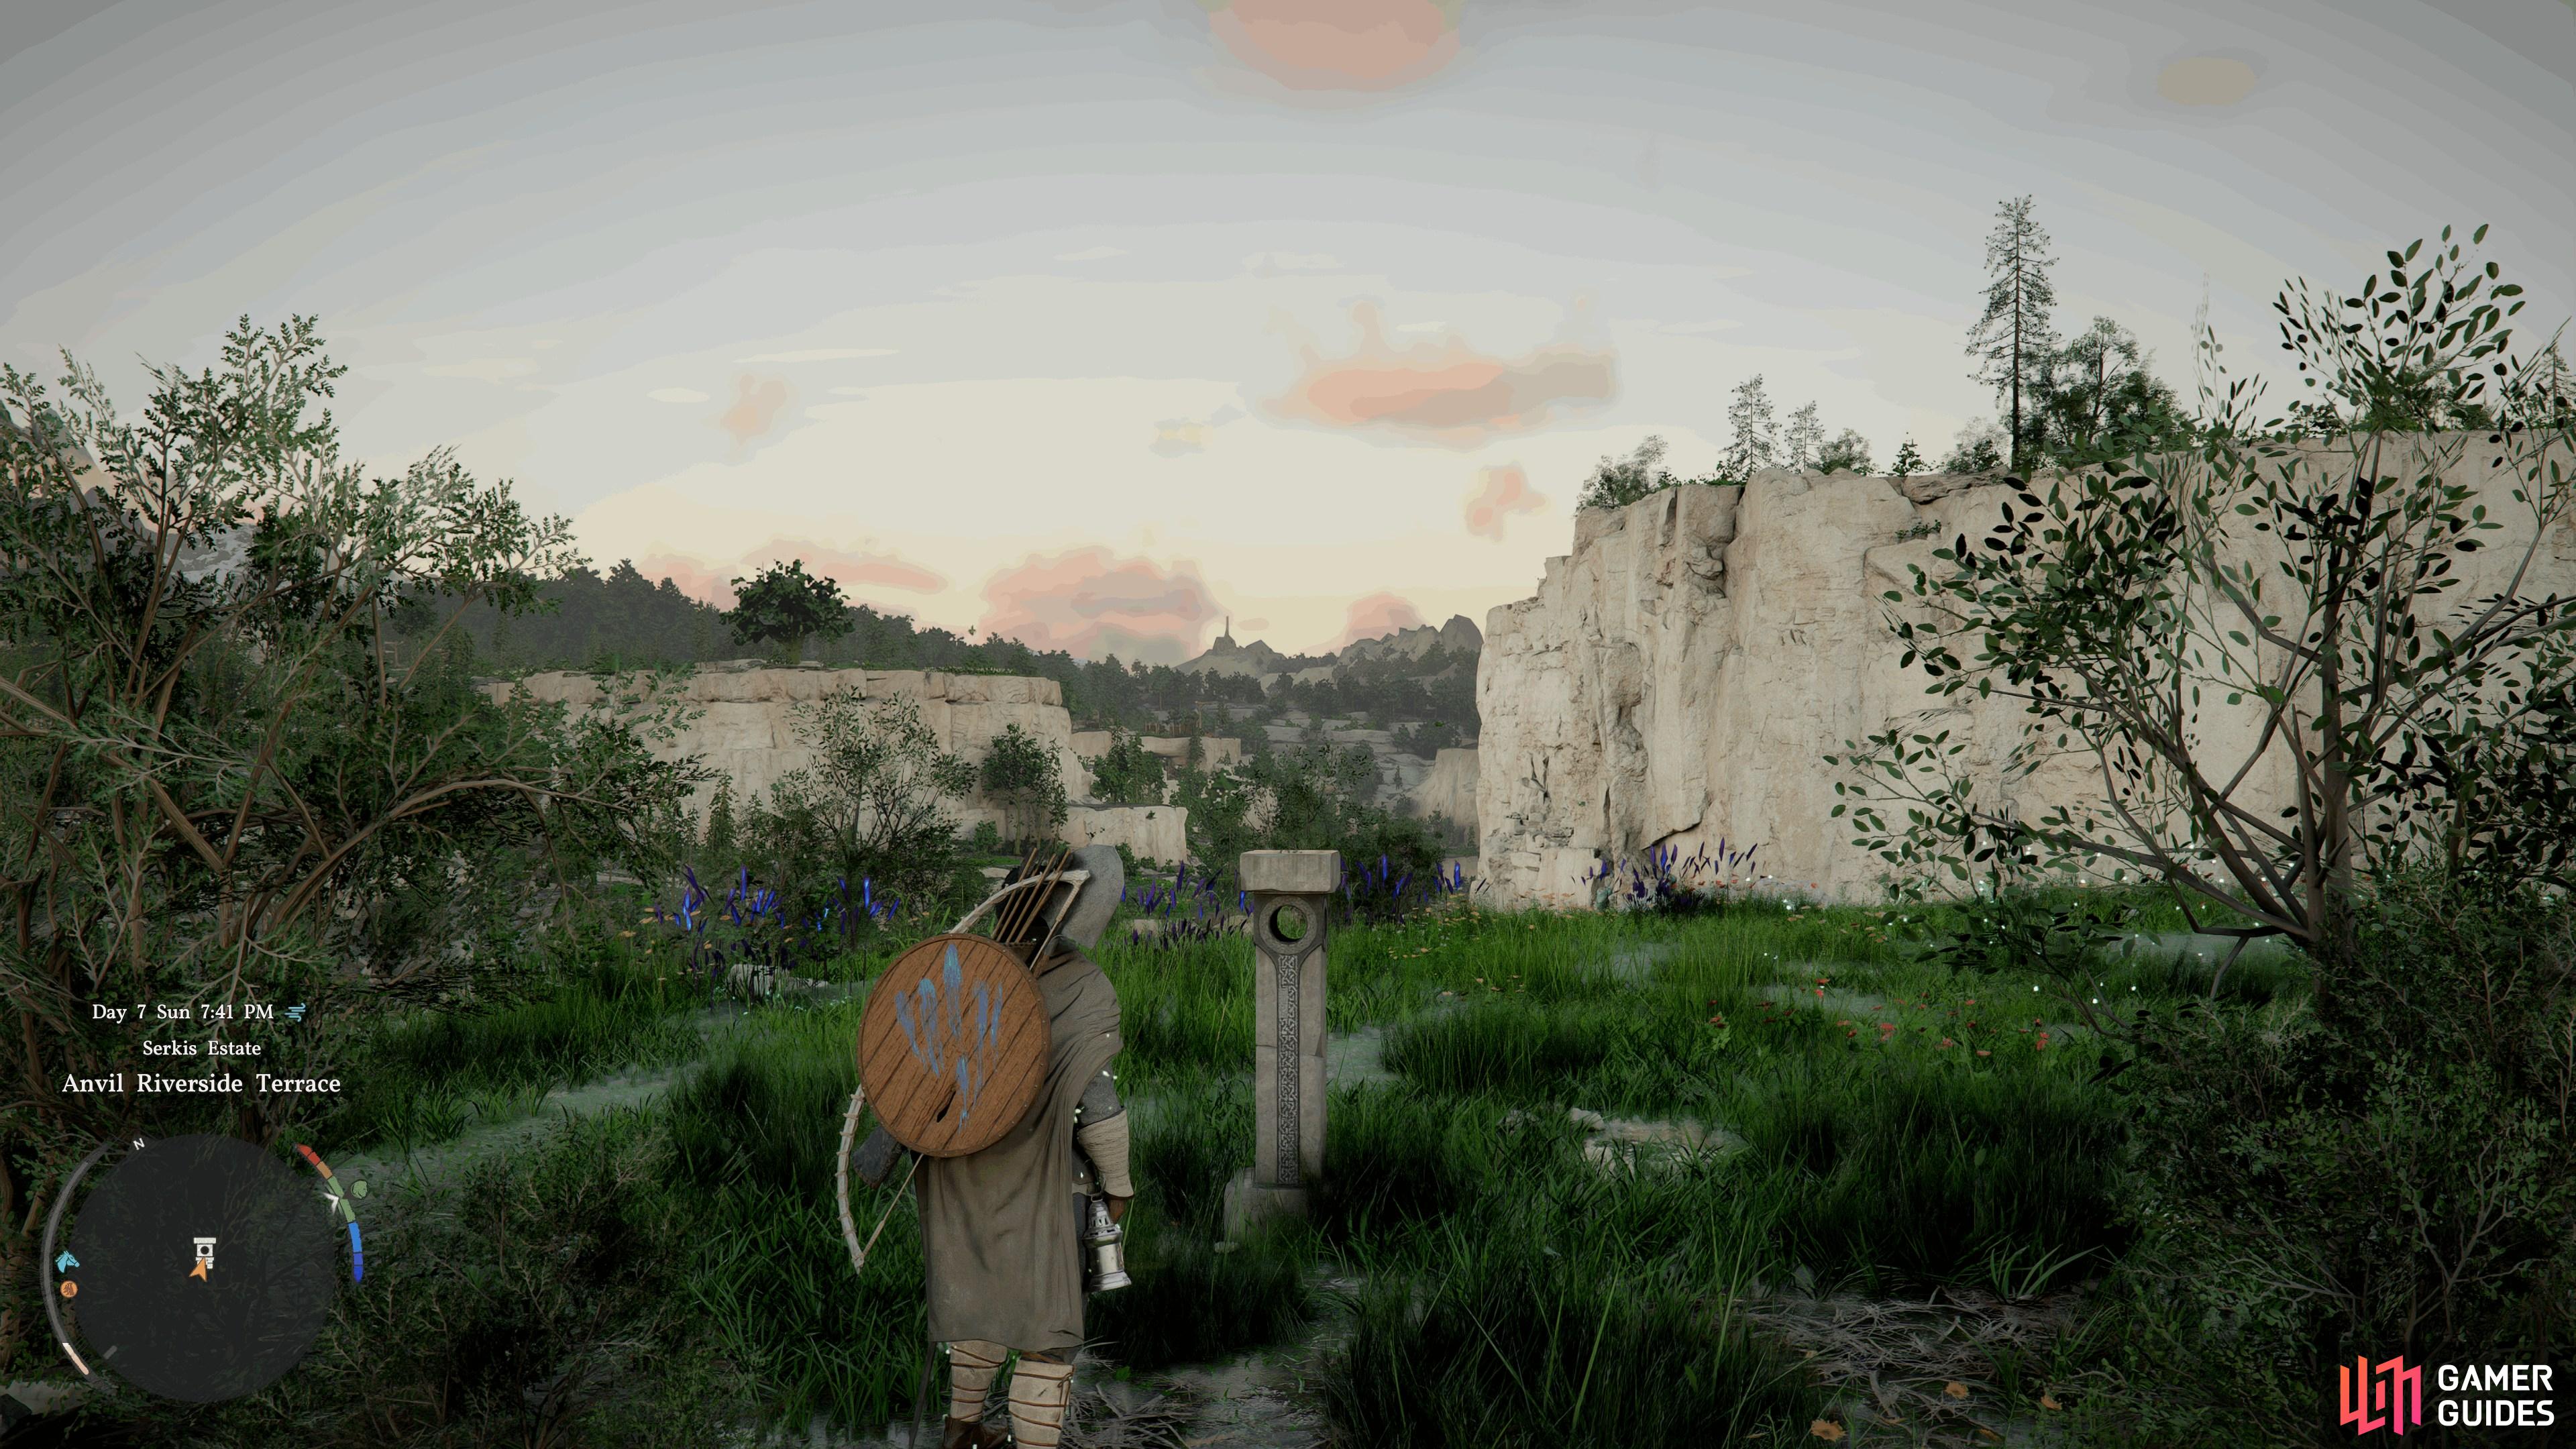
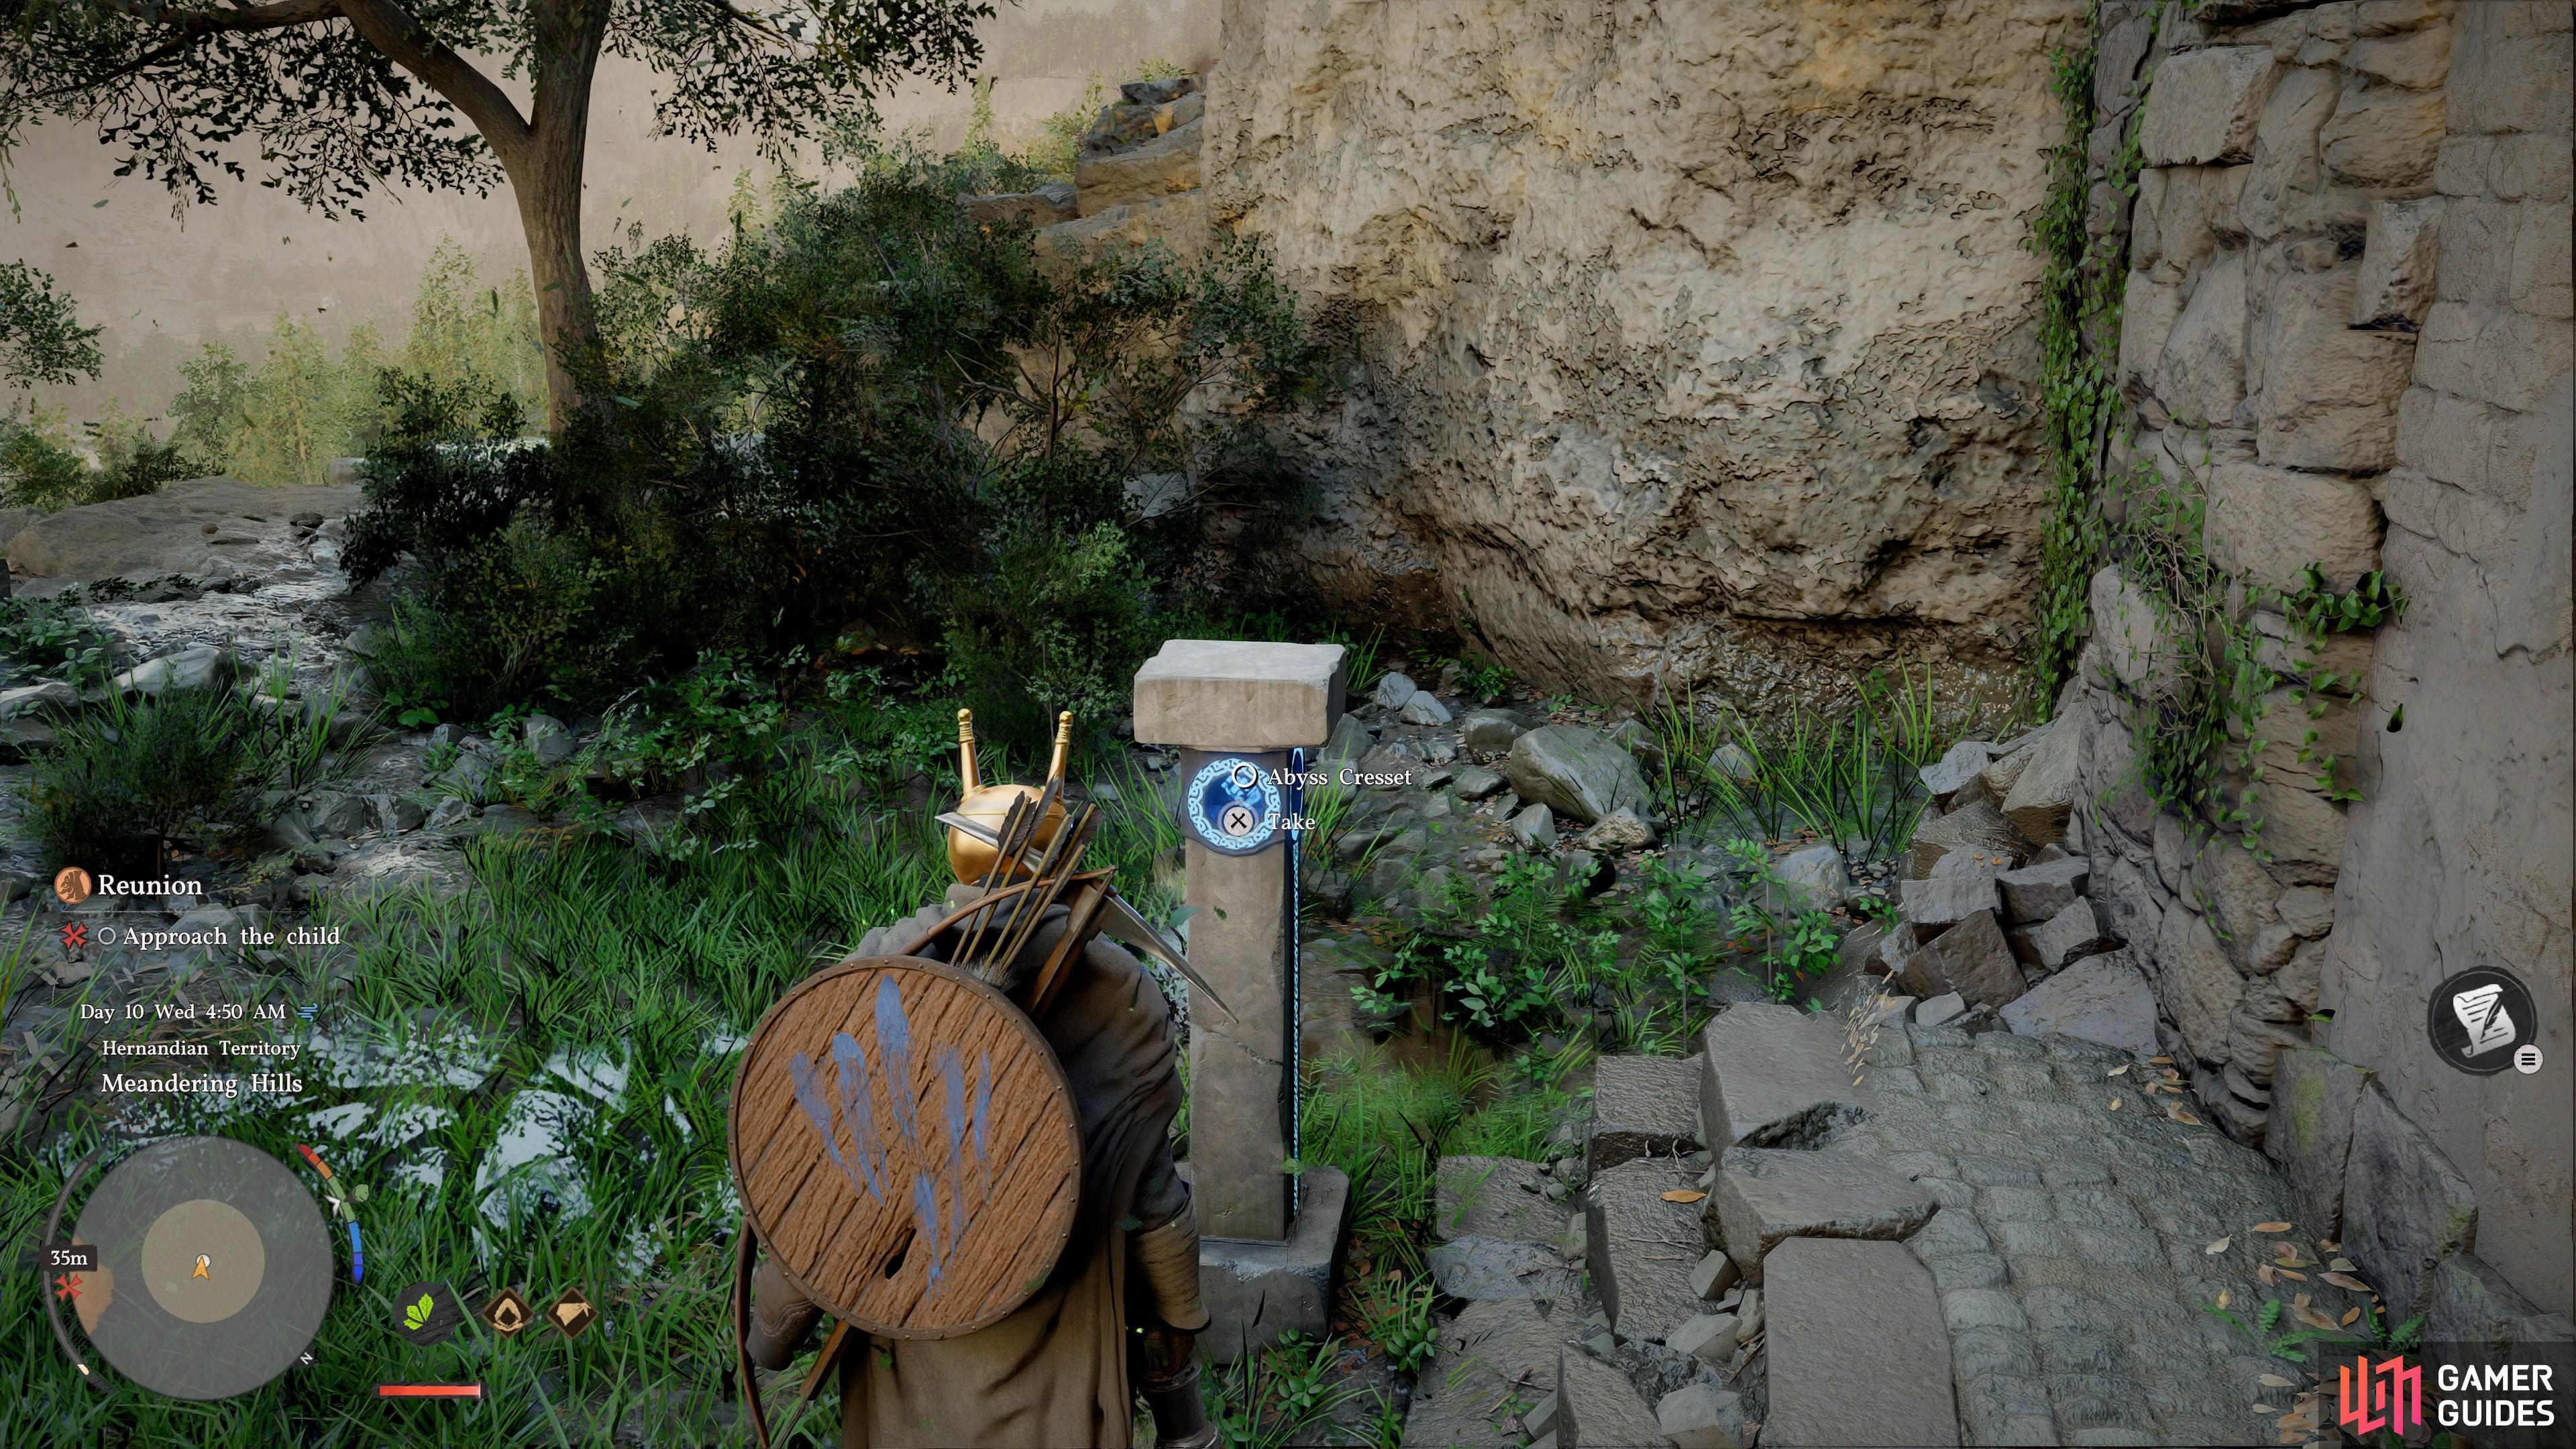
We have added 79 Abyss Cresset locations to the map in Crimson Desert. Use the interactive map and checklist below to find every one and track the ones you have already collected.

79 locations · Open the full interactive map ›

0 of 79 collected

Sign in to save your progress across every device.

Open the full interactive map Pywel · every marker, filter and layer
  1. 1 Abyss Cresset

    Abyss Cresset

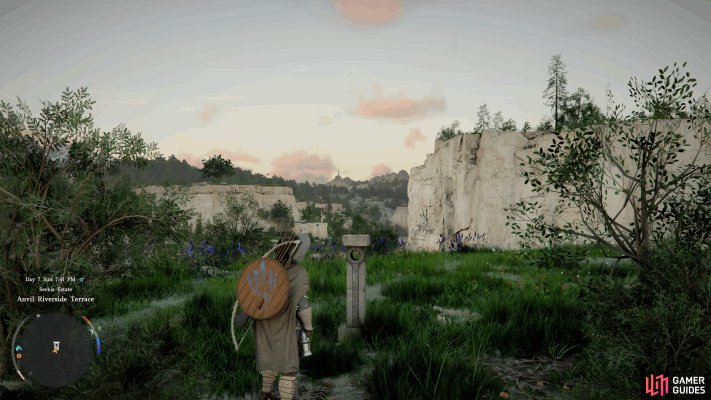
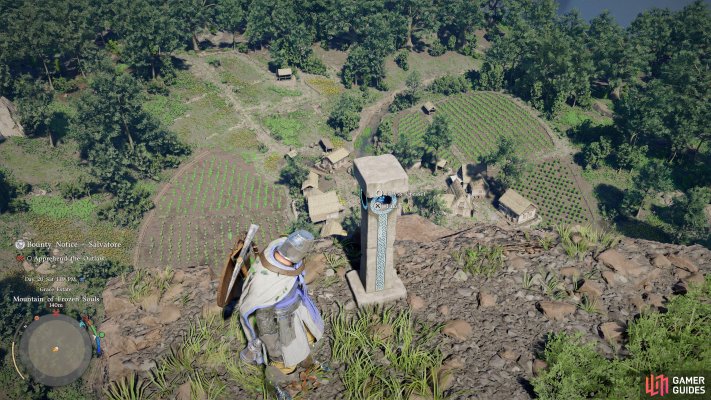
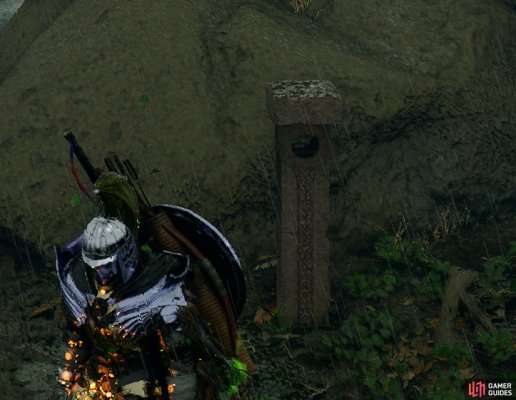
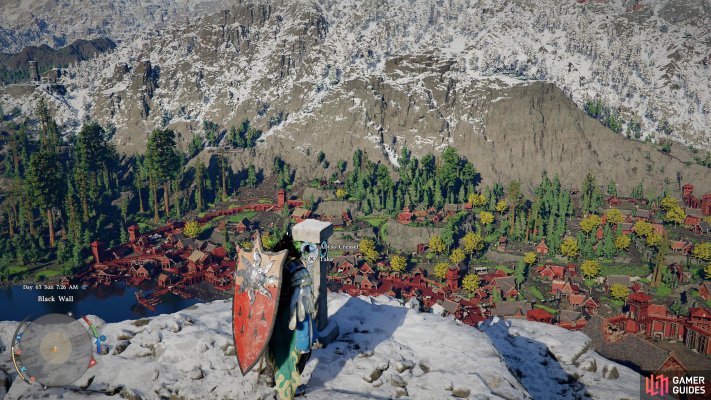
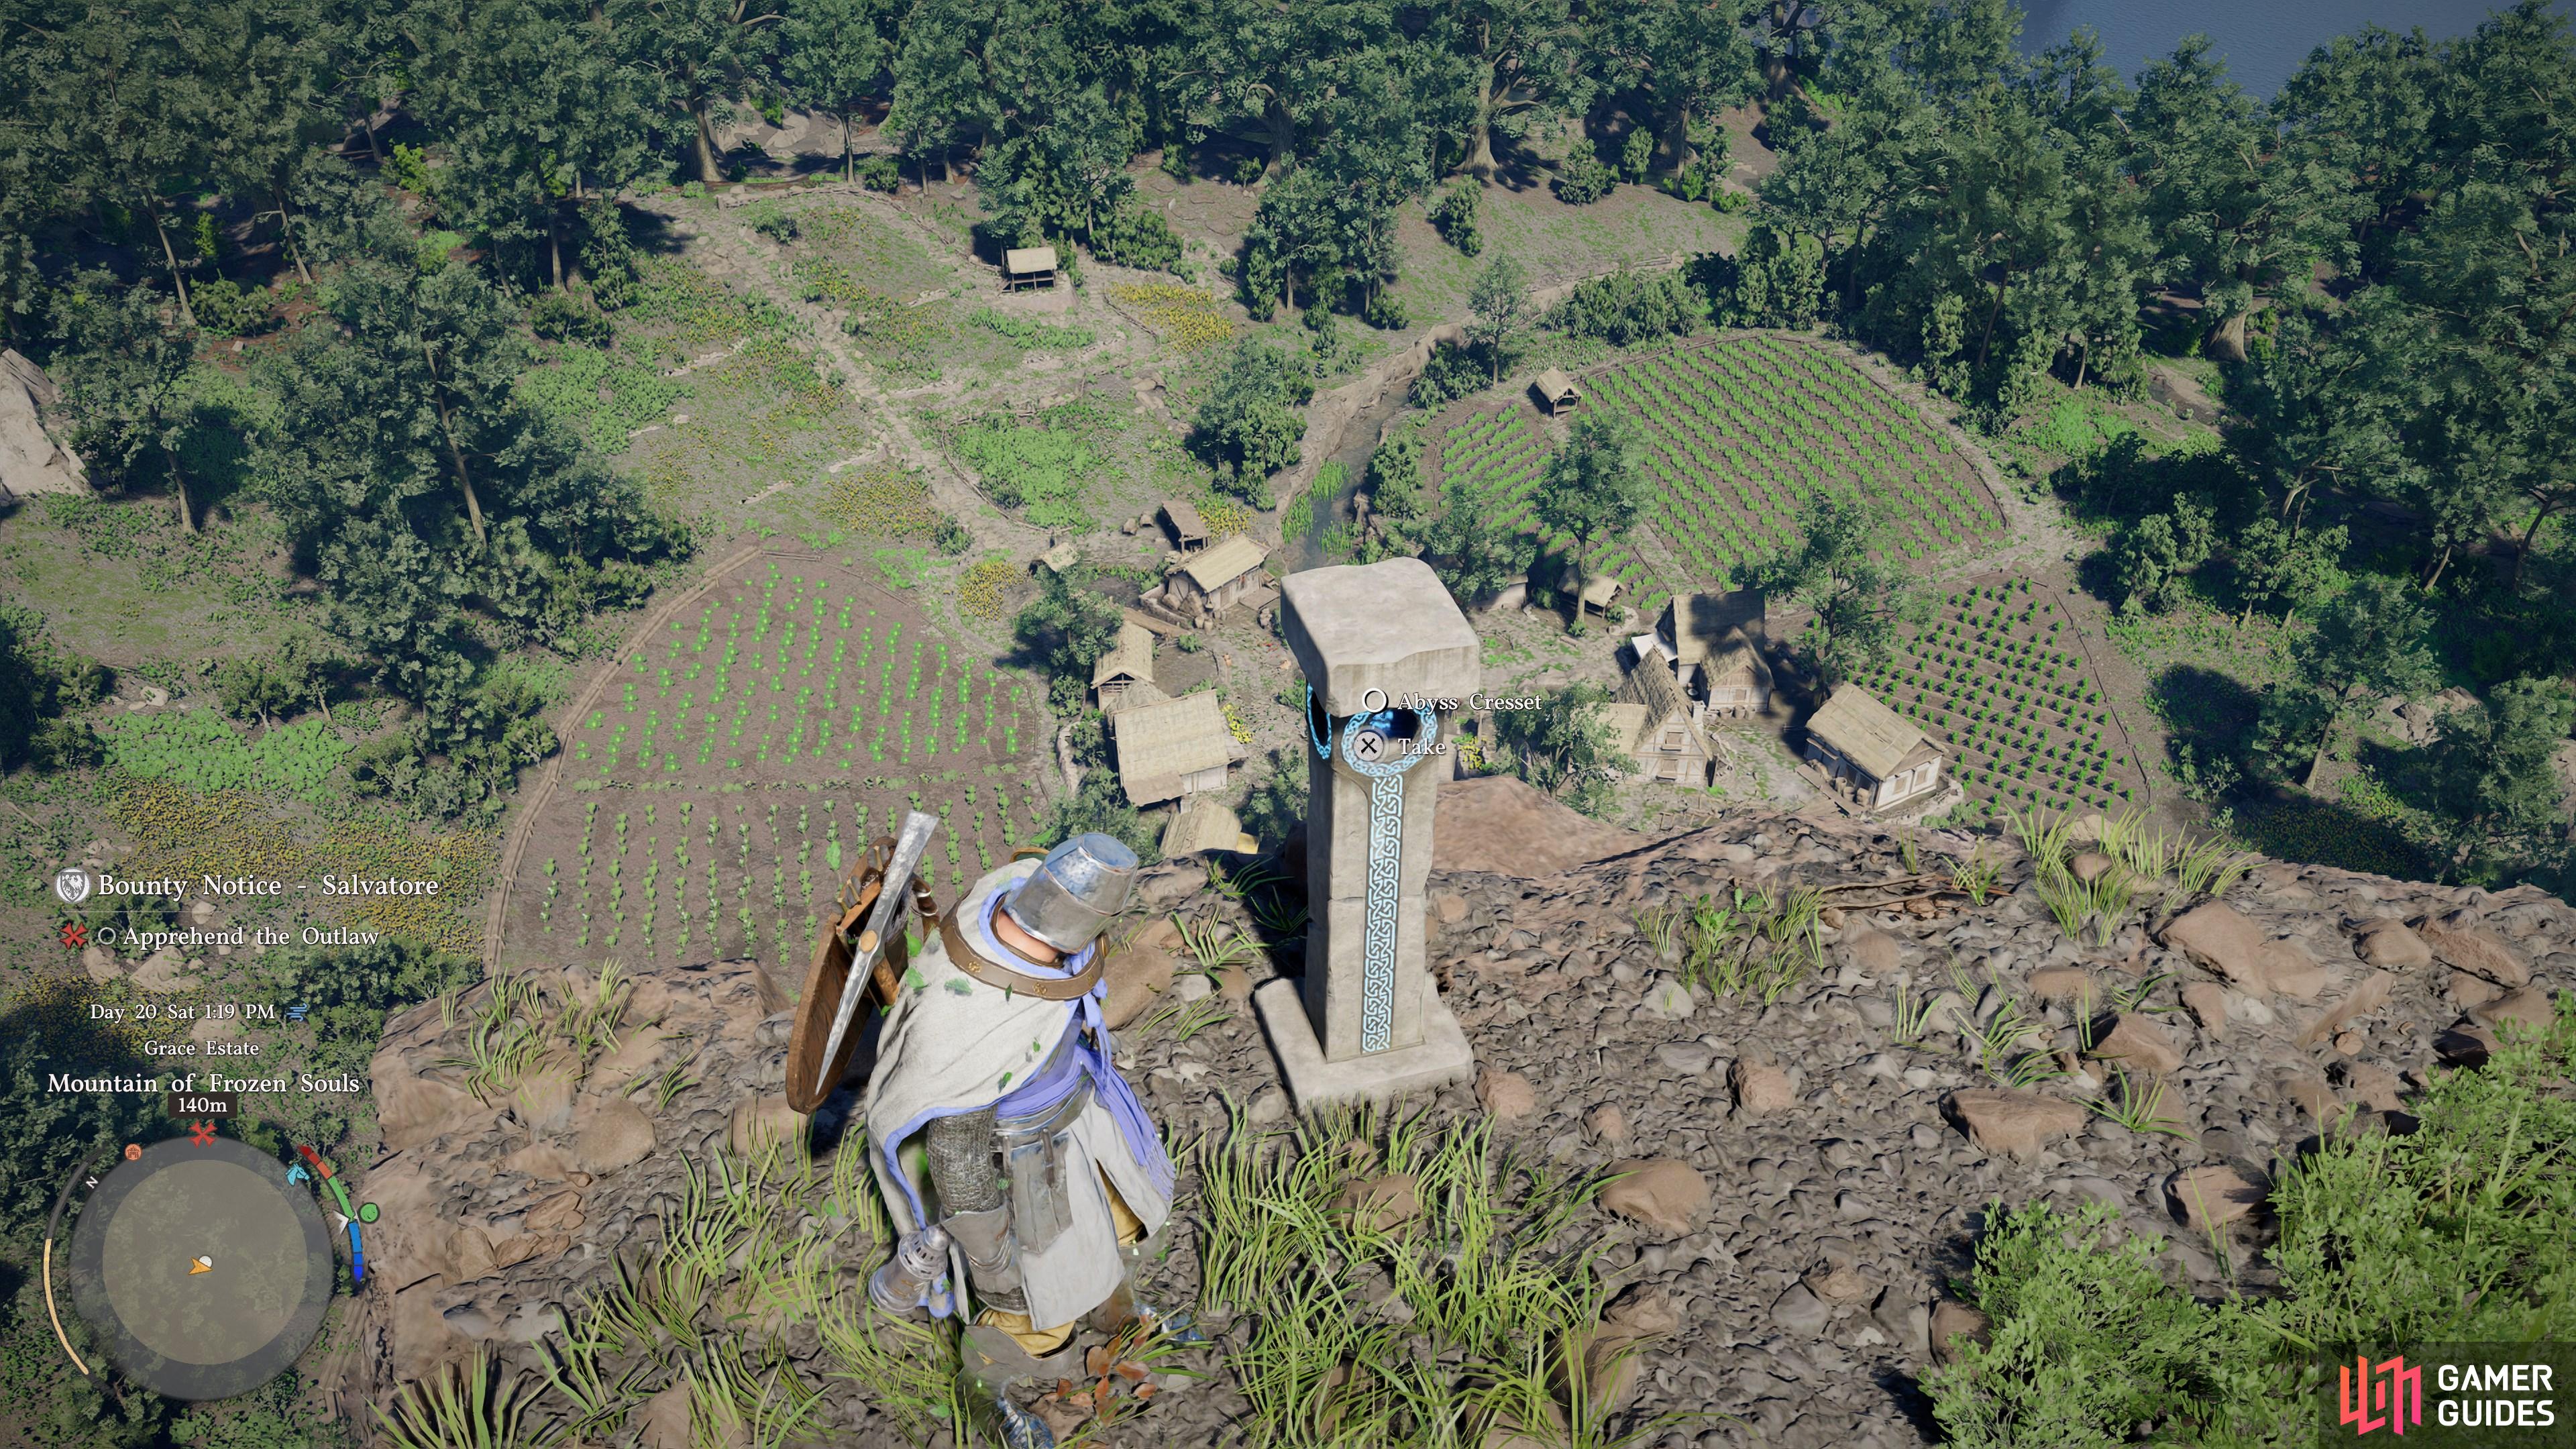
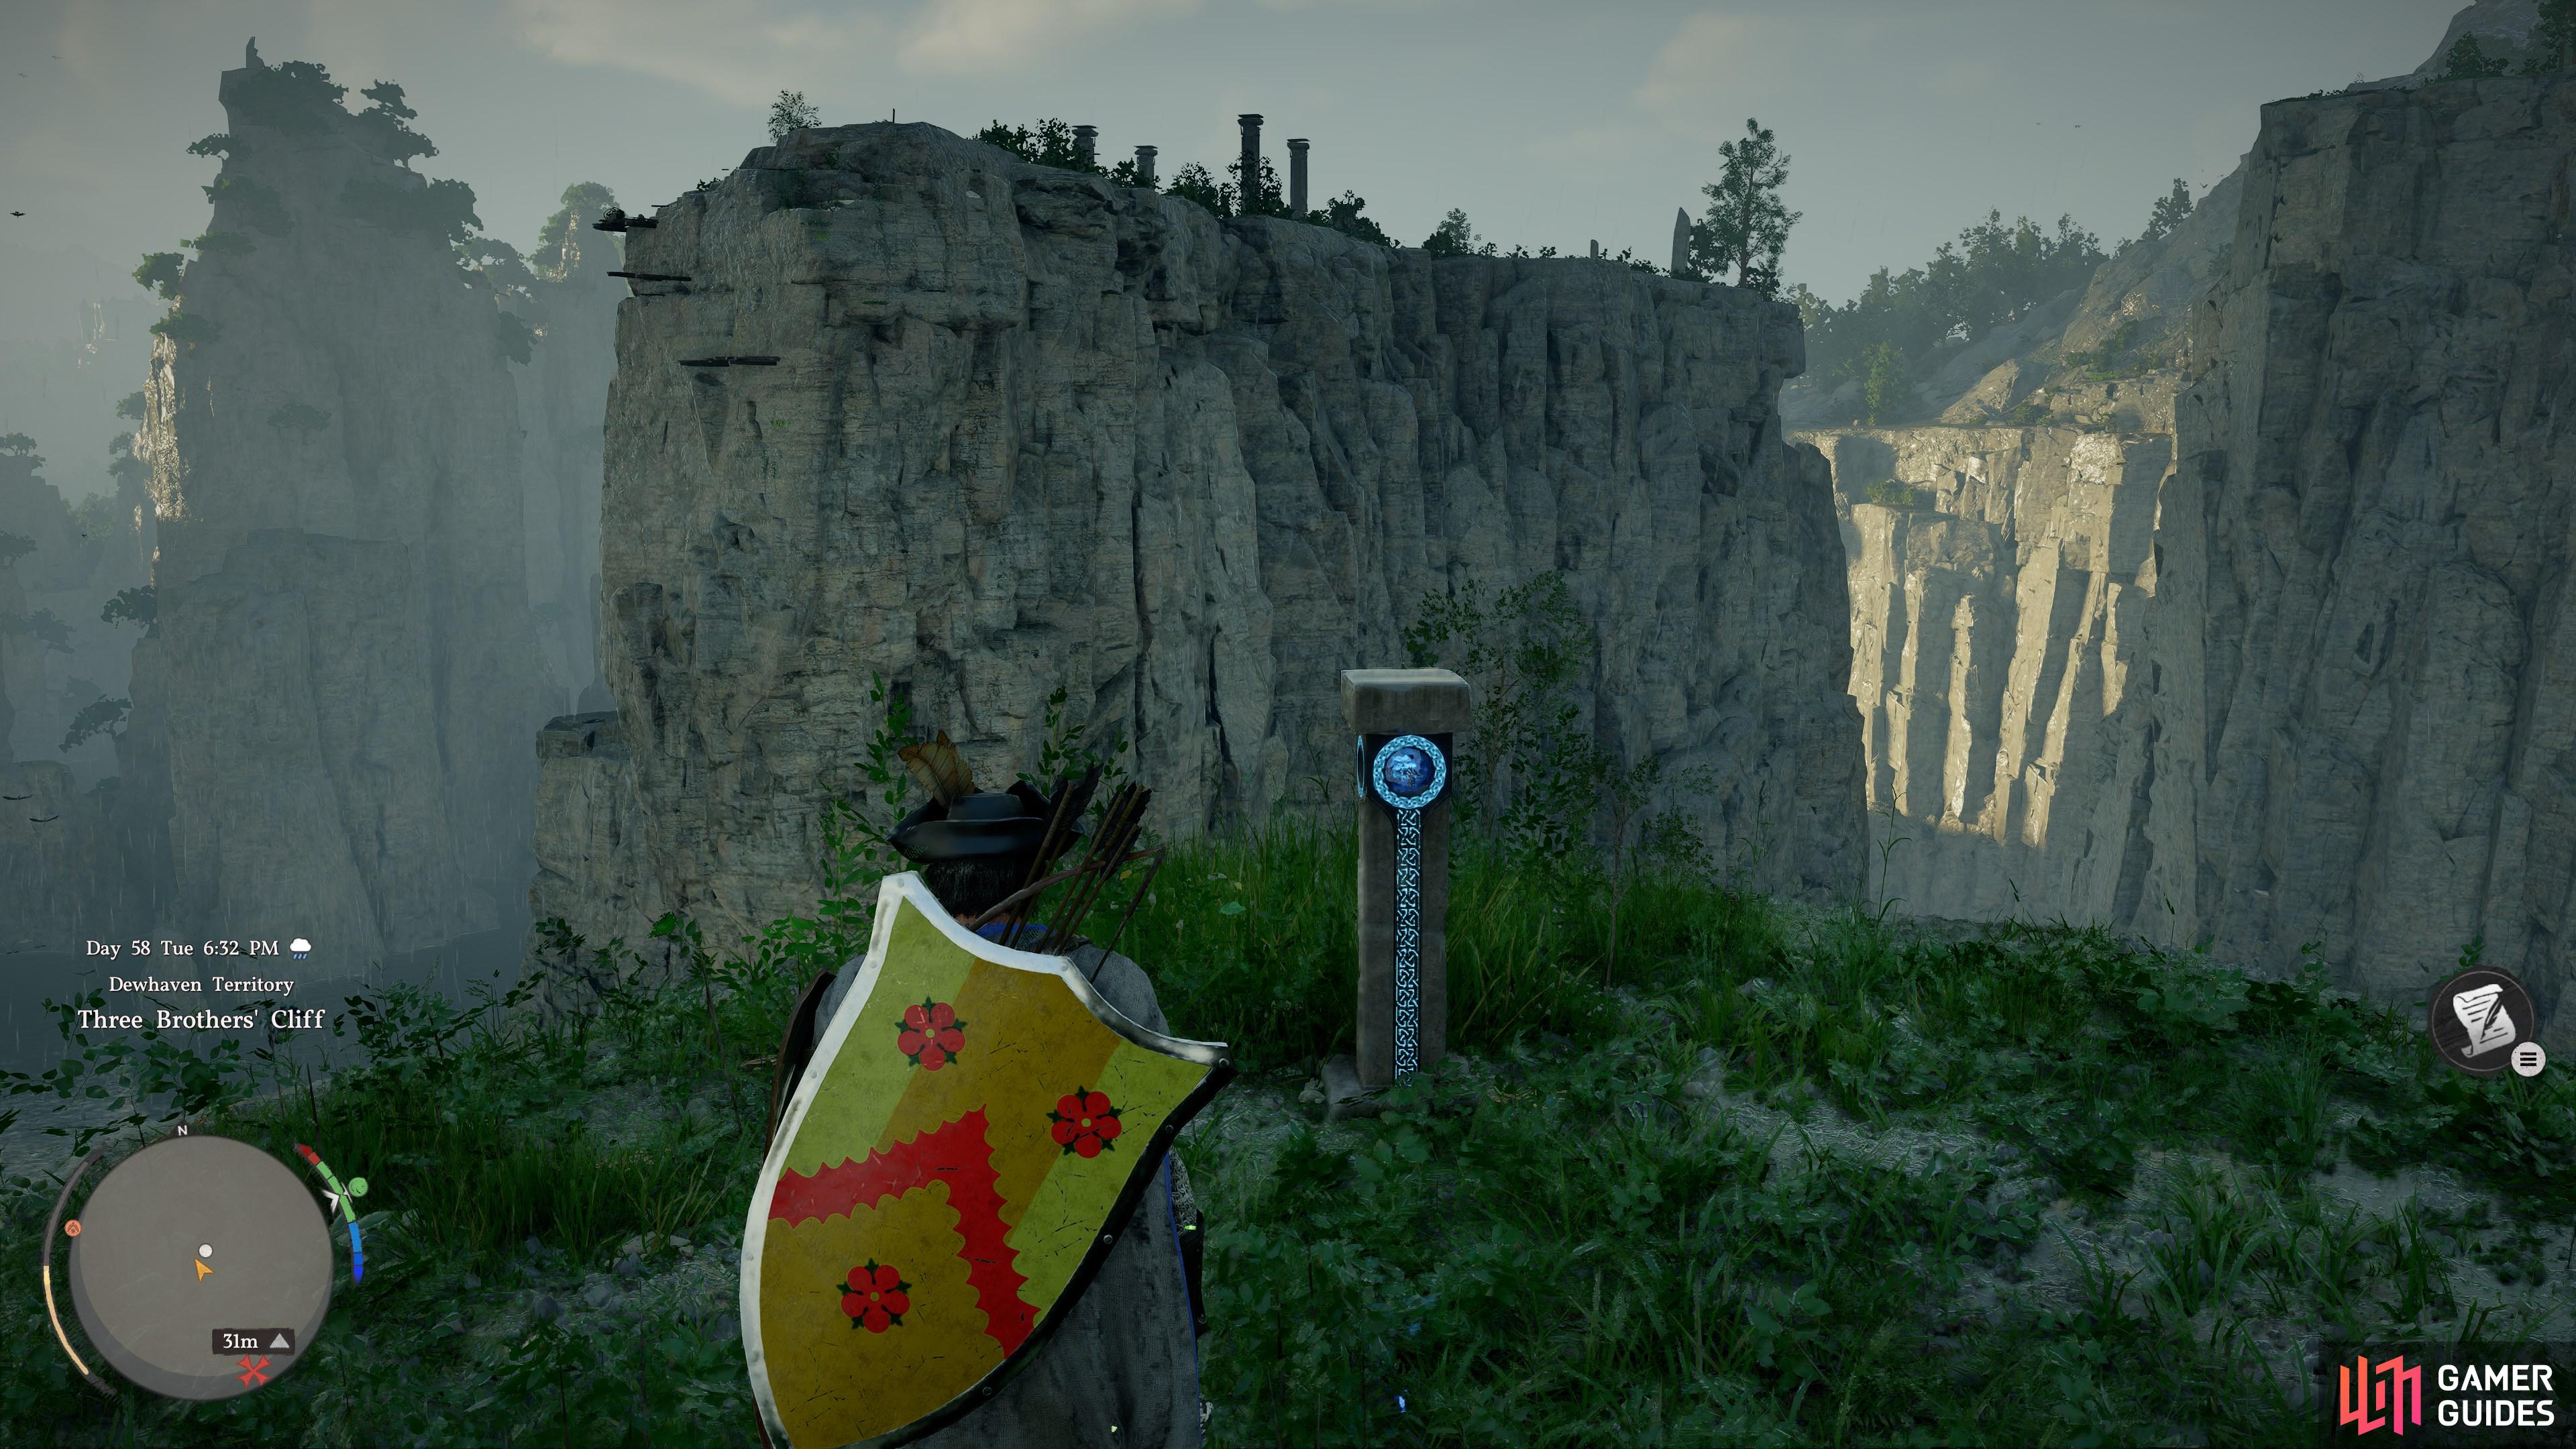
    Found on the top of the cliff. Climb up, then navigate past the dangerous flowers to activate it.

    You can use this to Fast Travel from Chapter 2 onwards.

    View on map
  2. 2 Abyss Cresset

    Abyss Cresset

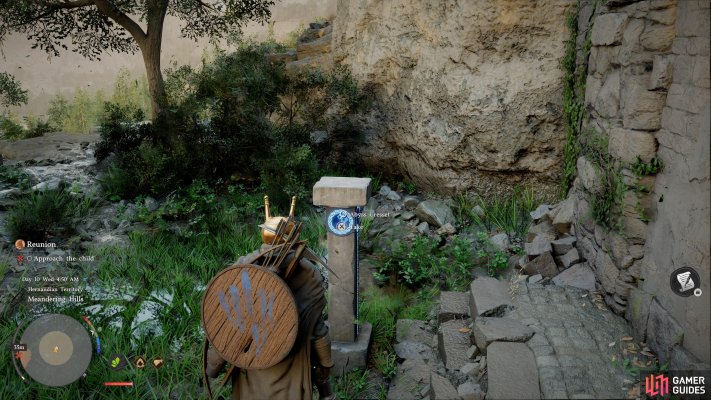
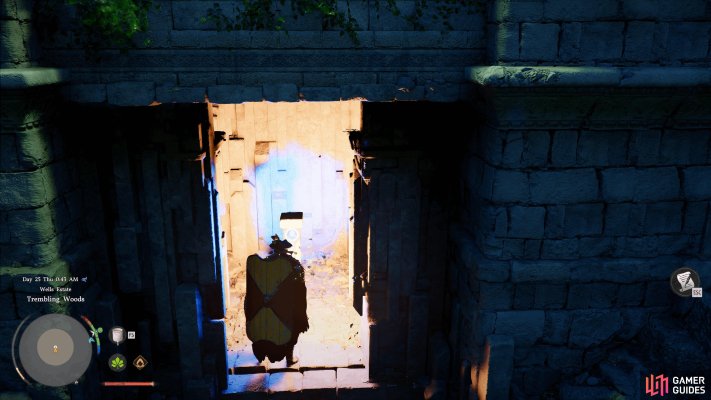
    Solve the puzzle in the Ancient Ruins to activate the Cresset. You can then use it as a fast travel point.

    View on map
  3. 3 Abyss Cresset

    Abyss Cresset

    Clear out the nearby Bandit camp and then look for a gap against the wall, follow it to this Abyss Cresset.

    View on map
  4. 4 Abyss Cresset

    Abyss Cresset

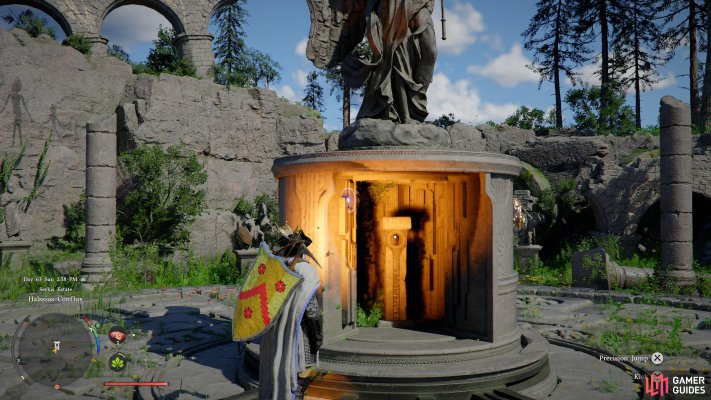
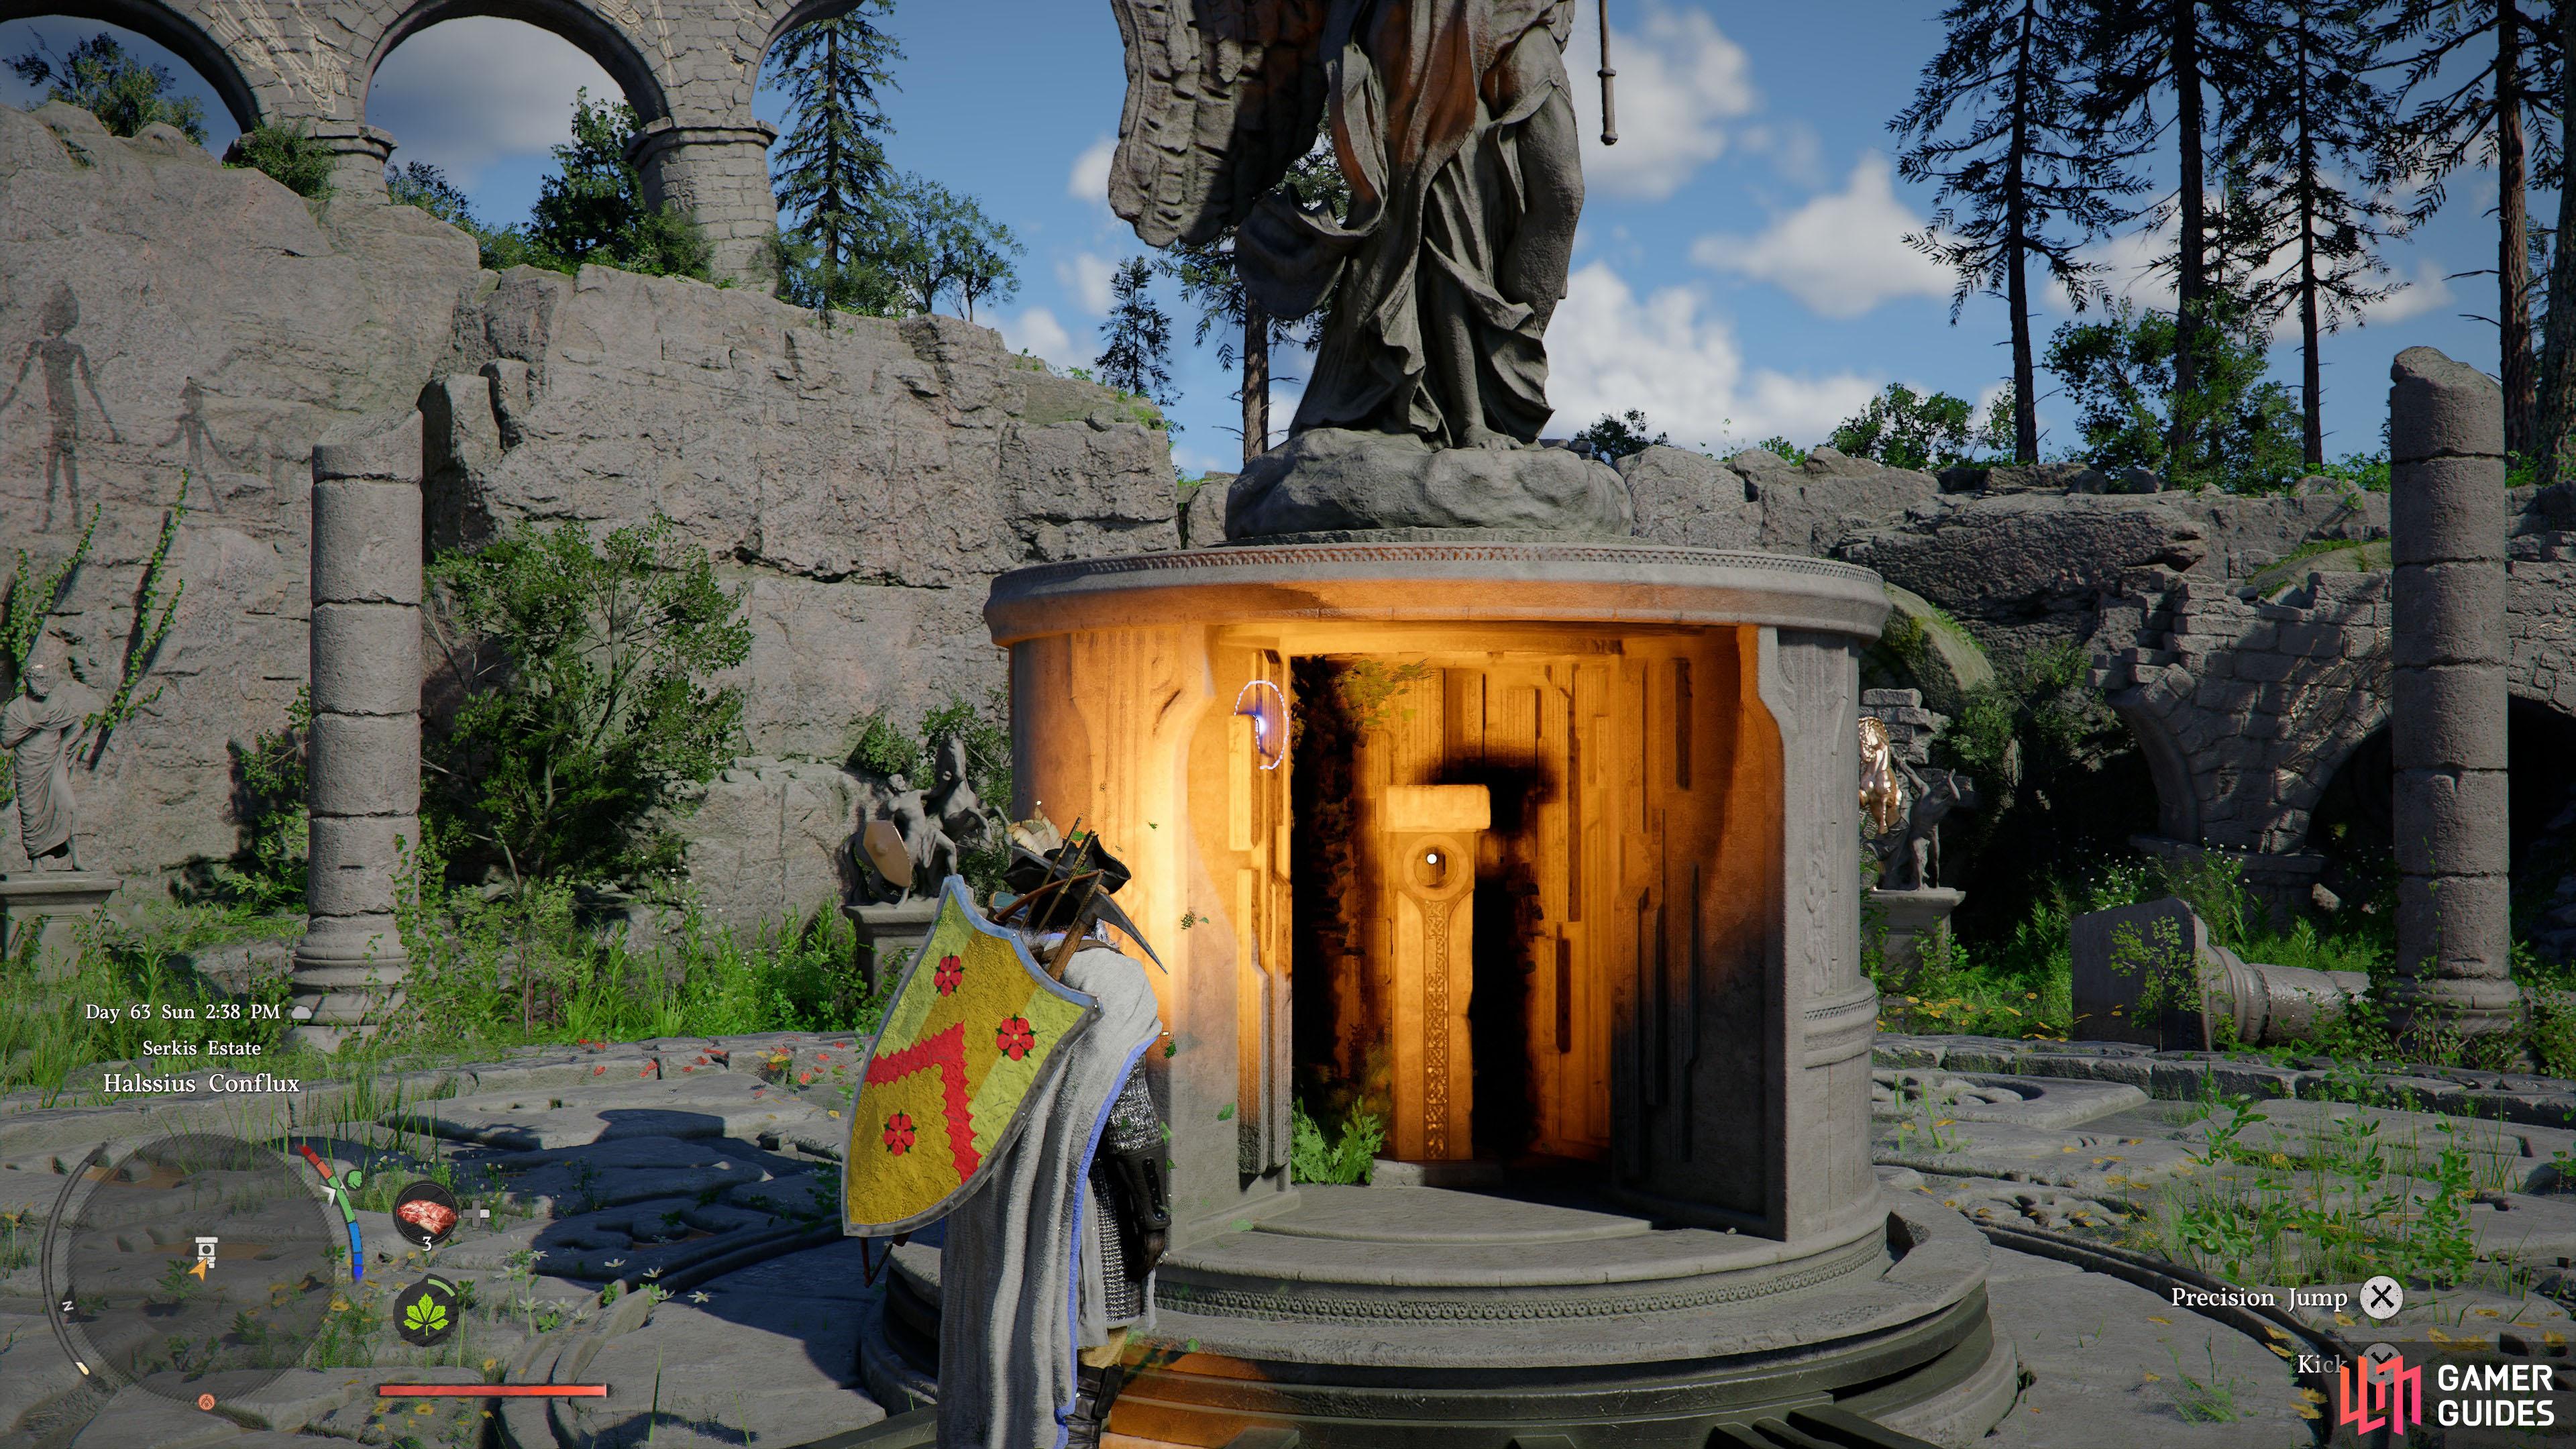
    Solve the nearby Abyss Cresset of Halssius Conflux puzzle to unlock the fast travel point.

    View on map
  5. 5 Abyss Cresset

    Abyss Cresset

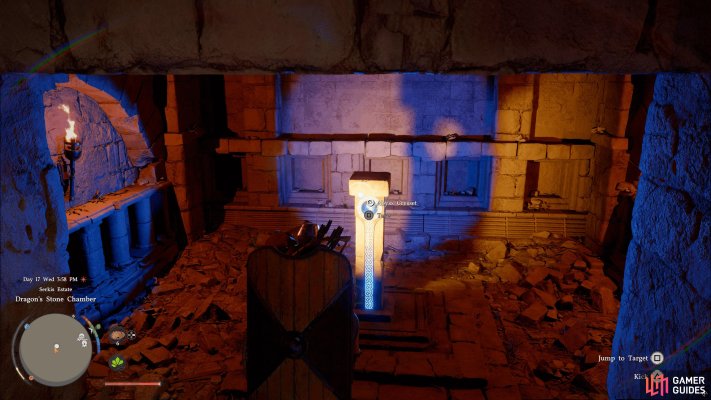
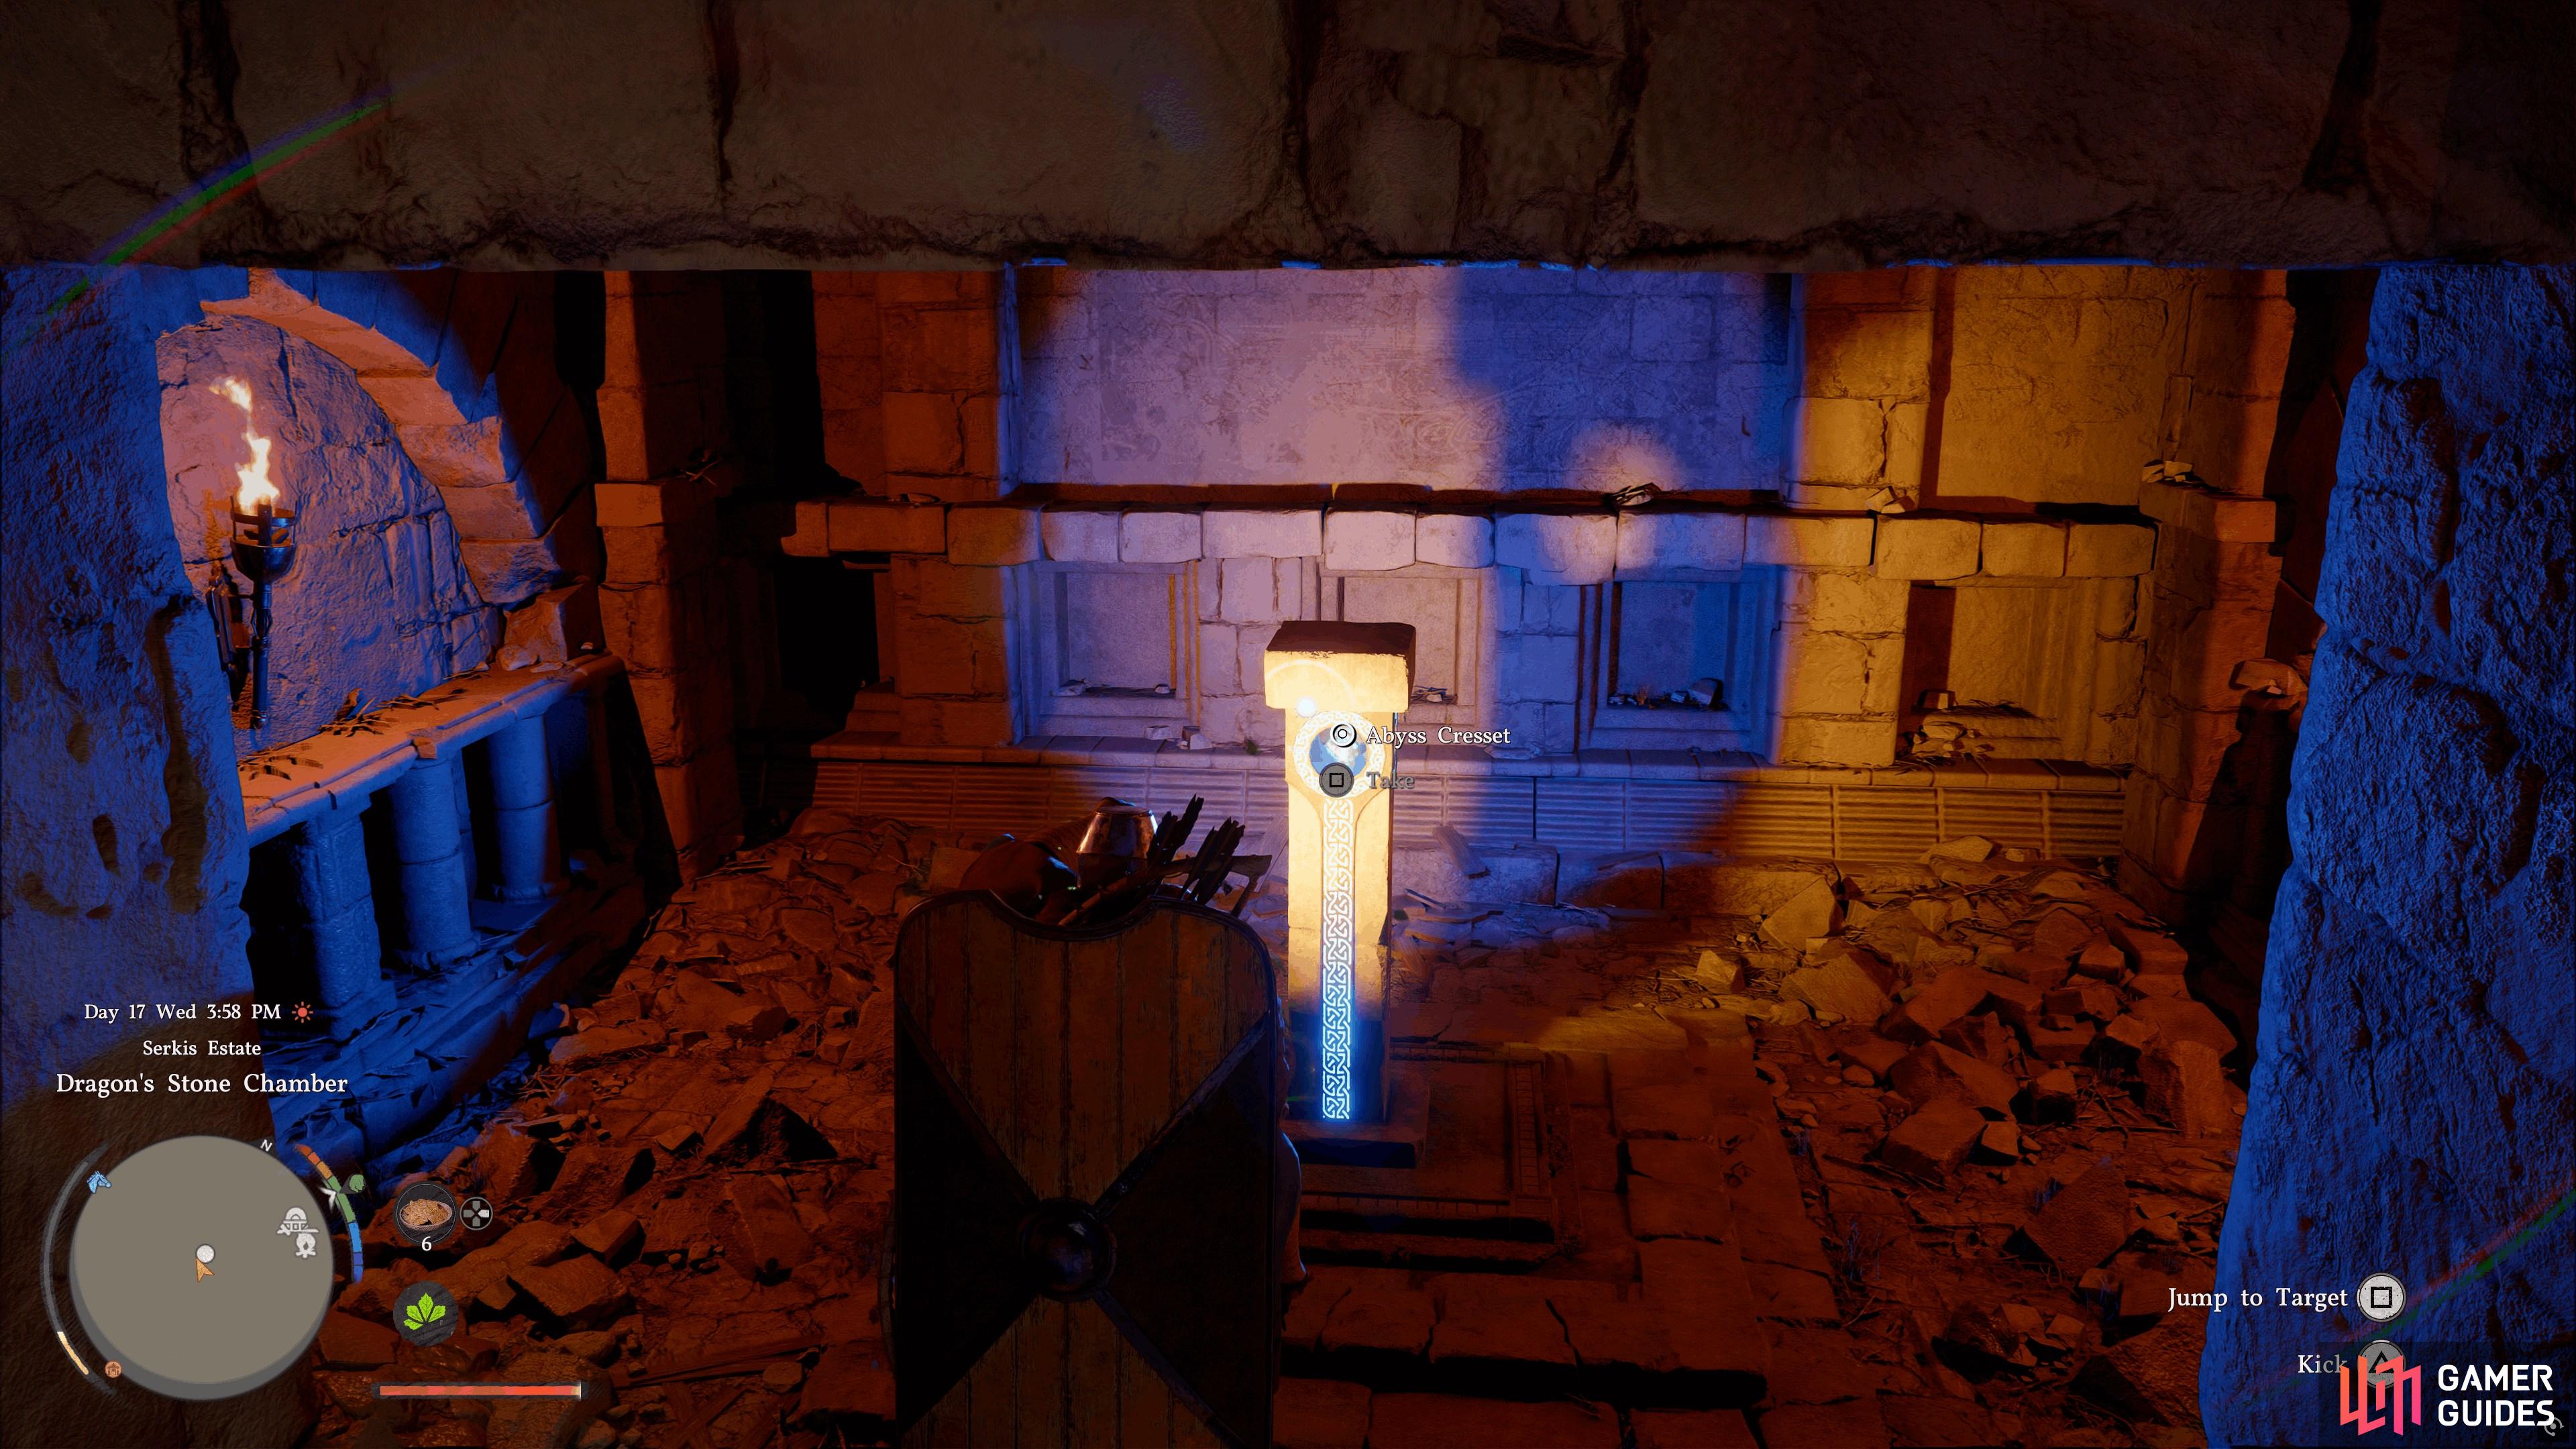
    Solve the nearby Abyss Cresset of the Dragon’s "Stone" iconStone Chamber.

    View on map
  6. 6 Abyss Cresset

    Abyss Cresset

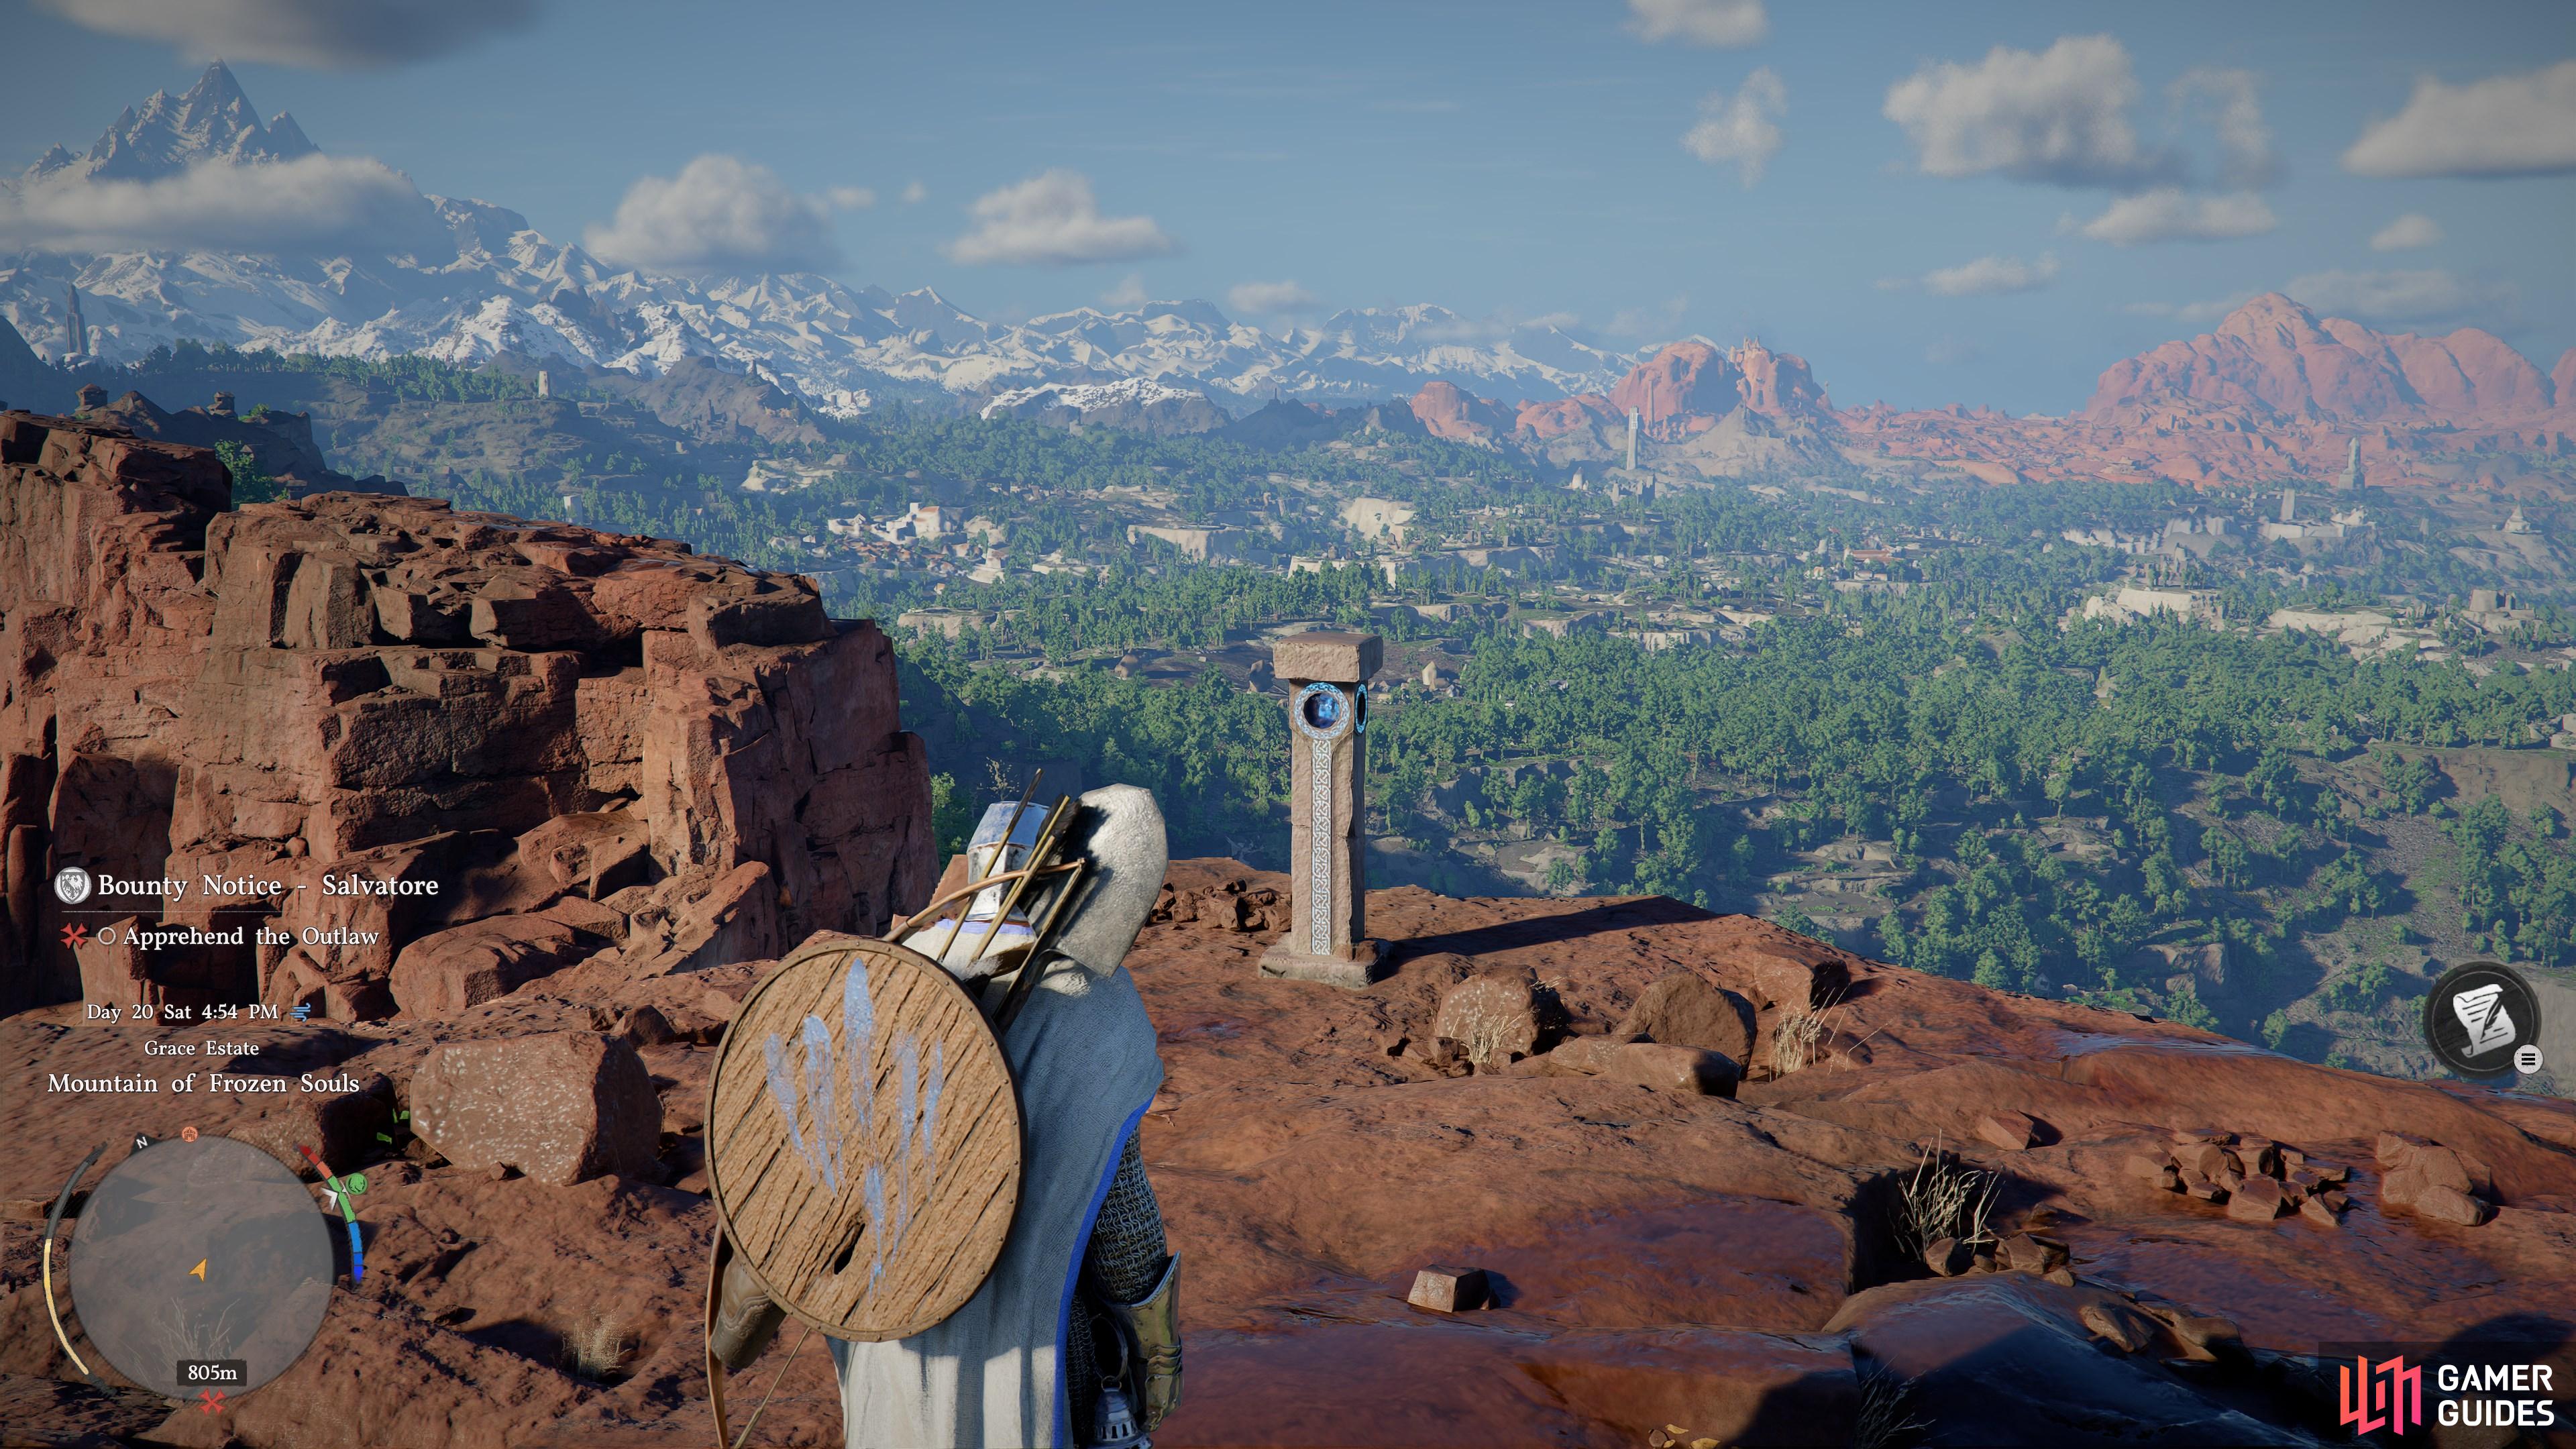
    High up on the cliffs overlooking Sunset Valley.

    View on map
  7. 7 Abyss Cresset

    Abyss Cresset

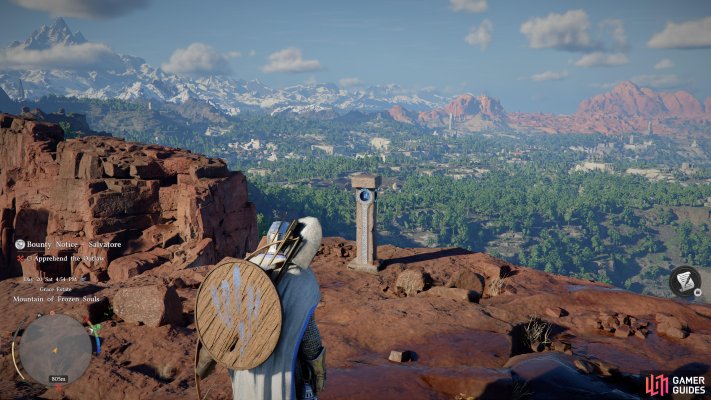
    Found on a cliff edge overlooking Reedwind Valley.

    View on map
  8. 8 Abyss Cresset

    Abyss Cresset

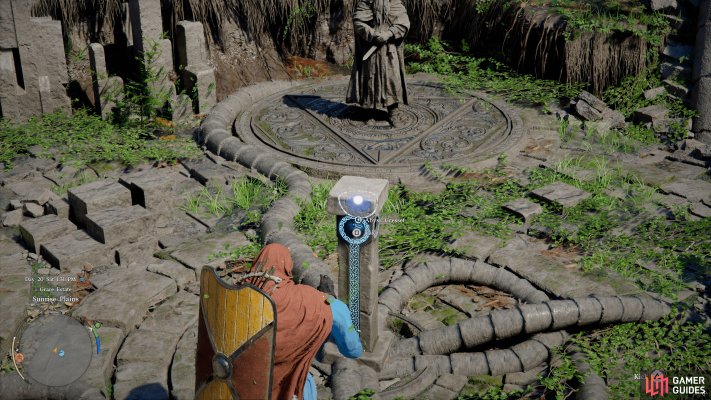
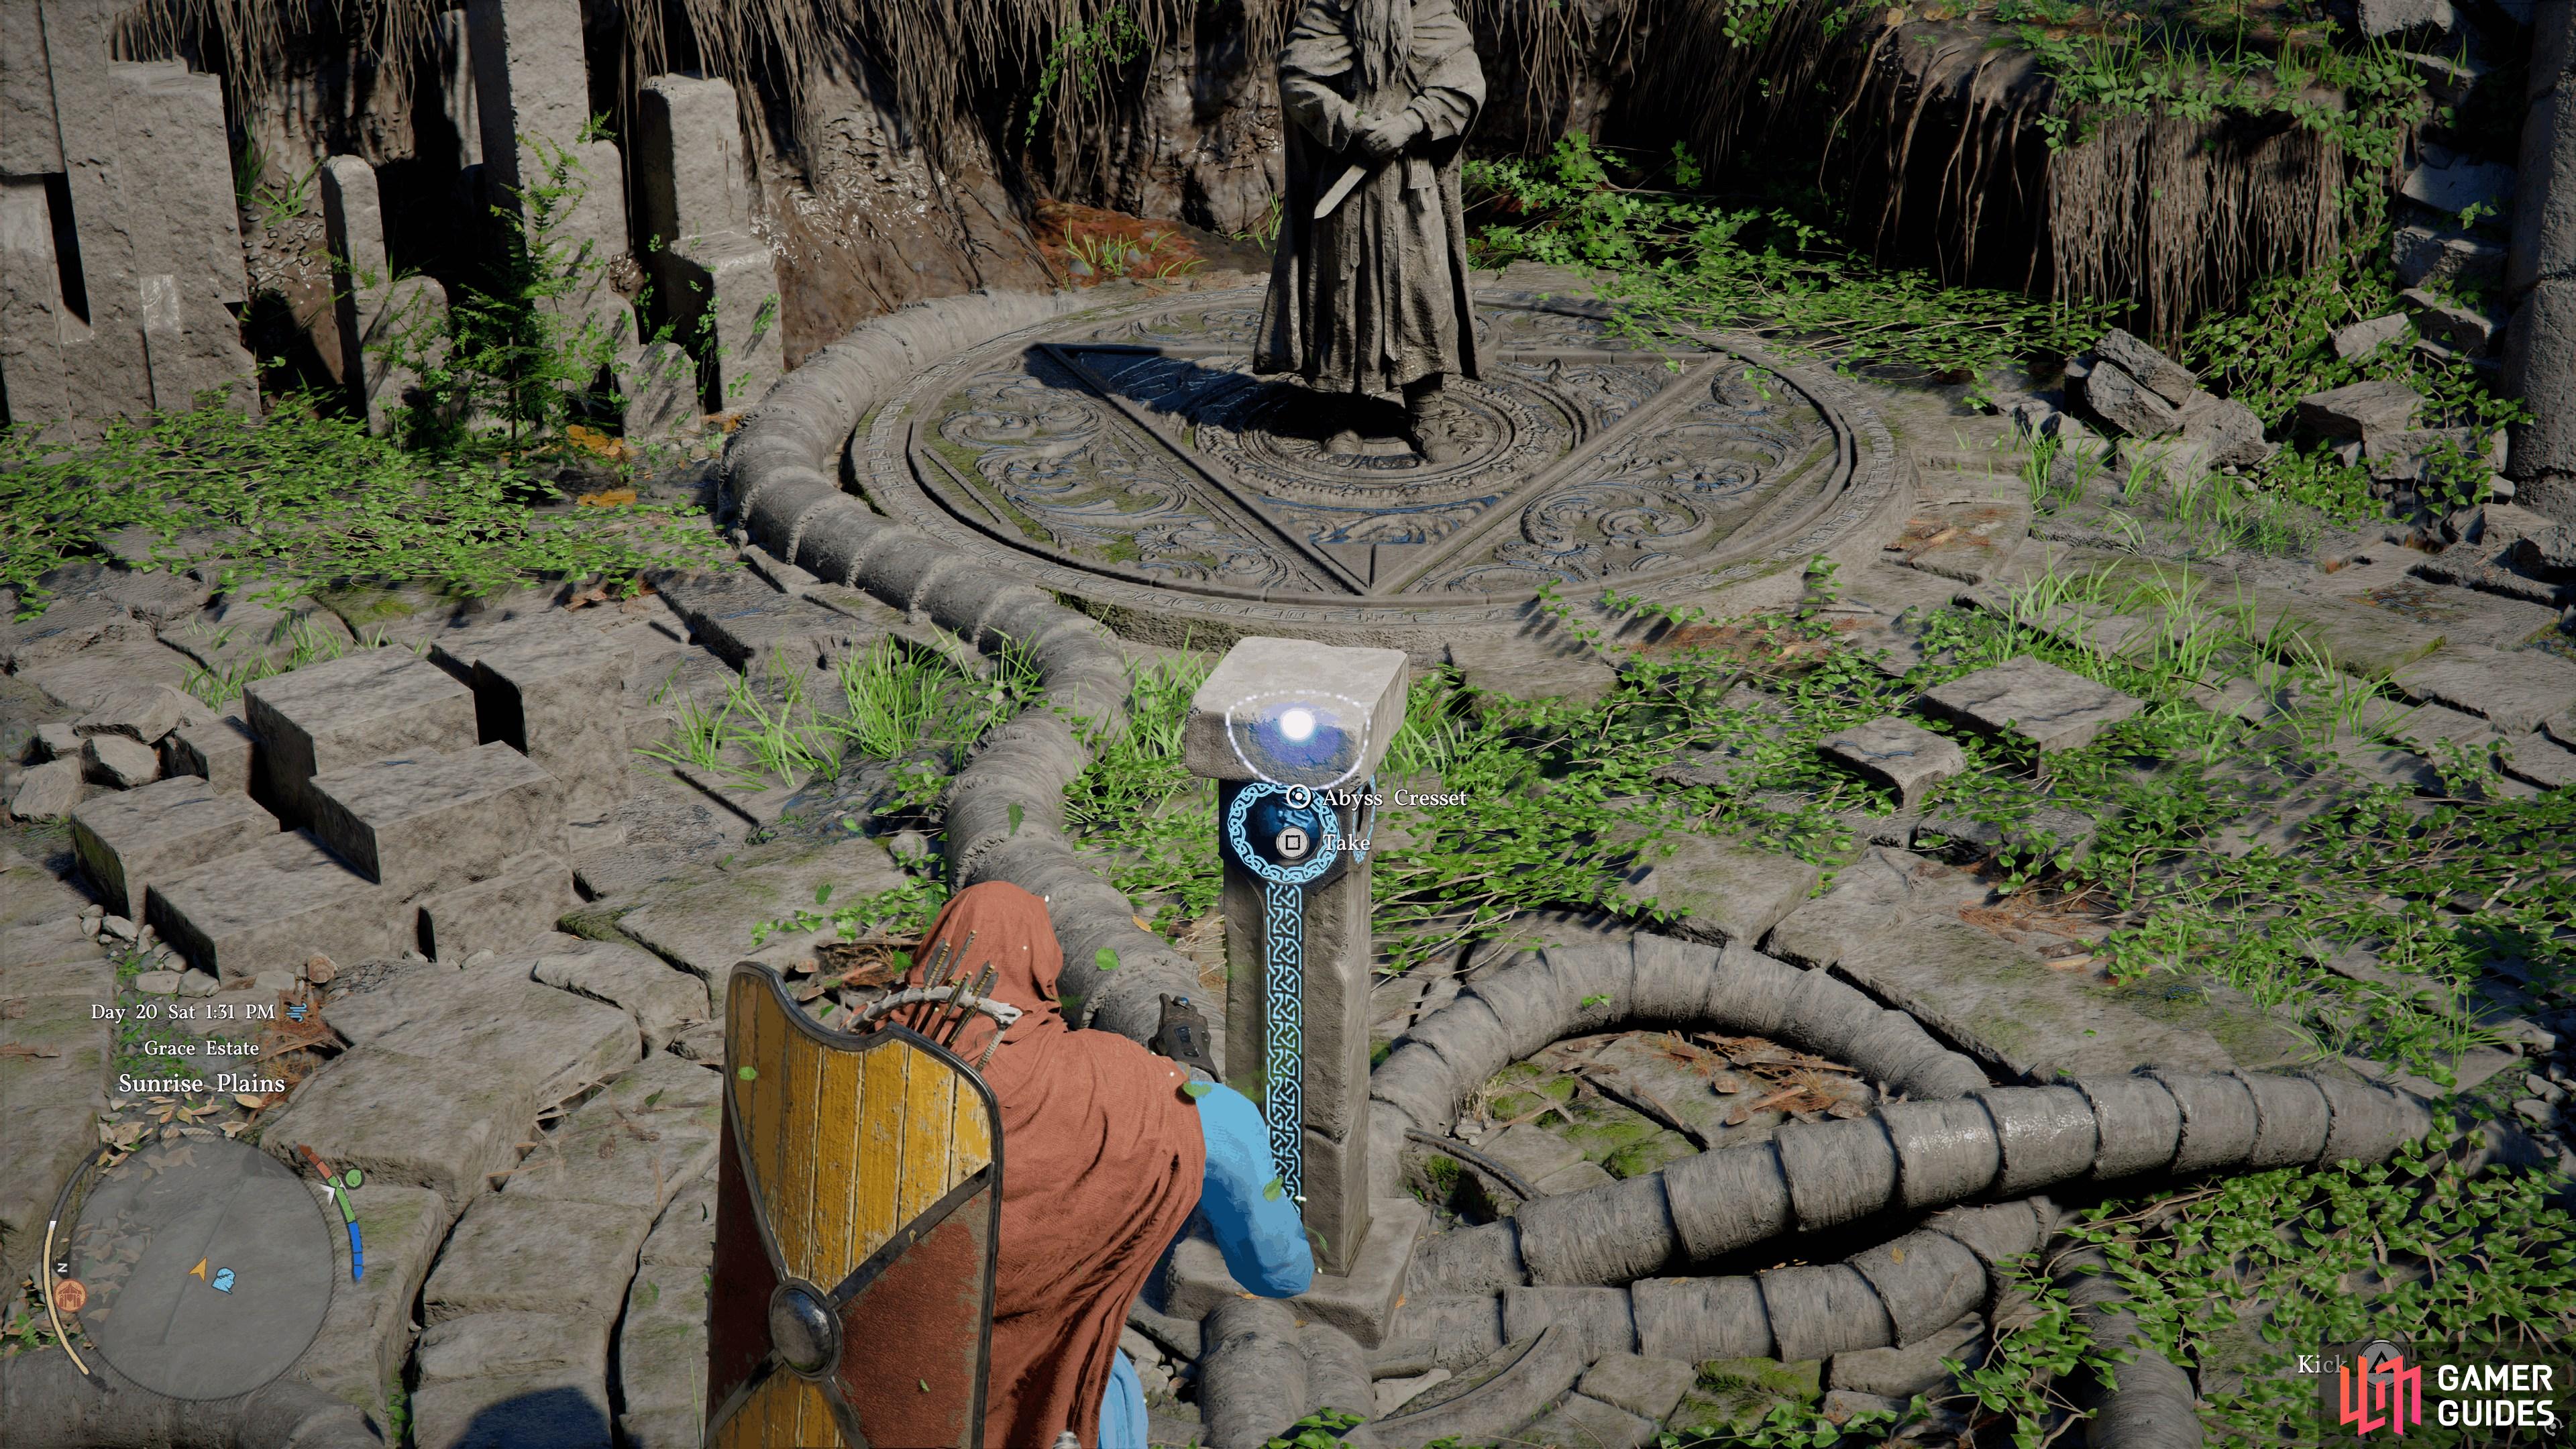
    Solve the Sunrise Plains Ruins to reveal this Cresset.

    View on map
  9. 9 Abyss Cresset

    Abyss Cresset

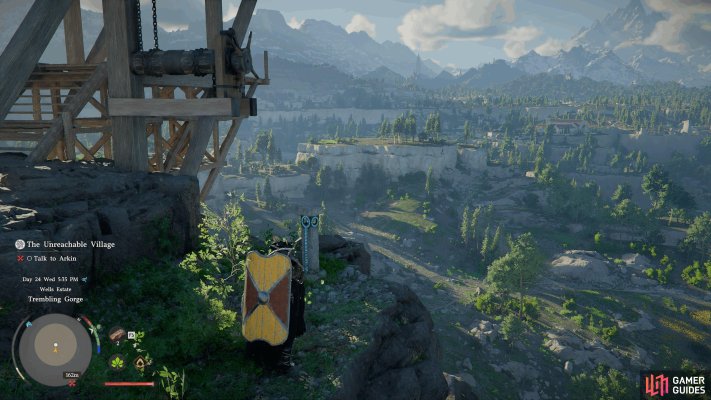
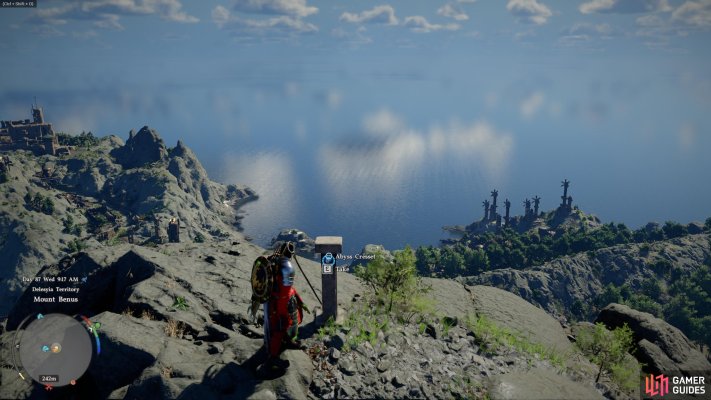
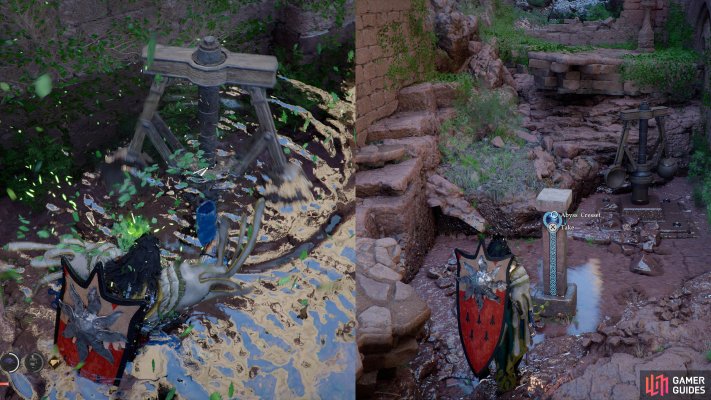
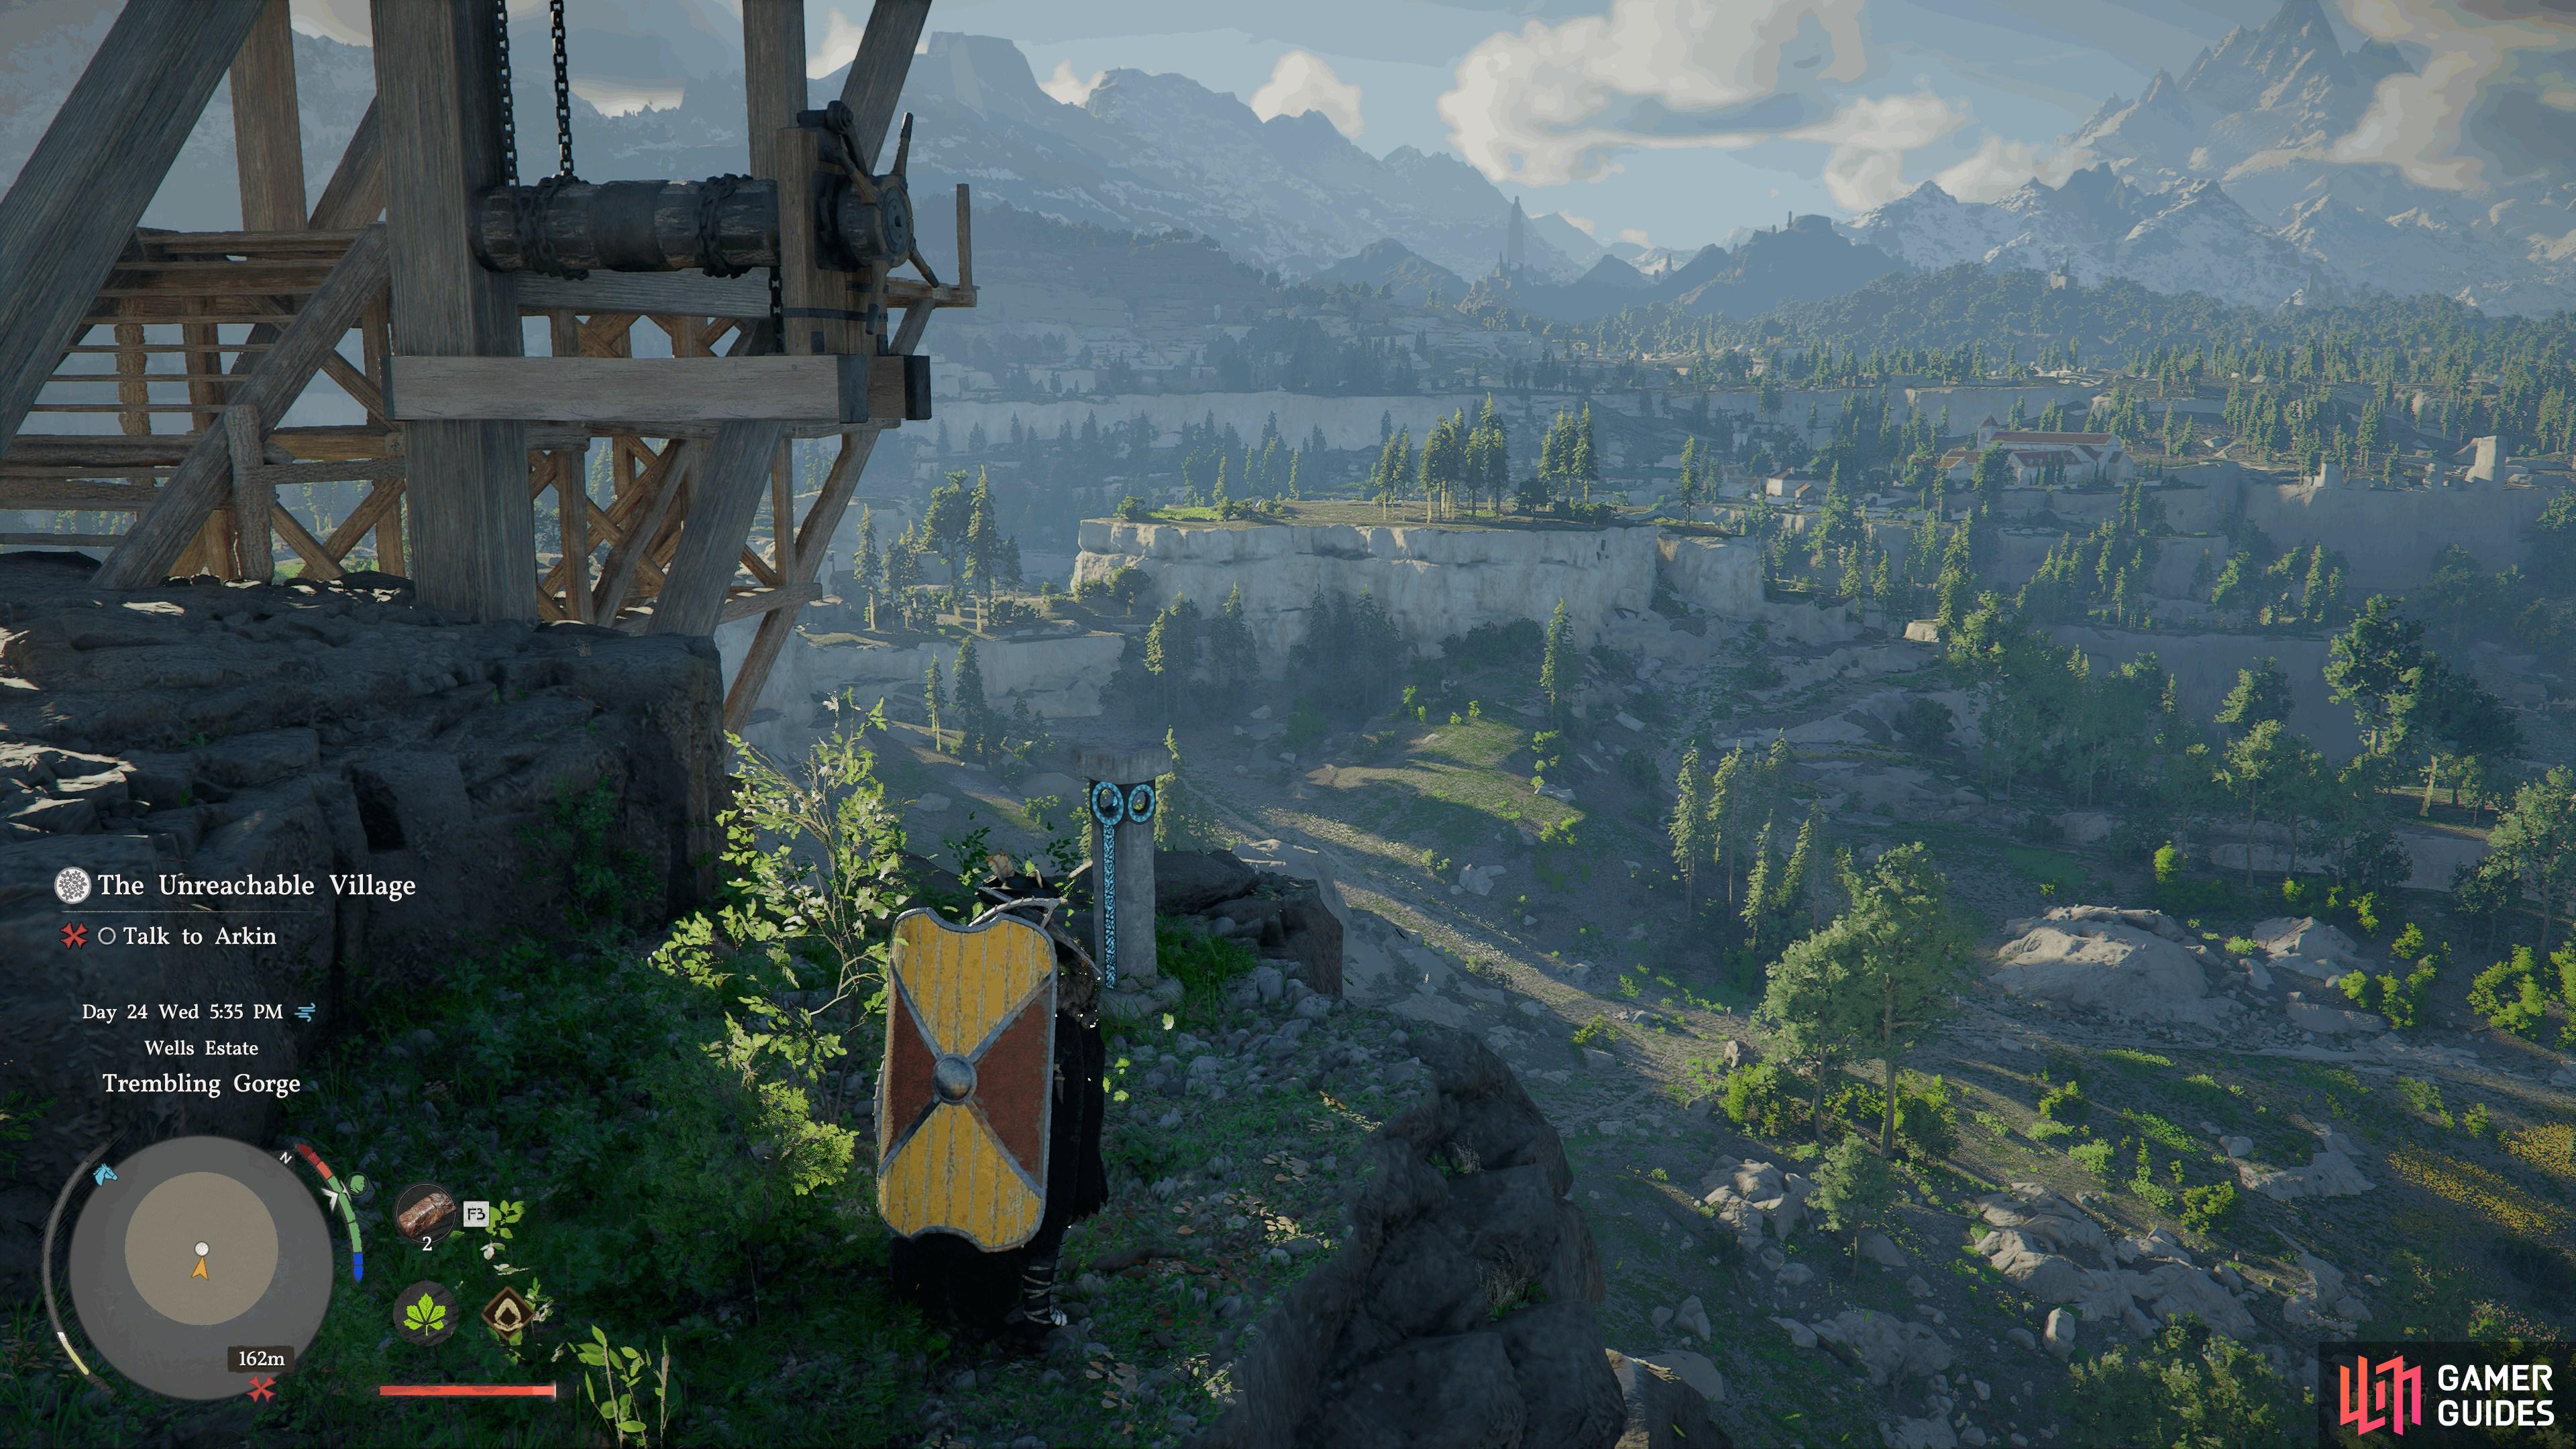
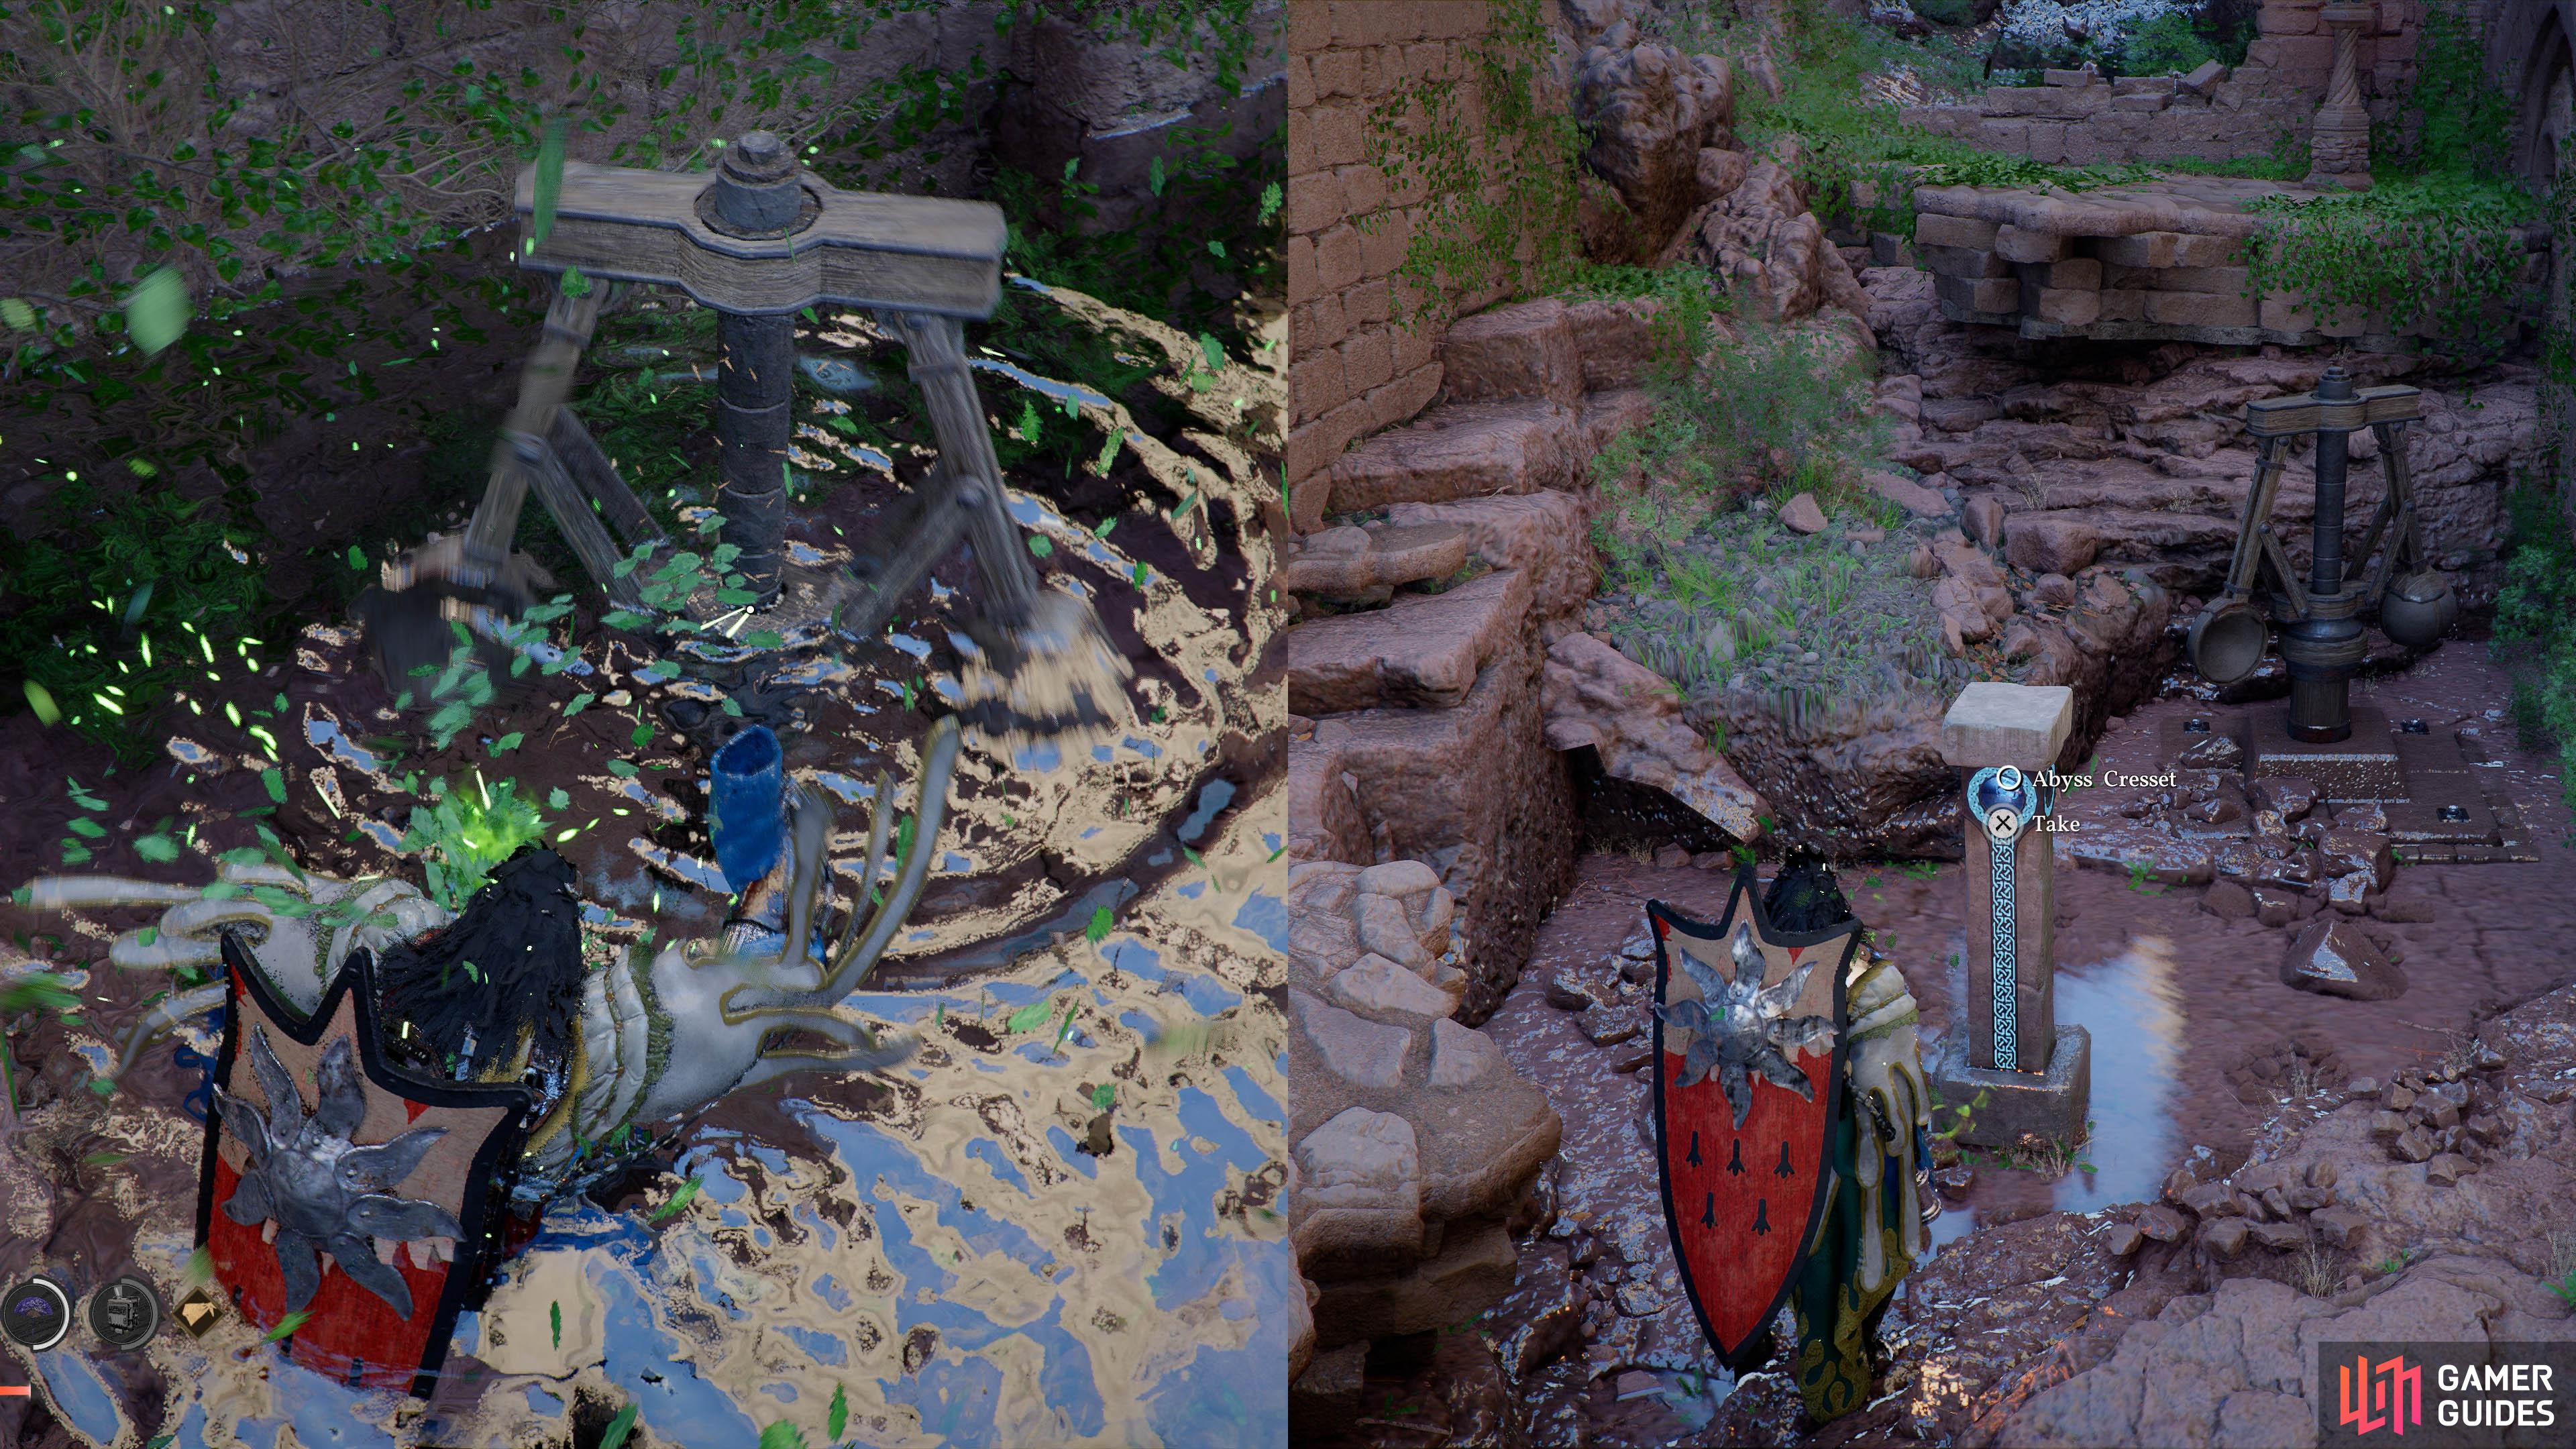
    Located next to the pulley, high up on the mountain ridge (Galepulley).

    Taking the artifact will complete the “Where Sky Meets Earth” Secret Places challenge.

    View on map
  10. 10 Abyss Cresset

    Abyss Cresset

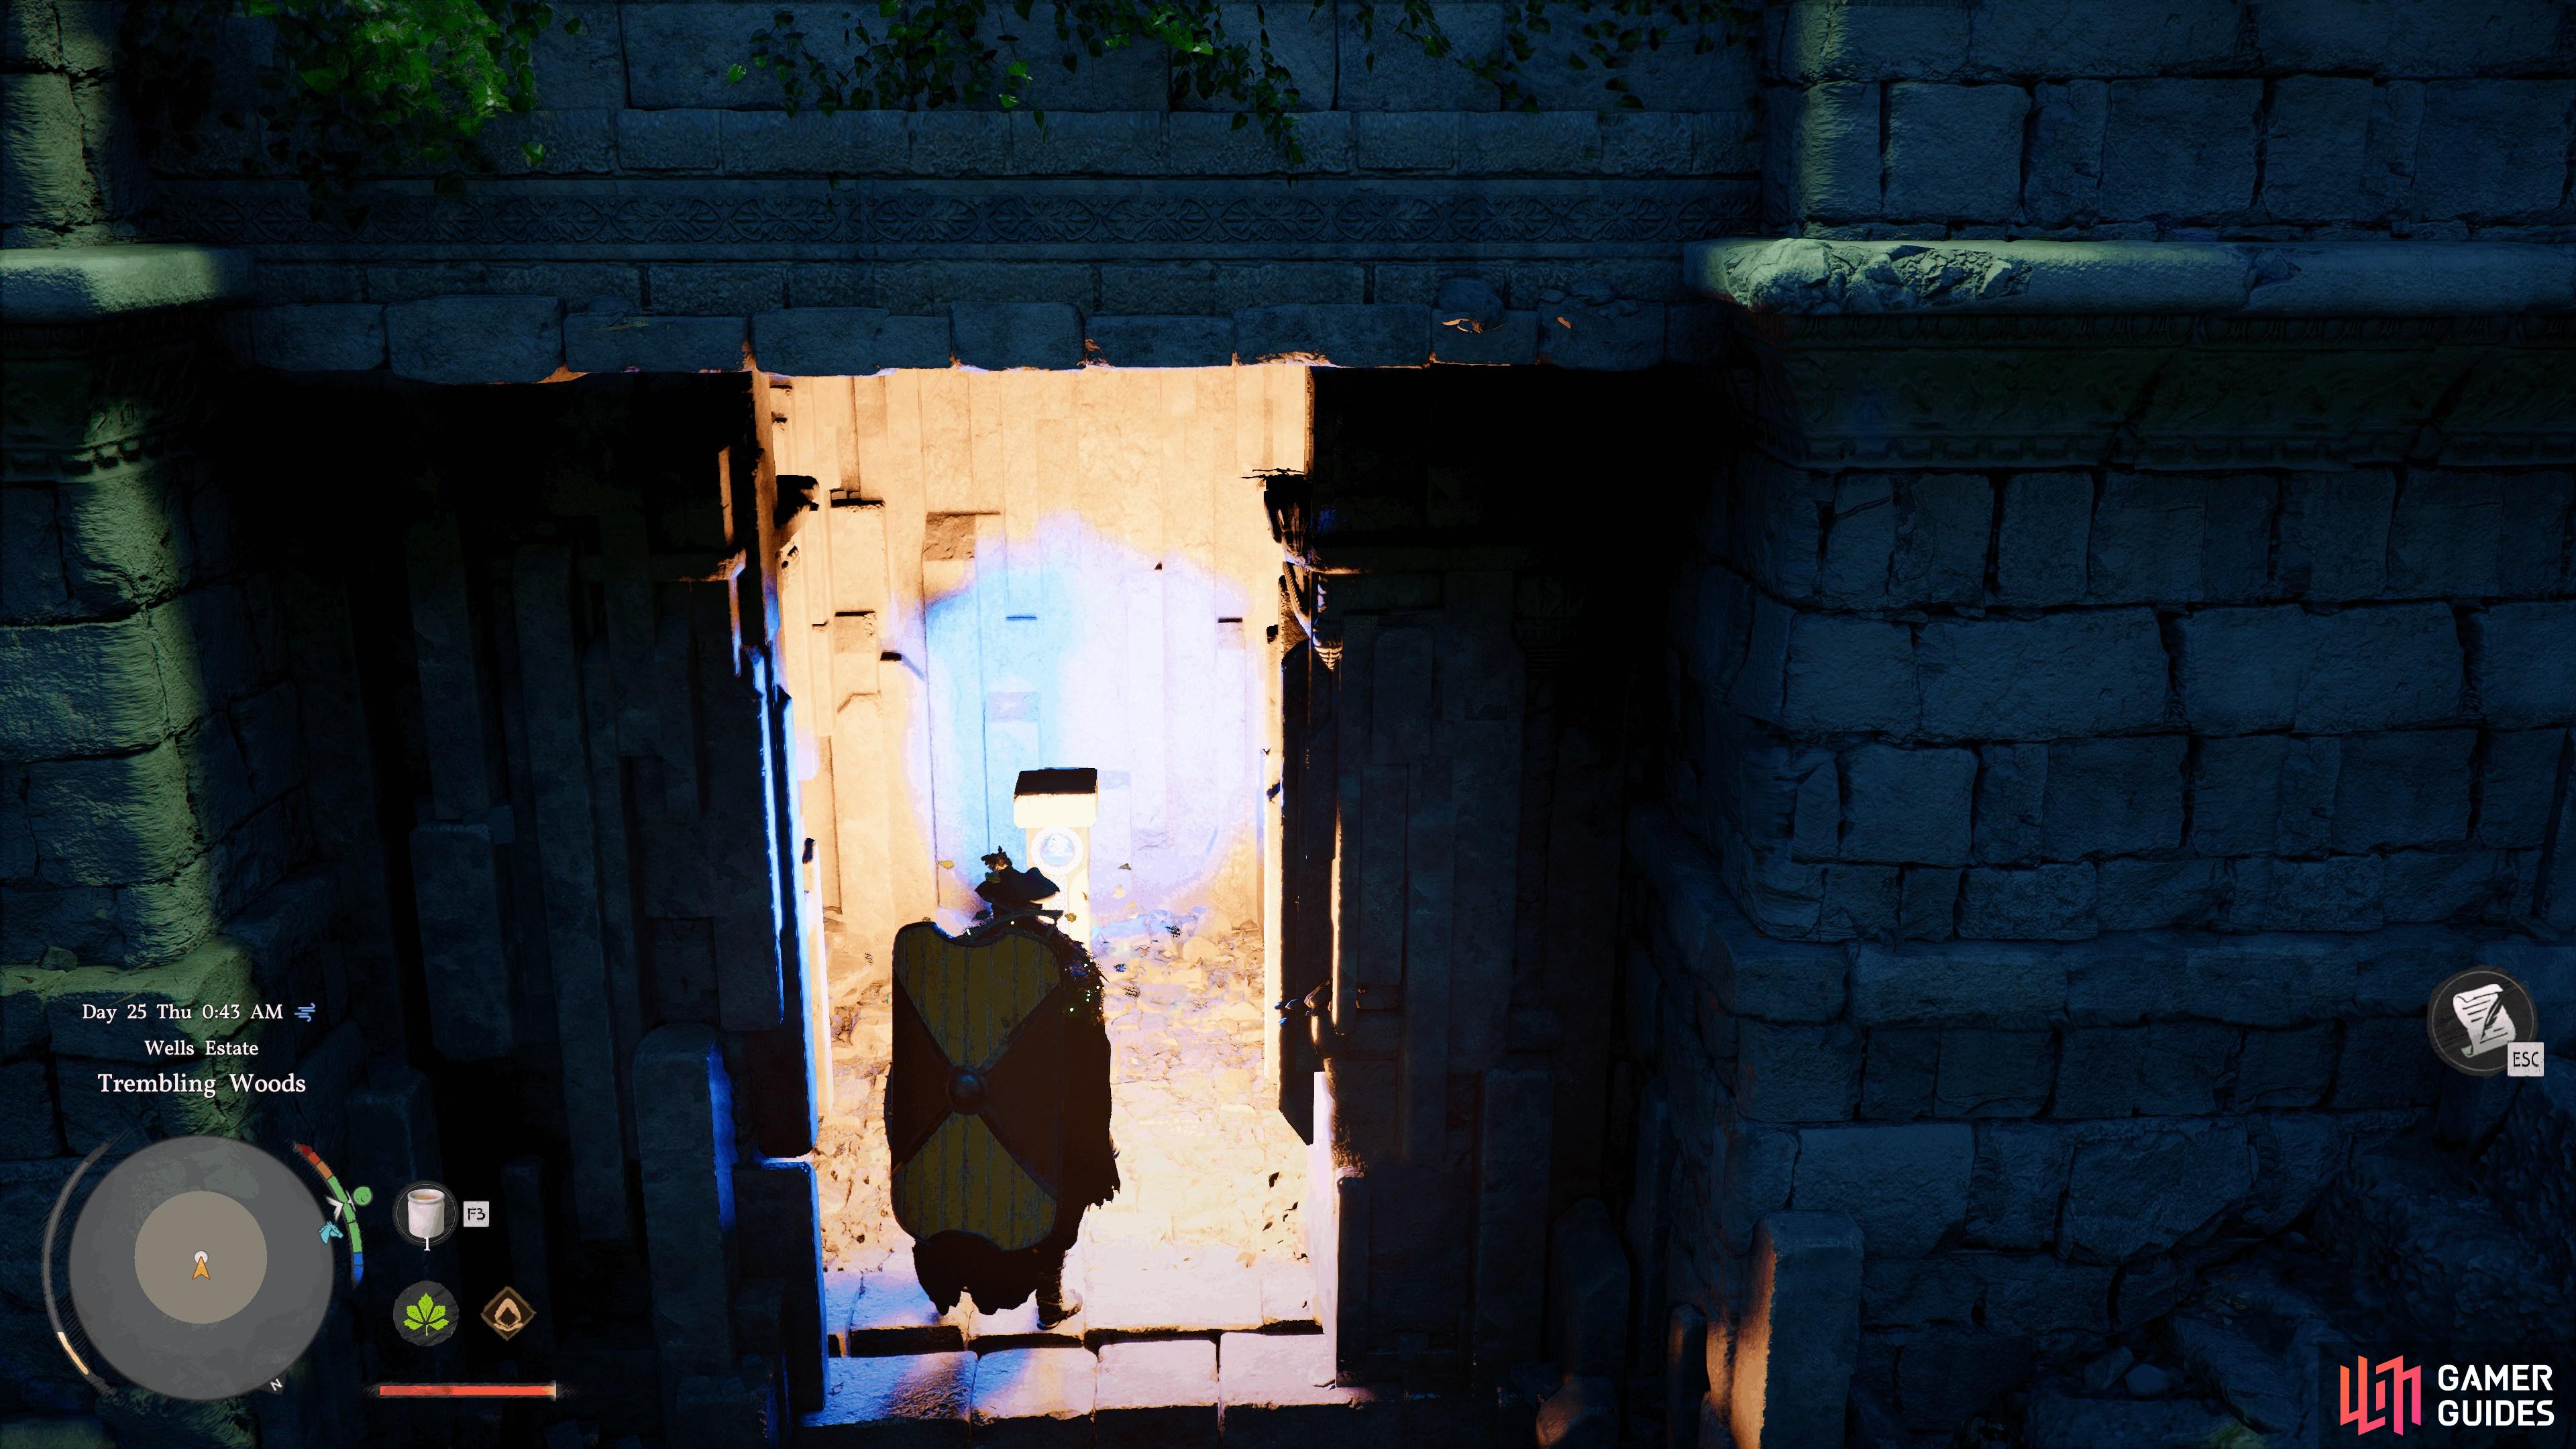
    Located in the room below the puzzle, obscured by the water. Complete the puzzle to access it.

    View on map
  11. 11 Abyss Cresset

    Abyss Cresset

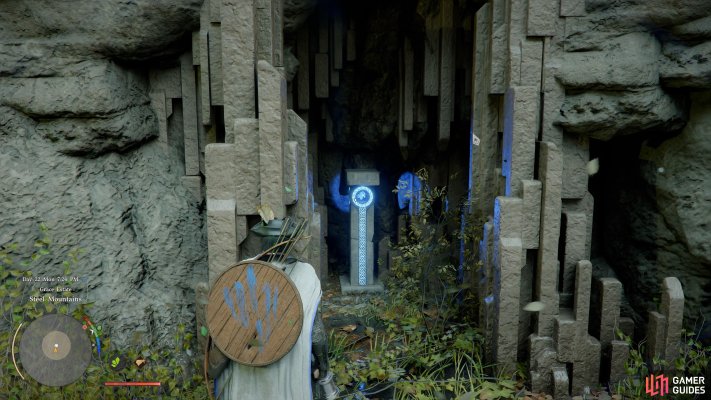
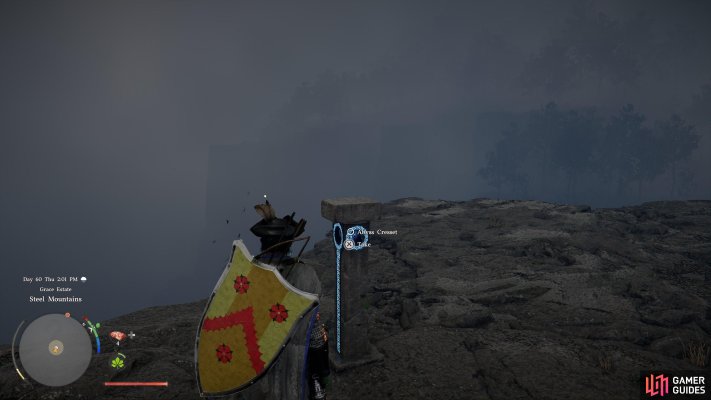
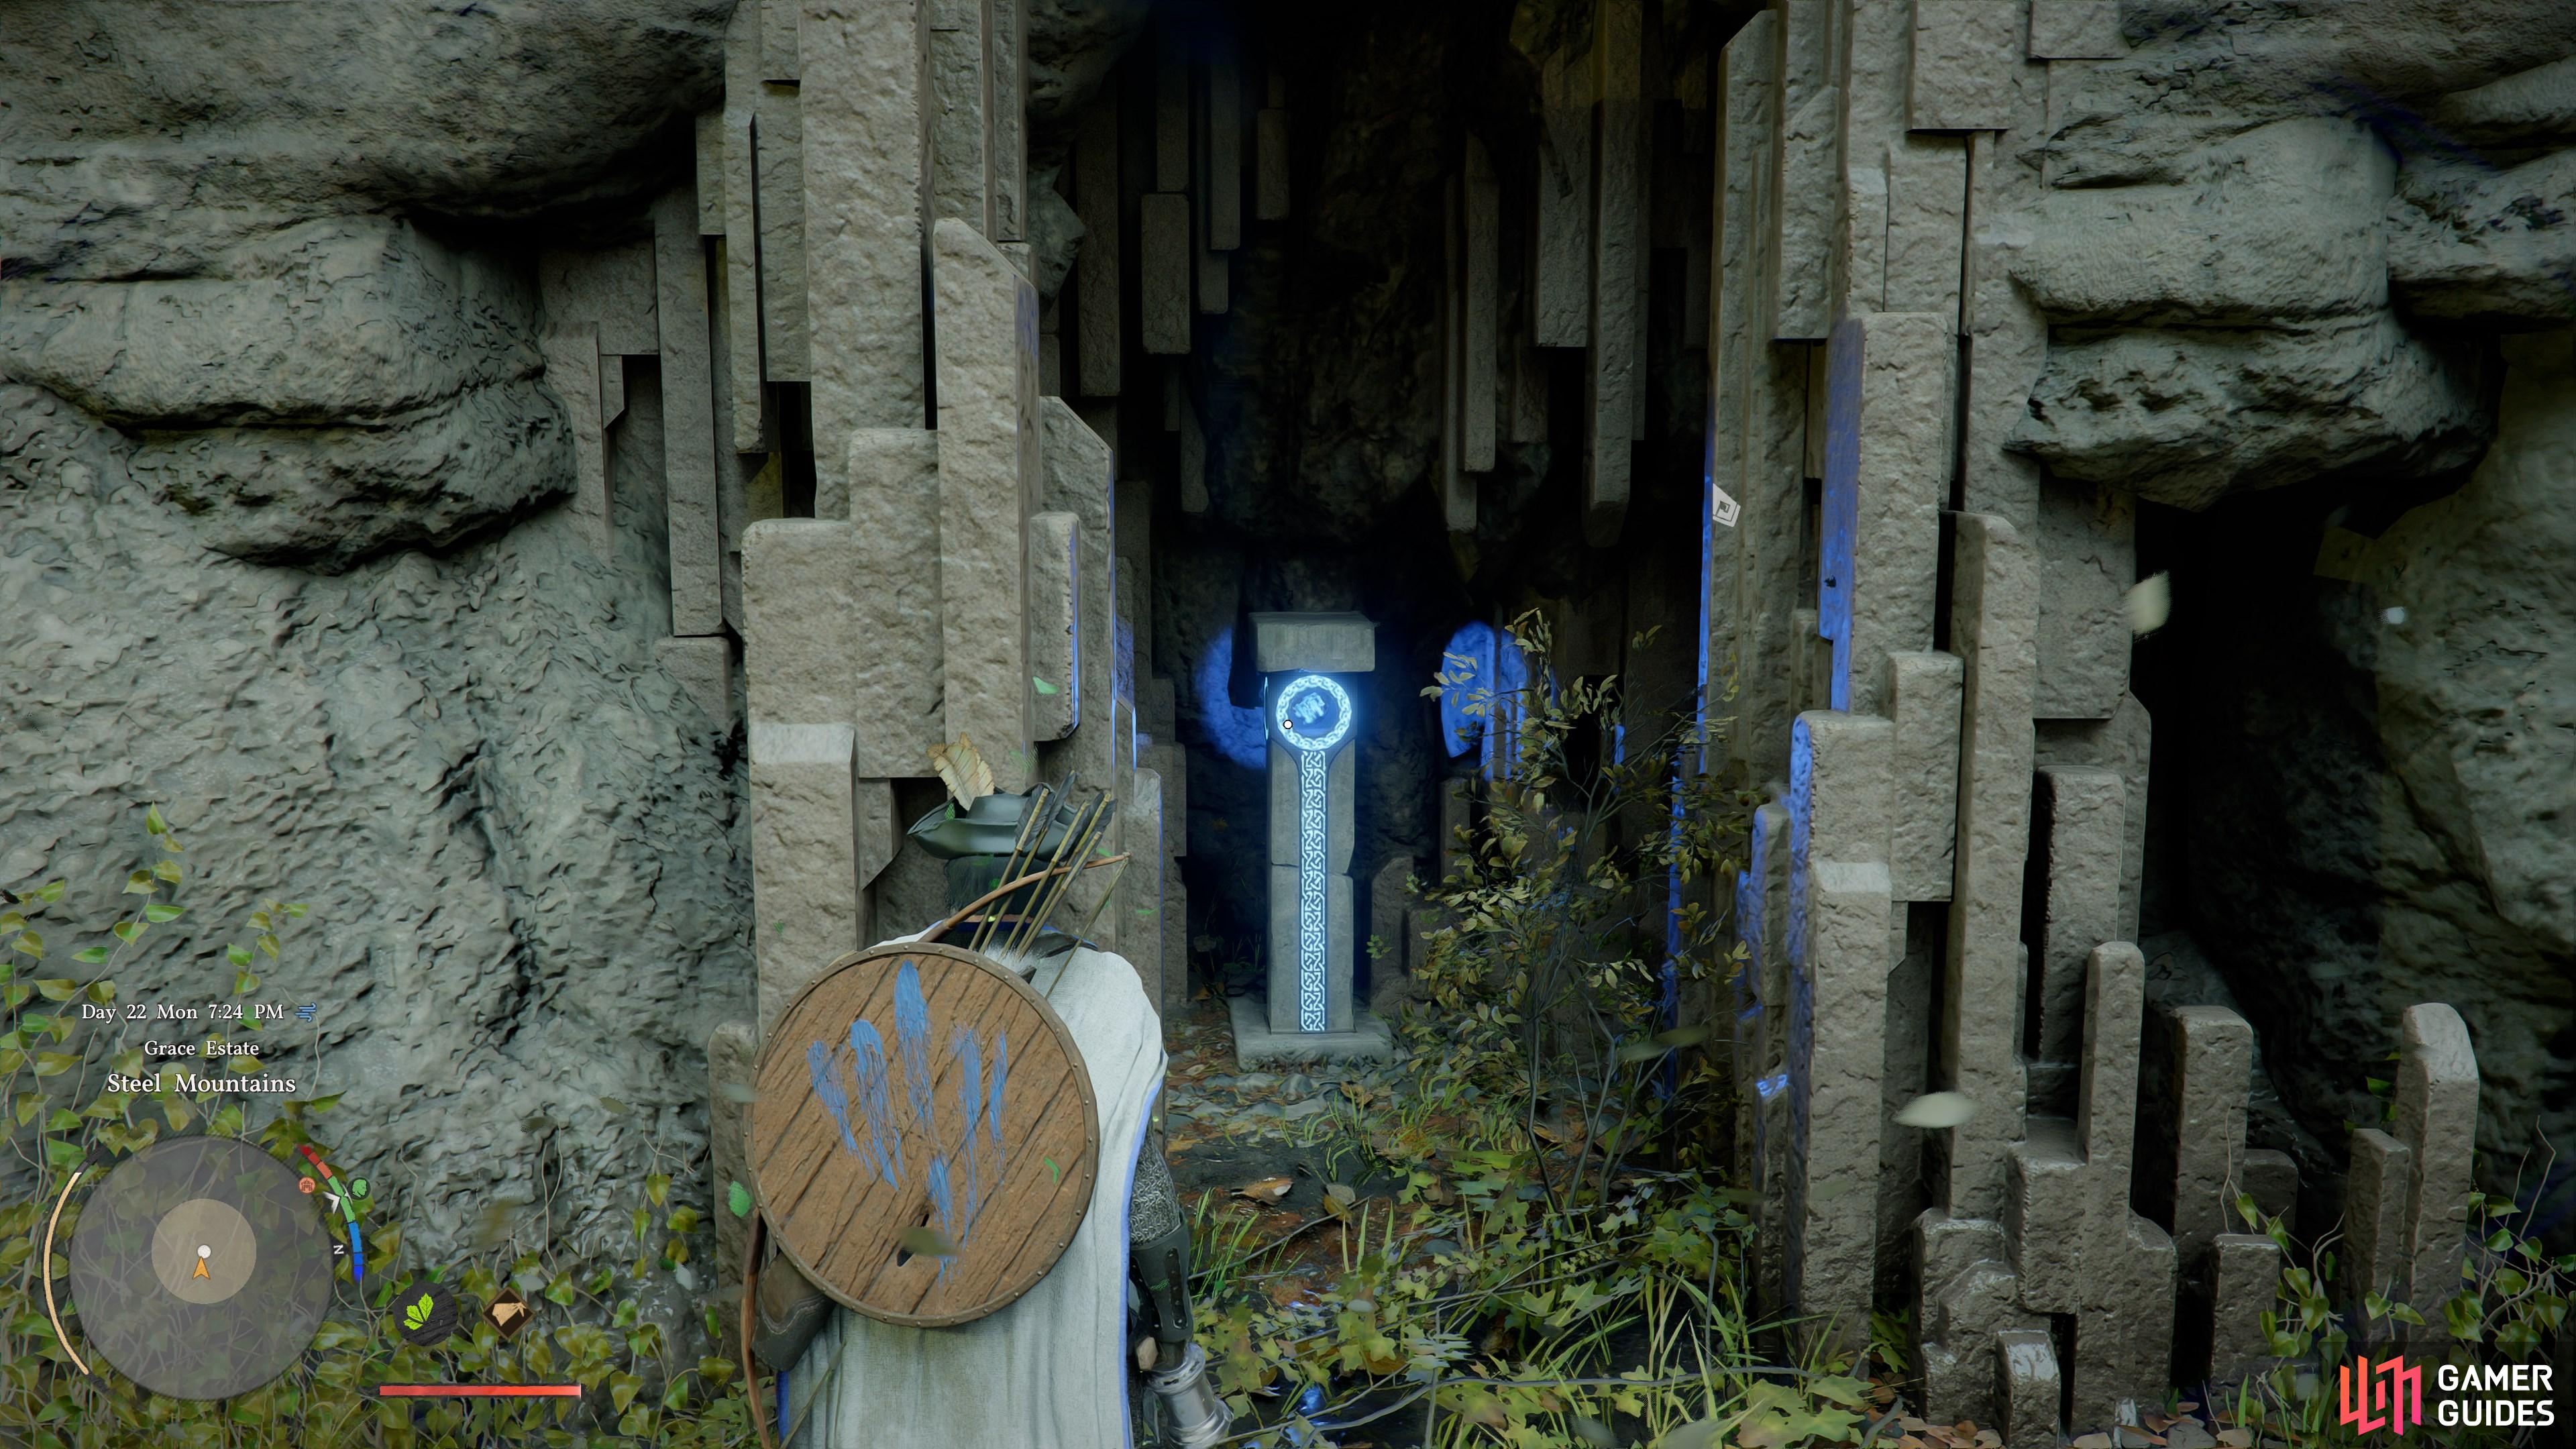
    Solve the Steel Mountains Ruins bell puzzle to reveal the Cresset.

    View on map
  12. 12 Abyss Cresset

    Abyss Cresset

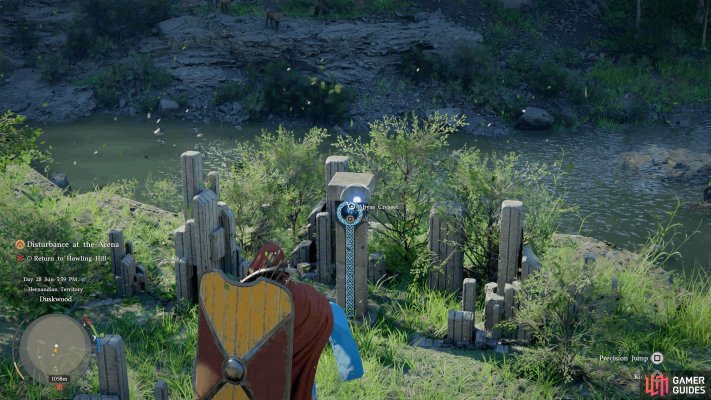
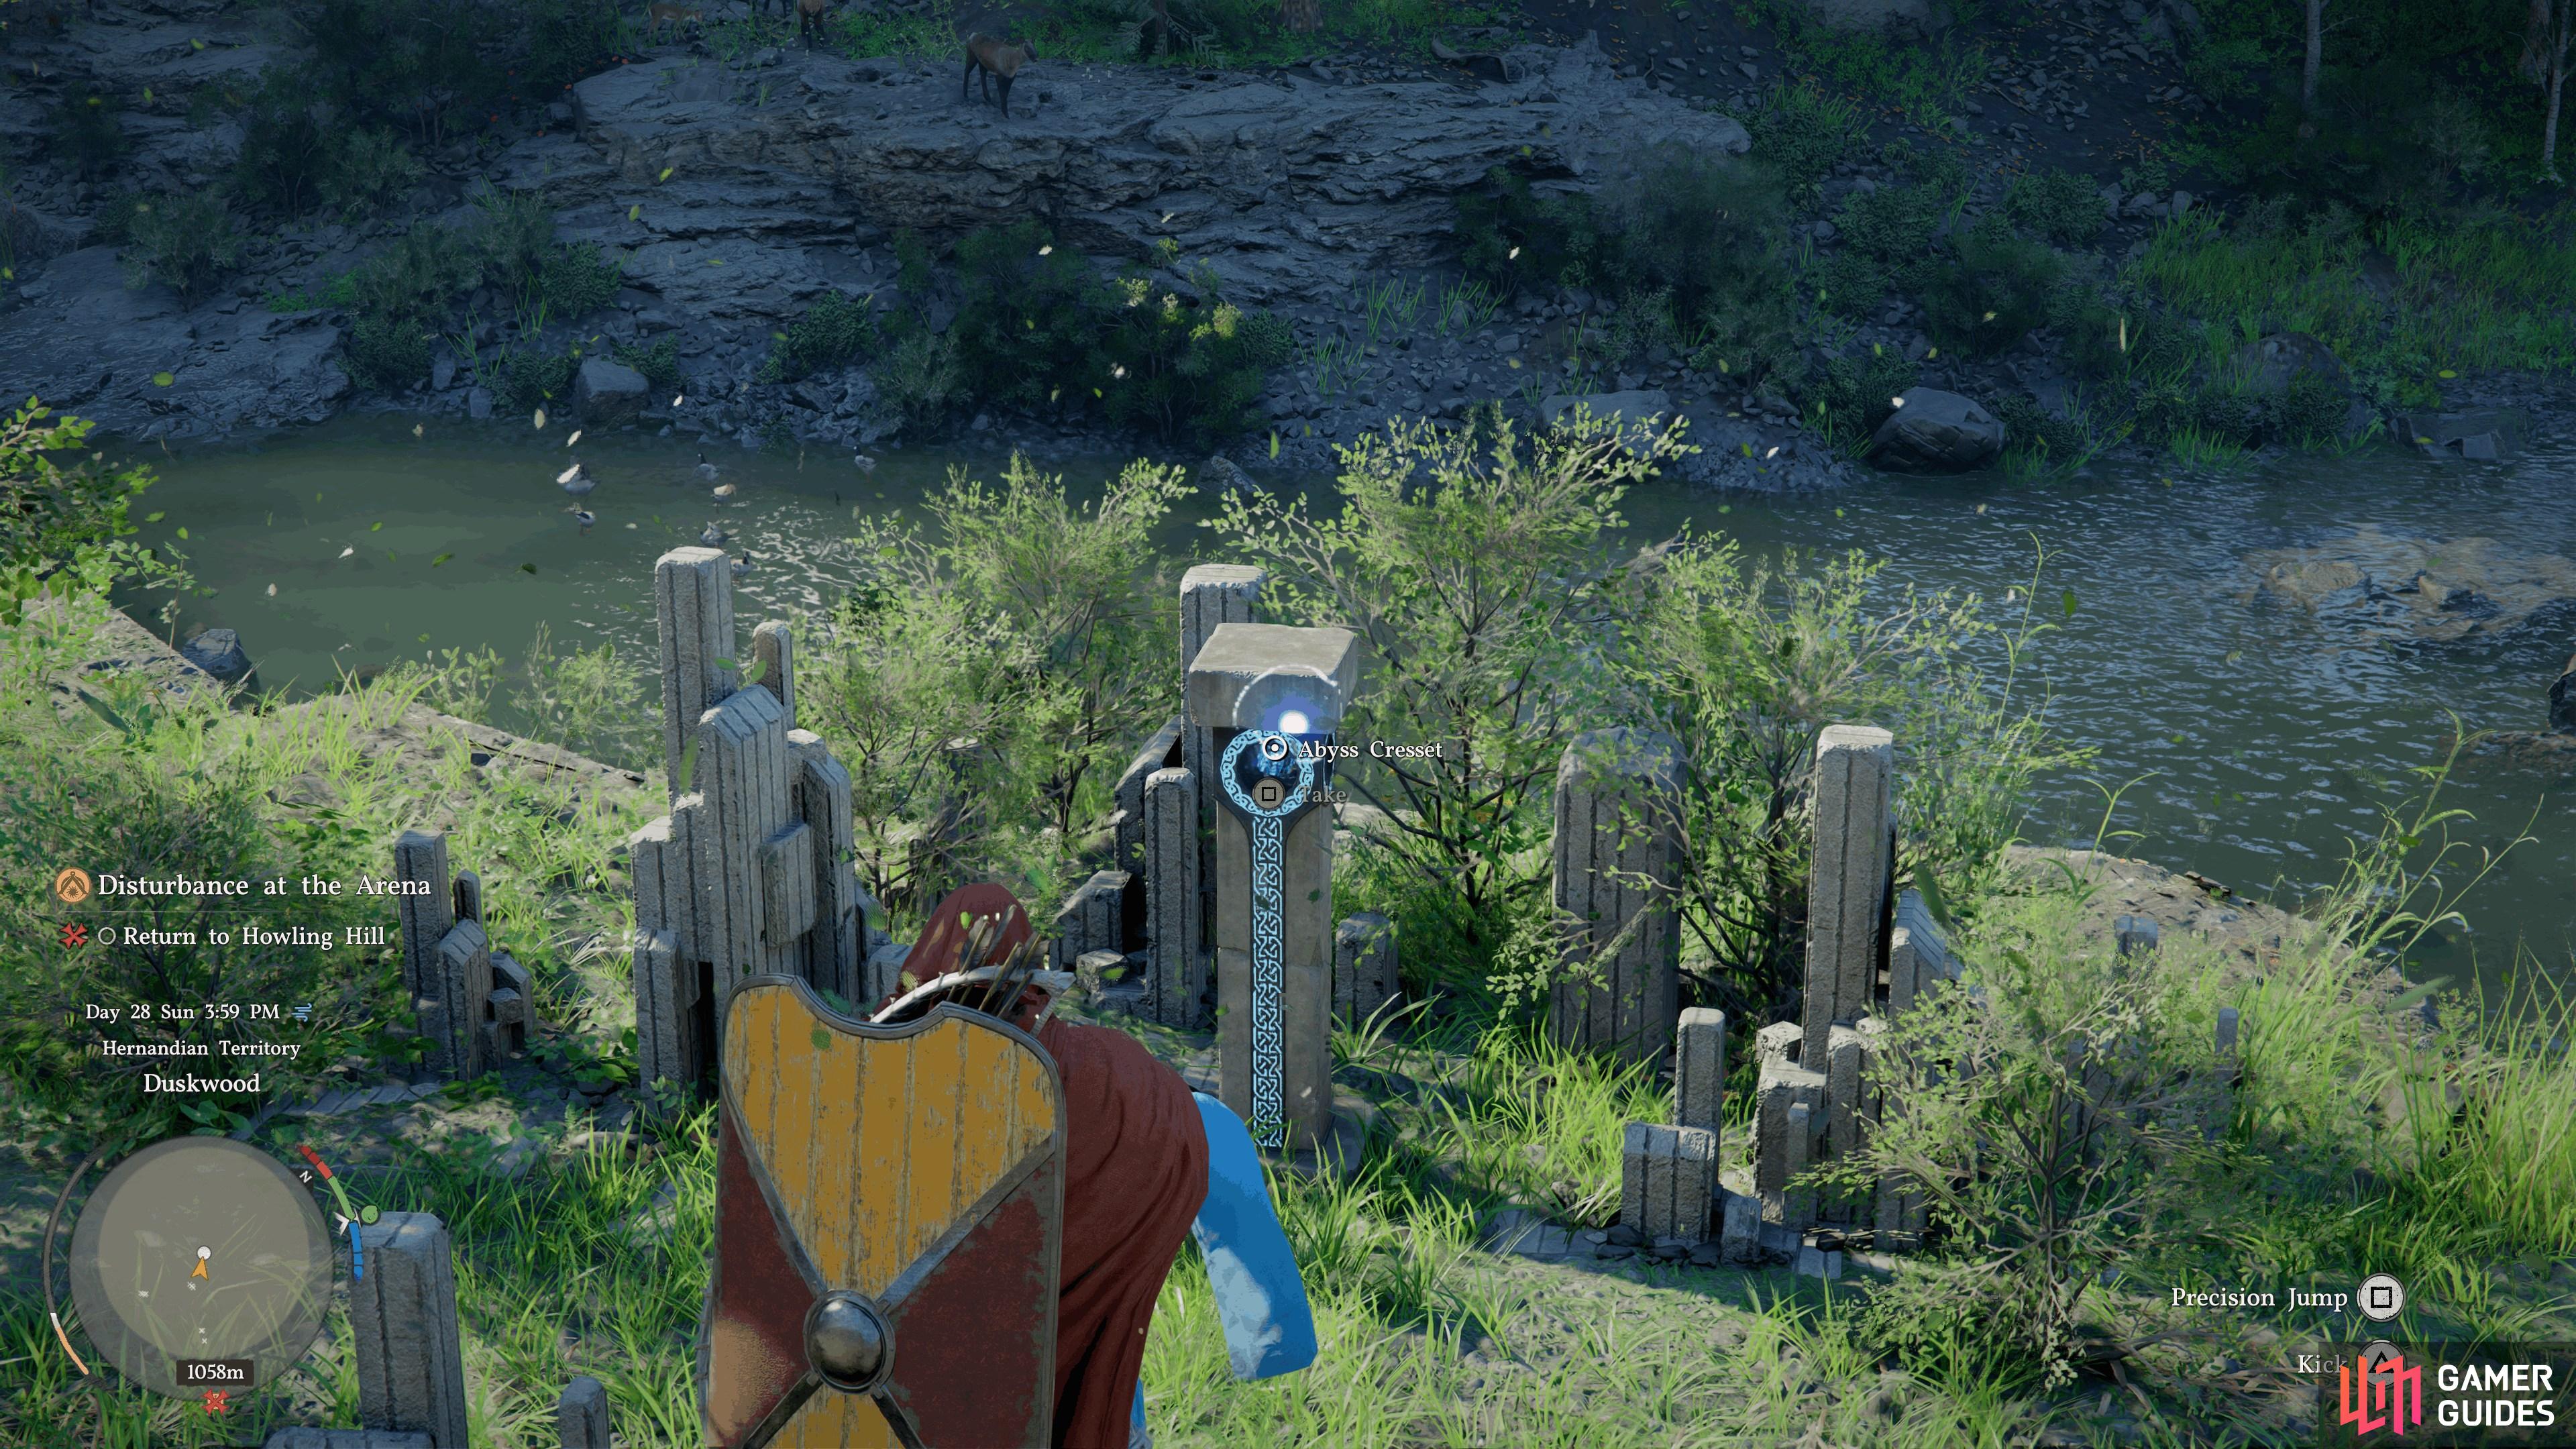
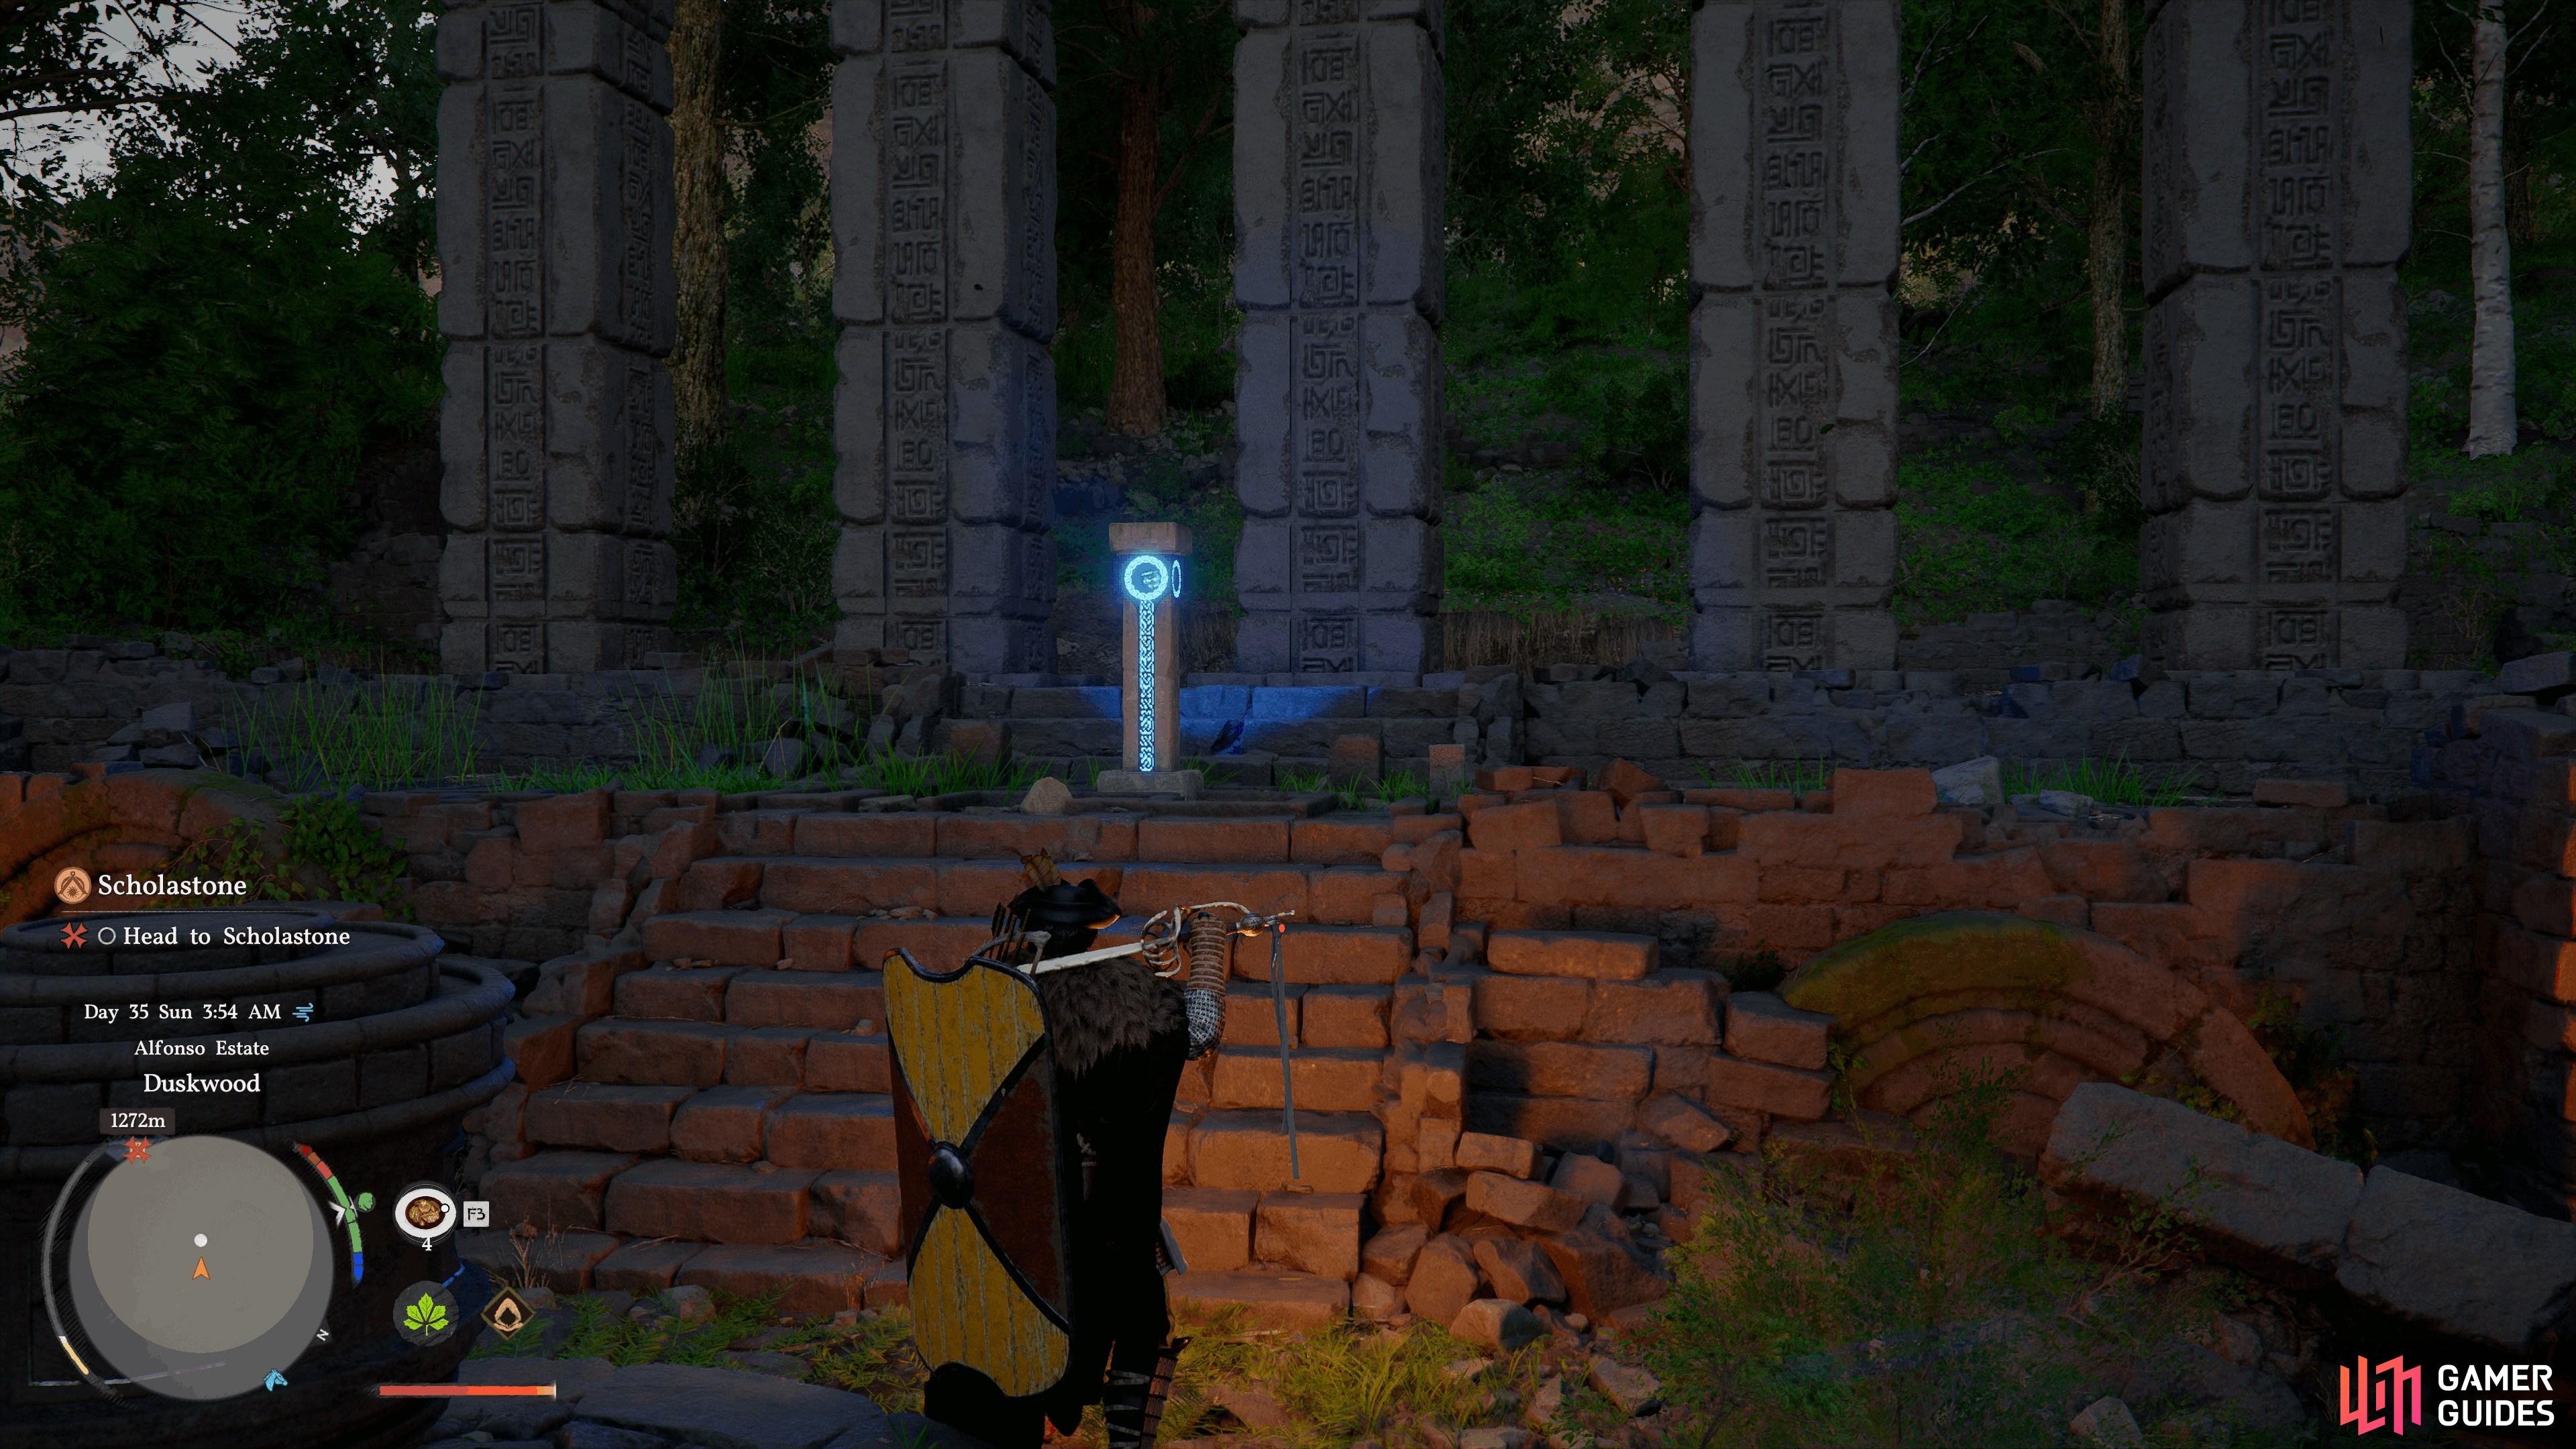
    Solve the Duskwood Waterside Ruins challenge nearby.

    View on map
  13. 13 Abyss Cresset

    Abyss Cresset

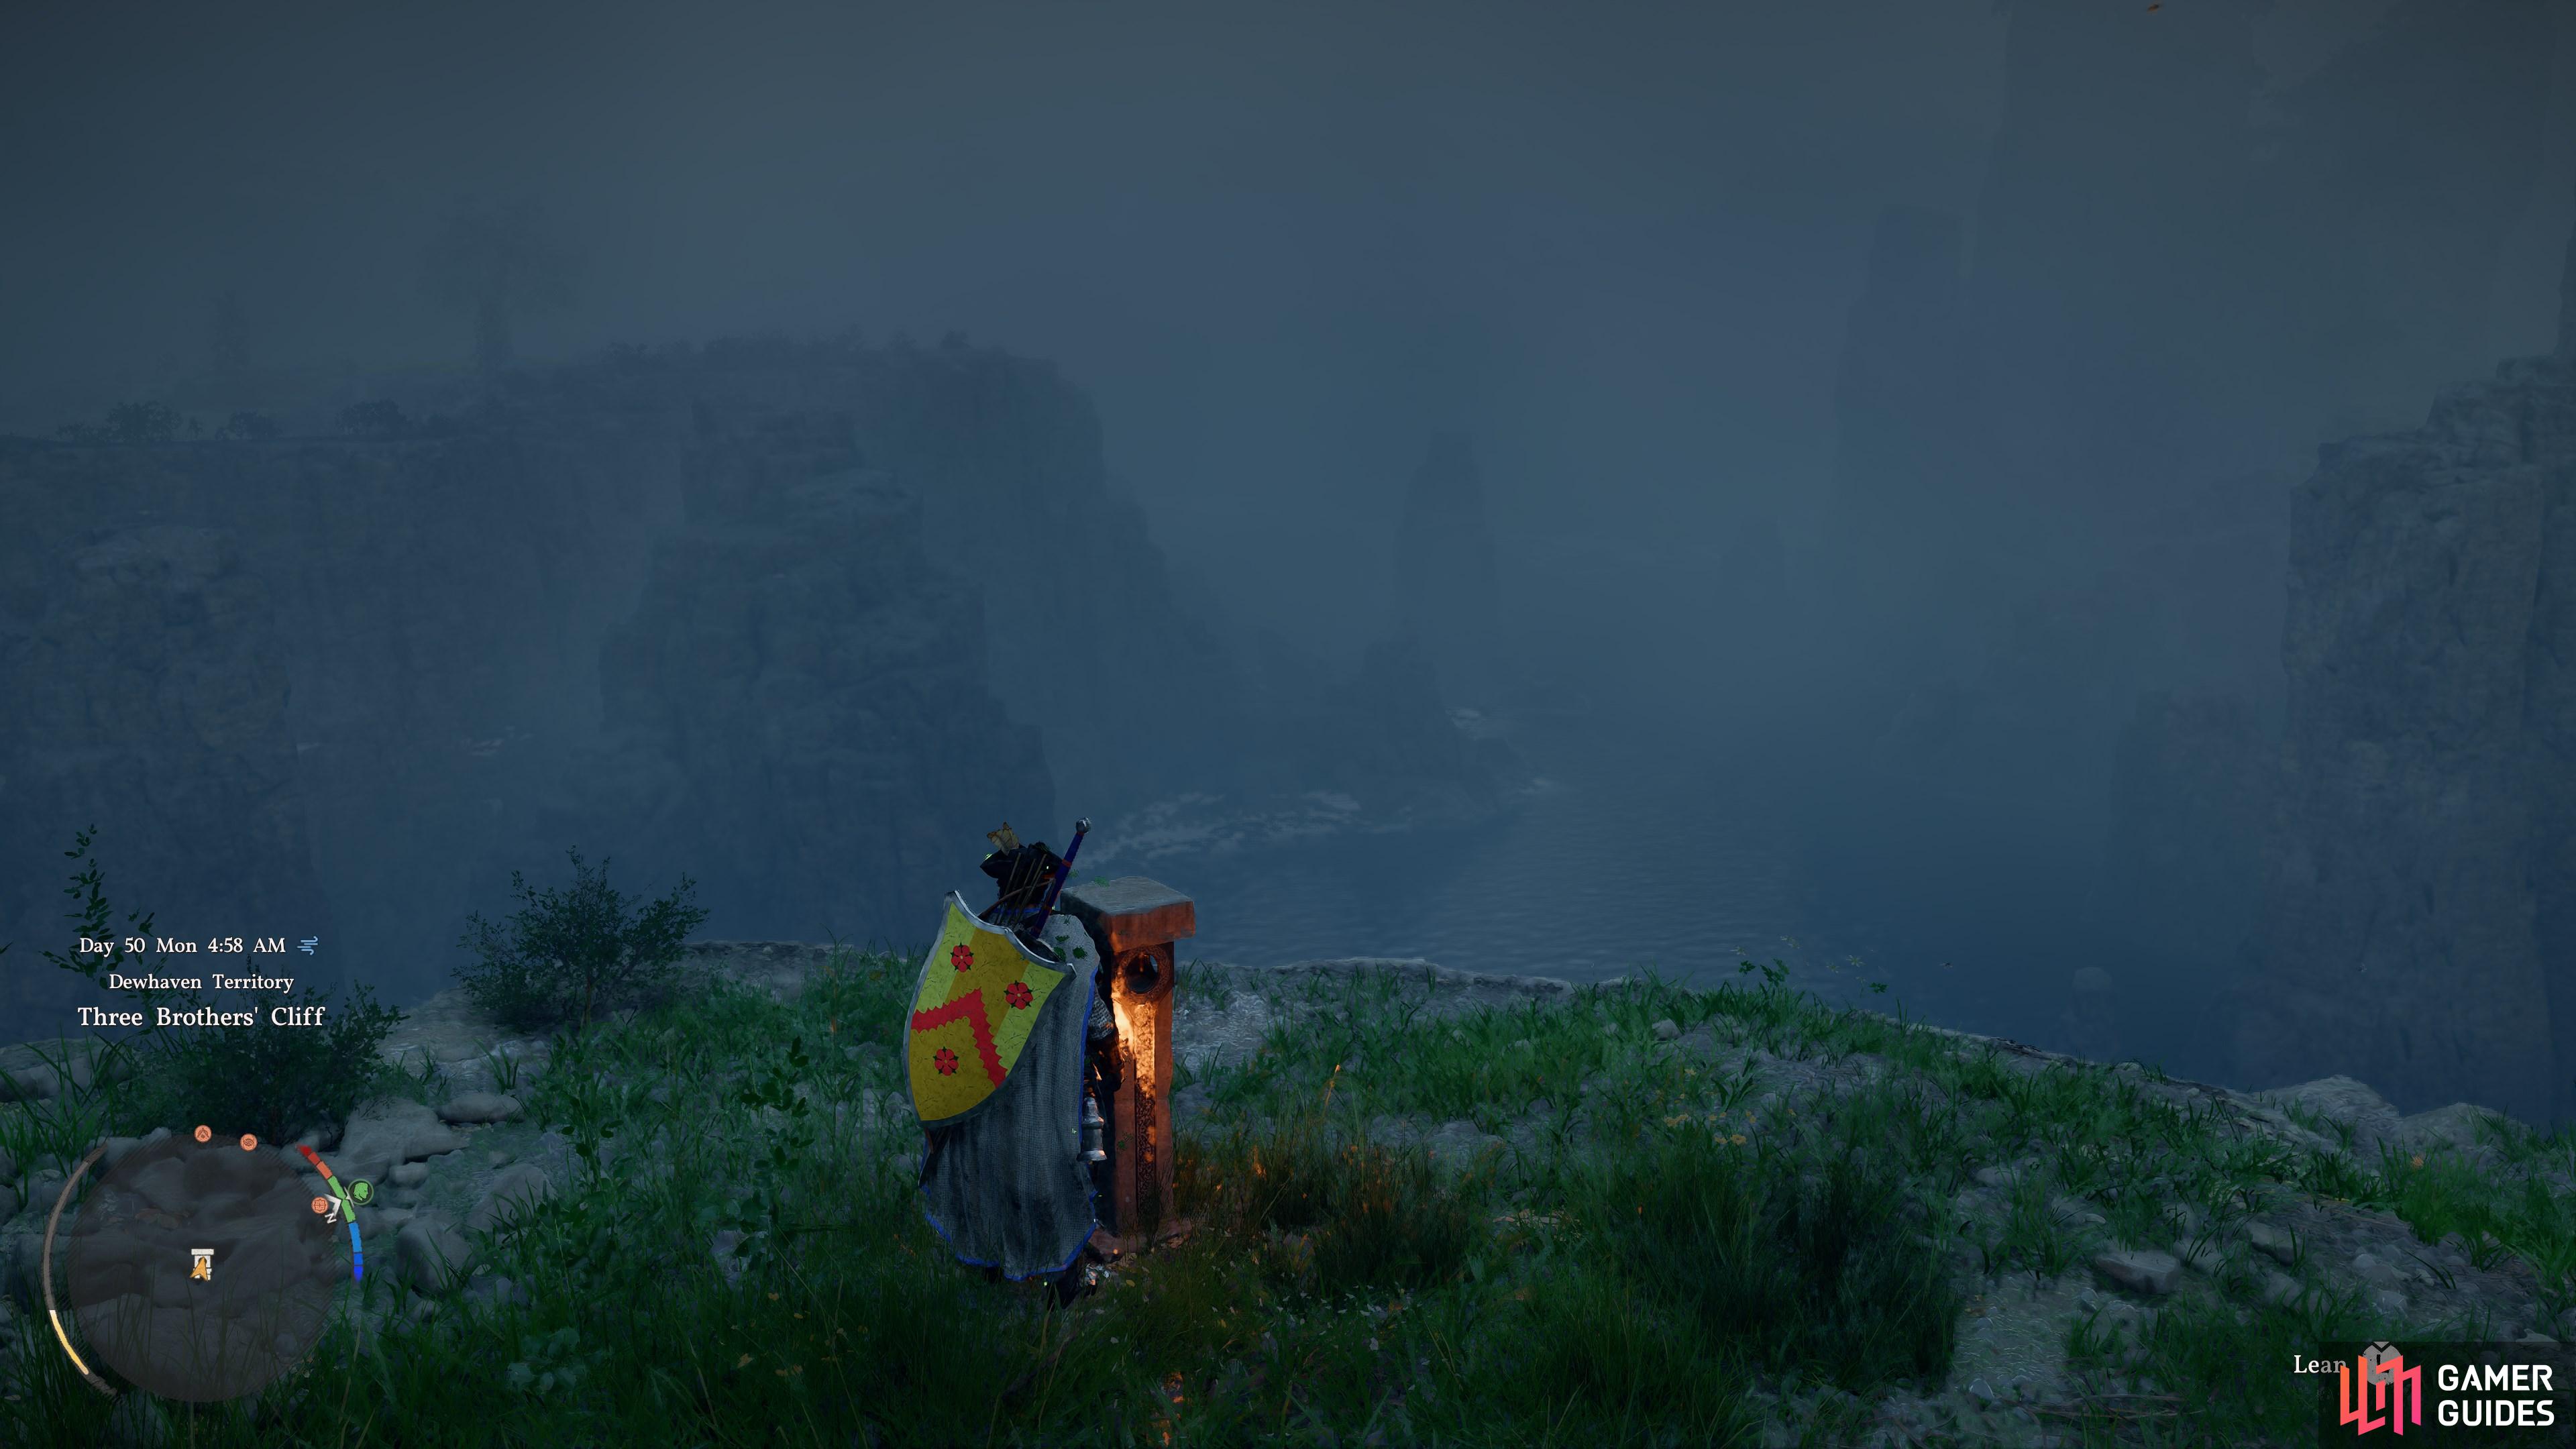
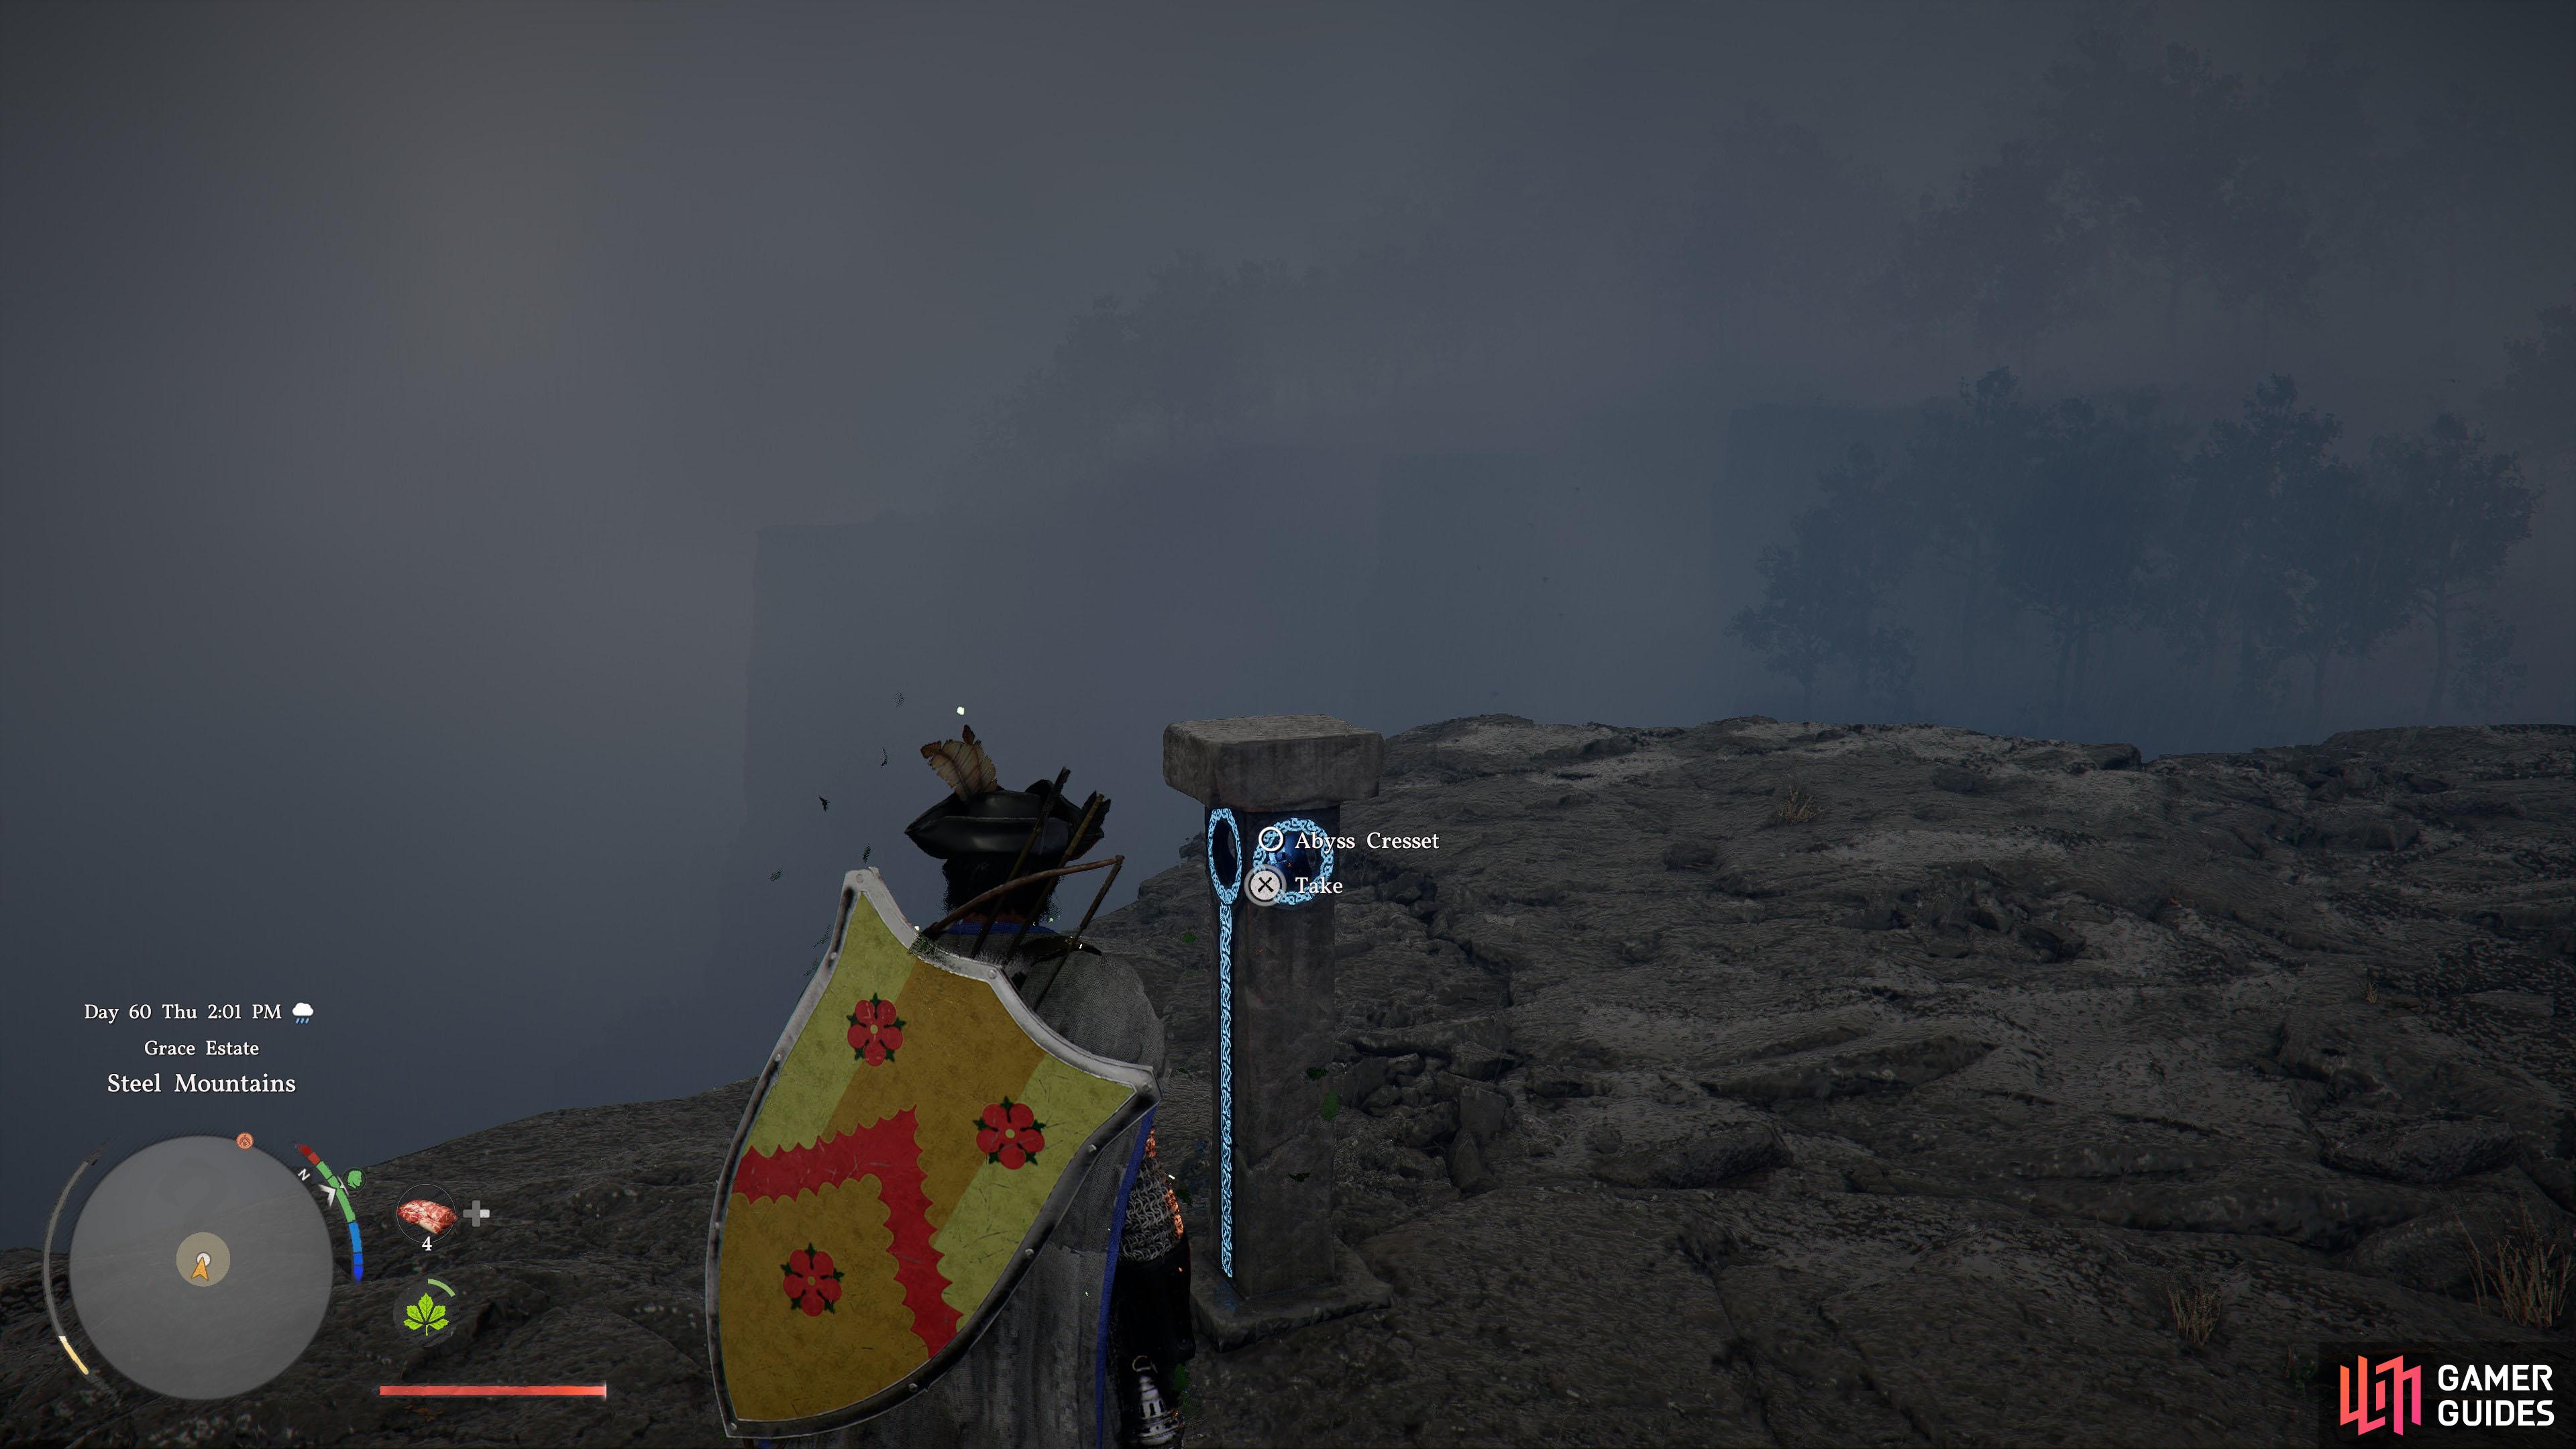
    Found on the rocks jutting out from the south-facing cliffs.

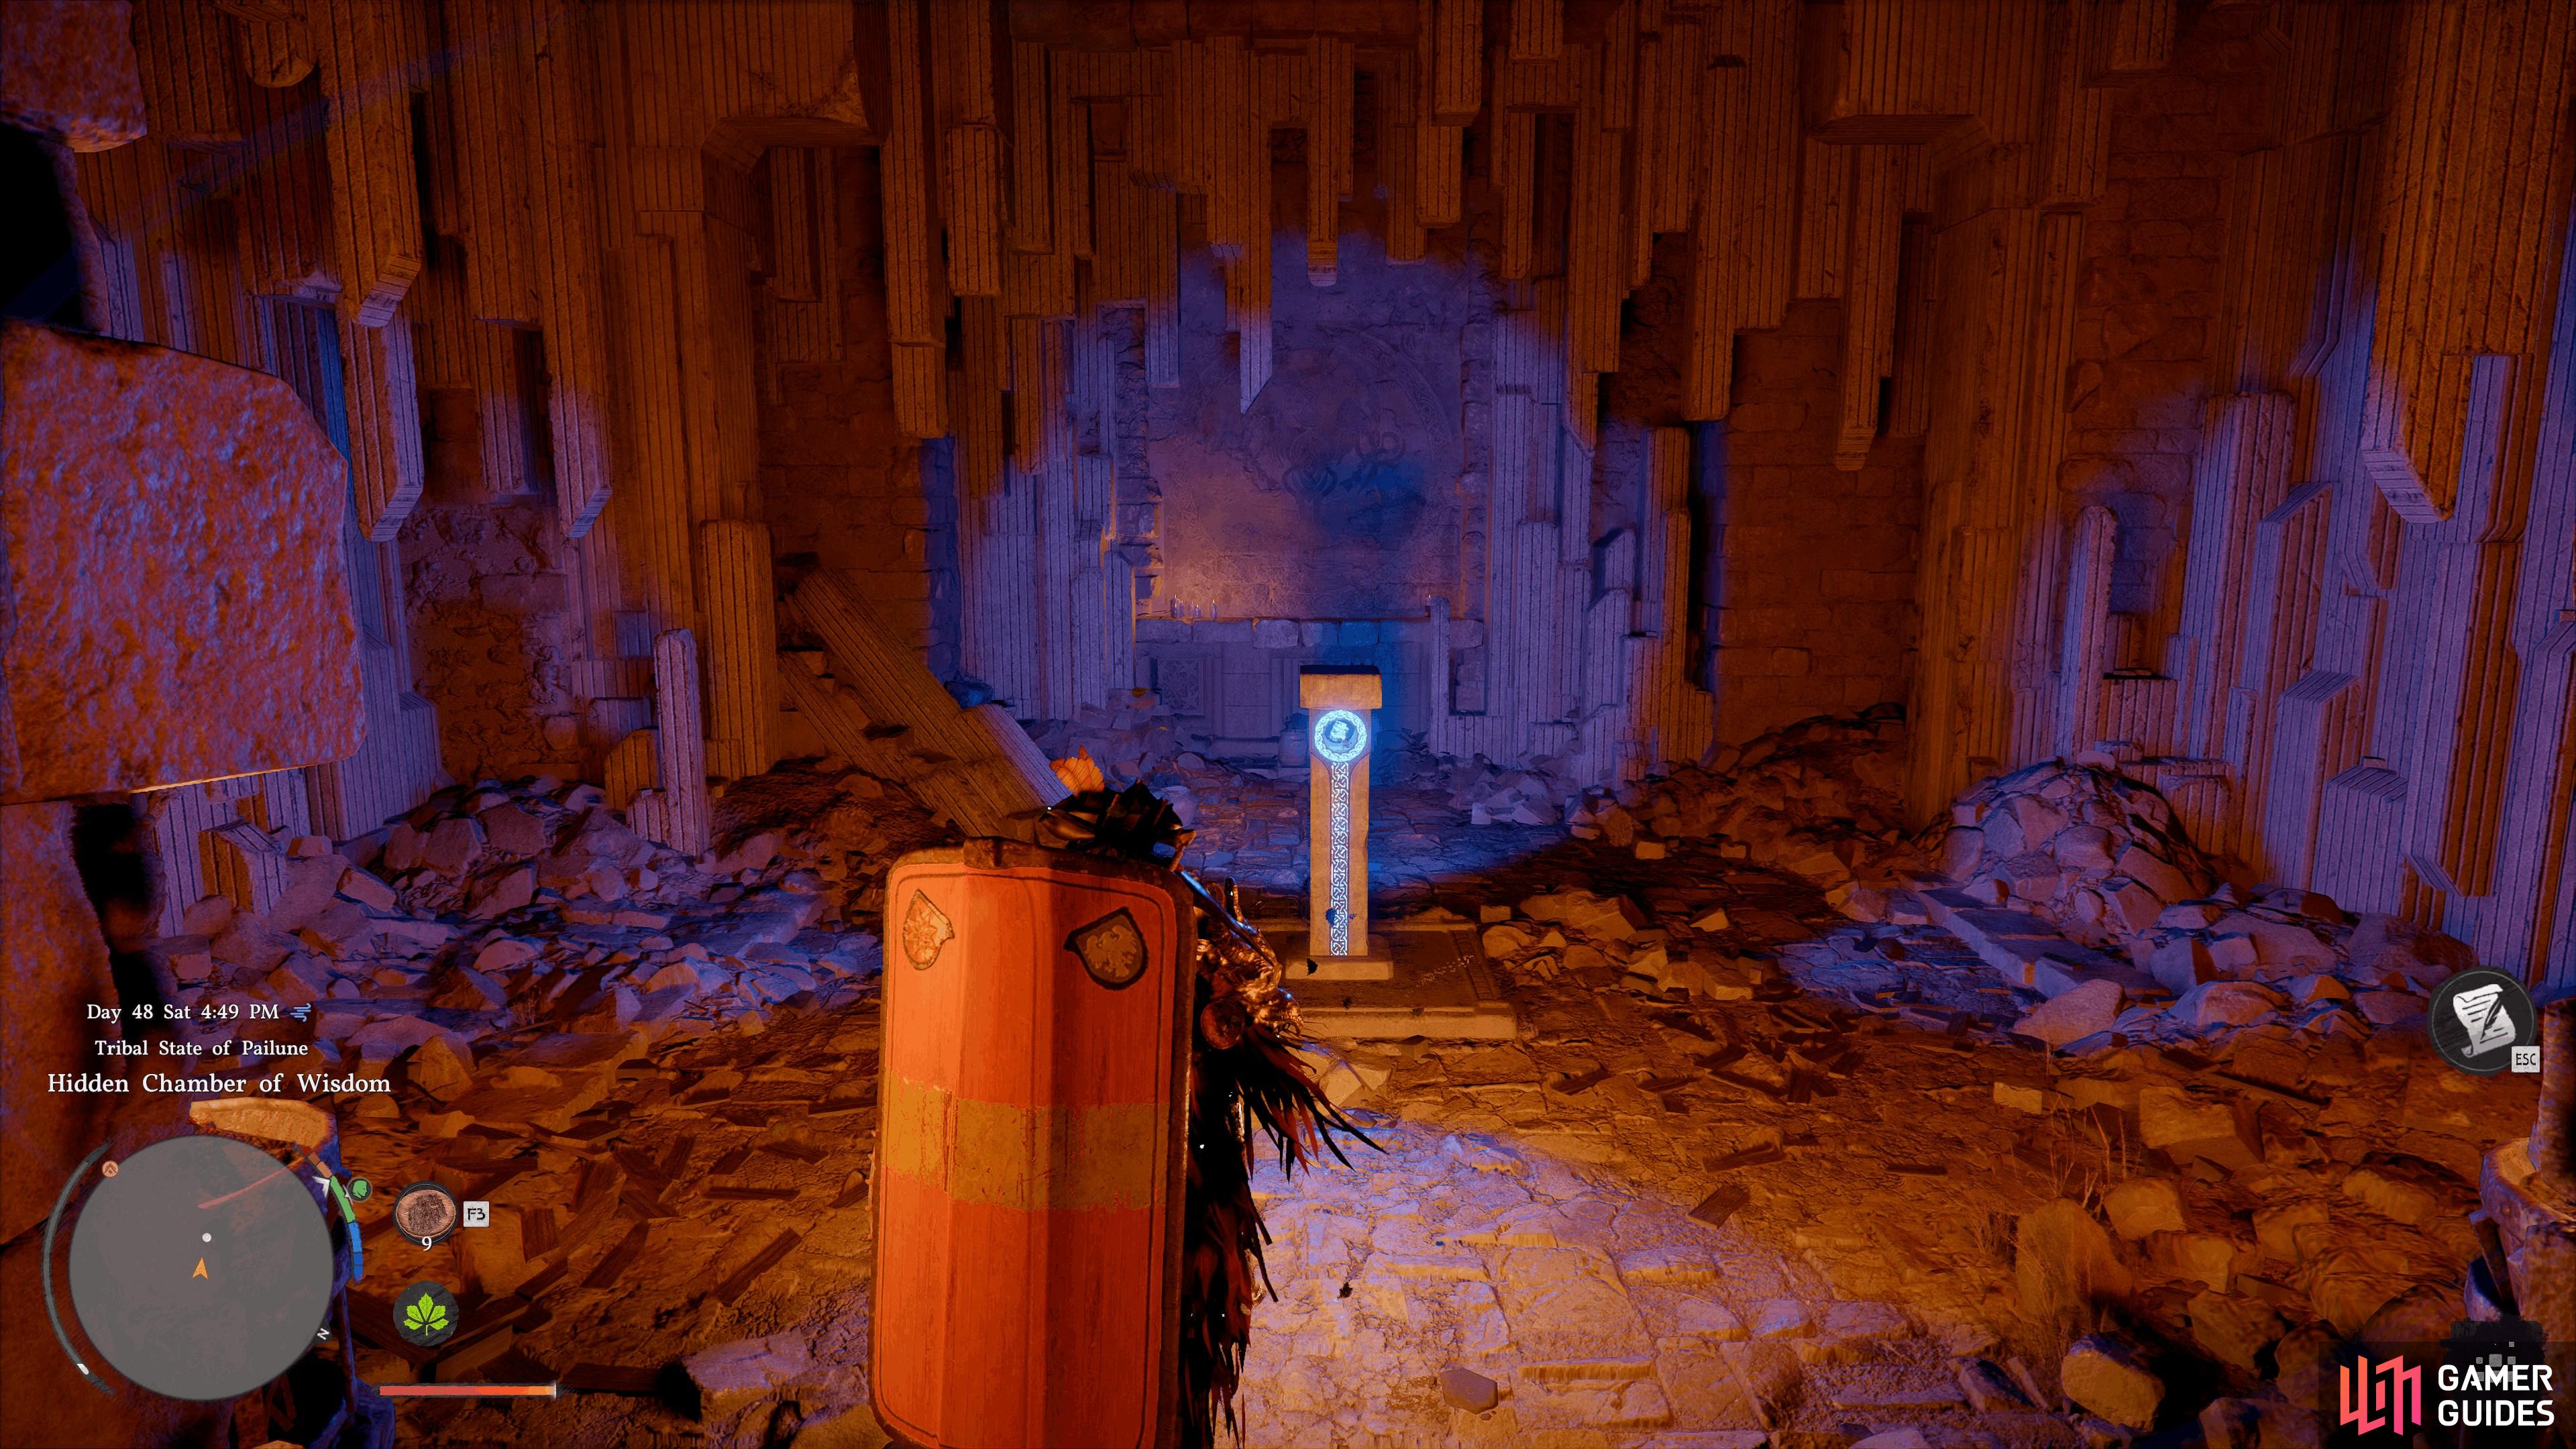
    View on map
  14. 14 The Stairway Falls

    The Stairway Falls

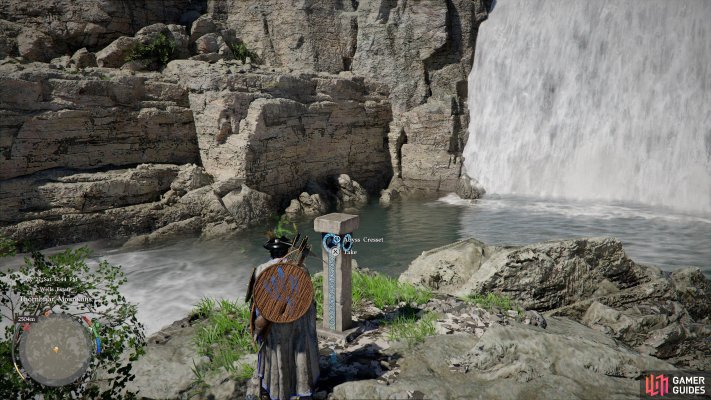
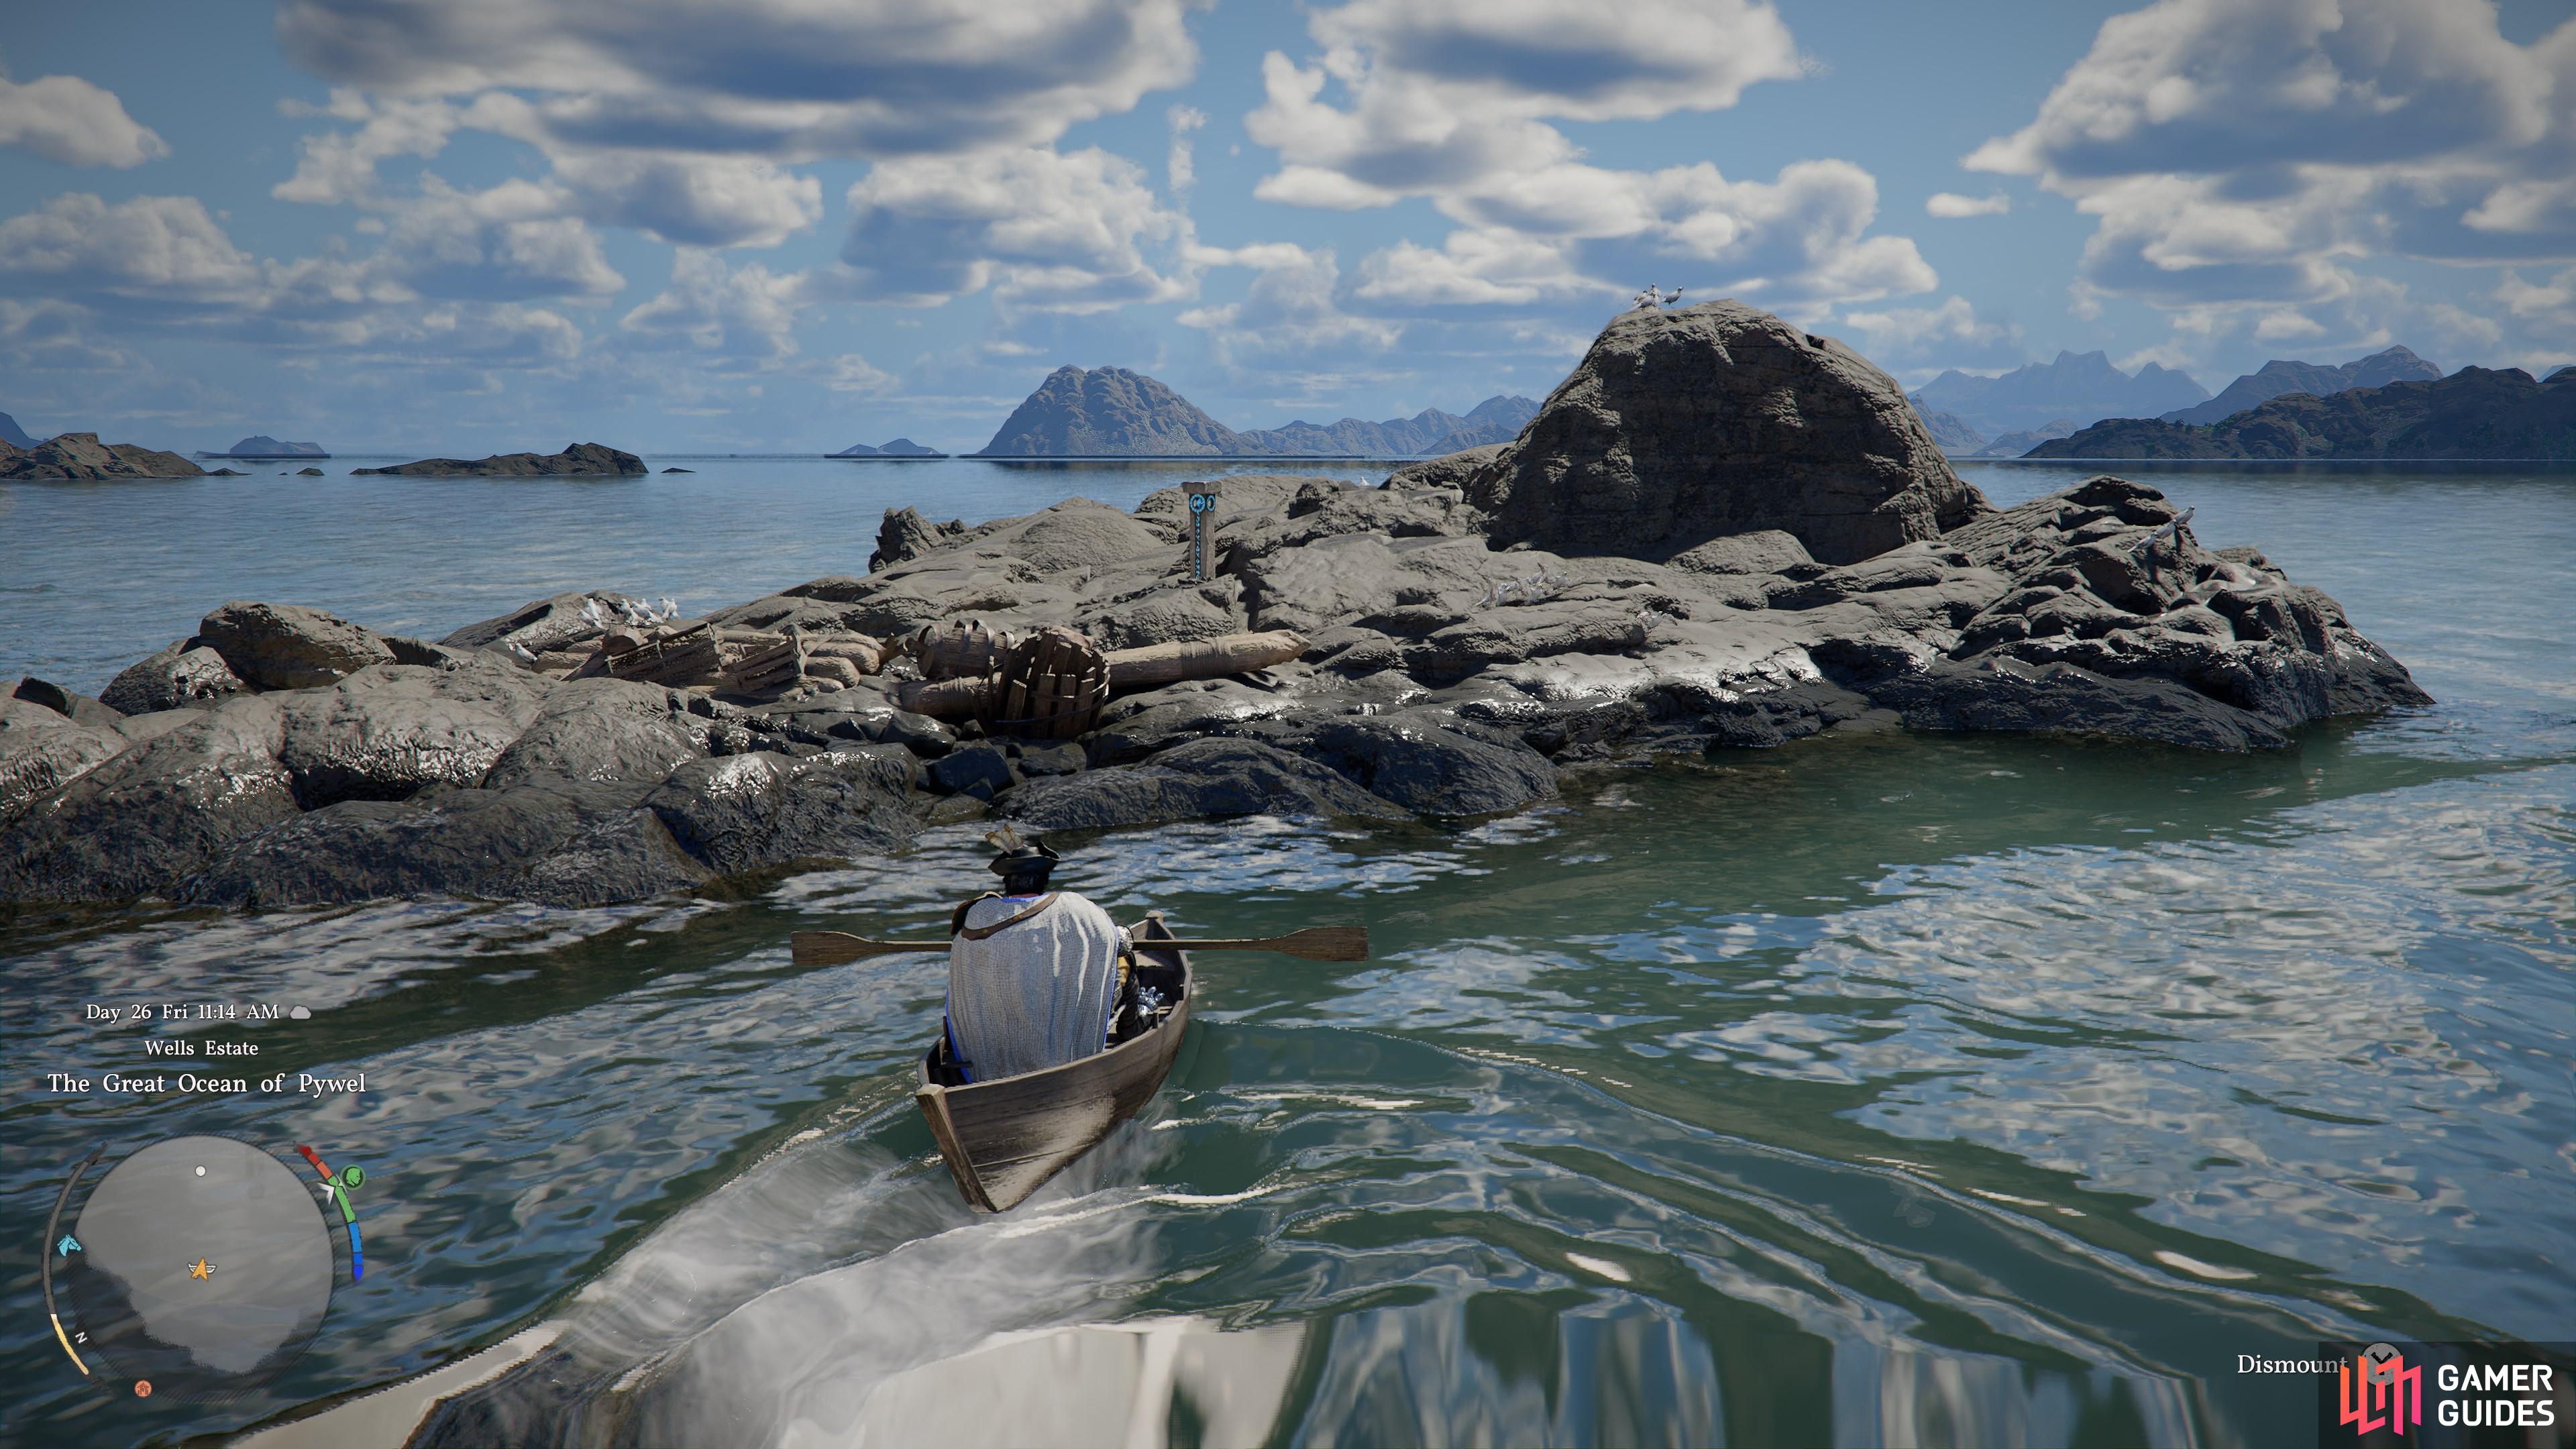
    Found on a rocky island in the center of the waterfall running into the ocean.

    View on map
  15. 15 Rock Worn Down by the Ocean Wind

    Rock Worn Down by the Ocean Wind

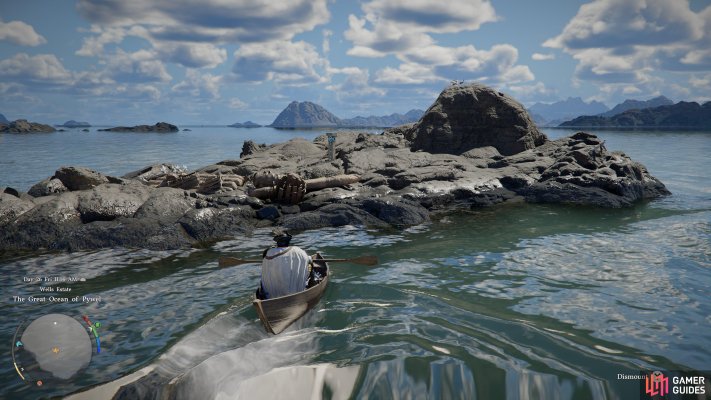
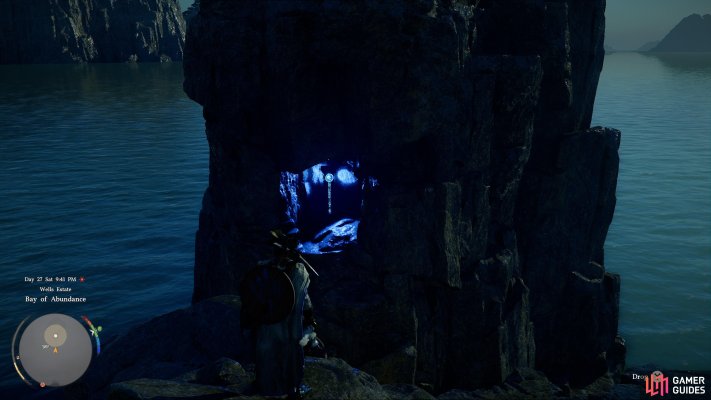
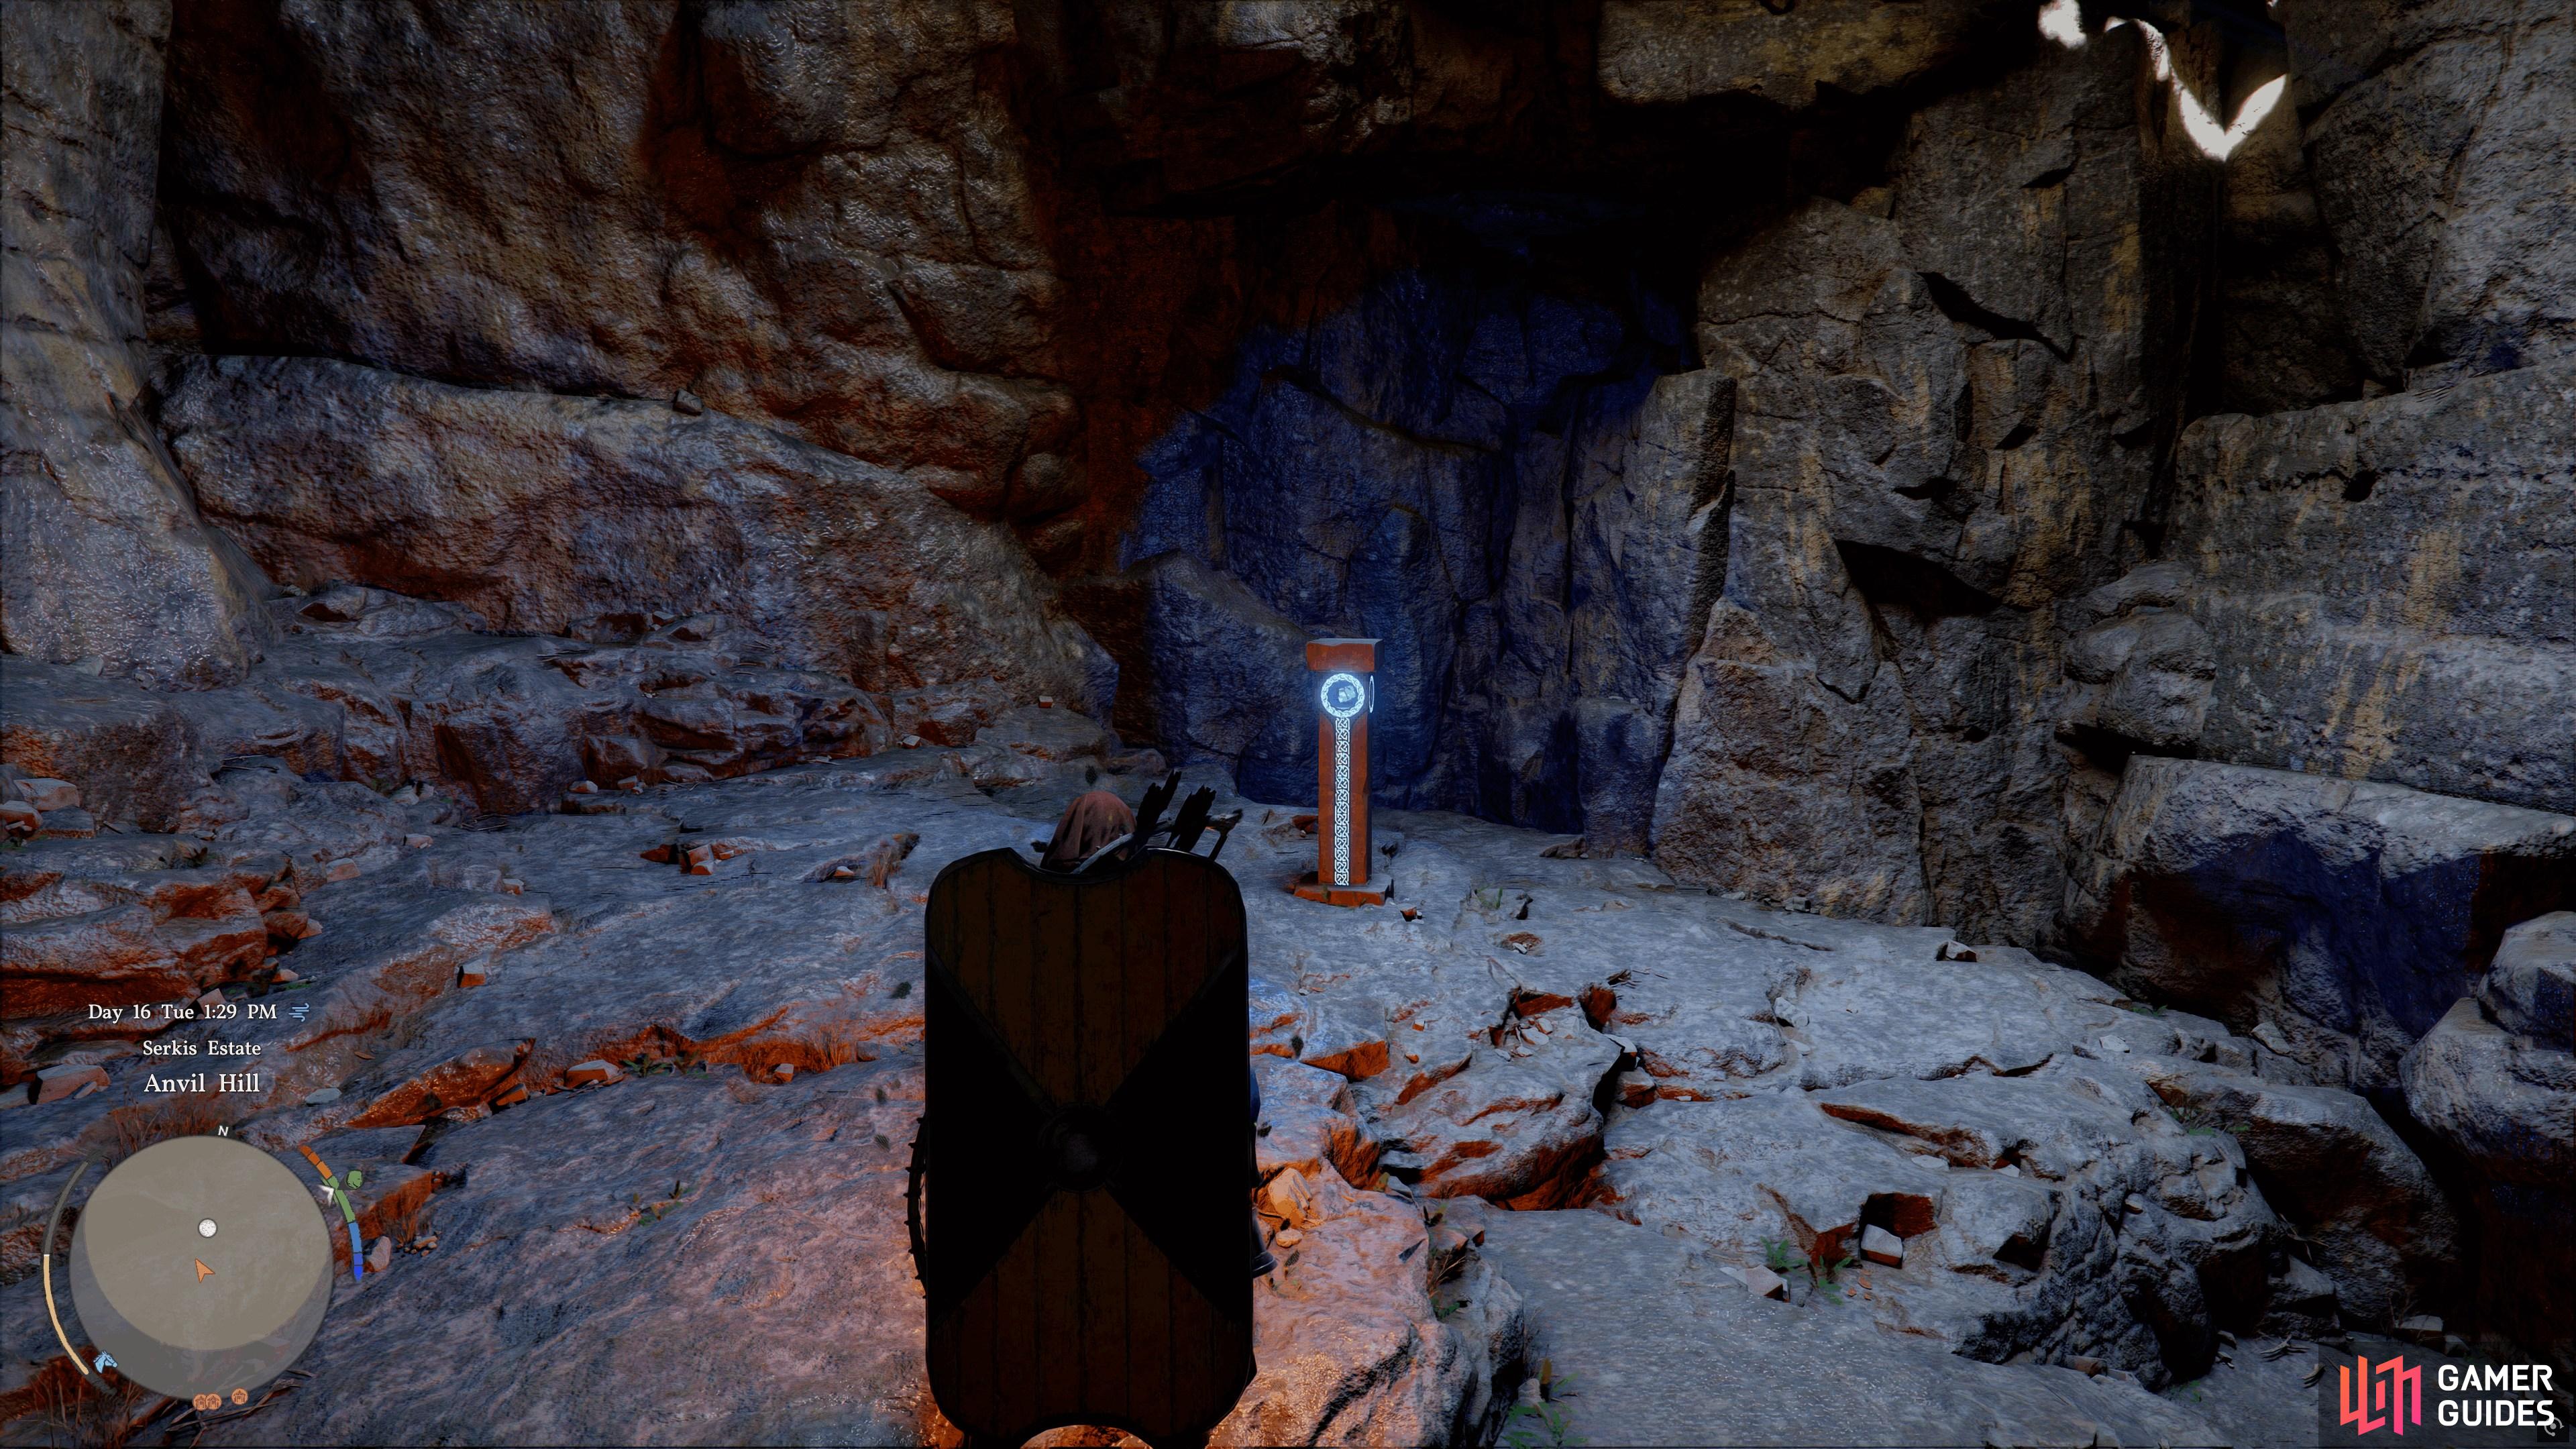
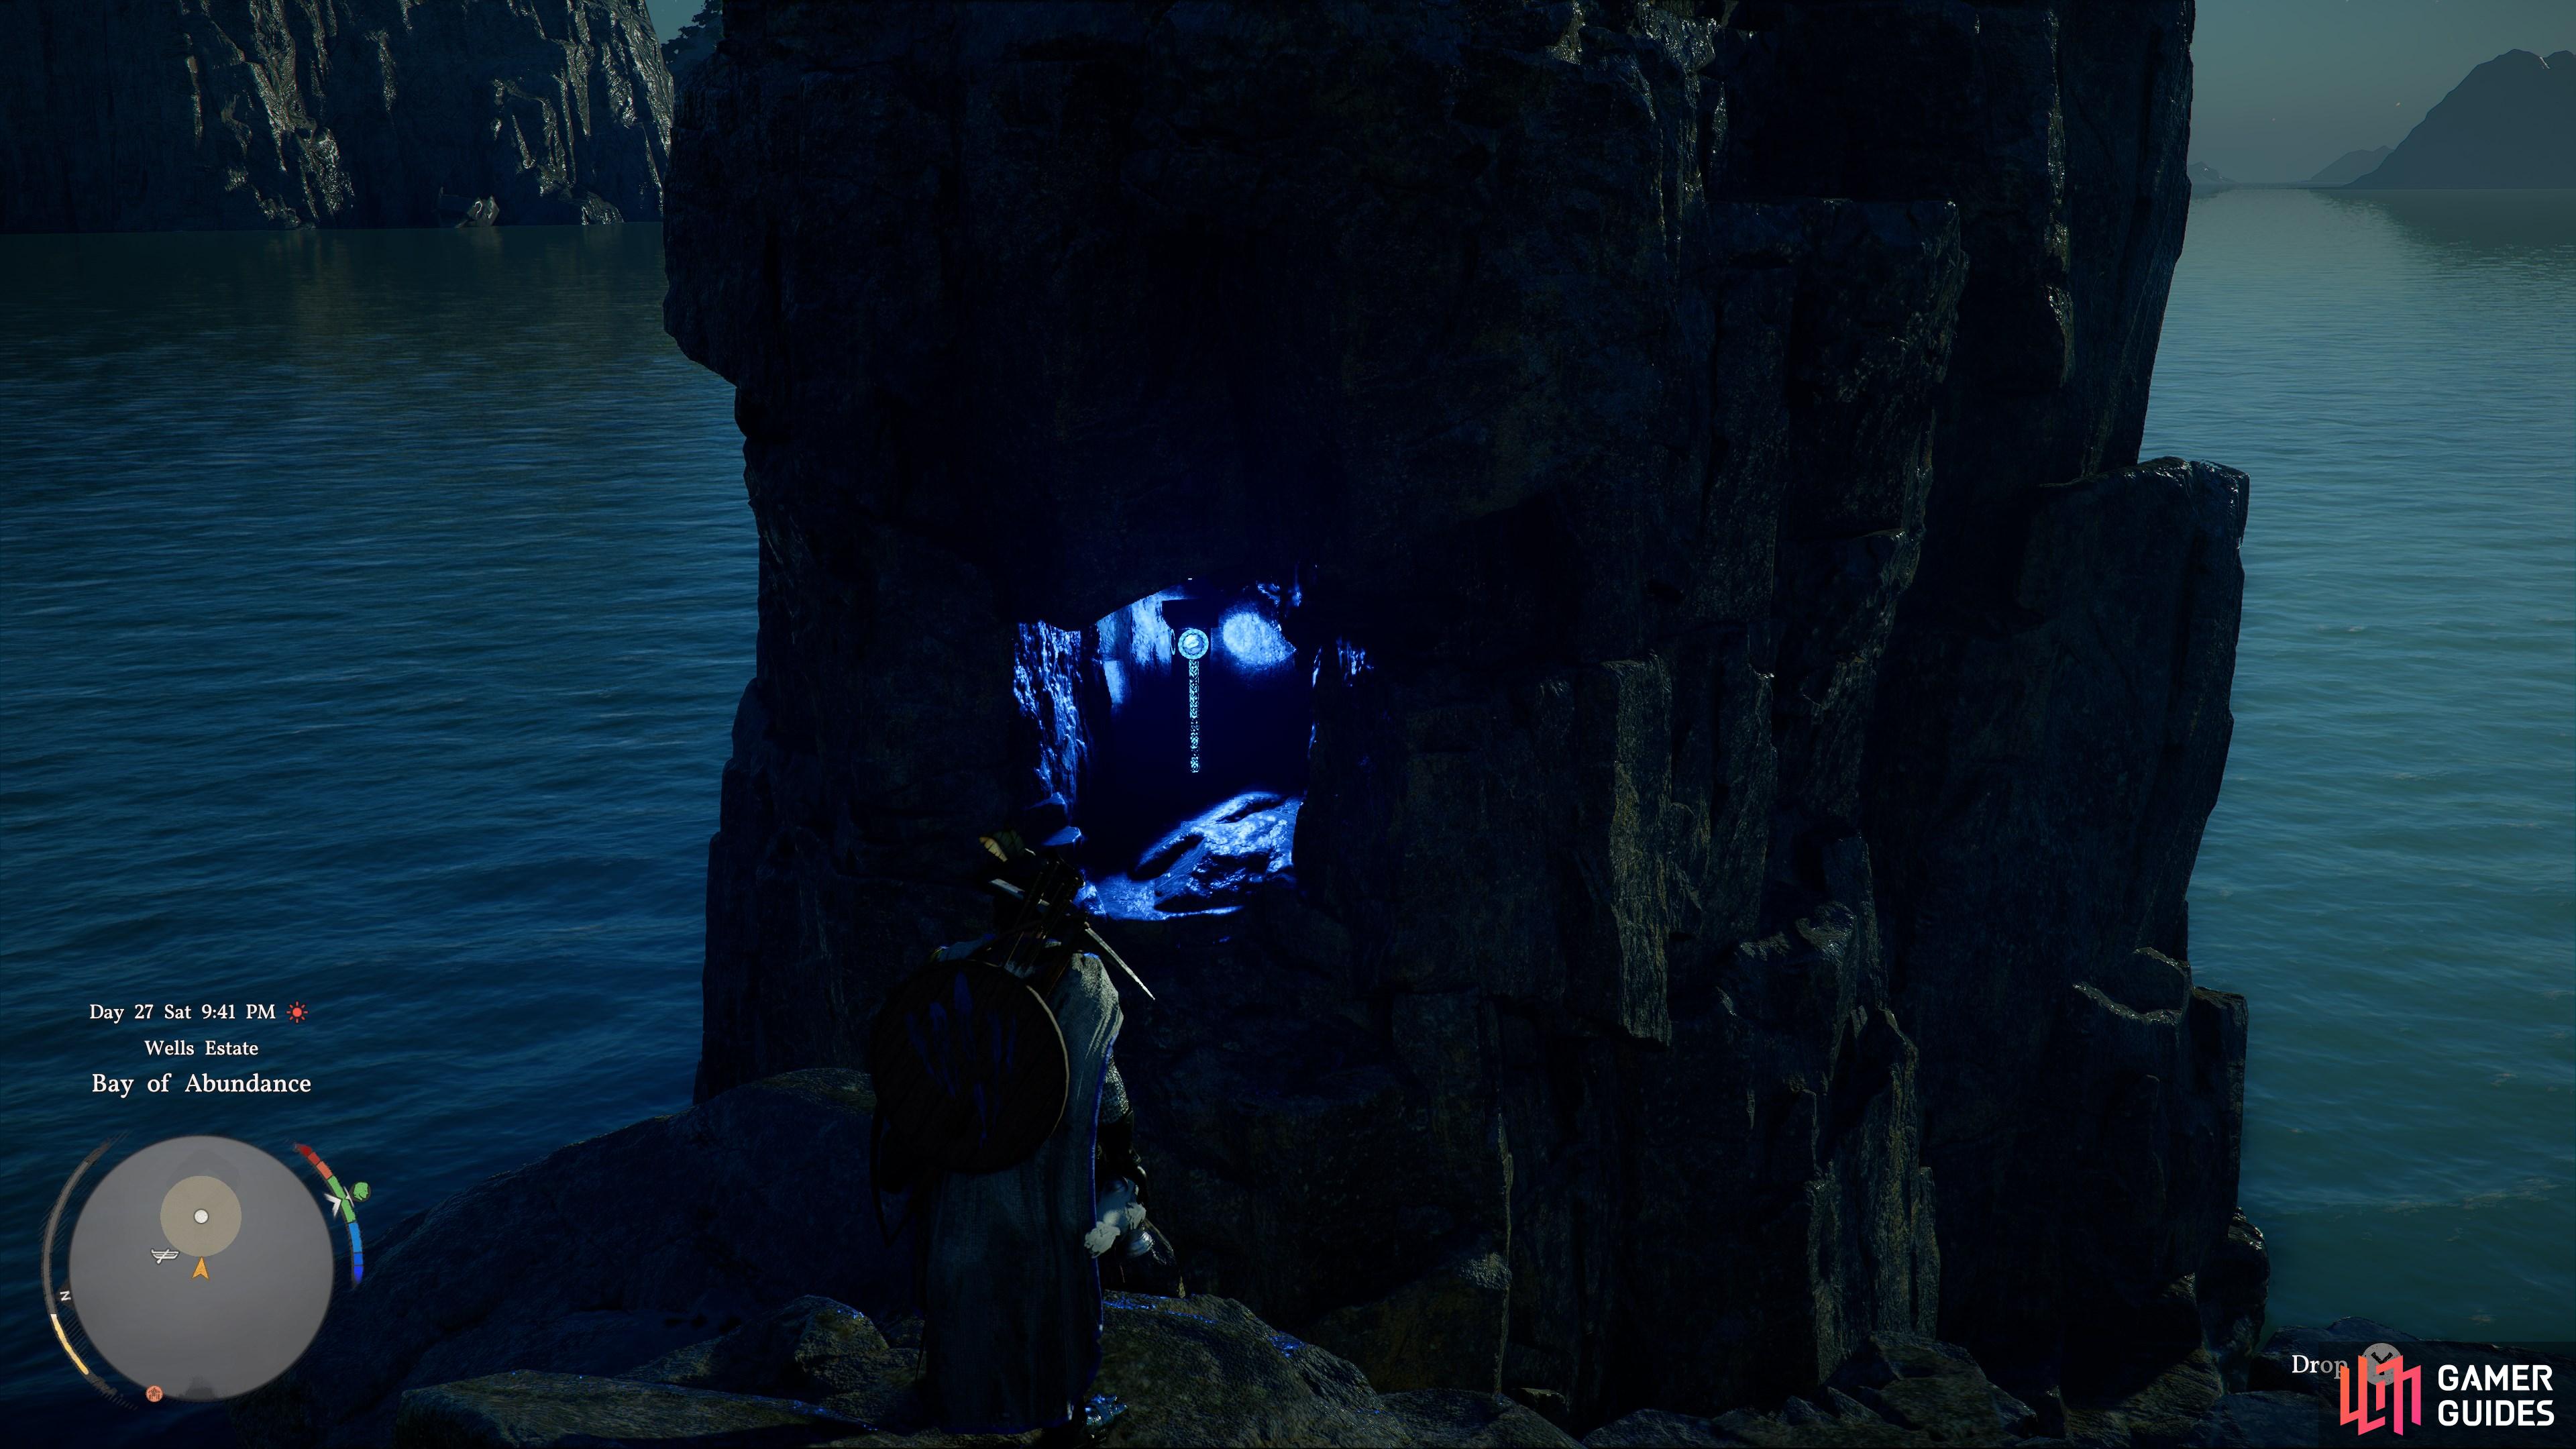
    Look for a small alcove in the larger of the two rocks emerging from the water. Look for the blue glow of the Cresset inside to locate it.

    View on map
  16. 16 Silverwolf Lake

    Silverwolf Lake

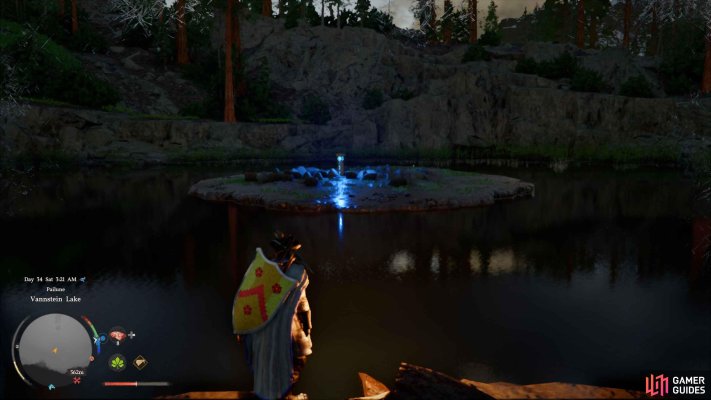
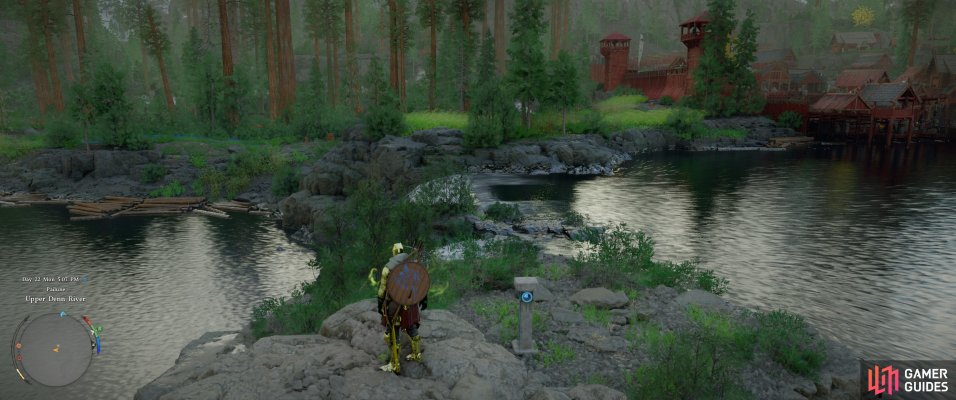
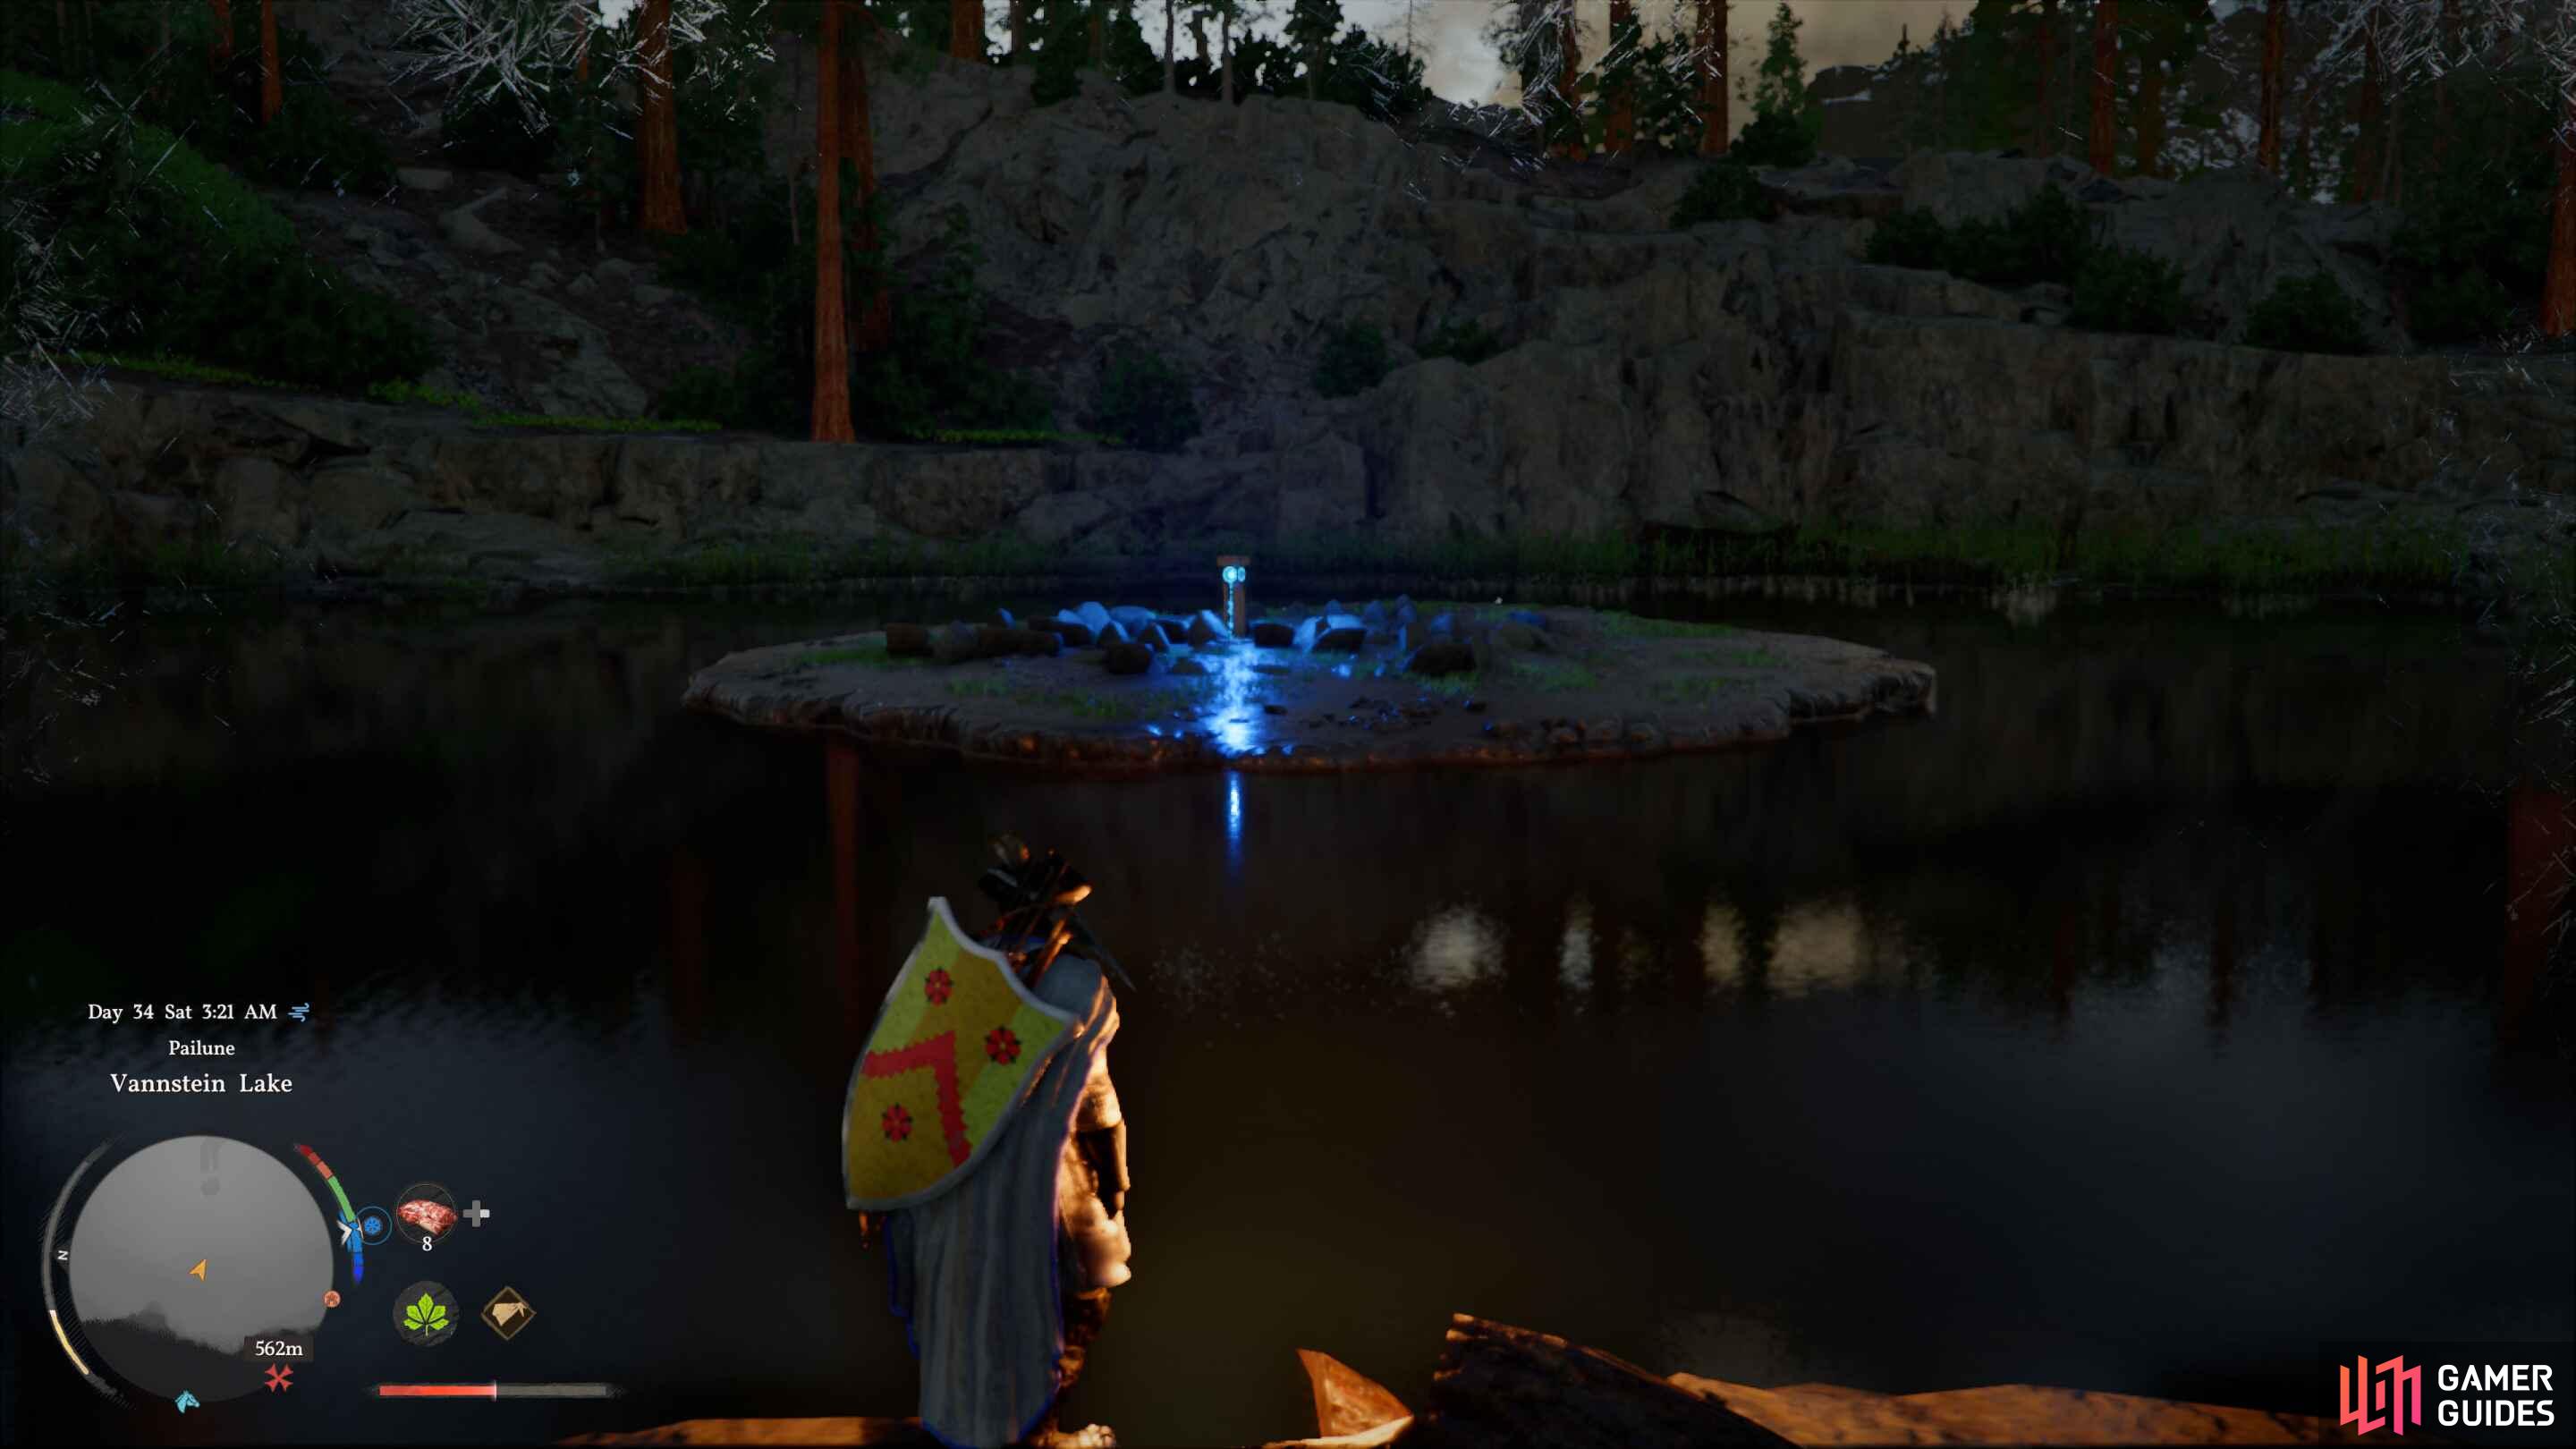
    On a small island in the center of the lake.

    View on map
  17. 17 Remnants of Ruin

    Remnants of Ruin

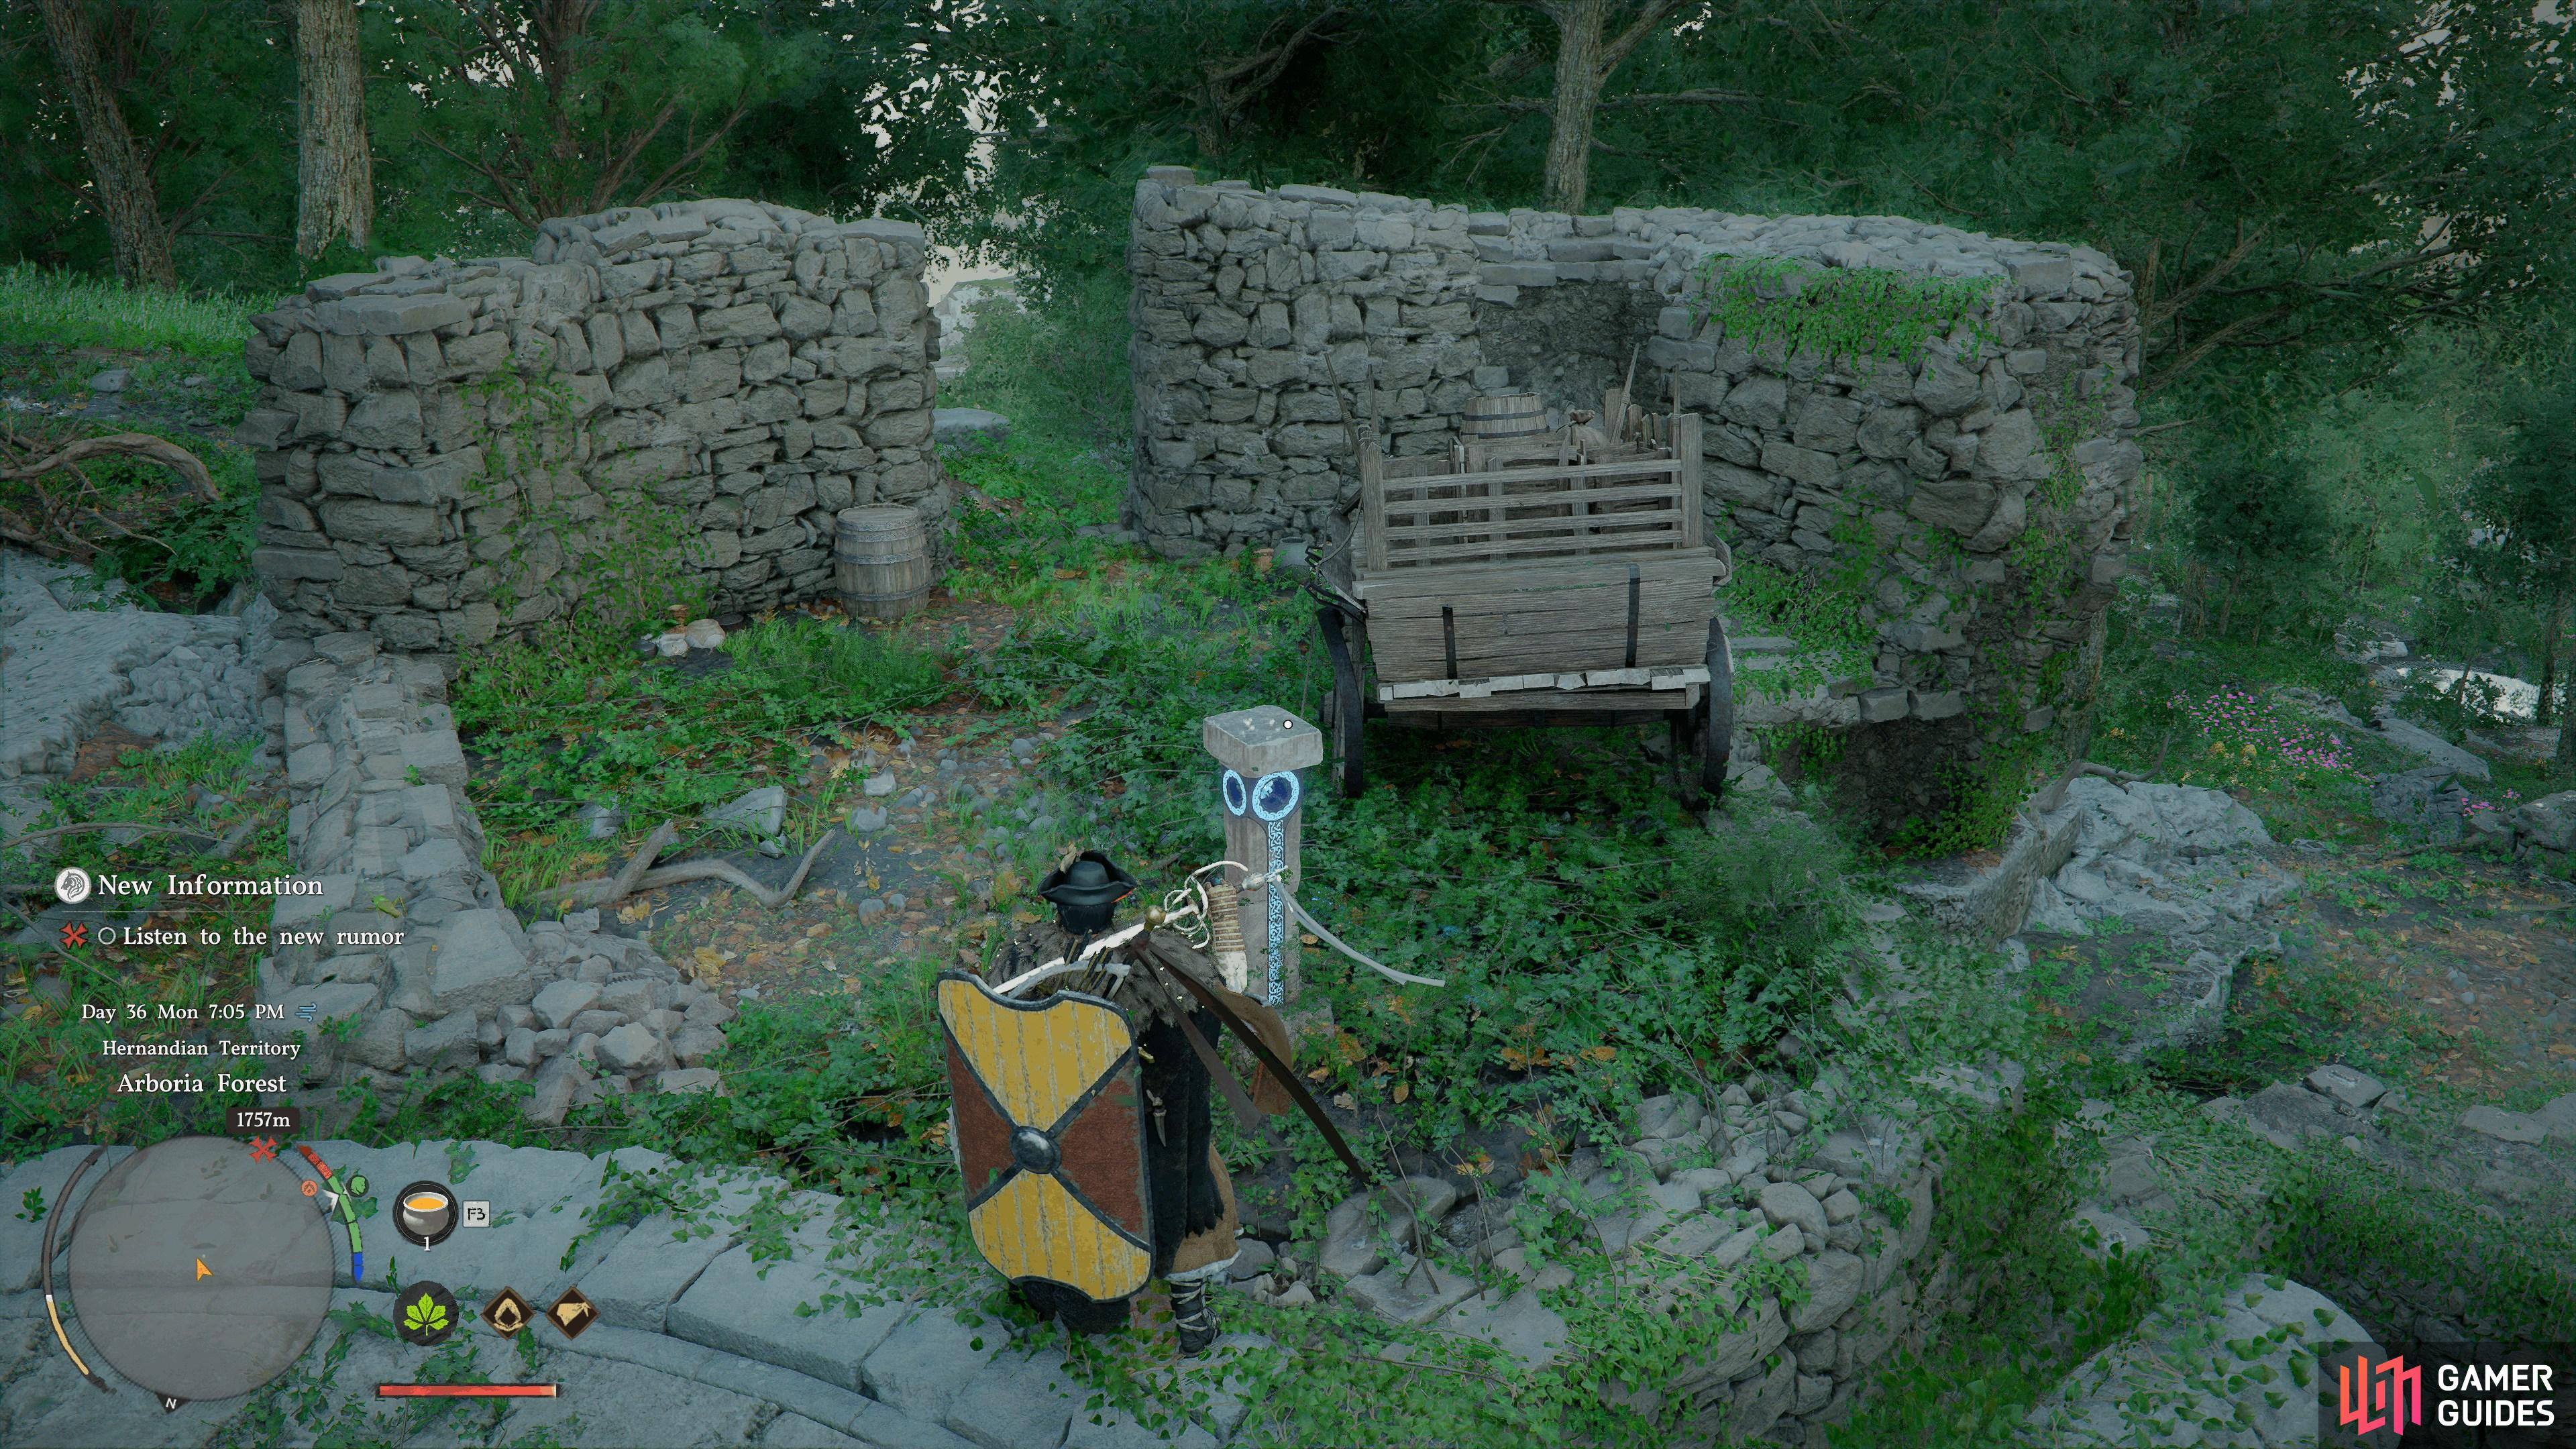
    Found in the crumbling ruin.

    View on map
  18. 18 Hill of Serenity

    Hill of Serenity

    Found on a hill overlooking the Nightfell Expedition Camp.

    View on map
  19. 19 Abyss Cresset

    Abyss Cresset

    Complete the nearby Ancient Ruins puzzle.

    View on map
  20. 20 Abyss Cresset

    Abyss Cresset

    Complete the Duskwood Hill Ruins puzzle to obtain an Abyss Fragment (and fast travel).

    View on map
  21. 21 Abyss Cresset

    Abyss Cresset

    Found by completing the Secret Place there.

    View on map
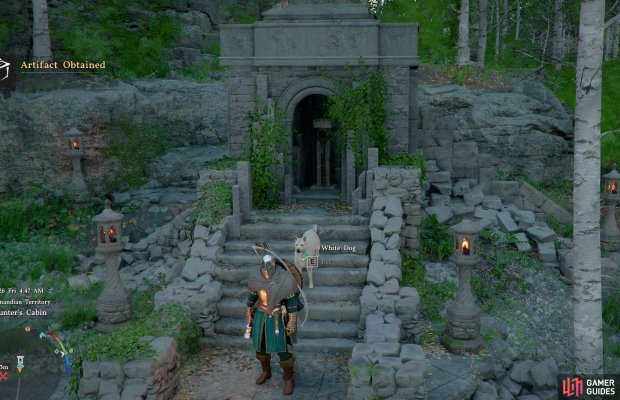
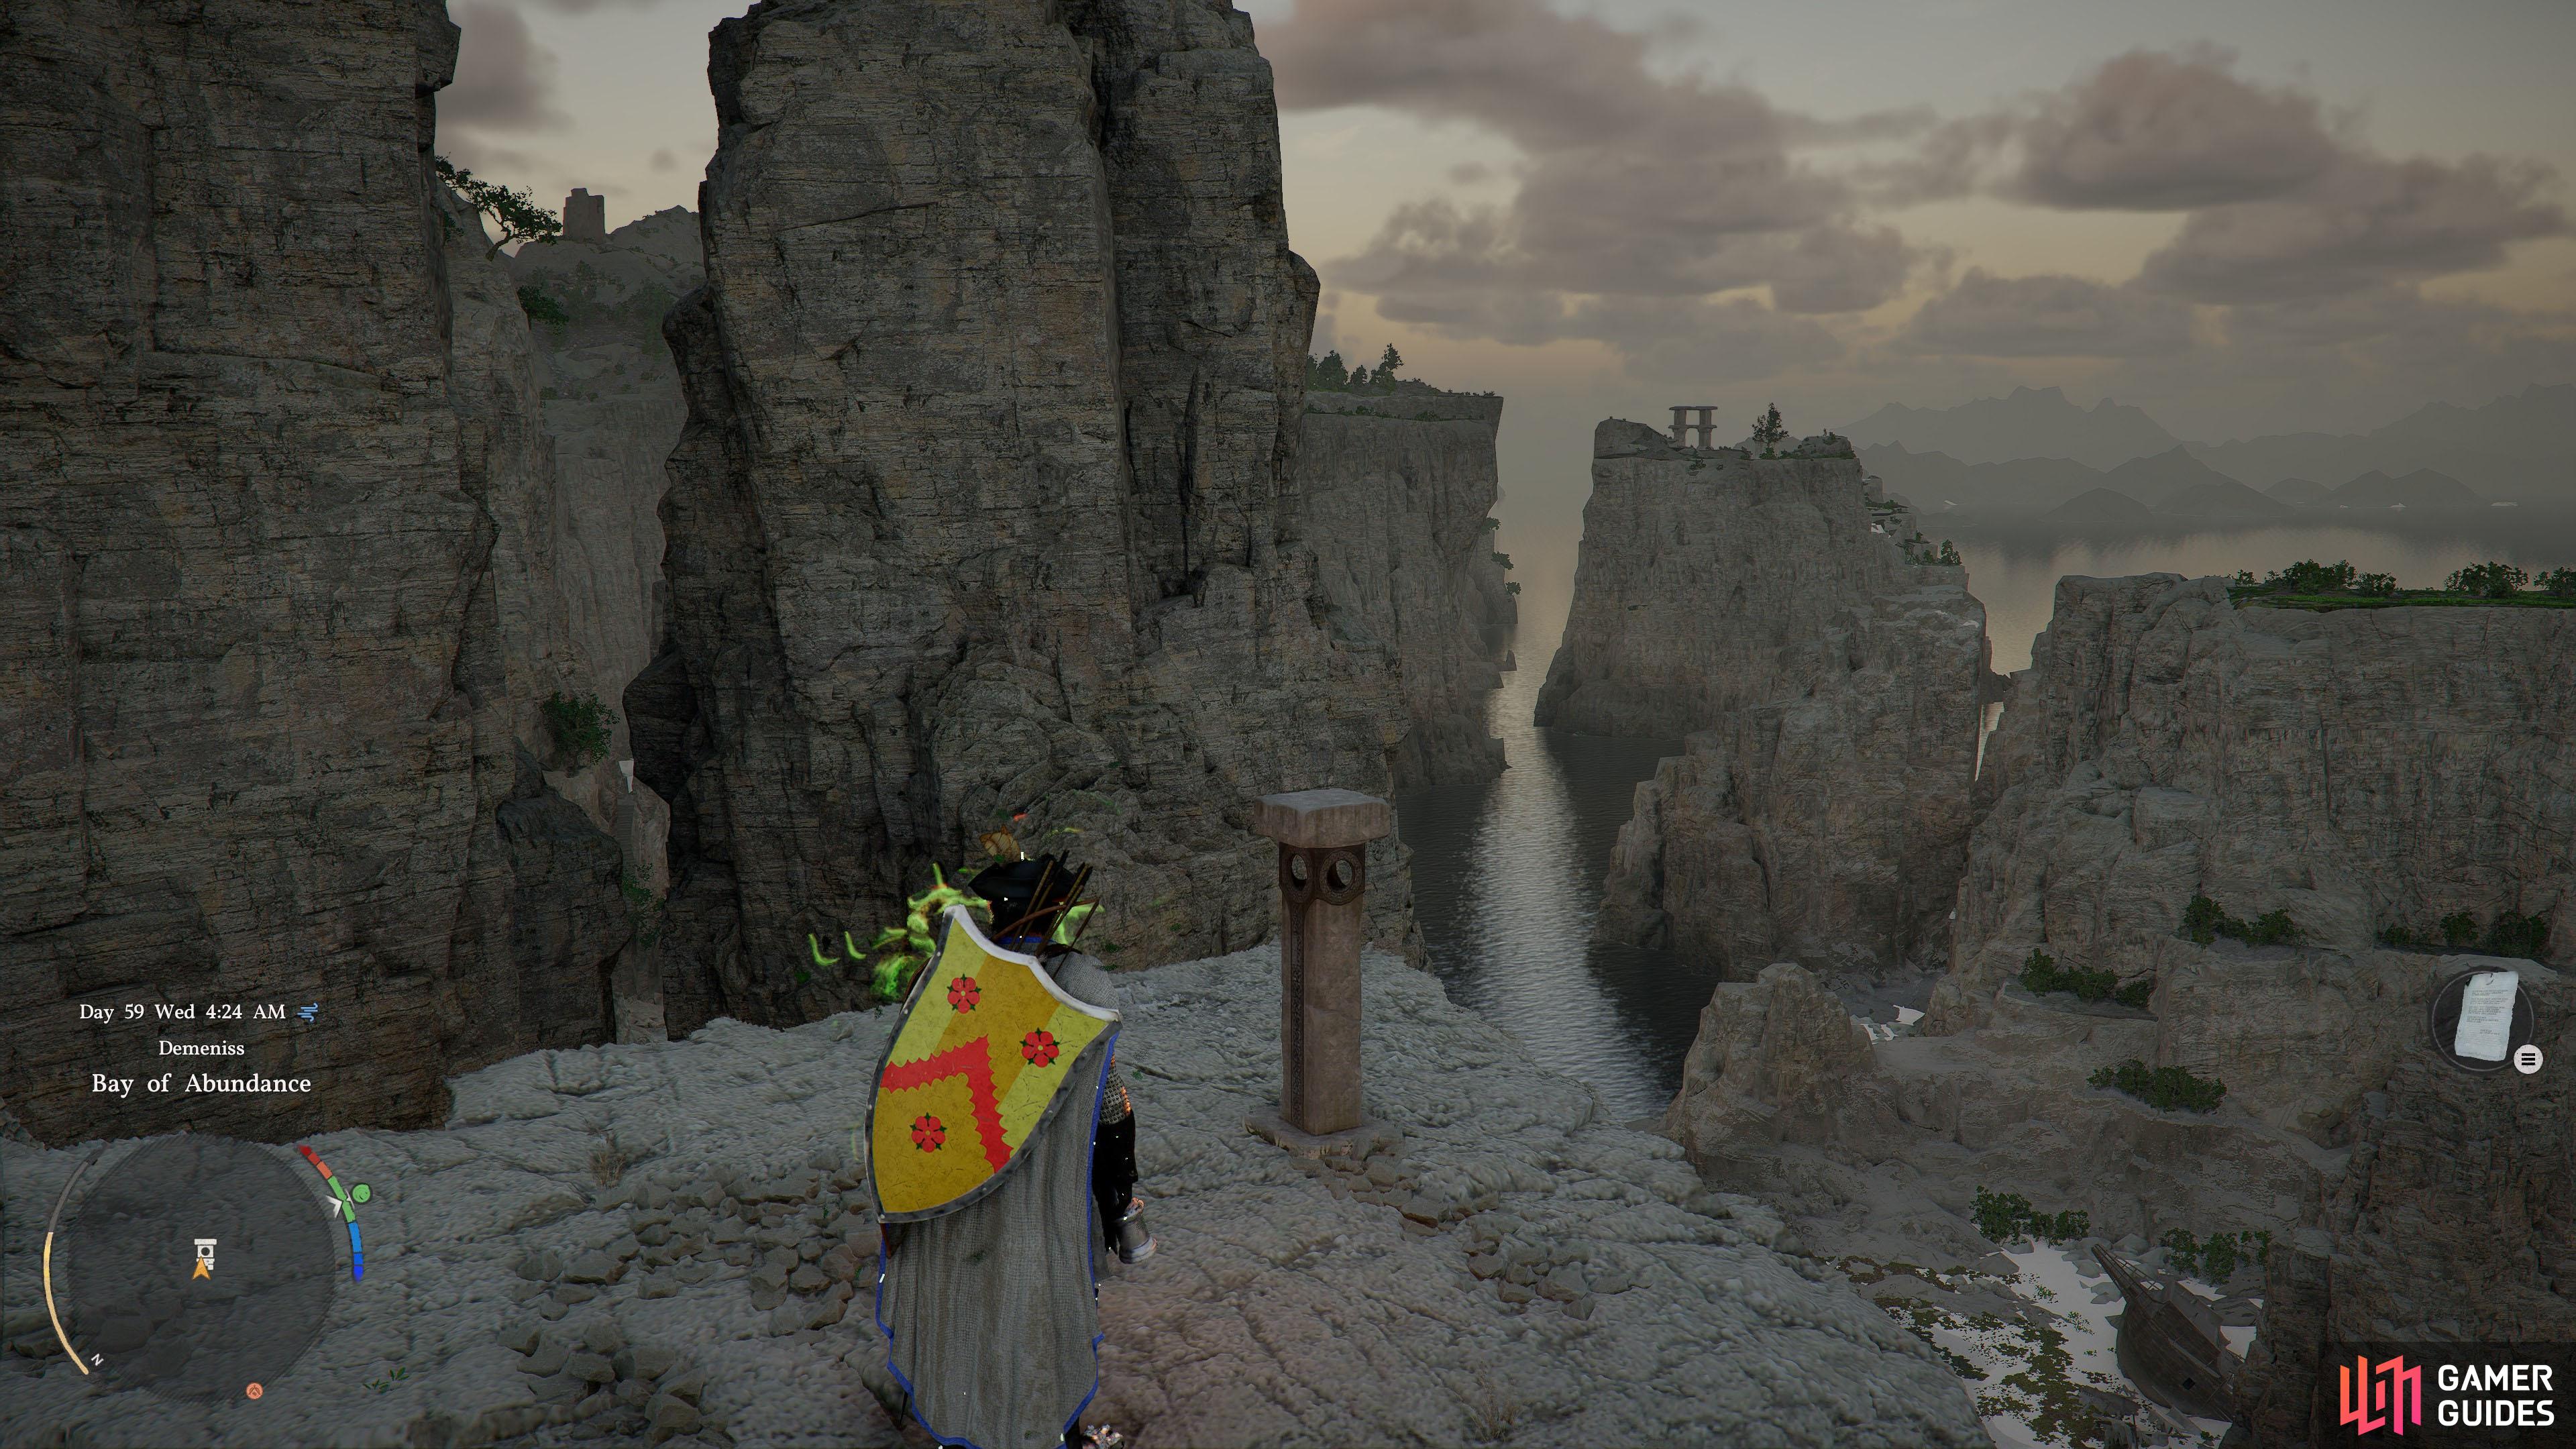
  22. 22 Hunter's Overlook

    Hunter's Overlook

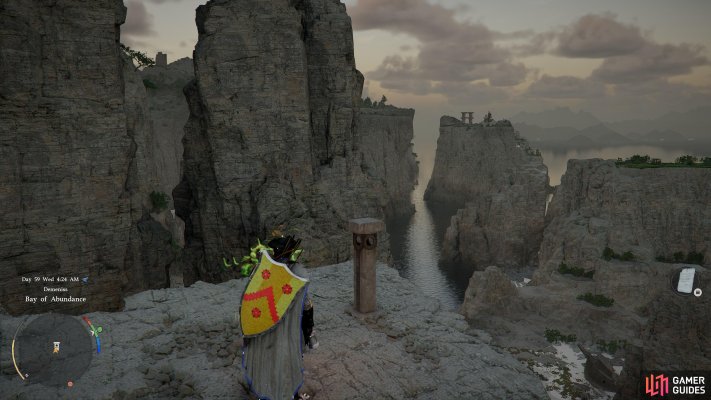
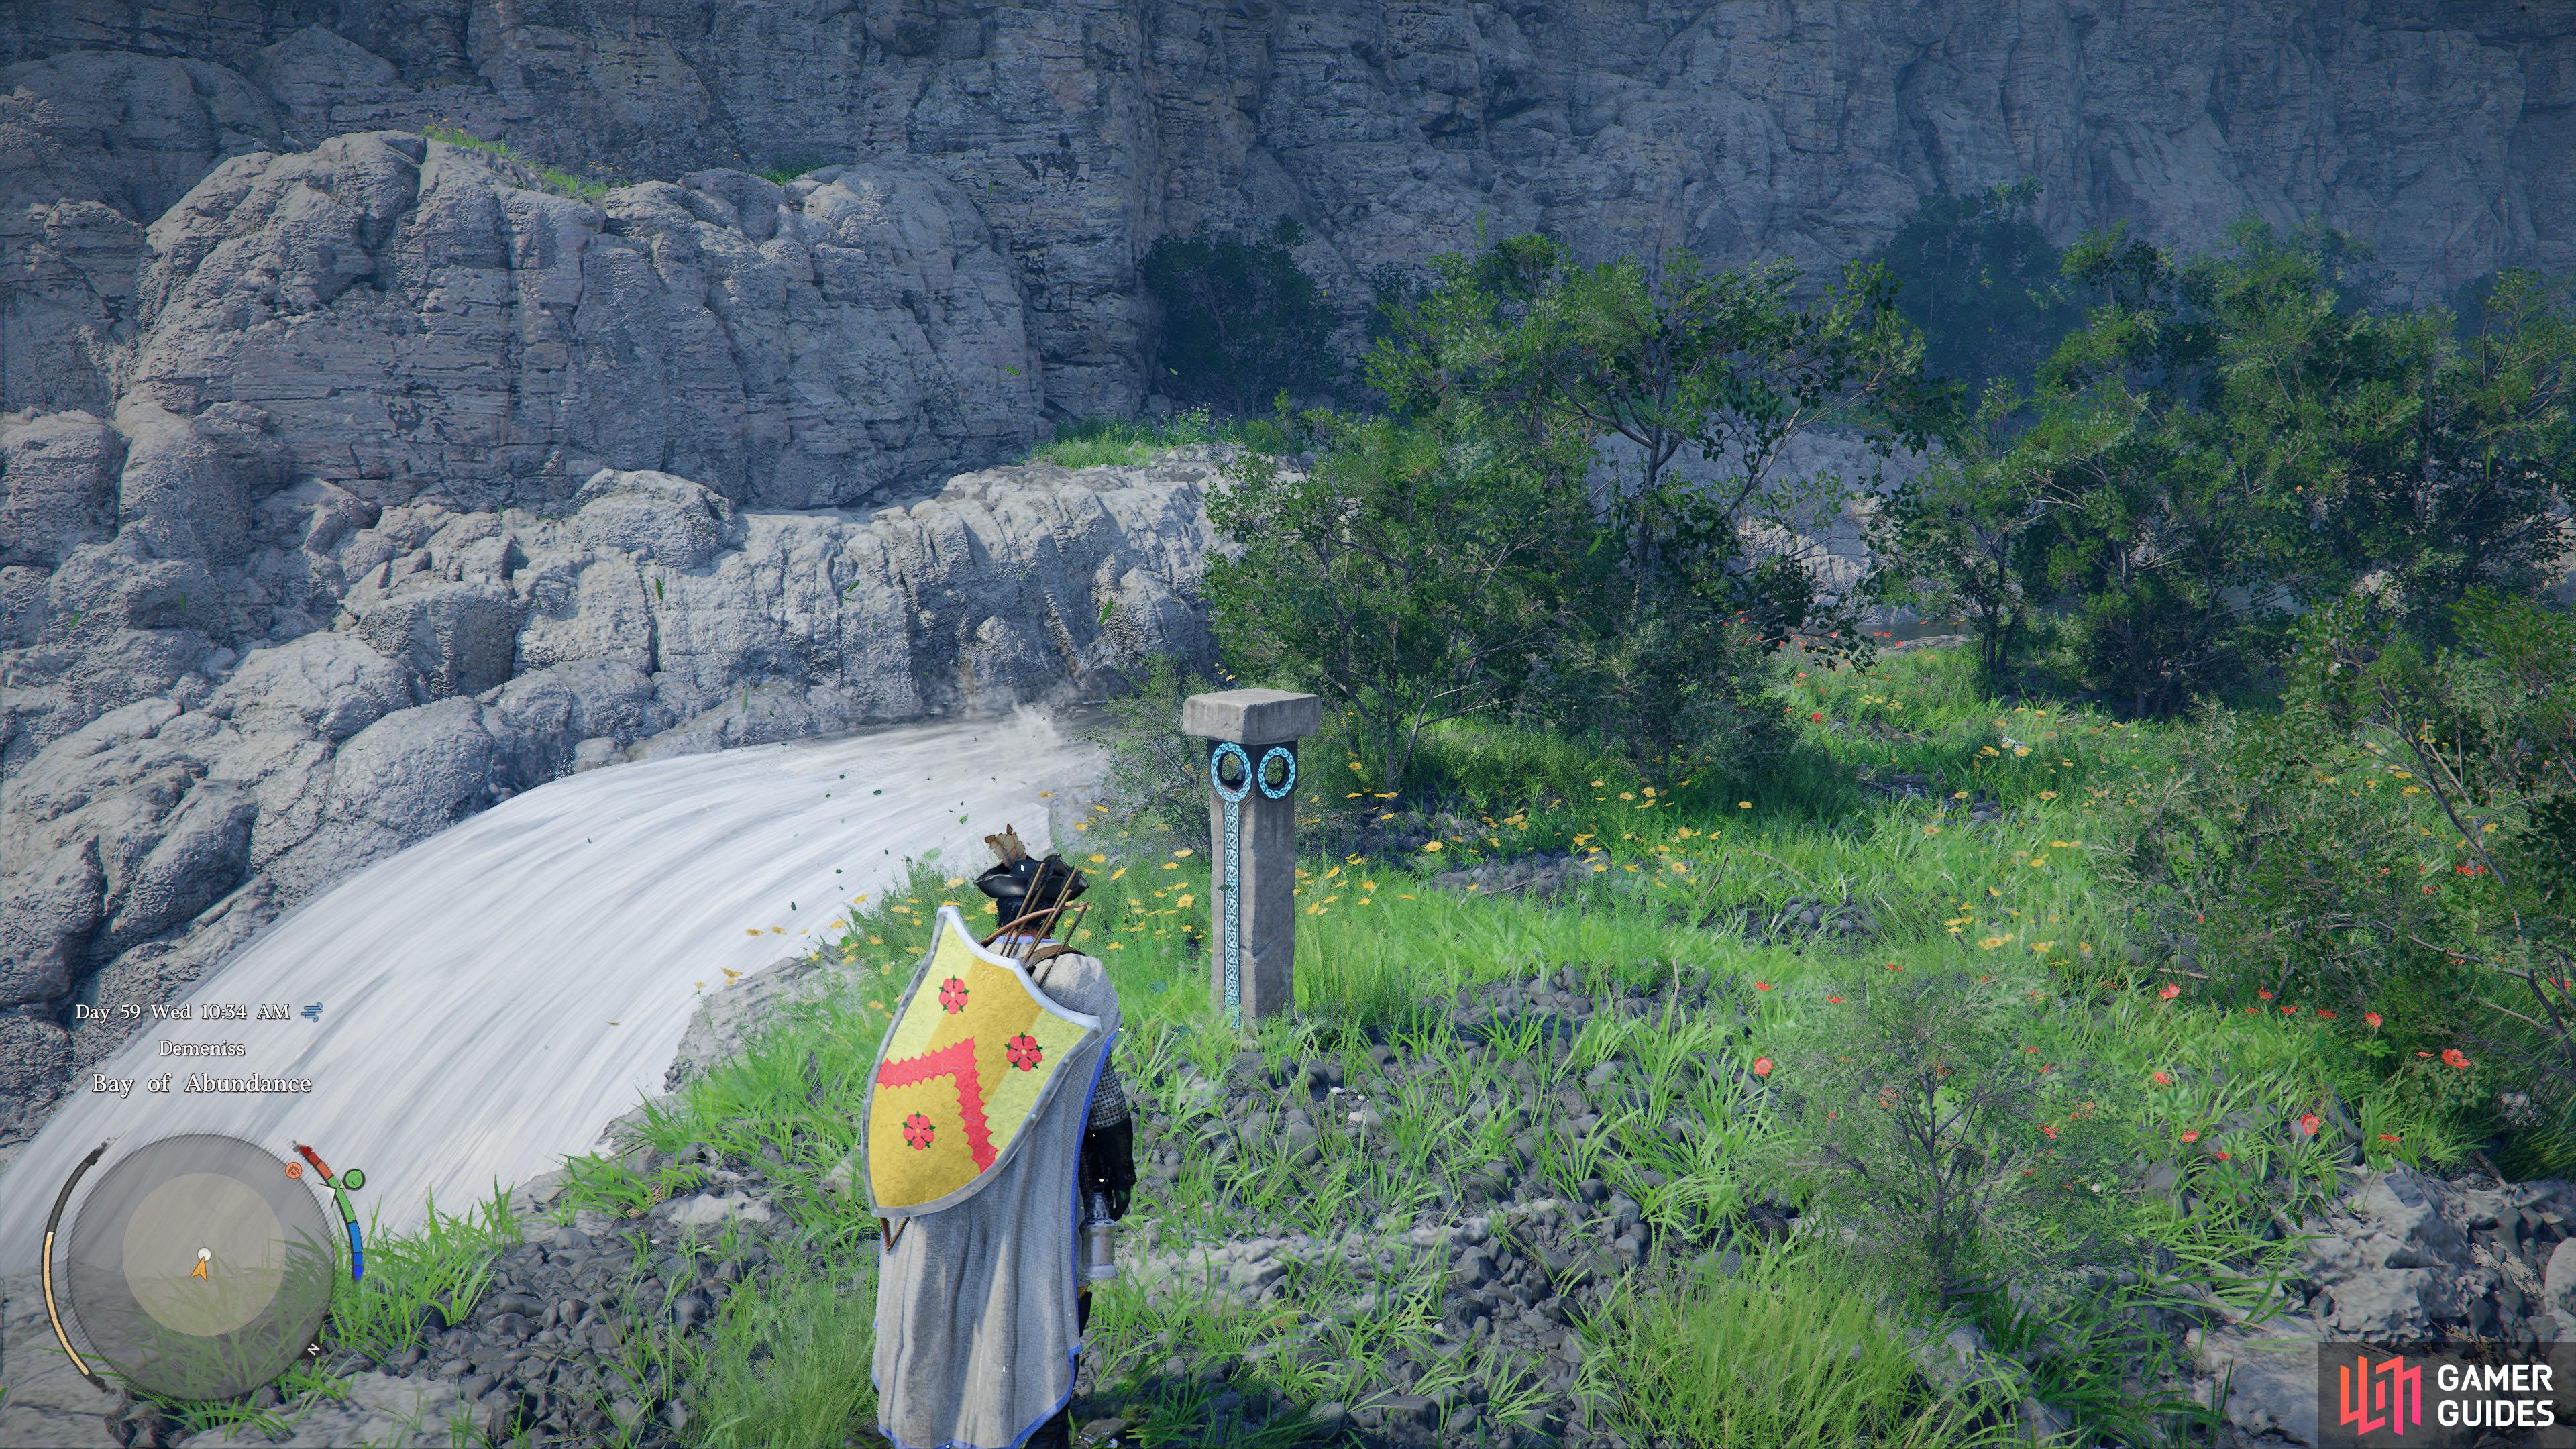
    High up on the cliff overlooking the Bay of Abundance.

    View on map
  23. 23 Abyss Cresset

    Abyss Cresset

    Located next to the fountain. Complete the puzzle to obtain an "Abyss Artifact" iconAbyss Artifact.

    View on map
  24. 24 Rock atop the Altar

    Rock atop the Altar

    On the north facing cliff edge.

    View on map
  25. 25 Abyss Crest

    Abyss Crest

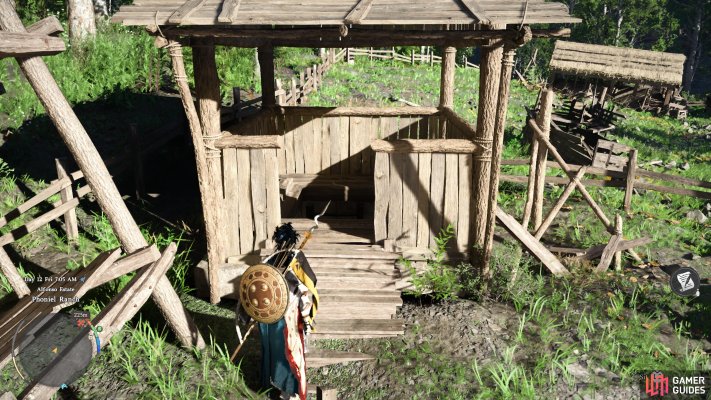
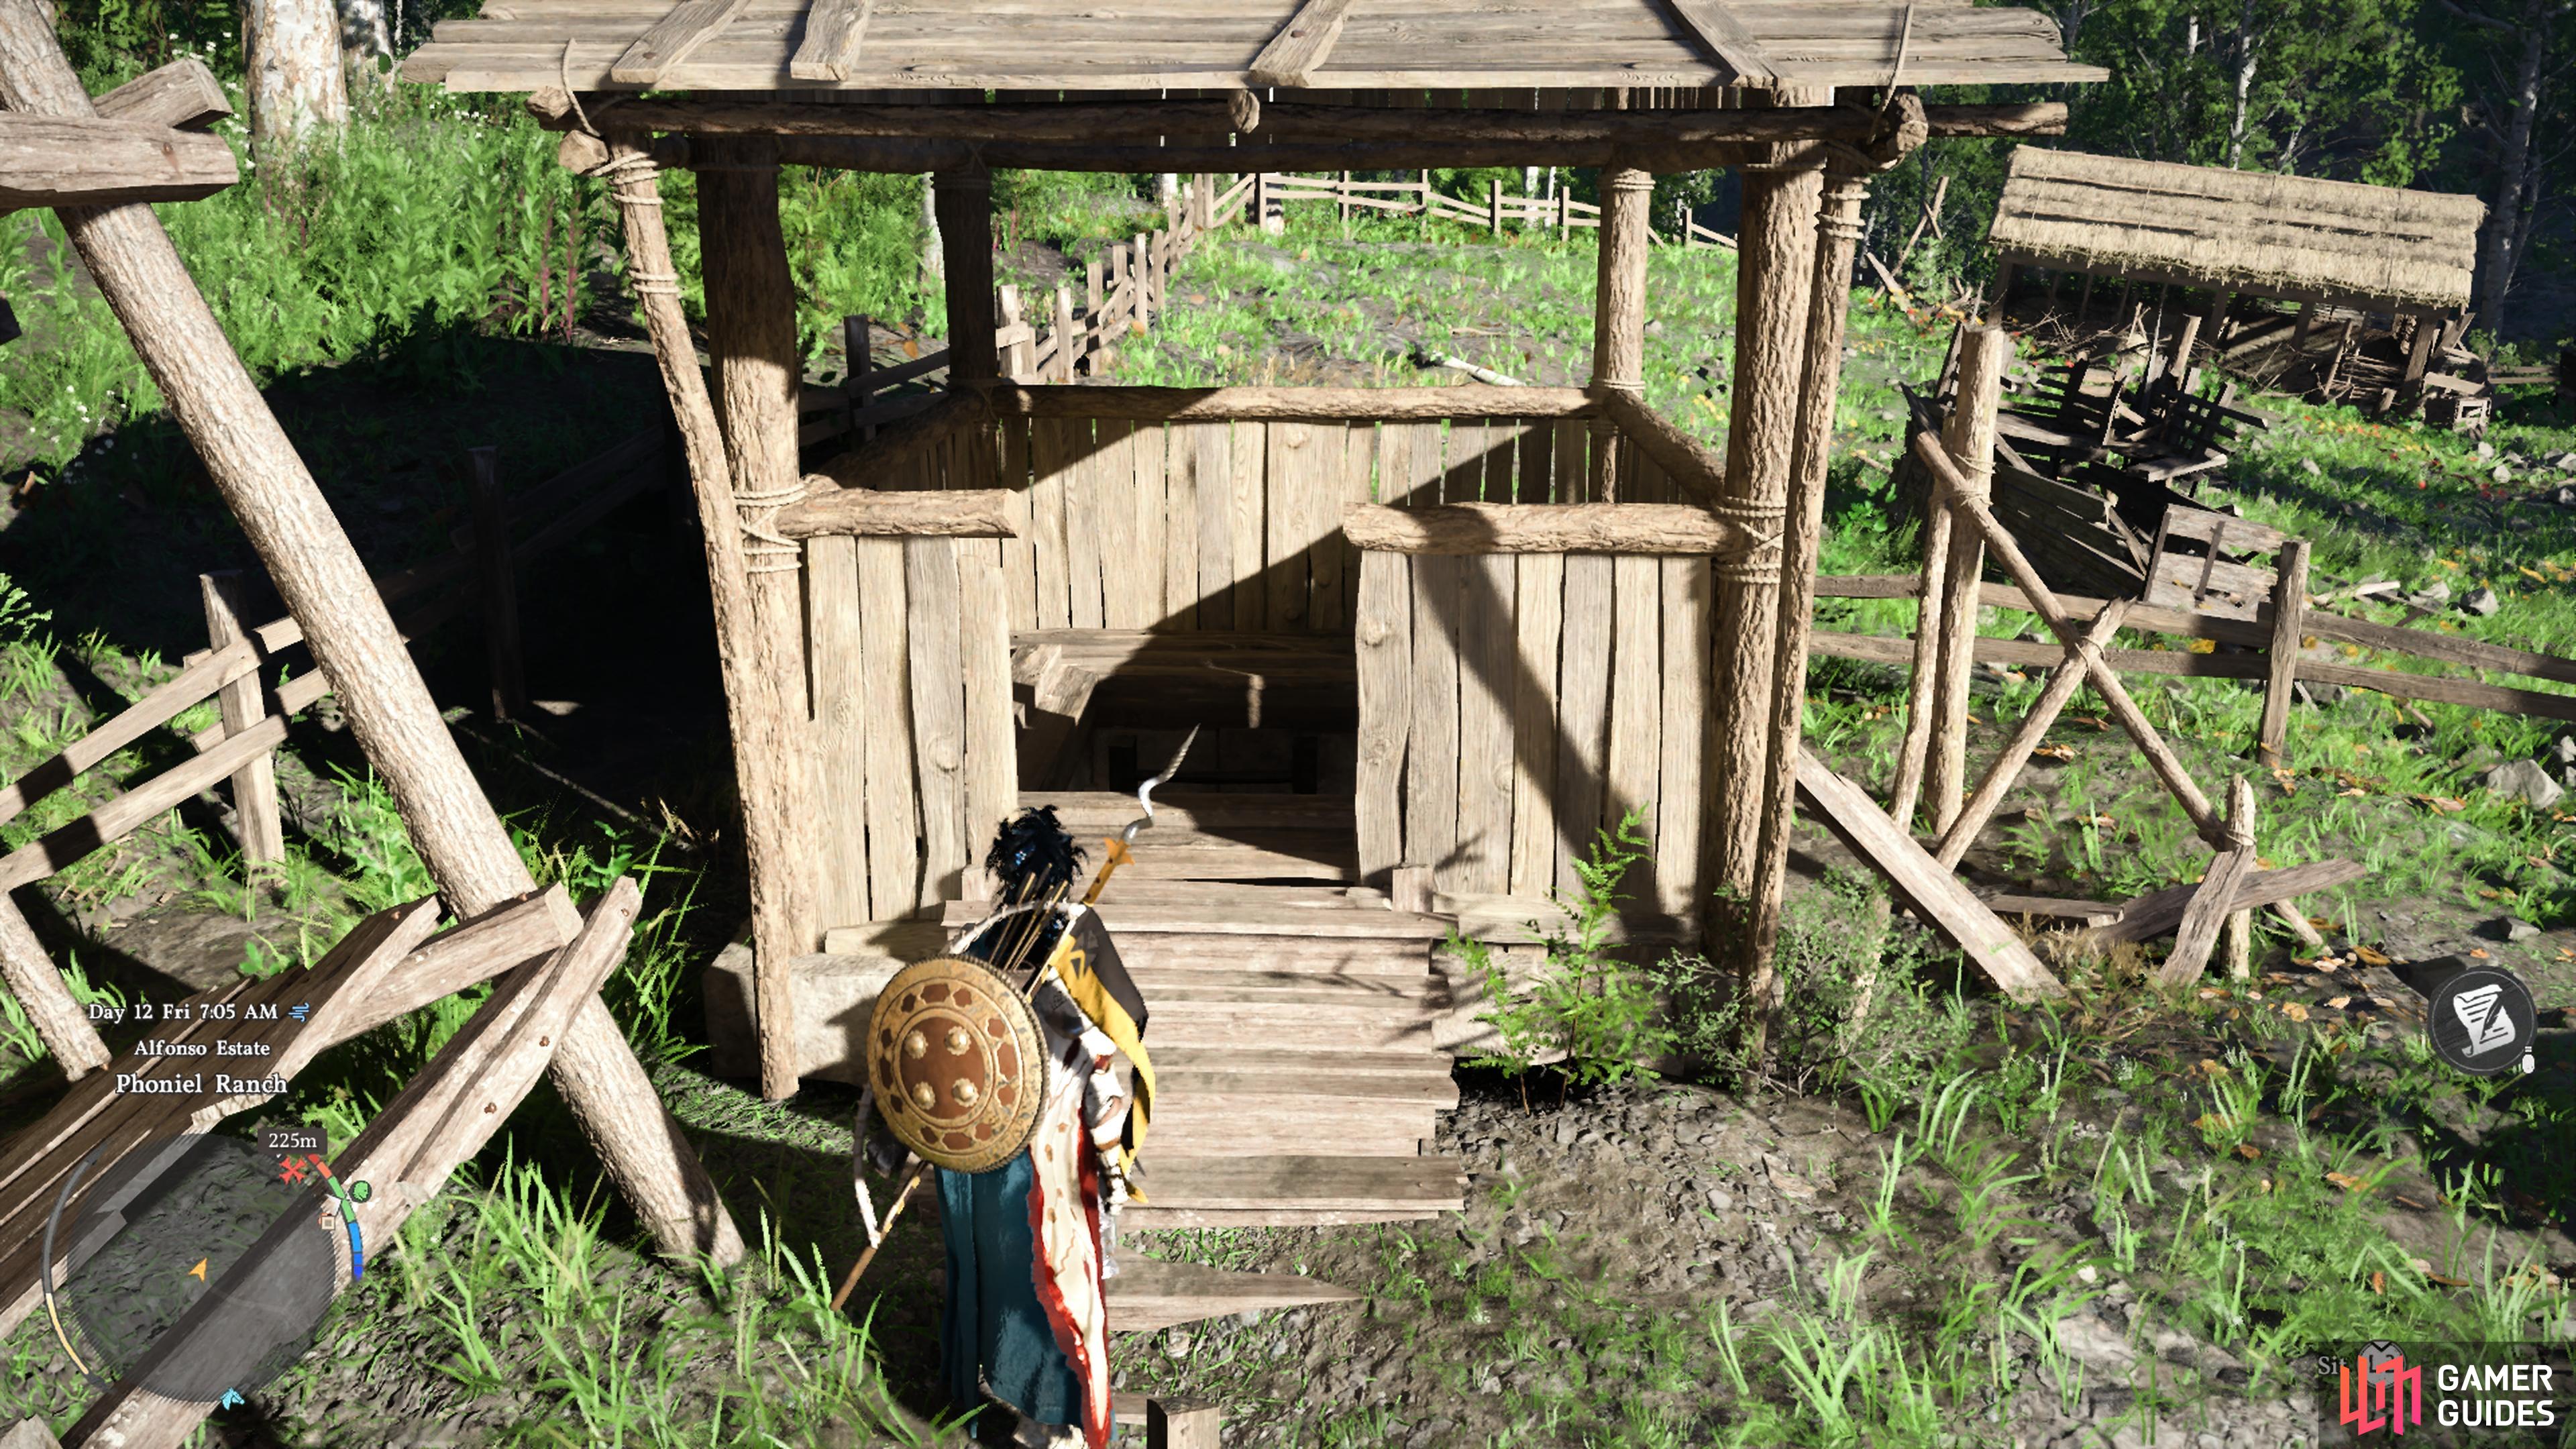
    Located in Phoniel Ranch, underground. Nearby shed has ladder. Descend and solve puzzle

    View on map
  26. 26 Abyss Cresset

    Abyss Cresset

    Light the fires

    View on map
  27. 27 Abyss cresset

    Abyss cresset

    A abyss cresset after the dragon puzzle

    View on map
  28. 28 Abyss Cresset

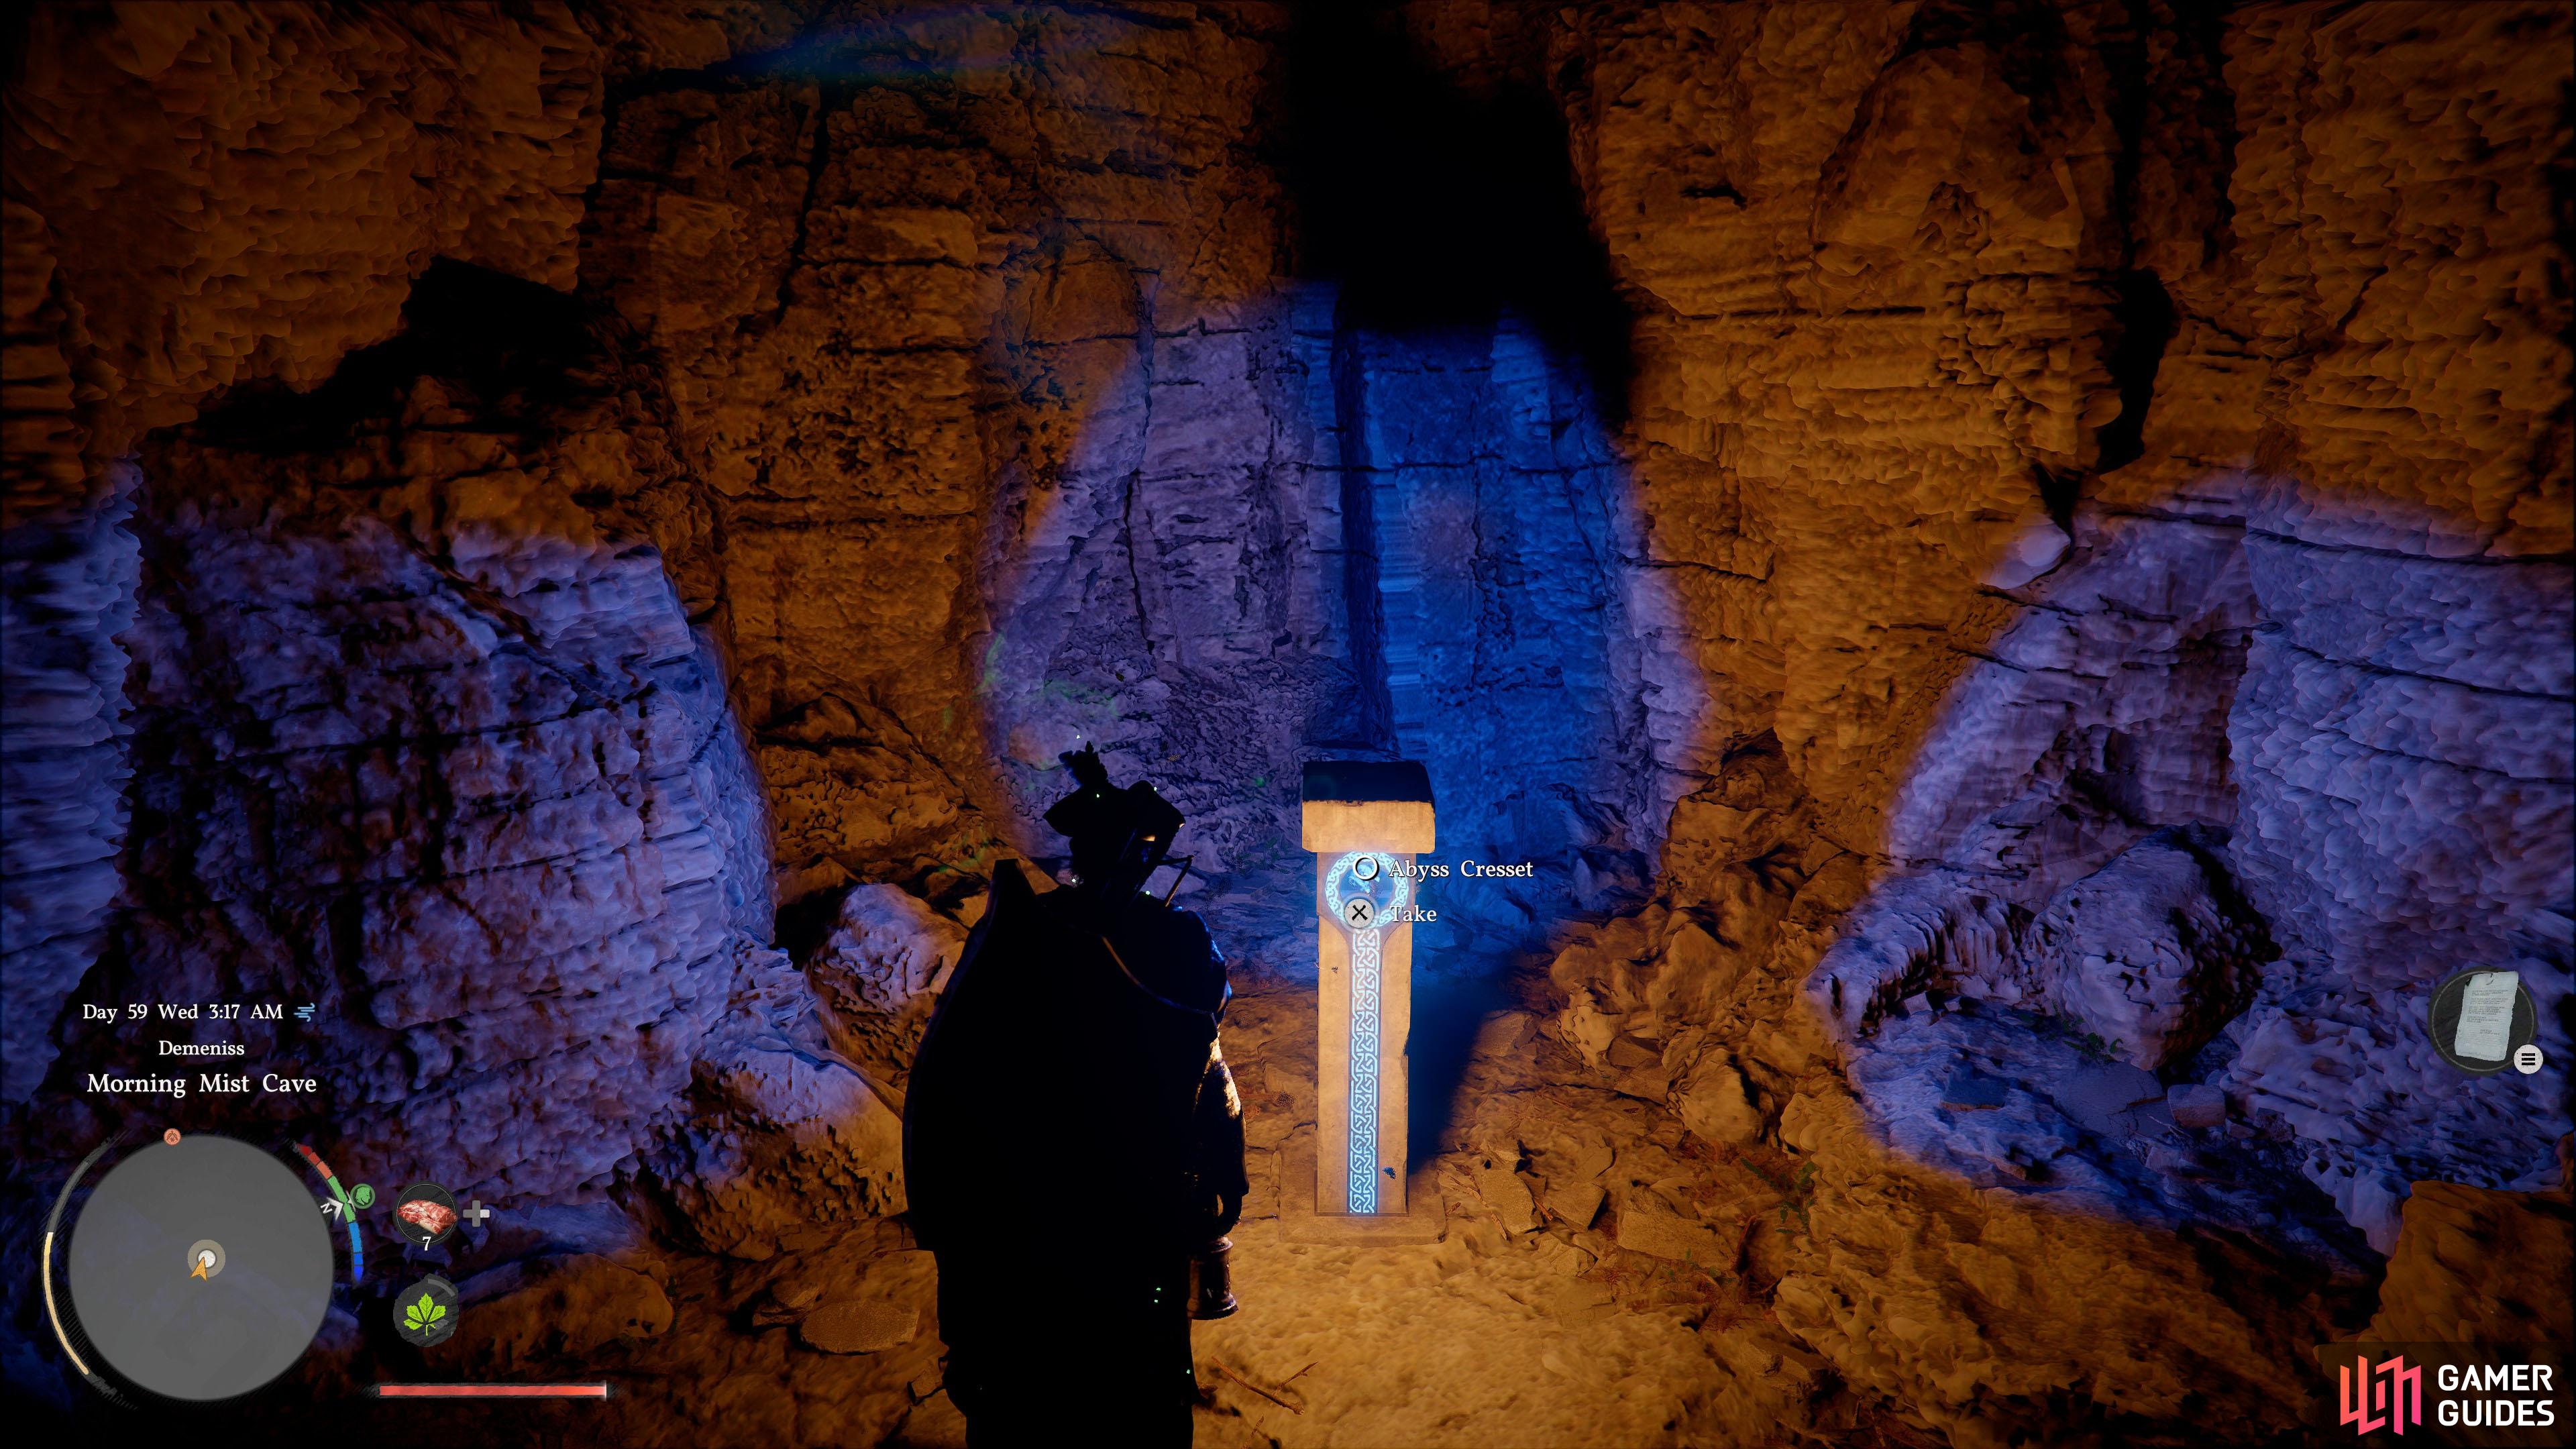
    Abyss Cresset

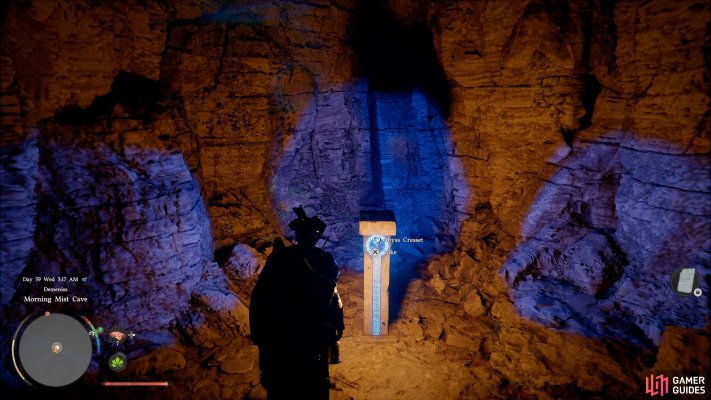
    Inside Morning Mist Cave.

    View on map
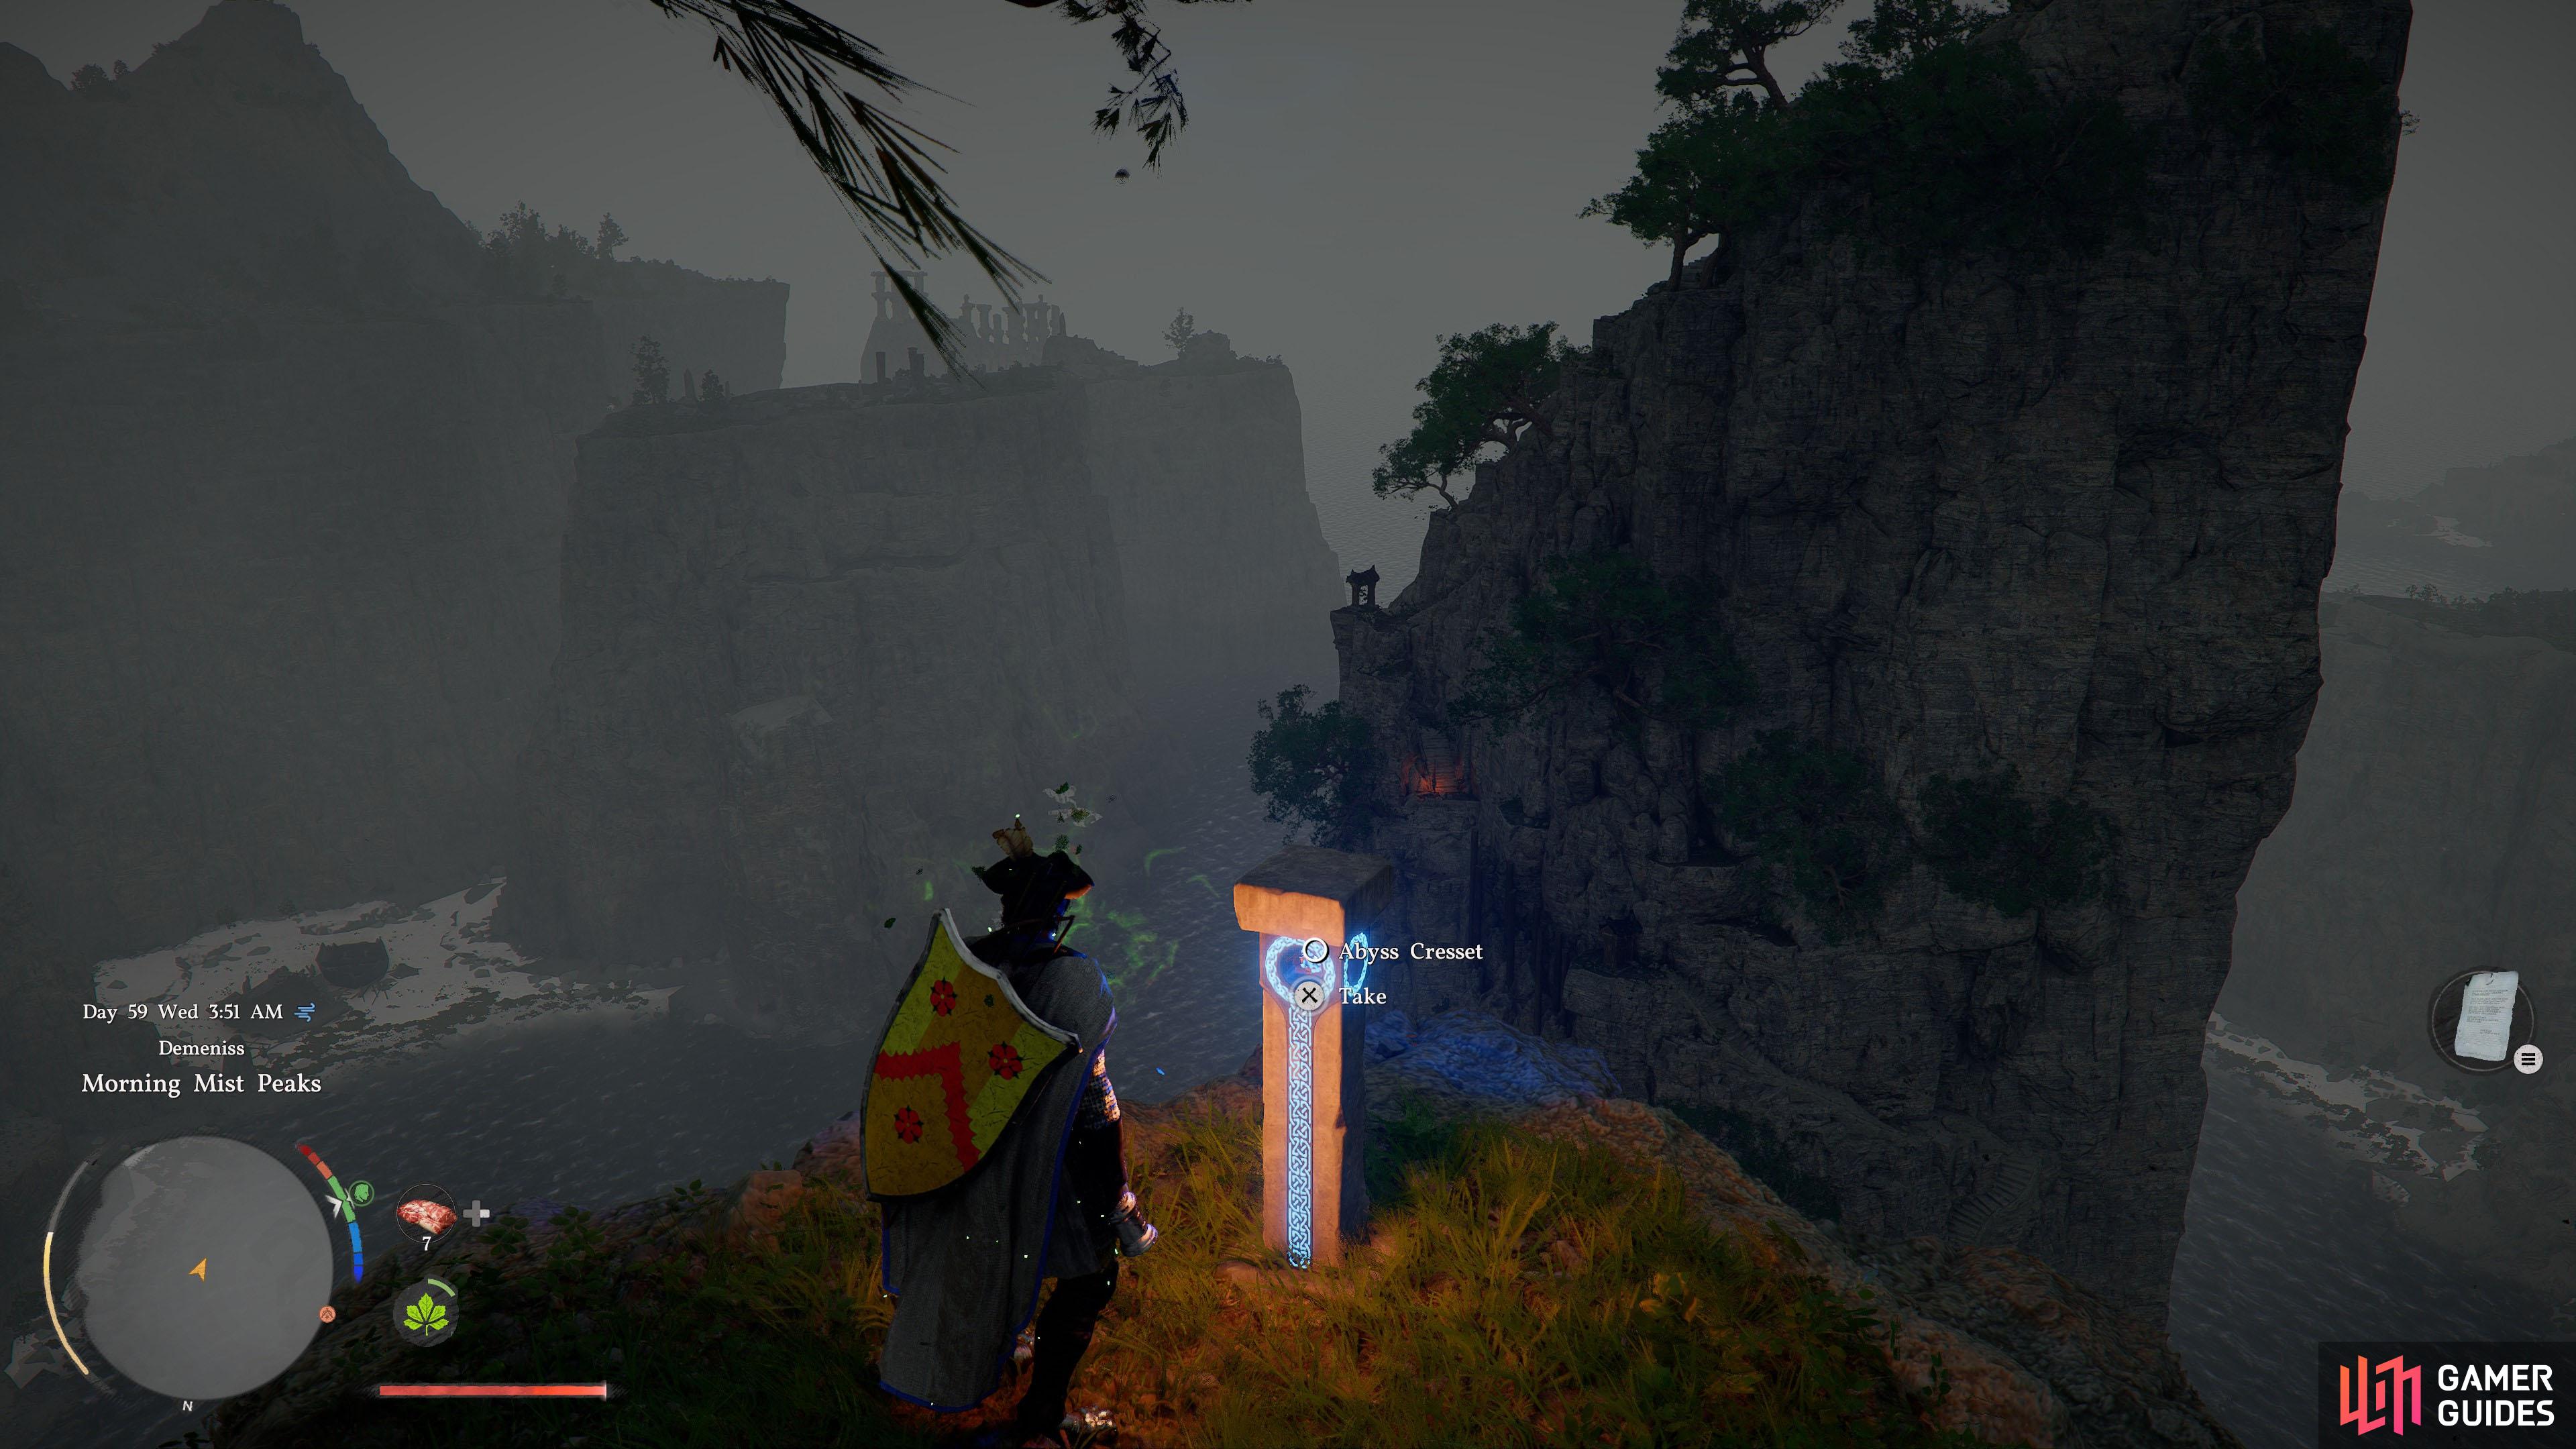
  29. 29 Peak of Enlightenment

    Peak of Enlightenment

    South from Morning Mist Cave, atop a narrow peak.

    View on map
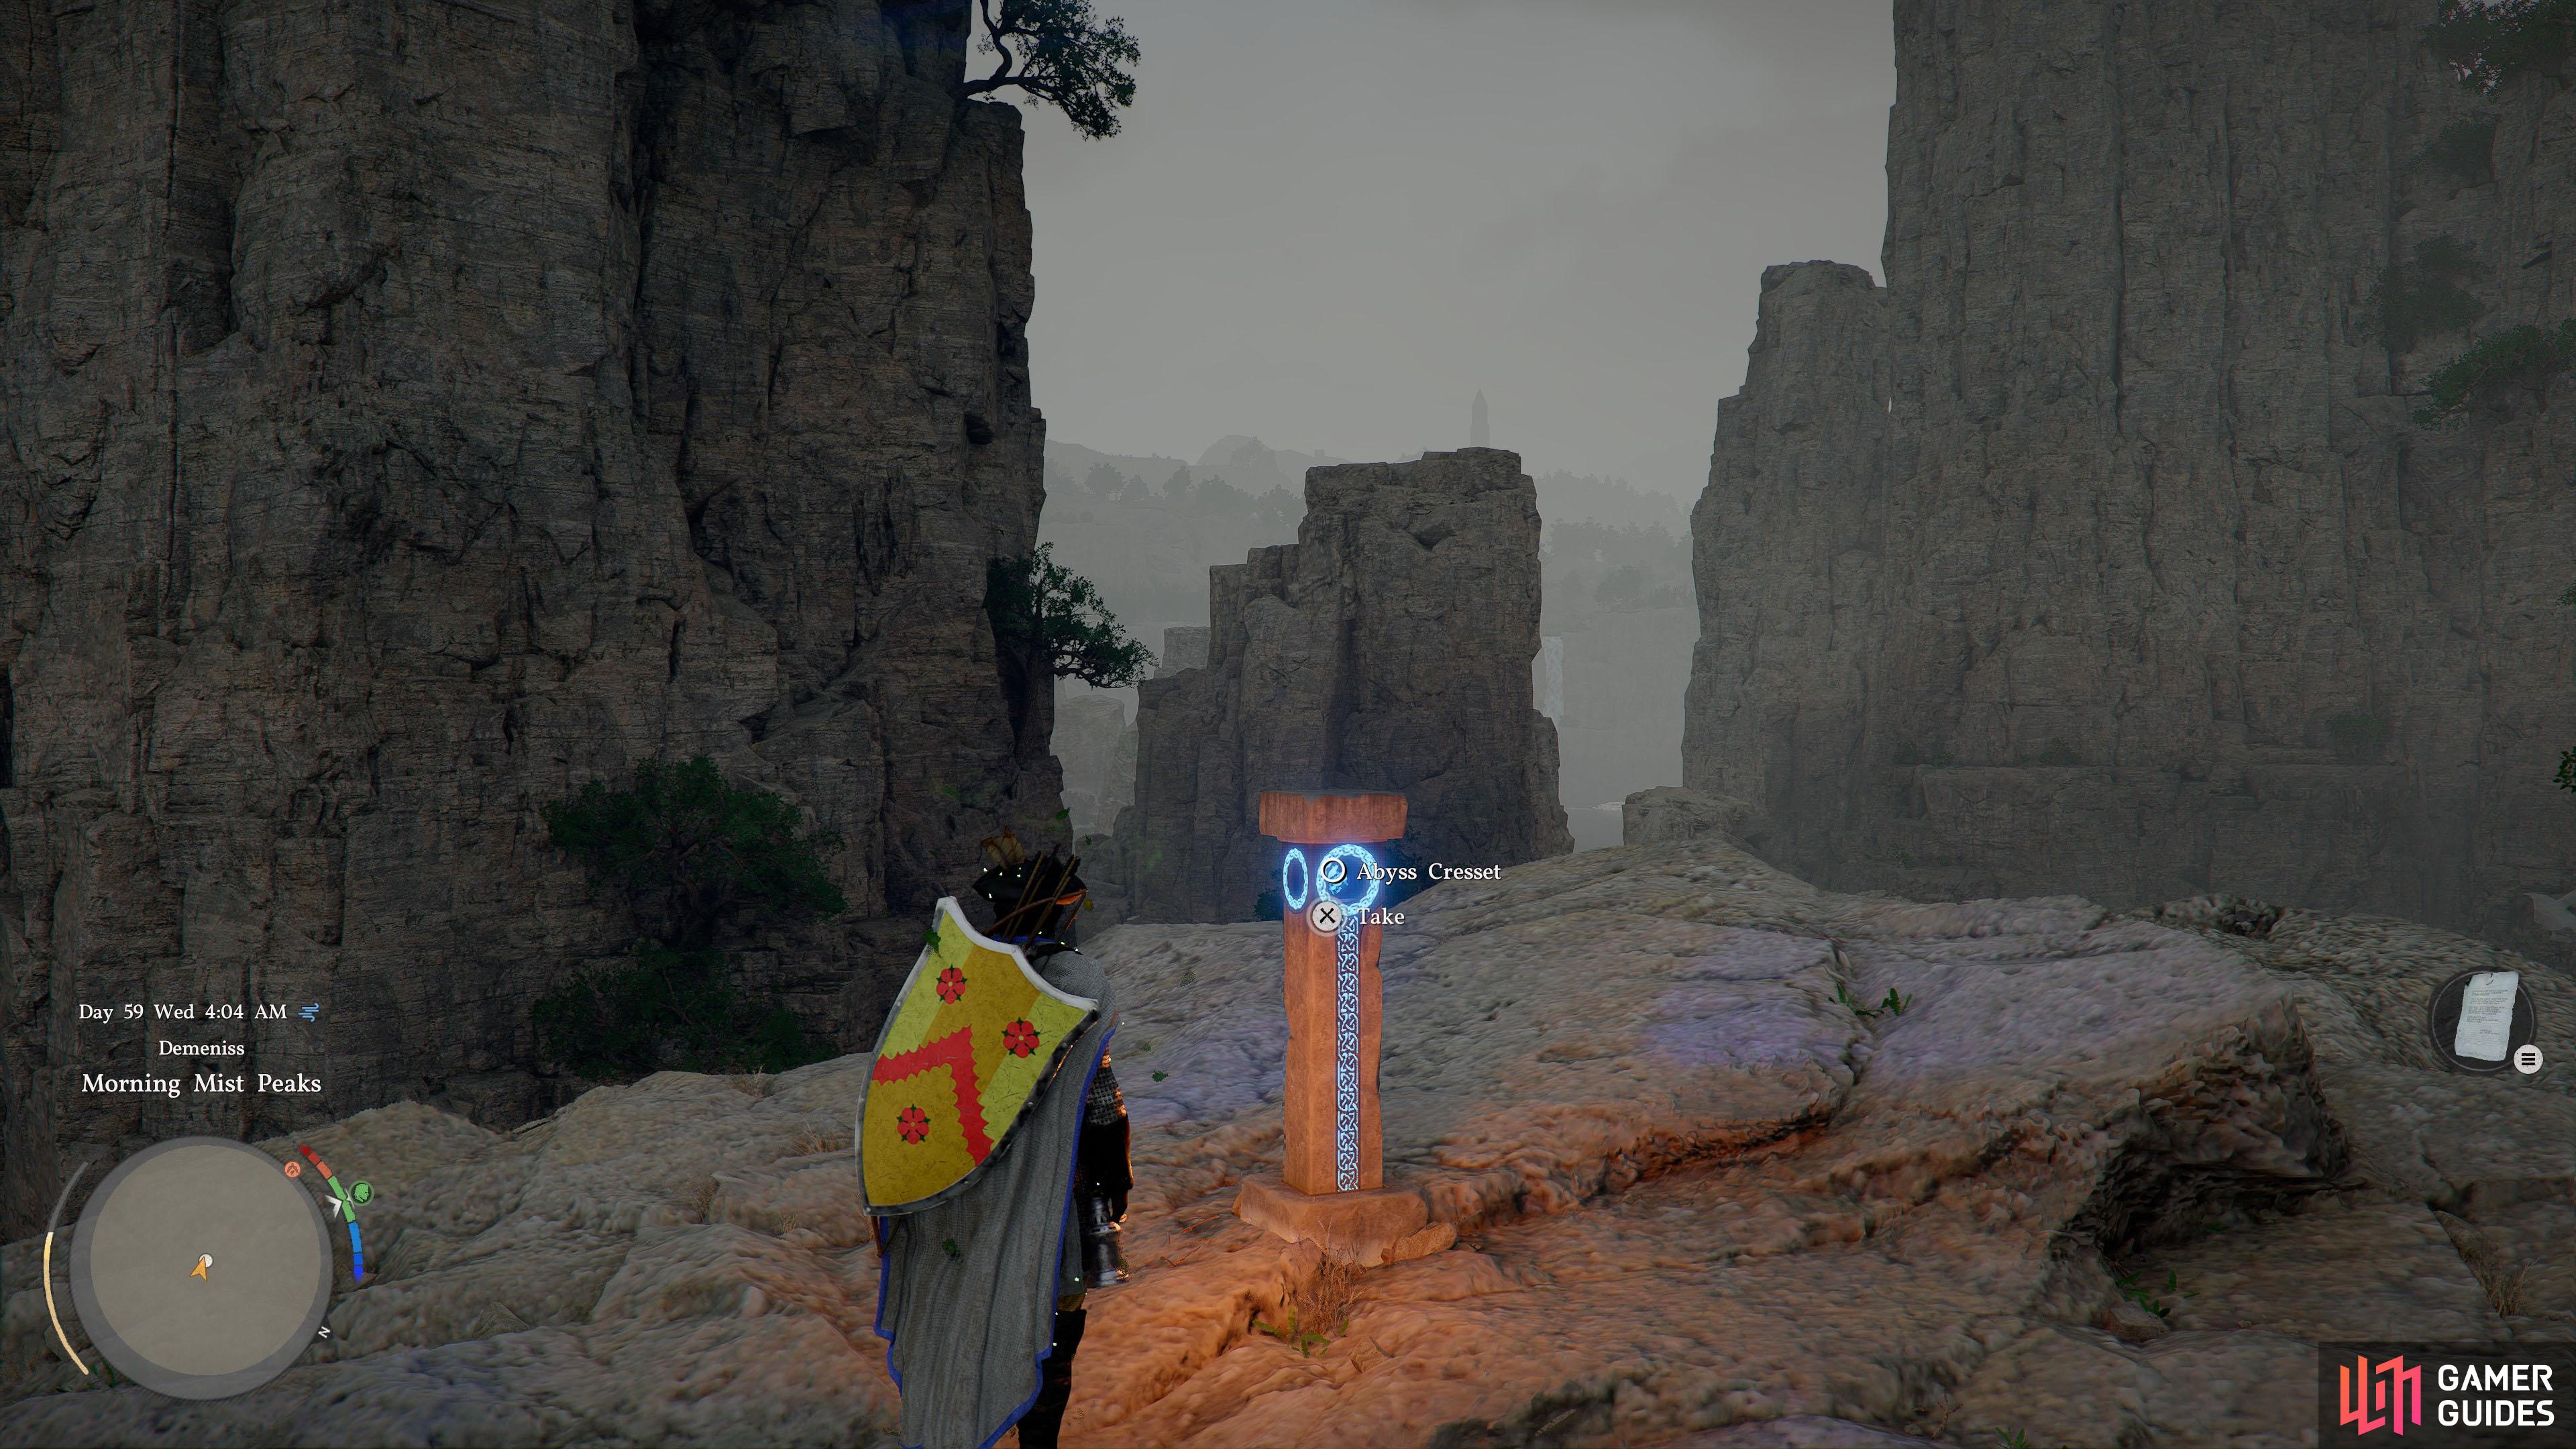
  30. 30 Abyss Cresset

    Abyss Cresset

    South-east from Jijeong Temple, on a tall stone column separated by water.

    View on map
  31. 31 Abyss Cresset

    Abyss Cresset

    West from Jijeong Temple Pagoda. On a tall stone column separated by water.

    View on map
  32. 32 Bamboo Forest Seonangdang Ruins

    Bamboo Forest Seonangdang Ruins

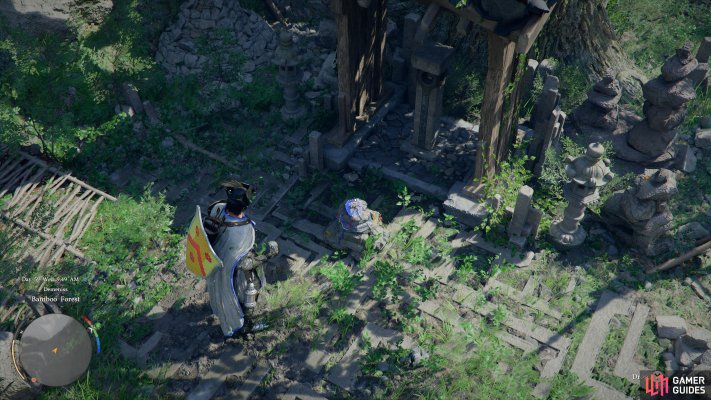
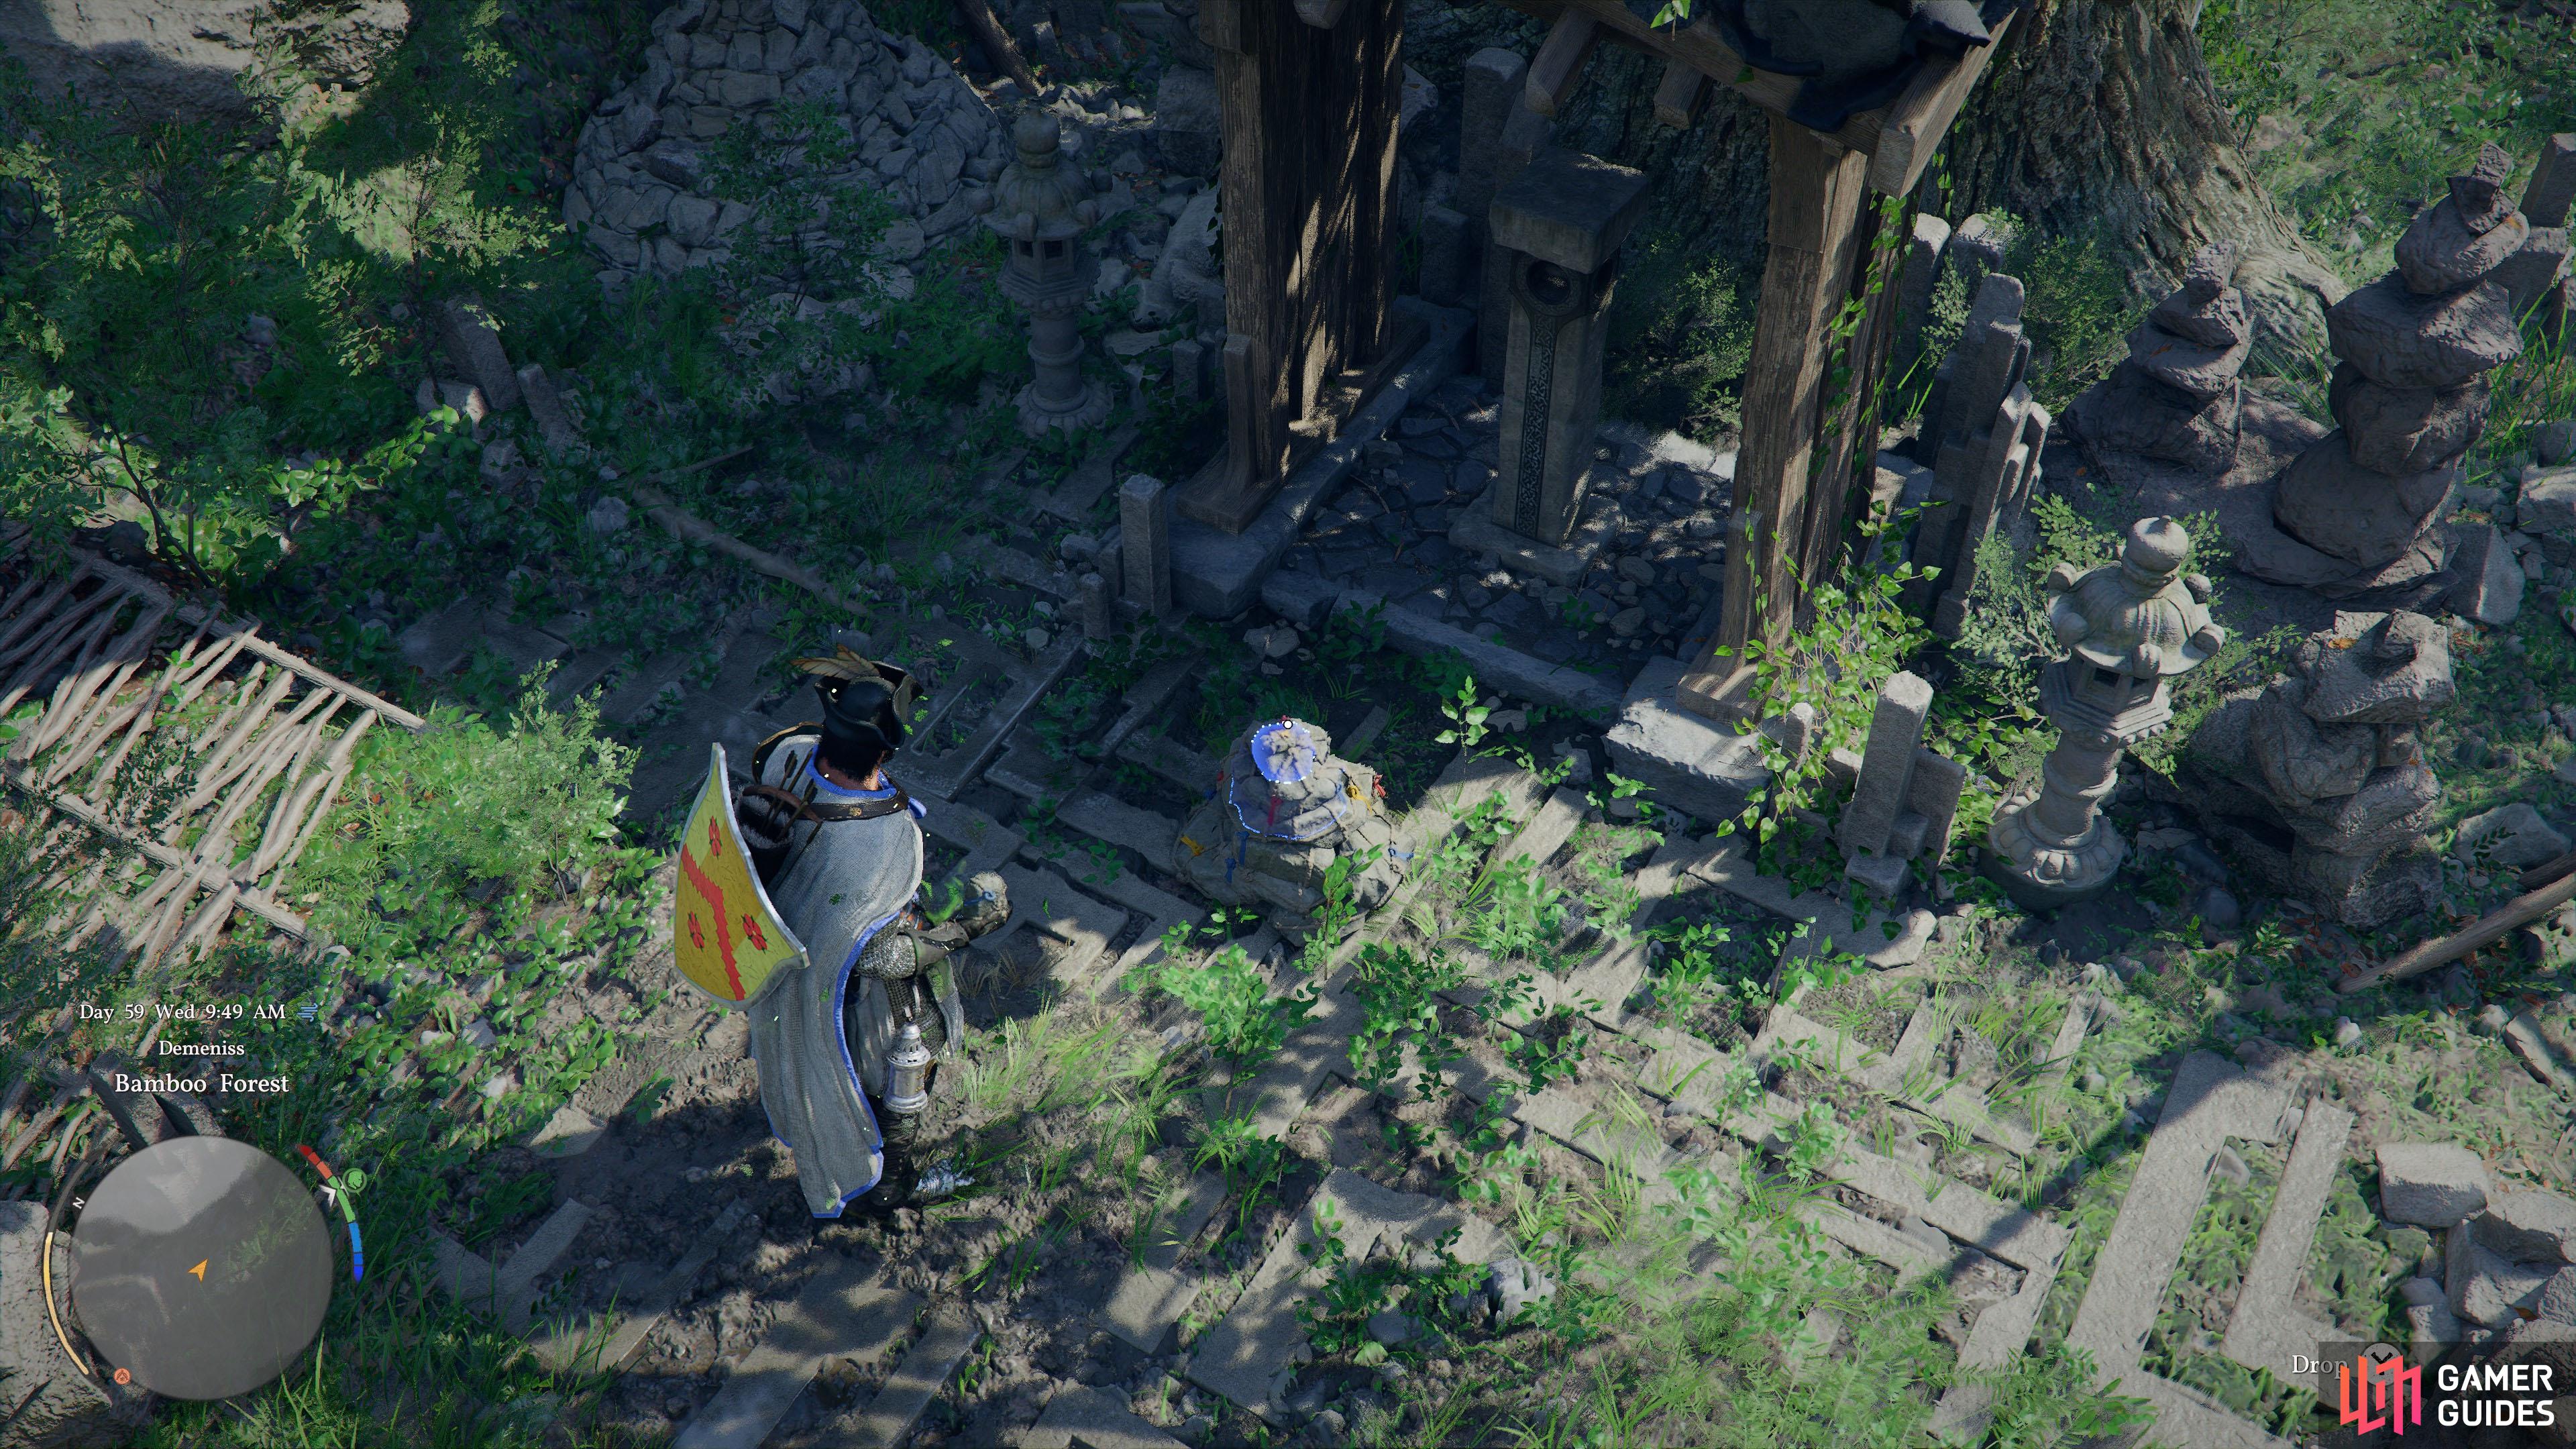
    In front of the inactive Abyss Cresset is a stone mound. Look nearby for three stones and carefully stack them on top.

    View on map
  33. 33 Thunderwater Falls

    Thunderwater Falls

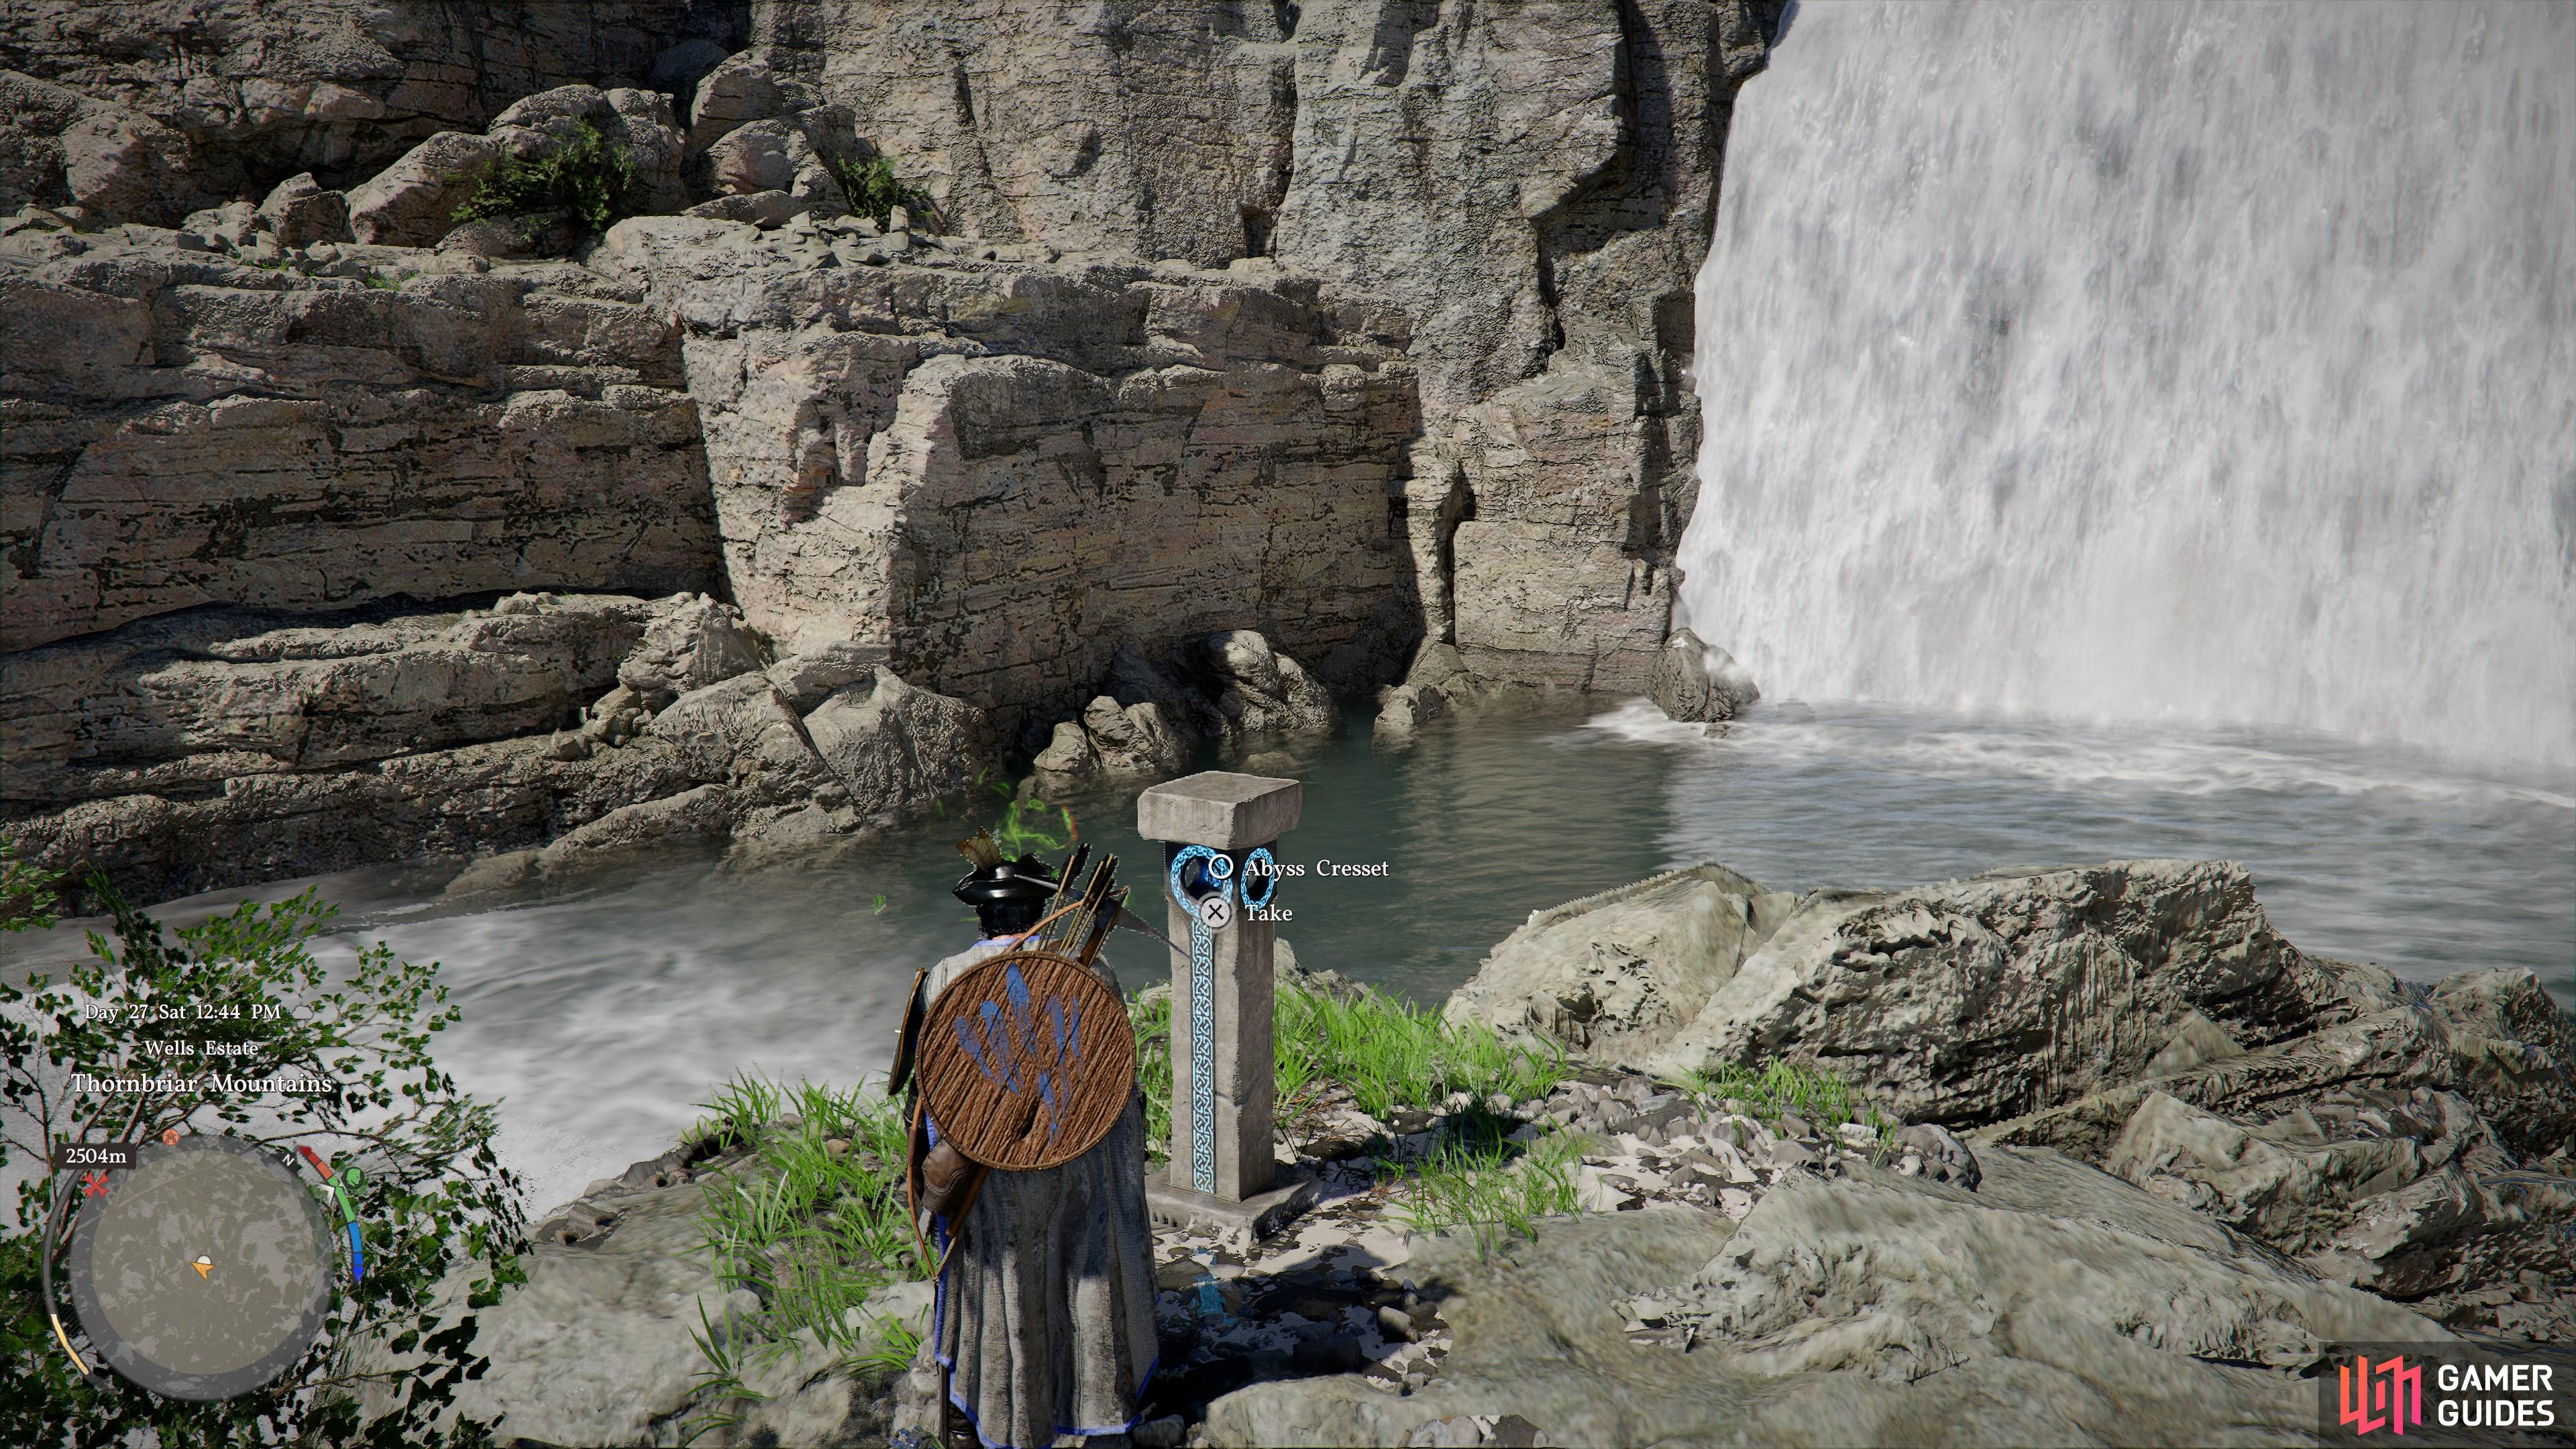
    North from Seonangdang, at the top of a waterfall.

    View on map
  34. 34 Strange Rift

    Strange Rift

    South from the Southern Eldertree, inside a hollow by the bay.

    View on map
  35. 35 Abyss Cresset

    Abyss Cresset

    Near the ledge

    View on map
  36. 36 Abyss Cresset

    Abyss Cresset

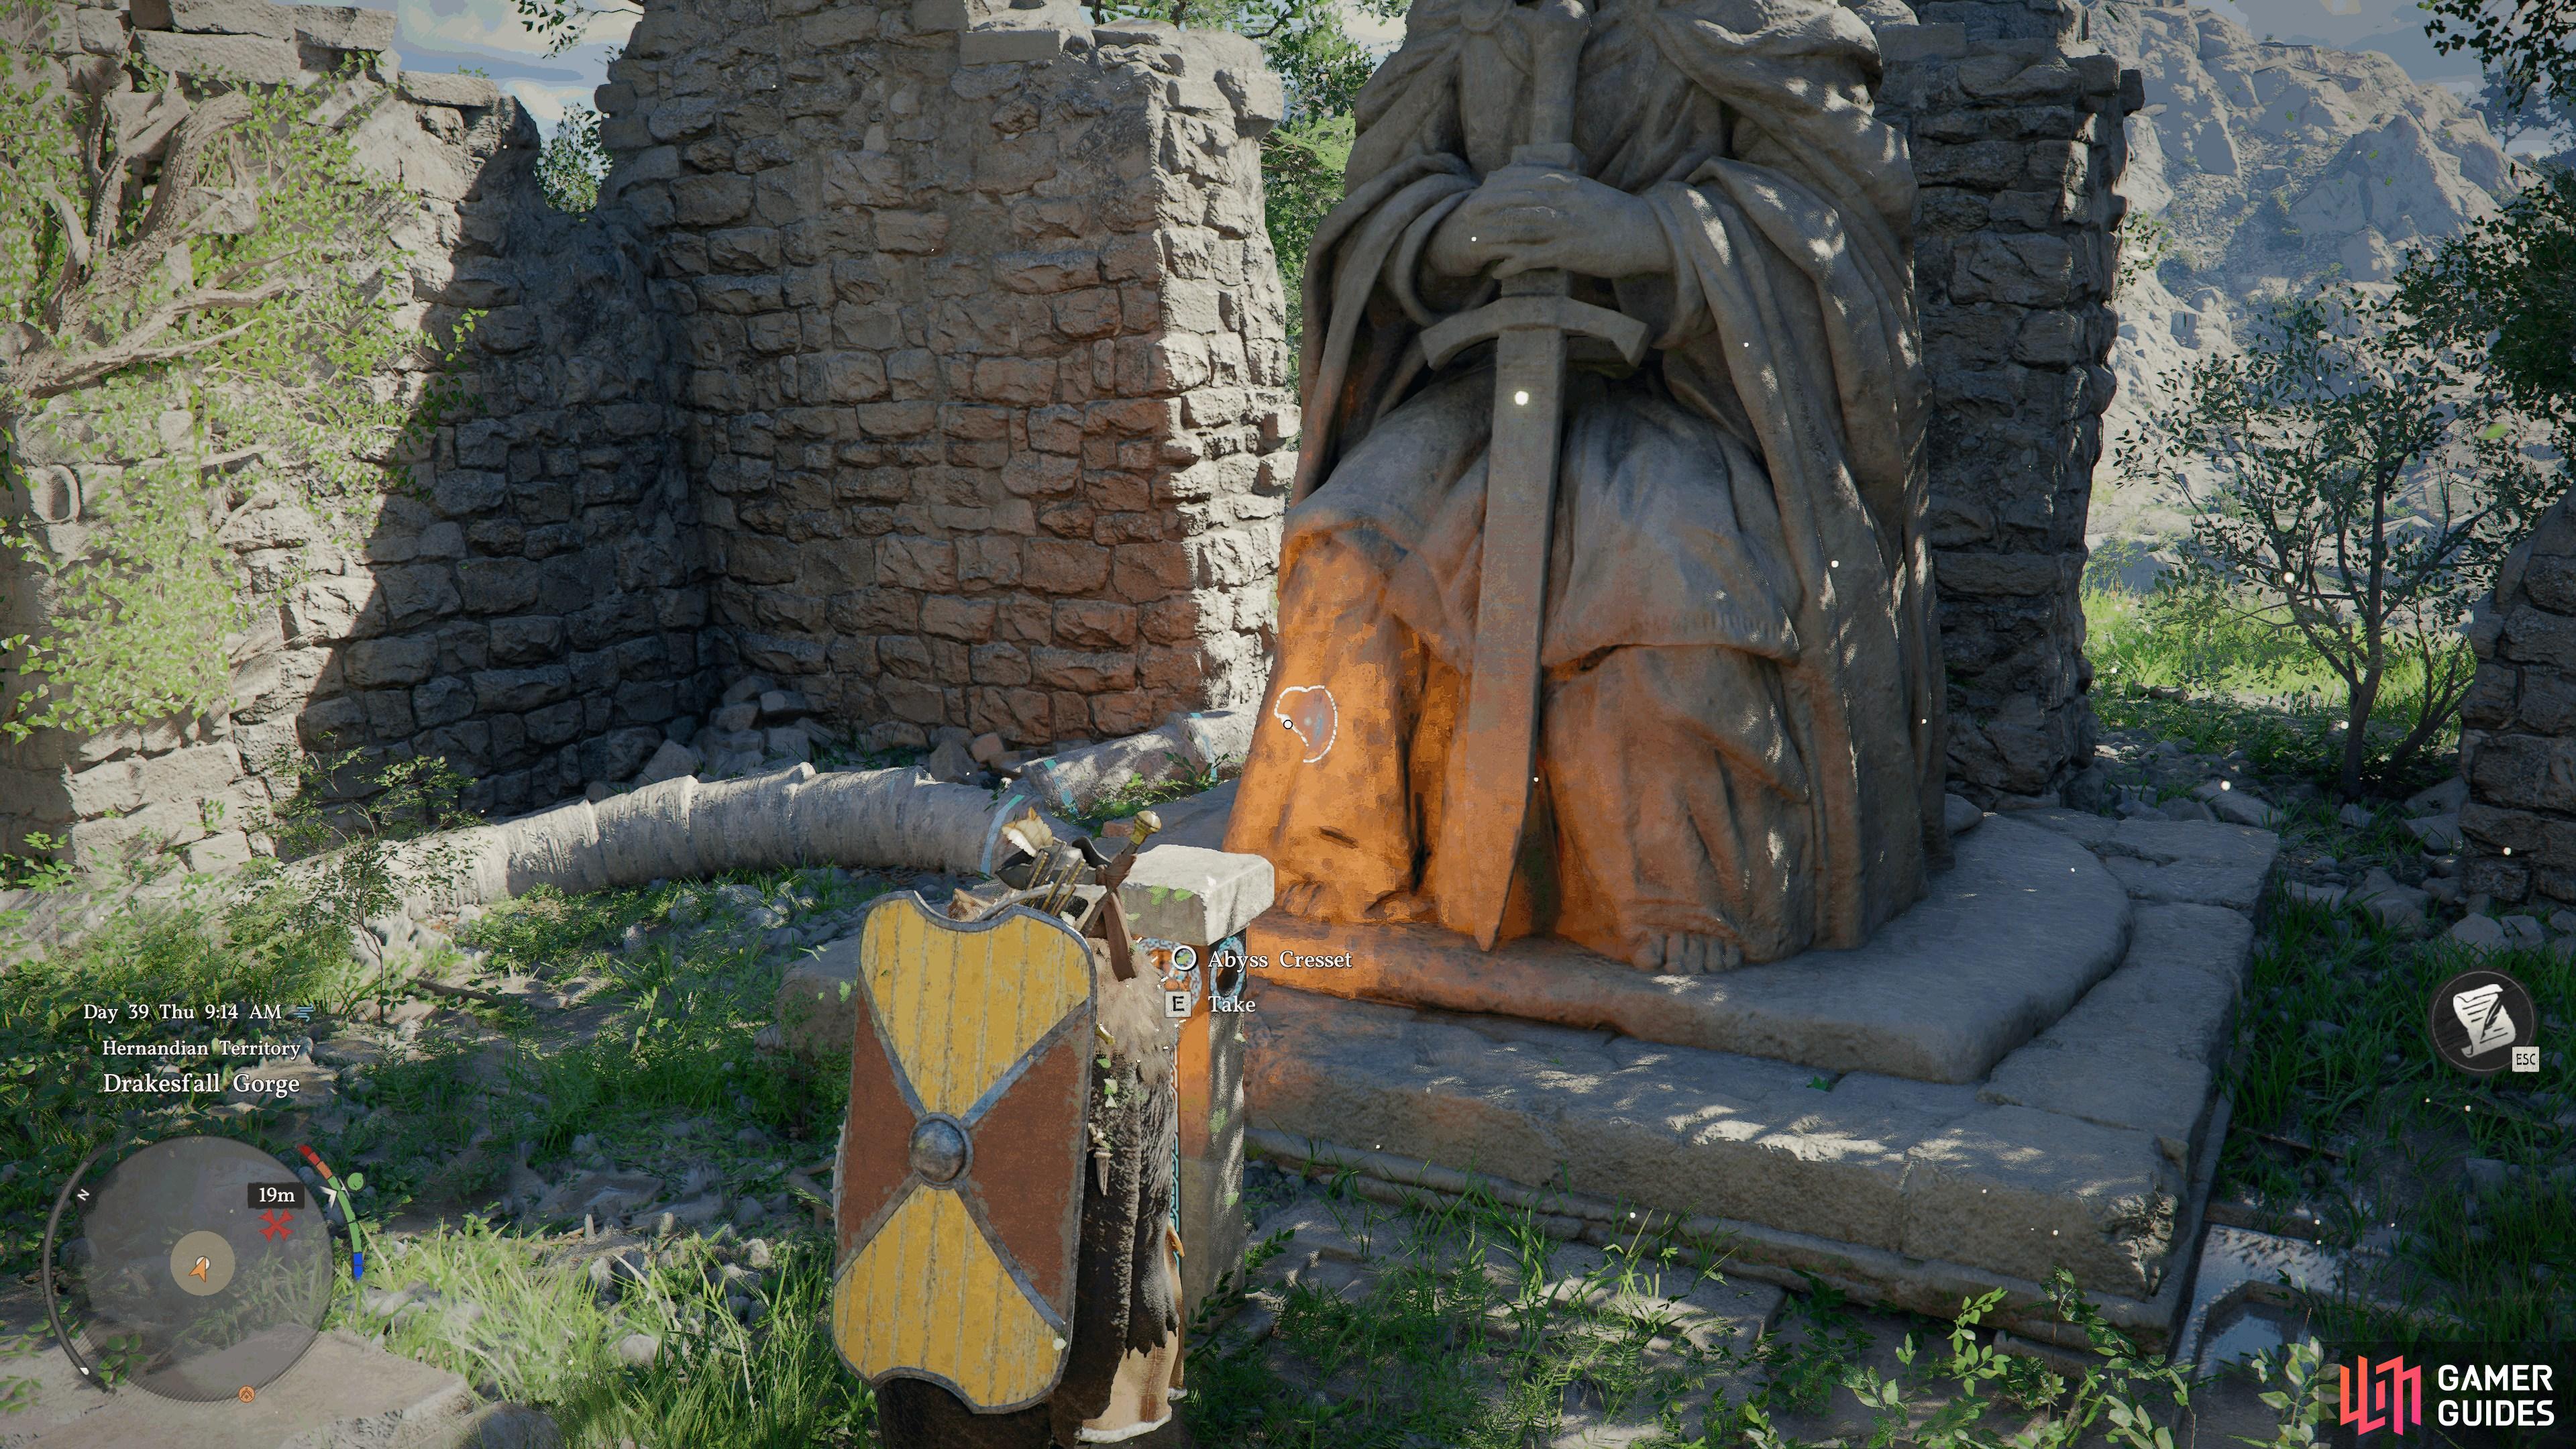
    Located at the base of the statue. Complete the puzzle to obtain the "Abyss Artifact" iconAbyss Artifact.

    View on map
  37. 37 An Unreachable End

    An Unreachable End

    Atop a tall, narrow mountain south from Deepwoods Beacon.

    View on map
  38. 38 Abyss Cresset

    Abyss Cresset

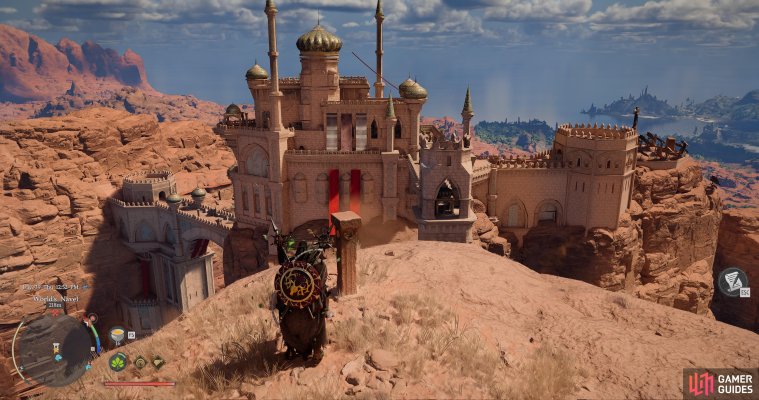
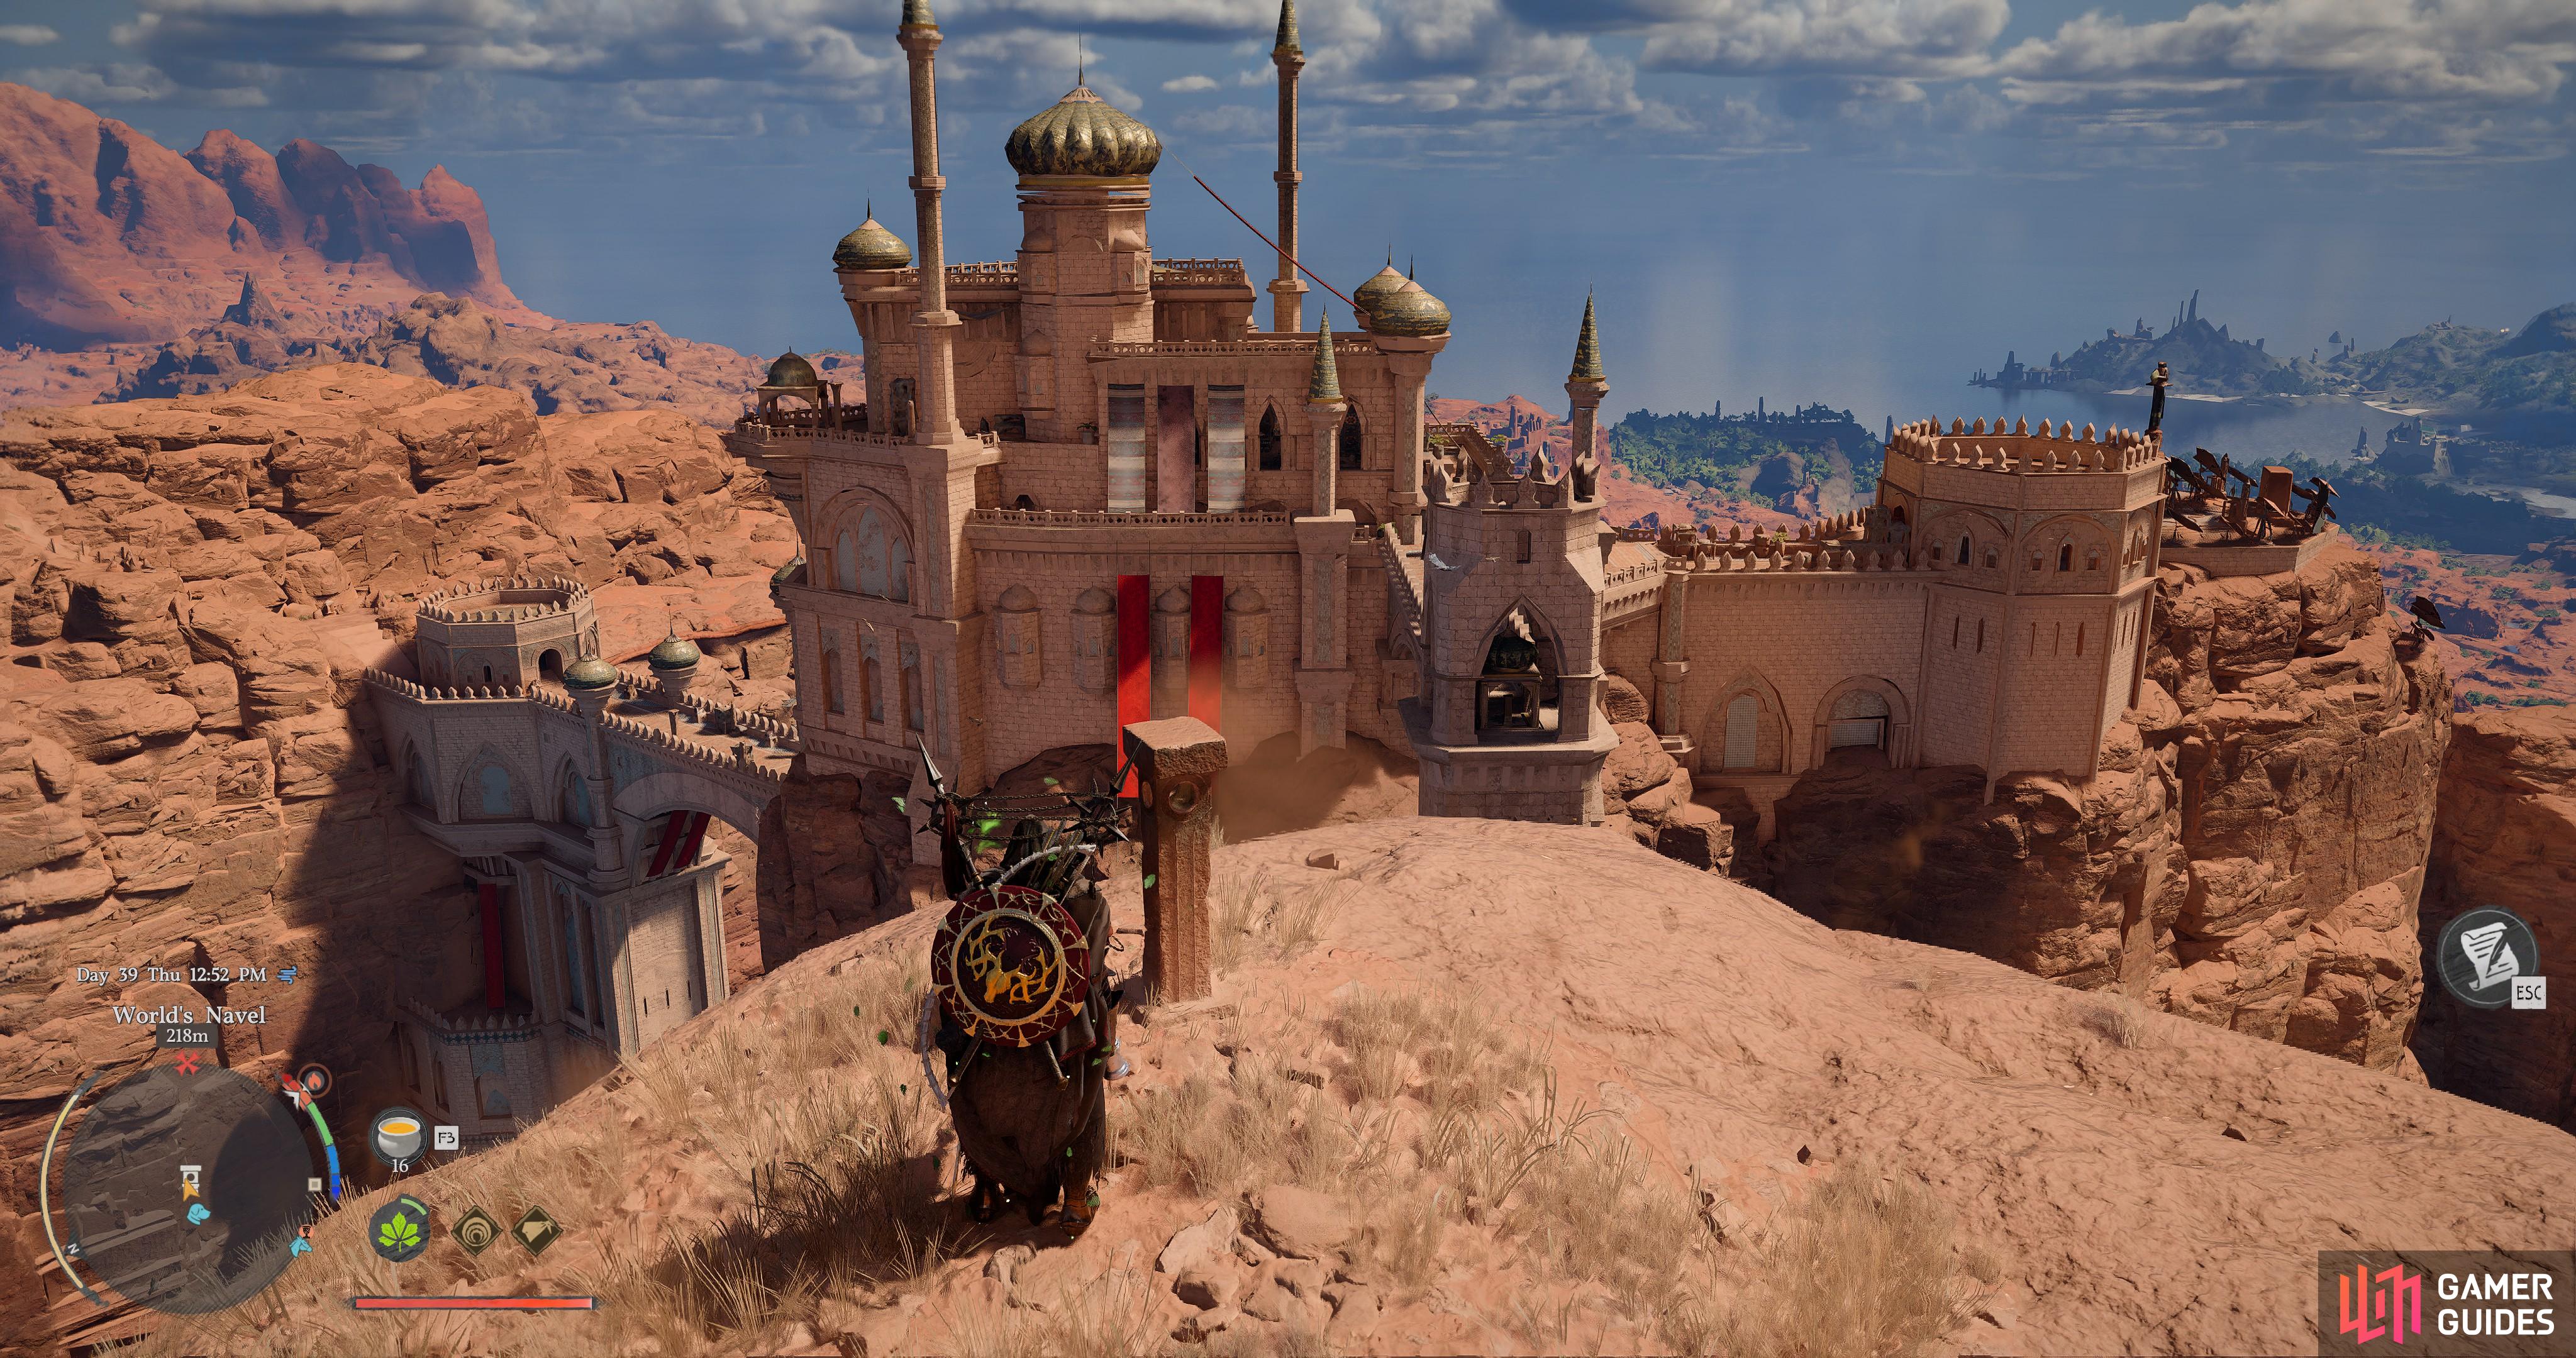
    Overlooking the Castle

    View on map
  39. 39 Ancestor's Rest

    Ancestor's Rest

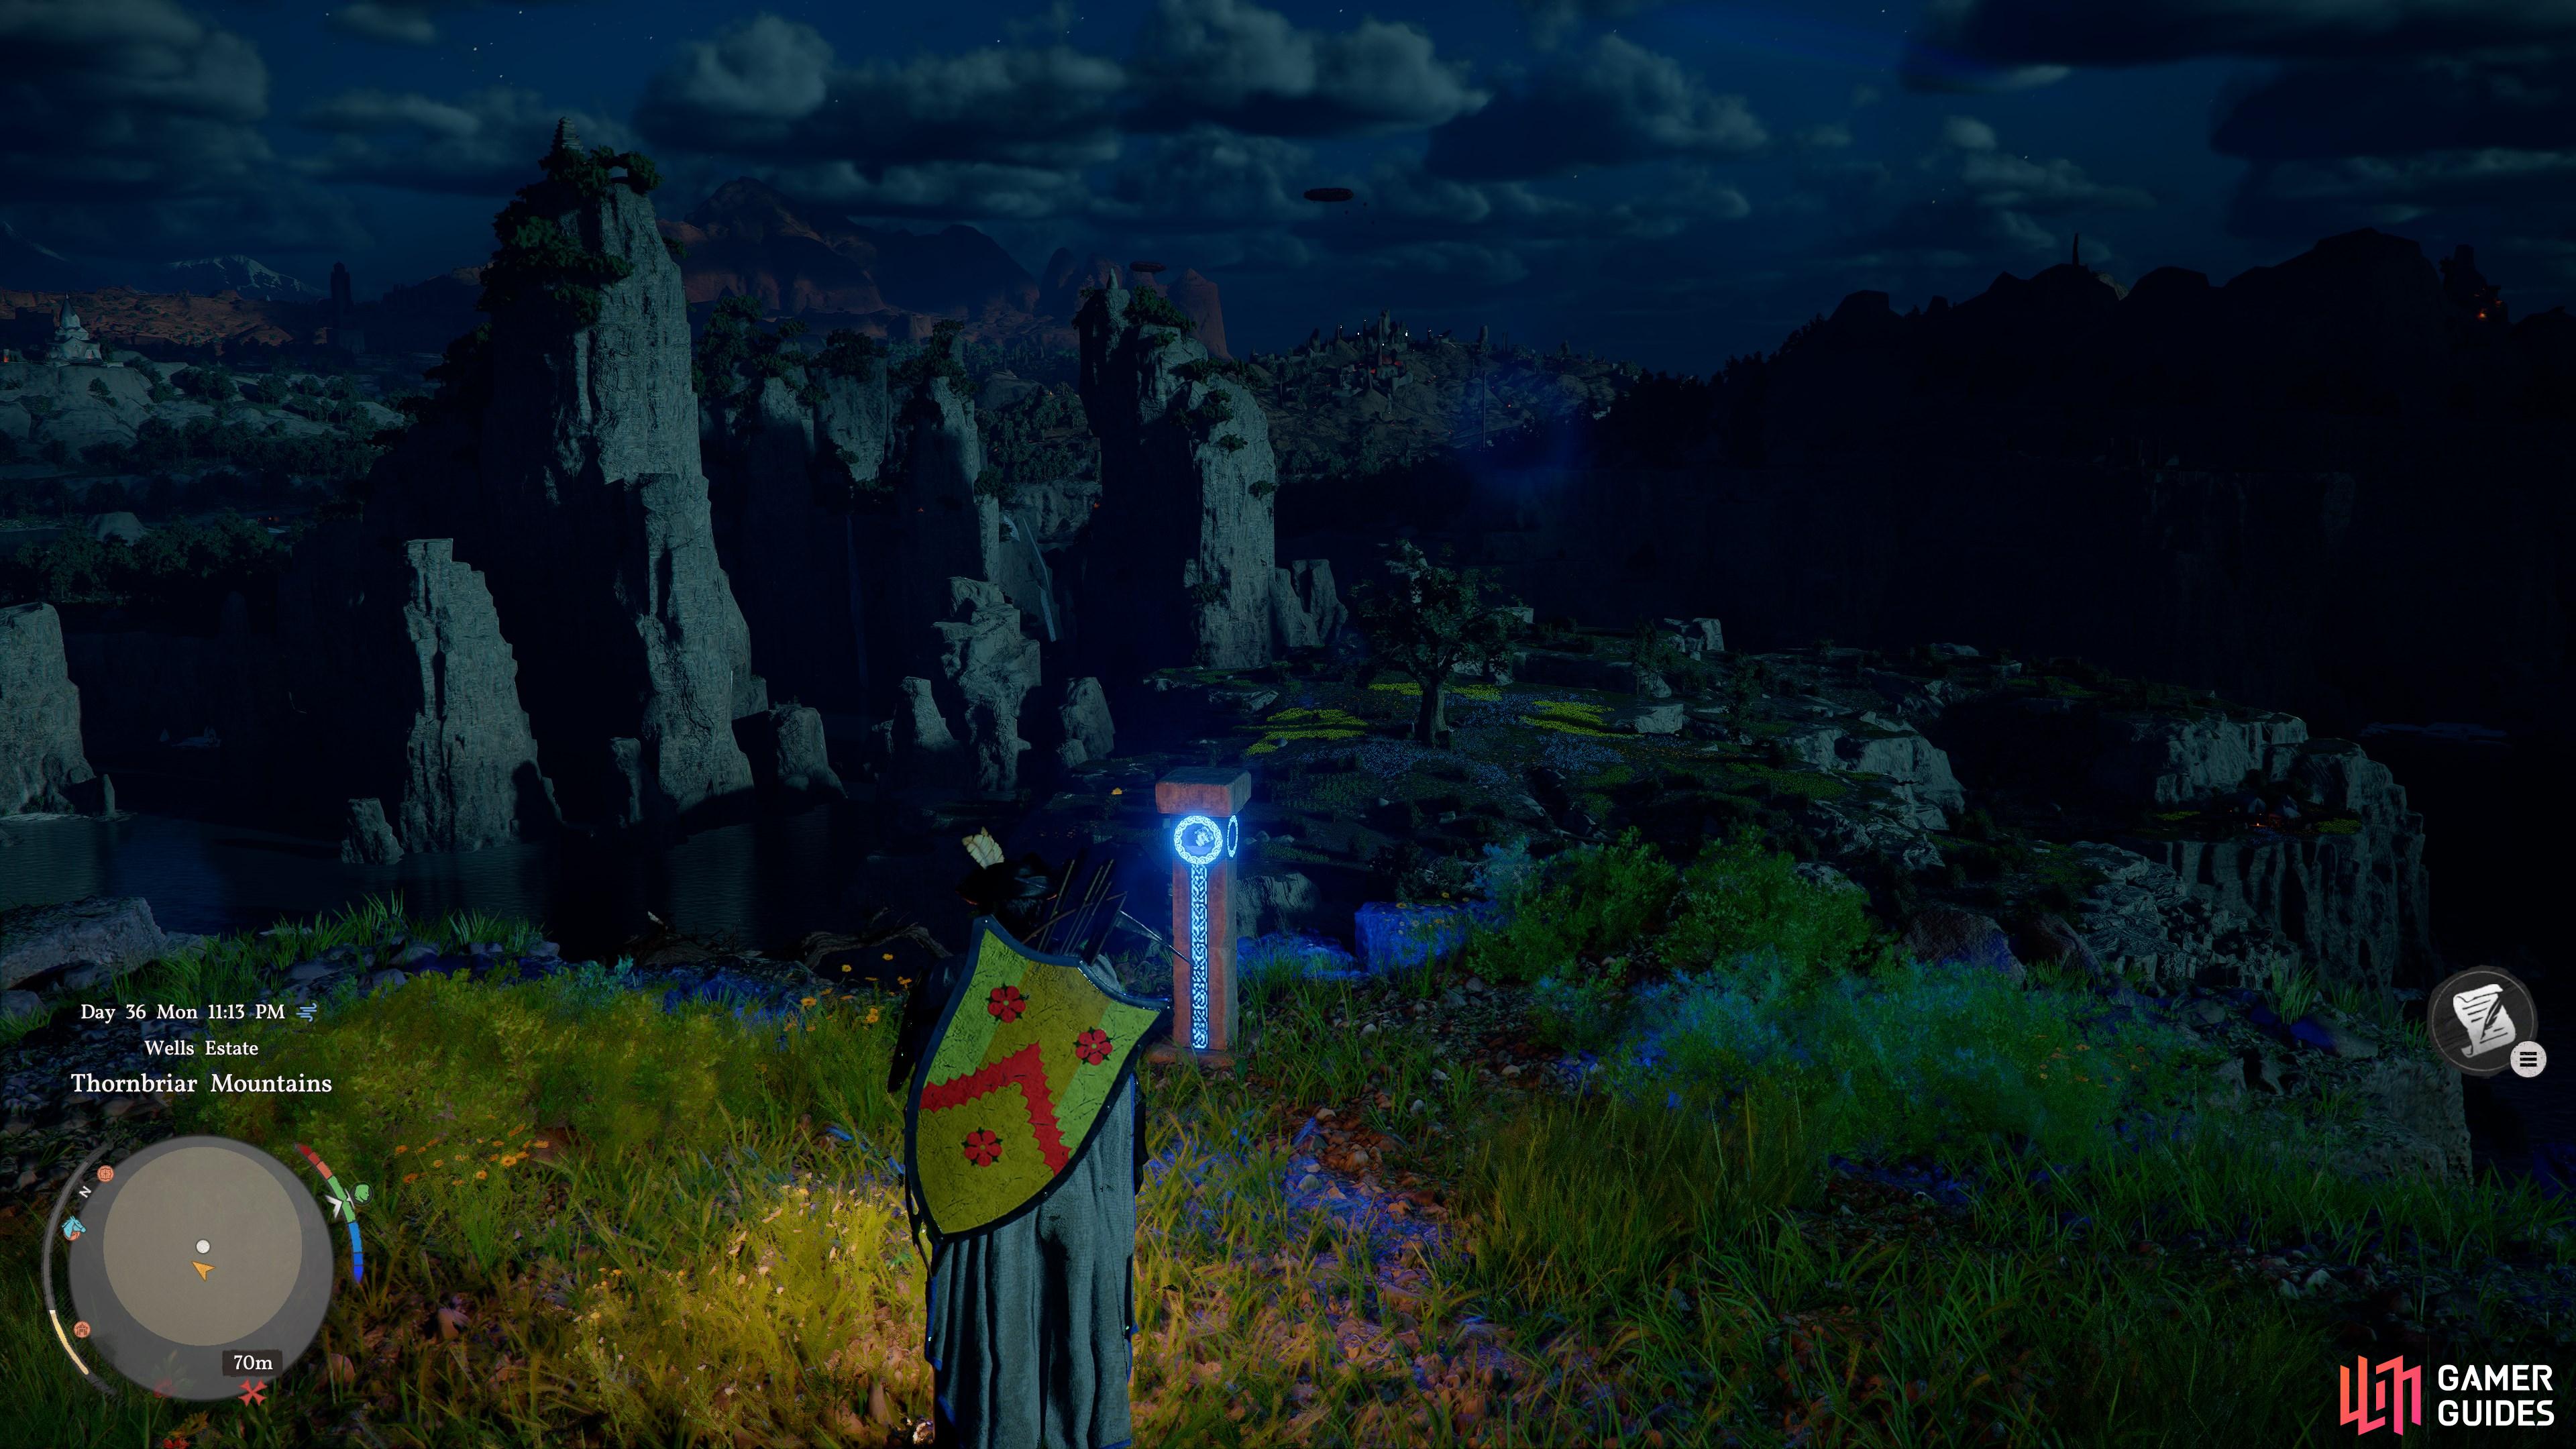
    On the rocks in the center, overlooking the drop between the waterfalls.

    View on map
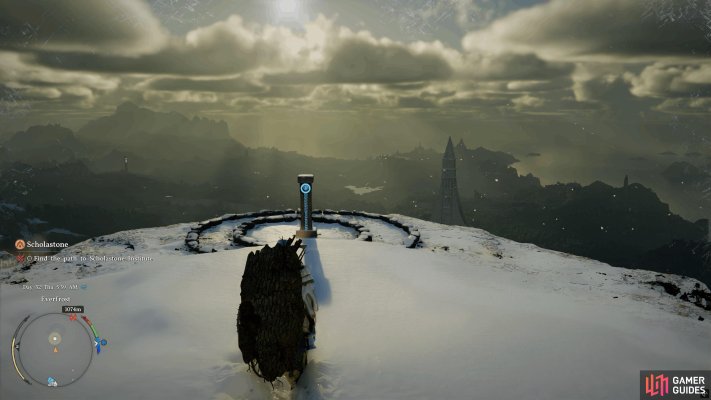
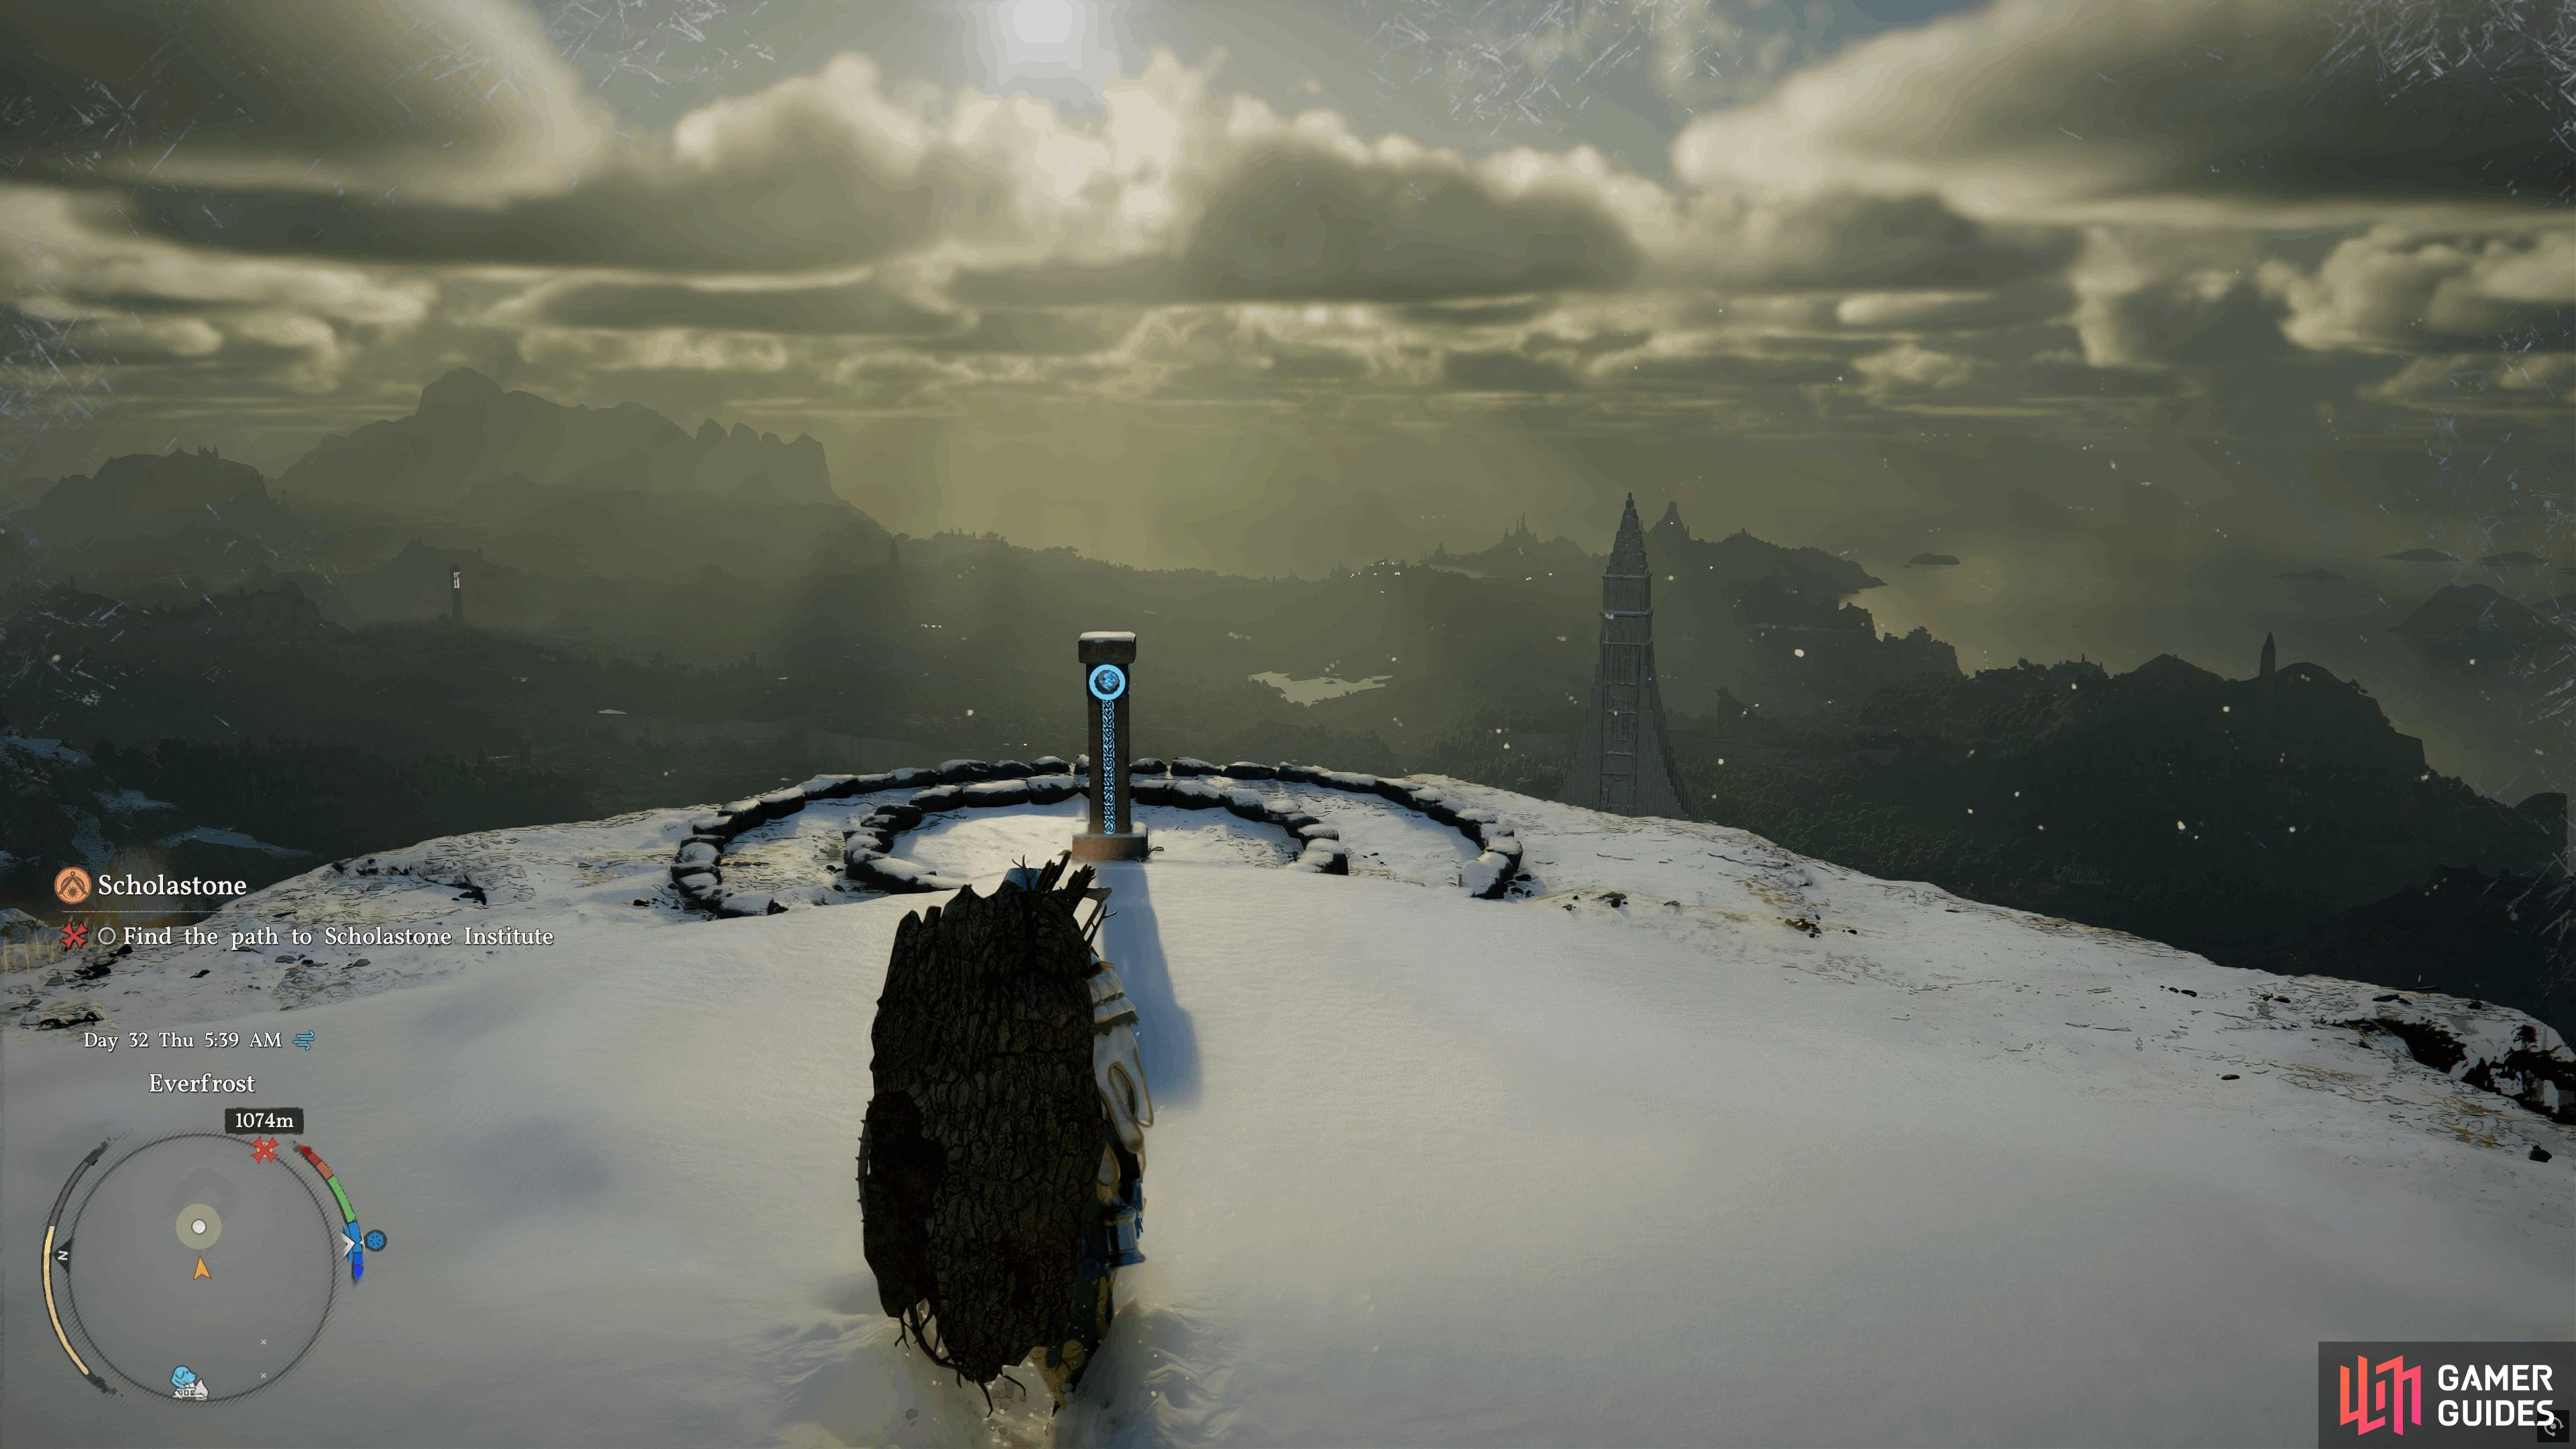
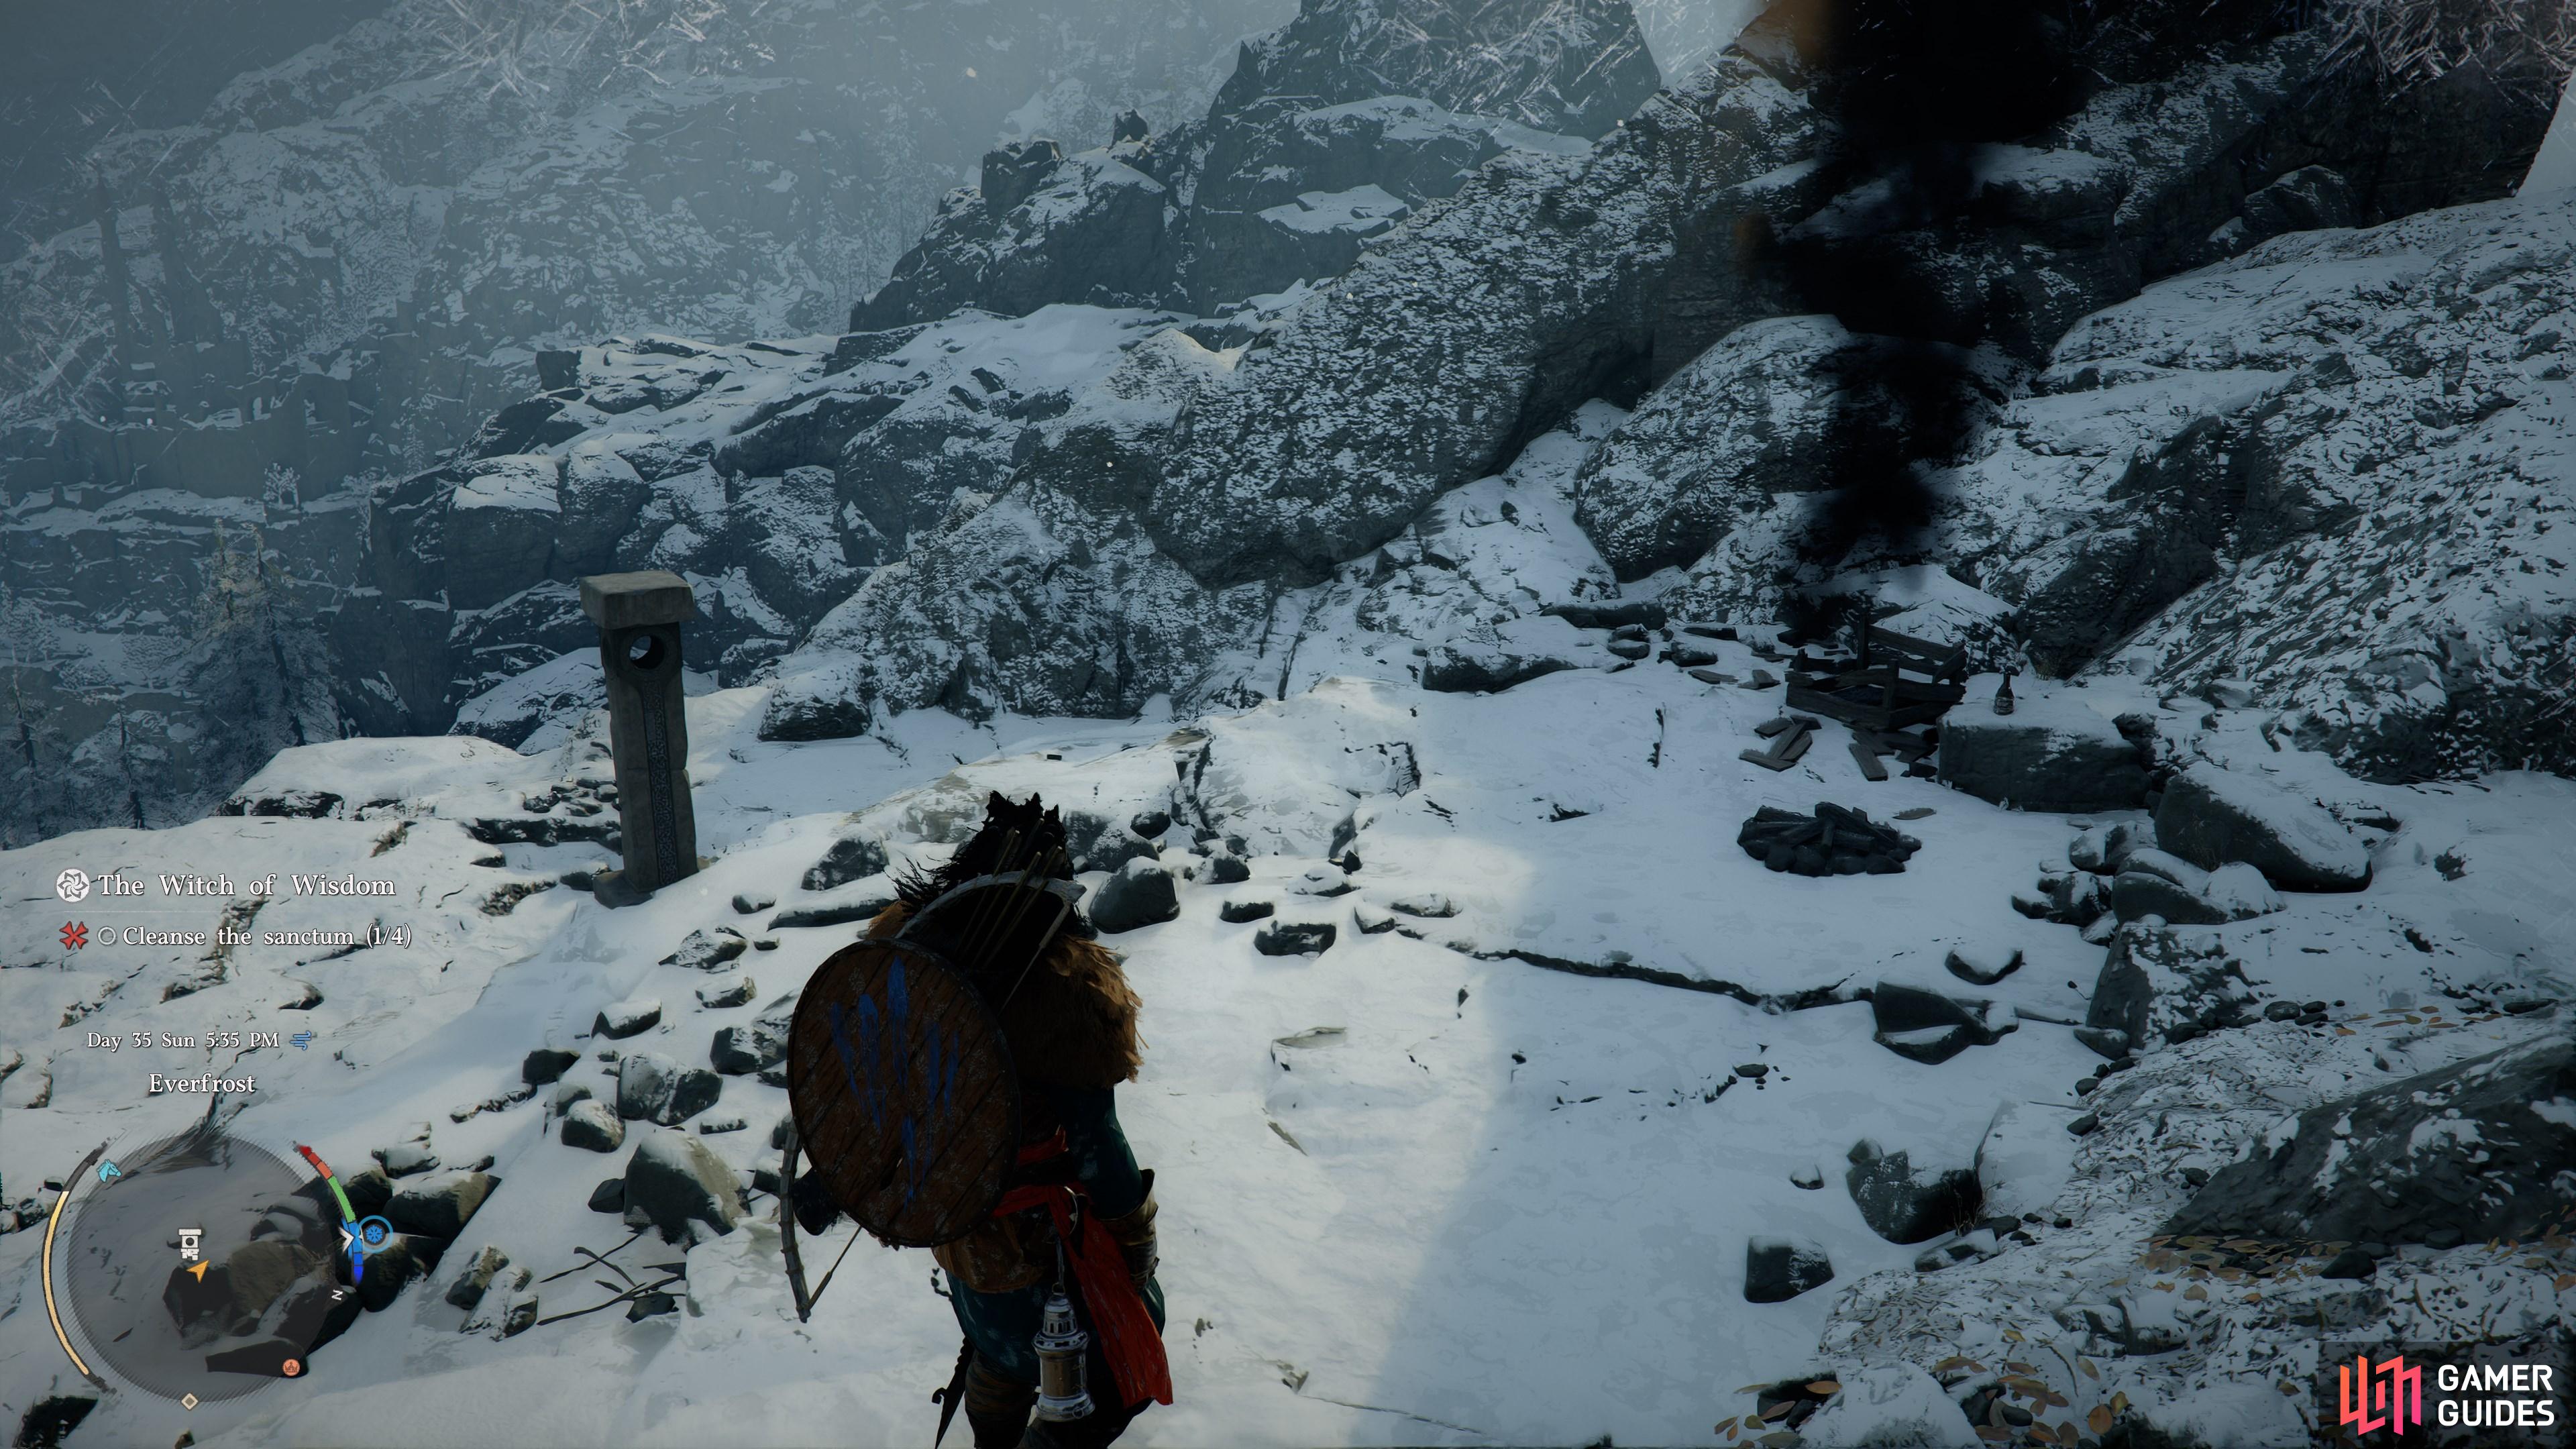
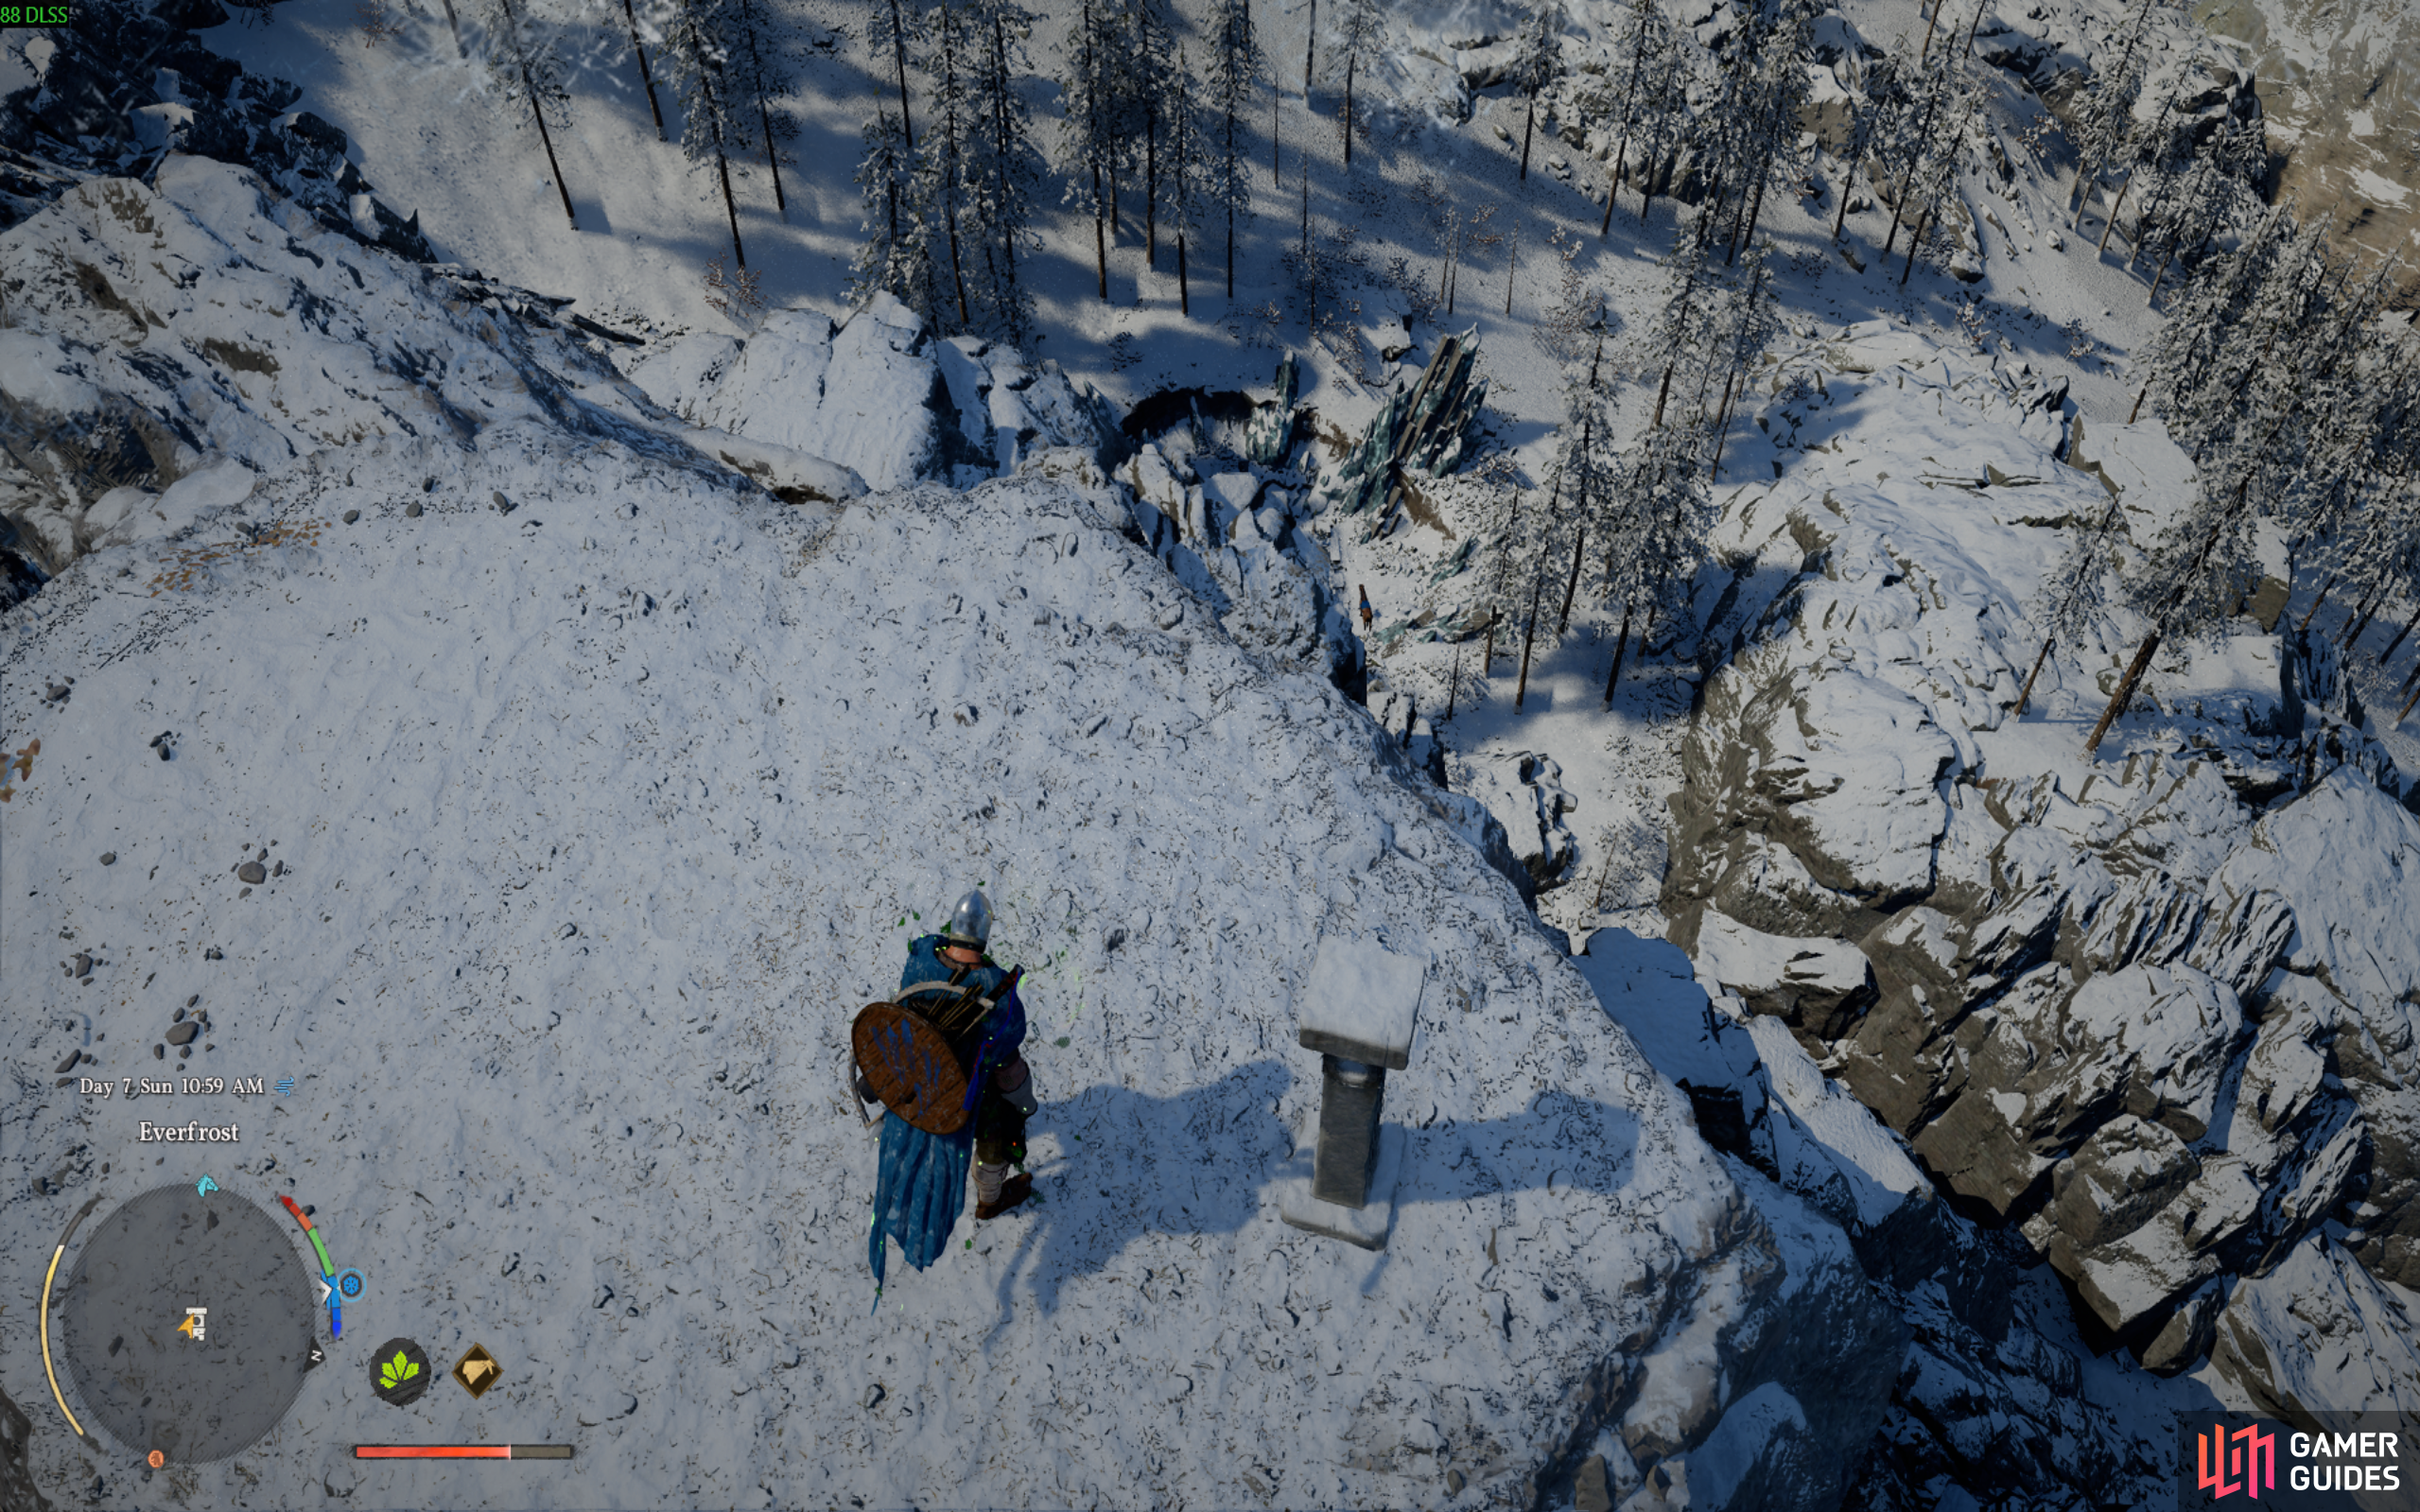
  40. 40 Giant Hand of Everfrost

    Giant Hand of Everfrost

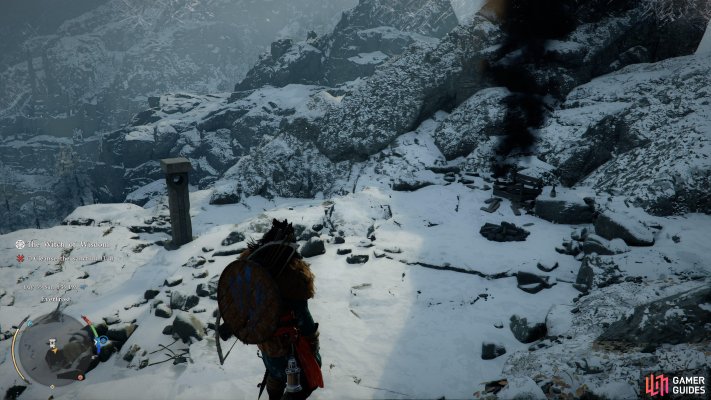
    Found high up on the mountain, next to a smoldering bonfire. Look for the plume of smoke to find it.

    View on map
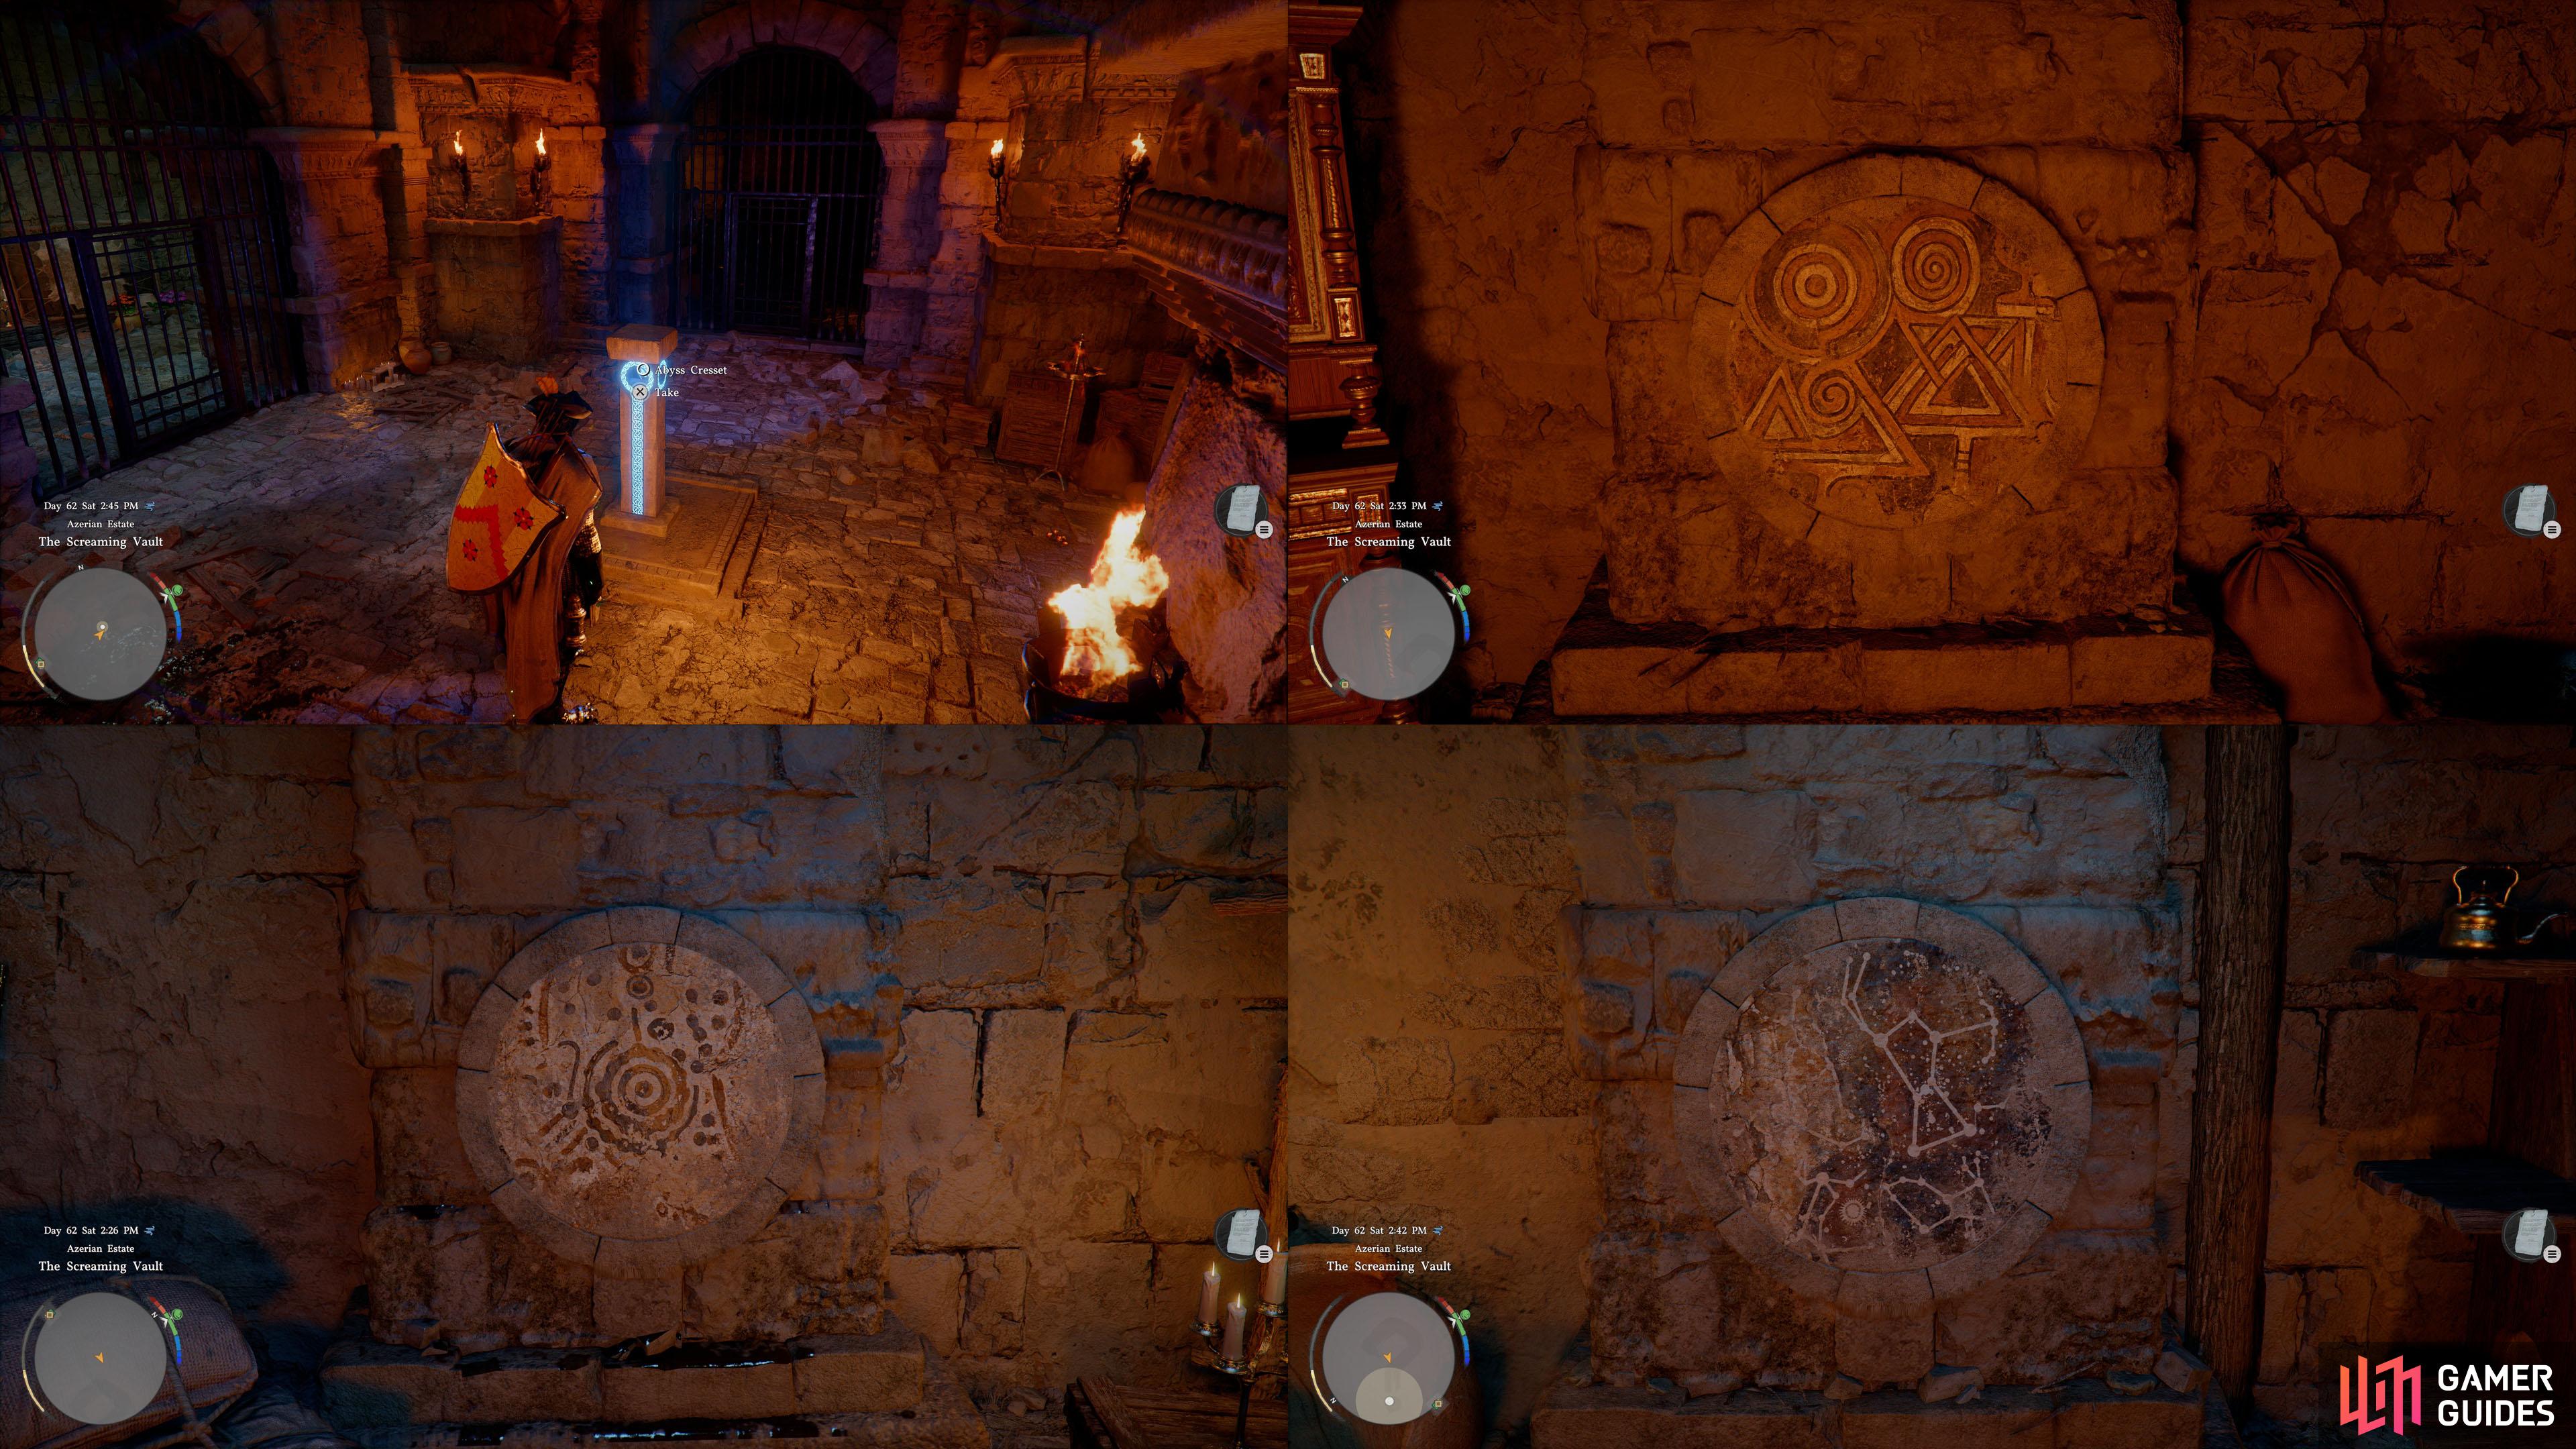
  41. 41 The Screaming Vault Ruins

    The Screaming Vault Ruins

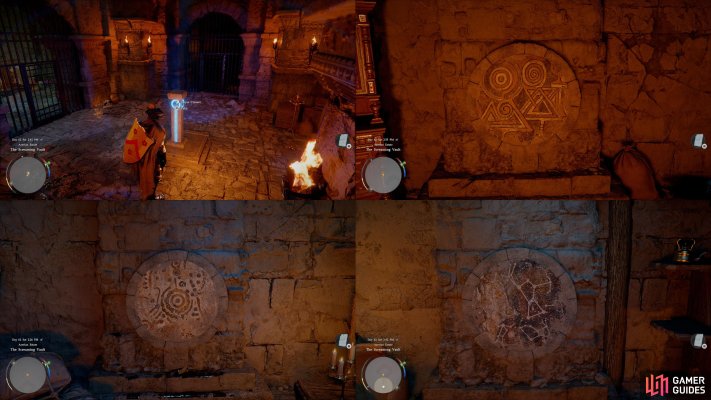
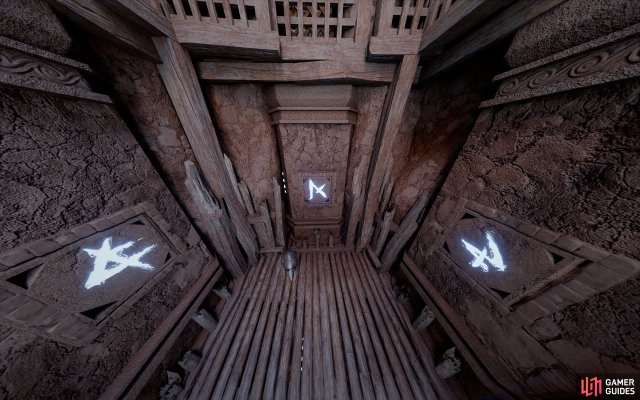
    In the left room, there’s a map on the wall with three locations, which you can try and head to.

    But since this is a guide, you can just refer to our screenshots for the solution.

    View on map
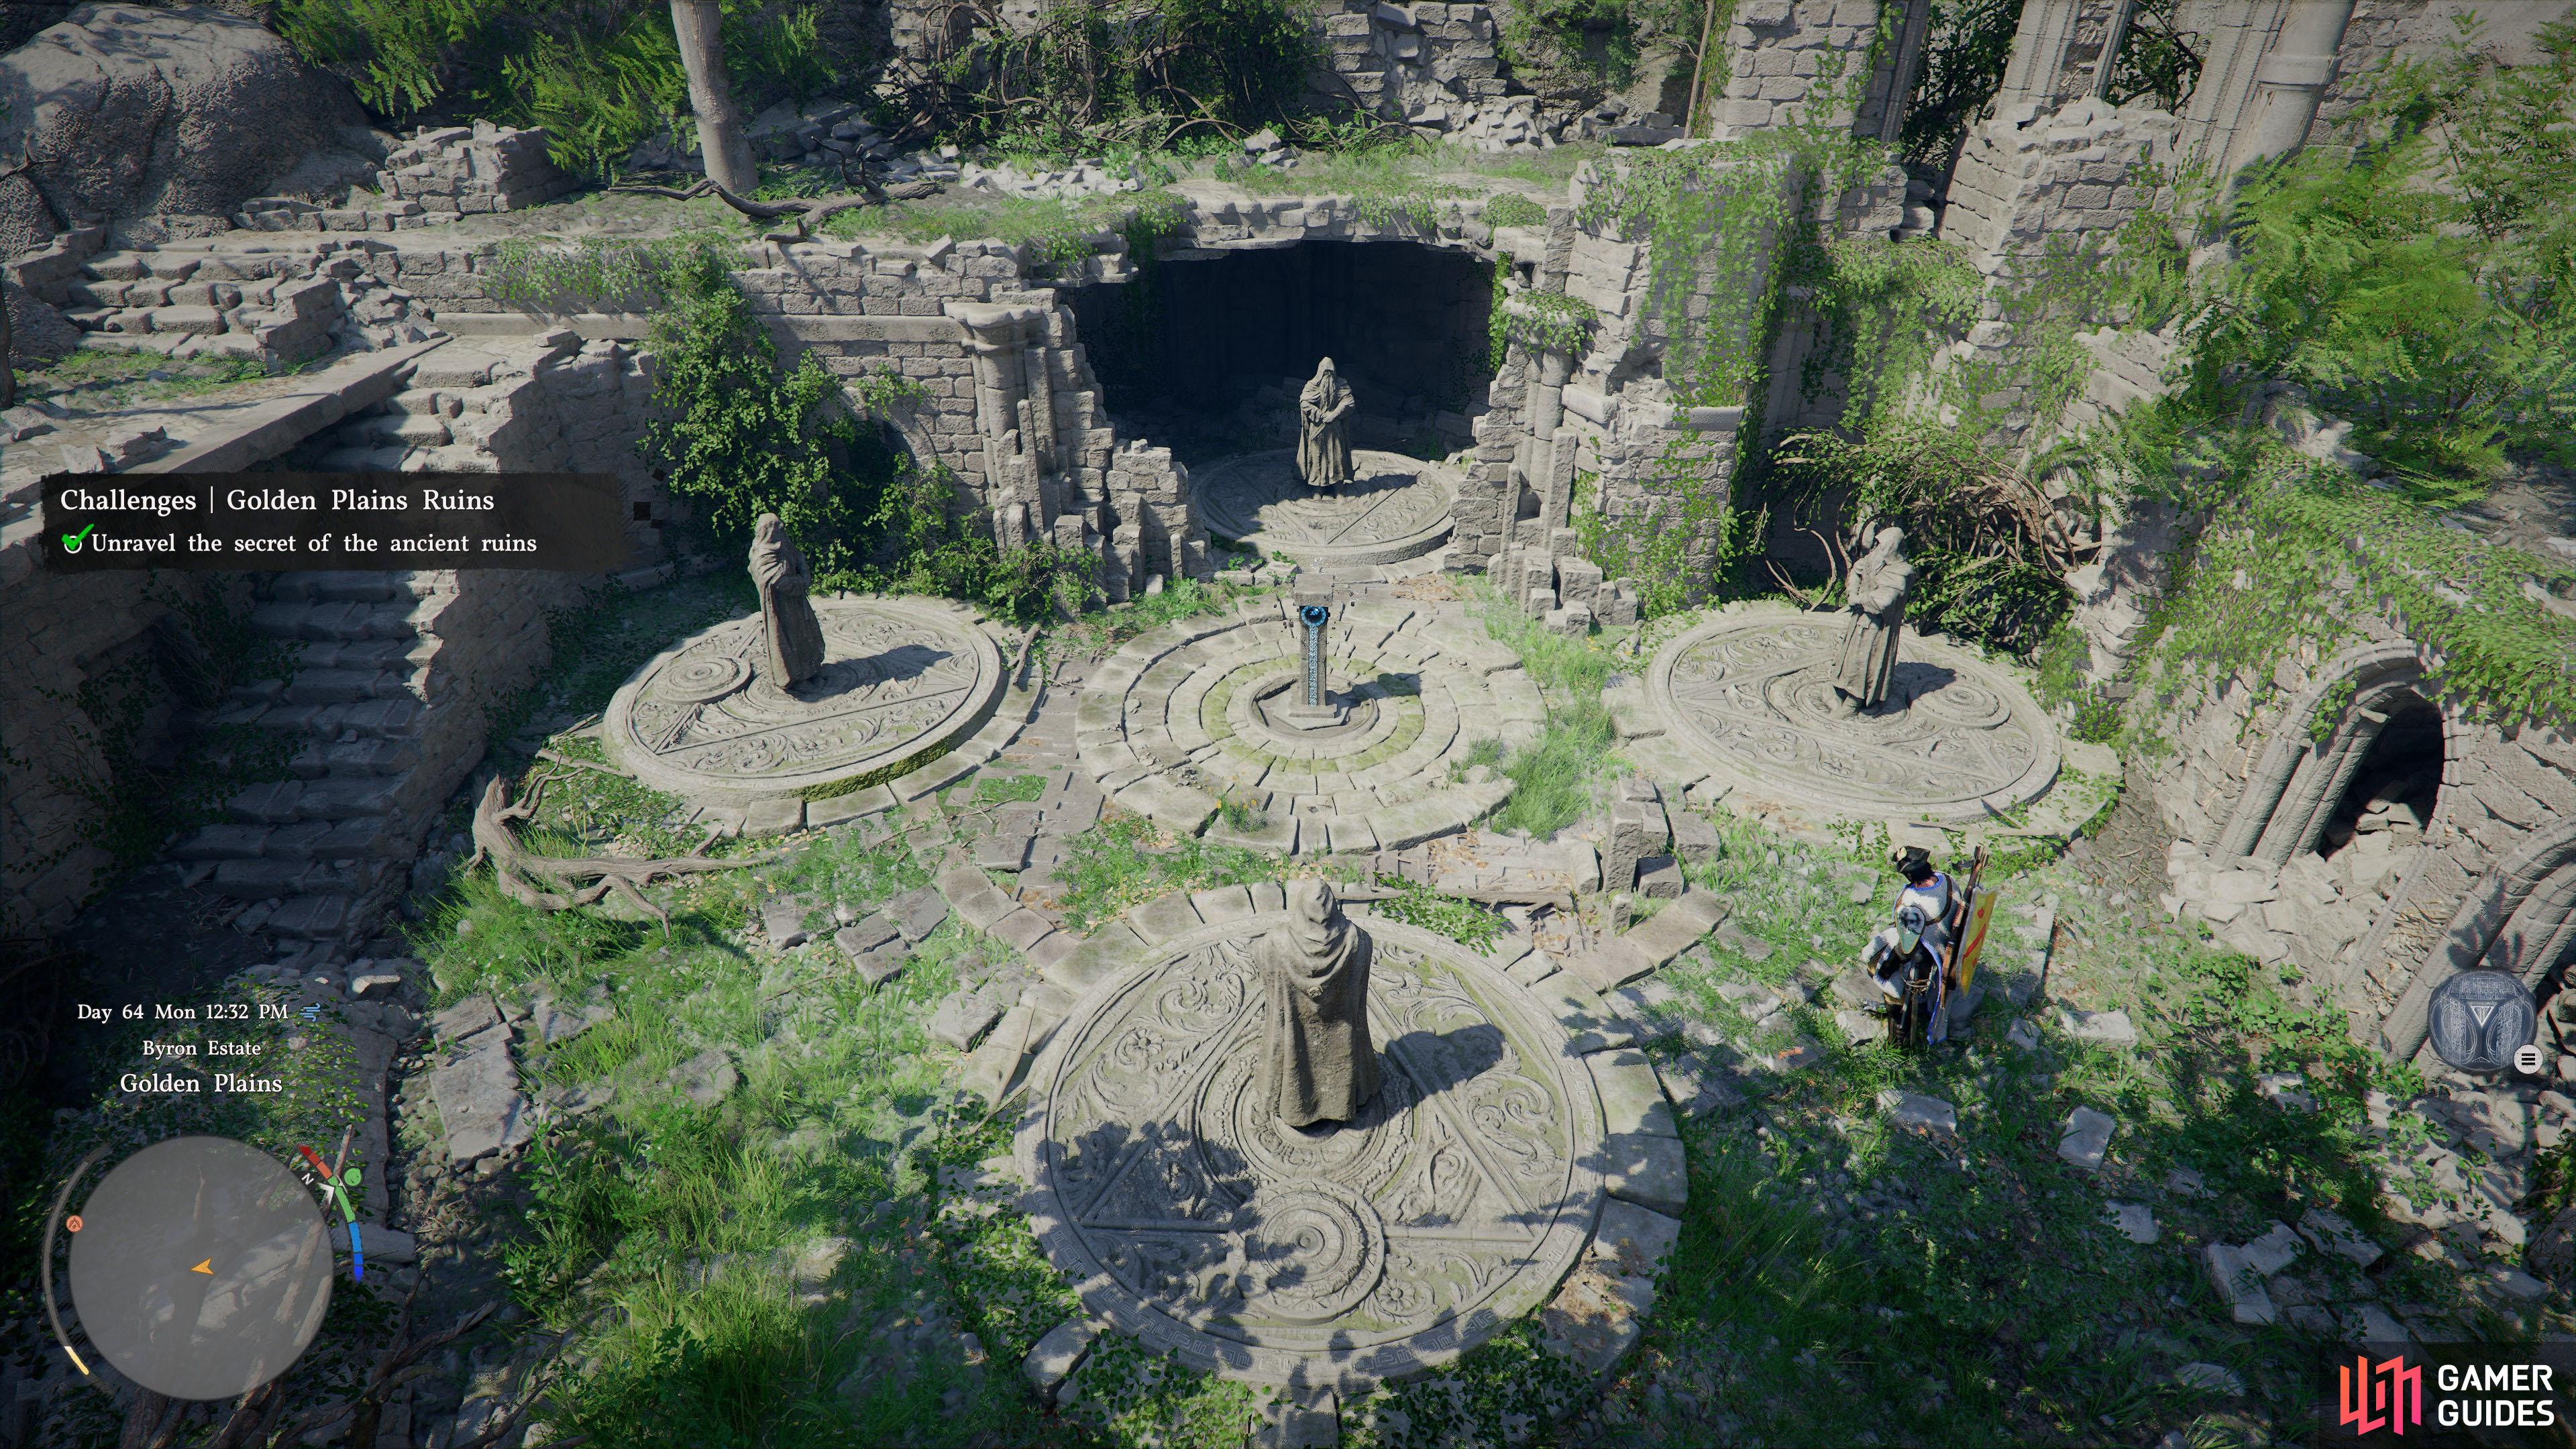
  42. 42 Golden Plains Ruins

    Golden Plains Ruins

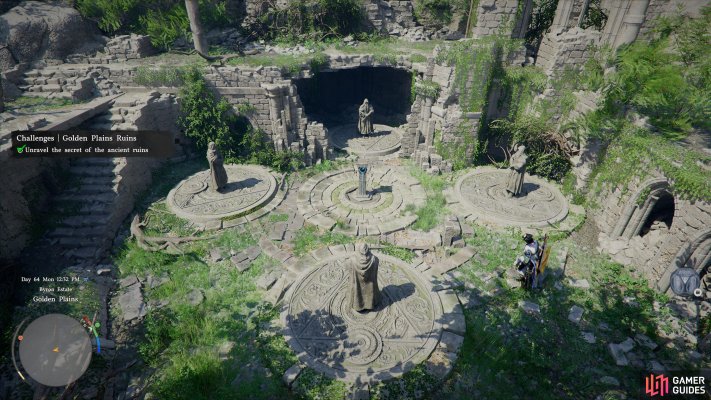
    Use the dials at the back of each statue to rotate them so they’re all facing the middle.

    Two of the statues will also rotate a second statue. One statue only rotates itself. One more statue is hidden by thorns that you can burn by shining sunlight with your sword.

    View on map
  43. 43 Abyss Cresset

    Abyss Cresset

    Found at the peak of the tallest rocky outcrop.

    View on map
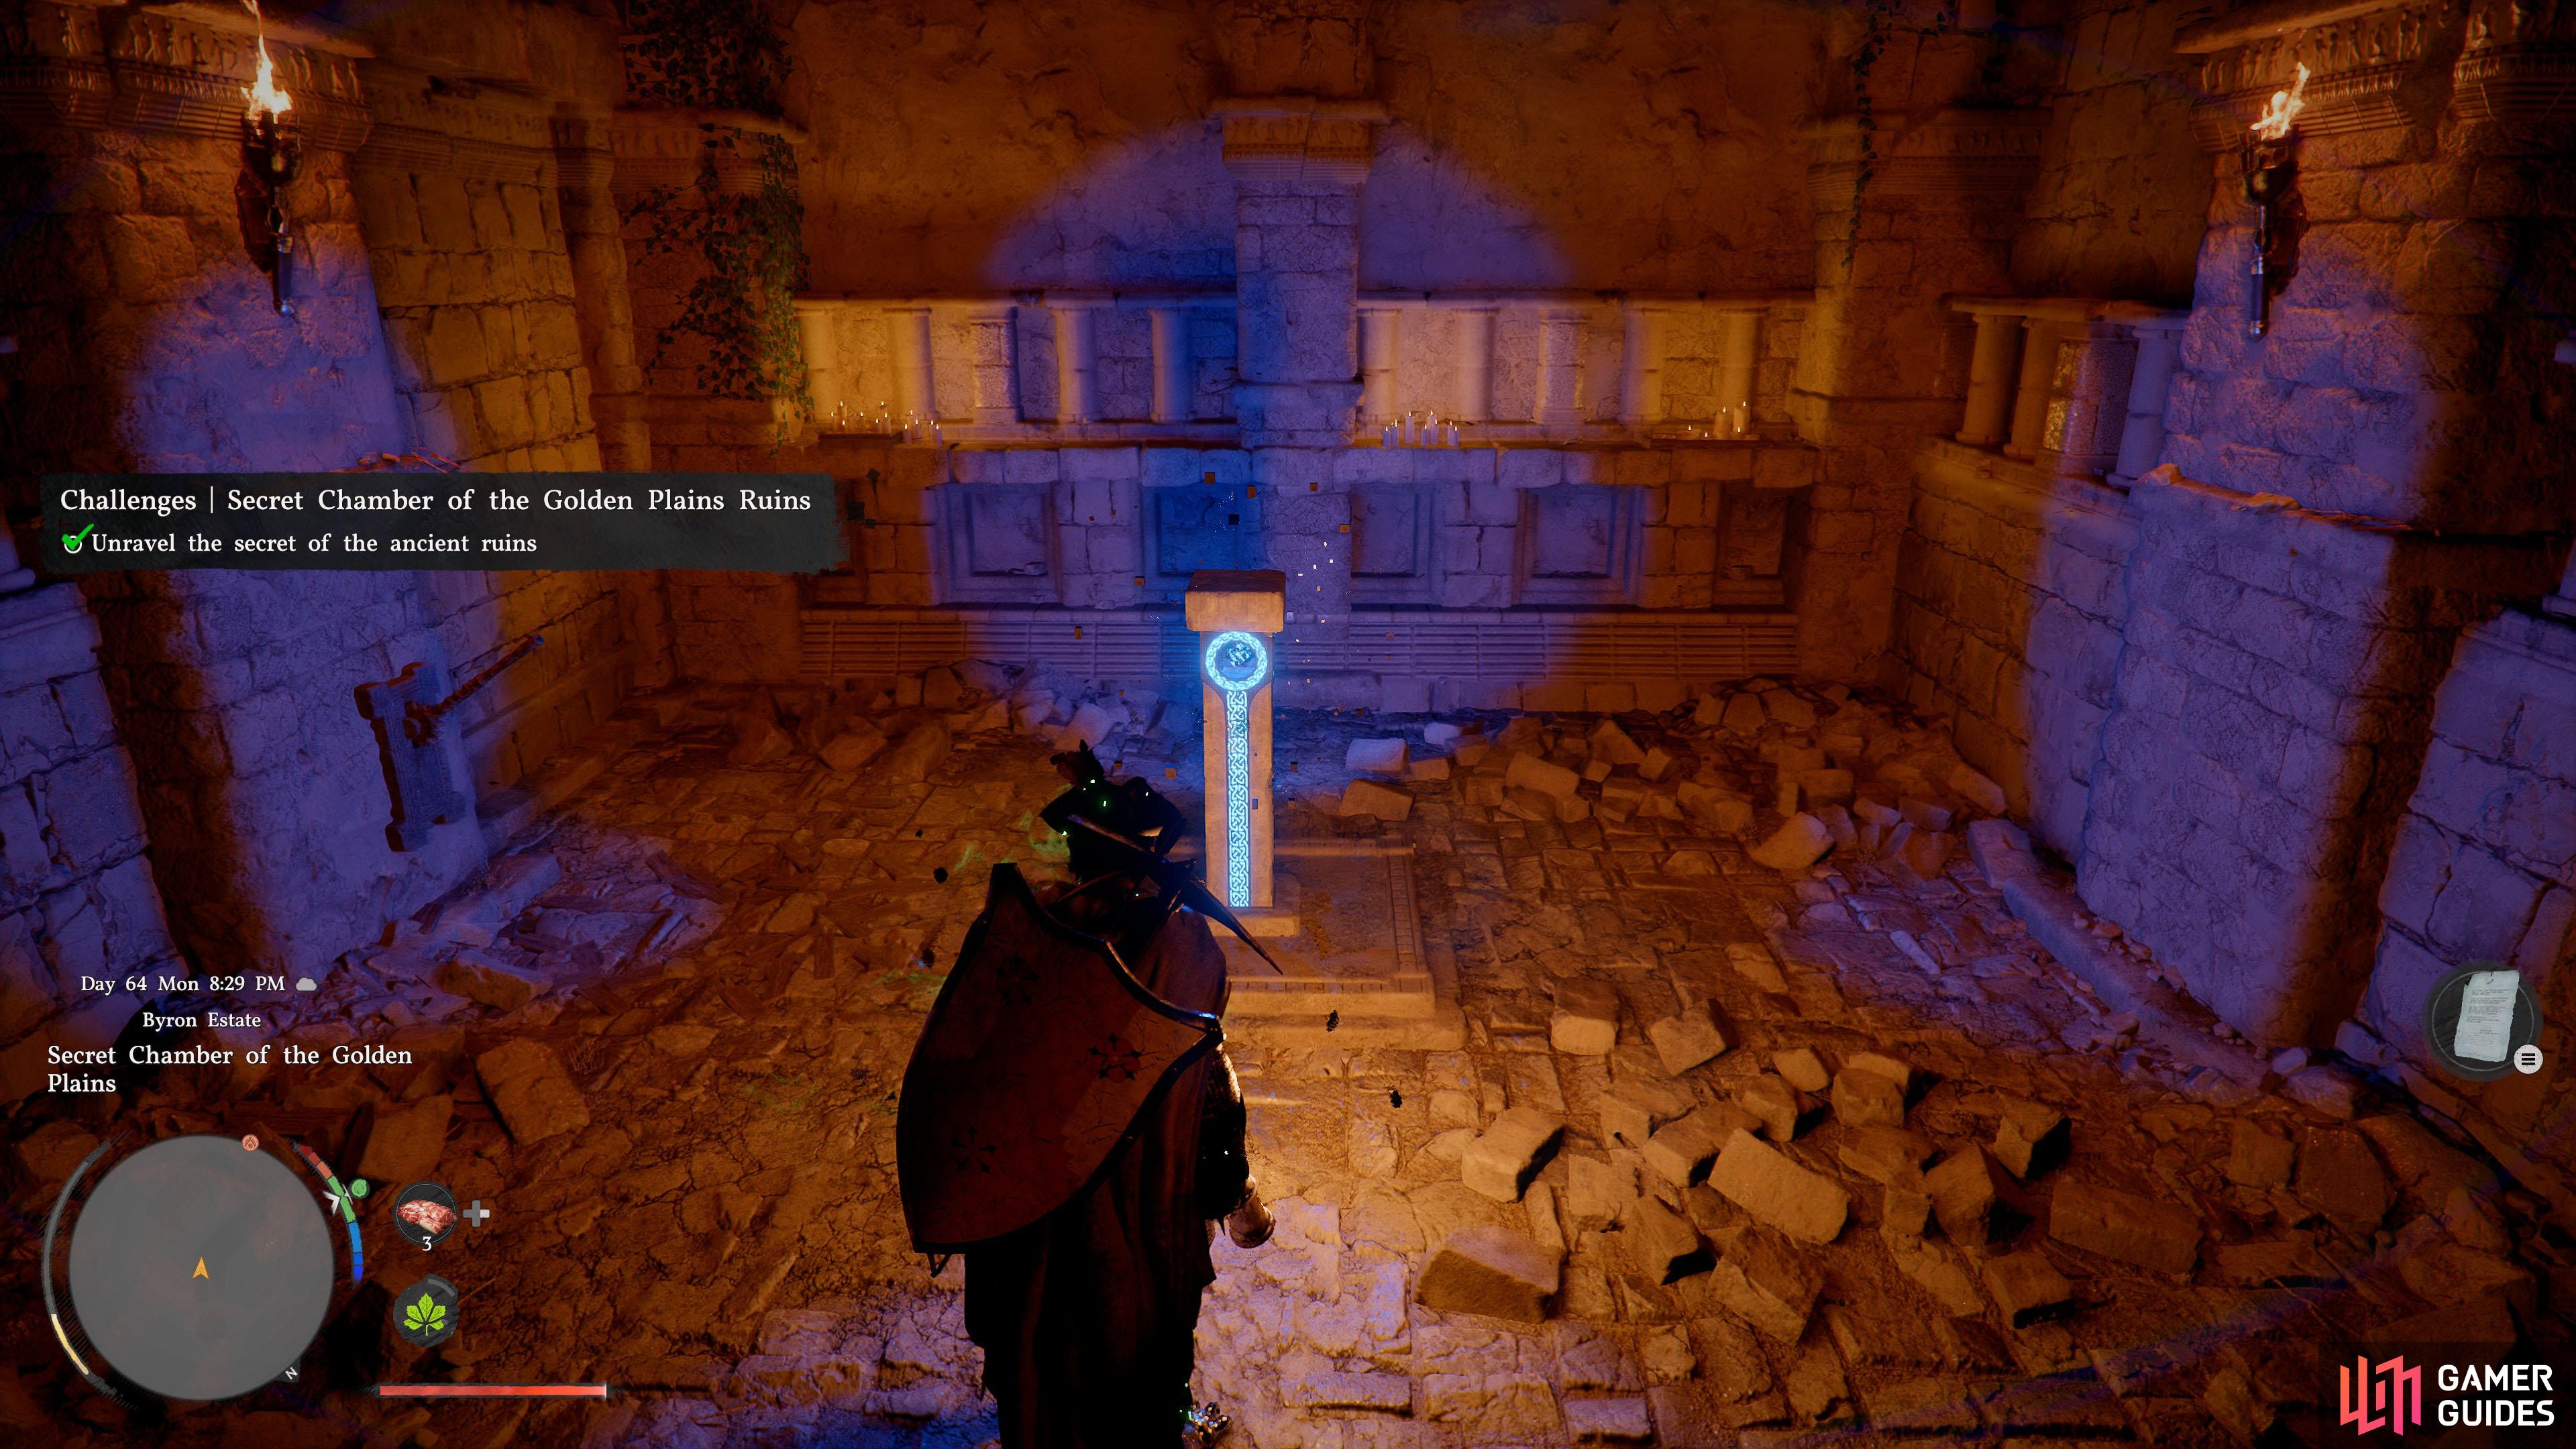
  44. 44 Secret Chamber of the Golden Plains

    Secret Chamber of the Golden Plains

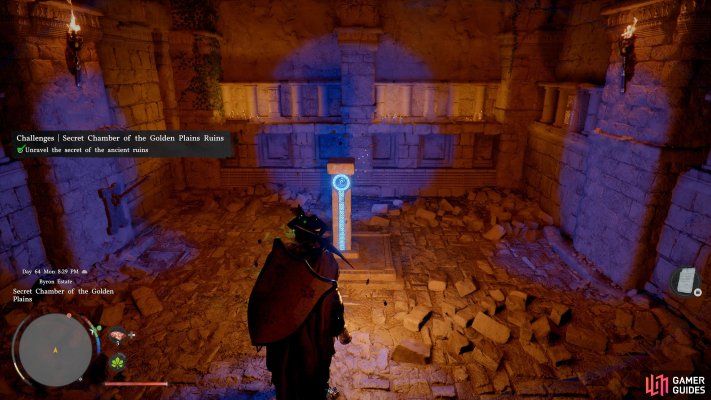
    South from Honeywood Apiary, underground. Accessible via underground entrance to the south-east.

    You must solve a puzzle to reach it. Please refer to nearby map marker.

    View on map
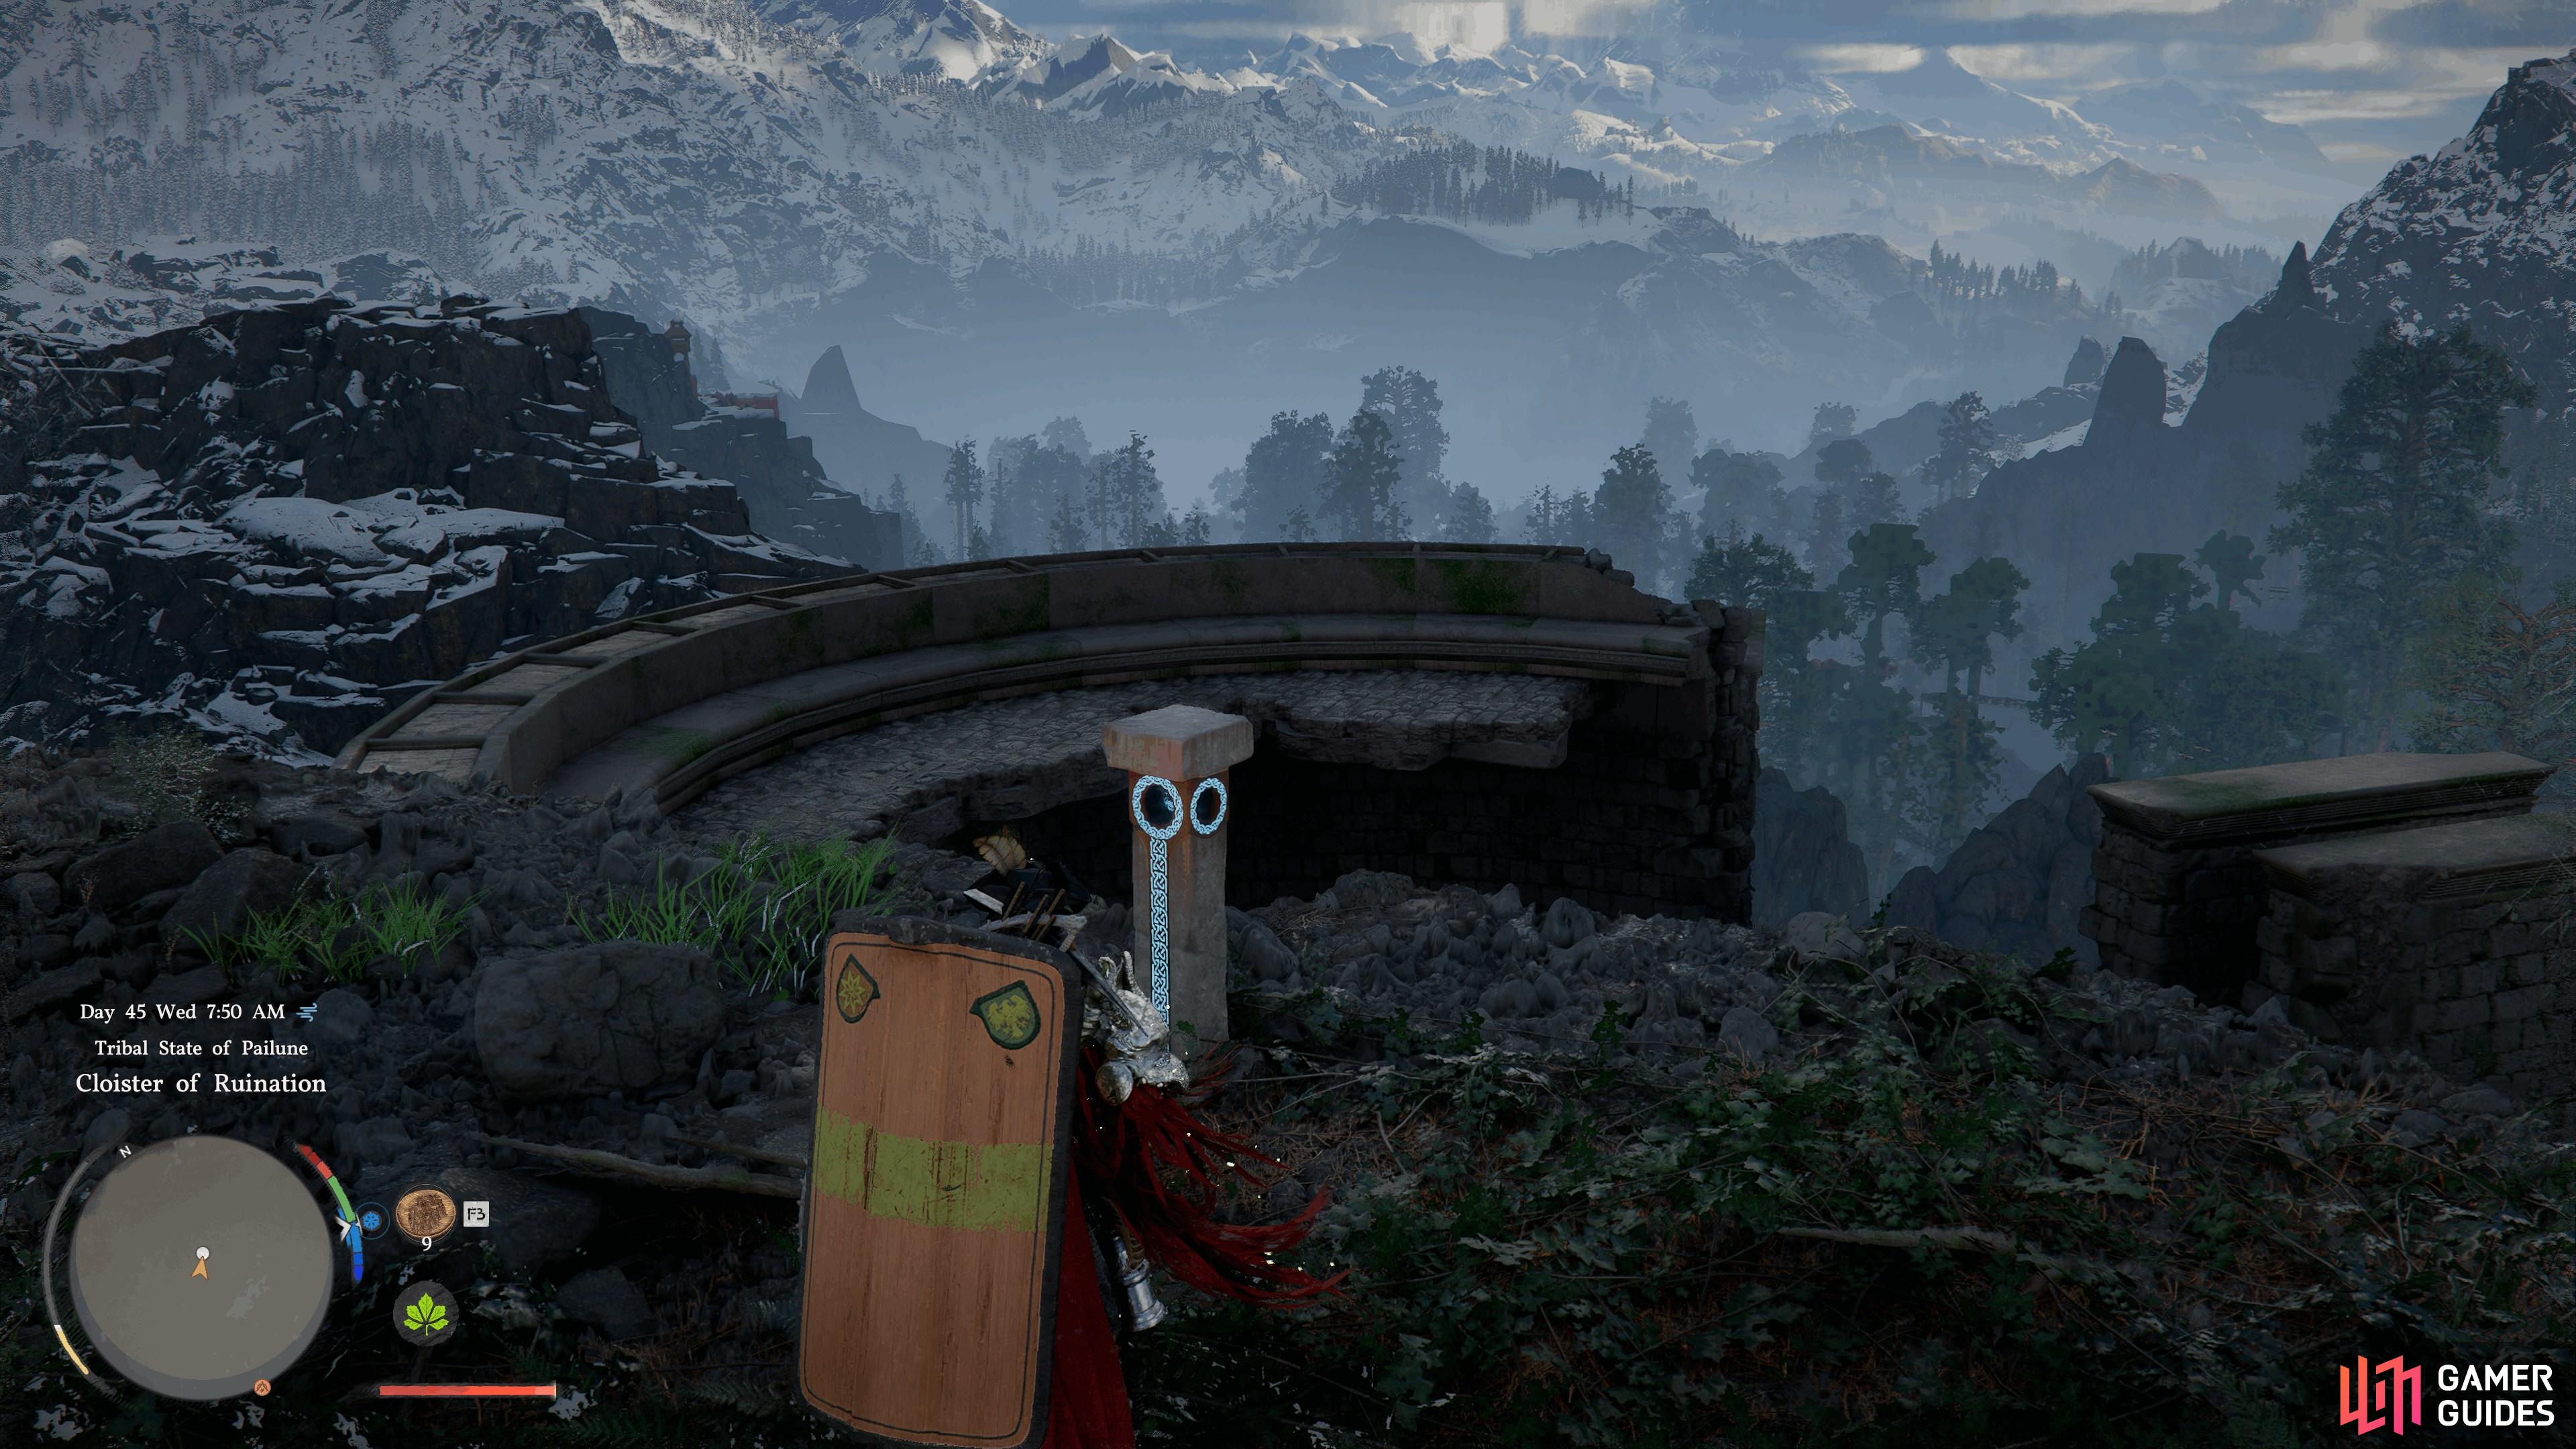
  45. 45 Abyss Cresset

    Abyss Cresset

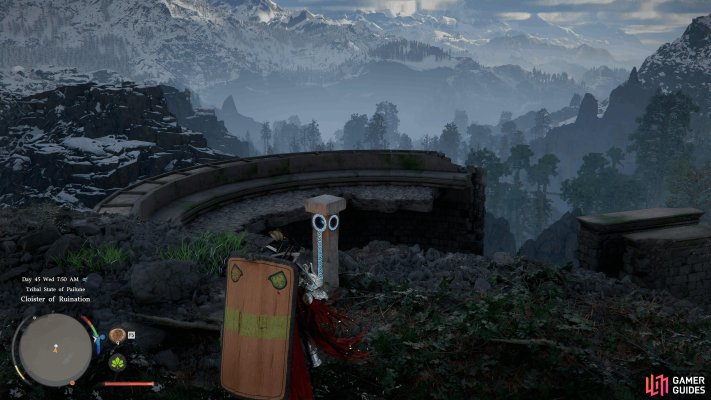
    Located above the Cloister of Ruination. Climb the mountain to the side of it, and you’ll find the cresset. This will also complete the Cloister of Ruination challenge.

    View on map
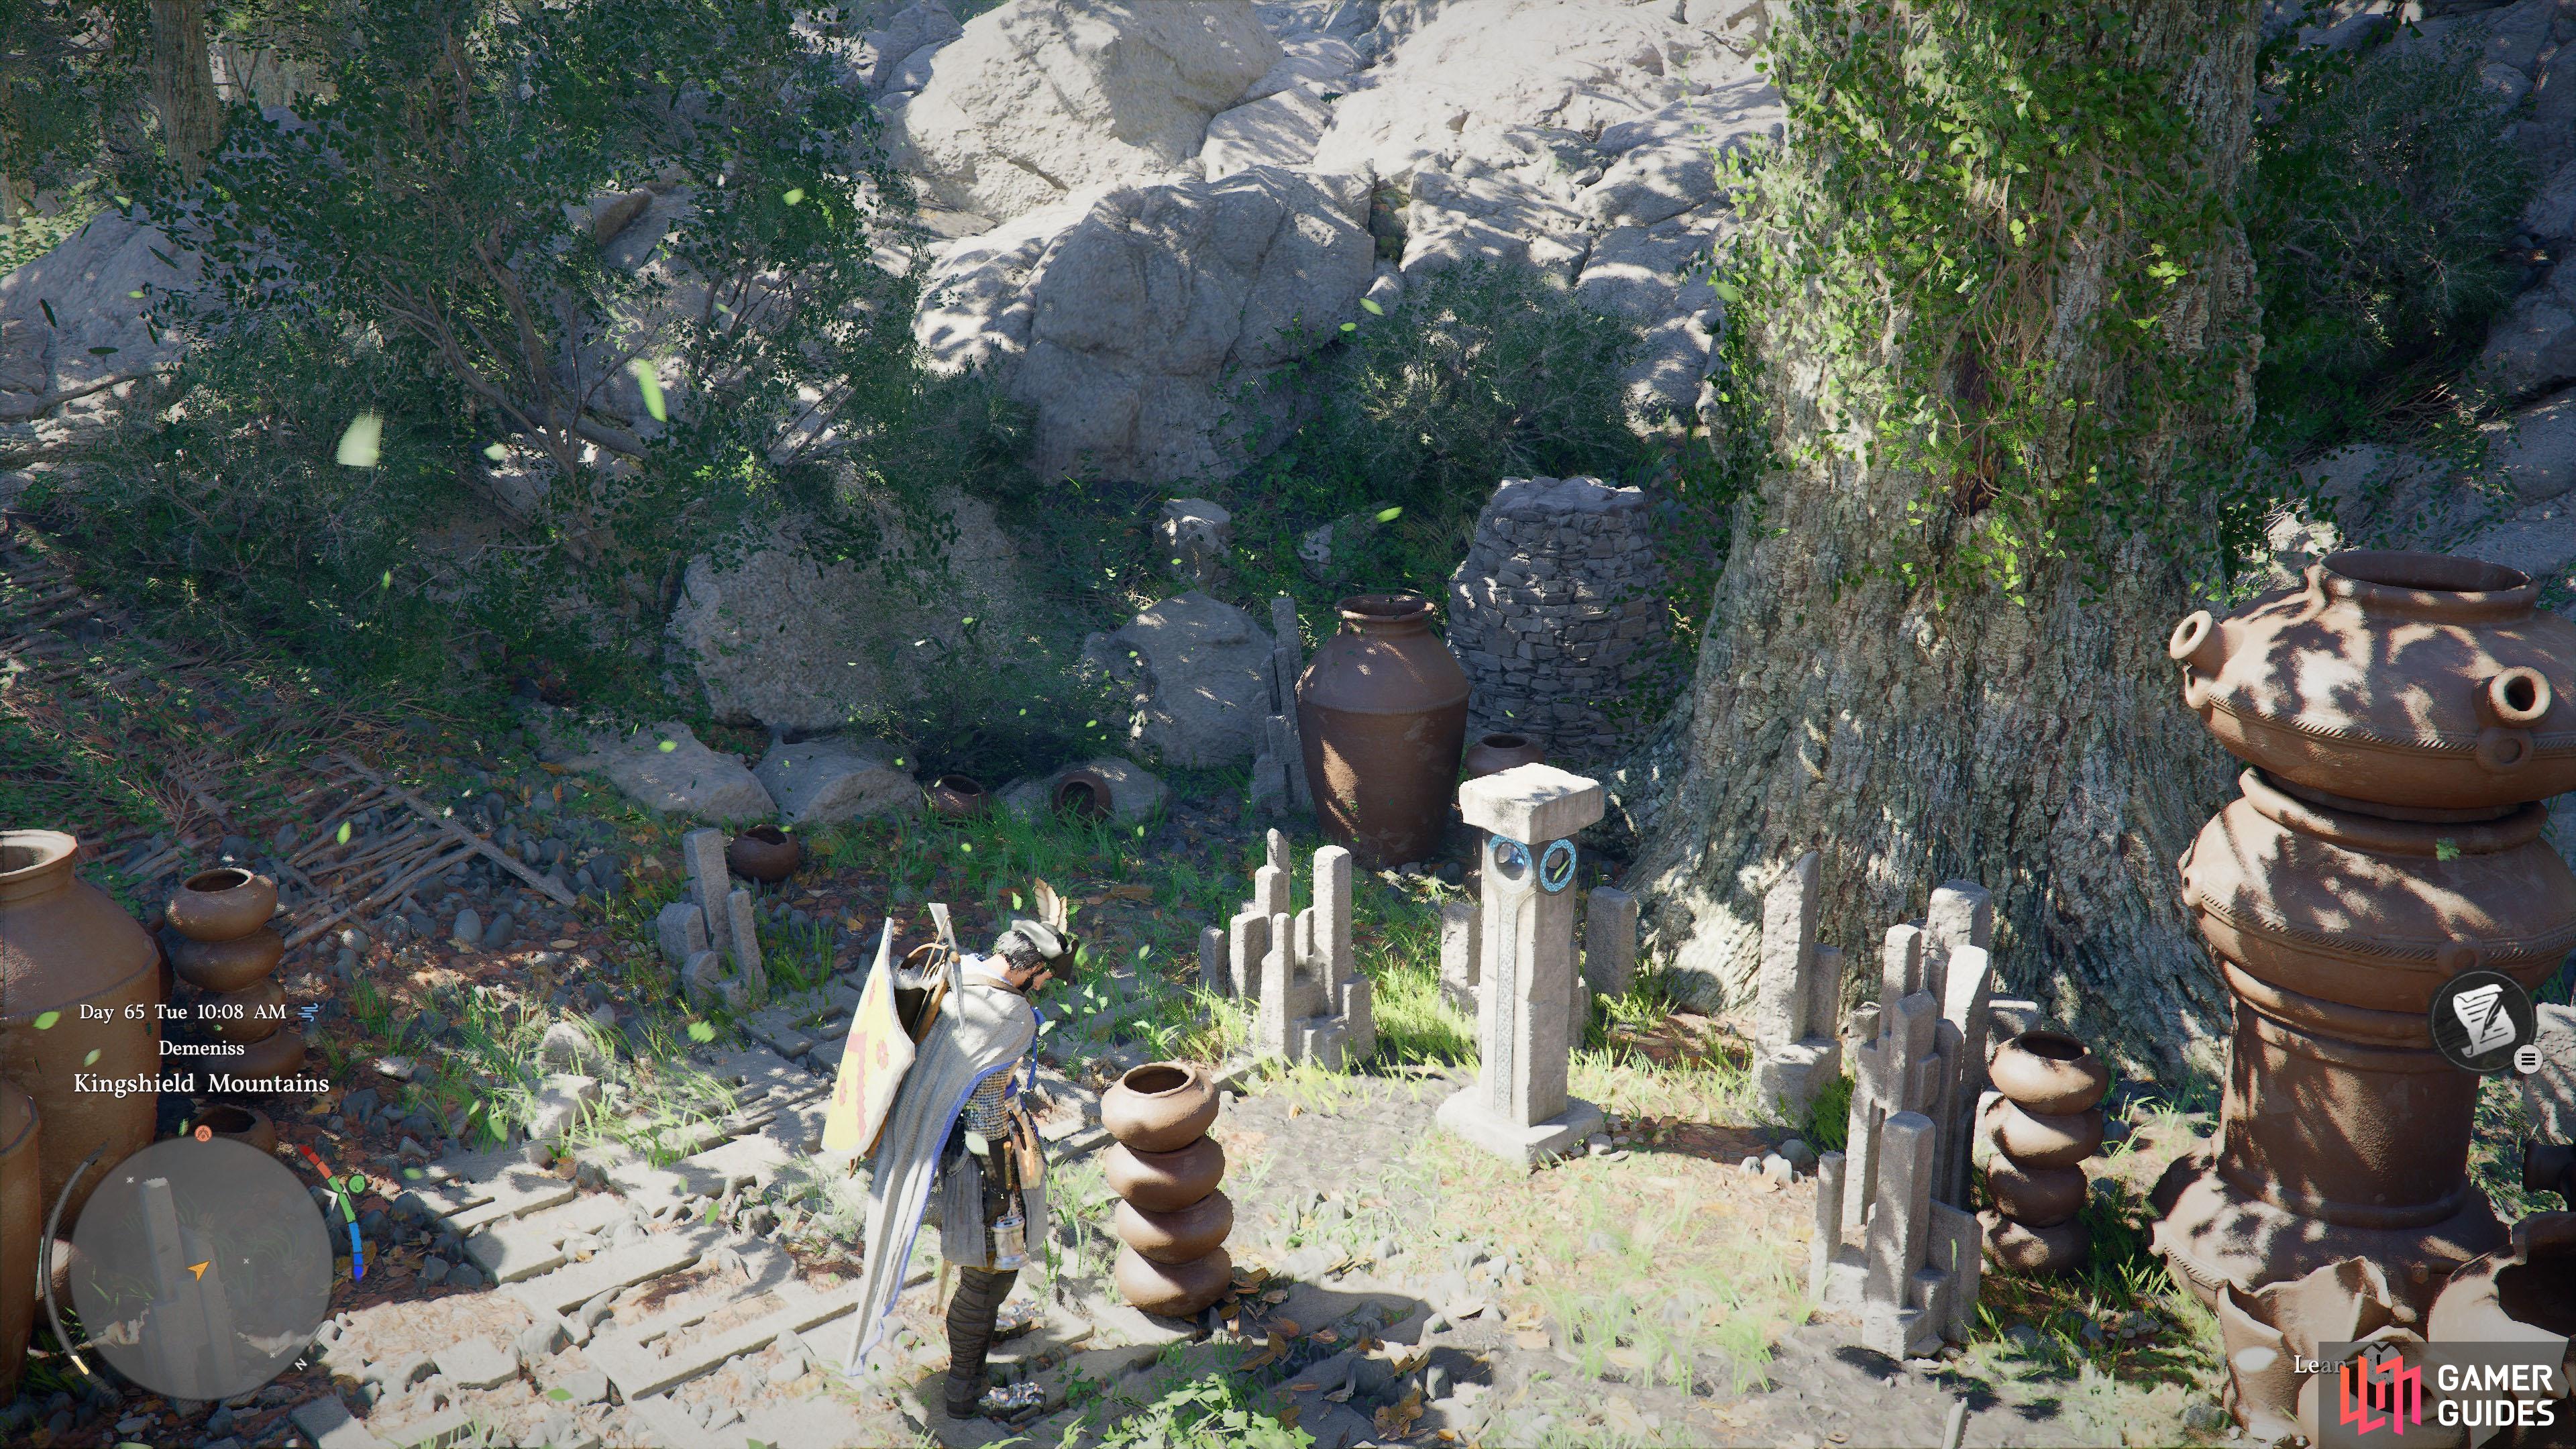
  46. 46 Kingshield Mountain Ruins

    Kingshield Mountain Ruins

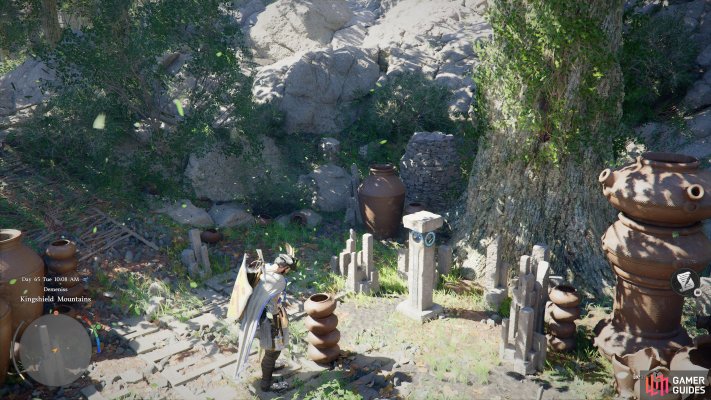
    Grab three nearby jars and carefully stack them on top of the already placed jar.

    Make sure the jars are the same size. The smaller ones may break.

    View on map
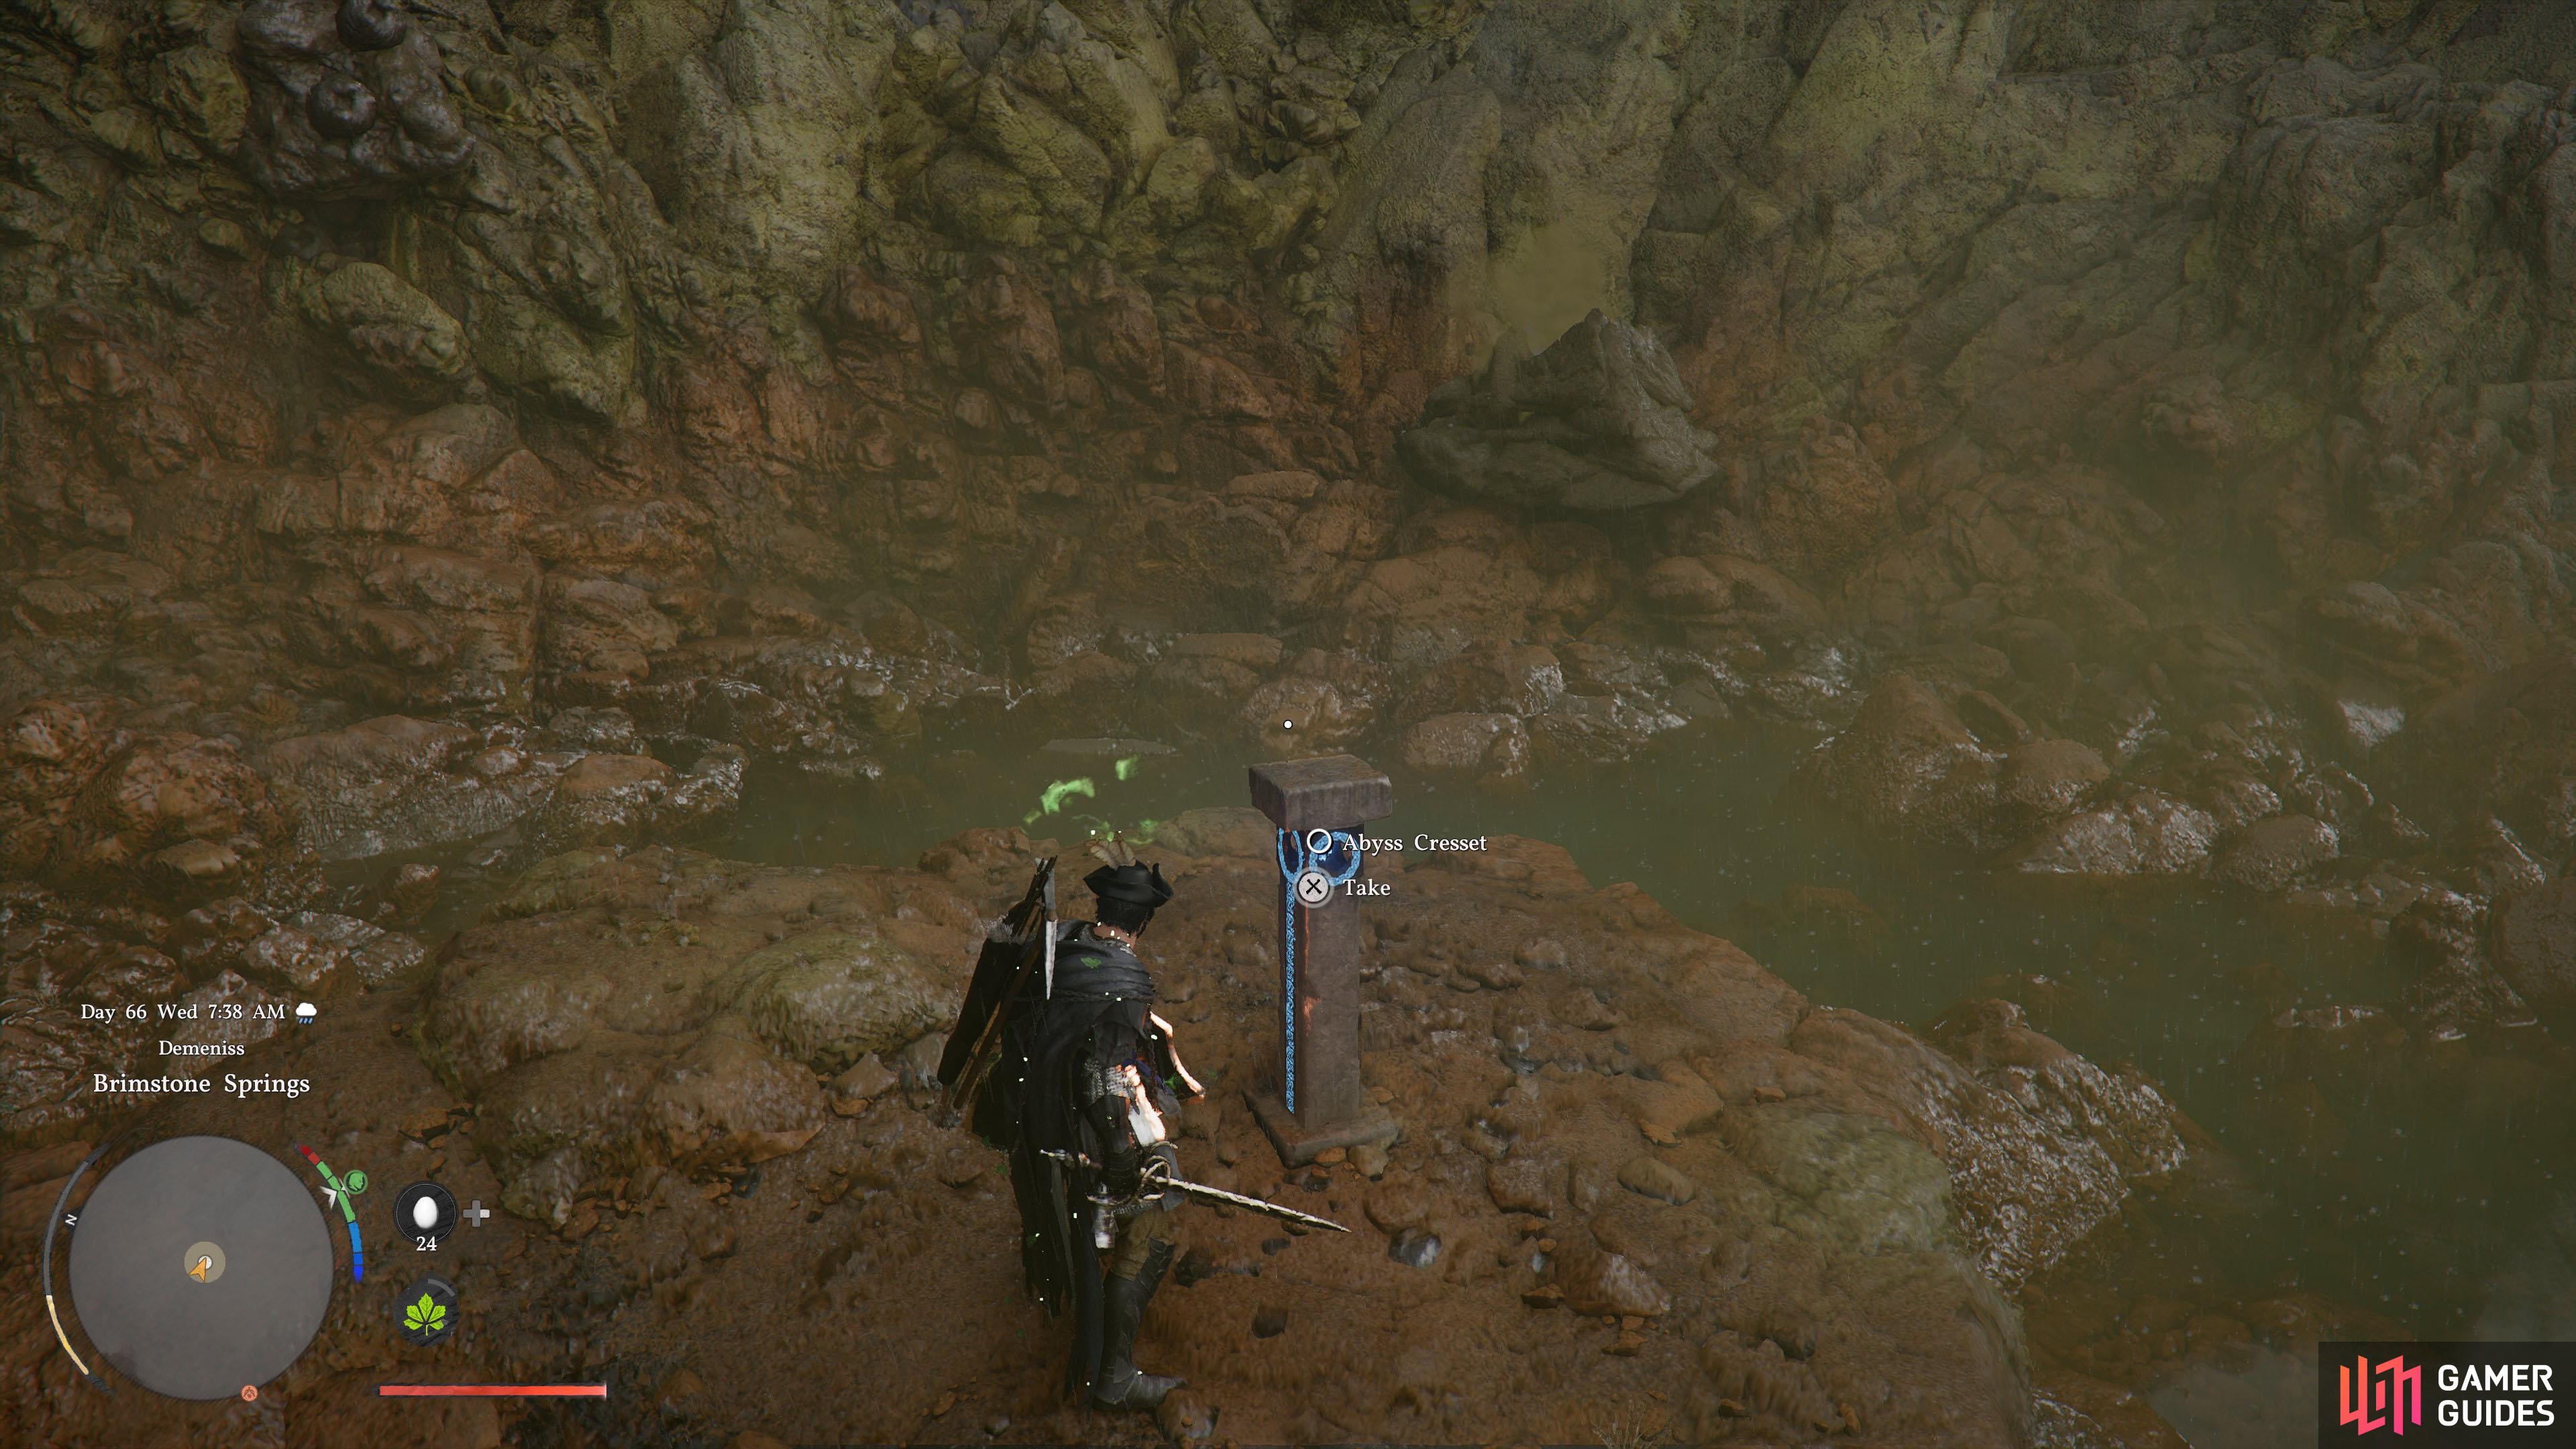
  47. 47 Breathless Lake

    Breathless Lake

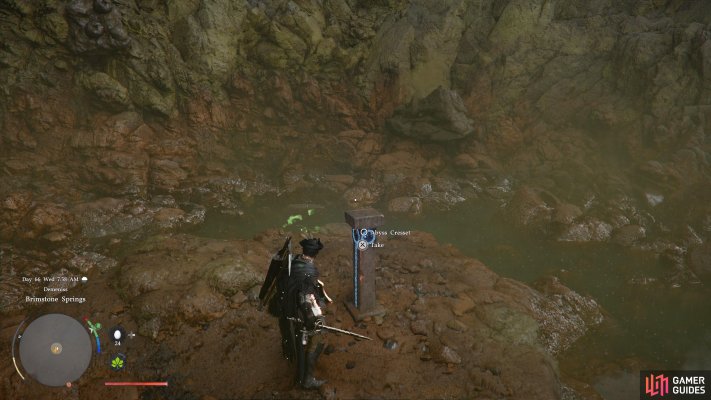
    At "Brimstone" iconBrimstone Springs.

    View on map
  48. 48 Peak of Grief

    Peak of Grief

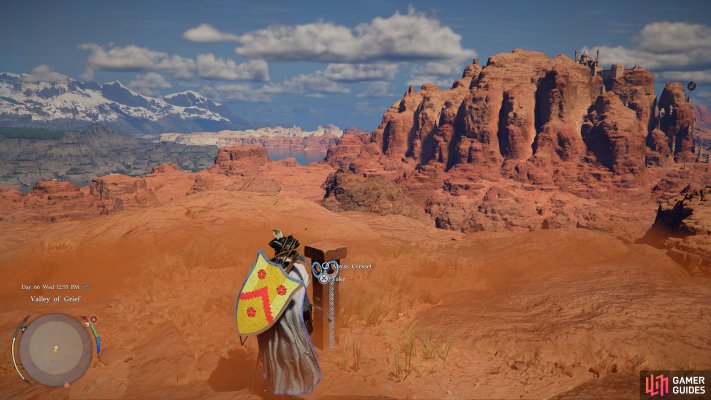
    At the peak of the mountain.

    View on map
  49. 49 Hill of Grief

    Hill of Grief

    At peak of the mountain.

    View on map
  50. 50 The Desert's End

    The Desert's End

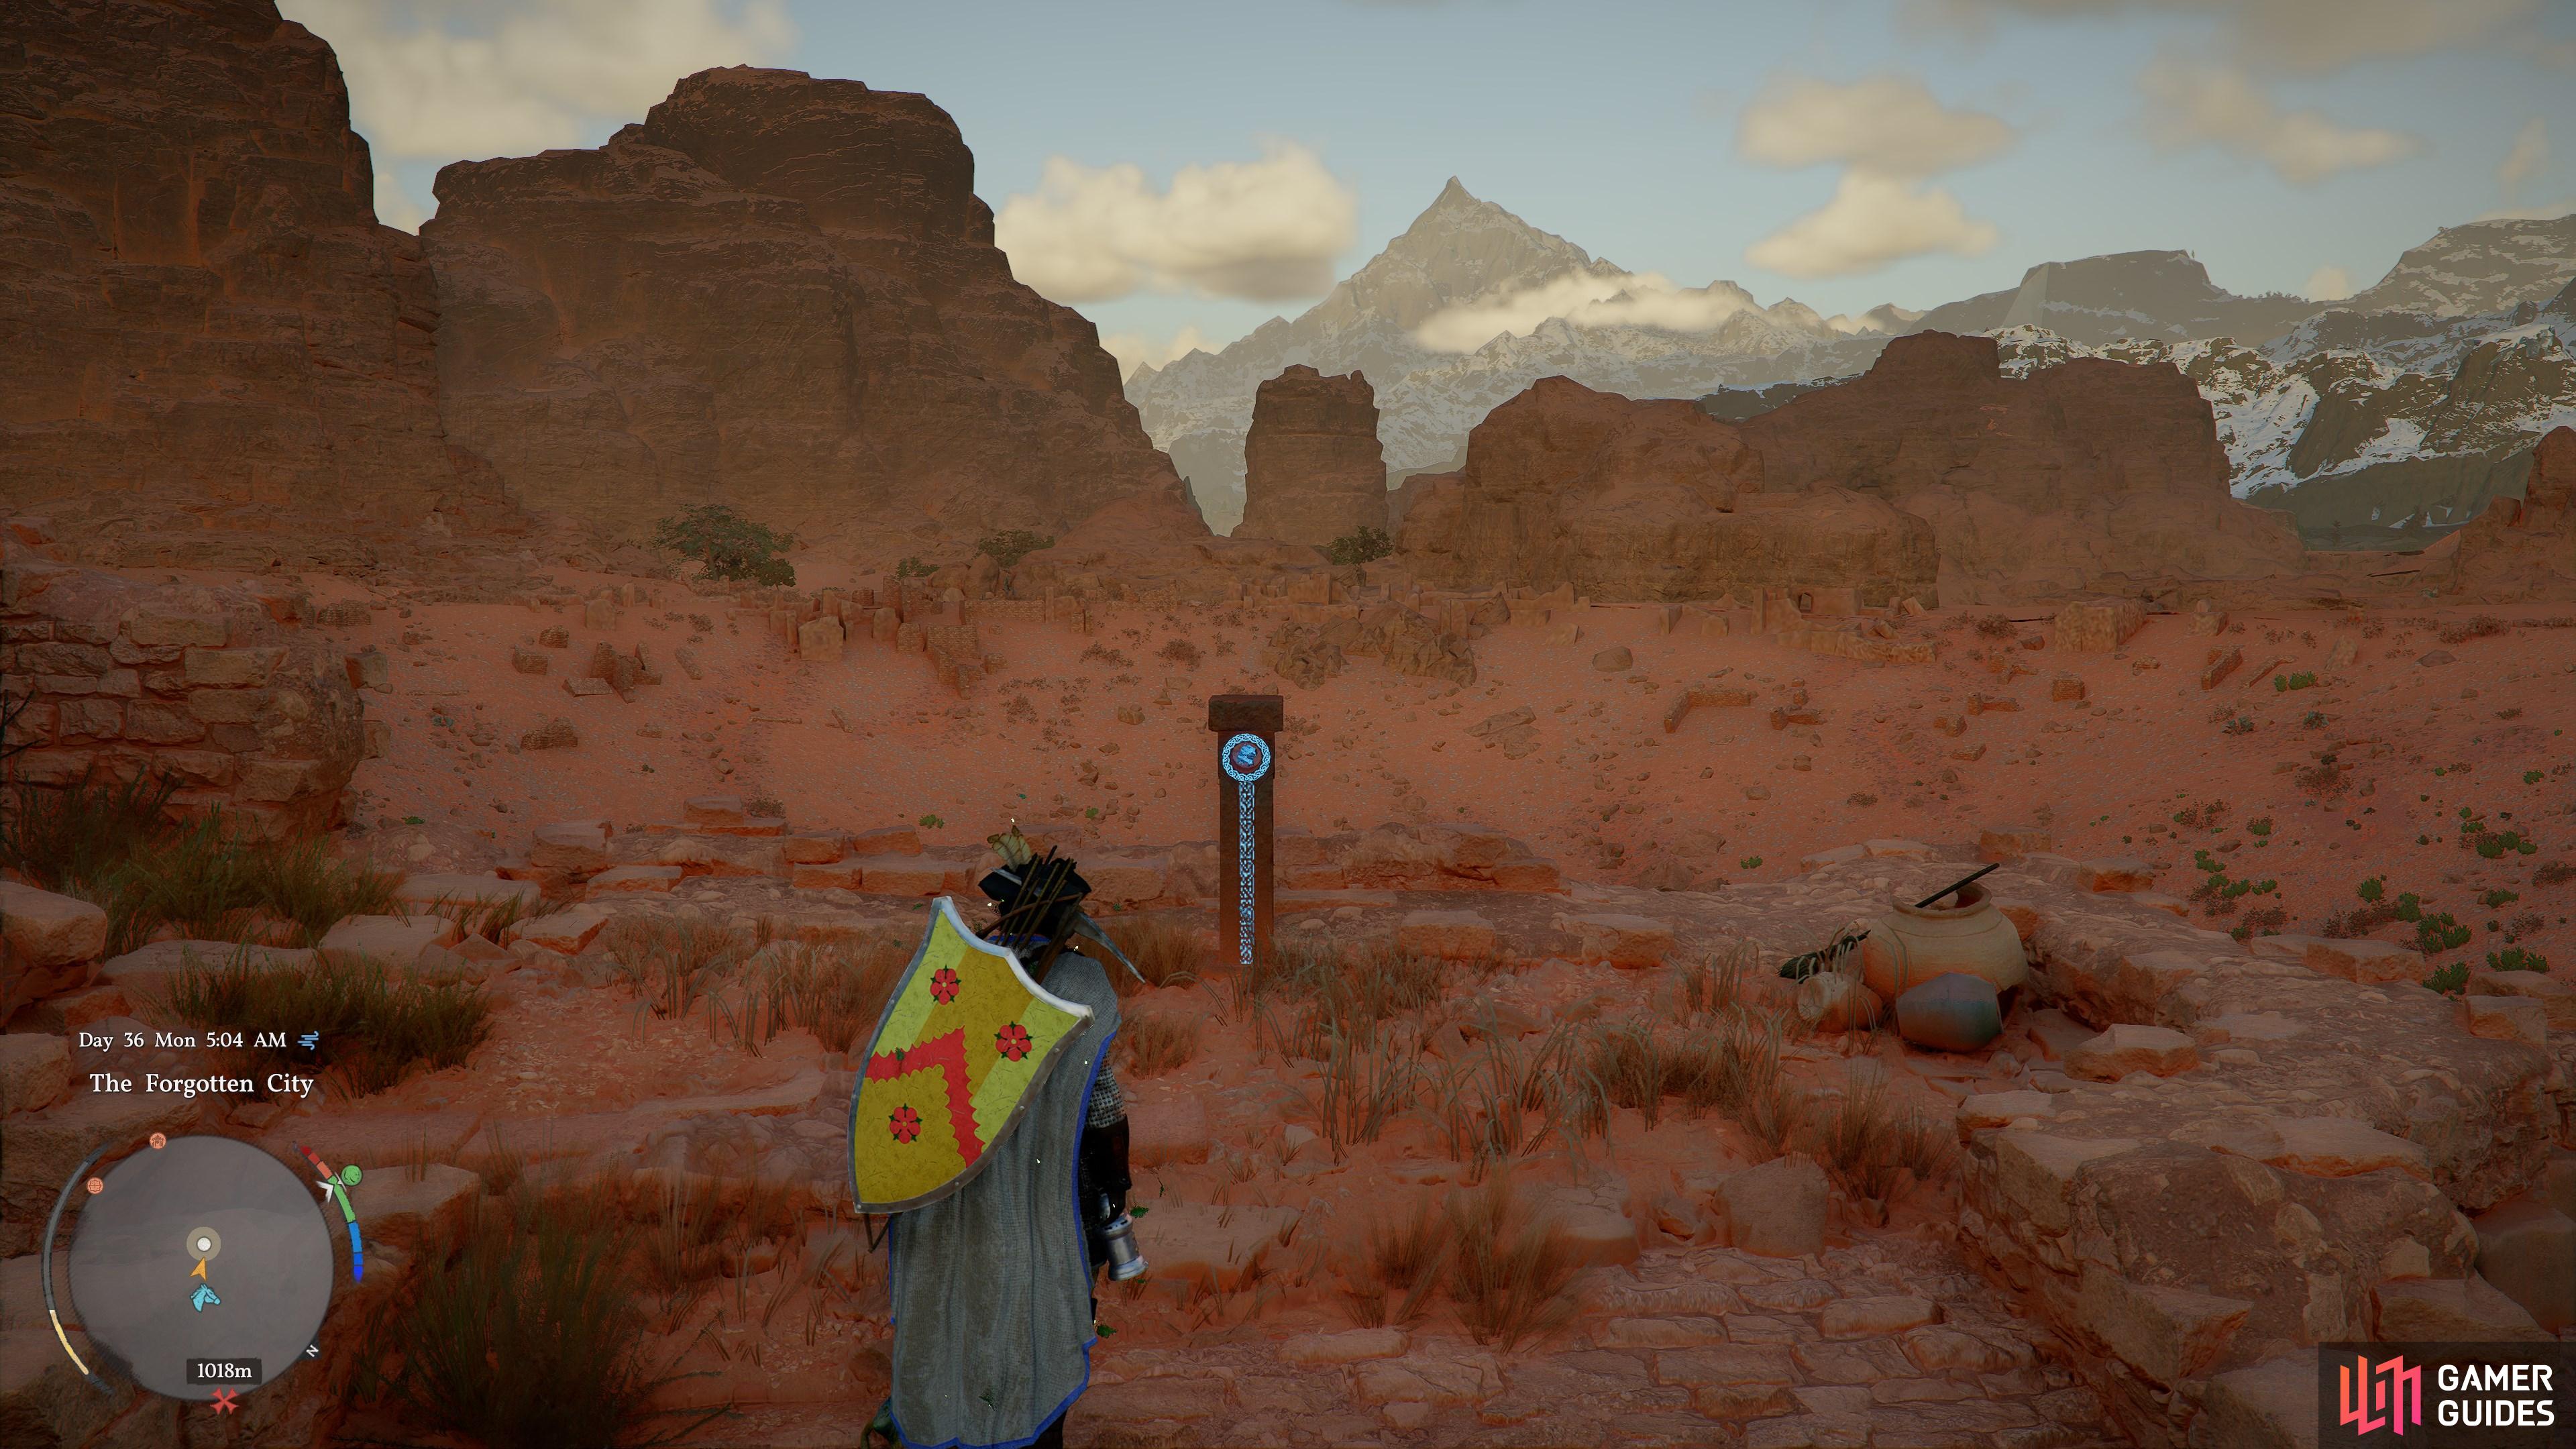
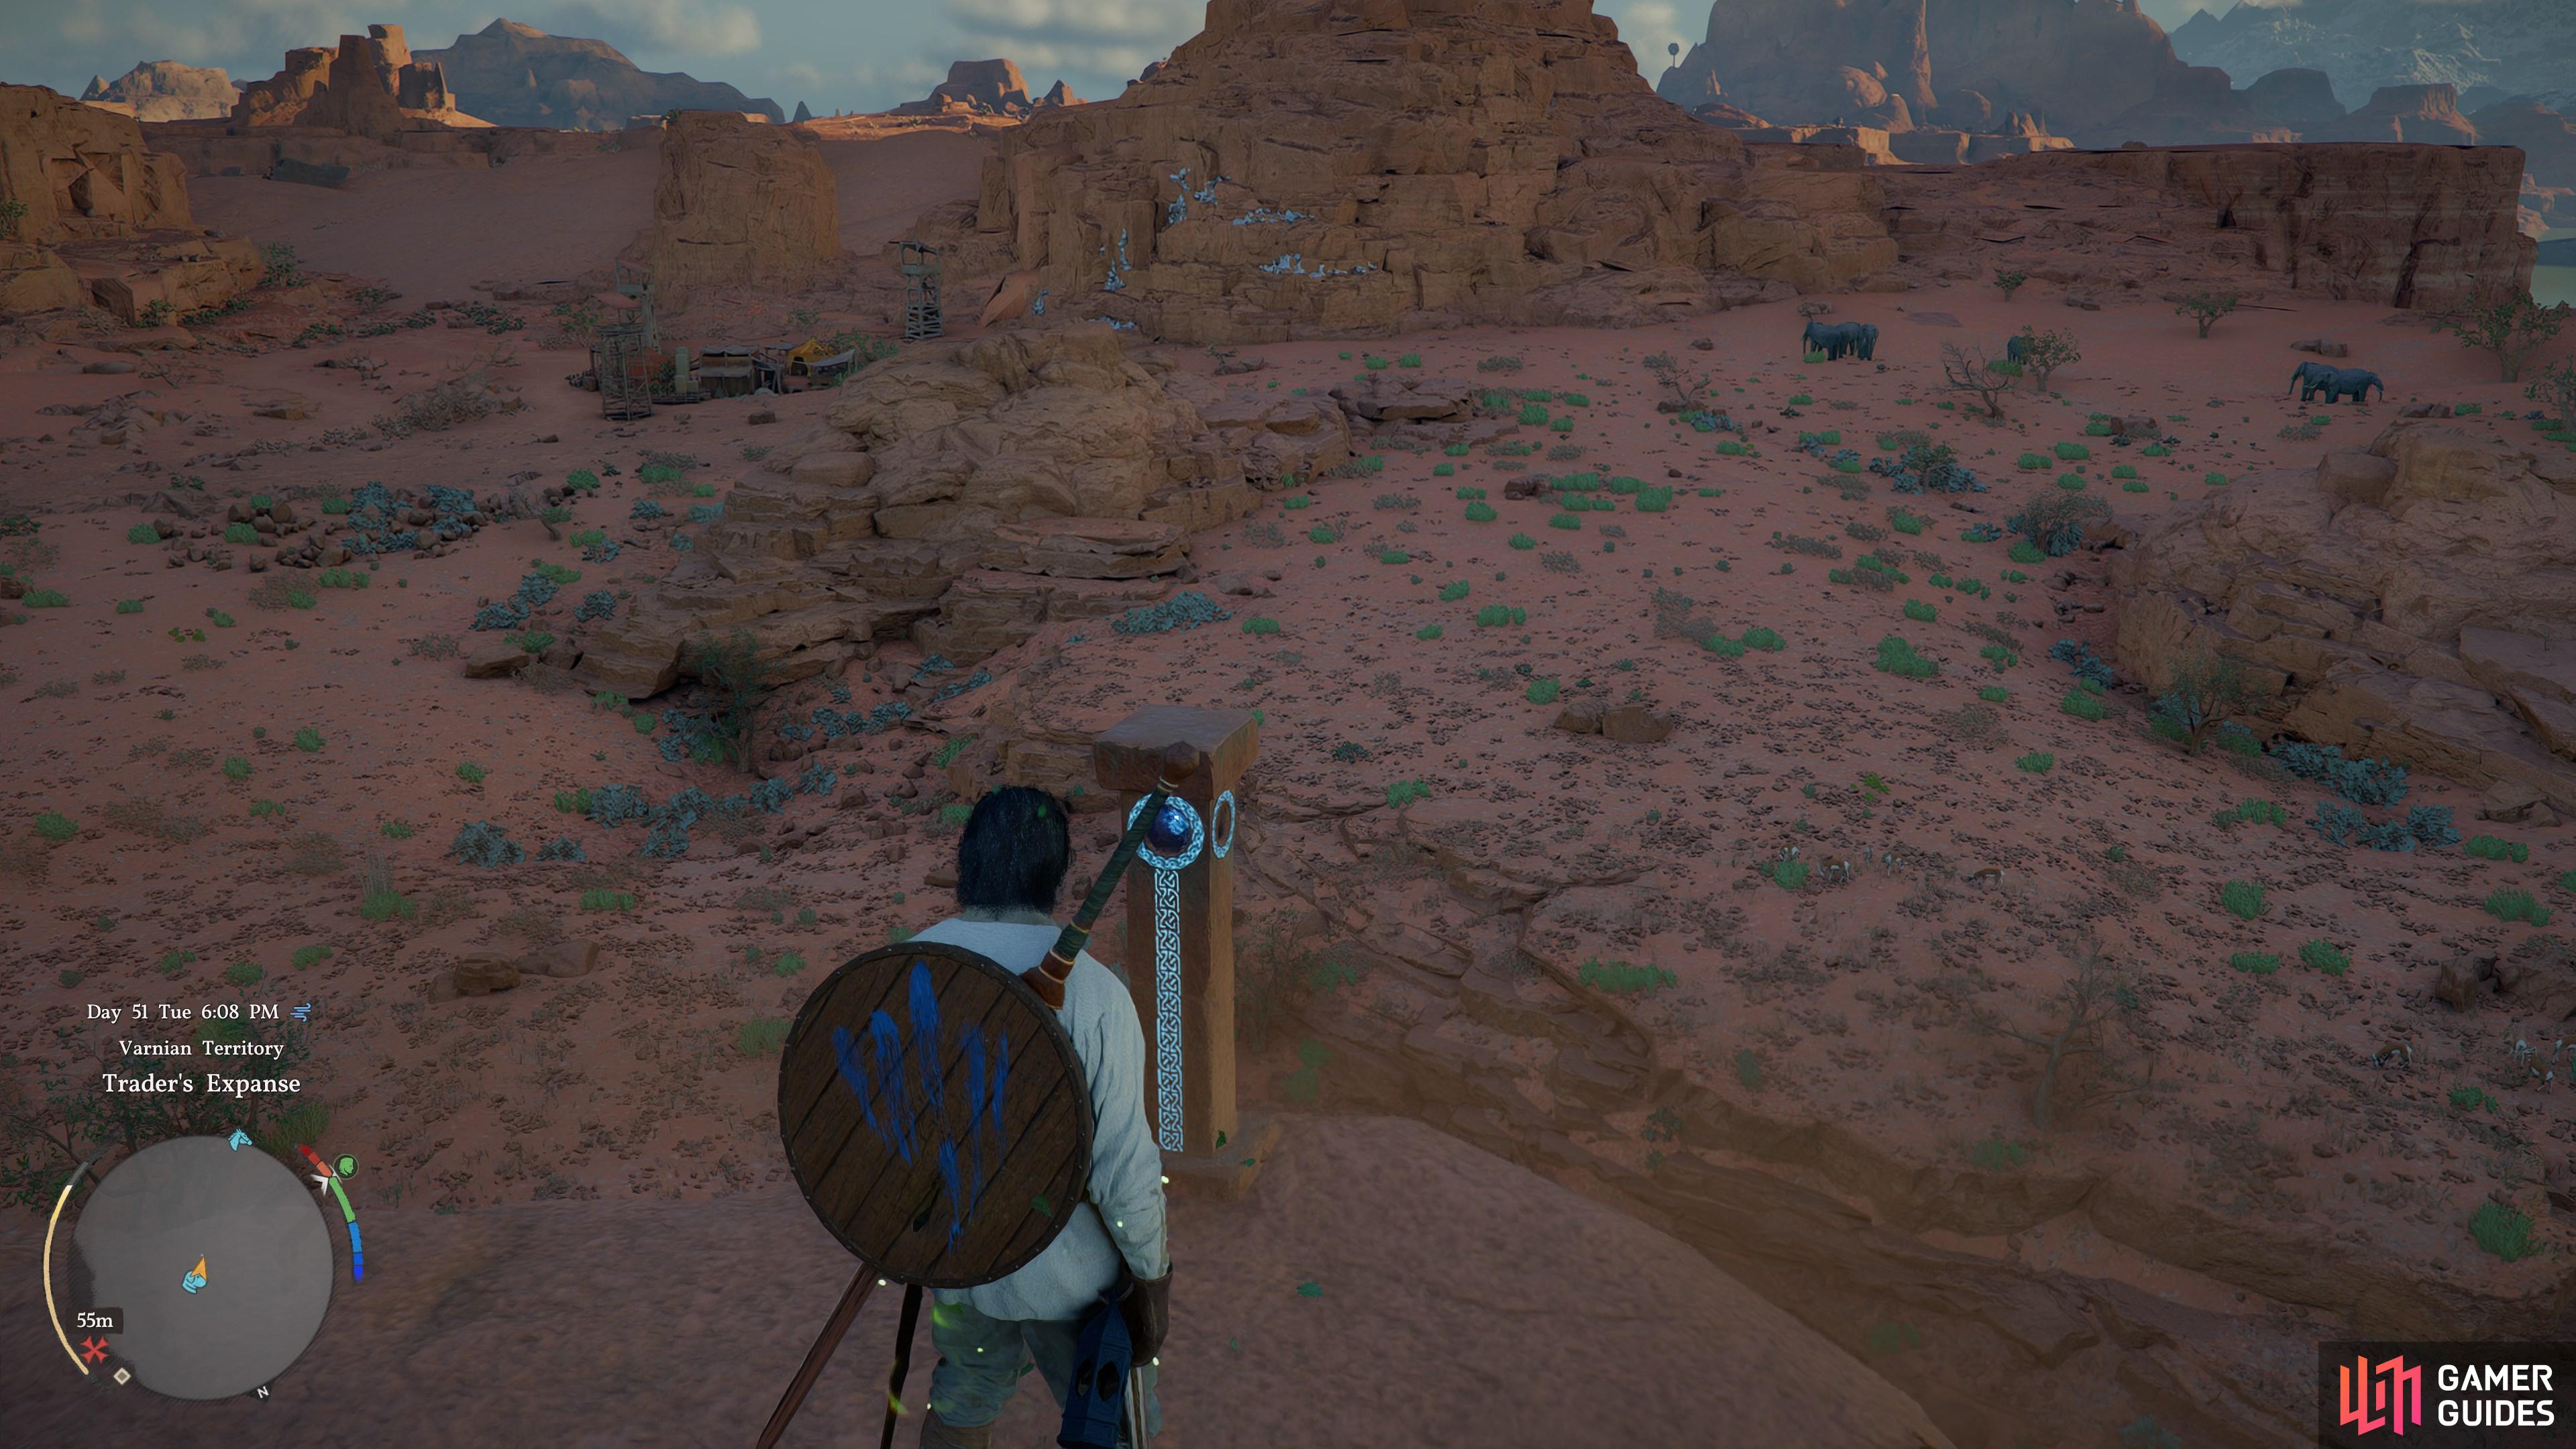
    Atop a stone column.

    View on map
  51. 51 Reedwind Valley Cliffs Abyss Cresset

    Reedwind Valley Cliffs Abyss Cresset

    Cliffs above Reedwind Valley.

    View on map
  52. 52 Abyss Cresset

    Abyss Cresset

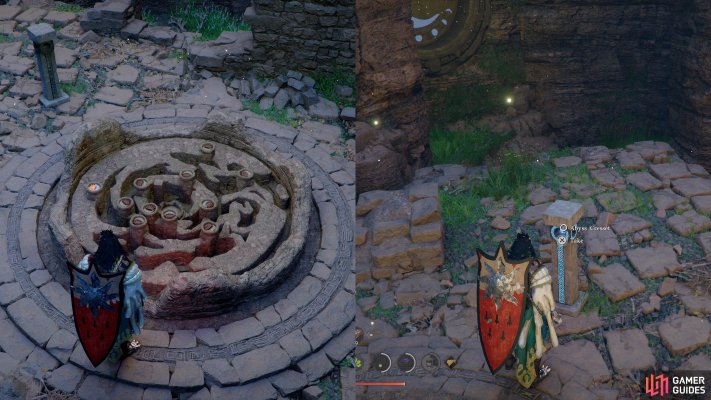
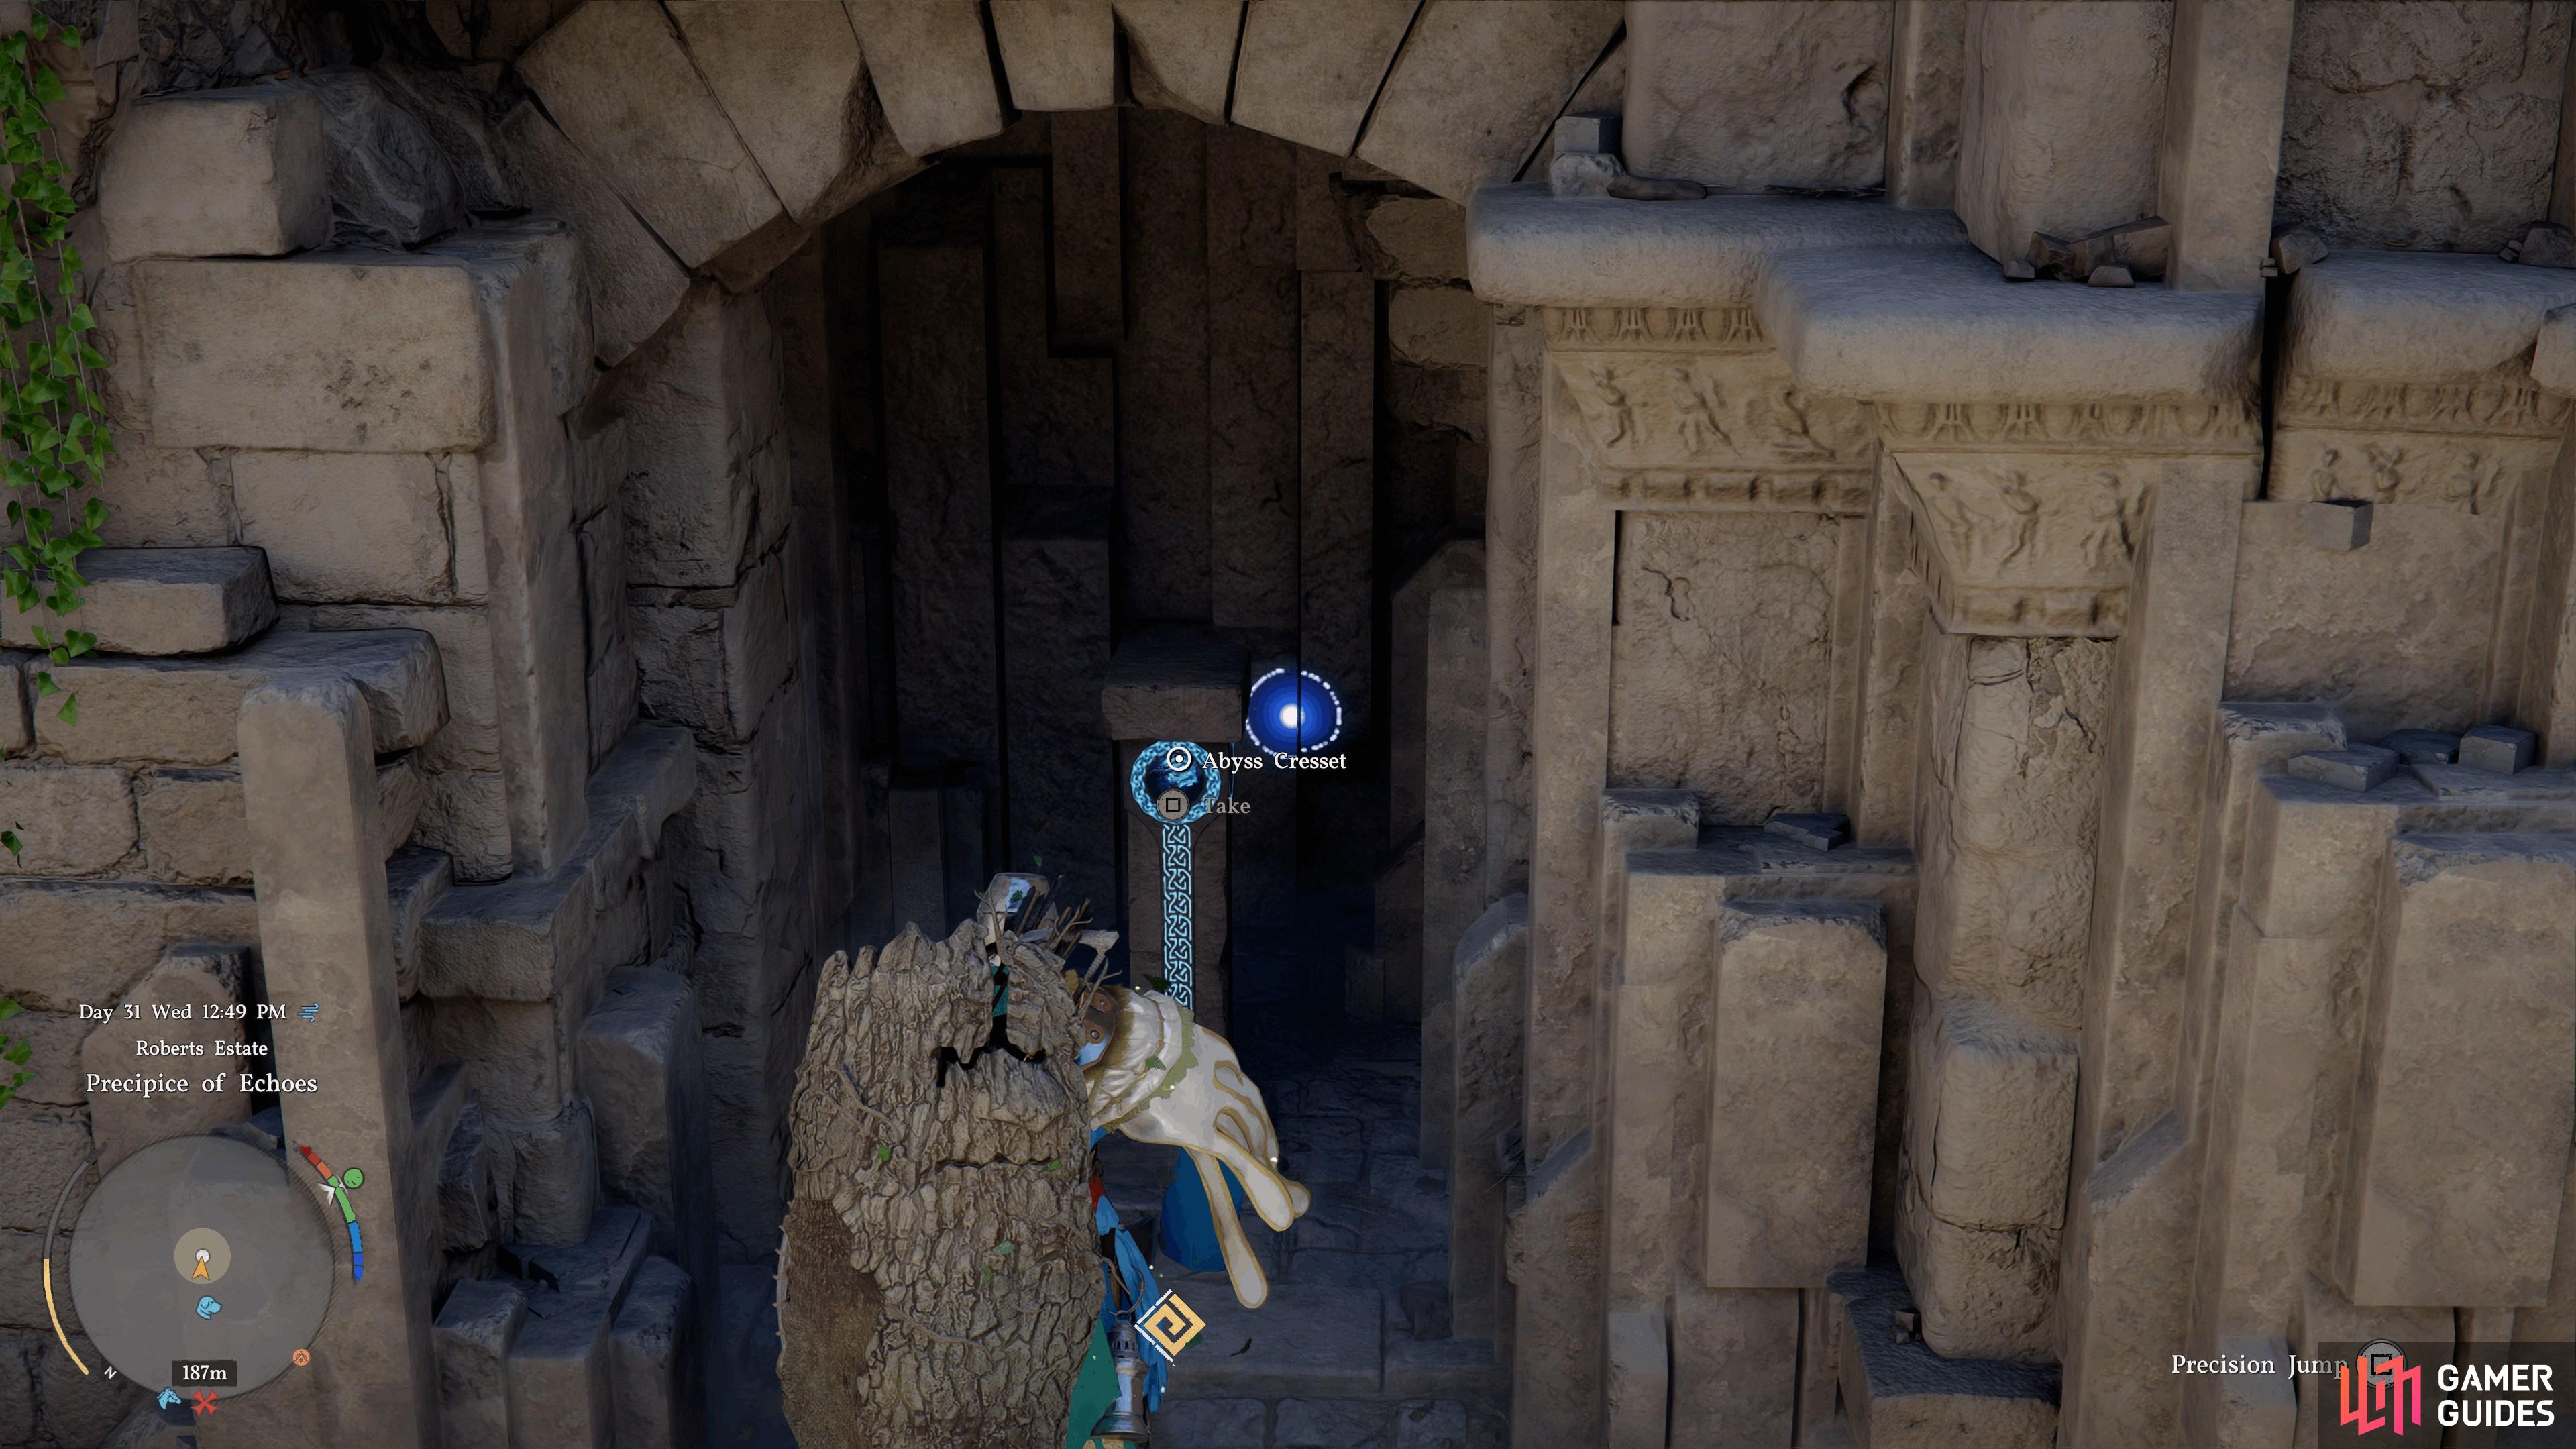
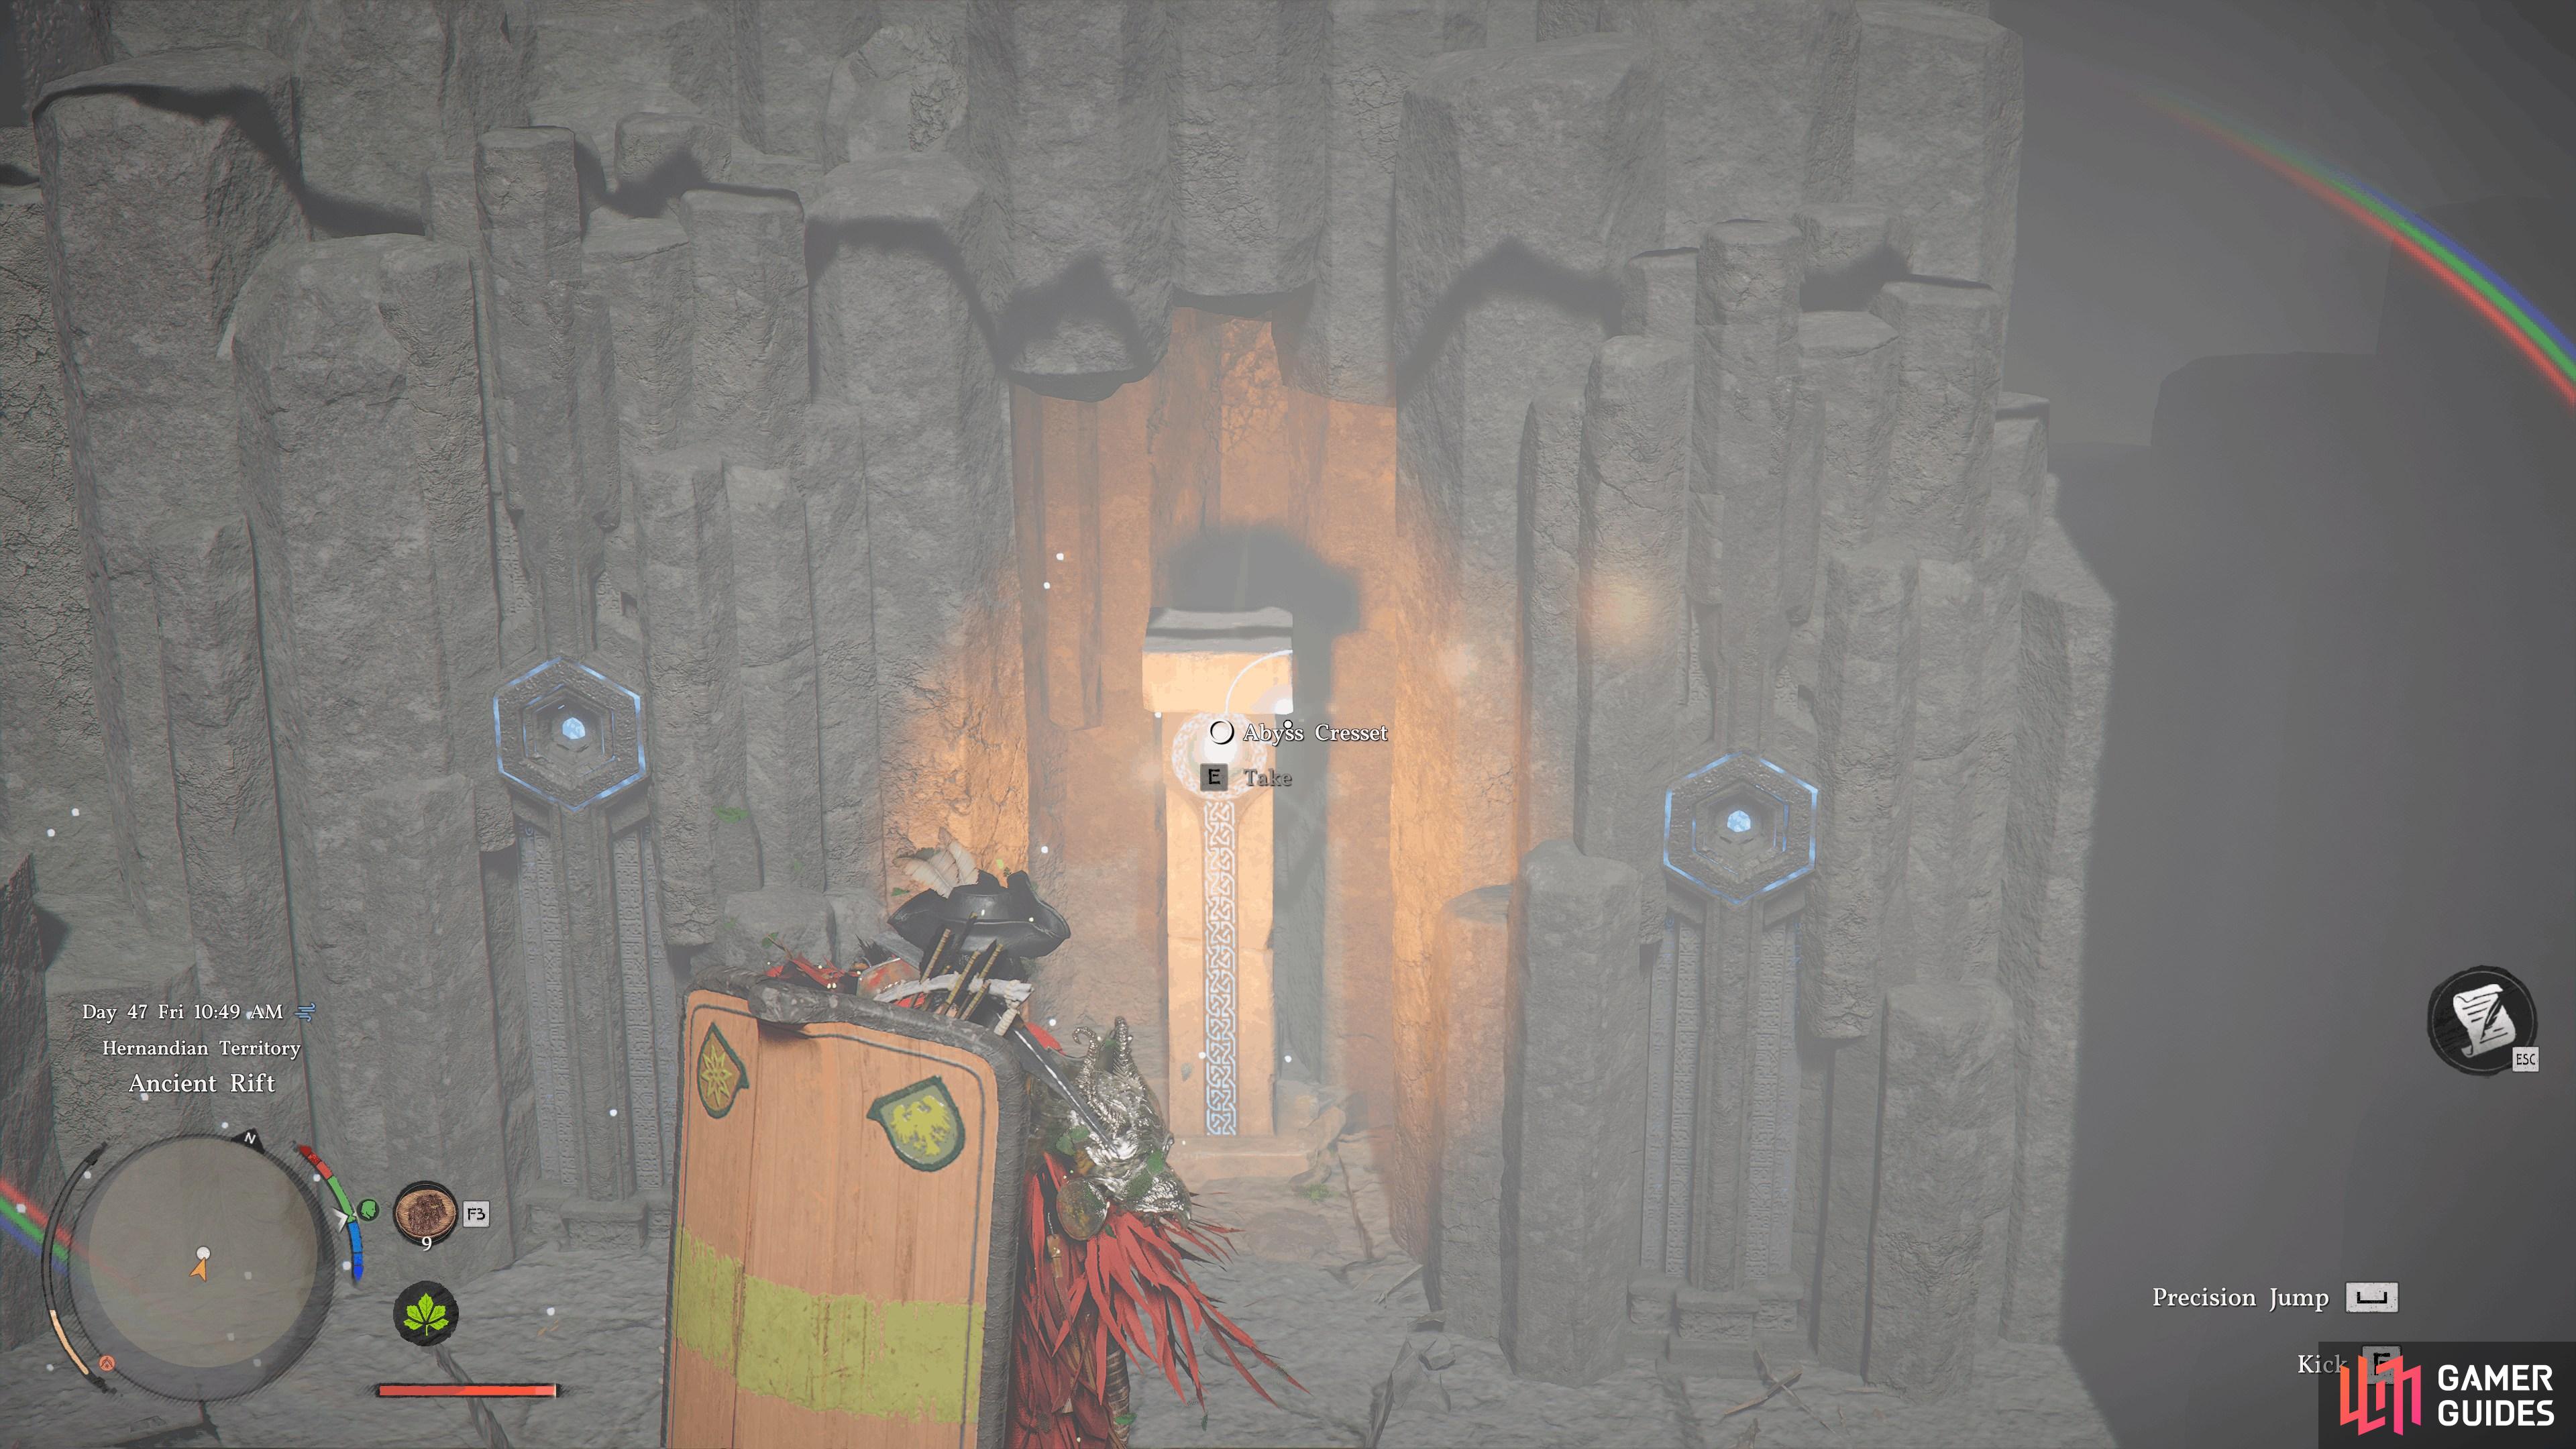
    Located behind the stone pillars. Complete the Ancient Rift Maze Puzzle to unveil it. Contains an "Abyss Artifact" iconAbyss Artifact.

    View on map
  53. 53 Howlsands Dunes

    Howlsands Dunes

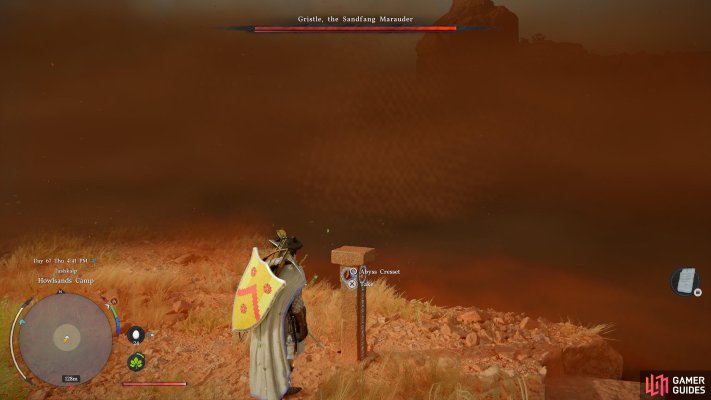
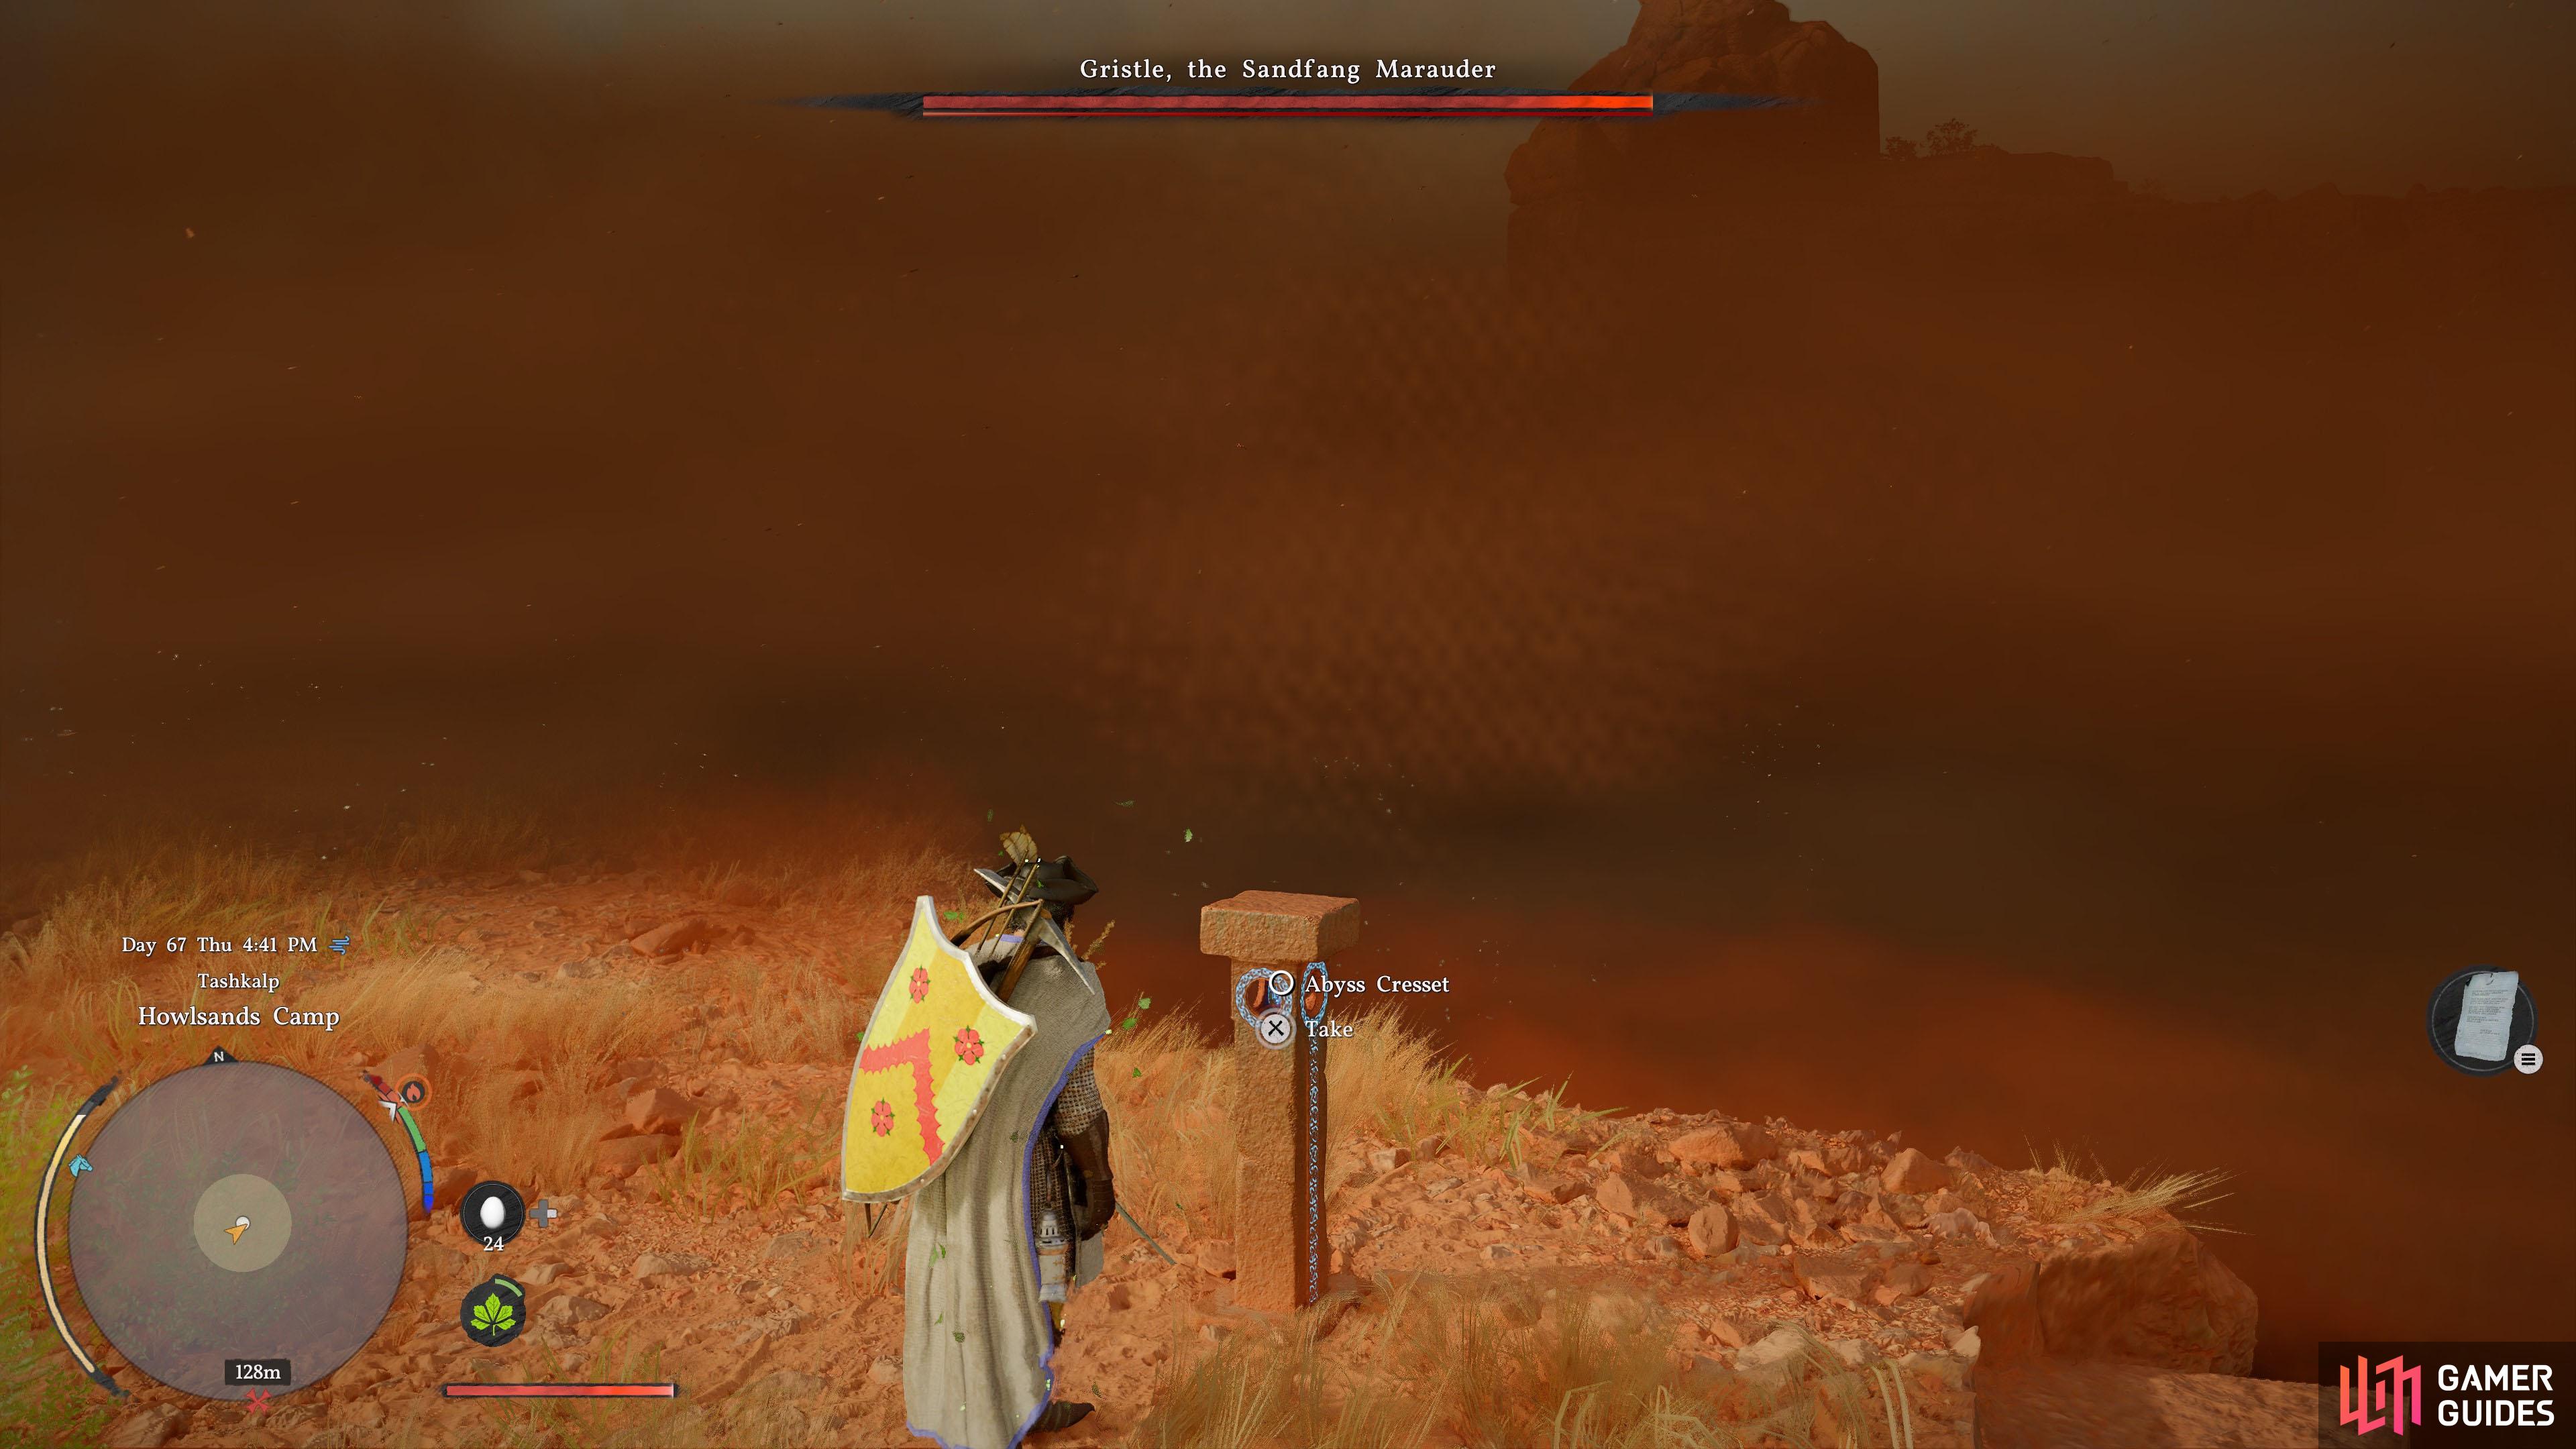
    Atop a big rock overlooking Howlsands Camp.

    View on map
  54. 54 Crimson Ridge

    Crimson Ridge

    Overlooking Kharati-ram Camp.

    View on map
  55. 55 The Desert's Oasis

    The Desert's Oasis

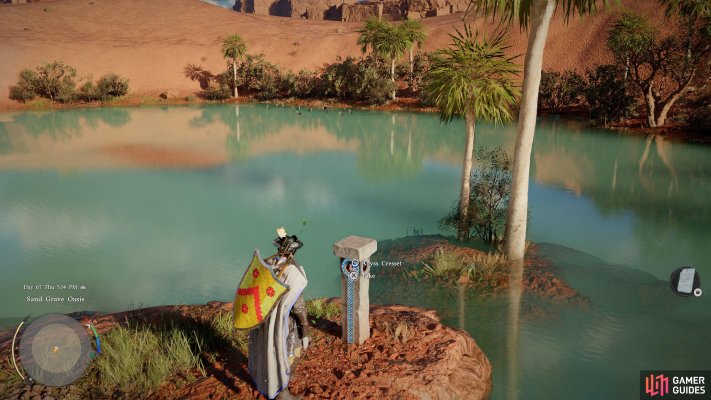
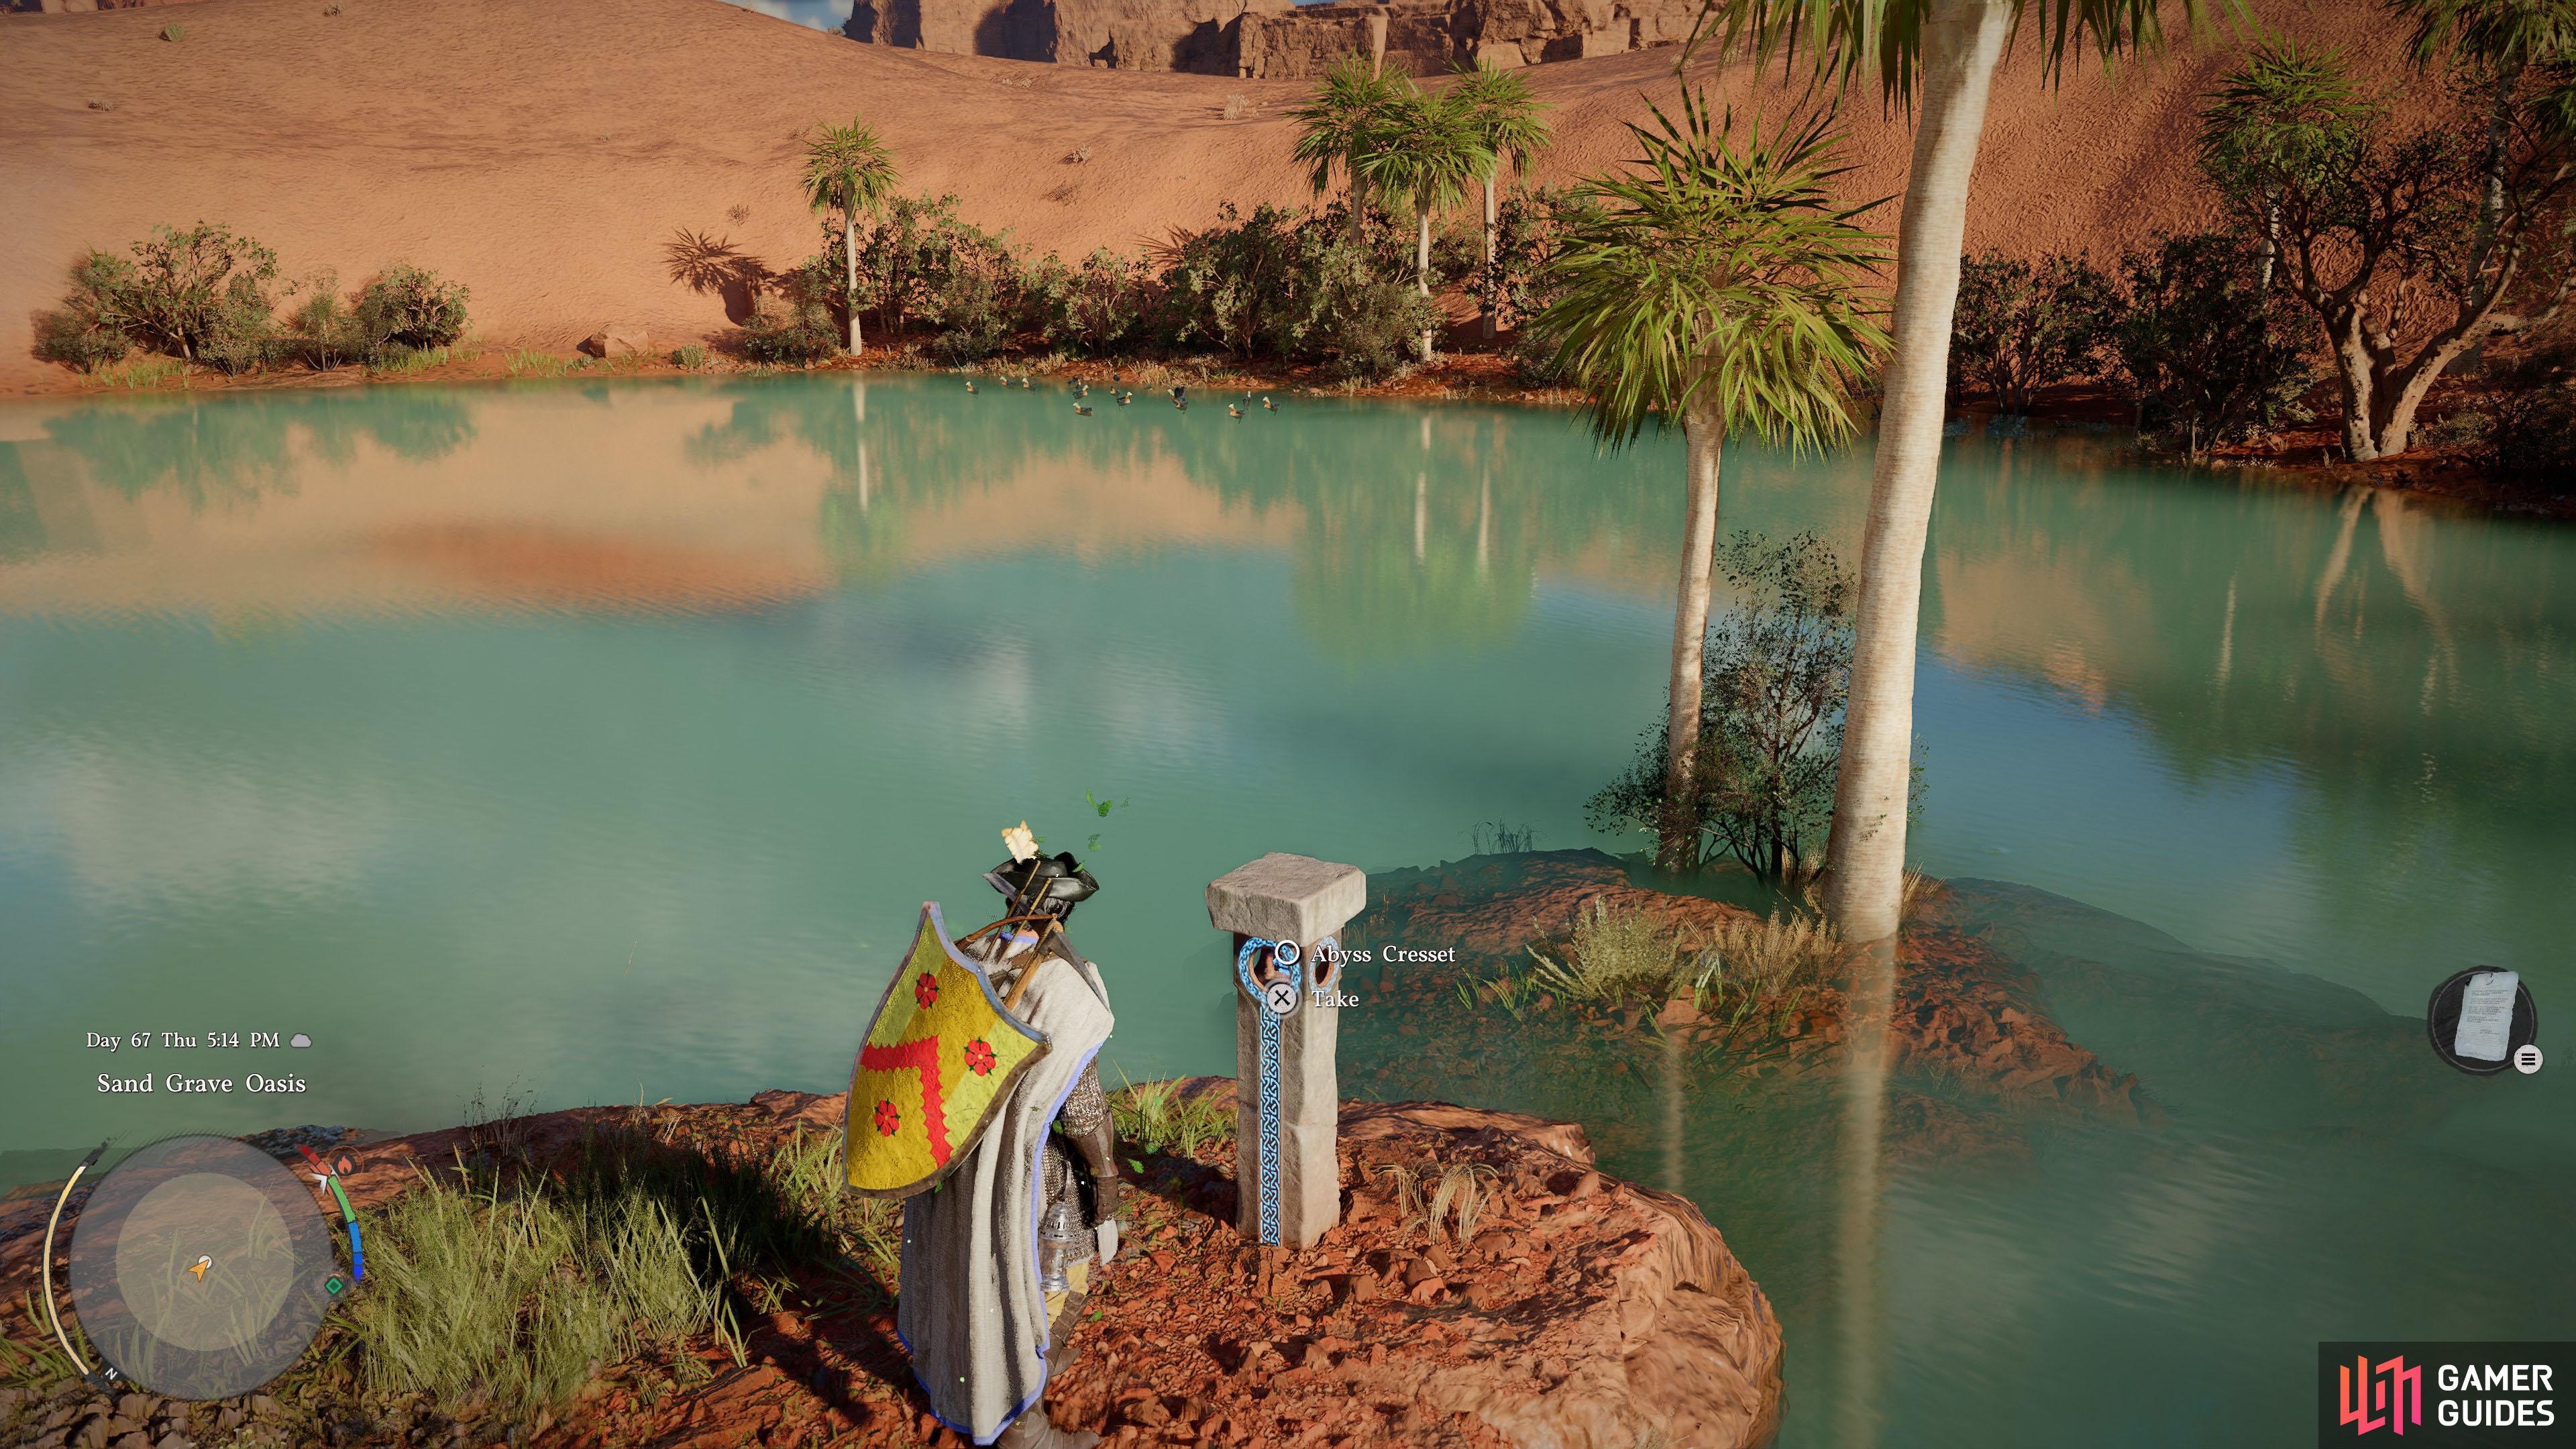
    At Verdant Paradise.

    View on map
  56. 56 Blazing Sand

    Blazing Sand

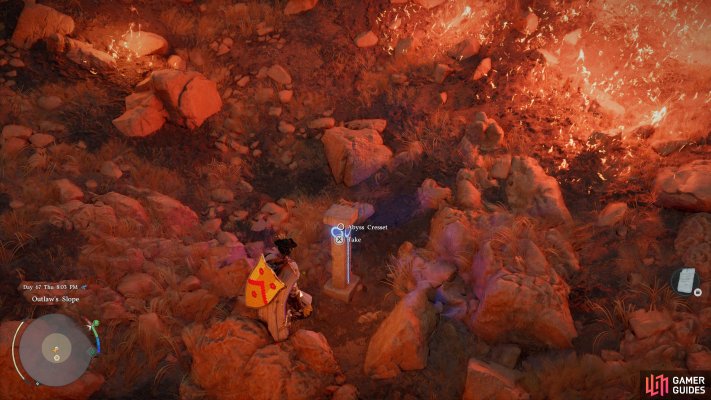
    North-east from Sandshift Village, in the center of a fiery crater.

    View on map
  57. 57 Sandsea Waymark

    Sandsea Waymark

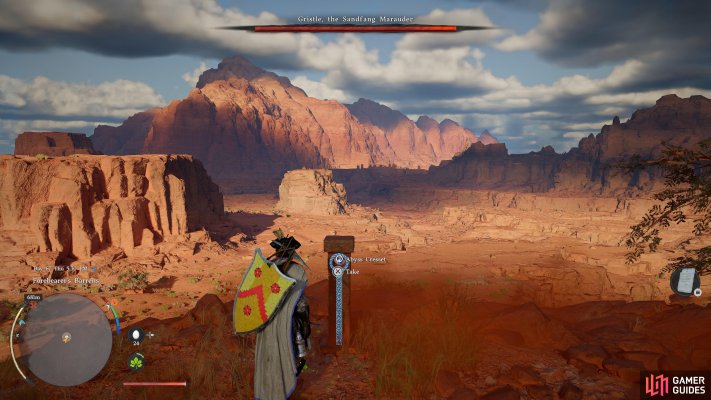
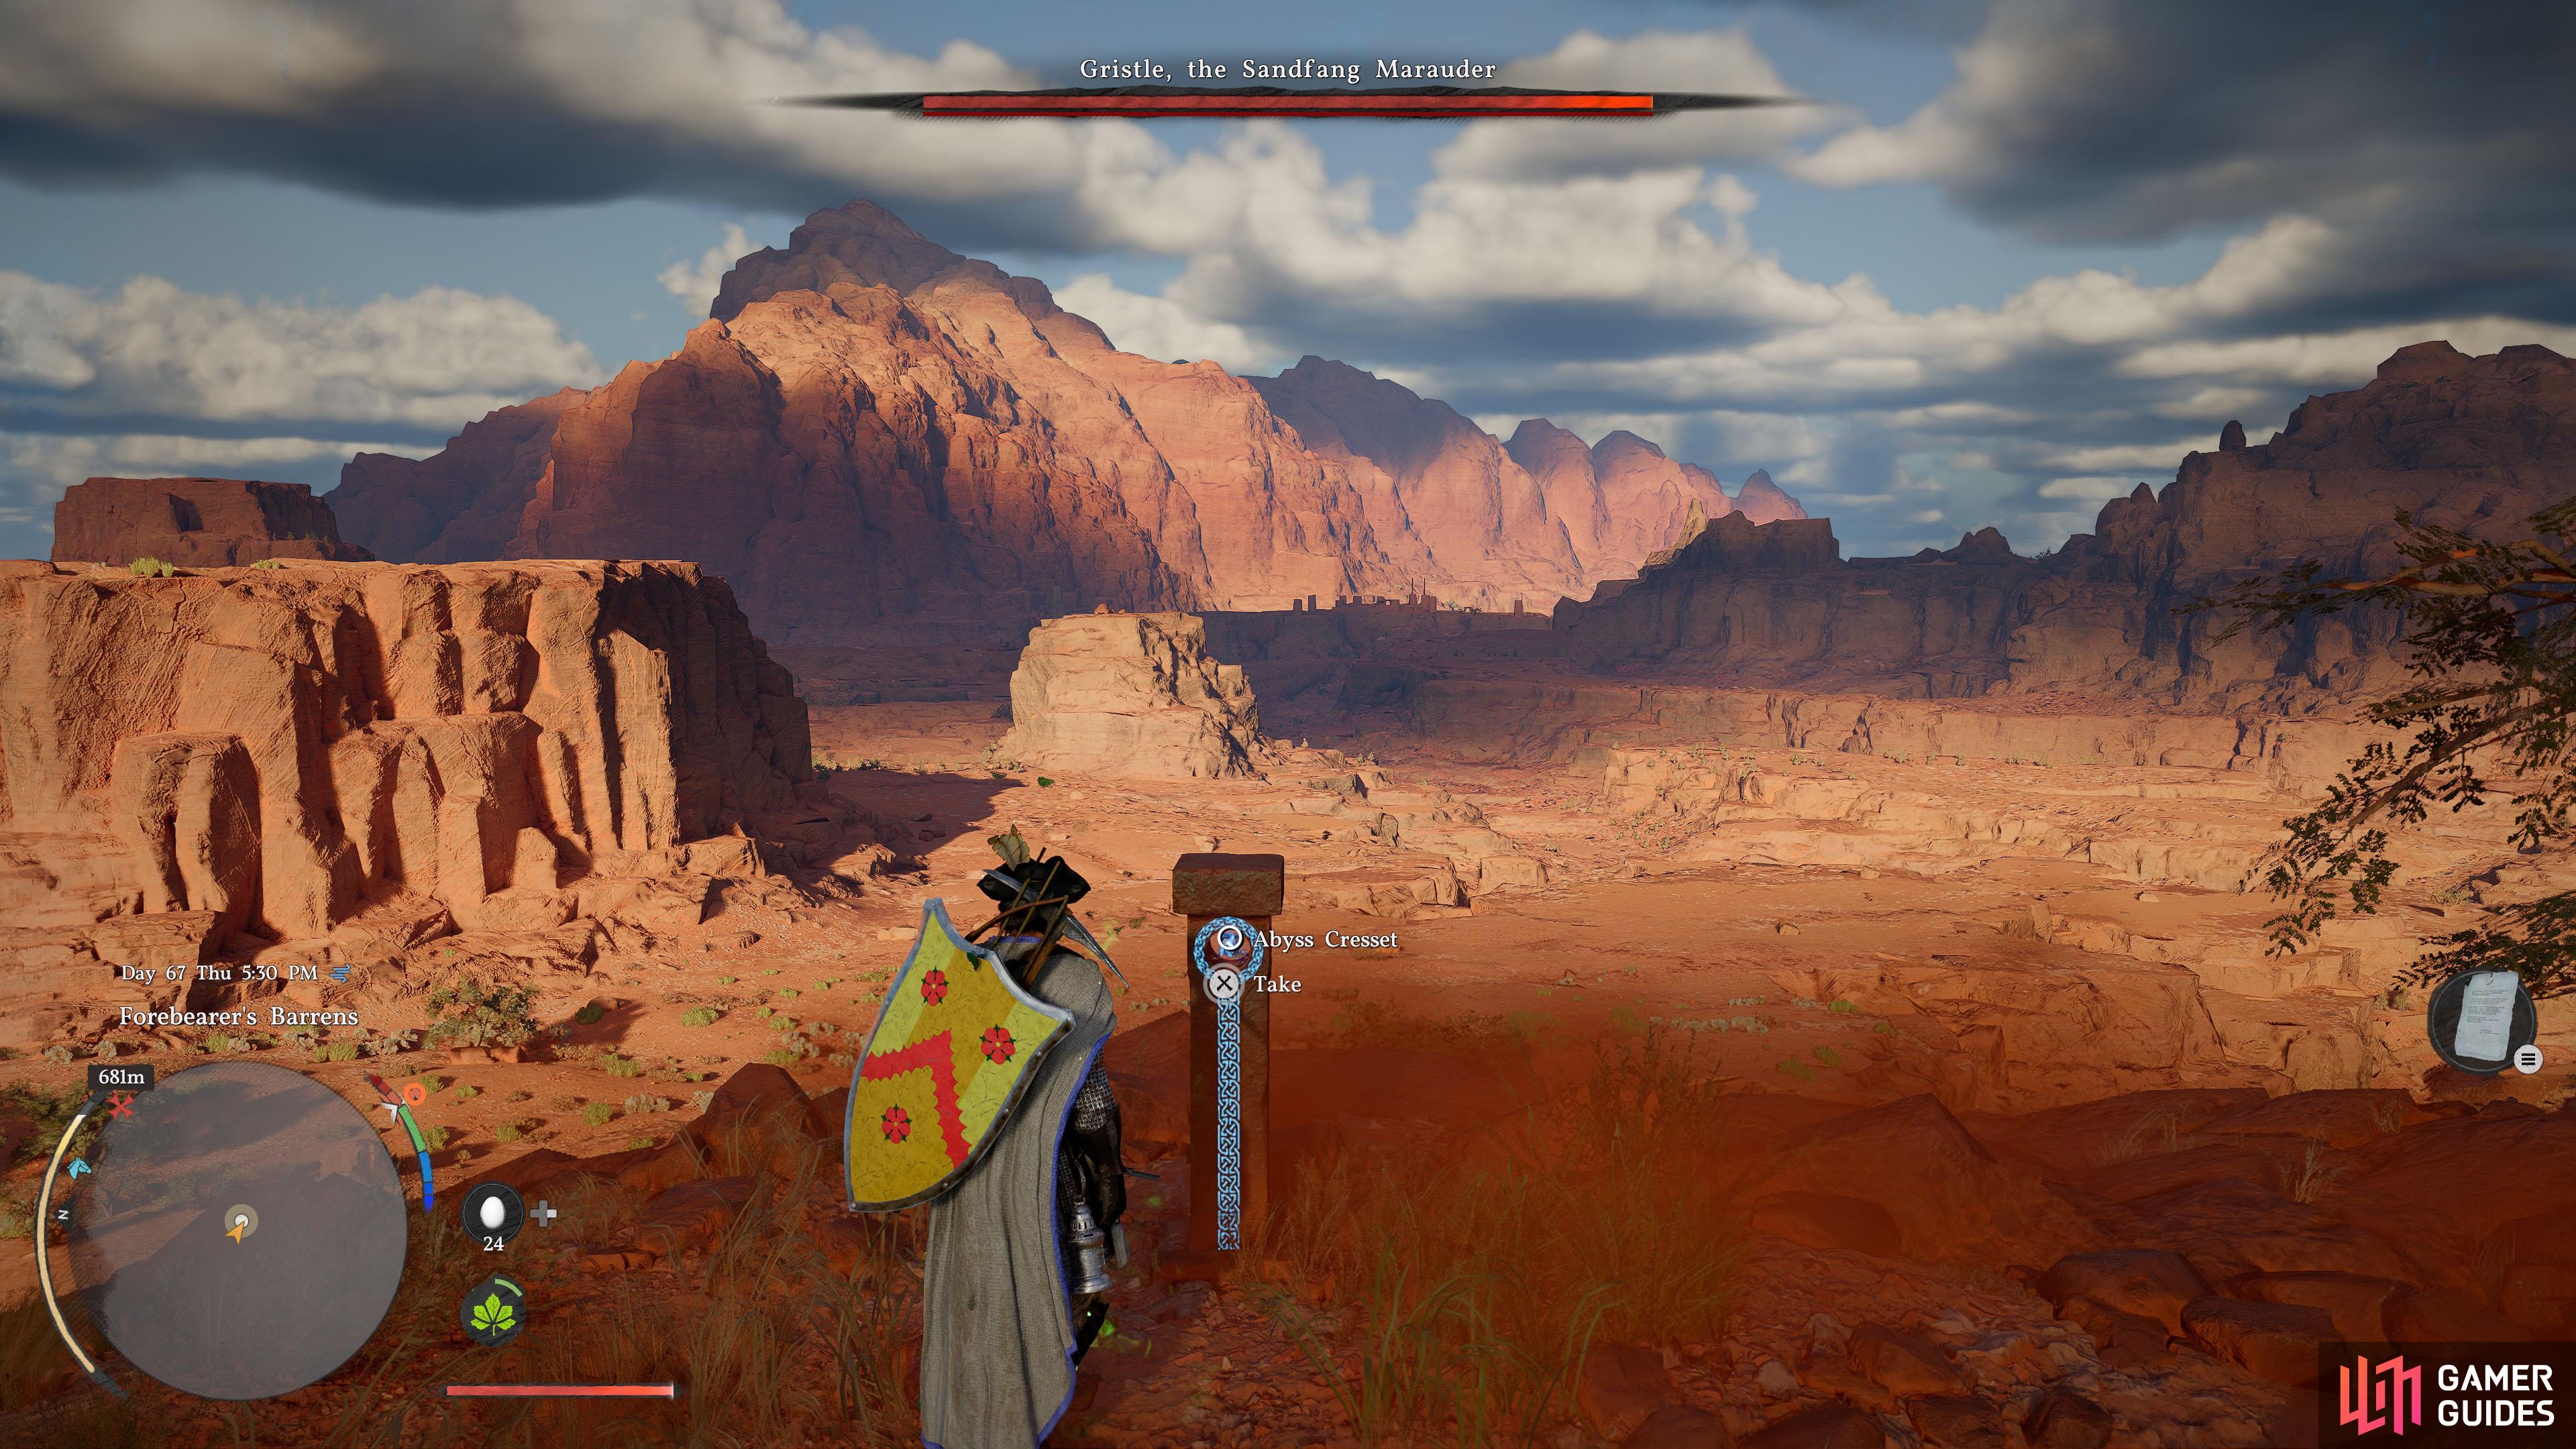
    East from Forebearer’s Barrens Flag Stop. There are monsters nearby.

    View on map
  58. 58 Peak of Abundance

    Peak of Abundance

    Mountain peak south-east from Sandswept Ruins.

    View on map
  59. 59 Hangman's Crest

    Hangman's Crest

    Atop the south half of Hangman’s Pass.

    View on map
  60. 60 Abyss Cresset

    Abyss Cresset

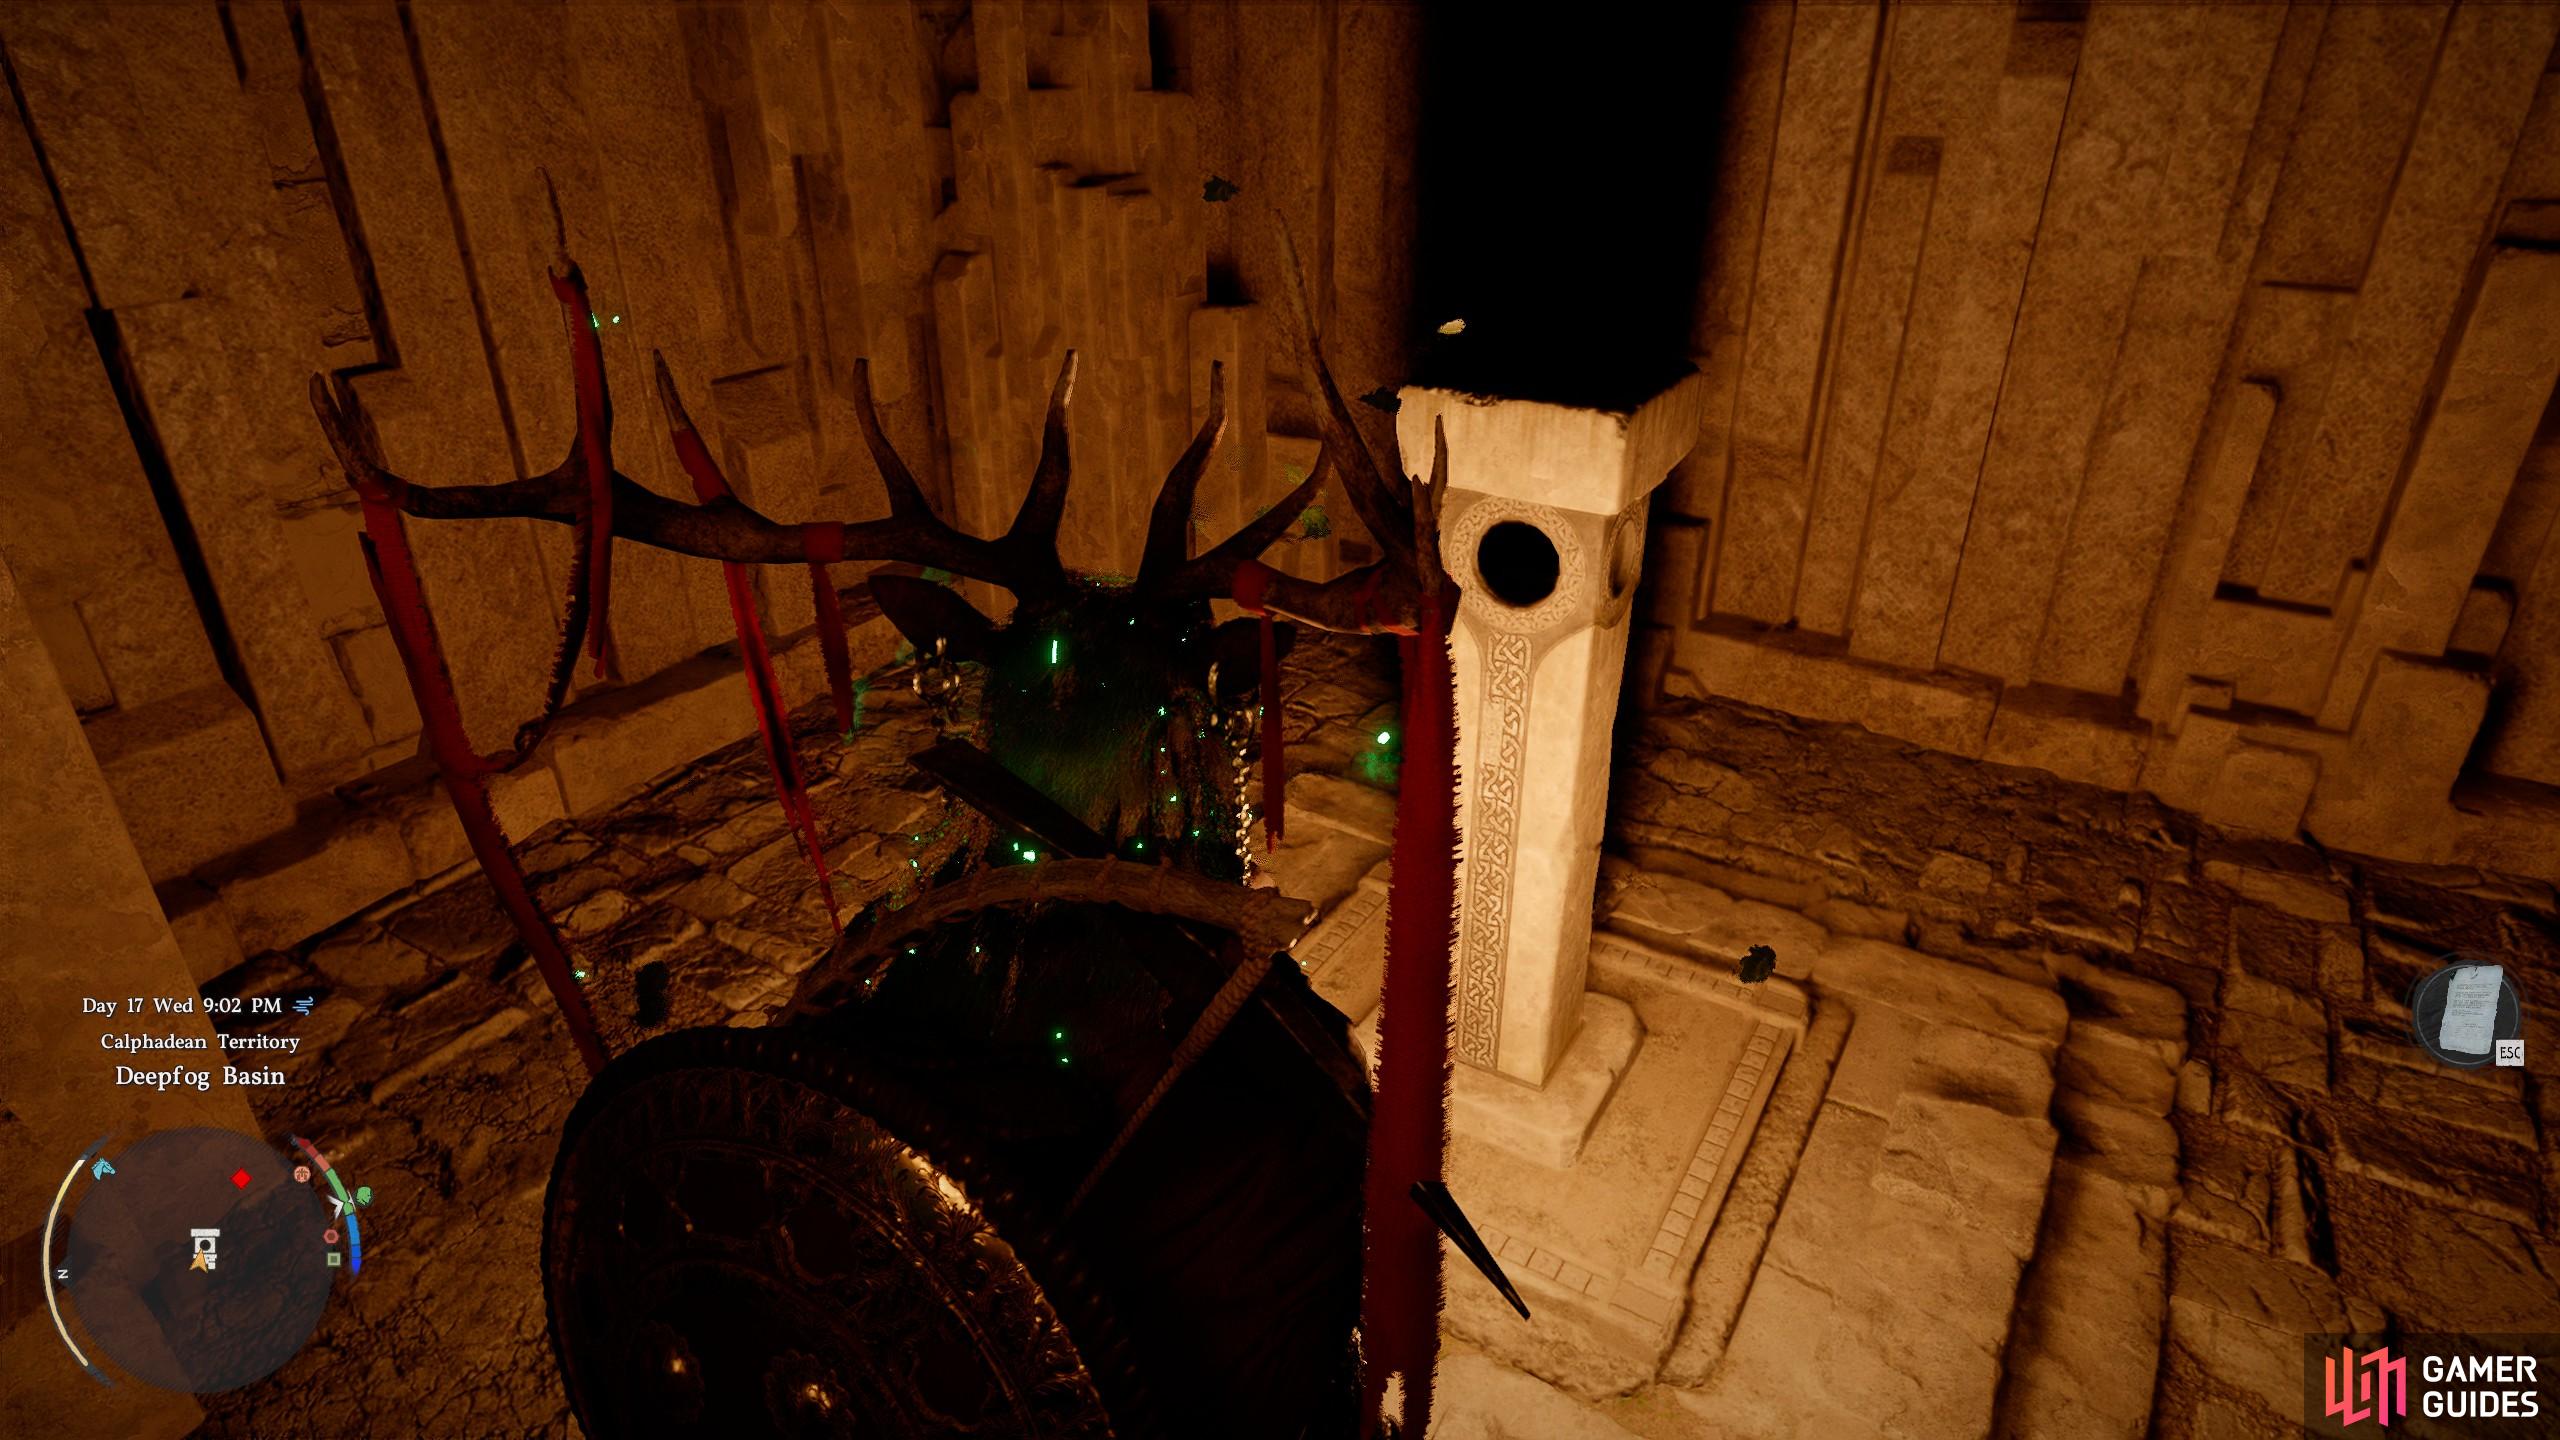
    Located in the hidden chamber behind the puzzle wall. Contains the "Memories of the Northern Winds" iconMemories of the Northern Winds treasure.

    View on map
  61. 61 Abyss Cresset

    Abyss Cresset

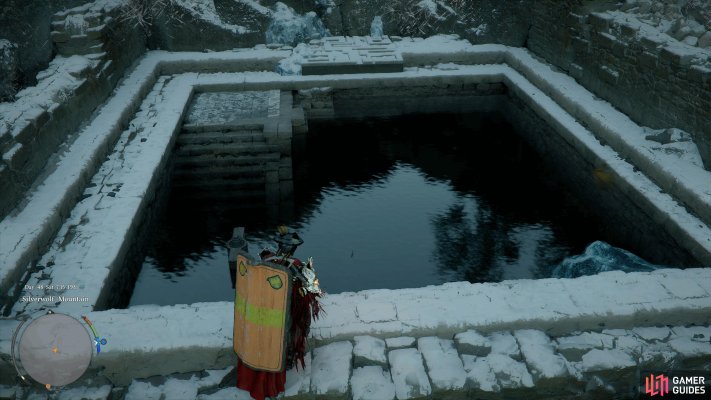
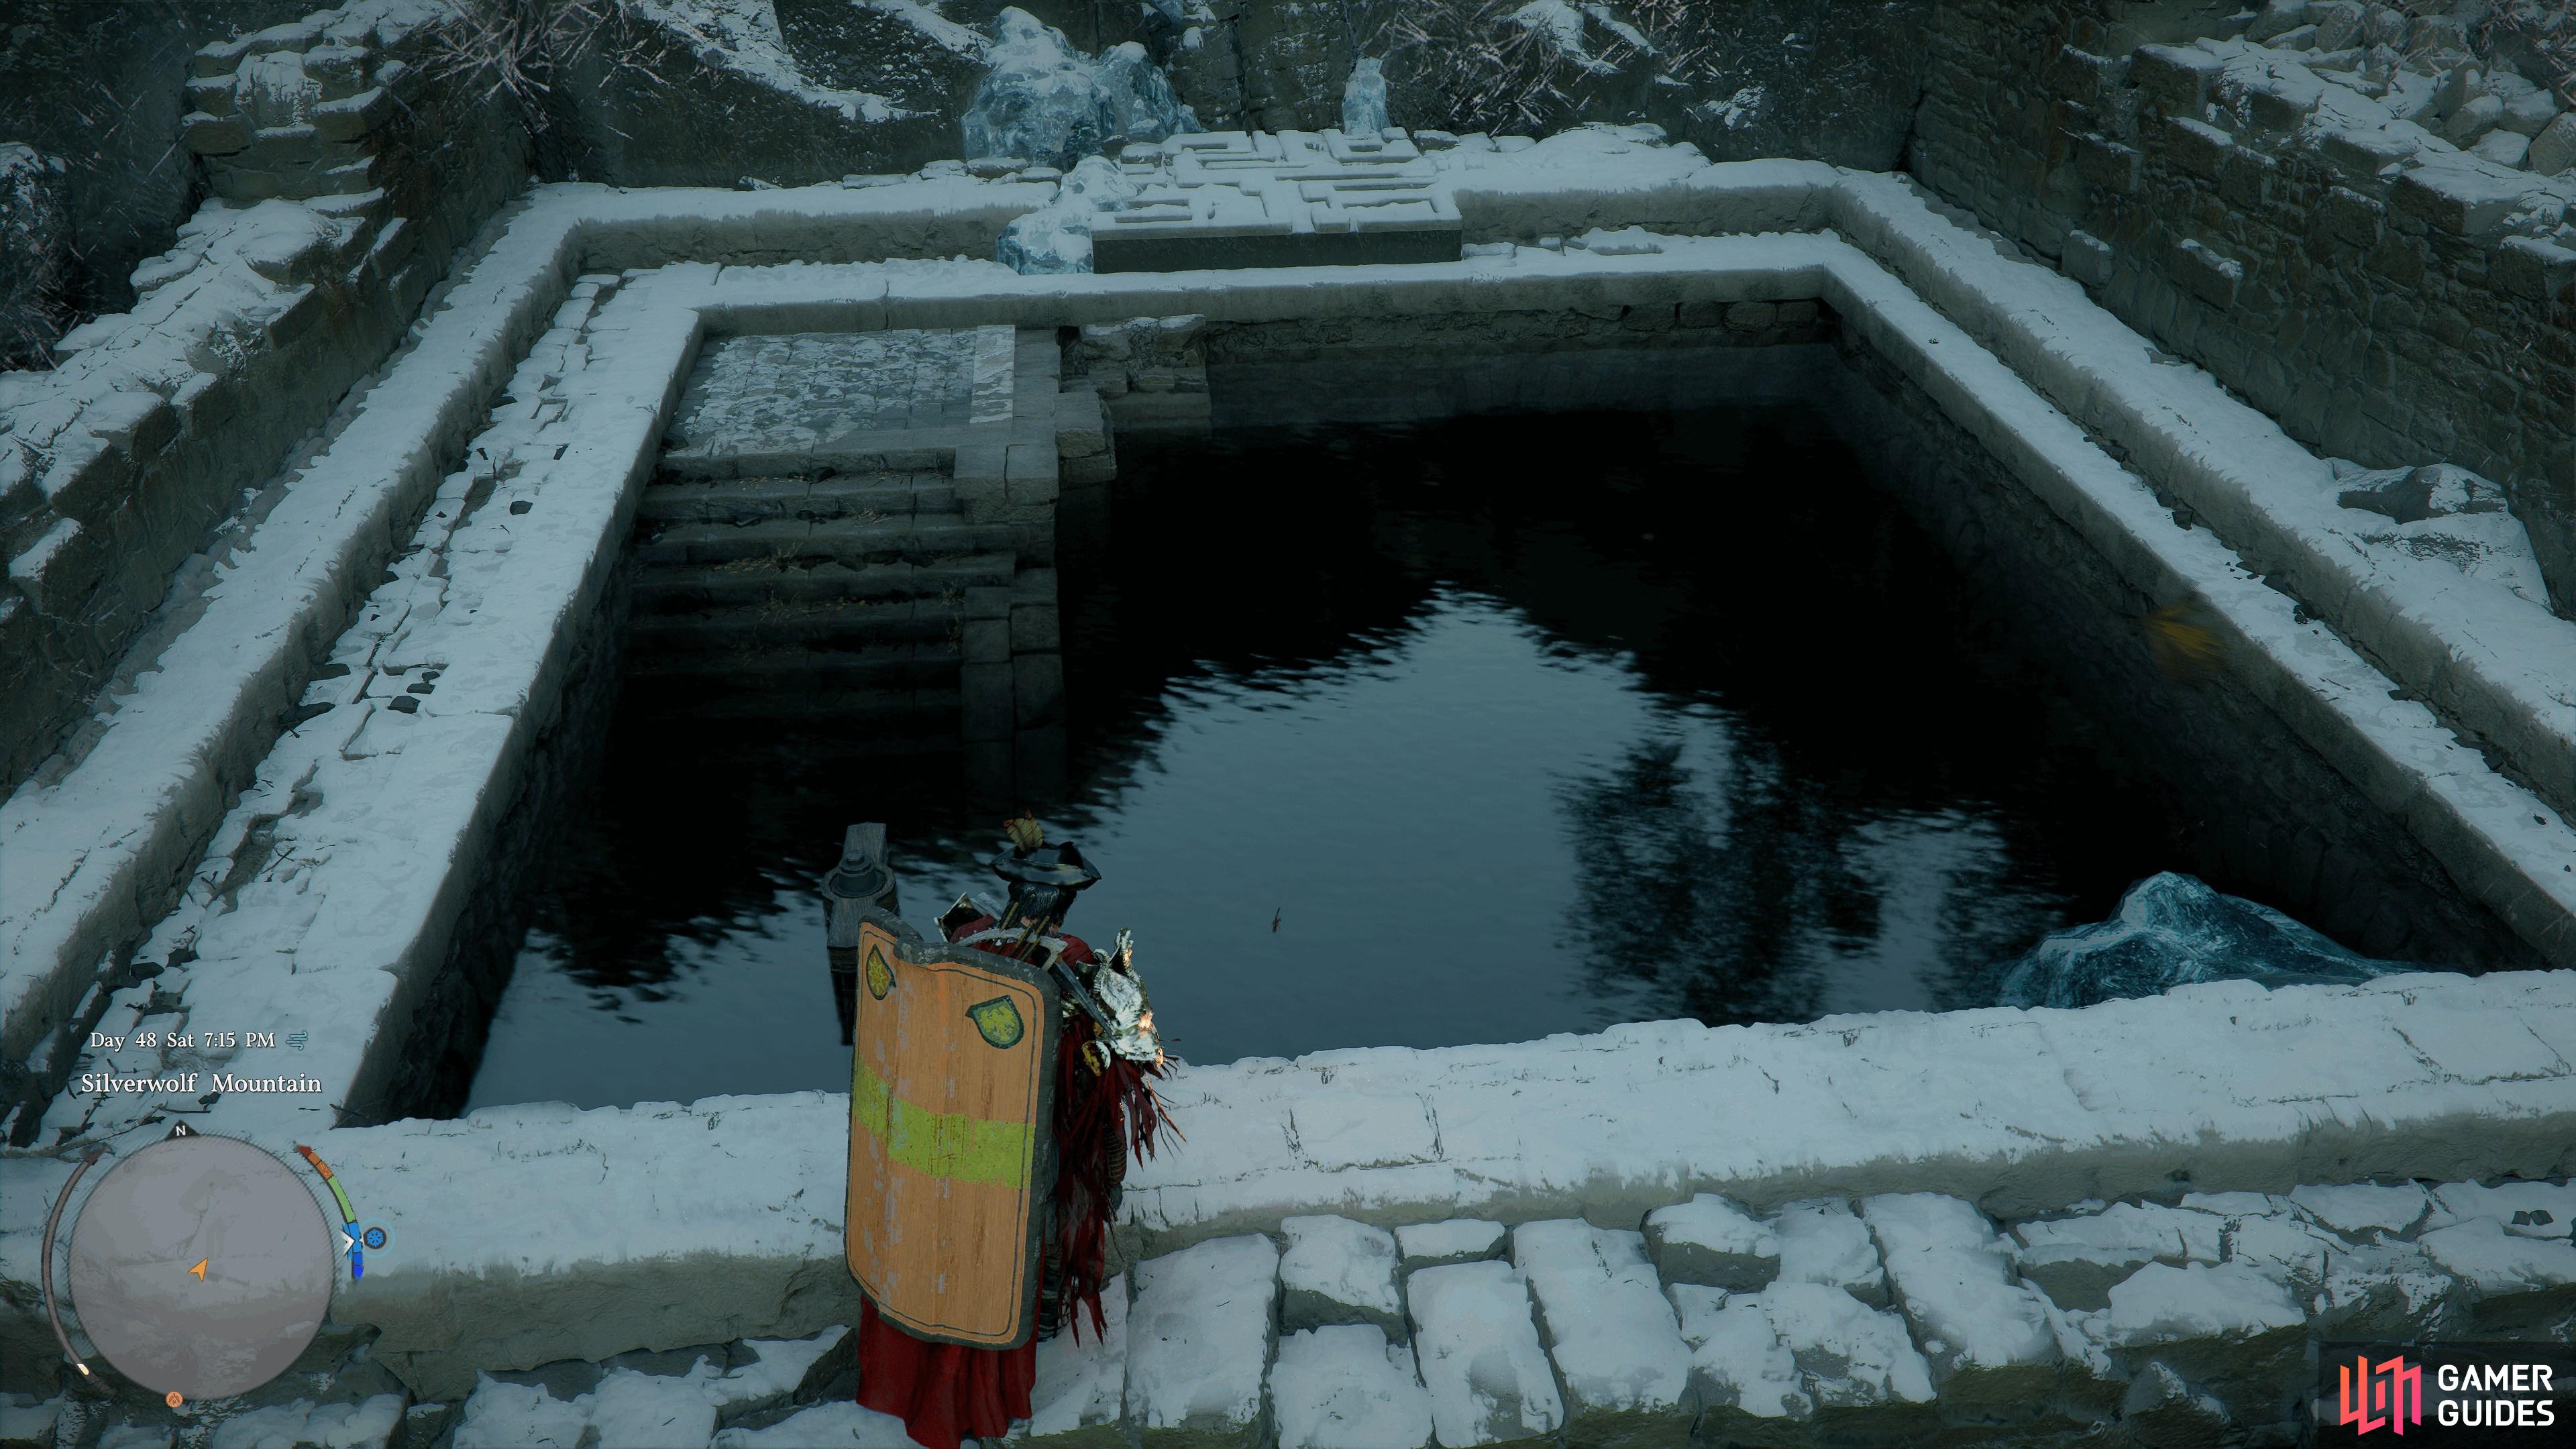
    Located under the ice in the Ancient Ruins.

    Break the ice with a pickaxe, and then drain the water using Nature’s Snare. Contains an "Abyss Artifact" iconAbyss Artifact.

    View on map
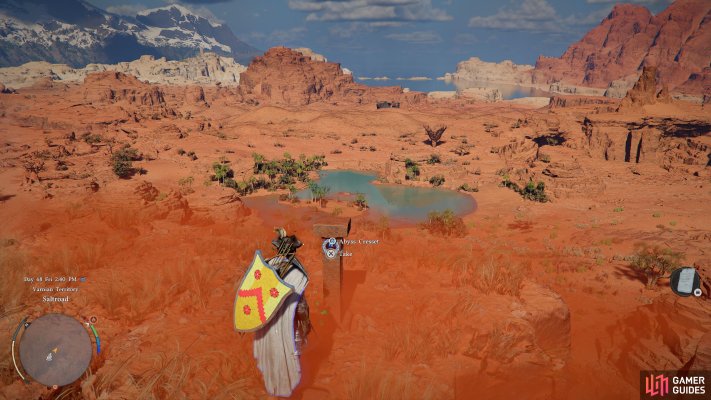
  62. 62 Saltshade Hill

    Saltshade Hill

    Mountain next to Saltshade Bandit Camp.

    View on map
  63. 63 Whitesand Cliff

    Whitesand Cliff

    On the tallest cliff.

    View on map
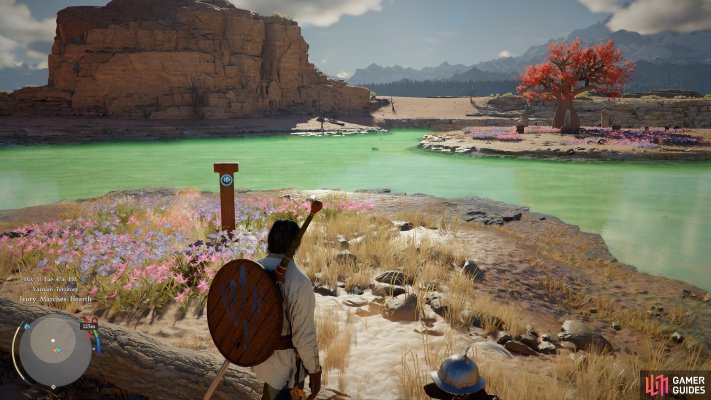
  64. 64 Ivory Marches Garden

    Ivory Marches Garden

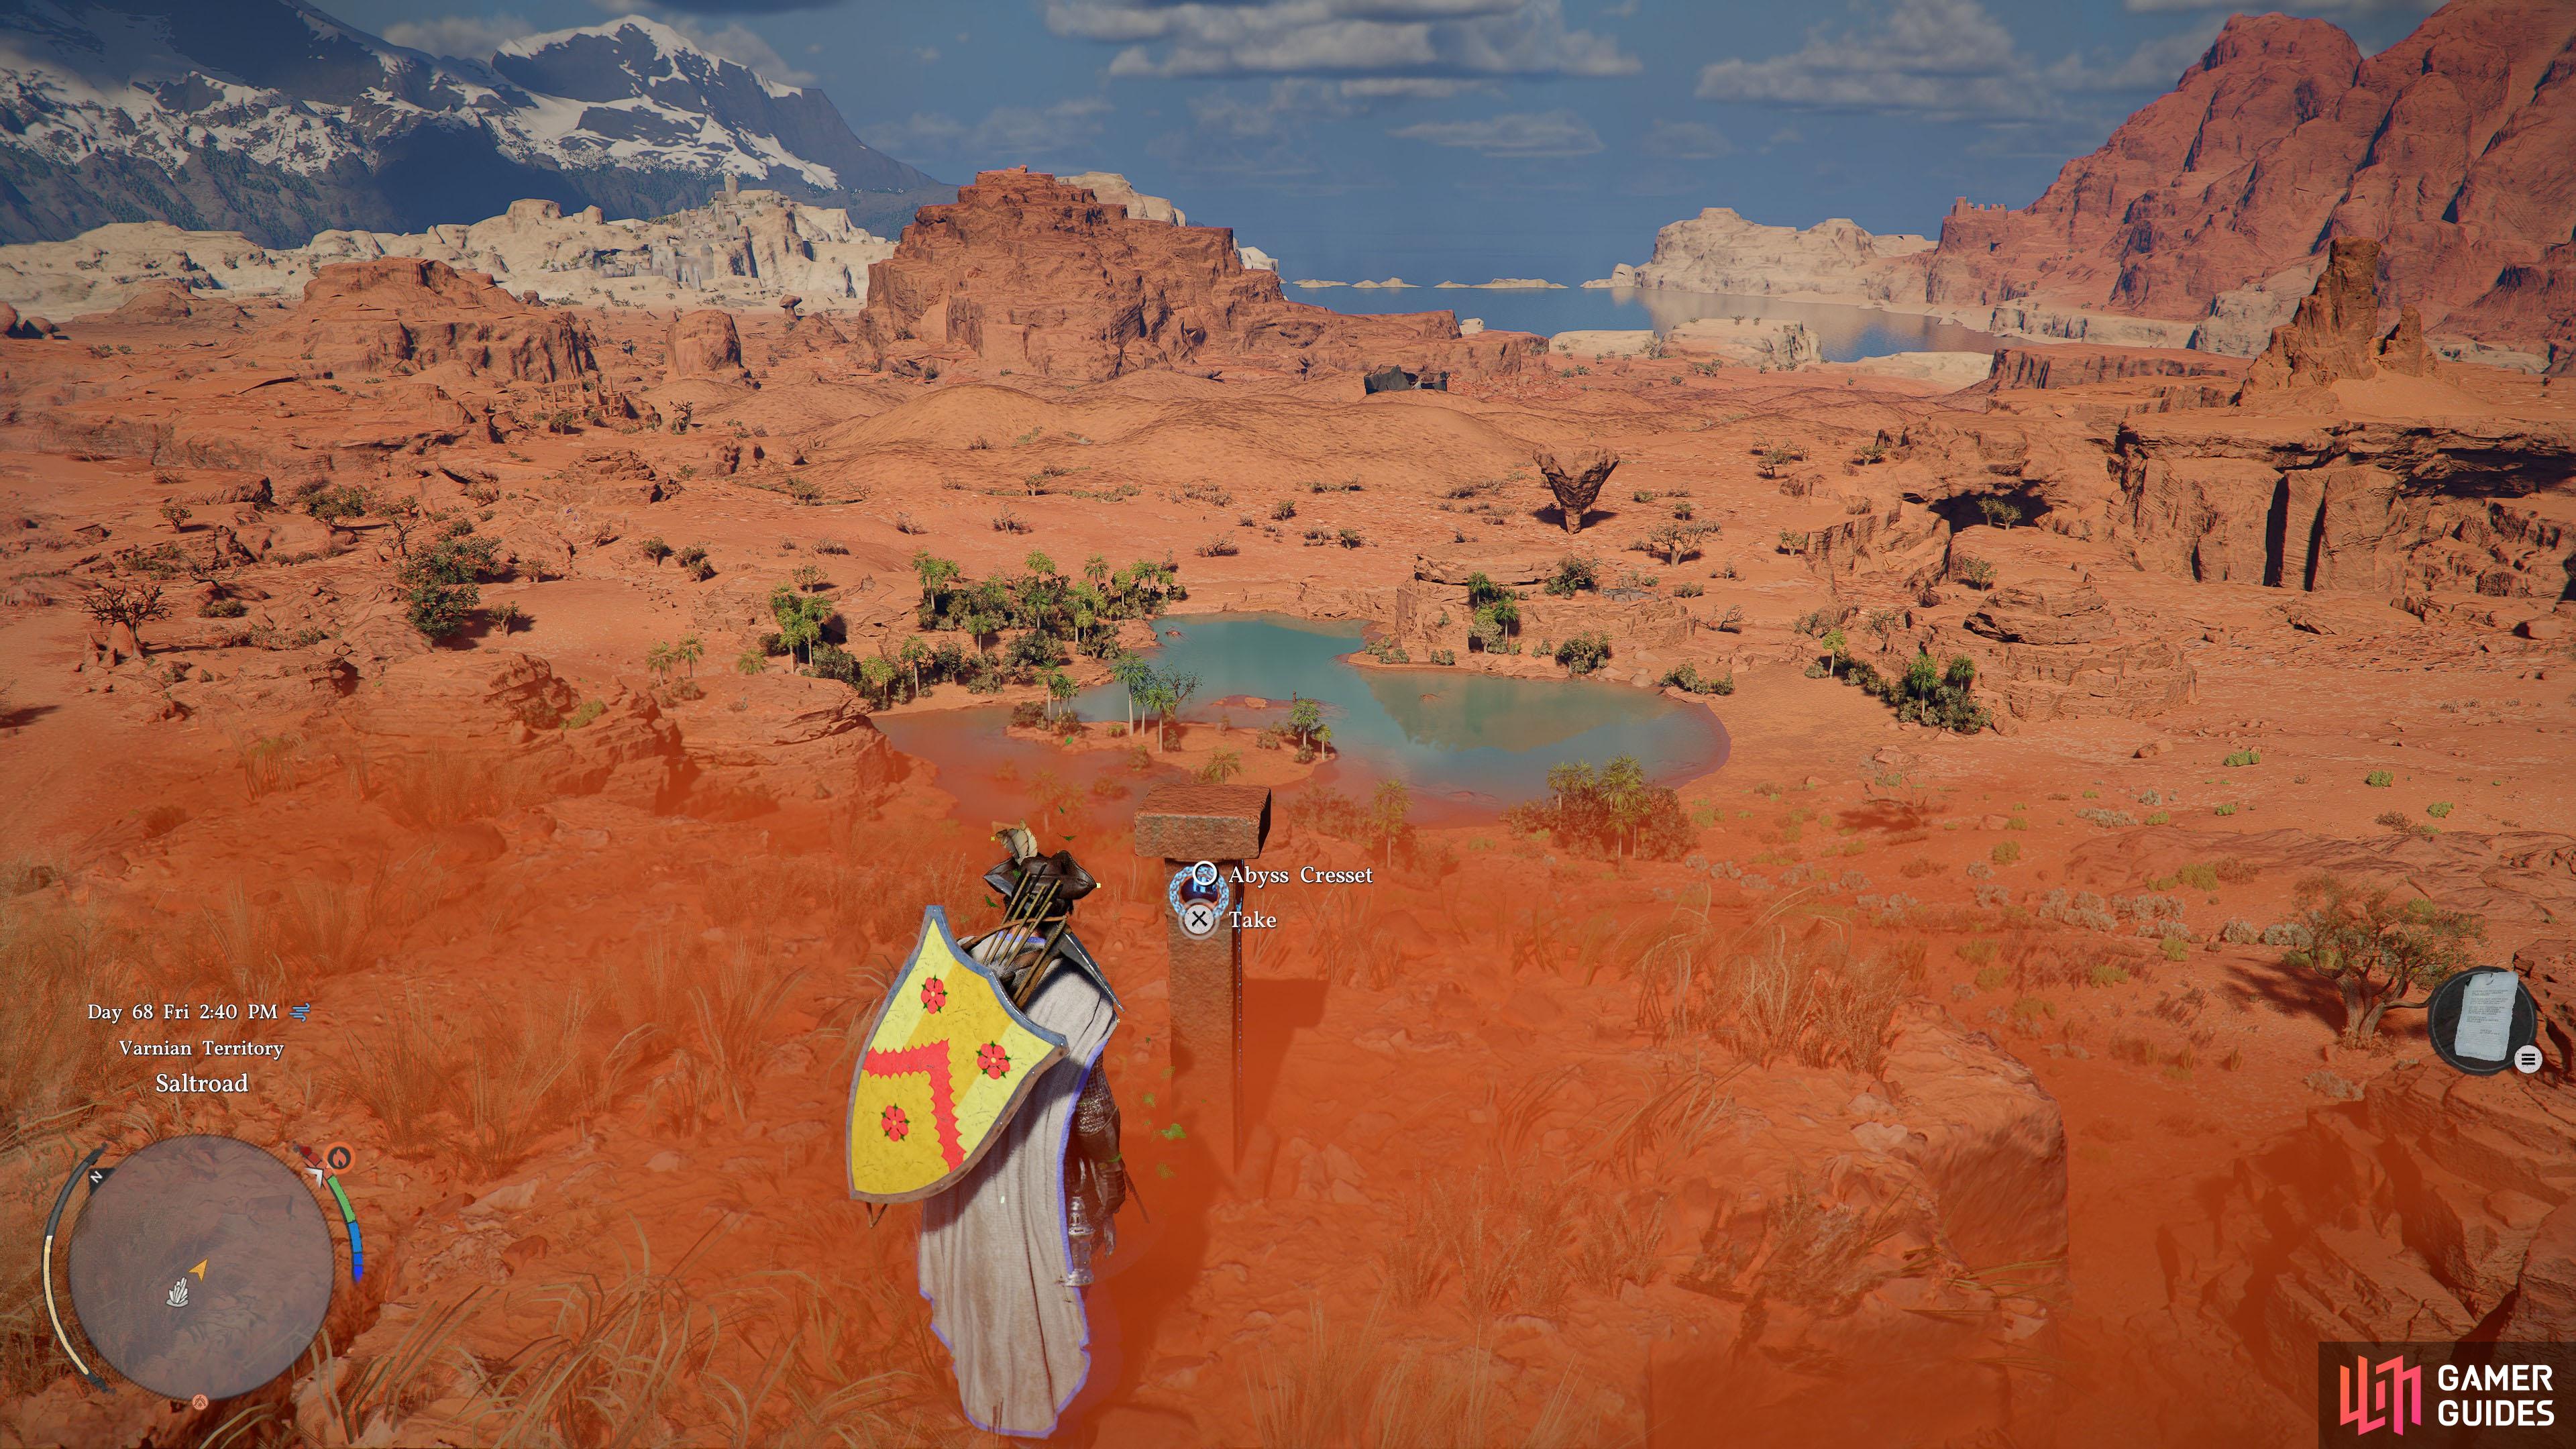
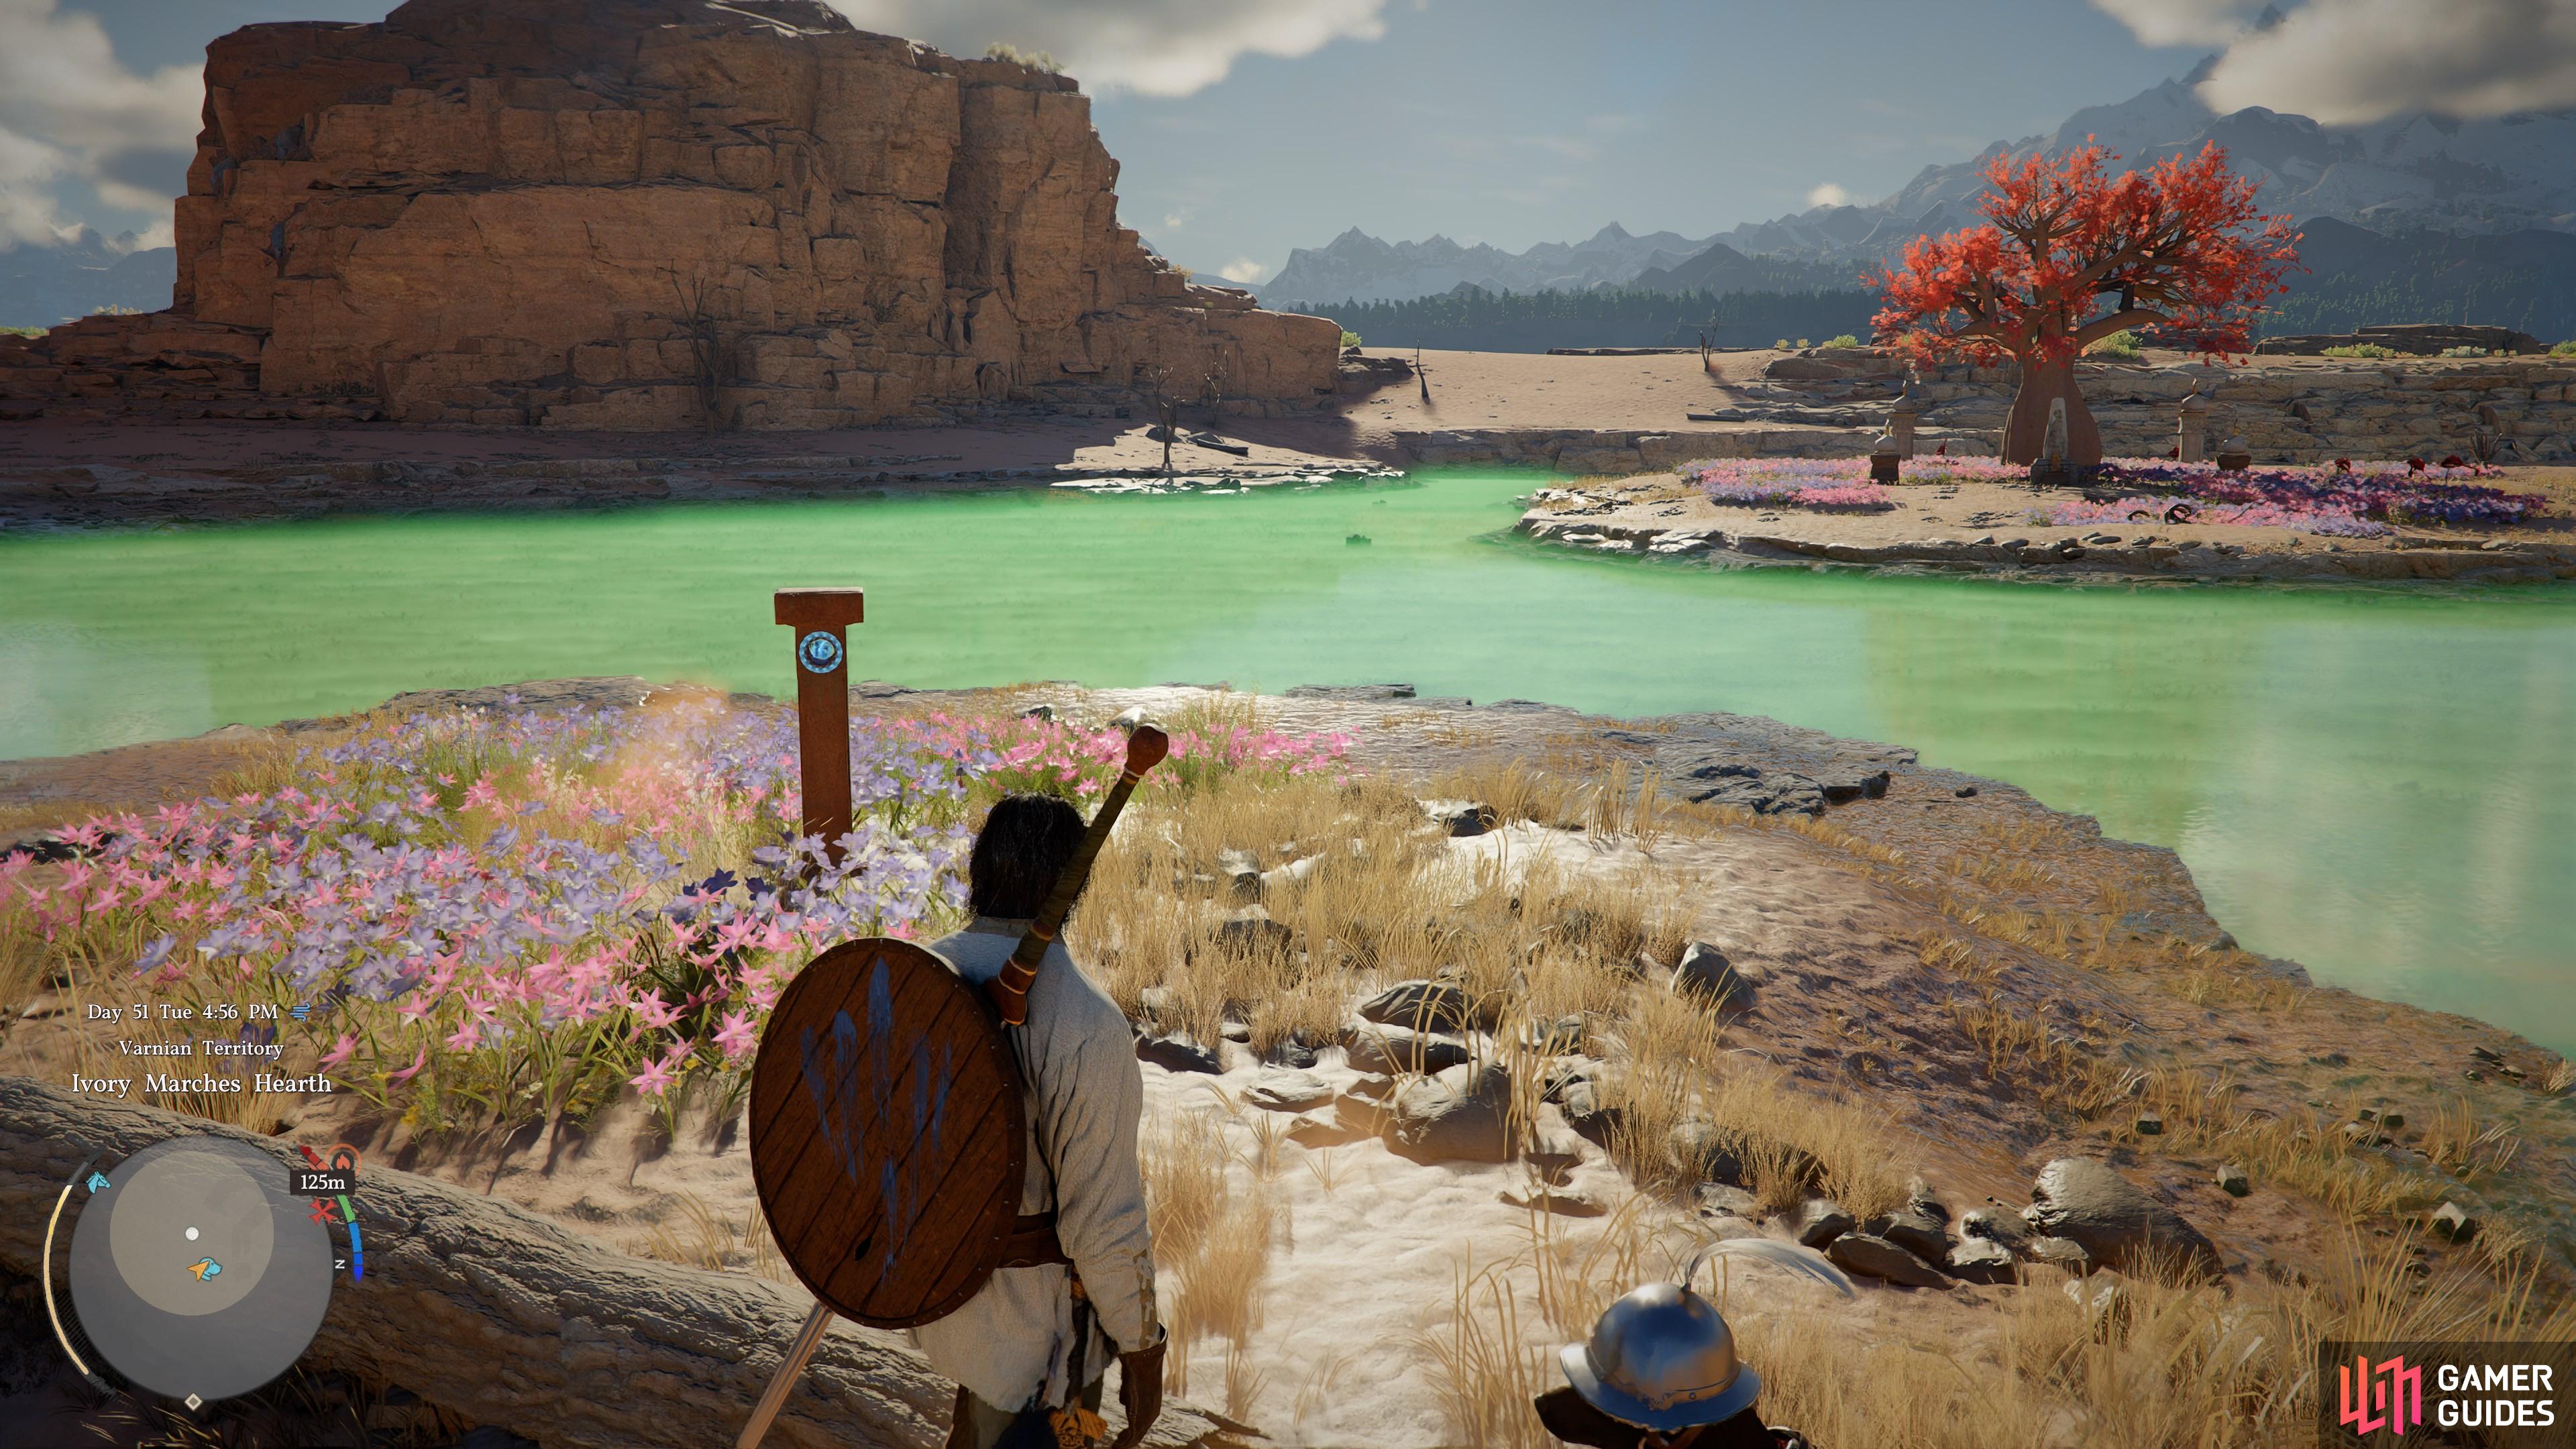
    On a small island in the oasis.

    View on map
  65. 65 Mushroomcap Cliff

    Mushroomcap Cliff

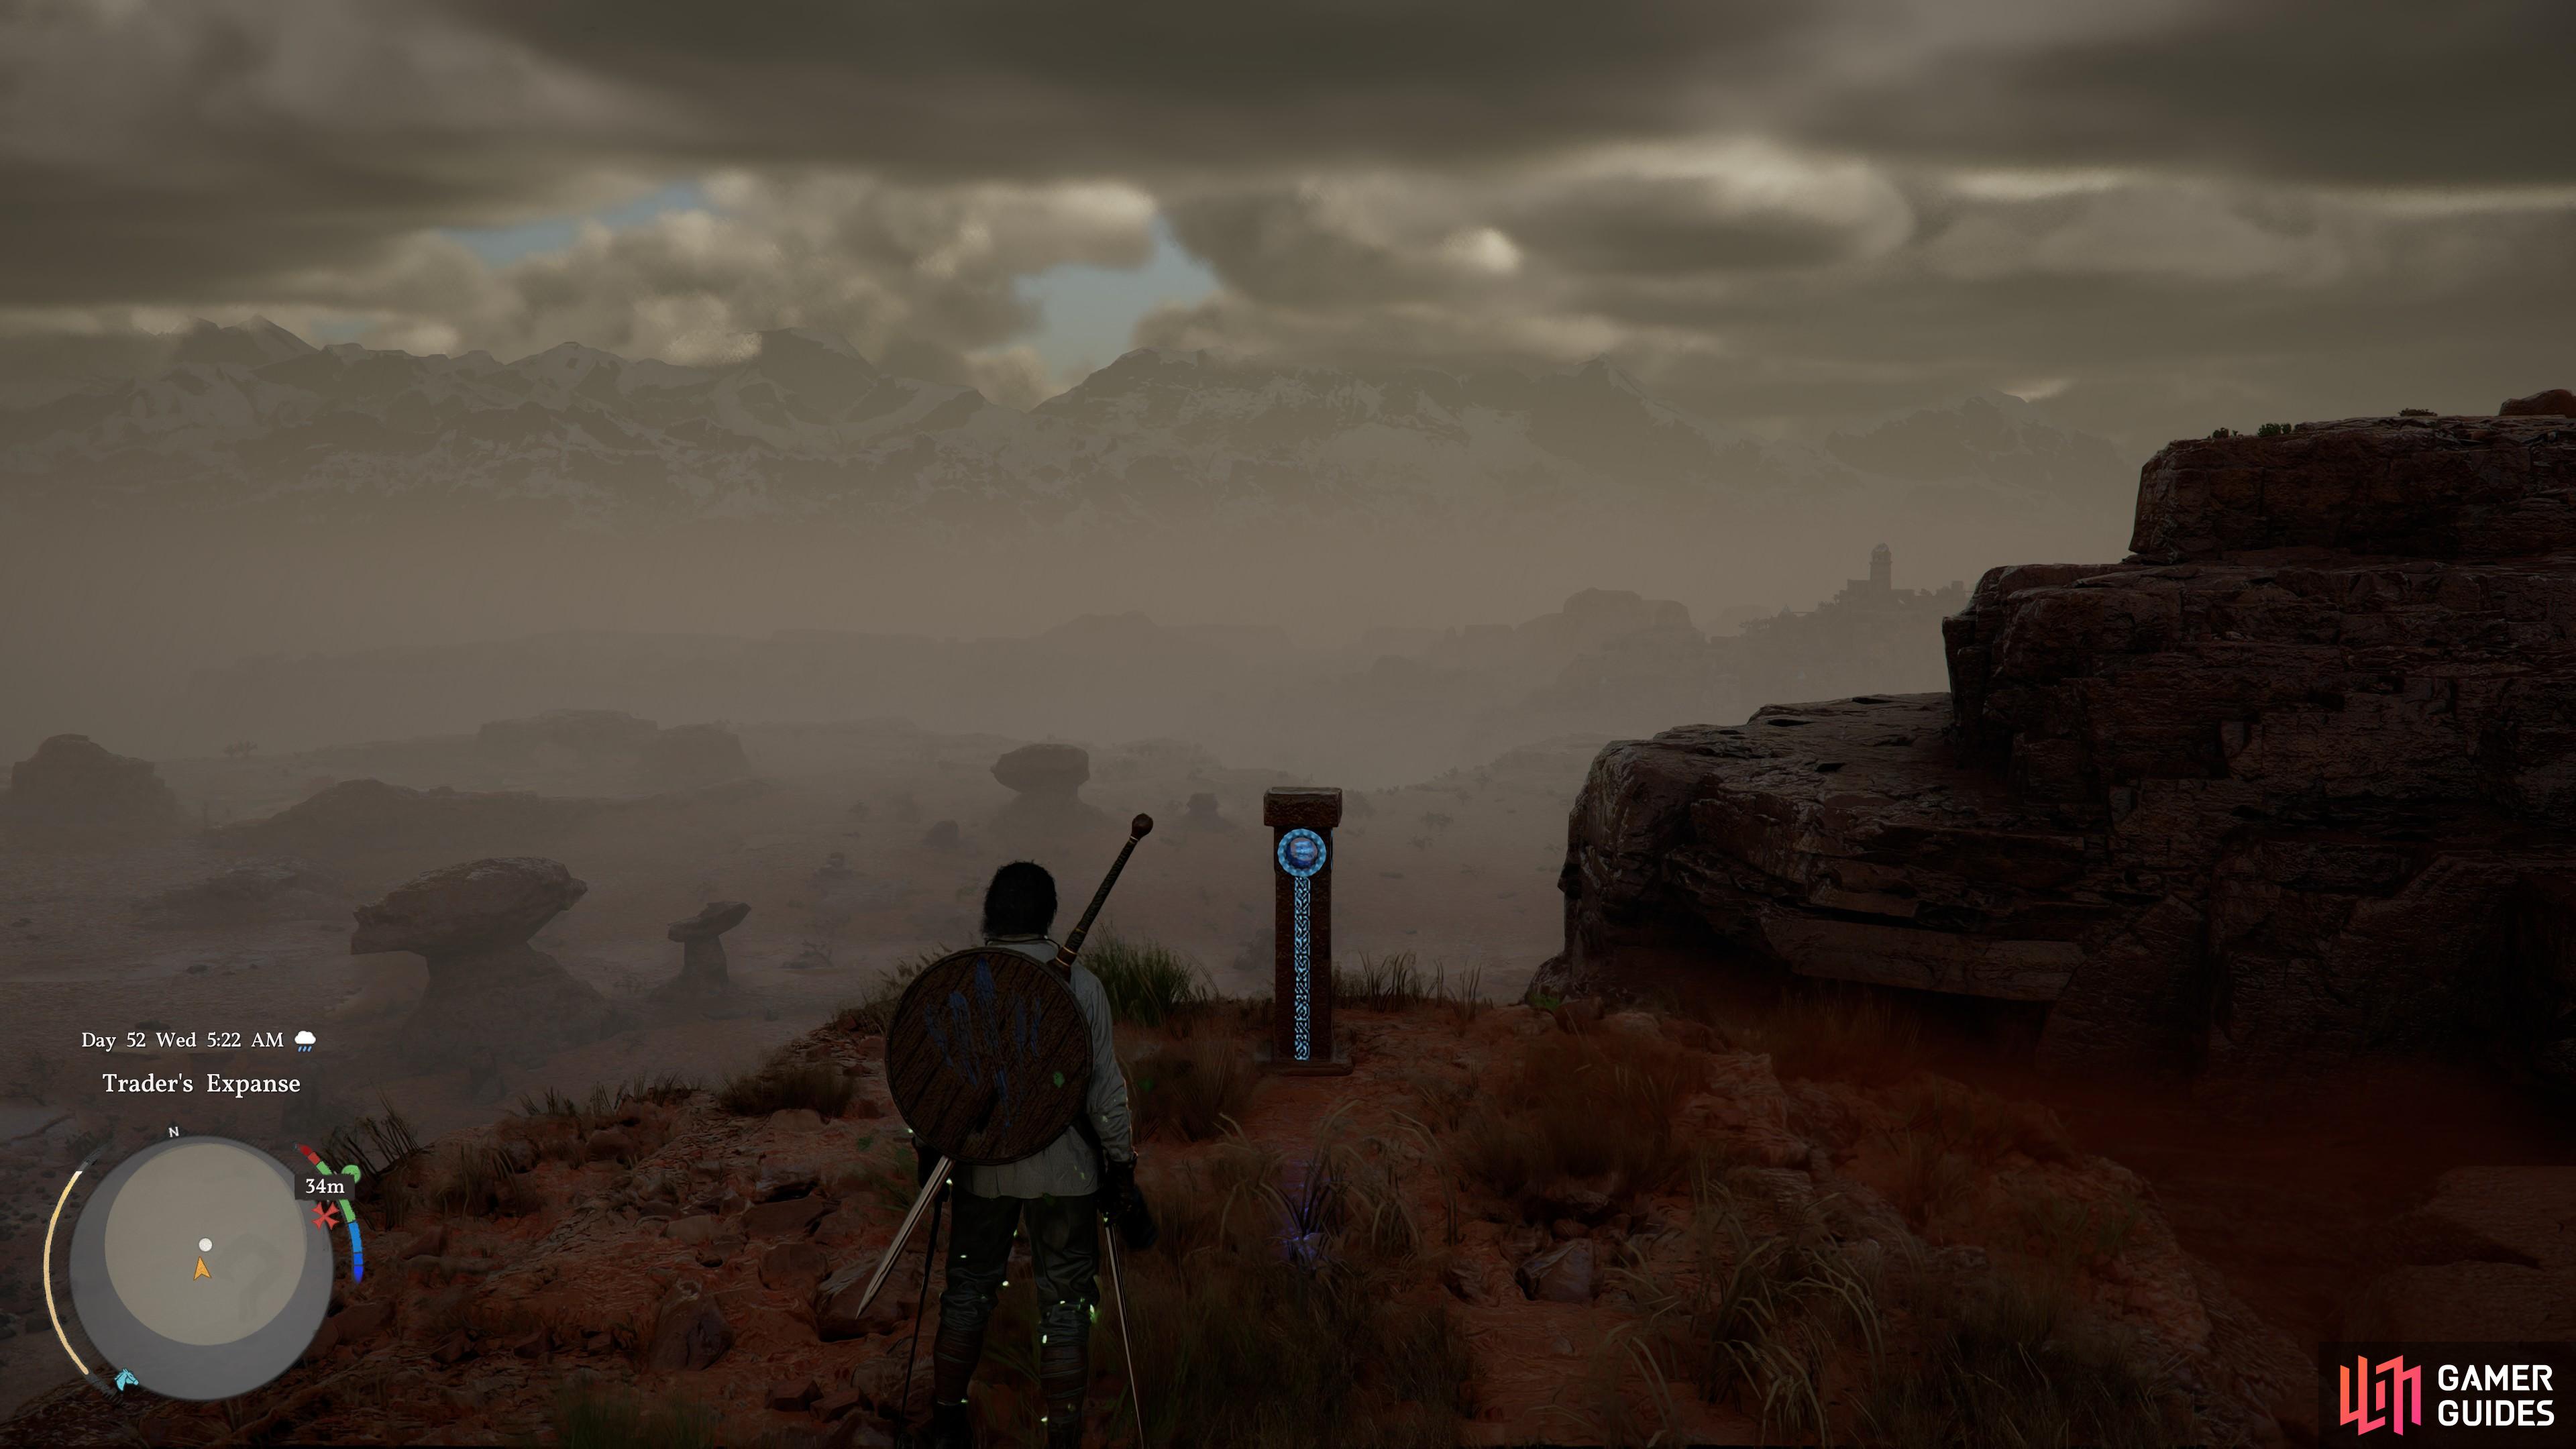
    On top of the large mushroom rock.

    View on map
  66. 66 Forgotten Cliff

    Forgotten Cliff

    A the highest point of the cliff.

    View on map
  67. 67 Everflowing Spring

    Everflowing Spring

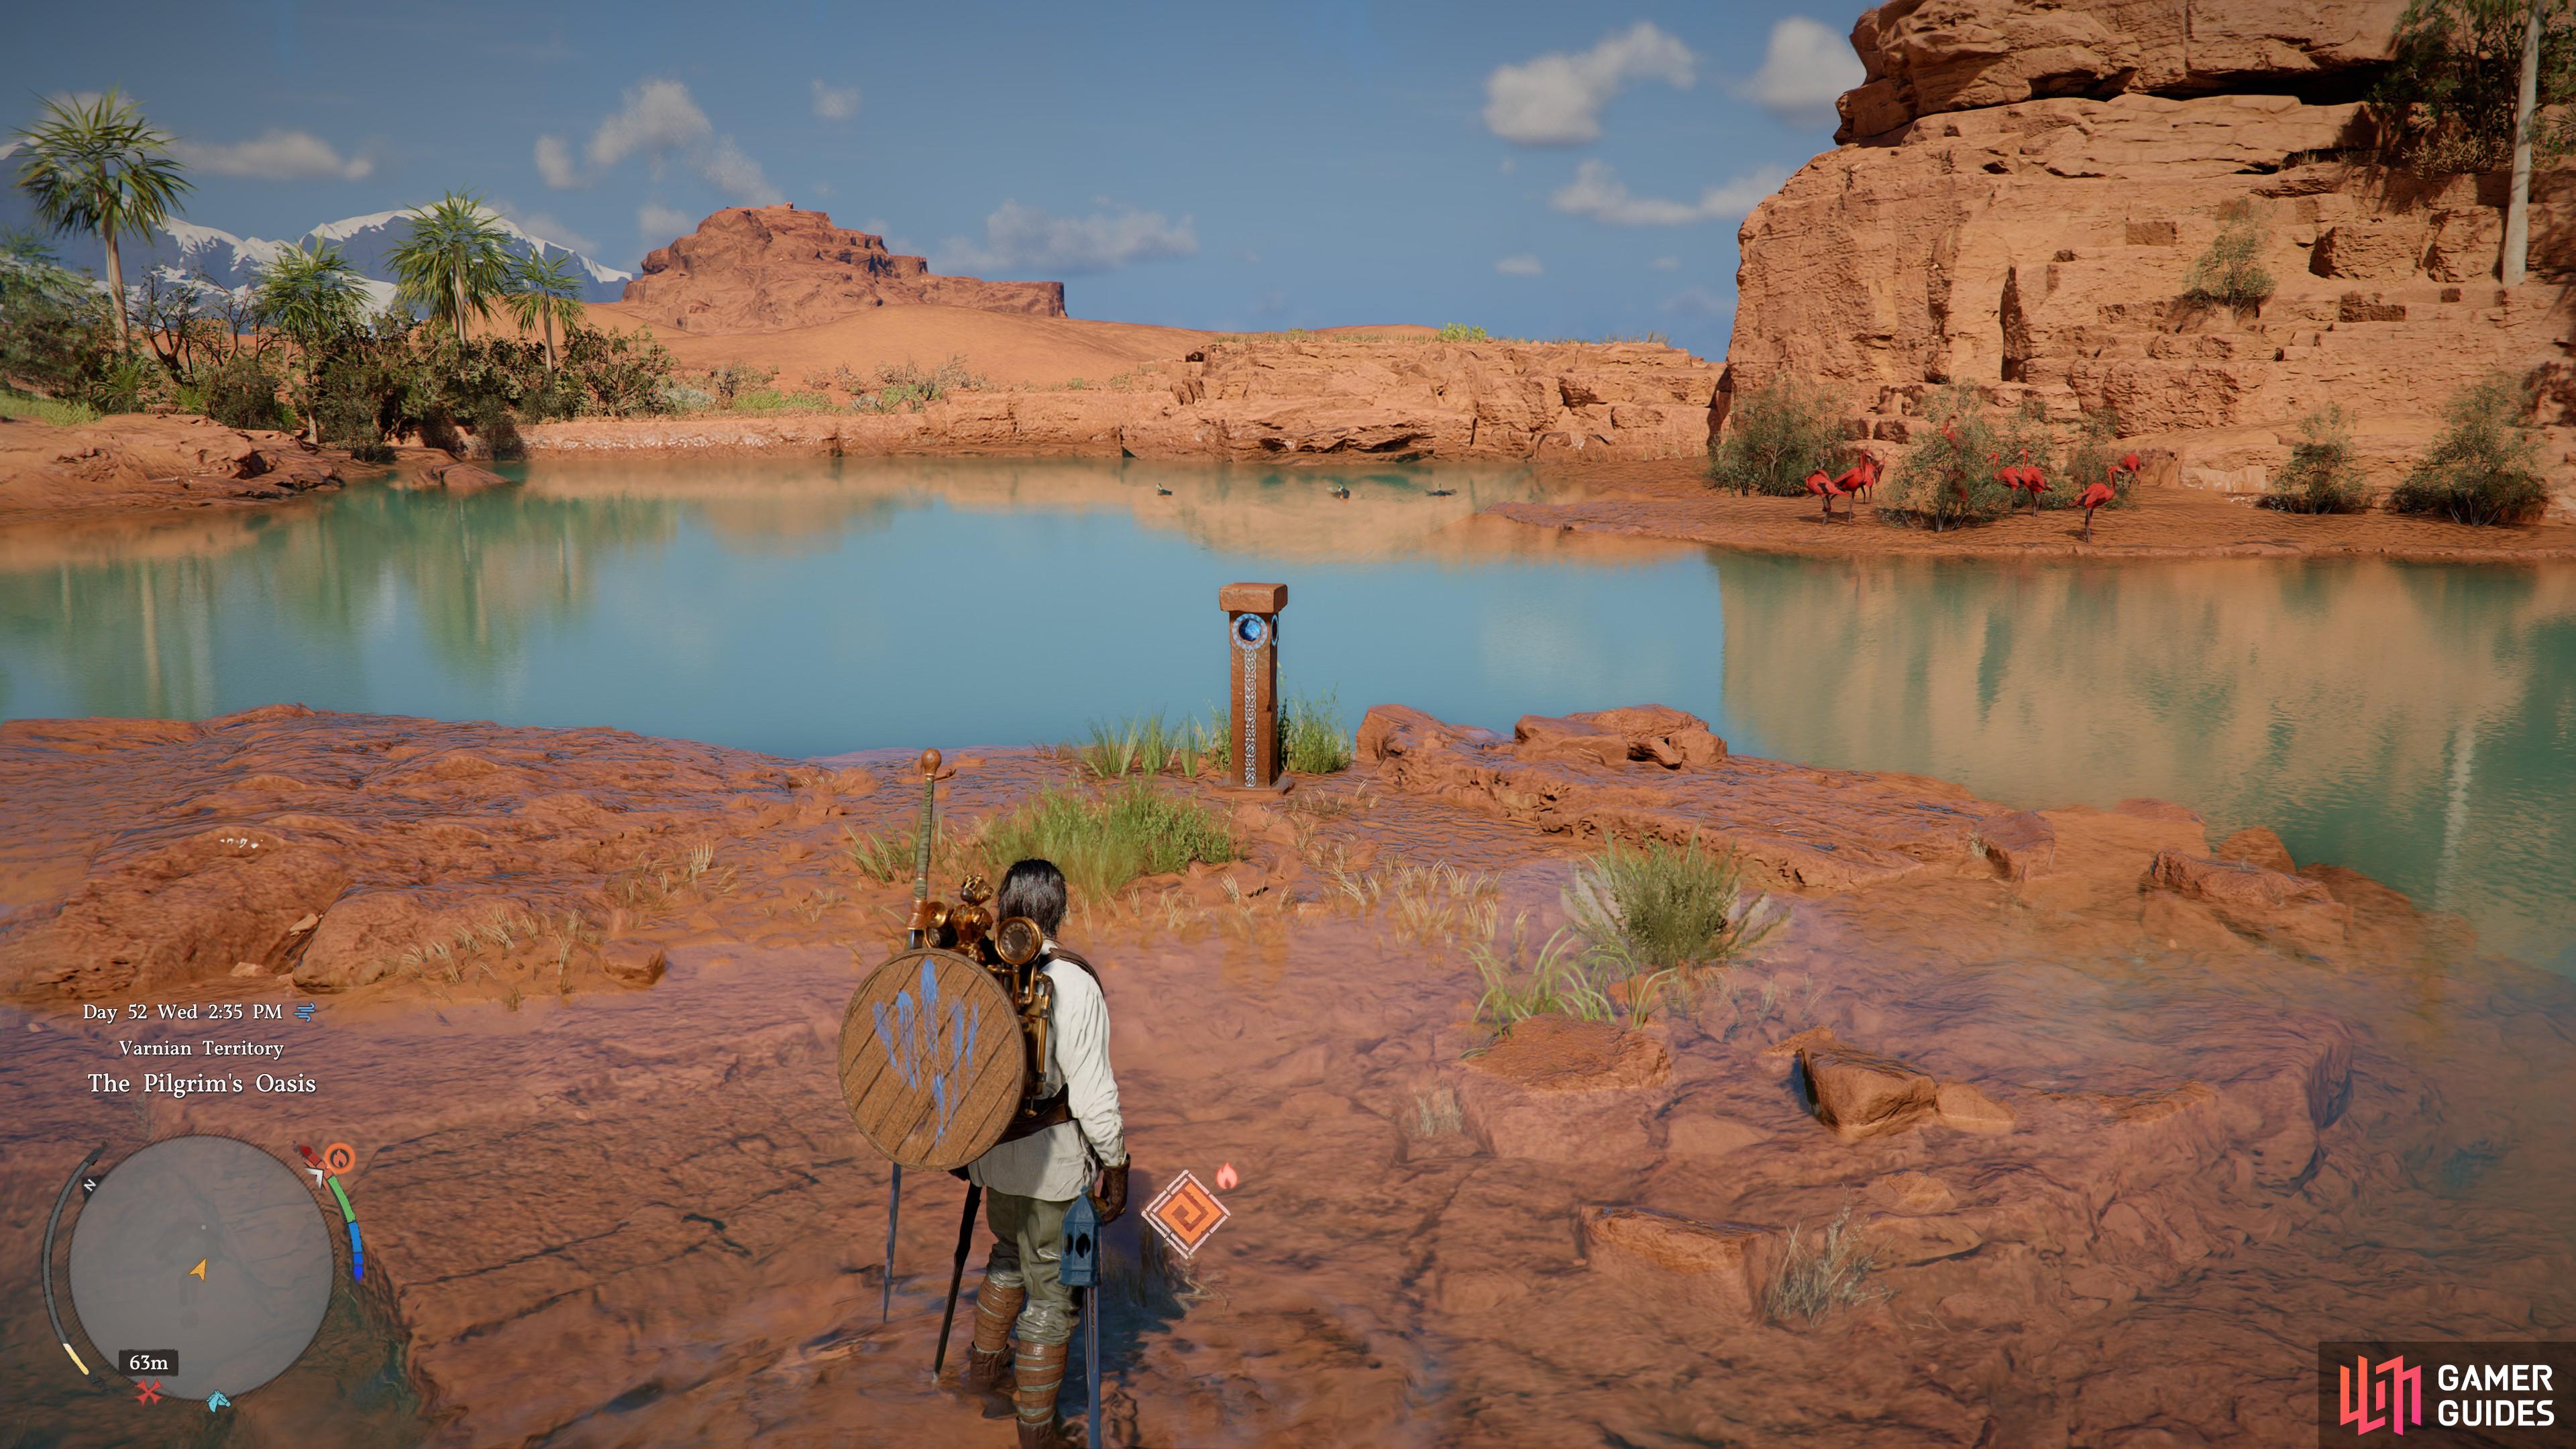
    On the small island in the middle of the oasis.

    View on map
  68. 68 Abyss Cresset

    Abyss Cresset

    On the very top of a mountain, It is not visible in hte map as ? but it is there.

    View on map
  69. 69 Threefold Fork

    Threefold Fork

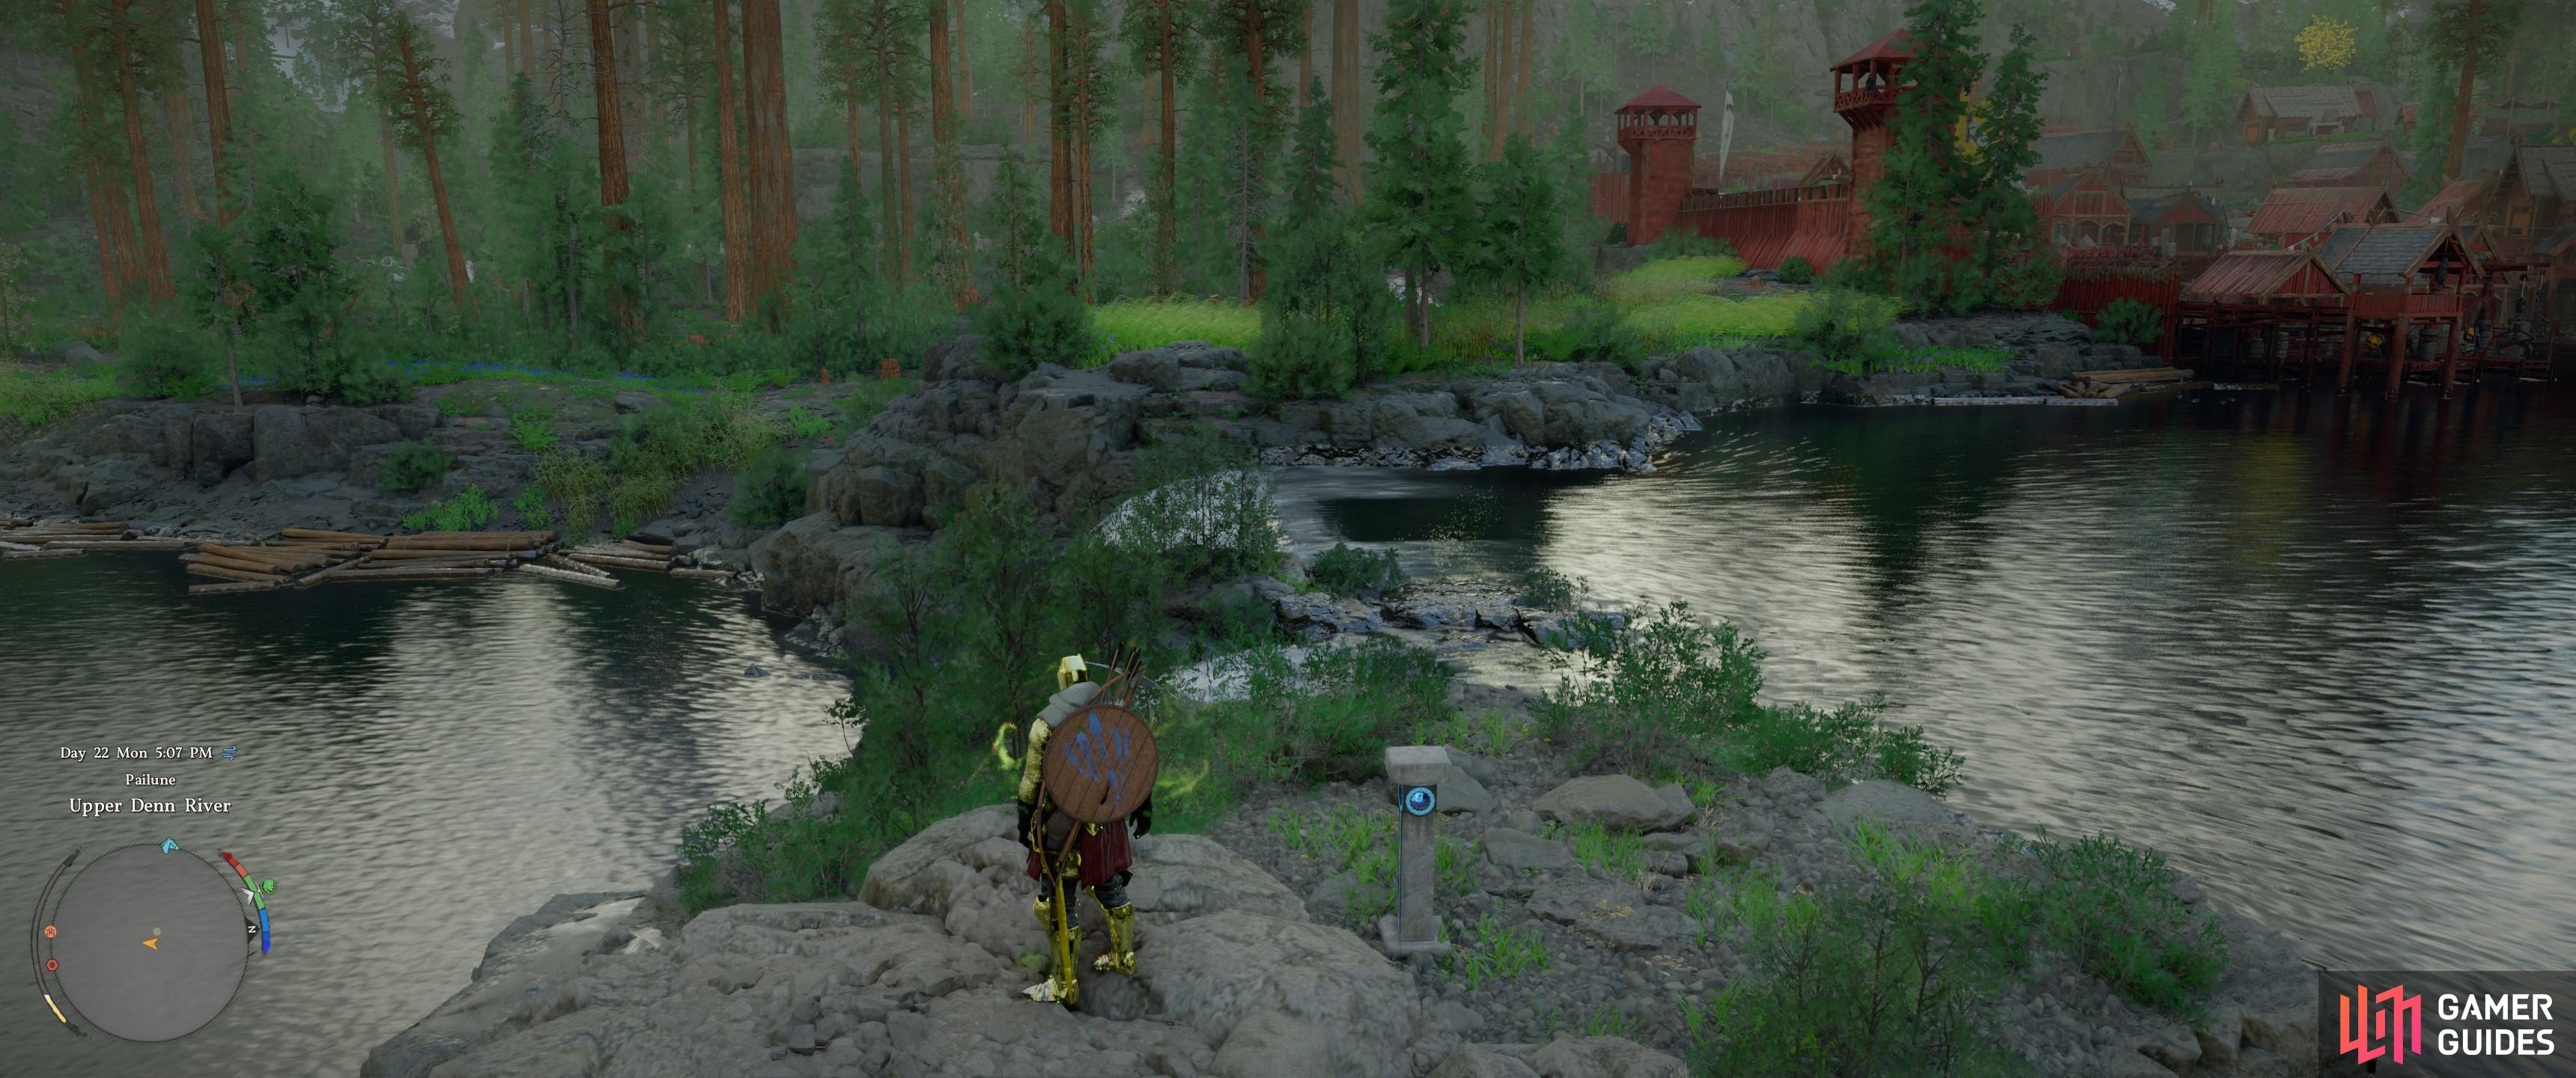
    On the small island.

    View on map
  70. 70 Abyss

    Abyss

    Está no alto do penhasco

    View on map
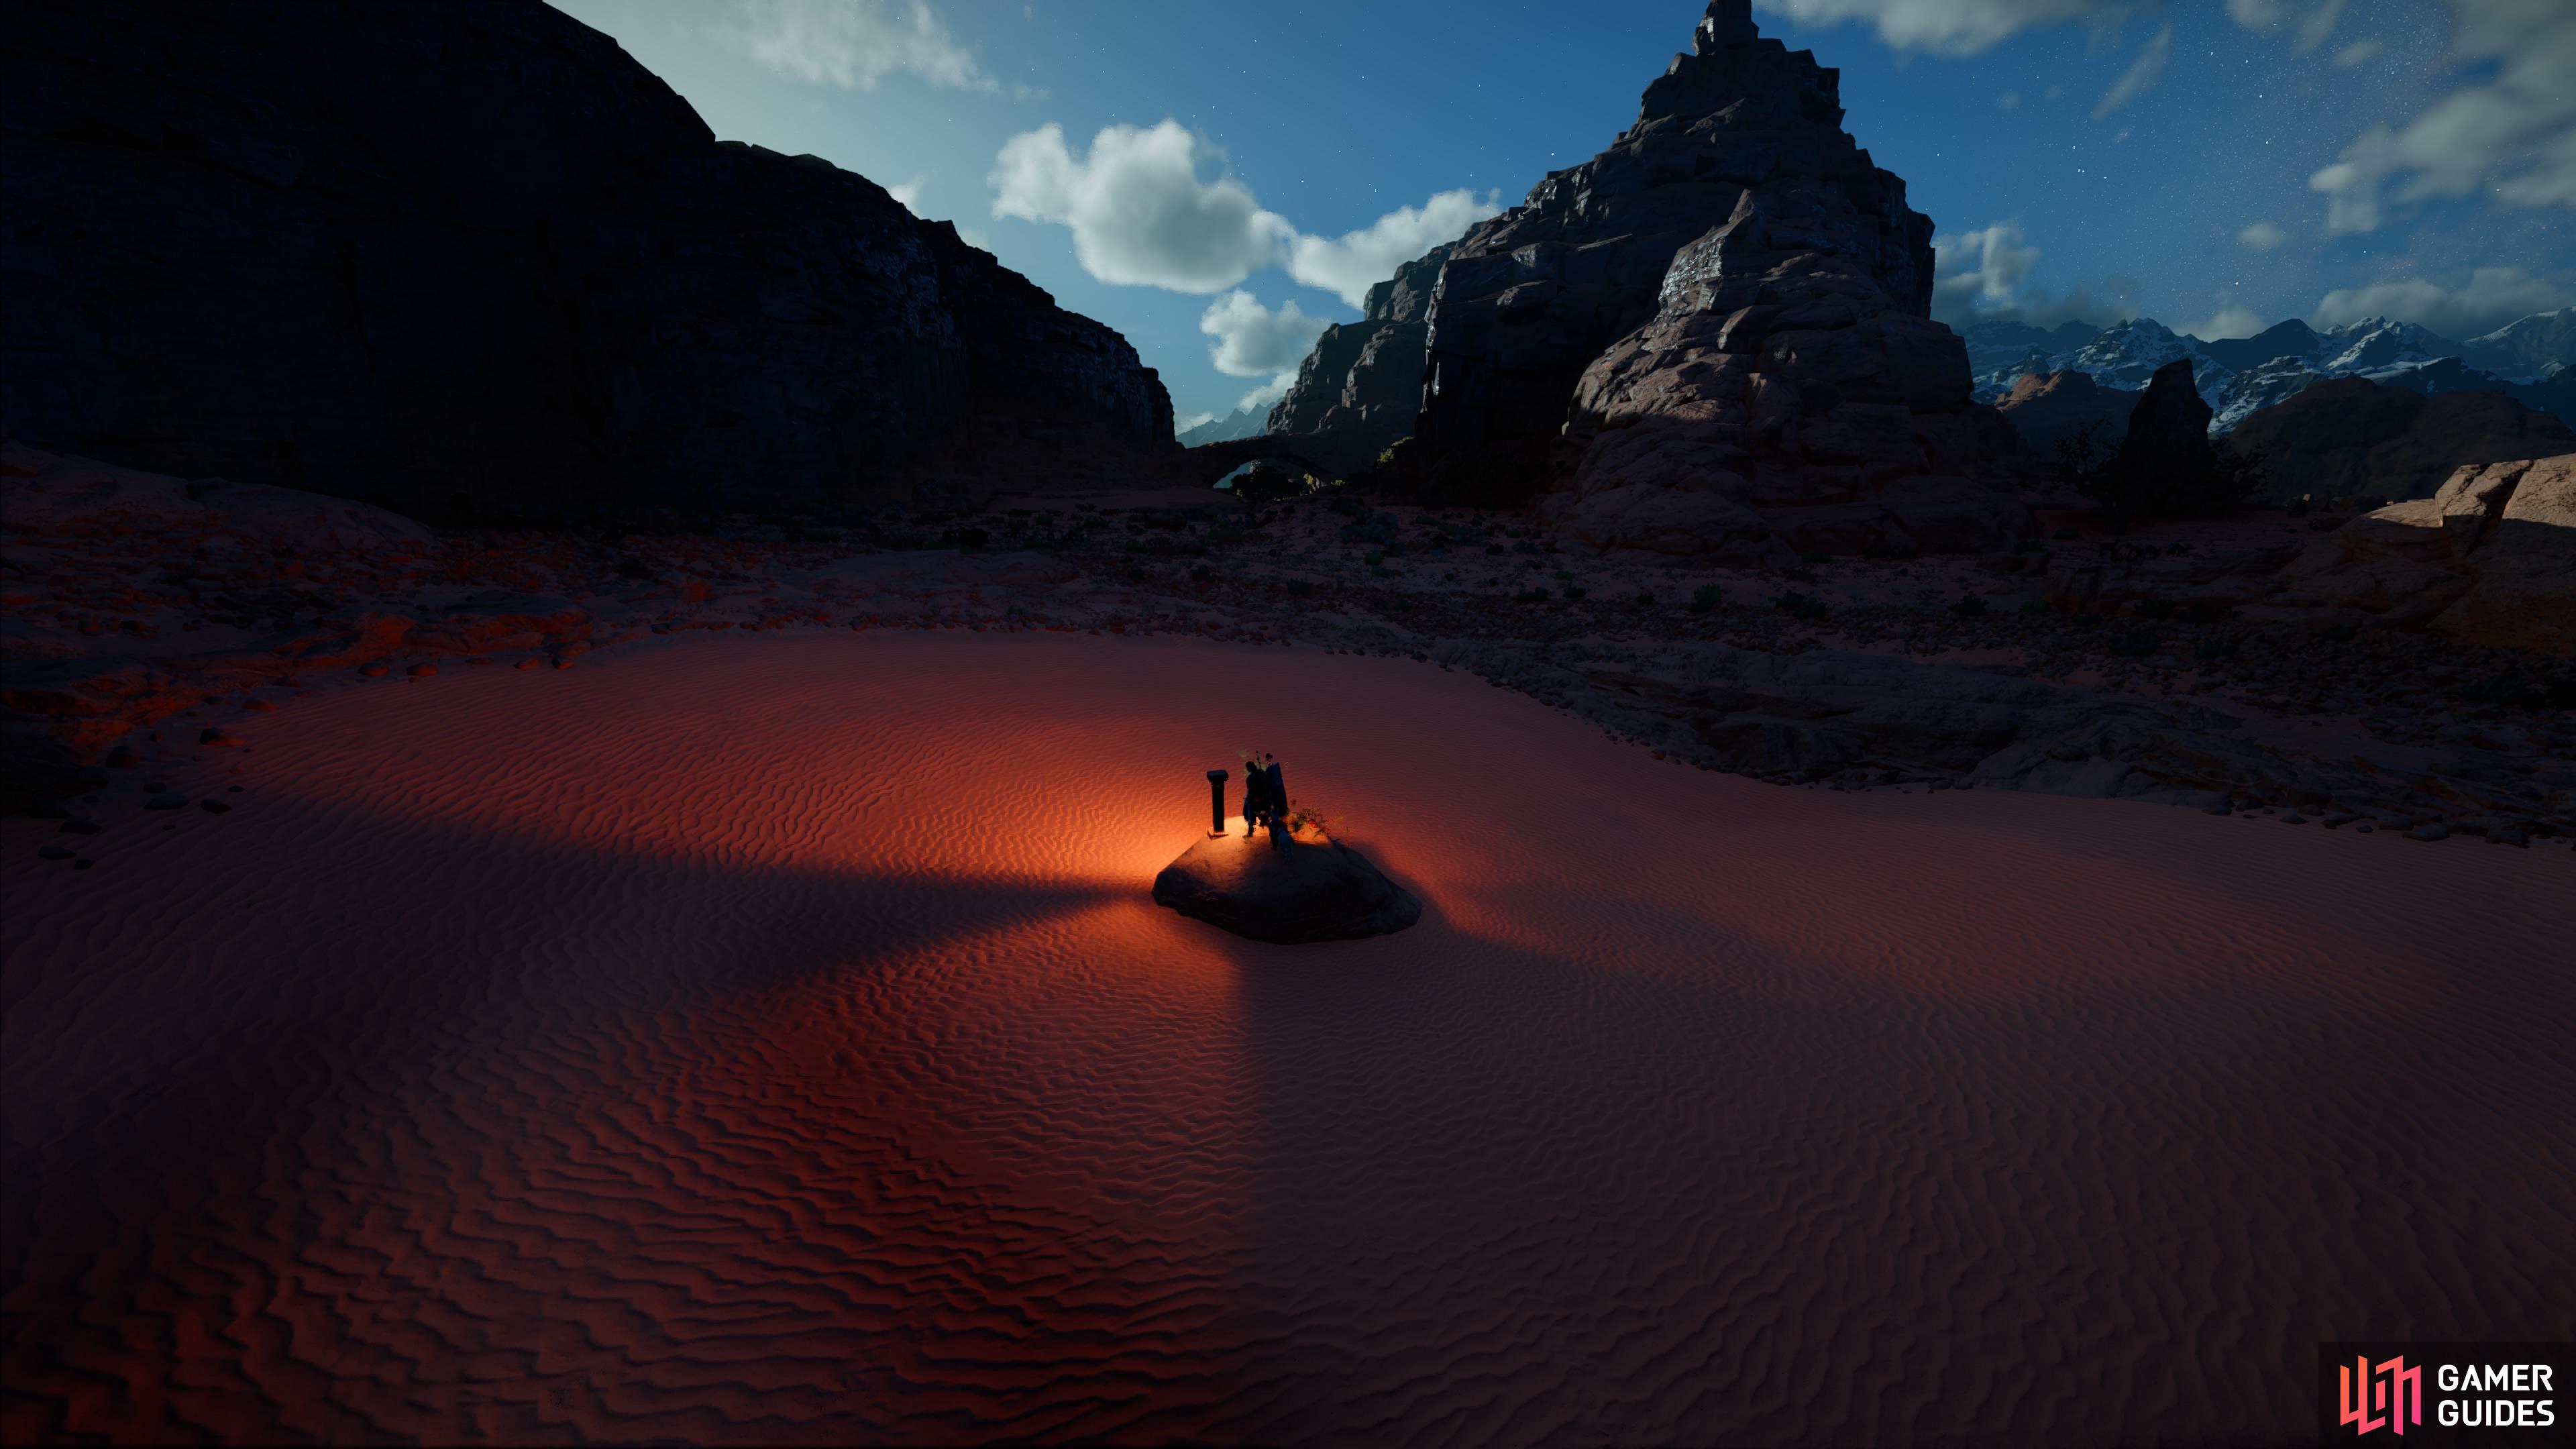
  71. 71 point of the abyss

    point of the abyss

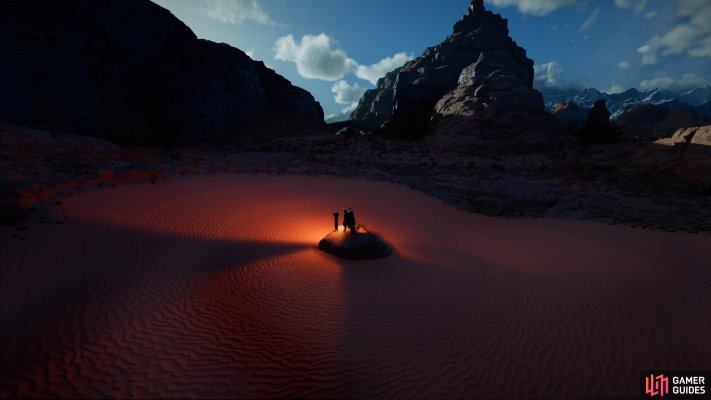
    This point of the abyss is located in the middle of some sand.

    View on map
  72. 72 Reward for Ancient ruins challenge

    Reward for Ancient ruins challenge

    View on map
  73. 73 abyss artifact

    abyss artifact

    abyss artifact

    View on map
  74. 74 Wiggling Hill Ruins

    Wiggling Hill Ruins

    You will need the Nature’s Snare skill, which is along the green path.

    Look for an object poking through the water, near the sunken Abyss Cresset.

    Stand near the object, but not too near. Then use Nature’s Snare to spin around and pull the object upwards.

    Keep going until the object goes all the way up. Once it does, the puzzle will be solved.

    Note: There are unlit torches dotted around the area. You don’t need to turn these on. Lifting the object will automatically turn them all on.

    View on map
  75. 75 Smoking Lands Desert Mouth Maze

    Smoking Lands Desert Mouth Maze

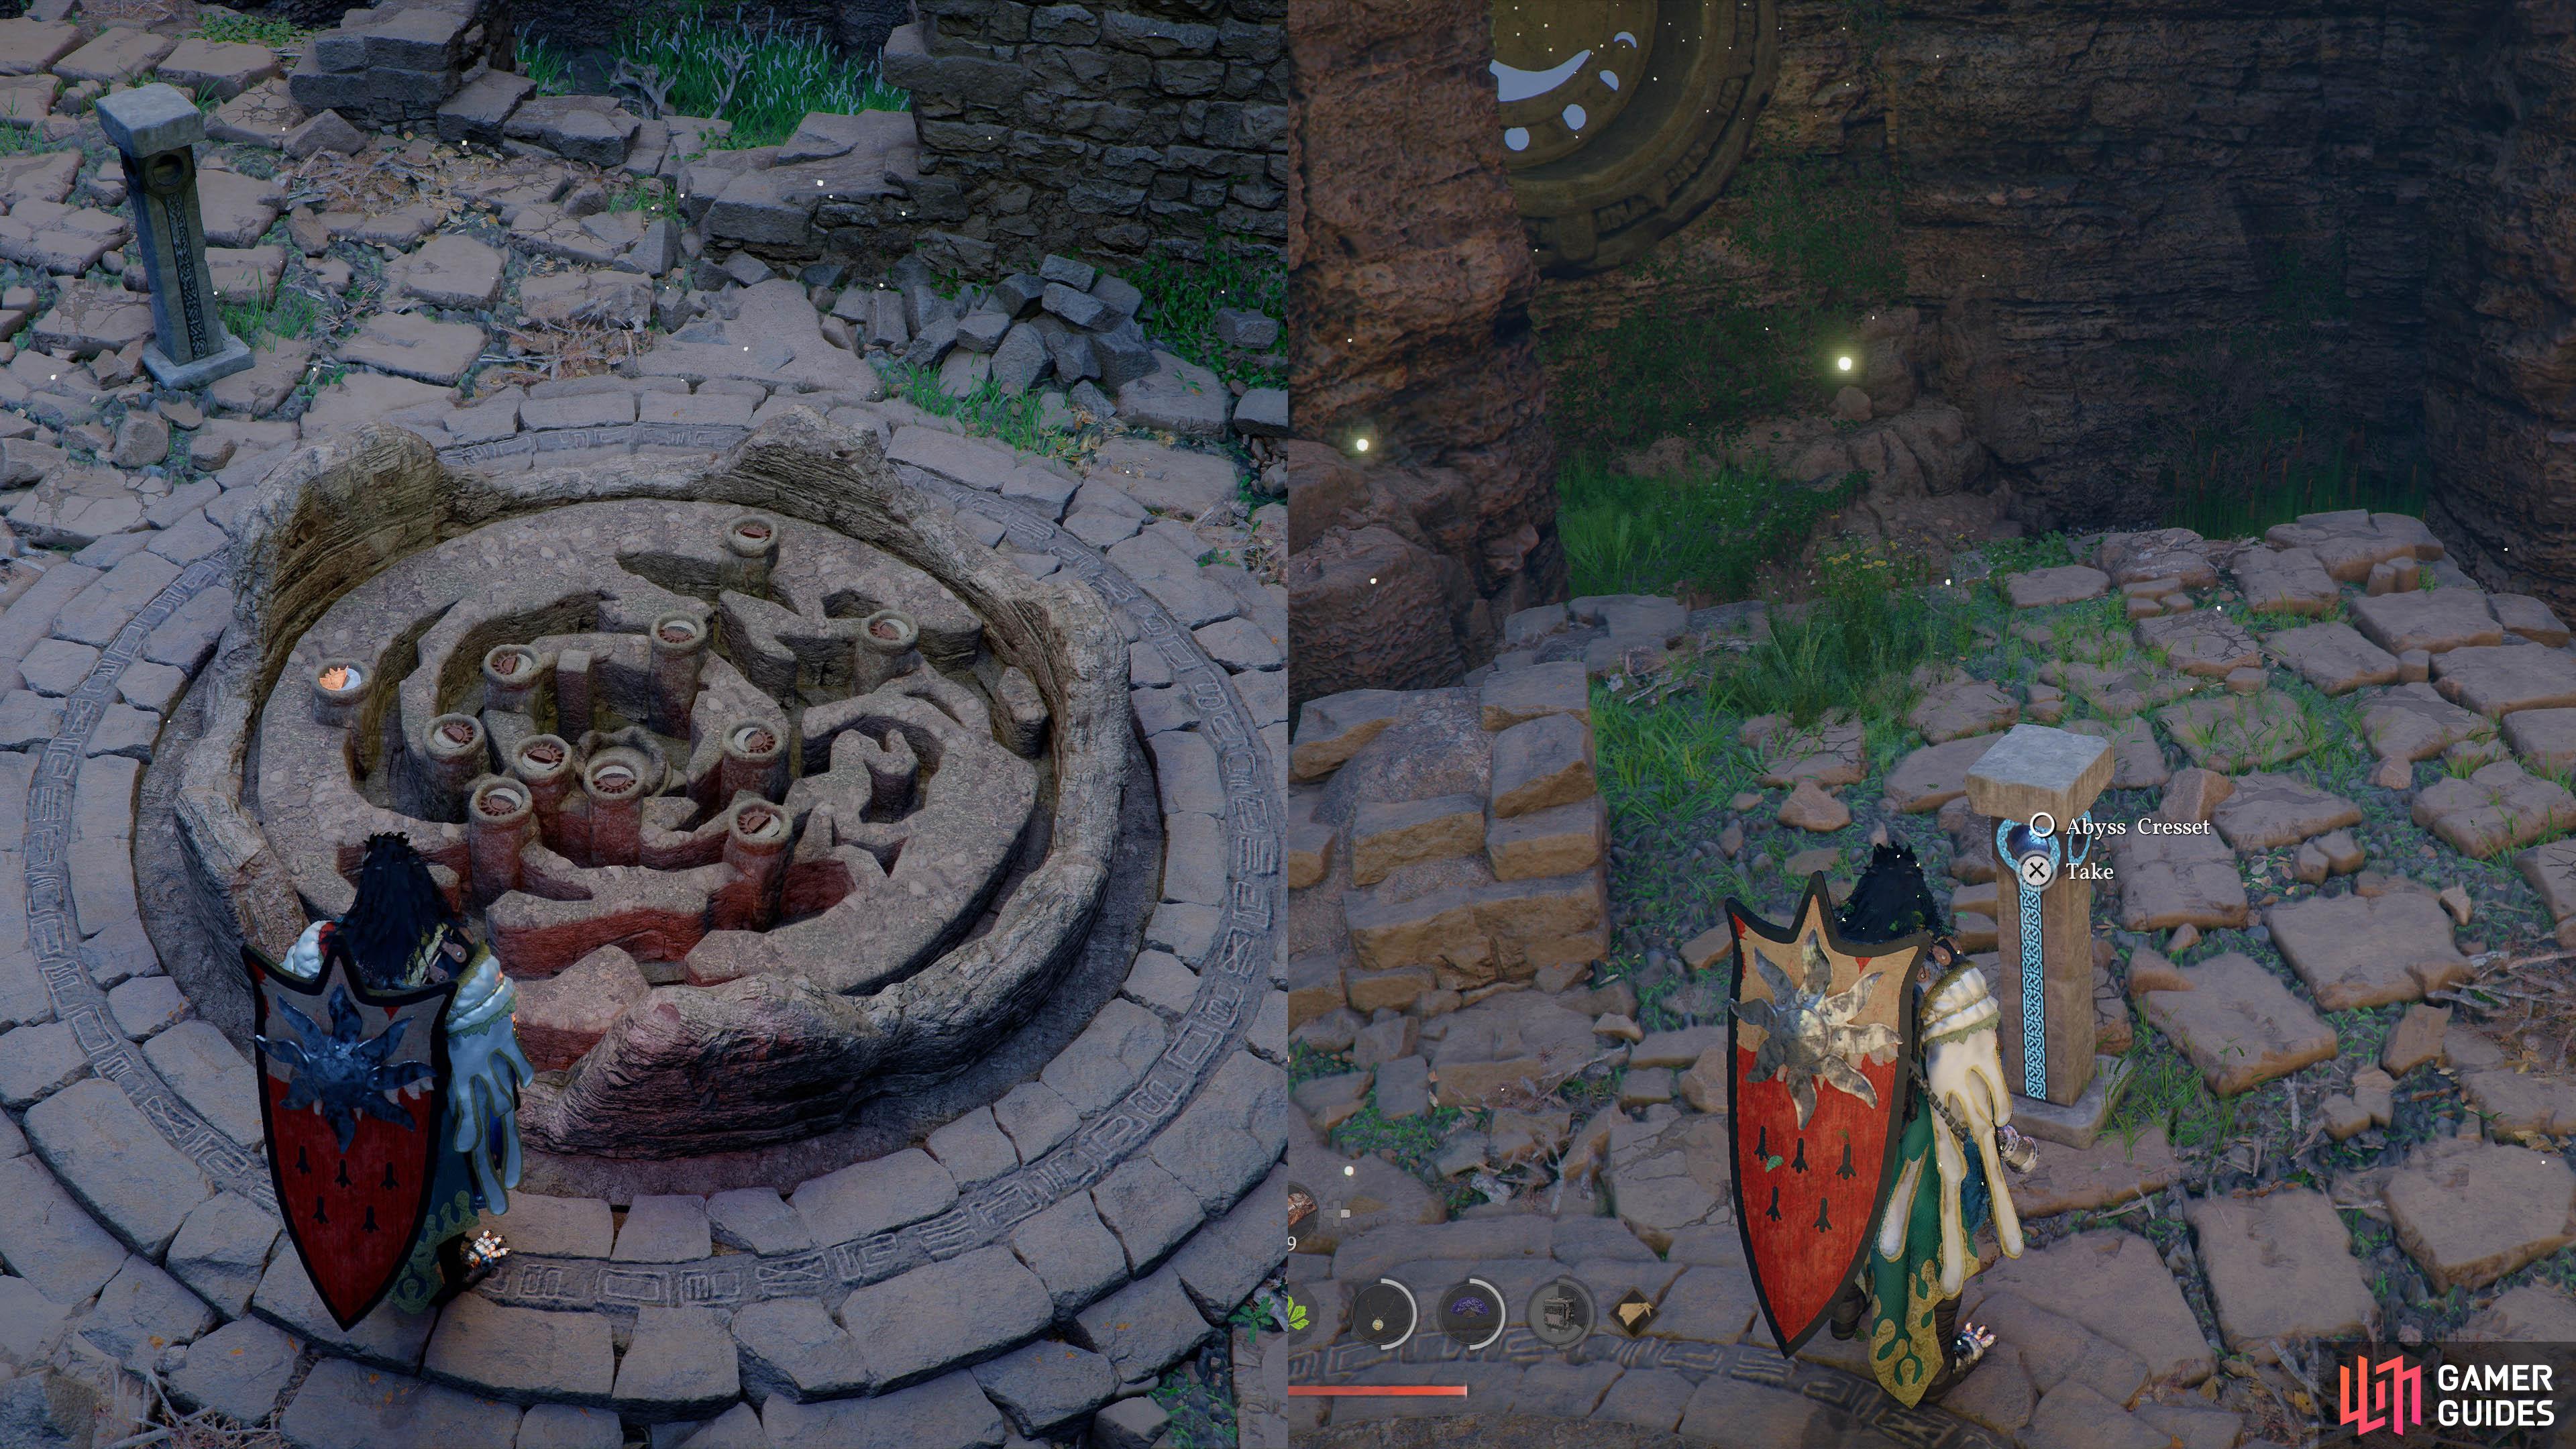
    In the center of the Celestial Maze is a map with 11 small sun/moon symbols.

    These correspond to 11 large sun/moon symbols on the walls of the maze.

    You need to go and Force Palm each of the 10 unlit sun/moon symbols so they flip over.

    Once a sun/moon has been flipped, its corresponding position on the central map will light up. Keep going until the map is all lit up.

    Place map markers on your own map to make it easier. Or cross reference with our map.

    View on map
  76. 76 Ancient Ruins

    Ancient Ruins

    Learn "wind veil" and drain all the water, use 2 mechanisms

    View on map
  77. 77 Hill of Longing

    Hill of Longing

    East from City of Pailune, atop a plateau overlooking the city.

    View on map
  78. 78 Black Wall Ancient Ruins

    Black Wall Ancient Ruins

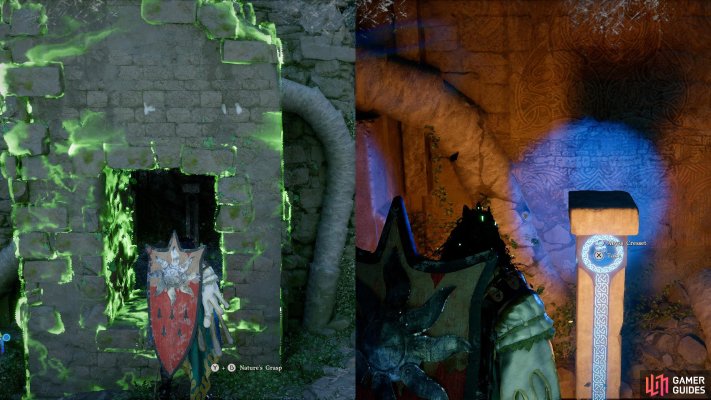
    Use Nature’s Grasp to lift up the wall with a gap in the center.

    View on map
  79. 79 Labyrinth of Bulleholm Village

    Labyrinth of Bulleholm Village

    It looks like there are four searchlights in the town, just head in the direction they are shining.
    View on map
Pencil icon Sign up

Or

Updated Title Publisher
Updated Title
Published Title Score Editor's Choice Publisher
Published Title Publisher
GG logo

Register to continue…

Already have an account?

Log in to continue…

Forgot?

Don’t have an account?


Account Created

Select username:

Gamer Guides Premium


Find out more