The Antaam may have seized control of Treviso, but they’re woefully outnumbered and surrounded by a hostile populace that’s plenty capable of violence. Only through the machinations of collaborators can the Antaam maintain their grasp on the city, and until the Antivan Crows know the source of the Antaam’s power they’re reluctant to strike, and they task you with helping them find the intel they need. This page will provide a walkthrough for the side quest Slow Poison in Dragon Age: The Veilguard.
Page Breakdown
| Quick Search |
|---|
| Starting Slow Poison |
| Find Dareth in the Drowned District |
| Find Dareth’s Contract |
| Find the Qamekmaster |
| Boss: Qamekmaster |
| Search the Qamekmaster’s Room |
Starting Slow Poison
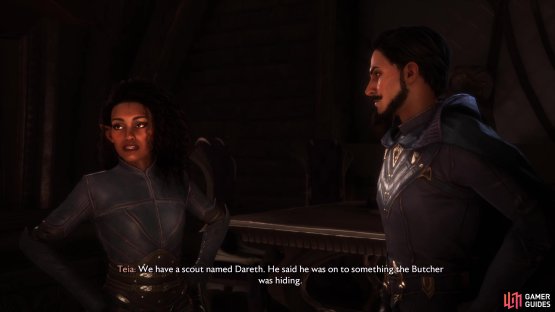
You can start this quest after you complete the main quest [Sea of Blood]. Read a note in the Lighthouse Library and this quest will begin, after which return to Treviso and talk to Teia and Viago to get the quest started properly. The Crows haven’t been waiting idly for the Antaam to get bored and leave Treviso - they sent a scout to get the intel they seek, but that scout has gone missing, and now the task of finding him is being left to you.
(1 of 2) Talk to Teia and Viago to get the quest started properly,
Talk to Teia and Viago to get the quest started properly, (left), then defeat the Antaam in the warehouse in the Drowned District. (right)
Find Dareth in the Drowned District
First up, you’ve got to find the Crow scouts in the Drowned District, so just run south (or fast travel if you’ve got the beacon) and the quest marker will lead you to a warehouse along the southwestern most edge of the city, where you’ll encounter some Antaam. Put them down and free Jacobus from the cage he’s in to get an update on Dareth, after which you’ll need to search his body to find a Bloodstained Note, which will give you the intel you need to proceed.
Find Dareth’s Contract
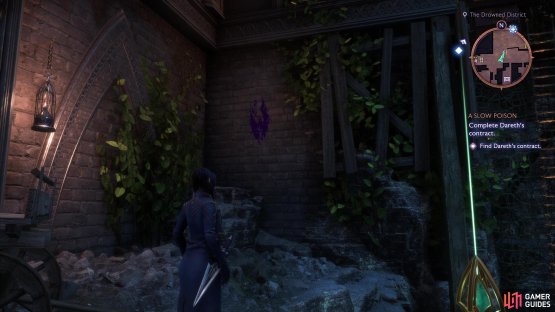
Now it’s time to run through half of Treviso to get the quest moving properly again back north towards the southernmost Drowned District beacon and you’ll see a purple Crow sign scribbled on a wall, letting you know you’re on the right track. Fortunately finding these isn’t really necessary to progress the quest - just follow the quest marker and you’ll reach your destination:
- The next marker can be found on a wooden wall north of the northernmost Drowned District beacon.
- The third Crow marker is found over the Grande Market beacon.
- The fourth is near the Heart and Central beacon - climb a lattice near the beacon and turn north to find the mark near a ladder.
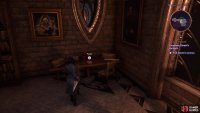
After finding the fourth marker, climb the ladder and jump through a window to the east, then search a desk in the southwestern corner of the room to find a Contract for a Crow letter. This will give you yet another objective, and better yet, a proper target.
(1 of 2) Look for Crow symbols as you trek back north through Treviso,
Look for Crow symbols as you trek back north through Treviso, (left), and find the contract to get a new target - the Qamekmaster. (right)
Find the Qamekmaster
Travel to the northernmost Crow’s Road Rooftops beacon or head back to the Cantori Diamond and take the northern zipline. Either way, you’ll get to where you need to go. From here jump a gap to the east, then go through some double doors to the north to reach a quest-exclusive part of Treviso. You won’t be coming back once you leave, so be on the lookout for loot, but none of the chests up here count towards Treviso’s totals.
Defeat two Antaam once you pass through the doors, then pull a lever on a zipline to get it working again and ride across to a roof to the northwest, where another pair of Antaam await. Punish them for abandoning the Qun, then head to the northern edge of this roof to find a beam you can cross. Do so to reach the upper floor of a large building and progress north, cross a narrow section of floor, then turn left (west) and go through a broken window and work your way along a ledge through another window to re-enter the building, albeit past an obstruction that blocked a more direct approach.
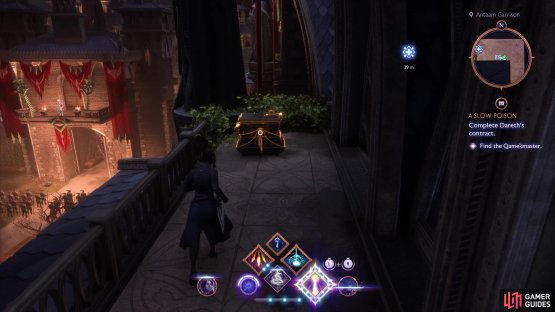
Press on to the north, kill more Antaam - this time three of them! - and turn west. Keep your eye to the south, however, and go through a broken window when you spot it to find a chest, one of the rare bits of noteworthy loot you can gain by exploring here. Plunder it and head back inside, then keep going west until you reach a closed door - there’s some side loot you can find hidden here and there, but it’s nothing aside from low-tier materials. Go through the door and down some stairs and it’ll become clear you’re not sneaking up on this Qamekmaster fellow. Oh well. When you reach a fancy room at the bottom of the stairs search the southwestern corner to find a chest to score the Ravage rune and note the beacon - it’s just there for respawns, and will become inaccessible when this quest is over with.
When you’re ready, vault over the railing to the west to meet the Qamekmaster - your target.
(1 of 2) Duck out a window to find a chest on a balcony,
Duck out a window to find a chest on a balcony, (left), and loot a small chest in the room before the Qamekmaster to score a Ravage rune. (right)
Boss: Qamekmaster
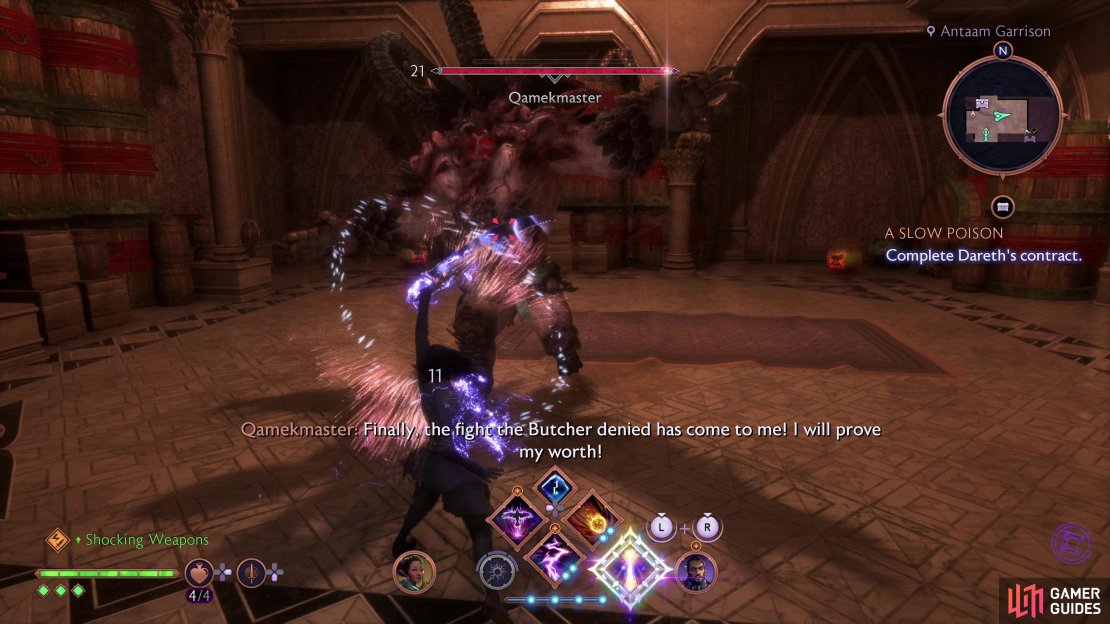
When you drop down, if you don’t see your foe, you should probably dodge - the Qamekmaster roams about and there’s a chance he’ll be behind you. It’s not like the Qamekmaster is hard to miss, either - your foe is a blighted Qun, functionally an ogre, albeit one that’s not too far gone to talk. The Qamekmaster’s verbosity doesn’t influence its combat style, however, it’ll still attempt to swipe at you with its claws (blockable), perform leaping swats and charges (unblockable) and to augment its physical violence he can spawn poisonous puddles on the ground, perform a series of running claw attacks and a charge attack.
This fight is really a test of your ability to parry - if you’ve got a staff equipped, switch to an orb and dagger, as if you’re even remotely competent at blocking and parrying you’ll trounce this foe easily. His most common attacks, the standard claw swipes, are parryable and any time you perfect parry the Qamekmaster will be staggered for an extended period of time, allowing you to rack up damage. If you can’t parry, for whatever reason, stay out of its range while minding the barrels of poison in the corners of the room (they will hurt if they detonate near you - a lot). The Qamekmaster is weak to necrotic damage, oddly enough, while being resistant to electric damage.
(1 of 3) Parrying the Qamekmaster’s attacks will drop him for a generous length of time.
Search the Qamekmaster’s Room
Defeat this foe, then destroy the barrels of poison in the corners if they weren’t destroyed during the fight. Once done, search a desk to the west to find a Journal Page in a Shaky Hand to learn more about the Butcher’s supply of Qamek, then search a side room to the northwest to find a large chest you can loot. Do so, then return to where you fought the Qamekmaster and exit via a door to the south. You’ll reappear outside the Cantori Diamond - just report in to Viago and Teia to finish this quest, earning, 750 EXP, a Contoured Skirmish Jacket and +250 Crows Strength.








No Comments