After thwarting the gods at Arlathan Forest during [![]() Blood of Arlathan] it’s time to move into the endgame of Dragon Age: The Veilguard! Having been defied and frustrated by The Veilguard repeatedly since the fall of Weisshaupt, Elgar’nan’s pride can endure no more, and he moves the heavens to expedited the completion of his veil-destroying dagger. The time for preparations are over - Elgar’nan has forced a showdown, and this page will provide a walkthrough for the quest
Blood of Arlathan] it’s time to move into the endgame of Dragon Age: The Veilguard! Having been defied and frustrated by The Veilguard repeatedly since the fall of Weisshaupt, Elgar’nan’s pride can endure no more, and he moves the heavens to expedited the completion of his veil-destroying dagger. The time for preparations are over - Elgar’nan has forced a showdown, and this page will provide a walkthrough for the quest ![]() Isle of the Gods in Dragon Age: The Veilguard!
Isle of the Gods in Dragon Age: The Veilguard!
Page Breakdown
Starting Isle of the Gods
Complete the main quest [Blood of Arlathan], after which you’ll need to finish up the next two main quests, For the Love of Treviso and ![]() Legacies and Legends. This last quest then leads to a series of chatty transitional quests, including To Act as One and
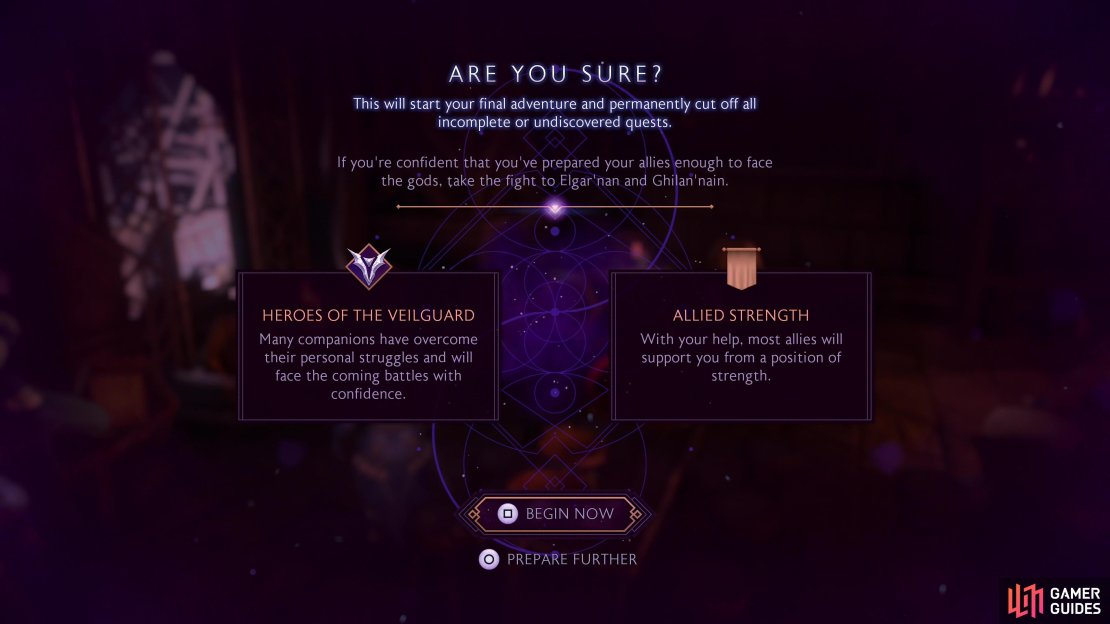
Legacies and Legends. This last quest then leads to a series of chatty transitional quests, including To Act as One and ![]() When Plans Align. After the last of the aforementioned quests you’ll get a warning that you’re crossing the point of no return - be sure to take care of any and all unfinished business (side quests, companion quests, faction quests, and area exploration, shopping, etc) before you meet with Morrigan at the Cobbled Swan.
When Plans Align. After the last of the aforementioned quests you’ll get a warning that you’re crossing the point of no return - be sure to take care of any and all unfinished business (side quests, companion quests, faction quests, and area exploration, shopping, etc) before you meet with Morrigan at the Cobbled Swan.
After all that you’ll have a chat with your team at The Lighthouse and the quest ![]() The Shadowed Sun will start, which requires you to talk to your romantic interest (if any) and Varric. Once done, head through the eluvian in The Lighthouse to travel to Tearstone Island. Once you arrive there this quest will start.
The Shadowed Sun will start, which requires you to talk to your romantic interest (if any) and Varric. Once done, head through the eluvian in The Lighthouse to travel to Tearstone Island. Once you arrive there this quest will start.
Complete every main quest - and a whole bunch of chatter masquerading as quests - to reach the point of no return.
Choice: Davrin or Harding?
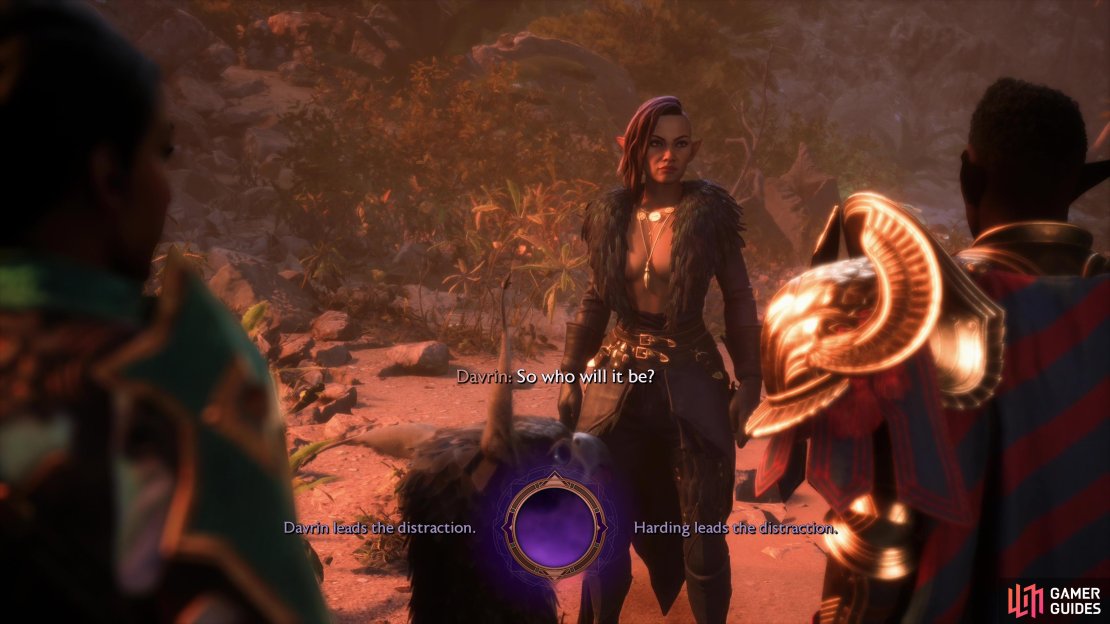
Before you get to any gameplay, you’ll need to make a choice. A mission of this complexity and danger requires the entire Veilguard, and by popular RPG convention that means you need to split up to maintain proper party sizes. Rook can only lead one team, and one of your underlings has to lead the B-team. Both Harding and Davrin volunteer. For more information on this choice, check out the Isle of the Gods Choices page, or for a more to the point summary, check out the spoiler box, below:
Assign Harding or Davrin to lead the B-team.
The major takeaway of this choice is that whomever is nominated as leader of the B-team will never be a playable character again. If you like having one of these characters in your party, or they’re a romantic interest, you probably don’t want to make them the leader.
Reach the Inner Shoreline Camp
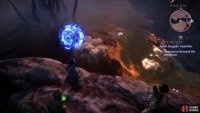
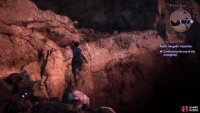
Operation divide and conquer, underway! Make your way west along the Outer Shoreline area, then south into the Inner Bay. Press on until you encounter some Antaam, including two Warband Valotaar (two-handed axe wielders) and a Warband Karataar (shield and spear). Once they’re defeated, search a rocky bluff overlooking the beach to find a small chest containing, among other things, the Hurlock Hunter’s Helm cosmetic, then continue west and cross a fallen tree to reach some ruins. Press on west, climb a ledge to the north, then continue northeast until some crates are destroyed by mortar fire.
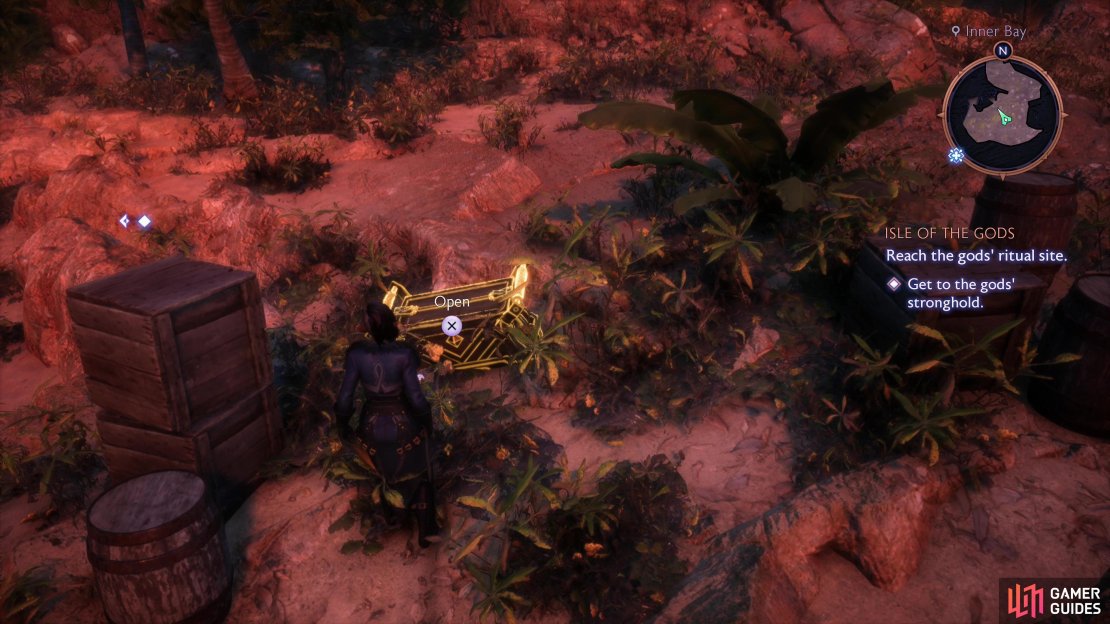
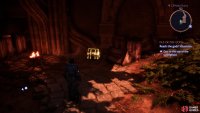
Before you press on to the northwest, continue uphill to the east and southeast, then enter a cave to the east, where you’ll find a chest. Backtrack to where you first saw mortar fire and defeat some woefully underleveled Mercenaries (Lv10) and a God-Touched Warband Anadaar, then press on northwest past some barricades to reach the Inner Shoreline Camp.
(1 of 3) Defeat some Antaam, then loot a chest on a rocky bluff.
Defeat Issbaqoun
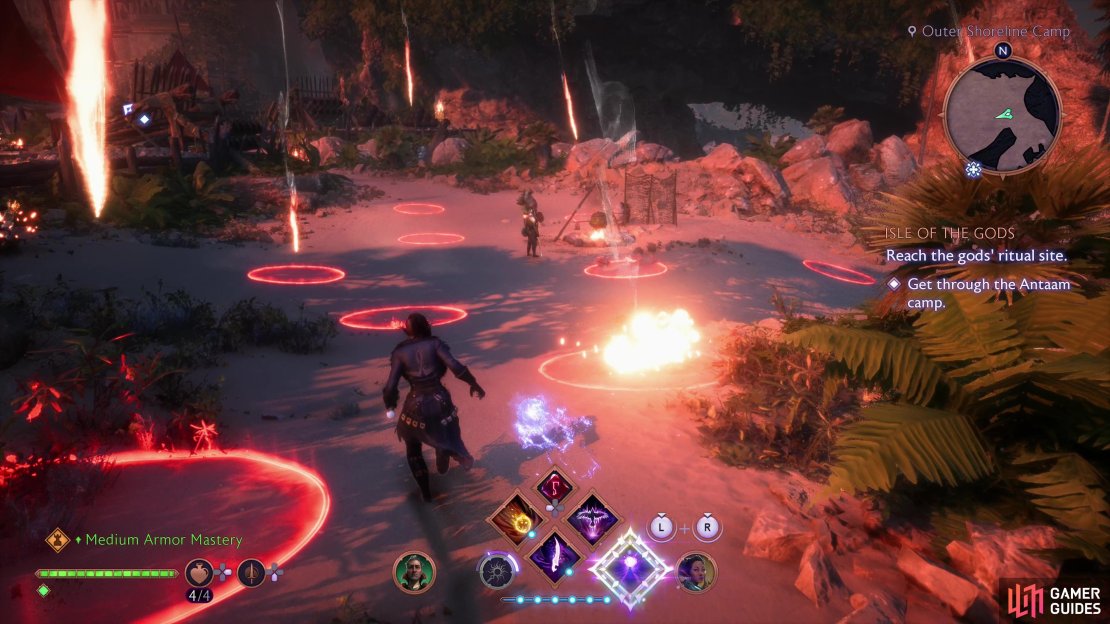
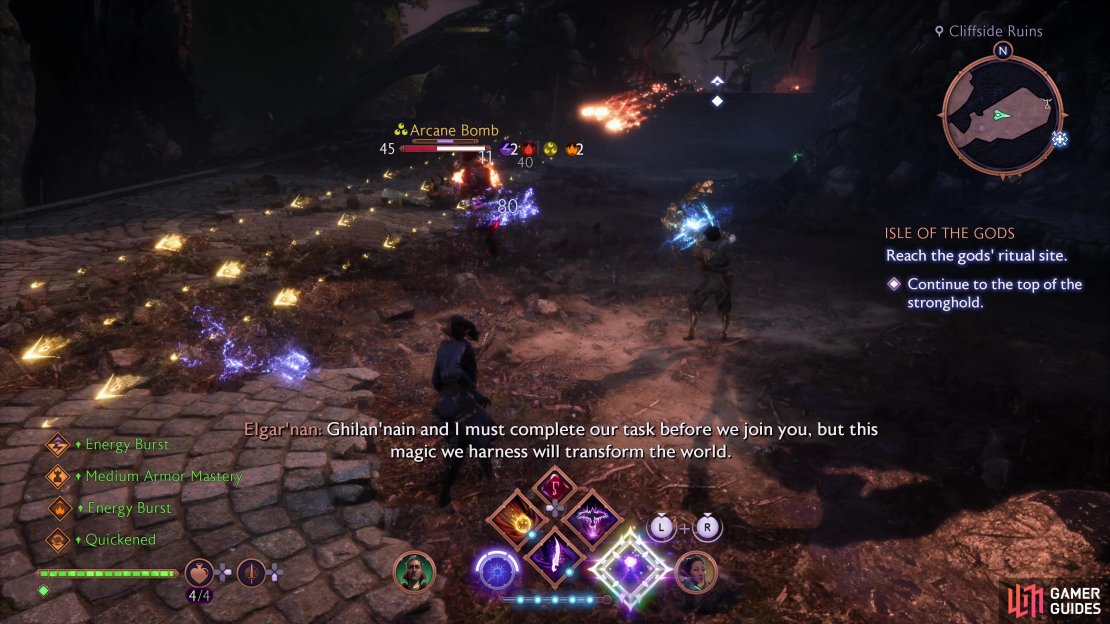
When you reach the Inner Shoreline Camp, mortar fire will start raining down liberally, forcing you to watch your step as you advance, a task somewhat complicated by endless hordes of mercenaries. These foes are merely fodder, and the mortar fire will keep raining down and the mercenaries will spawn until you defeat the leader of these defenses, a unique Antaam Anadaar named Issbaqoun. Let’s knock him off before we get to exploring so we can do so with a measure of peace. Fight your way to the west while avoiding mortar fire and eventually some elven ruins will come into view. Climb a ledge to the south and work your way past the munitions and siege engines to find Issbaqoun, who, despite his fancy name, is just a more sturdy Antaam Anadaar.
Once this named qunari is dead, finish off the rest of the mercenaries and any other qunari who may be round (there should be few of these) and when your bloody business is done all will be quiet in this area. A doorway to the southwest beckons, but first, we’ve got some looting to do.
(1 of 6) You’ll have to dodge mortar fire as you progress through the Outer Shore Beach,
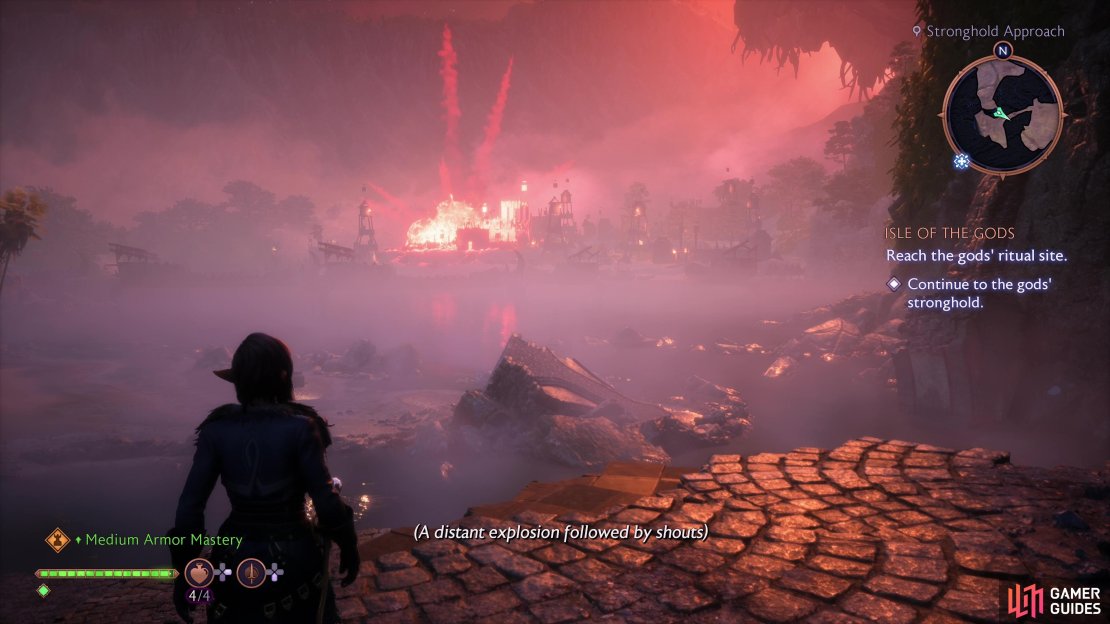
Backtrack north and drop off the ledge, then turn west and drop off a ledge to reach the beach below. Search east under a ruined archway to find a small chest, then turn north to find another small chest near a ruined tower. Grab the contents of these two chests, then work your way back to where you encountered Issbaqoun and continue west into a ruined elven building. Further west you’ll find another small chest, and once that’s looted continue south, then east to reach the Stronghold Approach area, where you’ll witness the activities of B-team.
Reach the Stronghold
For the next phase of the quest you’ll be leaving the beach behind and working your way to the stronghold the gods and their minions have set up on the island, which blocks your way to the ritual site, where Elgar’nan and Ghilan’nain presumably lurk.
Stronghold Approach
Head south and cross a narrow strip of ruins to reach a more substantial island of ruins. From here you can continue uphill to the southwest towards your destination, or take a detour down a ramp of segmented ruins to the northeast to reach an isolated beach. On this beach you’ll find a large chest behind some barrels - destroy them, loot the chest, backtrack up the ruins ramp, and press on to the southwest, climbing ledges as necessary until you enter some more elven ruins.
Turn left (south) vault over a collapsed pillar, then turn right (southwest) to reach some caverns occupied by mercenaries, now including some proper mages. Unlike the melee mercenaries, these mages aren’t pushovers… well, they are, but they’re properly leveled pushovers, at least. Kill them, descend a trio of ladders to the east to reach the water, and search for the Warning Against Desertion note, which unlike the other notes we neglected to point out actually counts as a codex entry. Climb back up the ladders and head to the southwestern edge of the cavern to reach the Stronghold Entrance area.
(1 of 4) Reach the Stronghold Approach and you’ll see the machinations of the B-team.
Stronghold Entrance
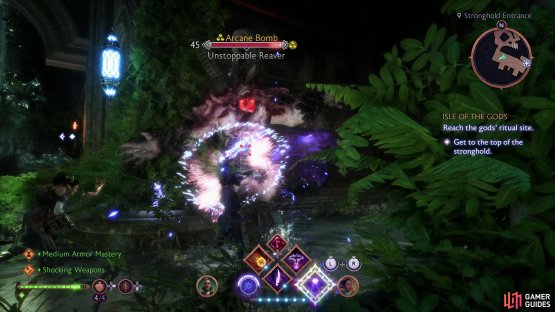
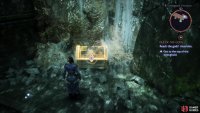
Press on to the southeast and you’ll encounter an Unstoppable Reaver, a blighted Antaam apparently well on its way to becoming an ogre. Put the brute down, then continue southeast through the ruins, stopping to note three offshoots you can explore to the southwest. Through a doorway in the middle you’ll find a tiny chest and in the southeasternmost offshoot you’ll find a chest behind some barrels, near a waterfall. Plunder, then press on to reach an elevator that will take you up to the Cliffside ruins area.
(1 of 2) Defeat a Reaver in the Stronghold Entrance,
Defeat a Reaver in the Stronghold Entrance, (left), and loot a chest near a waterfall. (right)
Cliffside Ruins
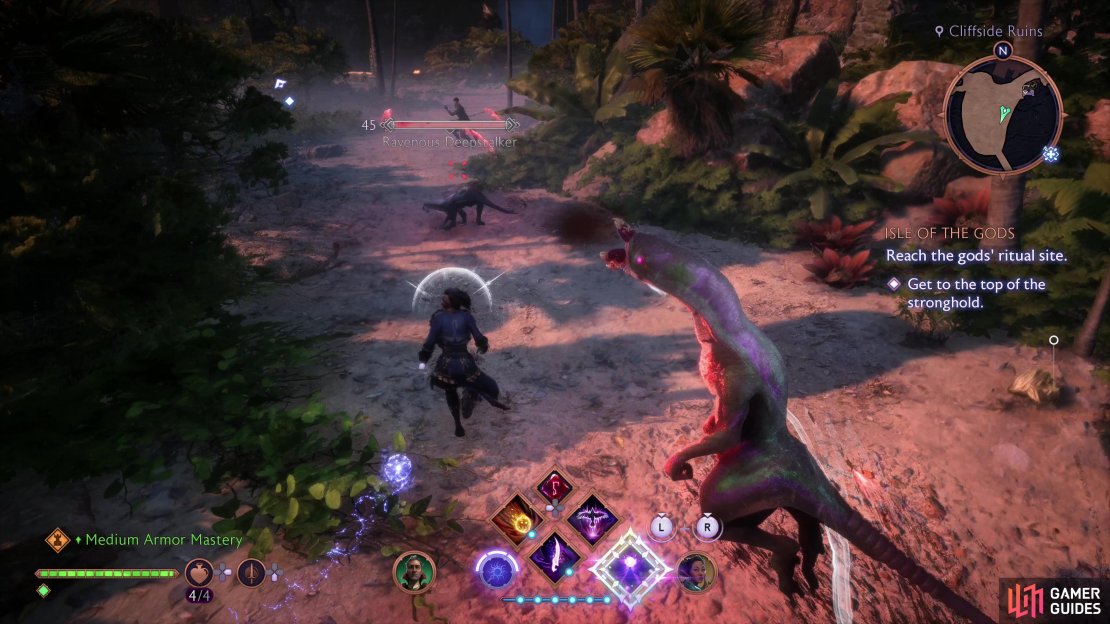
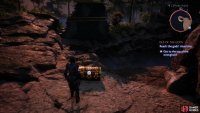
Disembark and you’ll be pestered by Elgar’nan, who is aware of your raid. Well, the element of surprise was probably blown when B-team set off those explosives earlier. Nothing for it, exit to the east, then follow a path around to the southwest. In the jungle up here you’ll be ambushed by packs of Ravenous Deepstalkers, which are more durable than they should be and not terribly compelling enemies. Feel free to run past them if you get tired of putting them down - they respawn awfully quickly. Make your way west to a cave and follow it as it curves around south, then east, ultimately leading to a small chest. Drop off a ledge to the east, then cross a bridge to the south and follow a path uphill to some more ruins - the eponymous “cliffside ruins”, if you will.
Enter the ruins, make your way south, then west, loot a small chest, then continue south until you’re outside, where you’ll find a small camp. Defeat a shield-bearing Antaam and a trio of mages, then continue southeast until you find a doorway beckoning you. Ignore it for now and instead go up some stairs to the southwest, then northwest, and at the end of this path you’ll find a Qunari Mallet memento. Yes, you’ll get the chance to visit the Caretaker again, but… it’s awfully late in the game for this!
Descend back into the camp, then go through the previously-neglected doorway, beyond which you’ll comment on some blight - which must mean you’re getting close. Turn southwest, climb some ledges, enter a cave, and defeat a lone Antaam who presumes to be a match for you. Press on through the cave uphill to the southeast, exit to the northeast, and pass through some blighted ruins. Here you’ll encounter another pair of Antaam warriors and their pet mages - Superior Mages, at that, one of which is fond of shooting out three fireballs at once. Despite that, ignore the mages and put the Antaam down quickly lest they transform into Reavers at Elgar’nan’s goading.
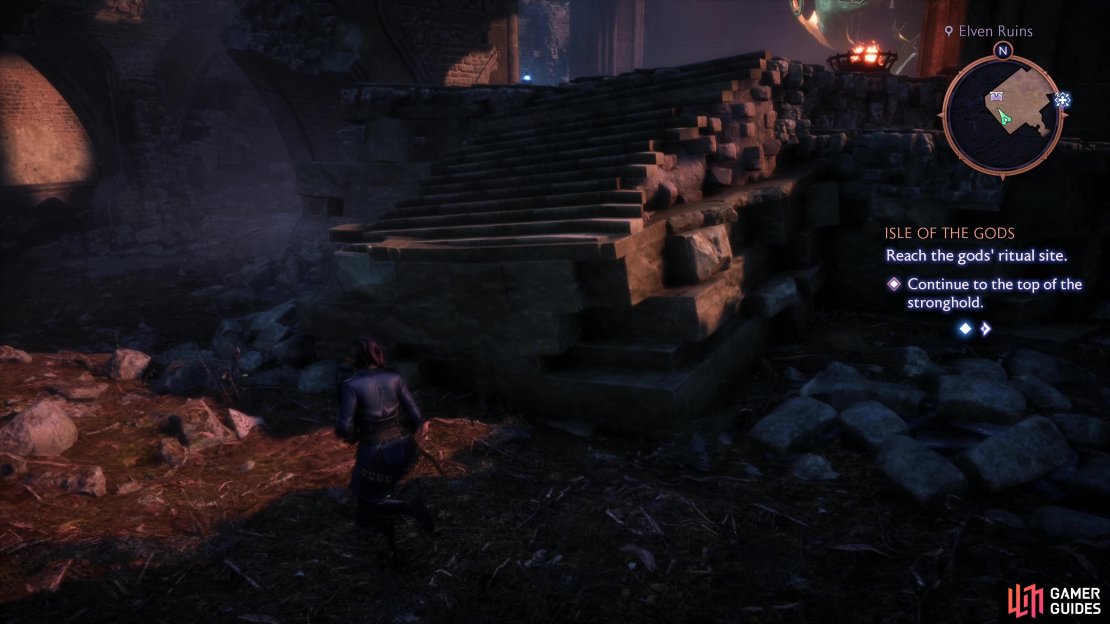
Once everything is dead, continue upstairs to the northeast, turn right (southeast) and grab the note Elgar’nan’s Handwritten Account off the floor in the corner. Ride a zipline up, go through some doors to the southwest, and after a scare, continue southwest through what once must have been a nice courtyard, stopping to loot a chest to score the Footsoldier’s Armaments cosmetic in the southern corner before continuing up some stairs. Enter the ruins ahead of you, and ride up another lift to reach the Gatehouse area, during which Ghilan’nain will finally make herself known.
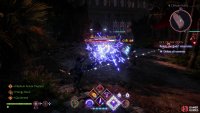
(1 of 4) Approach the Gatehouse and defeat more Antaam and mages, including one mage who can shoot several fire bolts at once,
Gatehouse
Go upstairs to the northwest, turn left through a doorway, then drop down into the sandy arena below - you can keep going southwest to reach a door that can be opened by a lever, but in the room beyond you’ll find an ultimate urn. After some chatter with the B-team you’ll have to survive one of the most predictable ambushes in gaming history, consisting of a pair of Warband Reavers and several Elite Mercenaries. Obviously the Reavers are the real threat here, but don’t write off the mercenaries entirely this time around, as these ones are properly leveled. Crush your enemies and B-team will get the gate open, allowing you to advance to the southwest.
Elven Ruins and Waterfall
Turn southeast, loot a chest dead ahead, and from this chest turn left (northeast) and climb up some ledge and stairs. Continue northeast down a corridor, endure another intrusion by Elgar’nan, then exit through a doorway to the right (southeast) to reach the Elven Ruins area. This is another fairly open area to explore with plenty of treasure and enemies to keep you busy. In the case of the enemies, they include cannon-bearing Antaam who may disrupt your exploration by shooting mortars at you - if that happens, seek them out and kill them so you can hunt treasure in peace.
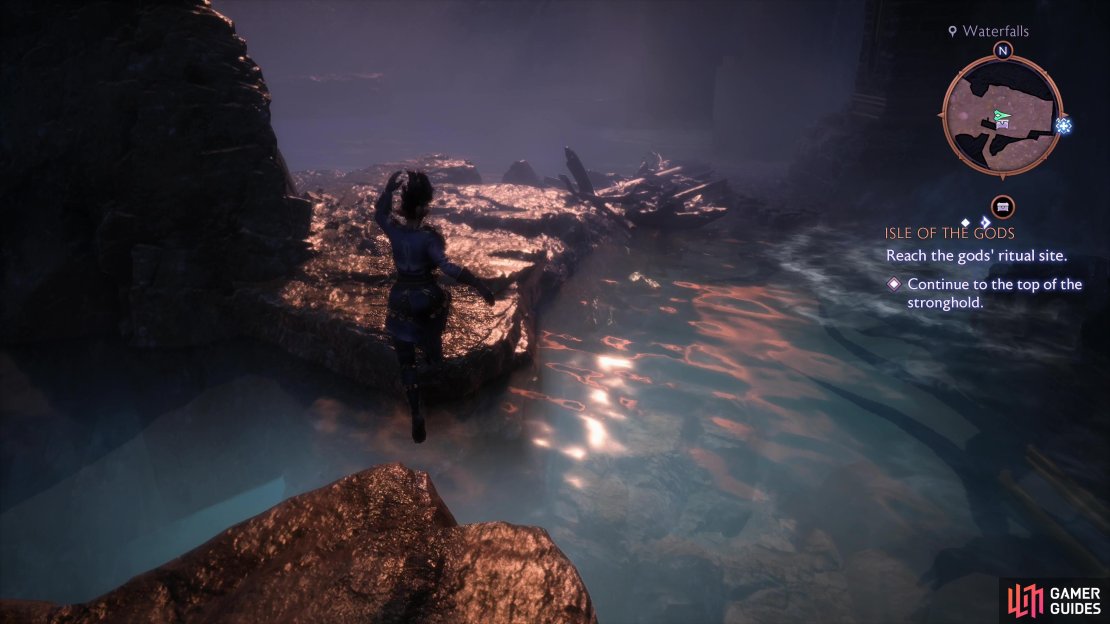
First off there are two paths you can follow: downhill to the east, or over to the south. The latter leads to your destination, so let’s head downhill to the south, first. Pick your way downhill (and down ledges) until you reach an ancient elven aqueduct, the blight going through it contrasting with the waterfalls created by the structure. Jump over to a rocky island to the east, cross a flotsam bridge to the south, and work your way through the runs under the aqueduct to the east, north, then east again. Jump a gap (also to the east) and turn north and use Harding’s “Stone Song” ability to move a submerged slab of stone. It still won’t break the surface of the water, but it’ll get close enough that Rook can jump across without remembering she can’t swim. On the island to the north you’ll find some rare materials you can loot, which may come in handy for some future upgrades.
Jump back across and work your way back west and south under the aqueduct, searching the various support arches until you find a ladder. When you do, climb it to find a large chest. With the Waterfalls area looted, make your way back up to the exit of the Gatehouse structure and advance south.
(1 of 4) Jump to a rocky island, and from there to the ruins under the elven aqueduct.
Head as far south as you can until you spot some cliffs that drop off into water. Look across the water to the south and you should spot a chest in a cave. You can’t reach it from here, but keep it in mind - we’ll be going after it soon enough. To that end, turn east and descend the ruins, then cross a root-bridge to the south to find an Antaam-occupied pavilion to the east, including another cannon-wielder who likely has been shooting at you for a bit now. Kill him and his pals, then head to the center of the pavilion and turn northwest to spot another root forming a ramp you can use to ascend. Do so, work your way around to the north of the pavilion, then switchback to the west to find a small chest near the aqueduct.
Backtrack to the pavilion and from there head south, then cross another root-bridge to the west, whereupon Ghilan’nain will again interject and promise the Antaam the aid of her creations. Cue the appearance of darkspawn - right now a pair of Hulocks and some Ghouls to reinforce the Antaam lurking here. Defeat them and their blight cysts, head south under the root-bridge, turn southwest, jump a gap to the south, then continue south down another root to find a small chest.
Return to where you faced the darkspawn and from the three golden elven sphere statues (shaped to look like halla horns?) turn north to find yet another root spanning the water. Cross it but stop midway down and loot right (east) to spot two more stone blocks you can raise via the “Stone Song” ability. Raise these platforms, jump across them, then jump into the cave where you spotted the chest earlier and give it a good looting for making you go through all this trouble. Once done, jump back over to the root bridge and continue to its northern end, where you’ll need to make a diagonal running jump to a ledge to the north. Here you’ll find a small chest hiding the Antivan Parade Helm cosmetic. Whew.
Return once again to where you fought the darkspawn and from here continue southwest up some stairs into some more elven ruins where you’ll encounter a second batch of darkspawn. Do yourself a favor and run the perimeter of this area, destroying three blight cysts as you go to limit the number of darkspawn you’ll have to fight, and when they’ve all been purged, head to the southwestern edge of these ruins to find a ledge you can climb. Do so, ascend some stairs, climb another ledge and cross a beam to the northwest, then loot a chest.
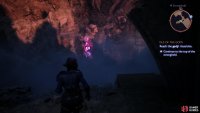
Drop down and exit through a blighted doorway to the southeast. After some unsettling observations and the obligatory followup chatter, cross a bridge that has seen better days to finally reach the Stronghold area. Before you continue inside, however, head down some stairs to the southwest and at the end of the path turn northwest to spot a Veil Instability. Use “Spite’s Reach” to summon a ramp leading down to the southwest, jump through a waterfall, and loot a small chest. Perhaps not the greatest reward for such a well-hidden treasure, but better ours than not.
(1 of 5) After defeating the second batch of darkspawn, look for a ledge you can climb
Reach the God’s Ritual Site
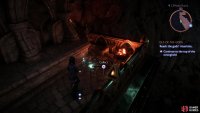
Head back upstairs to the entrance of the Stronghold and head inside, make your way east between two curved staircases to find a small chest containing the Banded Mage Brim cosmetic and other goodies, then head upstairs to spot another pair of curved staircases leading up. Grab the Diagrams in a Pristine Hand between the staircases, then head past one of the flights of stairs to reach the southern corner of this chamber to find a Note to Elgar’nan on the ground. Read them, go upstairs, through a doorway to the southeast and advance through some blight to find a fade tear. Get close enough to trigger it, then dodge away before it explodes to clear the blight and open the way to the northeast.
Go through the blighted doorway opened by the detonated fade fear and down the stairs beyond, where you’ll find an Antaam cannoneer and some Ghouls. Make the rounds of this area, triggering (and dodging) fade tears and popping blight cysts to stem the tide of darkspawn, then clear out the enemies. When you stand alone, go through some blight-covered doors to the east.
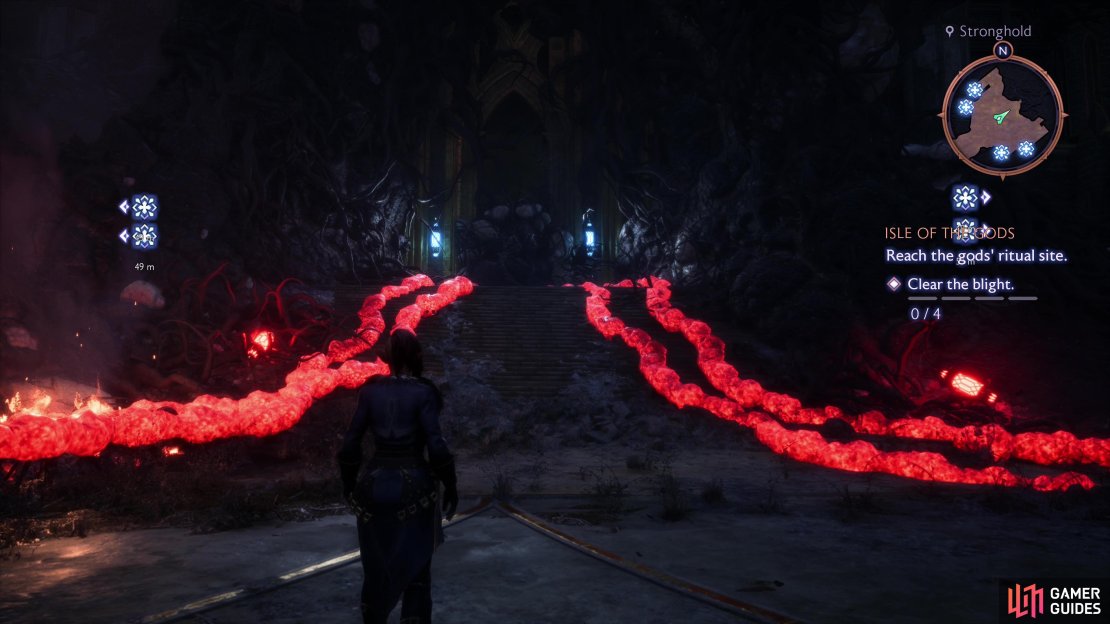
After a chat with the B-team, head downstairs and fight another batch of darkspawn - a Hurlock and some Ghouls, nothing to get worked up over. Note the bright red blight tendrils ahead and continue upstairs to the northeast. The doorway to the ritual site is sealed by blight, and you’ll need to follow the blight tendrils to their source - an Antaam cannoneer decided to take potshots at us from the southeast, volunteering that area.
Kill any Antaam that may be pestering you as you follow the blight tendrils southeast and through a hole in the wall. Climb a ledge near some fire, ascend to the northeast and jump a gap, cross a beam to the southwest, then destroy the first blight cyst on a wall. Press on to the west and trigger another void tear, then head past where the void tear was to spot the second blight cyst on a wall to the west, past some fire.
Drop down to the northwest to reach the low ground between staircases where you fought darkspawn earlier, then continue northwest past a broken pillar and over to a second broken pillar. Jump on the base of the broken pillar and onto the toppled remains of the pillar, which now forms a ramp up to one of the blight tendrils. Cross the blight tendril and look up ot the northwest to find a blight cyst on the wall - pop it, then head upstairs to the northeast, dodging a fade rift’s explosion as you go, then climb a ledge atop some stairs.
To the northeast you’ll find two paths ahead: drop off a ledge, get past a void tear, and turn right to find a tiny chest (hardly worth the effort, really), then backtrack up the ledge you just jumped down and leap some gaps as you navigate some broken ruins, also to the northeast. Climb a ledge, turn northwest and leap another gap then turn left to find the final blight cyst. Head back southeast to the courtyard, head upstairs to the northeast and pop the blight blocking the doorway leading to the ritual site.
Through the blighted doorway you’ll find the Inner Sanctum. Loot a small chest to the left, then continue northeast through some doors where the squad will reunite, and you’ll have to make another consequential choice…
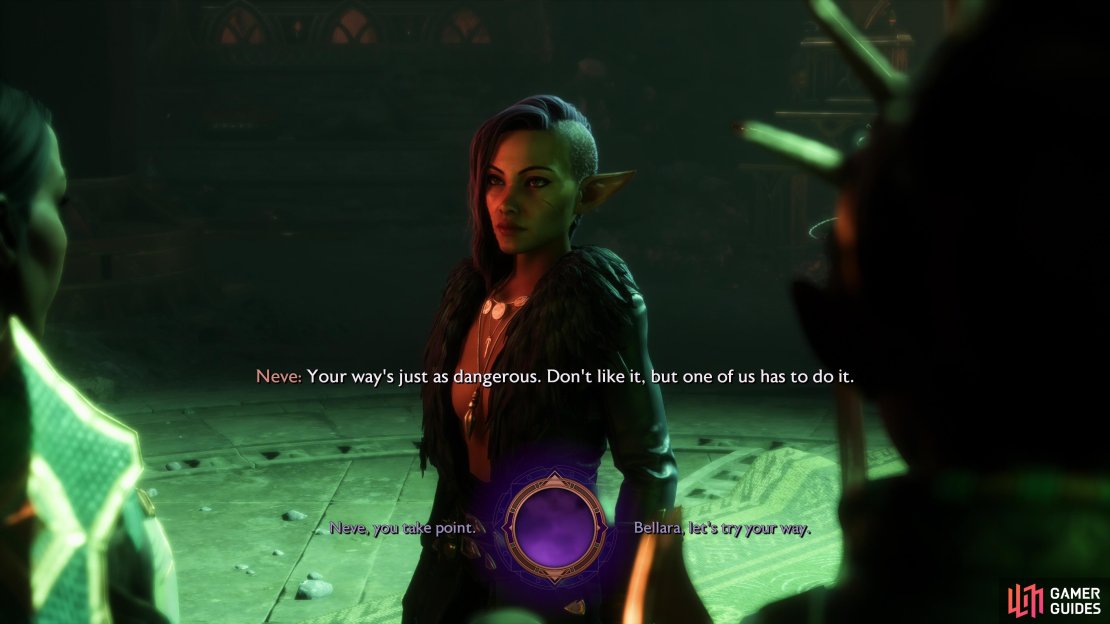
Choice: Bellara or Neve?
Some wards need to be taken down, and Bellara and Neve both put themselves forward as candidates. Bellara’s familiarity with ancient elven magic makes her a strong candidate, but Neve’s been dealing with blood magic for a long time - both have strong claims, so make your choice. Check out the Isle of the Gods Choices page for more details, but either way you won’t be waiting long to see how this plays out.
Choose whether Bellara or Neve should take the wards down.
Whomever you choose here will be snatched by Elgar’nan shortly afterwards, and while they’ll reunite with The Veilguard, they’ll never be playable again. Like last time, if you want to use one of these characters in combat or keep them around as a romantic interest, you should not pick them here.
Clear the Blight
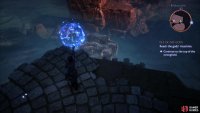
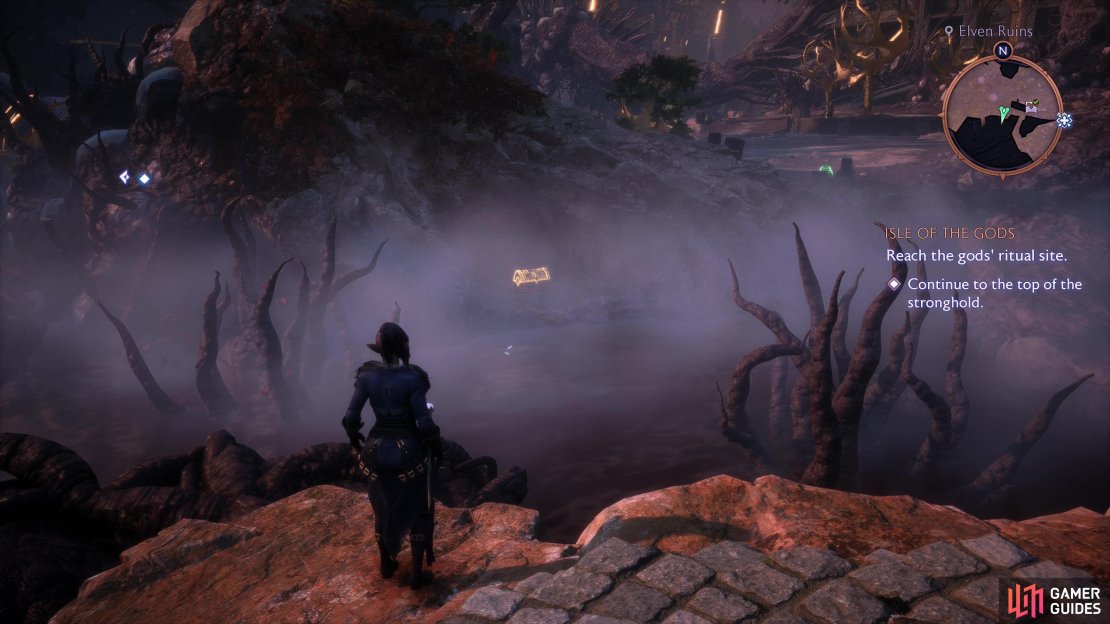
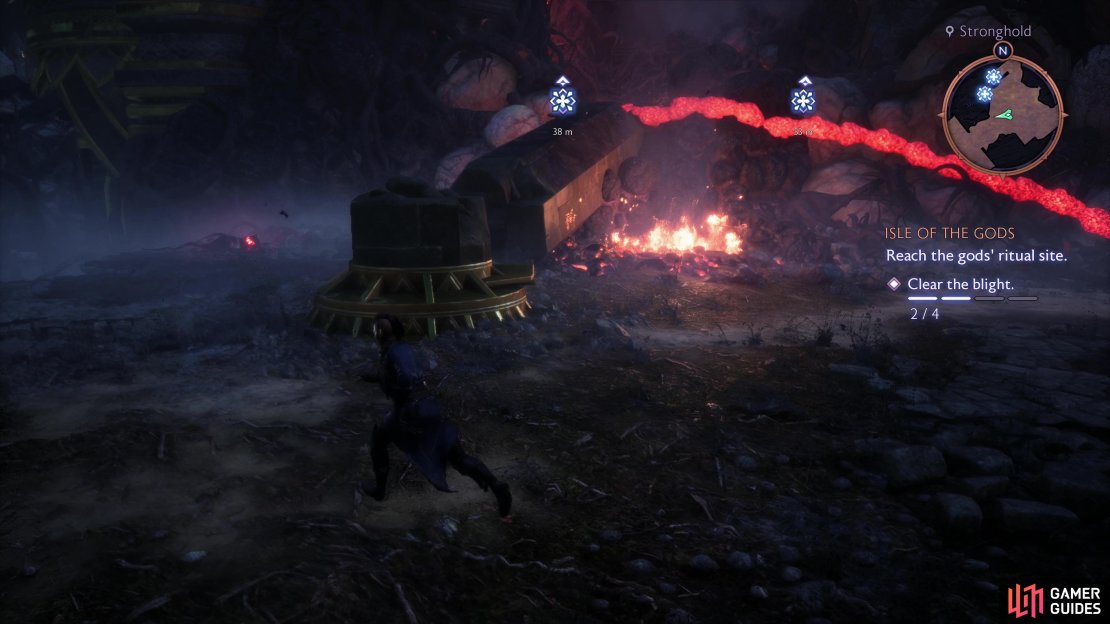
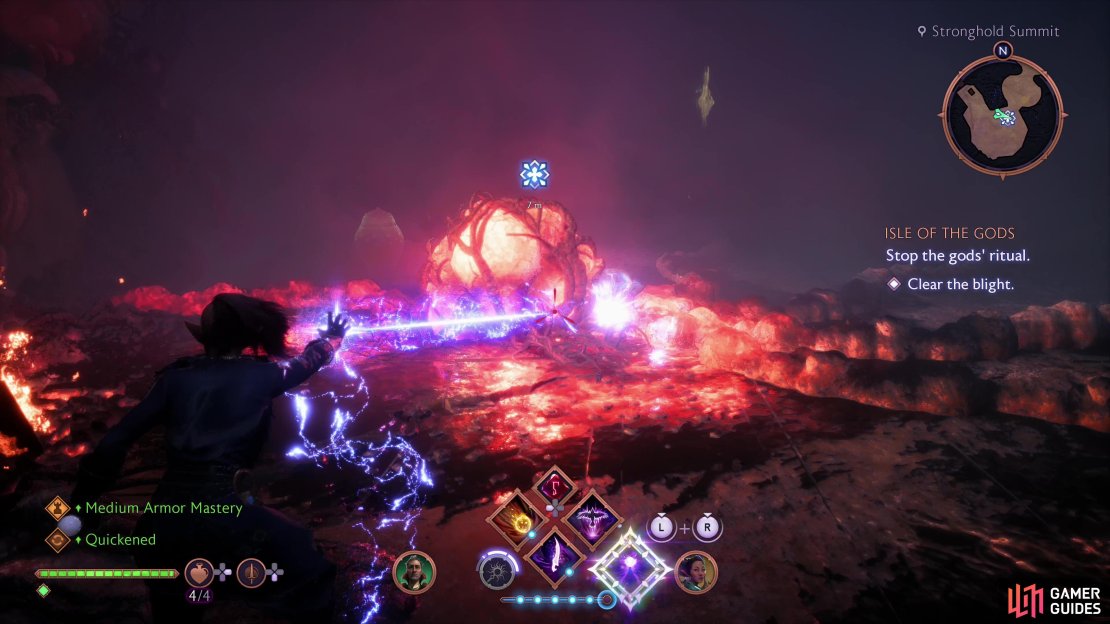
After the scenes you’ll be on the Stronghold Summit. Make your way forward, drop off a ledge and your vision will be impaired by fog. As annoying as this is, you’ve got bigger problems, as the arena you find yourself in is full of blight cysts that continually spawn darkspawn until they’re popped. These include Ghouls, Bursters and Hurlocks, which can make this encounter kind of hectic, as you need to be wary of Bursters while you hunt down blight cysts and, to a lesser extent, Hurlocks, as their charge attacks can cover a surprising amount of ground. There’s also the odd veil tear you’ll have to dodge as you roam about.
Hunt down the blight cysts - they’re not all vulnerable at once, but if you keep doing the rounds you’ll find them all. Once they’re gone, dispose of darkspawn until an Alpha Emissary spawns - a caster who will summon rows of blight spikes to damage you and restrict your movement. Kill it and it should drop some gear (our mage Rook found an Enlightened Helmet).
Clear this area and go through a blighted passage to the northeast to trigger a scene, after which you’ll be in another arena where you need to repeat the process over again: fog, darkspawn that keep spawning, and blight cysts. This time the enemy focuses on quality over quantity - you’ll start out facing a Reaver and two Hurlocks, and most Hurlocks will spawn as time passes. Quality might lead to more dangerous enemies, but in this scenario the quantity was more hectic - kill the starter foes, then hunt down the blight cysts at your leisure. As you destroy blight cysts, Alpha Emissaries will spawn - a total of two of them, to be precise, you won’t see them both at the same time unless you happen to focus on clearing the blight cysts without dealing with any enemies that spawn in the meantime.
Eradicate the blight and its attendant darkspawn, then go through another blighted passage to the northeast to reach an area, where, after a scene, you’ll find get the opportunity you’ve been looking for:
(1 of 4) Roam around and destroy blight cysts.
Boss: Ghilan’nain
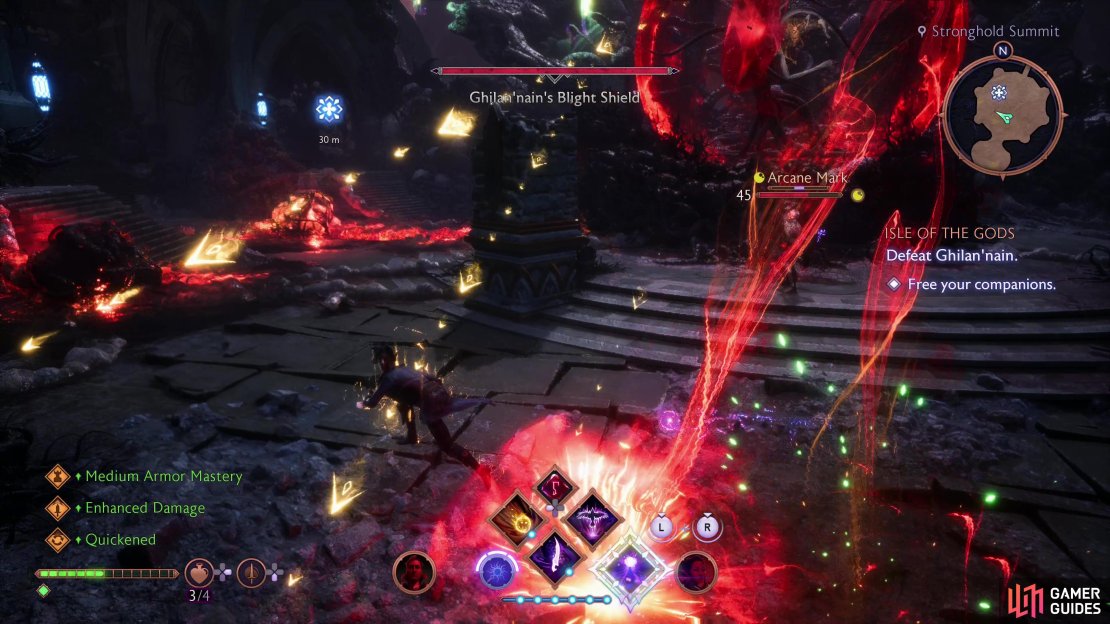
You’re not so much fighting Ghilan’nain as you are setting up the means by which she’ll be defeated - namely, freeing your companions. To do this you’ll need to pop blight cysts while fighting or avoiding darkspawn and, of course, Ghilan’nain’s attacks. At first you’ll only have to deal with Ghouls, and after one companion is freed they’ll be joined by Hurlocks and Javelineers, and after the second, Reavers, and finally Ogres.
For her part Ghilan’nain will toss barrages of red magical bolts at you in succession and conjure three waves of blight roots - avoid the target lines for the former attack and the AoE reticles for the latter and try not to double-dodge, as this makes it more likely that you’ll get hit by a followup wave of attacks. Ghilan’nain’s attacks hit hard but they generally don’t cover much area, being more constant than wide-ranging. The beginning of this fight is the most dangerous part, despite the weaker enemies, as you’ve no companion healing to rely on until you’ve freed them.
The first batch of blight cysts you need to destroy are to the northwest, and they’ll range near the platform Ghilan’nain is on and up the nearby stairs, often going from one to the other, forcing you to run back and forth. Since it’s harder to dodge Ghilan’nain’s attacks on the stairs - which functionally form a corridor - you’ll need to be extra diligent here. Once all the blight cysts are destroyed, however, you’ll have a companion, which can make your life easier.
The next companion is to the southeast, and once those two are freed you’ll be at full strength. After this you’ll repeat the process, freeing the leader of B-team and finally Lucanis who, despite his spotty record thus far, is still your designated “jump at them with a godslaying dagger” guy. Free all four companions and the fight will end and you’ll get plenty of scenes, moving the plot and ending the quest and starting A Cage for Gods.


























No Comments