Mountaintops of the Giants Bosses
| Icon | Title | Details | Type | Runes | HP | Strong Vs | Weak to | Screenshots |
|---|---|---|---|---|---|---|---|---|
|
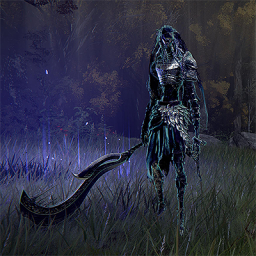
Ancient Hero of Zamor (Giant-Conquering Hero's Grave) |
Ancient Hero of Zamor is a Field Boss. Ancient Hero of Zamor is an agile swordwielder that uses Frostbite and is found in multiple locations. When defeated in the Hero’s Grave, he drops the Zamor Curved Sword, and the Zamor Set.
Lore
A knight of Zamor, hailed as heroes in the war against the Giants. These long-lived warriors, clad in biting, freezing winds, are said to have been the mortal enemies of the Fire Giants since time immemorial.
Location
Info
This boss is capable of inflicting the Frostbite debuff with a number of attacks, including a breath of frost attack during which the boss breathes a cone of frost on the ground in front of it. This can be dodged fairly easily, but a more difficult frost attack occurs if you stay within melee range of the boss for too long. It will then create a shockwave of frost damage in a radius around it, which can be difficult to avoid if you don’t dodge or run away immediately. The boss will sometimes generate a whirlwind of frost around it at the same time, making it difficult for you to land melee hits for its duration. The boss can also imbue its primary weapon with frost, allowing it to generate Frostbite with each successful hit. In addition to this, it will employ a number of spinning, swipe, and charge attacks as part of its melee attack combo routine, while occasionally goading you into attacks before sidestepping, potentially leaving you vulnerable if you’ve committed to a heavy attack.
Location
1×
 Giant-Conquering Hero's Grave
Mountaintops of the Giants Giant-Conquering Hero's Grave
Mountaintops of the Giants
Item Drops
1×
 Zamor Curved Sword
Curved Greatswords Zamor Curved Sword
Curved Greatswords
Item Drops
1×
 Zamor Mask
Helms Zamor Mask
Helms
Item Drops
1×
 Zamor Armor
Chest Armors Zamor Armor
Chest Armors
Item Drops
1×
 Zamor Bracelets
Gauntlets Zamor Bracelets
Gauntlets
Item Drops
1×
 Zamor Legwraps
Legs Zamor Legwraps
Legs |
Field Boss |
83,000 |
||||
|
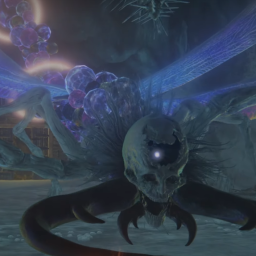
Astel, Stars of Darkness |
Astel, Stars of Darkness is a giant dragonfly-enemy that is found in Yelough Anix Tunnel in Mountaintops of the Giants. This version of Astel is not considered to be a Legend and it does not drop a Remembrance.
Lore
A hostile, massive Dragon-Fly creature. Menacing and extremely powerful.
Location
Info
This fight will almost always begin with the boss firing a beam of magic directly at you, so you’ll need to be ready to dodge / roll away from this. The boss is also capable of creating a circular radius of magic damage on the ground around it, which gradually expands in range with 3 - 4 pulses. This attack is preceded by the boss hovering in the air while generating purple magic balls in its many hands, so be ready to step back as soon as this happens. There are a few grab attacks that the boss will sometimes attempt, each of which are capable of killing you in one hit. The most deadly of these sometimes occurs immediately after the boss has teleported from one part of the room to another, so you’ll need to pay attention to its movements to avoid being caught off guard. You’ll notice that most of the magical attacks used by the boss are preceded by the blue eye lighting up, which is located within the crack of the skull on its head. If you pay attention to whenever this lights up, you’ll be better prepared to respond. Another highly damaging magical attack comes in the form of a meteor shower. This attack is often preceded by a teleport, and you’ll begin to see purple, circular shapes appear in the air above the boss, which look a bit like black holes. You should attempt to get as far away from the boss as possible once this happens to ensure that you have as much visibility of the meteor shower as possible, thereby allowing you to dodge each rock as it comes hurtling towards you. Although there are numerous rocks summoned, only a handful of them will actually have a chance of hitting you, with most flying directly into the ground around the boss, or in different corners of the room. Only focus on those rocks which are clearly heading your way. Aside from these powerful magical attacks, there are a number of swift pincer moves that you’ll need to look out for, and powerful tail swipes.
Location
1×
 Yelough Anix Tunnel
Consecrated Snowfield Yelough Anix Tunnel
Consecrated Snowfield |
Field Boss |
120,000 |
2,750 |
Scarlet Rot, Poison |
Physical Attacks |
|
|
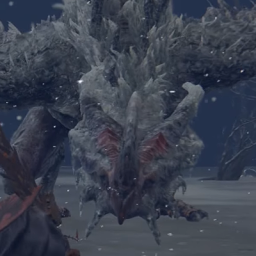
Borealis, the Freezing Fog |
This fight is similar to most other dragon fights in the game, making it one of the easier encounters, especially if you choose to fight it on your mount. You can easily flank the dragon as you strike at its legs, but you’ll need to be careful to avoid the occasional stomp attack. There’s also a special stomp attack that the boss will sometimes use which inflicts Frostbite. This is preceded by a fairly long animation during which the dragon raises one of its hind legs high in the air for about two seconds, giving you plenty of time to notice it and get out of the way. Another thing to be cautious of is the dragon’s tail swipe attack, which will sometimes be used as you’re hitting the hind legs from behind. The dragon will also use a frost breath attack which can be easily avoided by running away from the radius in front of it, but if you do get caught this will also inflict Frostbite. Other than these notable attacks, there’s also the relatively rare bite attack you’ll need to be cautious of, especially when you’re positioned in front of the dragon.
Lore
The ice dragons were once lords of the mountaintops long ago, until they were defeated by the Fire Giants and chased from the peak.
Location
Info
Location
1×
 Mountaintops of the Giants
 Mountaintops of the Giants
Mountaintops of the Giants
Item Drops
1×
 Dragon Heart
Consumables Dragon Heart
Consumables |
Greater Boss |
100,000 |
||||
|
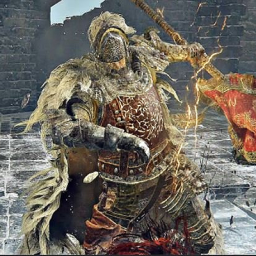
Commander Niall |
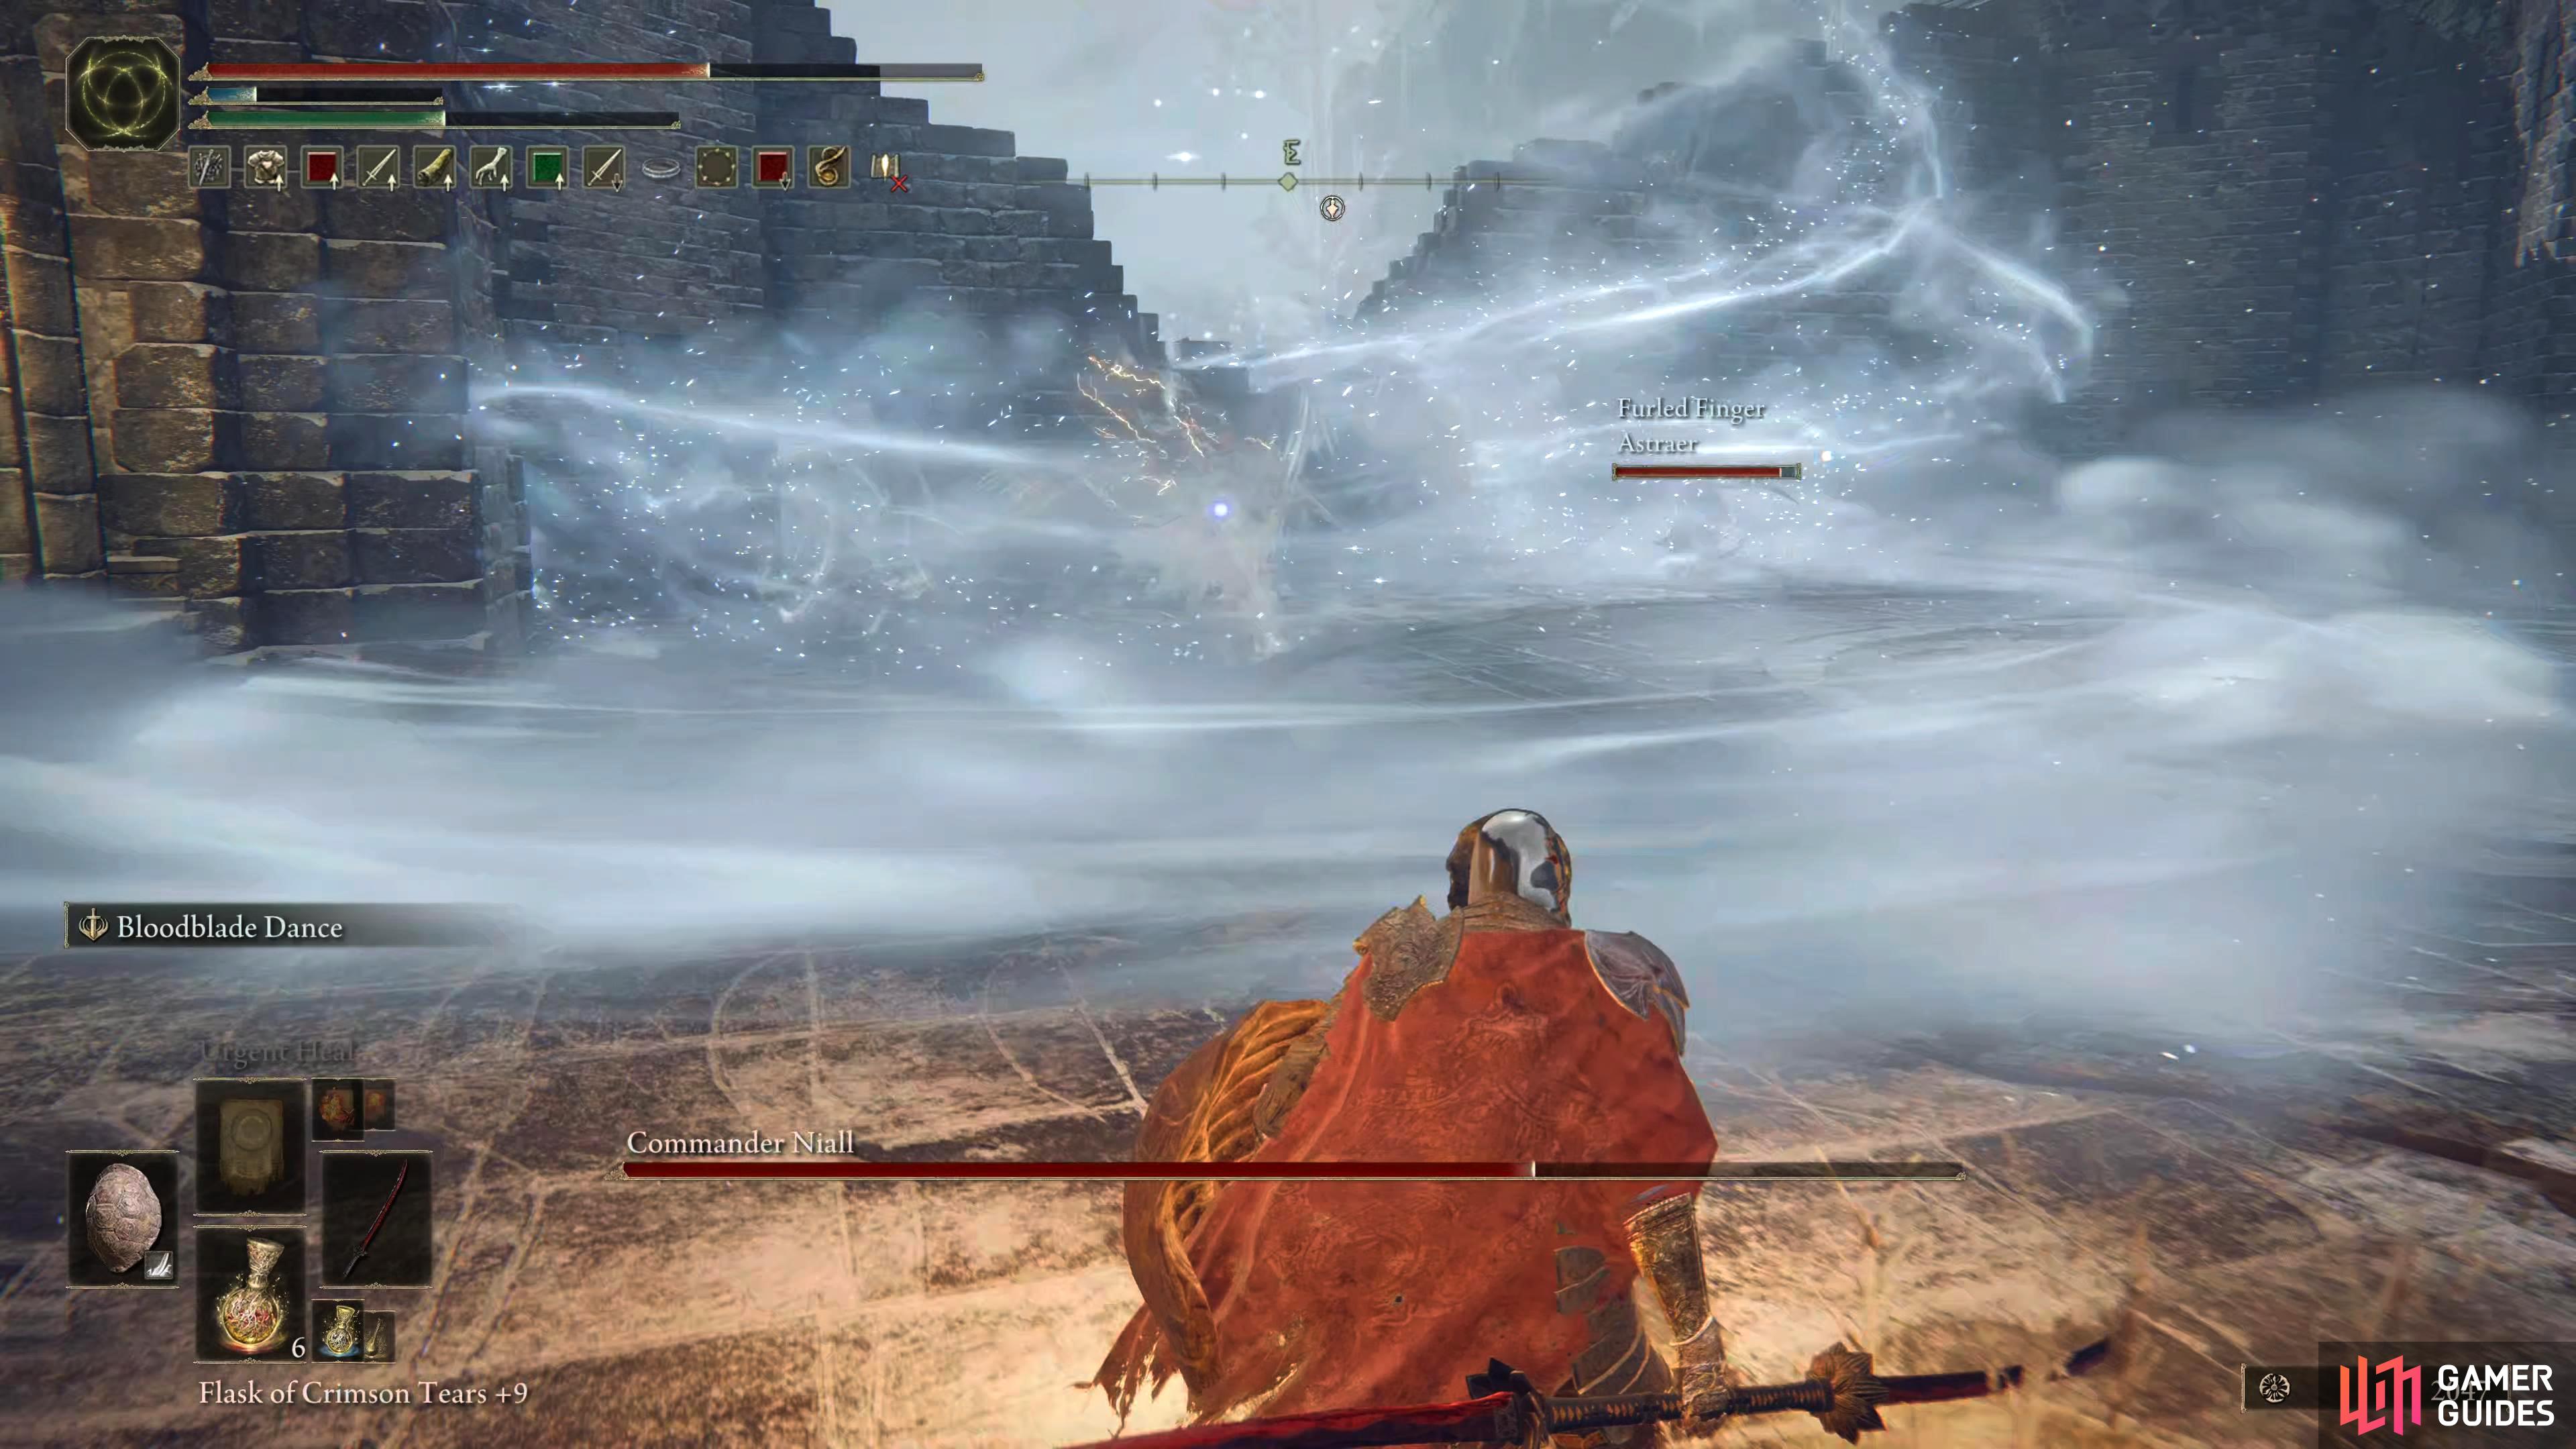
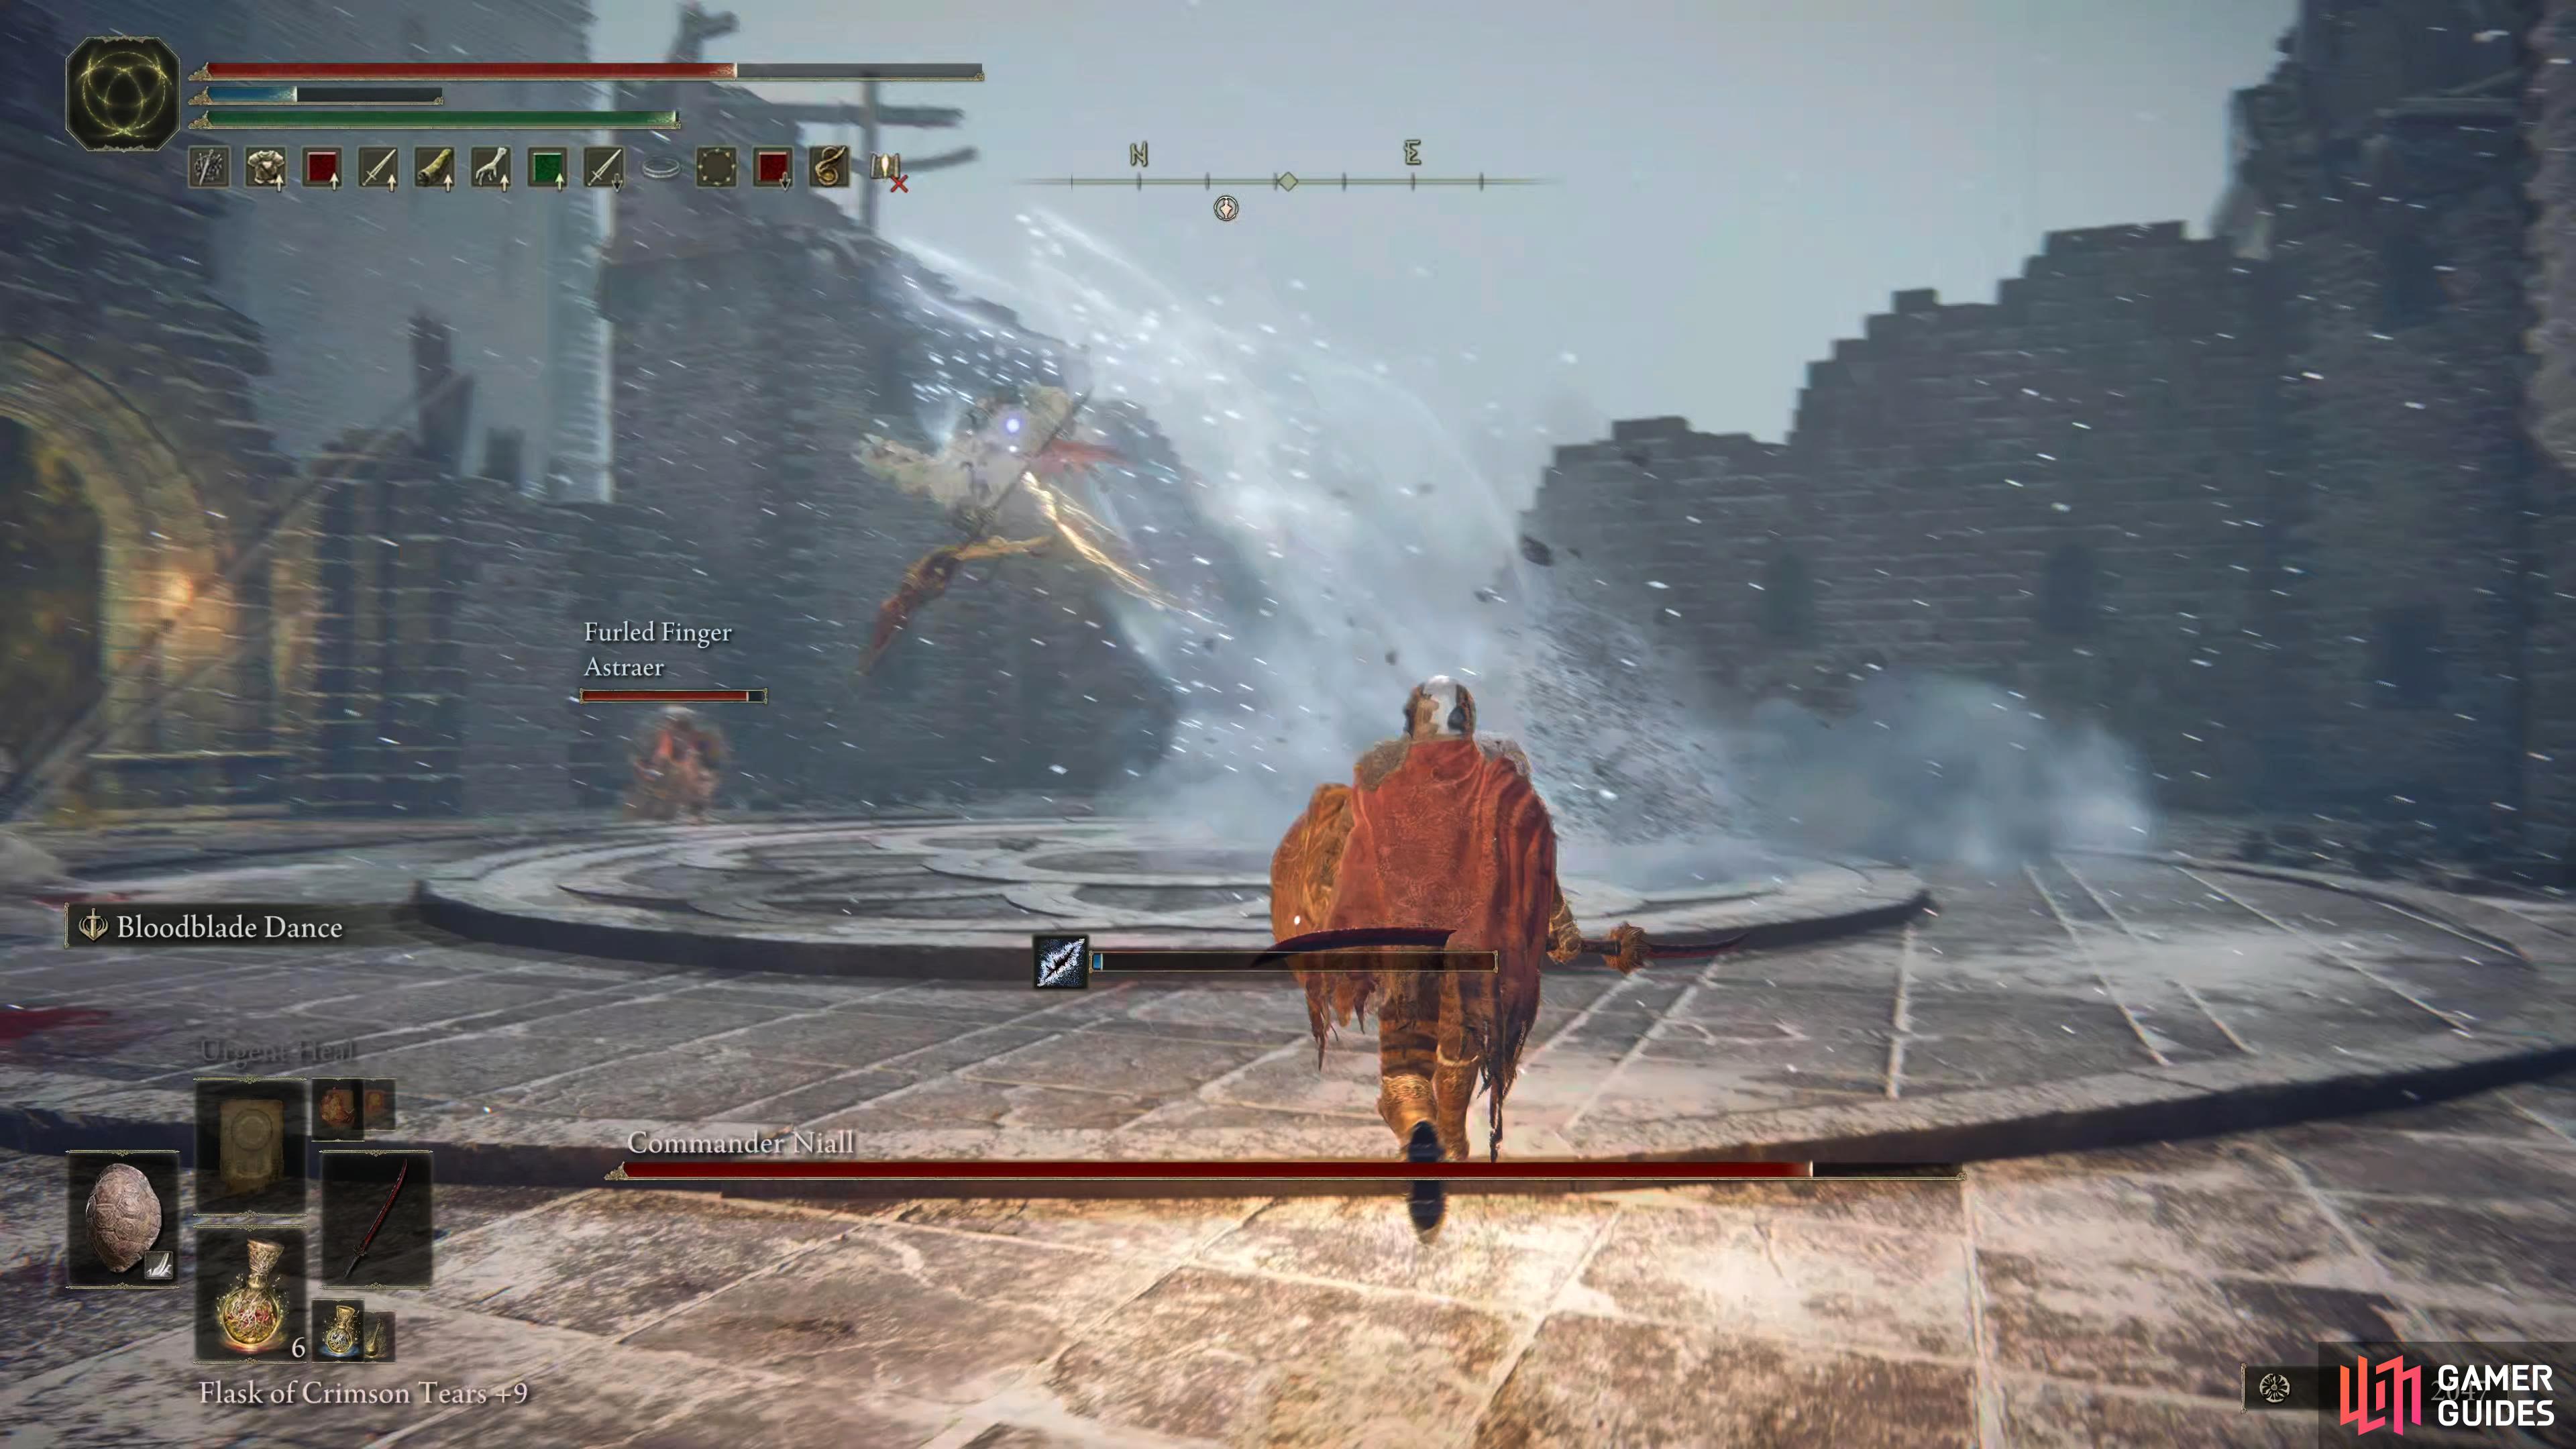
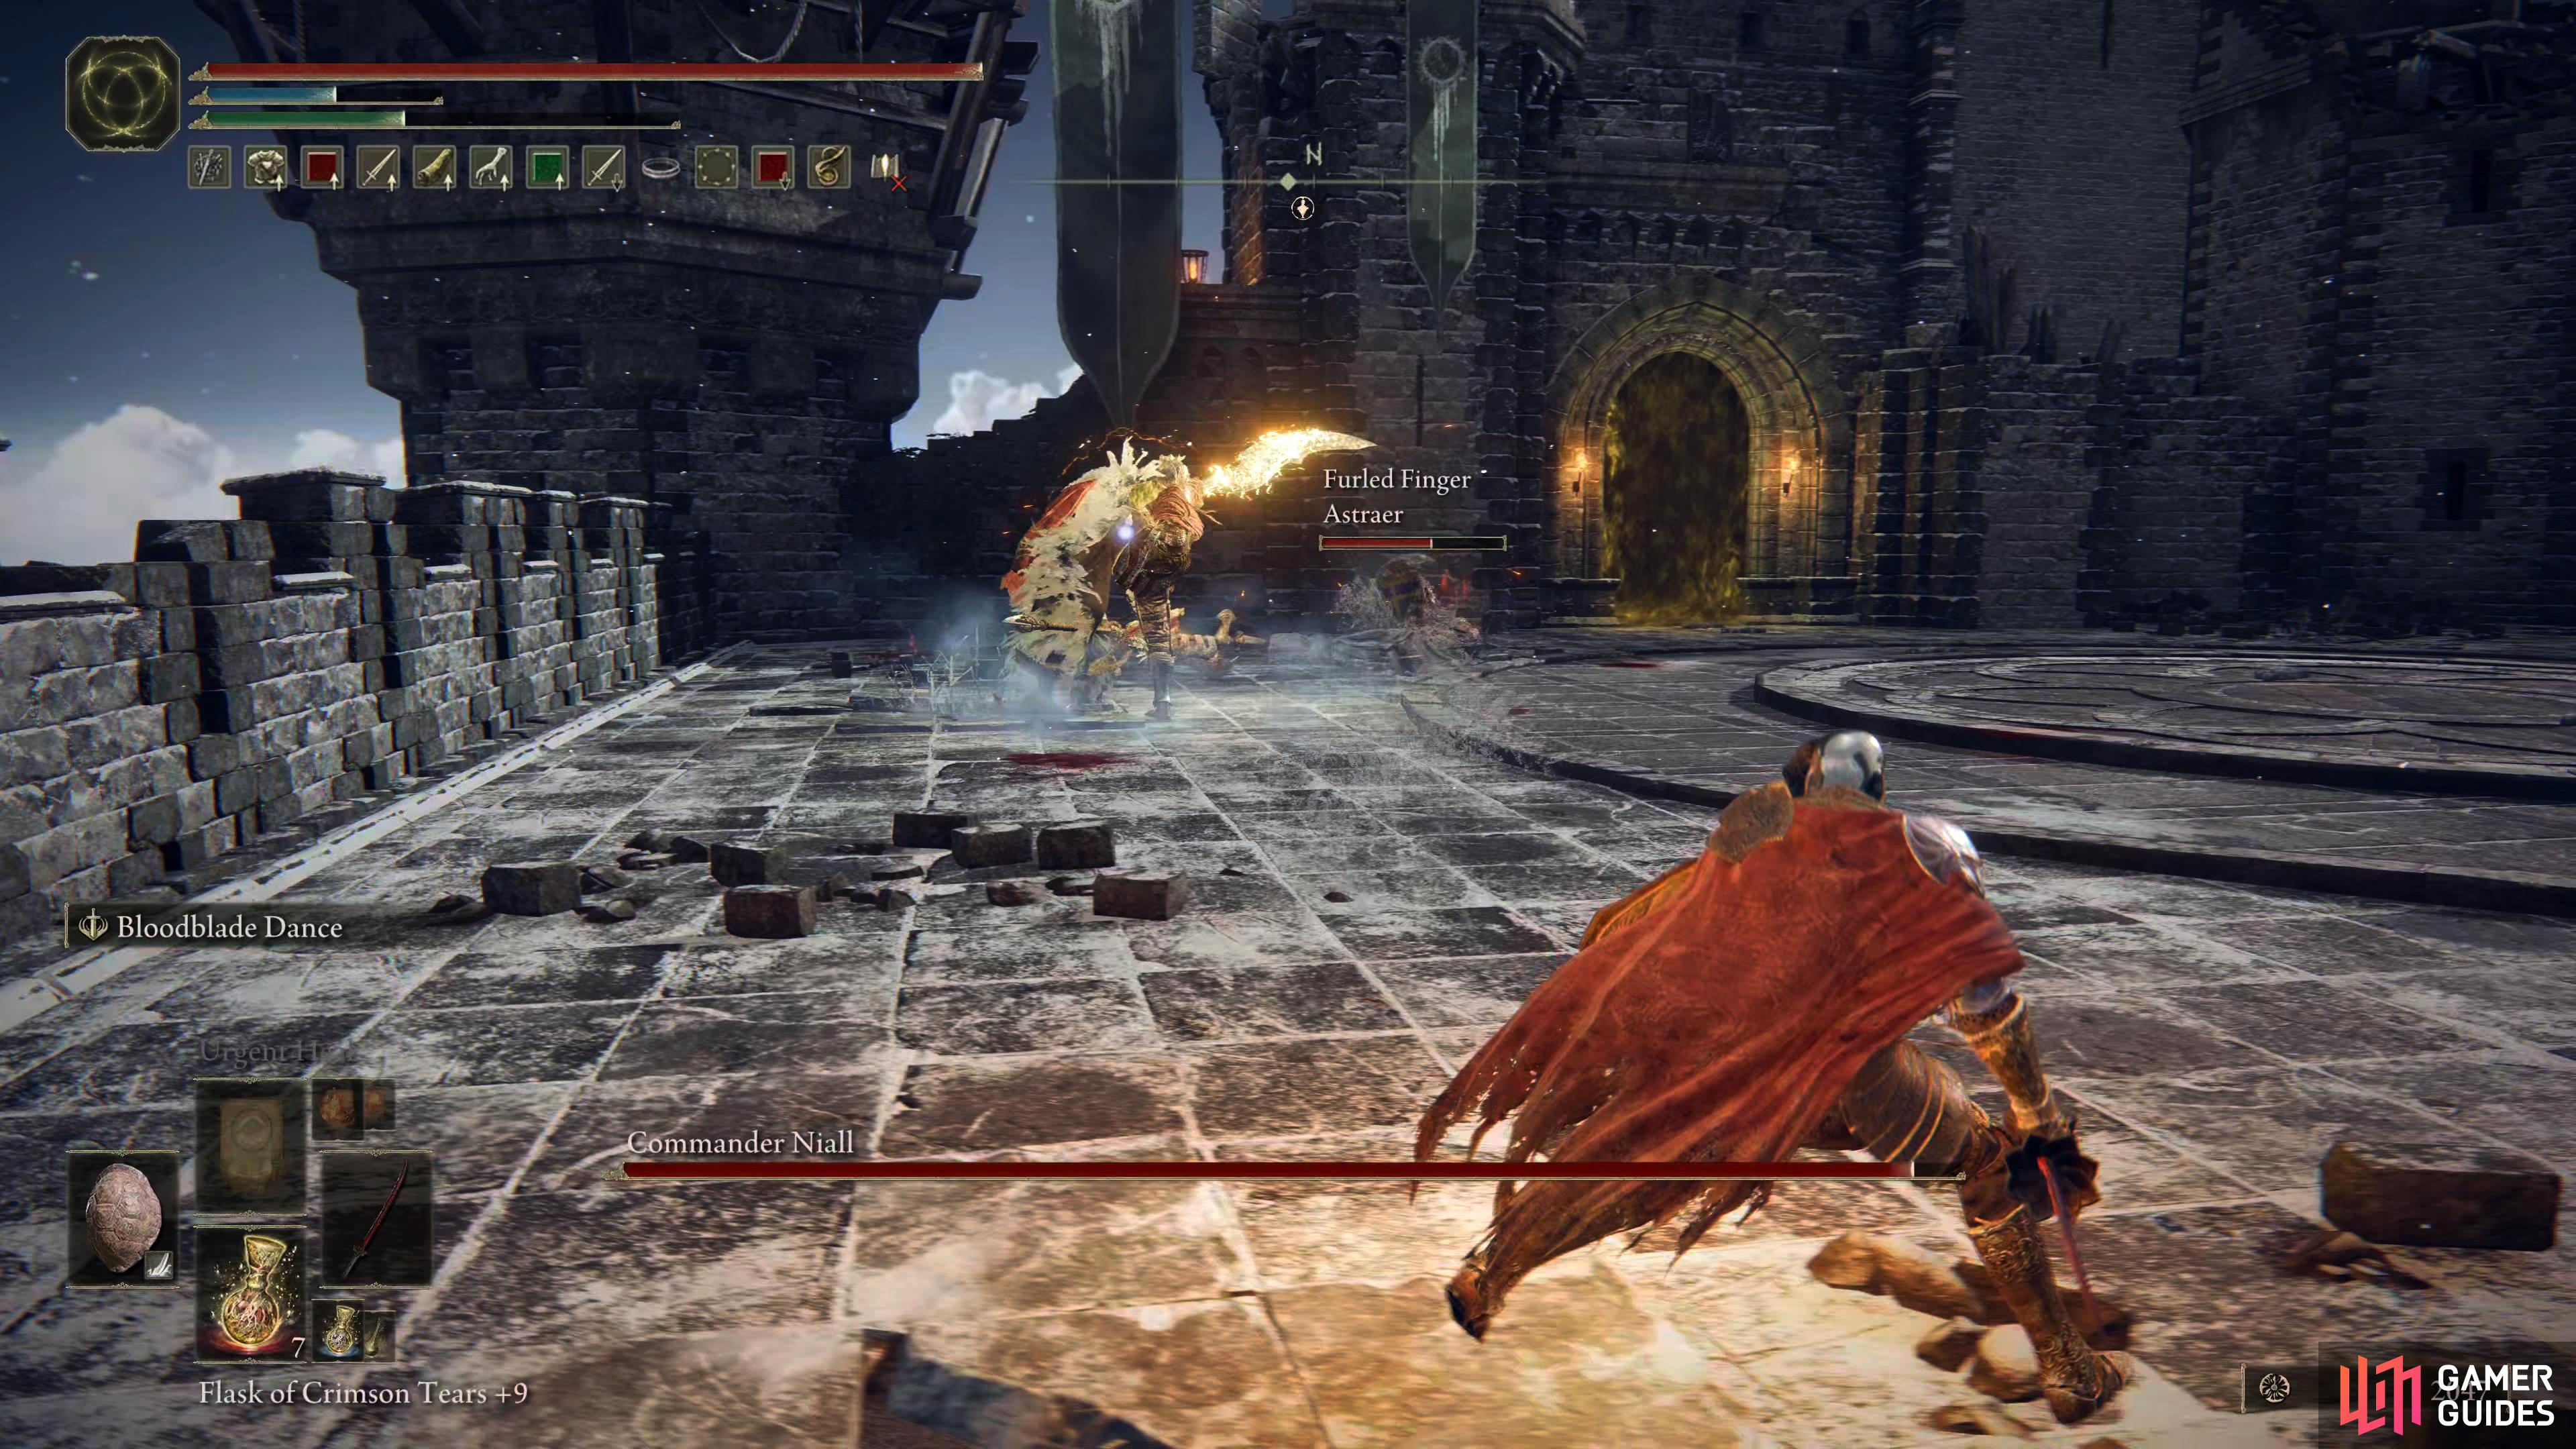
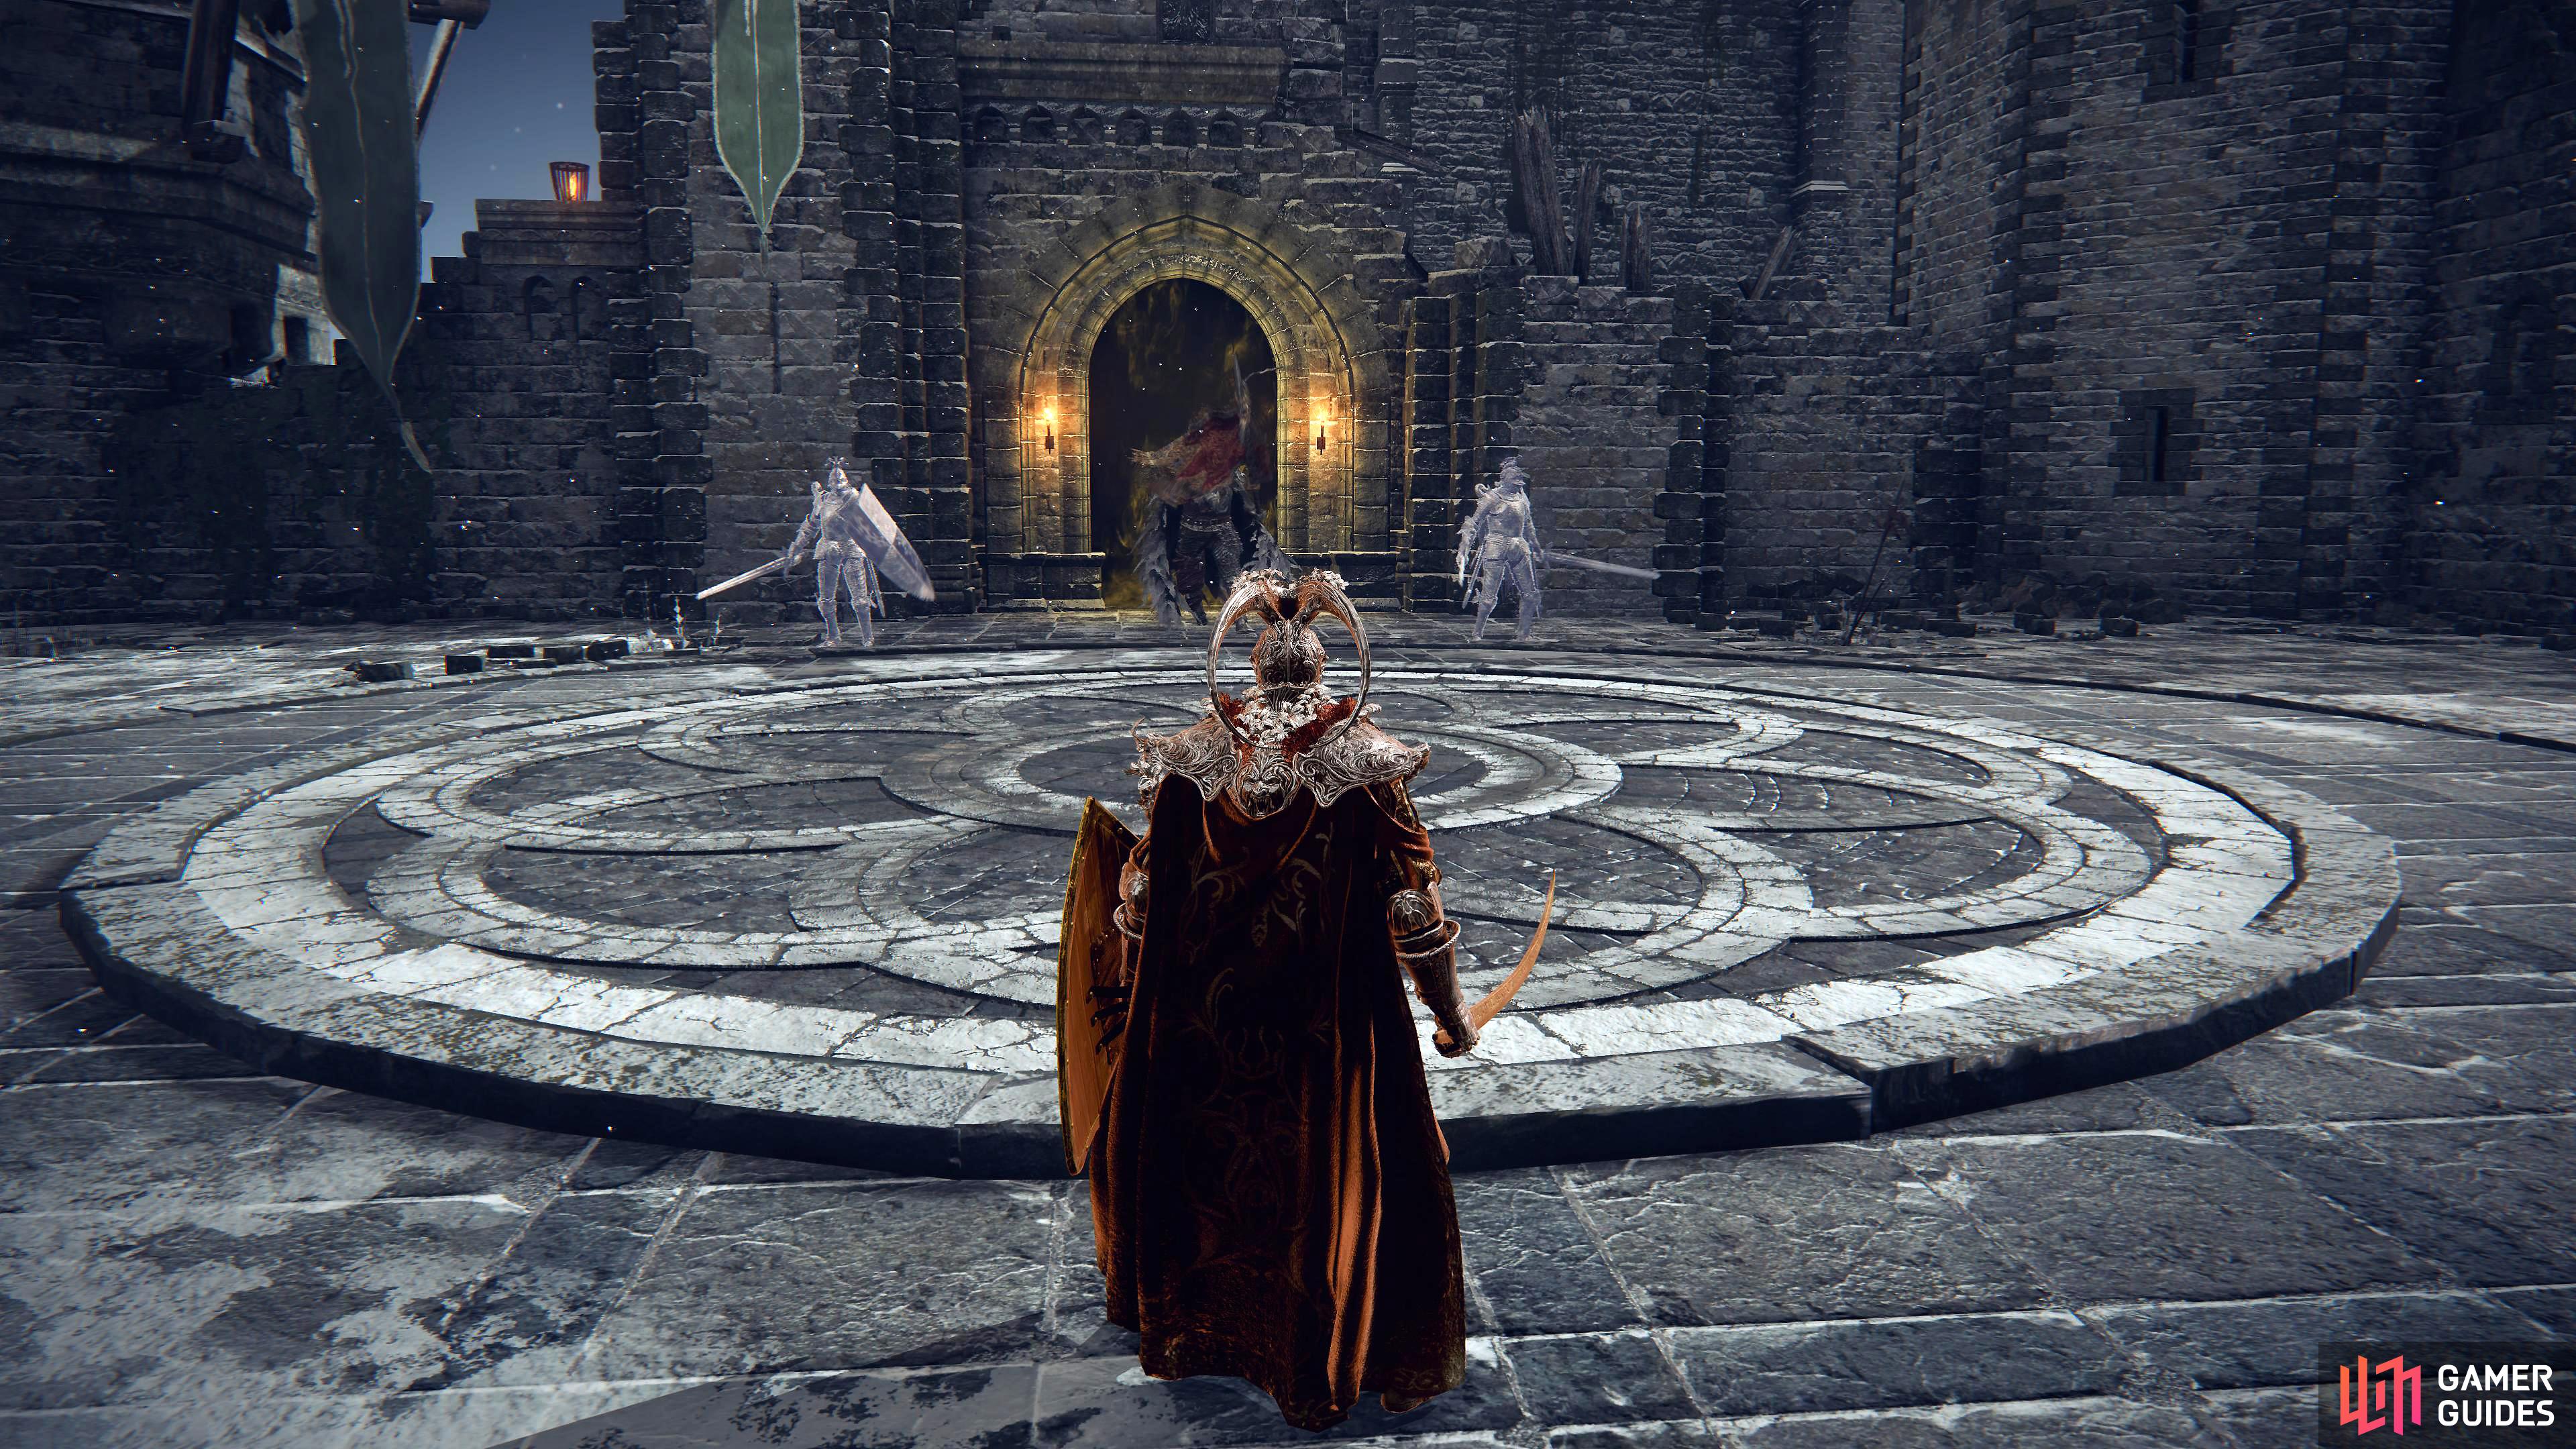
This is one of the more difficult fights in the area, especially since you need to kill two Banished Knights at the beginning of the fight, while Commander Niall is also pursuing you. It’s a good idea to take out the dual-wielding knight first, since you can effectively stun lock them with consecutive attacks if you go all out at the beginning. If you allow this knight some breathing space however, it can kill you within just a few strikes if you’re not careful. The knight with the sword and shield is more difficult to take down without being hit, since it has an effective defence against stun locking. A leaping heavy attack is perhaps the easiest way to catch this knight off guard, but you’ll need to continuously create enough space for you to do this by kiting both the knight and Commander Niall around the area, while avoiding a scenario where you’re backed into a corner. The knight with the shield is able to charge towards you after slamming the shield into the ground, inflicting Frostbite upon impact. The easiest way to avoid damage from this is by rolling into the knight as it reaches you, which should allow you to avoid being hit altogether. The fight with Commander Niall properly begins once the two knights have been dealt with, as he’ll start to use all attacks available to him. This boss has a tendency to spam slam its halberd into the ground after many of its attacks. Each time this happens, a whirlwind will form around the boss, which inflicts Frostbite if you’re caught in it. You can dodge or roll away from this, but you’ll need to be extra careful to avoid being too close to give yourself enough time. The boss will sometimes follow up whirlwind attacks with sweeping halberd stabs or slashes. These can inflict massive amounts of damage, especially since they’re often infused with lightning. You’ll notice that Niall’s right foot has a blade attached to it, which he’ll sometimes use with a sweeping kick. It’s fairly easy to see when this is coming, but you’ll need to get used to the animation to ensure that you can avoid it every time, as it also comes infused with lightning damage. This foot blade slash attack can be used at close range, but the boss will also sometimes jump in the air and slam it down on you, closing the distance within just a few split seconds. At close range: Jumping in the air:
Lore
Commander Niall is a tall and built knight with a peg leg, clad in heavy armor, wielding a halberd that doubles as a battle standard. He is accompanied by two Spectral Banished Knights, one equipped with dual swords and the other equipped with a sword and shield.
Location
Info
Location
1×
 Castle Sol
Mountaintops of the Giants Castle Sol
Mountaintops of the Giants
Item Drops
1×
 Veteran's Prosthesis
Fists Veteran's Prosthesis
Fists |
Greater Boss |
90,000 |
|
|||
|
Death Rite Bird (Mountaintops of the Giants) |
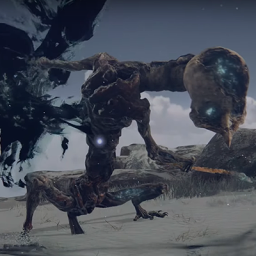
This boss will only spawn at night, so you may need to wait at a nearby Site of Grace before you can find it. This is a similar fight to the other Death Rite Bird bosses in Caelid and Liurnia of the Lakes, but it has more health and can inflict more damaging attacks. If you’ve fought either of the Death Rite Birds in the earlier regions, you’ll notice many of the same melee attacks here in the form of a sweeping slash, overhead slam, foot stomp, and a leaping stab. The boss will also use necromancy magic to generate an explosion. This will cast fire on the ground in a large radius, so you’ll need to stay back until it clears to avoid damage. Another magical attack is generated from its wings, during which numerous projectiles are fired from the wings as they begin to glow, landing in an area around you. You’ll be able to discern where the projectiles will land before they actually make contact with the ground by looking for white patches on the ground. So long as you avoid these, you should be able to evade most of the projectiles. Aside from all these attacks, the boss can also roar, inflicting a brief stun and minor damage, but this will only impact you if you’re directly facing the boss.
Lore
Immense bird skeleton with crow-like features. Rushes to battle from above while wielding a giant spear.
Location
Info
Location
1×
Mountaintops of the Giants
Mountaintops of the Giants
Item Drops
1×
 Death Ritual Spear
Spears Death Ritual Spear
Spears |
Field Boss |
77,000 |
||||
|
Fire Giant |
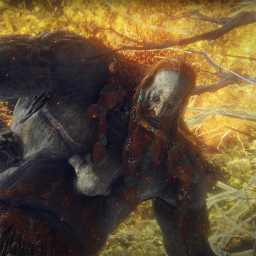
Fire Giant is a Legend Boss in Elden Ring. The Fire Giant is the the last known survivor of the War against the Giants. It is a massive humanoid creature with a face on its chest, and is found in Mountaintops of the Giants. This boss is required to advance to the Forge of the Giants. Strategy This boss is surprisingly swift for such a large foe, at least in the beginning of the fight. The main thing you’ll want to focus on is breaking the bone splint which is located on the Fire Giant’s left leg, tied together with red hair. Once you’ve done this, you’ll see the exposed wound on the lower leg, which you can now hit for more damage. The easiest way to do this is while mounted on Torrent, which allows you to maneuver between the legs of the giant which avoiding its stomp attacks. As you’re under the boss, it will also generate a ball of fire which will gradually expand in size until it explodes. You’ll want to avoid this by riding off just before the explosion, but it won’t inflict any damage up until this point. However, the giant will also cast vertical walls of fire from the ground around him, so you’ll need to run from these as well. The boss will sometimes swipe at your with its shield as you’re under it, so watch out for this too. Once you’ve brought the boss down to half health, a cutscene will begin which leads into the second phase of the fight. During this phase the giant will lose its left leg, but it will begin to use more fire attacks including a meteor shower which it summons from the hole in its stomach. The boss will also begin to summon fire balls and vertical walls of flame at the same time, making it difficult to get within melee range when this happens. Another new fire attack involves fire balls being thrown at you, and fire being spurted out from the hole in its stomach. In addition, the boss will now roll around on the ground in different directions. This can inflict damage if you’re caught in the roll, so be ready to avoid it. Ultimately, the best way to avoid most of the attacks from the giant is to stay behind it wherever possible, as you whittle down its health.
Lore
Upon realizing the flames of their forge would never die, Queen Marika marked him with a curse. “O trifling giant, mayest thou tend thy flame for eternity.
Location
Info
Location
1×
Mountaintops of the Giants
Mountaintops of the Giants
Item Drops
1×
 Remembrance of the Fire Giant
Remembrances Remembrance of the Fire Giant
Remembrances |
Legend Boss |
180,000 |
43,263 |
Fire, Frostbite |
Phy (Sta) Other Physical Magic Lightning |
|
|
Spirit-Caller Snail (Spiritcaller's Cave) |
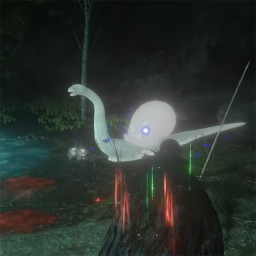
Spiritcaller Snail is a Boss that is is found in Road’s End Catacombs and in Spiritcaller’s Cave. Strategy This encounter is located in Spiritcaller’s Cave, on the western shores of the Freezing Lake. Here you’ll find the seemingly defenceless Spirit-Caller Snail, which will swiftly summon a Godskin Apostle & Godskin Noble. These two have exactly the same attacks as the ones you’ve encountered in earlier regions of the game. The good news is that you can fight both one after the other, rather than both at the same time. You’ll be facing the Apostle first, which uses swift slashes and spinning attacks in the first phase of the fight. After it loses half of its health, it will begin stretching its body and using more blackflame magic abilities, including a fireball. The Noble wields a deceptively large rapier which has more reach than you might first expect, so you’ll need to be ready to avoid consecutive attacks from this. If you get too close to the Noble for too long, it will use deflective melee abilities. However, if you remain at a distance, it will often cast a wall of blackflame magic before launching fireballs at you through it.
Location
Location
1× Spiritcaller's Cave
Mountaintops of the Giants
Item Drops
1×
 Godskin Swaddling Cloth
Talismans Godskin Swaddling Cloth
Talismans
Item Drops
1×
 Black Flame Ritual
Incantations Black Flame Ritual
Incantations |
Field Boss |
70,000 |
||||

|
Putrid Avatar (Mountaintops of the Giants) |
This fight is the same as other avatar fights, and it comes with most of the same moves including the body slam, magical projectiles, and devastating hammer strikes. As with other Putrid Avatars, the body slam will send out a wave of Scarlet Rot, so you’ll want to avoid this at all costs by either jumping over the shockwave, or dodging / rolling far enough away.
Location
Location
1×
Mountaintops of the Giants
Mountaintops of the Giants
Item Drops
1×
 Thorny Cracked Tear
Crystal Tears Thorny Cracked Tear
Crystal Tears
Item Drops
1×
 Ruptured Crystal Tear
Crystal Tears Ruptured Crystal Tear
Crystal Tears |
Field Boss |
168,000 |
||||
|
Roundtable Knight Vyke (Lord Contender's Evergaol) |
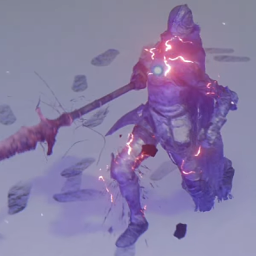
Vyke, Knight of the Roundtable is an enemy Invader and Boss in Elden Ring. The Invader version of Vyke is called Festering Fingerprint Vyke and will invade on the path towards the Church of Inhibition, wielding their namesake War Spear. The Boss version of Vyke is known as Vyke, Knight of the Roundtable, and is the boss within Lord Contender’s Evergaol. This is a fairly tough boss who uses red lightning with many of his attacks. As an NPC, the boss is able to heal himself with a flask which is capable of replenishing most of his health, but he can only use this once. The boss can fire bursts of lighting which rain down on your location, but you can avoid these just by running in the opposite direction. A more deadly attack consists of the boss hovering in the air as he generates waves of lightning which are cast out in four directions from him. So long as you’re paying attention to where the waves are heading, you should be able to avoid them by stepping between them. However, you can also run as far away as possible from the boss to avoid the attacks. One of the most damaging attacks from the boss consists of a leaping attack which ends in the boss slapping his spear down on you. This isn’t the most visually impressive attack, but it is one of the more deadly nonetheless.
Location
Item Drops
1×
 Vyke's Dragonbolt
Incantations Vyke's Dragonbolt
Incantations
Item Drops
1×
 Fingerprint Set
Armor Sets Fingerprint Set
Armor Sets |
Field Boss |
7,500 |
||||
|
|
Stray Mimic Tear |
This is a unique fight which will be different for each individual, since the boss mimics the build that you currently use as you enter the room. However, there is a way to make this fight much easier if you’re struggling by entering the room without any weapons equipped. The boss will then spawn unarmed, but you can equip a weapon after the fight starts. To access the boss in the Hidden Path to the Haligtree, you’ll first need to find the Haligtree Secret Medallion (Left) and the Haligtree Secret Medallion (Right).
Location
|
Field Boss |
50,000 |
||||
|
|
Tibia Mariner (Mountaintops of the Giants) |
As with other Tibia Mariner bosses, this is one of the easiest fights in the game. The boss doesn’t have many attacks, and those it does (the occasional oar strike) are so weak that they’re hardly worth mentioning. You can kill this boss reliably in under a minute. However, there is a chance that it will summon a giant skeleton to aid him in the fight. If this happens, you should focus on the skeleton before turning your attention back to the mariner, as the skeleton can inflict a lot of damage if left unchecked.
Location
|
Field Boss |
4,234 |
||||
|
|
Ulcerated Tree Spirit (Mountaintops of the Giants) |
The Ulcerated Tree Spirit (Mountaintops of the Giants) is located within the Giants’ Mountaintop Catacombs, in southeast Mountaintops of the Giants. You’ll need to unlock the door to the boss room by turning right from the Stake of Marika, then following the path north to the elevator. Take this down to the bottom and then turn left from the door, heading south to the next elevator. Continue south at the bottom and then turn west up the stairs, taking the path south up the next set of stairs to a room with blade traps. Time your run through these heading south, then turn left and go up the stairs to the east, following the path north up another set of stairs. At the top of these turn left to find a hole you can drop down at the edge of the wall, under a small archway. From here you can turn west and jump down into the room below, then look north to find another hole in the ground, through which an elevator passes. Wait for the elevator to go up, then jump down and head south, turning left and following the path around to the lever on the other side of the room. Pull this and then jump down, heading north through the hallway to the elevator at the end. Take this up and continue north to find the door to the boss room now opened.
Location
Info
|
Field Boss |
48,000 |
