0 of 65 collected
Checklist complete: 65 of 65 locations collected.
Sign in to save your progress across every device.

-
1
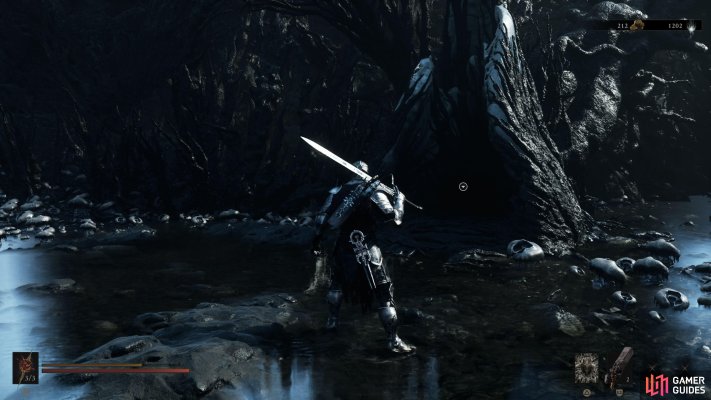
Village Outskirts (Prologue)
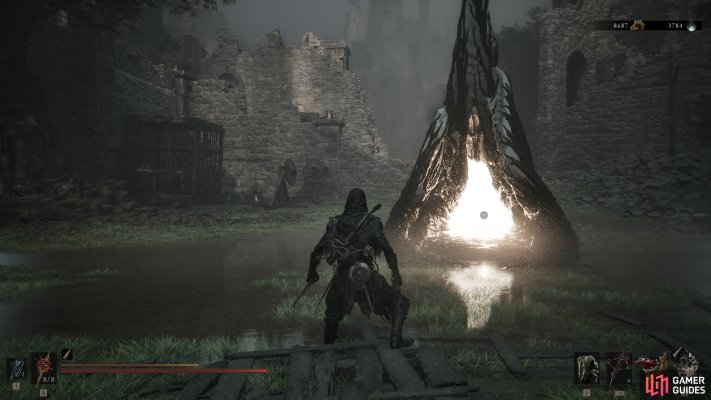
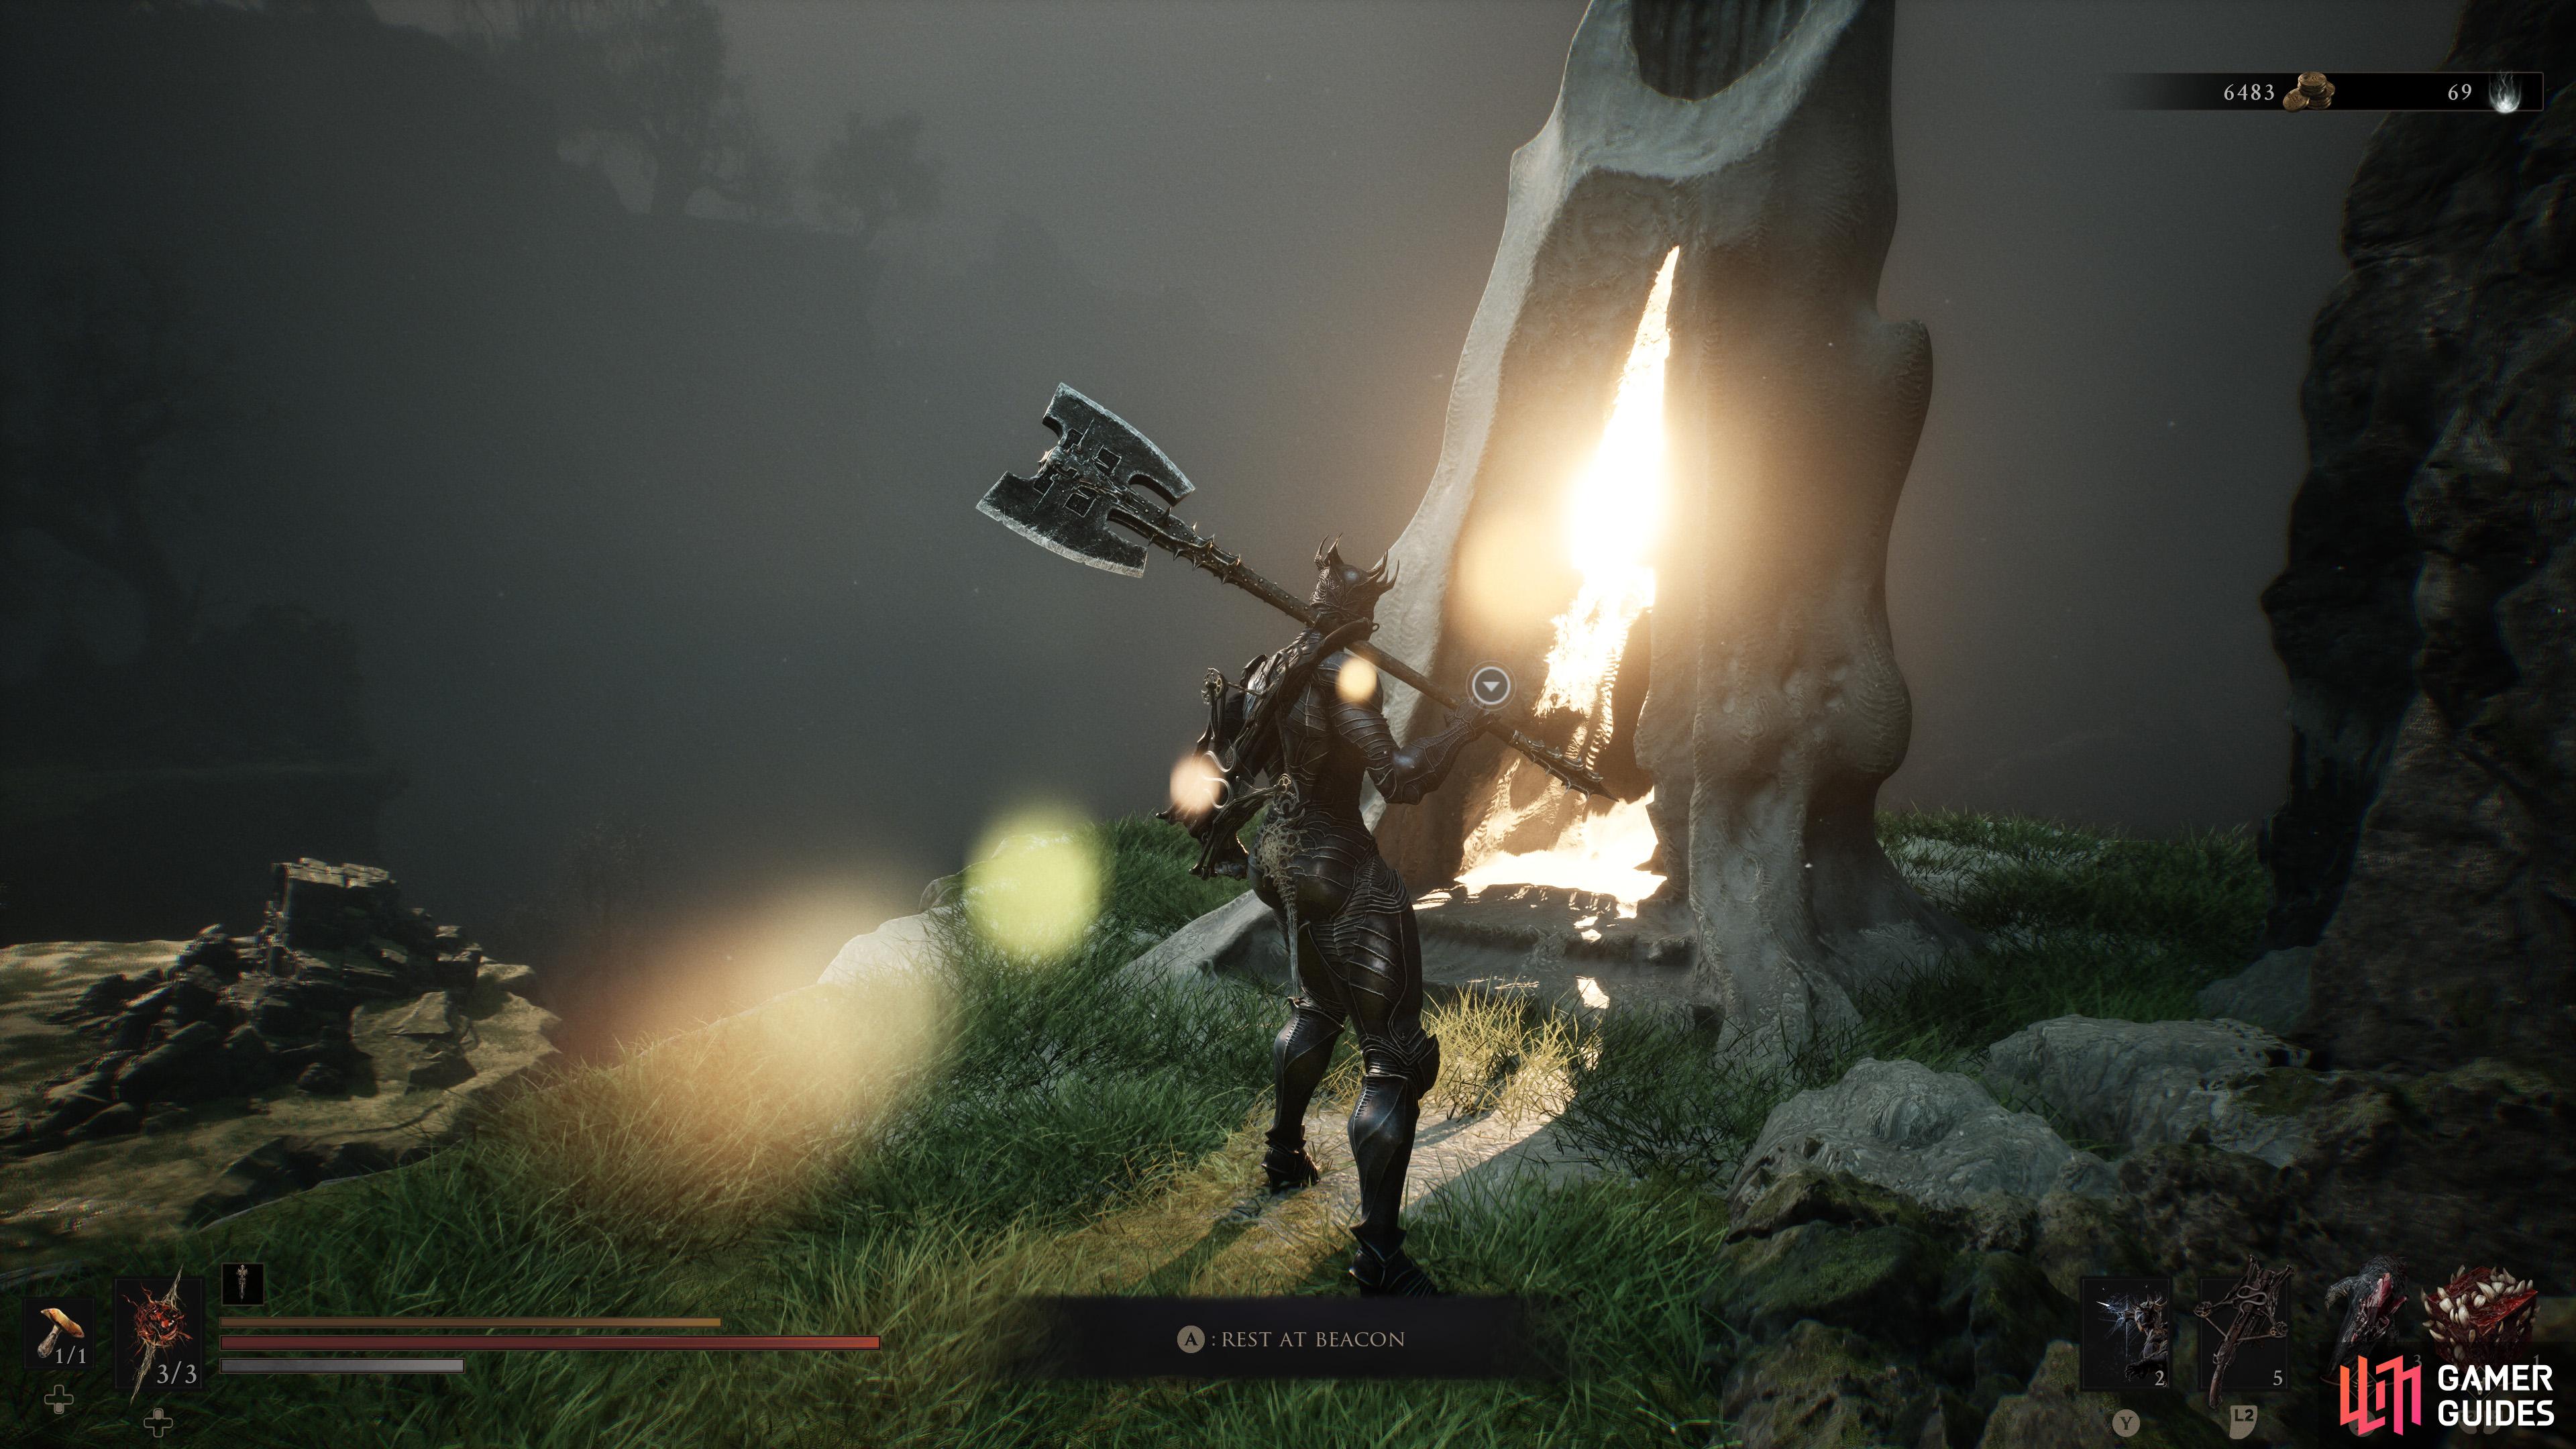
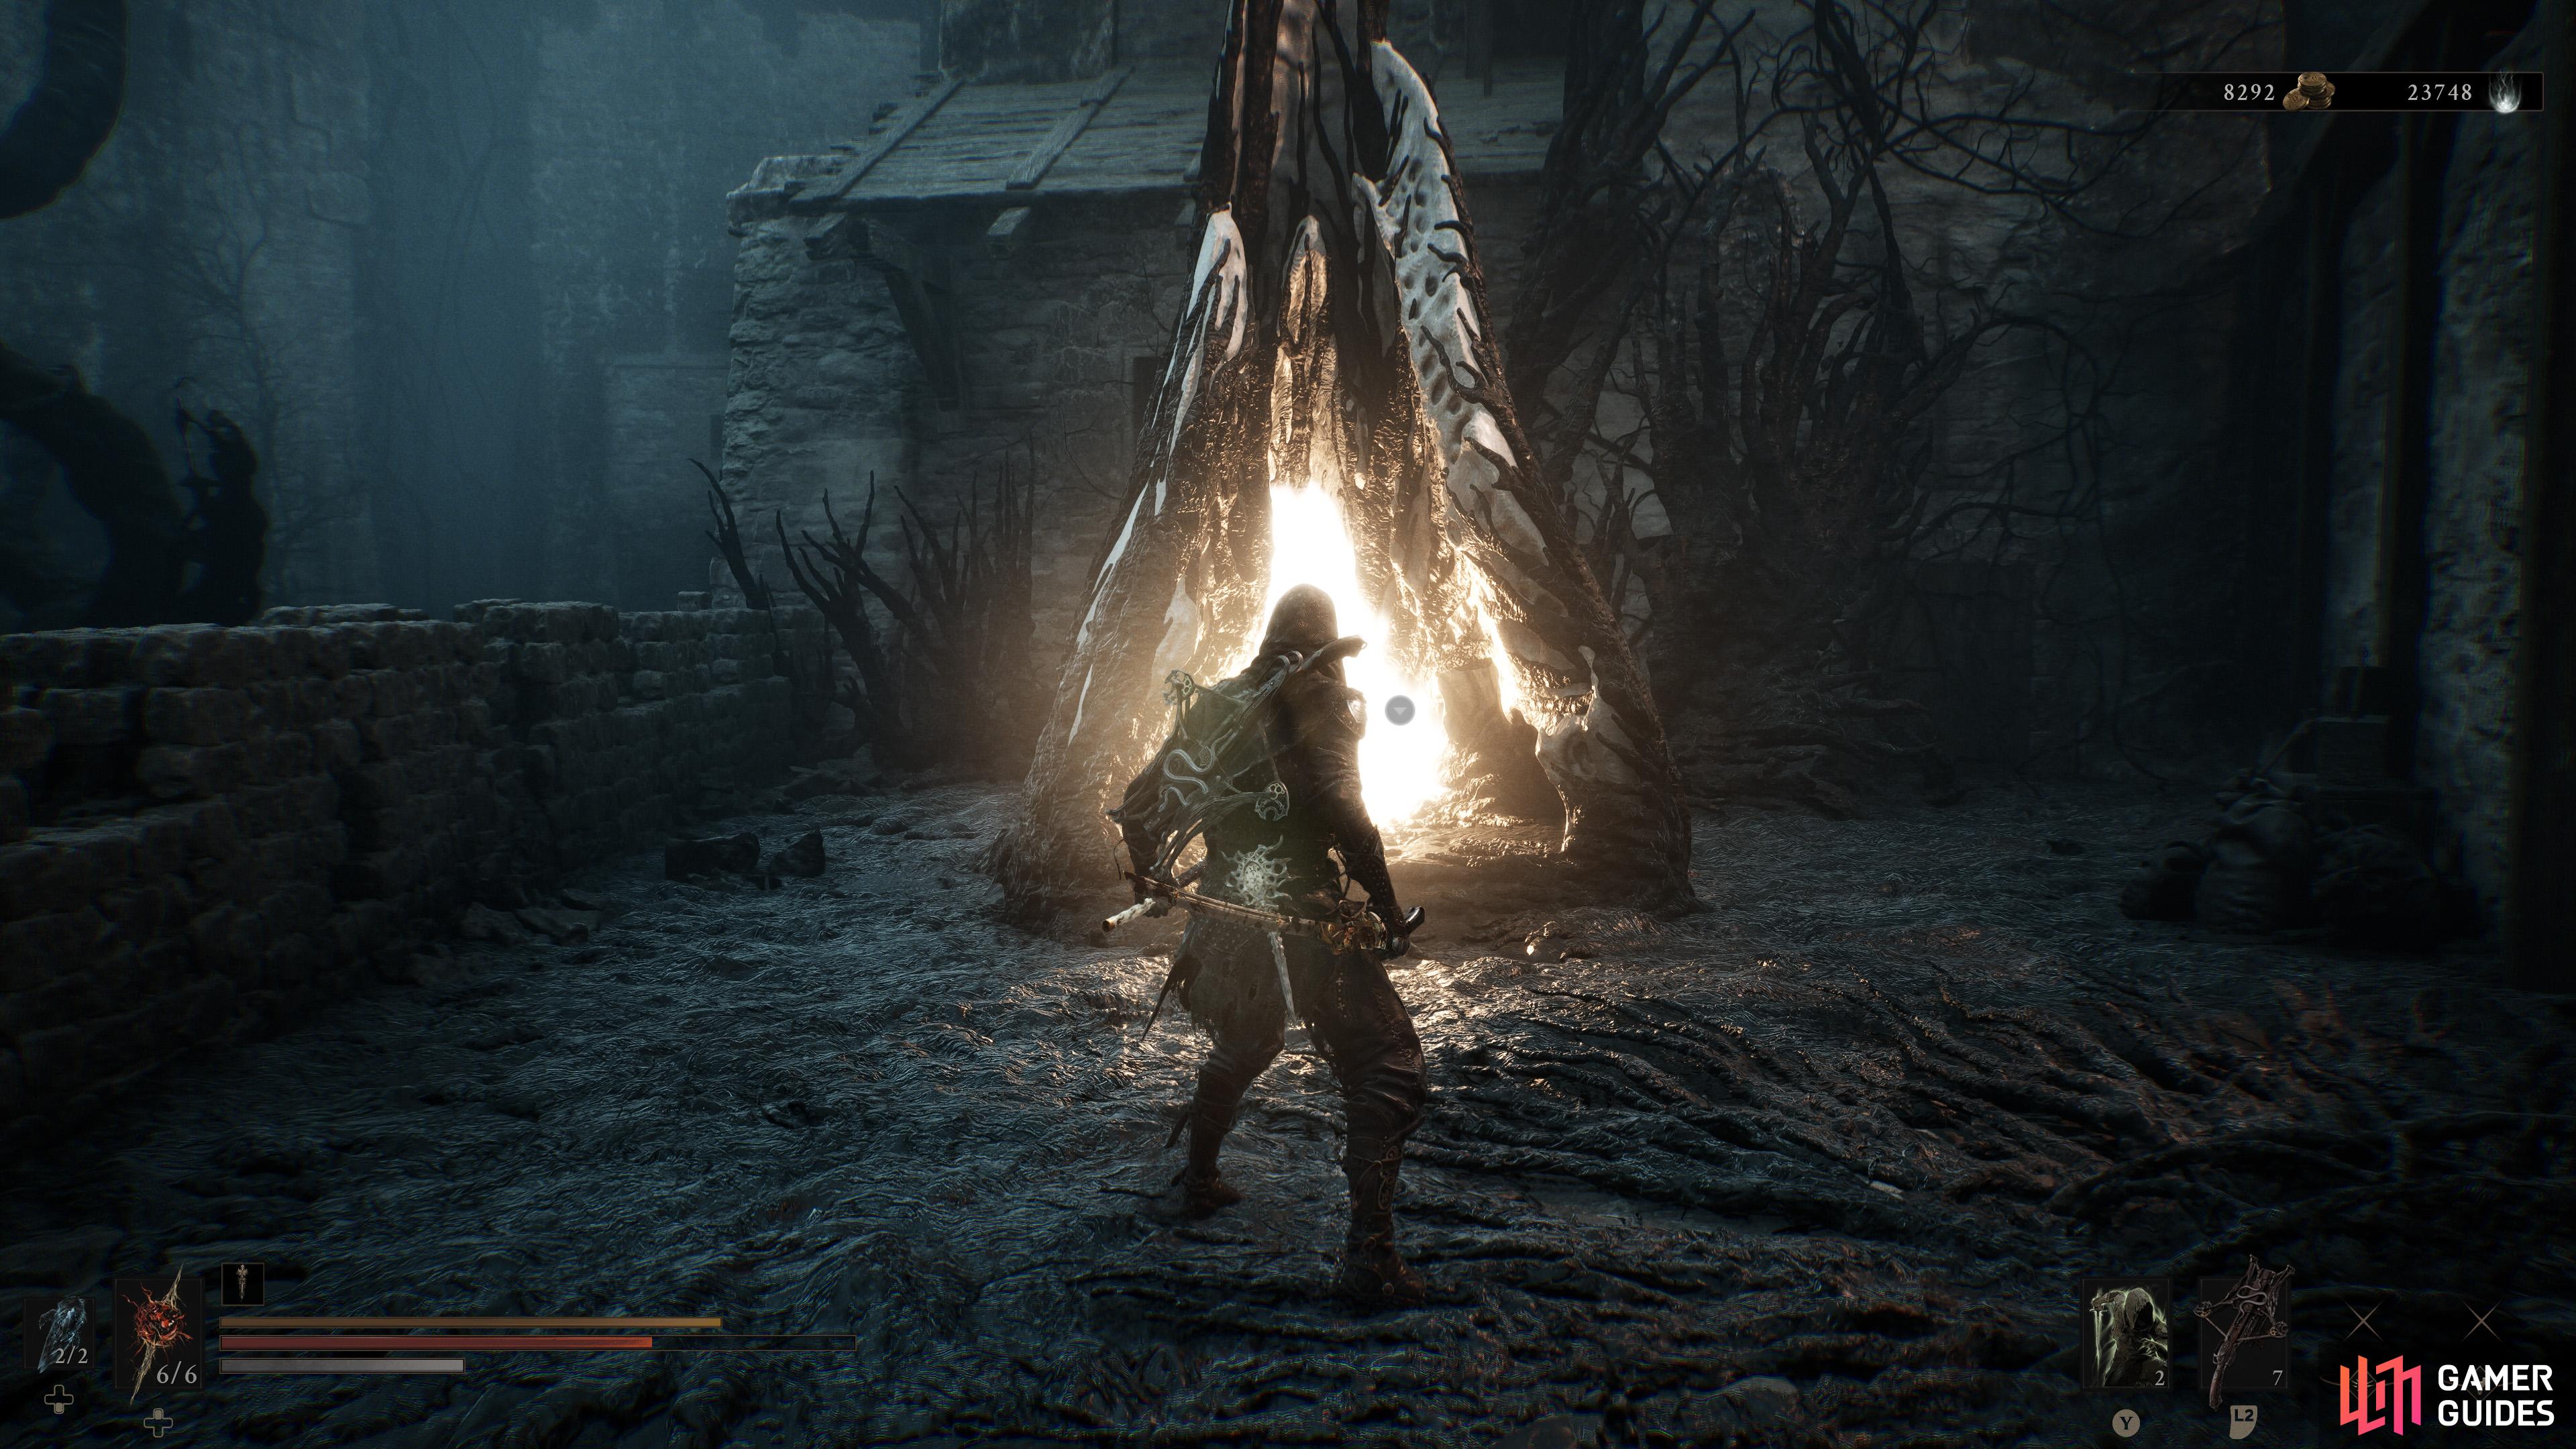
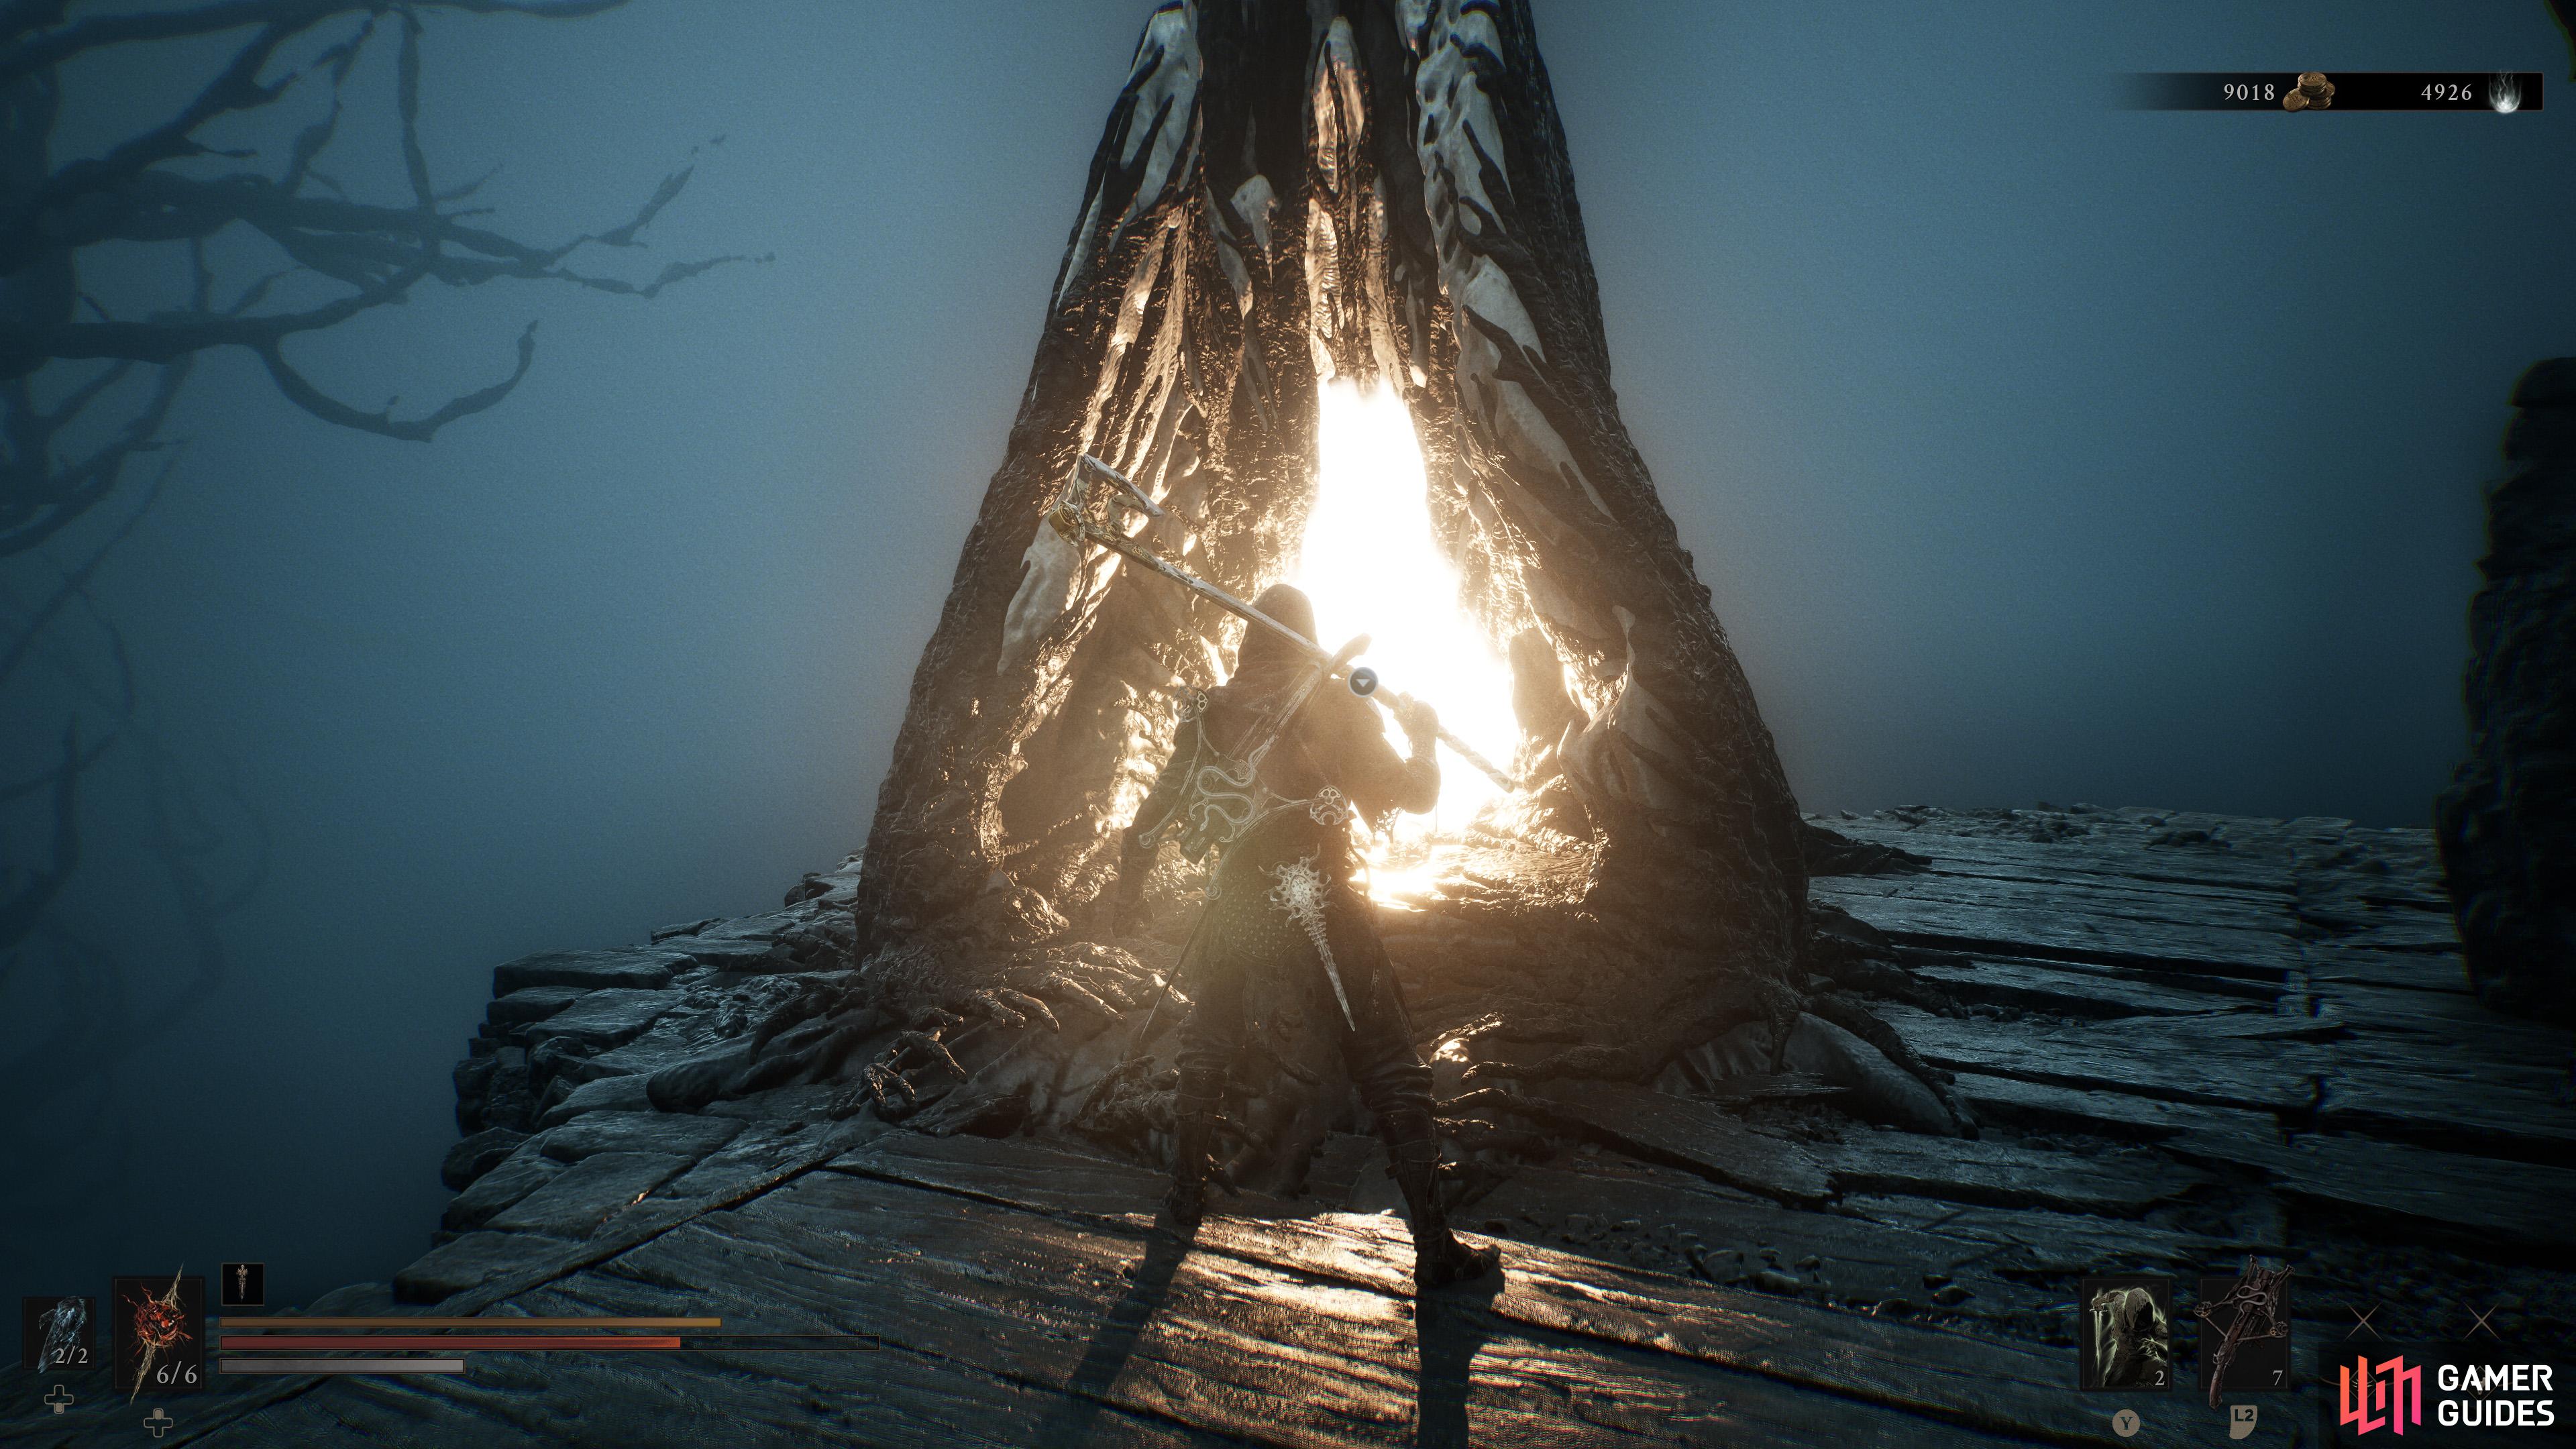
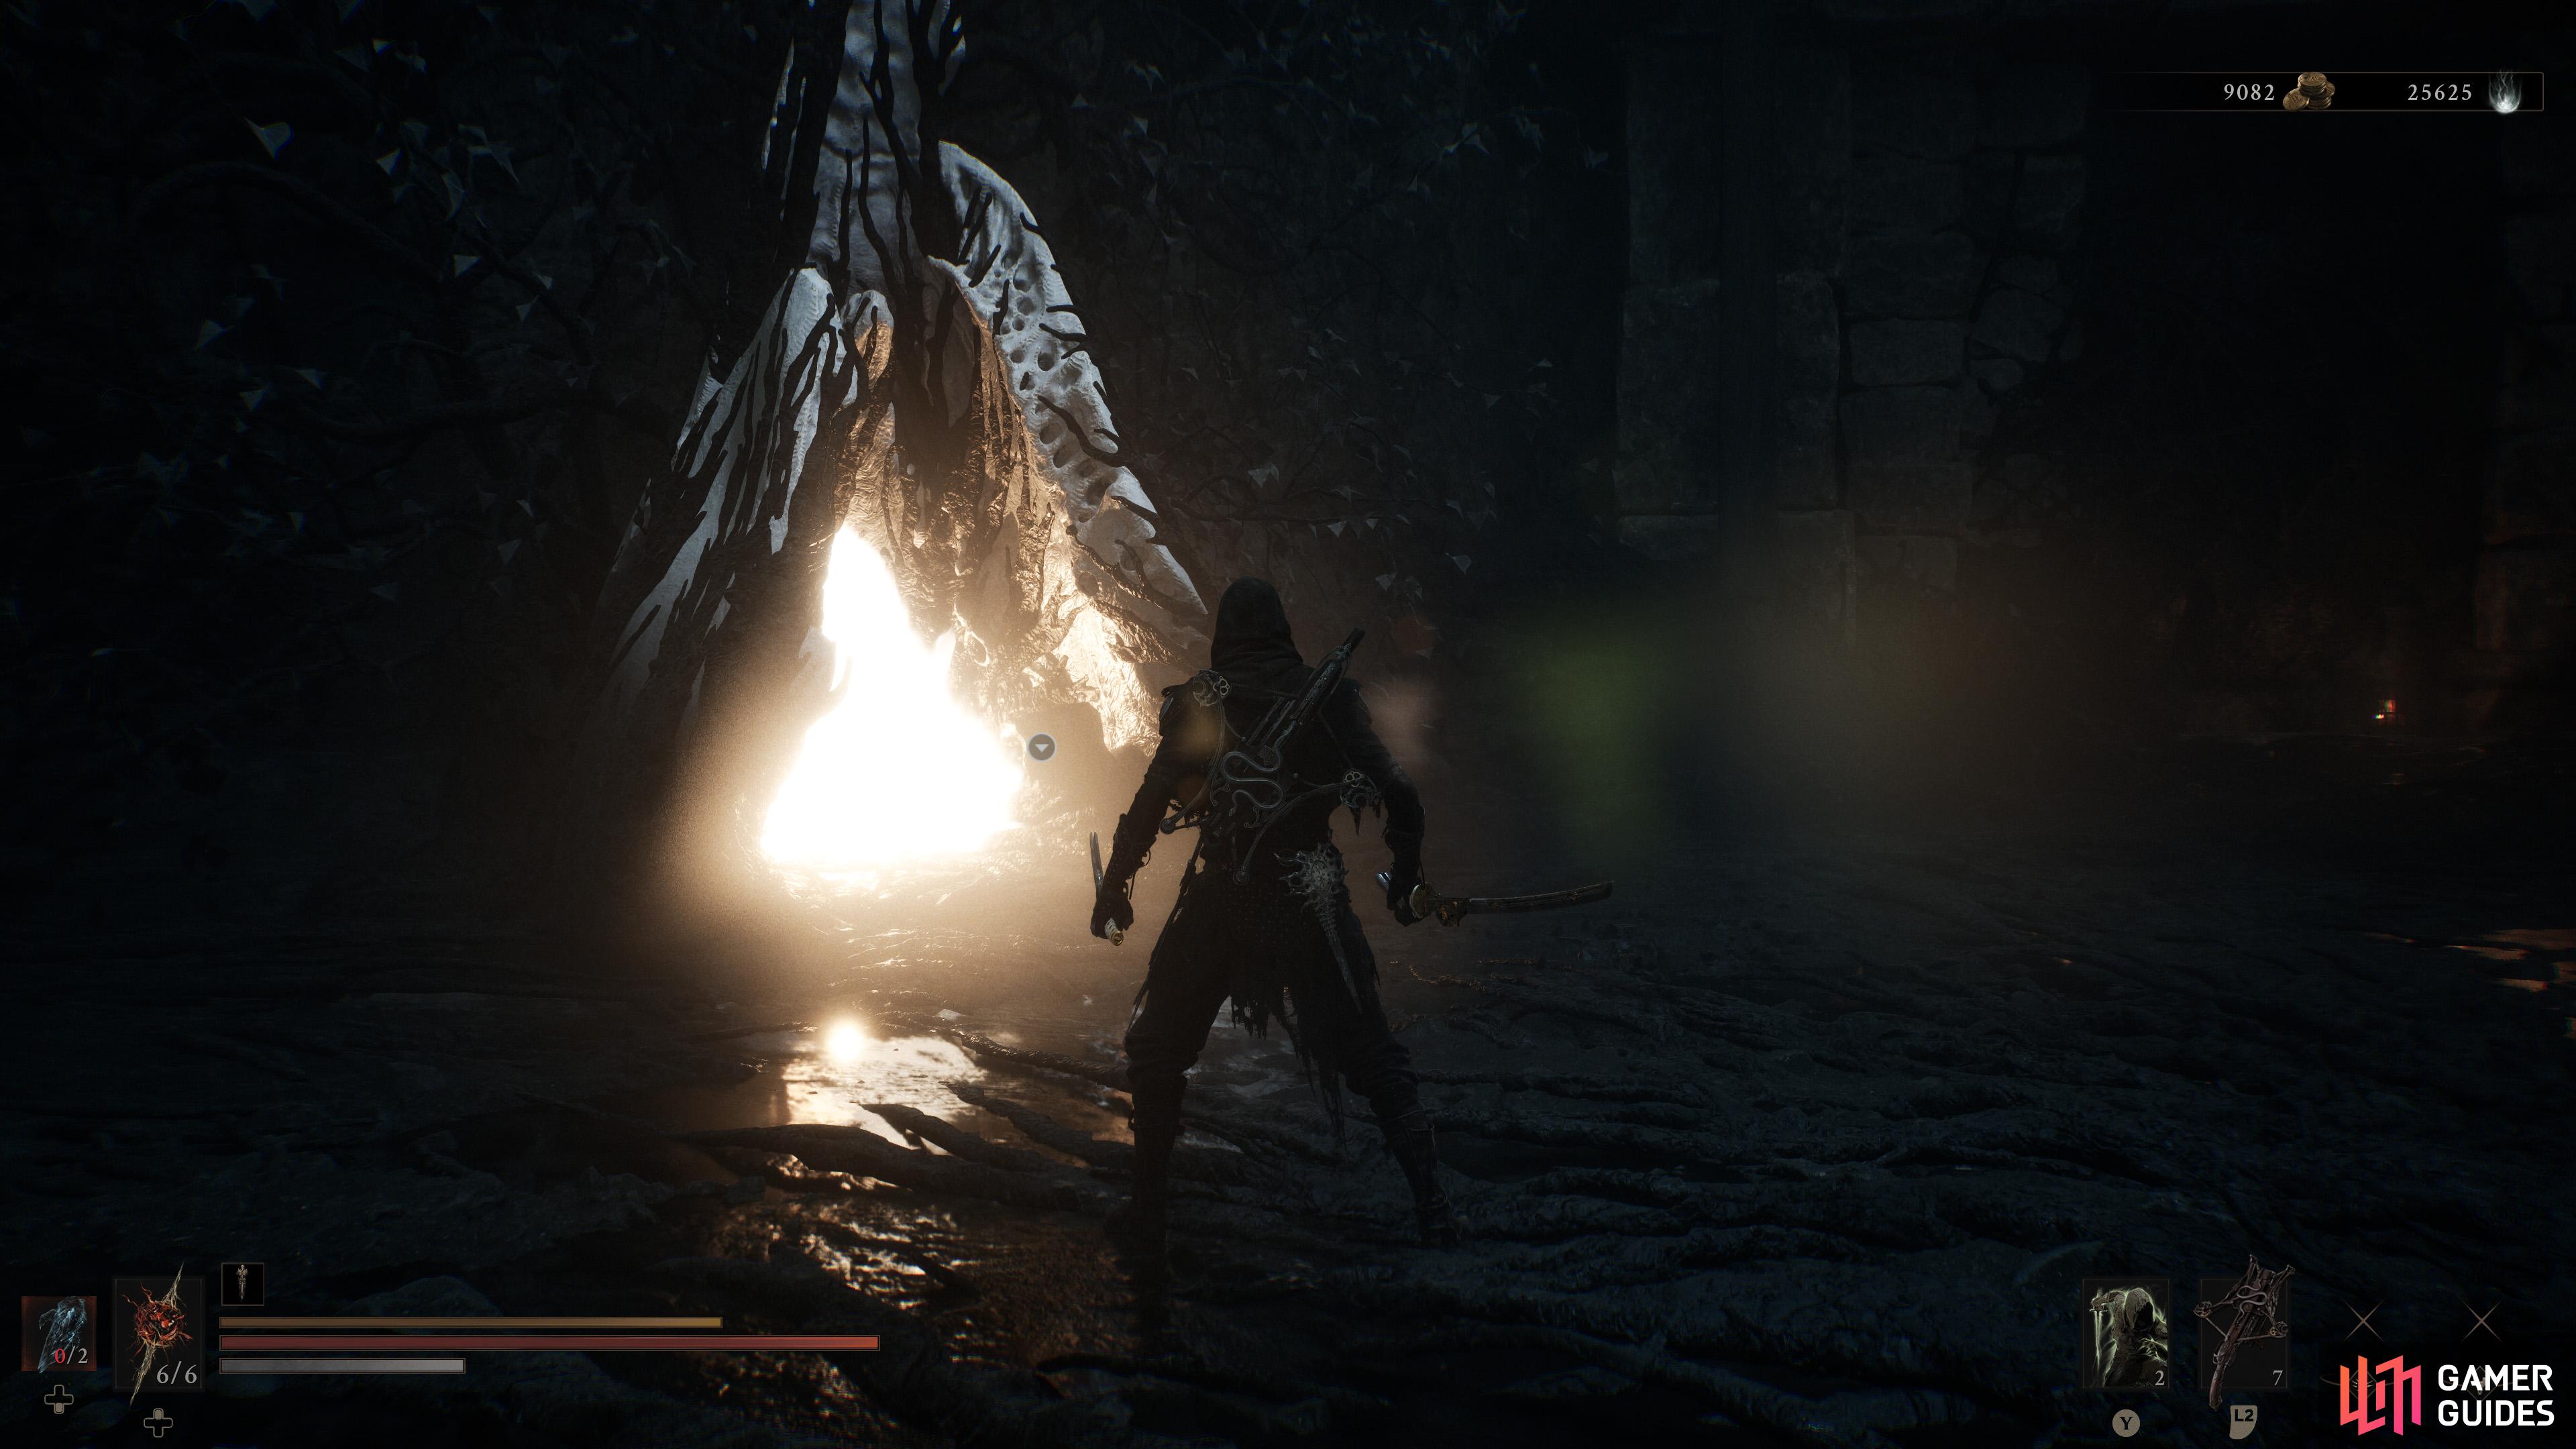
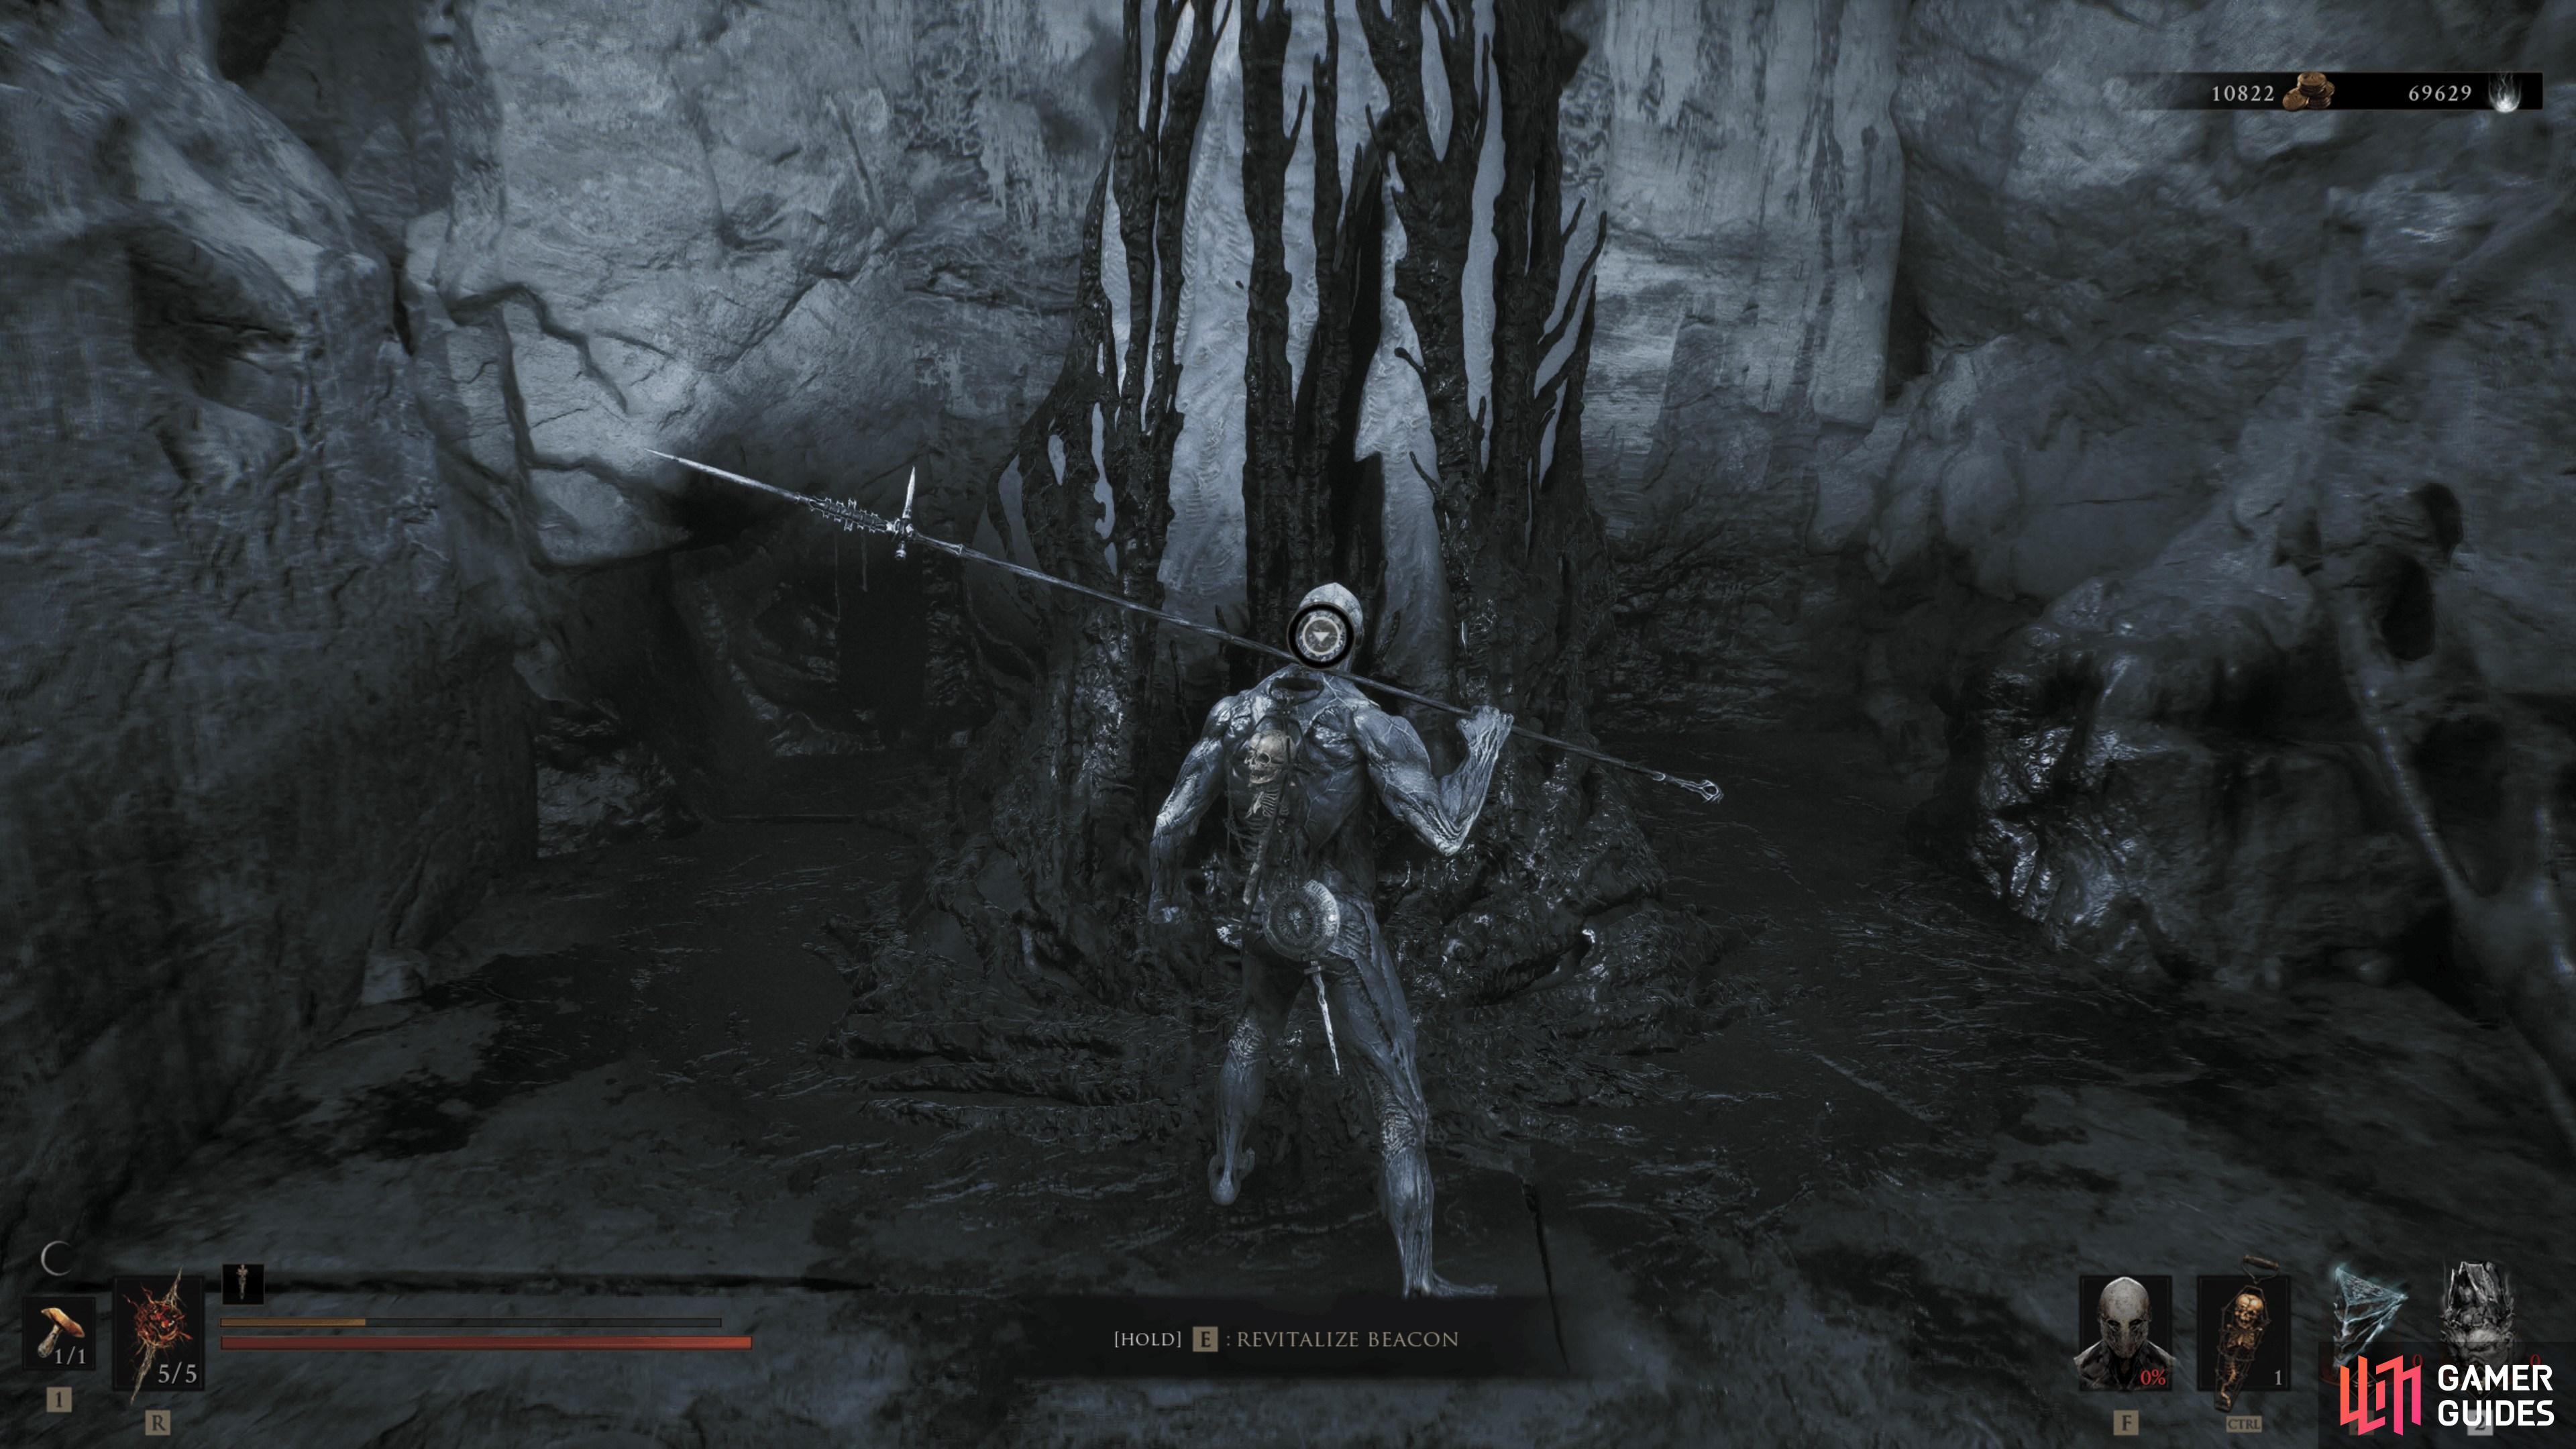
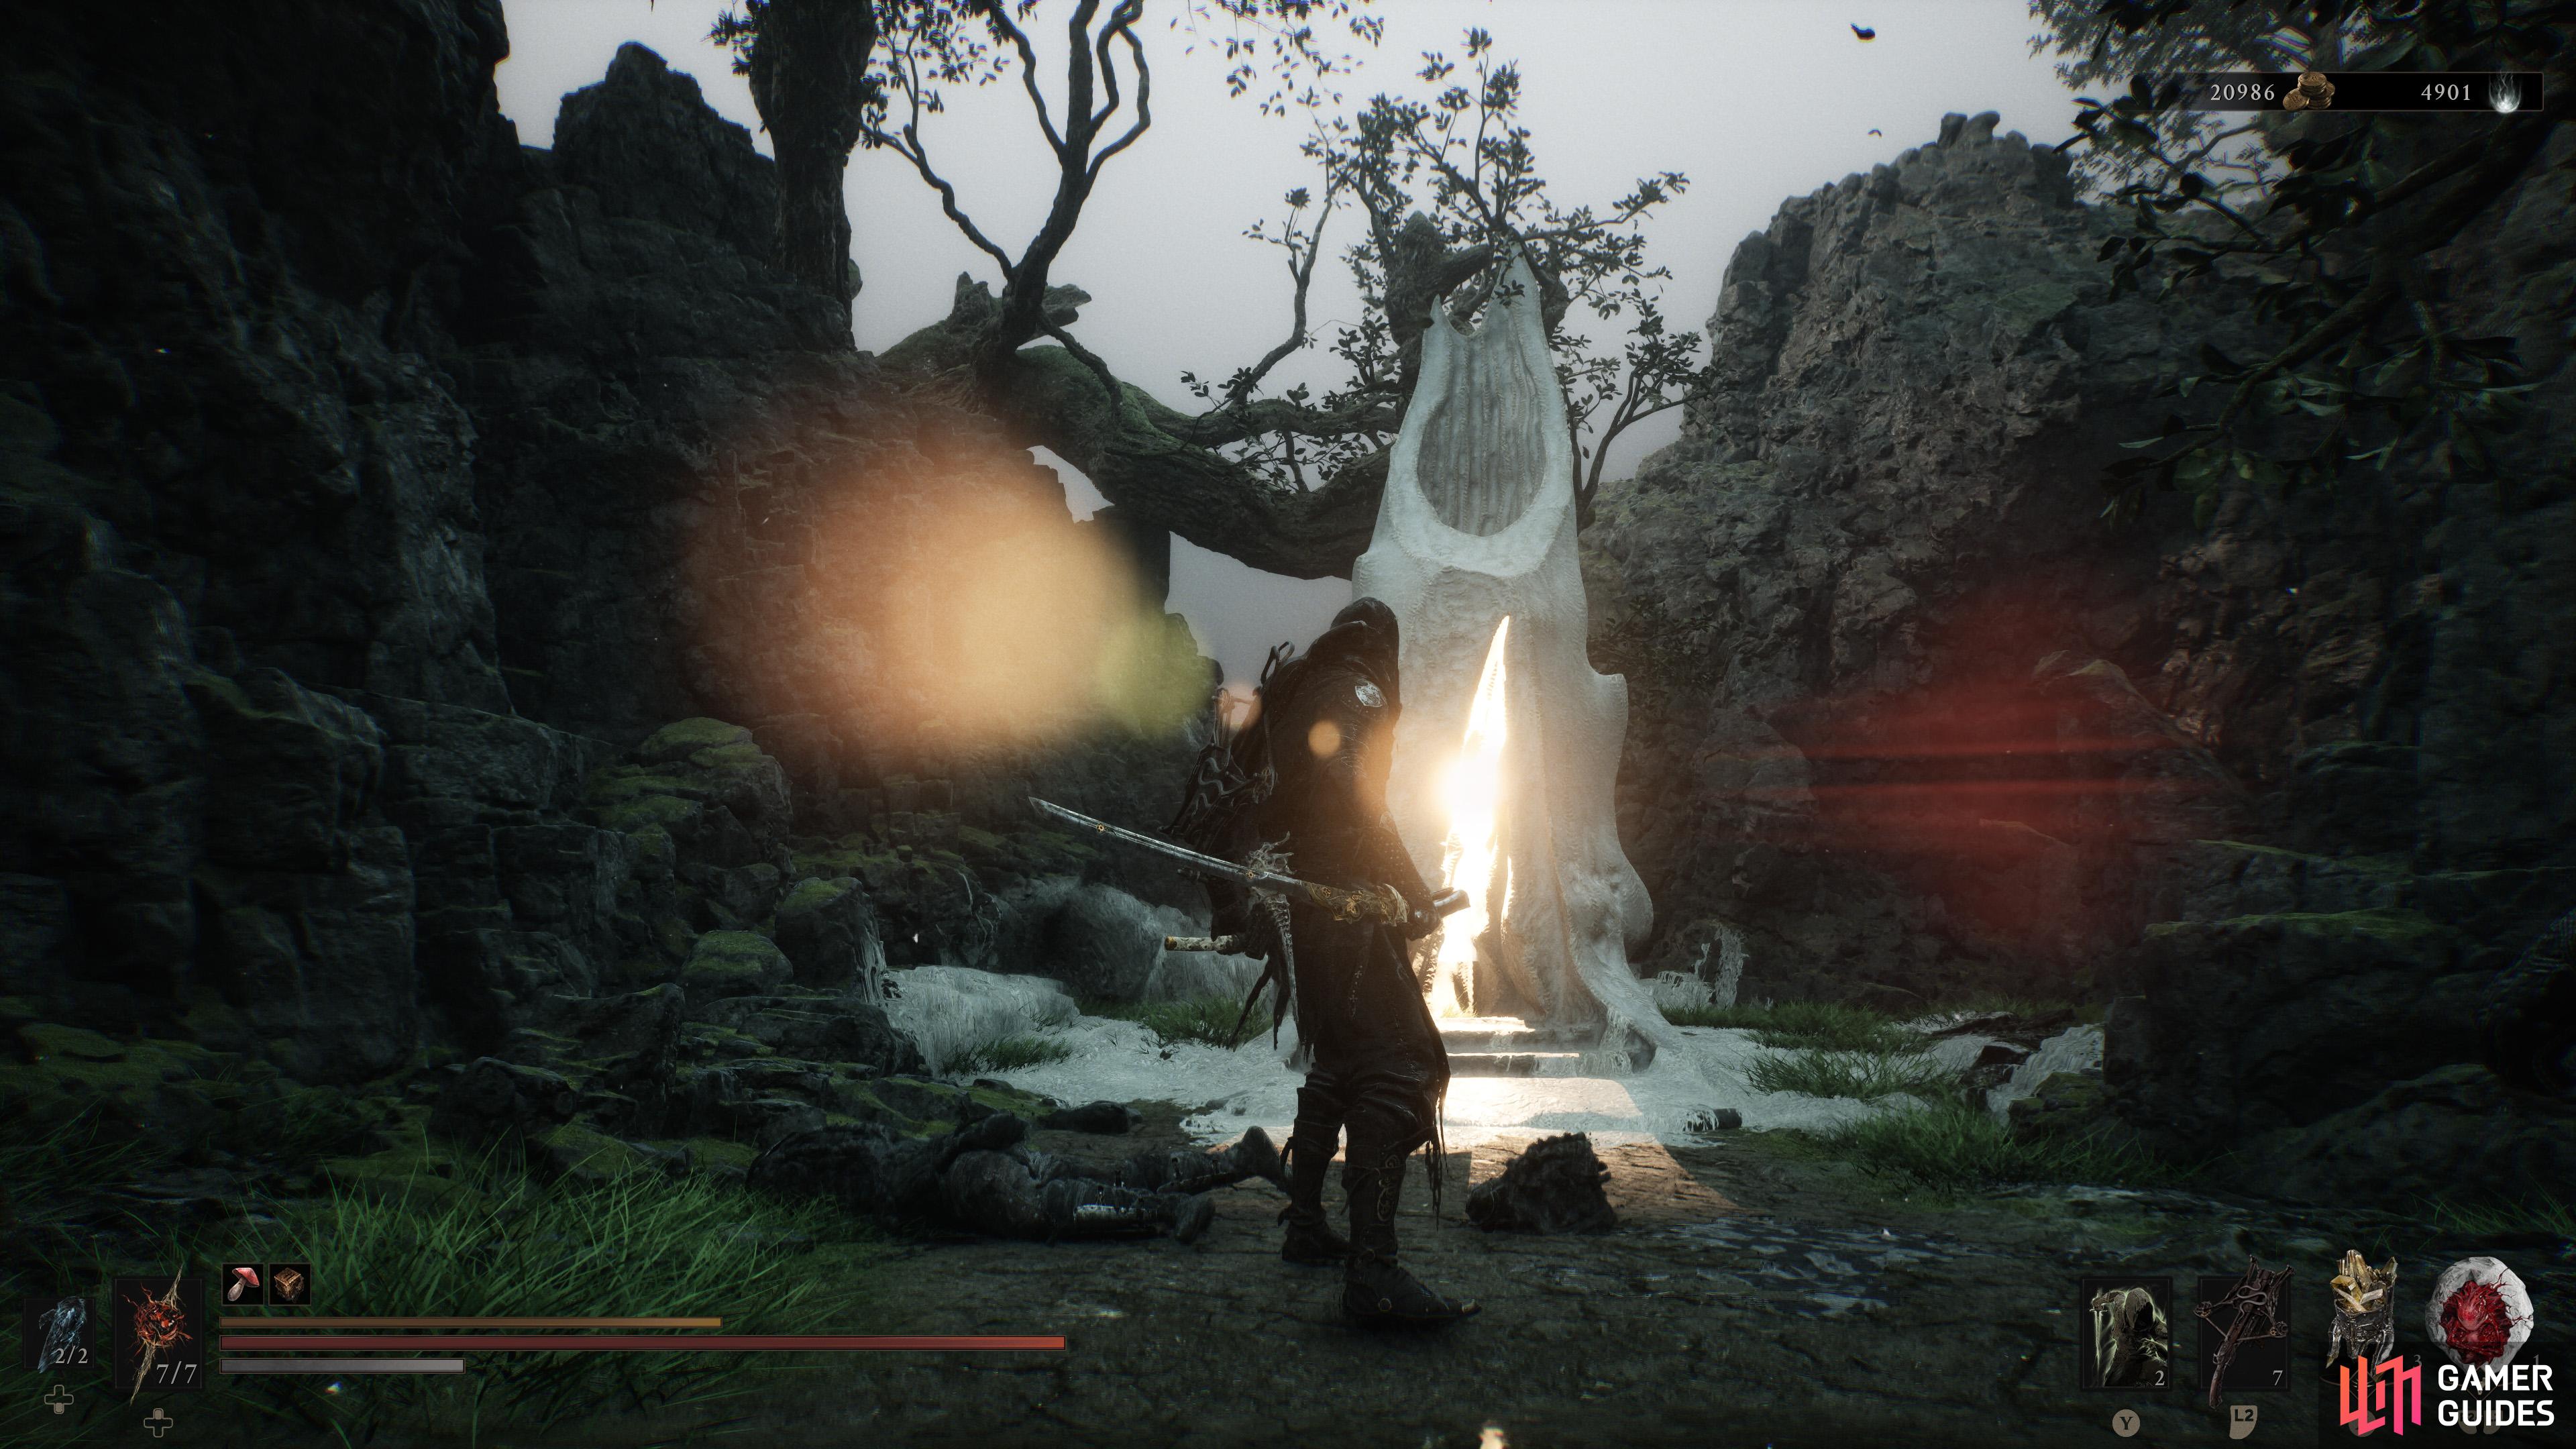
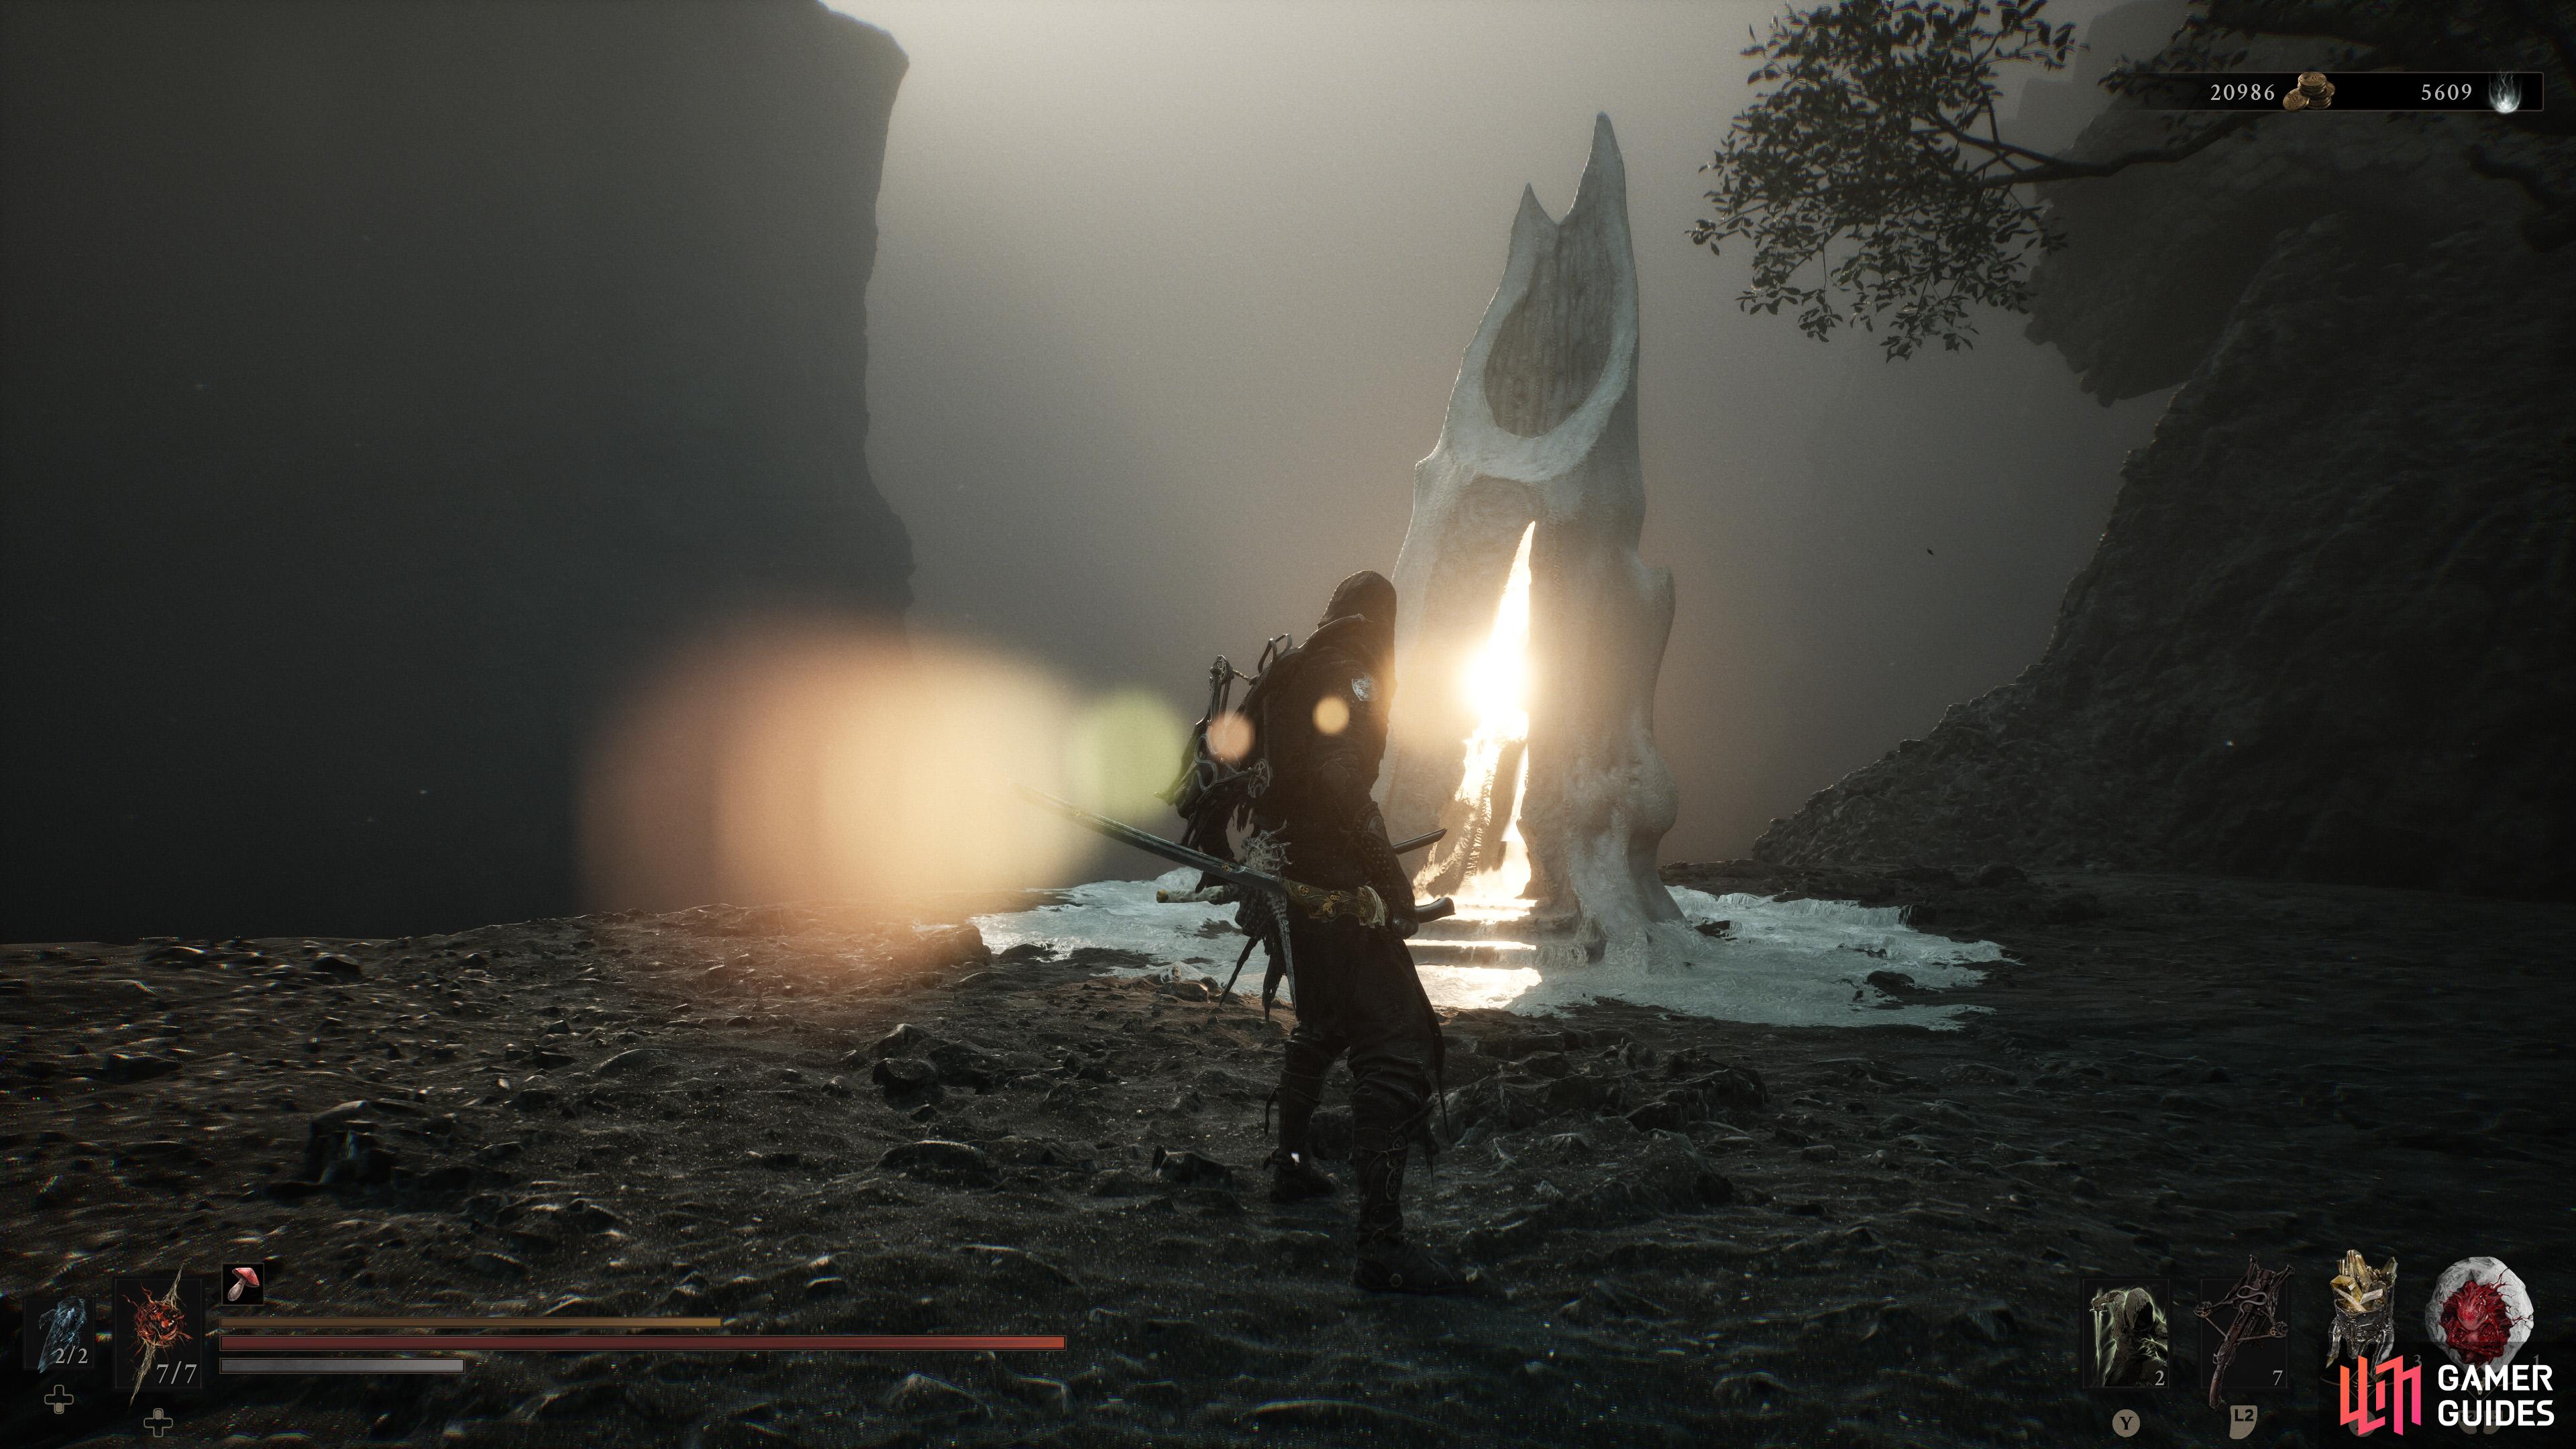
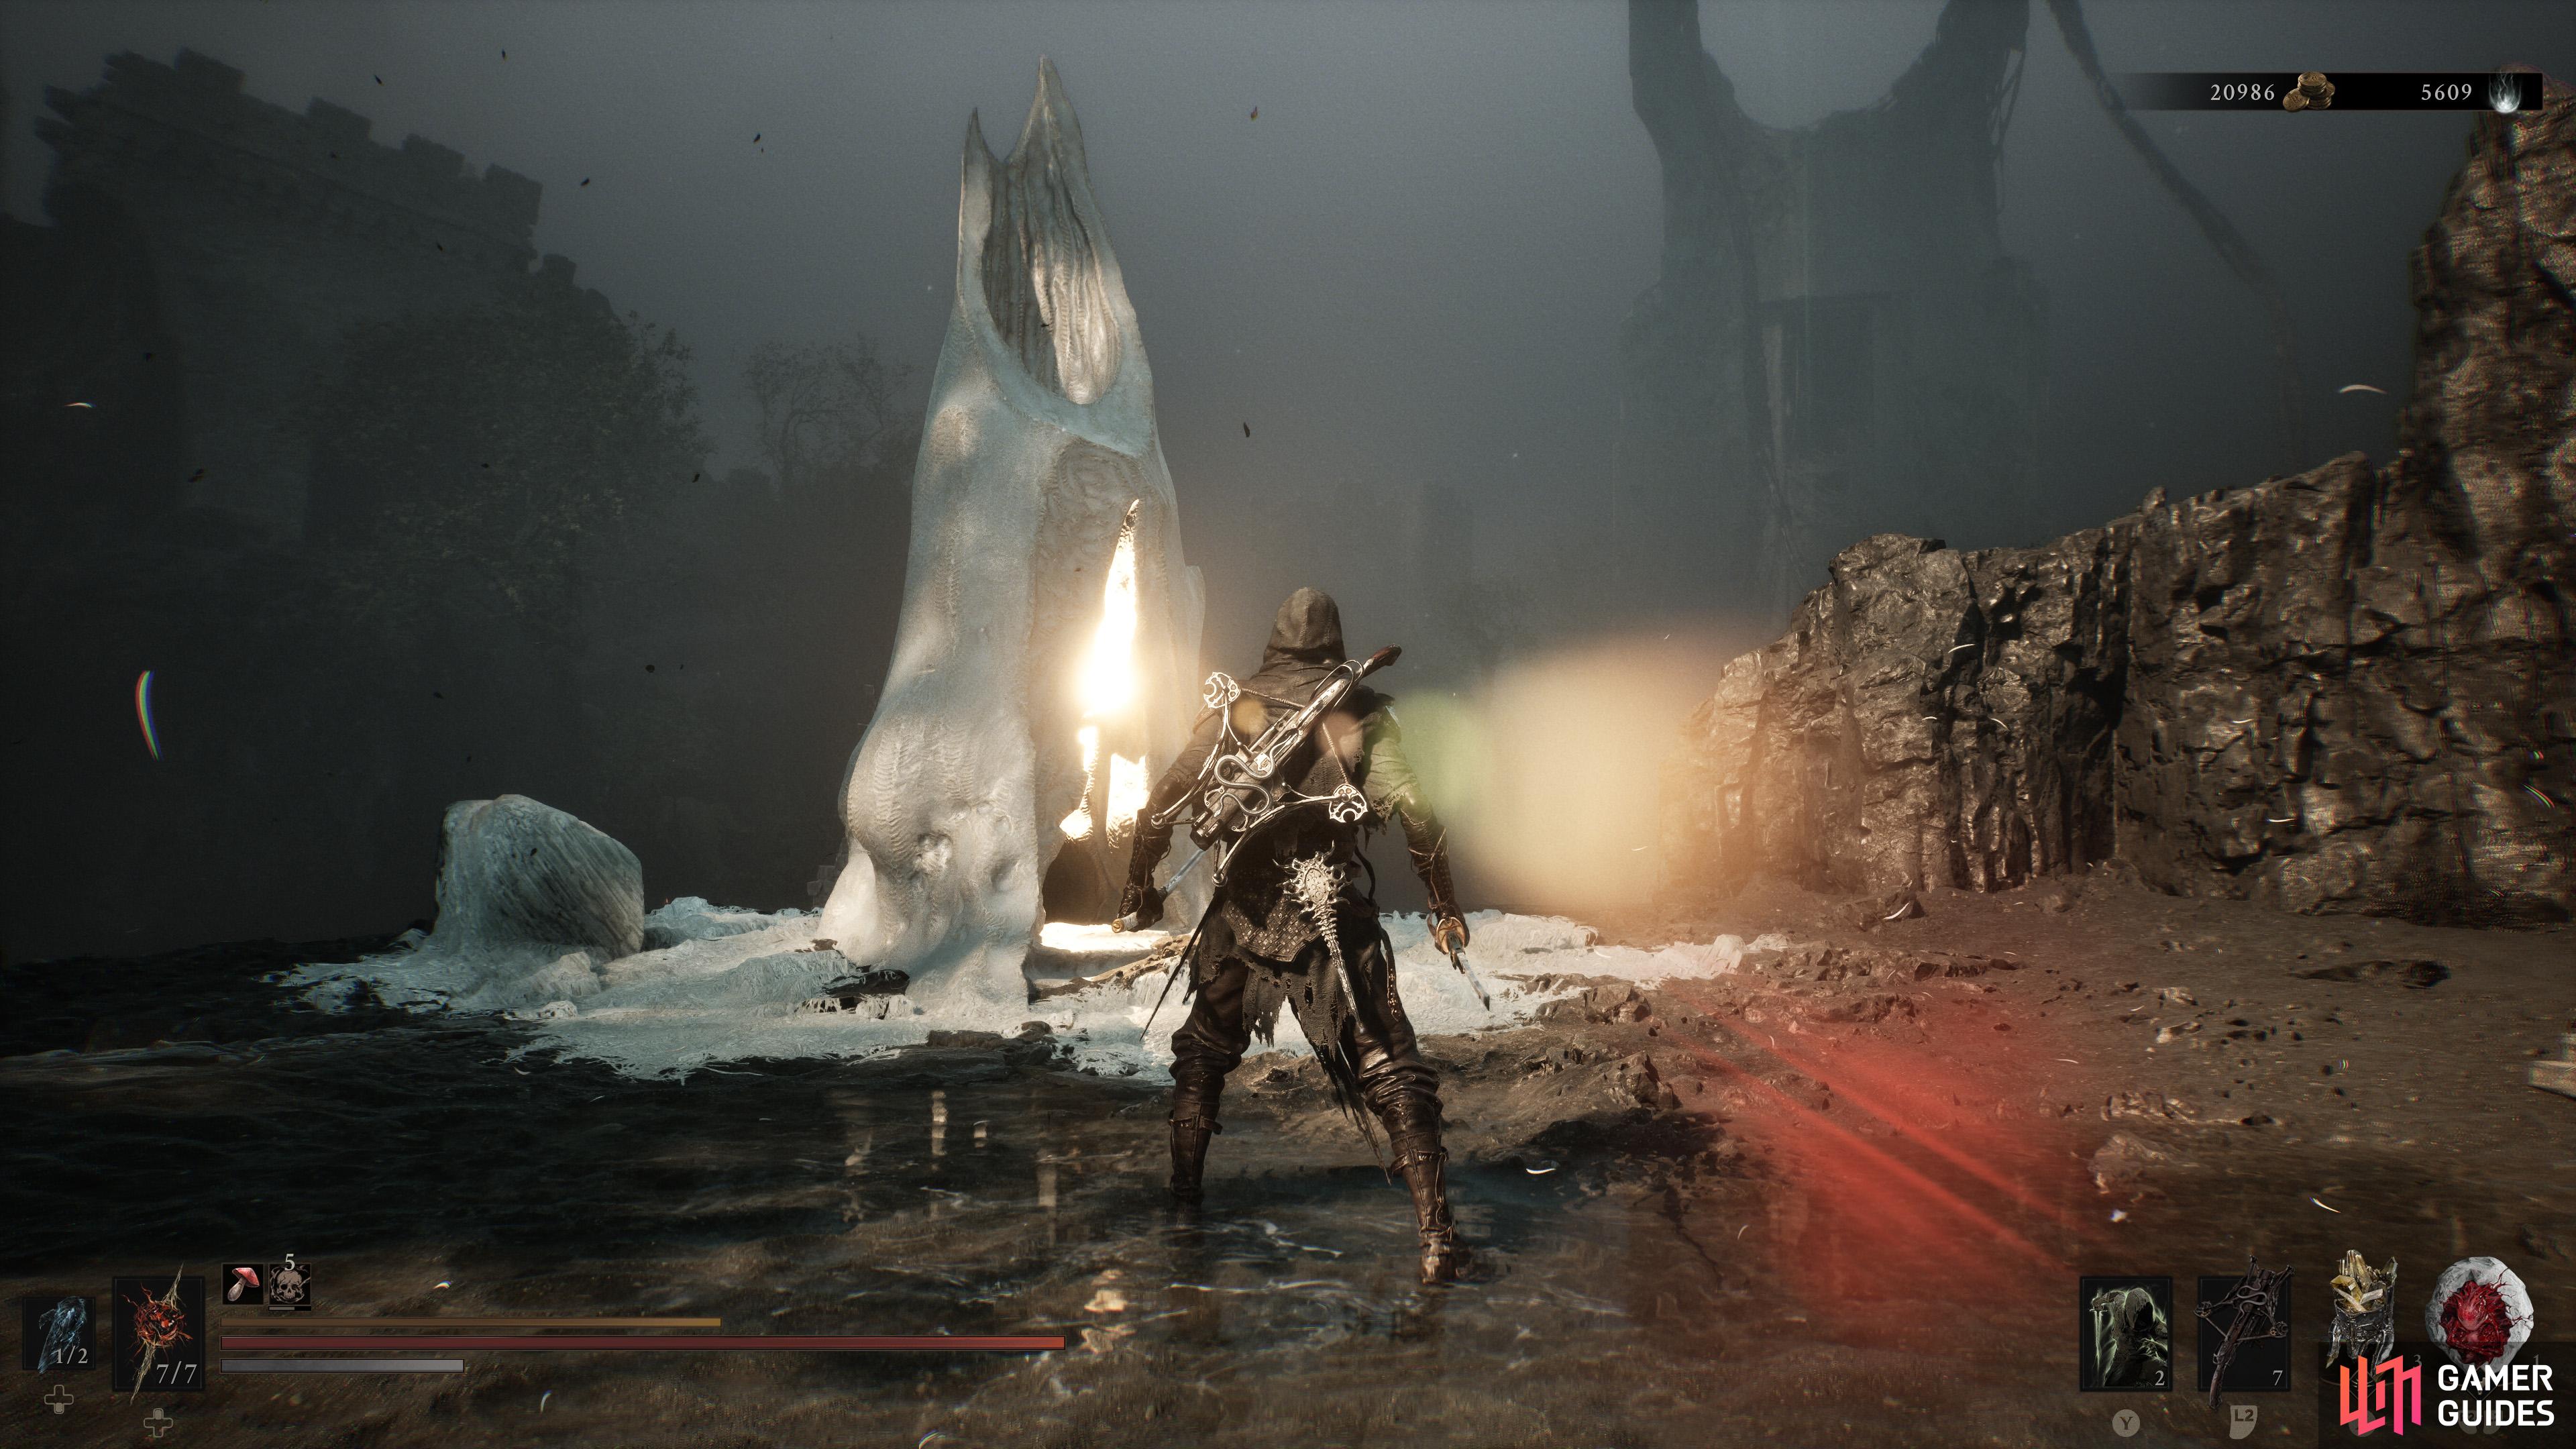
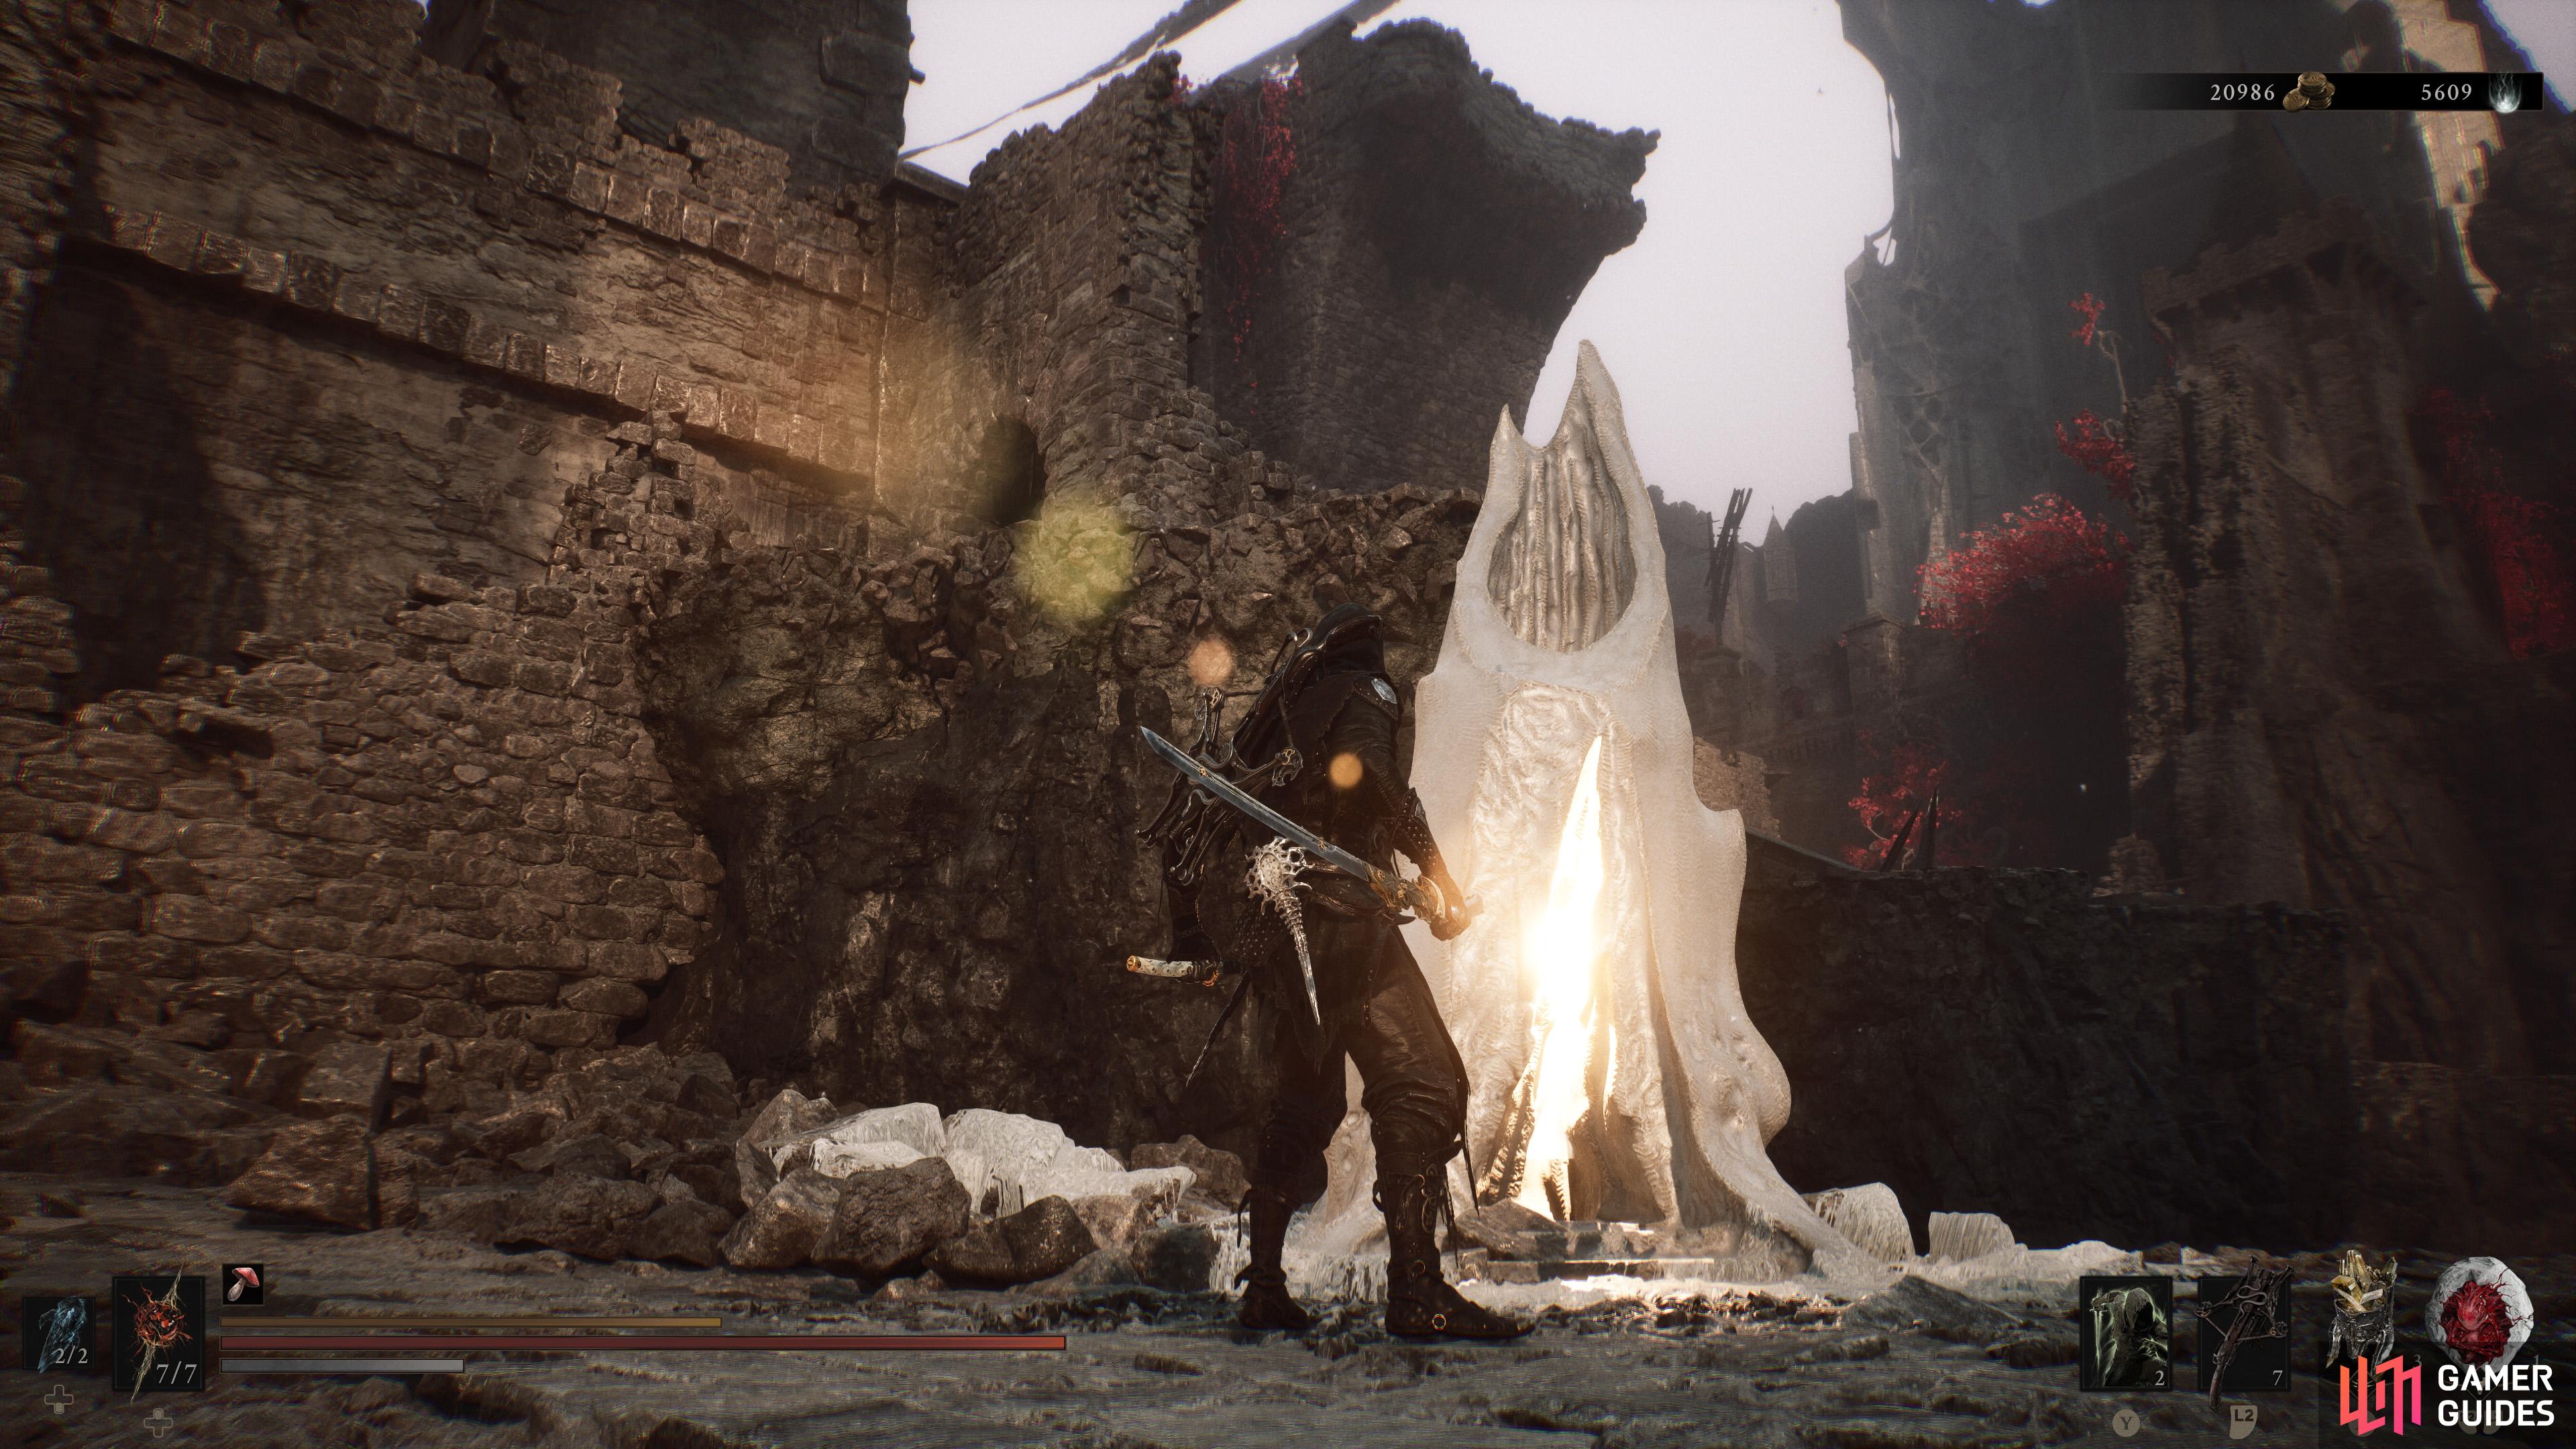
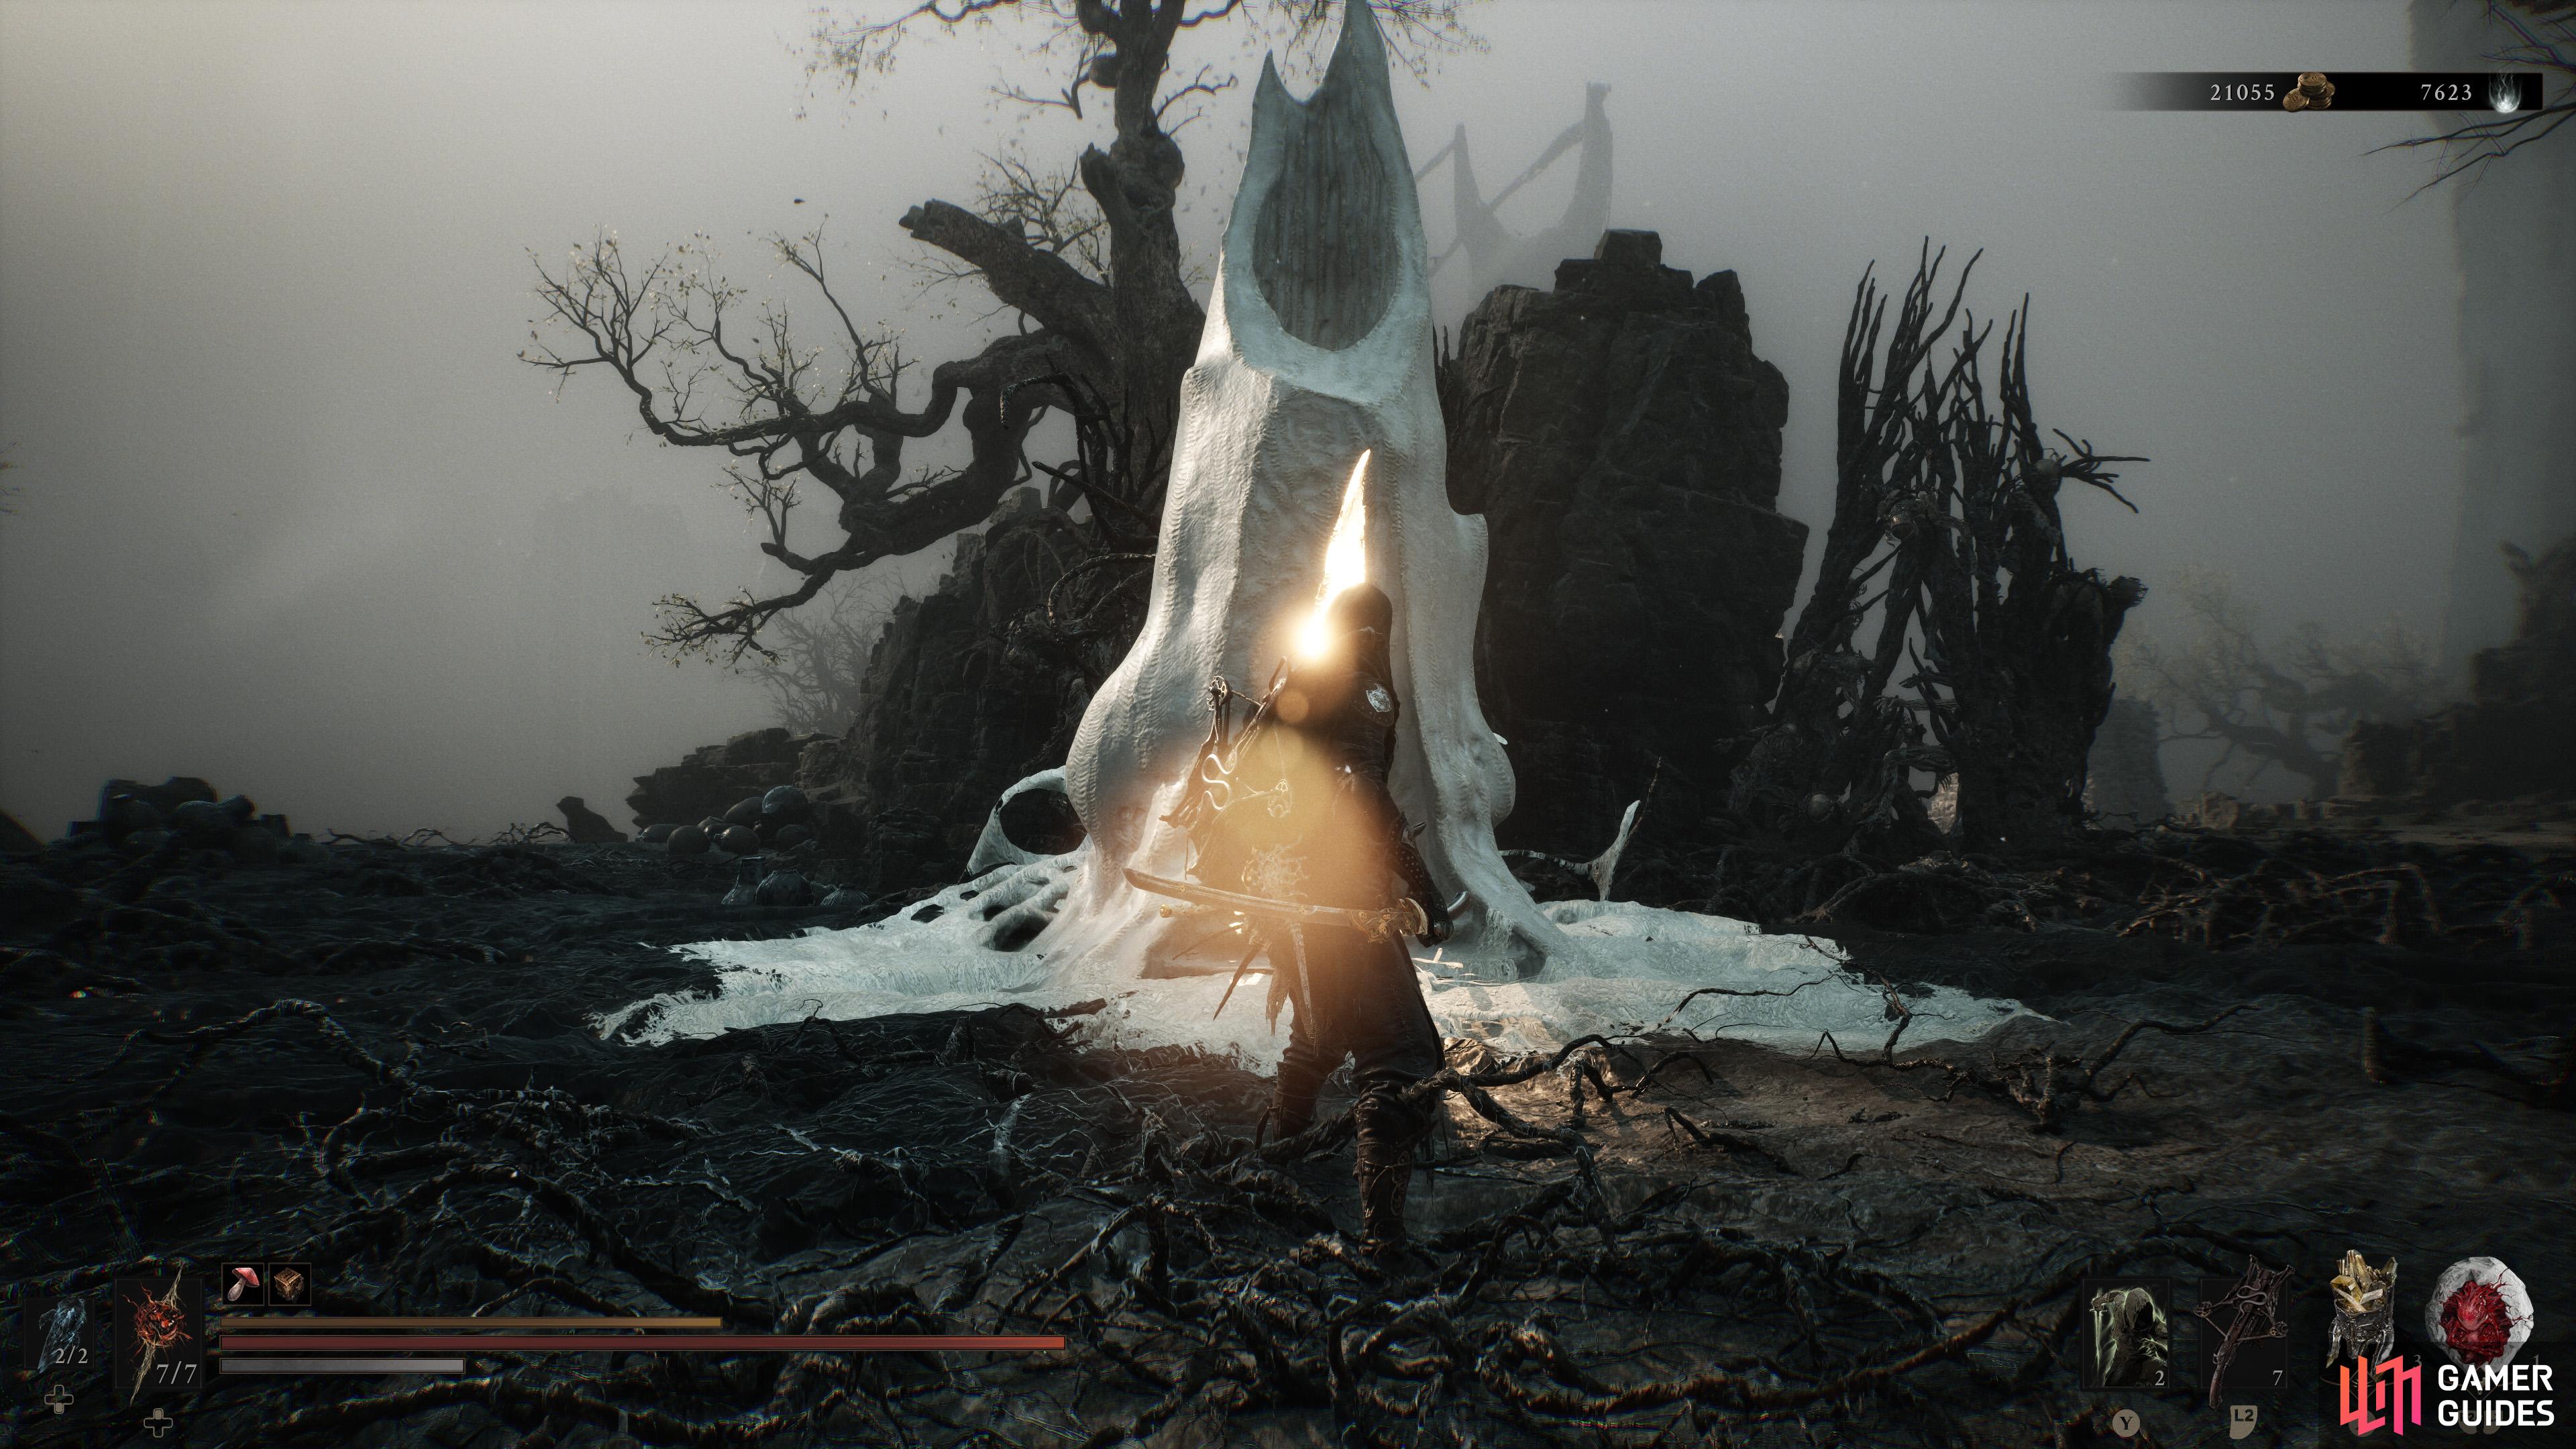
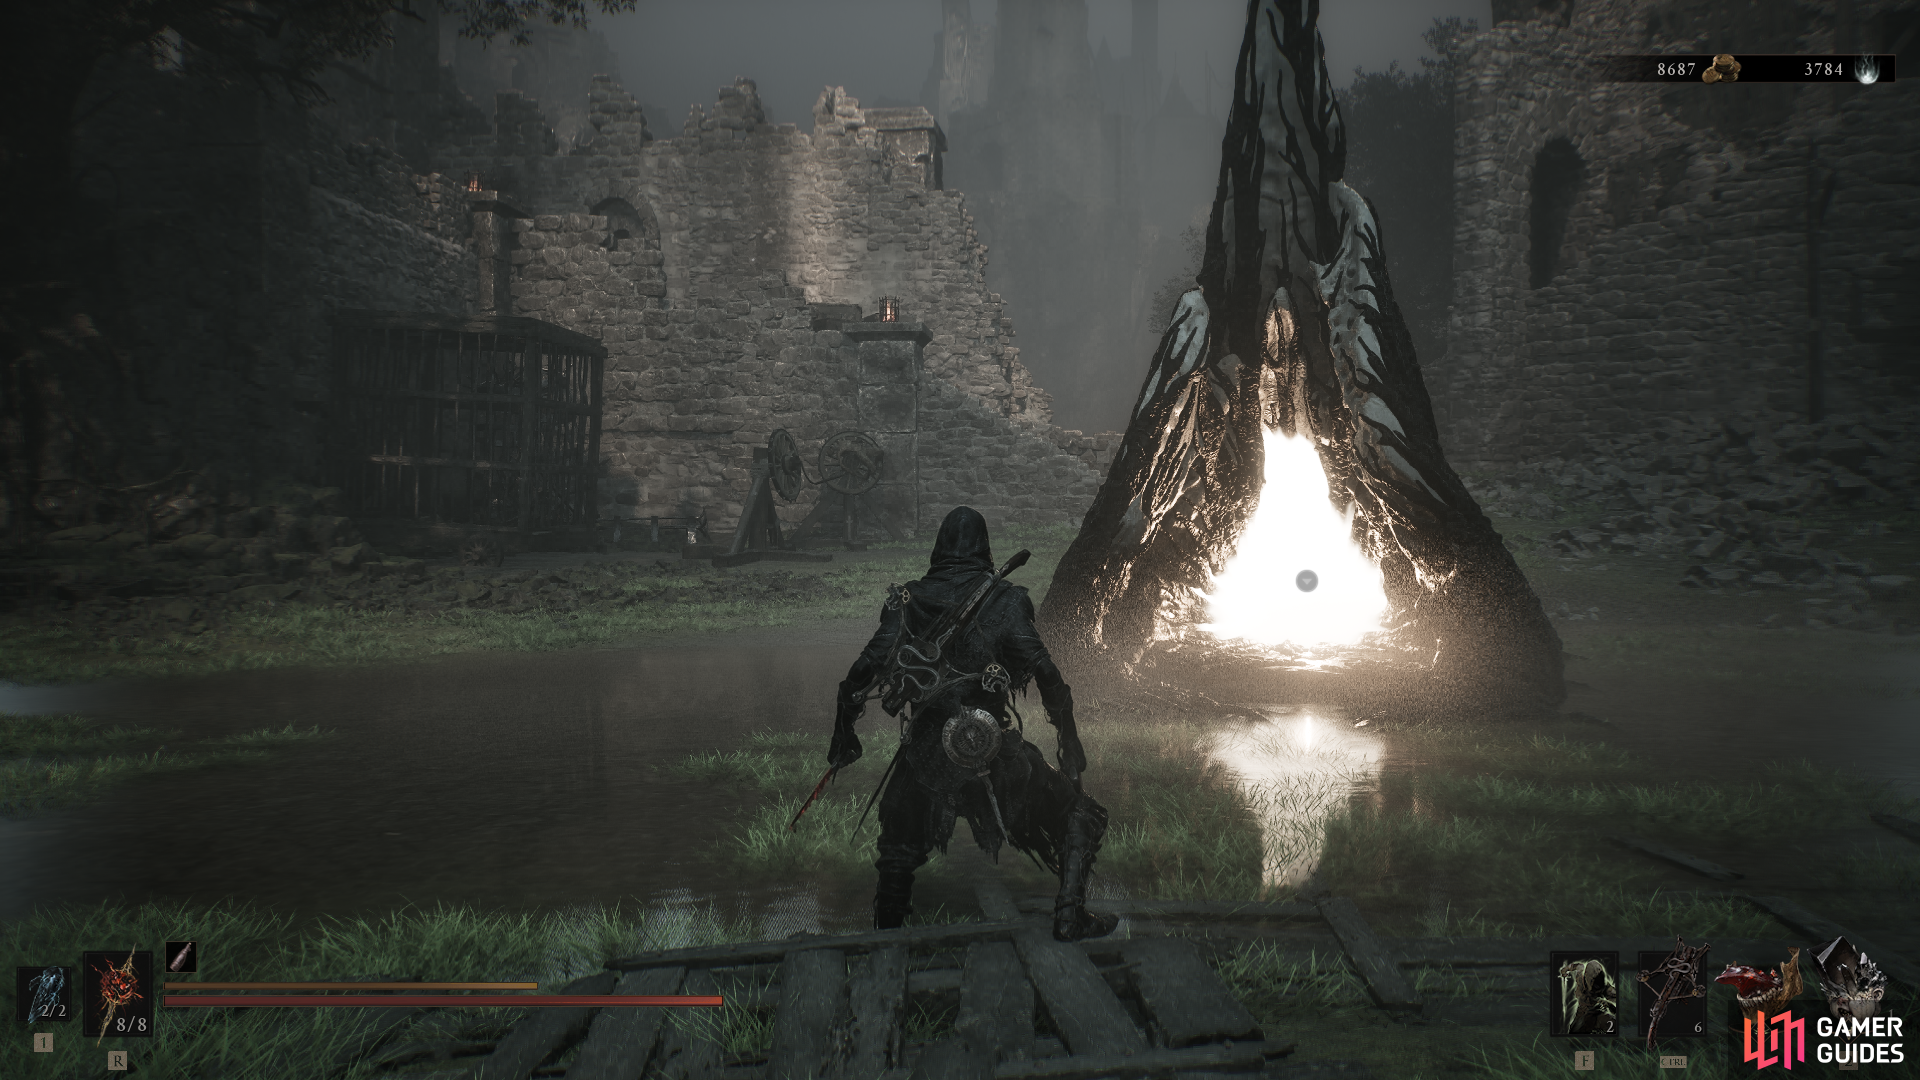
View on mapInteracting with this beacon will restore your health and revive all enemies in the area.
Rewards:
- Muradean Actuator (Key)
-
2
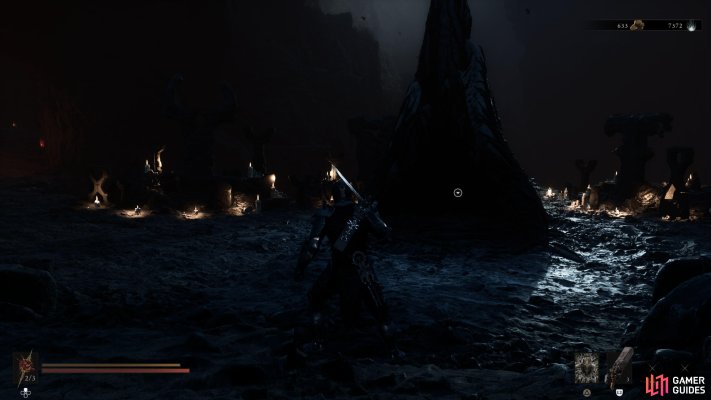
Disciples's Grotto (Prologue)
View on mapInteracting with this beacon will restore your health and revive all enemies in the area.
Rewards:
-
3
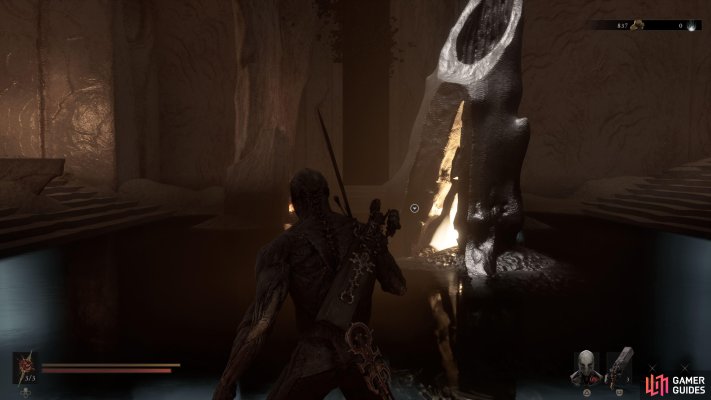
Marrow Keep
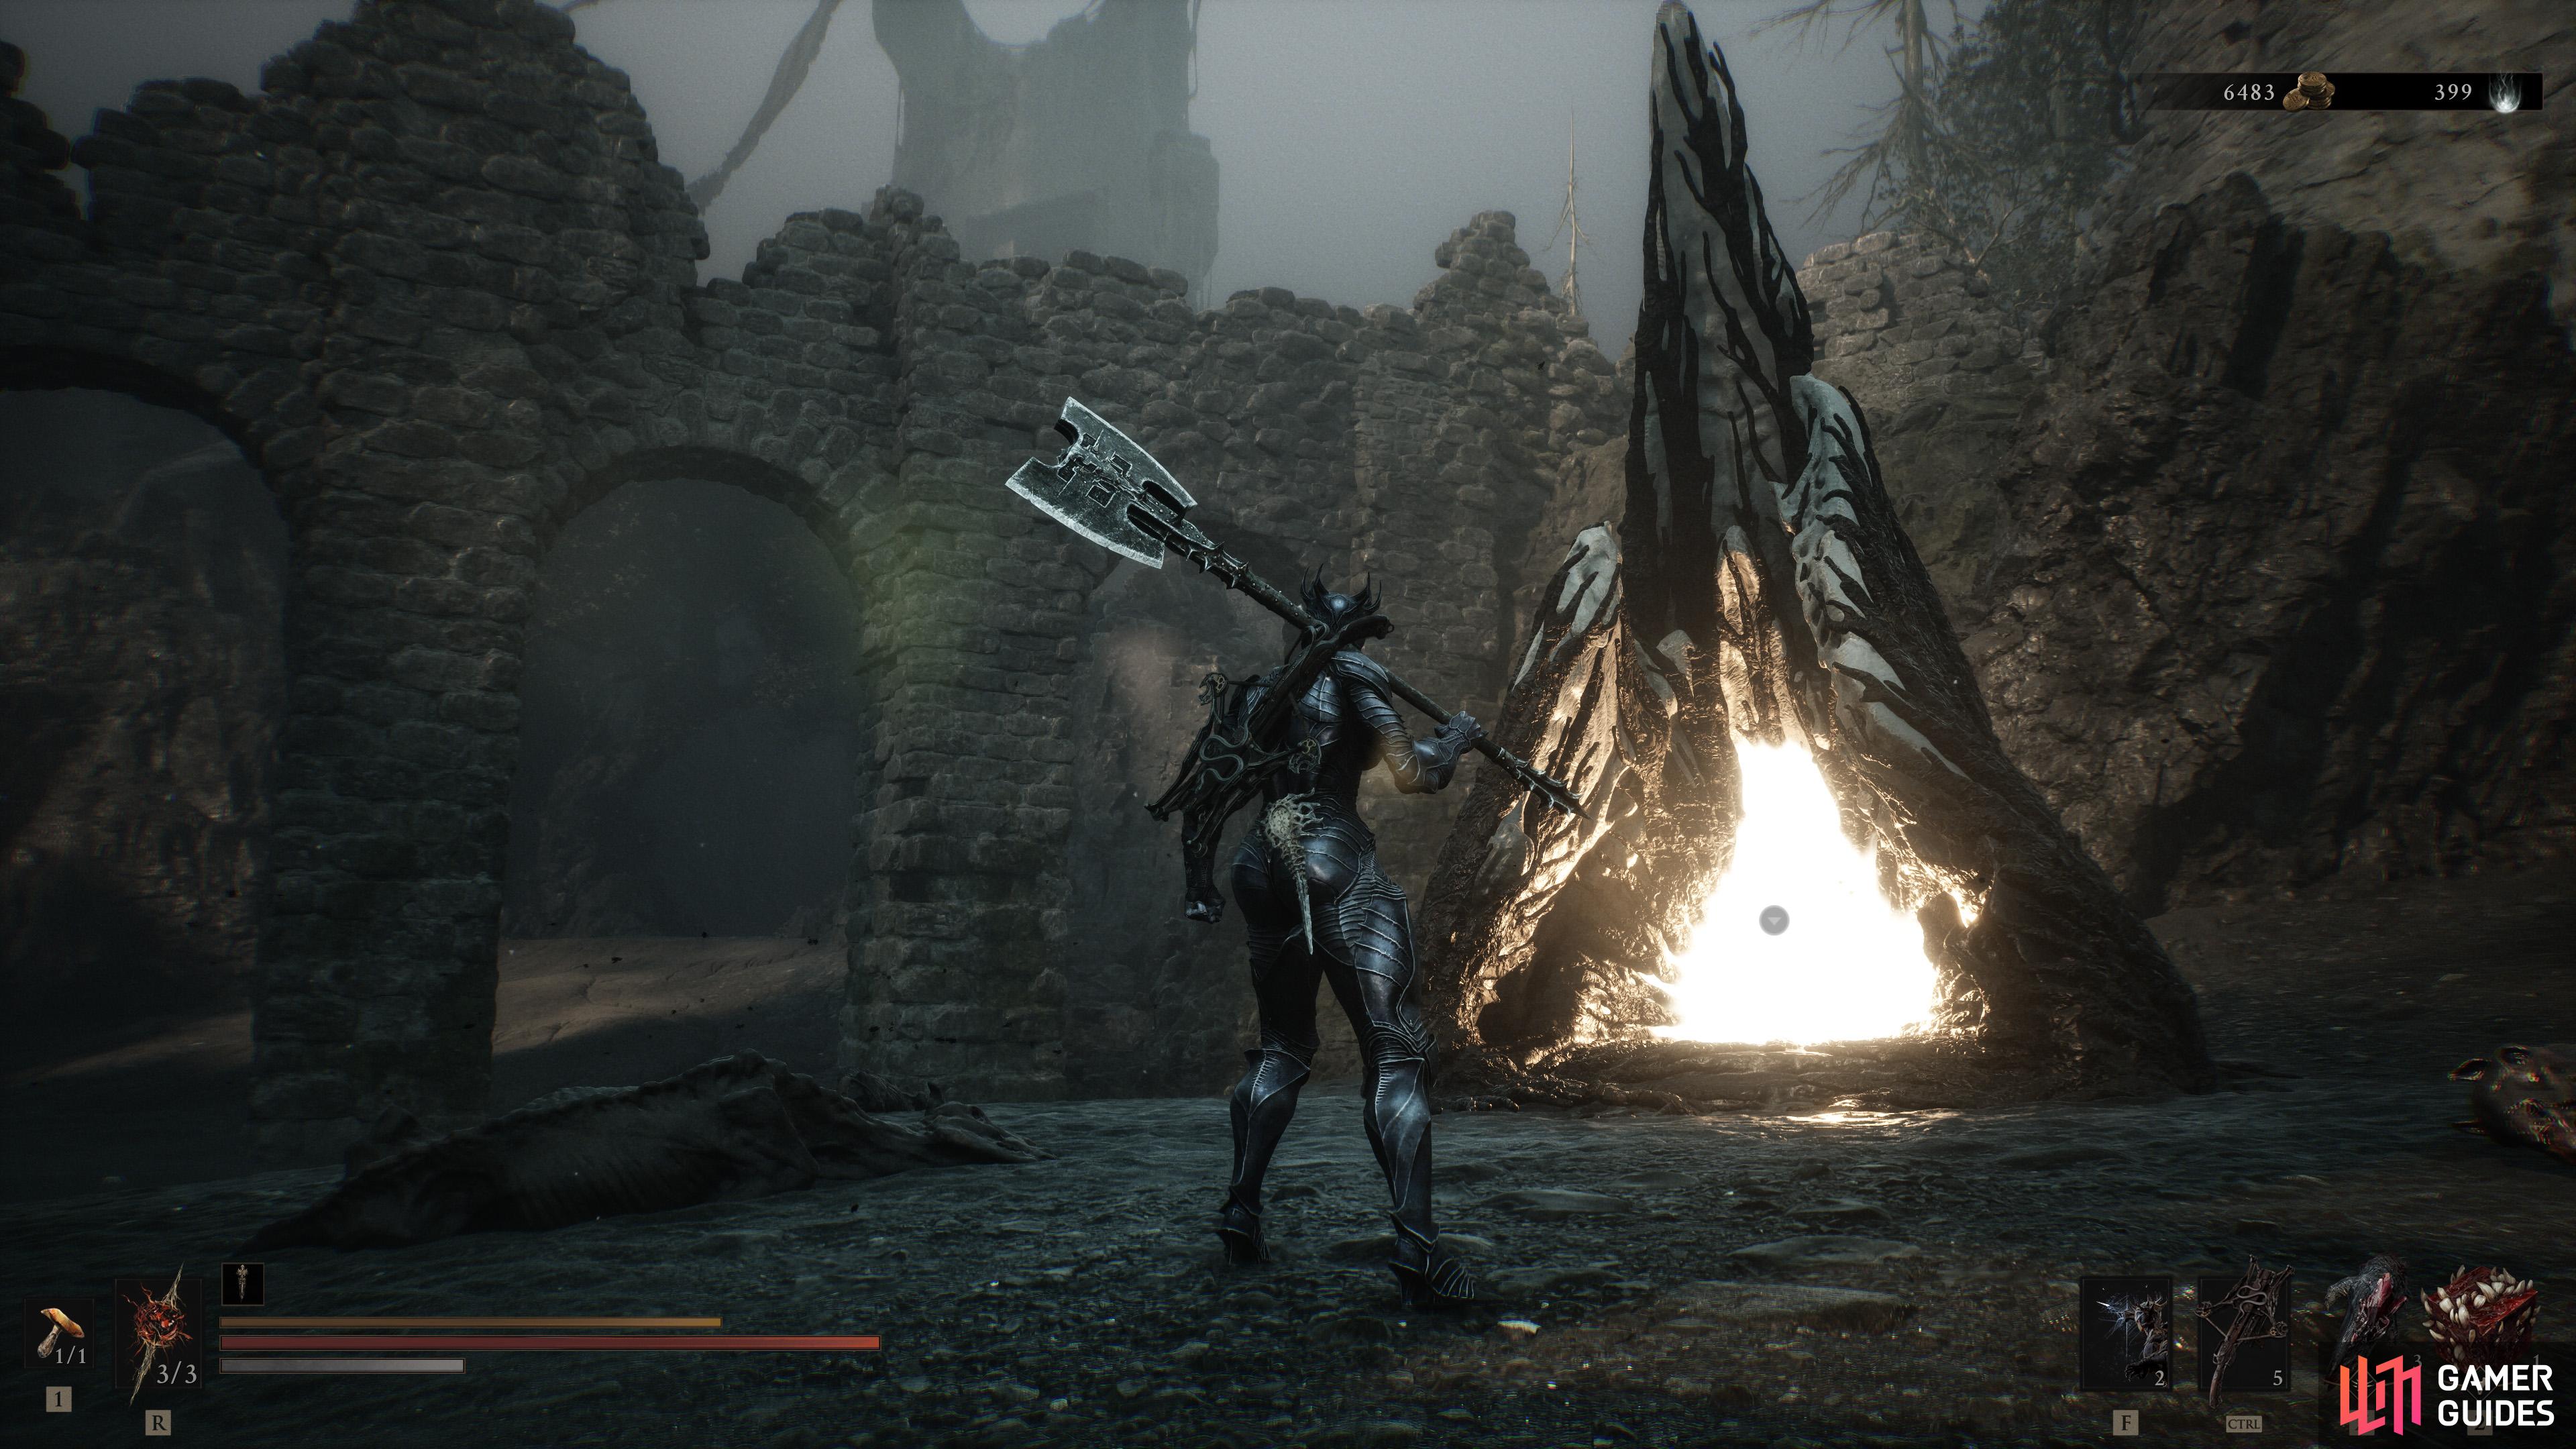
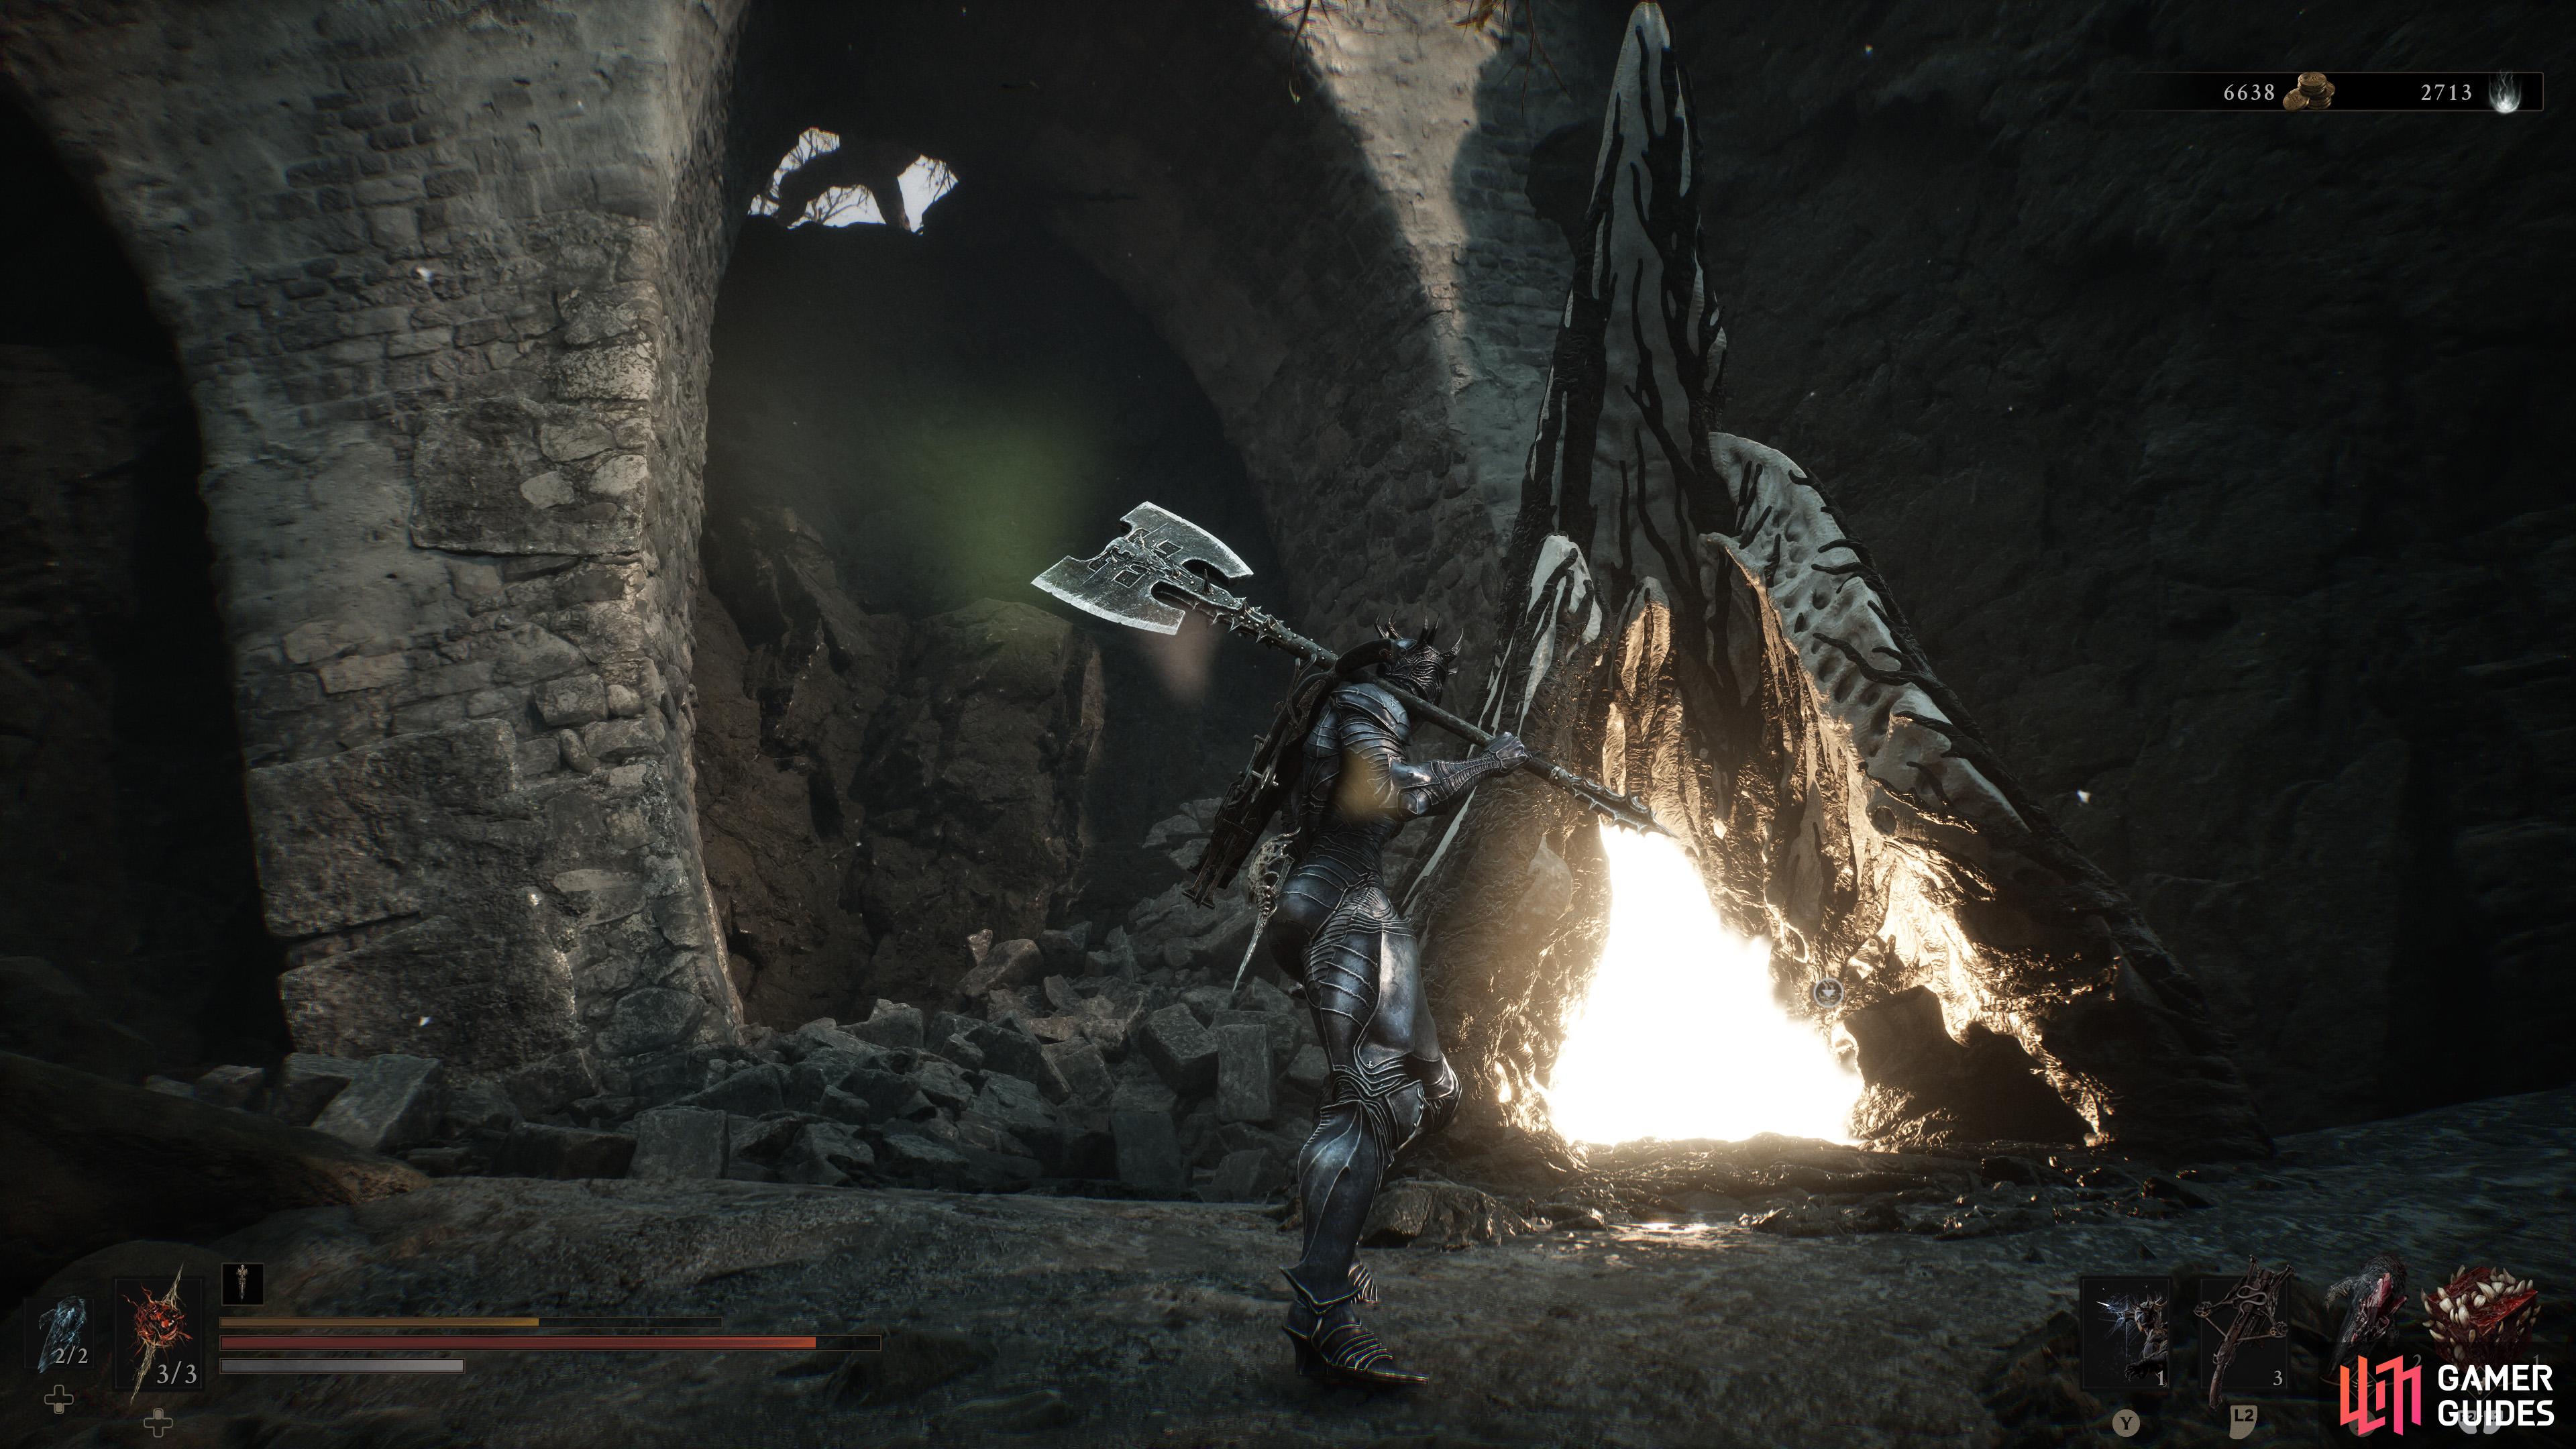
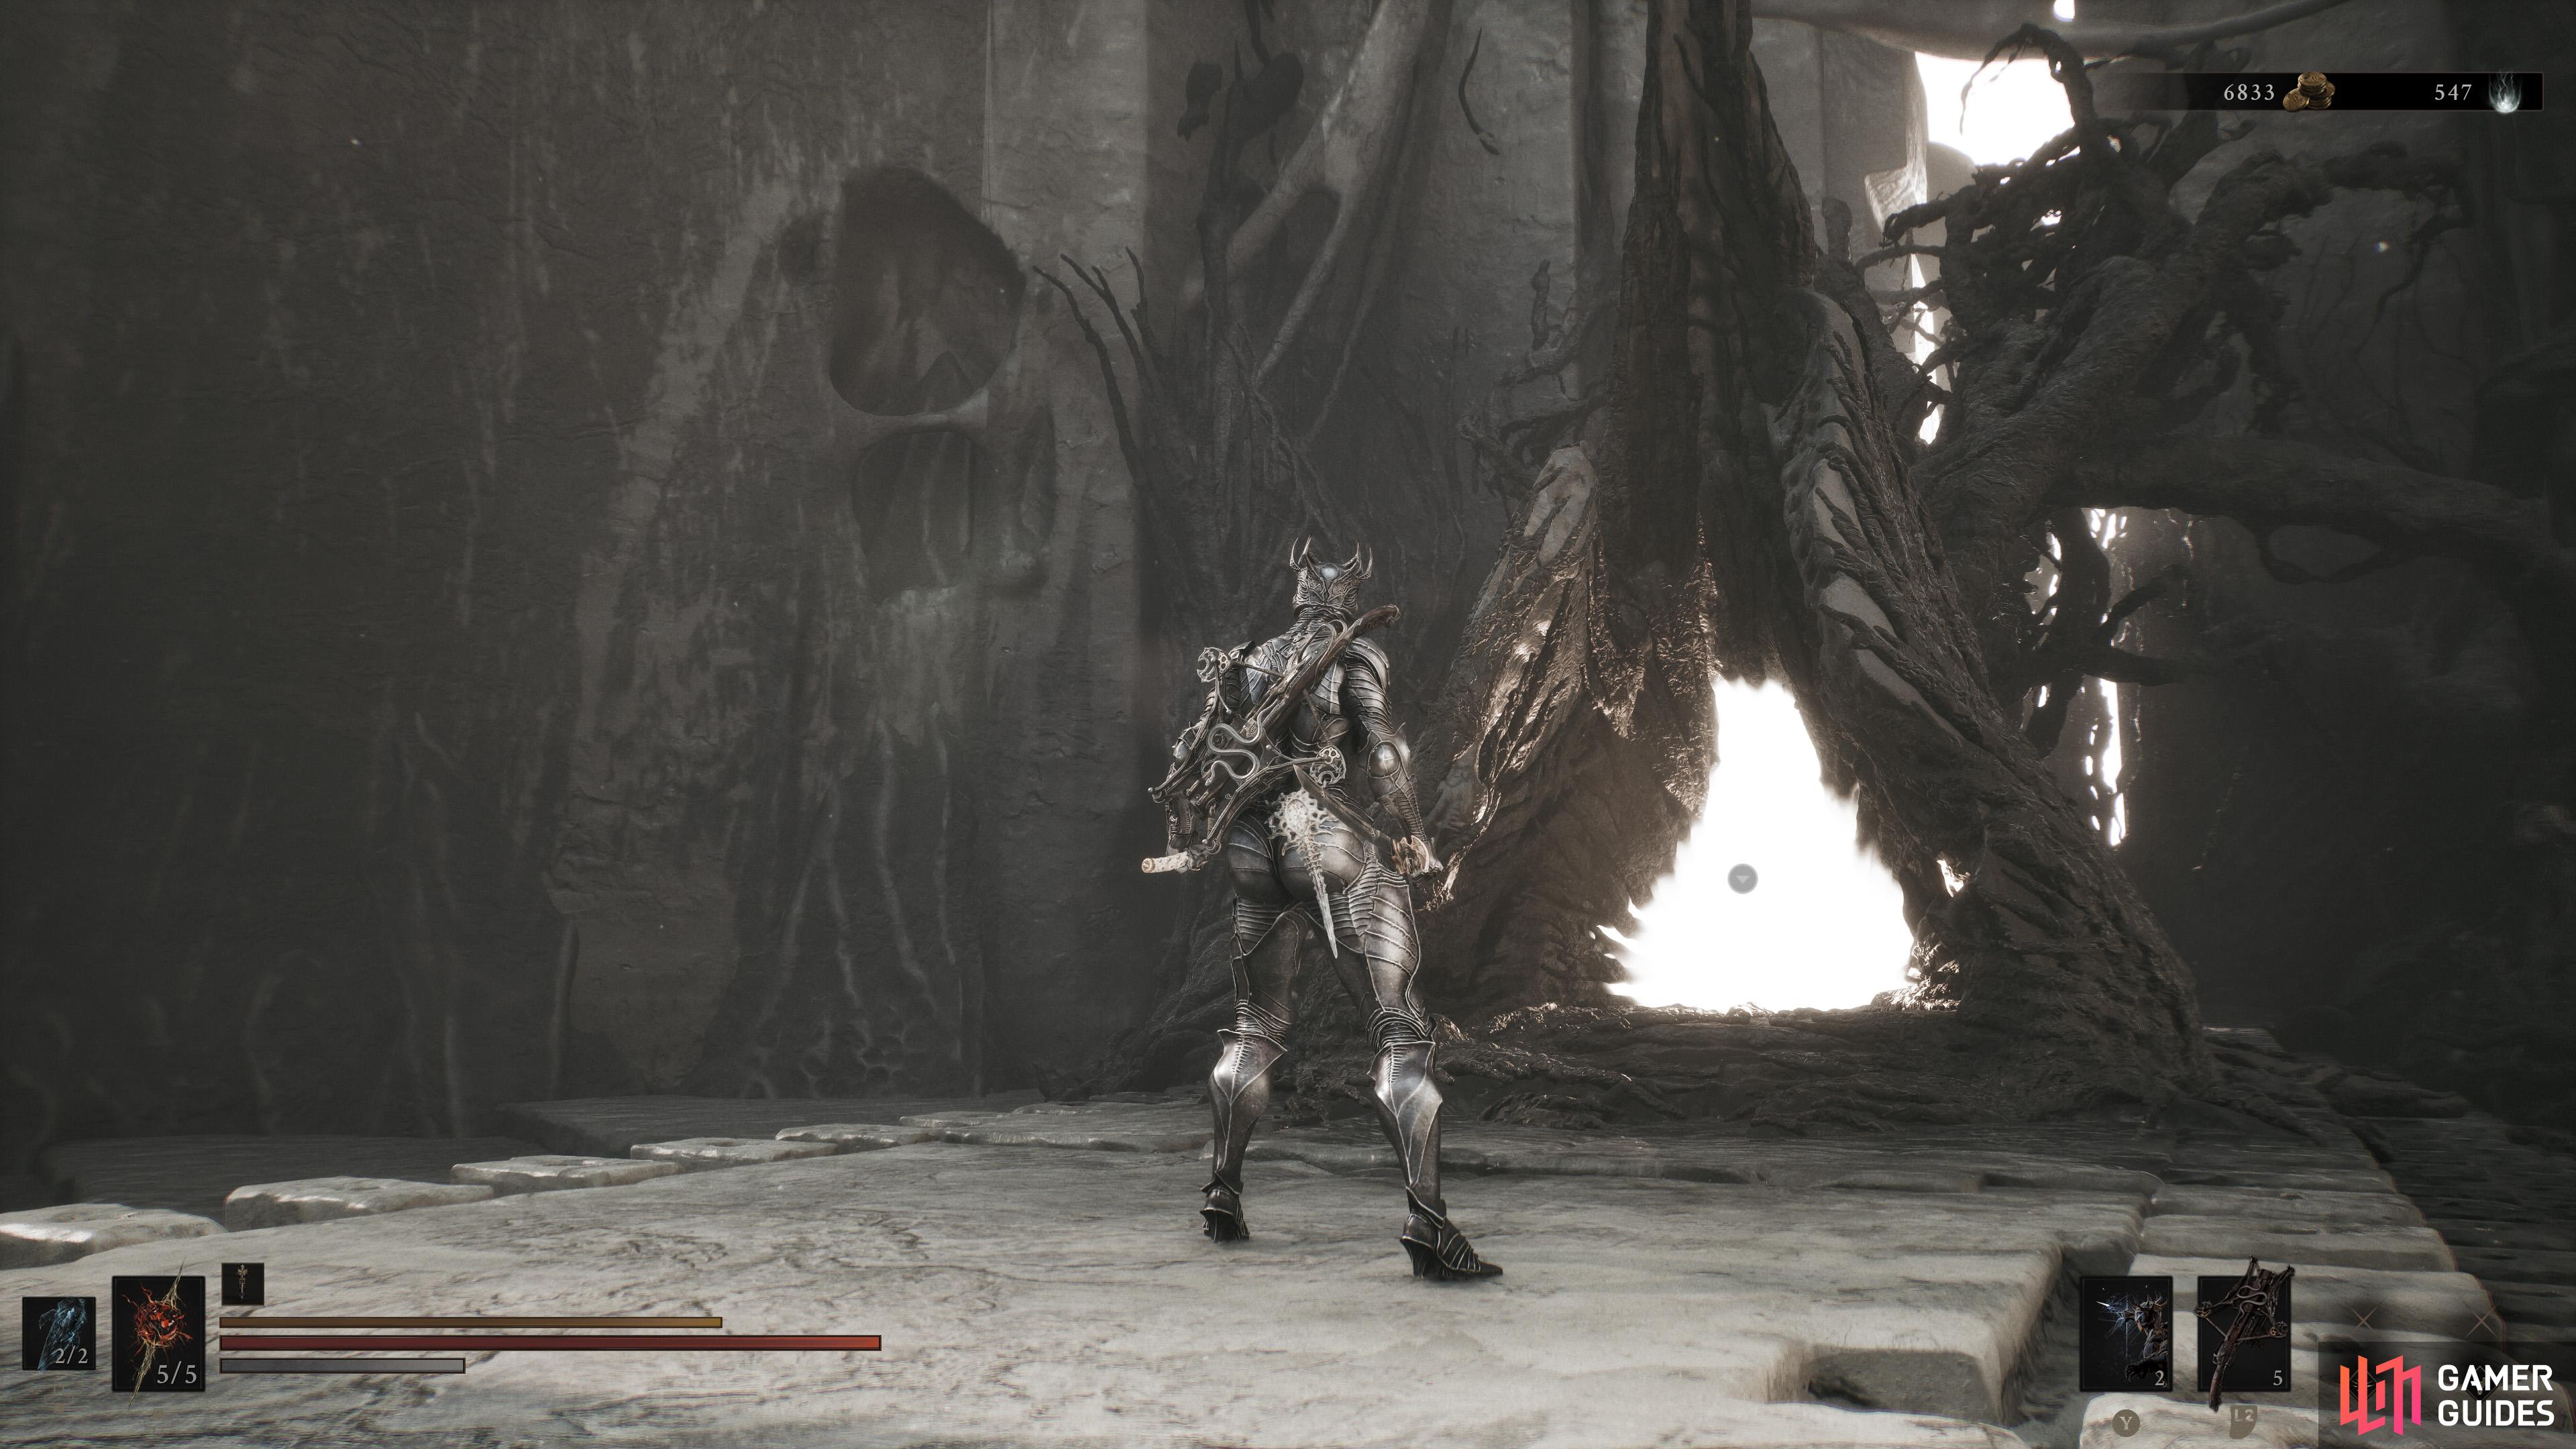
View on mapUse this Beacon to fully restore your Health and Resolve. Cleanse the Beacon to claim
-
4
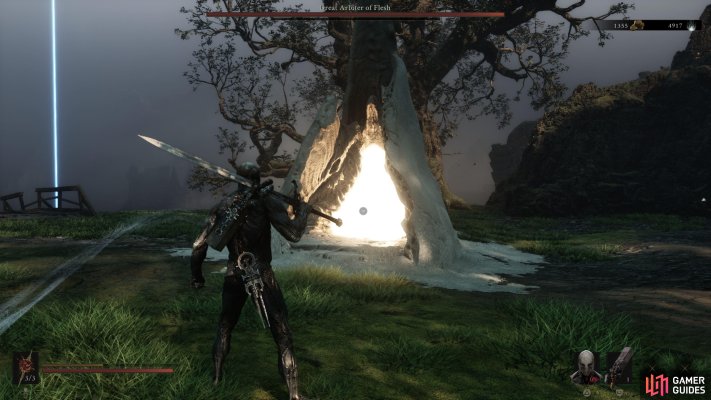
-
5
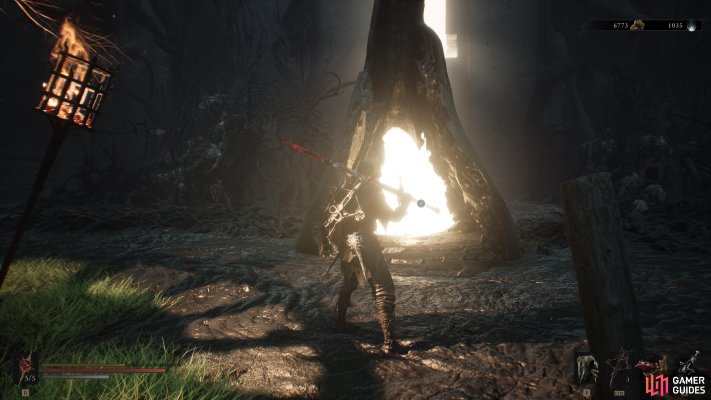
Mushroom Village Gate
View on mapUse this Beacon to fully restore your Health and Resolve. Cleanse the Beacon to claim Ovum.
-
6
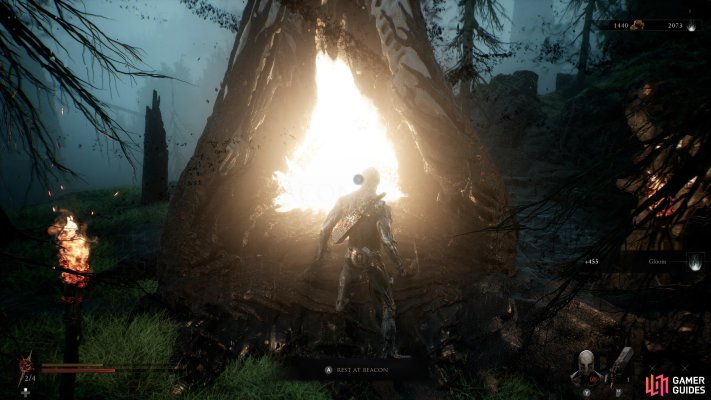
Seeping Mire
View on mapUse this Beacon to fully restore your Health and Resolve. Cleanse the Beacon to claim Ovum.
-
7
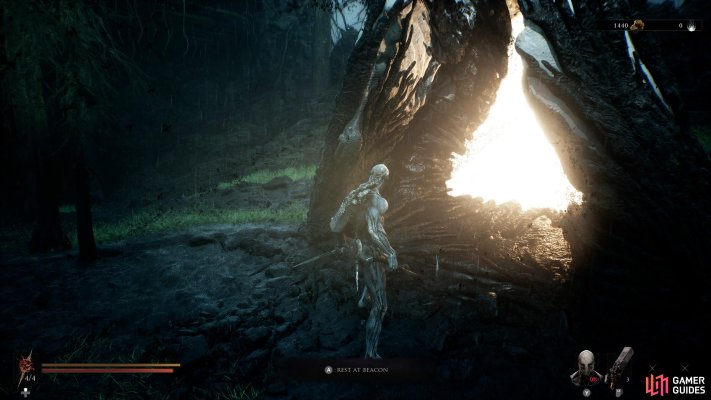
Sunken Village
View on mapUse this Beacon to fully restore your Health and Resolve. Cleanse the Beacon to claim Ovum.
-
8
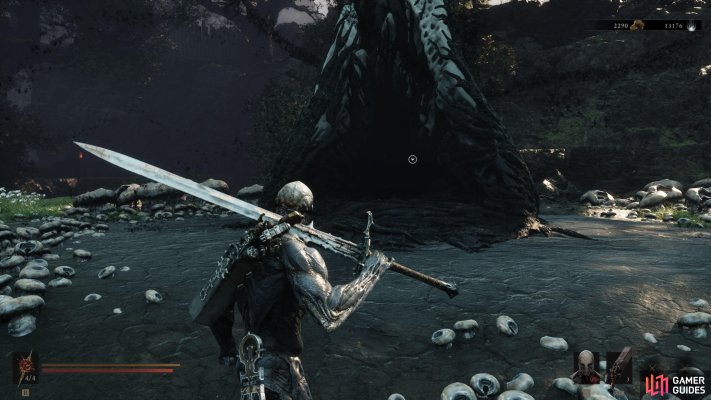
Mushroom Village
View on mapUse this Beacon to fully restore your Health and Resolve. Cleanse the Beacon to claim Ovum and Emberseed Stone.
-
9
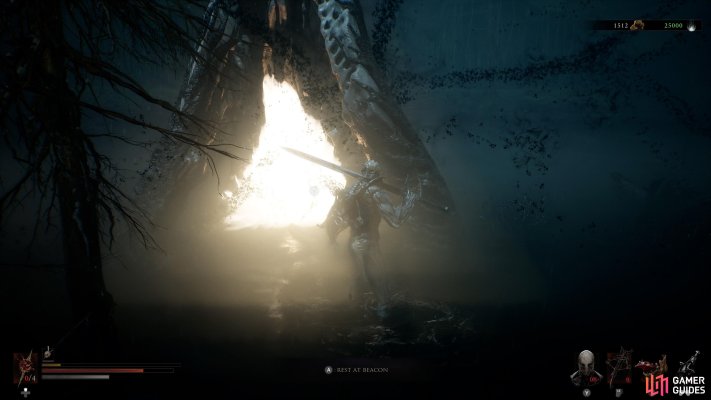
Magdalena's Glade
View on mapUnlocked after defeating Magdalena, the Lady of the Woods.
Use this Beacon to fully restore your Health and Resolve. Cleanse the Beacon to claim Ovum.
-
10
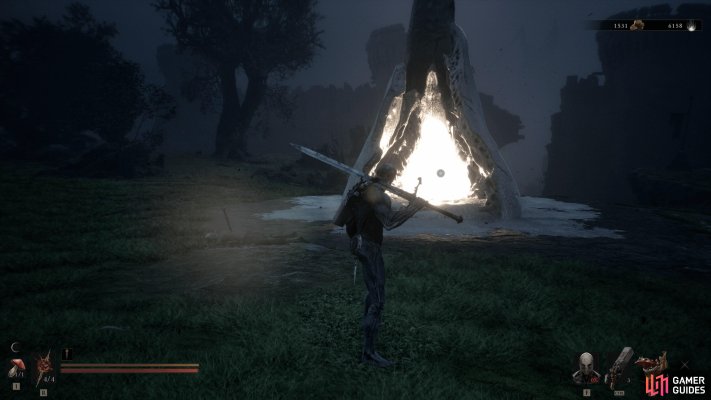
Outskirts of Mammon
View on mapYou can access this Beacon straight away from the keep if you selected “Night Mode”.
-
11
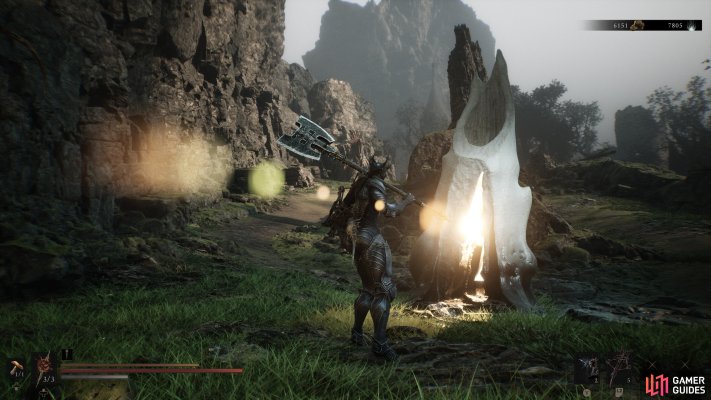
One Legged Wolf
View on mapUse this Beacon to fully restore your Health and Resolve. Cleanse the Beacon to claim Ovum.
-
12
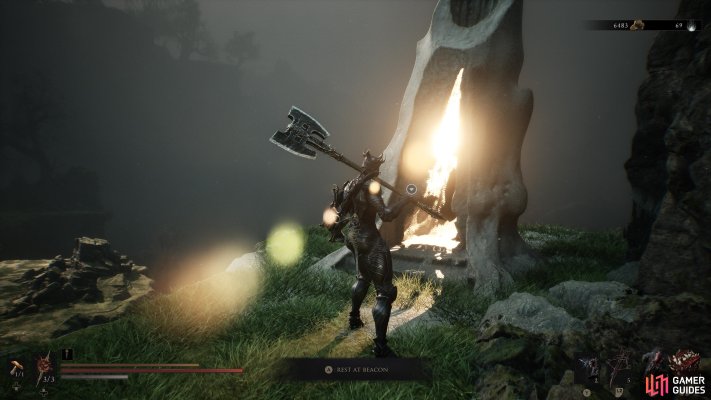
Gloomshade Grove
View on mapThis Beacon doesn’t appear on the map as it needs to be revitalized first. Use this Beacon to fully restore your Health and Resolve. Cleanse the Beacon to claim Ovum.
-
13
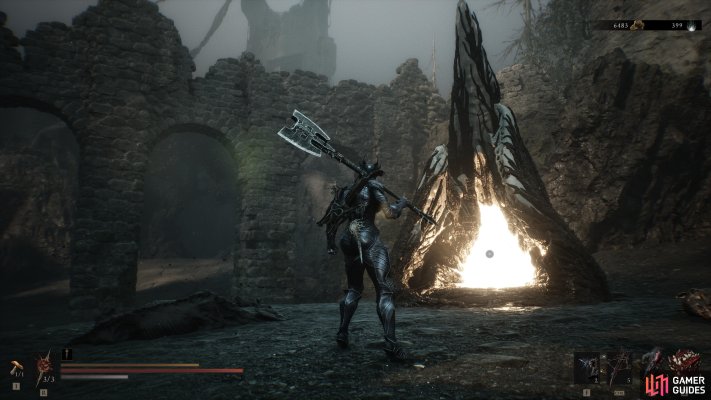
Outskirts of Nochte
View on mapThis Beacon doesn’t appear on the map as it needs to be revitalized first. Use this Beacon to fully restore your Health and Resolve. Cleanse the Beacon to enter the Infested Den Dungeon..
-
14
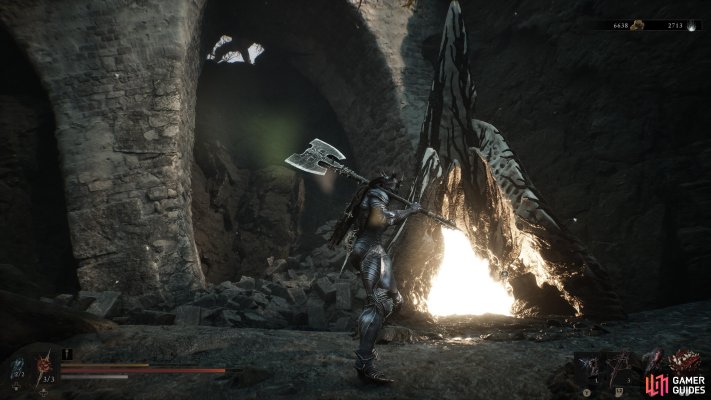
Abandoned Outpost
View on mapThis Beacon doesn’t appear on the map as it needs to be revitalized first. Use this Beacon to fully restore your Health and Resolve. Cleanse the Beacon to claim Ovum.
-
15
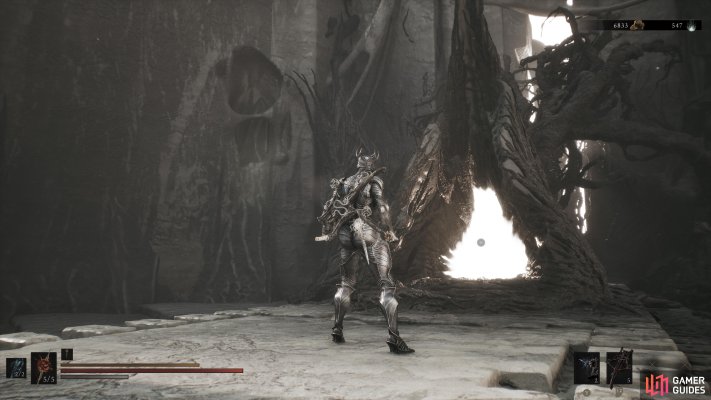
Forbidden Archives
View on mapThis Beacon doesn’t appear on the map as it needs to be revitalized first. Use this Beacon to fully restore your Health and Resolve. Cleanse the Beacon to claim Ovum.
-
16
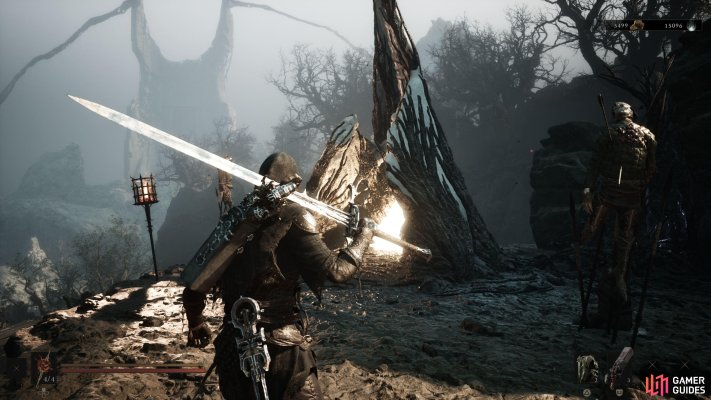
Blackridge Pass
View on mapUse this Beacon to fully restore your Health and Resolve. Cleanse the Beacon to claim Ovum and .
-
17
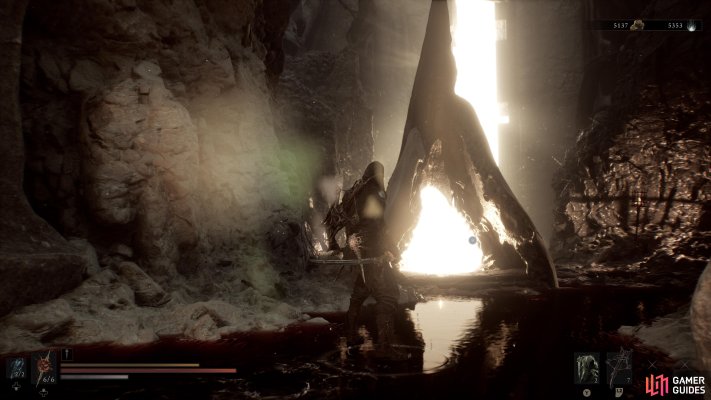
Stonebled Gate
View on mapThis Beacon doesn’t appear on the map as it needs to be revitalized first.
Use this Beacon to fully restore your Health and Resolve. Cleanse the Beacon to claim Ovum and gain access to the Sanguide Caverns Gate.
-
18
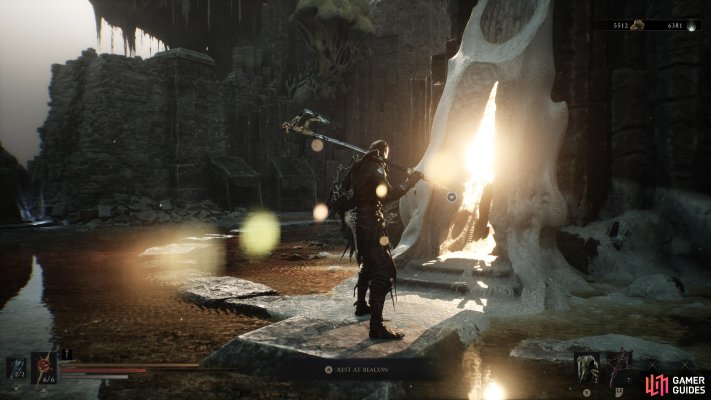
High Lord's Courtyard
View on mapThis Beacon doesn’t appear on the map as it needs to be revitalized first. Use this Beacon to fully restore your Health and Resolve. Cleanse the Beacon to claim Ovum.
-
19
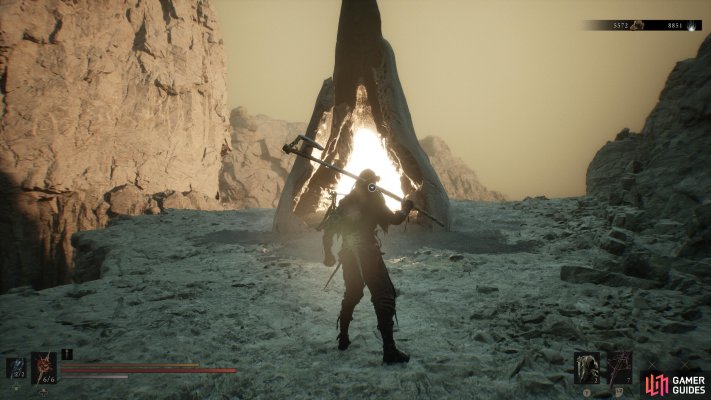
Pulsing Caves
View on mapRevitalize this Beacon to fully restore your Health and Resolve. Cleanse the Beacon to claim Ovum.
-
20
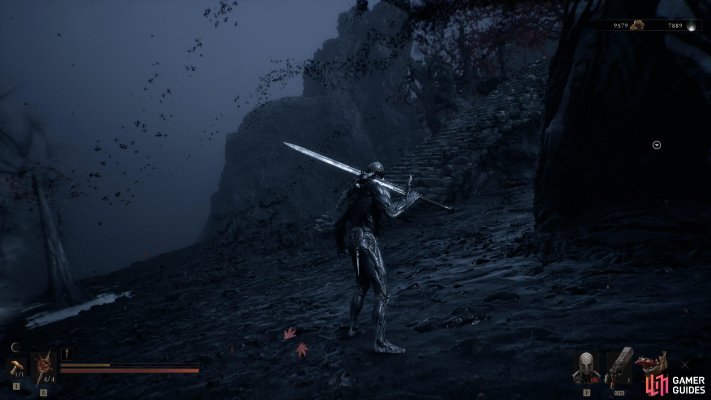
Abbey Entrance
View on mapLocated next to the traversal gate, south of the Abbey. Cleanse the Beacon to enter the Kingdom of Fool Dungeon.
Kingdom of Fools Walkthrough
Enter the Beacon and open the first chest in the first room for 1000 Coins and then continue on down the elevator to enter the “Kingdom of Fools”.
At the bottom, head forward and attack the “door” to break it, allowing you into the village. Defeat the passive enemies if you want and head past the well in the center toward the gap at the back, where you’ll find more aggressive enemies.
Open the chest against the wall where the gap is for some more coins and then turn left to find a skeleton containing a Ventrium.
Follow the path to the end to find the Strange Village Key hanging on the chain at the back. When obtaining the key, be careful of the coffin monster underneath it.
Head back to the village area, where the well is, and turn left to find a wooden gate. Use the Strange Village Key on the gate and drop down the hole at the entrance.
As you reach the bottom of the hole, you’ll have a boss encounter with Bor, the Deluded Monarch. Defeating the boss will reward you with the Monarch’s Visage Tarstone, a Glimpse, and some Gloom.
Once the boss is defeated, cleanse the Ovum at the edge of the boss arena to cleanse the Beacon.
-
21
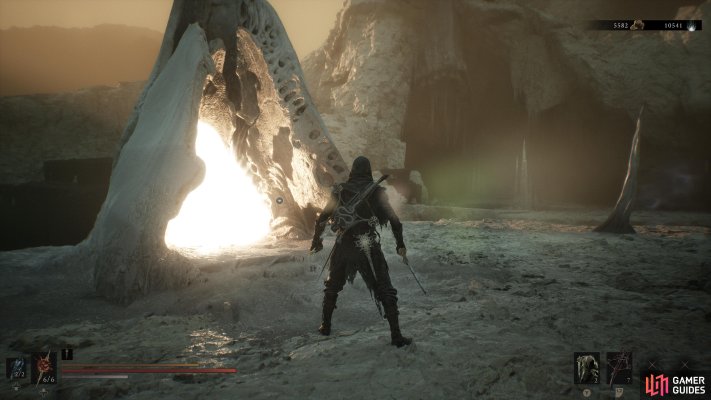
Sanguine Shoreline
View on mapRevitalize this Beacon to fully restore your Health and Resolve. Cleanse the Beacon to claim Ovum.
-
22
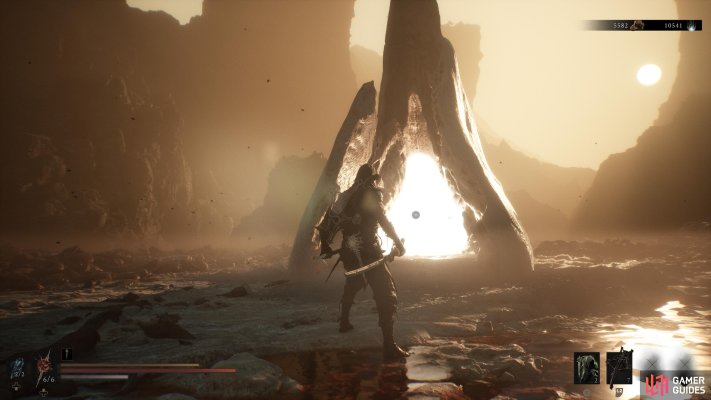
Child's Feeding Grounds
View on mapRevitalize this Beacon to fully restore your Health and Resolve. Cleanse the Beacon to claim Ovum.
-
23
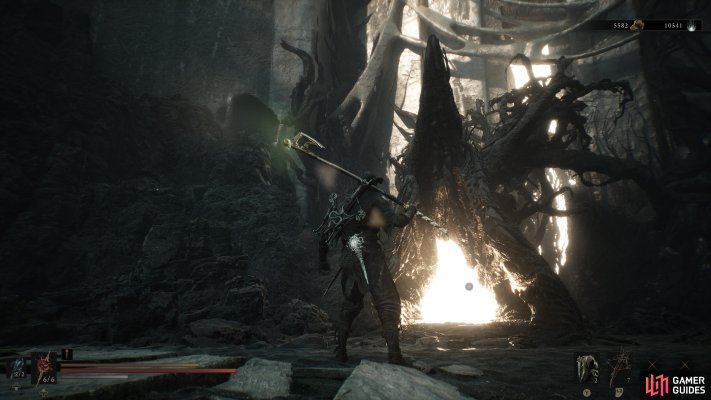
Nochtean Gate
View on mapThis Beacon doesn’t appear on the map as it needs to be revitalized first.
Use this Beacon to fully restore your Health and Resolve. Cleanse the Beacon to claim Ovum and gain access to the Corrupted Gate.
-
24
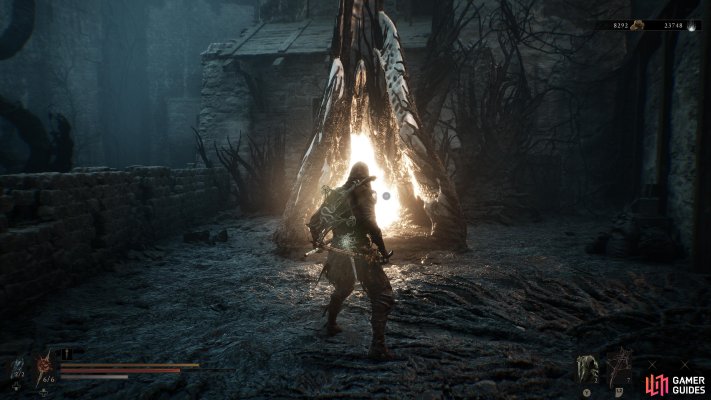
Hangman's Scaffold
View on mapRevitalize this Beacon to fully restore your Health and Resolve. Cleanse the Beacon to claim Ovum.
-
25
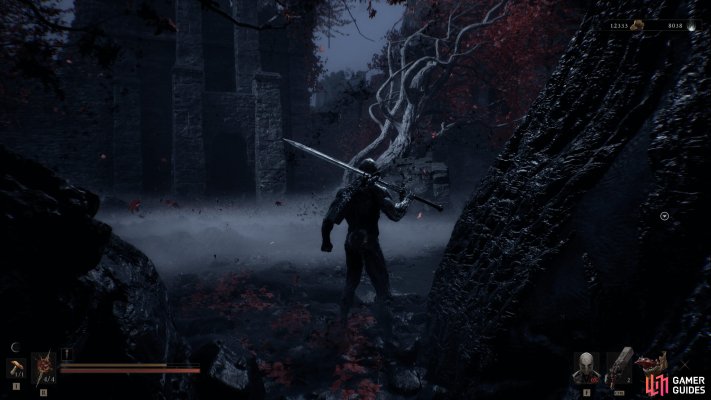
Sester's Gate
View on mapLocated in the south, near the large gate. Select “Cleanse Beacon” to enter the Sester’s Bastion Dungeon (Beacon Dungeon).
-
26
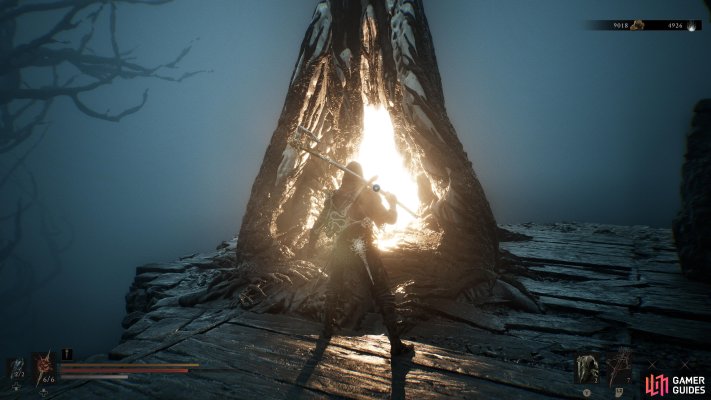
Executioner's Pulpit
View on mapRevitalize this Beacon to fully restore your Health and Resolve. Cleanse the Beacon to claim Ovum.
-
27
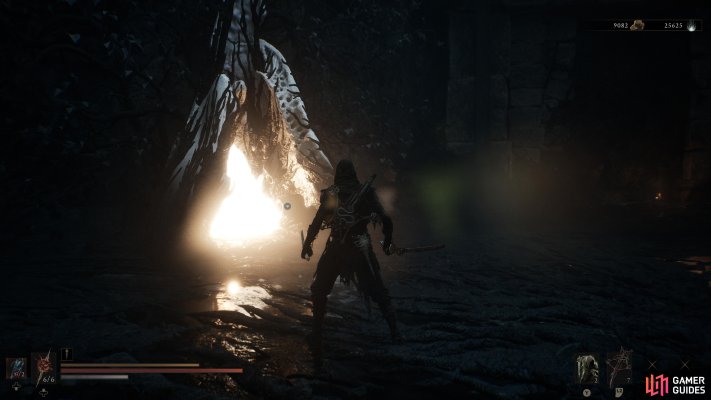
Captive's End
View on mapRevitalize this Beacon to fully restore your Health and Resolve. Cleanse the Beacon to claim Ovum.
-
28
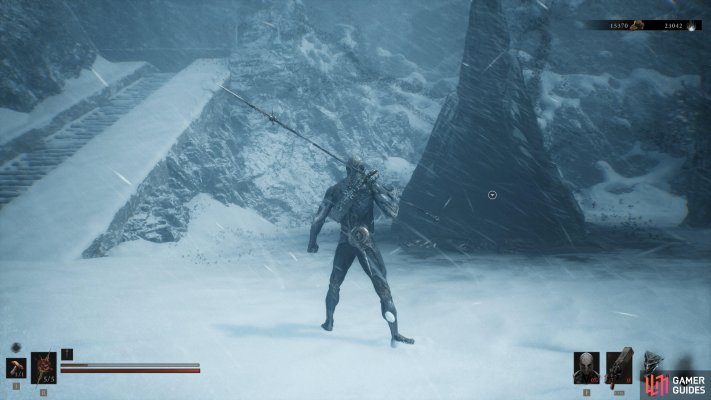
Winterglass Lake
View on mapLocated at the bottom of the large set of stairs after exiting the room with the altar in it.
-
29
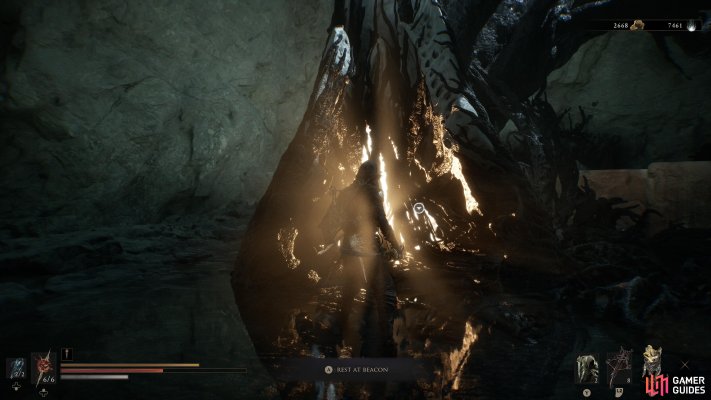
Citadel Annex
View on mapAfter claiming the Laterite, walk up the set of stairs and make your way around the stone platform until you find an opening with the Citadel Annex Beacon featured inside.
-
30
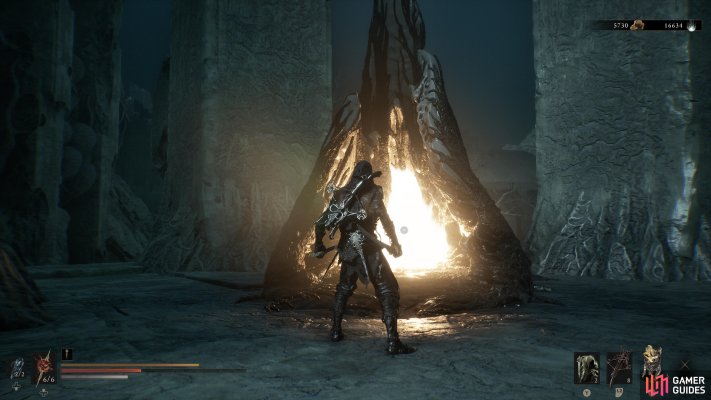
Citadel Atrium
View on mapAfter looting the Chest near the tree, head down the stairs to the left and continue down the path to find the Citadel Atrium Beacon.
Revitalize this Beacon to fully restore your Health and Resolve. Cleanse the Beacon to claim Ovum.
-
31
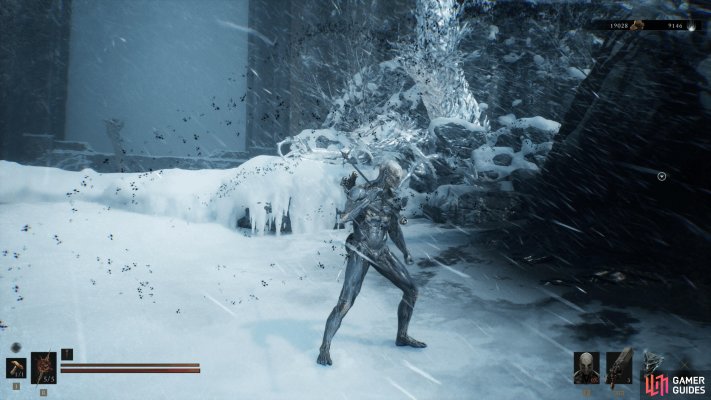
Ovate's Chamber
View on mapLocated at the top of the elevator, to the left. Cleanse the Beacon to enter the Pilfered Crypt Dungeon.
-
32
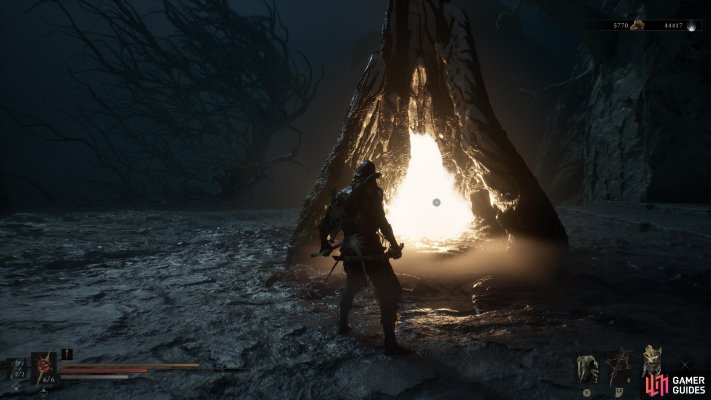
Scholar-Prince's Chamber
View on mapRevitalize this Beacon to fully restore your Health and Resolve. Cleanse the Beacon to claim Ovum.
-
33
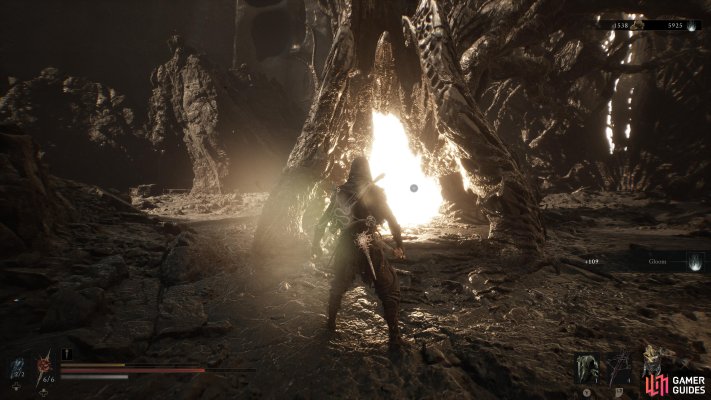
Gate of Mammon
View on mapThis Beacon doesn’t appear on the map as it needs to be revitalized first.
Use this Beacon to fully restore your Health and Resolve. Cleanse the Beacon to claim Ovum and gain access to the Mammon Gate.
-
34
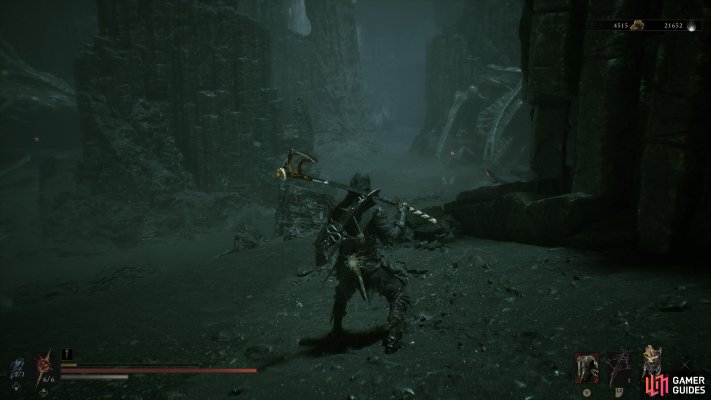
Ossinite Falls
View on mapYou can see the corrupted Beacon after exiting the winding path. Walk towards it and revitalize this Beacon to fully restore your Health and Resolve. Cleanse the Beacon to claim Ovum.
-
35
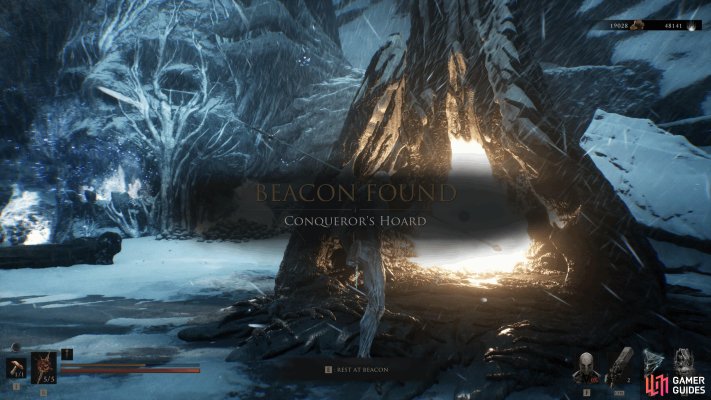
-
36
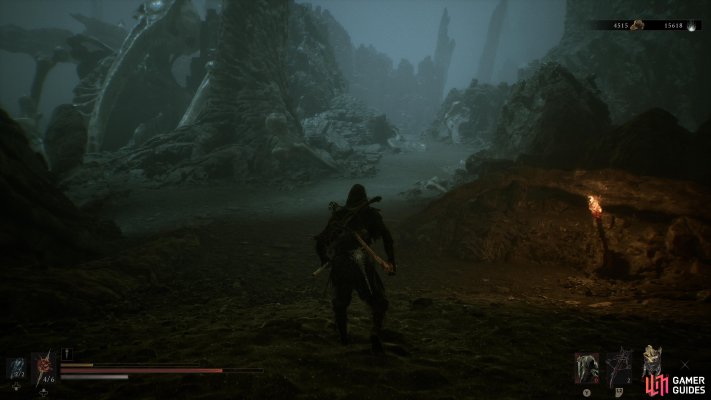
Nameless Pass
View on mapFrom the swamp area, continue forward and head down the path until you can make a right turn. At this spot, you can see a candle in the distance - follow that candle and take a left to find the Nameless Pass Beacon.
Revitalize this Beacon to fully restore your Health and Resolve. Cleanse the Beacon to claim Ovum.
-
37
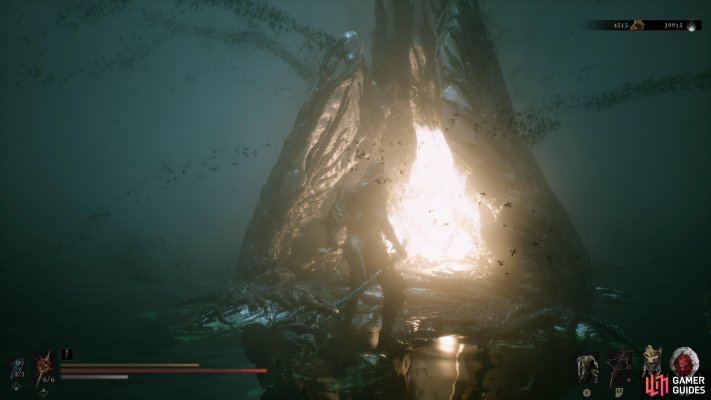
Hexapod's Burrow
View on mapThis Beacon only appears after defeating Hexapod. Due to the size of the arena, you may not find this Beacon after defeating the boss as it’s easy to get lost. In this instance, go back to the main menu and load your save, then go back into the arena to see the Beacon as you spawn in.
Revitalize this Beacon to fully restore your Health and Resolve. Cleanse the Beacon to claim Ovum.
-
38
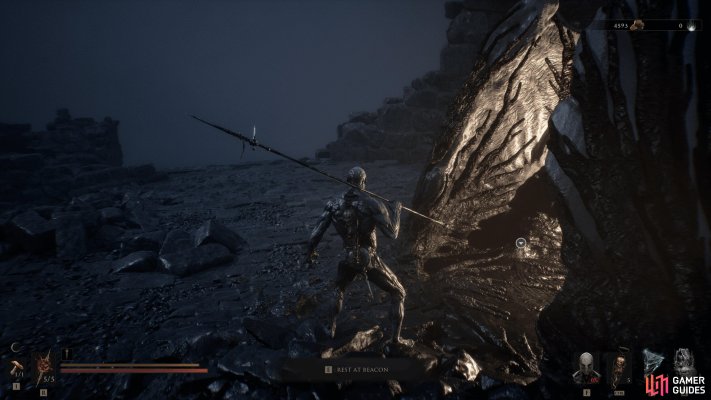
Castigator's Keep
View on mapLocated north of the front gate (you’ll need to make your way around it), next to the tower. Cleanse the Beacon to enter the Viletongue’s Domain Dungeon.
-
39
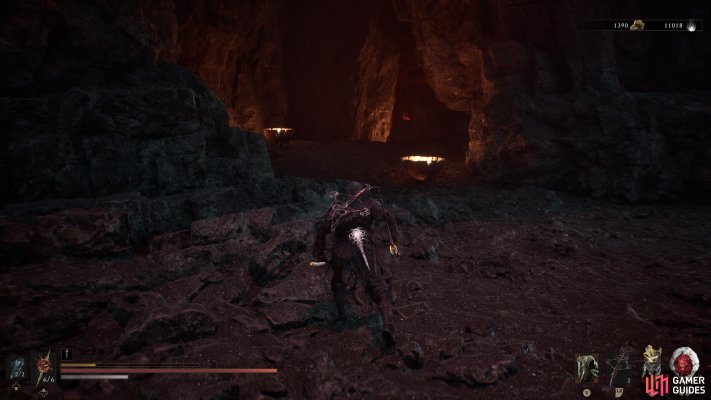
Chamber of the Forsaken
View on mapFrom the Traversal Gate, head down the pathway on the left, then enter the first cave on the right side. The Chamber of the Forsaken Beacon is found at the end of the room.
Unlike most Beacons in the game, this Beacon is automatically cleansed when you enter it and doesn’t reward you with any Ovum.
-
40
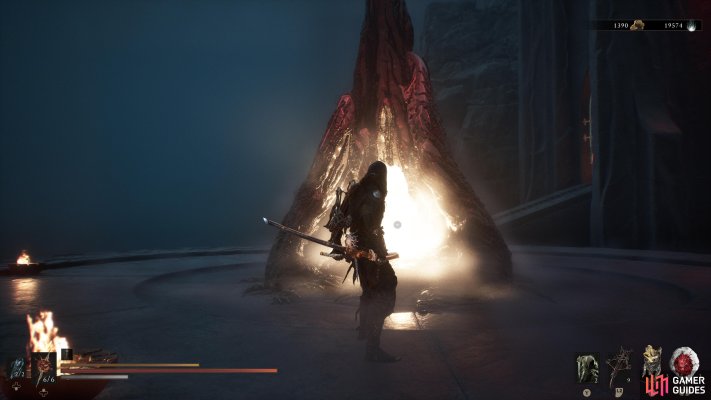
Receiving Hall
View on mapAfter taking the Traversal Gate close to the Chamber of the Forsaken Beacon, the Receiving Hall Beacon is very close to the spawn point.
Revitalize this Beacon to fully restore your Health and Resolve. Cleanse the Beacon to claim Glimpse.
-
41
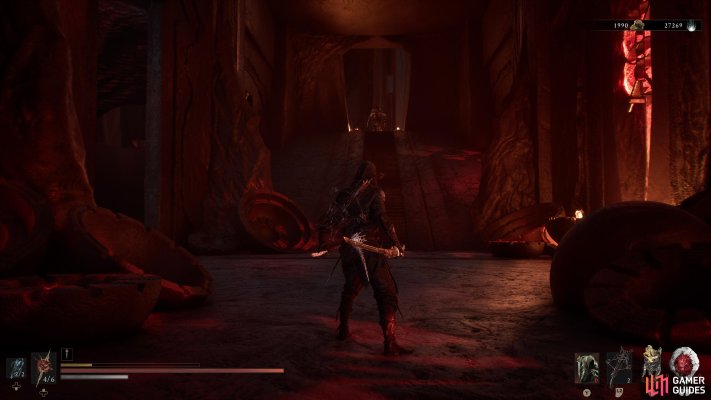
Faithful's Shelter
View on mapFrom the Laterite and Trade Item in the previous area, make your way up the stairs and continue forward to find the Corrupted Beacon.
Revitalize this Beacon to fully restore your Health and Resolve. Cleanse the Beacon to claim Glimpse.
-
42
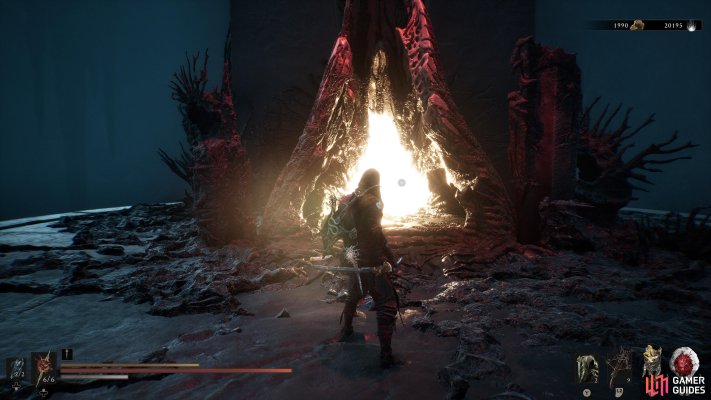
Bridge of Procession
View on mapContinue up the main path to find the Bridge of Procession Beacon.
Revitalize this Beacon to fully restore your Health and Resolve. Cleanse the Beacon to claim Glimpse.
-
43
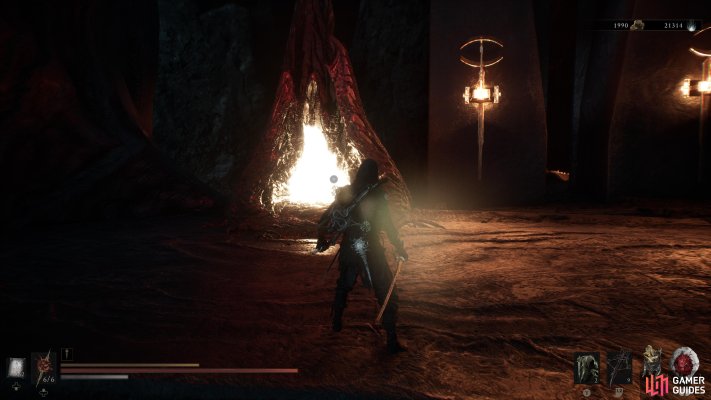
Empty Cradle
View on mapWhen you defeat Orrem, the Discarded Golem, the arena turns into a lift, taking you to a new platform with a Beacon nearby.
Revitalize this Beacon to fully restore your Health and Resolve. Cleanse the Beacon to claim Glimpse.
-
44
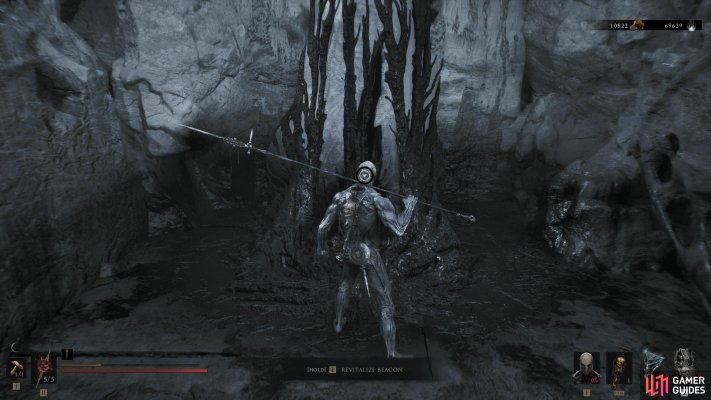
-
45
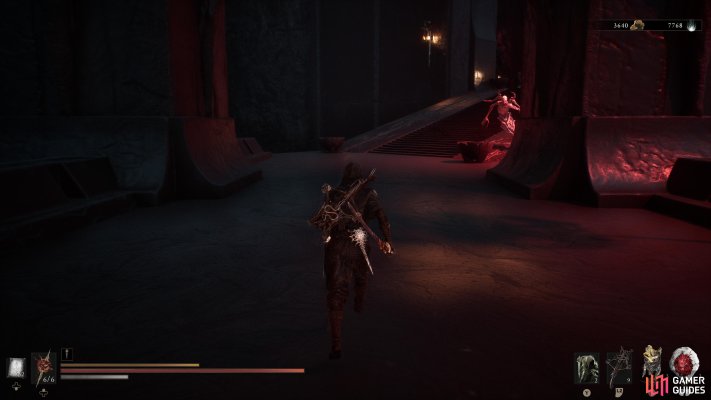
Brether's Court
View on mapAfter using the Traversal Gate, head forward through the main path and when the space opens up, turn to the right to enter a room with an uncleansed Beacon.
Revitalize this Beacon to fully restore your Health and Resolve. Cleanse the Beacon to claim Glimpse.
-
46
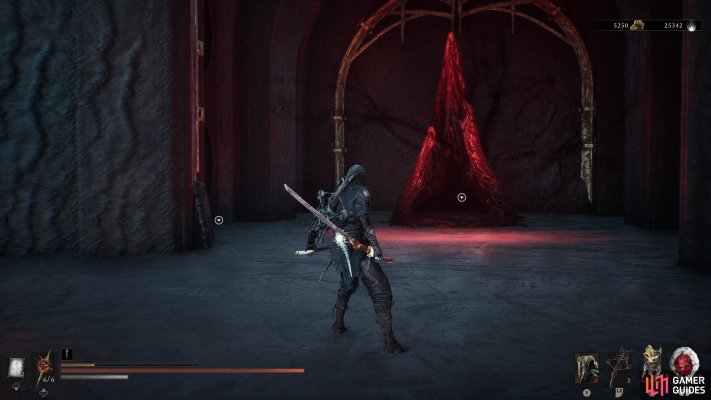
Obsidian Vault
View on mapFrom the Laterite, continue down the main path and head to the right to find the Obsidian Vault Beacon.
Revitalize this Beacon to fully restore your Health and Resolve. Cleanse the Beacon to claim Glimpse.
-
47
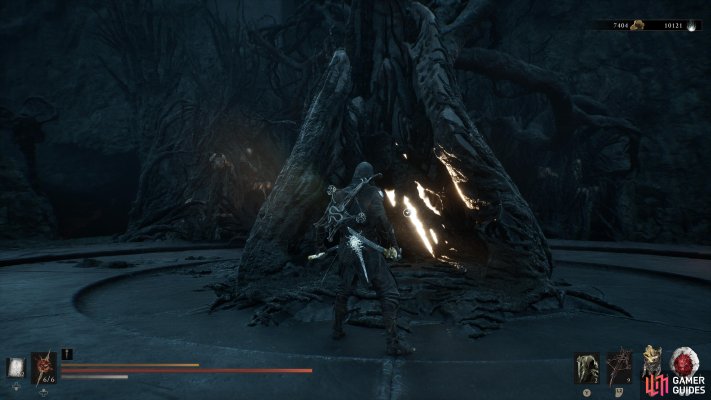
The Hidden Nave
View on mapLocated beyond the Chamber of the Forsaken, The Hidden Nave Beacon doesn’t become available until you sever each thread after beating Malborn Offspring, The Monolith, and Orrem, the Discarded Golem.
Revitalize this Beacon to fully restore your Health and Resolve. Cleanse the Beacon to claim Glimpse.
-
48
-
49
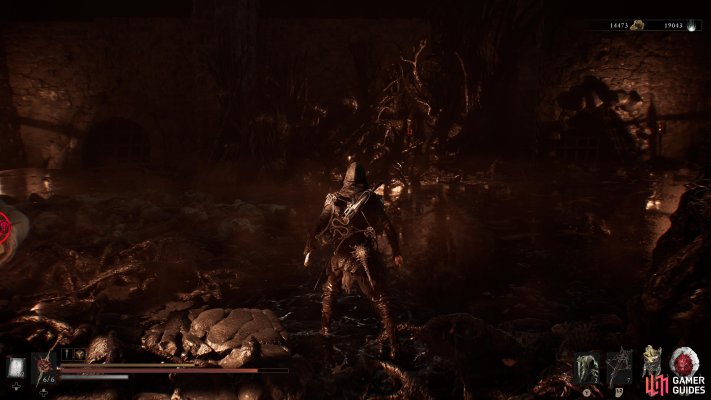
Slumwater Drain
View on mapFrom the main courtyard area, head into the room with the Laterite and look at the wall blocked by several wooden barrels. Break the Illusory Wall behind the barrels and enter through the broken gate.
When you enter the area, head towards the right and squeeze through the gap to find the Slumwater Drain Beacon.
-
50
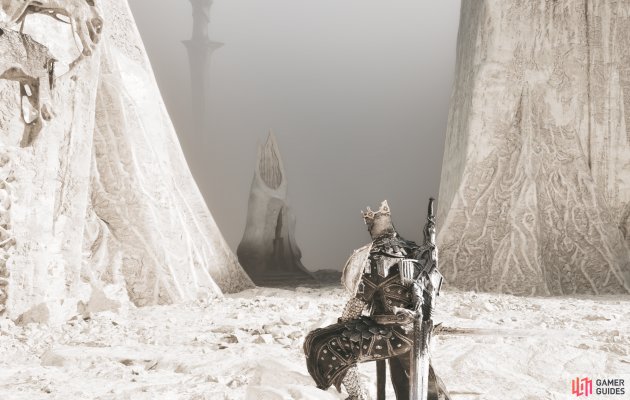
Vestige of Invinity
View on mapA beacon is hidden behind a breakable illusory wall on the north side of Starved Harridan’s boss arena.
-
51
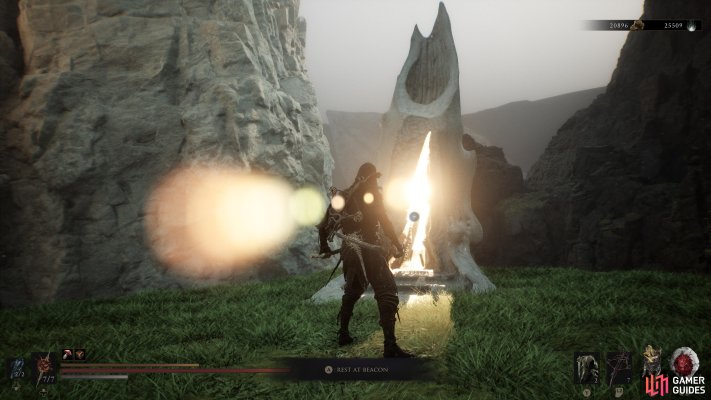
-
52
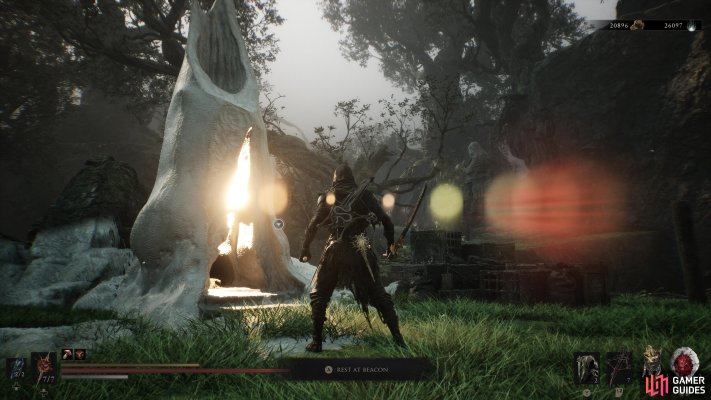
-
53
-
54
-
55
-
56
-
57
-
58
-
59
-
60
-
61
-
62
-
63
-
64
-
65
No locations match this filter.