-
1
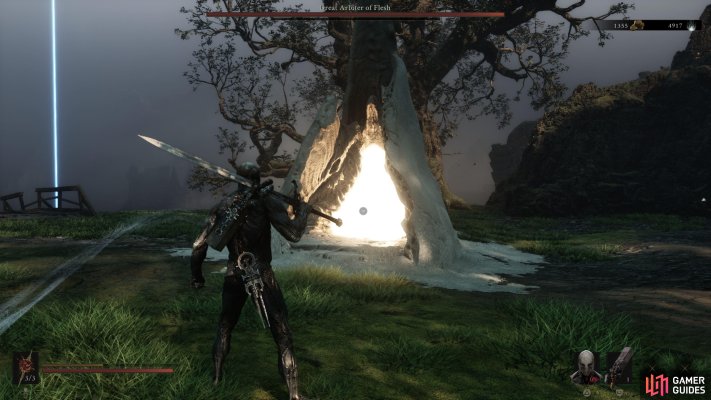
Start at Widow's Overlook
After finishing the prologue, use the teleporter at Marrow Keep and head to the Outskirts of Mammon area.
Map position: 9948, 8818
-
2
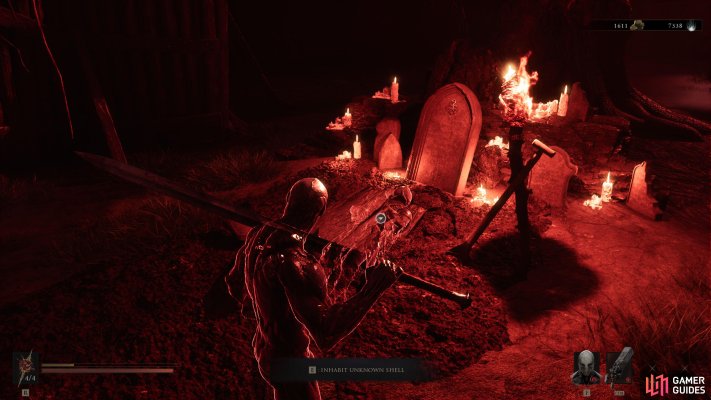
Grab Tiel's Shell
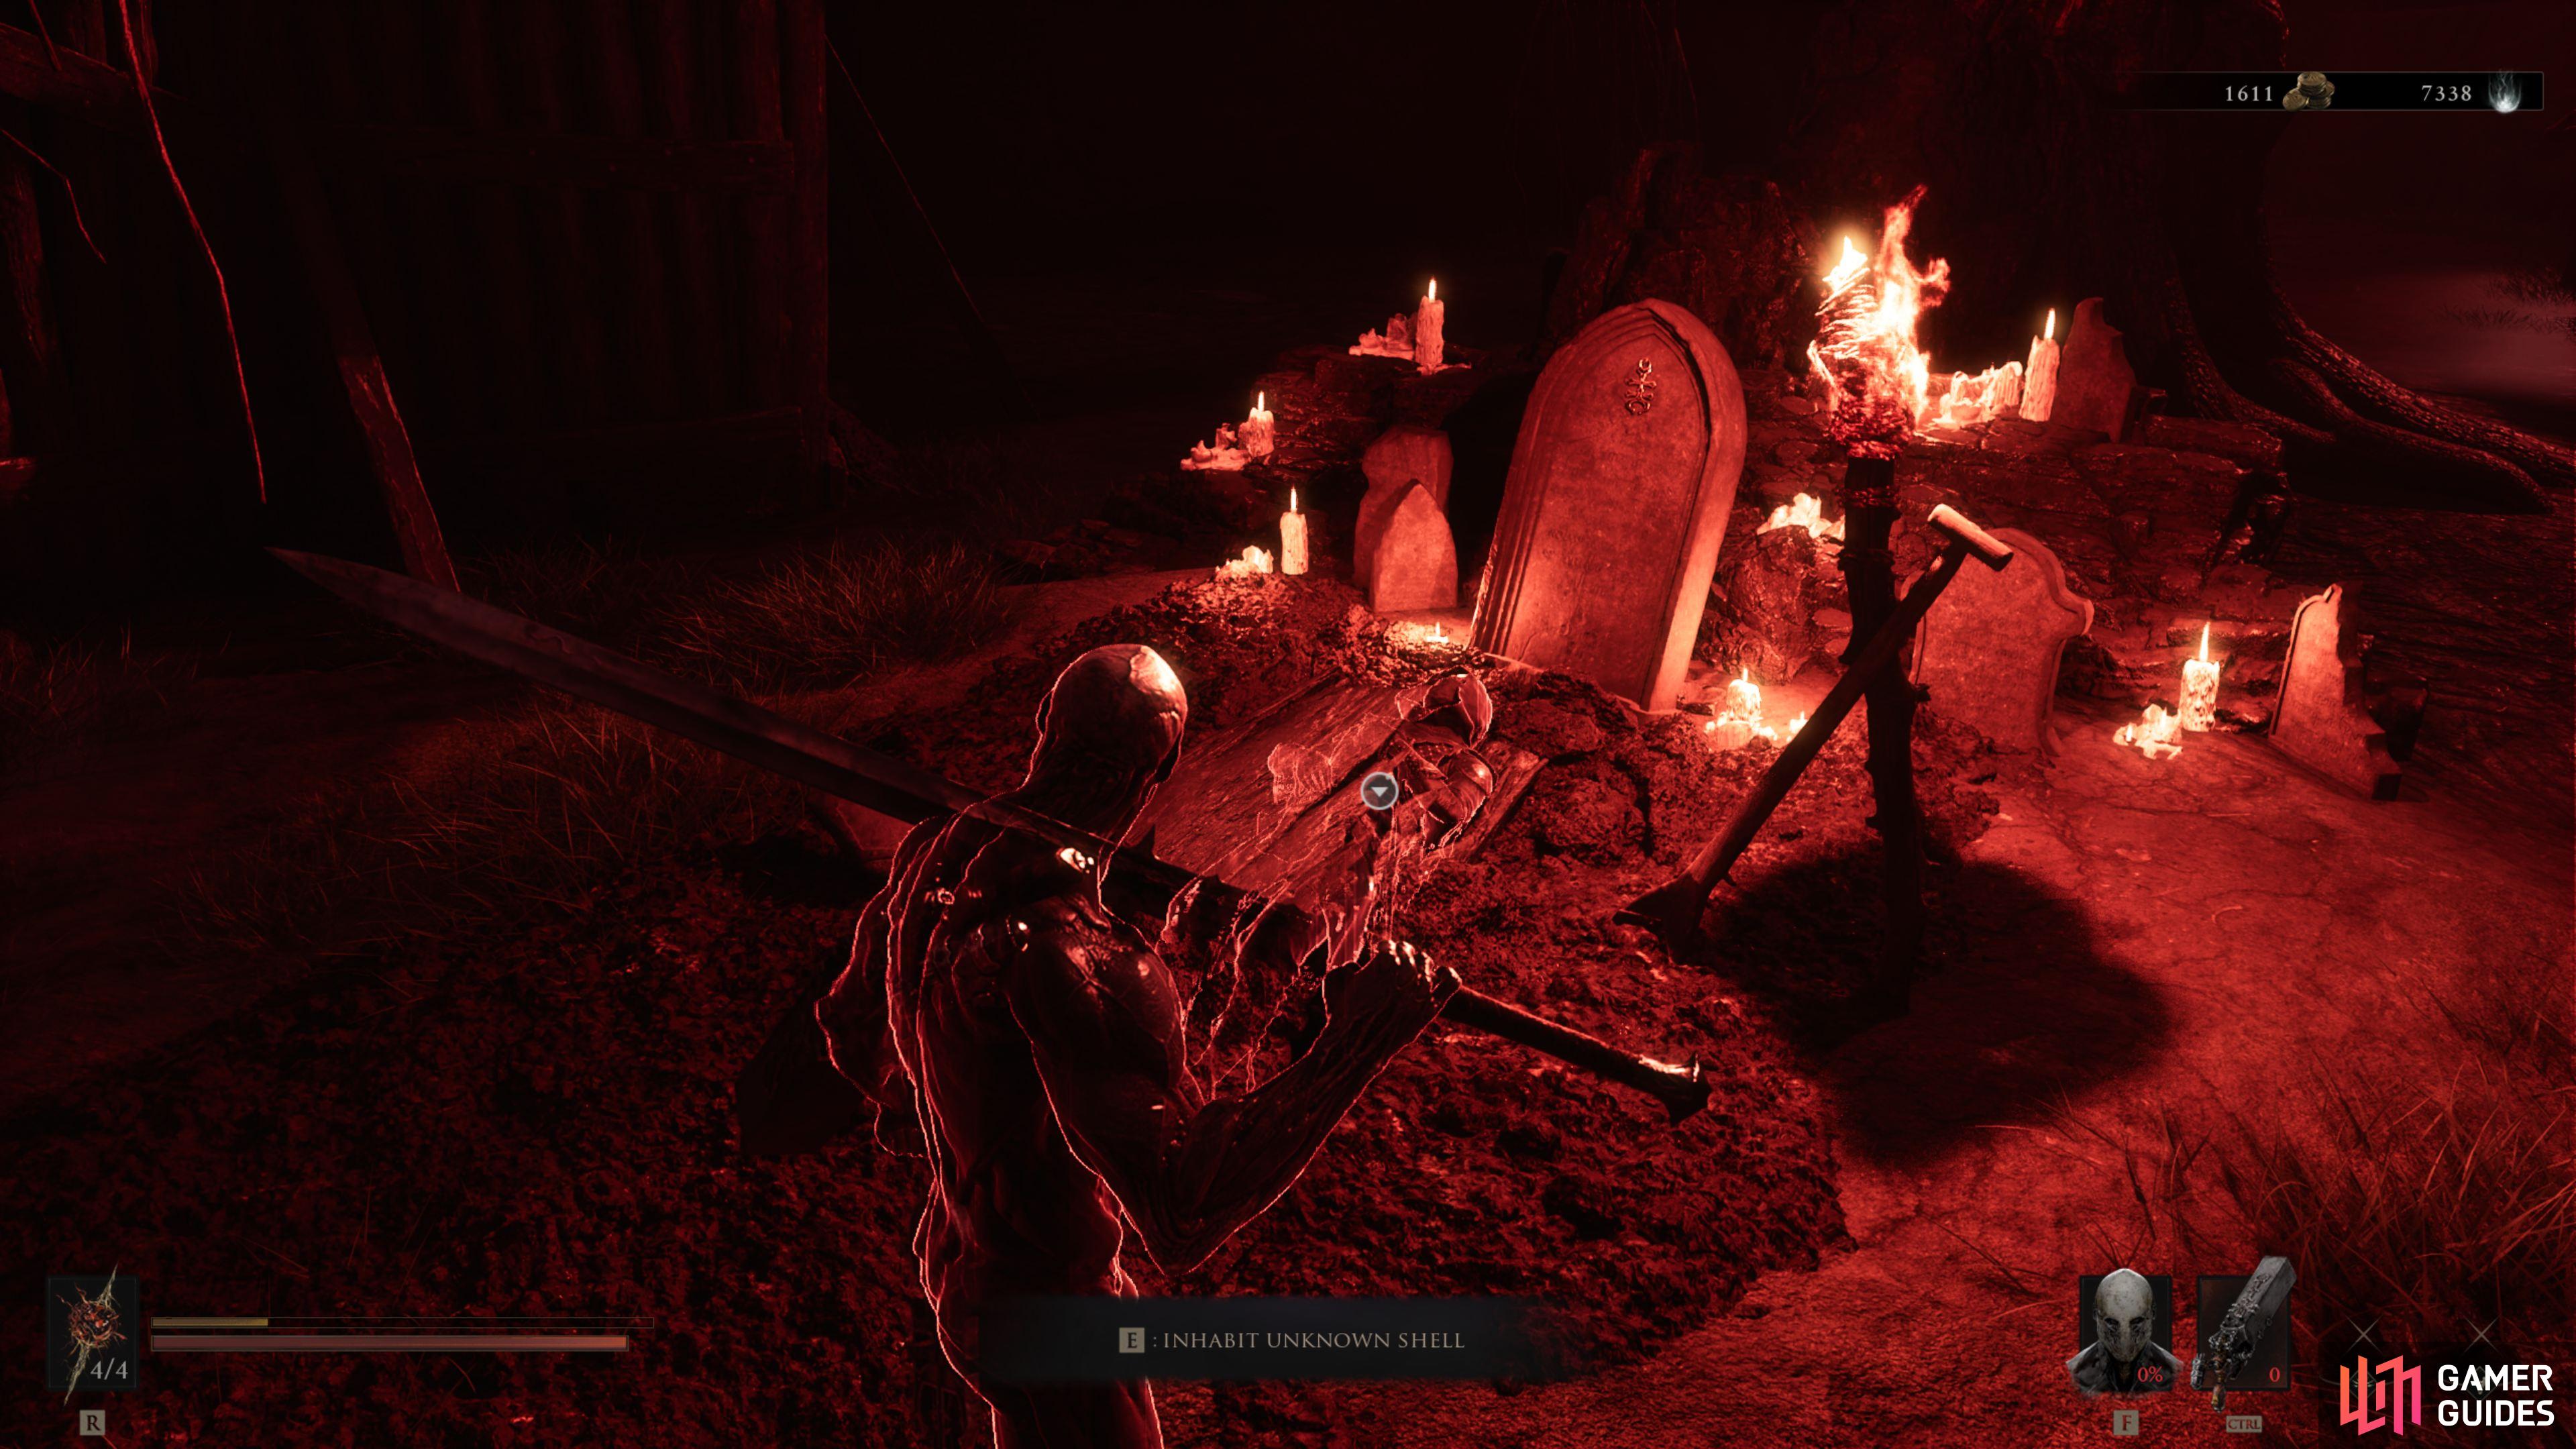
Travel towards the east and pick up the shell for Tiel to increases your strength and improve your survivability.
Map position: 10366, 9132
-
3
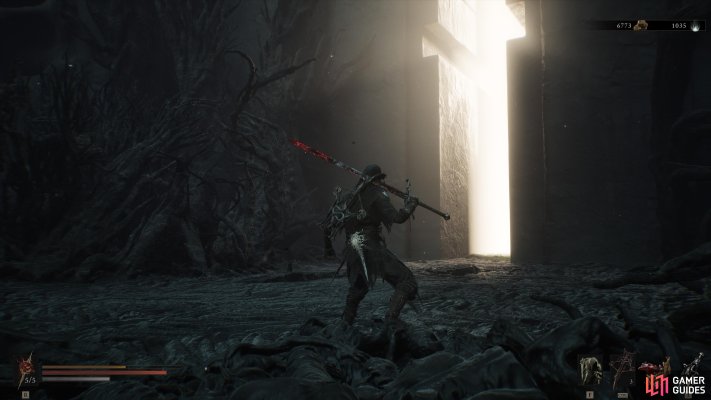
Clear the first Gate
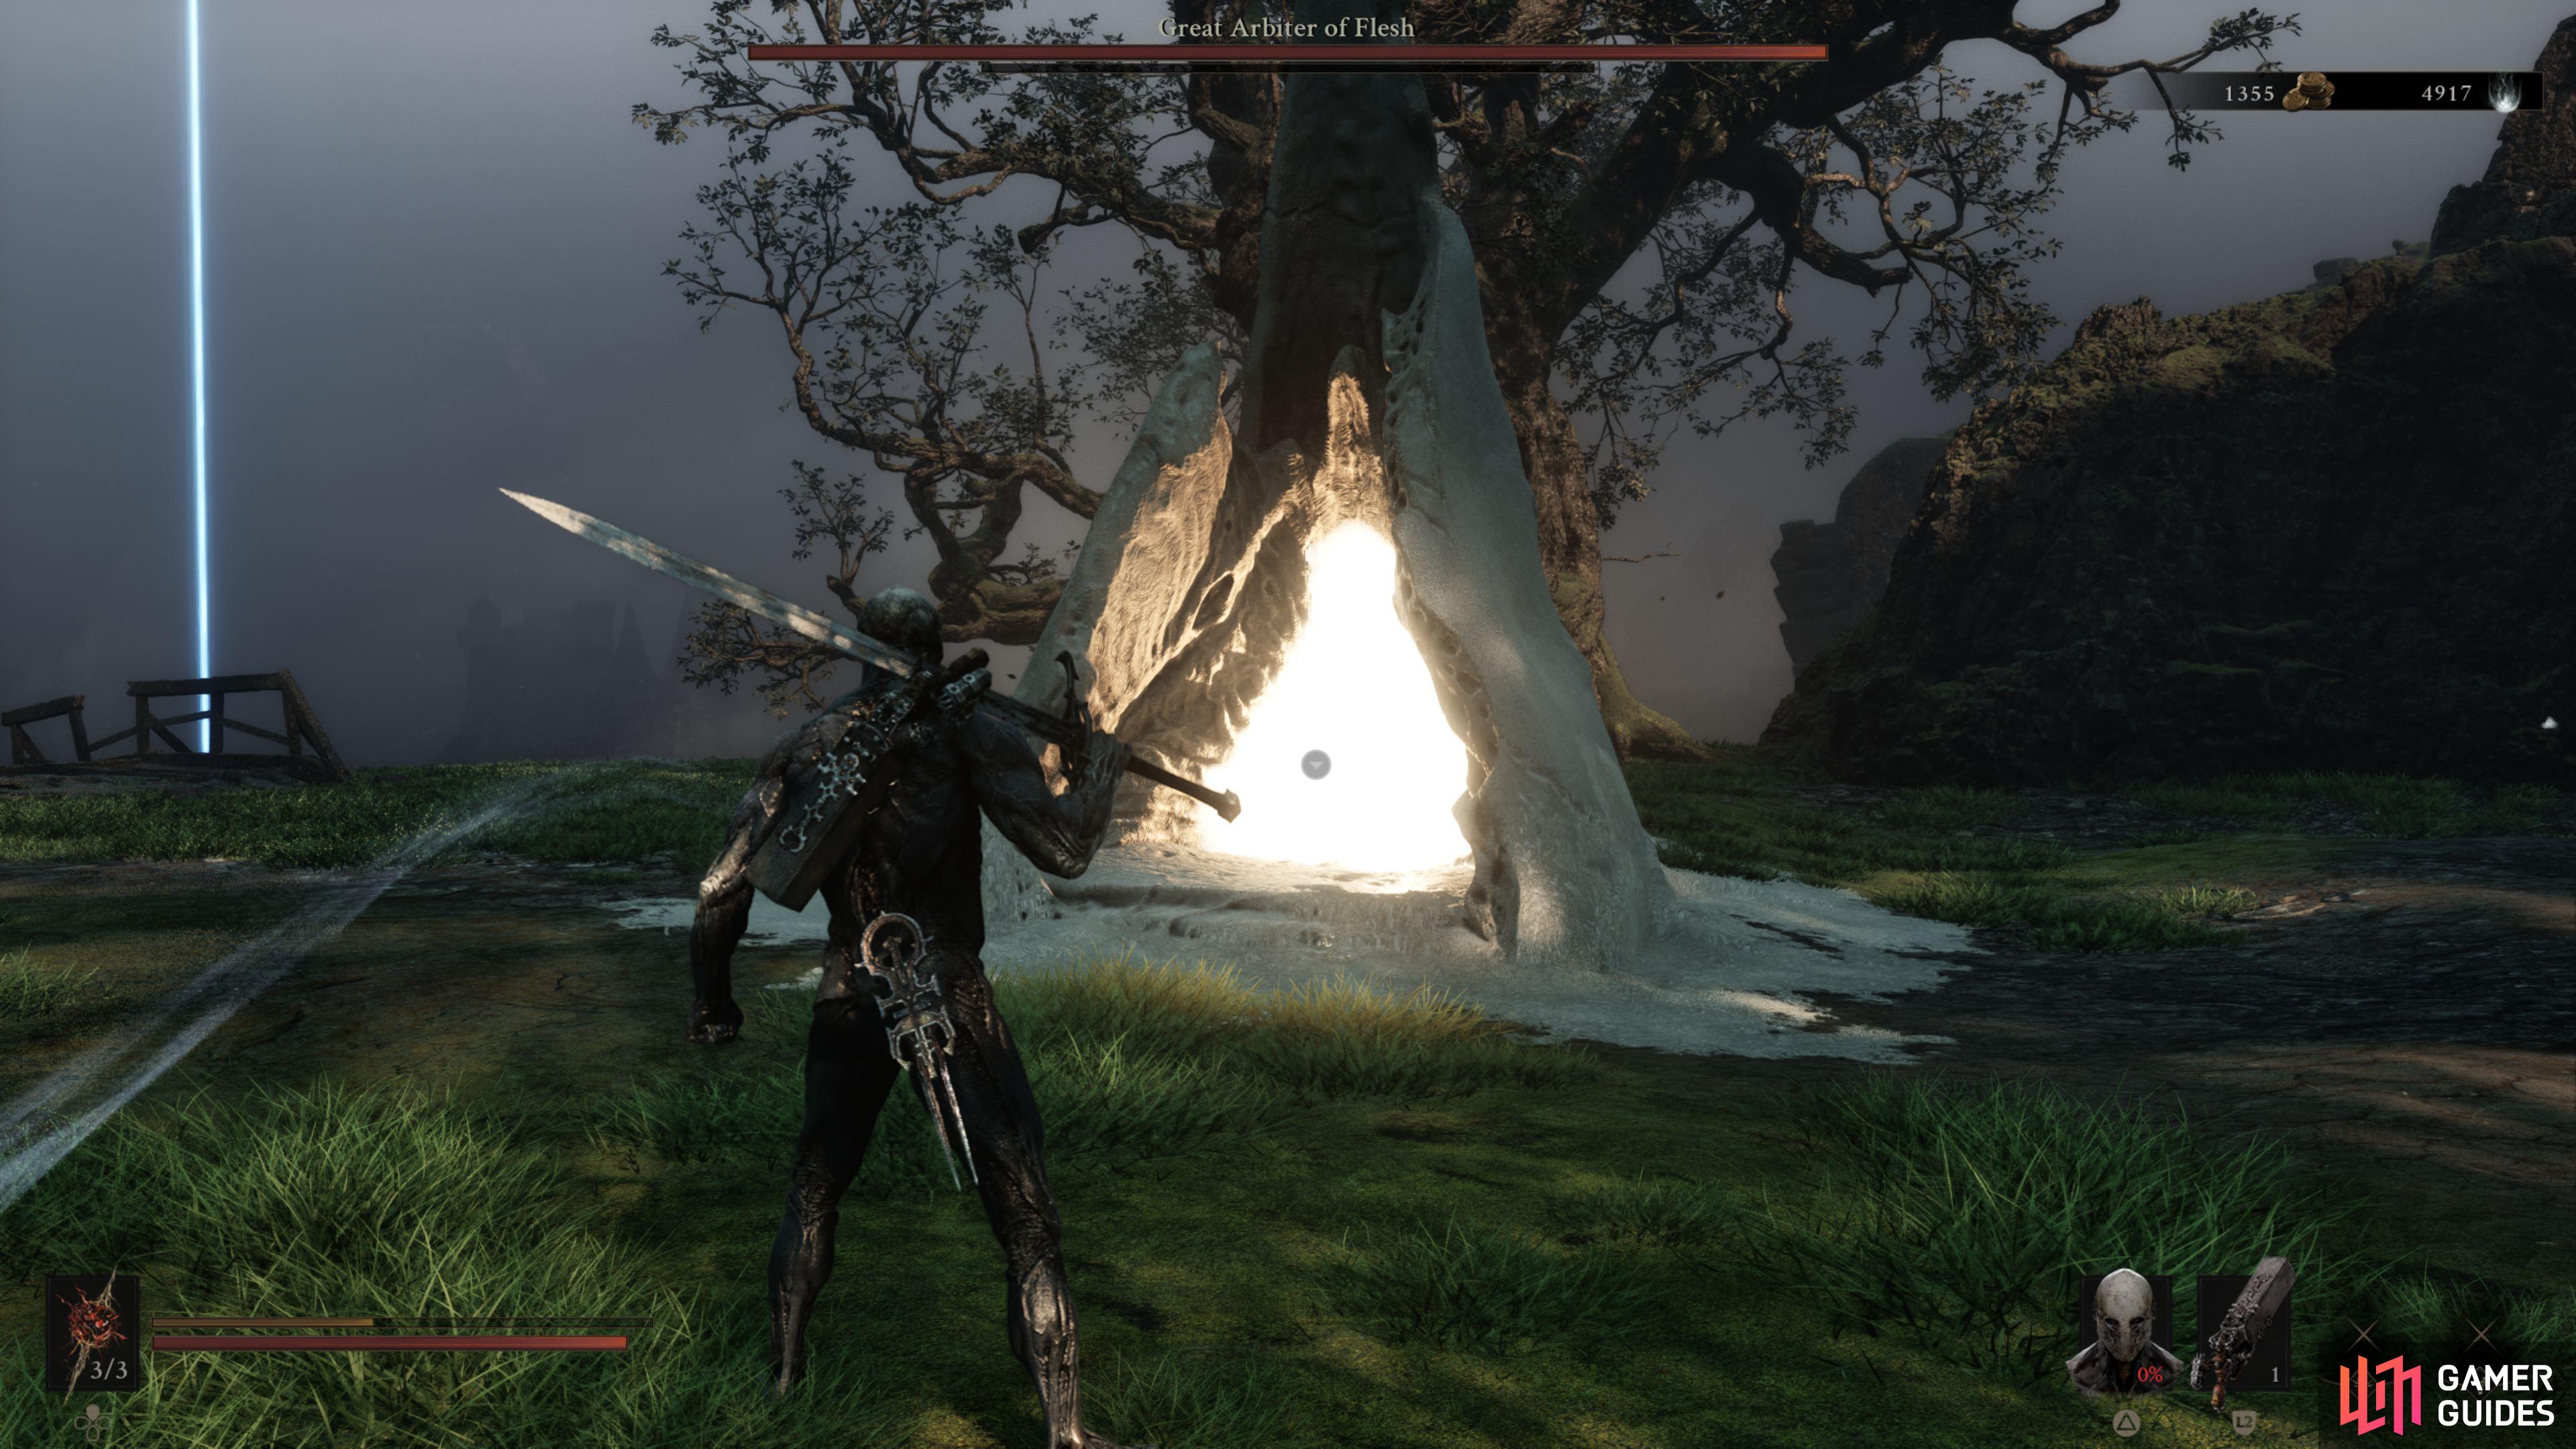
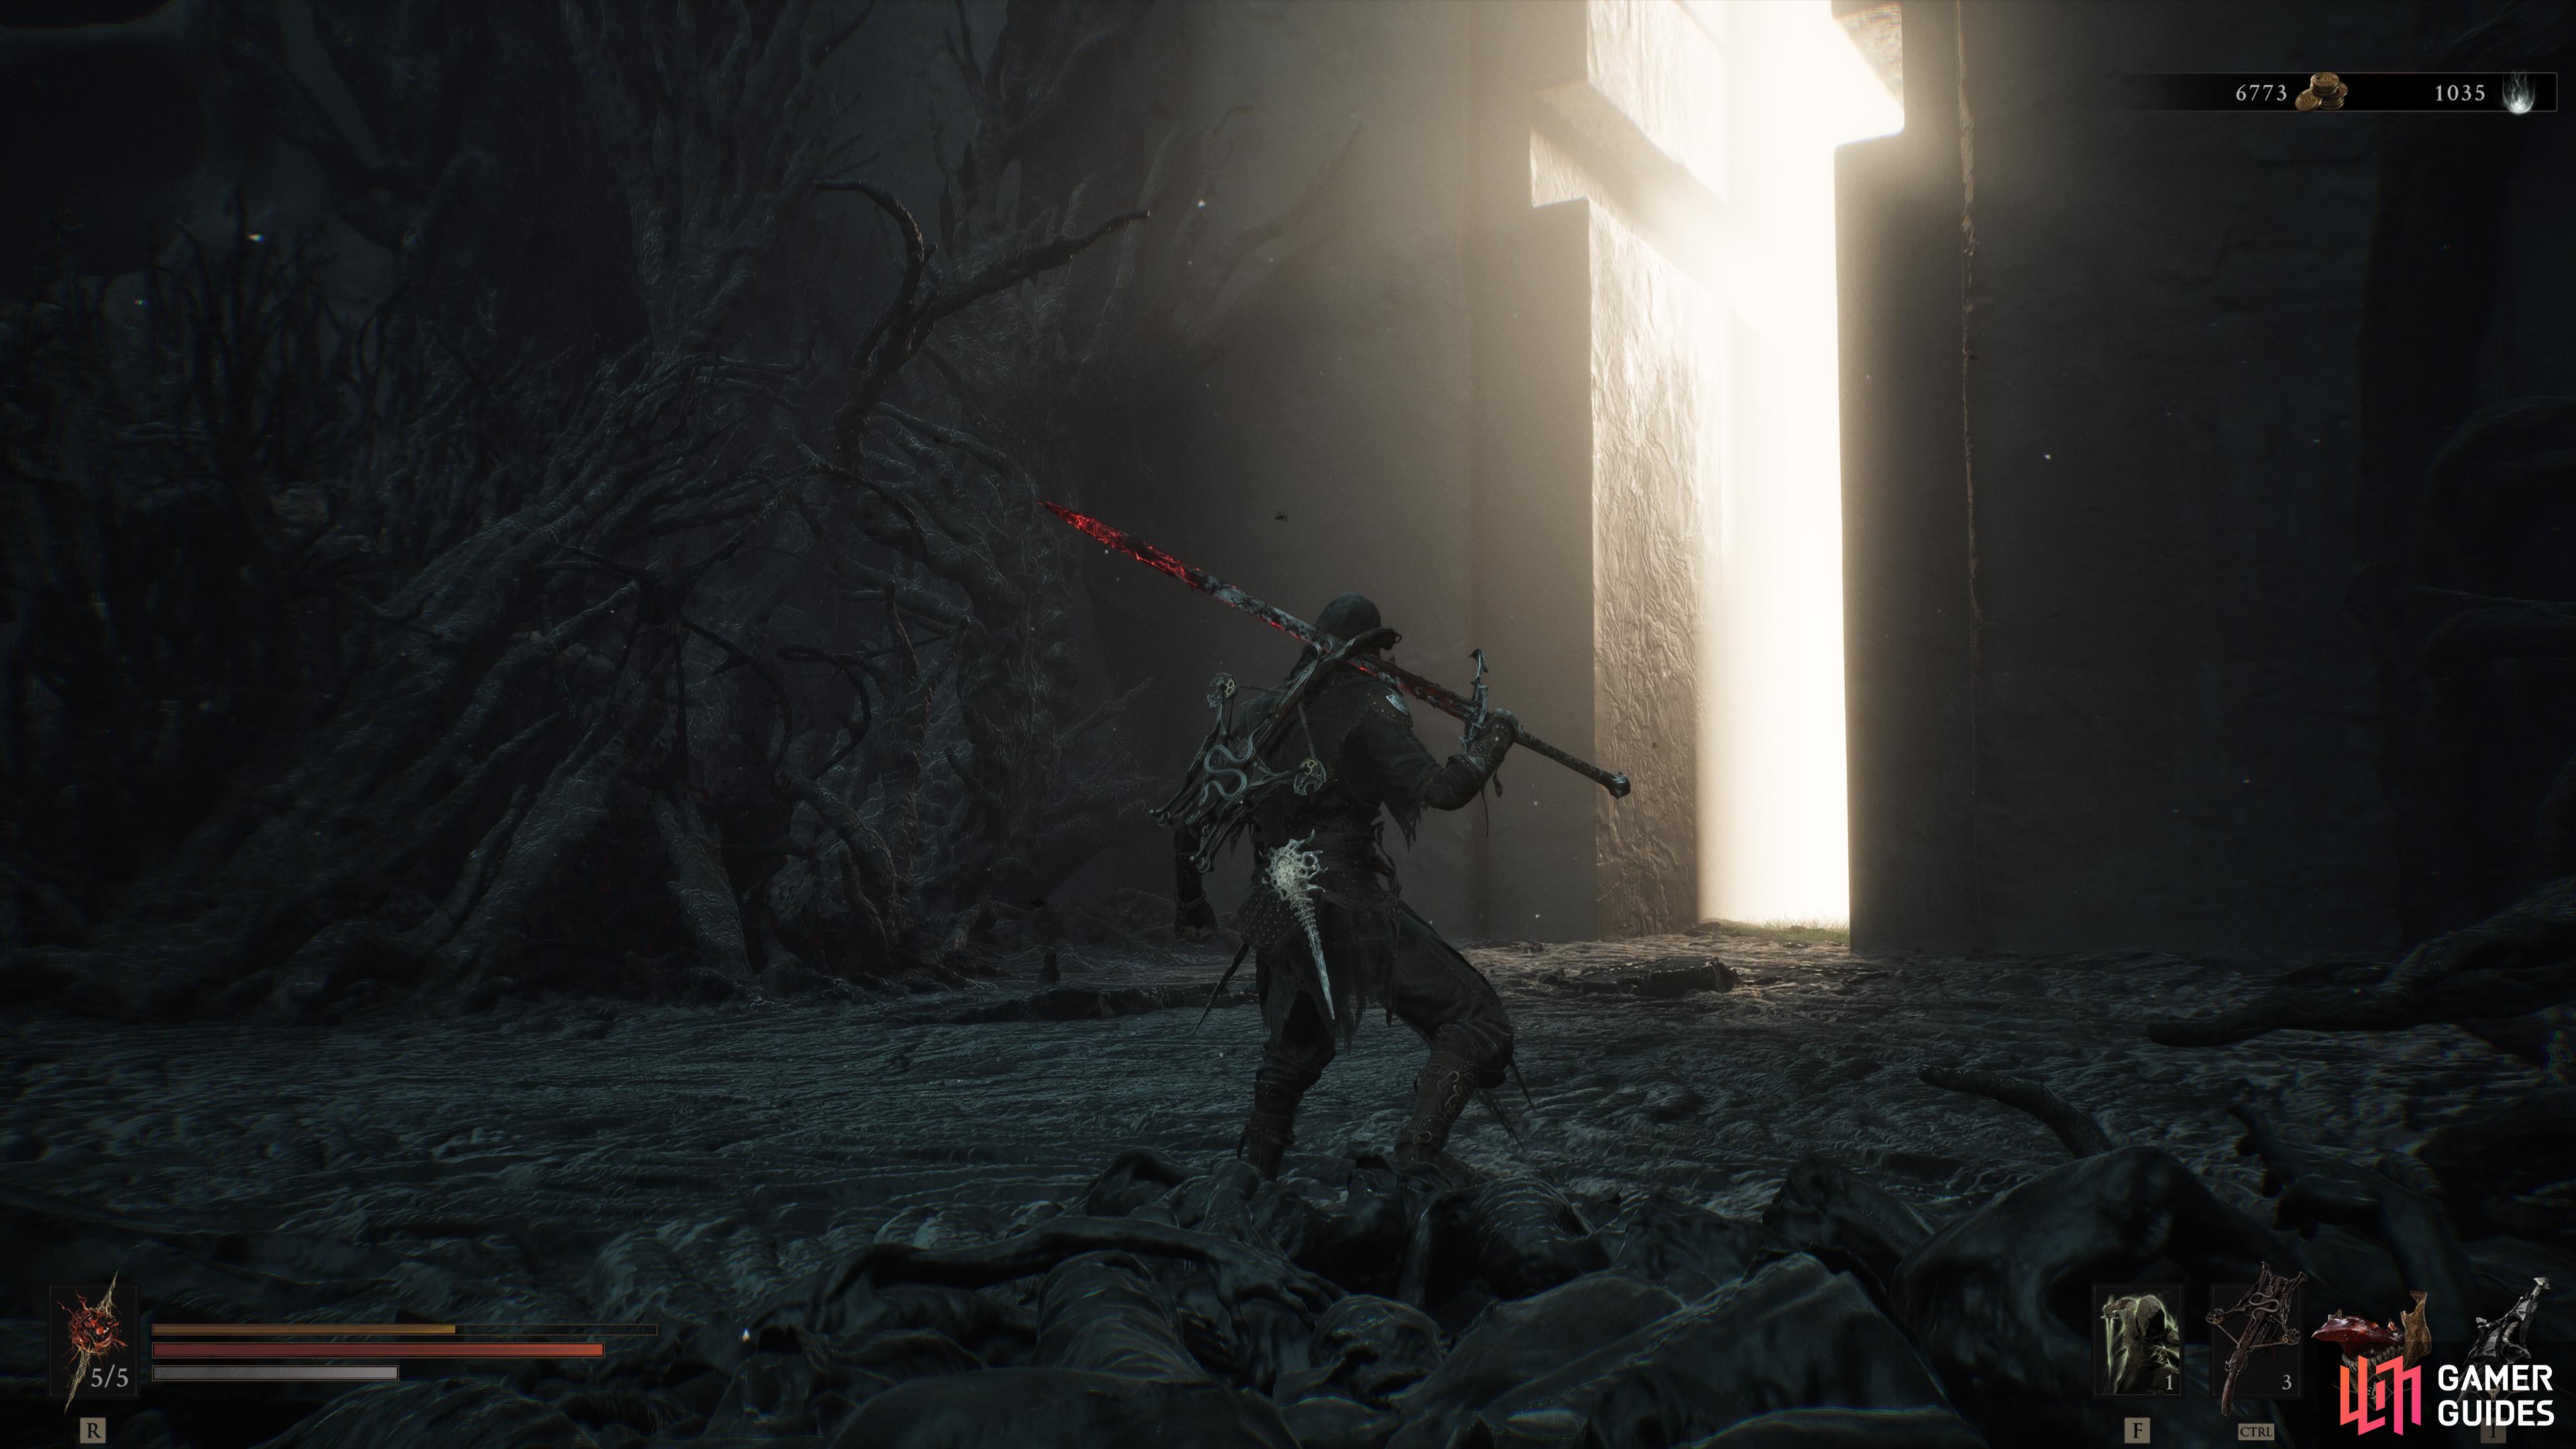
Now that you're powered up, head to the Mushroom Village Gate Beacon and cleanse the Corrupted Gate behind it to enter the Glutted Mire. We highly recommend taking on as many dungeons as you encounter from this point onwards. Not only will doing so make you stronger by earning Gloom, you'll also unlock items to strengthen your builds.
Map position: 10914, 9102
-
4
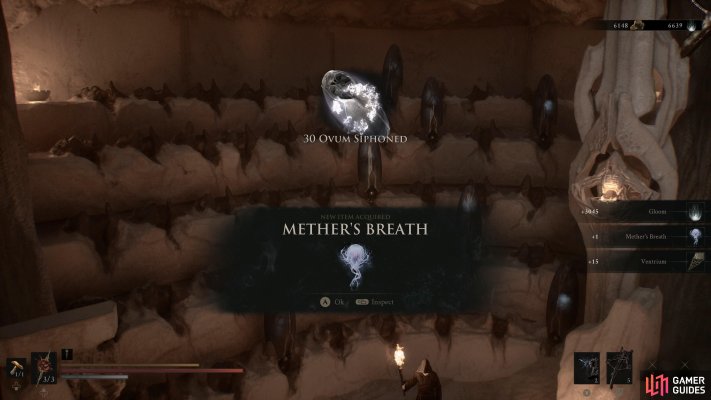
Claim Mether's Breath
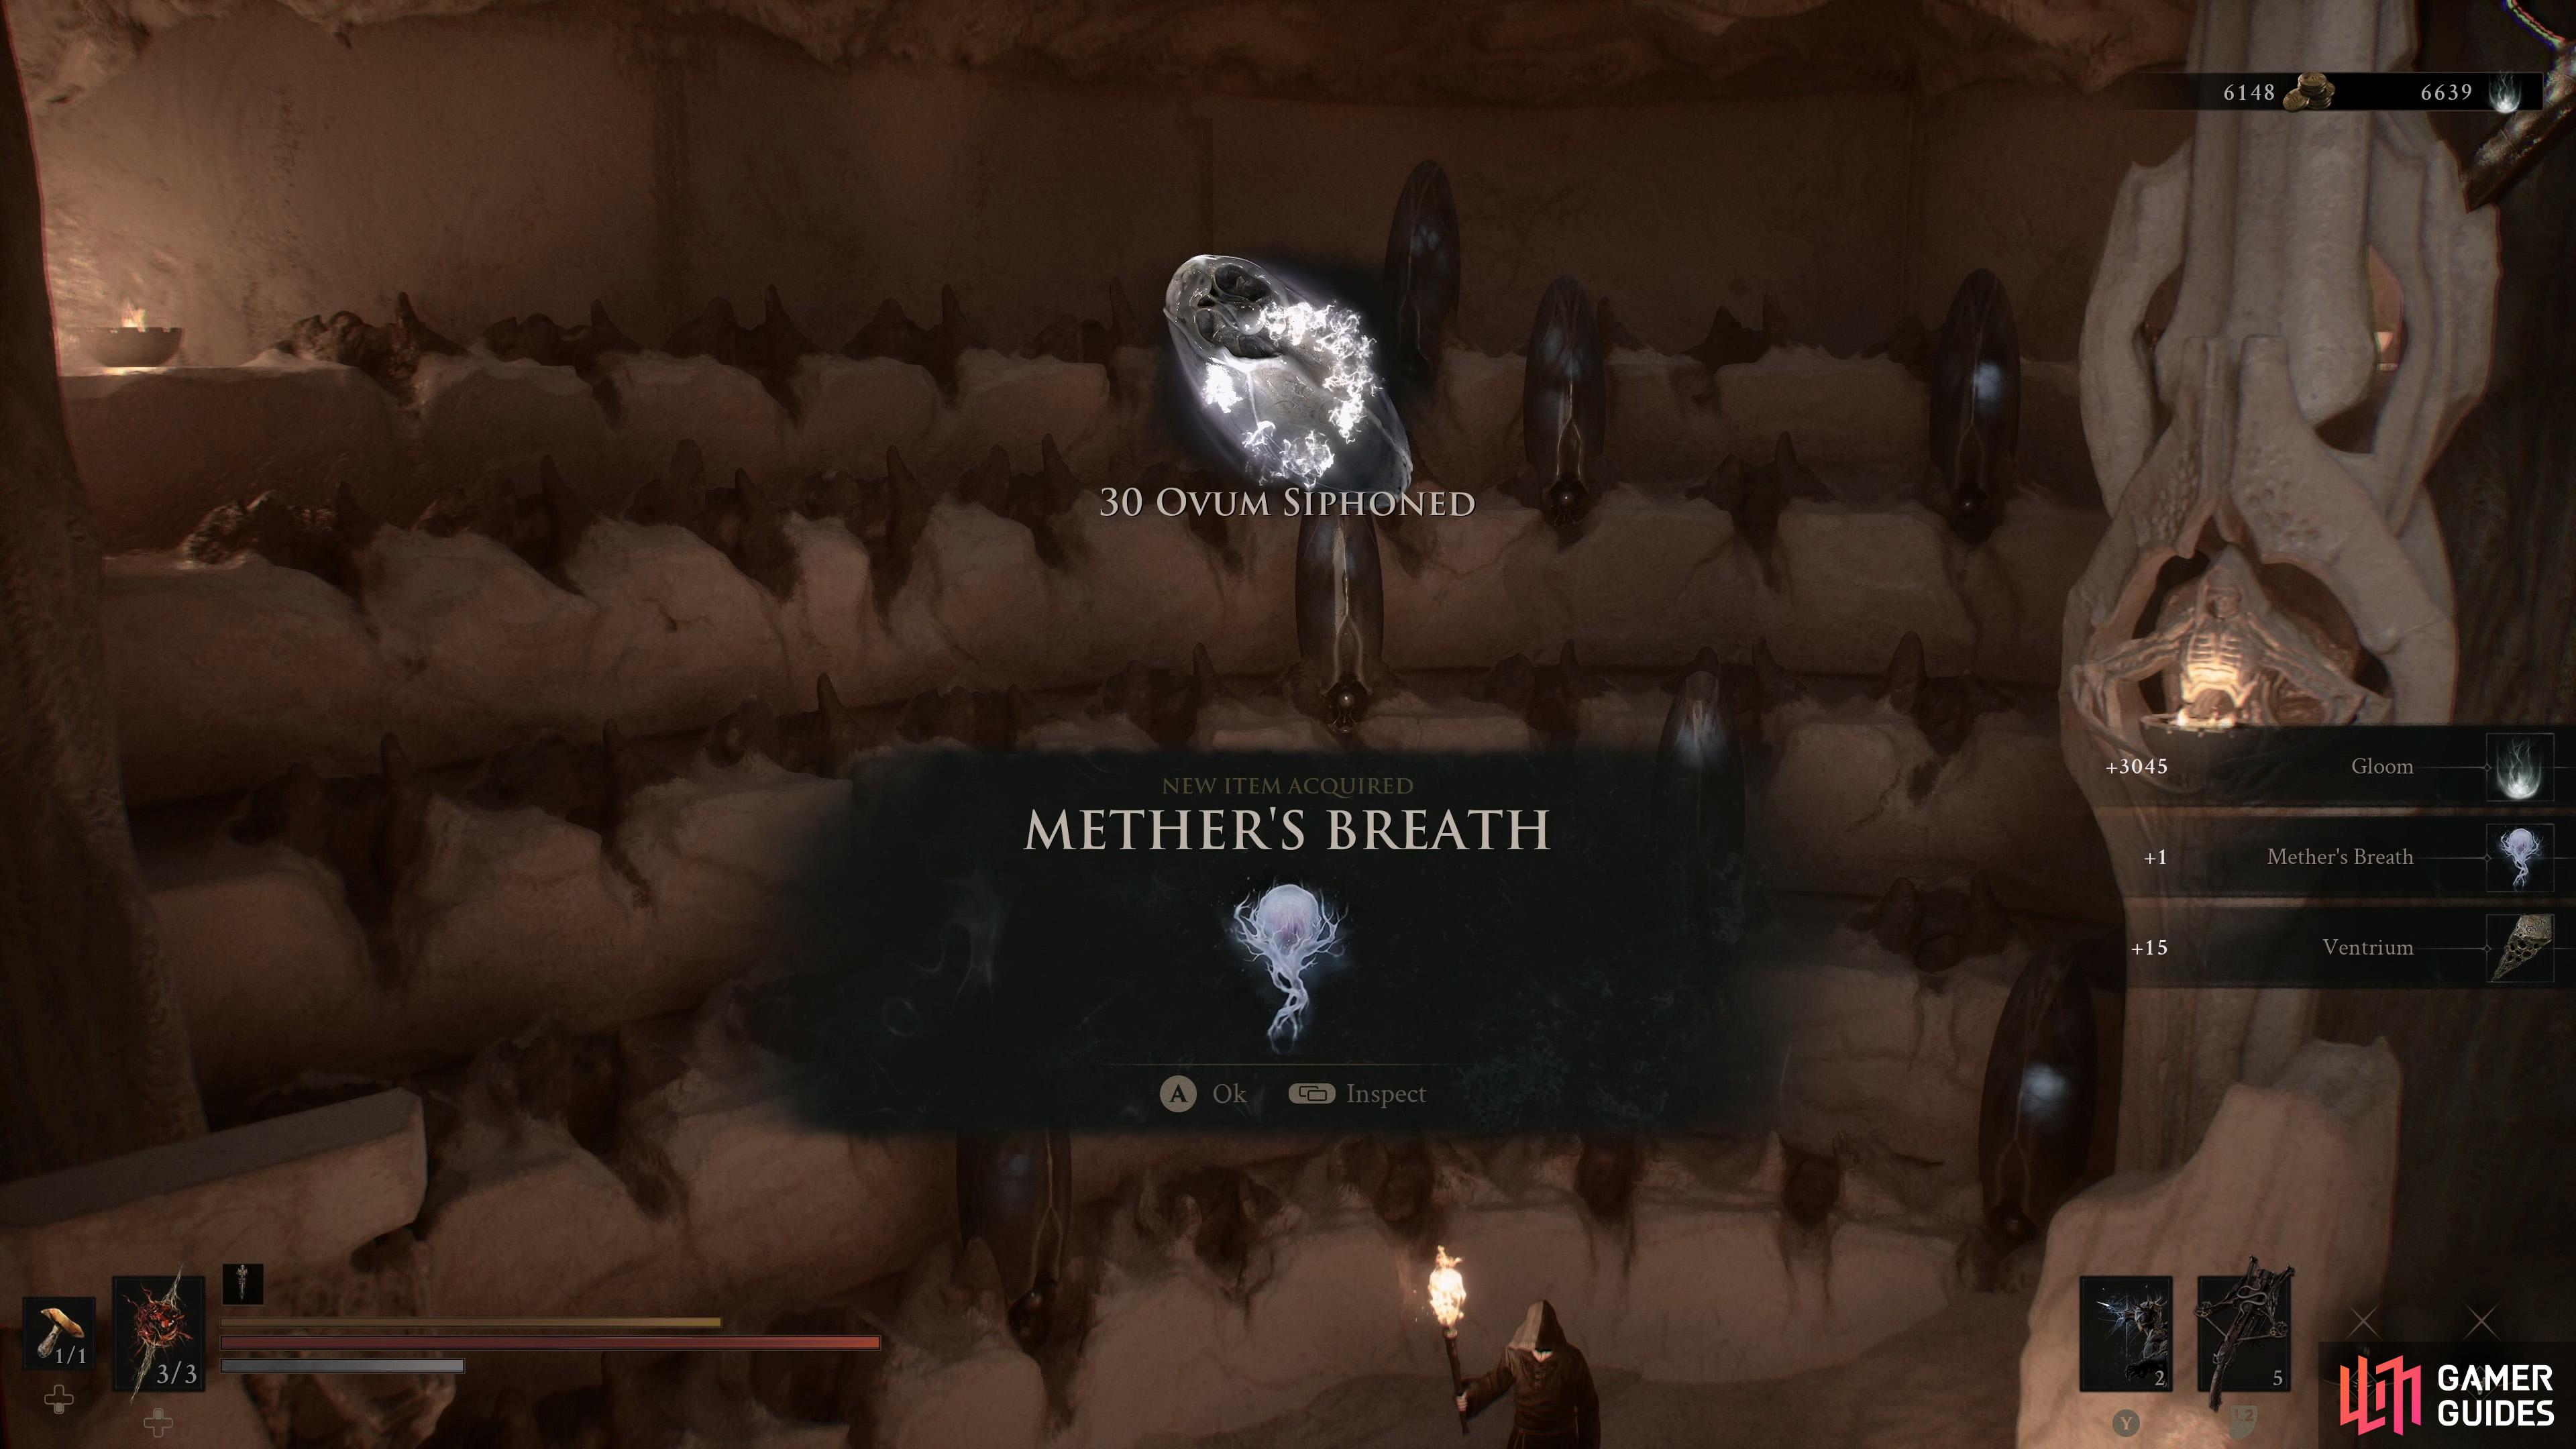
After clearing the first Gate, you have enough Ovum to unlock Mether's Breath. This allows you to cleanse Corruption Gates, giving you access to the entire map.
Map position: 9837, 9987
-
5
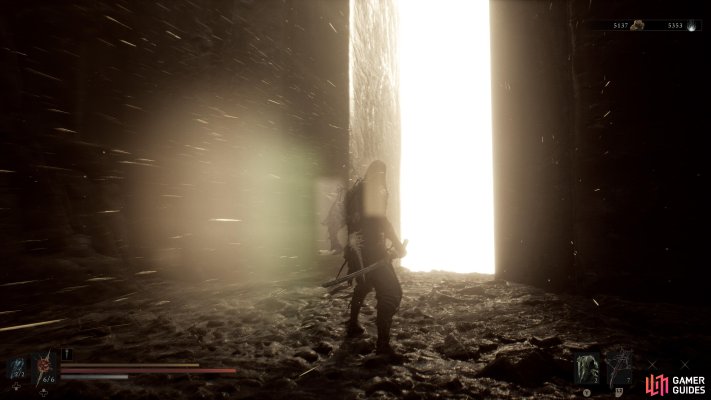
Clear the second Gate
In terms of difficulty, the Sanguine Caverns Gate is the easiest to tackle. After you've unlocked Mether's Breath, head back to Widow's Outlook from Marrow Keep, then make your way to the second Gate.
Map position: 9882, 7557
-
6
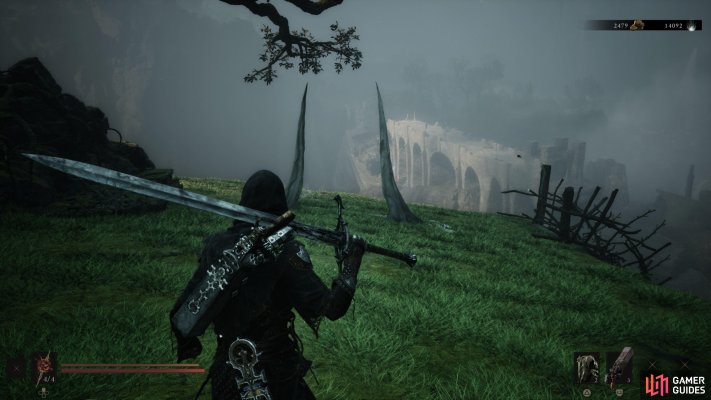
Get to Nochte
Once you've cleared the Sanguine Caverns, travel to Nochte to unlock several helpful items. The easiest way to get to Nochte is to use the Traversal Gate located south of Widow's Overlook.
Map position: 9892, 9220
-
7
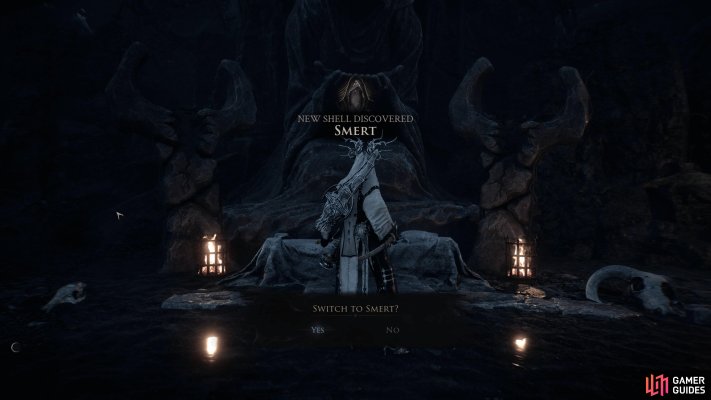
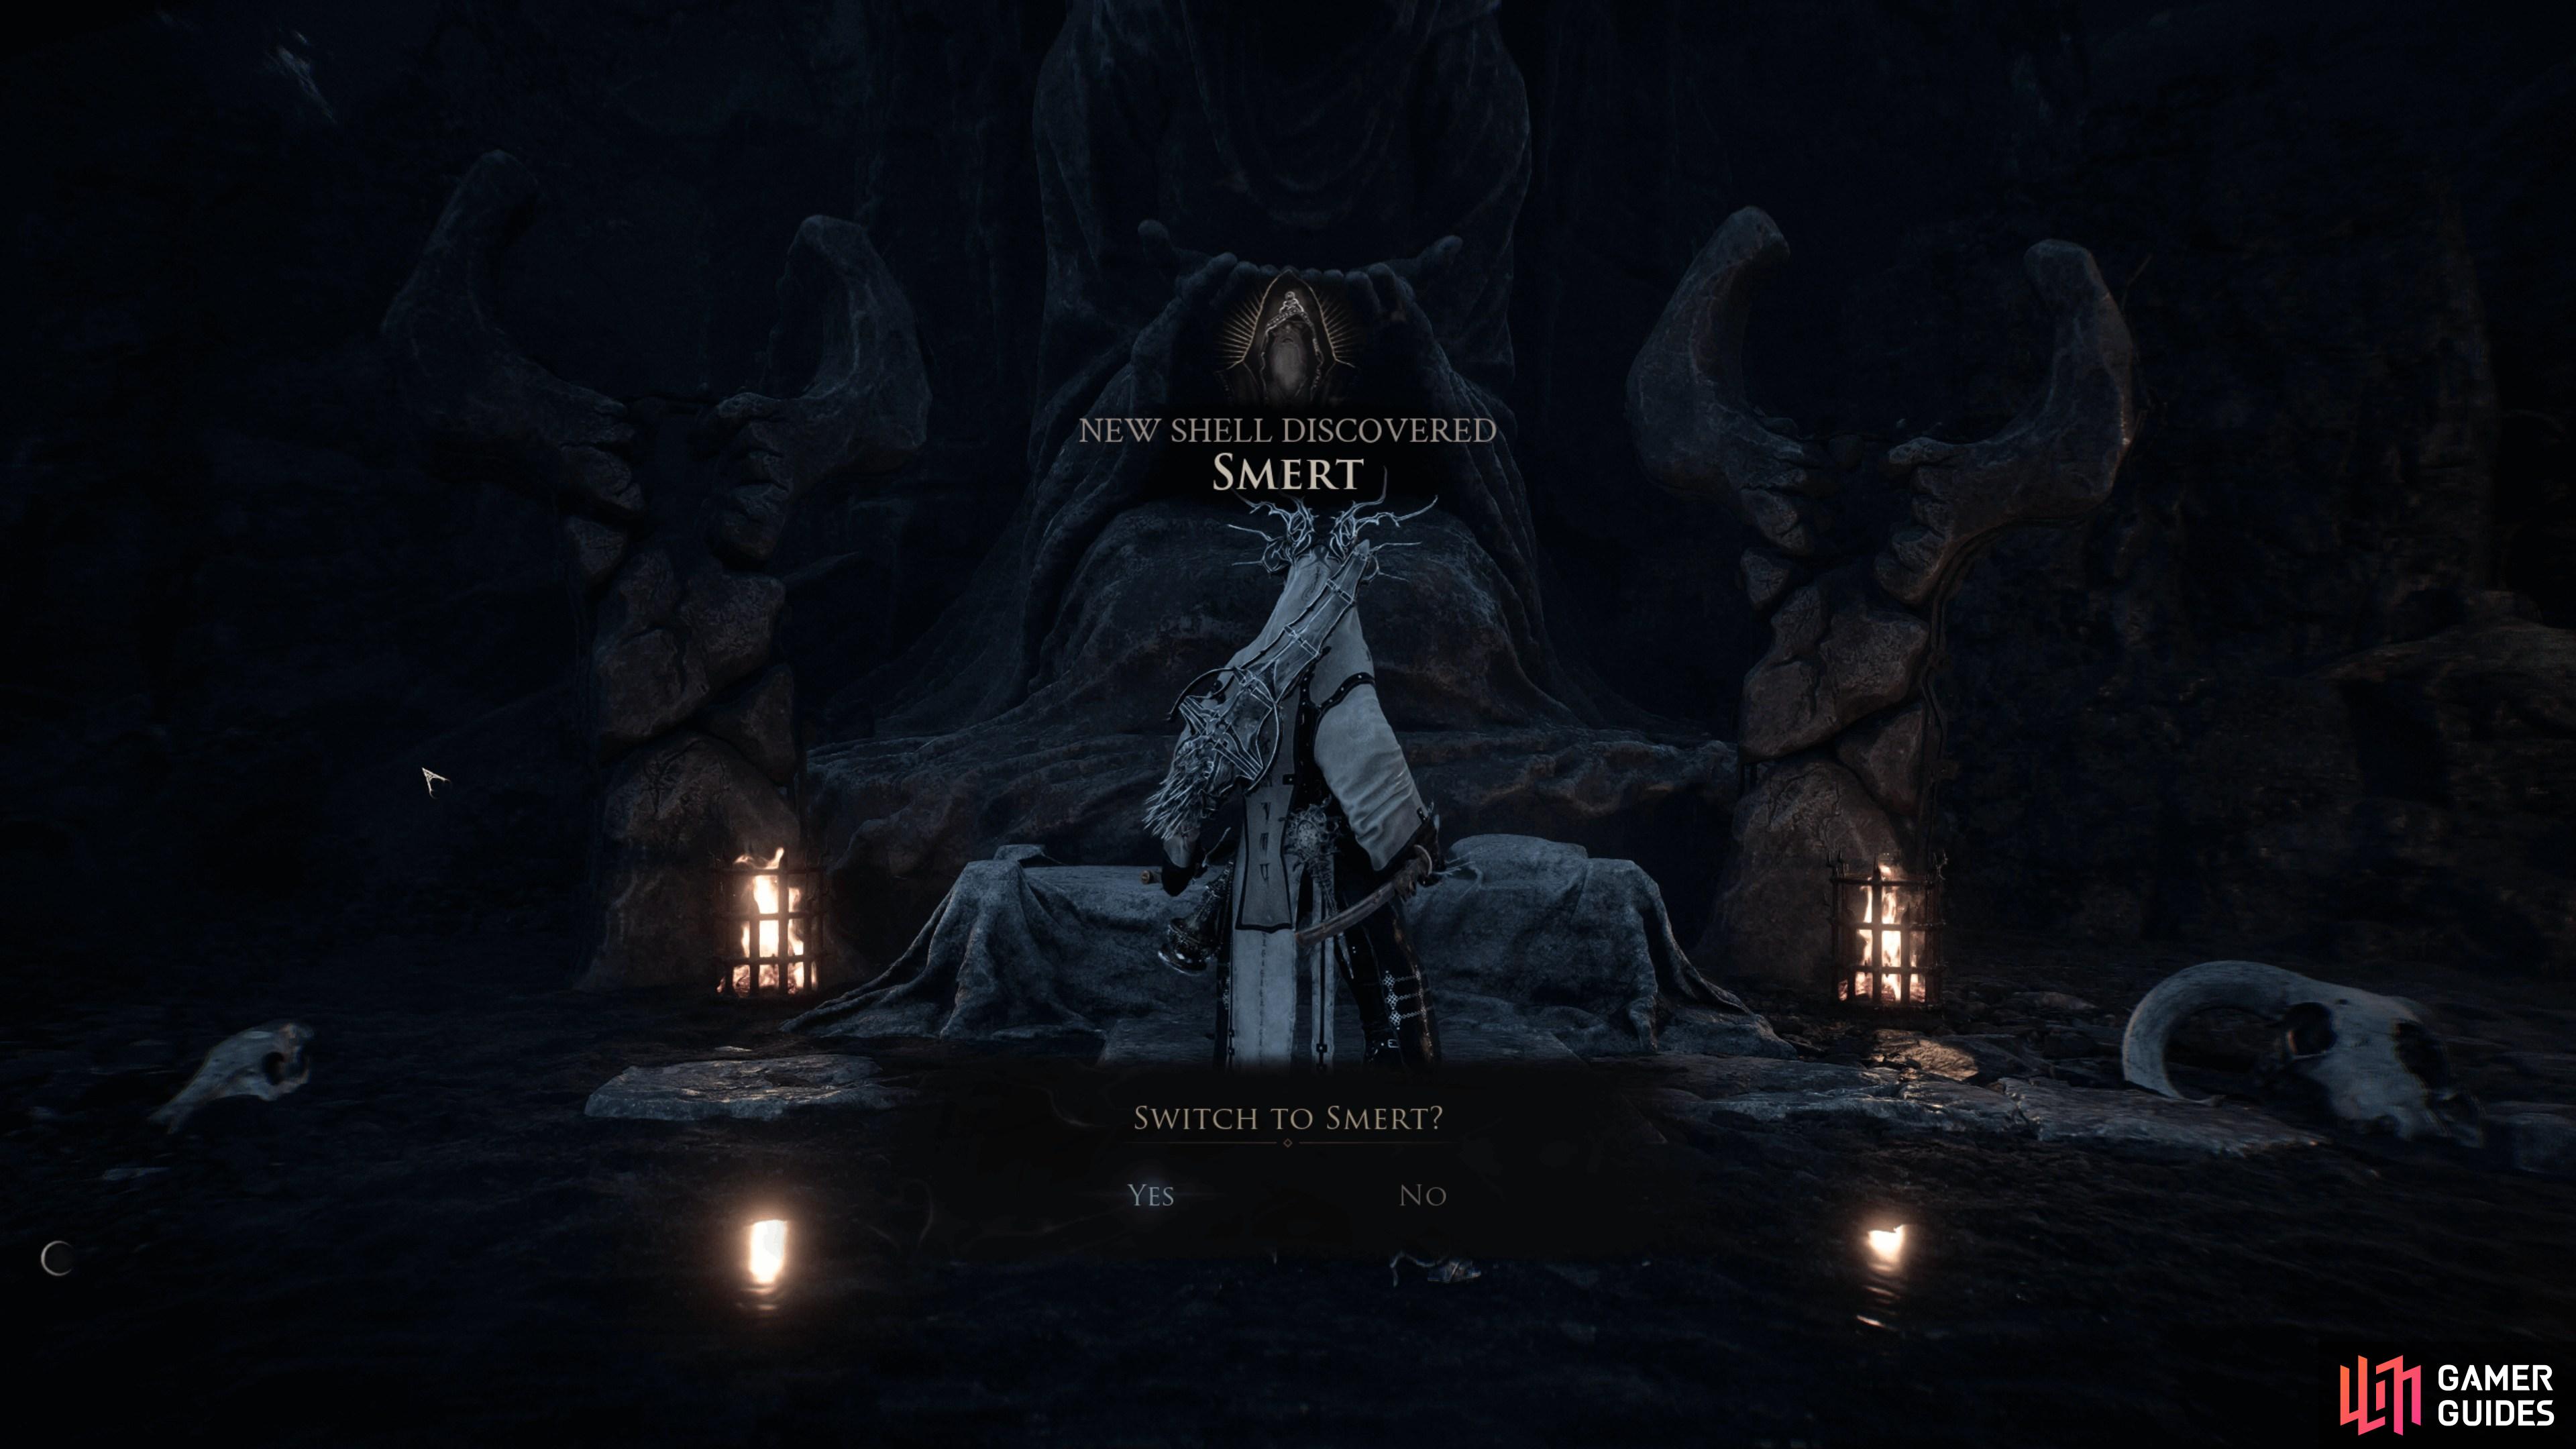
Grab Smert's Shell
While Tiel's Shell is more than capable of taking you through the entire game, you may find that some of the other Shells suit specific boss fights better. We recommend picking up Smert's Shell during your time in Nochte.
Map position: 8828, 9405
-
8
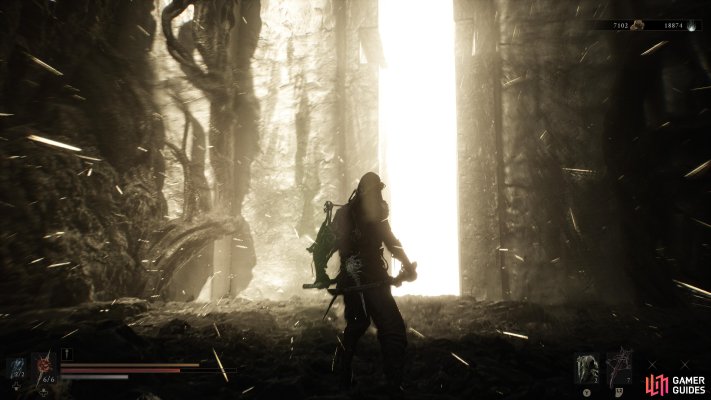
Clear the third Gate
Make your way through the Prisoner's Domain Gate, and don't forget to grab all the Tarstones hidden inside the area before leaving.
Map position: 8573, 9737
-
9
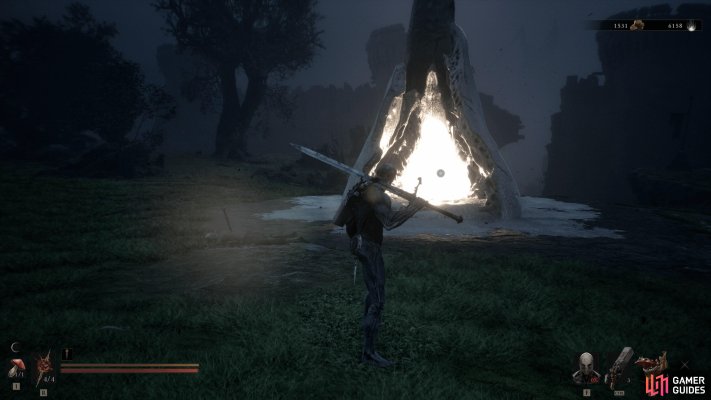
Travel to the Ruins of Mammon
With the first three Gates out of the way, you can head back to Marrow Keep and use the teleporter to explore the Ruins of Mammon region.
Map position: 9935, 10593
-
10
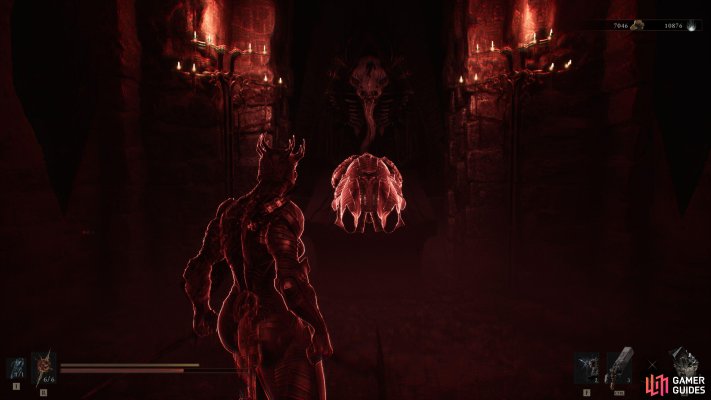
Grab Lazlo's Shell
As mentioned earlier, you should be clearing any nearby dungeons you encounter, including the dungeon beyond Lonesome Spire to unlock Lazlo's Shell.
Map position: 8589, 11239
-
11
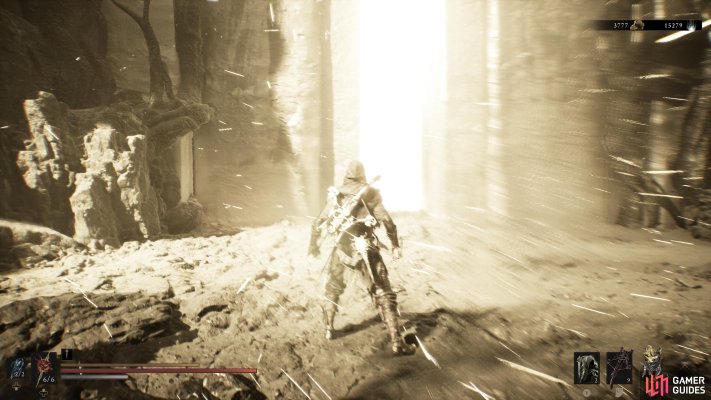
Clear the fourth Gate
You can tackle any of the Gates in the Ruins of Mammon region in any order - we found all three of them to be equal in terms of difficulty. We started with Withered Shoals because it's the closest Gate from the Ruins of Mammon Beacon.
Map position: 8974, 11601
-
12
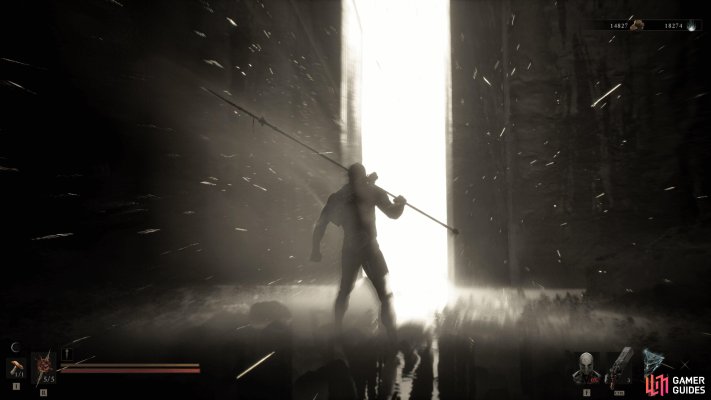
Clear the fifth Gate
Once you've dealt with the Withered Shoals Gate, make your way to the east to take on the Conquered Temple Gate.
Map position: 11216, 11546
-
13
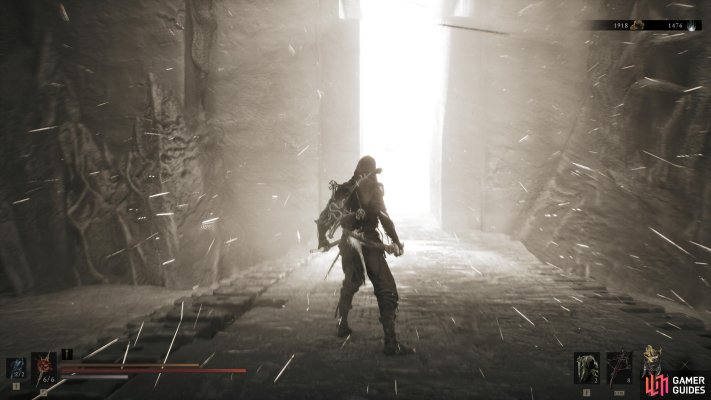
Clear the sixth Gate
The final Gate is located in the southern area where you'll explore the Faded Citadel.
Map position: 9837, 12913
-
14
Clear the final dungeon
You will have enough Ovum to unlock the final dungeon in the game. Use the Gloom Siphon at Marrow Keep to reveal The Unfound Path.
Map position: 12896, 8857