
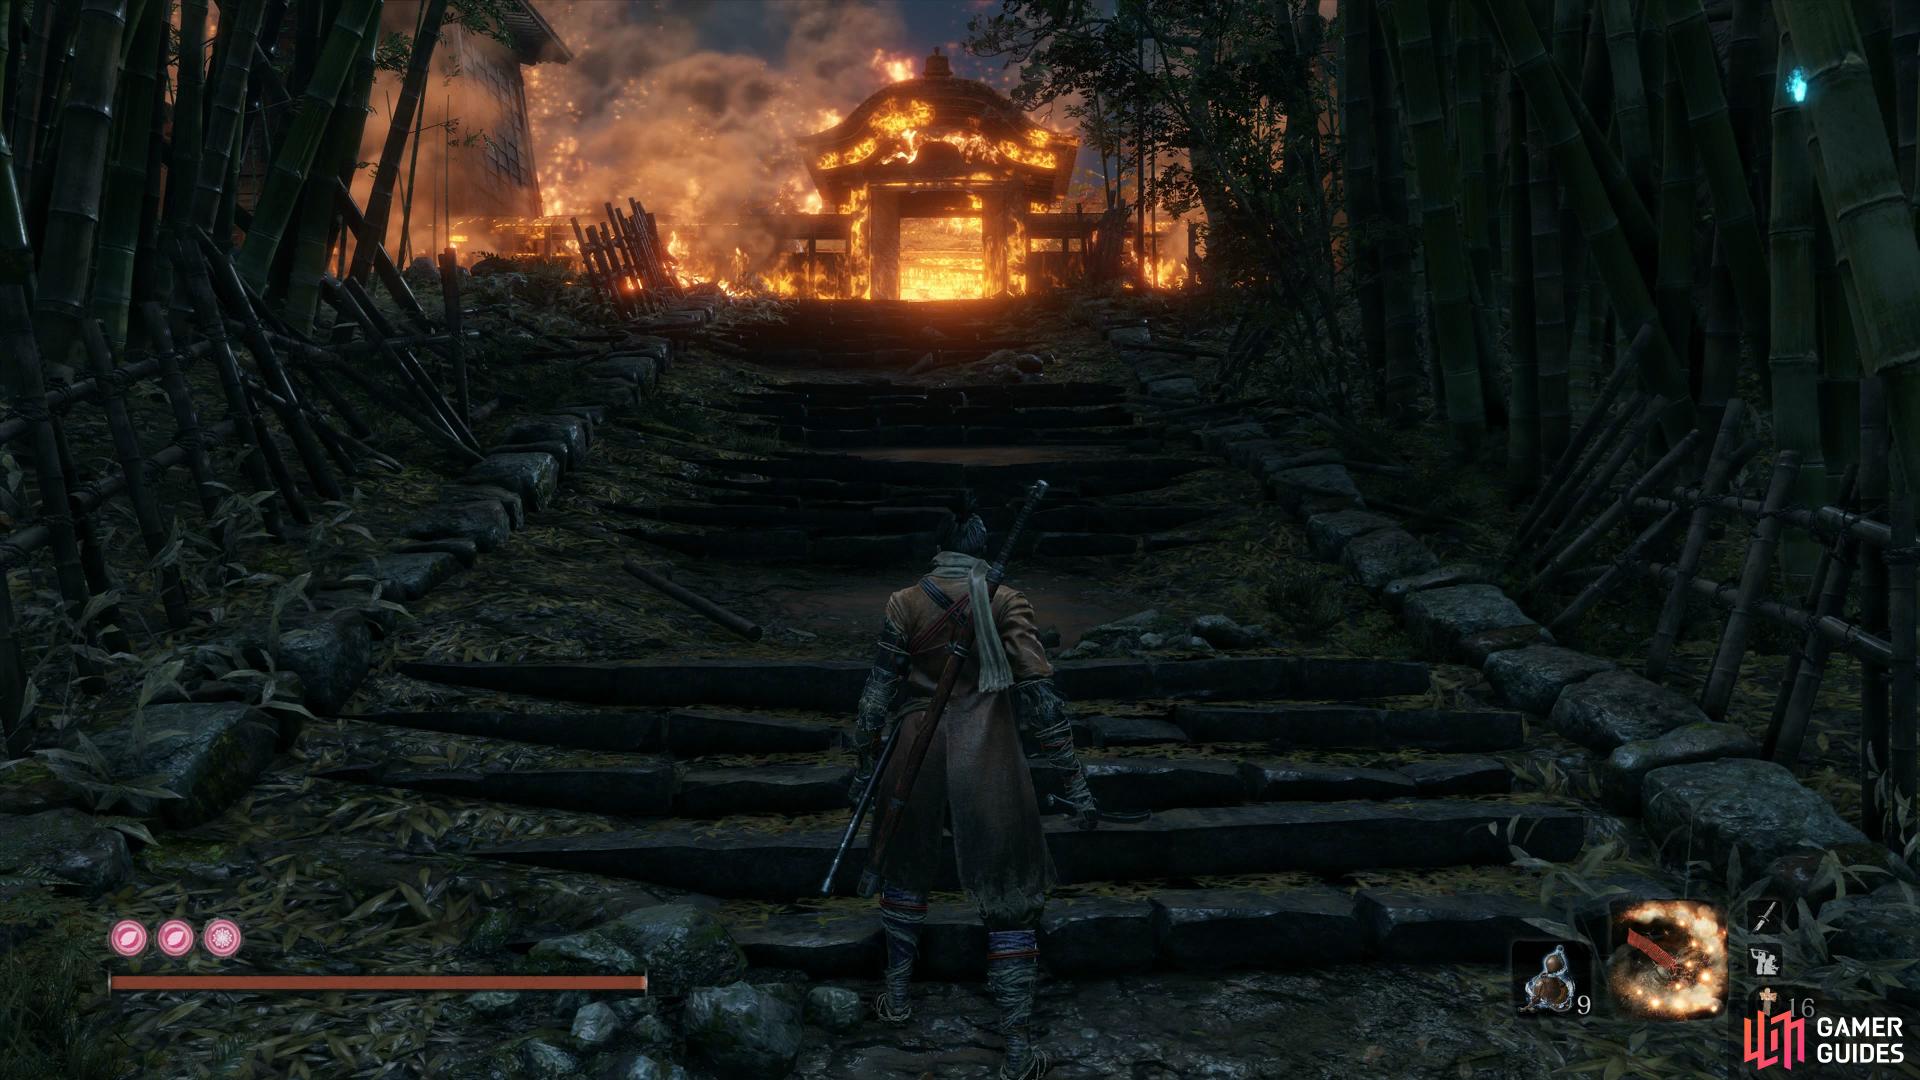
Return to the Buddha statue at the Dilapidated Temple and make some last moment preparations before using the statue to Pray once again and find yourself at a different version of the Hirata Estate.
Hirata Estate
To begin with, be sure to have your Shurikens equipped and on your Quick Slots and then turn around to face the bridge and dispatch the enemies there. Once defeated, slowly make your way up the path to encounter a foe you’ve just defeated in the present.
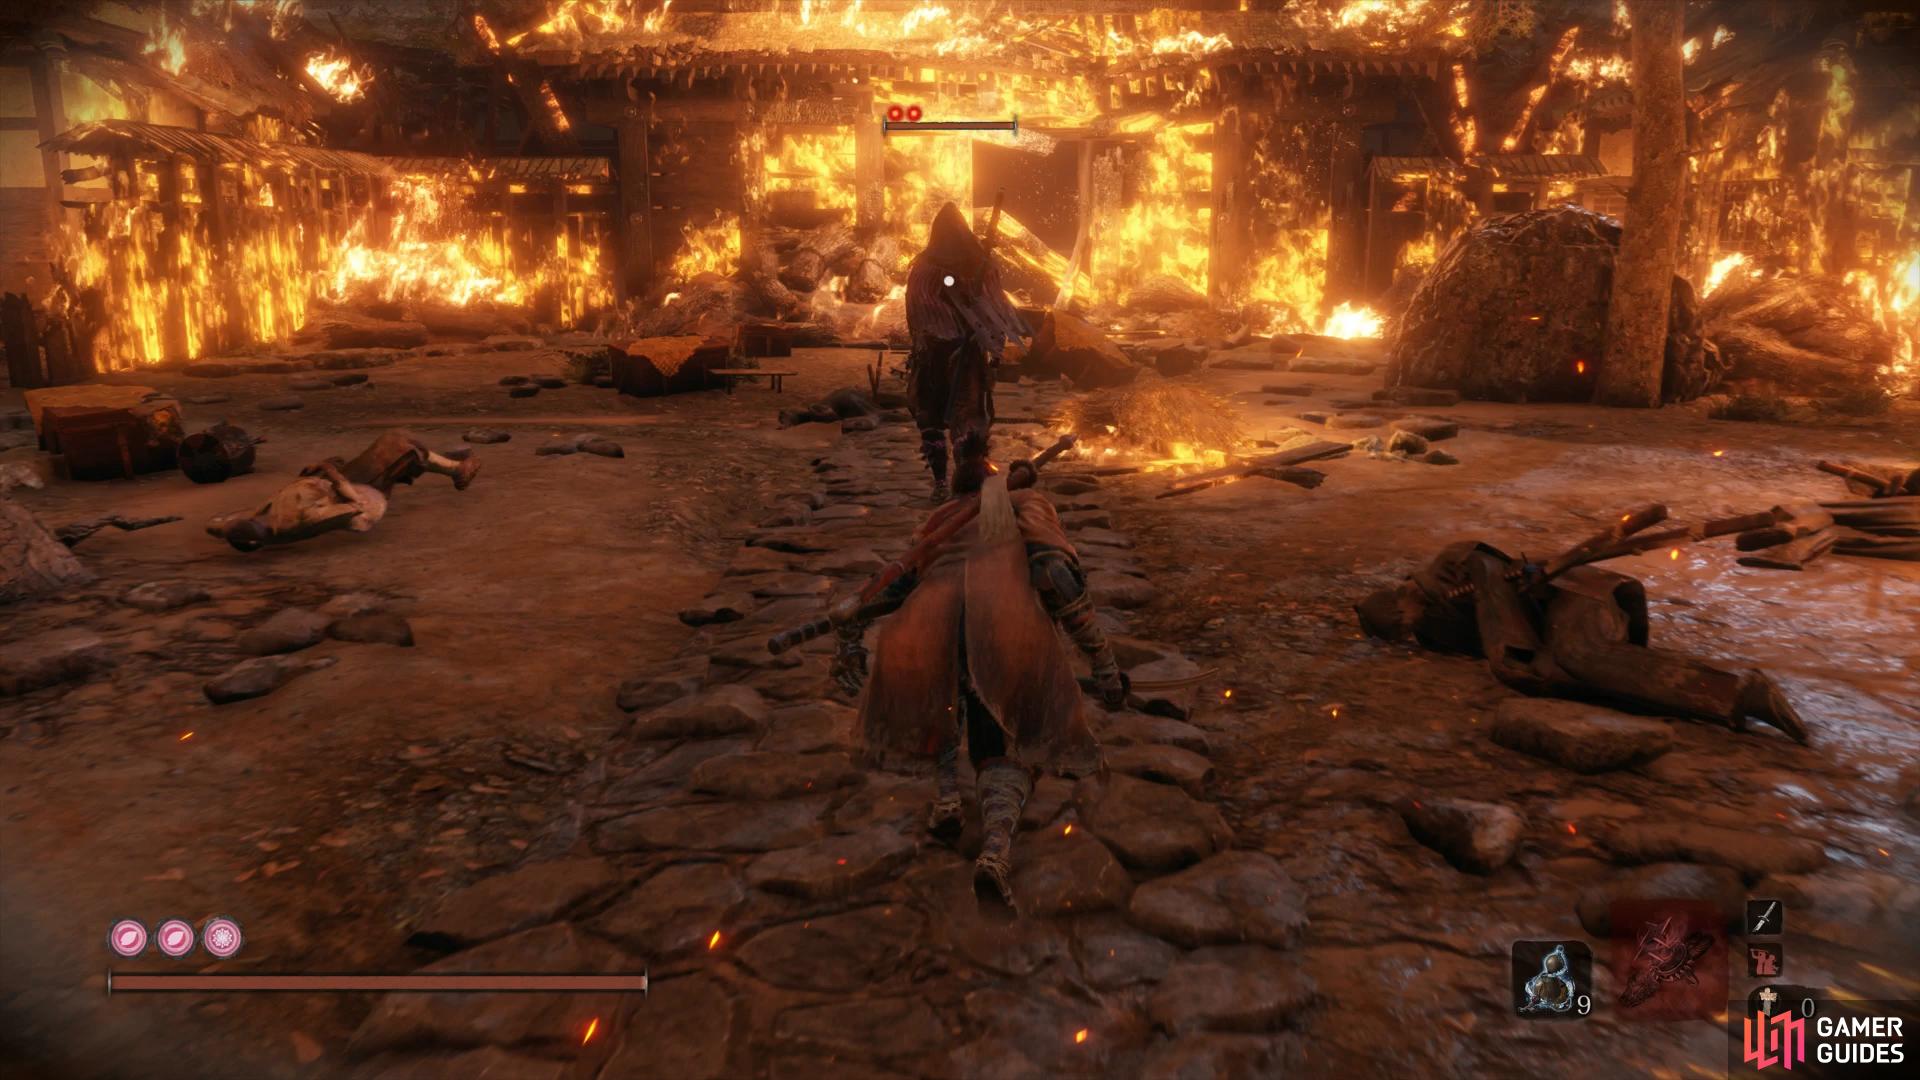
Mini-boss: Lone Shadow Masanaga The Spear-Bearer
Masanaga is very similar to his version you just defeated at Ashina Castle so be sure to check out the page for some more advice on how to beat him. There is a difference however this time as he’ll summon Dogs to charge at you, back up and use Shurikens to dispatch them and then make your way back across the bridge to lose the alert status from Masanaga. This will allow you to sneak behind him as he makes his way back and begin the battle with a Deathblow.
Score an easy Deathblow once you lose the alert status
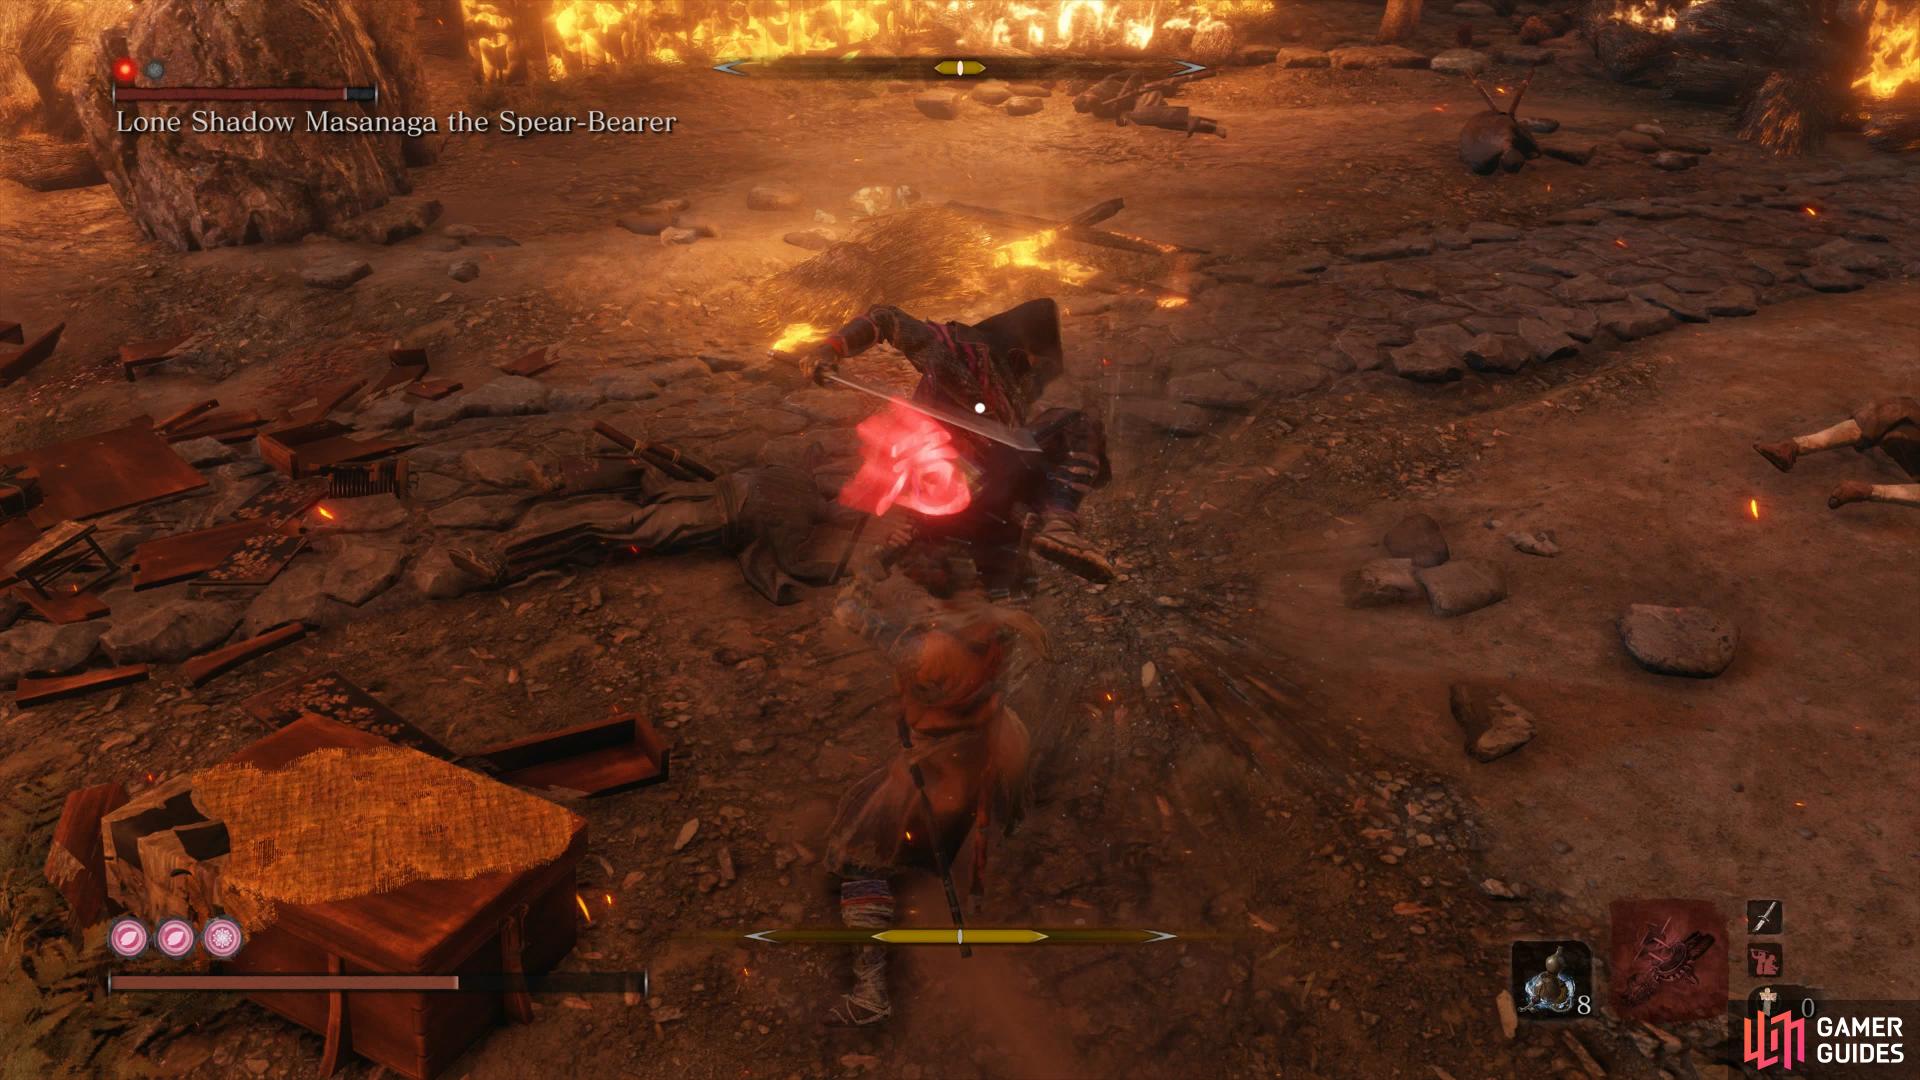
be sure to Mikiri Counter his Perilous Kick.
You should know how to fight the Lone Shadows by this point, remember that their attacks are quick and that you can Mikiri Counter the Kick Thrust. By far the easiest way to deal with Masanaga however is to bait his Leap Kick which he then follows up with a Perilous Sweep. If you jump this and Jump Kick him in the process, you’ll increase the posture gauge easily.
Your reward for this rematch is some Adamantite Scrap and another Prayer Bead. Head forward through the burnt down wall and dispatch the Archer before looting the nearby Fulminated Mercury. Be sure to equip the Puppeteer Skill if you can and wait for the Maul Giant to turn his back and use Puppeteer on him, this will allow you to take down the other Samurai and Shield Giant. Once they’re defeated, head to the right of the last enemy to find the next Sculptor’s Idol.
Main Hall
As you pass through to the large open area, you’ll spot a group of Samurai in front and to the right and a grapple spot to the left. Grapple to the roof and look over to the right to spot three Interior Ministry Ninjas on the roof at the back. Once again, make use of a Gachiin’s Sugar to get behind the first and perform Puppeteer to make the battle more fair.
Once they’re defeated, loot the nearby Adamantite Scrap and jump down to clear out the other three Samurai to loot some Mibu Balloon of Wealths. Make your way into the water now and sneak over to the house on the left to dispatch a Samurai outside. Inside you’ll find another four Samurai and yet again, Puppeteer is useful to making the fight a little more fair. Regardless of how you defeat them, loot the Light Coin Purse and Ashina Sake before sneaking around the corner to Eavesdrop on the enemies up ahead.
Mini-boss: Juzou the Drunkard
You guessed it, another battle with Juzou awaits up ahead but before you begin, you’ll want to take the route around to the left to backstab the Archer and Samurai which will cause the Lone Shadow and Juzou to dash at you. Run away and just the Lone Shadow will follow you (the water at the back is a good place to bring him) where you can focus on killing him alone.
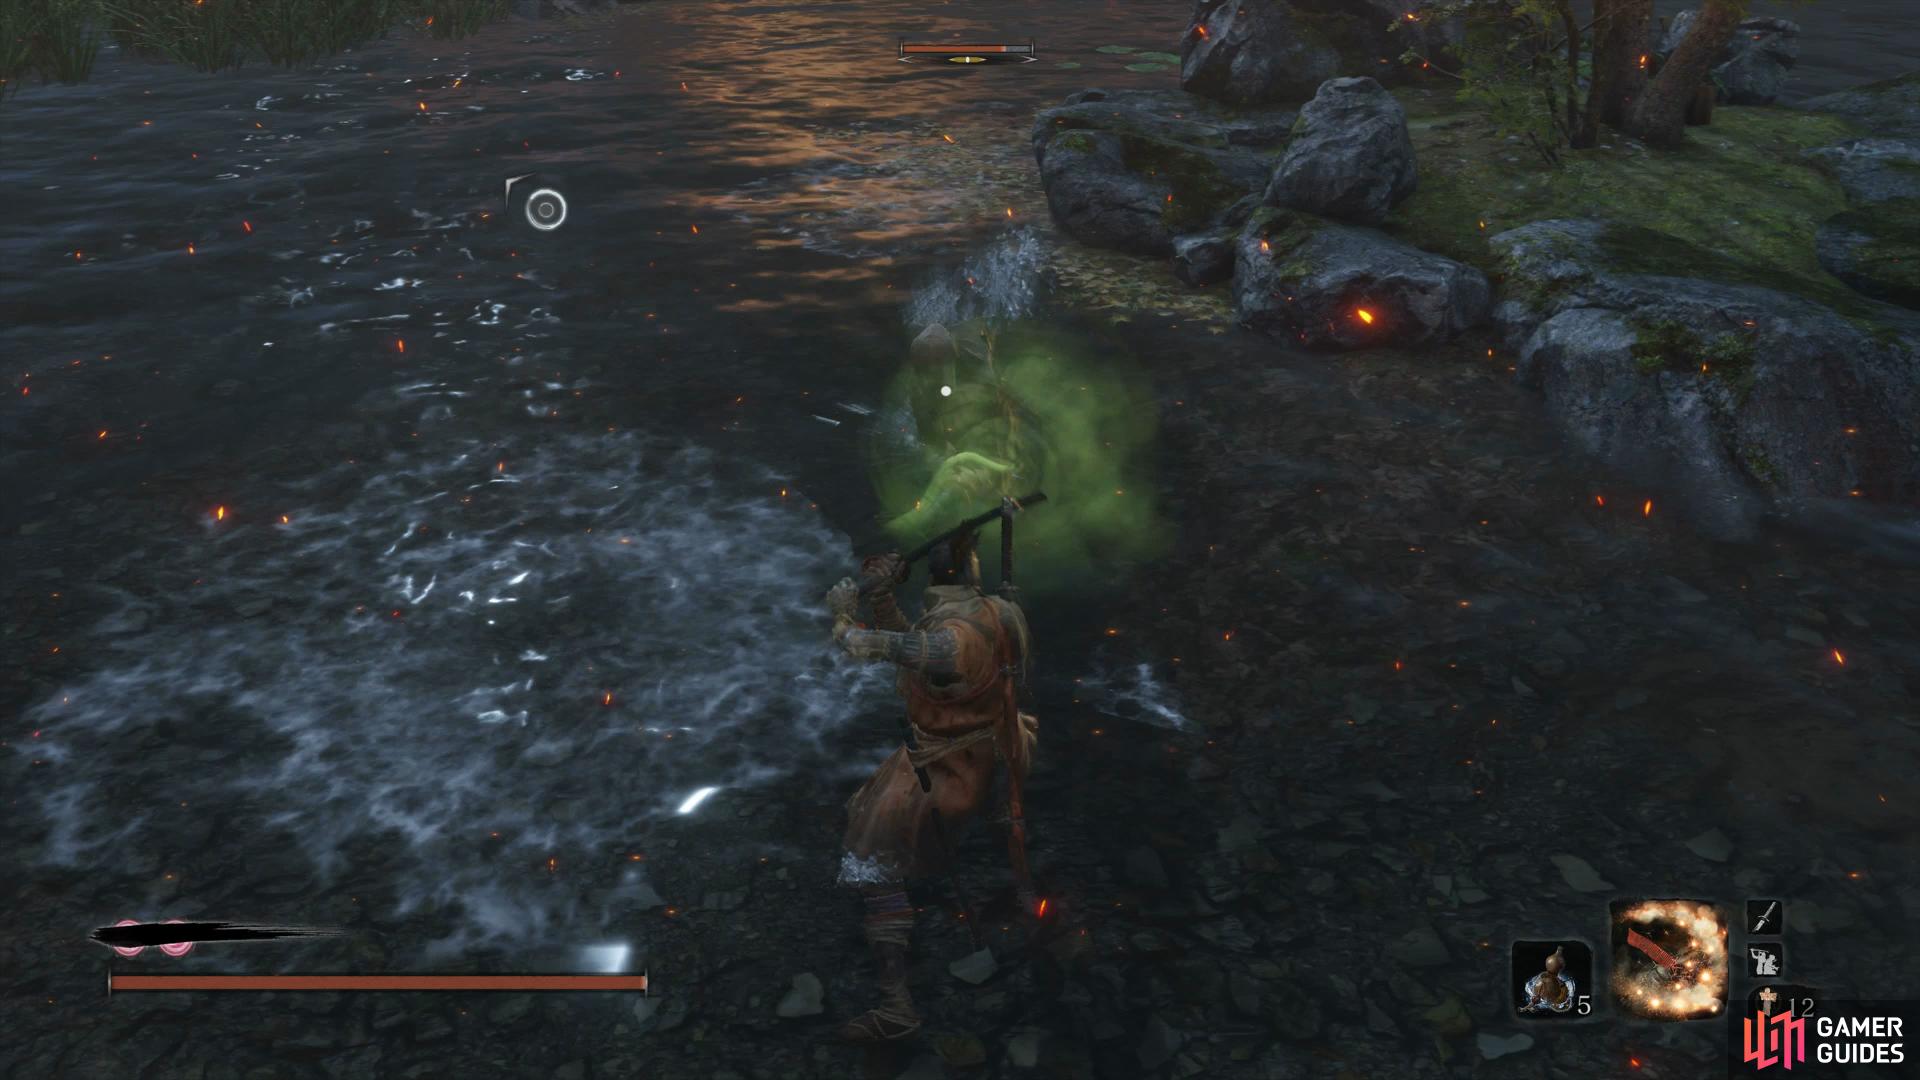
Pull the Lone Shadow away from Juzou and fight him alone
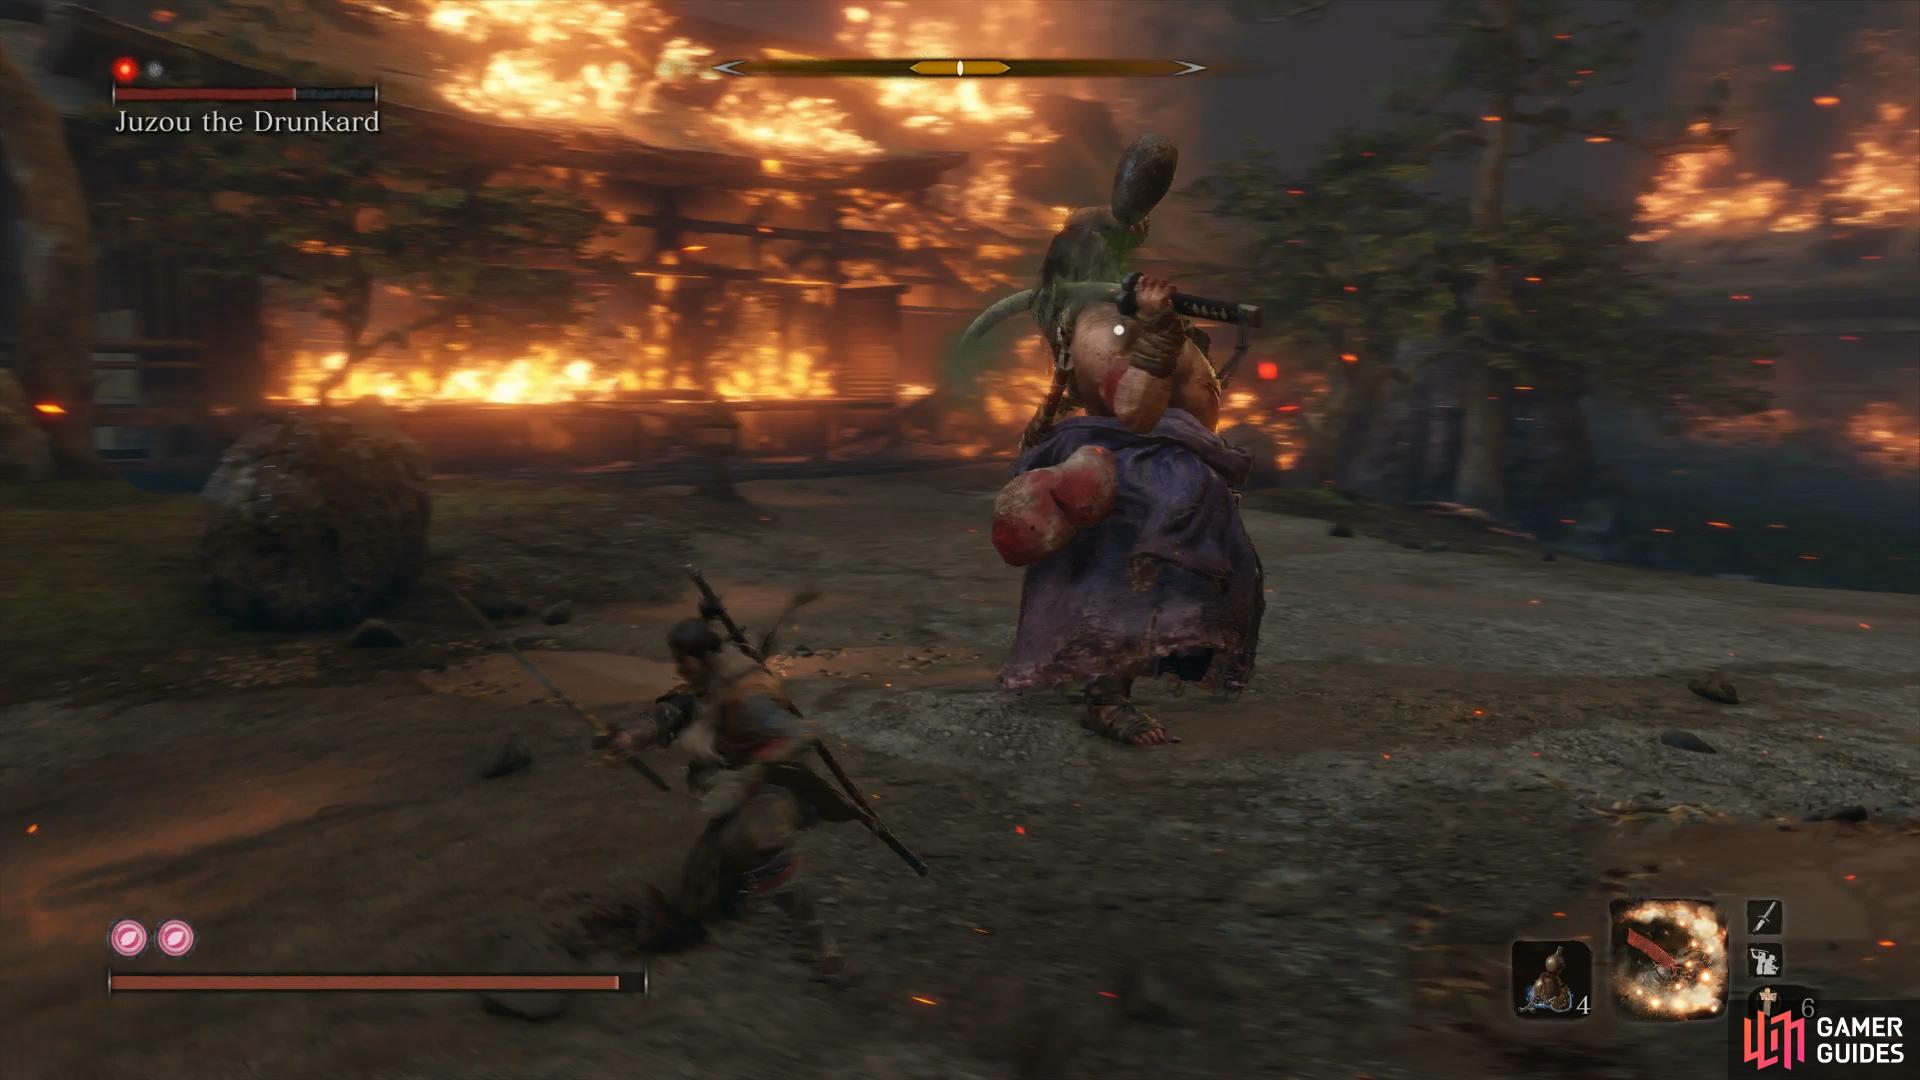
punish him when he’s drinking.
Once the deed is done, you should be left with just Juzou who has not been alerted again, this allows you to sneak up behind him and begin the battle with a Deathblow. Other than that, you’ve defeated Juzou at the beginning of the game and a similar enemy in the Hidden Forest so you should be aware of how to defeat him by now. Just keep your distance and hit him with attacks when he goes to coat his sword in Poison.
Your reward for this battle is another Prayer Bead, pocket it and then loot the nearby Fistful of Ash and Adamantite Scrap. As you head into the main temple, draw out the Spearman and take him on outside before making your way in and to the left to loot a Gokan’s Sugar and Fulminated Mercury further down the corridor. You can avoid the three enemies in the central room and jump through a hole to the right to loot the Pellets before making your way to the Sculptor’s Idol.
Consider taking the time to do some last minute preparations before you continue such as converting your Sen into Purses or acquiring some more Shinobi Tool upgrades. Once you’re ready, return to the Hirata Audience chamber Idol and head down the stairs to where you fought Lady Butterfly, one of the game’s toughest encounters await you.
Boss: Owl (Father)
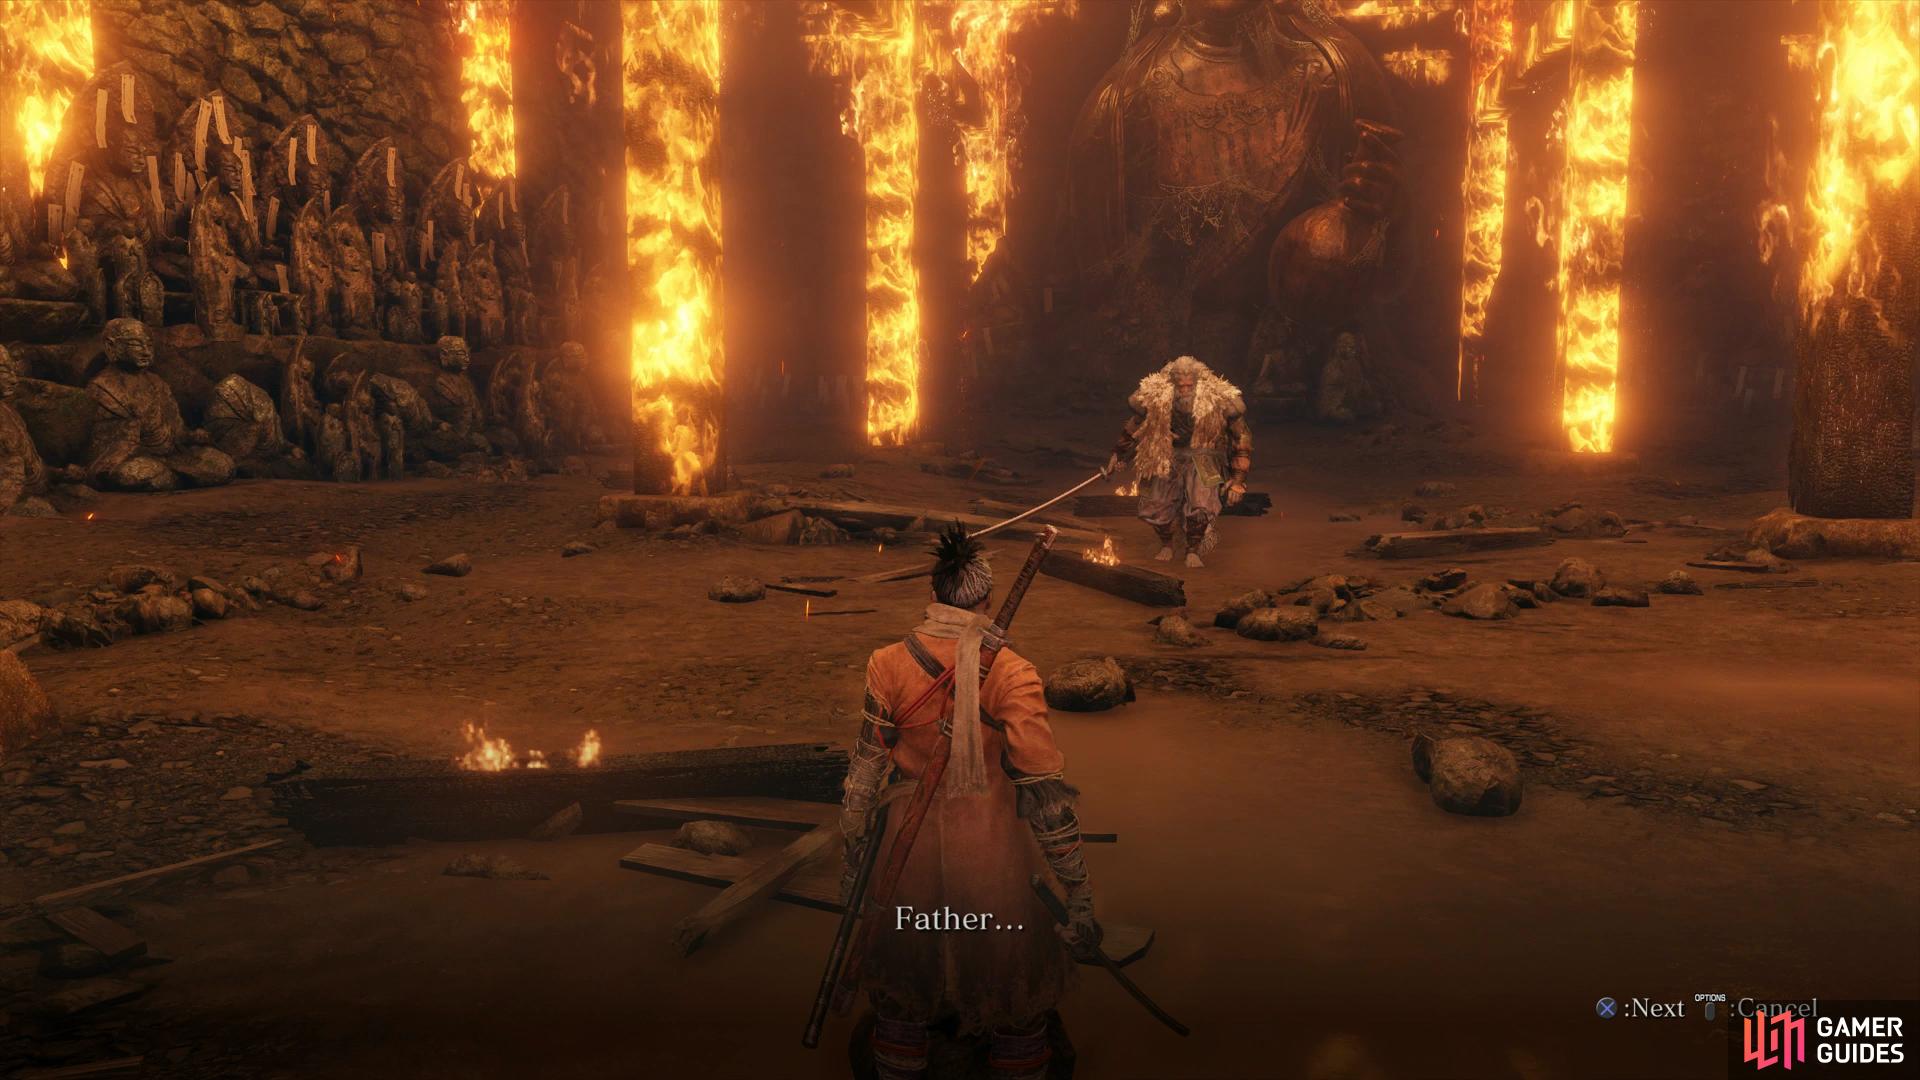
This is by far your greatest challenge yet and one of the toughest you’ll face in Sekiro. Owl is a lot tougher than you encounter back at Ashina Castle (and that was tough) and you’ll have to practice caution if you wish to best him. To begin with, he’s a lot quicker than his Ashina Castle version and will leave very little openings.
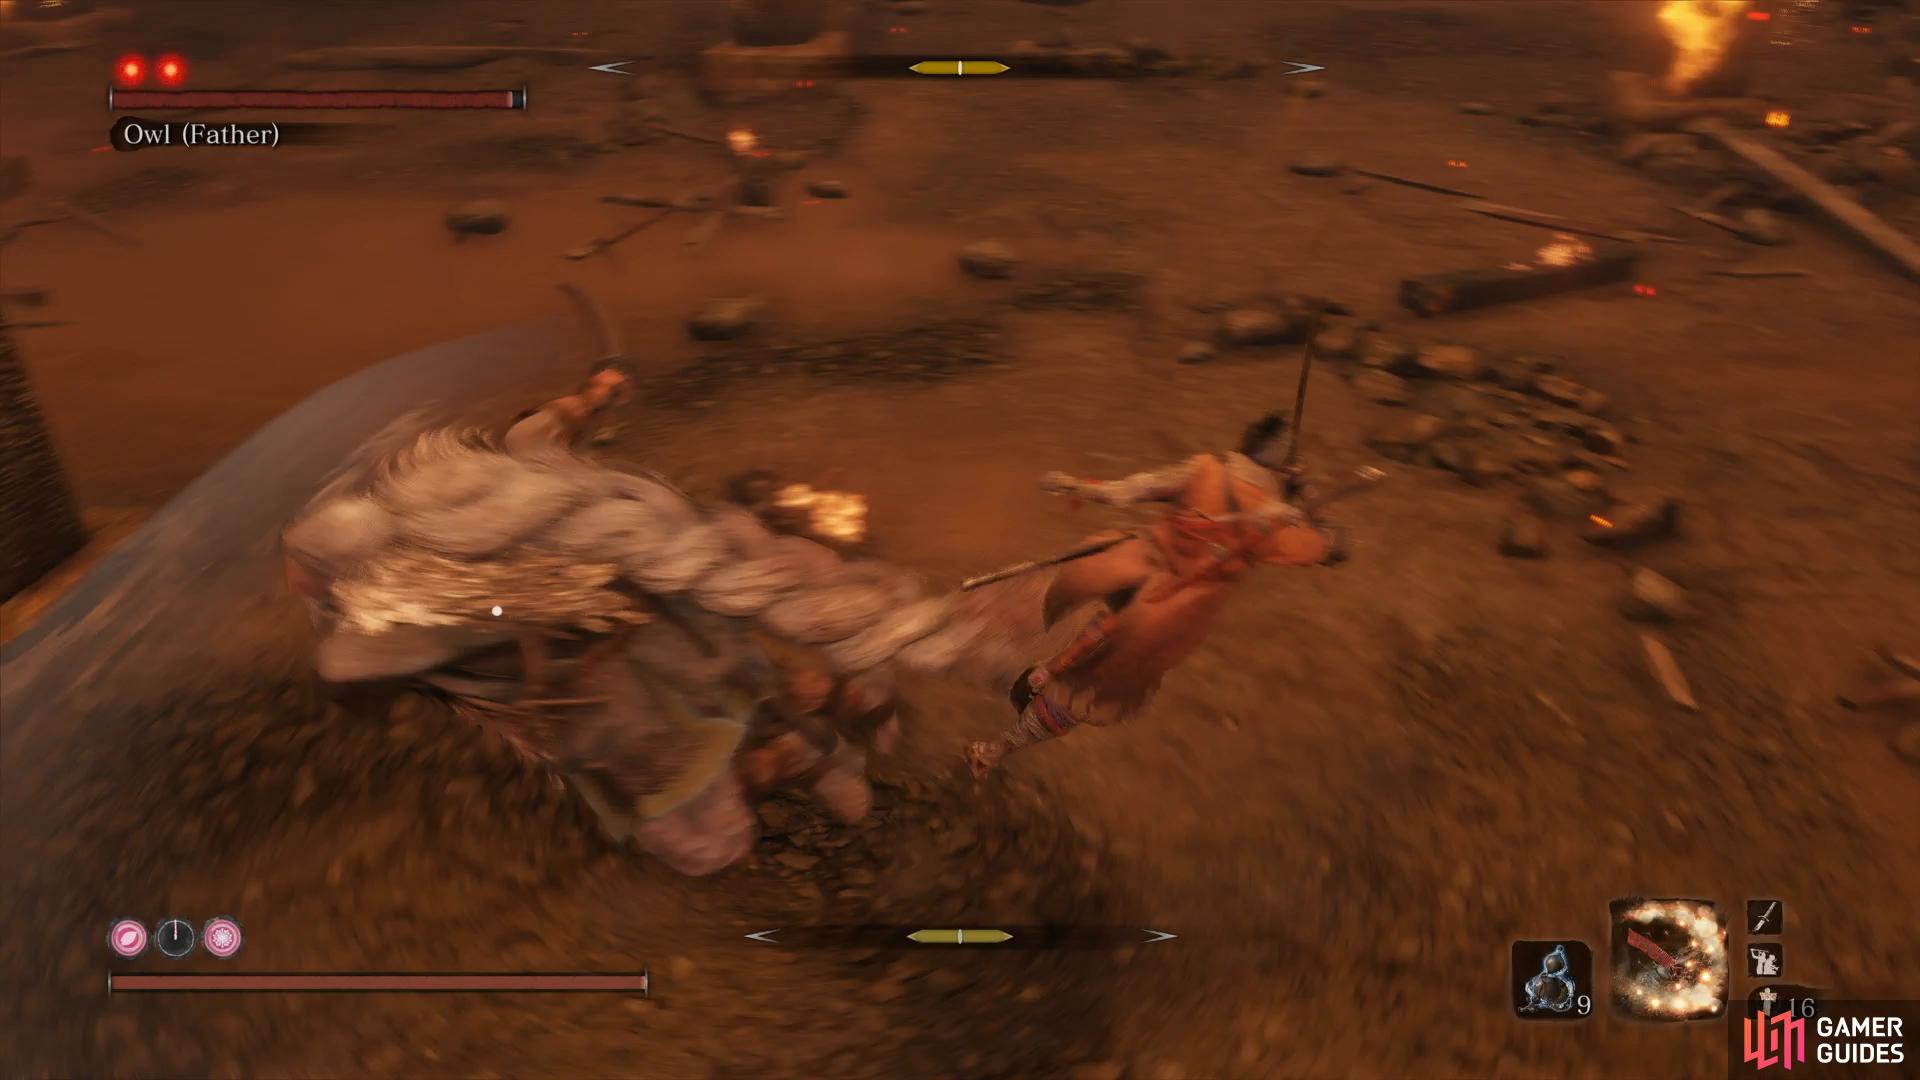
To begin with, he now will throw Shurikens at you constantly and follow it up with either a Chasing Slice to inflict huge posture damage or a flurry of strikes that will result in him Backflipping off you. He can then chain this into another flurry of strikes or perform an Ichimonji on you, be sure to dodge this at all costs as being struck by this is usually fatal.
The biggest change however is that Owl now loves to use his Firecracker Shinobi Tool a lot and how to deal with this will ultimately effect how you deal with him. The first attack to look out for is when he performs a shoulder charge at the end of his Combo, this signifies that he’s about to follow up with the Firecrackers and then a Chasing Slice so as soon as you block the Shoulder Charge, dodge up and toward his right to dodge the follow up.
The second follow up to his Chasing Slice is his Perilous Sweep that follows two strikes, be prepared to jump over him to avoid this deadly attack. Finally, he will jump high in the air and toss out more Firecrackers, this will then be followed up by either a Shuriken toss and Chasing Slice or the Shadowrush skill. The first part of the Shadowrush skill can be Mikiri countered but it’s usually in your best interest to dodge away from the attack entierly unless you’re sure you will land the counter.
All of this adds up to you staying on your toes and being patient, there’s not many openings against Owl and you’ll only be able to get a single strike on him before he resumes blocking. You’ll need to practice this first phase many times, attempting to preserve as many Healing Gourds as you can before you perform the first Deathblow.
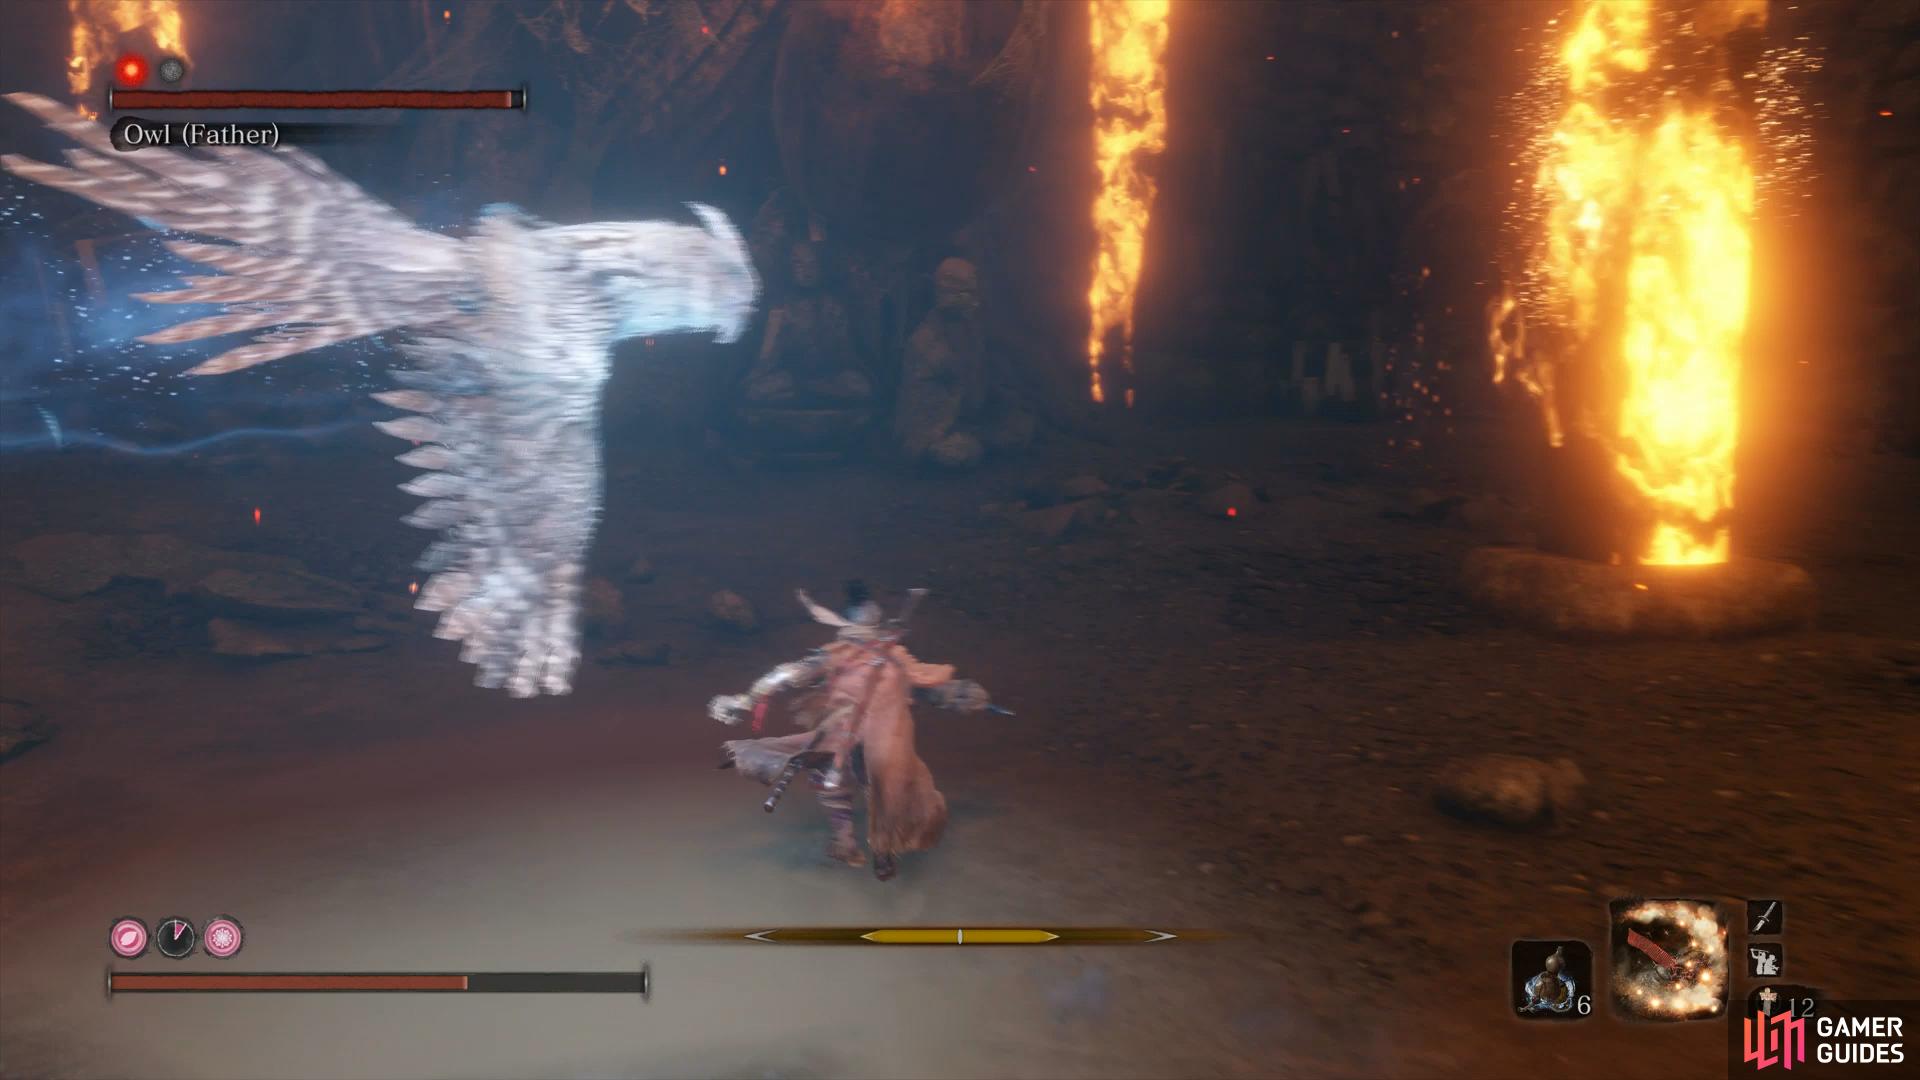
Phase two adds a few more nasty attacks to Owl’s already incredibly vast arsenal of attacks. You’ll notice an Owl (not the Owl you’re fighting) that will now show up at times itself and change color. If you see the Owl take a Blue color, this means that Owl (father) will gain the ability to disappear and reappear at it’s location and drop down with a Sweep, this is usually best avoided by running around the arena and waiting for him to land and miss the attack before closing in for a strike yourself.
If however, you see Owl (father) raise his hand, then the Owl will become Red and fly over to him. He will then toss this at you as a new Perilous Attack, dodge this by jumping either side but be ready for the Shadowrush that follows. Again, you can either try to Mikiri Counter the Shadowrush or continue to jump to the side to avoid the attack.
On top of this, he retains all of his attacks from the first phase so you’ll need to be patient and on your game the entire battle. Don’t get greedy with your attacks and only get a single strike on him when you get the opportunity. This will take many attempts until you can fully read all of his attacks but eventually, you’ll put Owl down for good.


Your reward for this battle is the Memory: Foster Father and the Aromatic Flower, the item needed to select the Purification ending when given your final choice after the final boss. Reclaim the Idol here and enhance your Attack Power before returning to the Dilapidated Temple to speak with Emma regarding the outcome of the battle.
You’ve completed the steps needed for the Purification ending now so continue on to the next page and make your journey to the Fountainhead Palace.
No Comments