
Passing through the Abandoned Dungeon
You may remember briefly passing through the Abandoned Dungeon earlier in your journey and it’s now time to return to the location if you’re to reach Senpou Temple. Travel back to the Abandoned Dungeon Entrance Idol and make your way down the stairs and crouch through the open cell to your right. Laying on the ground to your left is a Dungeon Patient, perform a Deathblow on him and wait for him to rise again, you’ll need to kill these enemies twice to fully keep them in the ground.
Following the death of the Dungeon Paitent, loot the Pacifying Agent at the back of the cell and return to the main path outside. You’ll encounter Crickets, enemies that can be taken out with a single strike, and another Dungeon Patient. Continue forward and take a left to enter another cell with more Crickets and the Rotting Prisoner’s Note at the back of it. This will give you more information on how to find the Fragrant Stone, information useful for later.
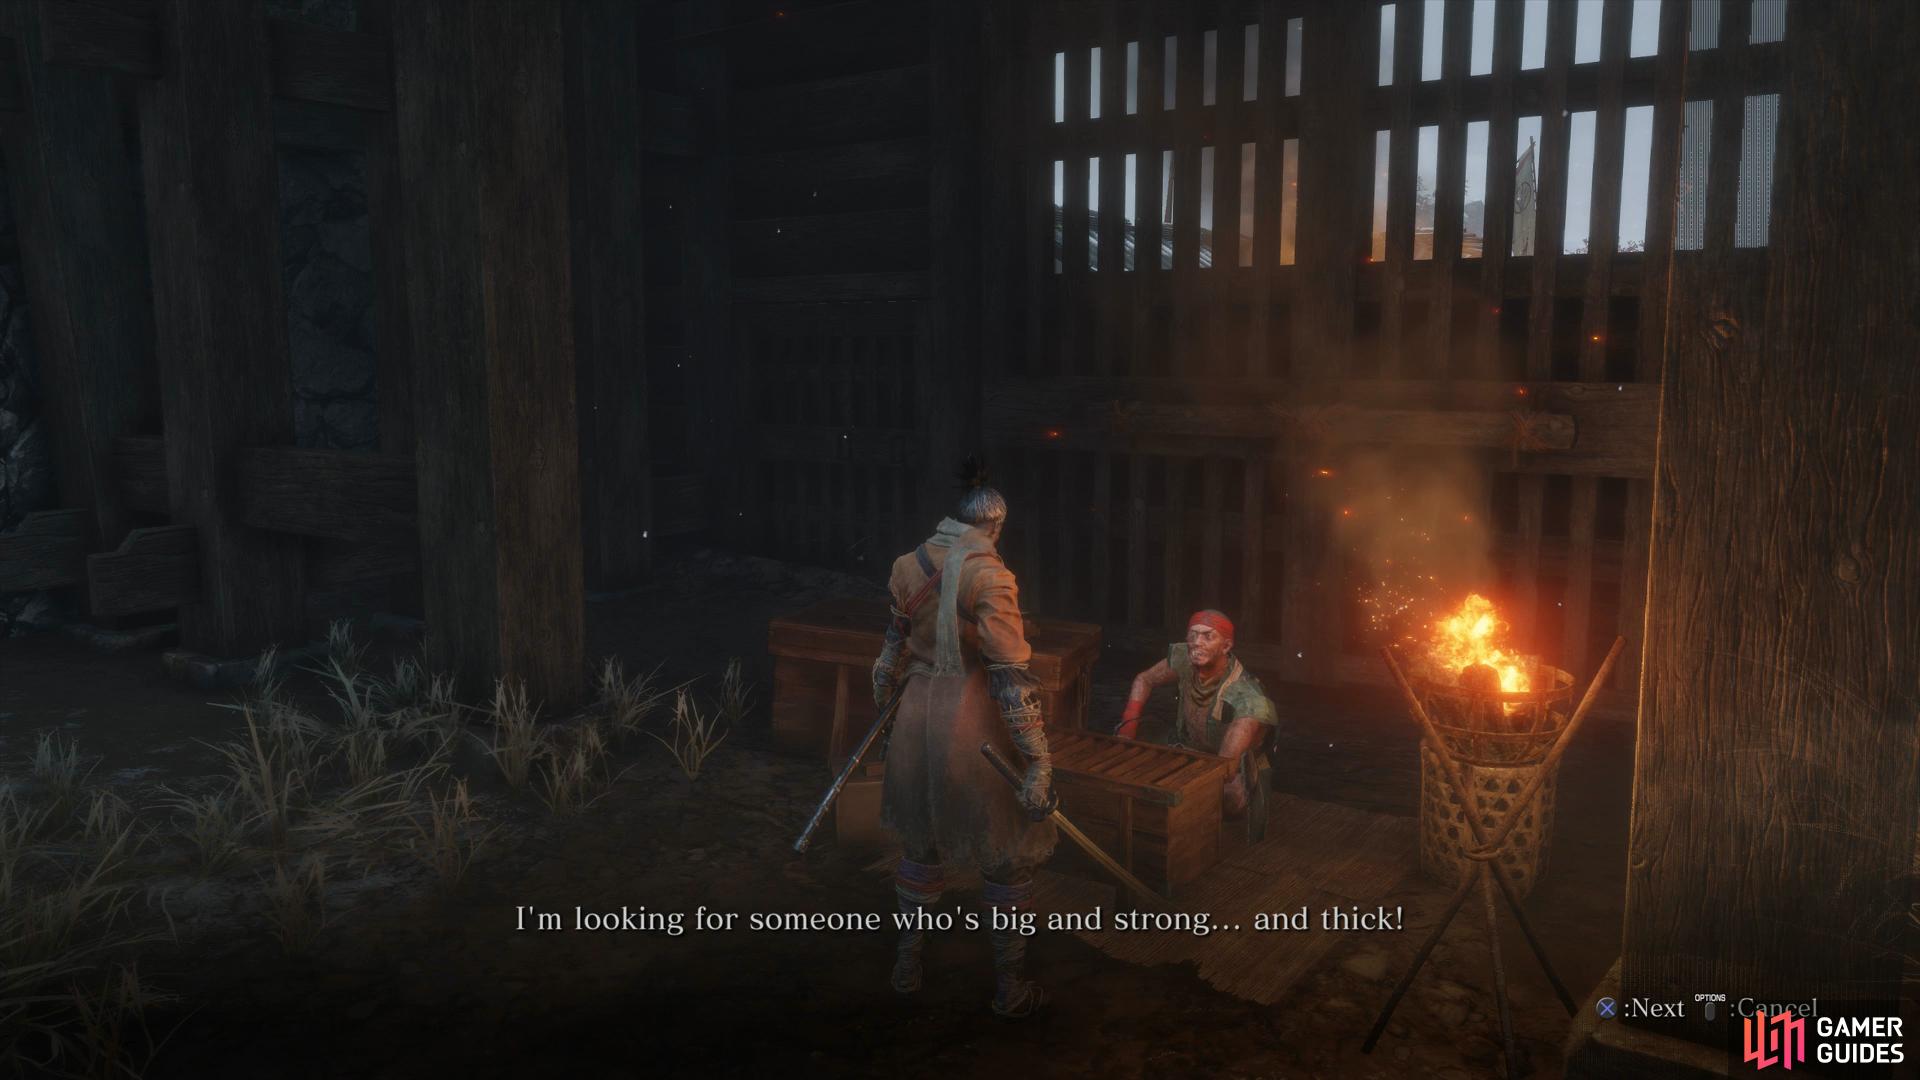
Continue along and avoid the drop, across it is another Dungeon Patient and more Pacifying Agents. You’ll also find to your left a curious fellow by the name of Doujun and sets a task for Wolf, handing over the Surgeon’s Bloody Letter in the process. You’re to find a tough man and send him to the dungeon, this is an NPC Quest that interlinks with two others and you’ll only be able to complete one of the other two if you choose to take part in Doujun’s. Head to the respective page to find out more, the walkthrough will proceed with the other two NPC’s quests instead.
Continue down the path from Doujun to defeat two more Dungeon Patients along with many more Crickets, behind them lies a Red Lump, a curious consumable that will prevent flinching when being struck but also prevent the use of Resurrection. Continue down the path from here to come across the Underground Waterway Sculptor’s Idol, rest up if need be and then pocket the Scrap Iron before heading into the water.
Quietly swim over to the small portion of land to your left and sneak up on the Spearman to backstab him followed by quickly defeating the other guard. To your right is another Marksman you can sneak up on, leaving the area free of enemies and allow you to loot a Light Coin Purse, Black Gunpowder, Pacifying Agents and finally, some Ako’s Sugar in the boat.

Using Bloodsmoke, you can backstab both of these without being seen.
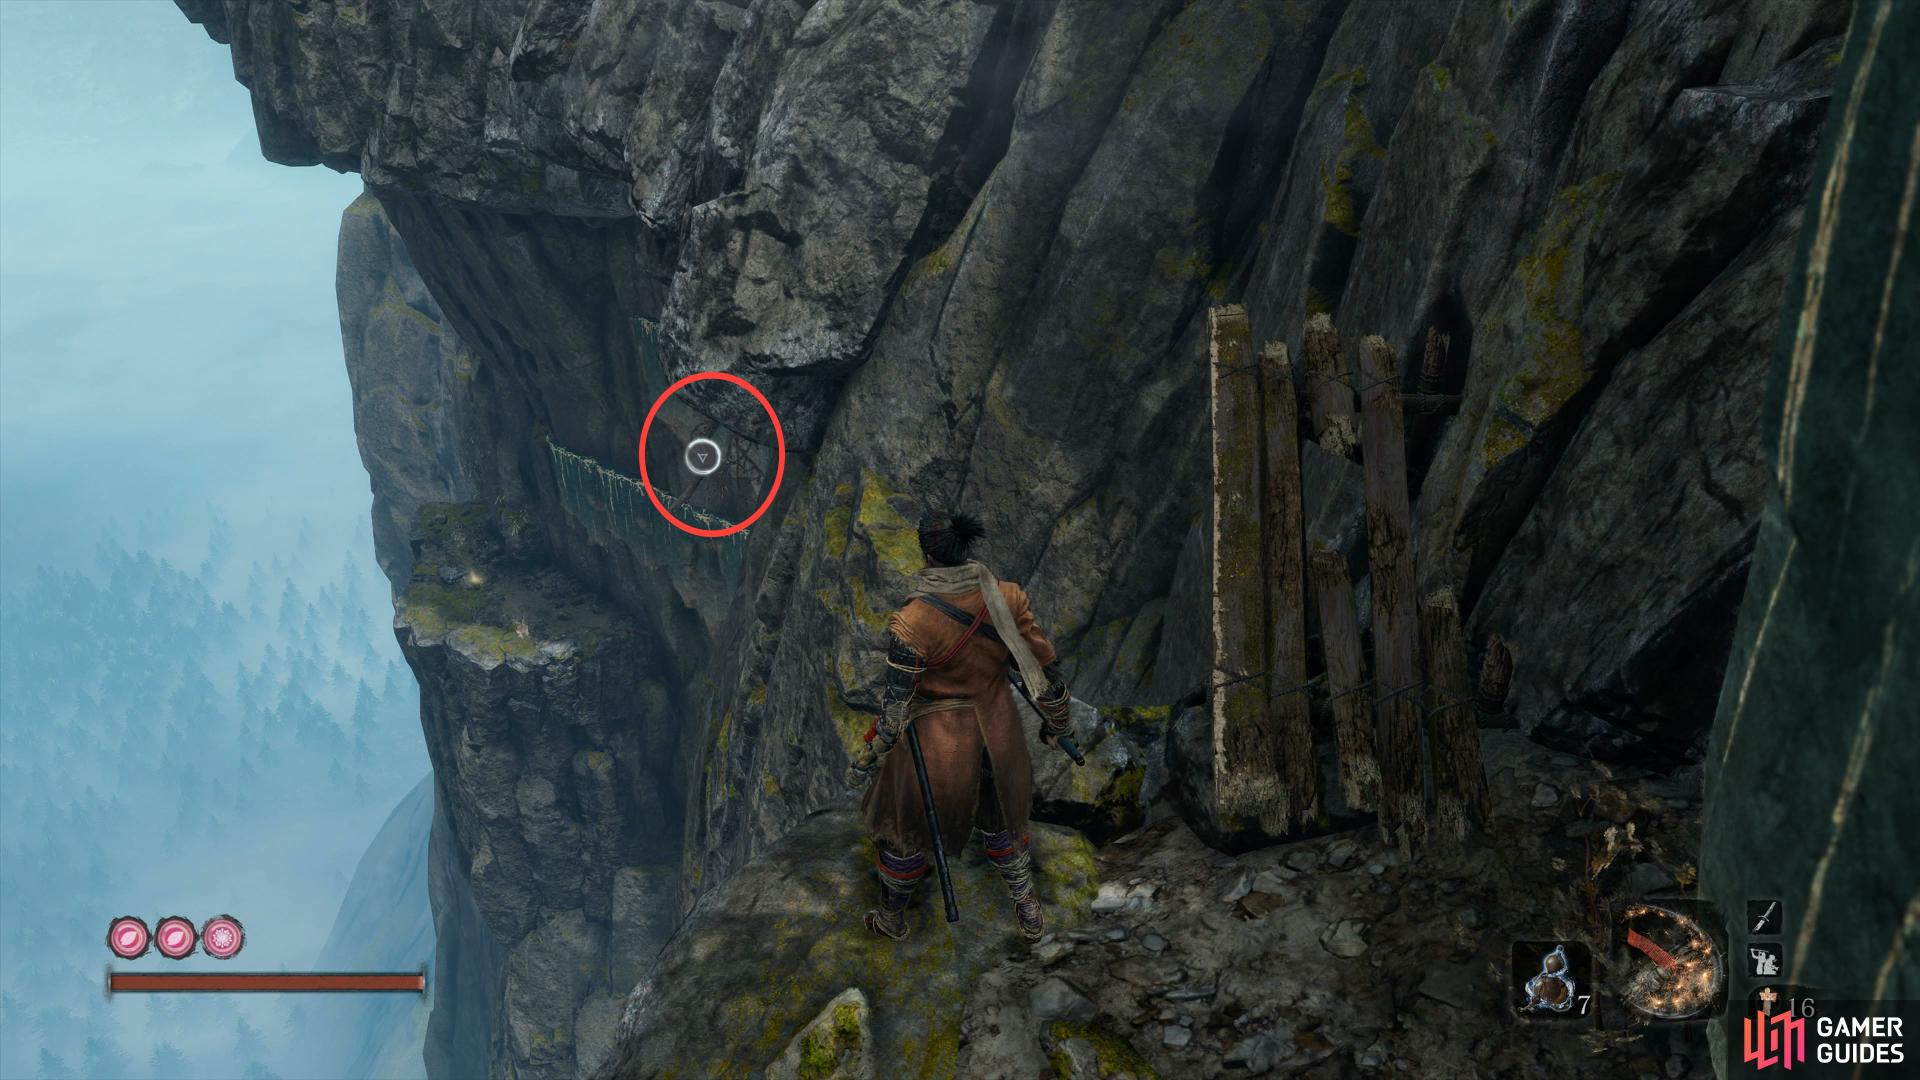
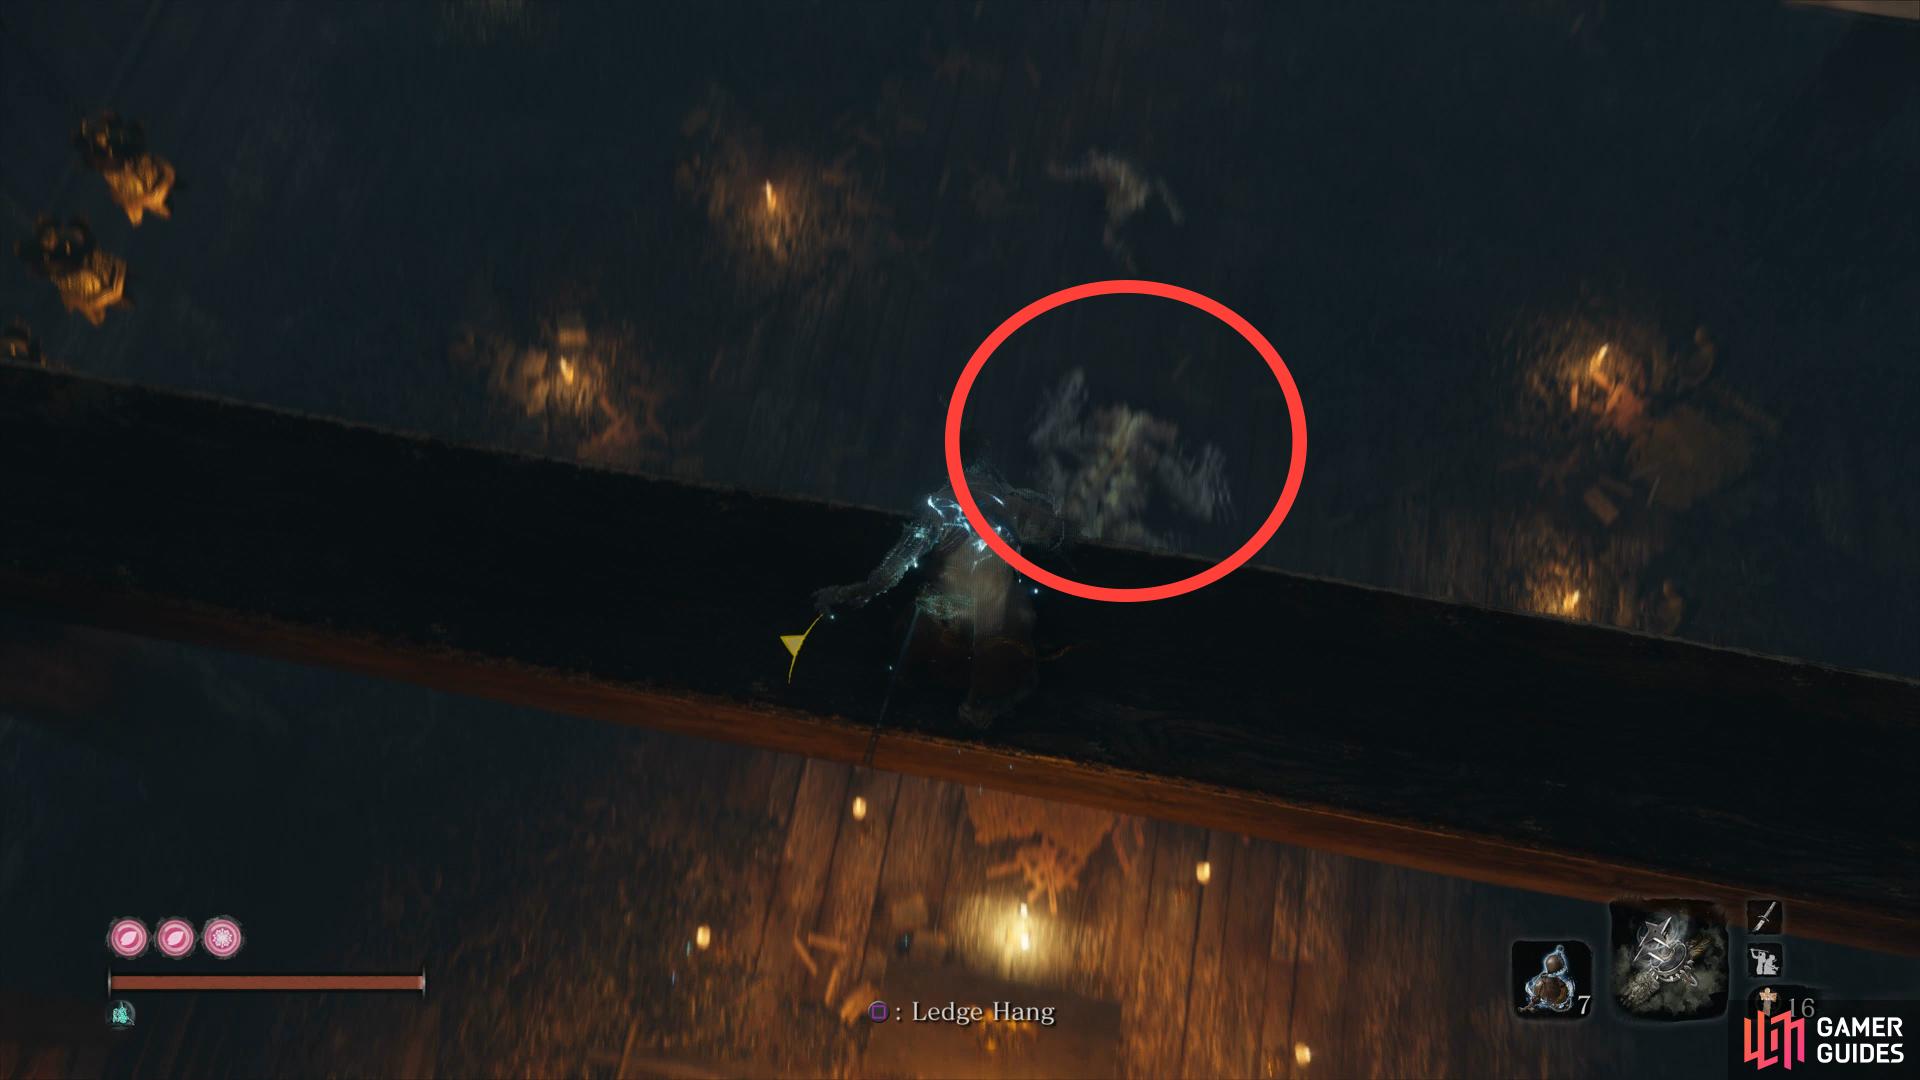
There’s nothing left to do here so return to the water and keep to the right, swimming around the rock to find a ledge you can hang from and dispatch the Marksman before finishing off the other guard. Head to the end of the path and operate the mechanism to call down a lift for you to ride to the top and enter Senpou Temple.
Senpou Temple, Mt. Kongo
Ignore the voice for now and make use of the Sculptor’s Idol to rest up. The Scroll mysteriously gives you a warning about the dangers ahead, one that you’ll choose to ignore and press on for the sake of the Divine Heir. This is in fact a good time to return to Anayama, found at the Outskirts Wall - Stairway, seeing as you have the information he was seeking.
Return to the nearby Idol and rest to refresh the world state and return to Anayama once more to discover his new wares for sale. The most noteworthy however is the fact that he now sells Scrap Iron and Black Gunpowder in an unlimited capacity, useful for upgrading your Prosthetic Tools. After leaving his shop, he makes one final request of you, to find a bodyguard willing to loot battlefields without question.
Anayama will have another task for you.
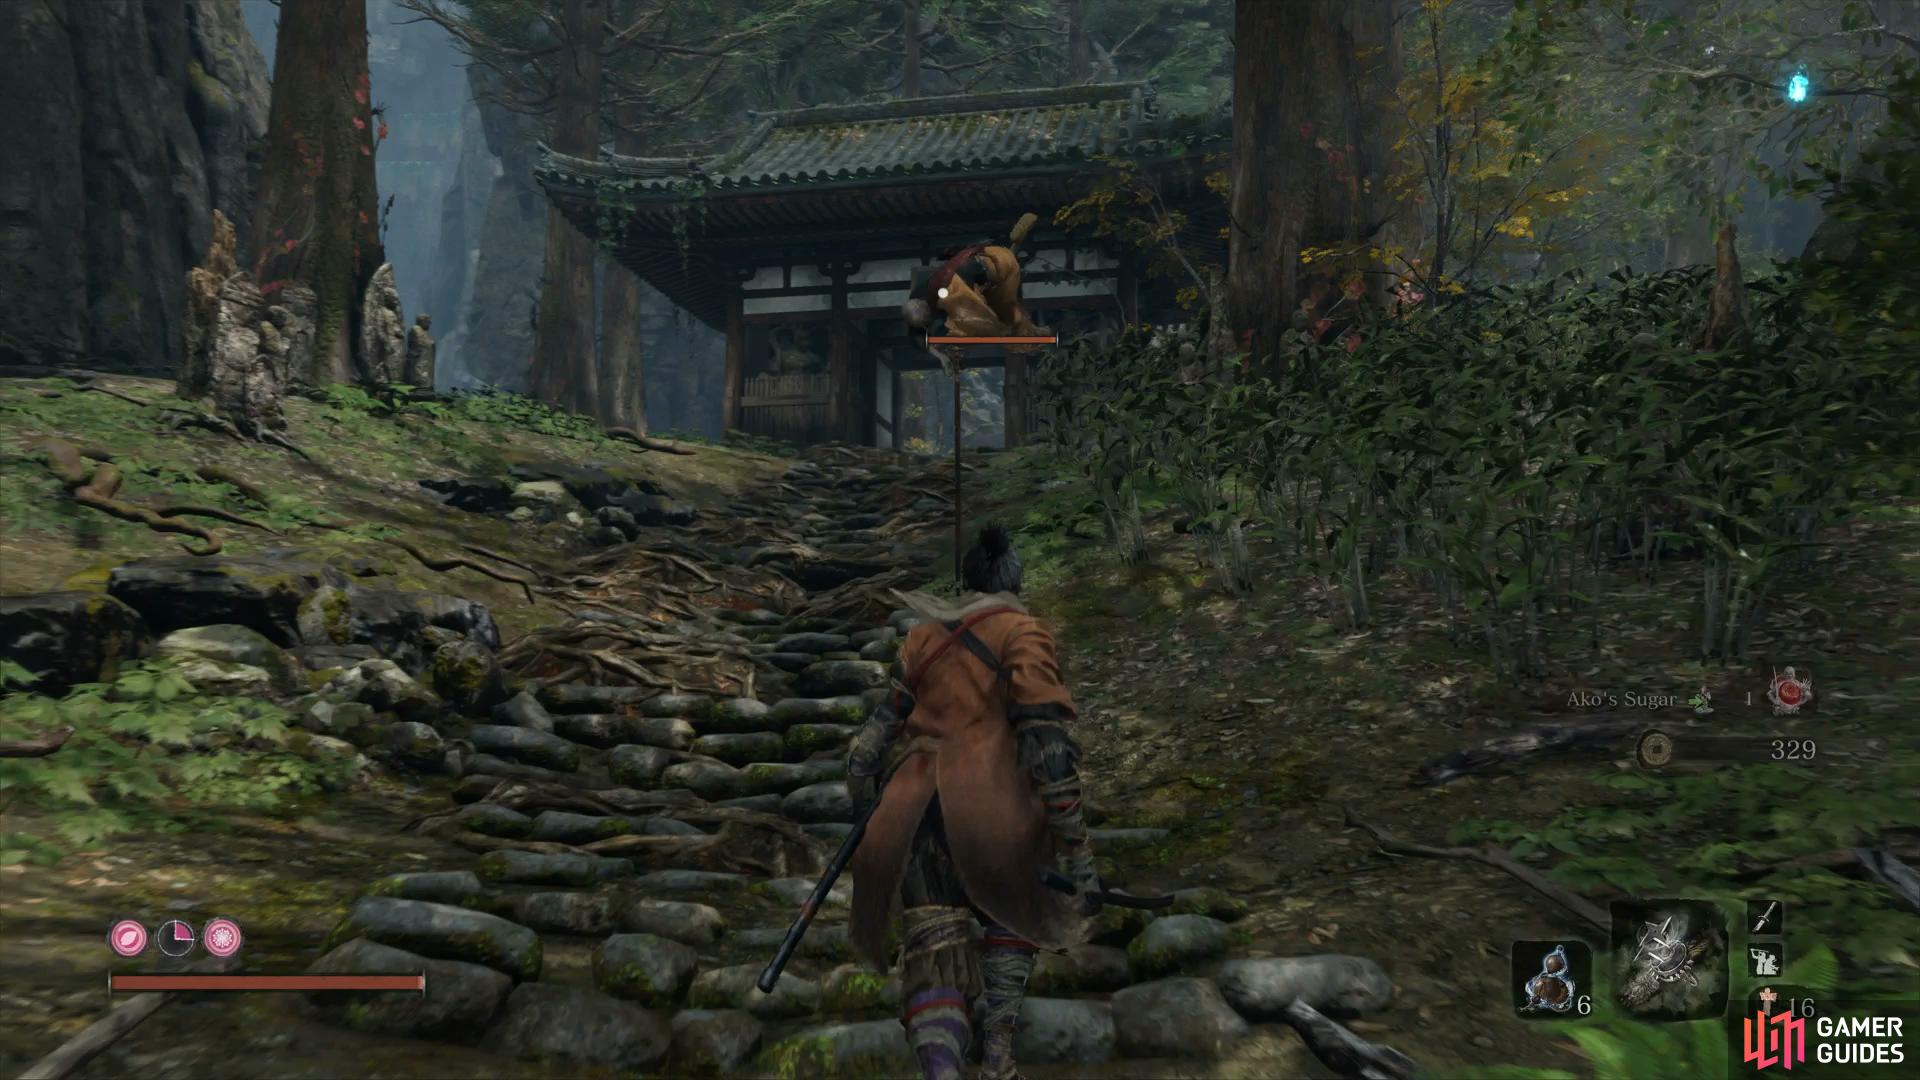
Return to the Senpou Temple Idol and when you head outside, drop to your right and search the outside wall of the structure you just left to discover some Scrap Iron. Head down the path to meet with Kotaro, a monk who is reeling about being left behind. Go ahead and inquire as to why he’s crying to discover that he’s seeking the Pure White flower however there’s nothing you can do about this for now.
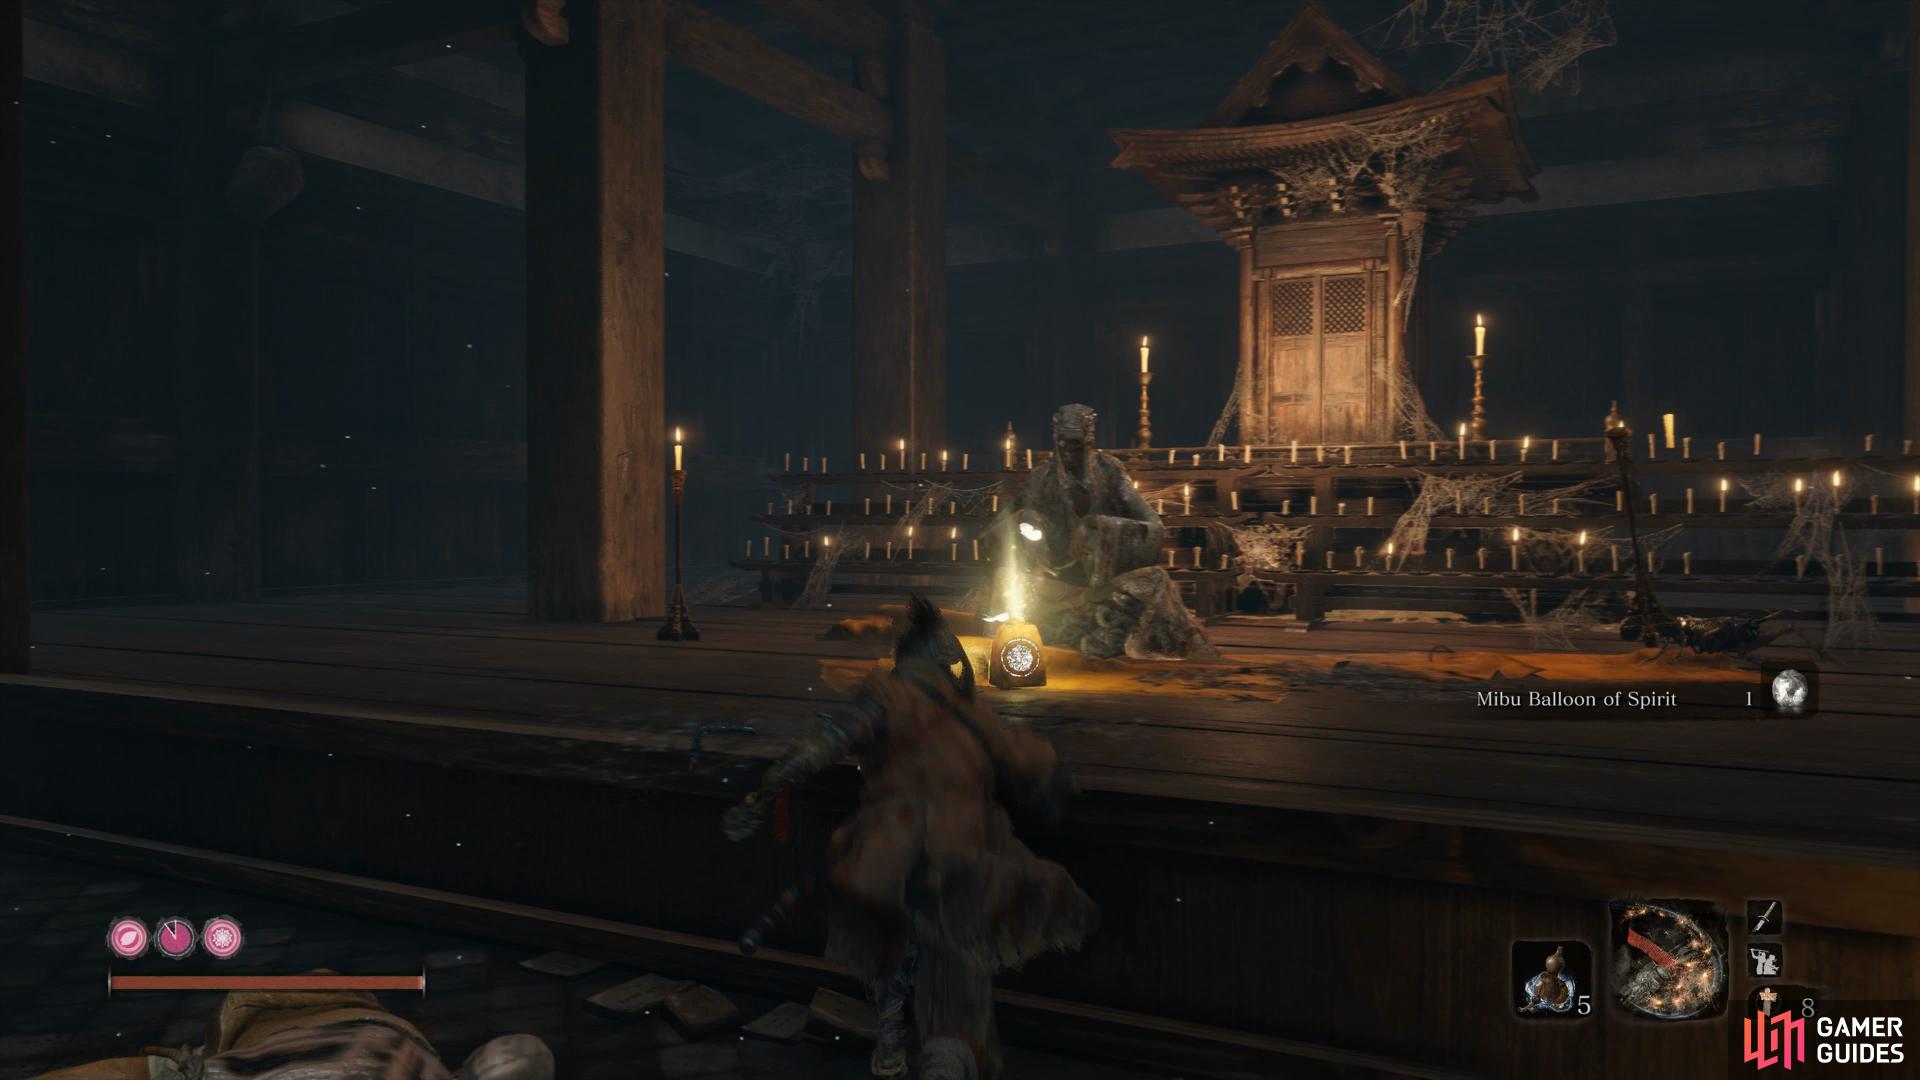
Head down the path and take a right to find a Monk facing the broken bridge, backstab him and then drop under it to loot a Gachiin’s Sugar and a Mibu Balloon of Spirit. Just up ahead is another Rat for you to dispatch along with a strange mechanism that alters the height of the nearby Kite. This is of no use for you for now but remember it’s location, it will be a place of vital importance.
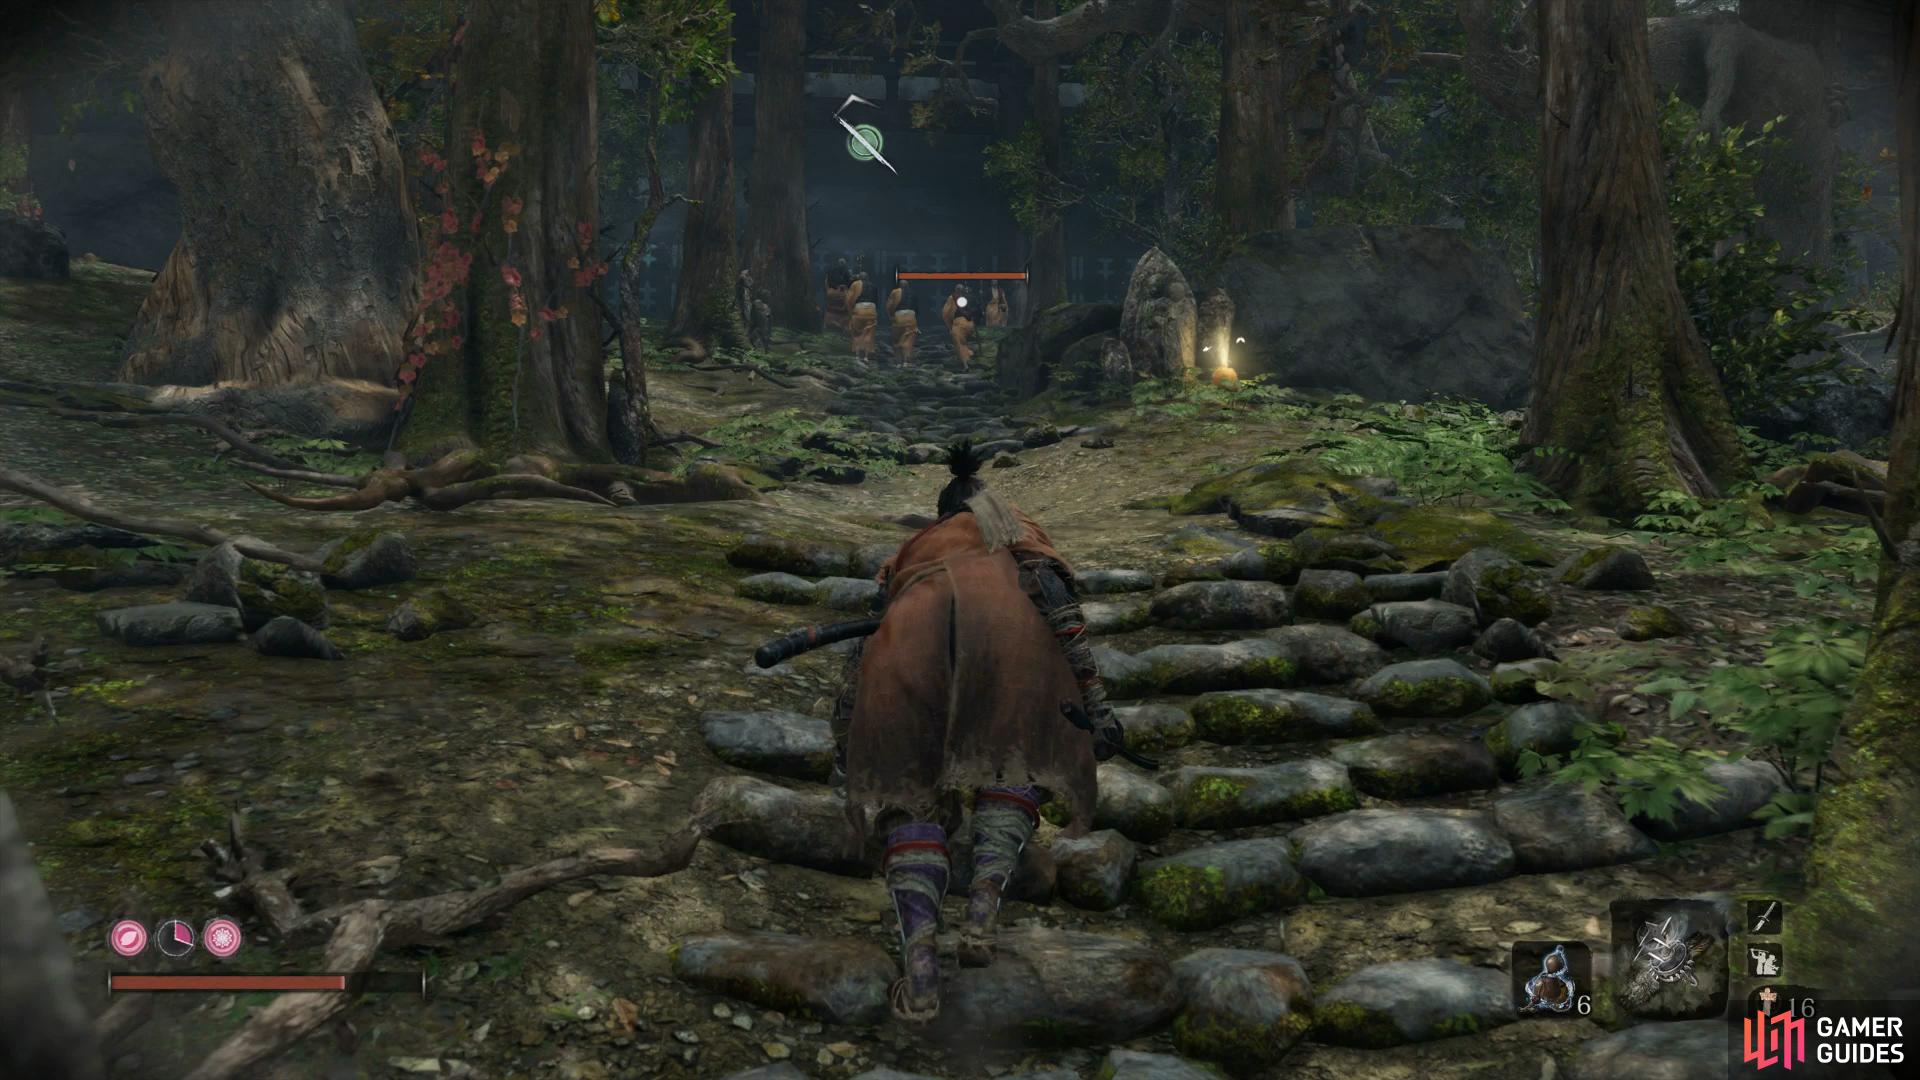
Grapple back up and continue along the path to the right, choosing to stick to the long grass or branches overhead. You’ll see many Senpou Monk’s along this path and although they may look harmless, their martial arts prowess are very deadly. Indeed, you may struggle to learn the timing on blocking their melee attacks so retreat if you find yourself against more than one for now.
At the first gatehouse, you’ll come across your first Staff Monk who are more deadly than their counterparts should you be seen. Luckily, this one can be simply backstabbed by heading around the back of the gatehouse. On the roof of this gatehouse you’ll find a Light Coin Purse and then turn your attention to the many Monks up ahead. You’ll want to lure these to you one at a time if possible to try and whittle down their numbers.
The Staff Monks are deadly, avoid dodge to the side of attacks such as this
lure the Monks down with Shurikens.
You’ll find a group of three down a path to your left, dispatch them and loot the Mibu Possession Balloon. Work on luring the rest of the Monks ahead back to the first gatehouse, you’ll want to take on the Staff Monks on their own especially. Once all of the Monks have been dispatched, you can set about looting all of the items scattered around here. You’ll find a Pellet and Pacifying Agent to the left while an Ako’s Sugar sits along the main path. To the right of this area you’ll find Antidote Powders, and a Light Coin Purse by a tree at the cliff’s edge along with a Heavy Coin Purse along the right exterior of the Temple ahead. Finally, behind the two Monks at the top, you’ll find some Fistful of Ash, pocket this and then grapple up to the rafters to access the interior.
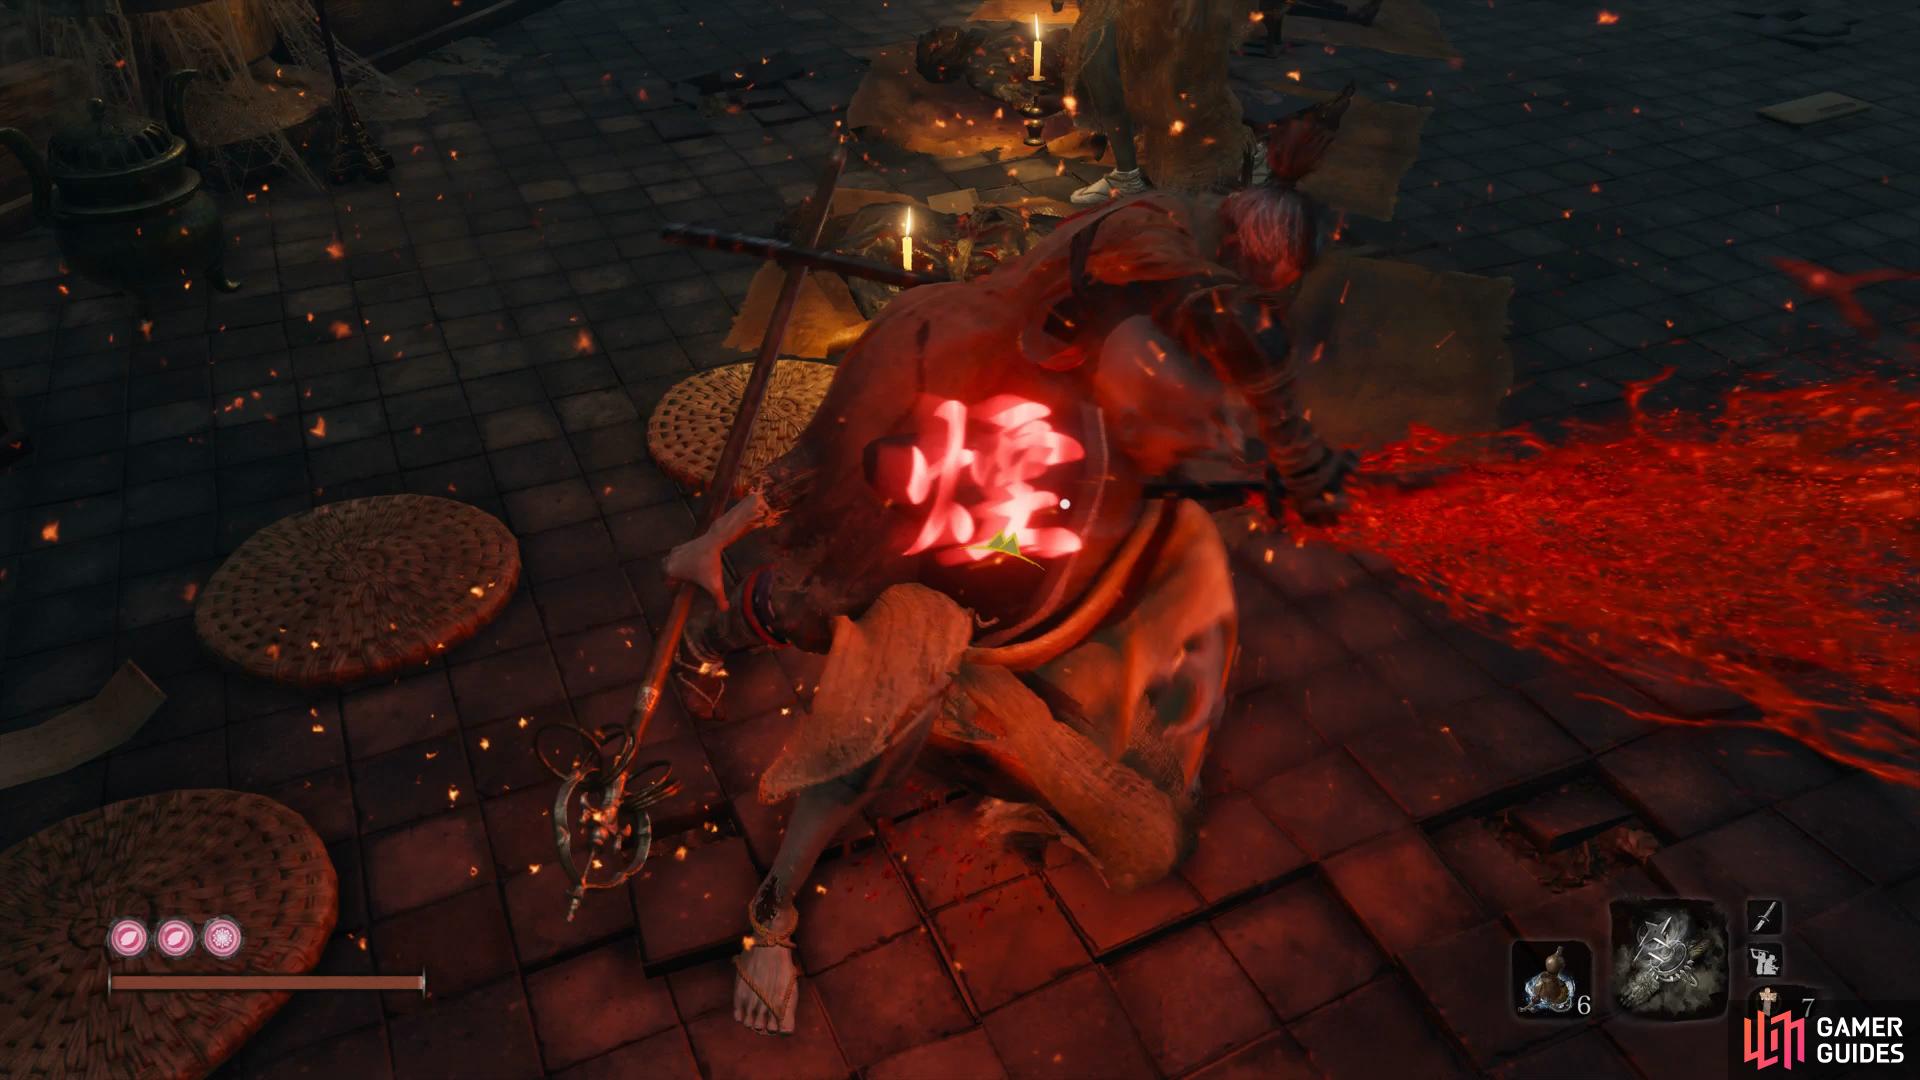
Defeat any nearby Crickets and pocket the Ako’s Sugar before entering Steatlh as you descend down the stairs. At the bottom, you’ll notice one Monk pass you by to the left as another three sit meditating in front of another mysterious Monk. You can actually Backstab the patrolling Monk without the others noticing and then go behind and backstab the first one to the right. If you activate Bloodsmoke you can use the confusion to perform a chain of Deathblows so to speak without them attacking. You’ll obtain a Lump of Fat Wax for defeating them and then quickly retreat back up the stairs you came from to lose the alert status.
Make your way back down the stairs once safe to do so and head around the back of the shrine to the right to backstab a Giant Mauler. Quickly jump up to where the mysterious Monk is and pocket the Gourd Seed before backing up and looting another Lump of Wax behind the shrine along with a Gokan’s Sugar and Ceramic Shards in the corner of the room. Make your escape through the open window here and search around to the right of the outside wall to find a Mibu Balloon of Spirit.
Snatch the Gourd Seed and get away from the mysterious Monk.
You’ll find the Old Woman from Ashina Castle by the cliff edge, providing important but cryptic information that is useful for later in your journey. You’ll have to present some Rice to her if you wish to learn more of her ramblings, an item you don’t yet possess. Grapple to the branch in front of you and then over to a large tree to your right, you’ll find a Light Coin Purse on the branch here.
While still on the tree, face the Temple in front of you and look down to see a lone Monk, Air Deathblow him and then jump over the railings of the Temple itself. Stay crouched and head around the left side all the way to the back, looting the Ungo’s Sugar in the process before backstabbing another unsuspecting Monk.
This next part requires more finesse, you’ll spot two guards in the courtyard along with a new enemy at the bottom of the stairs leading to a broken bridge along with another one just behind him on the bridge itself. These new enemies are deadly and some of the more tougher regular enemies you’re likely to encounter so you’ll want to Deathblow them if possible.
Sneak up on the fearsome Battle Monks
use the large tree to lose your alert status.
Begin by using the grapple to reach the platform near the broken bridge and then pop a Gachiin’s Sugar. This will allow you to sneak down the stairs and dispatch the first Battle Monk but also alert the other enemies in the area so quickly retreat to the large tree and wait for the alert to pass. This alert will have now caused the second Battle Monk to begin walking up and down the stairs where you dispatched the first so return to the platform and repeat the same process to backstab him also.
This will leave you with the regular guards to dispatch before leaving the area free to pluck clean of any loot. You’ll find an Antidote in the corner by the buildings while you’ll find a Gachiin’s Sugar on the broken bridge itself. If you look down to the left of this bridge, you’ll find two more guards to dispatch, Air Deathblow the Shield Guard and take out the other before looting the Pellet.
Return to the broken bridge and look to the cliff to your left to spot a grapple point so go ahead and grapple over, following the cave up ahead to a new Sculptor’s Idol.
Shugendo
Your first call of action should be to visit Emma in Kuro’s Room to hand over that Gourd Seed and increase your Healing Gourd’s capacity. Speak to Kuro while you’re hear and then check out the Incense Burner before speaking with him again to learn about the Sakura Tree. Consider upgrading your Prosthetic Tools at the Dilapidated Temple while you’re at it, the Spring-load Flame Vent at the bottom of Tier 2 is useful as is the path it leads to with the various Loaded Umbrella upgrades.
Return to the Shugendo Idol and look down to the left to spot a small pathway you can grapple to. Jump down to the next platform to find some Ceramic Shards and then head around the corner to find the next Memorial Mob Merchant.
| Items (Quantity) | Cost (Sen) |
|---|---|
| Persimmon (2) | 30 |
| Dragon’s Blood Droplet (1) | 180 |
| Ako’s Sugar (3) | 80 |
| Ungo’s Sugar (5) | 80 |
| Five-color Rice (1) | 1600 |
| Light Coin Purse (2) | 110 |
| Heavy Coin Purse (3) | 550 |
| Bulging Coin Purse (2) | 1100 |
| Scrap Magnetite (2) | 330 |
The big ticket item here is the Five-color Rice, another Gourd that when used, will sprinkle rice on the ground for you to mark your way through. Seeing as you’re using a walkthrough, you can go ahead and ignore this to save your hard earned Sen.
Return to the Idol and take the other path up, across the branches and through the cave, looting the Mibu Balloon of Spirit in the process. As you reach the end of the cave, a Rat will drop down with his back to you, take this opportunity to backstab him. Just across from this Rat is a small platform your can grapple to with another, do so and backstab him before looting the Gachiin’s Sugar behind the tree.
Look over to the right and up a little to spot another platform you can grapple to, doing so will land you behind a third Rat, dispatch him and then look up to spot another branch overhead you can grapple to. You can now jump and grab the edge of the wooden planks to shimmy under the next Rat and Deathblow him.
Shimmy along the planks to Deathblow this Rat
you’ll need to do a running jump to make this grapple.
Make your way up and you’ll be presented with two paths, the first is up the climbable ledges to your right and the second is by standing off the cliff to your left and making a Mid Air grapple. Take this second path and leap as far as possible until you’re able to use the grapple point that will throw you over to the cliff edge. As you fall, quickly press the [SQUARE]/[X] button to hold on to the ledge and then drop down to the the ledge below to pocket the Heavy Coin Purse.
Head around the corner here and then look up to spot another grapple point you can use to reach the cliff in front of you, clinging onto the edge as you reach it. Shimmy around to your left and then climb up the next ledge before following the path around the corner. Make short work of the Poisonous Lizards and then wall jump between the walls to reach the top and pocket the White Pinwheel, the flower that Kotaro was looking for.
Follow the path all the way to the top and head through the hole to the right of the large doors to loot some Monkey Booze and a Heavy Coin Purse. Open the large doors now and be prepared to face off against a Centipede Man, a simple enemy that will go down with a few strikes. Defeat him and loot the Black Gunpowder nearby and then head up to a new Sculptor’s Idol to rest up.
Ringing this bell will increase the difficulty of the enemies
however use the item you obtain to cancel the effect at any time.
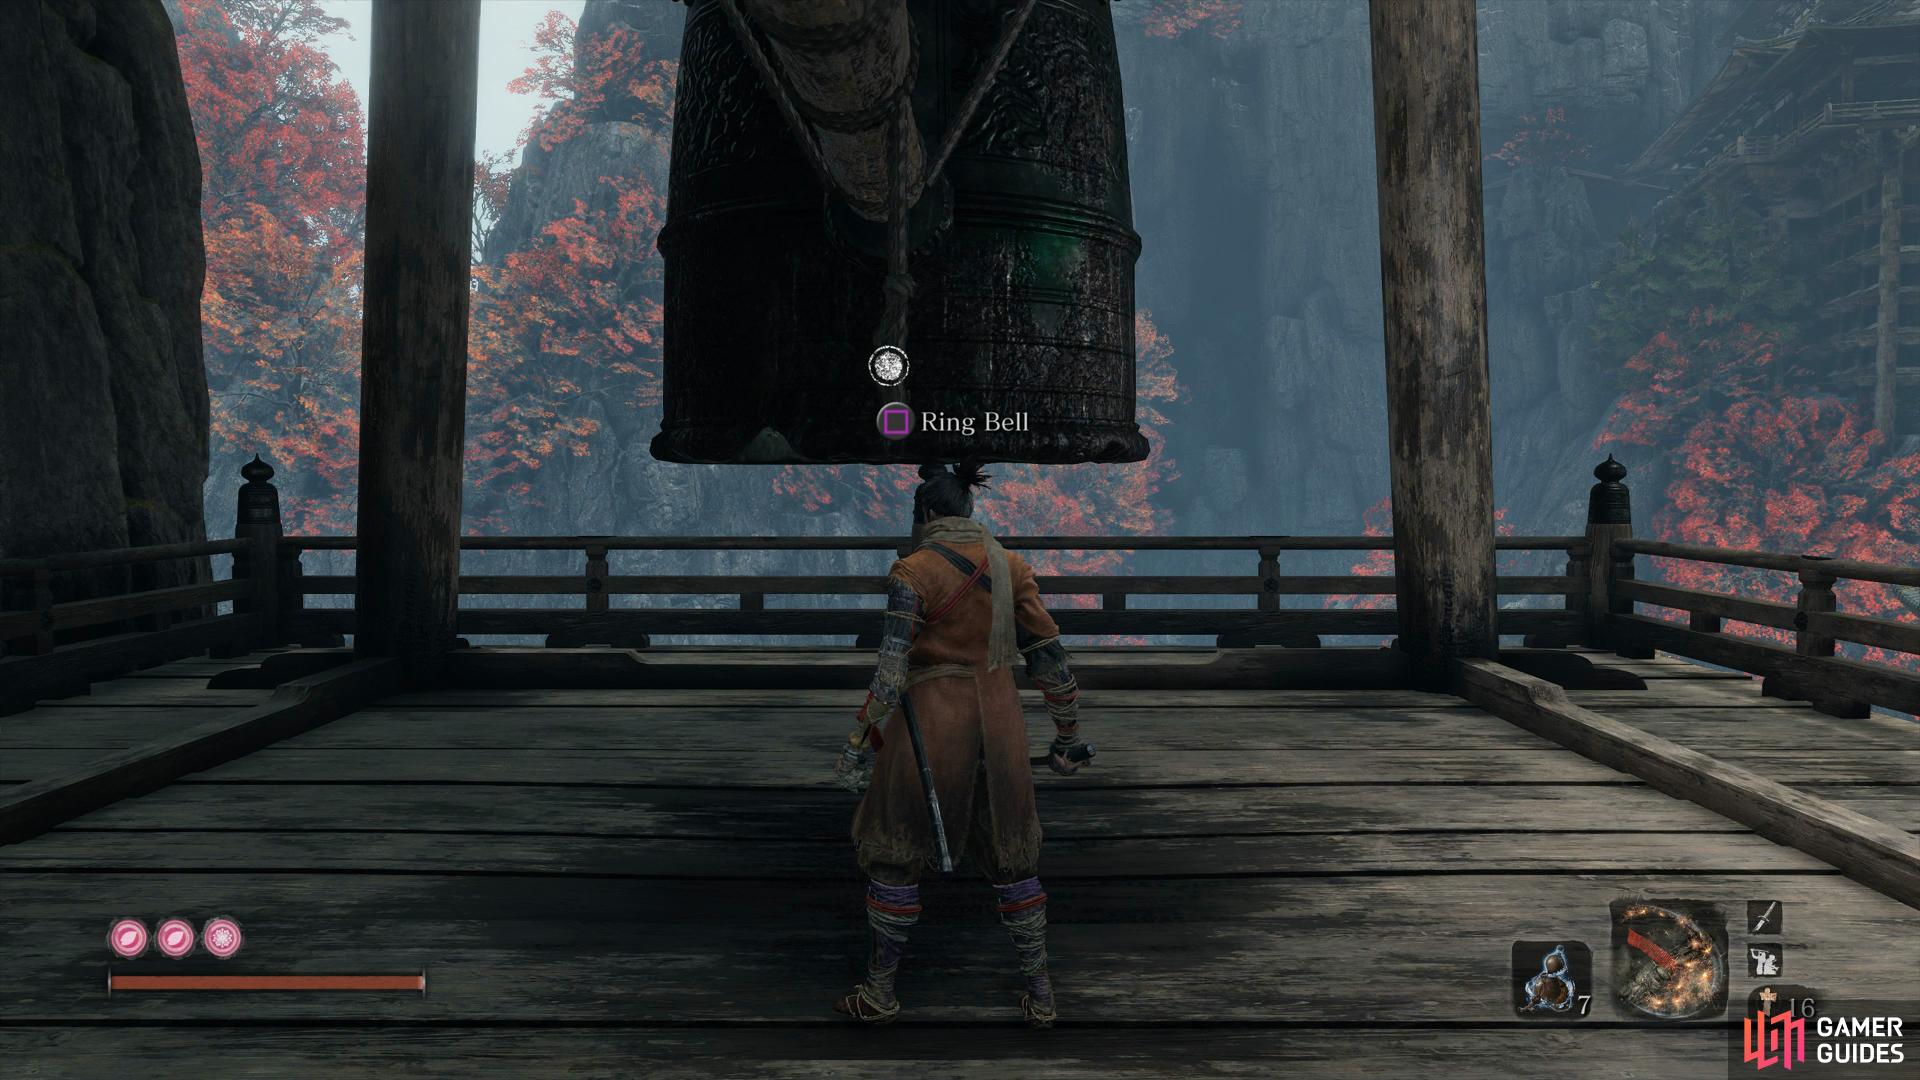
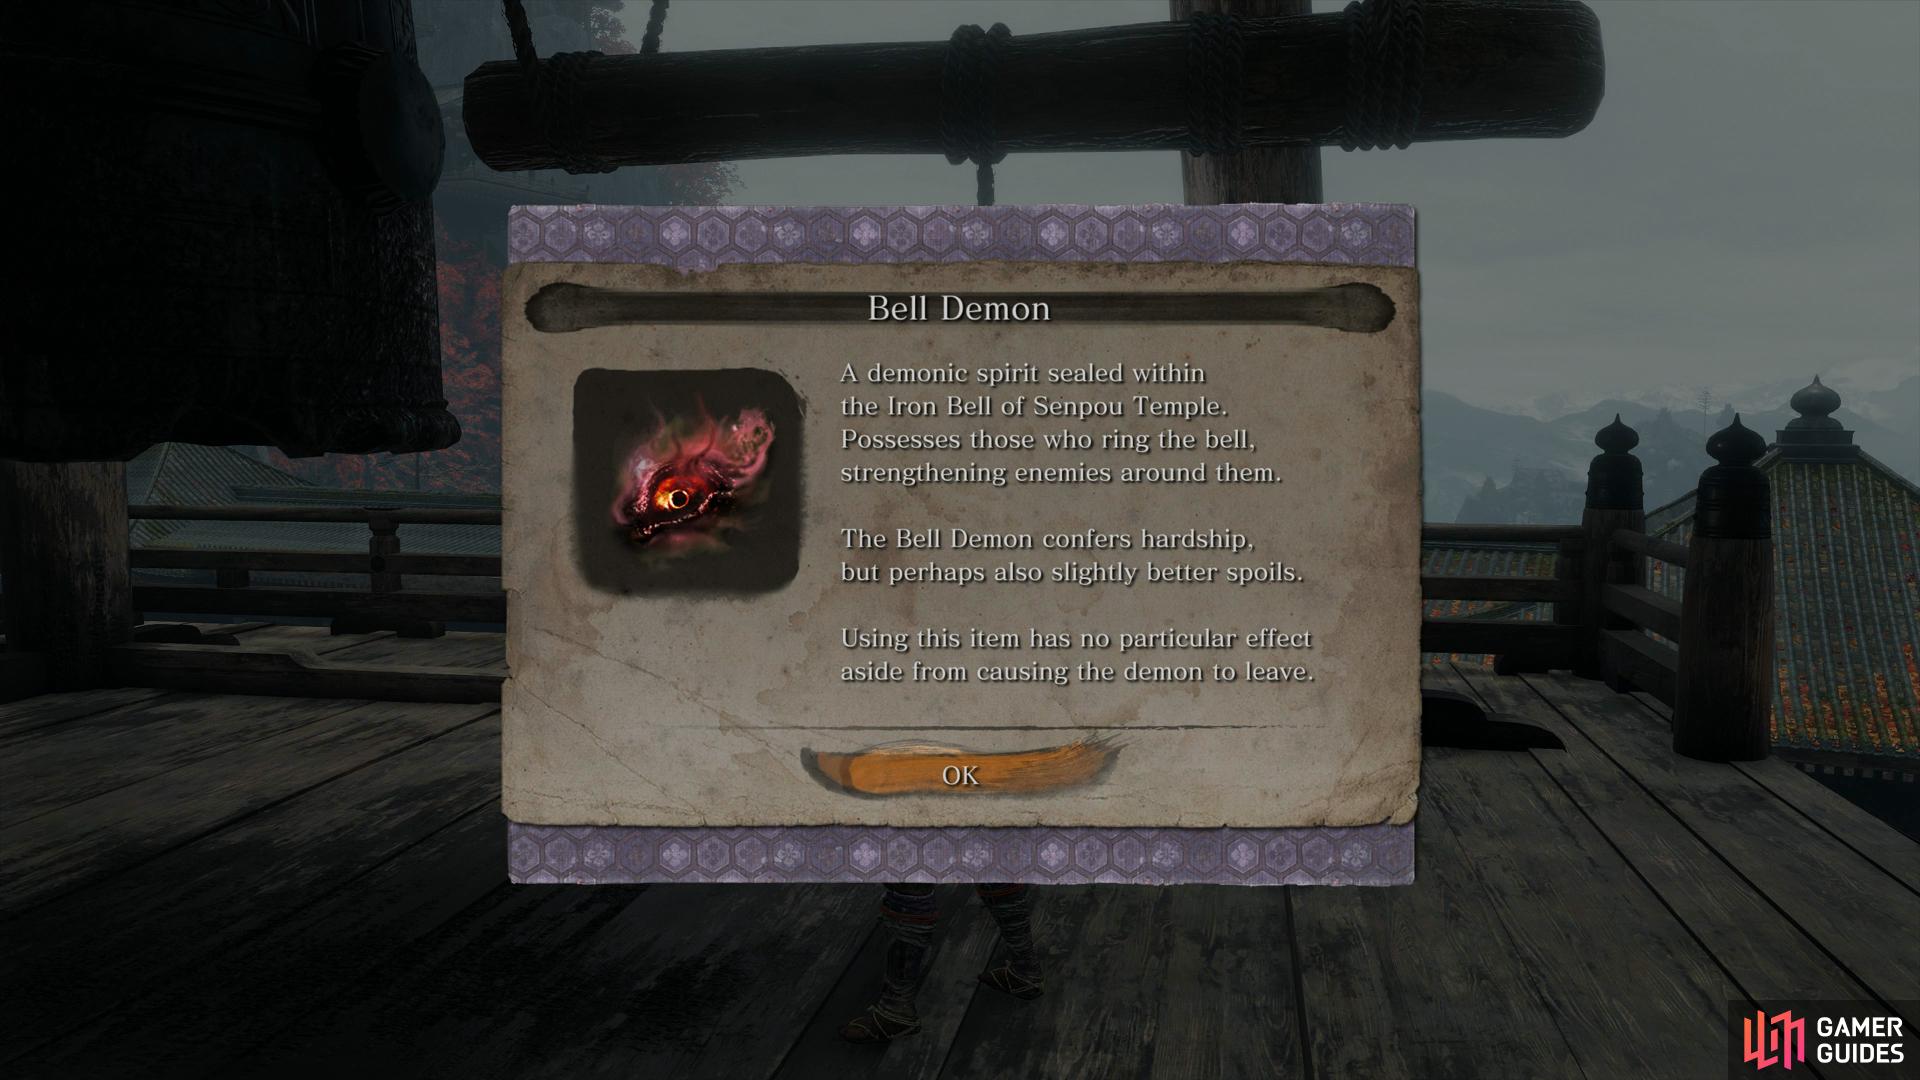
To the left of you is an ominous bell that comes with a warning you should heed. This is the Demon Bell and ringing it will trigger a Hard Mode of your current game, increasing the stats of all enemies but at the same time, increasing the loot that you obtain from them. Don’t fret if you did ring it by accident, you’ll obtain the Bell Demon which you can use from your inventory to cancel the effects and return you to the standard difficulty.
Use the Idol to travel back to the Shugendo Idol and make your way back to where the path split, this time opting to climb up to your right. Grapple up the next few branches and you’ll reach a bridge of sorts, avoid this for now and head left to find the Red and White Pinwheel. This is another choice for Kotaro and the one the walkthrough will be taking after you’re finished up here. Before you head to the bridge, be sure to assign the Loaded Axe to your Quick Slots as a Mini-boss awaits.
Mini-boss: Armored Warrior
The Armored Warrior is a rather unique foe in the fact that you can never damage his vitality directly due to all the heavy armor he’s clad in. Instead, it’s his posture gauge you’ll need to target and it recovers slowly due to the extreme weight of him.
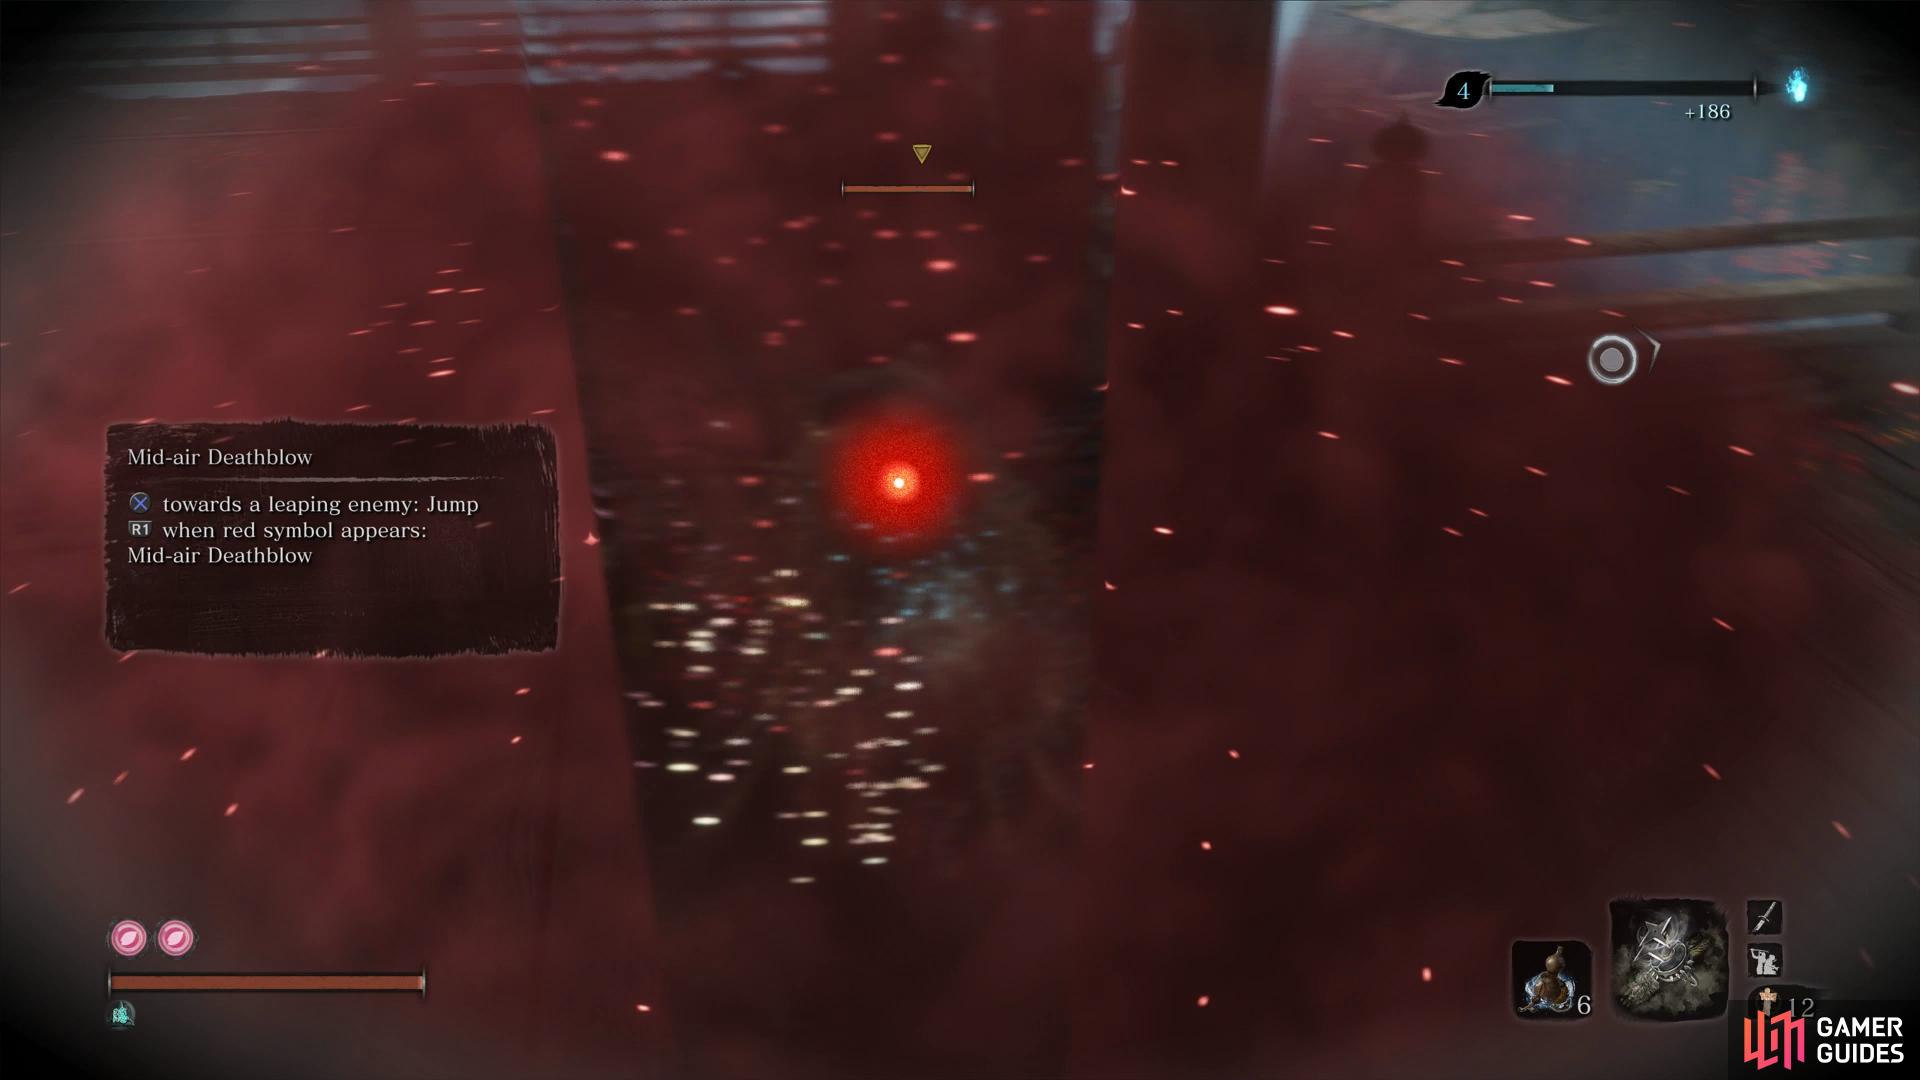
As such, his attacks are slow but powerful and you’ll want to make sure you either deflect or get out of the way completely while fighting him as his sword has great range on it. There are plenty of opportunities to deflect his strikes and as you build up his posture, he’ll chain more of them together while charging you. Finally, he has the Perilous Thrust attack that you can Mikiri Counter providing you’re confident with the timing.
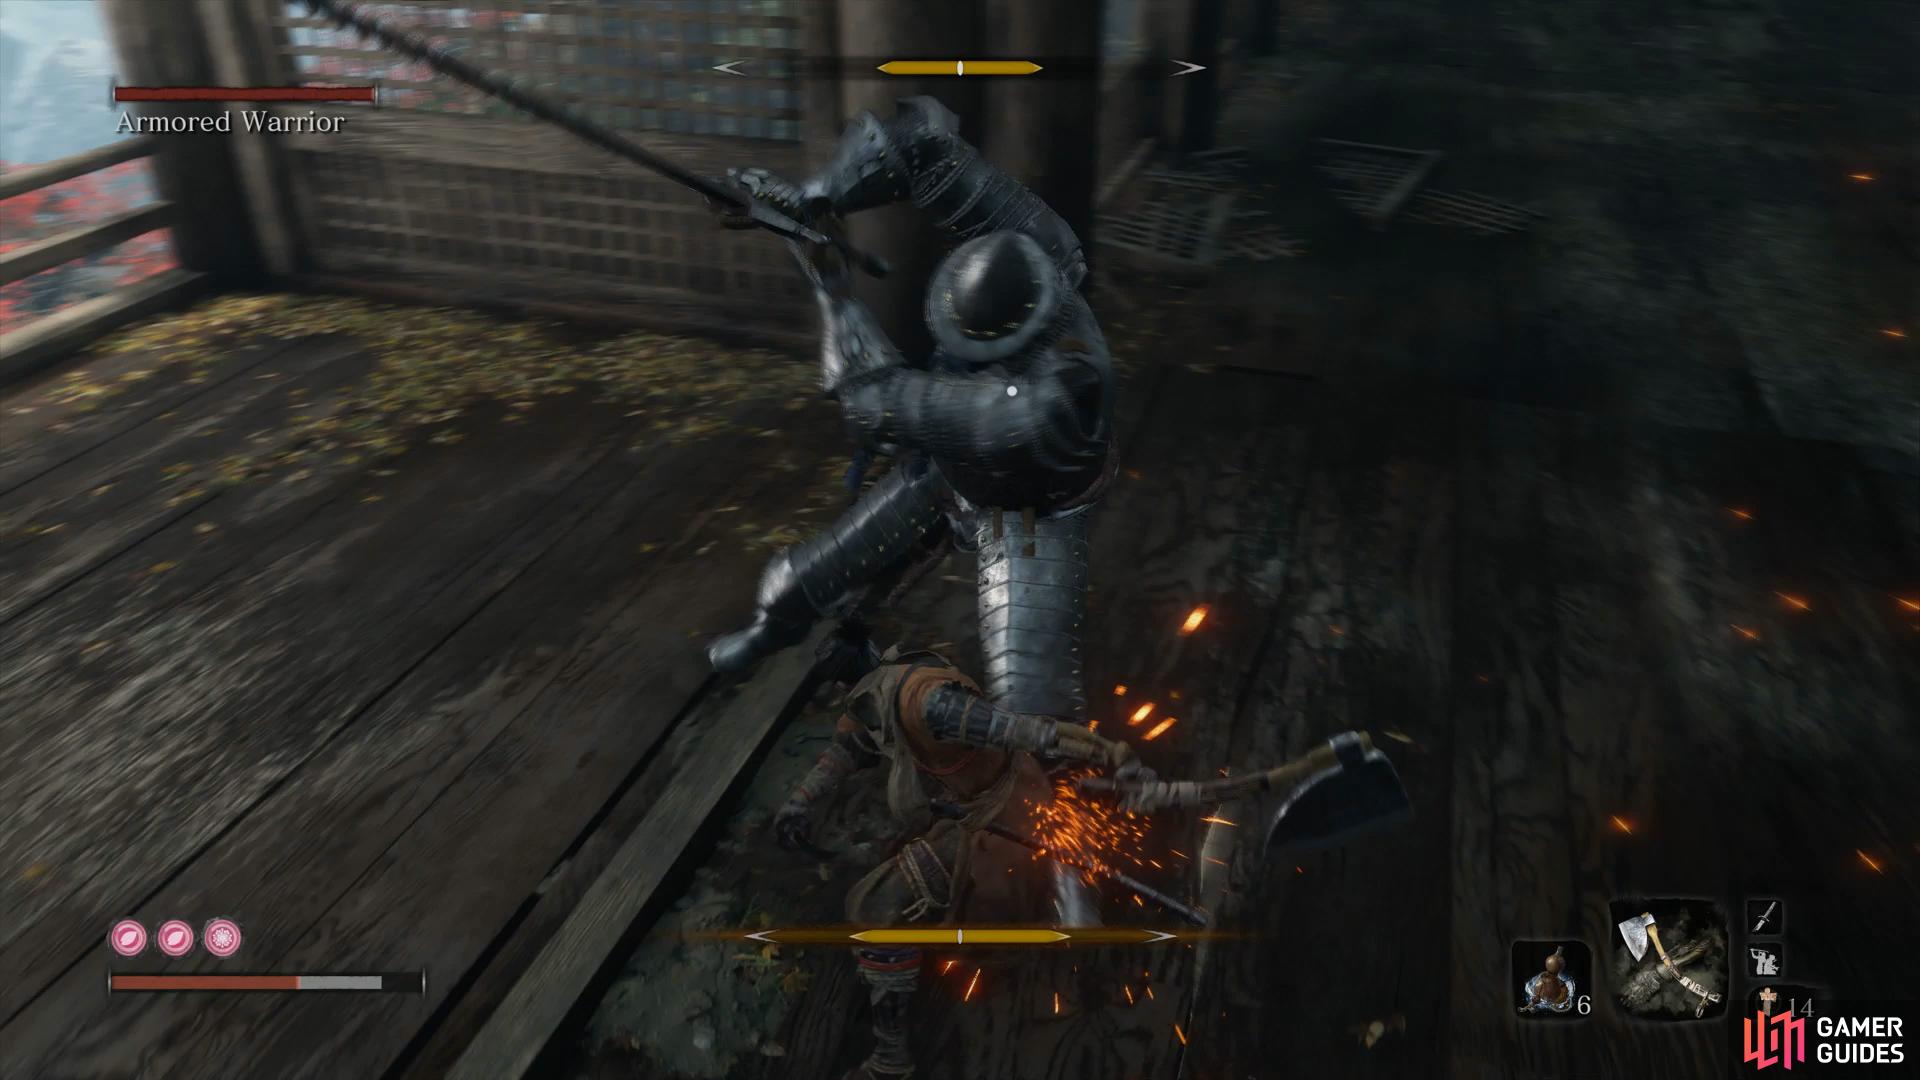
Use the Loaded Axe to great effect in this battle
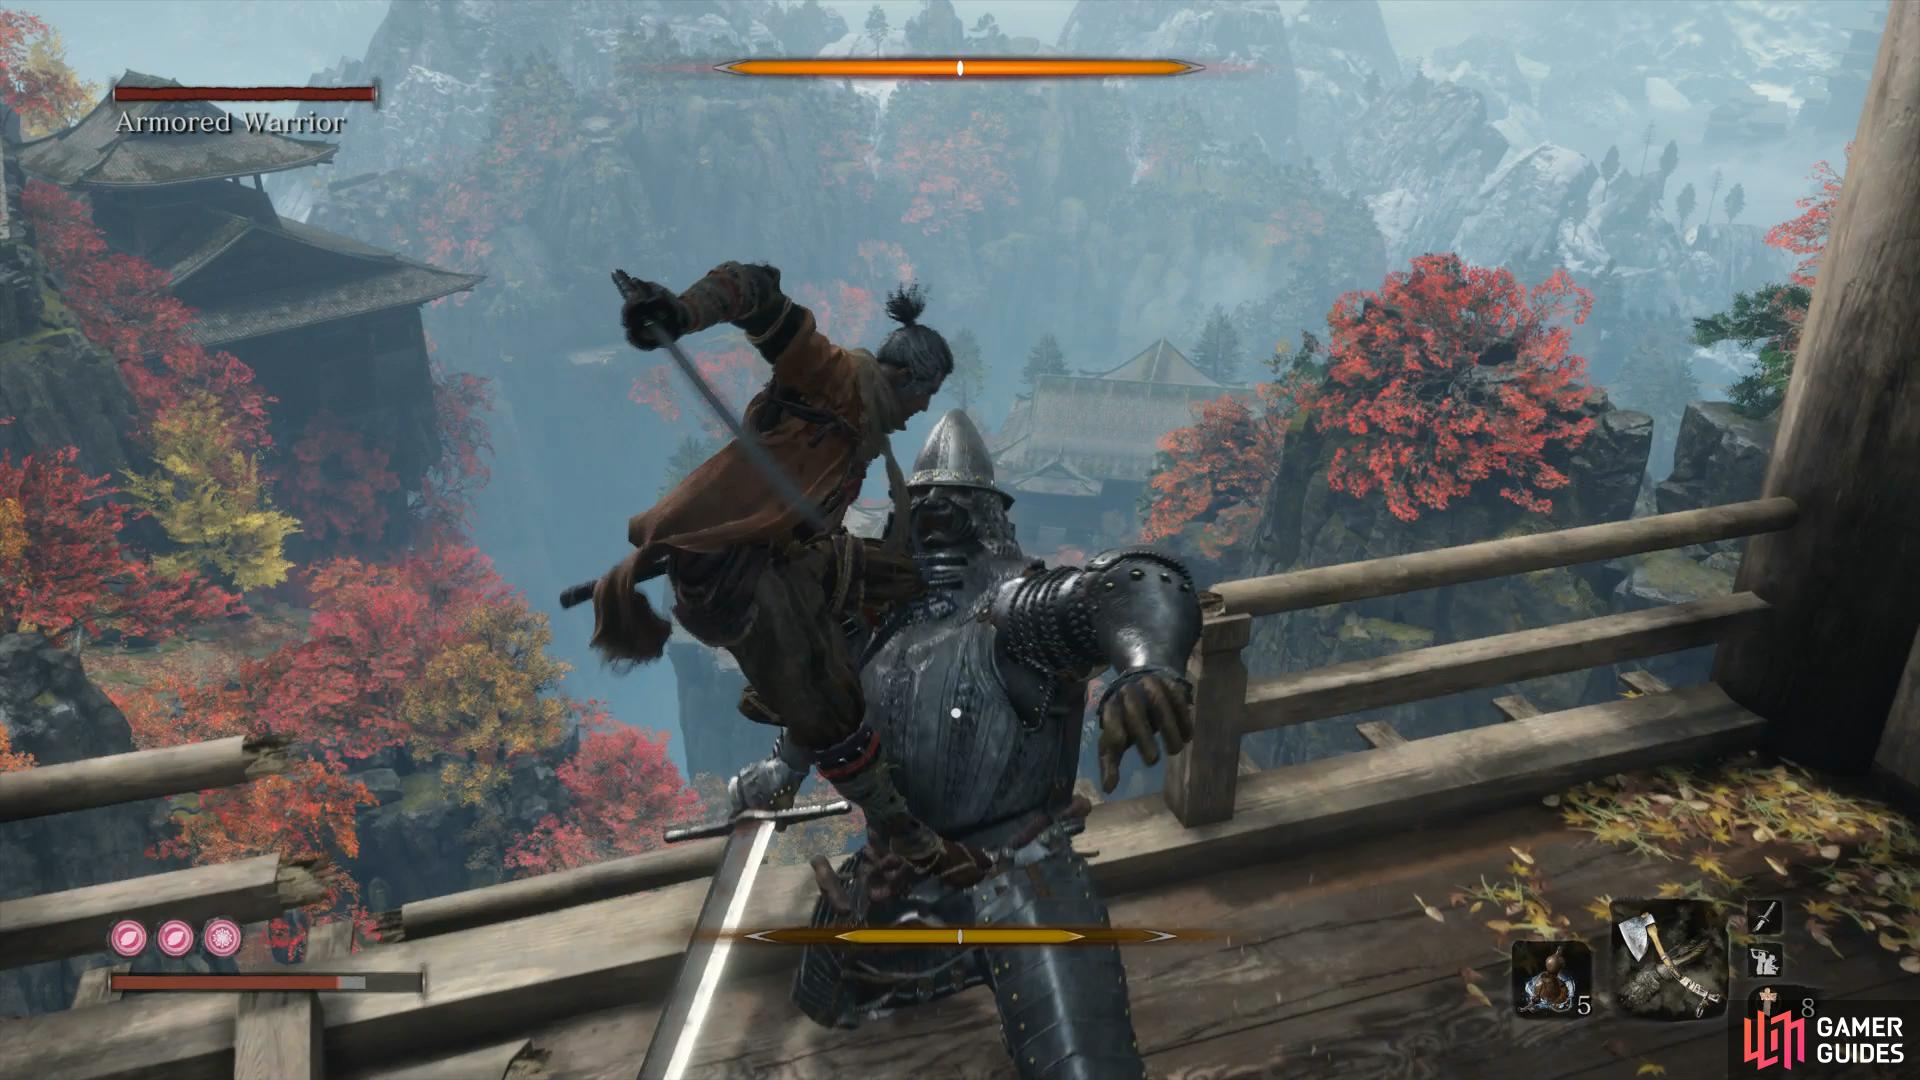
be sure to perform the Deathblow facing the edge of the bridge to push him off.
You may notice while fighting him that his strikes are creating holes in the walls and this creates a hint as to how to defeat him. When you build his posture up, instead of performing a Deathblow you’ll instead perform a pushback. As you may have guessed it, the aim here is to use this at the ledge he started the battle from to push him off and end the battle.
Make use of the Loaded Axe for great effect and keep striking away at his armor and you’ll knock him down in no time. Your reward for the battle is a Prayer Bead and the Breath of Nature: Shadow skill which recovers your posture with successful Deathblows. Head across the bridge, pocketing the Scrap Magnetite in the process and activate the next Sculptor’s Idol.
Temple Grounds
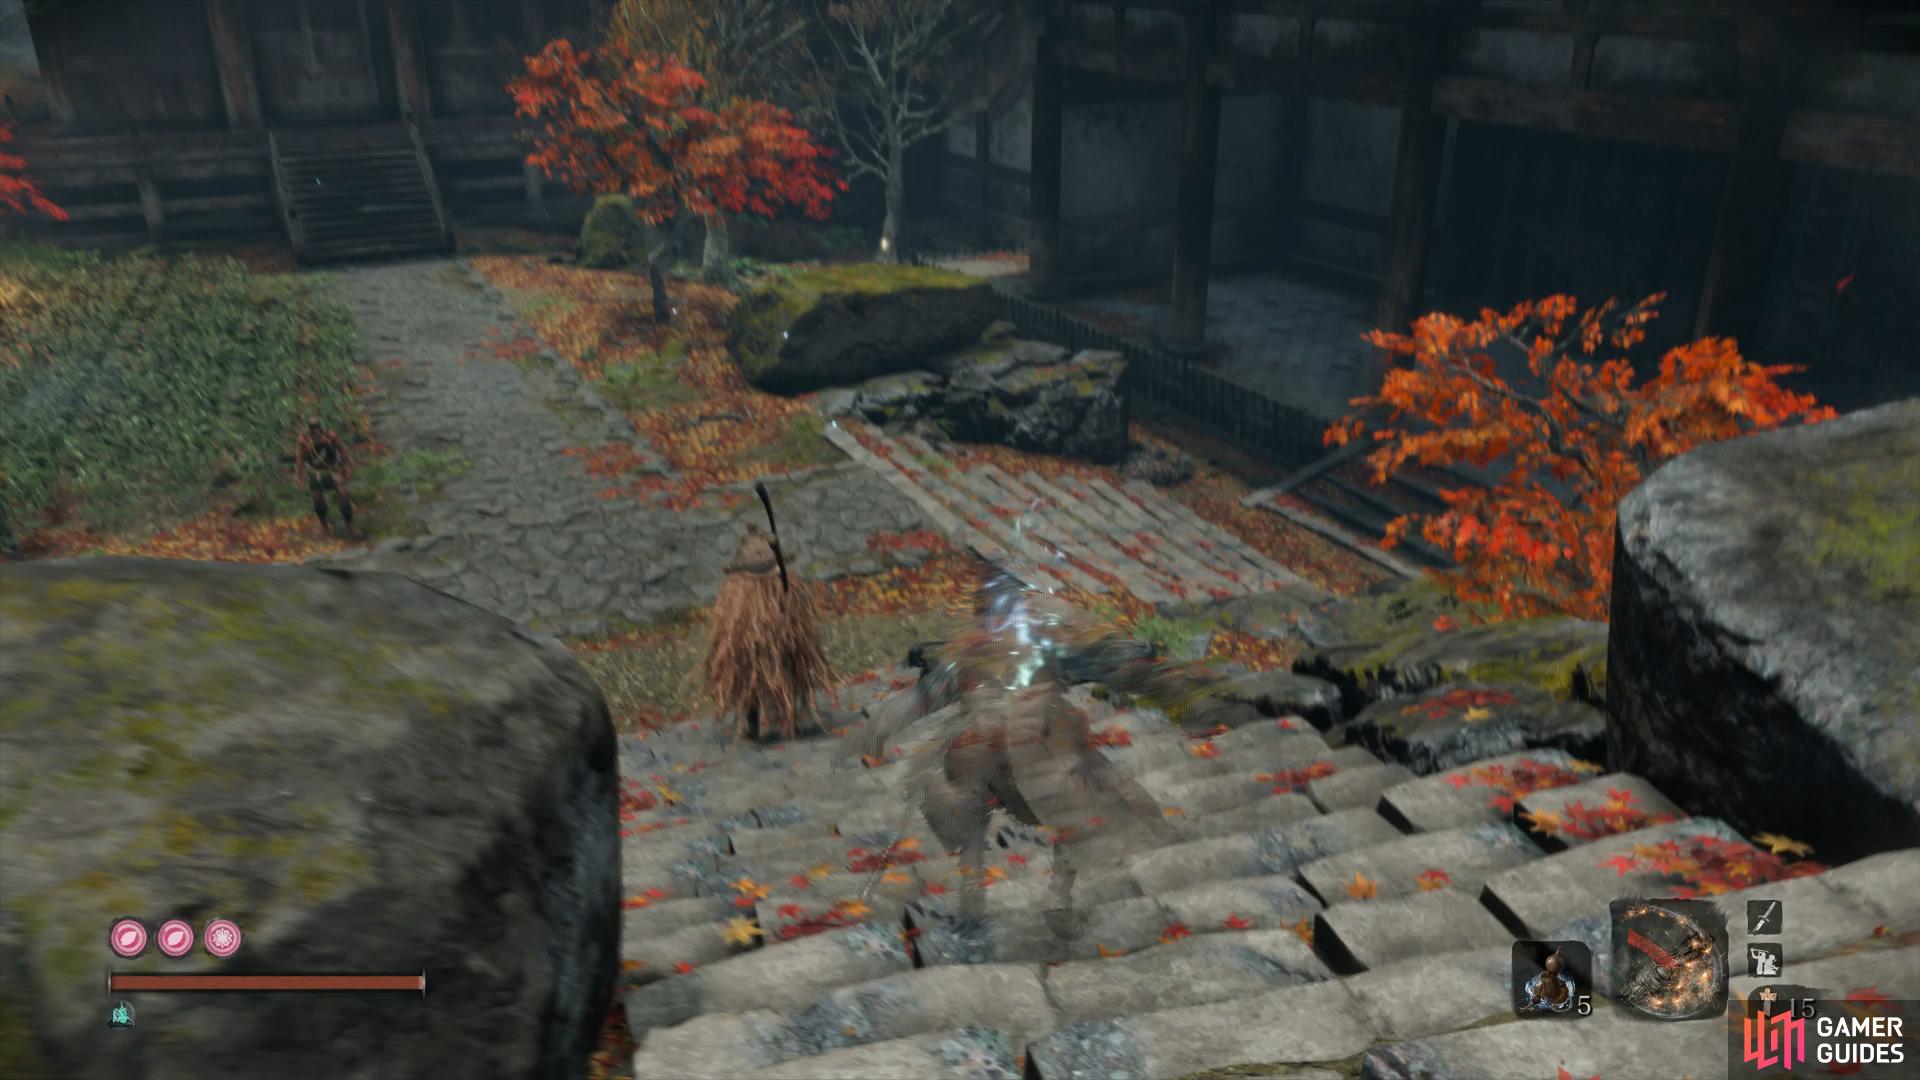
You stand upon a precipice looking down at the Temple Grounds ahead and you’ll spot many Monks in the area. Begin by leaping to the roof below you and looting the Ceramic Shards before dropping down the back of it to take out four Dogs. With this area clear, leap into the small pond below you to dispatch two Treasure Craps and obtain two Treasure Carp Scales.
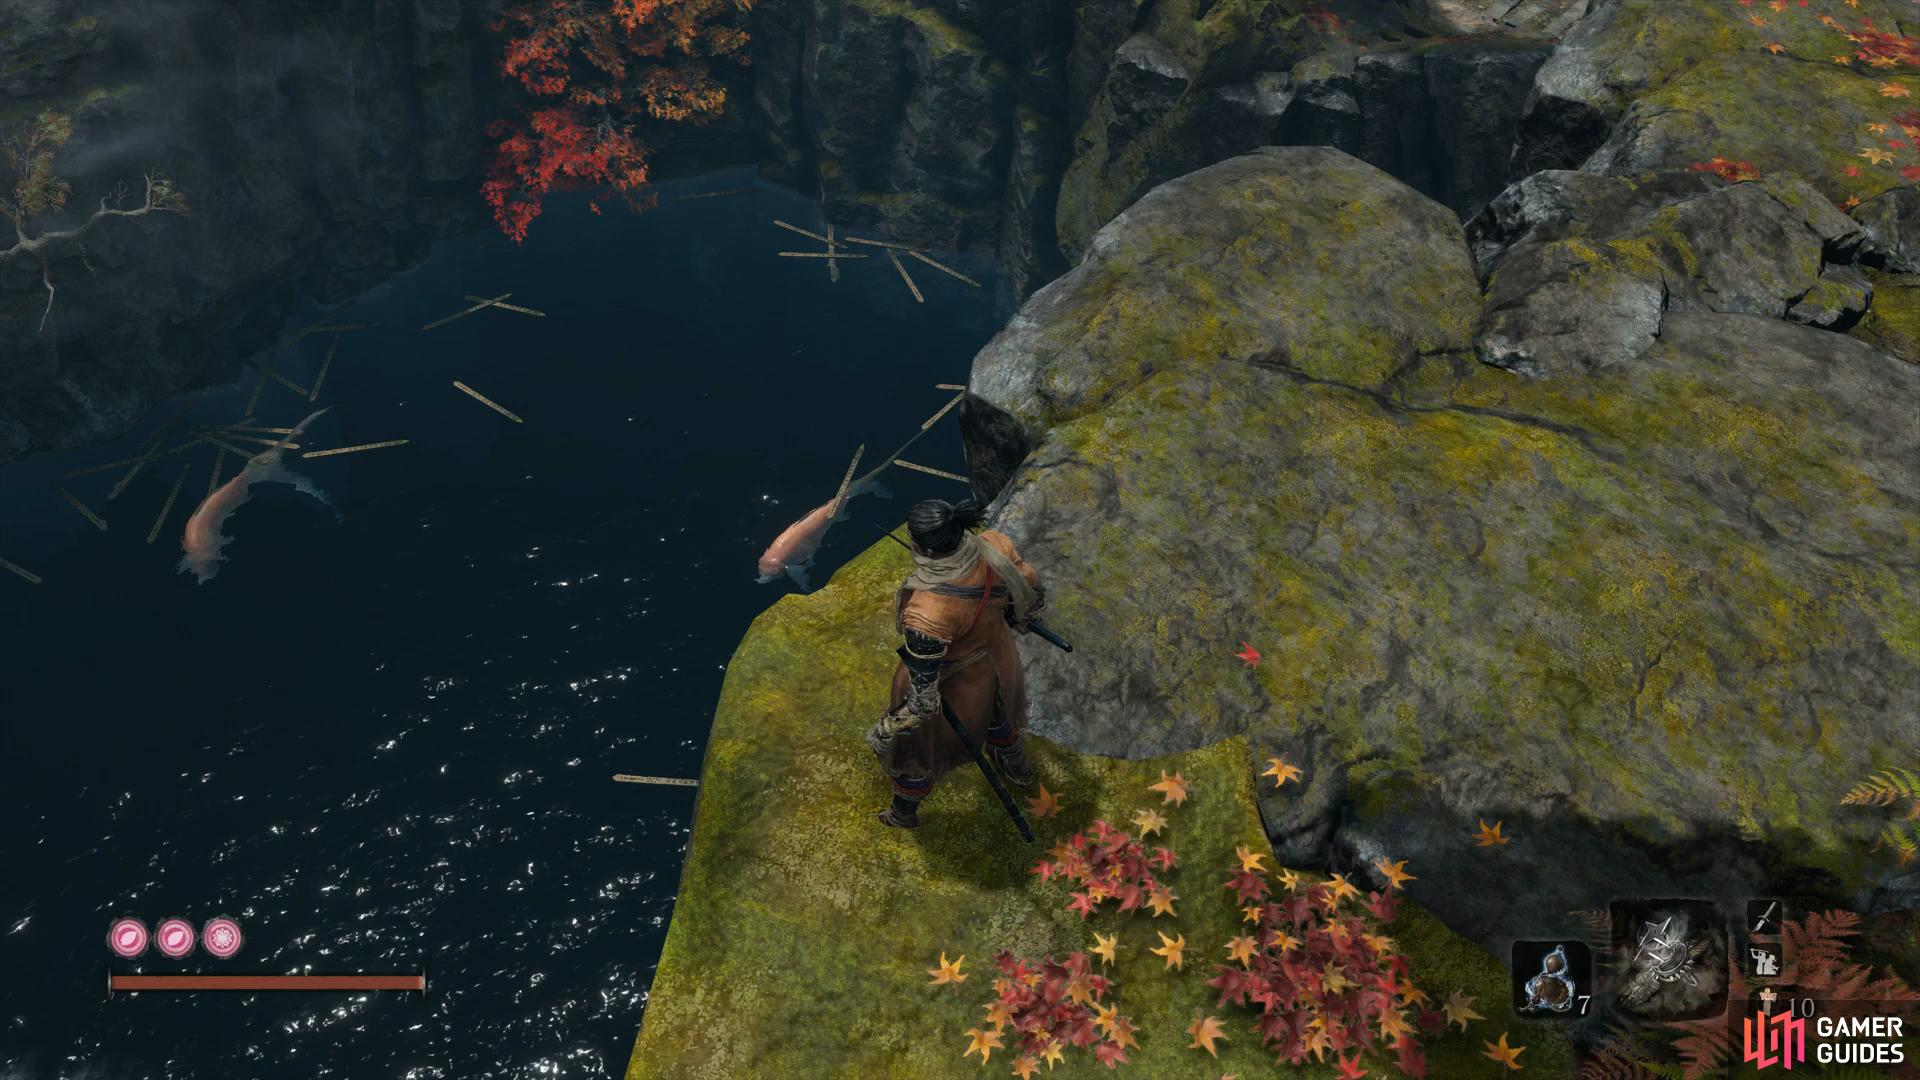
Two more Treasure Carps swim in the pond below.
Use the branch to grapple out of the pond and around the back of the nearby building to loot some Fistful of Ash before backstabbing the Monk by the tree. There’s another Monk around the other side of the building and then leap up the rocks behind the two Monks at the top of the steps to take them out from behind before doing the same to the next two.
With this area clear, sneak around the side of the building in front of you to loot some more Ceramic Shards and then return to the path you used before dropping into the pond, taking out another two Dogs in the process. You’ll find a Gokan’s Sugar to the left of the stairs leading up and then turn around and take the slope to your right down.
You’ll encounter Monkeys as you reach the first item, toss a single Shuriken to dispatch them and loot the Pellet. Kill more Monekys as you make your way down to the bottom and then use the small ledge to the left of the Giant Mauler to Mid Air Deathblow him followed by another Monkey. You can now safely loot the items here to obtain three Mibu Balloons of Spirit, a Persimmon by the tree and a Heavy Coin Purse by the broken bridge.
Return to where you took out the earlier Monks by the pond and grapple up to the rooftop and switch to stealth. Take out the first two Rats nearby and then make your way around to the left of the roof to take out another, leaving the last one walking around to the left of him. This leaves you one final Rat in the courtyard so Mid Air Deathblow him and then loot the Light Coin Purse by the tree.
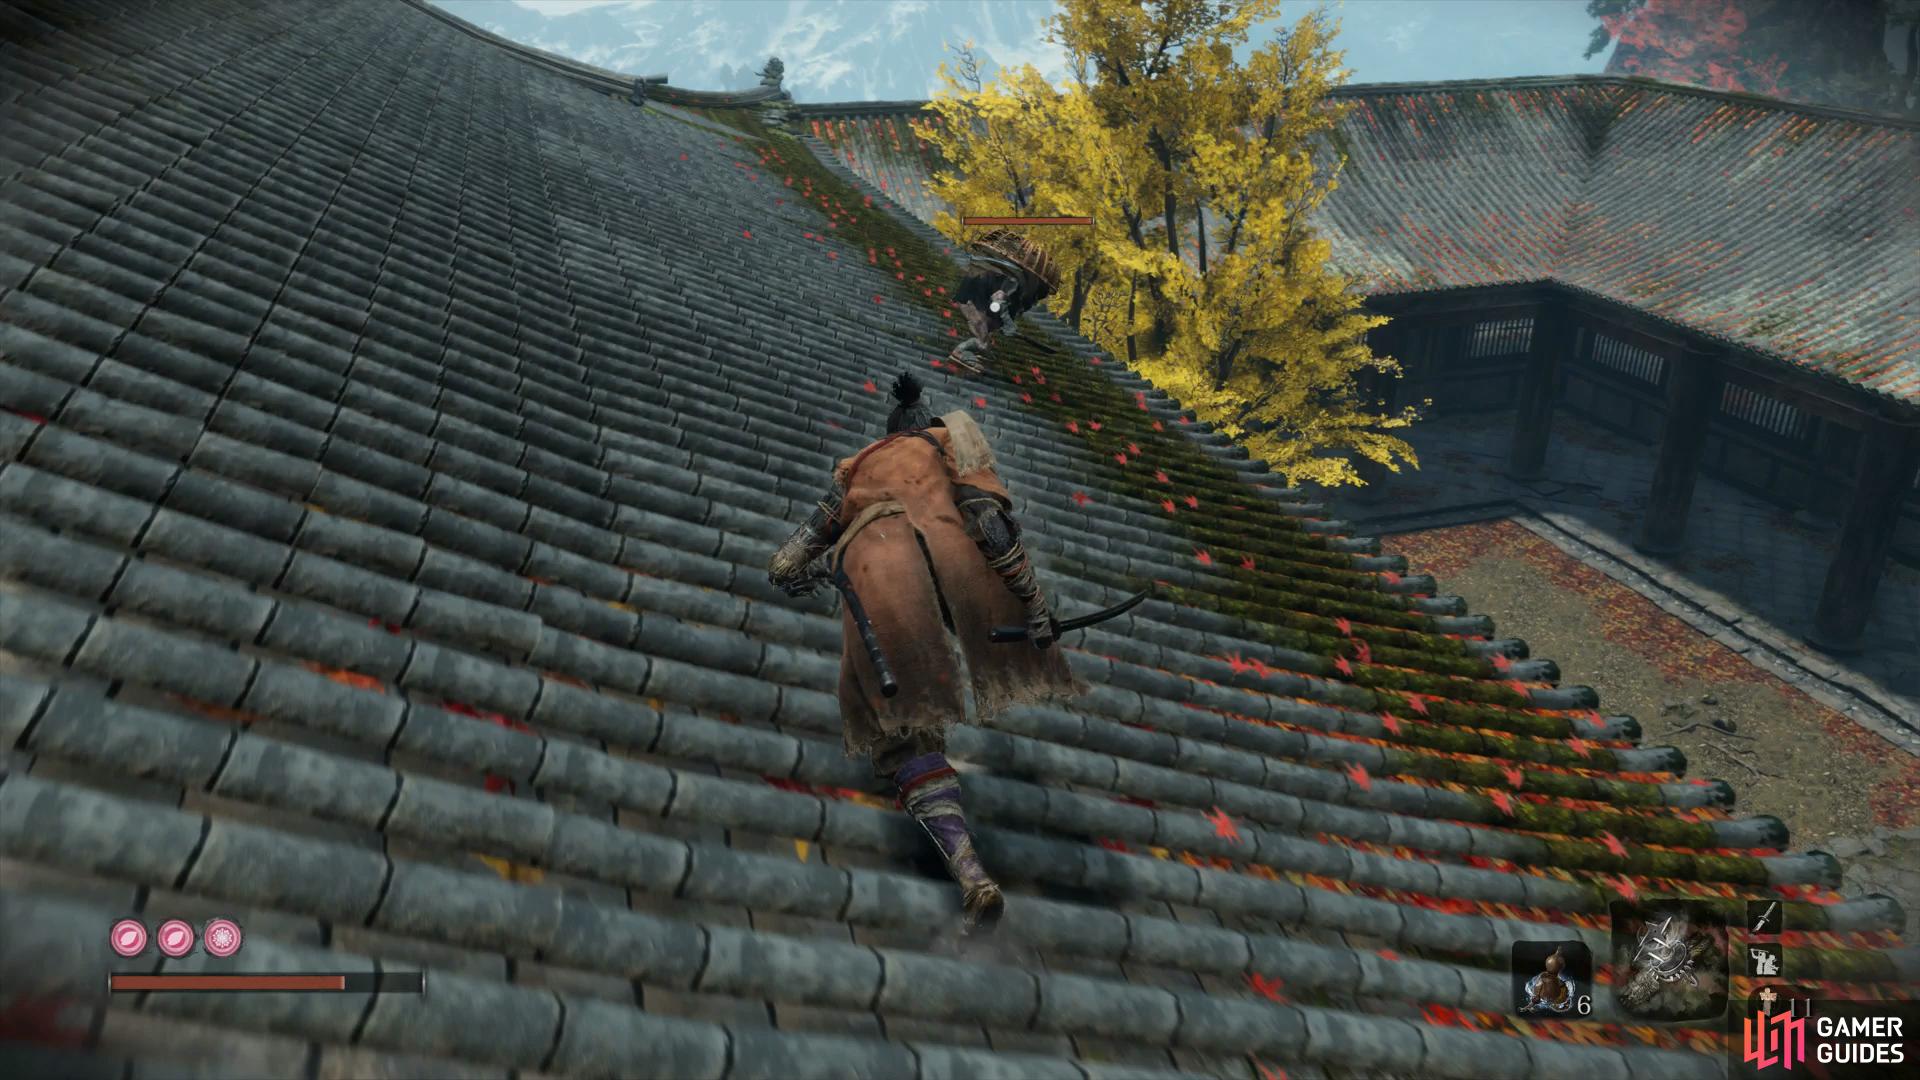
Use the rooftop to take out the Rats
then make use of Bloodsmoke to dispatch the Monks with Deathblows.
You’ll see four regular Monks in the next Temple (three to the left and one to the right) with a another mysterious Monk in the center (remember, these are unkillable for now). Make use of Bloodsmoke Ninjutsu and take out the three on the left followed by the fourth that rushes you. Quickly dart in and grab the Lump of Fat Wax before getting out of the Temple.
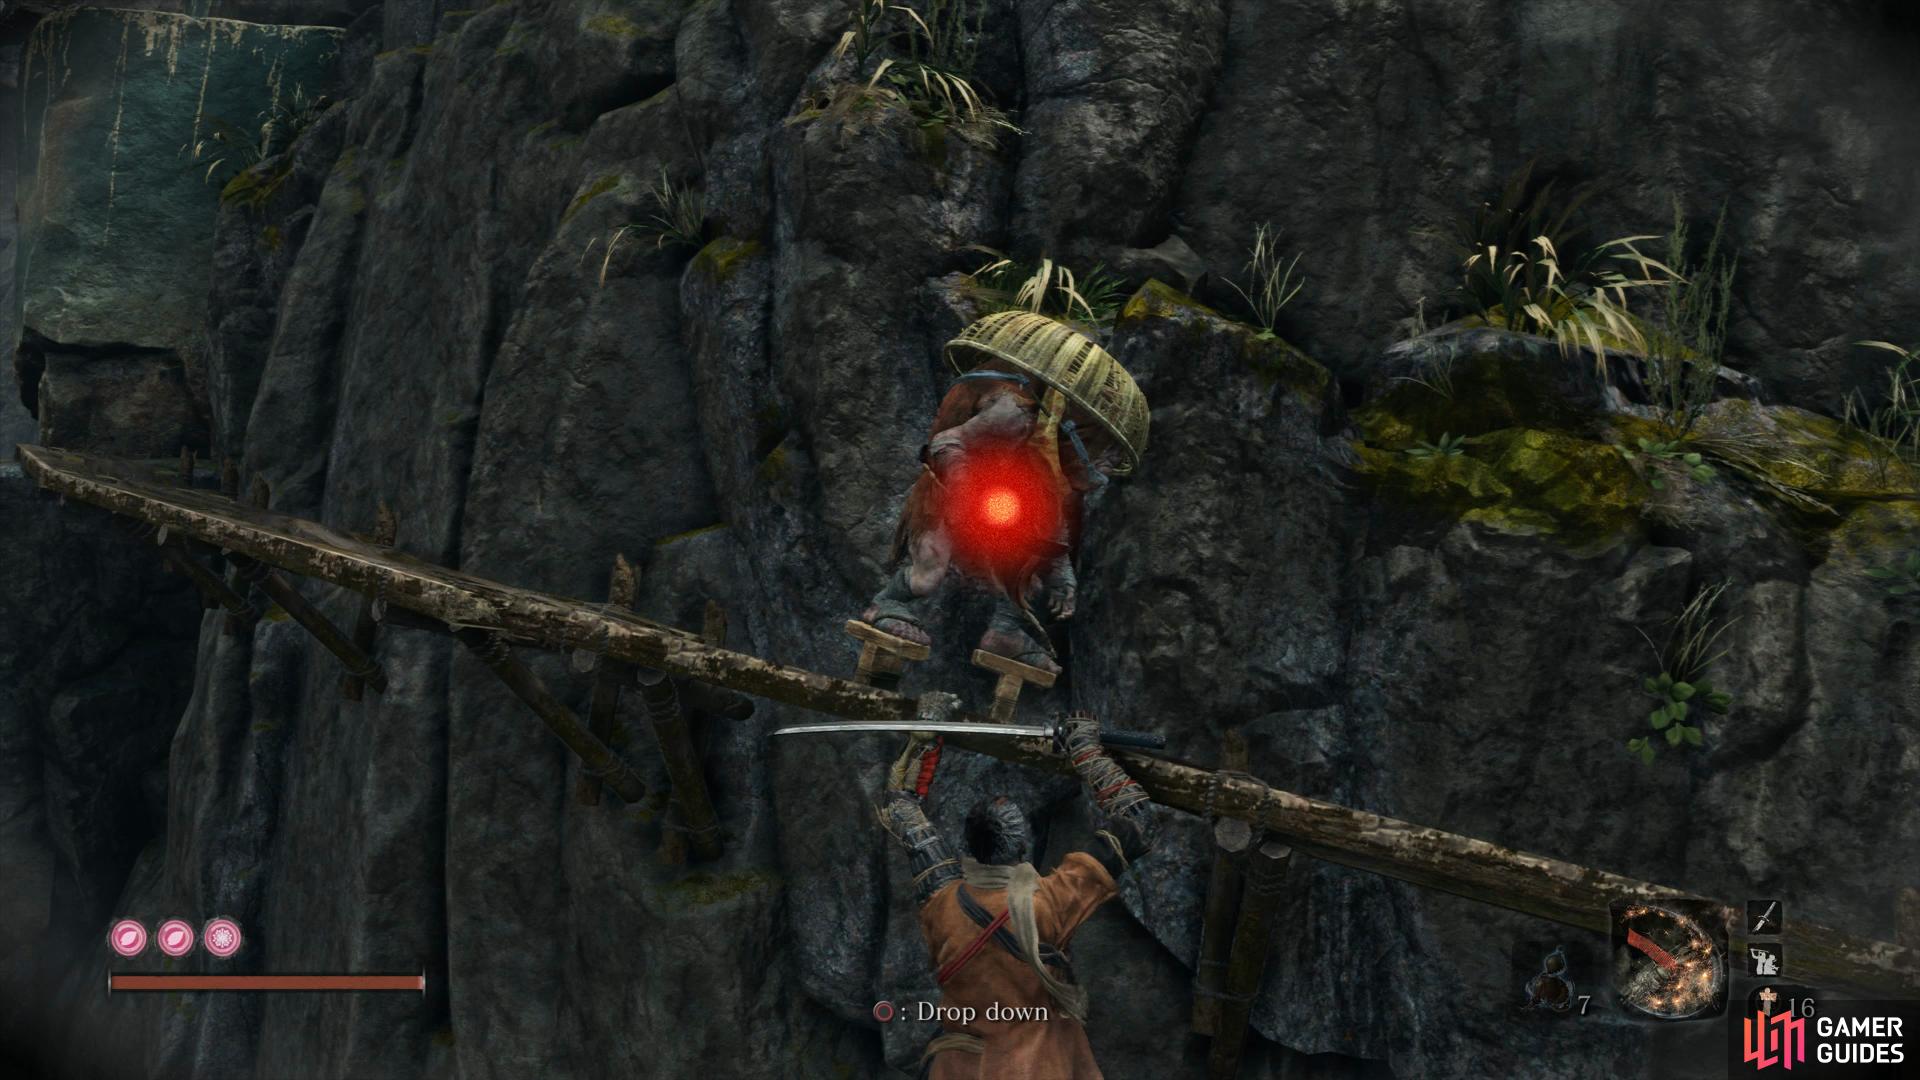
Take the stairs to the right of this Temple and grapple up to the first branch near the fire. Wait for the Monk to pass under you and dispatch him before taking out the other two before looting the Fistful of Ash at the fire. If you’re fortunate, this will alert the Dogs below you and you can stick on a branch and pick them off with Shurikens as they make their way to you.
Head down this optional path now, grabbing the Mibu Balloon of Spirit in the process as you defeat Poisonous Lizards down the path. At the bottom is an open Temple with more Centipede Men that you should dispatch and then look up to see you can grapple to the rafters where a Mini-boss awaits you on the other side. For this reason, head outside the Temple and circle around to the roof of this Temple and drop in from the top to reach a rafter.
Mini-boss: Long-Arm Centipede Sen’un

You’ll spot a massive Centipede Man on the ground while the area is littered with the smaller Centipede Men. With the element of surprise, perform an Air Deathblow from the outset and then grapple back up to the rafters to begin taking out the smaller Centipede Men.
As with all beasts, Sen’un is weak to the Firecrackers but even more so than that, your best method for taking it out is by deflecting it’s flurry of slashes at you. This will build up the gauge massively allowing you to perform a simple Deathblow the end the battle.
Begin the battle with a Mid Air Deathblow
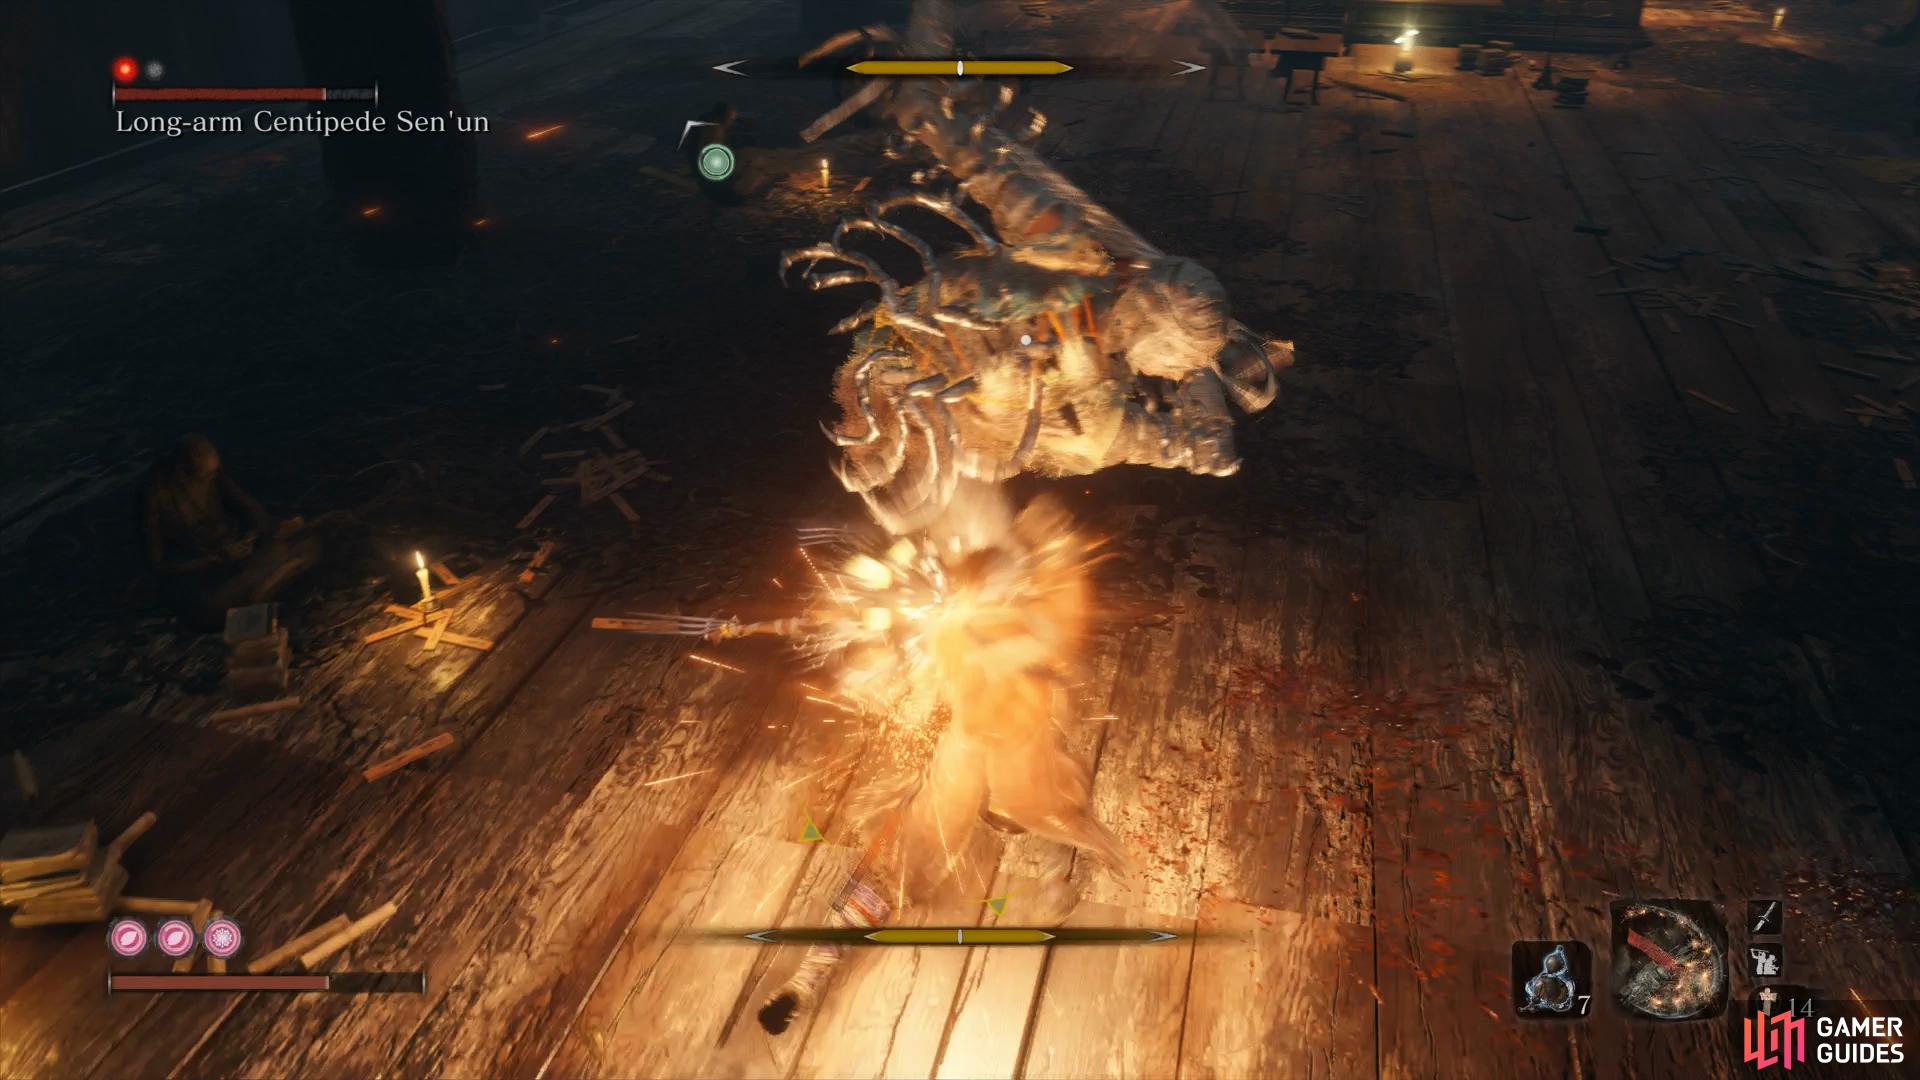
then deflect it’s flurry of attacks to easily break it’s posture.
Indeed, the majority of the difficulty of the battle is the smaller Centipede Men around the arena, once they’re dealt with you should have little problem to finish off Sen’un itself. Your reward for this battle is some Yellow Gunpowder and another Prayer Bead. Be sure to loot two lots of Black Gunpowder and a Gokan’s Sugar on the ground before using the rafters to leave the Temple via the entrance door.
Return up the slope to the fire and make your way up go behind the tree to your right to backstab another Giant Mauler before looting the Ungo’s Sugar nearby. A bit further up the path is another Giant along with a Bomb Throwing Monk, pounce on the Giant for a Deathblow (by leading him down the stairs and losing the alert status) before taking out the Monk after. You’ll also find one final Bomb Throwing Monk on a ledge to your left, dispatch him and loot the Gokan’s Sugar before continuing up.
Grapple to the rooftop and then up to another branch to find yourself above another Bomb Throwing Monk, Air Deathblow him and take out the easier Monk shortly after. Search under these stairs following their demise to pocket some Ungo’s Sugar and then take out one final Monk at the top of these stairs.
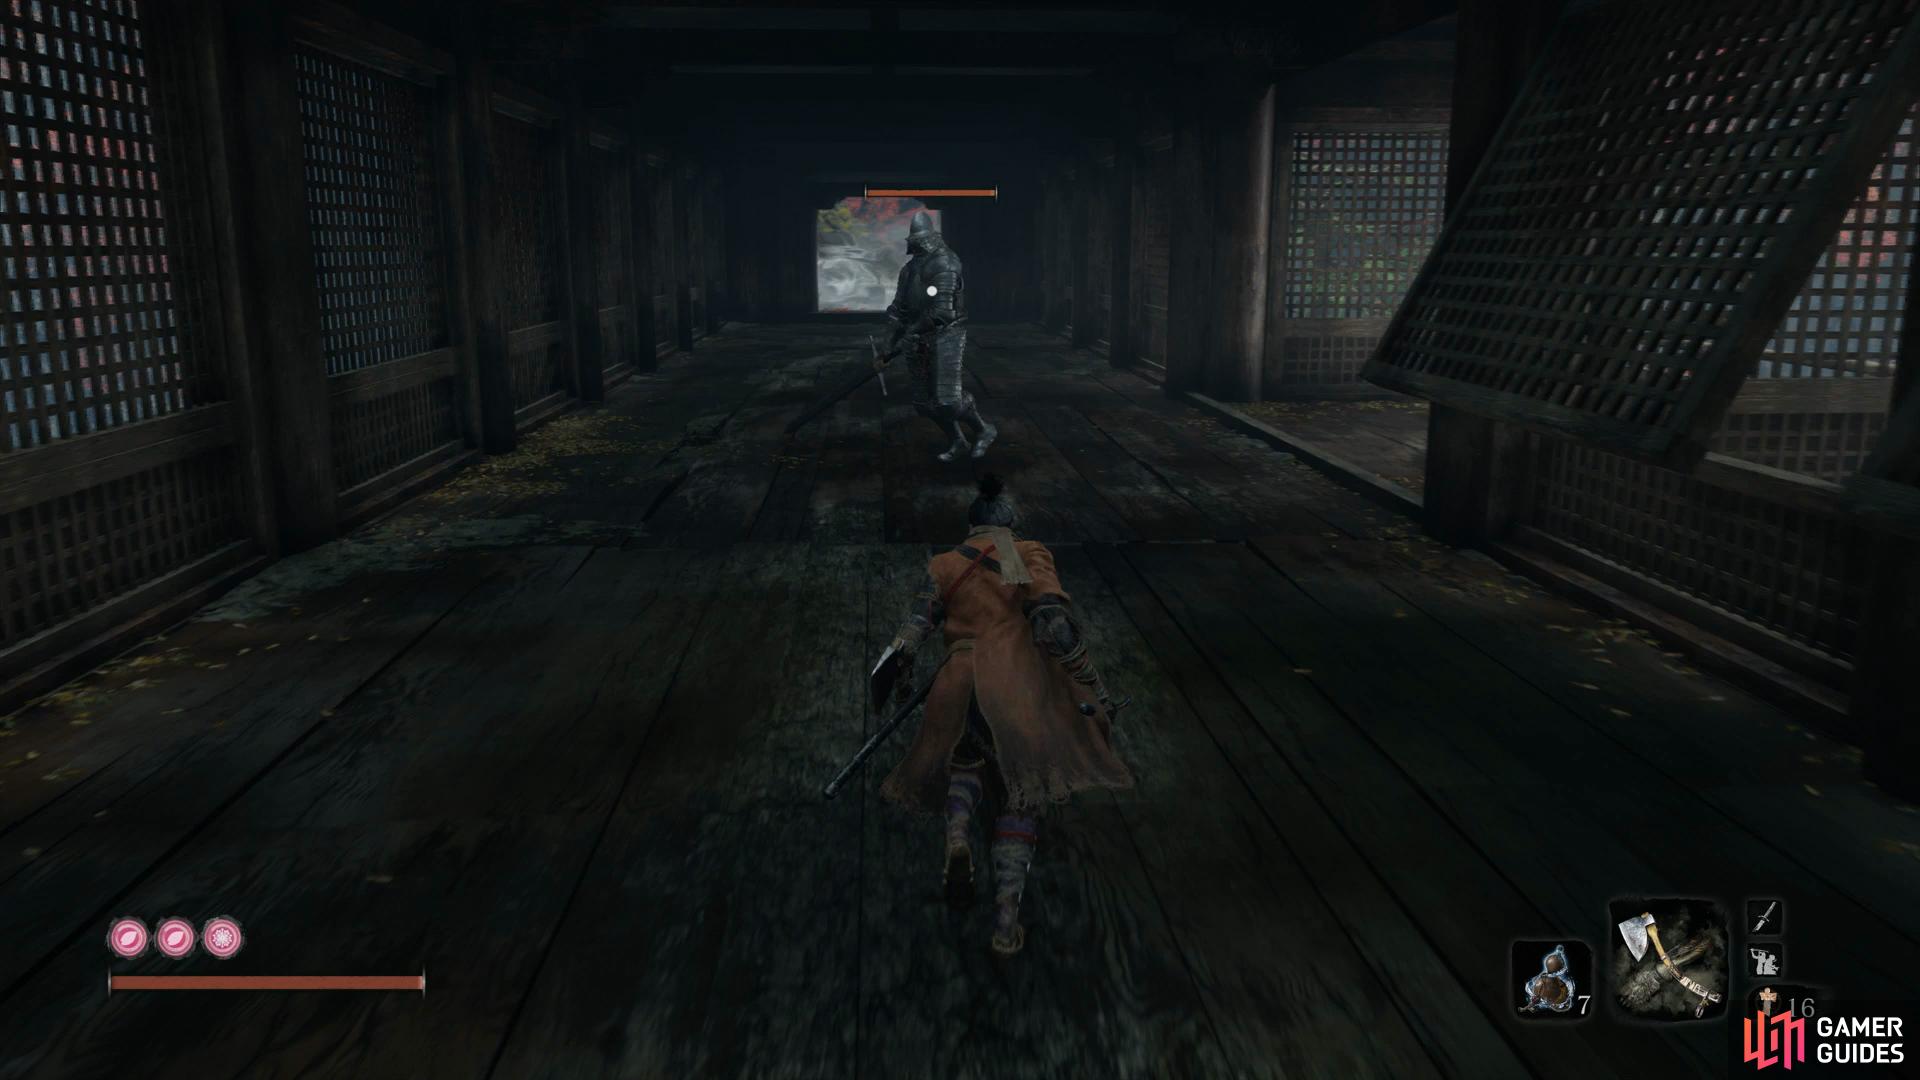
As you round the corner, you’ll spot two extremely dangerous Battle Monks up ahead and the last thing you want is to fight these two fearsome foes together. Instead, grapple over to the left, use a Gachiin’s Sugar and sneak up and Deathblow one followed by Bloodsmoke Ninjustsu to do the same to the other. A third one will be alerted during this process and you’ll need to take him out with conventional means, your reward for this difficult encounter is a Bulging Coin Purse. Open the large doors in front of you following the battle and activate the Sculptor’s Idol (but don’t rest at it just yet).

You can sneak up for a Deathblow with a Gachiin’s Sugar
then use Bloodsmoke to take out the second easily.
Main Hall
Ehance your Physical Attributes once again to obtain your Fourth Prayer Necklace and then back outside of the Main Hall and head around the side to your right. Pass through the tunnel into a cave, dispatching a Monk and several Centipede Men in the process and keep to the left wall to spot a small crevice you can crouch into.
Follow this to backstab another Centipede Man and then follow the path down into the water to loot a Mibu Balloon of Spirit. As you leave the water, you’ll have three more Centipede Men to deal with and then grapple out of the cave to reach a five-story pagoda. Open the doors to find a shrine containing the Senpou Esoteric Text which will unlock another skill tree for you back at the Sculptor’s Idols. You’ll also find some Pellets sitting near a tree just outside it and then look toward the Main Hall again to see a grapple point. Grapple back over to land on a ledge with an Ako’s Sugar and then return to the Main Hall to rest up. Consider purchasing the Virtuous Deed skill in your new Temple Arts skill tree, this will increase the drop rate of items and the amount of Sen.
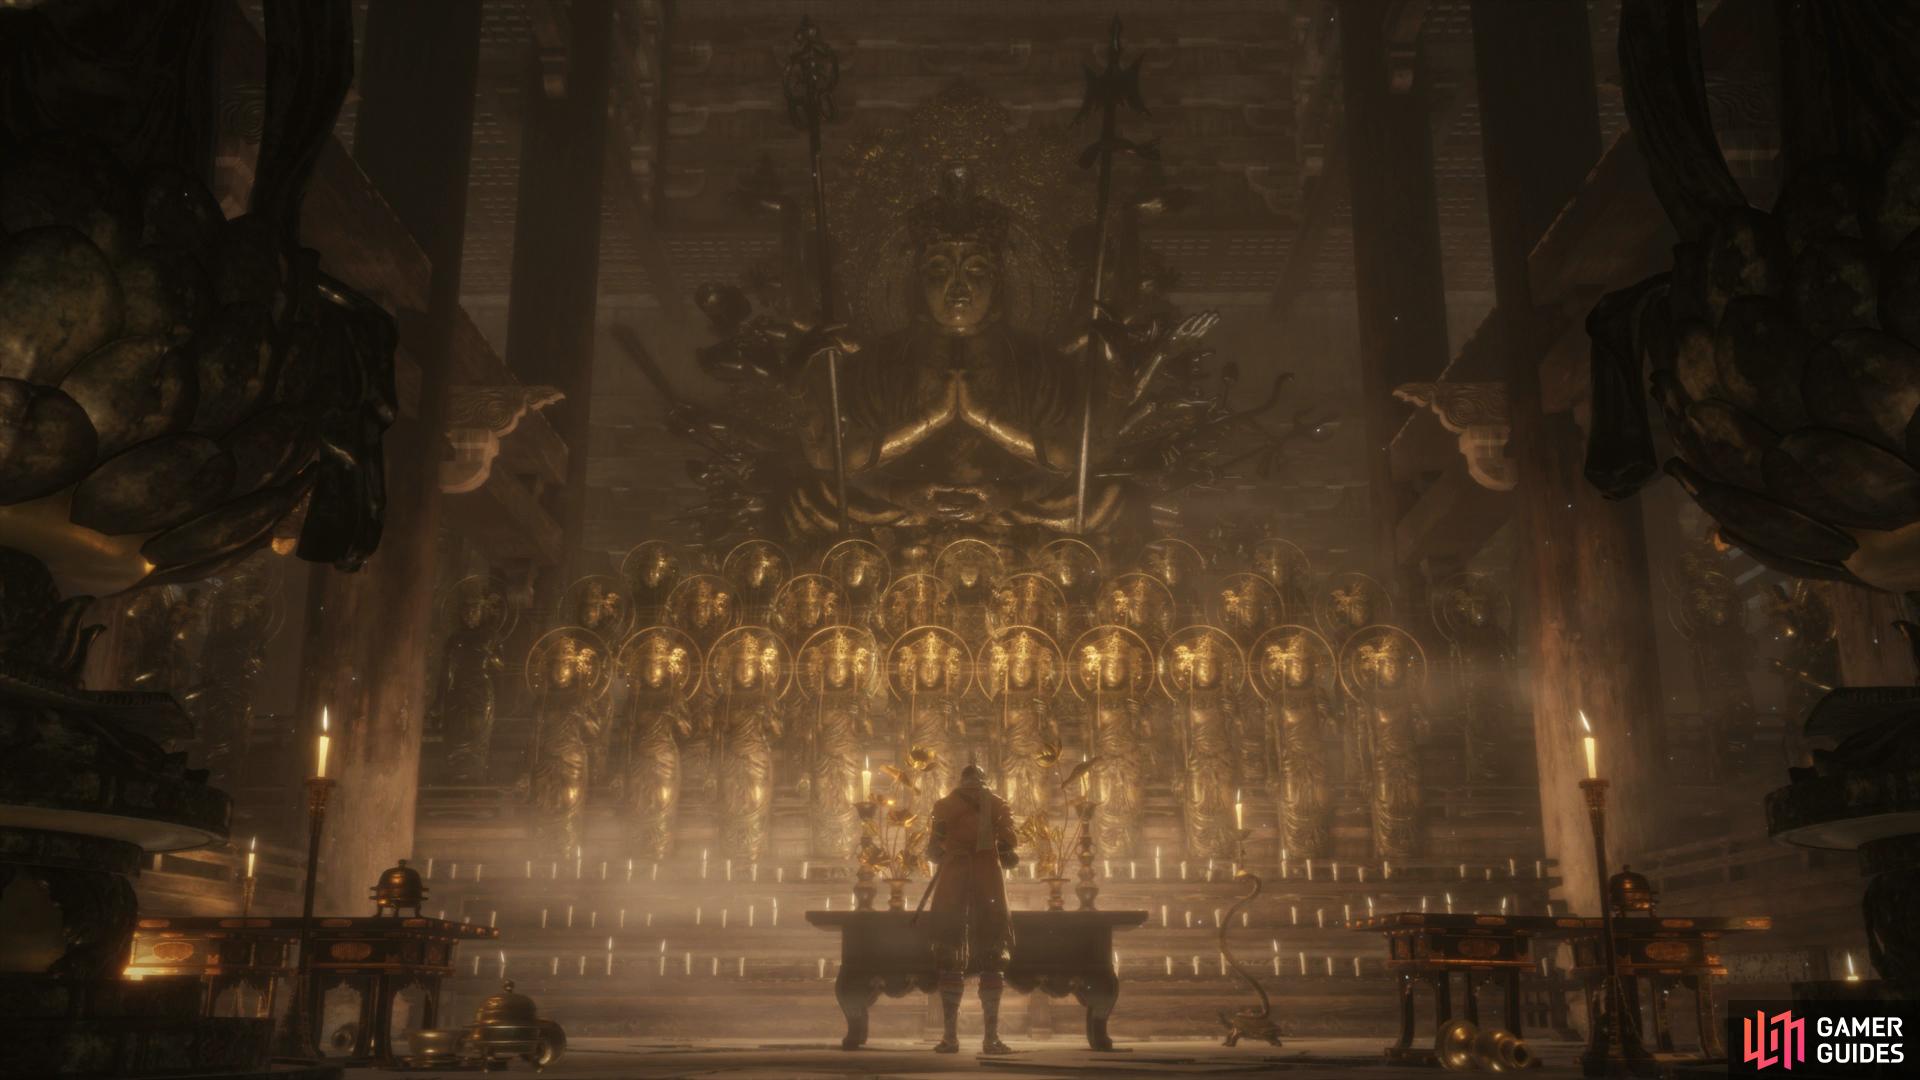
Avoid the enemies in the Main Hall for now, they’re more of the unkillable Centipede Monks however you will find a Pellet to the left of the Idol and an Ungo’s Sugar to the right. Return to where the Idol is and grapple to the beam above, you’ll find a Dragon’s Blood Droplet in the hands of the buddha statue and behind it, a Lump of Fat Wax. Return to the Idol once more and approach the bell in front of the statue to begin a rather unique boss battle.
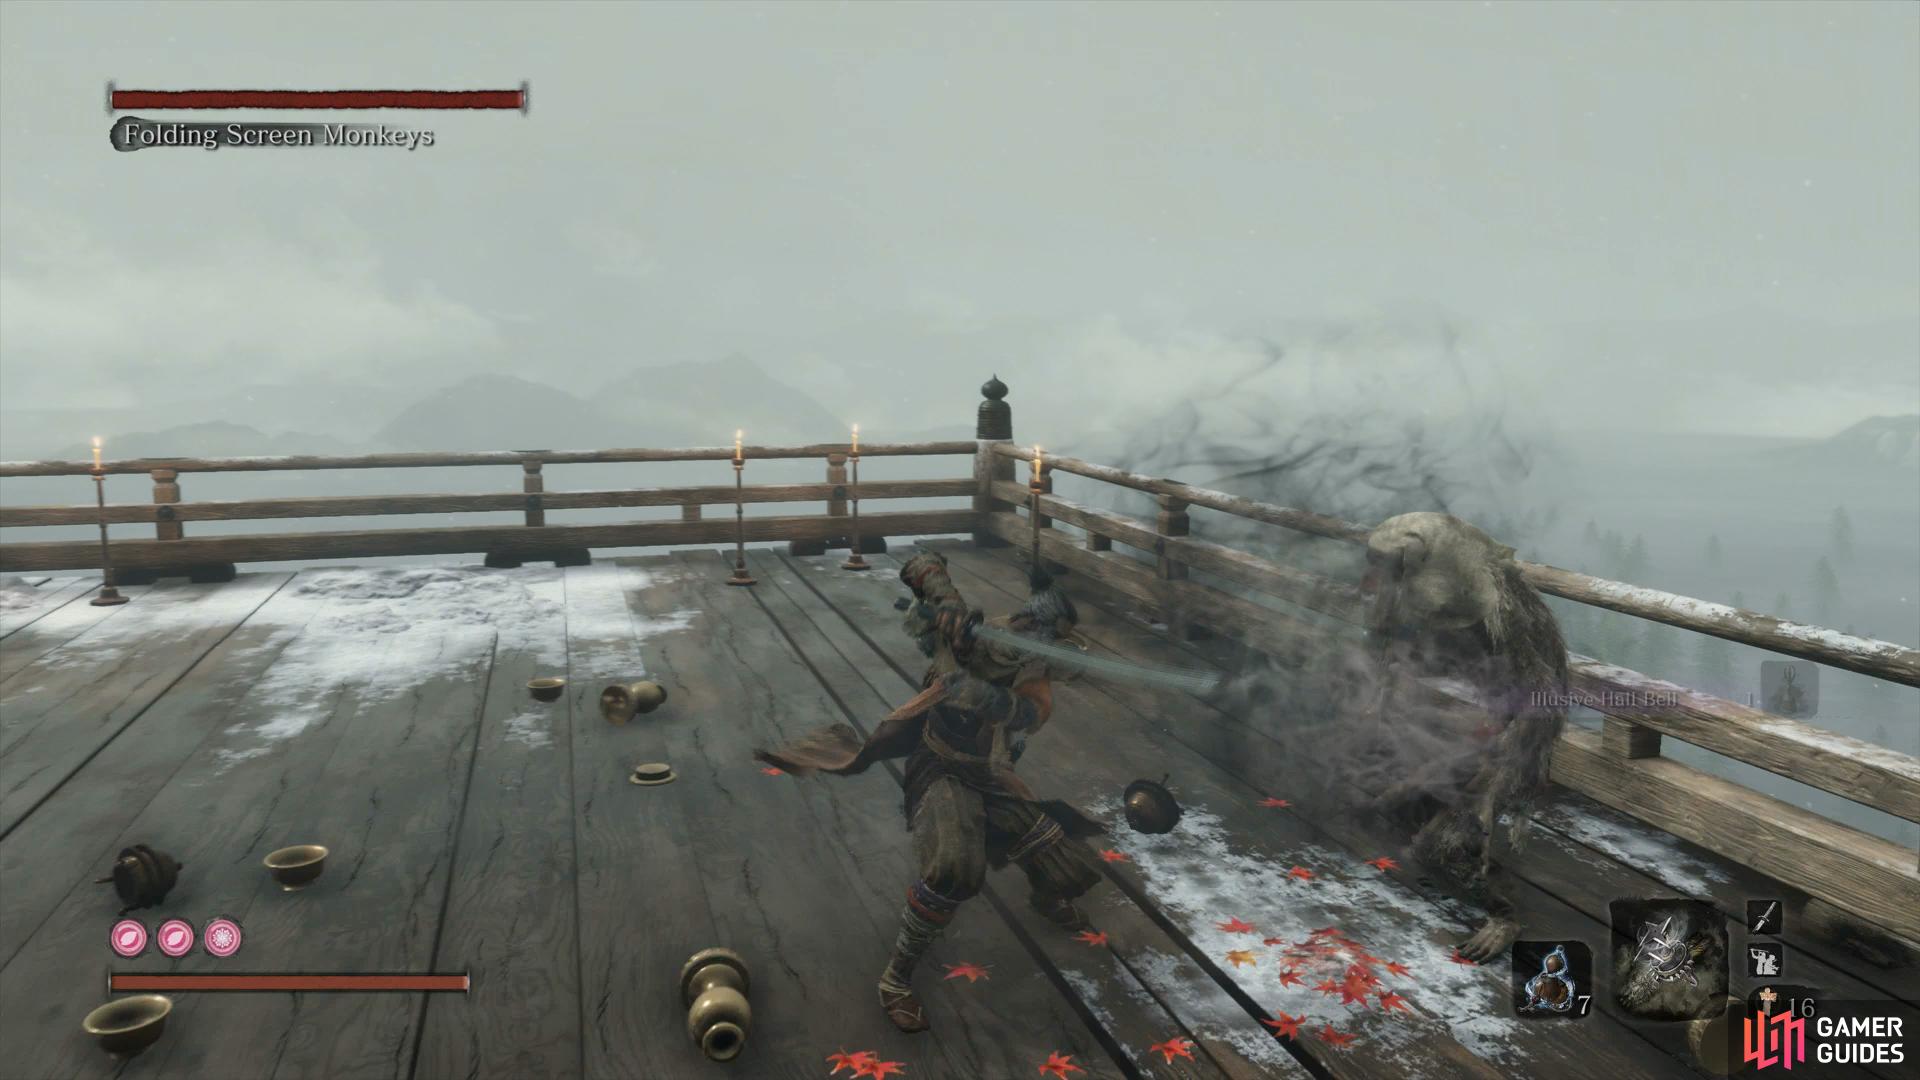
Boss: Folding Screen Monkeys
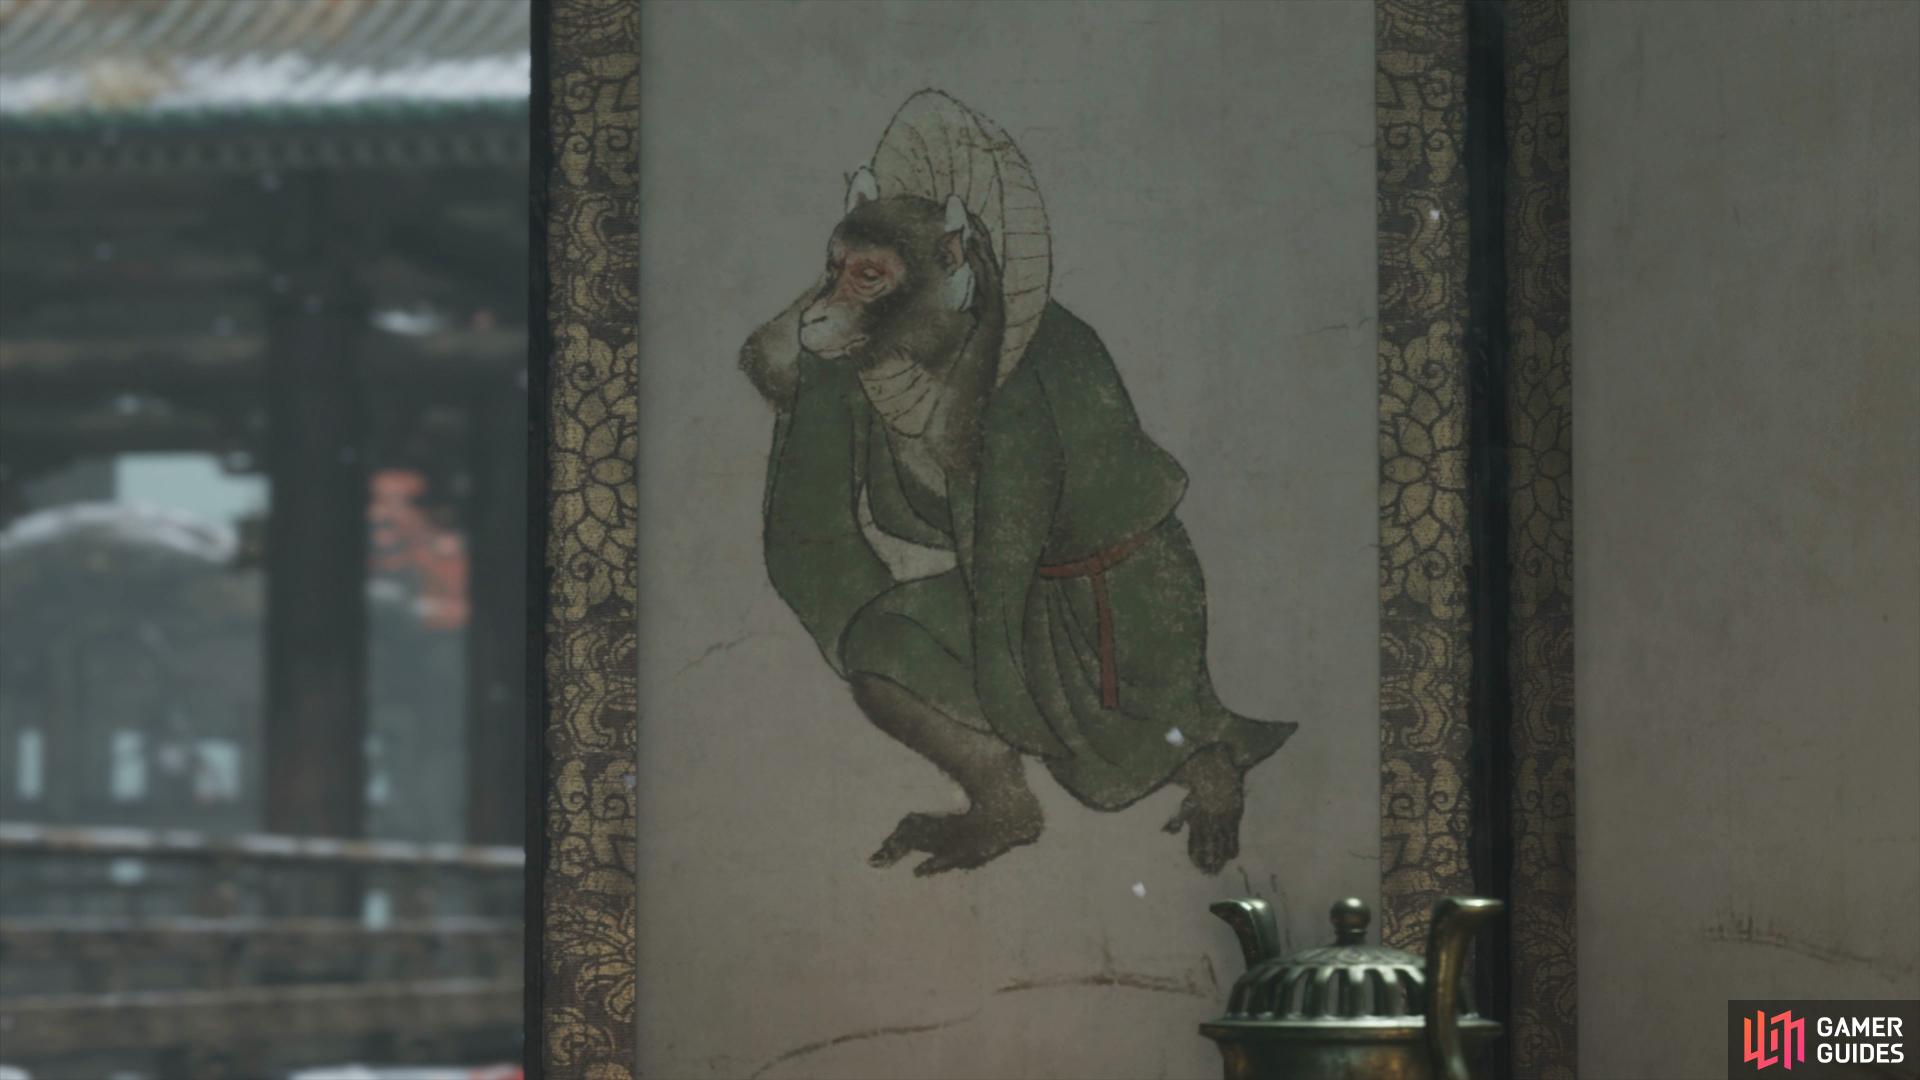
As you head forward, you learn that there are four different colored Monkeys that you’ll need to kill and they’ll hide throughout this area. This battle is more of a puzzle than an actual boss fight, indeed the only ways to suffer damage is from either falling off the side or from the Spirit Monkeys that appear later in the battle. You’ll receive an Illusive Hall Bell upon entering and ringing it will reset the area to it’s initial state.
These Spirit Monkeys inflict little damage but will build up the Terror Status and if it fills, you’ll be killed outright regardless of your health. It’s a better idea to ignore these altogether and just focus on your task rather than the Spirit Monkeys.
Starting with the White Monkey, you’ll learn his special property is that he’s invisible. This may seem like a really difficult property to deal with however it’s starting position is directly behind yours so turn around and slash around the edge of the platform to strike it and defeat the first monkey.
For the Red Monkey, you’ll have to look for it’s fiery footsteps and then follow them while in stealth to sneak up on it and backstab it. The Monkey tends to favor the rooftops and you might want to consider using a Gachiin’s Sugar to aid you in creeping up behind it.
For the Purple Monkey, you’ll have to open the doors at the far left room so that it fills it with darkness. That way you can return from the top of the roof once it’s returned to the room and backstab it for an easy kill.
The Green Monkey is the trickiest as it’s hearing is heightened meaning it will spot you from a great distance. The best way to corner this Monkey is to lure it to the Temple at the back and then ring the large bell to deafen and stun it. This will allow you to quickly grapple up to it’s location and perform the Deathblow to kill it.
Once the final Monkey is killed, you’ll be whisked off to the Innser Sanctum and will obtain the Memory: Screen Monkeys along with the useful Puppeteer Ninjutsu.


This will allow you to turn an enemy into an ally if you backstab them and perform this ability. This is a Ninjutsu that you’ll have to use in certain areas to reach otherwise inaccessible locations. Activate the nearby Sculptor’s Idol and Enhance your Attack Power with your new Memory before heading inside to speak to the girl inside, replying that you do to her question.
Following the events, you’ll obtain the Mortal Blade along with the Combat Art, Mortal Draw. With this, you’ll now be able to defeat enemies that could otherwise not be killed (such as those Centipede Monks). Speak to the girl again after to obtain some Rice as she reveals herself to be the Divine Child of Rejuvenation. This begins the process of fulfilling the game’s most difficult to obtain ending and the one that this walkthrough will follow.
No Comments