
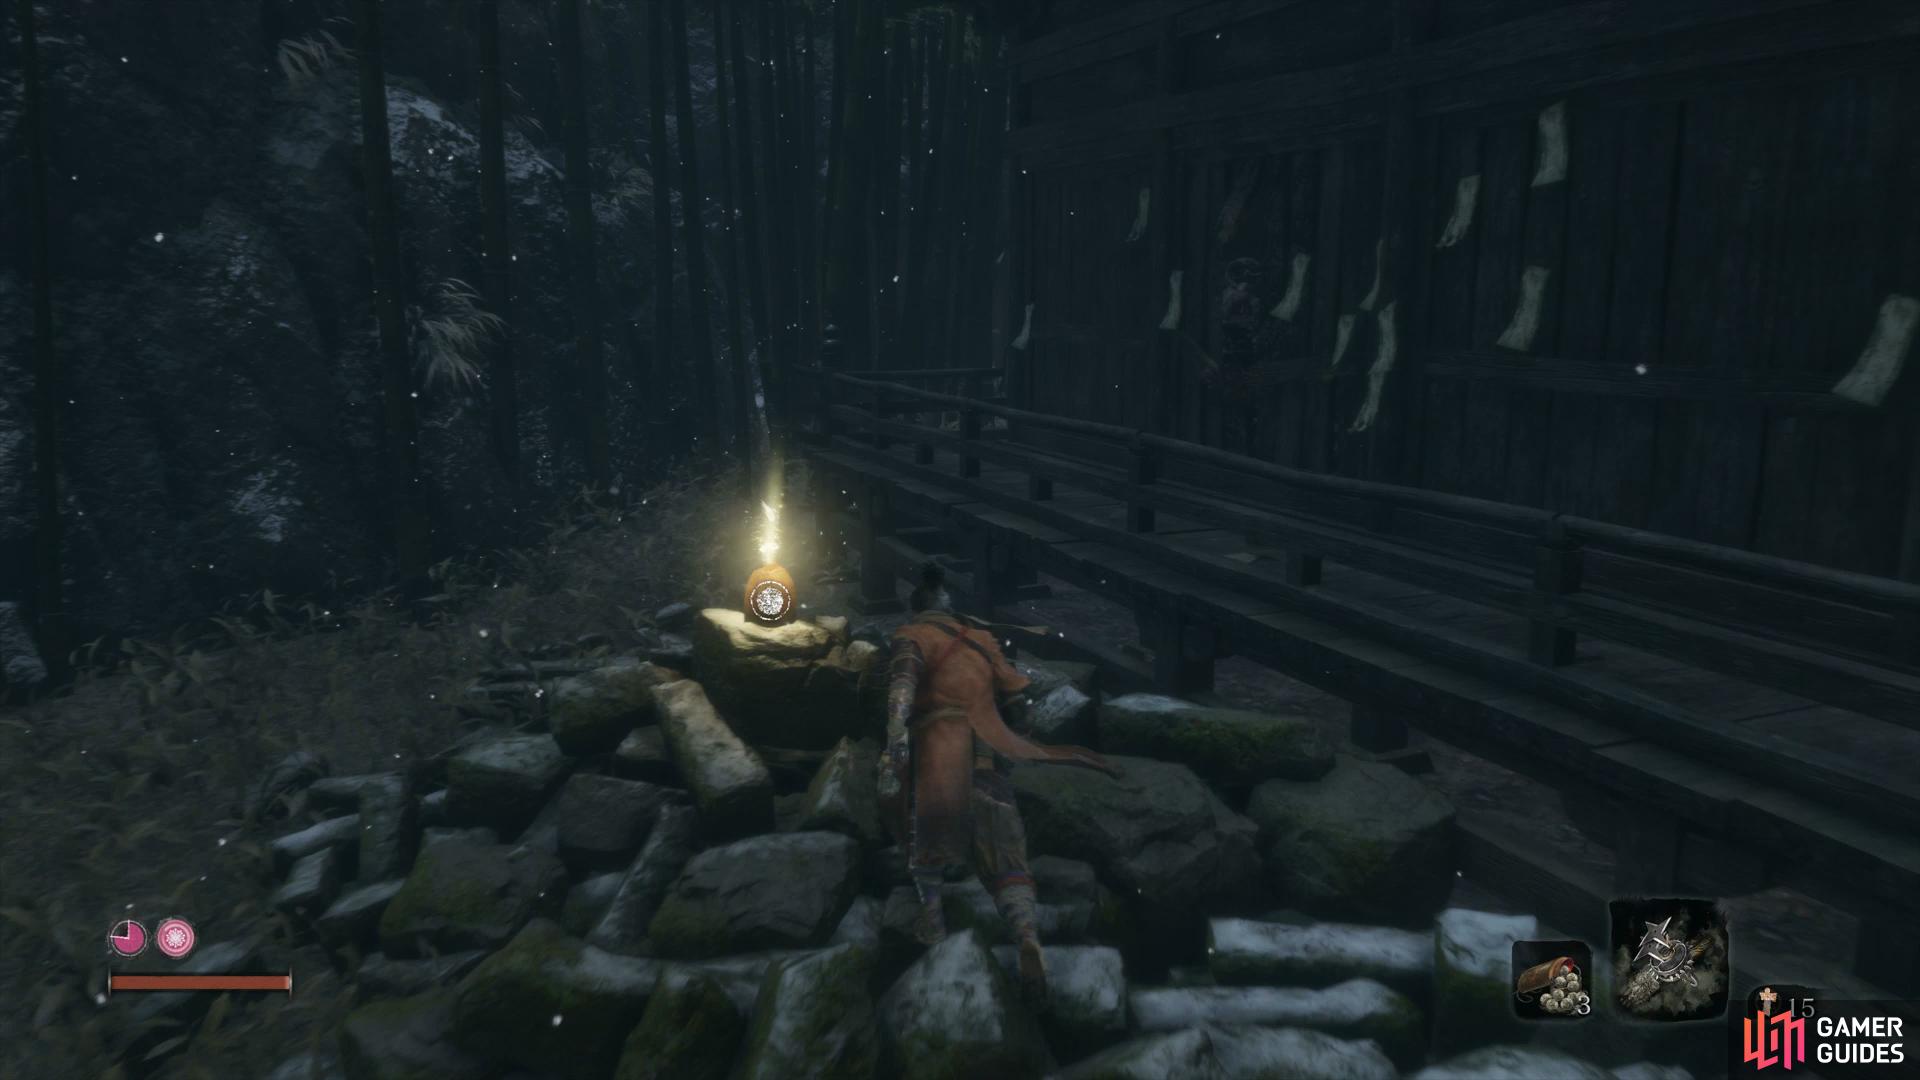
Dilapidated Temple
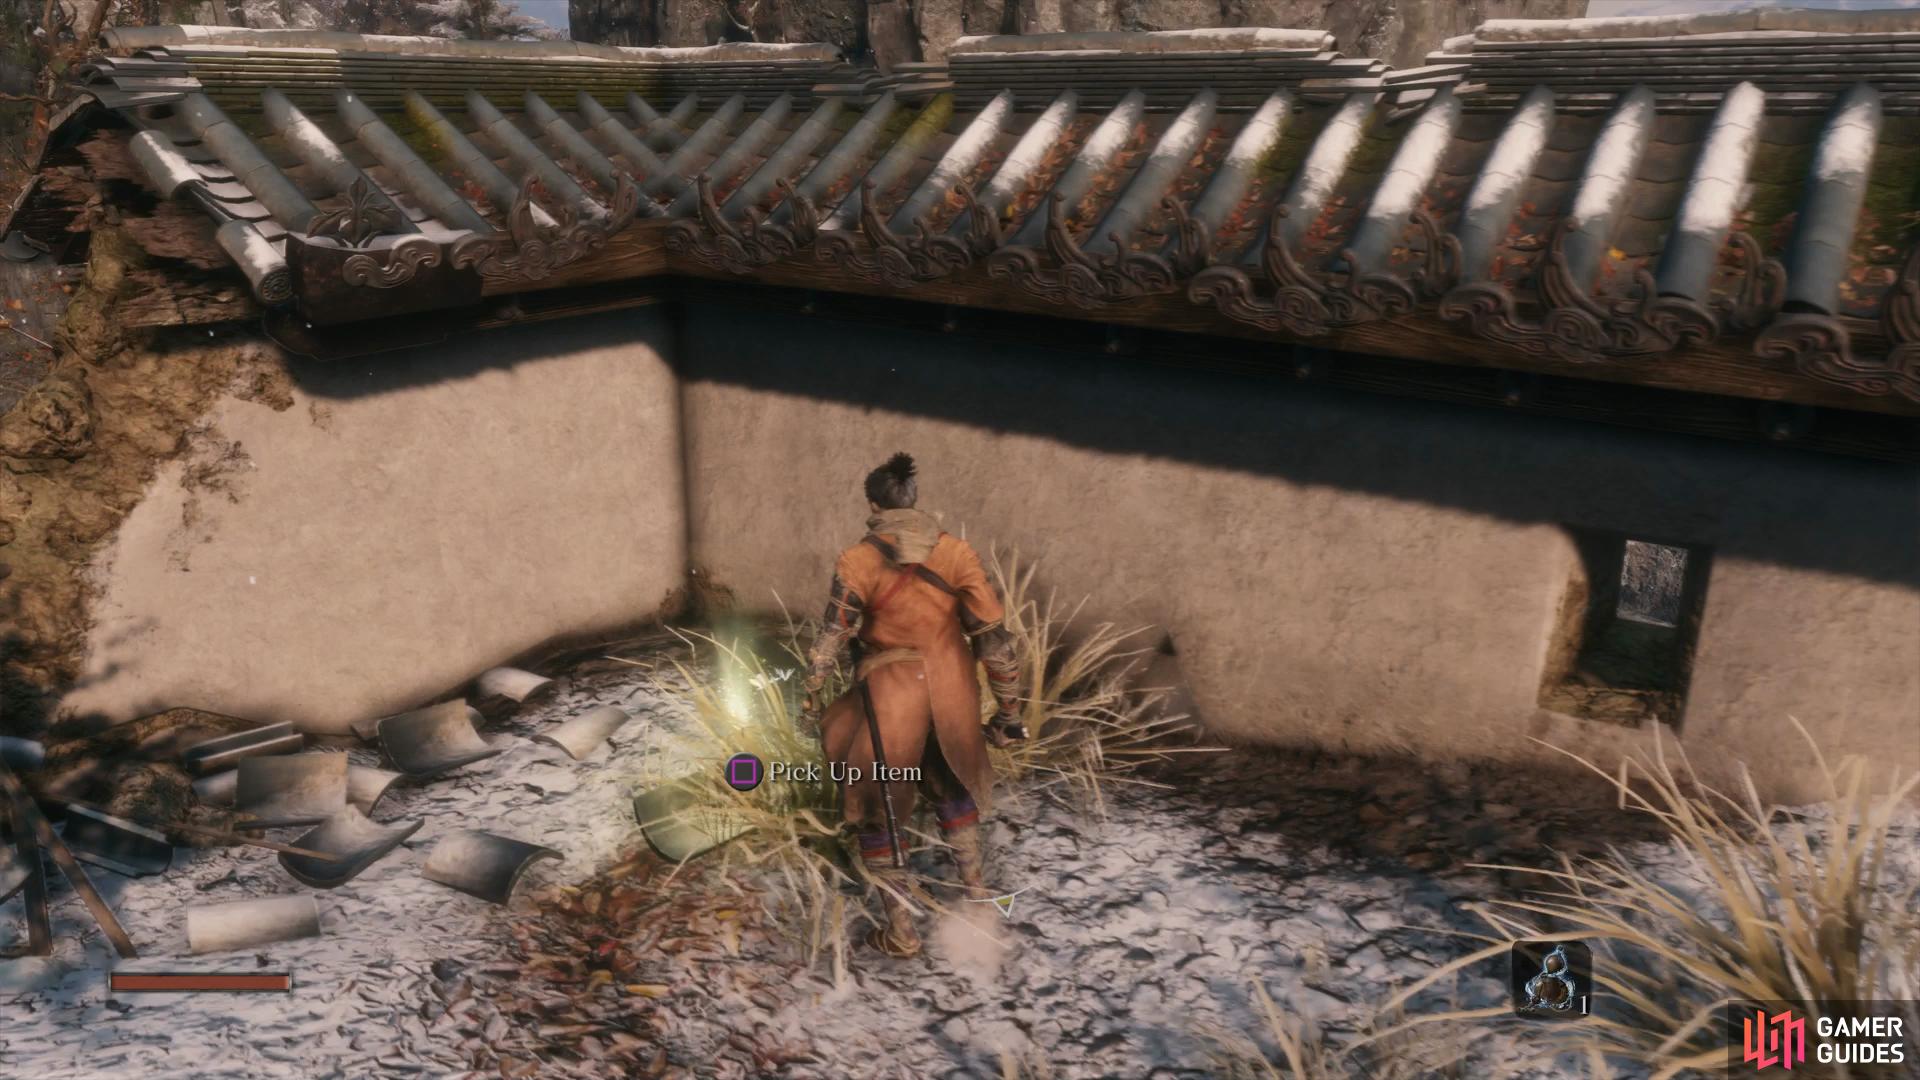
Take the time here to speak with the man who carved your Prosthetic, the Sculptor, and learn as much as you can about your current predicament. Leave the temple itself and look to your right to find a Doctor, Emma. She is the person who created the Healing Gourd you possess and will offer to upgrade it for you in exchange for Seeds you may find throughout the Ashina territories. Head around the back of the temple from here to find a well hidden Light Coin Purse, hold on to these and only use them when you wish to make a purchase at a merchant.
Search behind the Temple to find a well hidden item
although limited at the moment, your options will greatly expand during your journey.
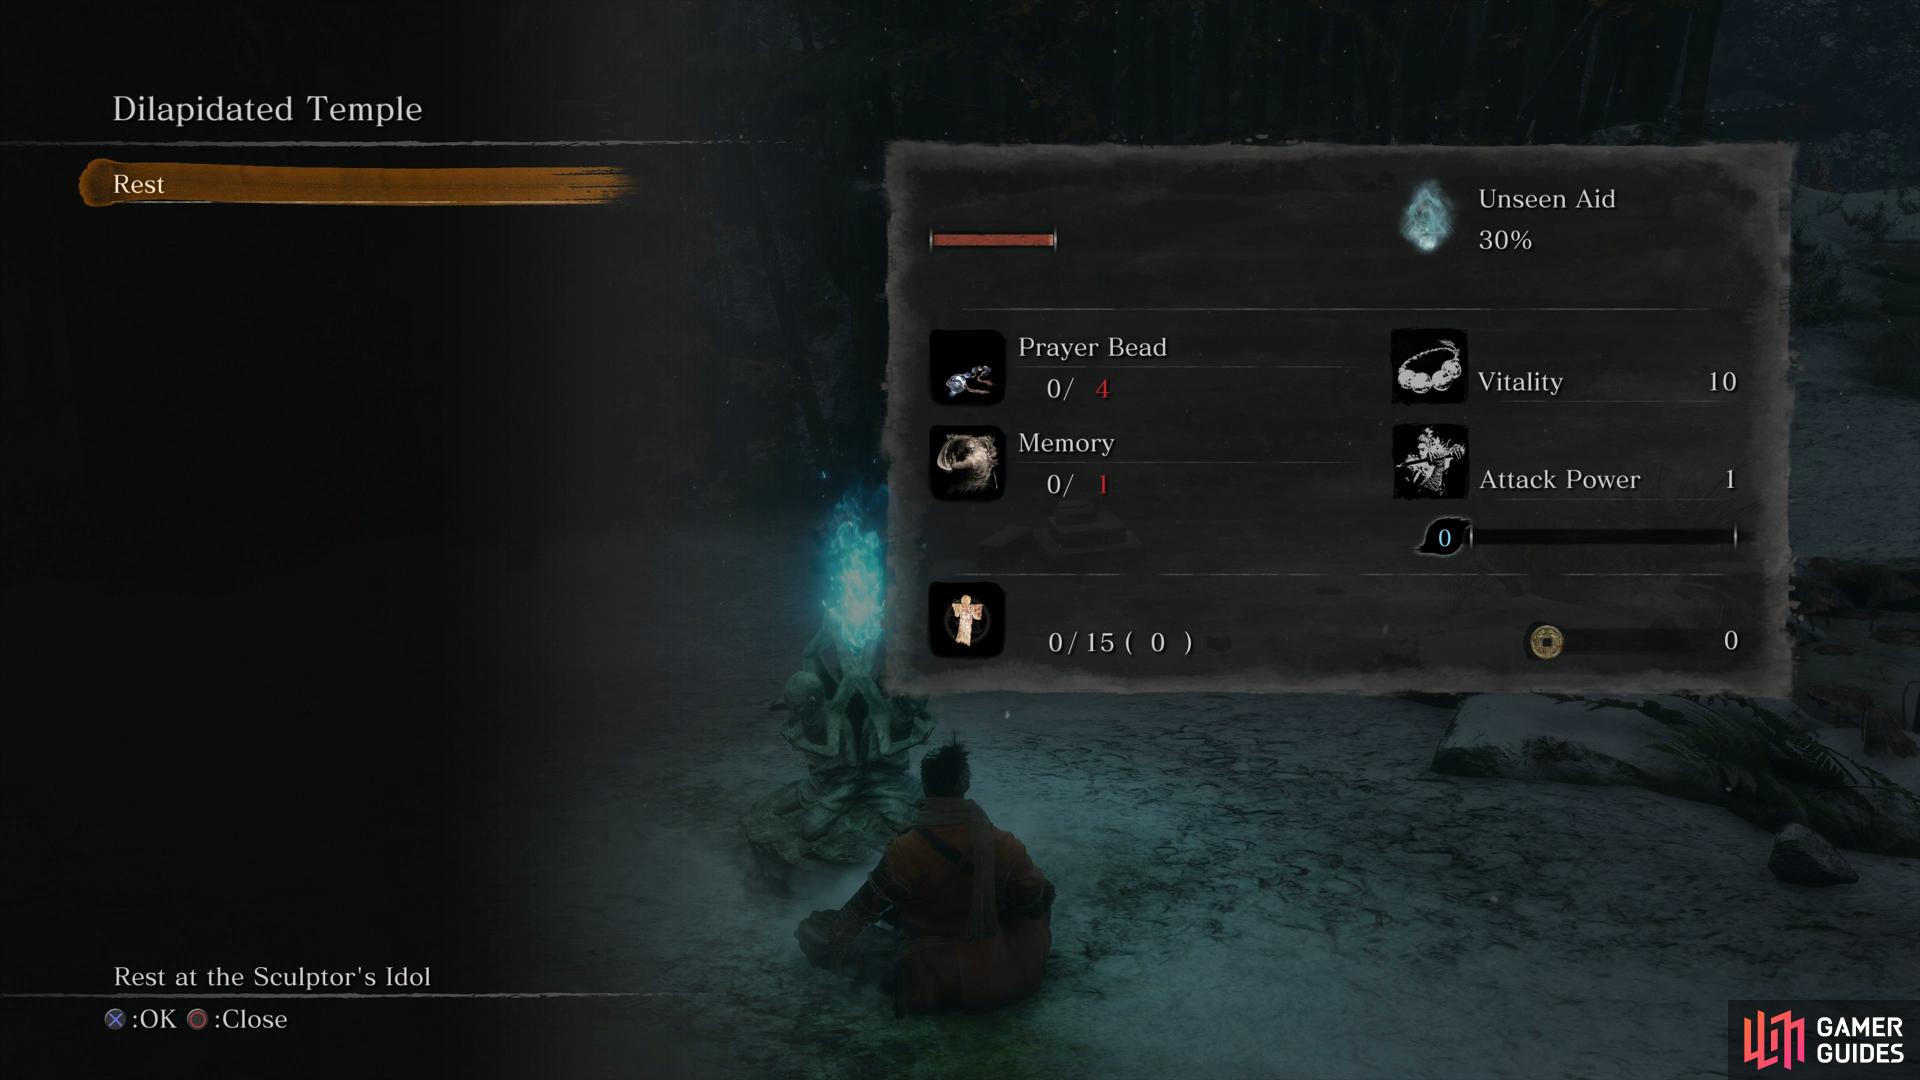
Heading down the steps, you’ll come across your first Sculptor’s Idol. Communing with these act as a checkpoint and will allow you to travel to other Sculptor’s Idols you may have activated already. Additionally, you can rest at these Idols to replenish your health and restore your Healing Gourd at the expense of refreshing all the defeated enemies in the current area.
Just off to the right of this, you’ll find a Pellet, pocket it and then head up the nearby path to meet another man. Upon talking with him, he’ll attack you so back up and lock on, before taking him out like any regular Samurai. The man will resurrect upon death and reveal himself as Hanbei, the Undying. Accept his request to make use of him as a training dummy and you’ll have a choice of what you wish to train in.
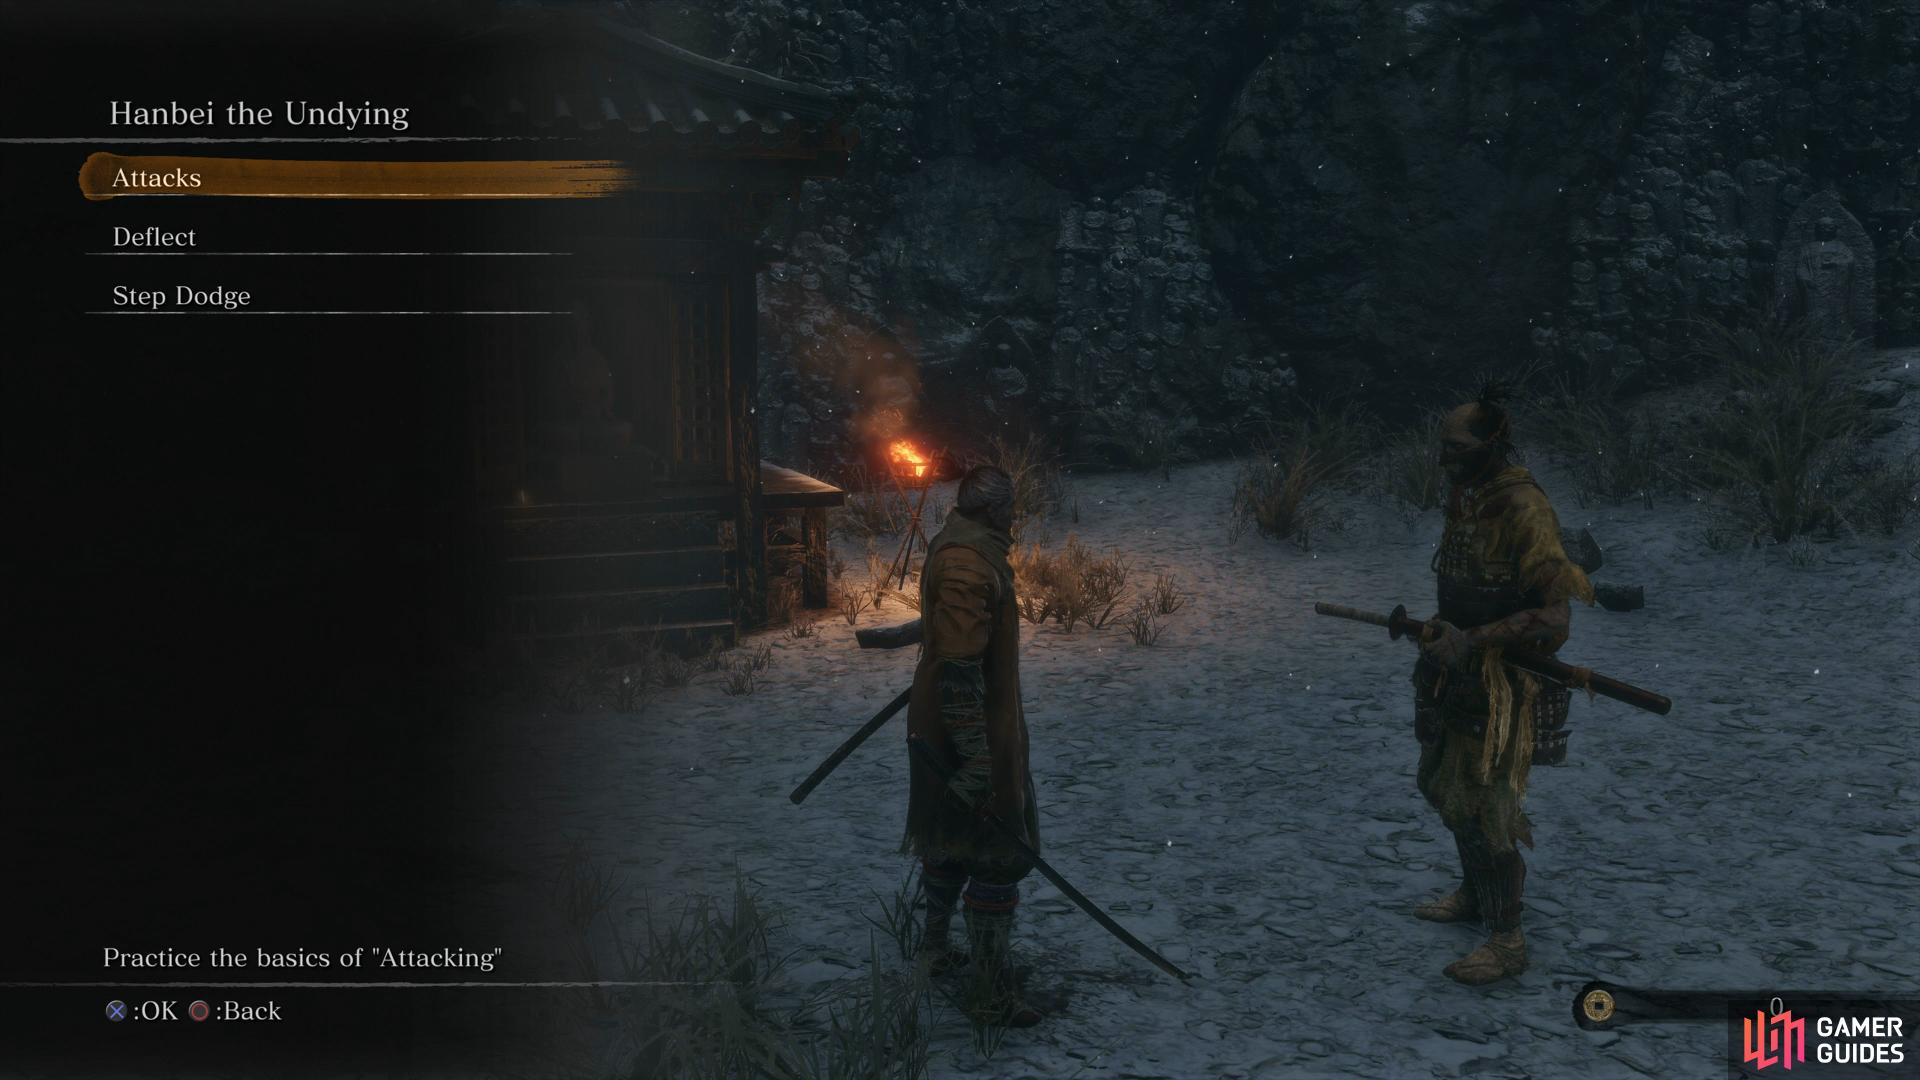
Make full use of the training that Hanbei provides.
Hanbei is very useful for practicing the fundamentals of combat along with refreshing your mind on how to battle. Take him up on all of his current training and he’ll offer Free Combat training. Again, take him up on this to advance his storyline a little and freshen up on your Shinobi skills. Hanbei will update his training courses as the game progresses so be sure to check in on him every now and then.
Be sure to rest at the Sculptor’s Idol once more to recover any lost health and then it’s time to begin your journey through the Outskirts, The Divine Heir awaits at Ashina Castle.
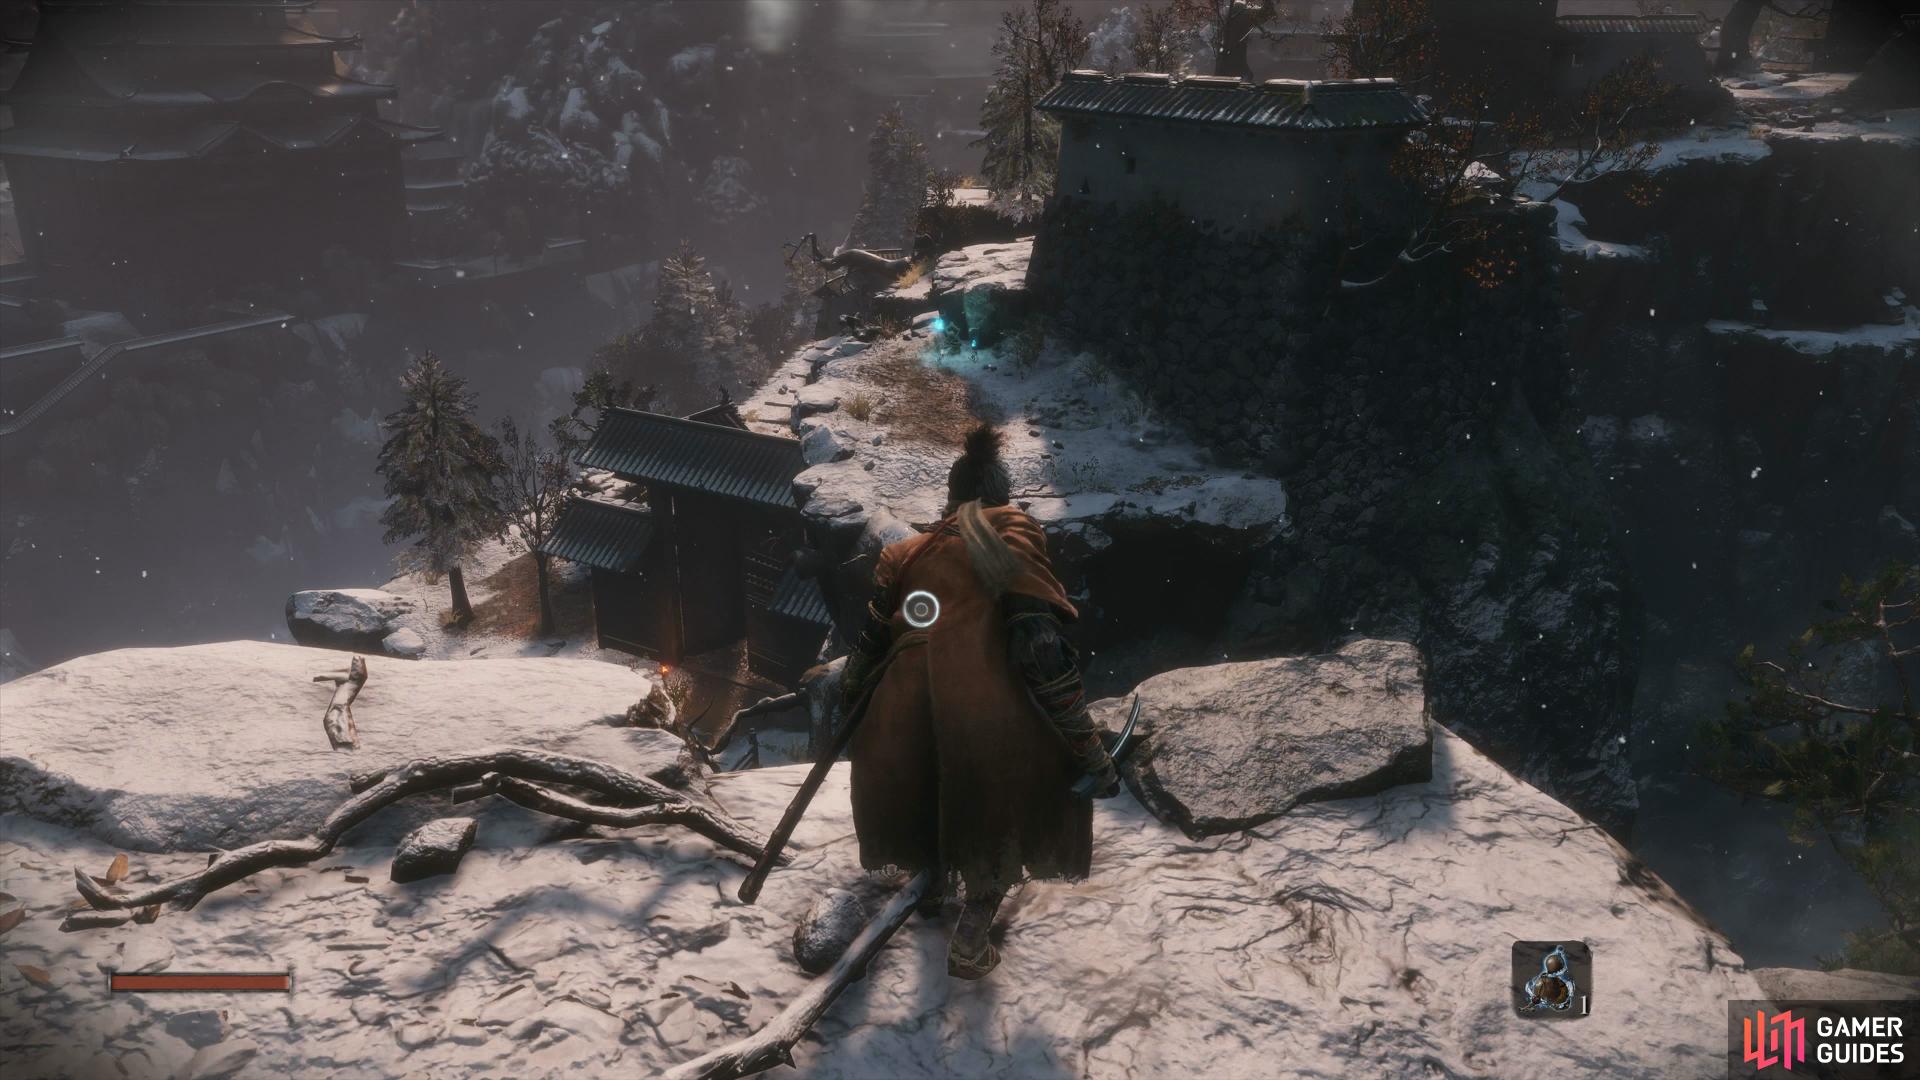
Ashina Outskirts
As soon as you as you leave the temple grounds, you’re informed of how the Grappling Hook works. Look for a green circular symbol as you move about, this signifies a grapple point and will allow you to reach otherwise unreachable areas. Get used to how the Grappling Hook works, it’s a huge part of Sekiro, not only for traversal but also combat.
The bridge up ahead has fallen and provides an excellent opportunity to put your new tool to work. Grapple on to the branch and then follow the path to a ledge that you can climb. Continue forward and leap towards the next grapple point to reach the other side where another Sculptor’s Idol awaits.
Before jumping down, climb the wall to your right to find an Ungo’s Sugar, a consumable that will increase your defense in battle. Drop down to where the broken bridge was and stay crouched to dispatch the first Samurai on the path where you’ll be given yet another tutorial. Enemies drop loot on the ground upon death, to pick this up you’ll need to hold the [SQUARE]/[X] button to pull in any loot in the surrounding areas.
On the ledge above the Idol you’ll find an item
always attempt to catch your enemy unaware.
You should also notice that you received some Sen, currency used to purchase goods from the many merchants throughout Ashina. Finally, you will have received some Exp which, when the gauge is full, rewards a Skill Point. If you’re defeated in battle however, you’ll lose half of your Sen and Exp (but keep any Skill Points earned), this cannot be retrieved.
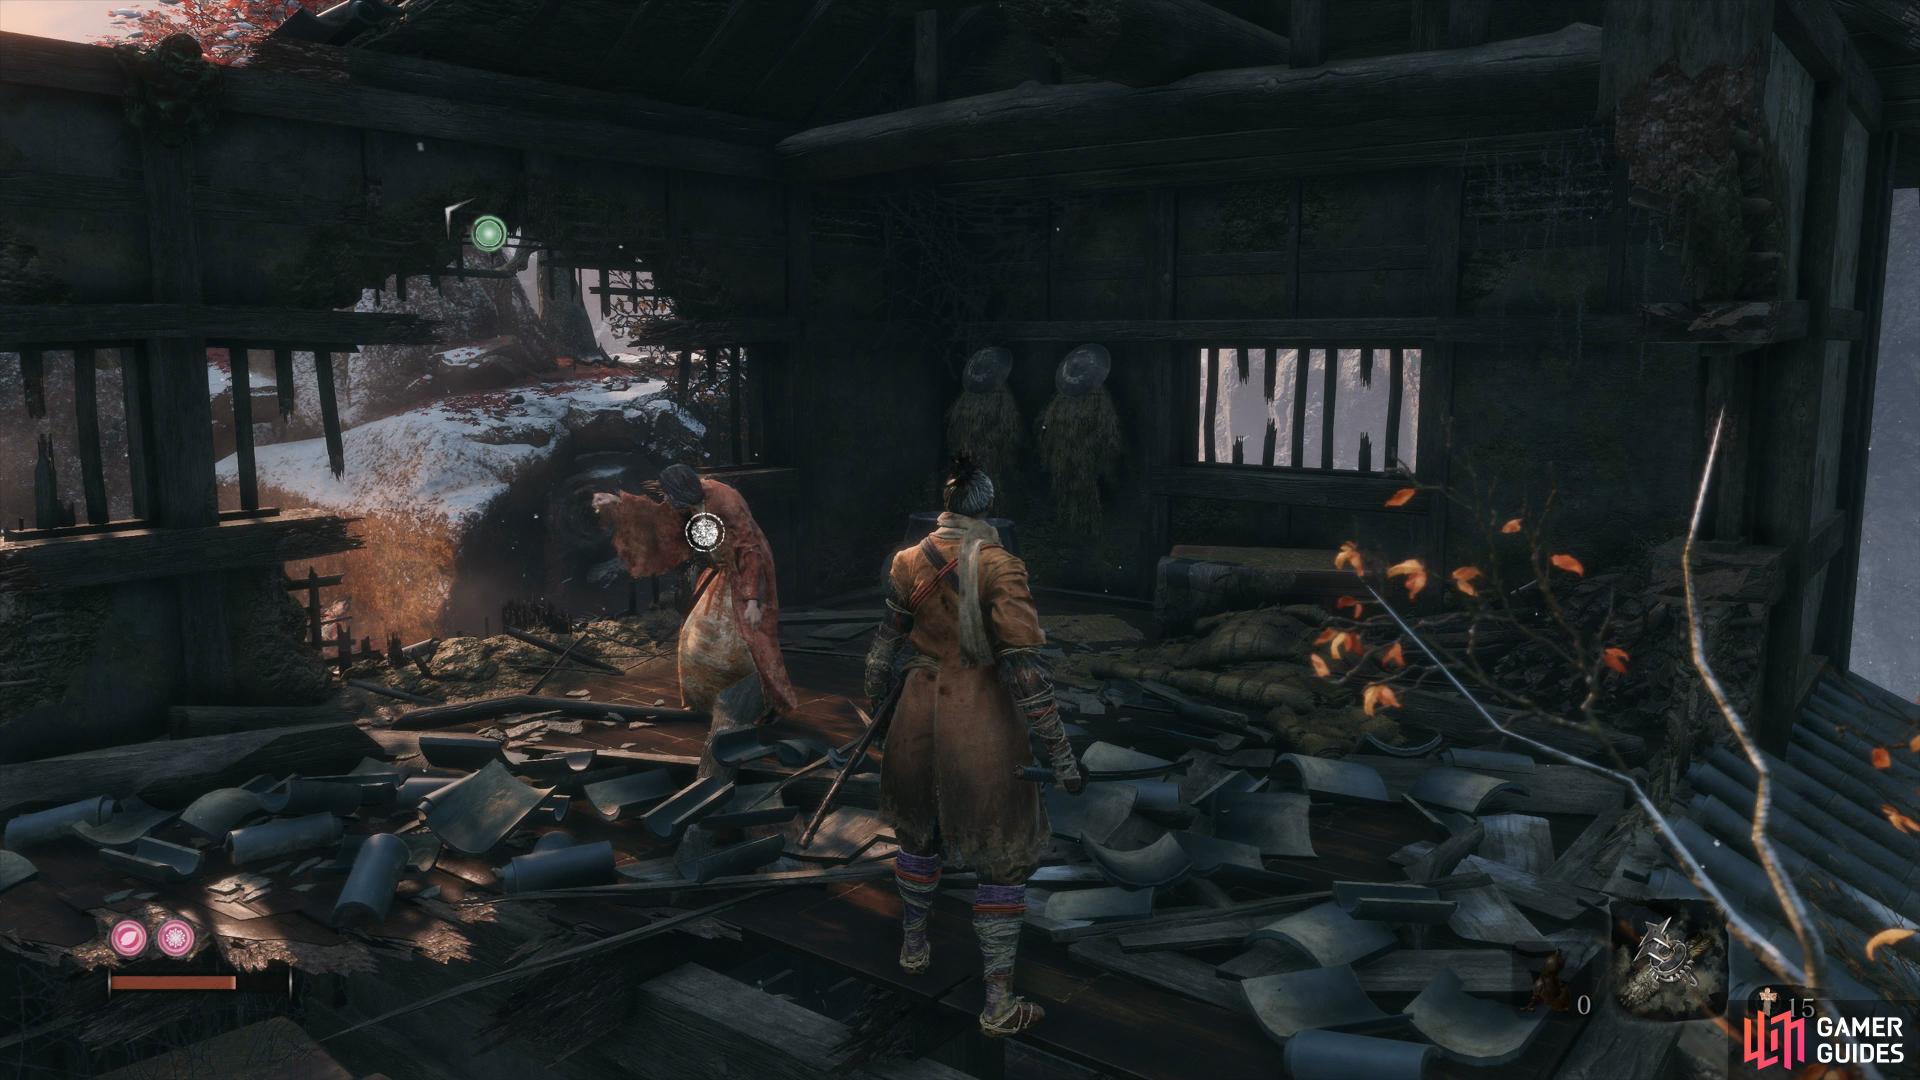
Further along this path is two more items to loot, a Pellet and a Ceramic Shard, a consumable that can be thrown to distract enemies. Another Samurai awaits up ahead, look up and grapple to the the branch and climb to the ledge above, this will allow you to get above him unaware and perform an Air Deathblow. This will however, alert another enemy nearby, one that requires deflections to defeat.
Grapple to the nearby rooftop and then to another branch to the right, you’ll see another Samurai patrolling the area who you can sneak up on. Grapple up to the rooftop of the large house and wait for the Hat Samurai on your right to pass under, using another Air Deathblow to dispatch him. Along the path he patrolled is a Ceramic Shard hidden behind the wall. Look below the cliff edge here to find another ledge you can drop down to, you’ll find an Ako’s Sugar inside the cave here which will increase attack upon use.
Use the grapple point to your left and return to where you dispatched the last Samurai. Head left from here and grapple up to another branch, this will give you an overview of the current area. You’ll notice two Samurai near the gate with another patrolling the long grass at the bottom of the stairs. From your current position, Air Deathblow the nearest Samurai before focusing on the other one that will become alerted. Head back through the long grass to pick off the final Samurai in the area and loot the items to obtain another Ungo’s Sugar, Fistful of Ash and a Pellet.
It’s important to survey an area before charging in
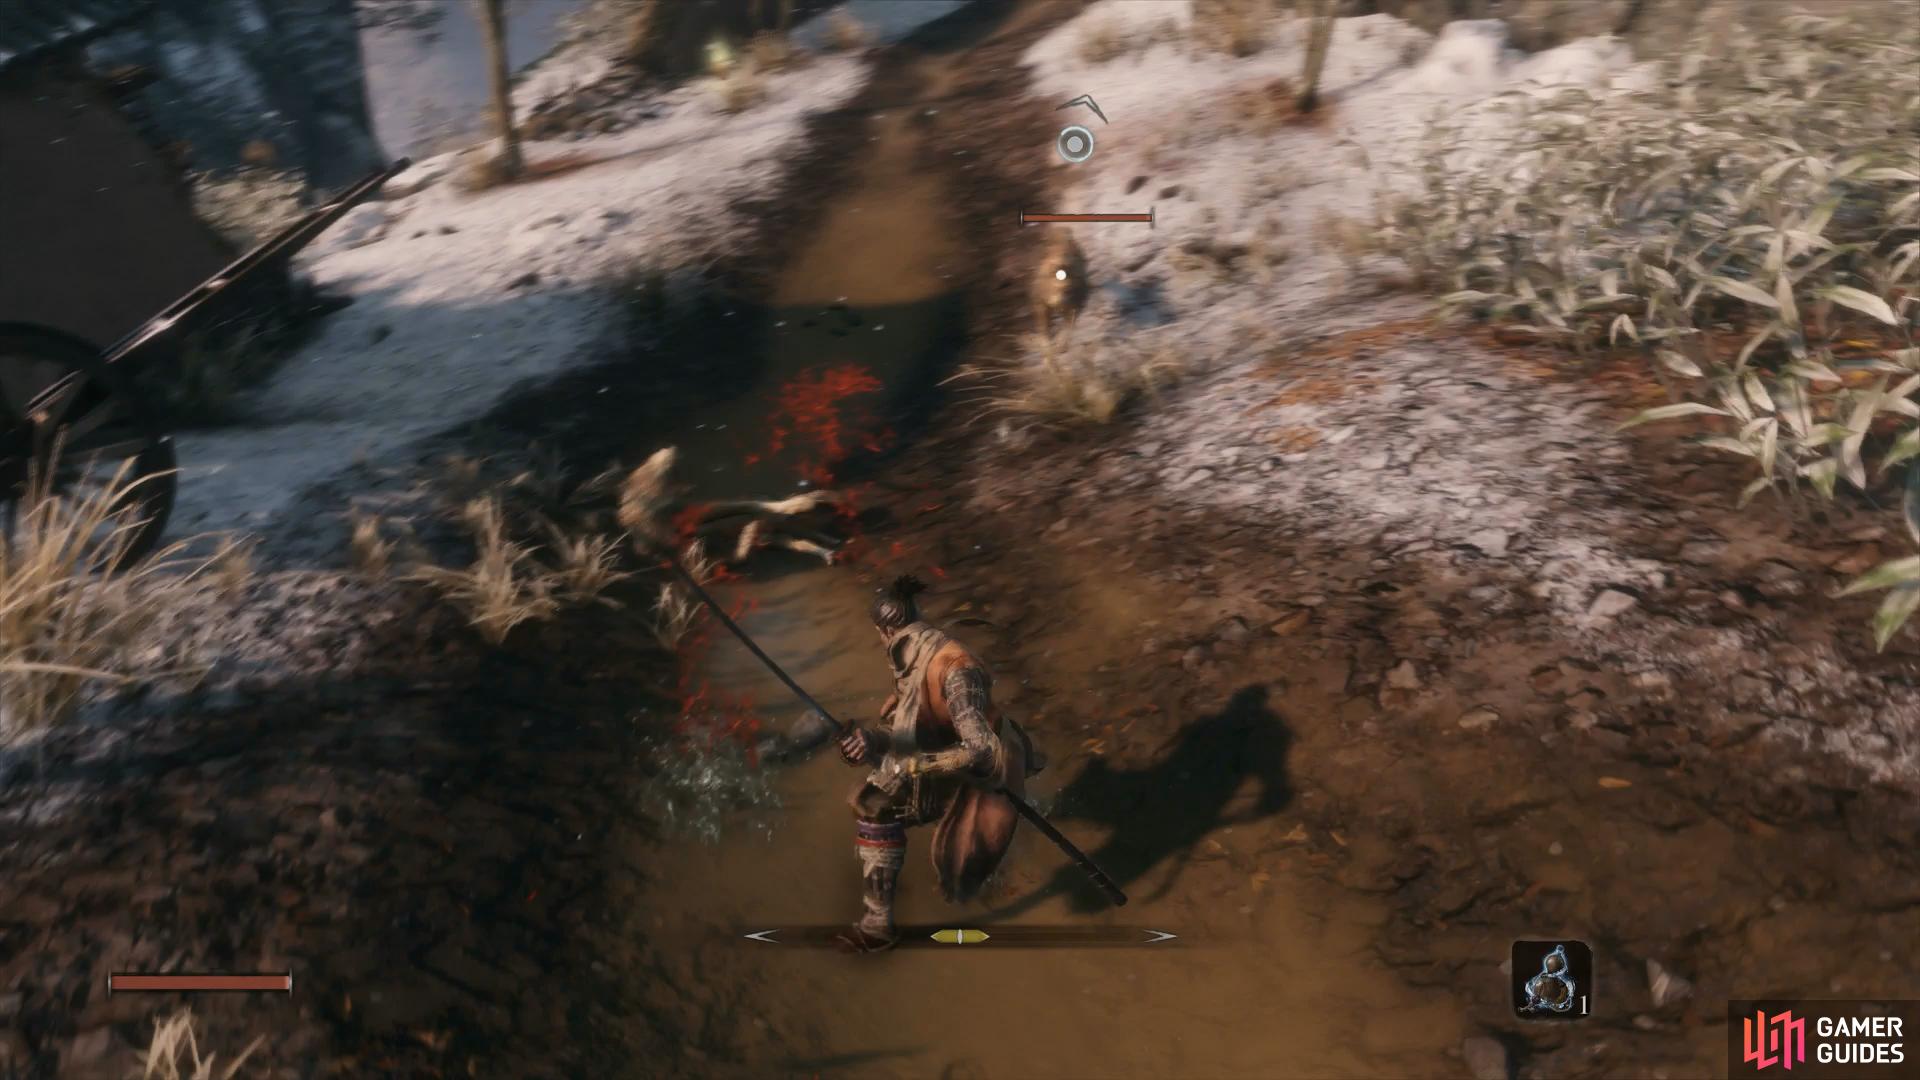
Dog’s take a single strike to put down.
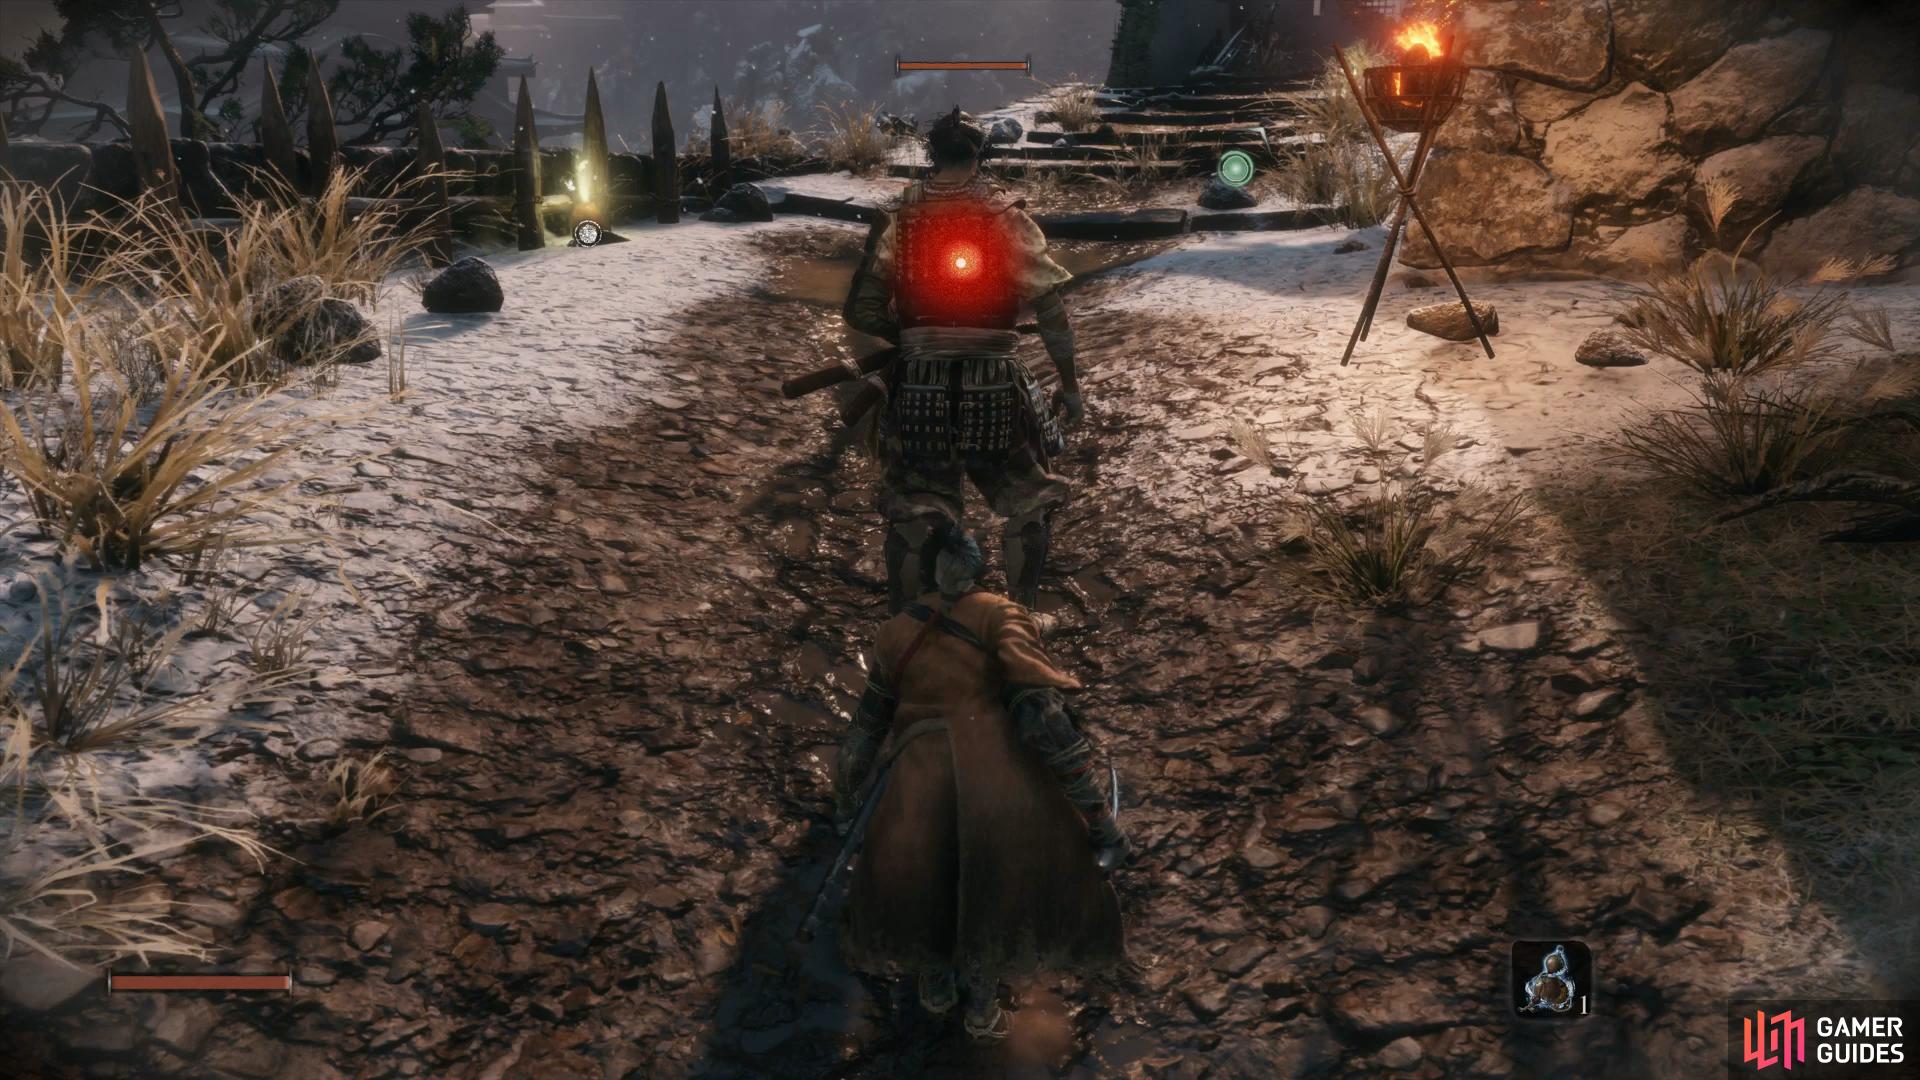
Grapple on to the roof of this gate and wait for the Dog to pass by before dropping down to take care of them, these beasts can be dispatched with a single strike. Two more Dogs await up ahead, allow them to run at you and block their lunge before countering to put them down. You’ll find another Ceramic Shard just before the next gate and then to your right, the next Sculptor’s Idol to activate (only rest if you find yourself low on health).
Return to the previous gateway and grapple up to the ledge above the Sculptor’s Idol, you’ll find a Chicken here that you should treat in the same way as the Dogs apart from needing two strikes to slay it. Look to the left from here to drop on to the nearby gateway and through the hole to find the Shuriken Wheel. This is of great use in the coming battles so return to the nearby Sculptor’s Idol and travel back to the Dilapidated Temple.
Your first Prosthetic Tool can be found in the roof here.
Speak to the Sculptor here and he’ll fit the wheel to your Shinobi Prosthetic, unlocking the Loaded Shuriken. Open the Equipment Menu after and equip it to one of the three slots availble. In order to make use of these tools however, you’ll need to use Spirit Emblems (think of this as MP from other RPGs) that can be found in the world, as loot from enemies or purchased from any Sculptor’s Idol. The Shuriken you have now is useful for taking down ranged enemies such as Archers (three Shurikens is enough to defeat them) or slay Dogs with a single throw.
Travel back to the Outskirts Wall Idol and grapple to the top of the nearby gateway. Head to your left first to find another Pellet near the cliff edge and then look off the cliff to your right to spot a ledge you can drop to. You’ll take some damage but you’ll also discover a cave with a Bundled Jizo Statue at the back of it. This item will recover one node of your Resurrective Power, these are rare items so hold on to it until you really need to use it.
Return to where you found the Pellet and look down at the path below you to the right. Your first true Mini-boss is lurking below and like the one in the prologue, you’ll need to Deathblow him twice to defeat him.
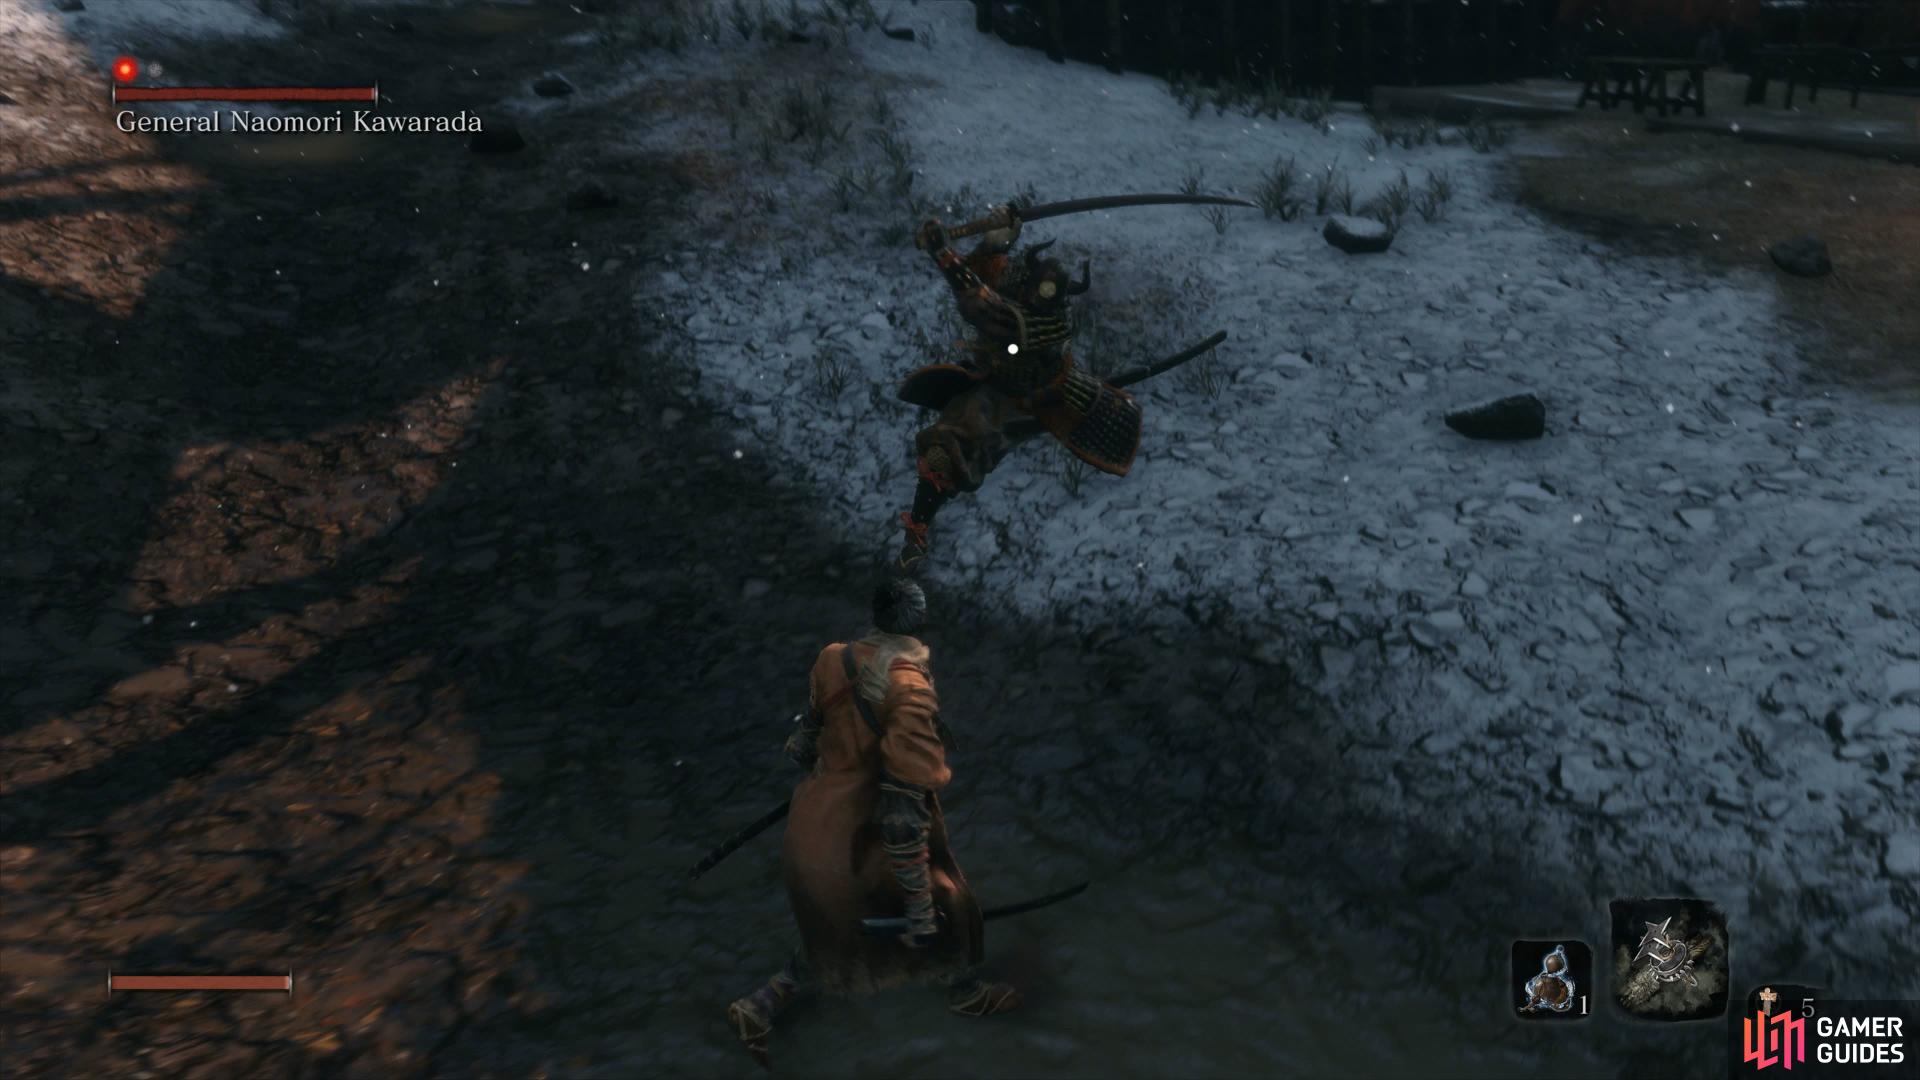
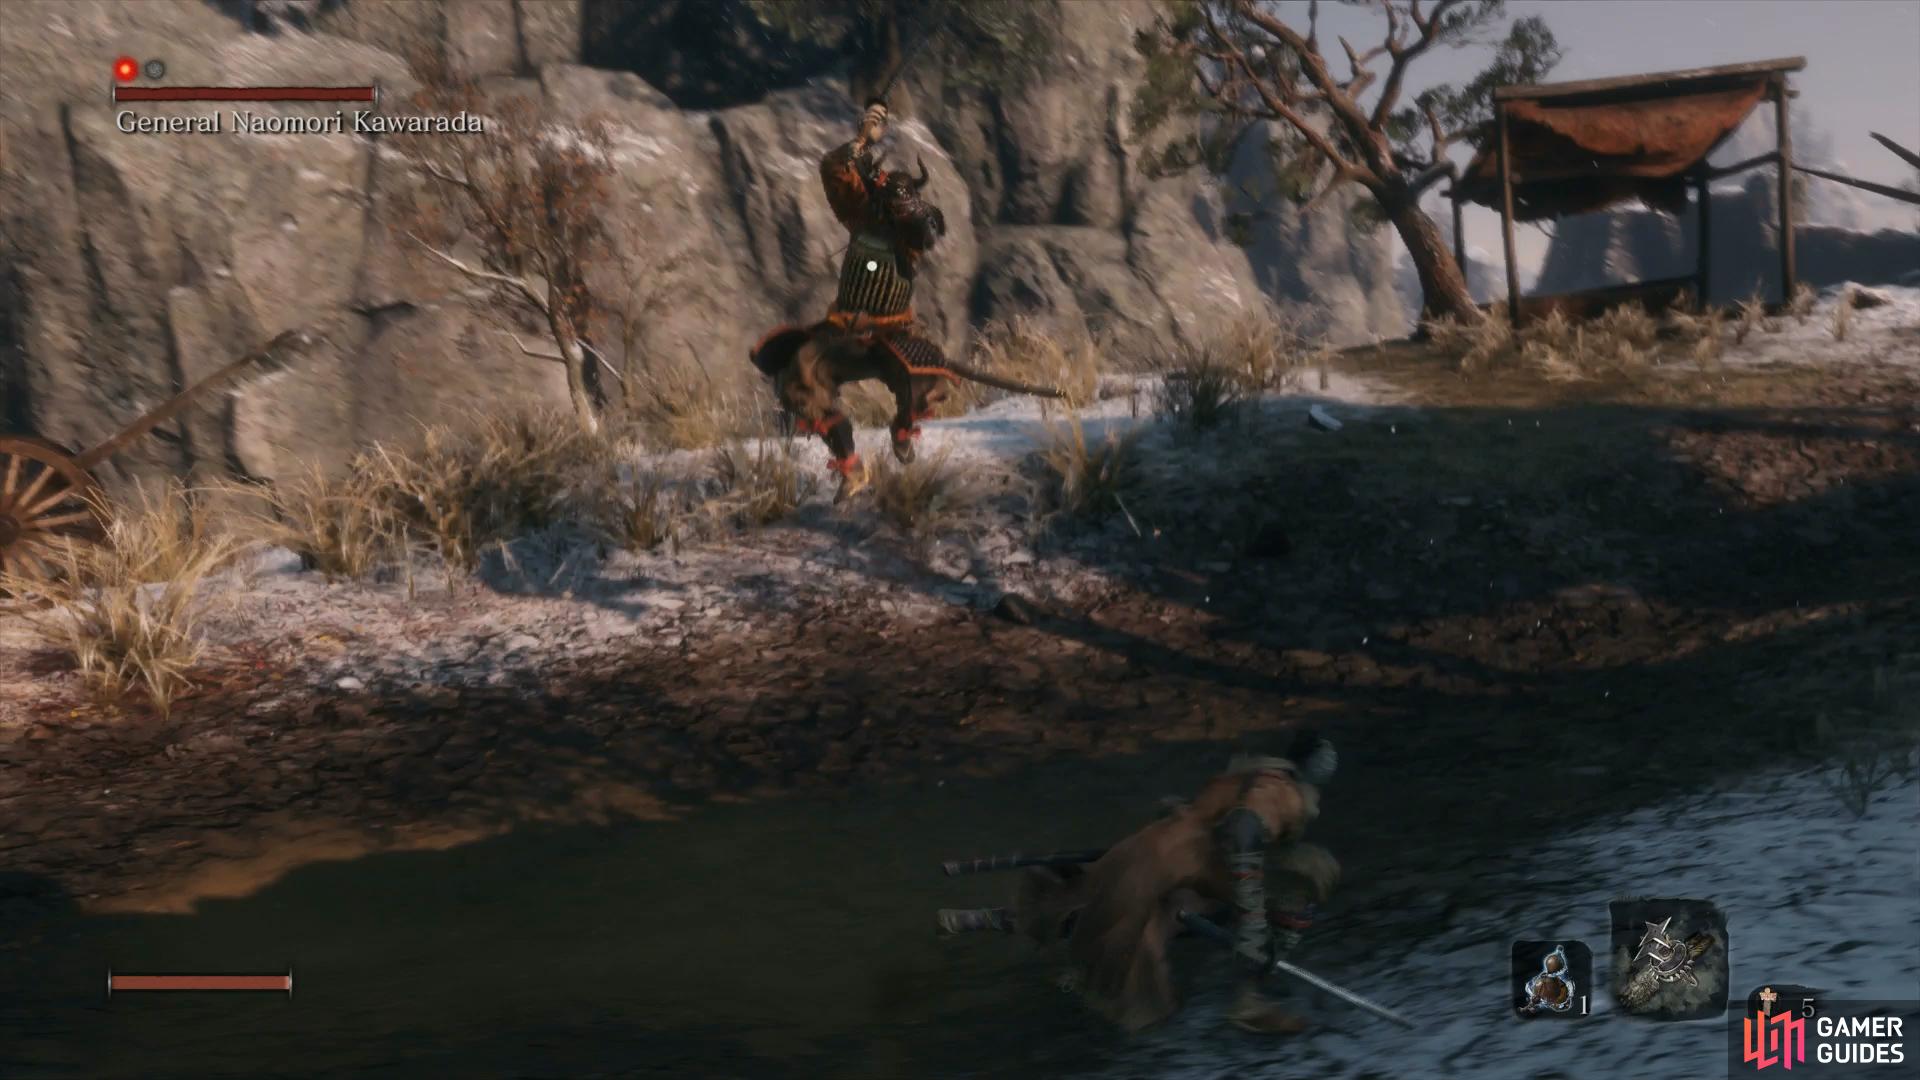
Mini-boss: General Naomori Kawarada
Like most Mini-bosses in Sekiro, you can get an advantage and deal a Deathblow before even initiating battle. There’s normally always a way to get behind or above a Mini-boss to perform a Deathblow and leave you with just the single health bar to contend with. Don’t take this for granted however, most Mini-bosses are still very difficult and even though you can avoid a lot of them, their reward is most certainly welcome.
Your current location is the perfect spot to gain one such Deathblow on the General. While in stealth, make your way along the left to the next gateway and grapple to it to find yourself behind your adversary. Move a little closer and lock on before leaping off the roof and performing an Air Deathblow on the unsuspecting General.
Get to the roof behind the General and perform an Air Deathblow to begin.
You’ll learn about Perilous Attacks here, techniques that most Mini-bosses and regular bosses will use against you. These are unblockable so you’ll have to avoid them and as the game suggests, thrusts can be deflected with the [L1]/[LB] button (although should be avoided outright), jump to avoid a sweep or dodge to avoid grabs. It should be noted that it’s almost always more useful to jump backwards to avoid sweeps as you’ll gain more distance. Likewise, if you know a sweep is coming, you can jump over it and jump again in front of the enemy to kick them (known as a jump kick) and deal huge posture damage. As mentioned, these Perilous Attacks are always denoted with a red Kanji symbol however you’ll have to watch the animation to determine what type of Perilous Attack it is.
As for General Naomori Kawarada, his Perilous Attack is a sweep which, if timed properly, you can use to your advantage with a jump kick. If there’s distance between the two of you, he’ll attempt to close it by jumping in the air and bringing his sword down, don’t try to neglect this and instead jump out of the way. Finally, he will also use a regular sweep that can be blocked, this is a two hit attack however and is again more useful to dodge away from.
As his posture rises, the General will become more aggressive and if you deflect his attacks, will bring down a three hit combo on you. Should you find your own posture to high (and it recovers at a slower rate at low health) then back up and hold the block button in to recover it. If you see a white glow around the General, he’s about to recover some of his postures so get in there quickly and interrupt him before that happens.
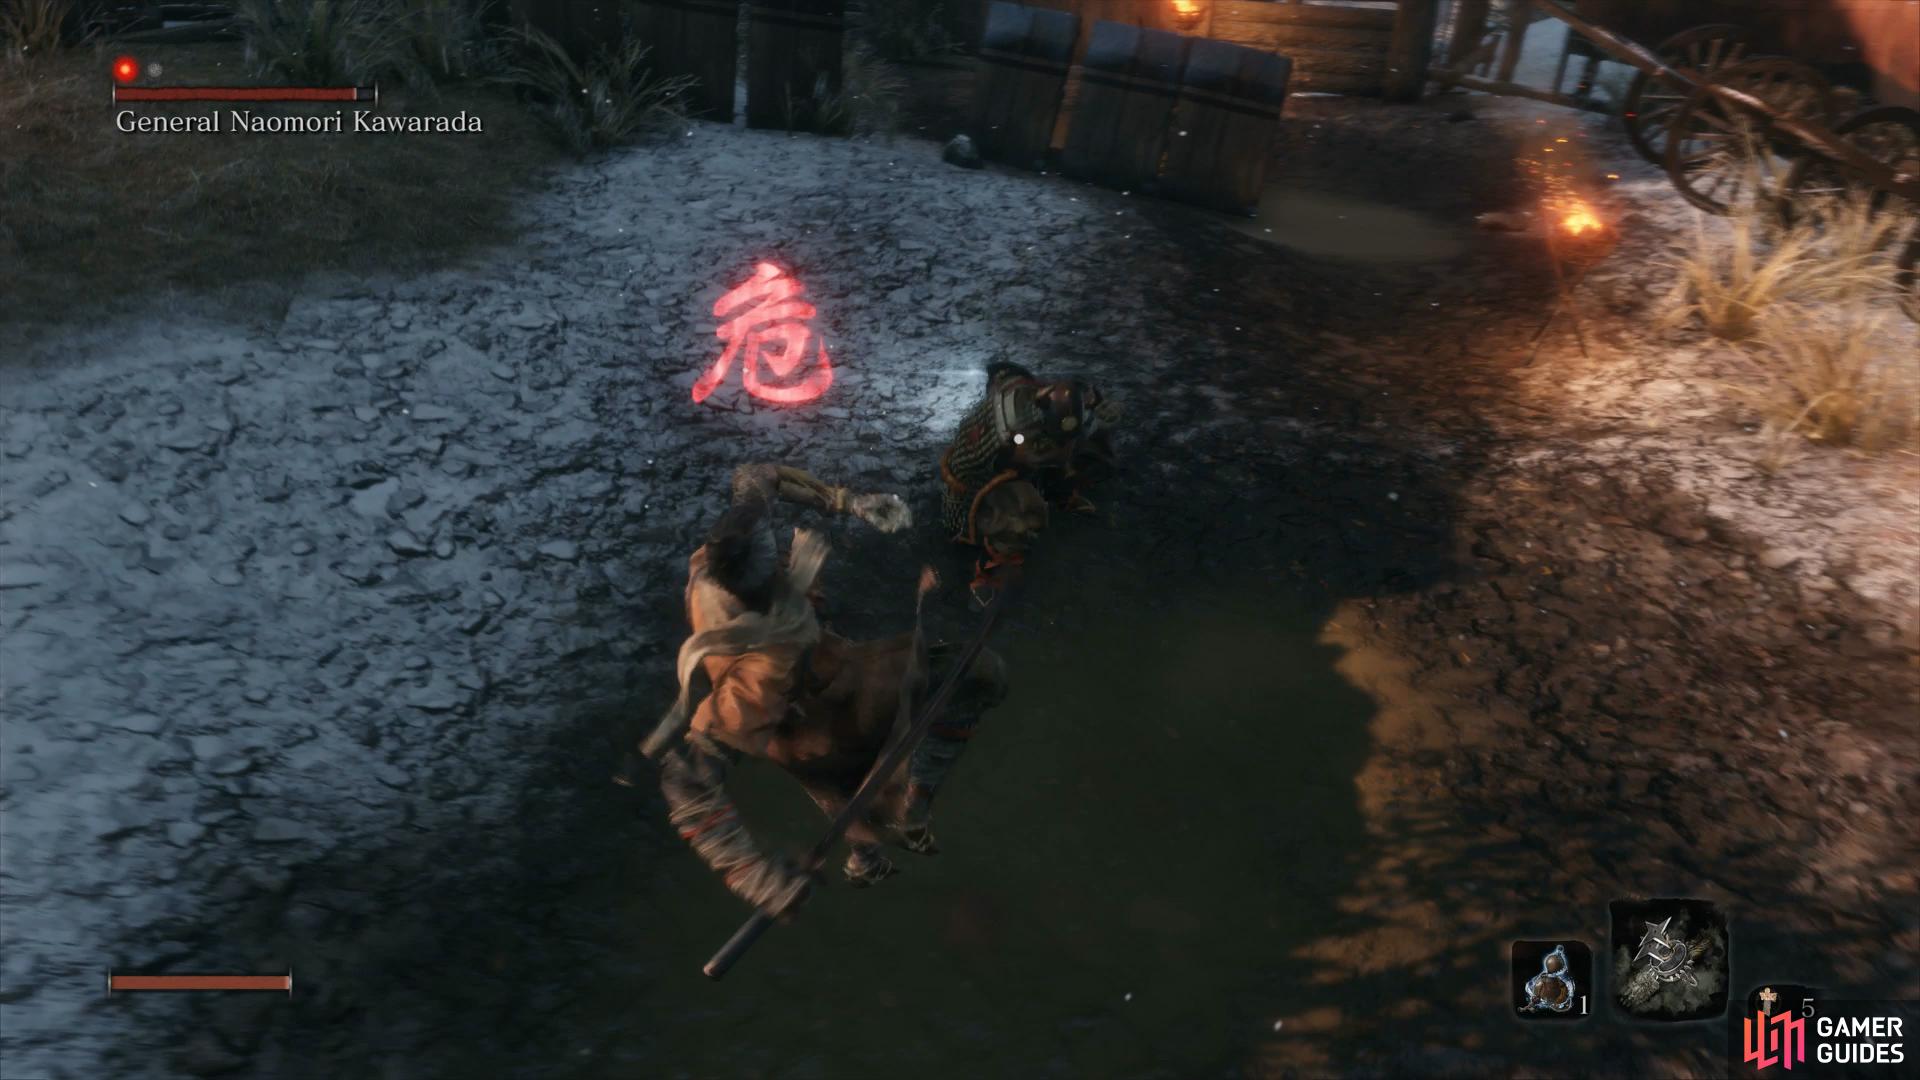
His only Perilous Attack is a sweep, perform a jump kick on him to avoid it
while you can simply step dodge to the side of his Leap attack.
As for attacking the General, keep locked on at all times and bait his attacks, he’s most open after this two hit sweep attack. This allows you to duck in and get a few strikes before retreating once more to safety. If you’re feeling confident, you can try the jump kick on him when he performs his sweep Perilous Attack, just know that you will take major damage should you fail.
Try as you might, there’s a large possibility that you’ll face defeat here however know that death is not the end. As the title suggests, you possess the ability to Resurrect once per battle before you face death properly. Press the [R1]/[RB] button to rise again with half of your life, if you haven’t used your healing items yet then create some distance and restore your health.


Your reward for this difficult battle (and all Mini-boss battles) is a Prayer Bead, of which four can be used to increase the Wolf’s maximum Vitality and Posture at any Sculptor’s Idol. For this particular battle you’ll also obtain your first Gourd Seed, this can be given to Emma back at the Dilapidated Temple to increase how many uses of your Healing Gourd you can have between rests. Indeed, now may be a good time to return to Emma should you find yourself low on recovery items following this grueling battle.
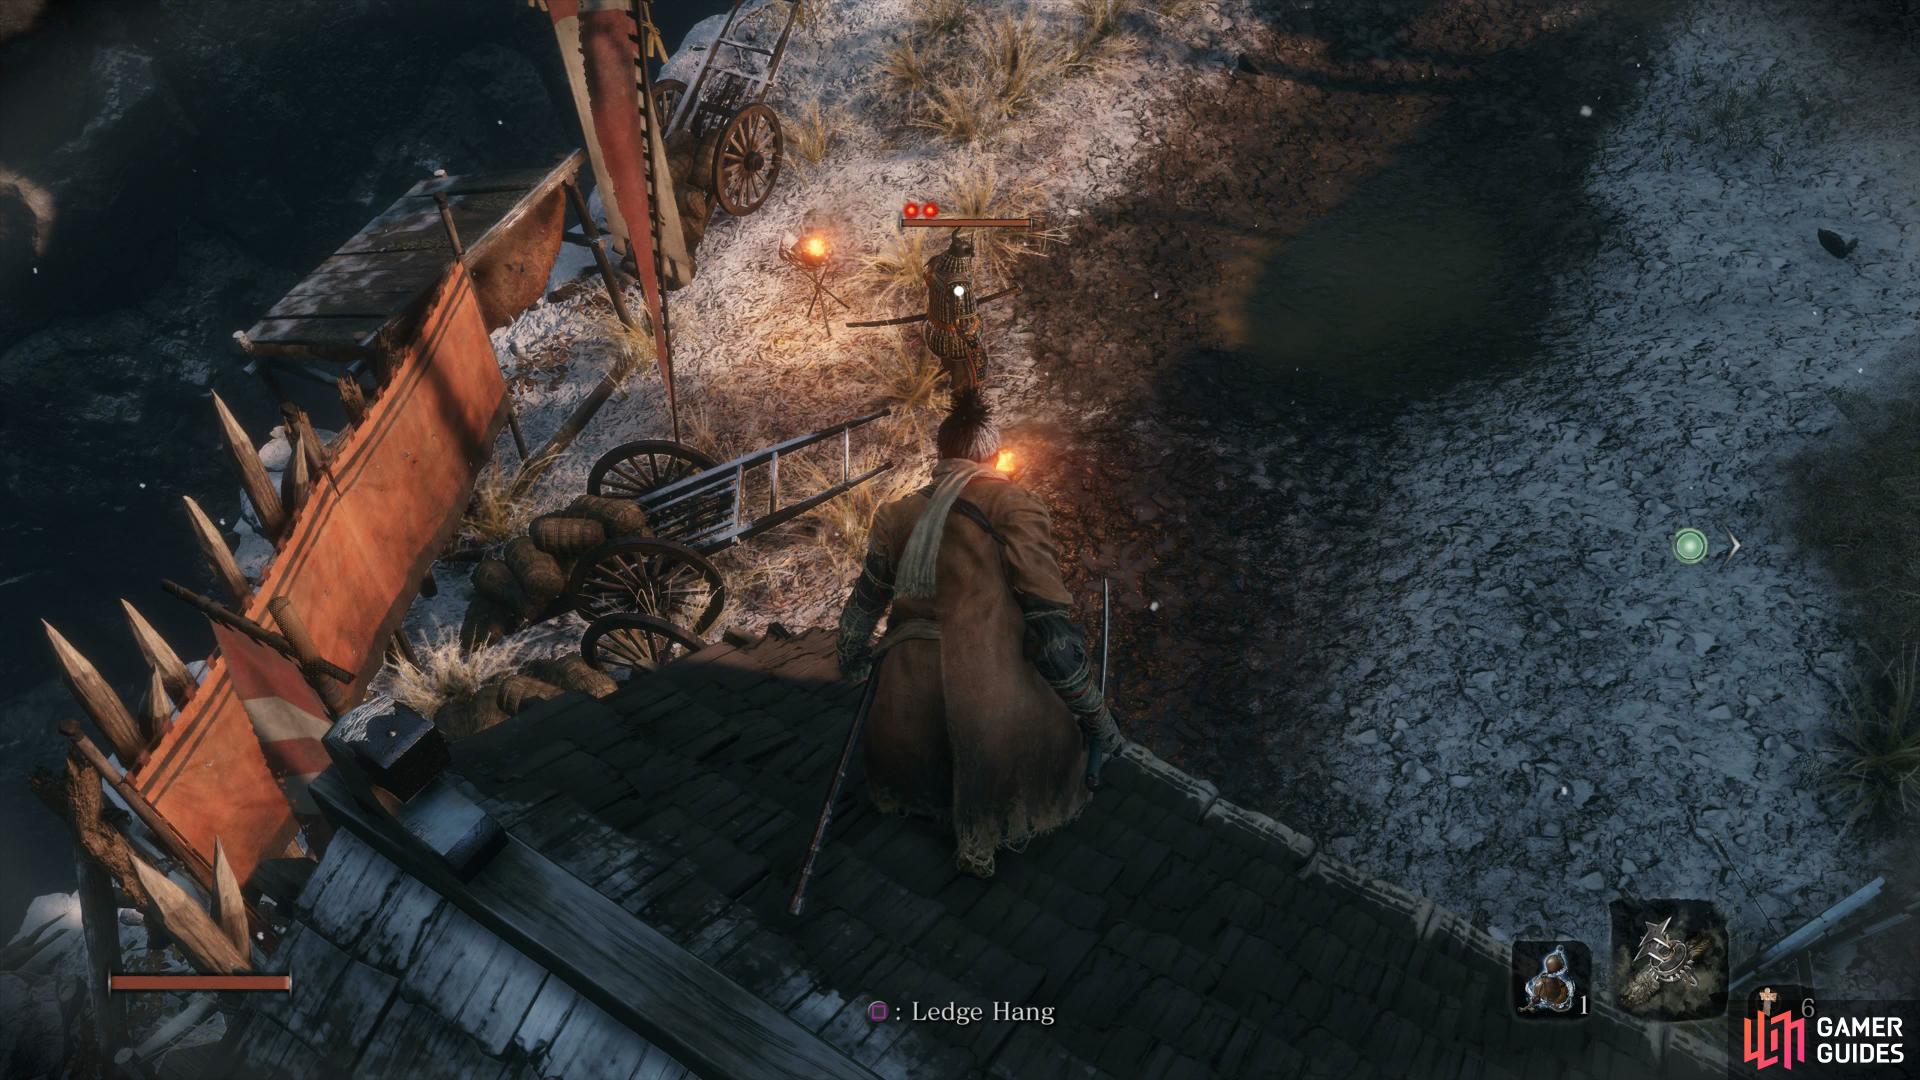
Return to the Outskirts Wall Idol once more and return to where you defeated the General, on the left side of this path you’ll find a Fistful of Ash by some wood bundles. Grapple up to the nearby gateway and walk forward to survey the area ahead. You’ll notice there are three Samurai in your immediate vicinity with an Archer in the house in front of you. This should be your first target, wait for the patrols to pass by and grapple over to this house to backstab the archer and then take cover if anyone is suspecting you.
There are many enemies in this next area
deal with the Archer in the nearby house first.
You’ll find a Ceramic Shard in this house and then head around the back of the roof here (away from the two Samurai on the higher ledge), if you wait long enough you’ll find a Hat Samurai resting against the wall screaming out for an Air Deathblow. If you find you alert the other Samurais further down the path then retreat to the initial gateway and wait for them to cool off.
From here, you can make your way around to the right, using the watchtower as a grapple point. From here, grapple down to the tree branch and Eavesdrop to learn about an upcoming foe. When you’re ready, Air Deathblow the Hat Samurai before defeating the other one. With the ledge clear of enemies, you can await the other patrols to pass by and pick them off one at a time until the entire area is clear.
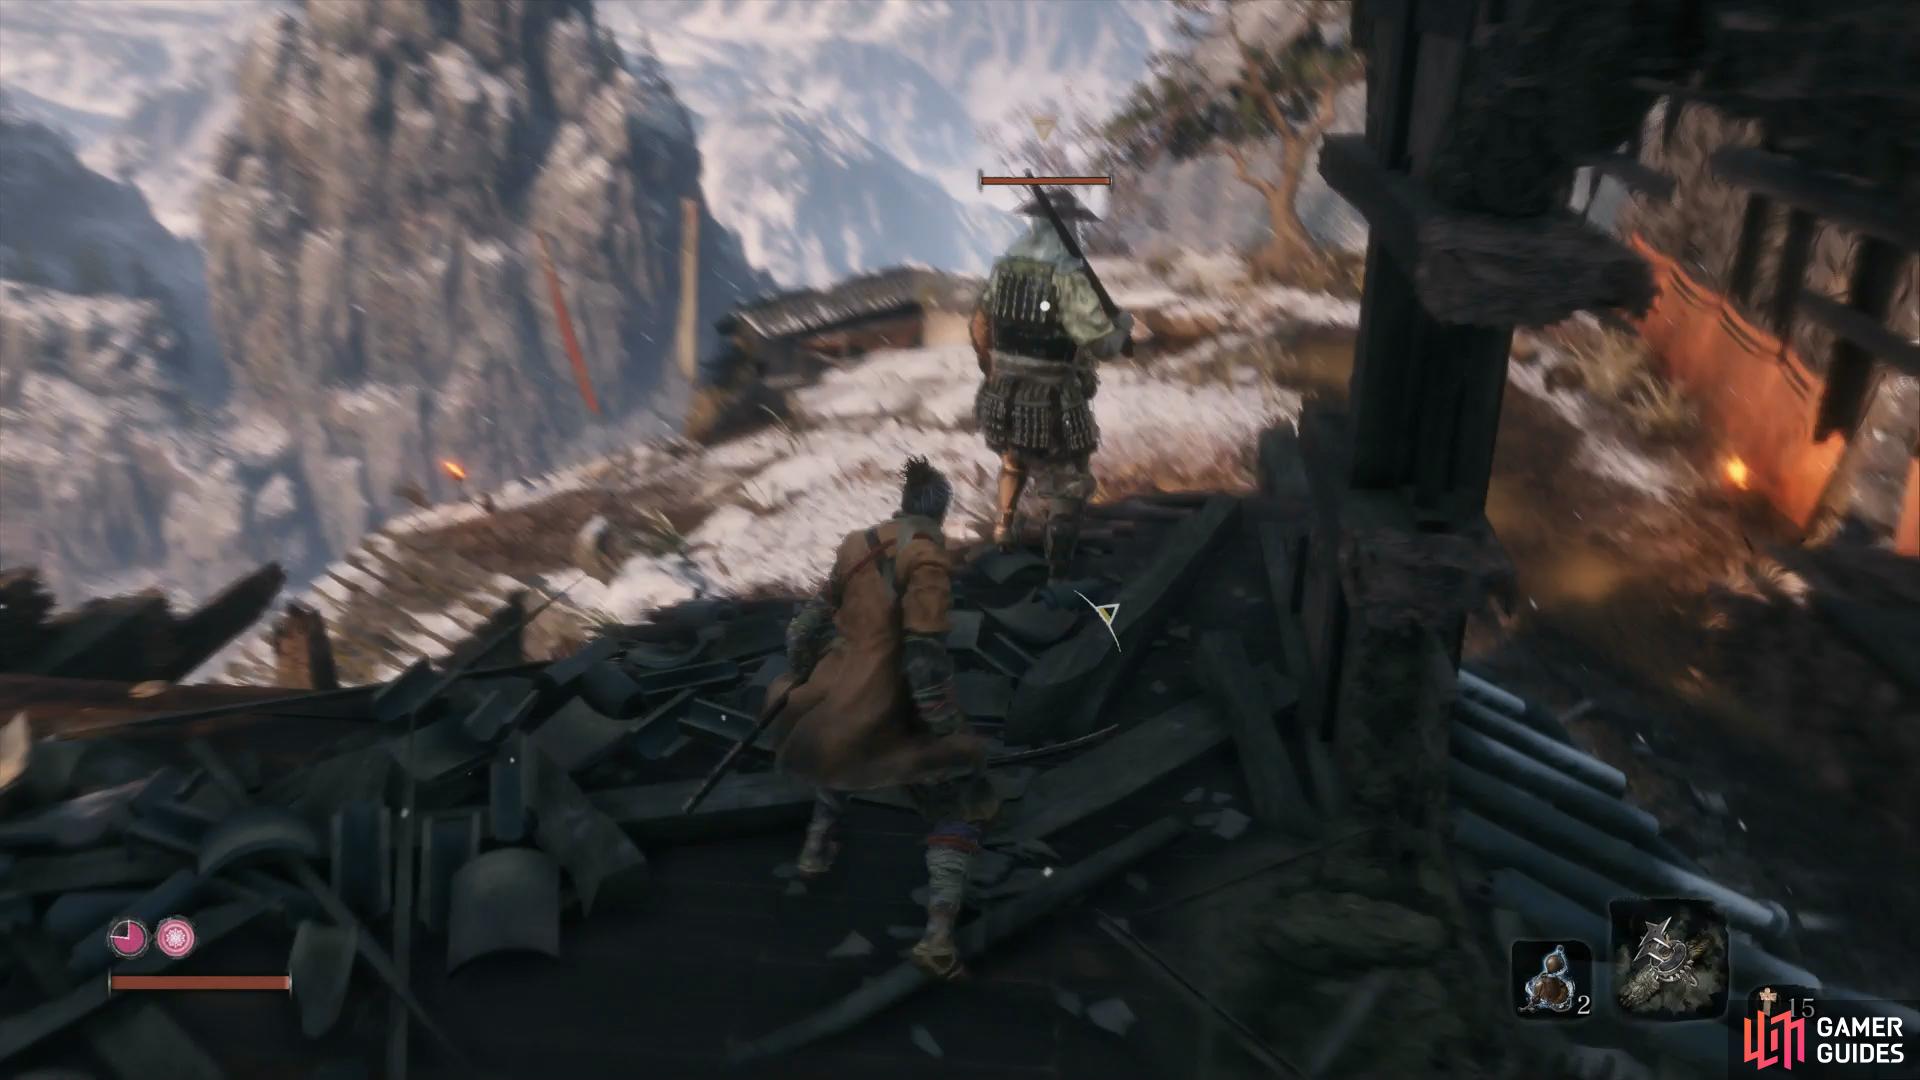
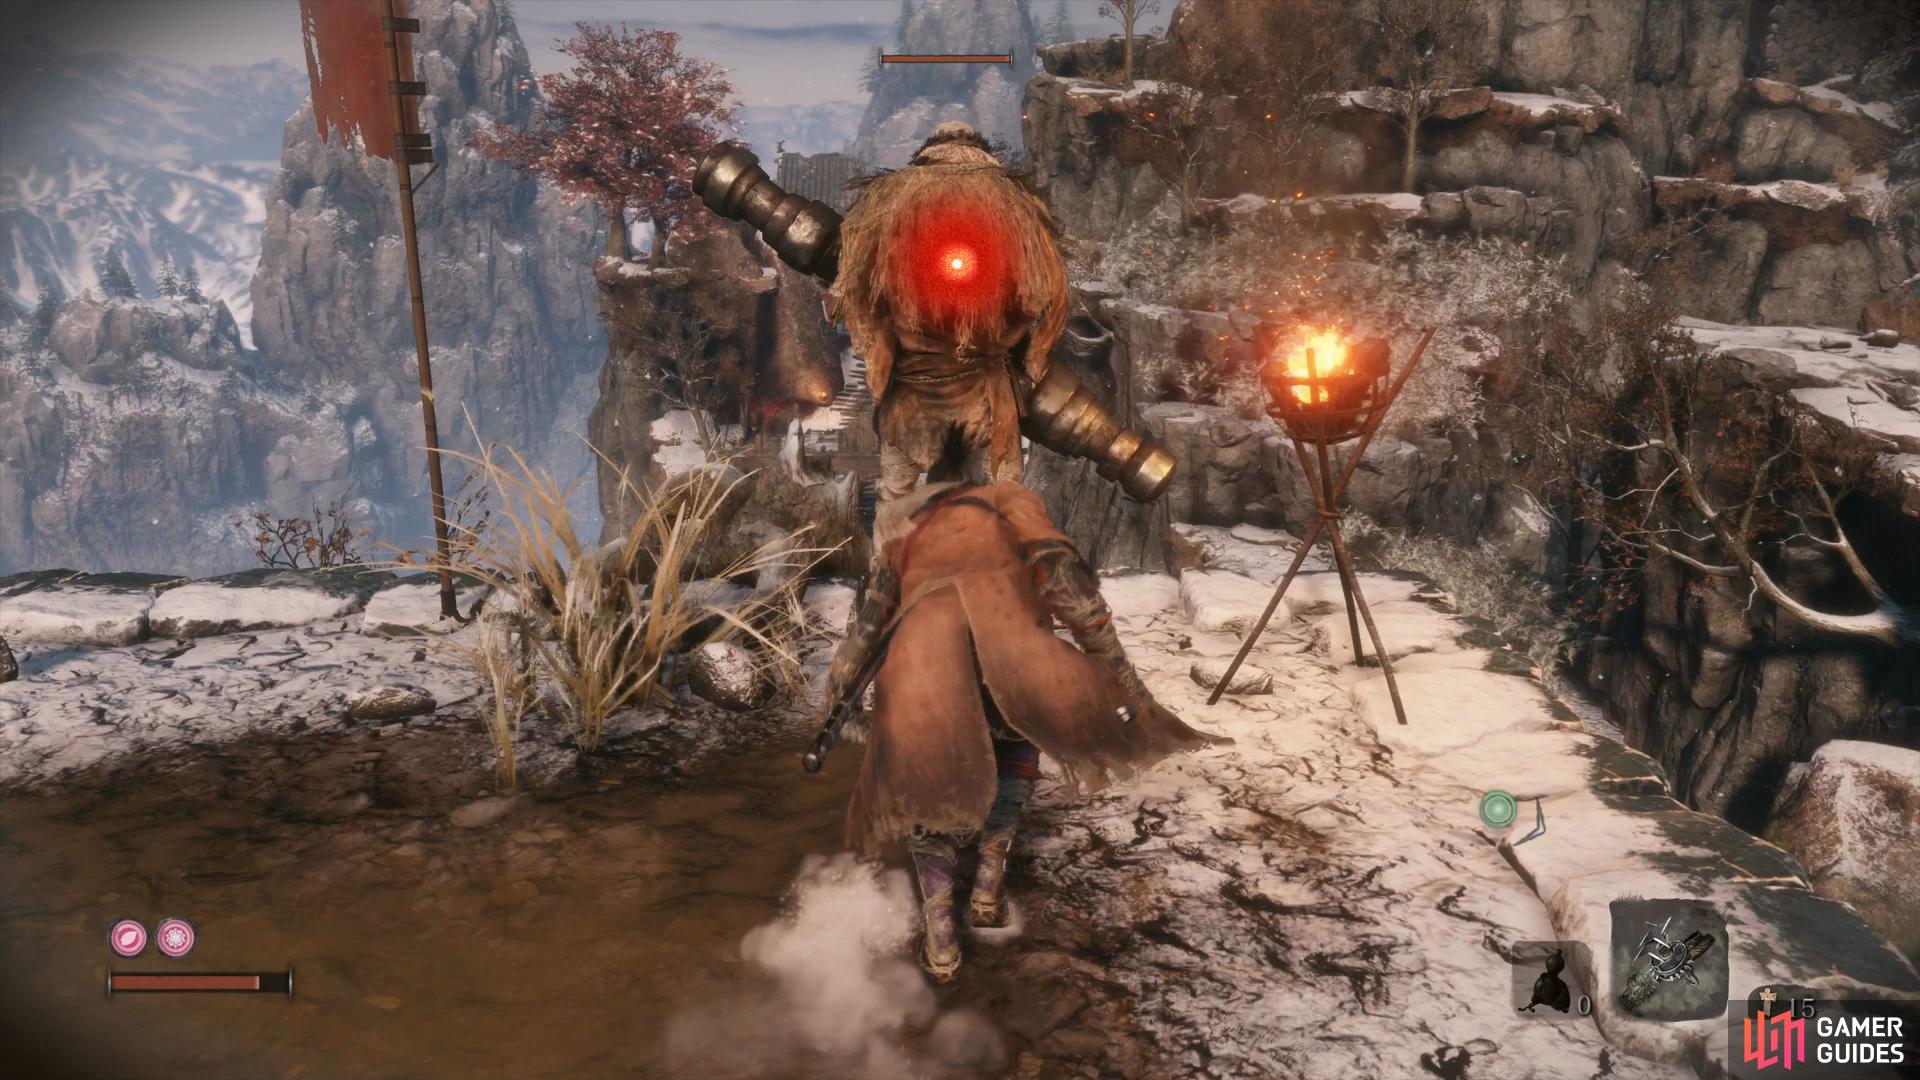
The larger enemy with the maul is the more troublesome opponent here, be struck by it and you’ll suffer massive damage so try to get behind him to backstab him. With the area clear of enemies, search in the lower floor of the house with the Archer to find a Mibu Balloon of Wealth, an item that grants you increased Sen for a period of time when used as a consumable. On the roof of this very same house is also a Light Coin Purse for you to swipe also.
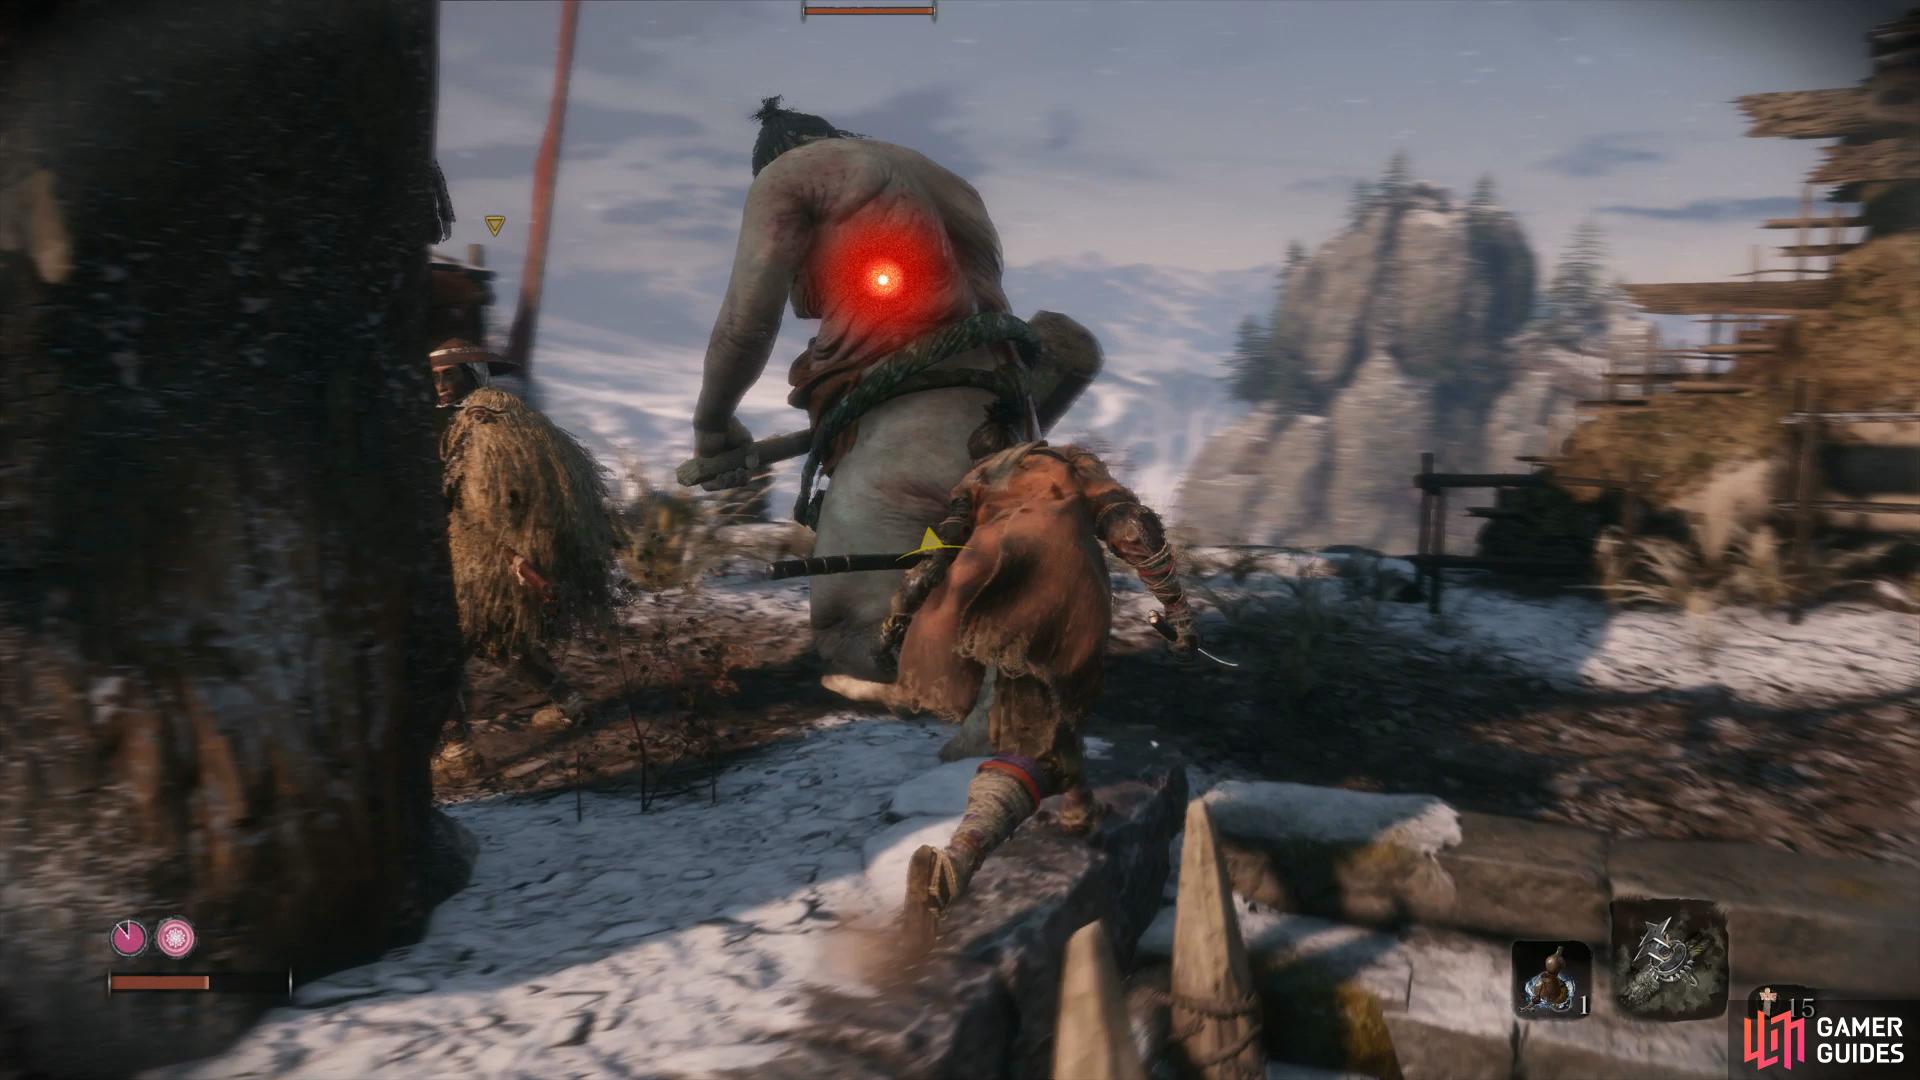
Don’t fight the Mauler head on.
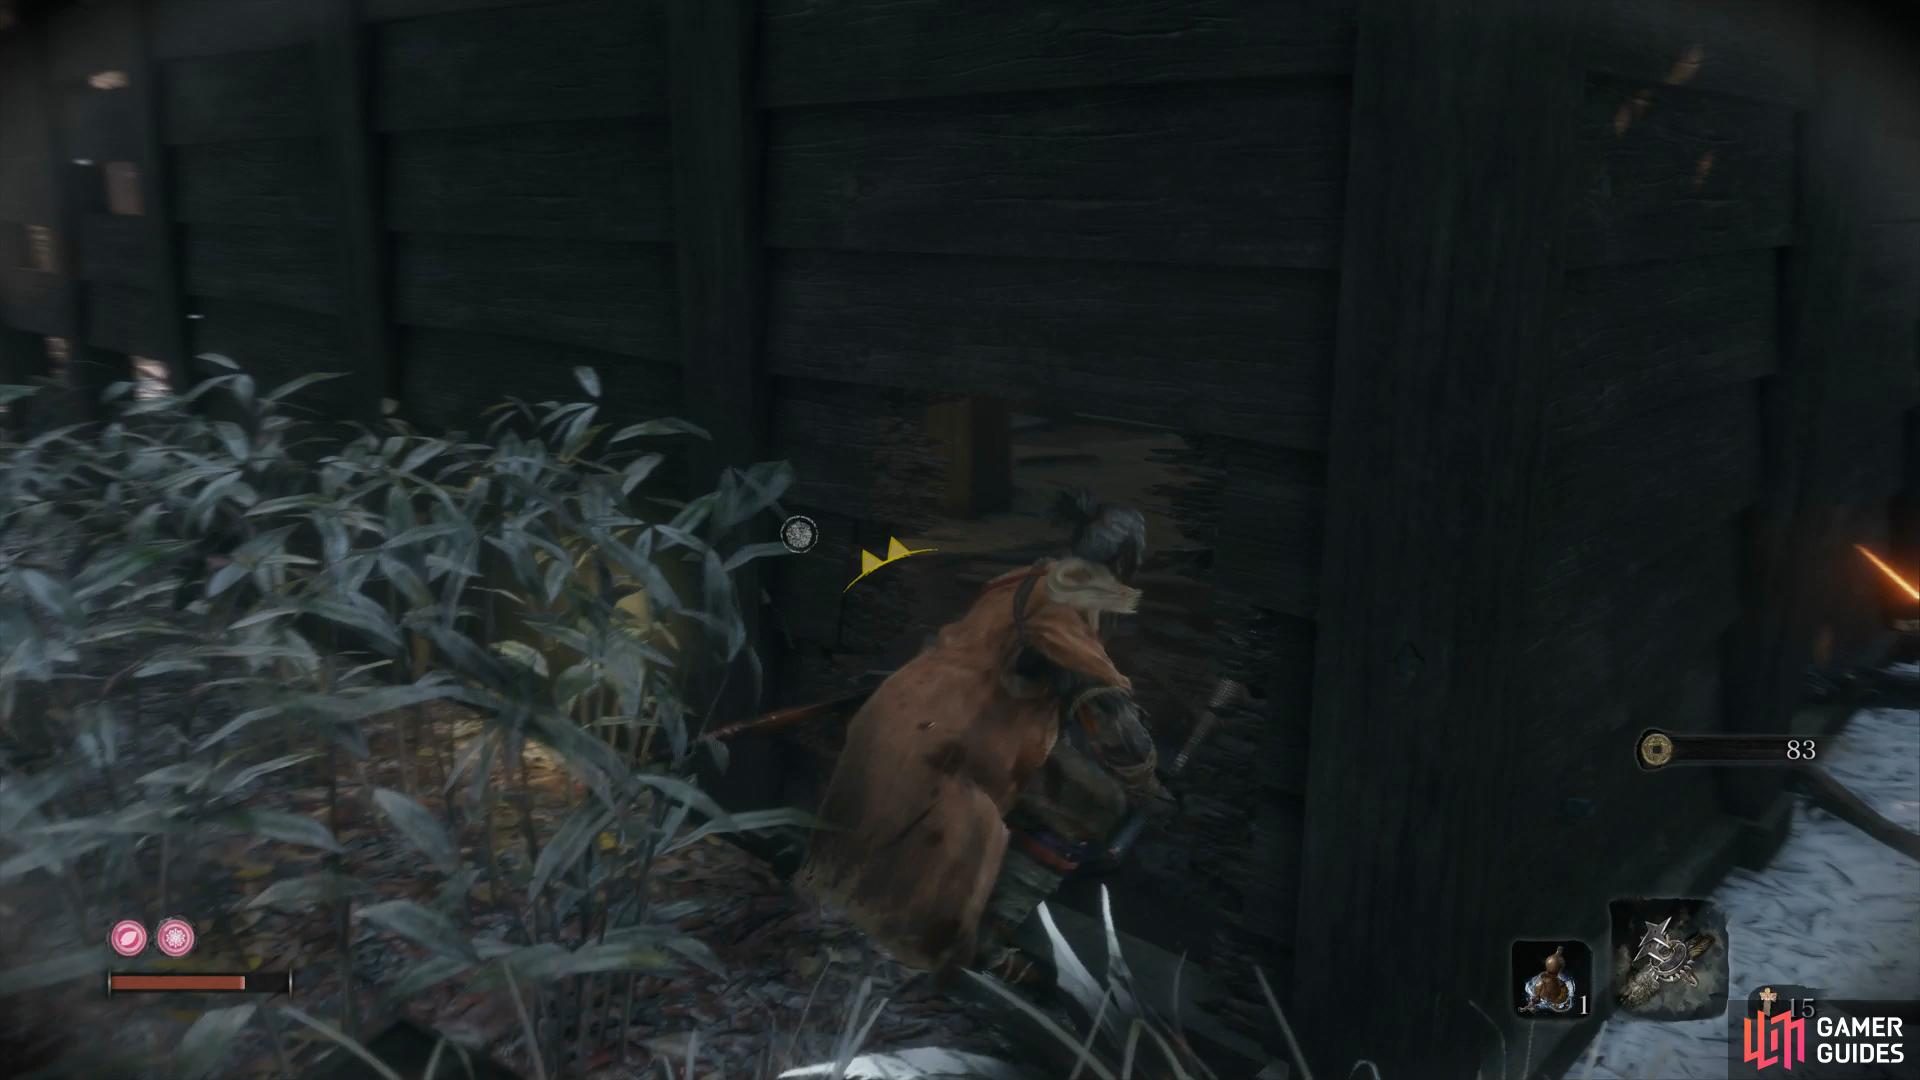
Continue down the path to find another house that has been torn apart, inside an old woman rings a bell. Talk to her to and respond to her delusional questions to obtain the Young Lord’s Bell Charm, an item you’ll make use of very shortly. Drop down and search around the back of this house to dispatch two Chickens and break the pots covering the hole to find another three Light Coin Purses. Just around the corner you’ll find the fate of her son, Inosuke, who also remarks about the bell now in your possession. Ignore the path leading to the Samurai for now and instead look up to the left of him to find a grapple point. Climb the ledges to your left and at the top, look up to find yet another grapple point.
Speak with the old woman to obtain her bell
then search around the side of the house for a hole leading to more loot.
You’ll find a tent up here with a man, who refers to himself as the Crow’s Bed Memorial Mob. These are merchants that set themselves up across the world, each with a different selection of items to purchase. The only item that is worth any value right now is Robert’s Firecrackers, be sure to buy this even if you have to use some of the Light Coin Purses in your inventory (but only enough to buy this item).
| Item (Quantity) | Cost (Sen) |
|---|---|
| Pellet (4) | 50 |
| Antidote Powder (5) | 30 |
| Ungo’s Sugar (2) | 50 |
| Light Coin Purse (5) | 110 |
| Robert’s Firecrackers | 500 |

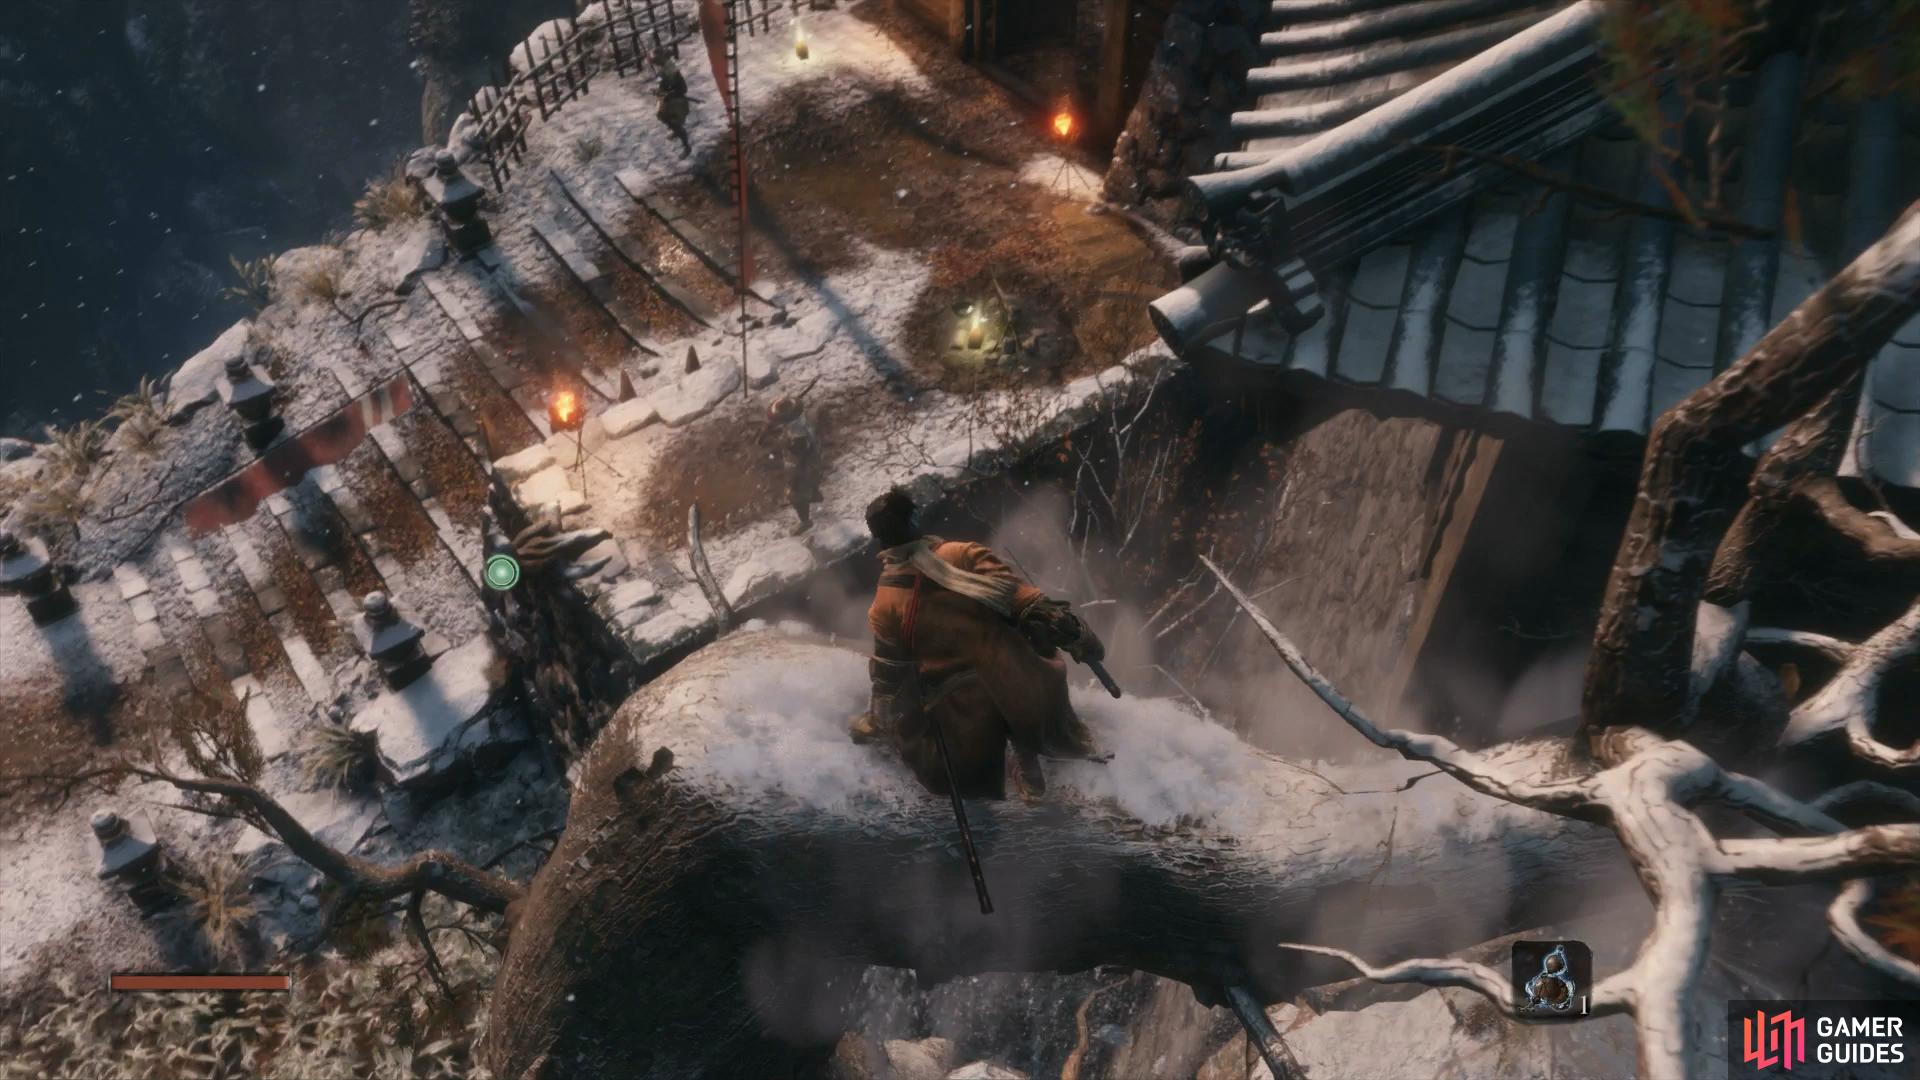
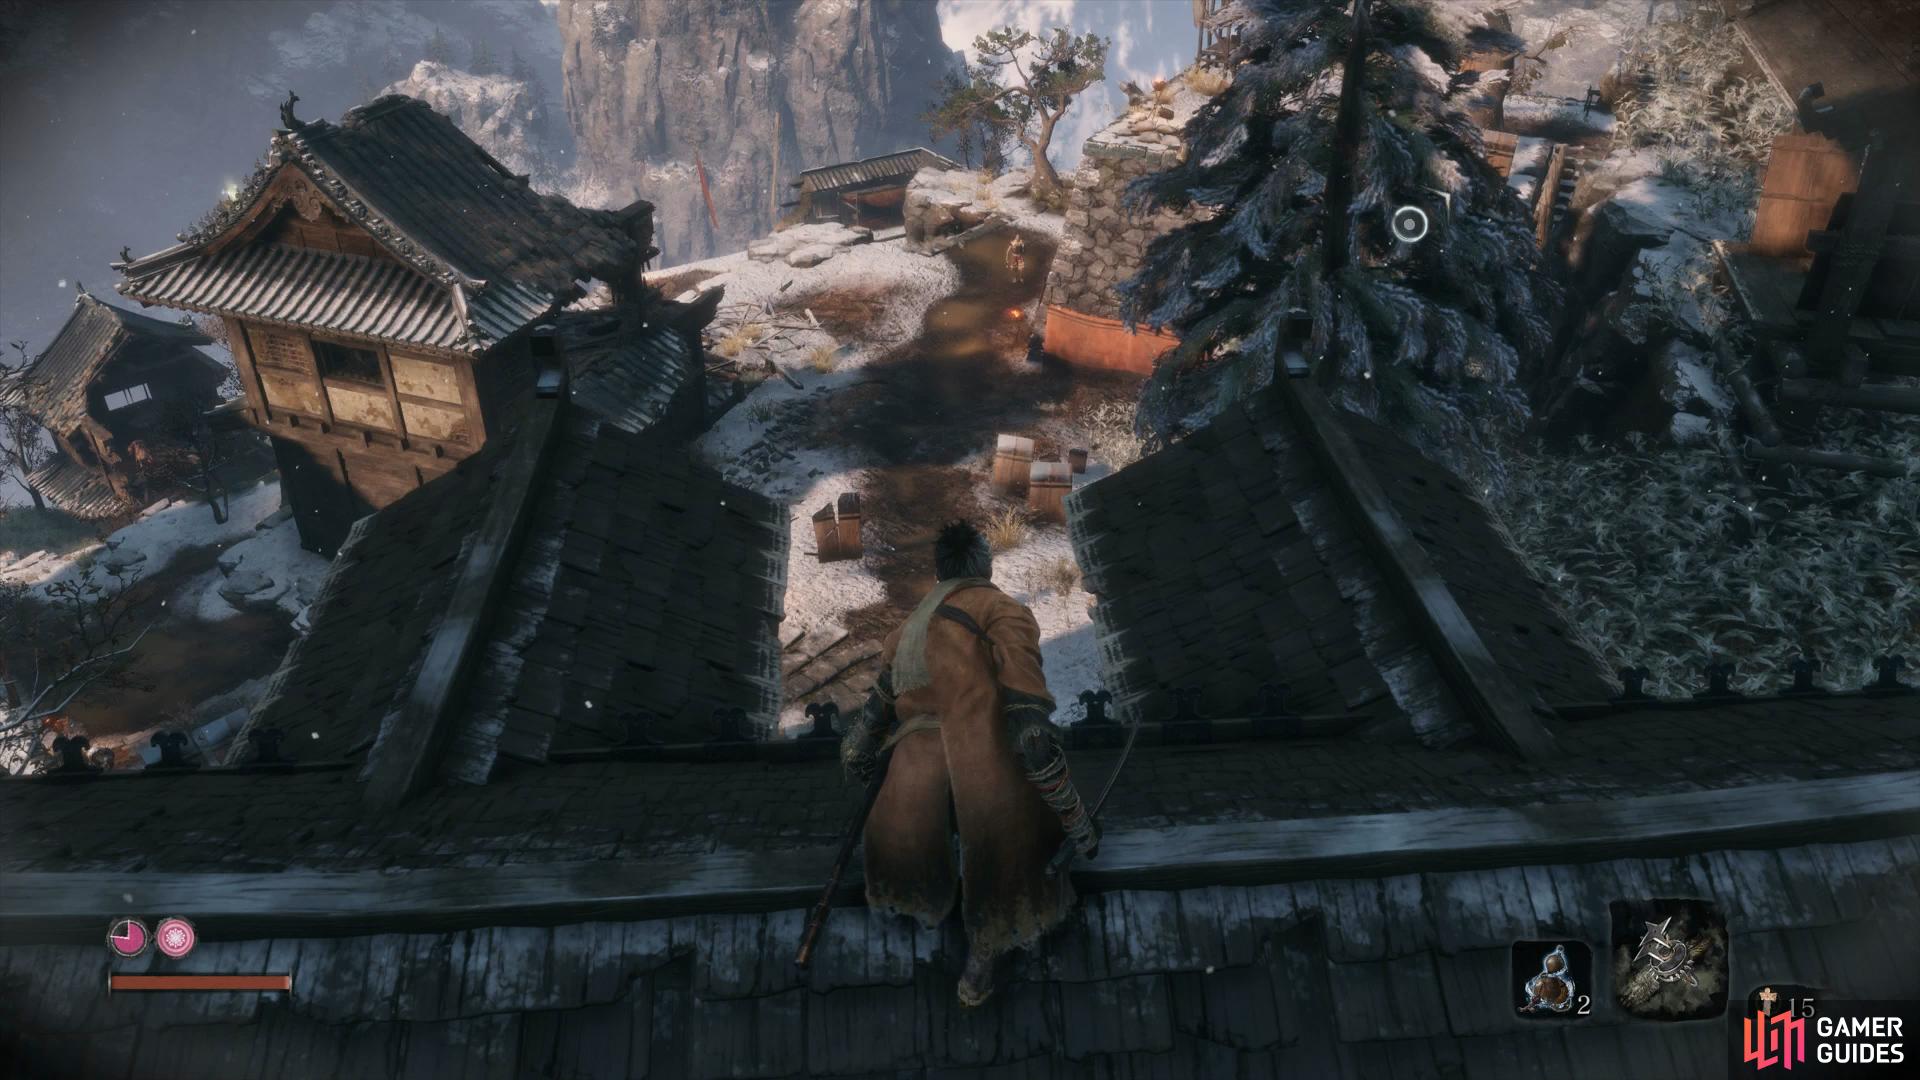
Return to the bottom of the cliff and drop down to your left, turn around to find a ledge you can grapple to containing a Gachiin’s Sugar, a consumable that will increase your stealth for a short time. Return across the gap and grapple up to the nearby branch before following the left wall to another grapple point taking you to a rooftop. Sneak around to the right and backstab the sentry with the cannon and obtain some Black Gunpowder.
You can take out the Cannon Guard without him firing a single shot.
Look over the top of this roof and Air Deathblow the Samurai below you before quickly using the grapple point to your left before you’re noticed. You have a choice of two targets here for your next Air Deathblow, go with the Hat Samurai and dispatch the other one that follows before dealing with the final Hat Samurai. Look over to the cliff to your right and grapple over to the branch and down to the ledge below. You’ll find two Mibu Possession Balloons (increased items for a time) while you can grapple over to another ledge containing some Scrap Iron.
Continue on to reach a wall and Shimmy across to find another grapple point. Once you reach the area above, turn to your left to find a ledge you can jump up to containing the next Sculptor’s Idol. Turn to your left and slay the Chicken before returning over the previous rooftop, behind the closed gate from earlier you’ll find a Pellet.
Drop down to your left and you’ll come across a red Remnant, touching this provides a glimpse into the past. Turn around from here and head towards the gate to find another person you can converse with, Anayama The Peddler. The man appears to know Wolf although he has no recollection of it however the man requests 50 Sen for information. Indulge him and then purchase the following information for 100 Sen after (use a Light Coin Purse if you have to) to obtain the Flame Barrel Memo, giving insight on where you might track down another Shinobi Tool.
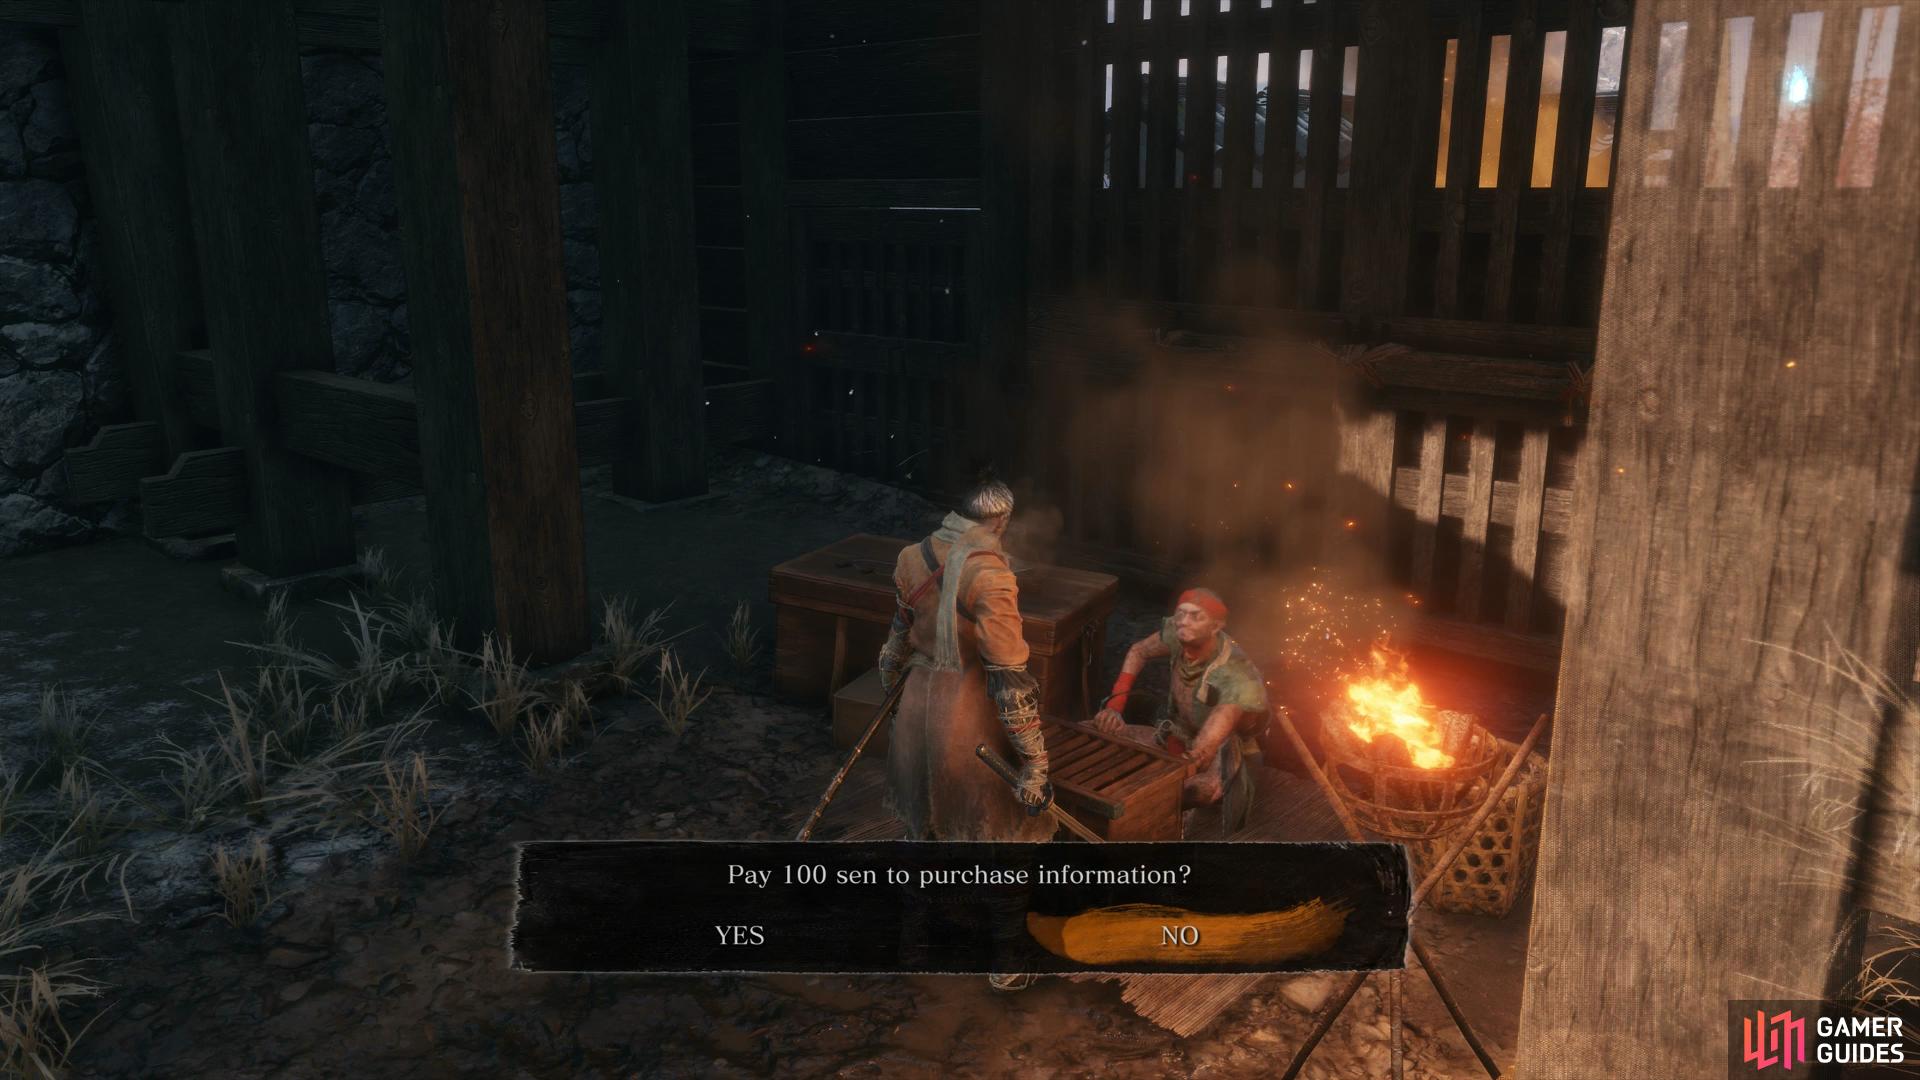
Purchase all of the information (150 Sen total) from Anayama
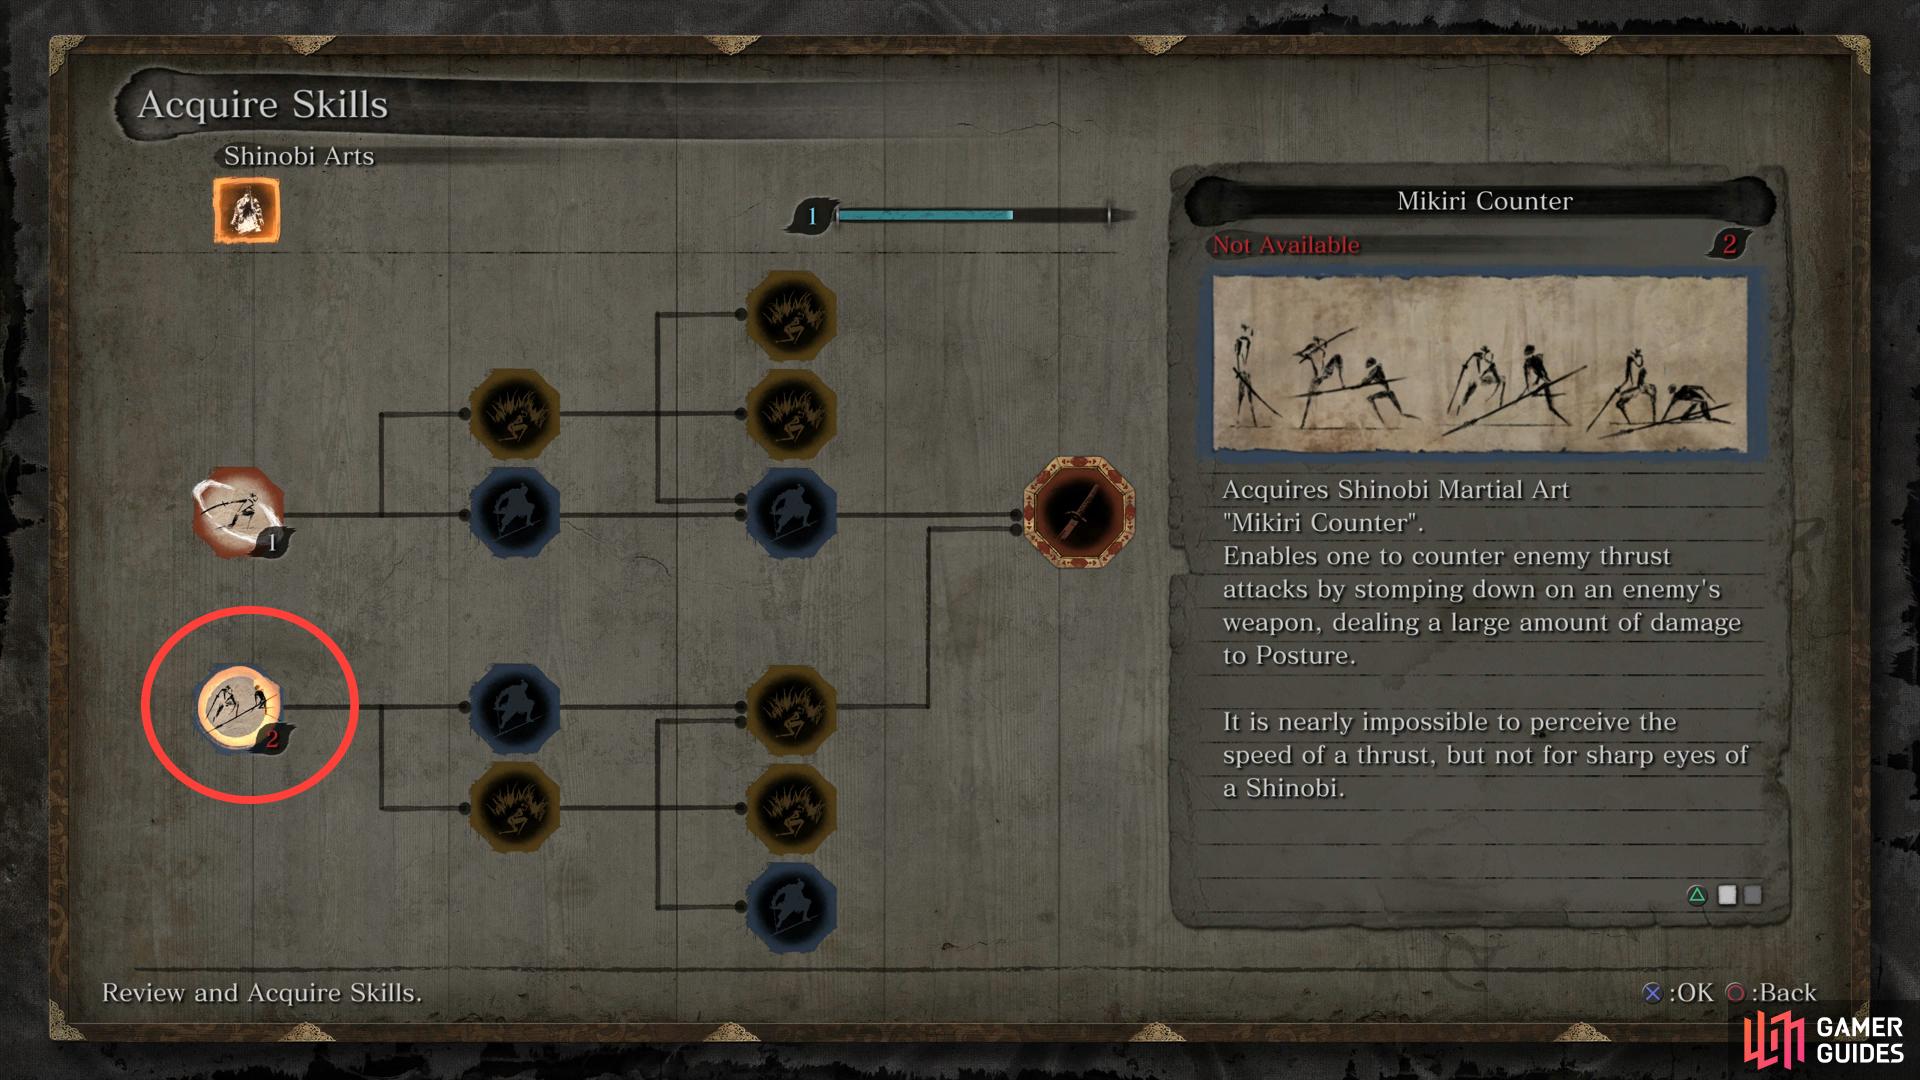
save your Skill Points for the Mikari Counter.
Continuing on from this point leads to a difficult encounter, one that you’ll want to wait until you’ve recovered some more Shinobi Tools at a secondary location. Use the Sculptor’s Idol to return to the Dilapidated Temple and speak to the Sculptor to obtain the Shinobi Esoteric Text. This will allow you to purchase Skills from this category at any Sculptor’s Idol using the Skill Points earned. Speak to the Sculptor again who will mention presenting your bell to the nearby Buddha statue. Before doing that however, hand over Robert’s Firecrackers to the Sculptor to obtain the Shinobi Firecracker.
With this tool, you can throw them on the ground in front of you to stun enemies for a short period of time. Beast type enemies such as Dogs and more are particularly sensitive to this so be sure to equip it right away. Return to the nearby Sculptor’s Idol to take a look at the Skills that you can purchase. If you have two Skill Points already then go ahead and buy the Mikari Counter, this is by far the most important investment you can make so if you’re short on Skill Points, save them for now.
With everything taken care of for now, head over to the Buddha statue and interact with it to be whisked off to a new location. Should you wish to instead continue with the Ashina Outskirts, head over to the this page.
No Comments