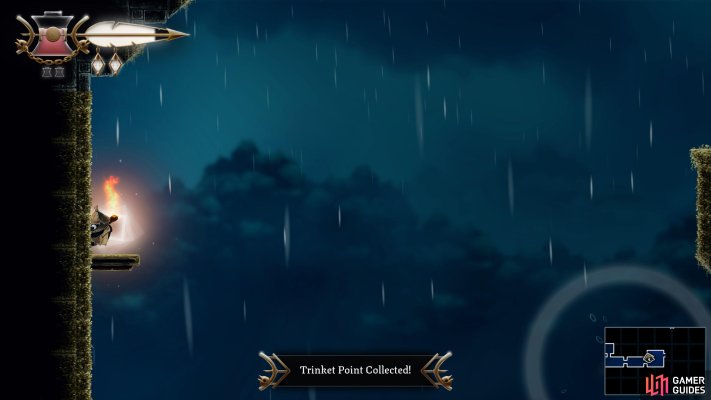
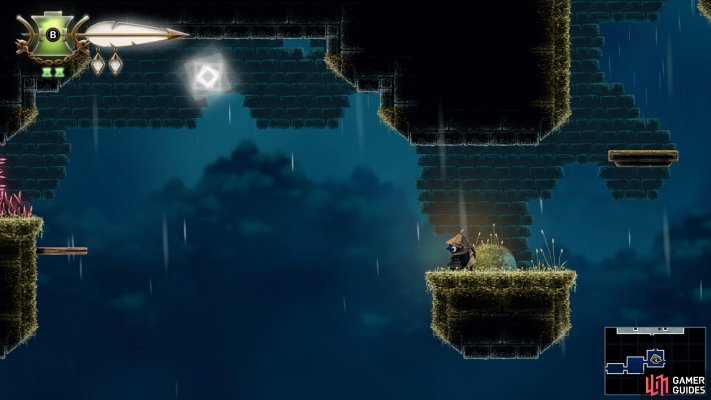
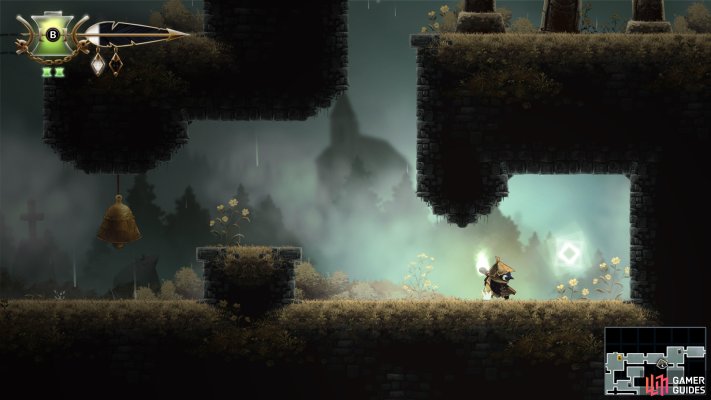
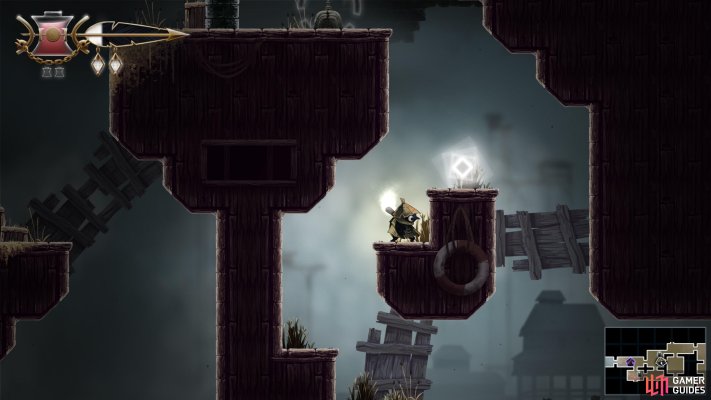
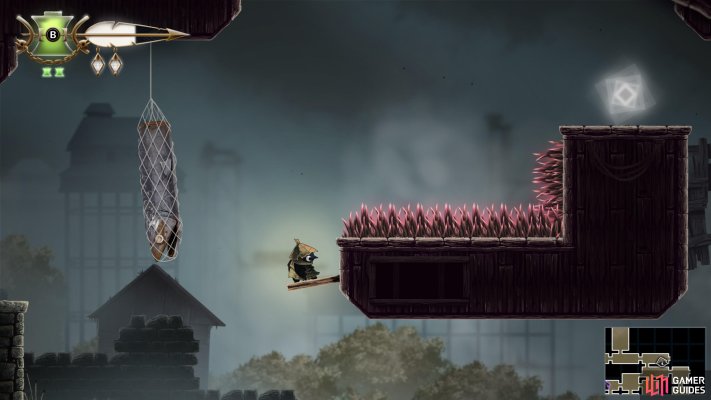
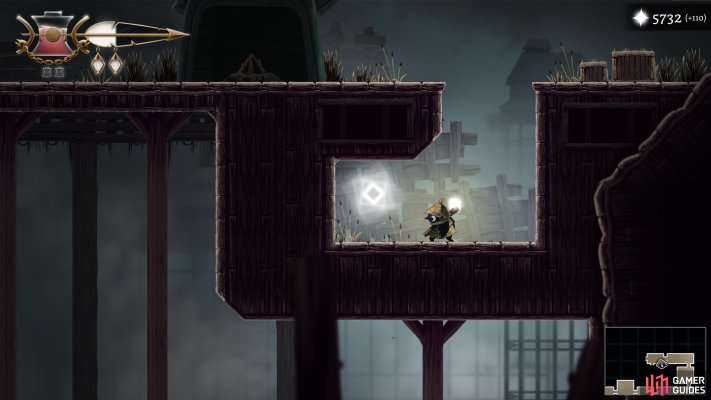
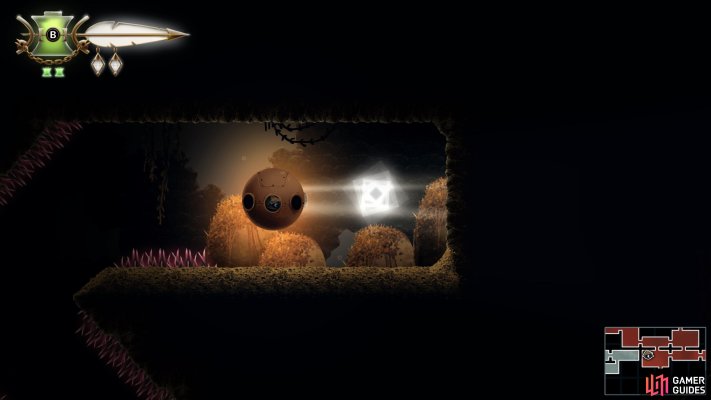
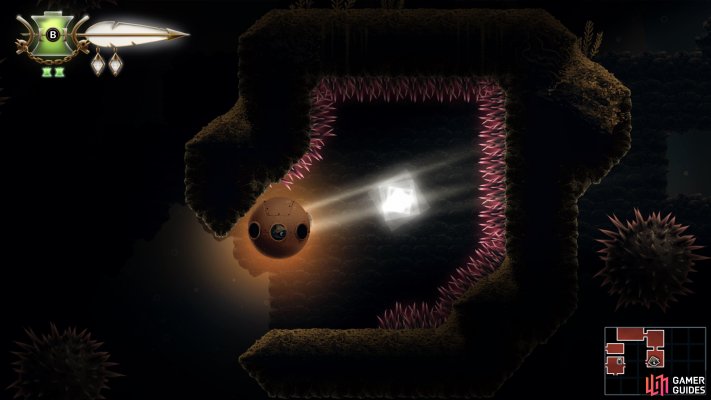
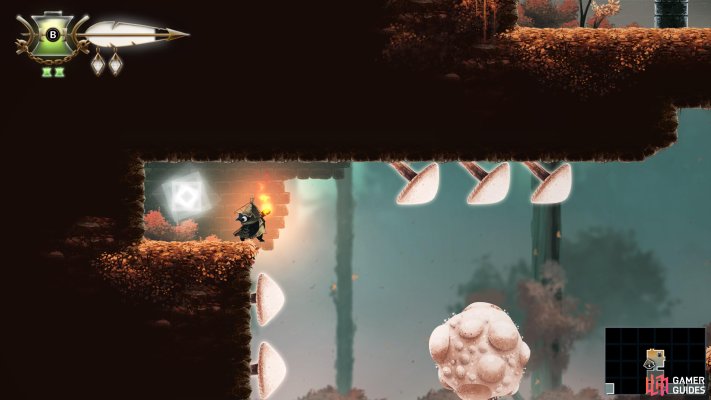
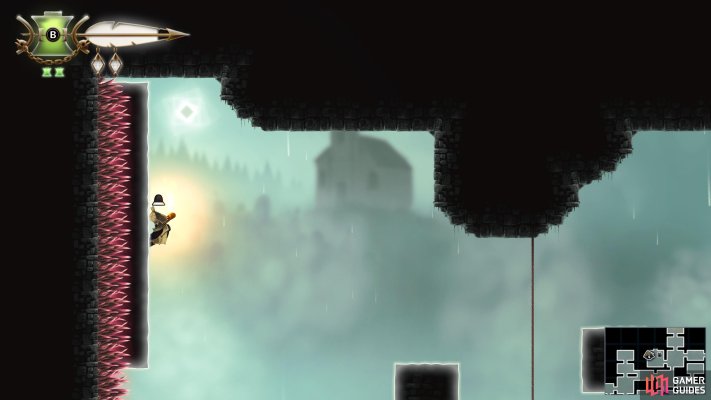
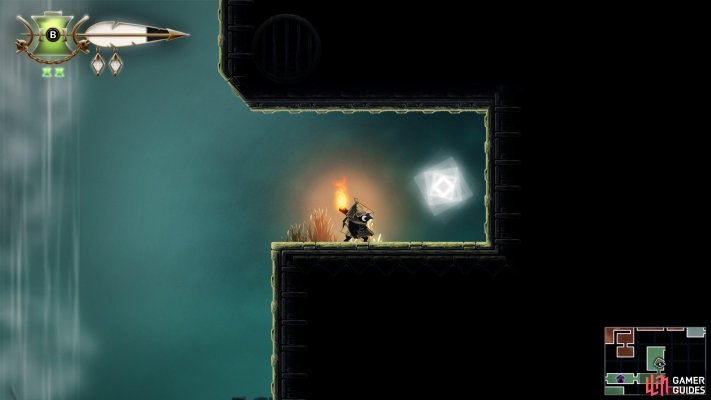
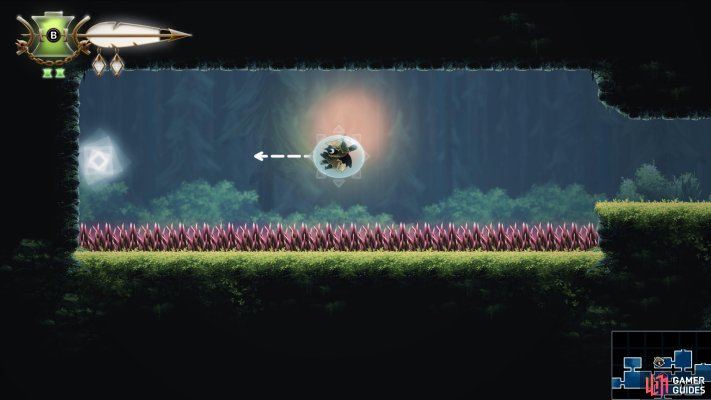
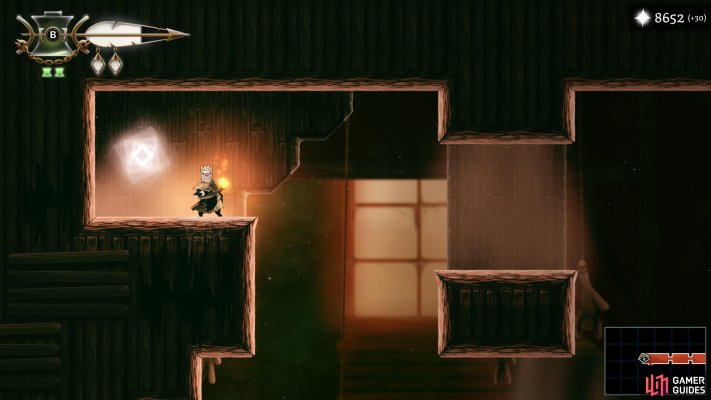
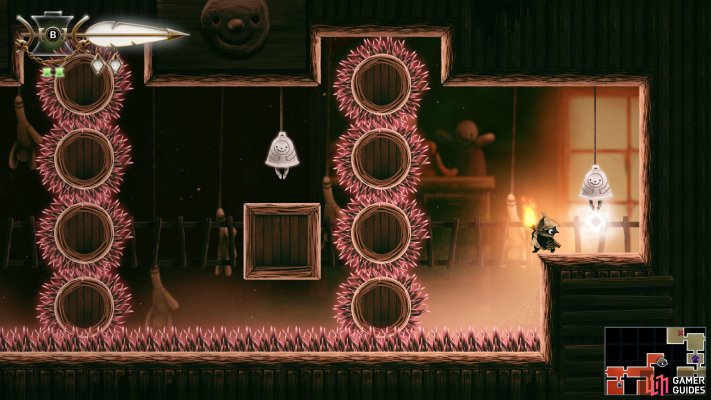
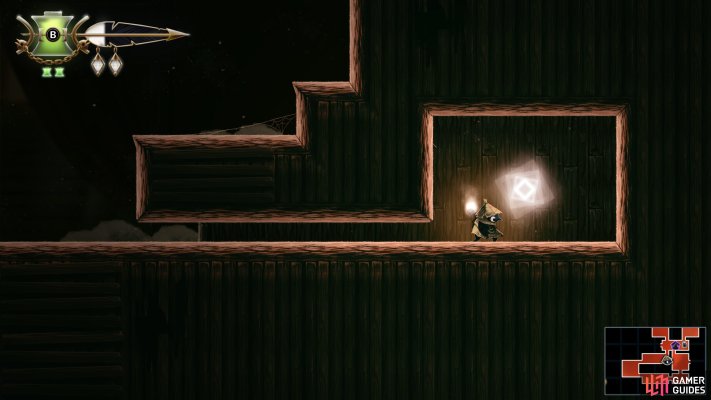
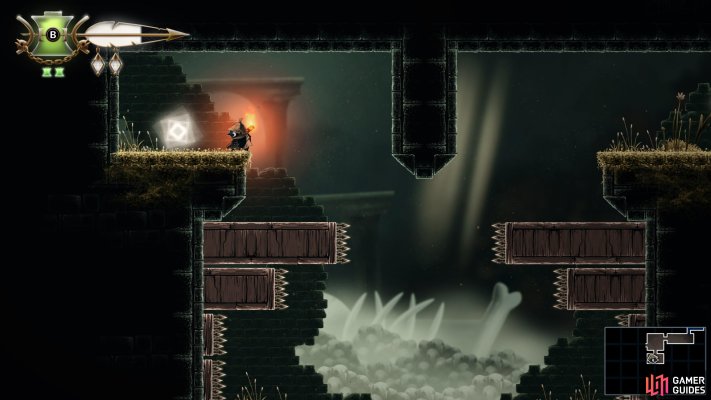
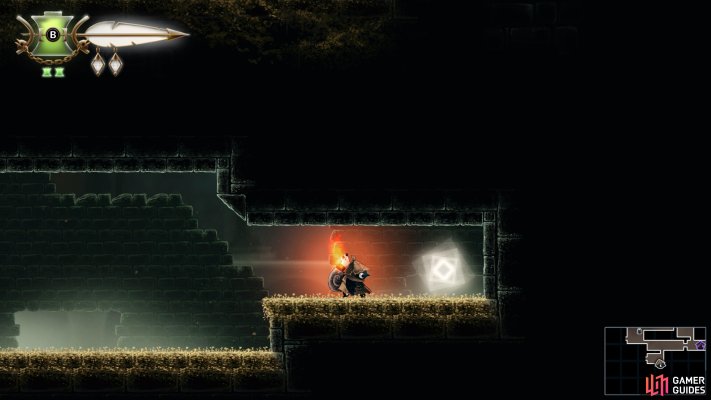
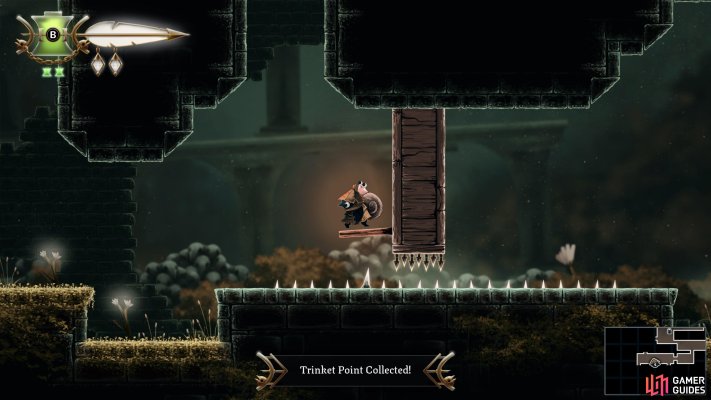
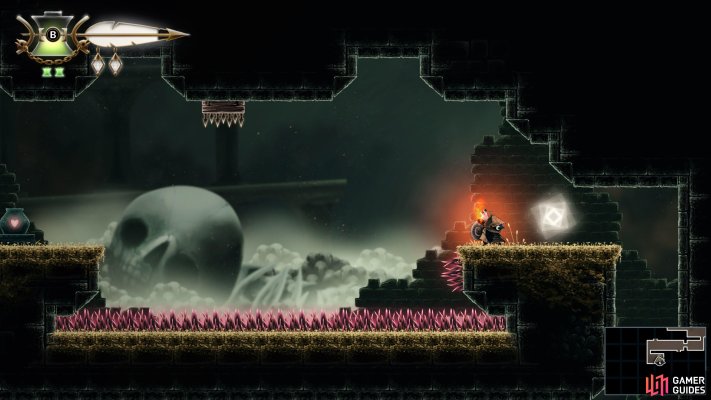
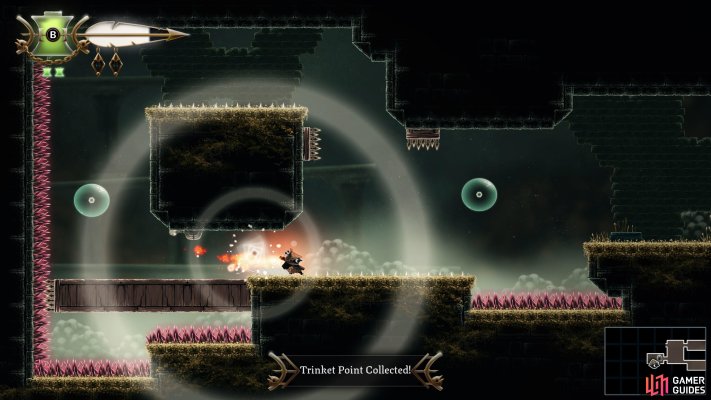
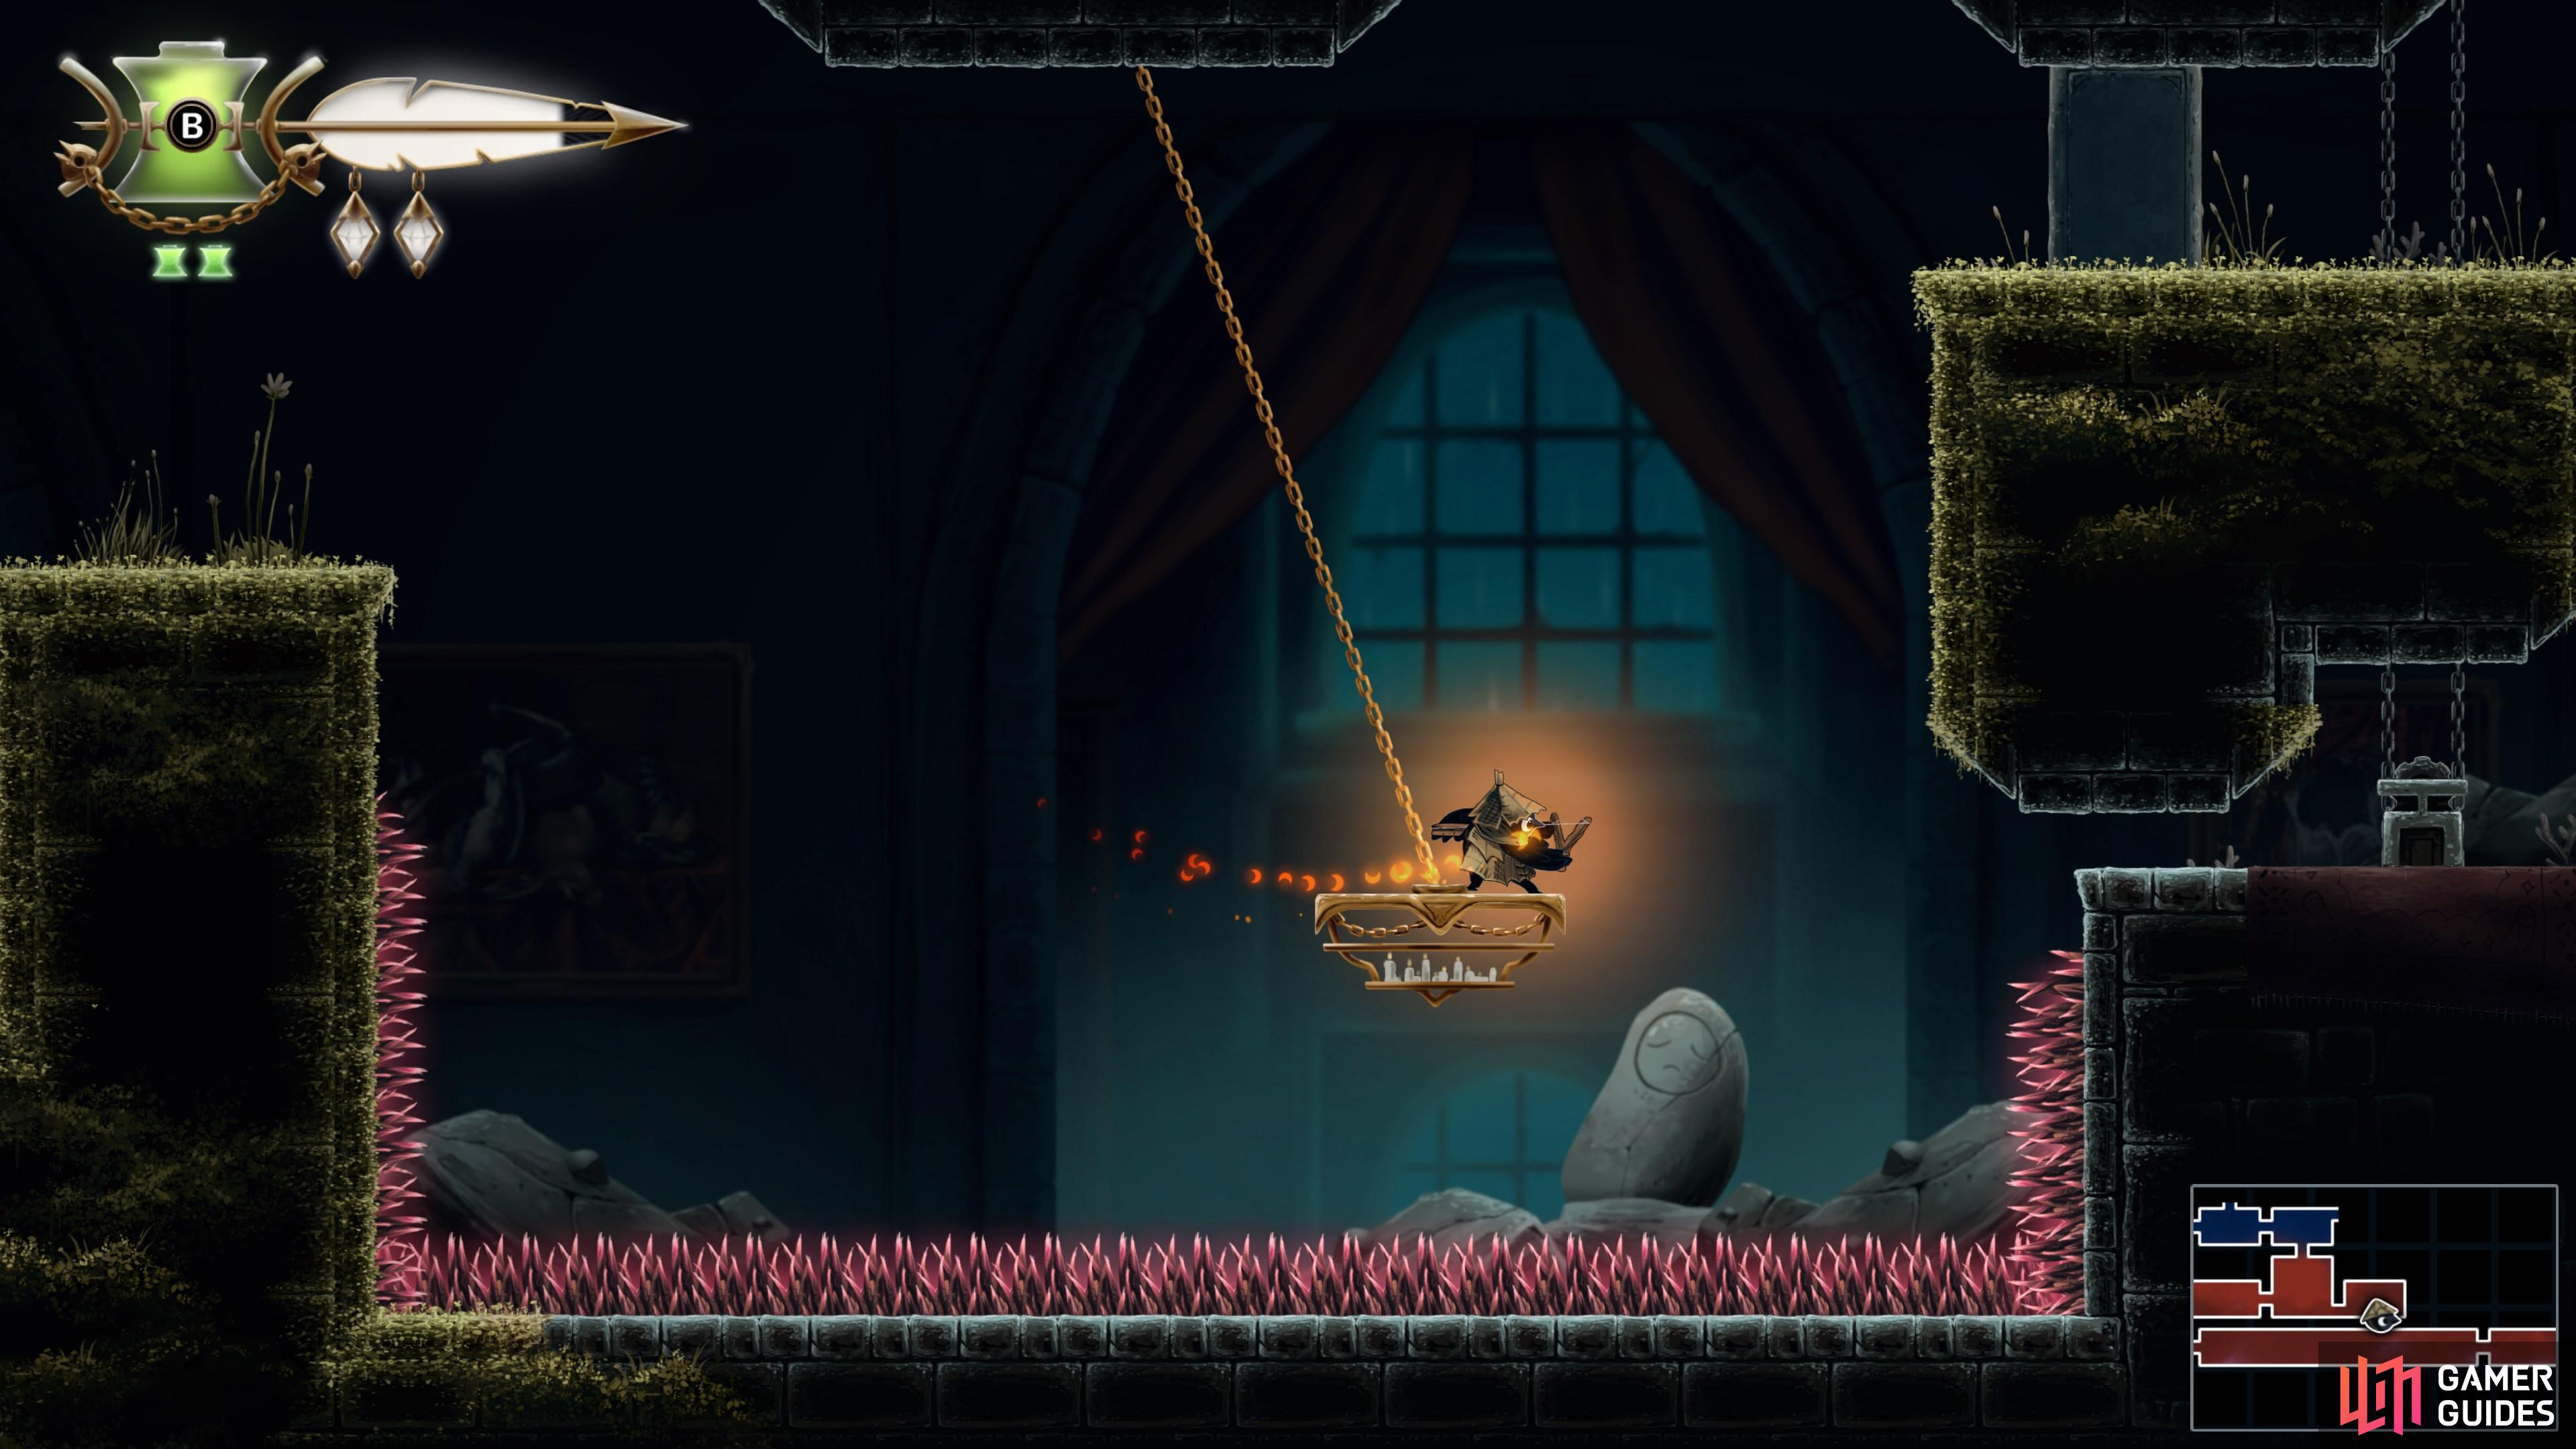
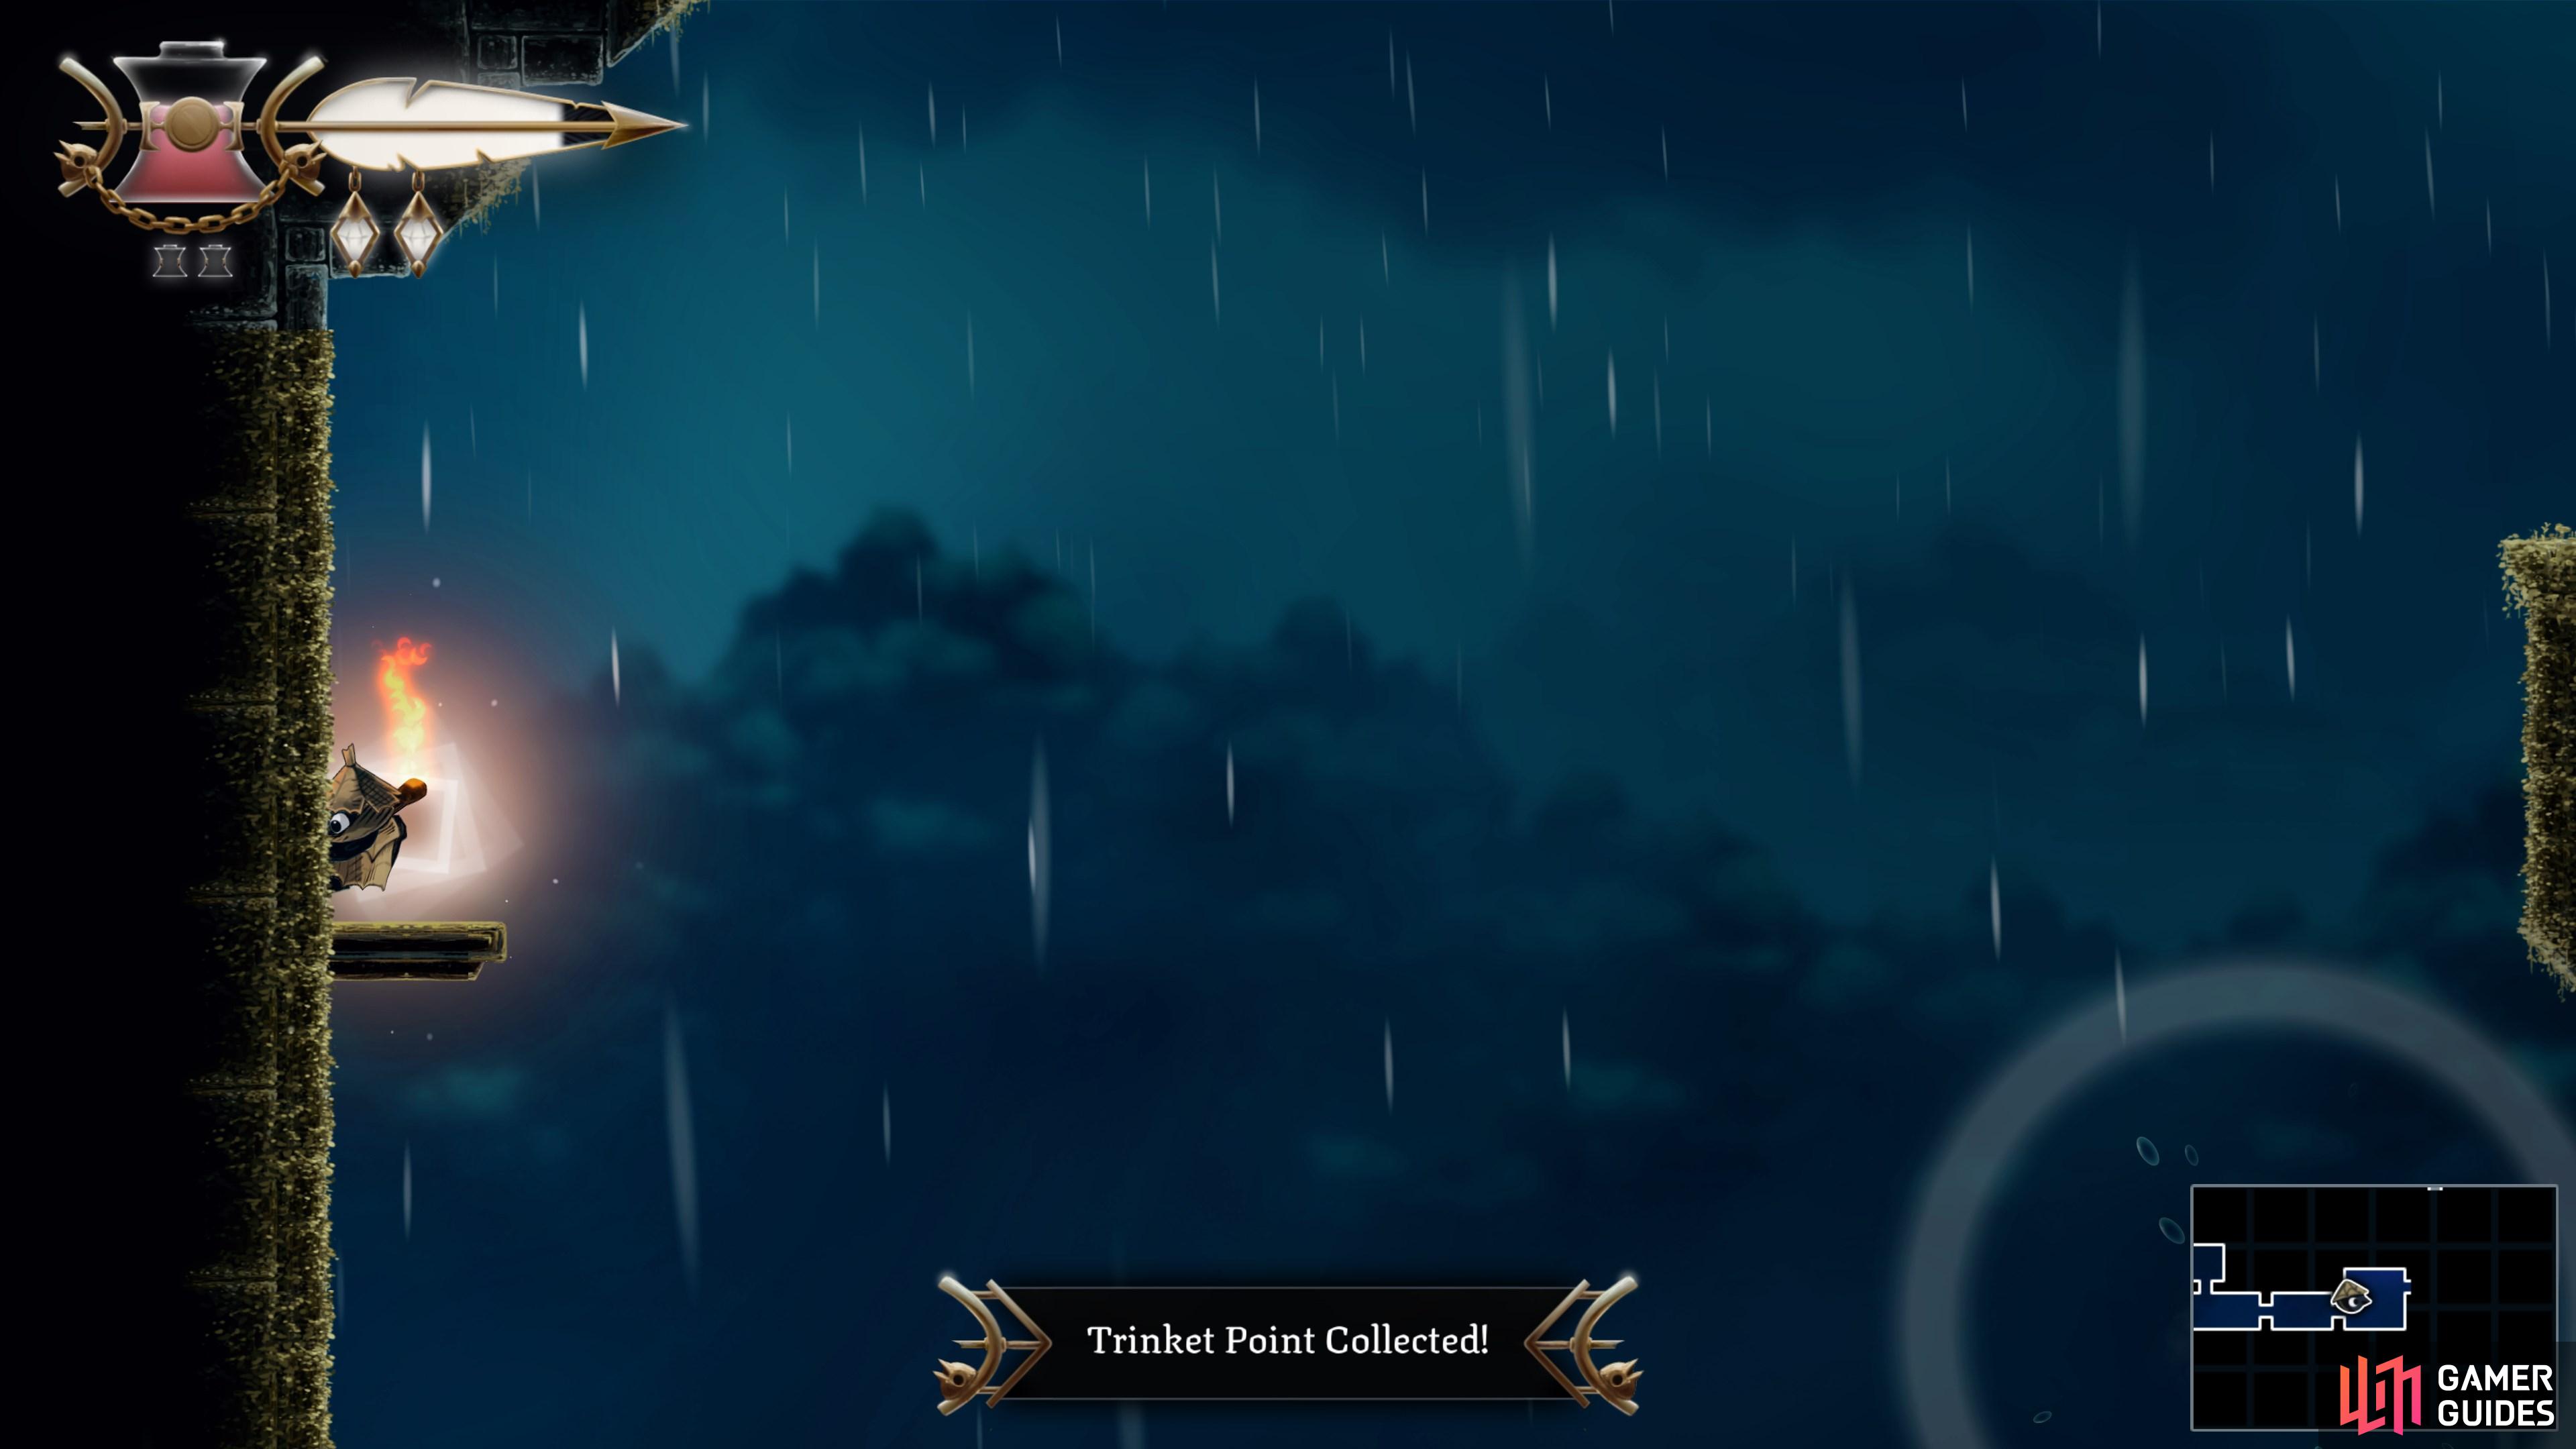
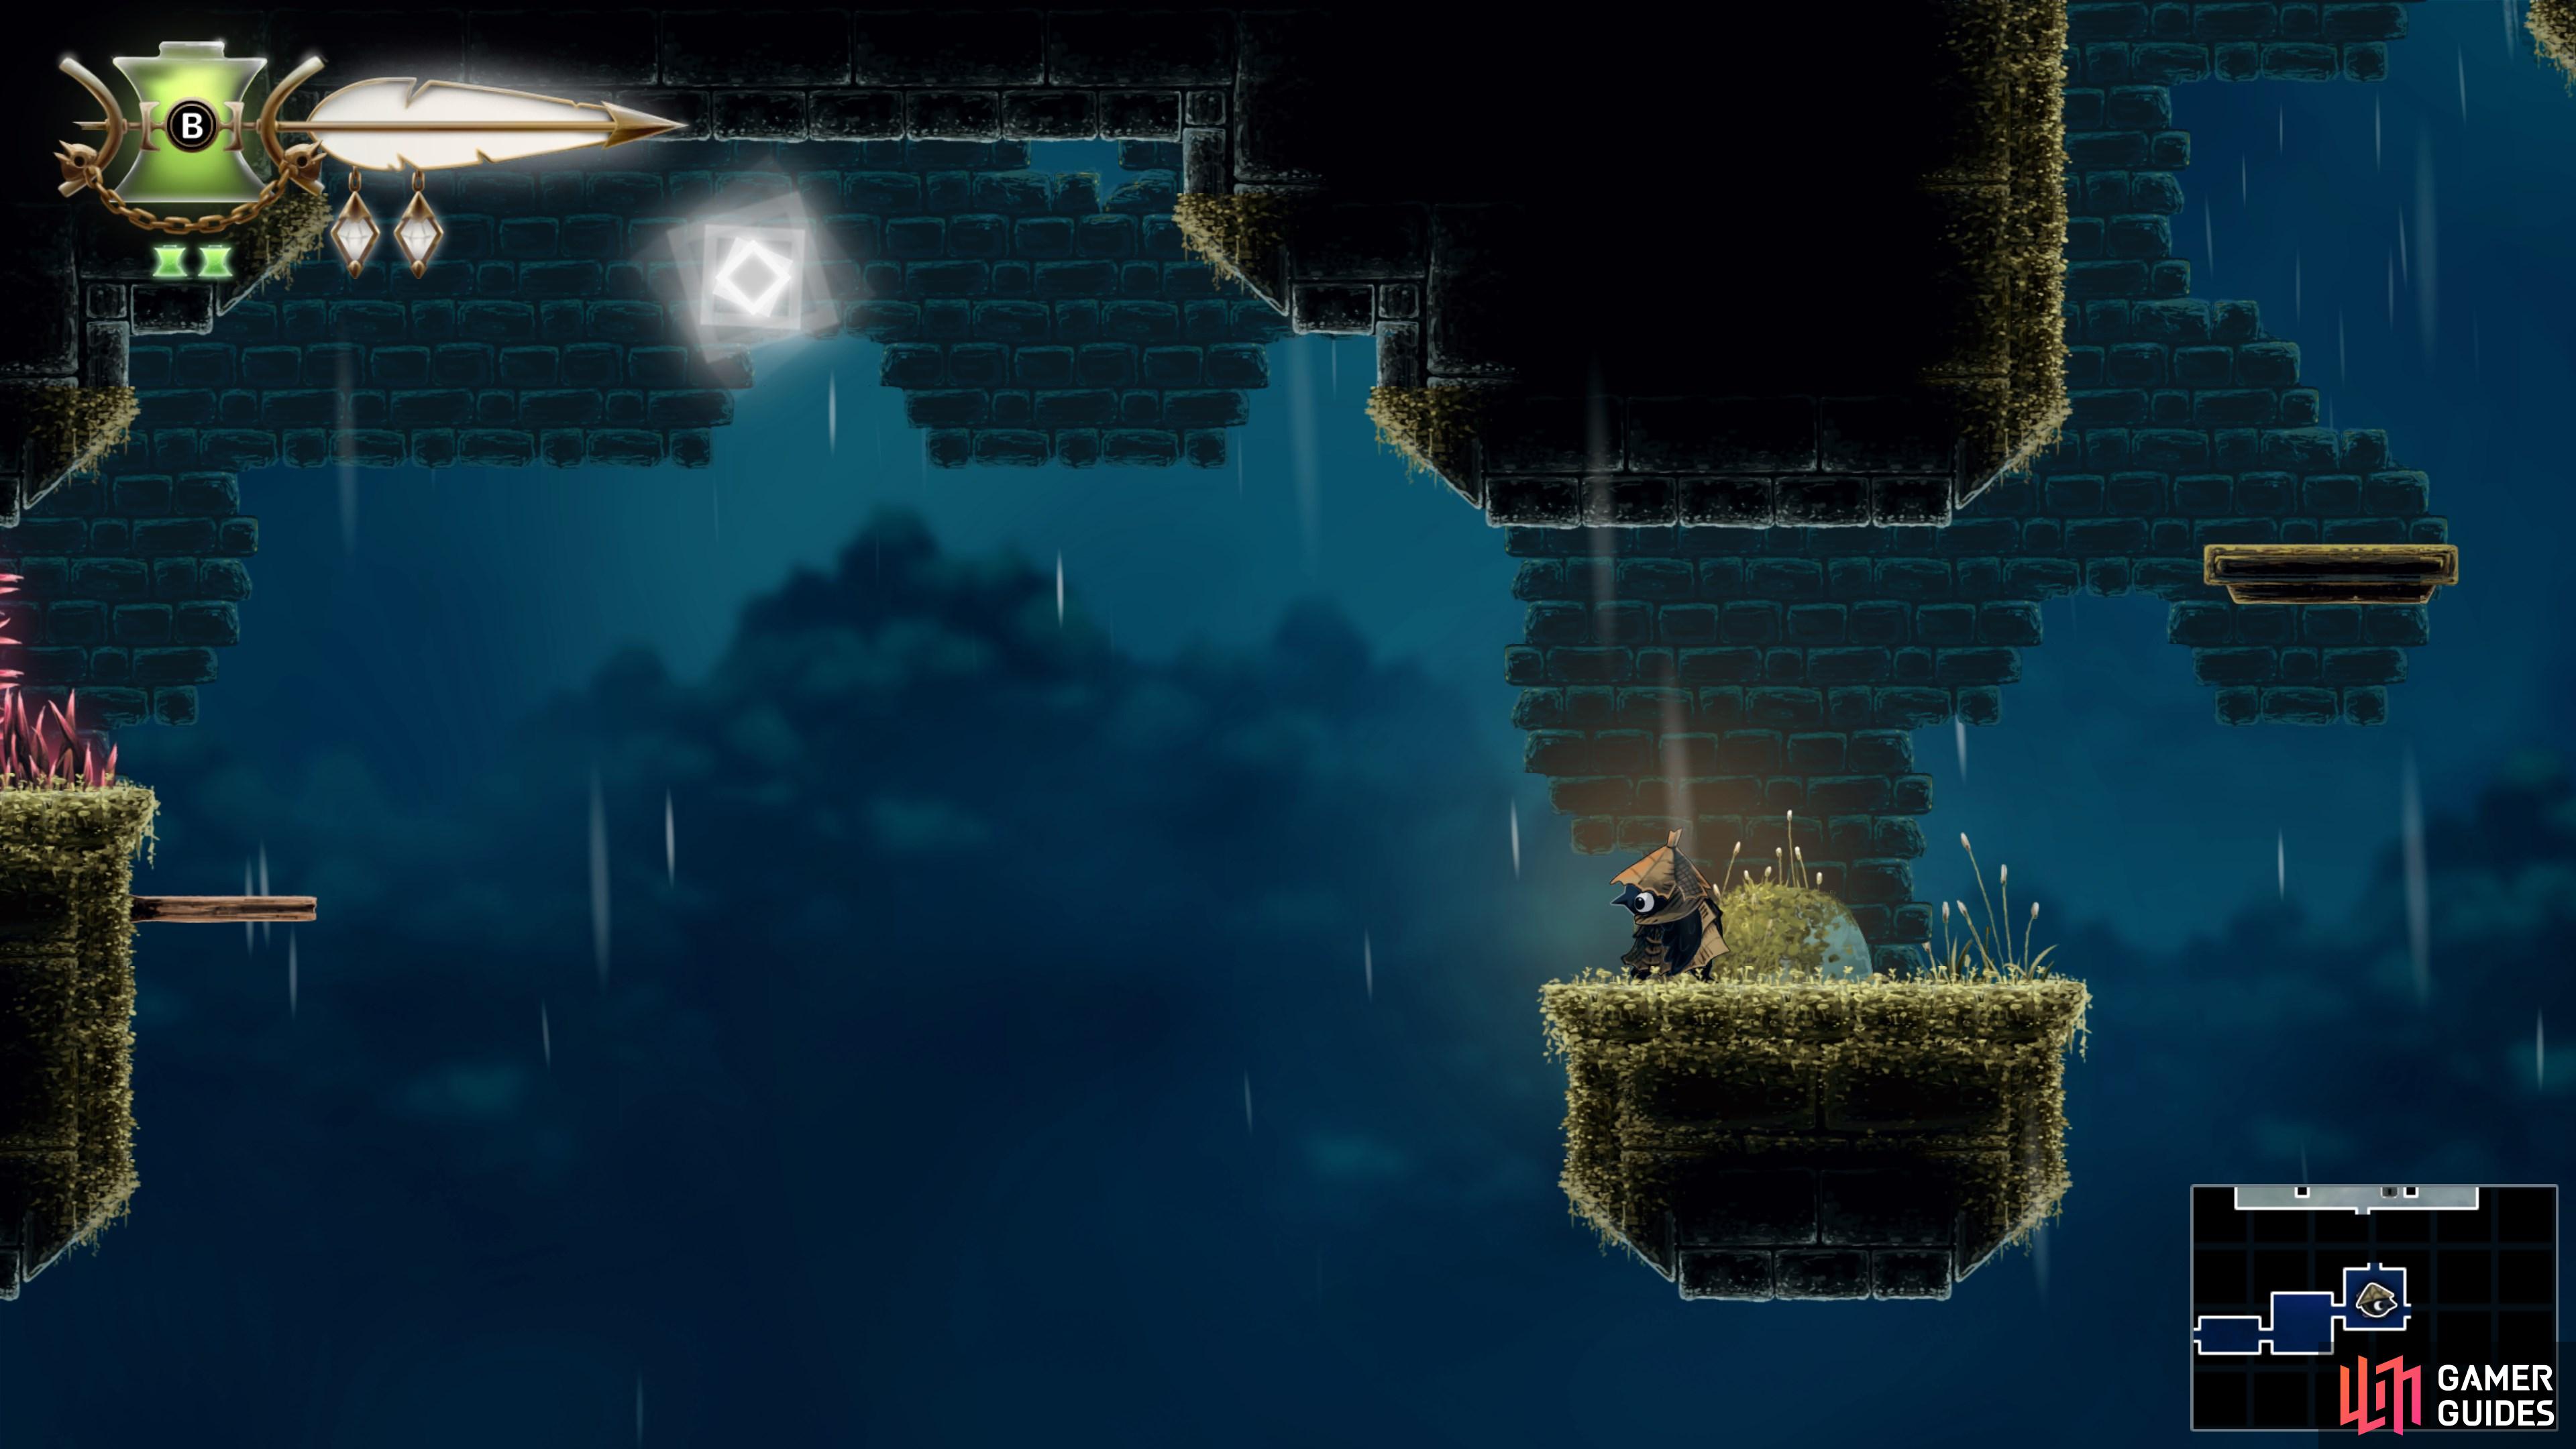
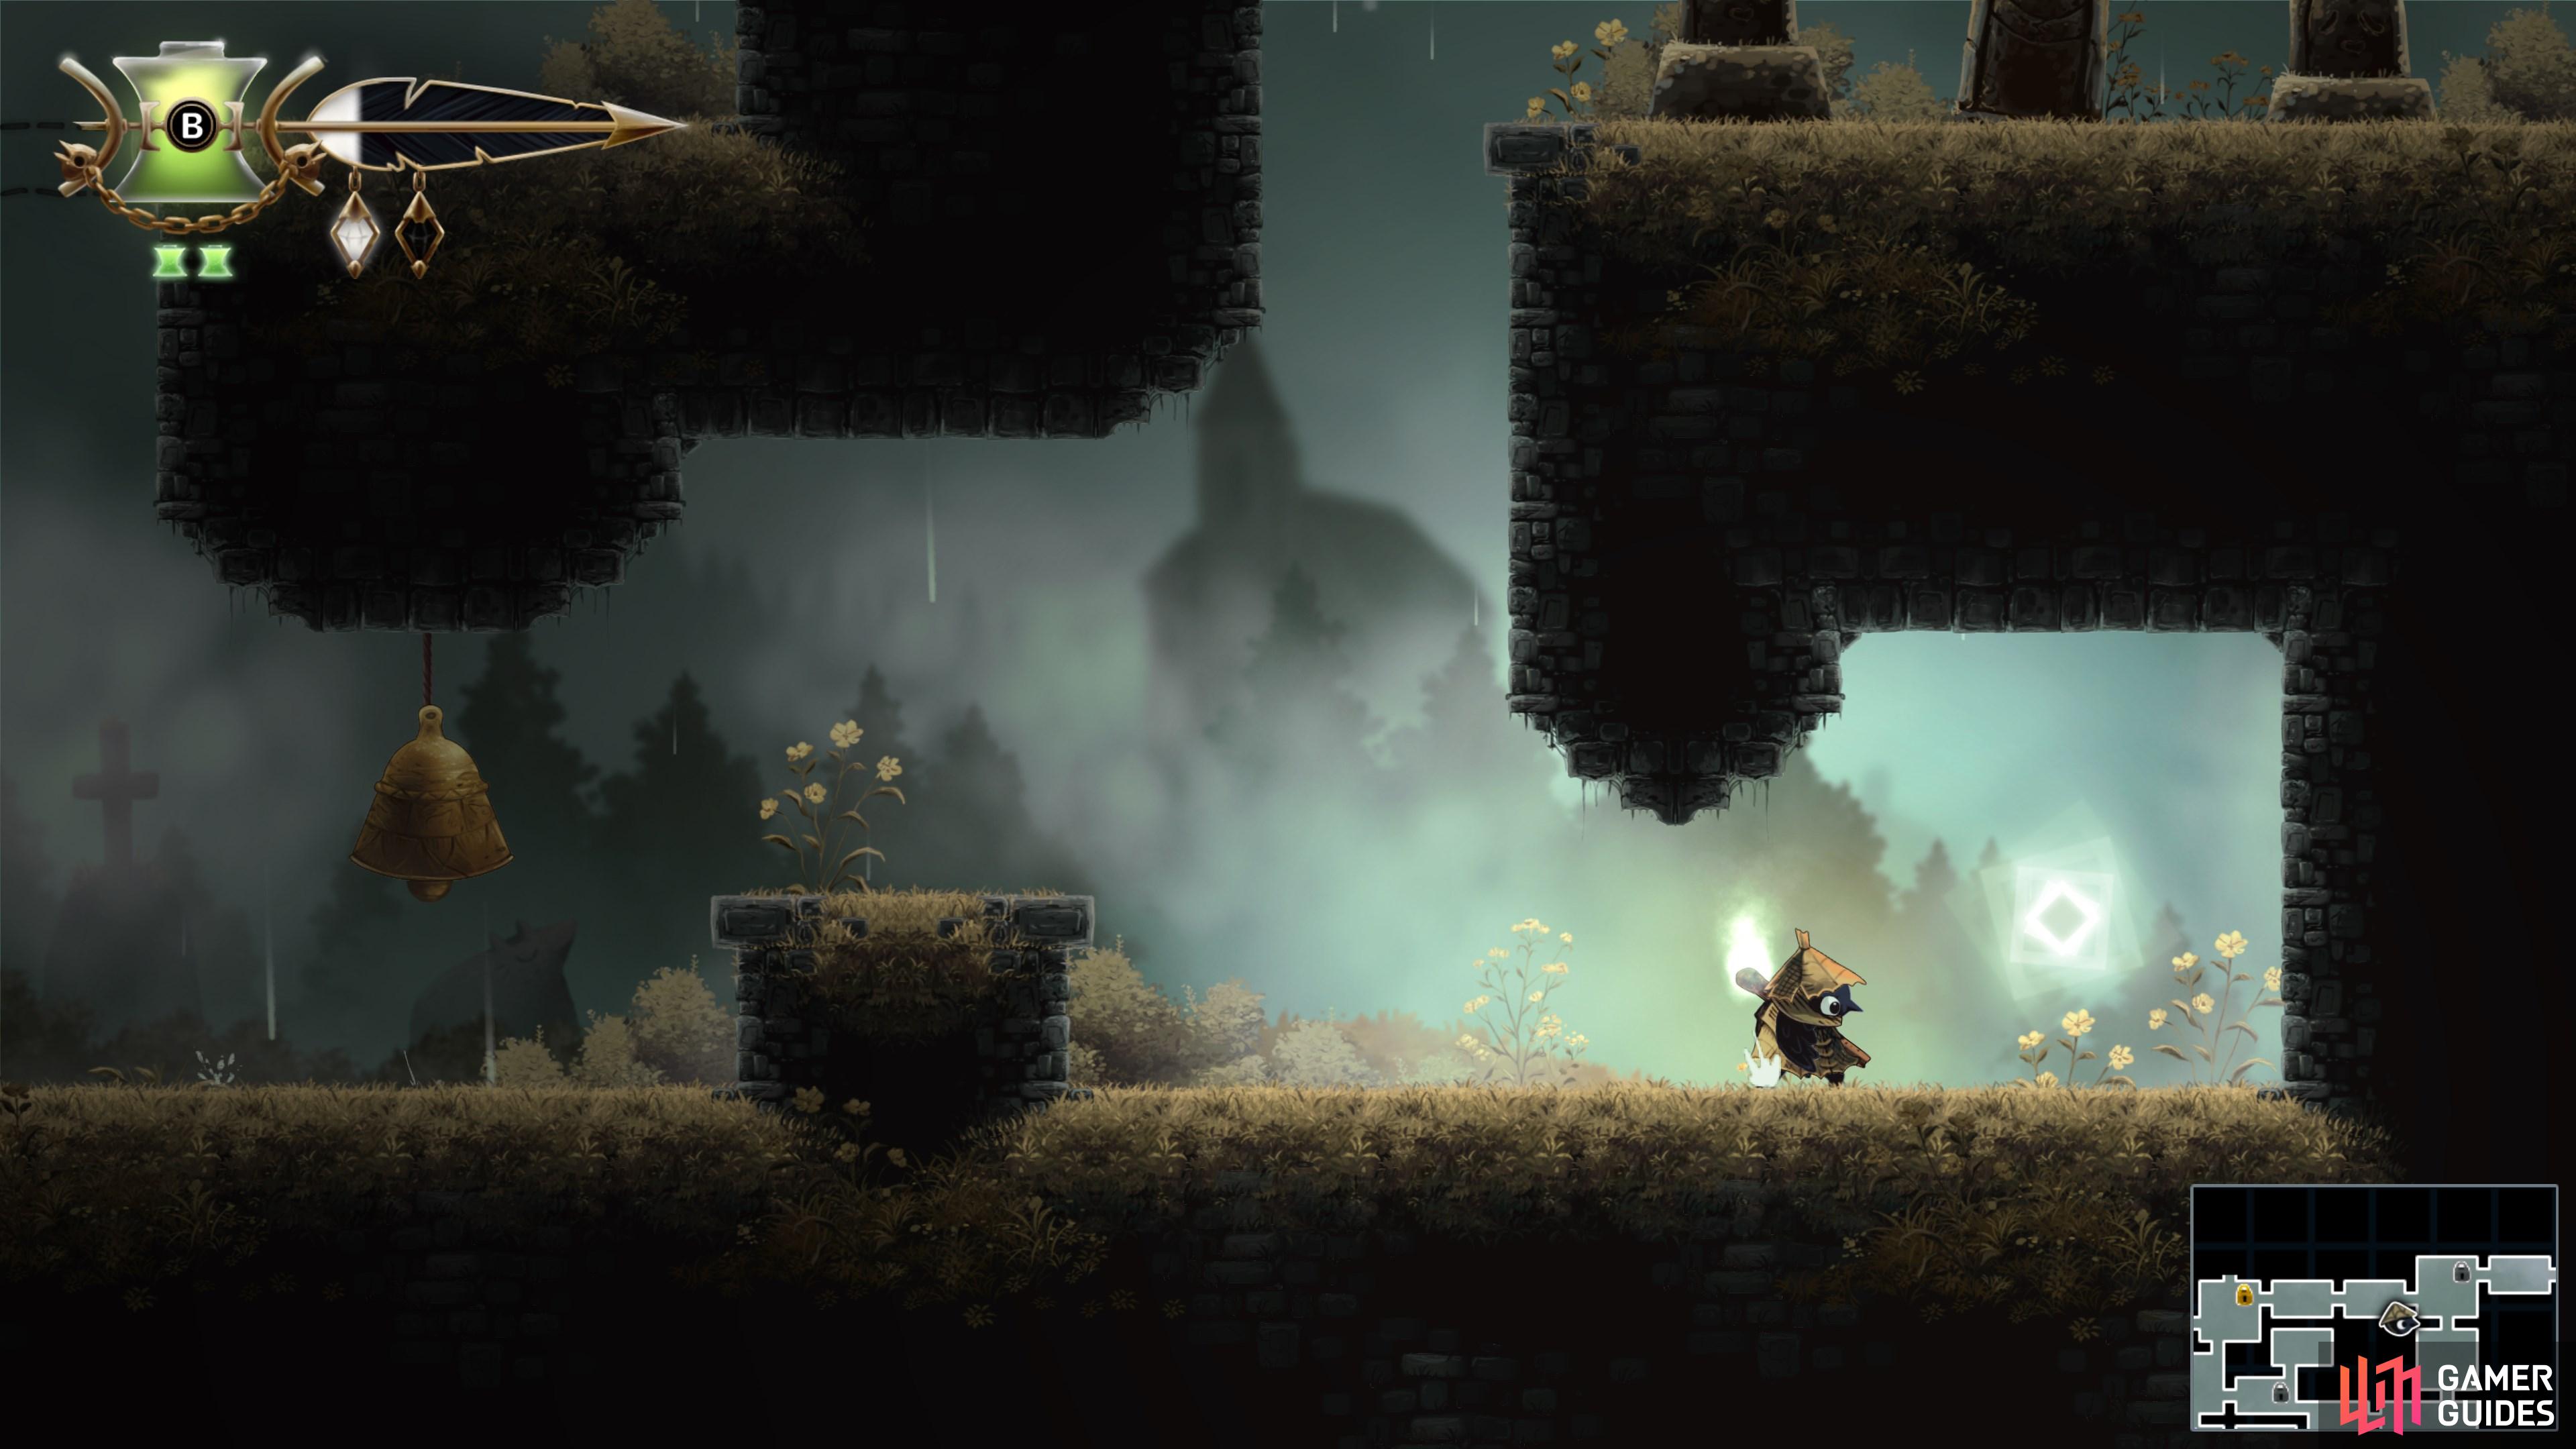
Checklist

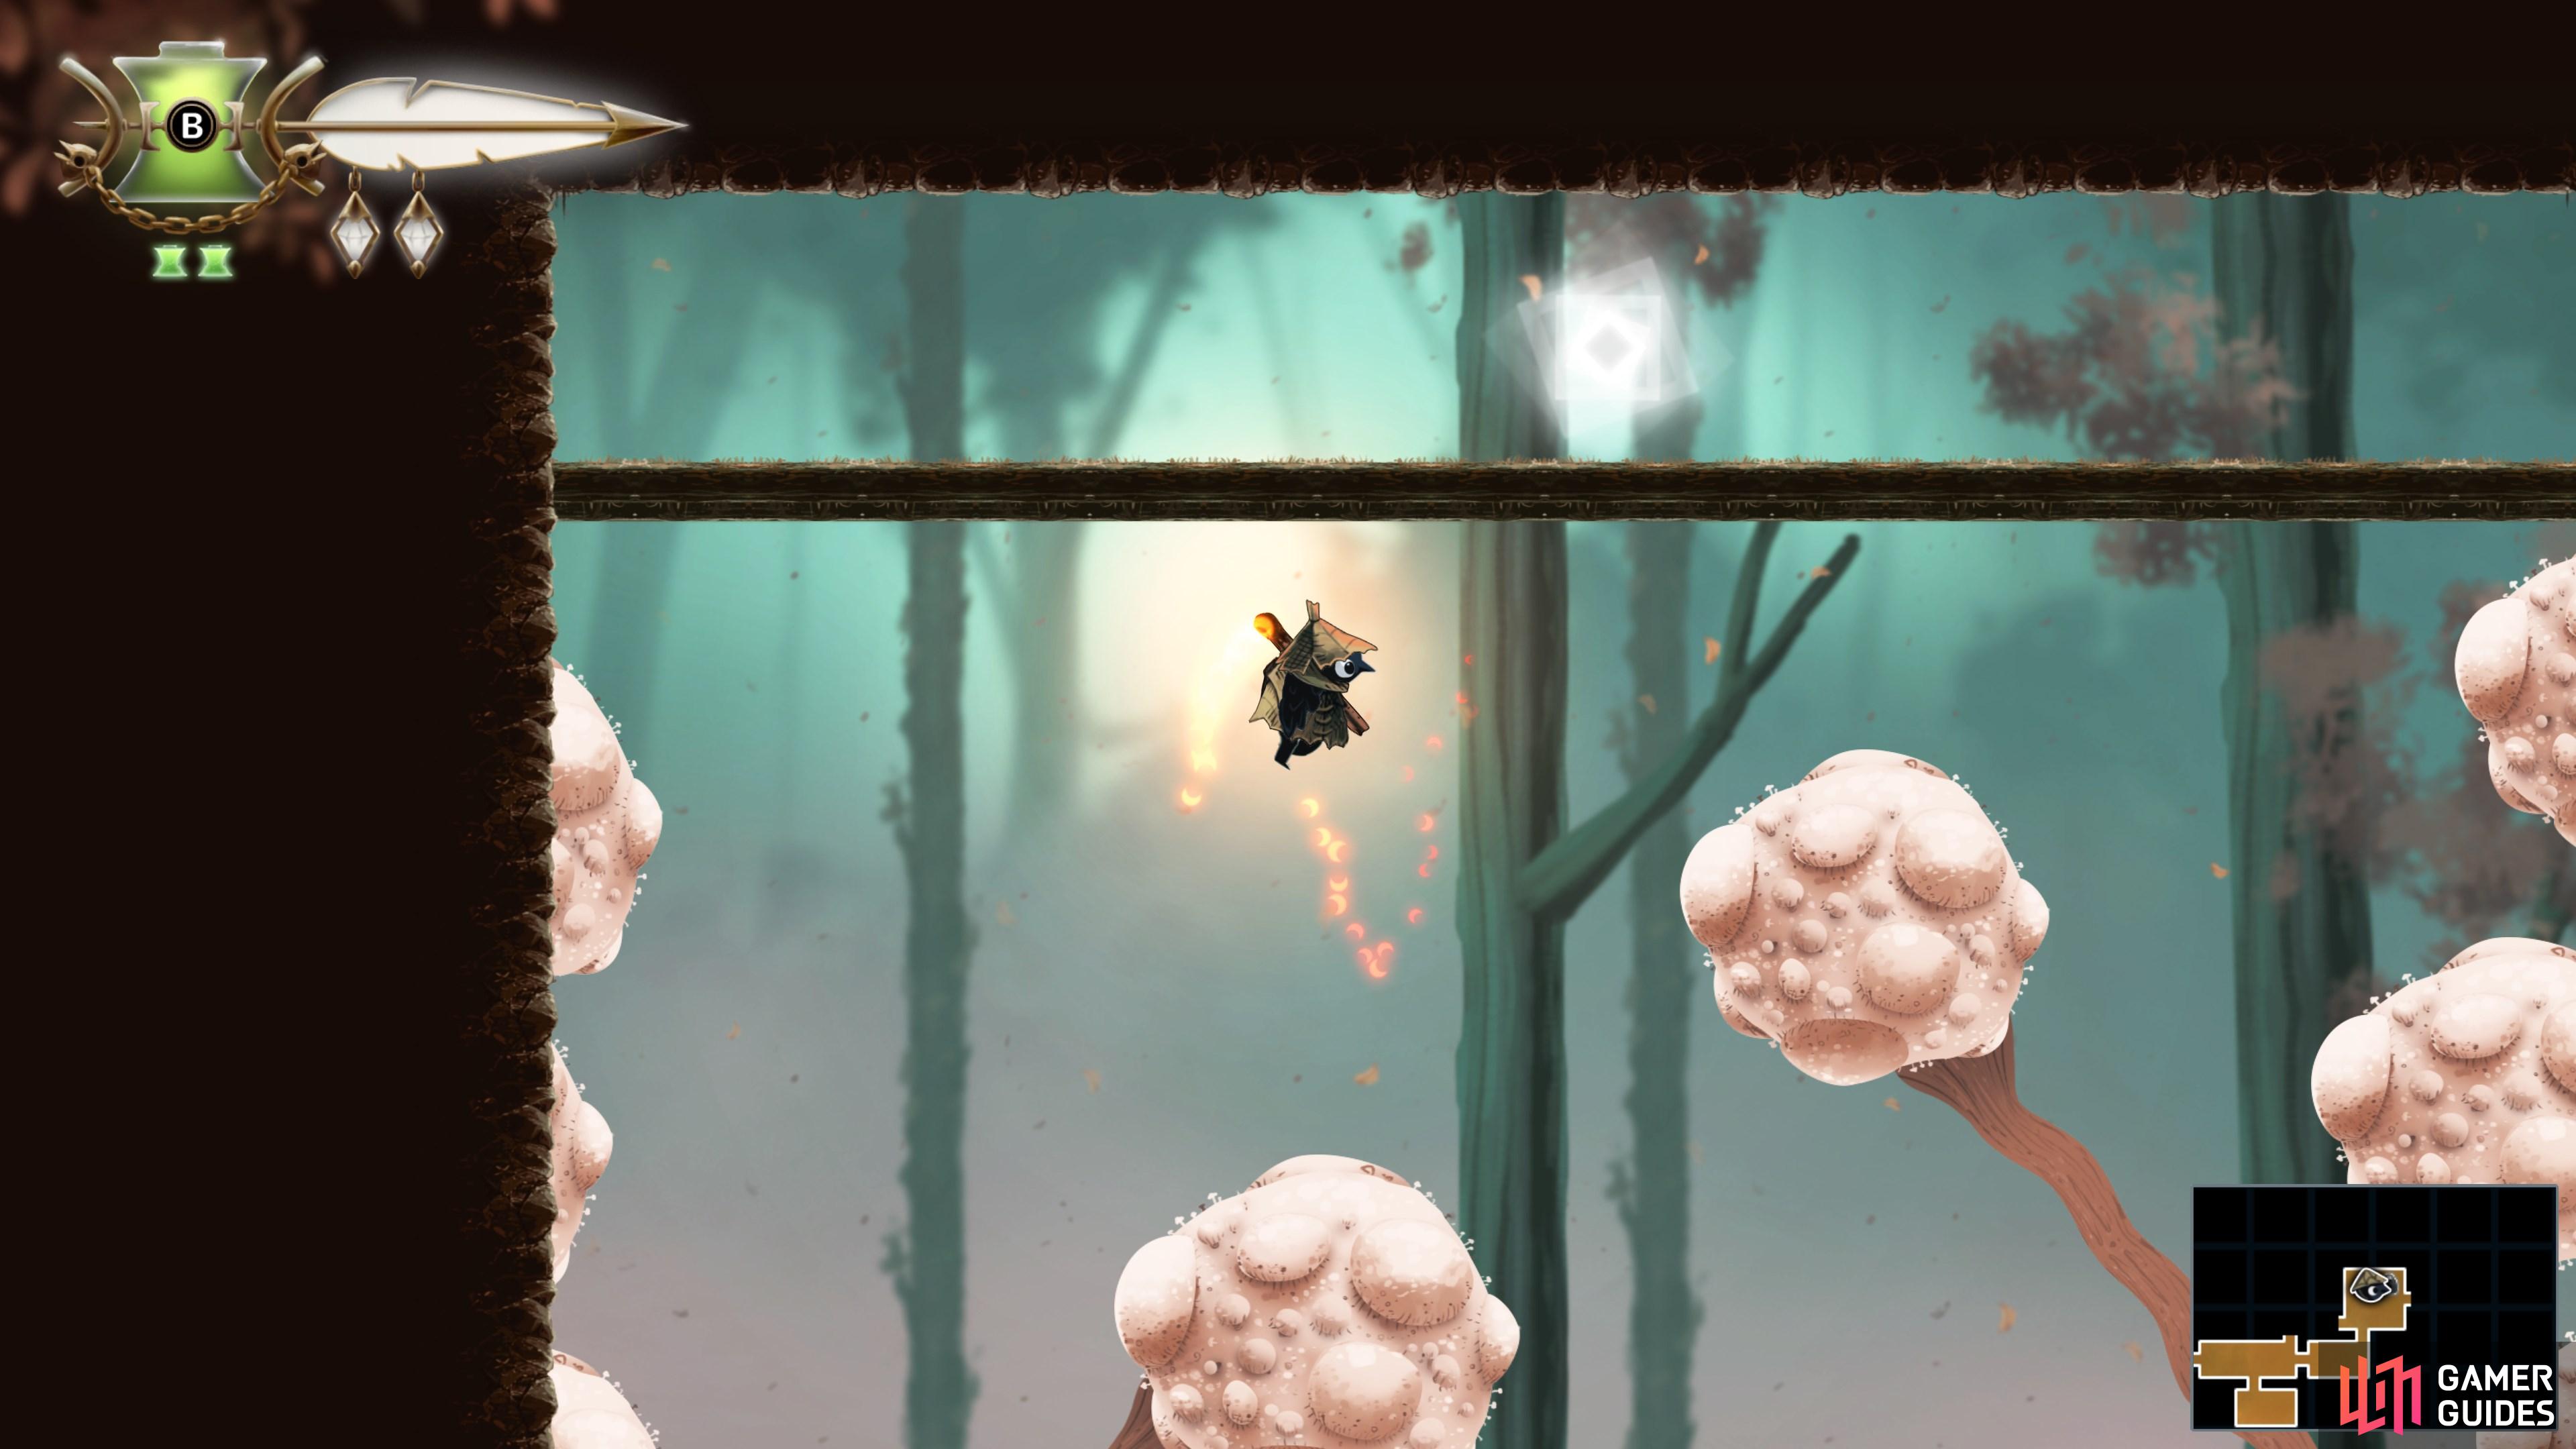
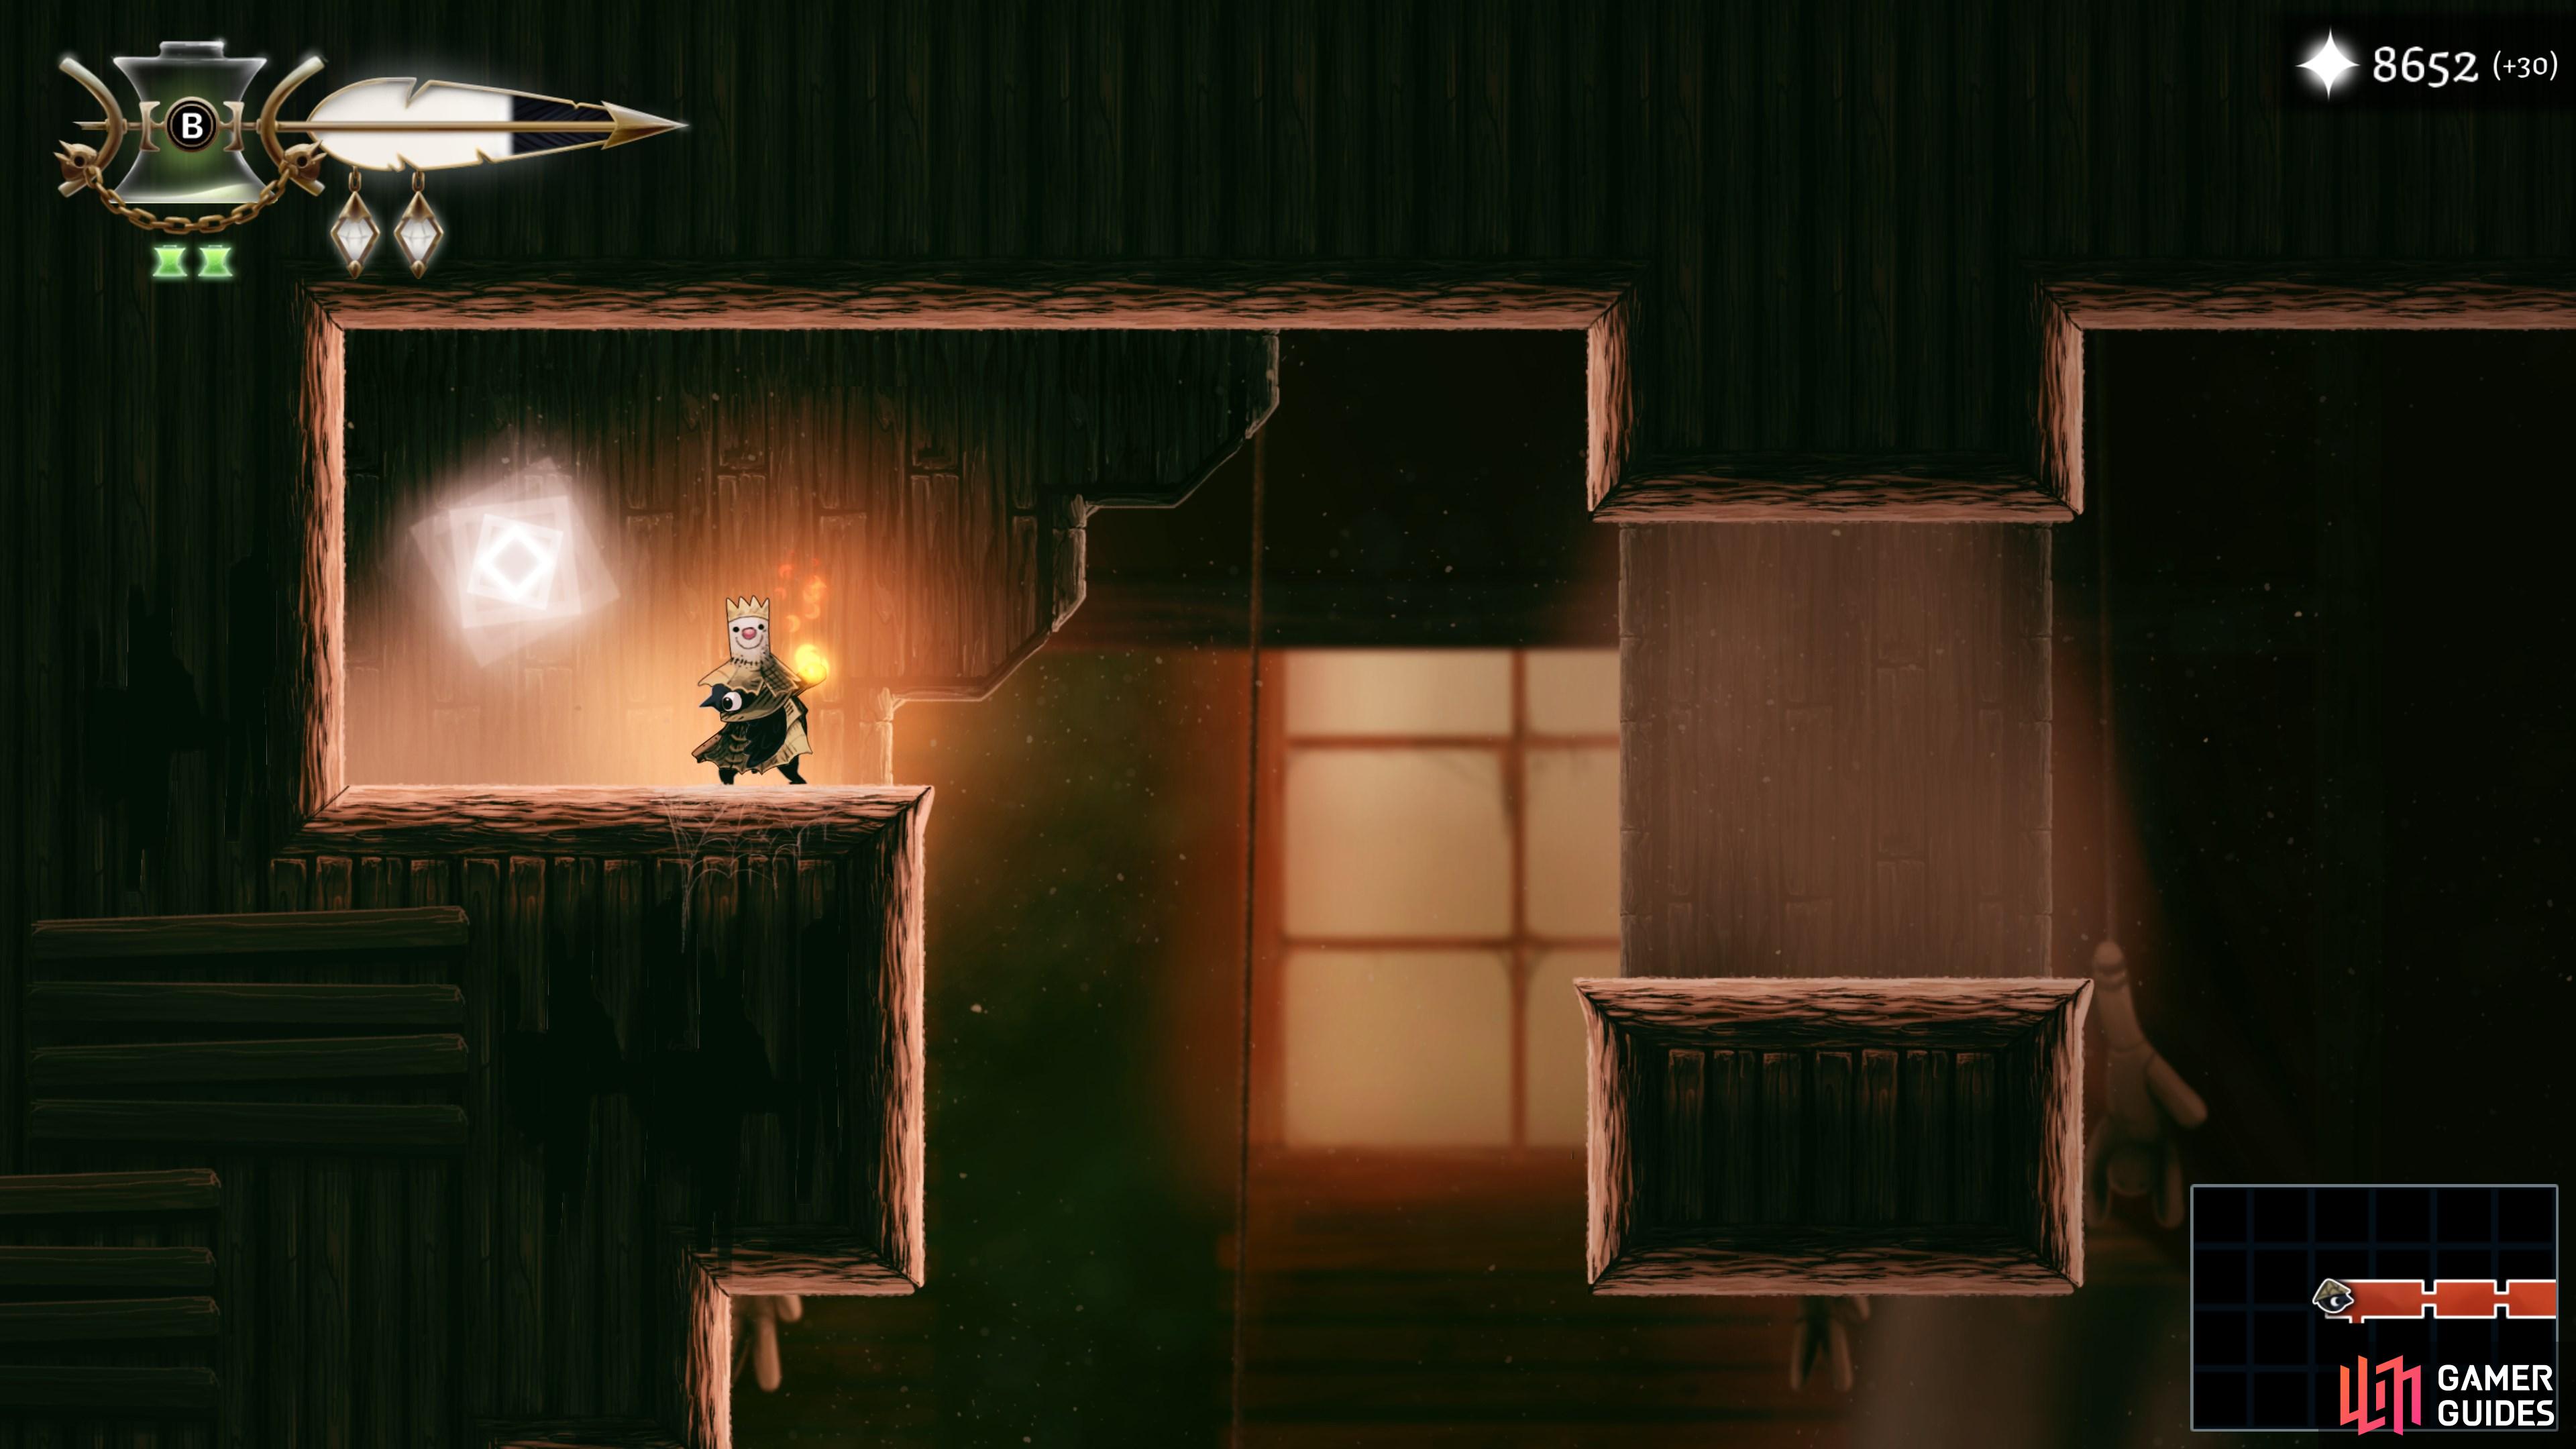
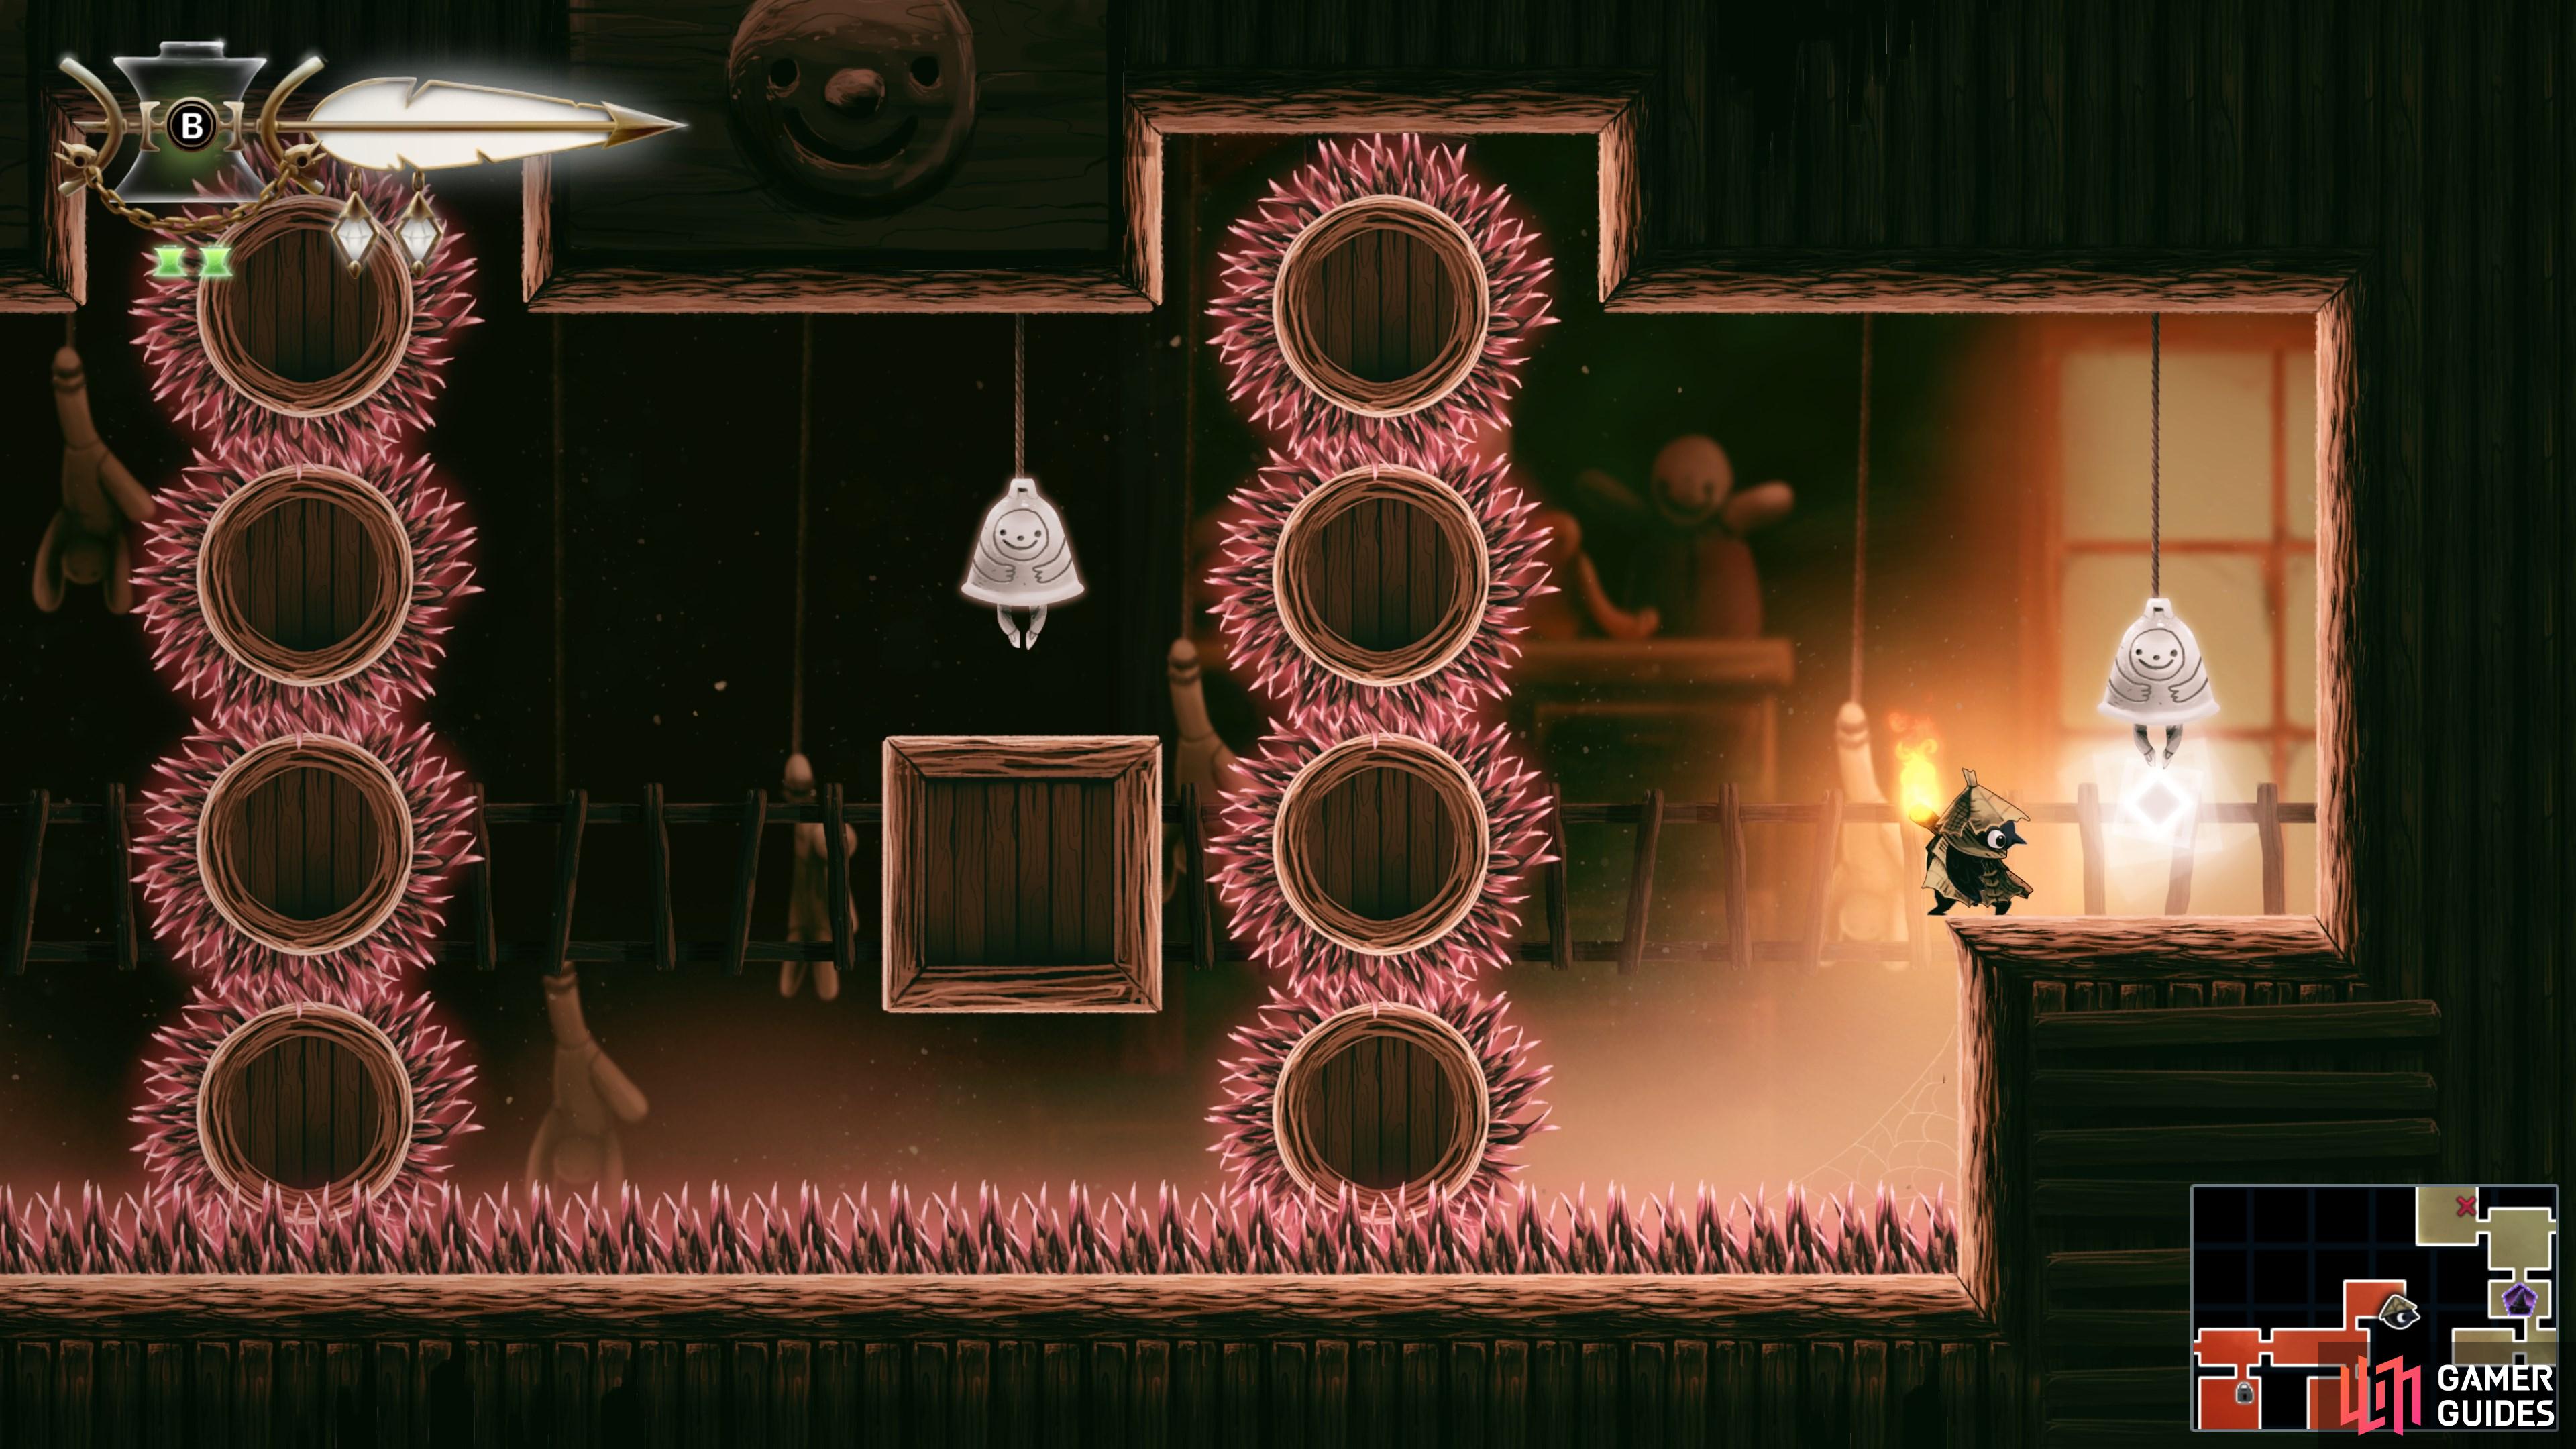
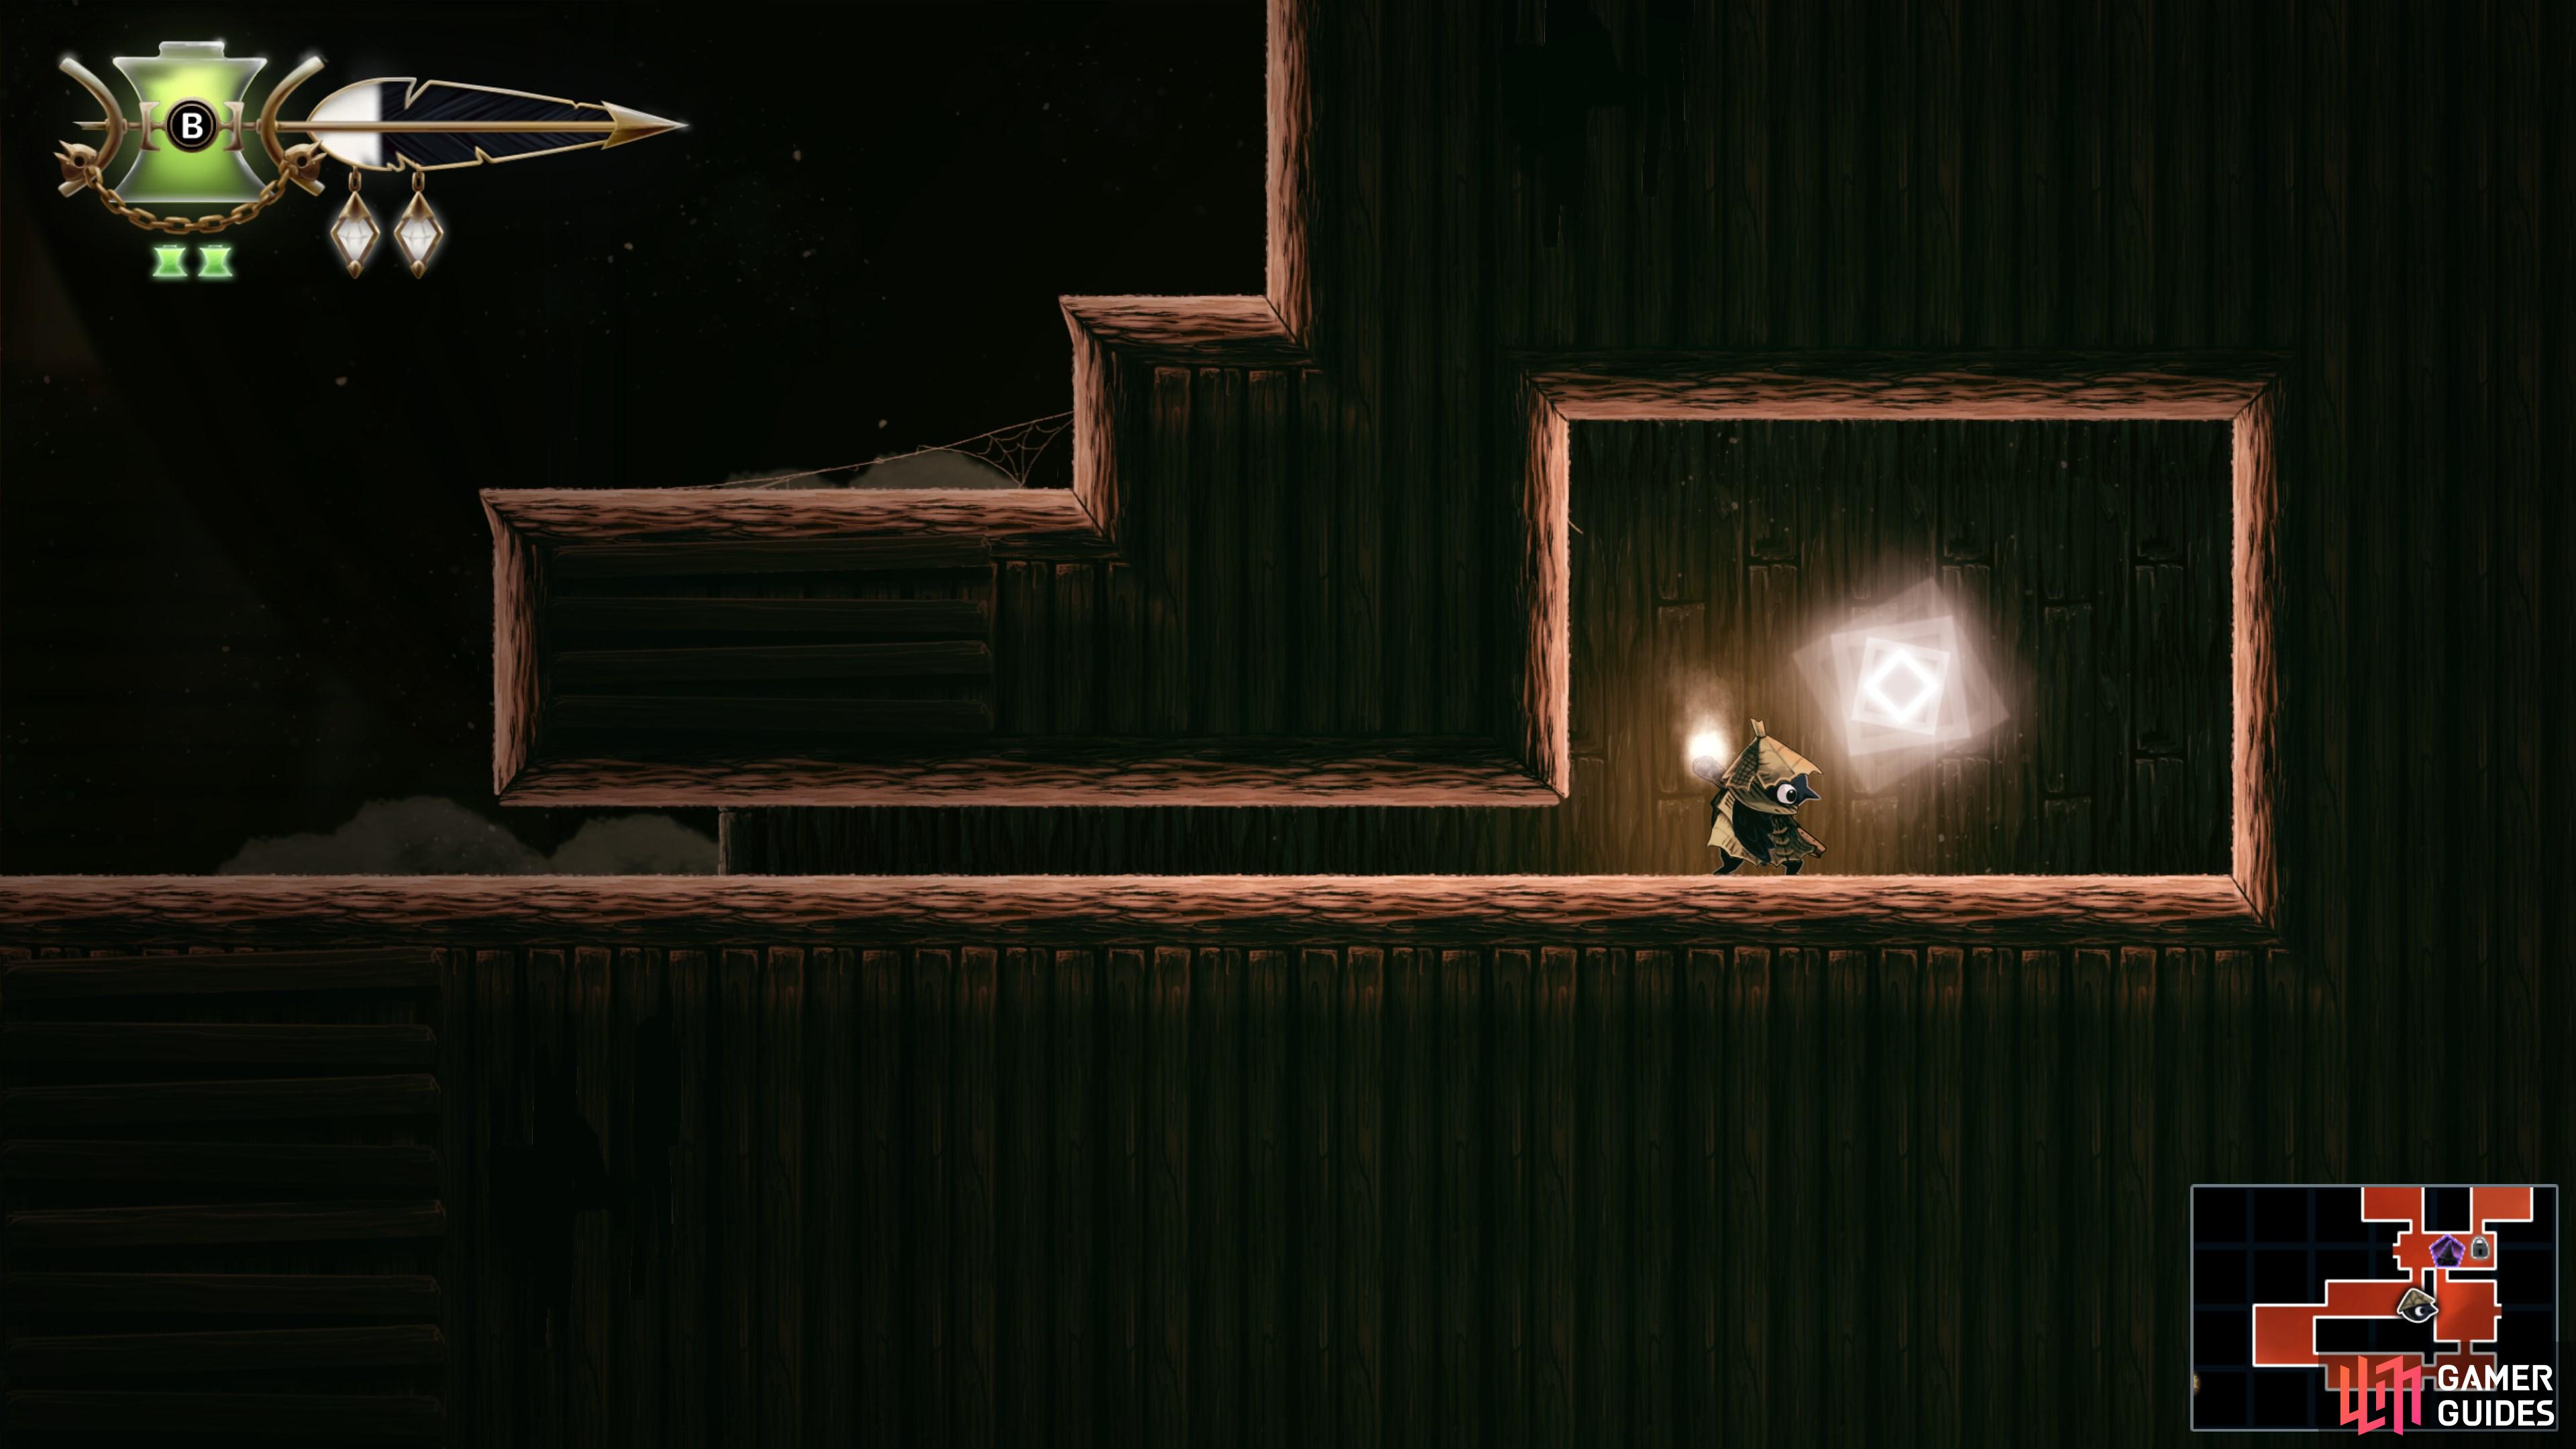
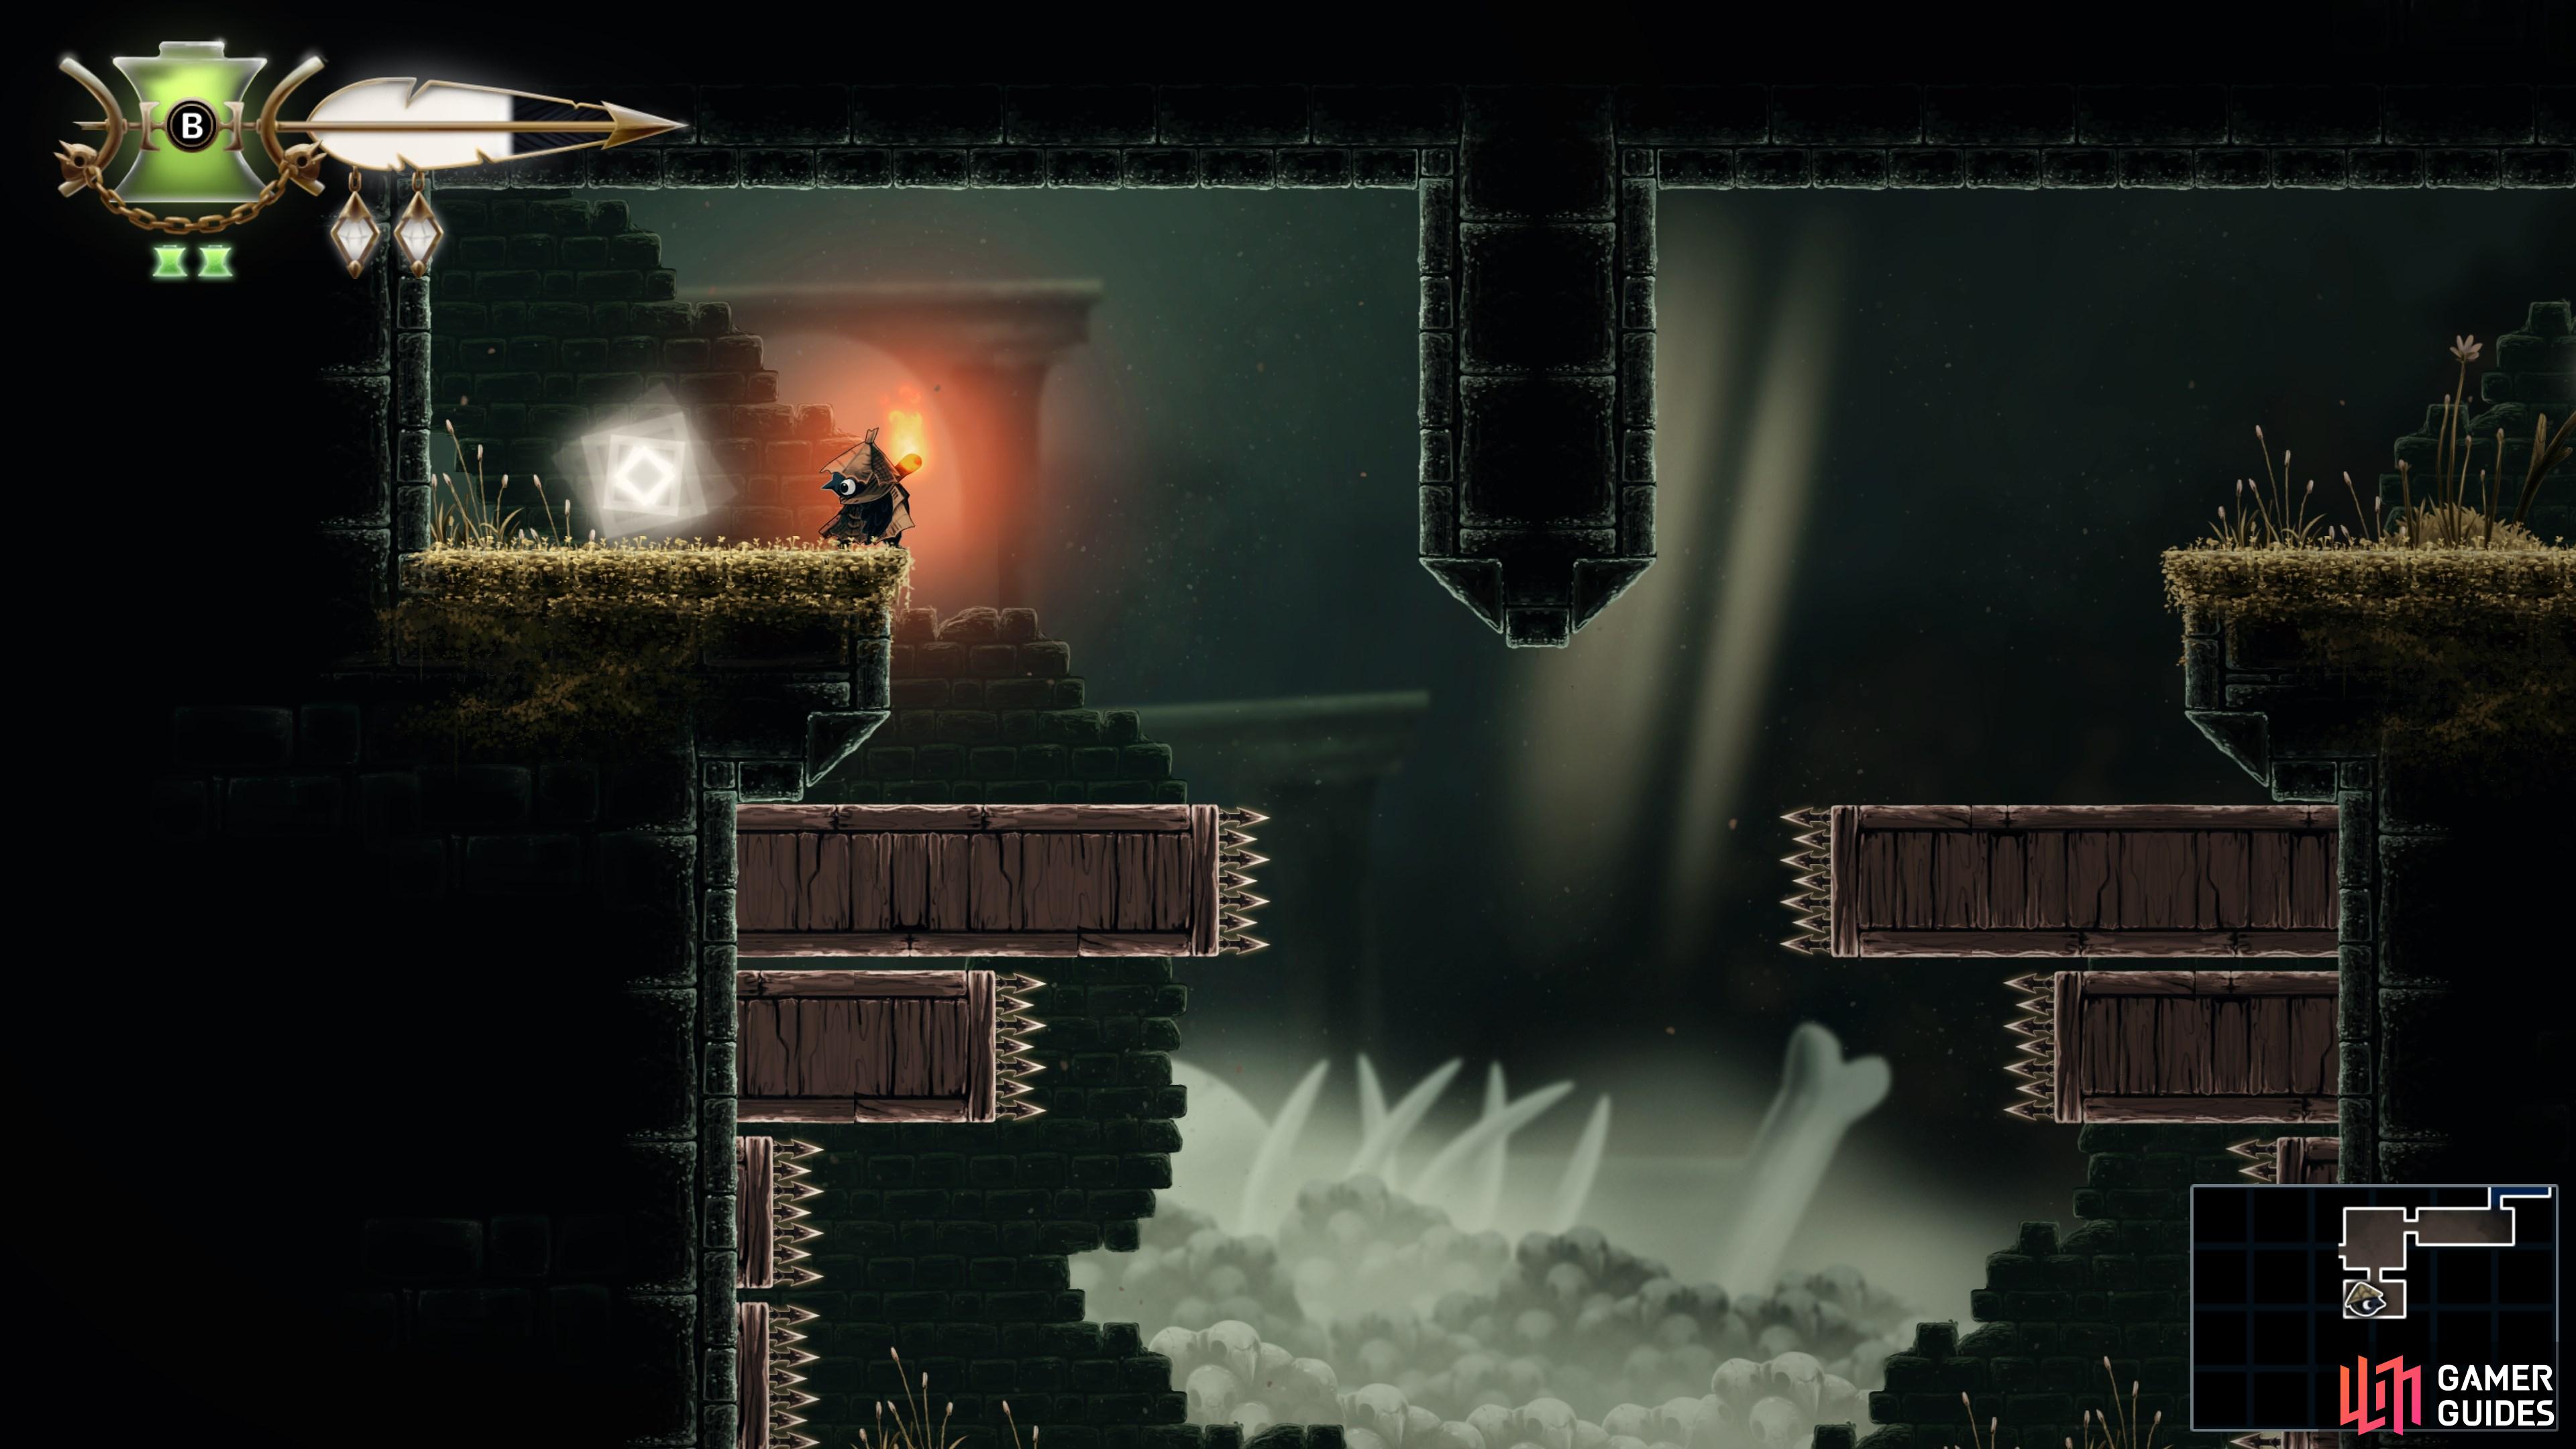
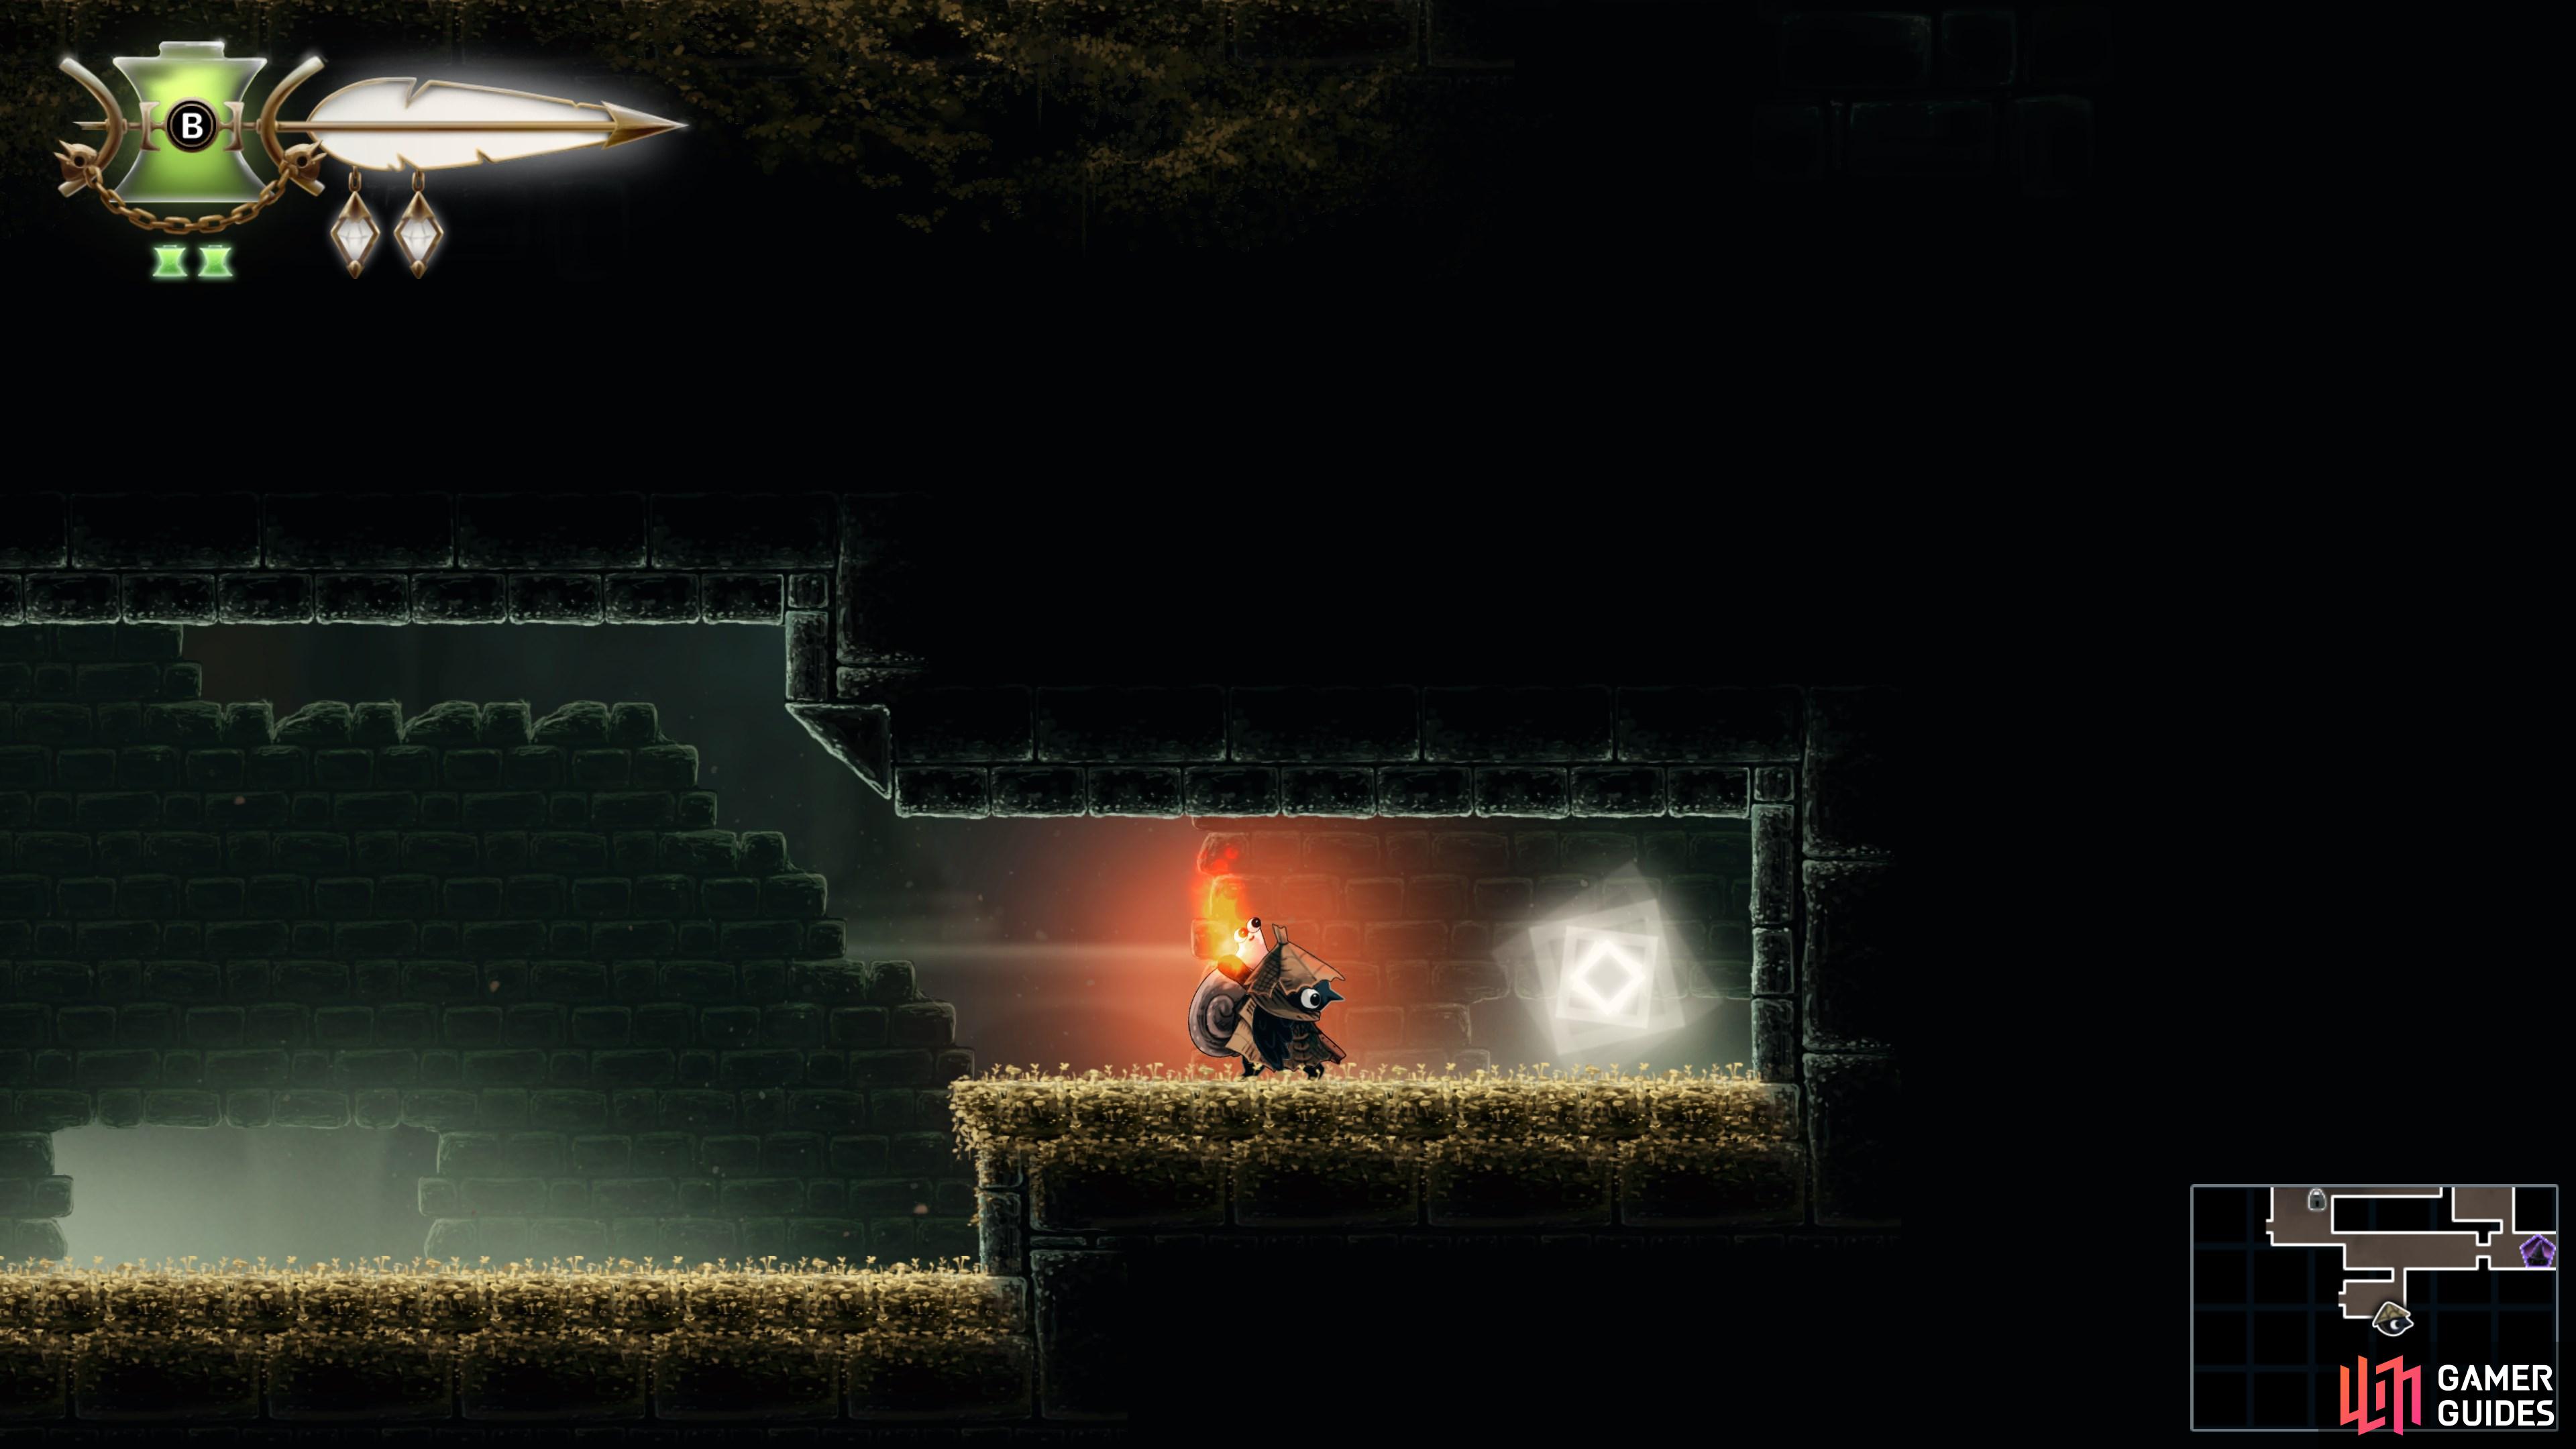
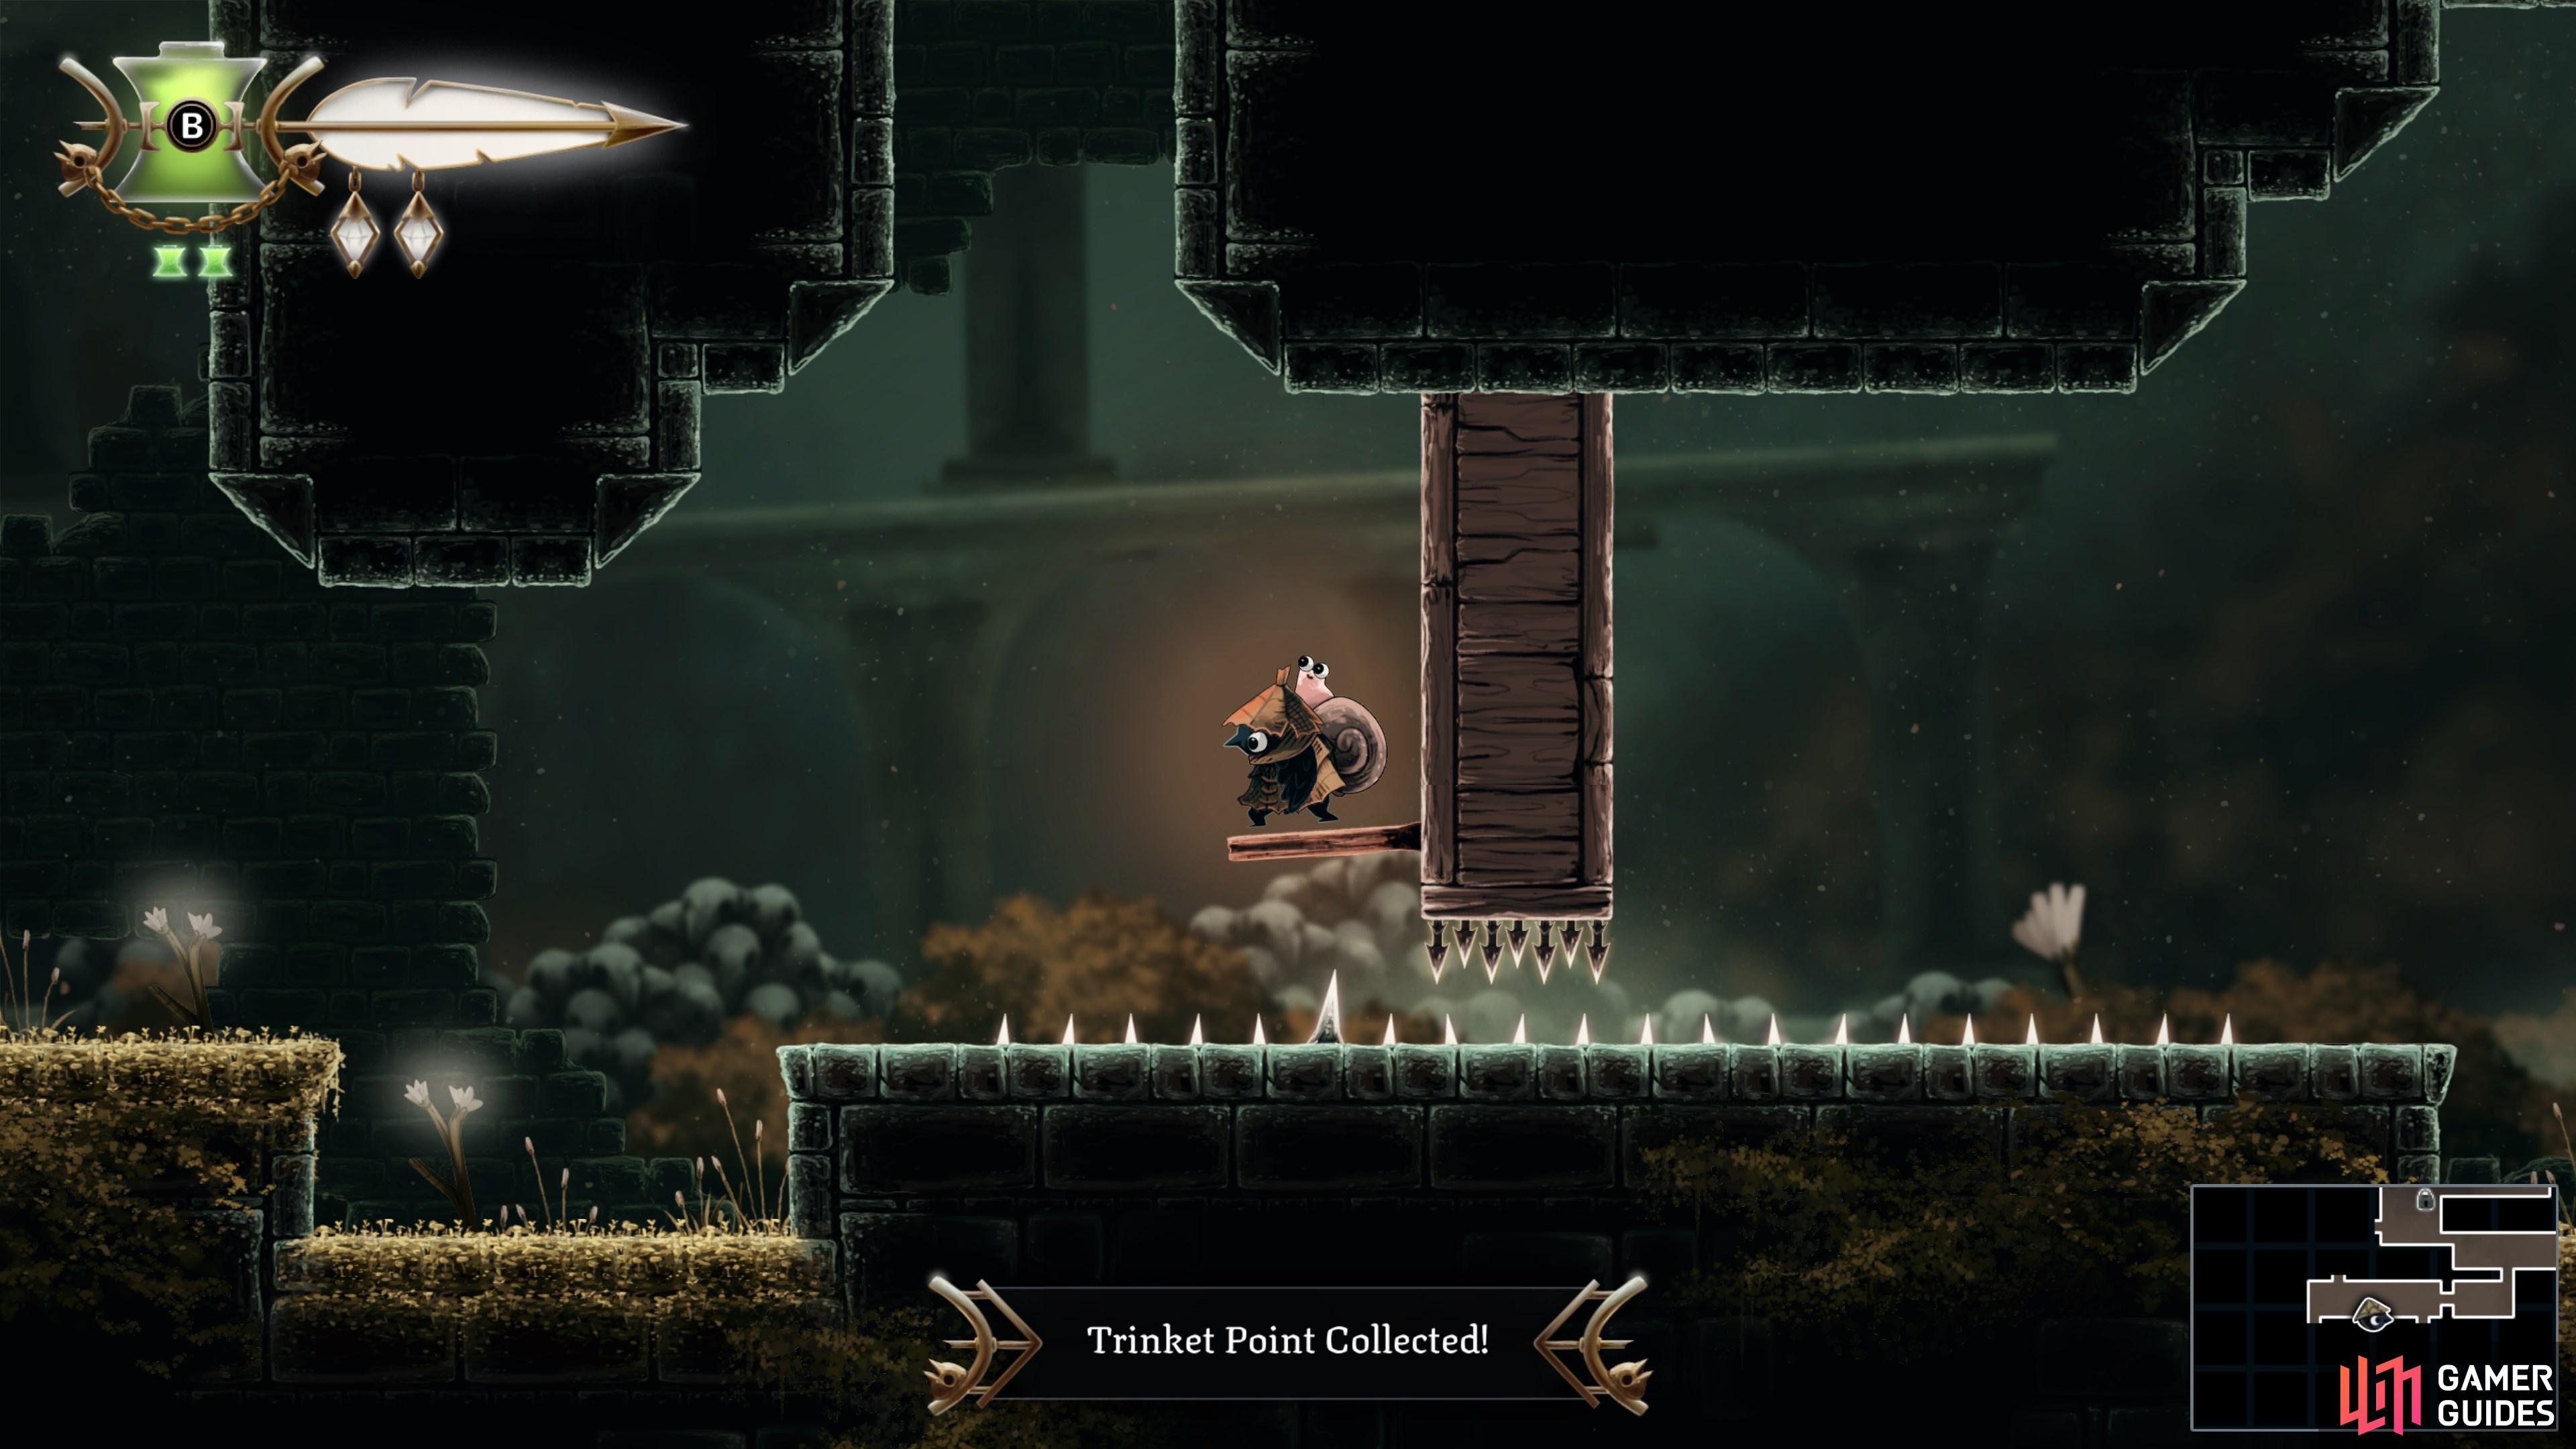
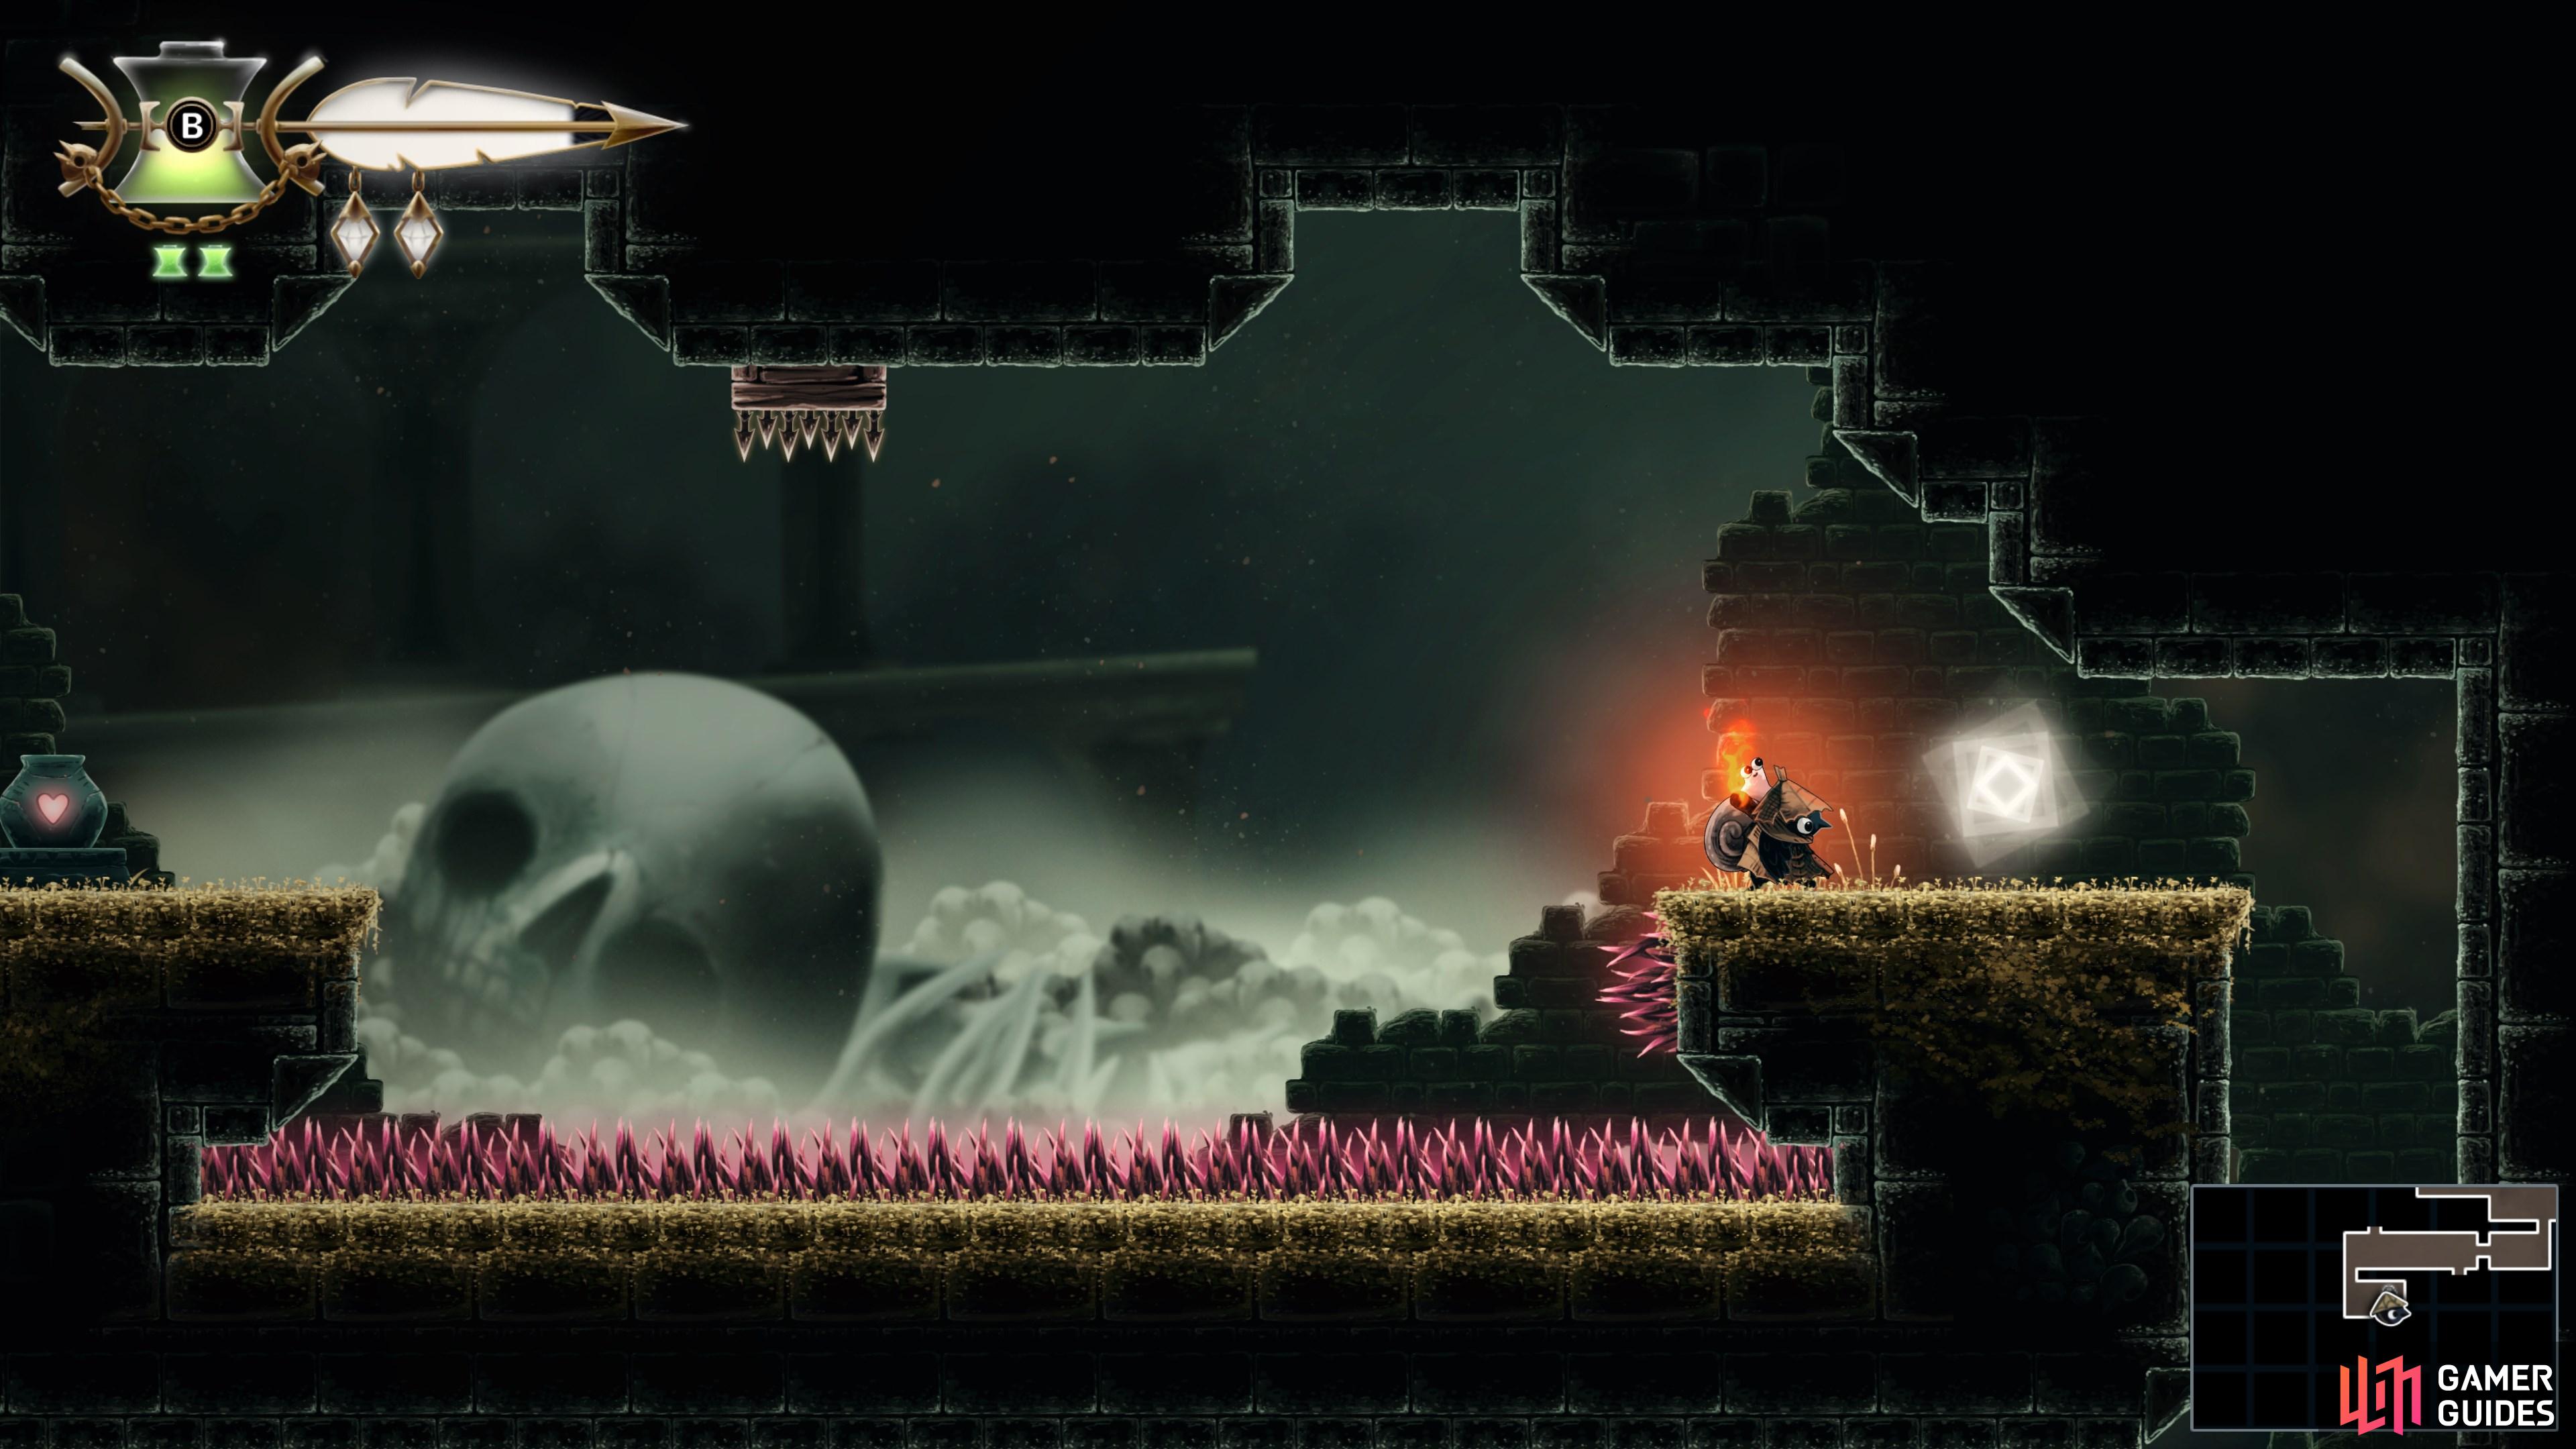
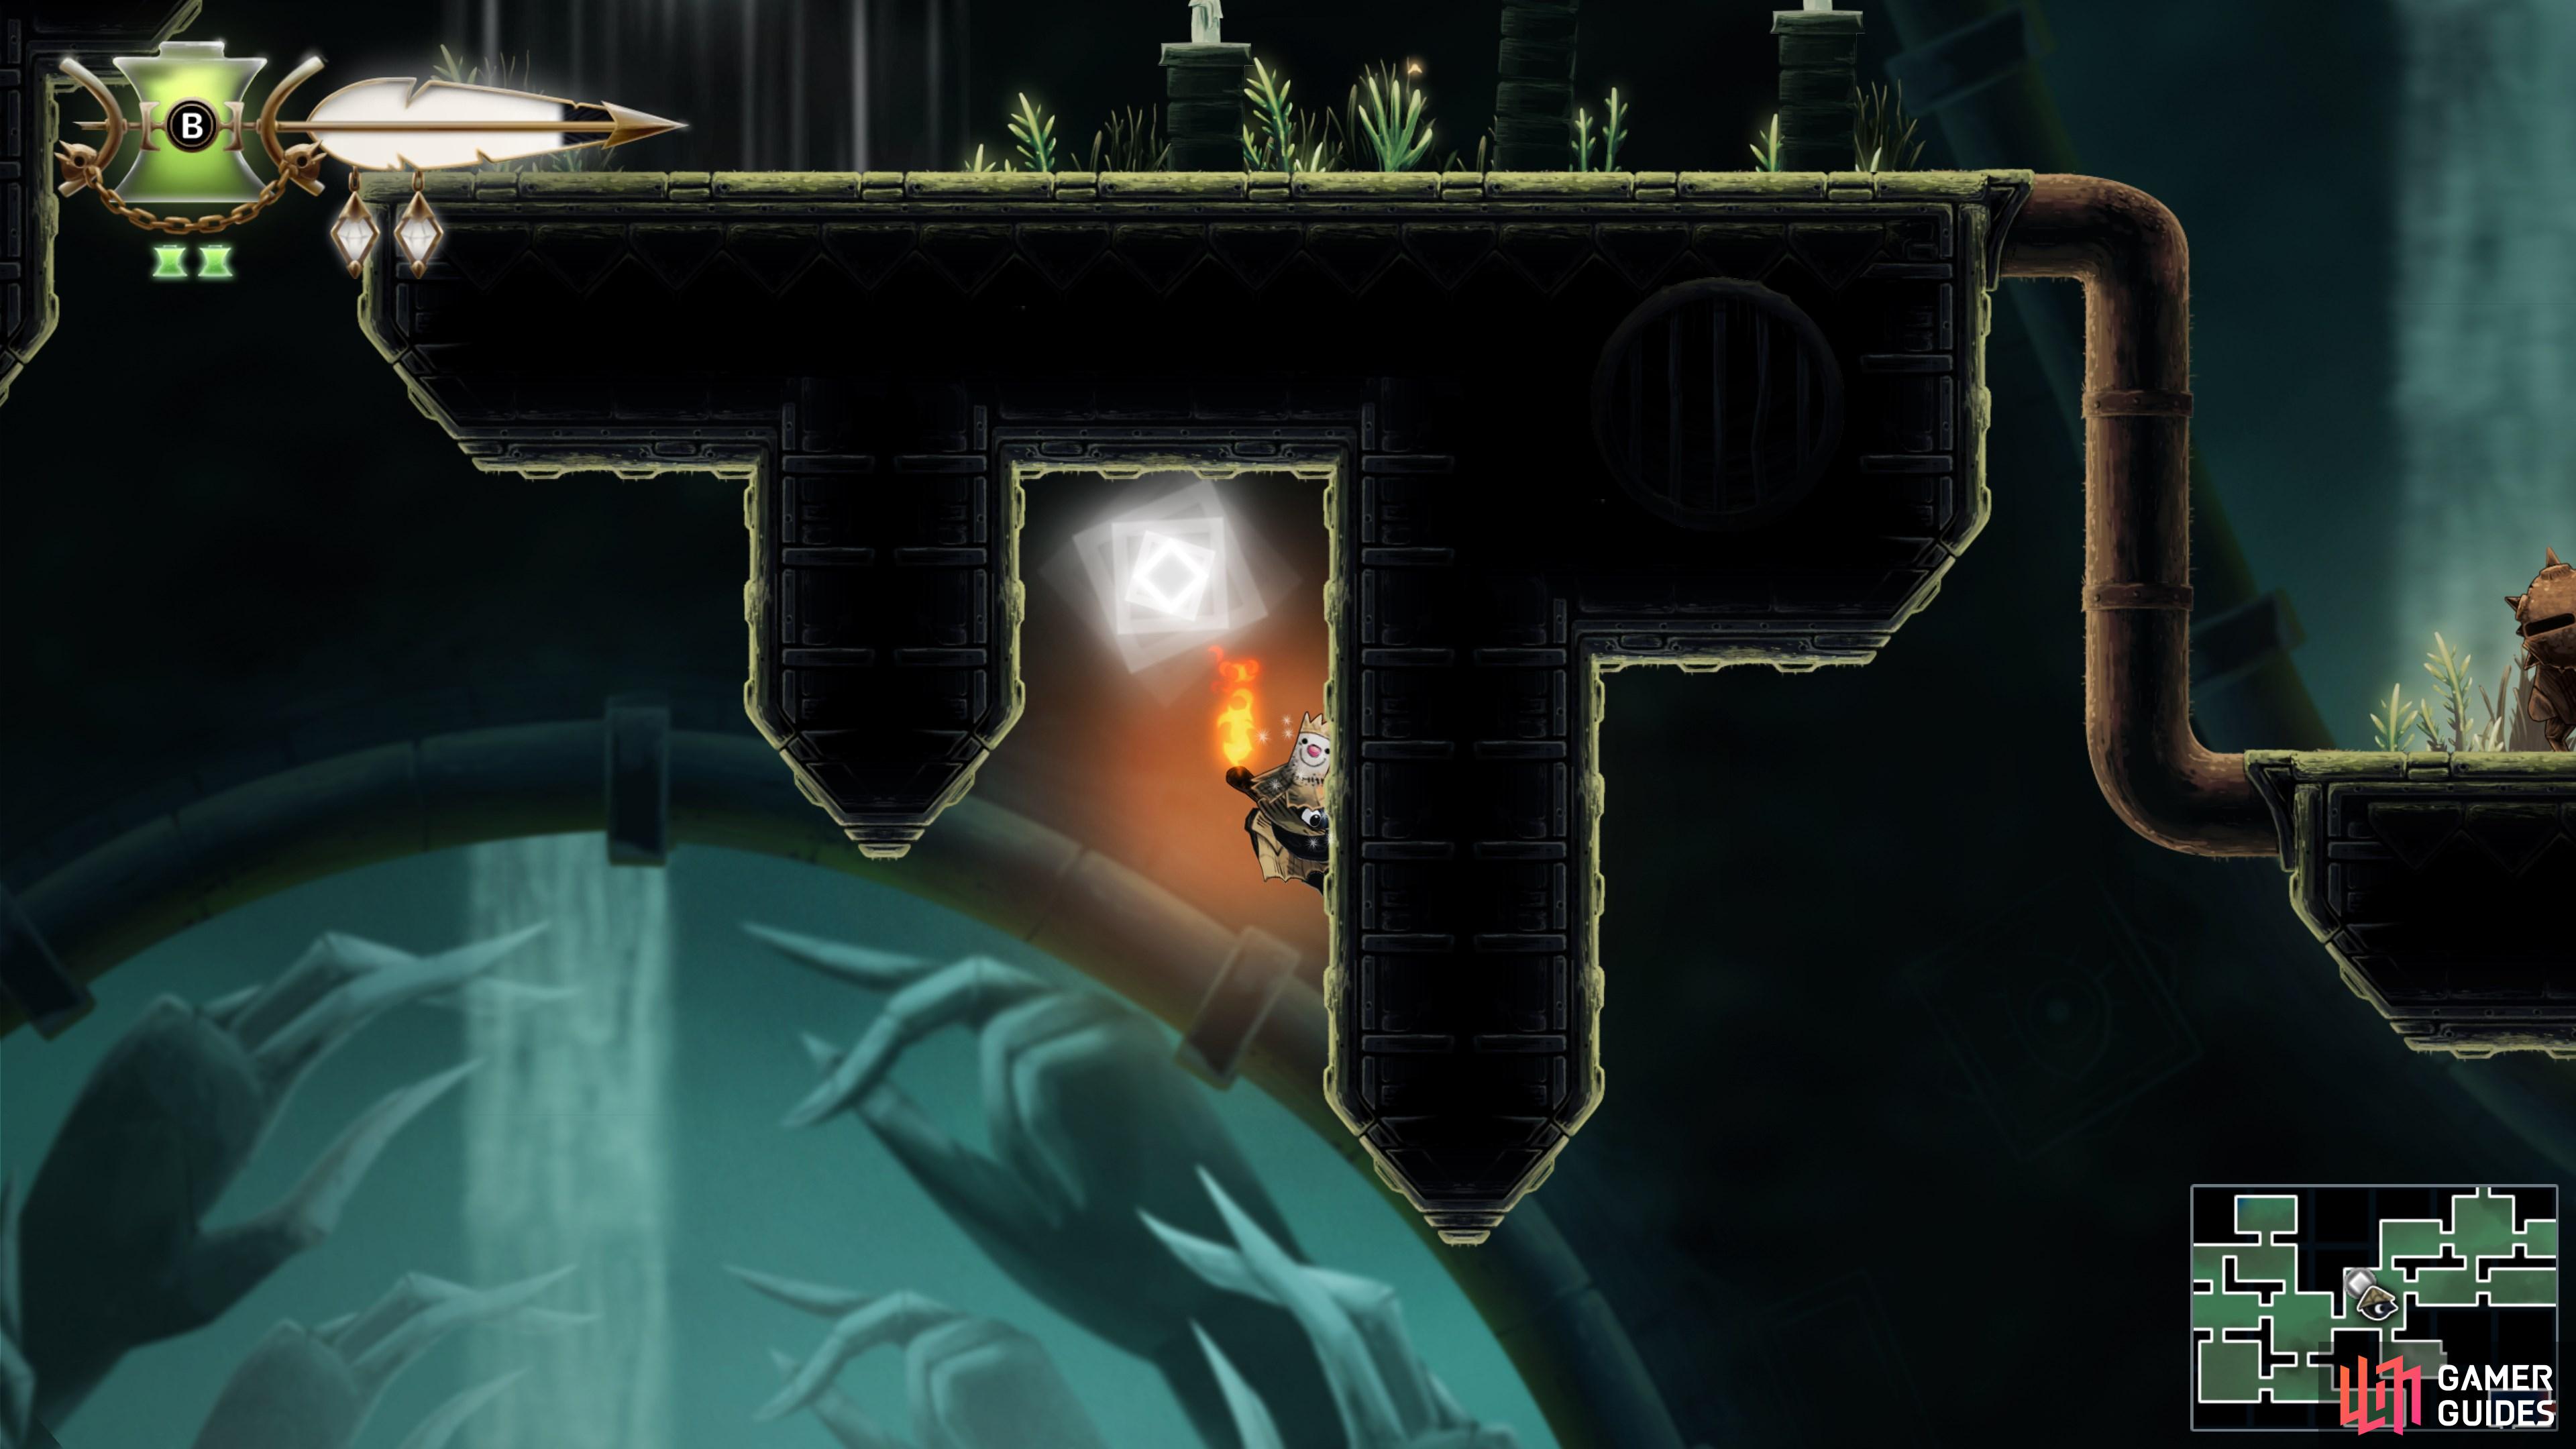
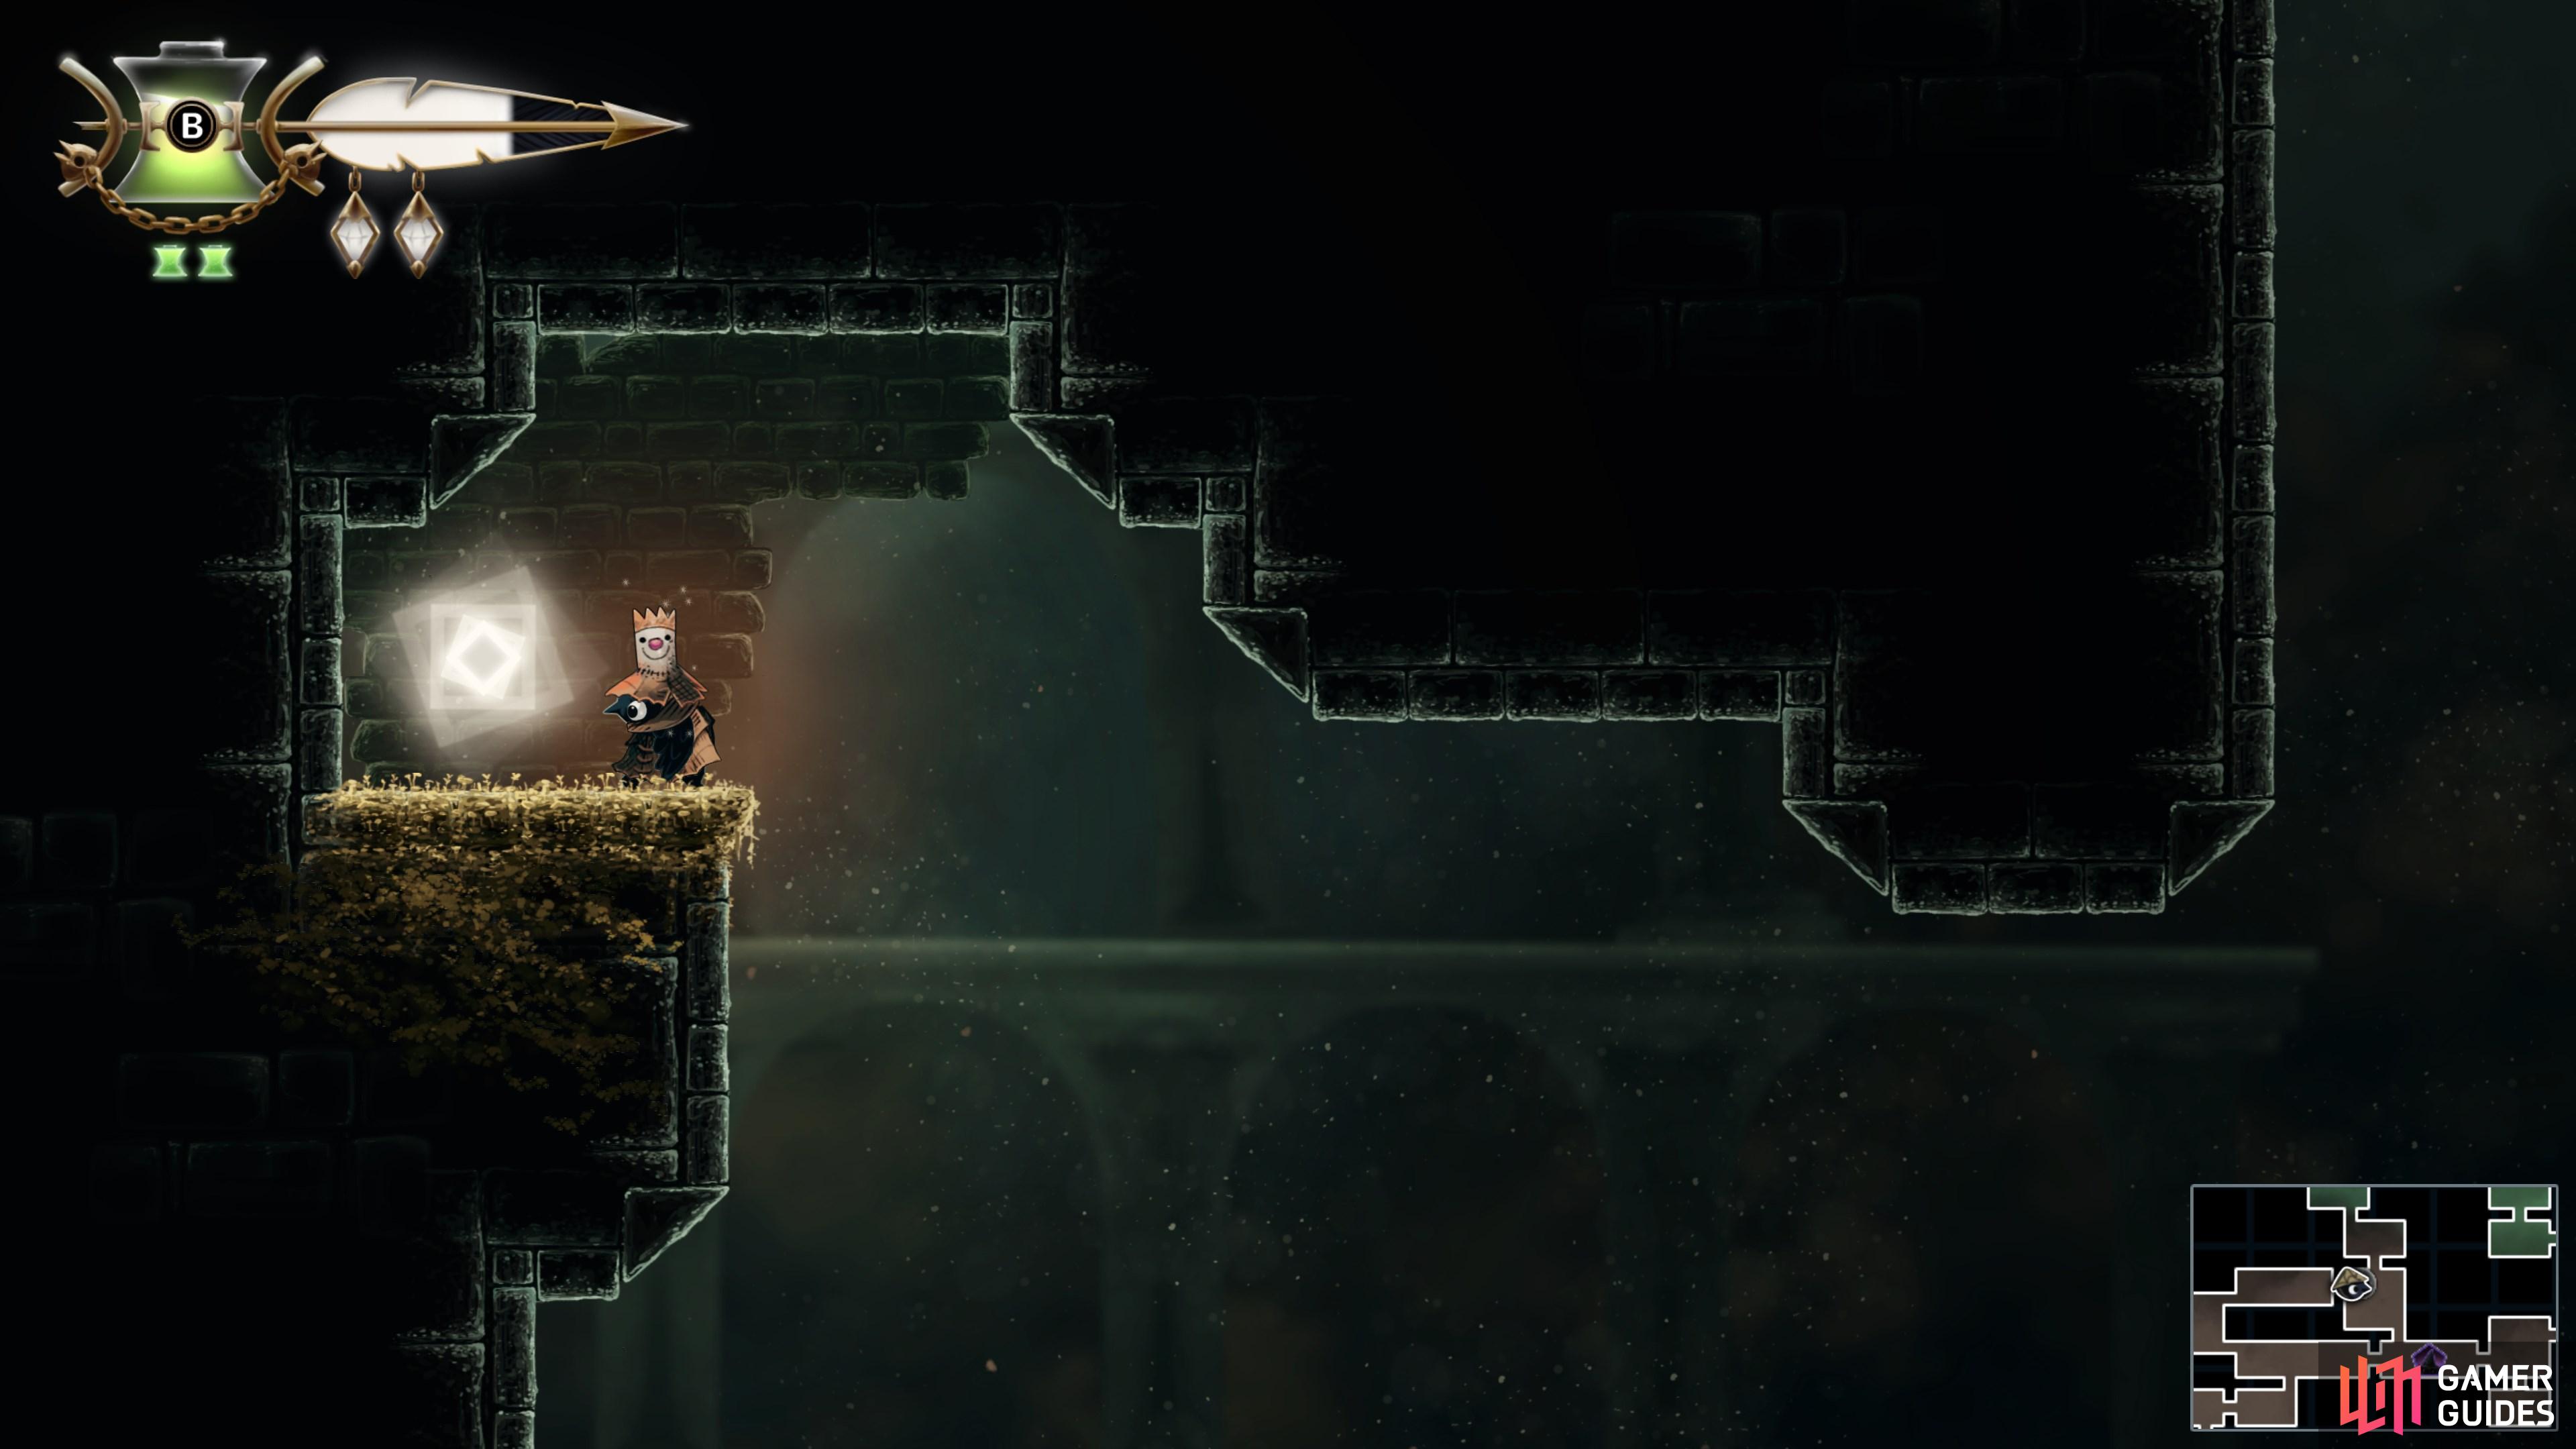
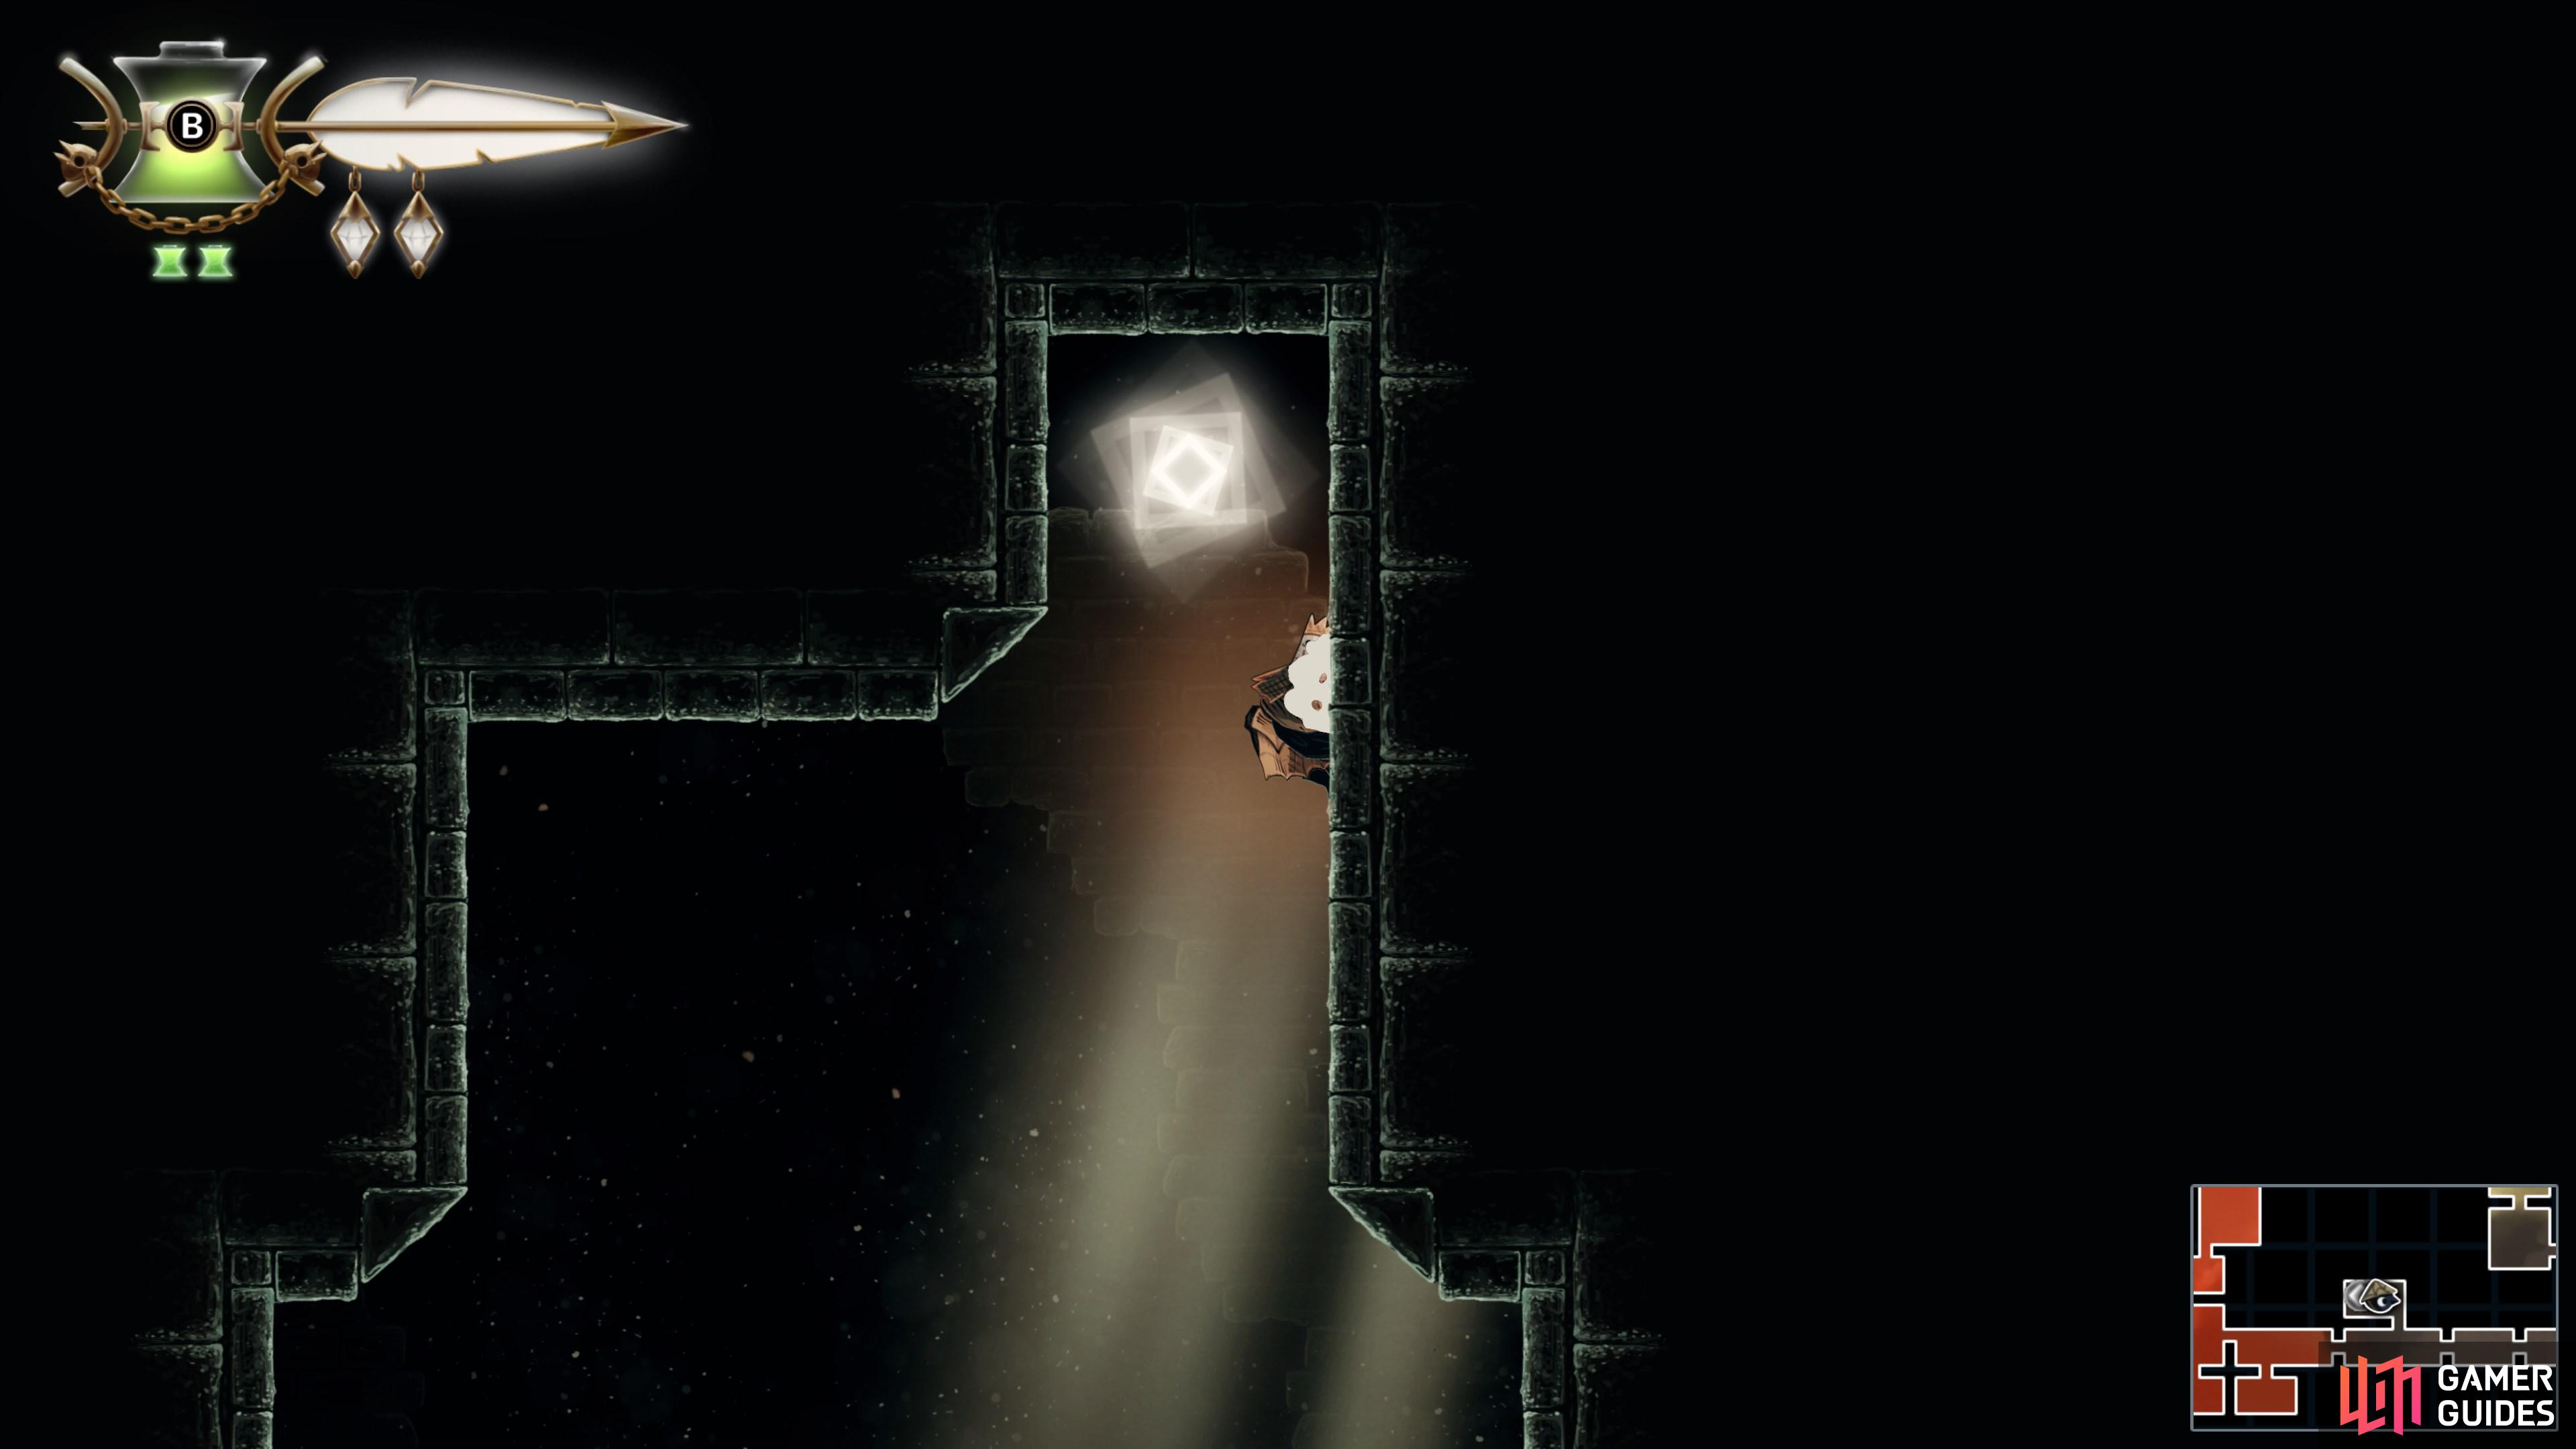
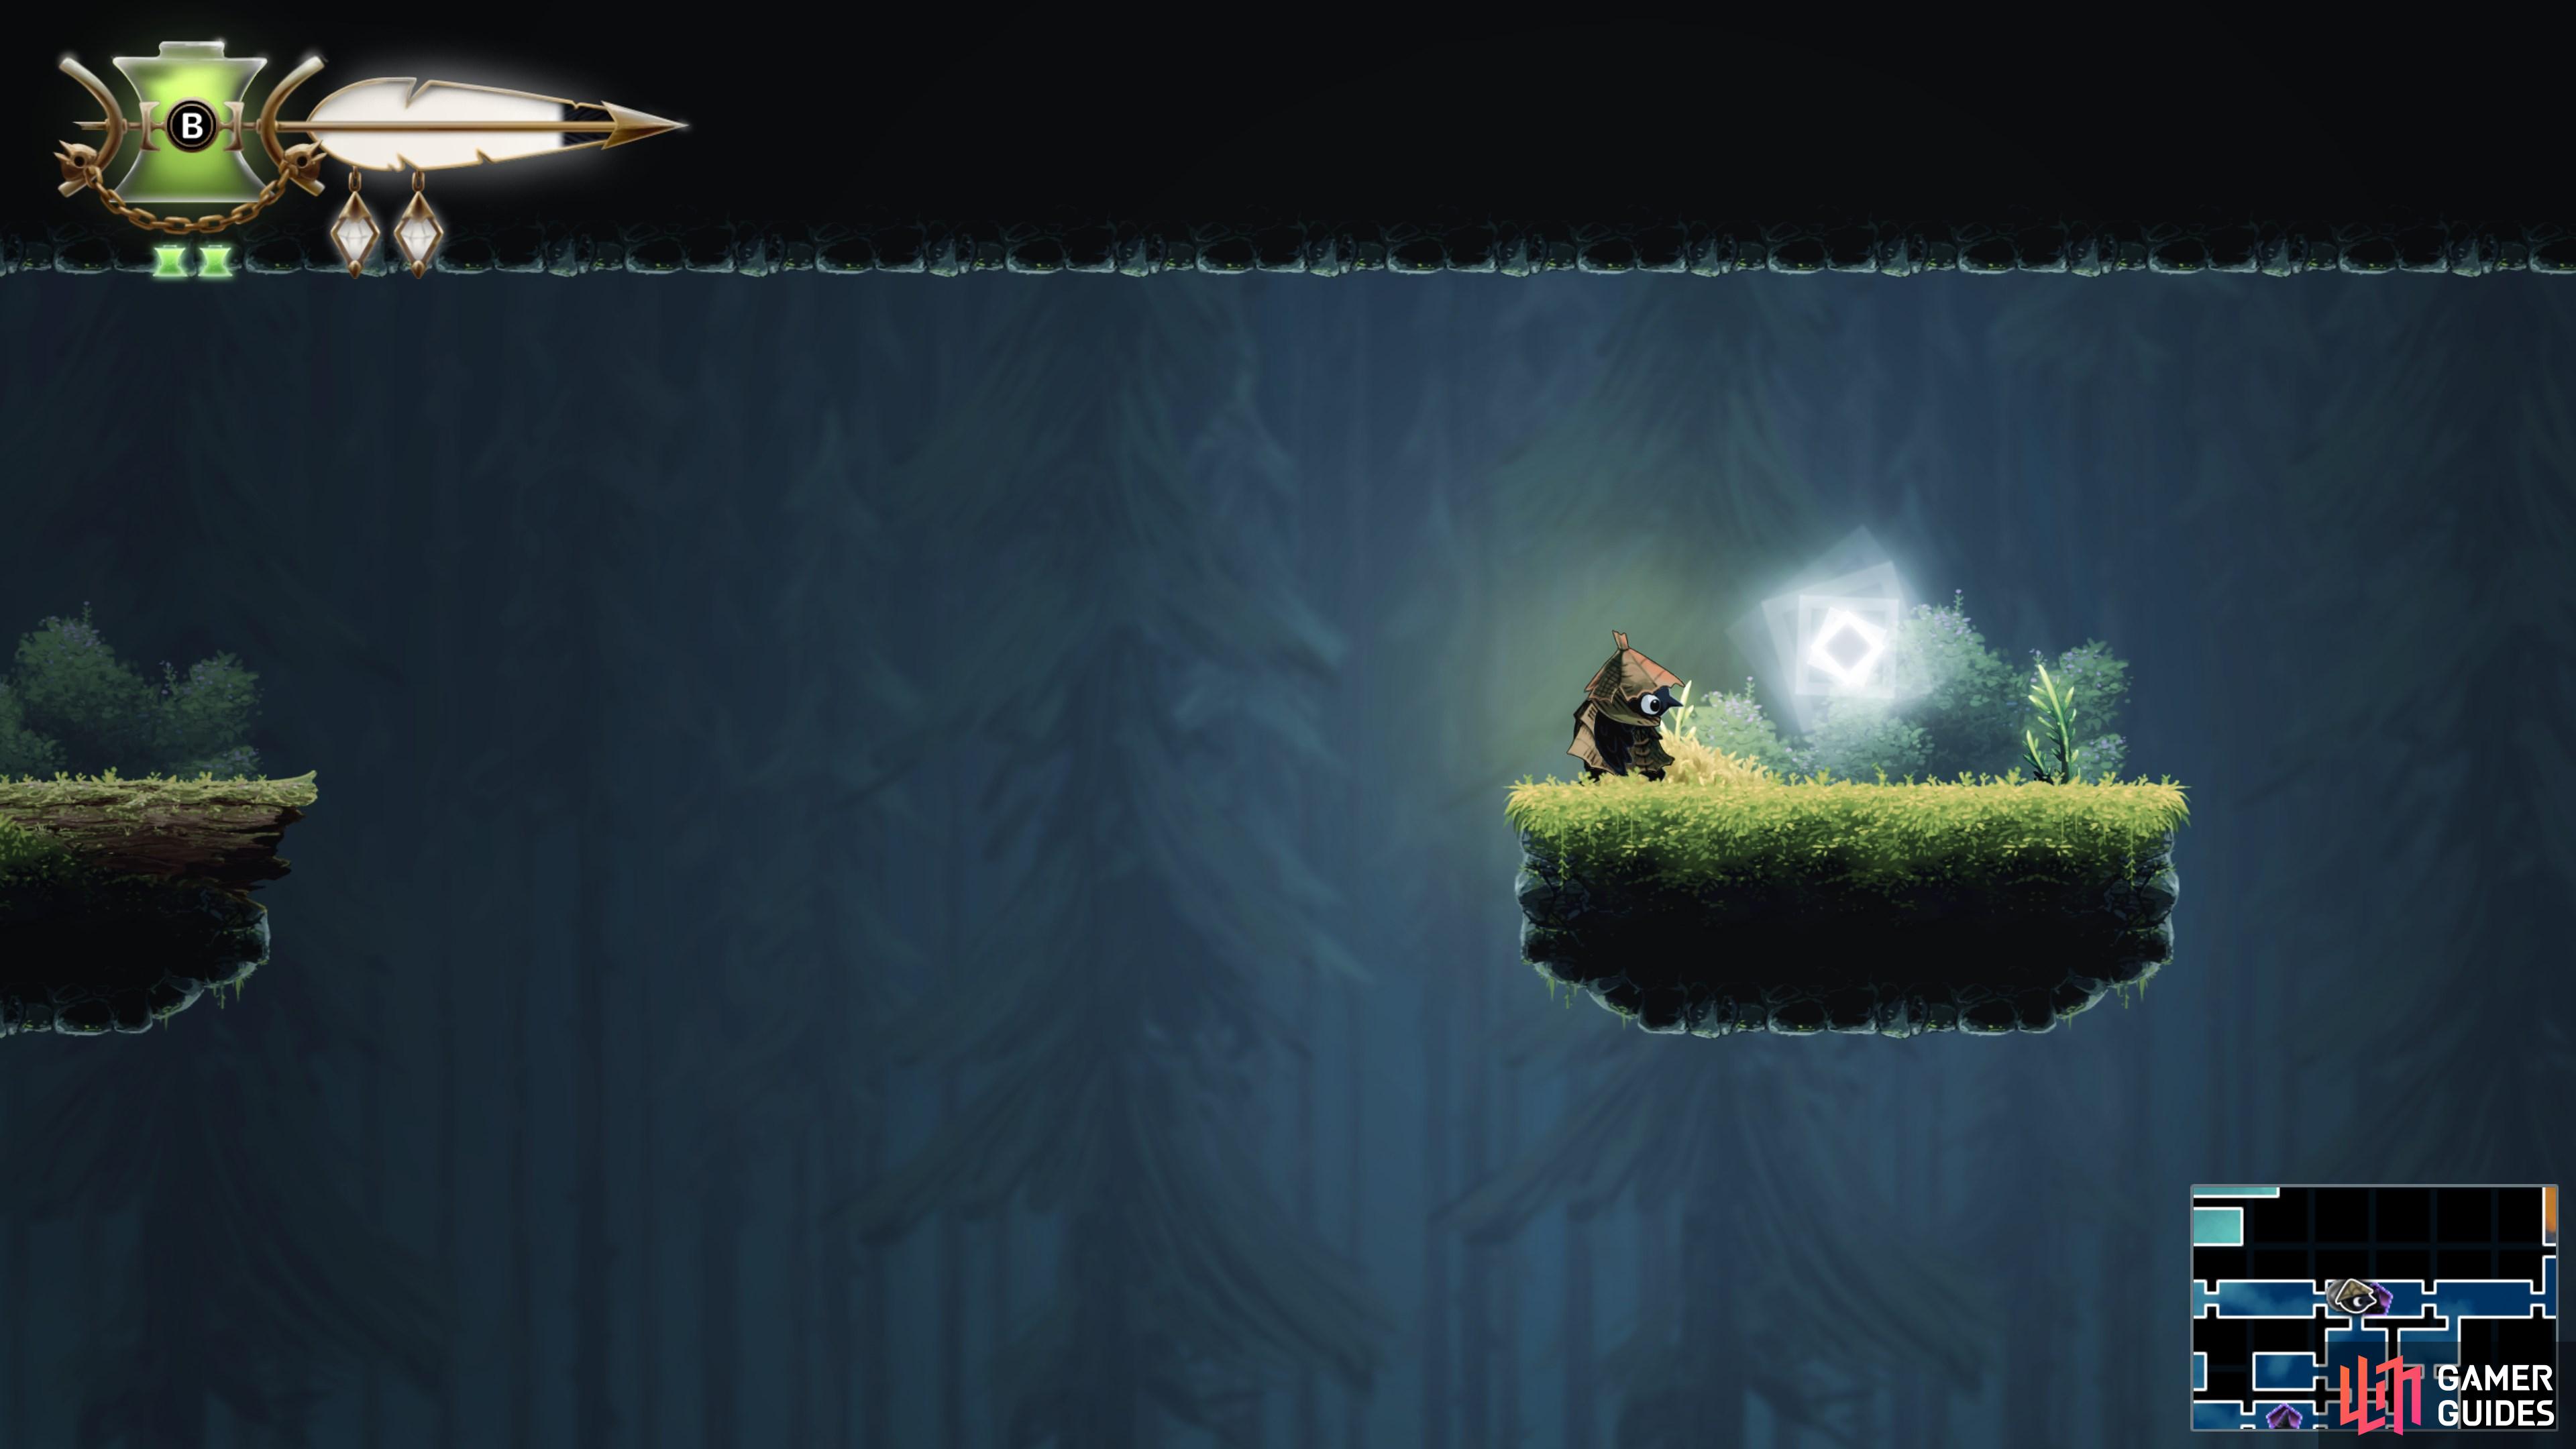
All Trinket Point Locations in Well Dweller

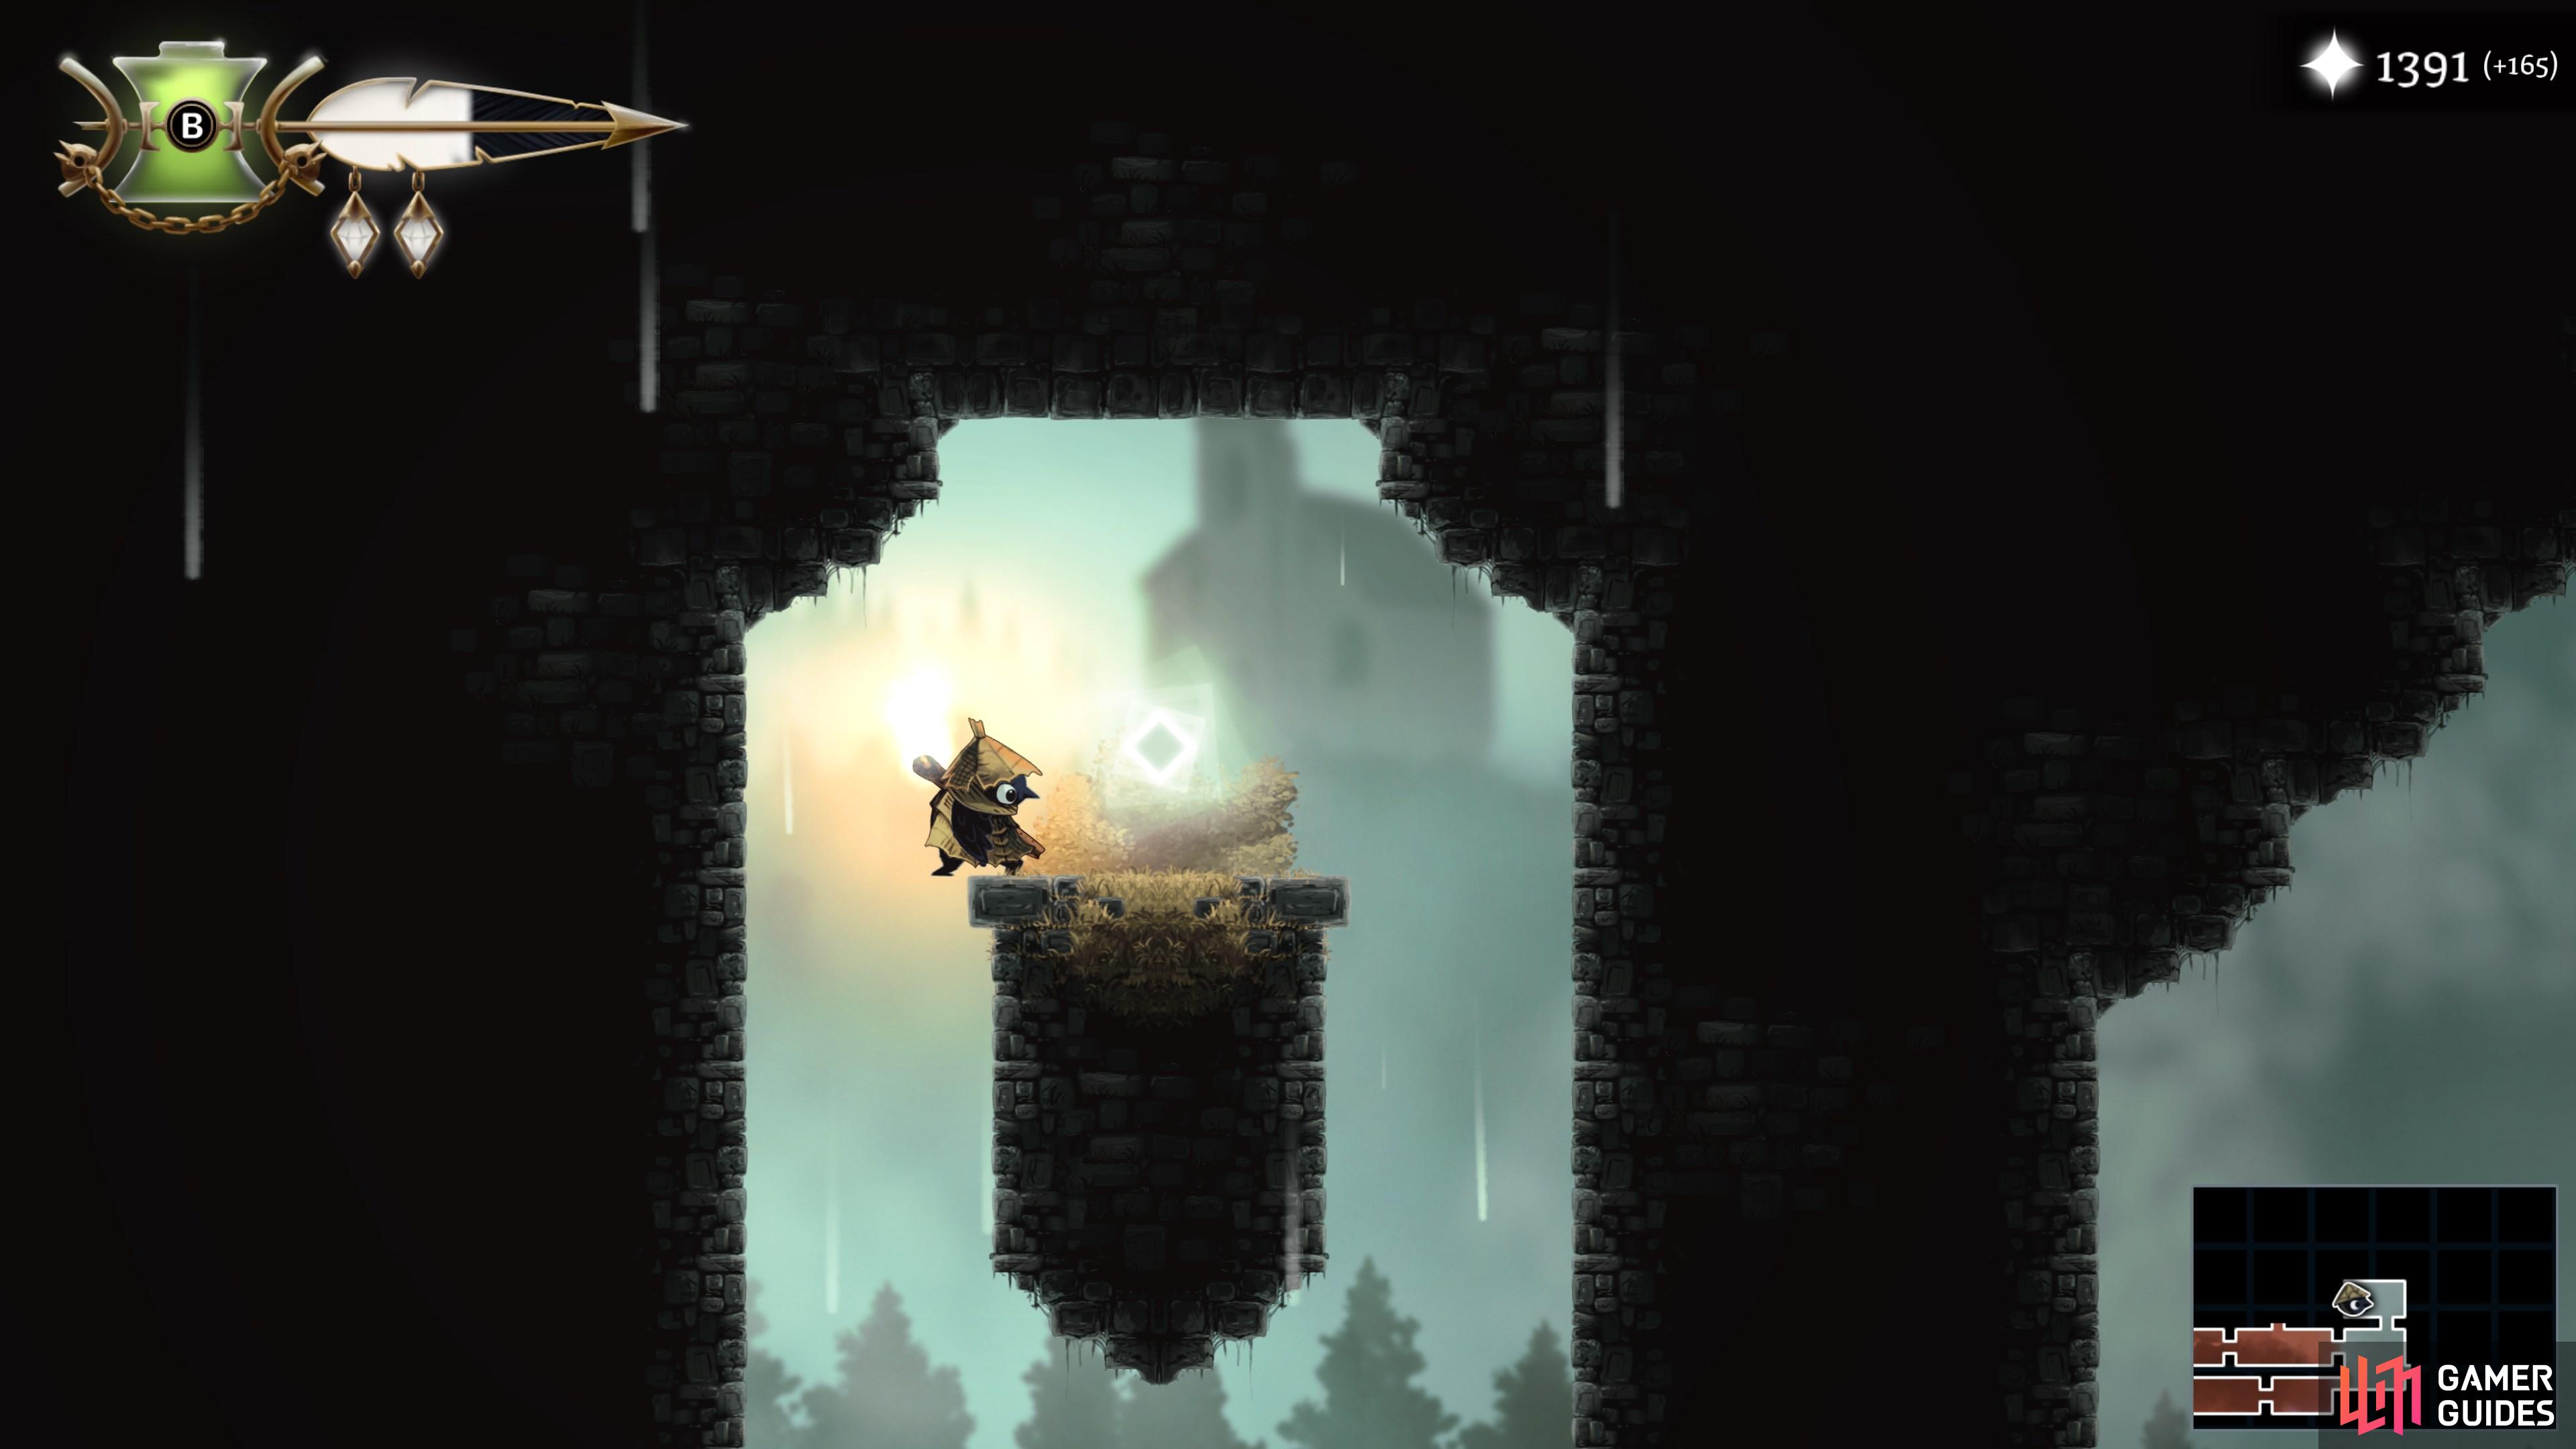
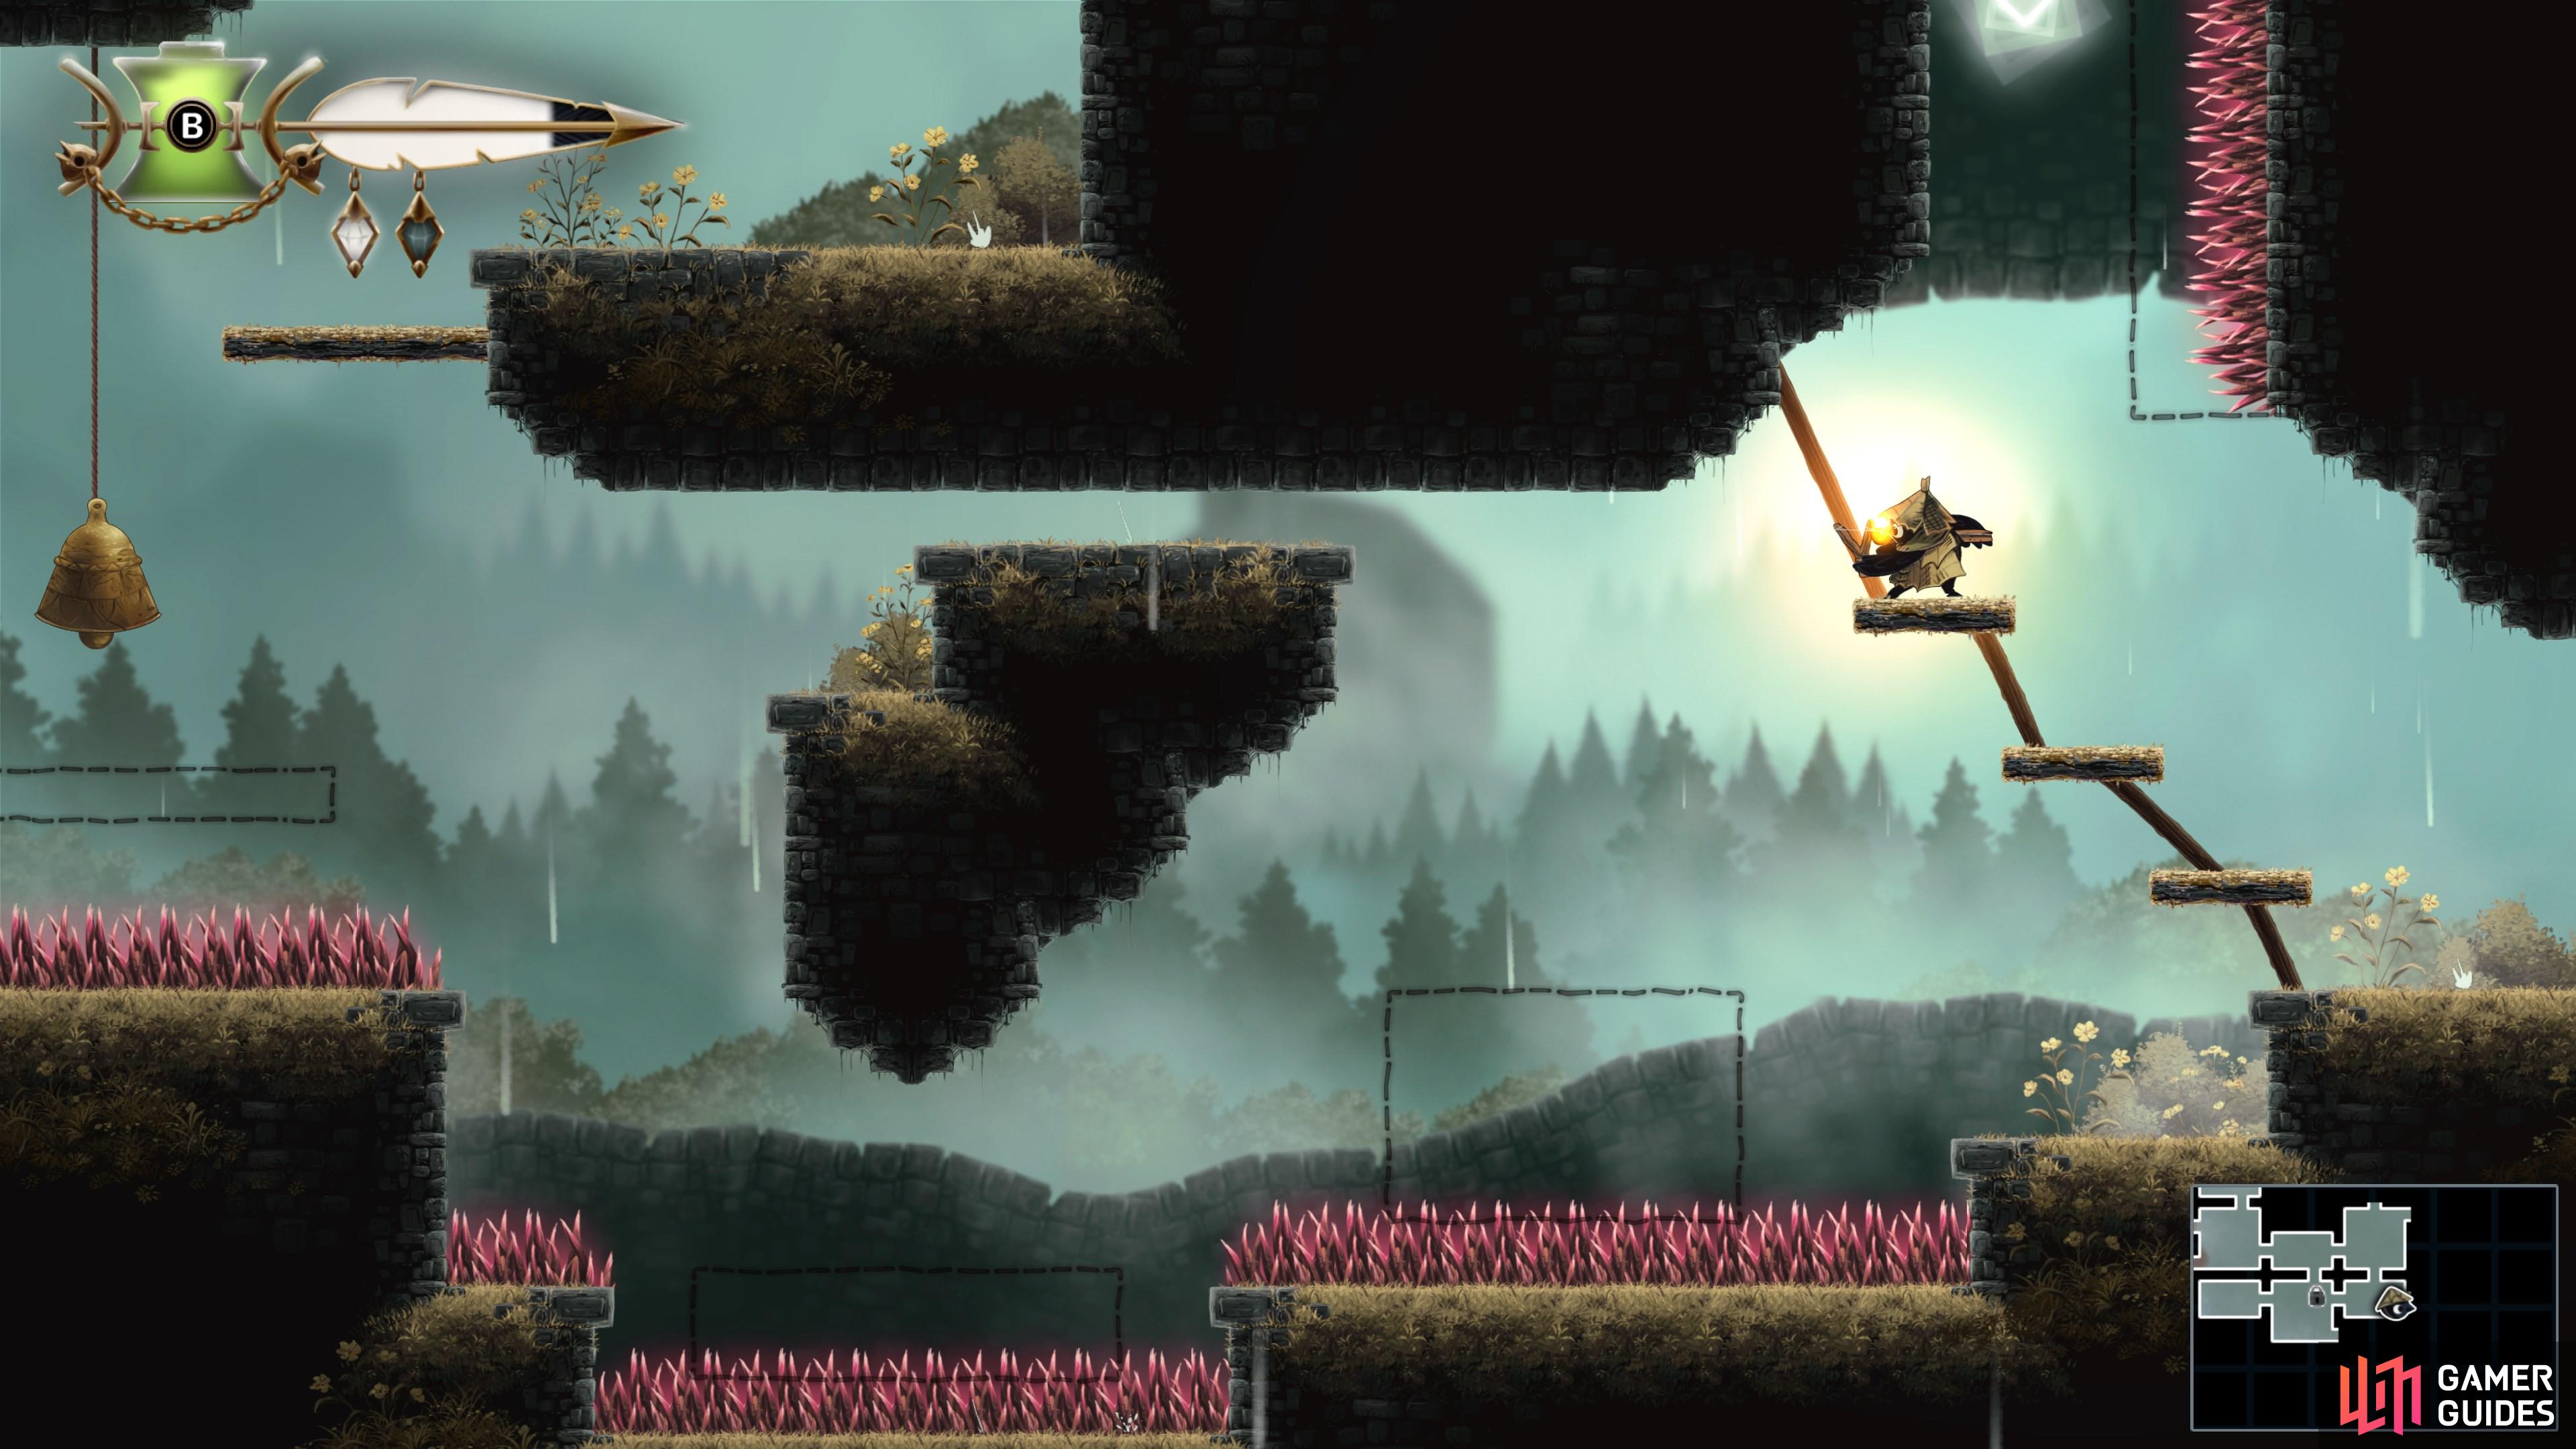
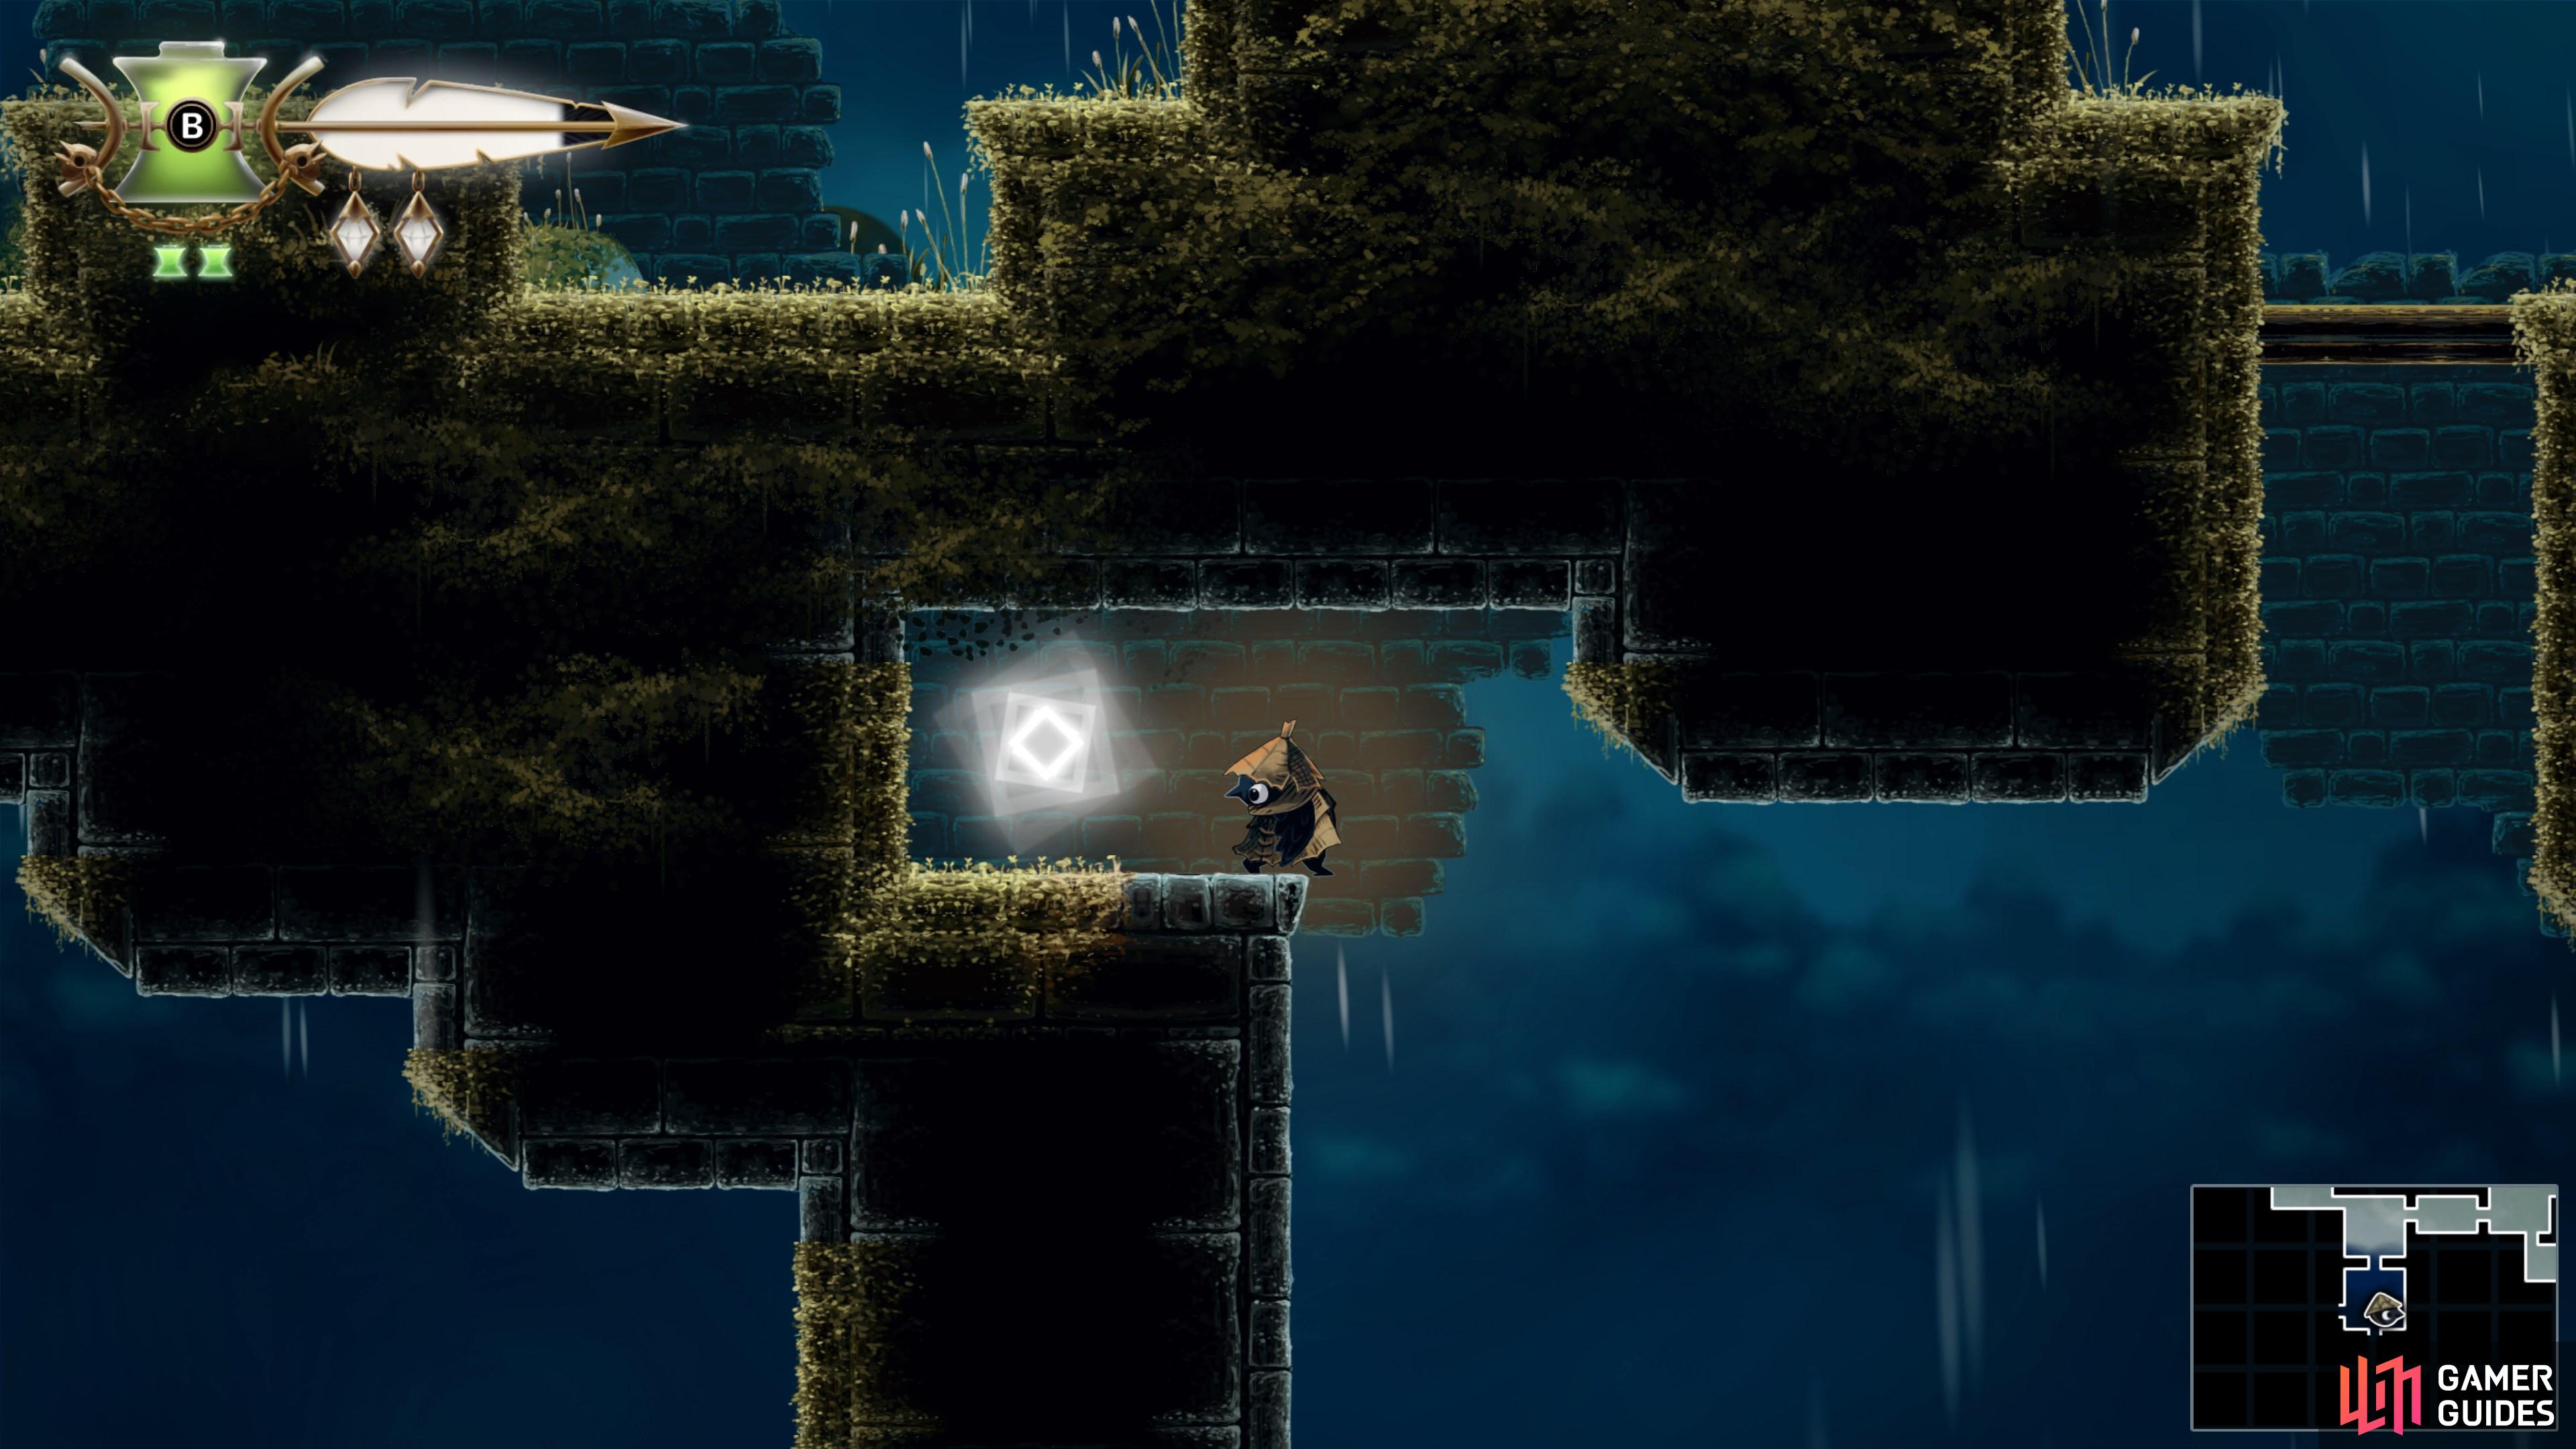
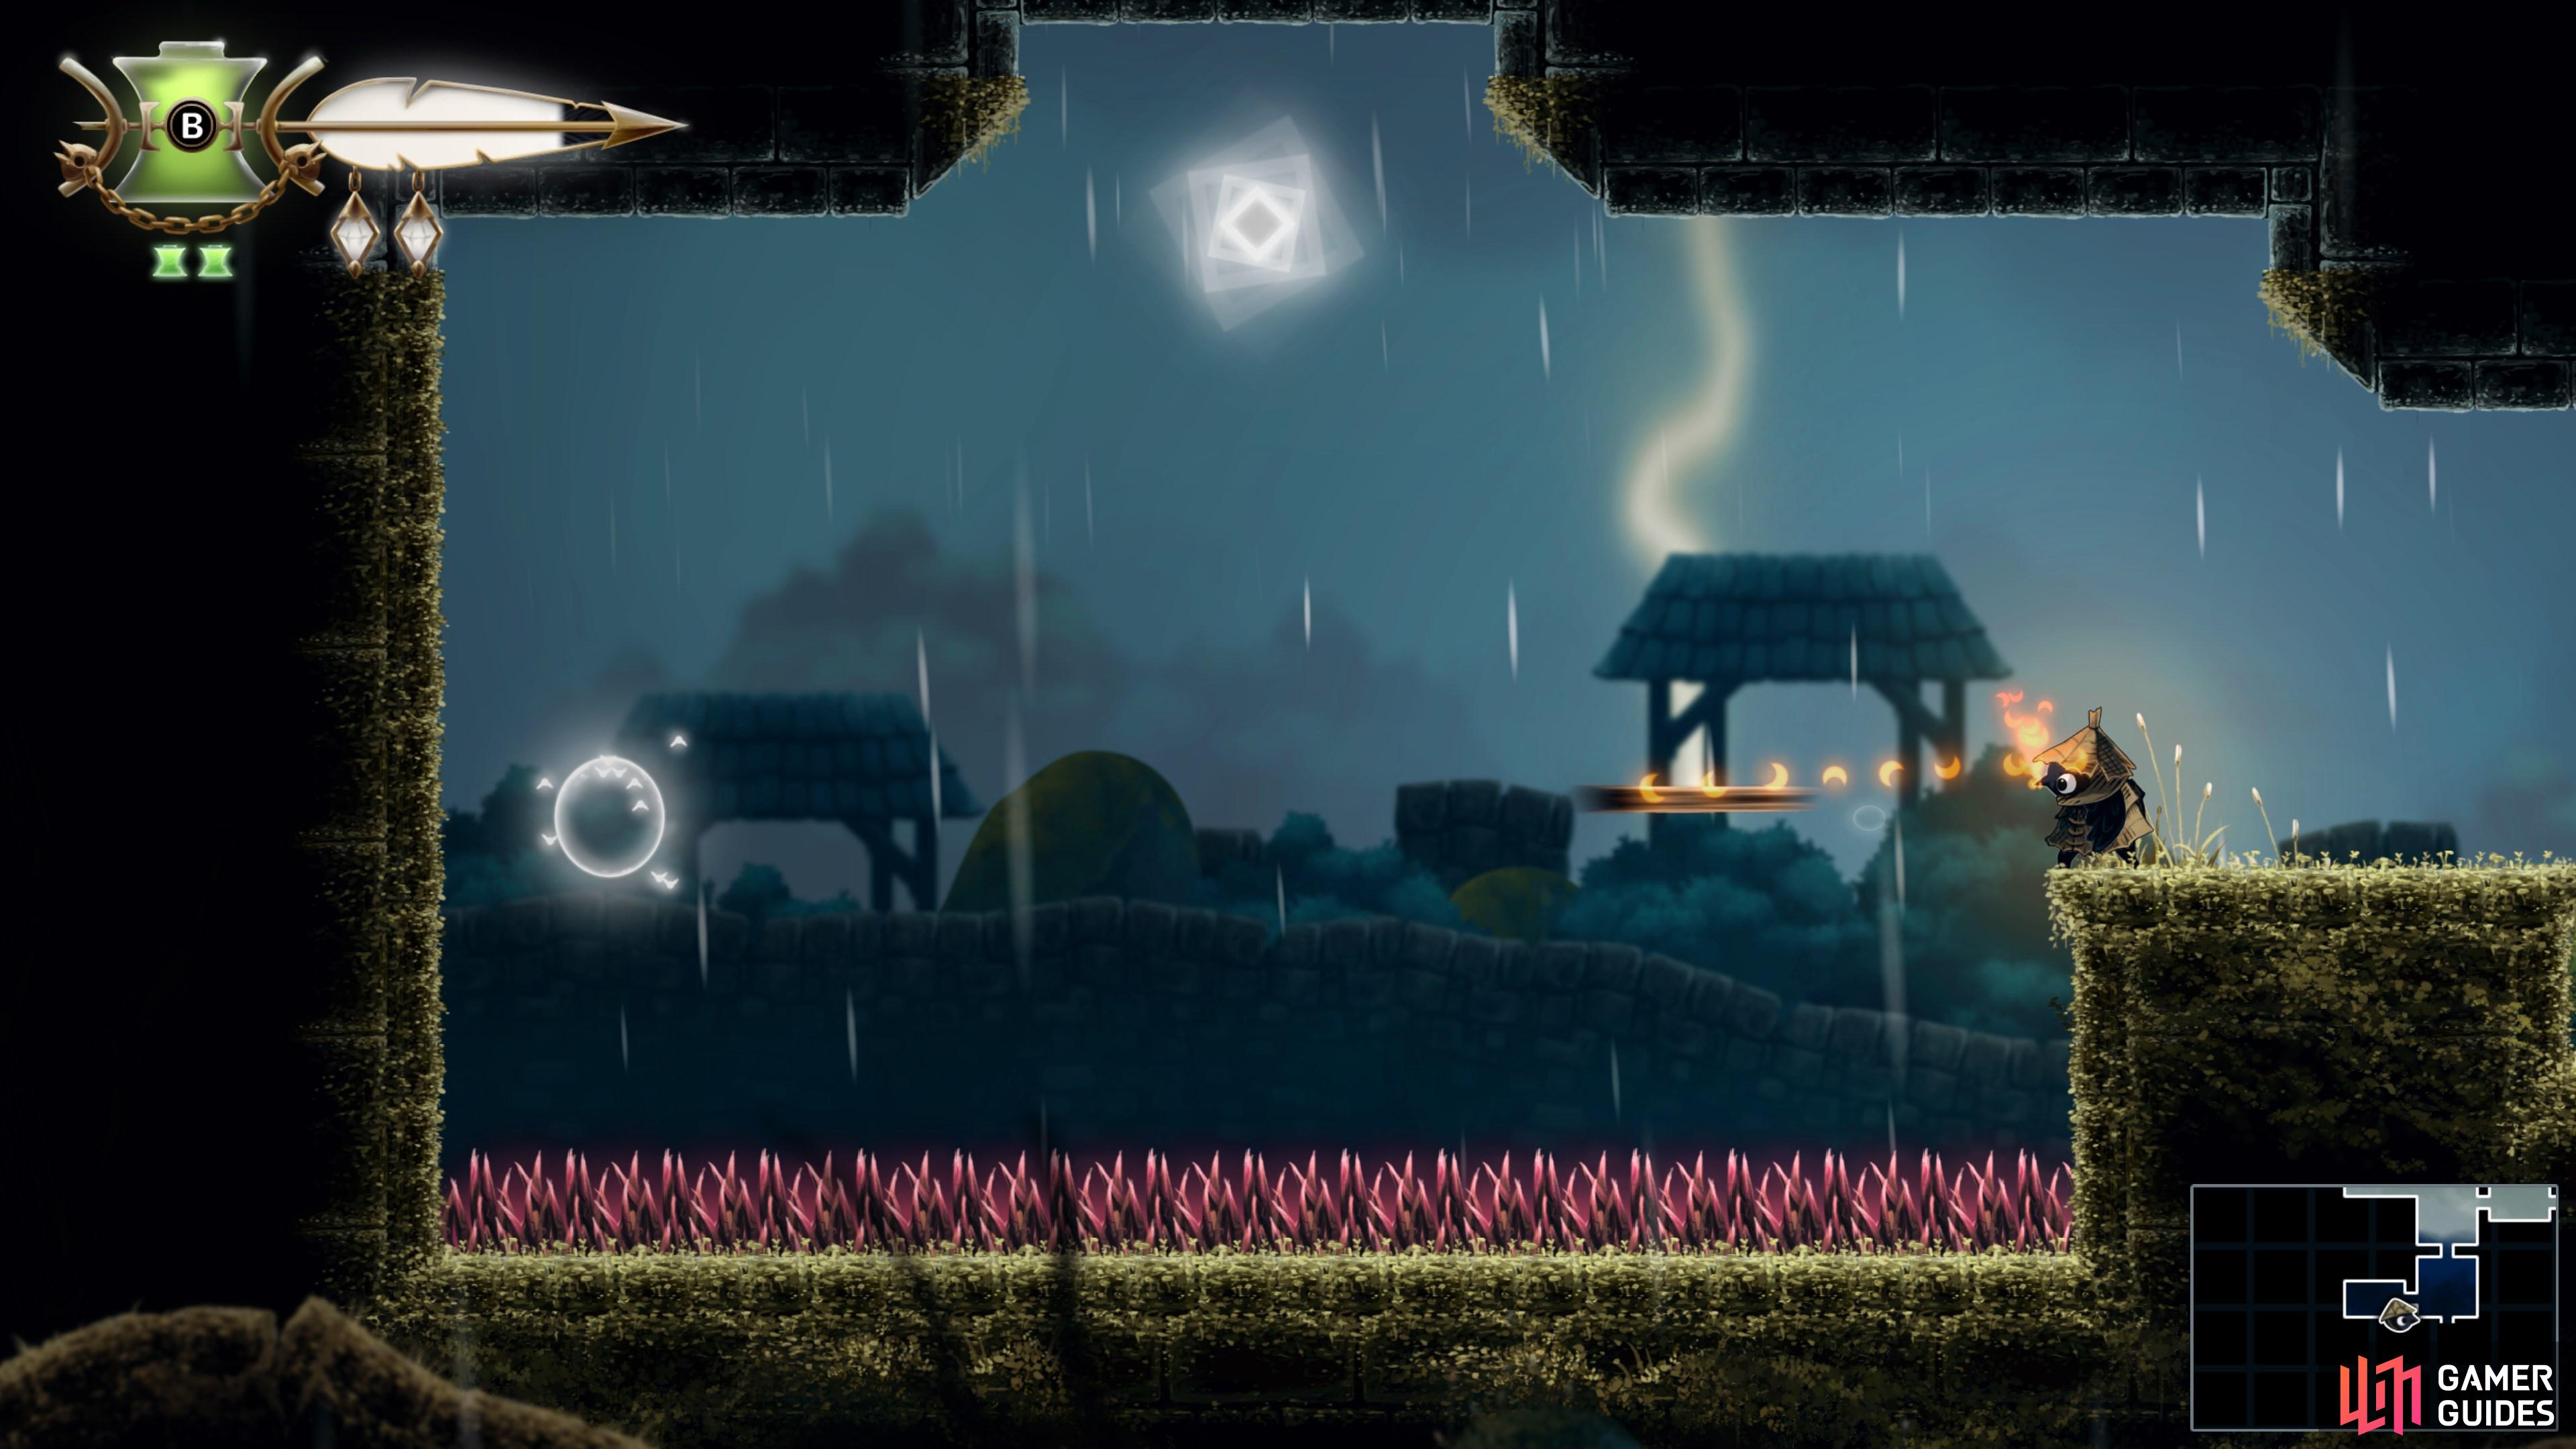
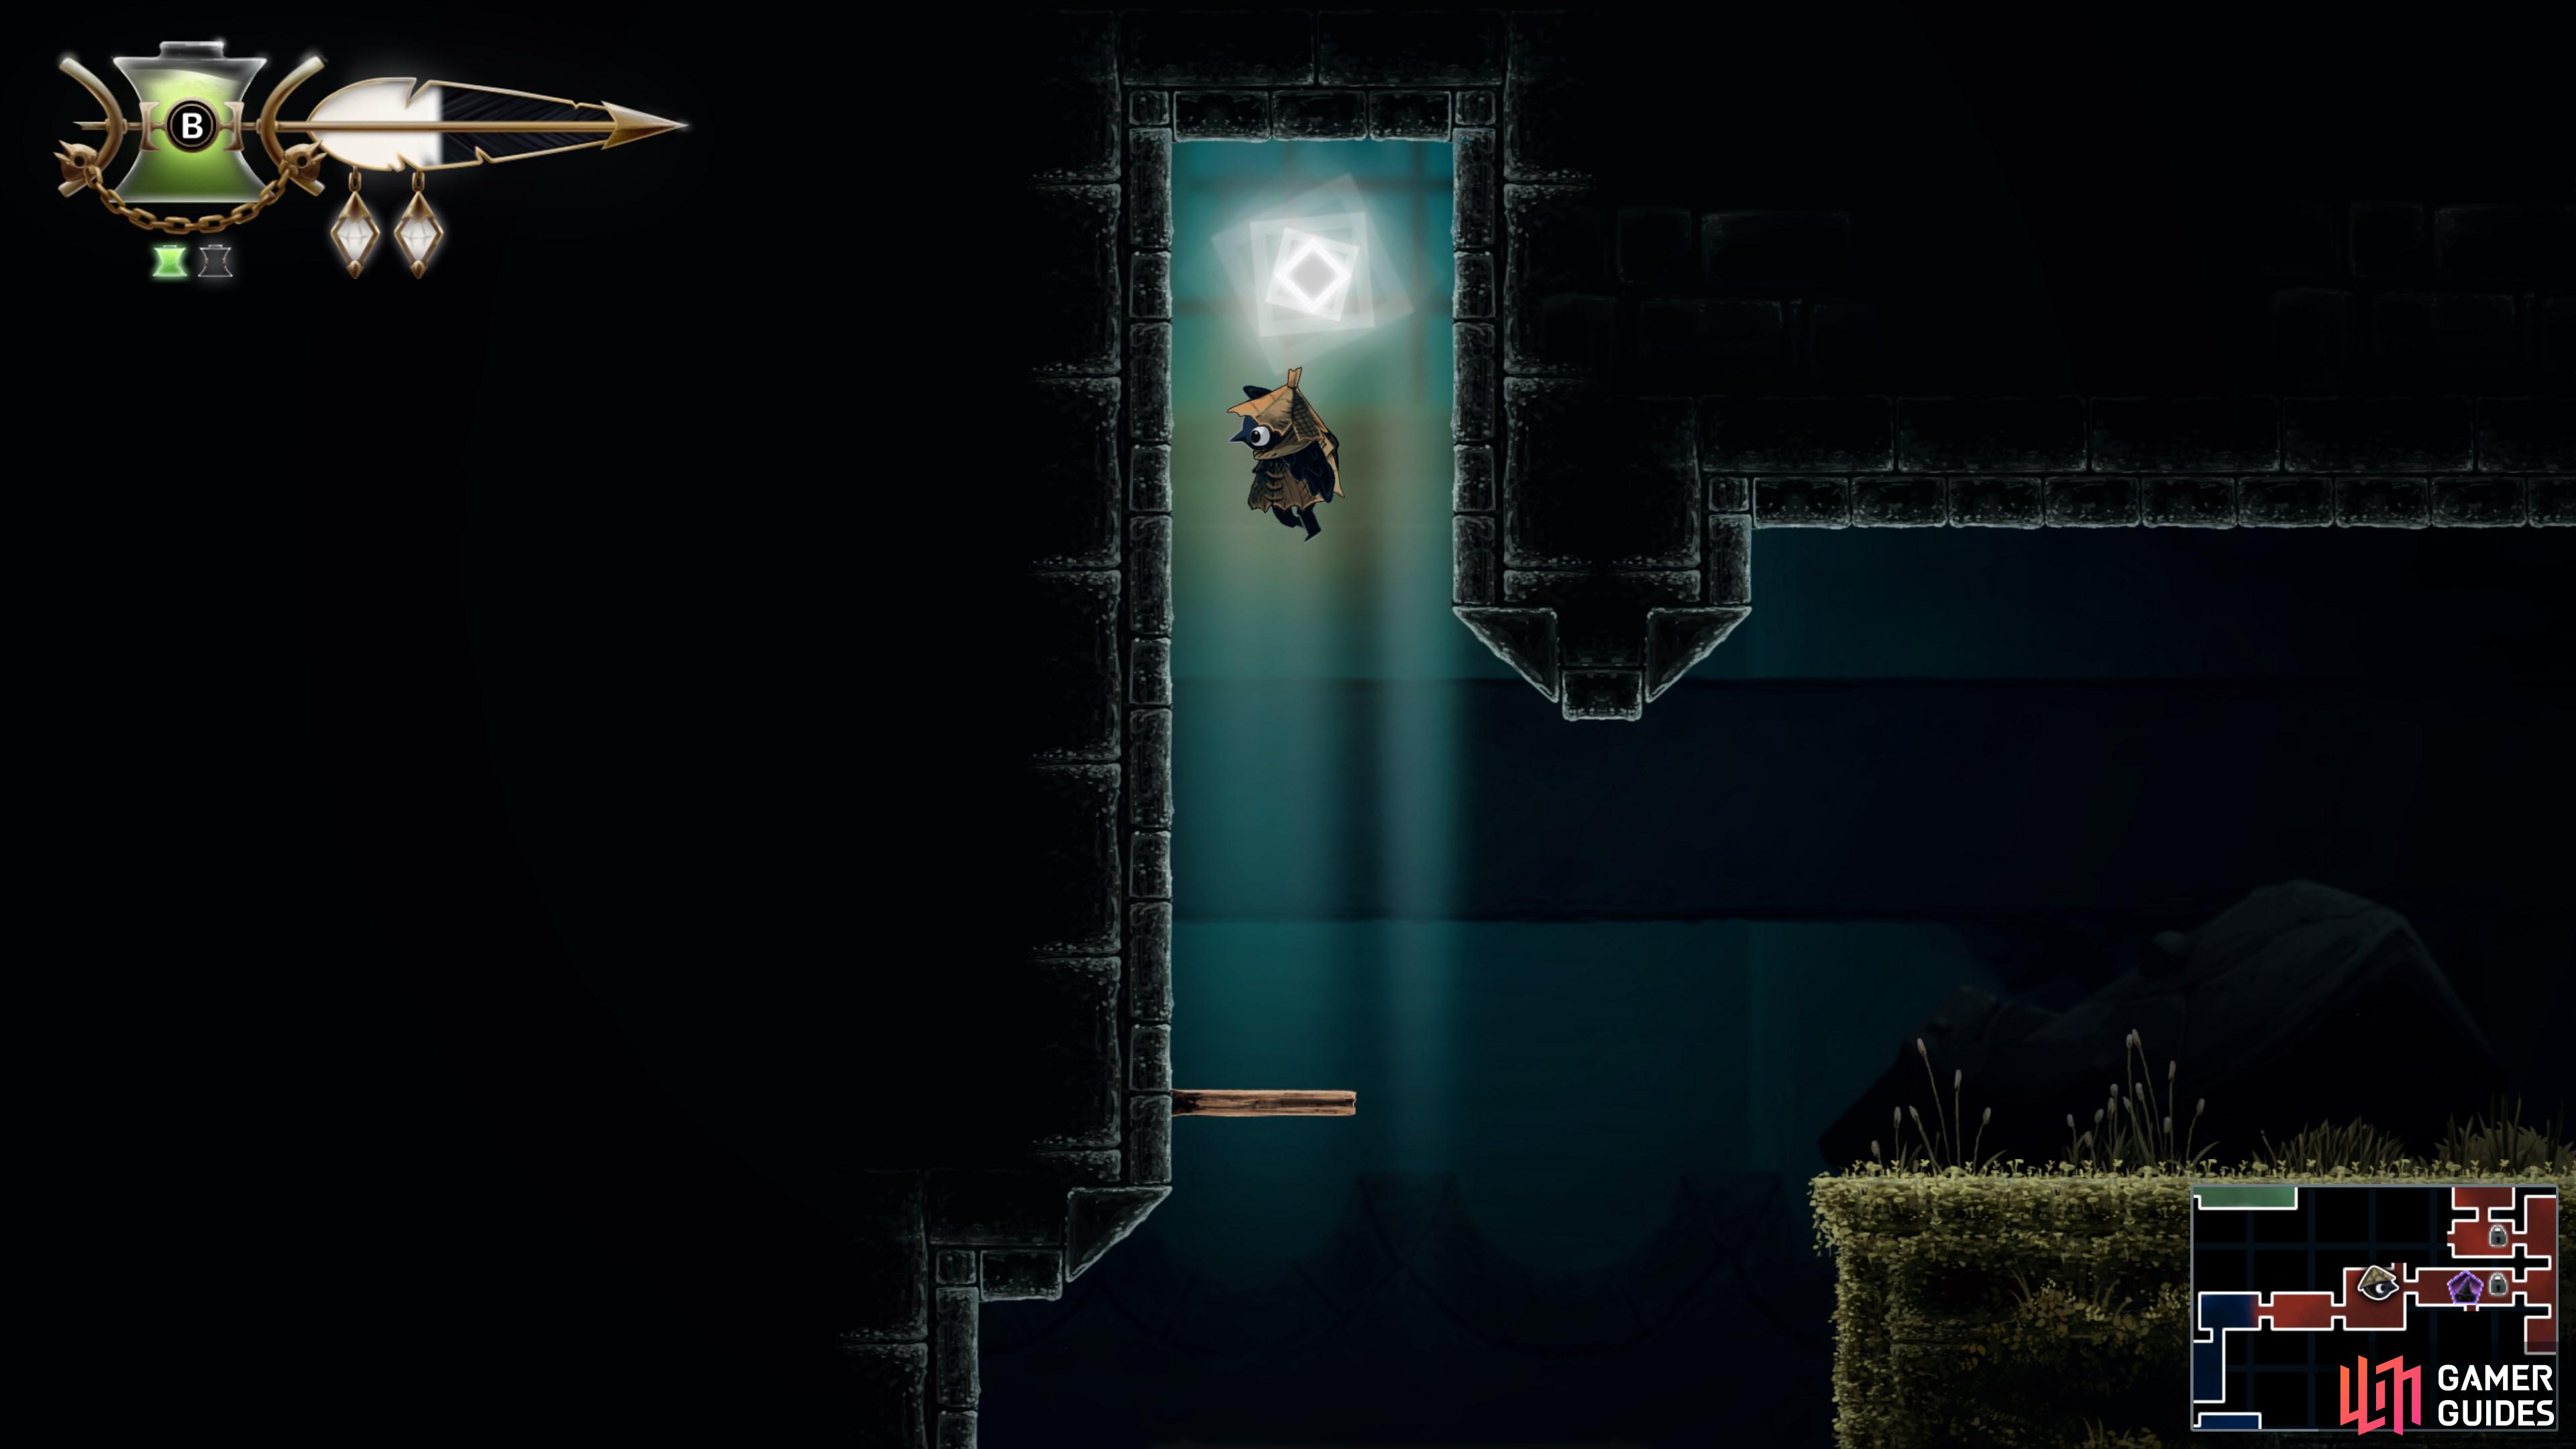
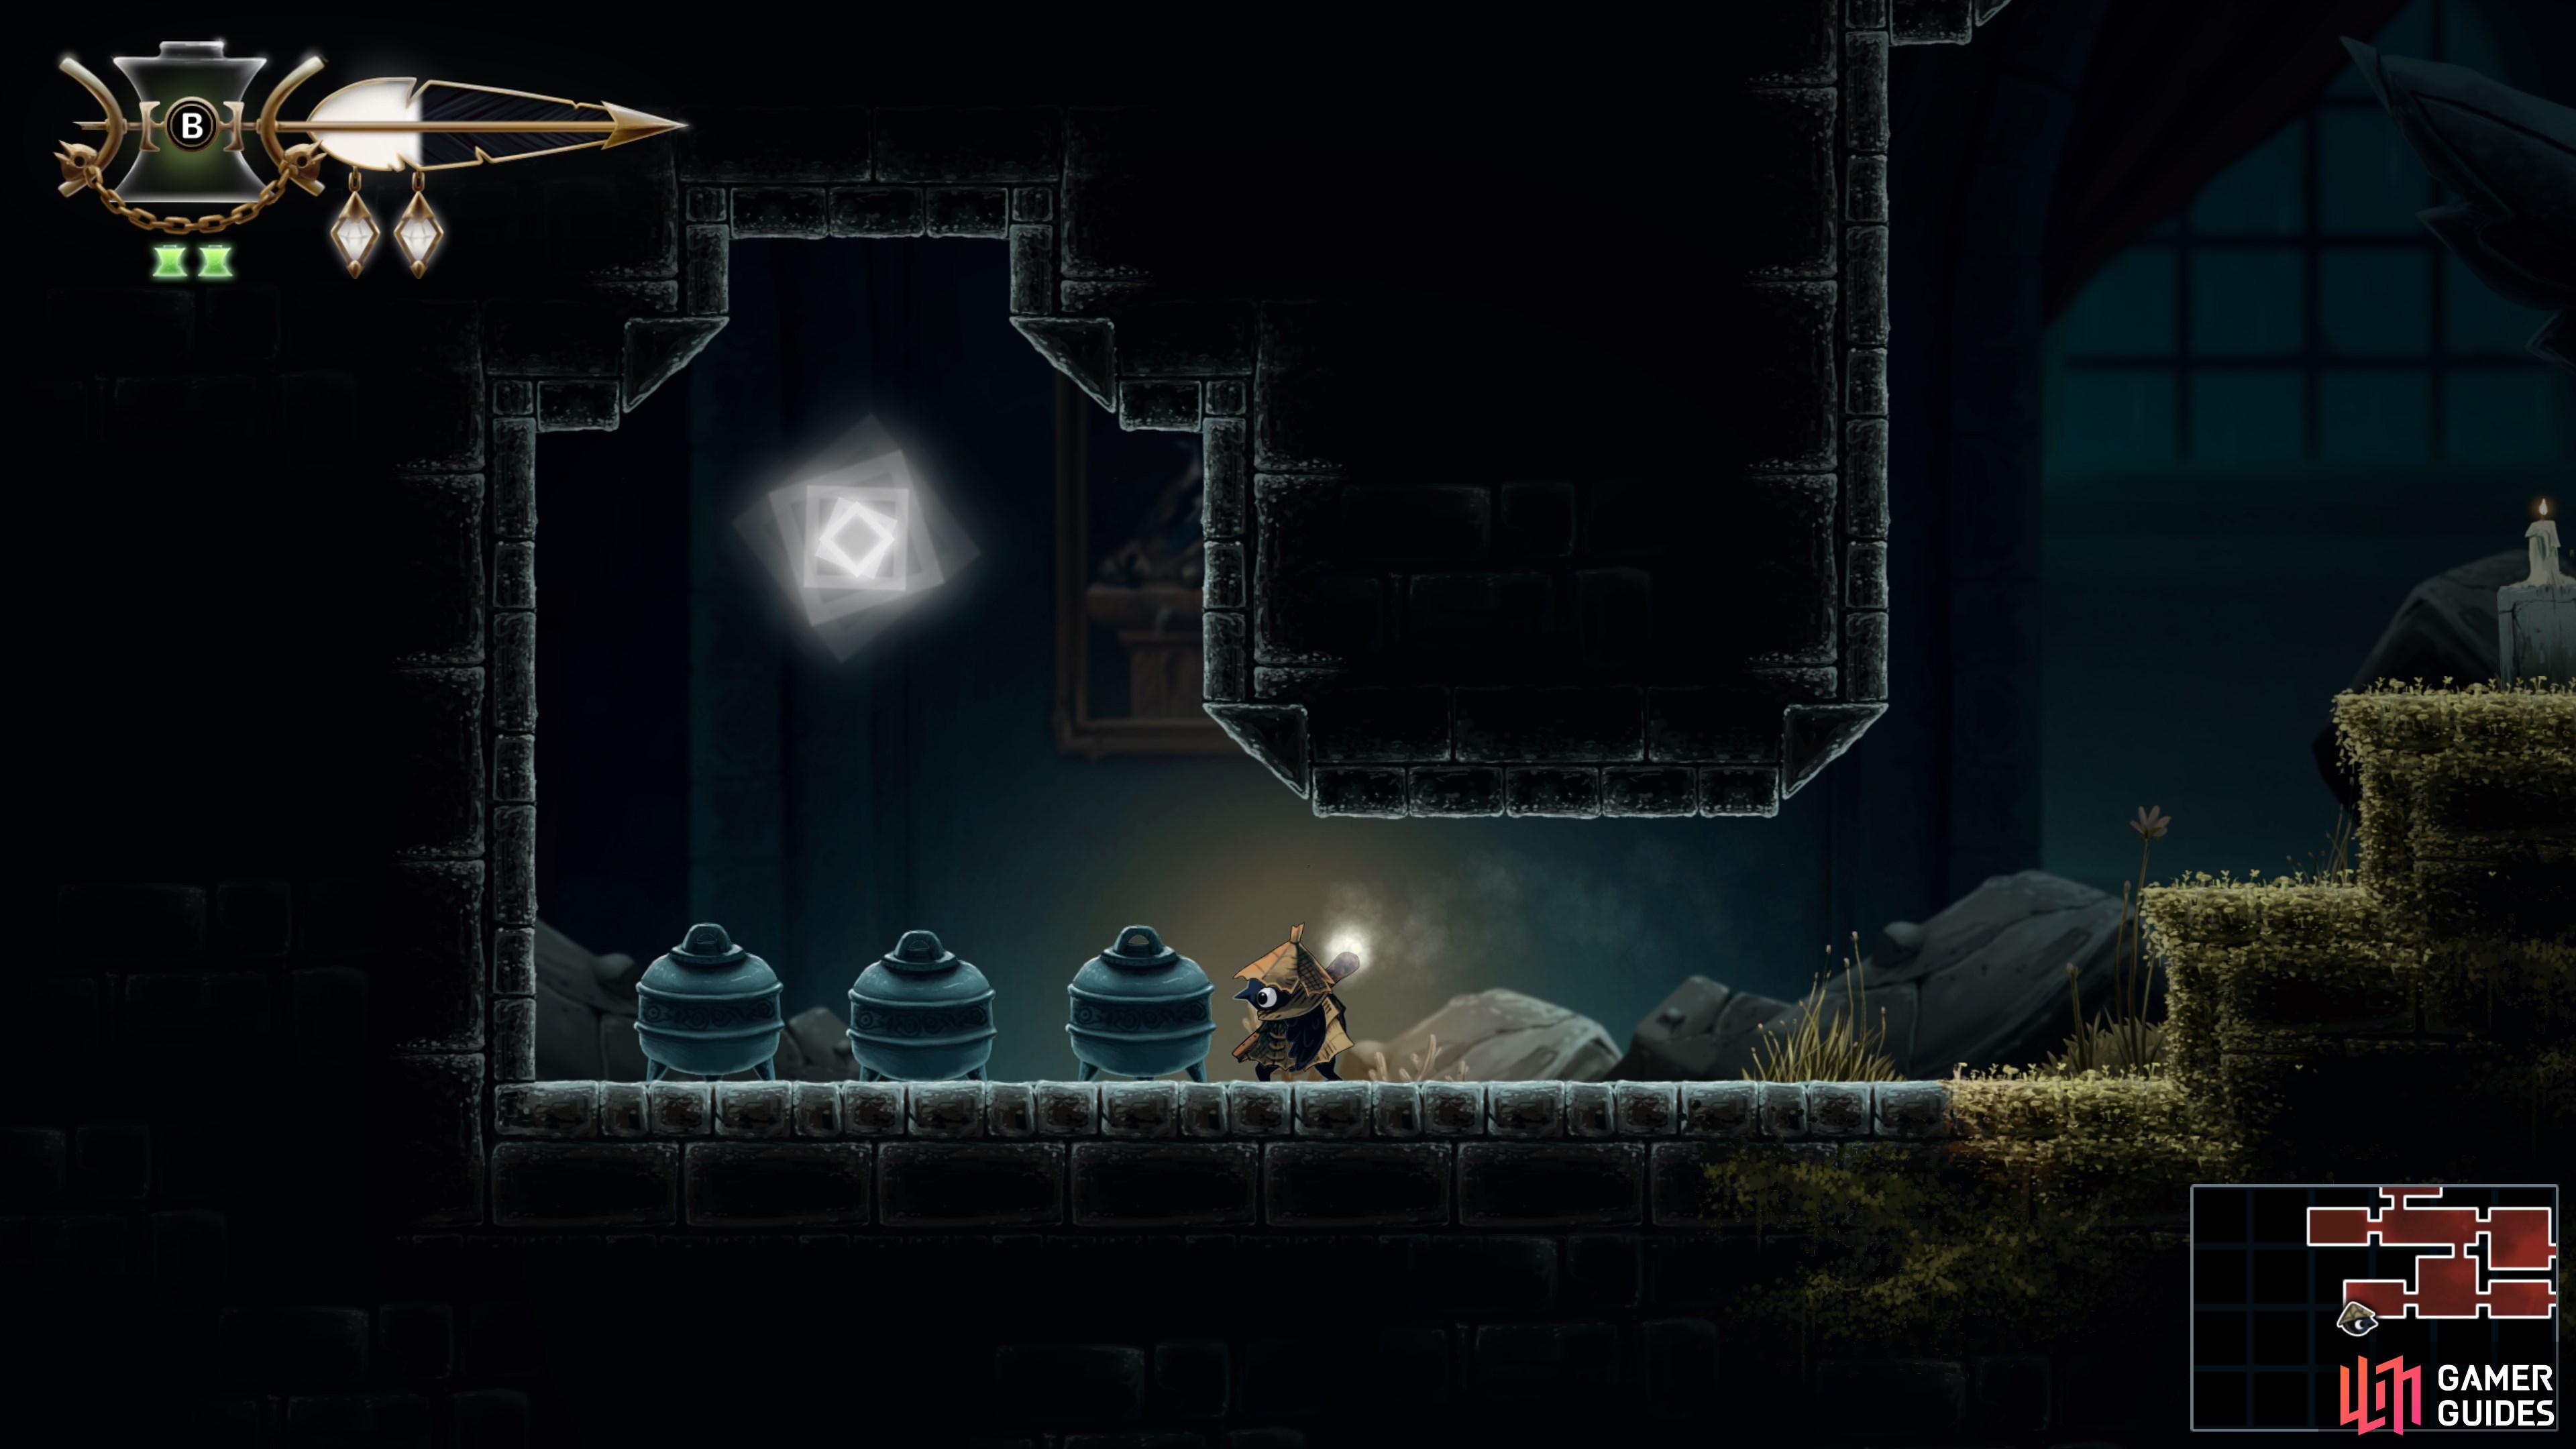
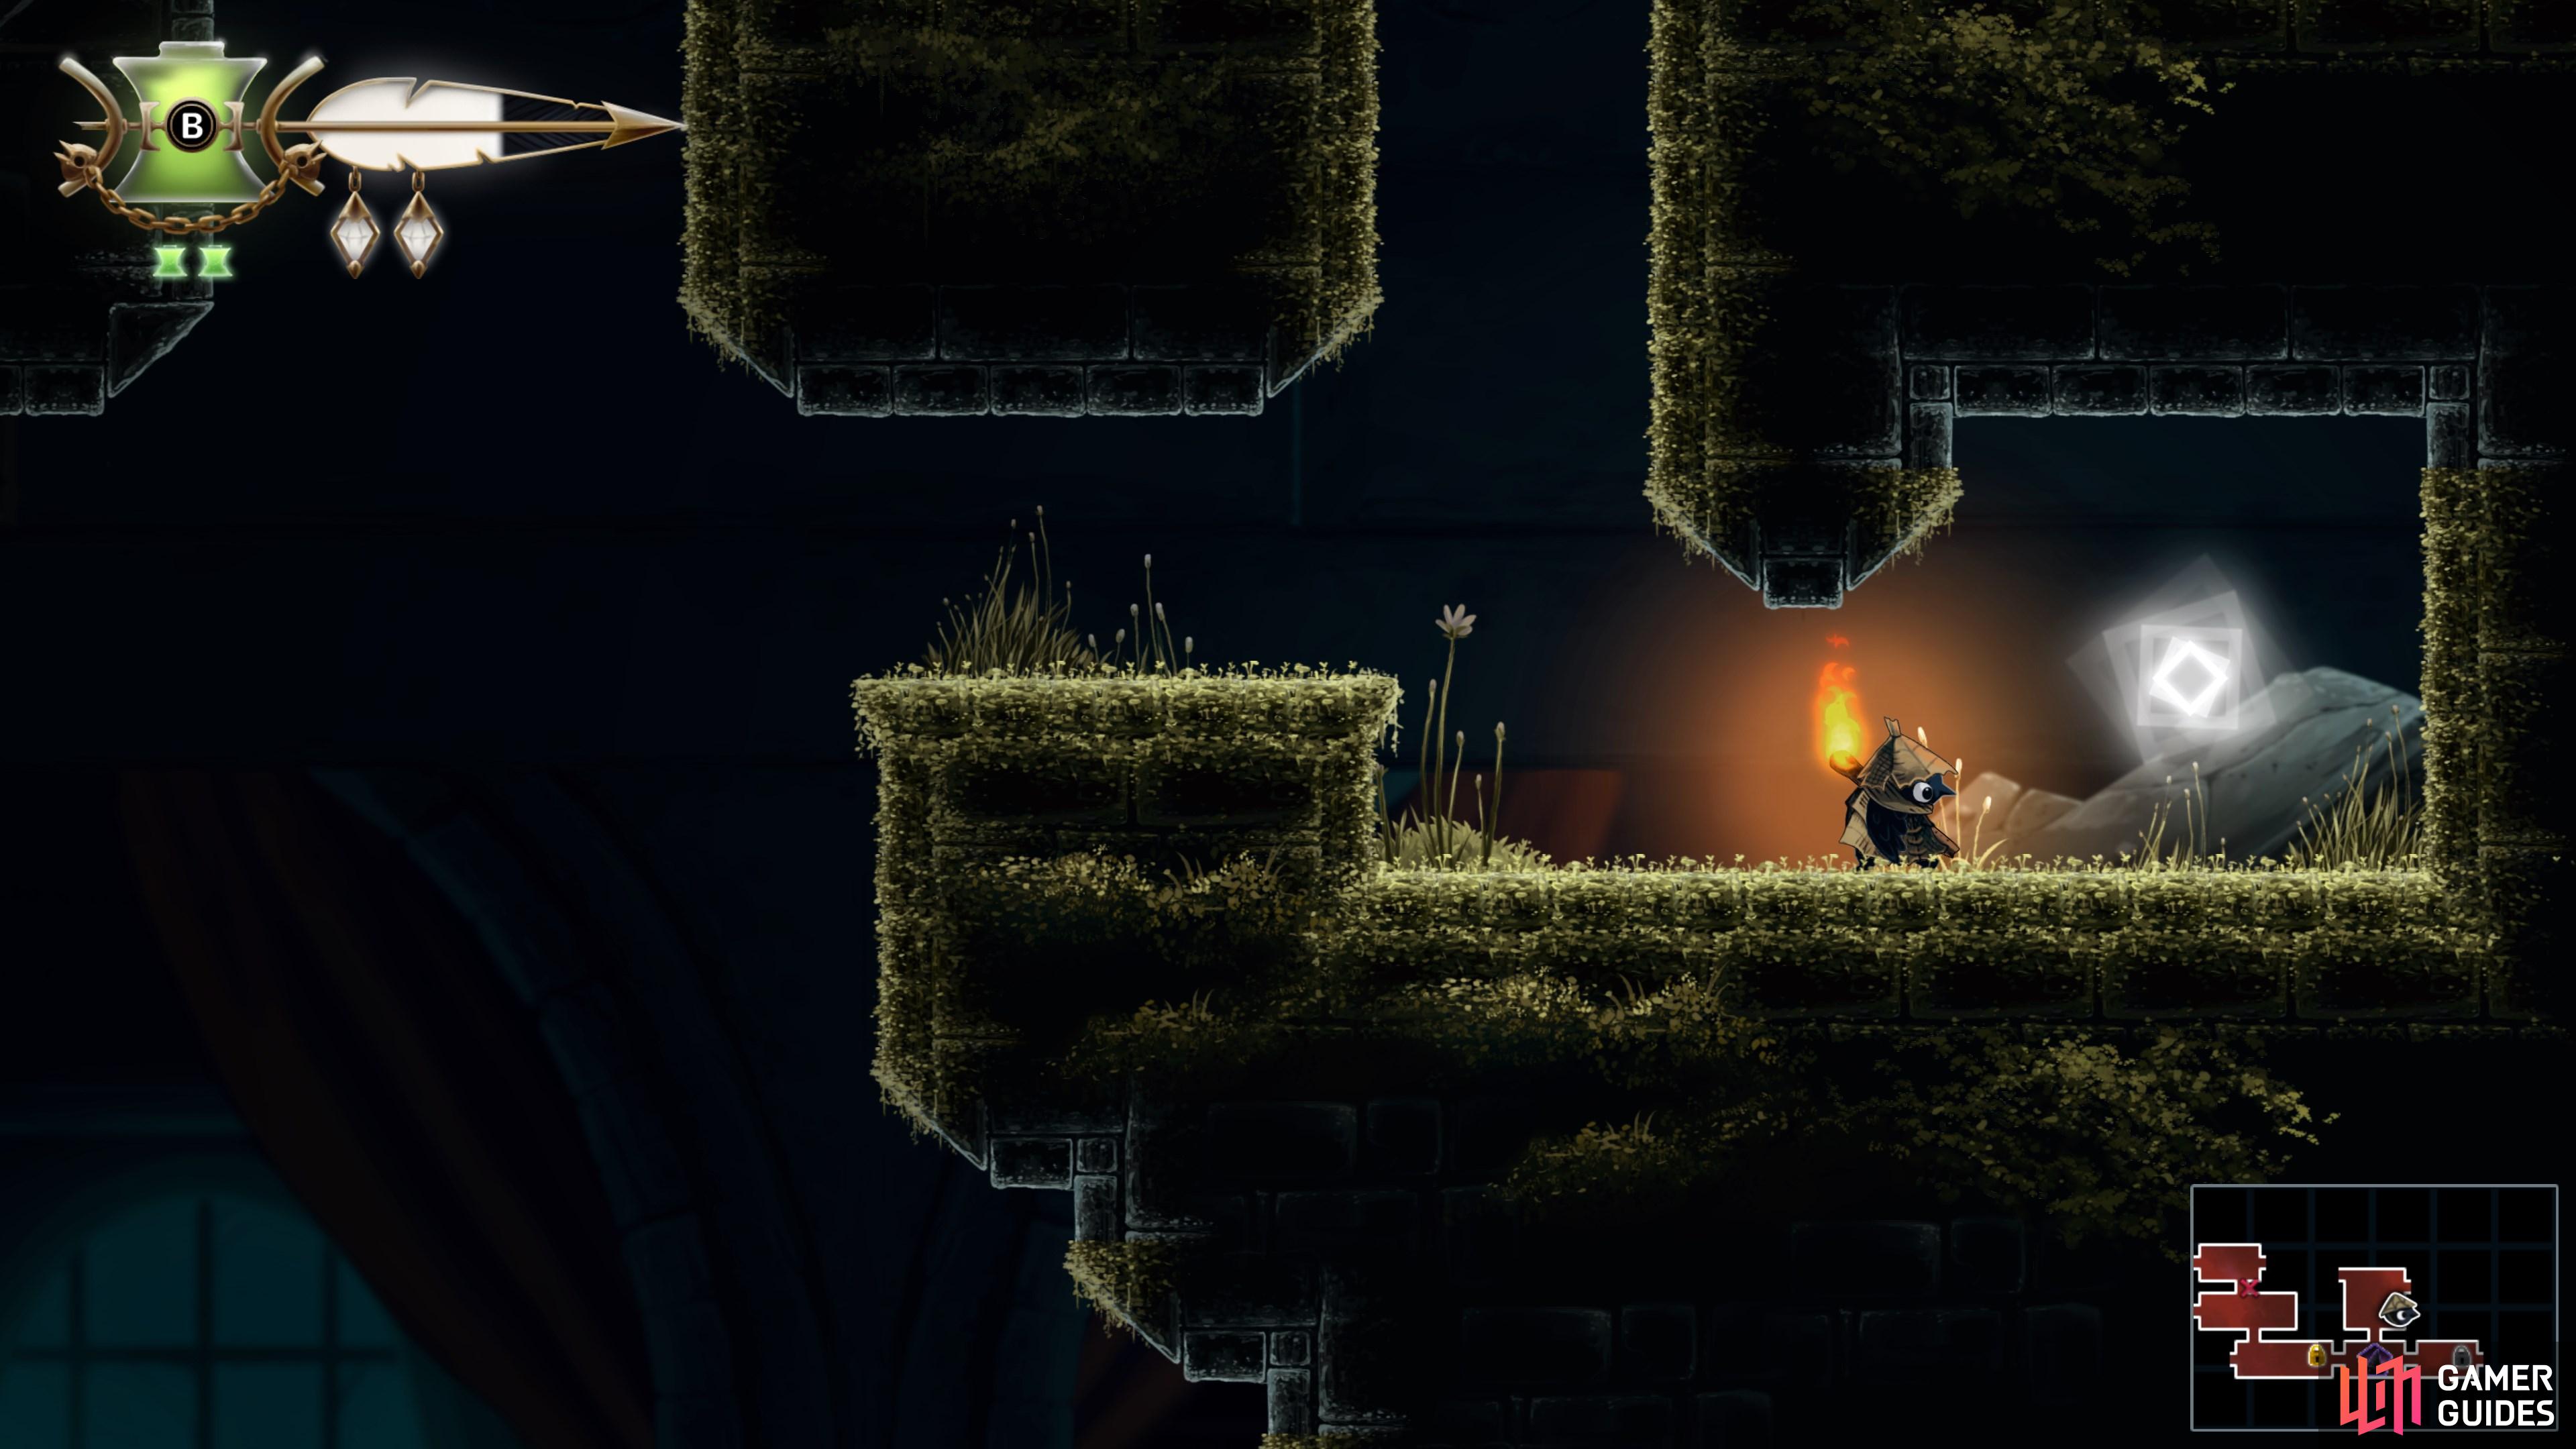
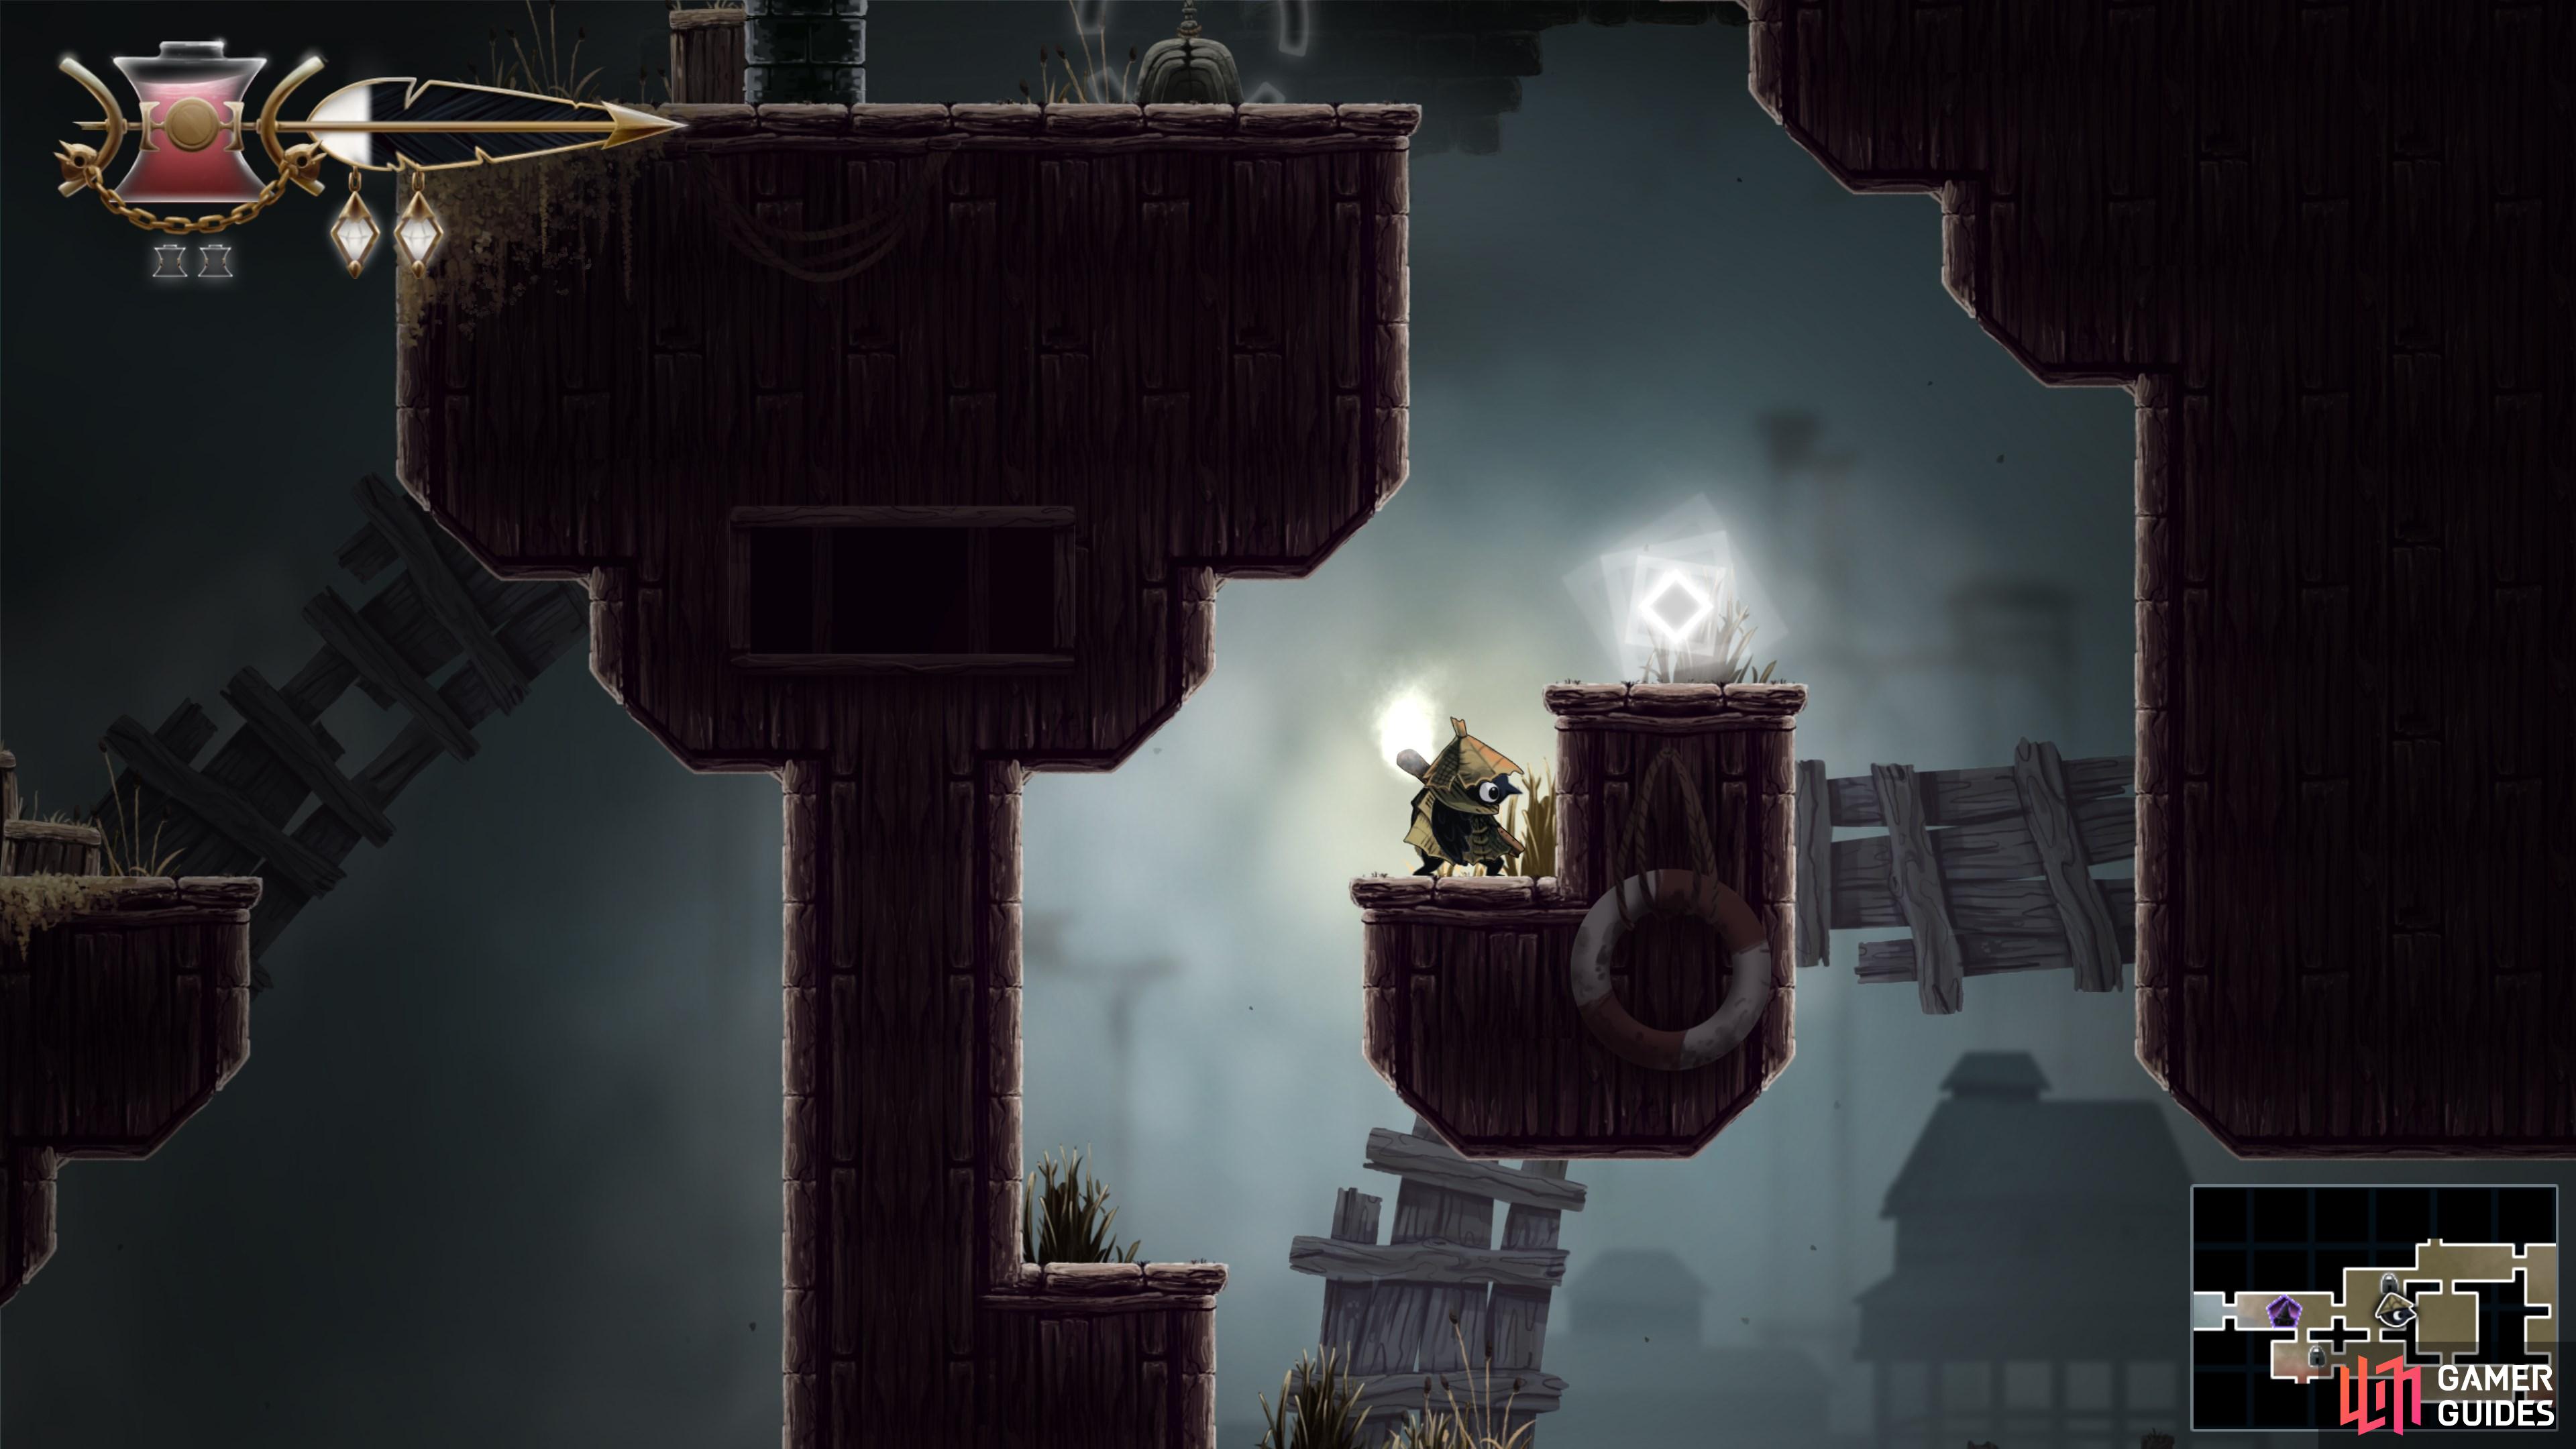
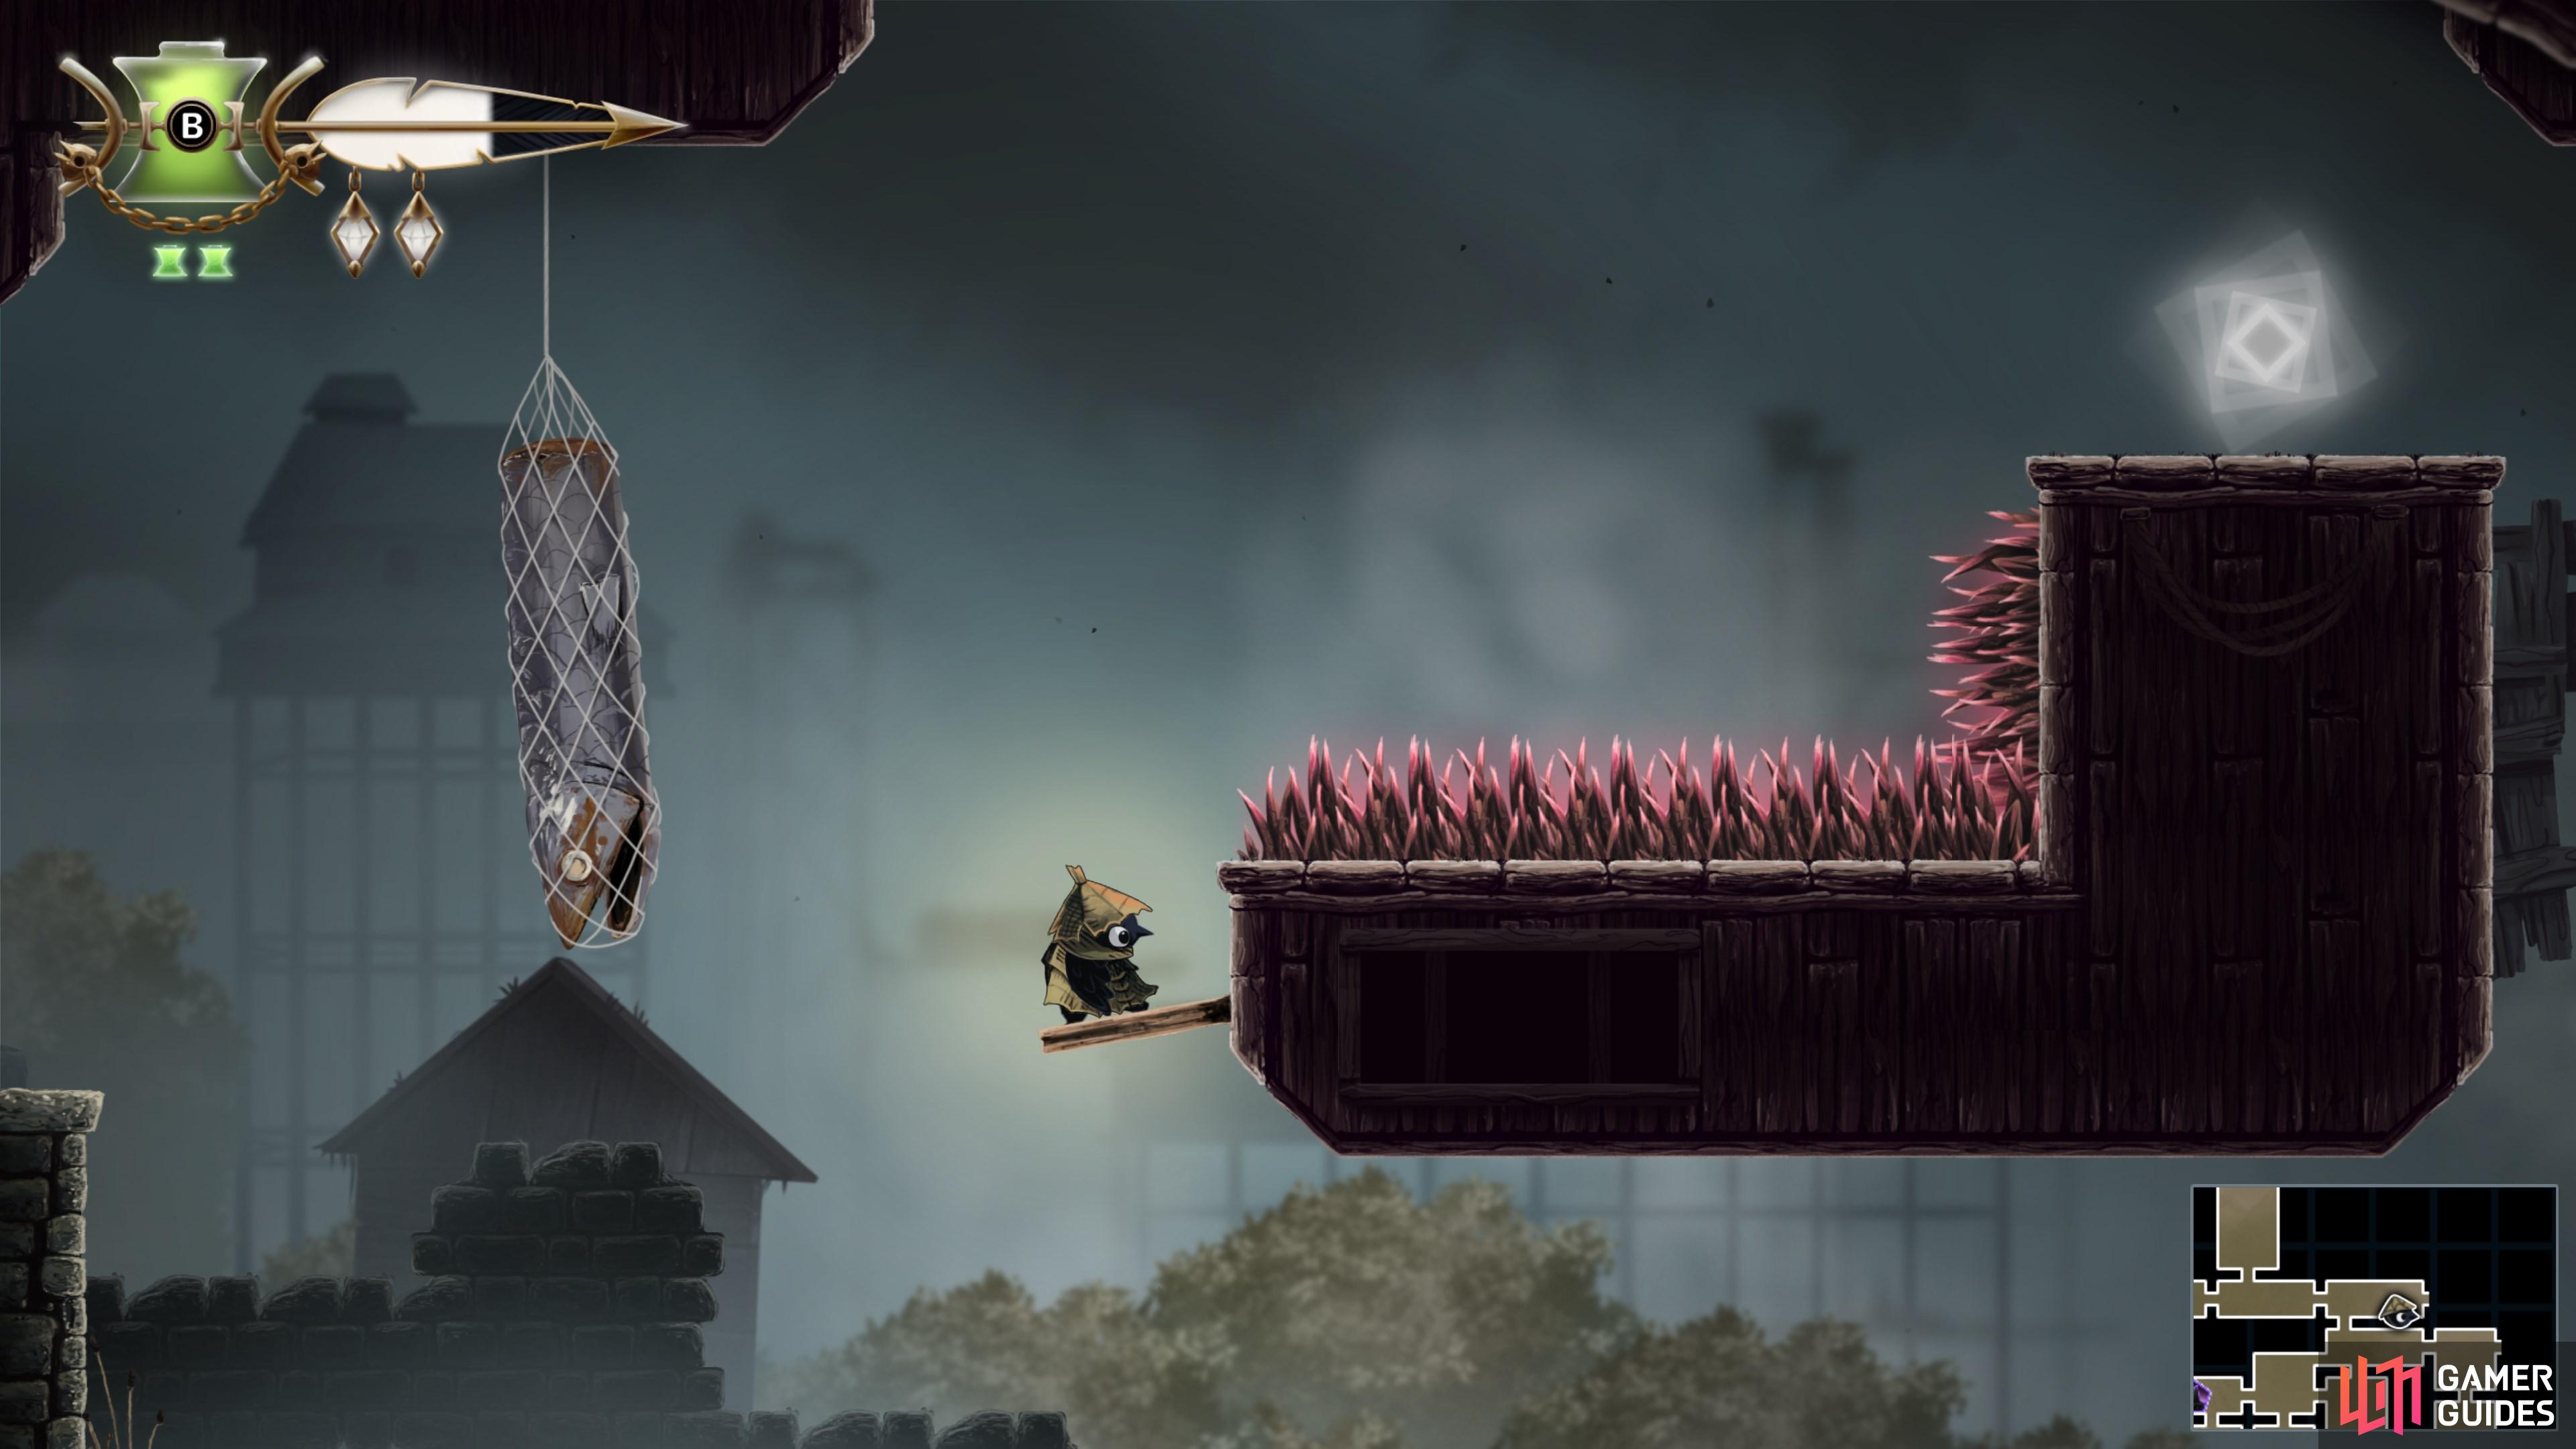
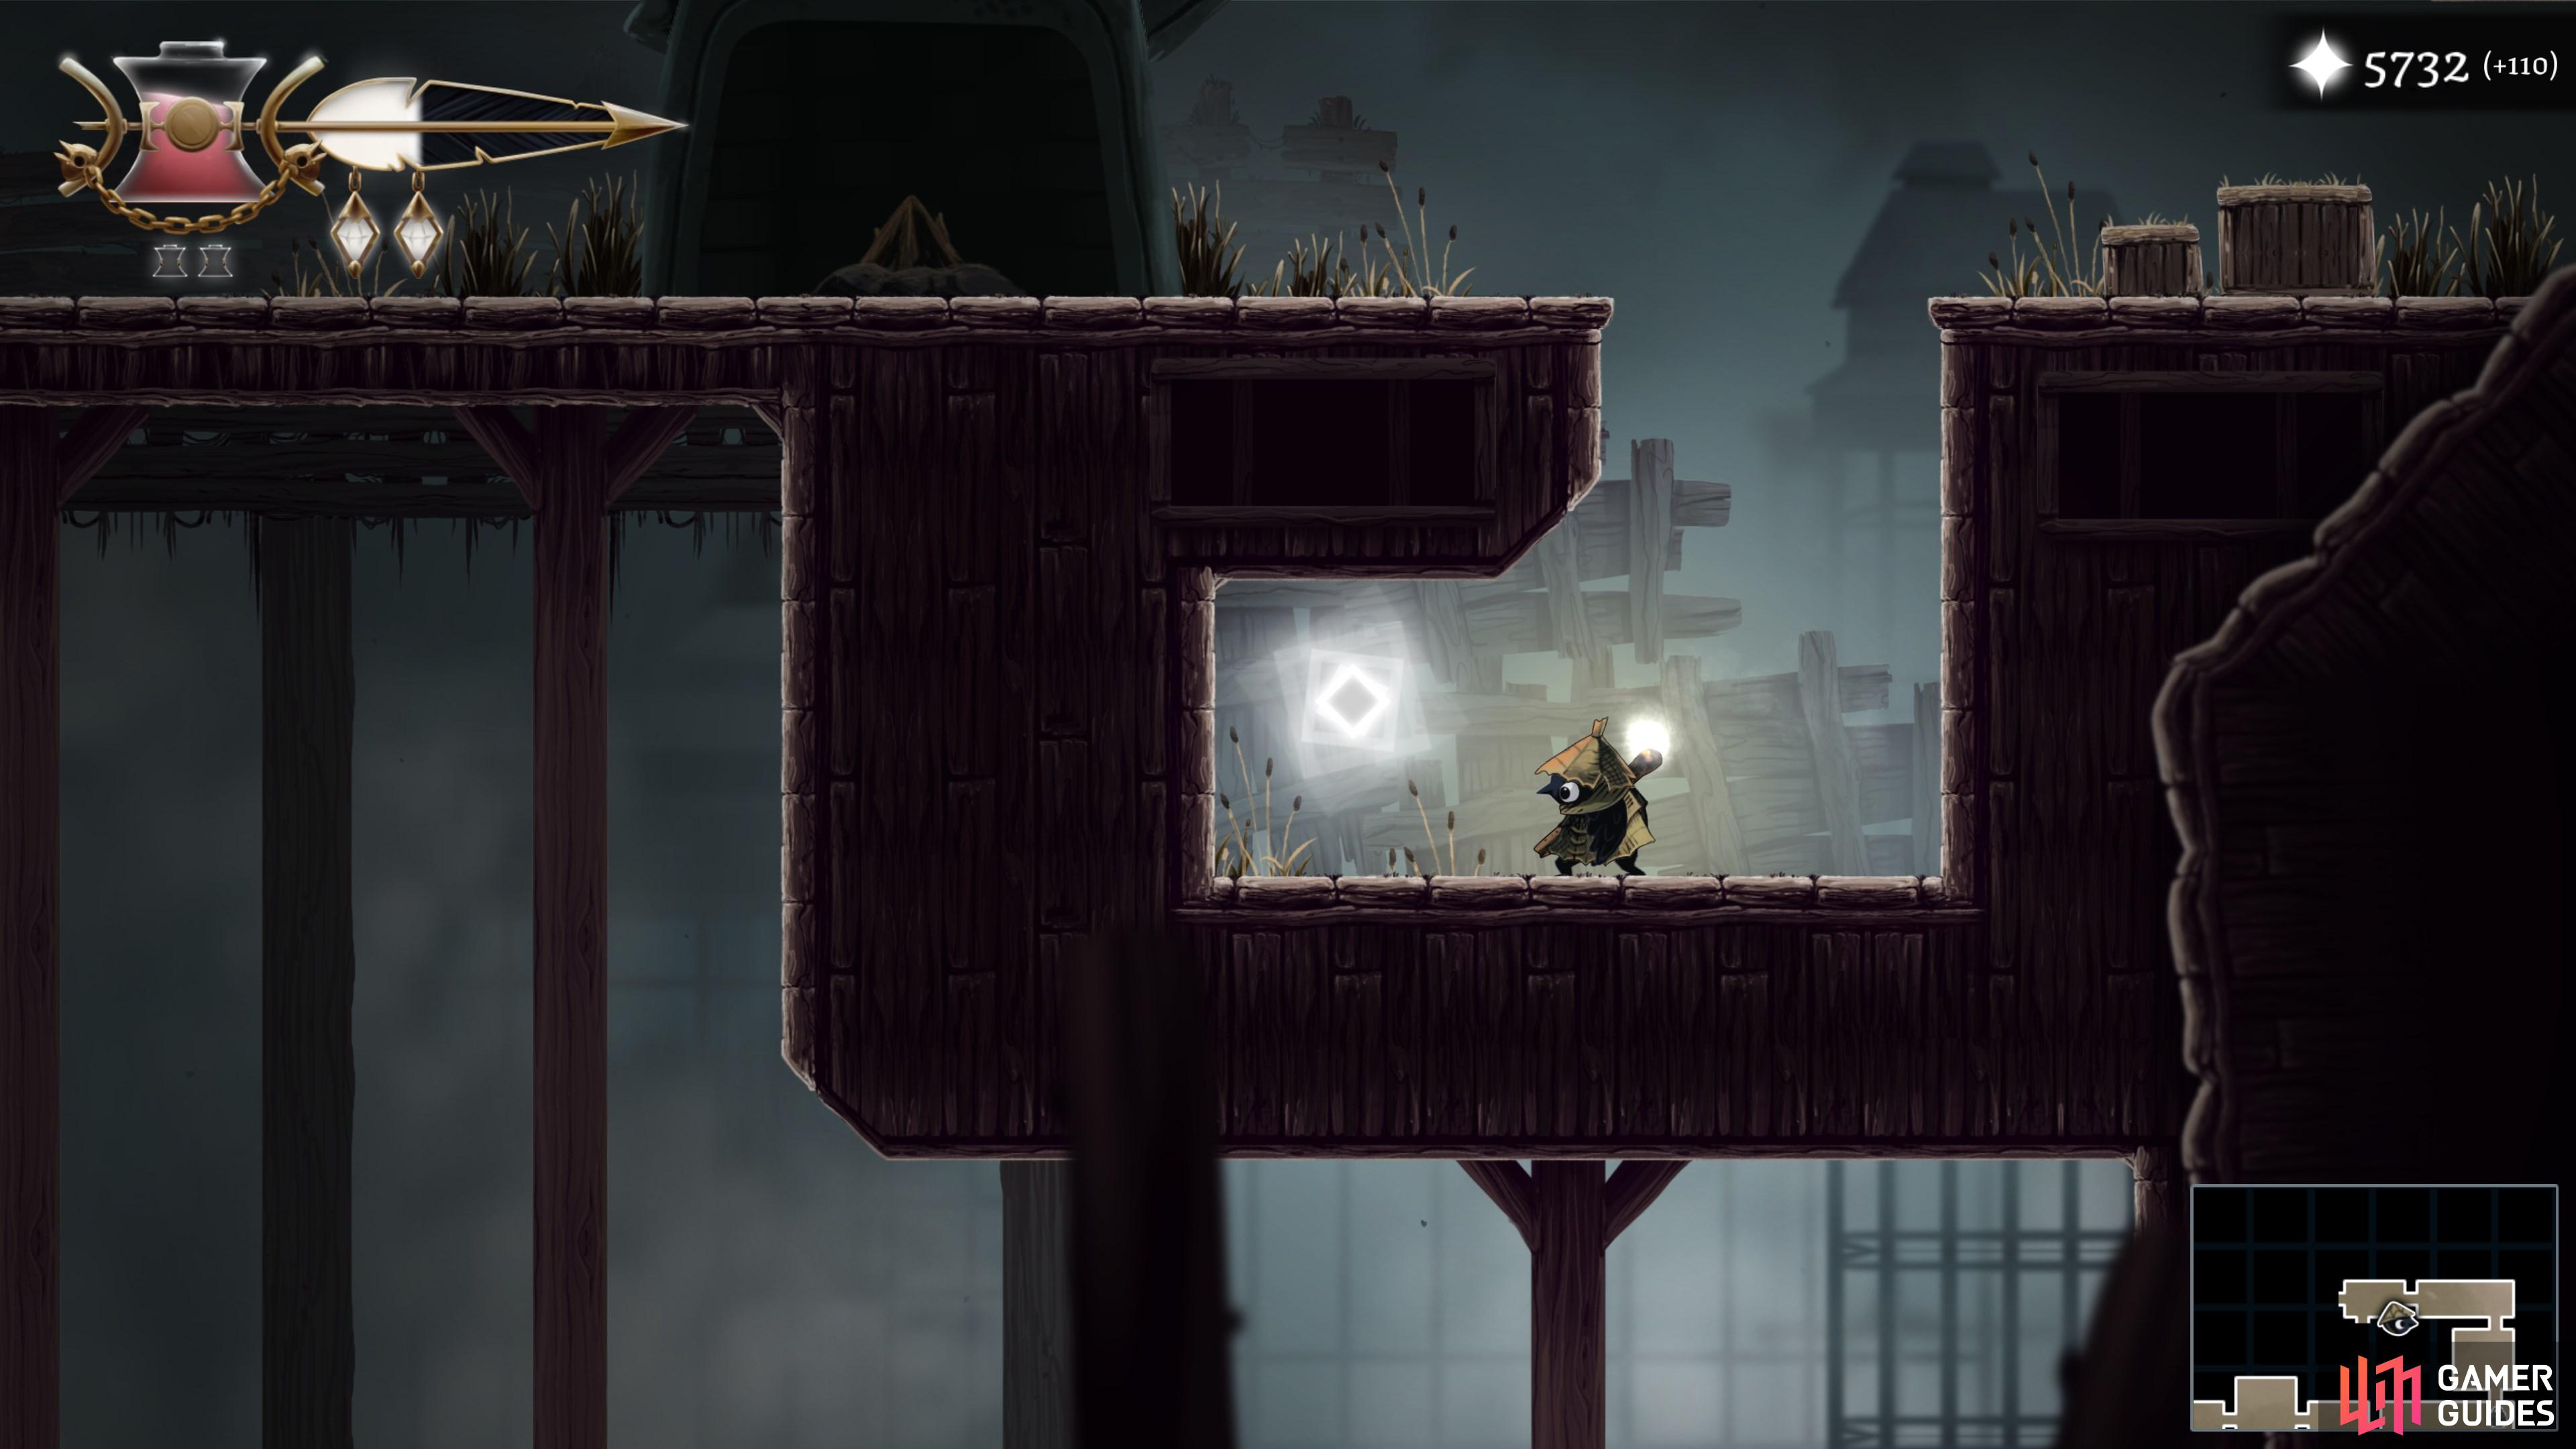
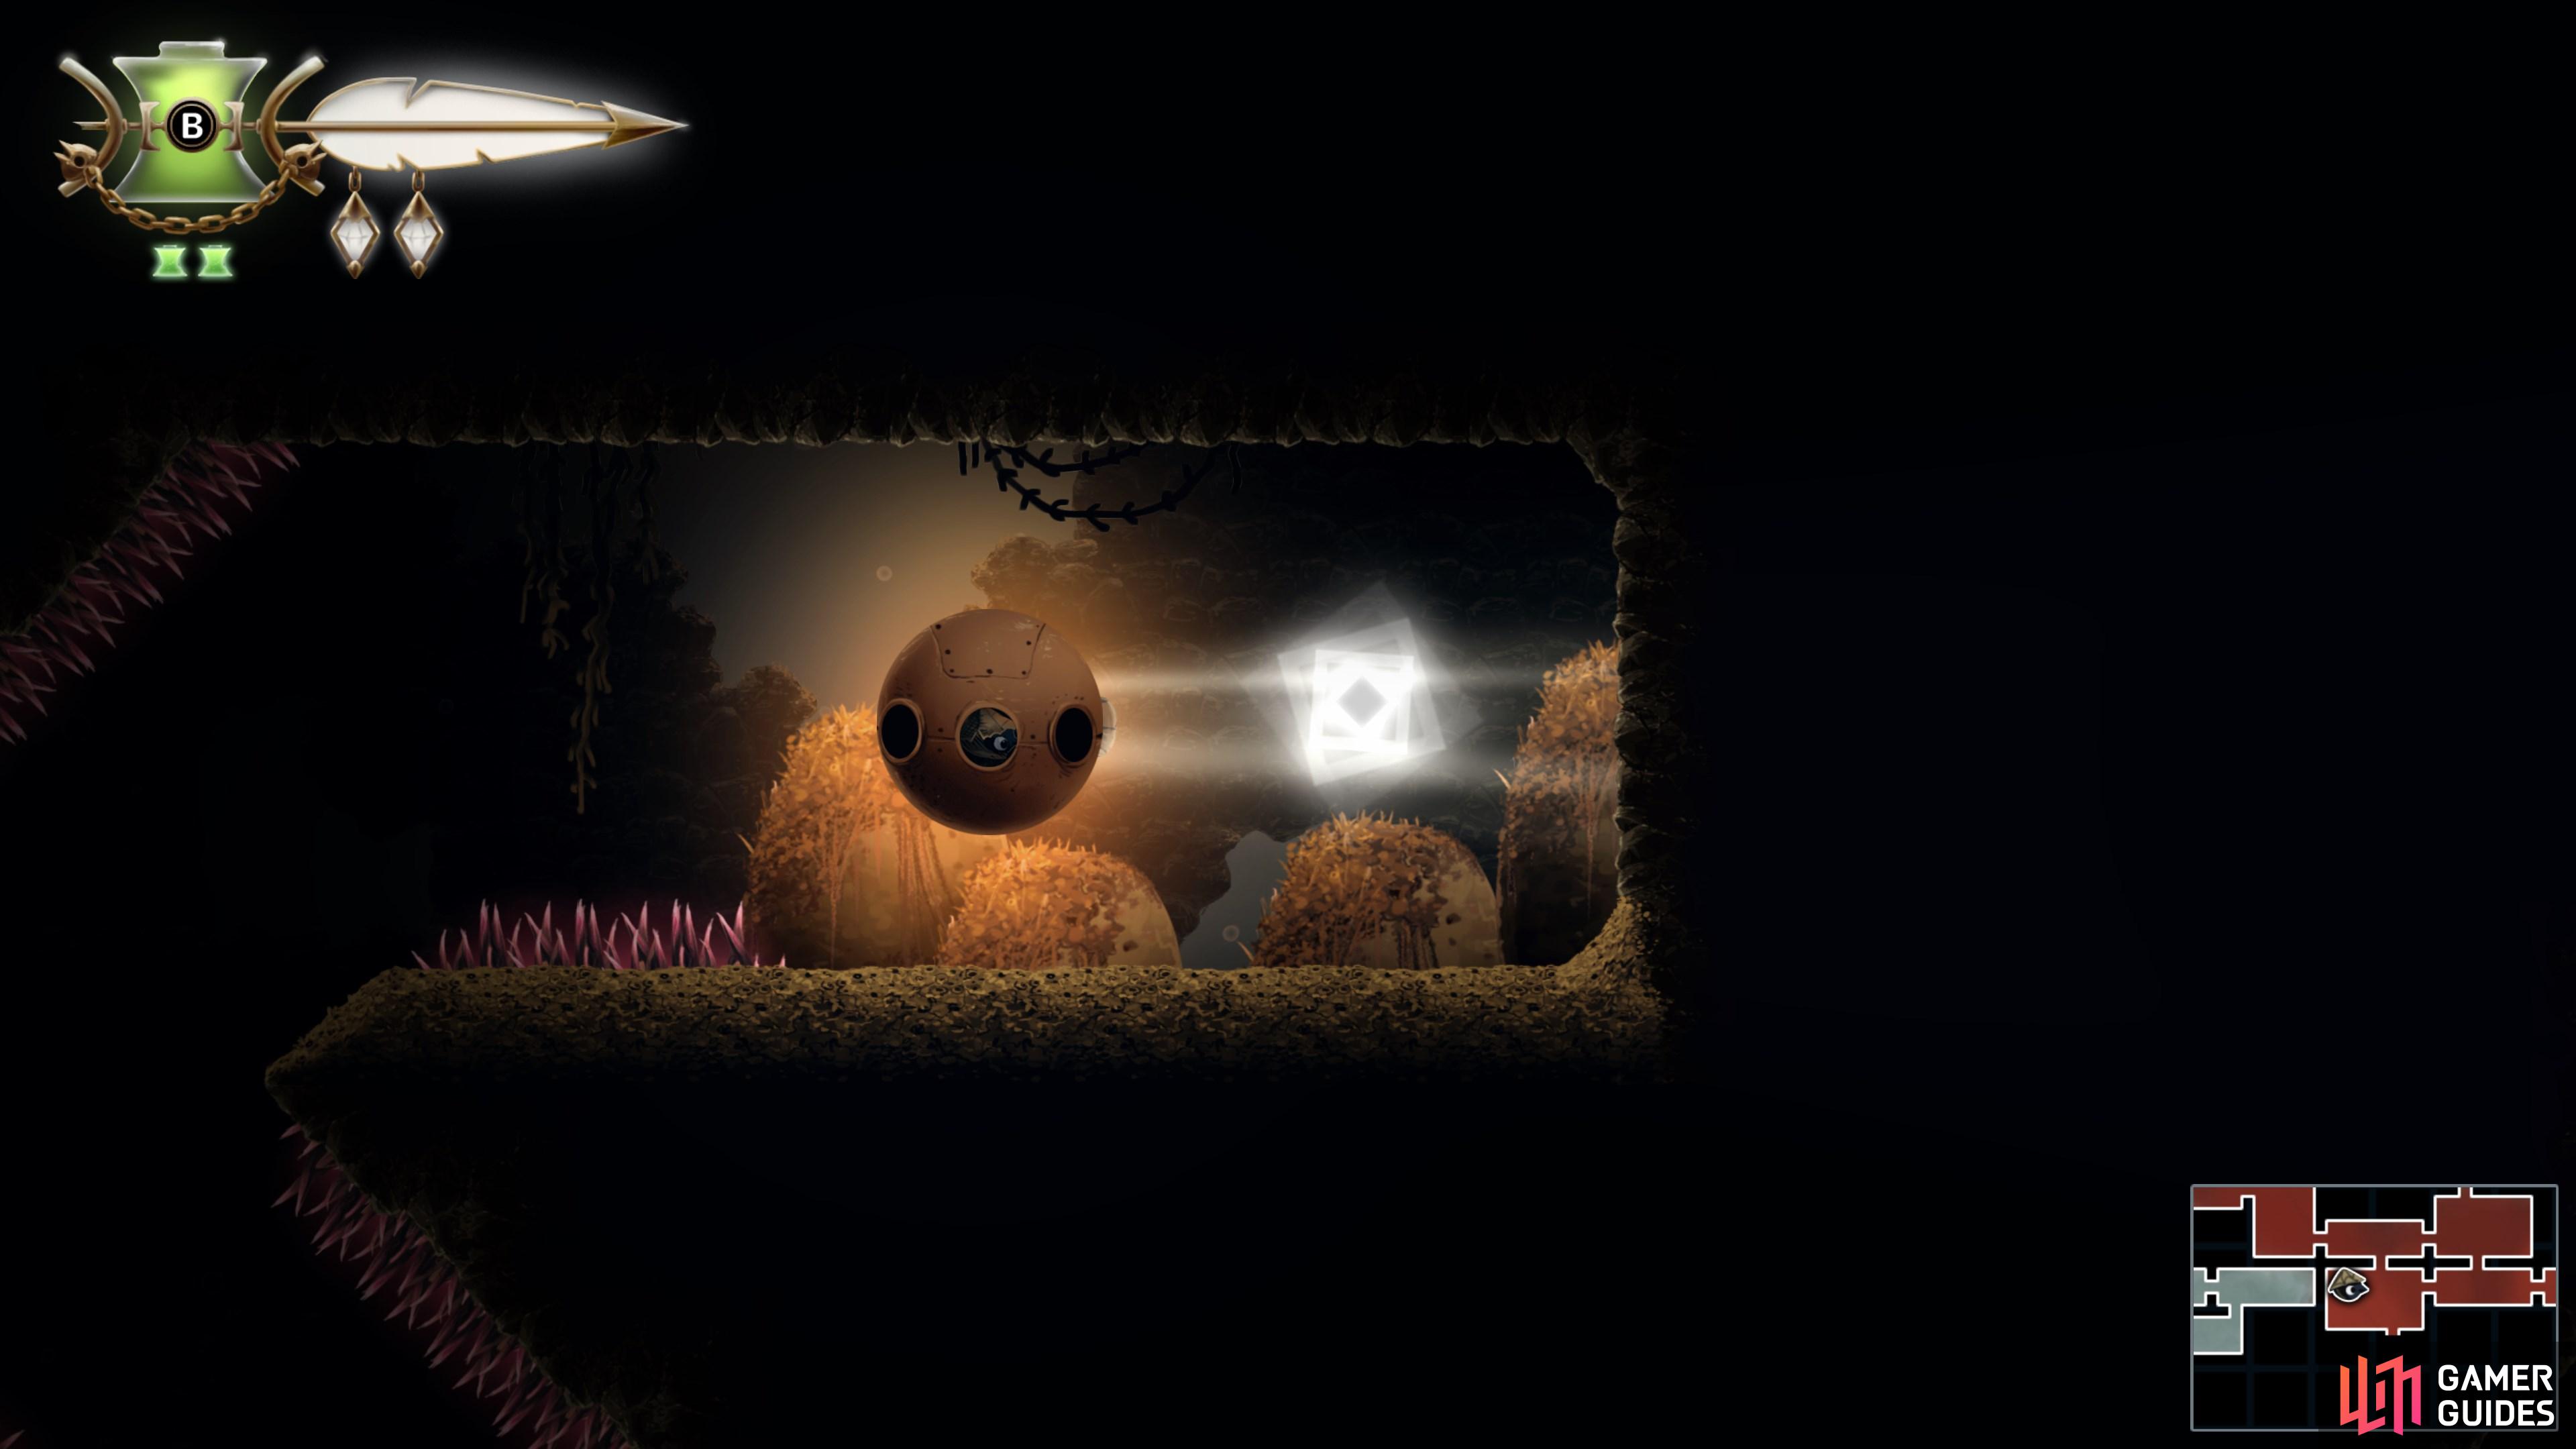
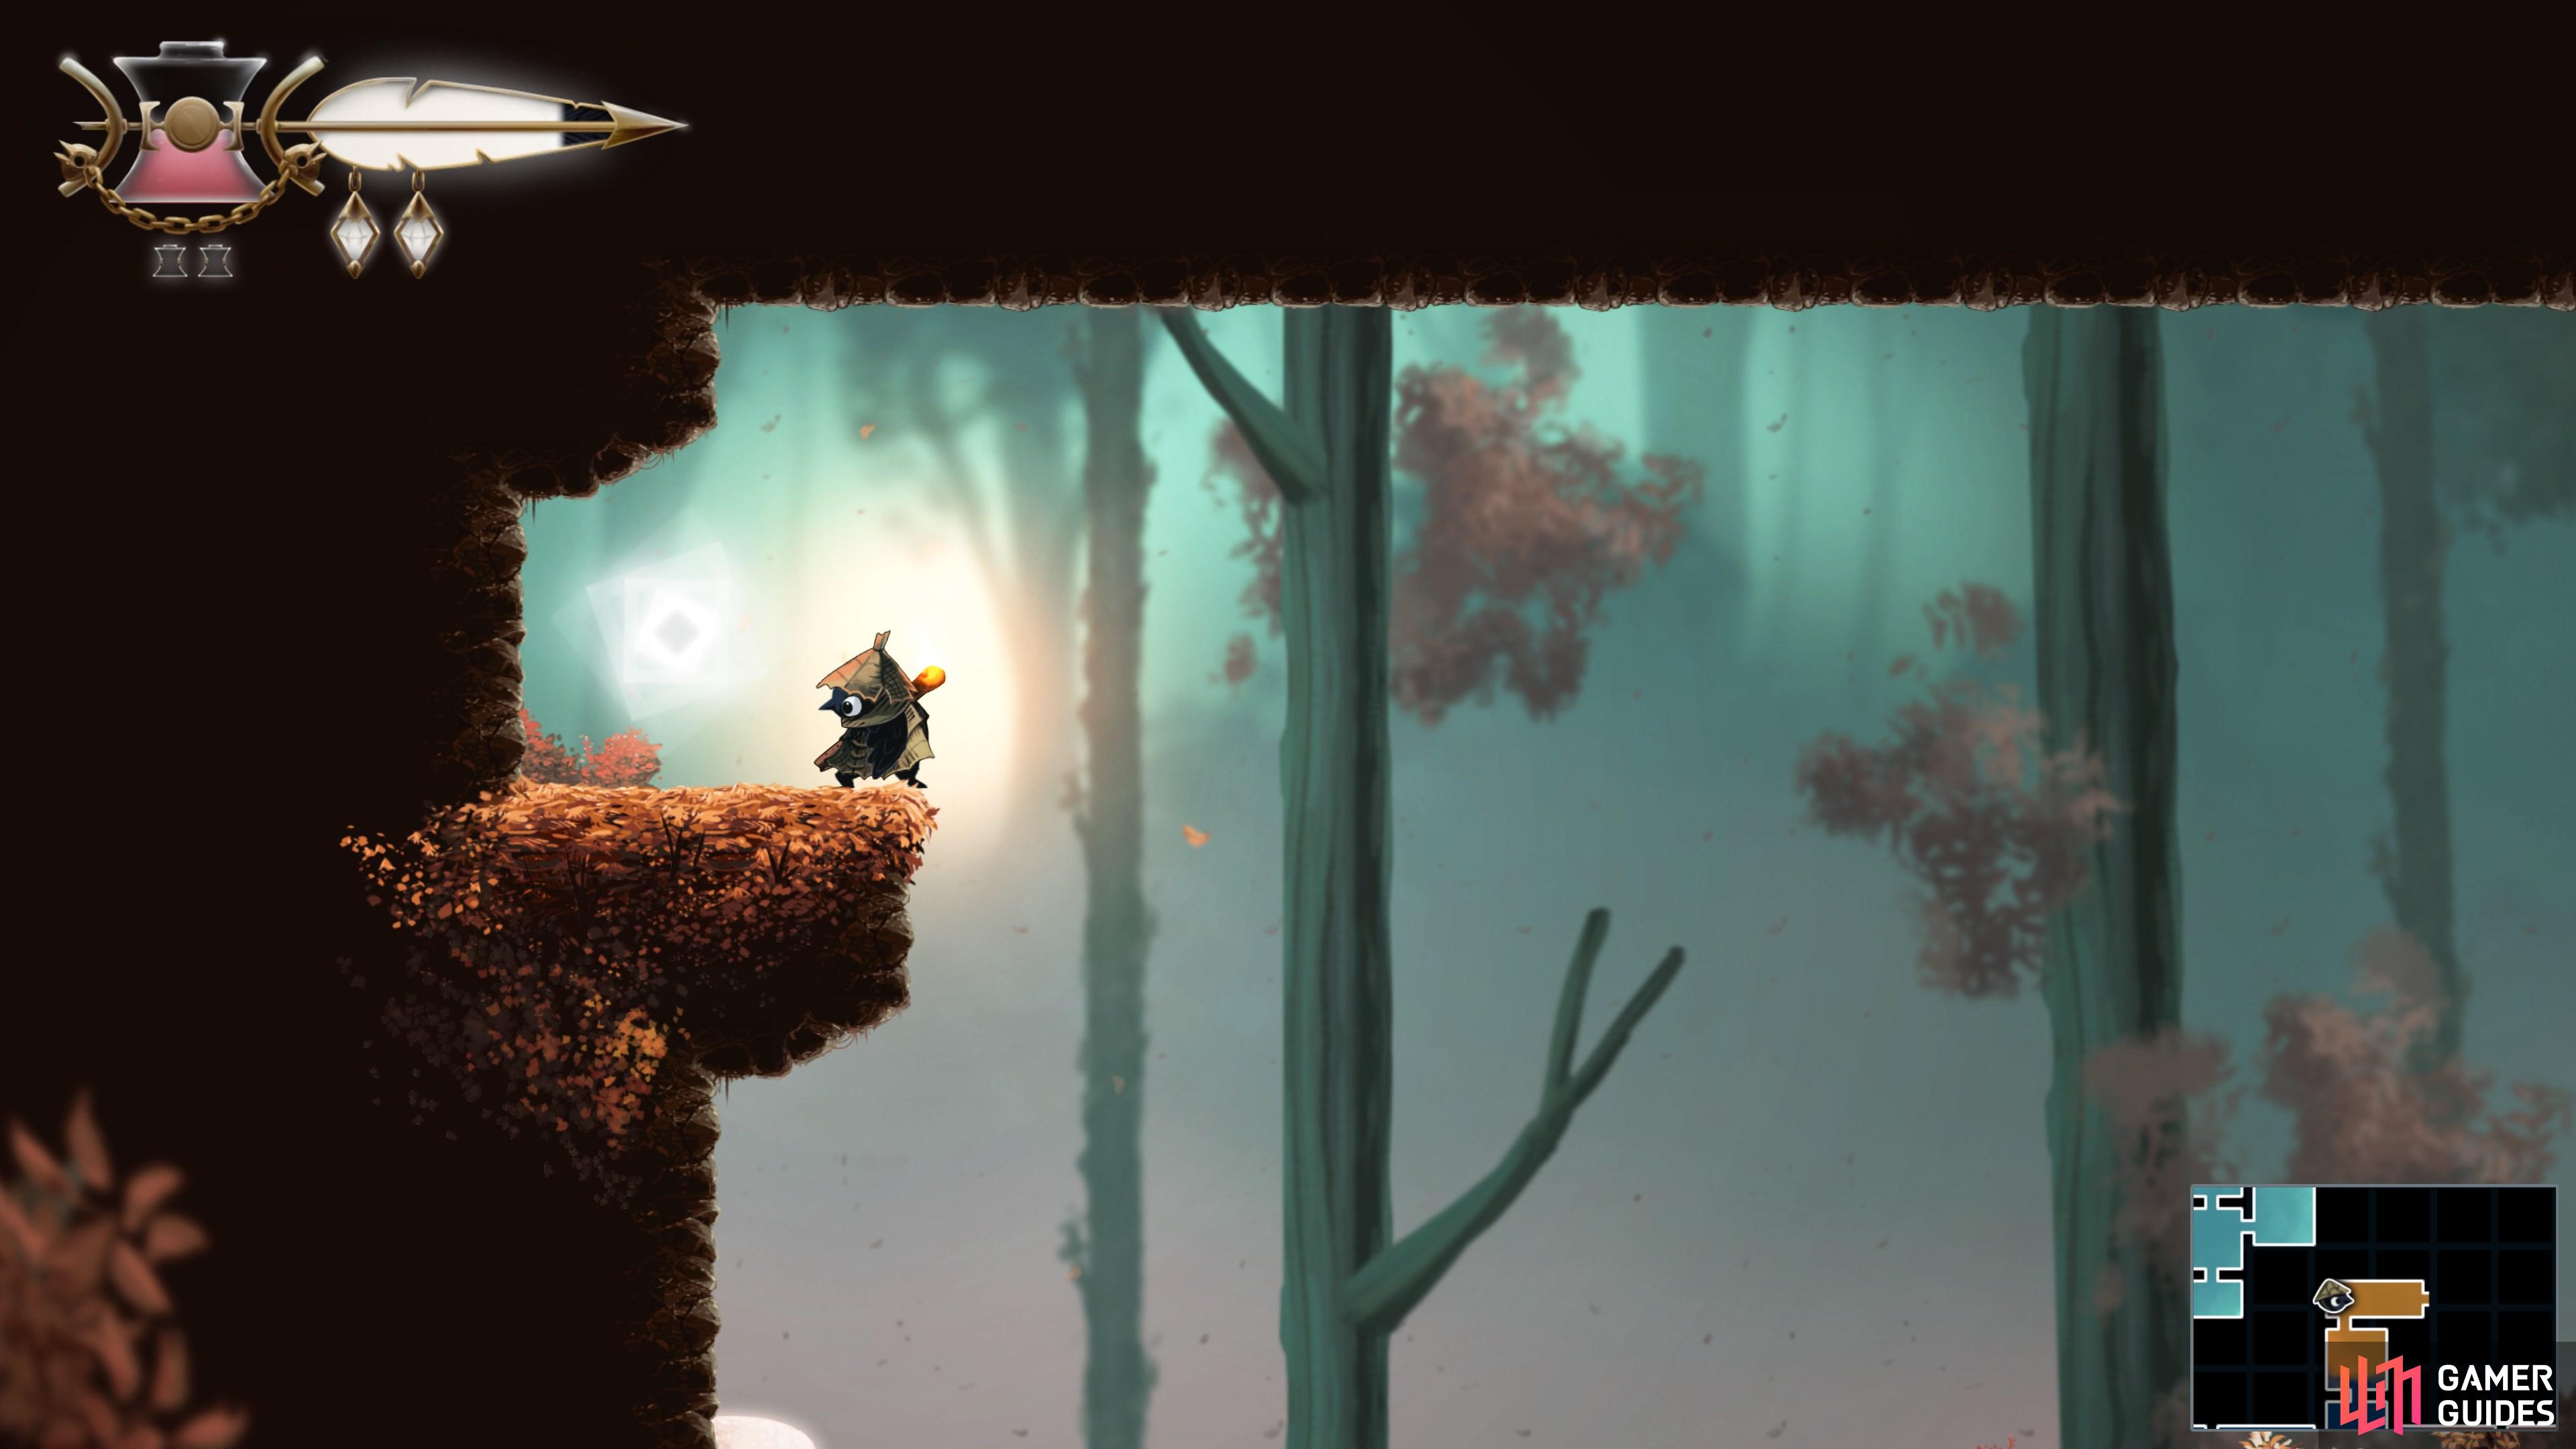
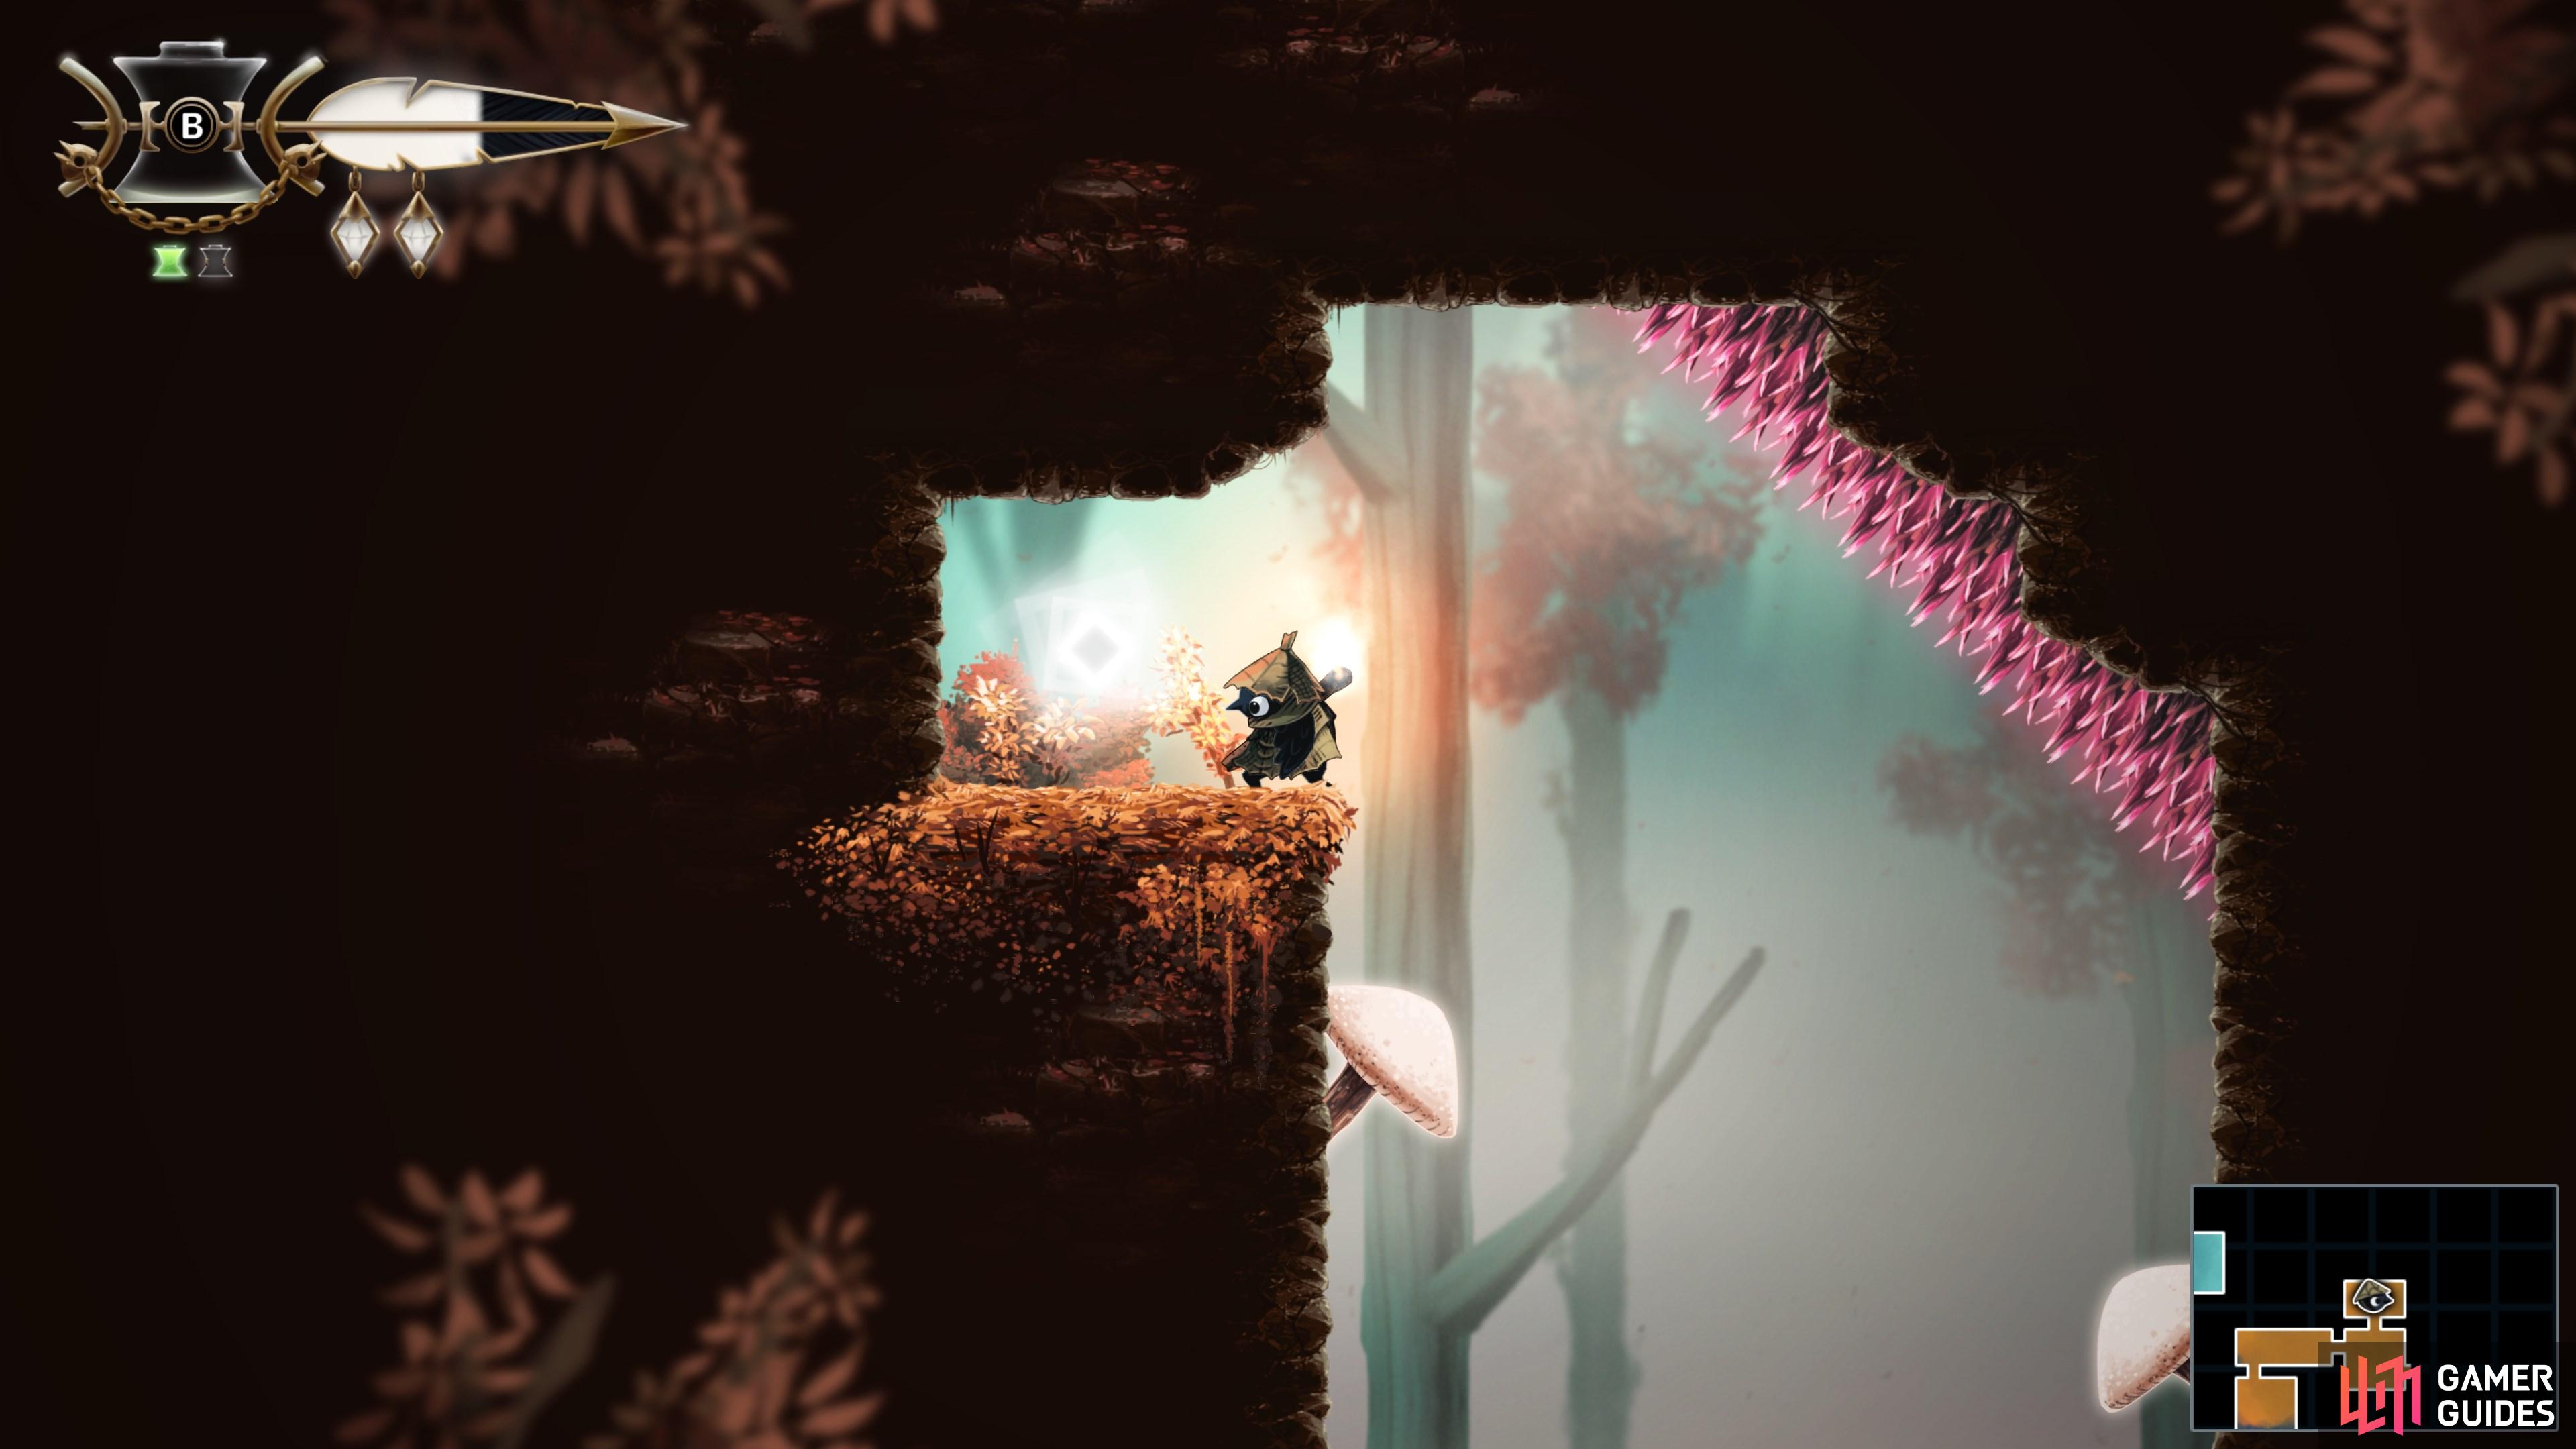
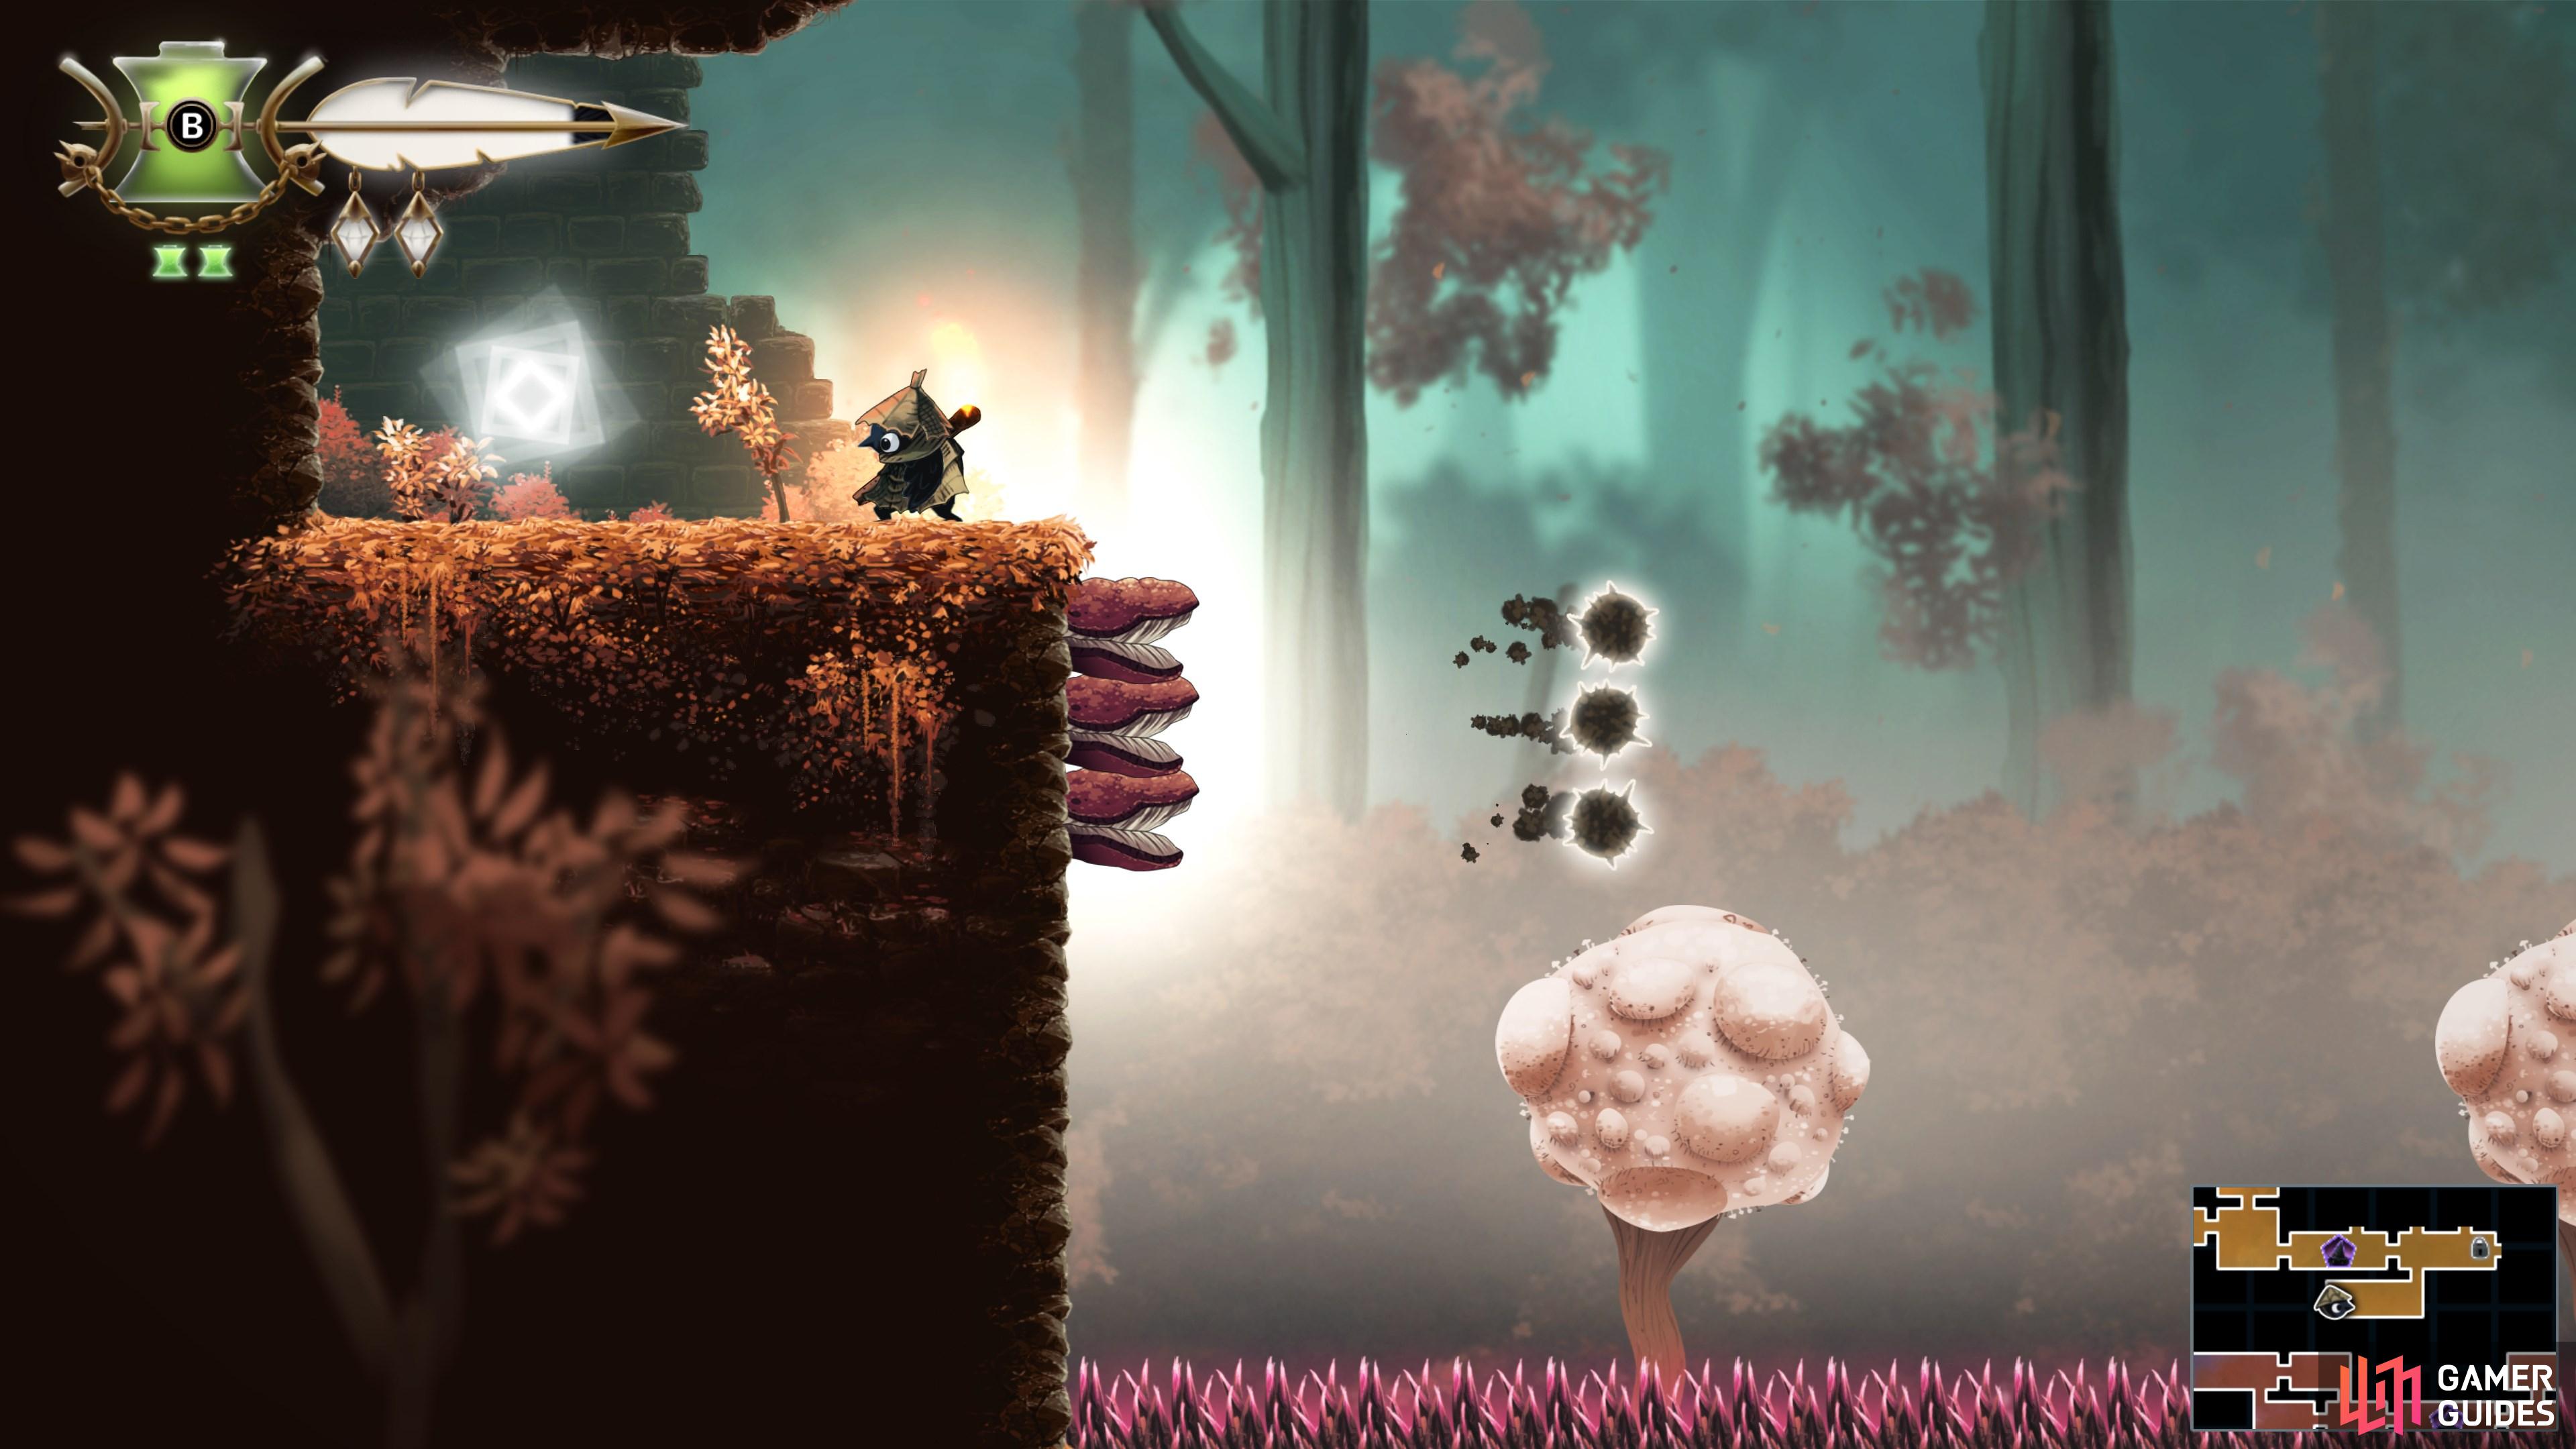
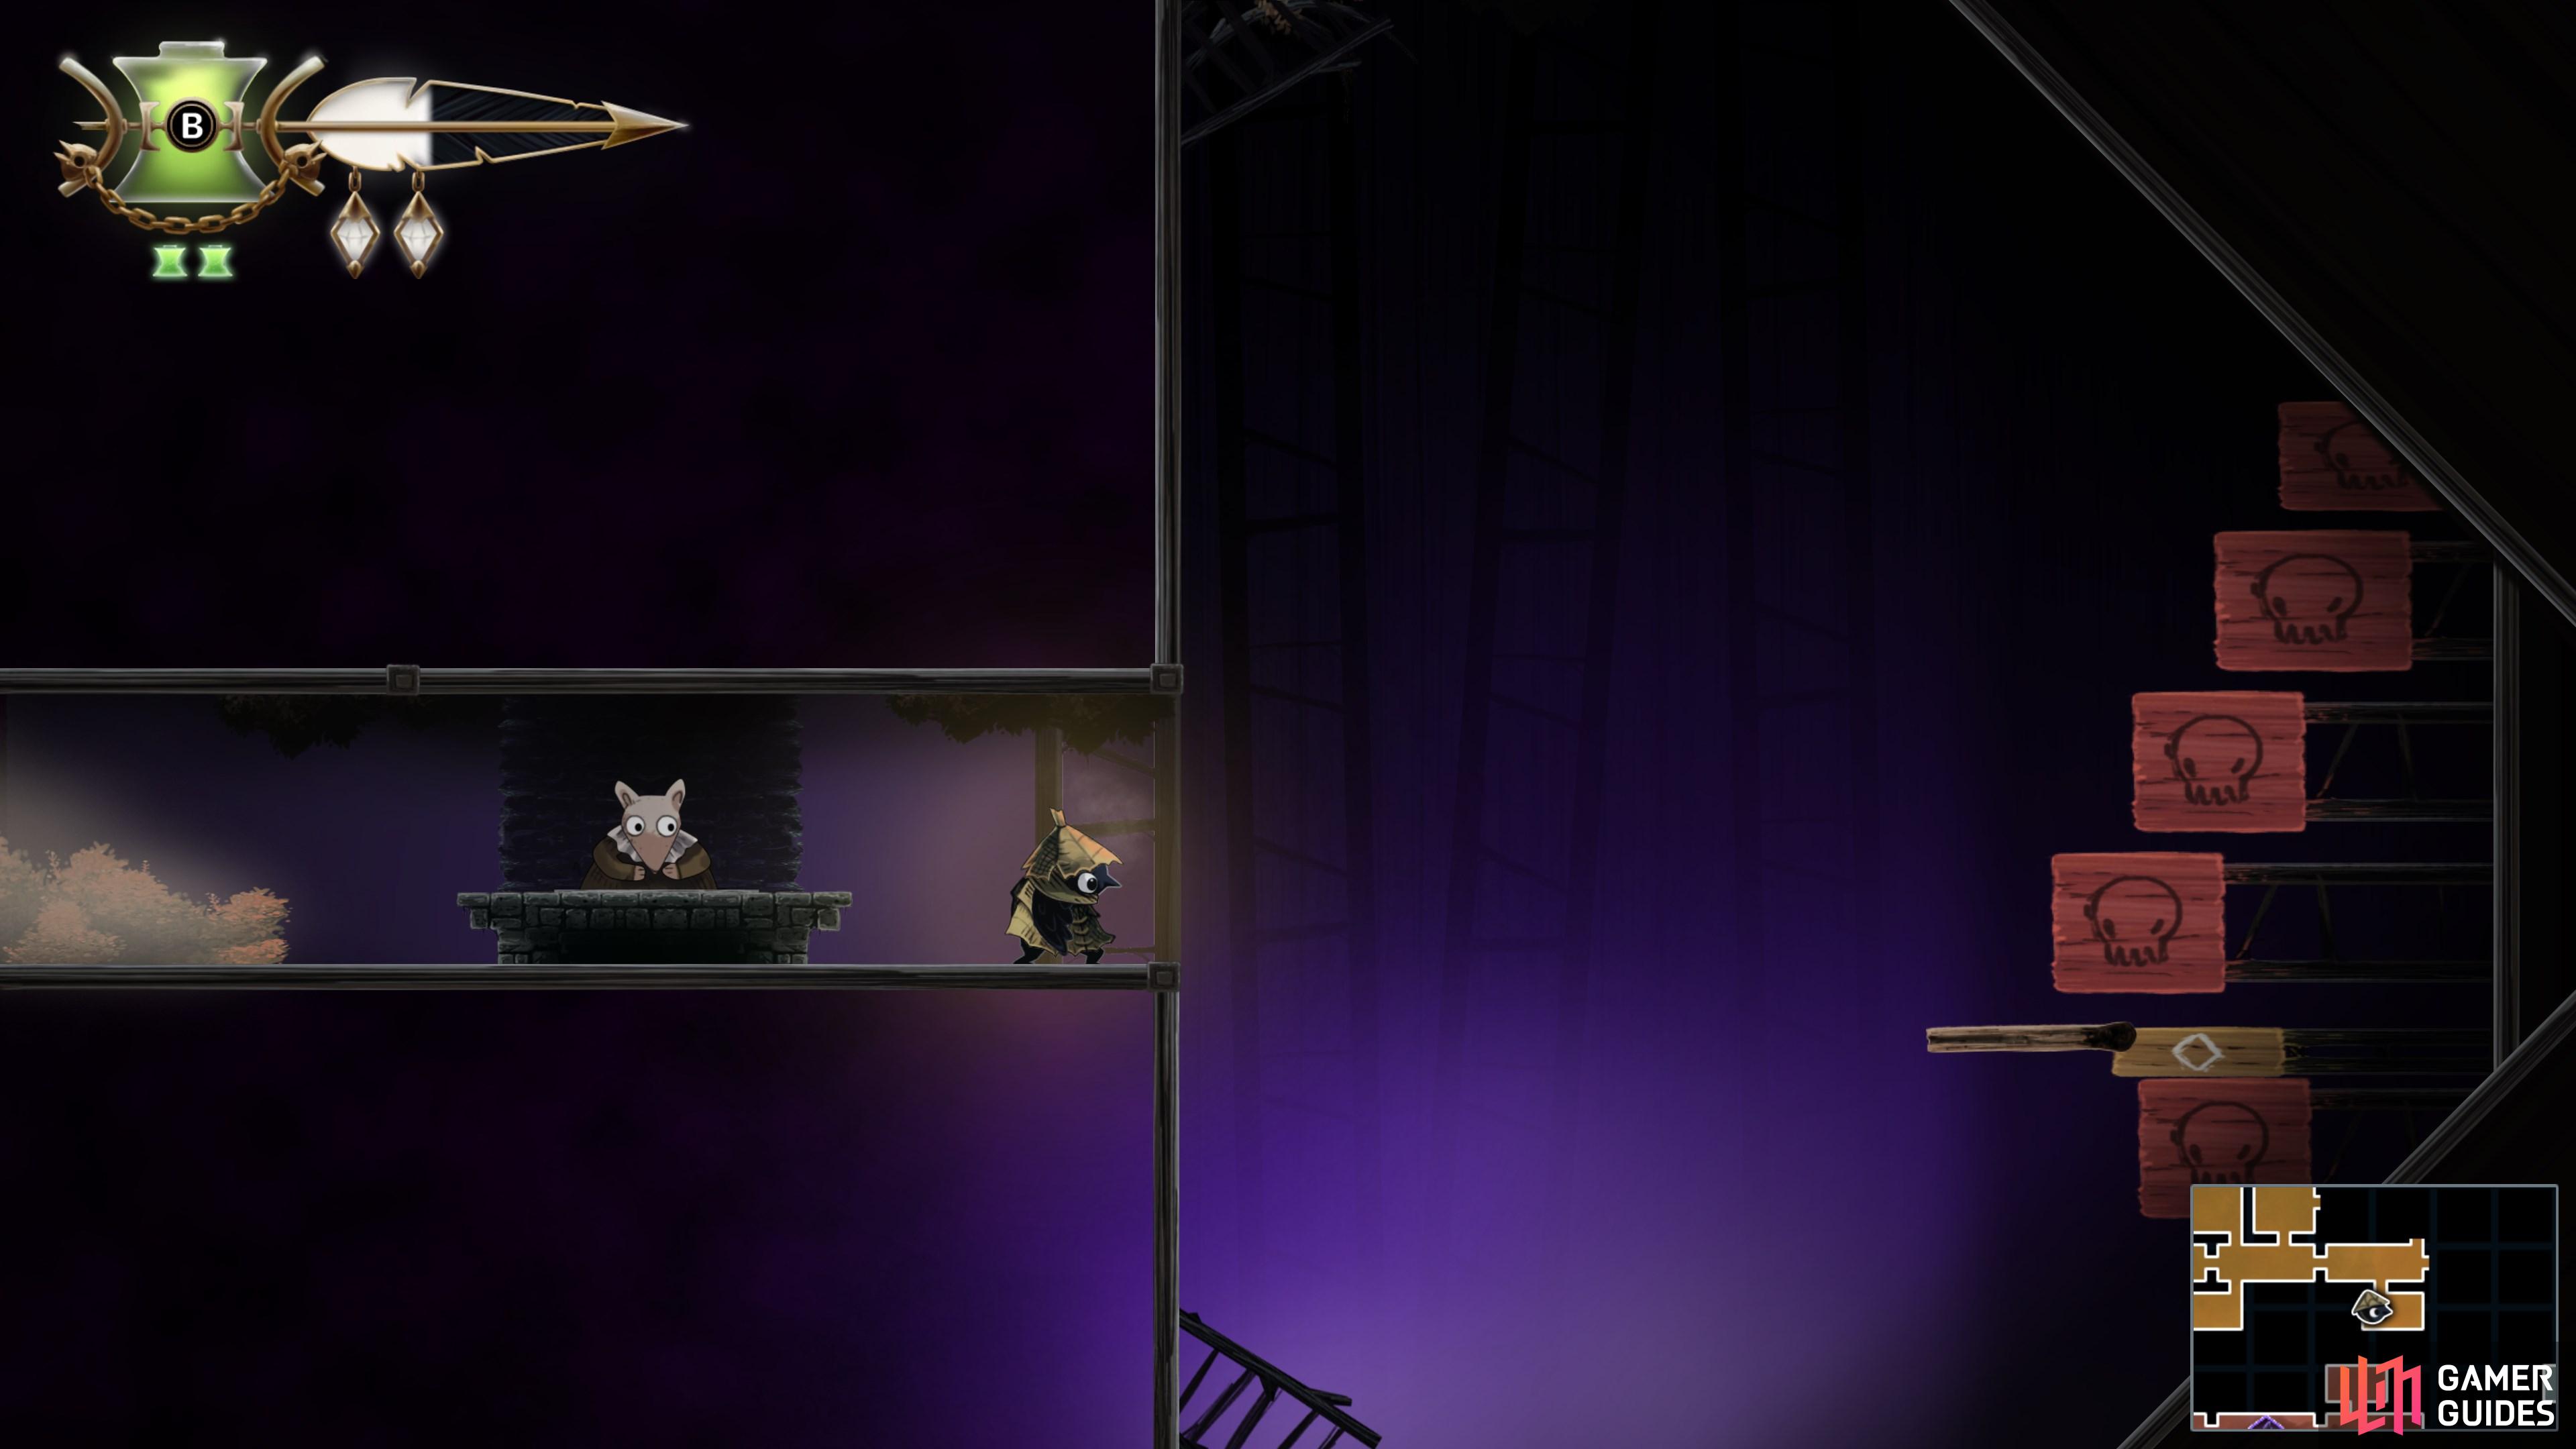
We have added 59 Trinket Point locations to the map in Well Dweller. Use the interactive map and checklist below to find every one and track the ones you have already collected.

59 locations · Open the full interactive map ›

0 of 59 collected

Sign in to save your progress across every device.

Open the full interactive map The Kingdom · every marker, filter and layer
  1. 1 Trinket Point

    Trinket Point

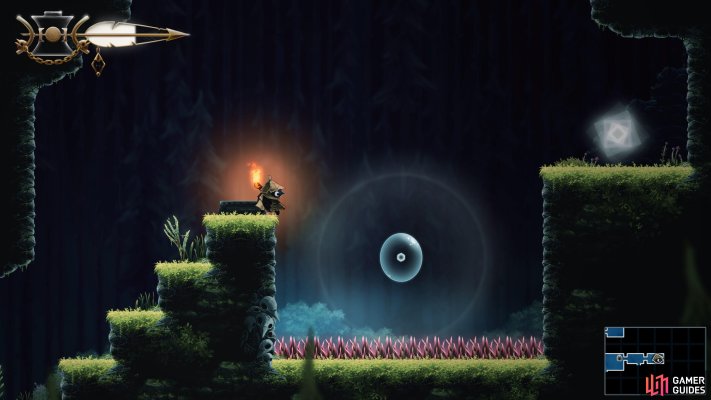
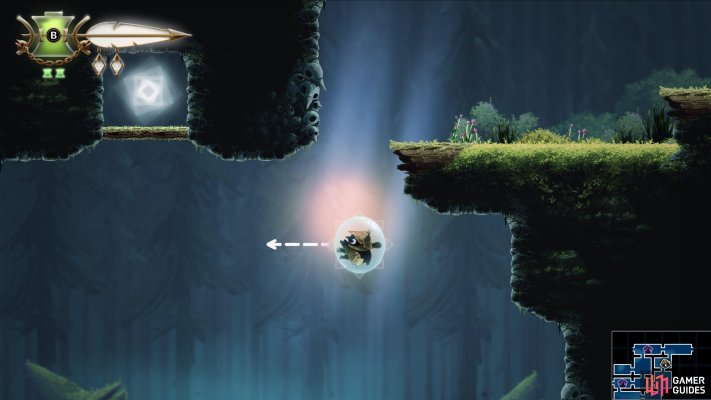
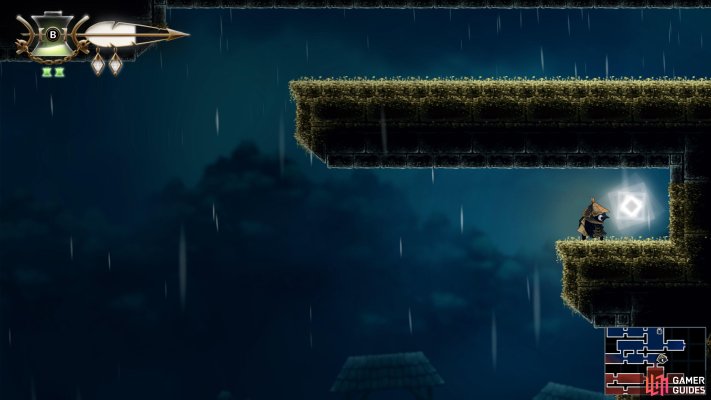
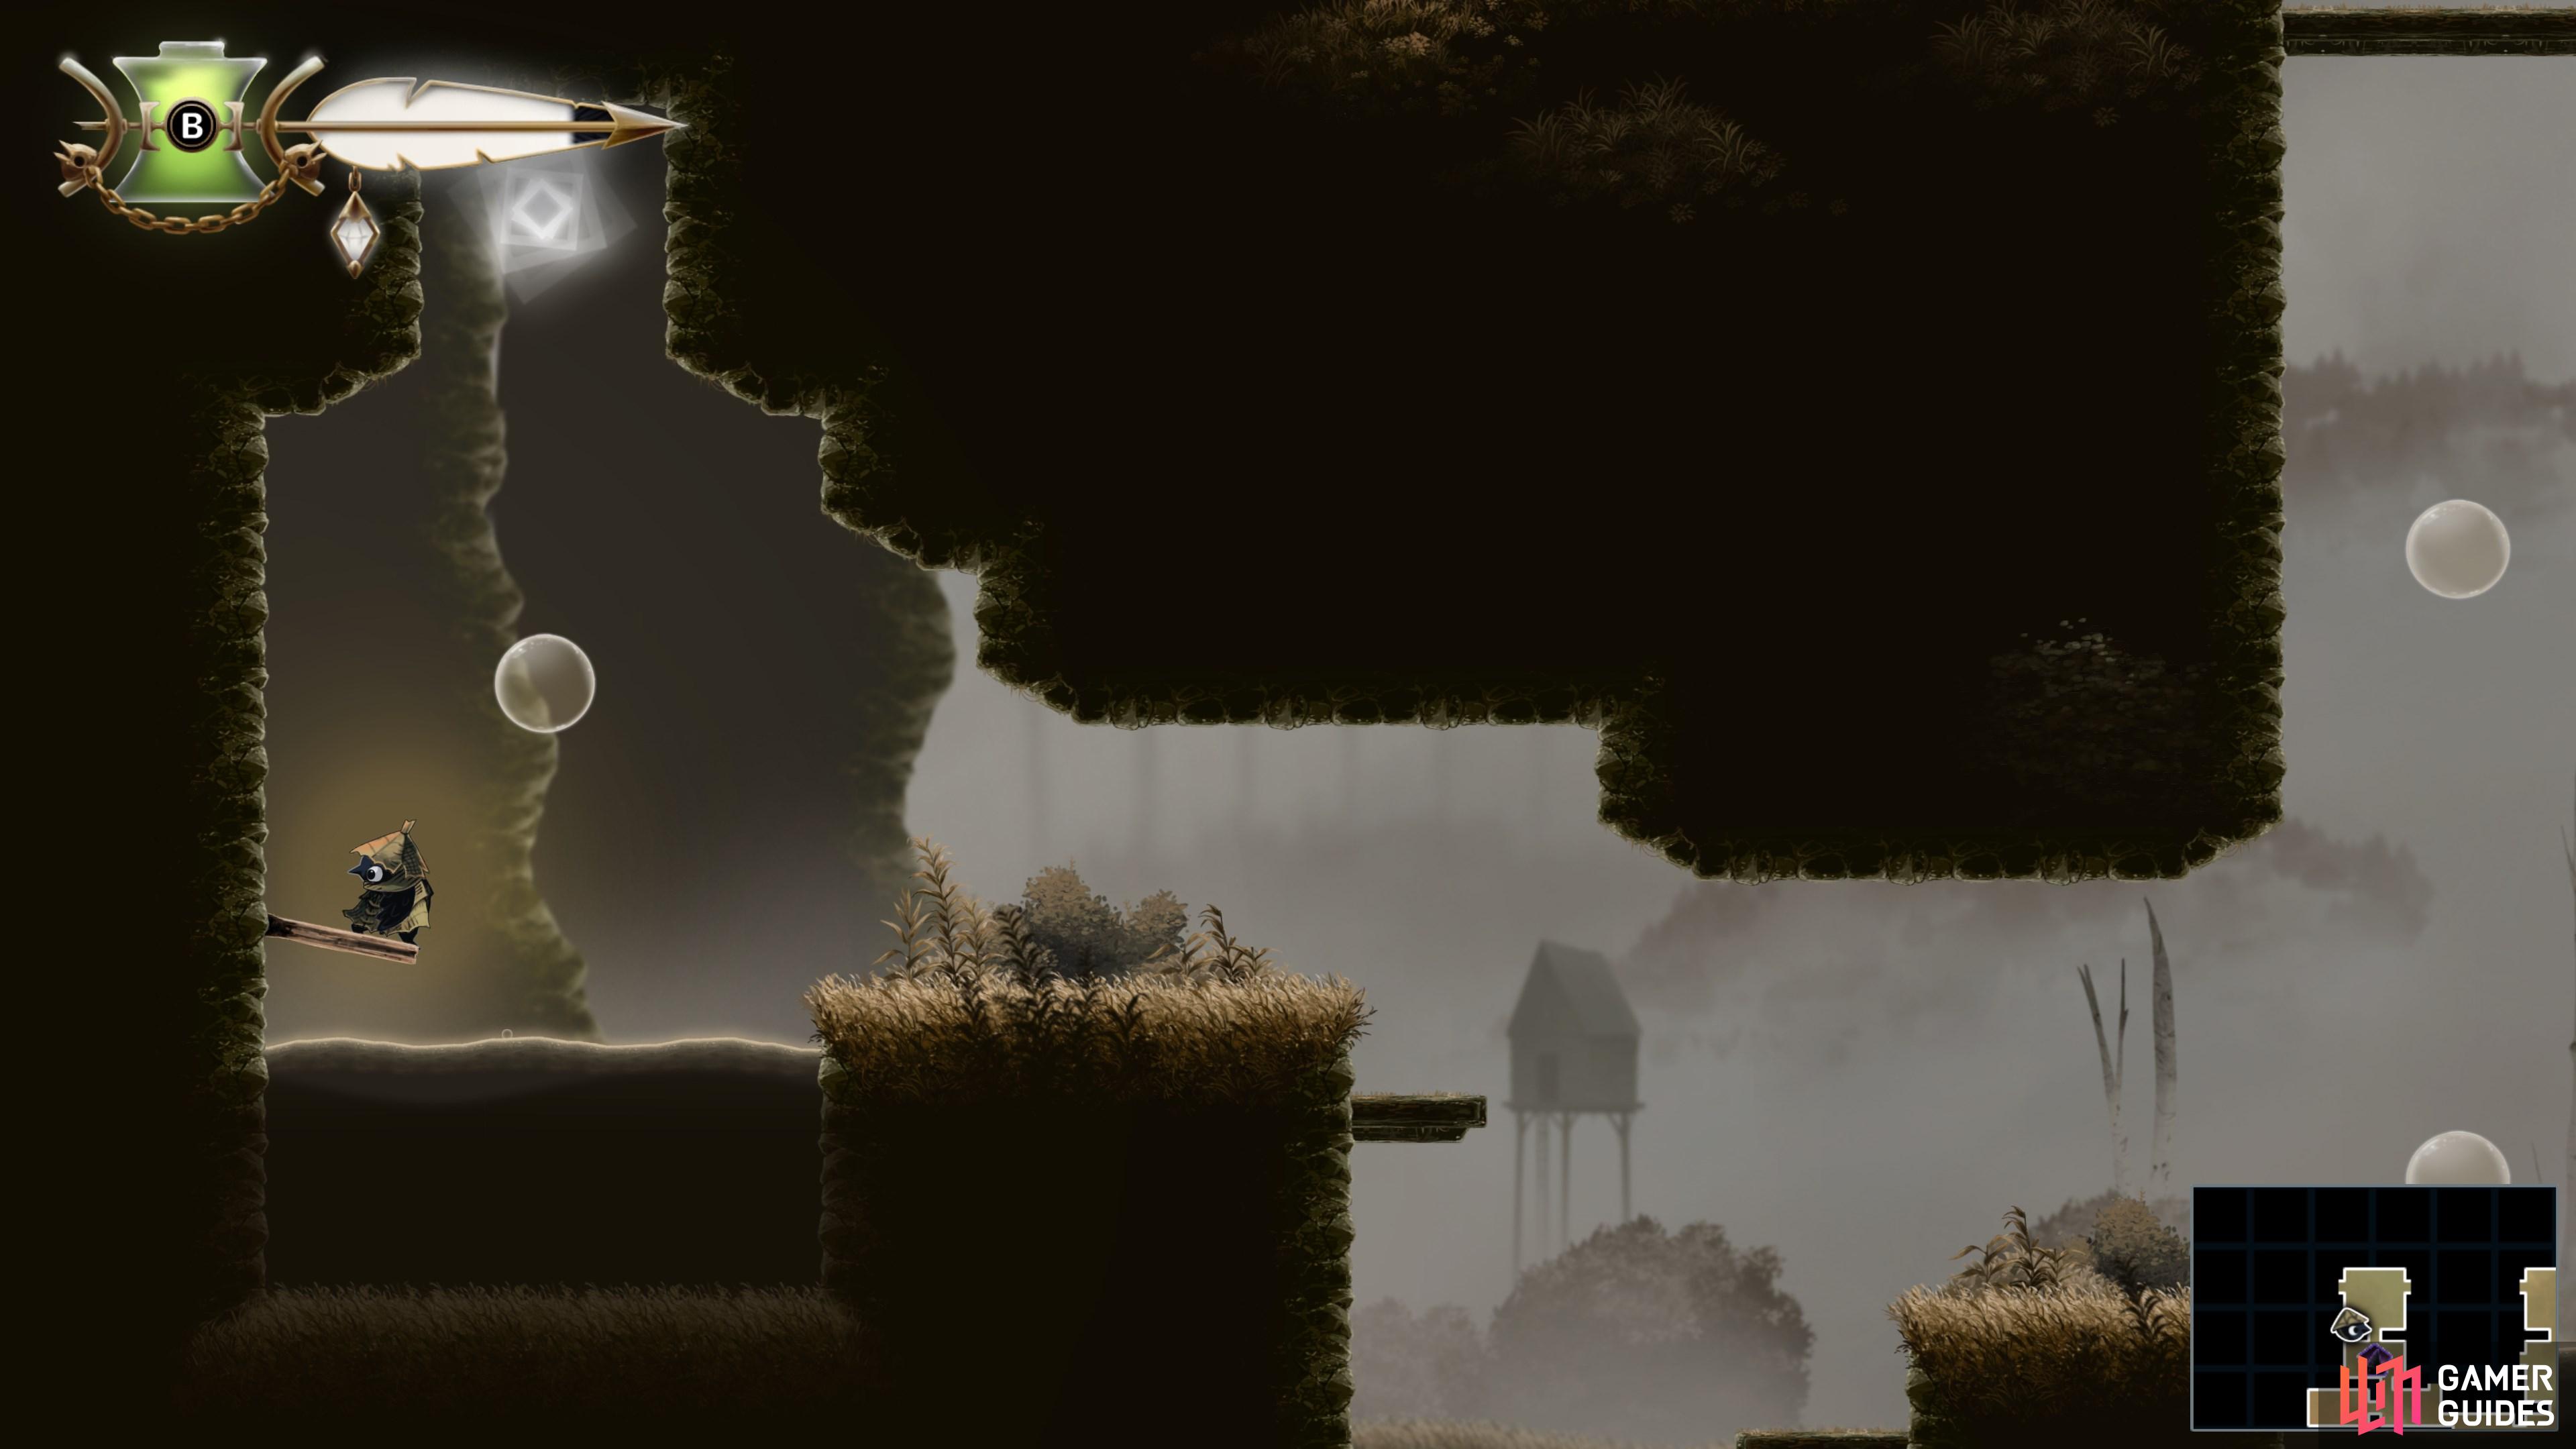
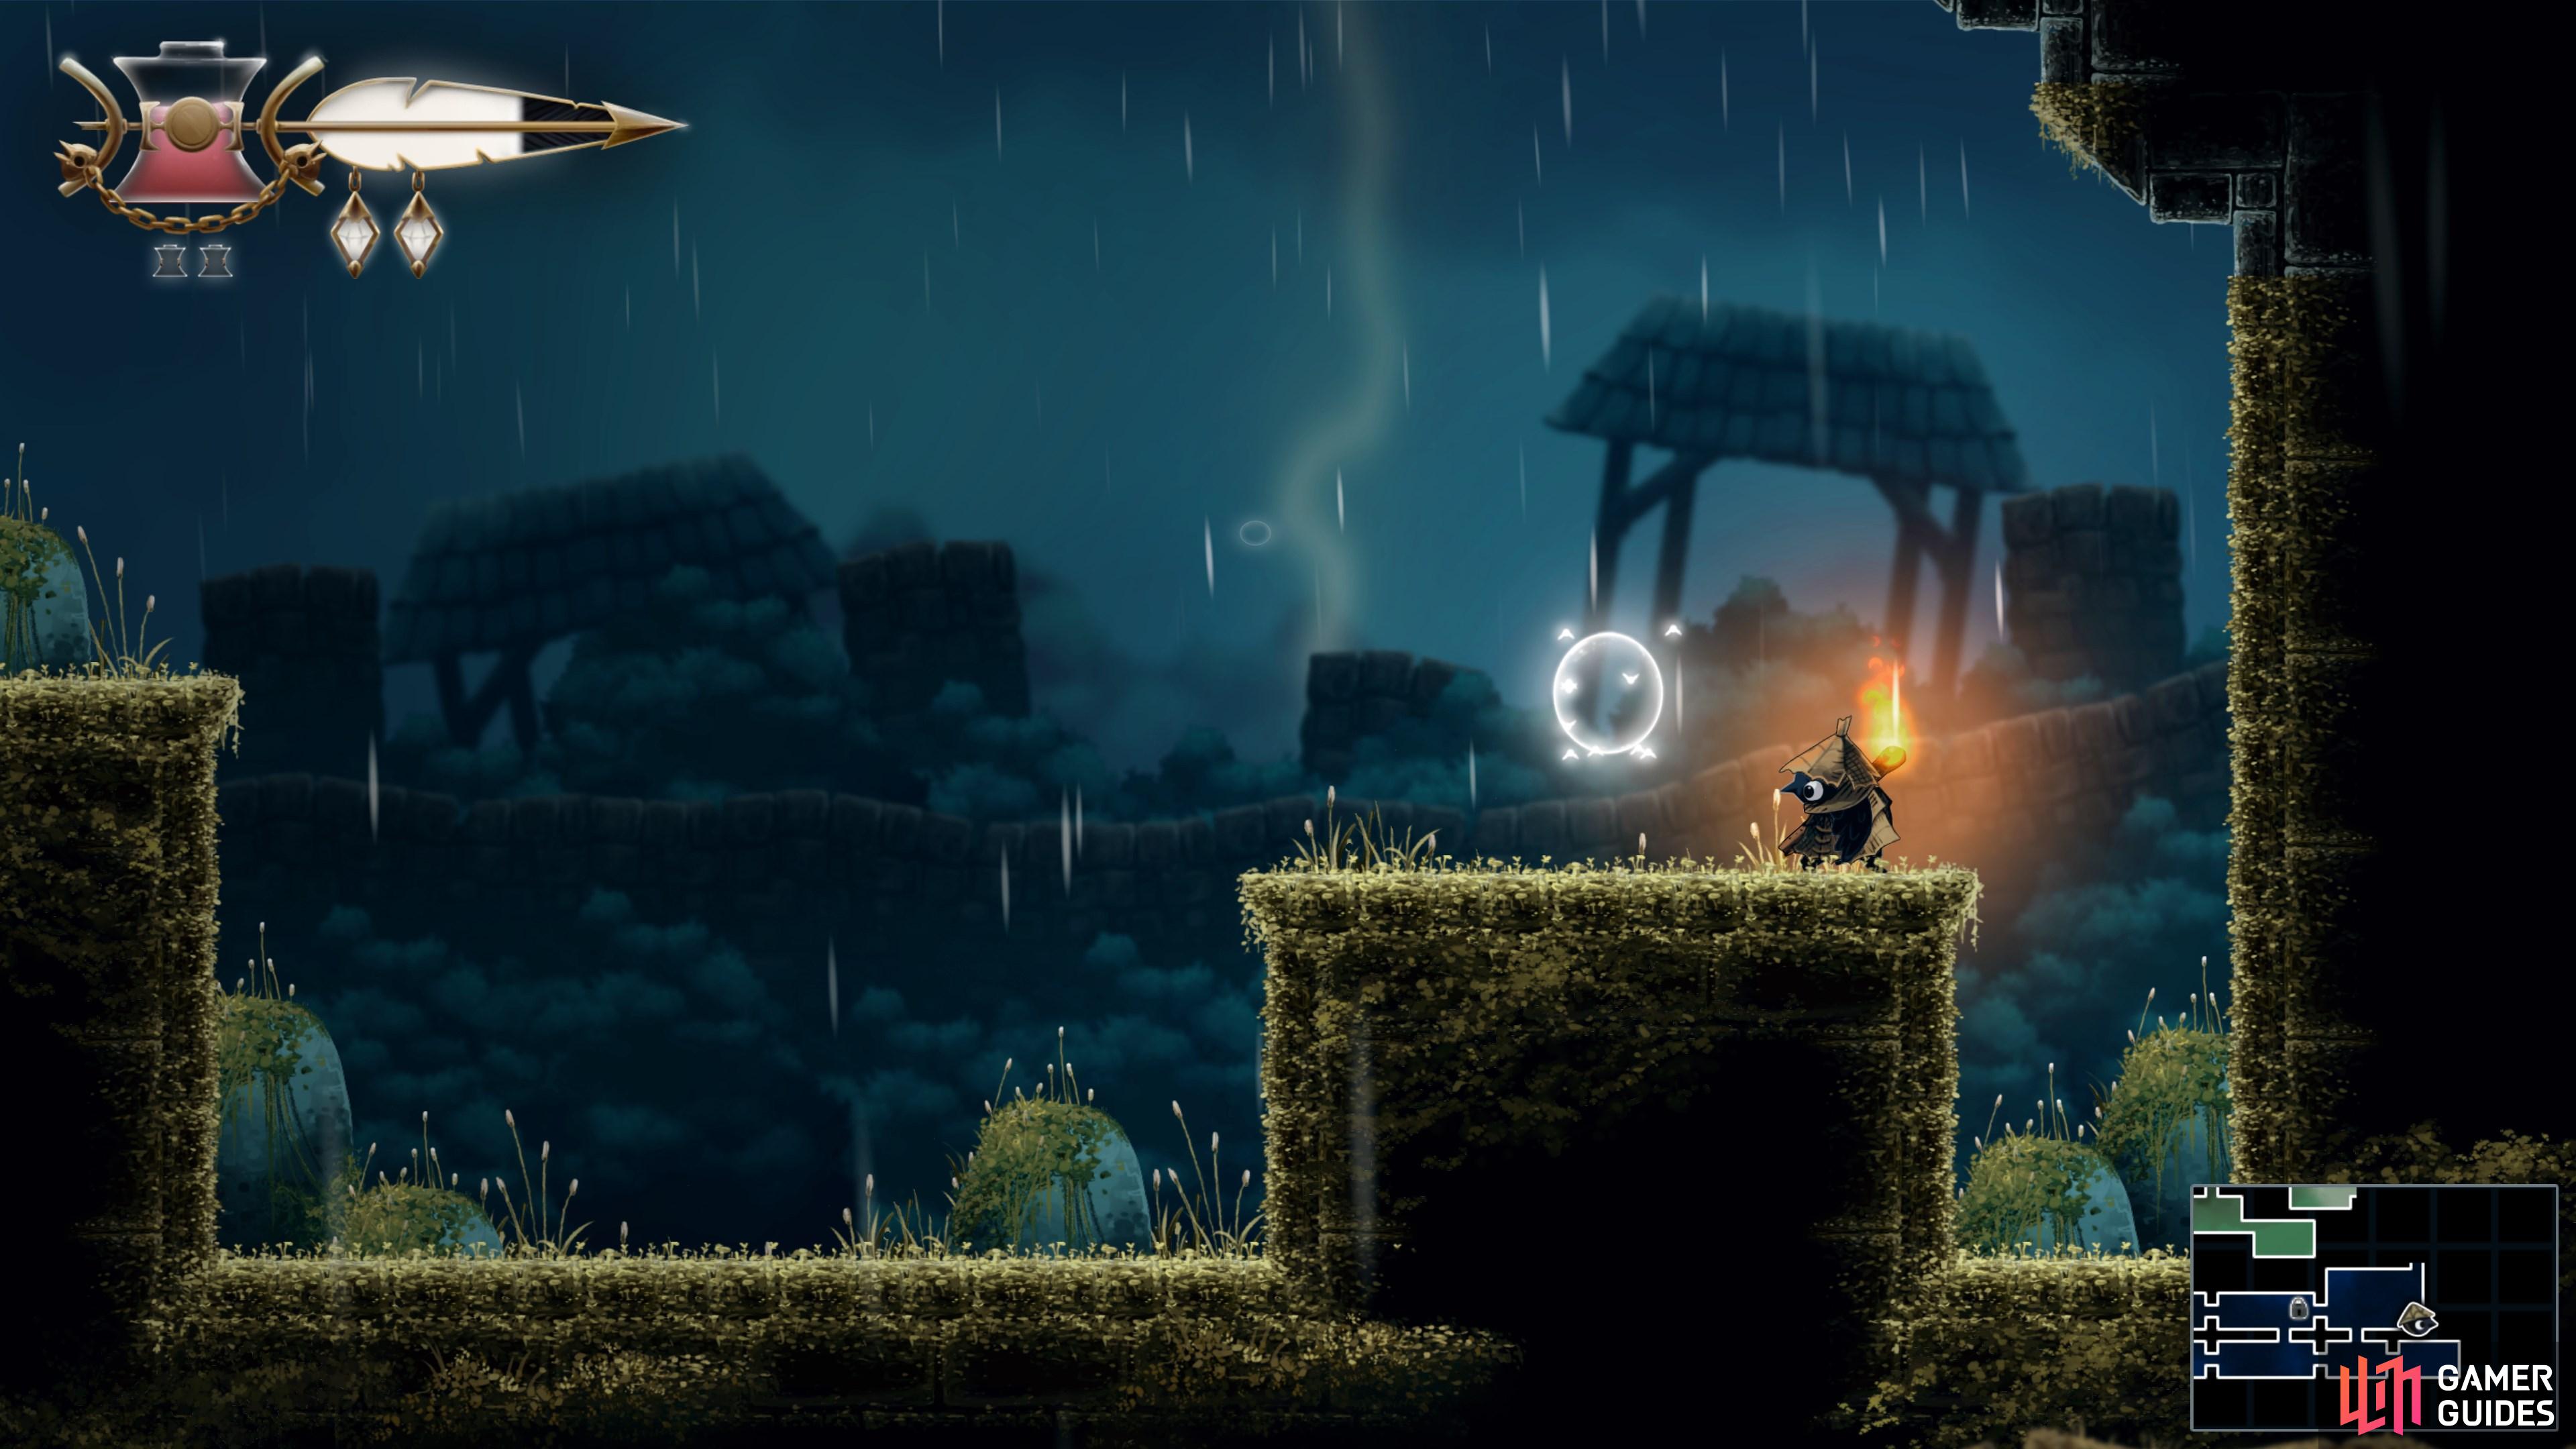
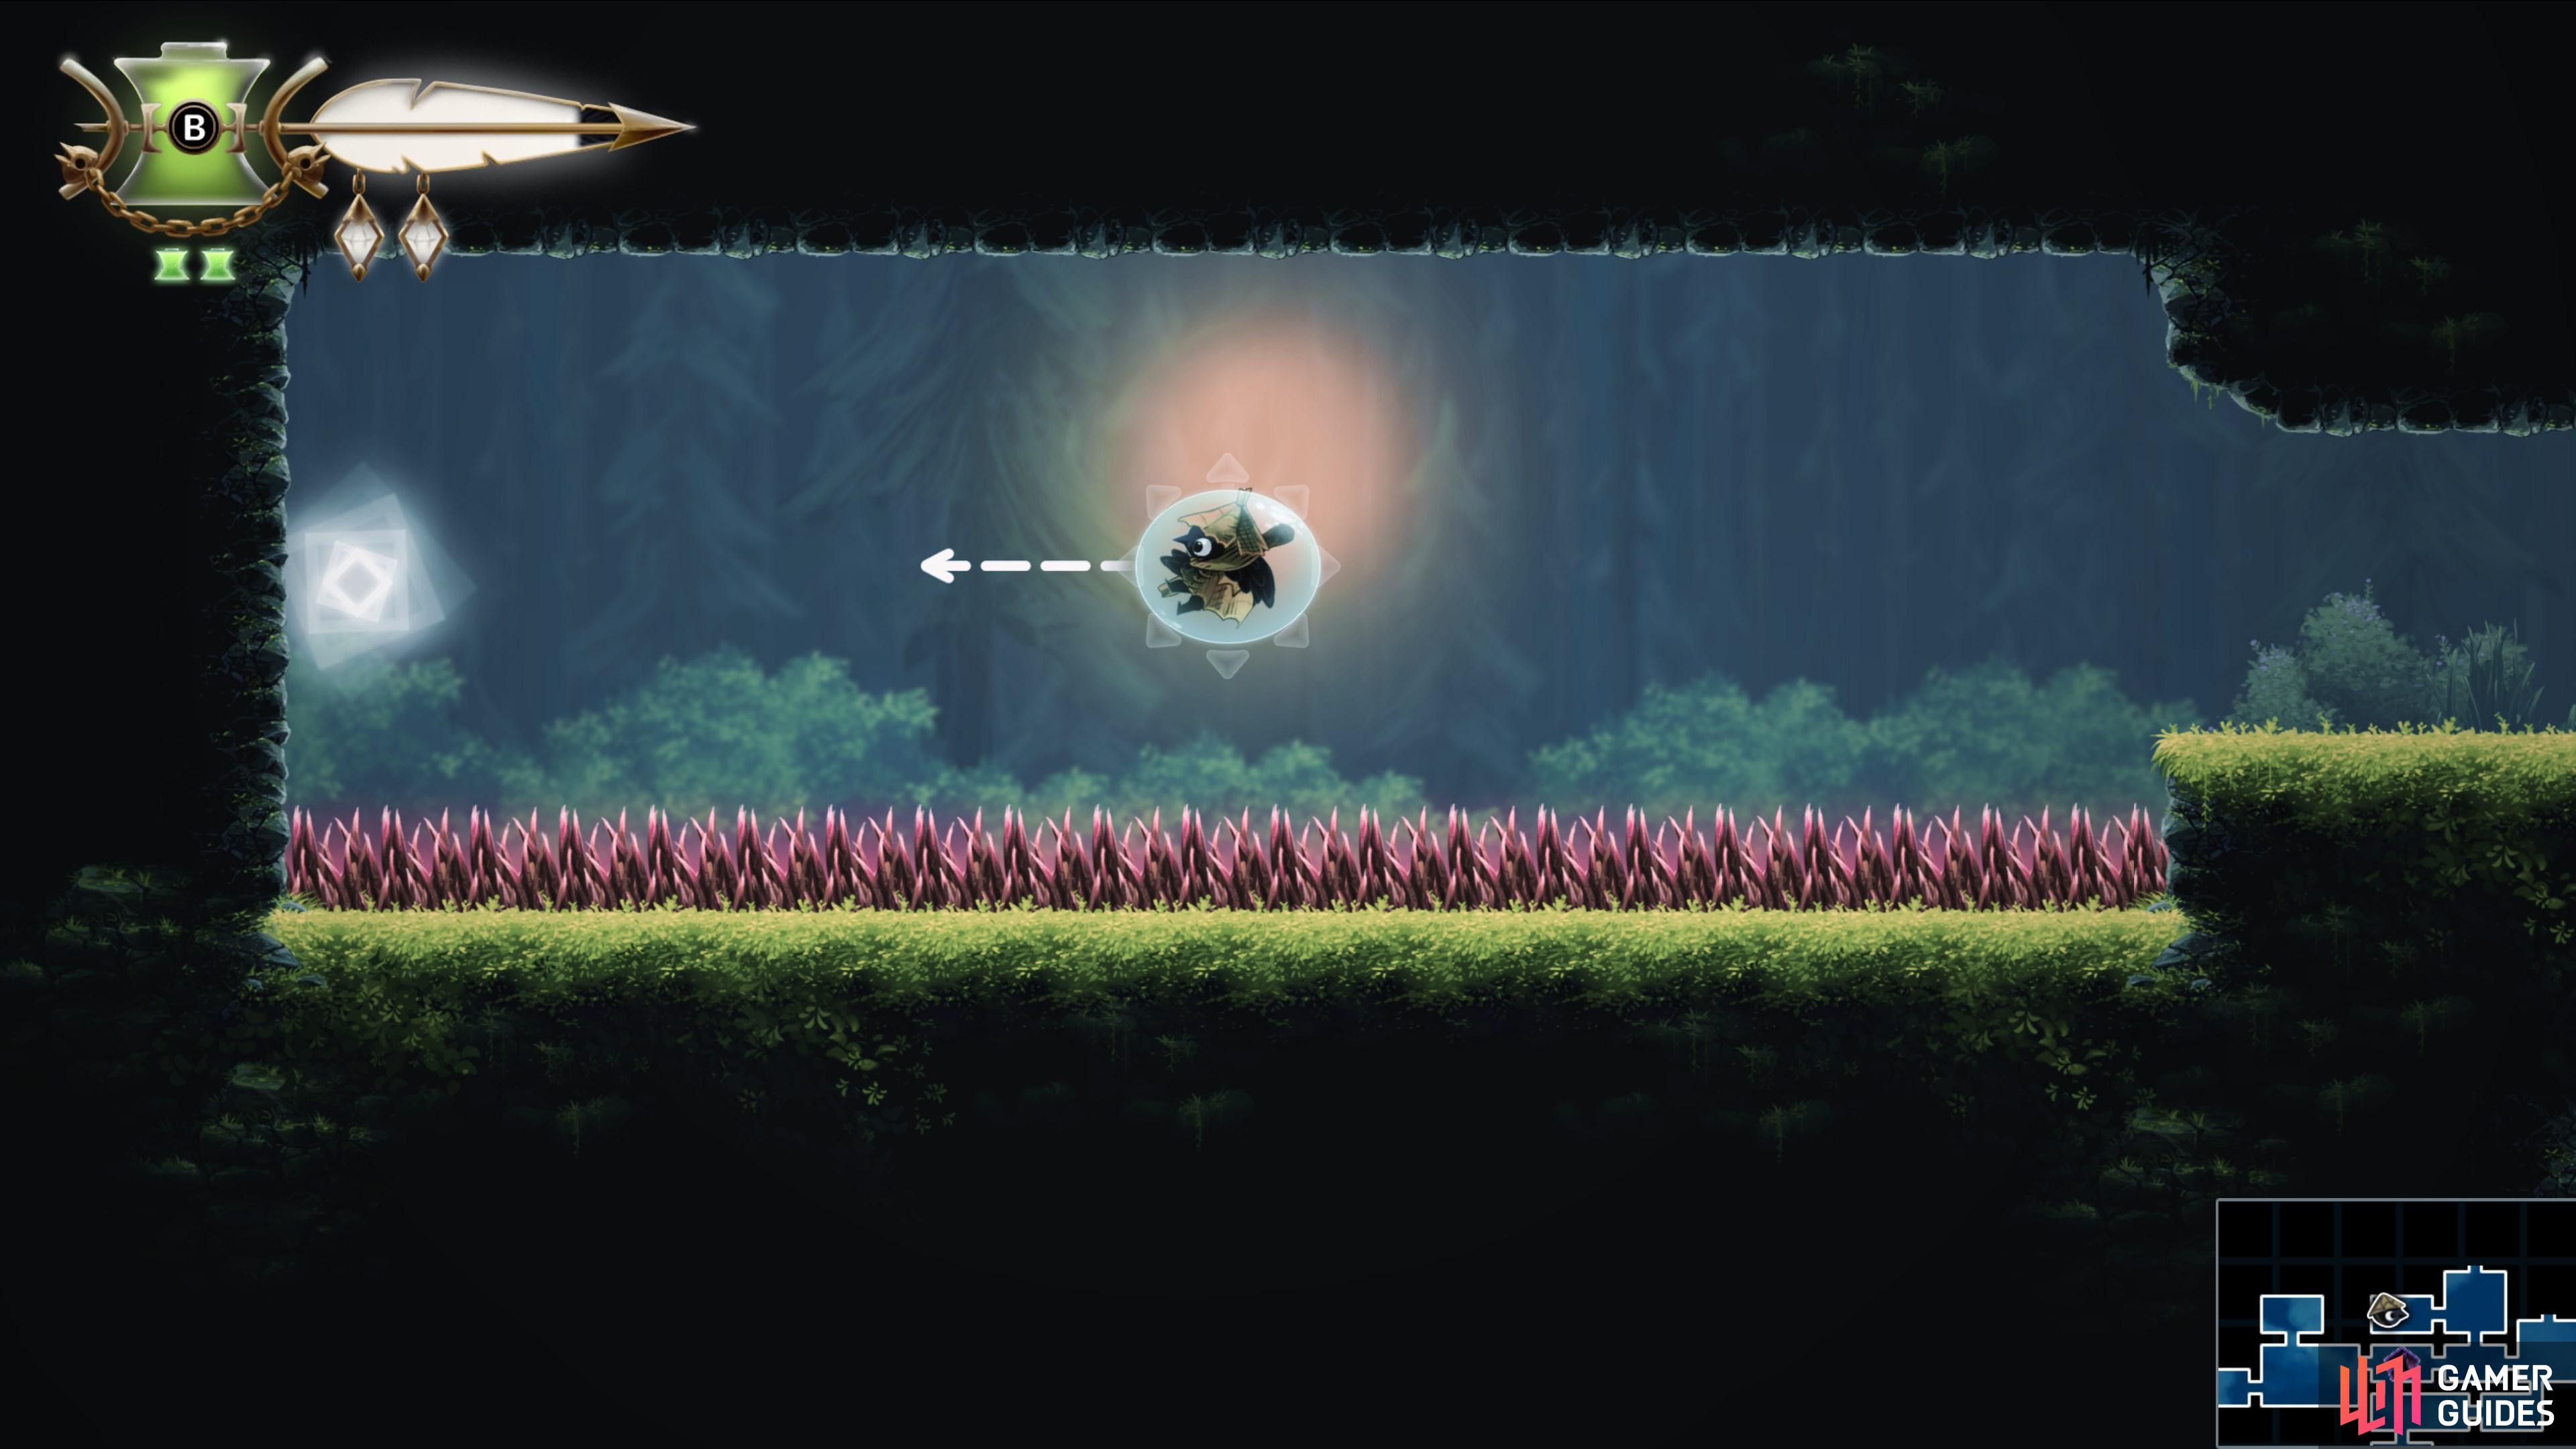
    Use the bubble to reach the platform.

    View on map
  2. 2 Trinket Point

    Trinket Point

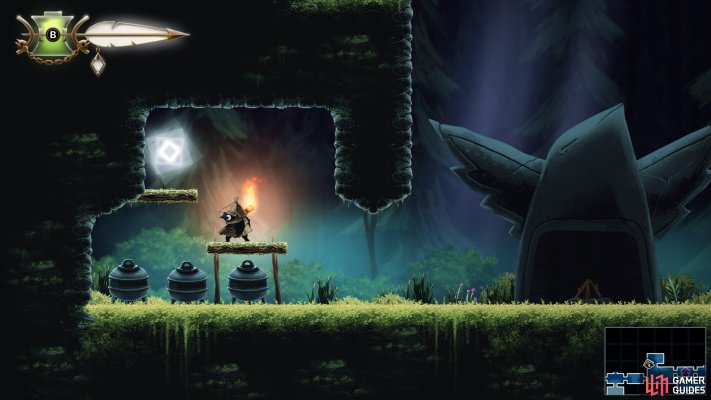
    Slingshot Required.

    View on map
  3. 3 Trinket Point

    Trinket Point

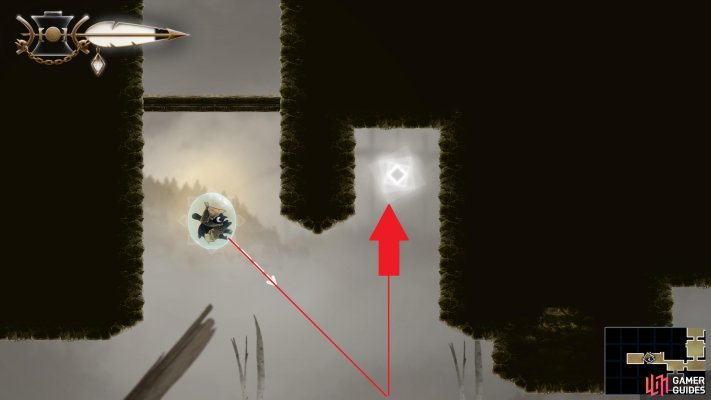
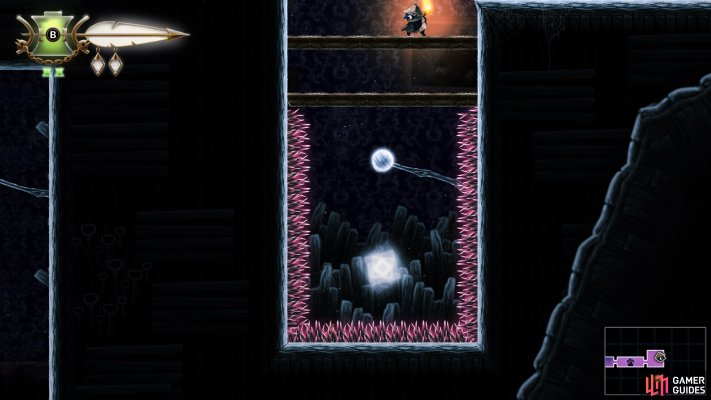
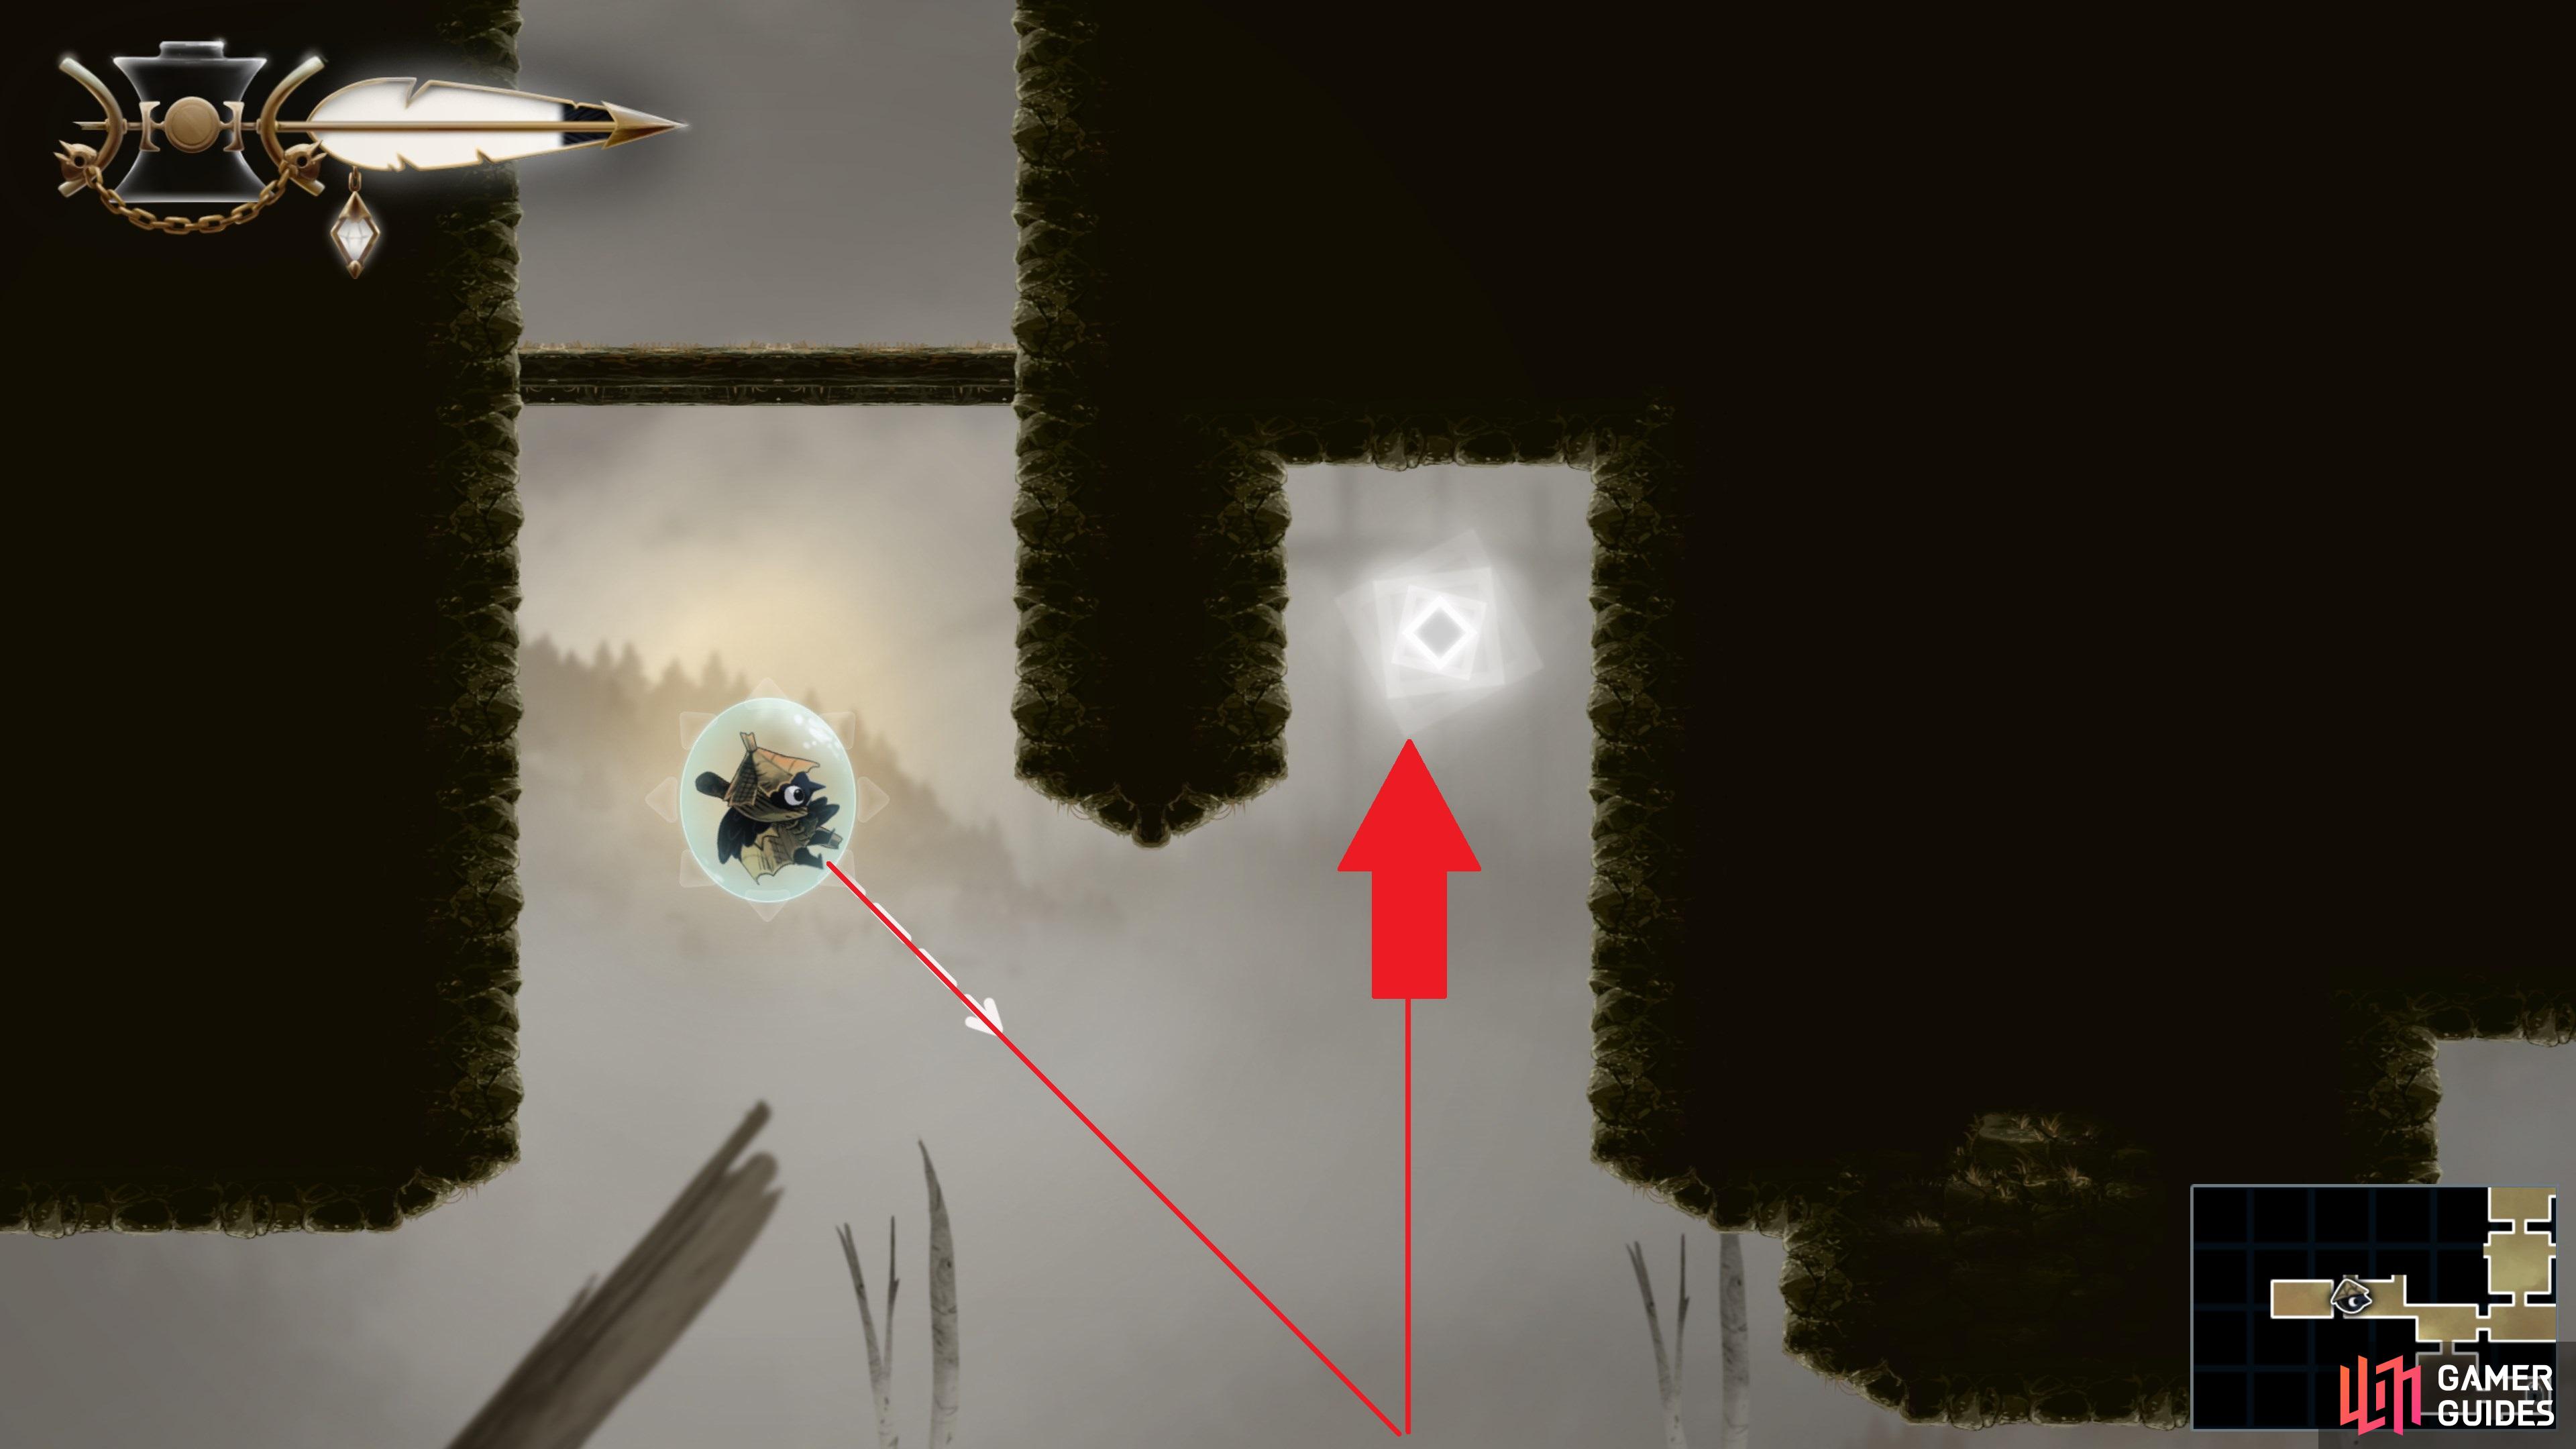
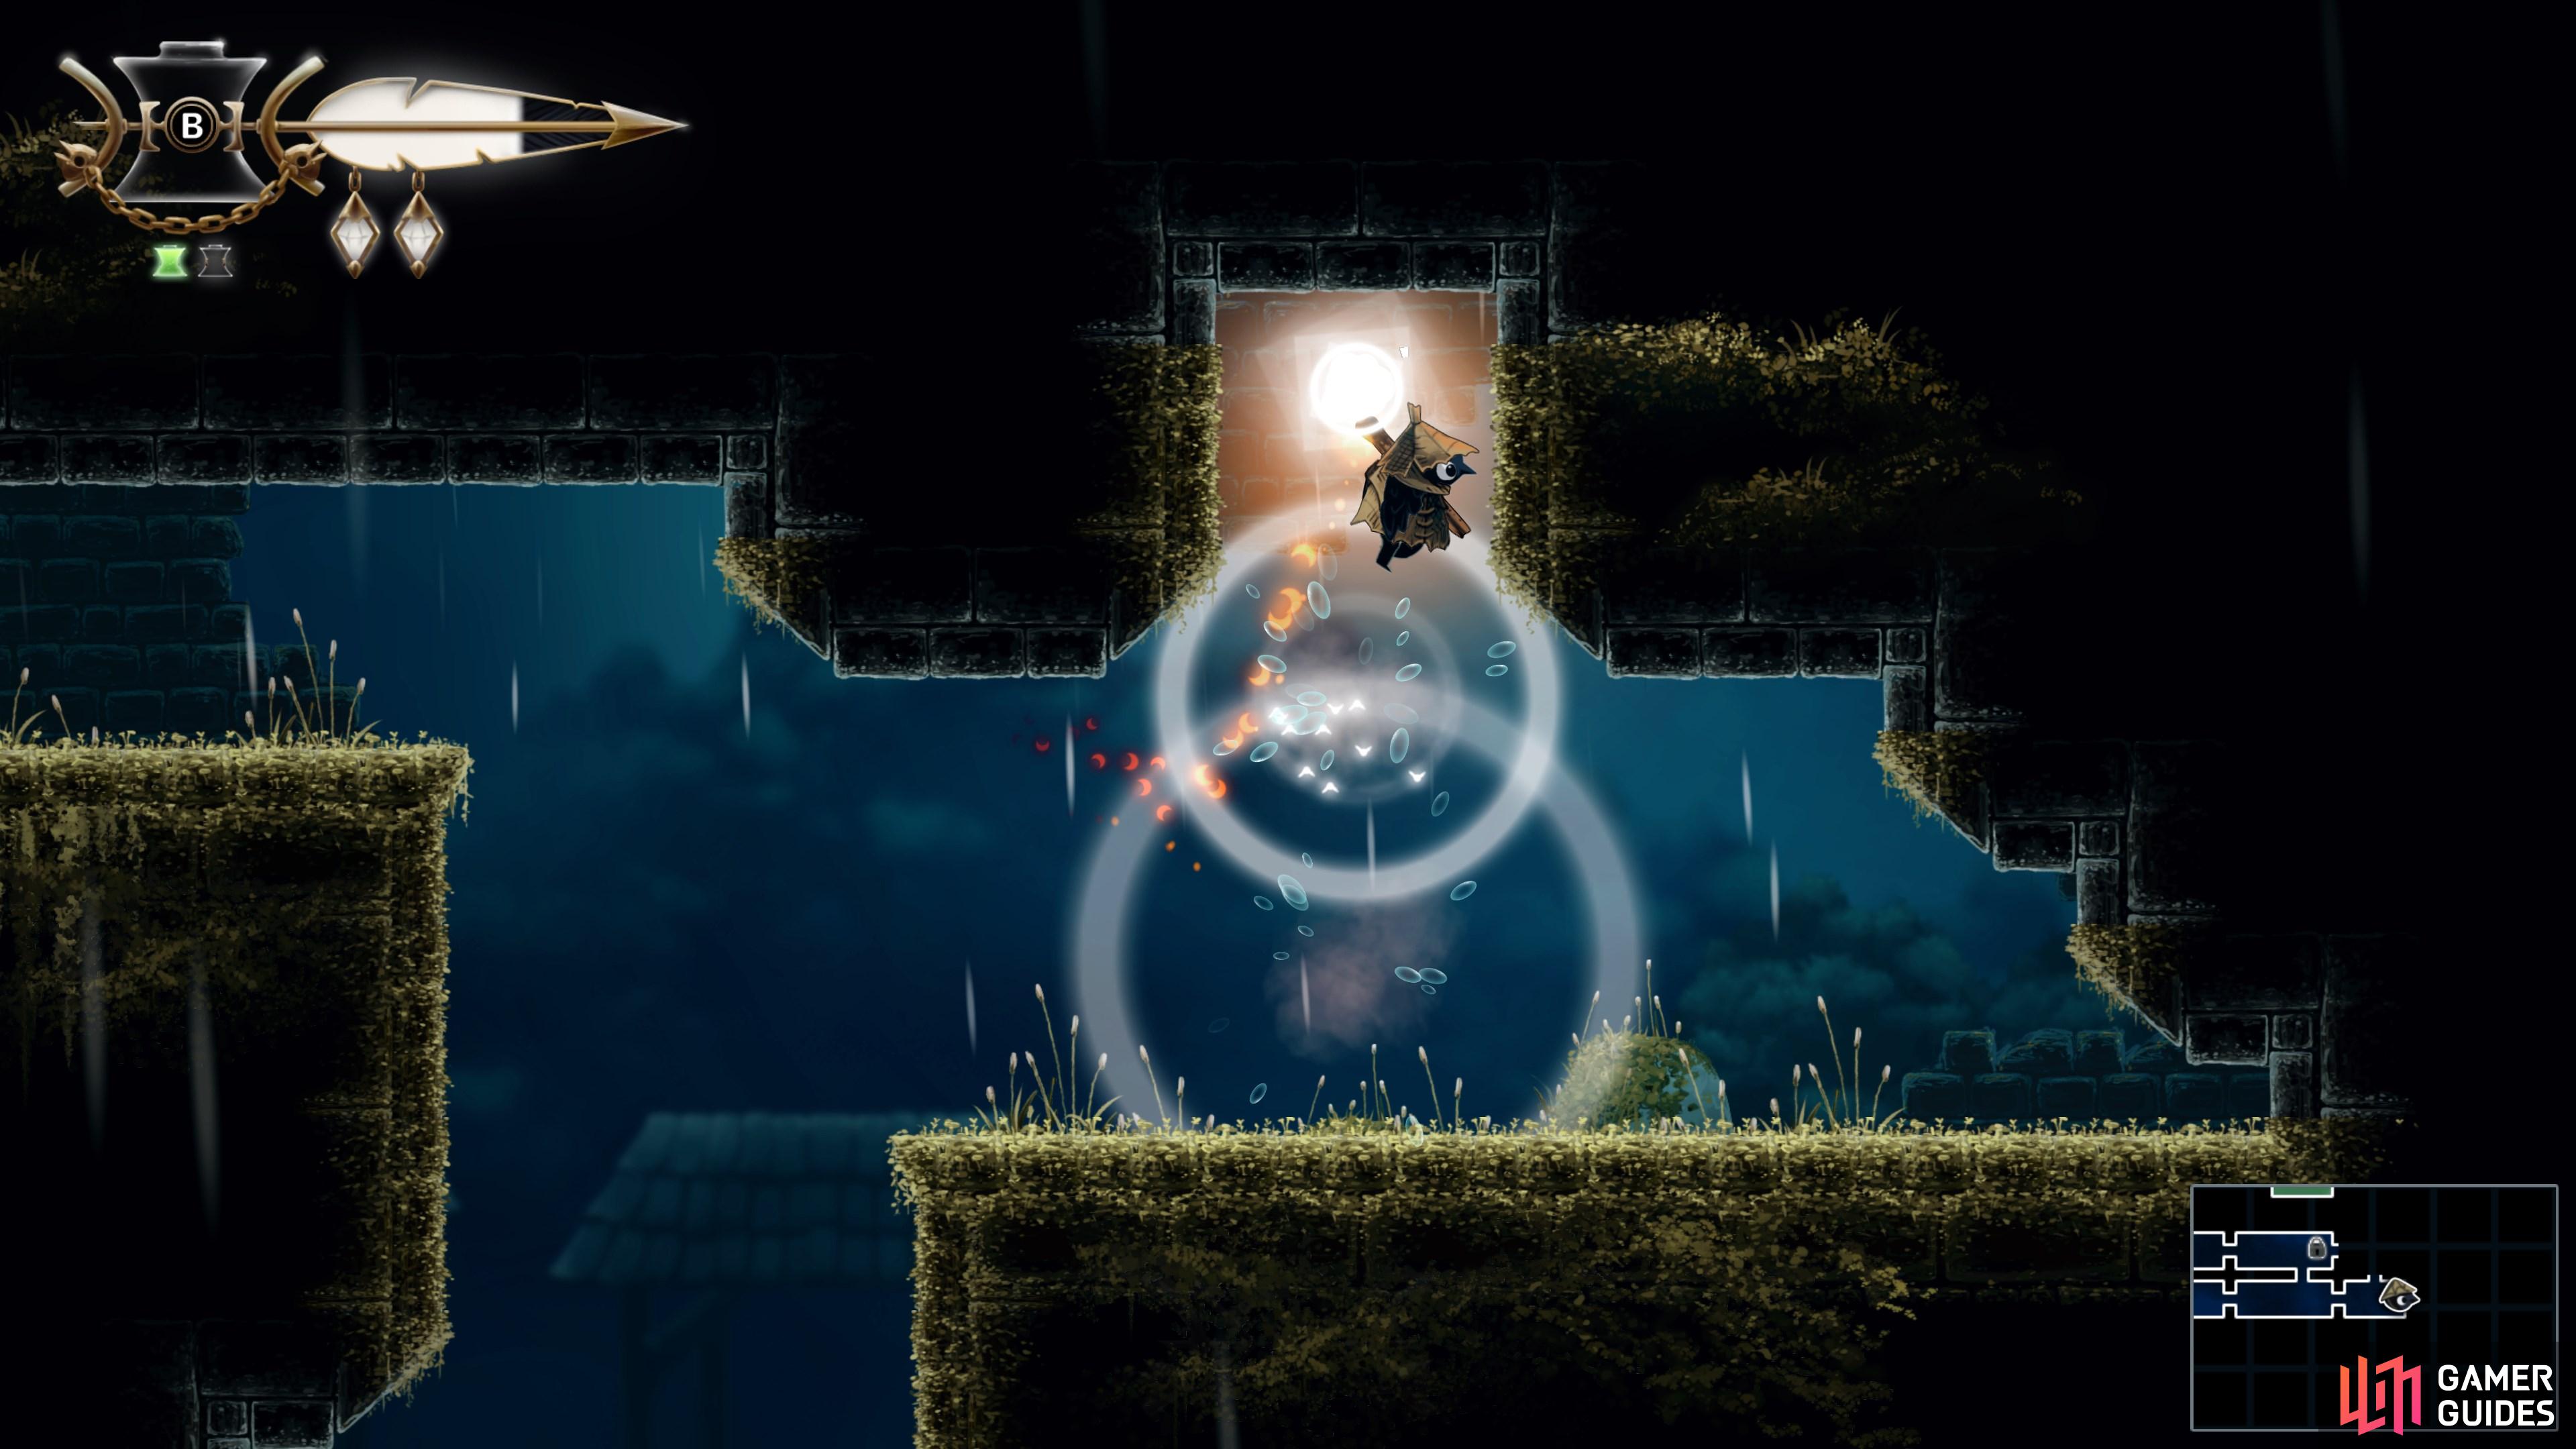
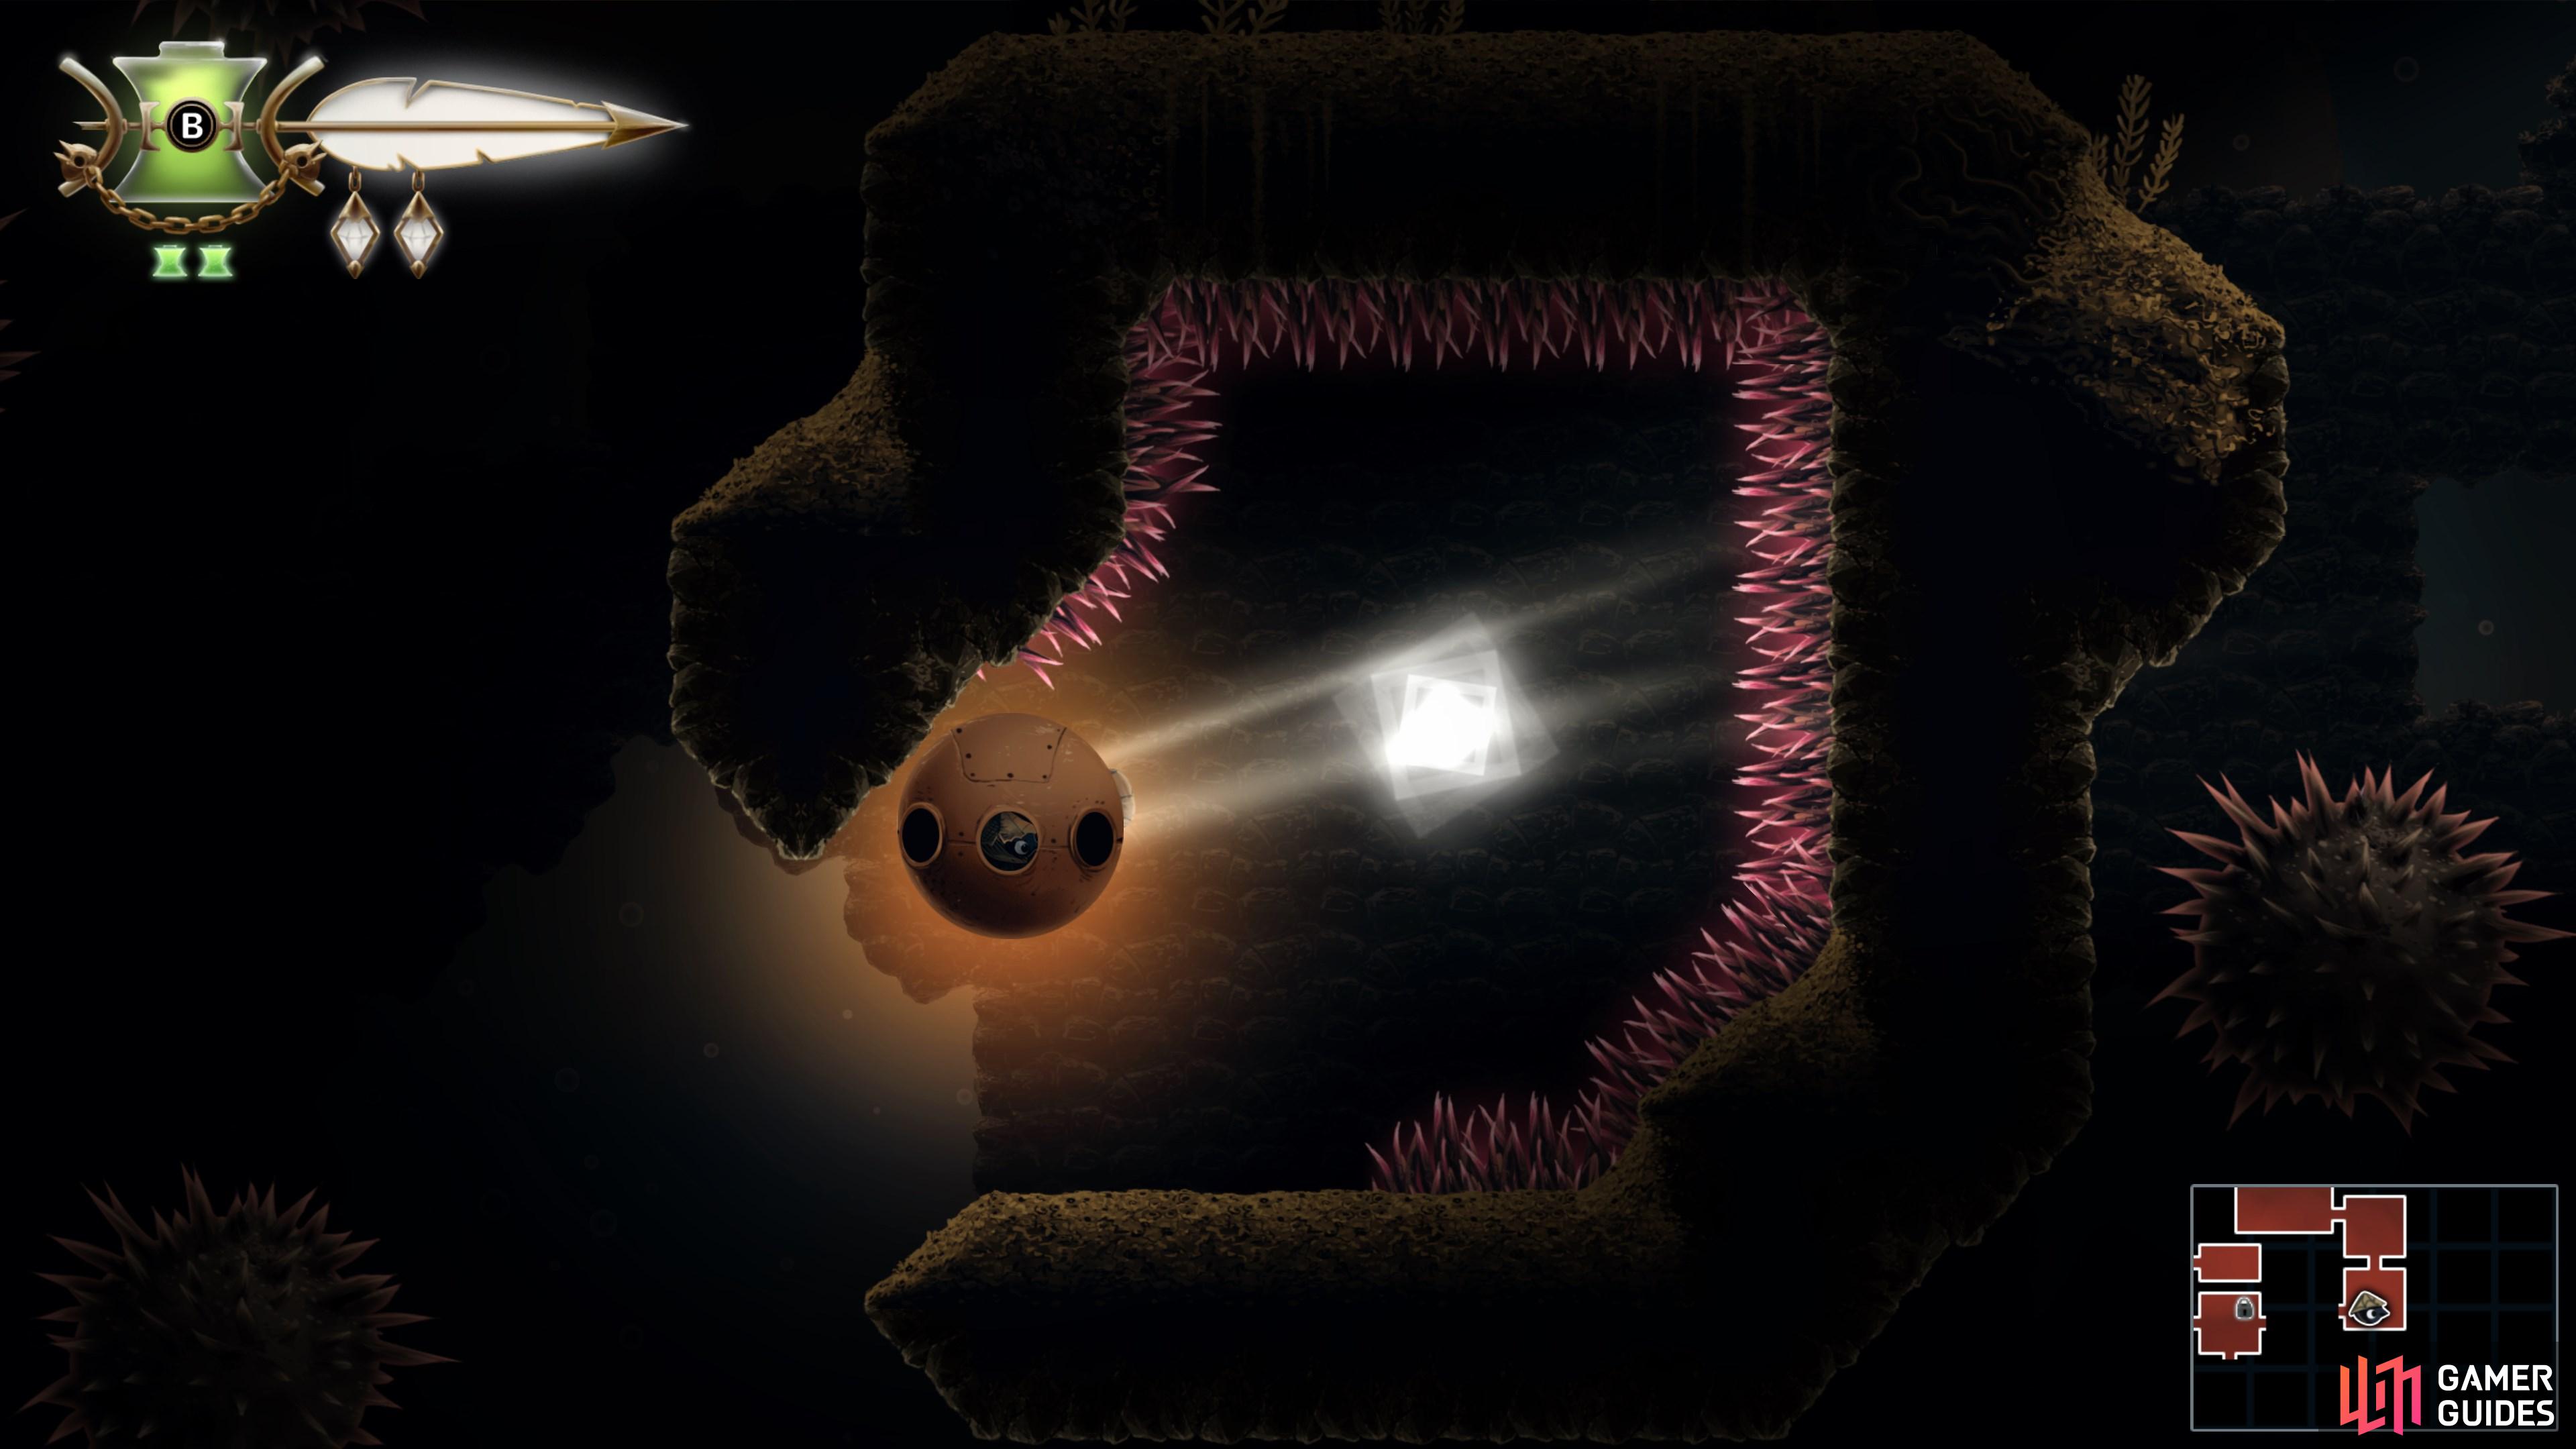
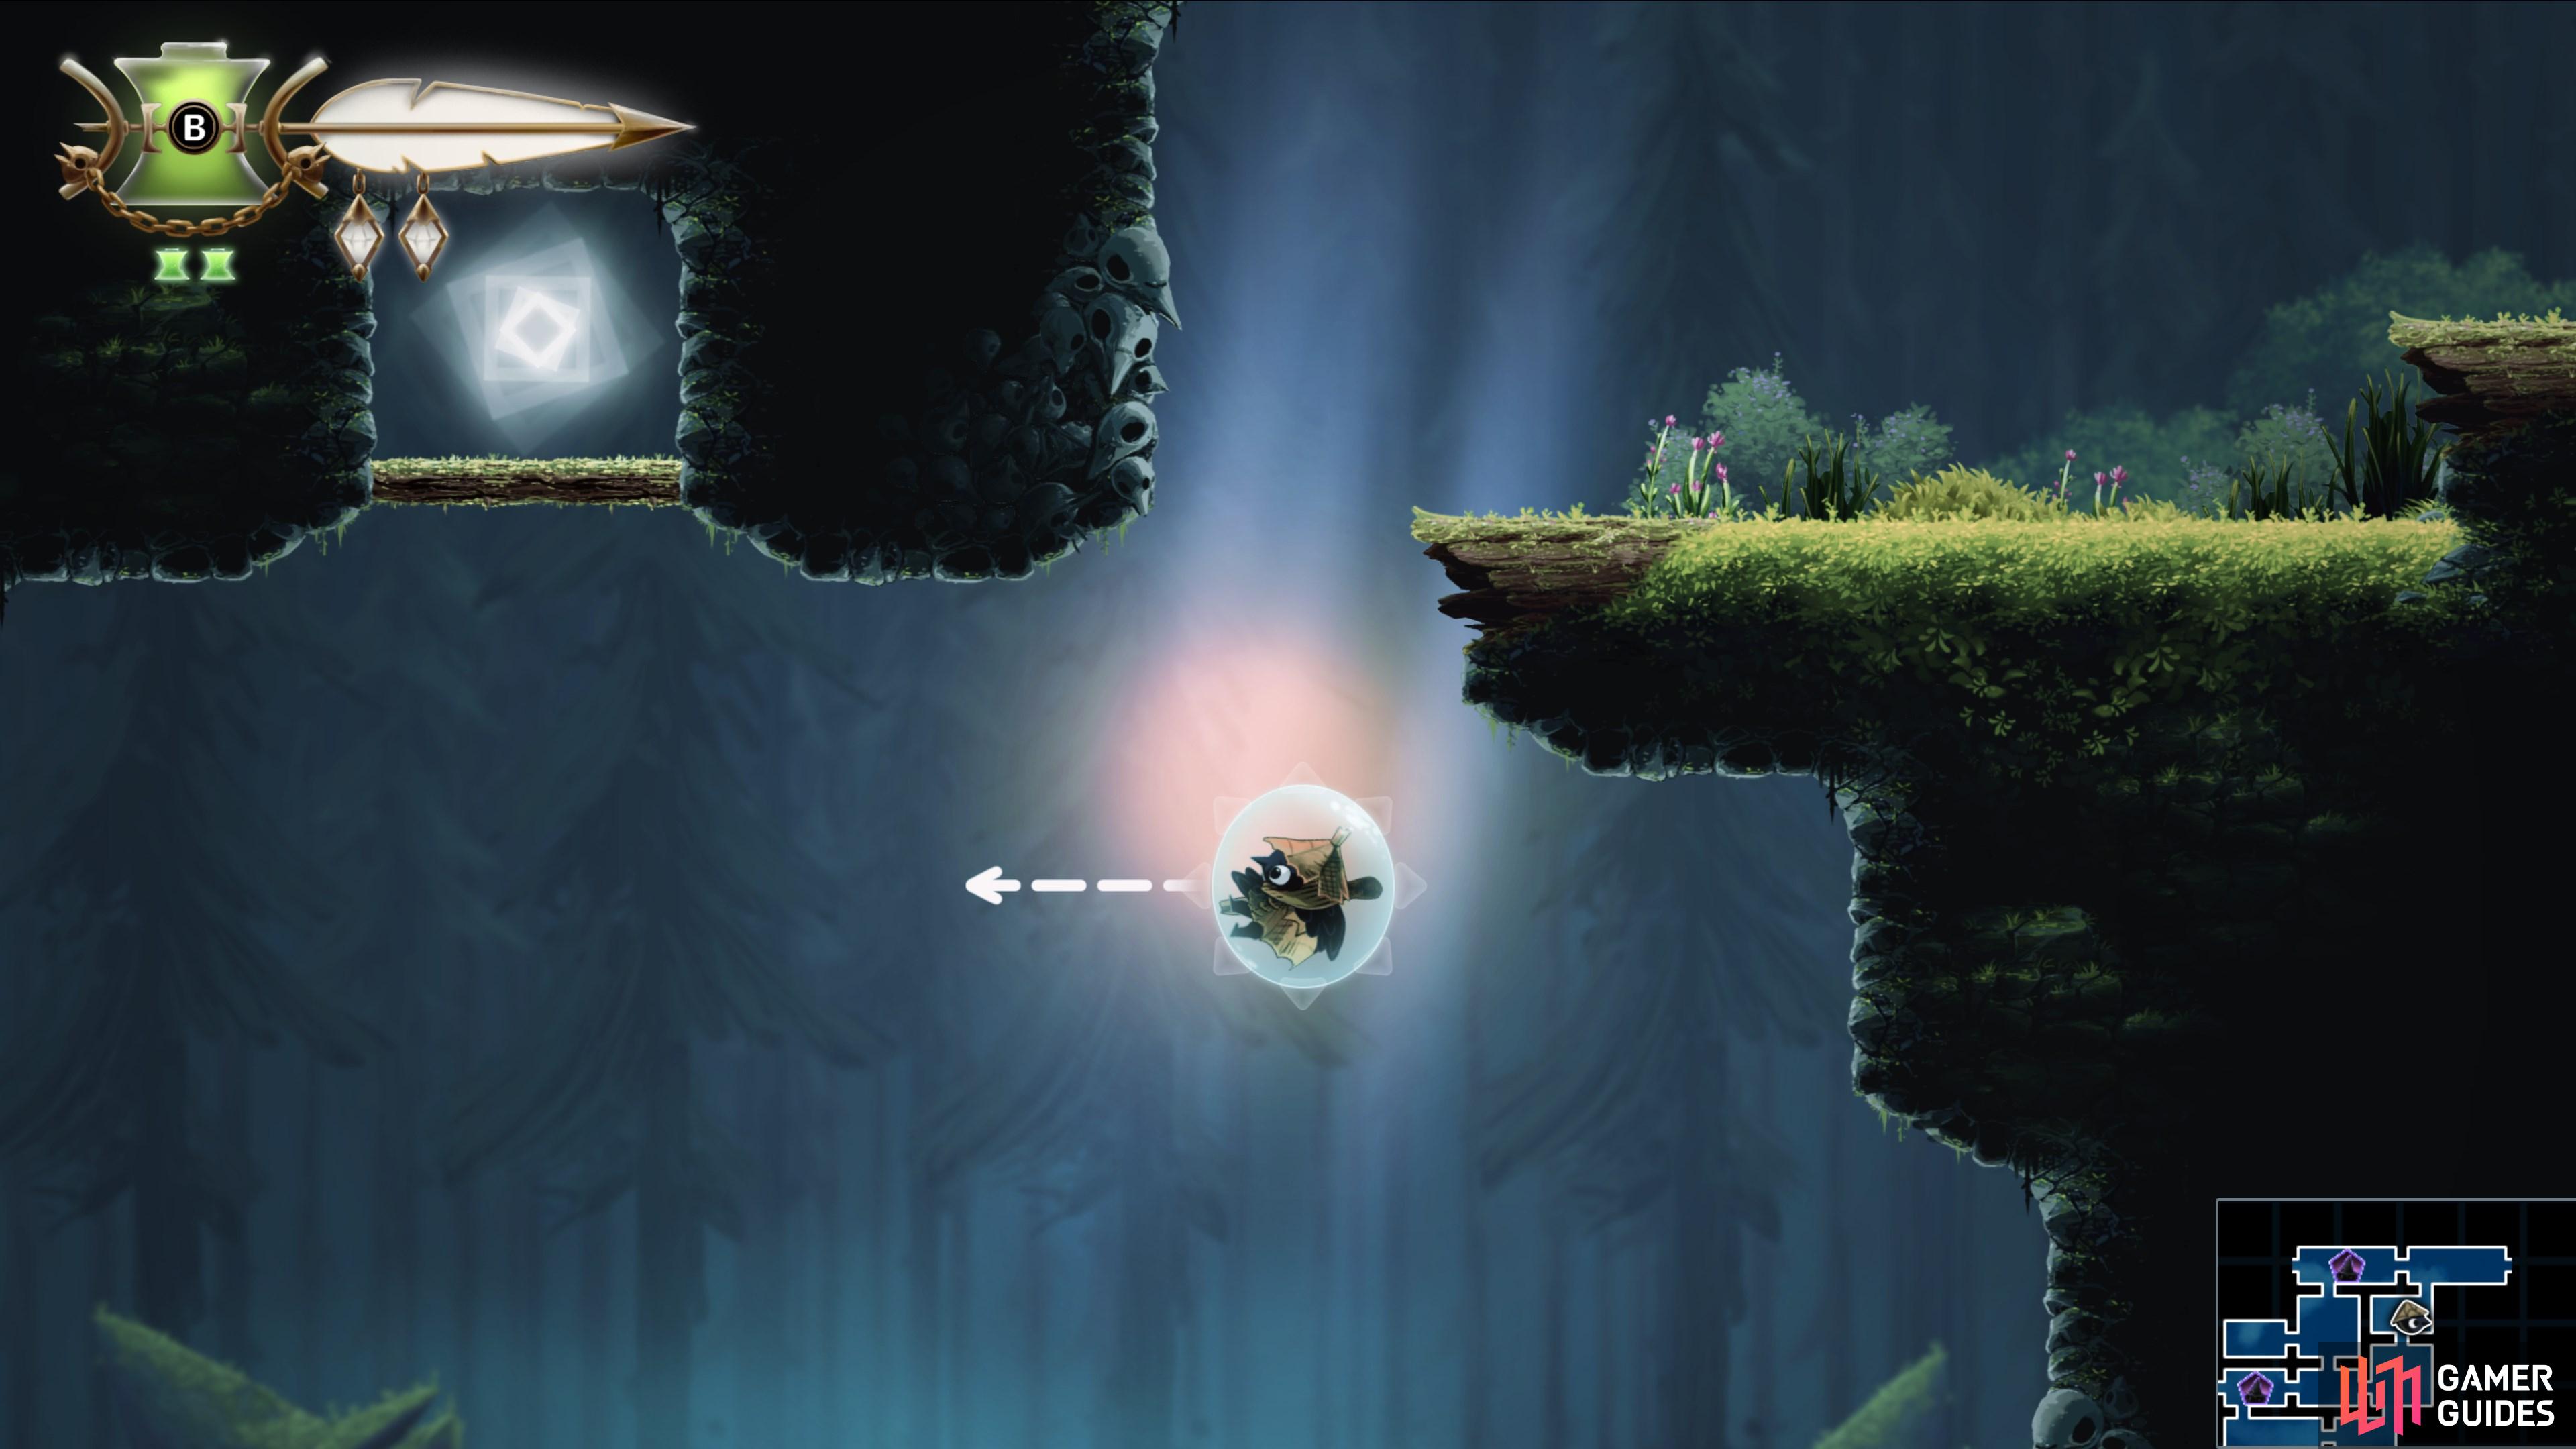
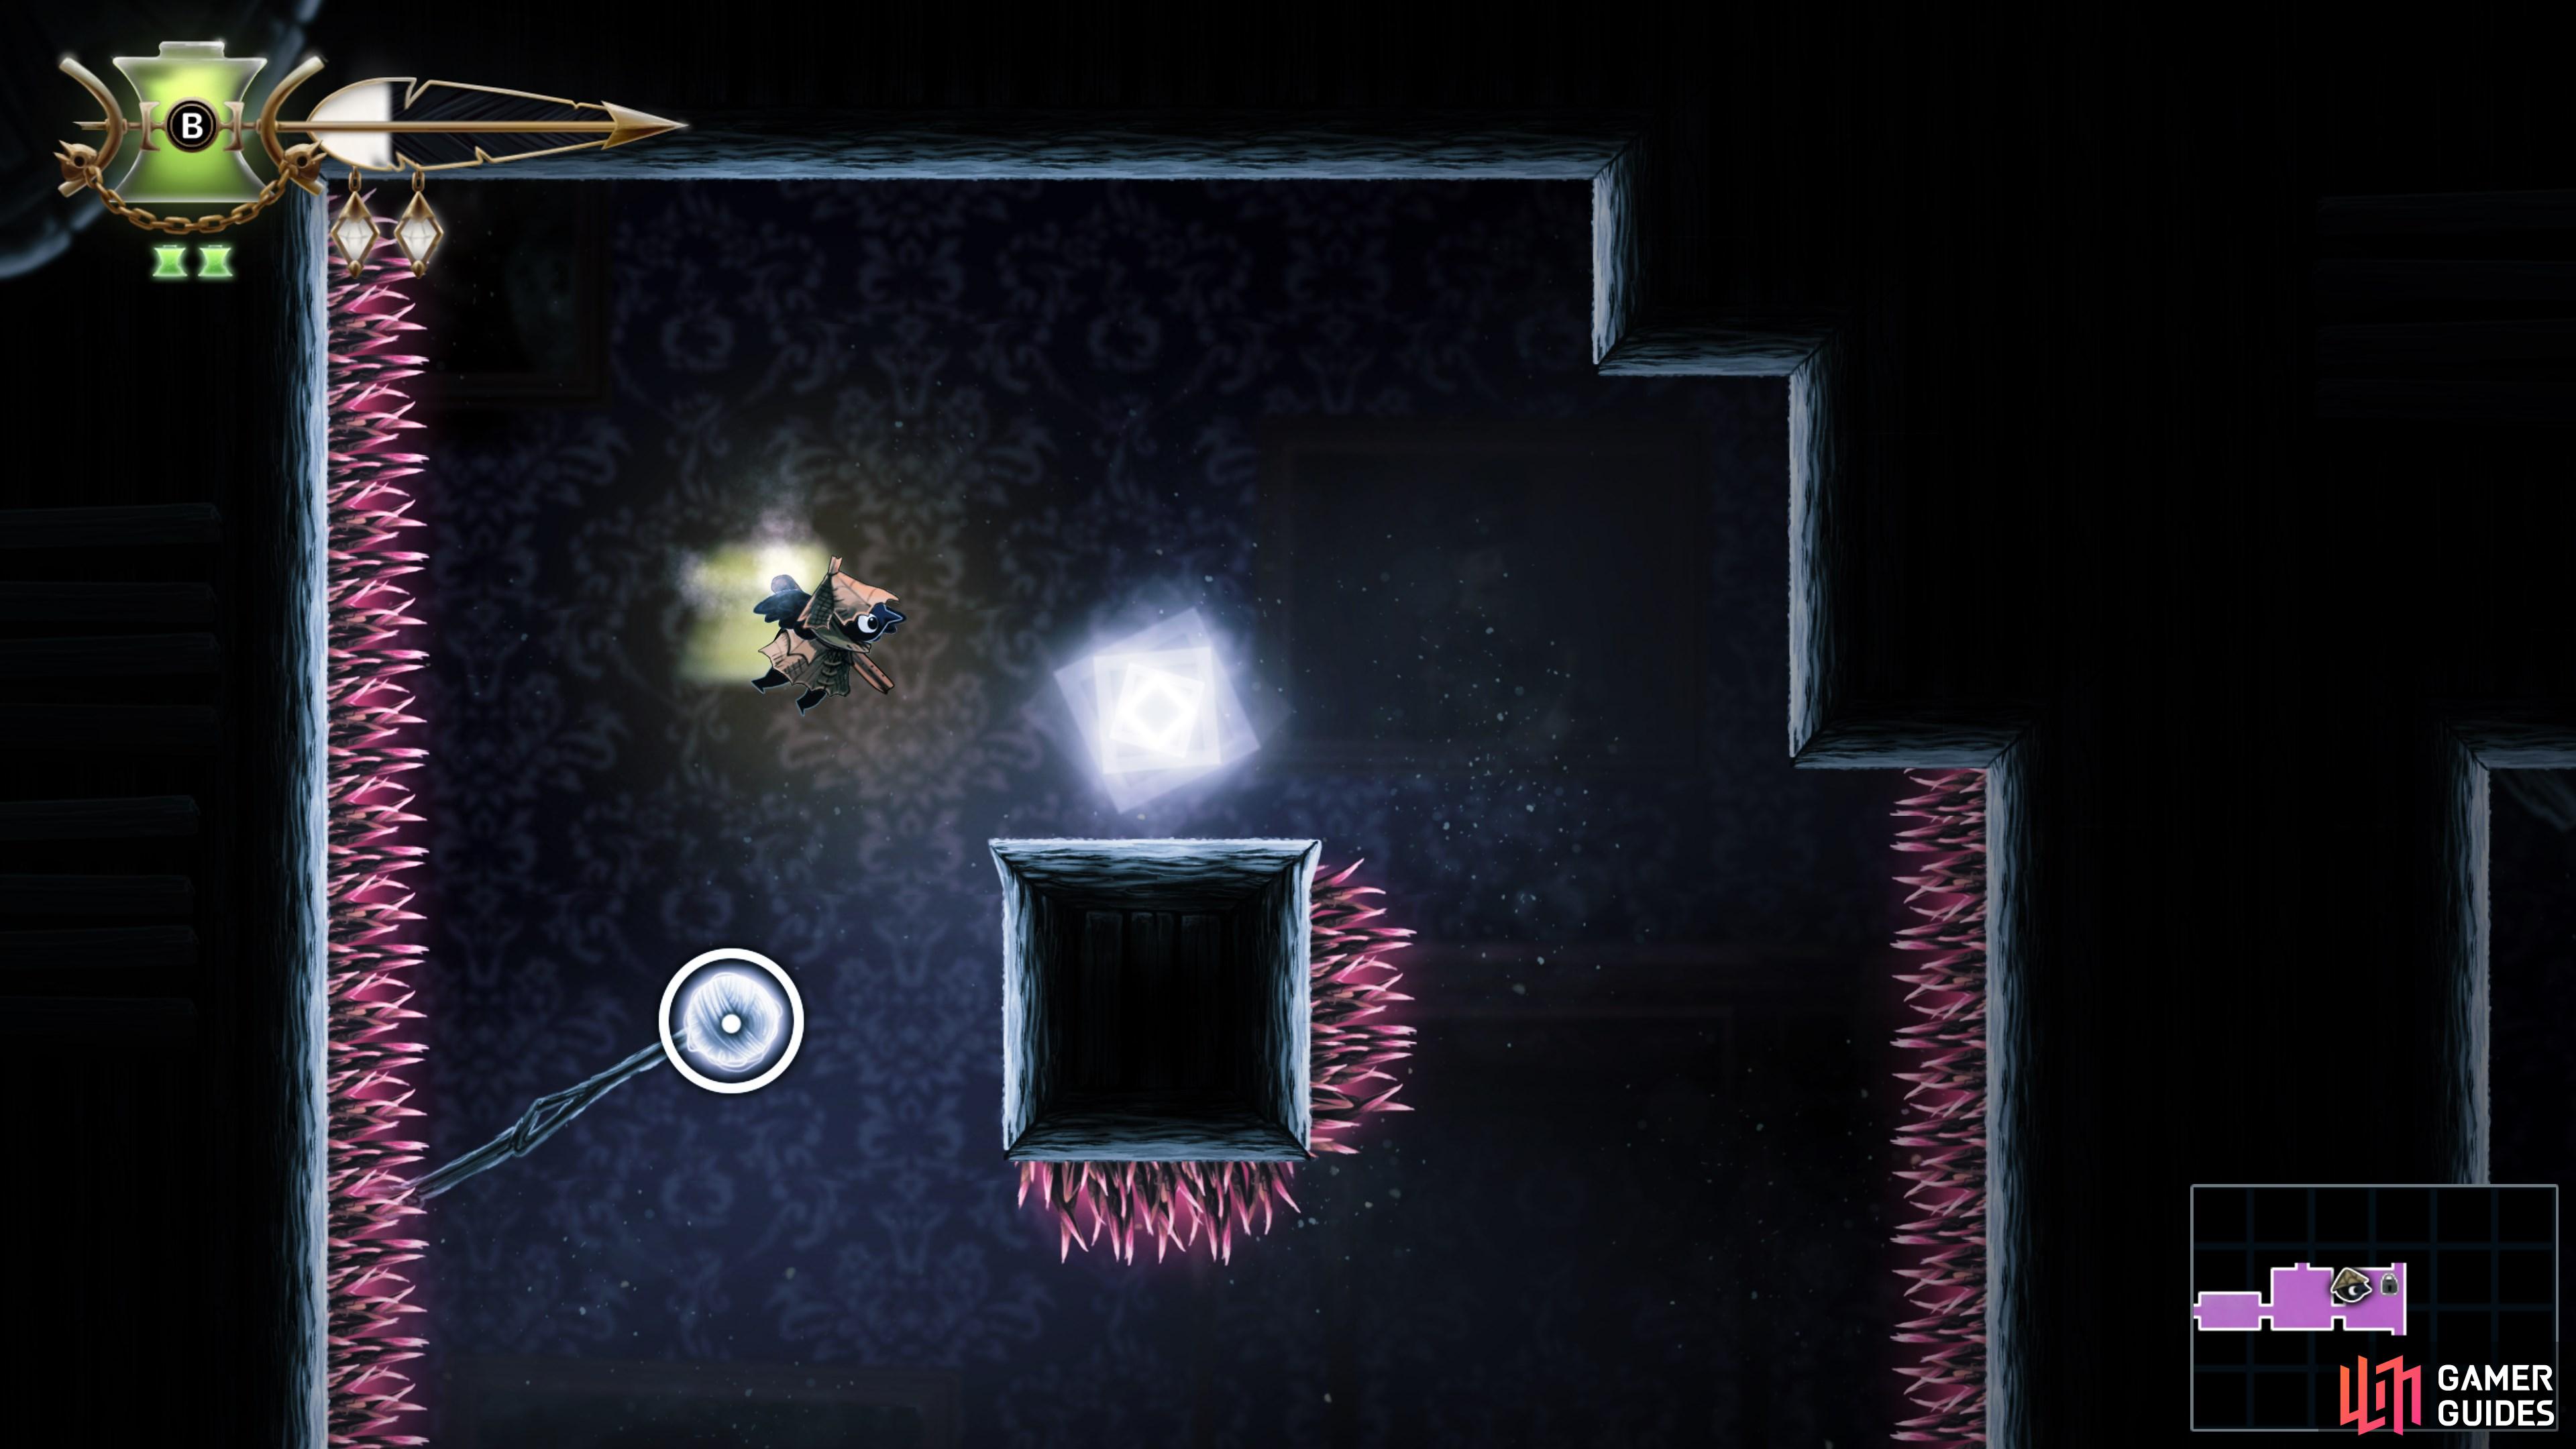
    Jump in the bubble, aim it southeast, then eject. Wait for the bubble to stop moving (beneath the collectible), then jump straight up to grab the Trinket Point.

    View on map
  4. 4 Trinket Point

    Trinket Point

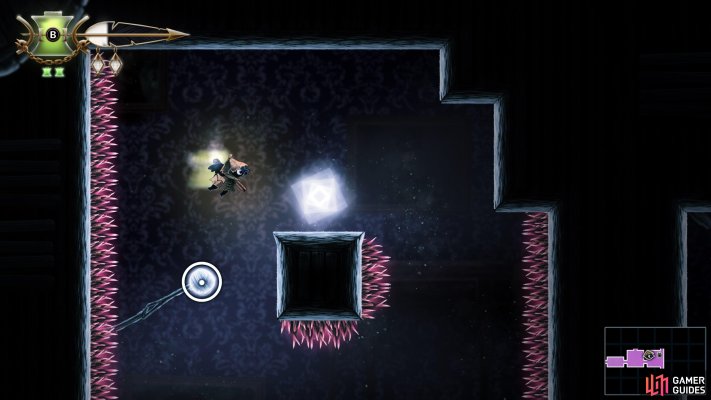
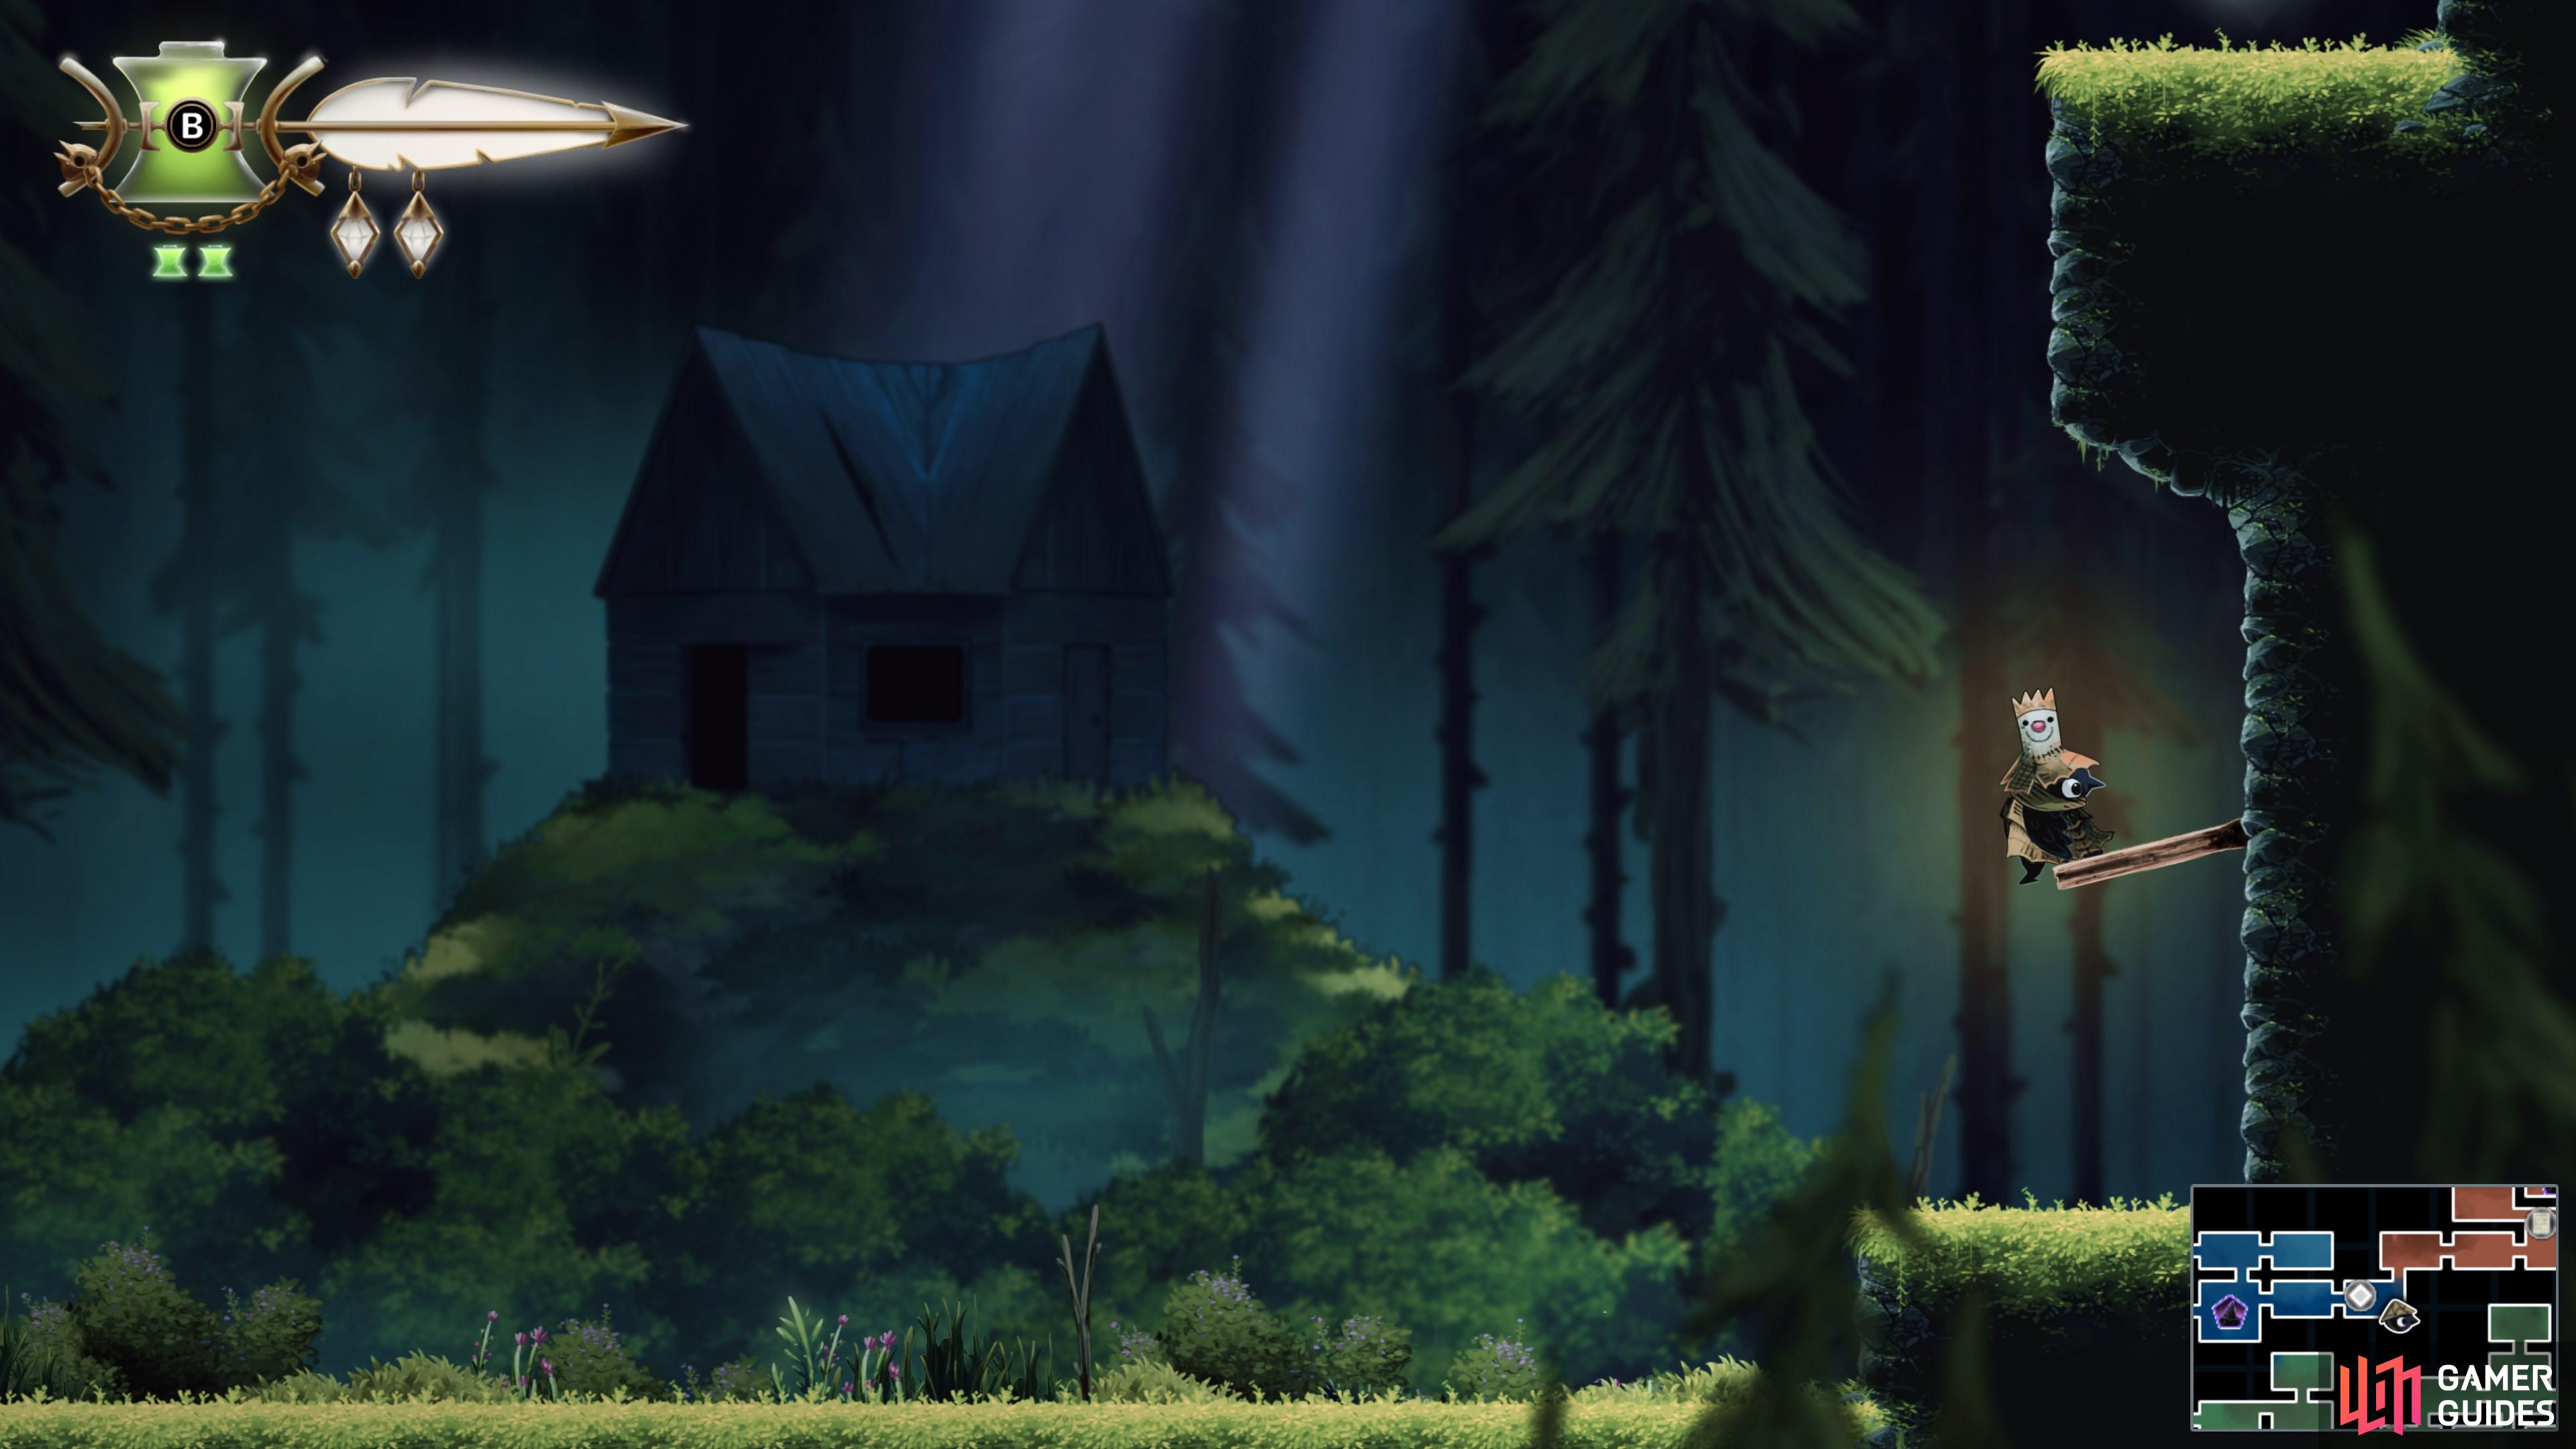
    Slingshot your "Matchstick" iconMatchstick into the west wall, then jump on the bubble as it reaches the peak of its ascent.

    View on map
  5. 5 Trinket Point

    Trinket Point

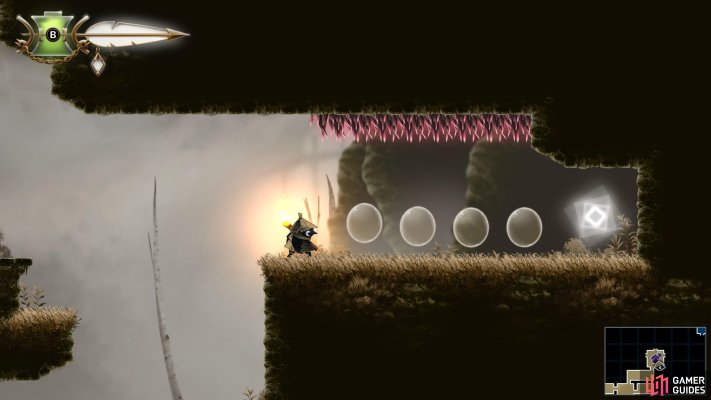
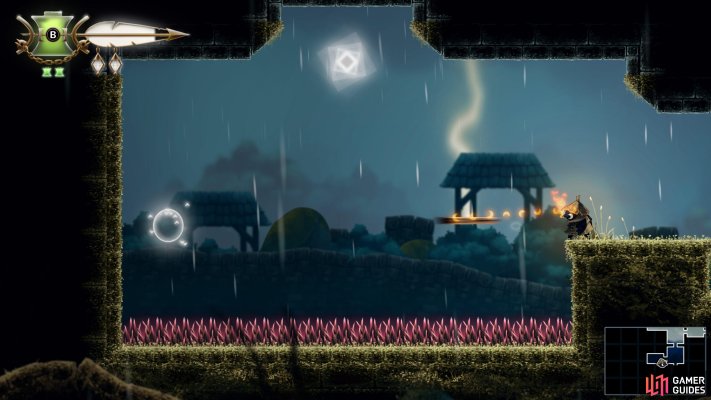
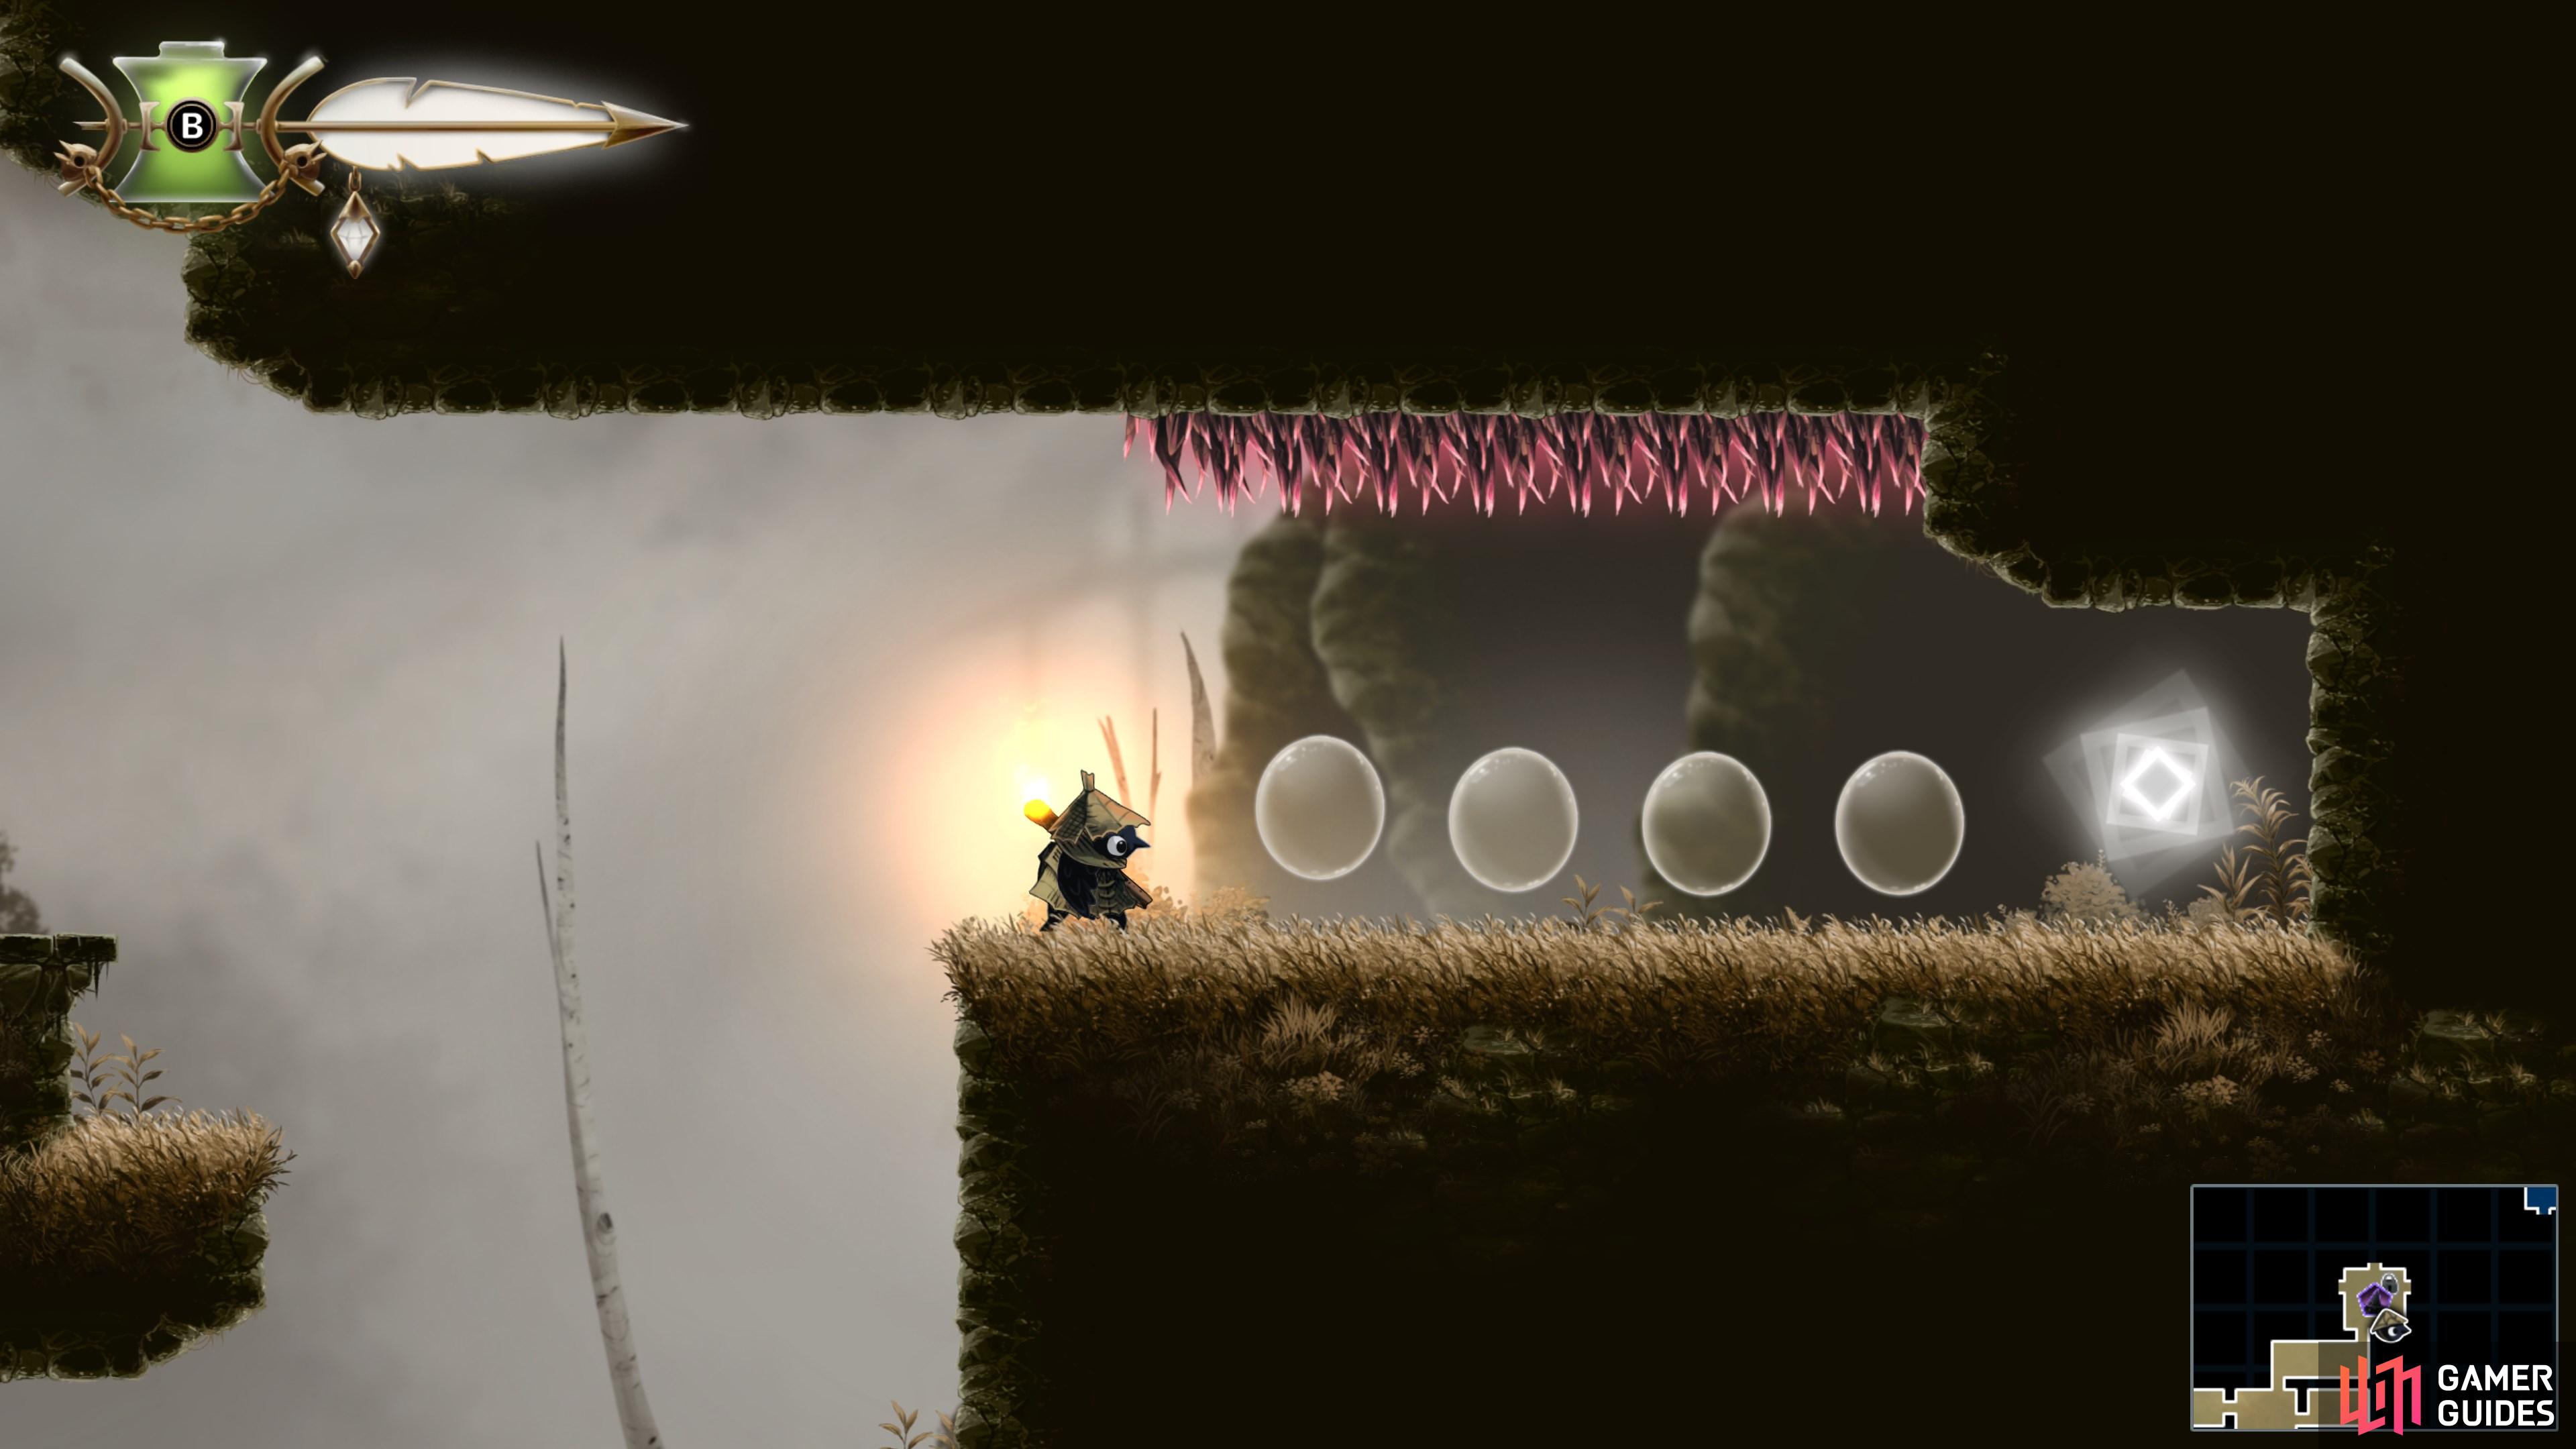
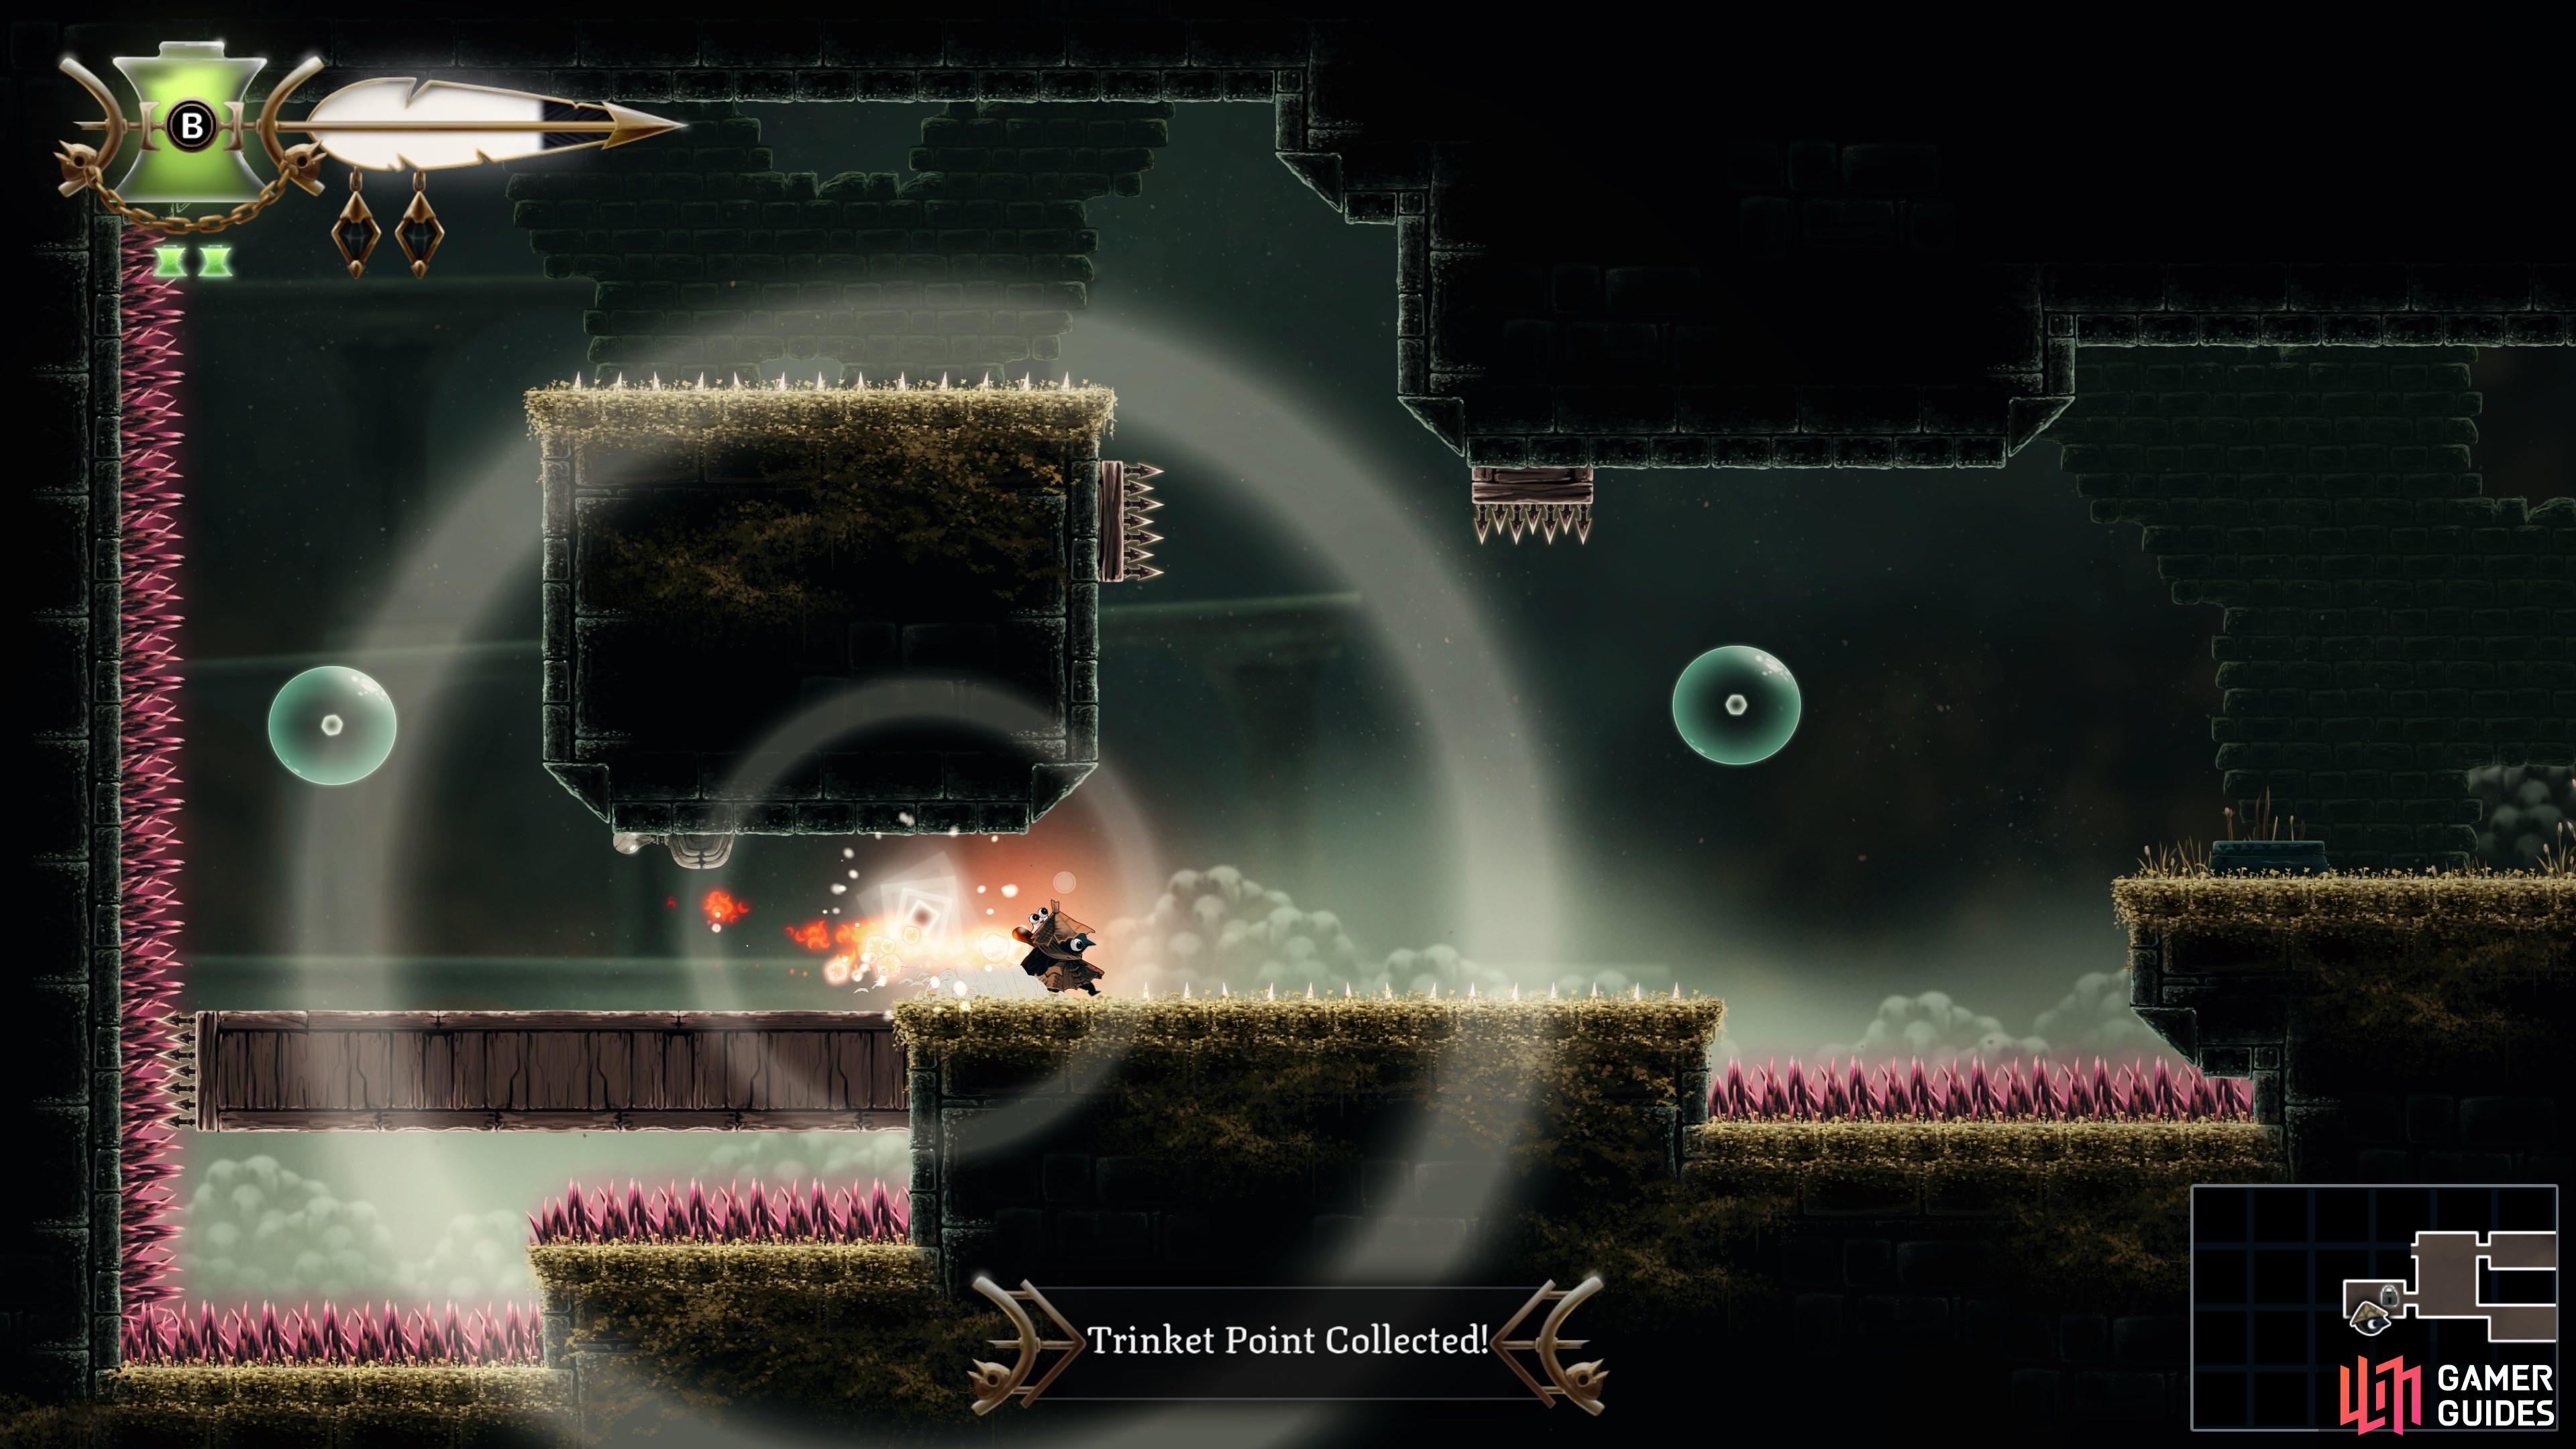
    Slingshot your "Matchstick" iconMatchstick through the line of bubbles to safely collect the Trinket Point.

    View on map
  6. 6 Trinket Point

    Trinket Point

    Clear the "Time Trial" iconTime Trial challenge to open this room.

    View on map
  7. 7 Trinket Point

    Trinket Point

    You can use "Slingshot" iconSlingshot to snag this collectible. Or you go around to the left, and drop down on it from above, as is intended. You do you.

    View on map
  8. 8 Trinket Point

    Trinket Point

    Clear the "Time Trial" iconTime Trial to open the locked room, then climb to the top to find this.

    View on map
  9. 9 Trinket Point

    Trinket Point

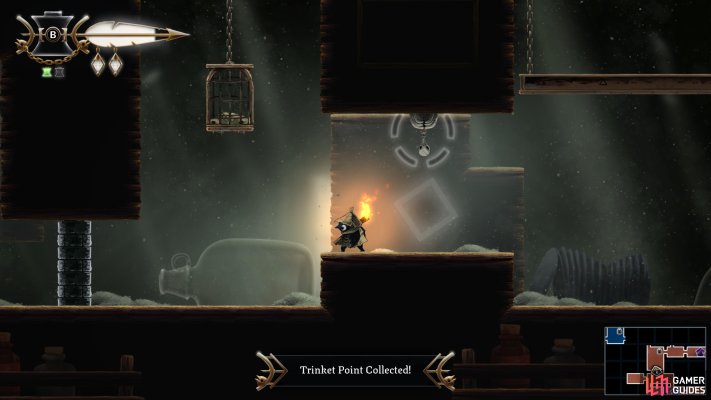
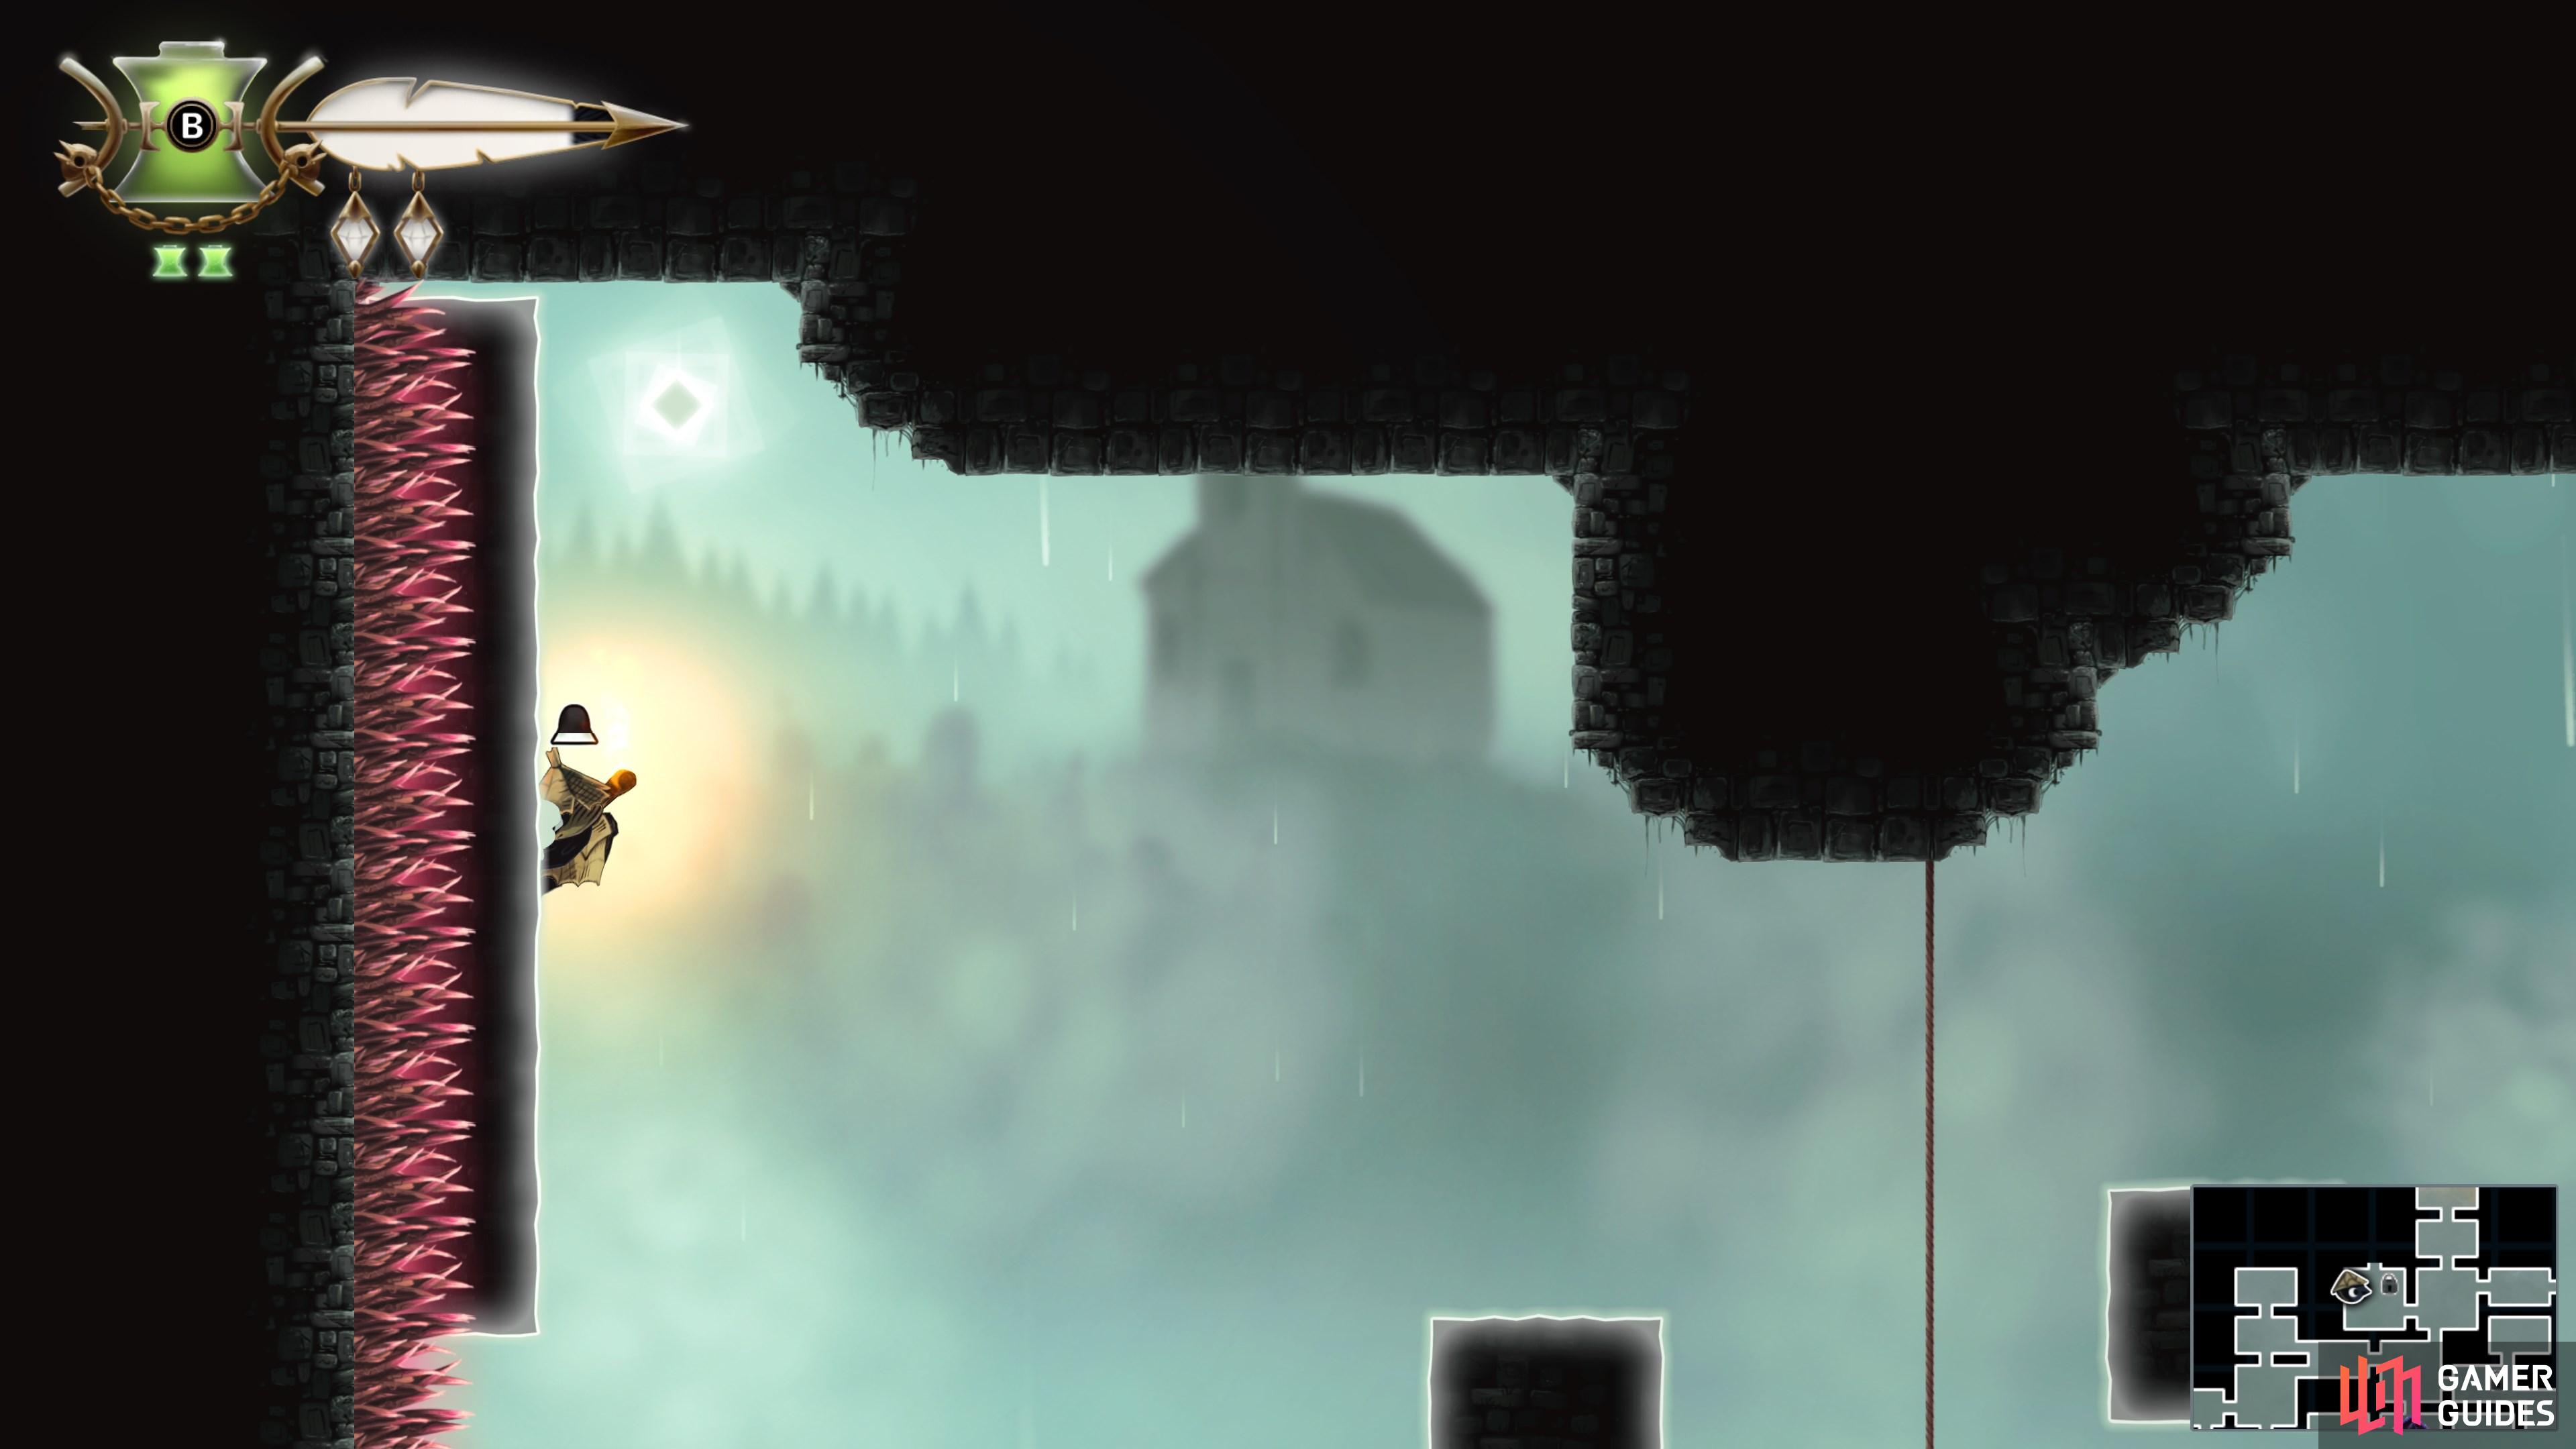
    Stand on the platform beneath the Trinket, and "Slingshot" iconSlingshot the "Matchstick" iconMatchstick through the narrow gap to the left, striking the bell. "Climb" iconClimb the block this creates to reach the Trinket.

    View on map
  10. 10 Trinket Point

    Trinket Point

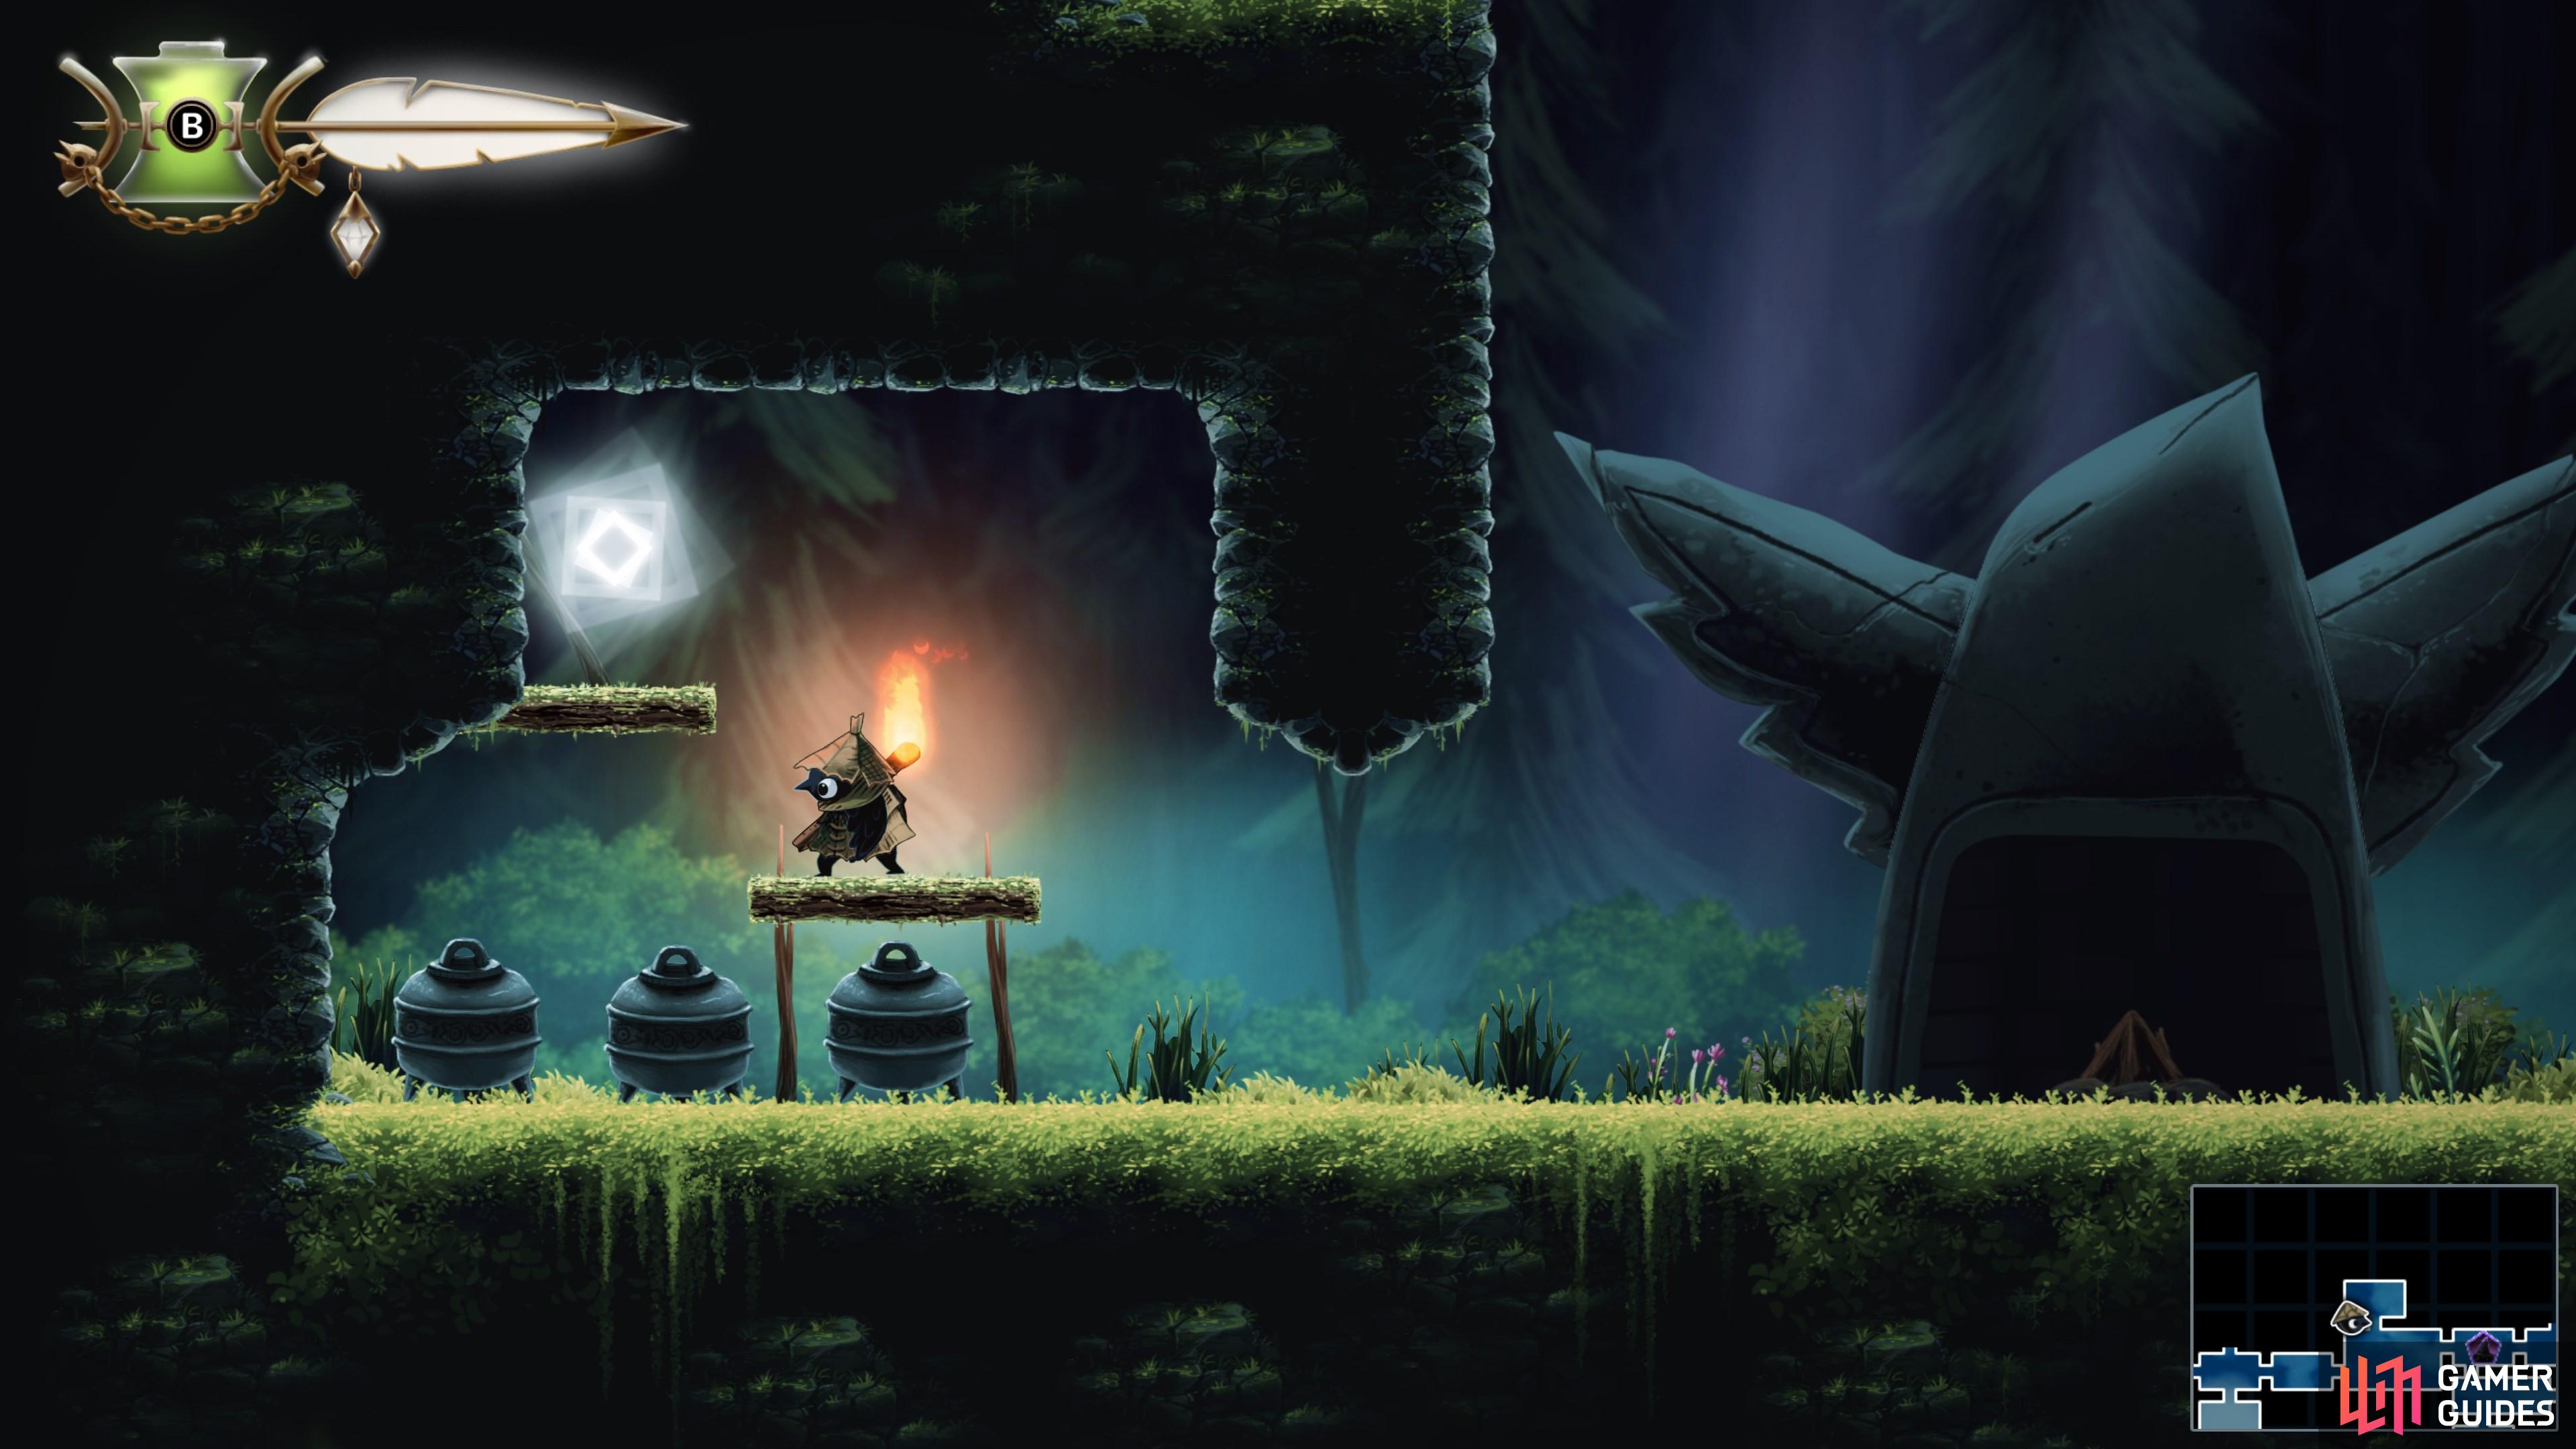
    Use "Slingshot" iconSlingshot then "Climb" iconClimb to reach this "Trinket Point" iconTrinket Point.

    View on map
  11. 11 Trinket Point

    Trinket Point

    Use "Slingshot" iconSlingshot to hit the first bubble, then bounce on the second to reach the "Trinket Point" iconTrinket Point.

    View on map
  12. 12 Trinket Point (Requires Wind Ride)

    Trinket Point (Requires Wind Ride)

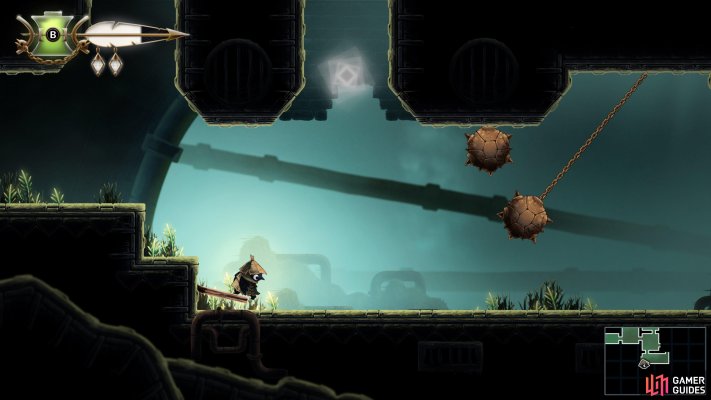
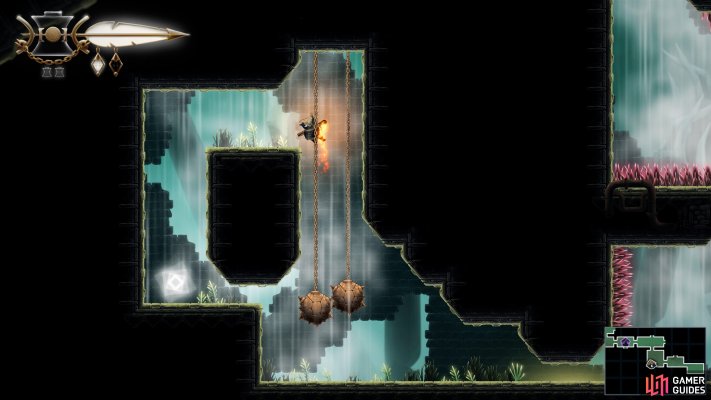
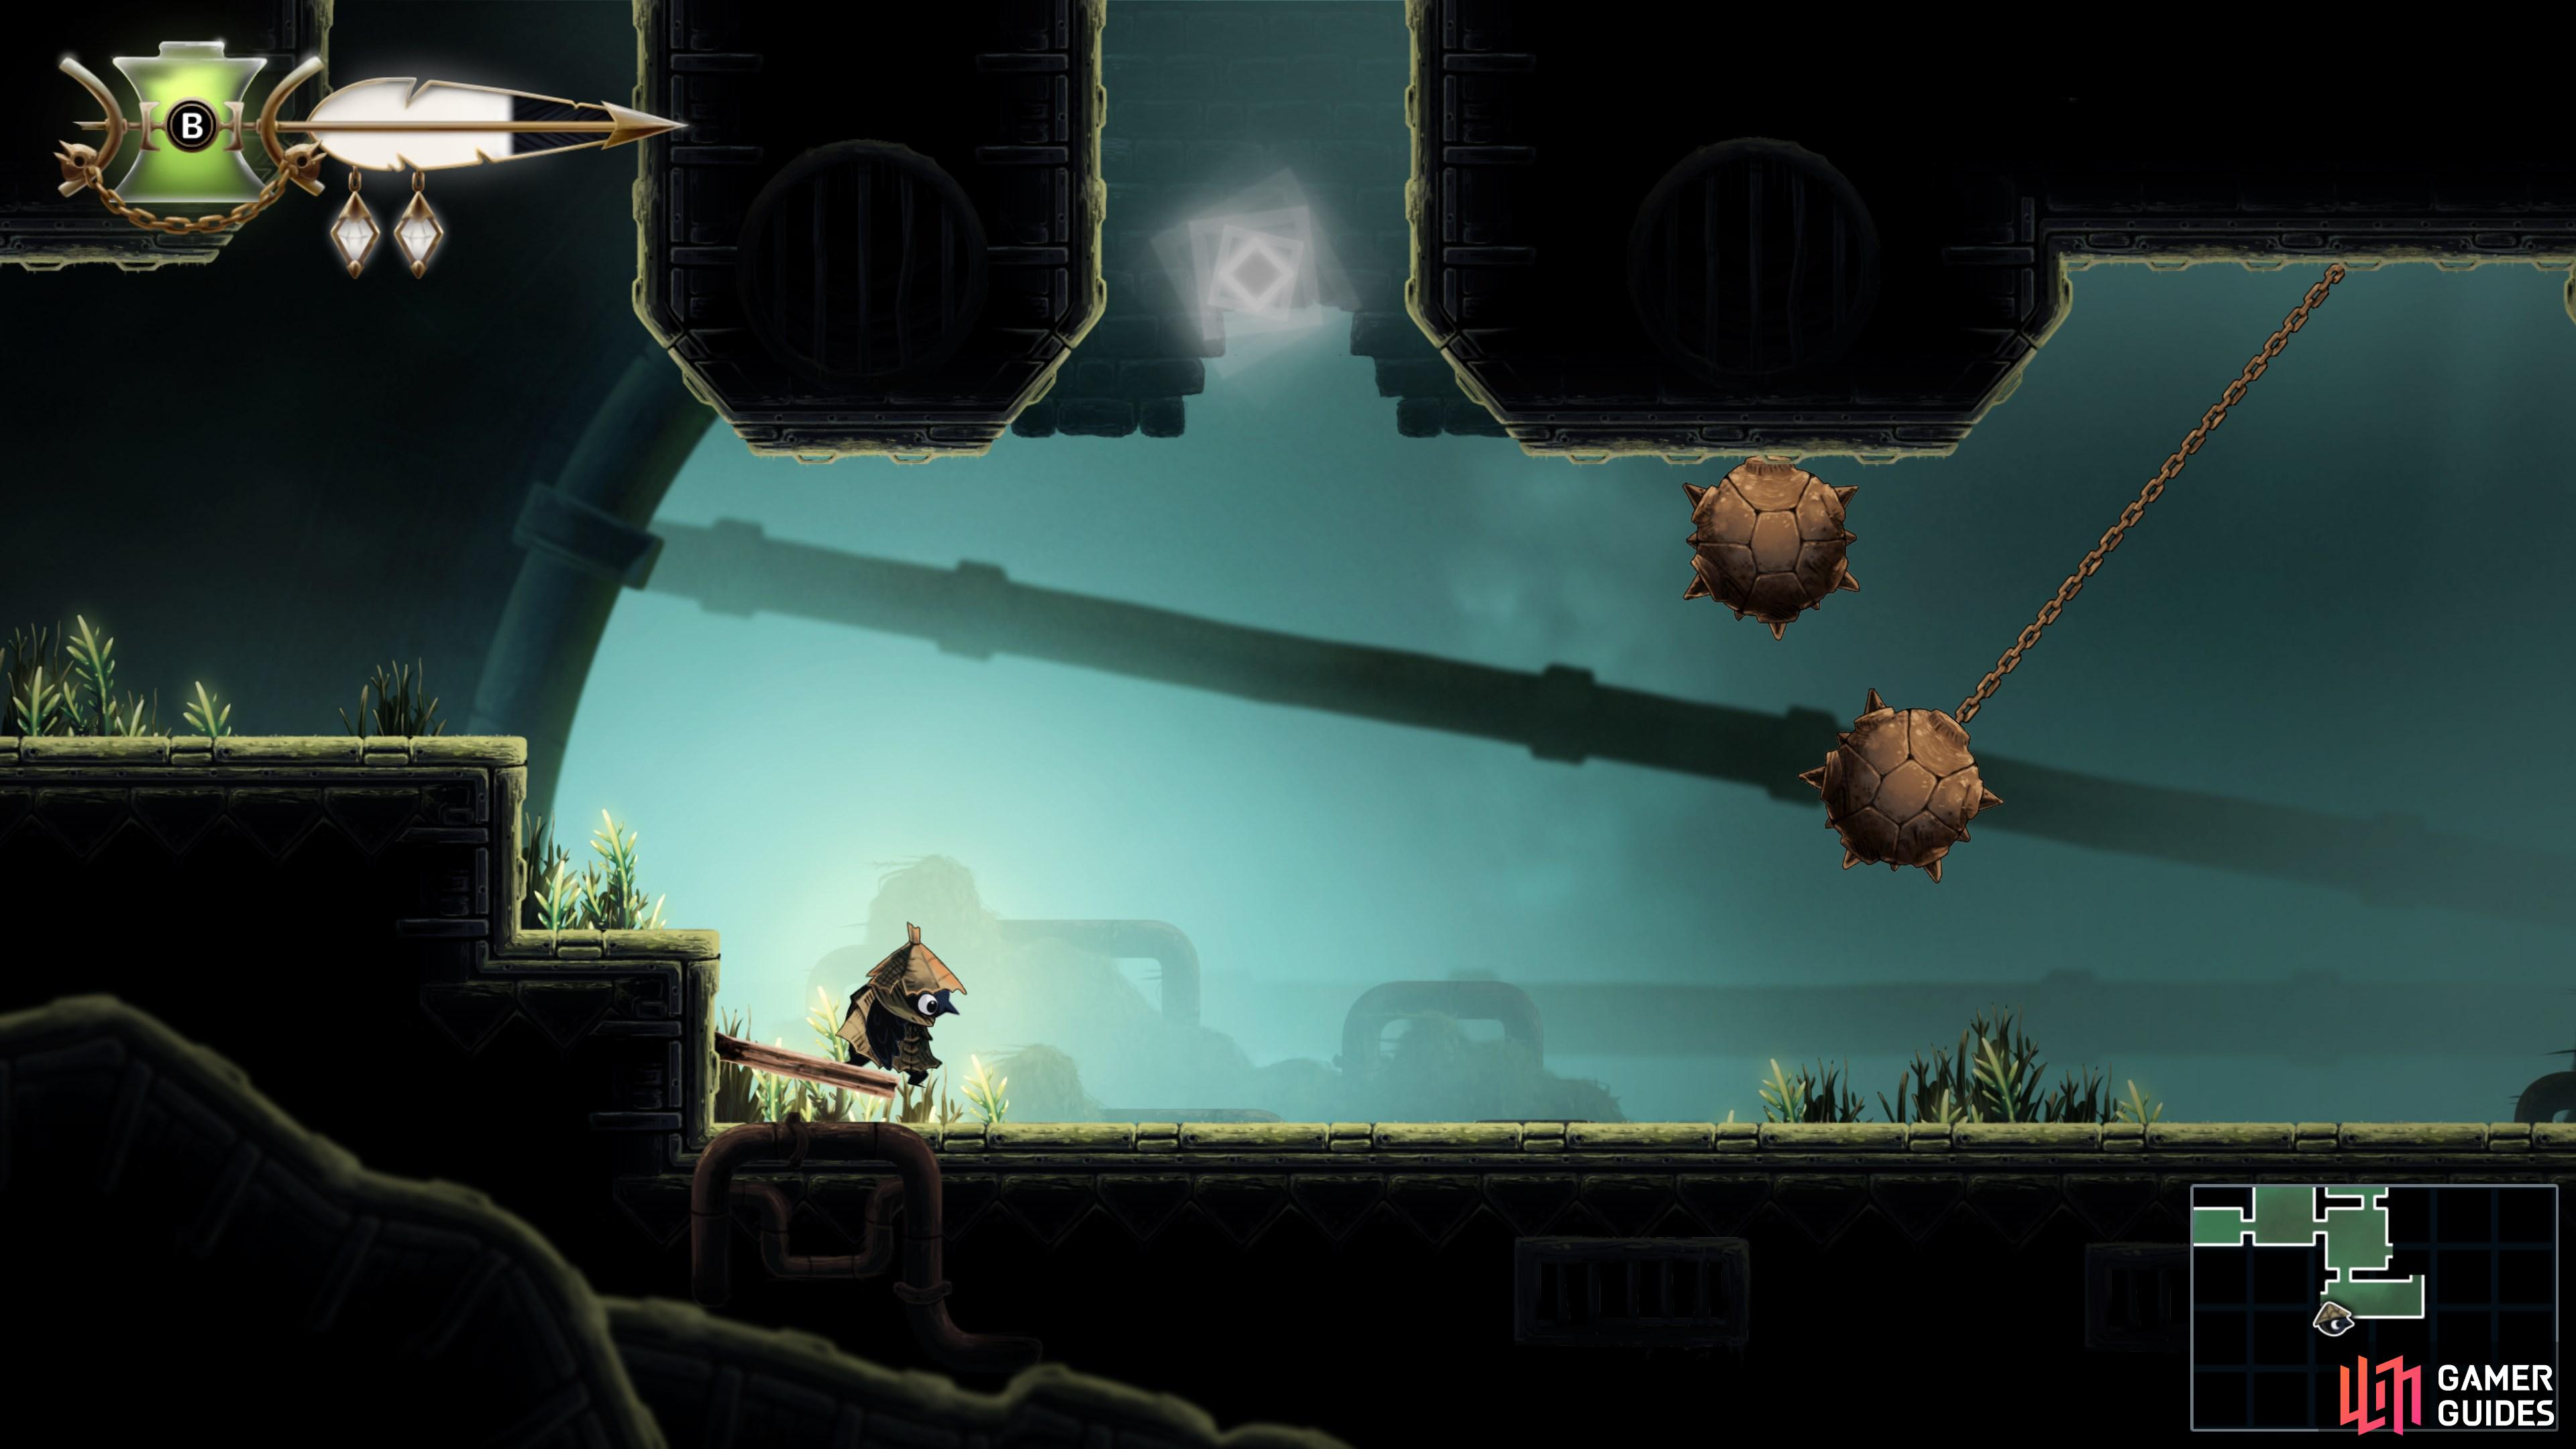
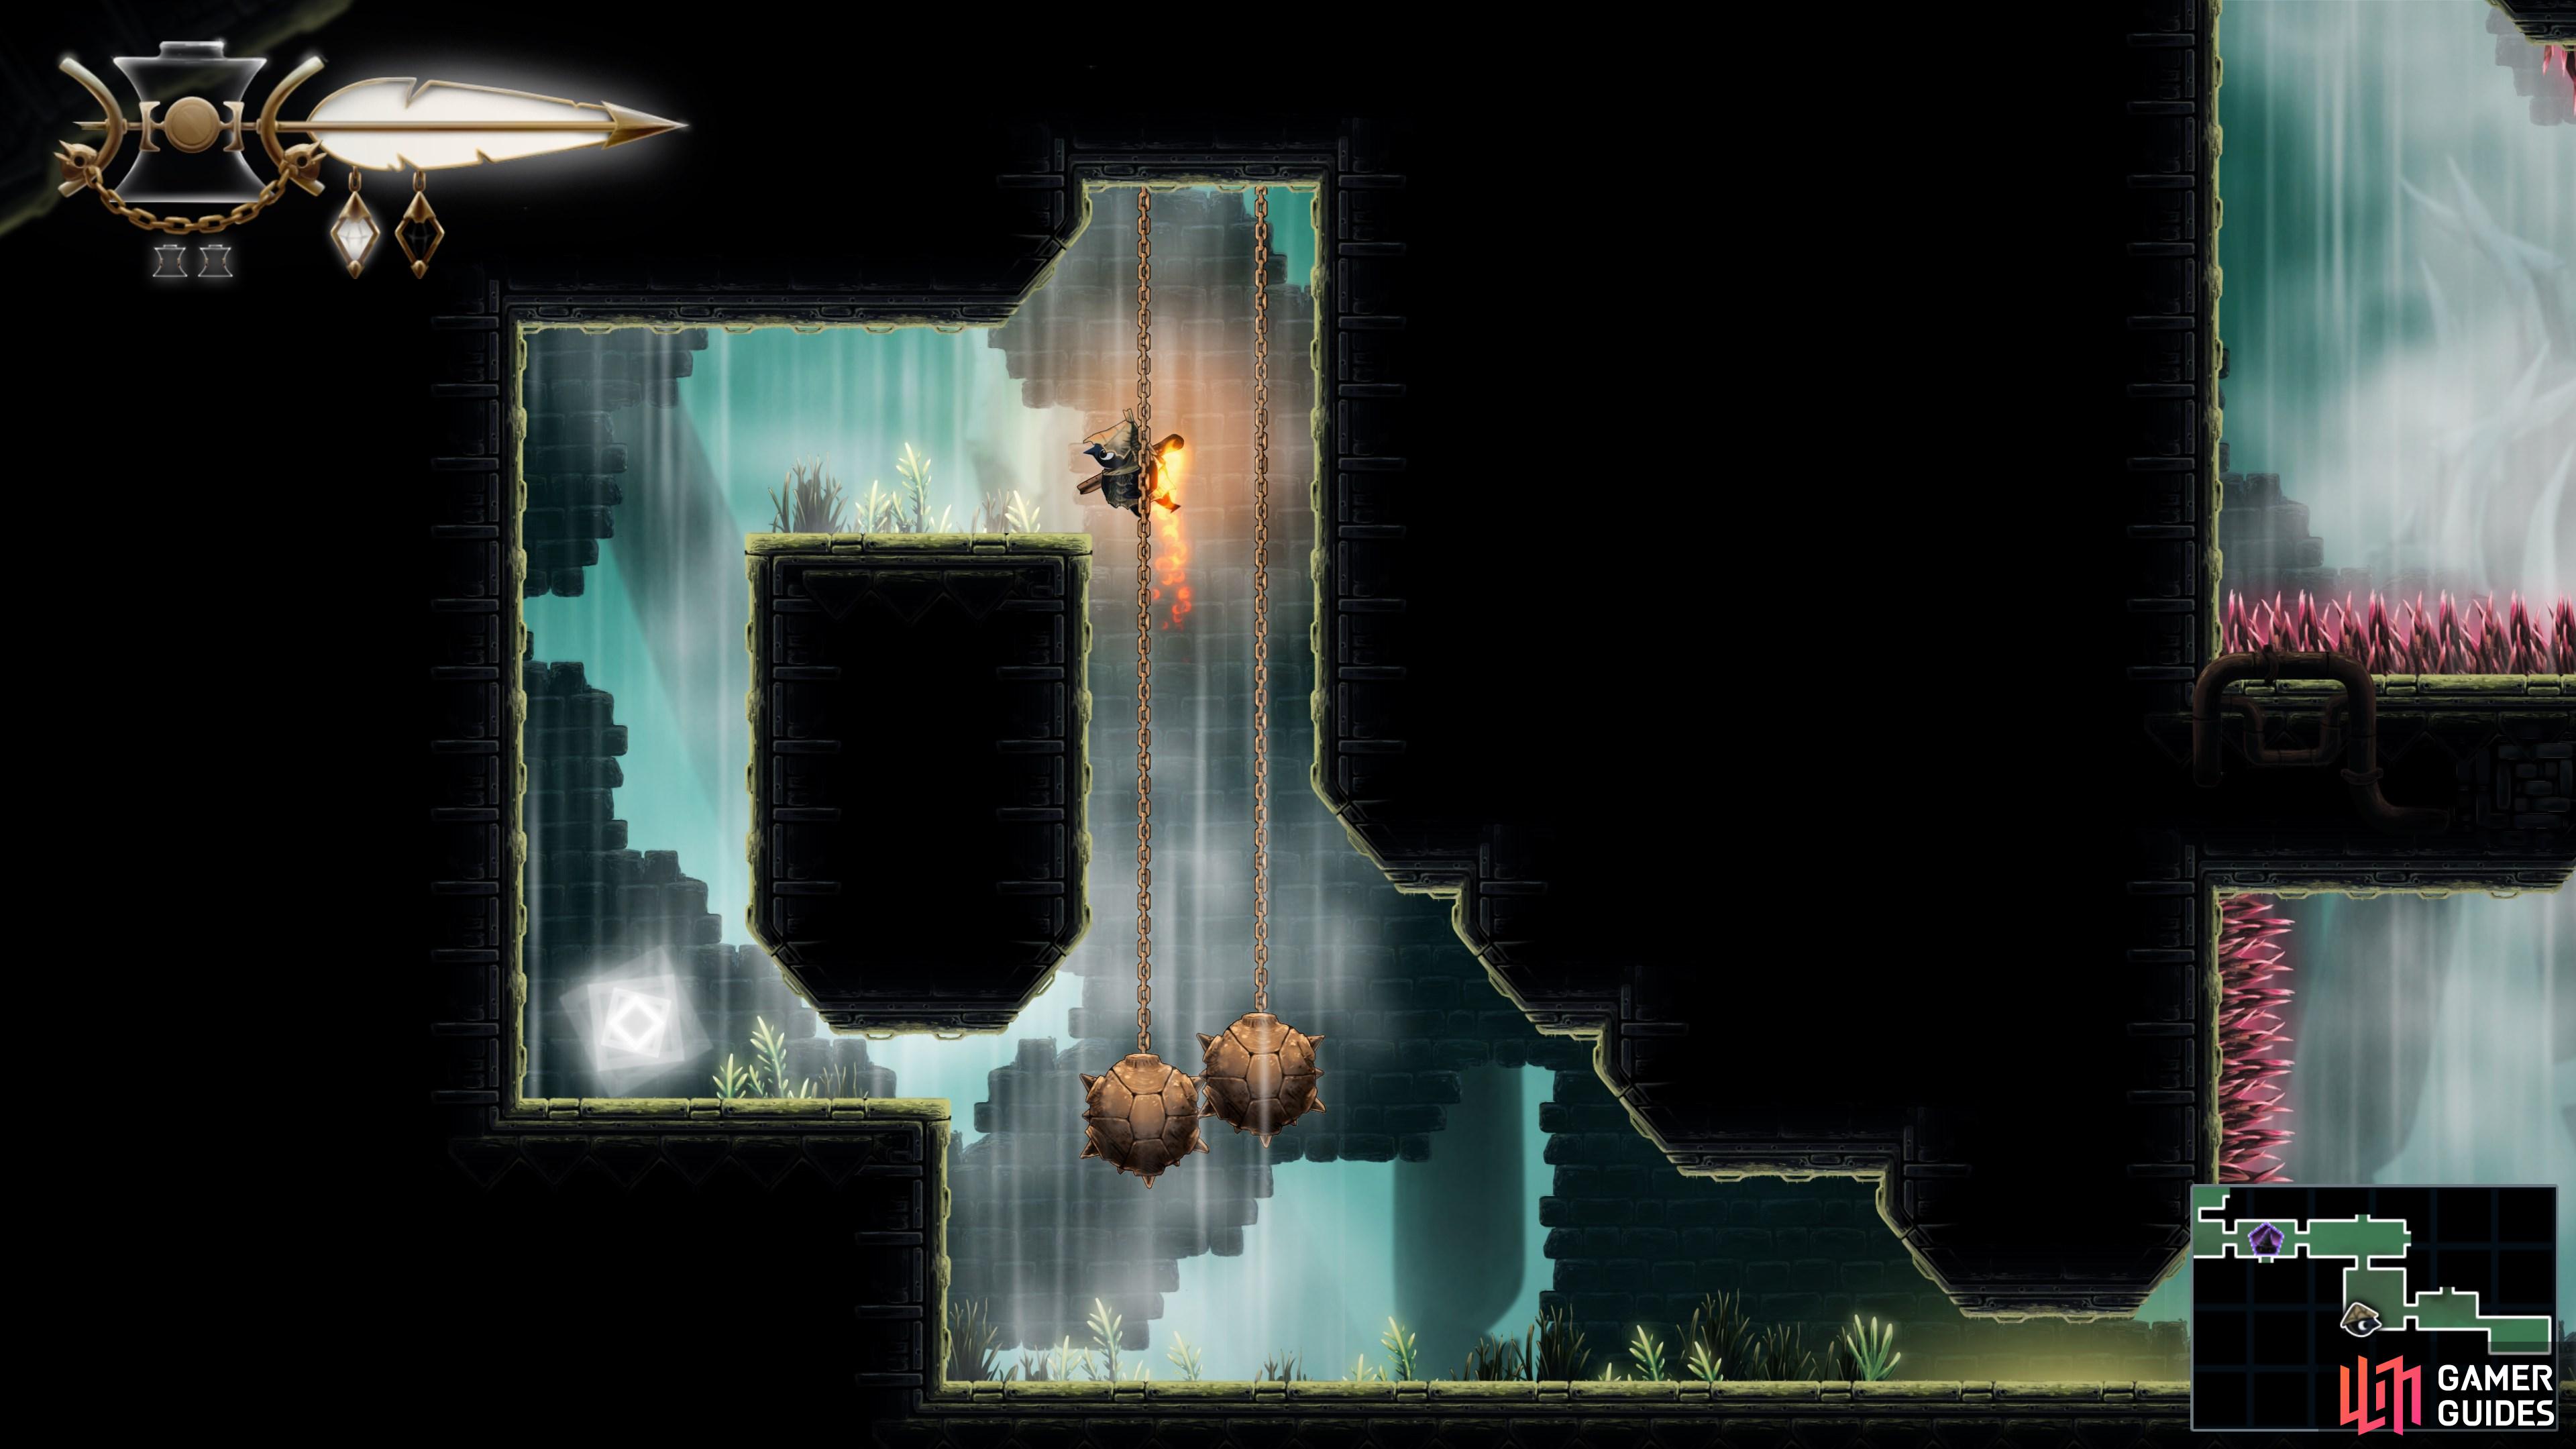
    Use "Wind Ride" iconWind Ride to float above the spike balls, up to the platform.

    View on map
  13. 13 Trinket Point

    Trinket Point

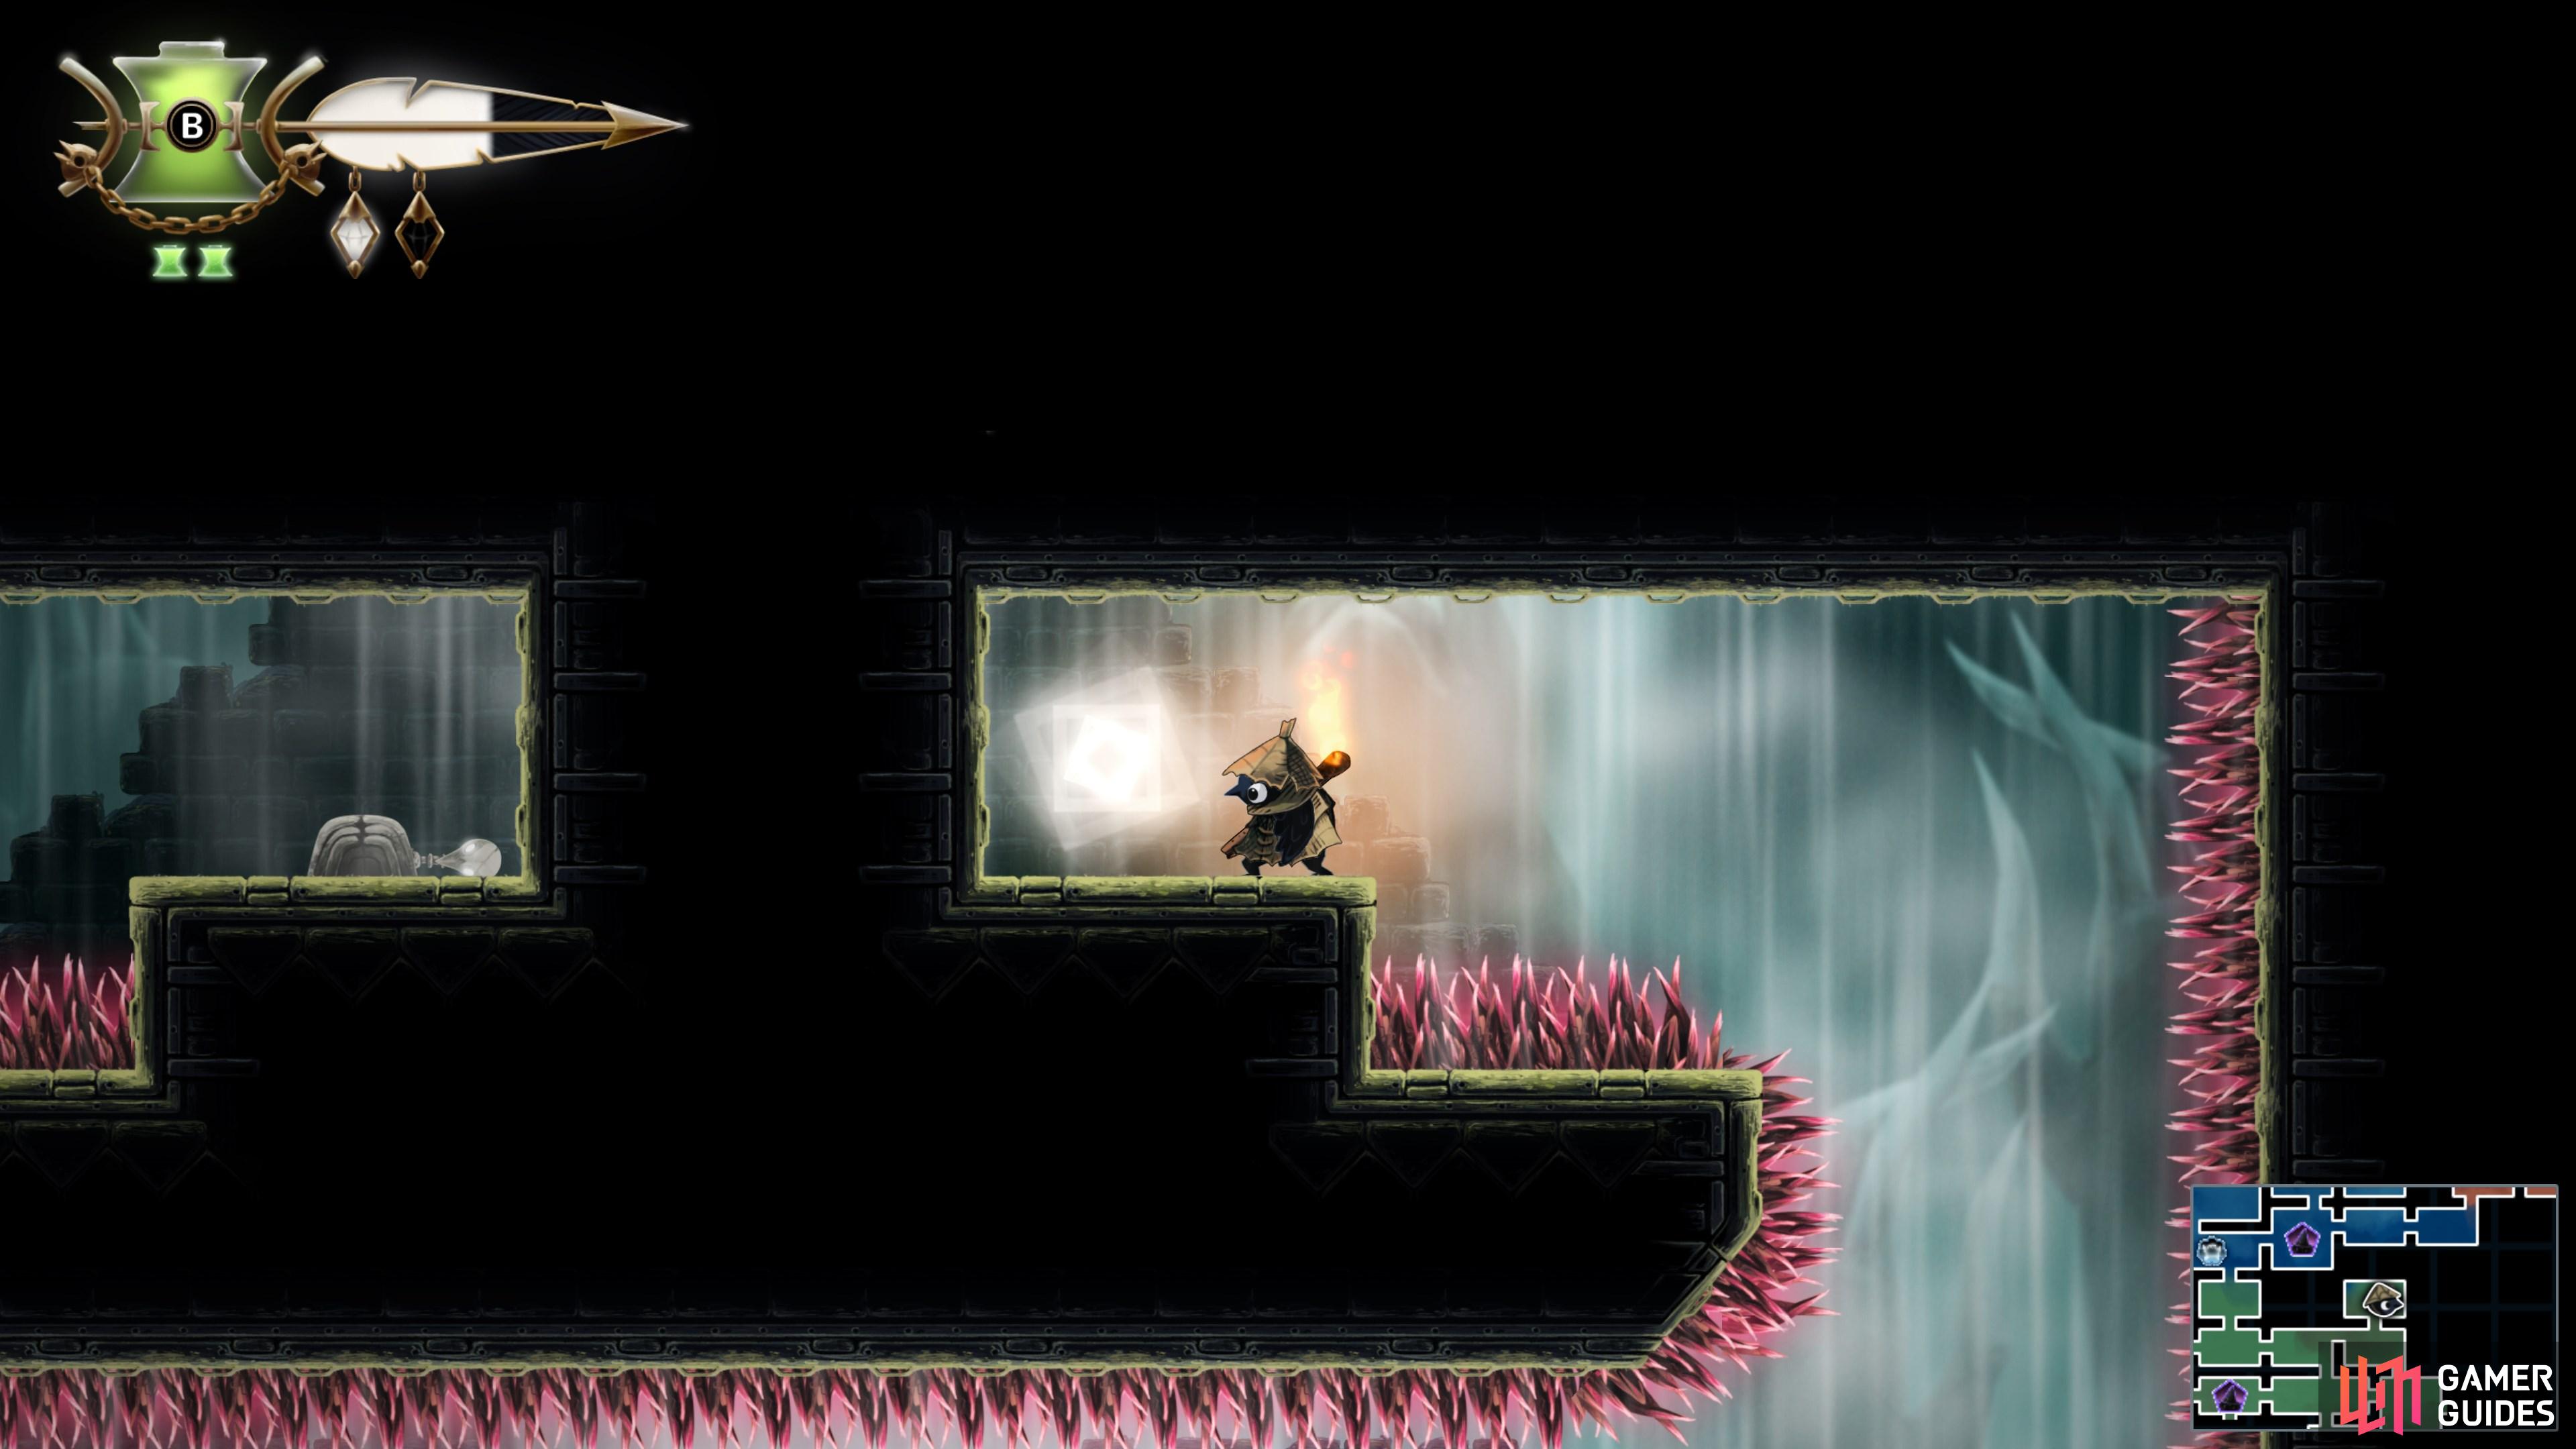
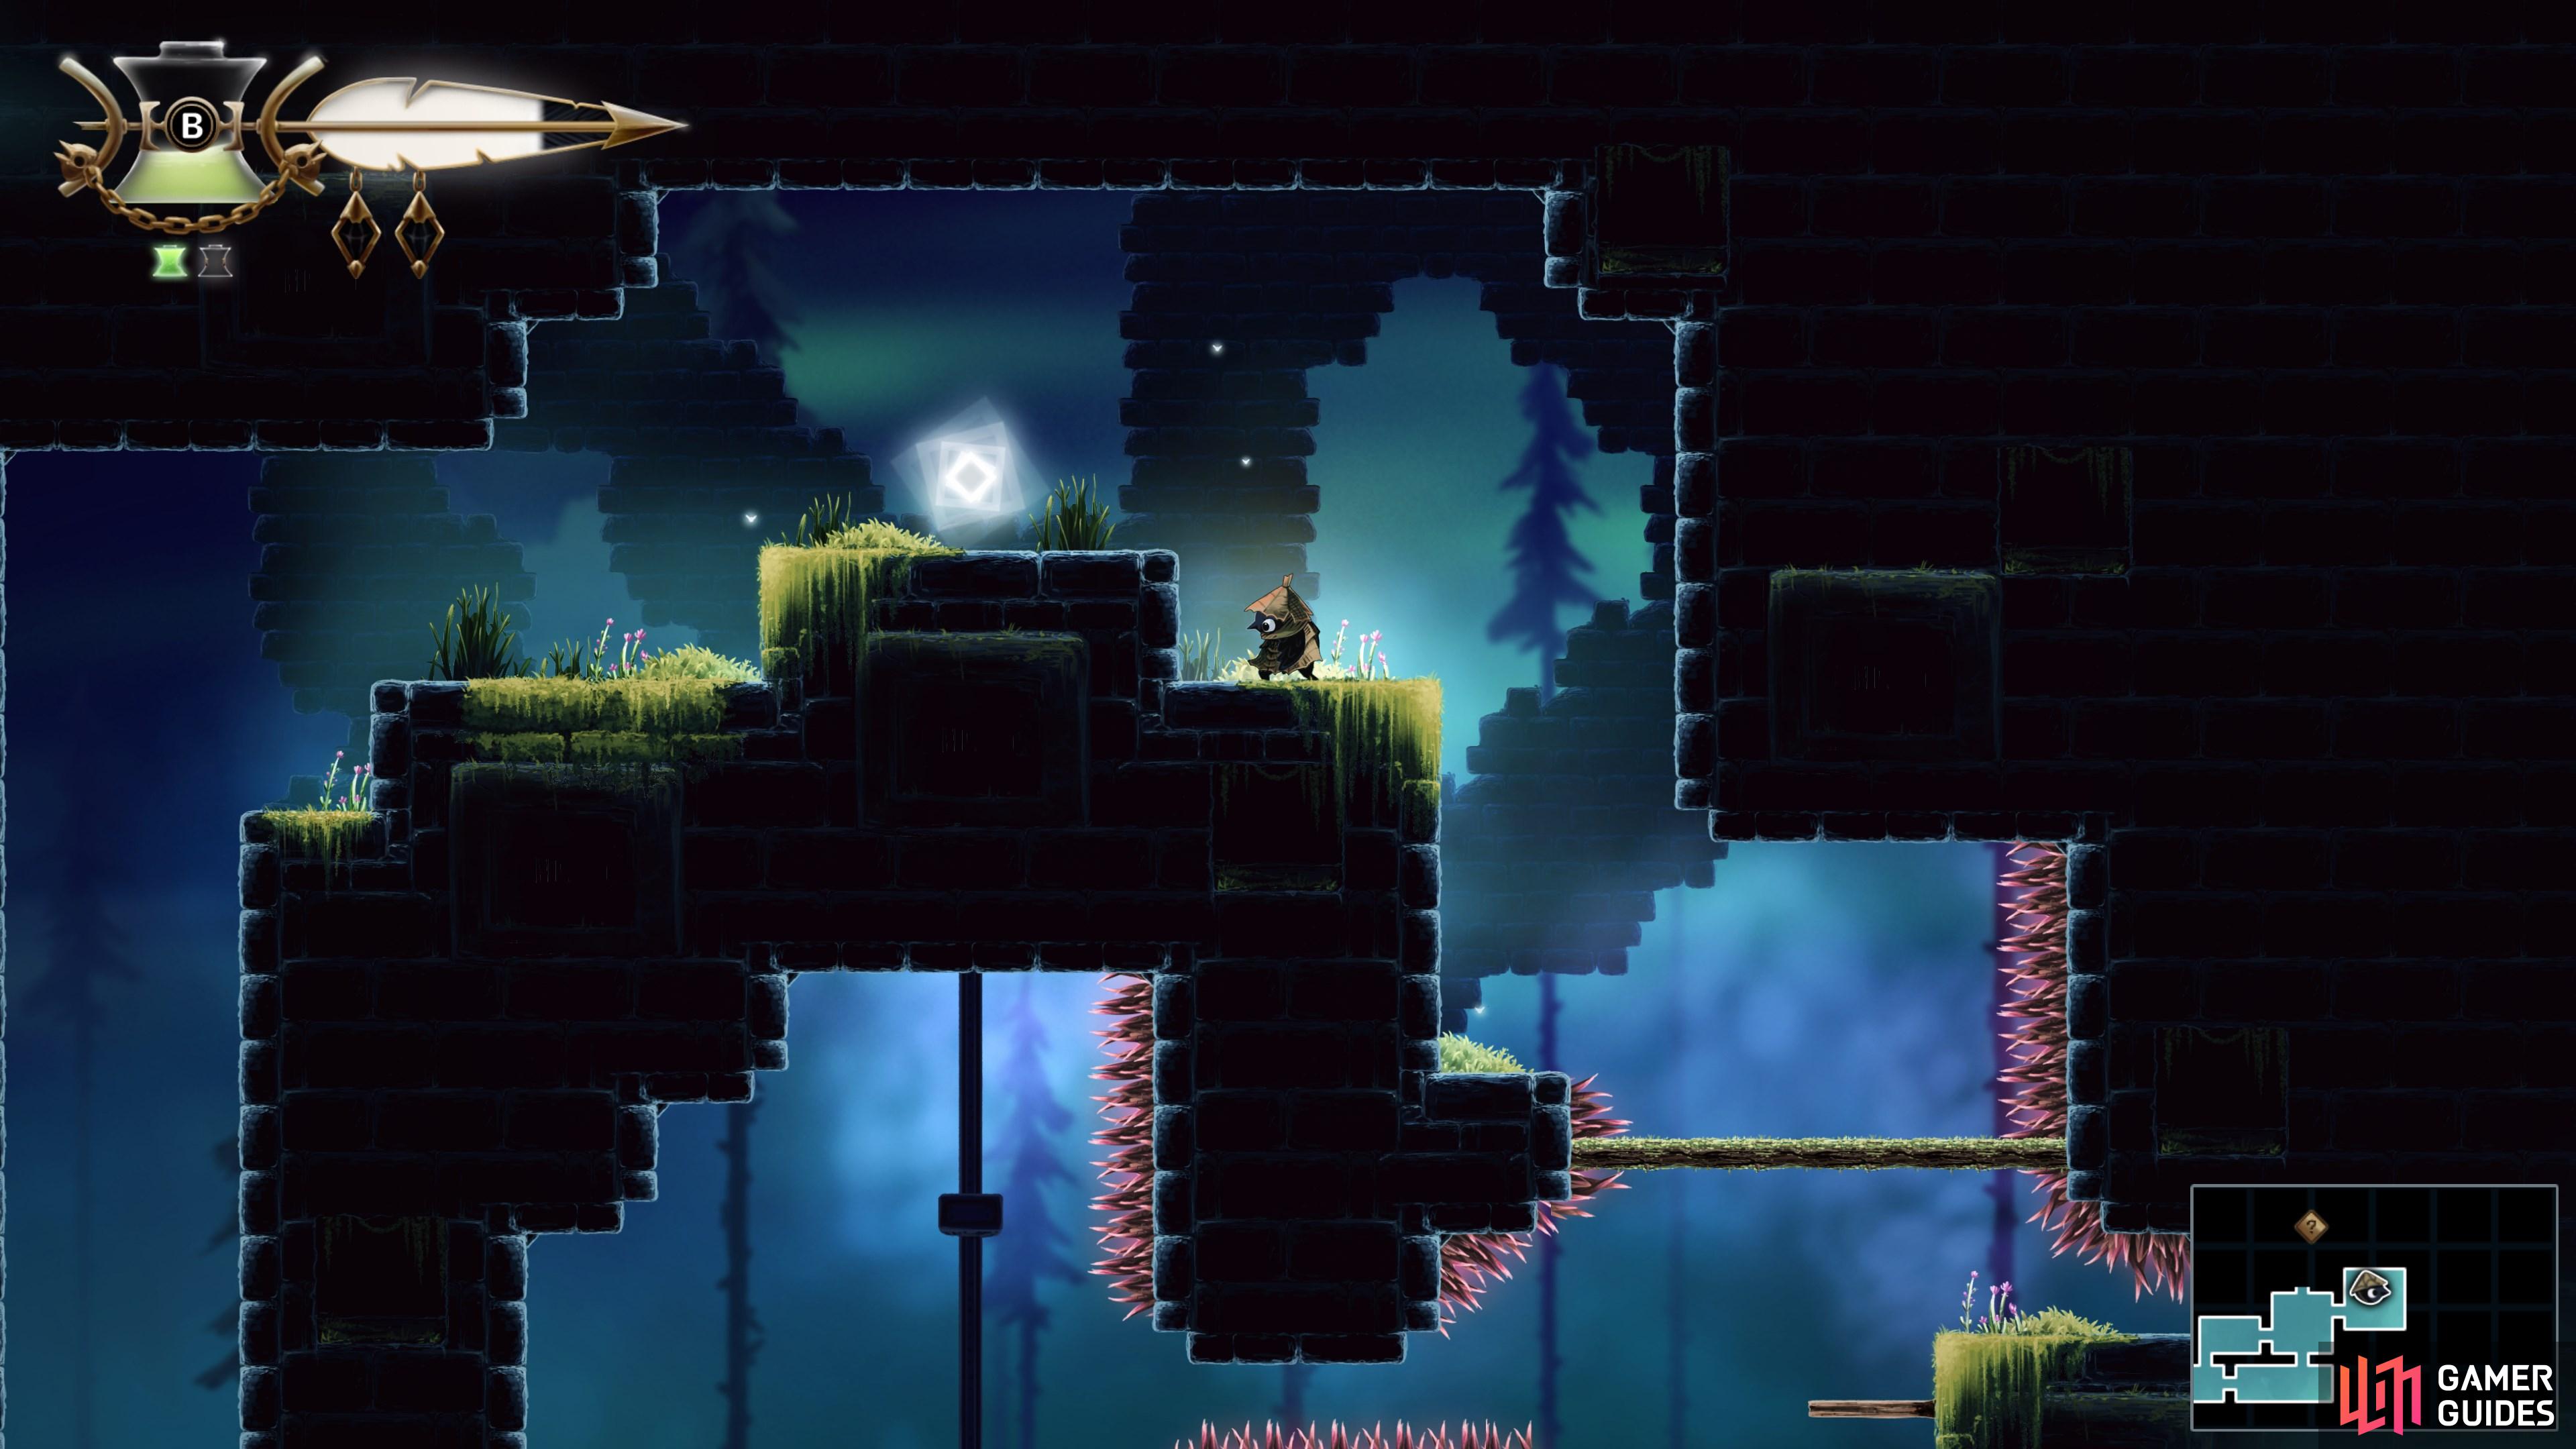
    Hit the lever on the left side of the room, then float up to the right to find this.

    View on map
  14. 14 Trinket Point

    Trinket Point

    In a hidden alcove in the northeast corner of the room. Use "Slingshot" iconSlingshot to reach it.

    View on map
  15. 15 Trinket Point

    Trinket Point

    Follow the trail of bubbles starting on the floor of this room. Bounce off the final one to reach the "Trinket Point" iconTrinket Point.

    View on map
  16. 16 Trinket Point

    Trinket Point

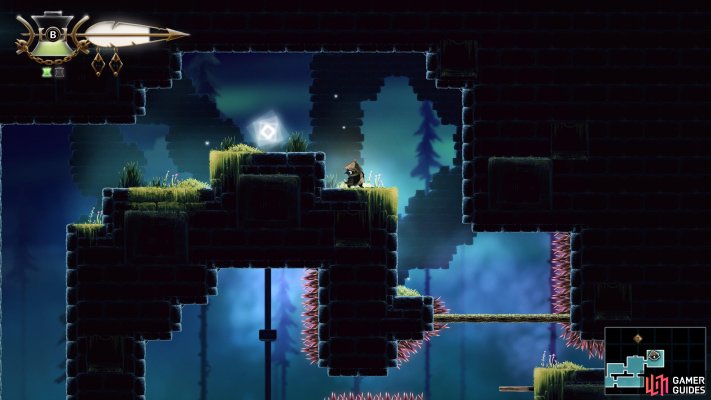
    Ride the trail of bubbles from the bottom-right corner of the room, all the way up to this platform. Use "Slingshot" iconSlingshot at the end to clear the spikes.

    View on map
  17. 17 Trinket Point

    Trinket Point

    Use "Slingshot" iconSlingshot to reach the hidden area that holds the "Trinket Point" iconTrinket Point.

    View on map
  18. 18 Trinket Point

    Trinket Point

    Clear the "Time Trial" iconTime Trial to unseal this room.

    View on map
  19. 19 Trinket Point

    Trinket Point

    Behind the locked door.

    View on map
  20. 20 Trinket Point

    Trinket Point

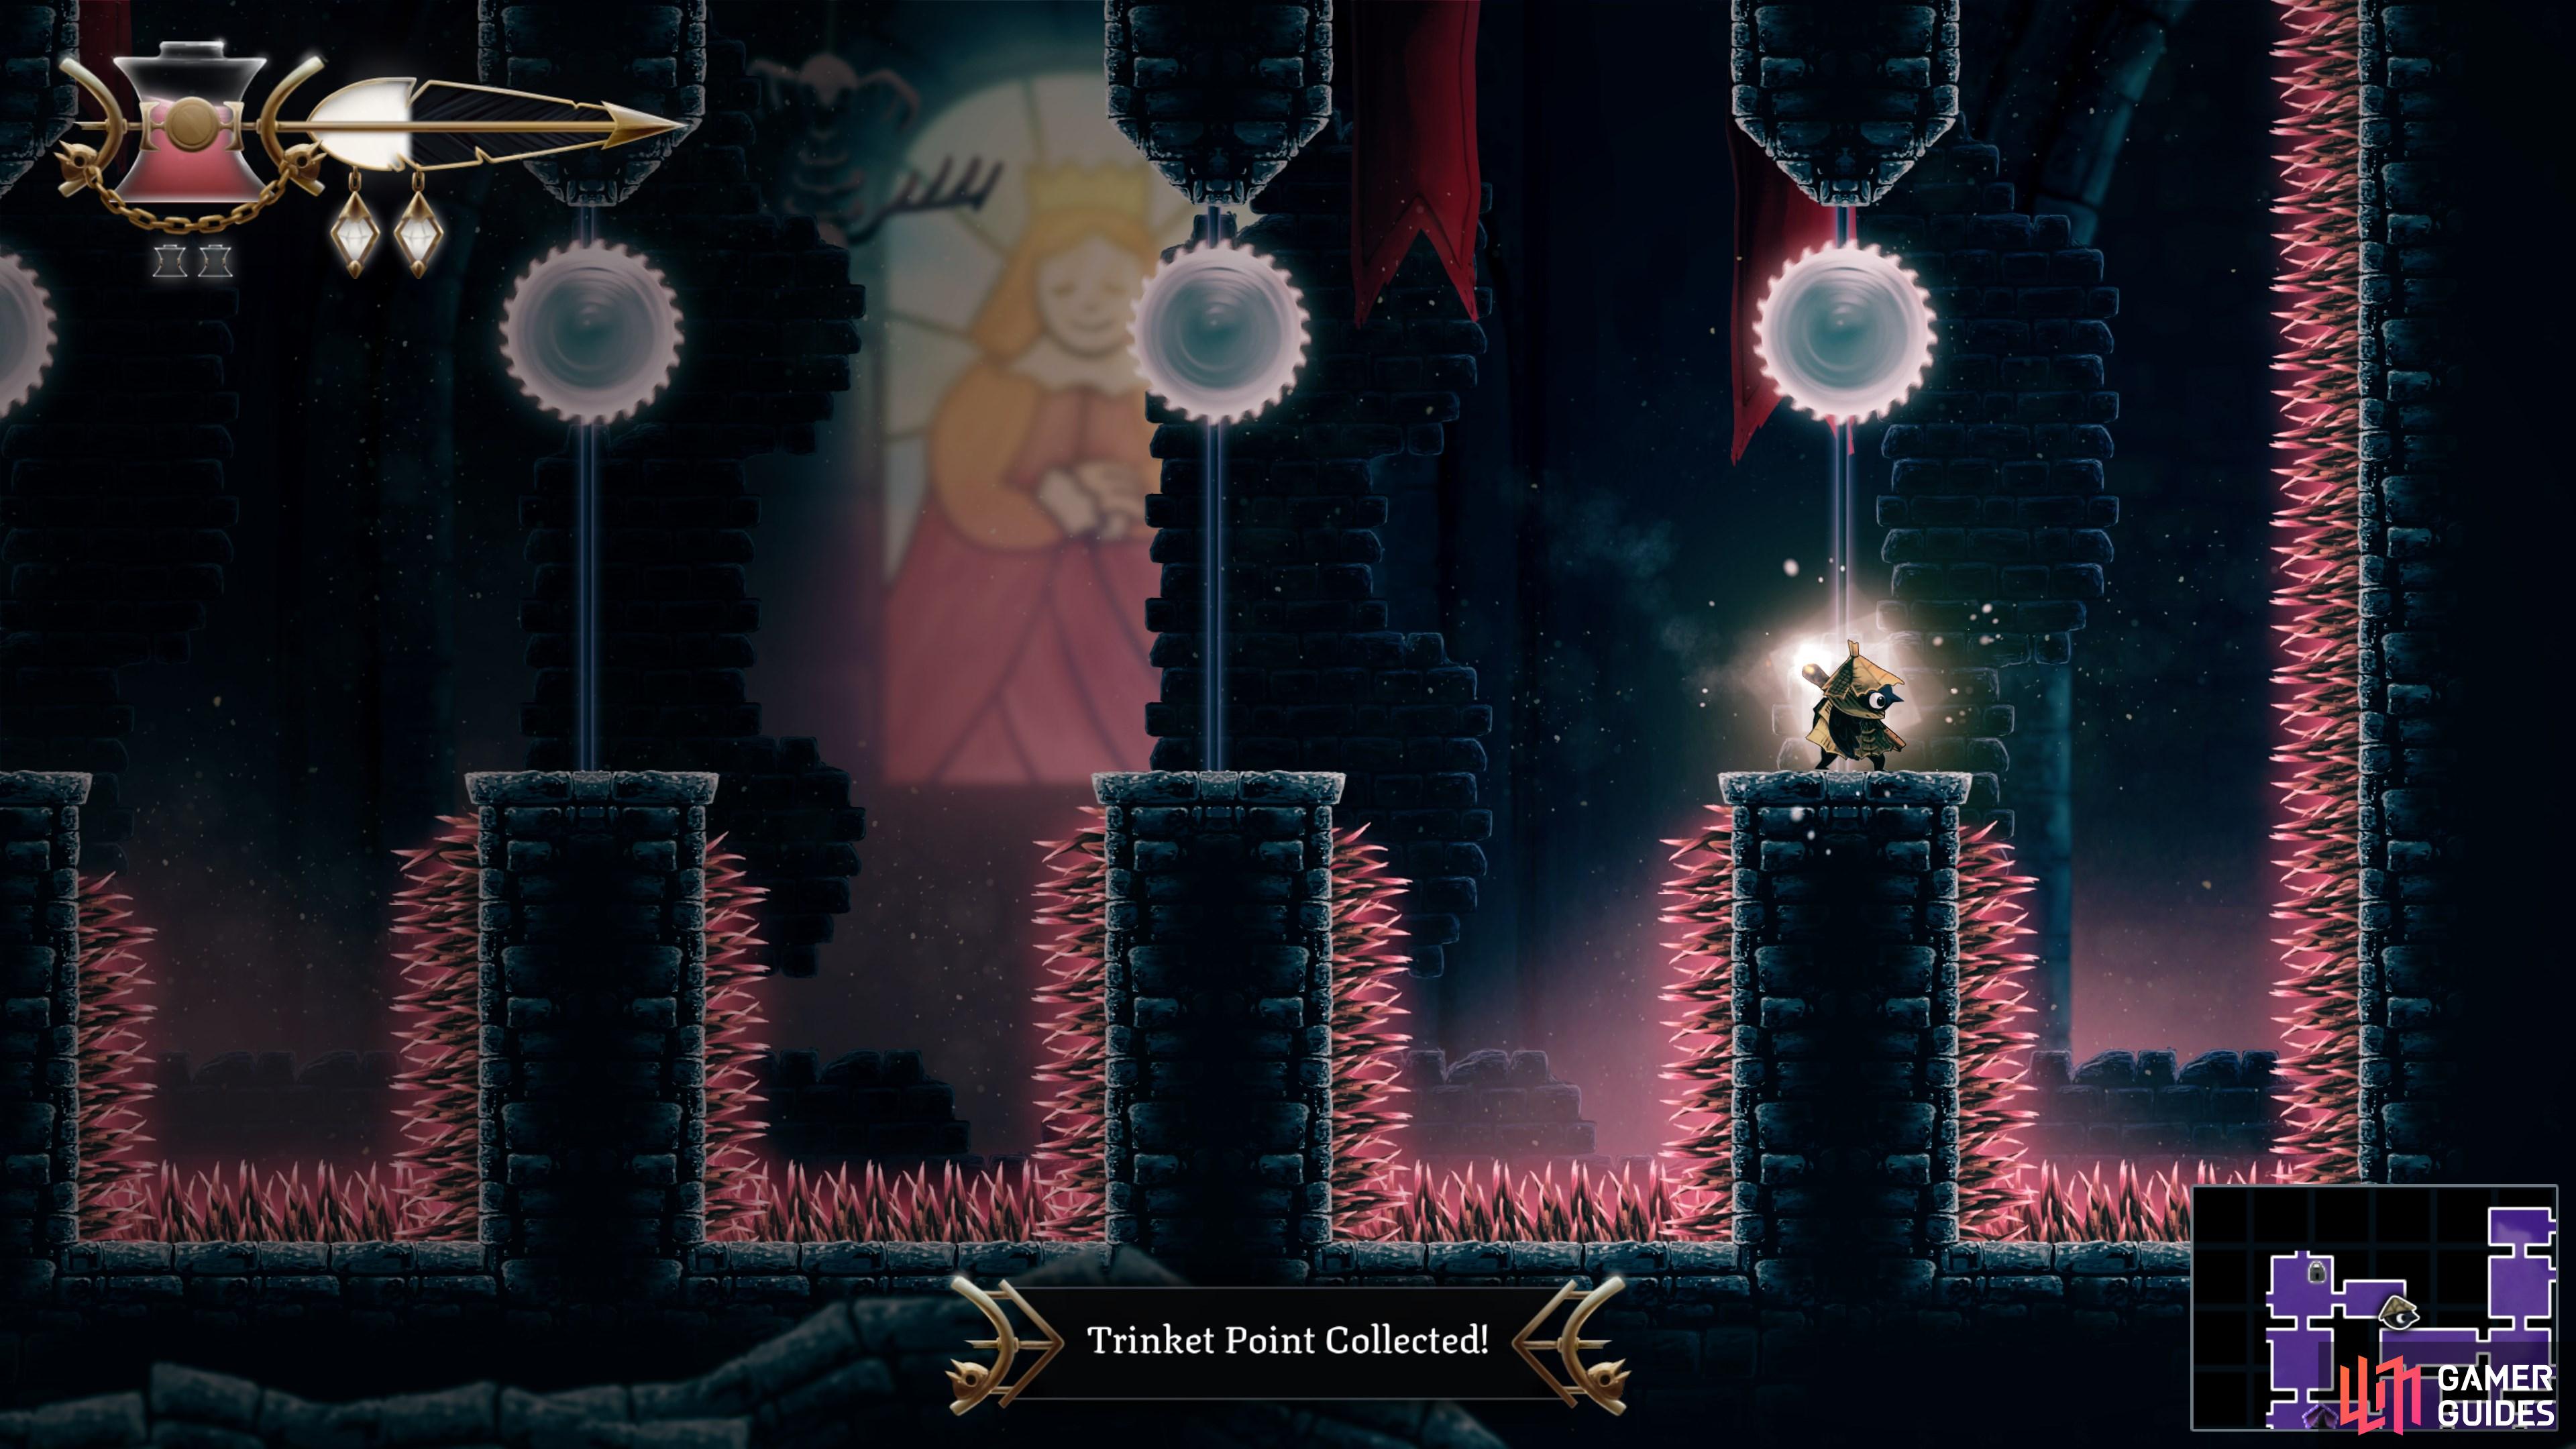
    "Slingshot" iconSlingshot through the gap to hit the gear, lowering the pillar blocking the path to the "Trinket Point" iconTrinket Point.

    View on map
  21. 21 Trinket Point

    Trinket Point

    Bounce off the fourth bubble to reach the west wall, then climb up to reach the platform.

    View on map
  22. 22 Trinket Point

    Trinket Point

    Use "Hover" iconHover and "Slingshot" iconSlingshot to grab this.

    View on map
  23. 23 Trinket Point

    Trinket Point

    Inside the locked room.

    View on map
  24. 24 Trinket Point

    Trinket Point

    On a platform in the center of the room.

    View on map
  25. 25 Trinket Point

    Trinket Point

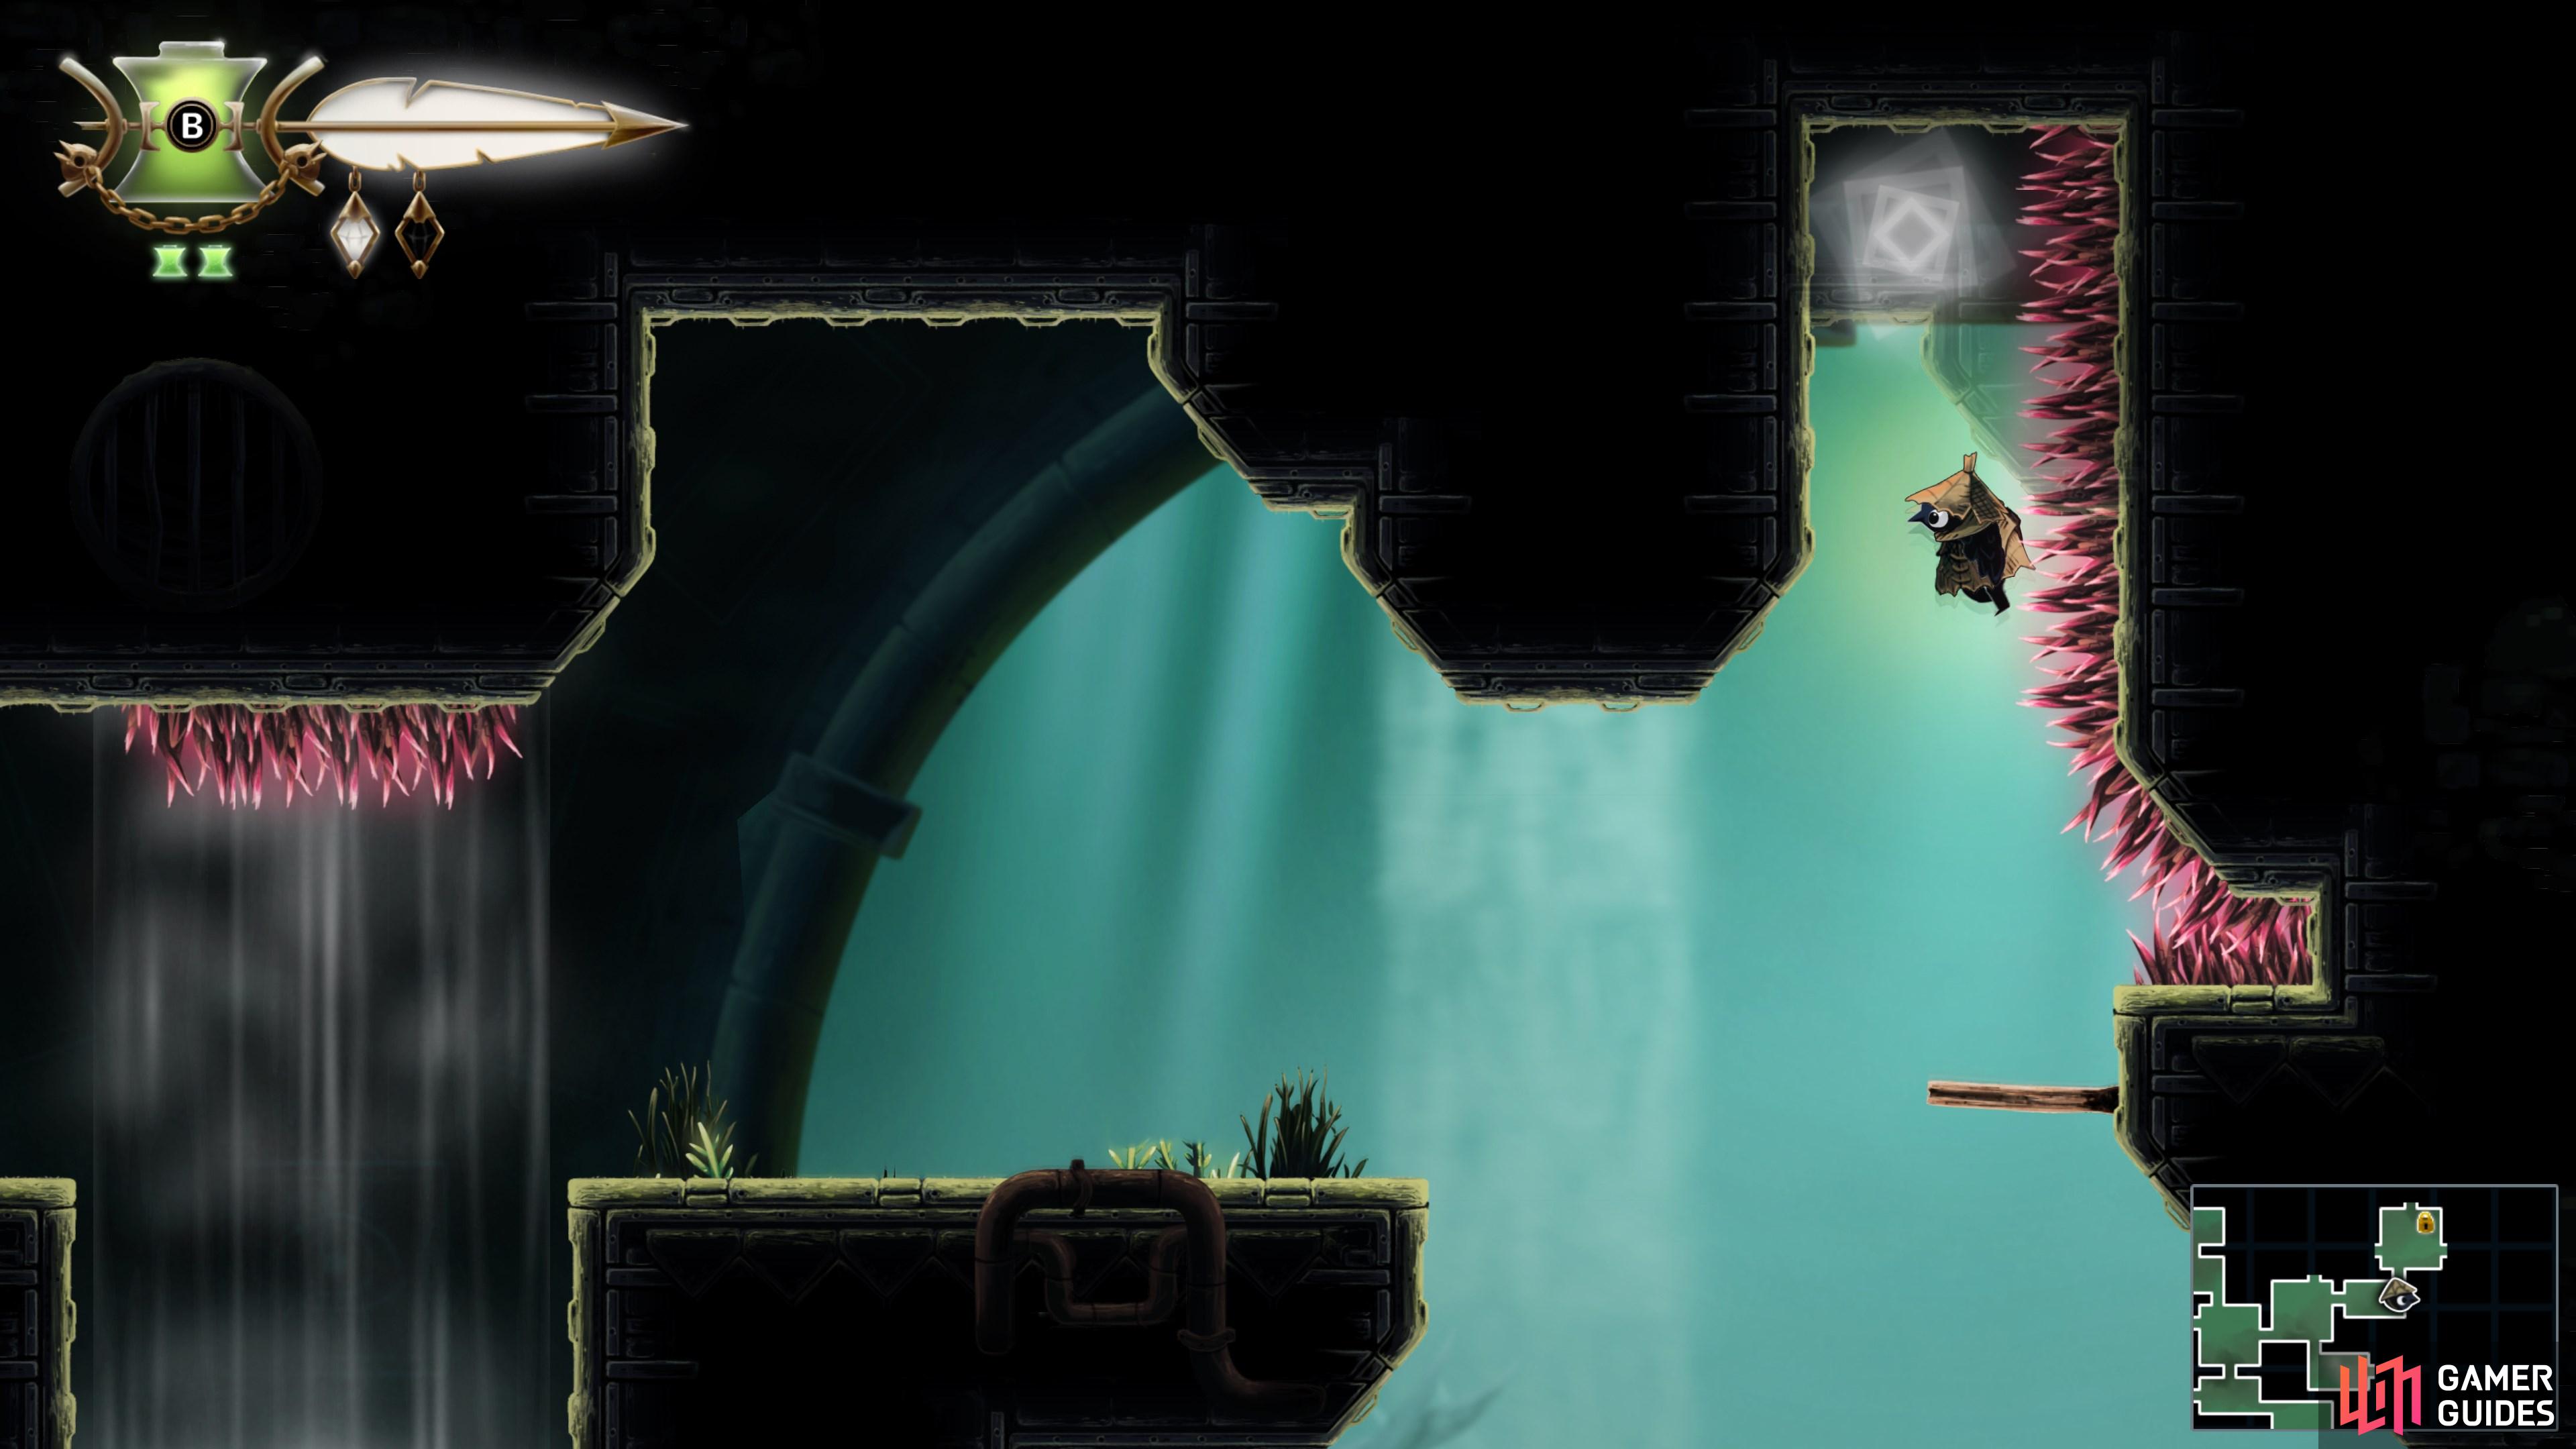
    Use "Slingshot" iconSlingshot to gain enough height that you can safely hover over the spikes and grab this "Trinket Point" iconTrinket Point.

    View on map
  26. 26 Trinket Point

    Trinket Point

    Clear the "Time Trial" iconTime Trial to unlock this room.

    View on map
  27. 27 Trinket Point

    Trinket Point

    In the passage beyond the bomb wall.

    View on map
  28. 28 Trinket Point

    Trinket Point

    Inside an alcove hidden in the middle of the room.

    View on map
  29. 29 Trinket Point

    Trinket Point

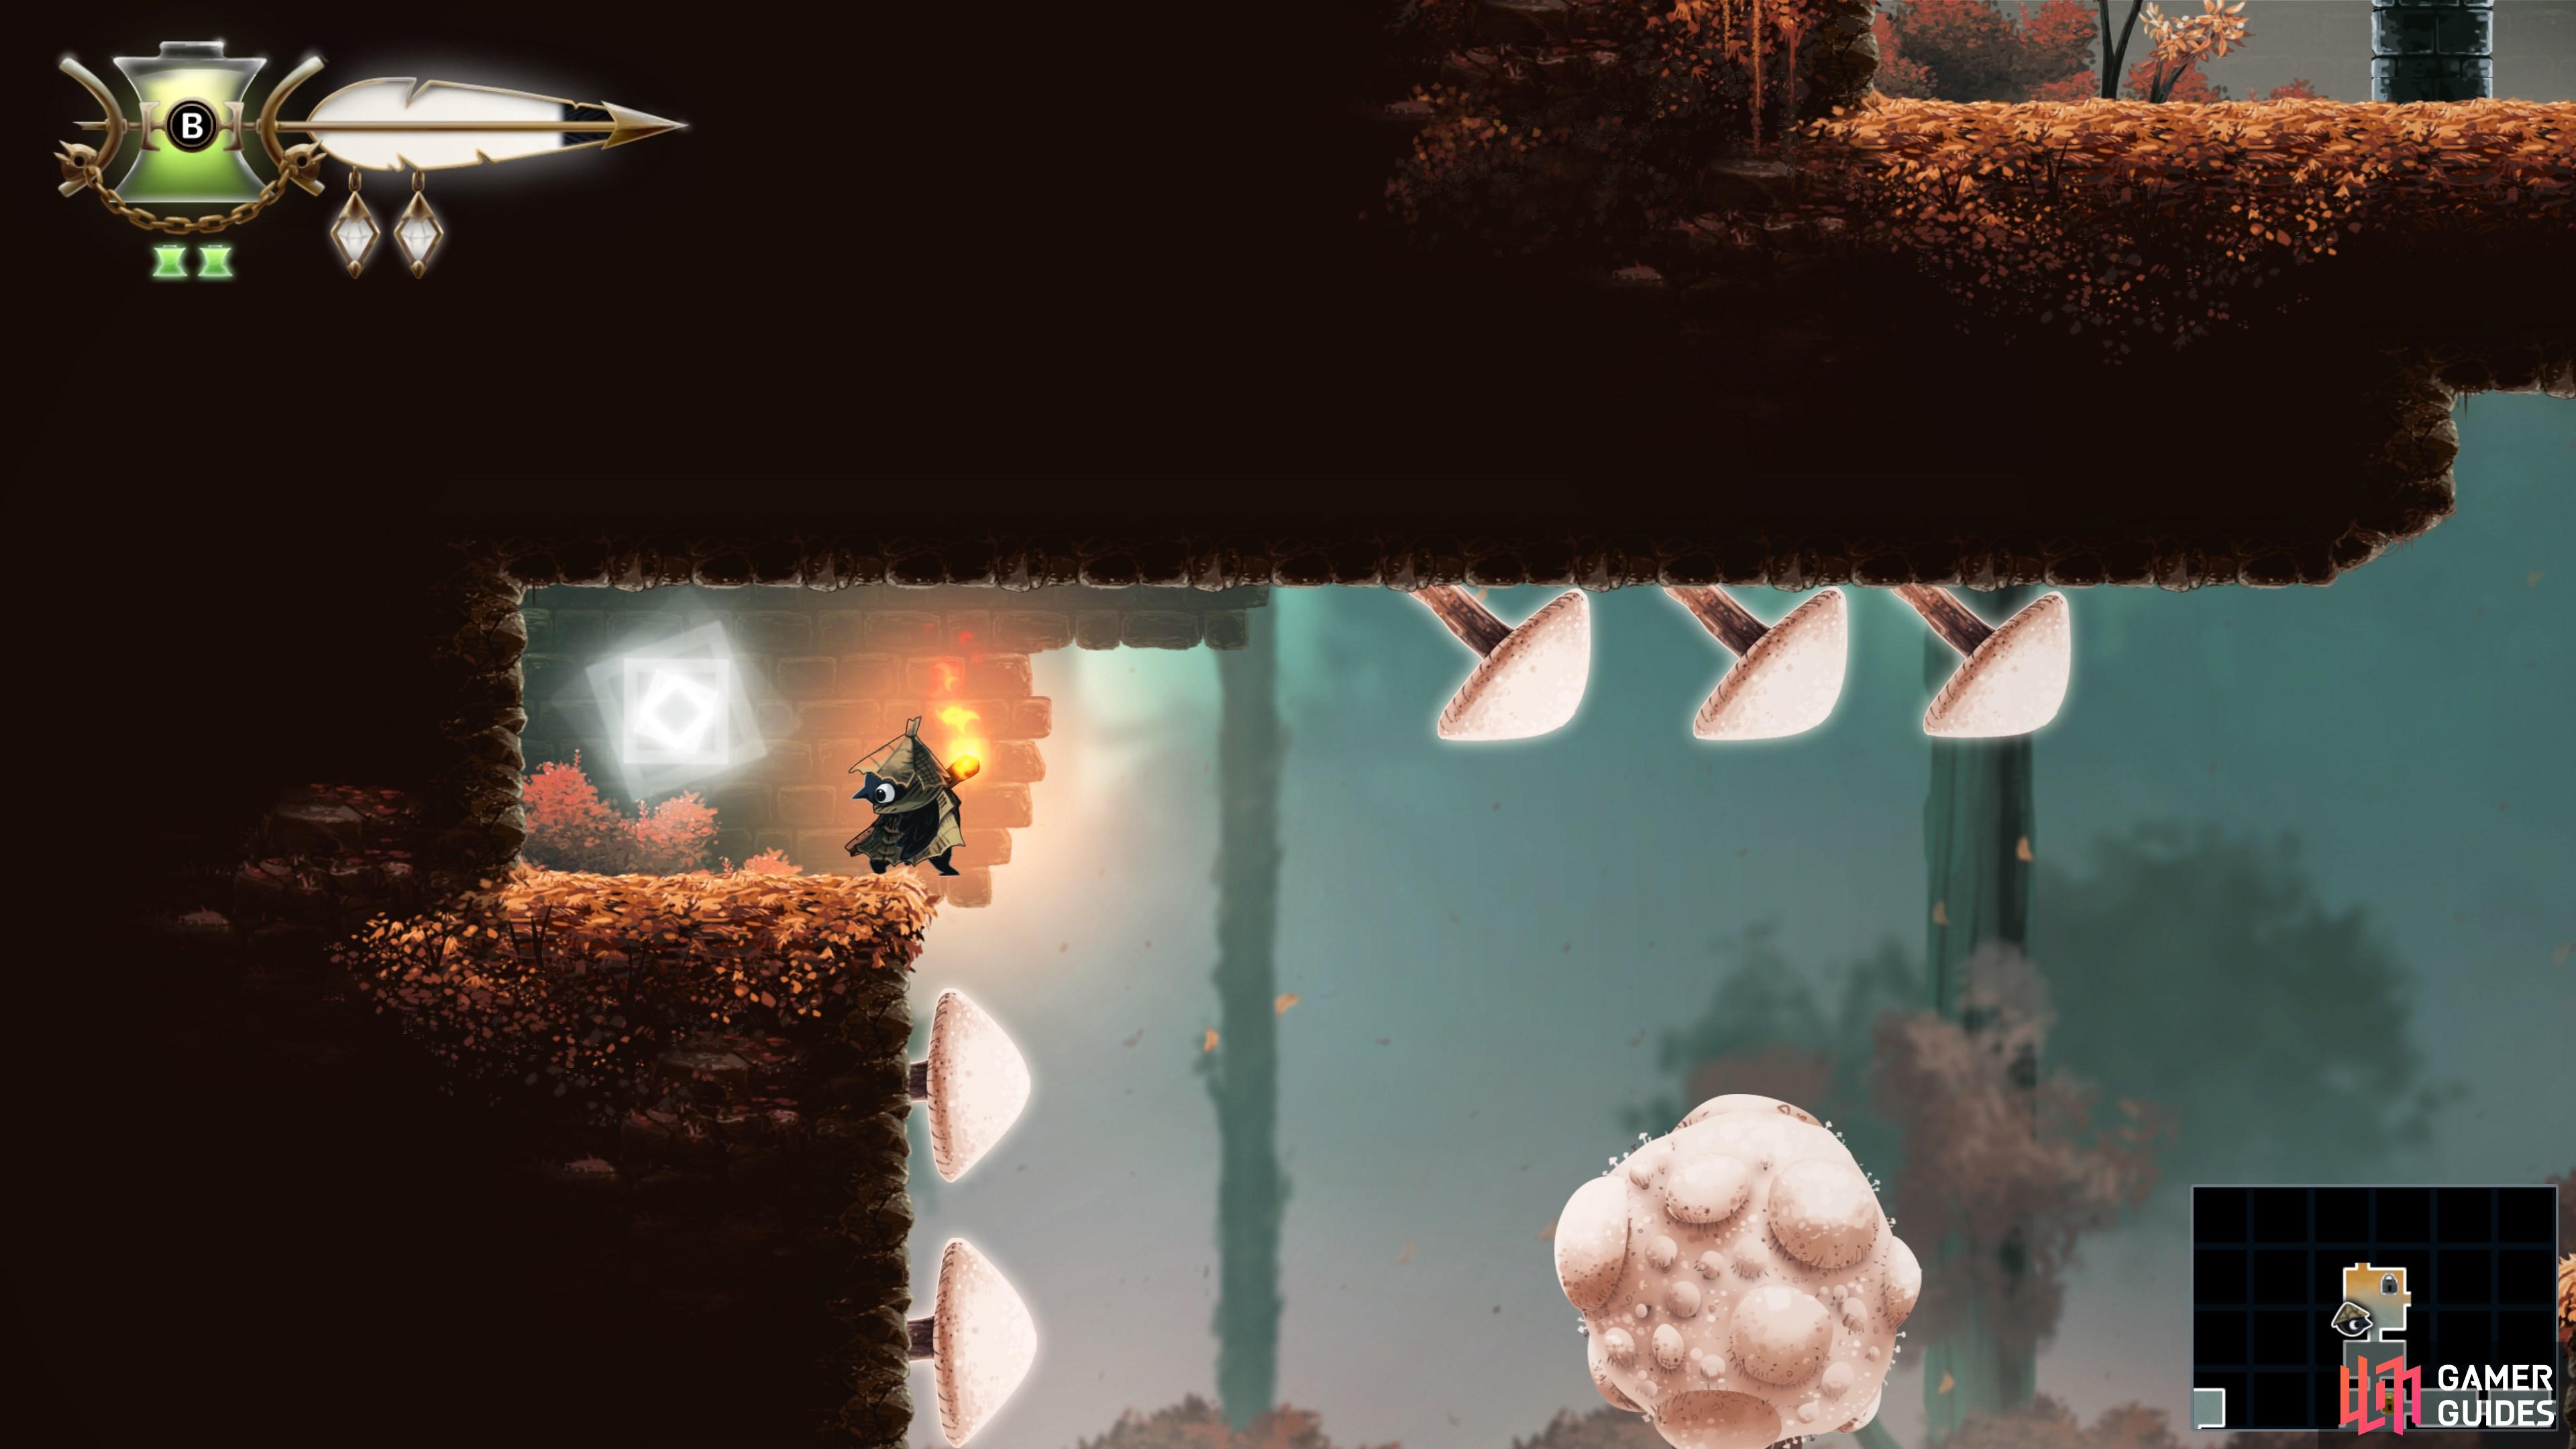
    Use the big shroom to bounce over to this platform.

    View on map
  30. 30 Trinket Point

    Trinket Point

    Strike the second bell, then jump over to the western wall and climb up.

    View on map
  31. 31 Trinket Point

    Trinket Point

    In a hidden room on the eastern wall.

    View on map
  32. 32 Trinket Point

    Trinket Point

    Use the bubble to reach the "Trinket Point" iconTrinket Point.

    View on map
  33. 33 Trinket Point

    Trinket Point

    Use the bubble to reach the platform at the top of the room.

    View on map
  34. 34 Trinket Point

    Trinket Point

    Navigate the platforming challenge below to reach this "Trinket Point" iconTrinket Point.

    View on map
  35. 35 Trinket Point

    Trinket Point

    Ride the elevator down from above to reach this "Trinket Point" iconTrinket Point.

    View on map
  36. 36 Trinket Point

    Trinket Point

    Bounce off the shroom below to grab this.

    View on map
  37. 37 Trinket Point

    Trinket Point

    Avoid the top shroom to avert a spiky accident as you ascend the shaft.

    View on map
  38. 38 Trinket Point

    Trinket Point

    Use the giant shrooms to bounce over the projectiles.

    View on map
  39. 39 Trinket Point

    Trinket Point

    Hit the yellow target in "King's Sling" iconKing’s Sling to earn a "Trinket Point" iconTrinket Point.

    View on map
  40. 40 Trinket Point

    Trinket Point

    Use the shrooms to bounce your way to the top of the screen.

    View on map
  41. 41 Trinket Point

    Trinket Point

    In the top-left corner of the room.

    View on map
  42. 42 Trinket Point

    Trinket Point

    Clear the platforming challenge to grab this.

    View on map
  43. 43 Trinket Point

    Trinket Point

    Inside the hidden room.

    View on map
  44. 44 Trinket Point

    Trinket Point

    View on map
  45. 45 Trinket Point

    Trinket Point

    In the hidden area beyond the breakable wall.

    View on map
  46. 46 Trinket Point

    Trinket Point

    Use "Slingshot" iconSlingshot on the moving pillar to bounce up to the shaft above.

    View on map
  47. 47 Trinket Point

    Trinket Point

    Clear the platforming challenge to grab this collectible.

    View on map
  48. 48 Trinket Point

    Trinket Point

    Clear the platforming challenge and grab this at the end.

    View on map
  49. 49 Trinket Point

    Trinket Point

    Requires "Wall Sling" iconWall Sling to reach.

    View on map
  50. 50 Trinket Point

    Trinket Point

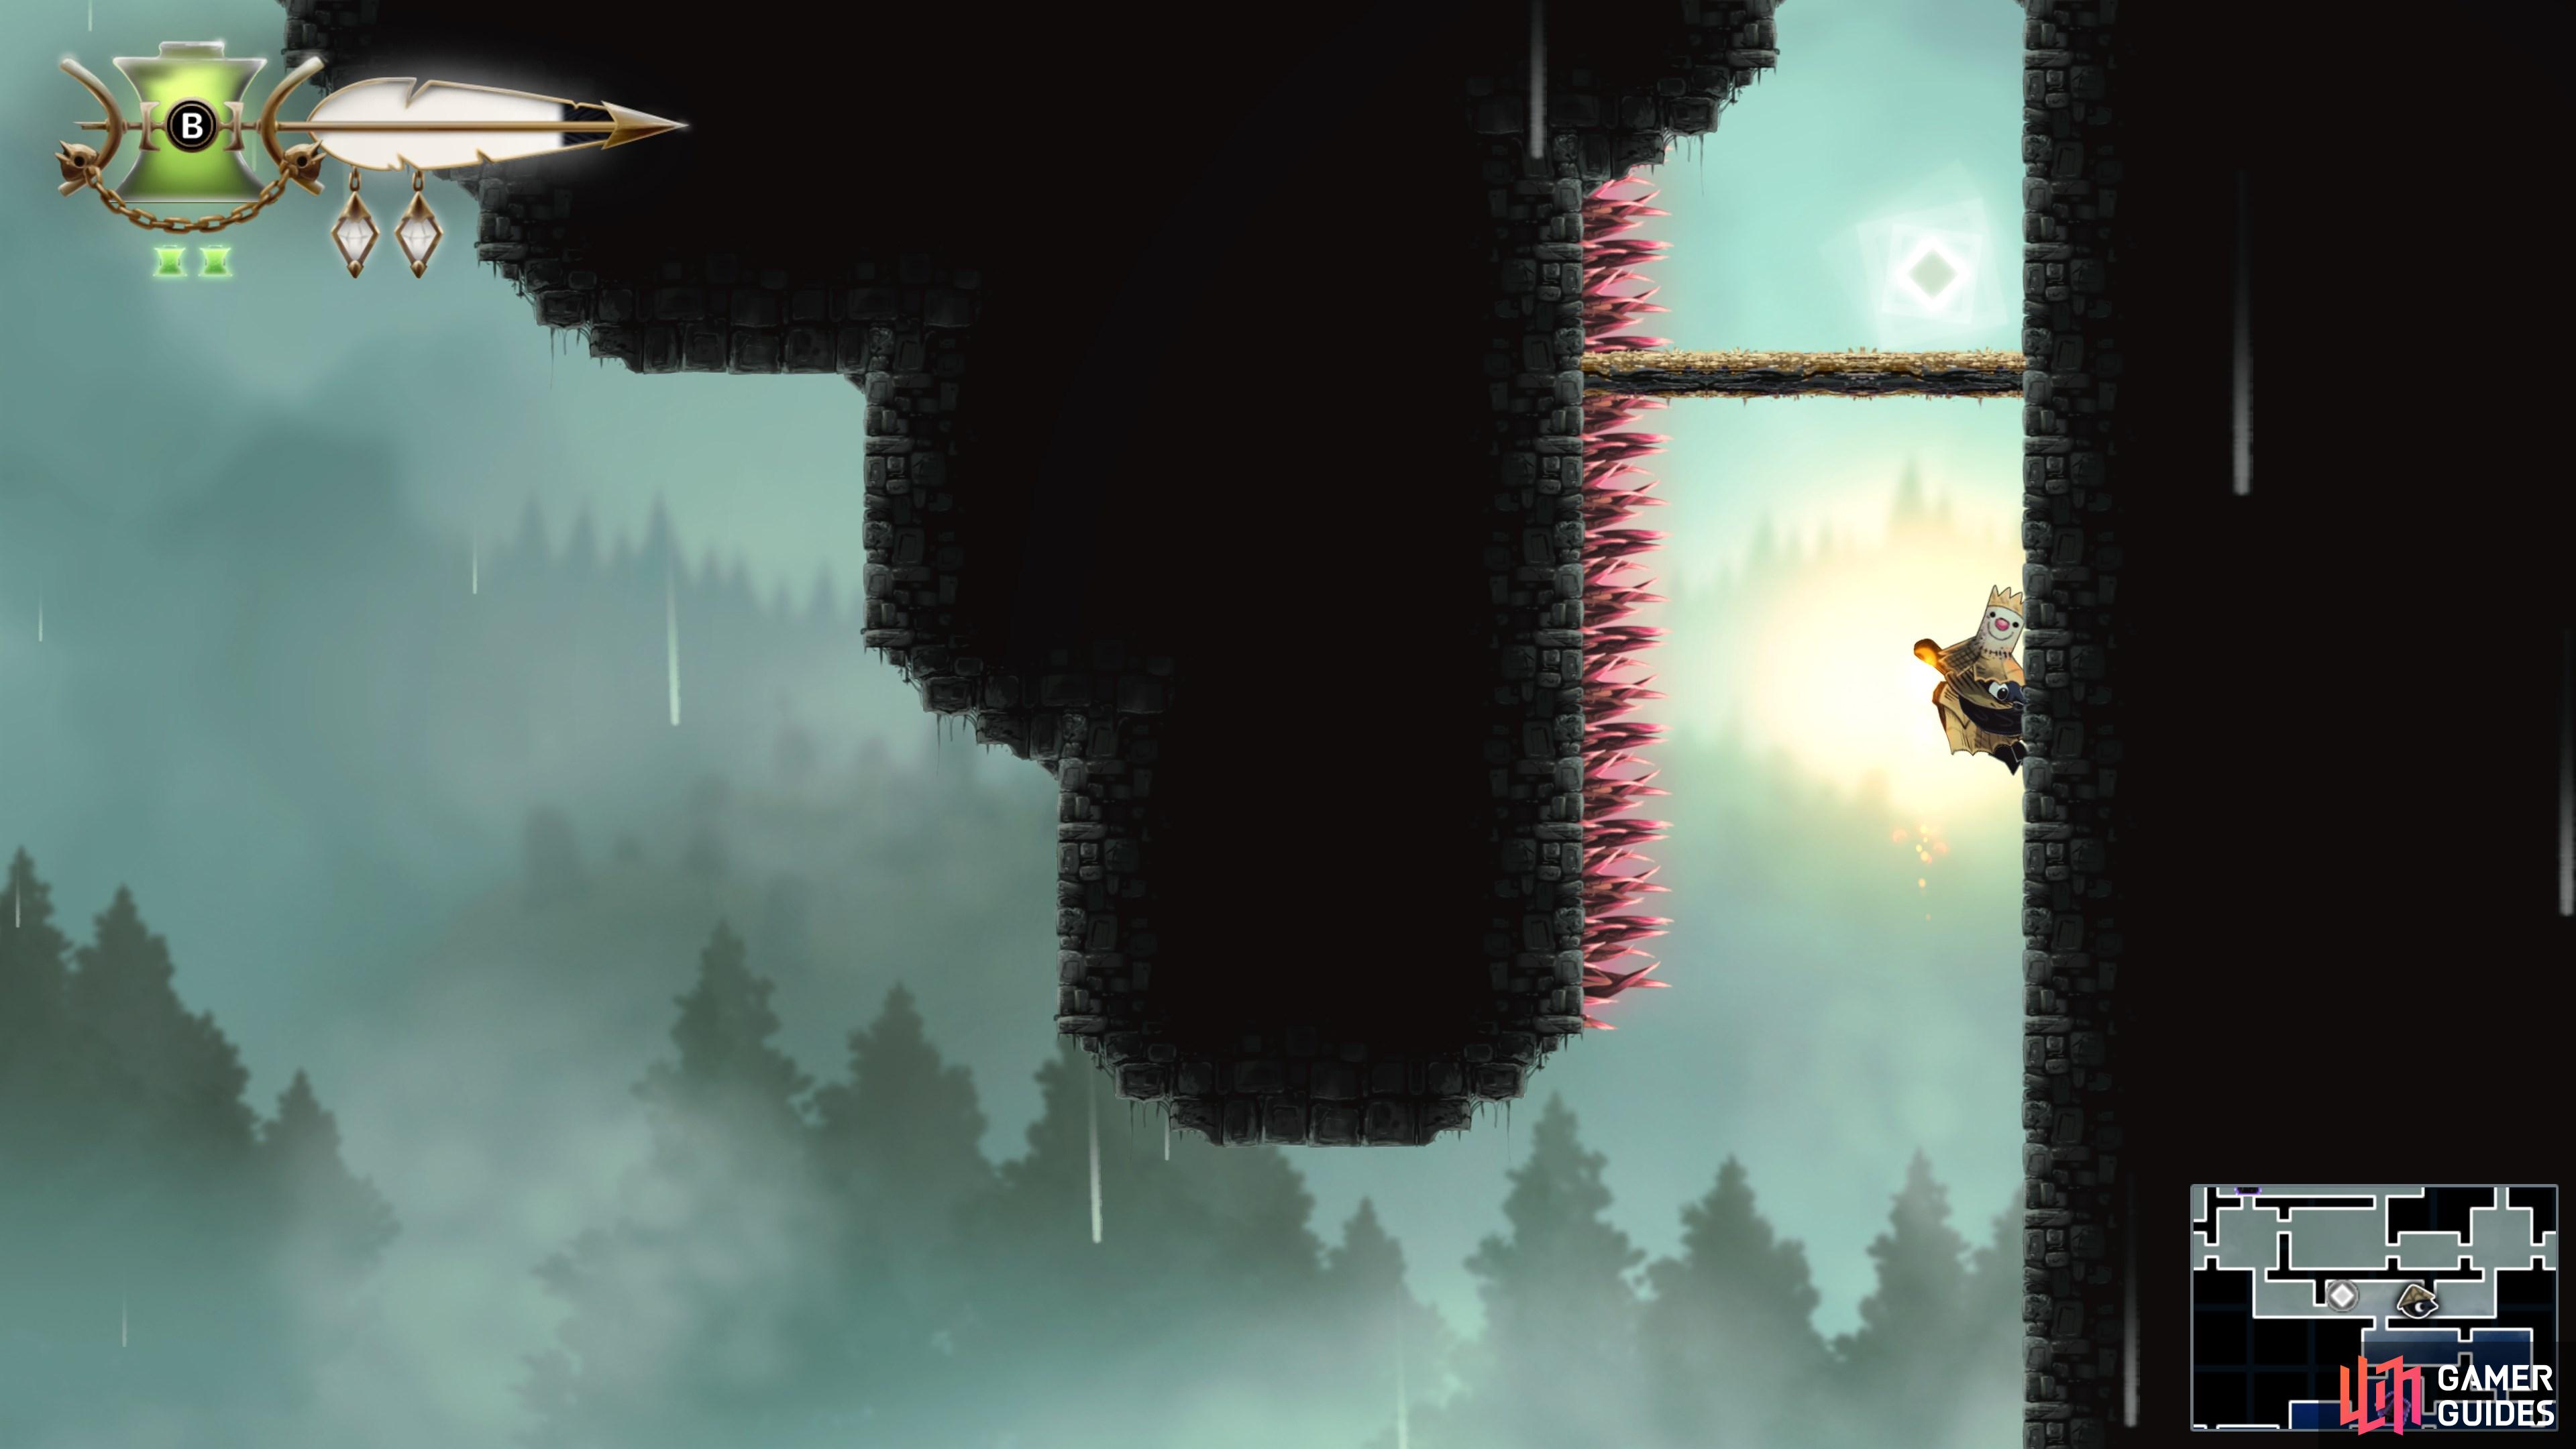
    Use "Slingshot" iconSlingshot and Infinite "Climb" iconClimb to grab this.

    View on map
  51. 51 Trinket Point

    Trinket Point

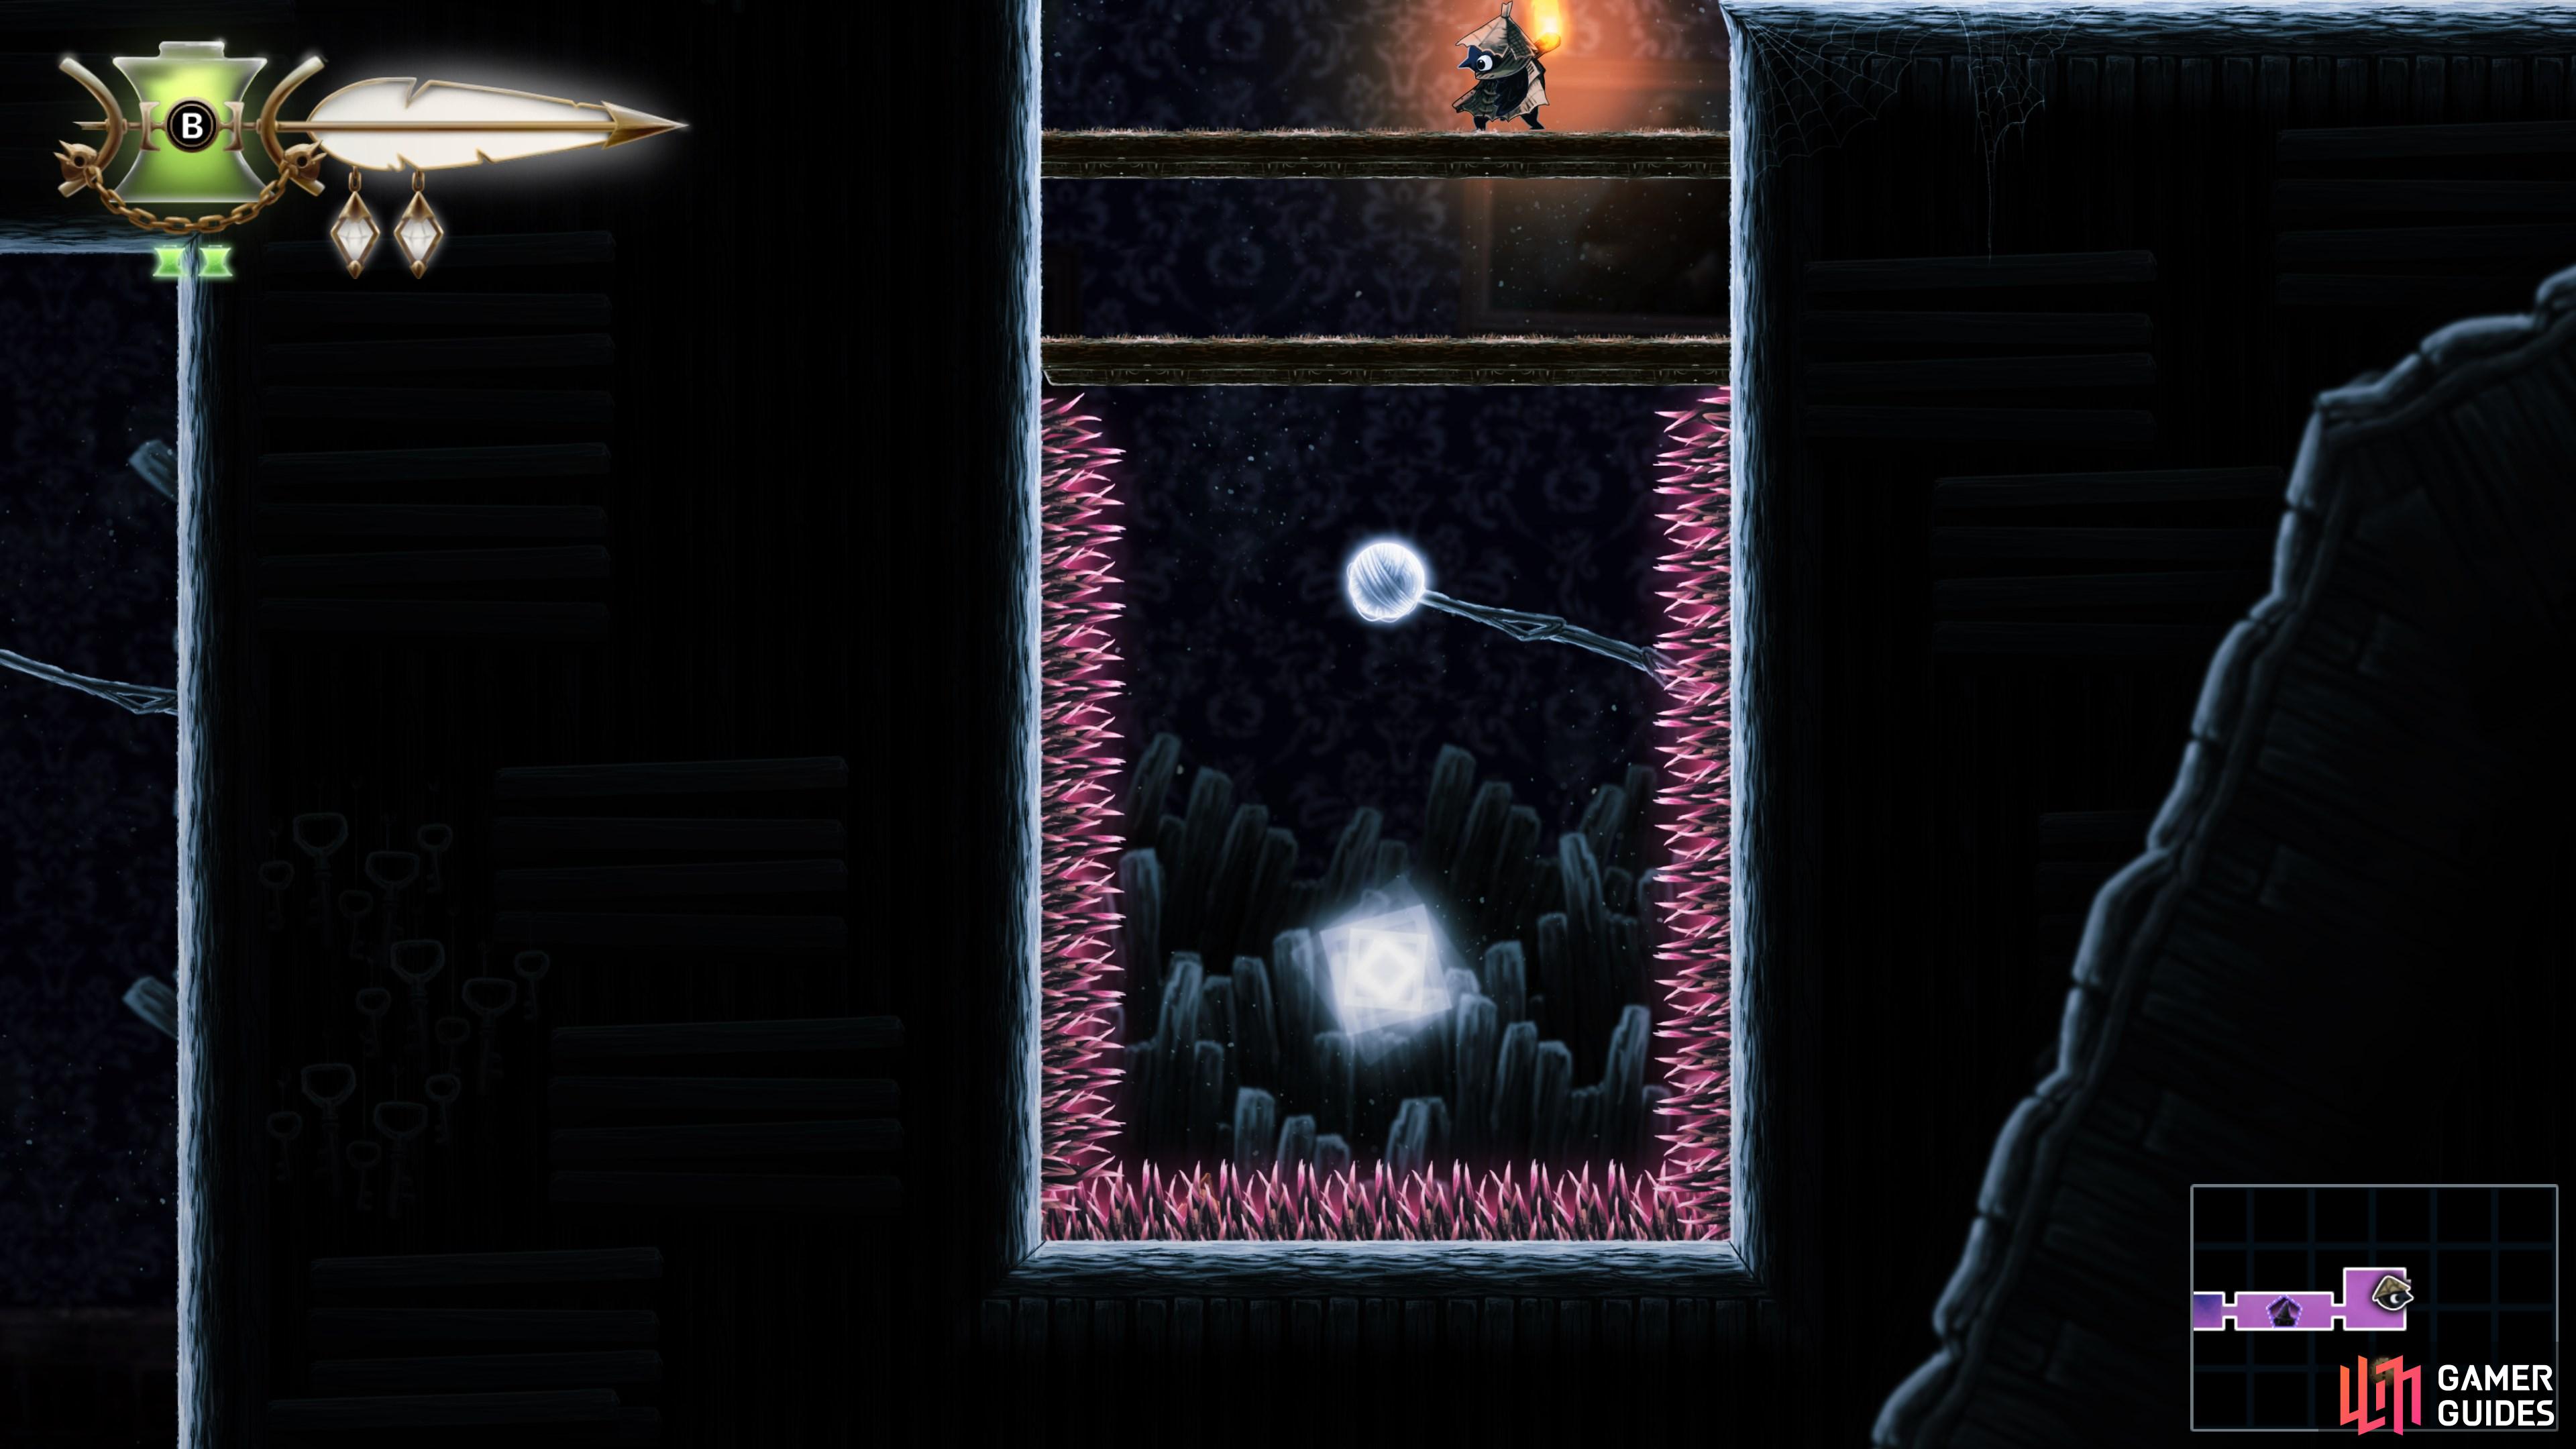
    Drop down and use the web to sling yourself back up before you hit the spikes.

    View on map
  52. 52 Trinket Point

    Trinket Point

    Use the web slings to propel yourself up to the top of the room.

    View on map
  53. 53 Trinket Point

    Trinket Point

    Found at the far end of the room, beneath the spinning blade.

    View on map
  54. 54 Trinket Point (Wall Sing Required)

    Trinket Point (Wall Sing Required)

    Use "Wall Sling" iconWall Sling to reach this platform in the top-right corner of the room.

    View on map
  55. 55 Trinket Point (Endless Climb Required)

    Trinket Point (Endless Climb Required)

    Use "Endless Climb" iconEndless Climb to reach this collectible.

    View on map
  56. 56 Trinket Point (Requires Hover)

    Trinket Point (Requires Hover)

    Drop from above, and reach hover to float over to the vertical walls, then use climb to grab this collectible.

    View on map
  57. 57 Trinket Point (Wall Sling Required)

    Trinket Point (Wall Sling Required)

    Use "Wall Sling" iconWall Sling to reach this platform.

    View on map
  58. 58 Trinket Point (Wall Sling Required)

    Trinket Point (Wall Sling Required)

    Use "Wall Sling" iconWall Sling to reach this collectible.

    View on map
  59. 59 Trinket Point (Requires Endless Climb)

    Trinket Point (Requires Endless Climb)

    Use "Endless Climb" iconEndless Climb to scale the western wall, then hop and hover to the platform here and grab the collectible.
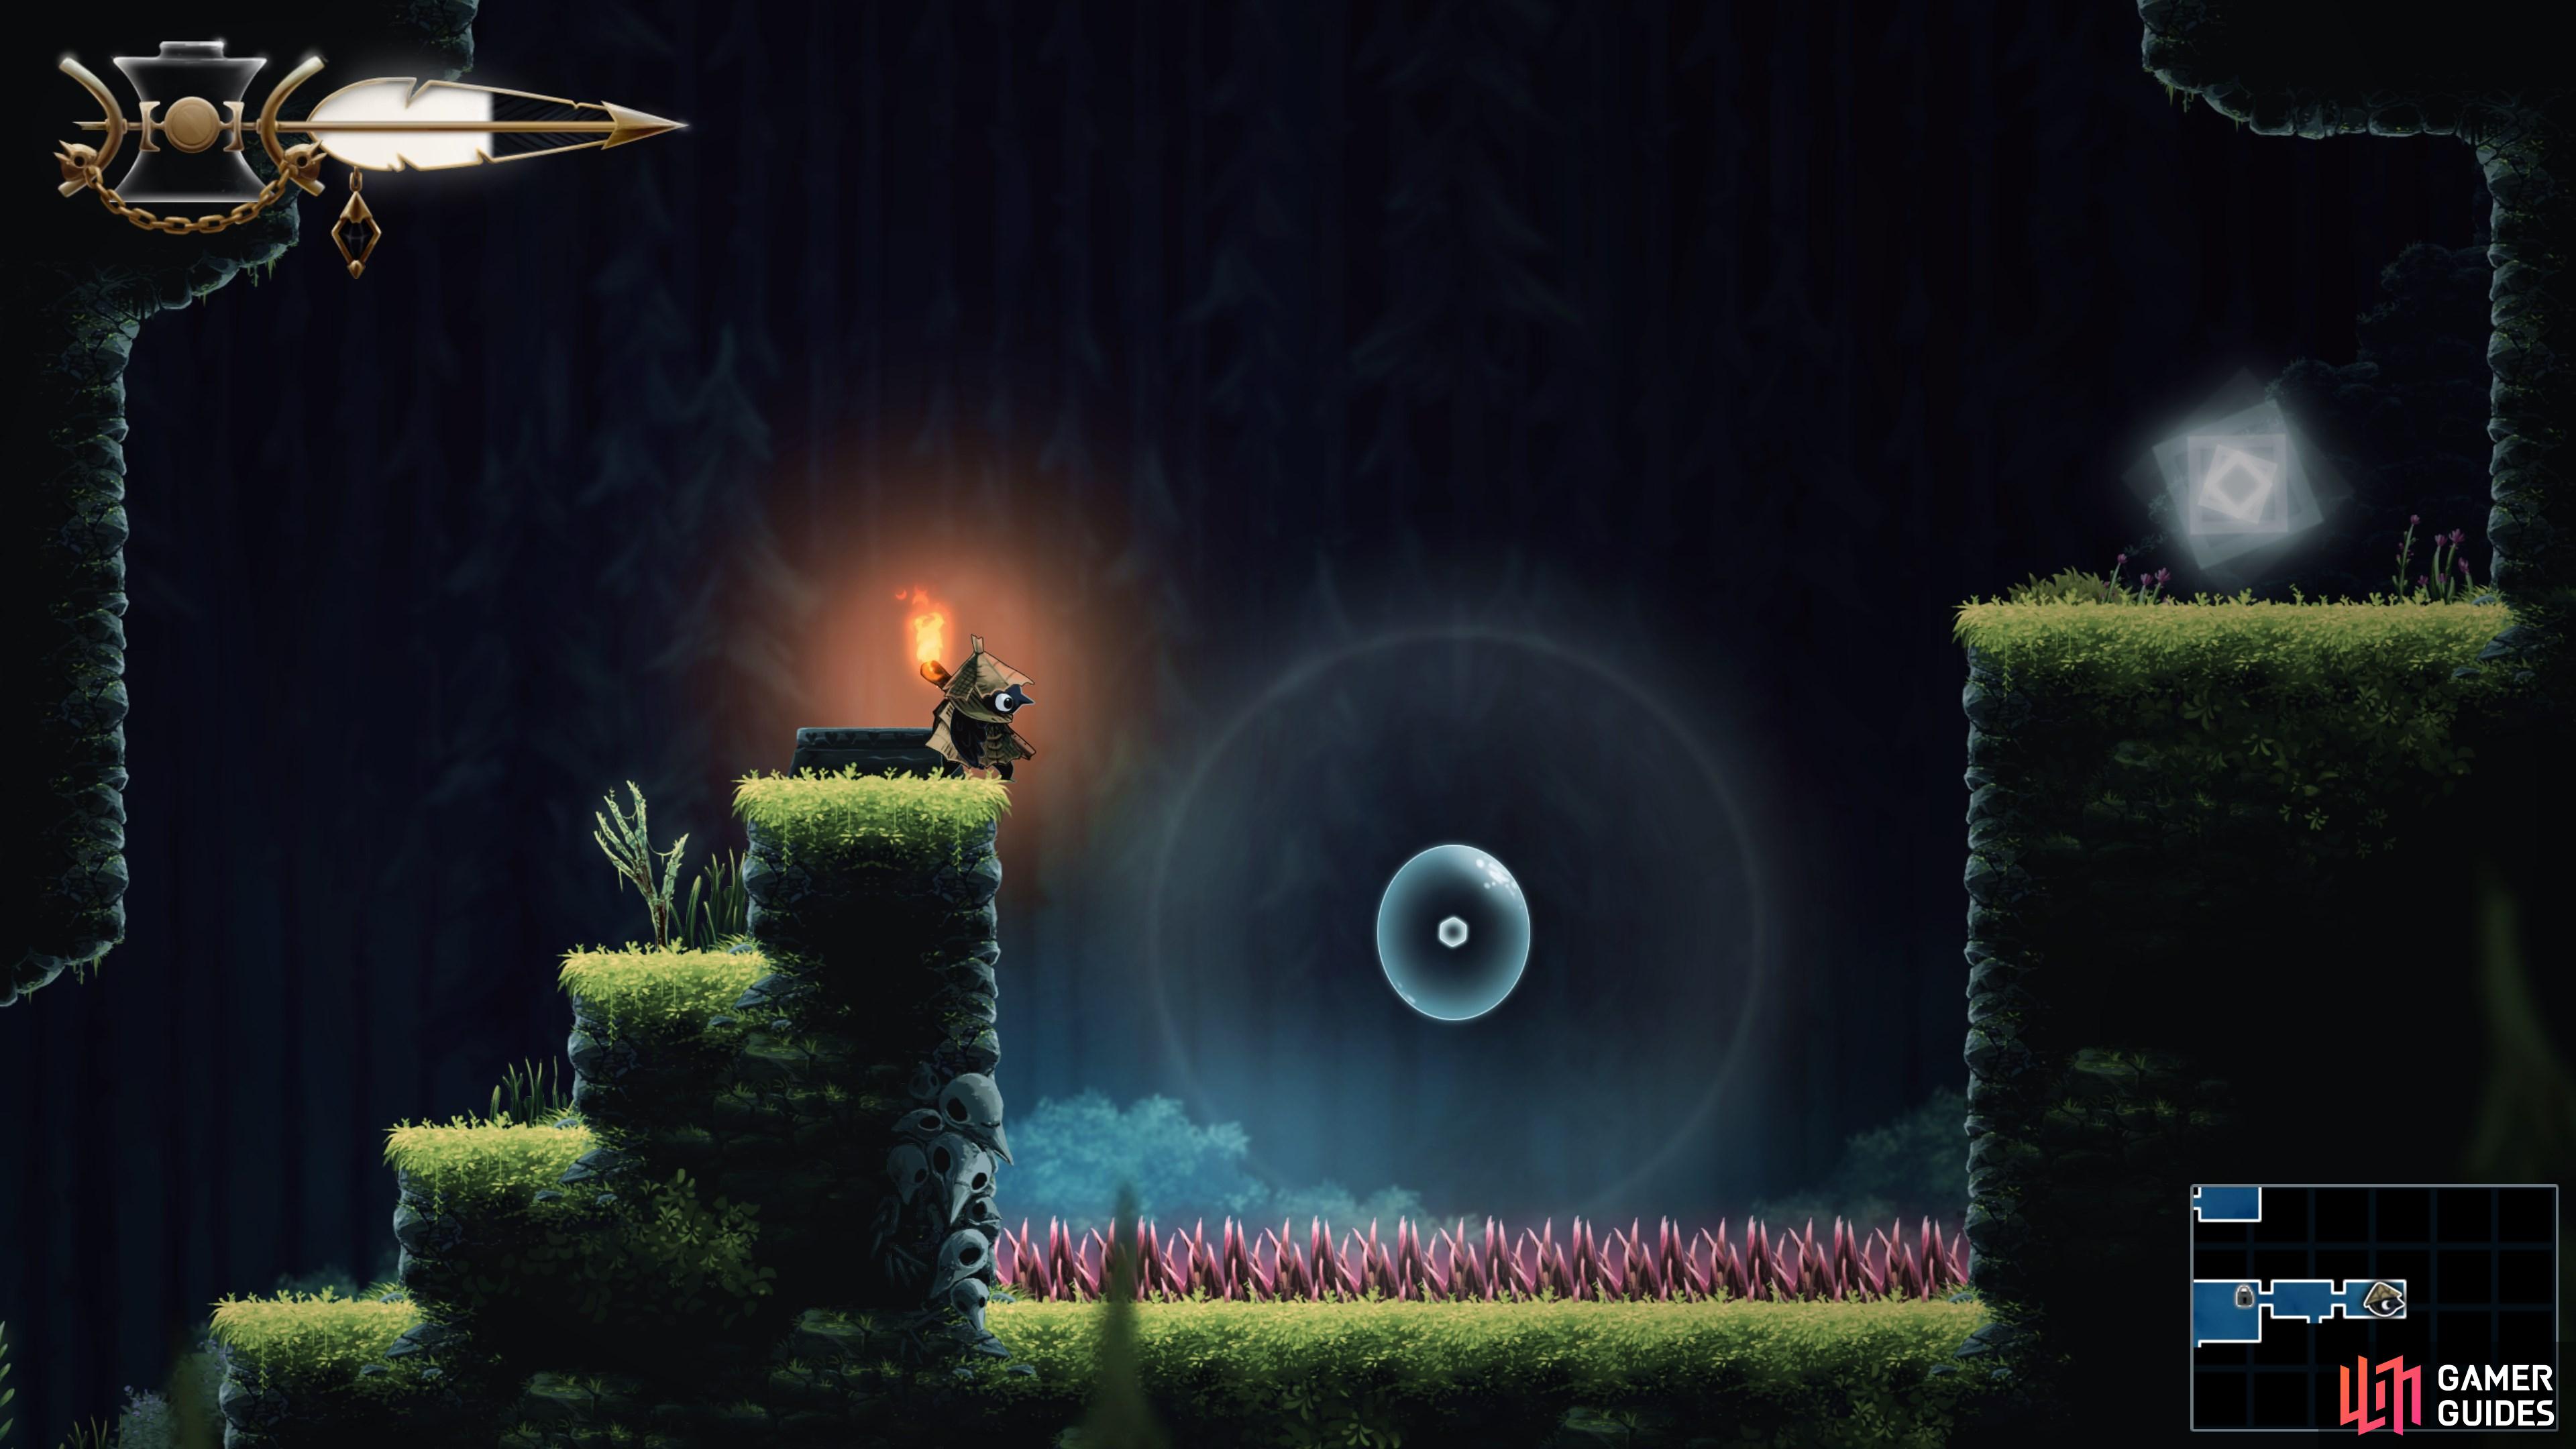
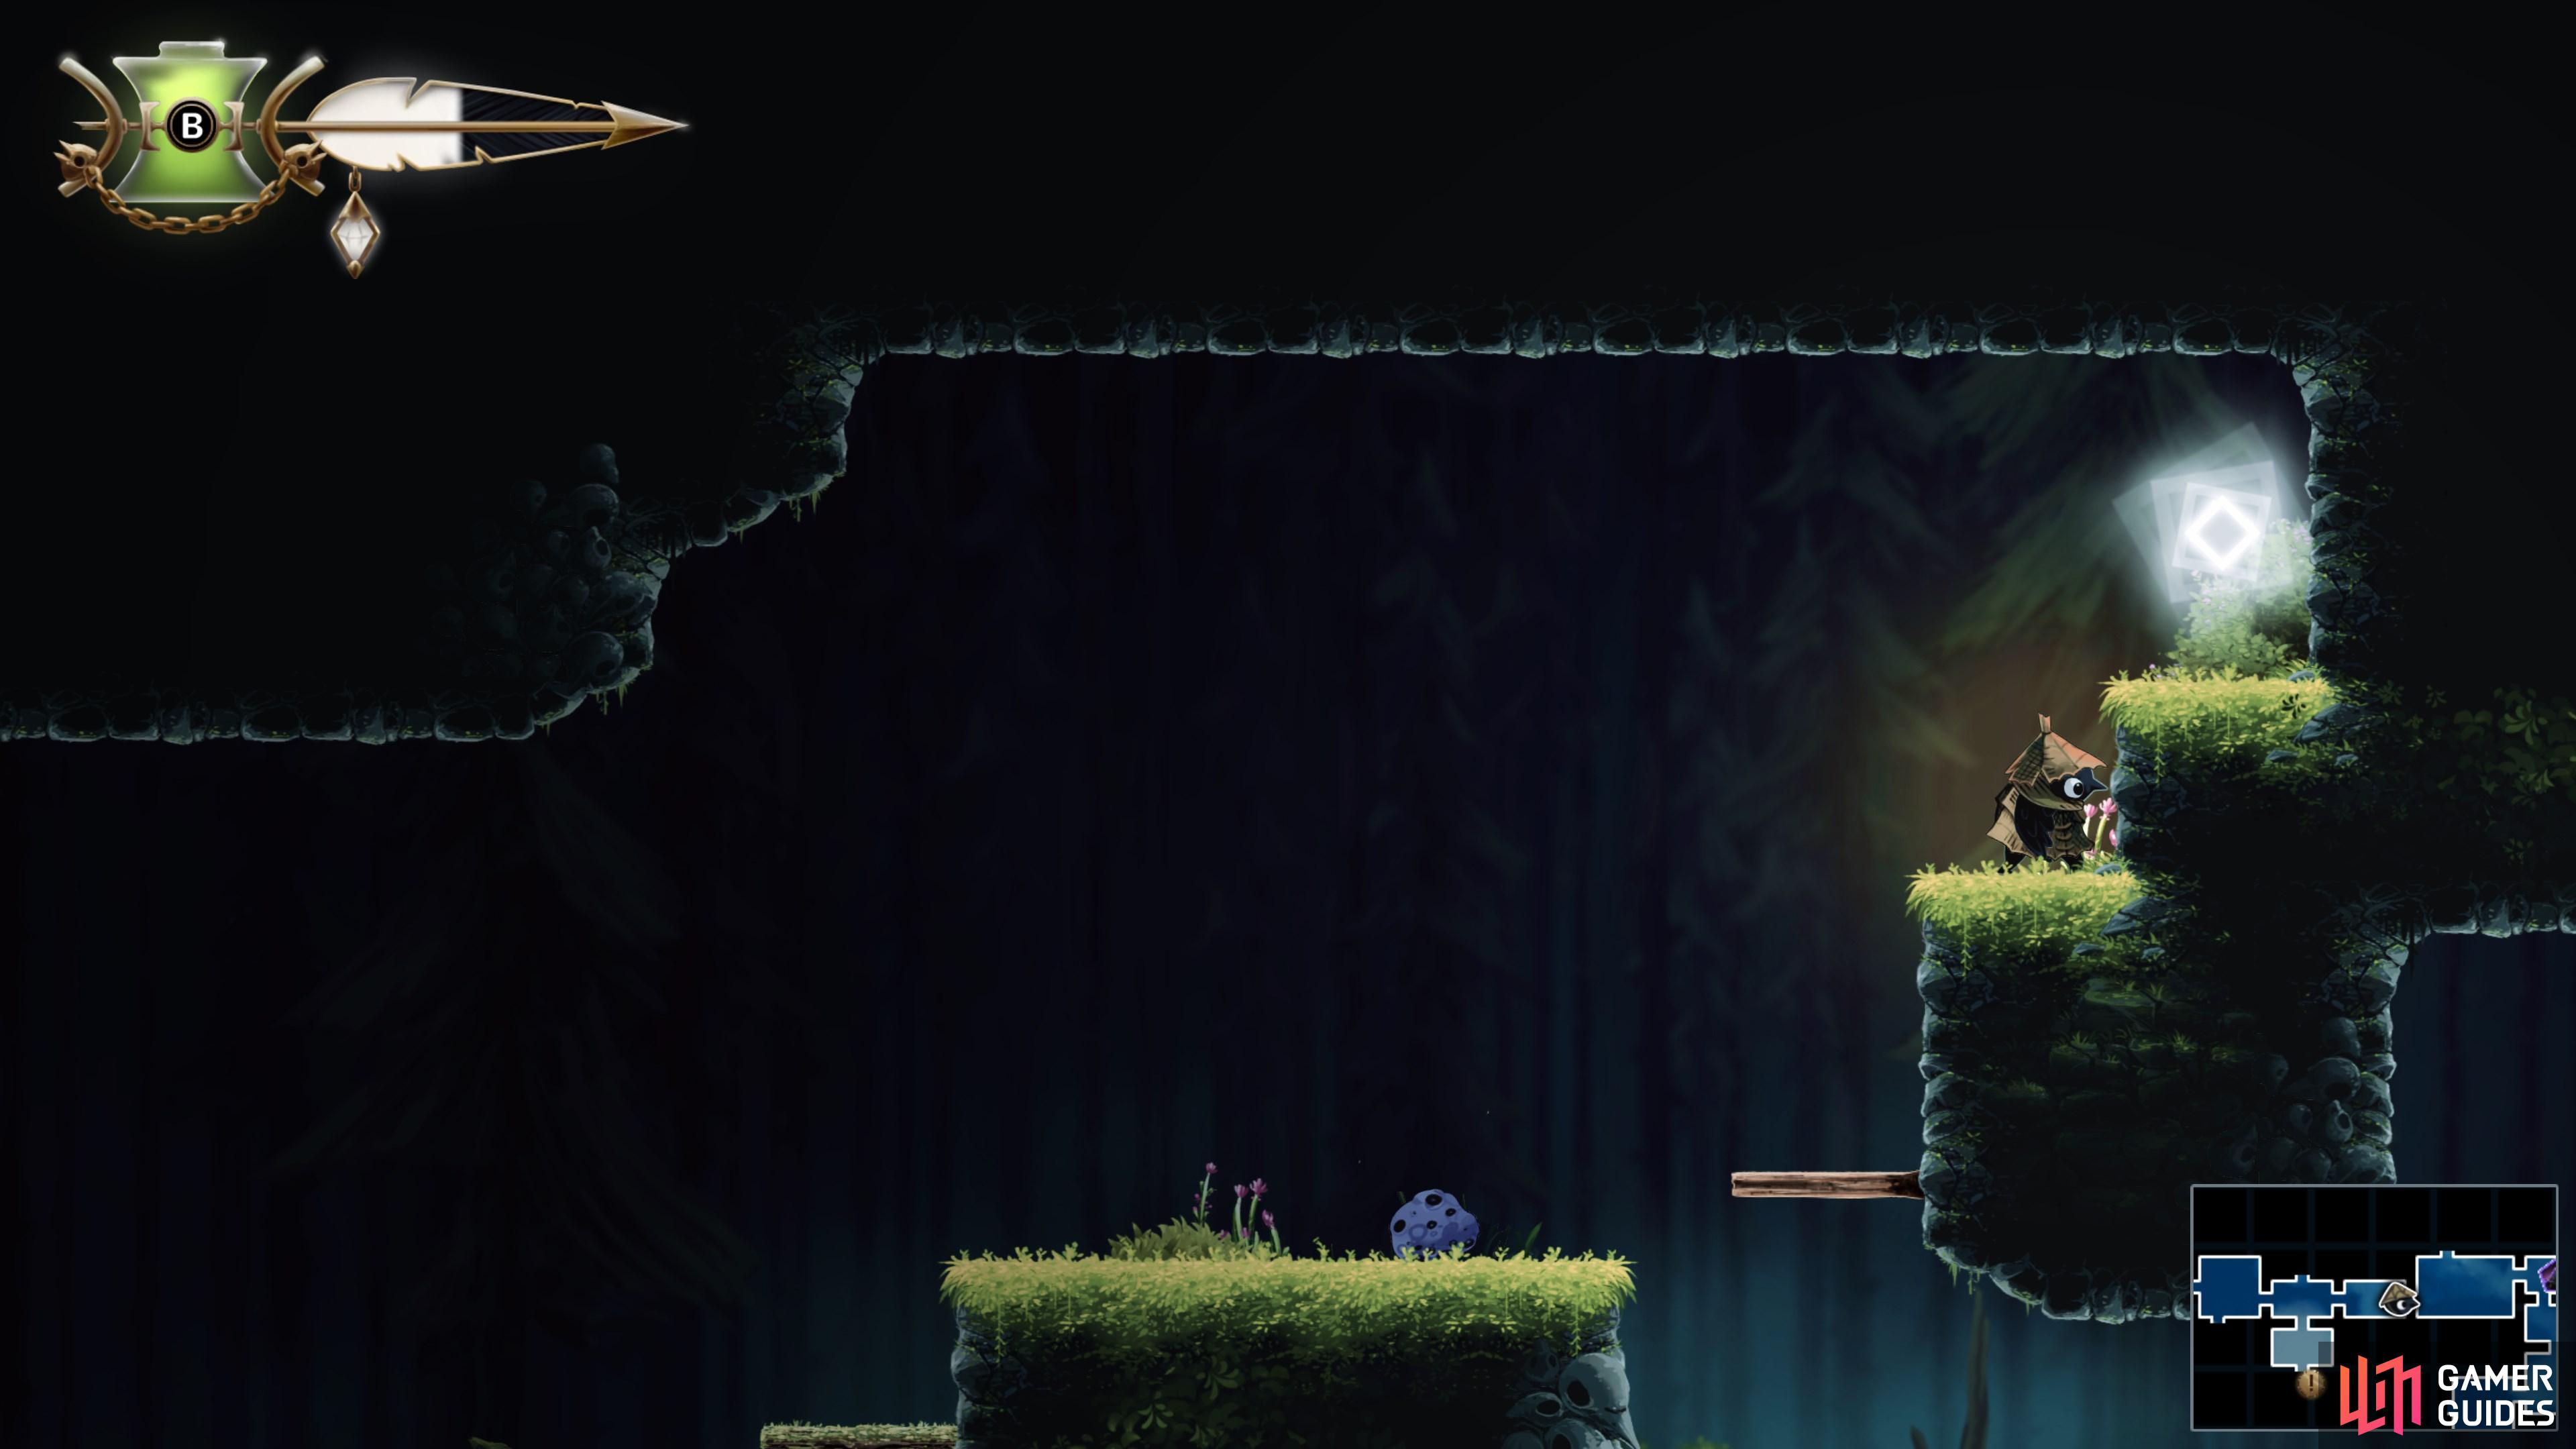
    View on map
Pencil icon Sign up

Or

Updated Title Publisher
Updated Title
Published Title Score Editor's Choice Publisher
Published Title Publisher
GG logo

Register to continue…

Already have an account?

Log in to continue…

Forgot?

Don’t have an account?


Account Created

Select username:

Gamer Guides Premium


Find out more