-
1
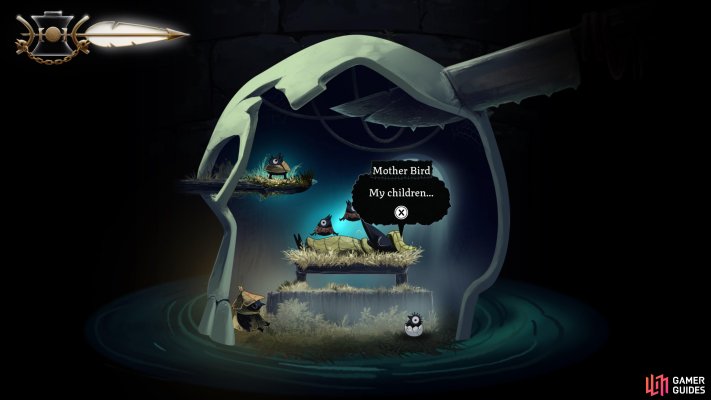
Starting location
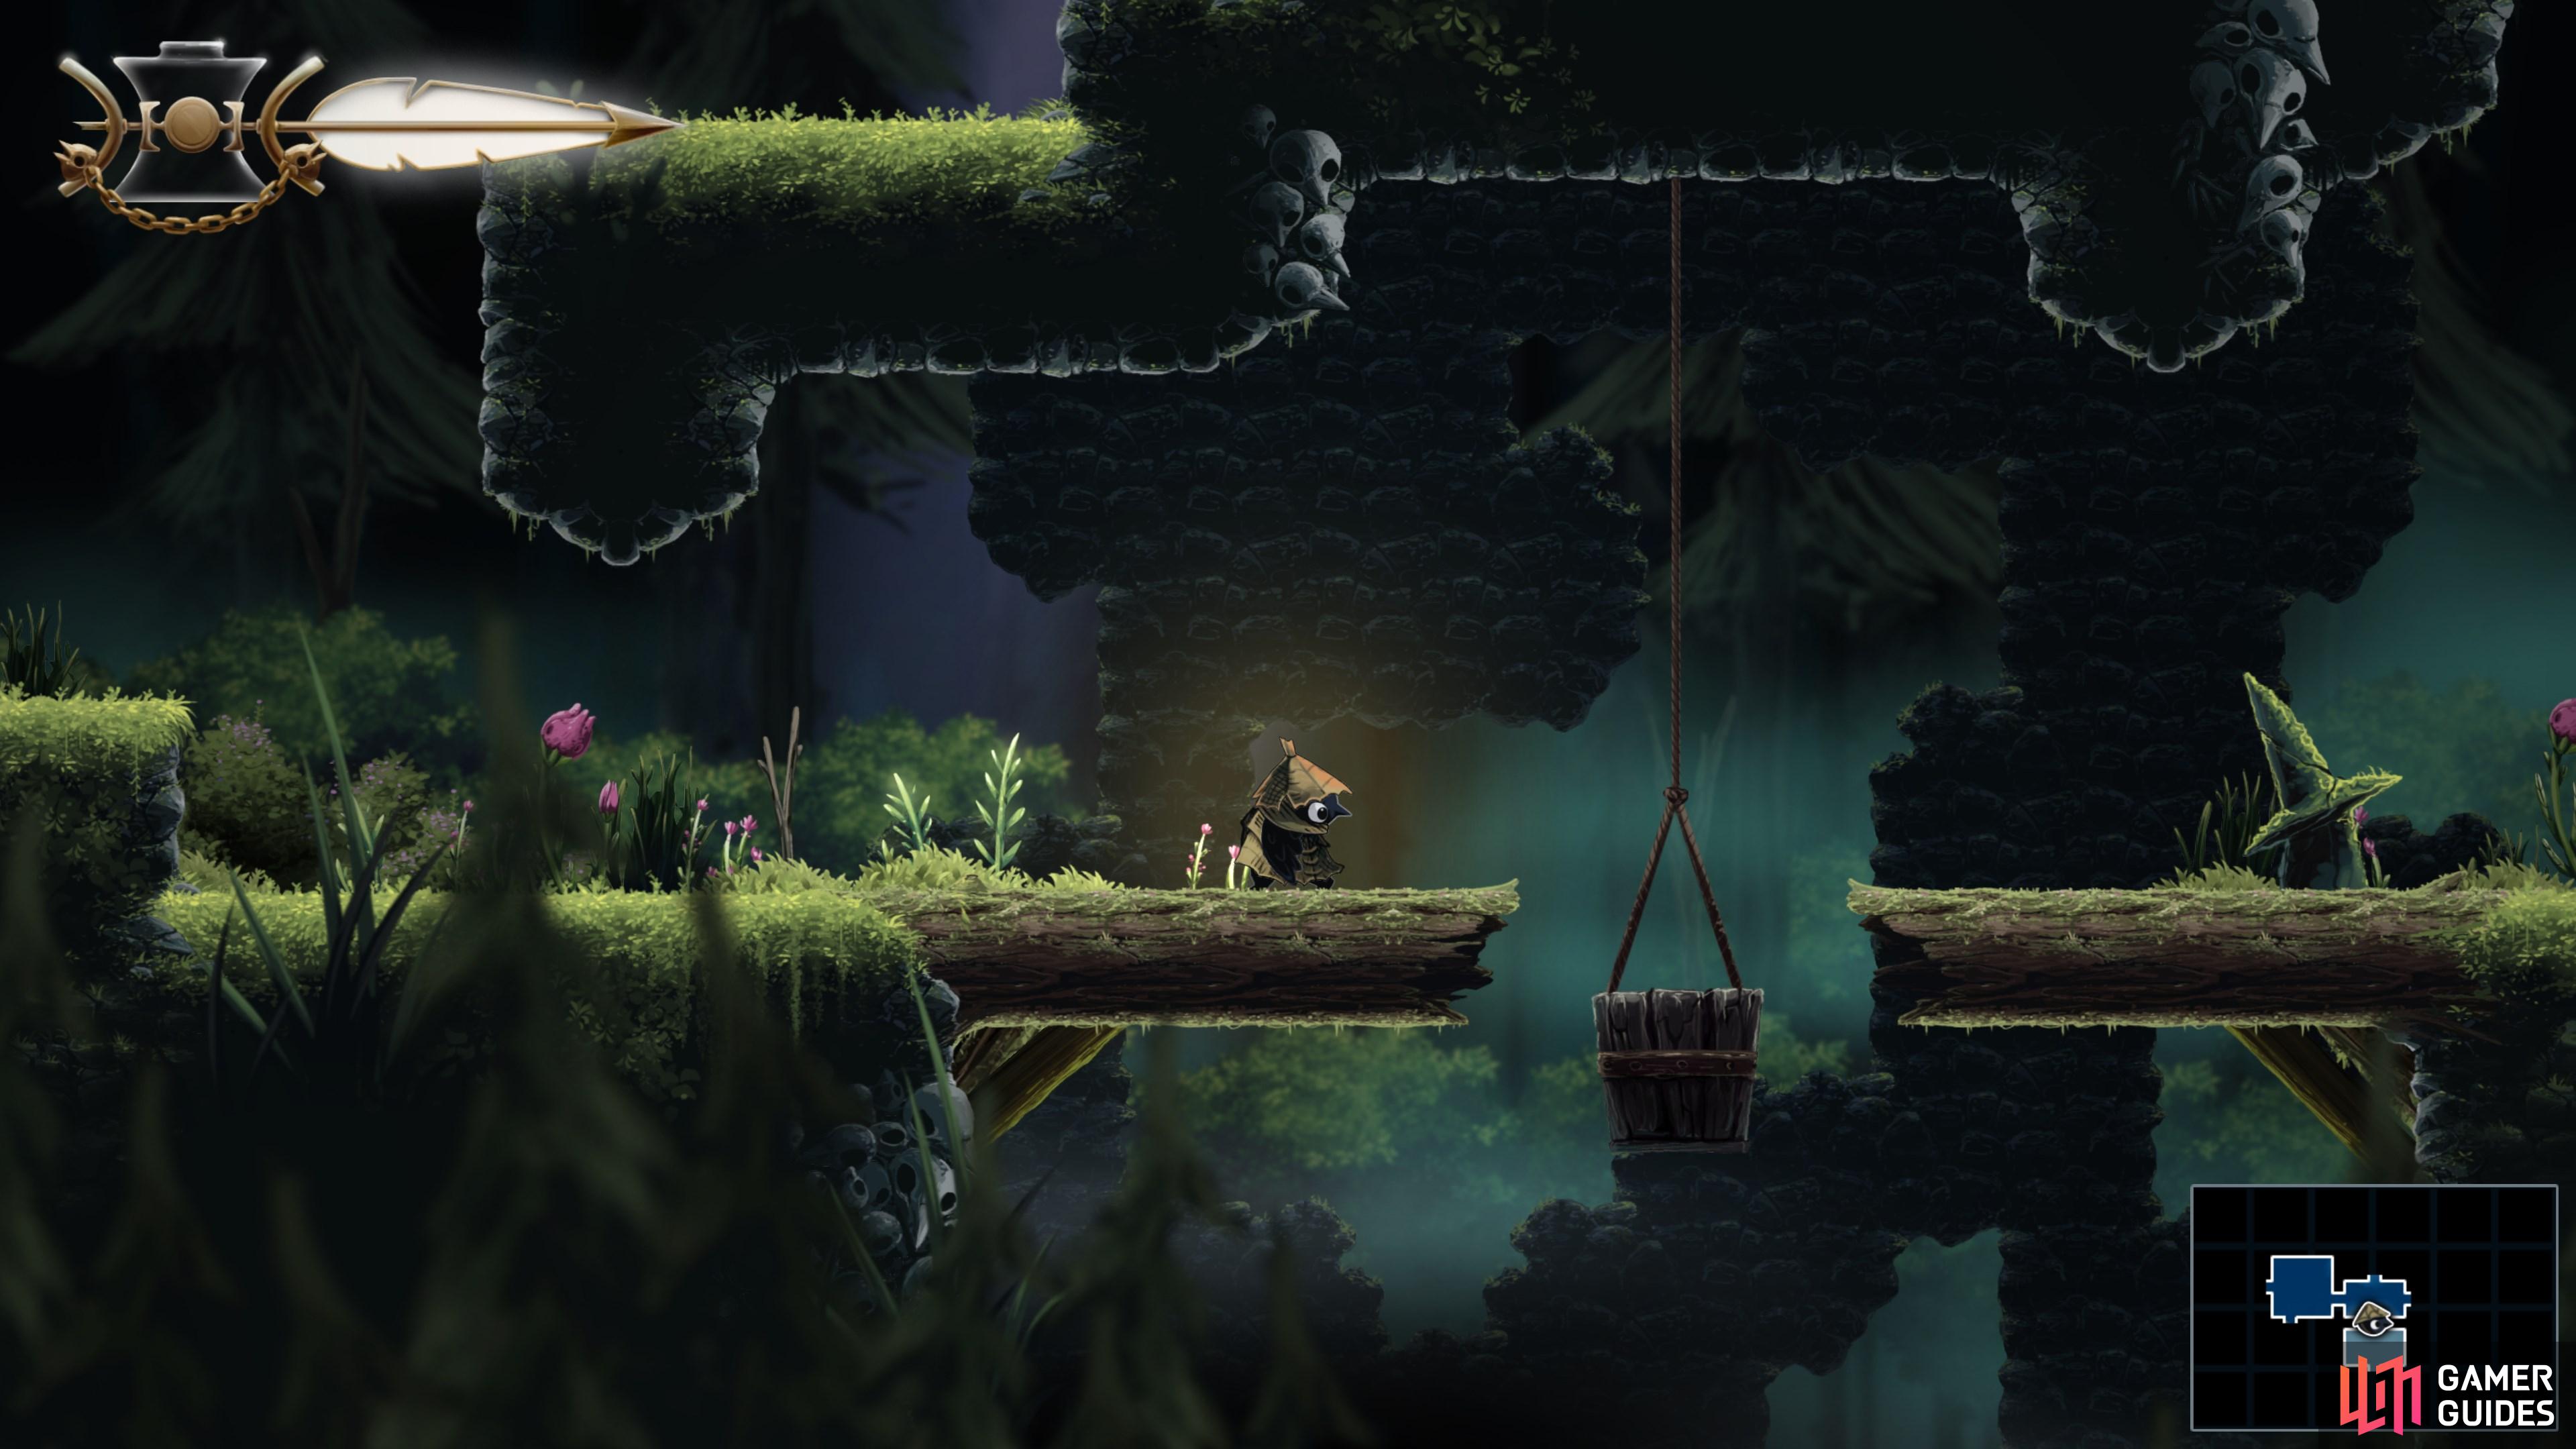
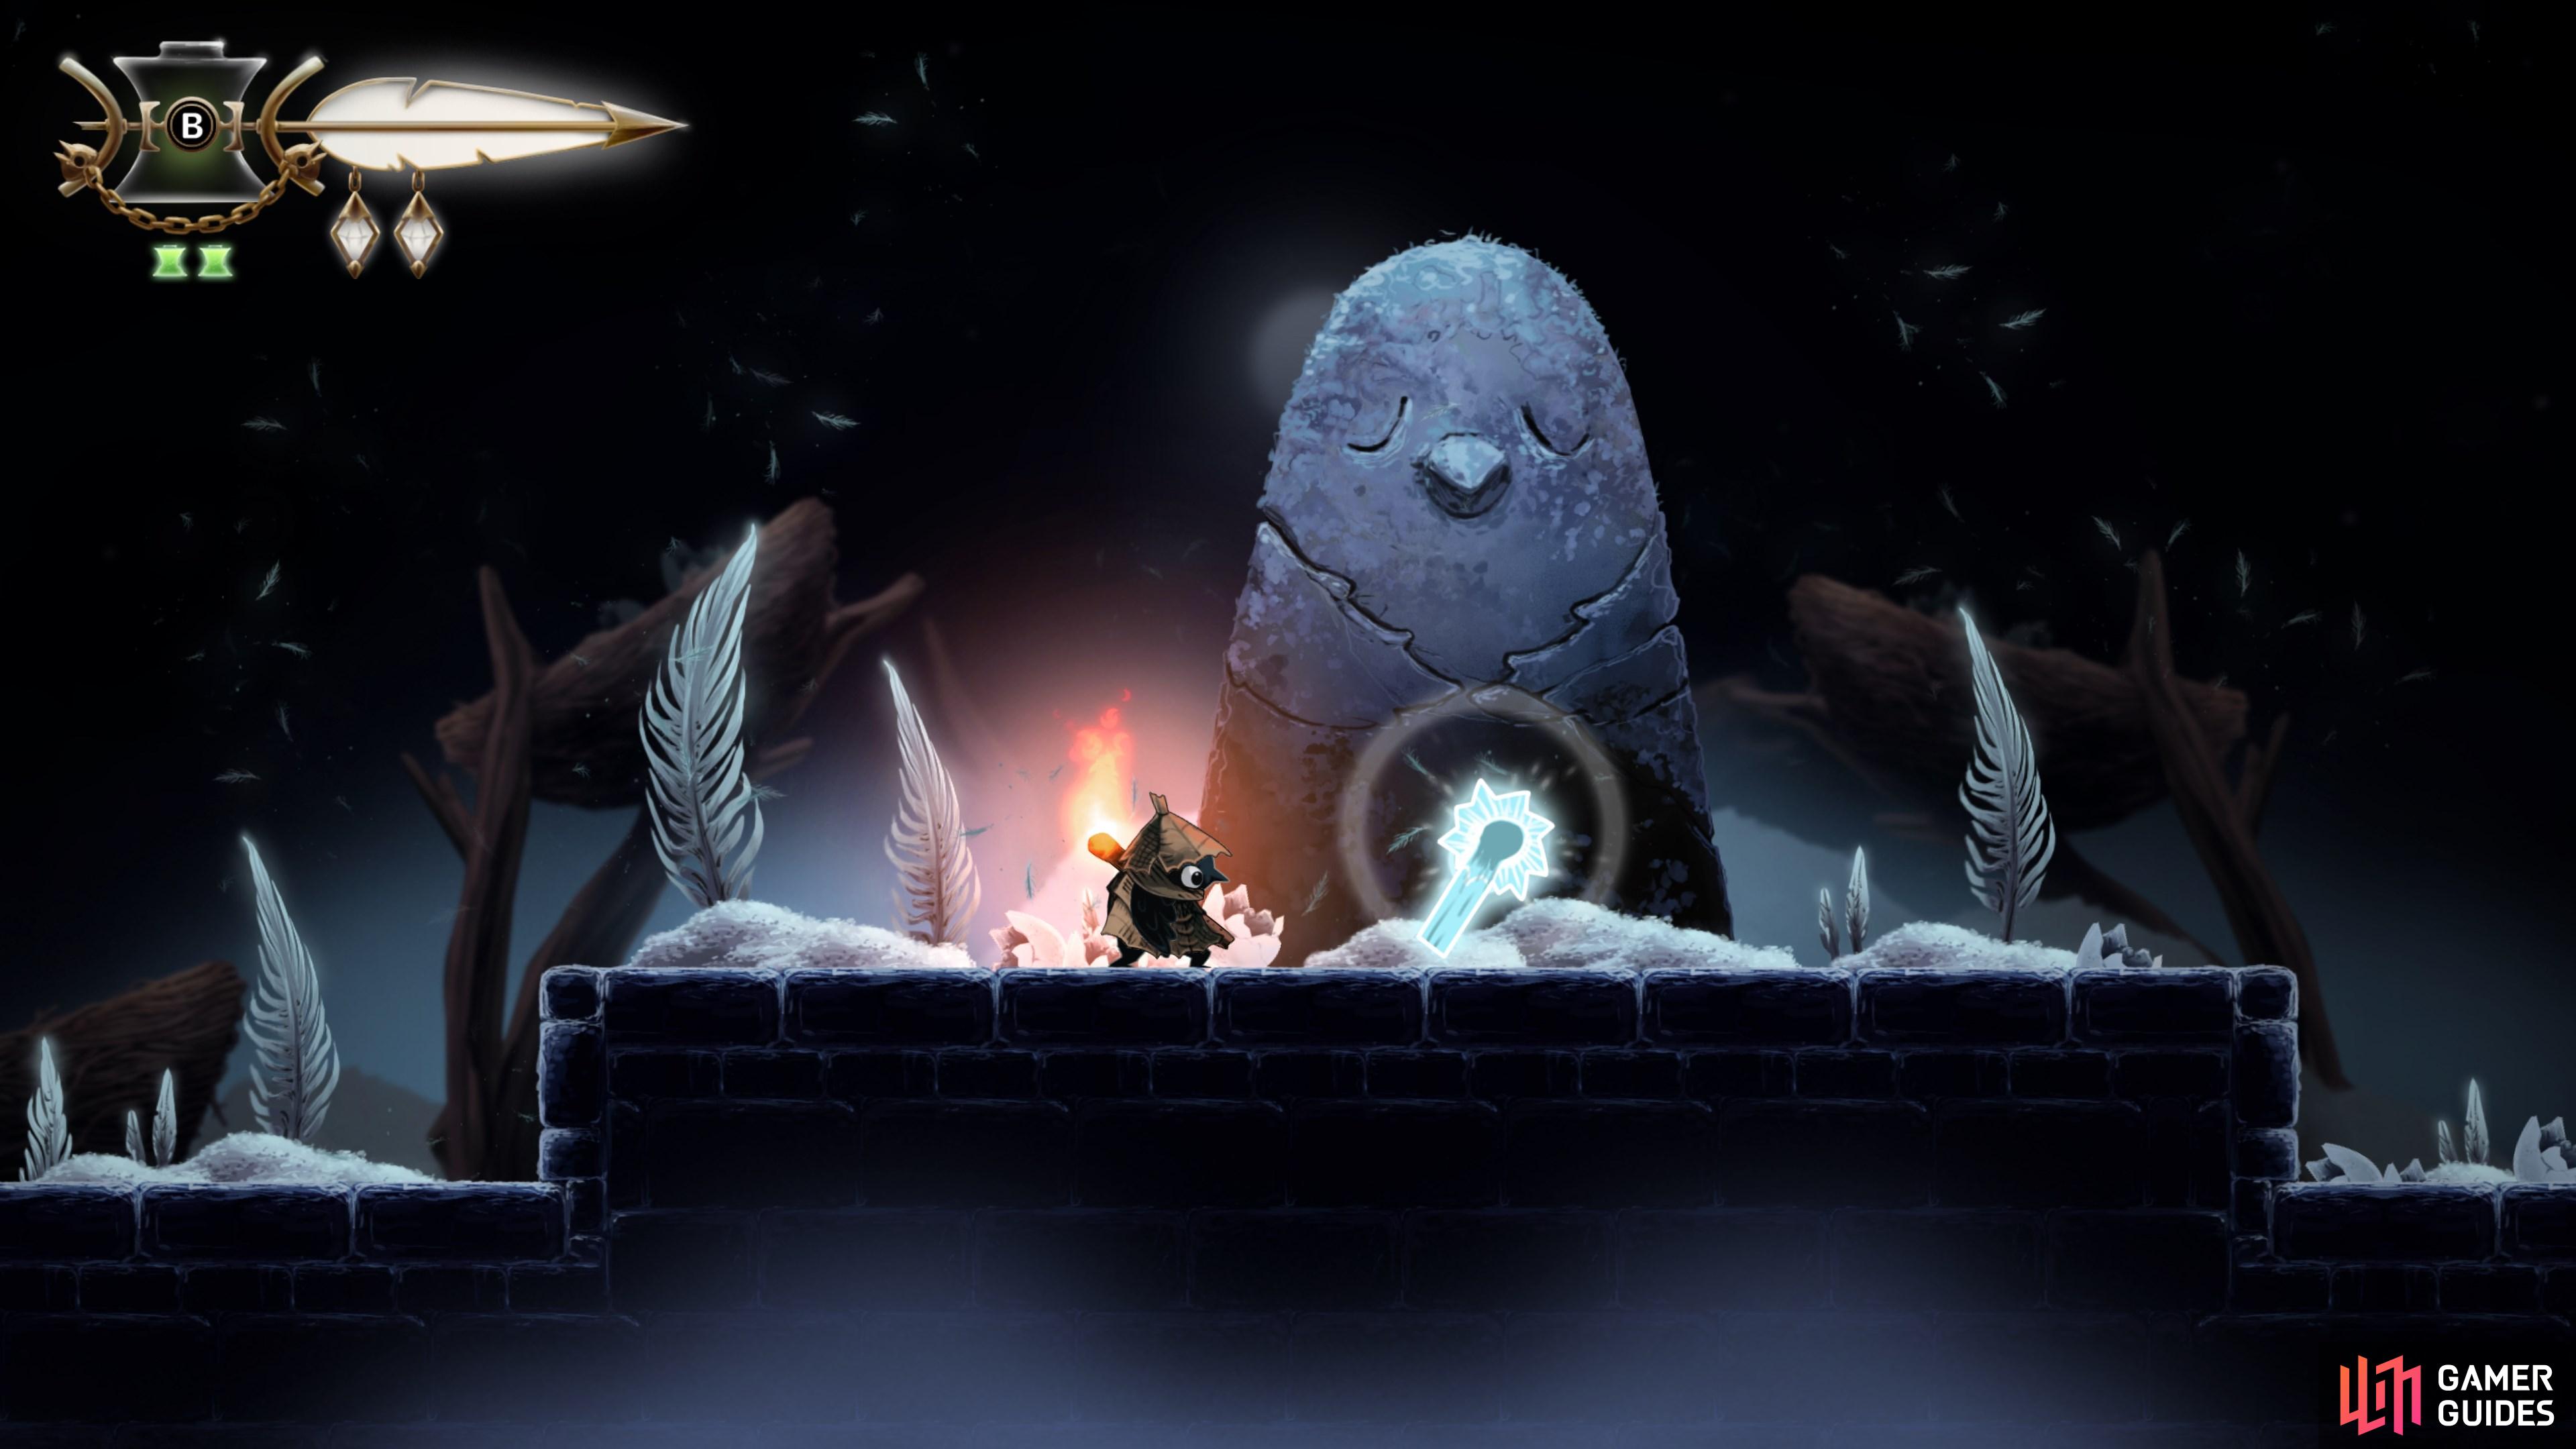
You will gain control of Glimmer here, at the bottom of The Well, at the beginning of the game.
Map position: 8824, 9934
-
2
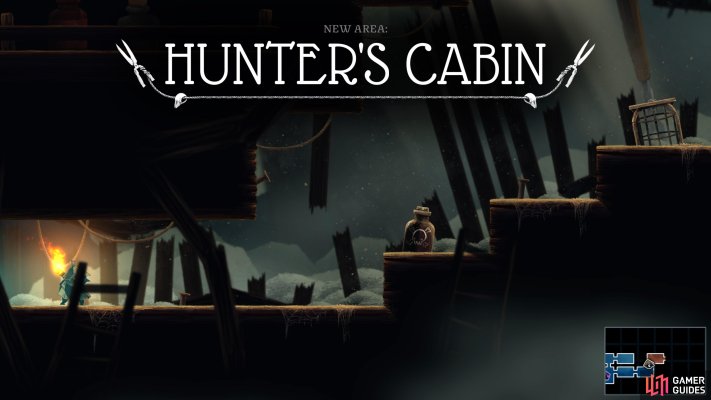
Find the Hunter's Cabin
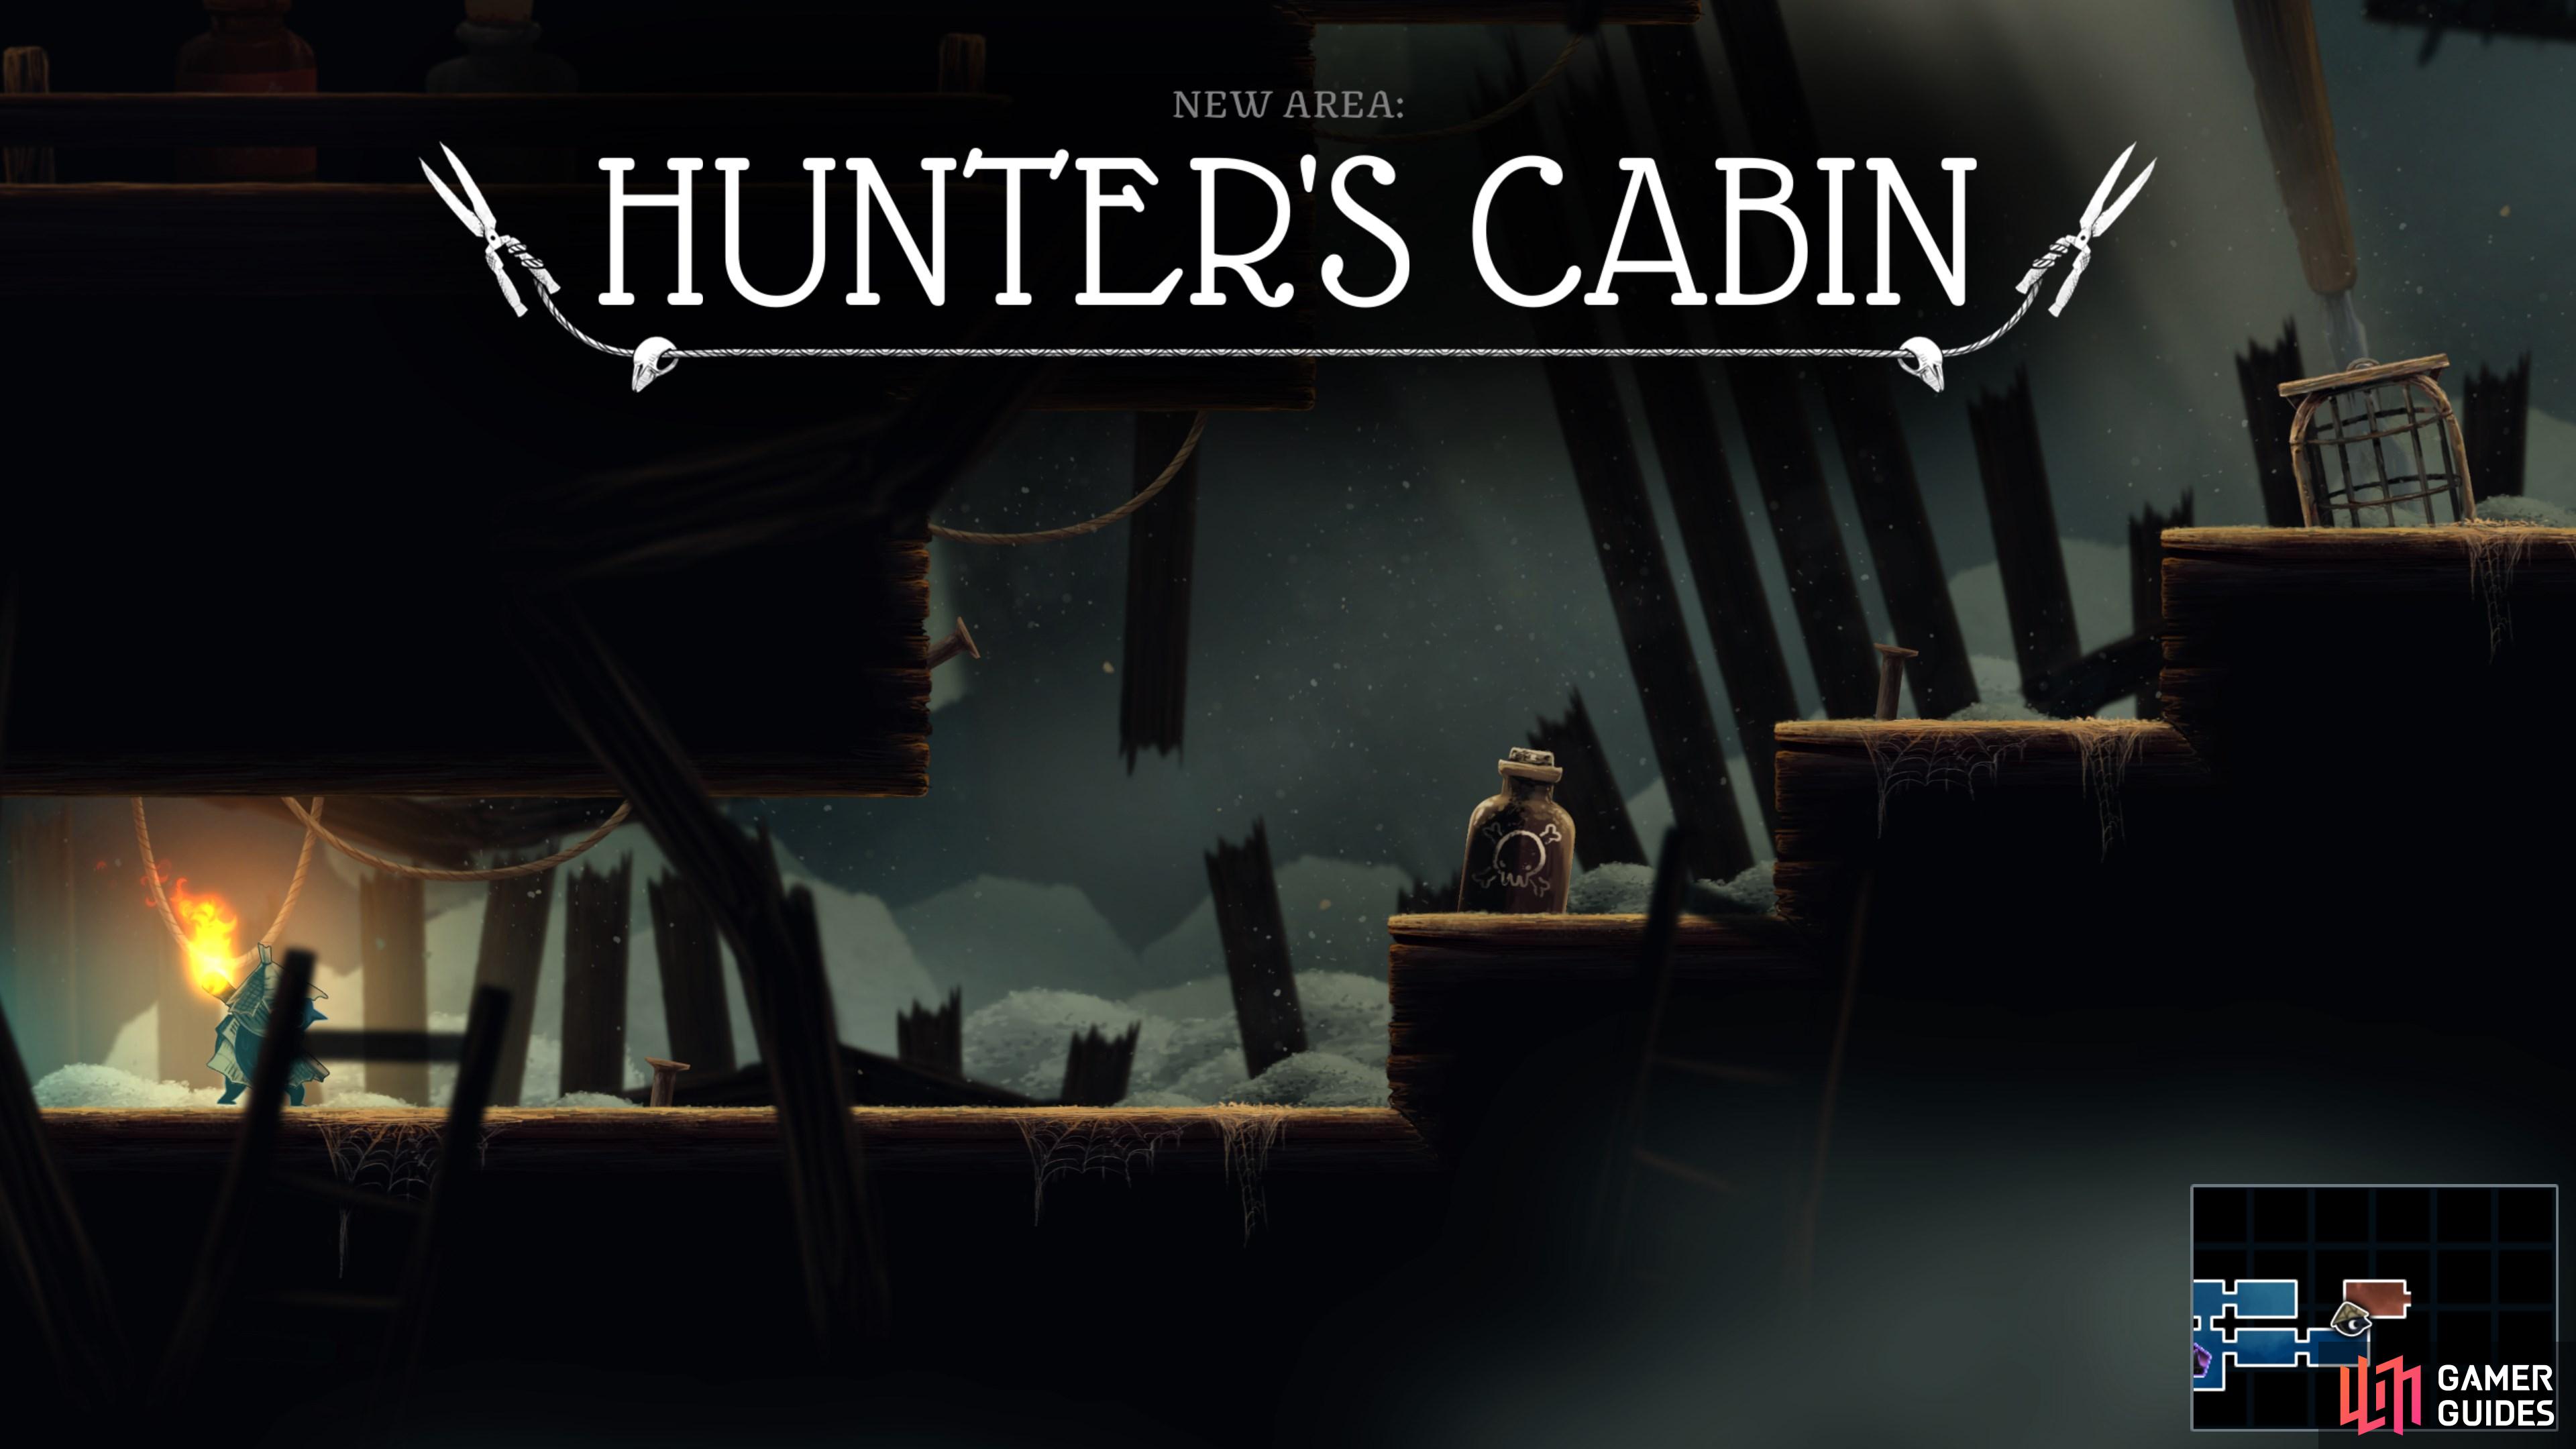
Leave The Well behind, and make your way east through the Night Garden until you reach the Hunter's Cabin.
Map position: 10377, 10227
-
3
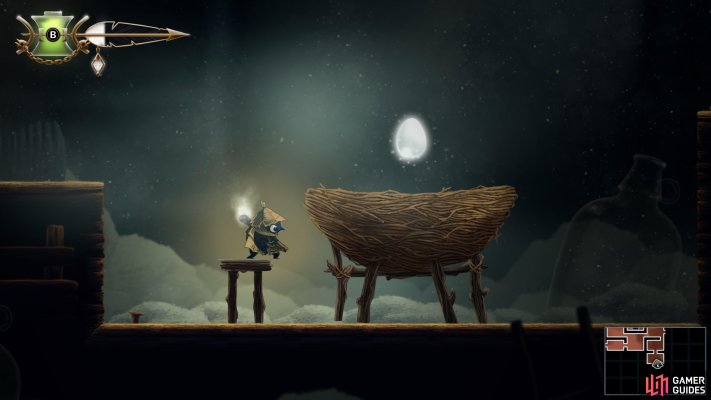
Learn the Slingshot Ability
Enter the Hunter's Cabin and make your way down to the bottom to learn Slingshot.
Map position: 11056, 10222
-
4
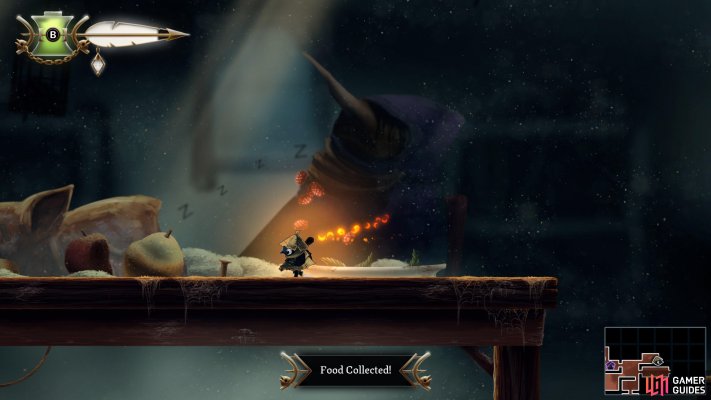
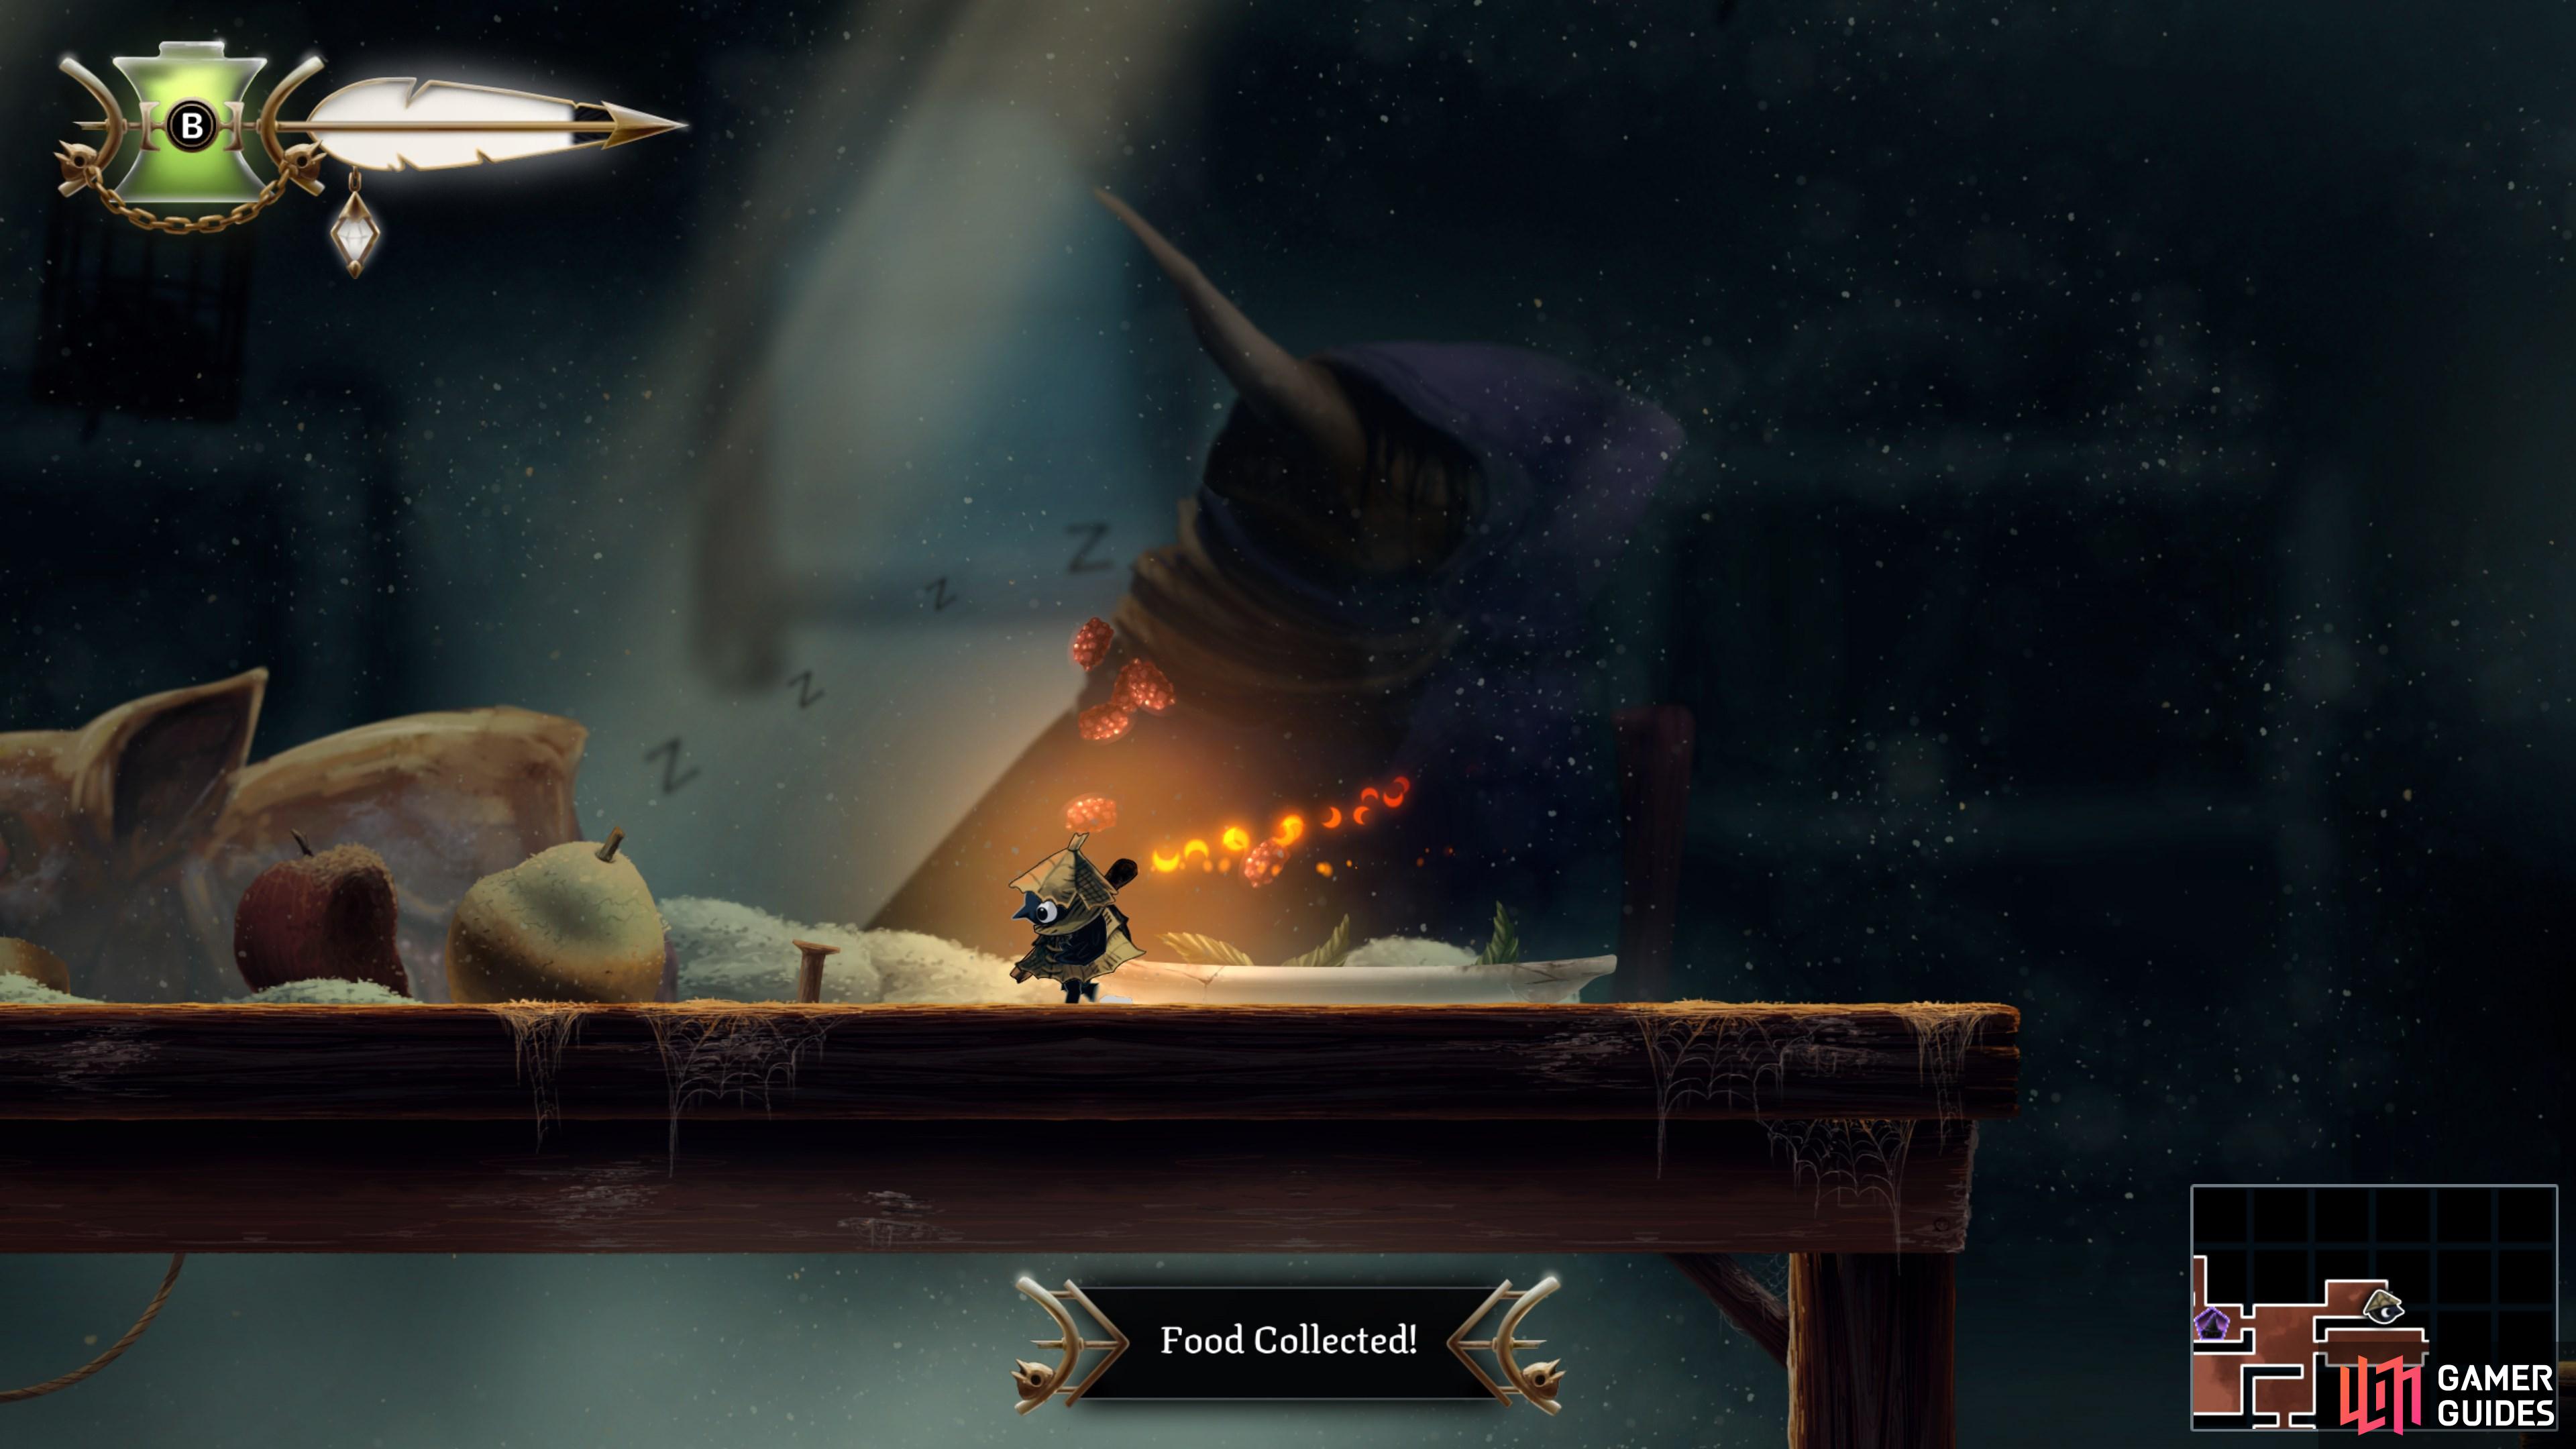
Grab the Food
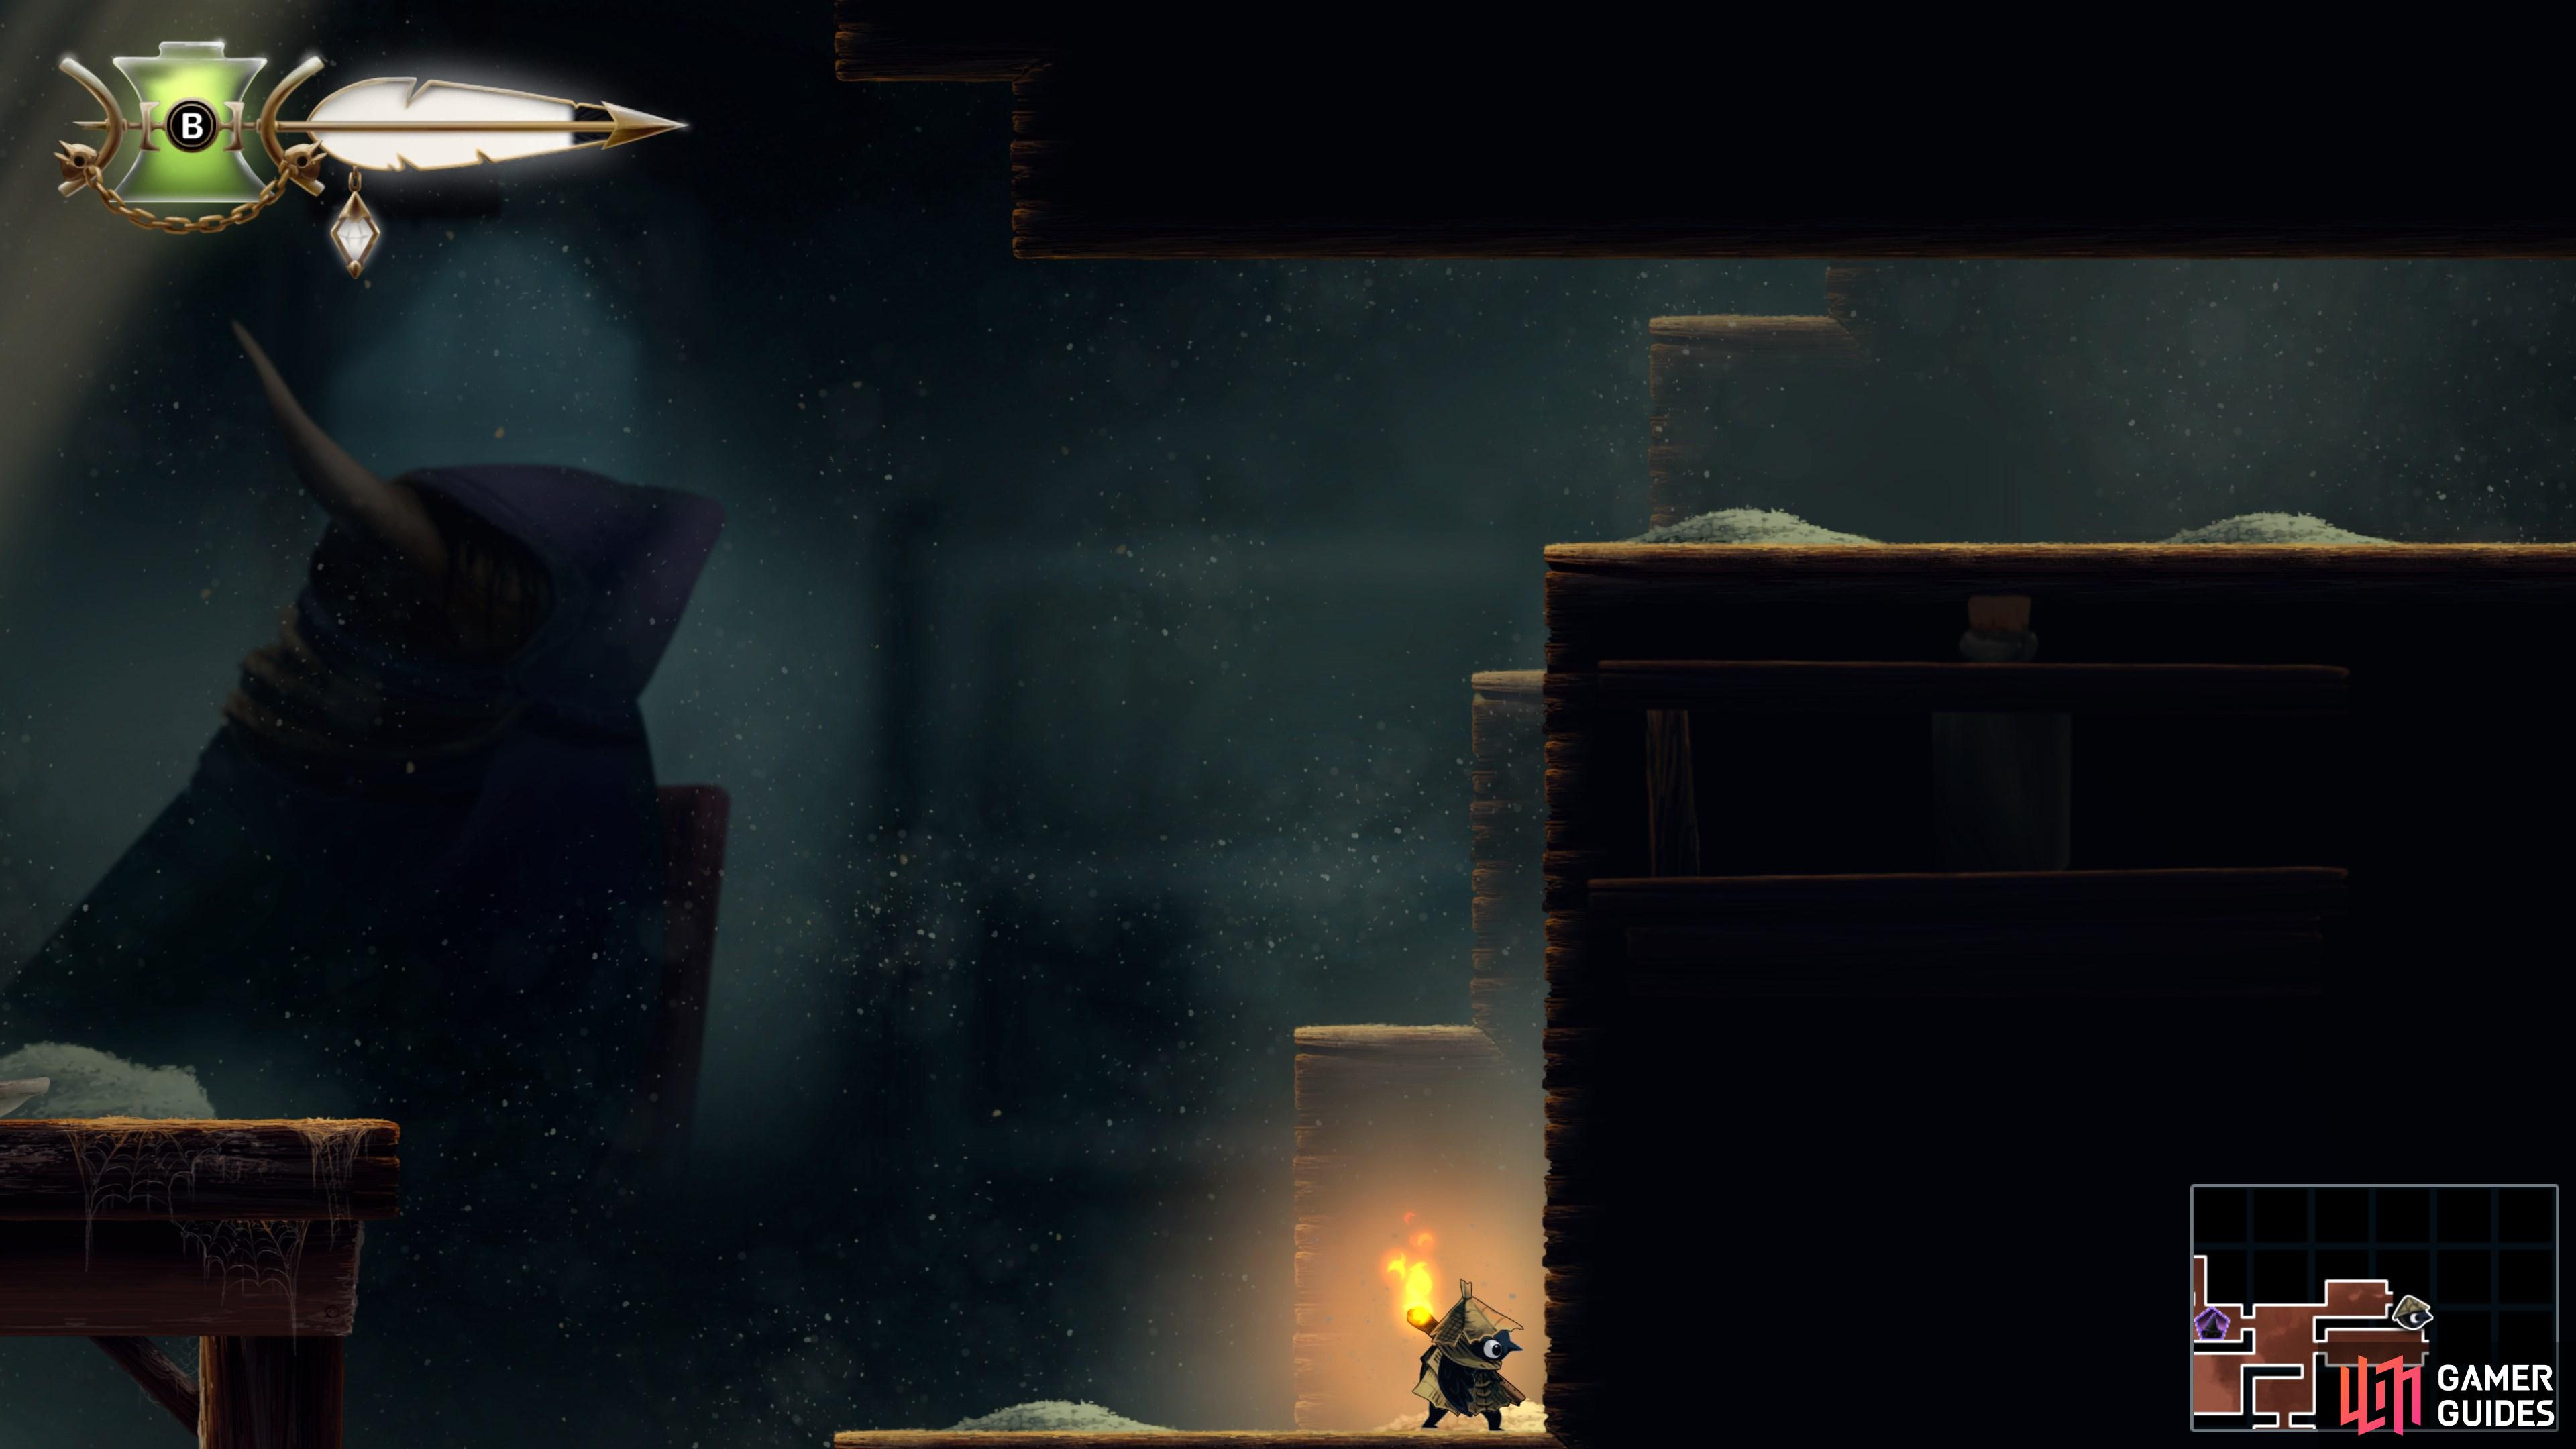
Using your new Ability, make your way up to the dining table and grab the food from the hunter's plate. I'm sure he won't mind.
Map position: 11278, 9805
-
5
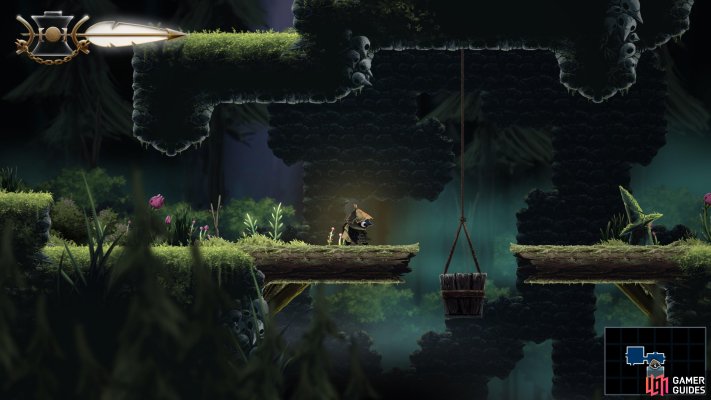
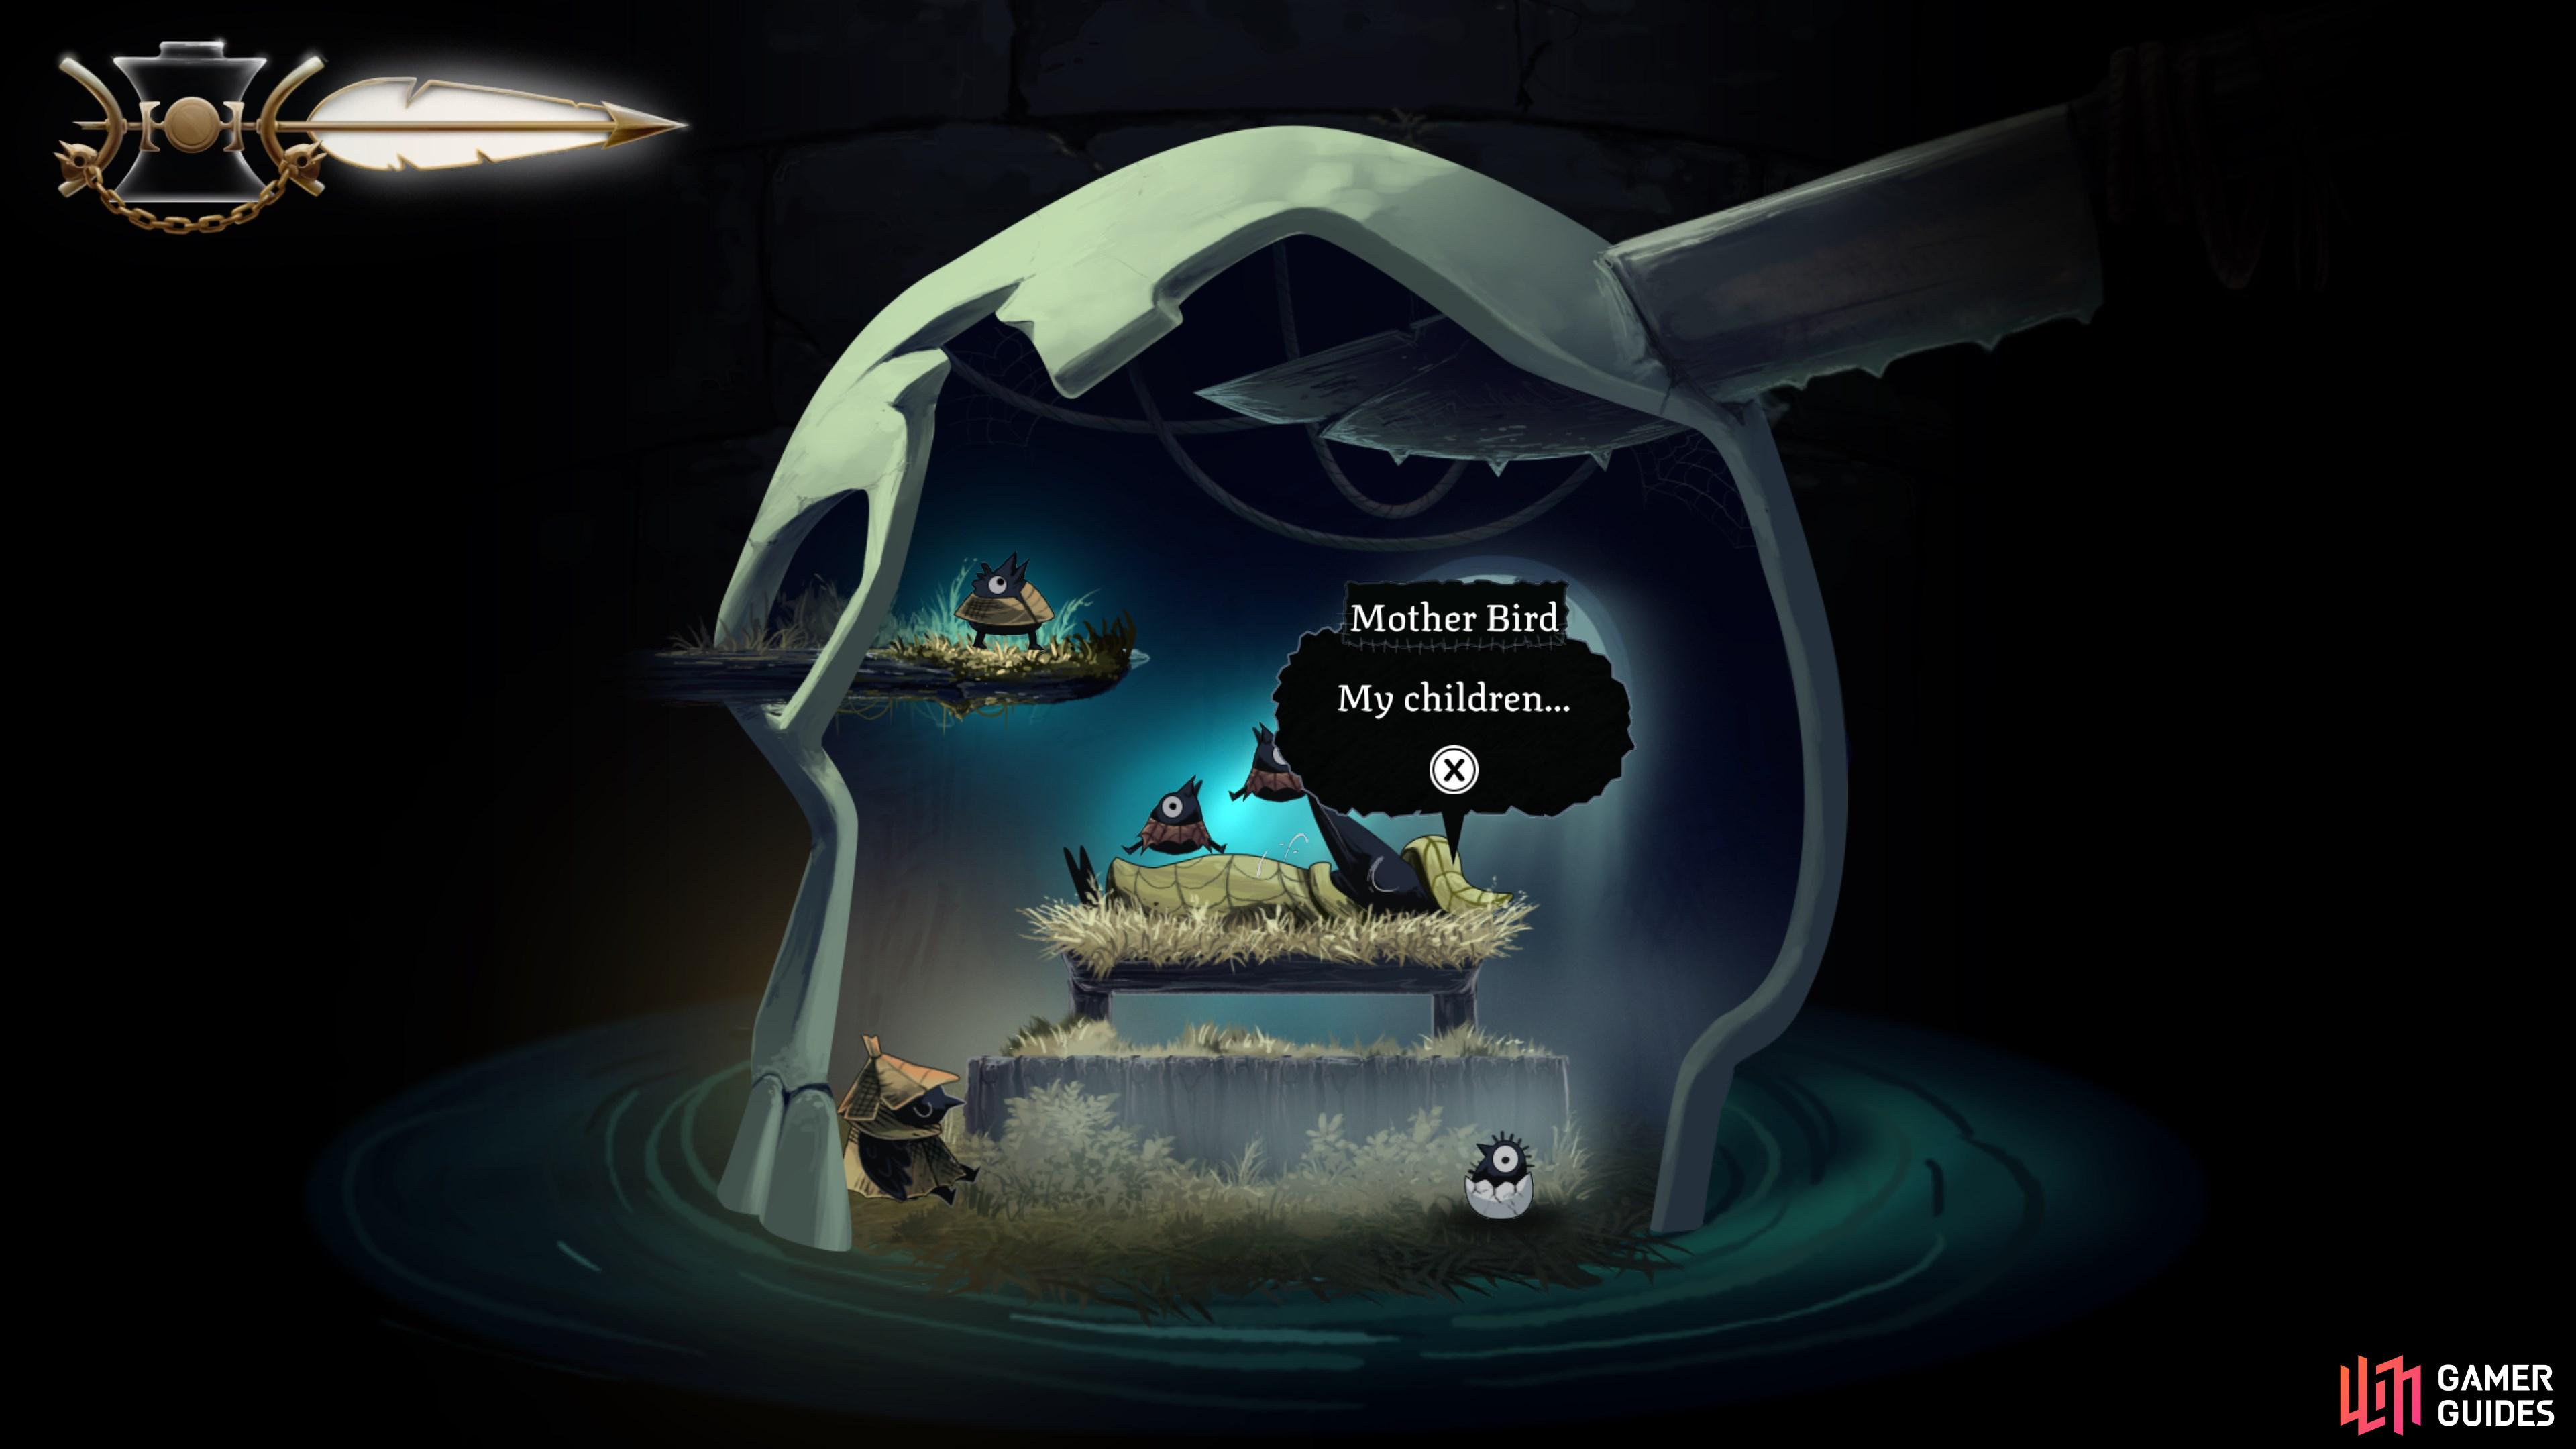
Take the Food back to The Well
Head back to The Well and complete the chase sequence, taking you all the way down to the very bottom.
Map position: 8822, 9781
-
6
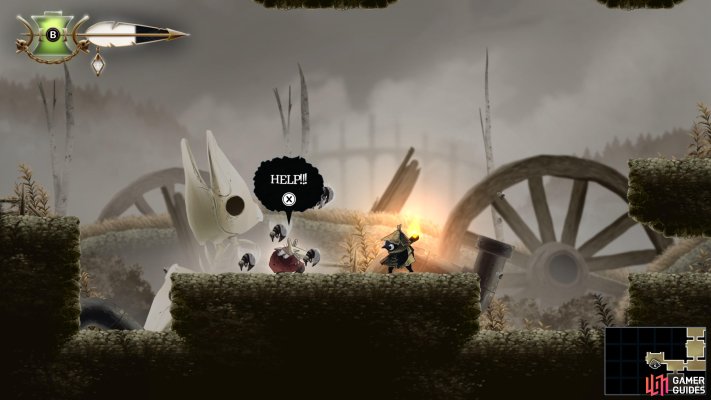
Meet up with Ilda
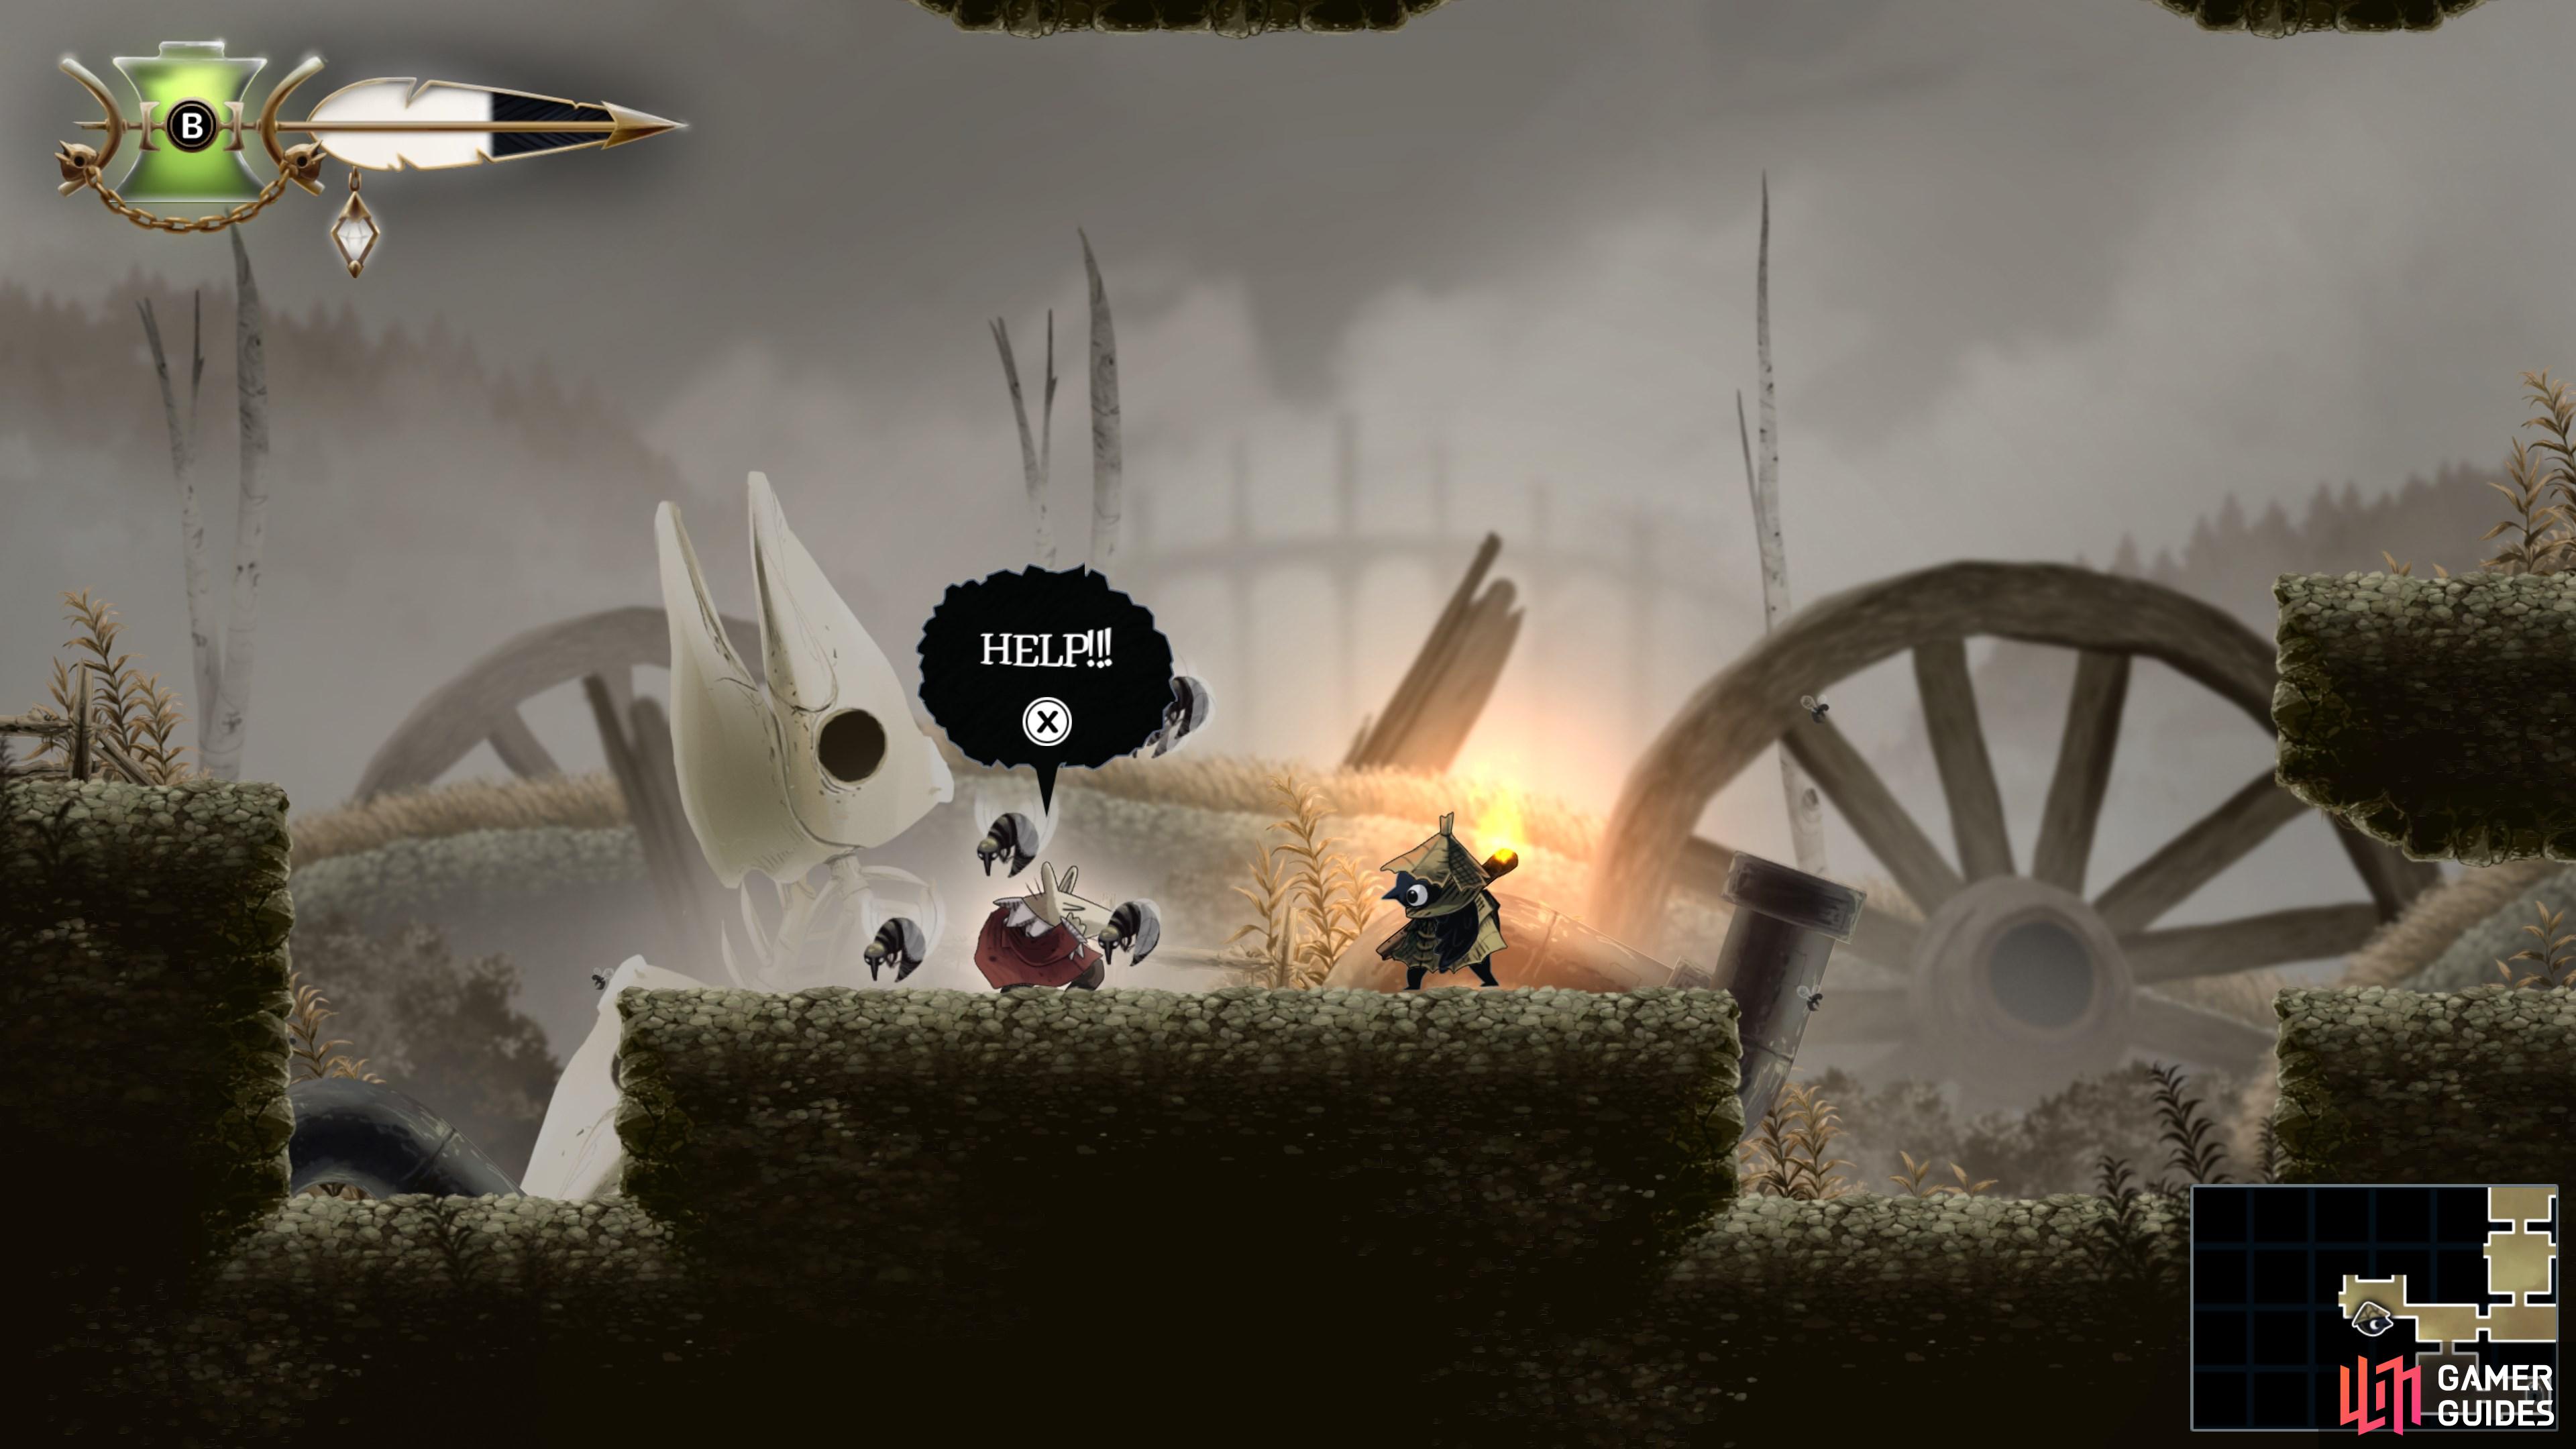
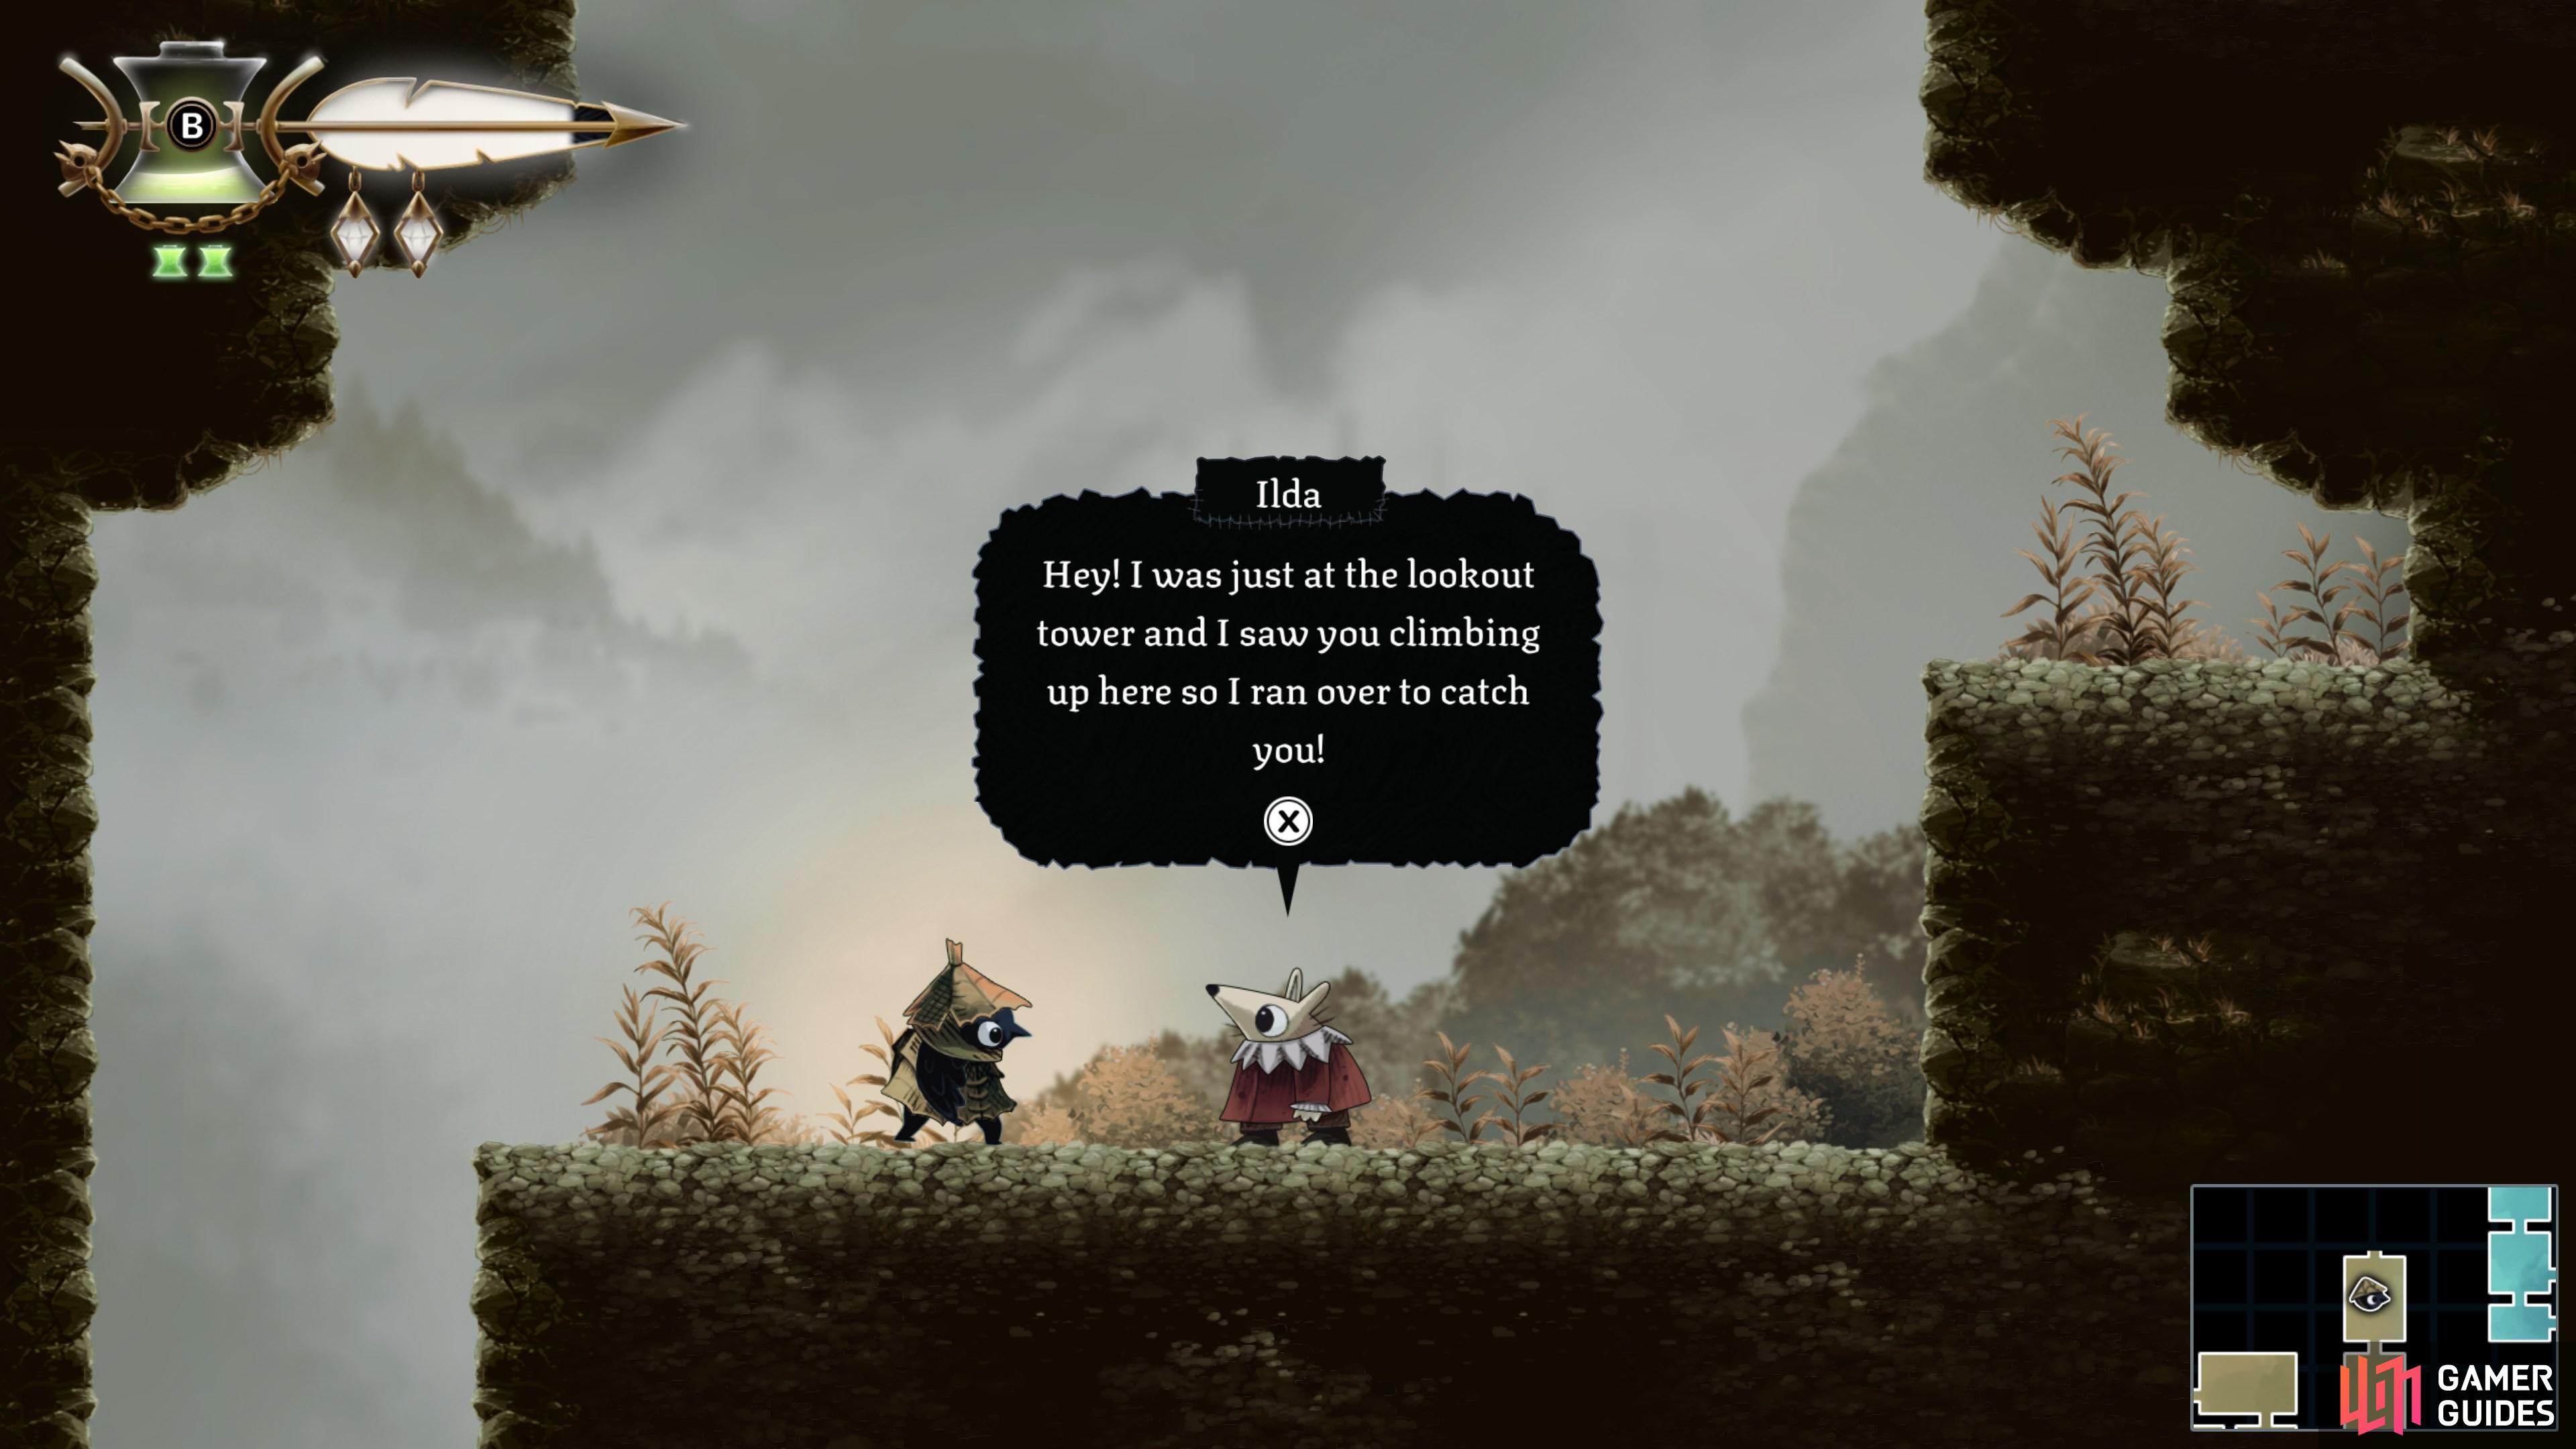
Head west through The Bog to meet Ilda, and use your Matchstick to help them with their fly problem.
Map position: 7469, 10671
-
7
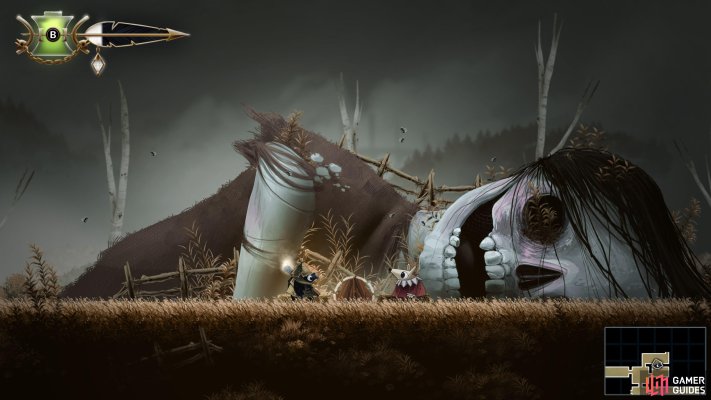
Go Camping with Ilda
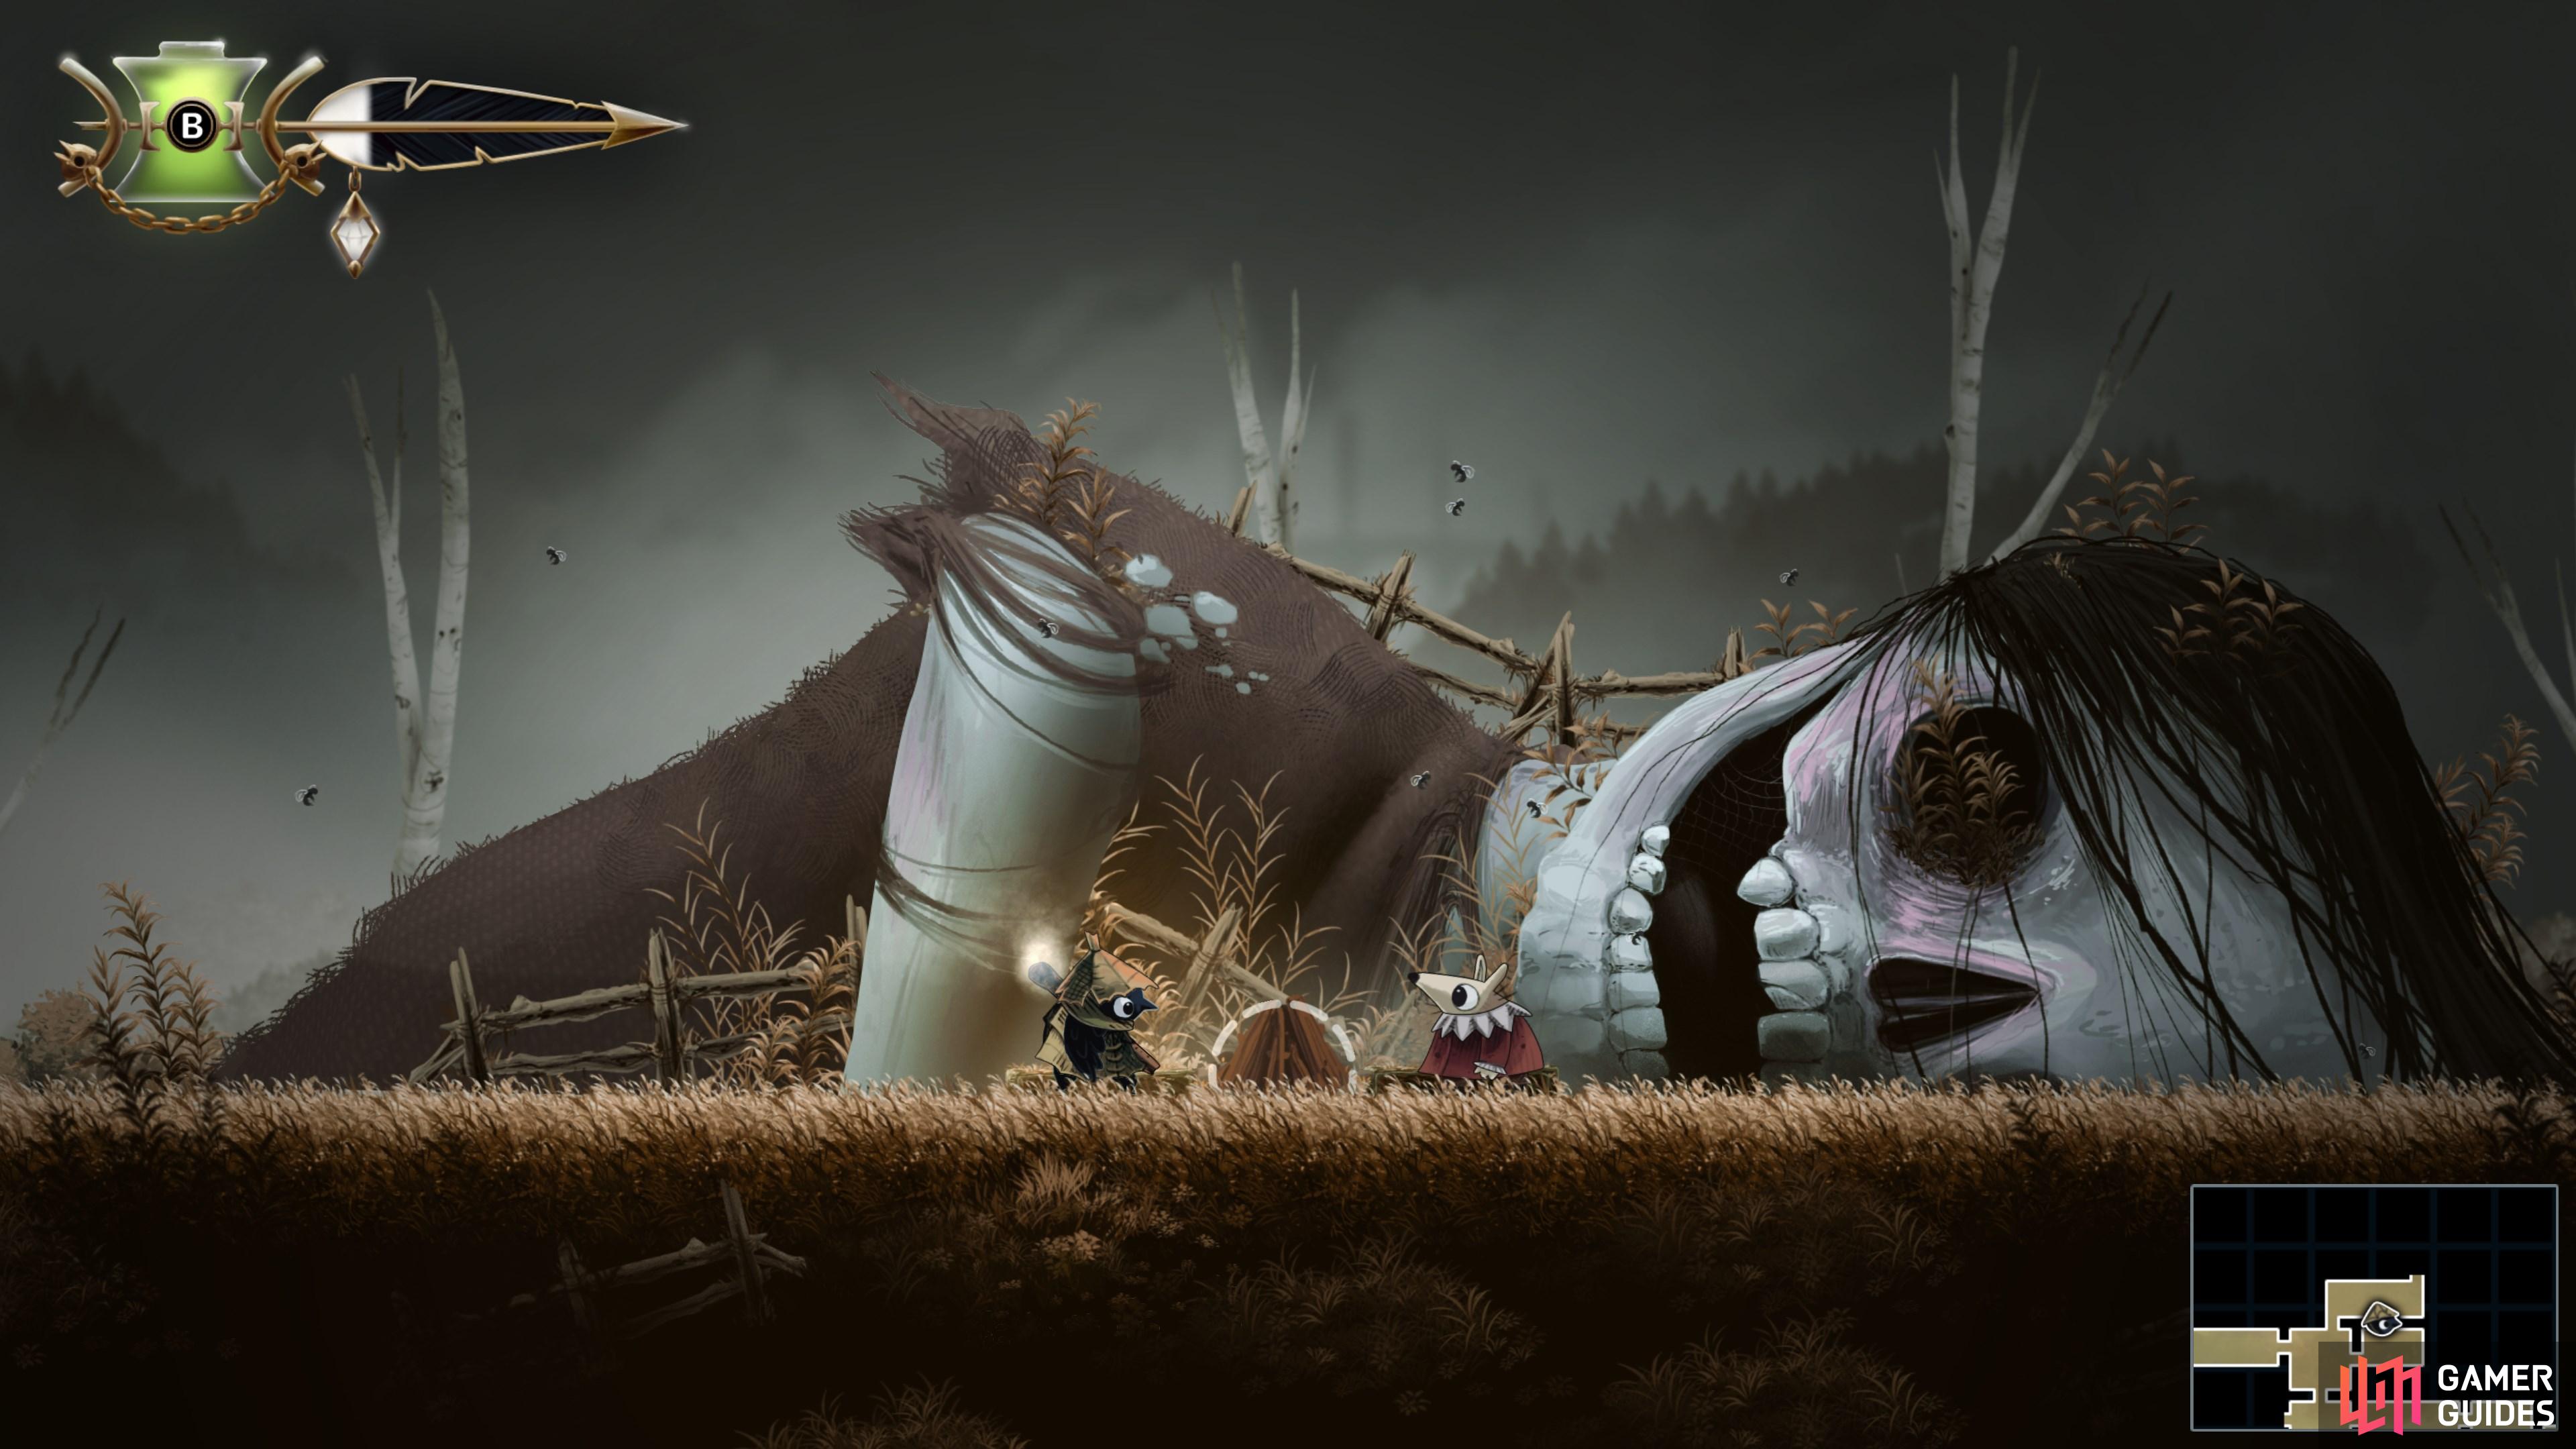
Head northeast through The Bog and meet up with Ilda again.
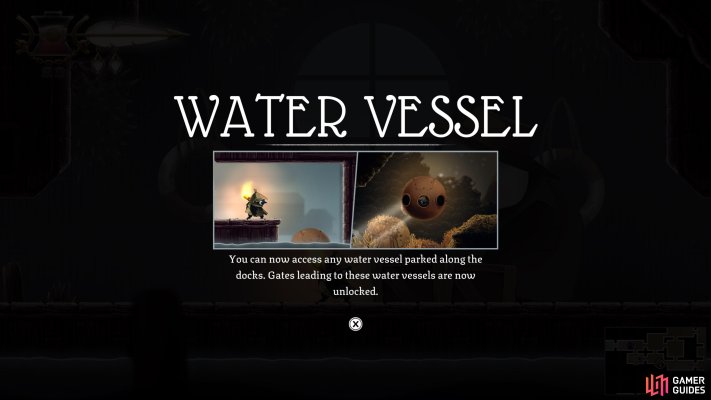
Map position: 7993, 10228
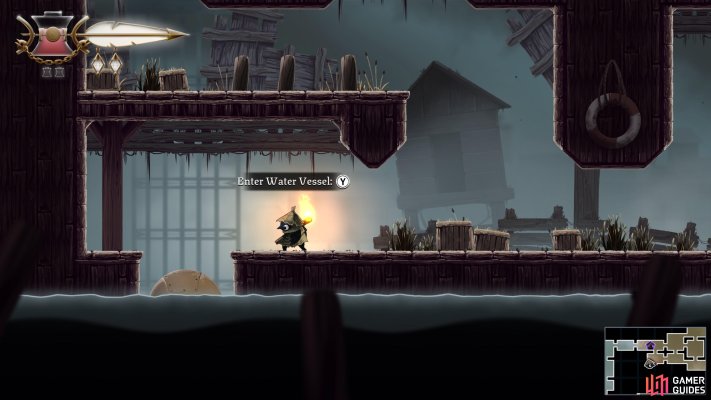
-
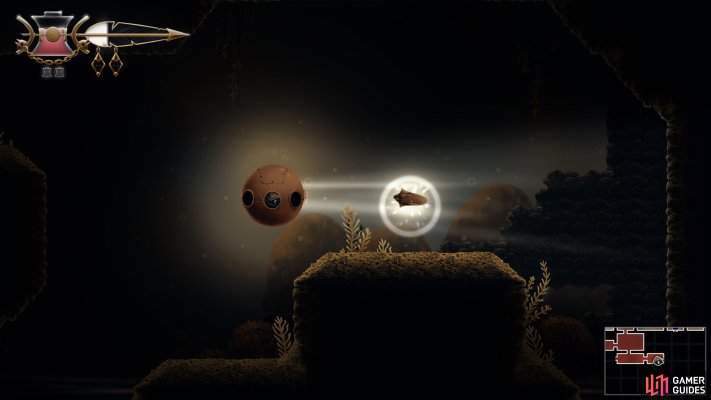
8
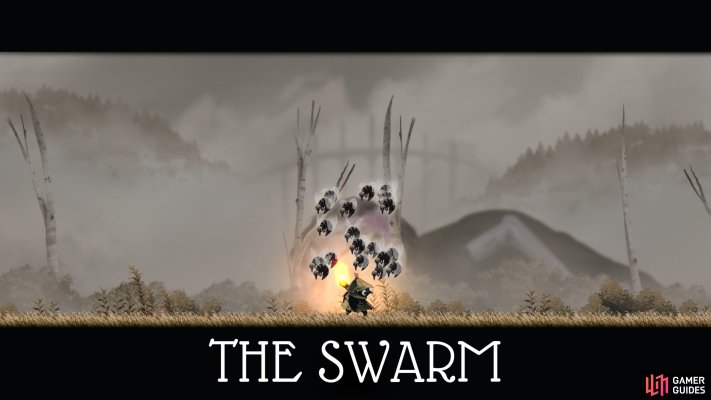
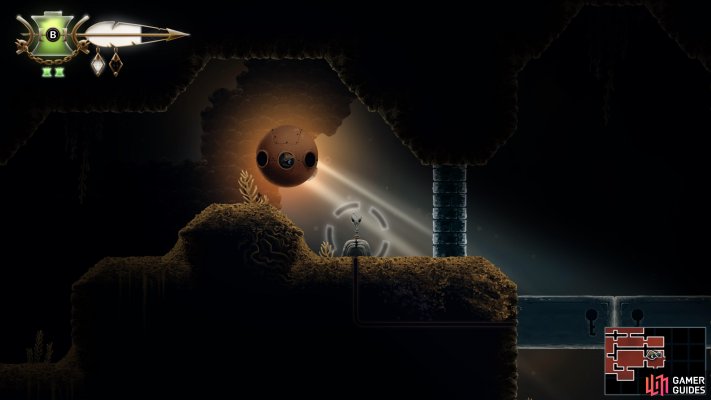
Defeat The Swarm
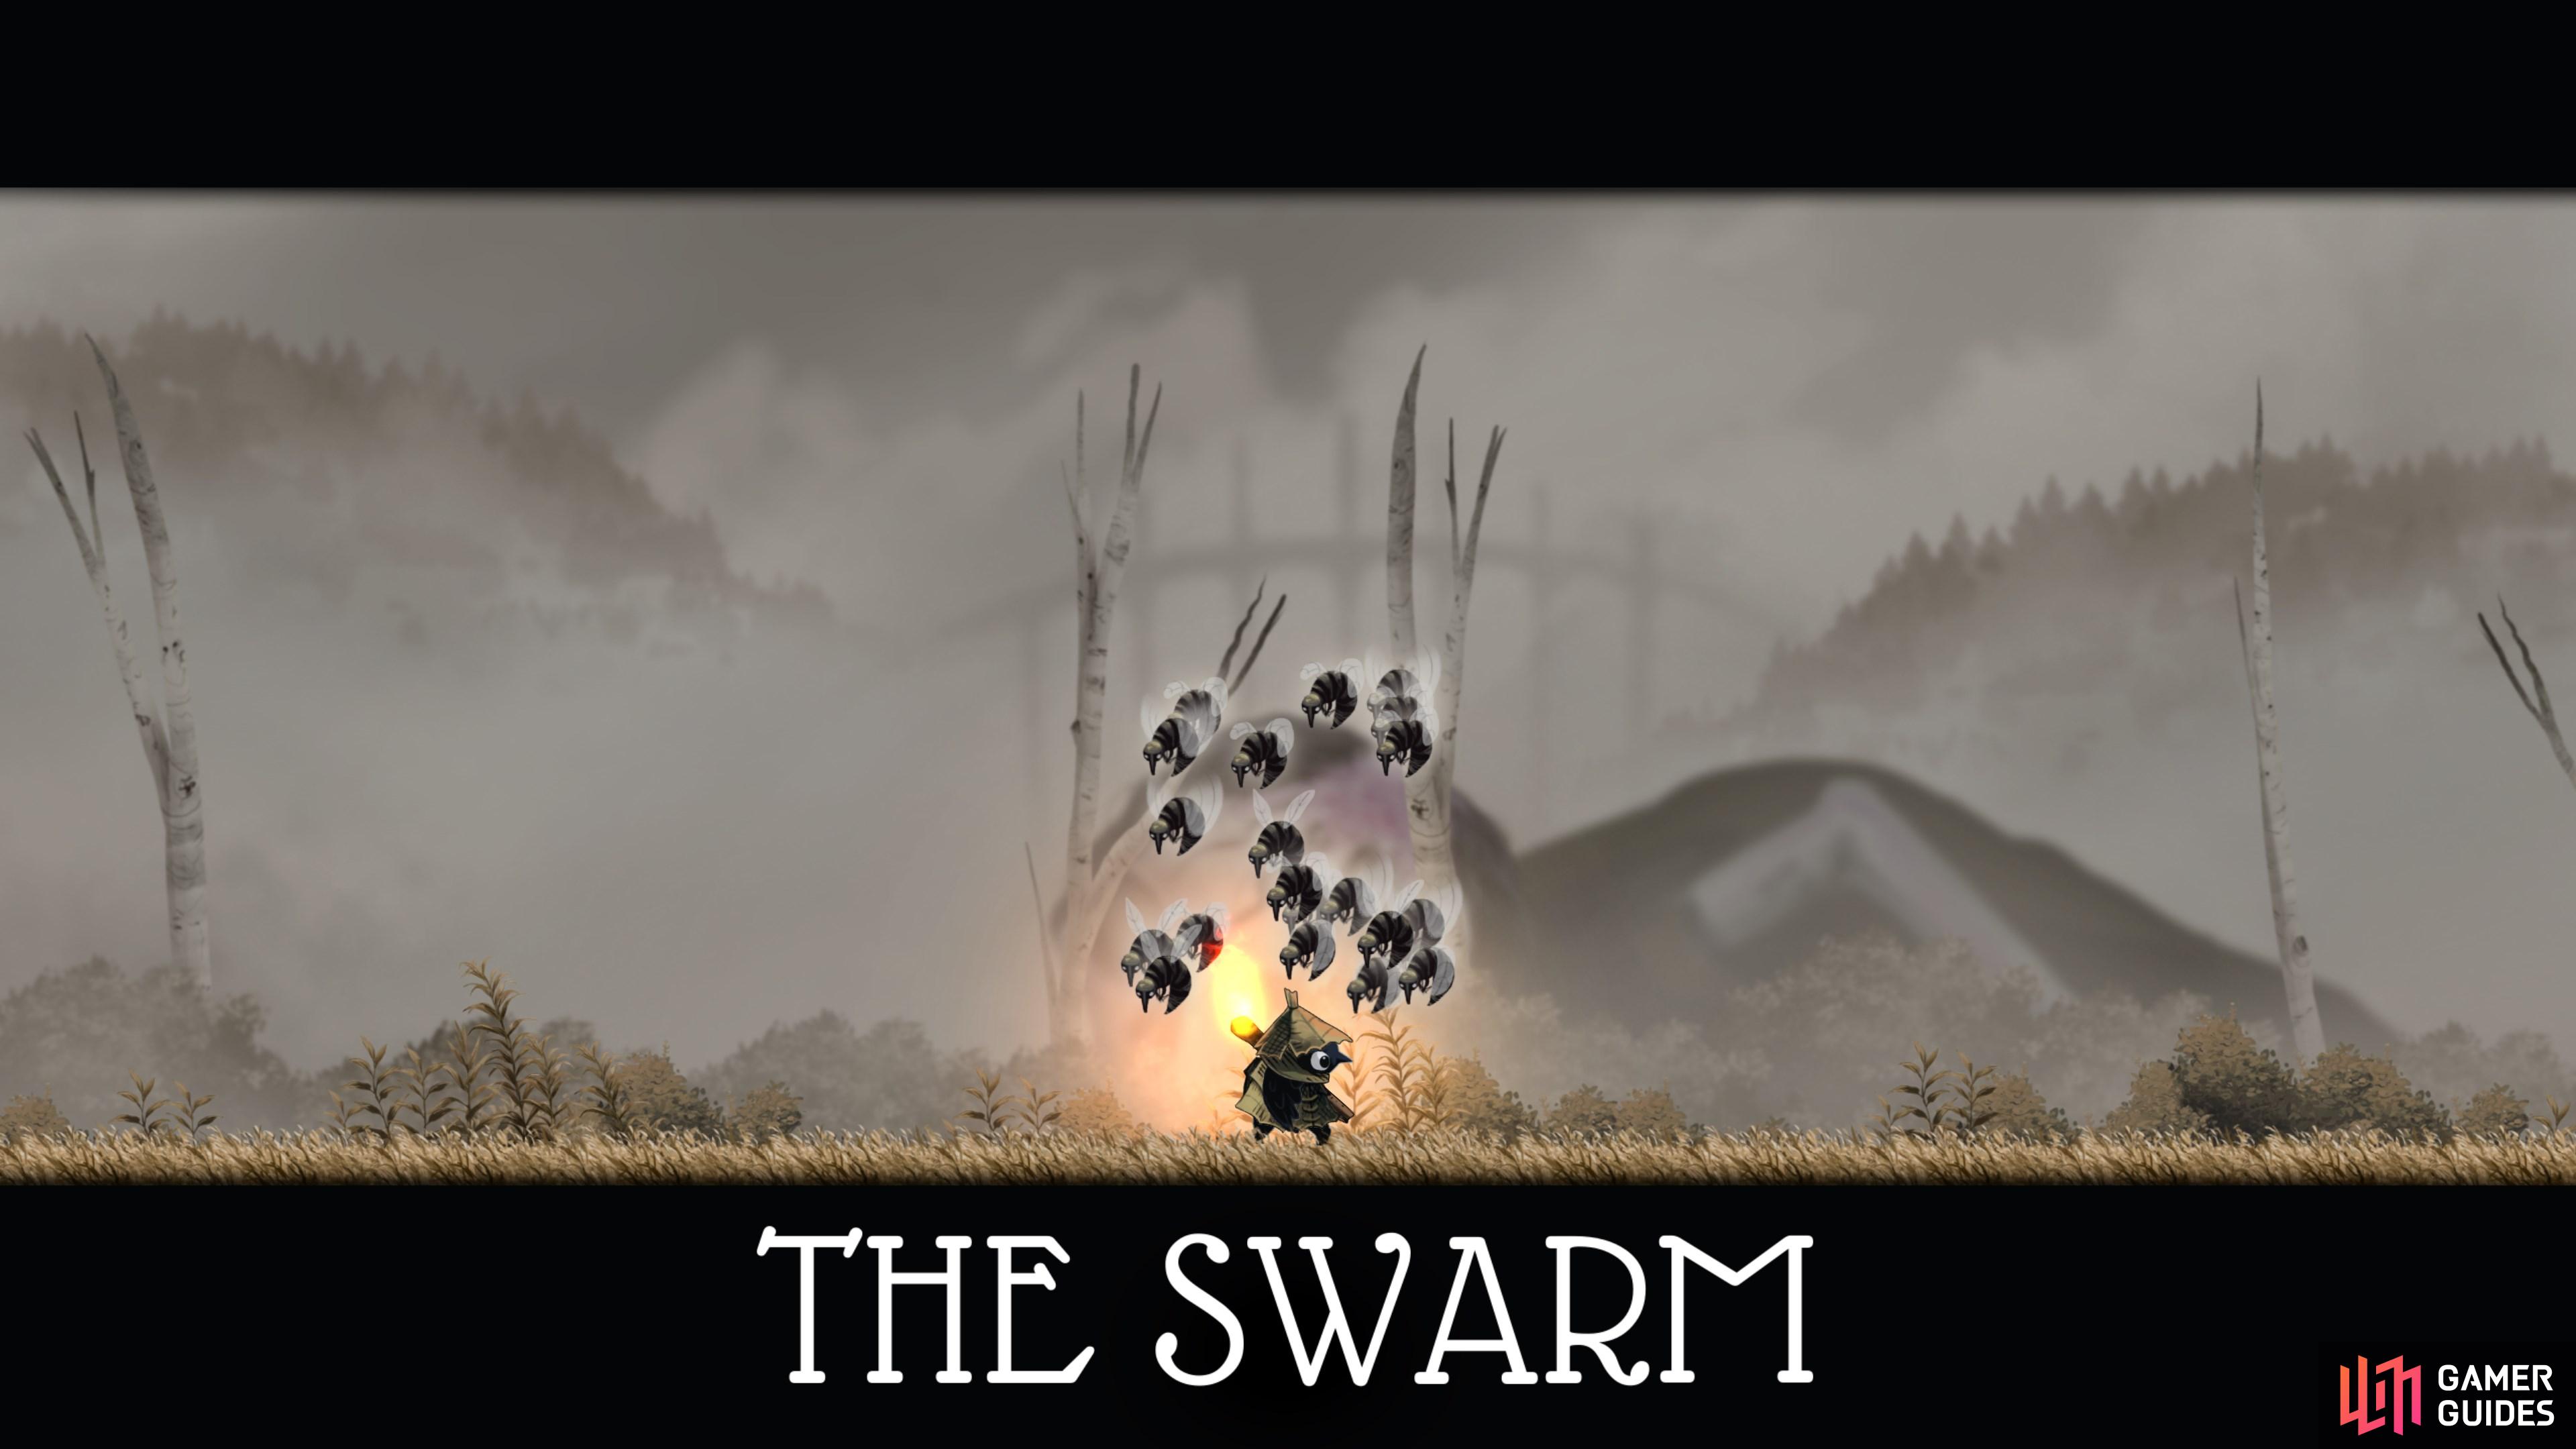
Head to the boss room and take out The Swarm. The Flaming Vessel is particularly useful when The Swarm is out of melee range during the first phase.
Map position: 8342, 10023
-
9
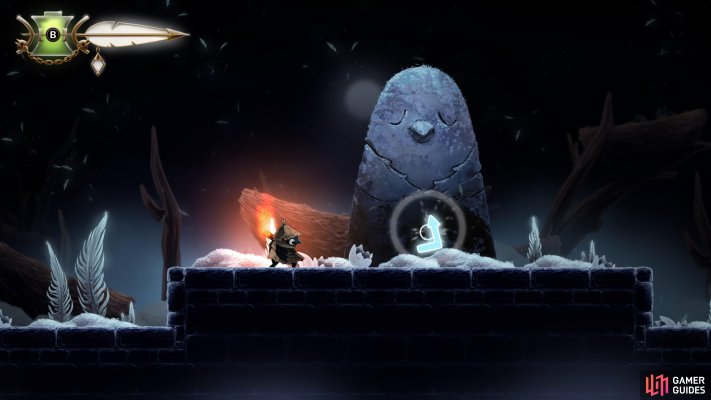
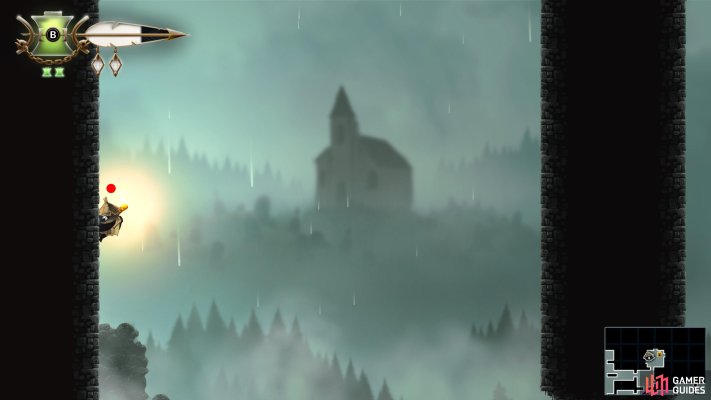
Learn how to Climb
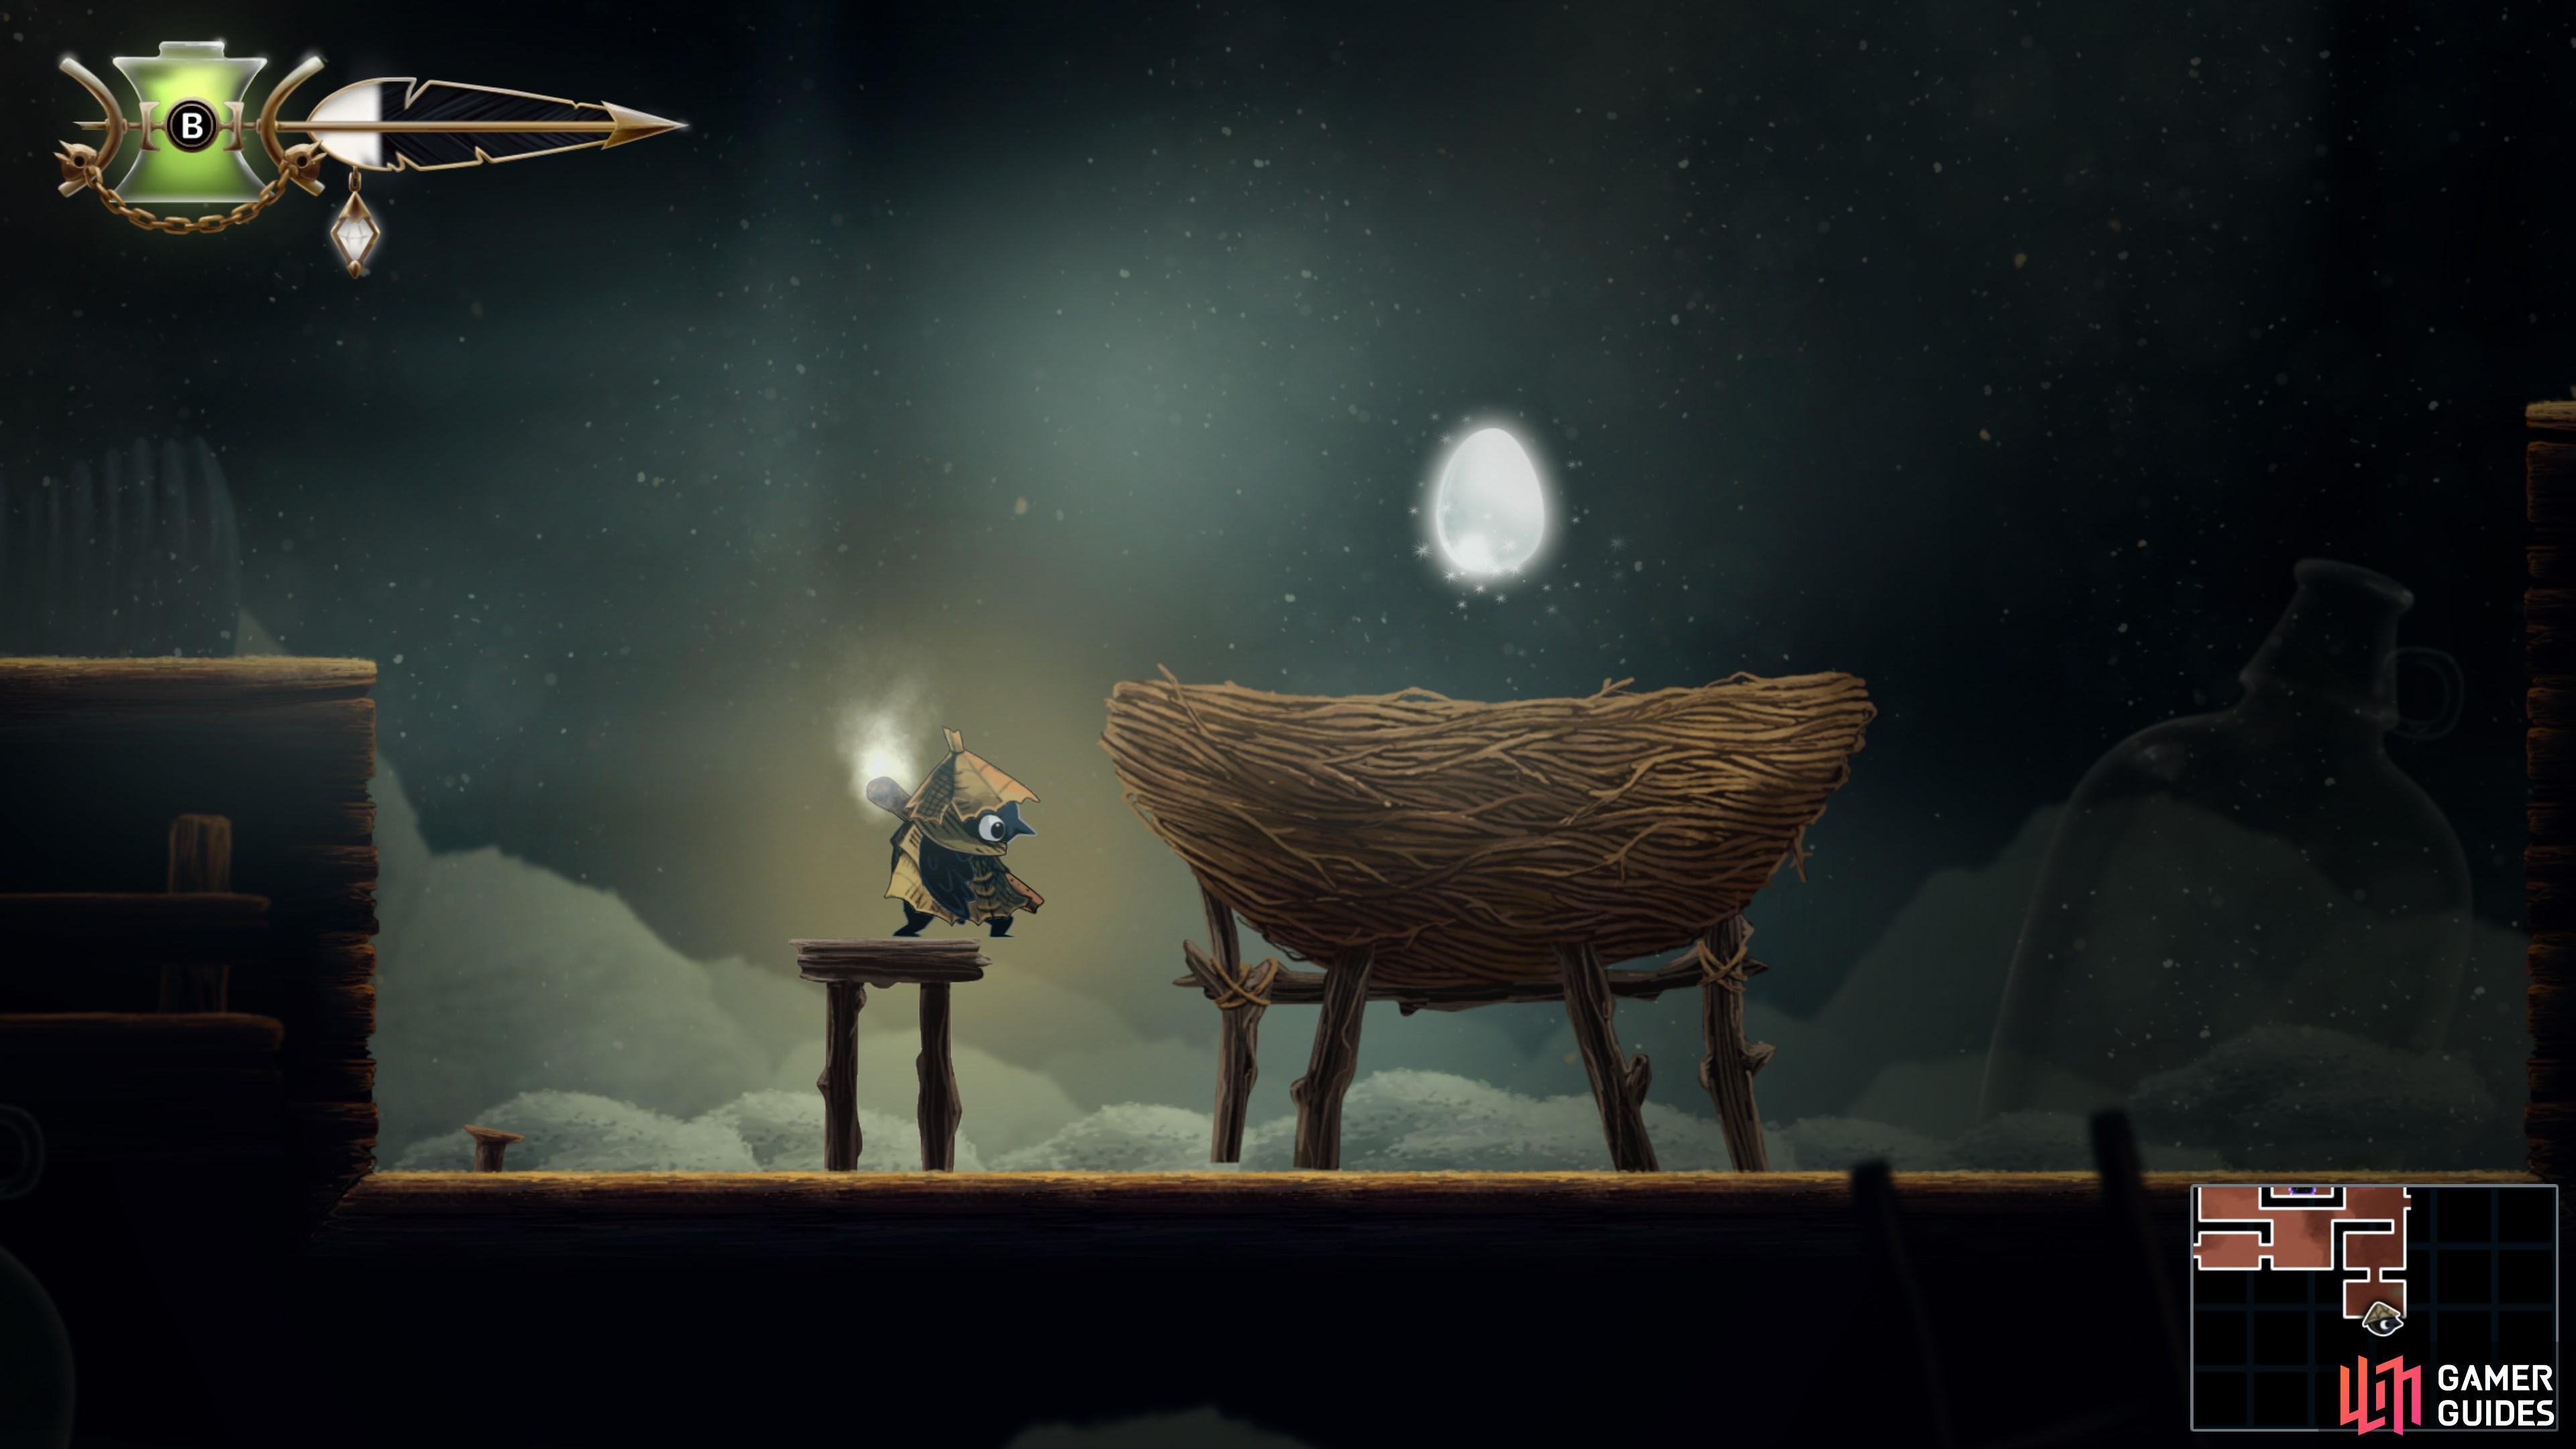
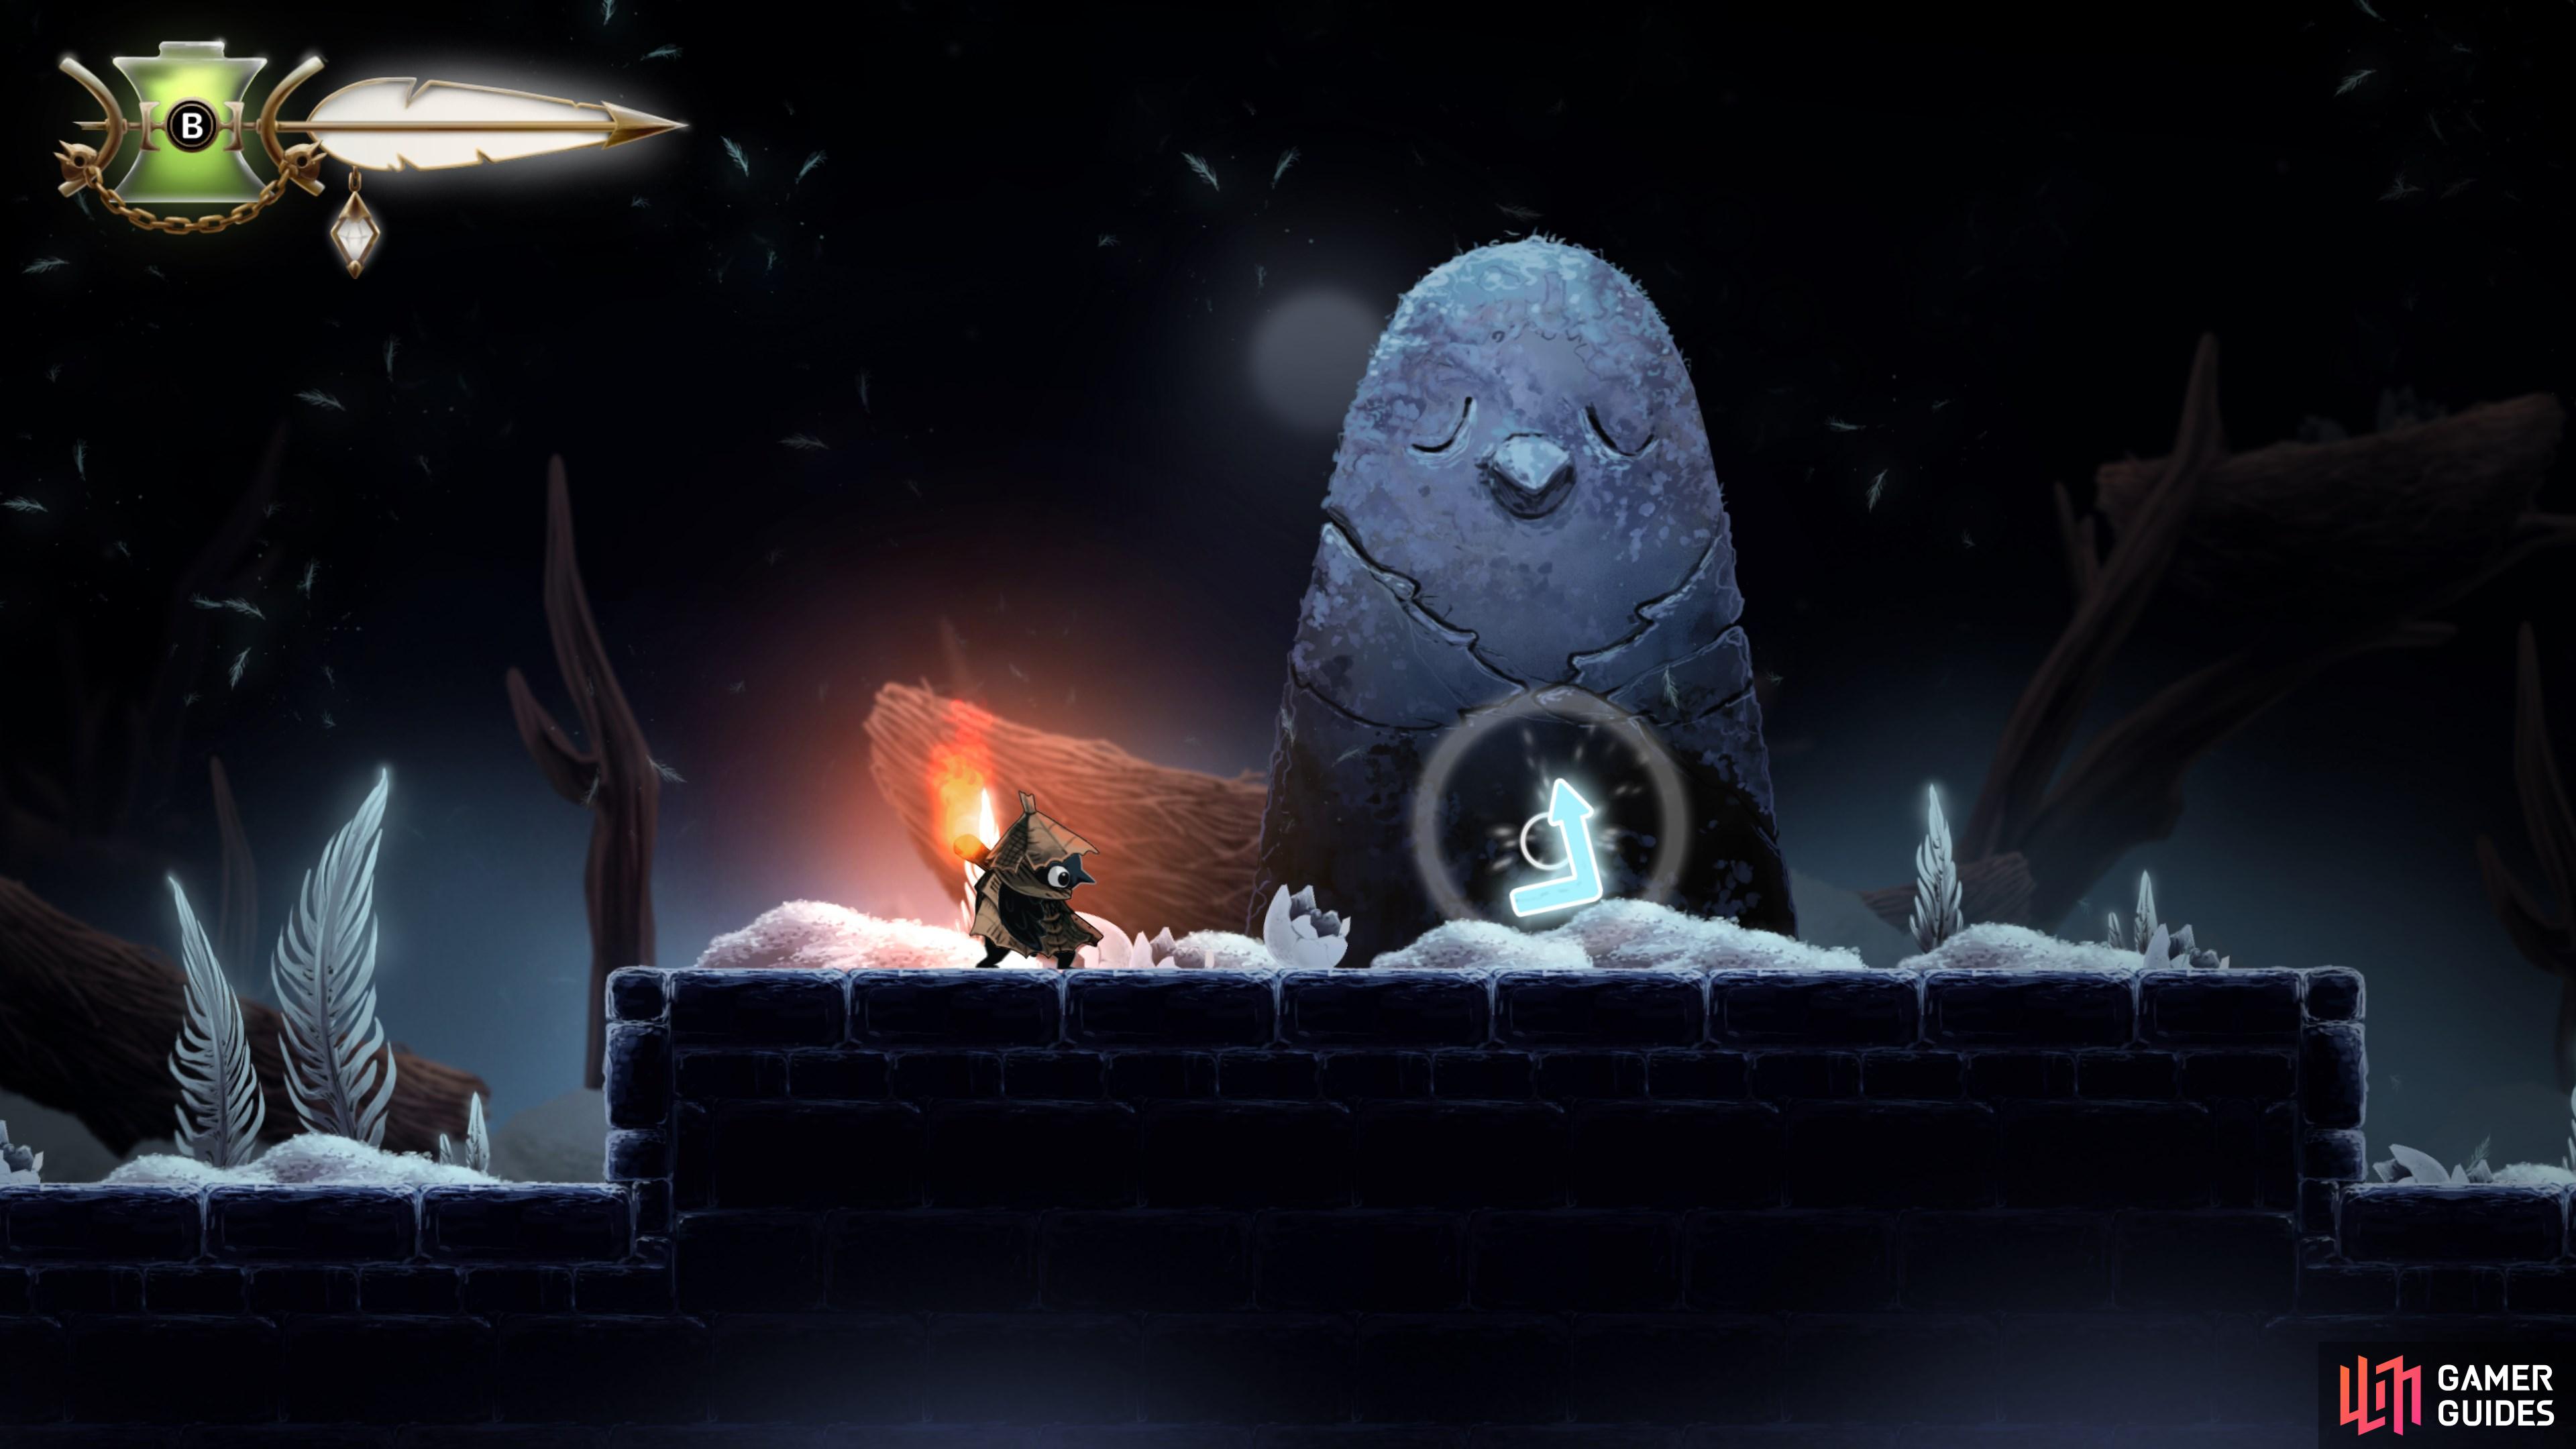
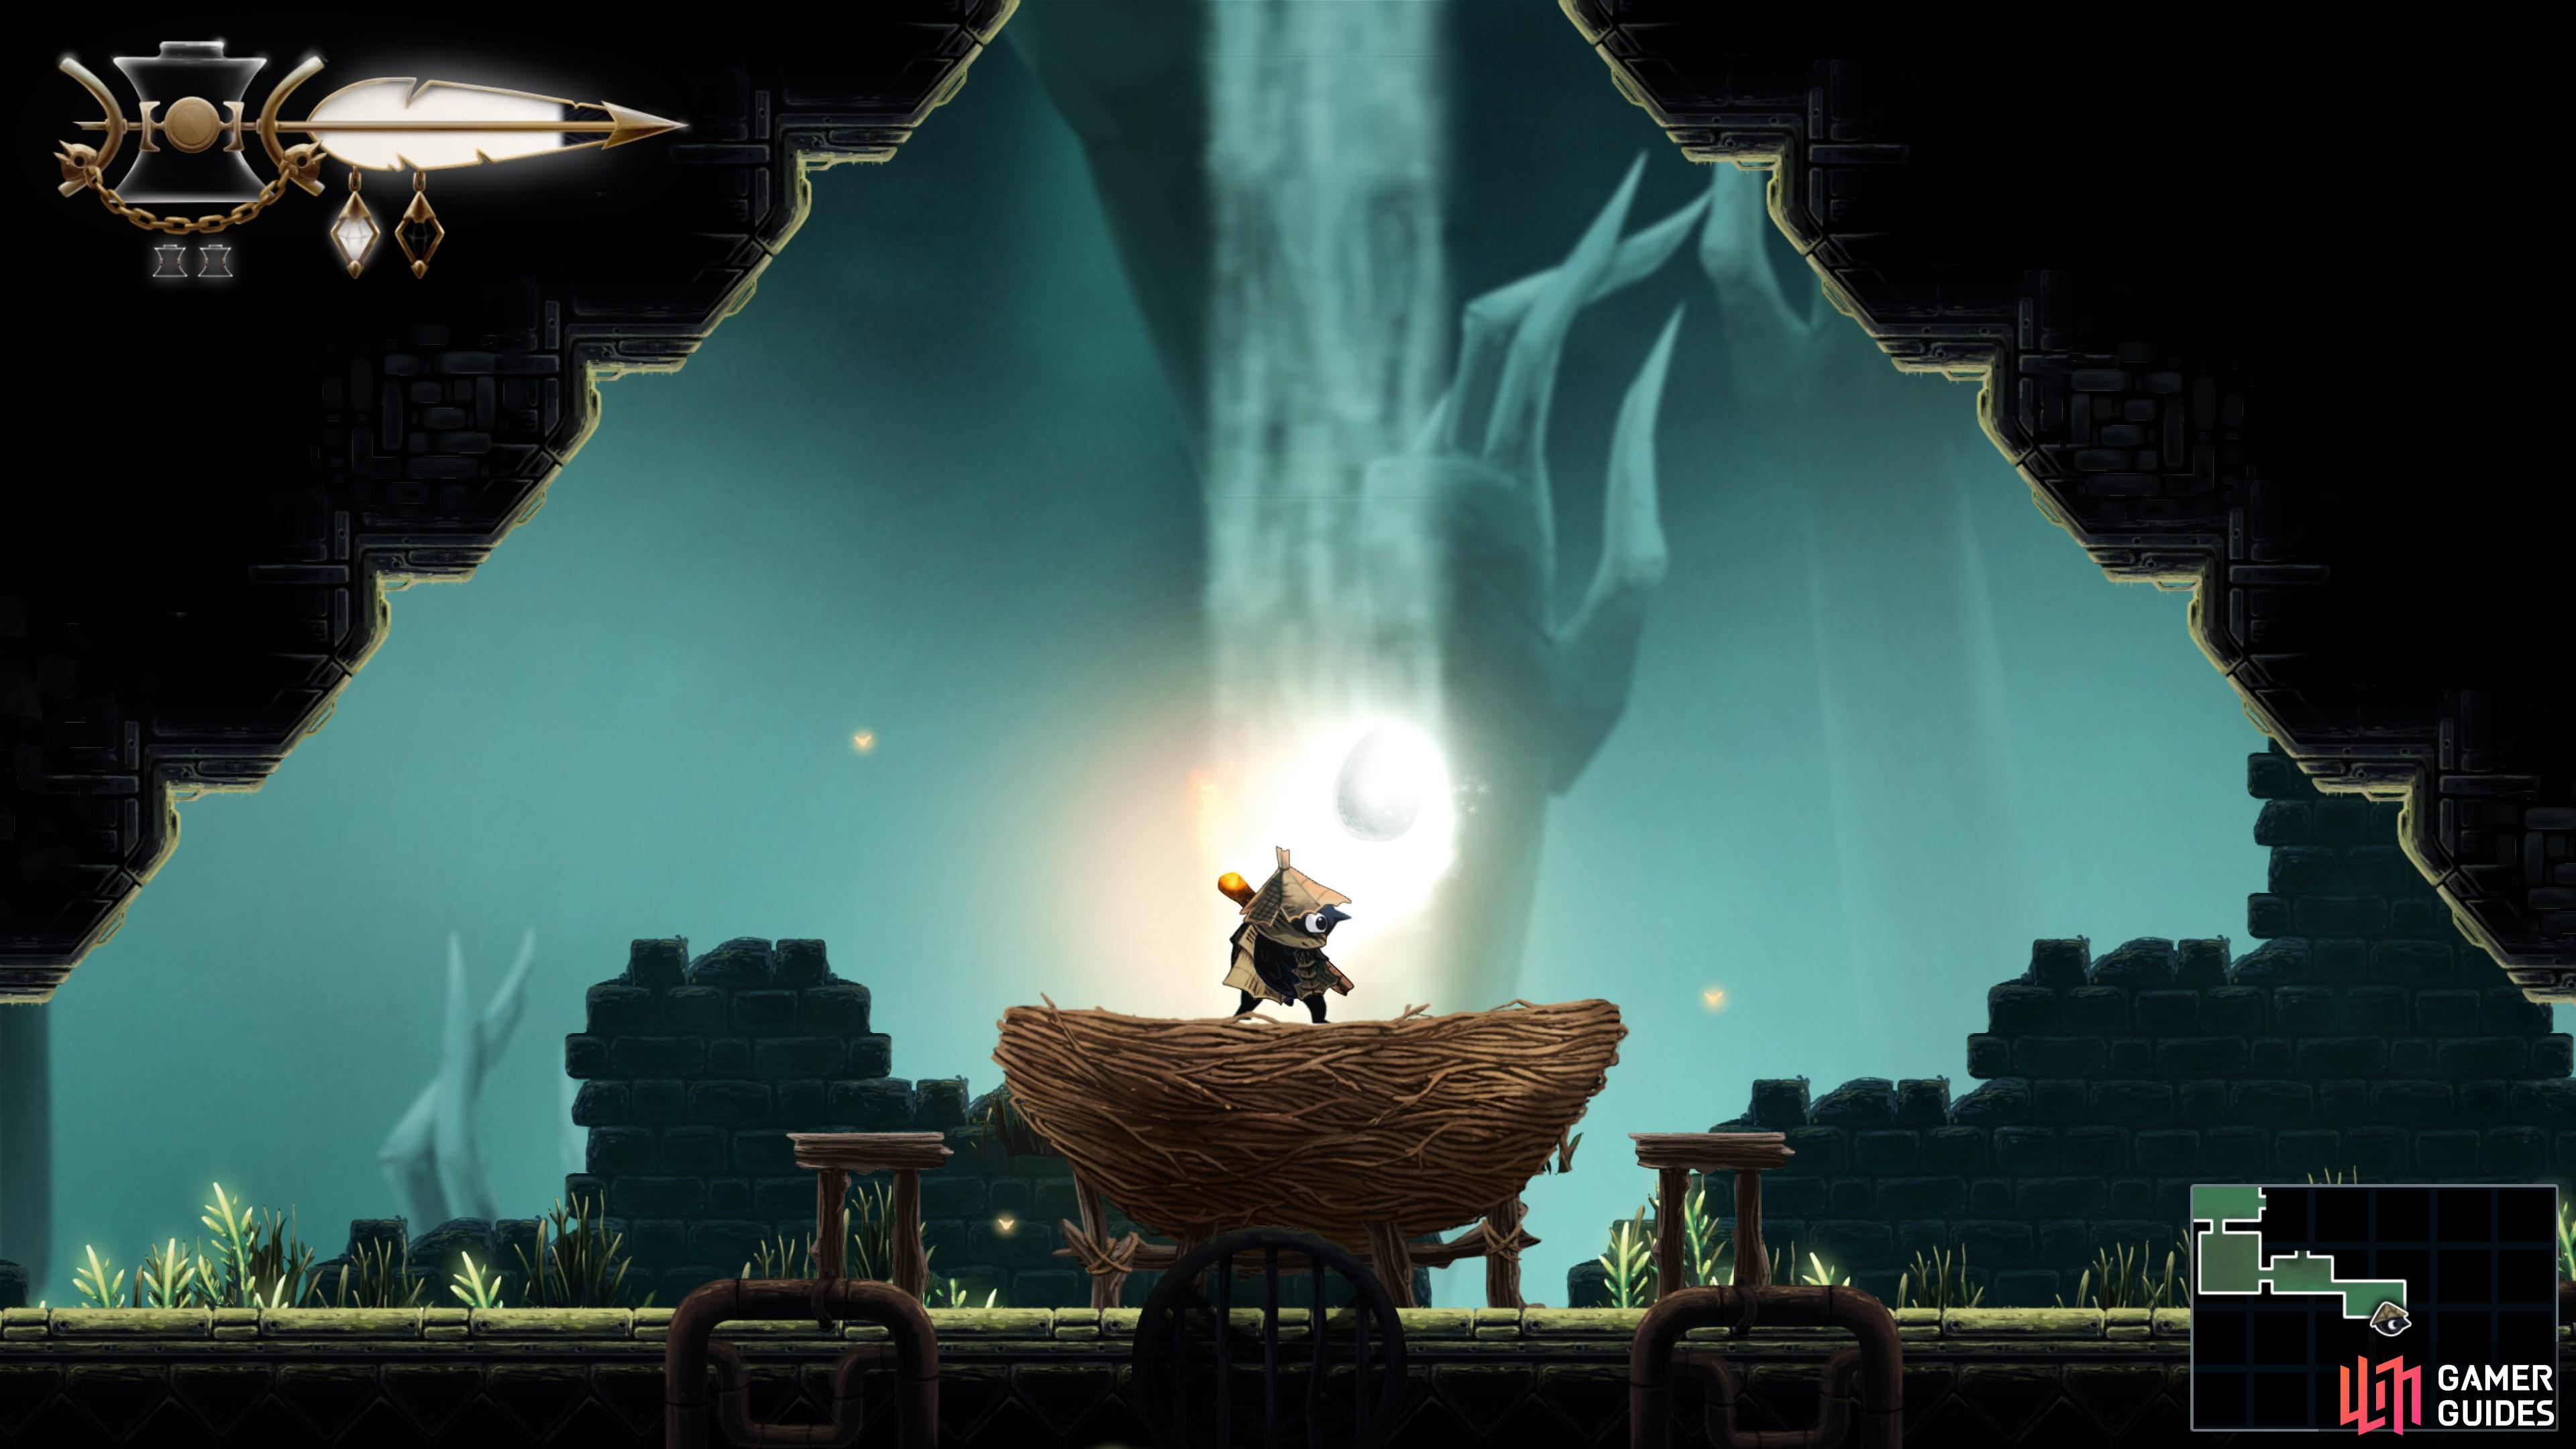
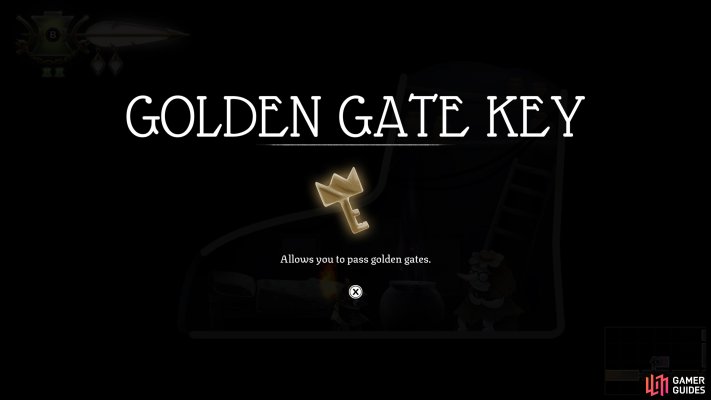
Head east and collect the egg from the nest, then complete the tutorial sequence to unlock Climb.
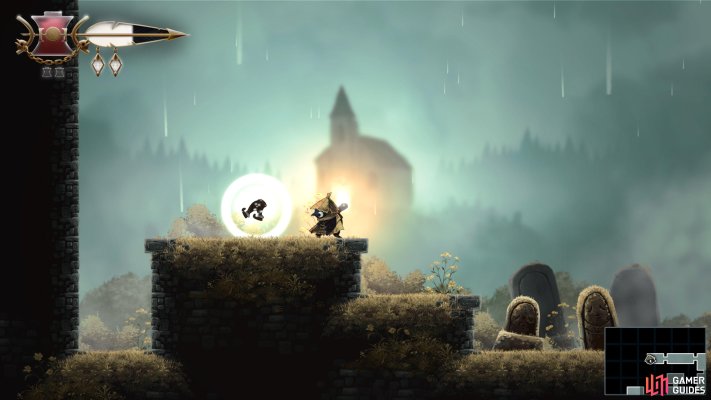
Map position: 8520, 10084
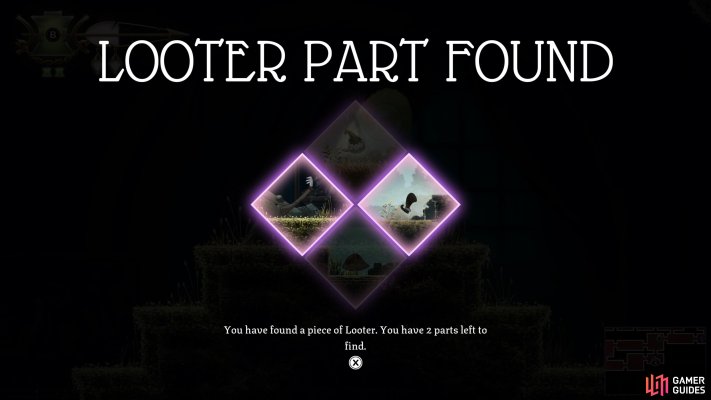
-
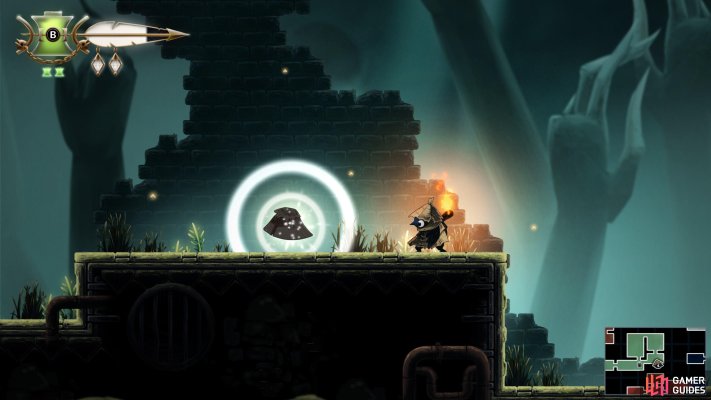
10
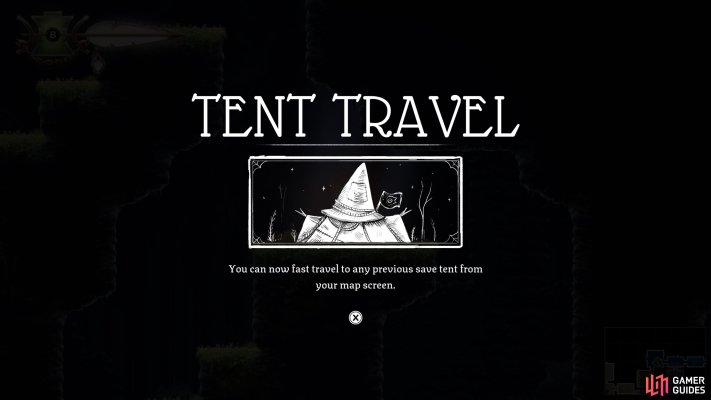
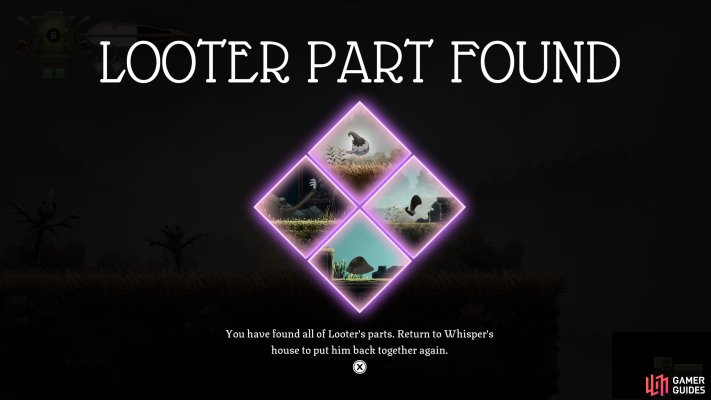
Acquire Tent Travel
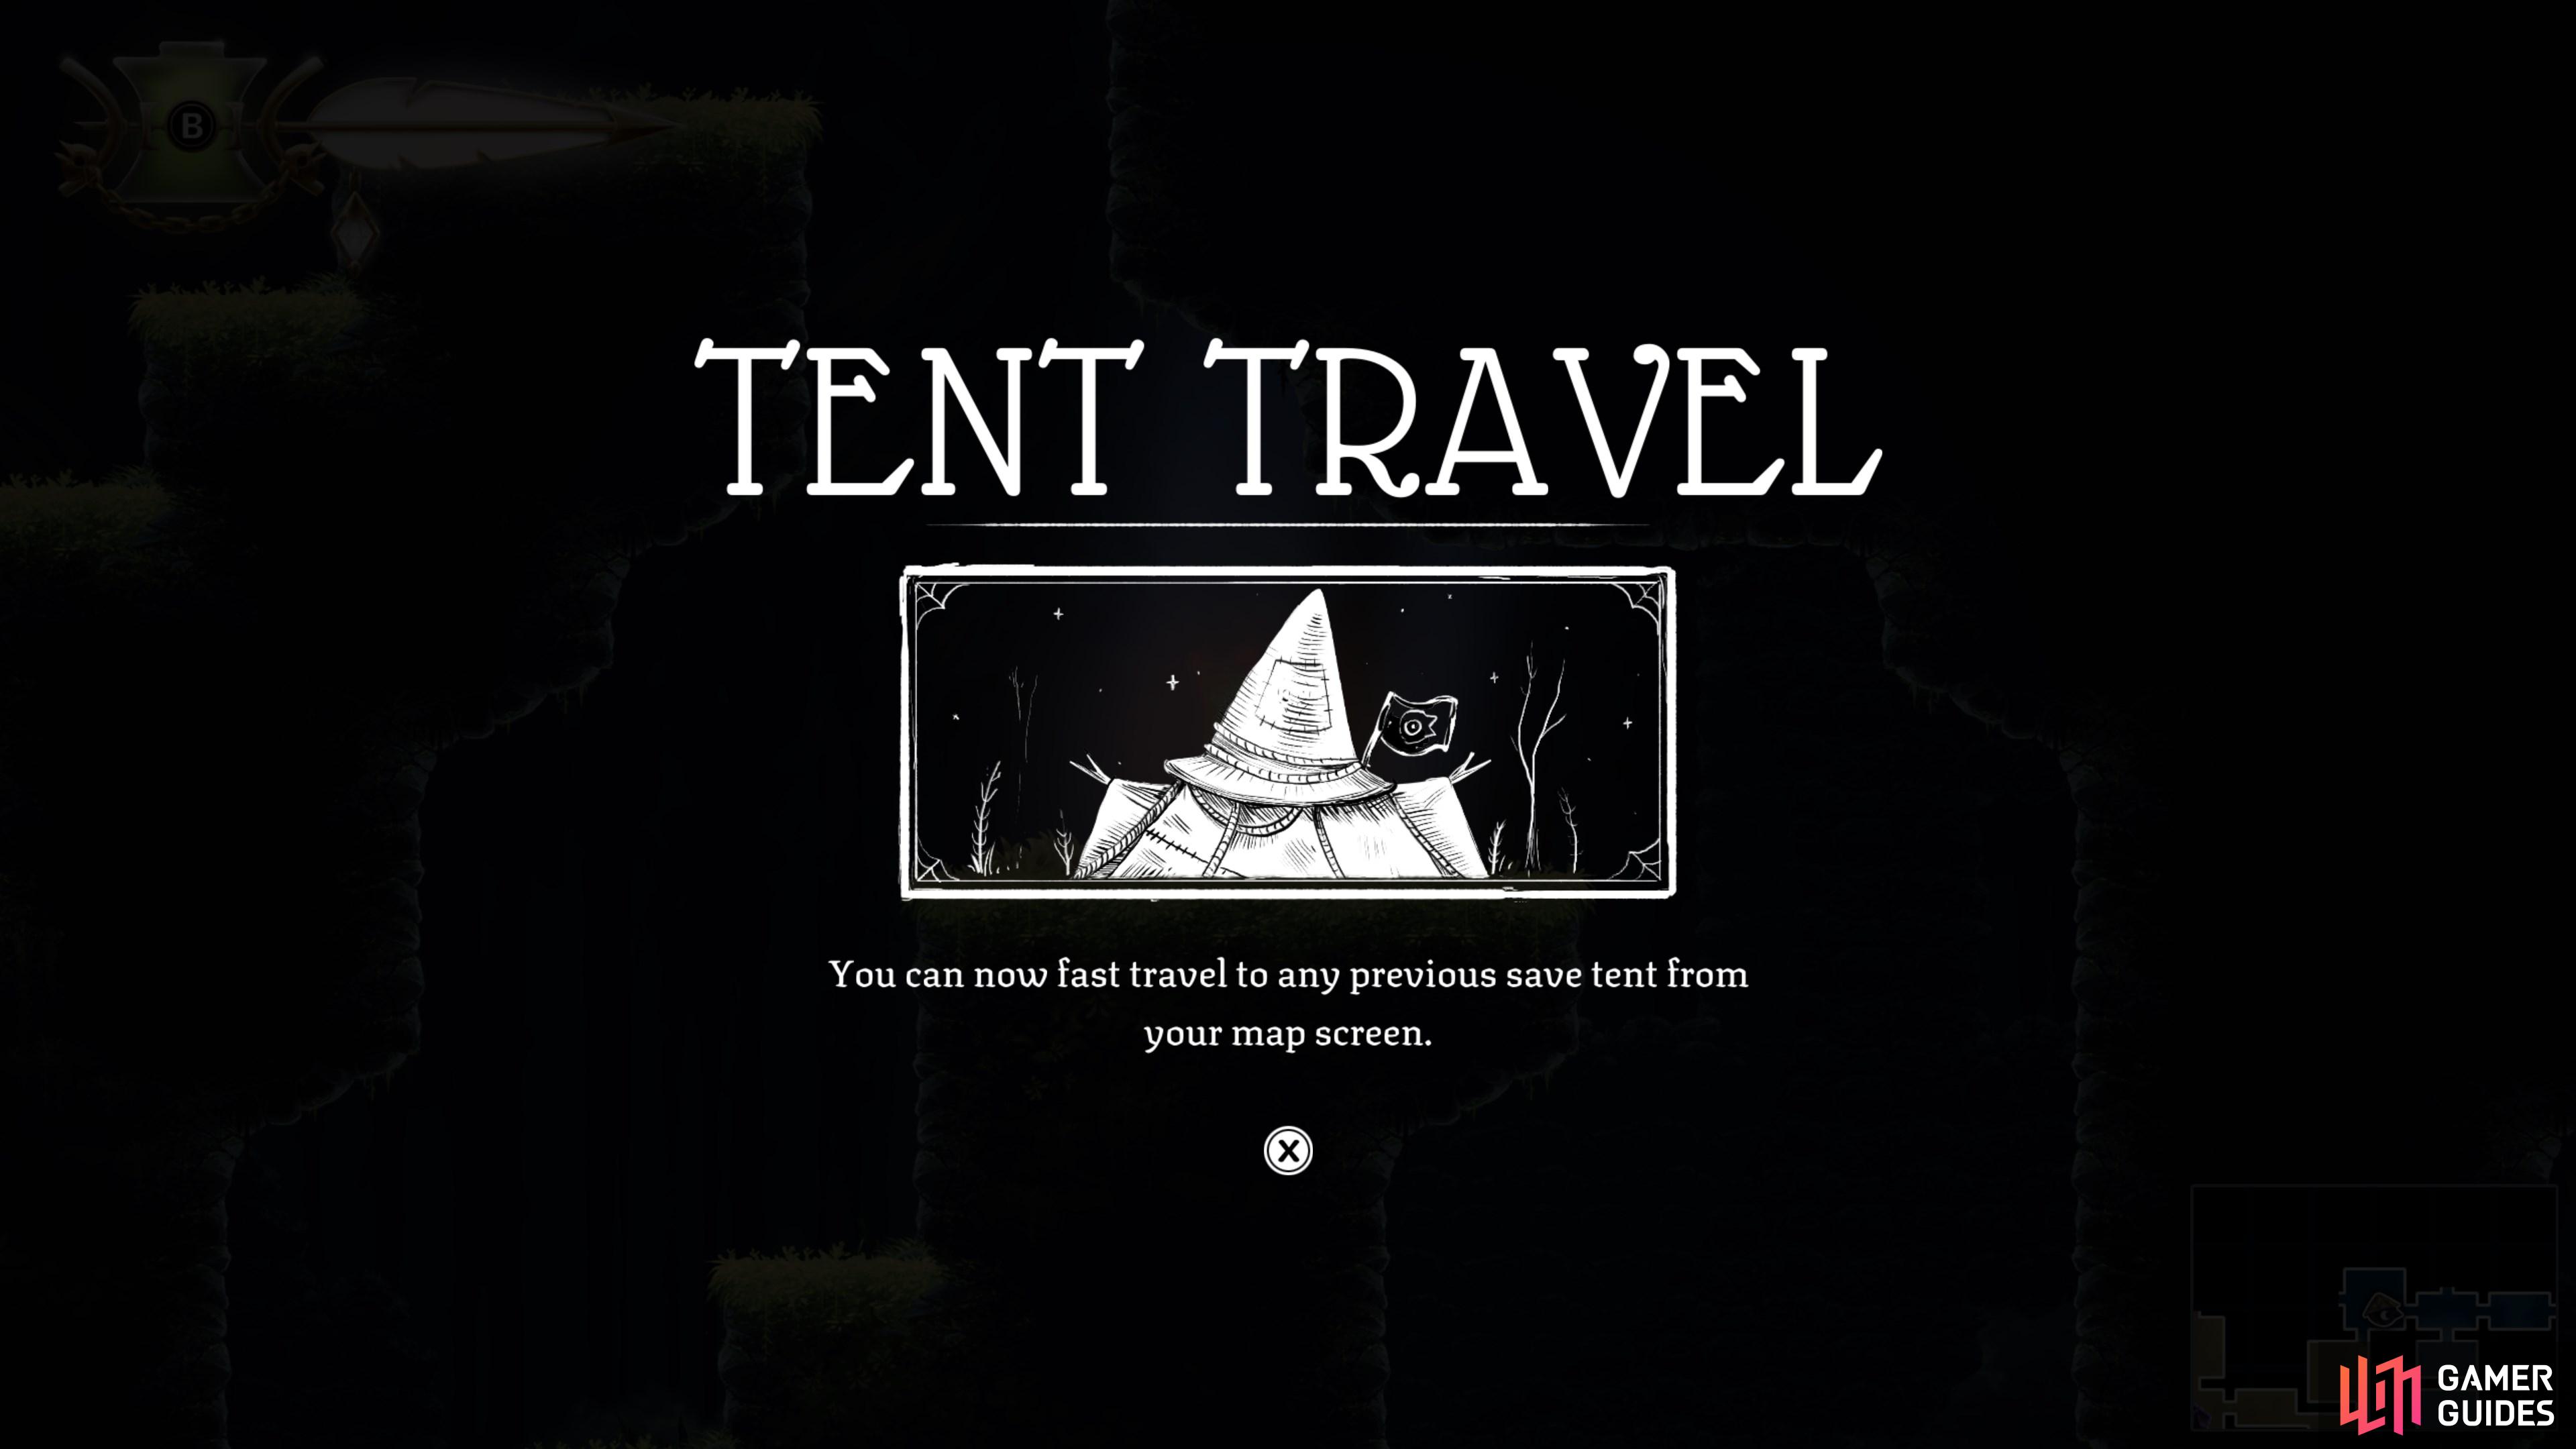
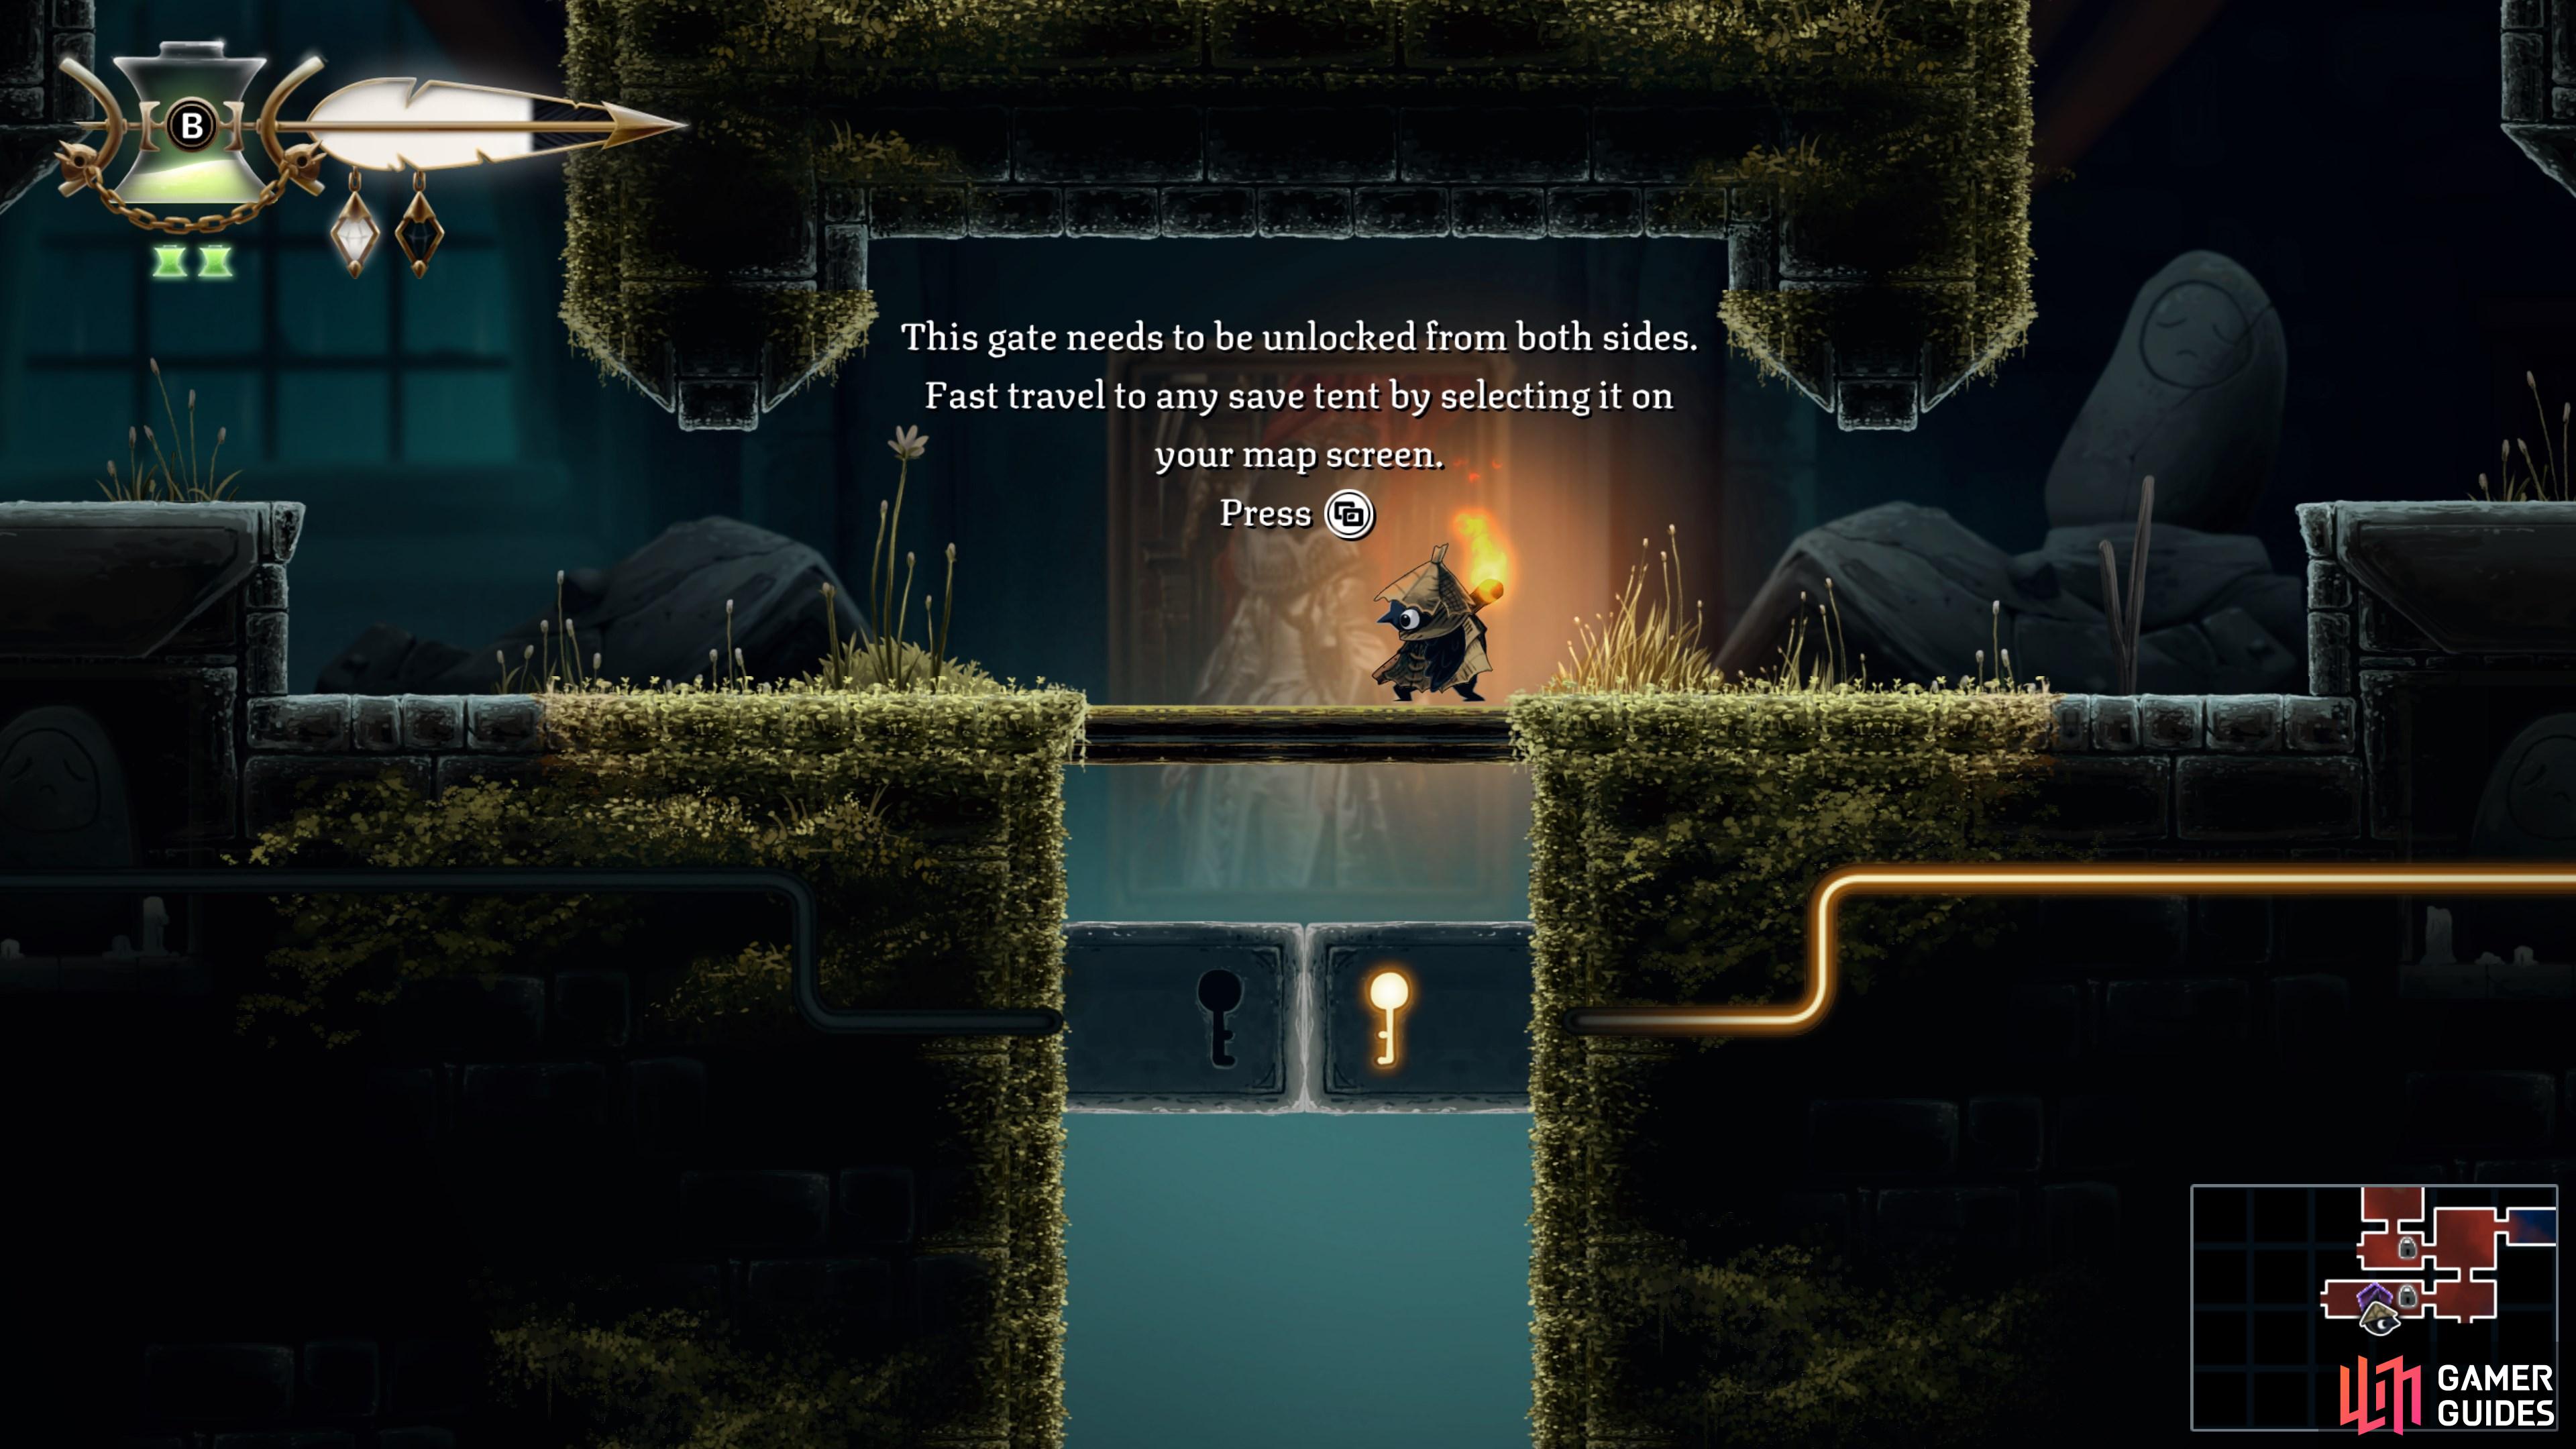
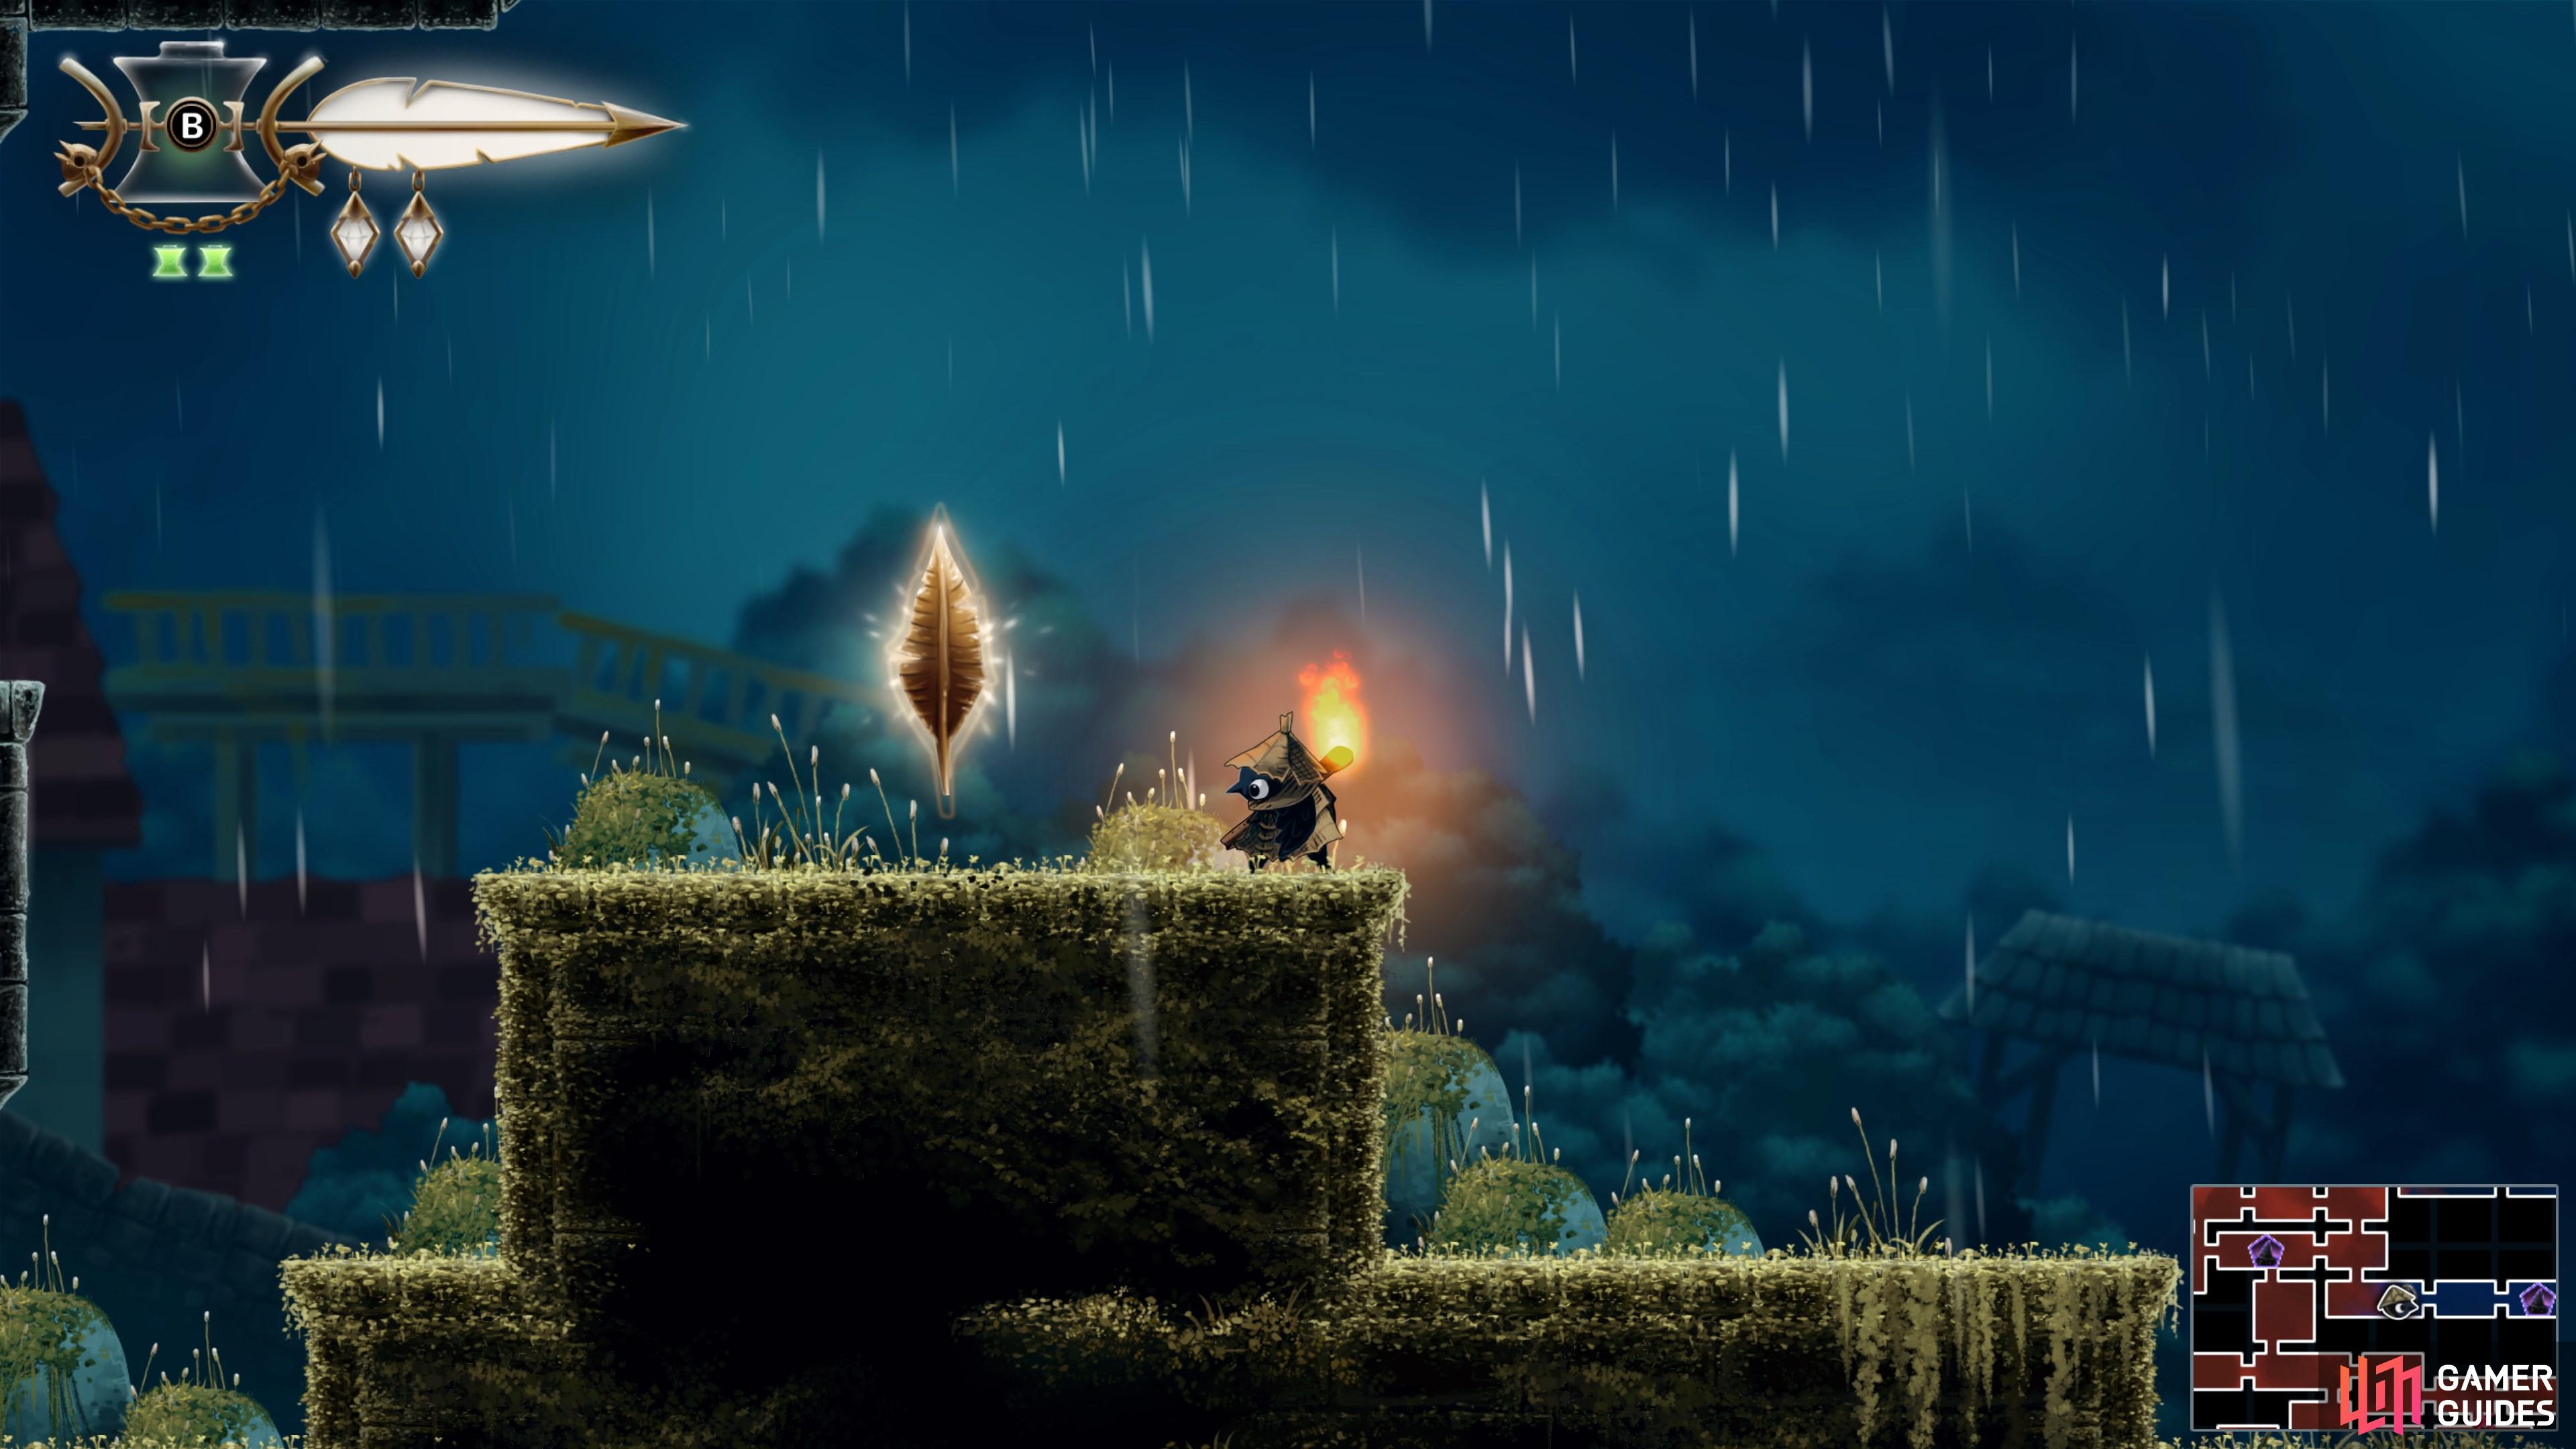
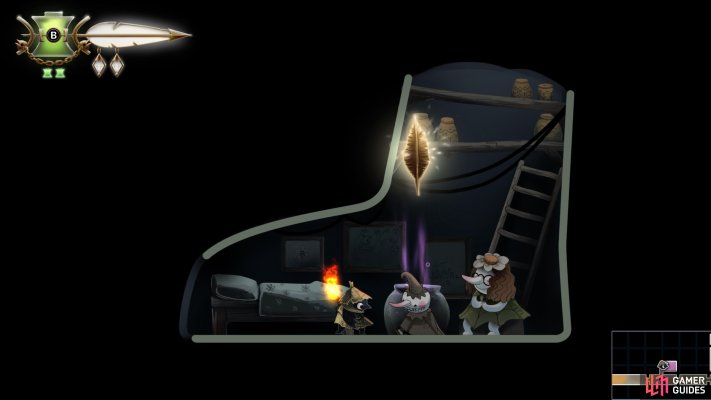
Using your newfound climbing skills, head up to the Night Garden and grab the Tent Travel Ability. You can now fast travel to any Tent you've already found directly from your map.
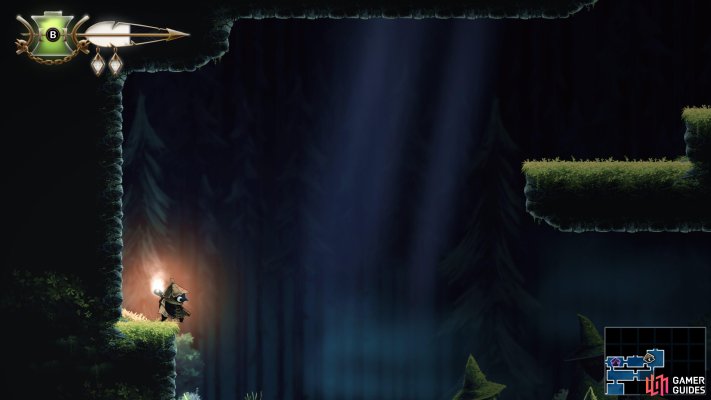
Map position: 8657, 9710
-
11
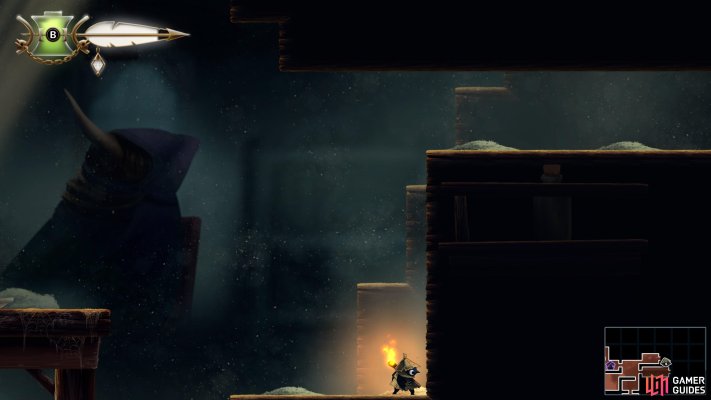
Use Climb to enter Gravenvalley
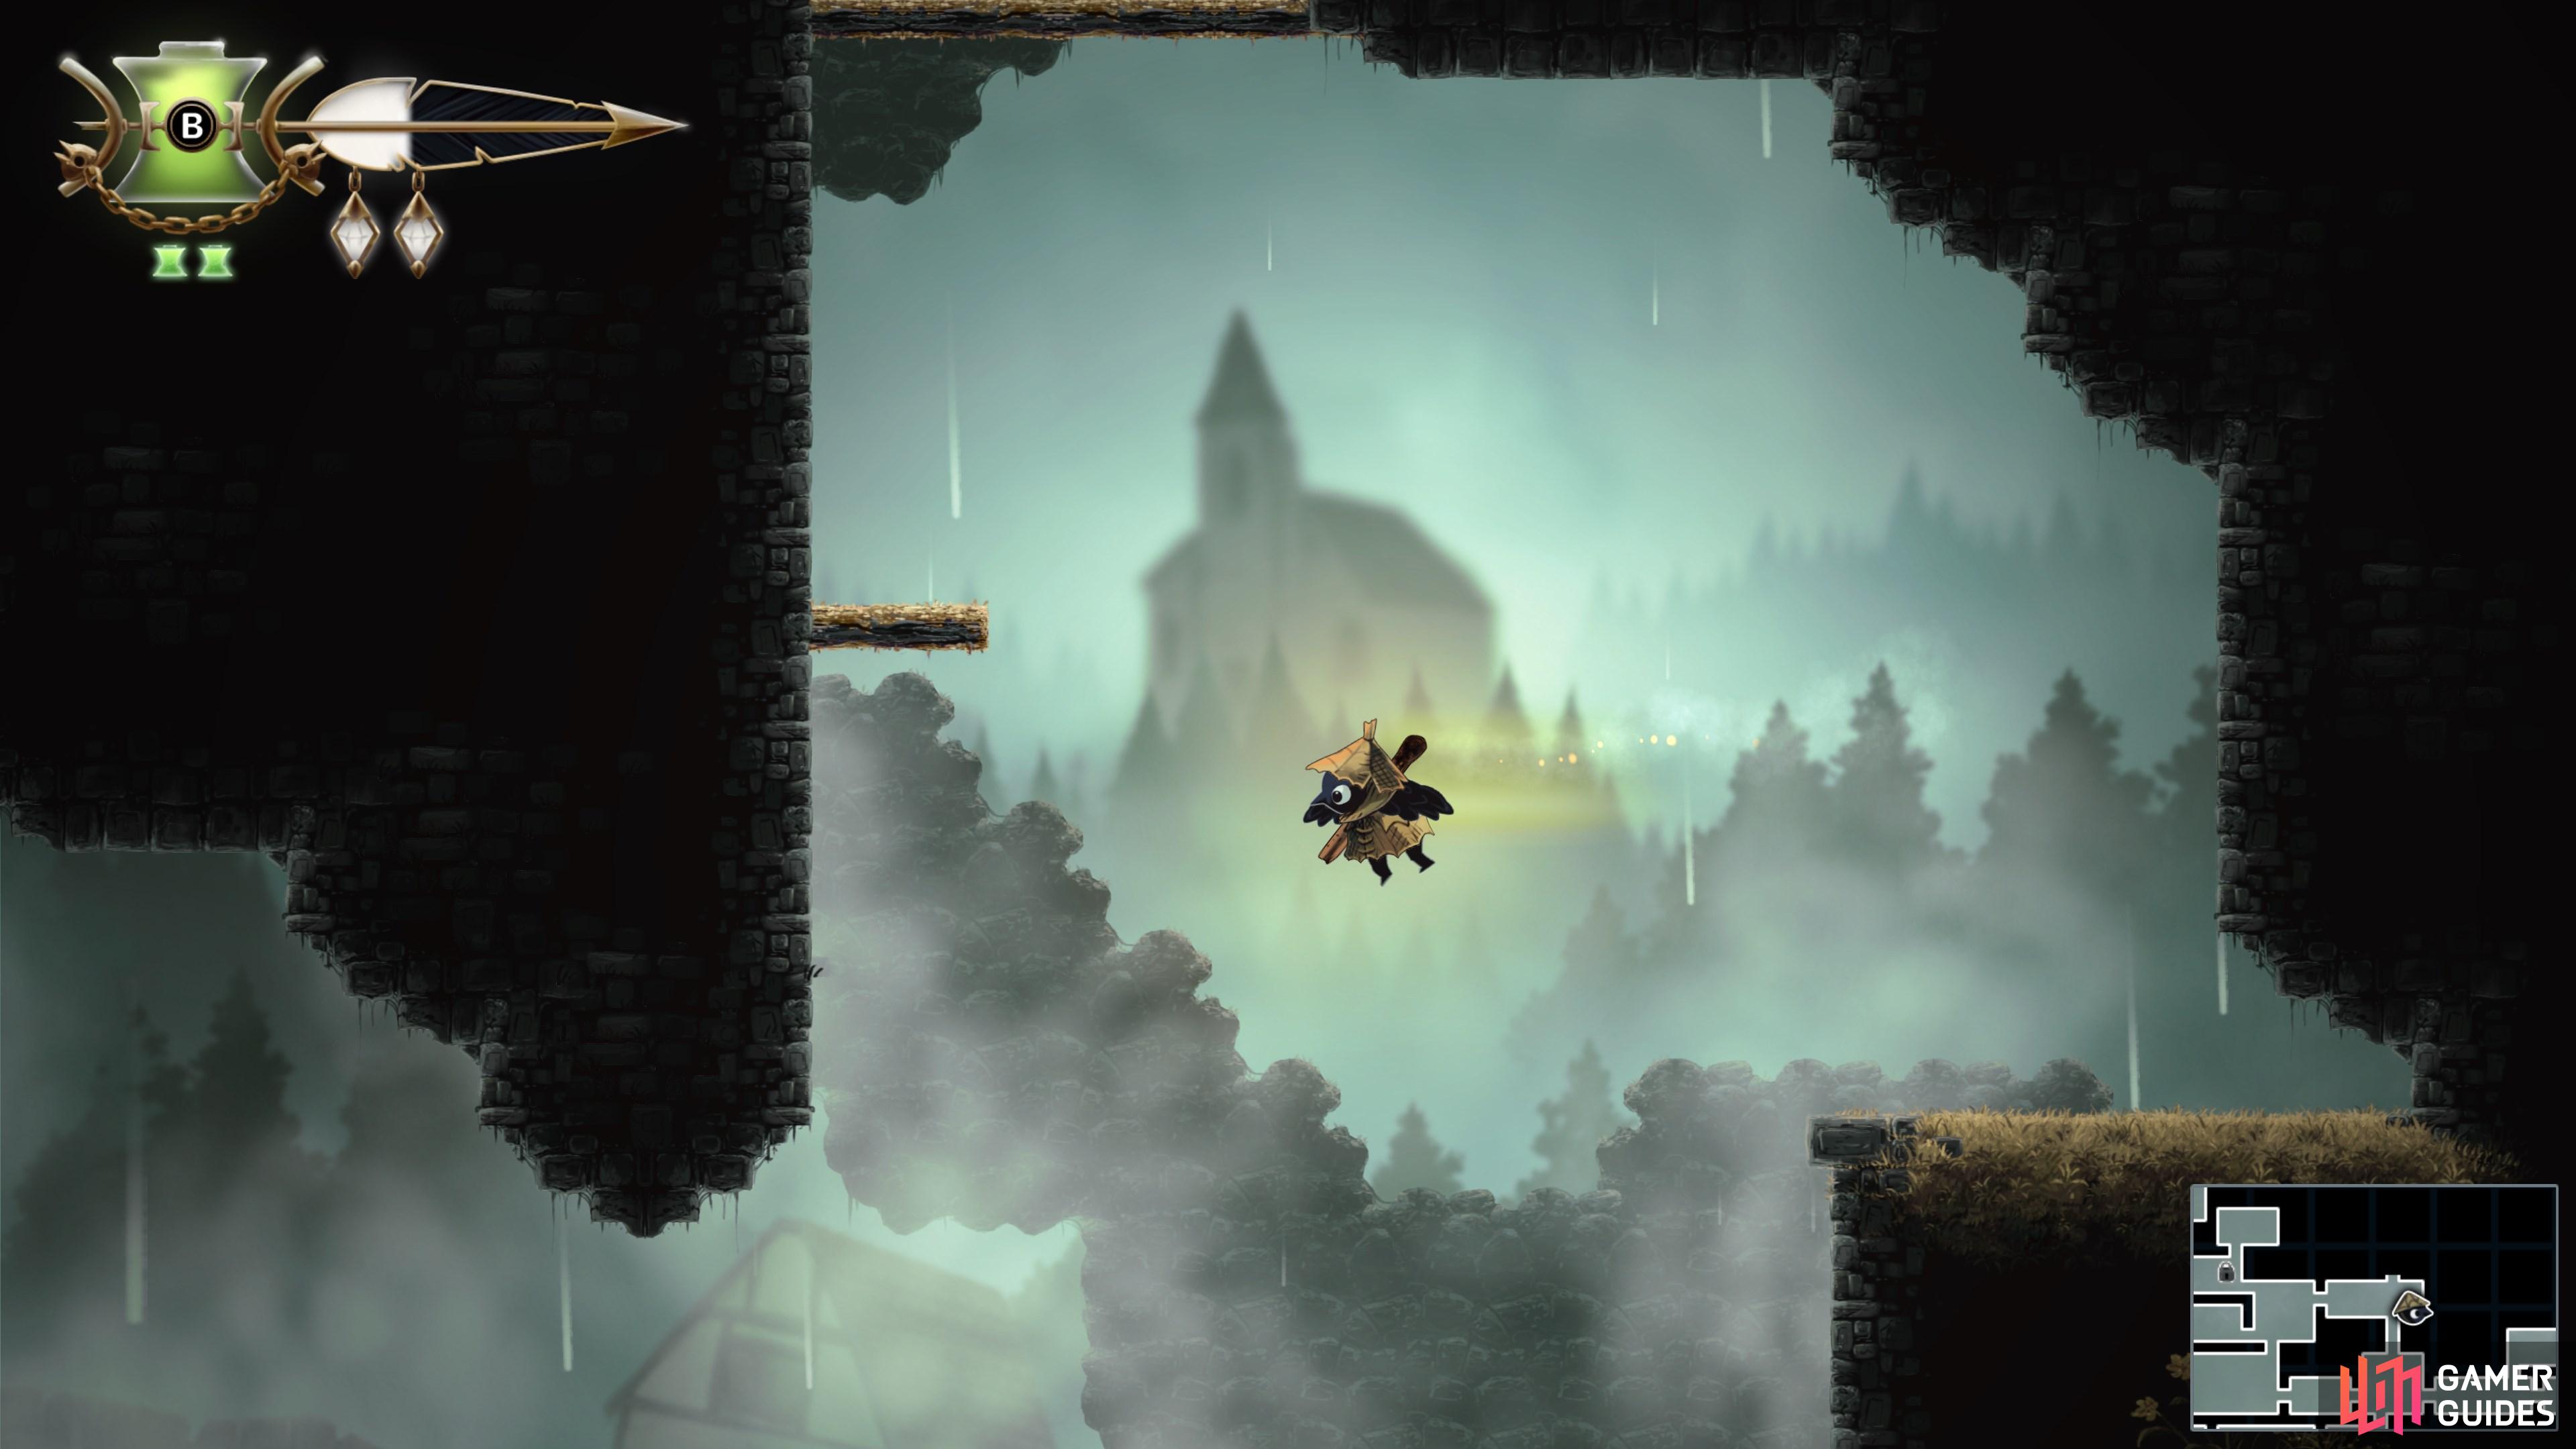
Now that you can climb, head back to the Hunter's Cabin and climb the wall near the dining table. Head east to enter Gravenvalley.
Map position: 11313, 9787
-
12
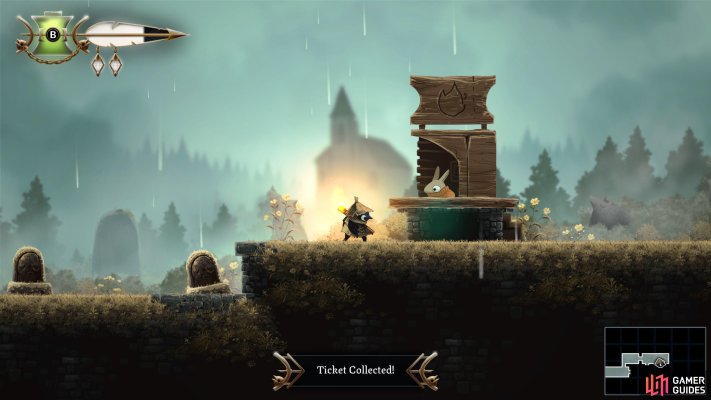
Grab a ticket for the witch burning
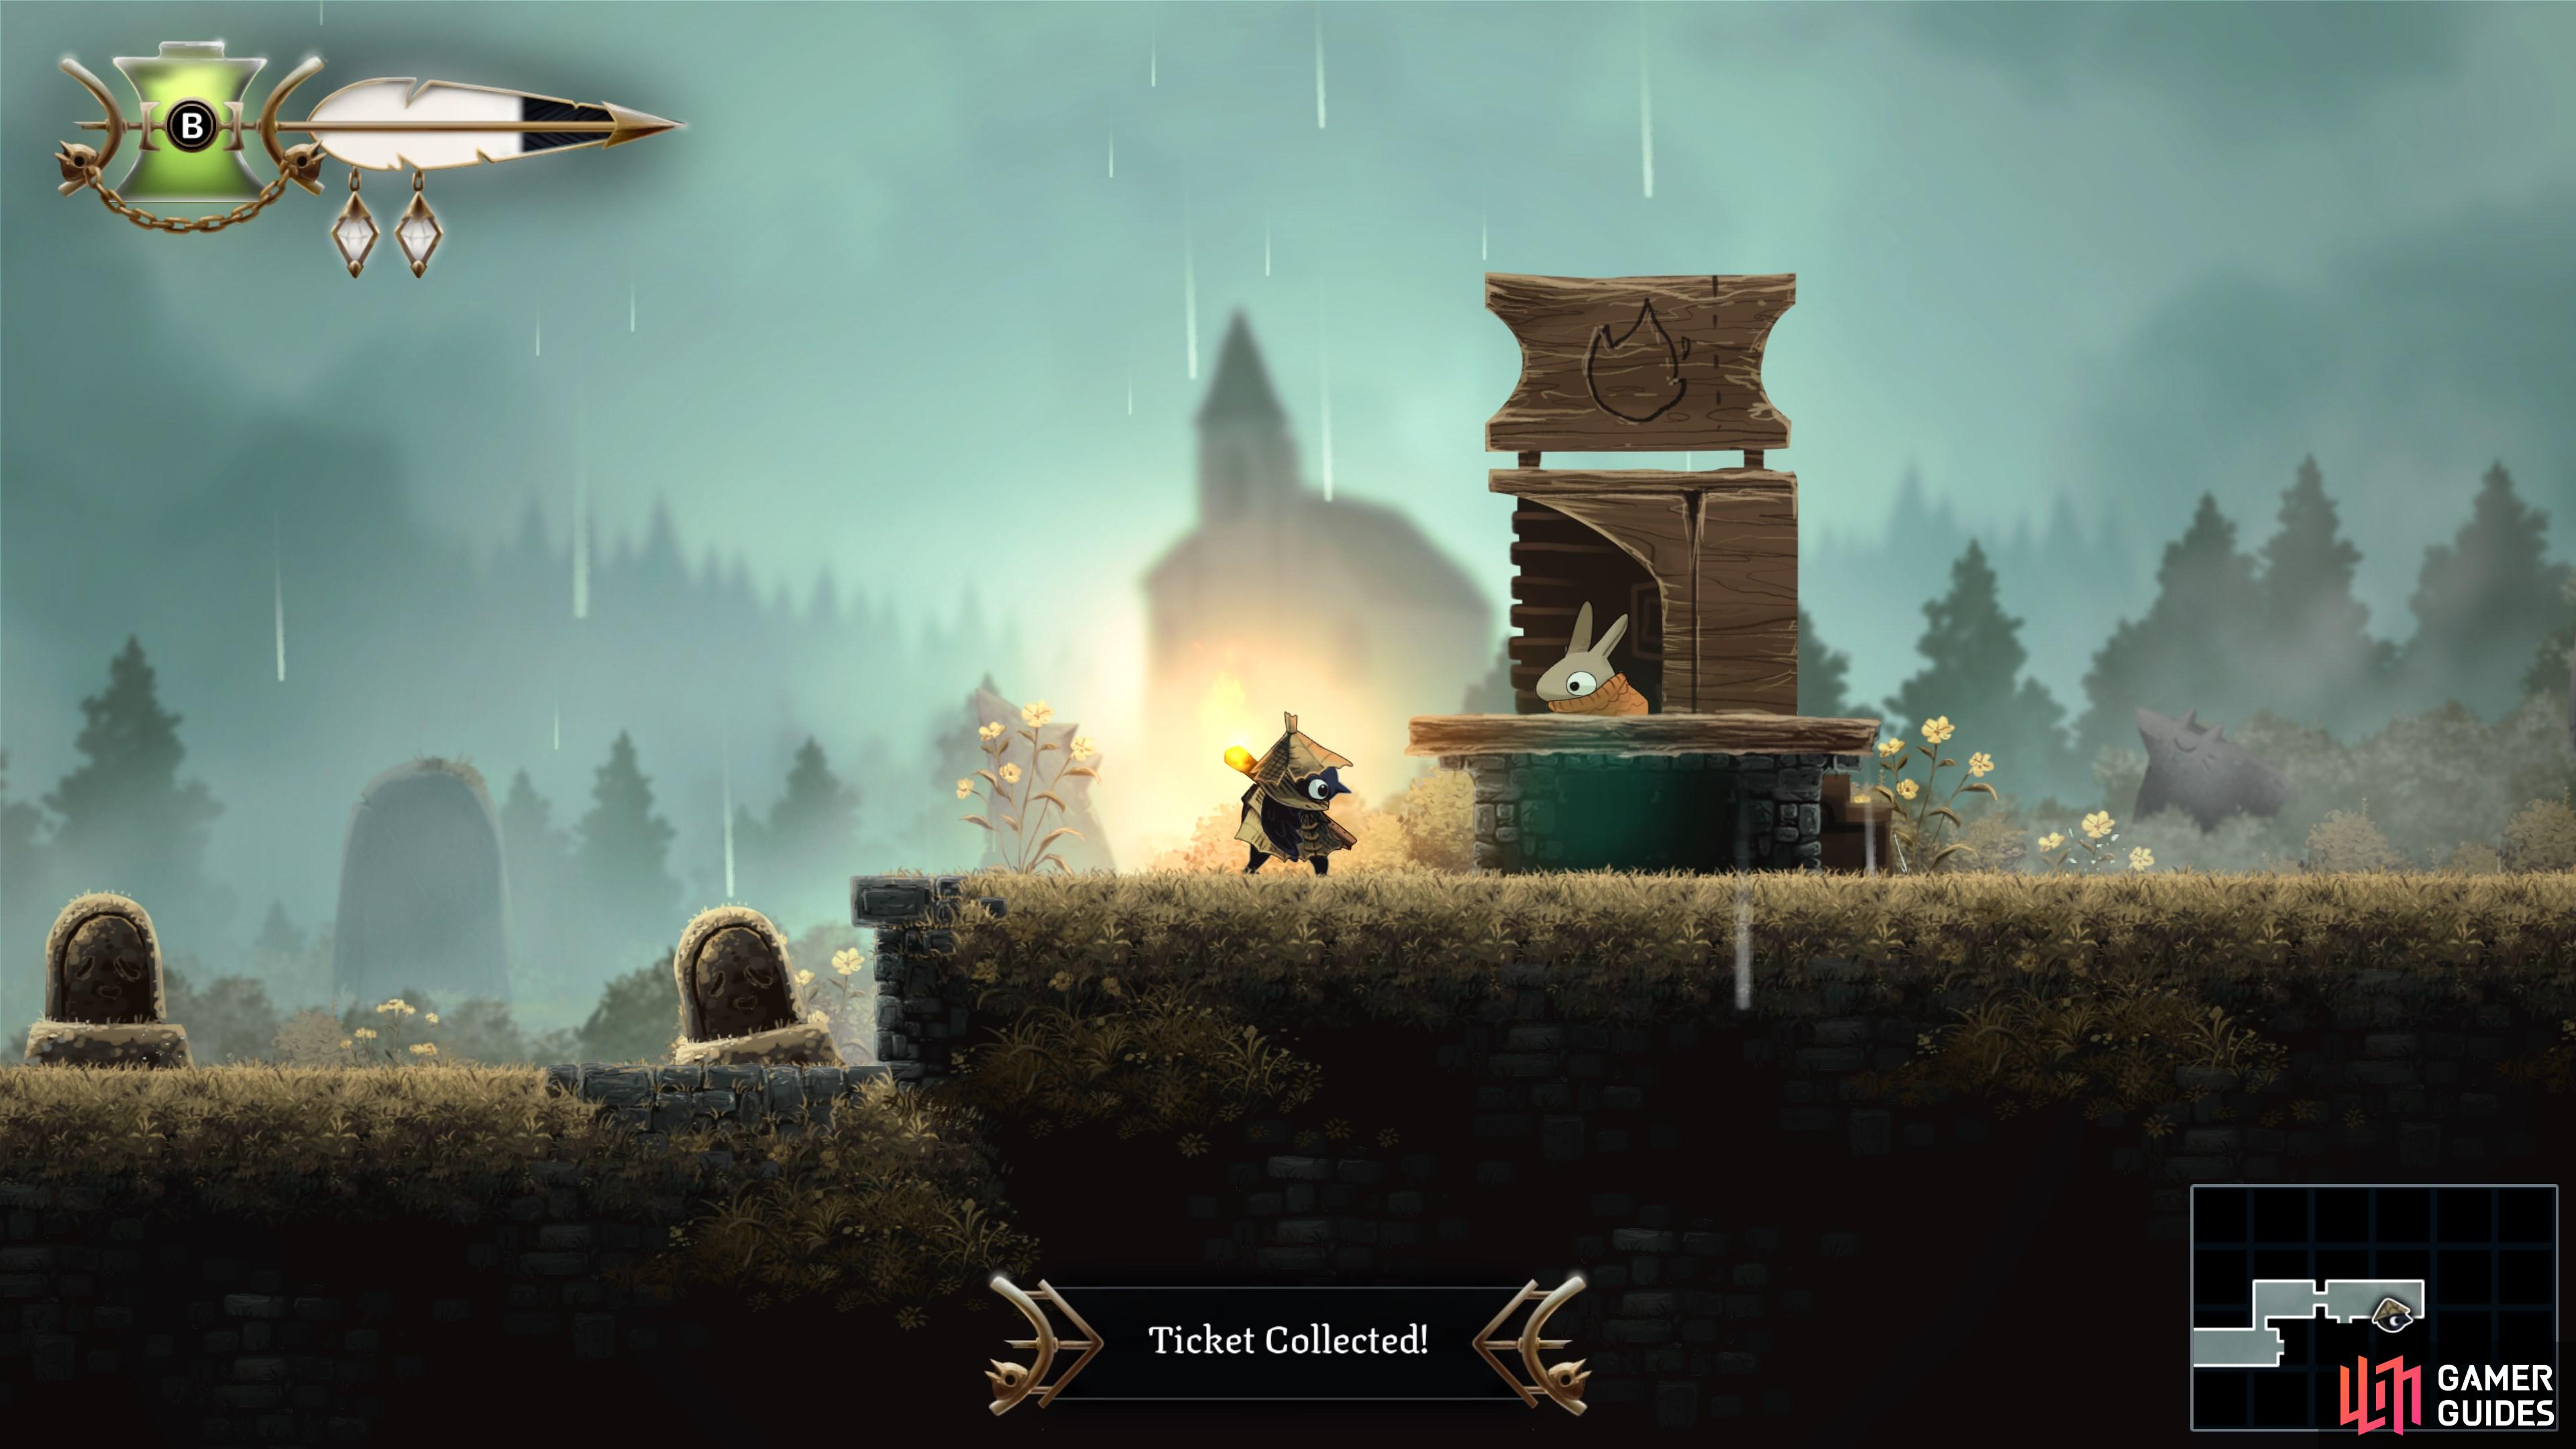
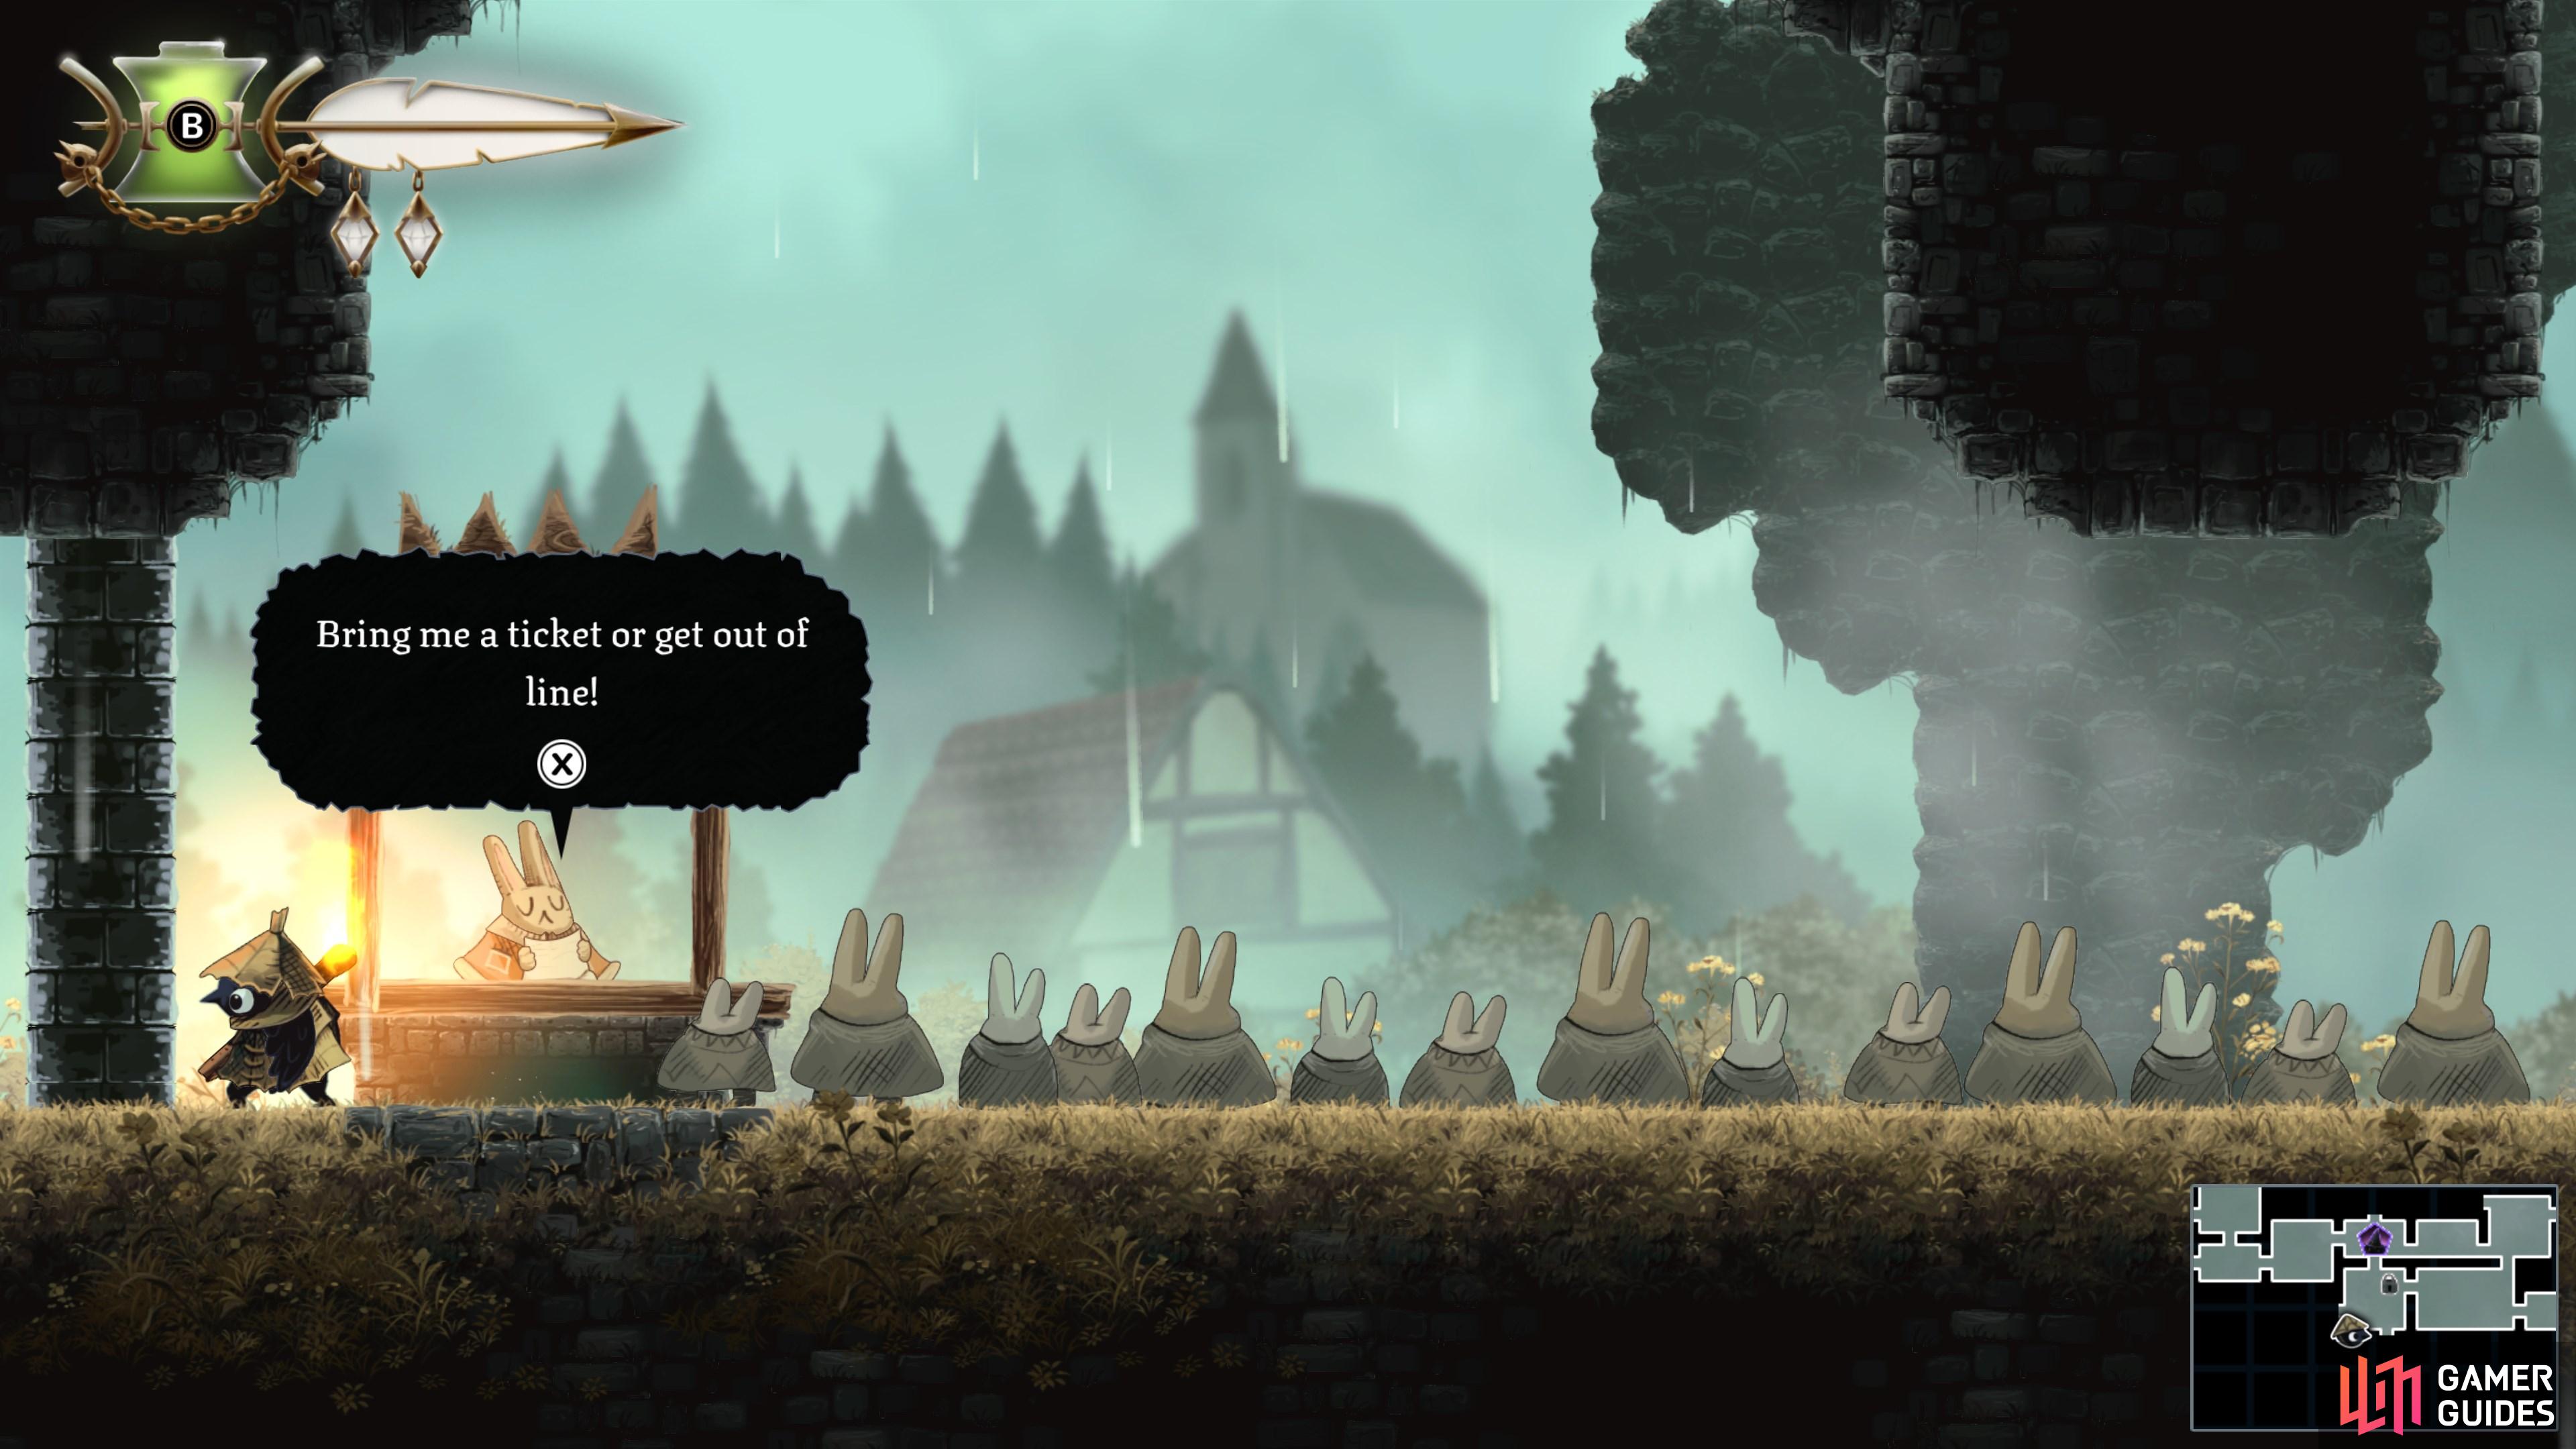
Make your way to the far-eastern edge of Gravenvalley. Speak to the booth operator to obtain a ticket for the witch burning. Exciting times!
Map position: 13824, 9982
-
13
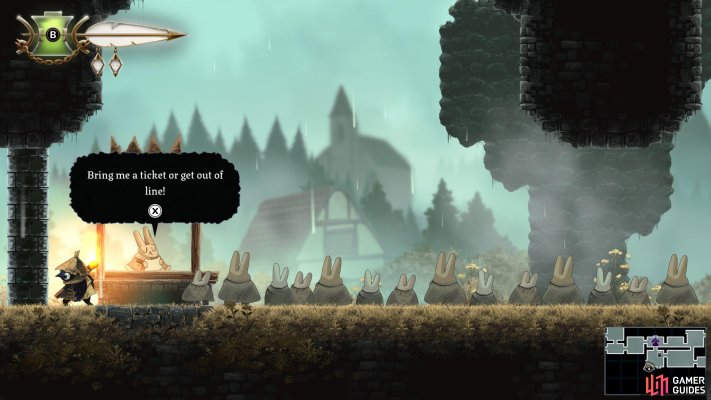
Attend the witch burning
Head to the festival site and hand over the ticket to the booth operator to gain entry.
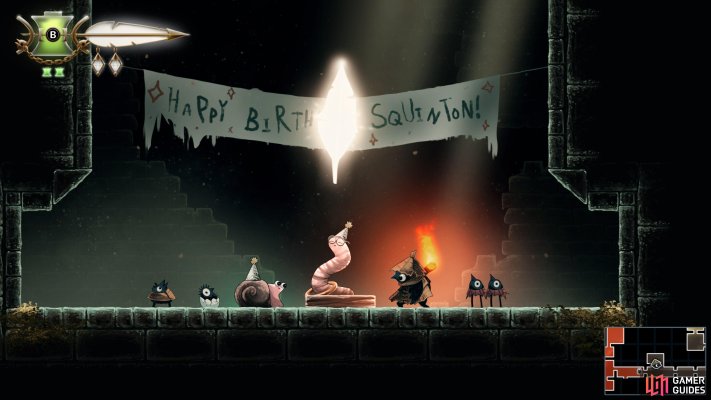
Map position: 12399, 10153
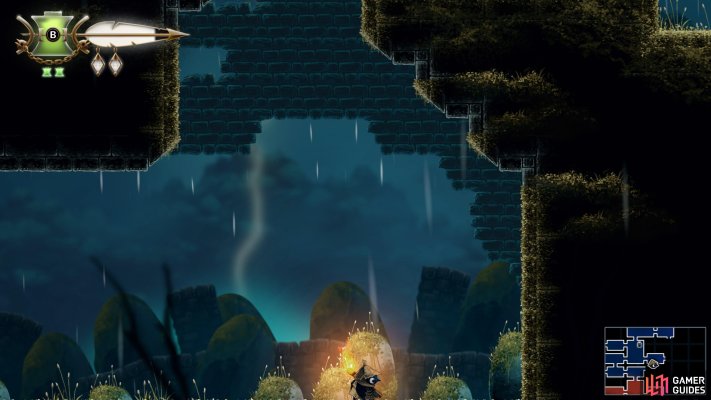
-
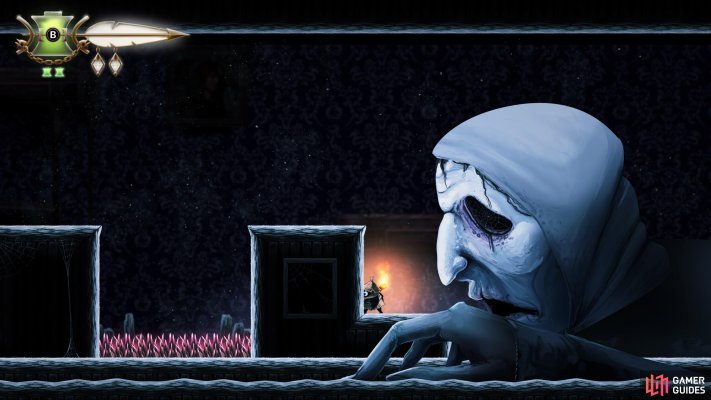
14

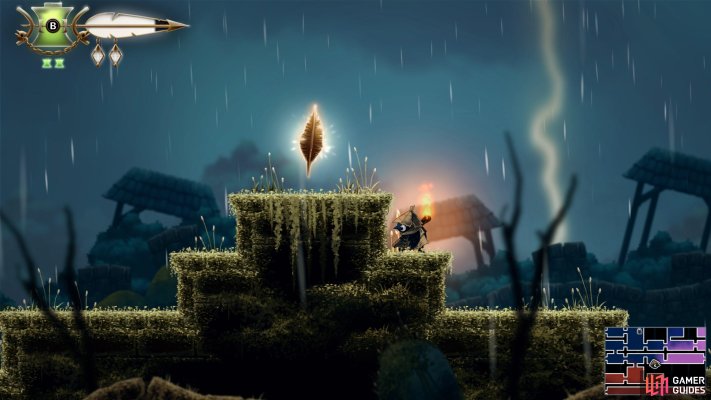
Defeat Lida the Terrible
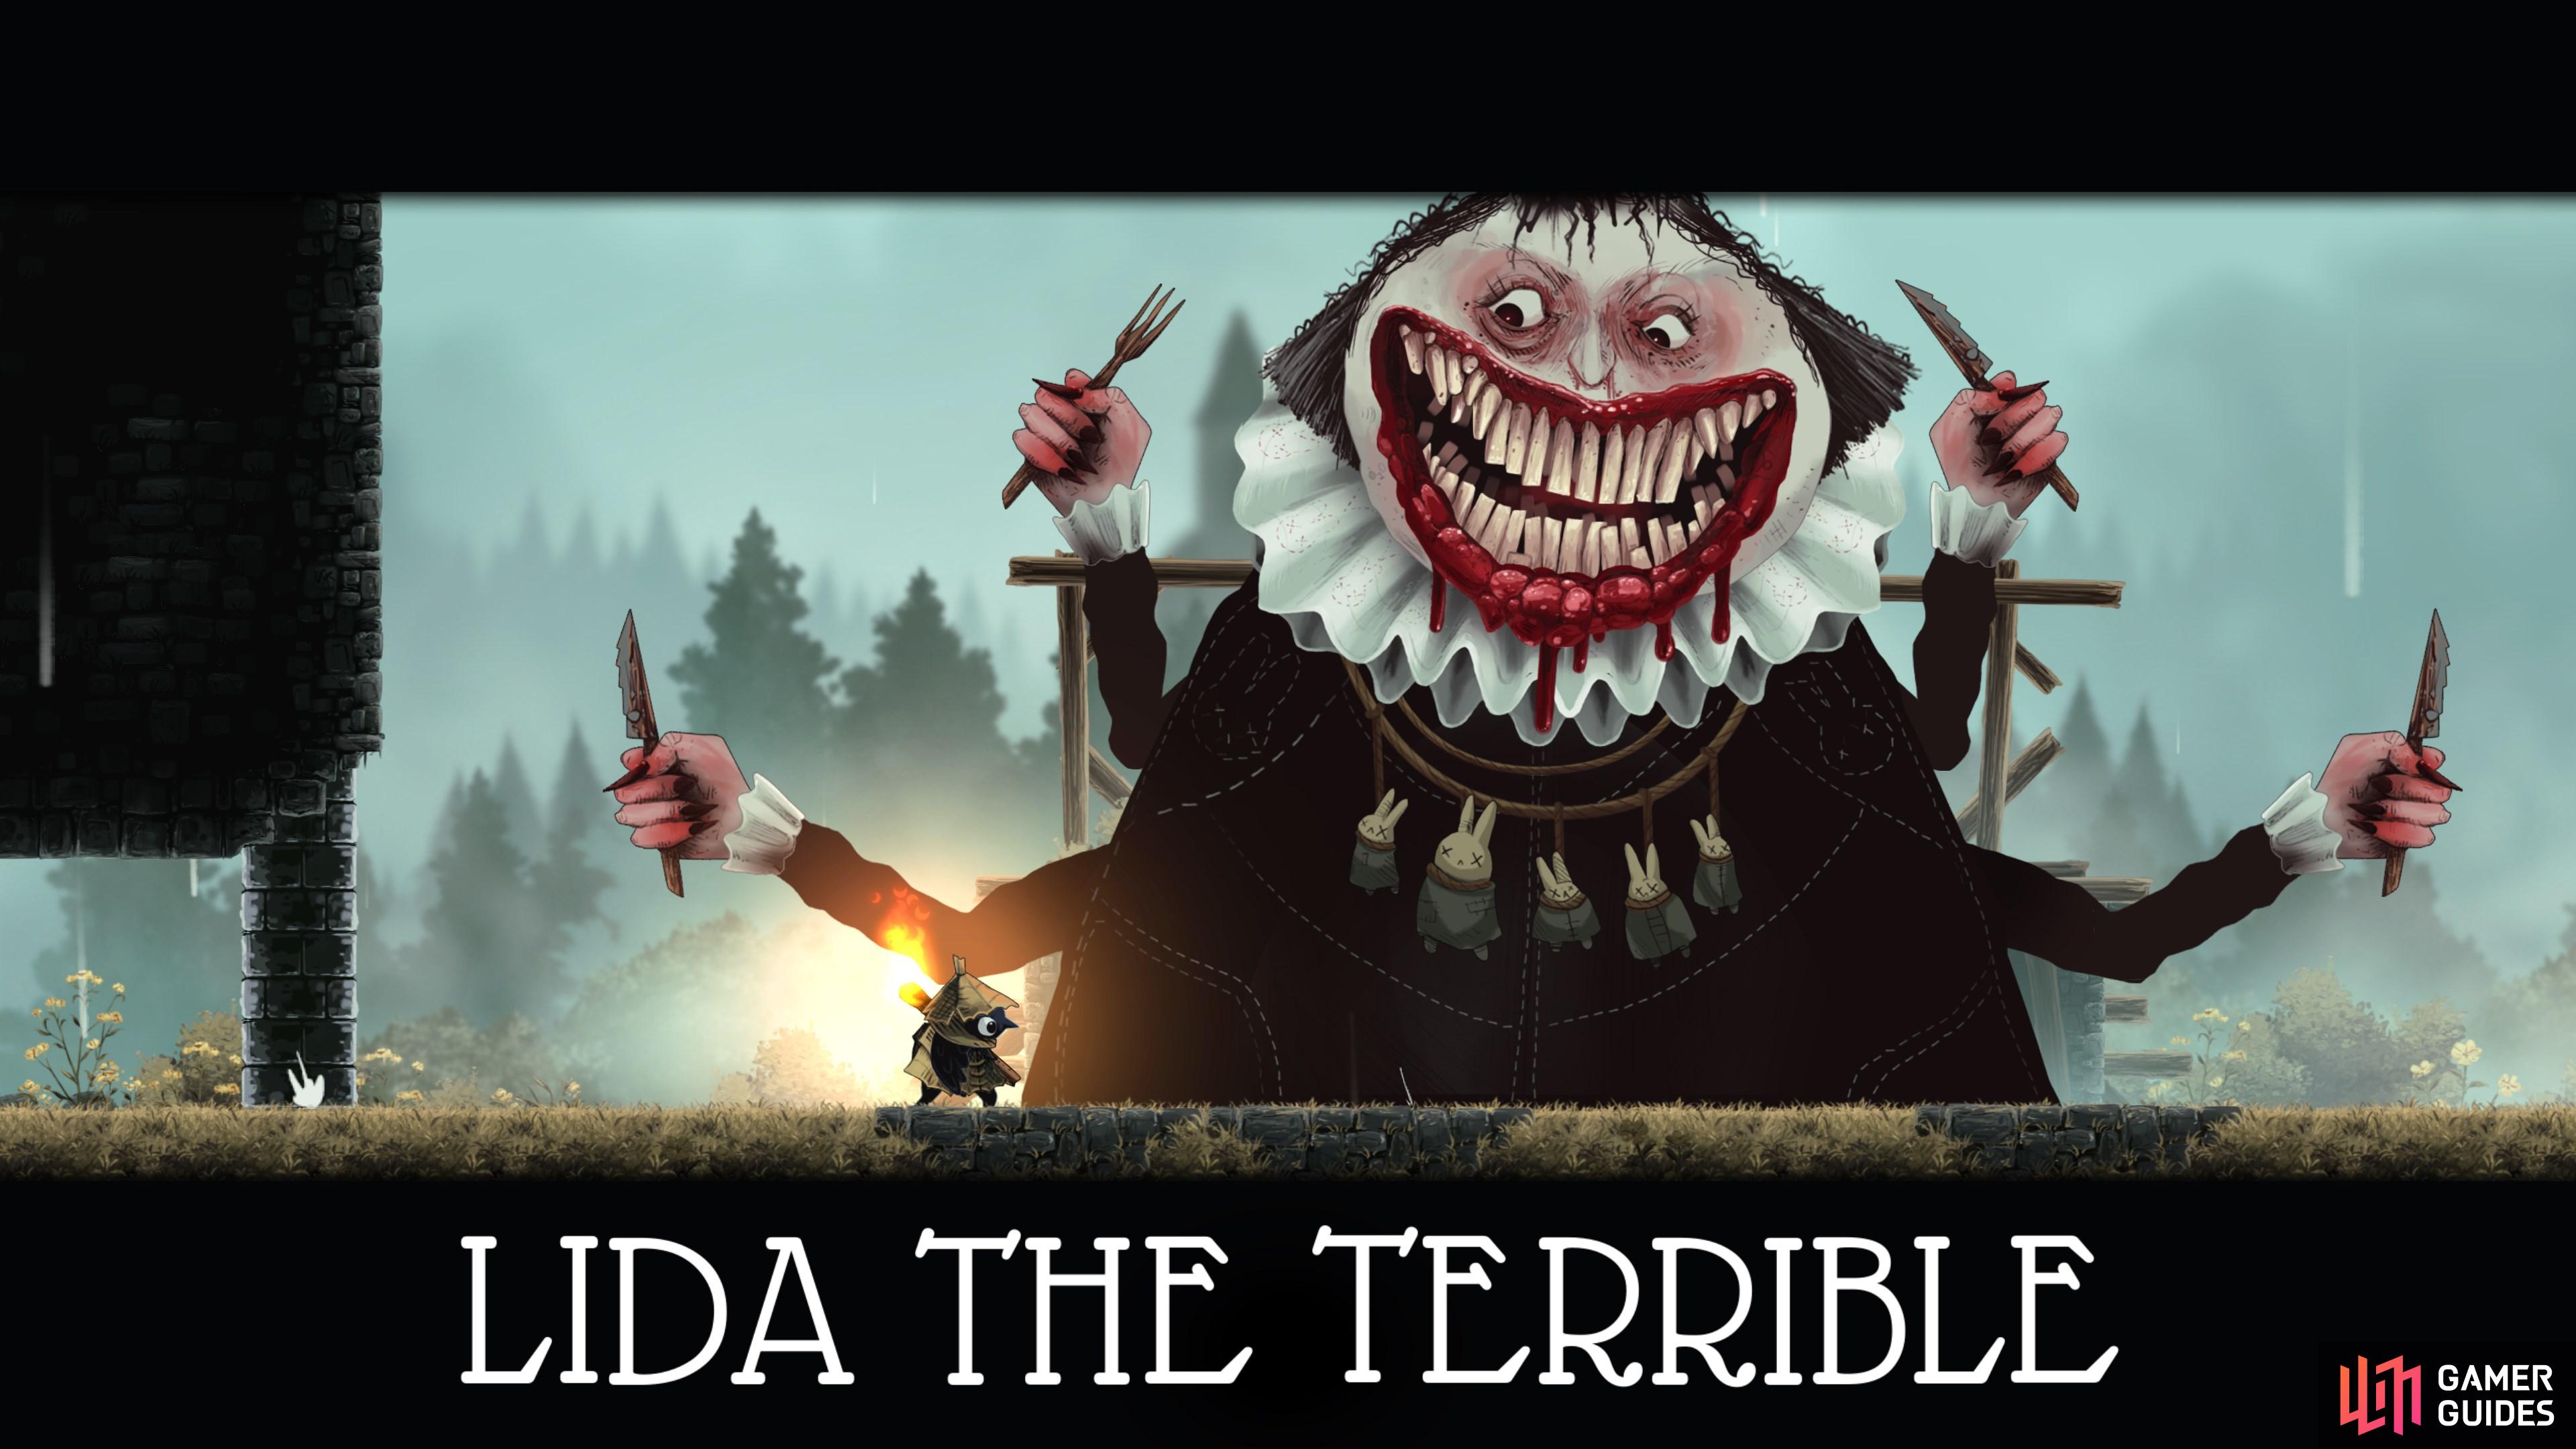
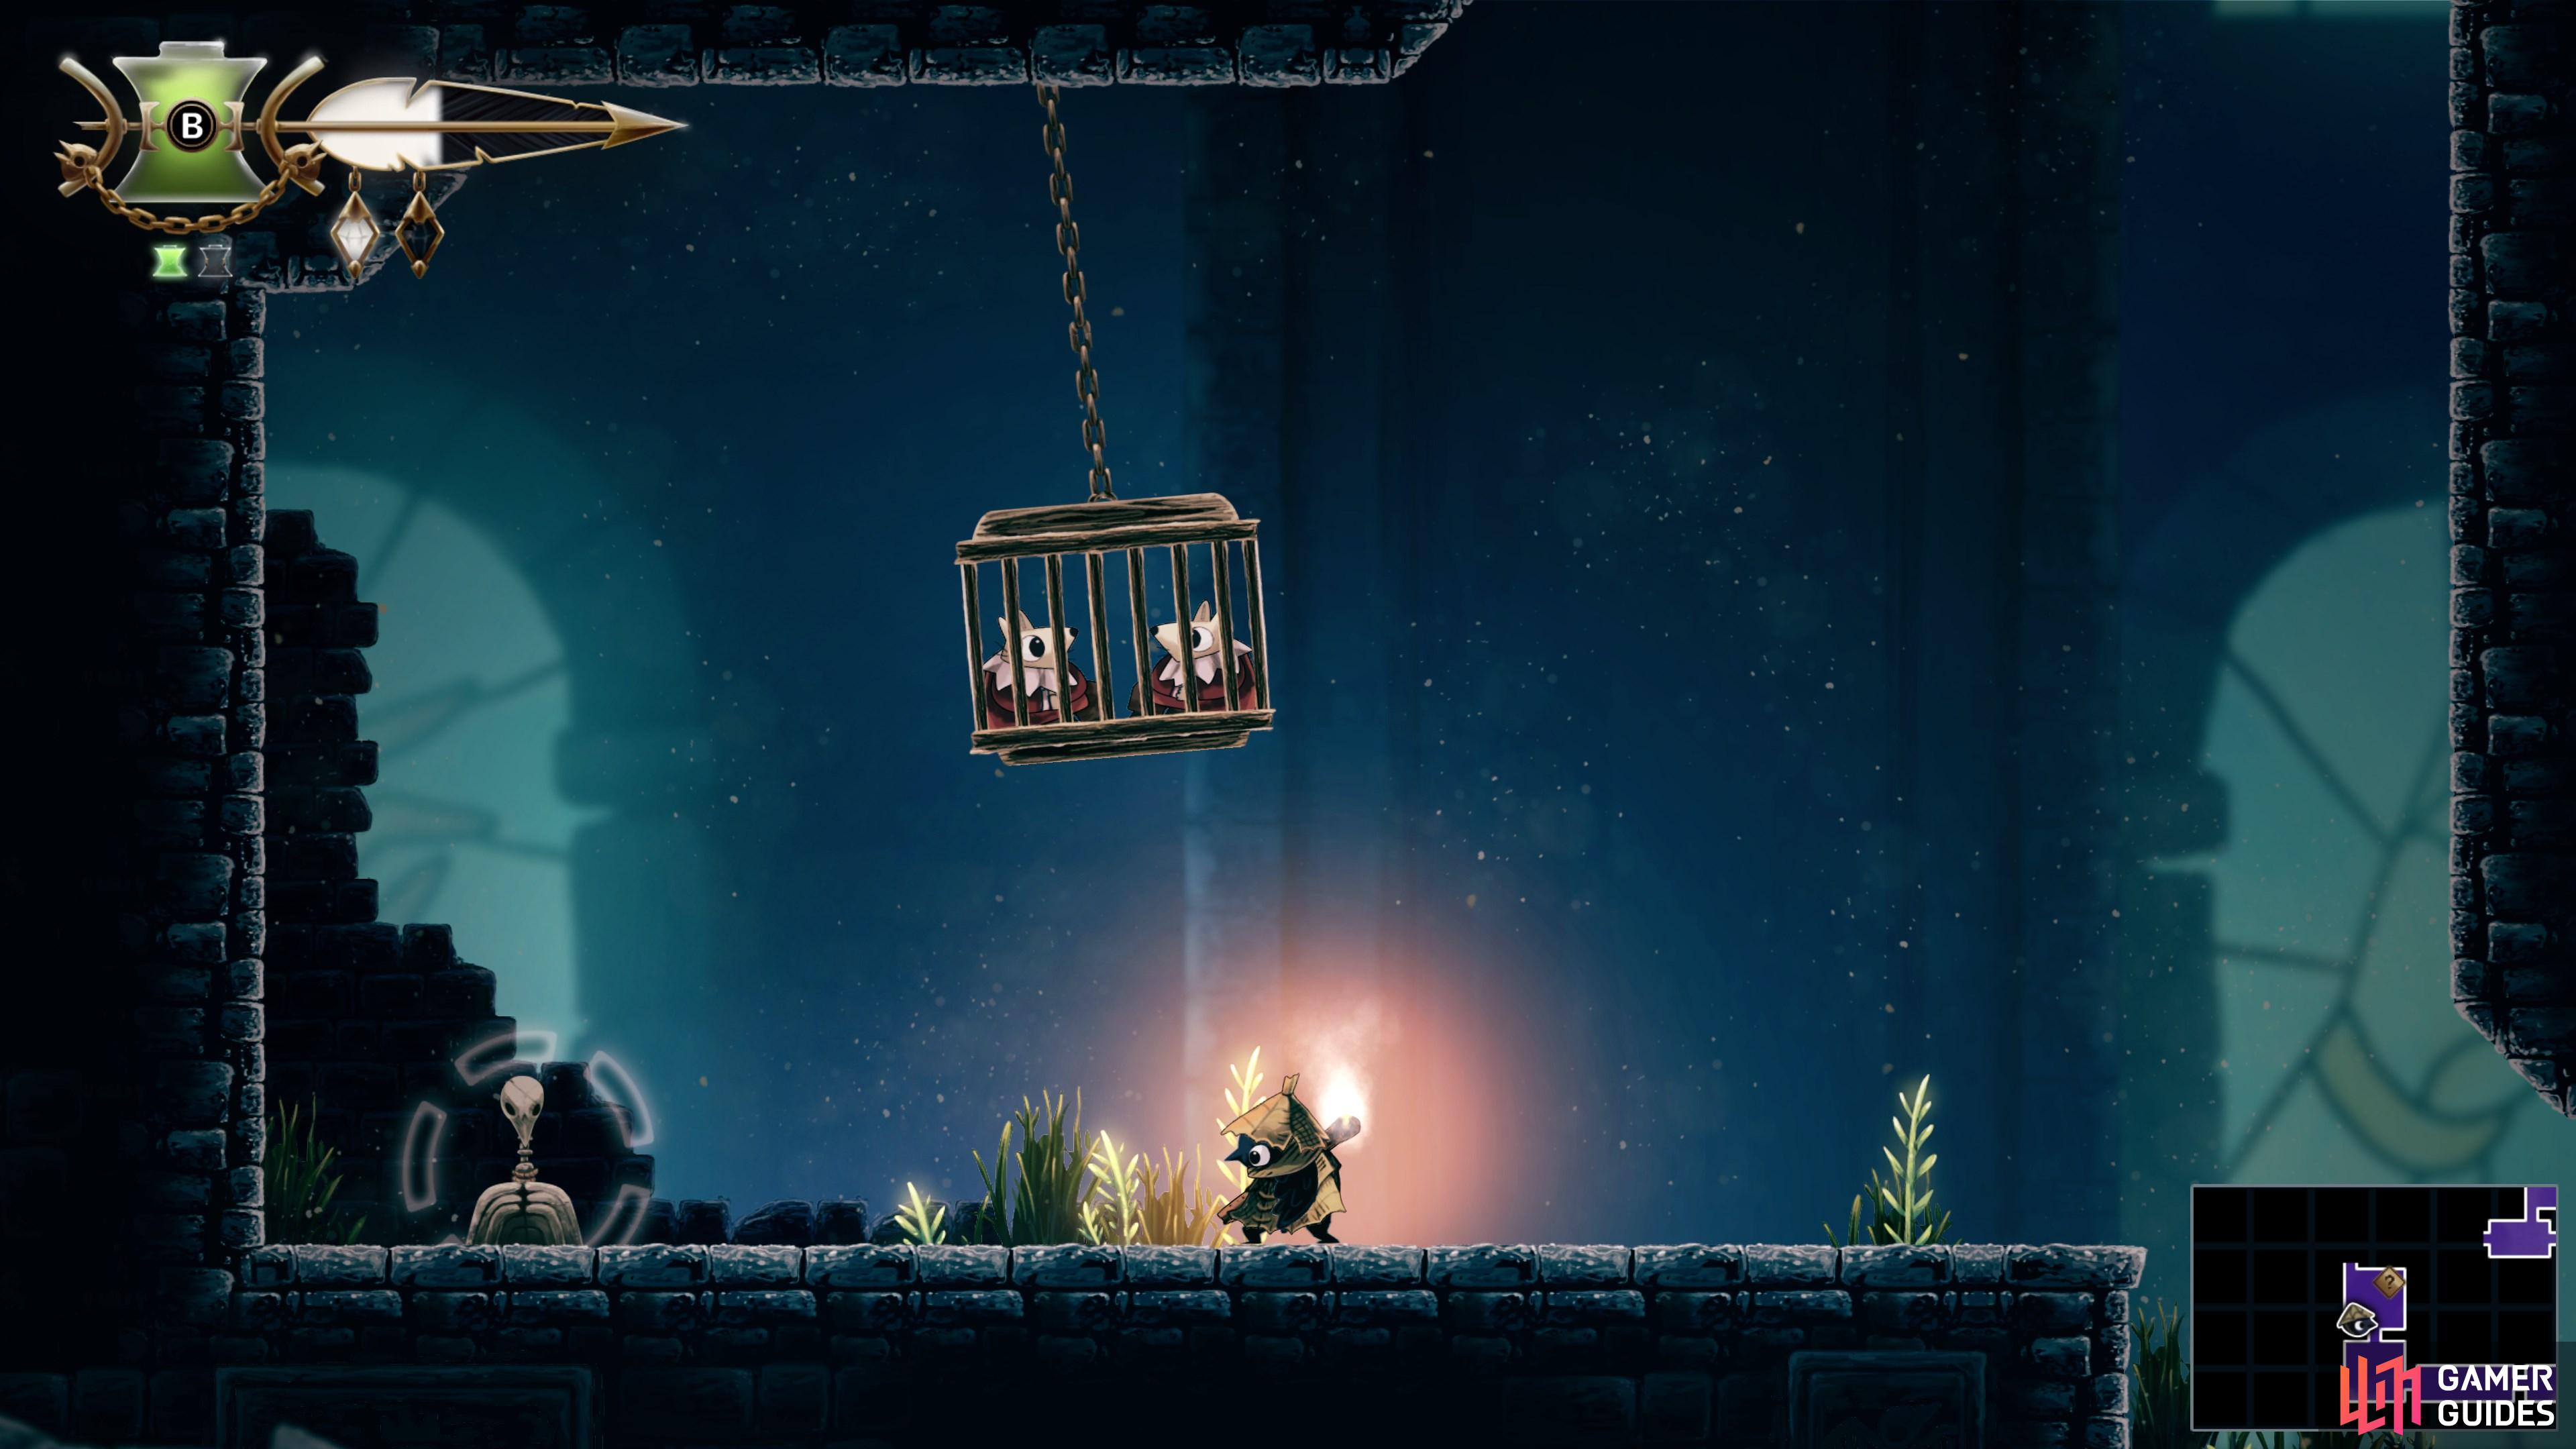
Cut the rope to free the prisoners at the festival, then take down Lida the Terrible.
Map position: 12291, 10115
-
15
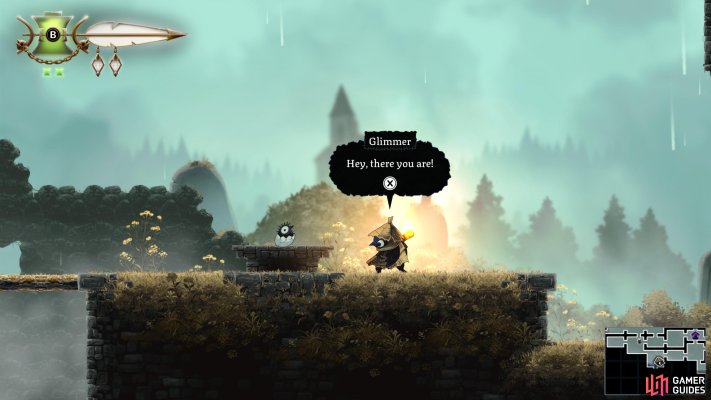
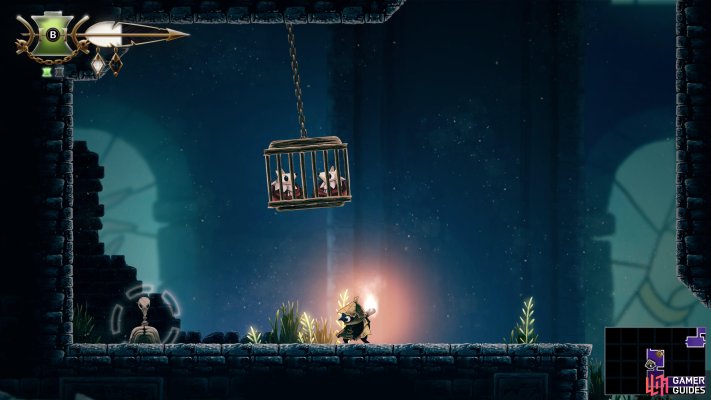
Rescue Egbert
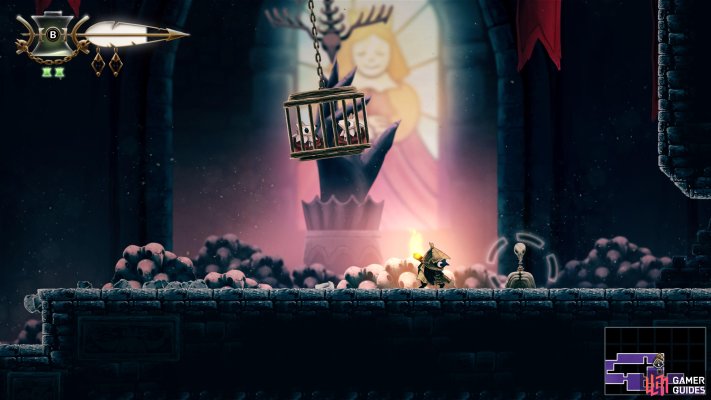
After defeating Lida, head west to rescue Glimmer's brother, Egbert. He’ll show up inside your tent after the rescue.
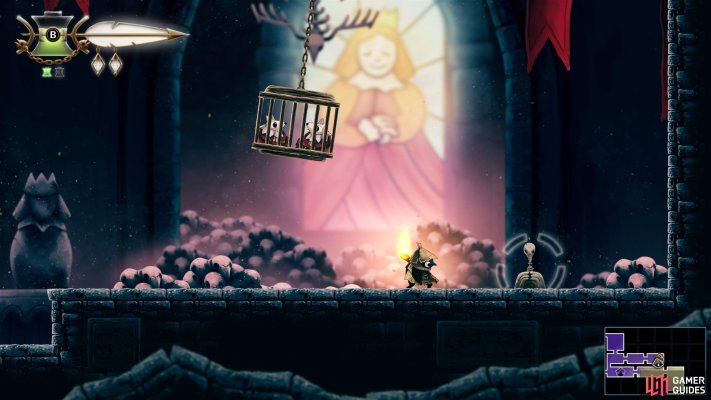
Map position: 12121, 10148
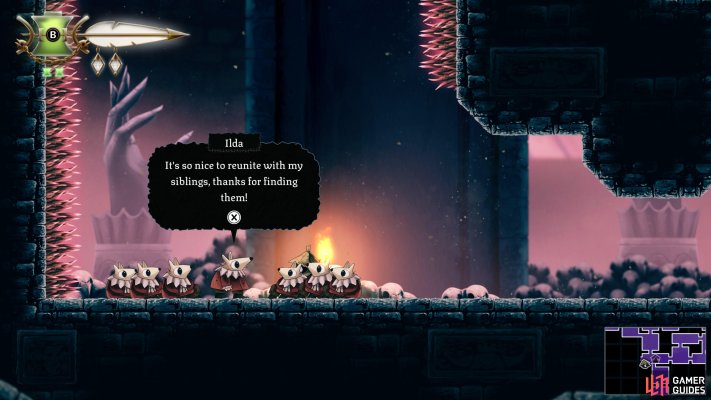
-
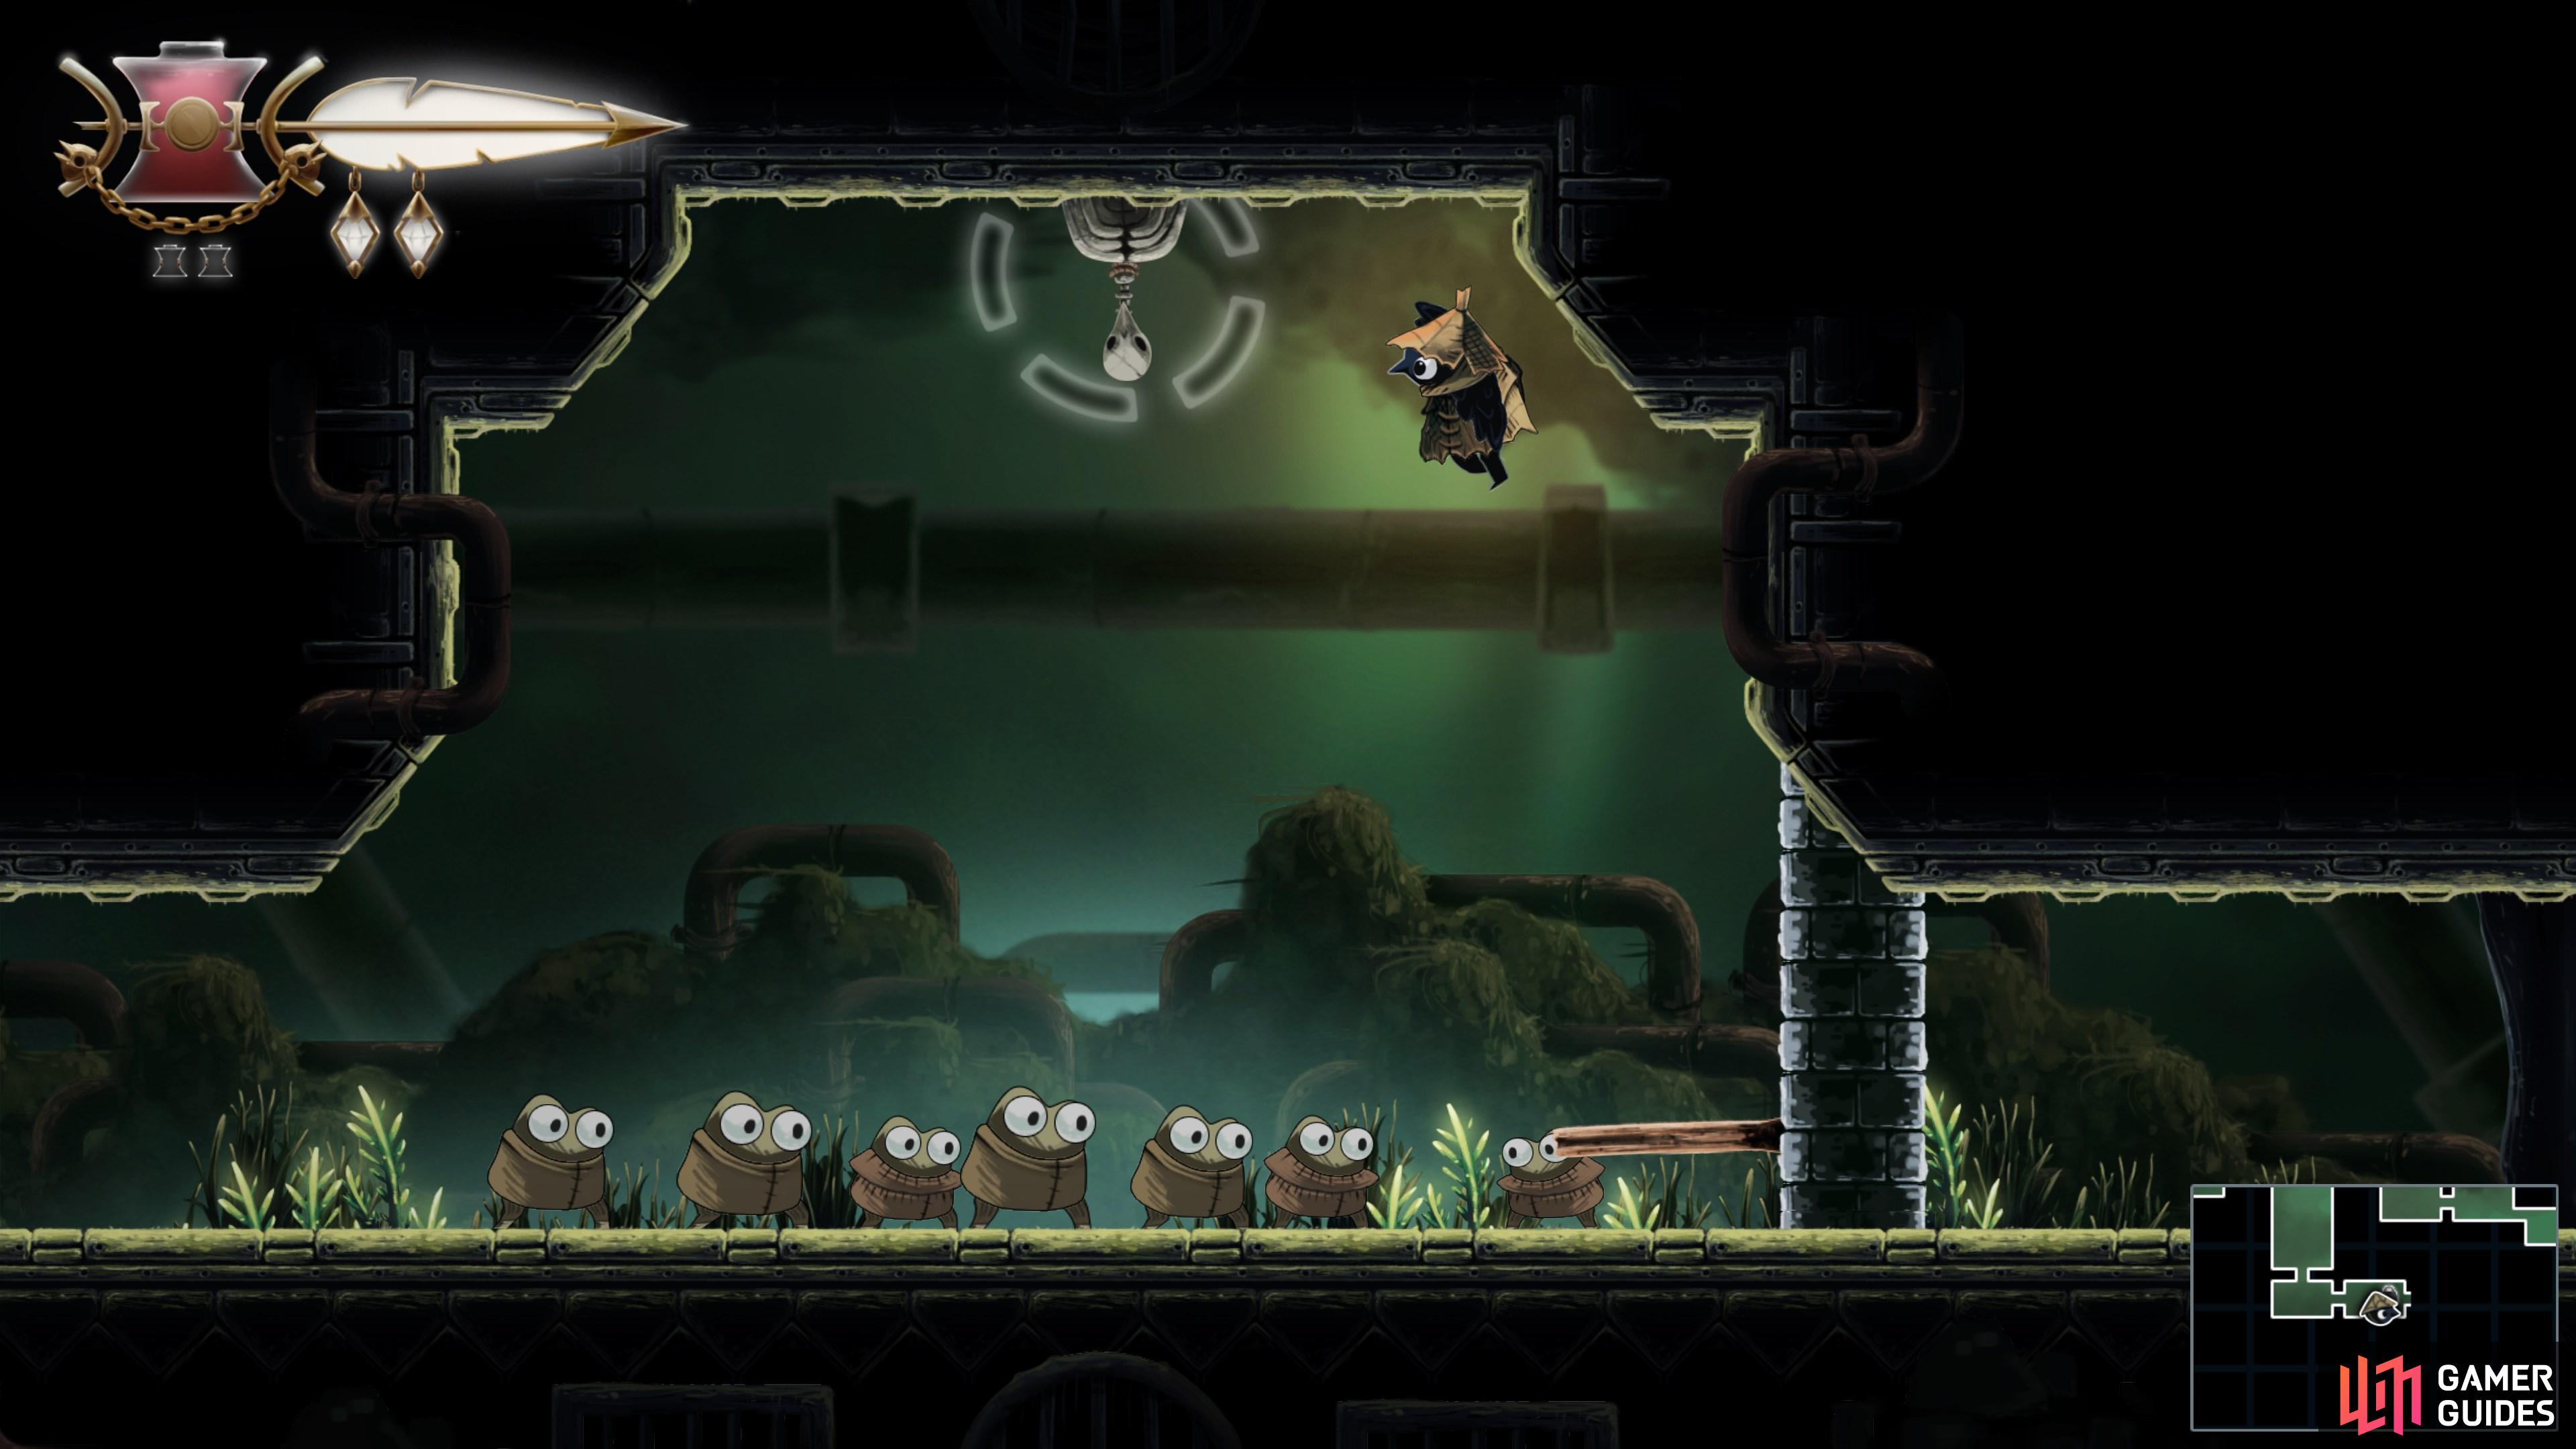
16
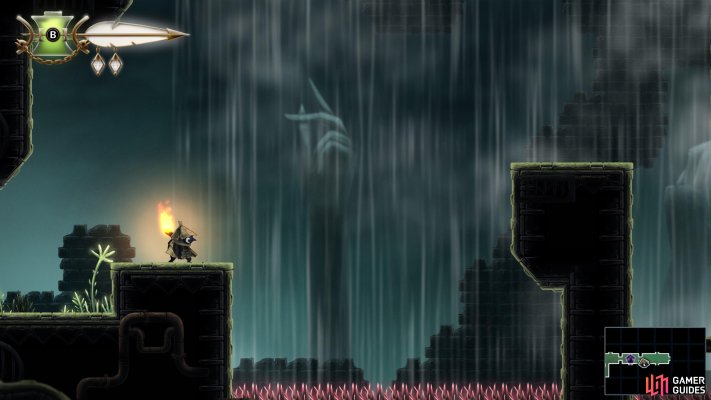
Use Climb to explore The Drains
Use the Climb ability to traverse the wide gap east of the Broken Elevator. The strong winds will slow your descent as you jump, allowing you to make contact with the distant wall and then climb it.
Map position: 9970, 10642
-
17
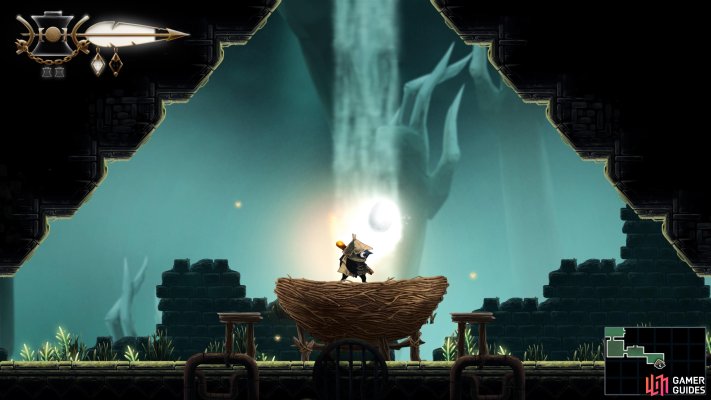
Obtain the Wind Ride Ability
Head southeast and grab the Wind Ride Ability from the end of the newly accessible path in the southeast of The Drains.
Map position: 10500, 10929
-
18
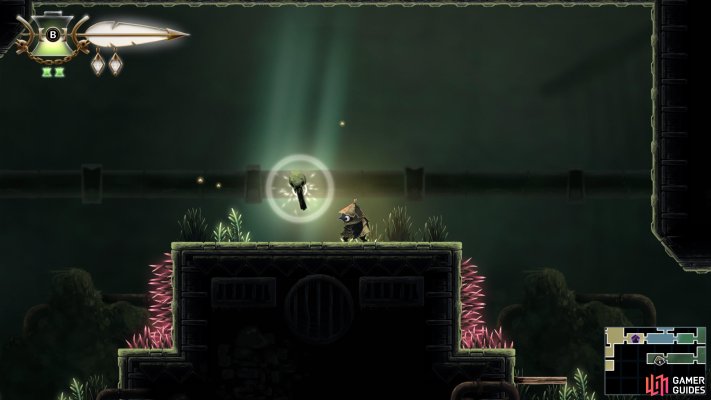
Find the first Elevator Part
After obtaining Wind Ride, use it to navigate the passage on the western side of The Drains. You’ll find the first of the three Elevator Parts required to fix the Broken Elevator at the end.
Map position: 8766, 10758
-
19
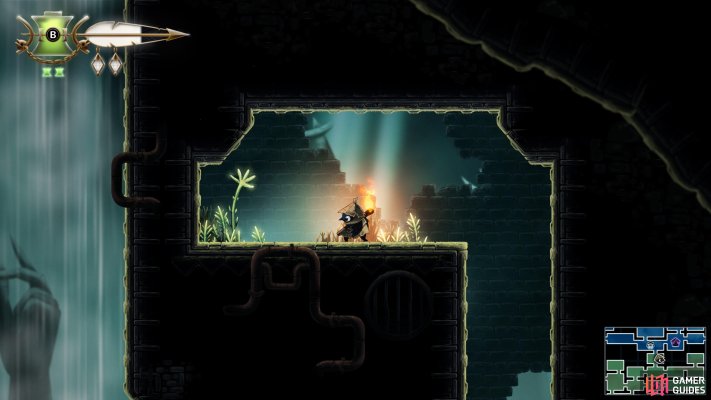
Find the second Elevator Part
Use Wind Ride to access the shaft in the room above the Broken Elevator. The second Elevator Part is located in a small side room on the eastern side.
Map position: 9817, 10356
-
20
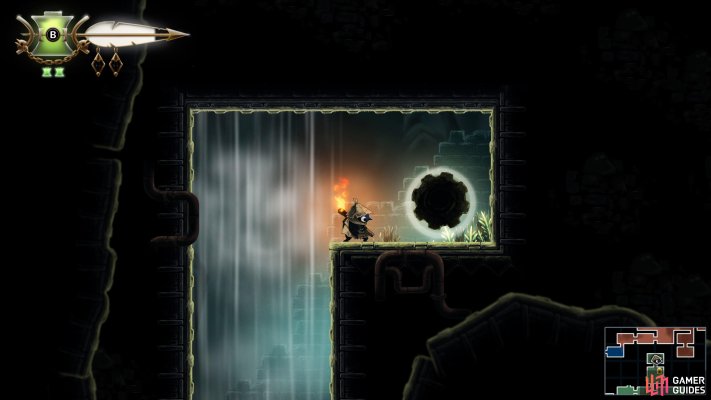
Find the third Elevator Part
Use WInd Ride again to access the eastern section of The Drains. Climb the shaft at the top to find the third and final Elevator Part.
Map position: 10762, 10234
-
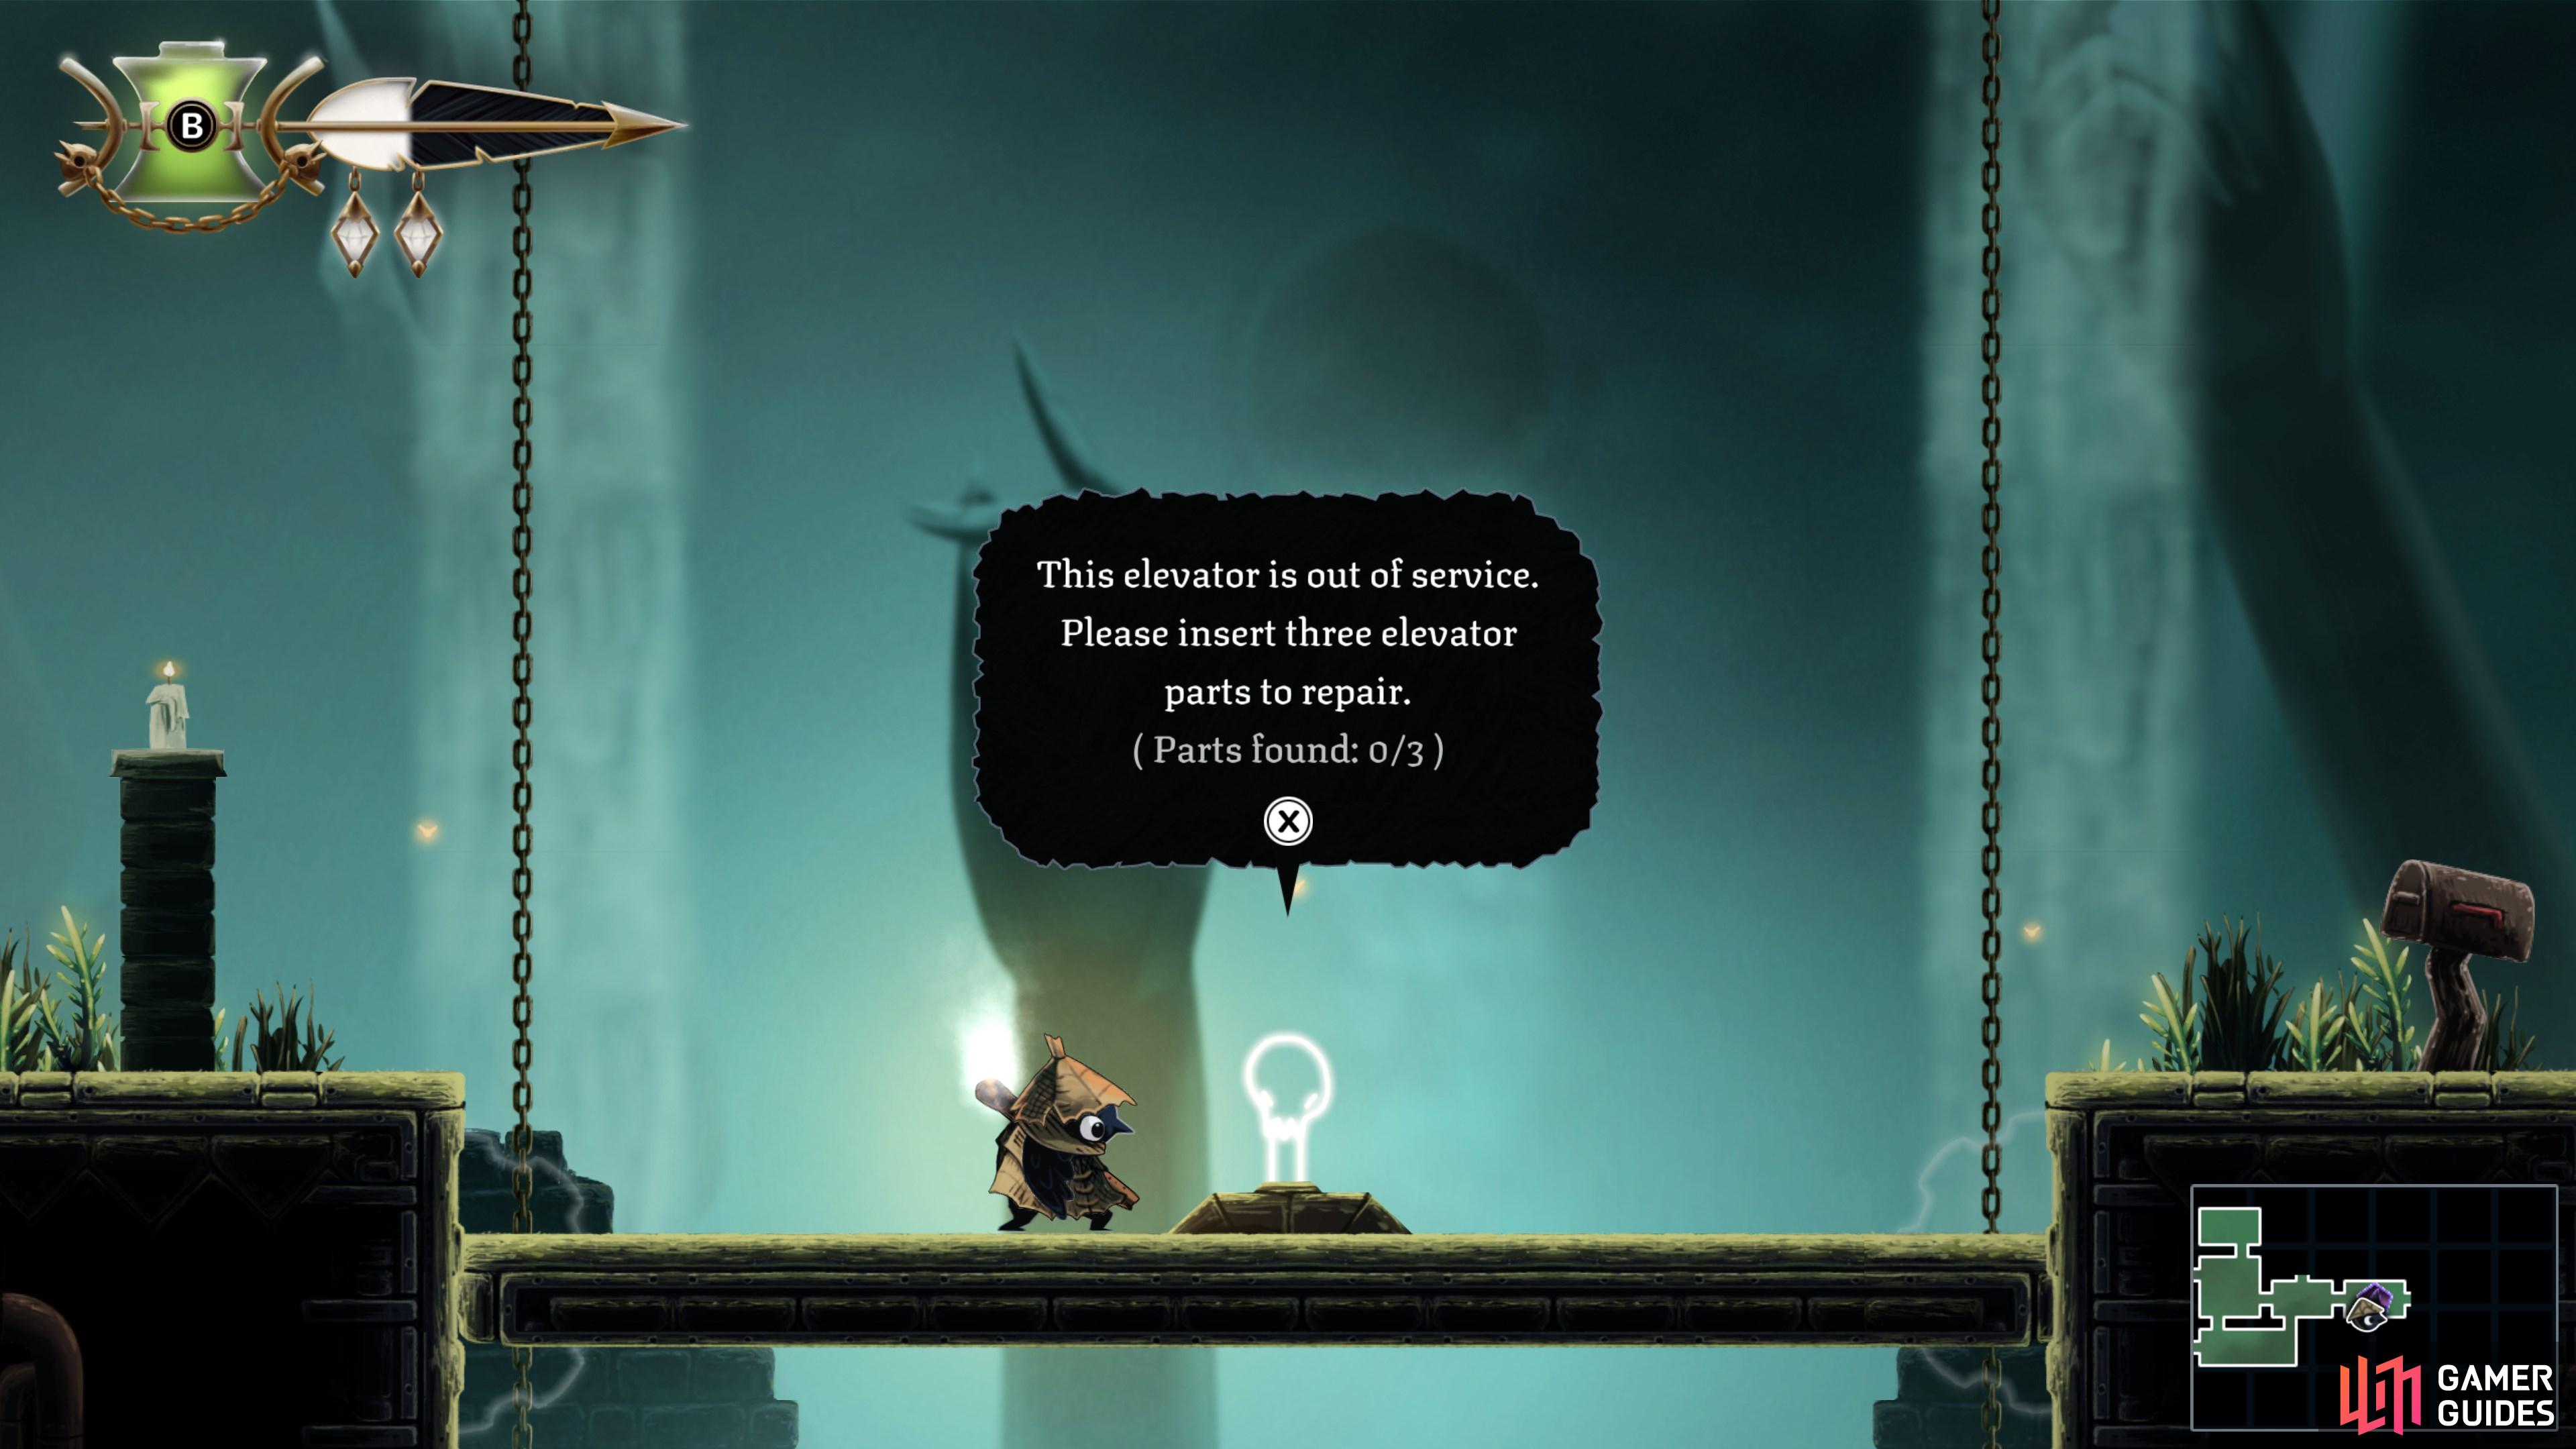
21
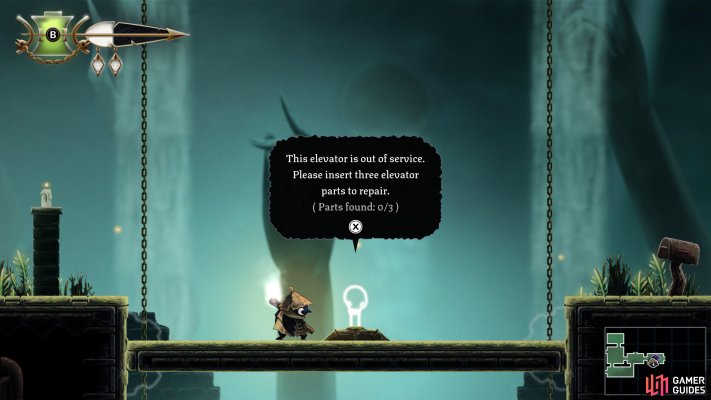
Repair the Broken Elevator
With the three Elevator Parts in hand, make your way to the elevator itself and descend into the shaft below.
Map position: 9763, 10652
-
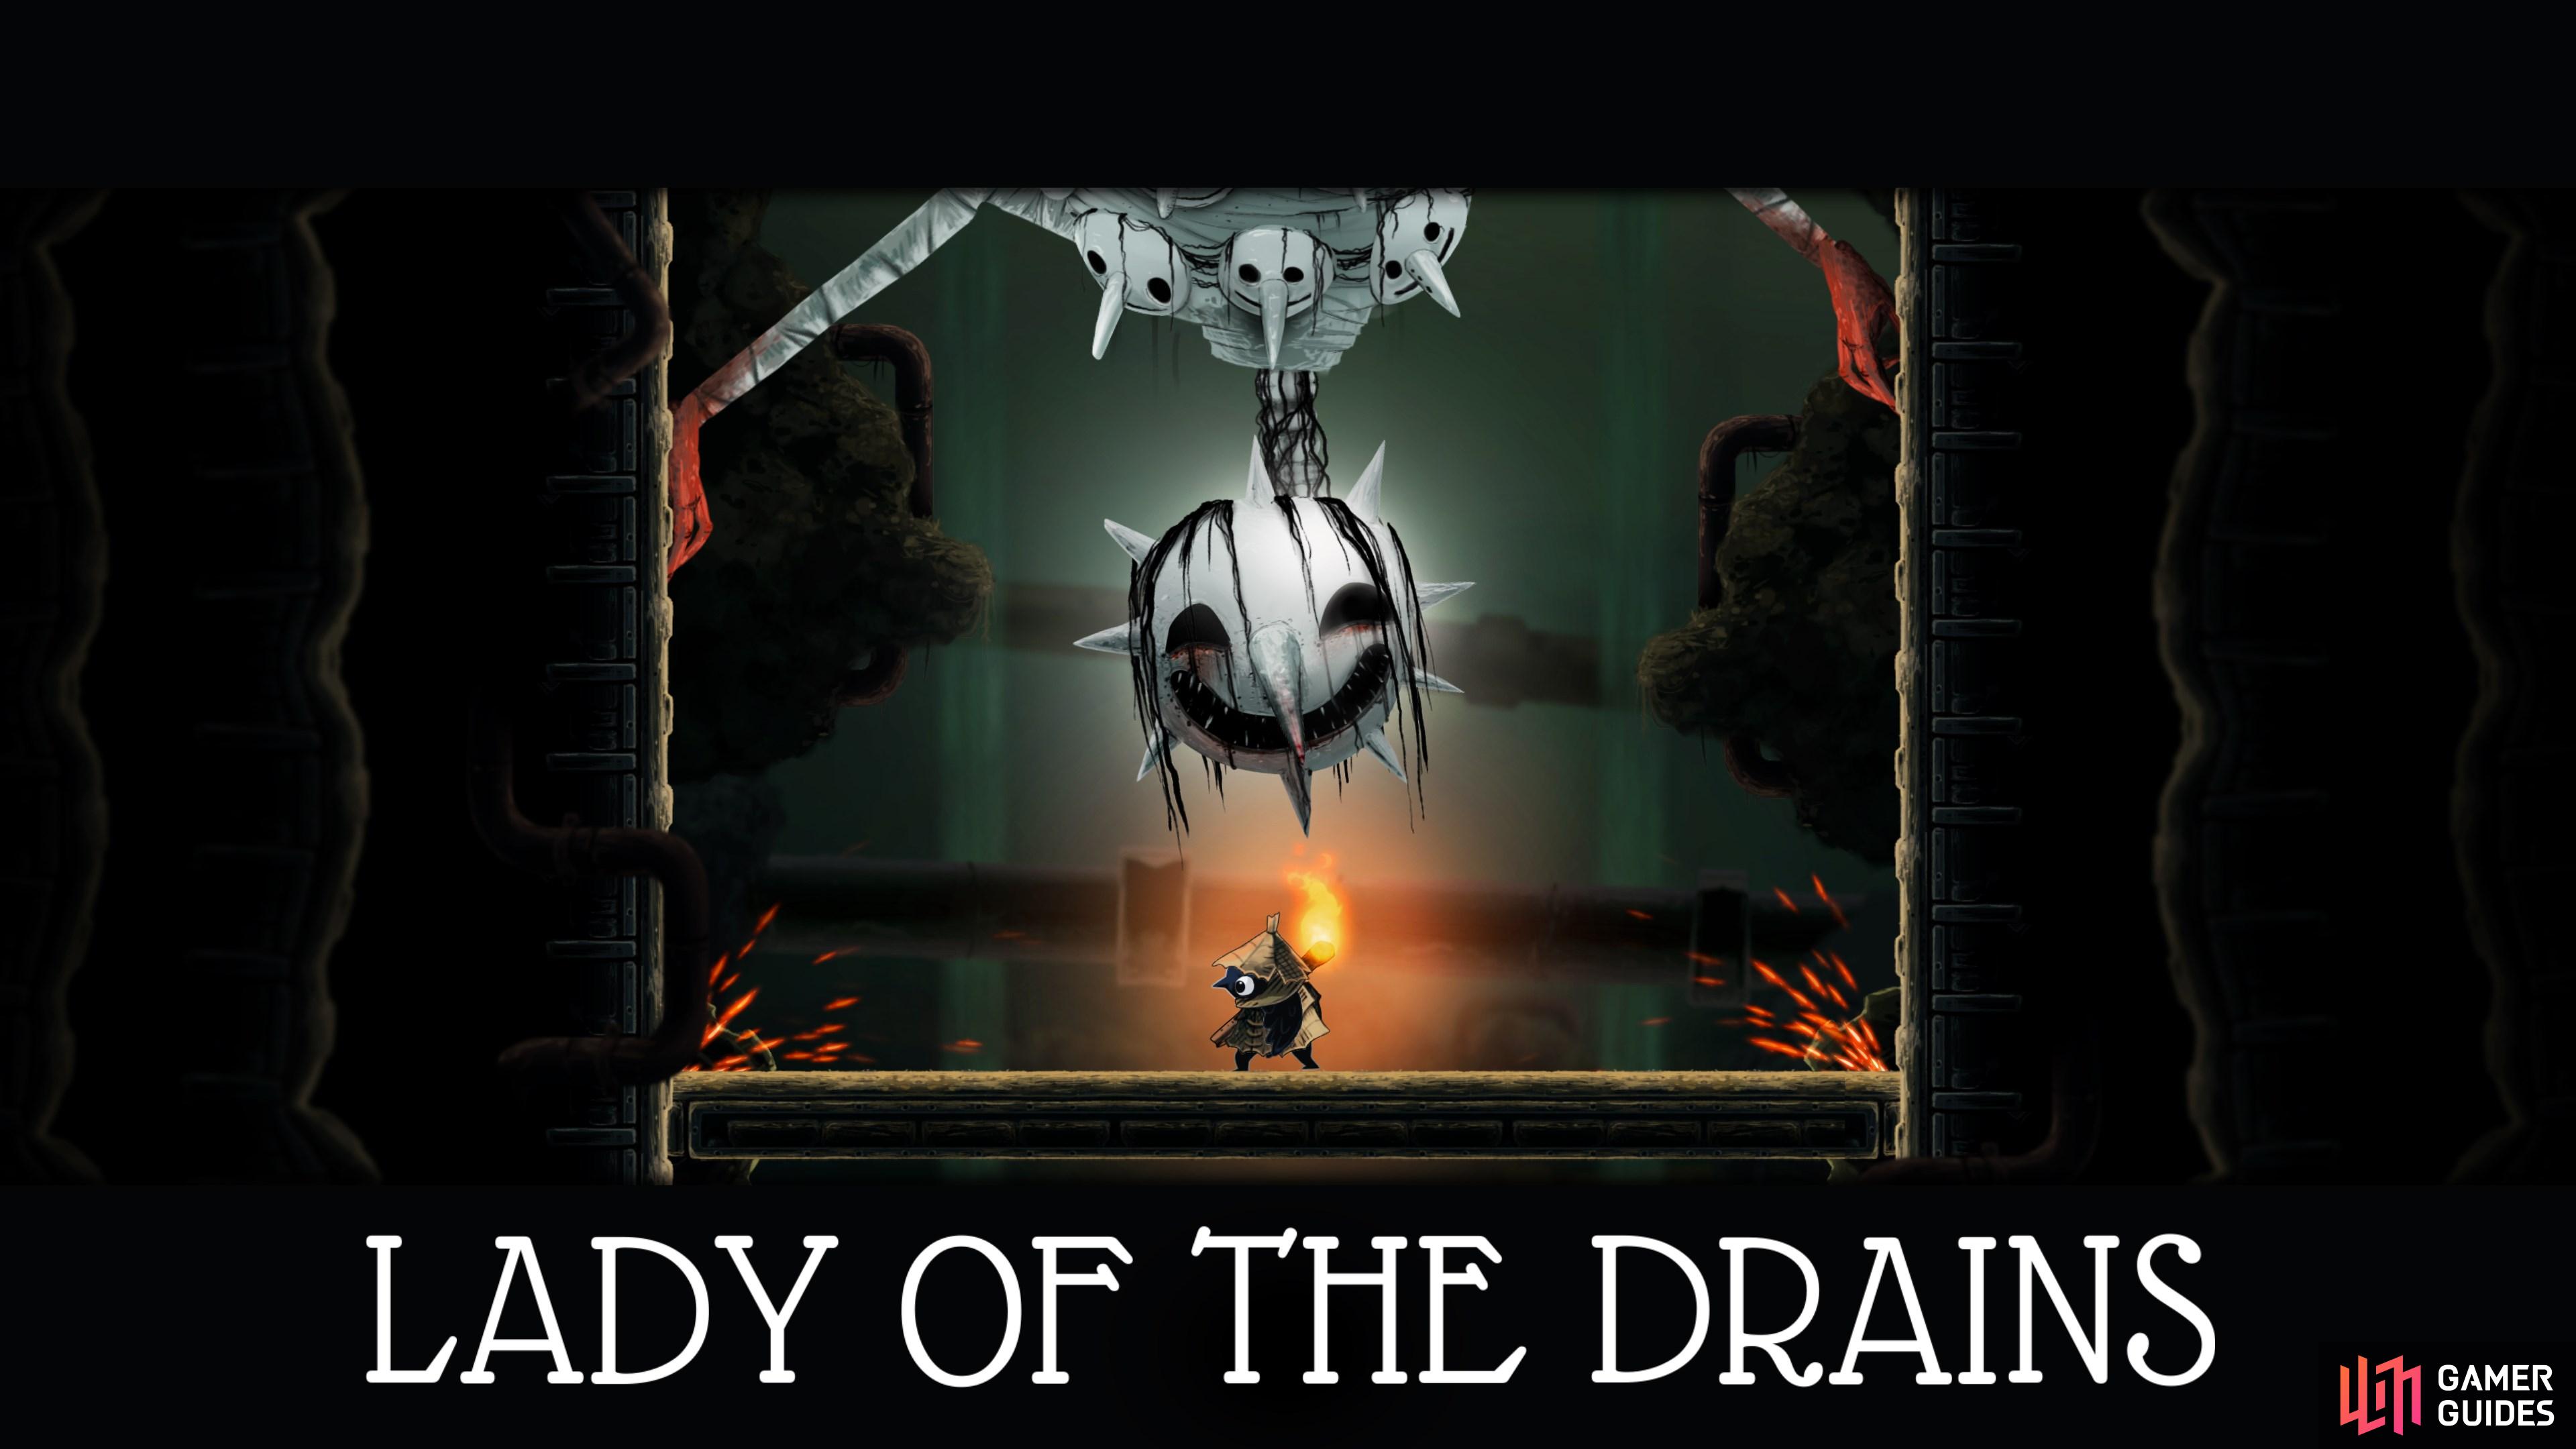
22
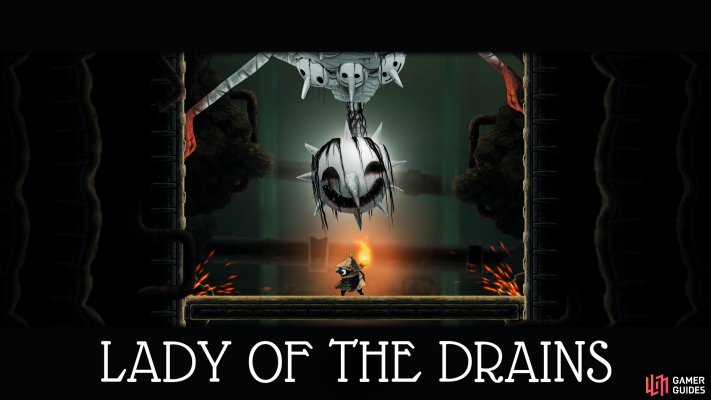
Defeat the Lady of the Drains
Riding the elevator will trigger a boss fight with the Lady of the Drains. Show her who's boss.
Map position: 9757, 10737
-
23
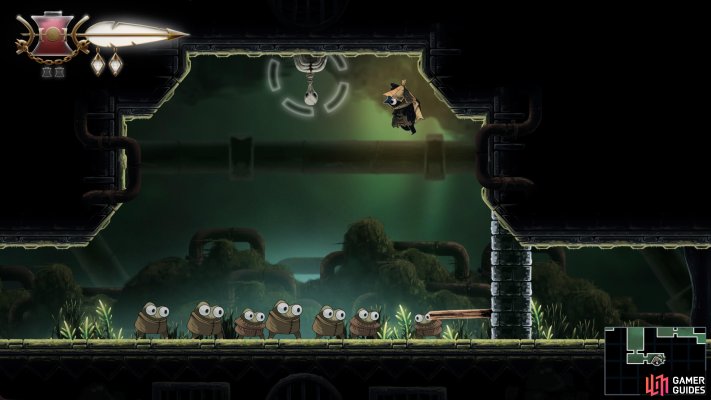
Rescue Willow's Friends
After defeating the Lady of the Drains, unlock the door to the east to rescue Willow’s friends. Willow will now open a workshop in your Tent, allowing you to upgrade Trinkets.
Map position: 9984, 11111
-
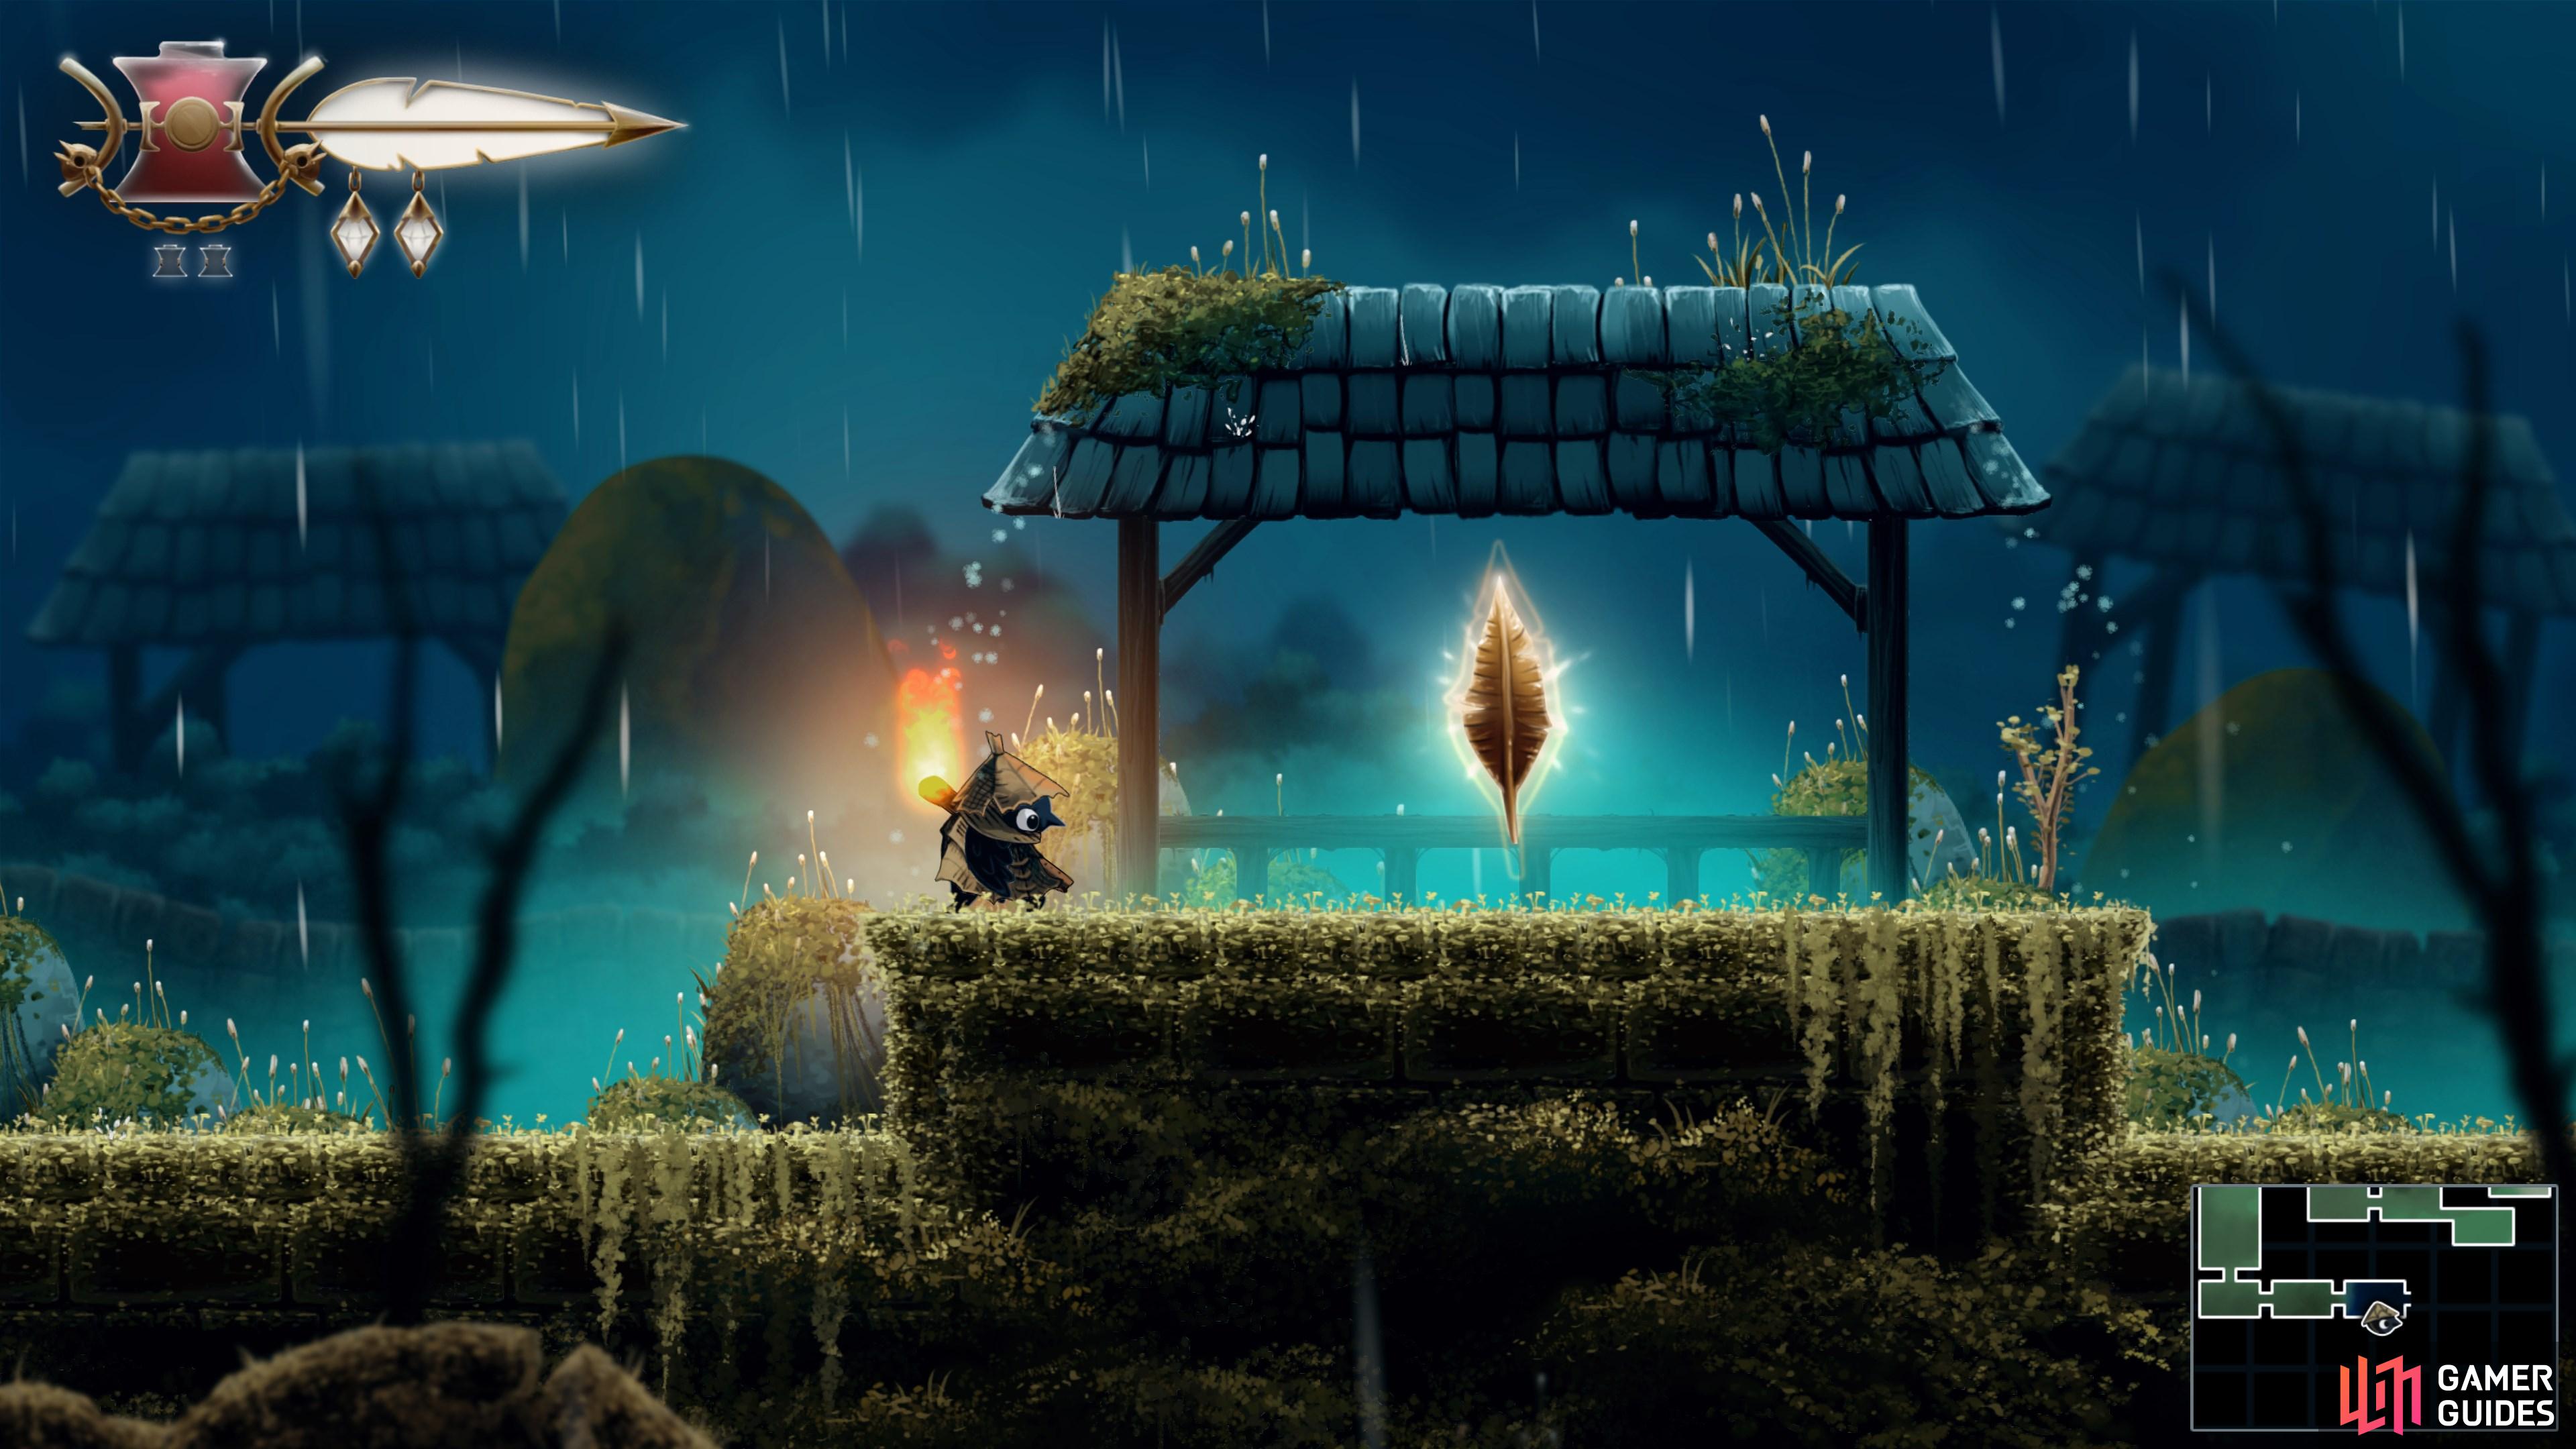
24
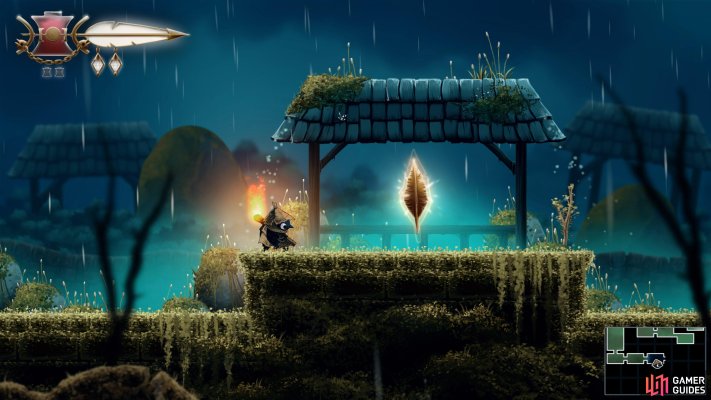
Collect the first Golden Feather
Head east to grab one of the seven Golden Feathers required to access the Queen’s Castle.
Map position: 10191, 11110
-
25
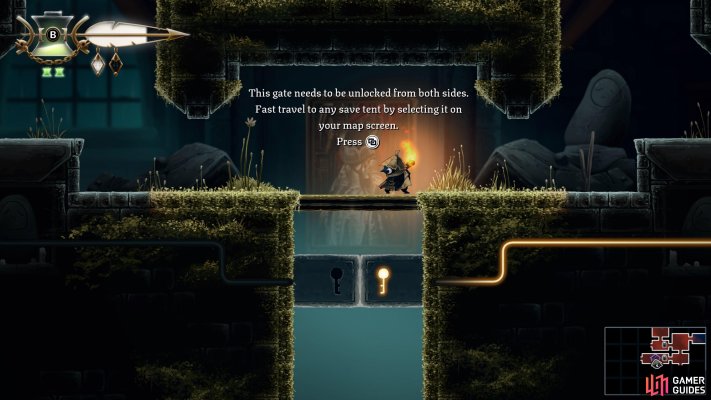
Open the central shaft in the Desiccated Castle
Activate the two levers on either side of the trap door in this central room to open the path to the lower section of the castle.
Map position: 11474, 10866
-
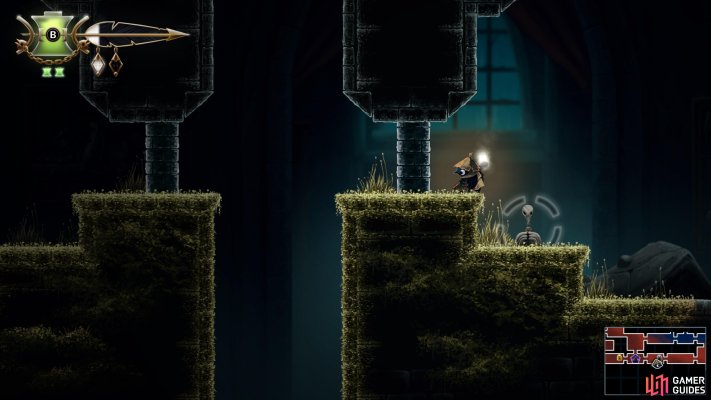
26
Open the castle escape route
Make your way down through the lower castle area, then head east into the Midnight Drench. Drop back down into the Desiccated Castle and pull the lever to unlock the doorway blocking the southewrn passage.
Map position: 12581, 11494
-
27
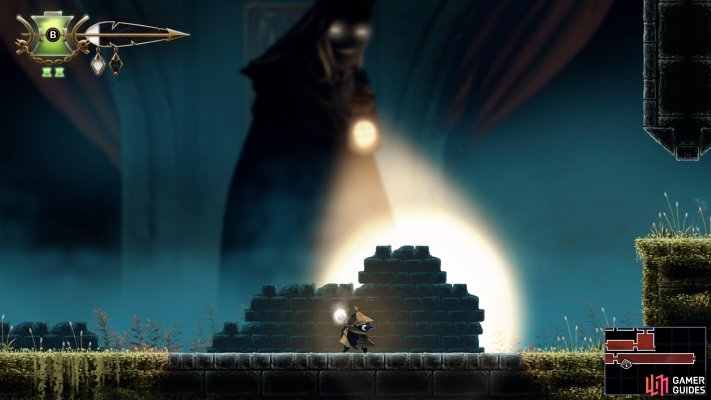
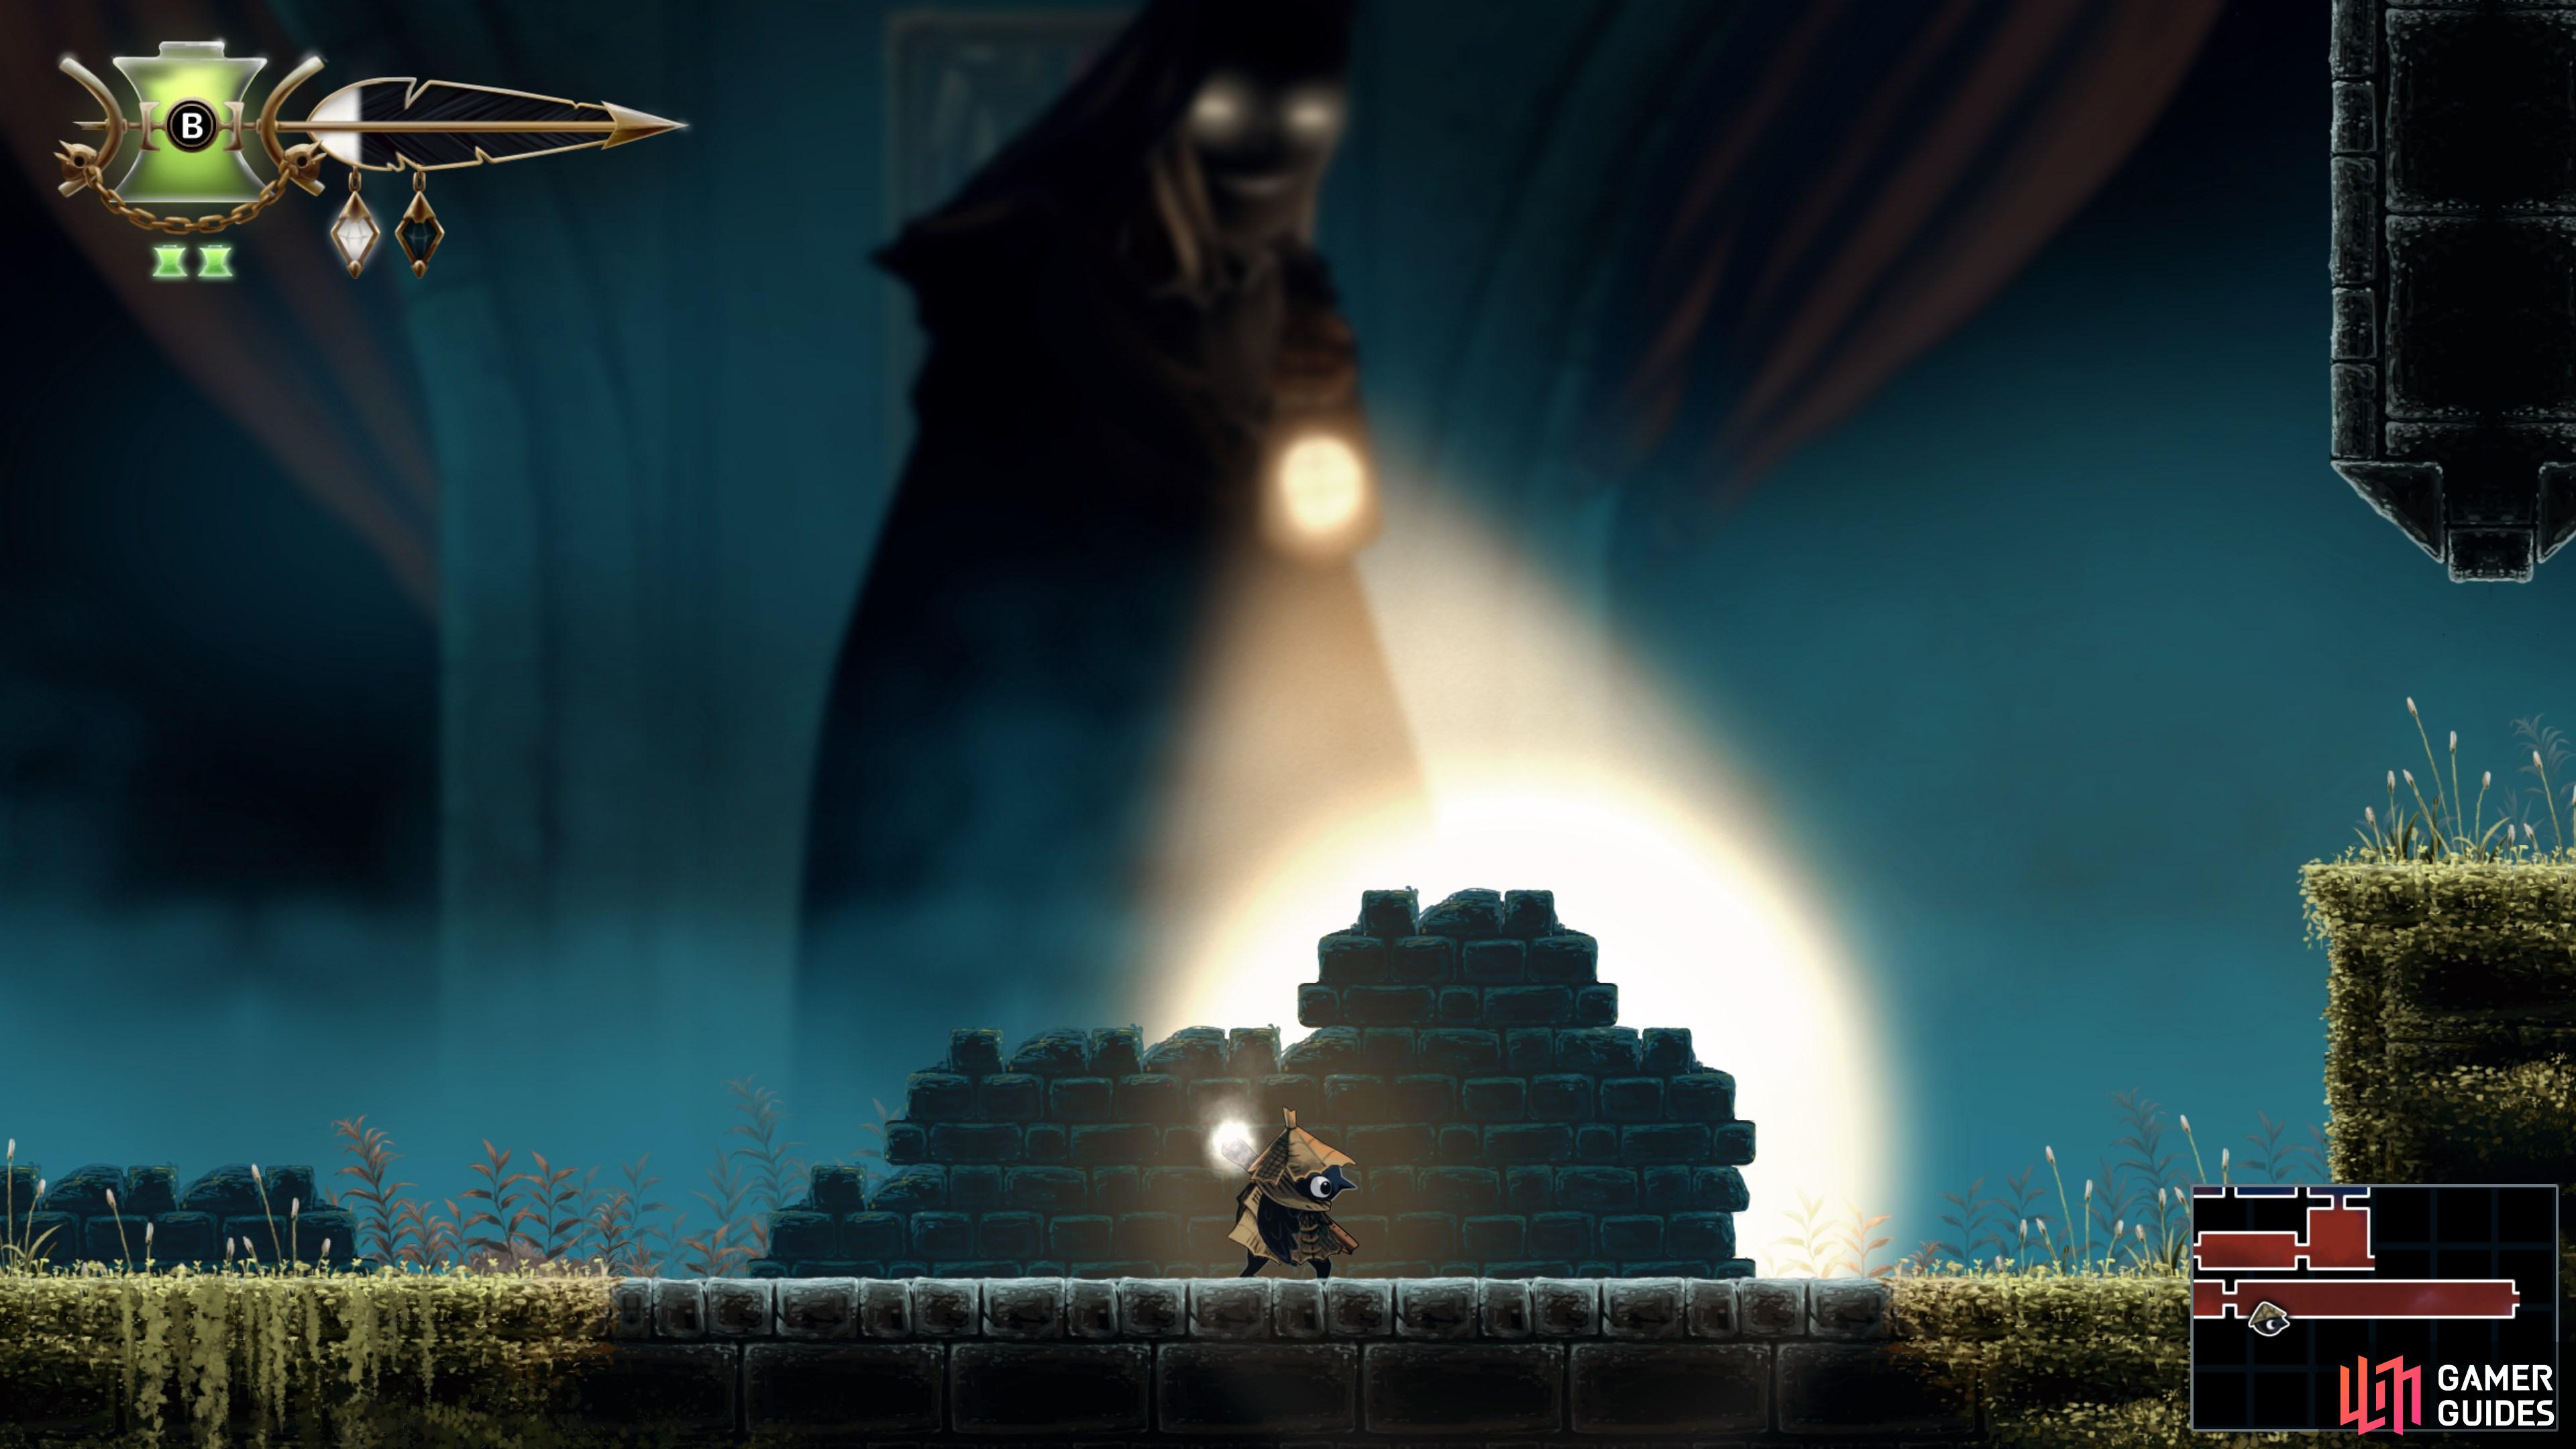
Evade the torchlight
Head east through the southern passage, avoiding the torchlight. Use the crumbling brick walls here for cover.
Map position: 12810, 11601
-
28
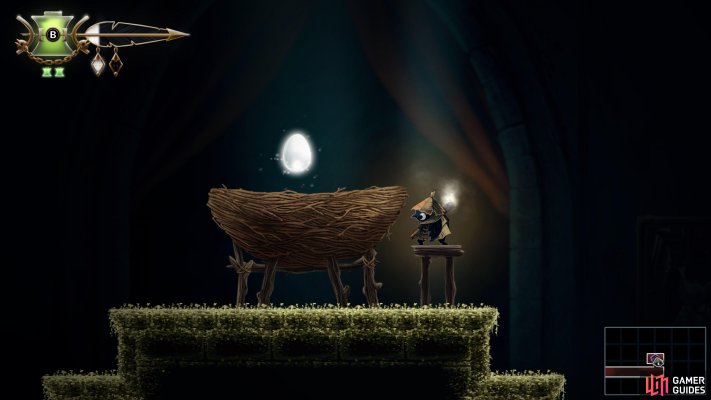
Learn the Hover Ability
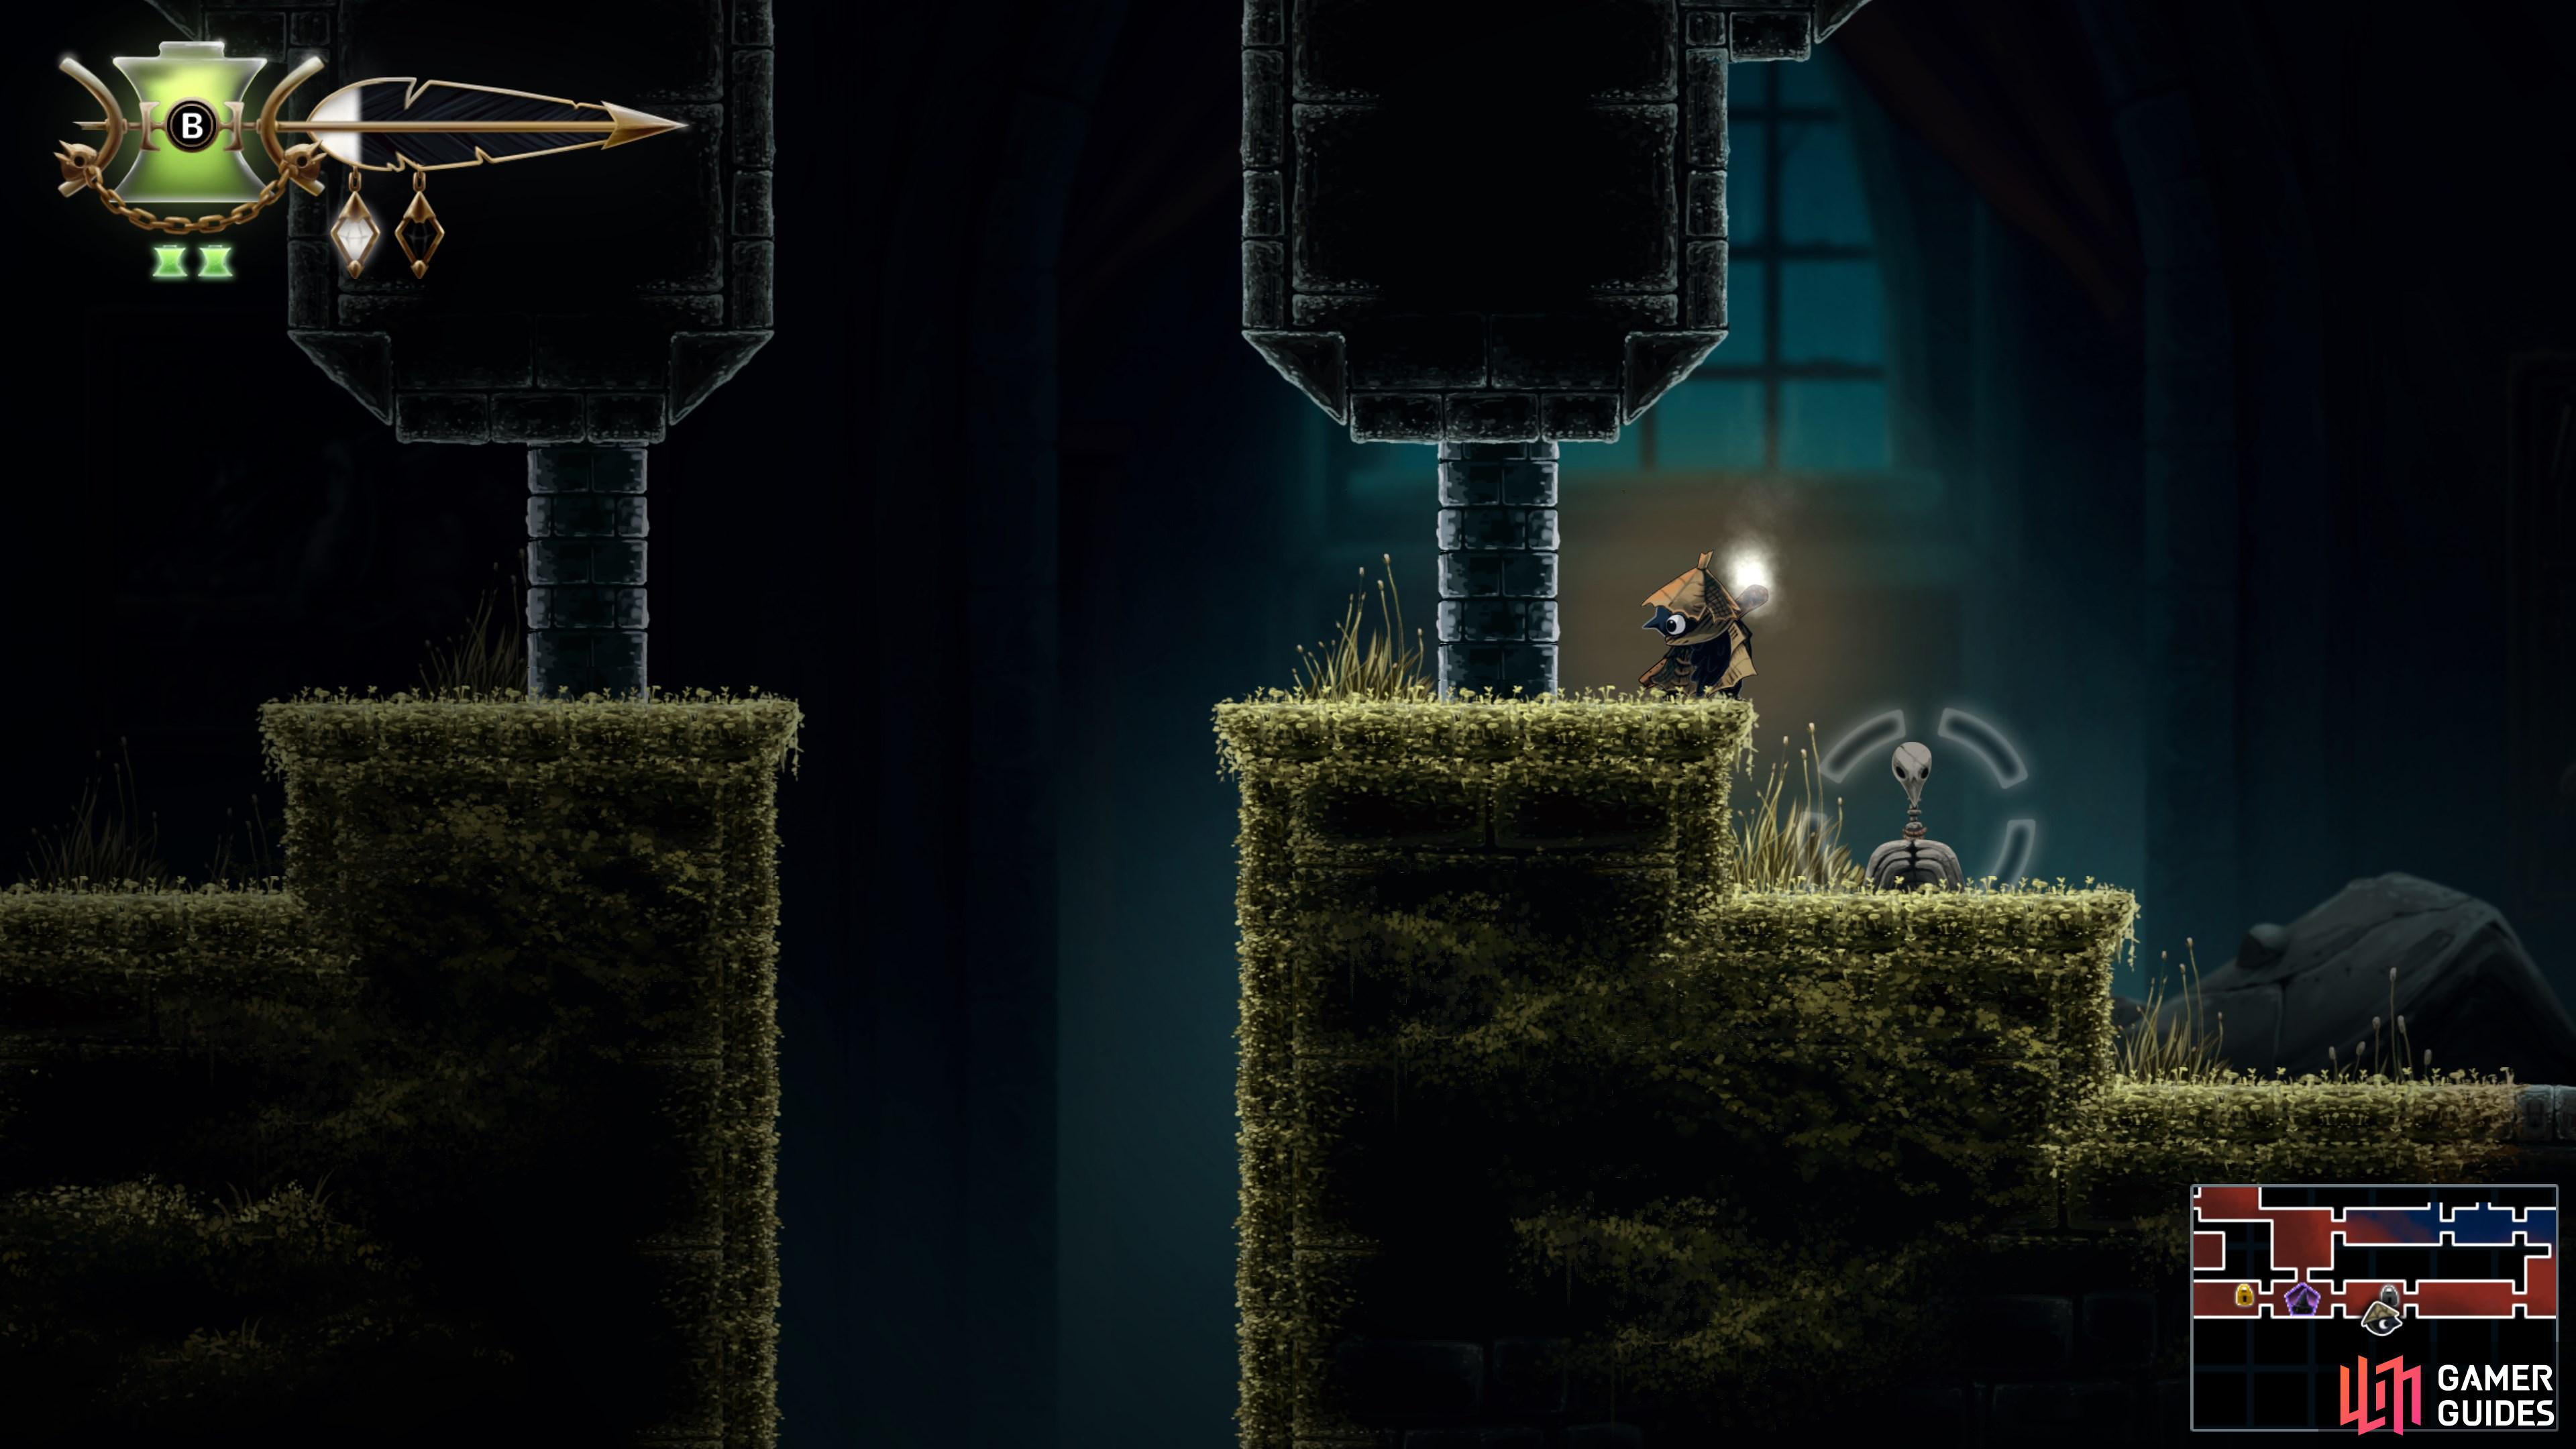
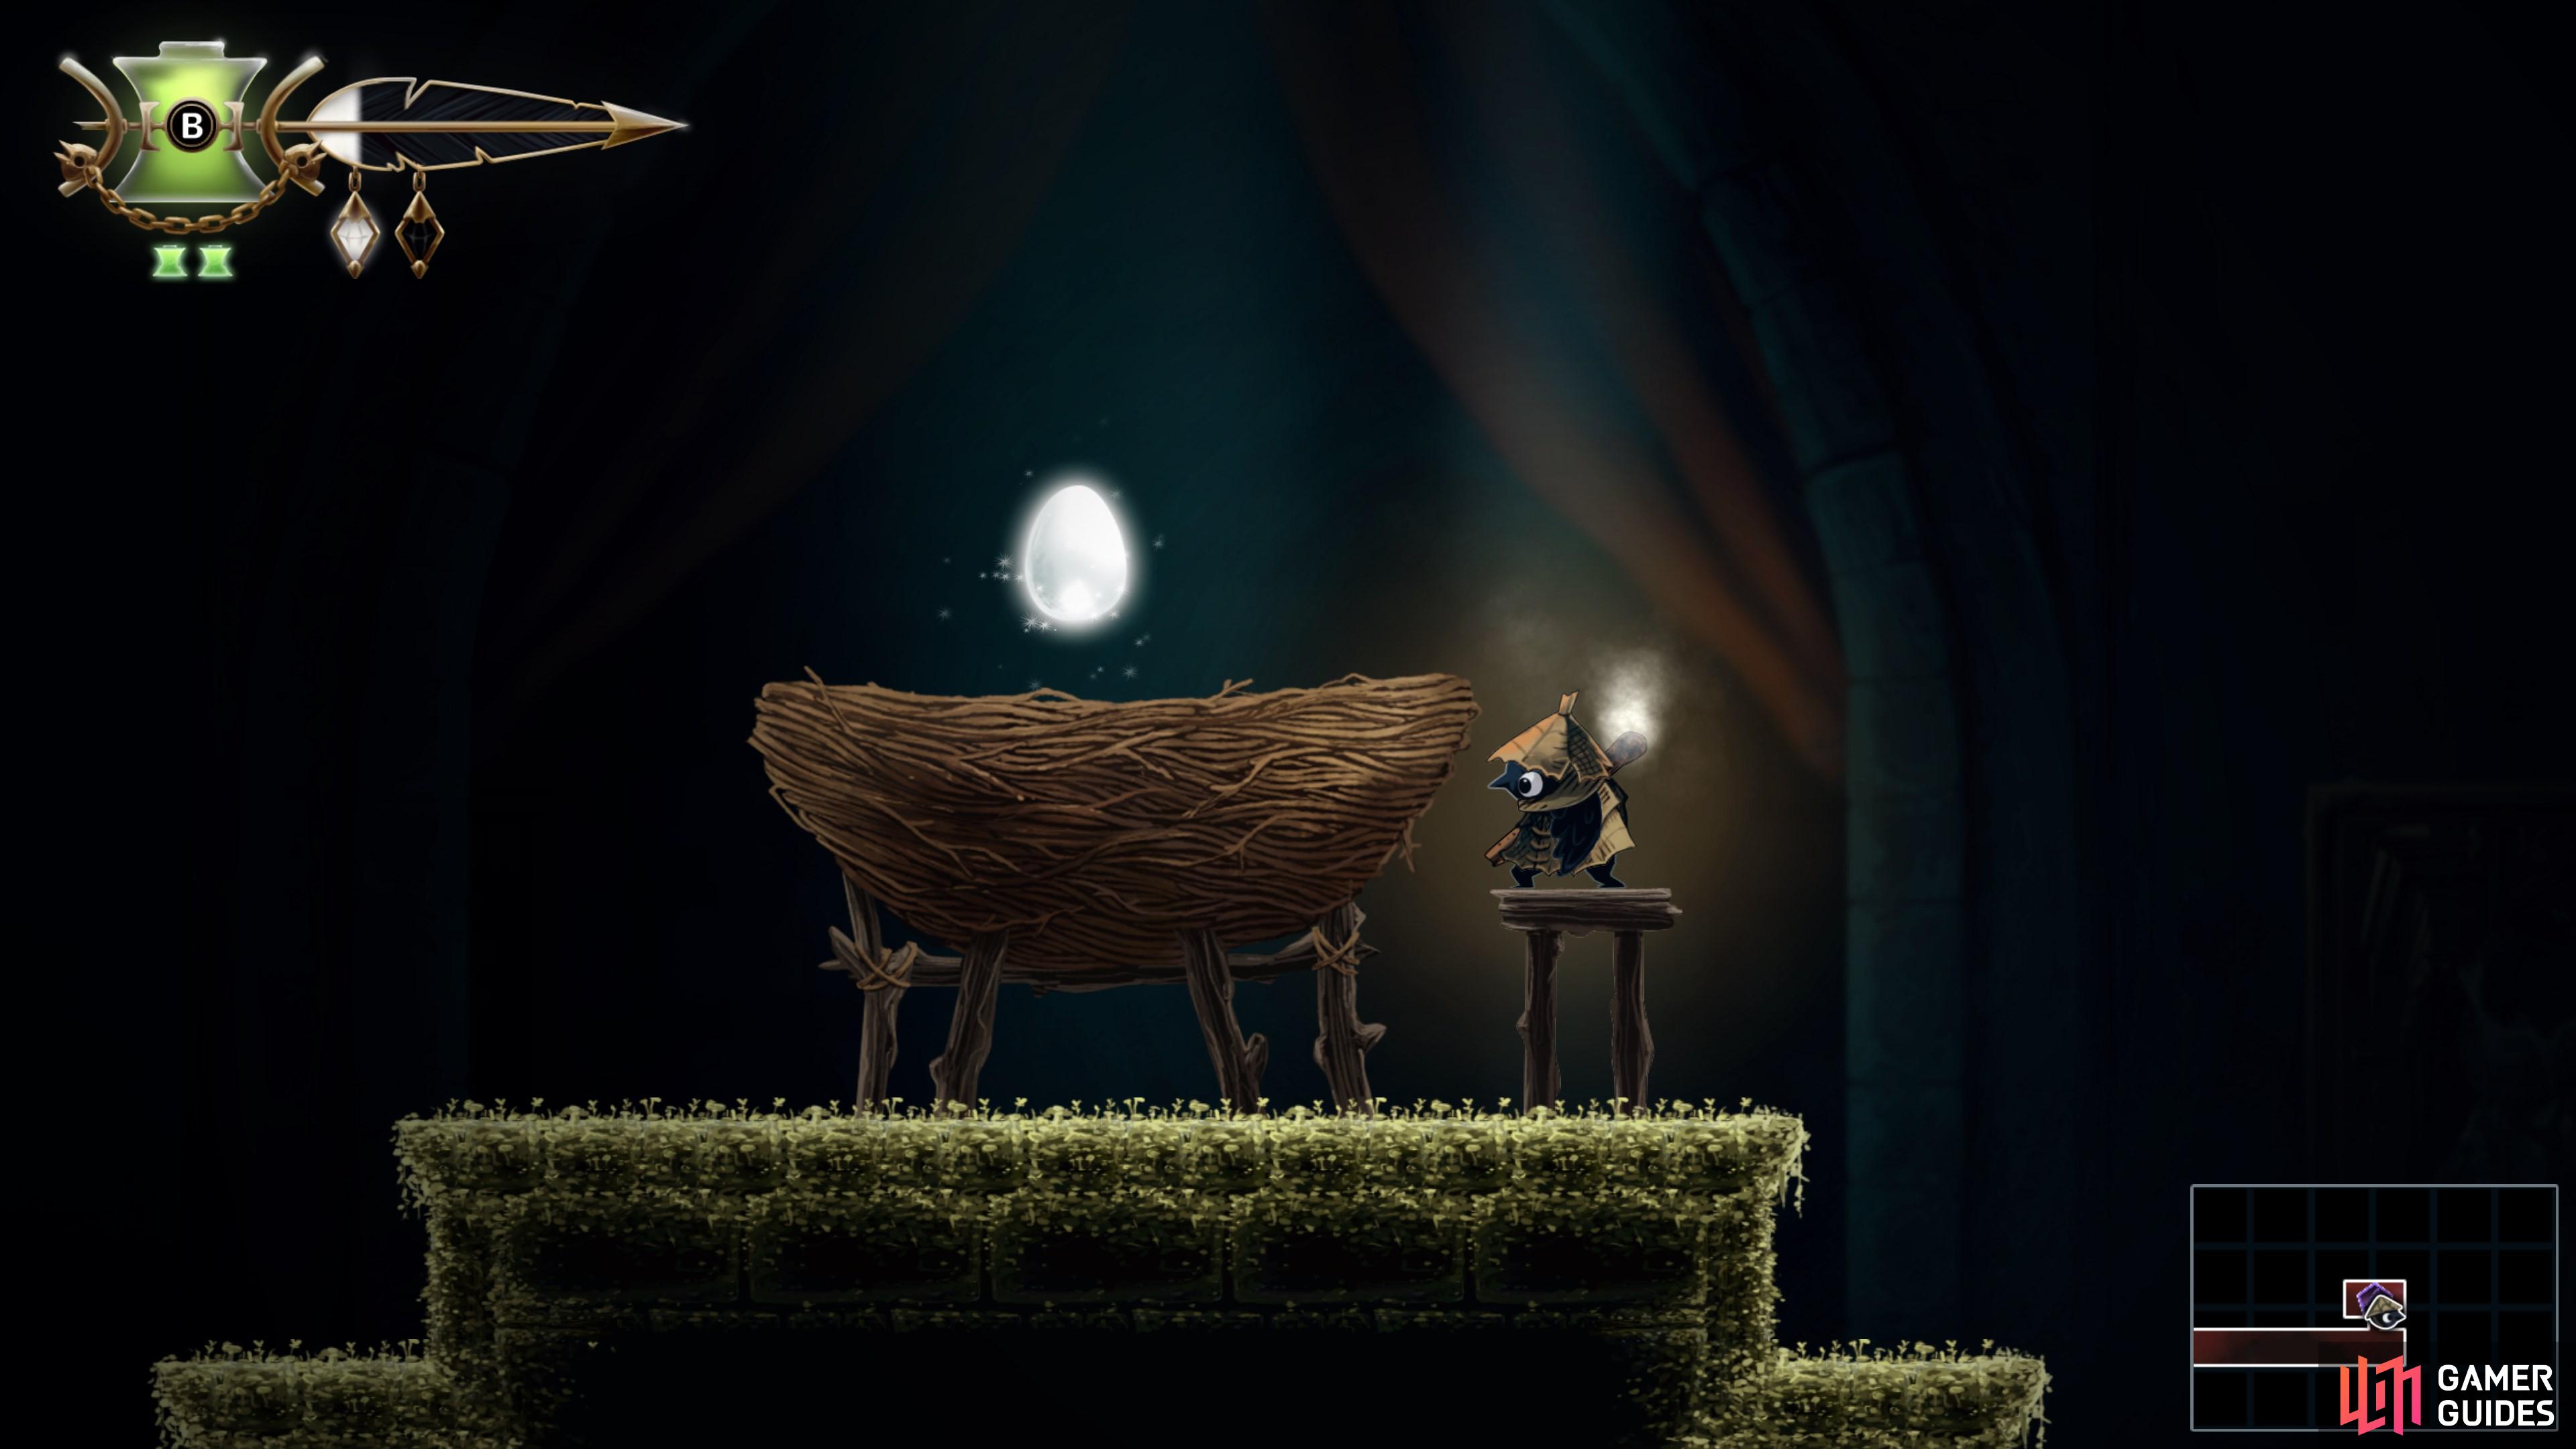
After completing the stealth section, collect the egg from the nest and complete the tutorial sequence to unlock Hover.
Map position: 14986, 11614
-
29
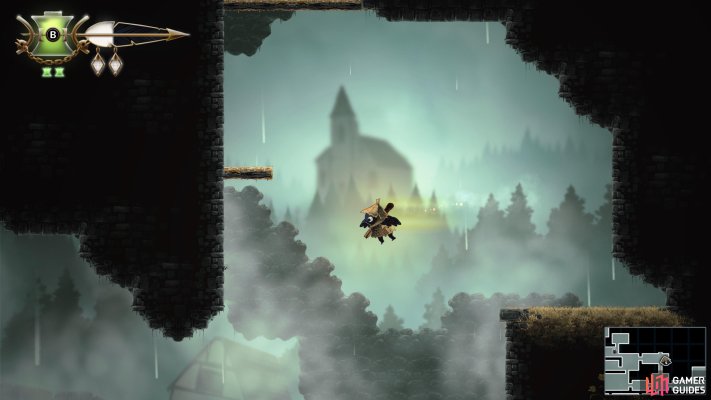
Use Hover to access The Docks
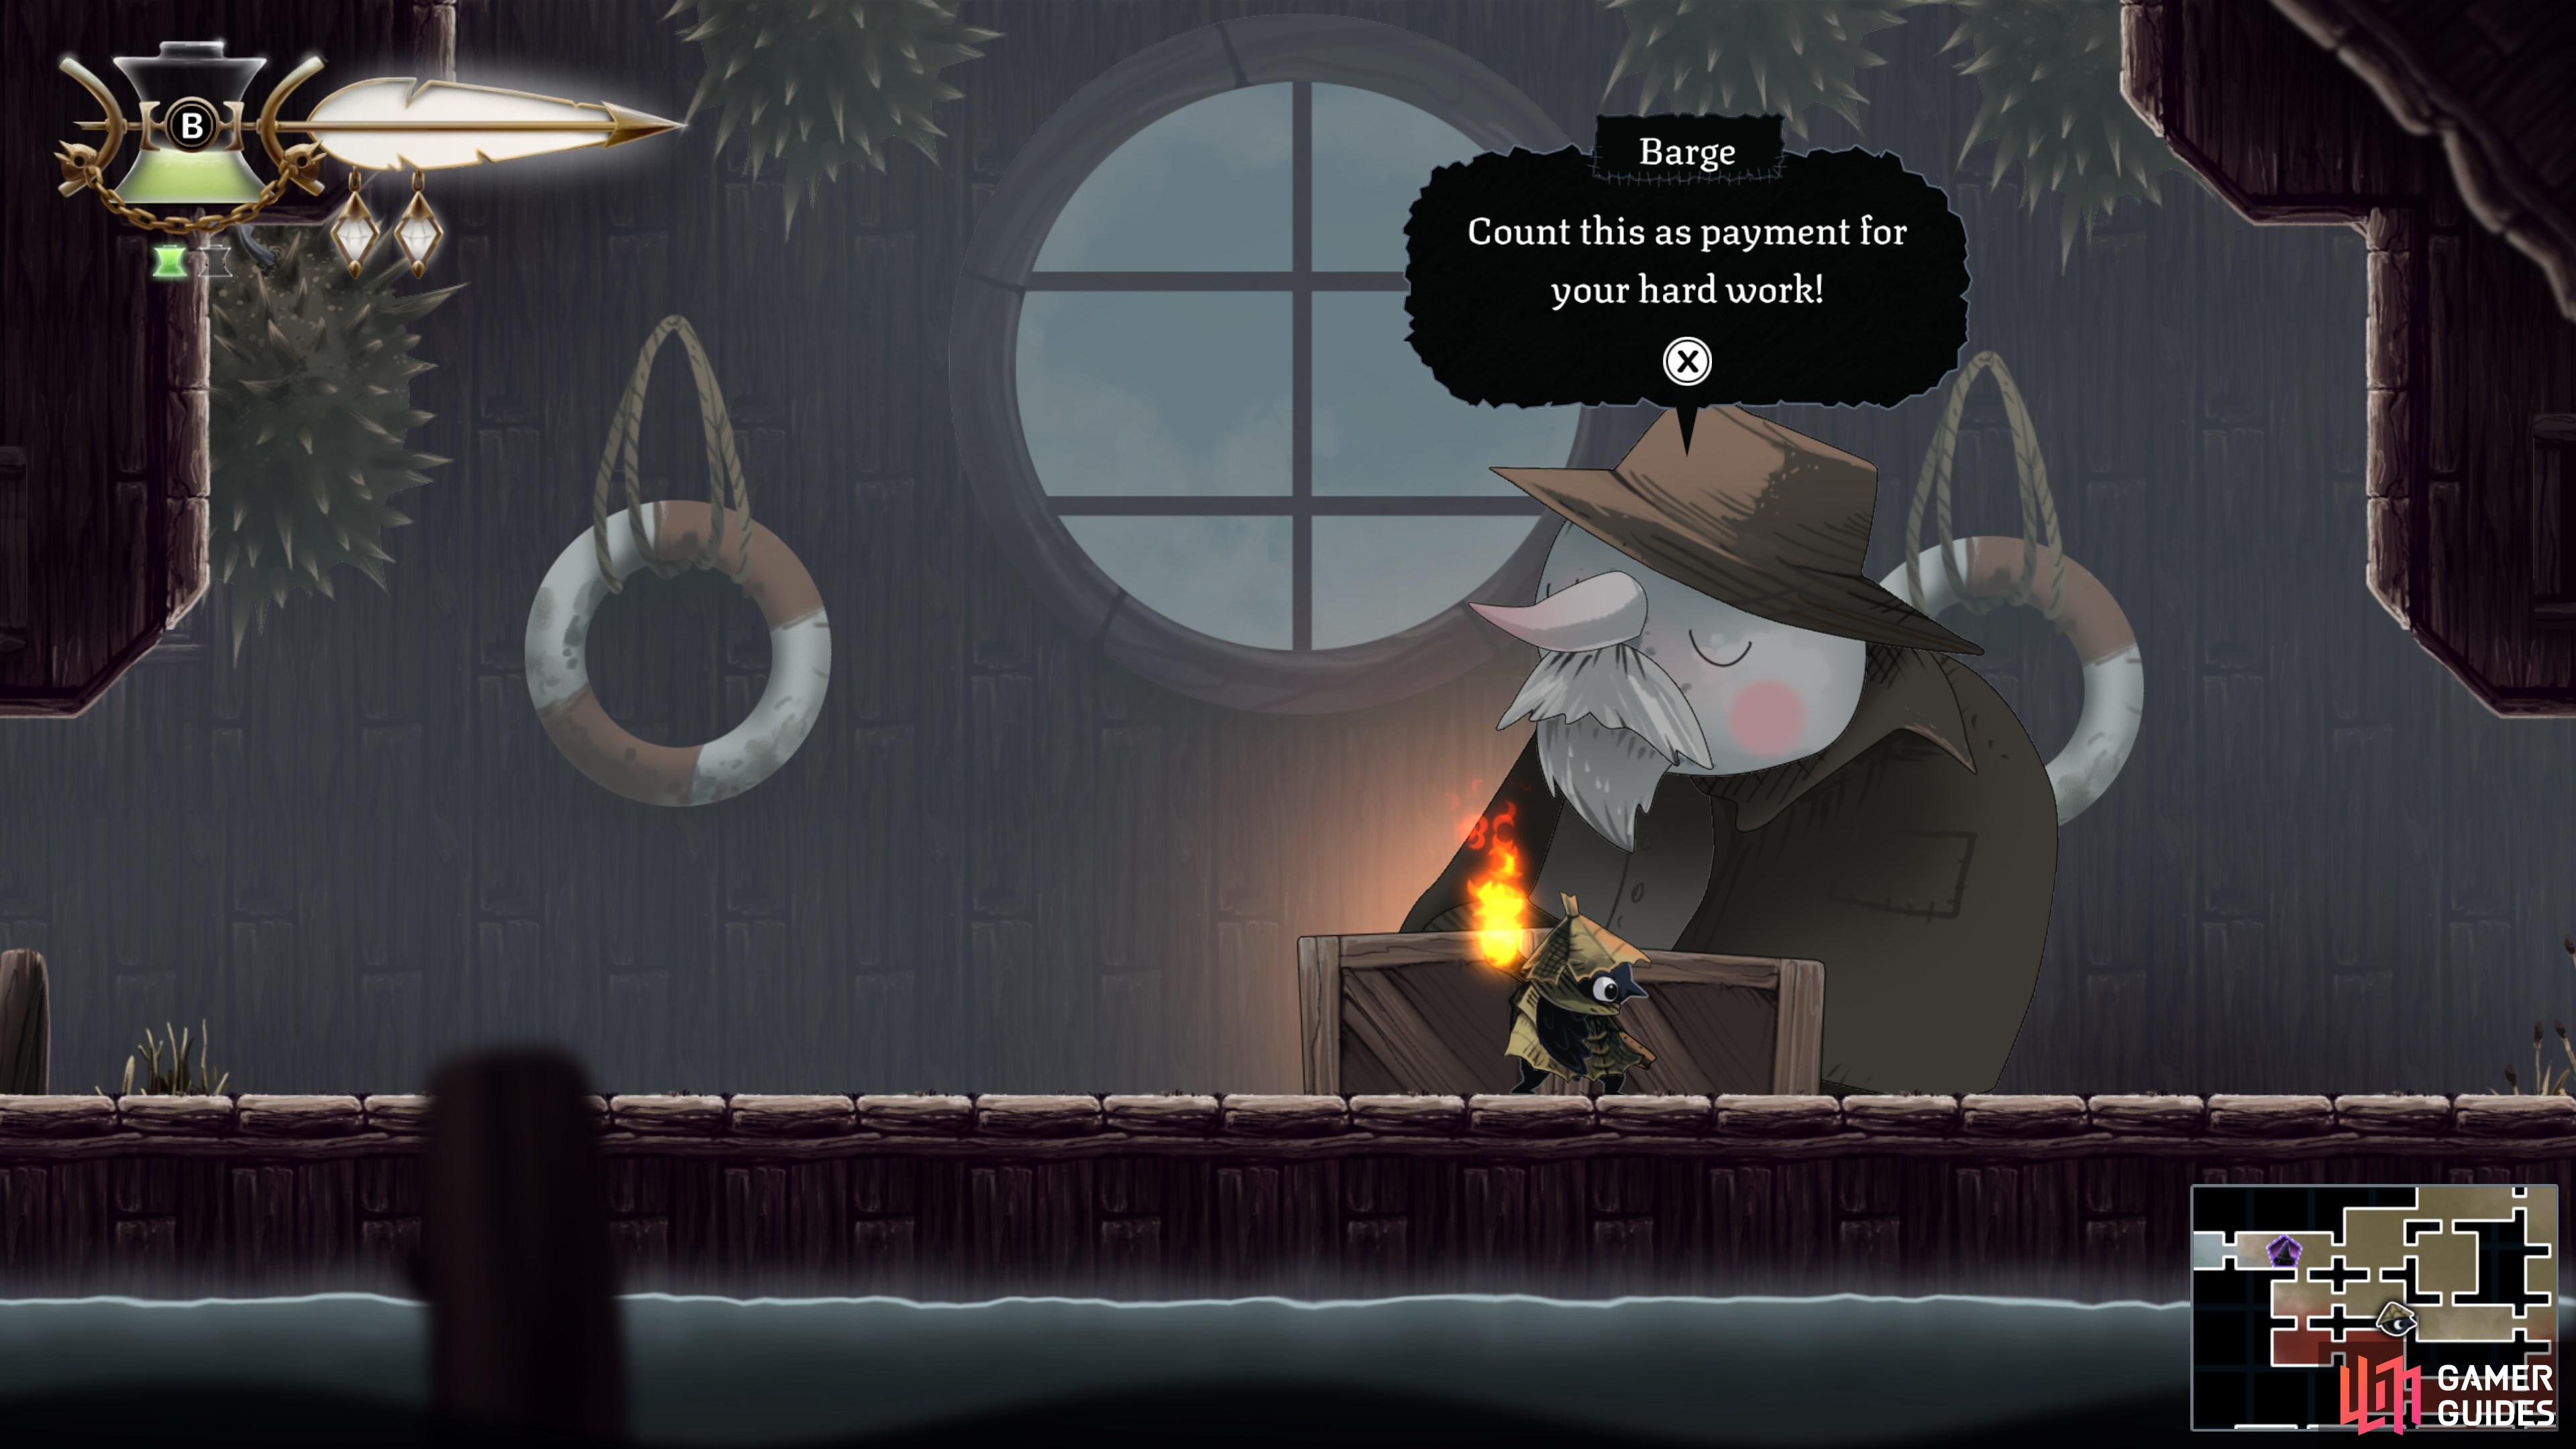
Use your newfound Ability to climb the shaft on the eastern edge of Gravenvalley. Make your way into The Docks and meet Barge, who will task you with finding his missing sailors.
Map position: 13189, 9839
-
30
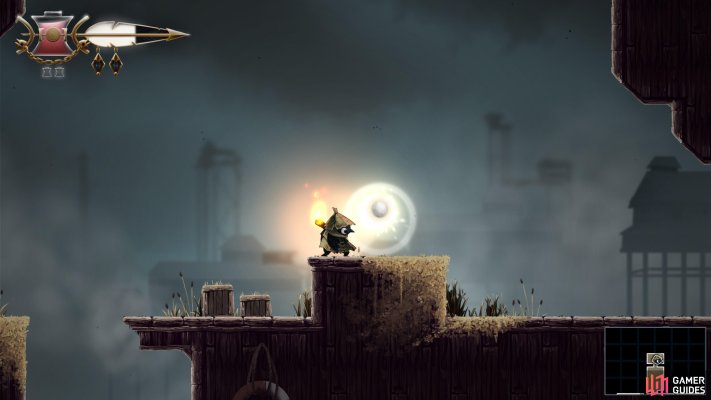
Find the first Pearl
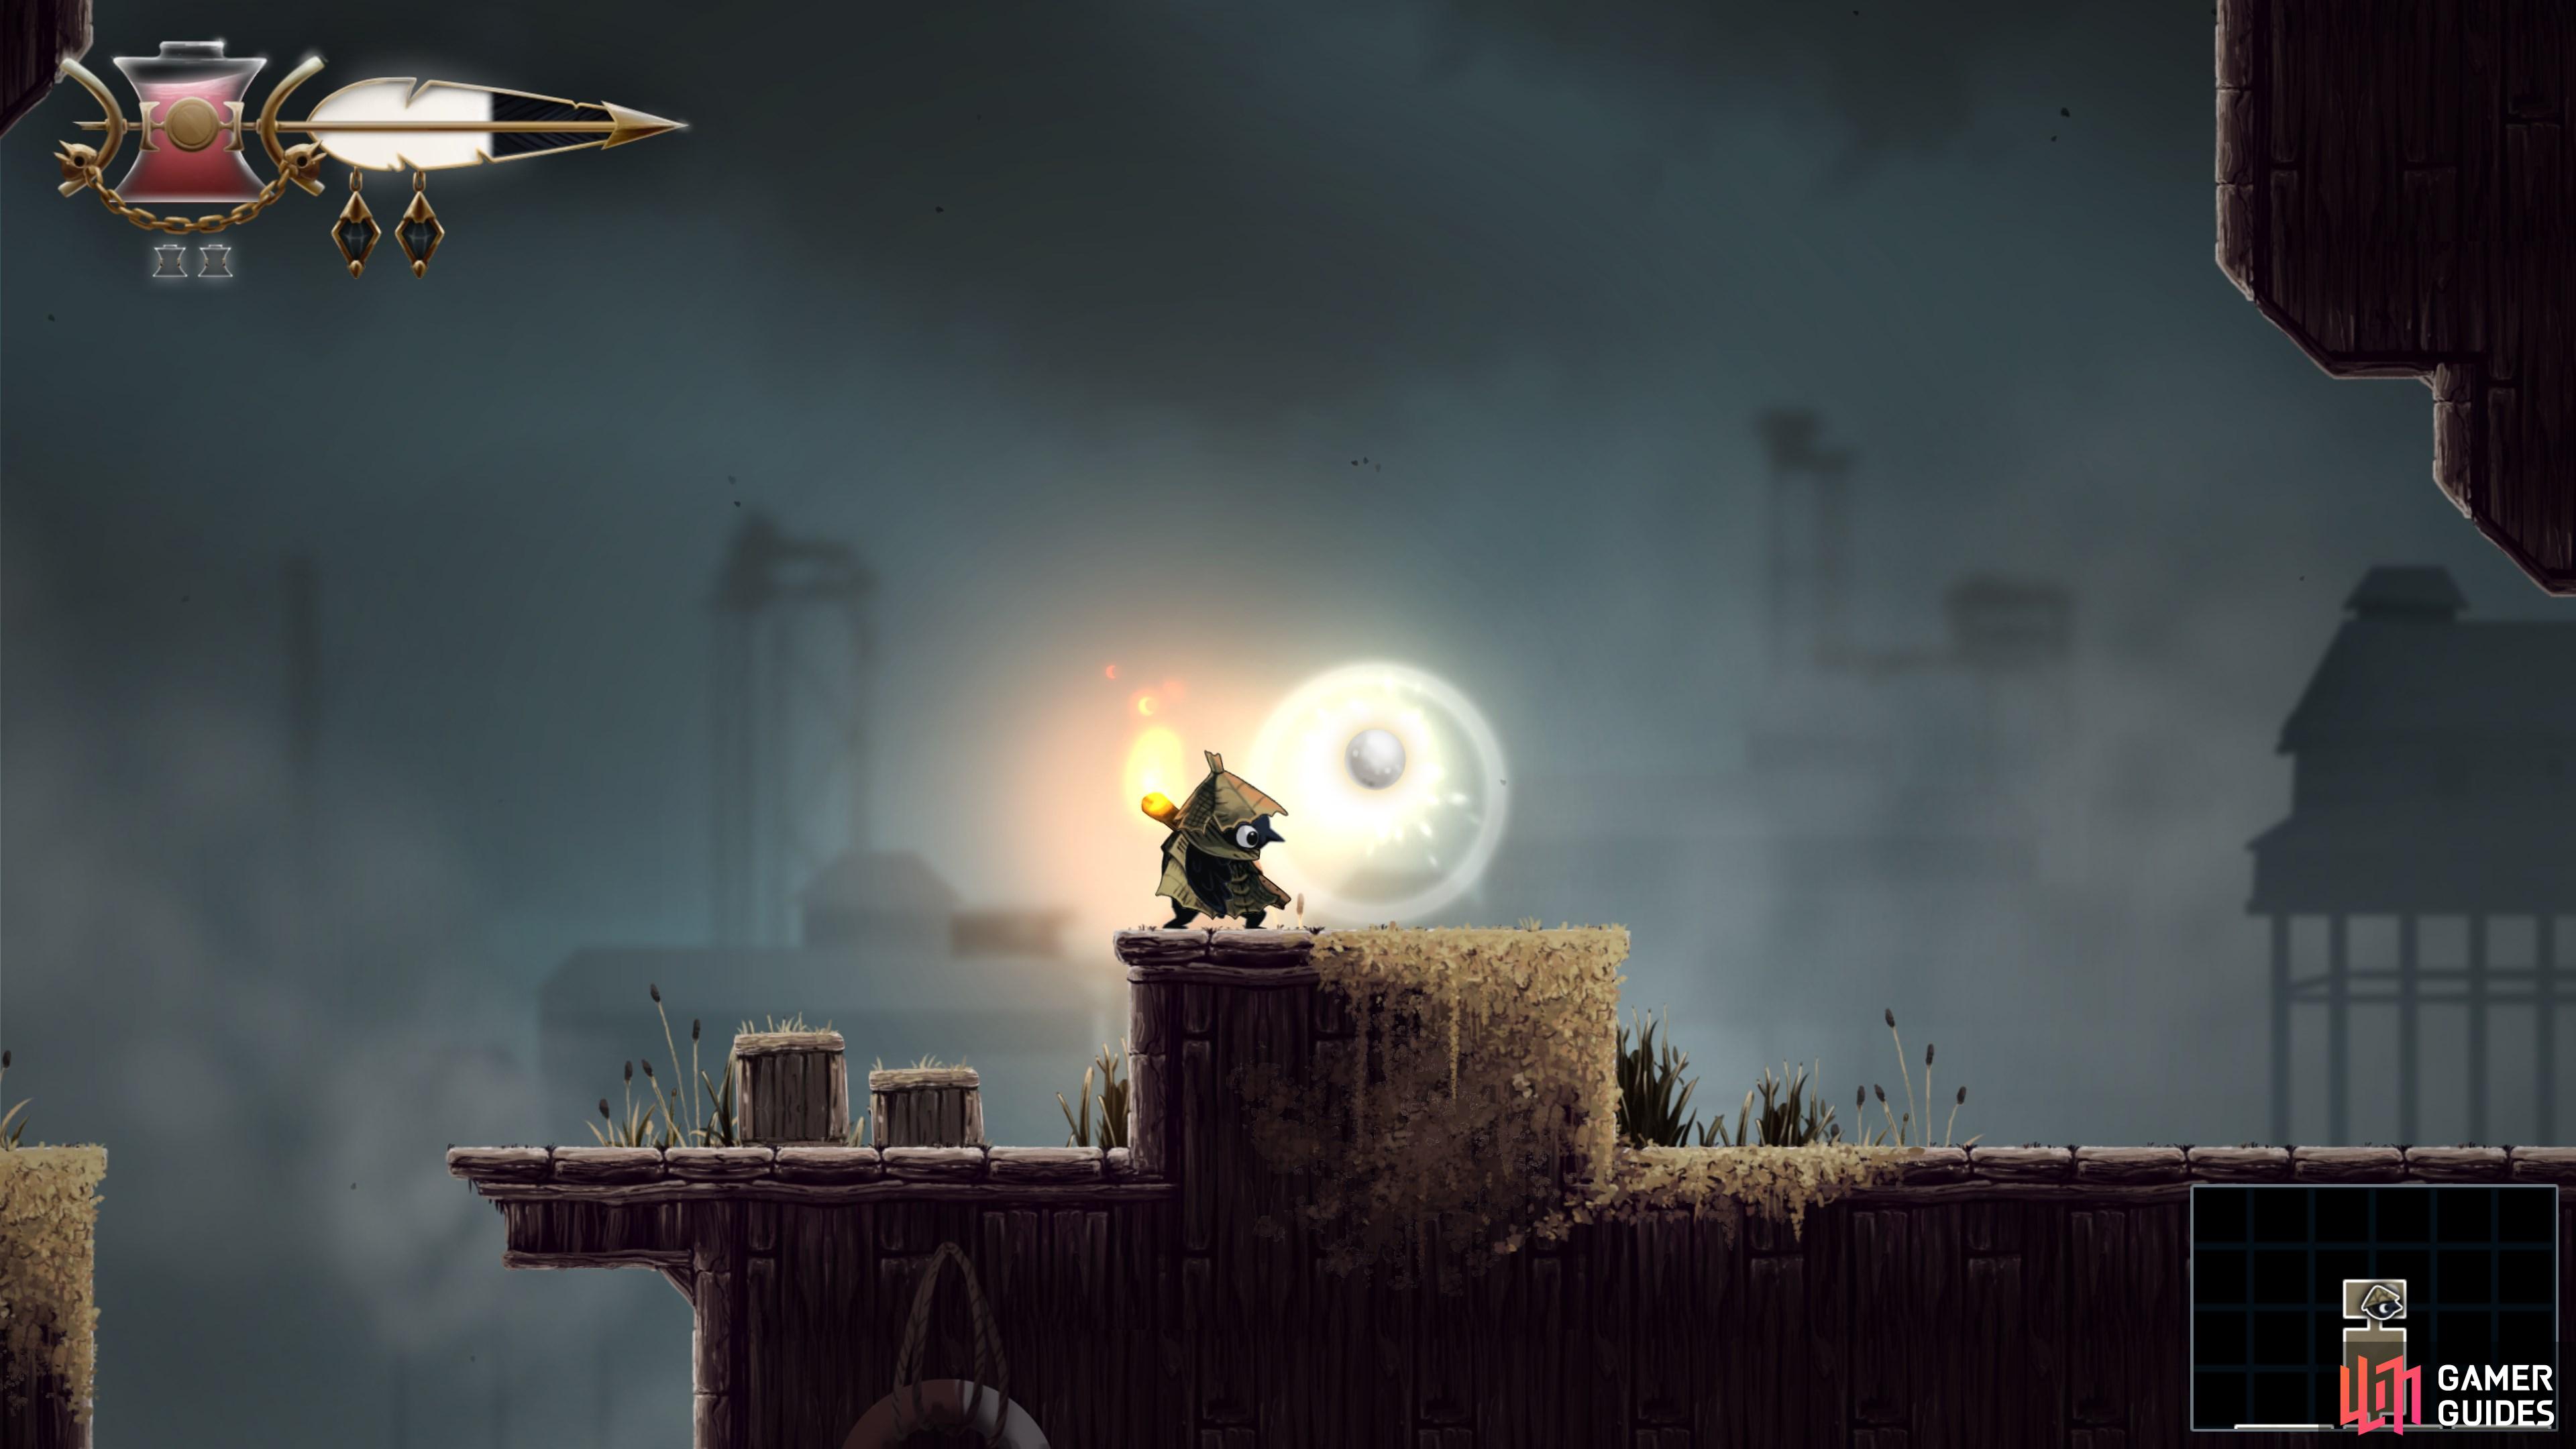
Head up to the highest point of the Docks to find one of the three Pearls required to open the boss room.
Map position: 13750, 8828
-
31
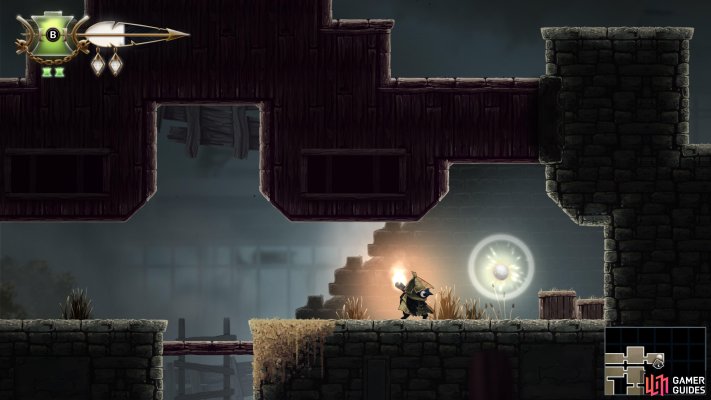
Find the second Pearl
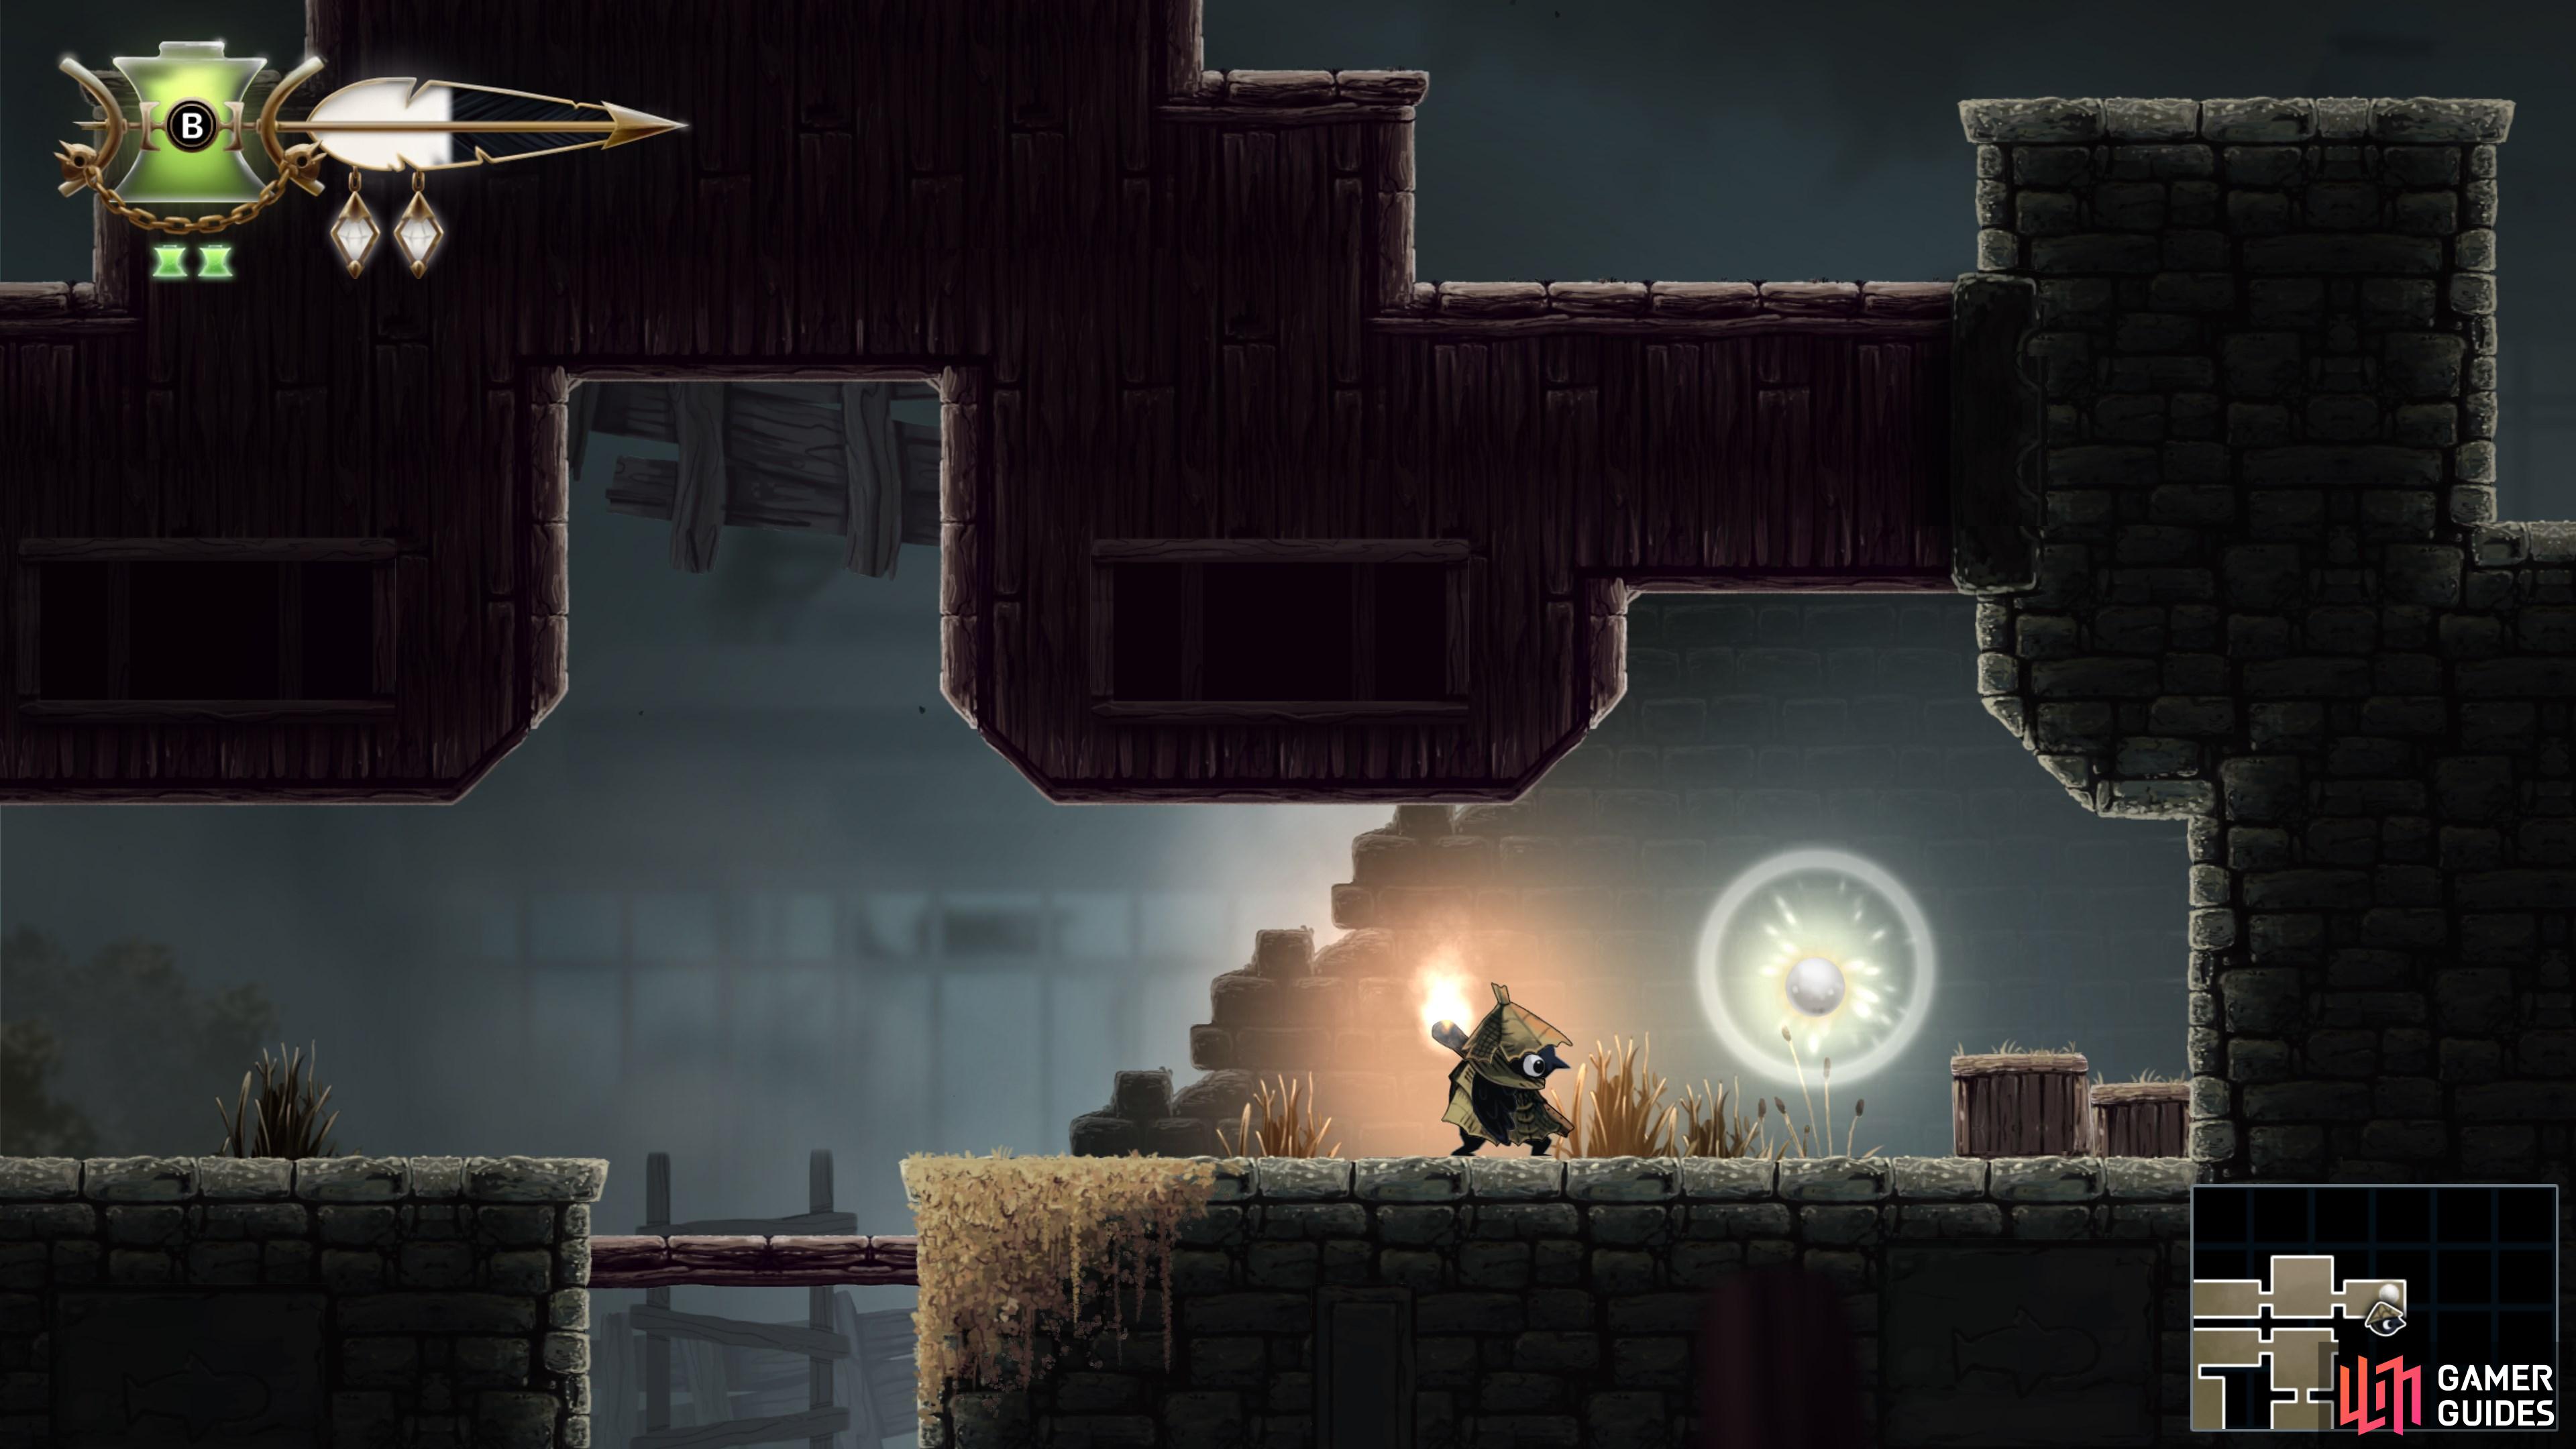
The second Pearl can be found nearby, at the end of the path running east from the location of the first.
Map position: 14529, 9269
-
32
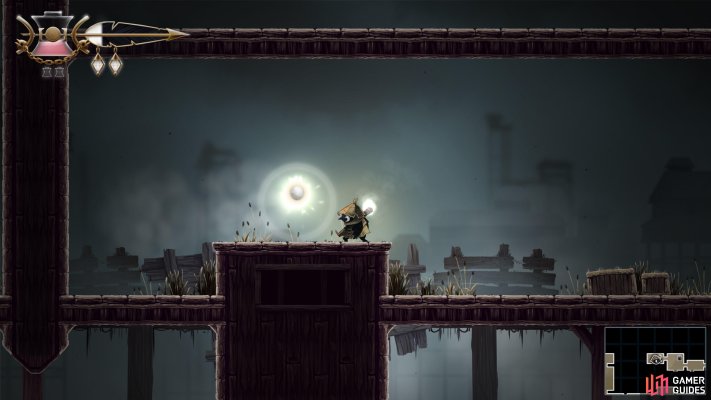
Find the third Pearl
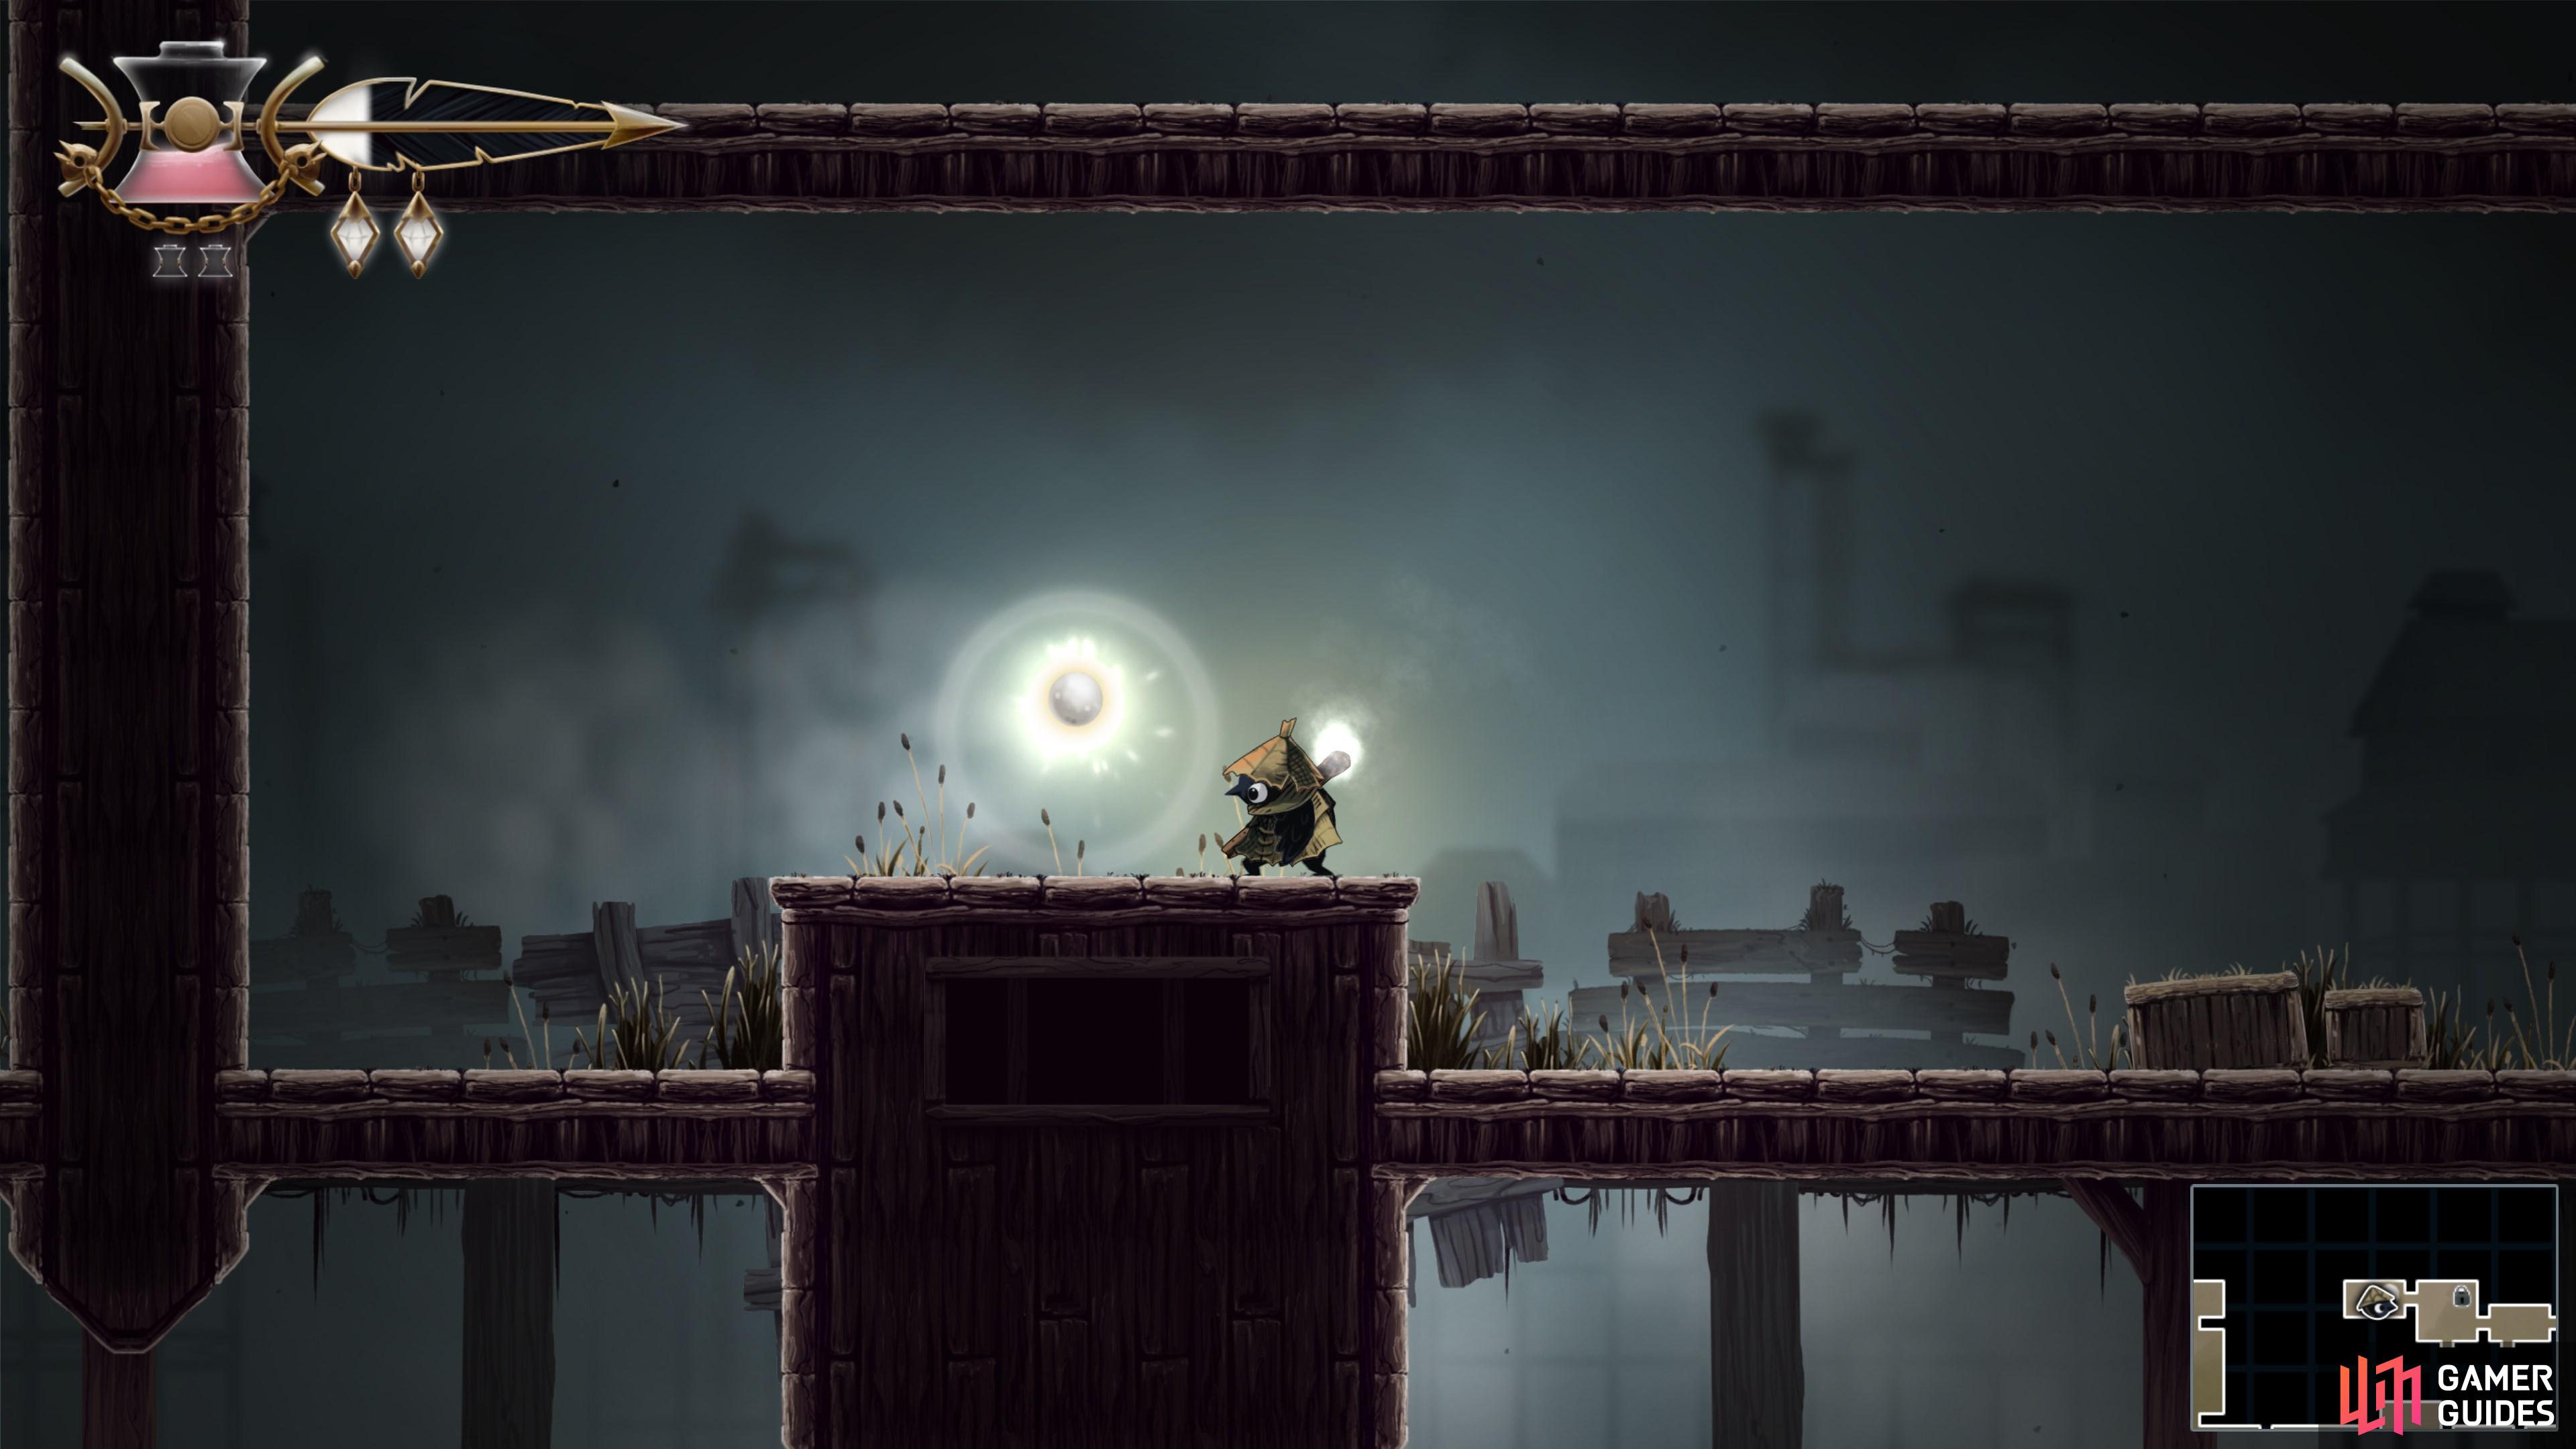
Make your way to the northeast section of the Docks. The third and final Pearl awaits you at the end of the path.
Map position: 14200, 8830
-
33
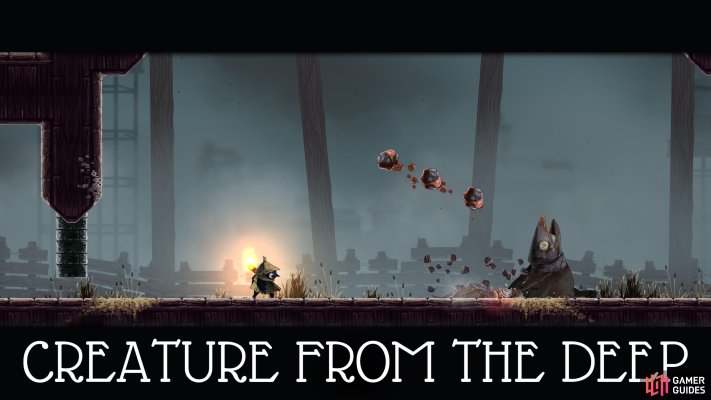
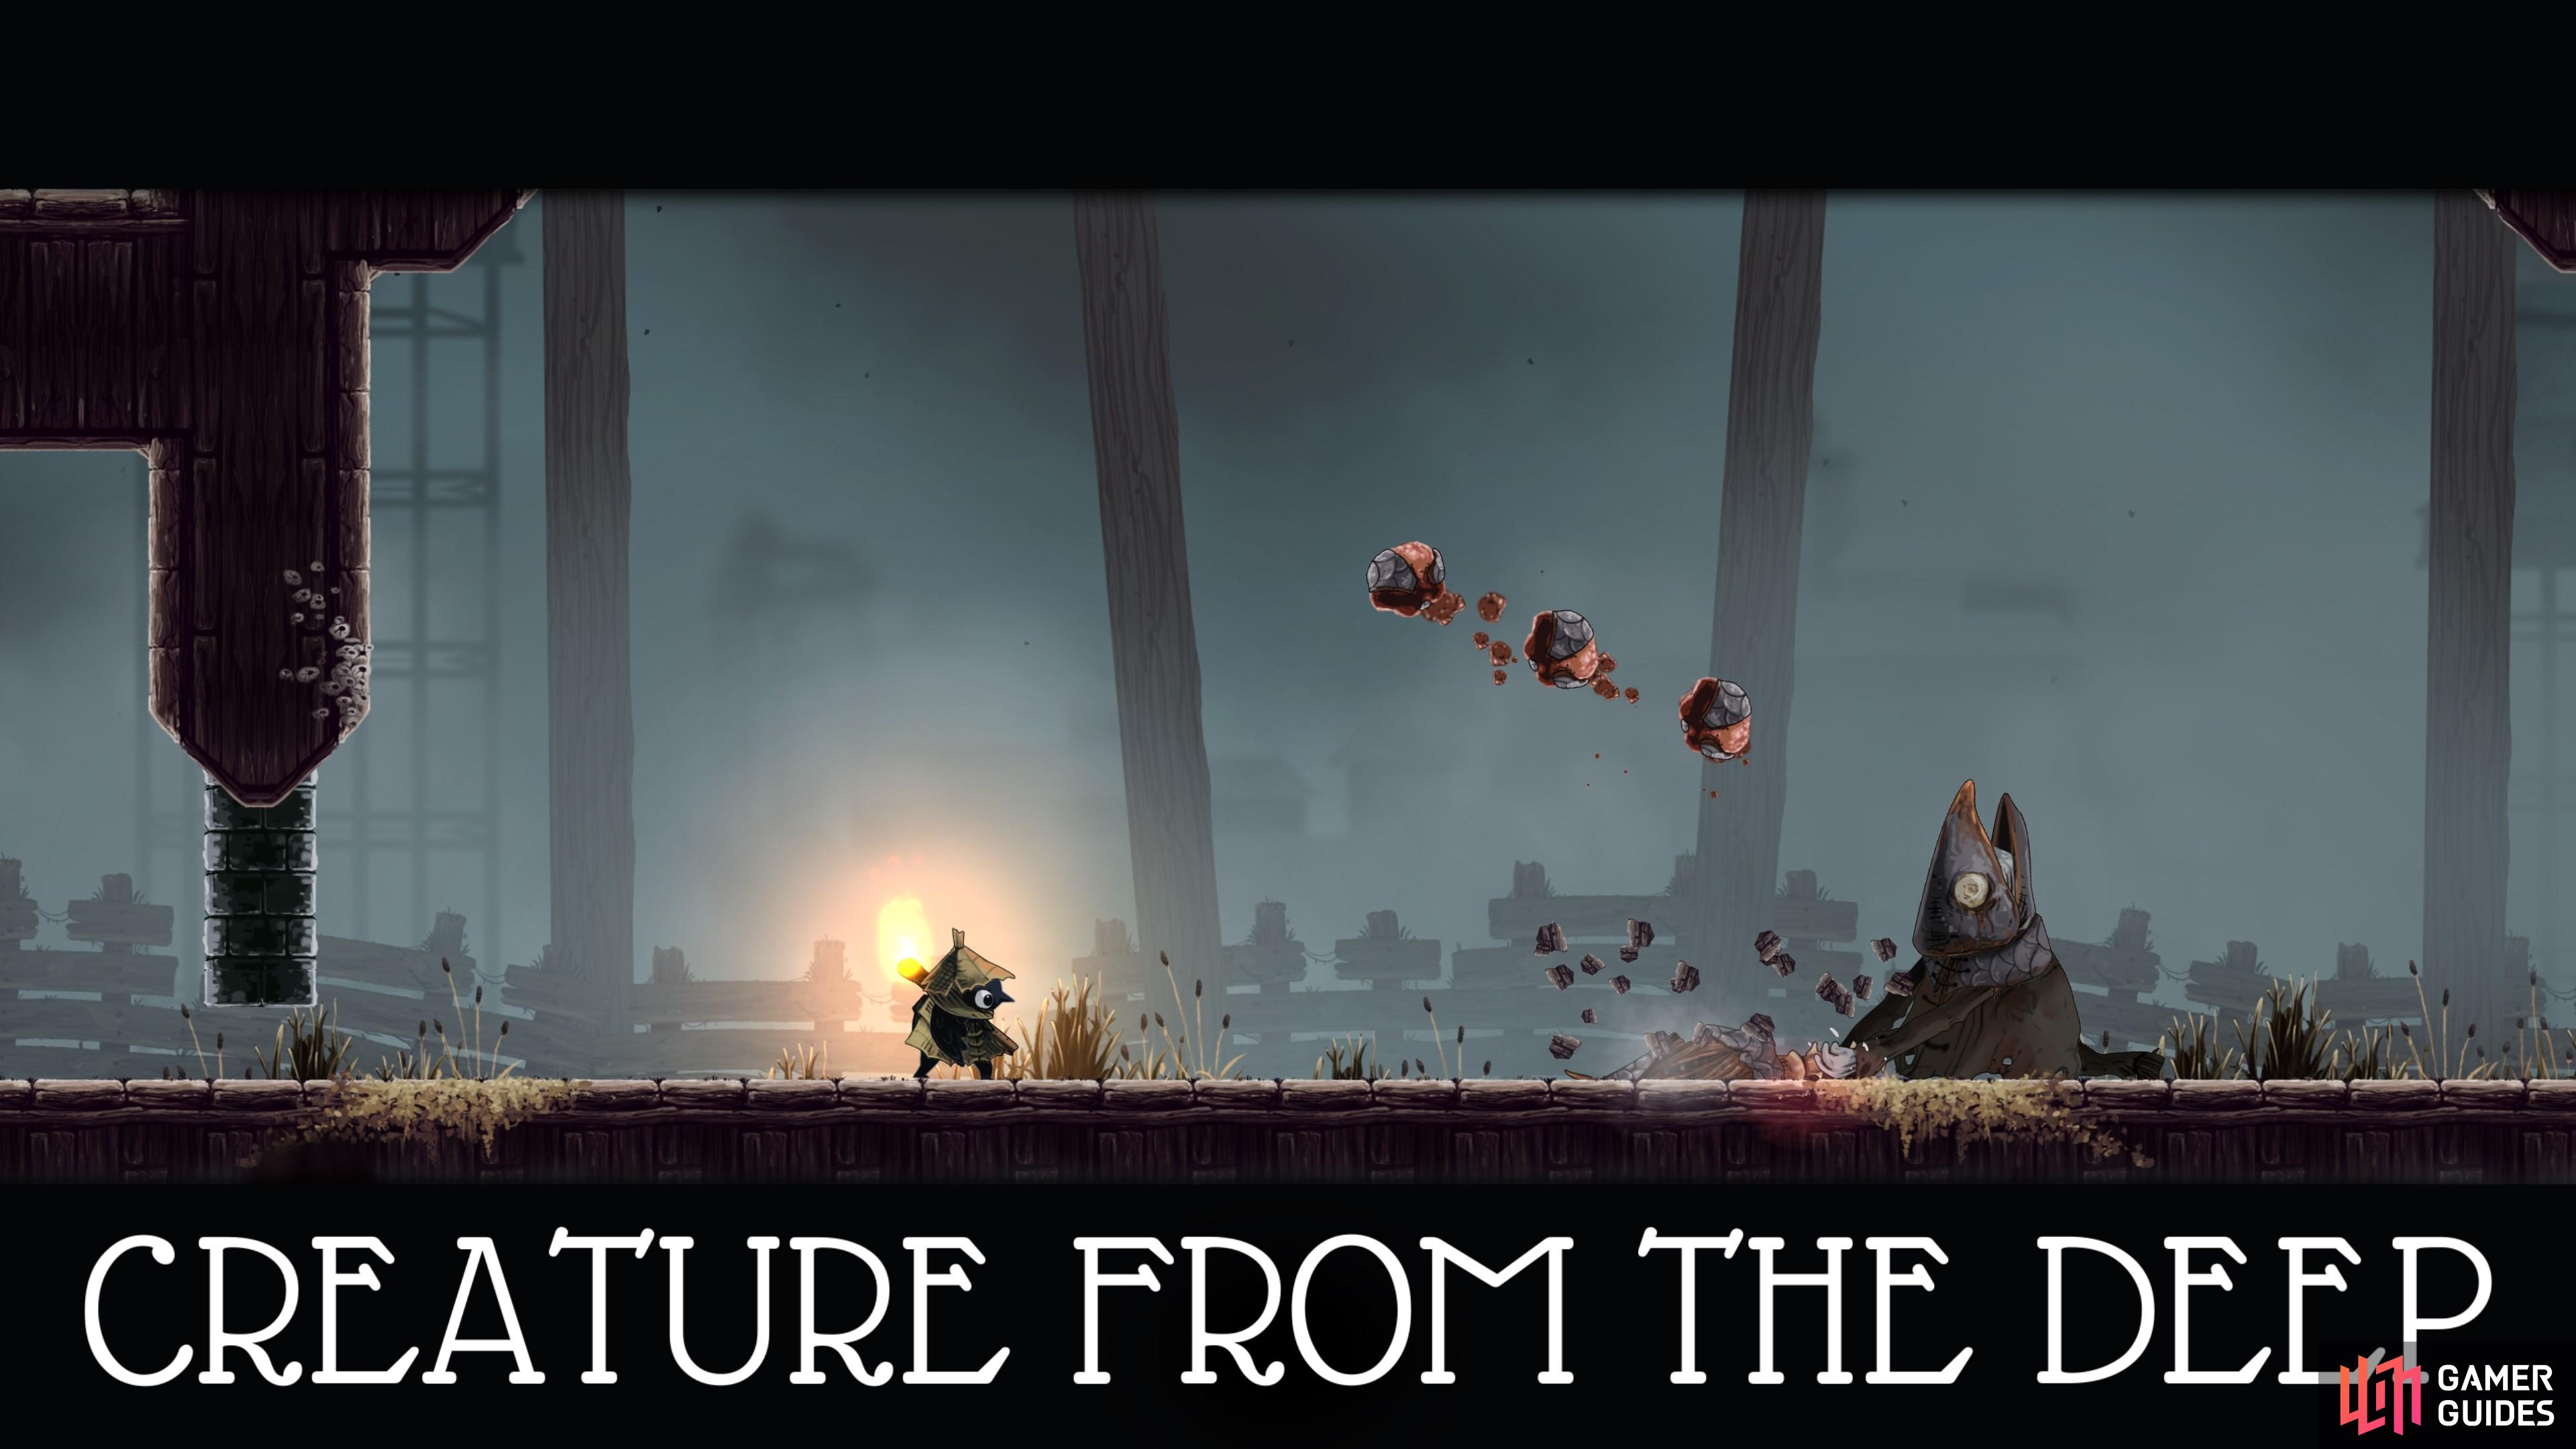
Defeat the Creature from the Deep
Use the Pearls to open the skull-shaped door to the boss room. Defeat the fishy menace inside.
Map position: 14968, 9700
-
34
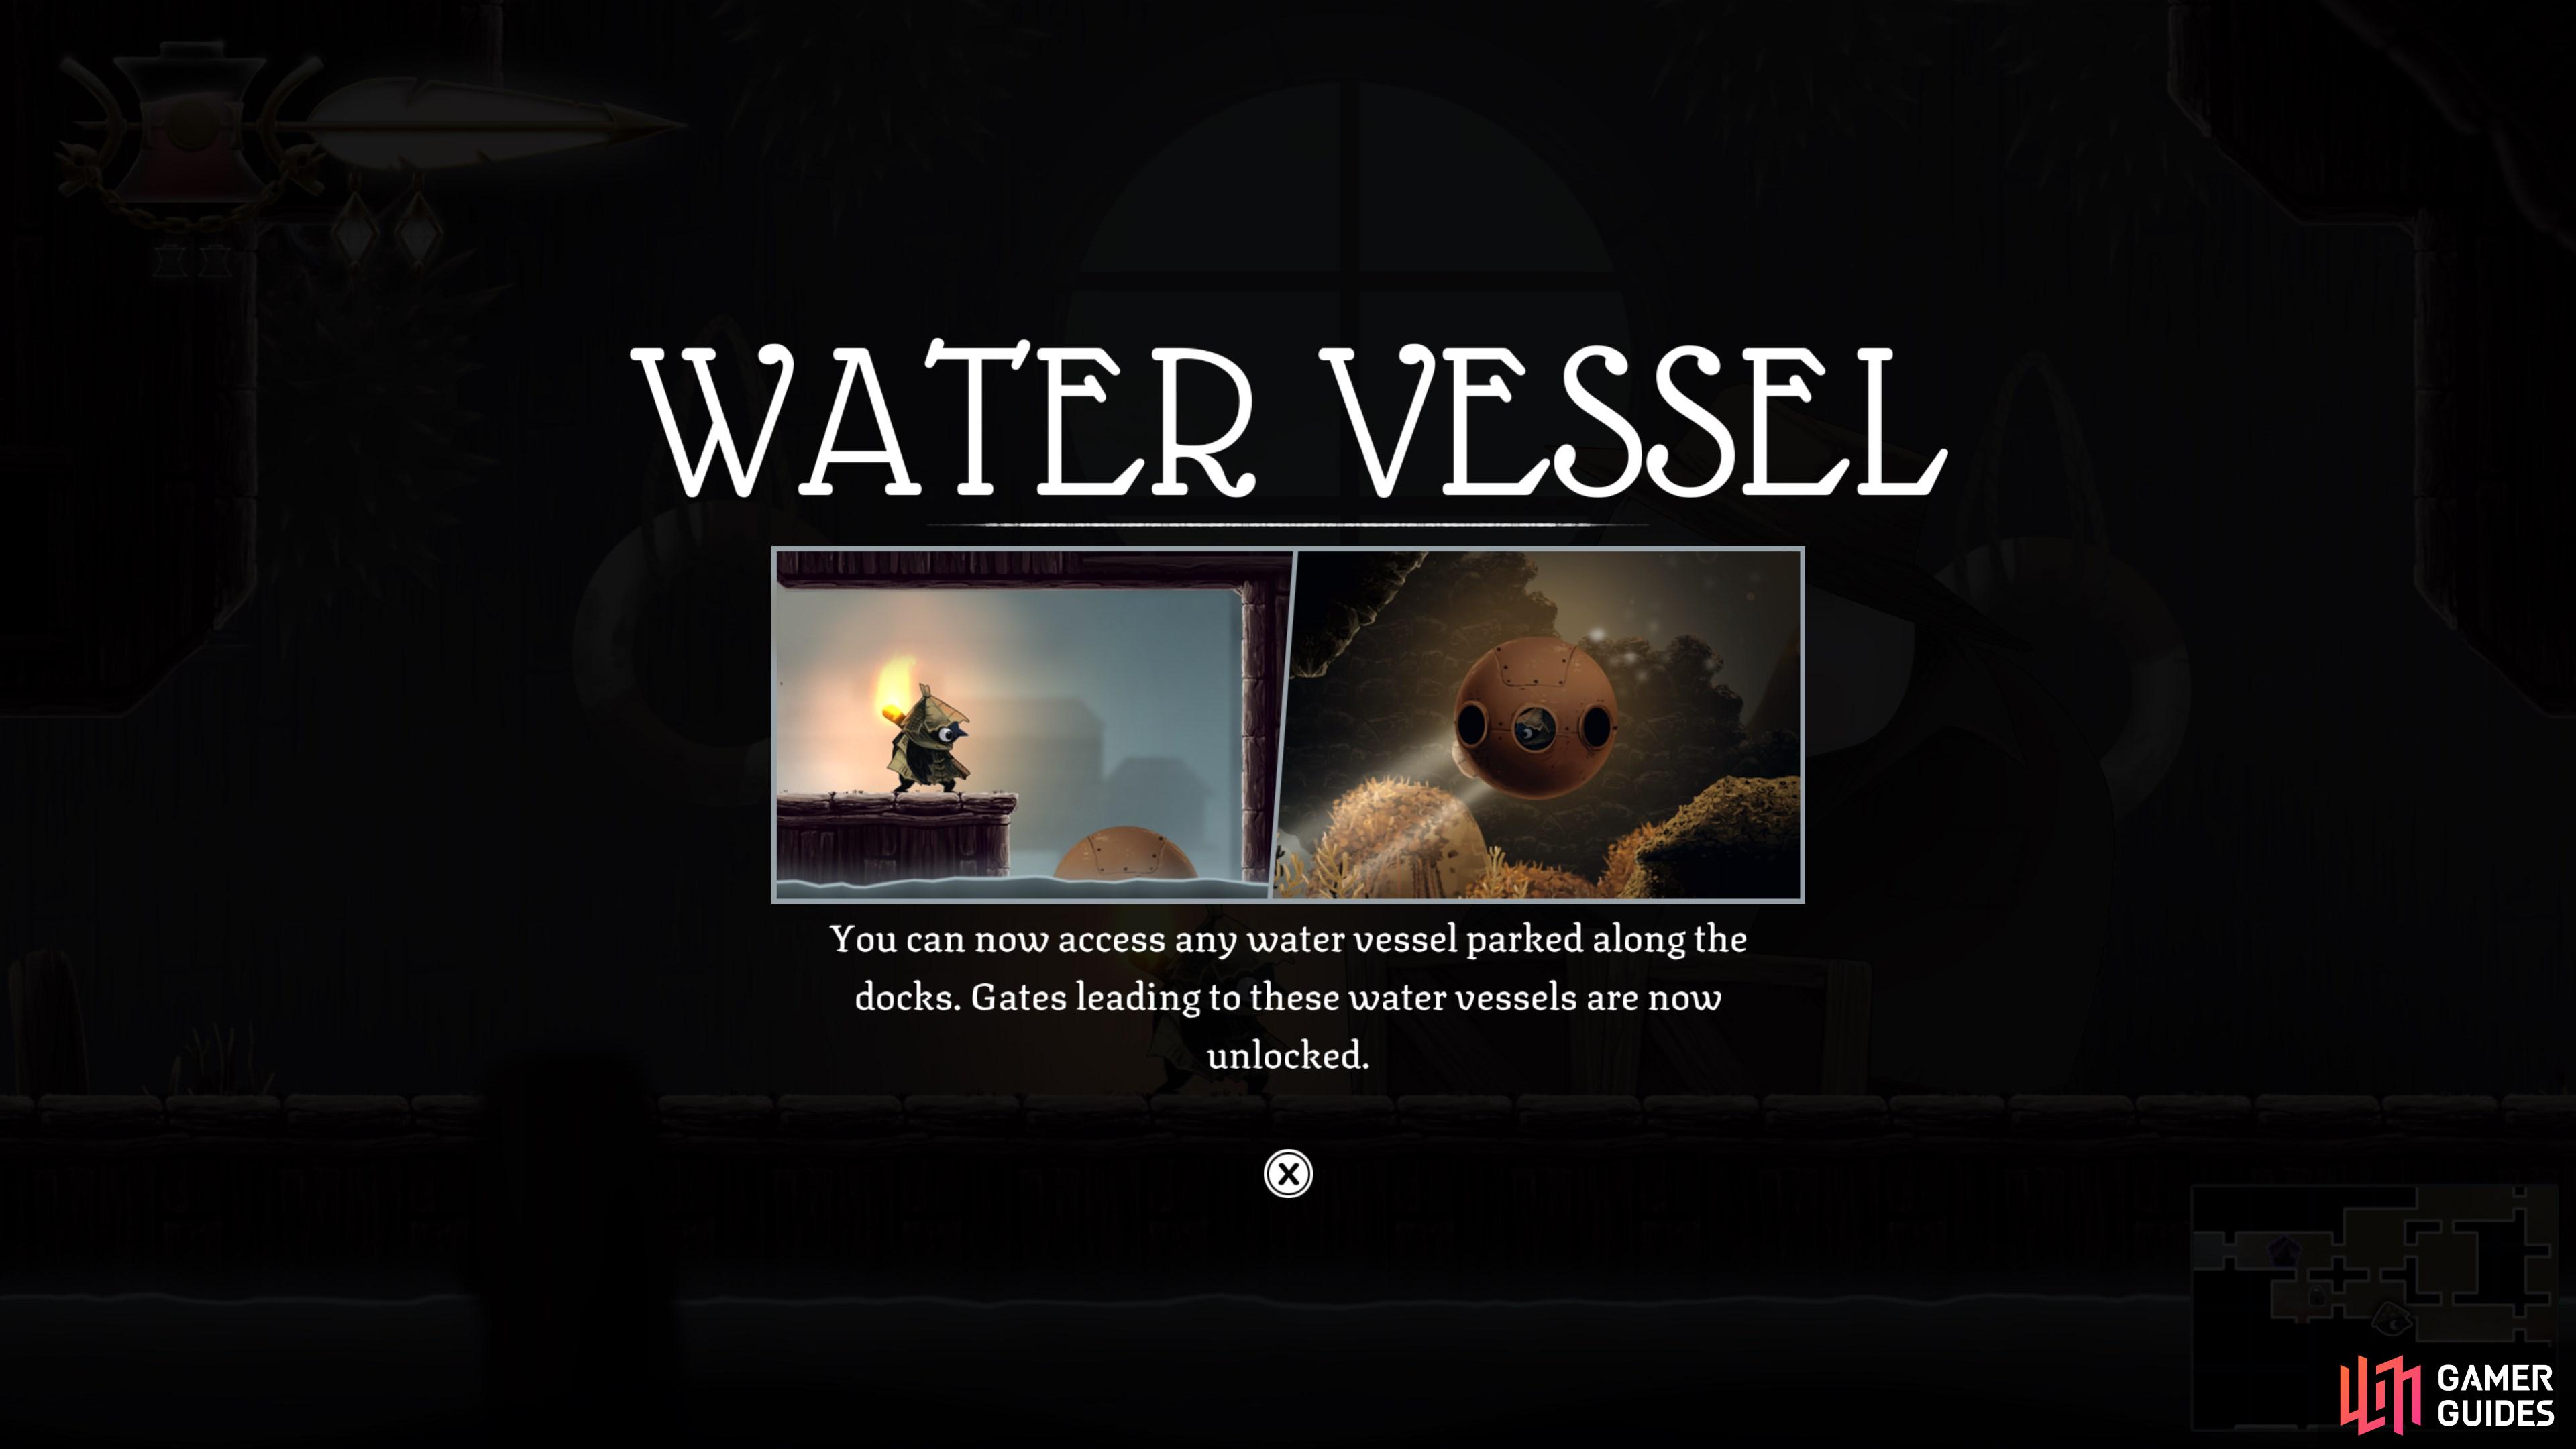
Access the Water Vessel
Return to Barge to gain access to the Water Vessel, which will allow you to continue your quest to find his crew.
Map position: 13875, 9631
-
35
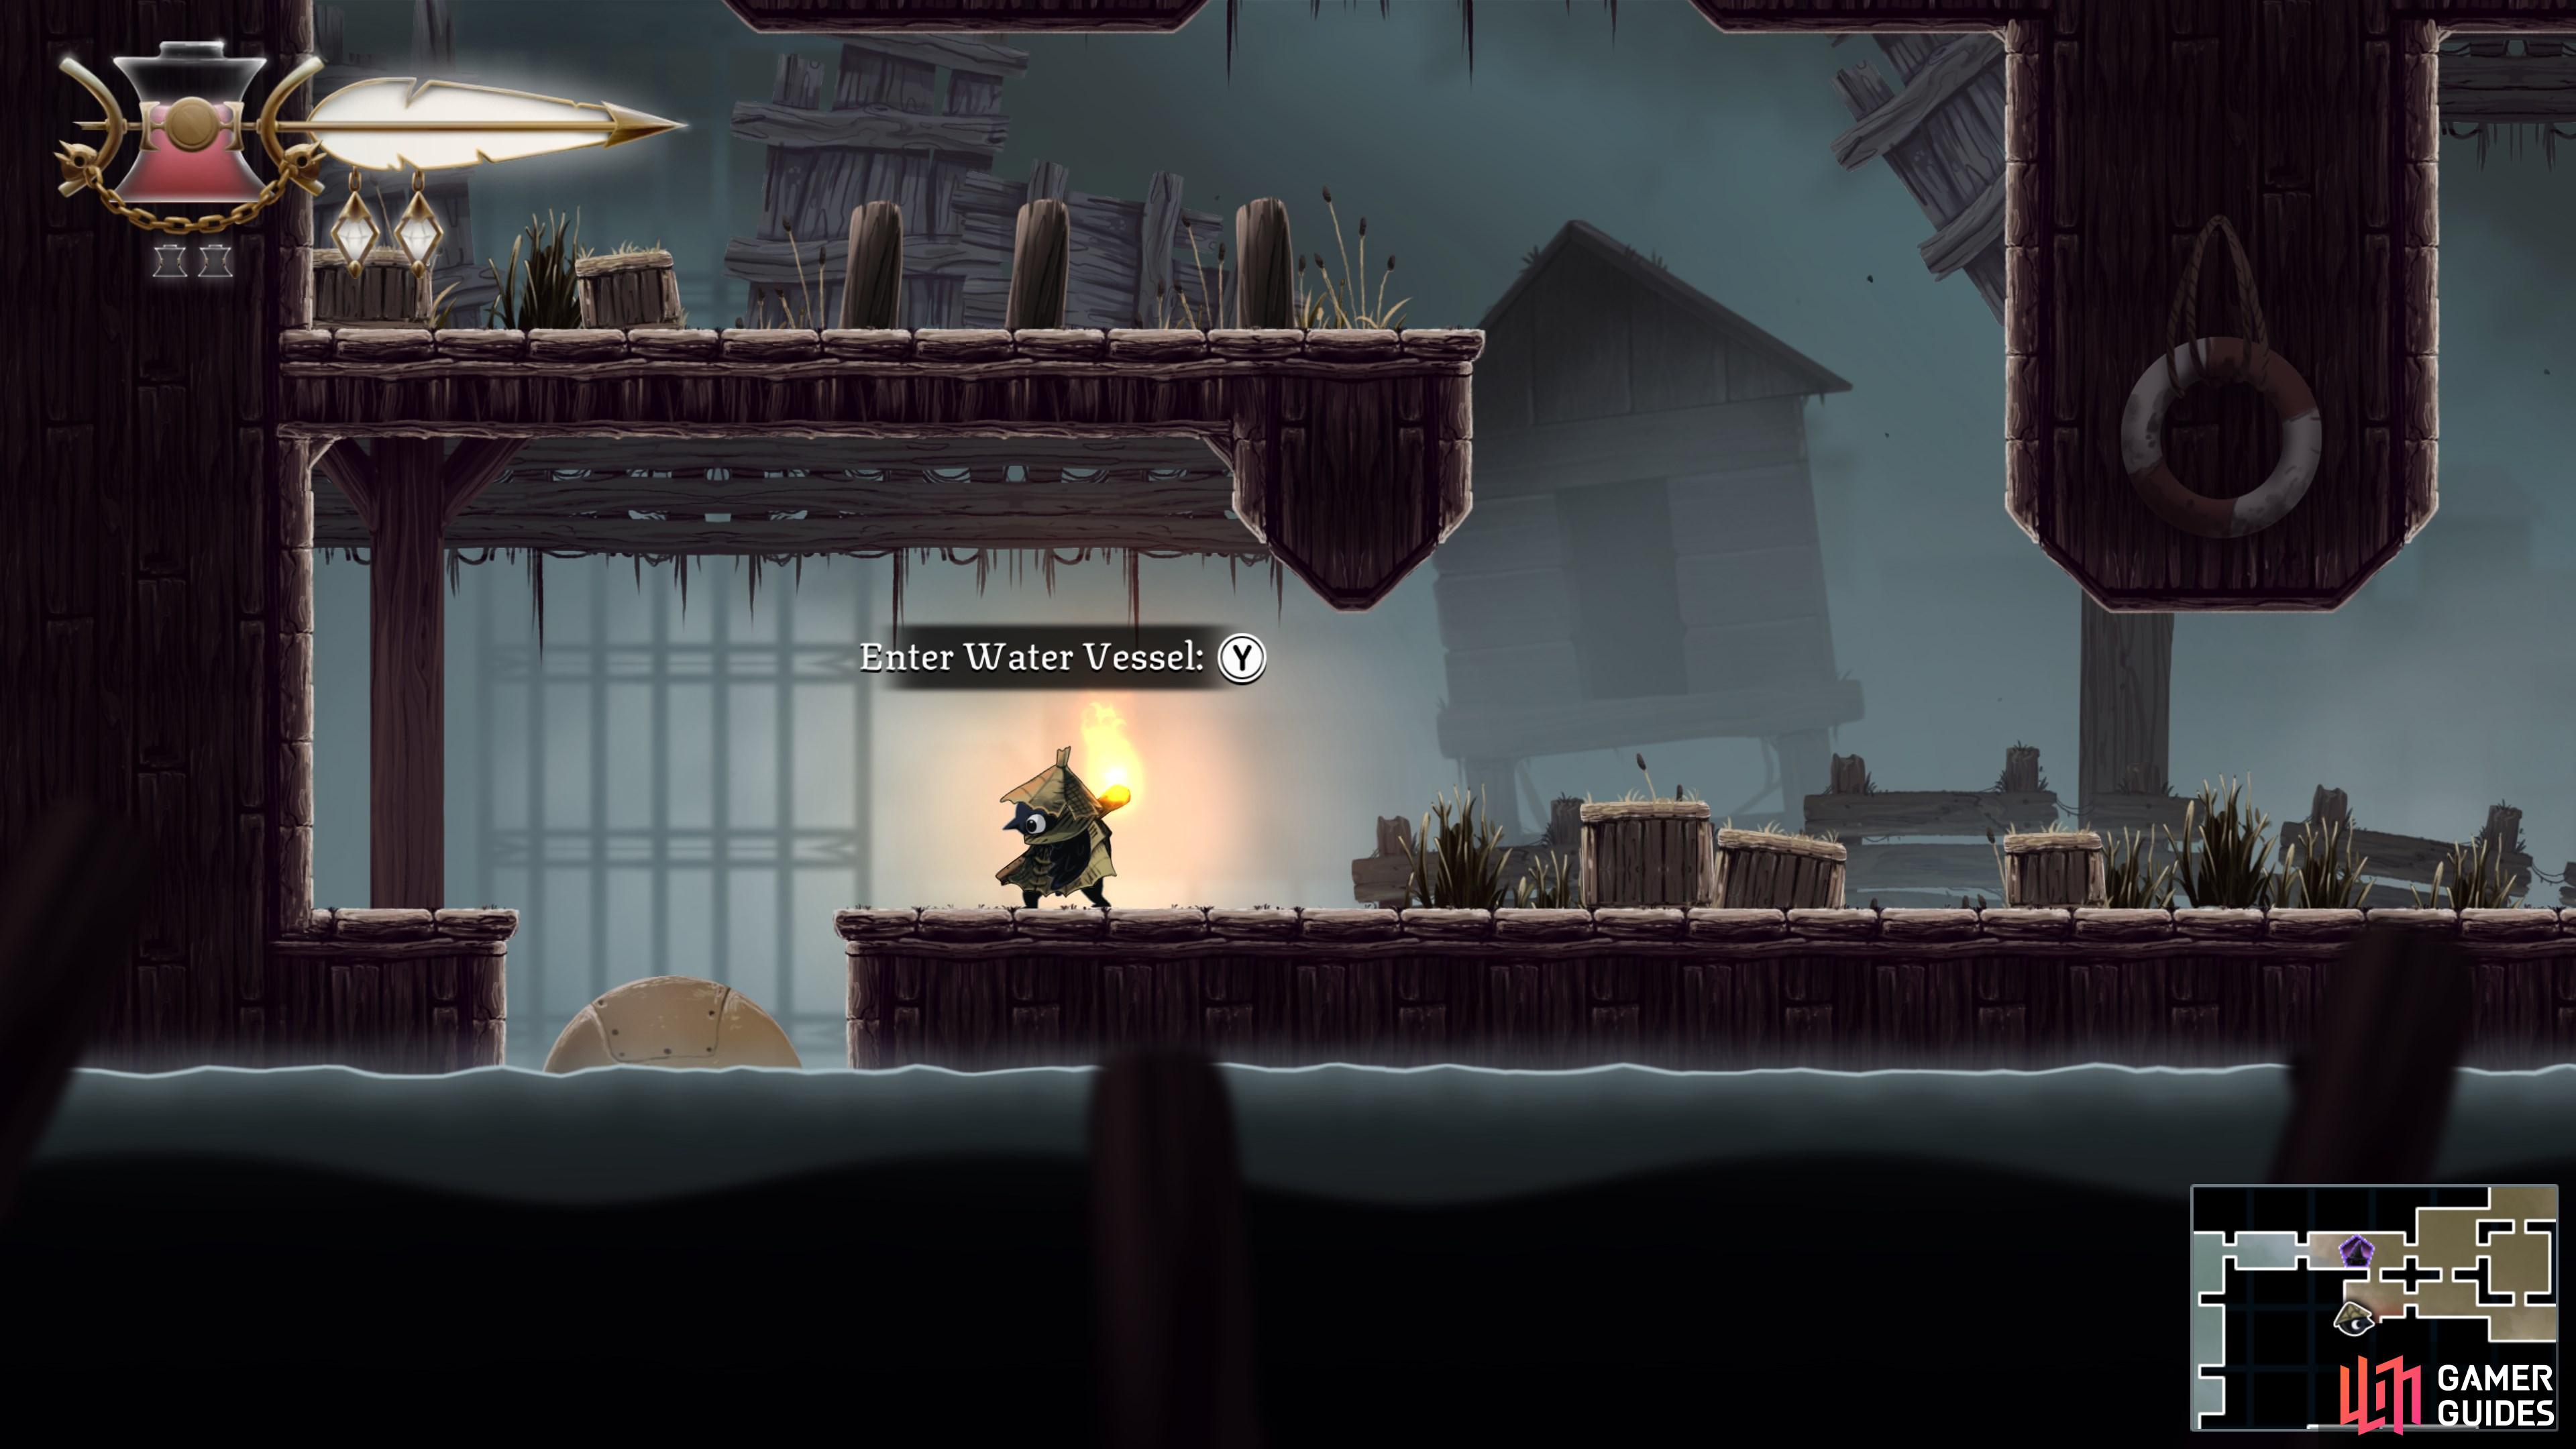
Descend into The Depths
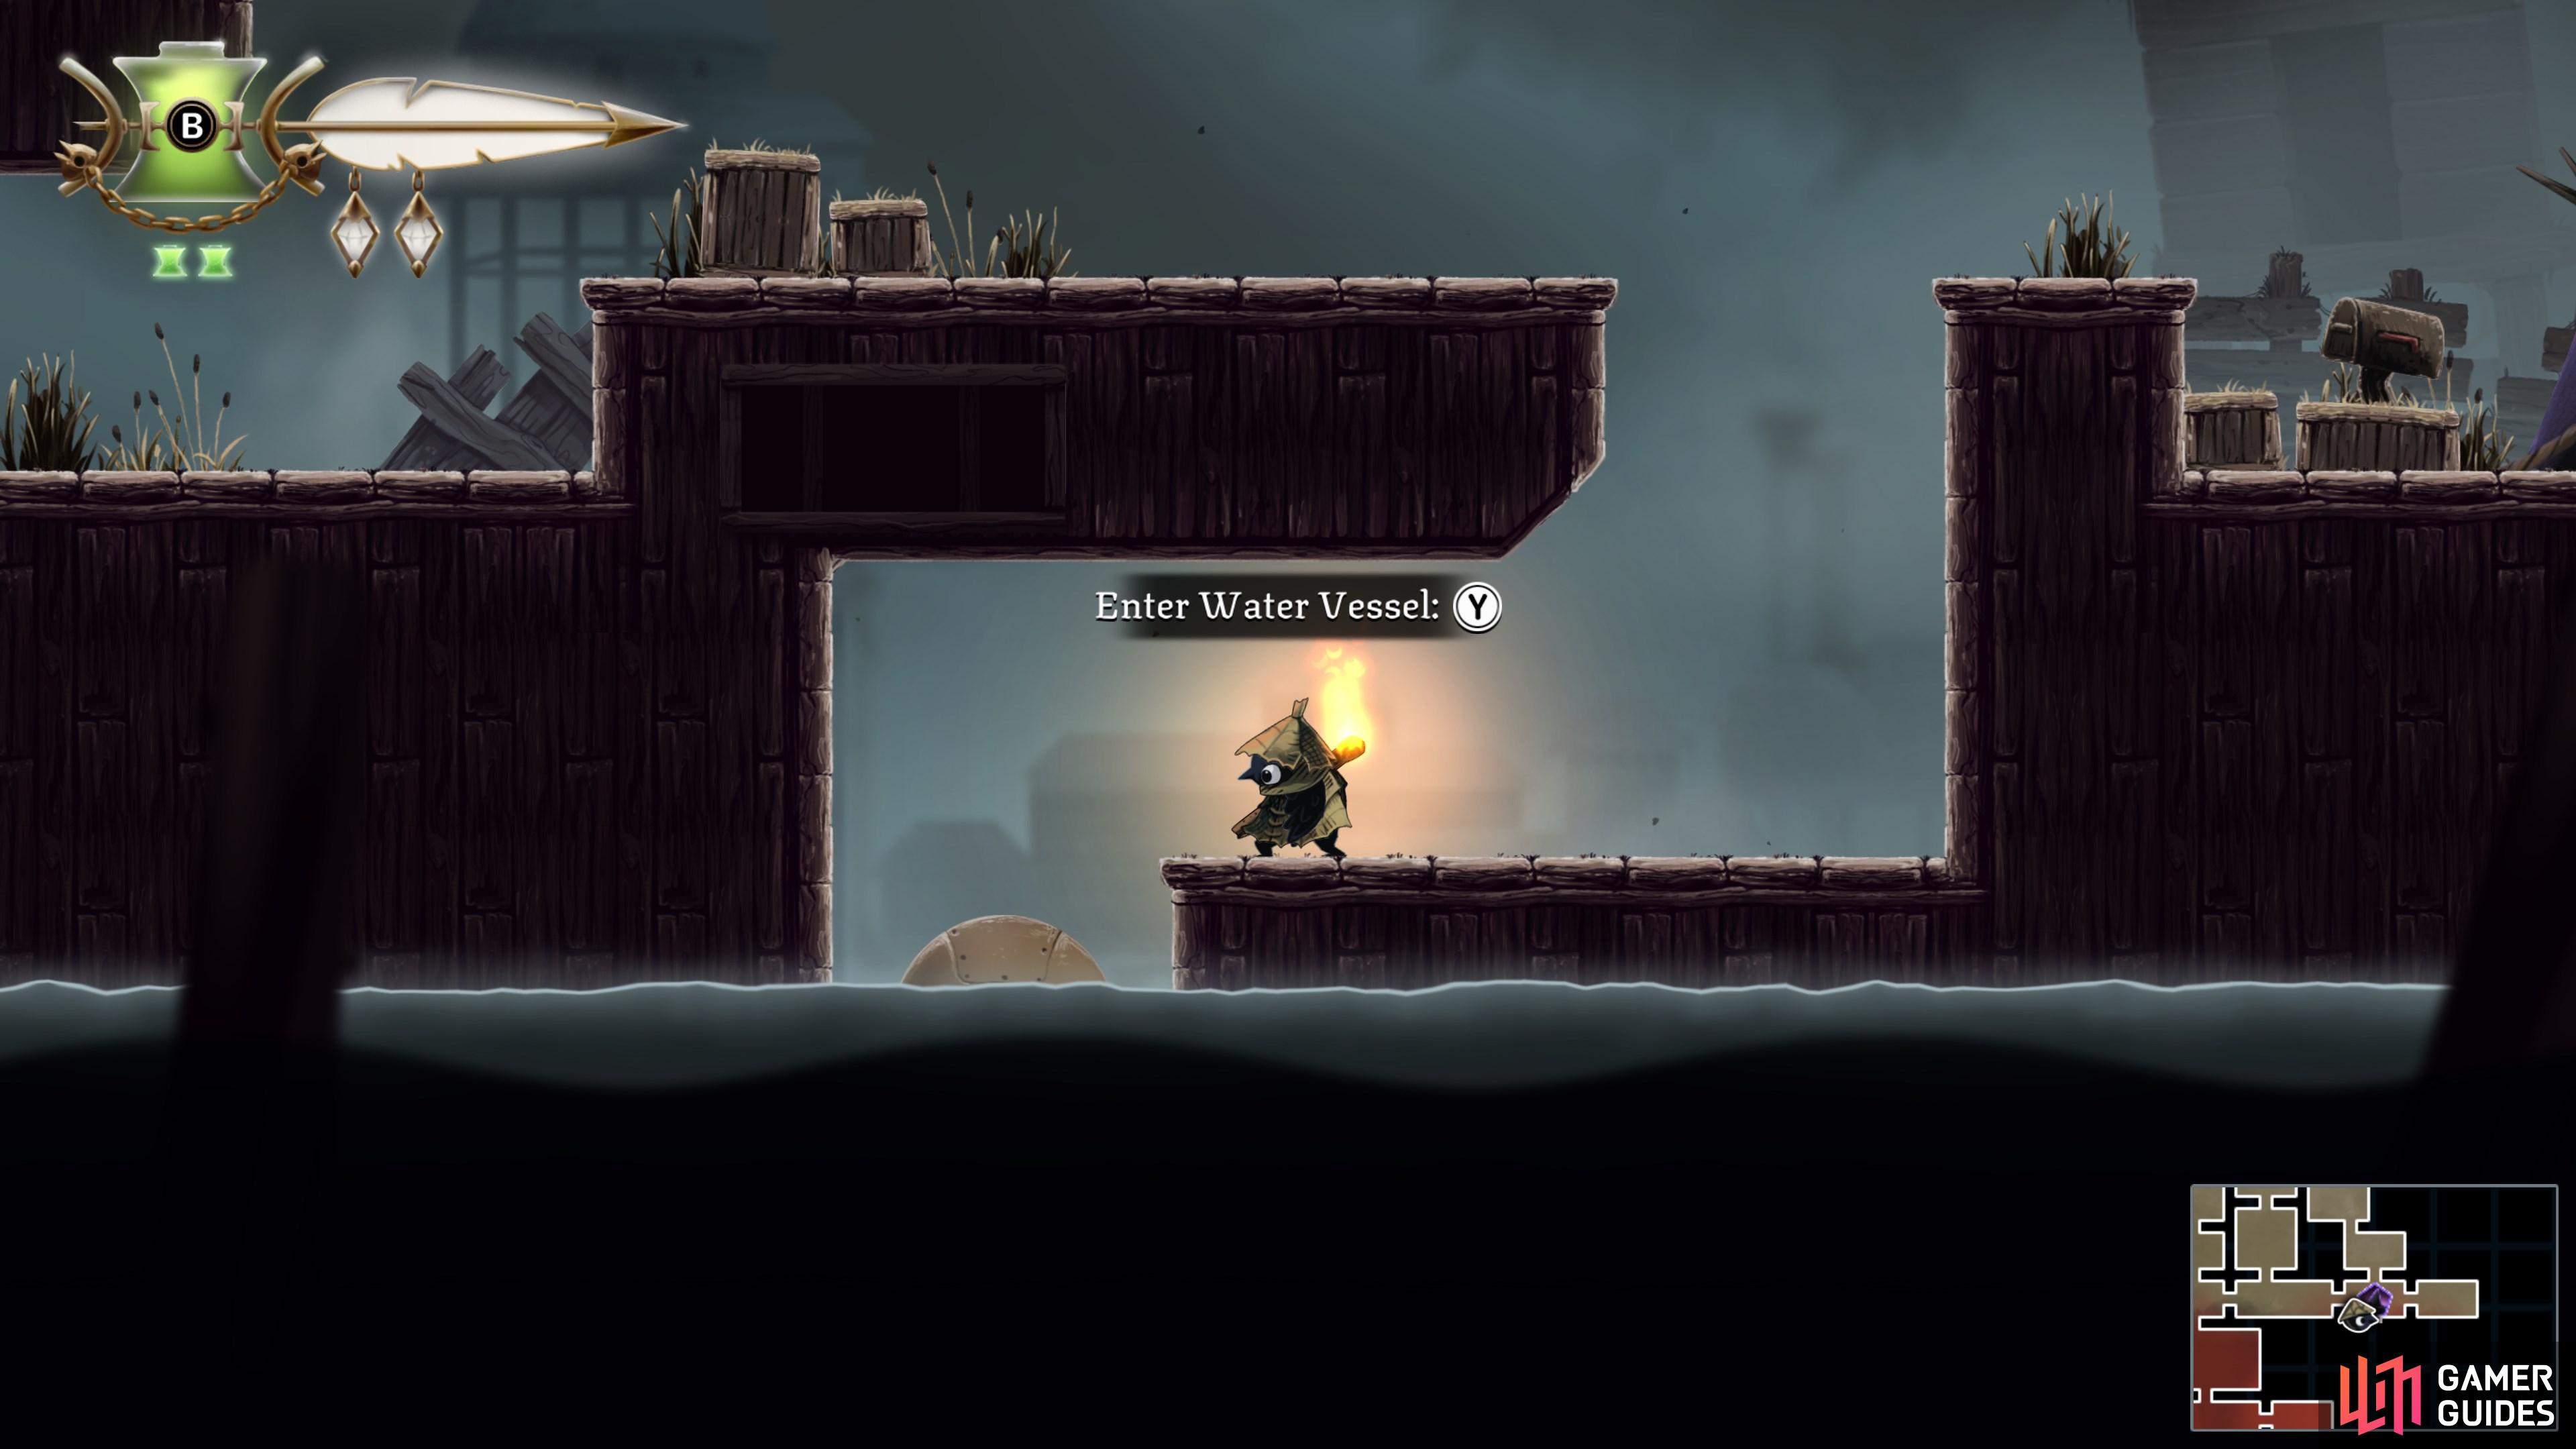
Enter the Water Vessel and head underwater into The Depths area.
Map position: 13555, 9645
-
36
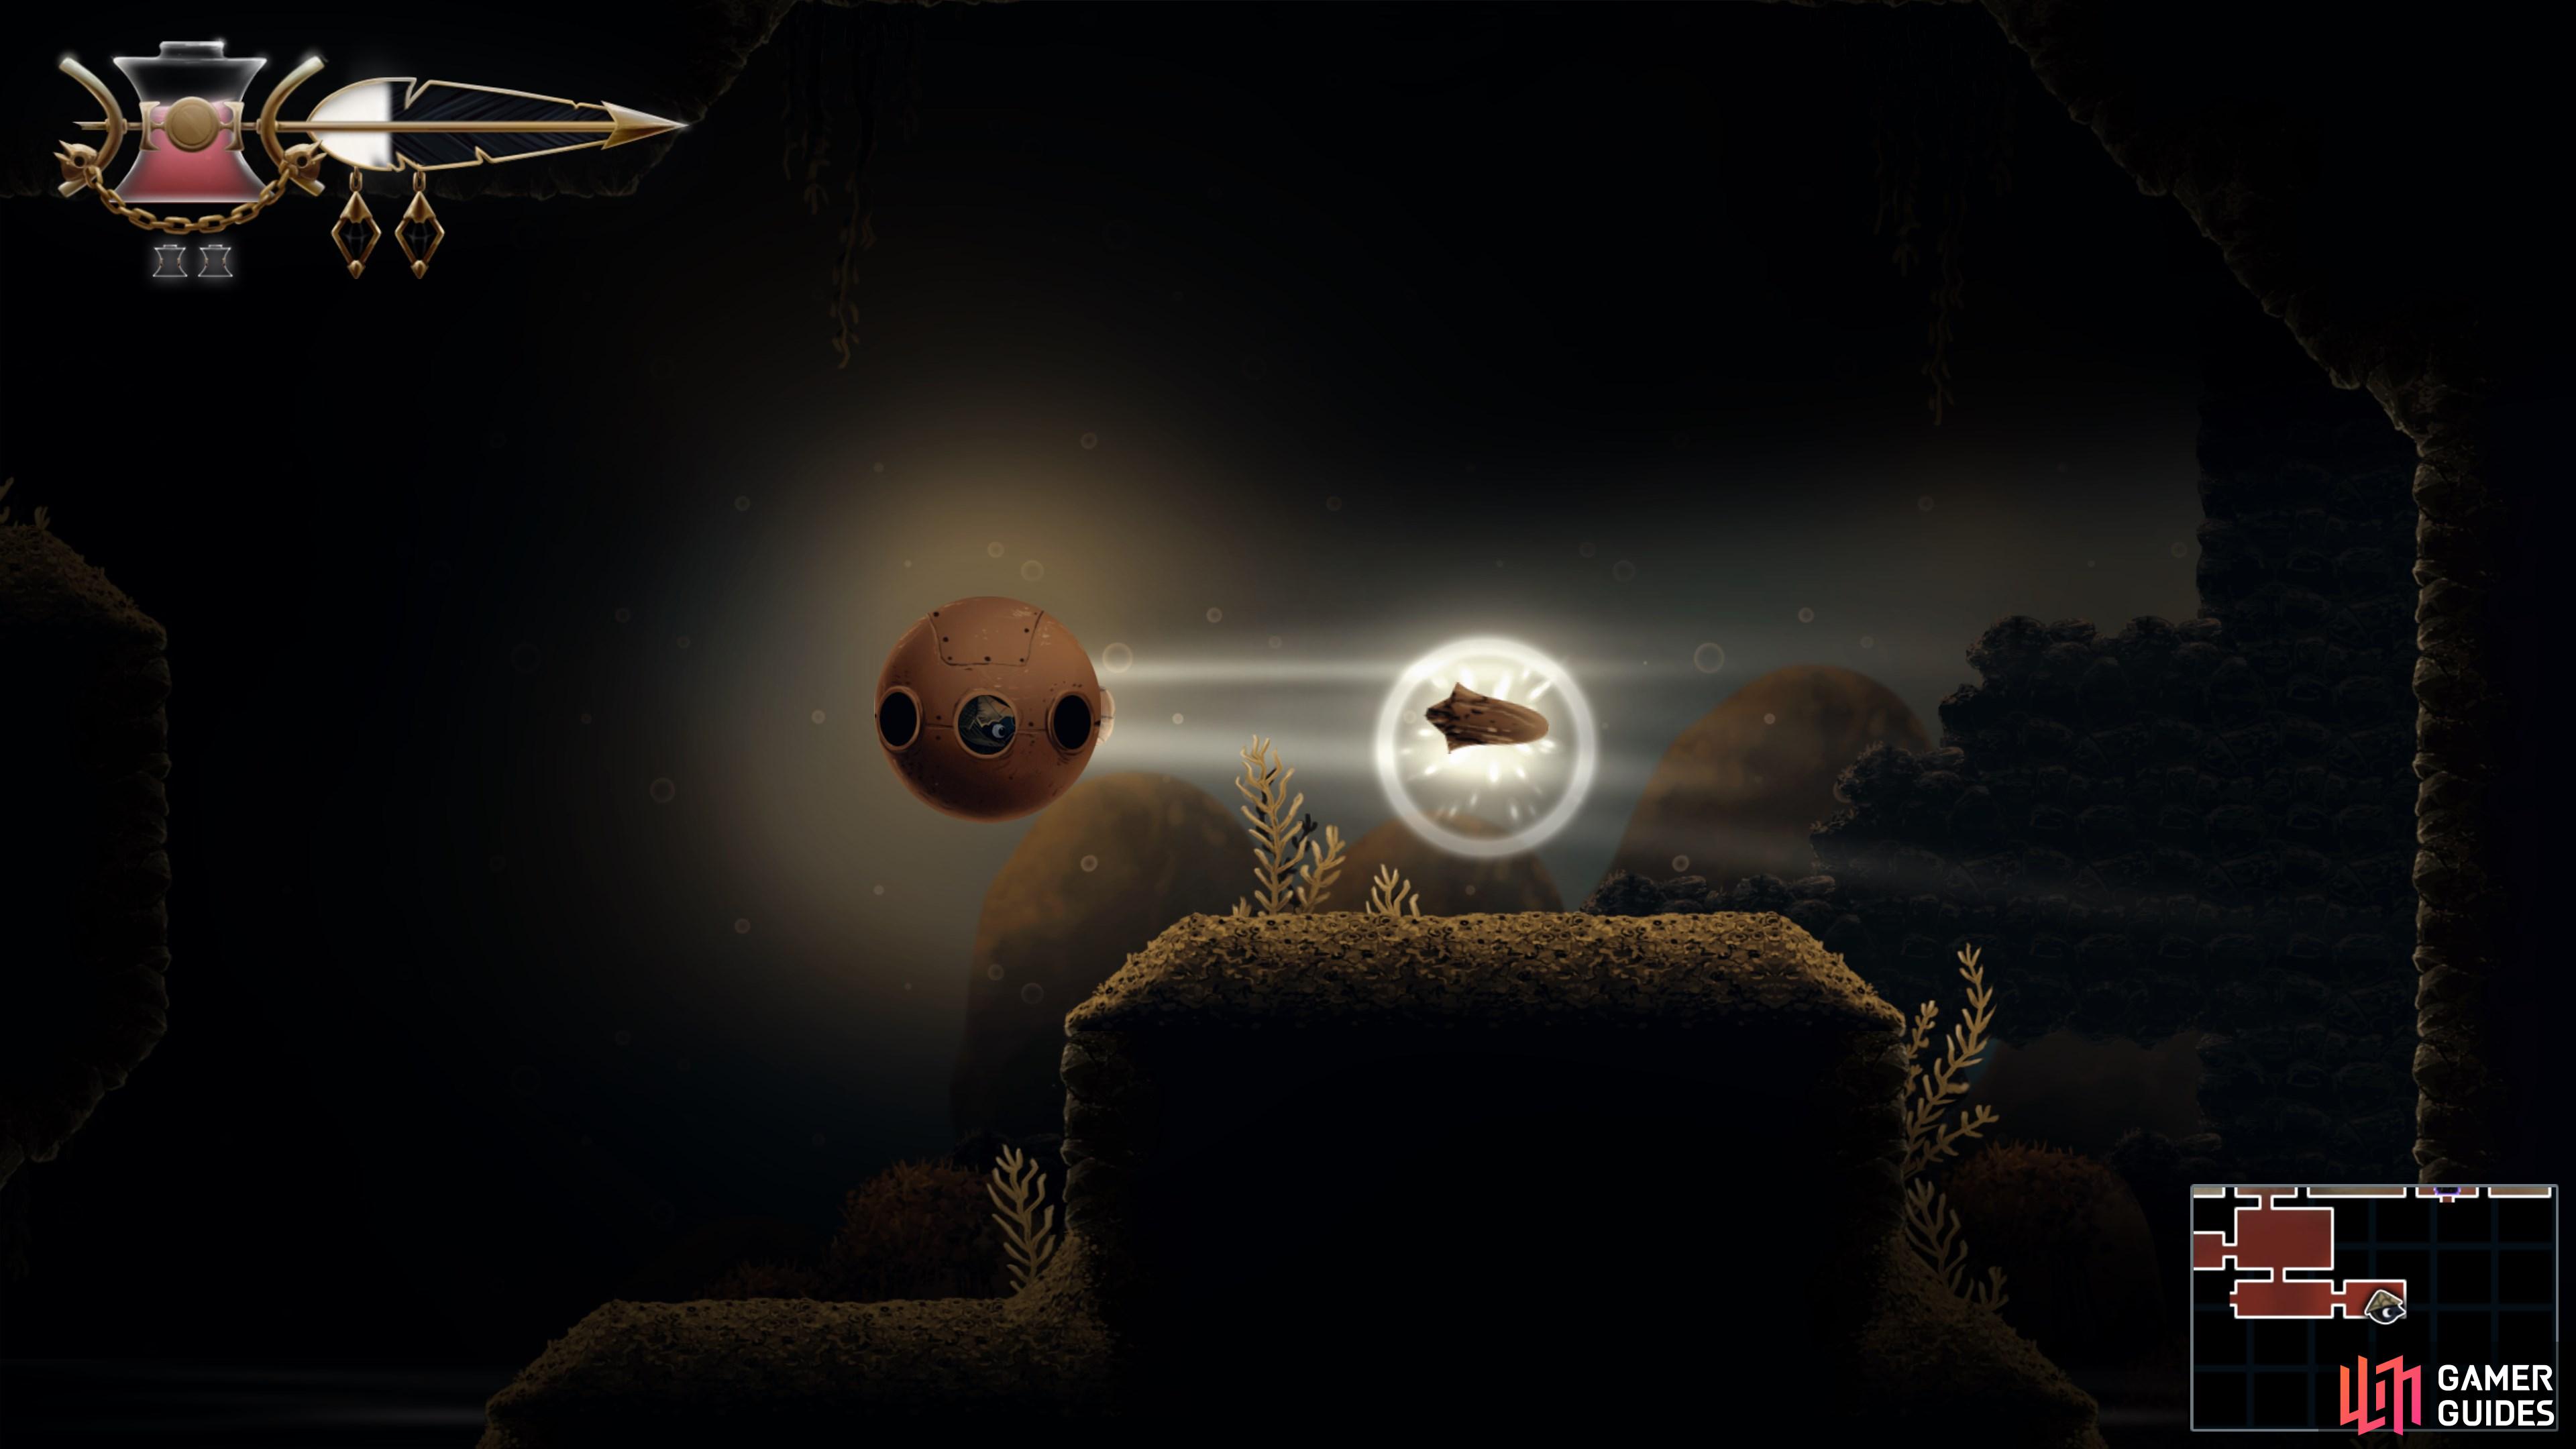
Unlock the Torpedo Ability
Make your way east to gain the Torpedo Ability, which allows you to smash through walls and take out enemies while piloting the Water Vessel.
Map position: 14630, 9994
-
37
Activate the first lever in The Depths
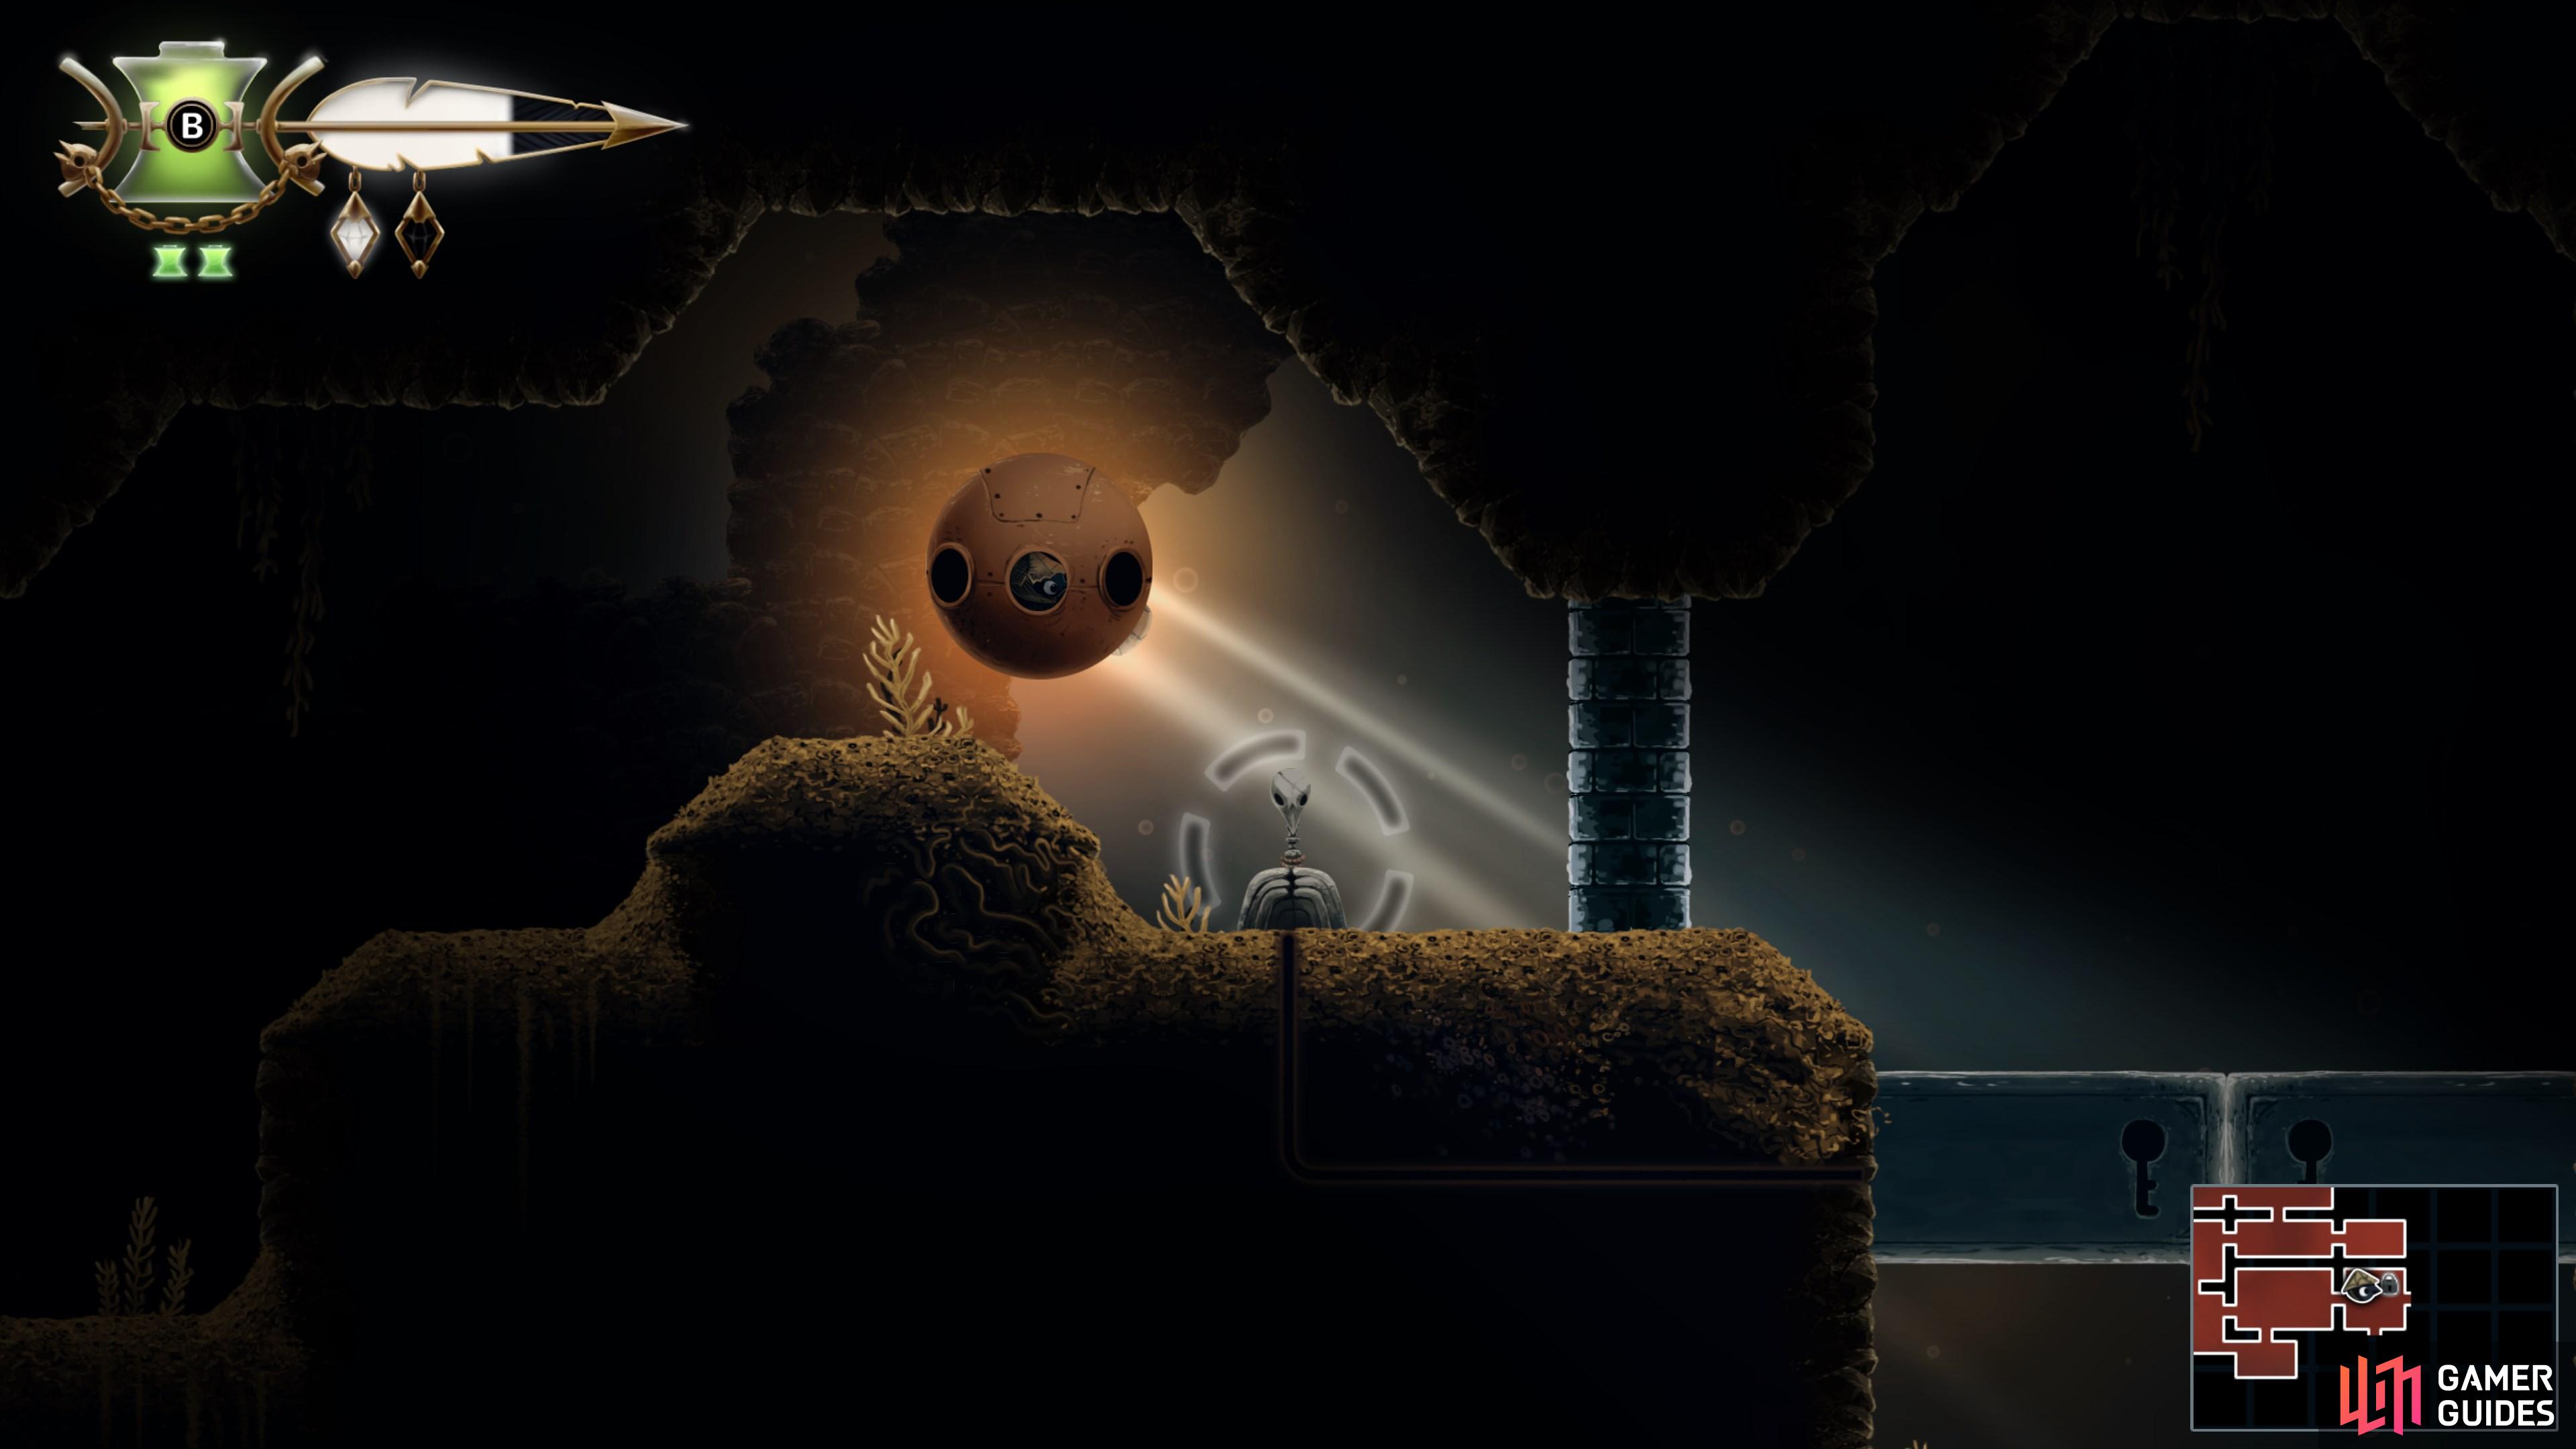
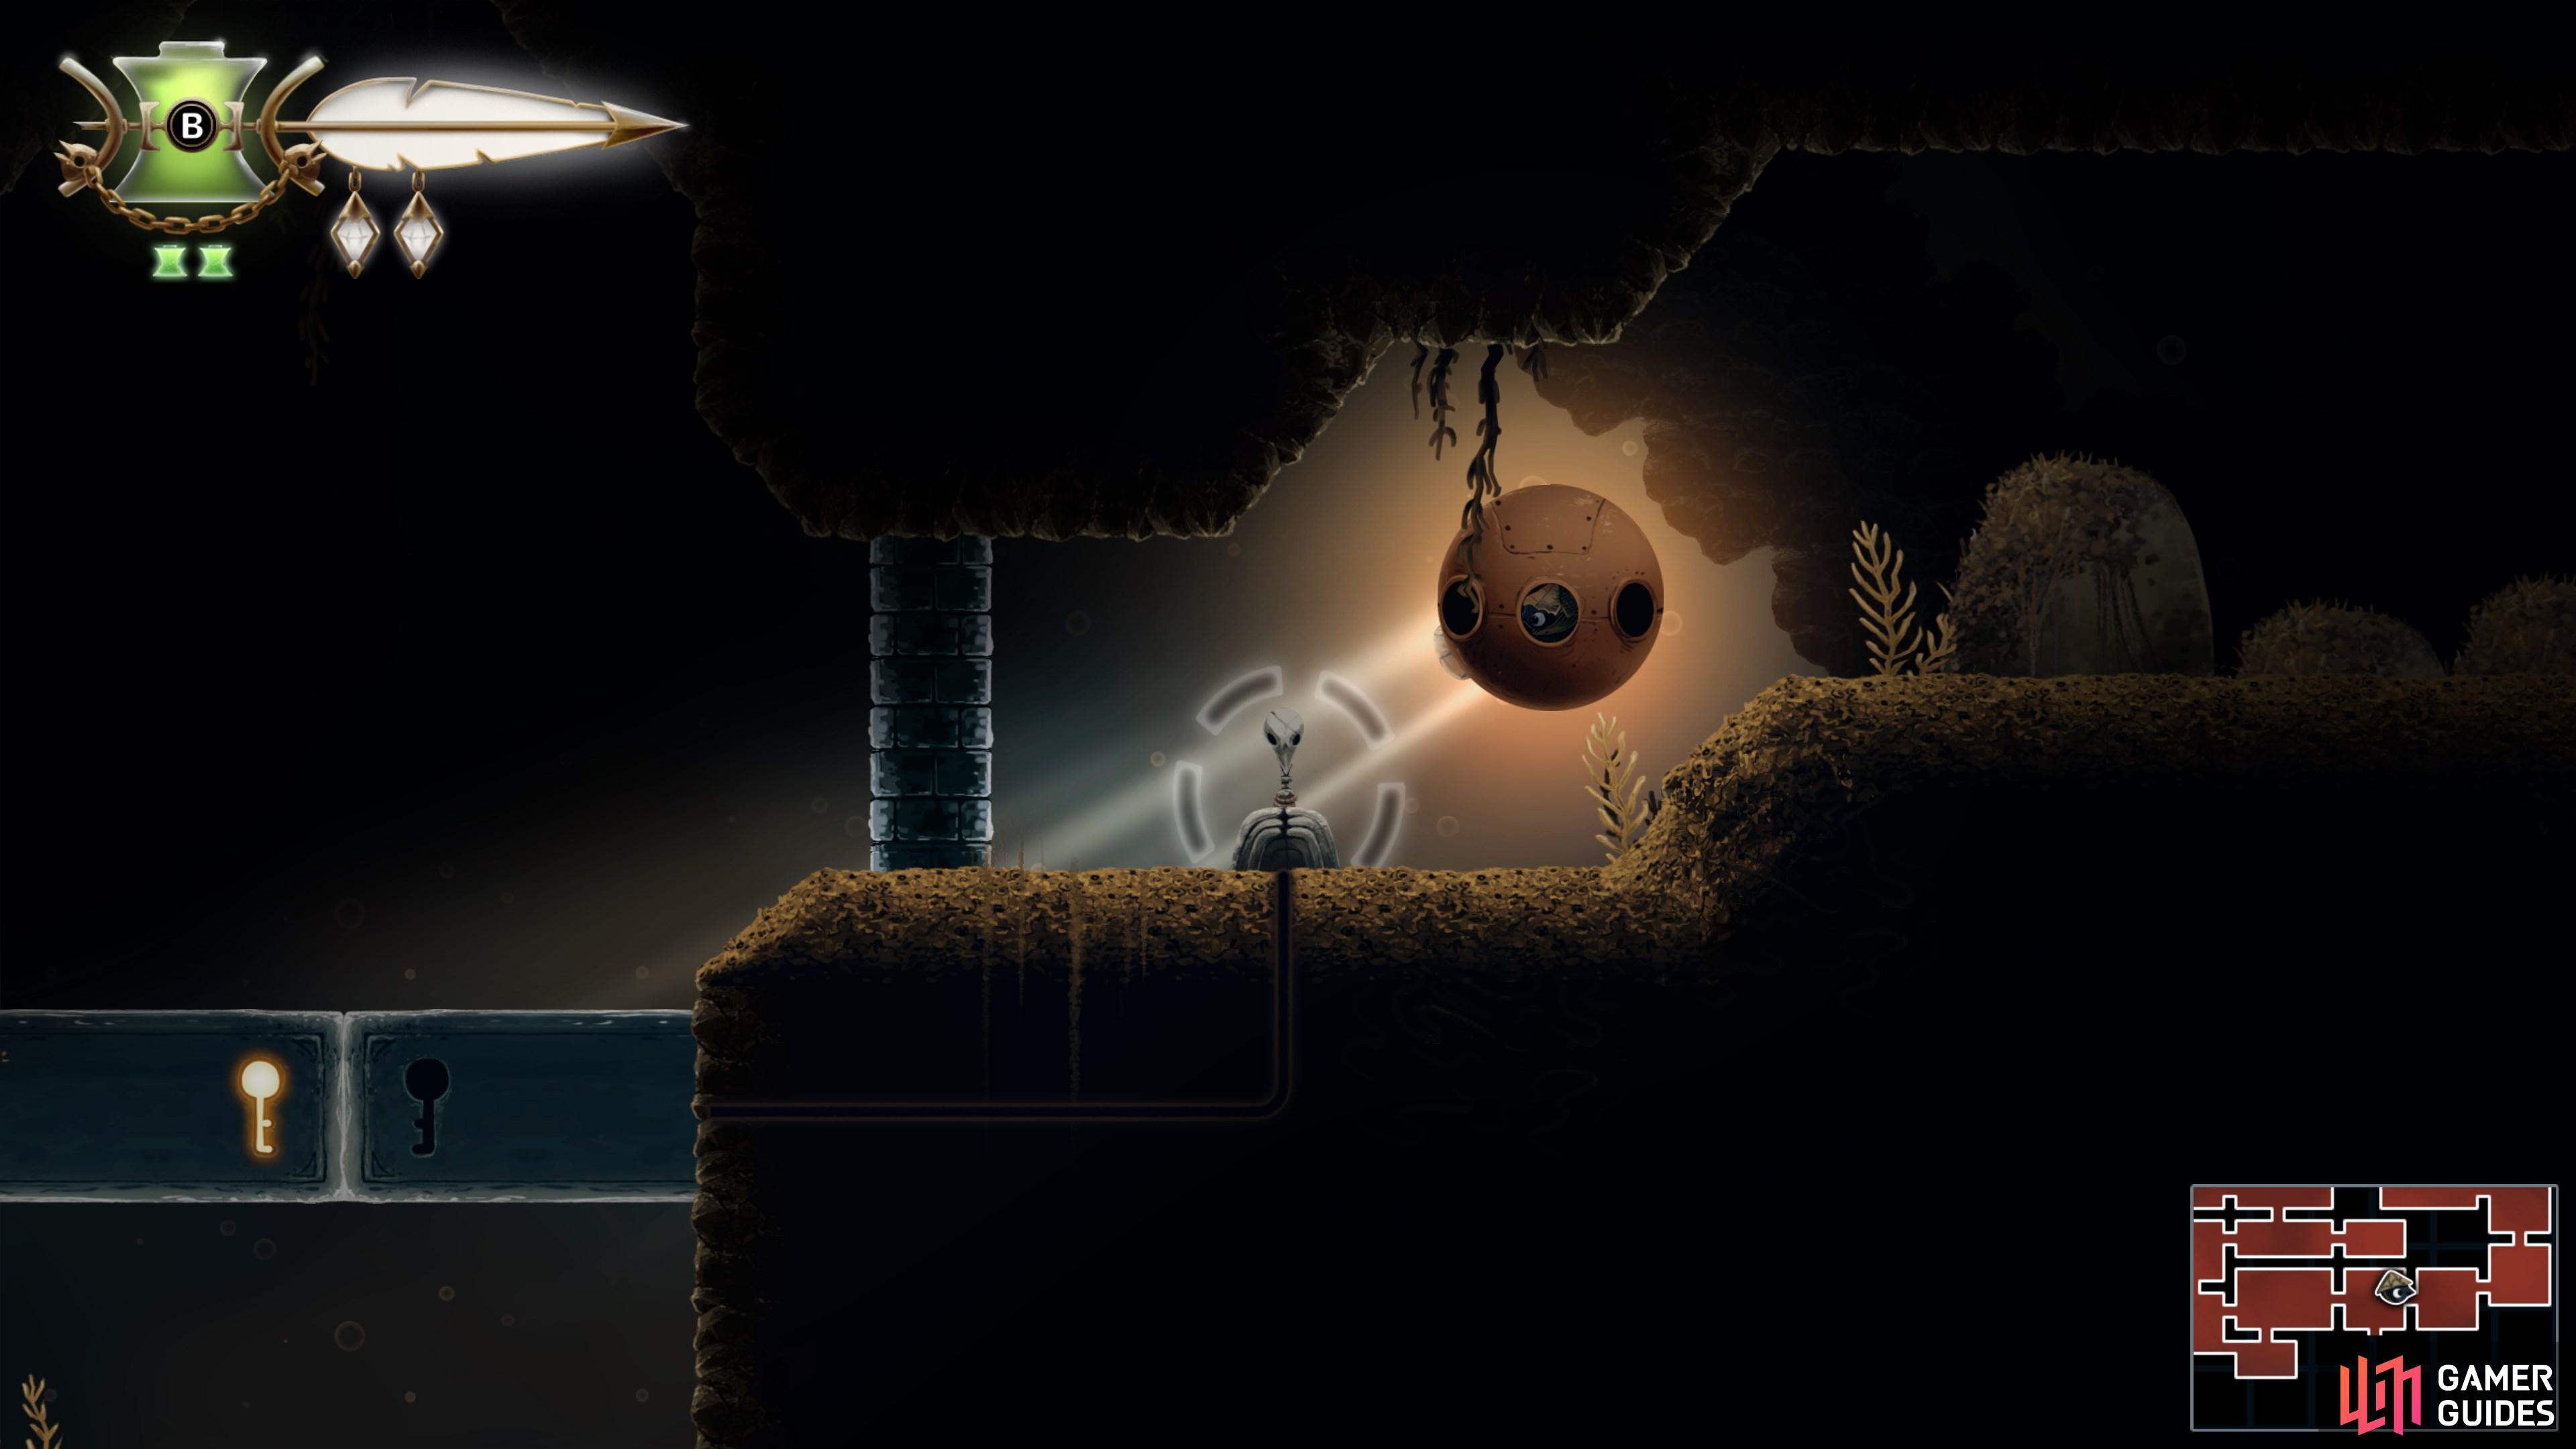
The path to The Depths boss room is blocked by a door that requires two levers to open. Use Torpedos to blast your way through to the lever west of the door.
Map position: 14563, 10112
-
38
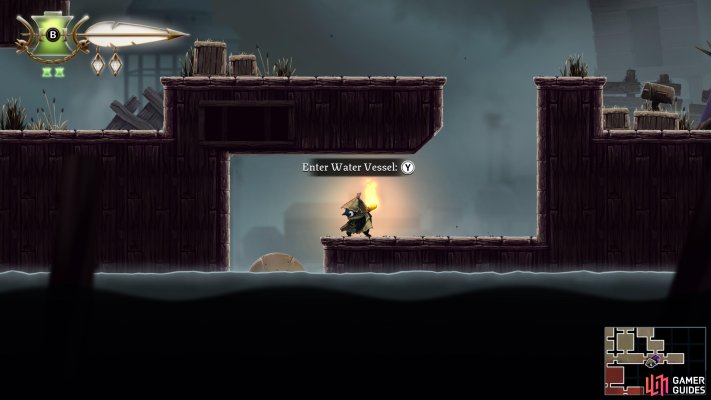
Enter the eastern Water Vessel
Tent Travel back to The Docks, and this time, enter The Depths using the eastern Water Vessel.
Map position: 14742, 9689
-
39
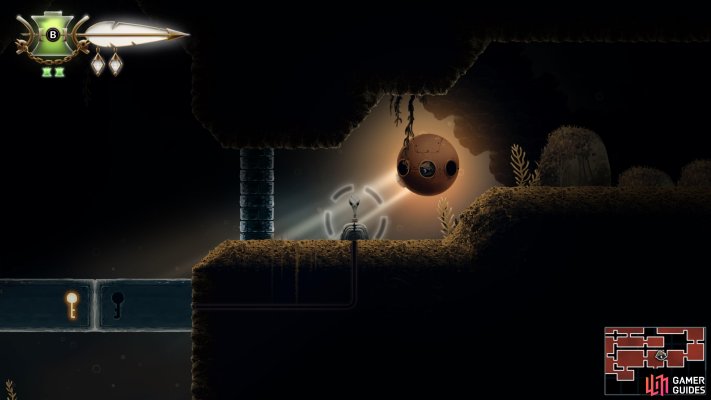
Activate the second lever
Make your way down through the eastern section of The Depths to activate the second lever, opening the path ahead.
Map position: 14628, 10113
-
40
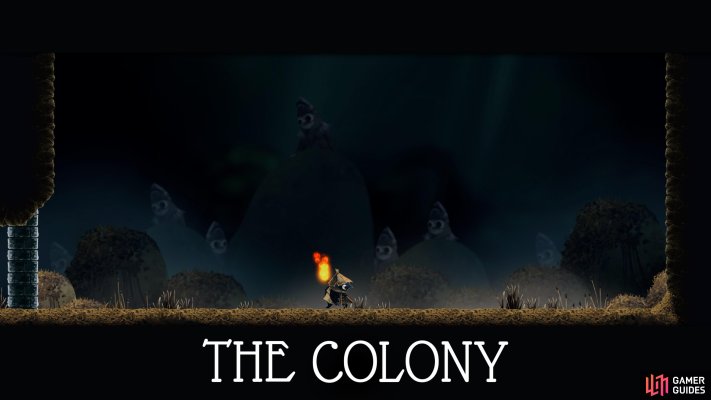
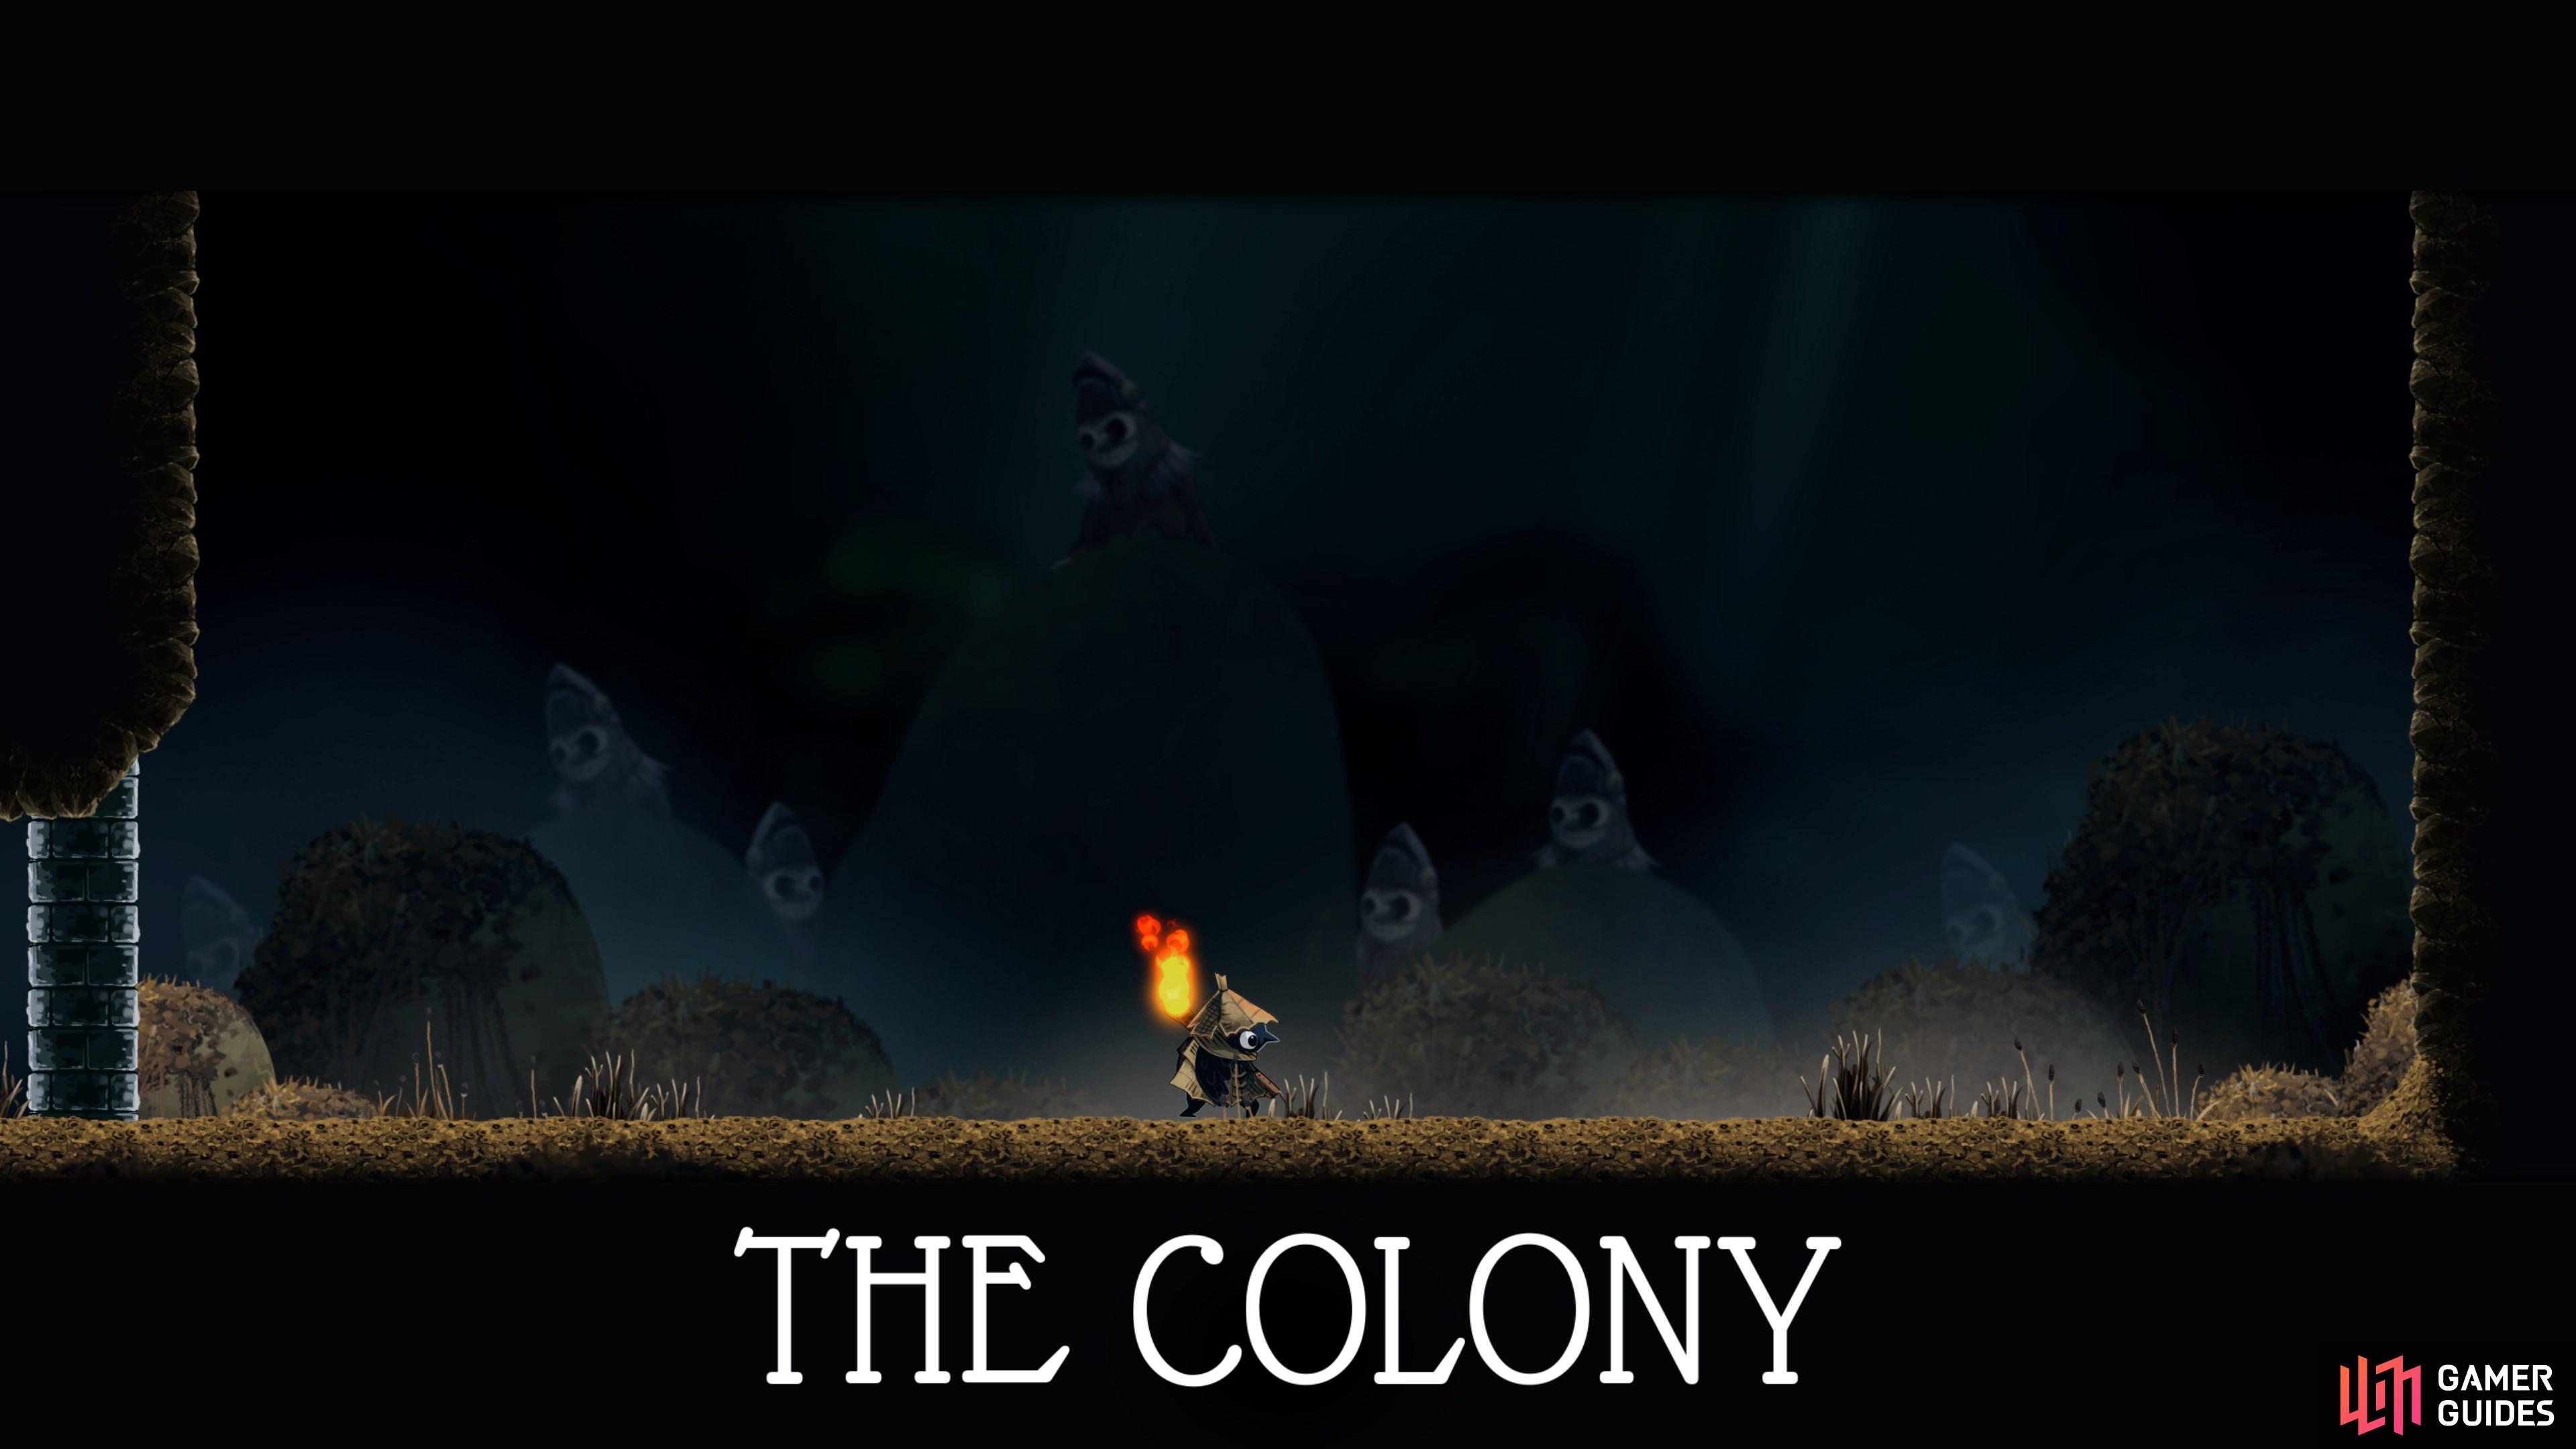
Defeat The Colony
Make your way to the deepest part of The Depths and defeat The Colony. Thistle and Thimble will appear after the battle. They will show up inside your save tent after the rescue.
Map position: 14964, 10480
-
41
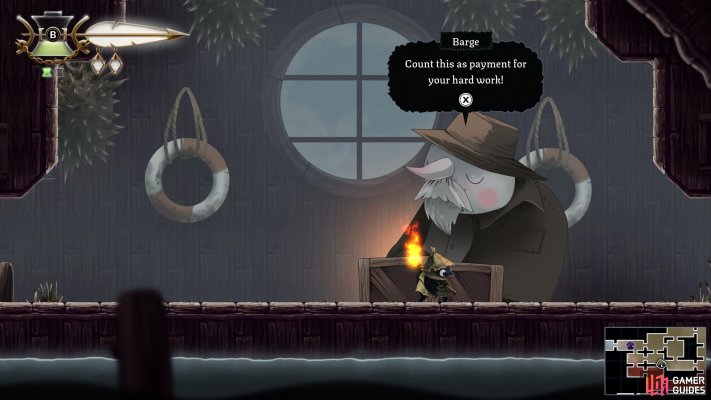
Gain the Endless Climb Ability
Return to Barge once more. He will fire you, but the golden parachute is the Endless Climb Ability. A fair trade.
Map position: 13890, 9630
-
42
Enter the Autumn Forest
Use Endless Climb to ascend from Gravenvalley into the Autumn Forest area.
Map position: 12555, 9502
-
43
Gain the Golden Gate Key
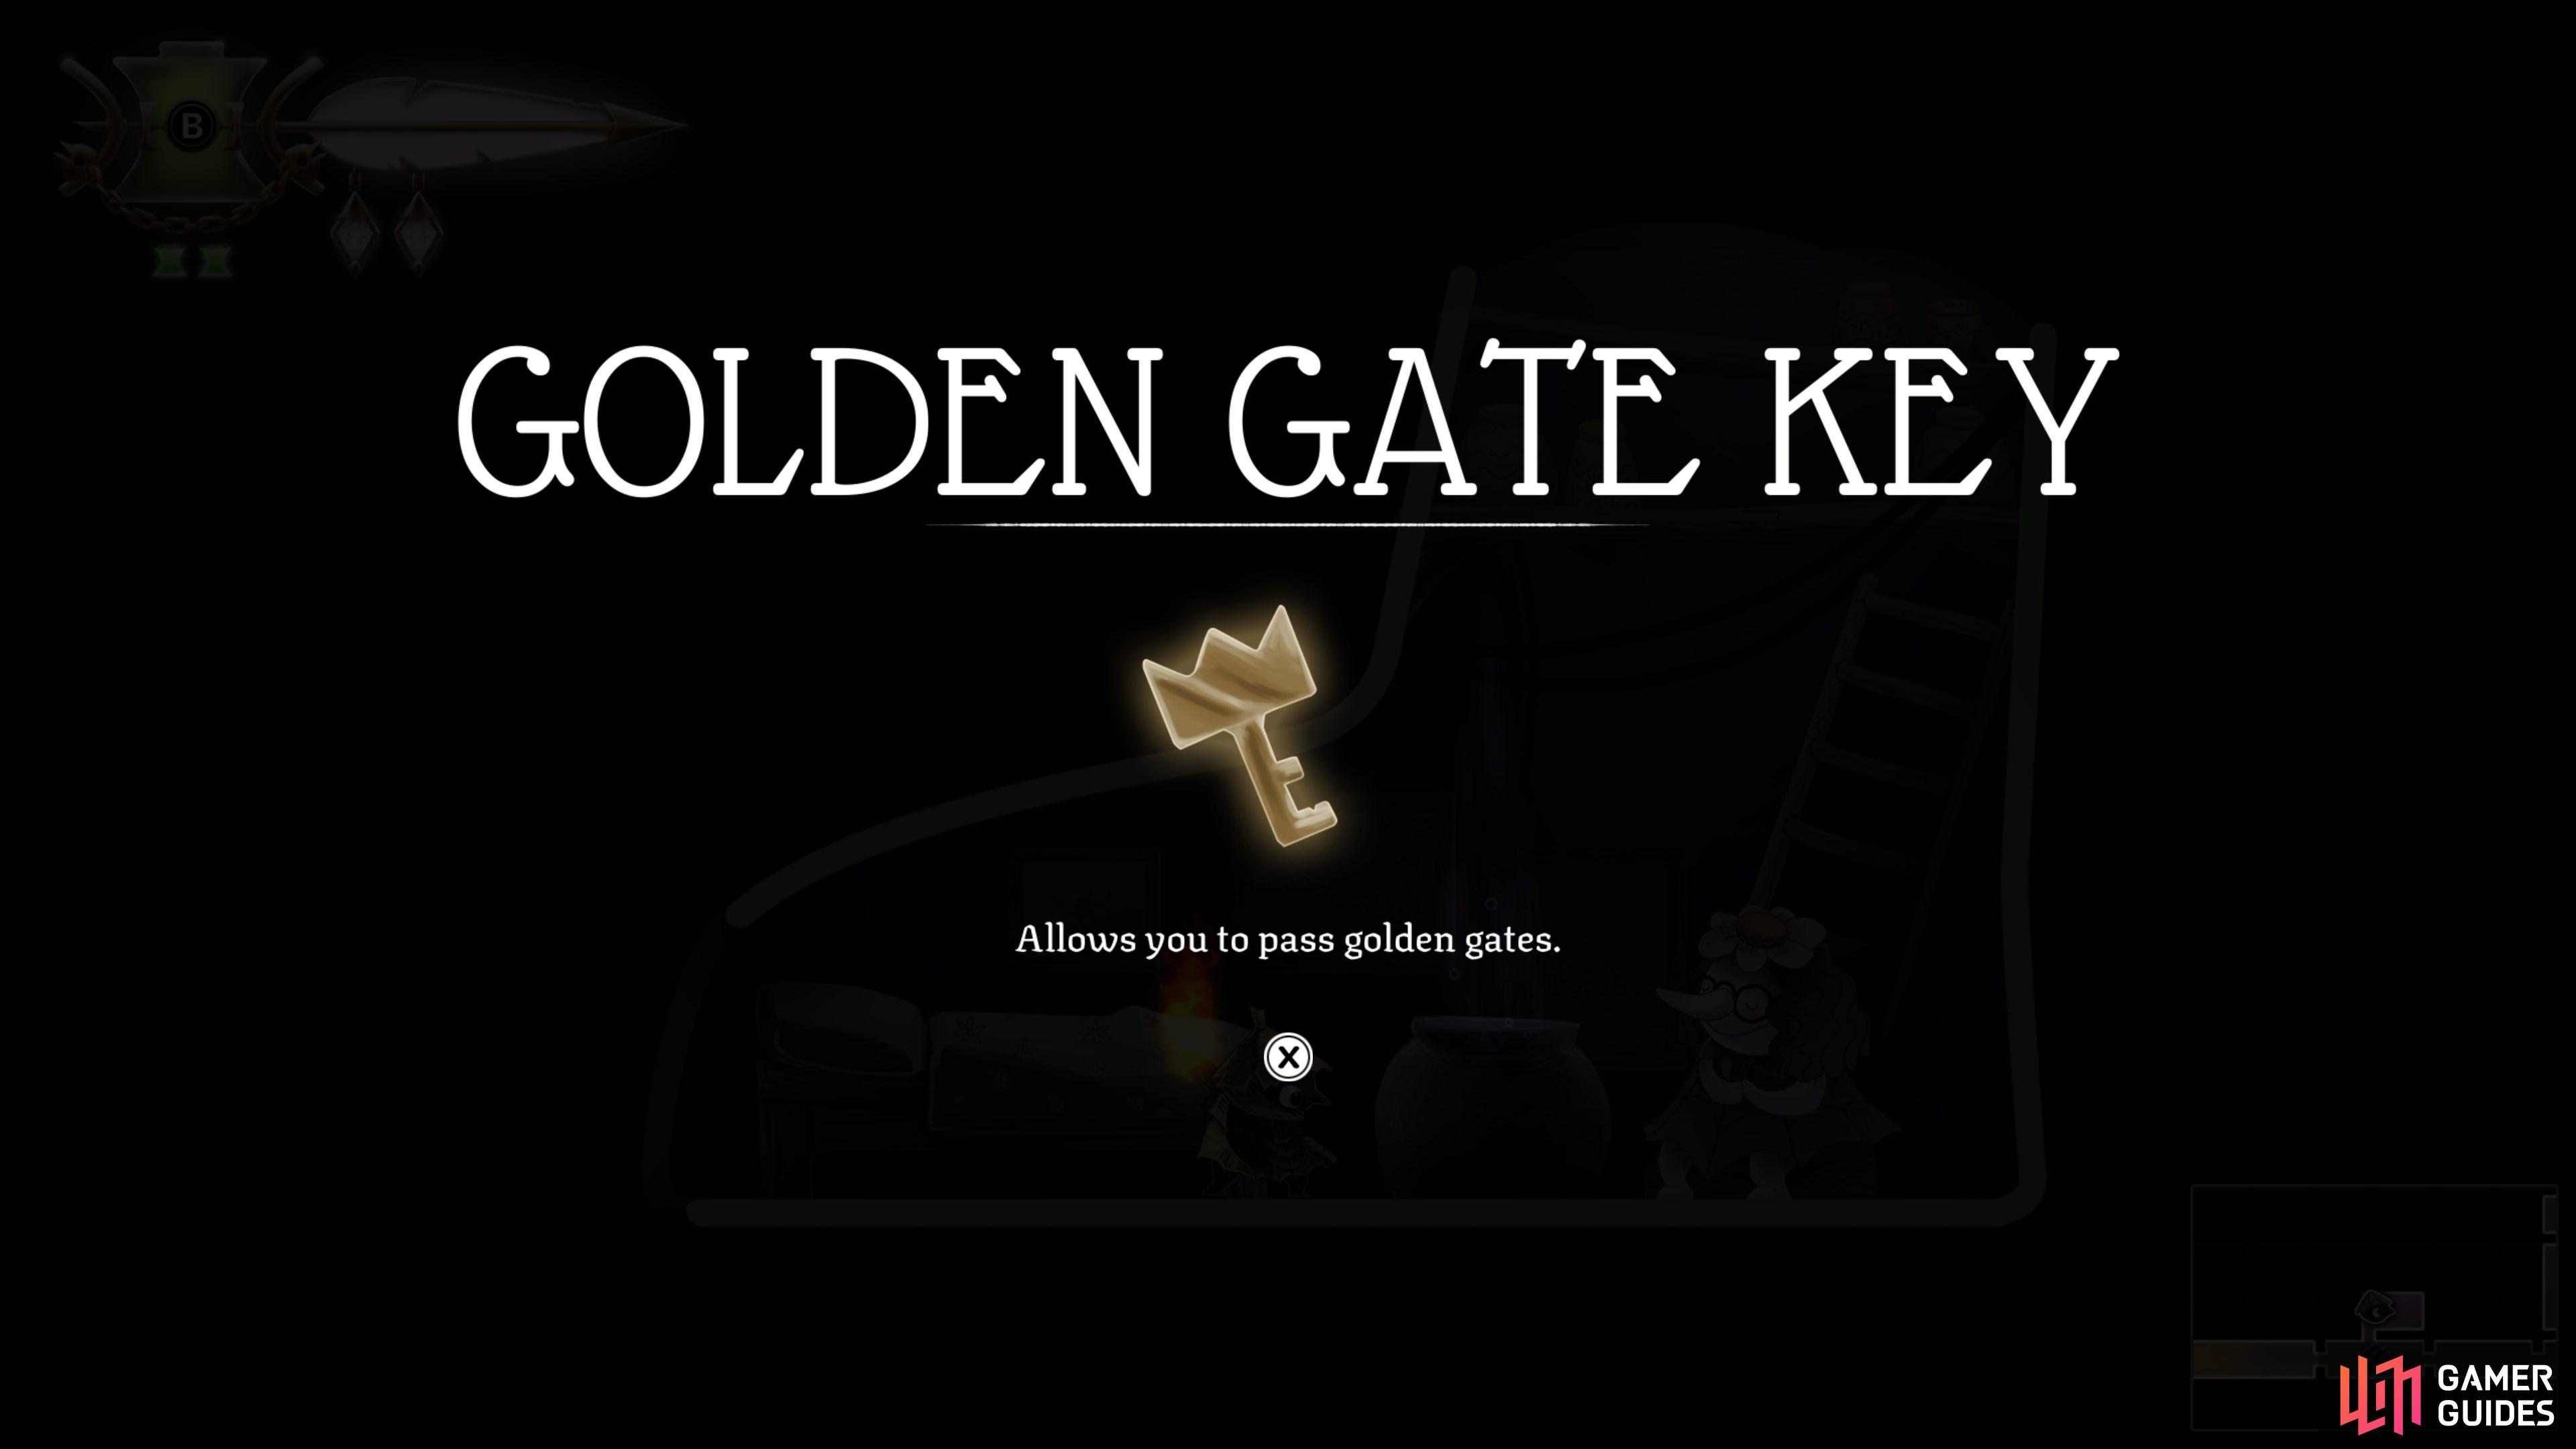
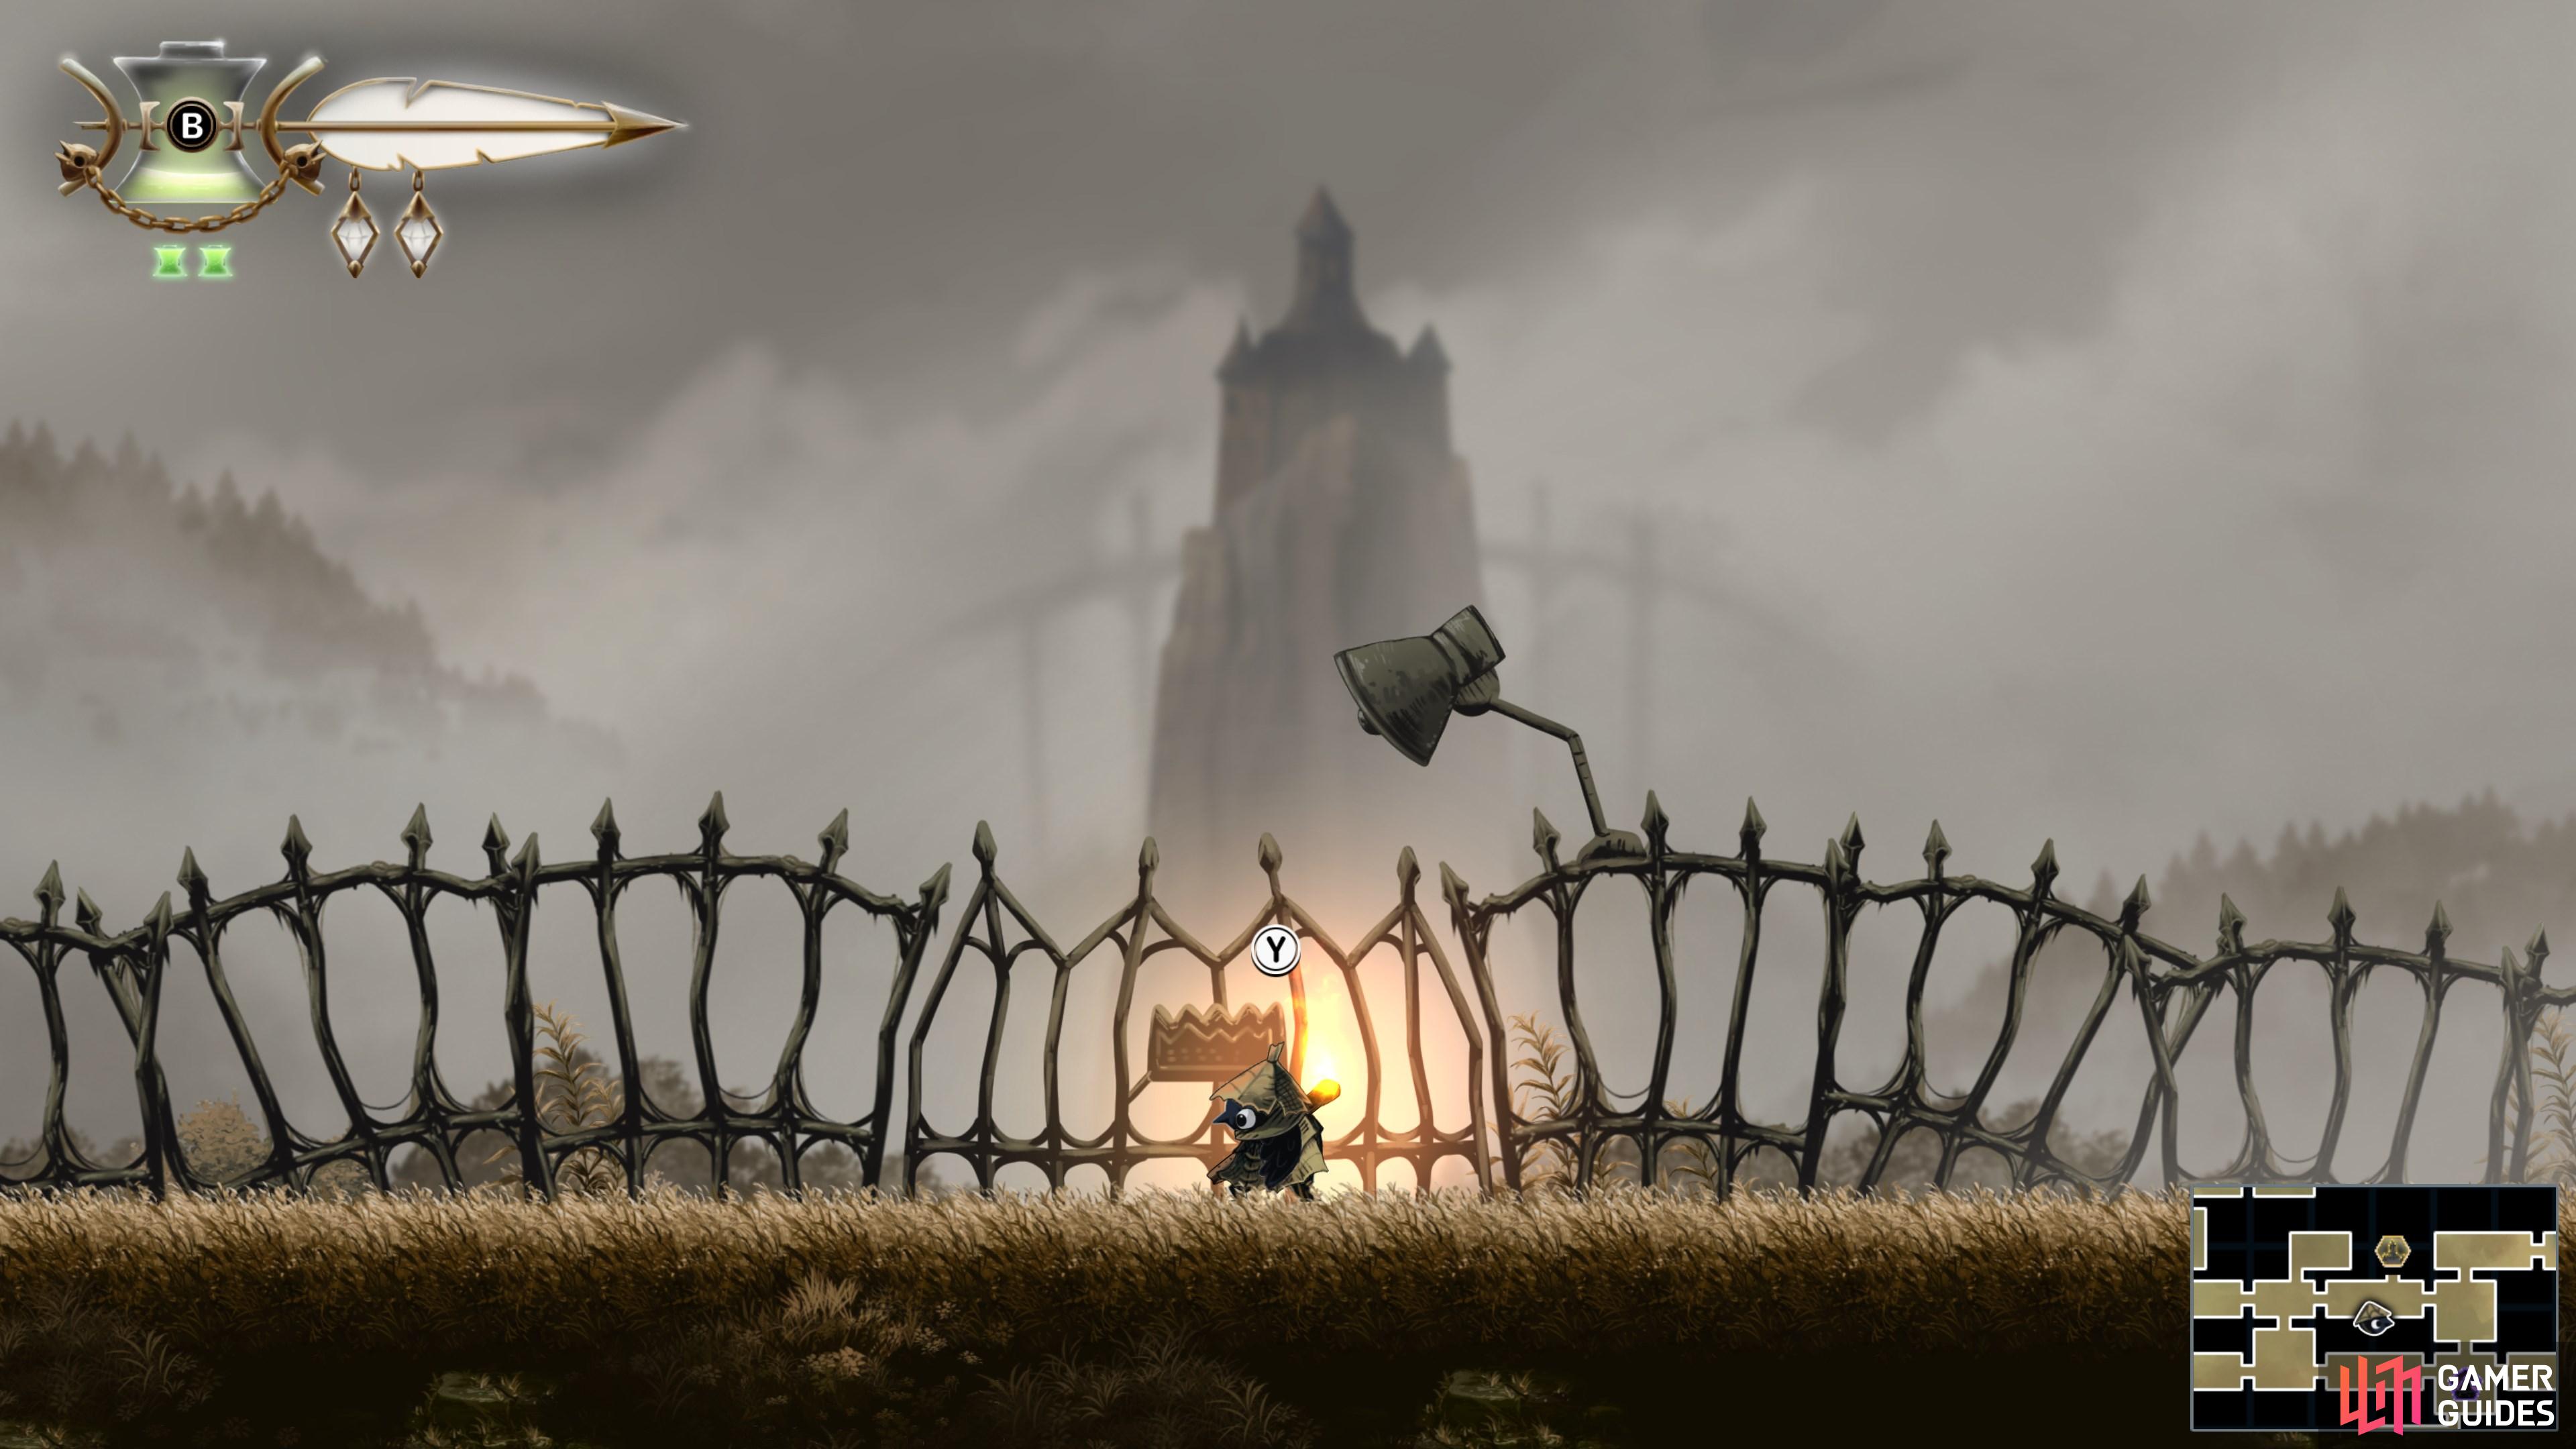
Head to Whisper's Hut and speak with her to gain the Golden Gate Key, which allows you to unlock the Golden Gates (obviously) you can find scattered around the Kingdom.
Map position: 13238, 9104
-
44
Collect Looter's Legs
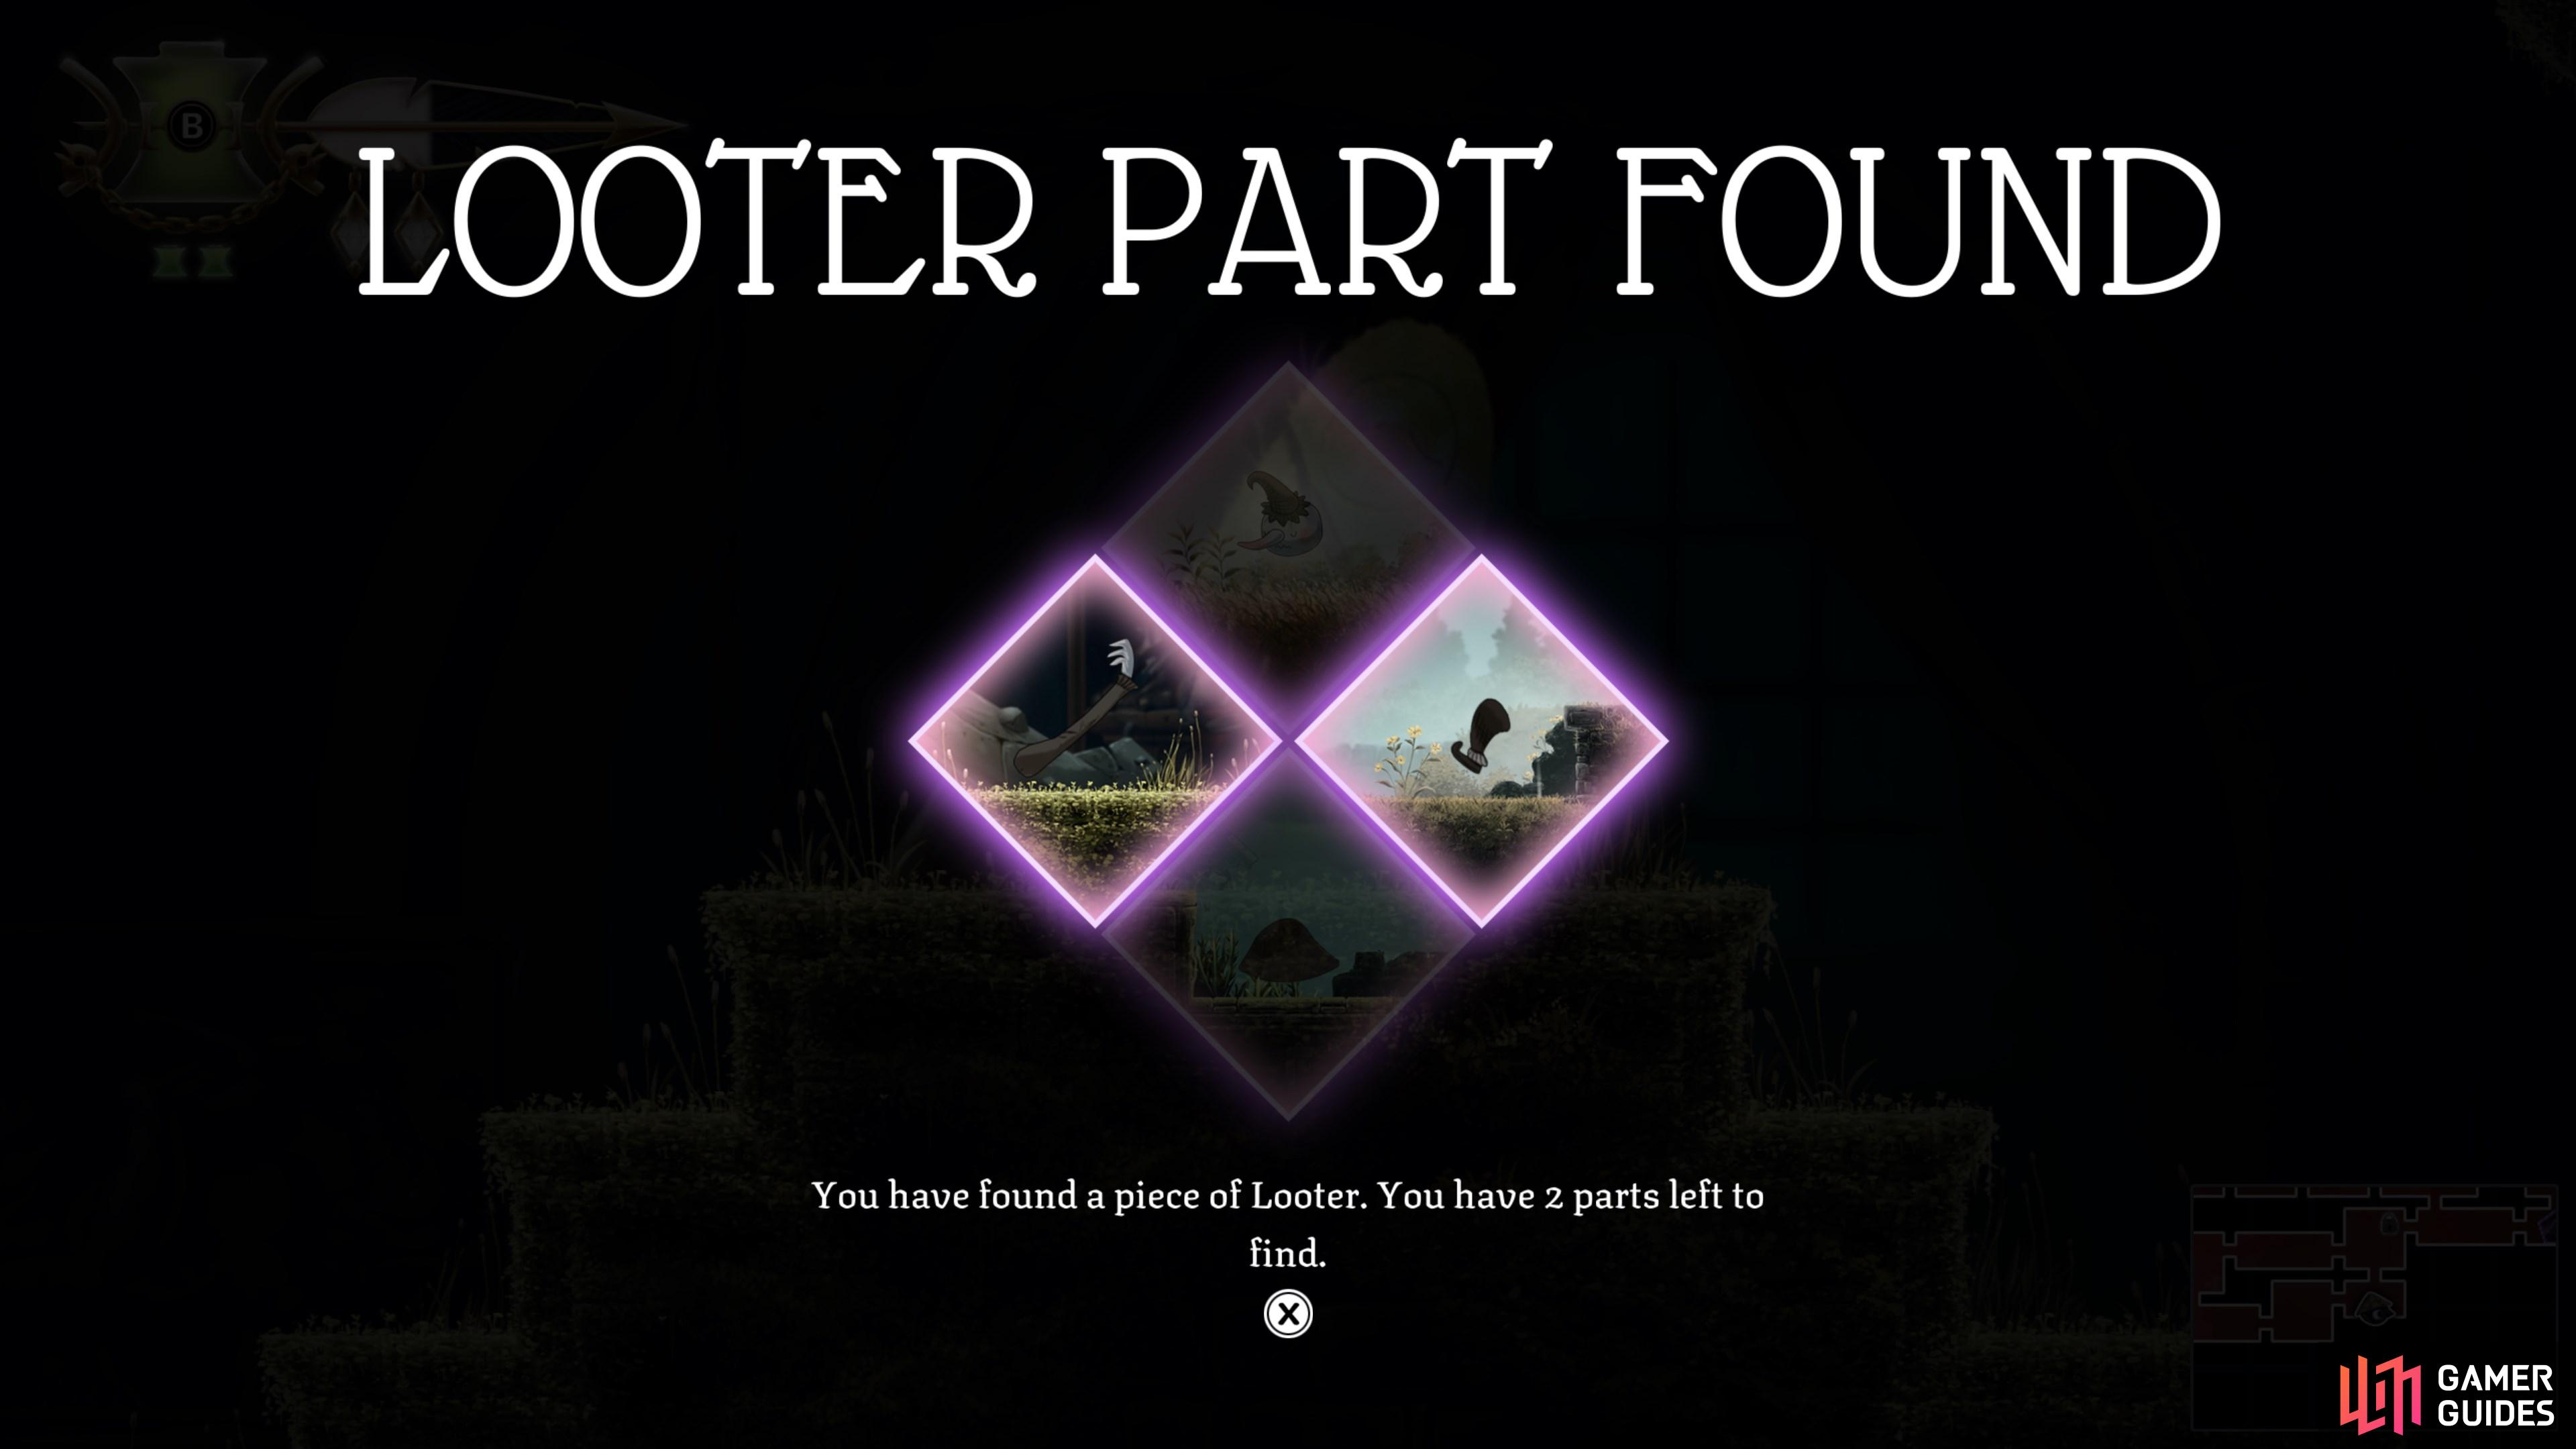
Head to Gravenvalley and use the key to open the Golden Gate. Make your way to the end of the area and collect the first of four Looter Parts.
Map position: 11839, 9341
-
45
Collect Looter's Arms
Open the Desiccated Castle Golden Gate. You'll find the second Looter Part at the end of the area.
Map position: 11903, 11659
-
46
Collect Looter's Body
Unlock the Golden Gate in The Drain and head east to find the third Looter Part.
Map position: 11522, 10409
-
47
Collect Looter's Head
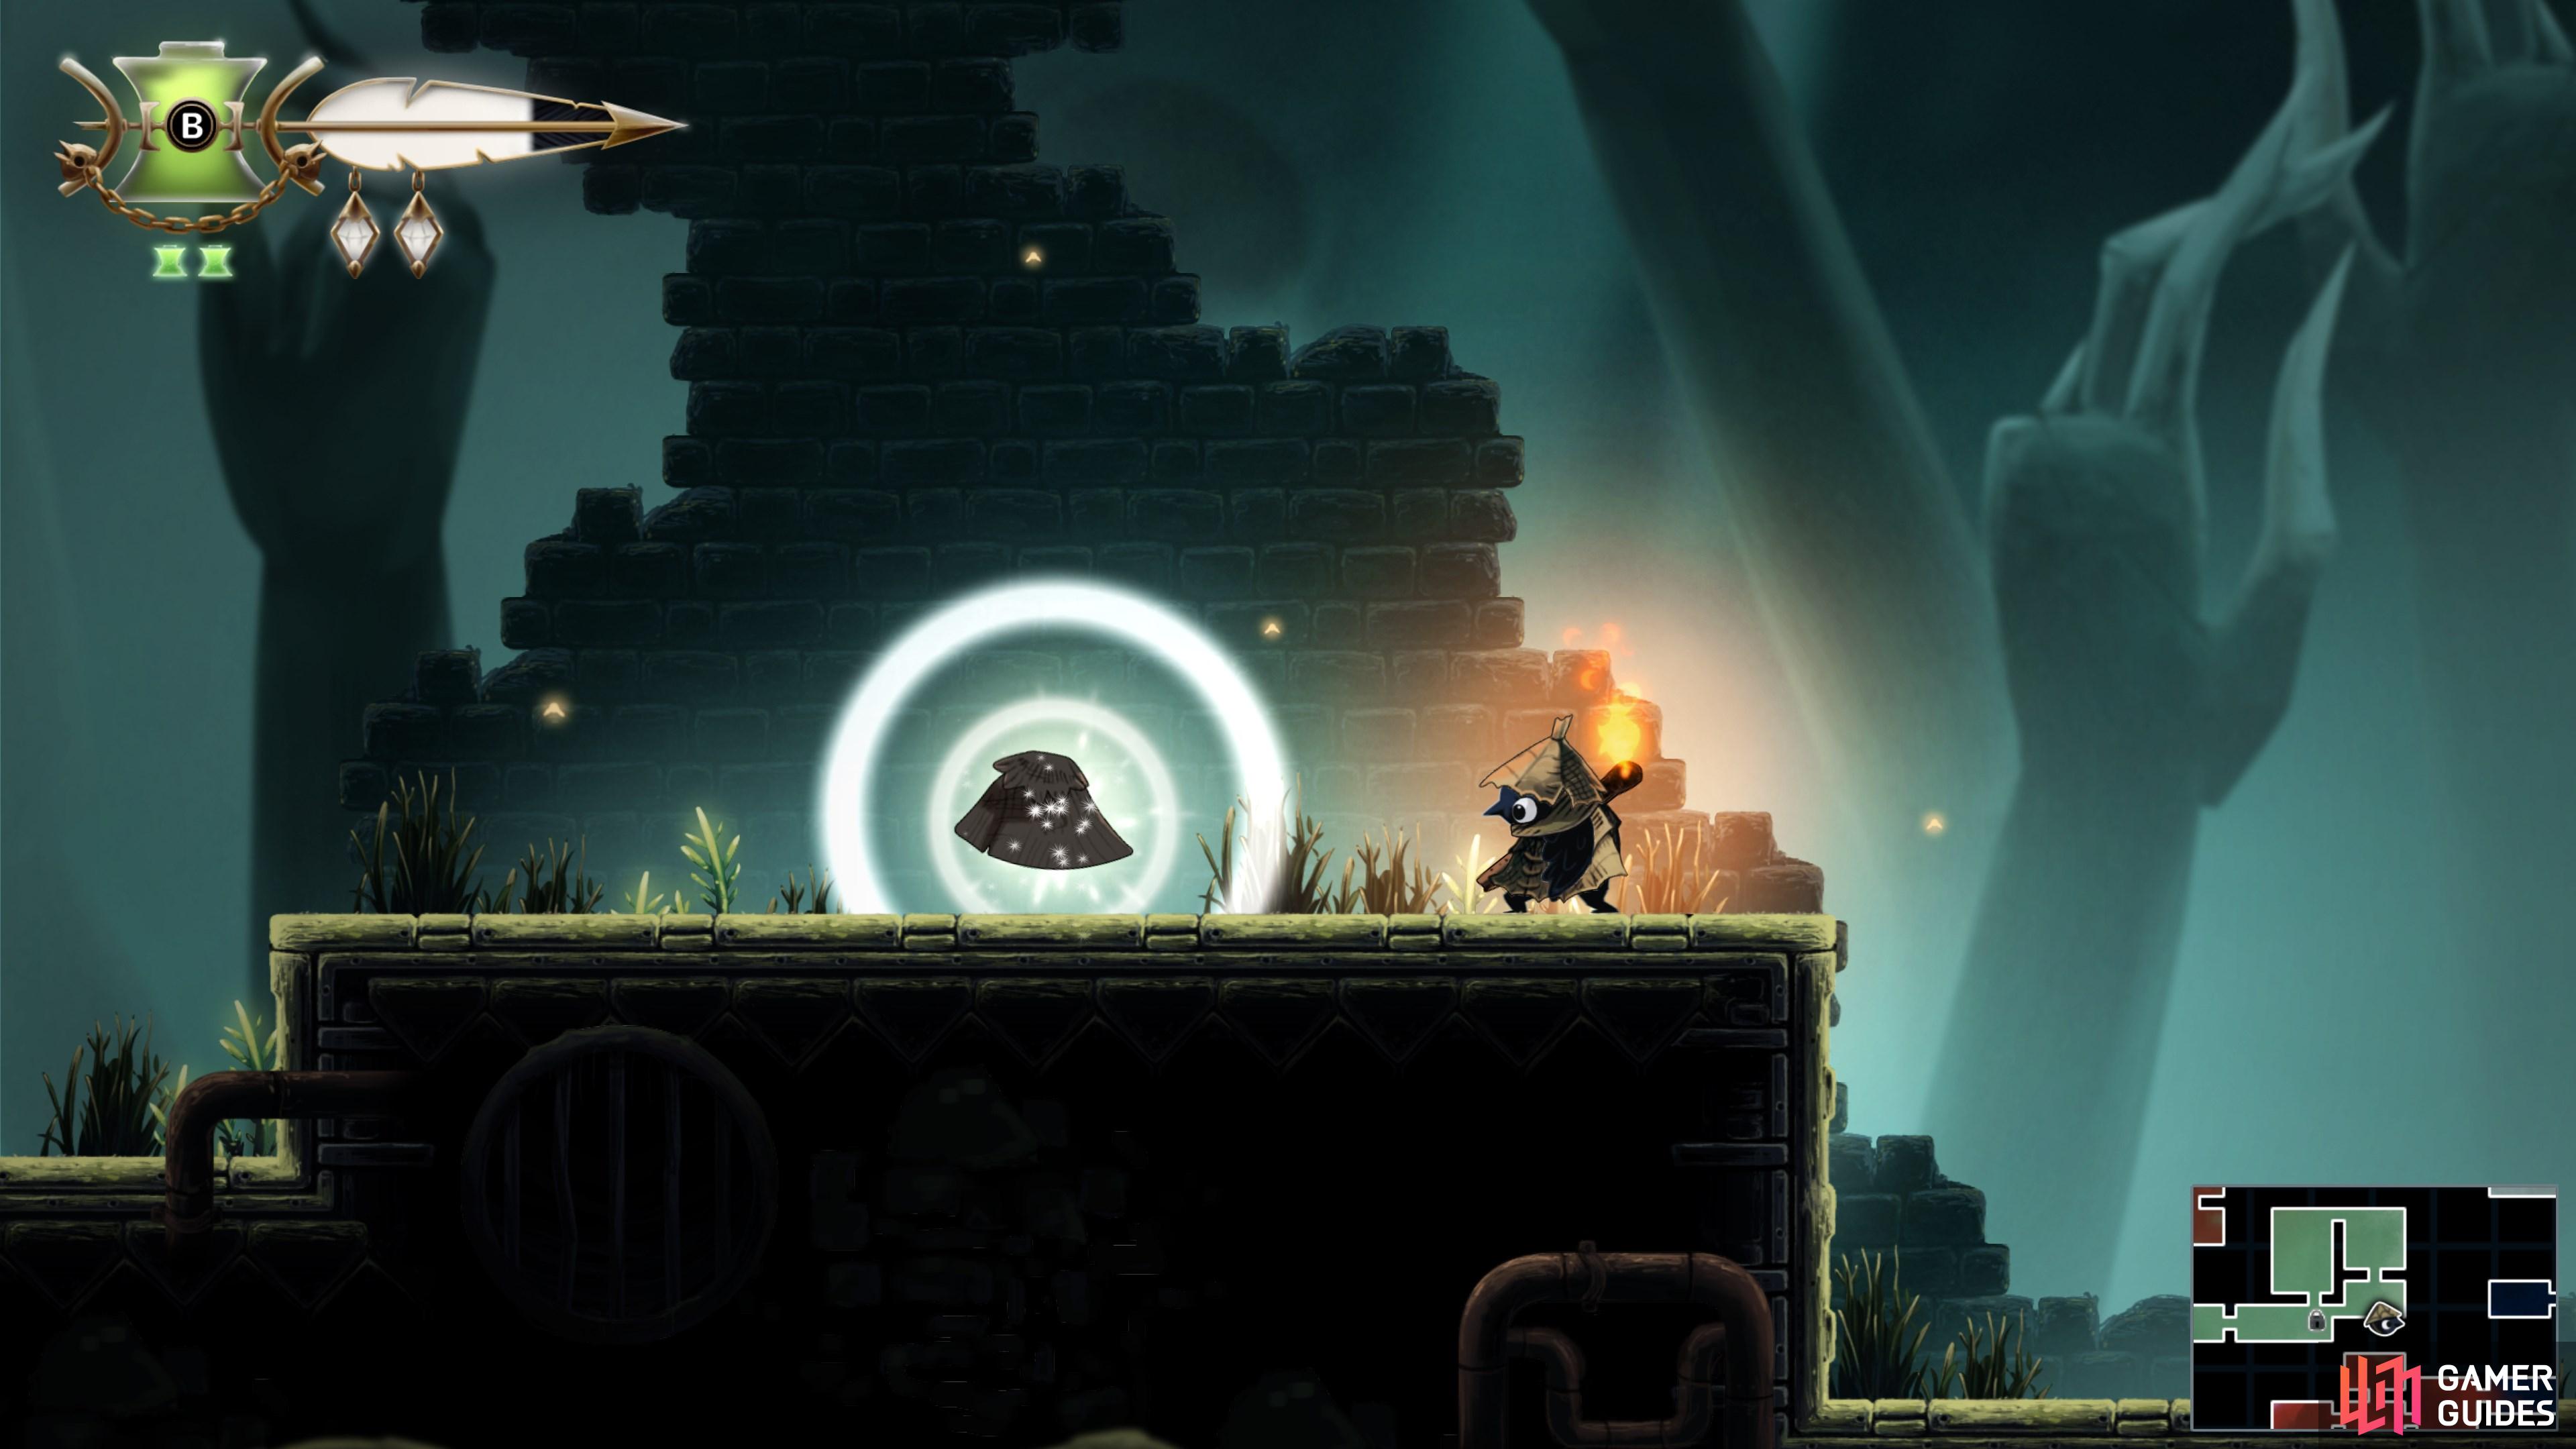
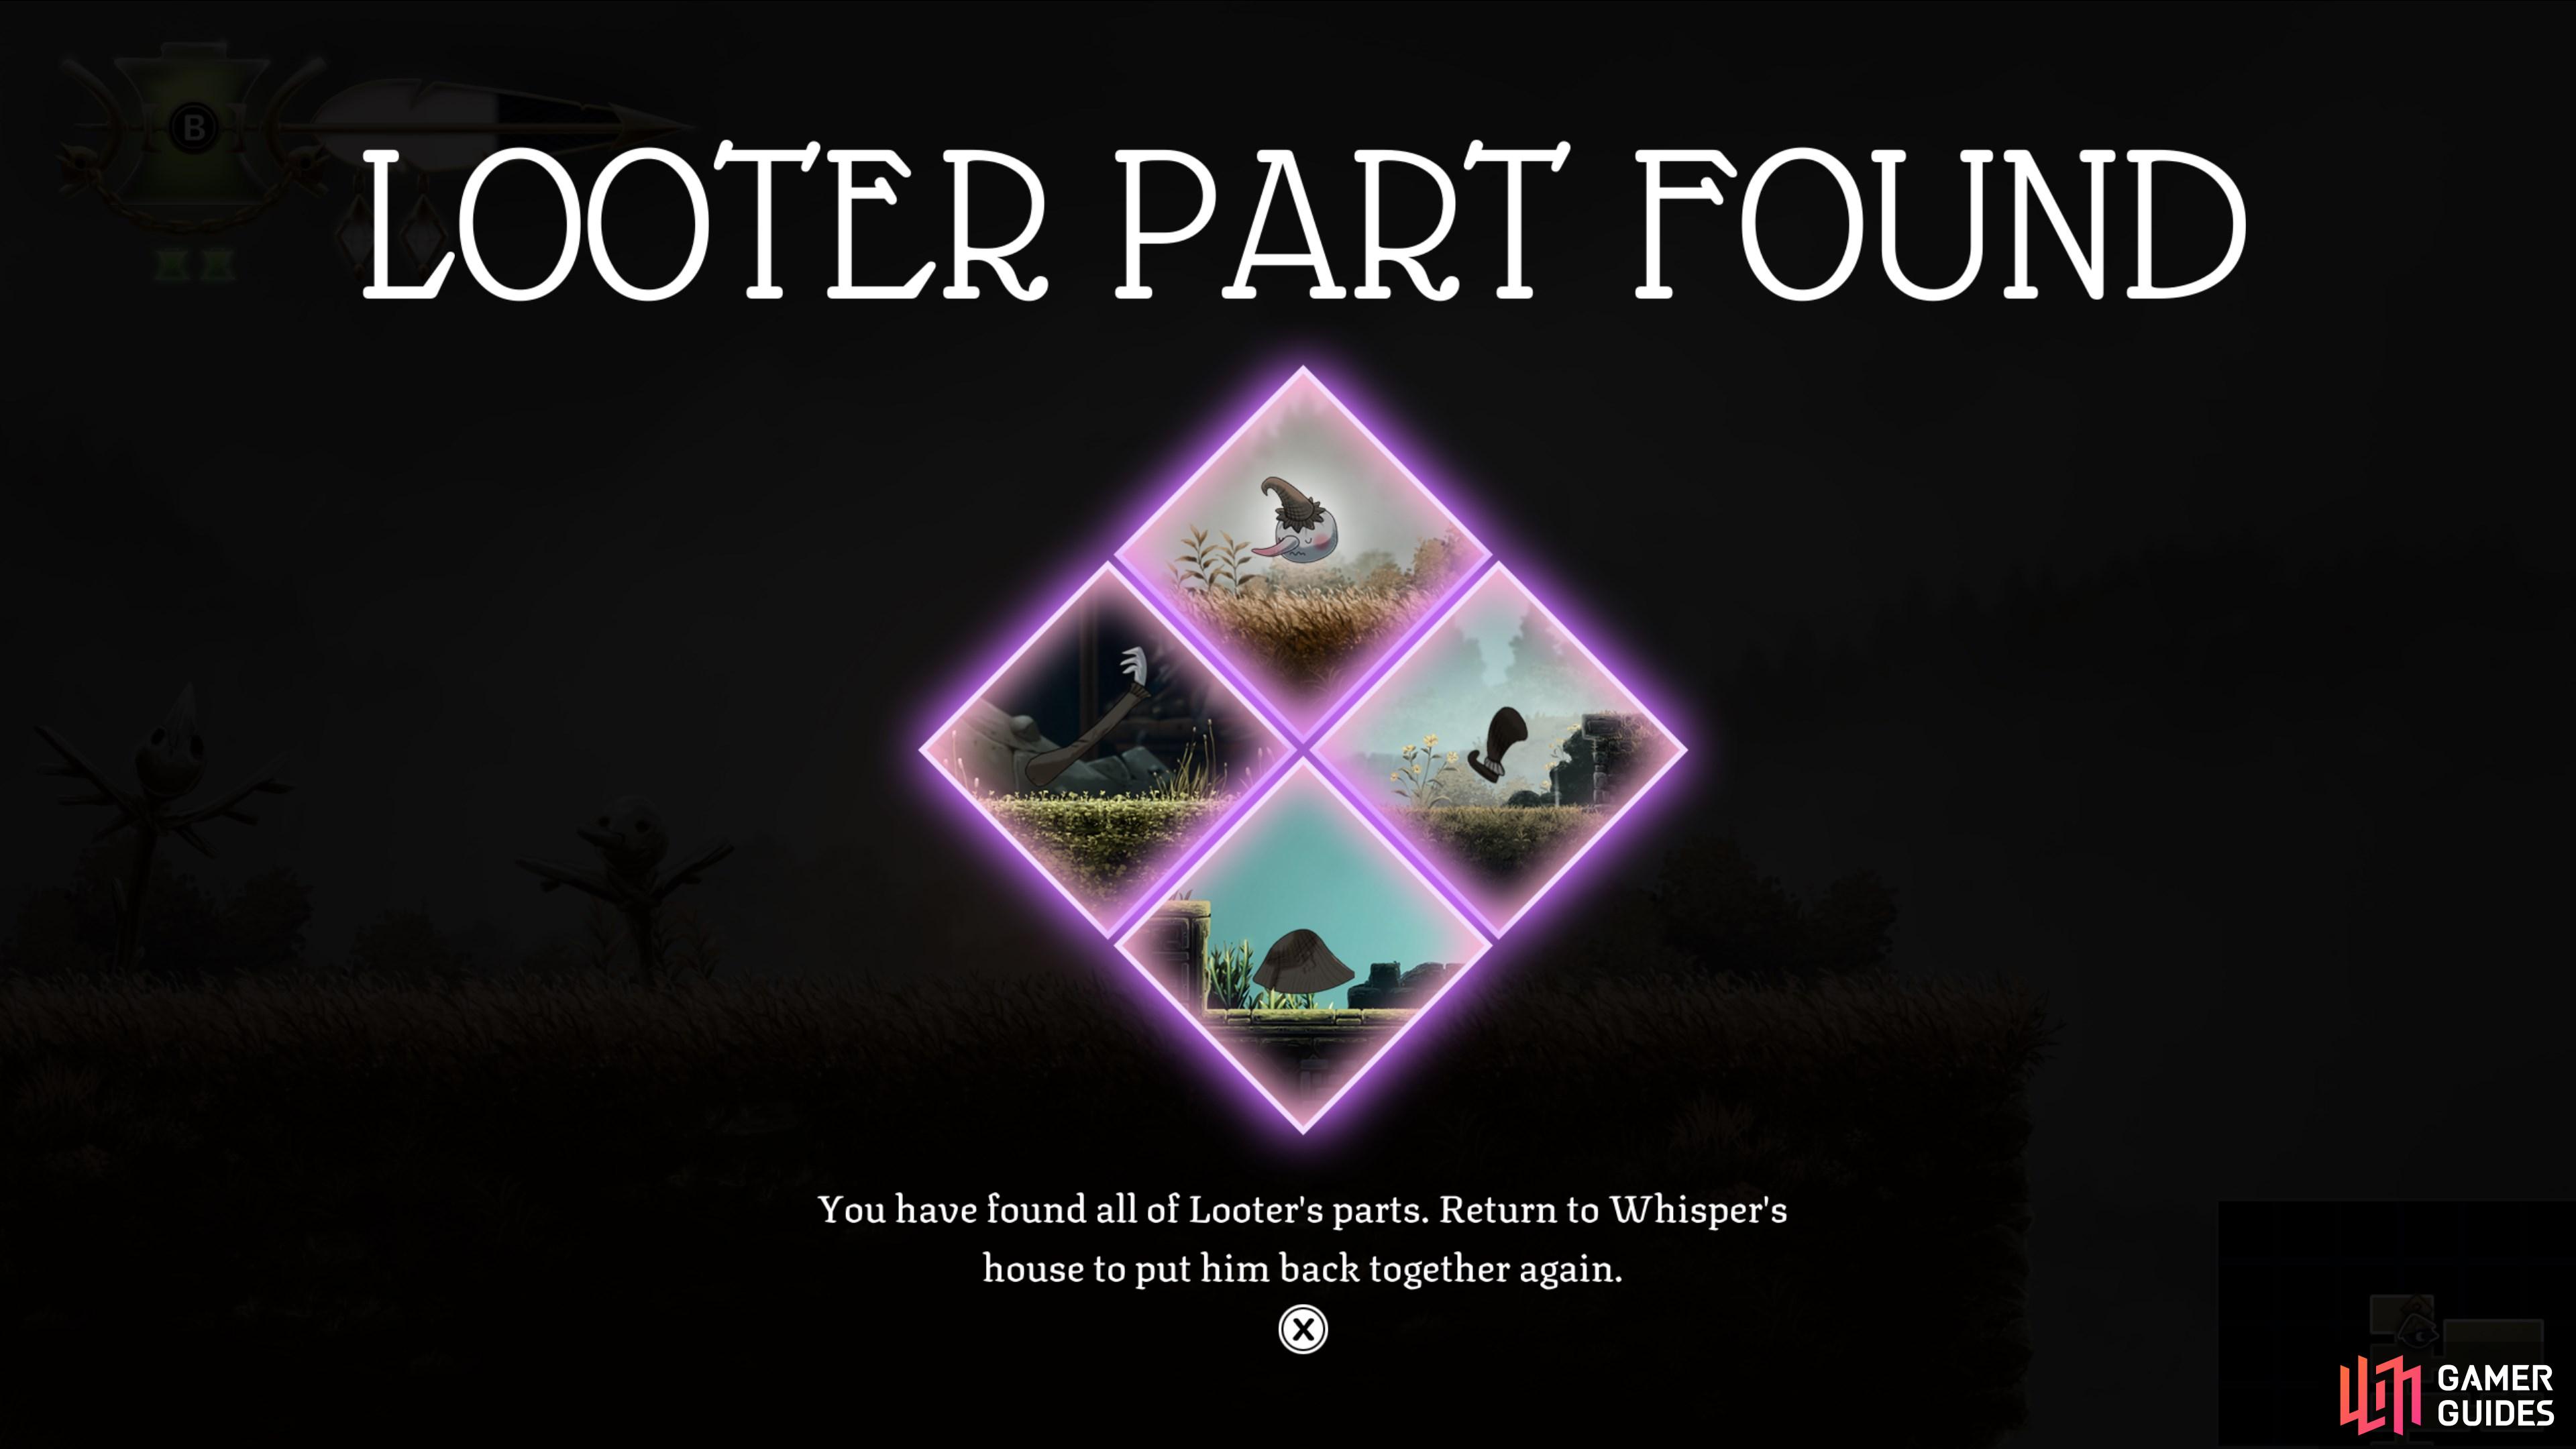
Make your way to The Bpg and unlock the fourth Golden Gate. Climb to the top of the area where you'll find the final Looter Part.
Map position: 7421, 9247
-
48
Gain the second Golden Feather
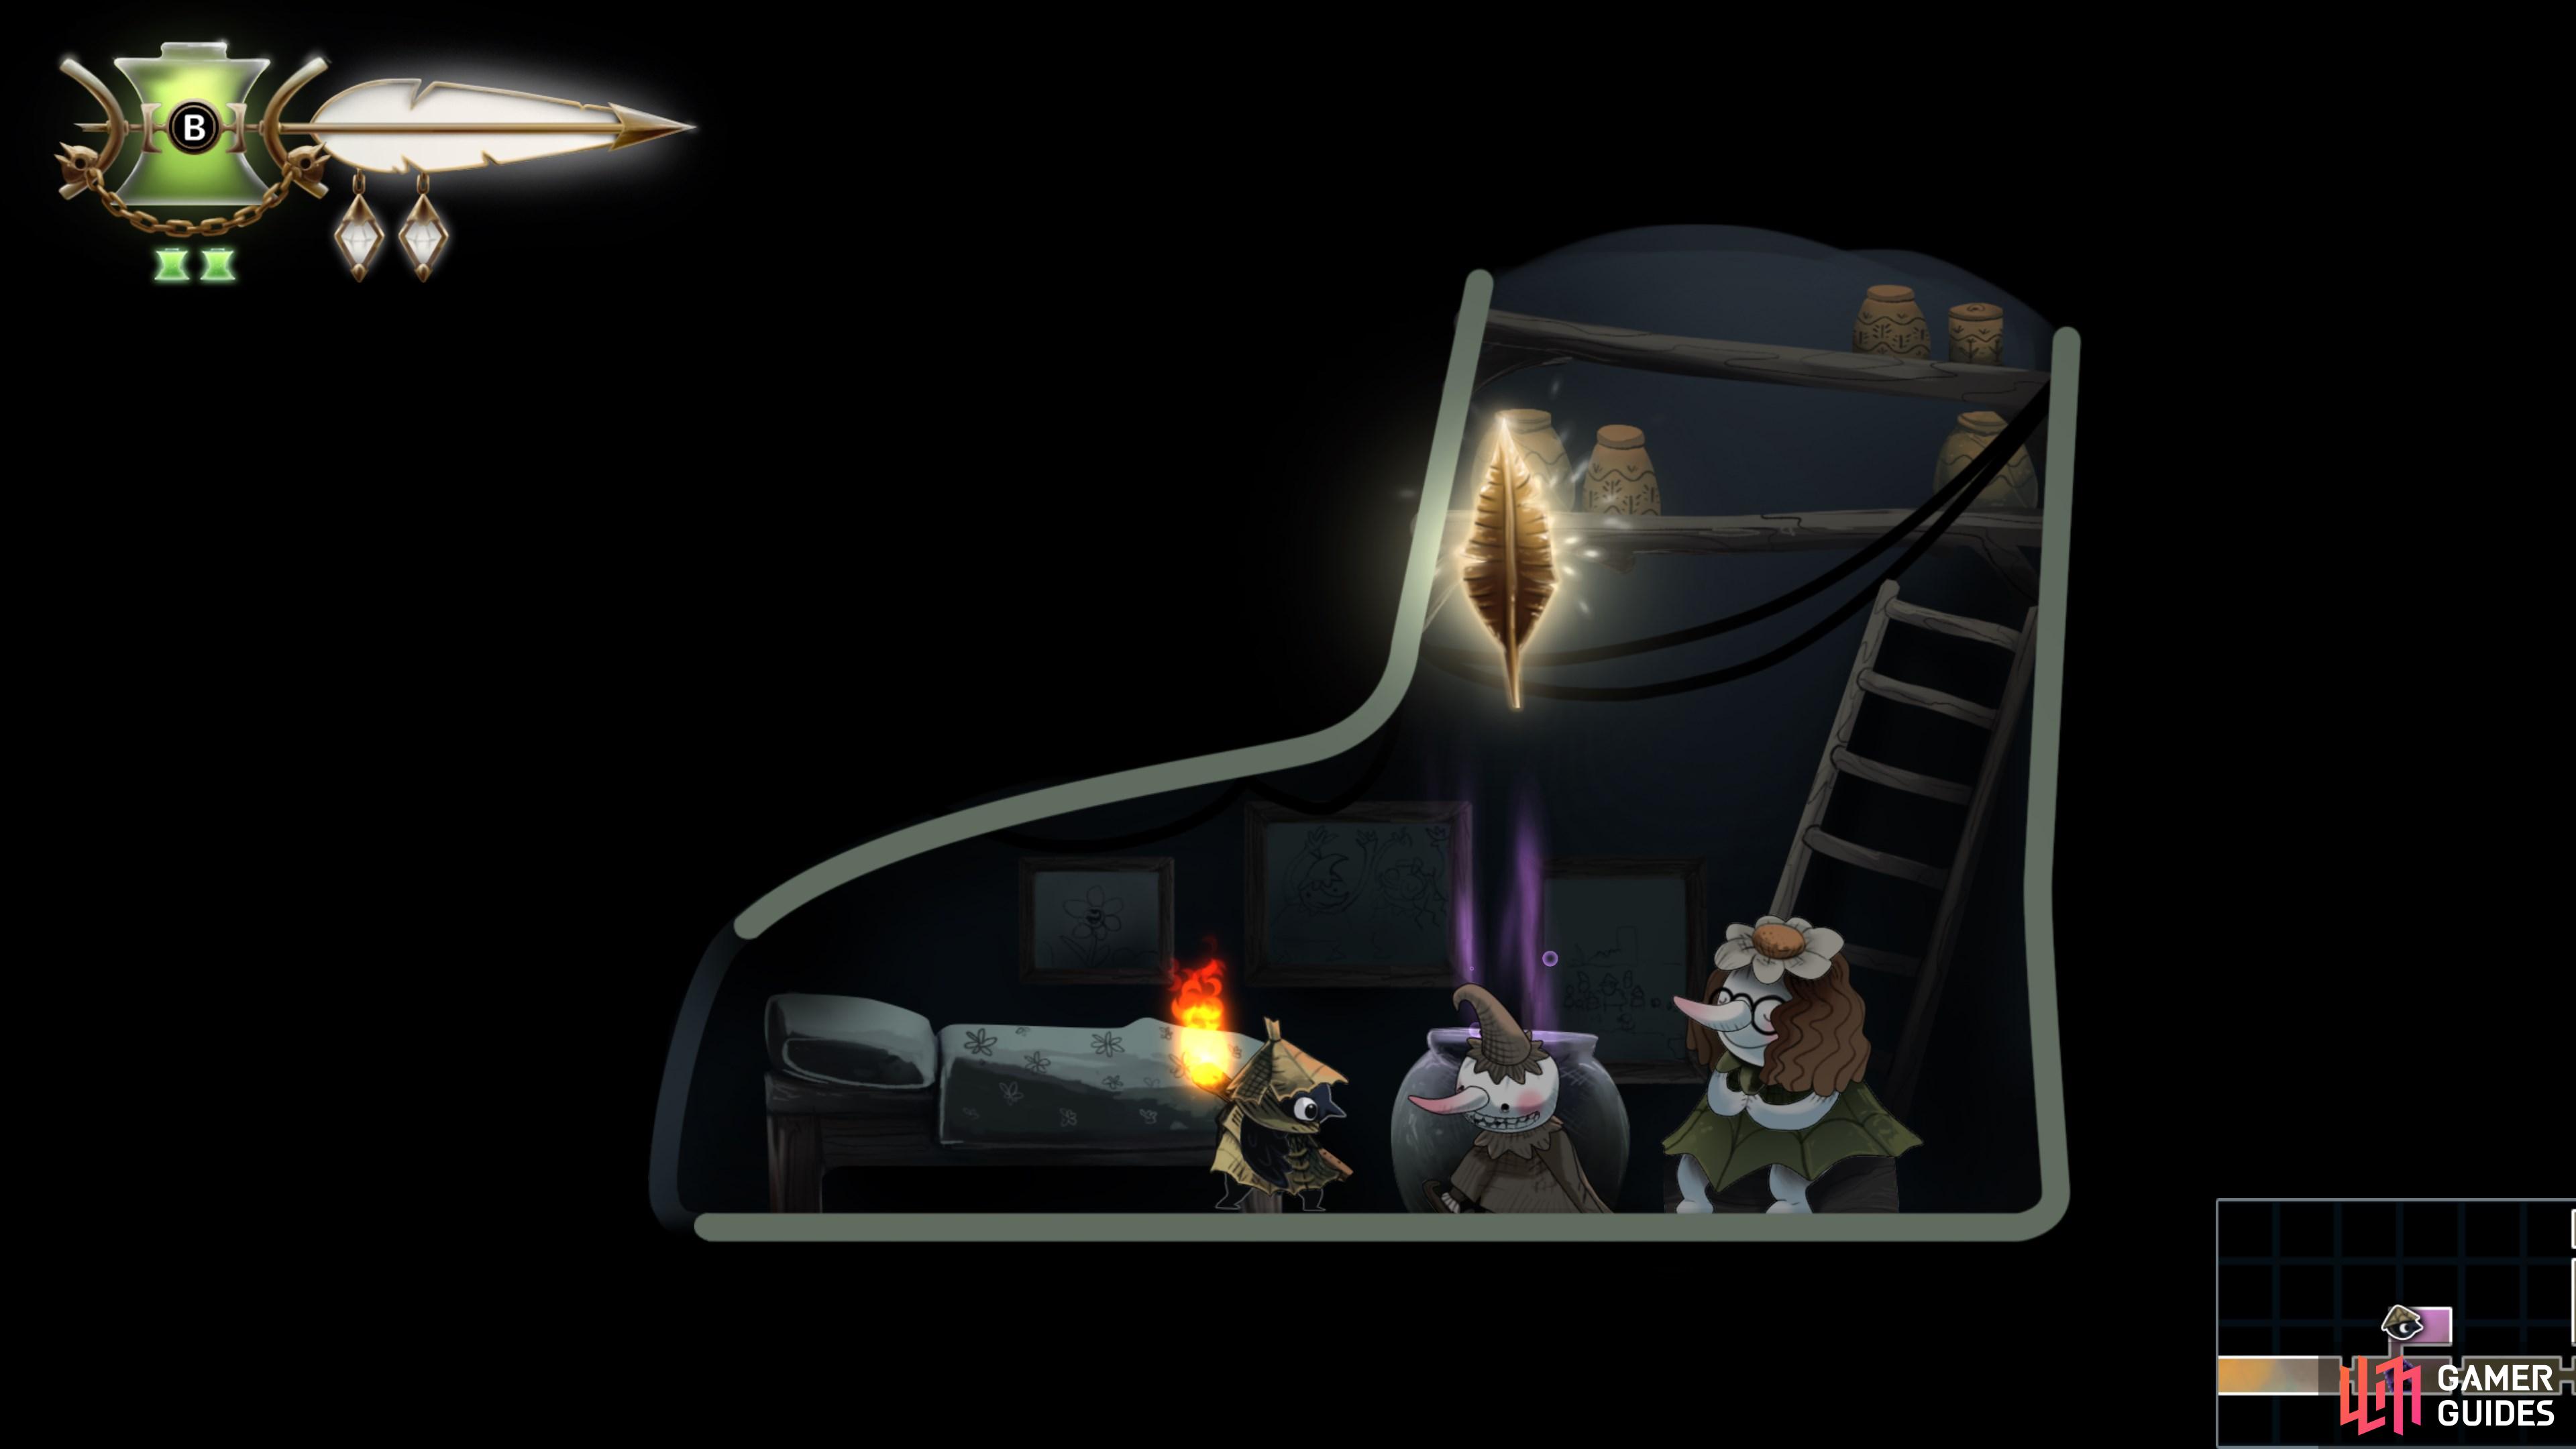
With all four Looter Parts collected, head back to Whisper to earn a Golden Feather.
Map position: 13238, 9076
-
49
Travel to the Lookout Tower
Use Hover to climb out of the Night Garden through the northeast exit, and make your way west to the Lookout Tower.
Map position: 9868, 9582
-
50
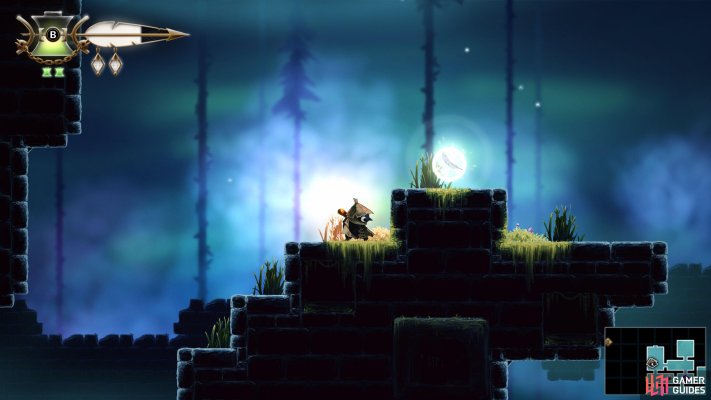
Grab the first Flight Time Increase
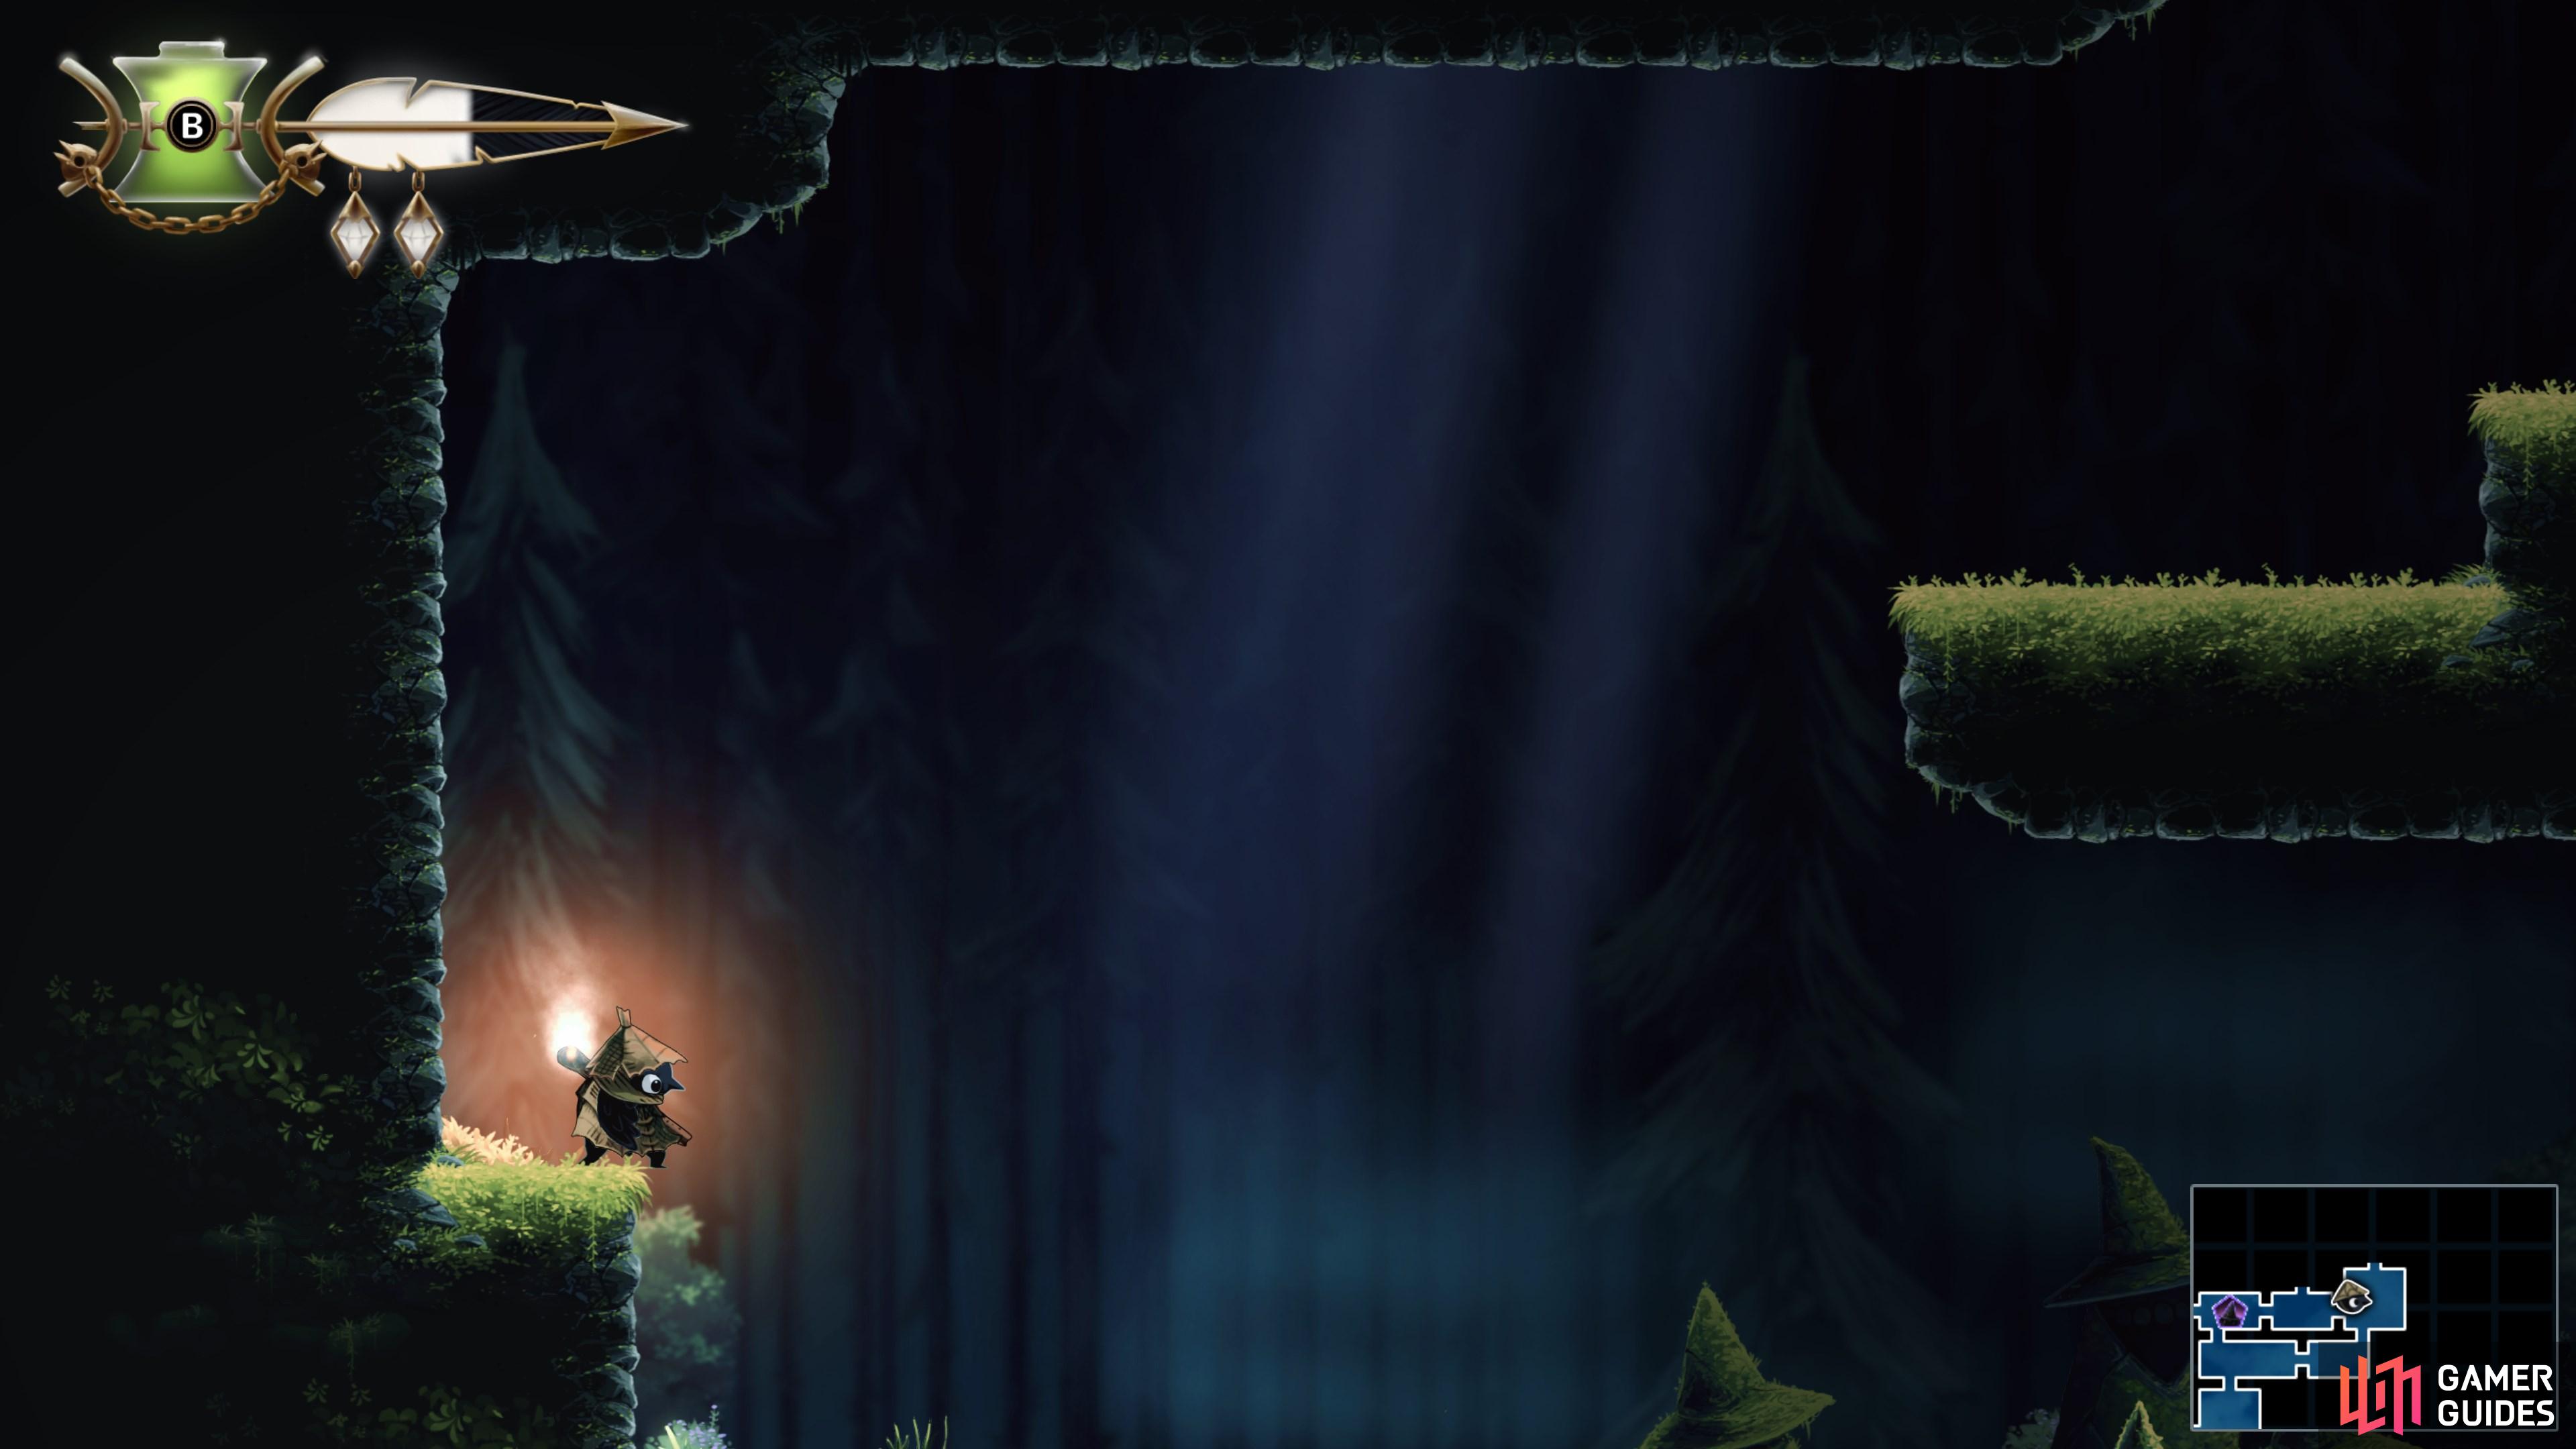
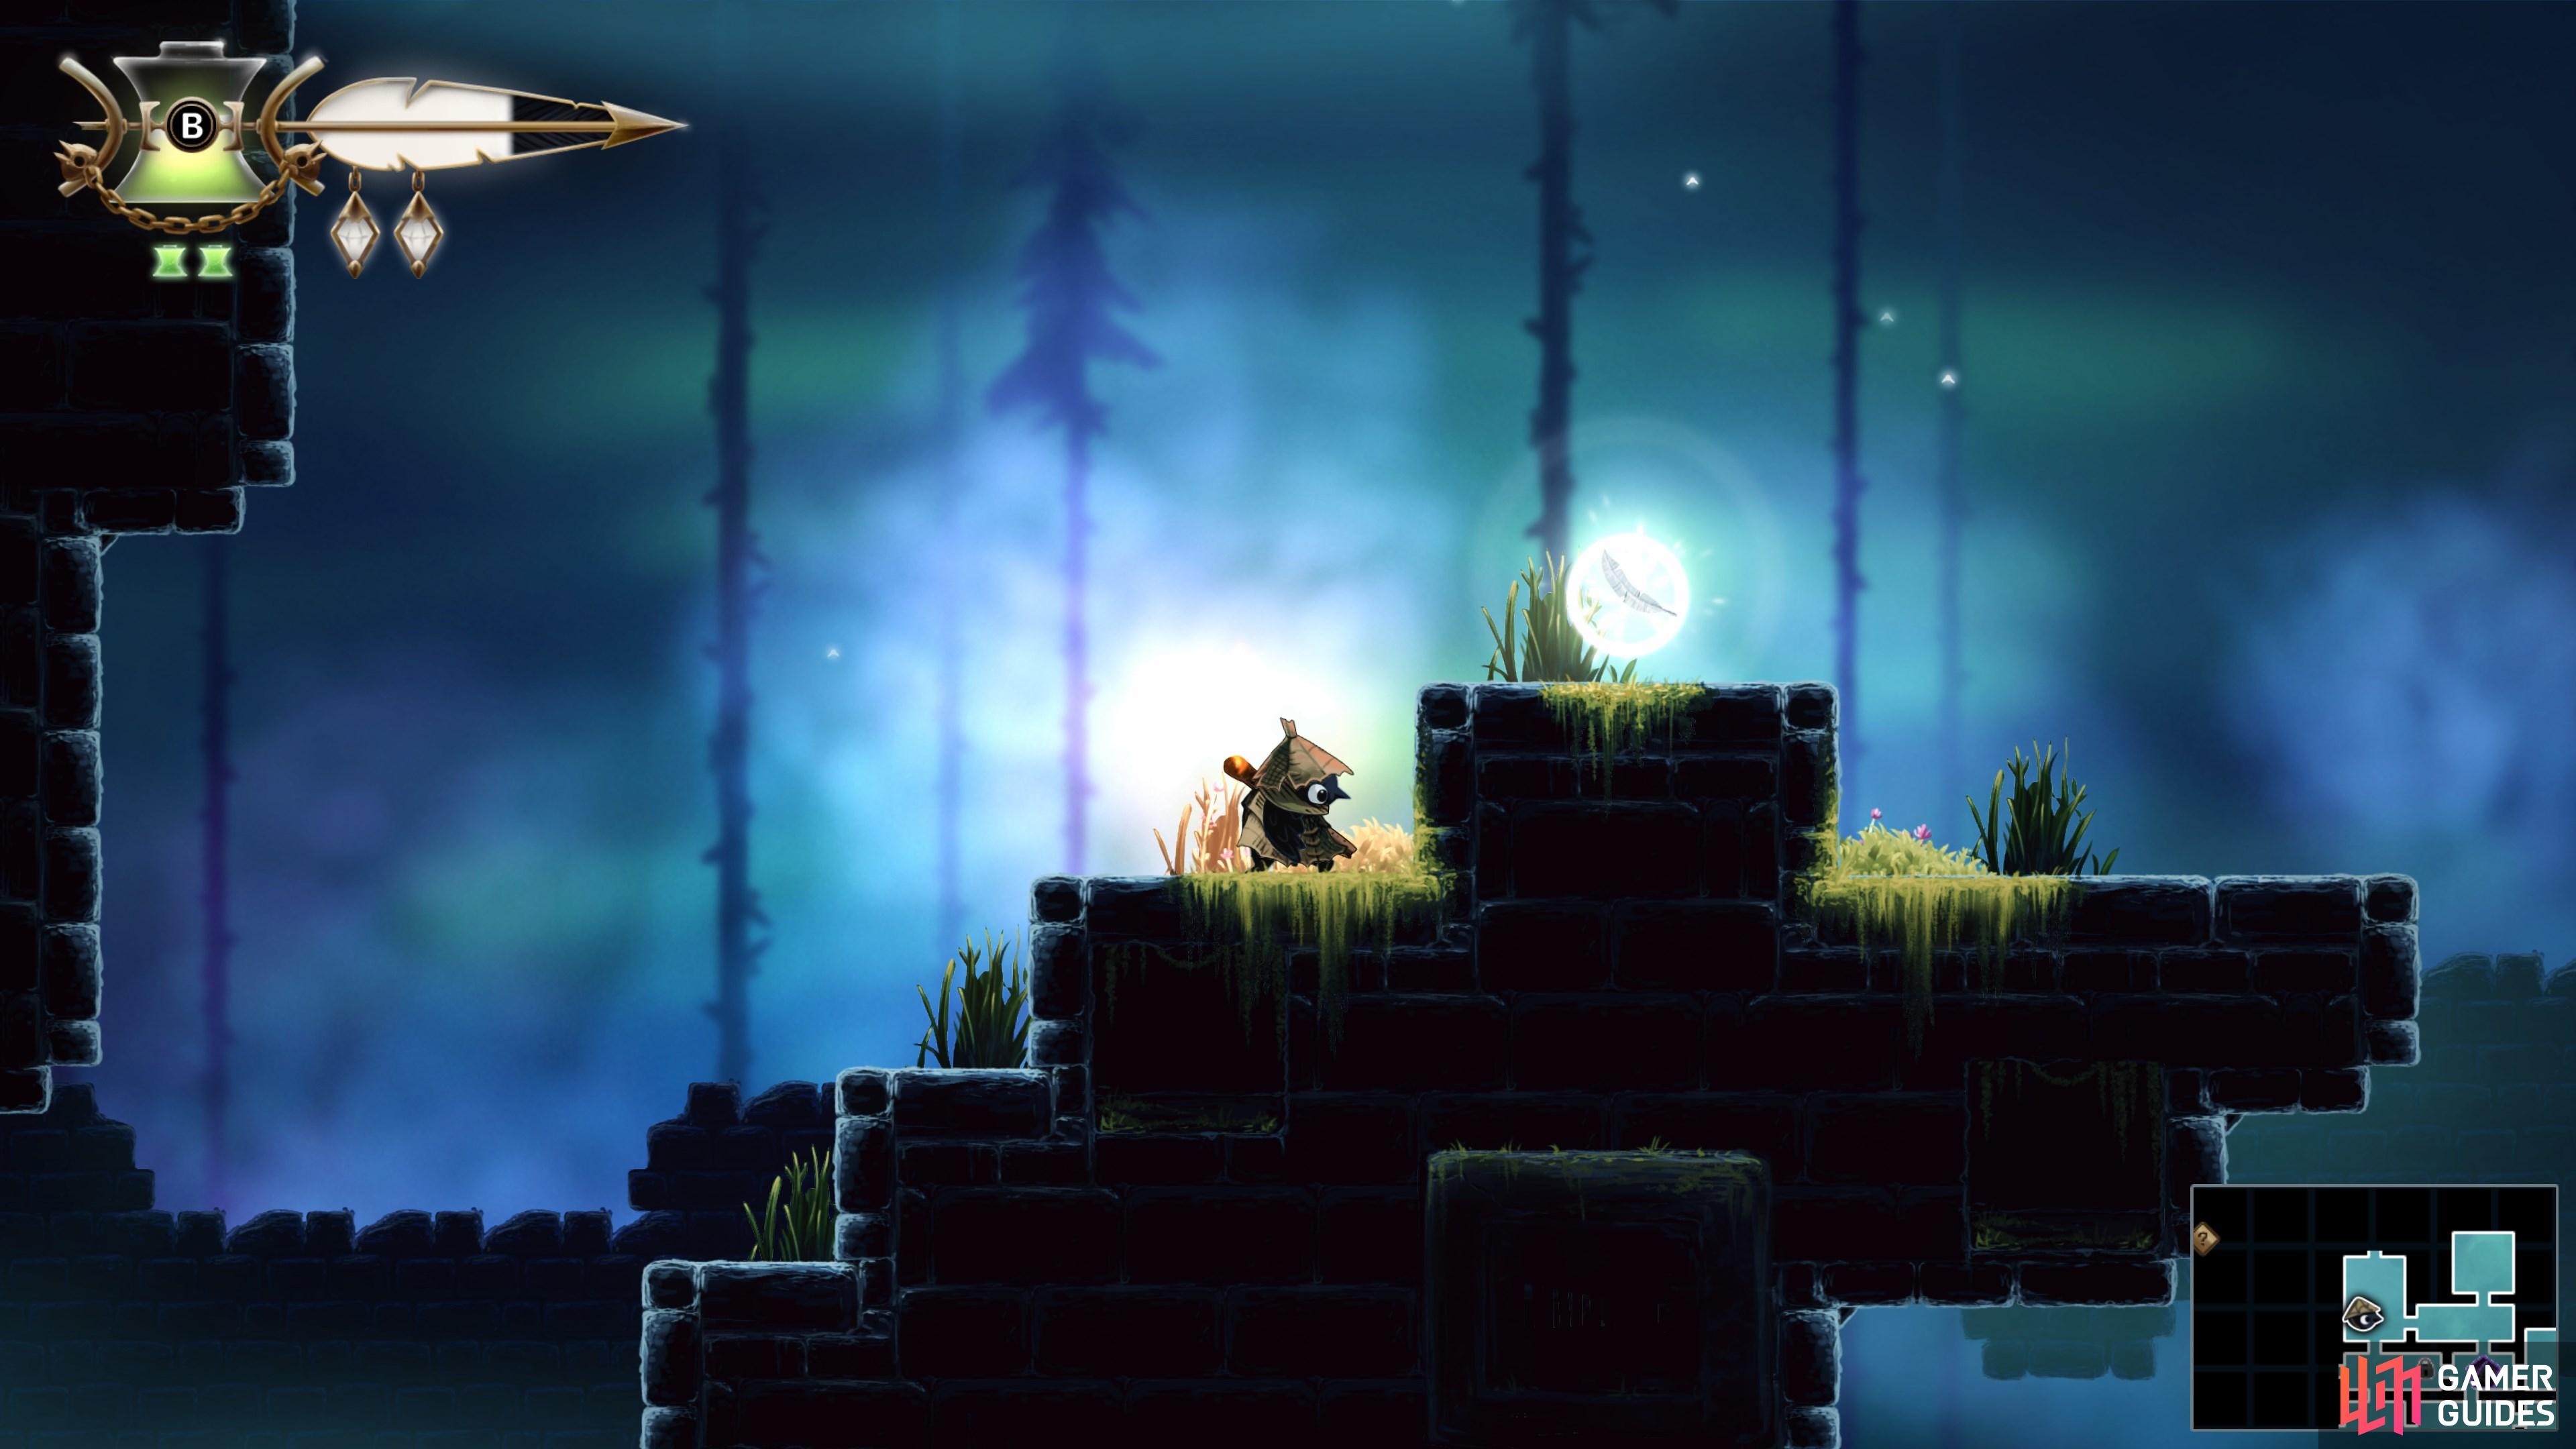
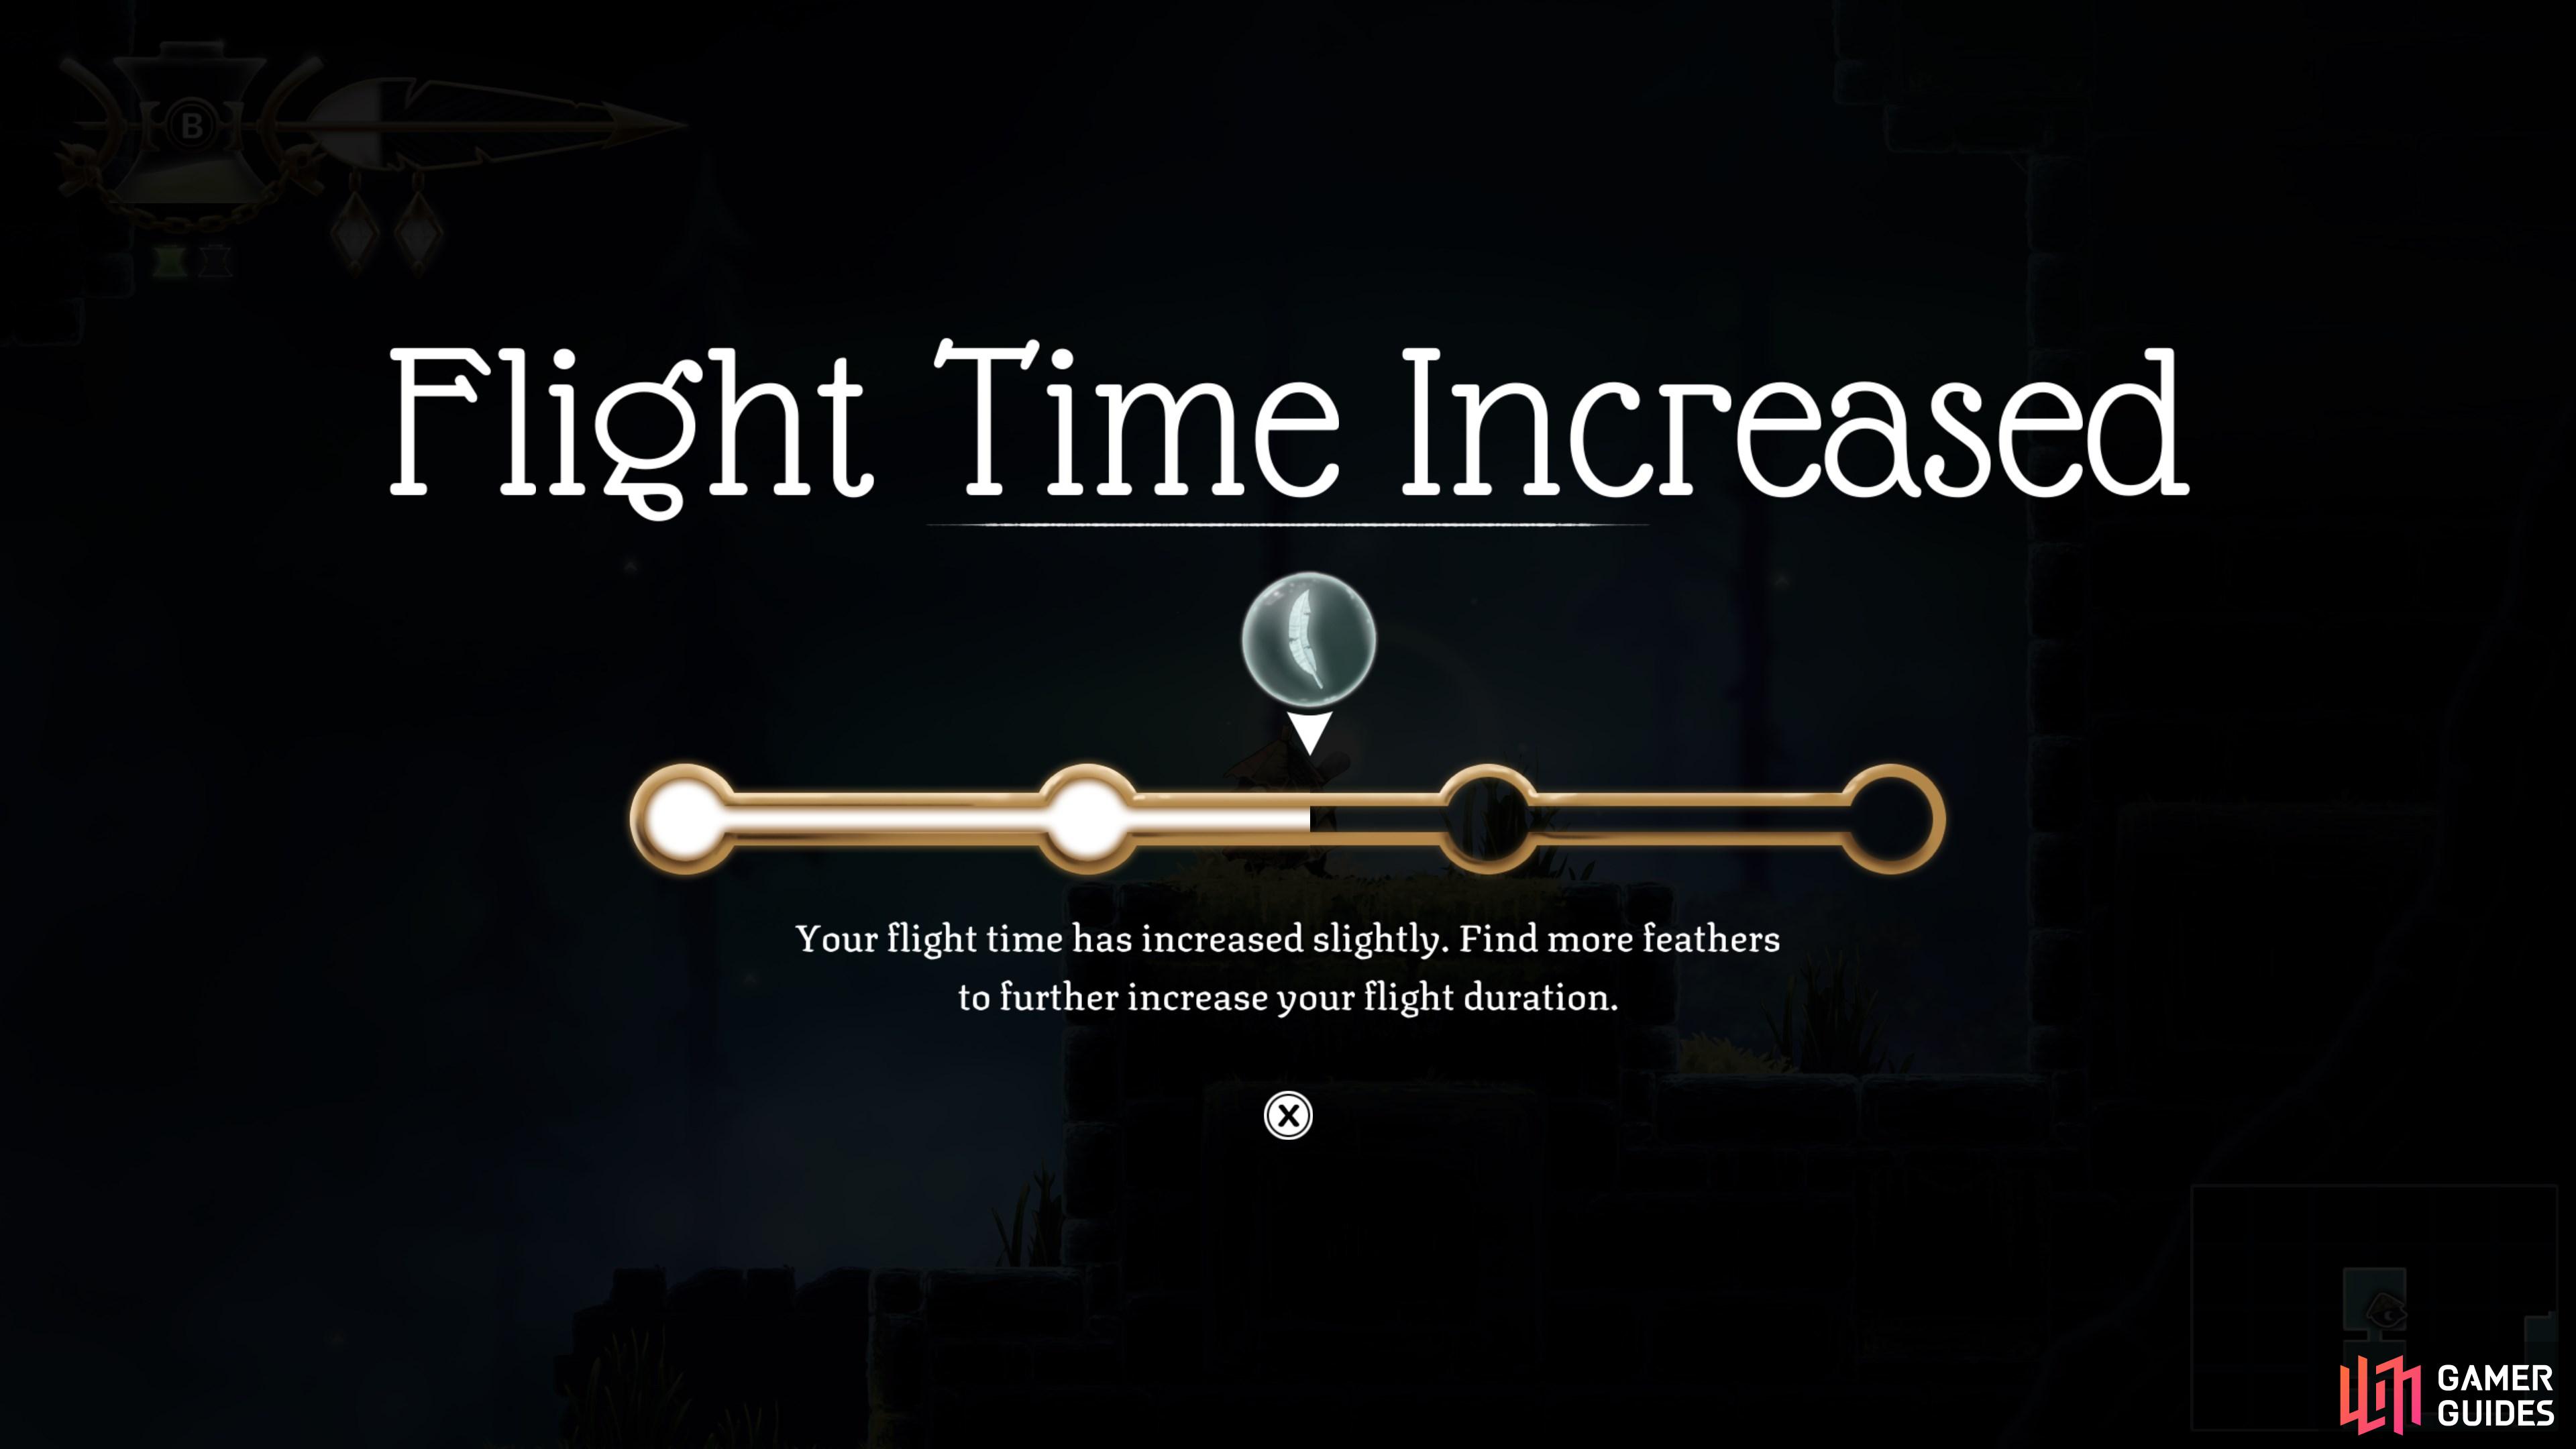
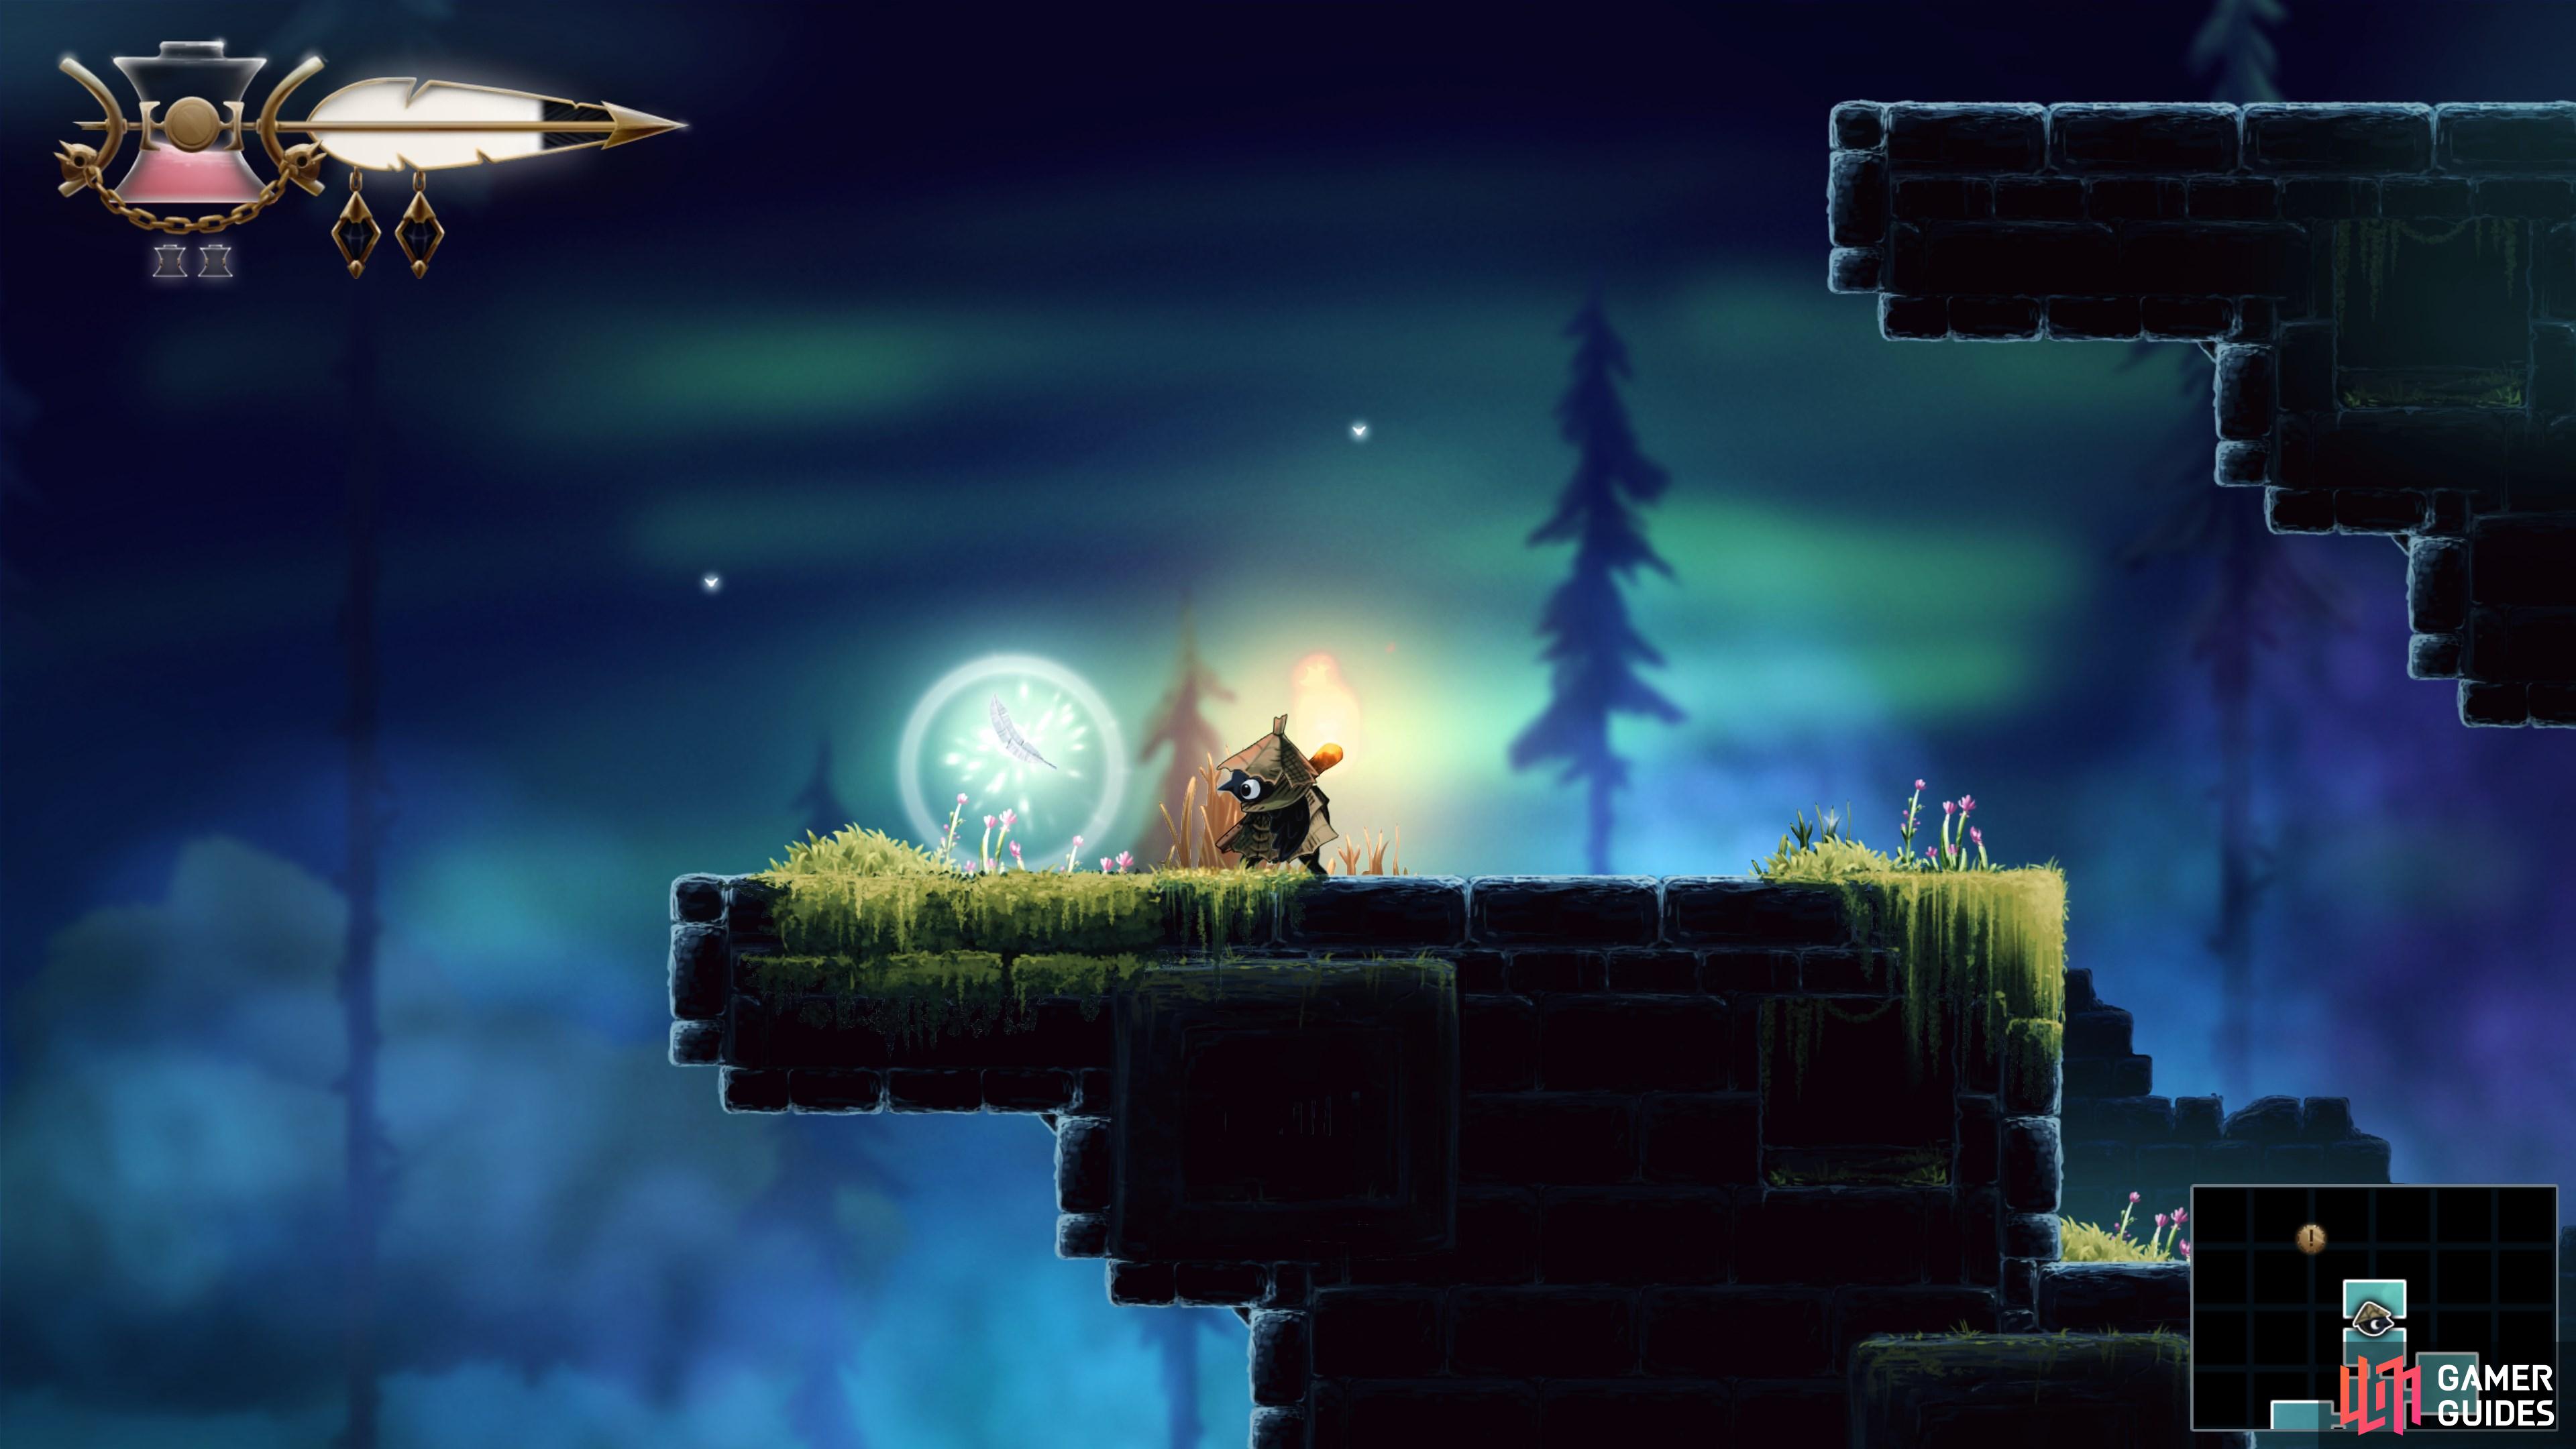
Head up through the Lookout Tower and pick up the first of three upgrades that increase the duration of flight granted by the feather bubbles in this area.
Map position: 8808, 8850
-
51
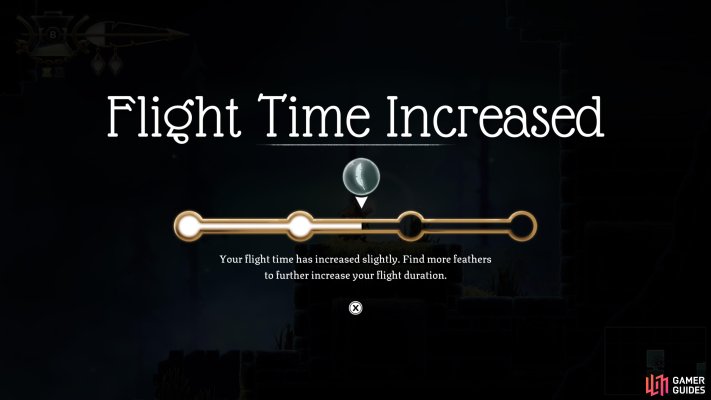
Grab the second Flight Time Increase
Head west to find the second upgrade.
Map position: 8383, 8688
-
52
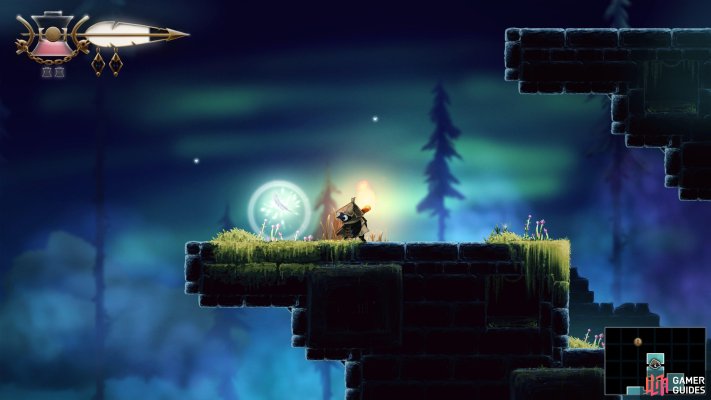
Grab the final Flight Time Increase
With two upgrades, you can now reach the eastern section of the Lookout Tower. Make your way to the end of the path to find the final upgrade.
Map position: 9870, 8552
-
53

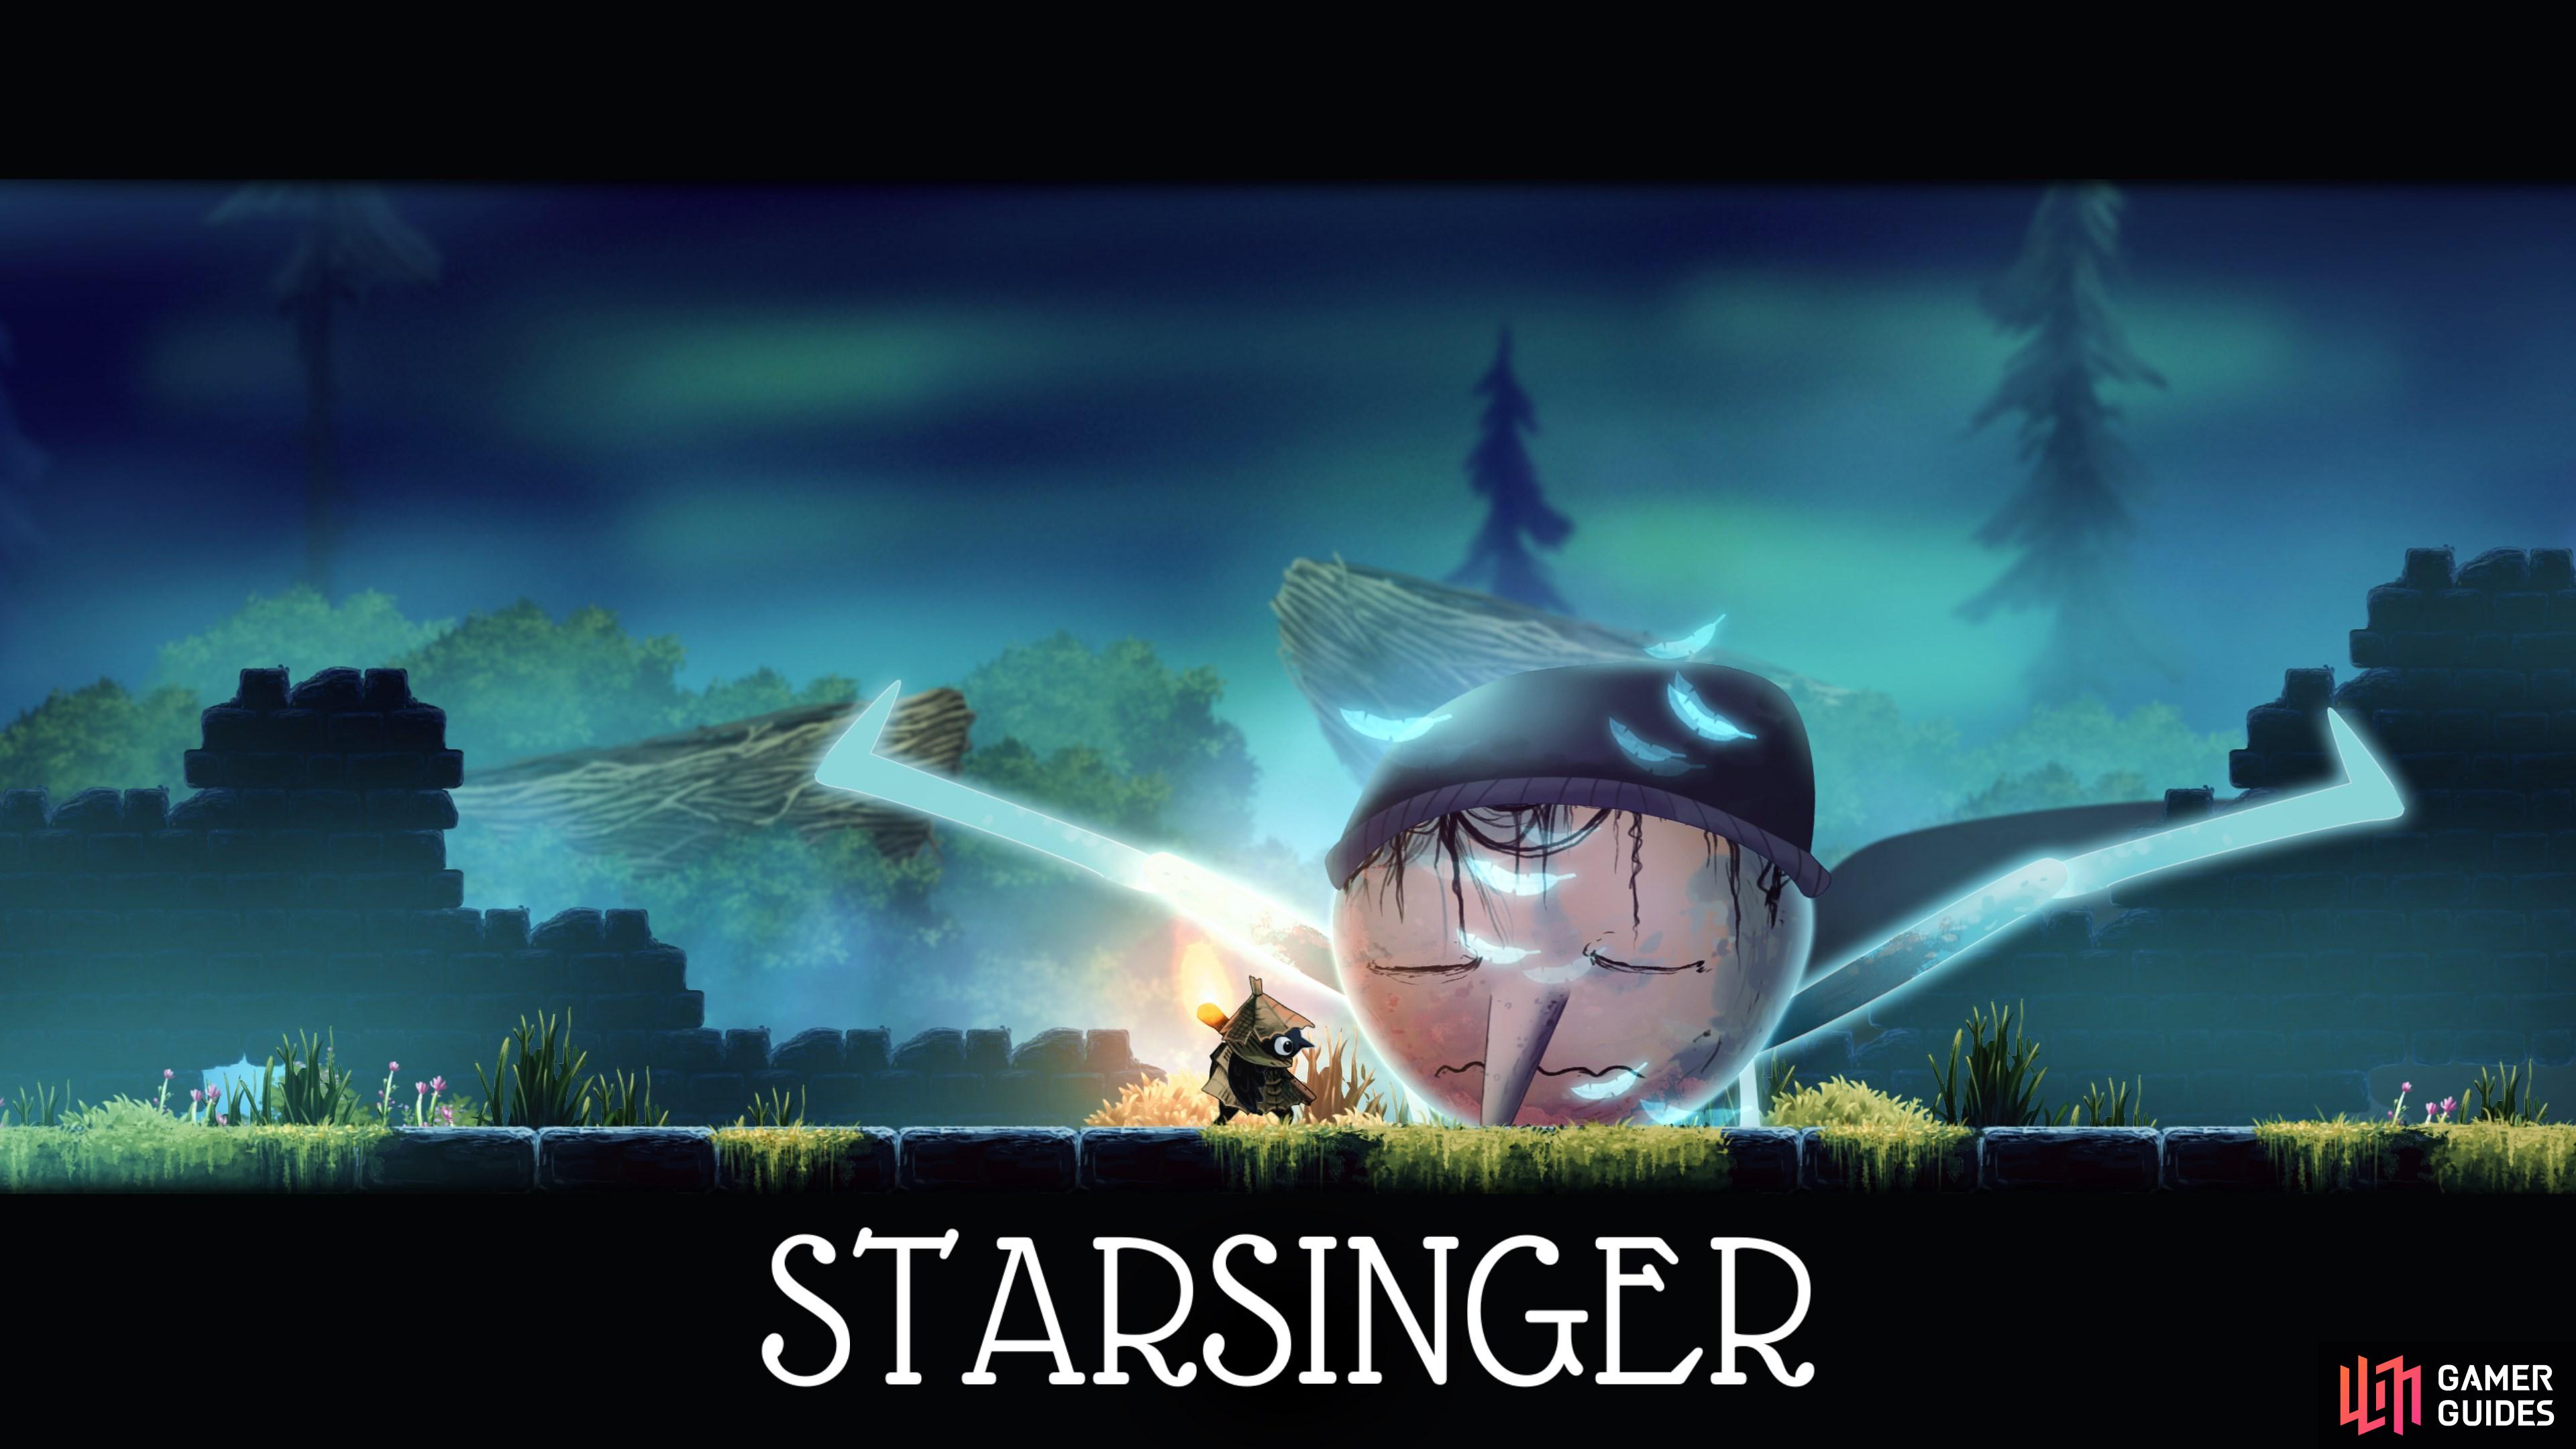
Defeat Starsinger
After finding all three upgrades, climb to the very top of the Lookout Tower and face the boss.
Map position: 9500, 8367
-
54
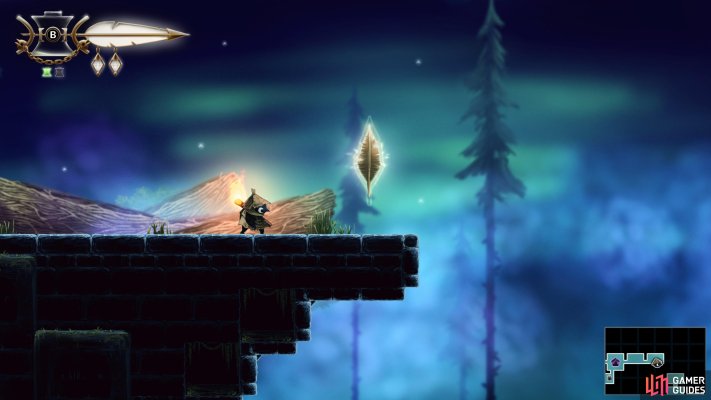
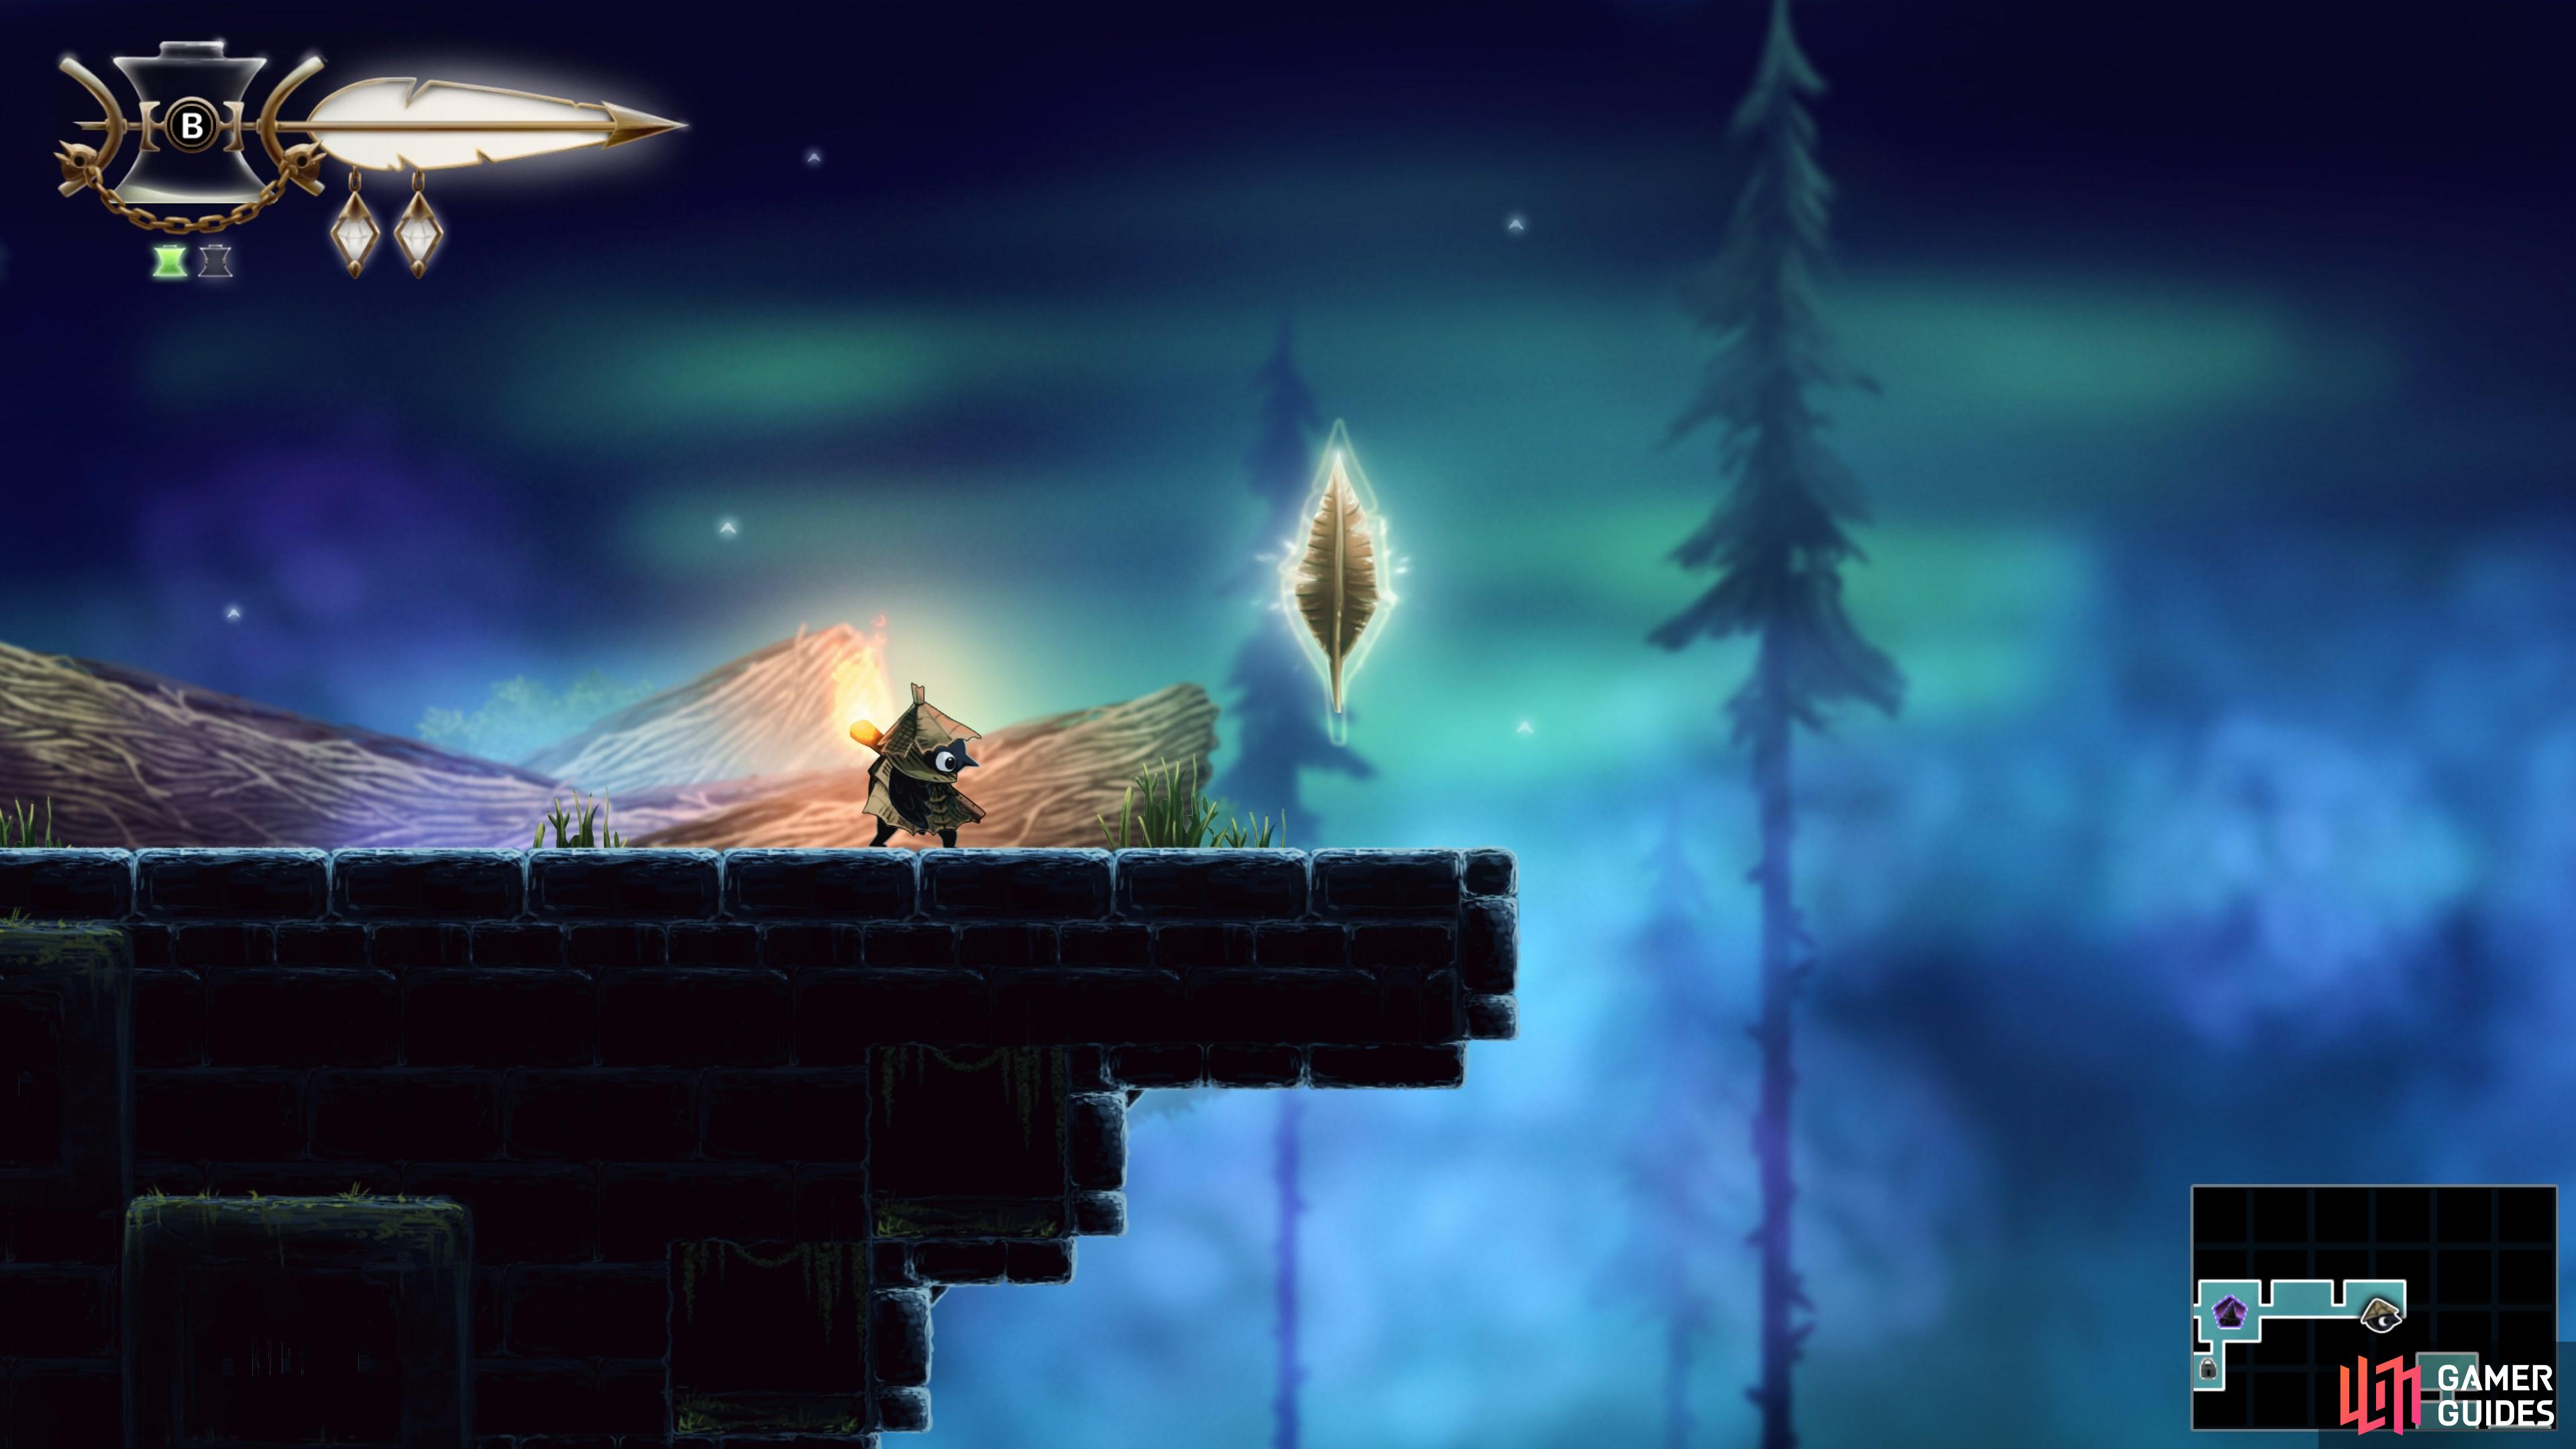
Collect the third Golden Feather
Defeat Starsinger, then collect the feather from the room next to the boss arena.
Map position: 9703, 8352
-
55
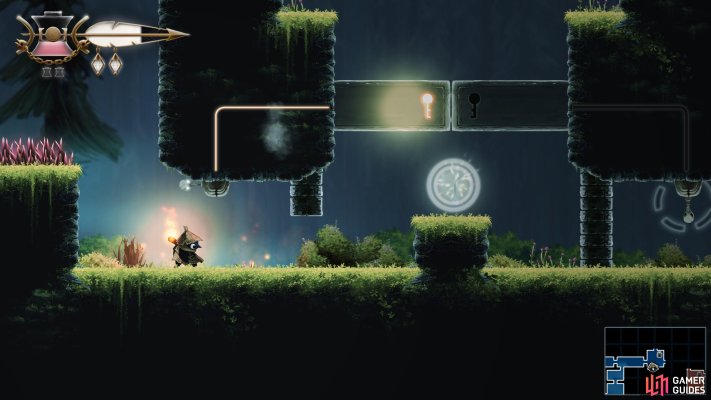
Unlock the Autumn Forest path (part one)
Head east and activate one of the two levers required to unlock the western entrance to the Autumn Forest.
Map position: 10246, 9379
-
56
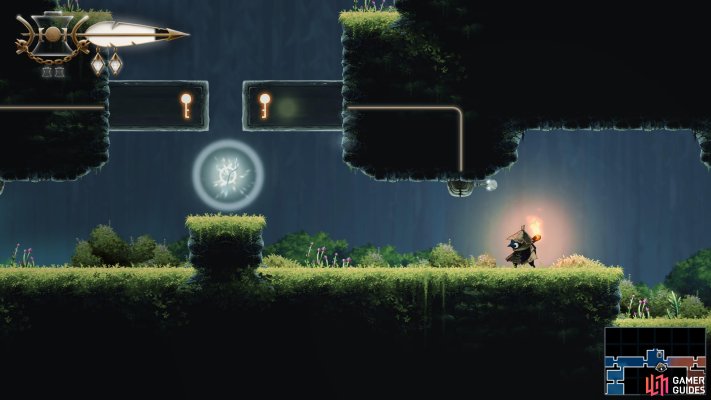
Unlock the Autumn Forest path (part two)
Head to the Hunter's Cabin and climb up to activate the second lever.
Map position: 10334, 9372
-
57

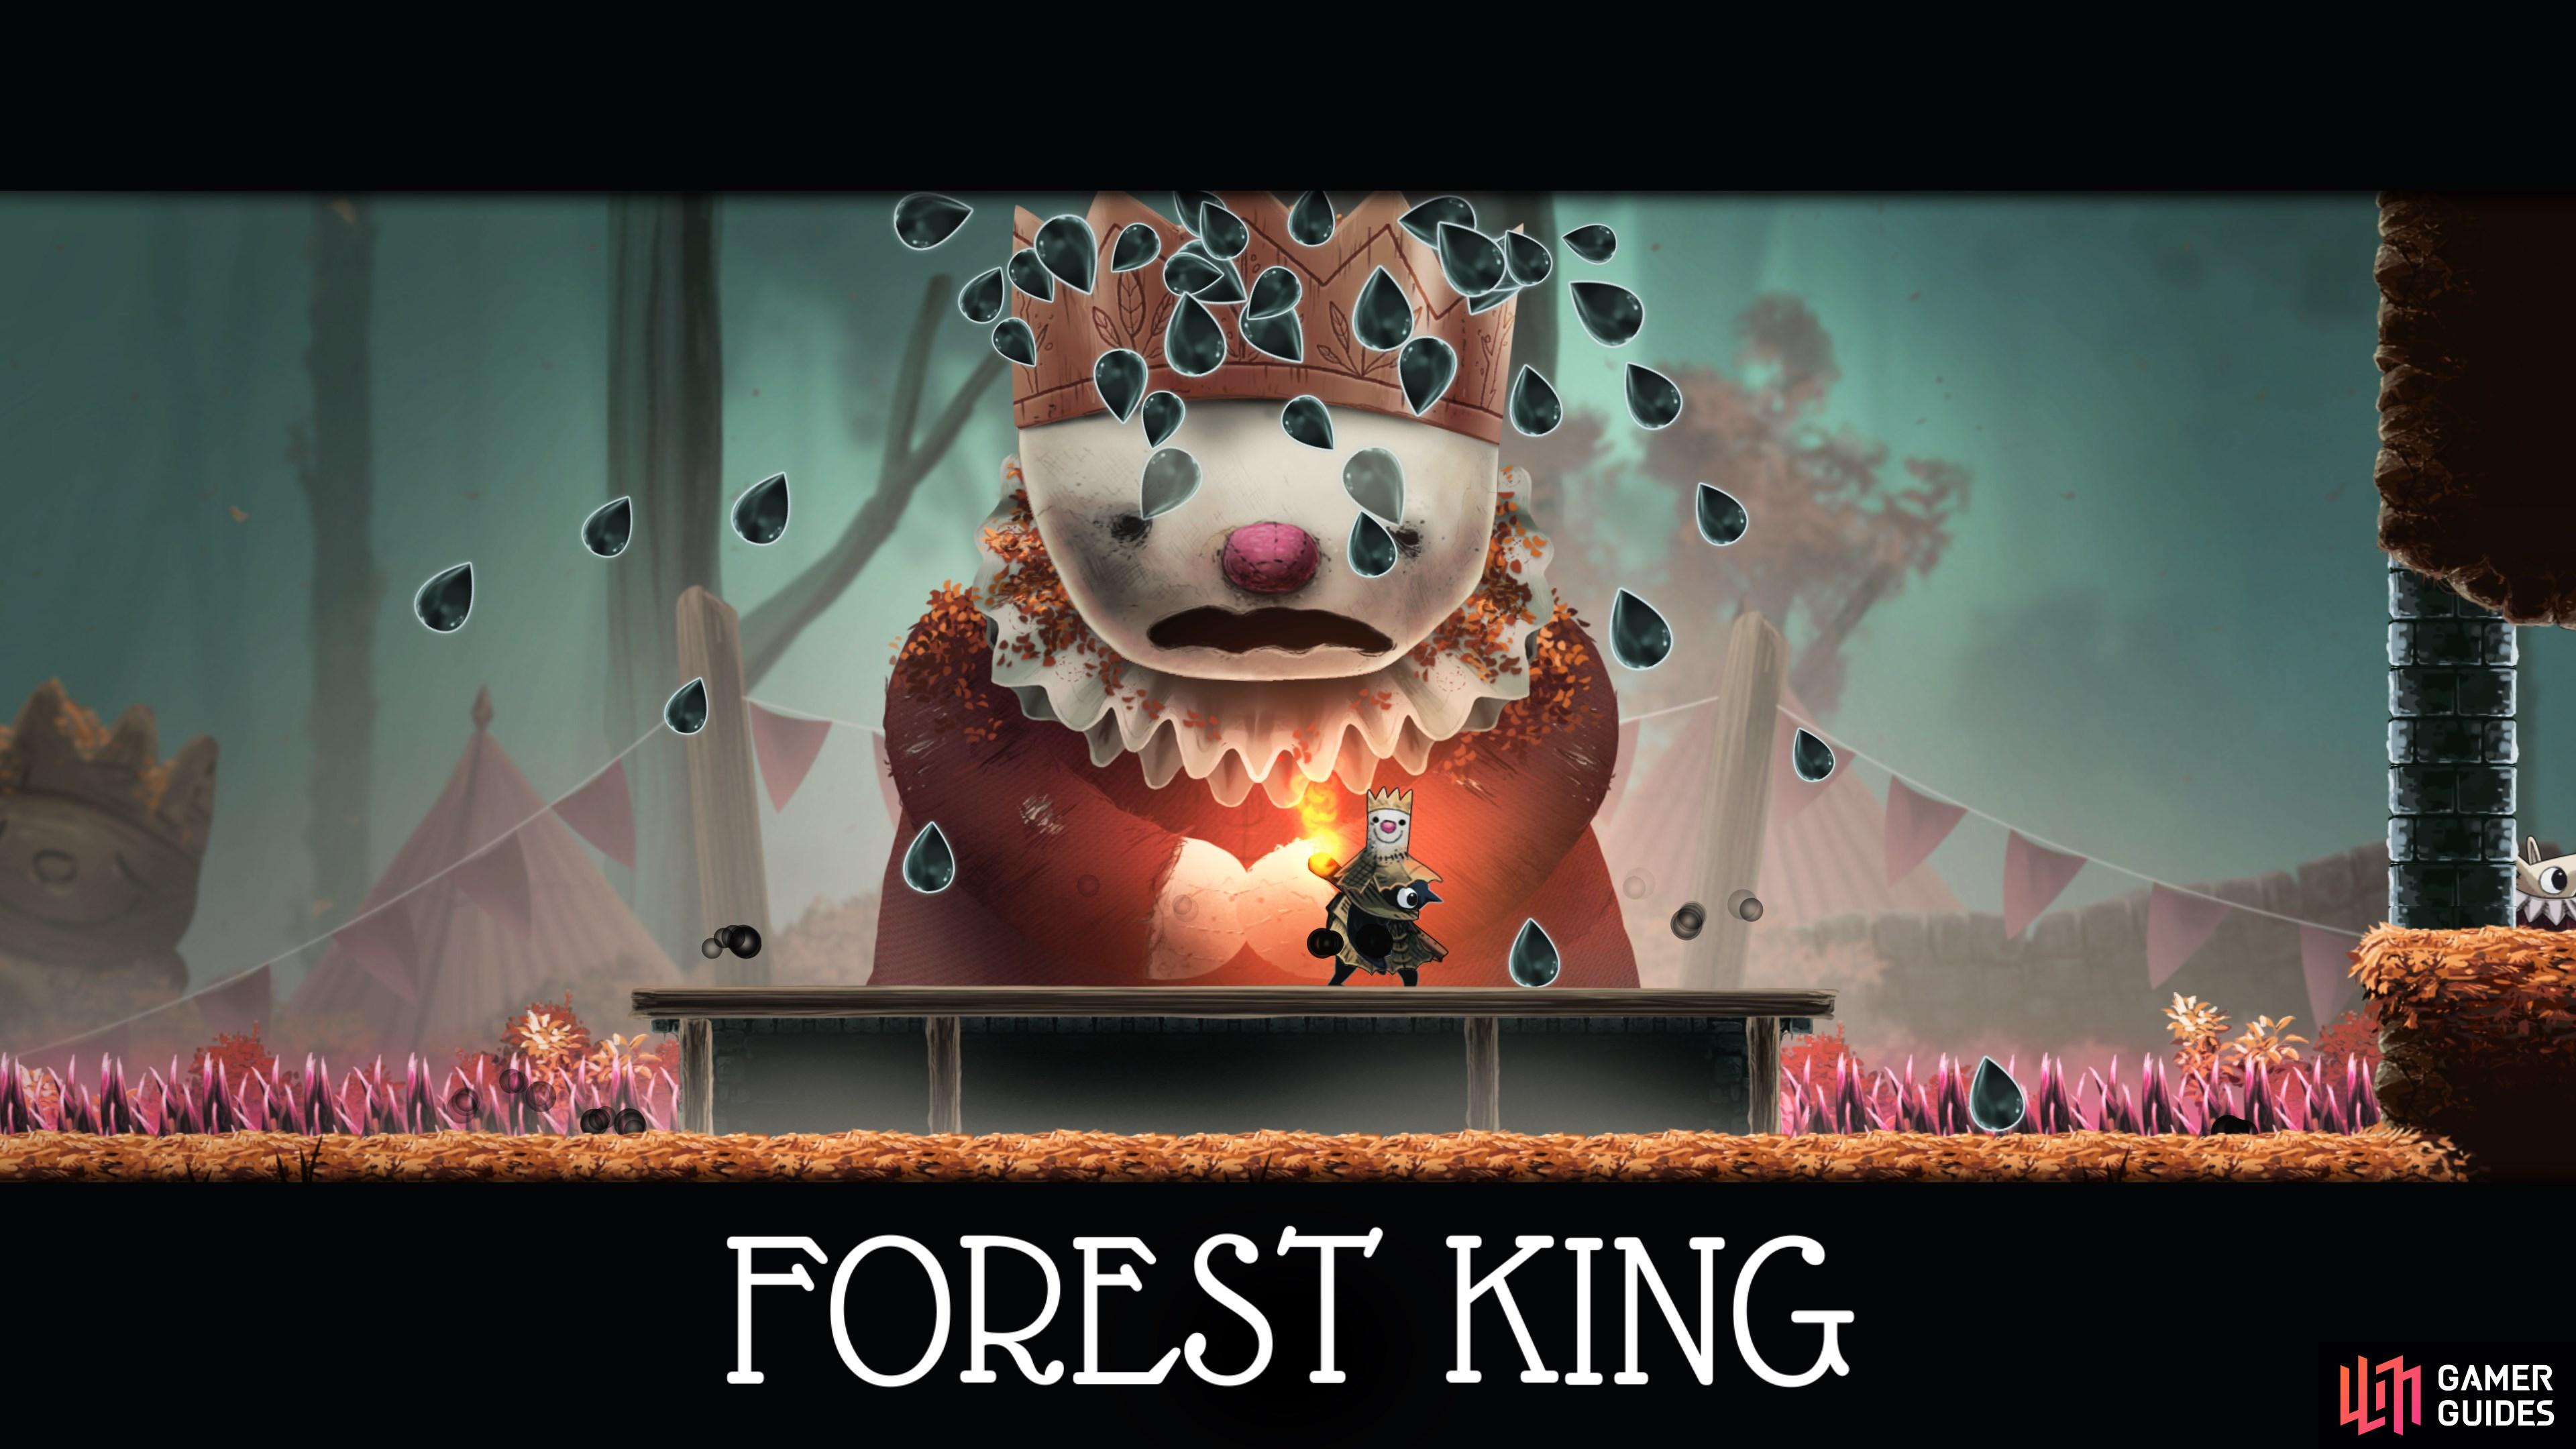
Defeat the Forest King
Travel east through the forest, meeting up with Ilda along the way. Face and defeat the Forest King at the very end.
Map position: 12512, 8735
-
58
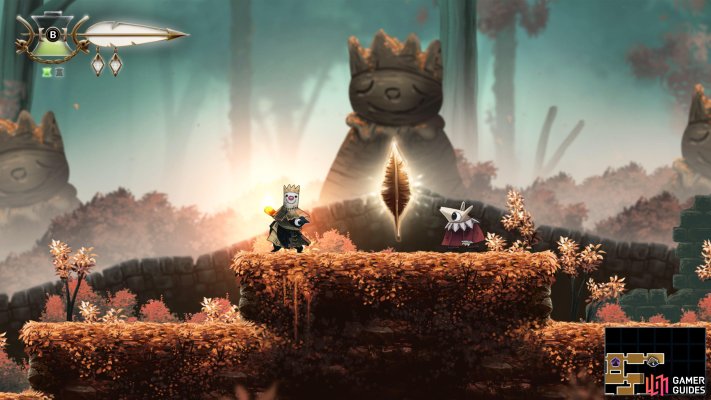
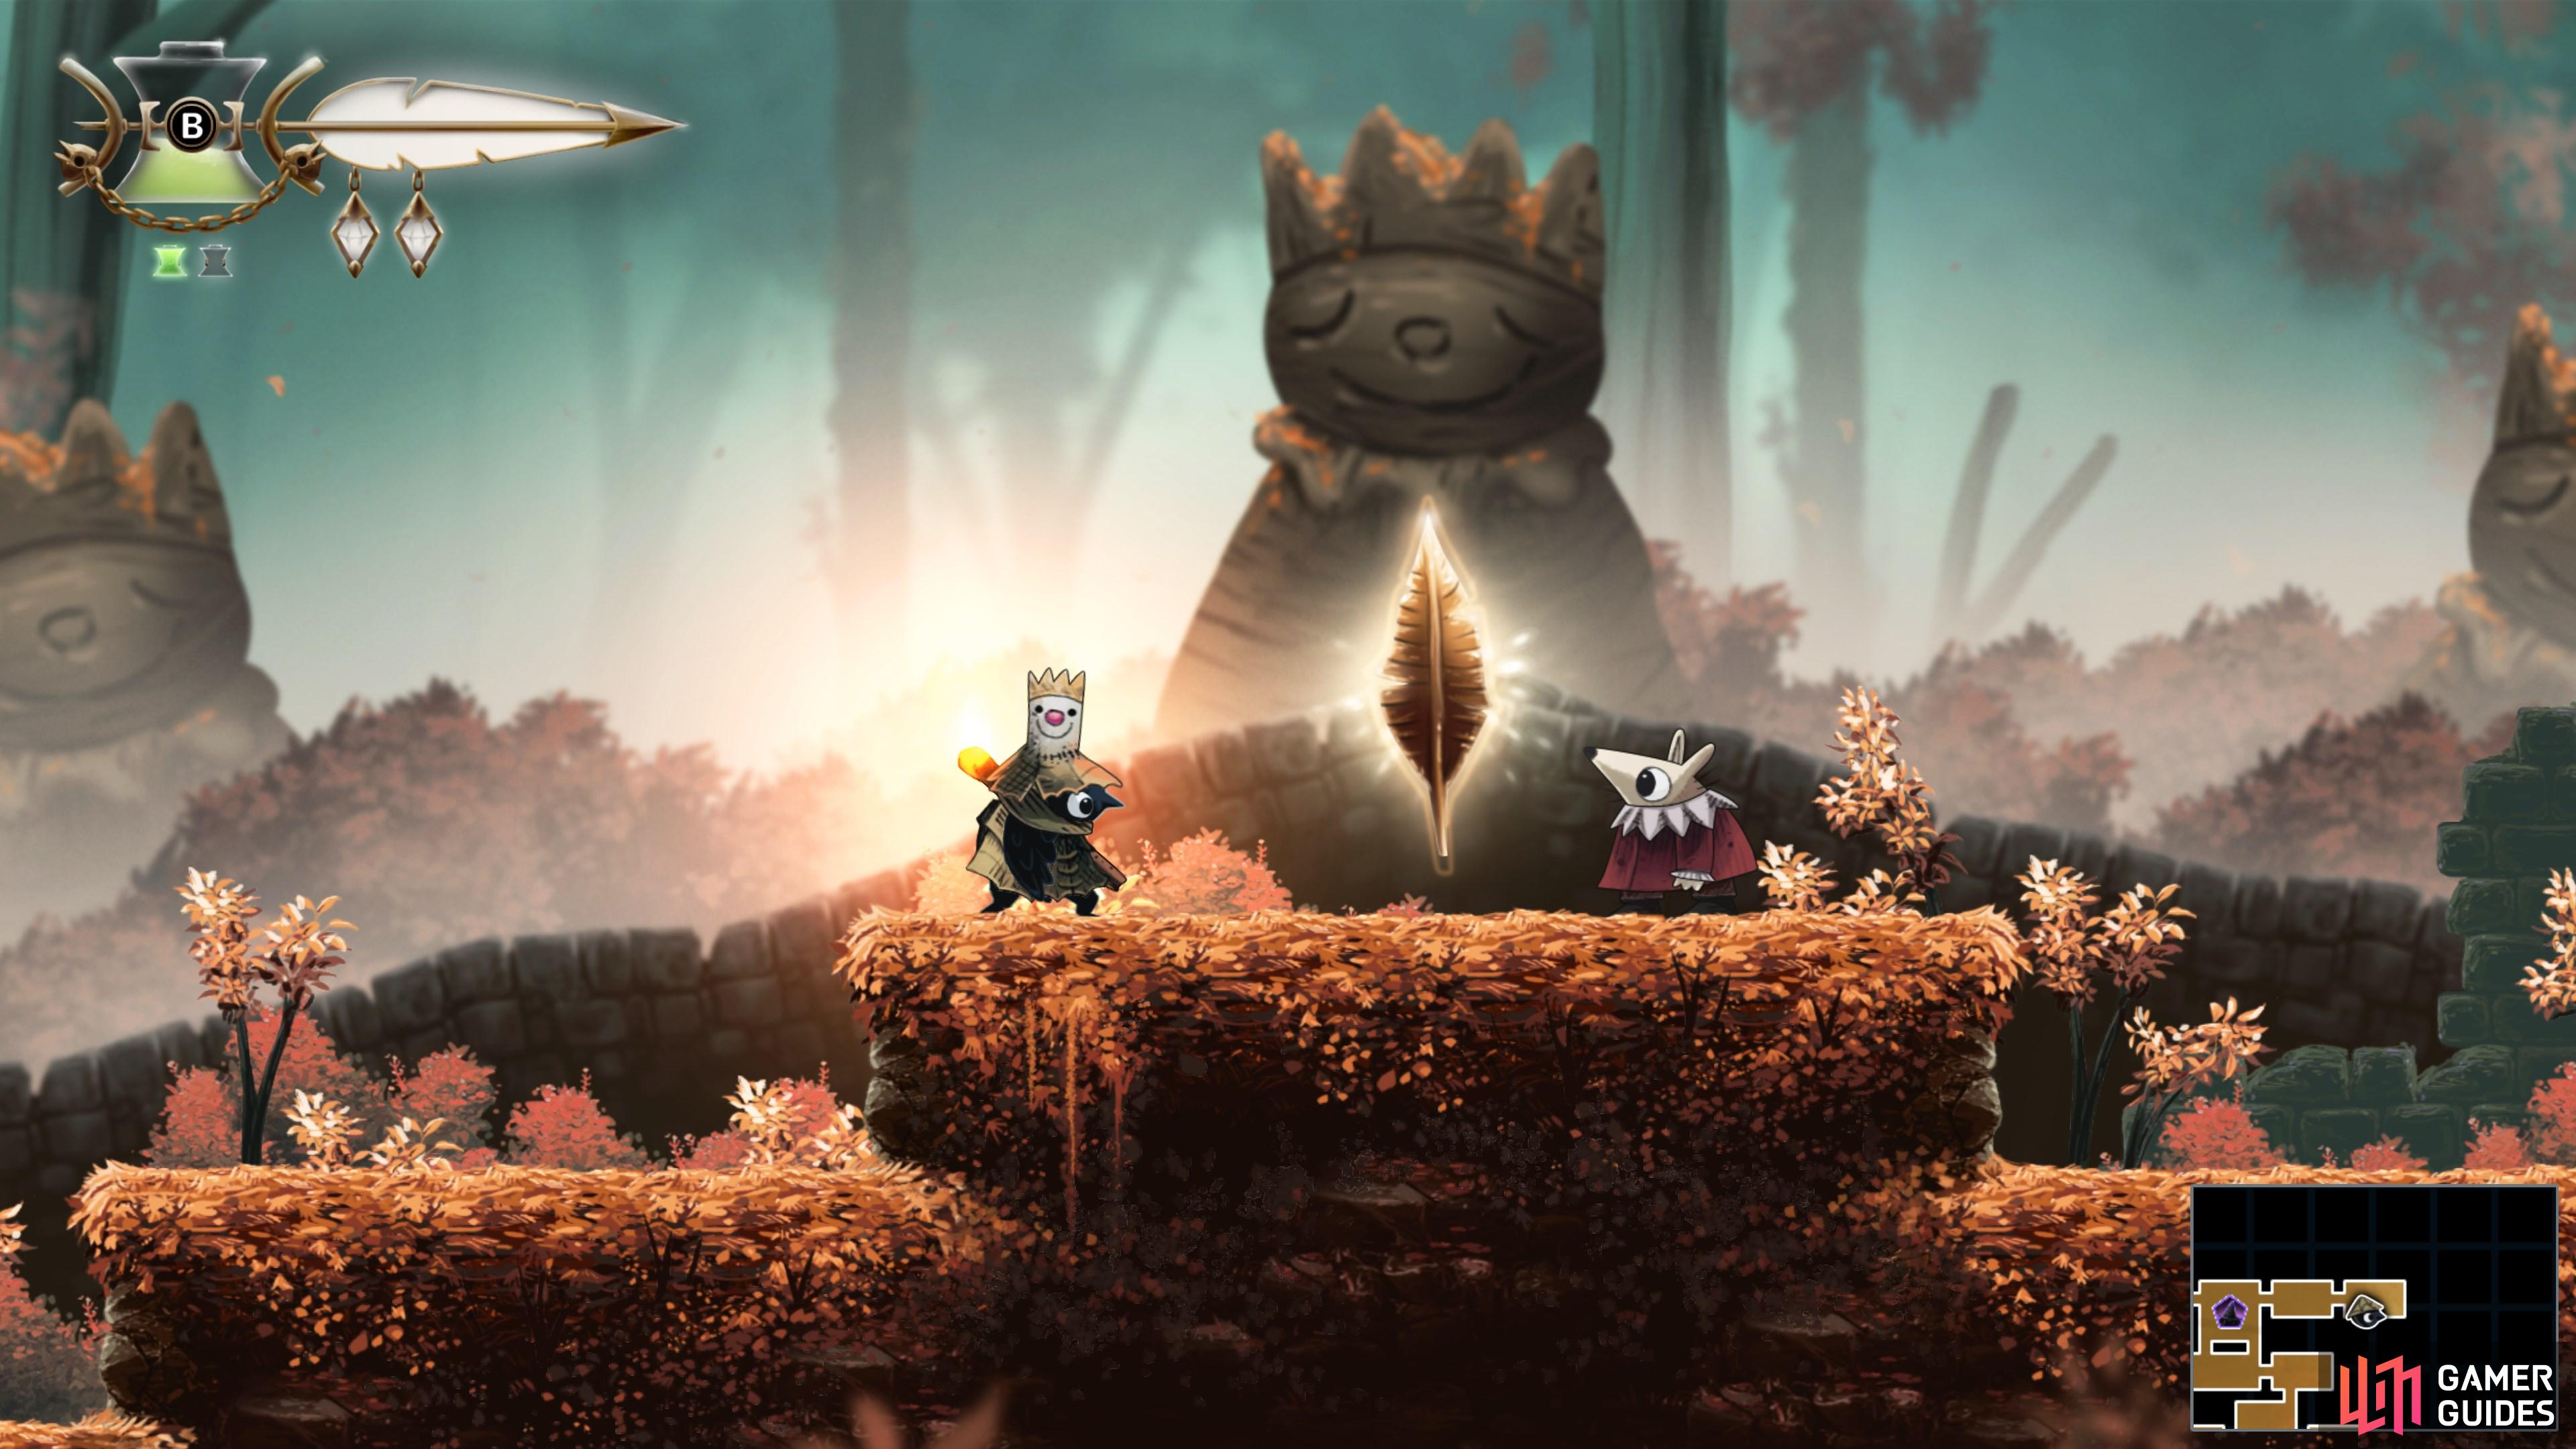
Find the fourth Golden Feather
After defeating the Forest King, head east to collect the feather. Four down, three to go!
Map position: 12647, 8724
-
59
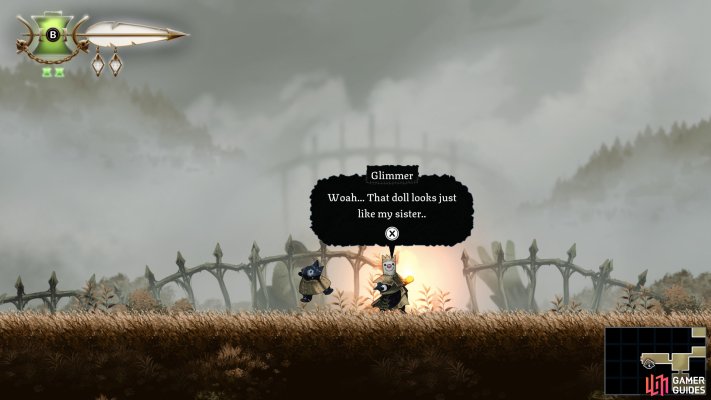
Enter the Dollmaker's House
Make your way to the western edge of The Bog, and use Endless Climb to reach the Dollmaker's House area.
Map position: 6823, 10089
-
60
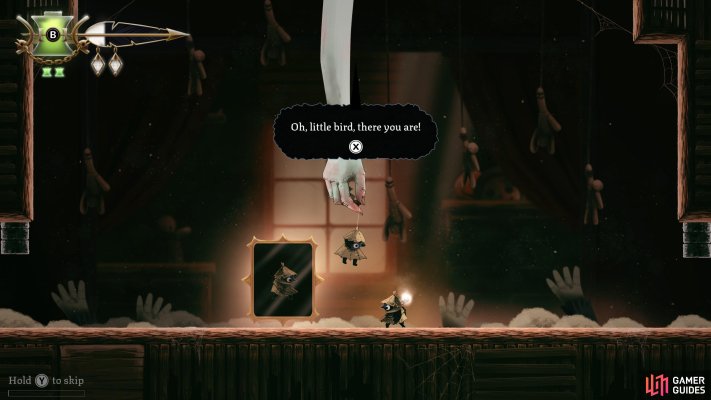
Defeat The Dollmaker
Progress through the house and proceed to the lower section to face The Dollmaker herself.
Map position: 6532, 10991
-
61
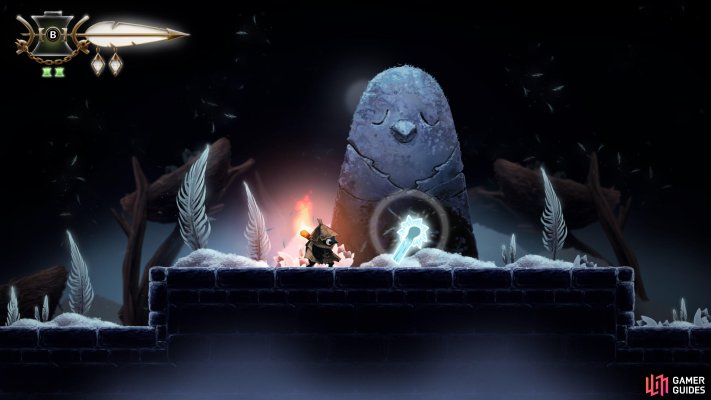
Learn the Wall Sling Ability
Head west to meet up with Magda and unlock a new ability.
Map position: 6315, 11047
-
62
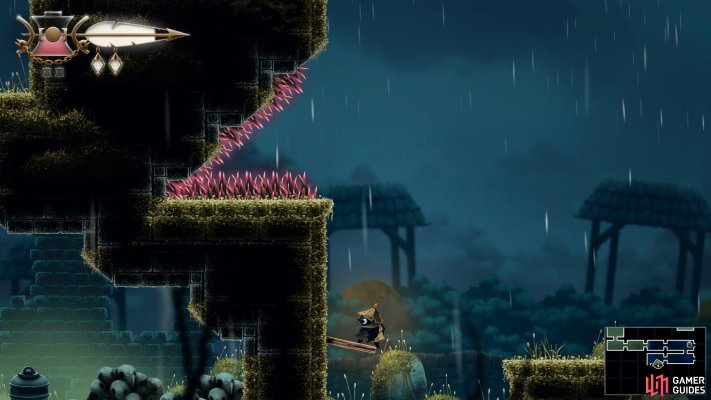
Enter the Burial Vault
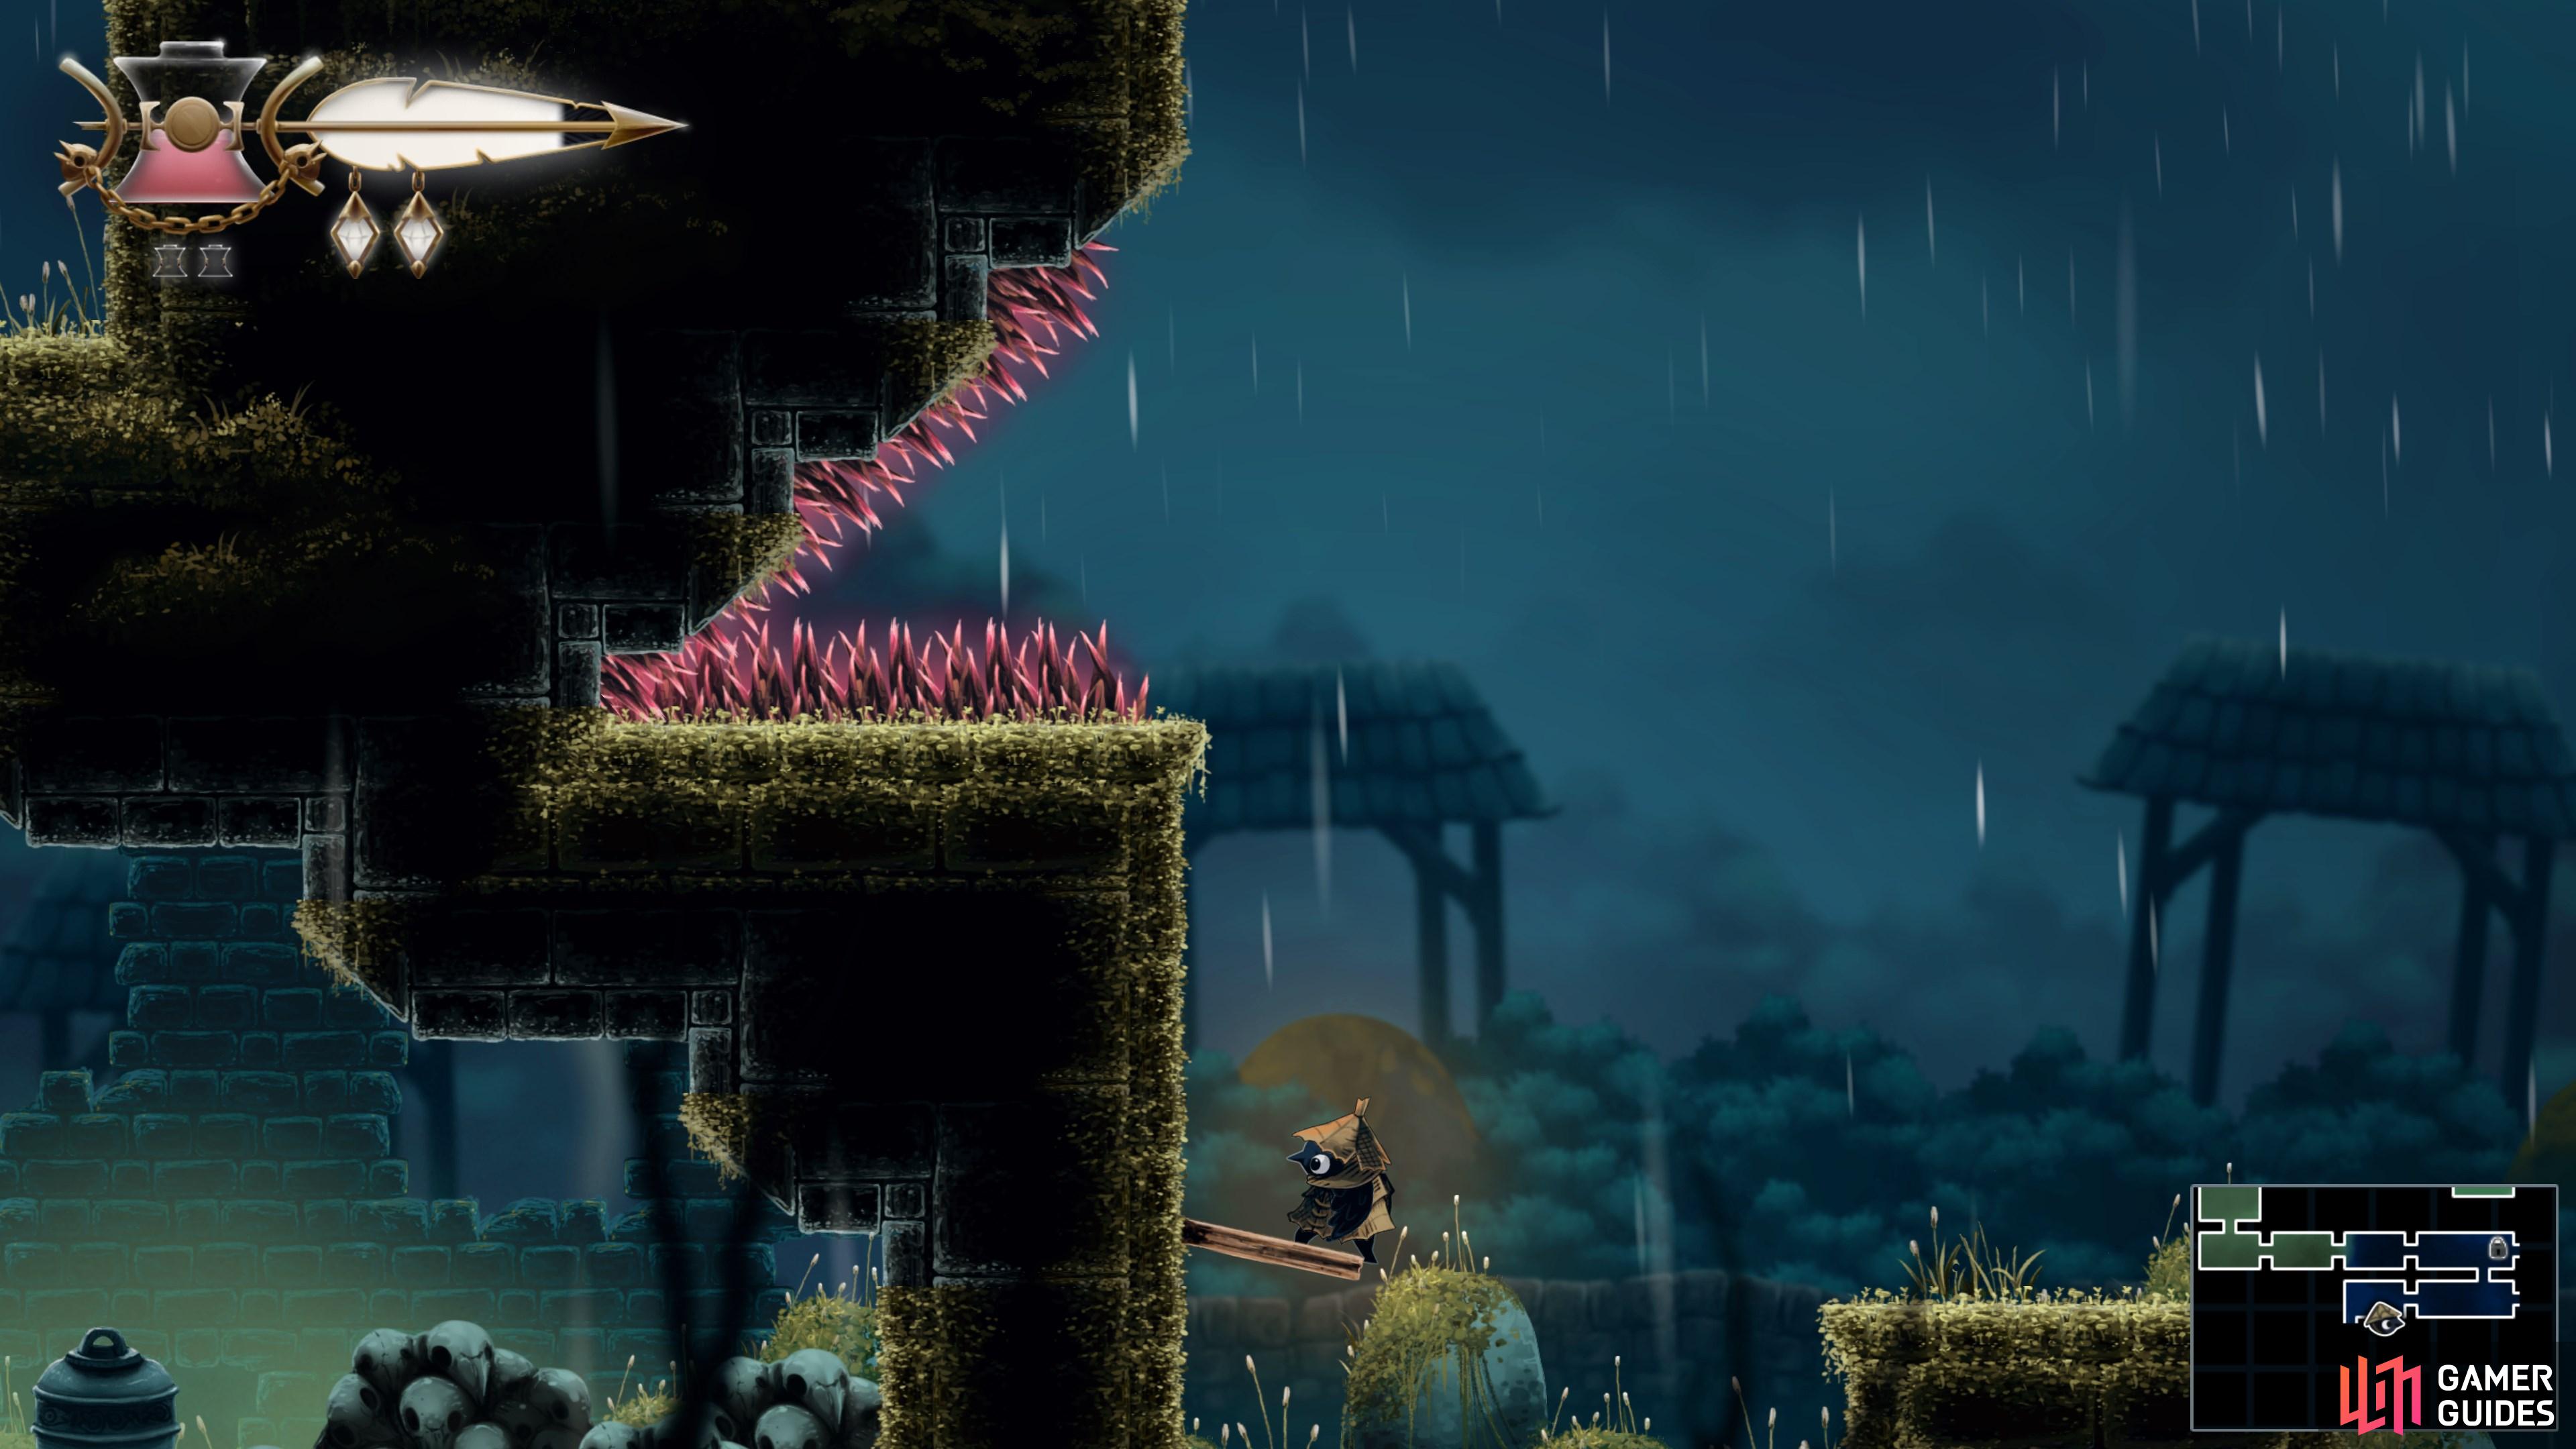
Use Wall Sling to access the Burial Vault from the Midnight Drench area.
Map position: 10182, 11186
-
63
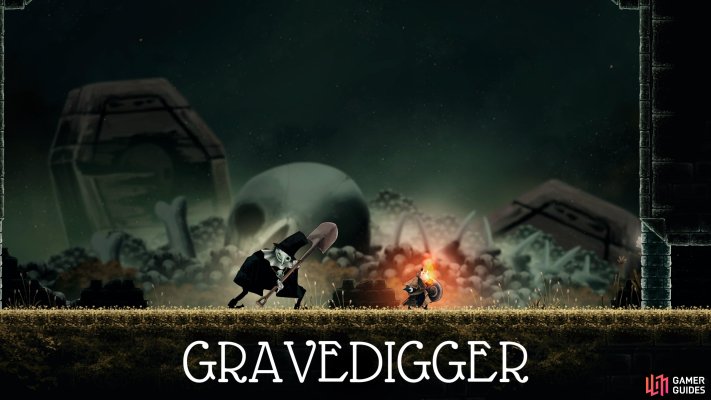
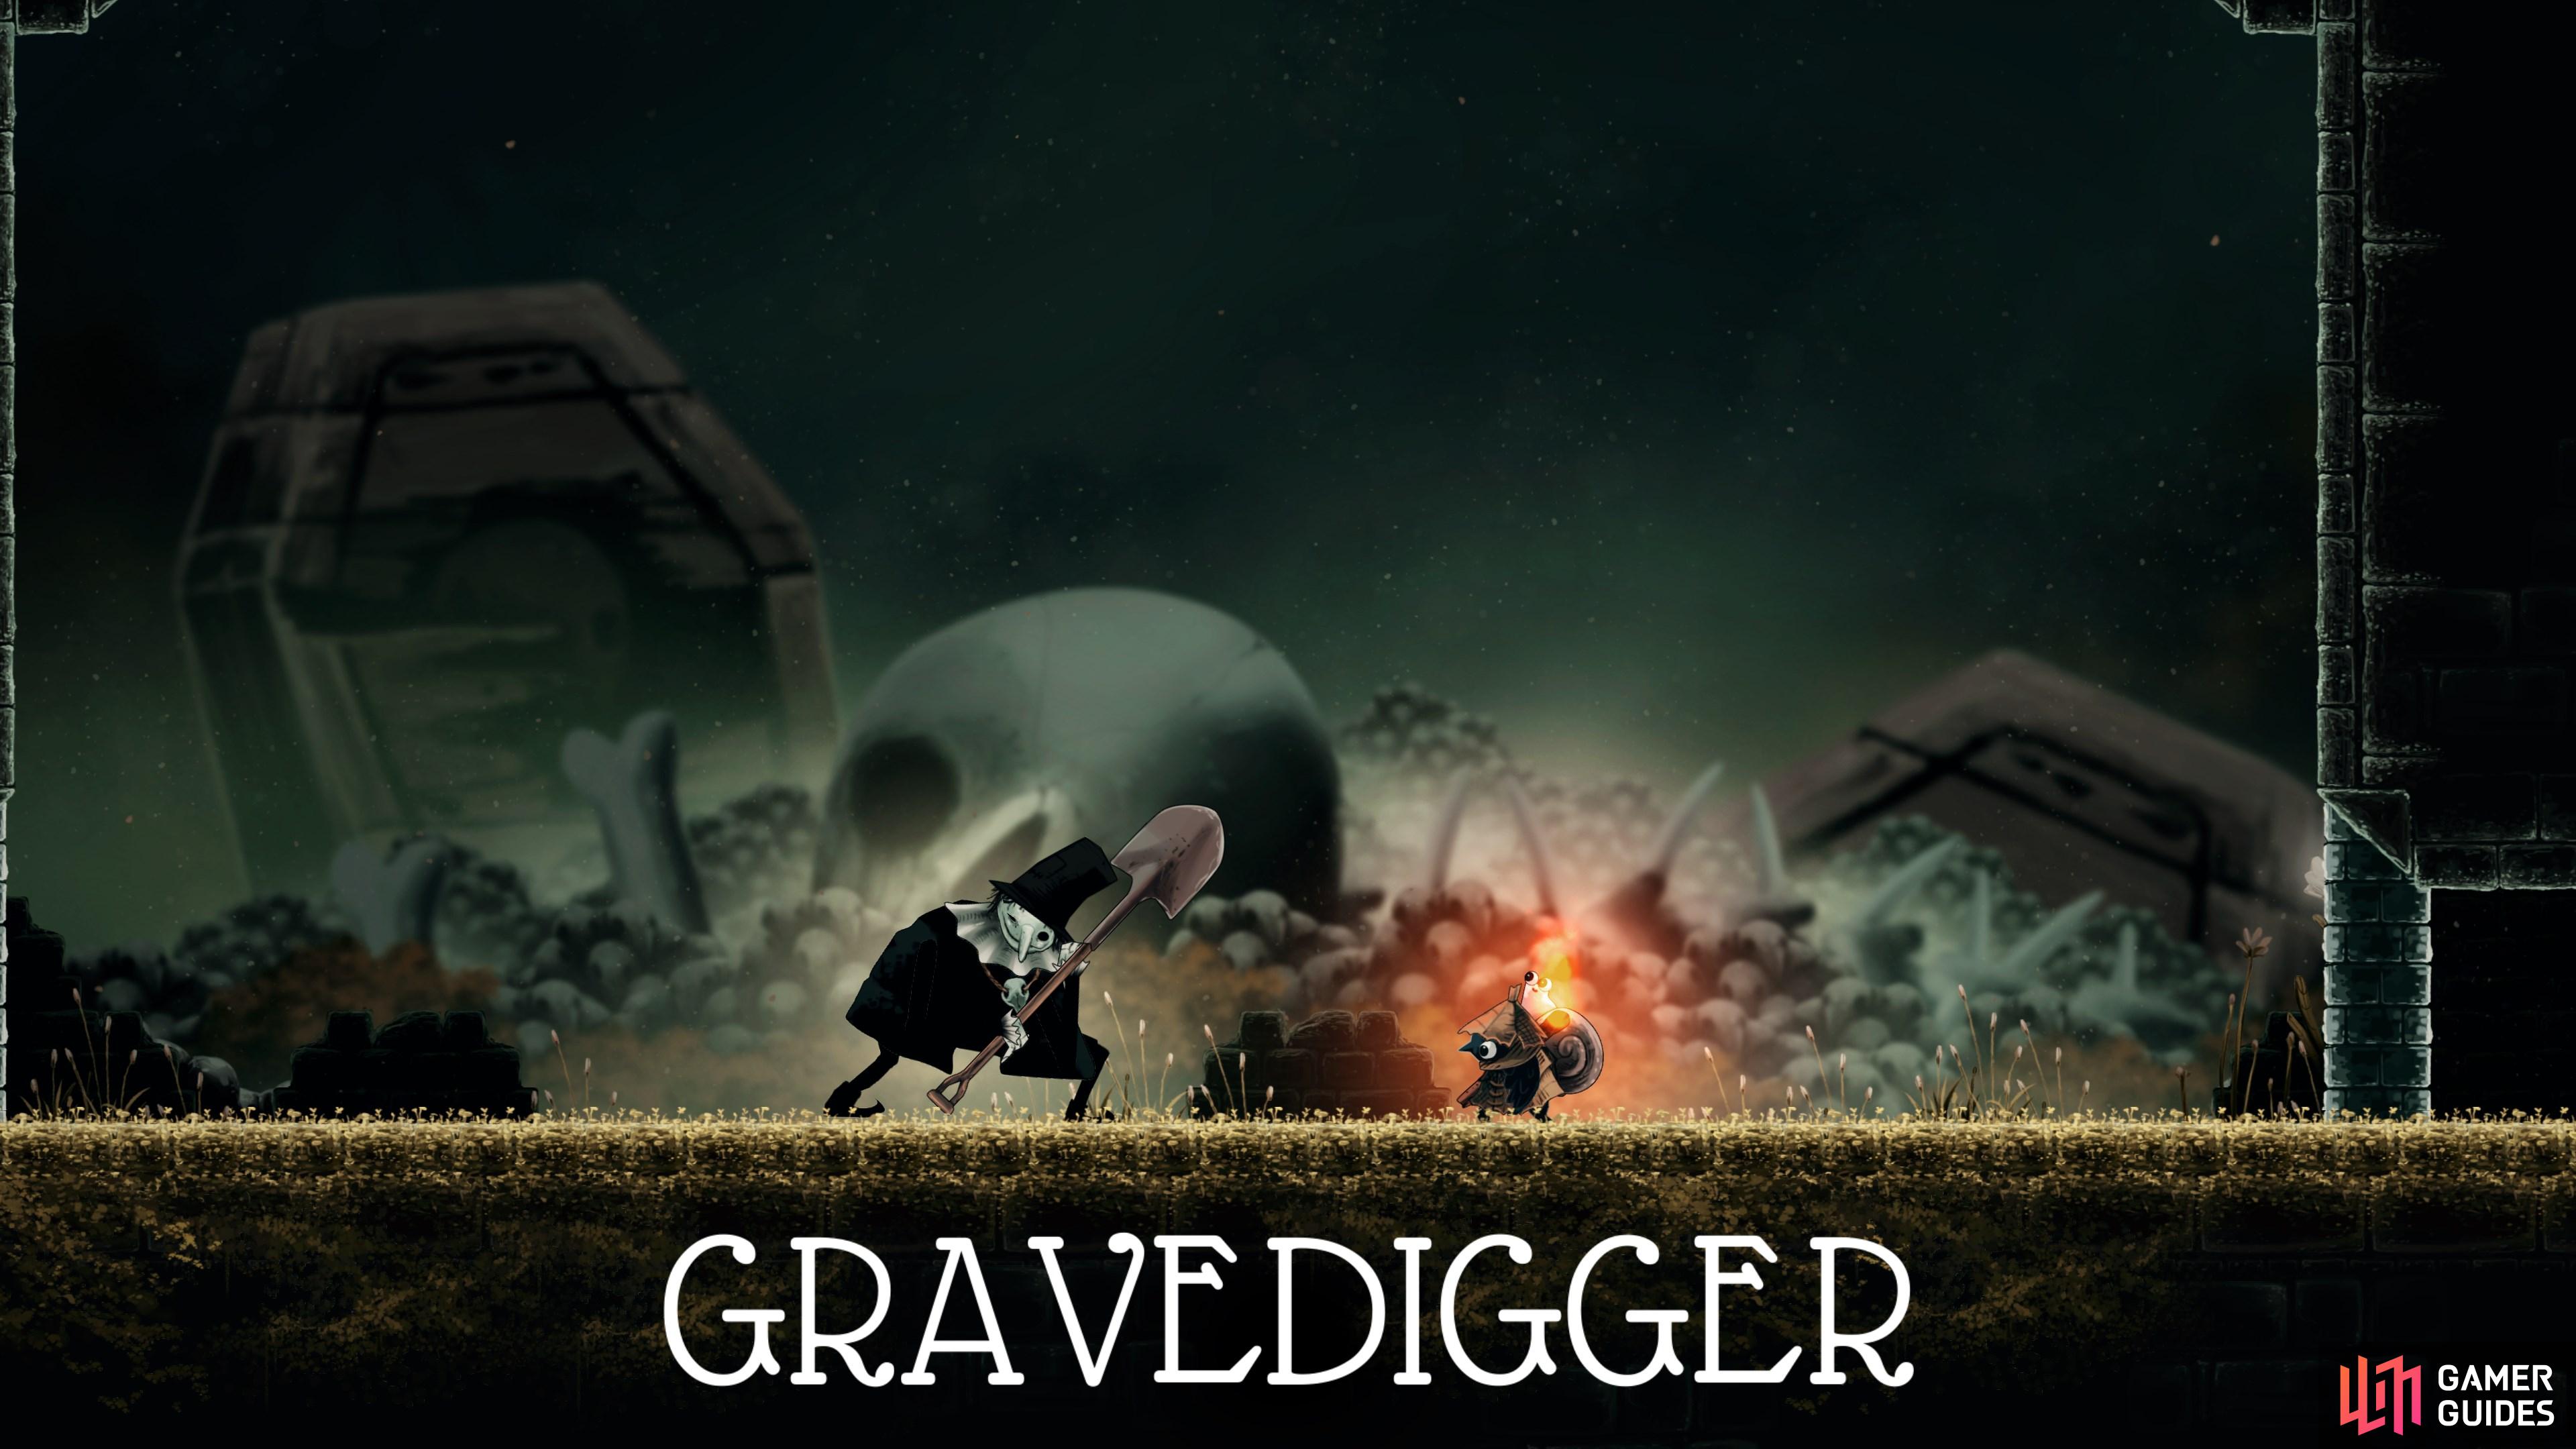
Defeat the Gravedigger
Proceed west through the Burial Vault. At the end of the area, you'll encounter the Gravedigger. You know what to do.
Map position: 7581, 11189
-
64
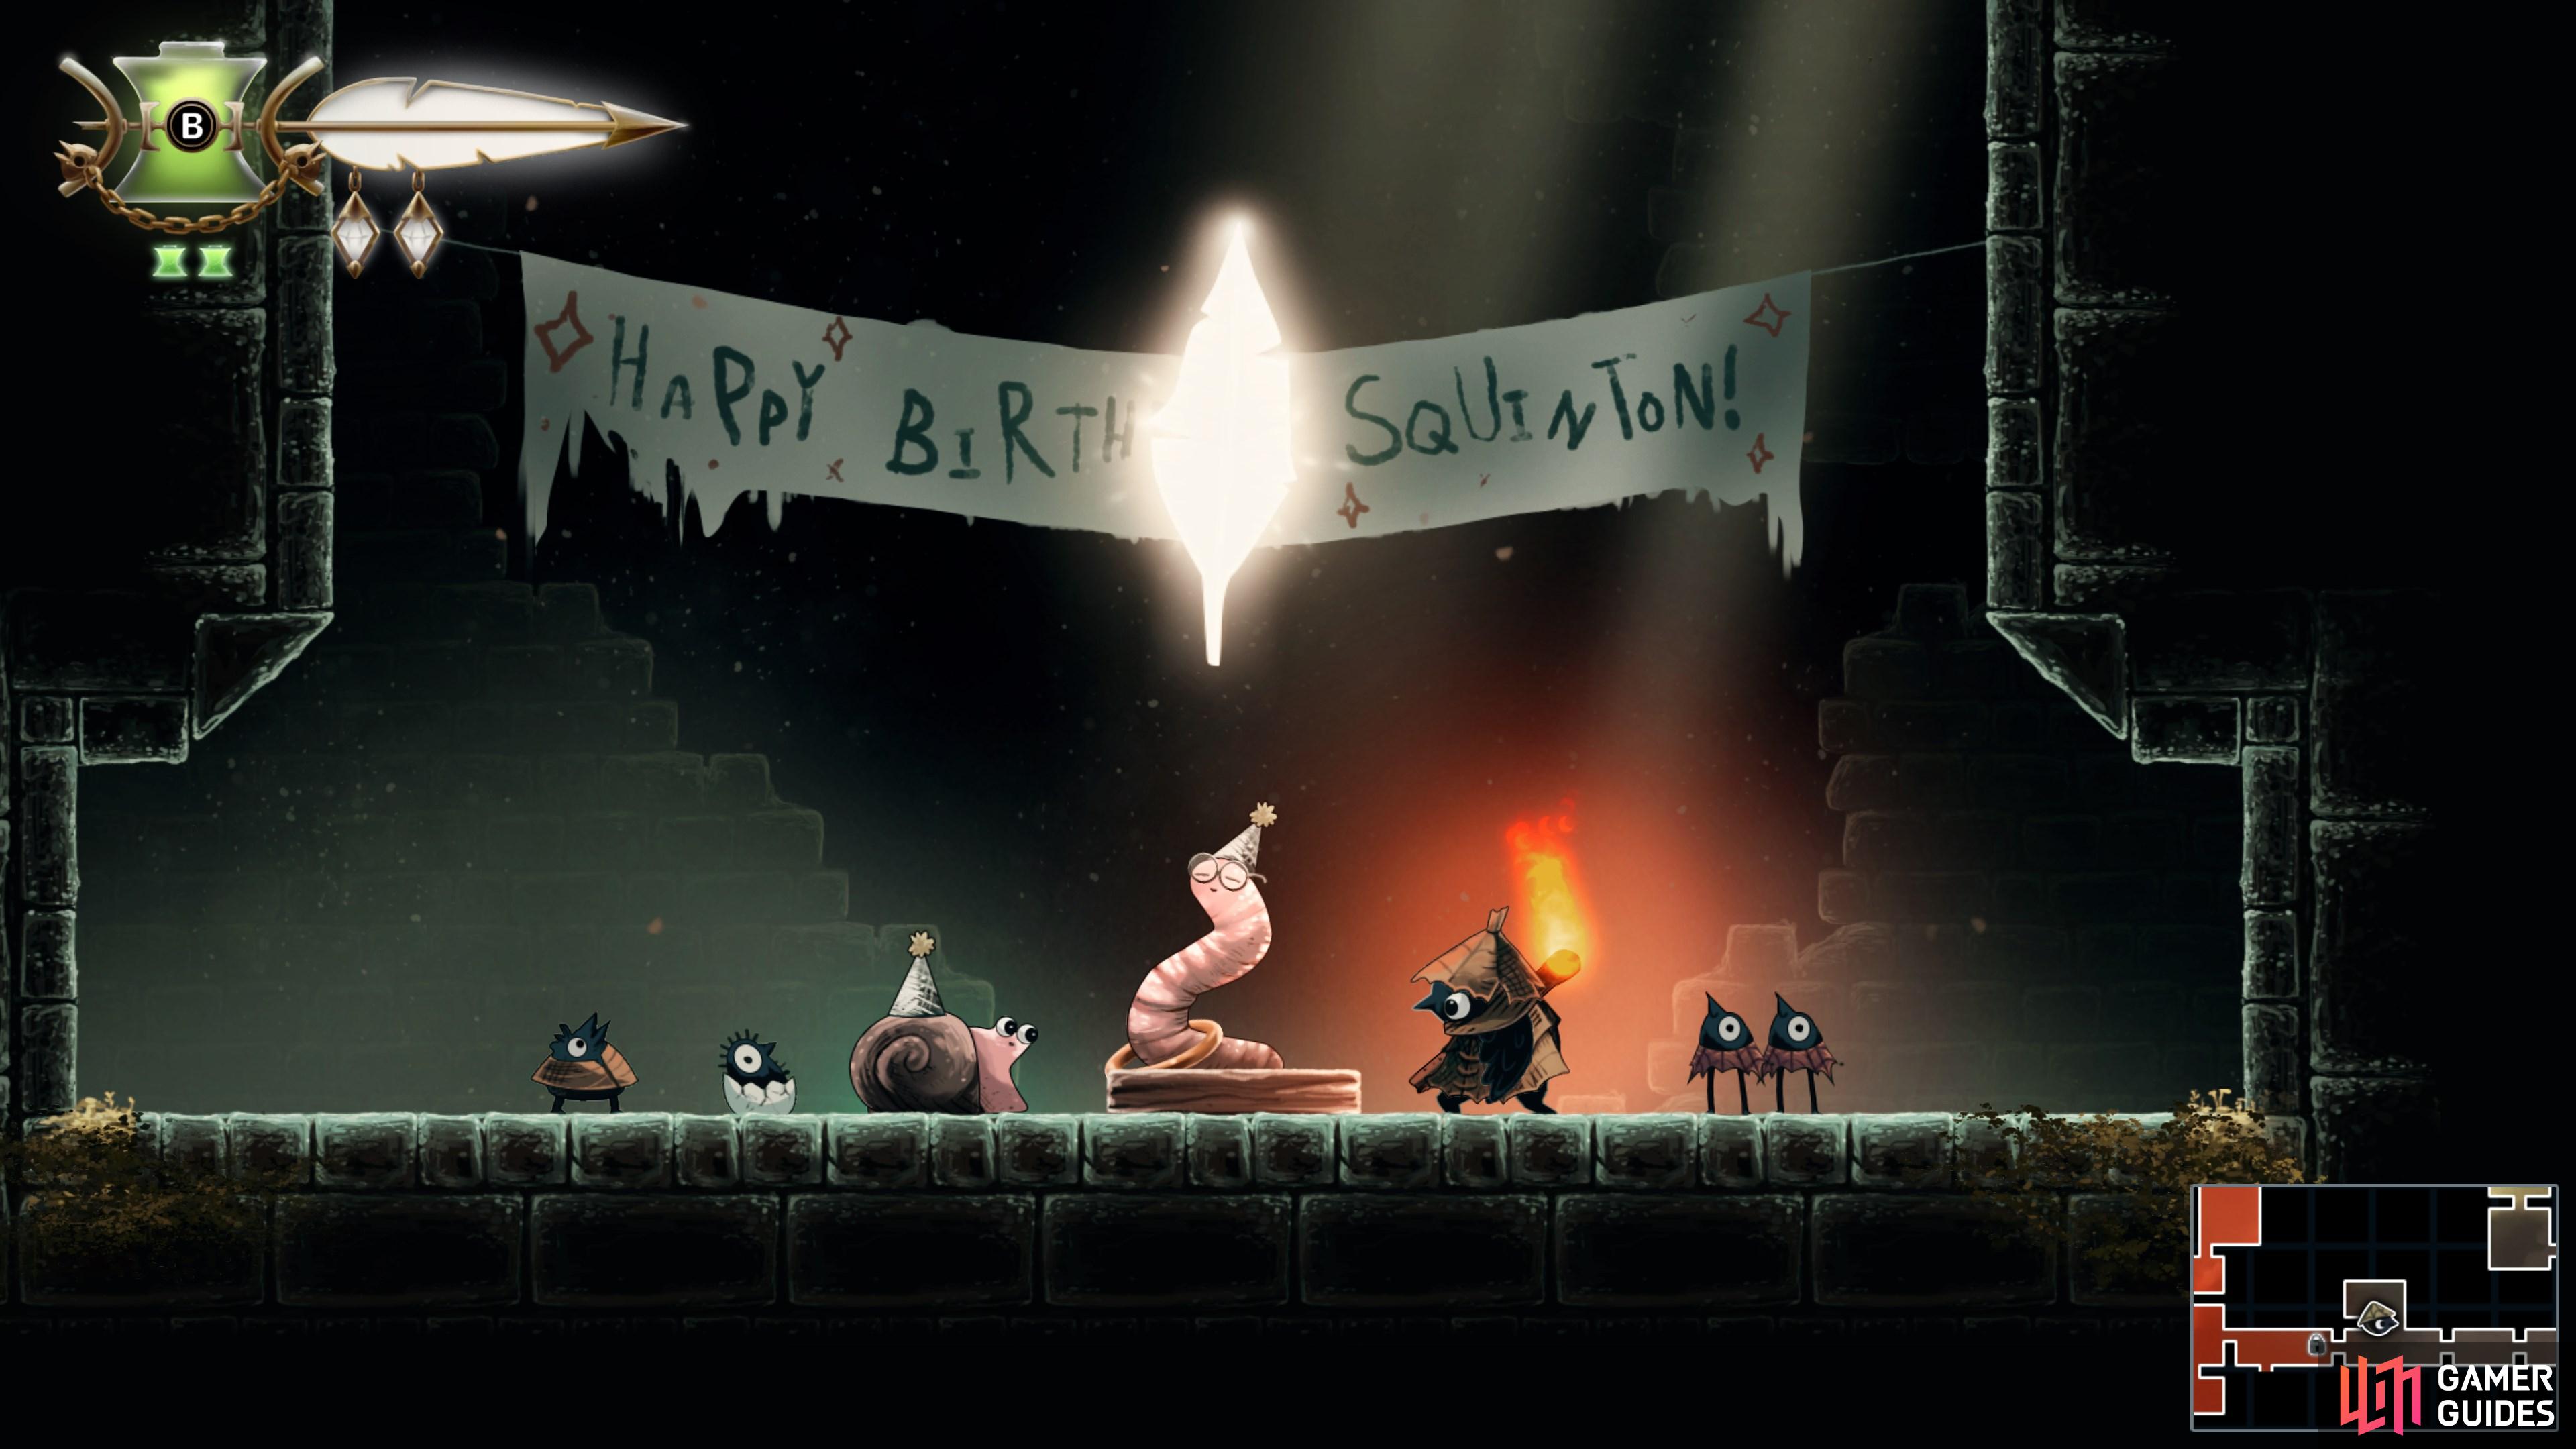
Collect the fifth Golden Feather
Head west and rock up at Squinton’s place to P.A.R.T.Y. After a wild night, Squinton will dish out the feather.
Map position: 7291, 11017
-
65
Visit the Webdrench Inn
Go to the east of the Night Garden and use Wall Sling to enter the Inn.
Map position: 13214, 11150
-
66
Escape the Inkeeper
Make your way through the Inn and eventually, the passage that runs along the very bottom of the area. Complete the chase sequence at the end and escape the Inn.
Map position: 14654, 11322
-
67
Find the sixth Golden Feather
After escaping Webdrench Inn, you'll find the sixth feather waiting for you at the exit.
Map position: 13225, 11291
-
68
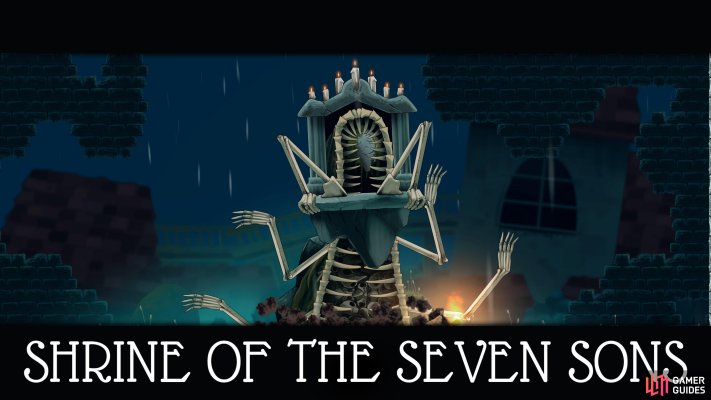
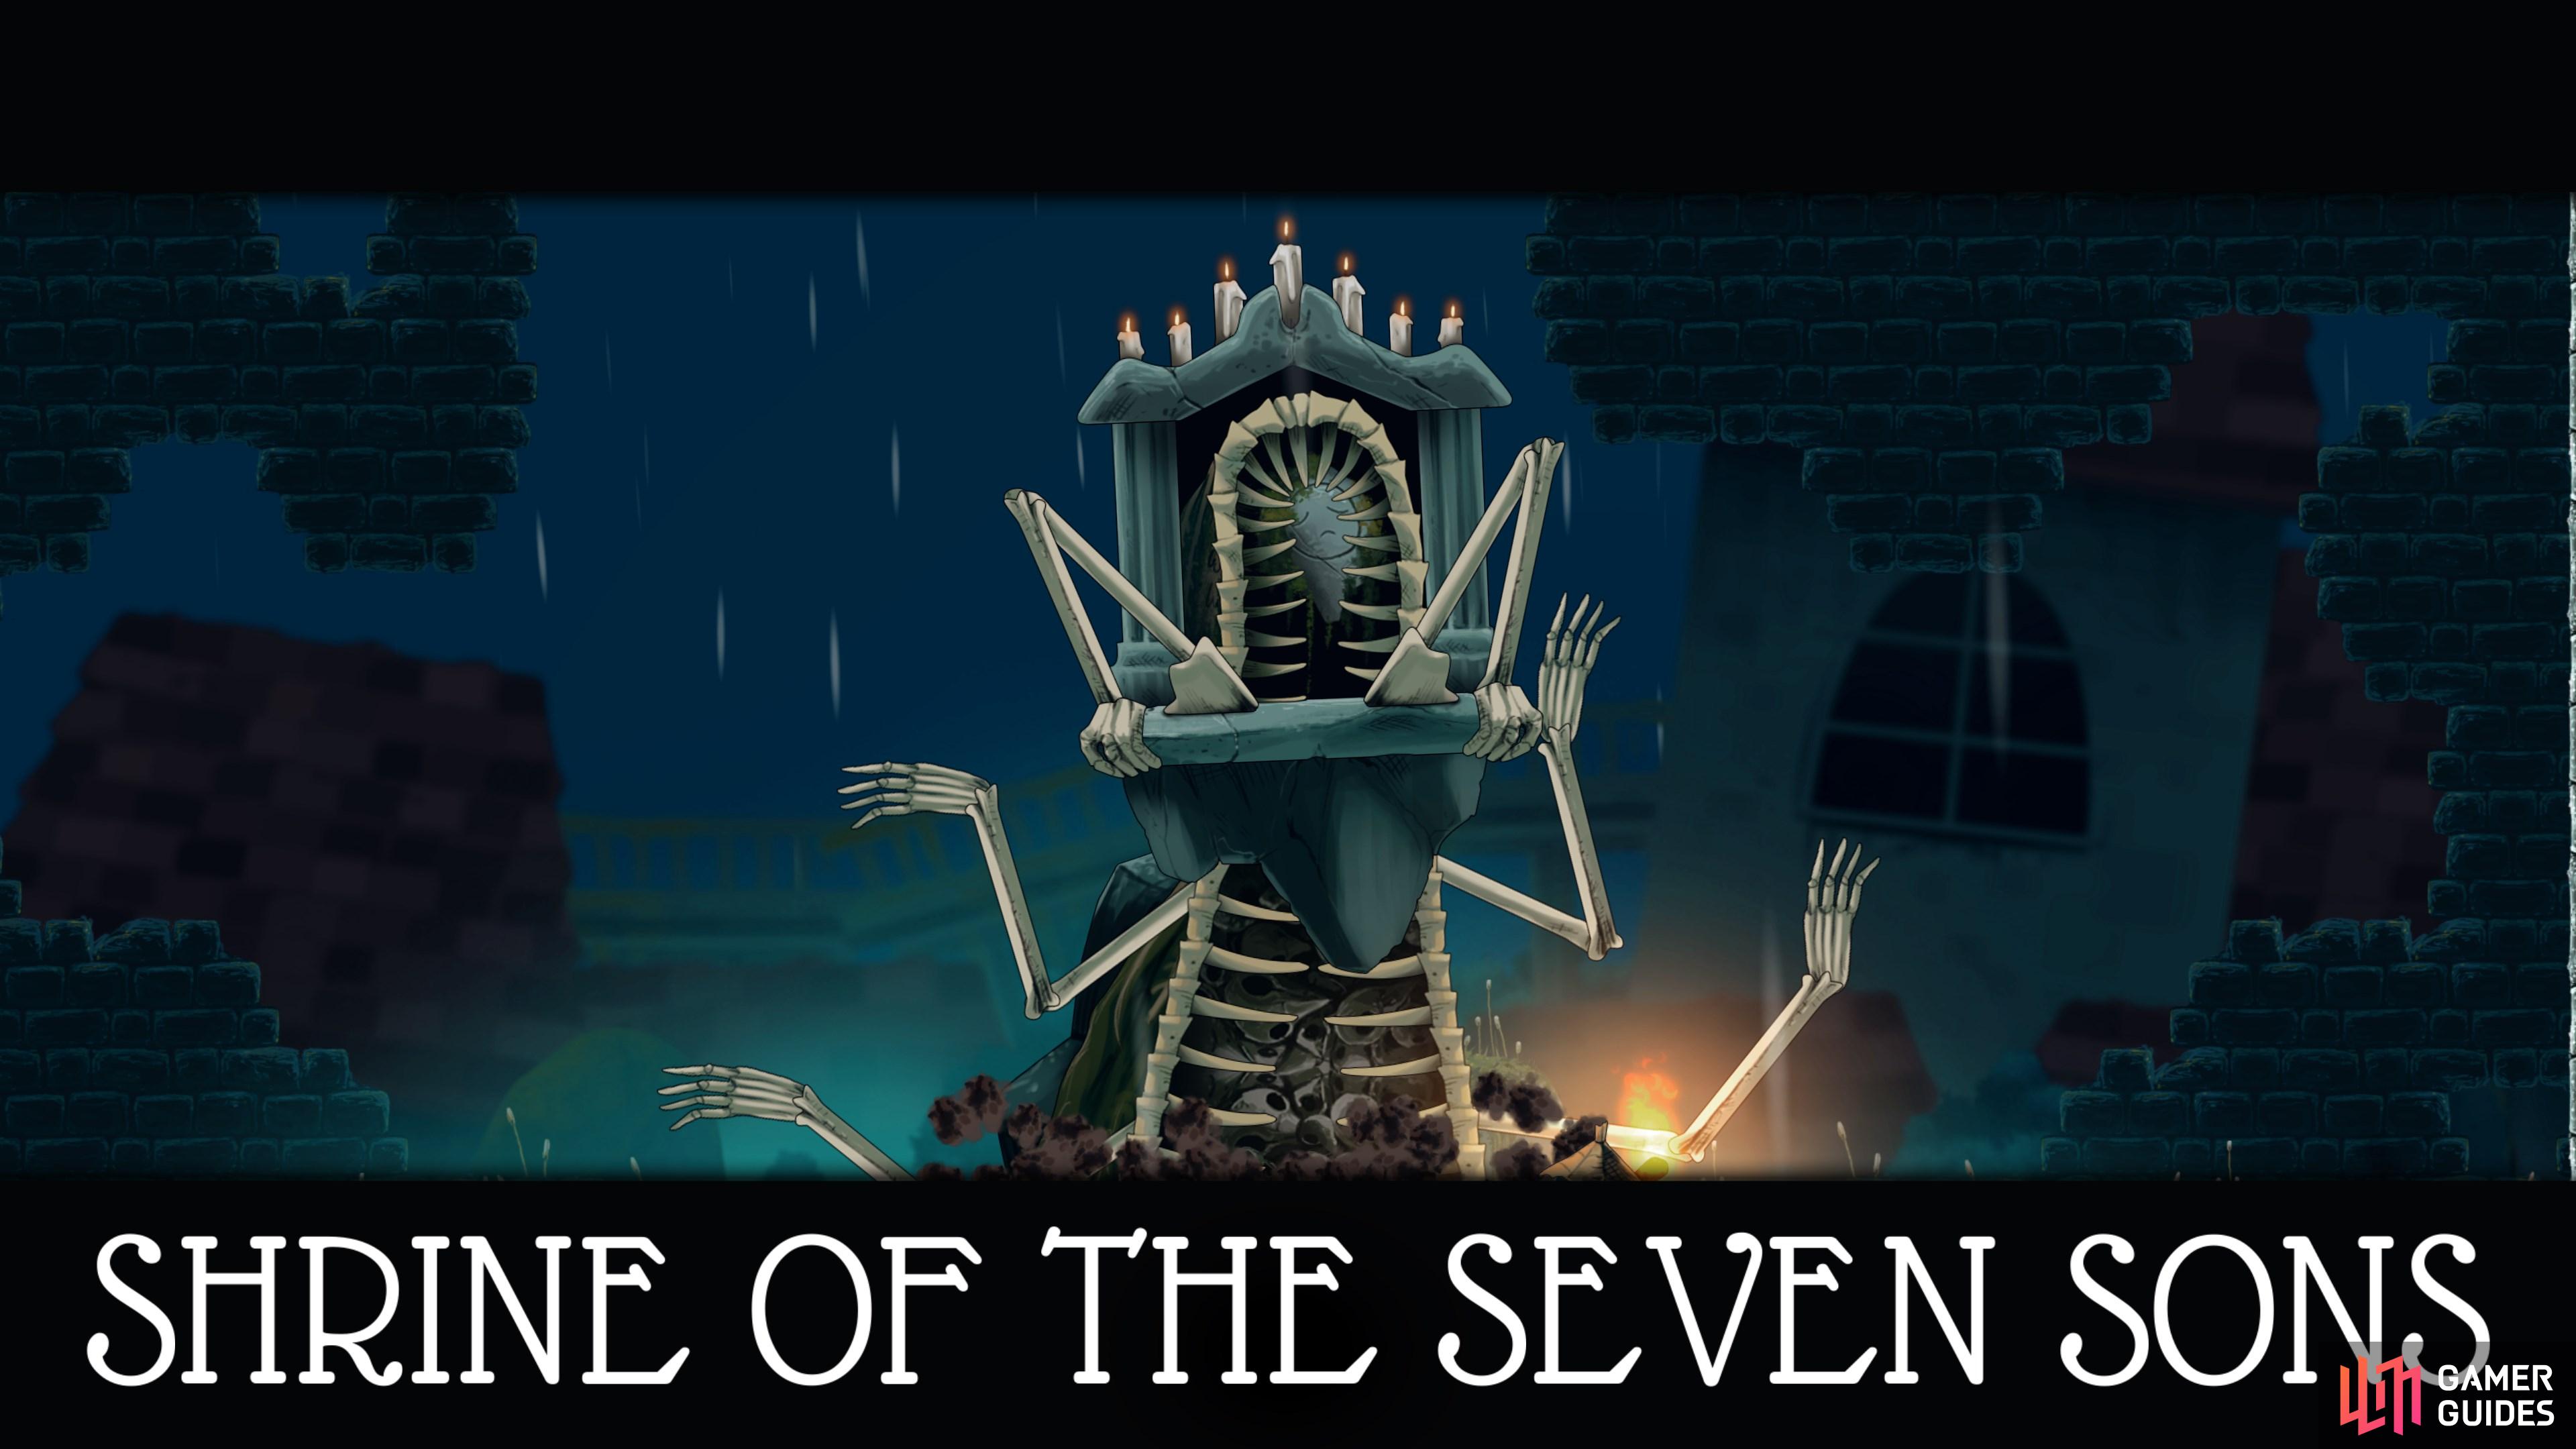
Defeat the Shrine of the Seven Sons
Head to the Midnight Drench and take out the boss guarding the final feather.
Map position: 11993, 10971
-
69
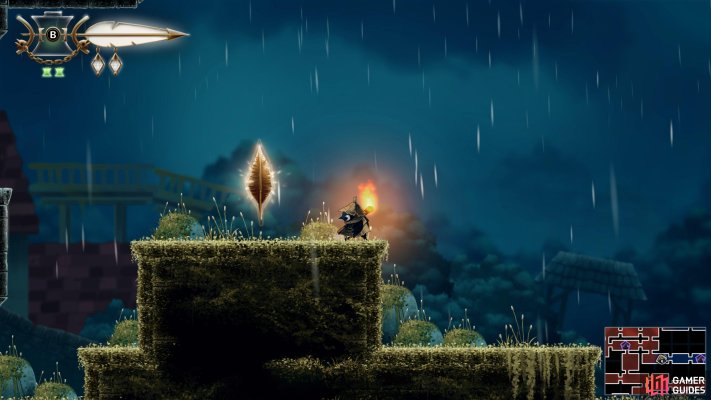
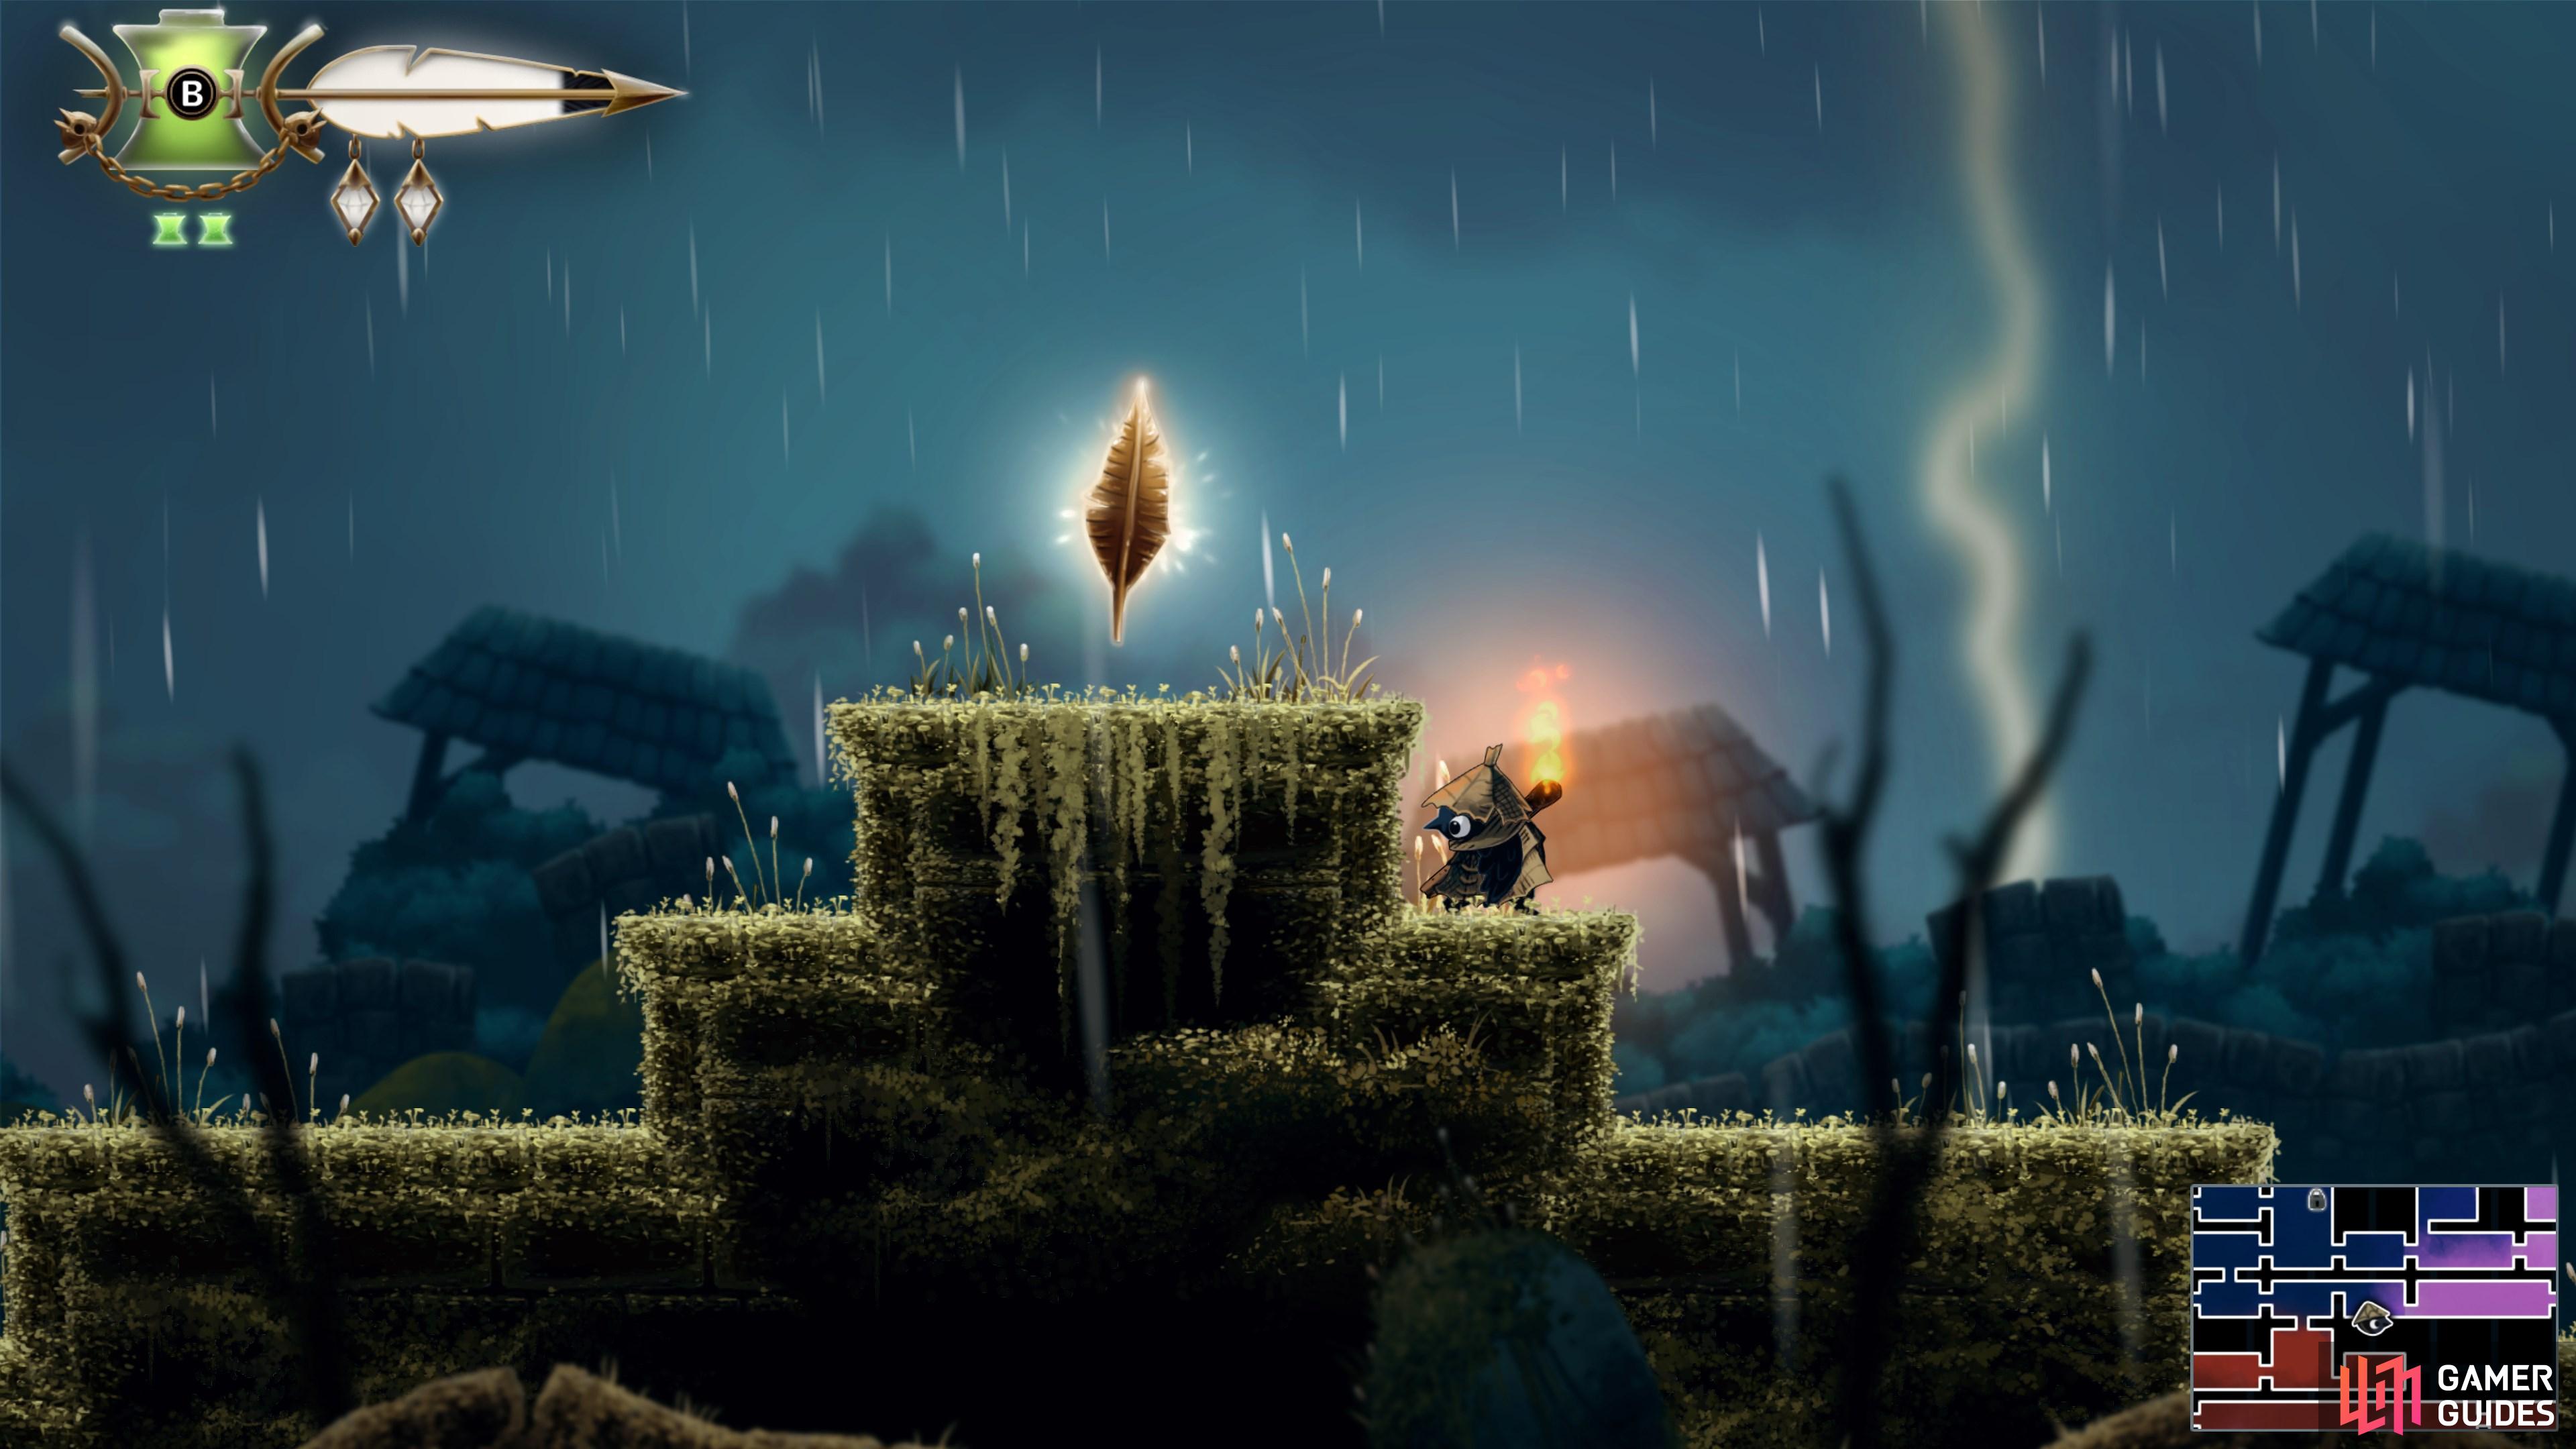
Obtain the seventh Golden Feather
With the boss defeated, head west to snag the seventh and final feather.
Map position: 11803, 10939
-
70
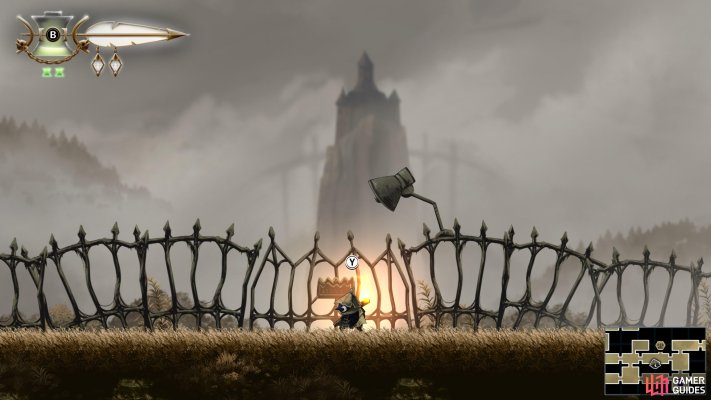
Enter the Castle Gate
With all seven Golden Feathers in your back pocket, make your way to the Castle Entrance and head inside.
Map position: 7899, 9824
-
71
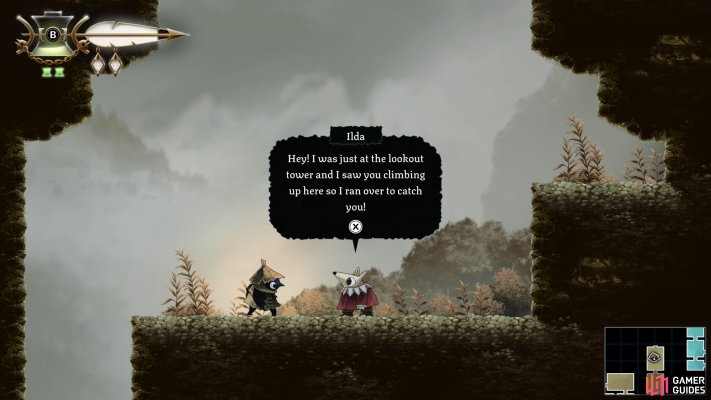
Climb up the Queen's Castle
Ascend the tower and meet Ilda along the way.
Map position: 7939, 9059
-
72
Rescue Ilda's Lost Siblings (part one)
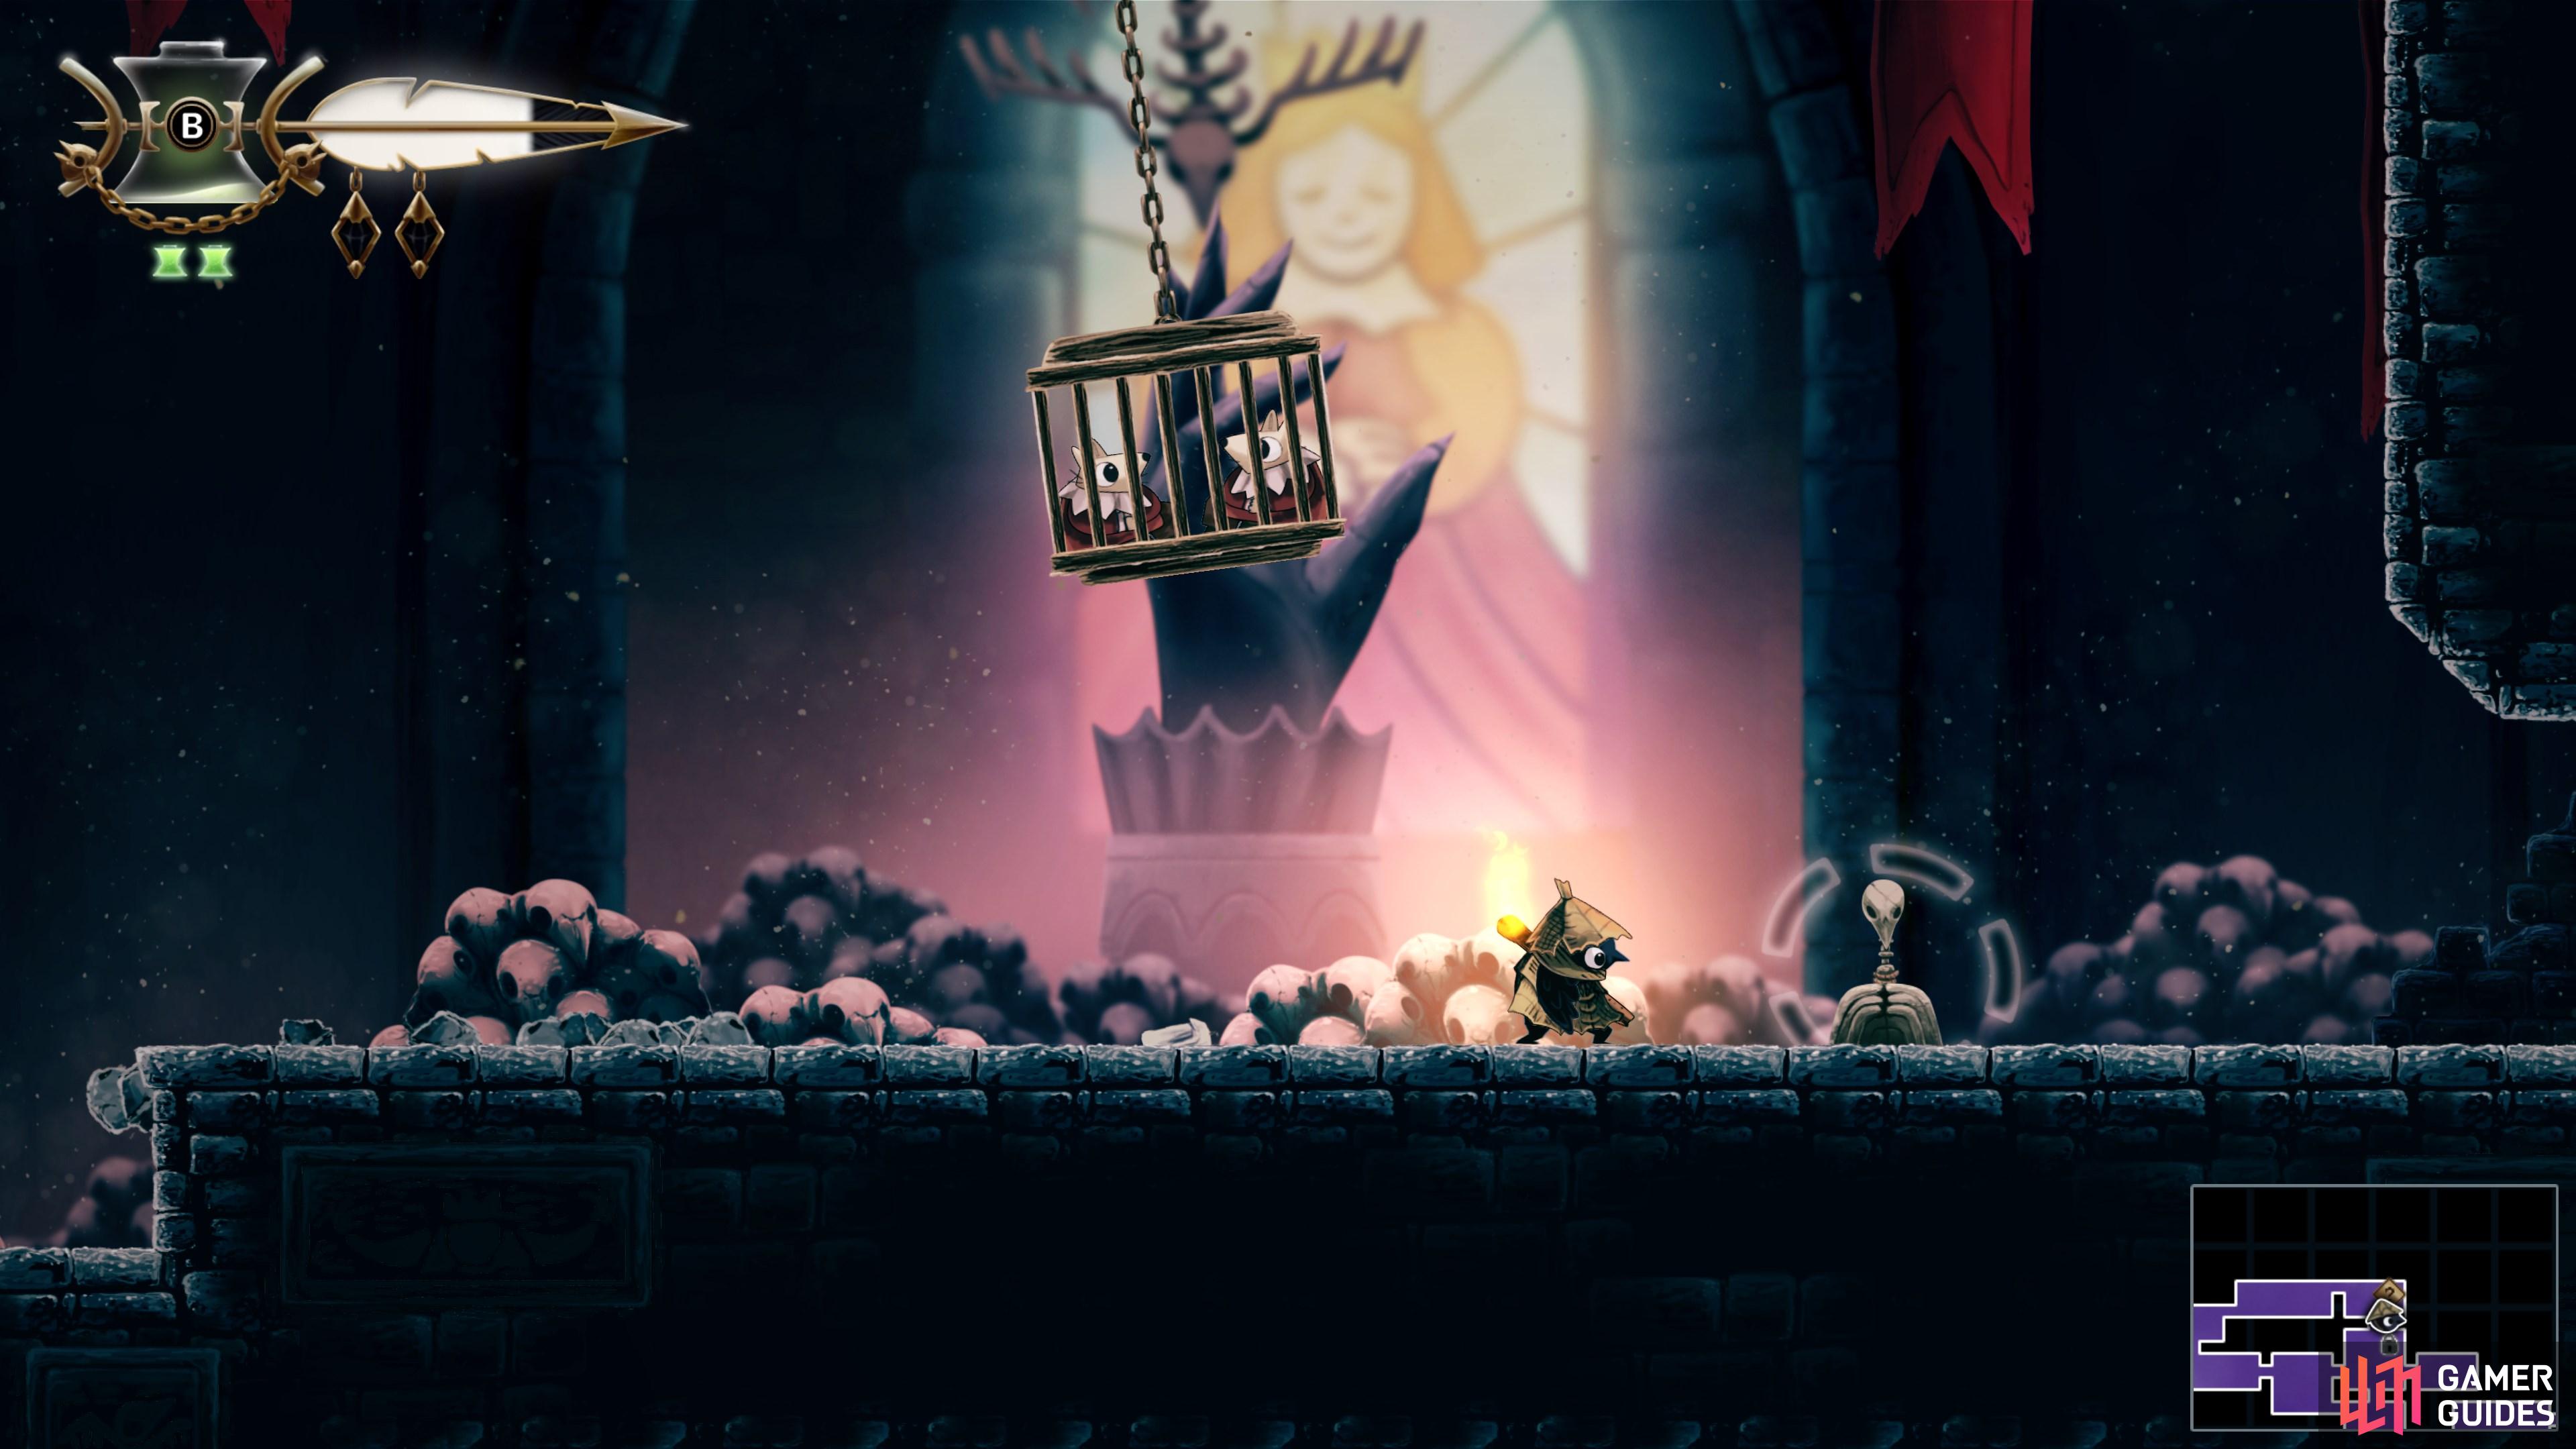
Traverse the southern section of the castle to free the first of Ilda's lost family members.
Map position: 6372, 9081
-
73
Rescue Ilda's Lost Siblings (part two)
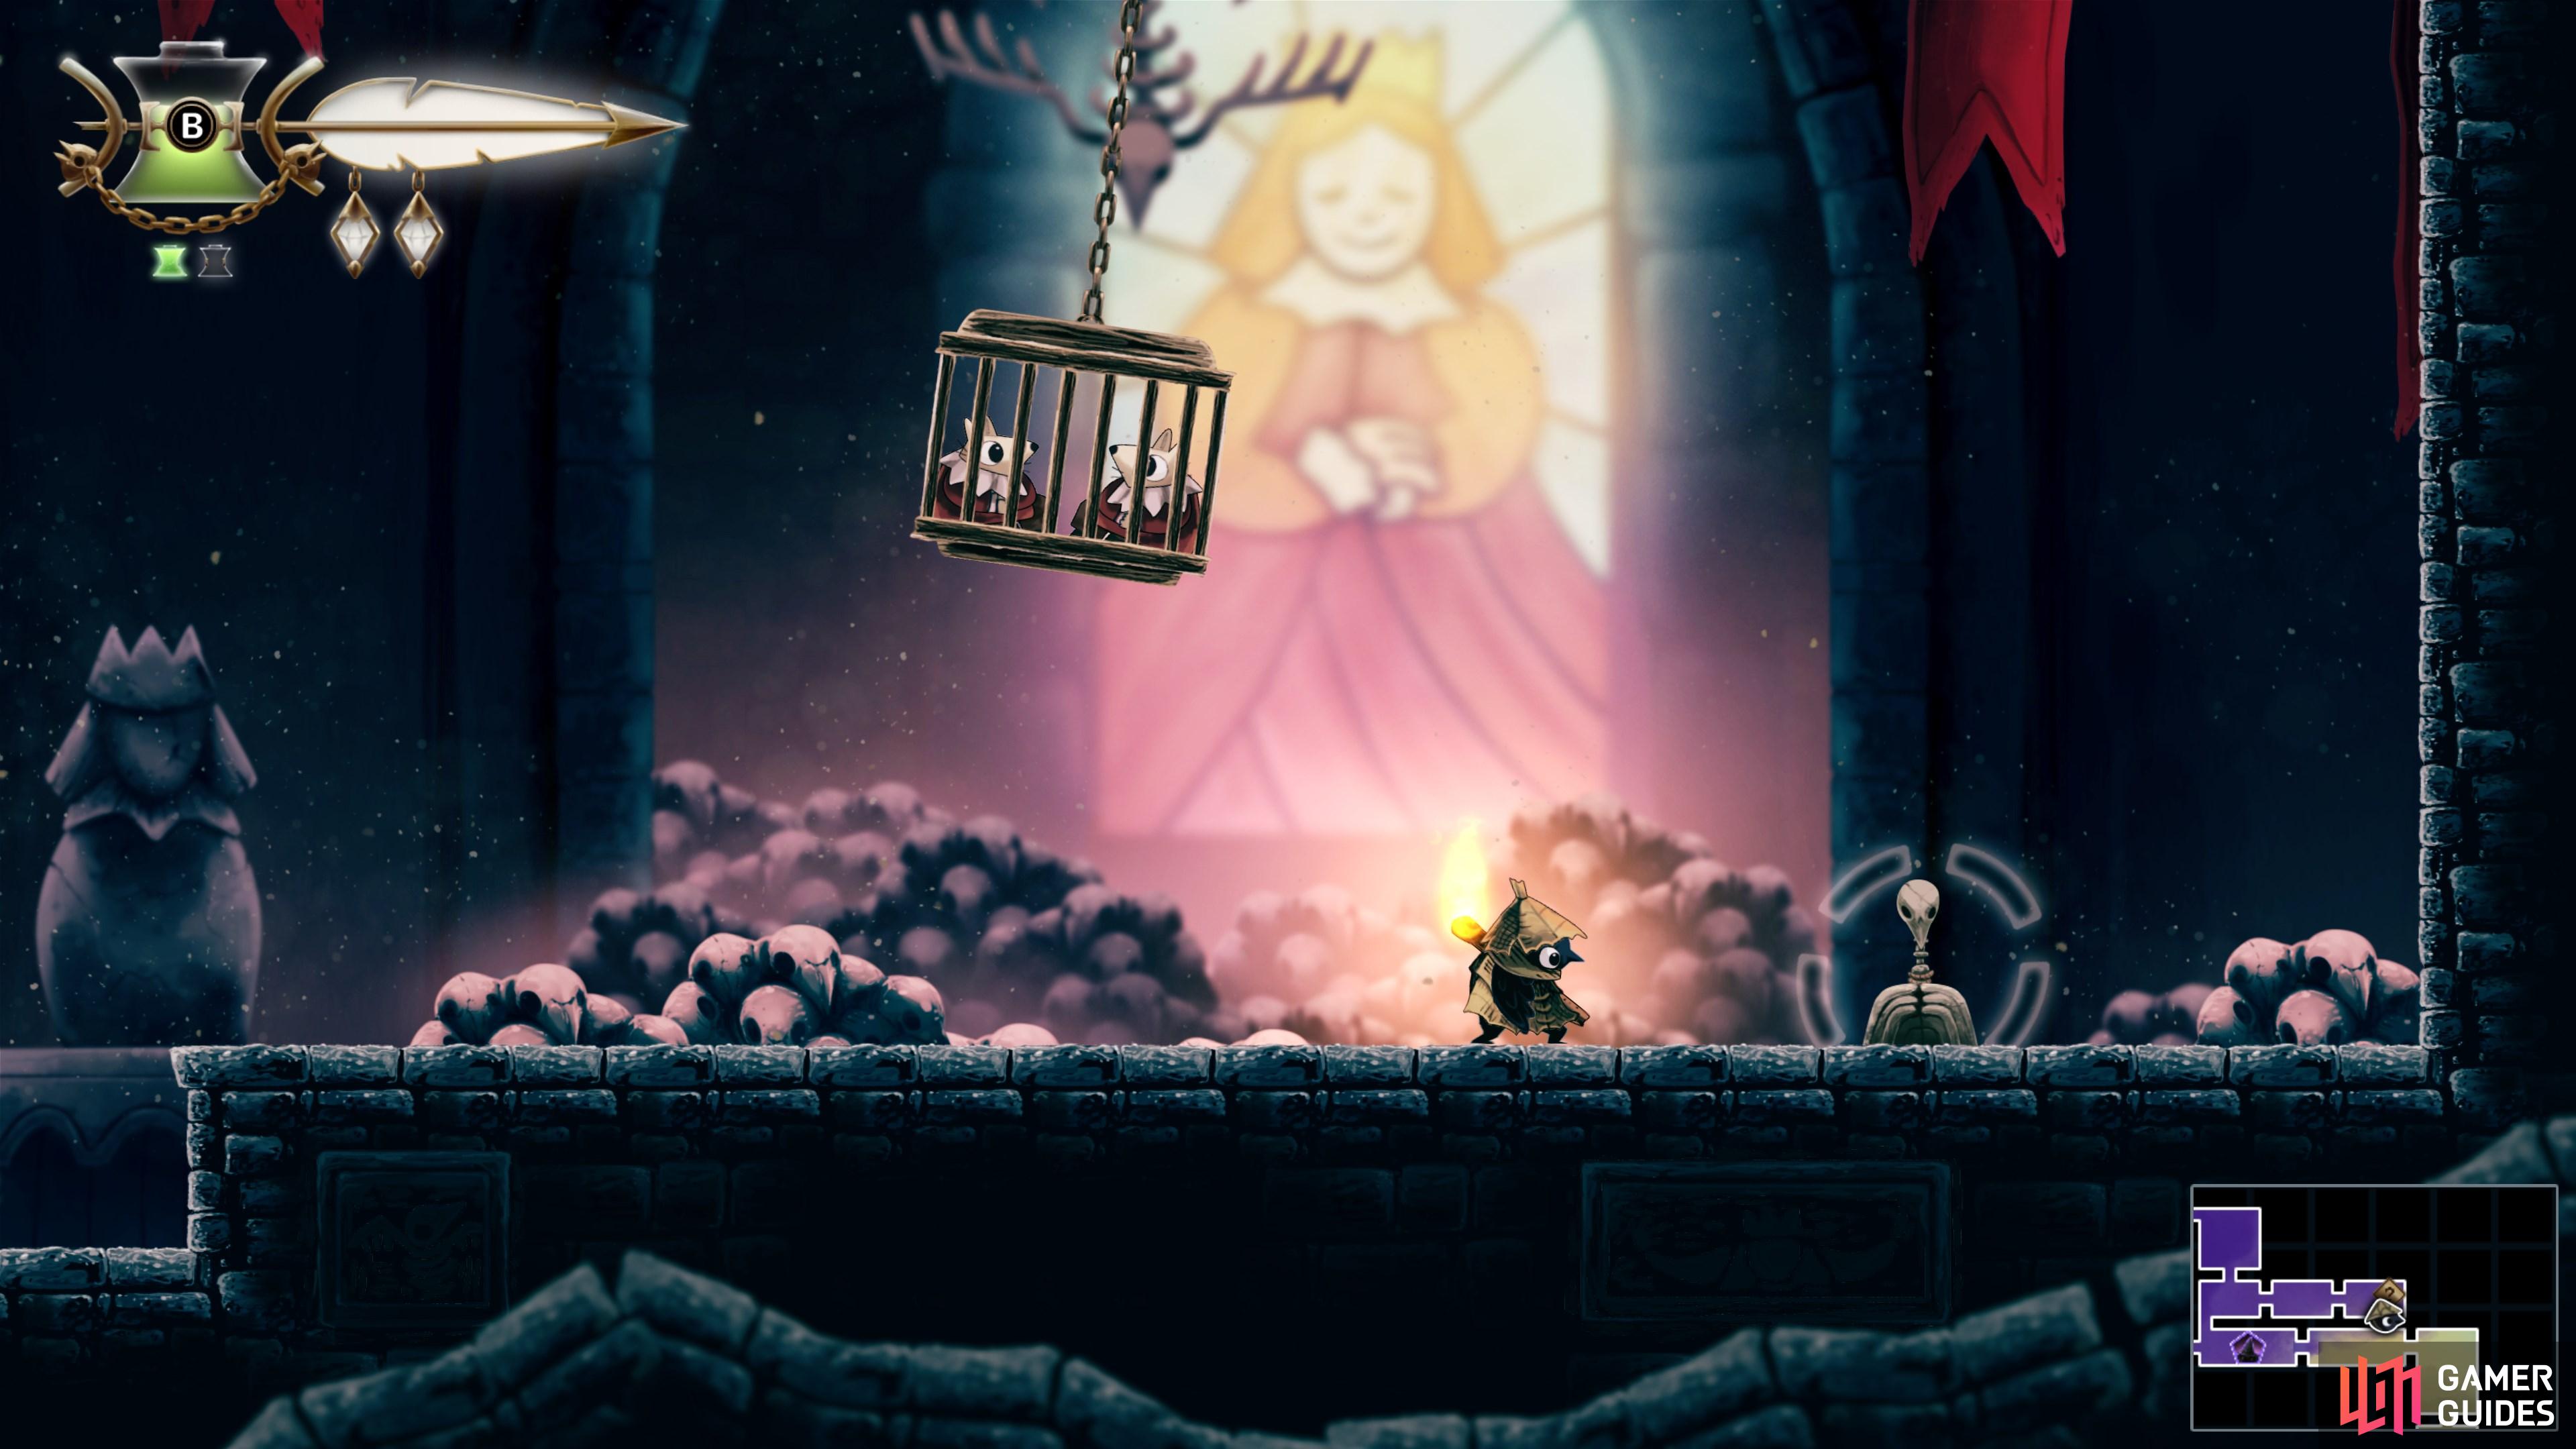
Climb the northwest wing of the castle to rescue the second pair of siblings.
Map position: 6345, 8401
-
74
Rescue Ilda's Lost Siblings (part three)
The third and final pair of siblings can be found in the northeast corner of the castle.
Map position: 7783, 8655
-
75
Reunite Ilda's family
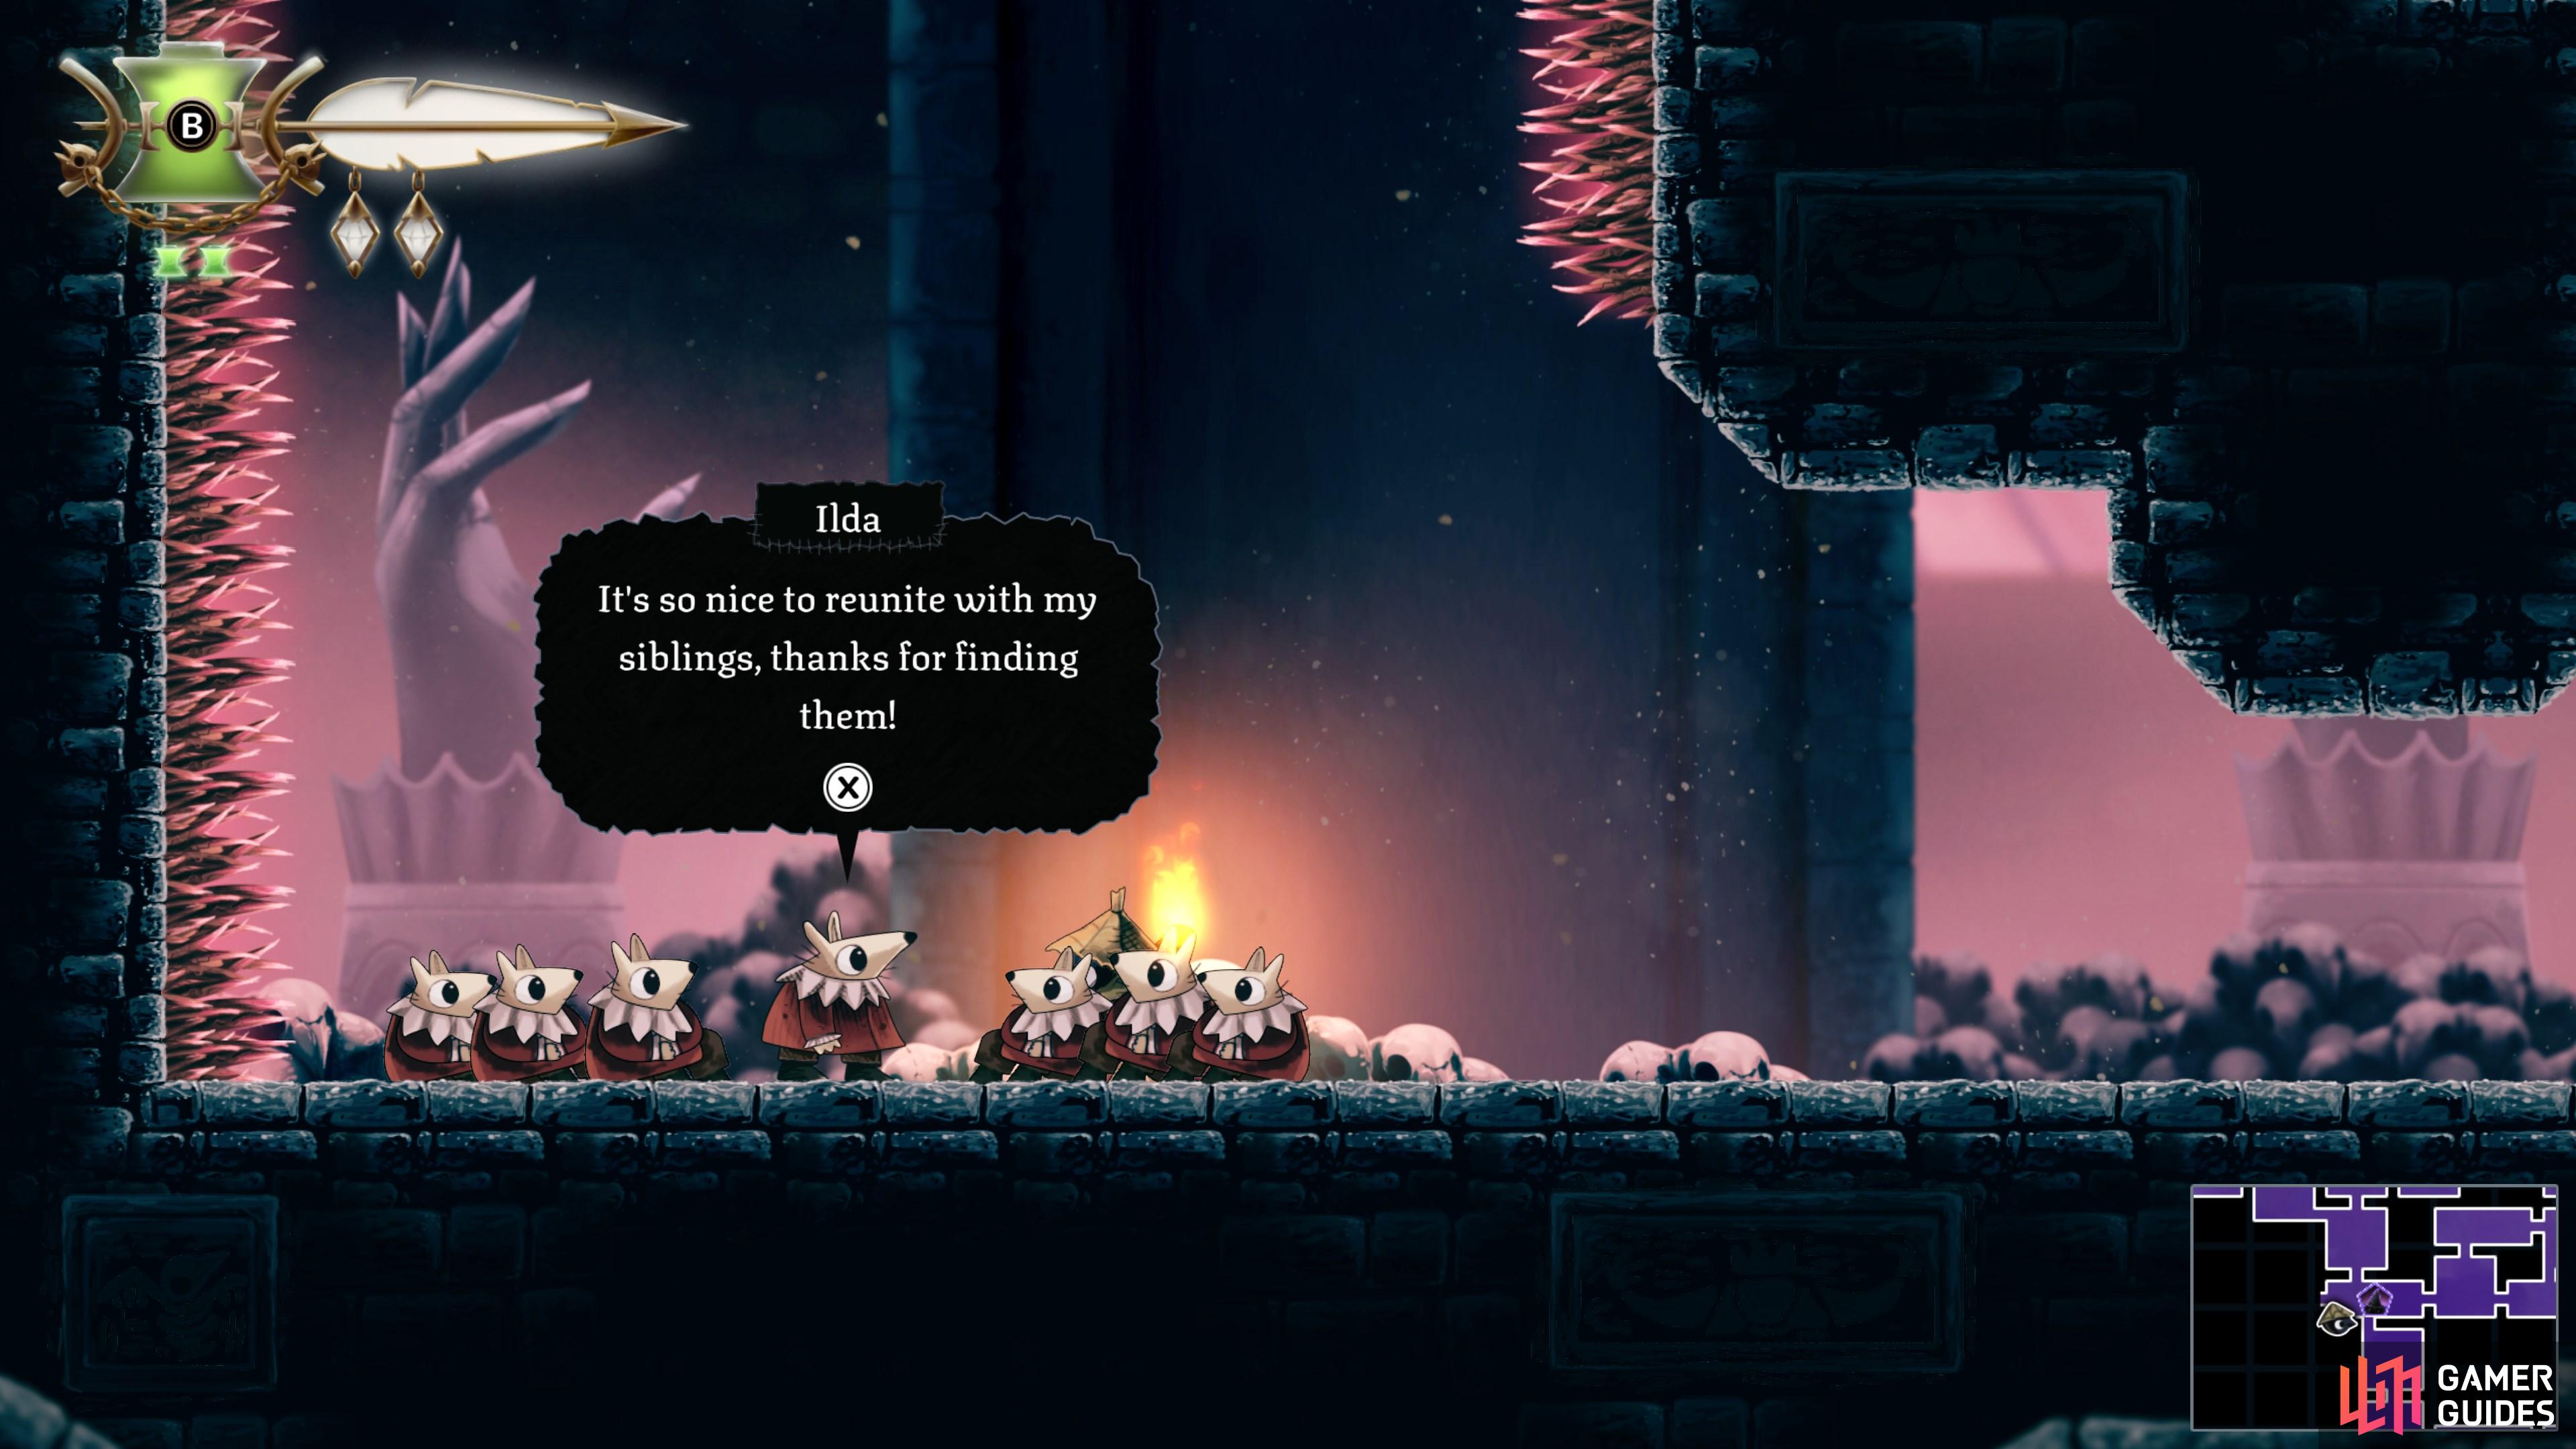
Return to Ilda and family to receive their help to reach the western hallway where The Queen awaits.
Map position: 6272, 8937
-
76

Defeat The Queen
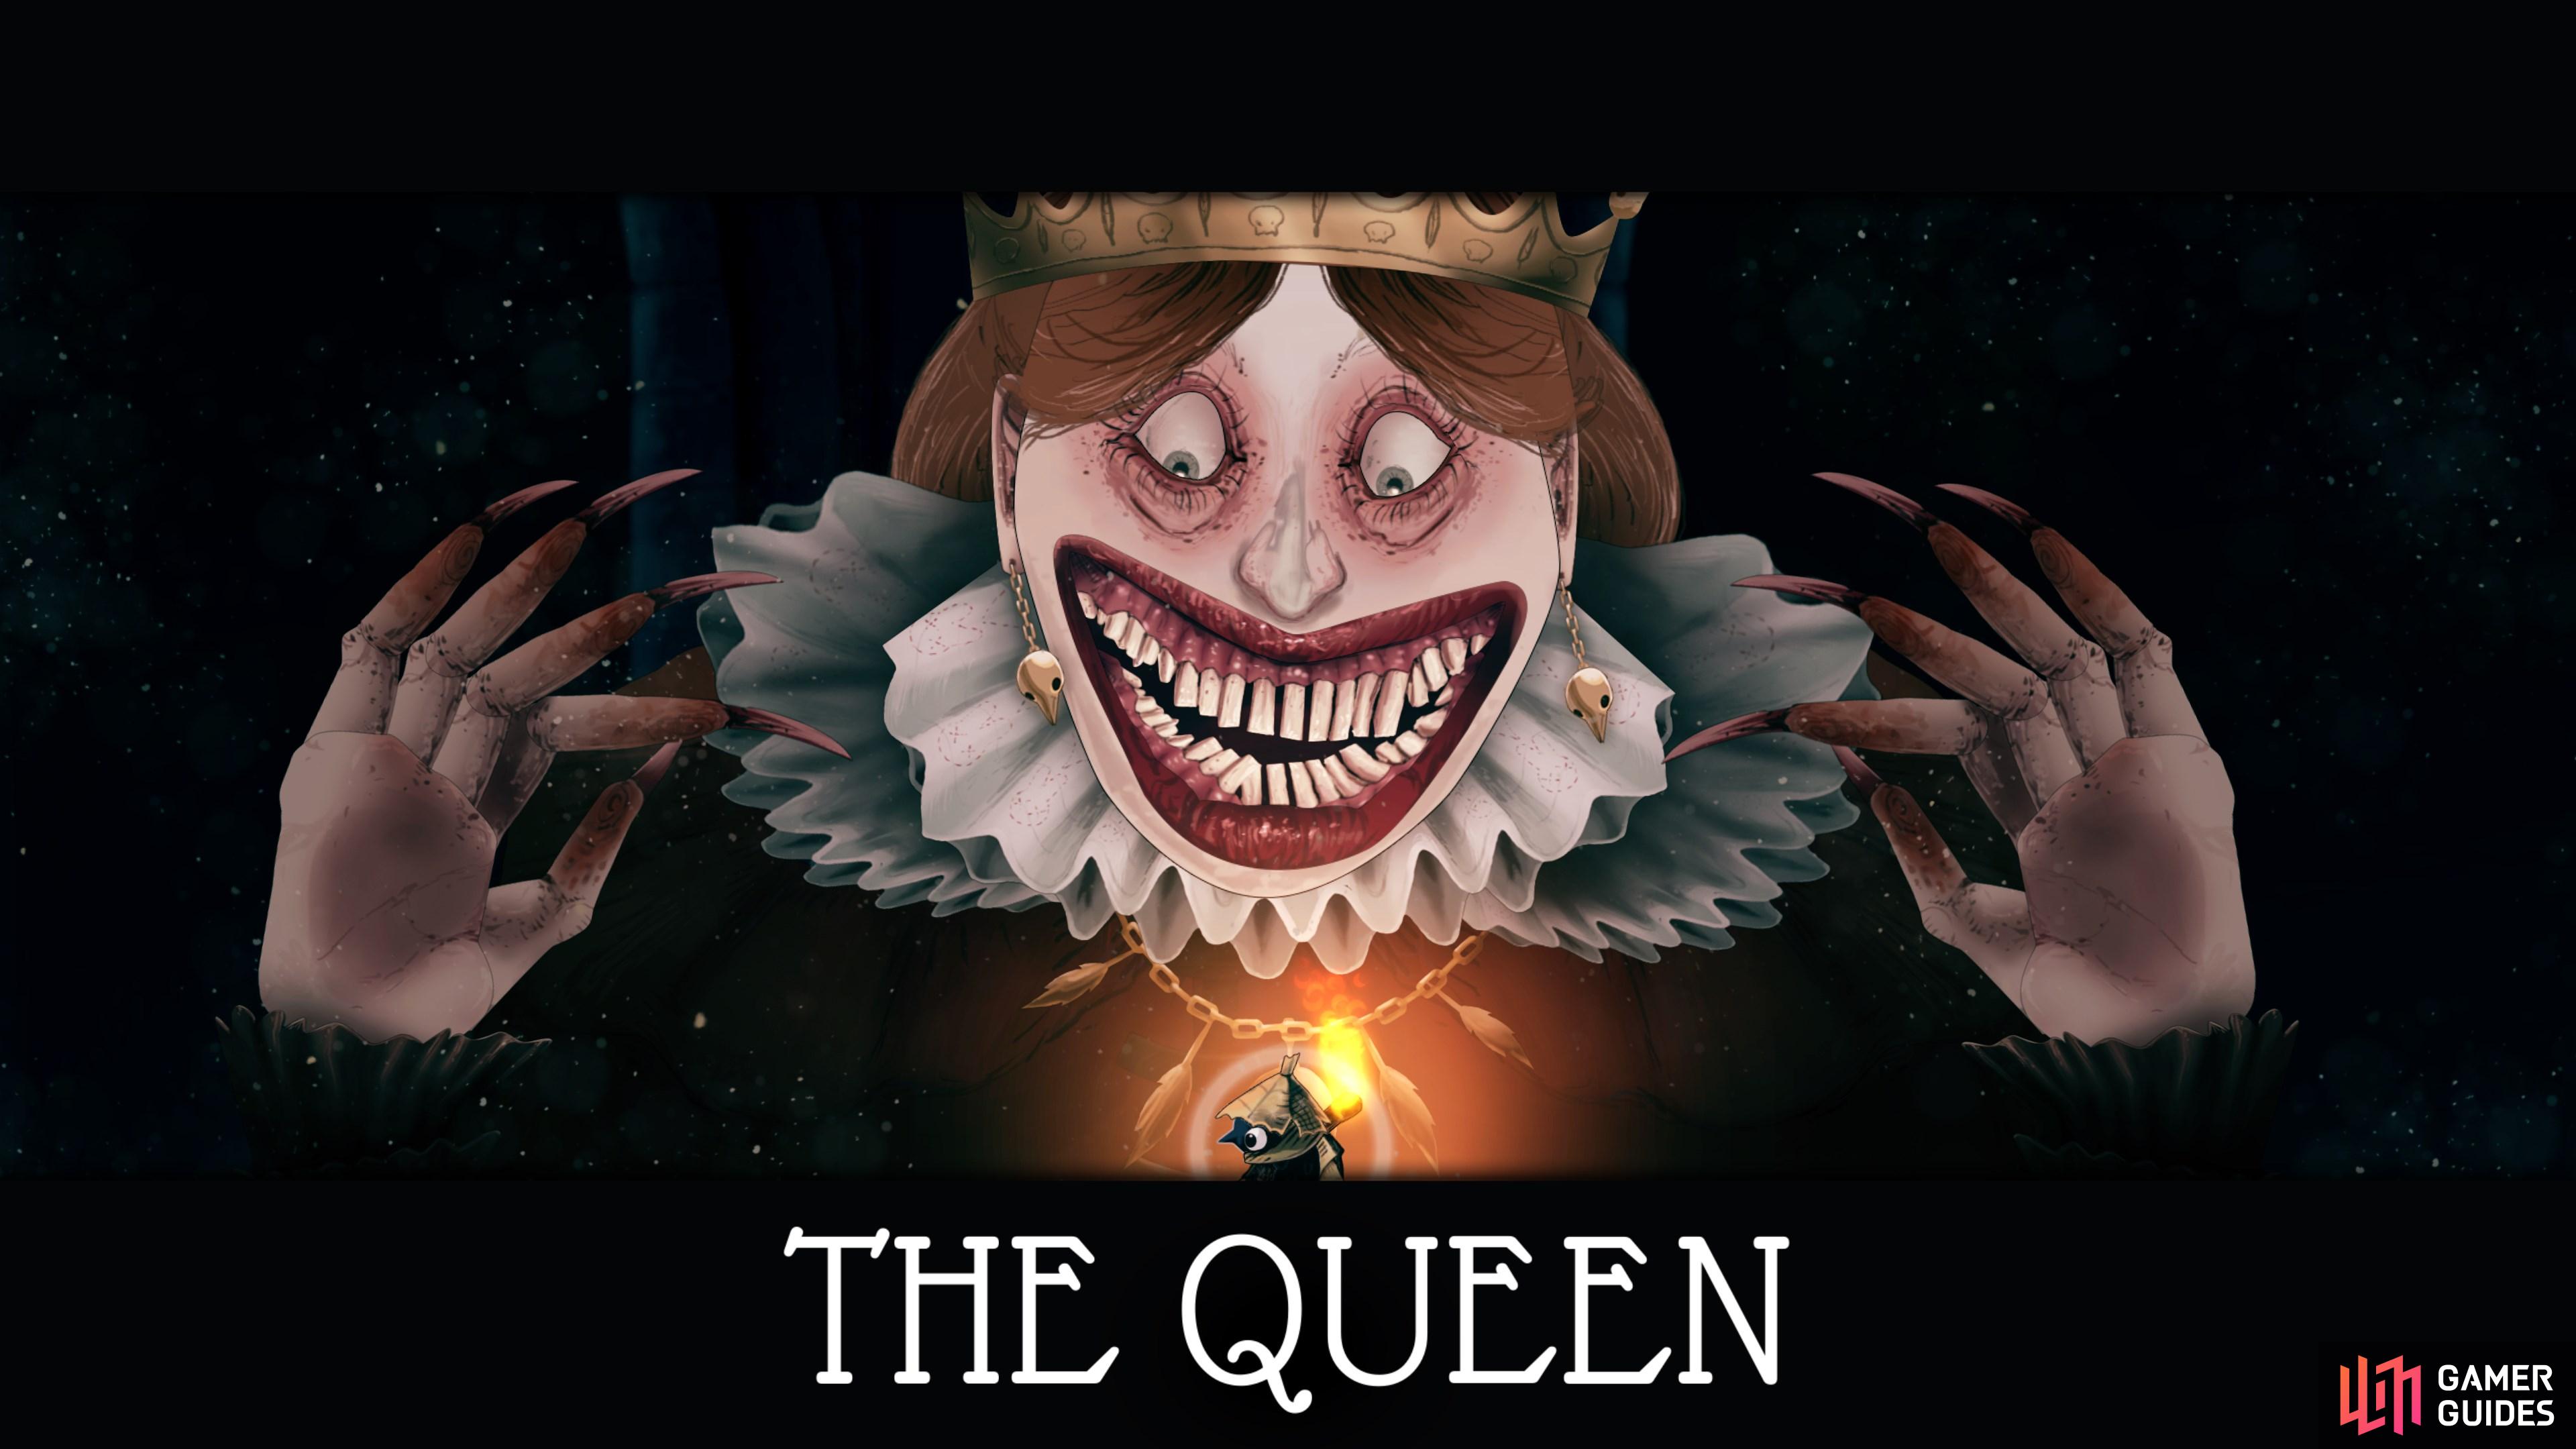
Rescue Ilda’s siblings, then make your way down the long passage at the western edge of the castle. The final encounter awaits. You’ve got this!
Map position: 5186, 8896