0 of 33 collected
Checklist complete: 33 of 33 locations collected.
Sign in to save your progress across every device.

-
1
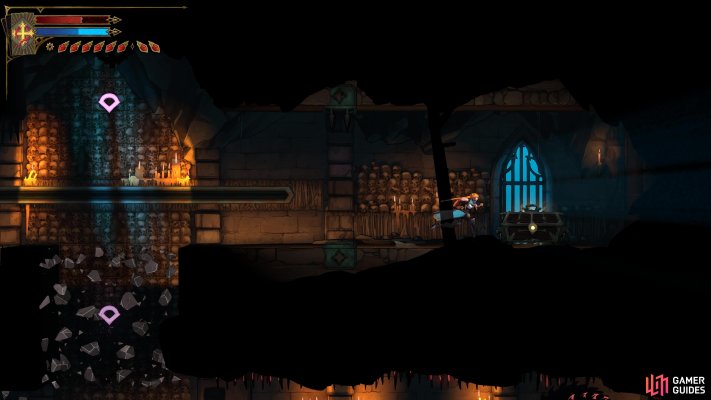
Mourning Bead
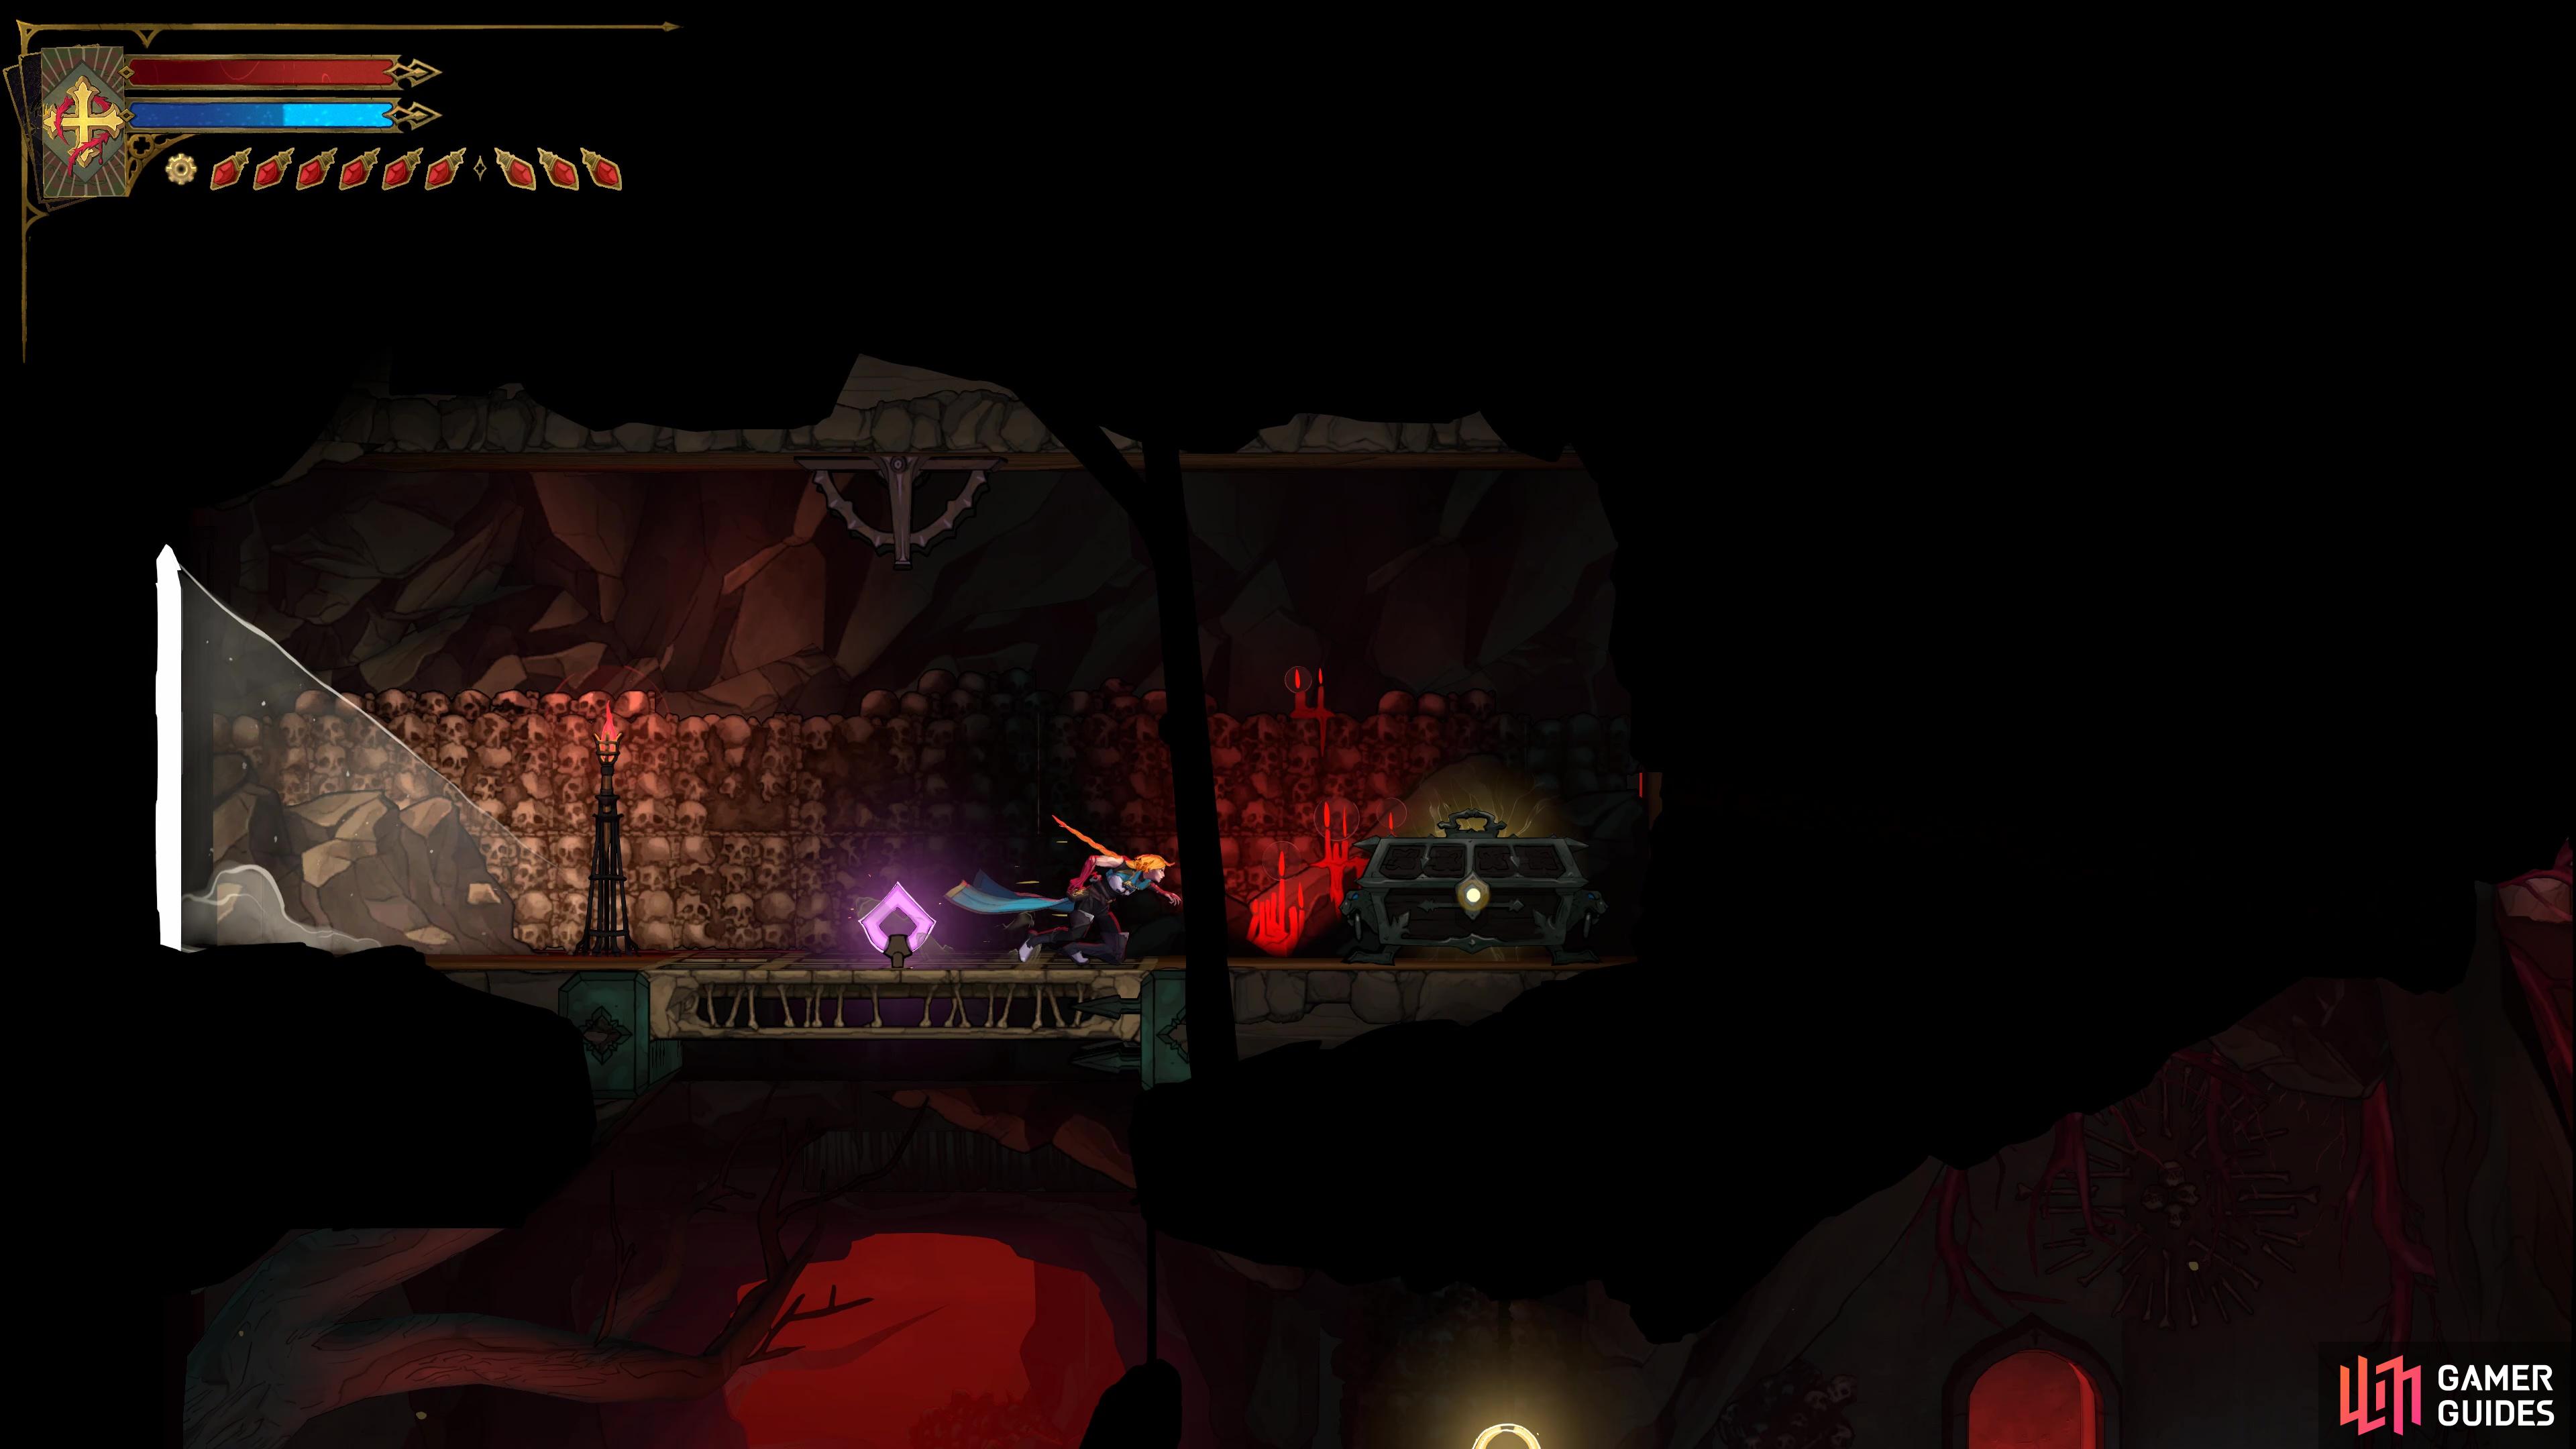
View on mapMake your way to the top of this room in Path of the Abyss, and then hit the Lever on the ceiling to the left of the door to lower it, allowing you to reach this chest.
-
2
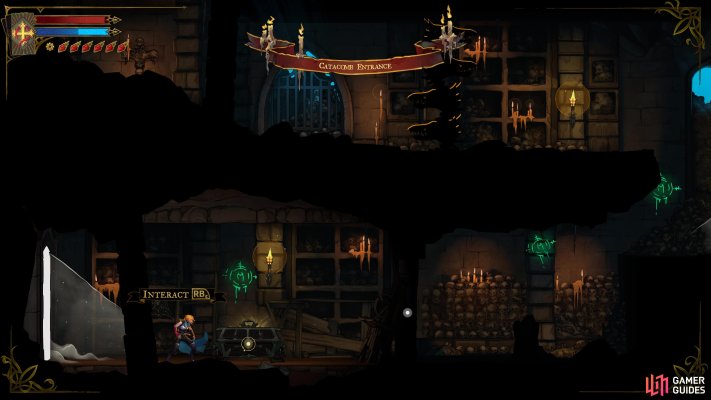
Specter's Whisper
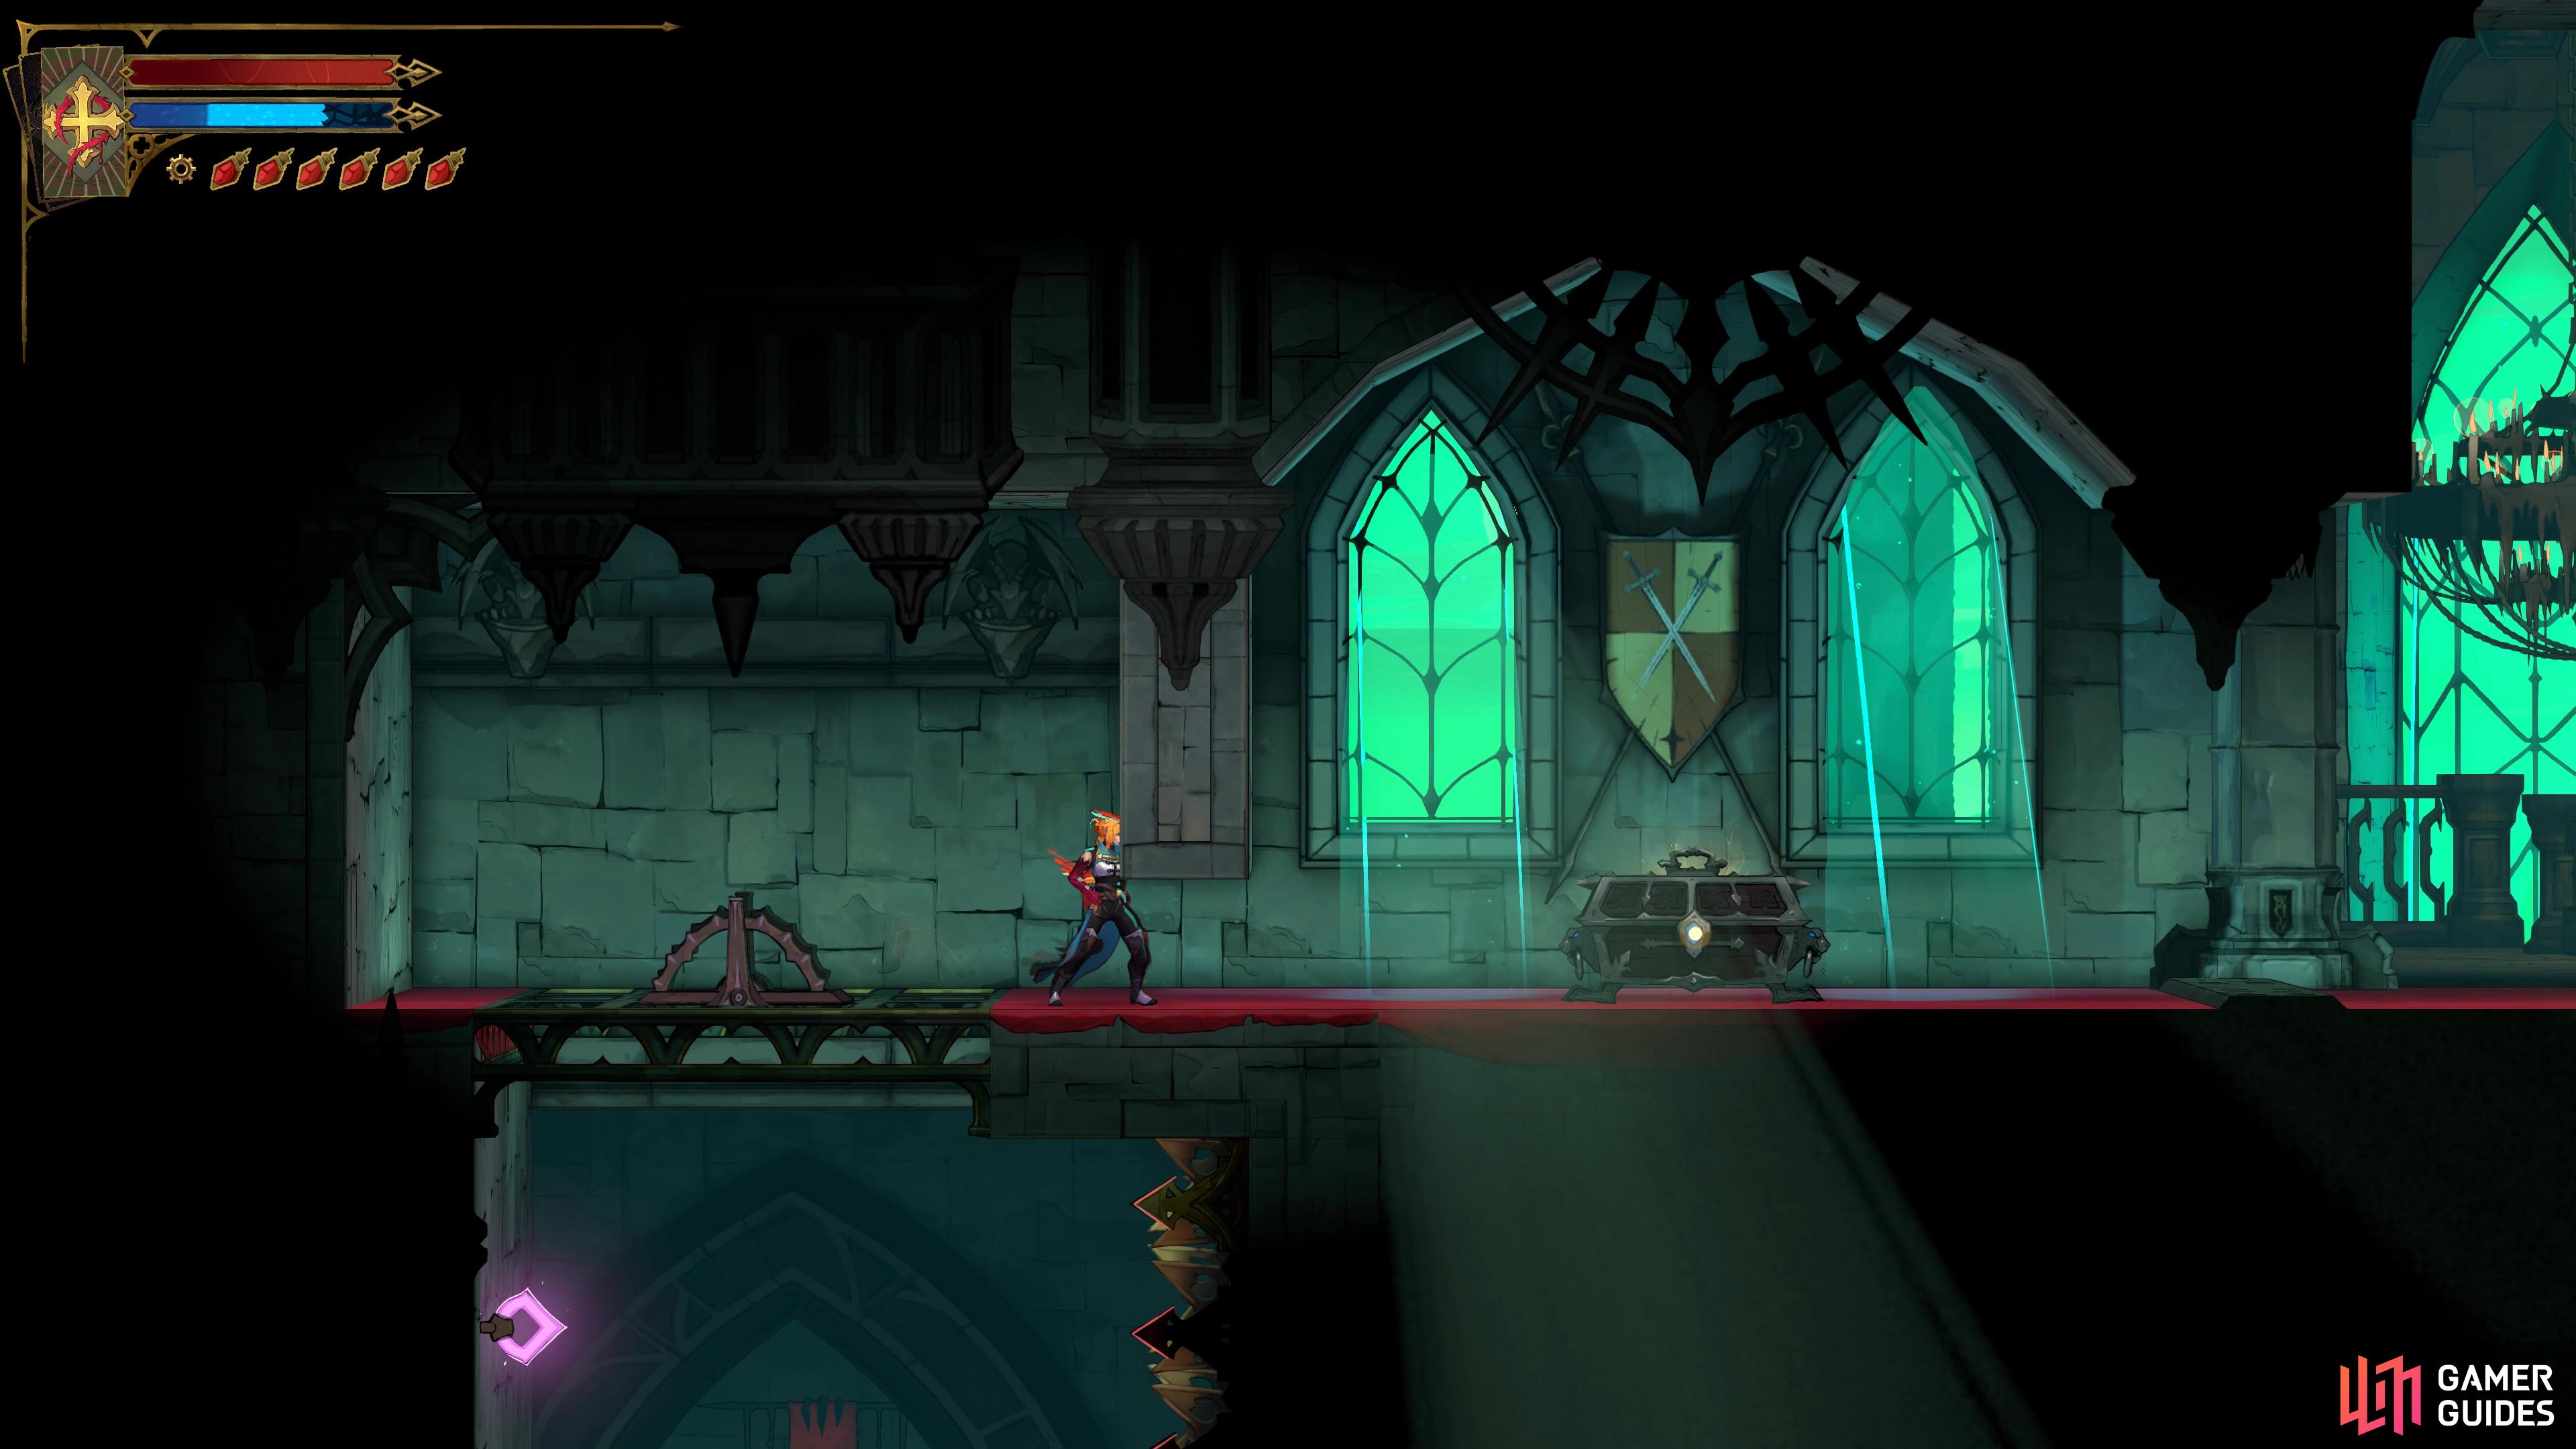
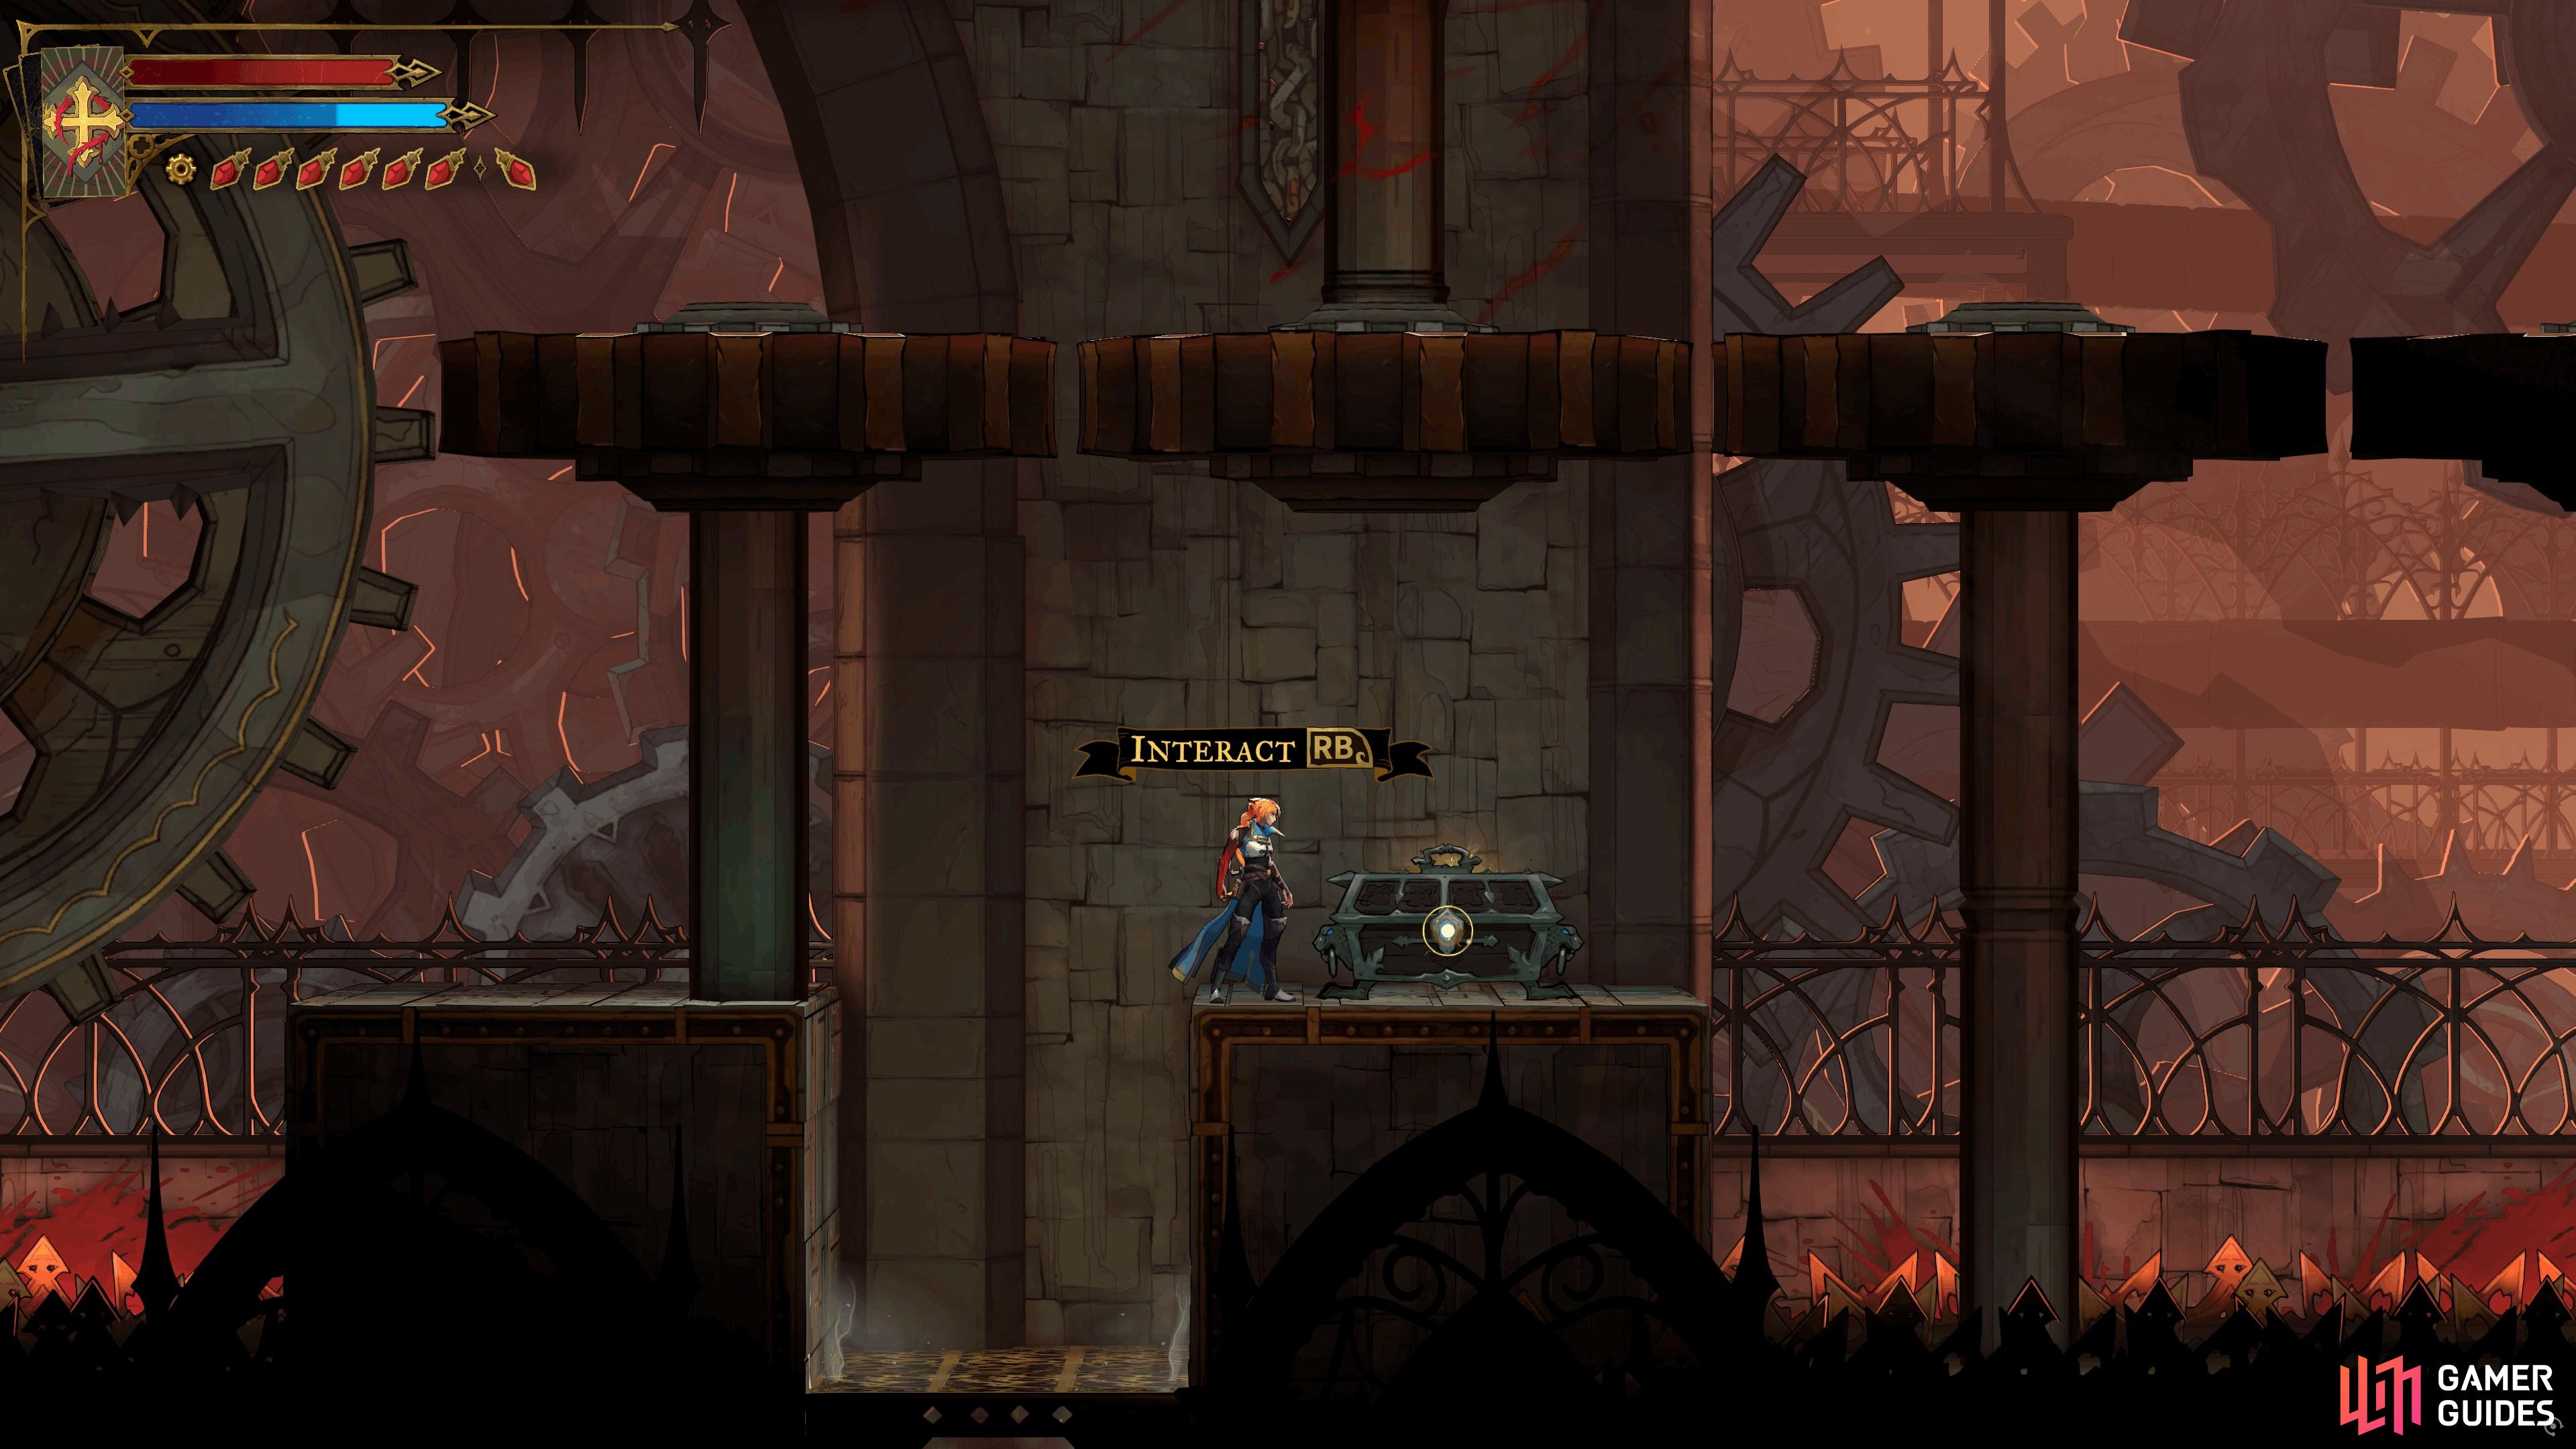
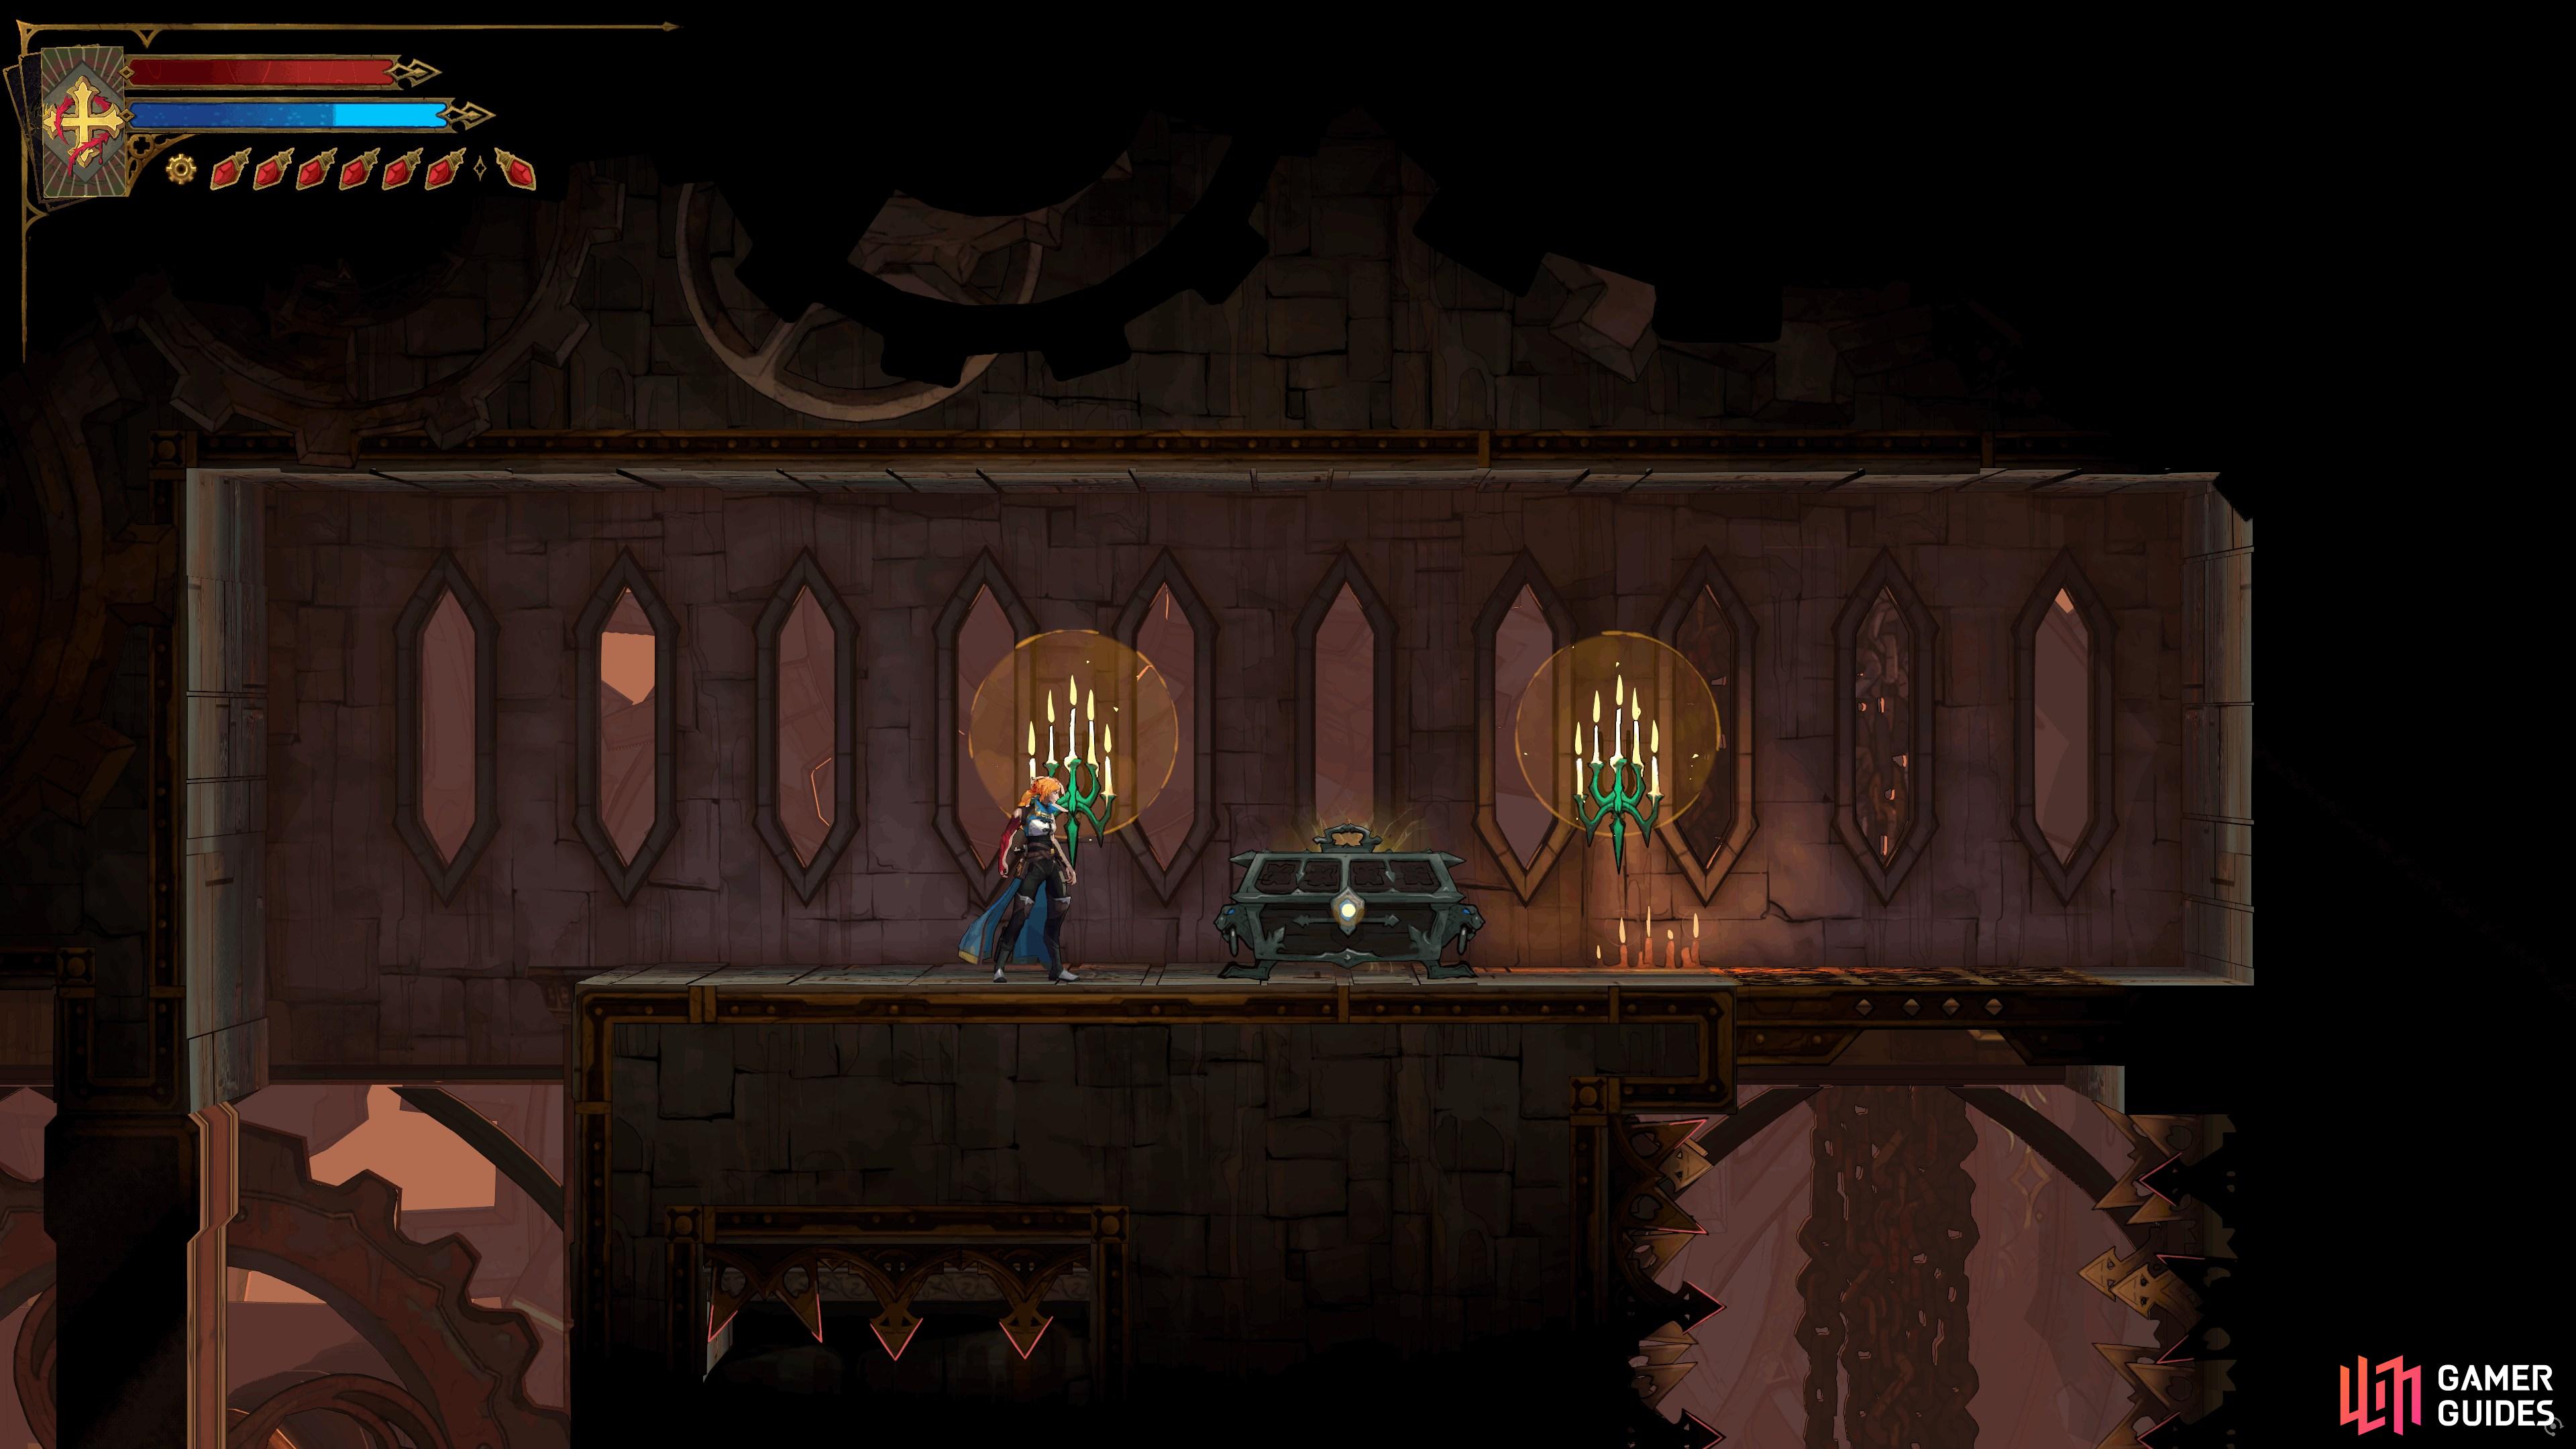
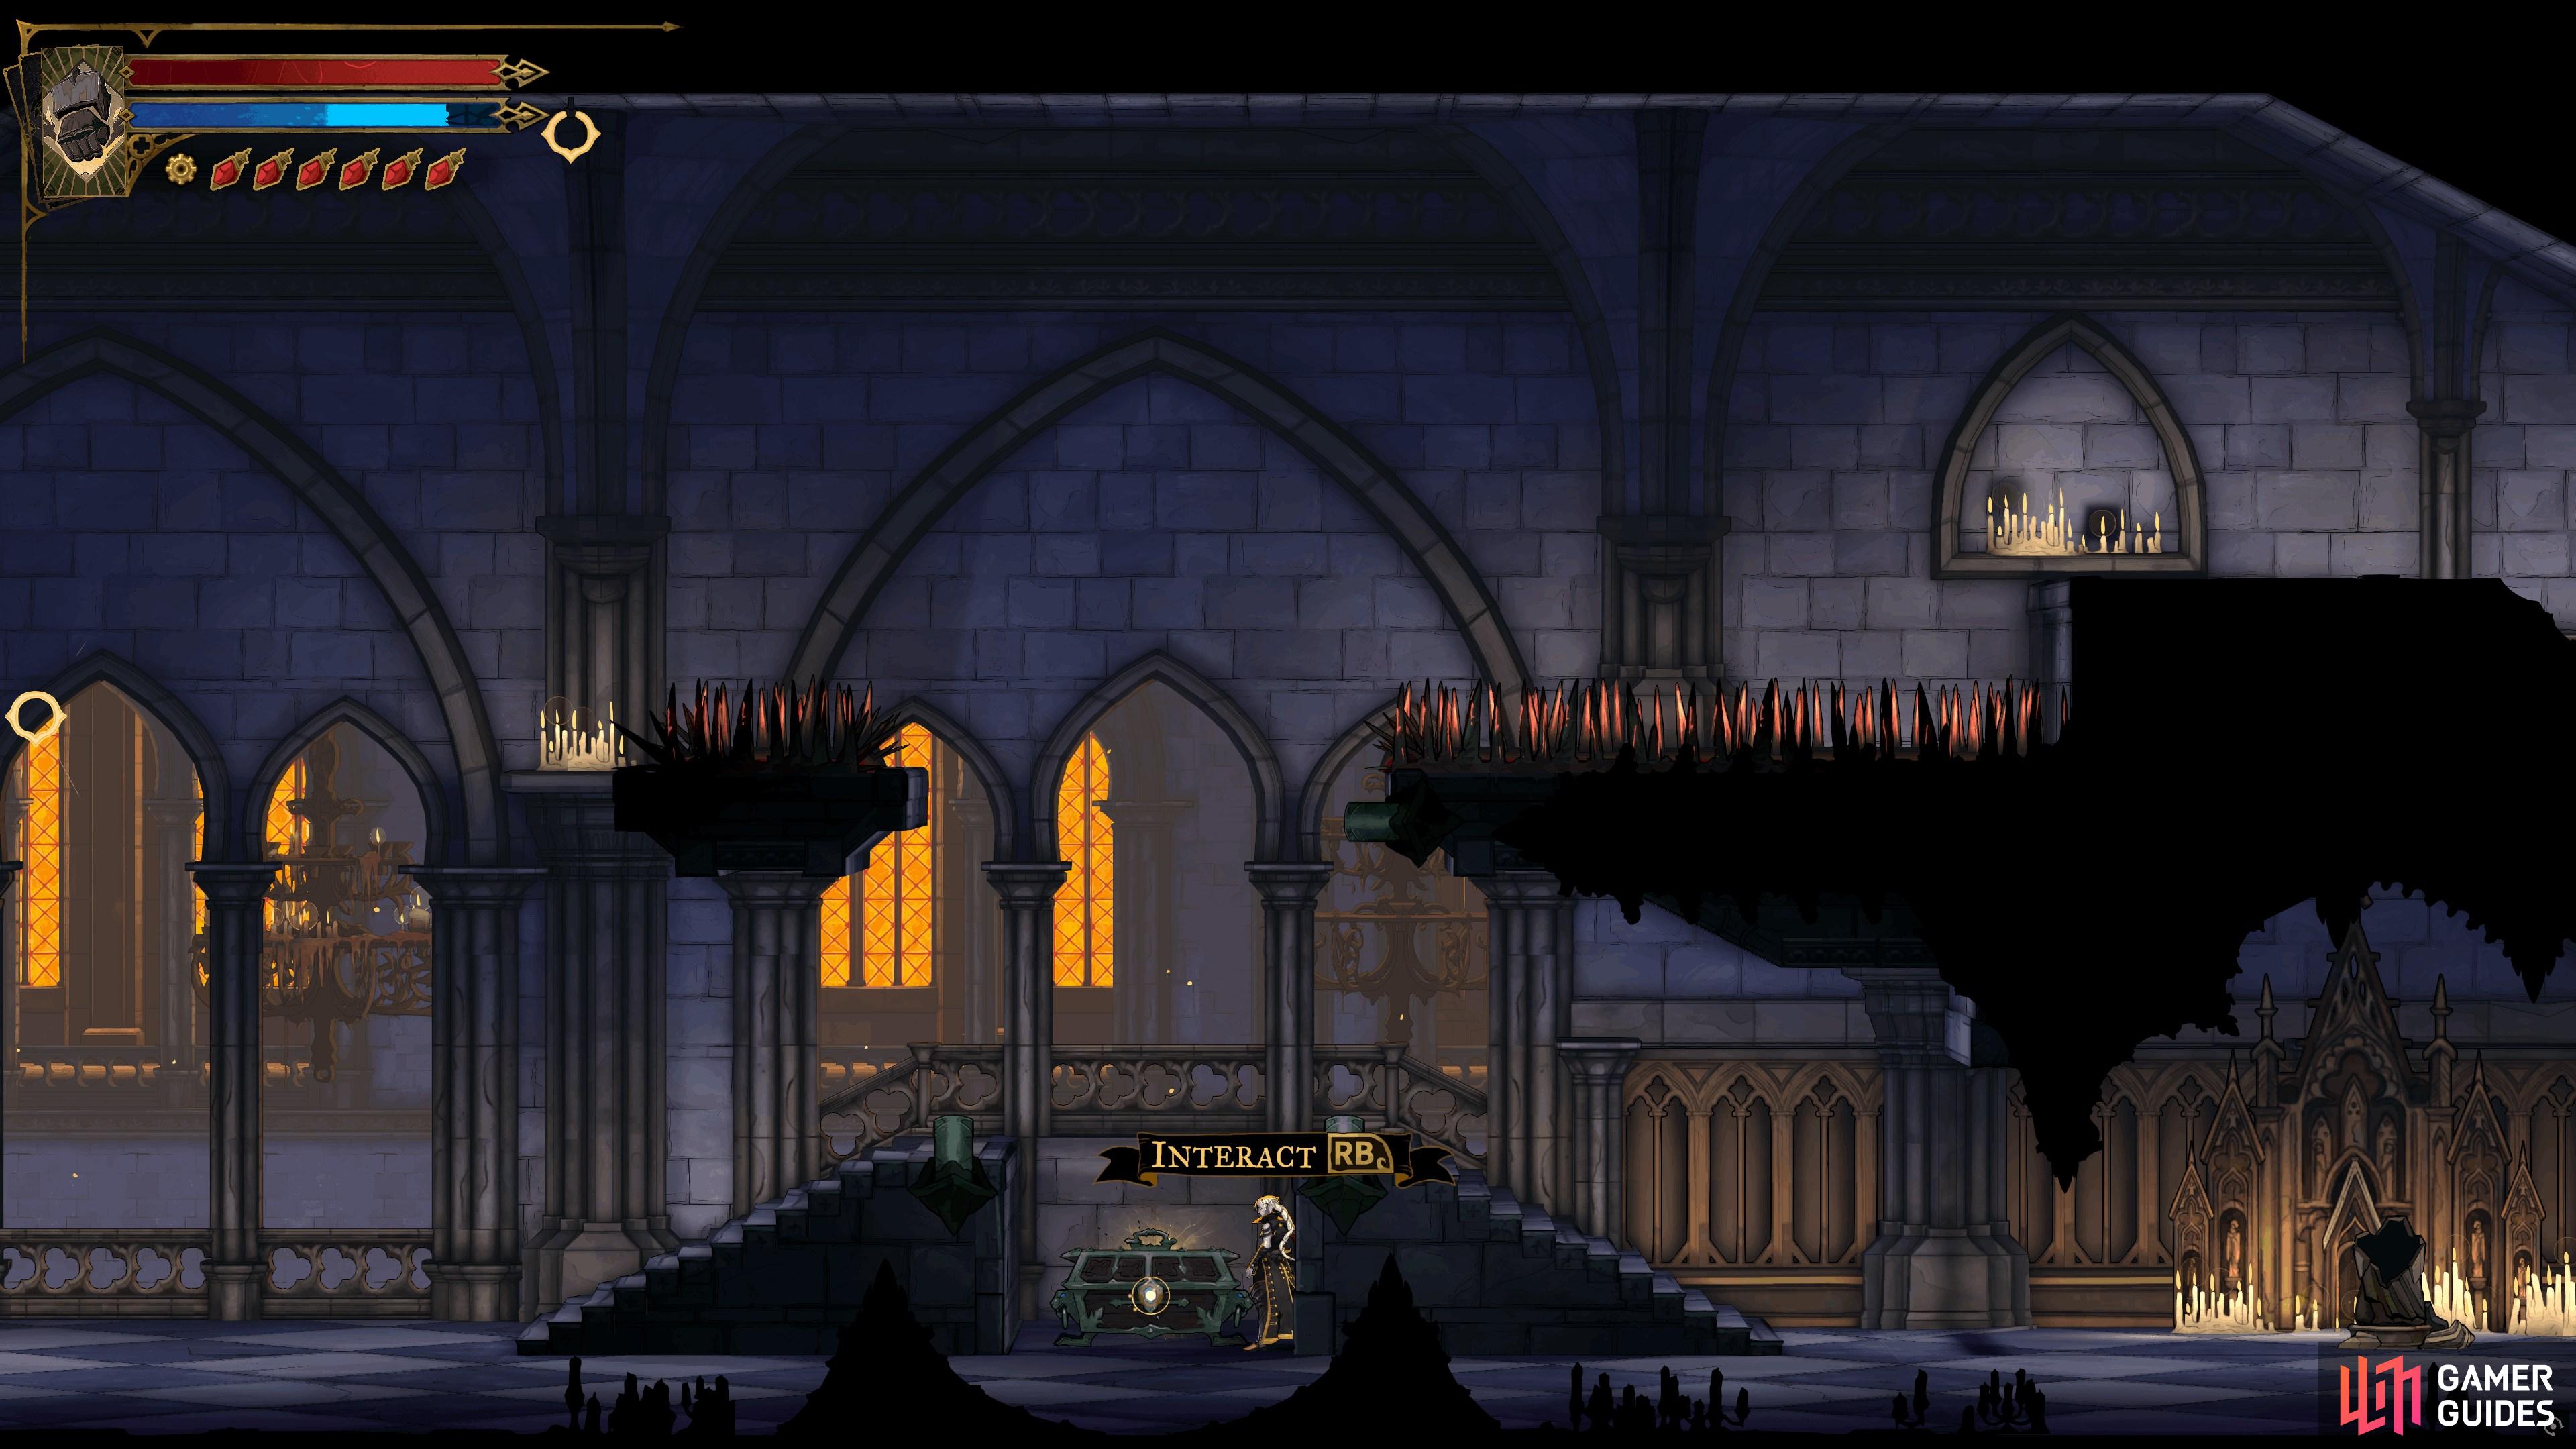
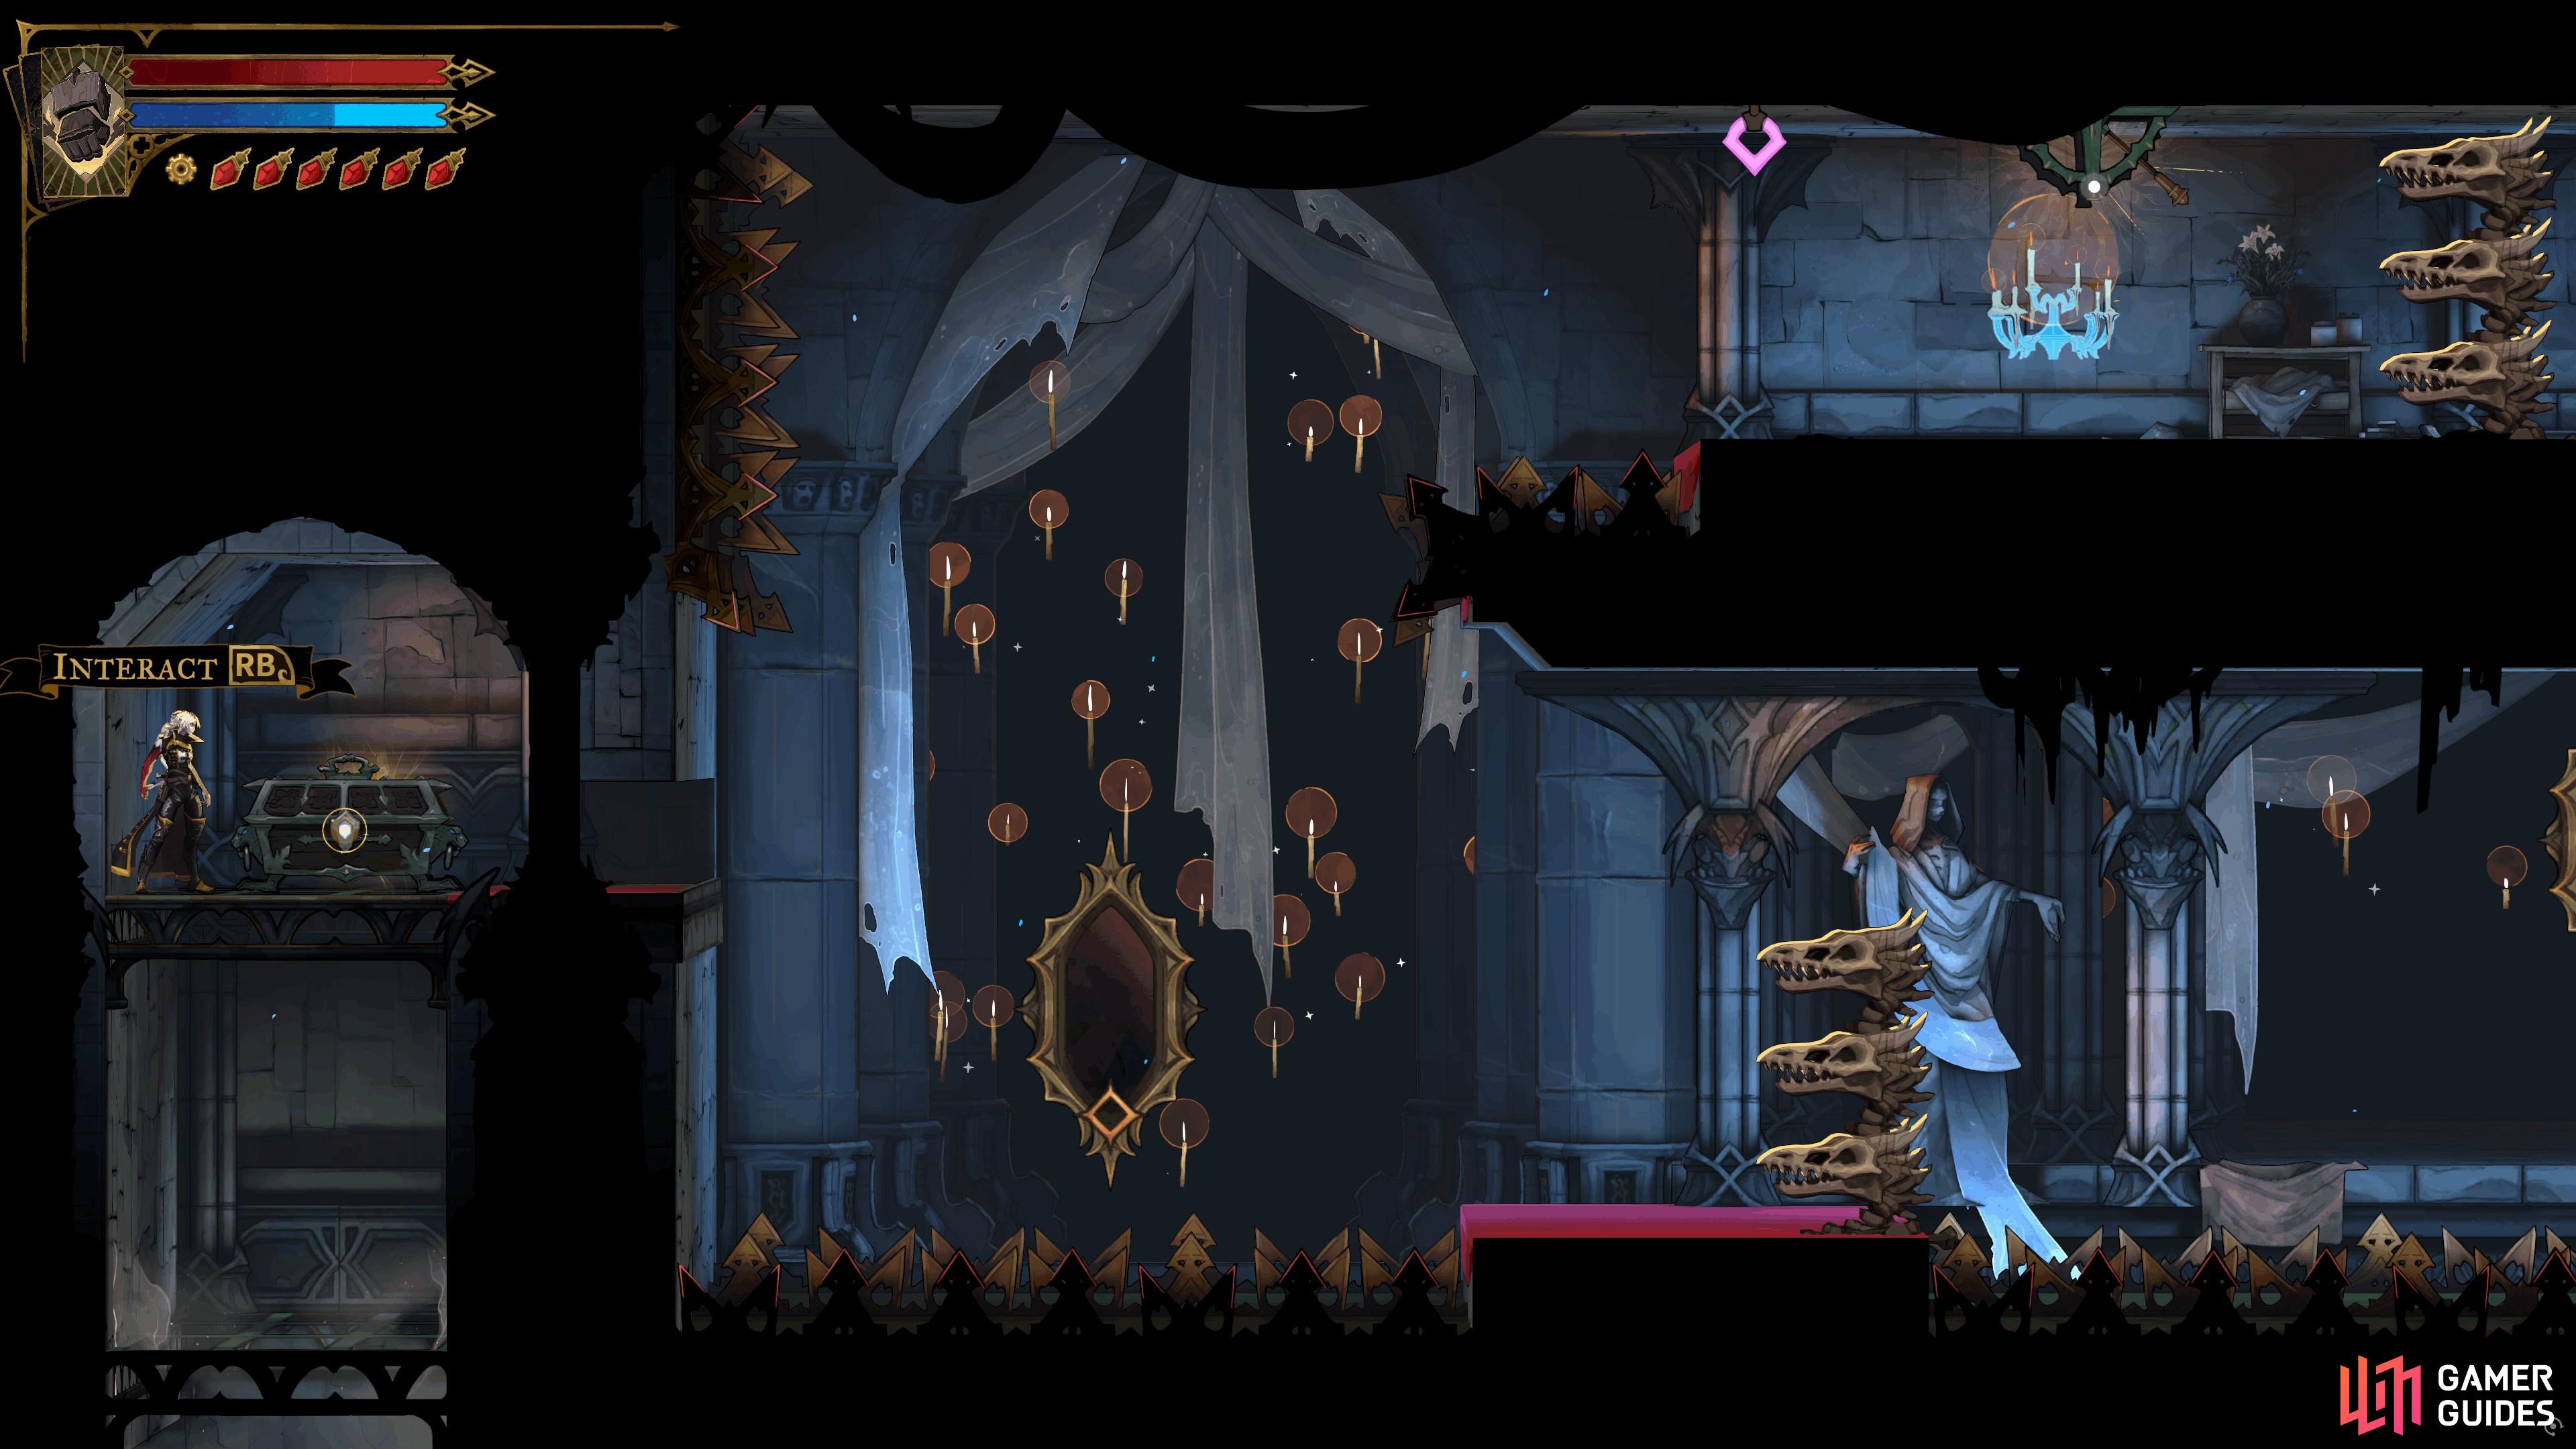
View on mapMake your way to the top of the Chernel Galleries (to the left of this chest) and you’ll loop around to this chest.
-
3
-
4
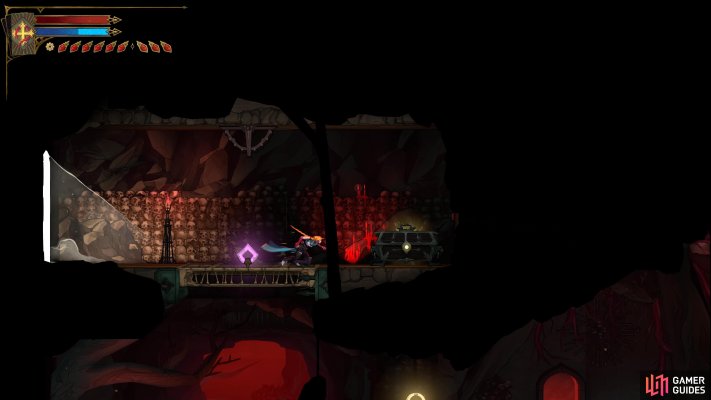
Ebony Claw
View on mapIn the Throat of Hell, swing on the Anchor Lock multiple times to reveal a hidden away in the northwest. Swing to this area and you’ll find a chest housing this Relic.
-
5
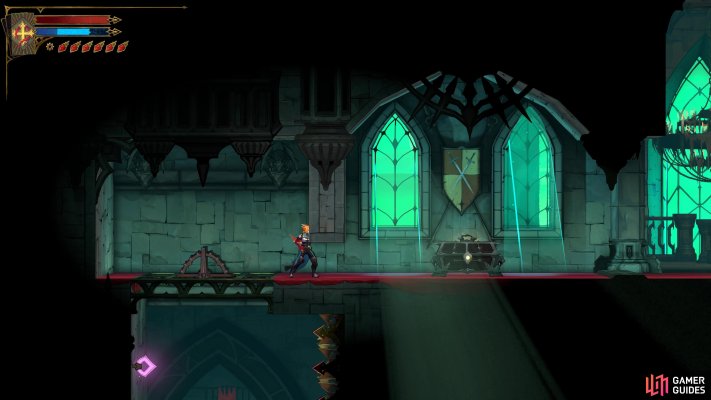
Witch's Knot
View on mapCan be found in a Chest in the West Hall of the Main Hall. You’ll need to head to the southwest of the room to pull a Lever, then use the anchors to reach the northwest of the room where you can find the Chest.
-
6
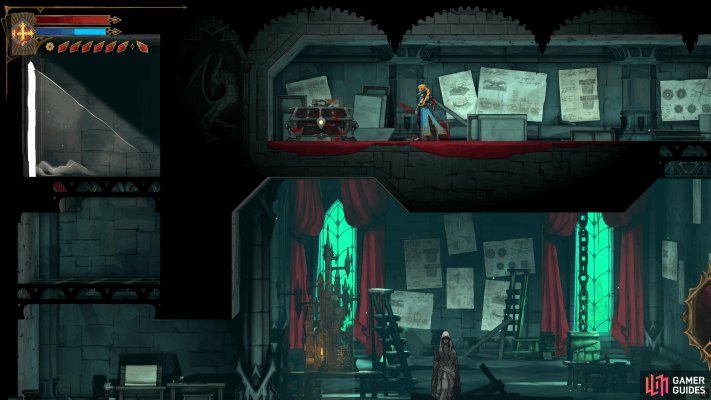
Ghostly Pendant
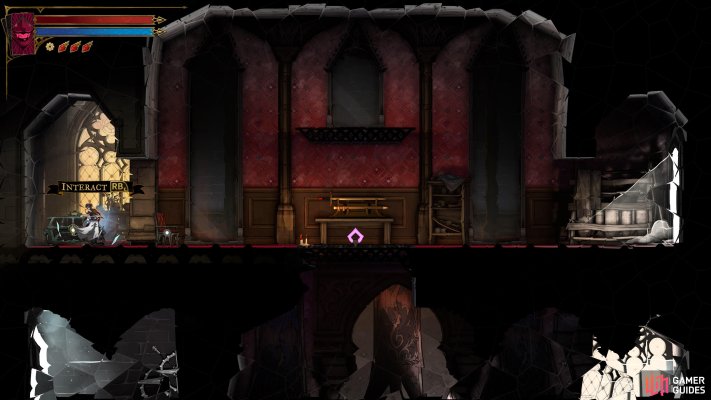
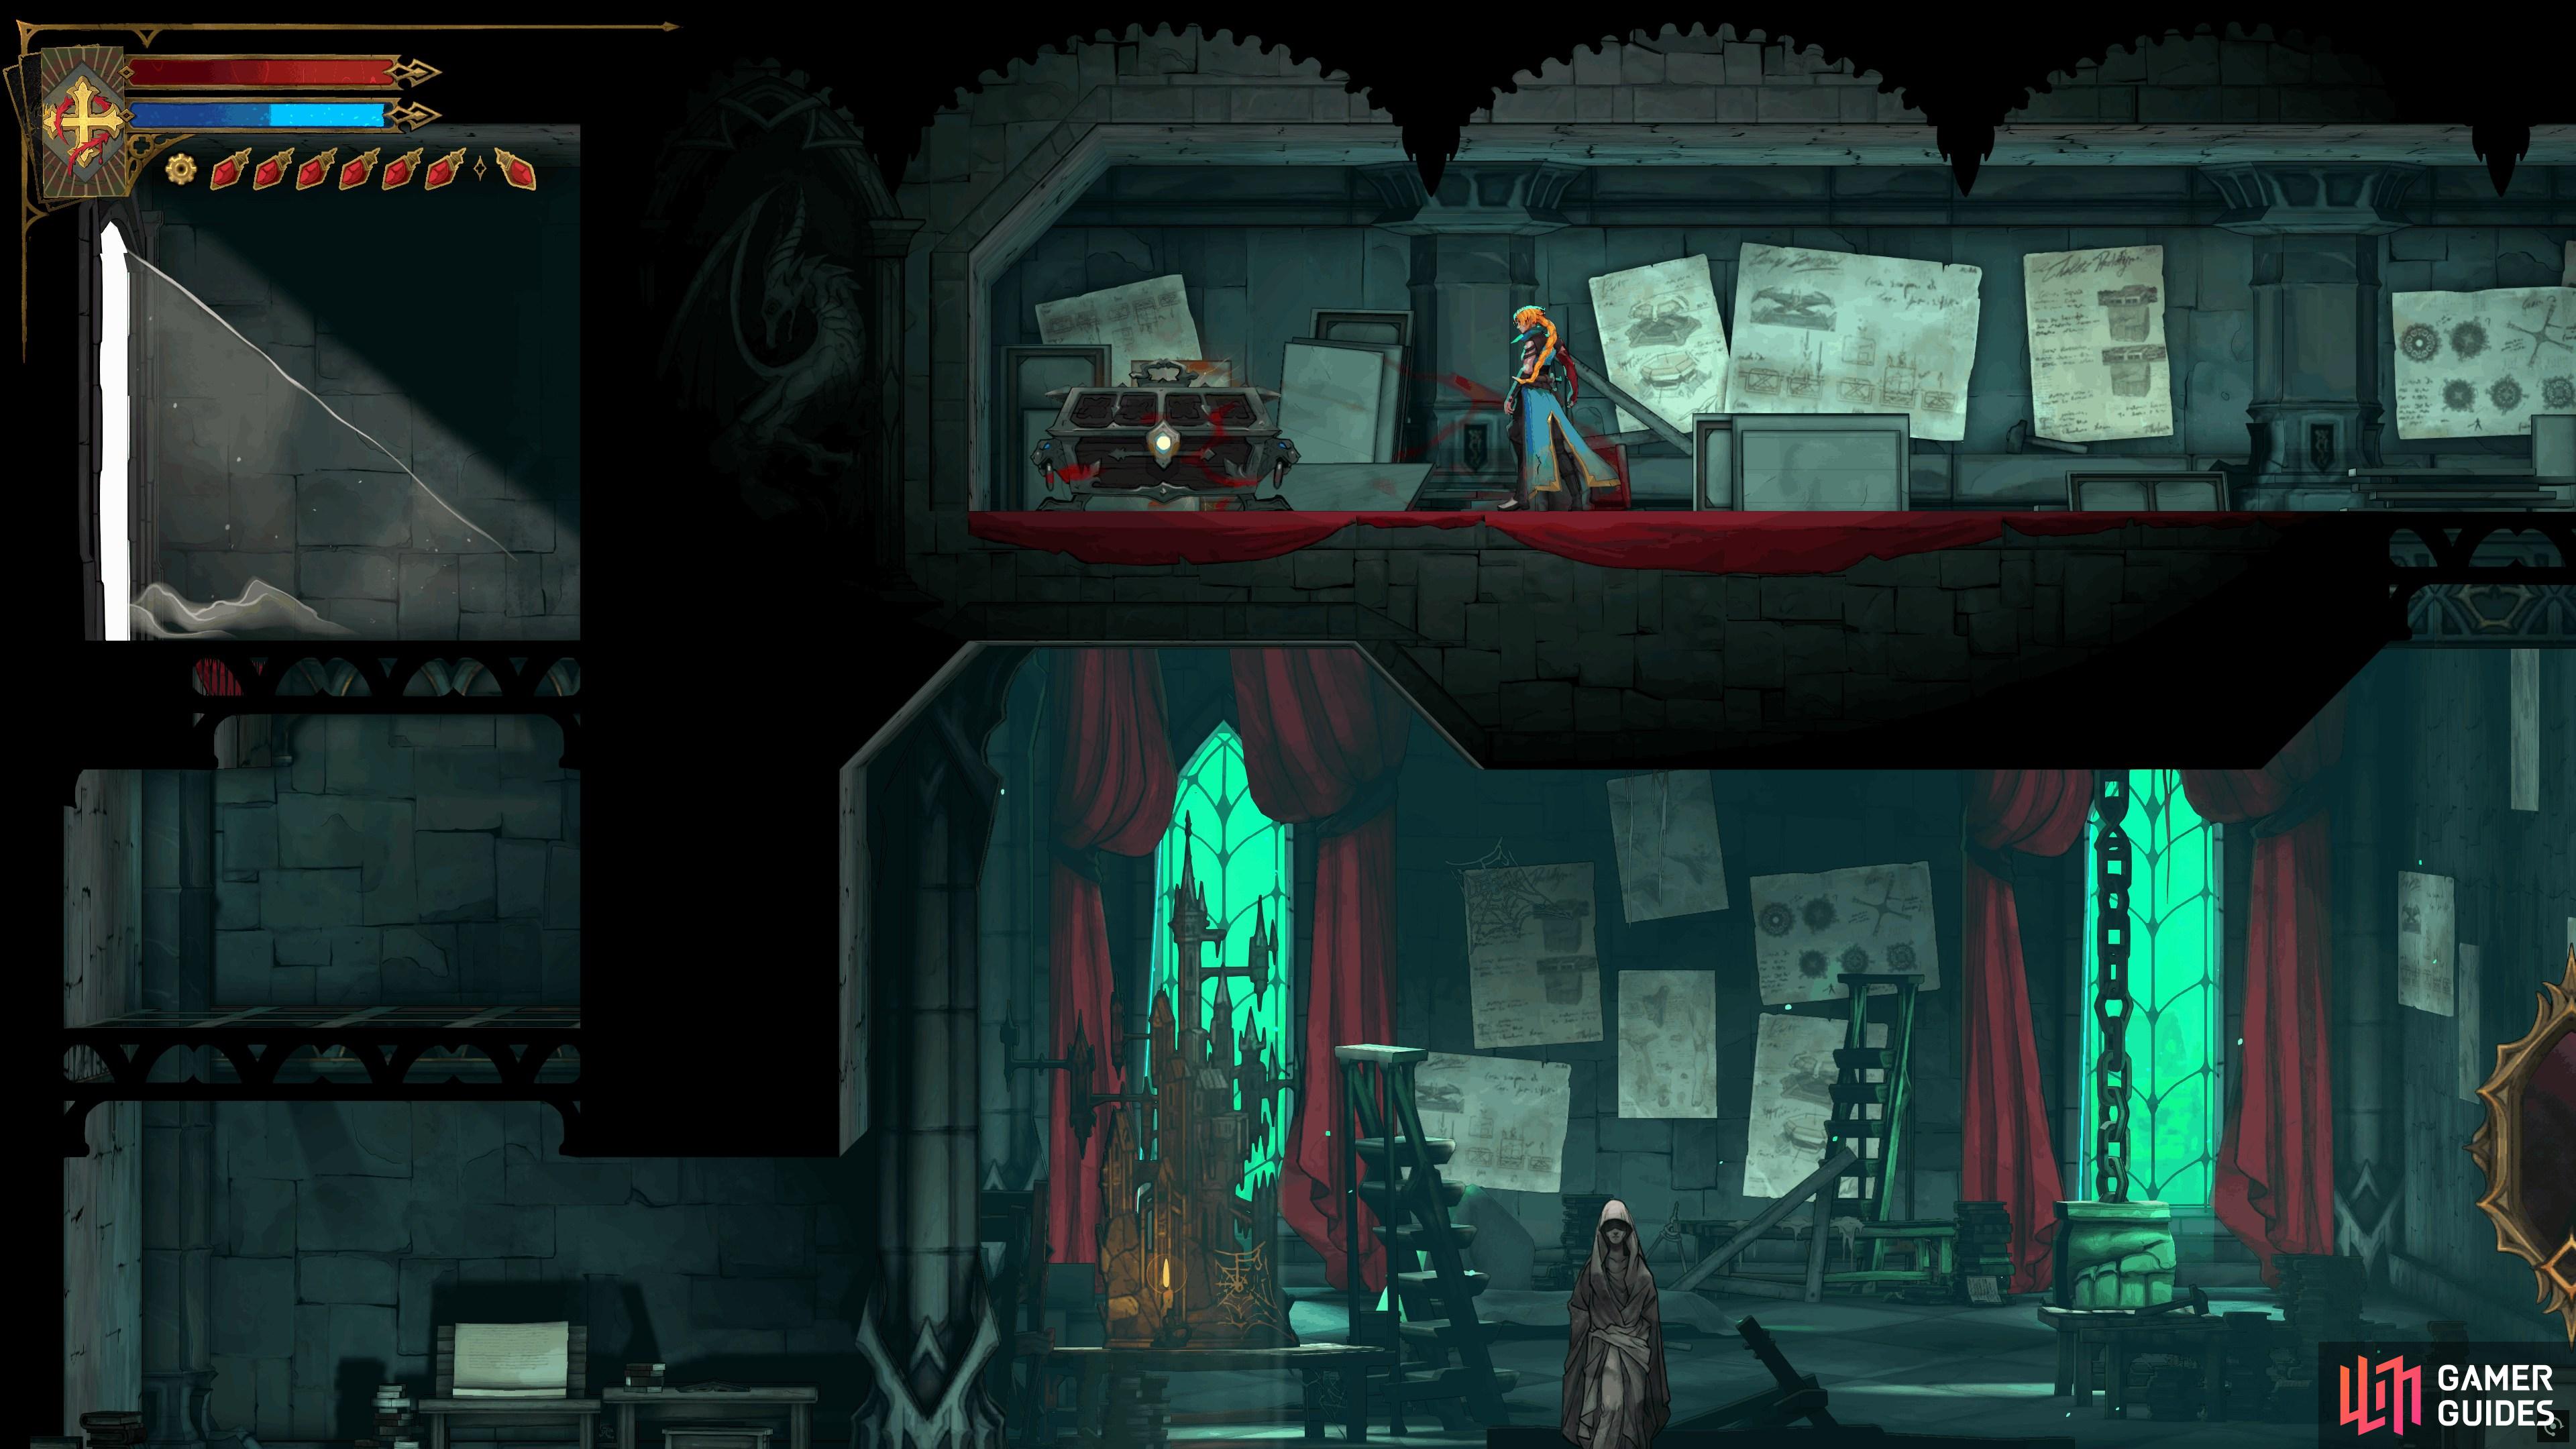
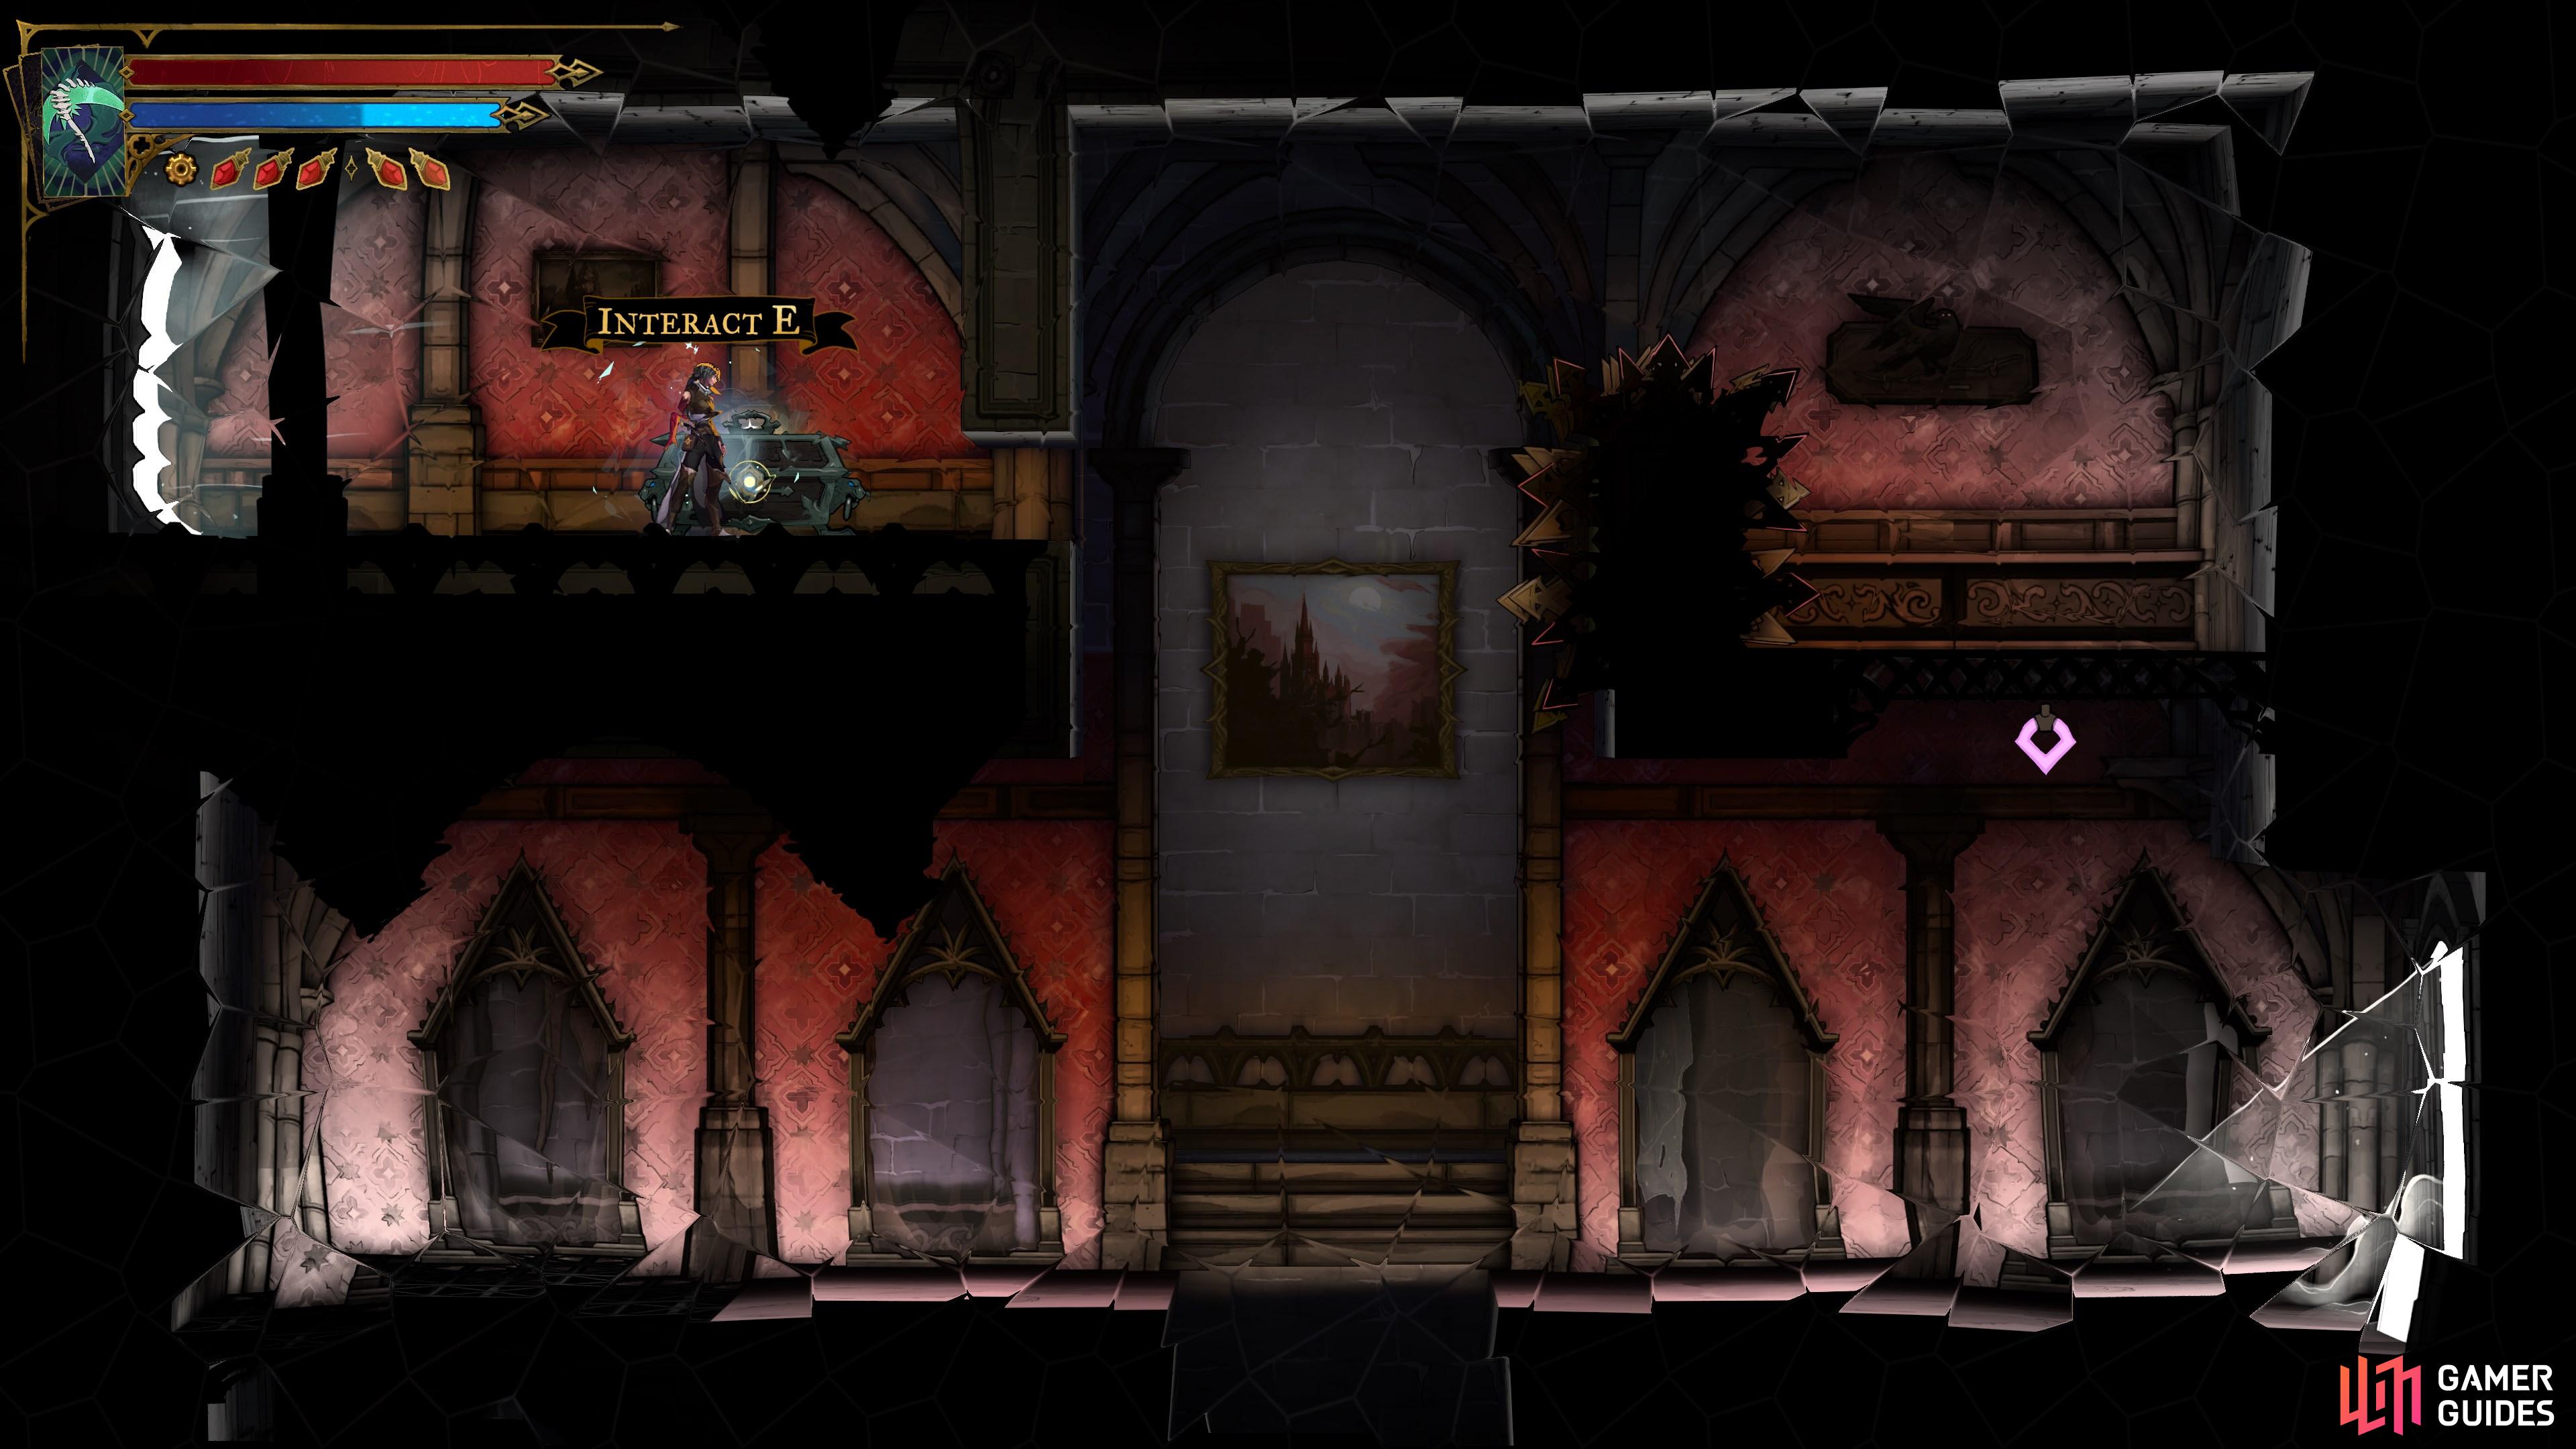
View on mapIn the Abandoned Workshop in the Main Hall, use the Portrait anchor to launch yourself up into a hidden area, where you’ll find this chest.
-
7
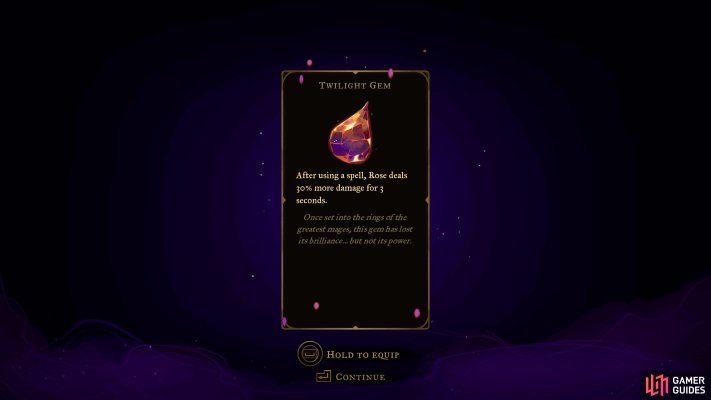
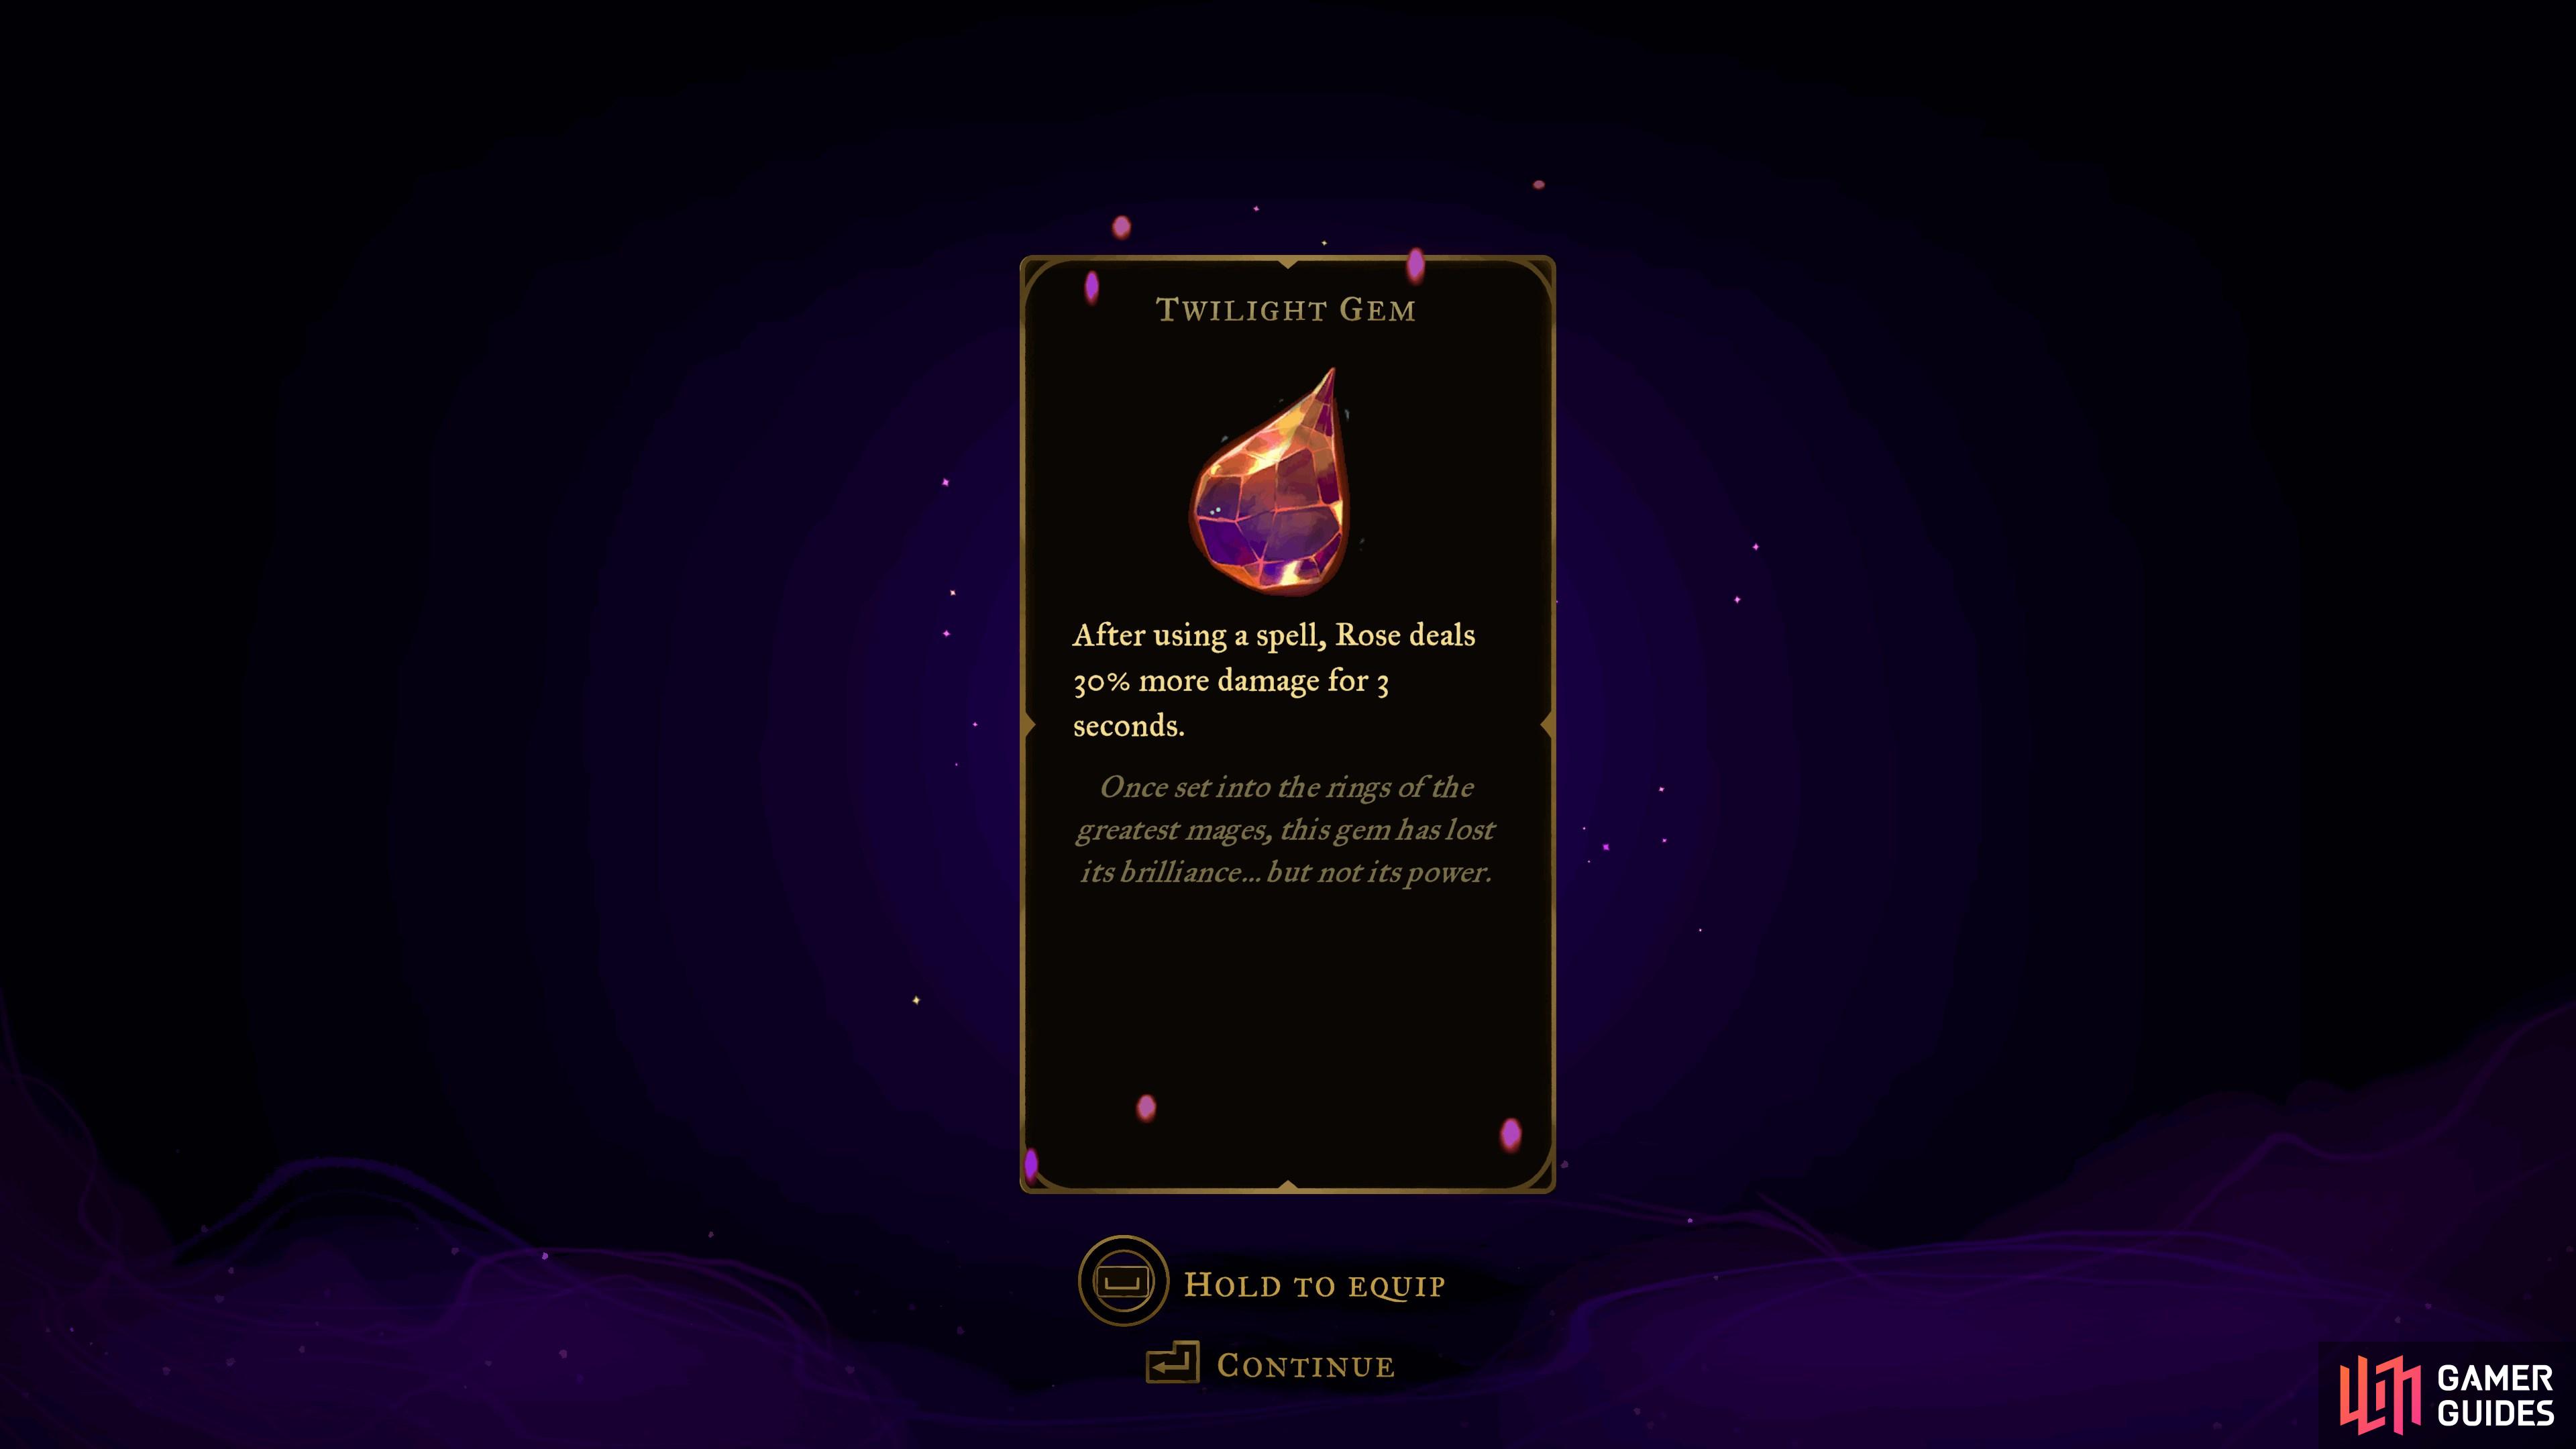
Twilight Gem
View on mapLocated on the top ledge near the entrance. You’ll need to complete the platforming puzzle below to reach it.
-
8
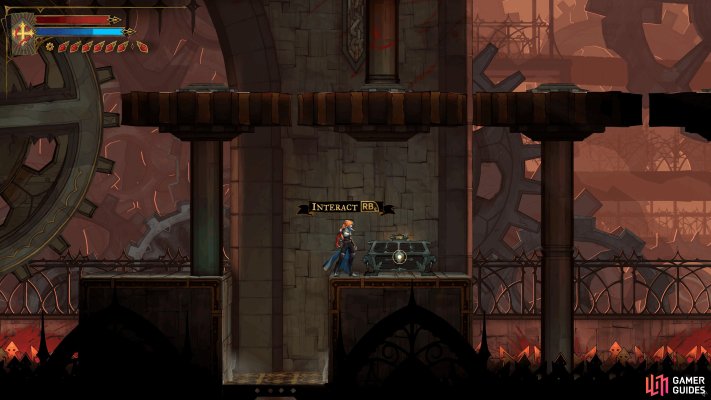
Sinister Rune
View on mapFound in a Chest in the Eastern Access Shaft of the
 Clock Tower. Make your way to the north east and then work around the room anticlockwise.
In the center of the room, you’ll need to deal with a combat challenge.
-
9
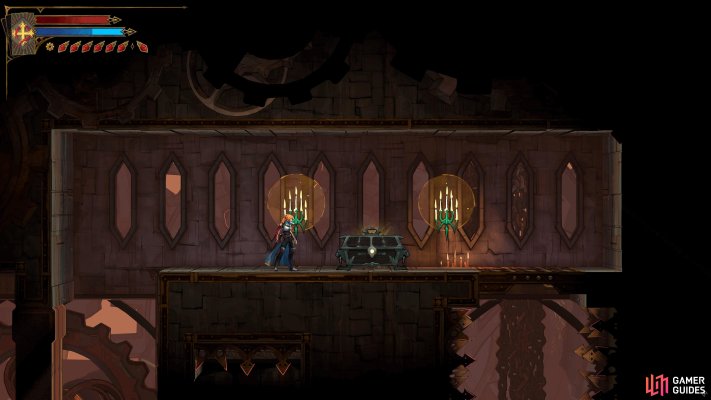
Vile Trinket
View on mapTo reach this Chest in Daedalus Crossing in the
Clock Tower, first hit the  Cog near the eastern exit to reveal a hidden room west of it.
As you head into this room, defeat the enemies then go over to the switch on the left and have the block activate it.
This will rotate the beams and drop some more enemies down, deal with them and then wall jump on the right to reach the Chest.
-
10
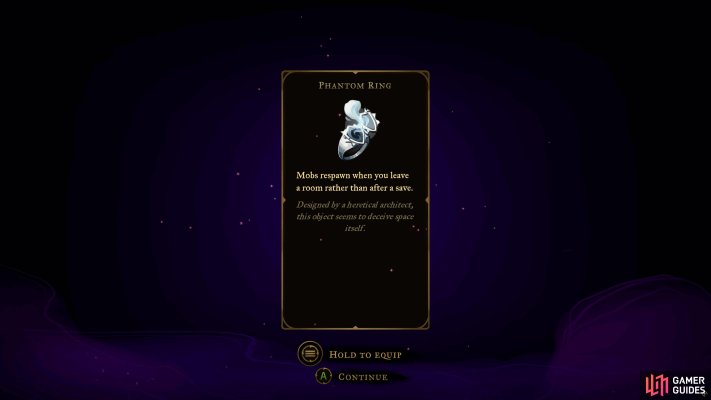
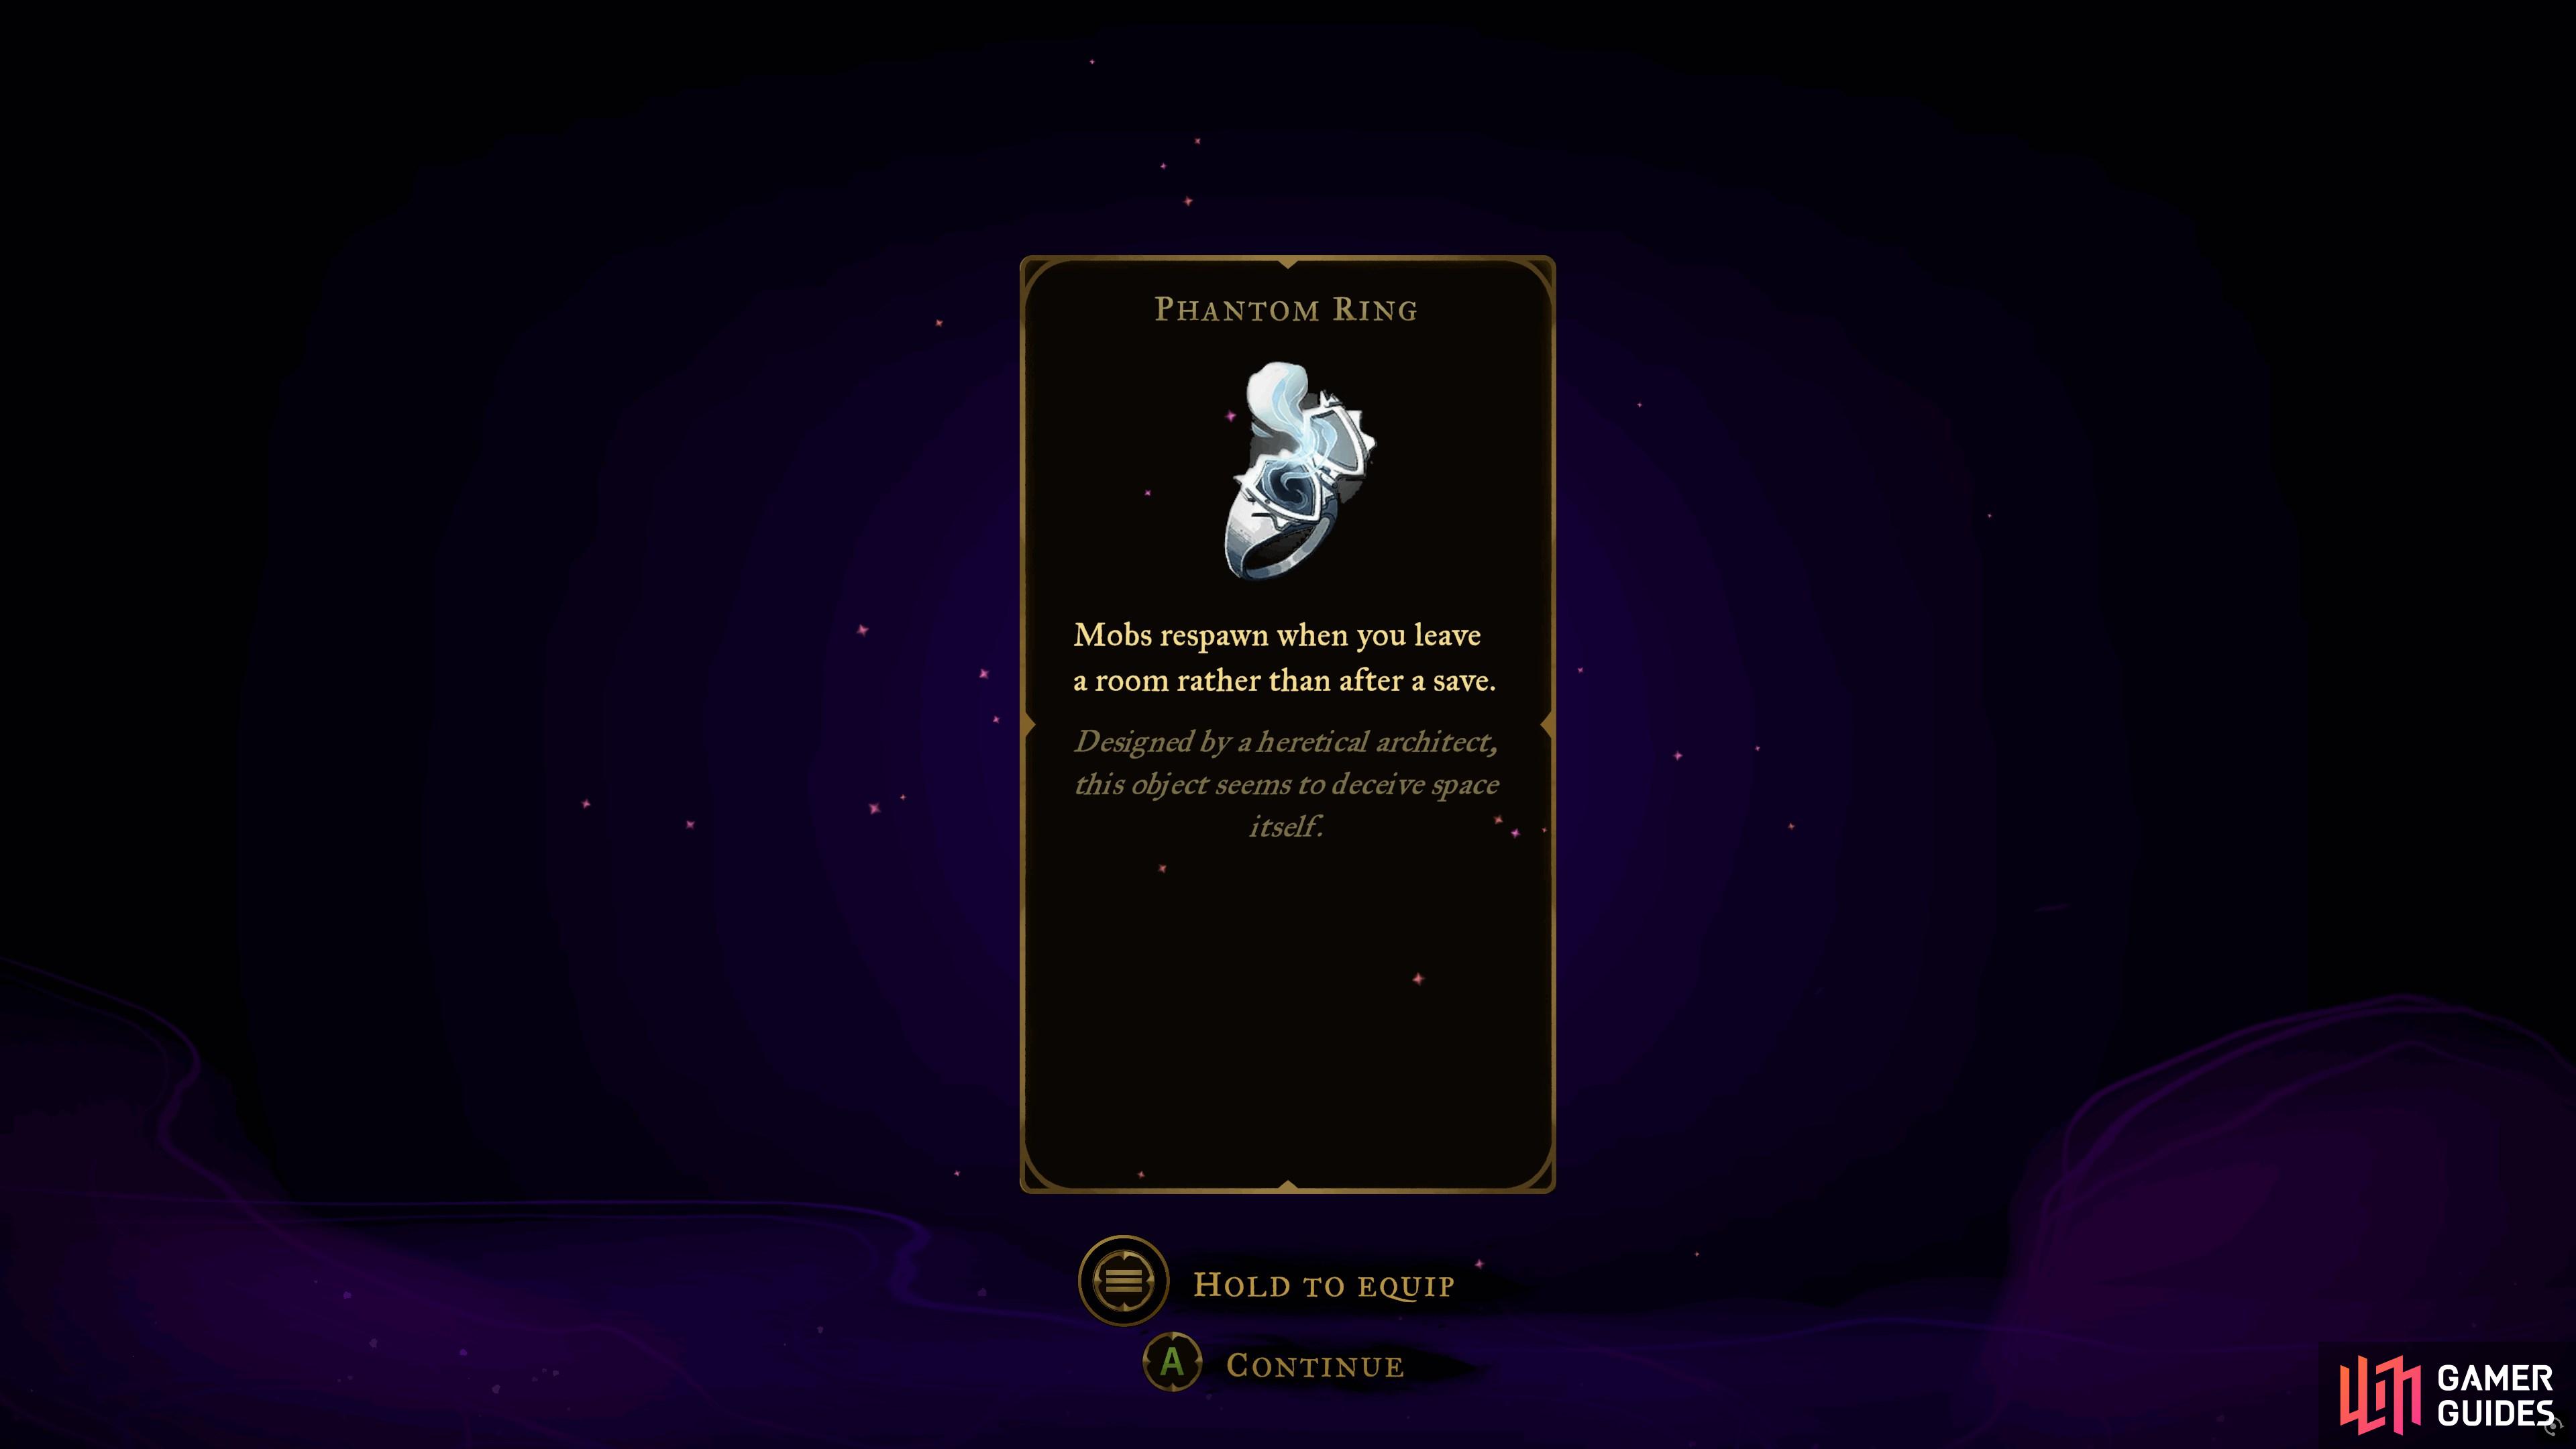
Phantom Ring
View on mapTo reach this Chest in the Western Ascent of the
Clock Tower, you must first acquire the  Smash ability by beating
  Talos at the bottom of the
  Clock Tower.
Next, use it on the first switch to gain access to two blocks that can be broken with Smash. Use it on the leftmost block first to gain height to smash the block on the right.
Now activate the middle switch then the left switch to gain access to the chest.
-
11
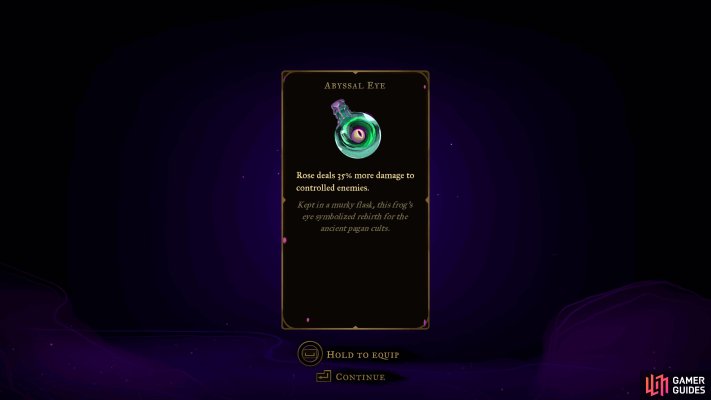
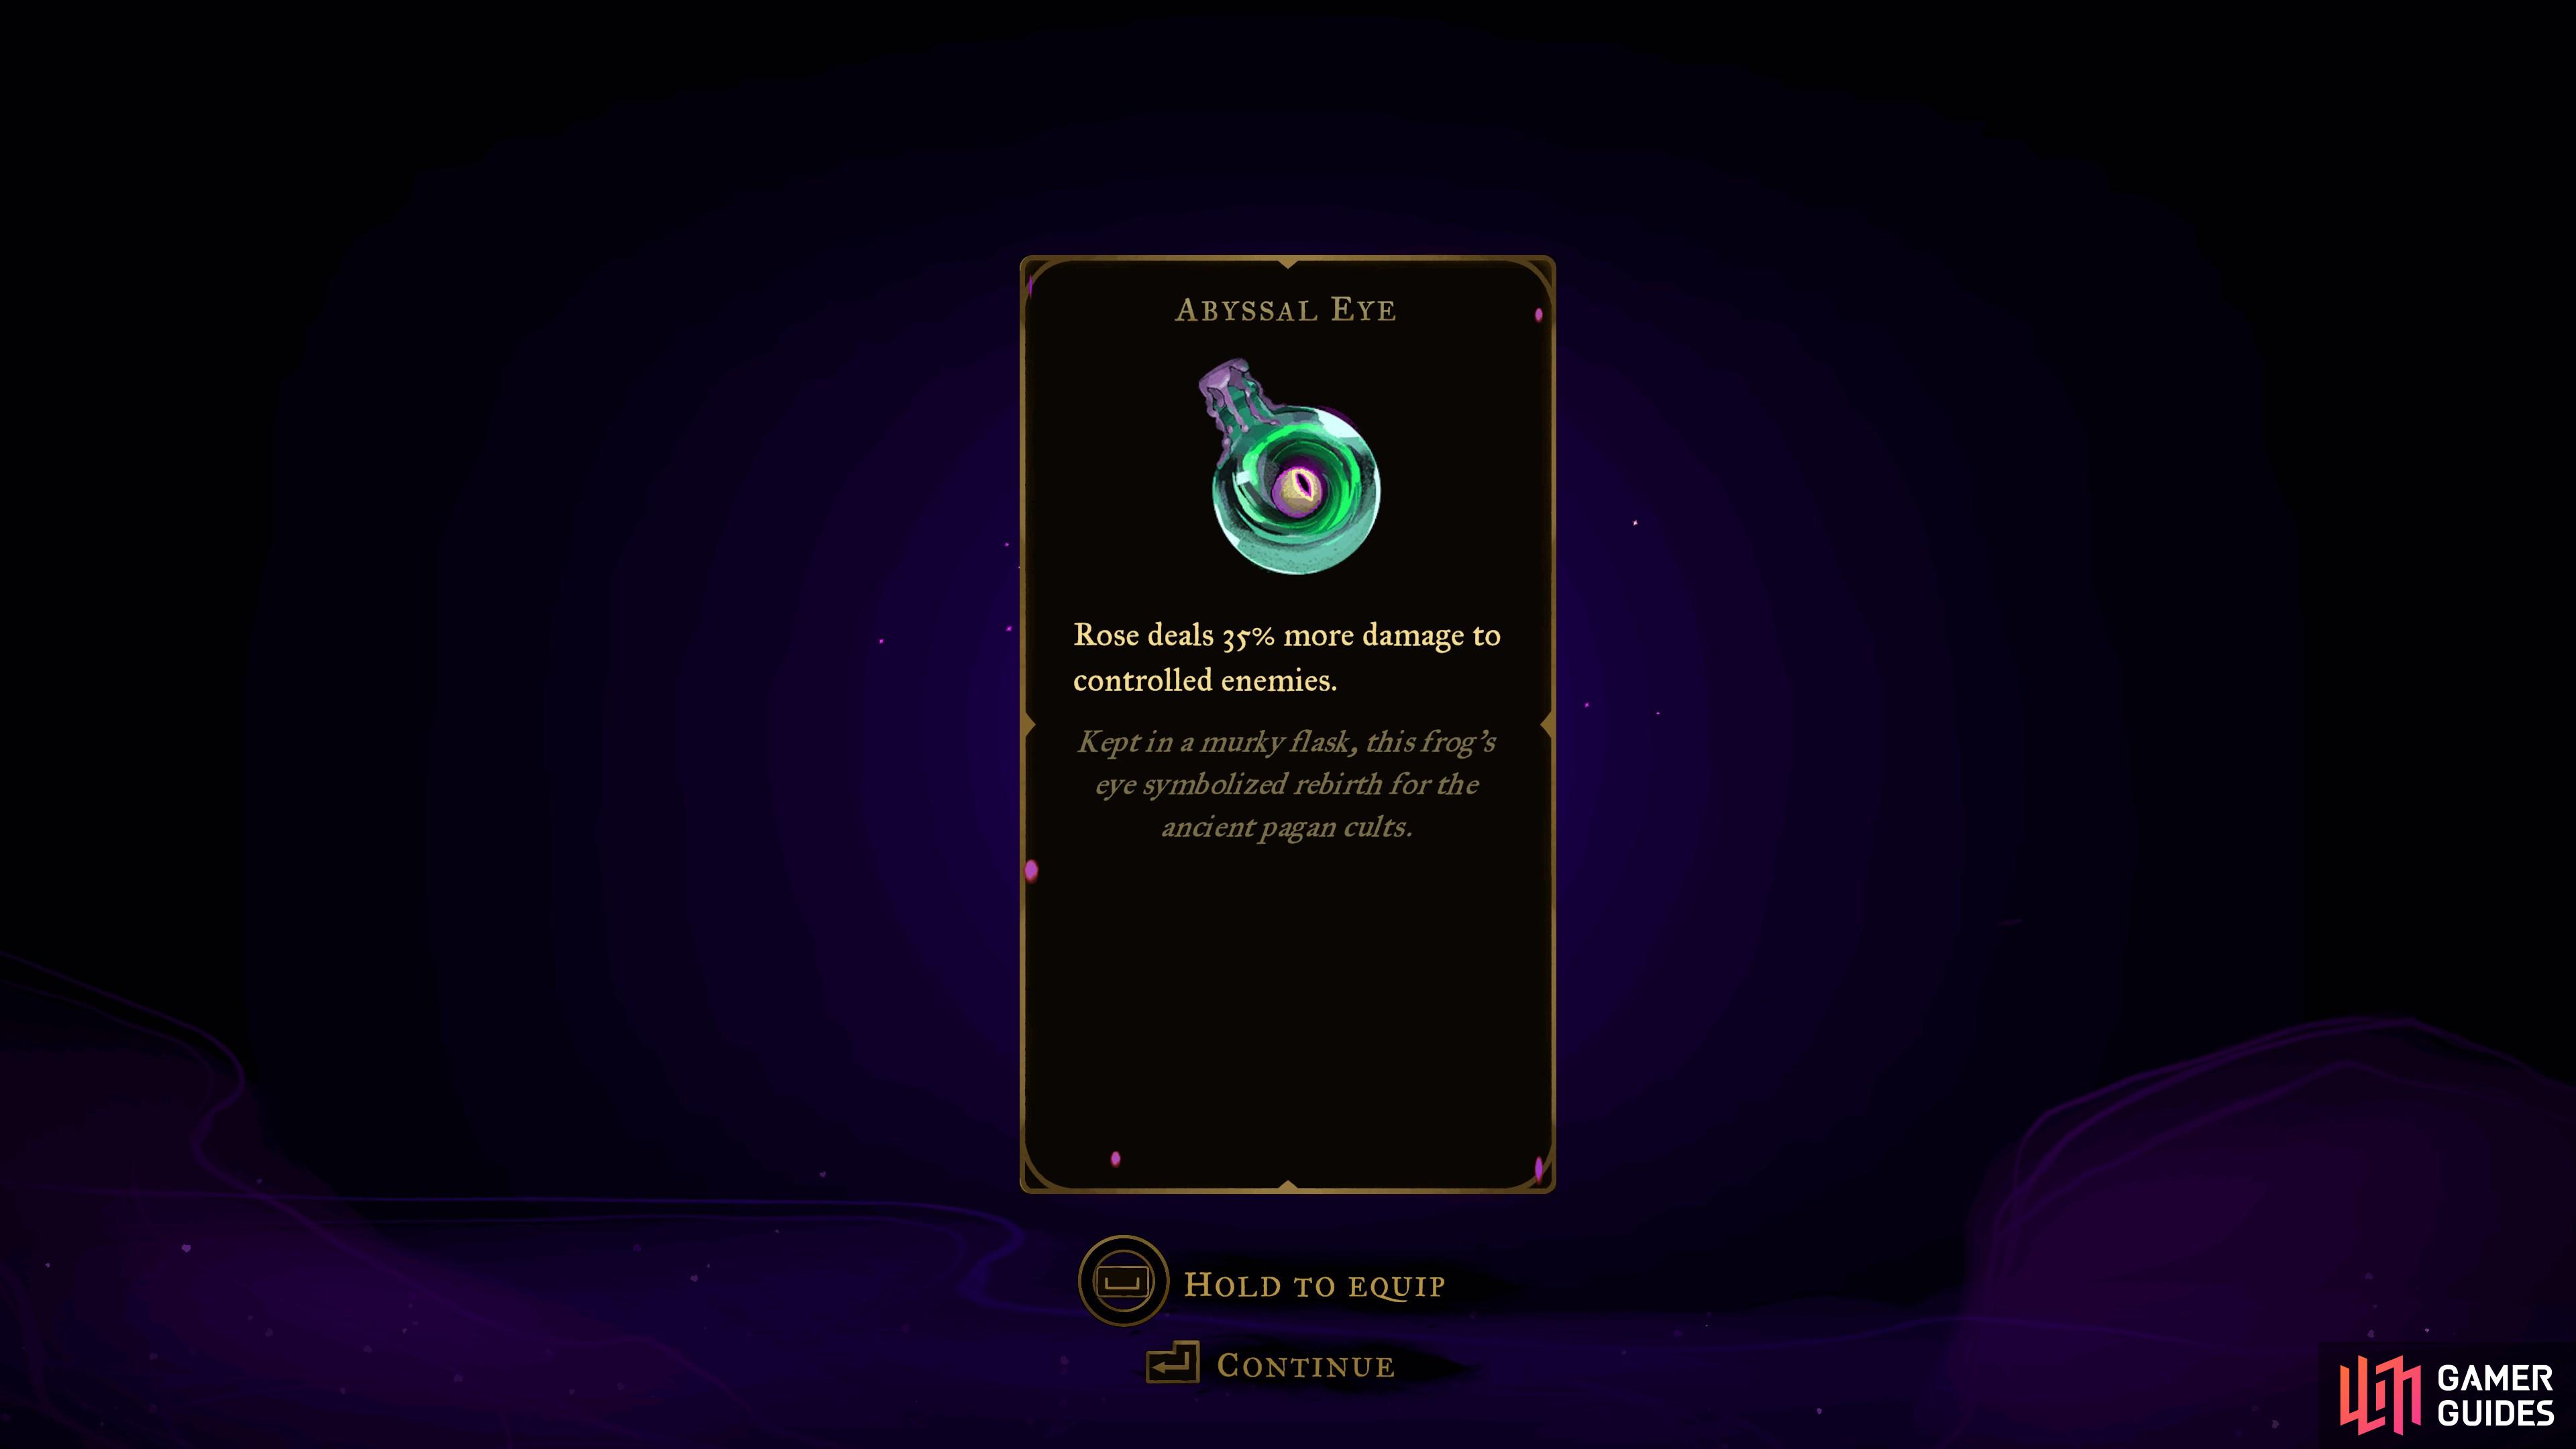
Abyssal Eye
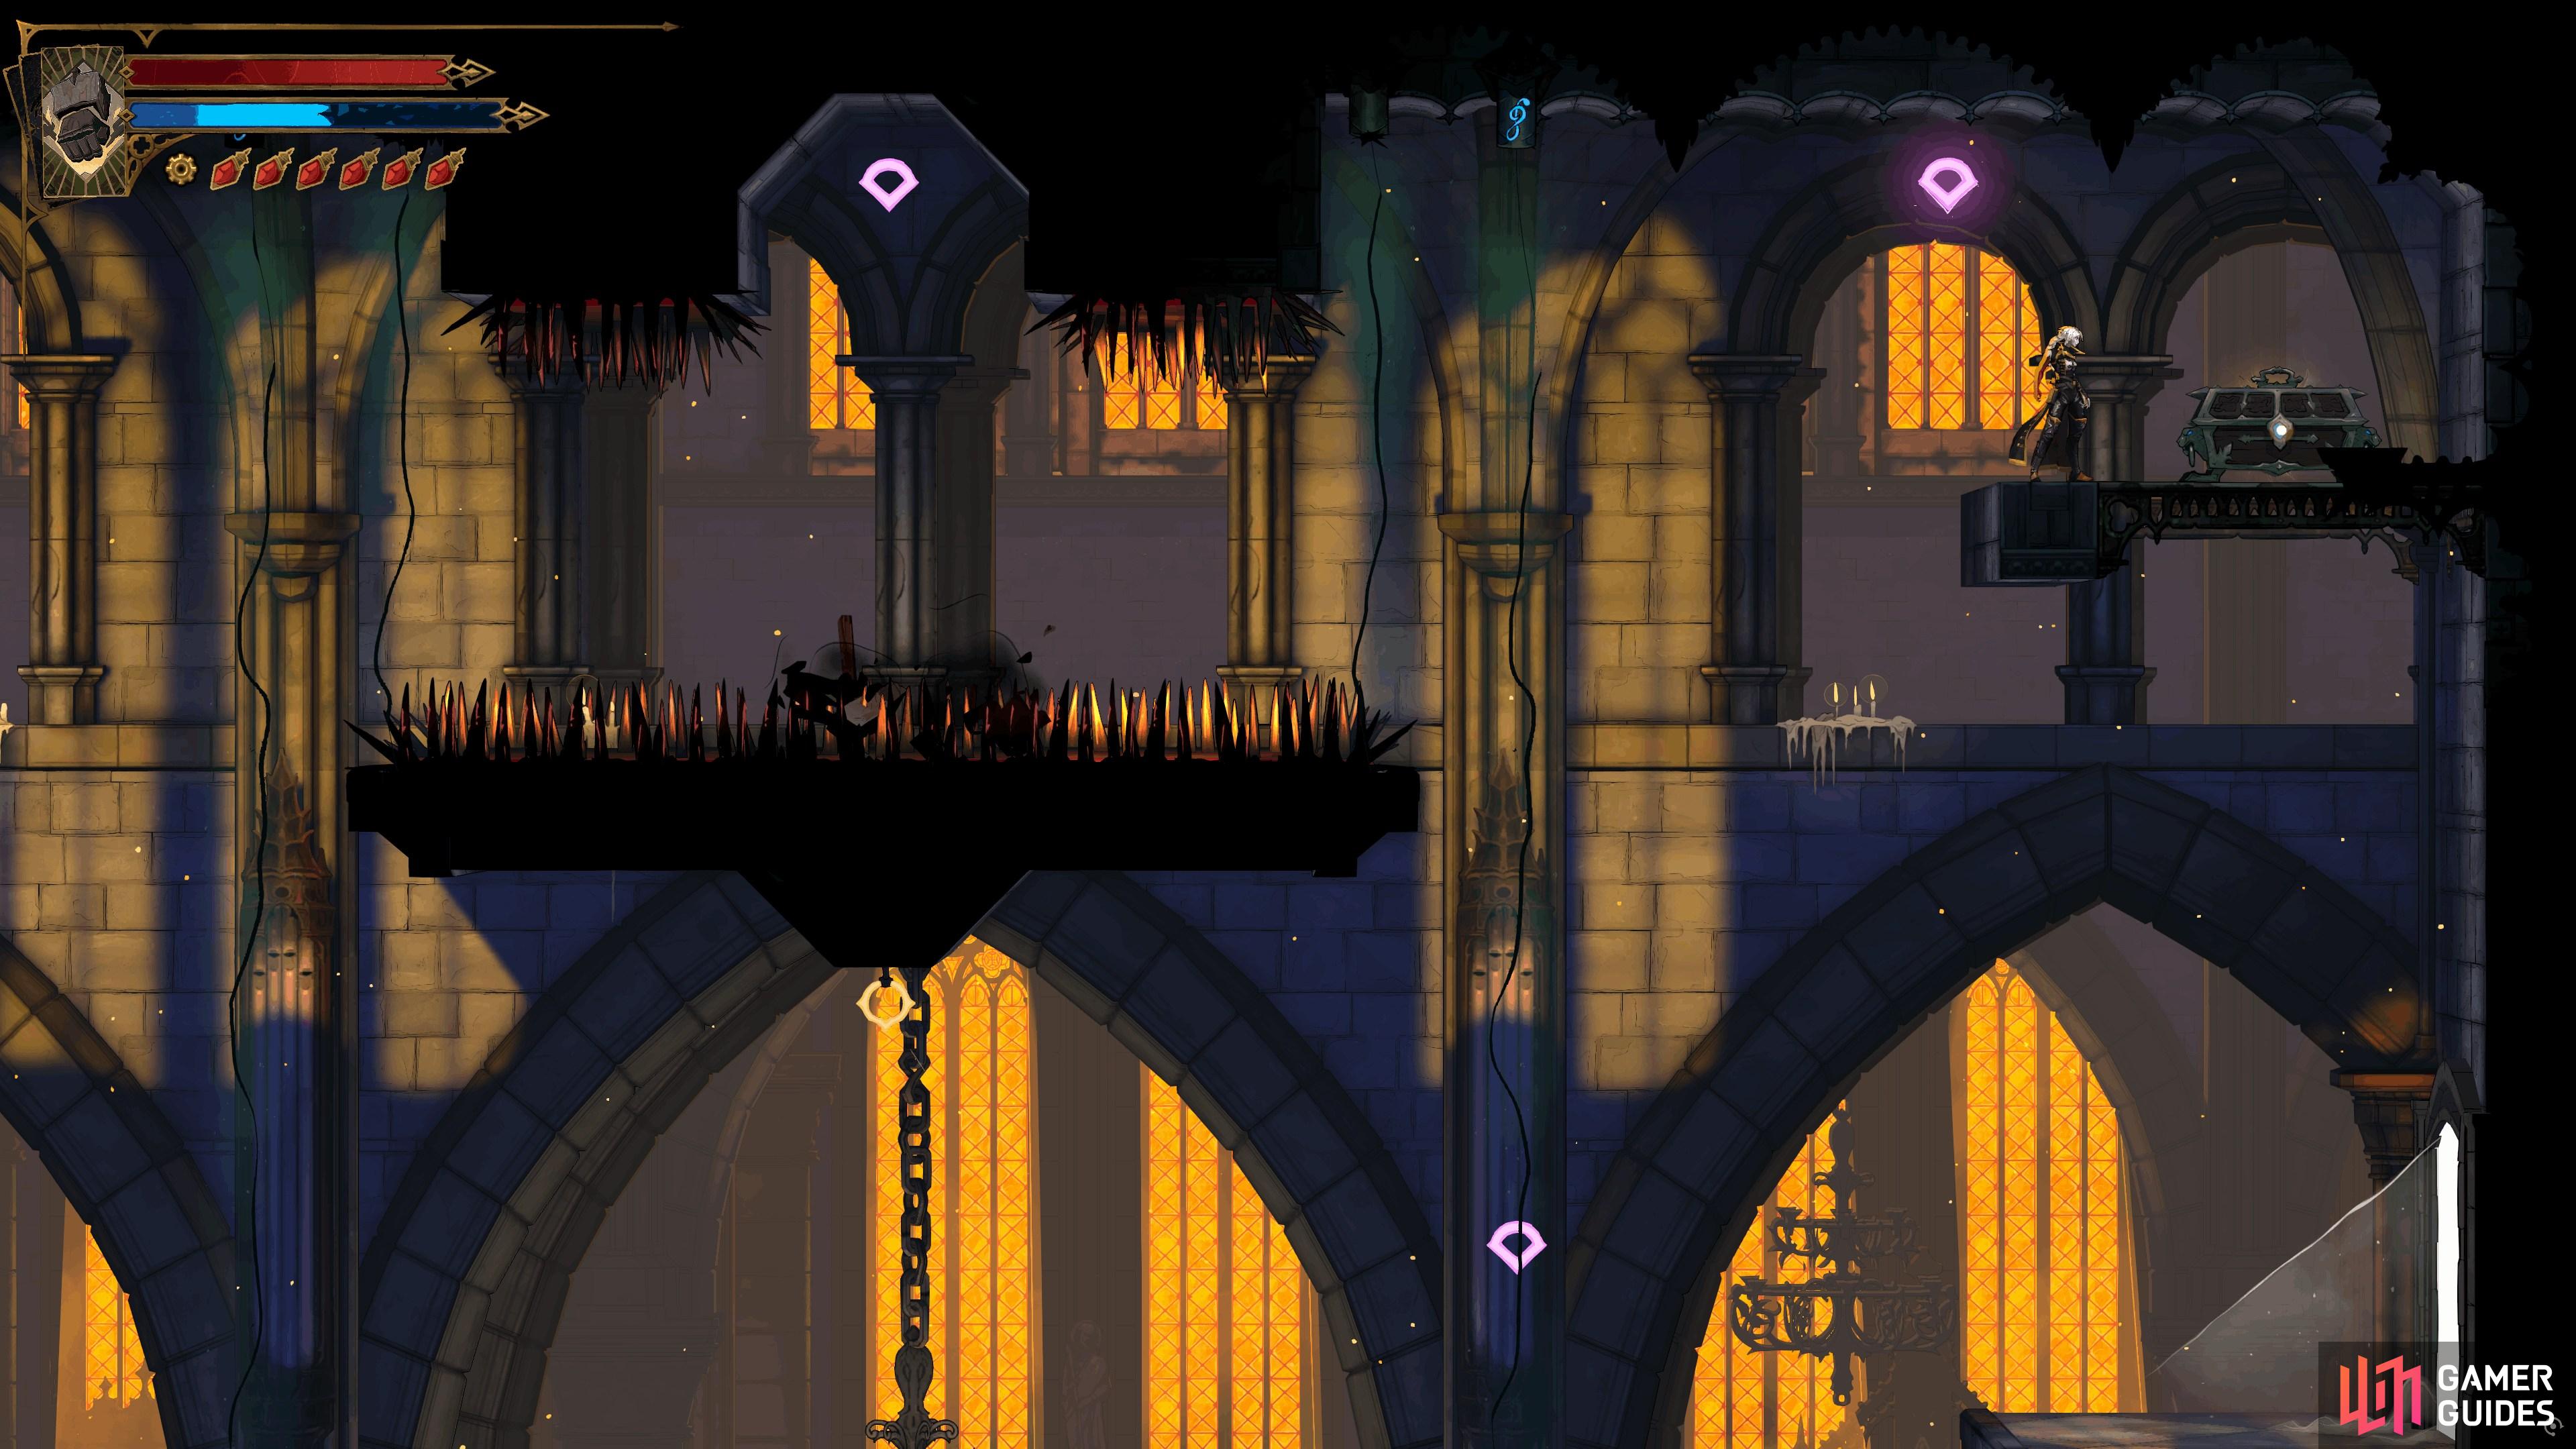
View on mapLocated on top of the upper platform. Head west and use the anchor point to reach the ledge above. Use
 Holy Light while sliding under the gap to the east and quickly use arcane whip on the two anchor points in the air that follow it. This will take you to the chest.
 -
12
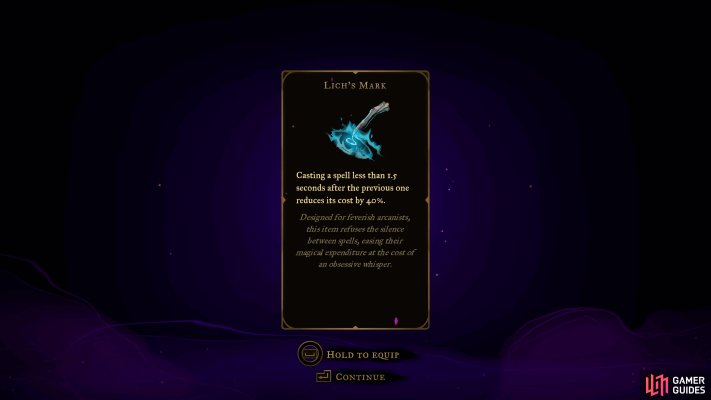
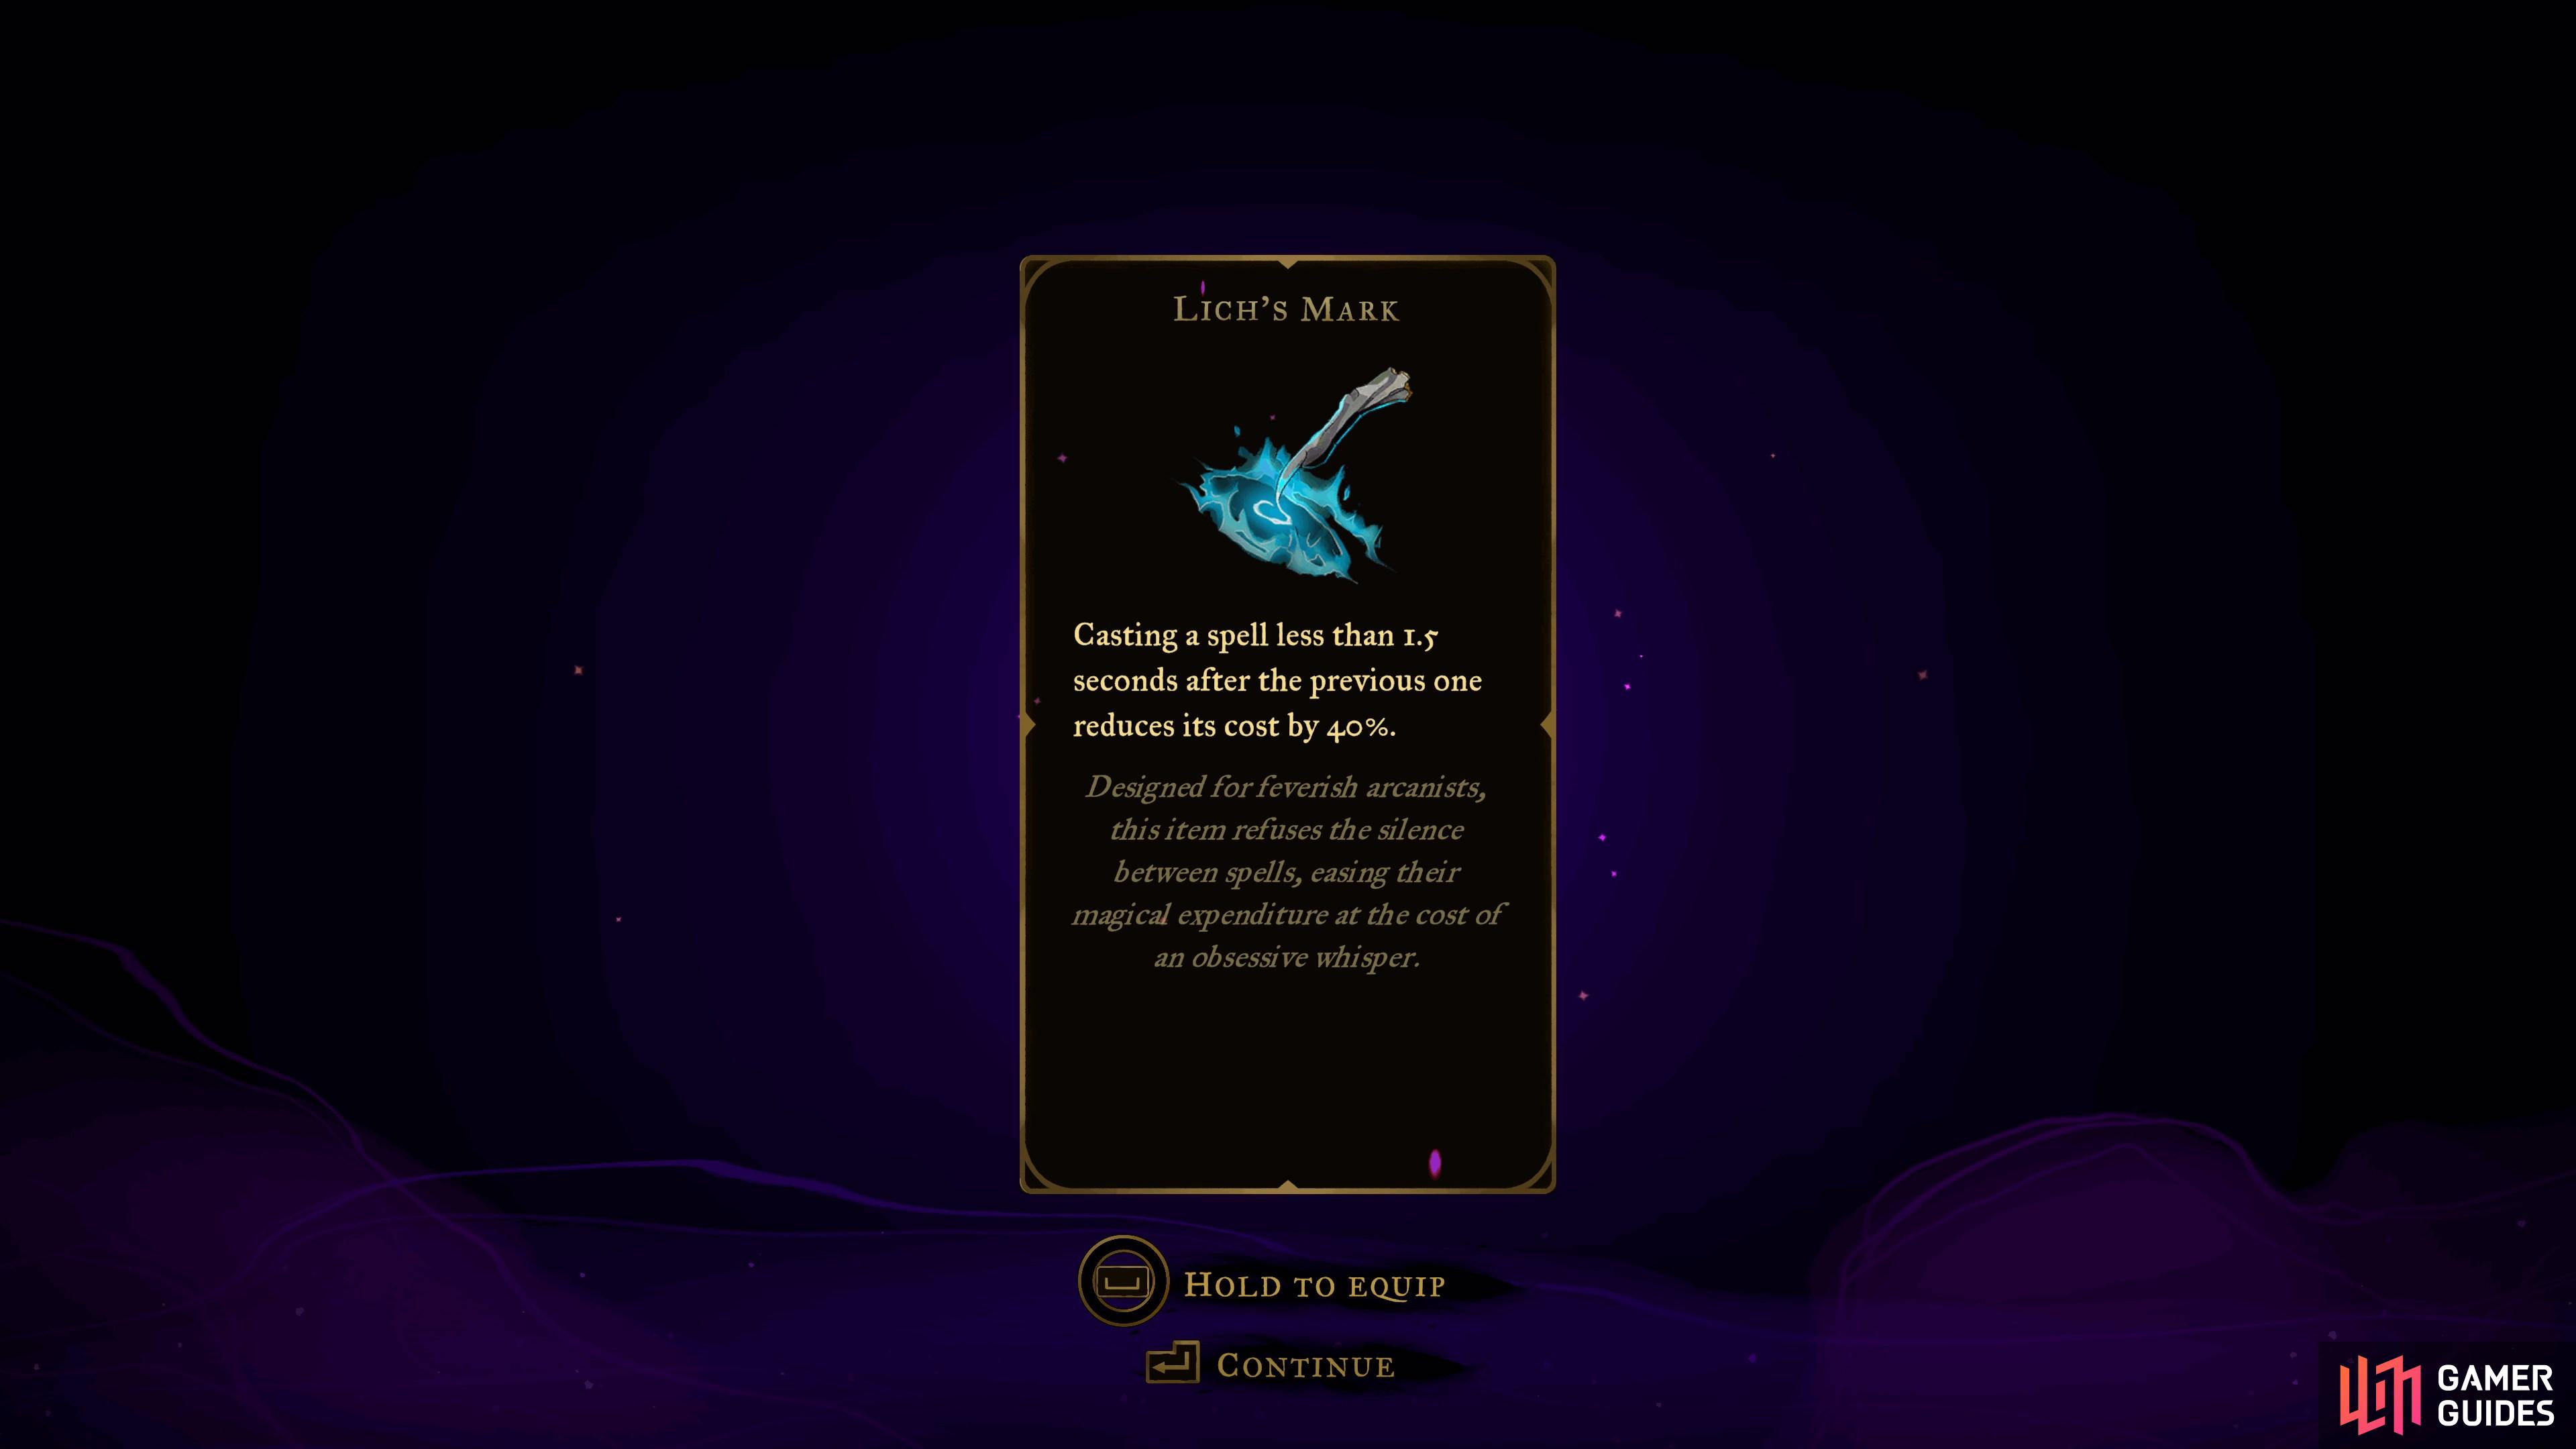
Lich's Mark
View on mapLocated in the chest in the Rhetoric Shelves room in the
 Library . Break the was to the southwest and use the rotating bouncy orbs to reach the chest on the ledge to the northwest.
 -
13
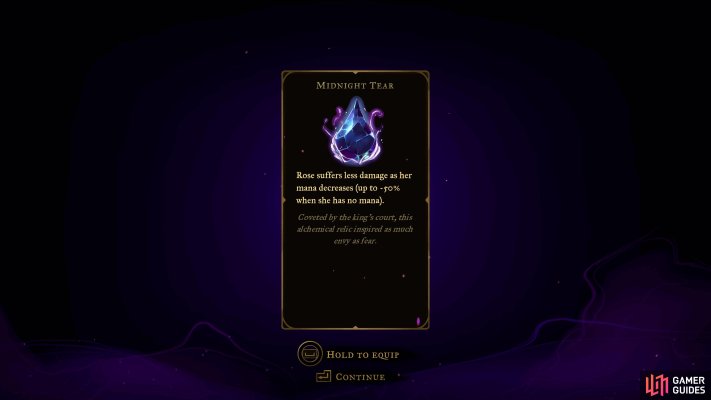
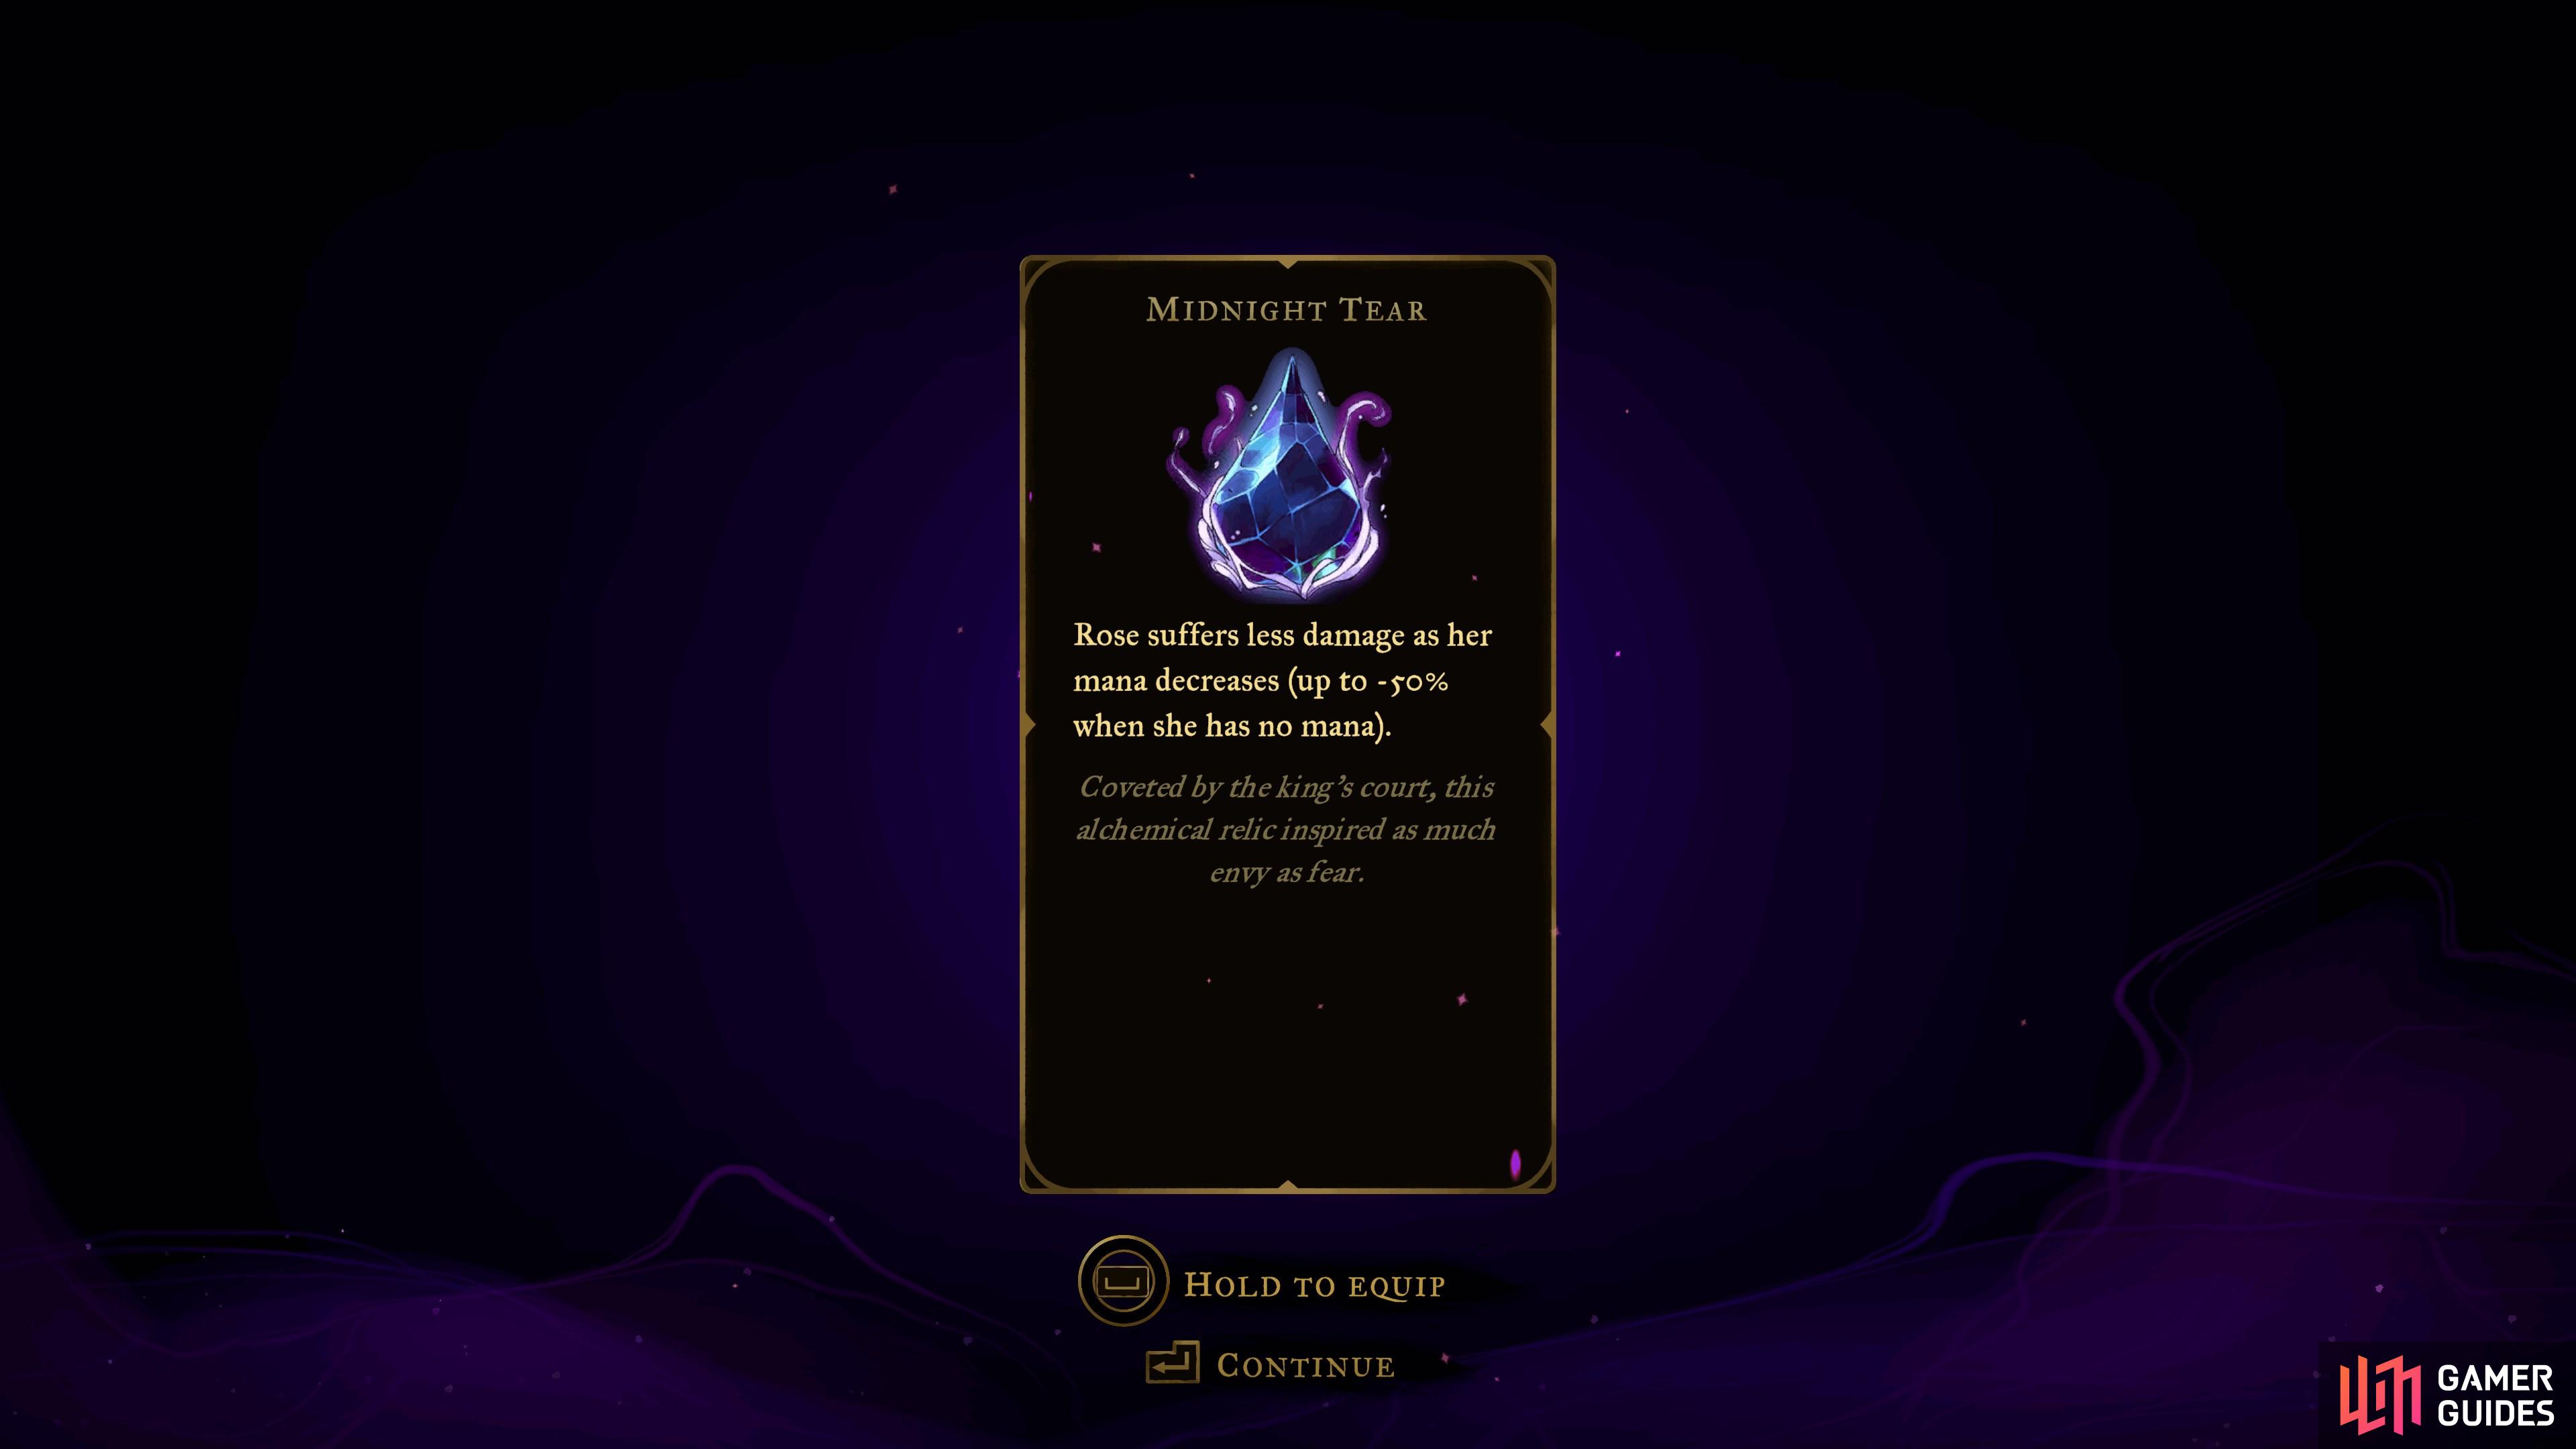
Midnight Tear
View on mapLocated at the end of the platforming challenge in the hidden room in the Rhetoric Shelves room in the
Library . -
14
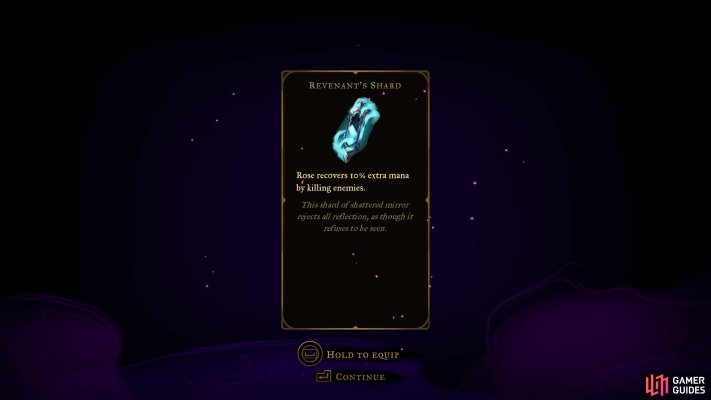
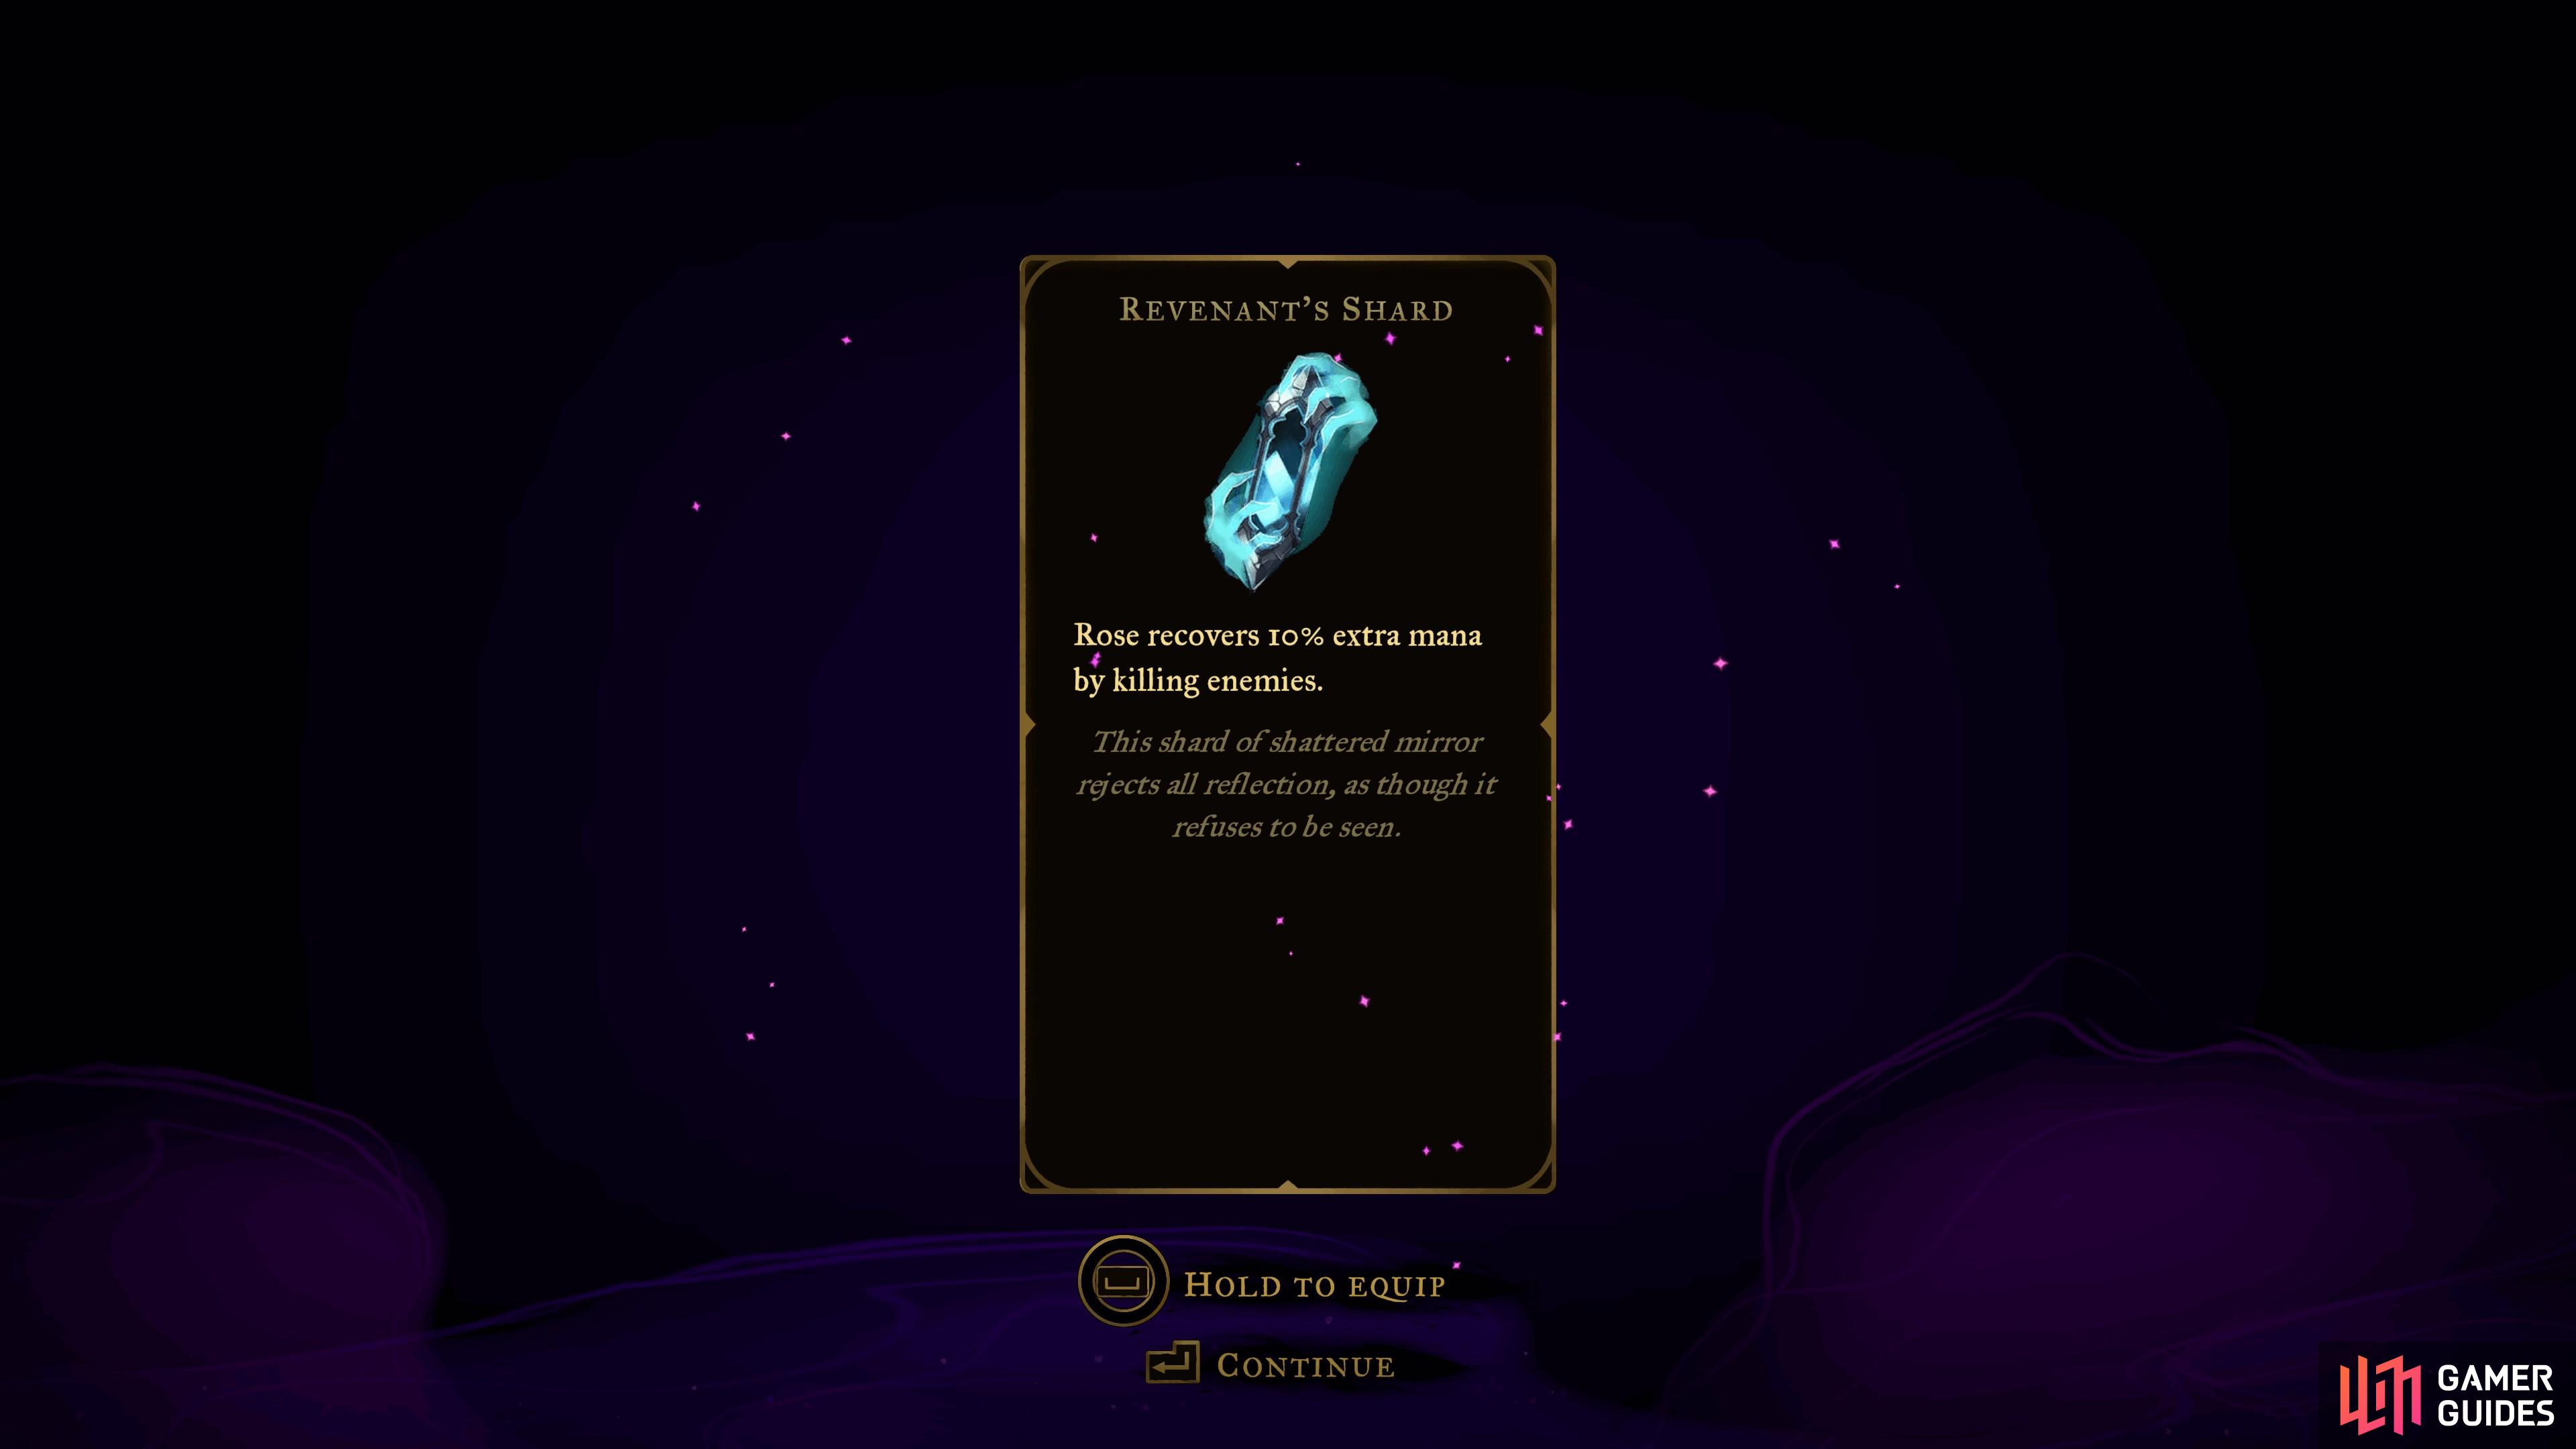
Revenant's Shard
View on mapLocated in the chest in the southeast corner of the Curiosity Cabinet in the
Library, behind a locked door. Head west of the chest and attack the lever on the far west wall to open it. -
15
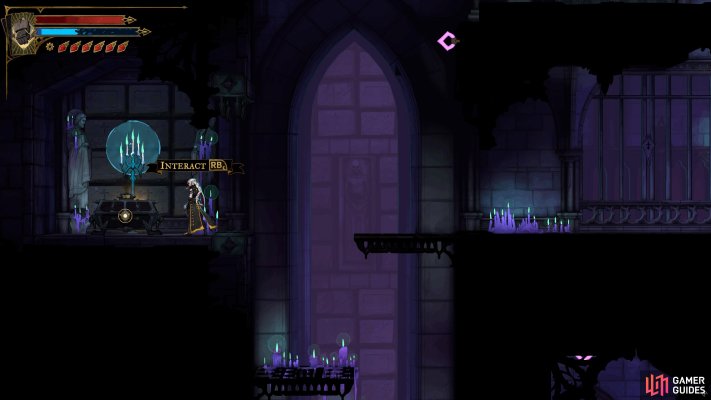
Beelzebub's Seal
View on mapTo reach this Relic chest in the Chapel of Patience of
 Notre-Dame, head up to the right, drop down a platform and use the
  Lever.
Defeat the two Knights that become active and then proceed to the Chest to claim your reward.
-
16
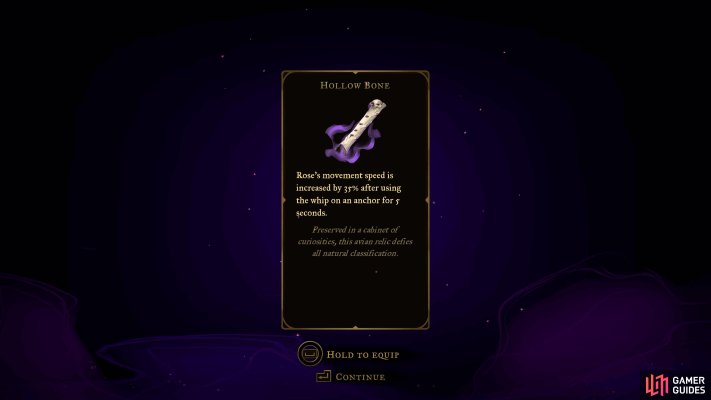
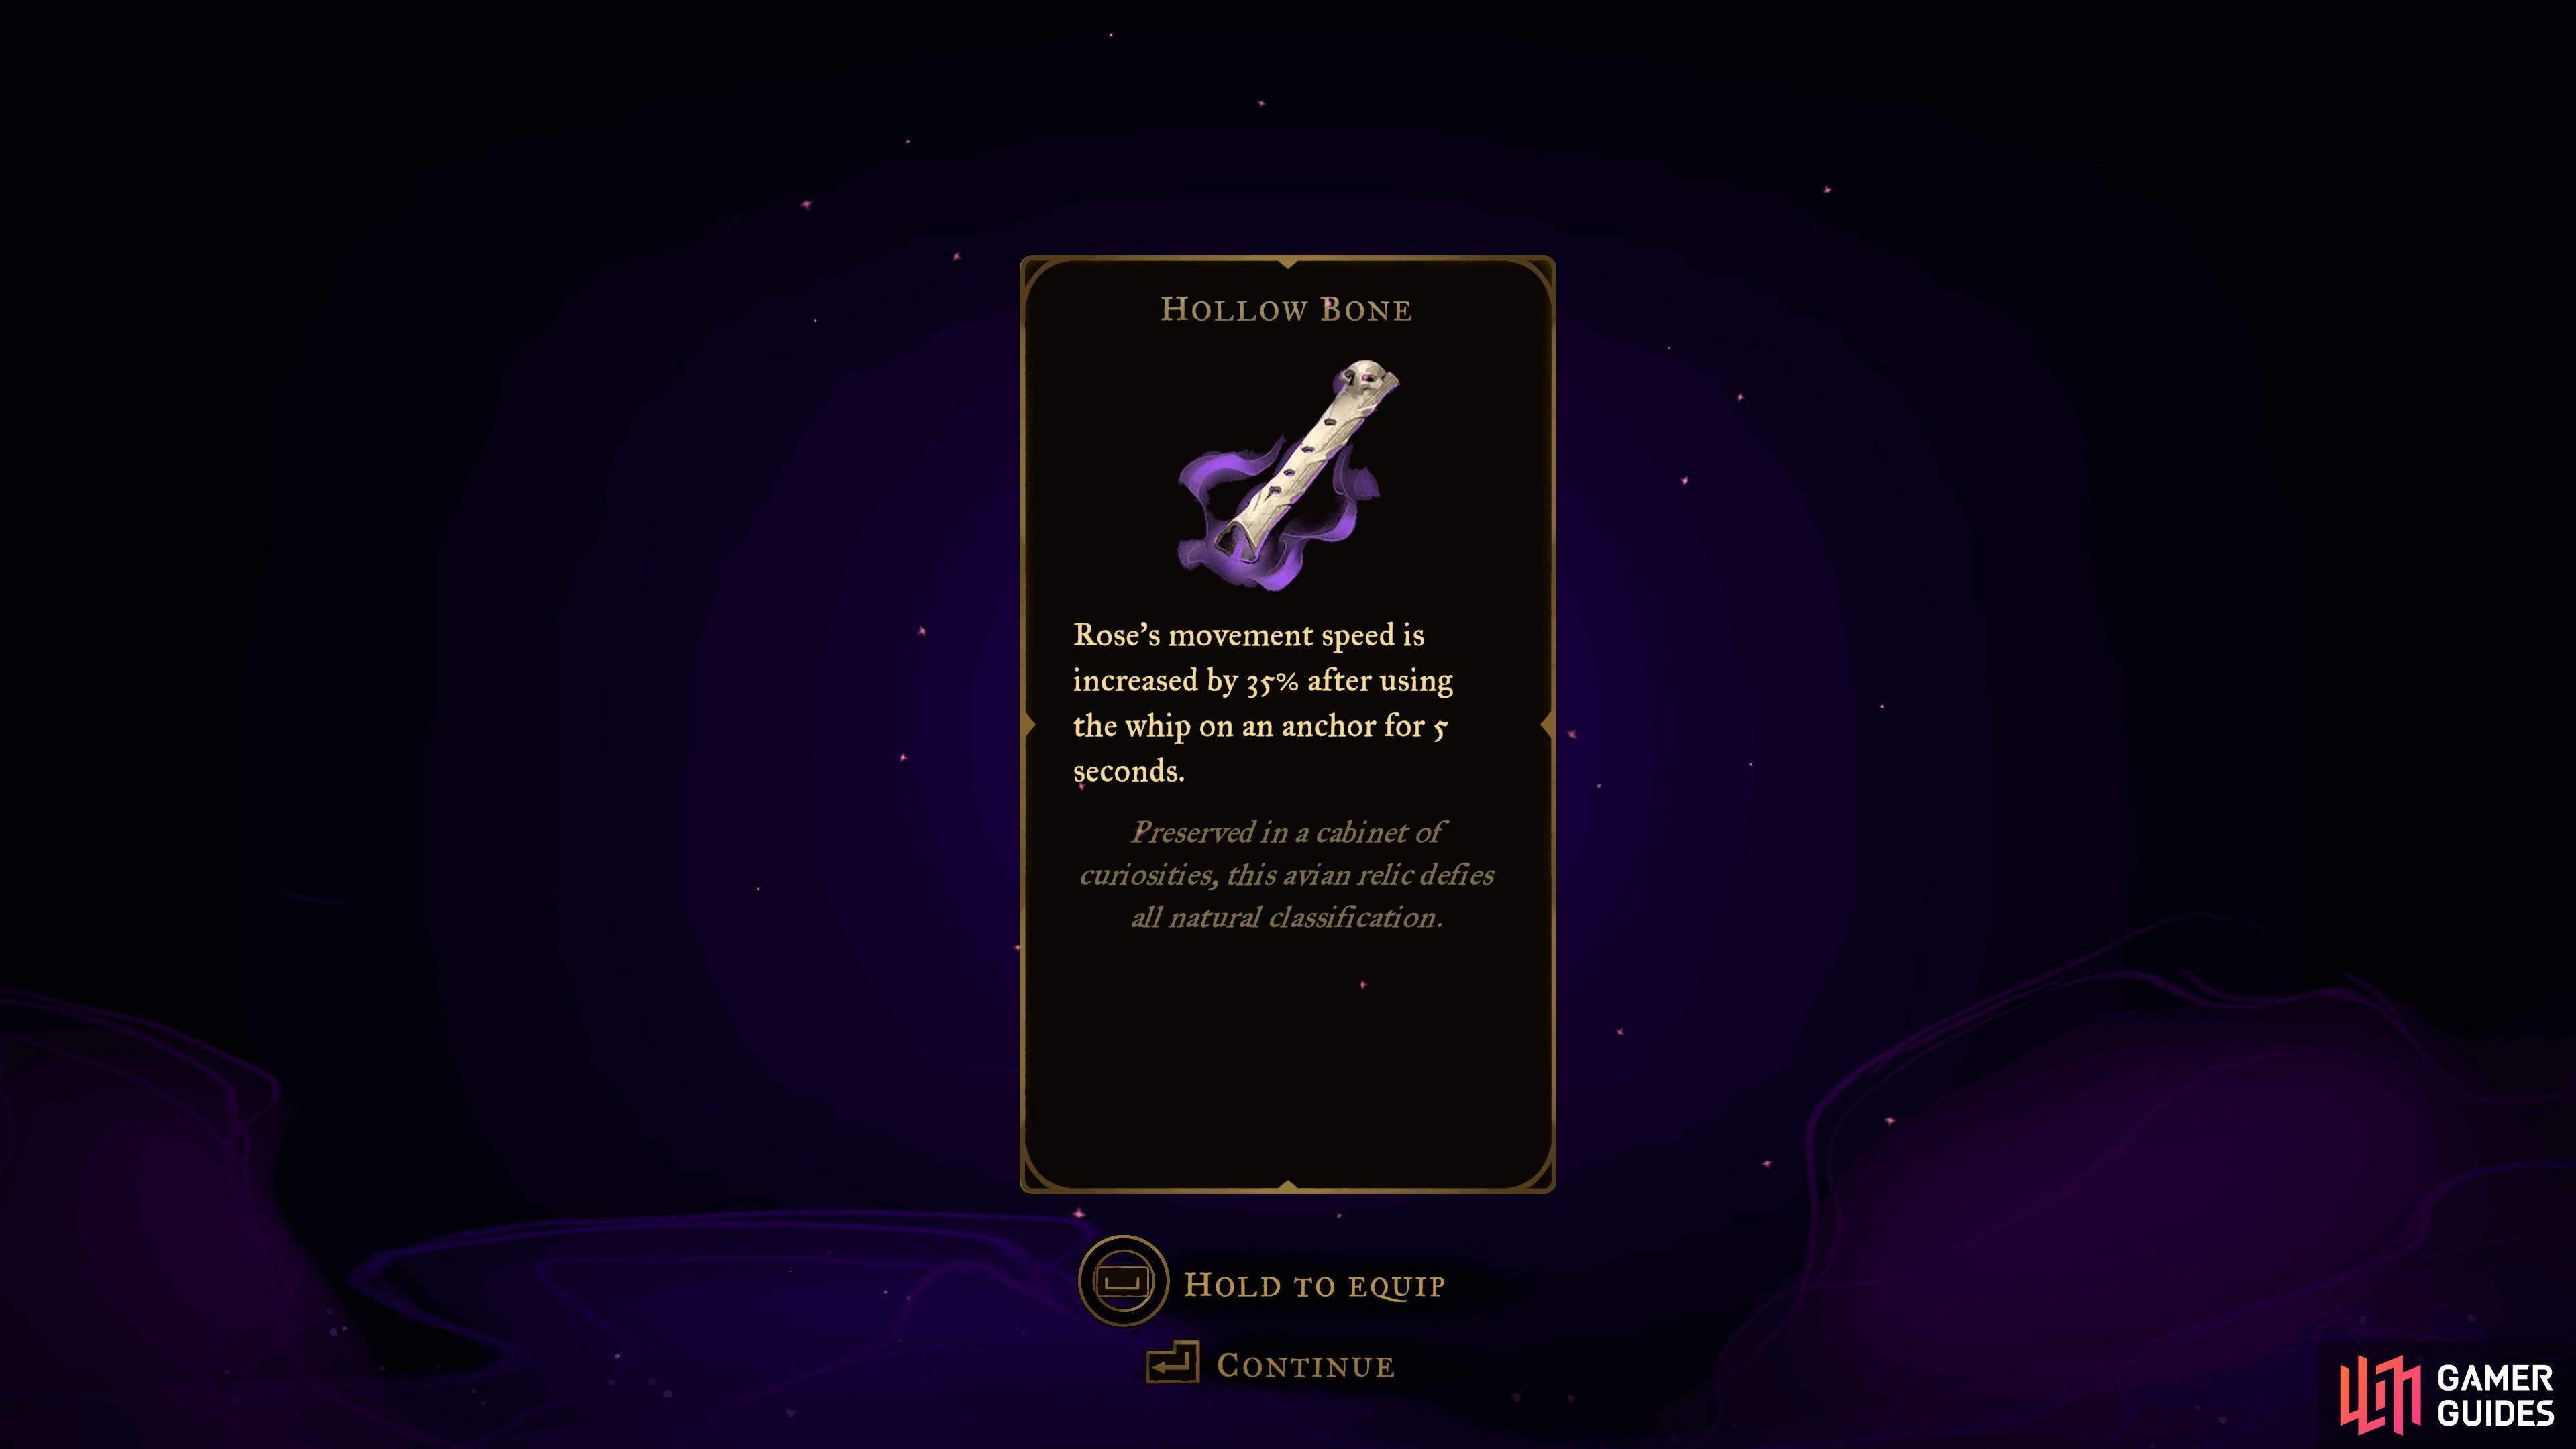
Hollow Bone
View on mapLocated on the west end of the Daedalus Crossing room in the
Clock Tower.To get past the crashing block trap, you’ll need to slow down time. From the top of the Steps of Time room, use the clock and take the elevator down from the west.
Head west and use smash to break the destructible block below. Quickly run into the room to the west and wait for the first block closest to you drop. When it goes back up, quickly make it west to the chest.
-
17
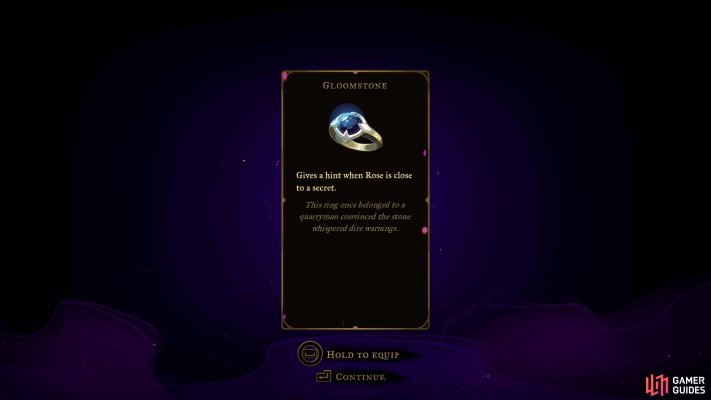
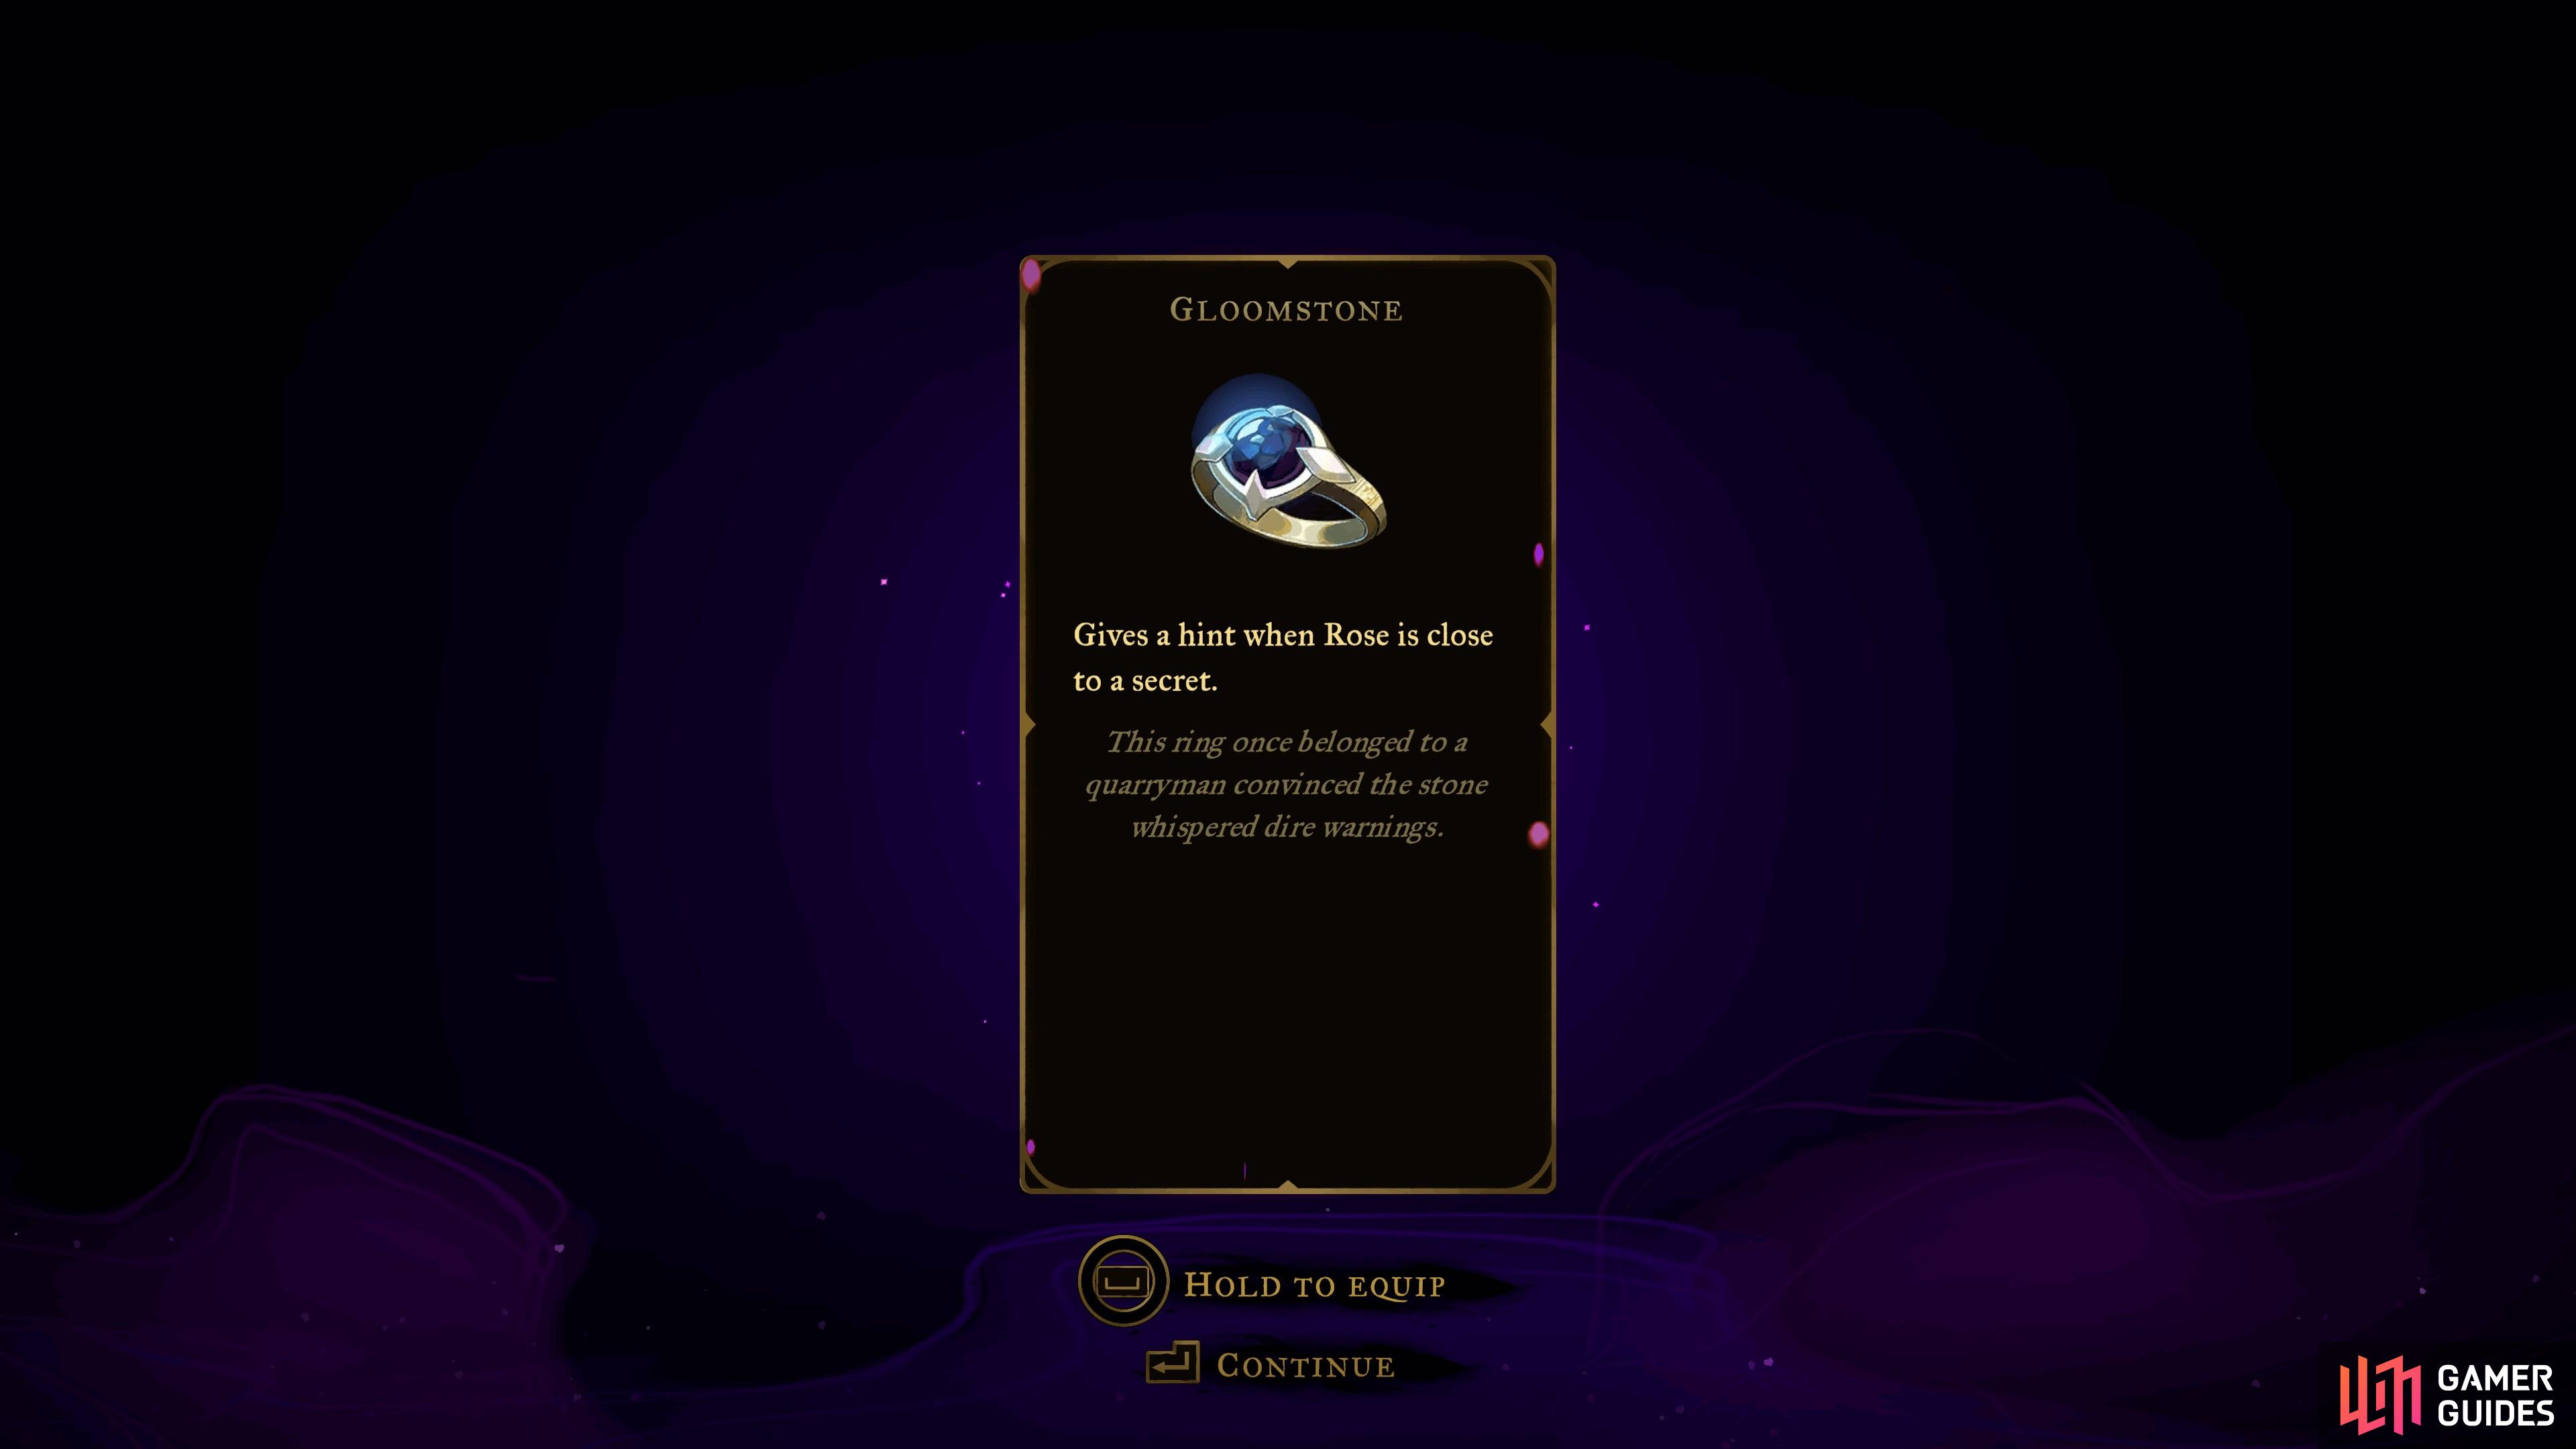
Gloomstone
View on mapLocated in the chest on the east side of the hidden room at the top of the Sanctuary of Solitude room in
 Master’s Quarters.
 -
18
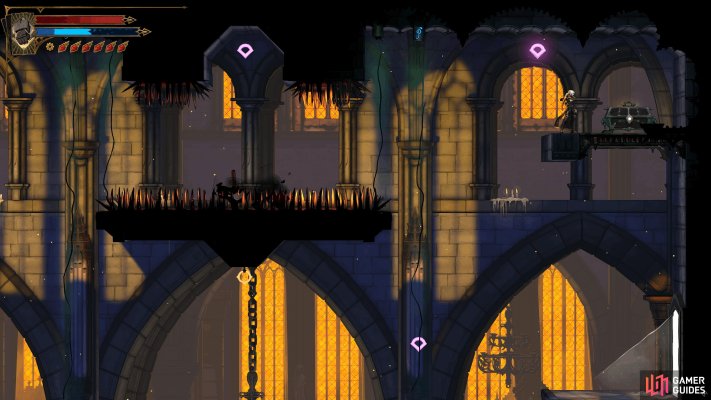
Soul Fragment
View on mapTo reach this chest in the Nave of
Notre-Dame, enter the room from the upper east exit.From here, you need to time your swings across to the west side of the room to avoid the lasers.
Once there, hit the
Lever to create a shortcut back to this point, then swing over to the far northeast corner. When you reach the anchor, use it to keep yourself in the air until the platform below has reappeared and the lasers are down. -
19
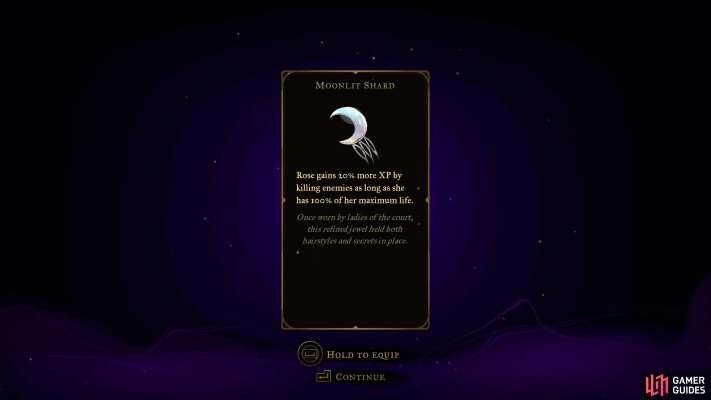
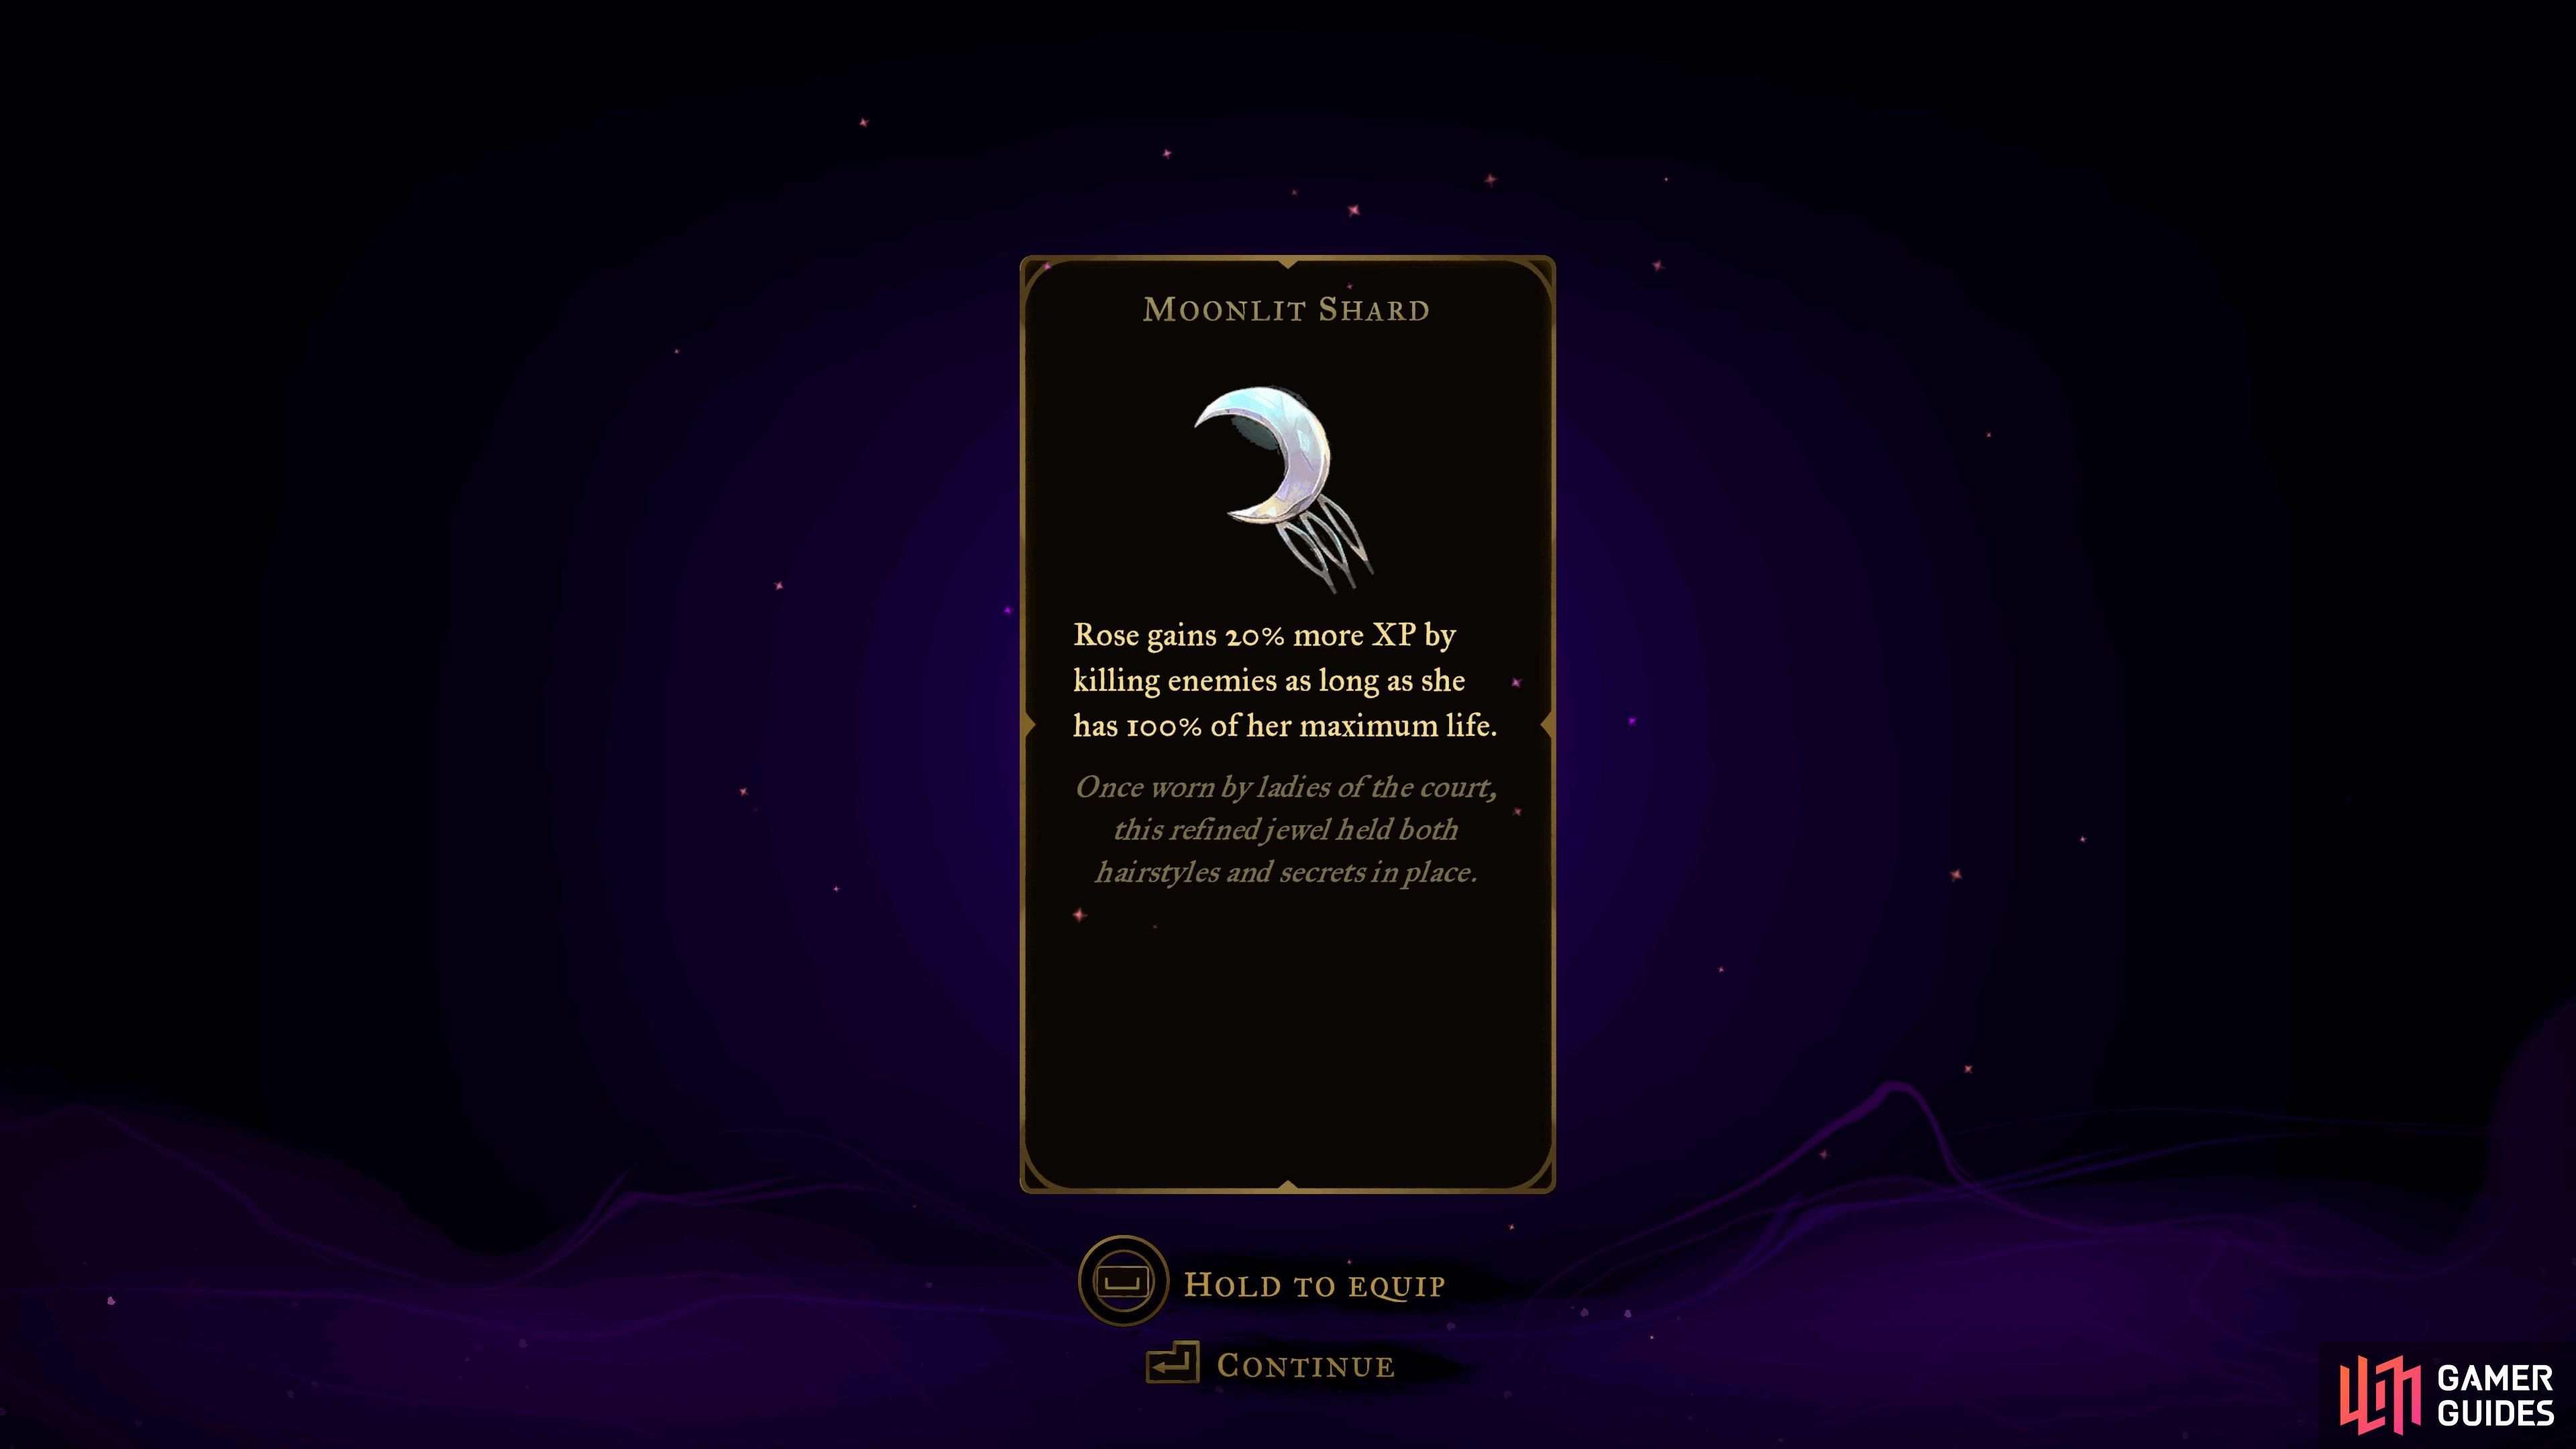
Moonlit shard
View on mapAccessed via the southeast corner of the Path of the Builder room in the
Clock Tower. Use  Double Jump where the block slams down and wall jump to the top. Defeat the enemies in the challenge room and continue west to find a chest containing the relic.
 -
20
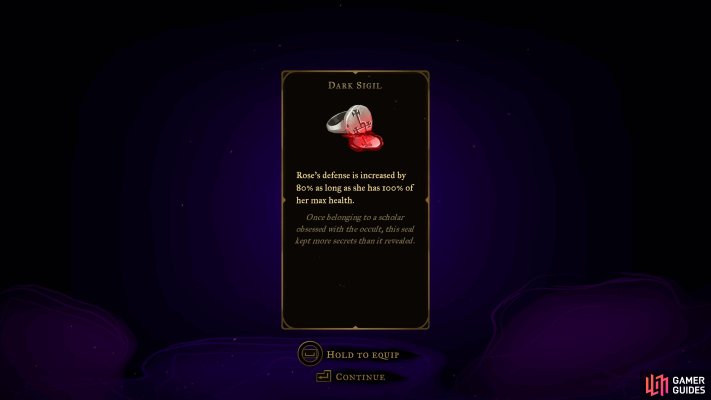
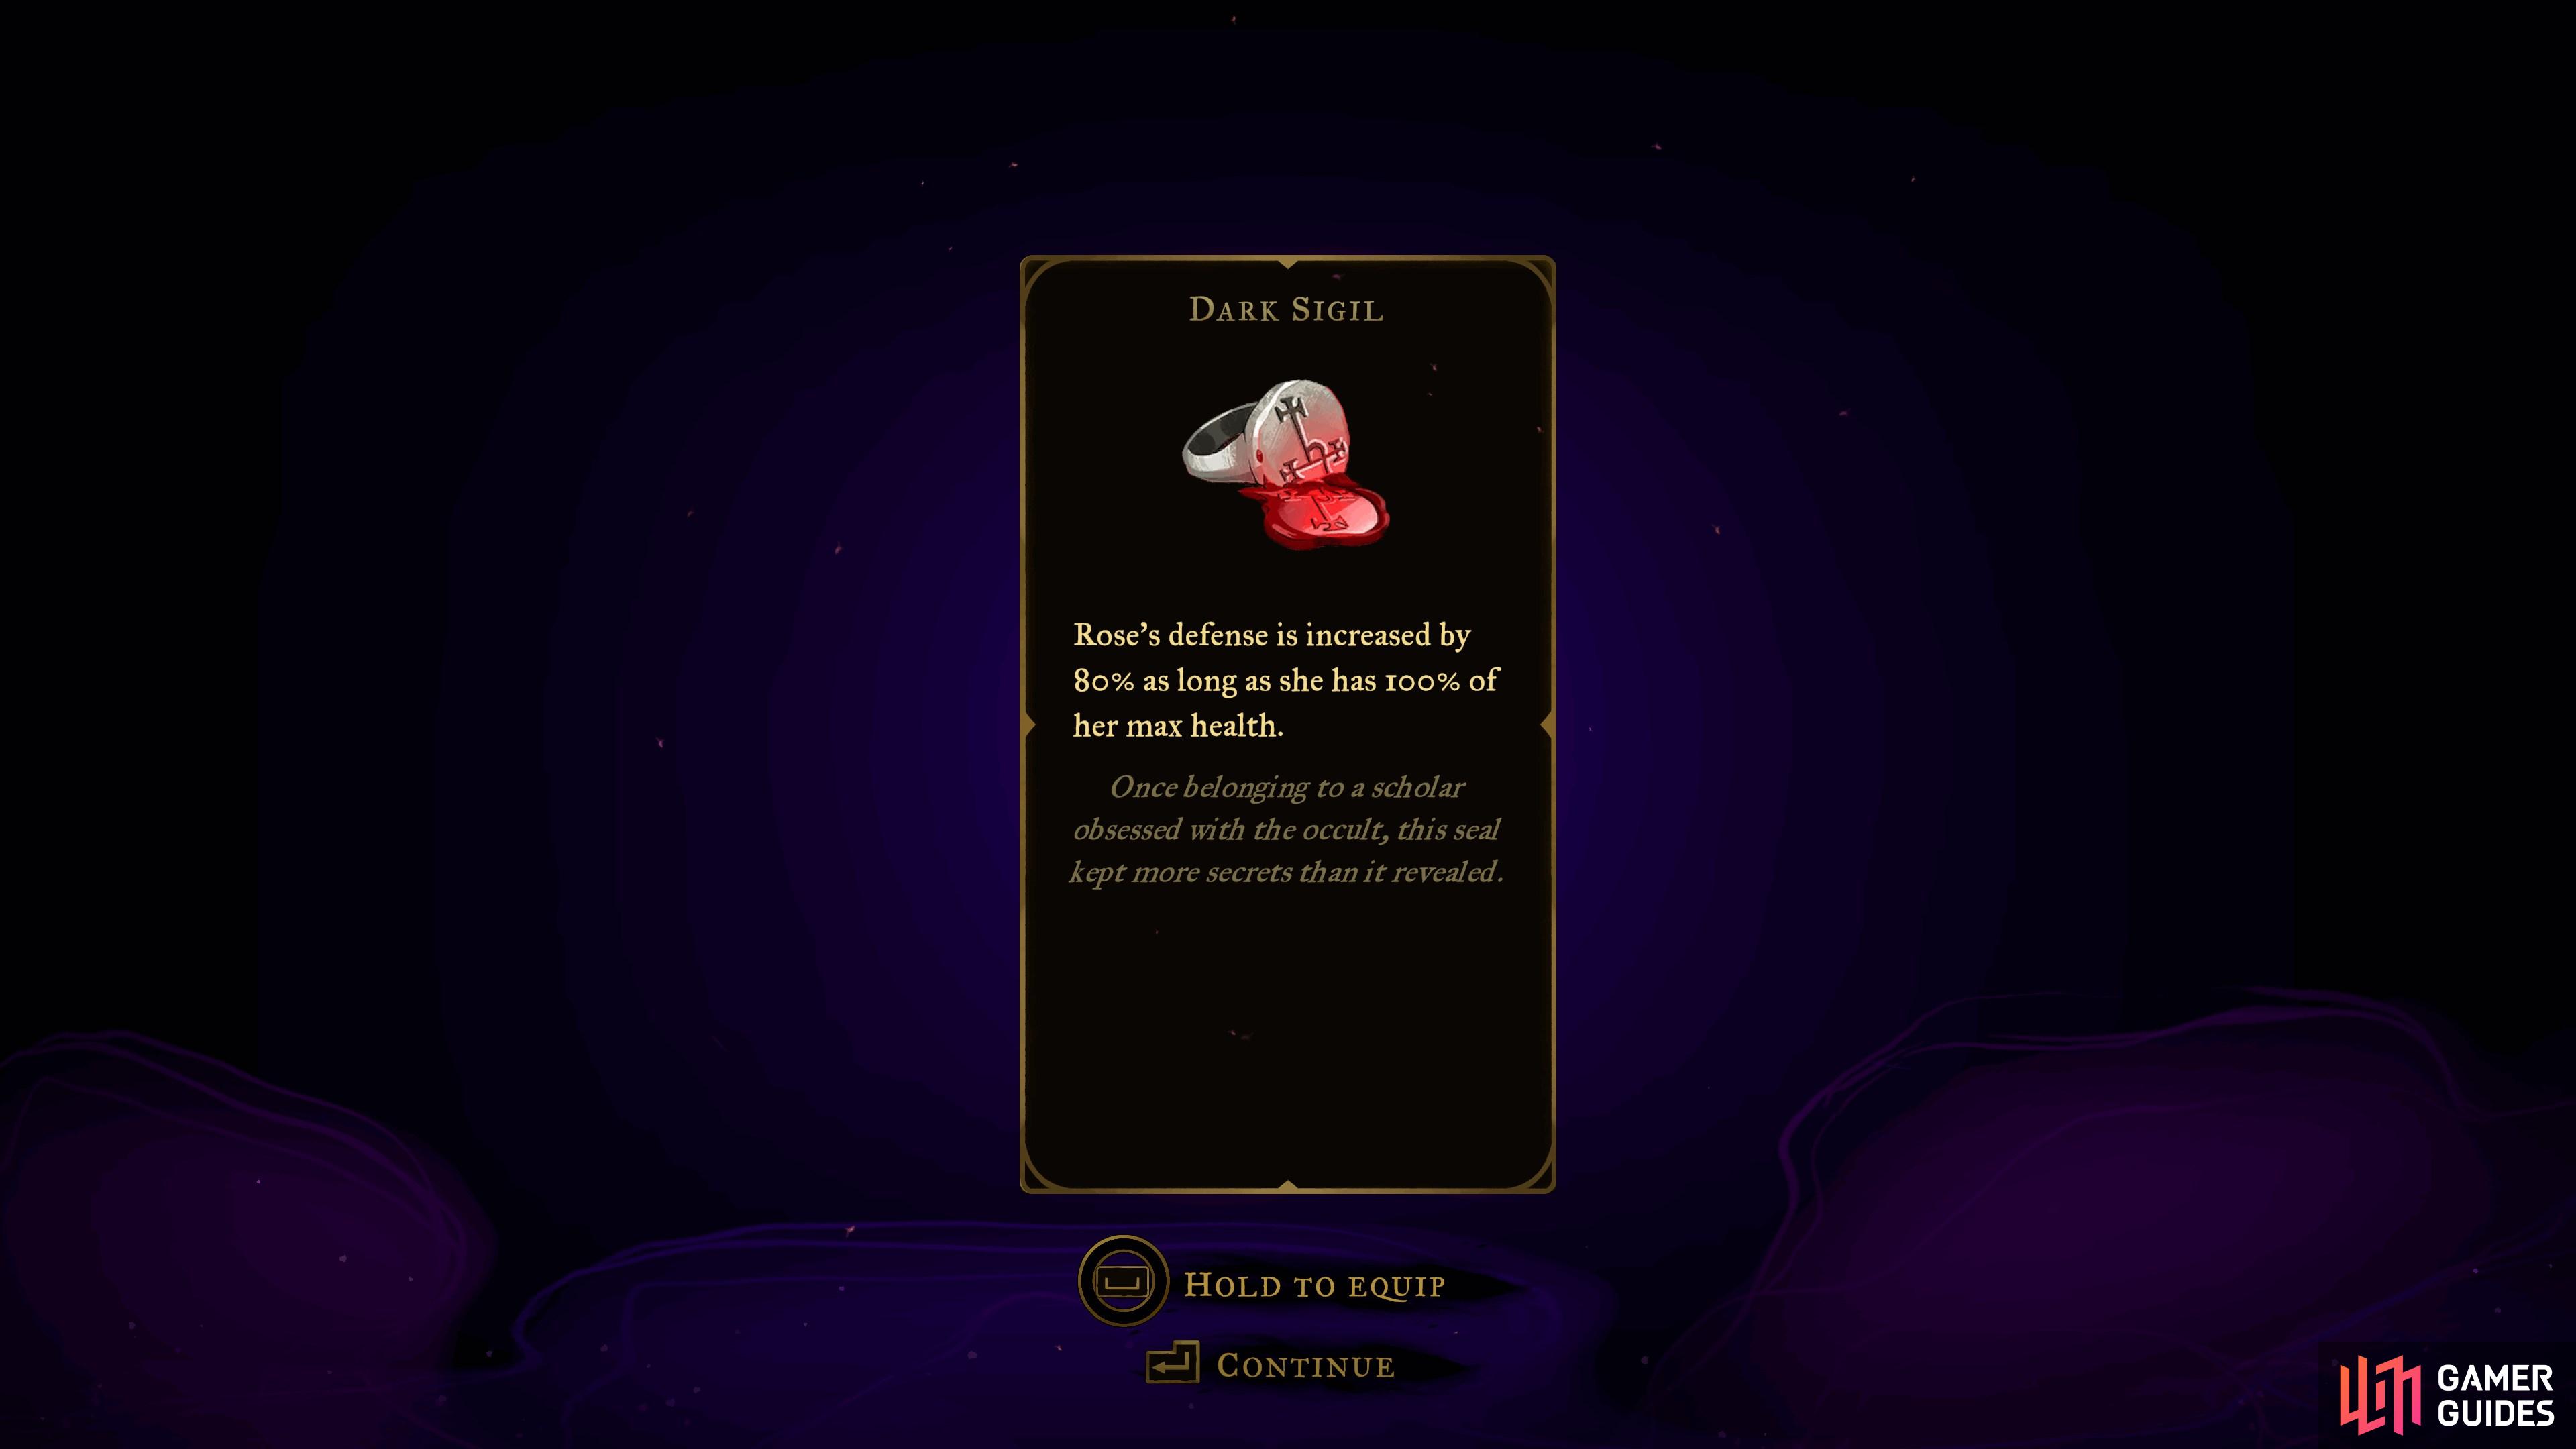
Dark Sigil
View on mapLocated in the northeast corner of the Morgue room in
 Paris Streets. Requires Double Jump to reach it.
Drop into the combat room in the Morgue, clear the enemies and then use the anchor on the east wall to double jump up to the ledge containing the chest.
-
21
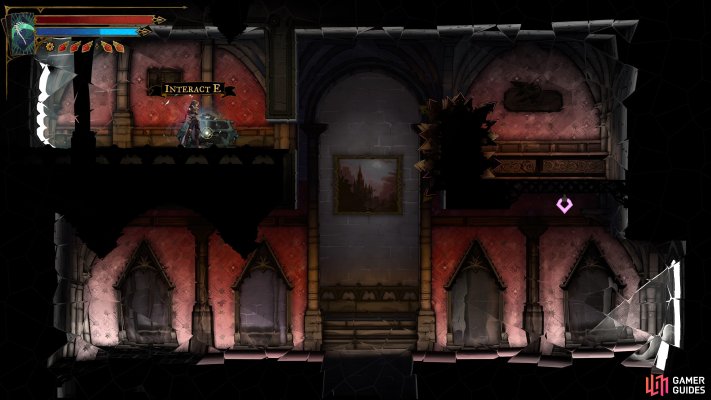
Dusk Amulet
View on mapInside the chest in the hidden room in the northwest corner of the area in Delived Level with two Destructible Blocks. Use the warp door in the room below the Destructible Blocks to reach the room.
-
22
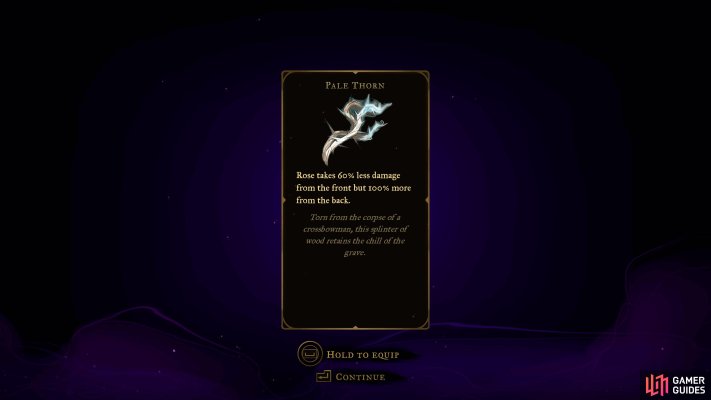
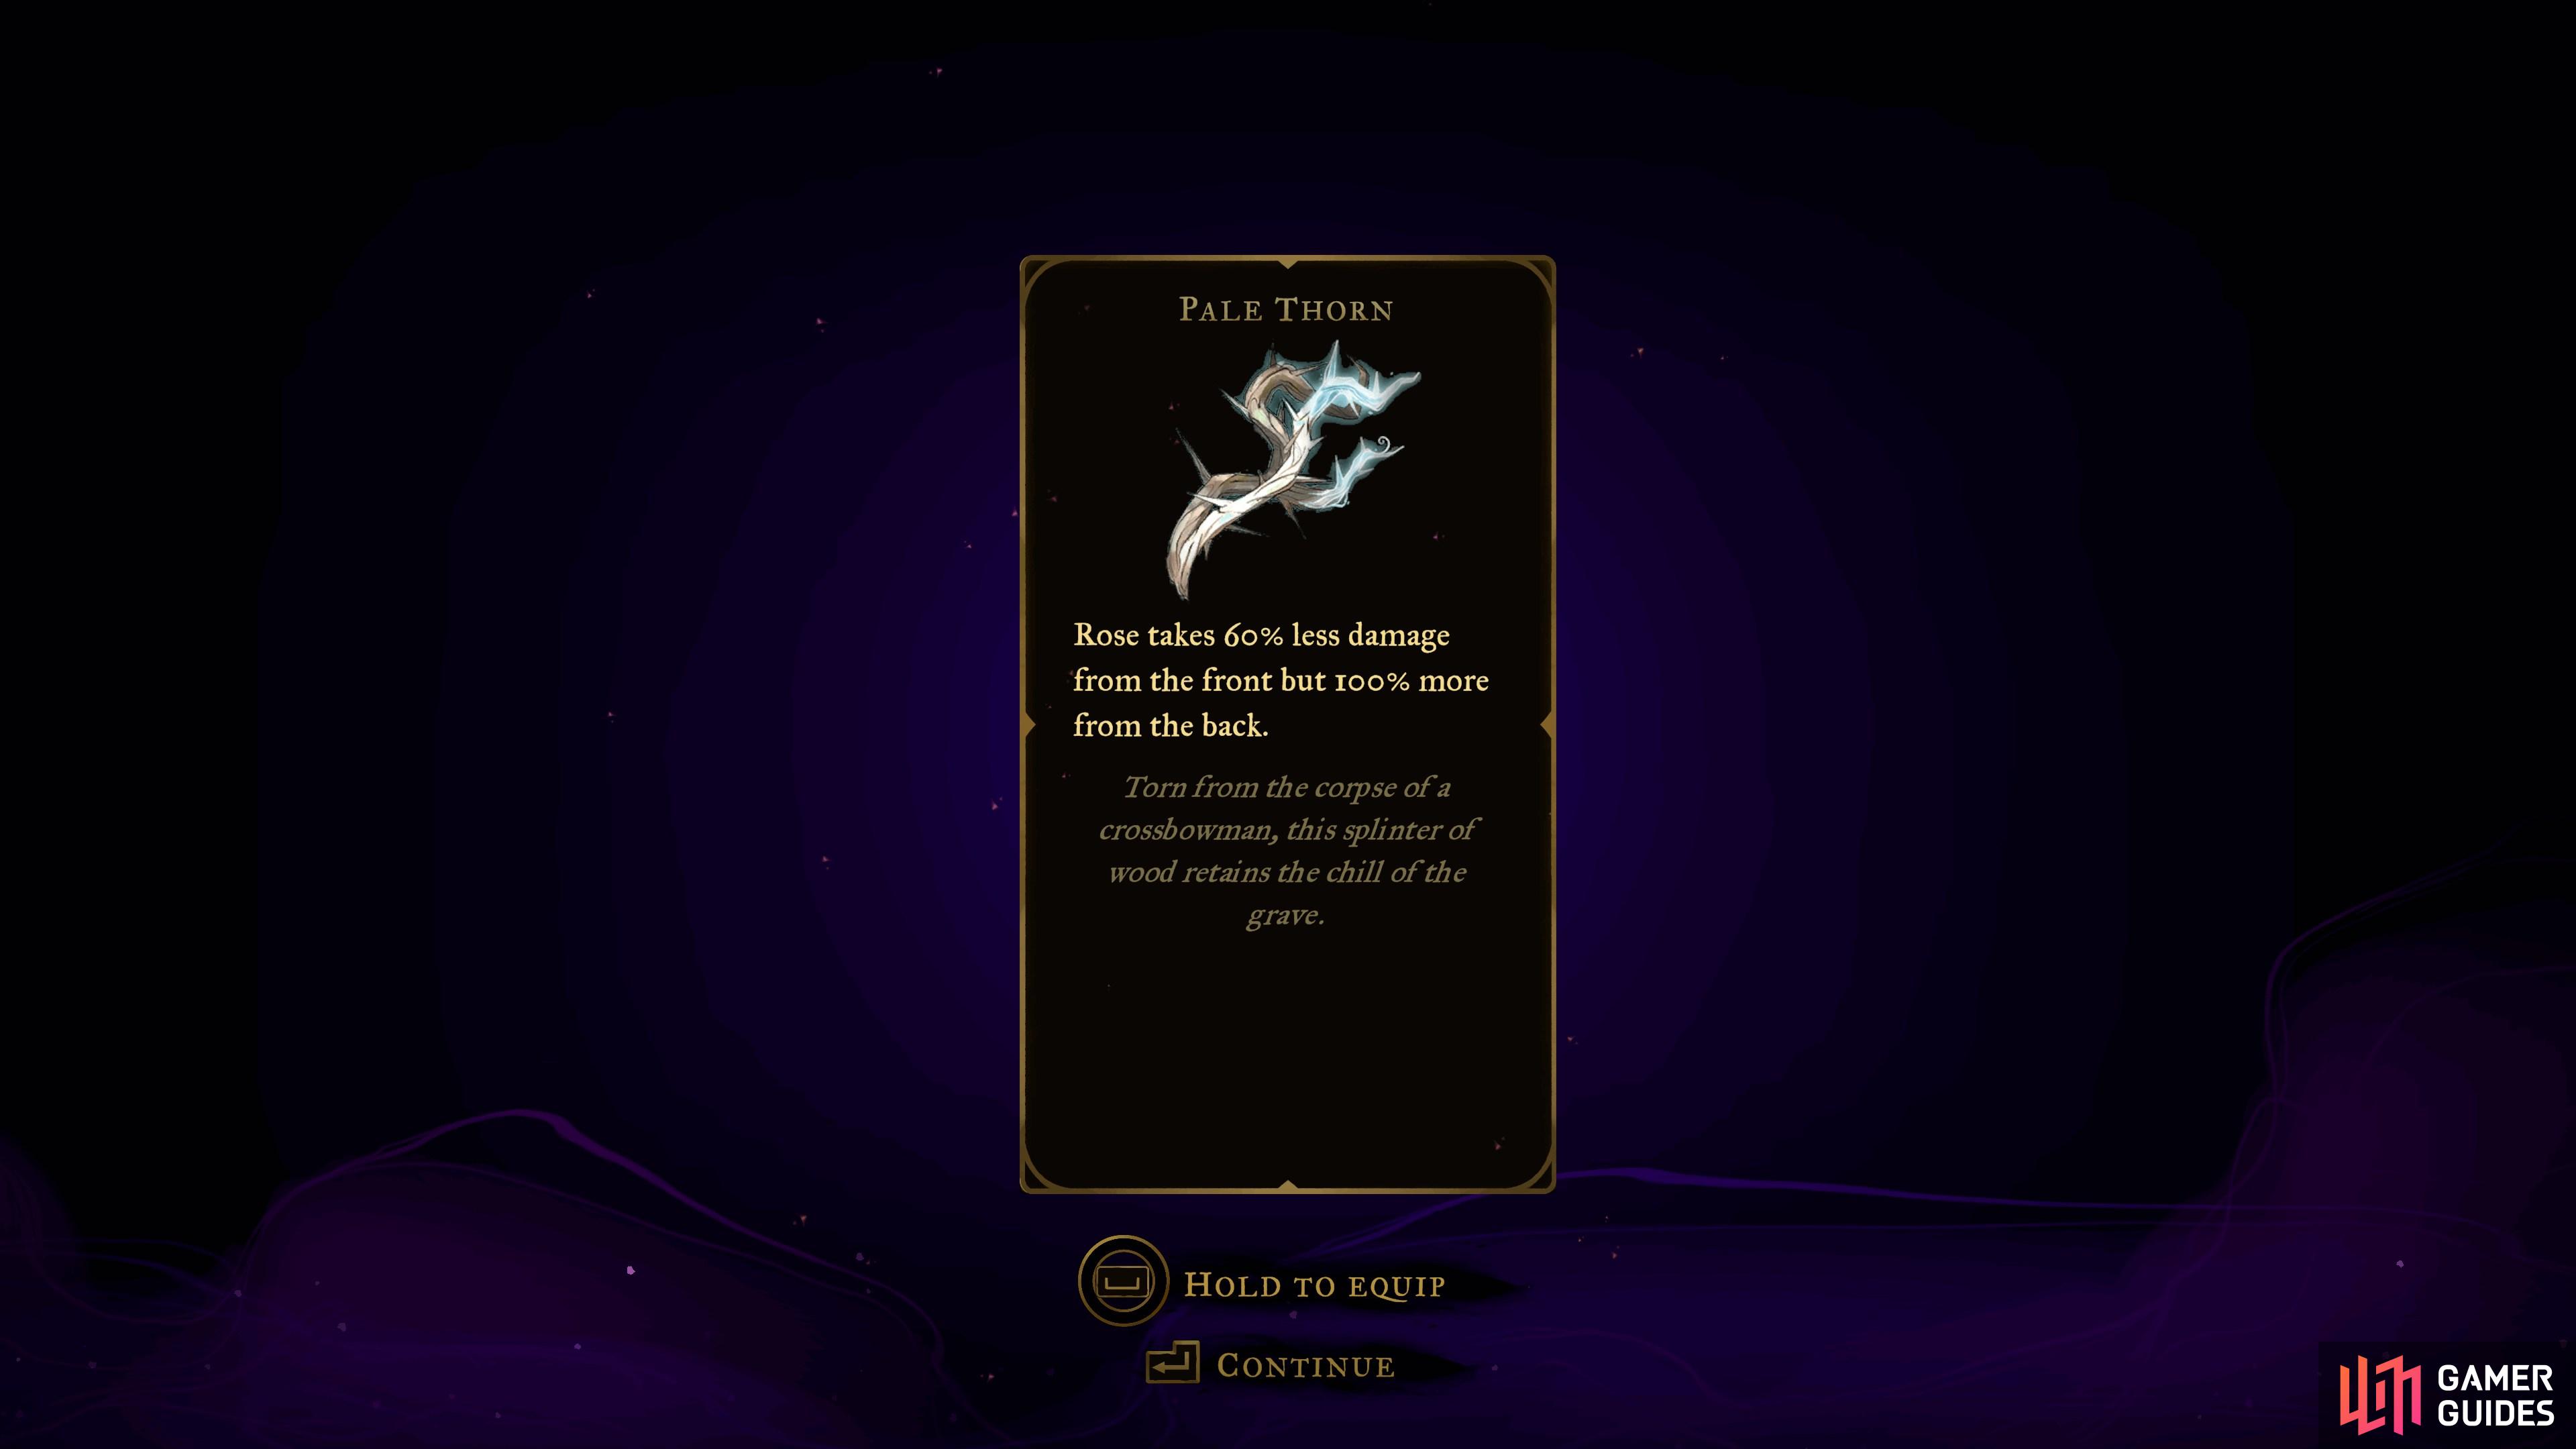
Pale Thorn
View on mapLocated at the end of the platforming challenge in the Hot Springs room in
 Holy Innocents’ Cemetery. You’ll need
  Aerial Rush to gain access to this relic.
 -
23
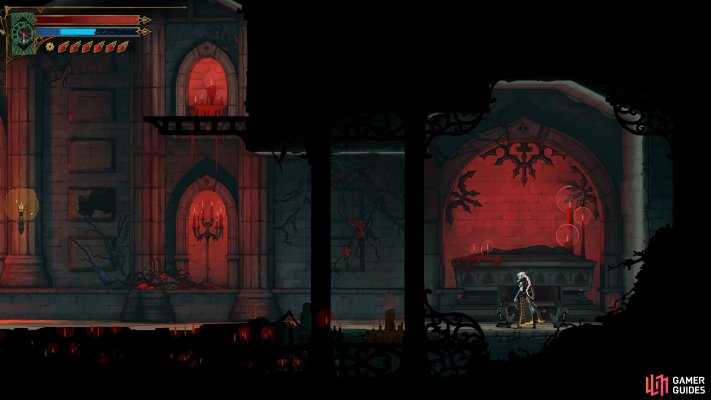
Nightshade
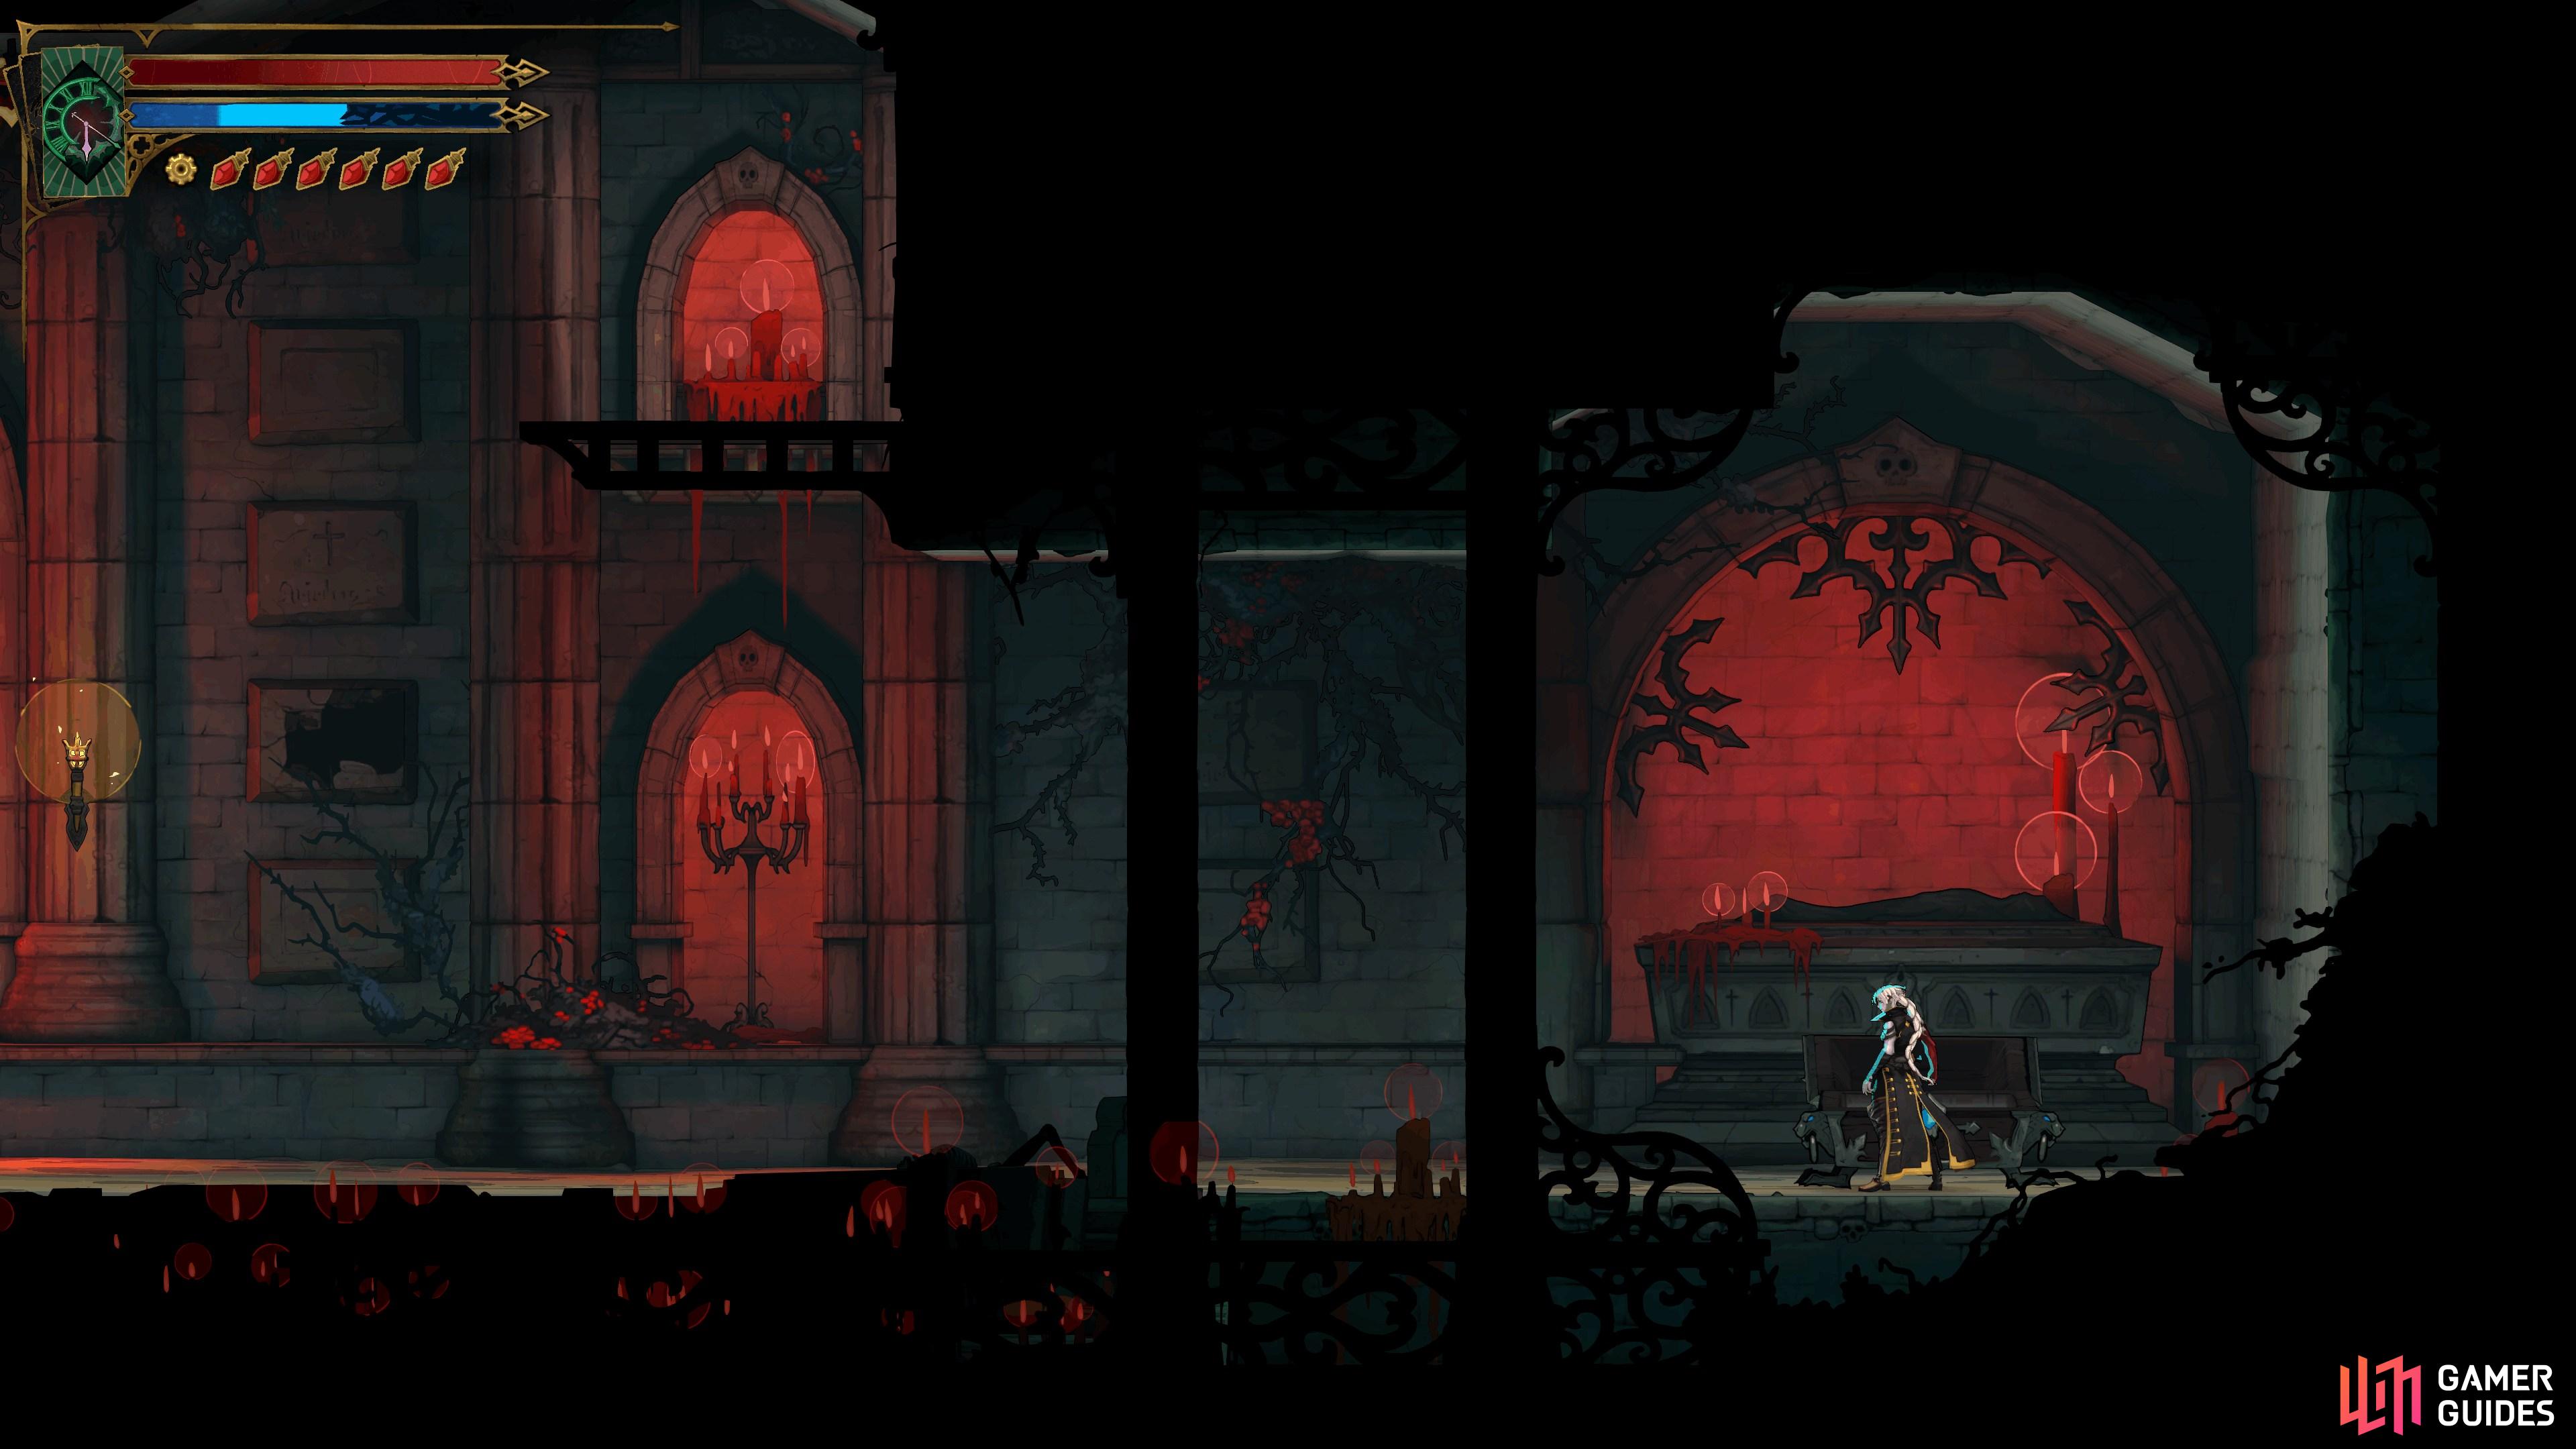
View on mapLocated in the chest on the east side of the Pillage Tombs room in
Holy Innocents’ Cemetery. -
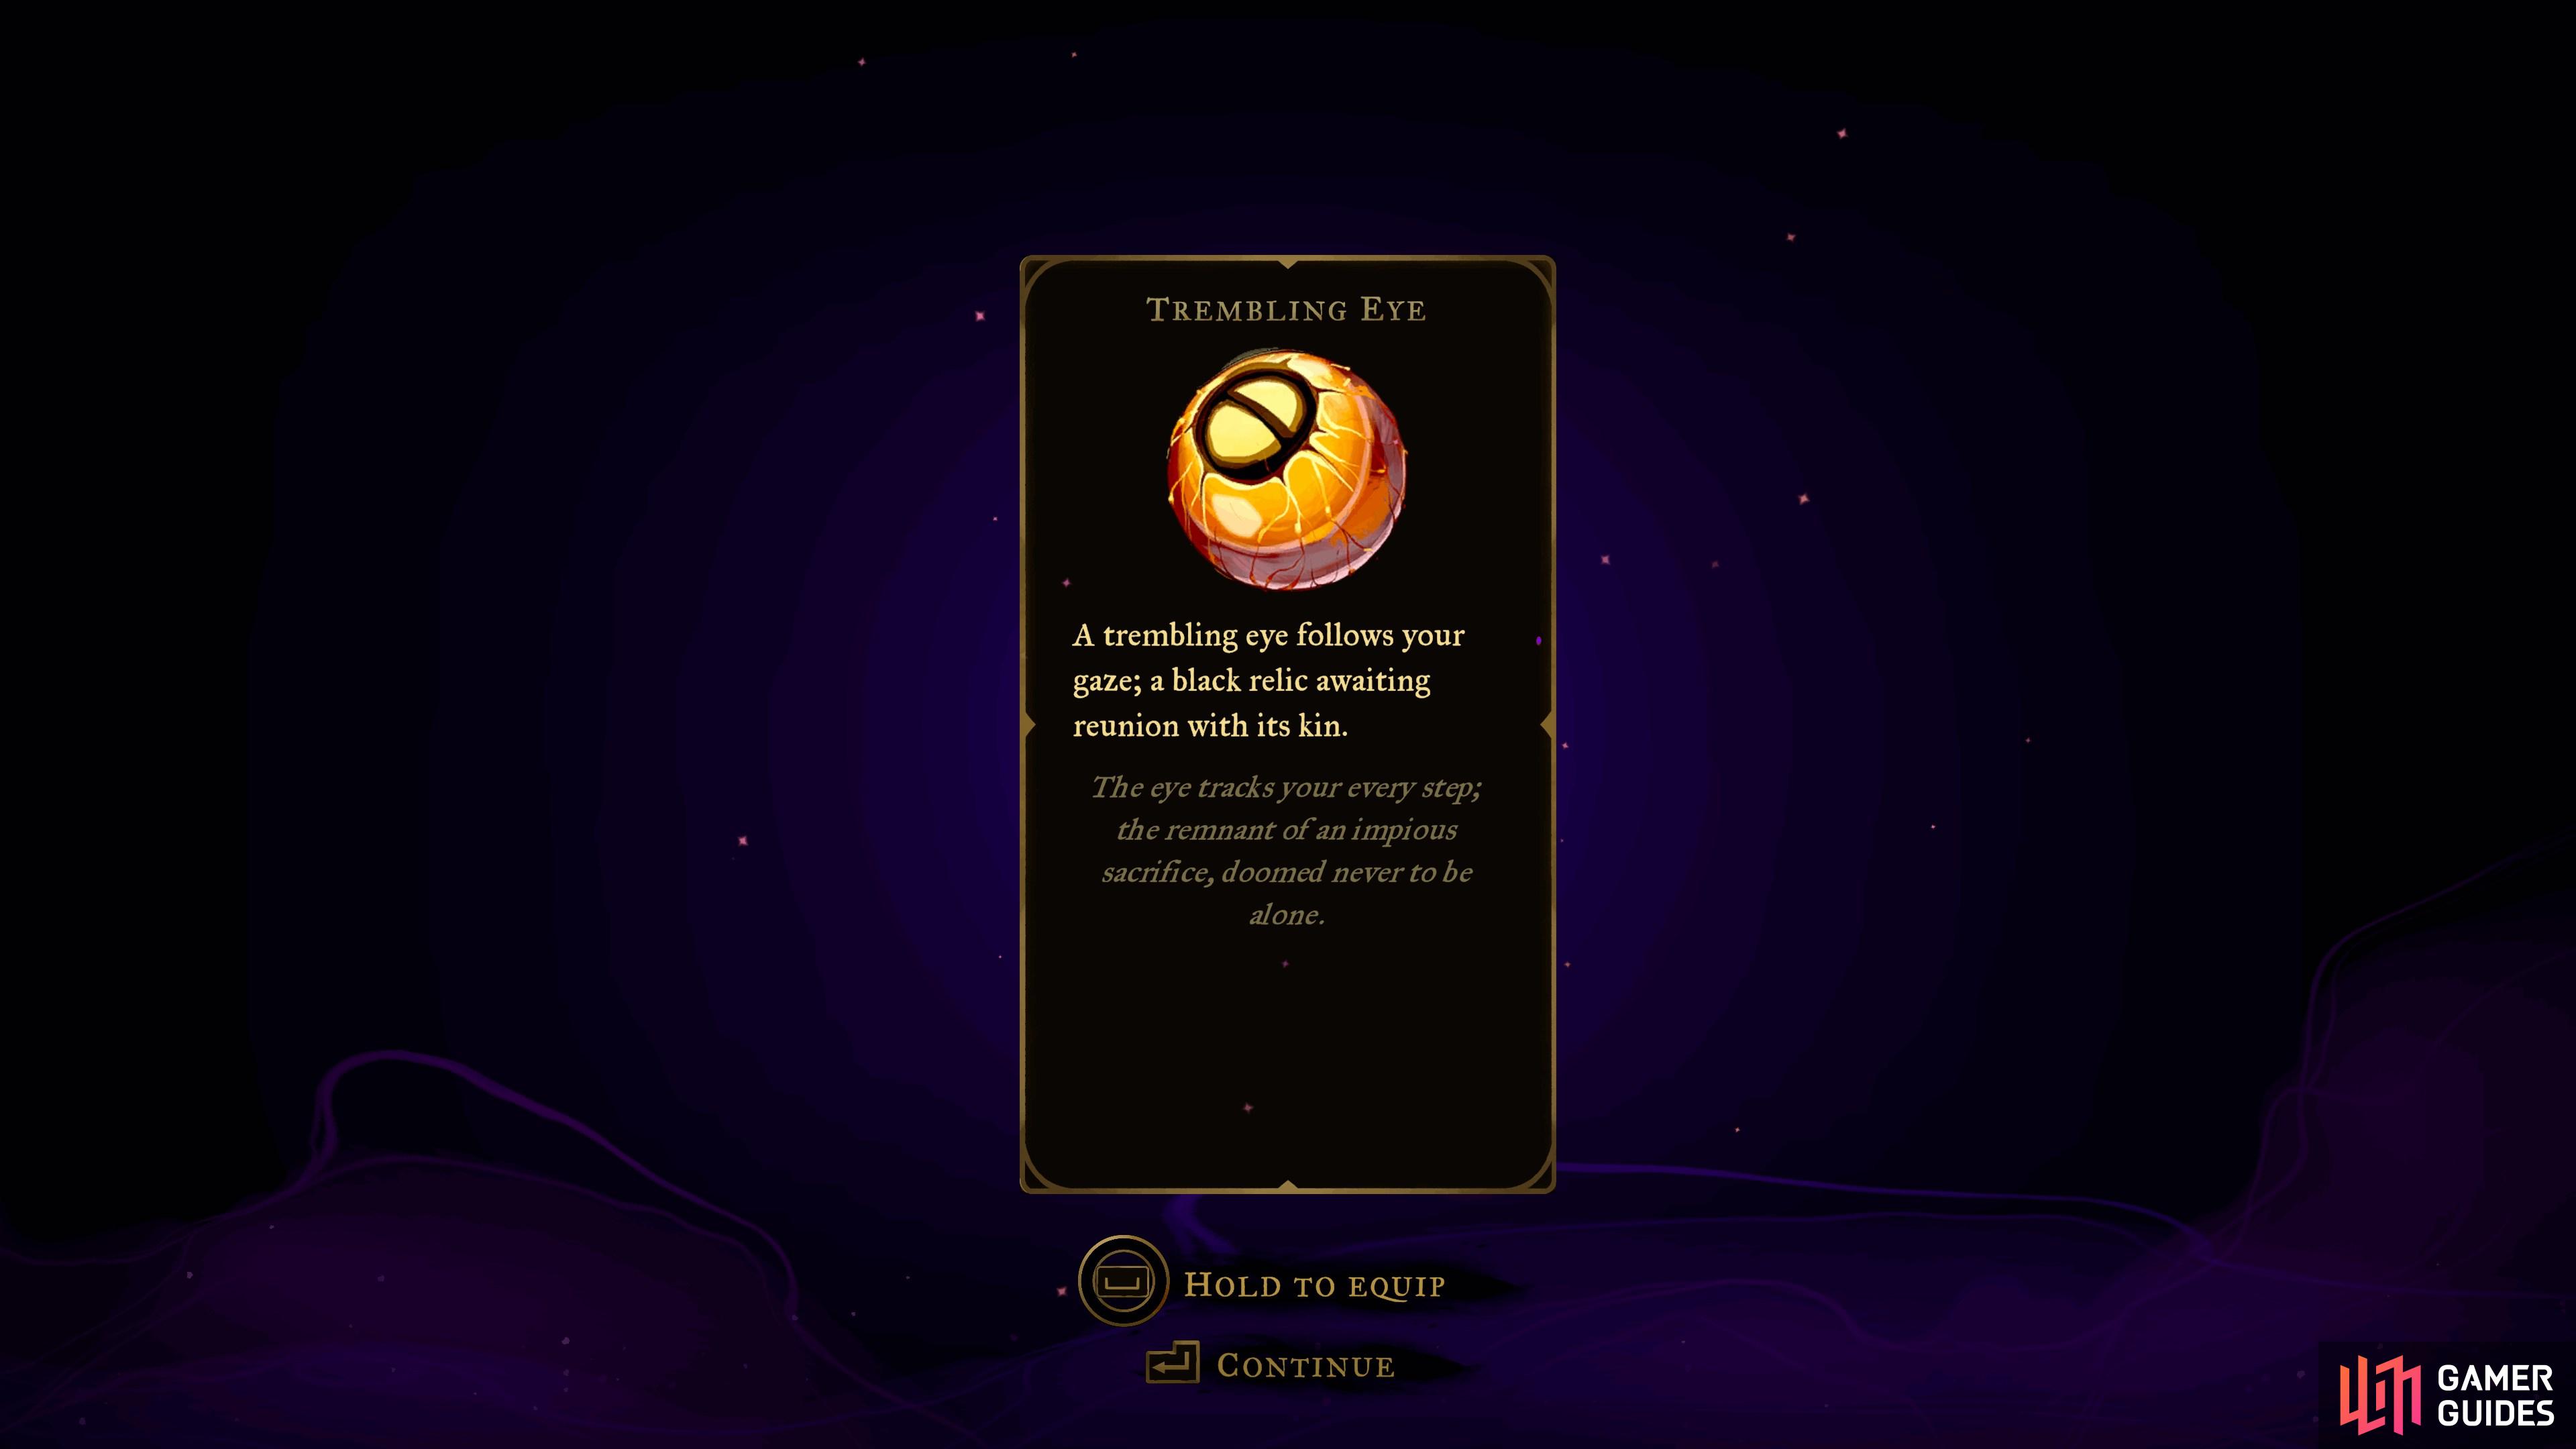
24
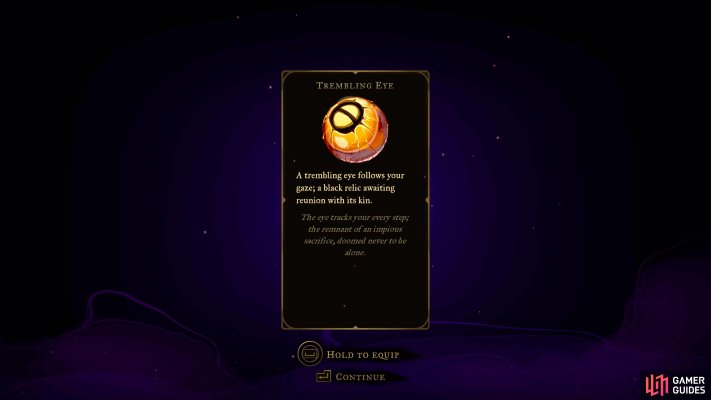
Trembling Eye
View on mapLocated in the center of the hidden room inside the Pillage Tombs in
Holy Innocents’ Cemetery. -
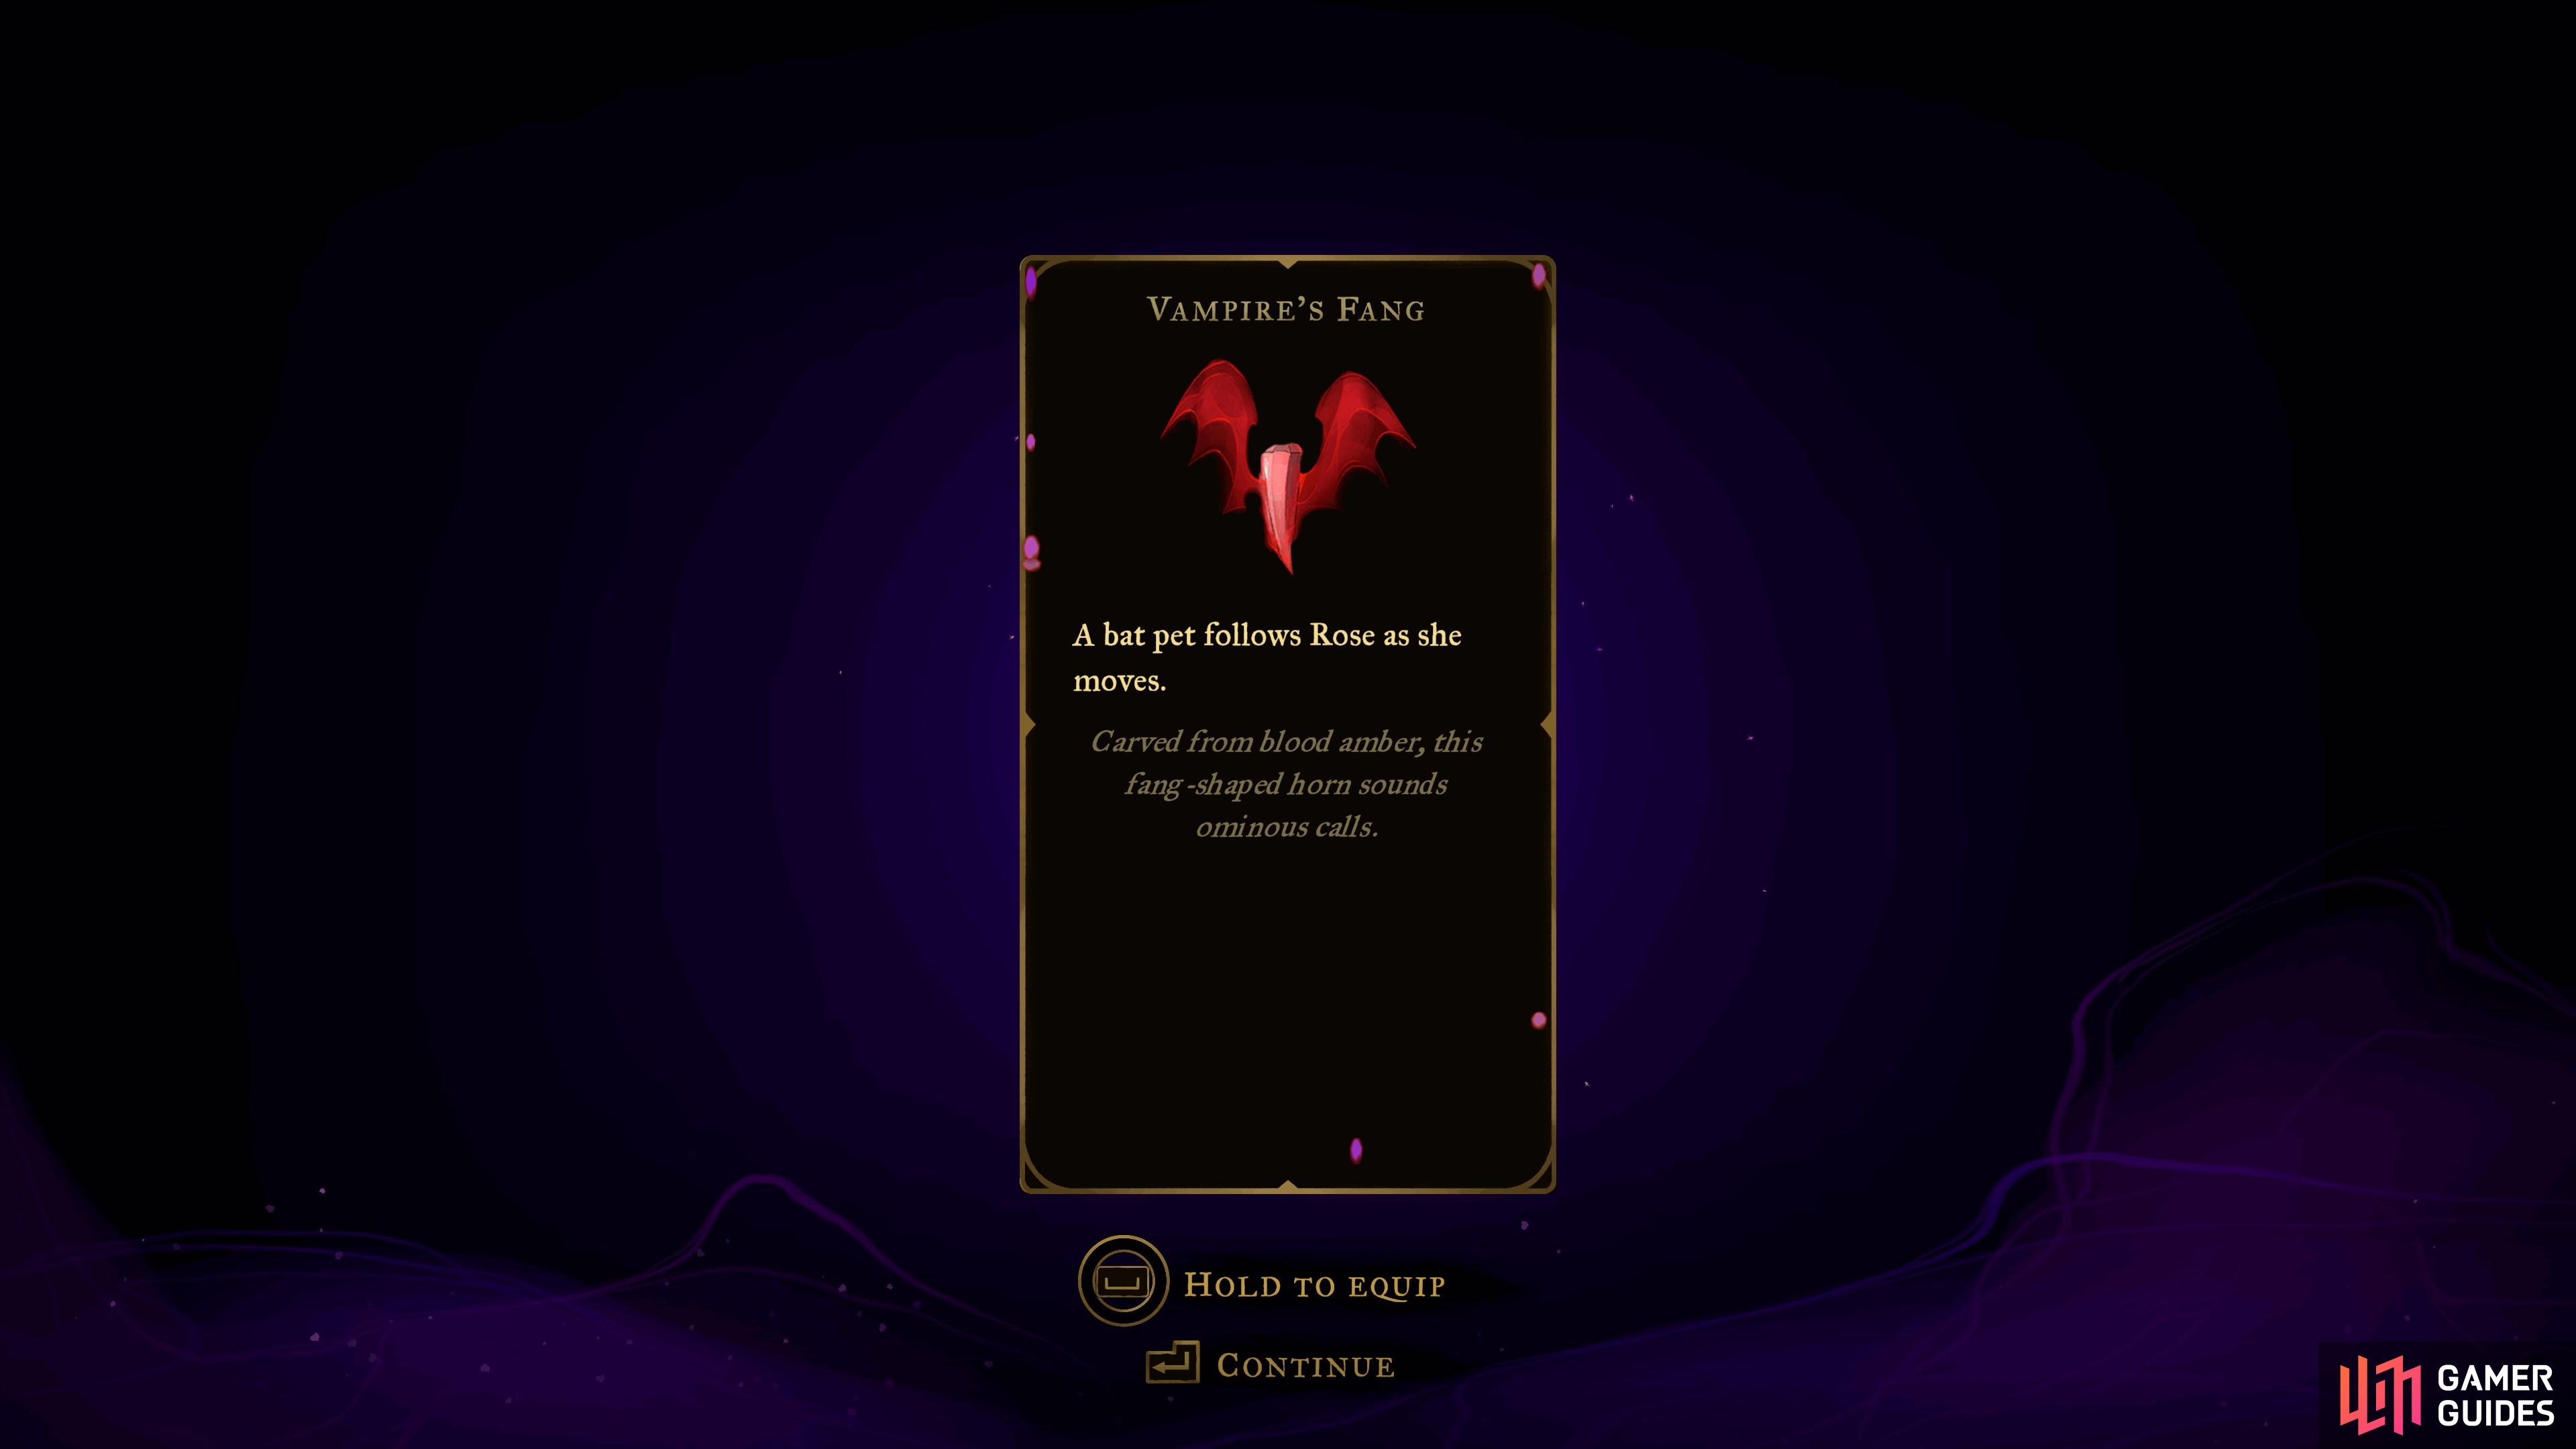
25
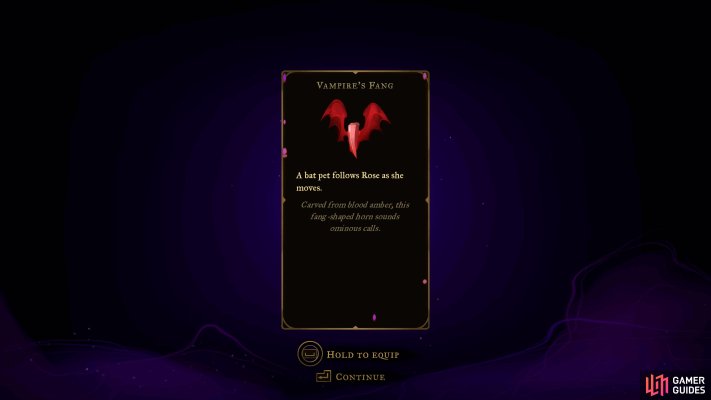
Vampire's Fang
View on mapLocated in the locked chest in Serpents’ Lair in
Holy Innocents’ Cemetery. The chest is below the Fountain of the Lost, and you’ll need to break the seal on the chest by destroying five sealed coffins. -
26
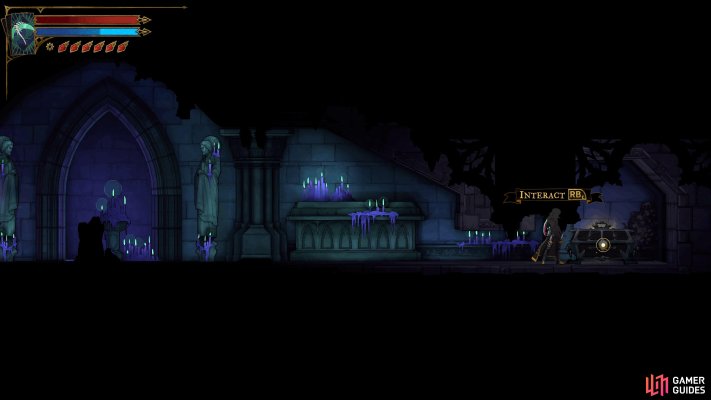
Infernal Medallion
View on mapCan be found in the Reliquary of
Notre-Dame, which requires Double Jump to access.Once you reach this area, you will need to jump and dash through a spike challenge. At the end, where you’ll use a final
Aerial Rush to get past the final spikes, perform a second jump to cling to the wall, hitting a switch in the process.You can now drop down and go past the
 EXP Statue to find the chest housing this Relic.
 -
27
-
28
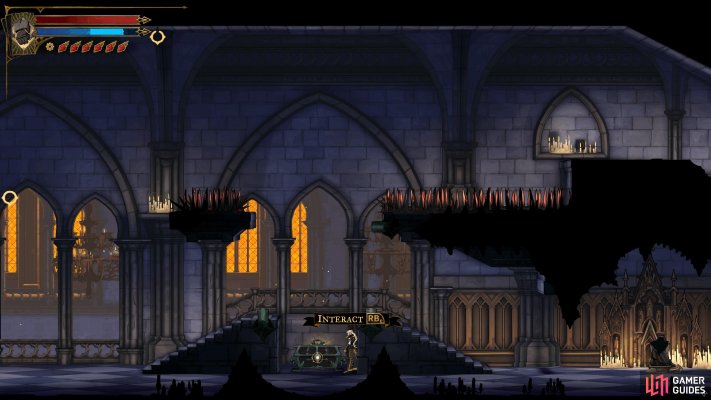
Eldritch Talisman
View on mapTo reach this Chest in the
 East Gallery of Notre-Dame, use the anchors to get height and then perform a Smash on the block.
 -
29
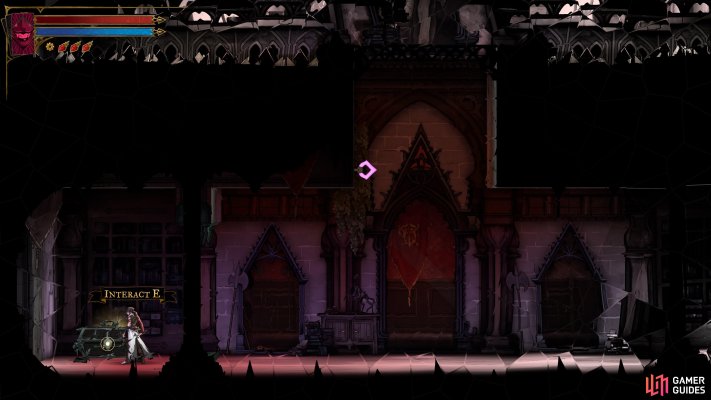
Haunting Relic
View on mapClear the platforming challenge in the Steps of Misdirection in the
 Hall of Mirrors to open the small locked room in the southwest corner. The Relic is inside.
 -
30
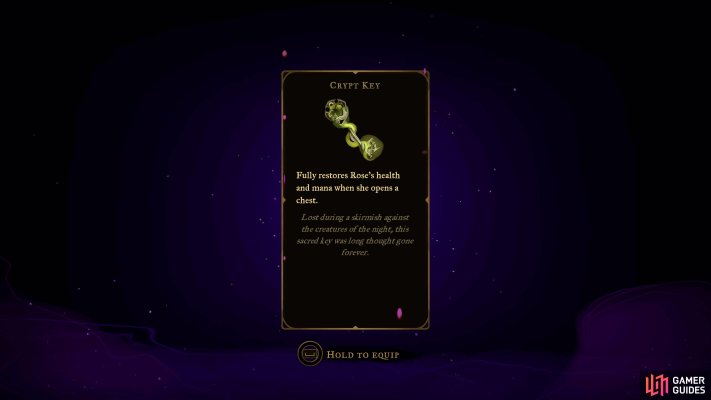
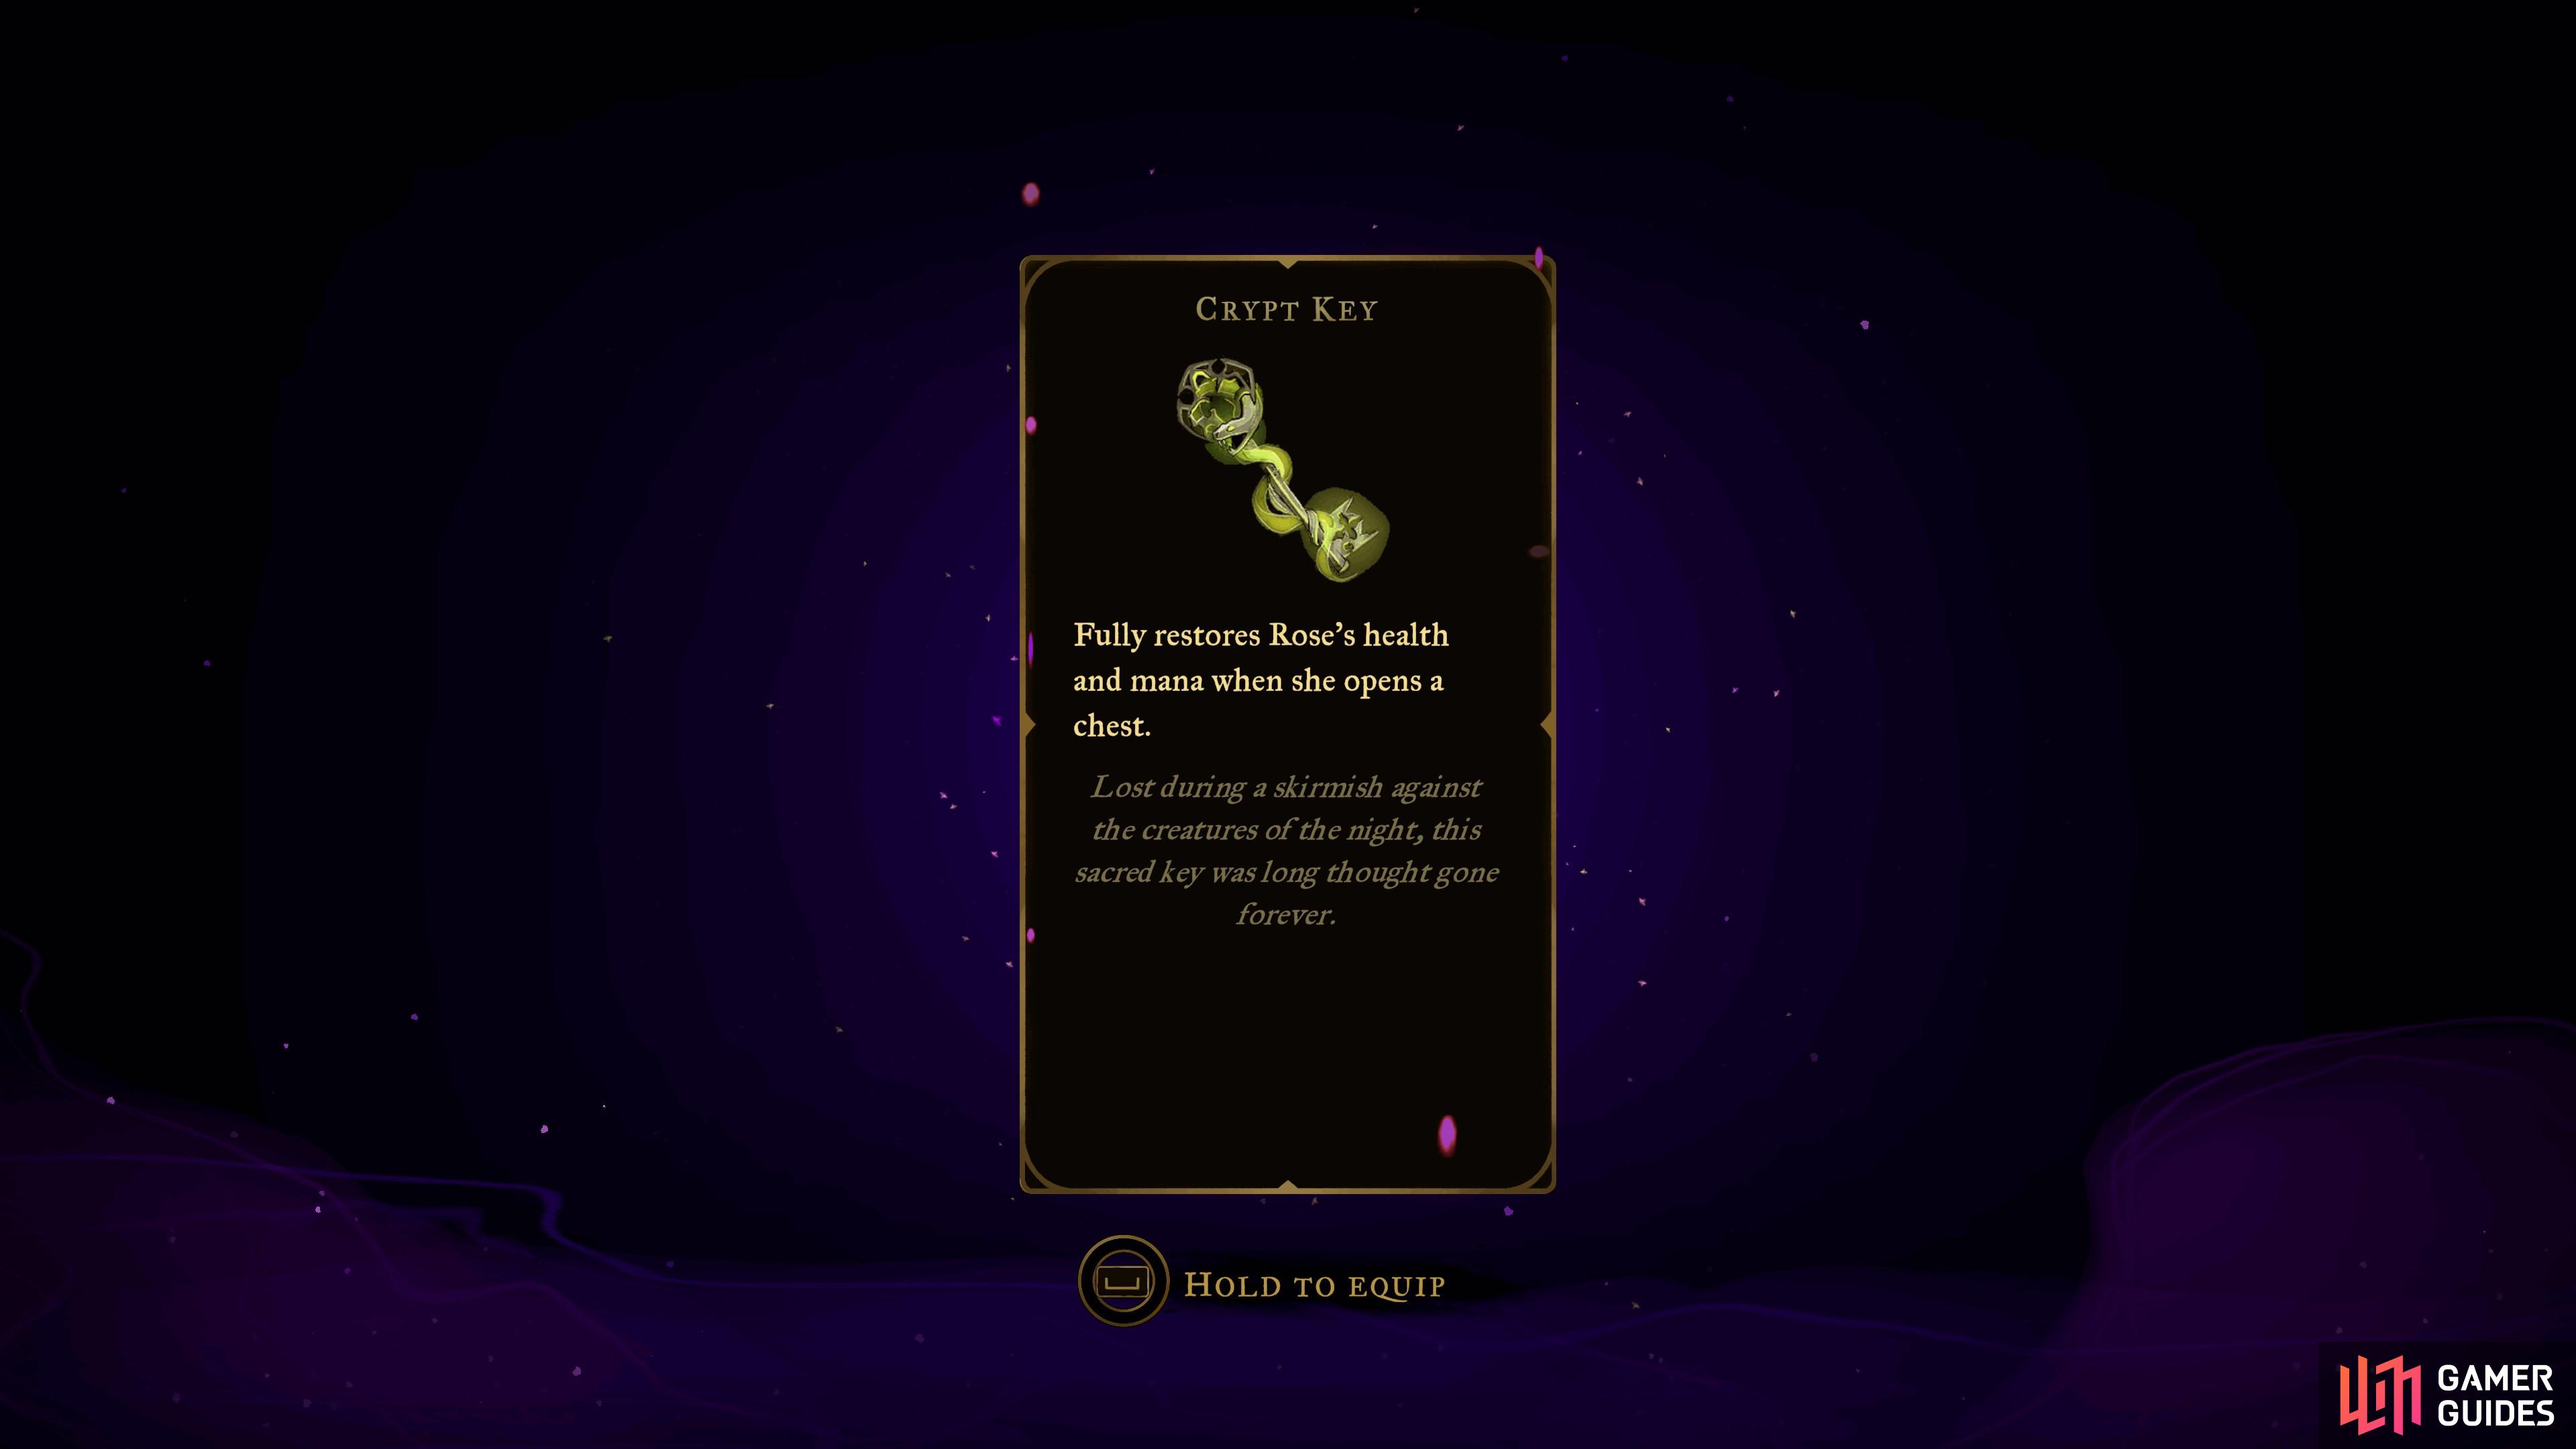
Crypt Key
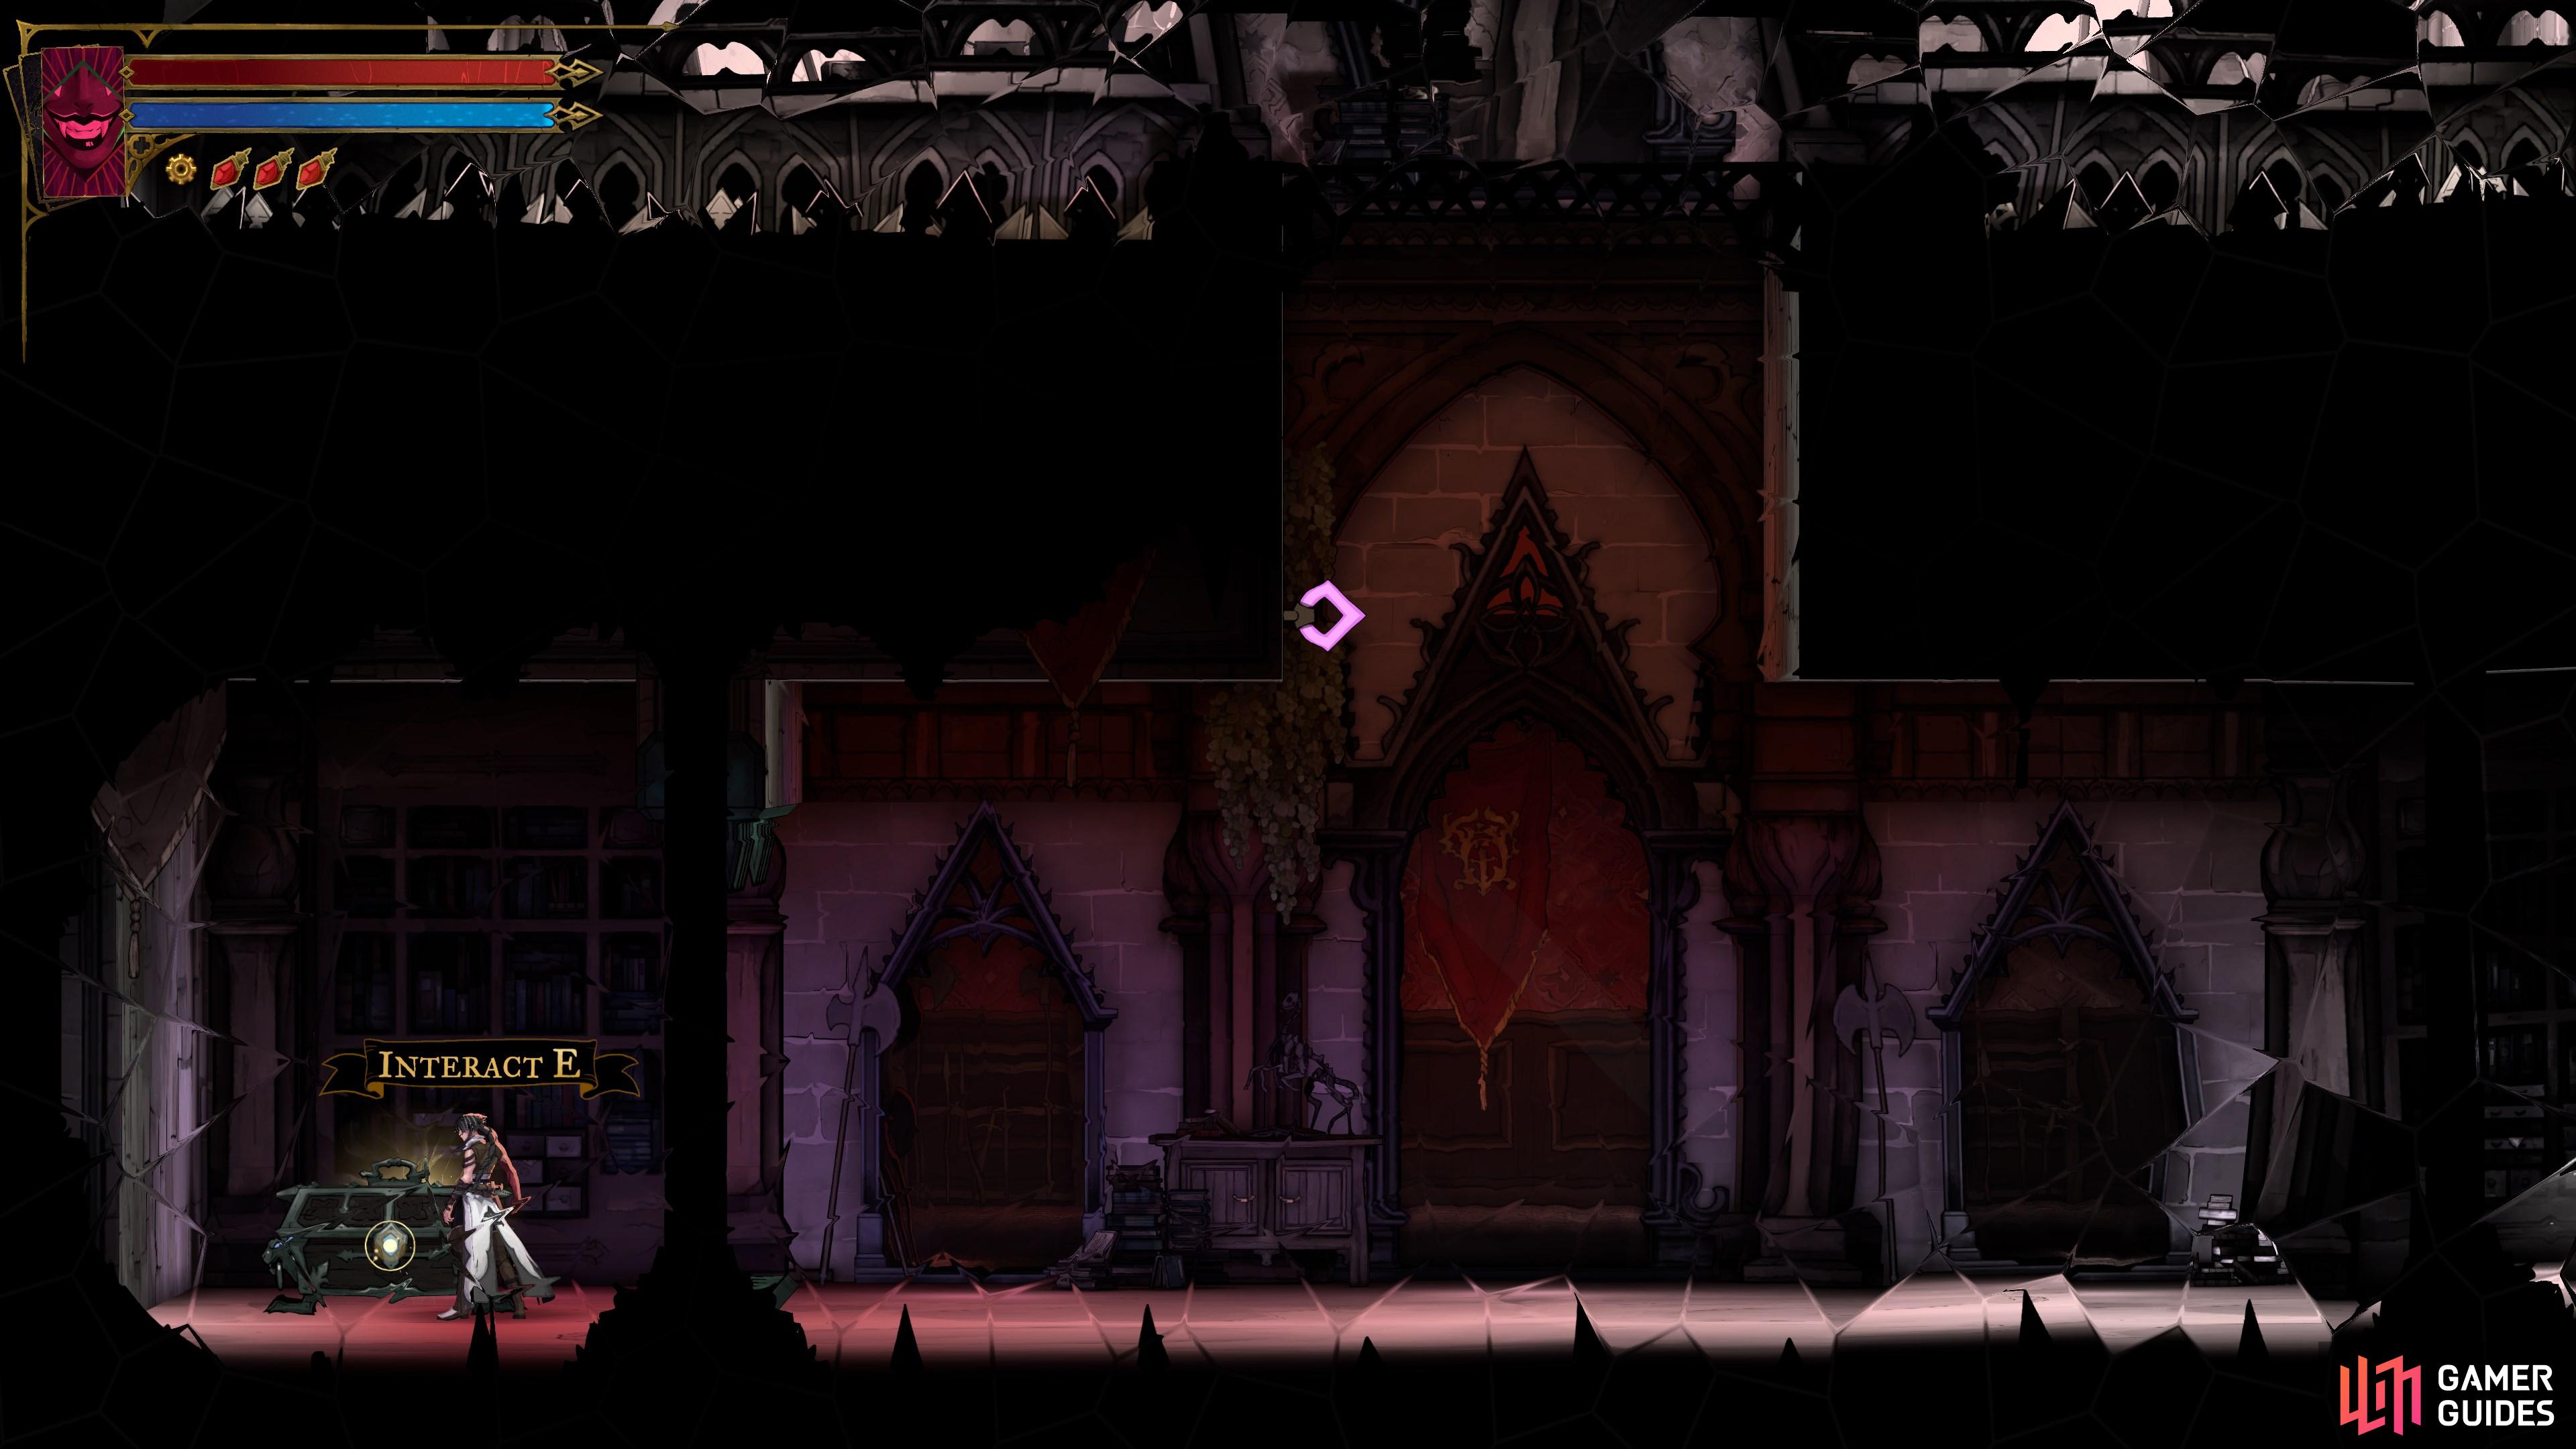
View on mapFound in the northeast corner of Seer’s Hovel. Make your way west and head onto the upper floor. At the end of the path, wait for the slime to drop before jumping over and using your whip on the anchoring point above the doorway.
-
31
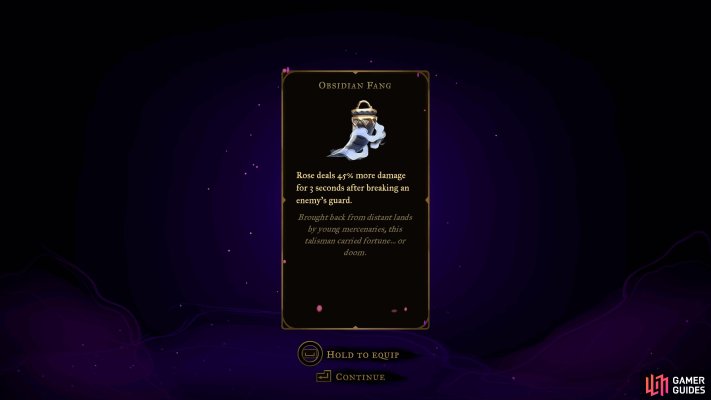
-
32
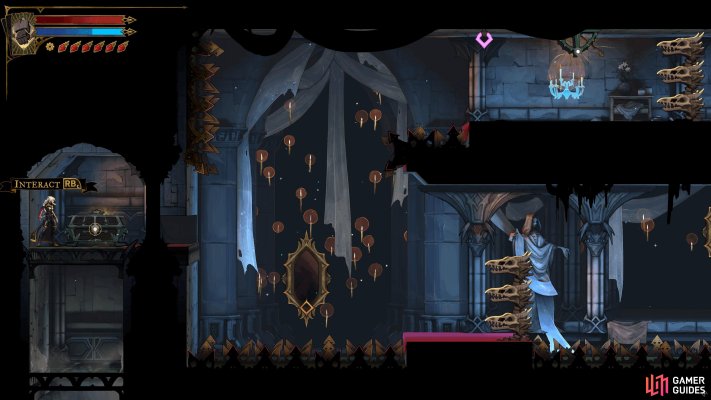
Banshee's Wail
View on mapTo reach this Relic in the Servants’ Quarters of the
 Main Hall, you must first exit this room to the northeast.
In the next room, drop down to the bottom and follow the path west, beyond the Mirror of Life, and work your way around to reach this wall from the other side.
-
33
Thrilling Eye
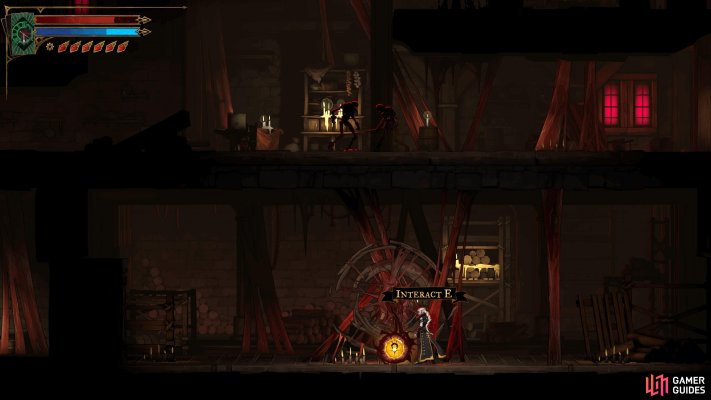
View on mapLocated in the center of the bottom floor of the Hospital in
Paris Streets.
No locations match this filter.