0 of 20 collected
Checklist complete: 20 of 20 locations collected.
Sign in to save your progress across every device.

-
1
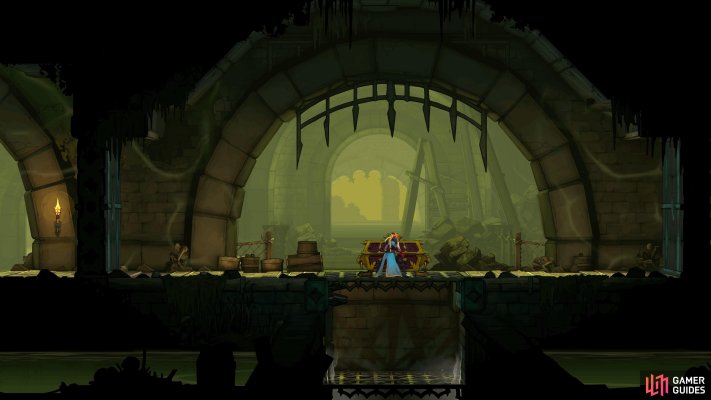
Cestus
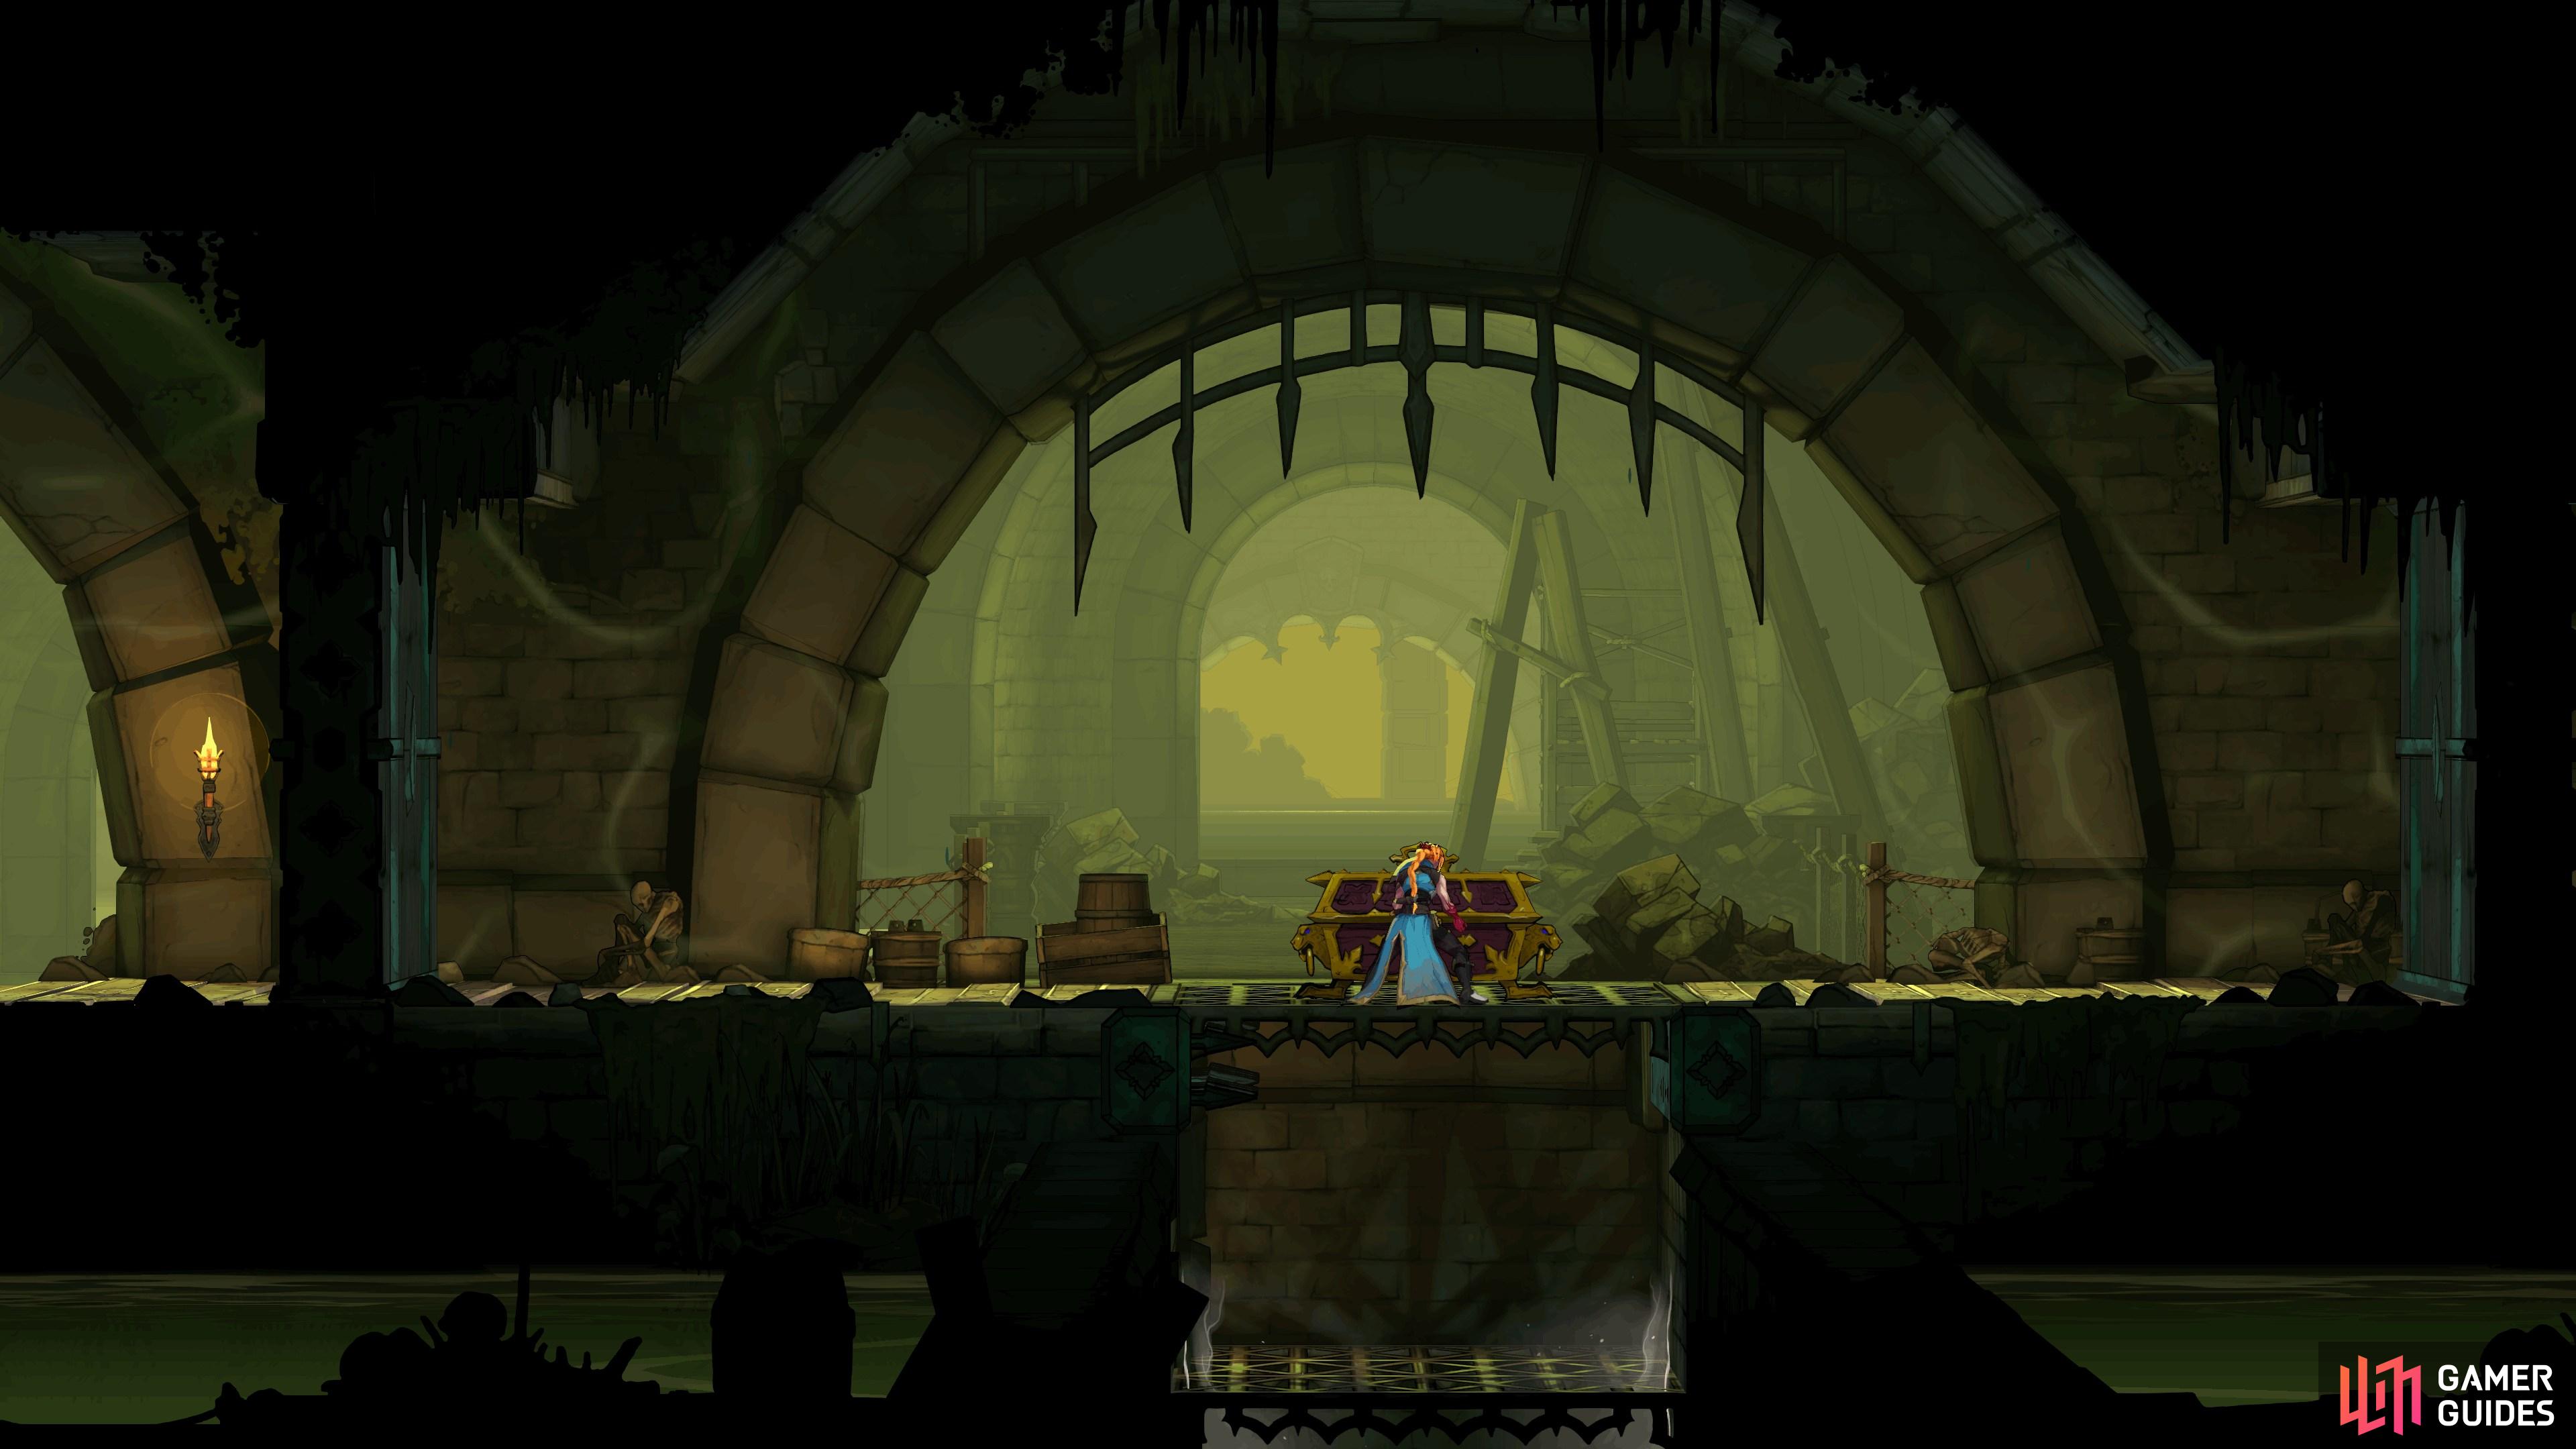
View on mapFound by heading to Sewer Reservoir in Paris Streets and using the Arcane Whip to find an Illusory Wall, allowing you to wall jump and reach this room.
-
2
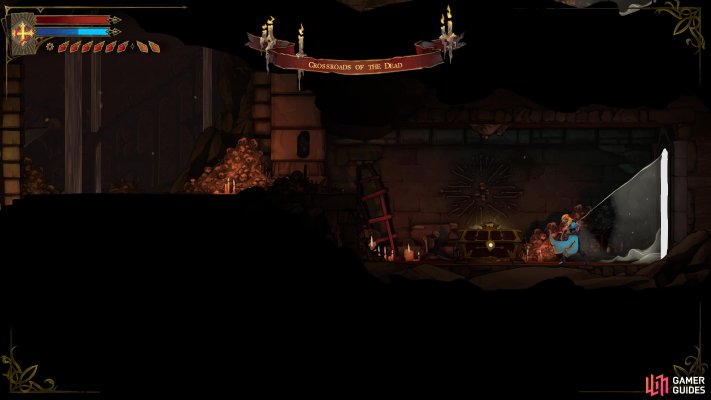
Pair of Longswords
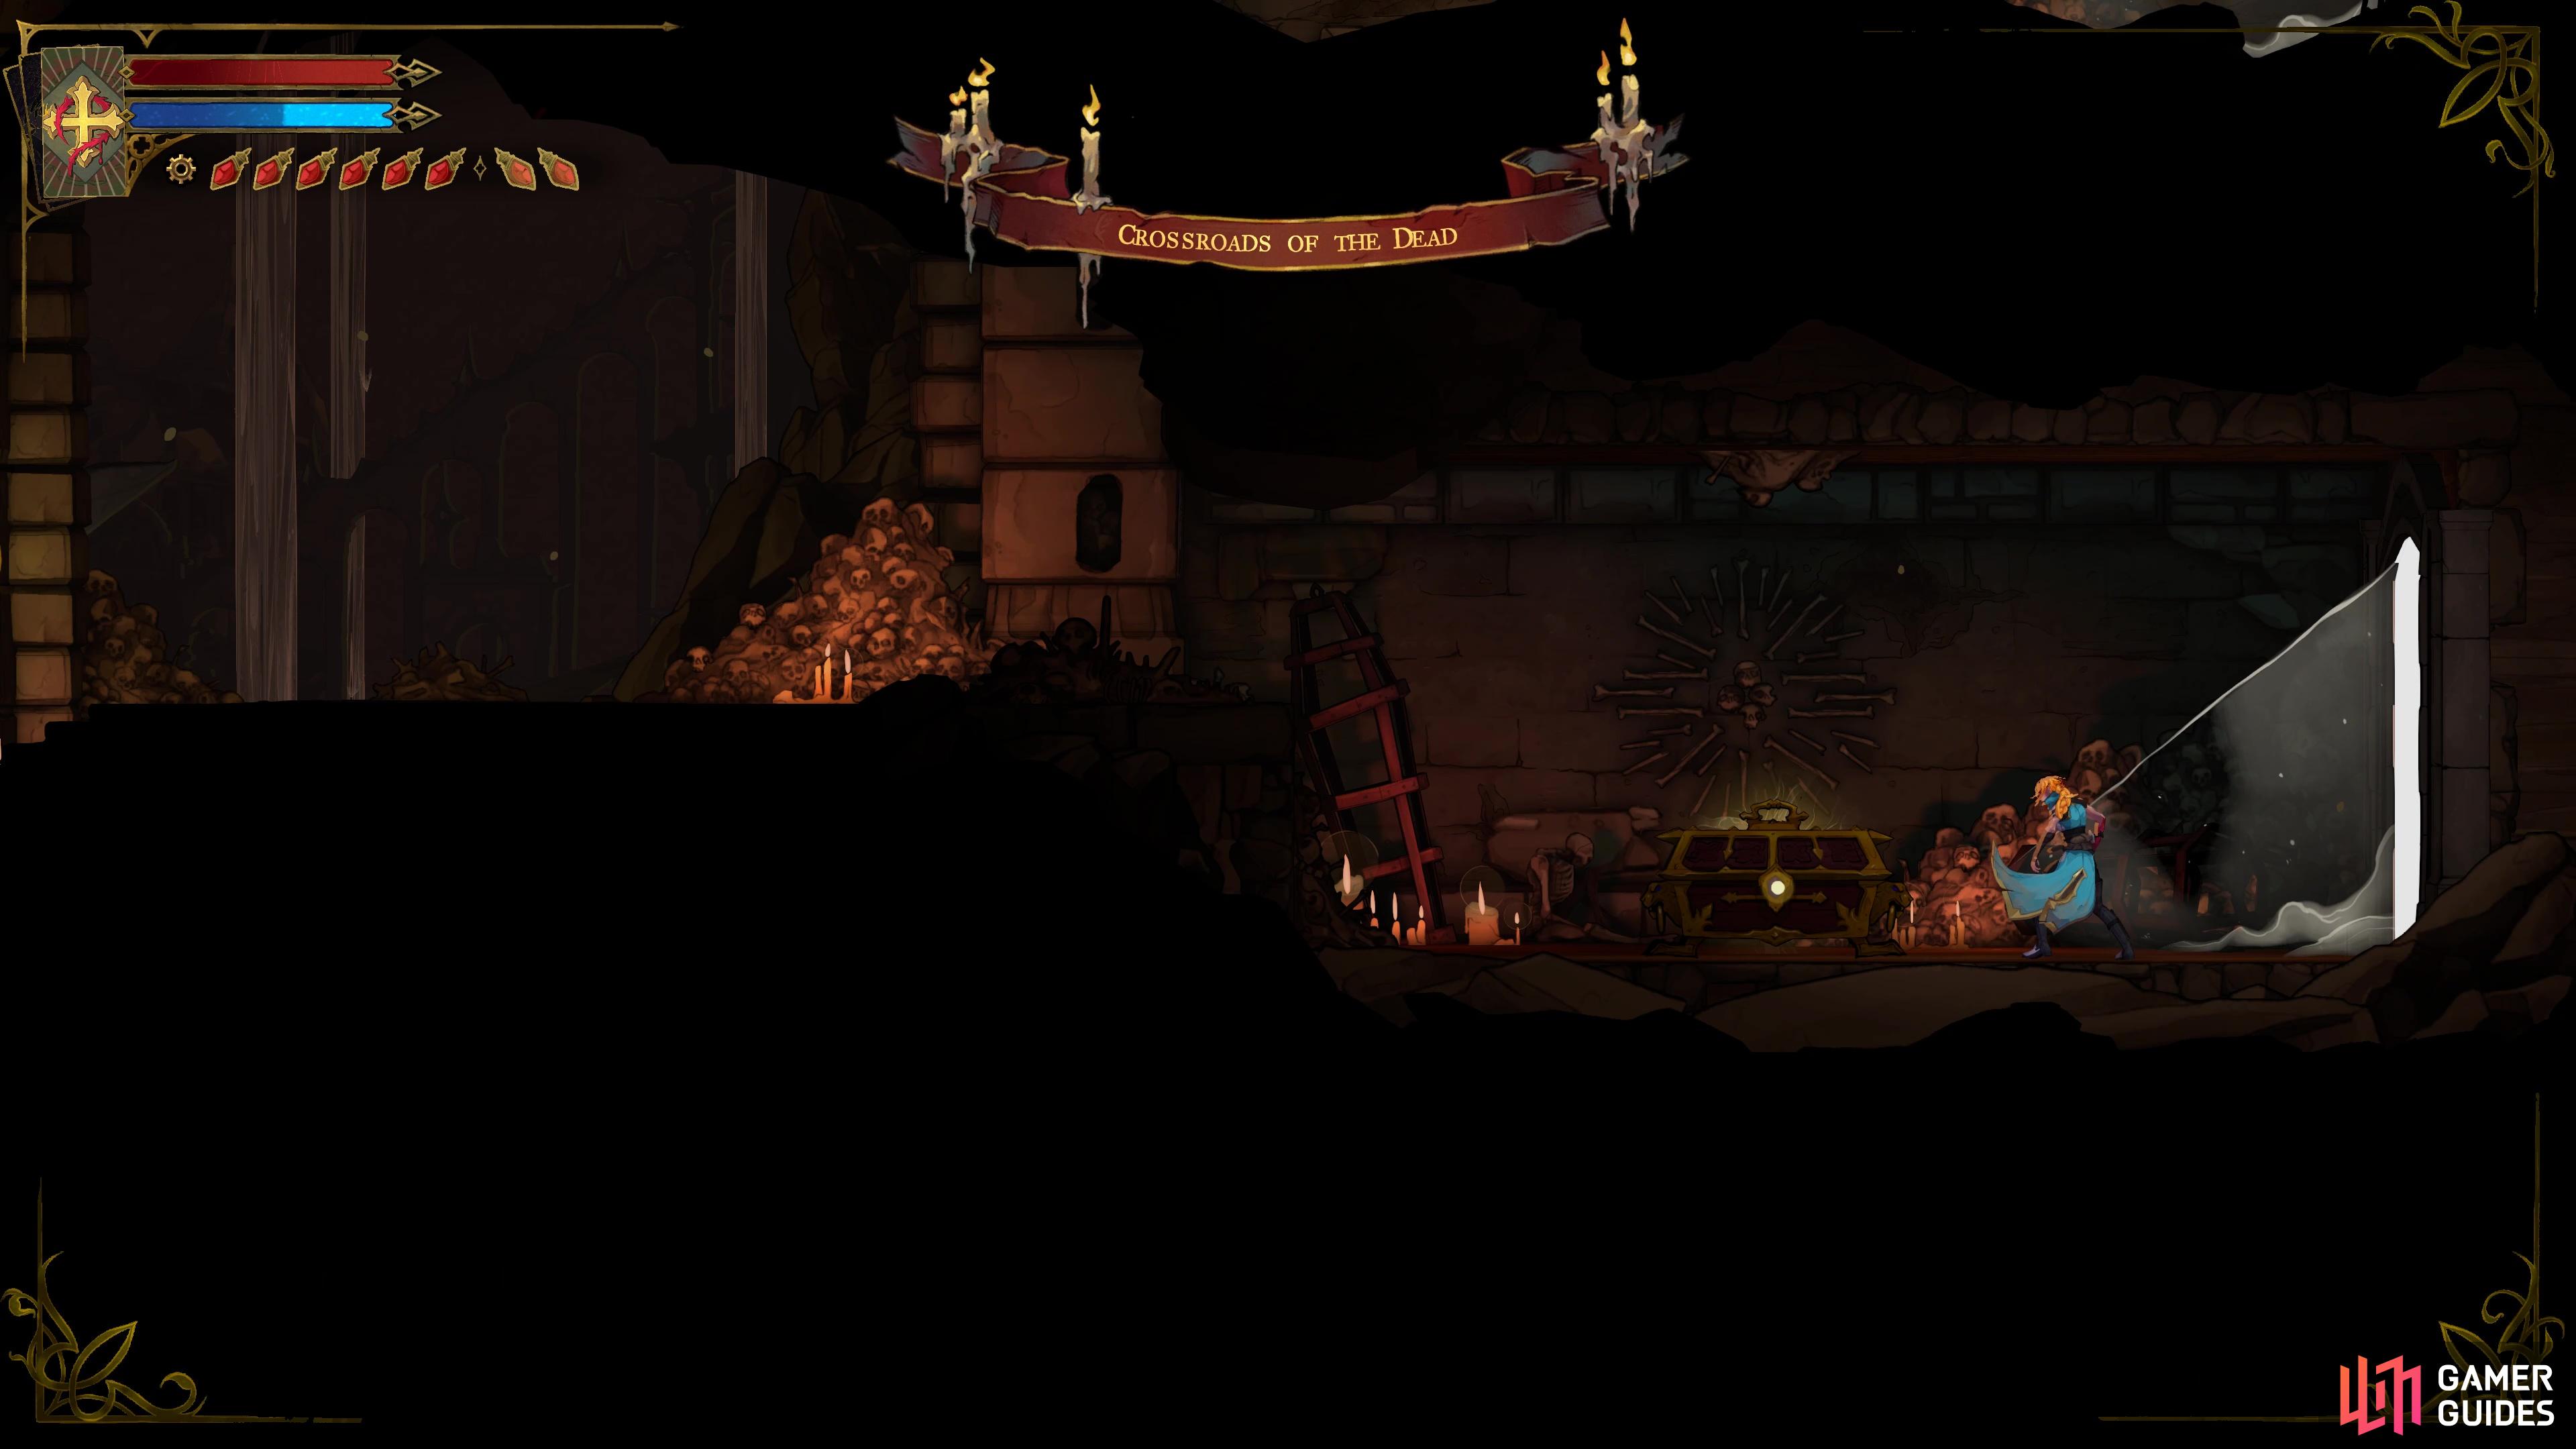
View on mapEnter the Crossroads of the Dead via a breakable wall in the Chamber of Whispers (next to the Lever). This will allow you to reach the chest housing this weapon.
-
3
-
4
-
5
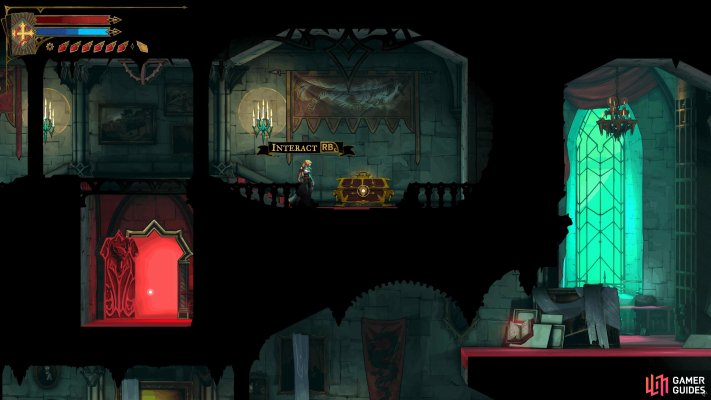
Jewel Knuckles
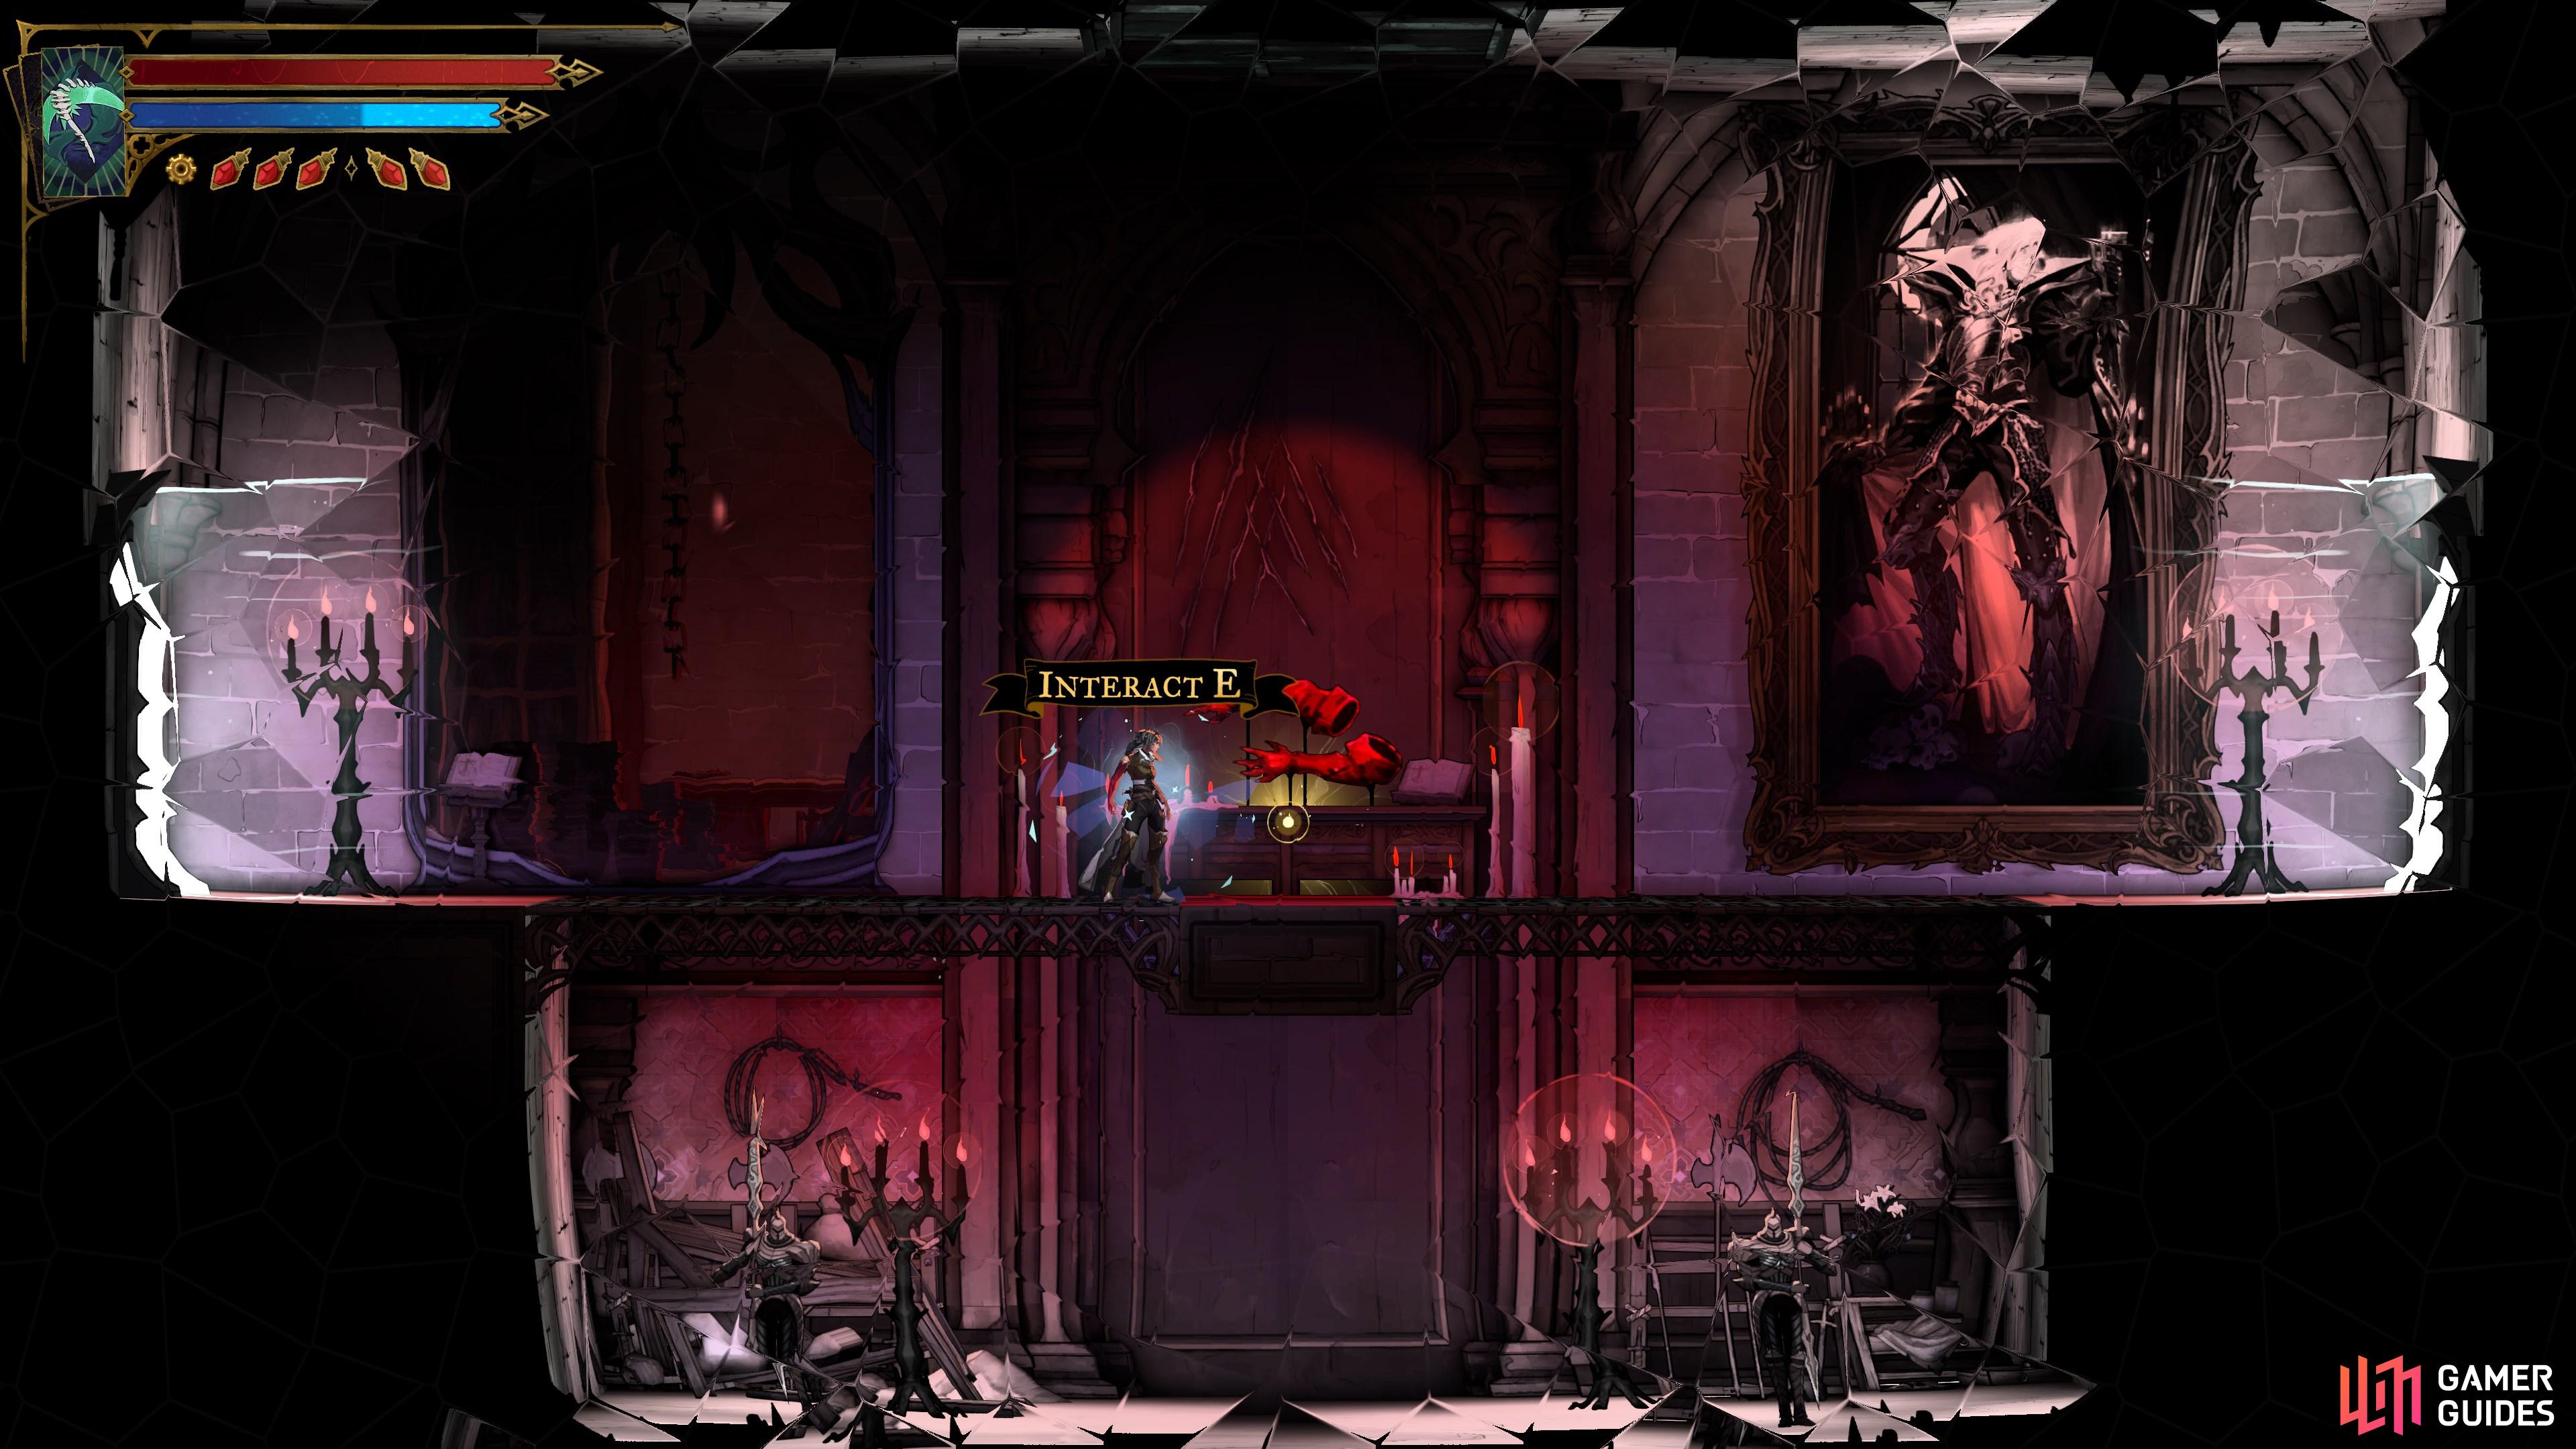
View on mapTo reach this Chest, first drop down below the Alucard portrait into a entrance that leads to the Dungeons.
In here, follow it around until you find another entrance in the Servant’s Hall that will bring you to the top of this room. Now hit the switch and you can claim the chest.
-
6
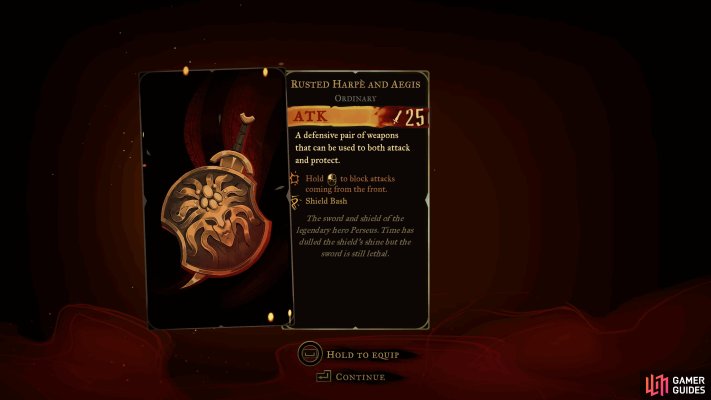
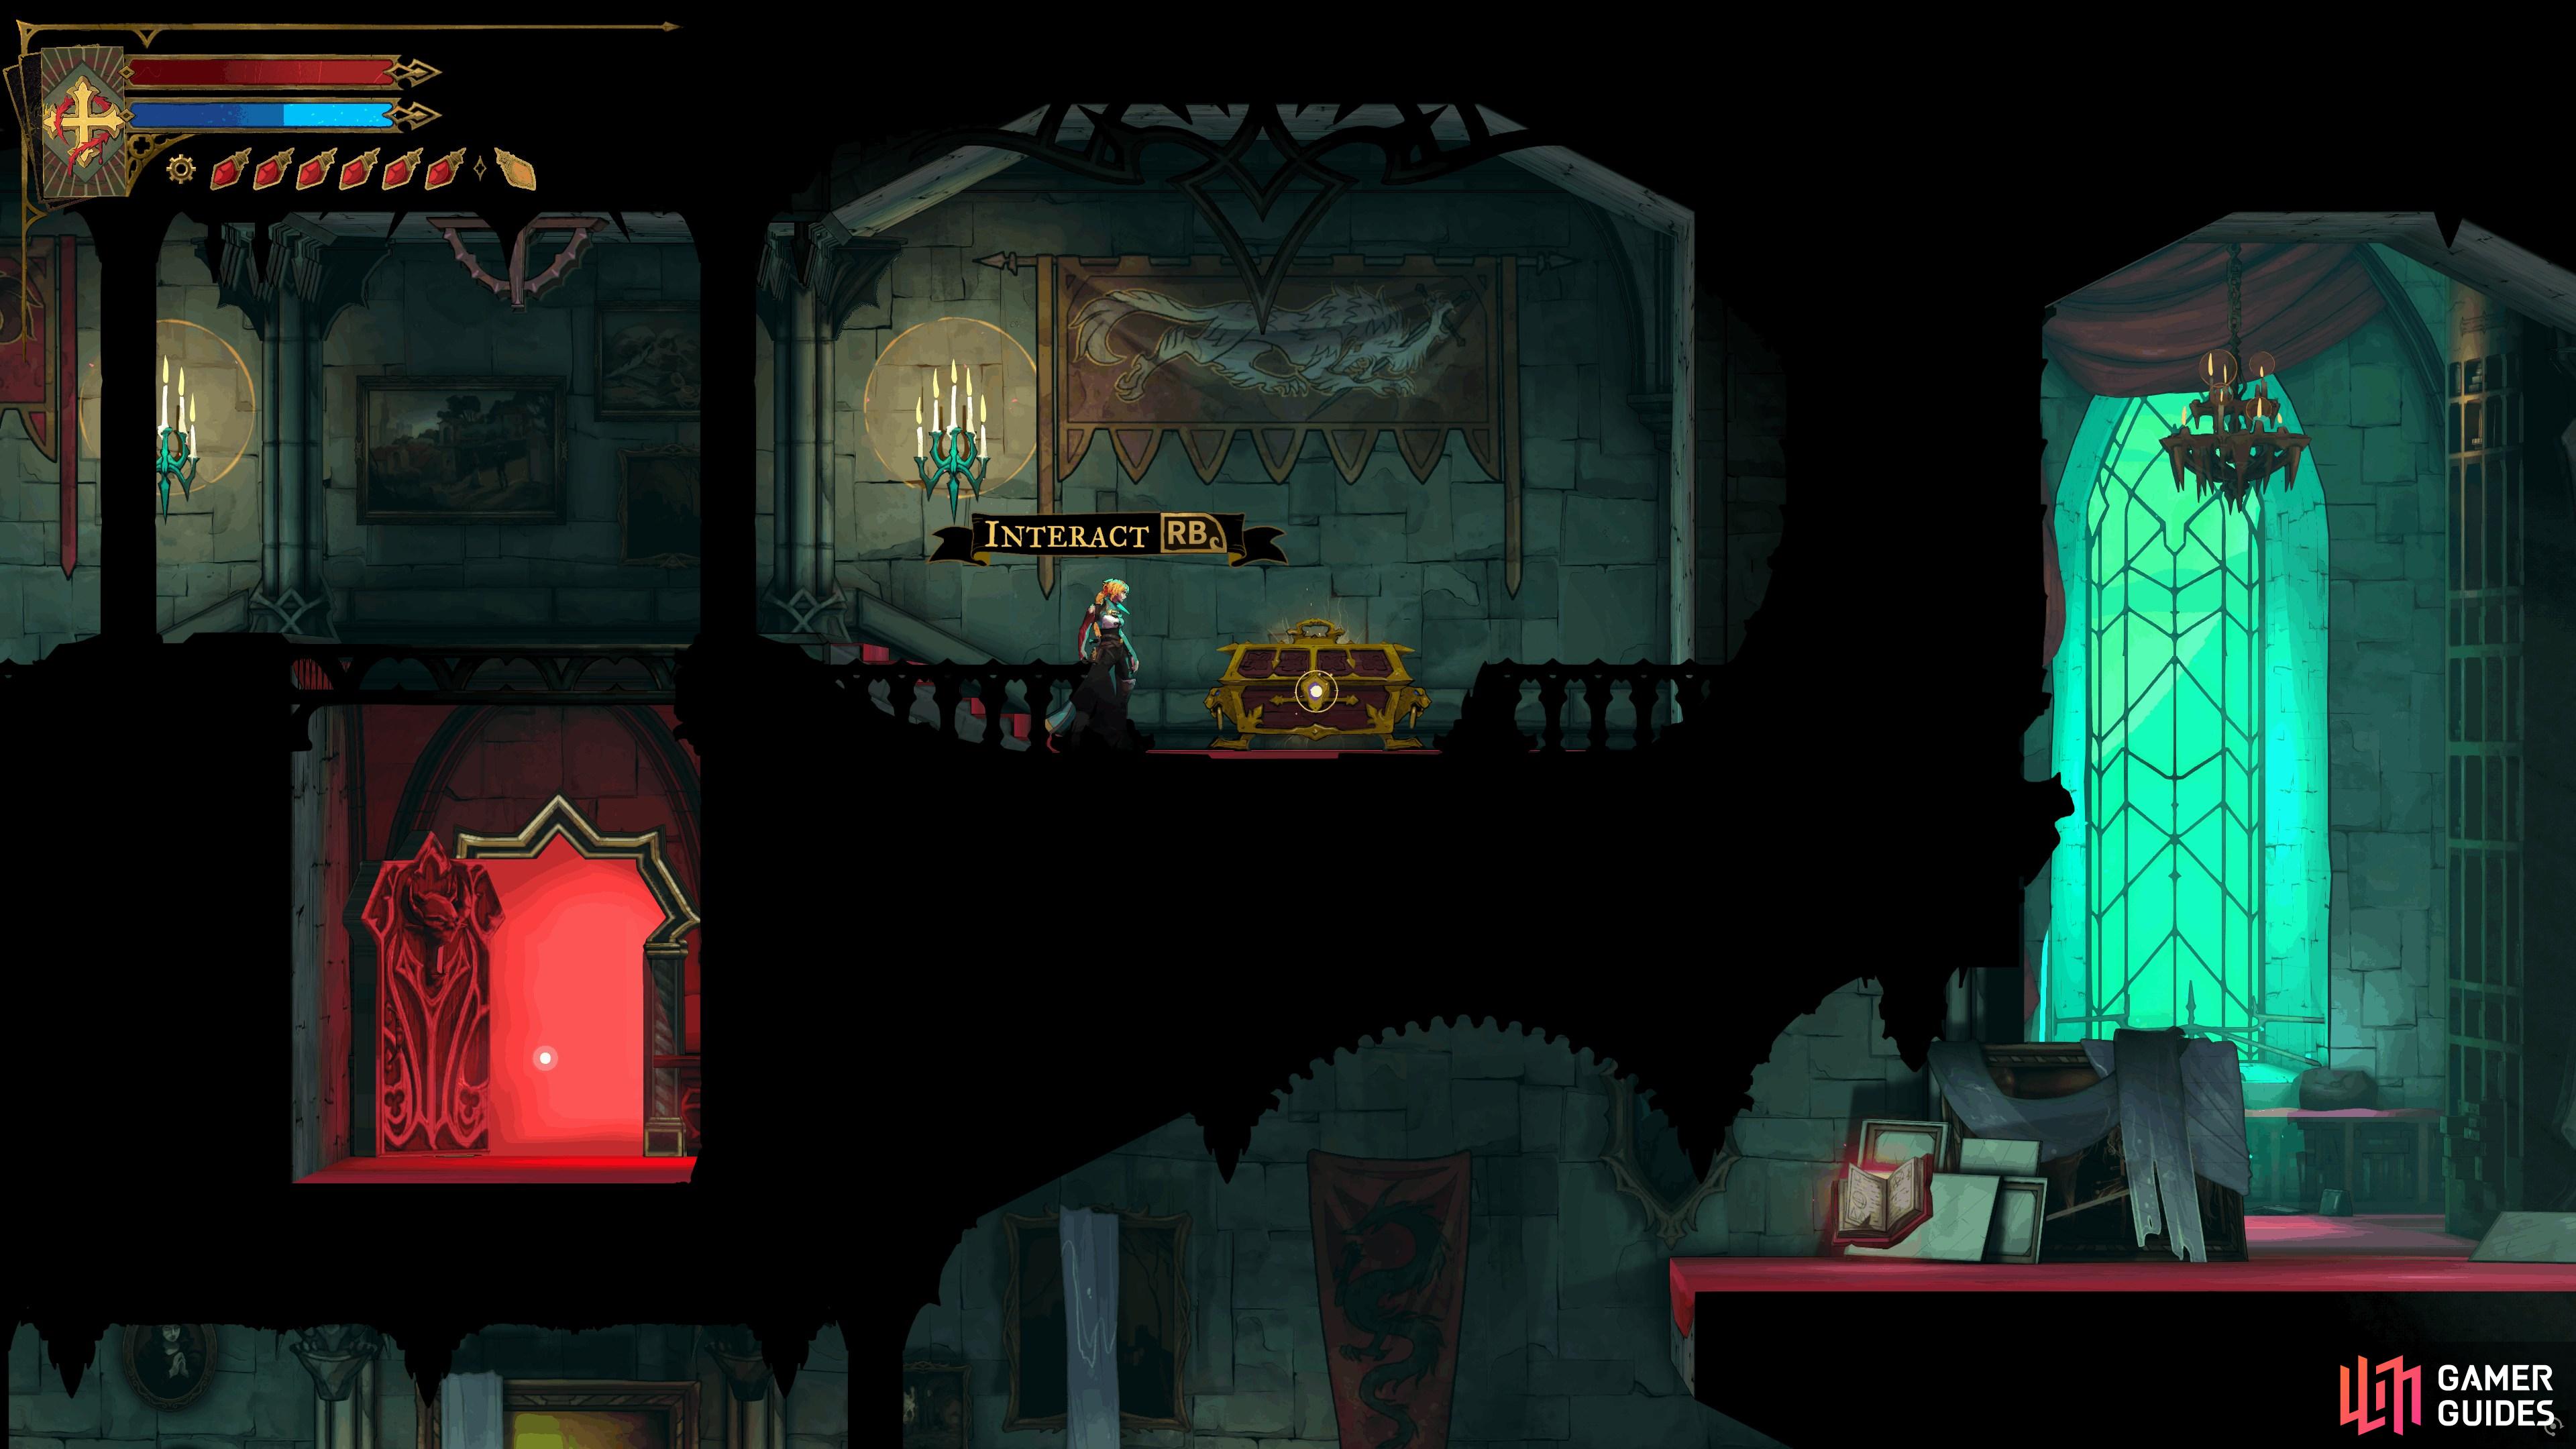
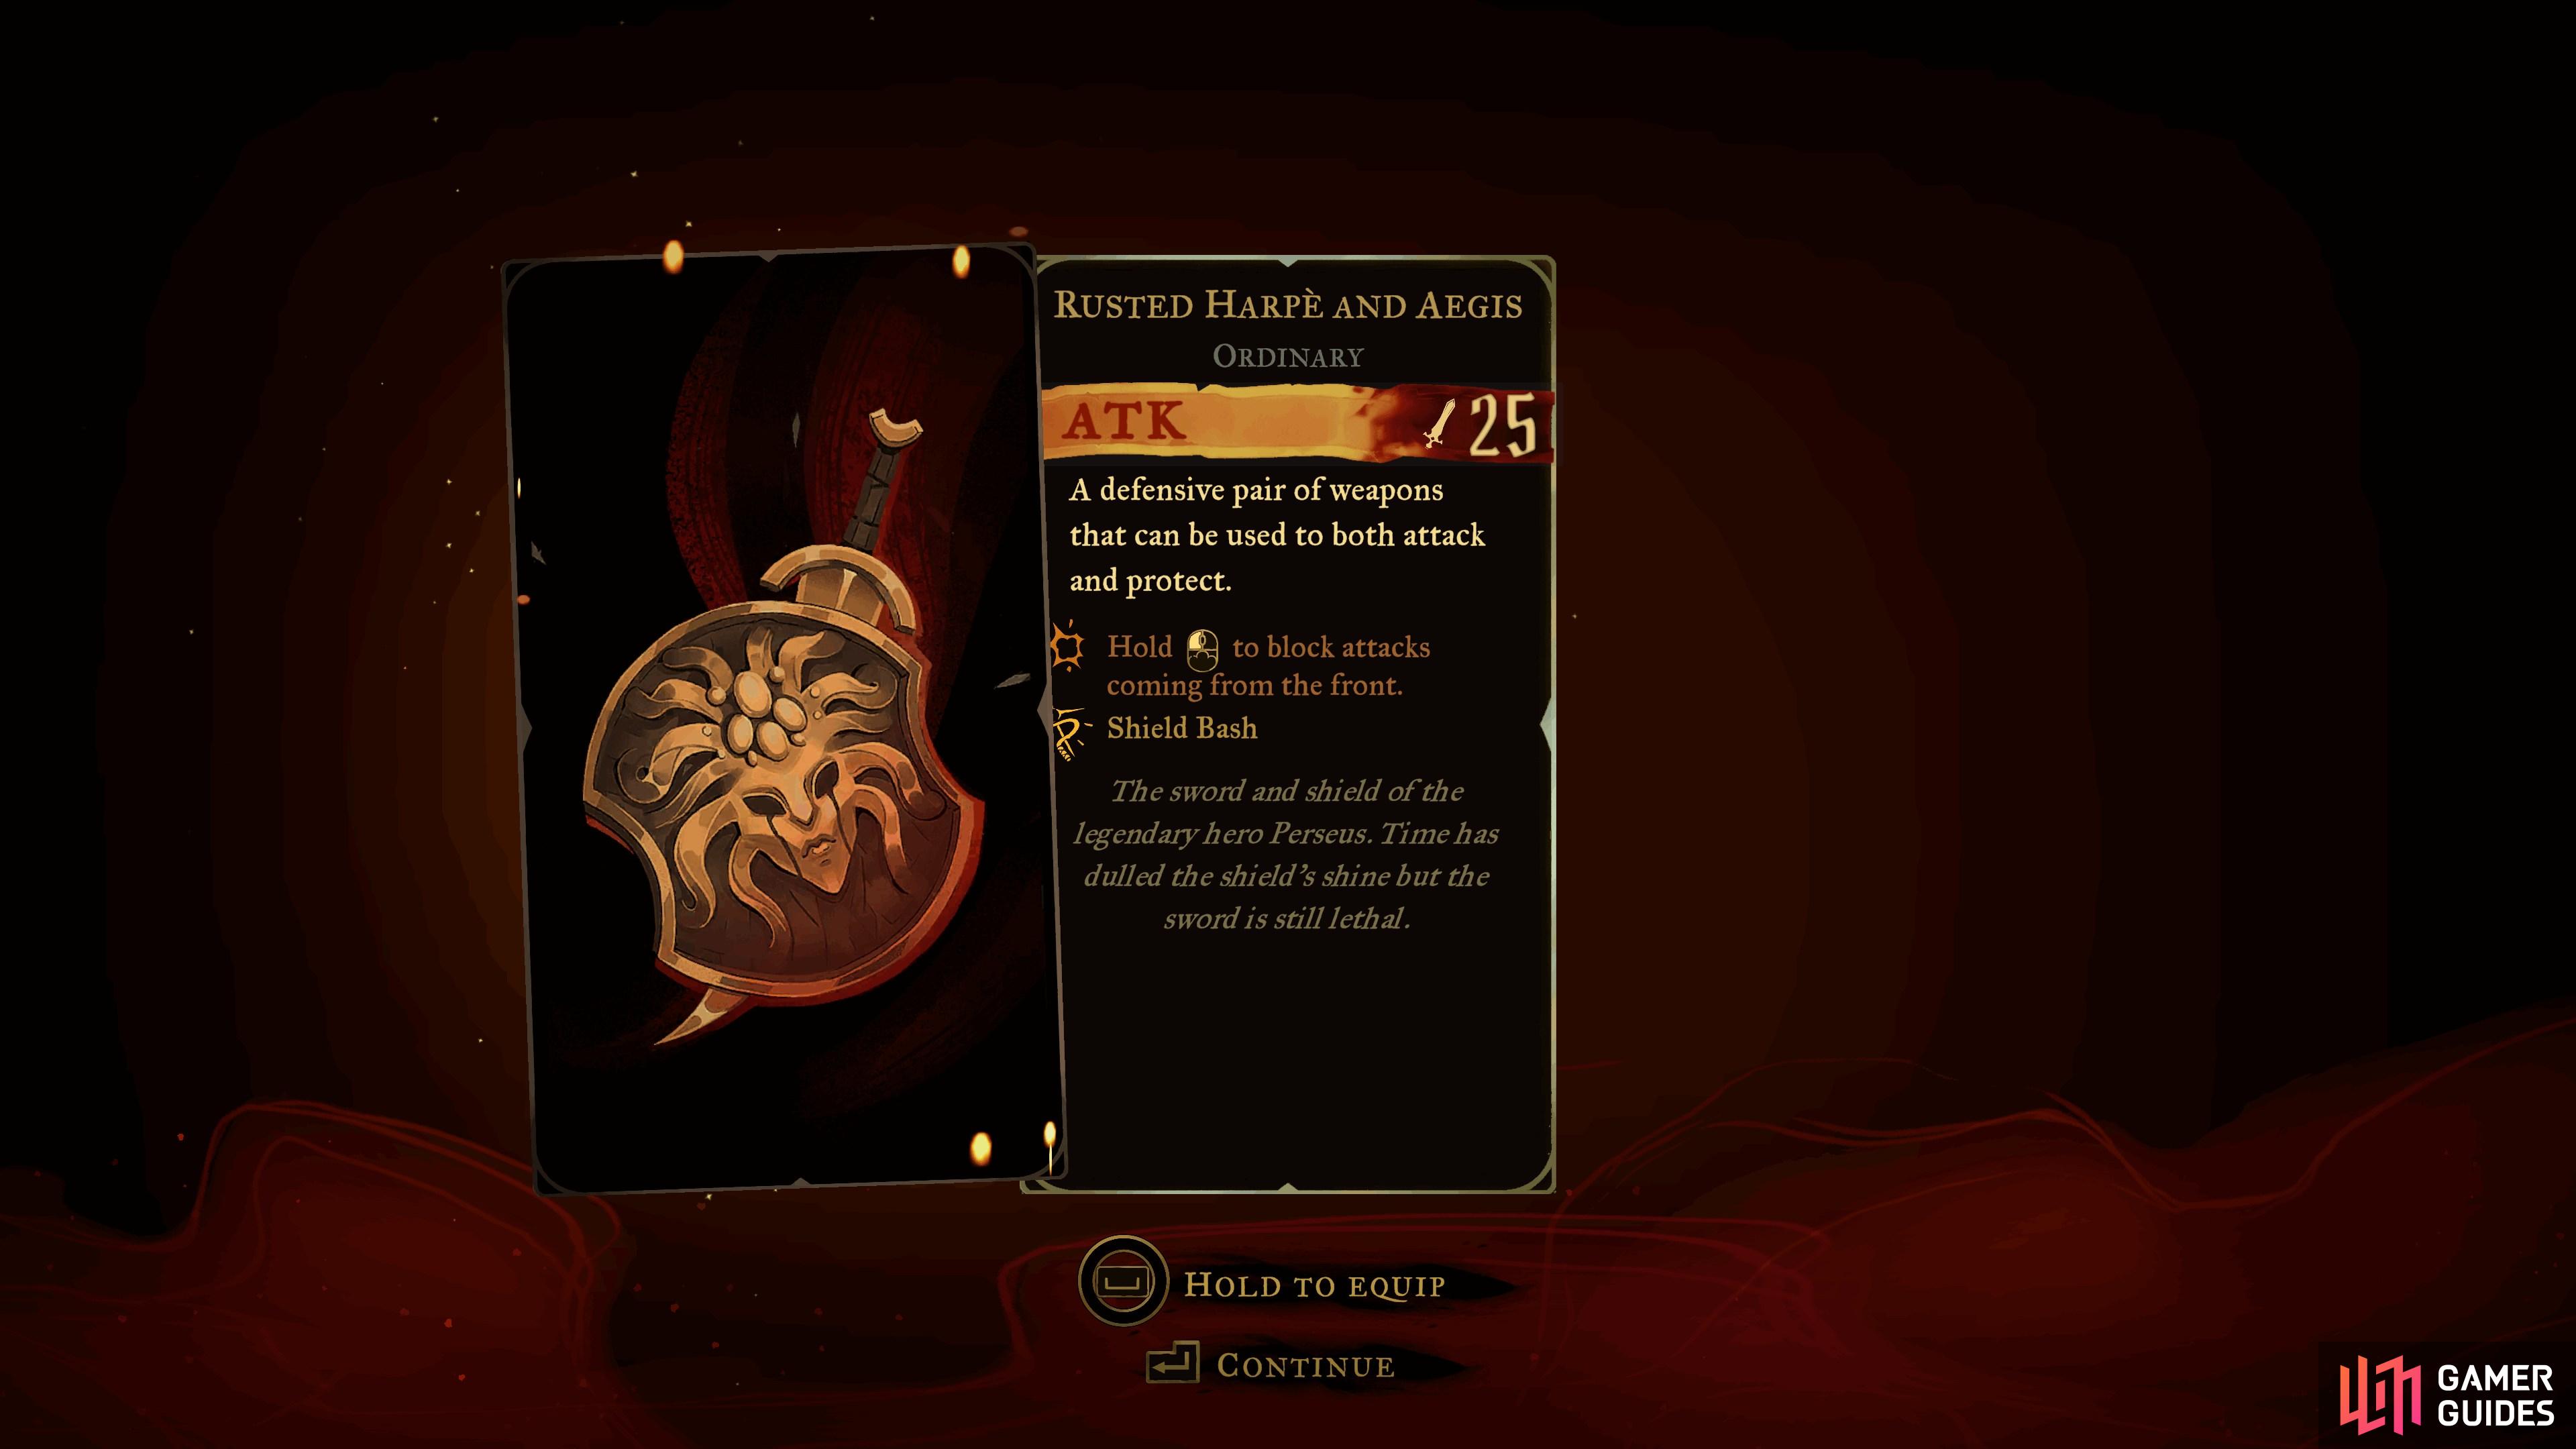
Rusted Harpe and Aegis
View on mapAppears on the floor after defeating the boss in the room to the west.
-
7
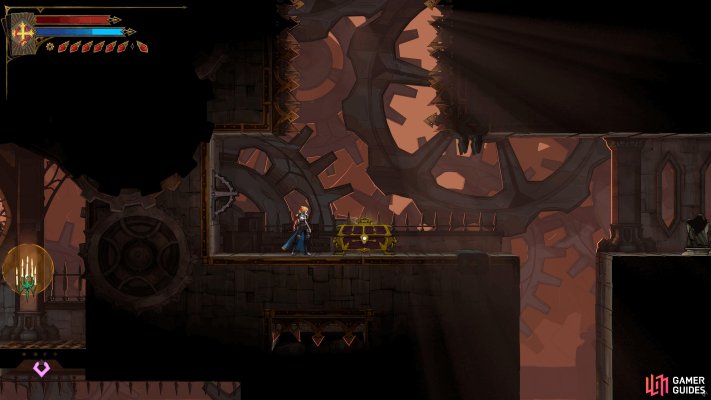
Halberd
View on mapTo reach the Chest housing the
 Halberd, you must work your way up the Eastern Access Shaft, across to Daedalus Crossing and then come back down Western Access Shaft.
 -
8
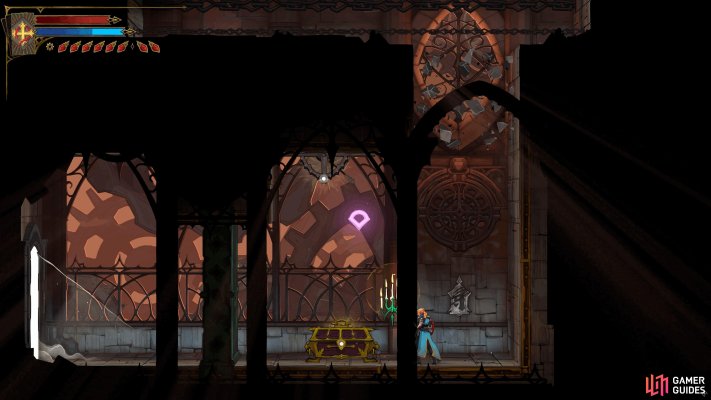
Claymore
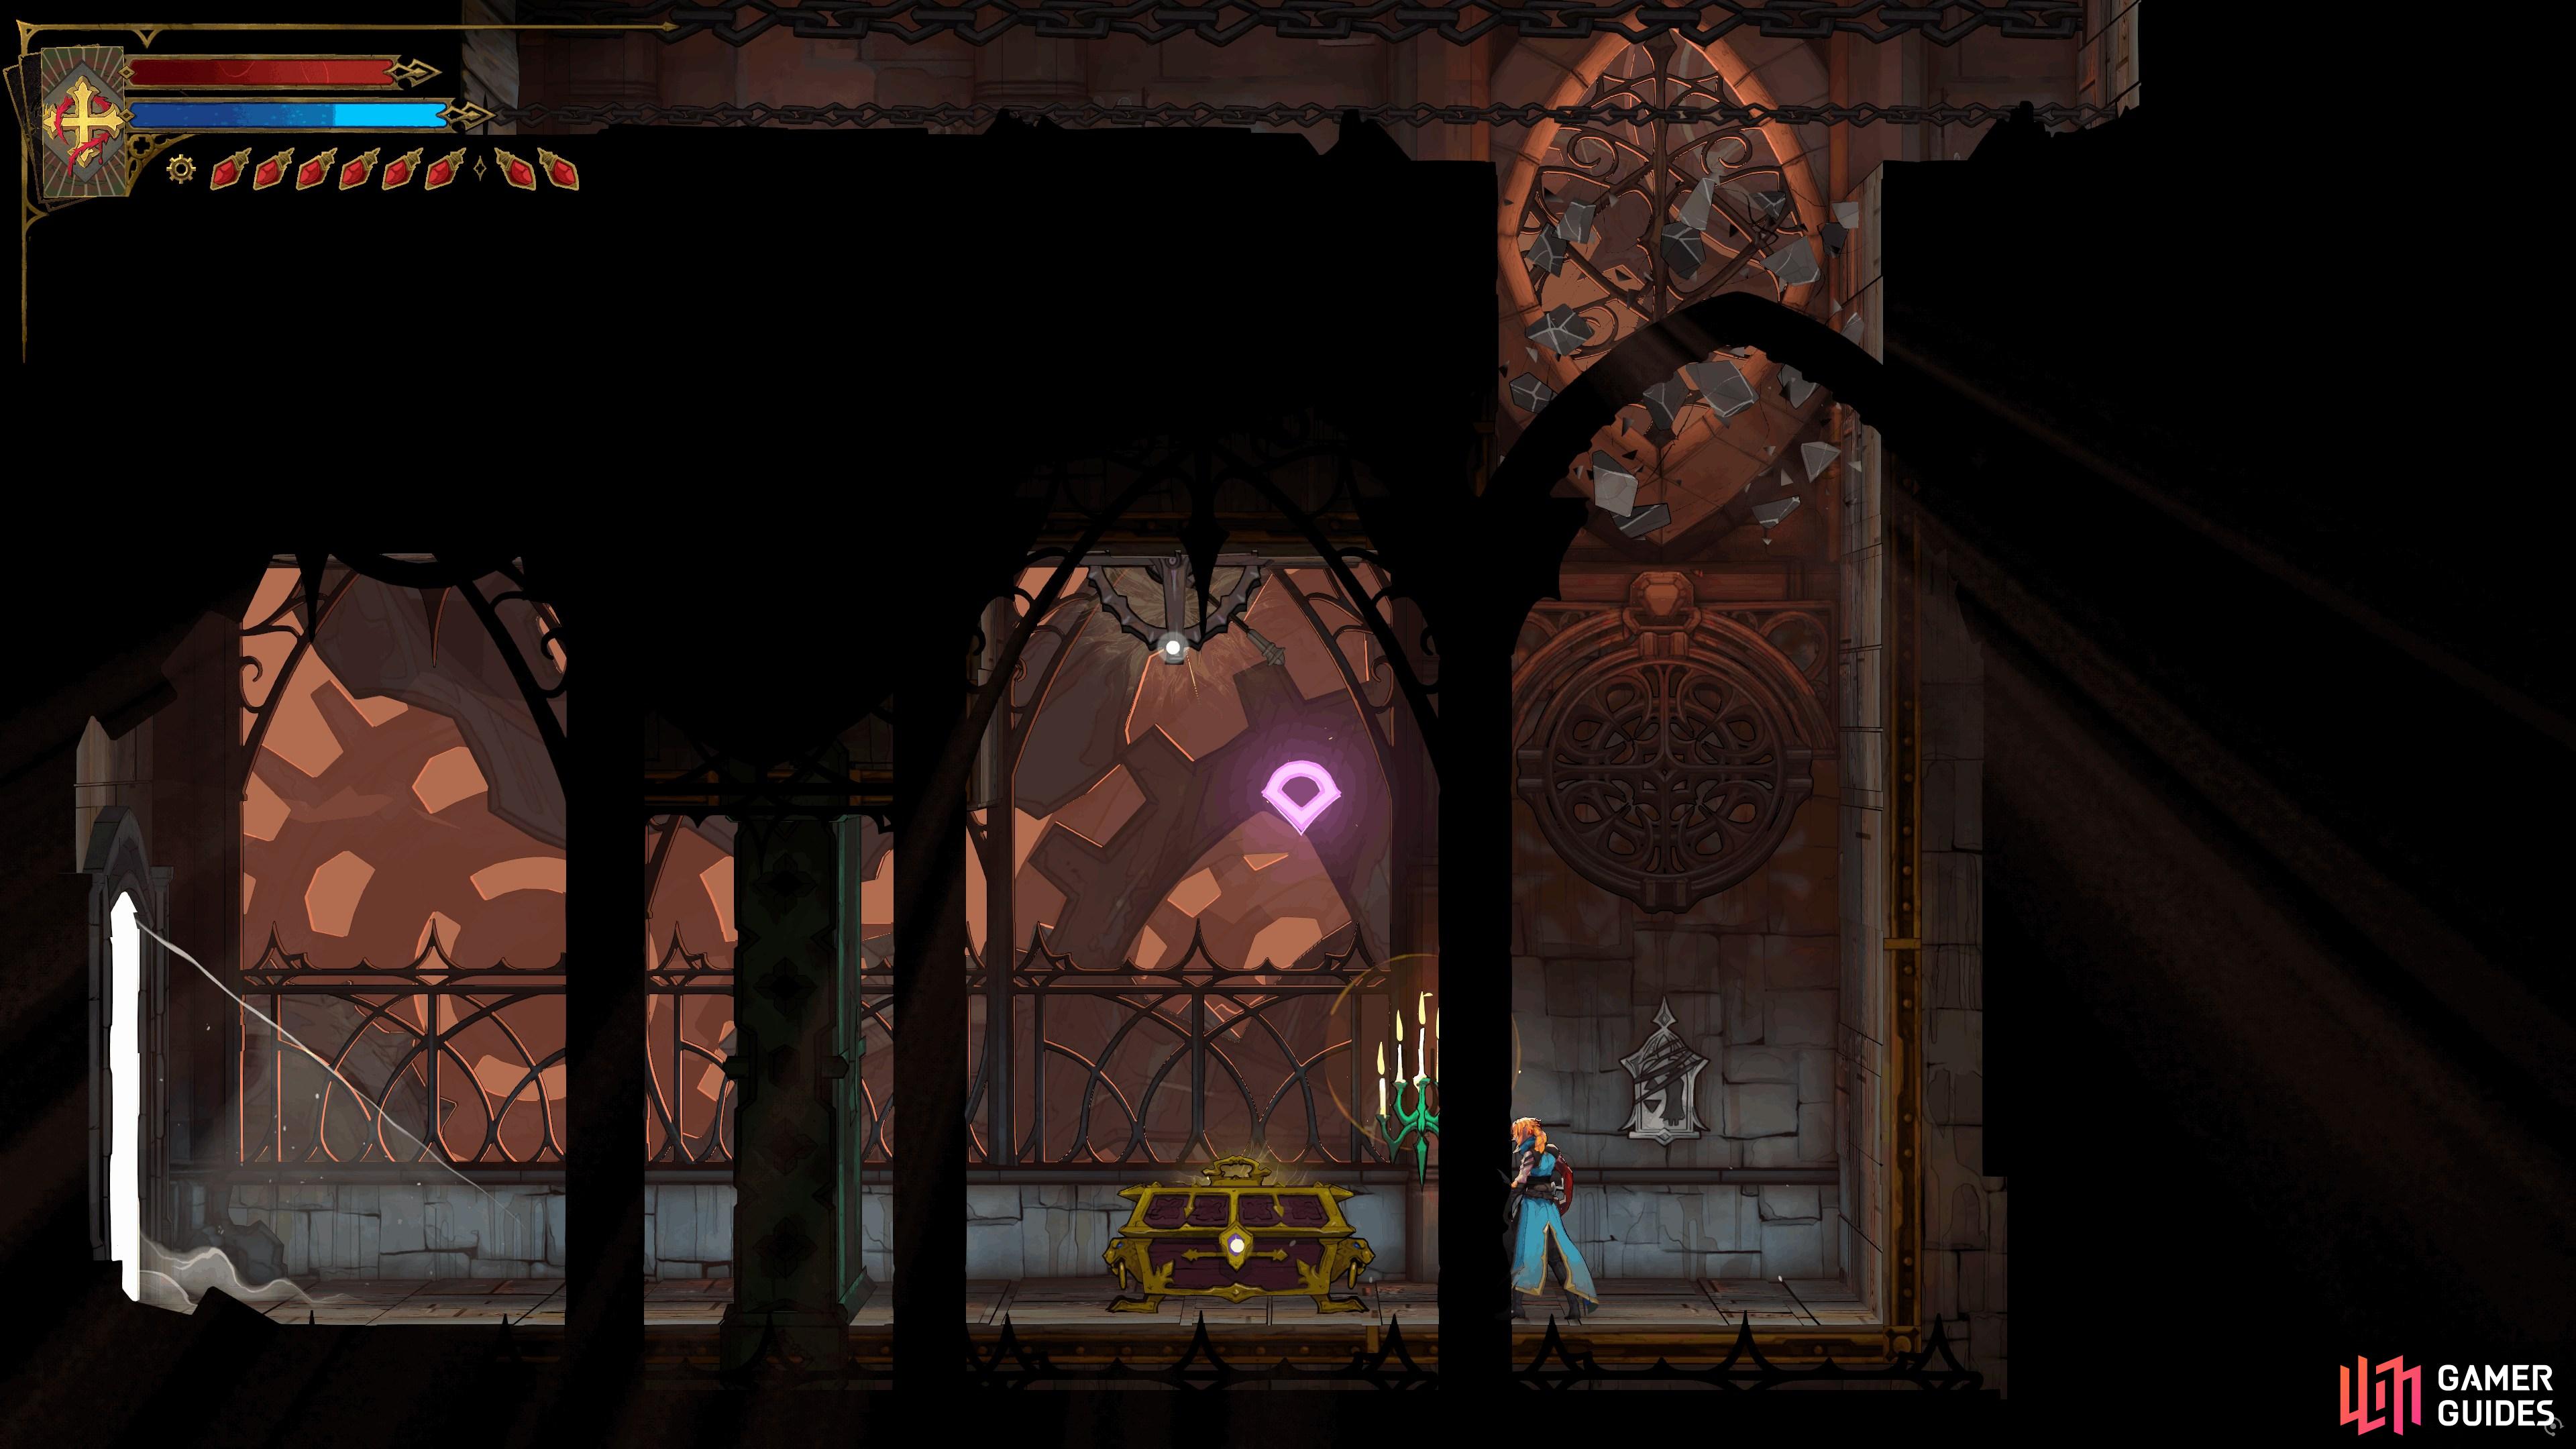
View on mapTo reach this chest in The Way of the Fist in the
 Clock Tower, you must first go up the left side of the room and look for an anchor after a trio of falling blocks.
From there, swing over to the northeast and then you can come back down on the east side of the room.
As you do, there will be multiple blocks trying to crush you from the sides so you must be quick, remembering to activate
 Holy Light to phase through the Chaos Shards.
 -
9
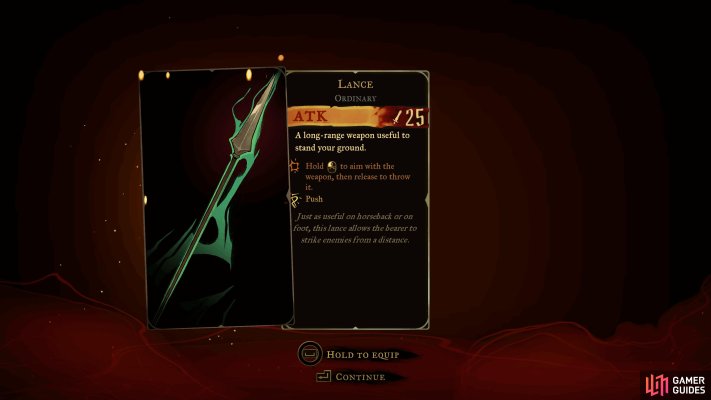
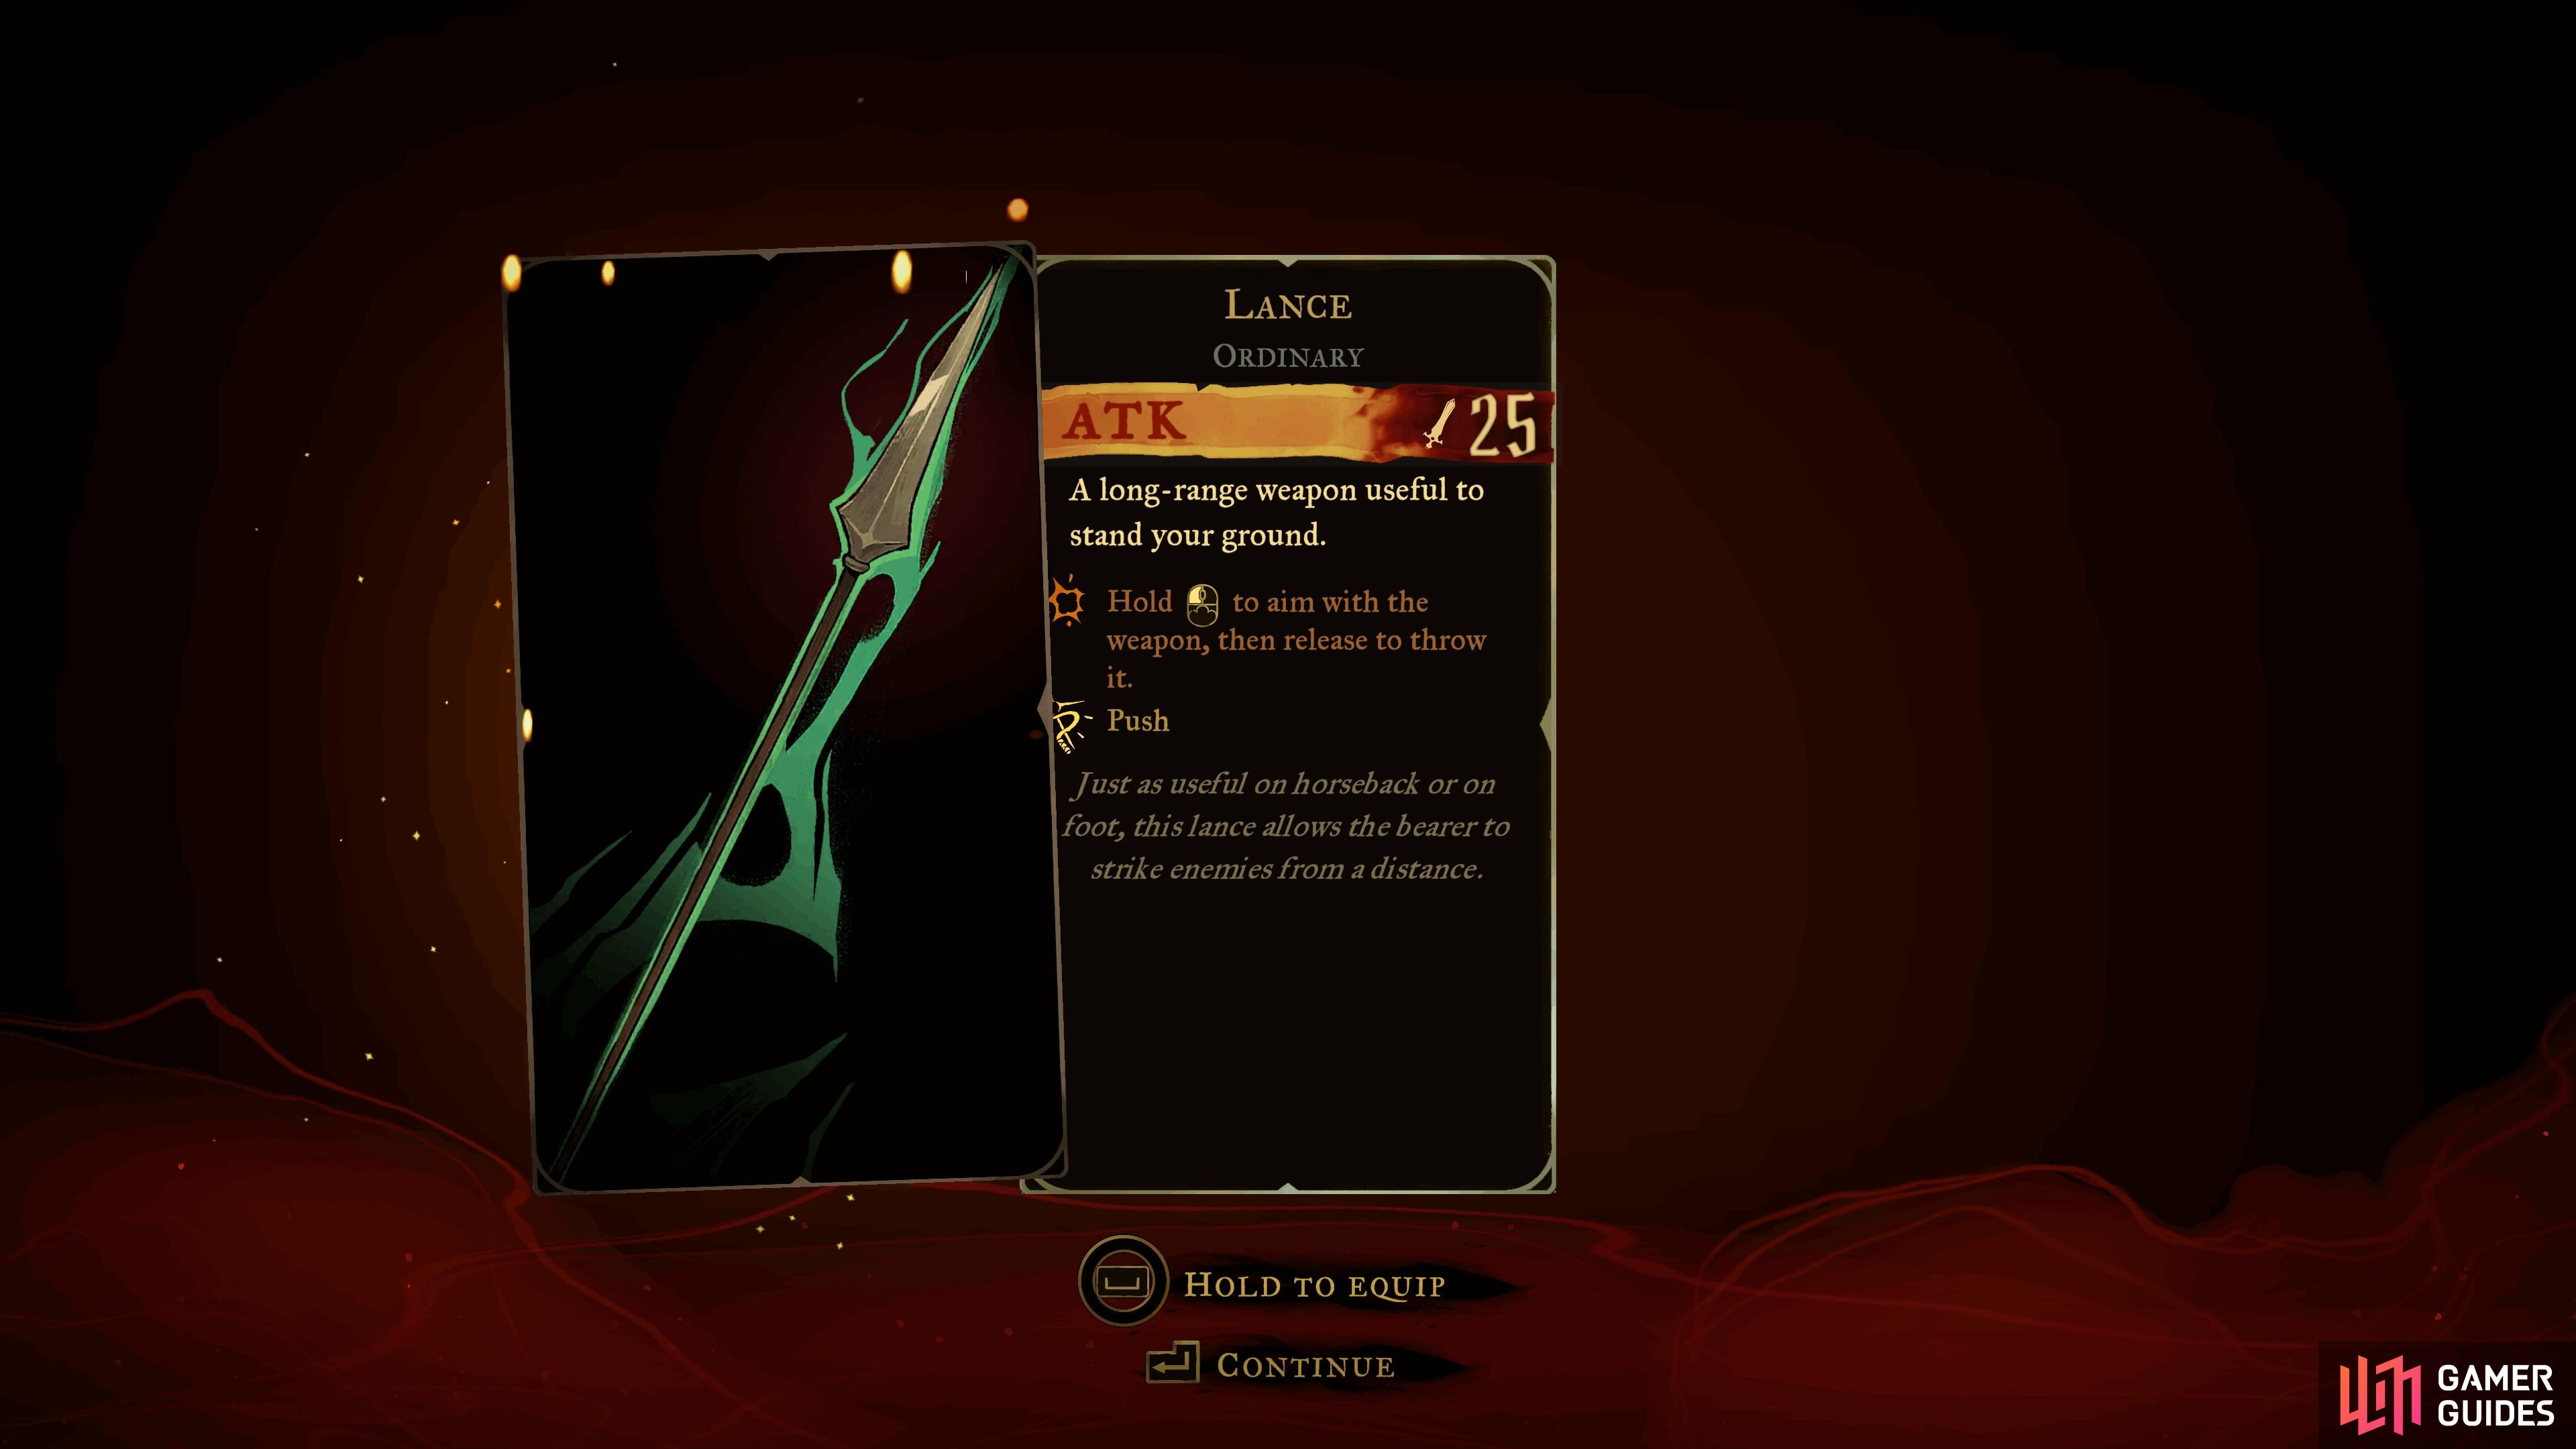
Lance
View on mapLocated in the chest on the upper platform. Opening the chest will put you in a combat room.
-
10
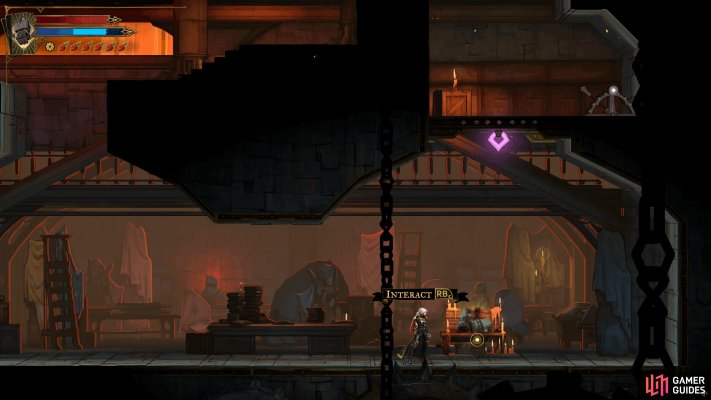
Fists of Talos
View on mapCan be found in Builder’s Bureau in the
Clock Tower, accessed after defeating  Talos and breaking through the Destructible Block southwest of the
  Elevator room.
 -
11
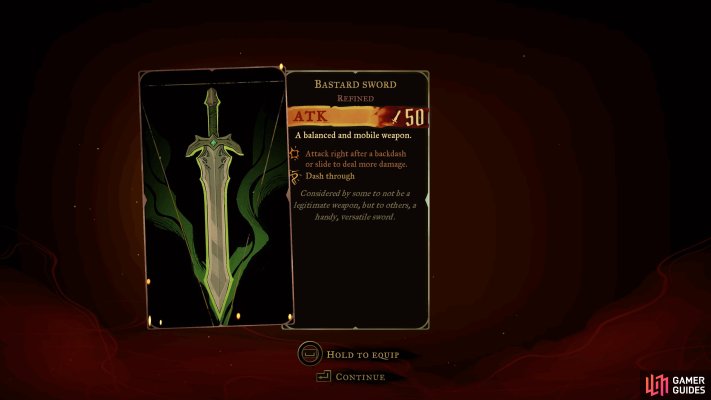
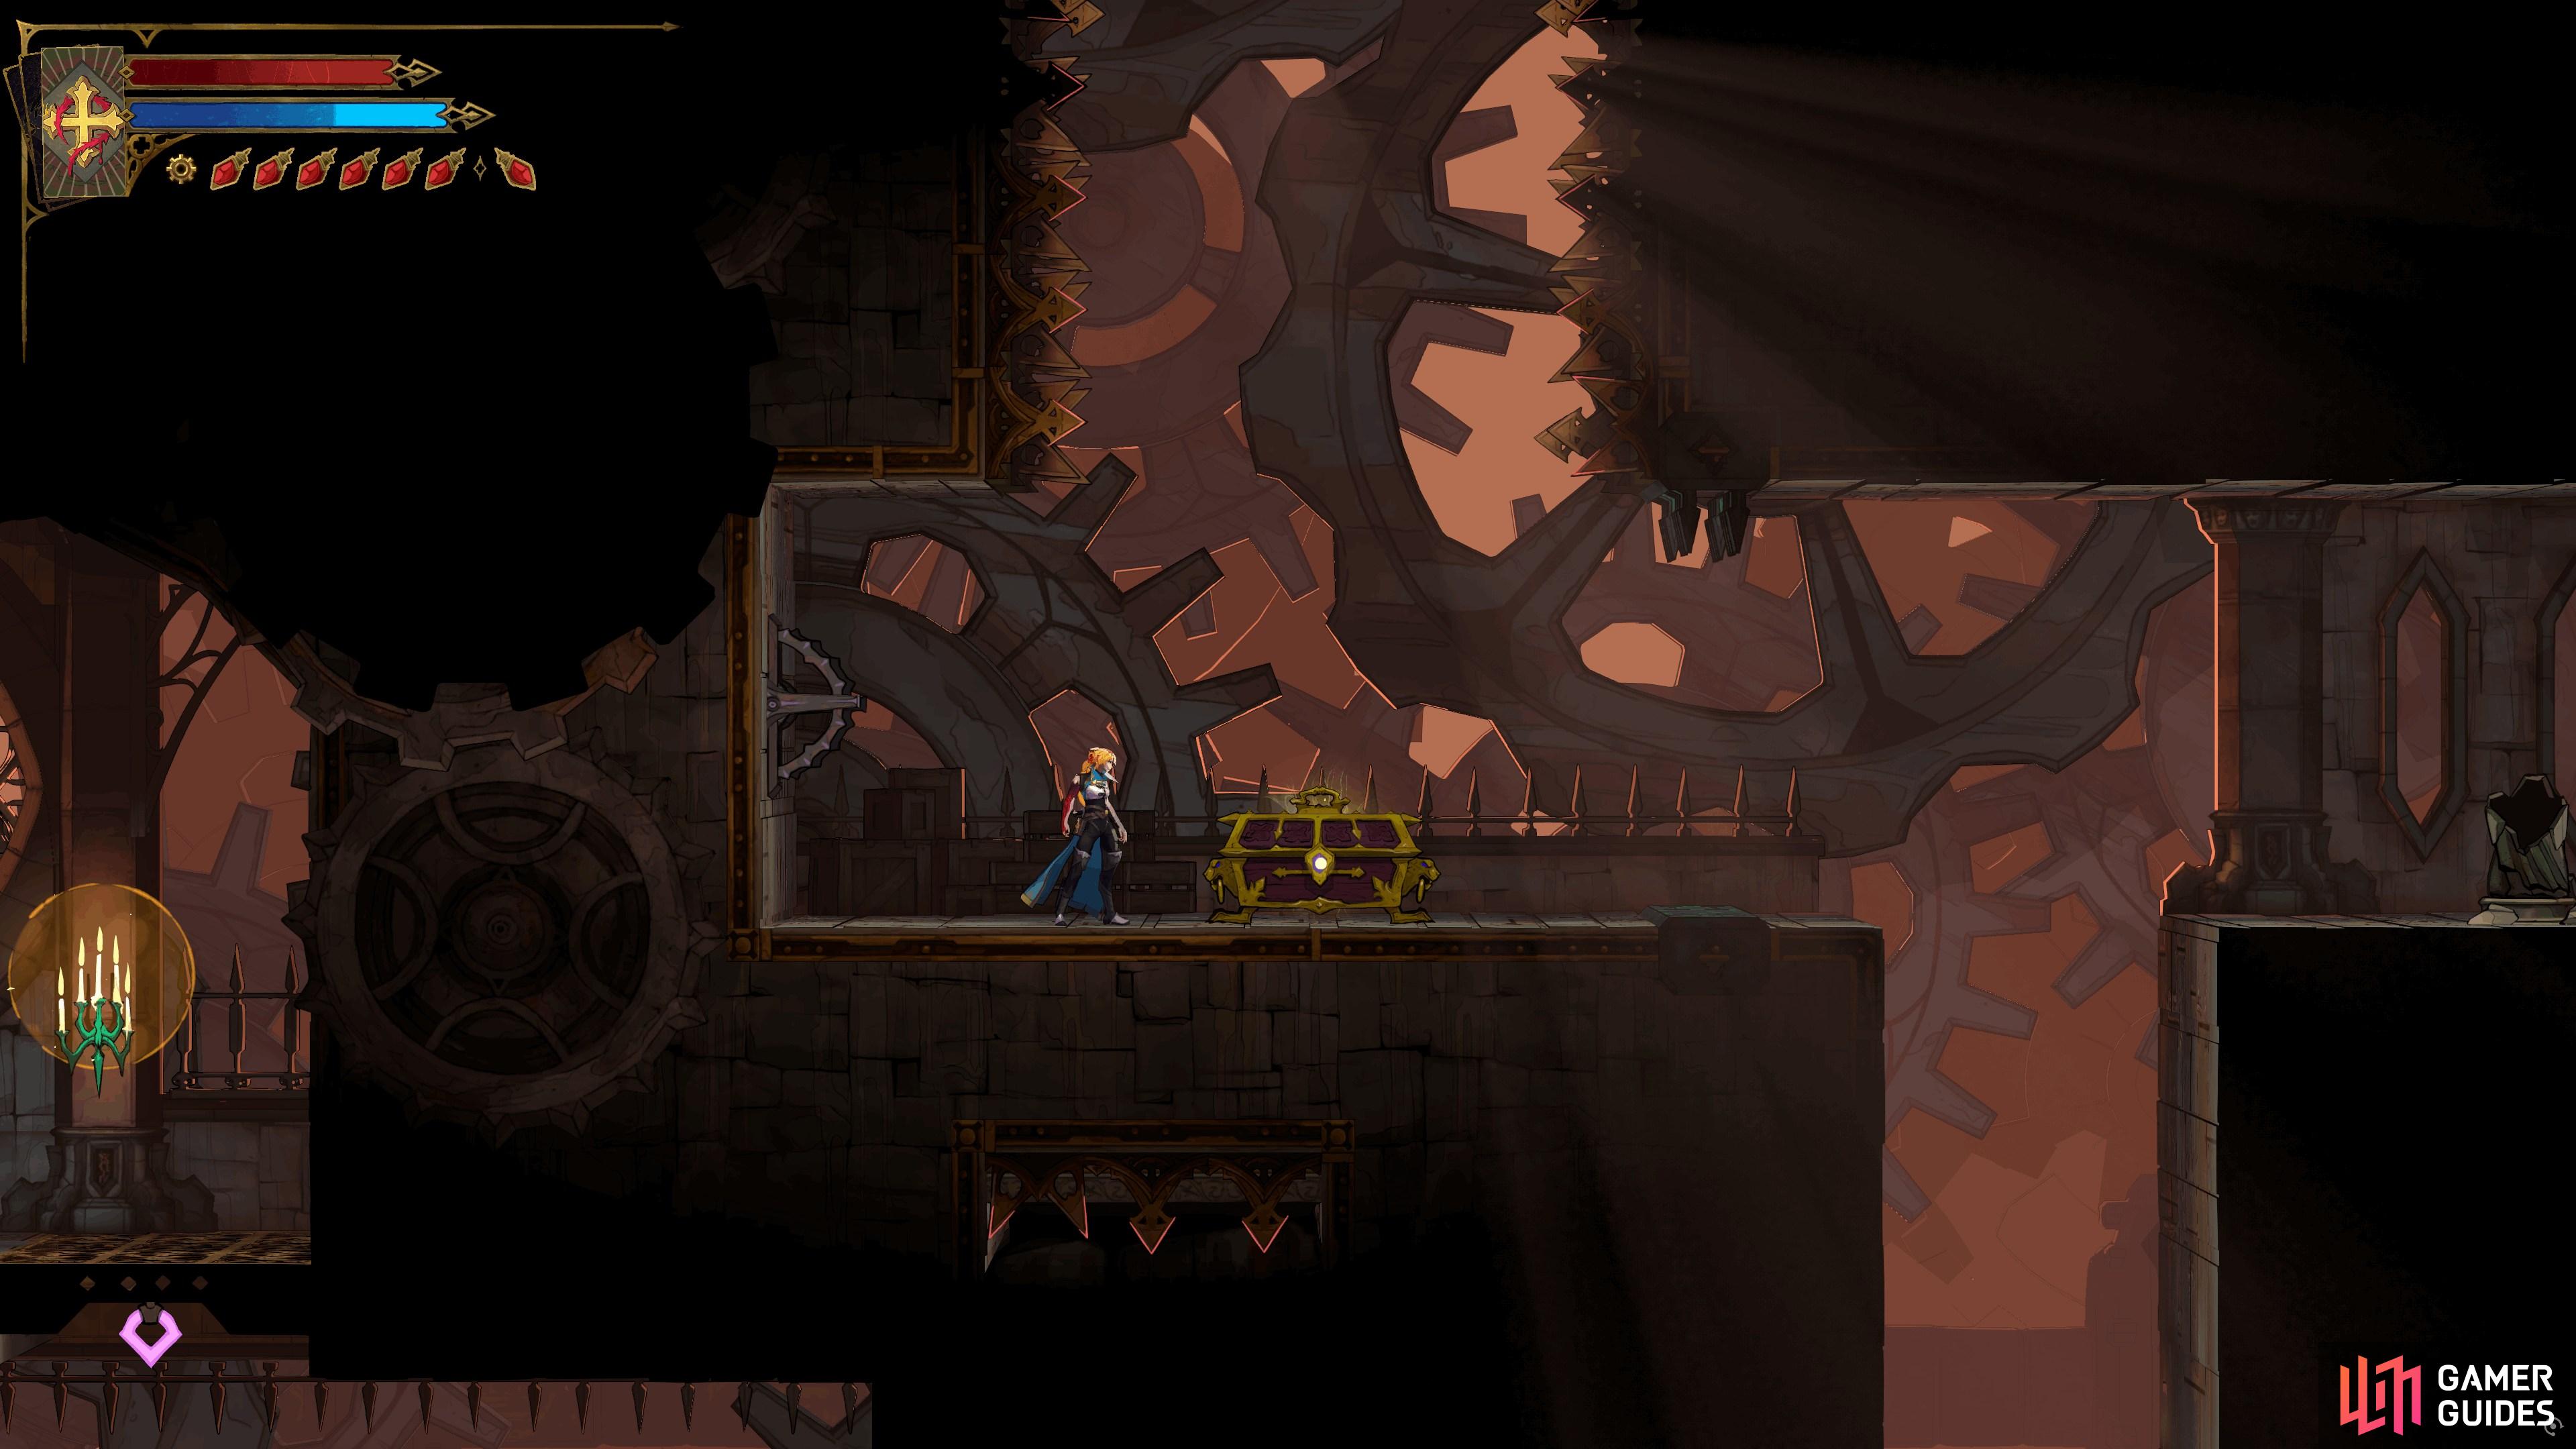
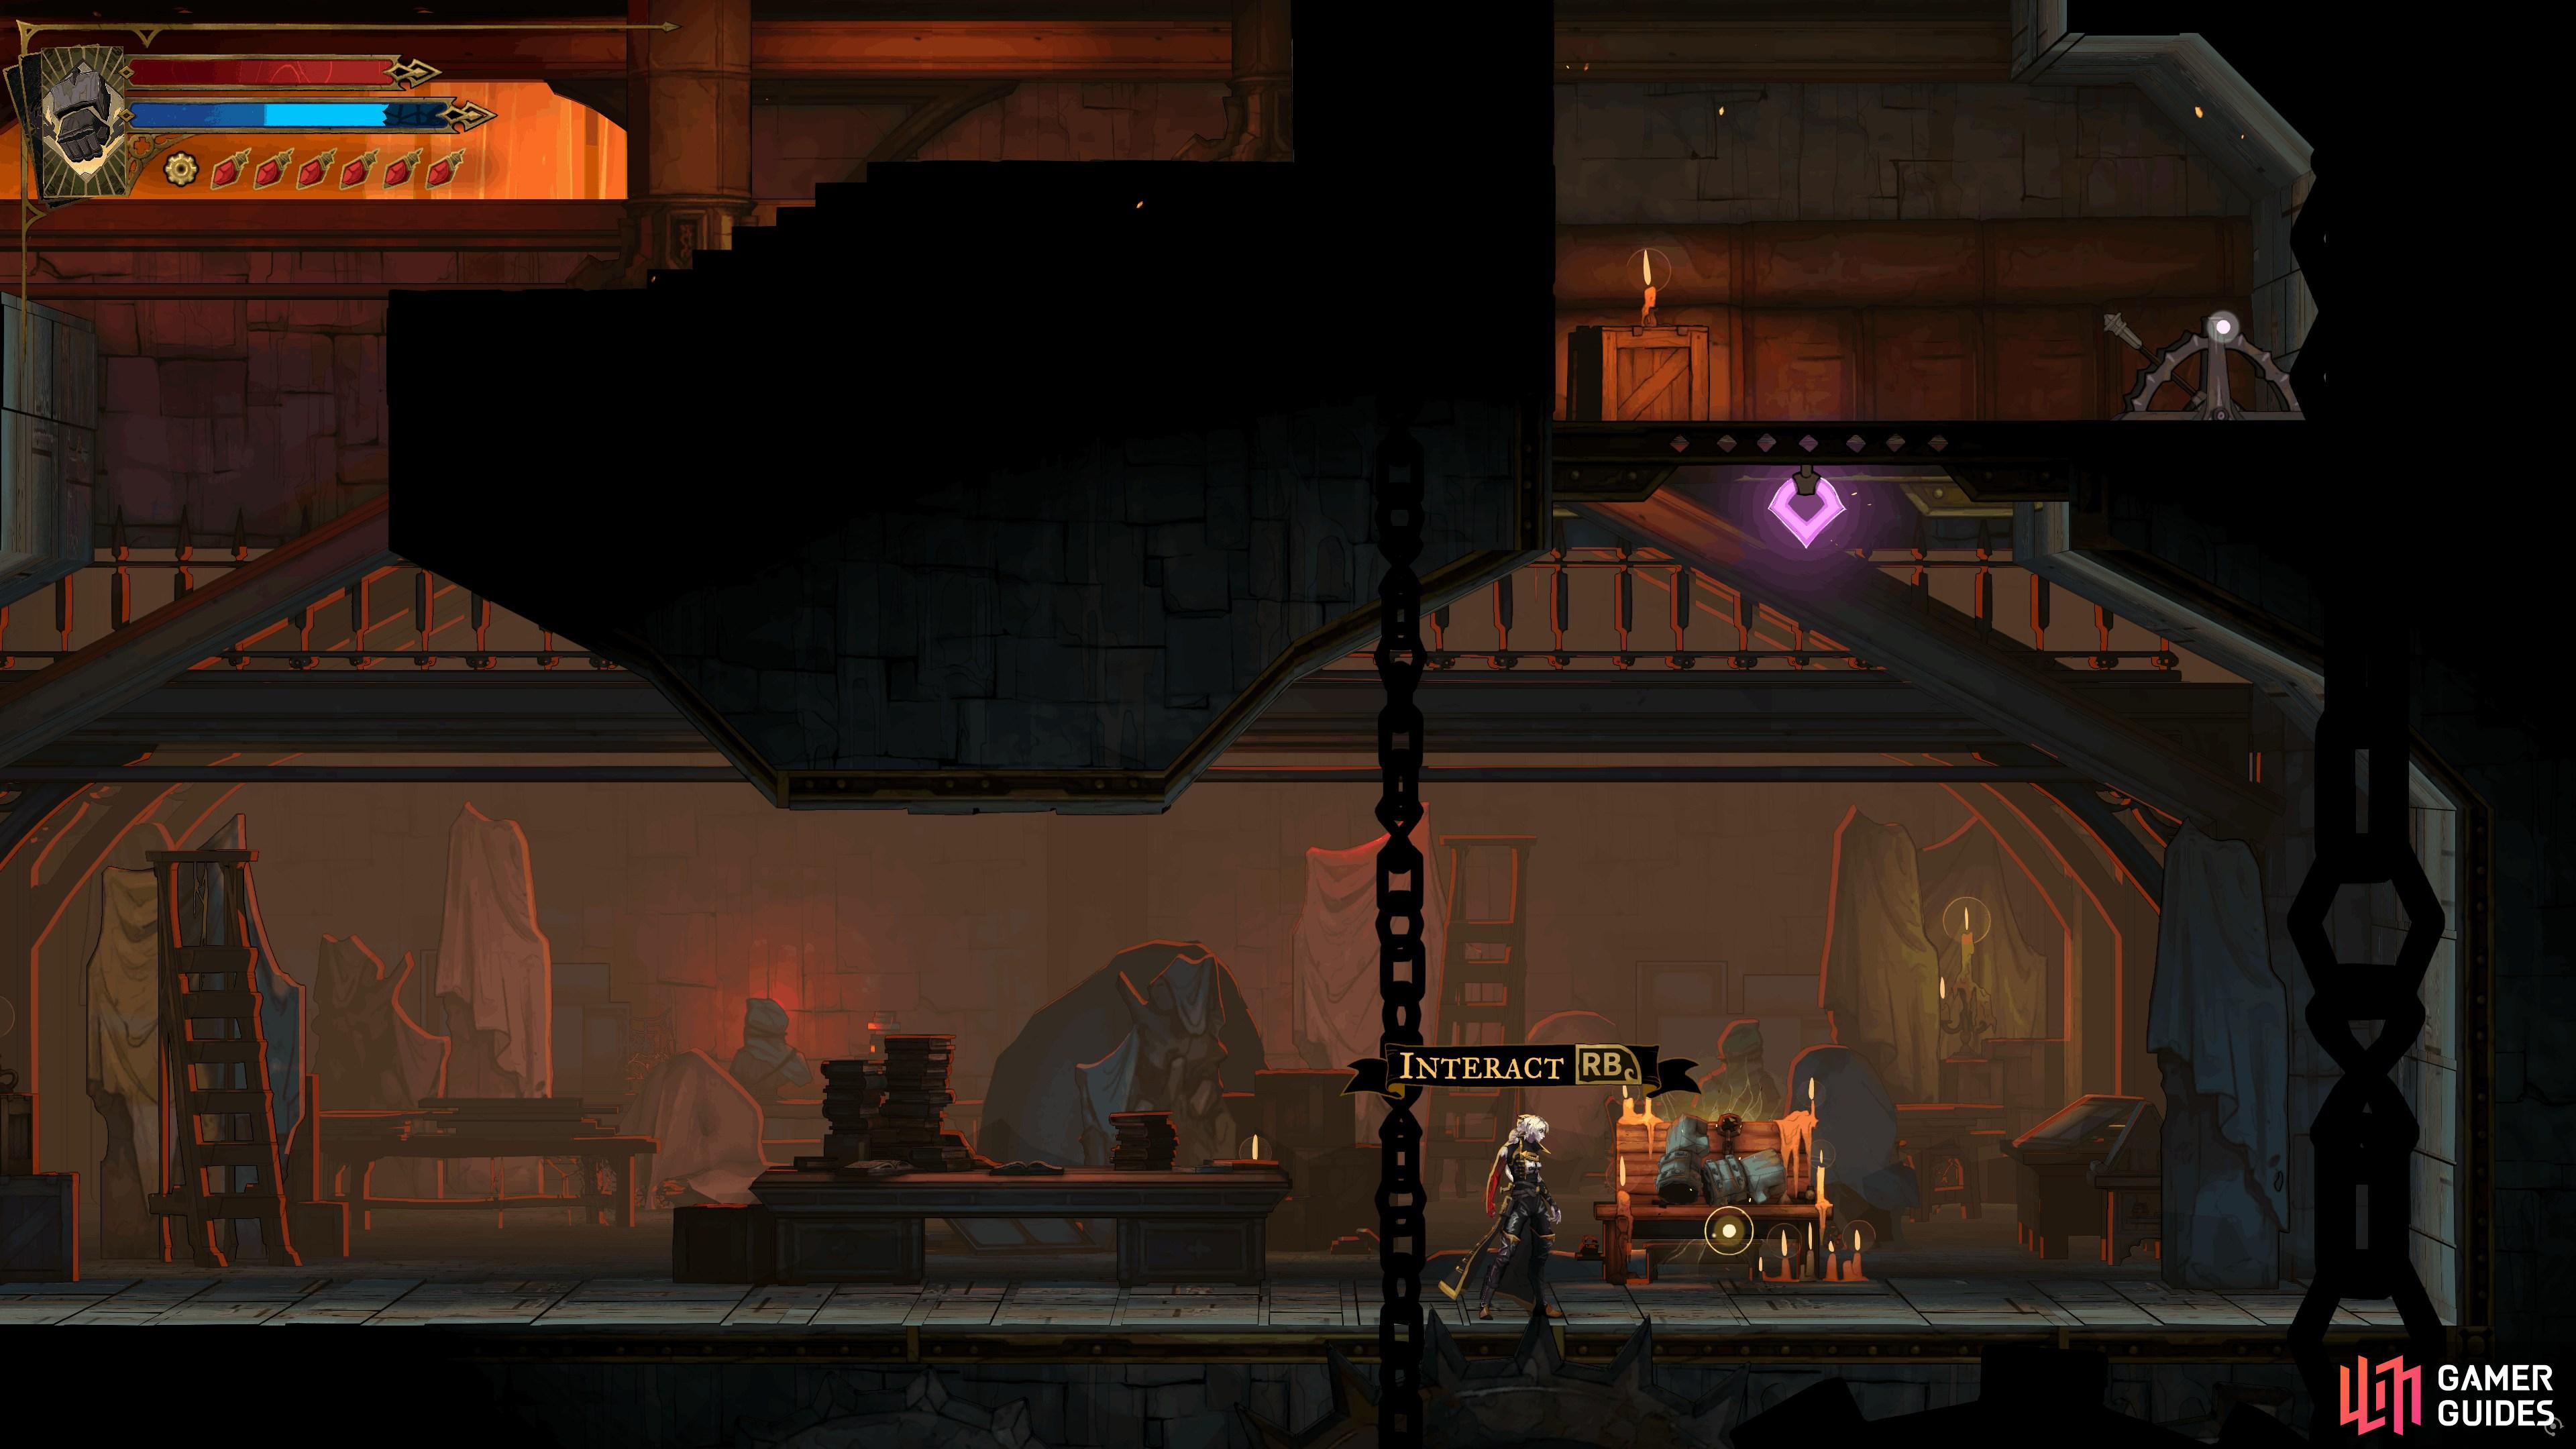
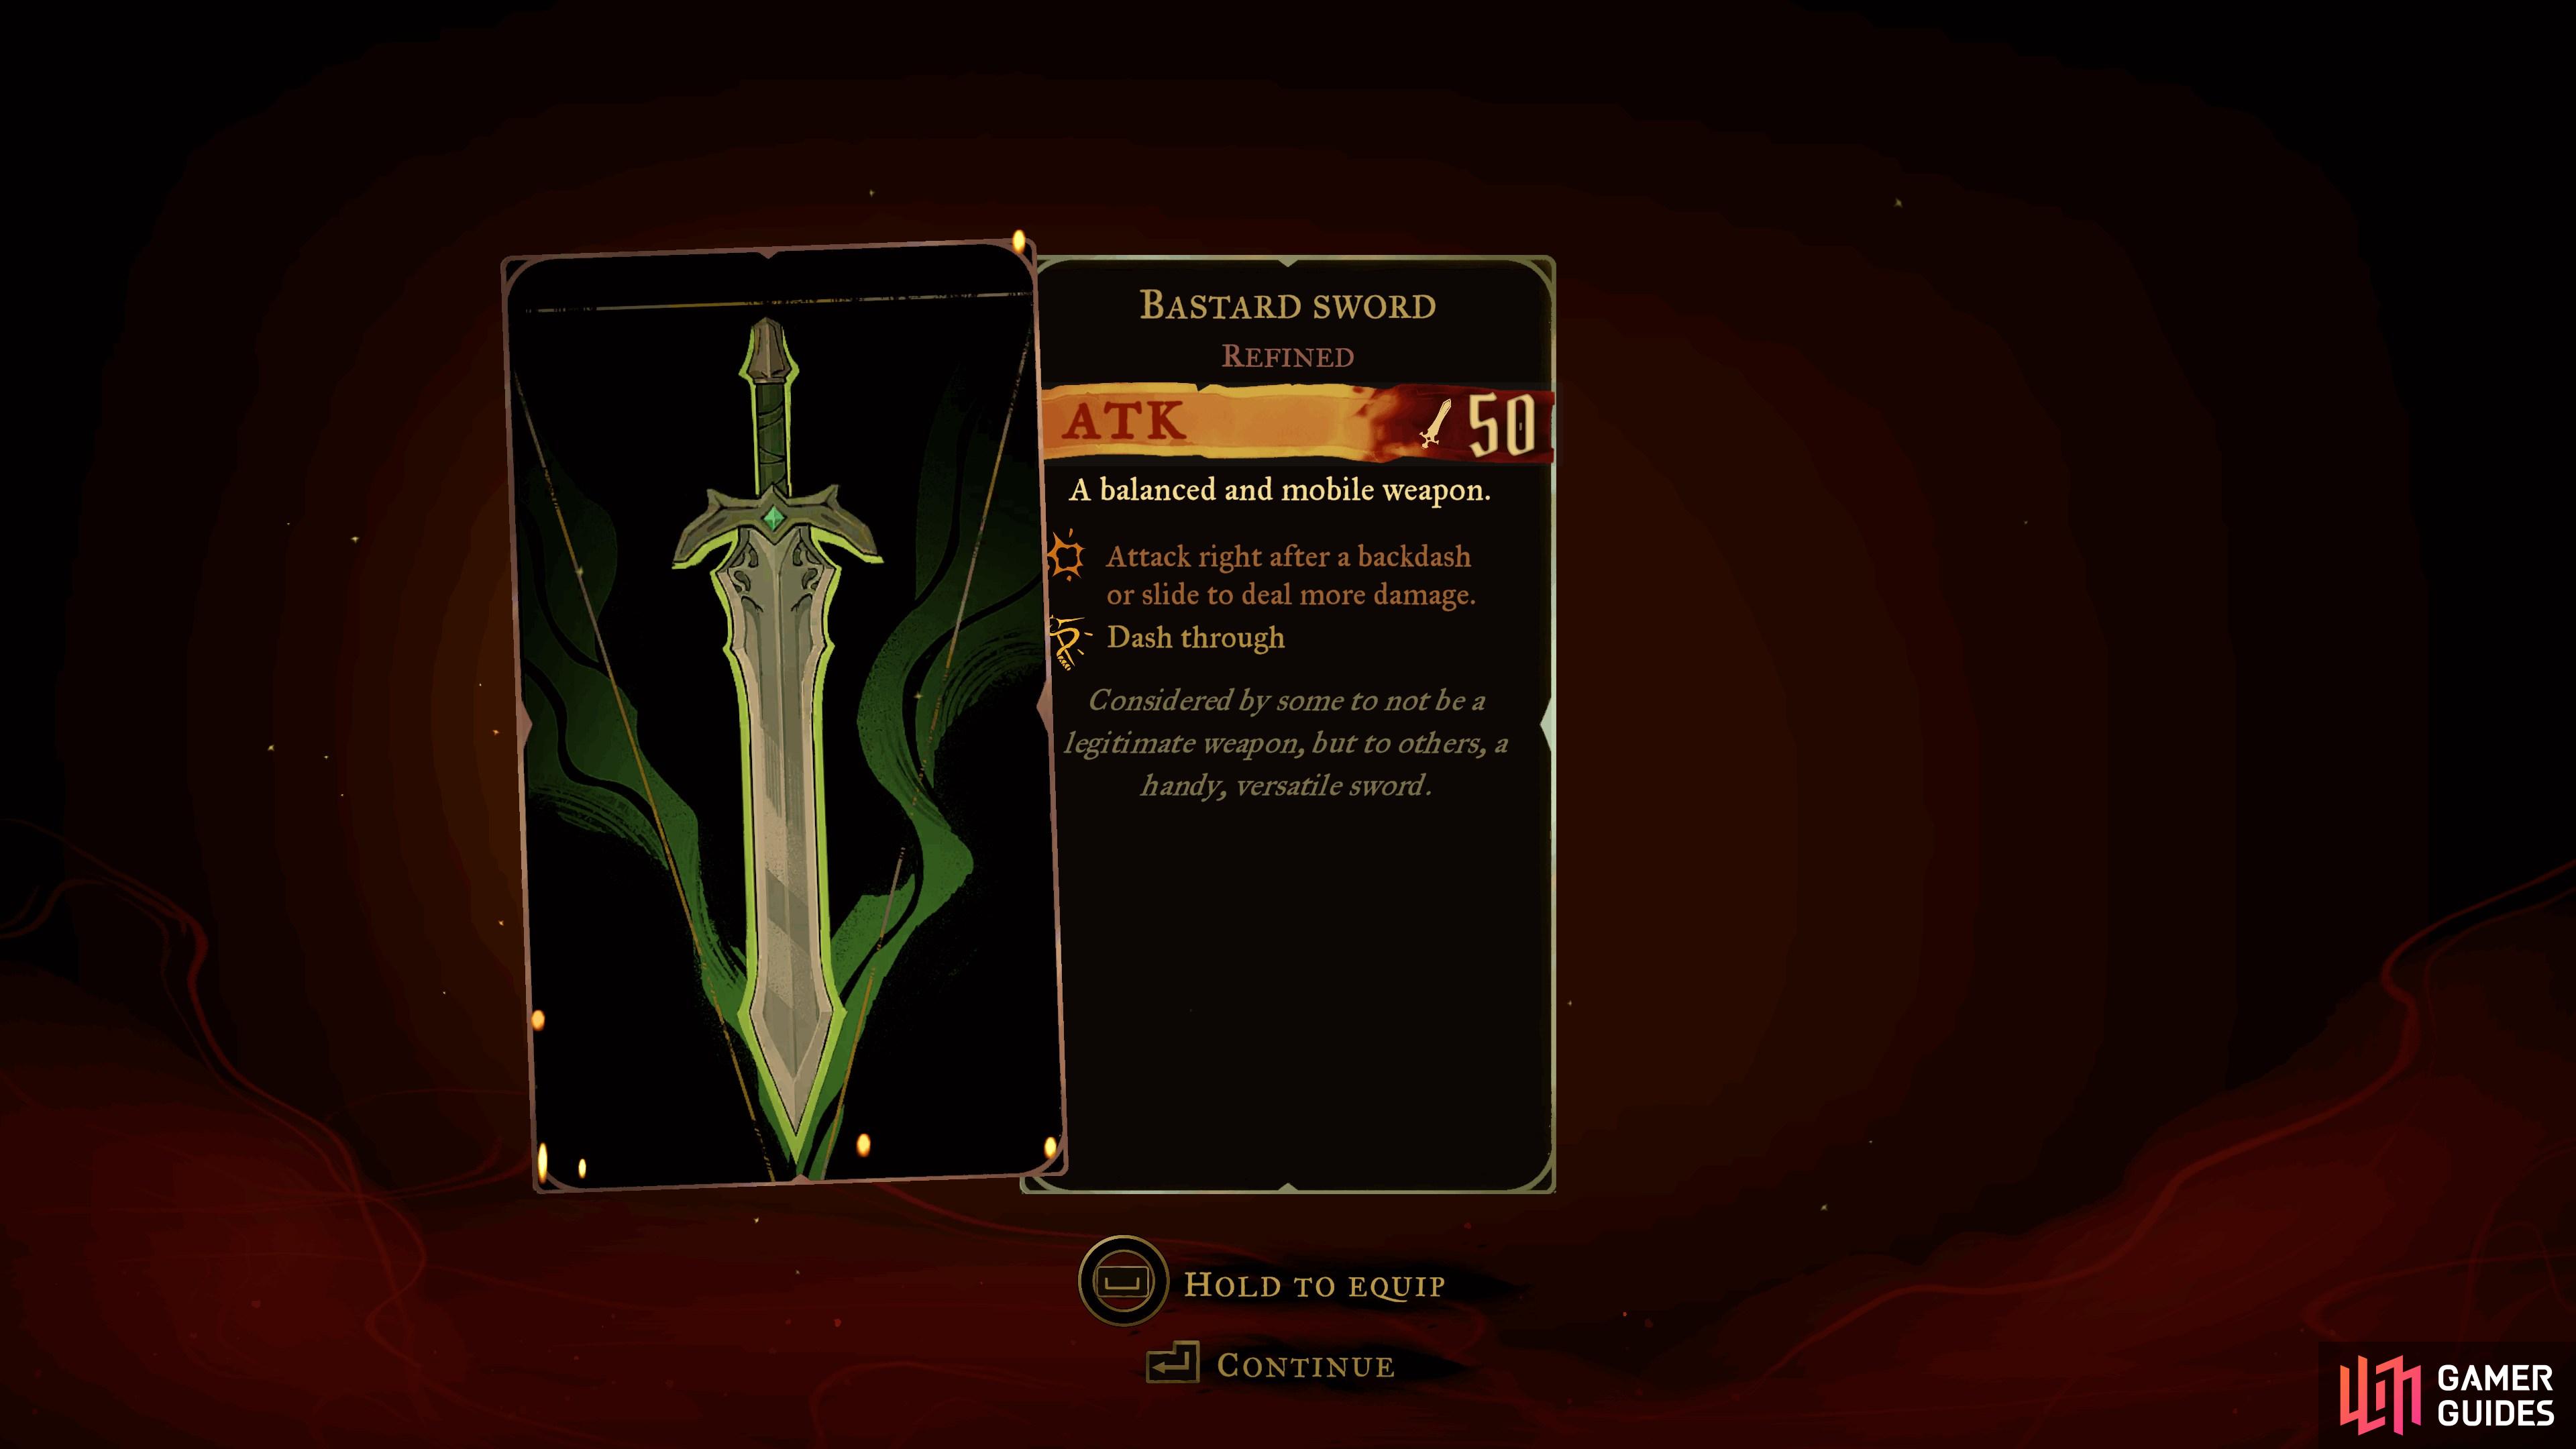
Bastard Sword
View on mapLocated in the chest on the upper floor after completing the platforming challenge.
-
12
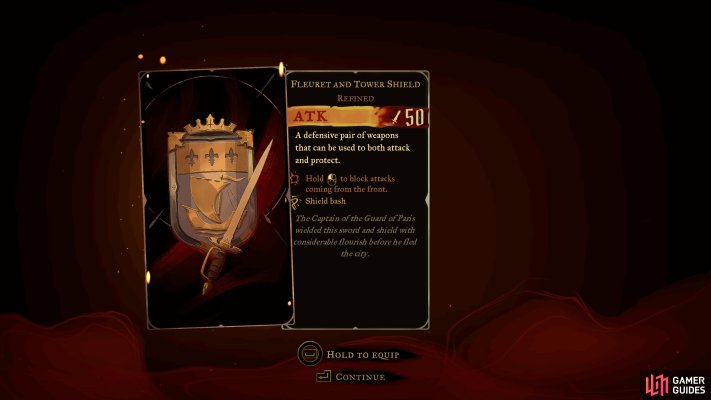
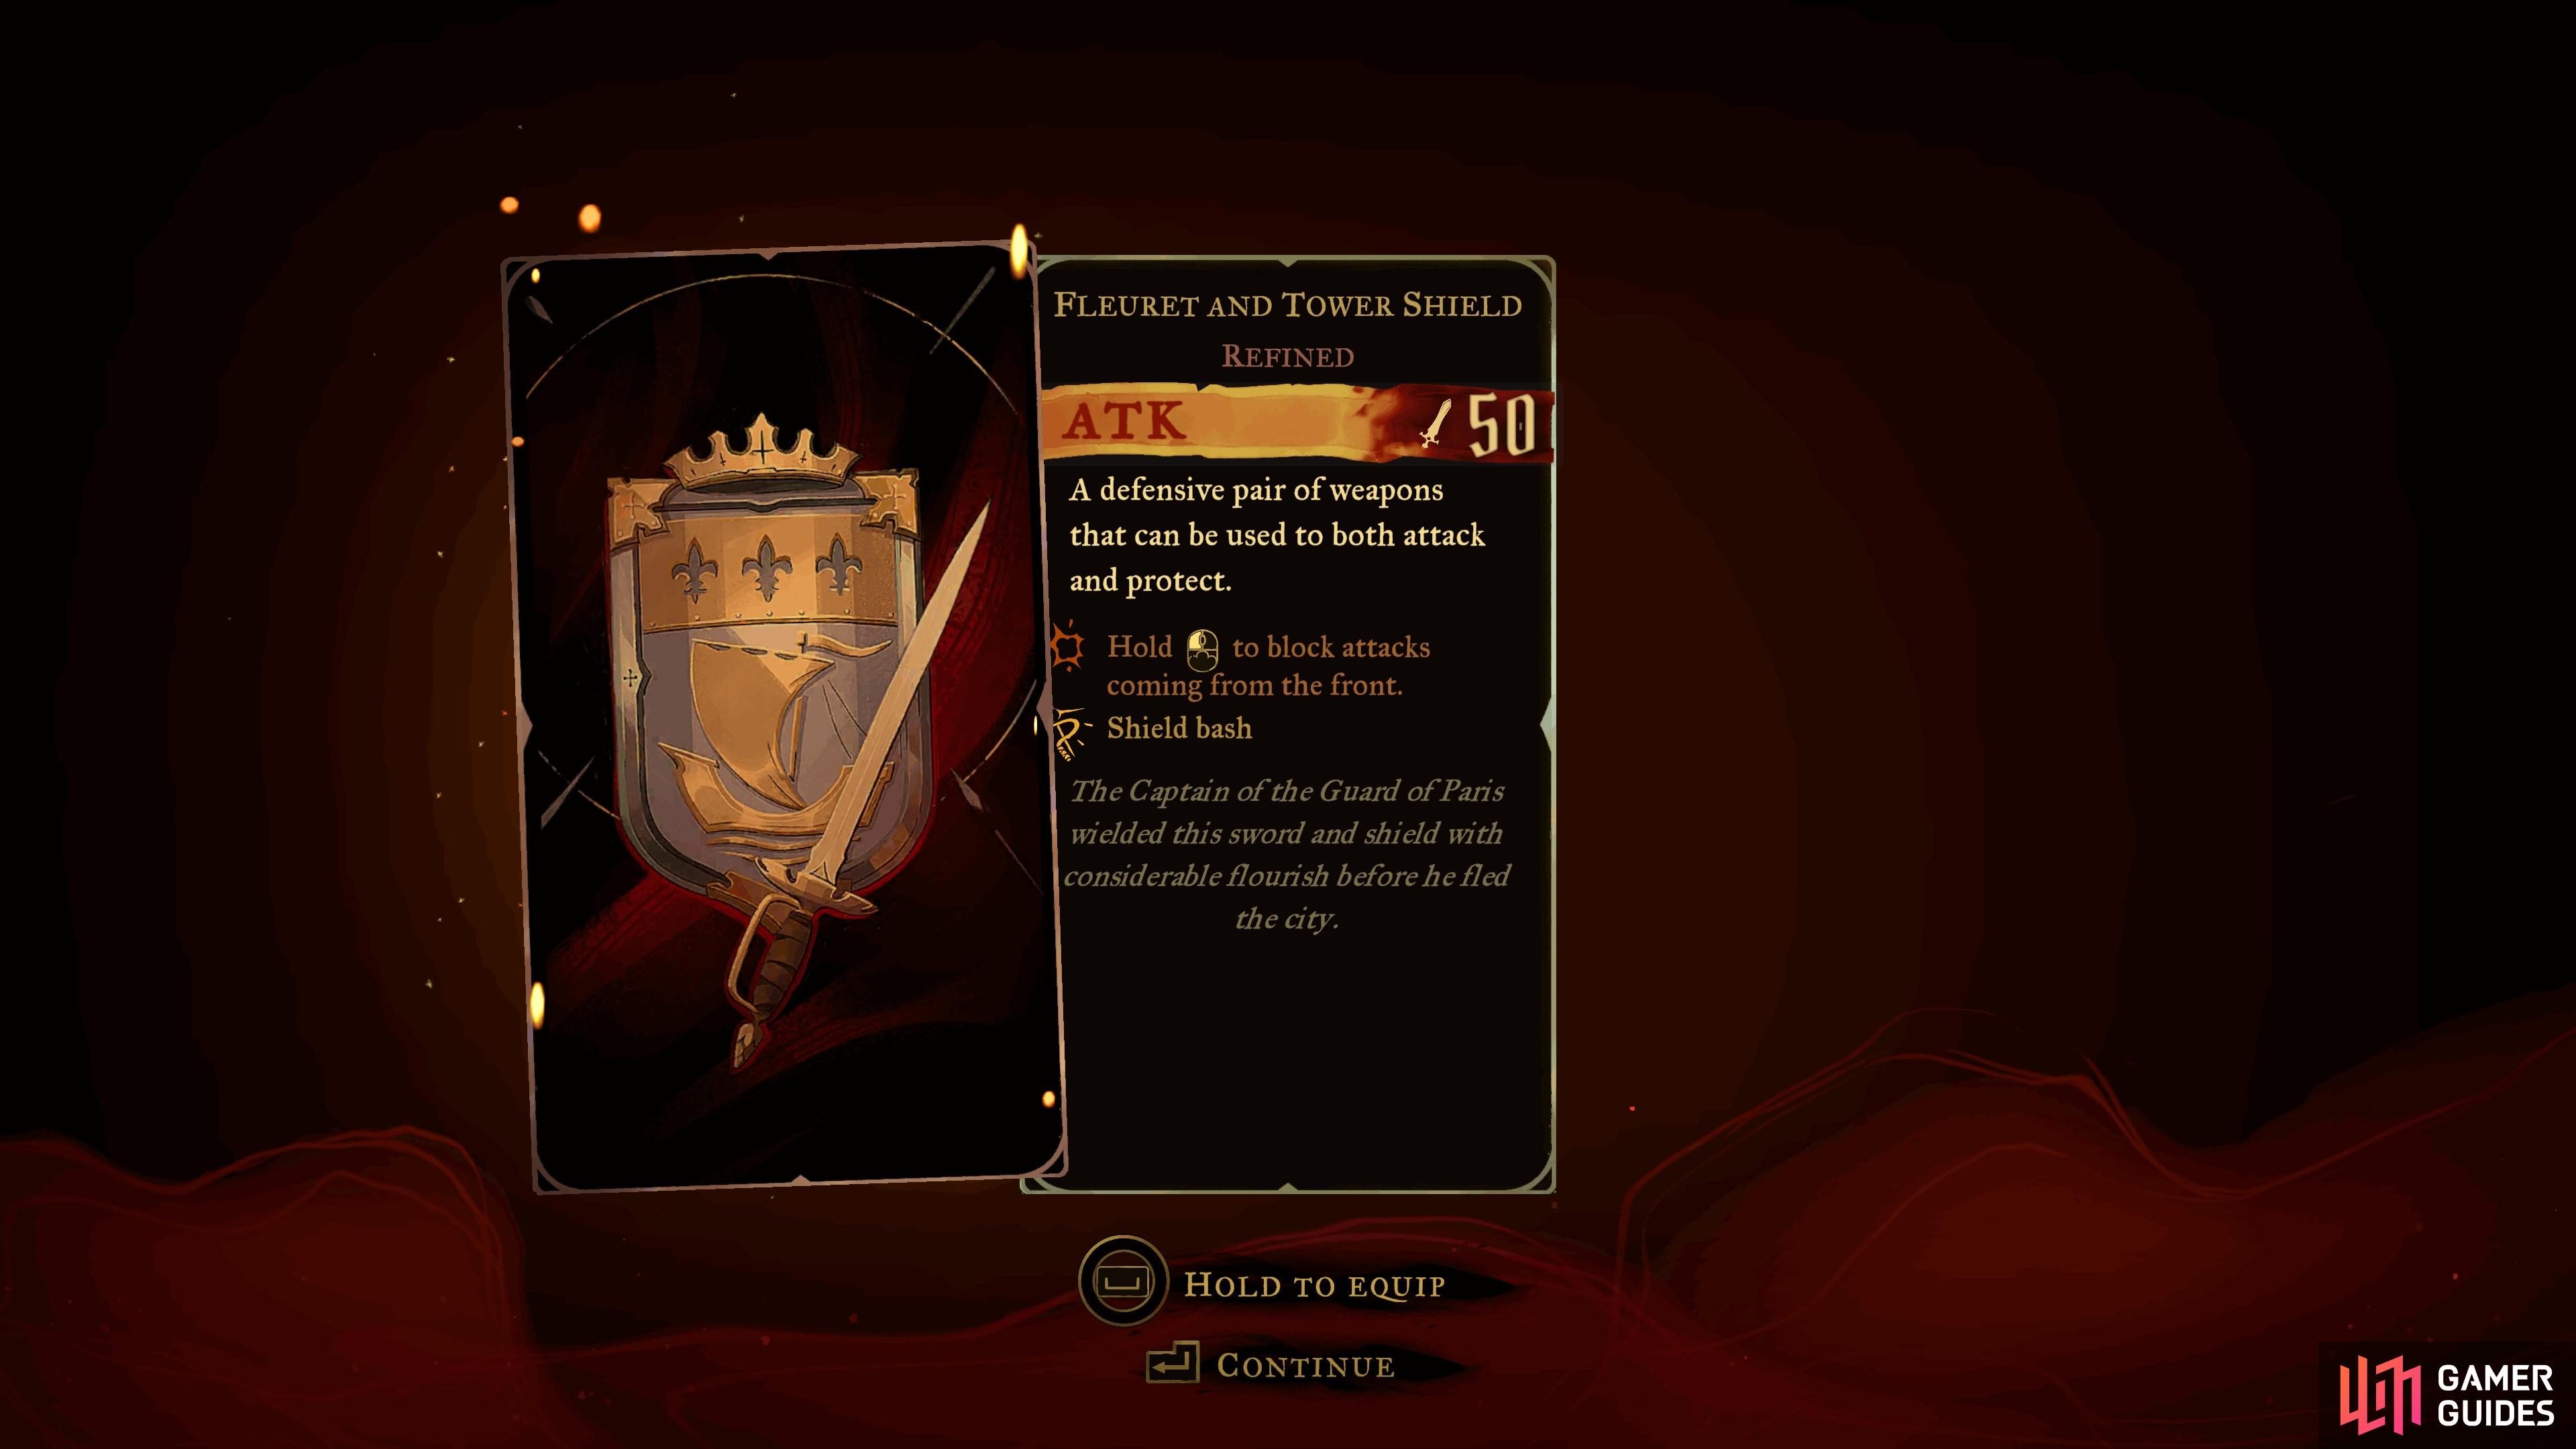
Fleuret and Tower Shield
View on mapLocated in the hidden room in the north of the Condemned Shelves room in the
 Library. Must complete the puzzle in the south of the room to reach the hidden room.
 -
13
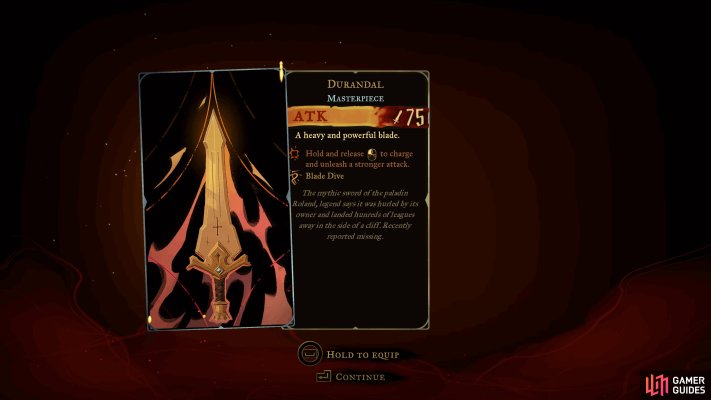
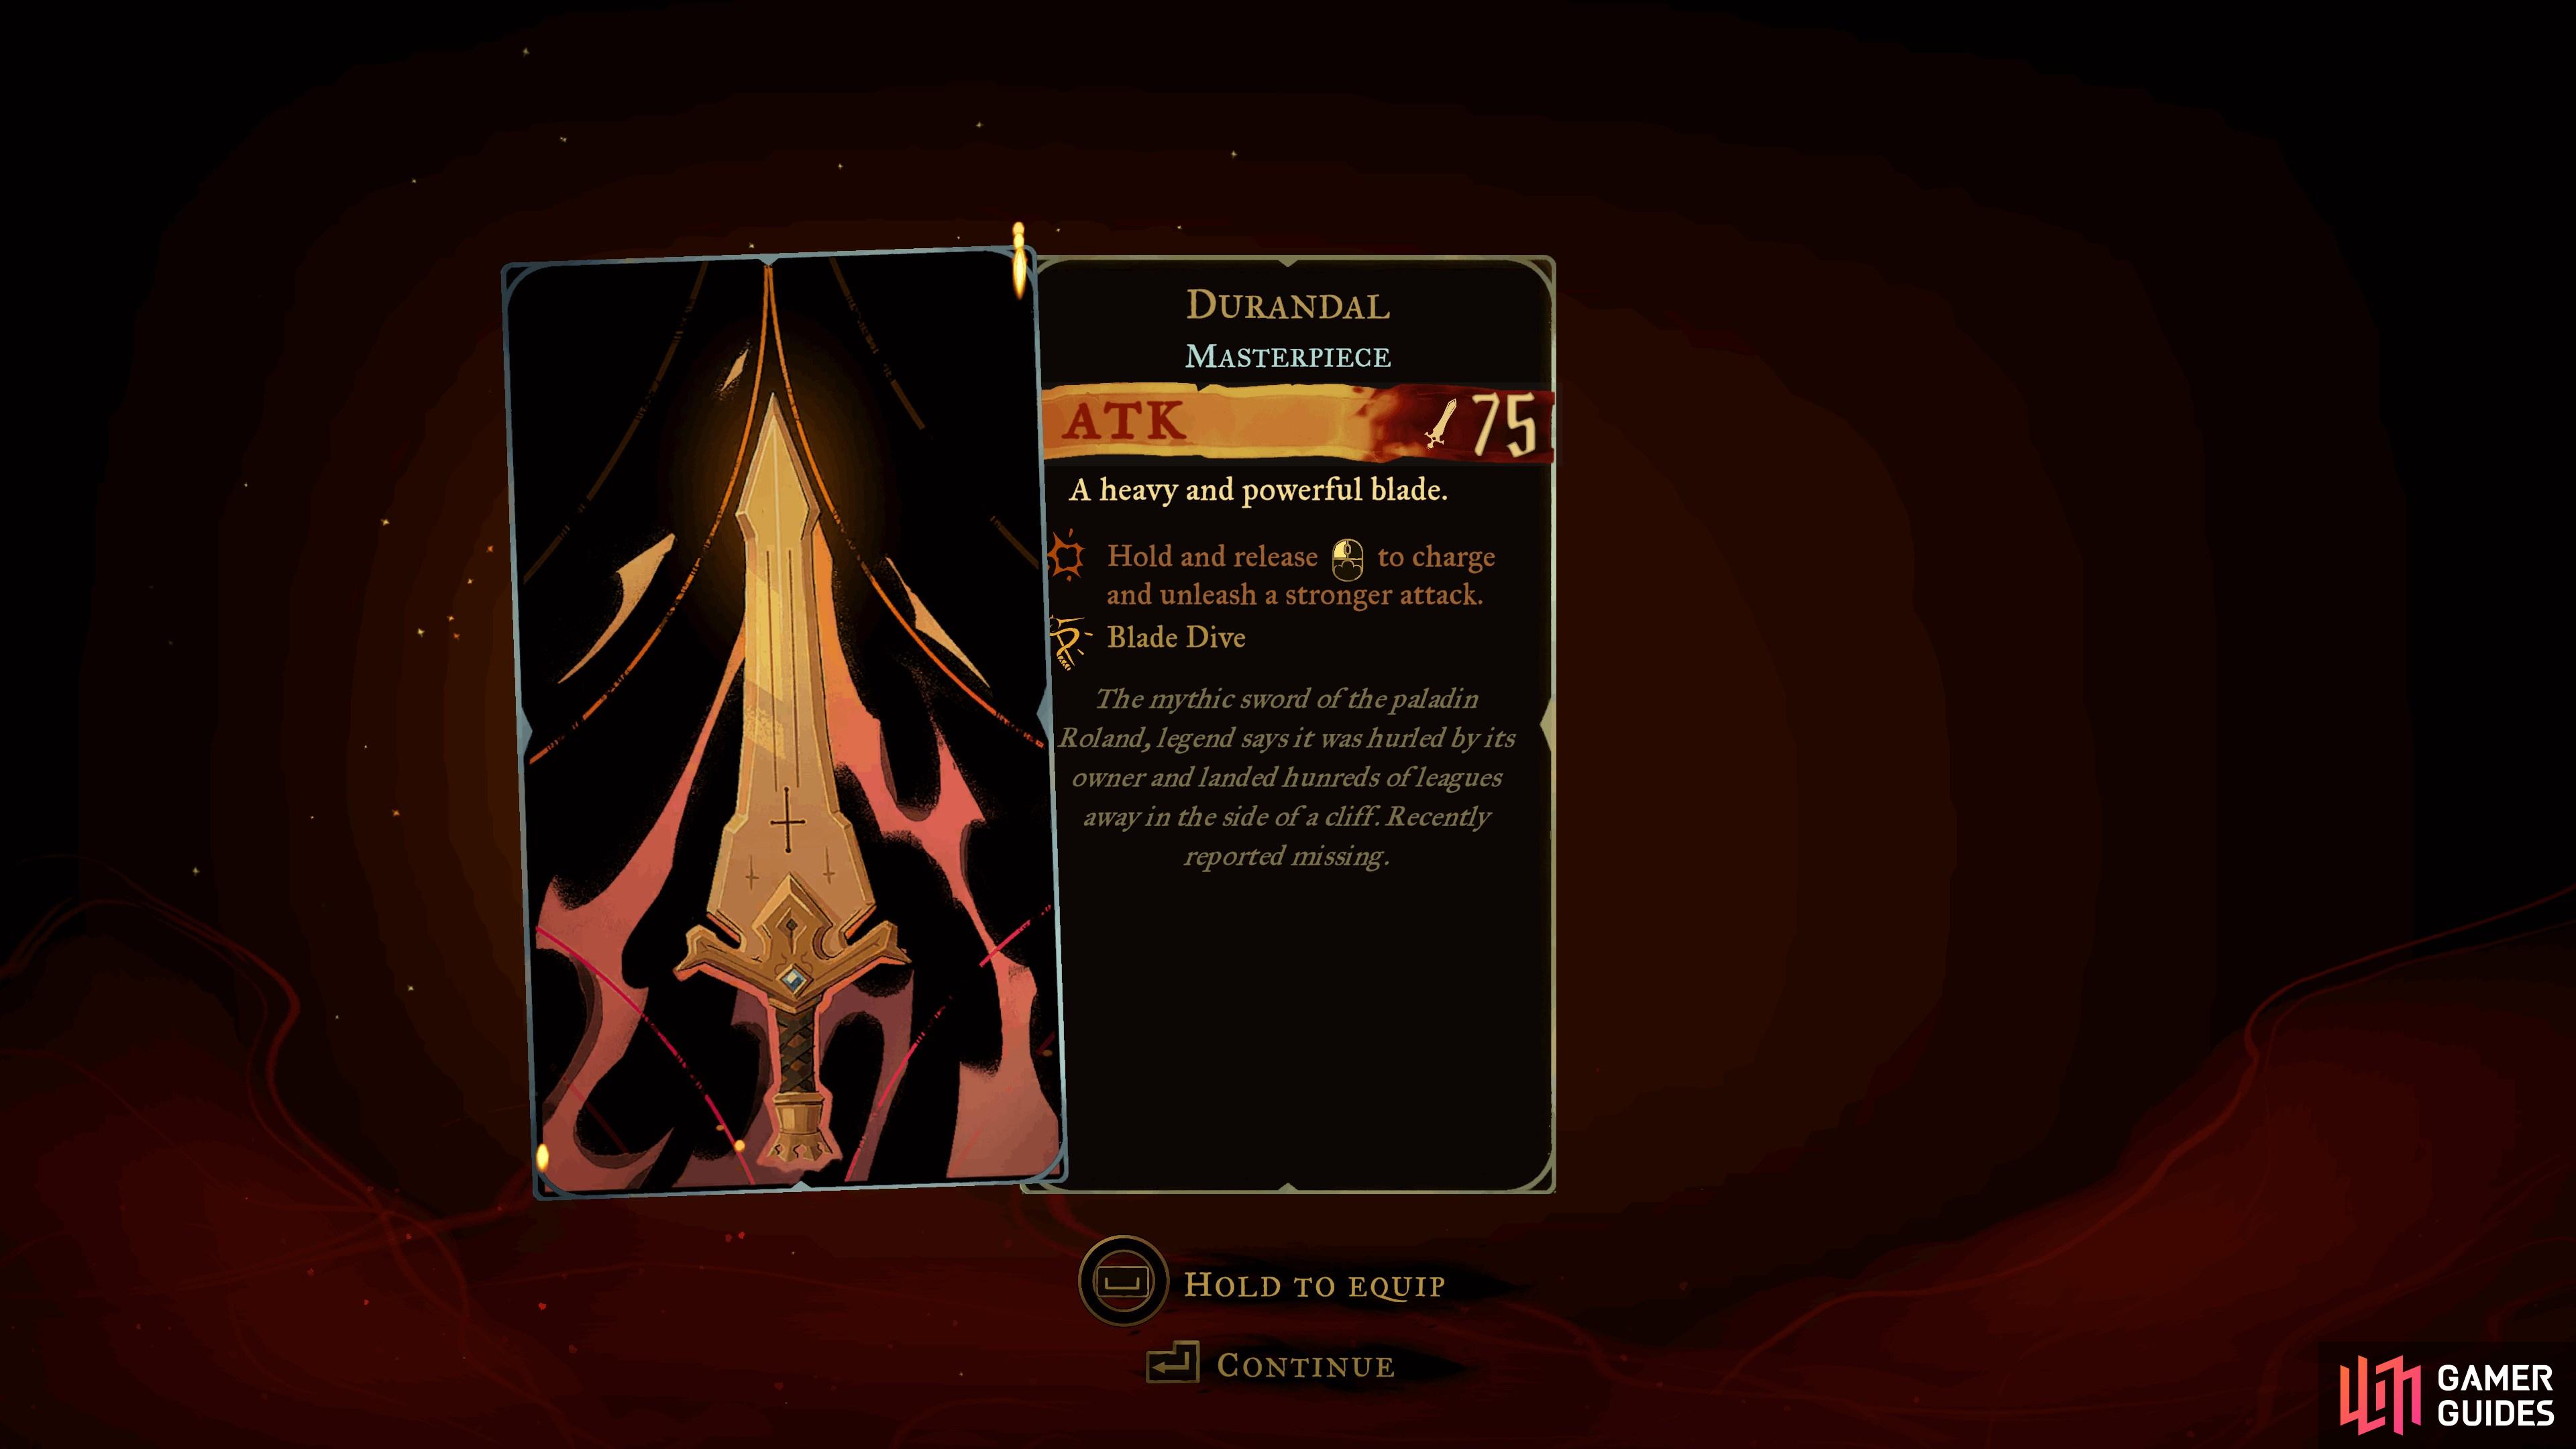
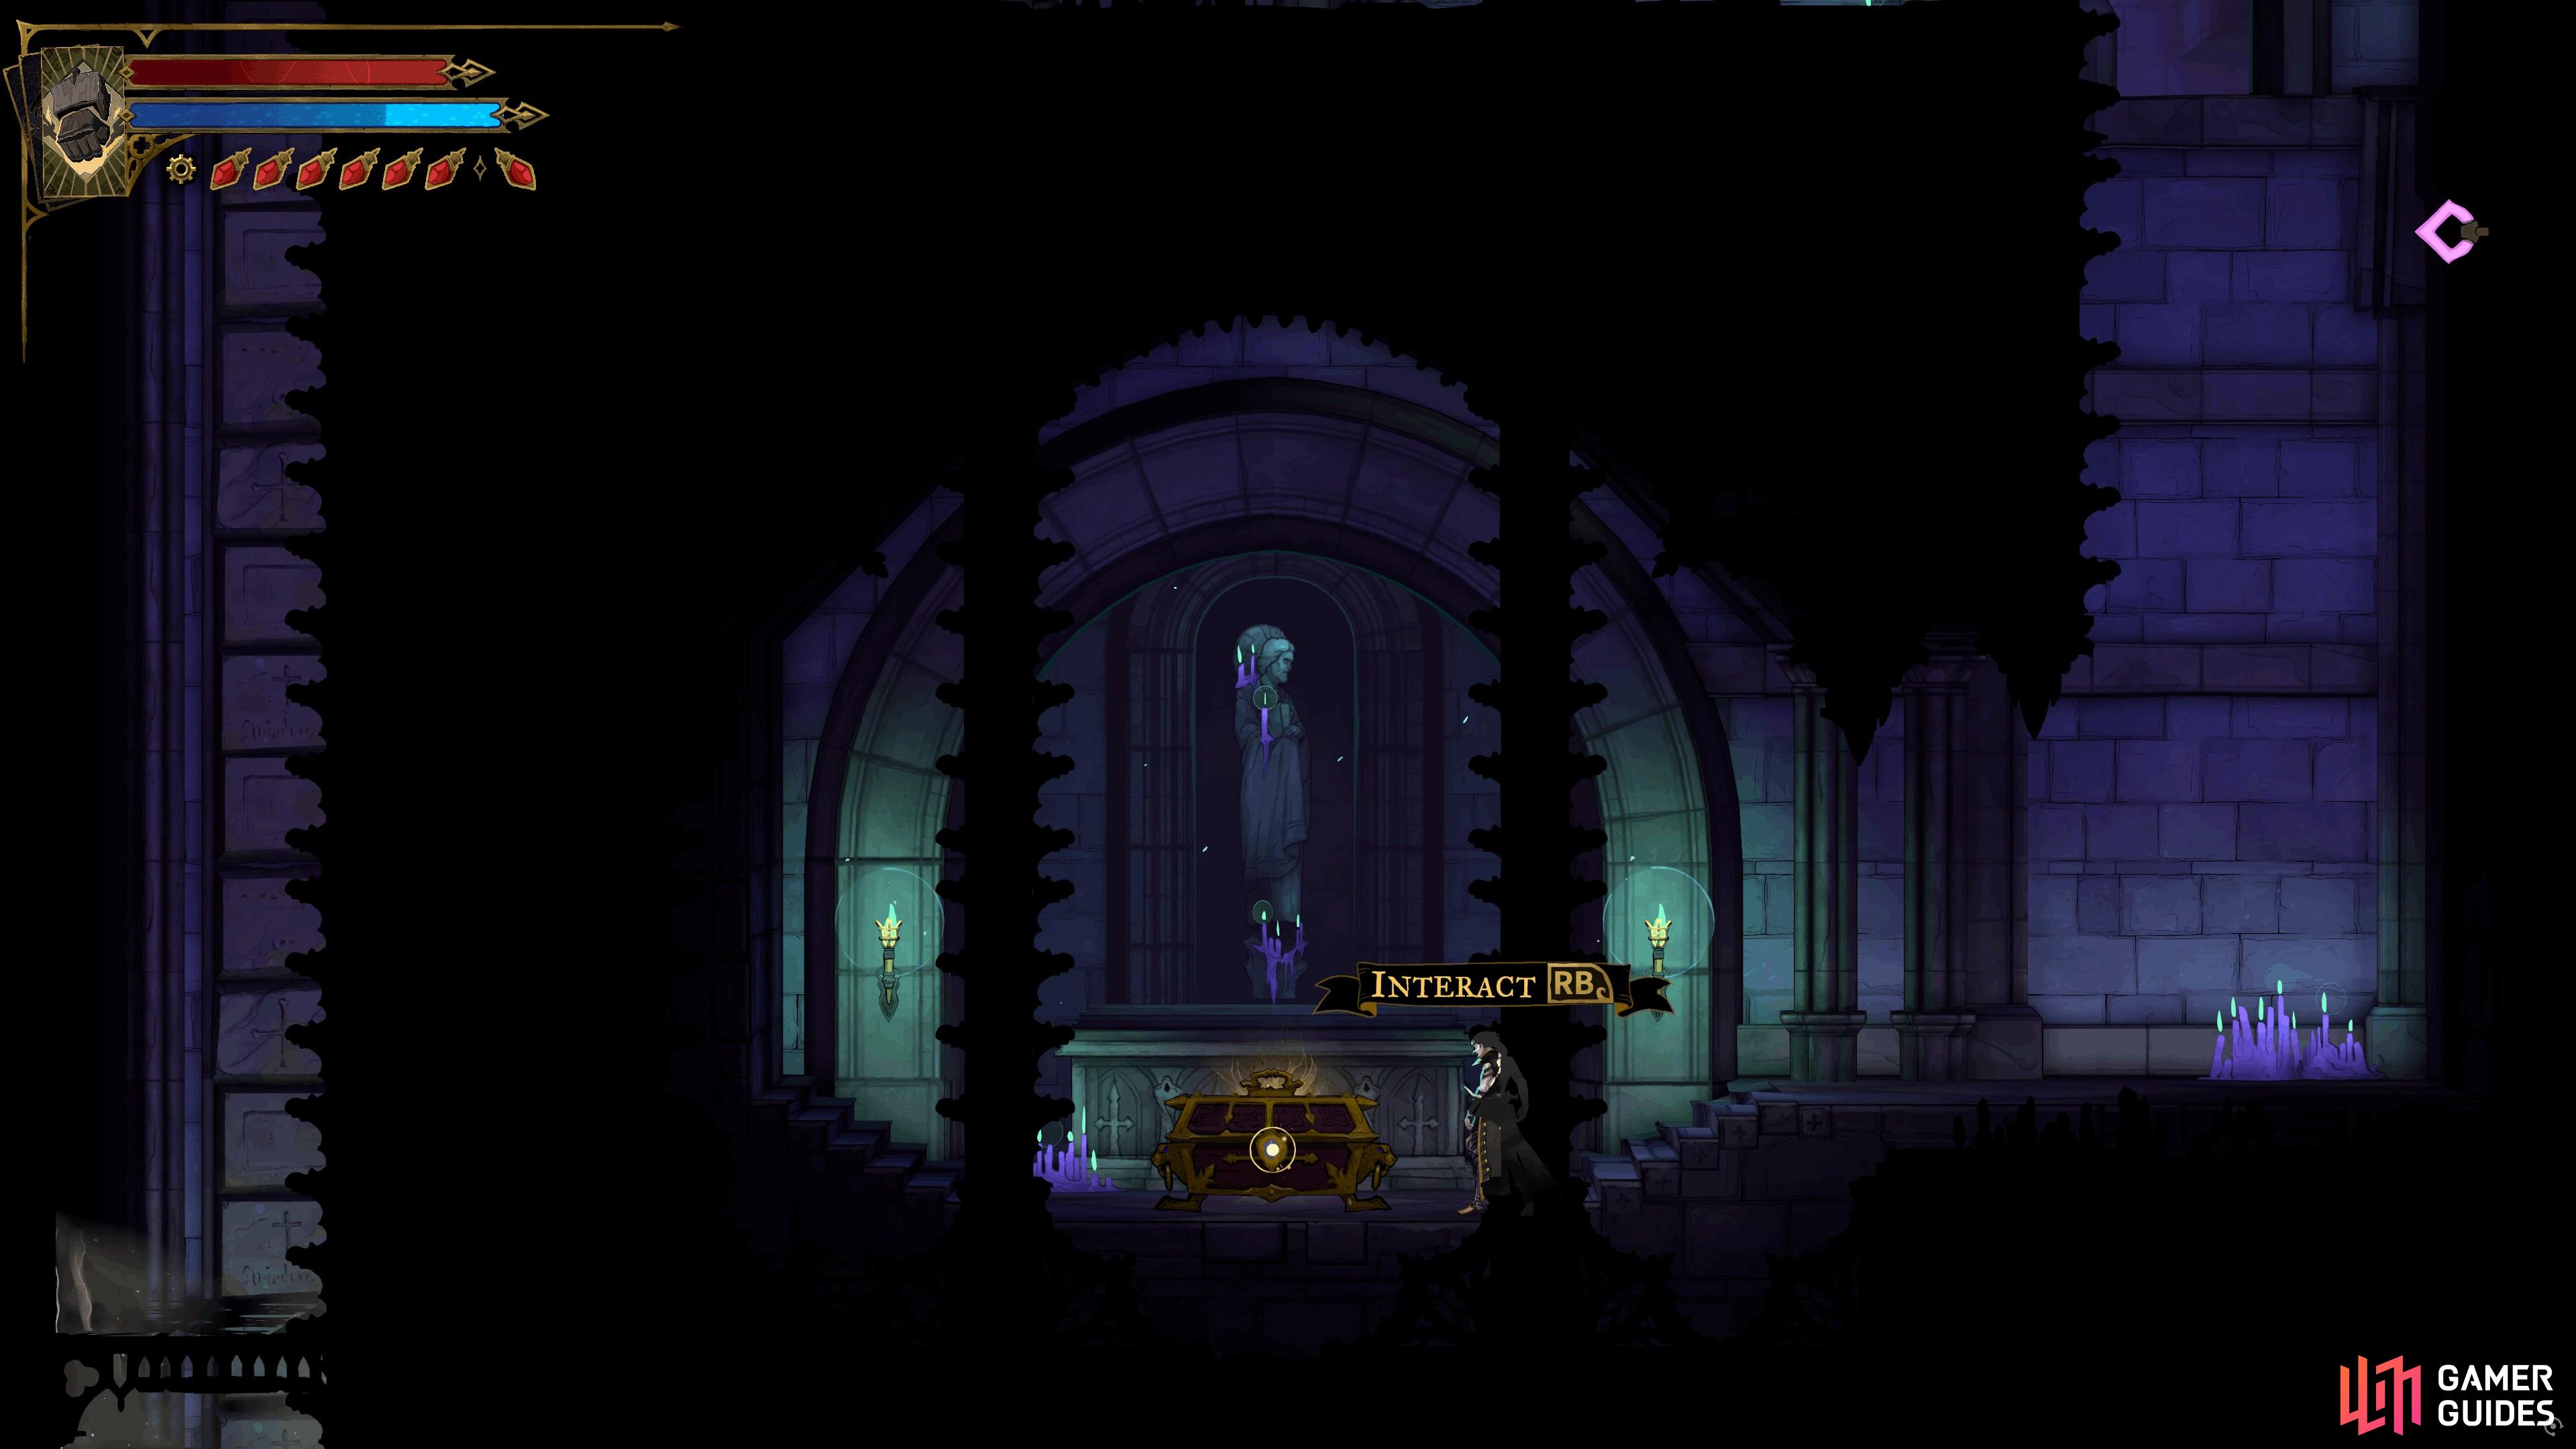
Durandal
View on mapLocated in a chest in Lisa’s Laboratory in the
Library. Requires  Aerial Rush to reach it.
 -
14
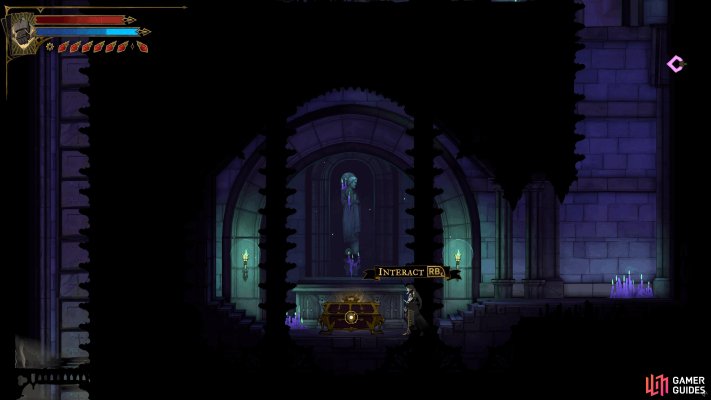
Joyeuse
View on mapTo reach this weapon chest in the Path of Penitent of
 Notre-Dame you will need to first use
  Smash on the Destructive Block in the center north of the area (coming from the east).
You’ll now see a blocker in the way, go back up along the path at the top and hit the
 Lever, this will open the blocker and you’ll have to get down to the Chest before it closes.
 -
15
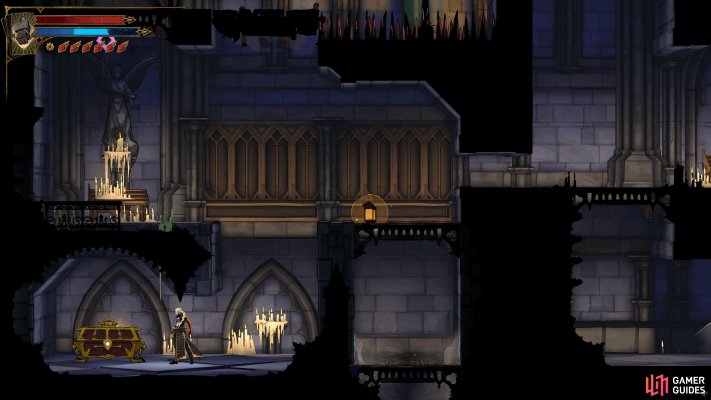
Arondight and Lancelot's Shield
View on mapTo reach this weapon chest in
Notre-Dame’s Tower  Entrance, you must first destroy the Destructible Block with Smash.
If you look above, you’ll spot two collapsable platforms and you need to break those by stepping on them and using Smash at the top of the higher one. The timing must be very quick here.
-
16
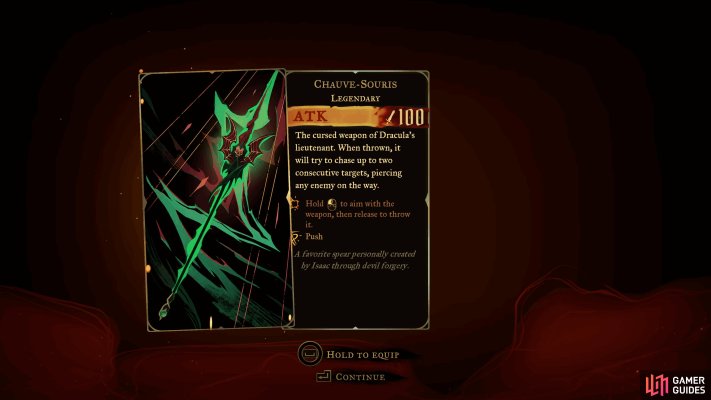
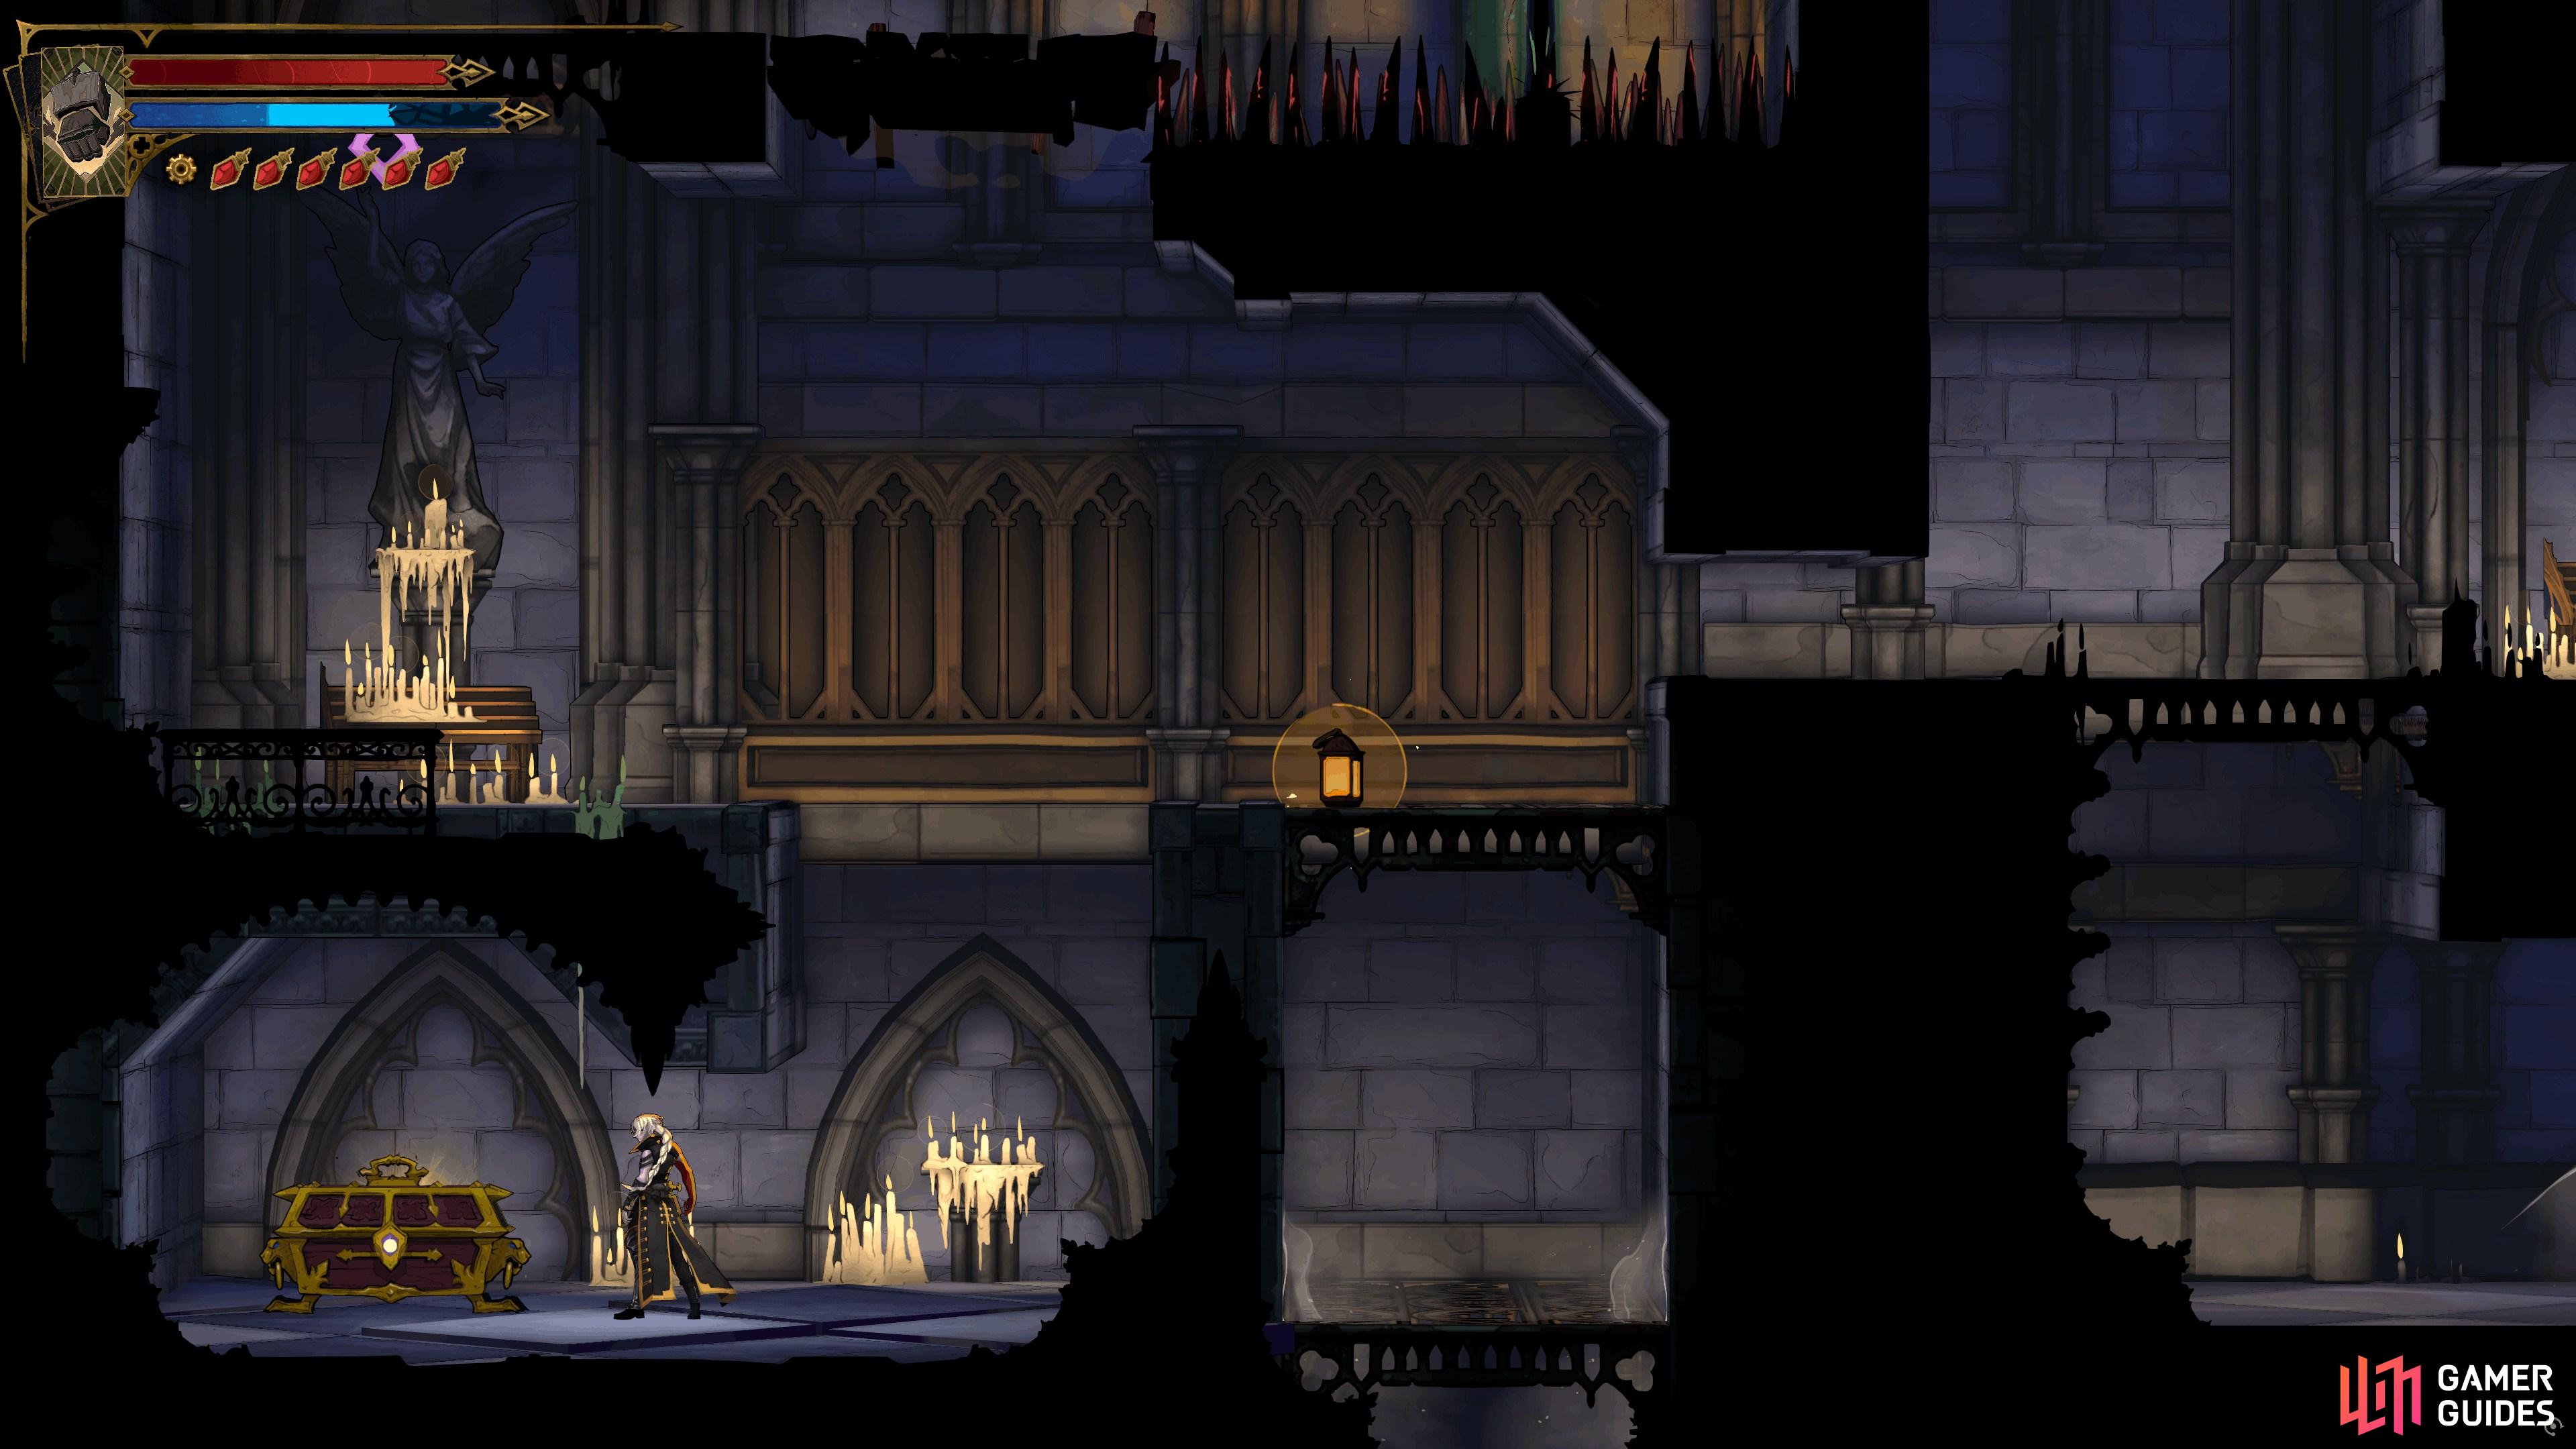
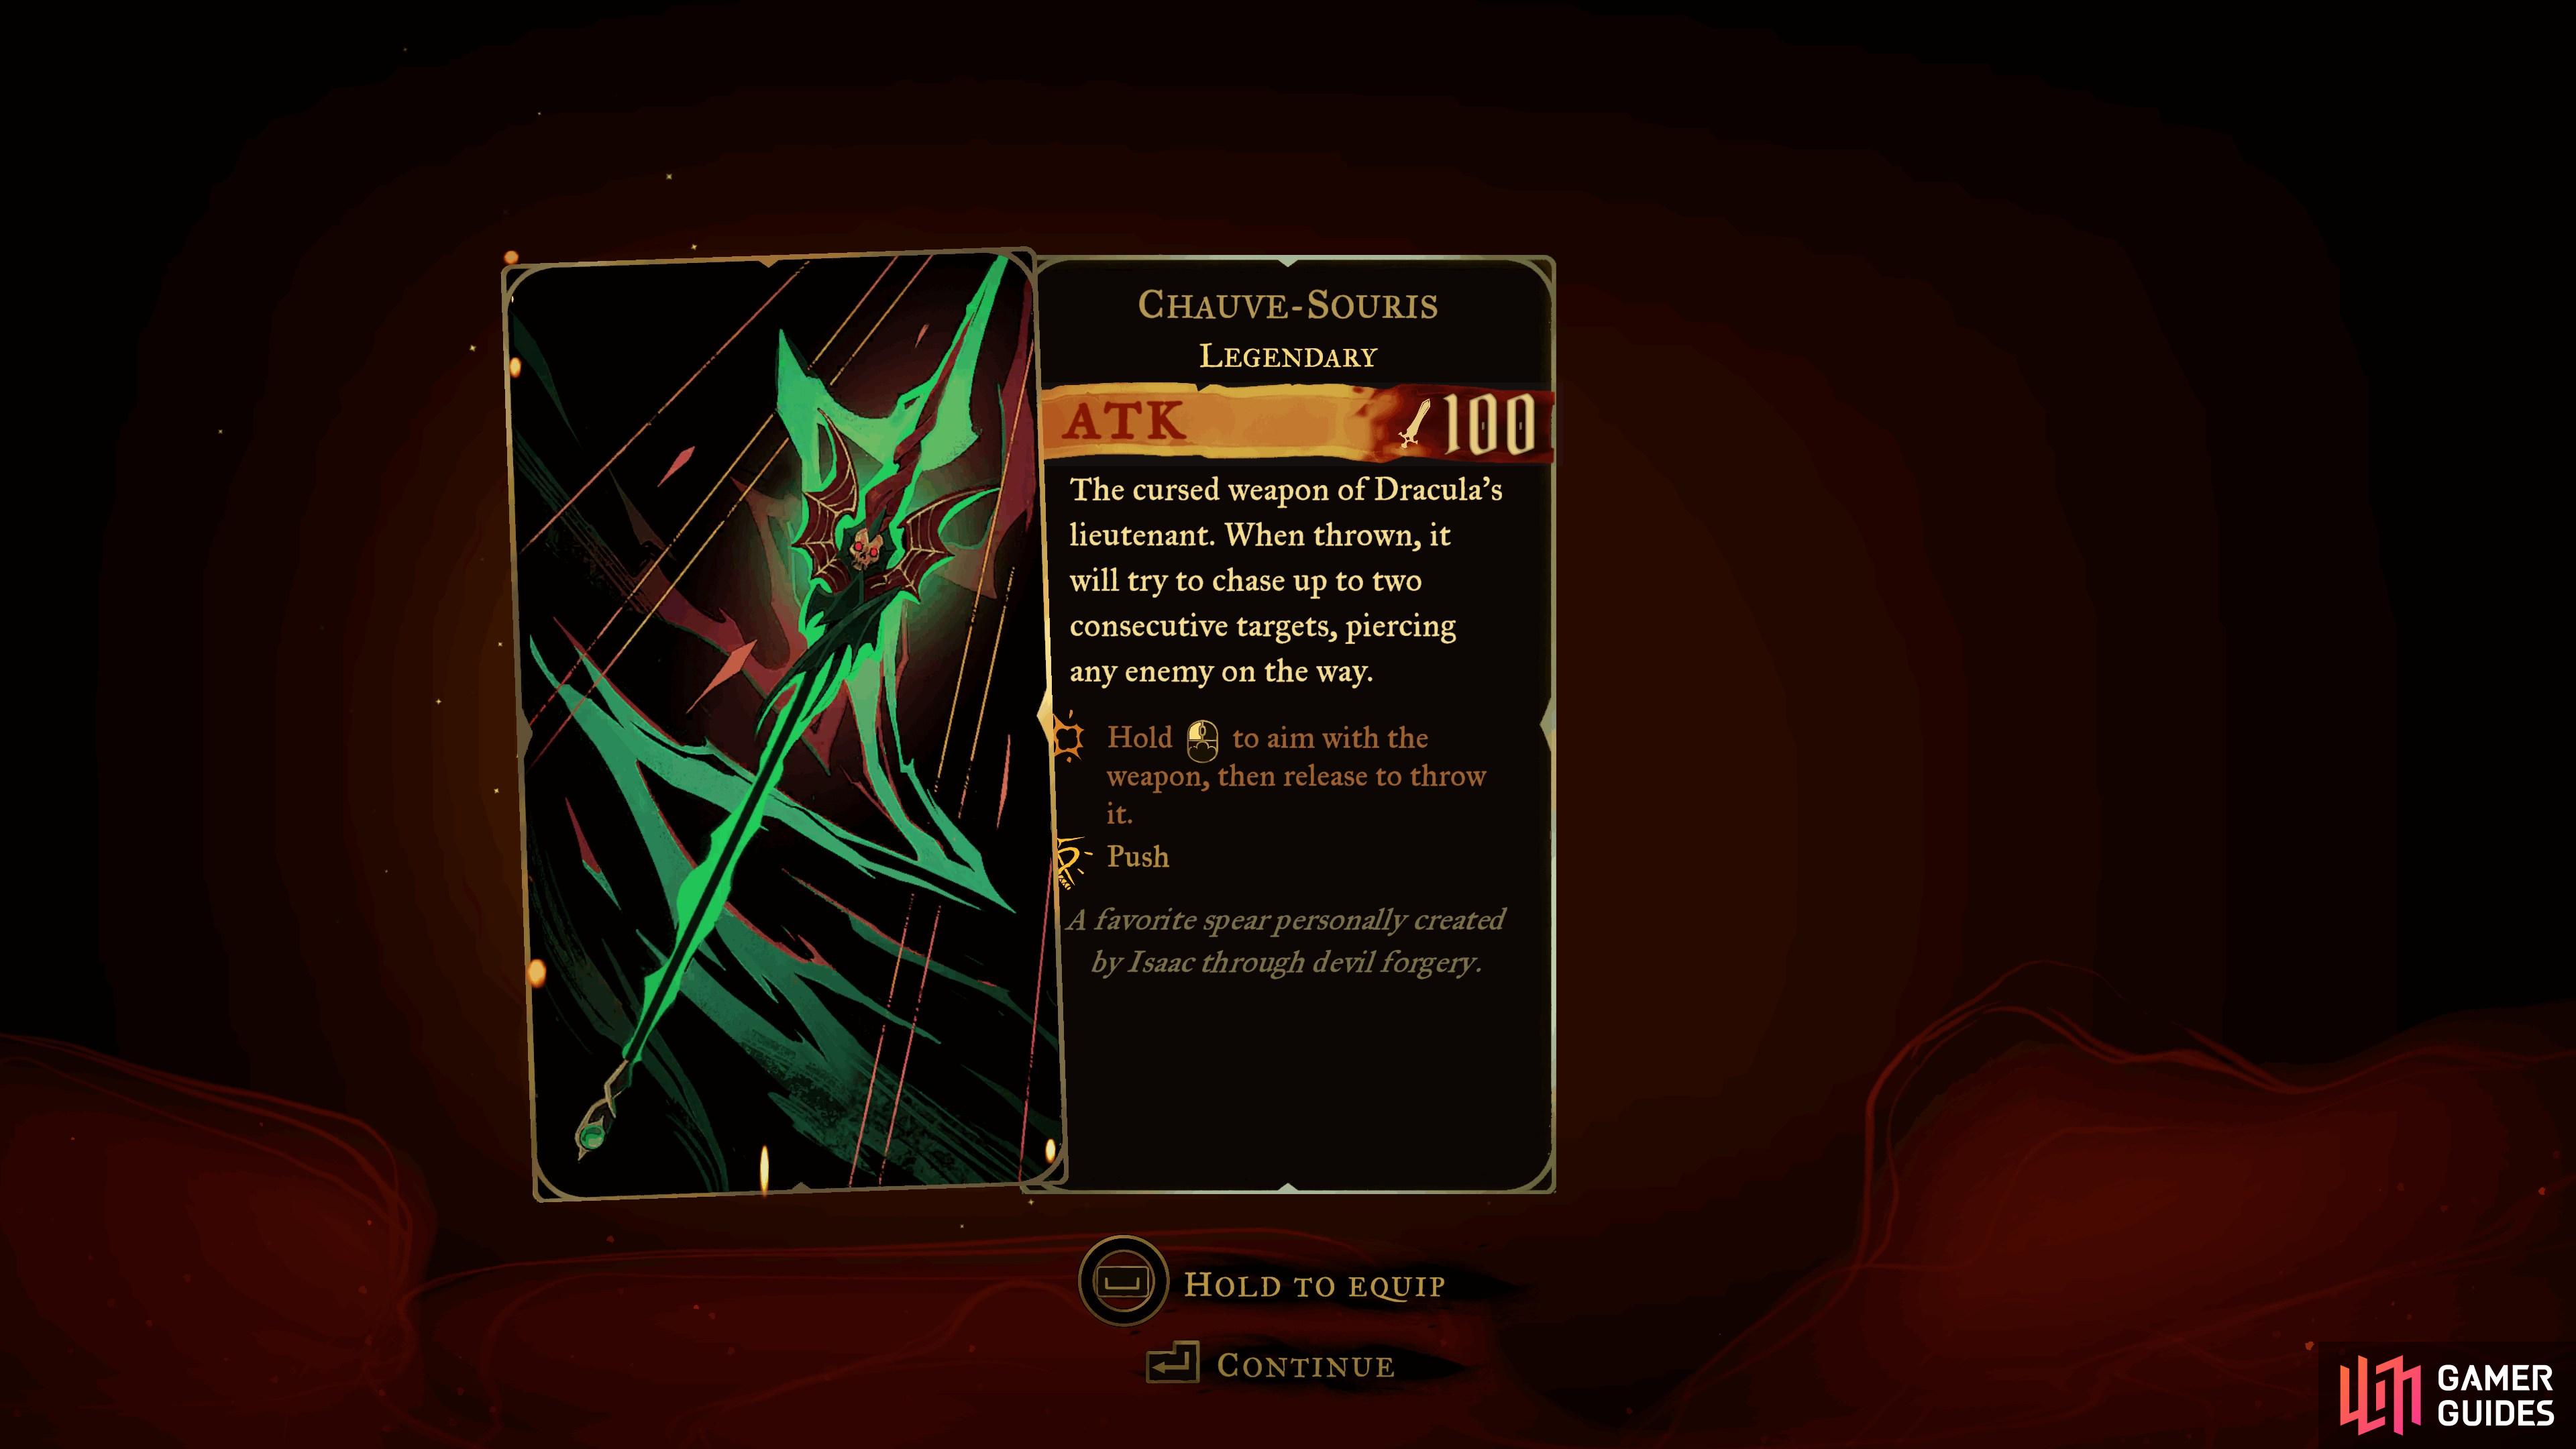
Chauve-Souris
View on mapPick it up off the ground after defeating the boss,
 Isaac in the Heart of the
  Clock room in the Clock Tower.
 -
17
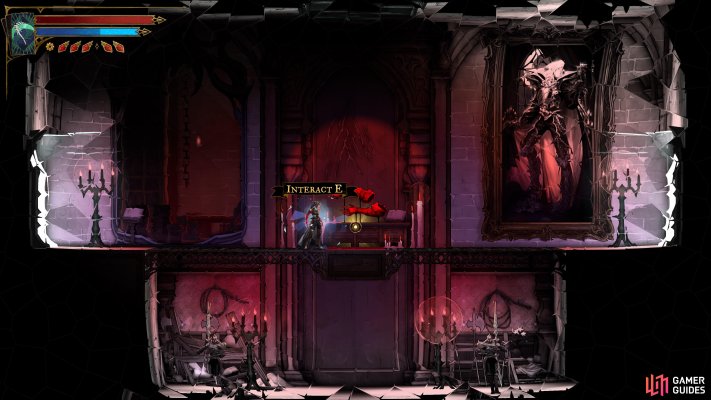
Bernhard's Wrath
View on mapFound in a locked room only accessible via the transport mirror on the far west side of the map. You’ll need to clear the combat encounter to collect them.
-
18
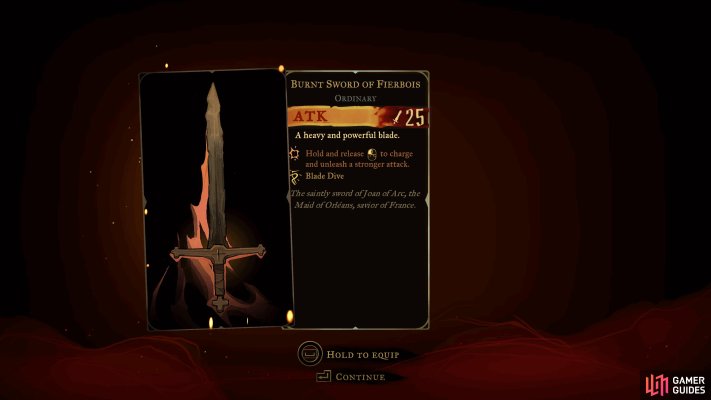
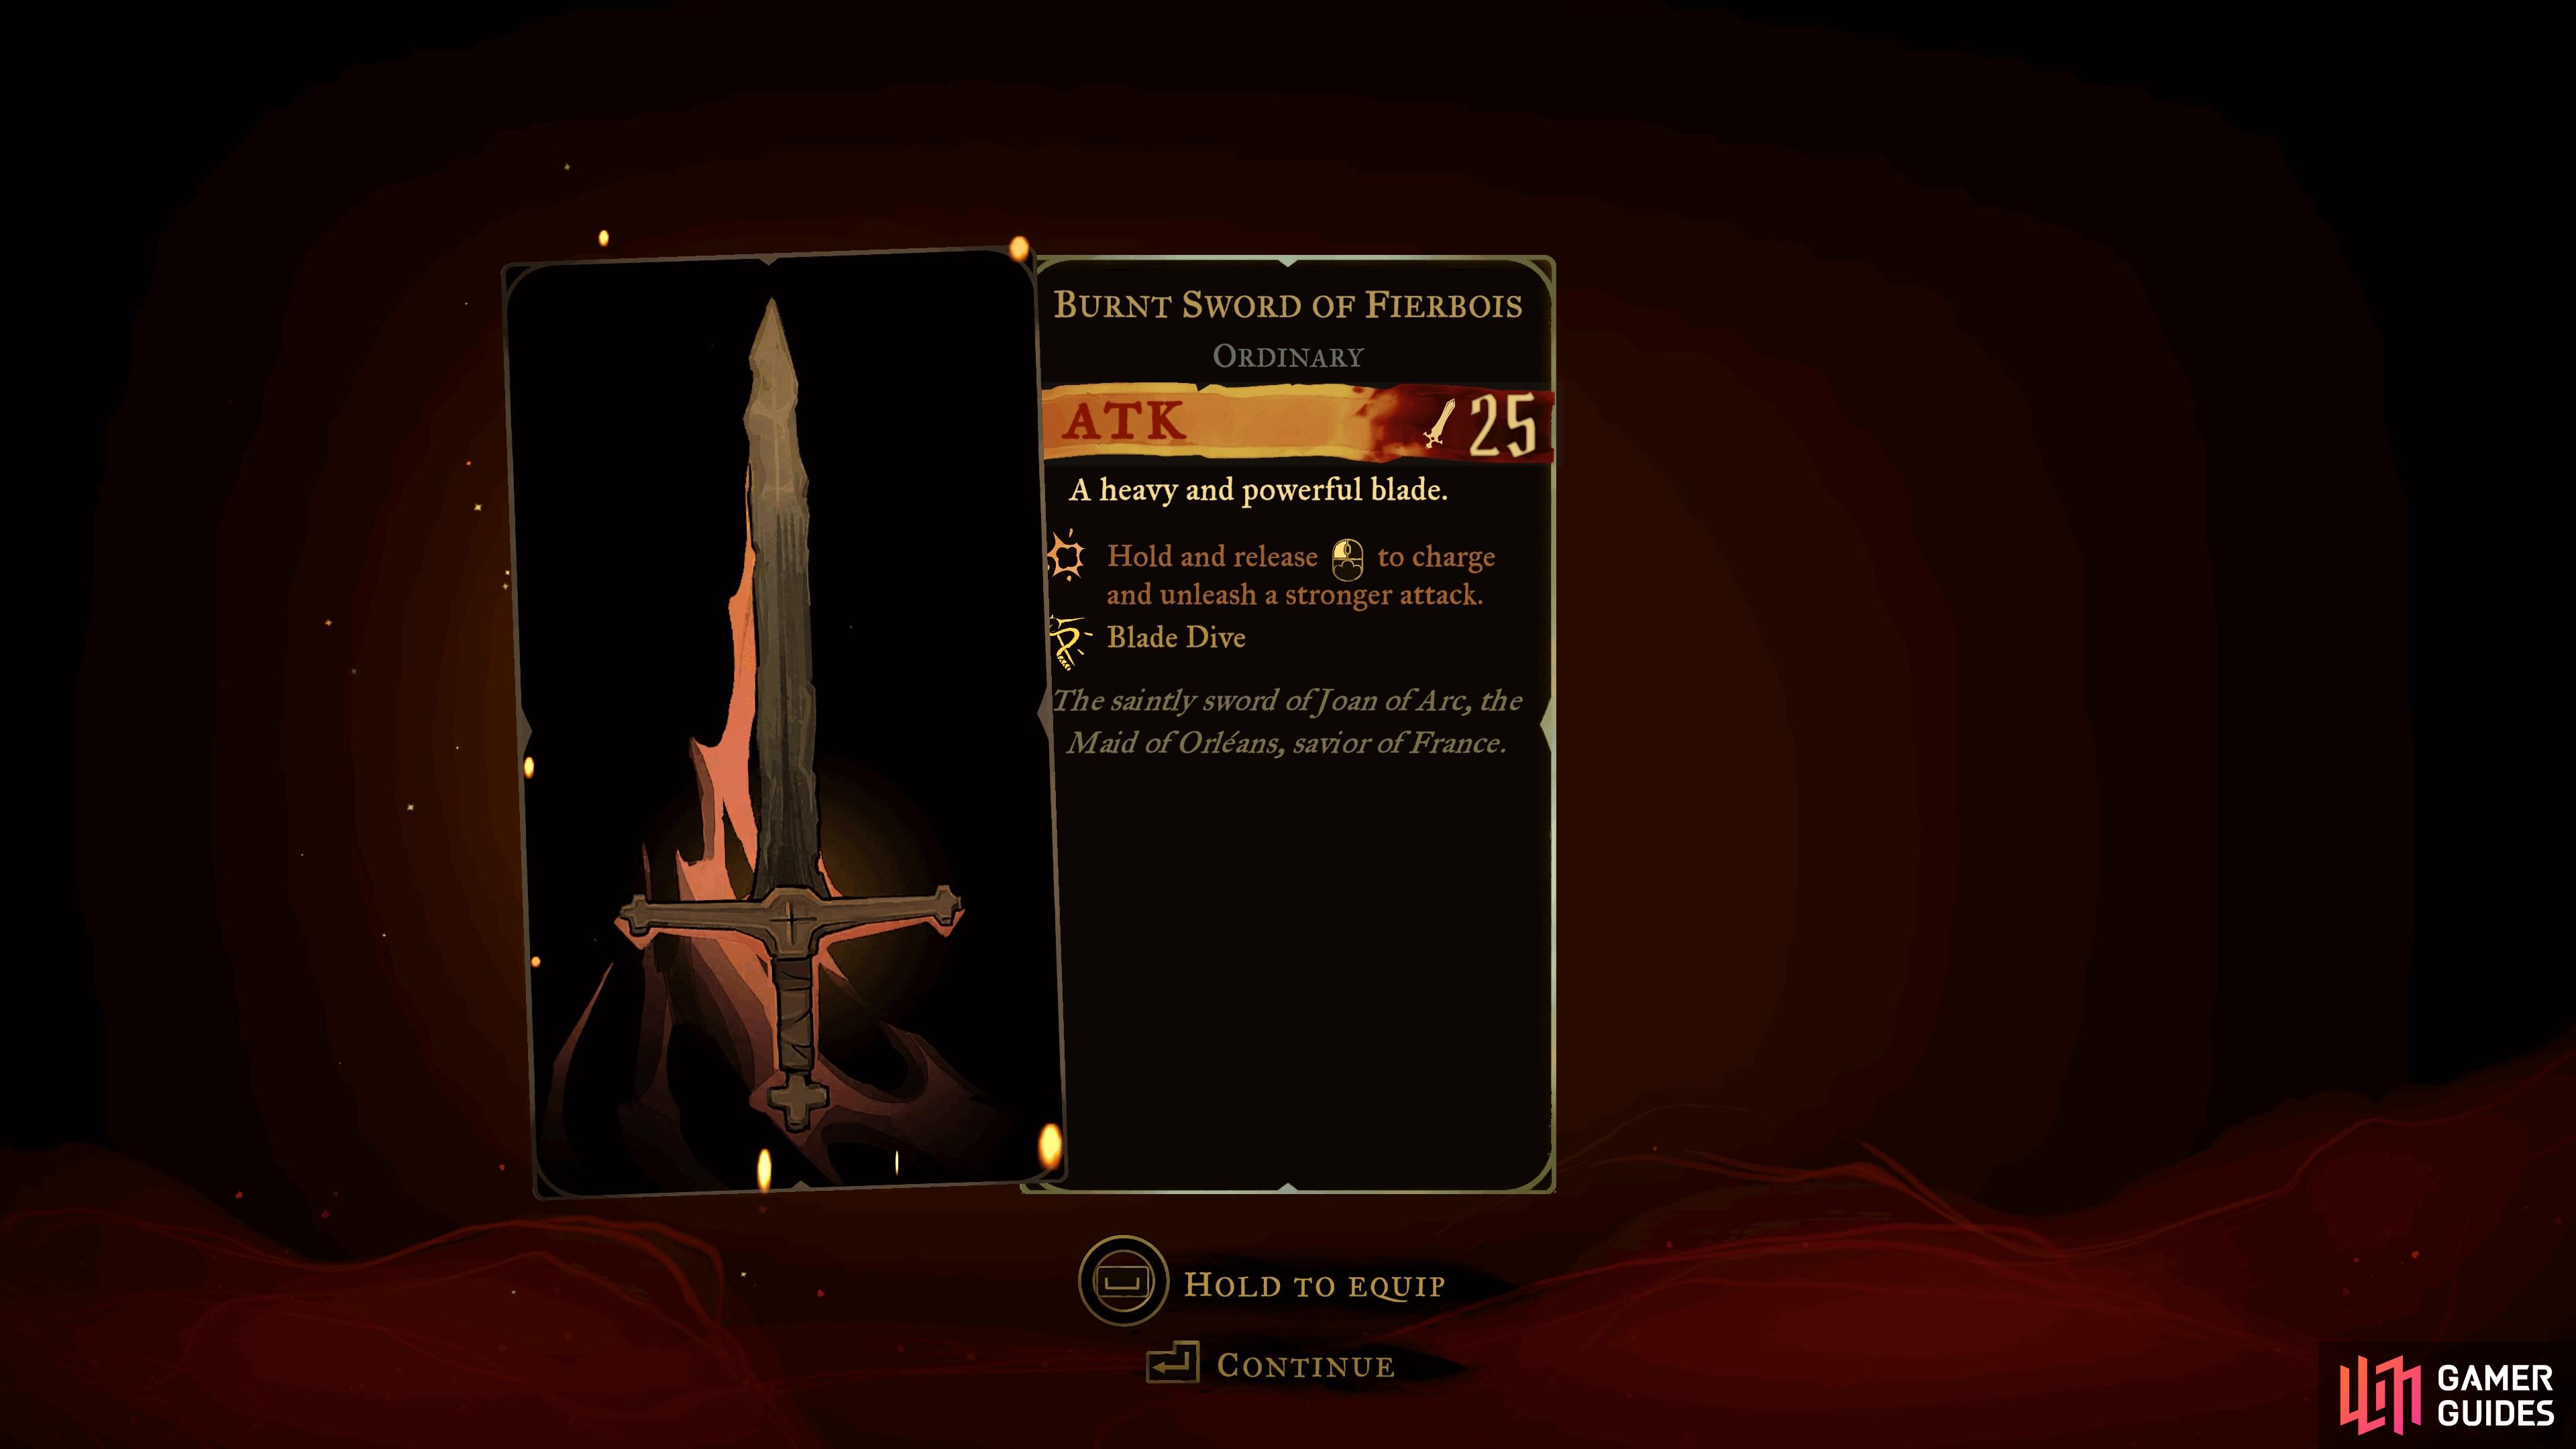
Burnt Sword of Fierbois
View on mapObtained by interacting with the sword sticking out of the ground after defeating the boss.
-
19
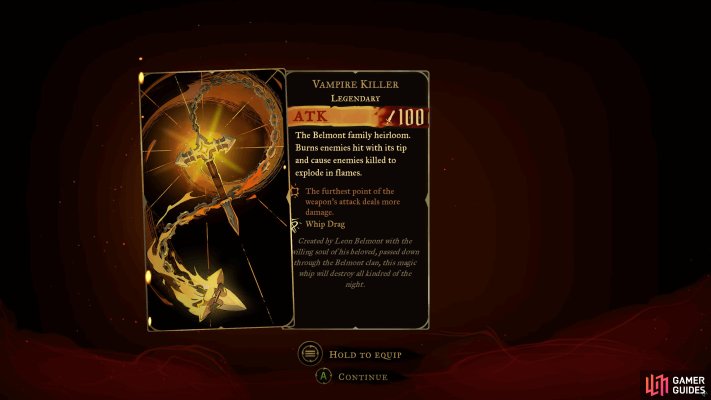
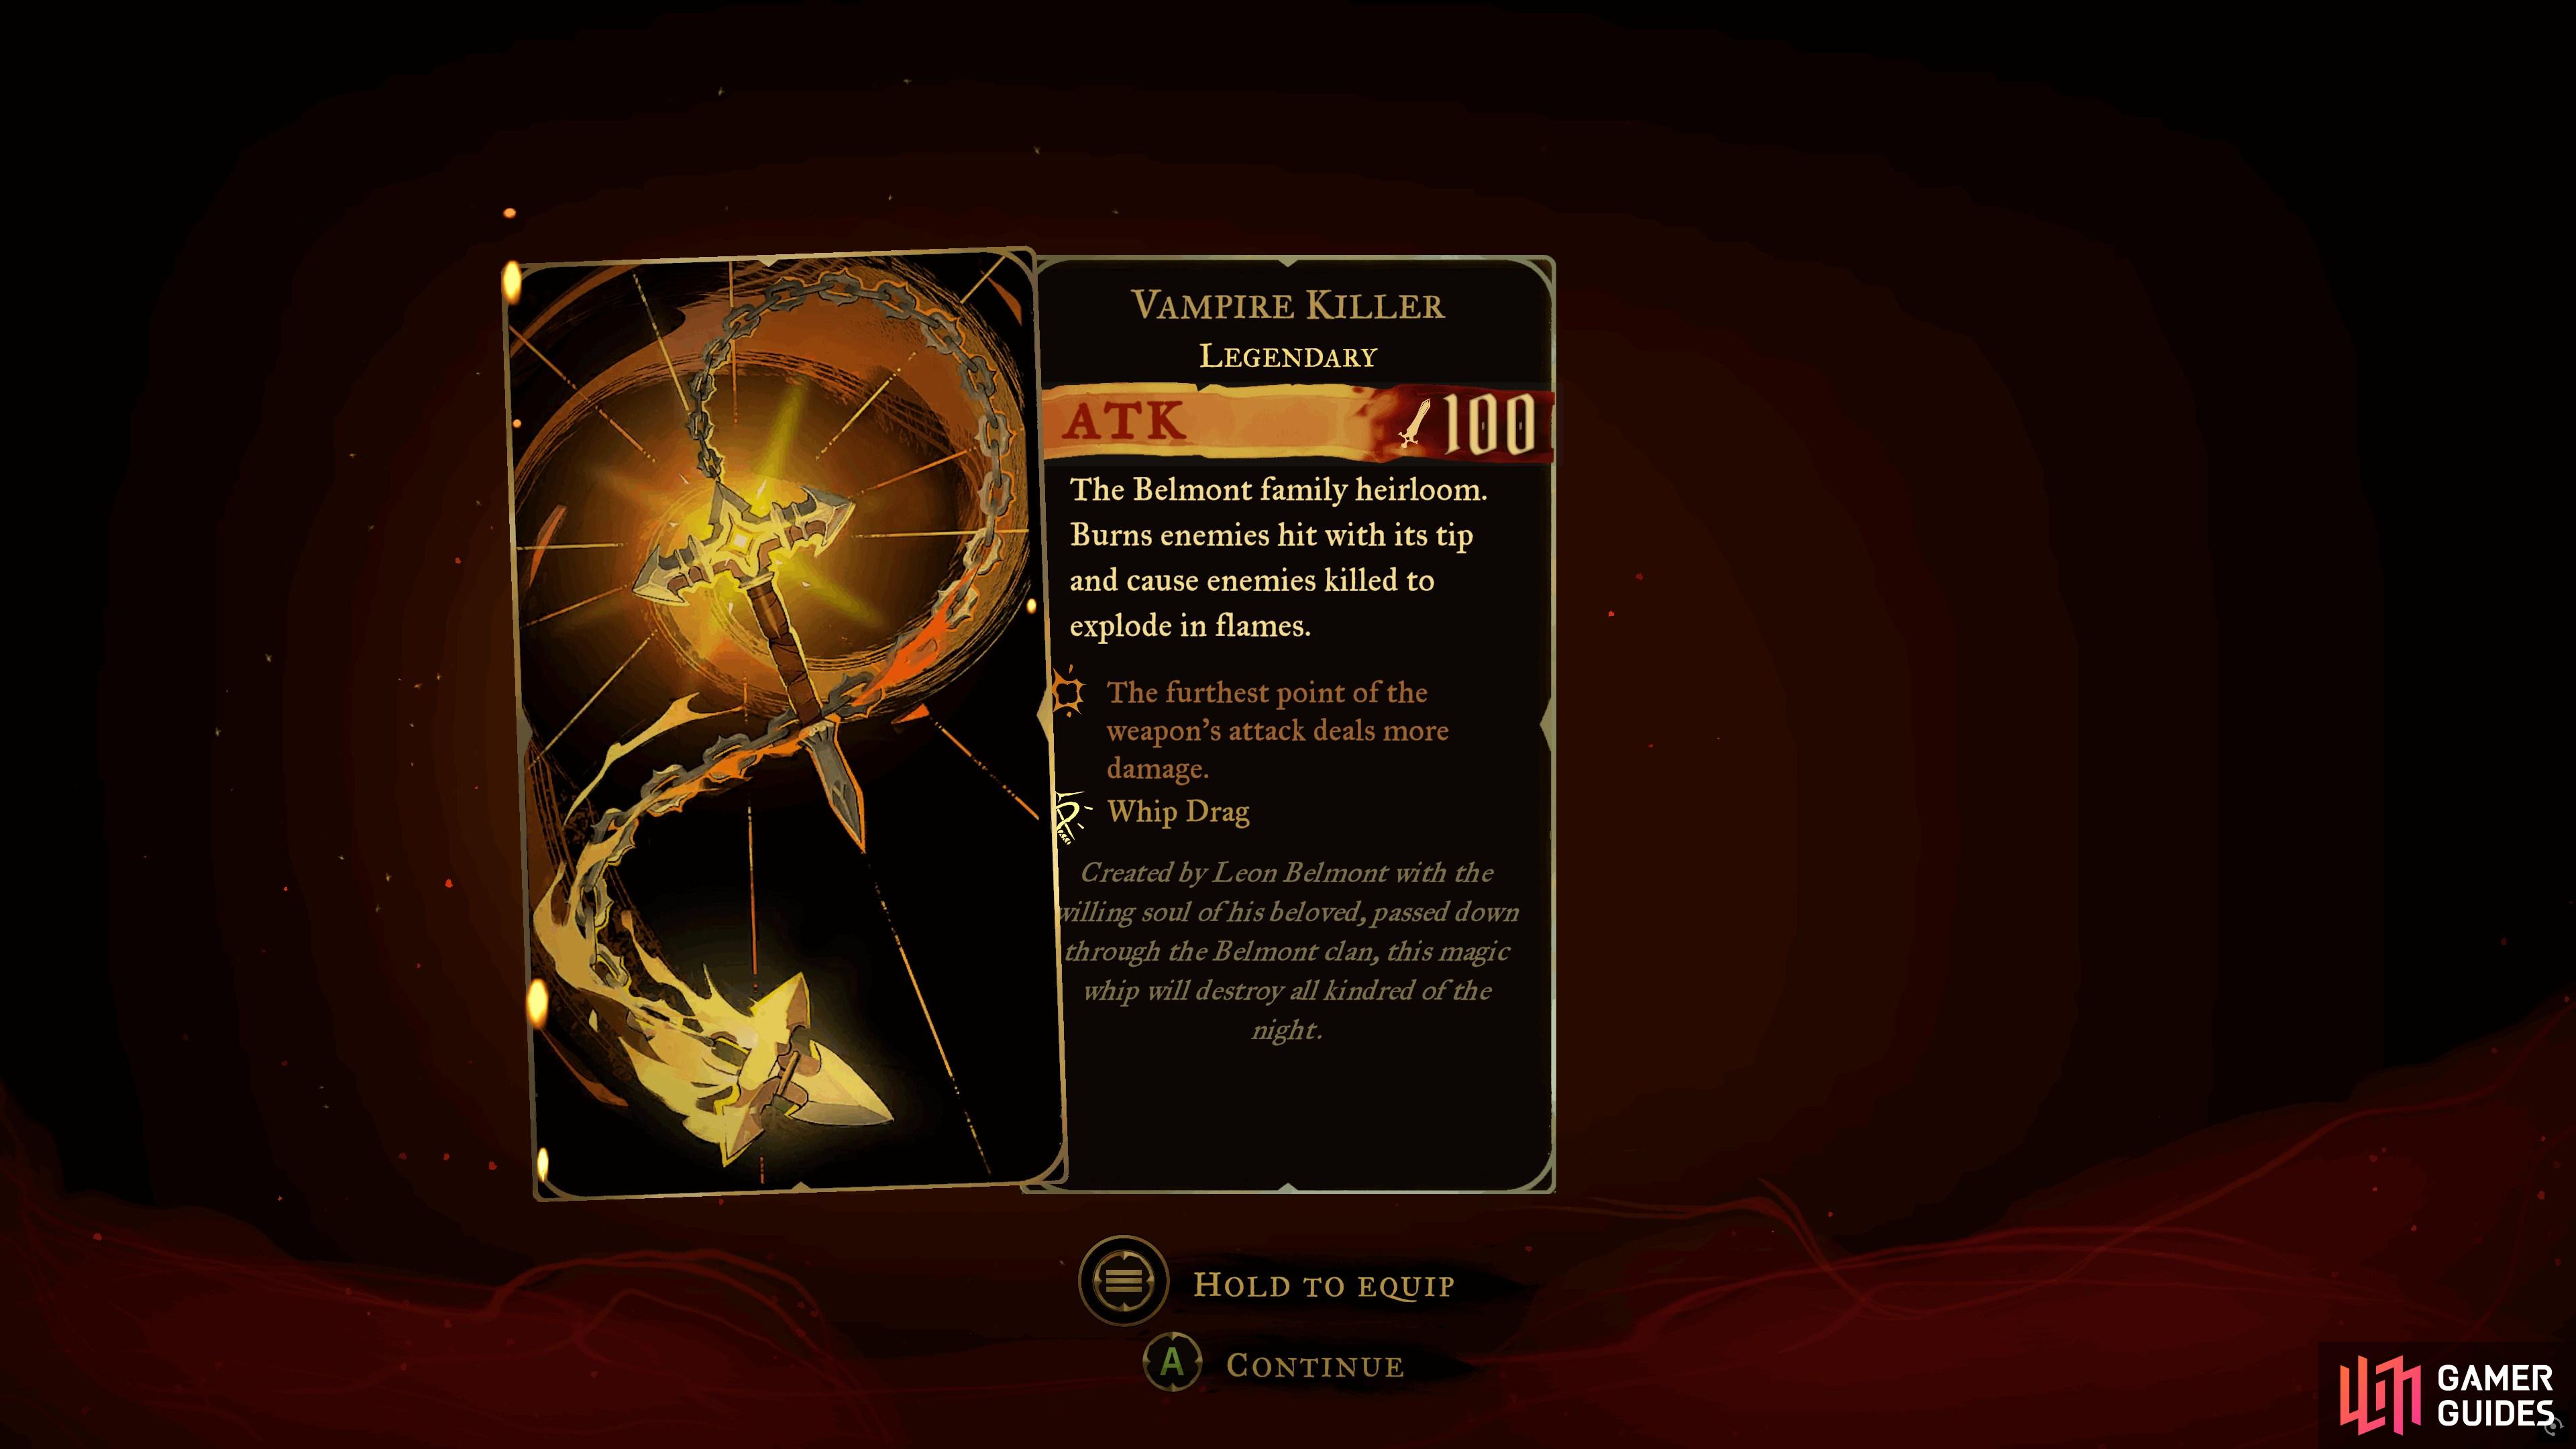
Vampire Killer
View on mapYou’ll obtain this weapon automatically in
Notre-Dame after defeating  Death.
 -
20
No locations match this filter.