-
1
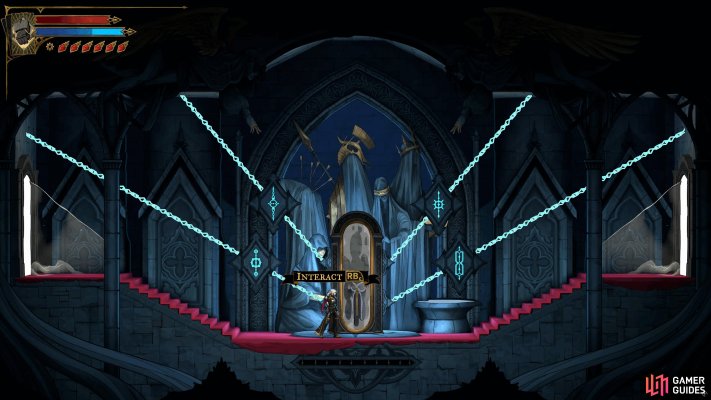
Releasing The Sage
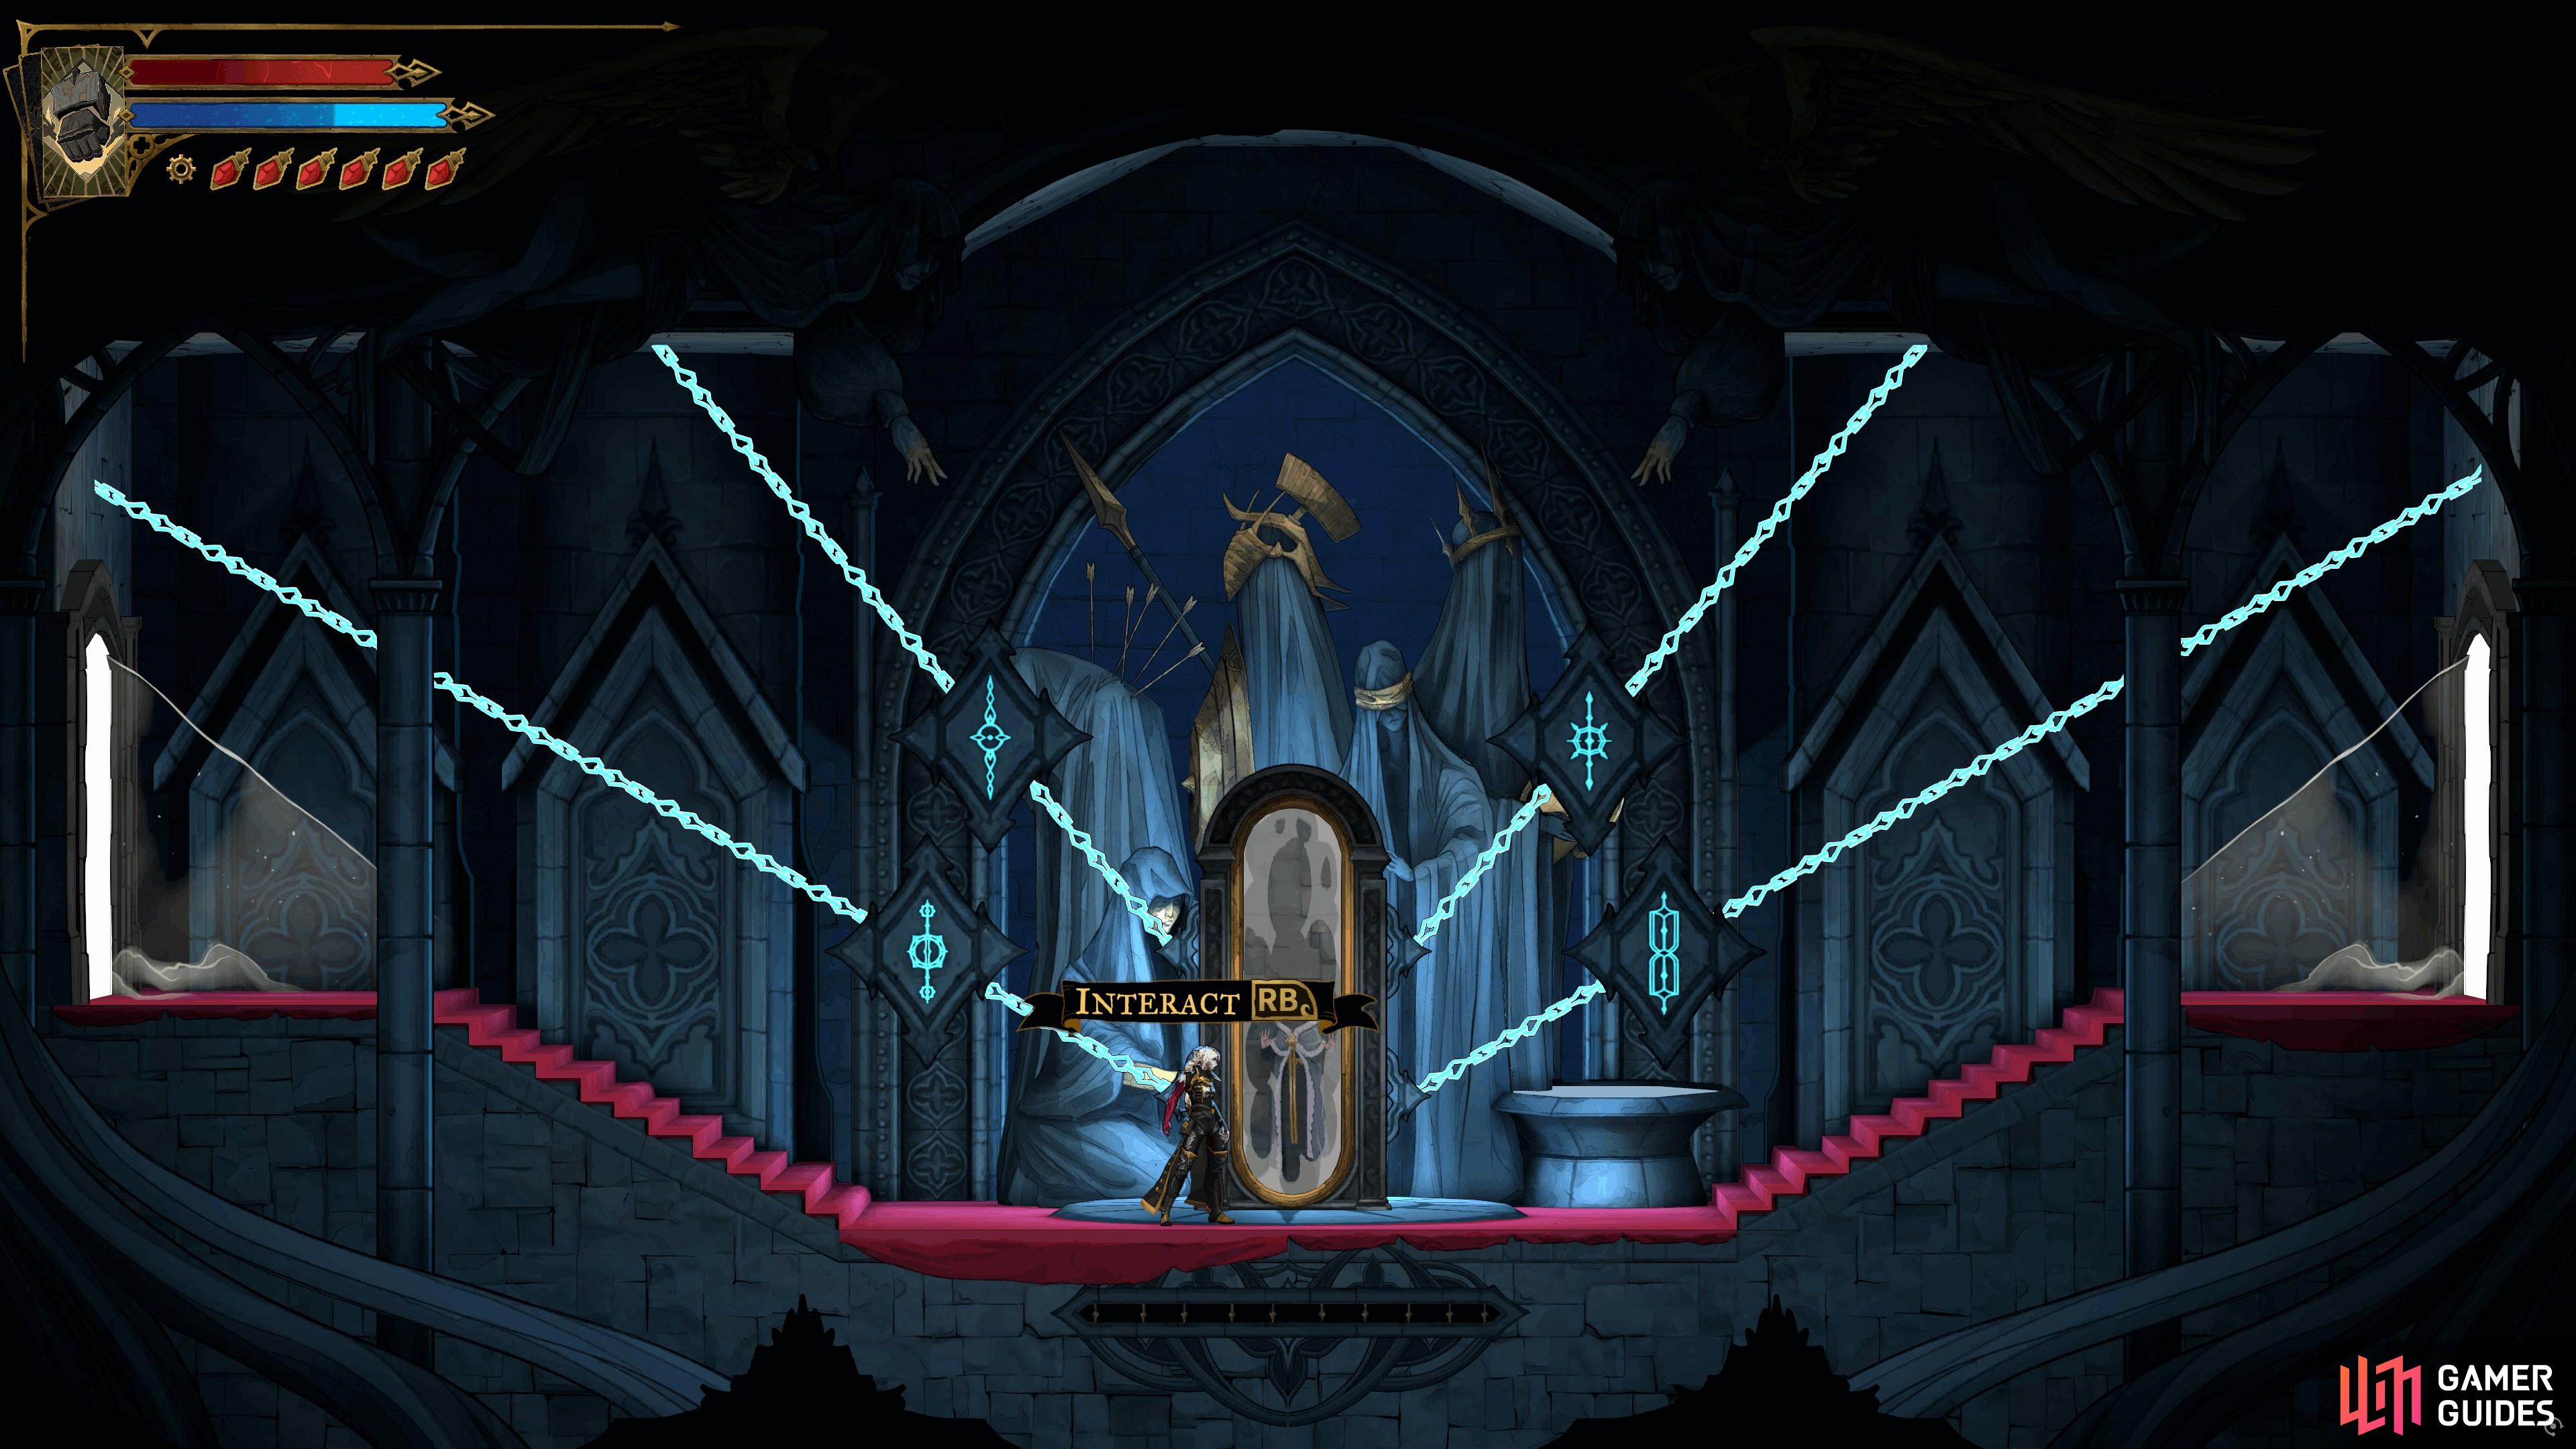
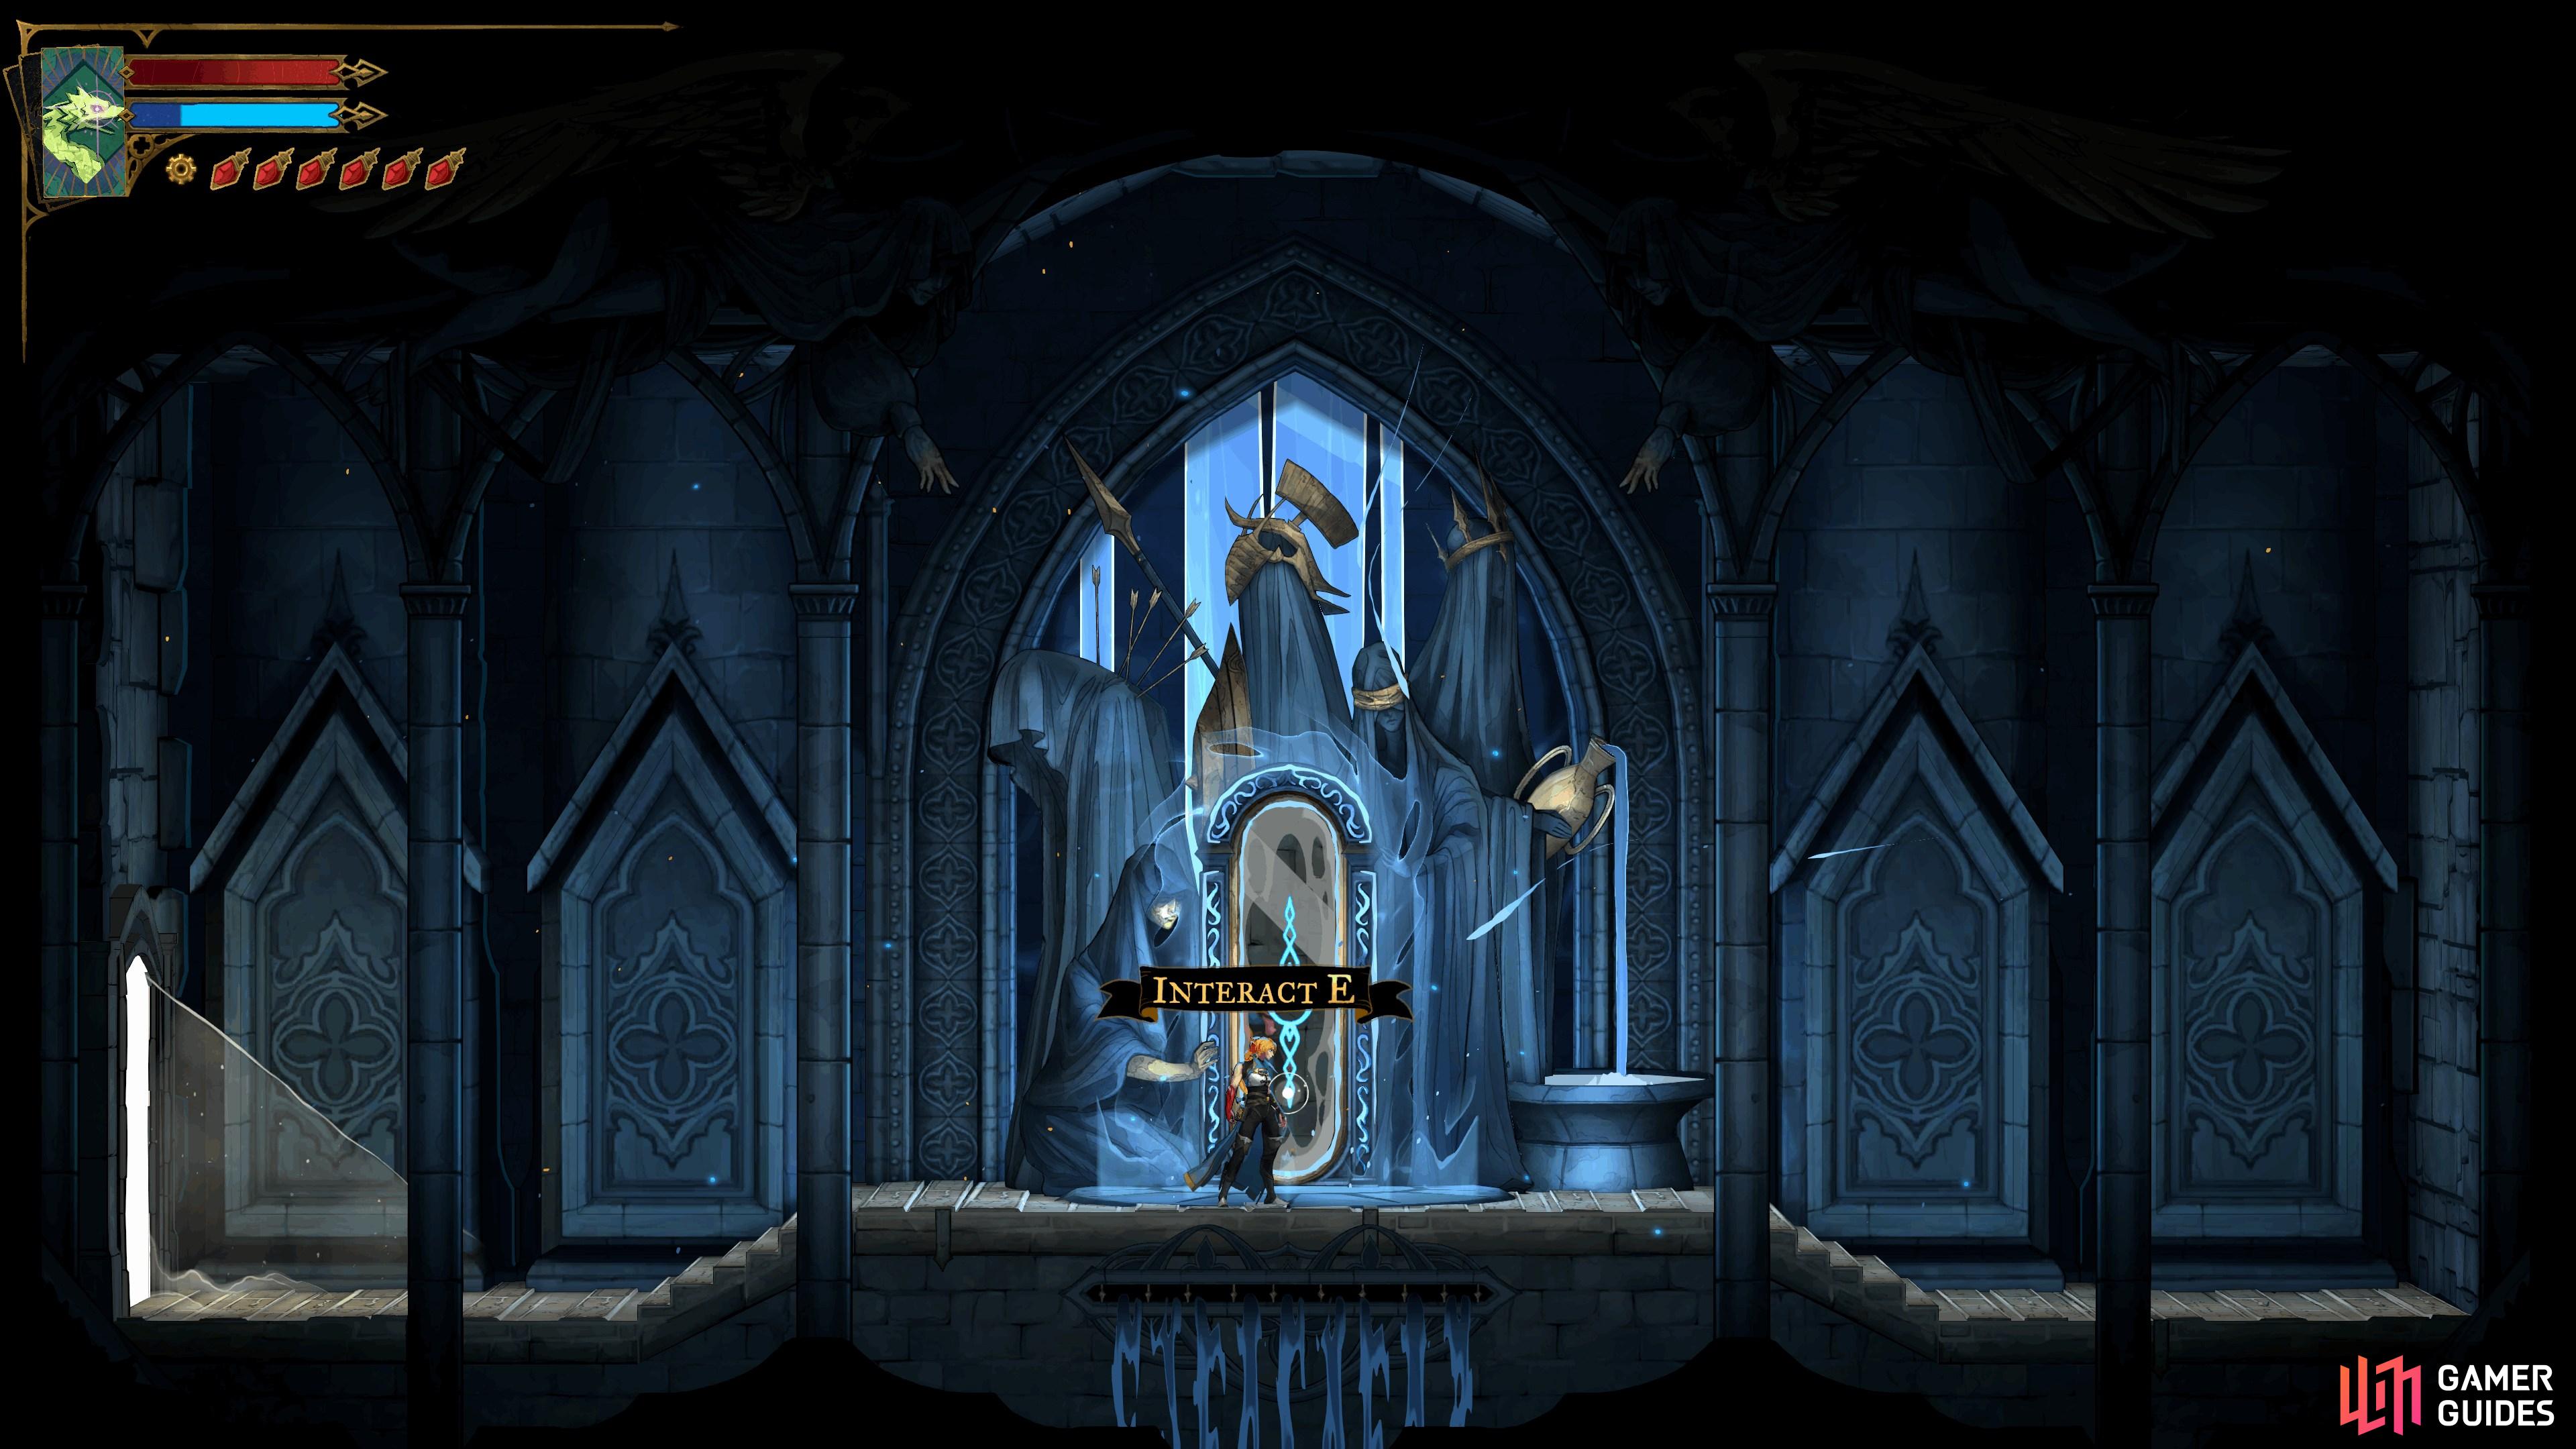
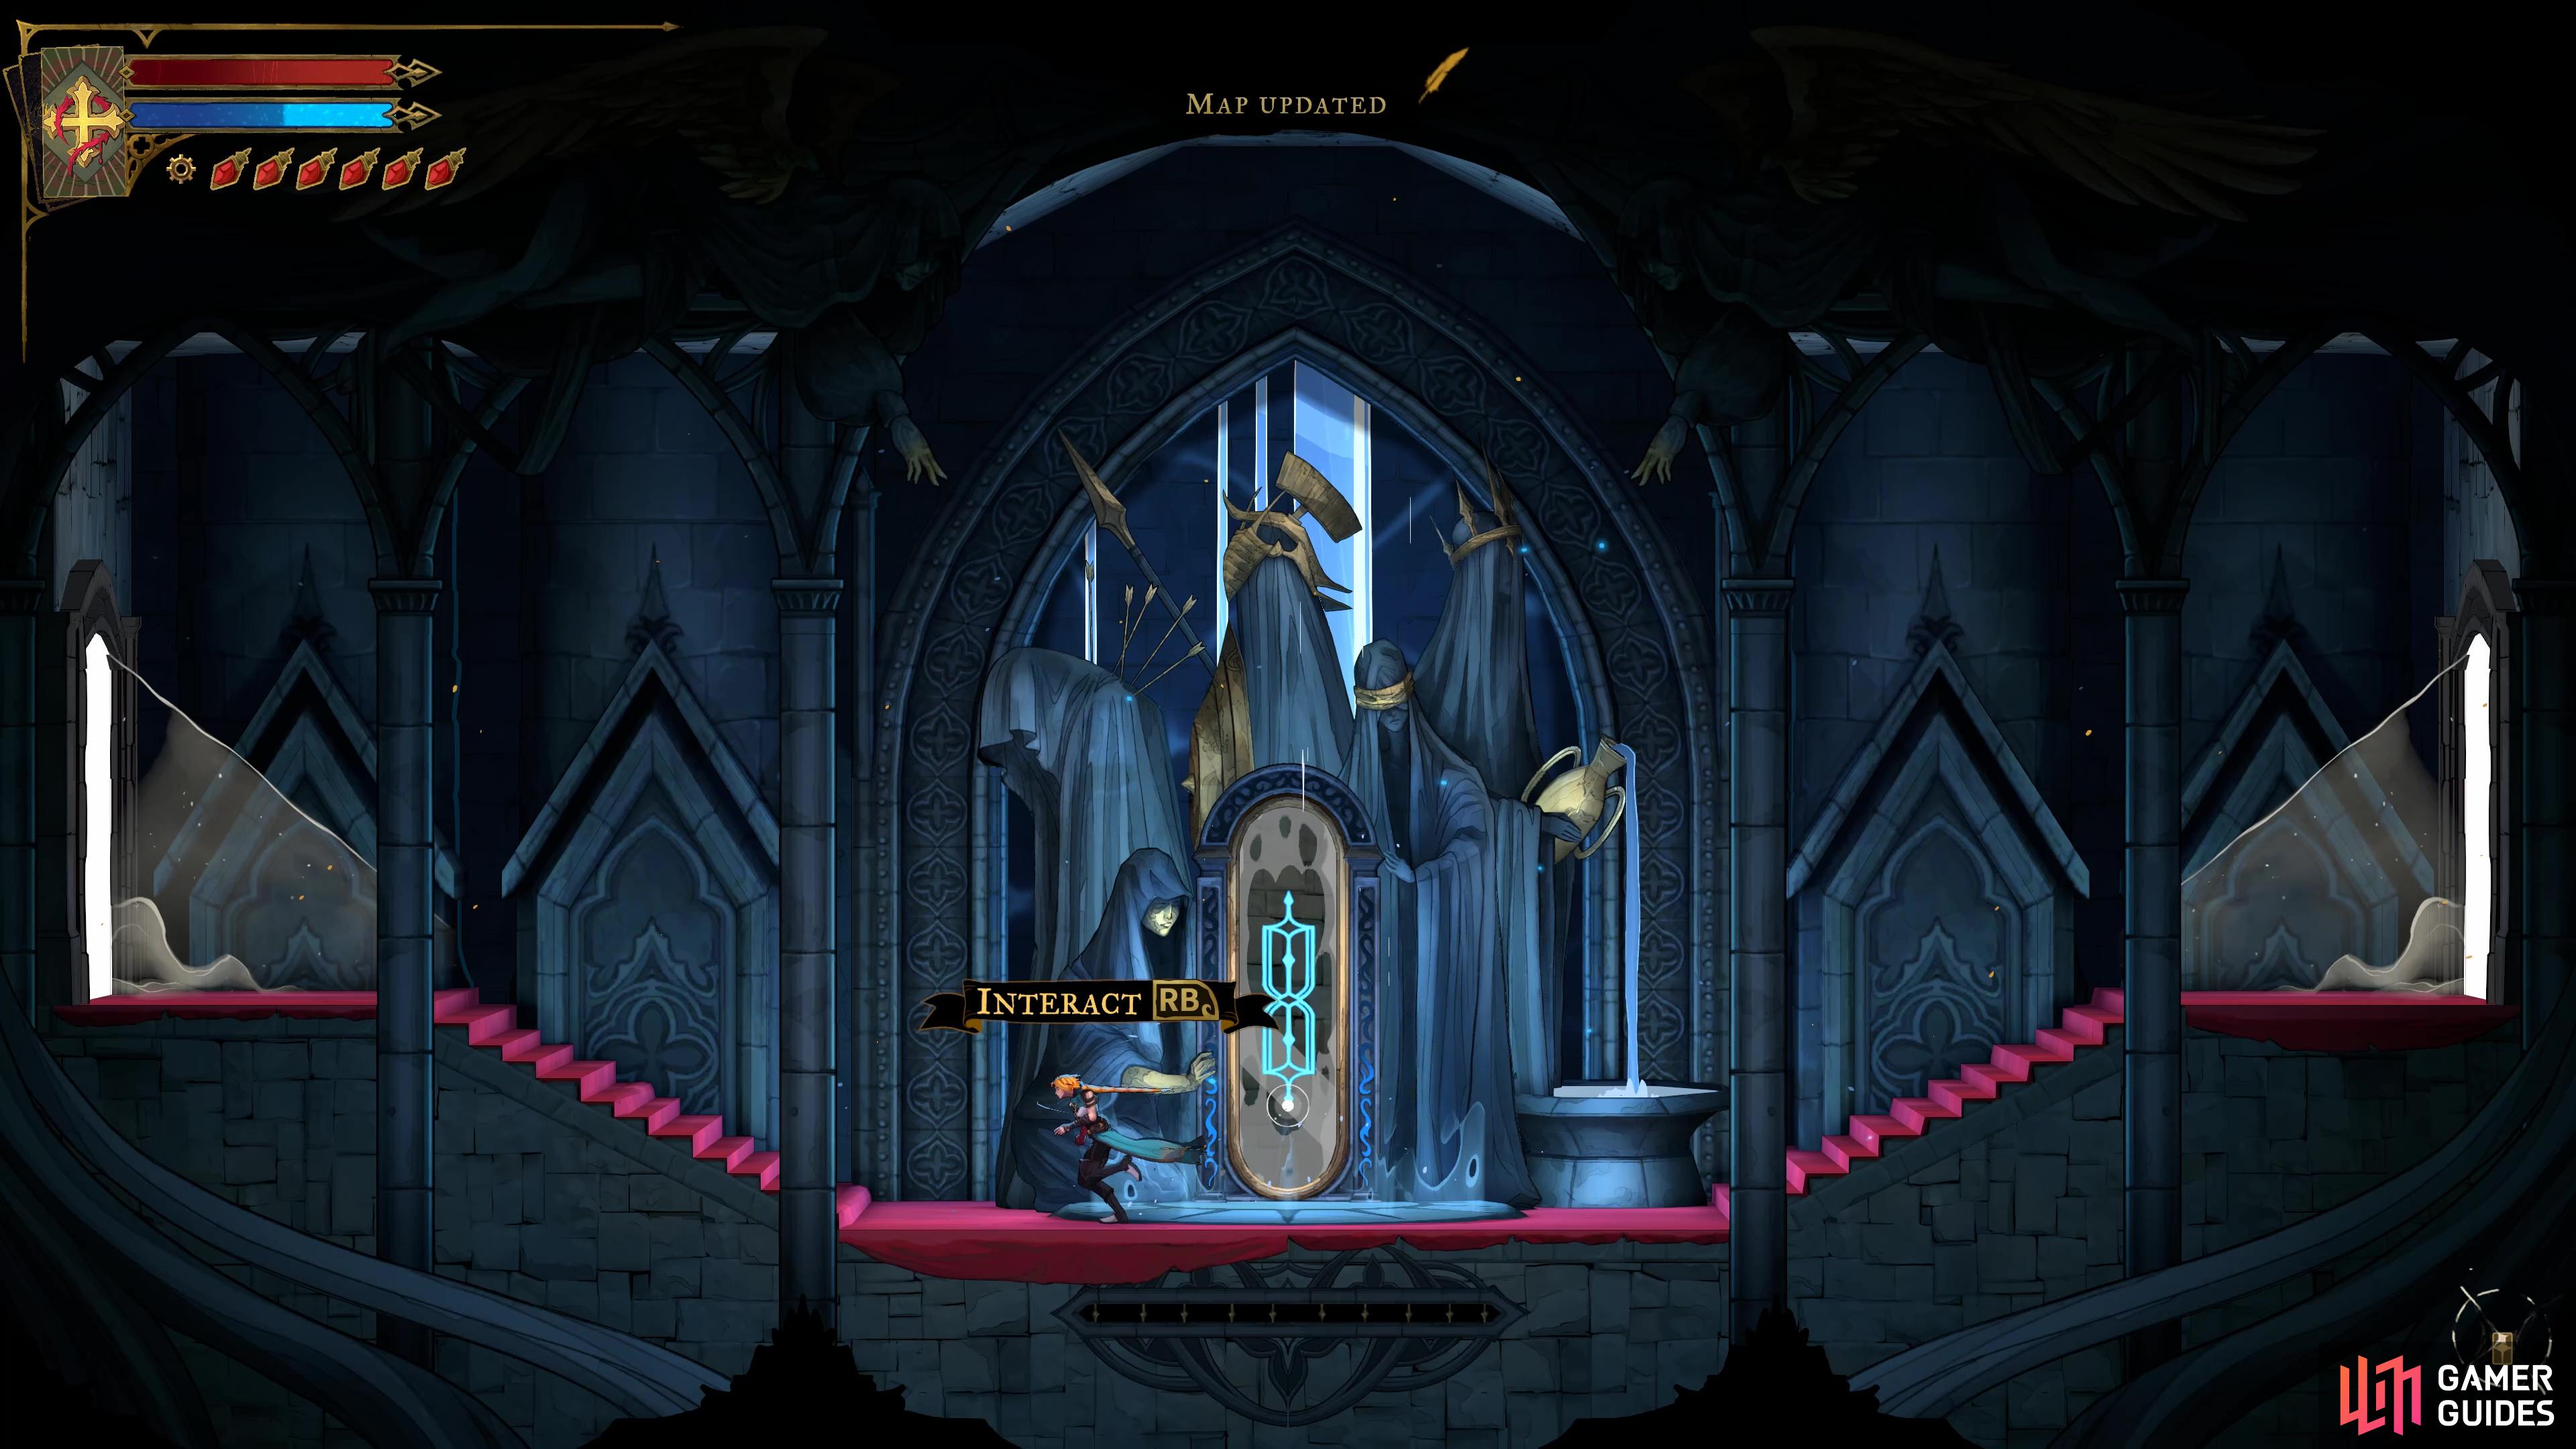
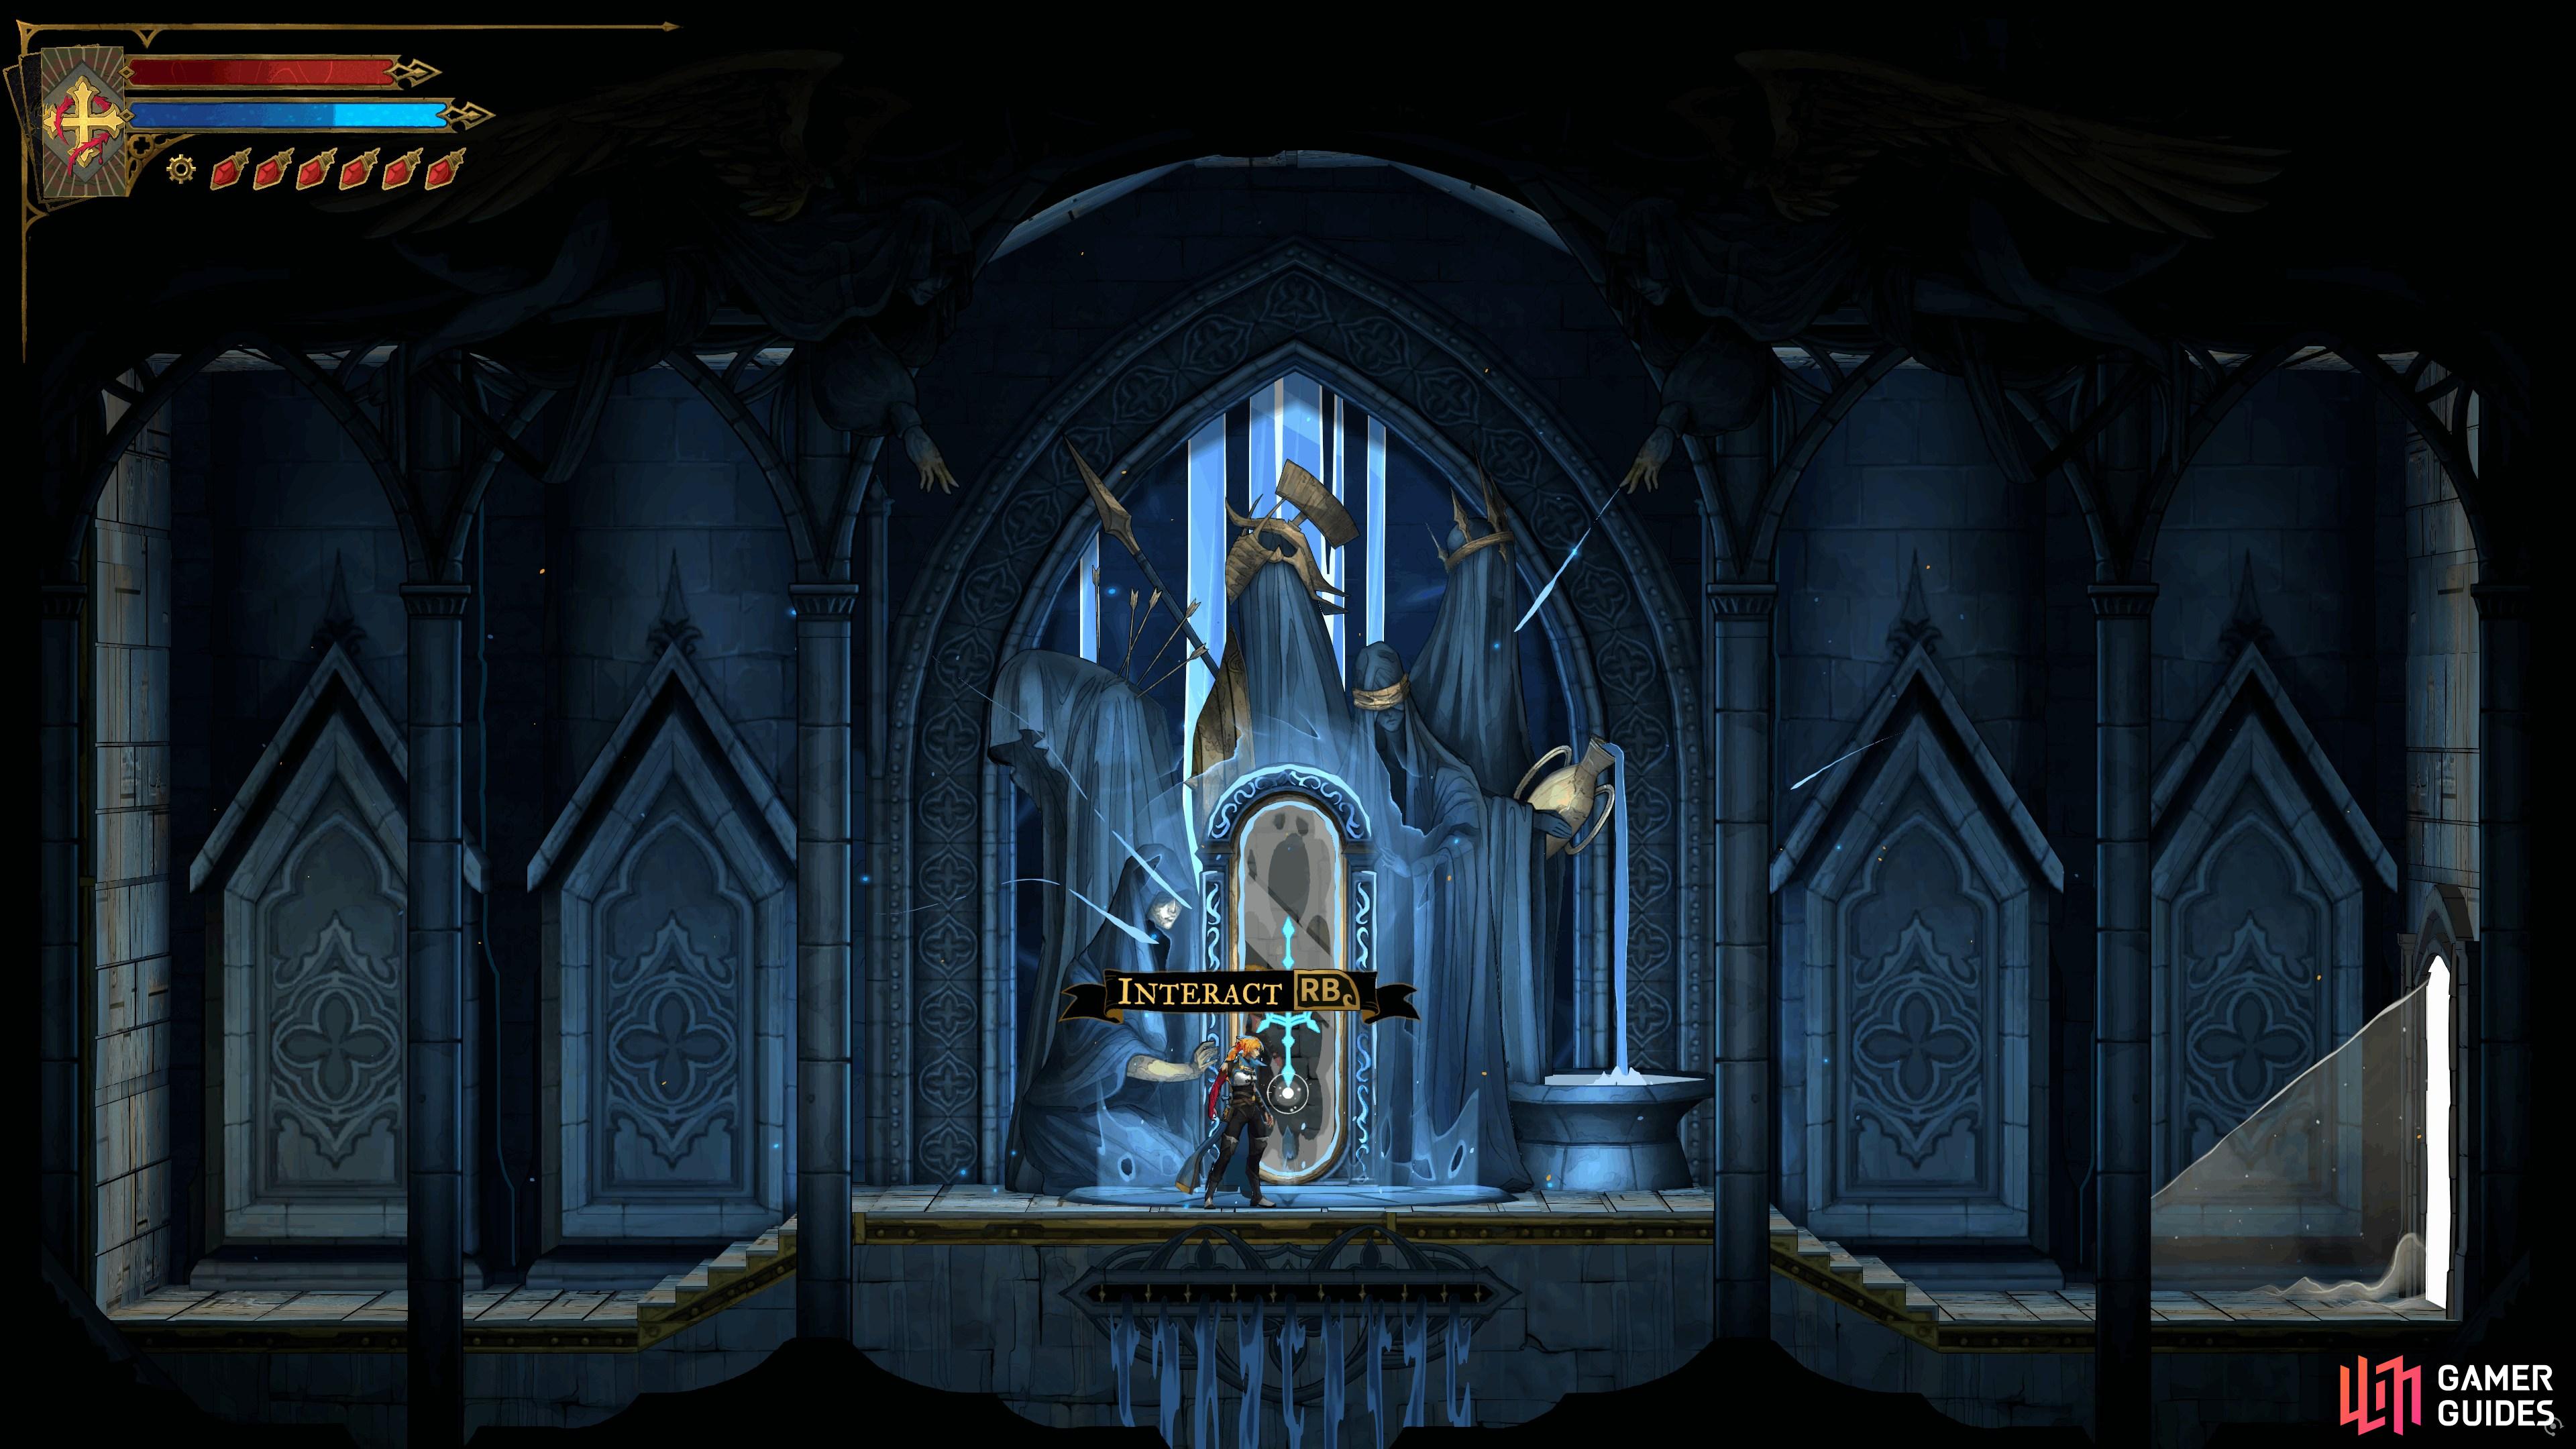
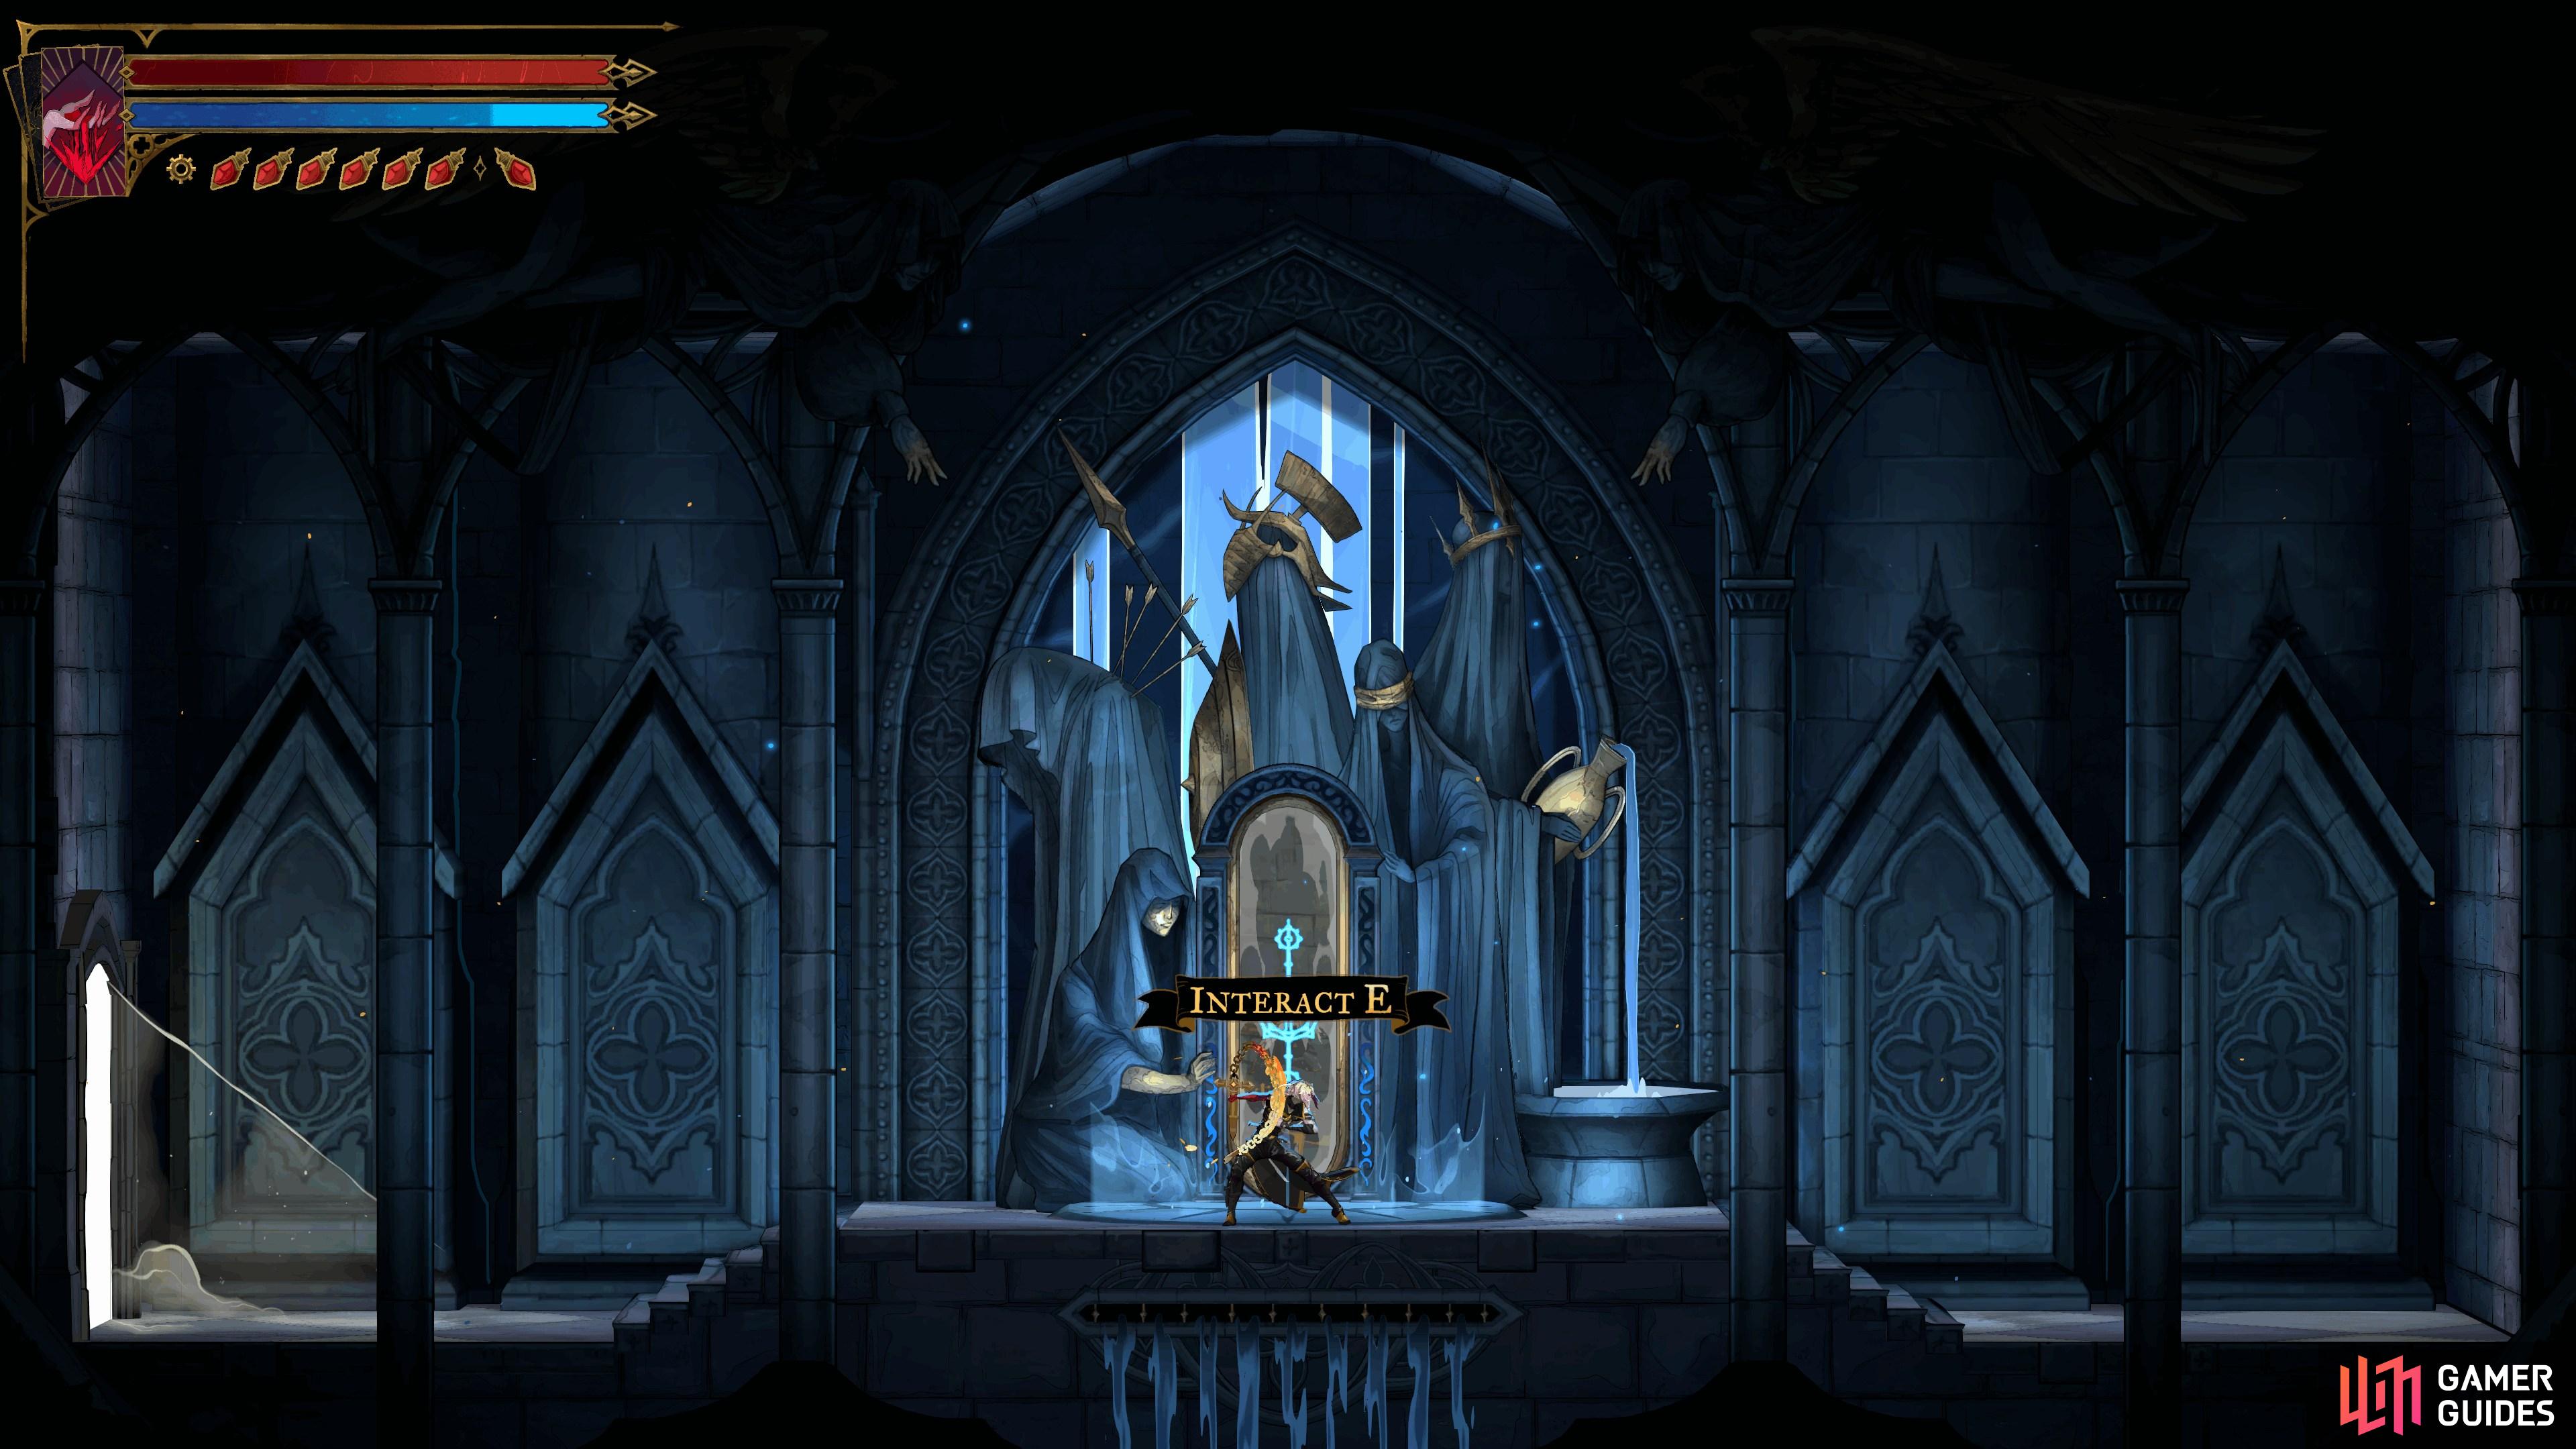
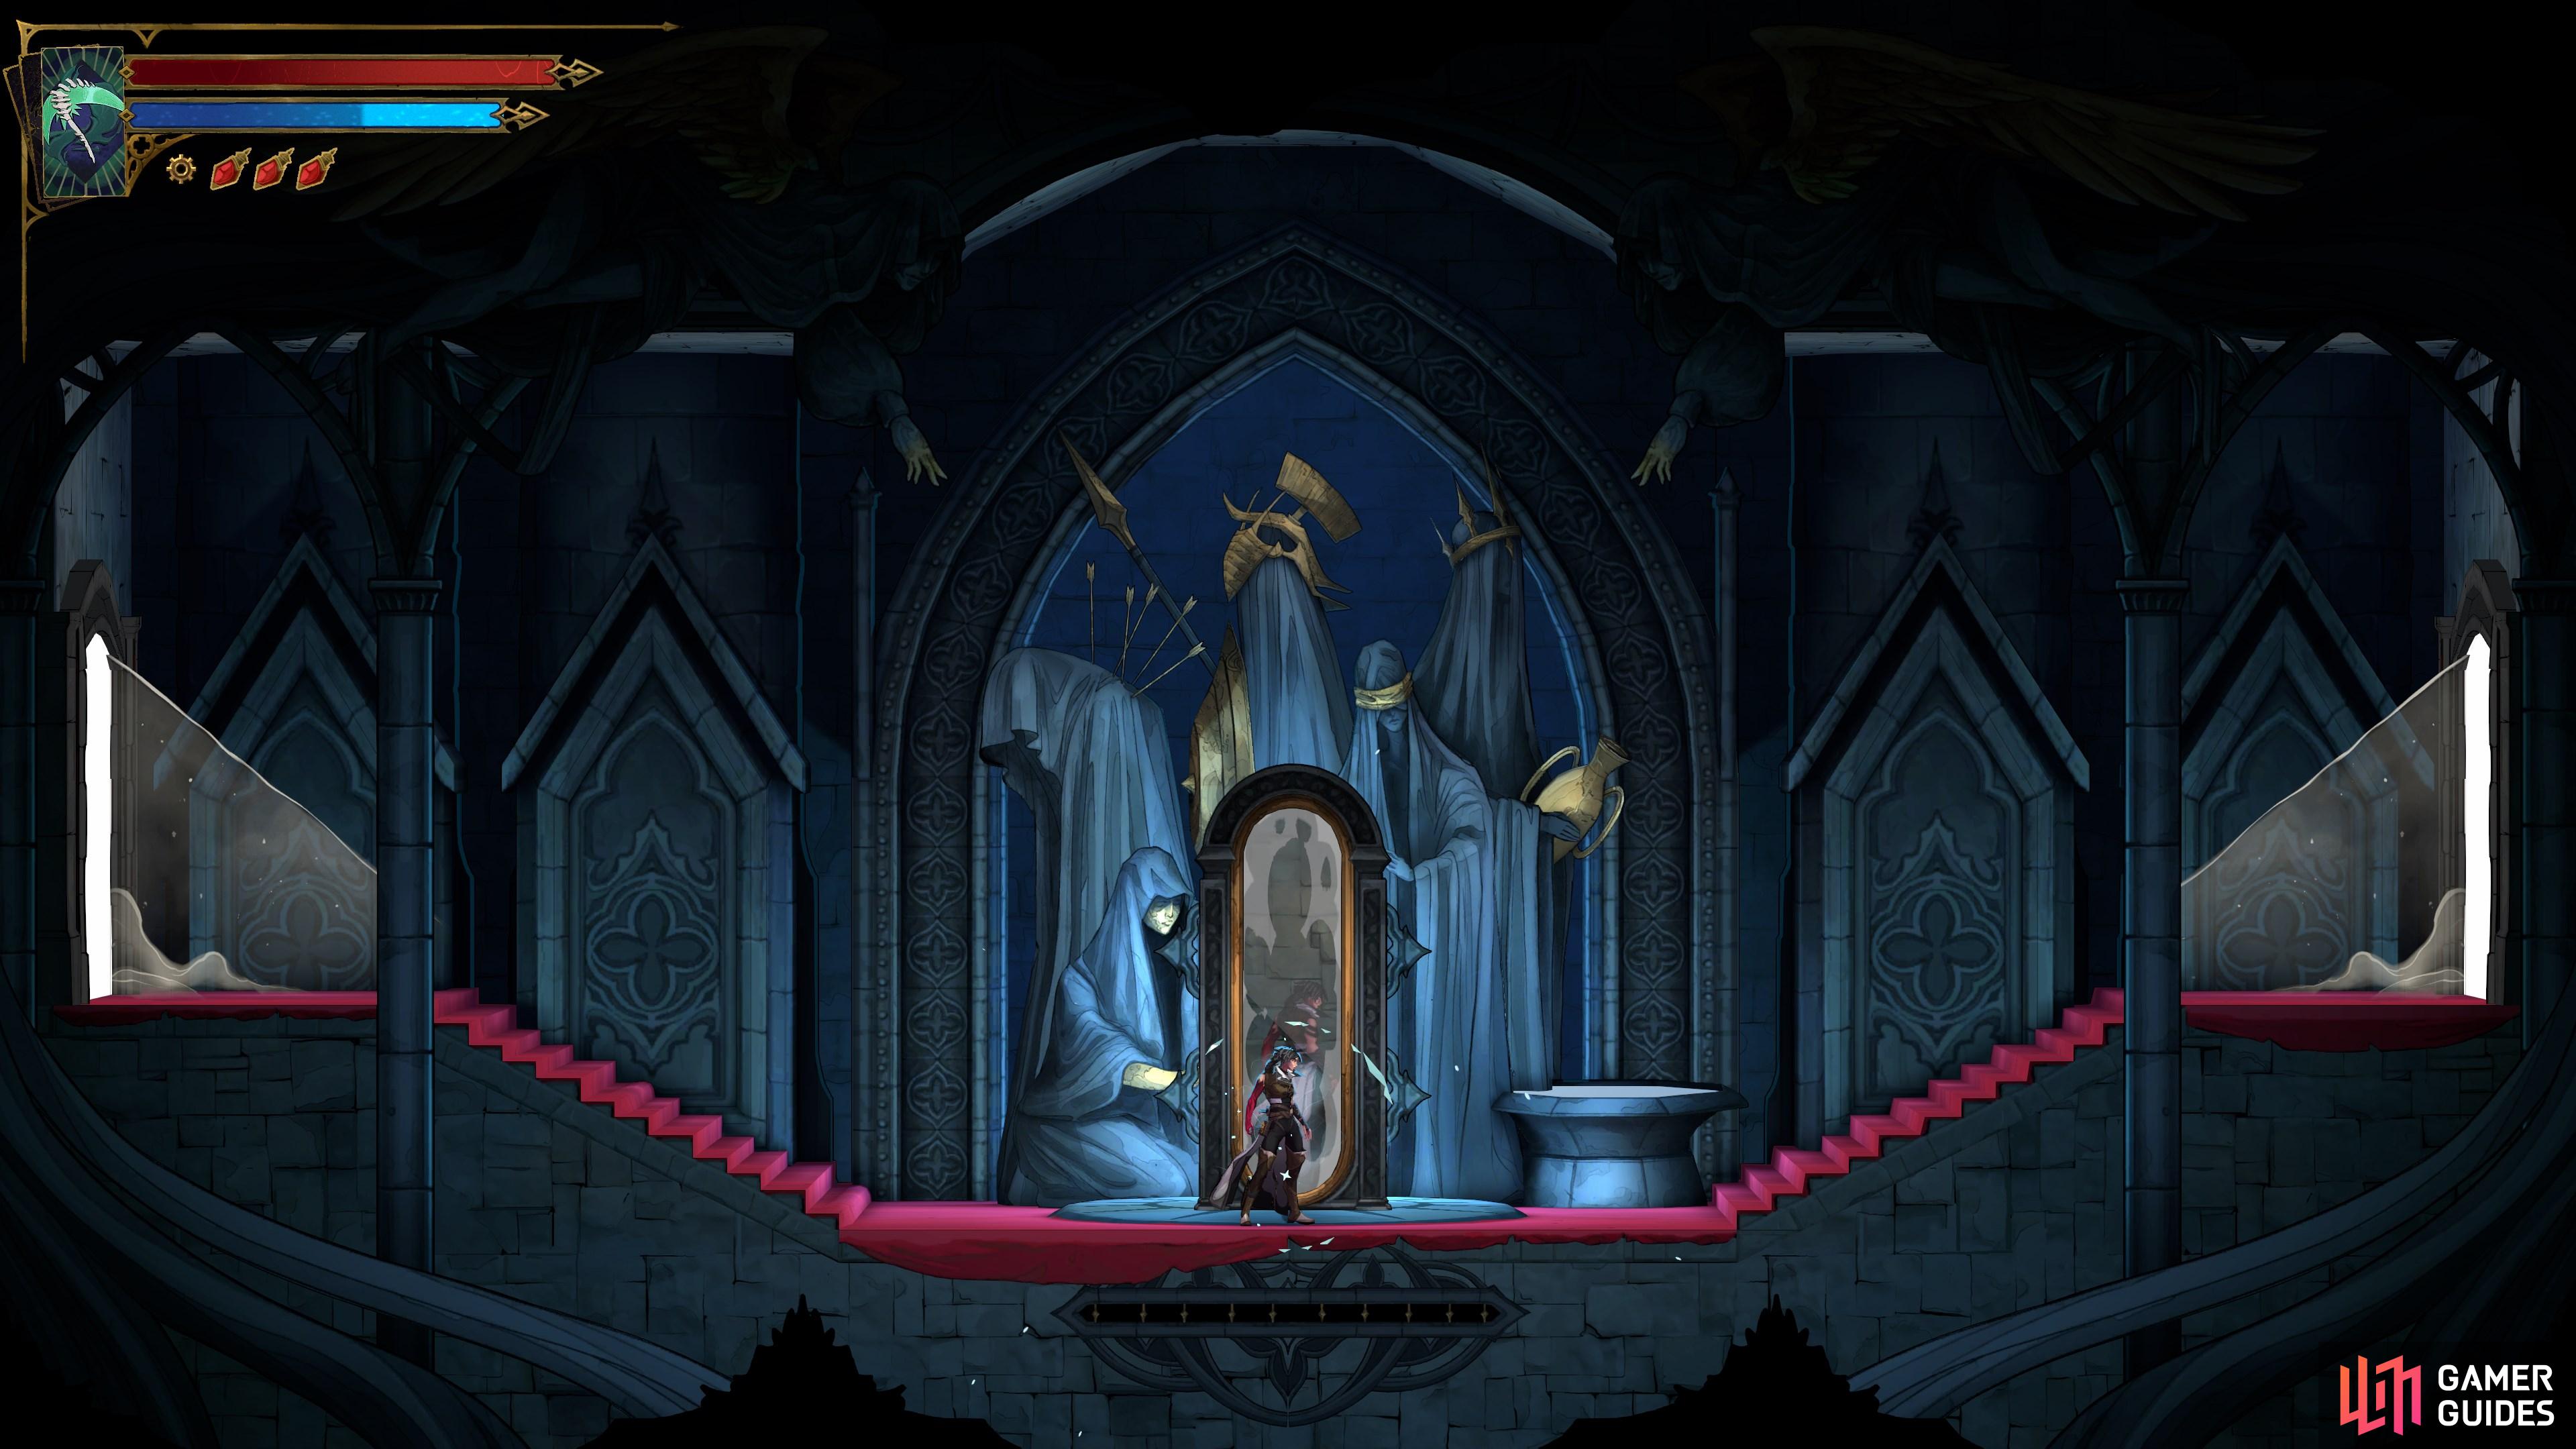
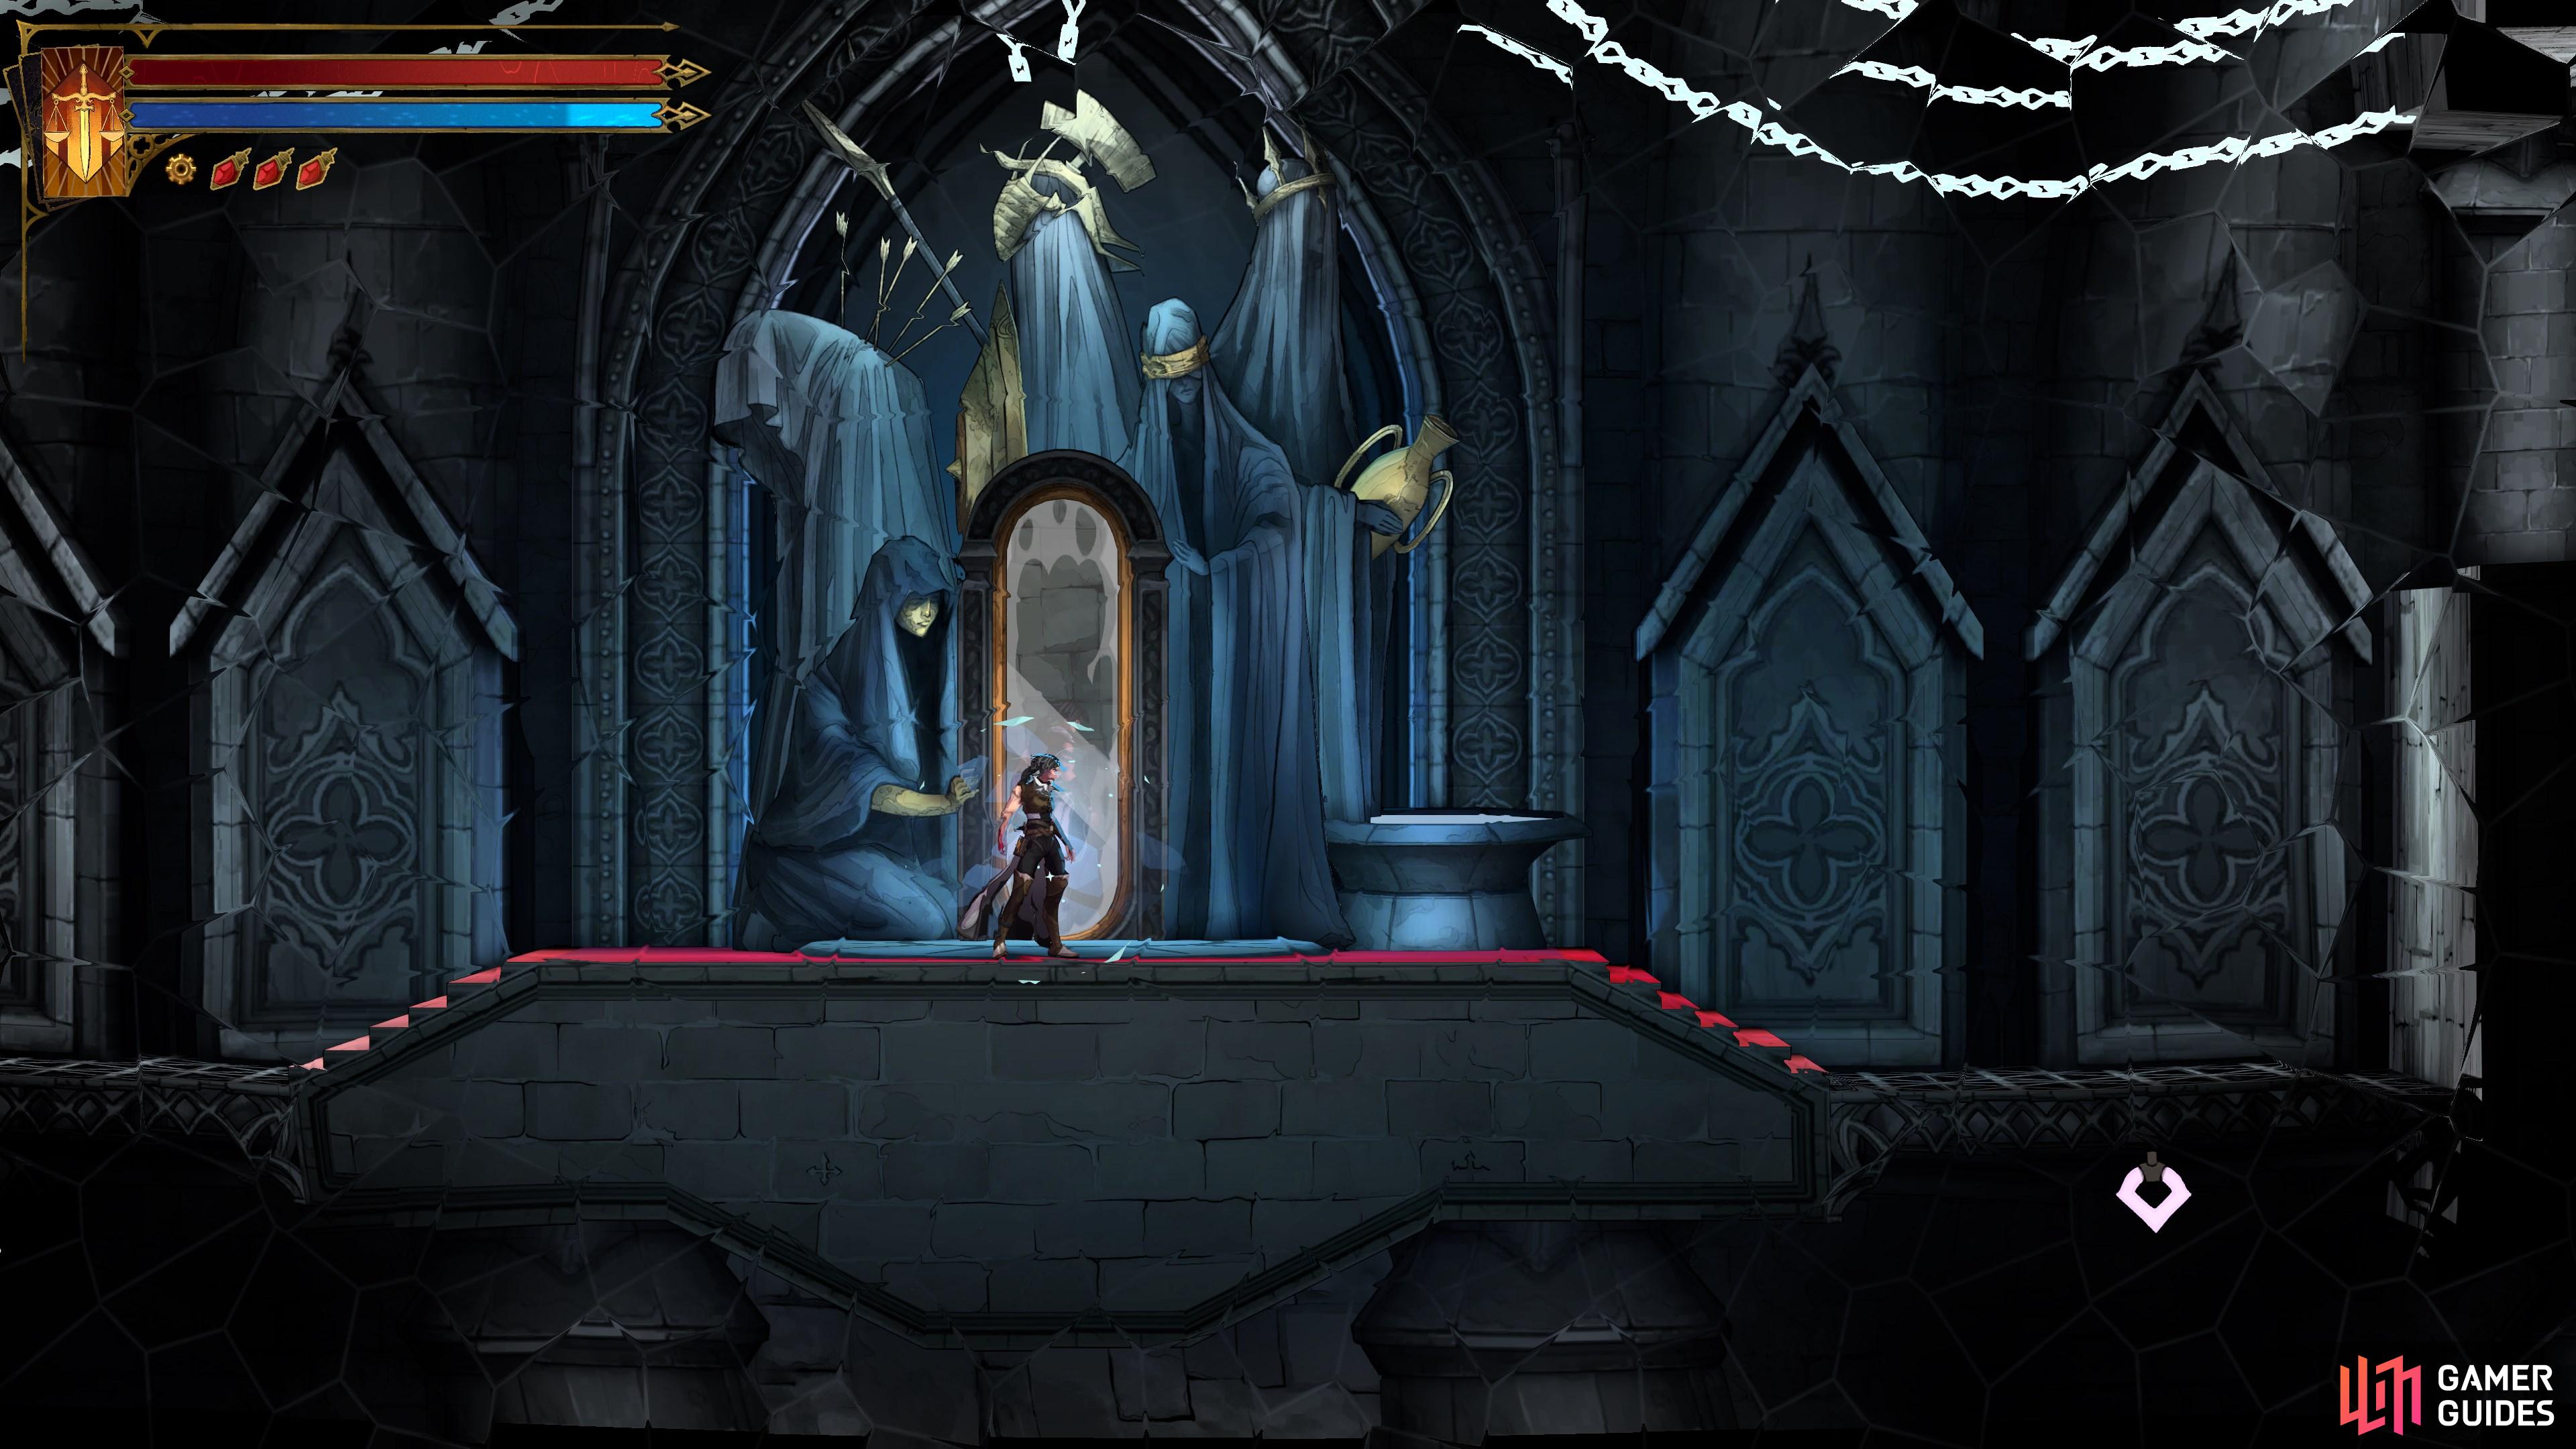
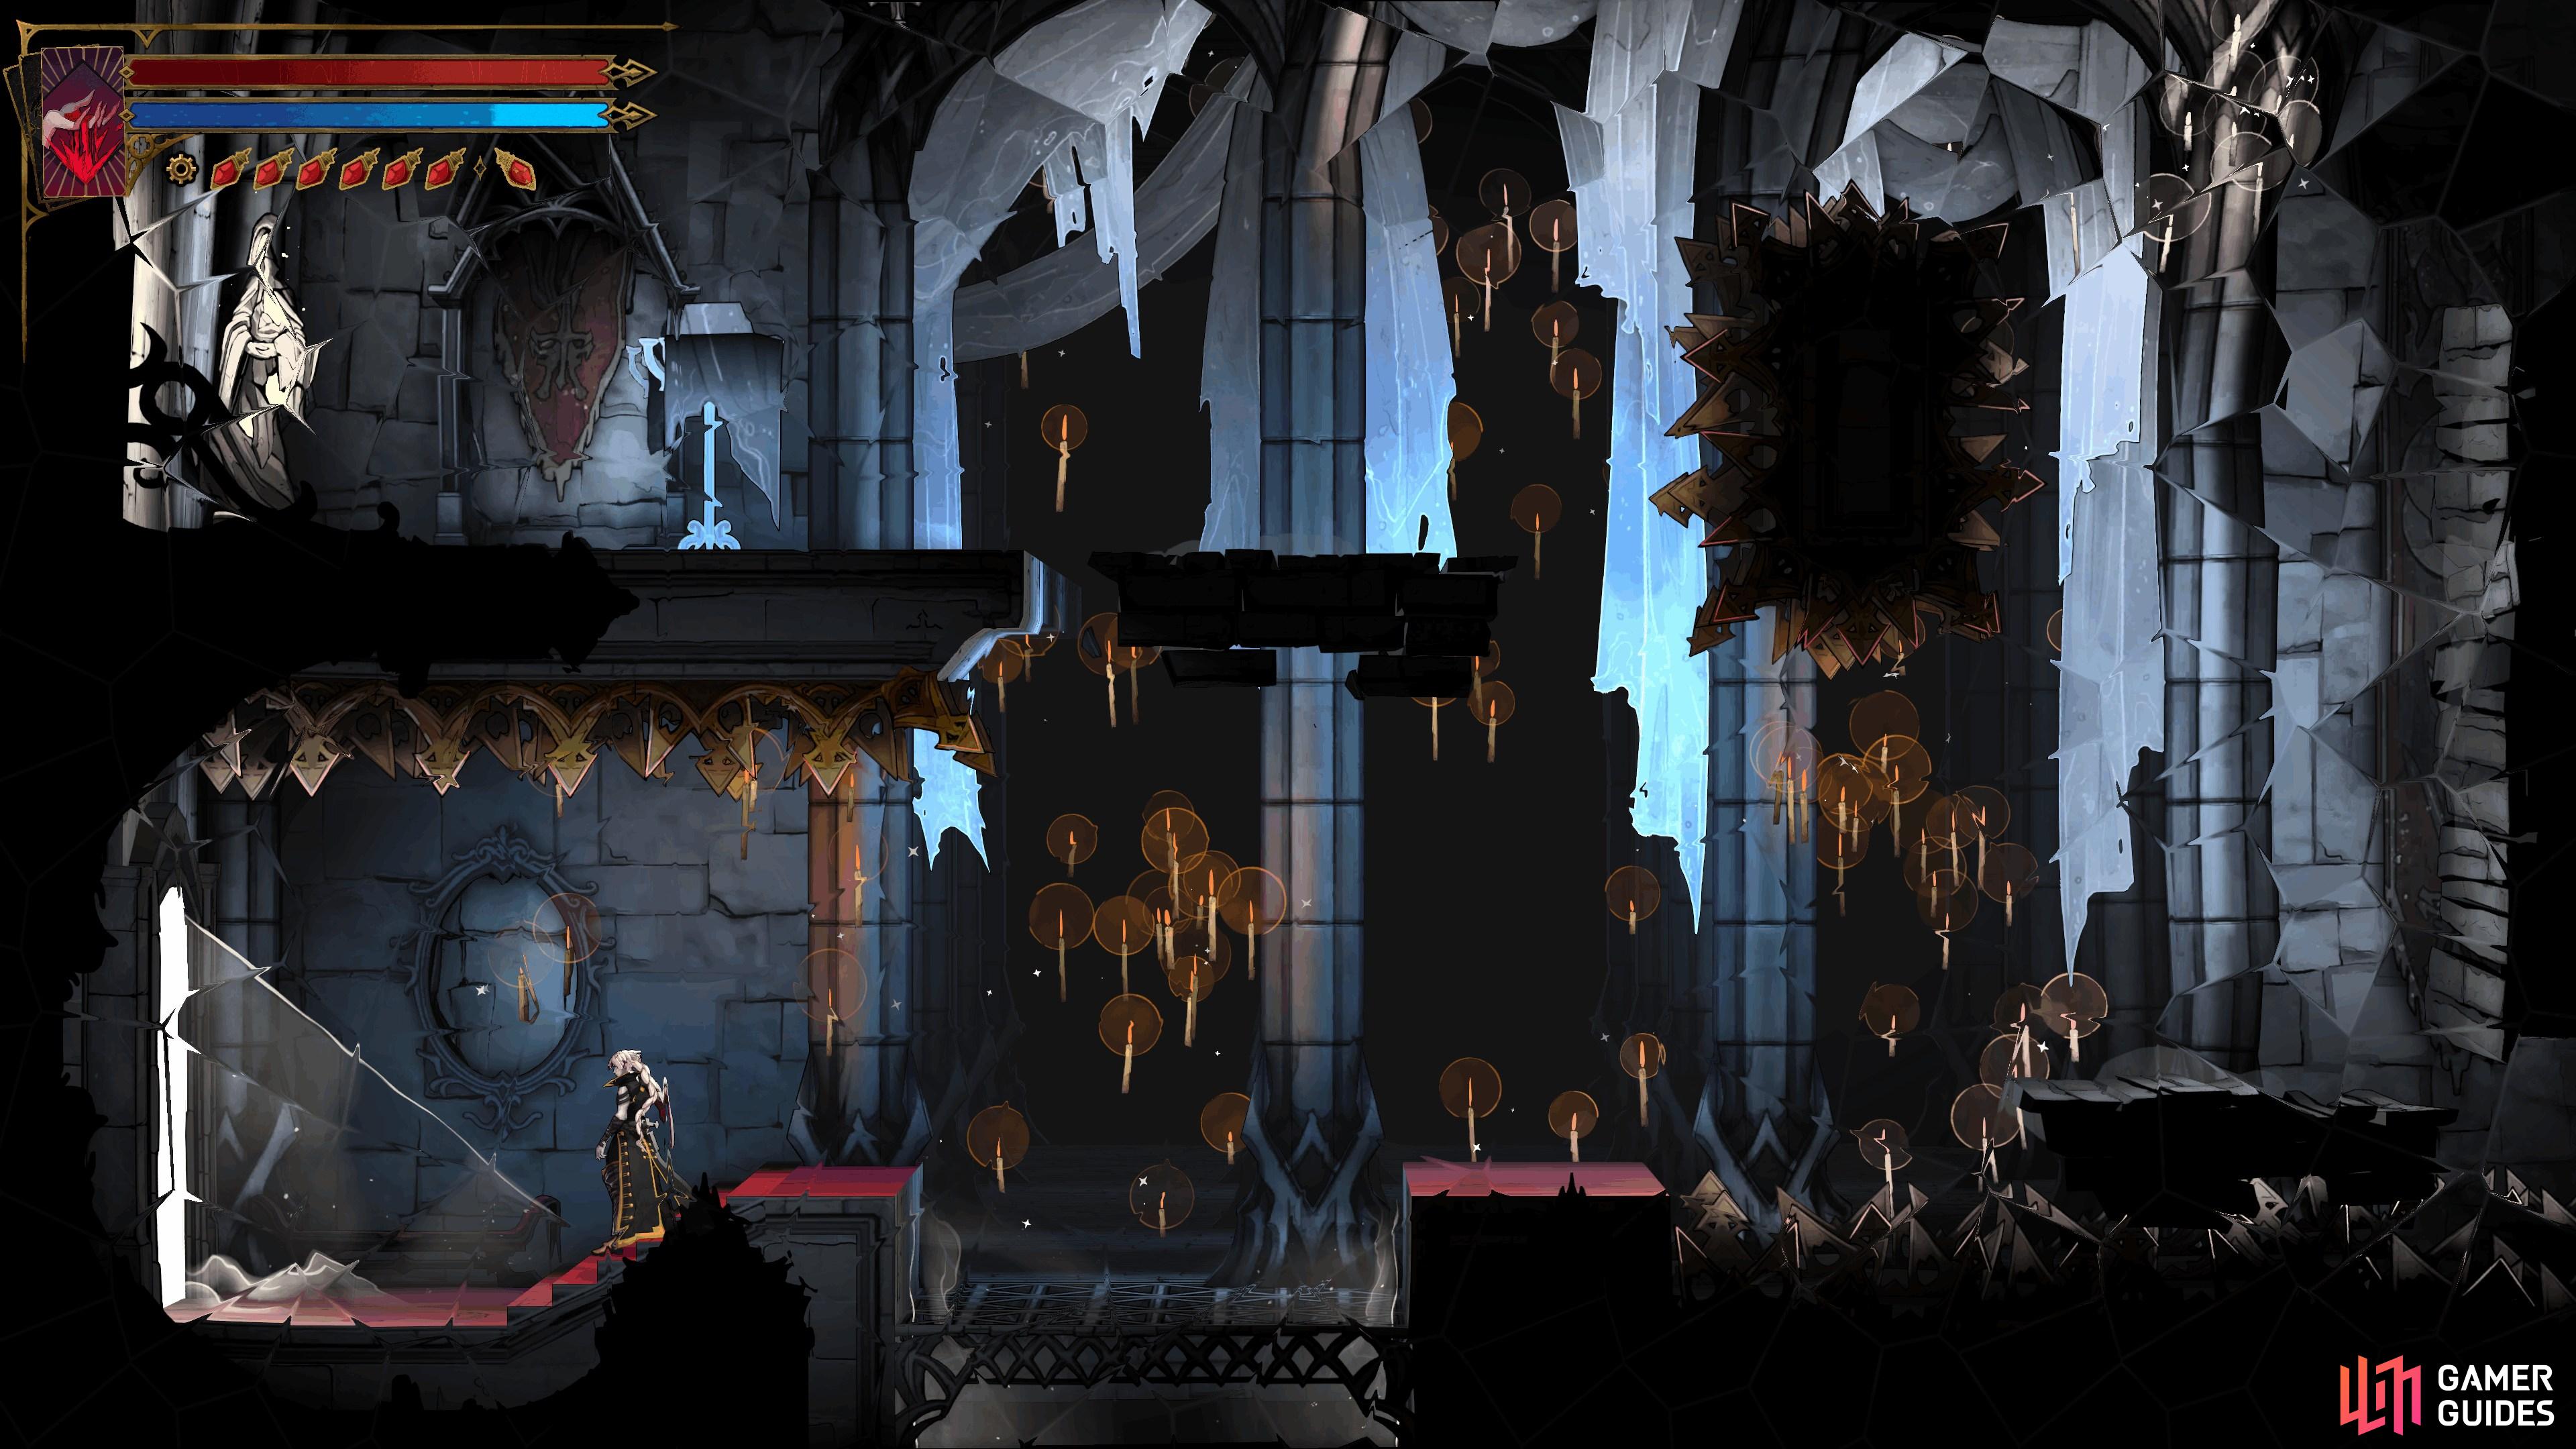
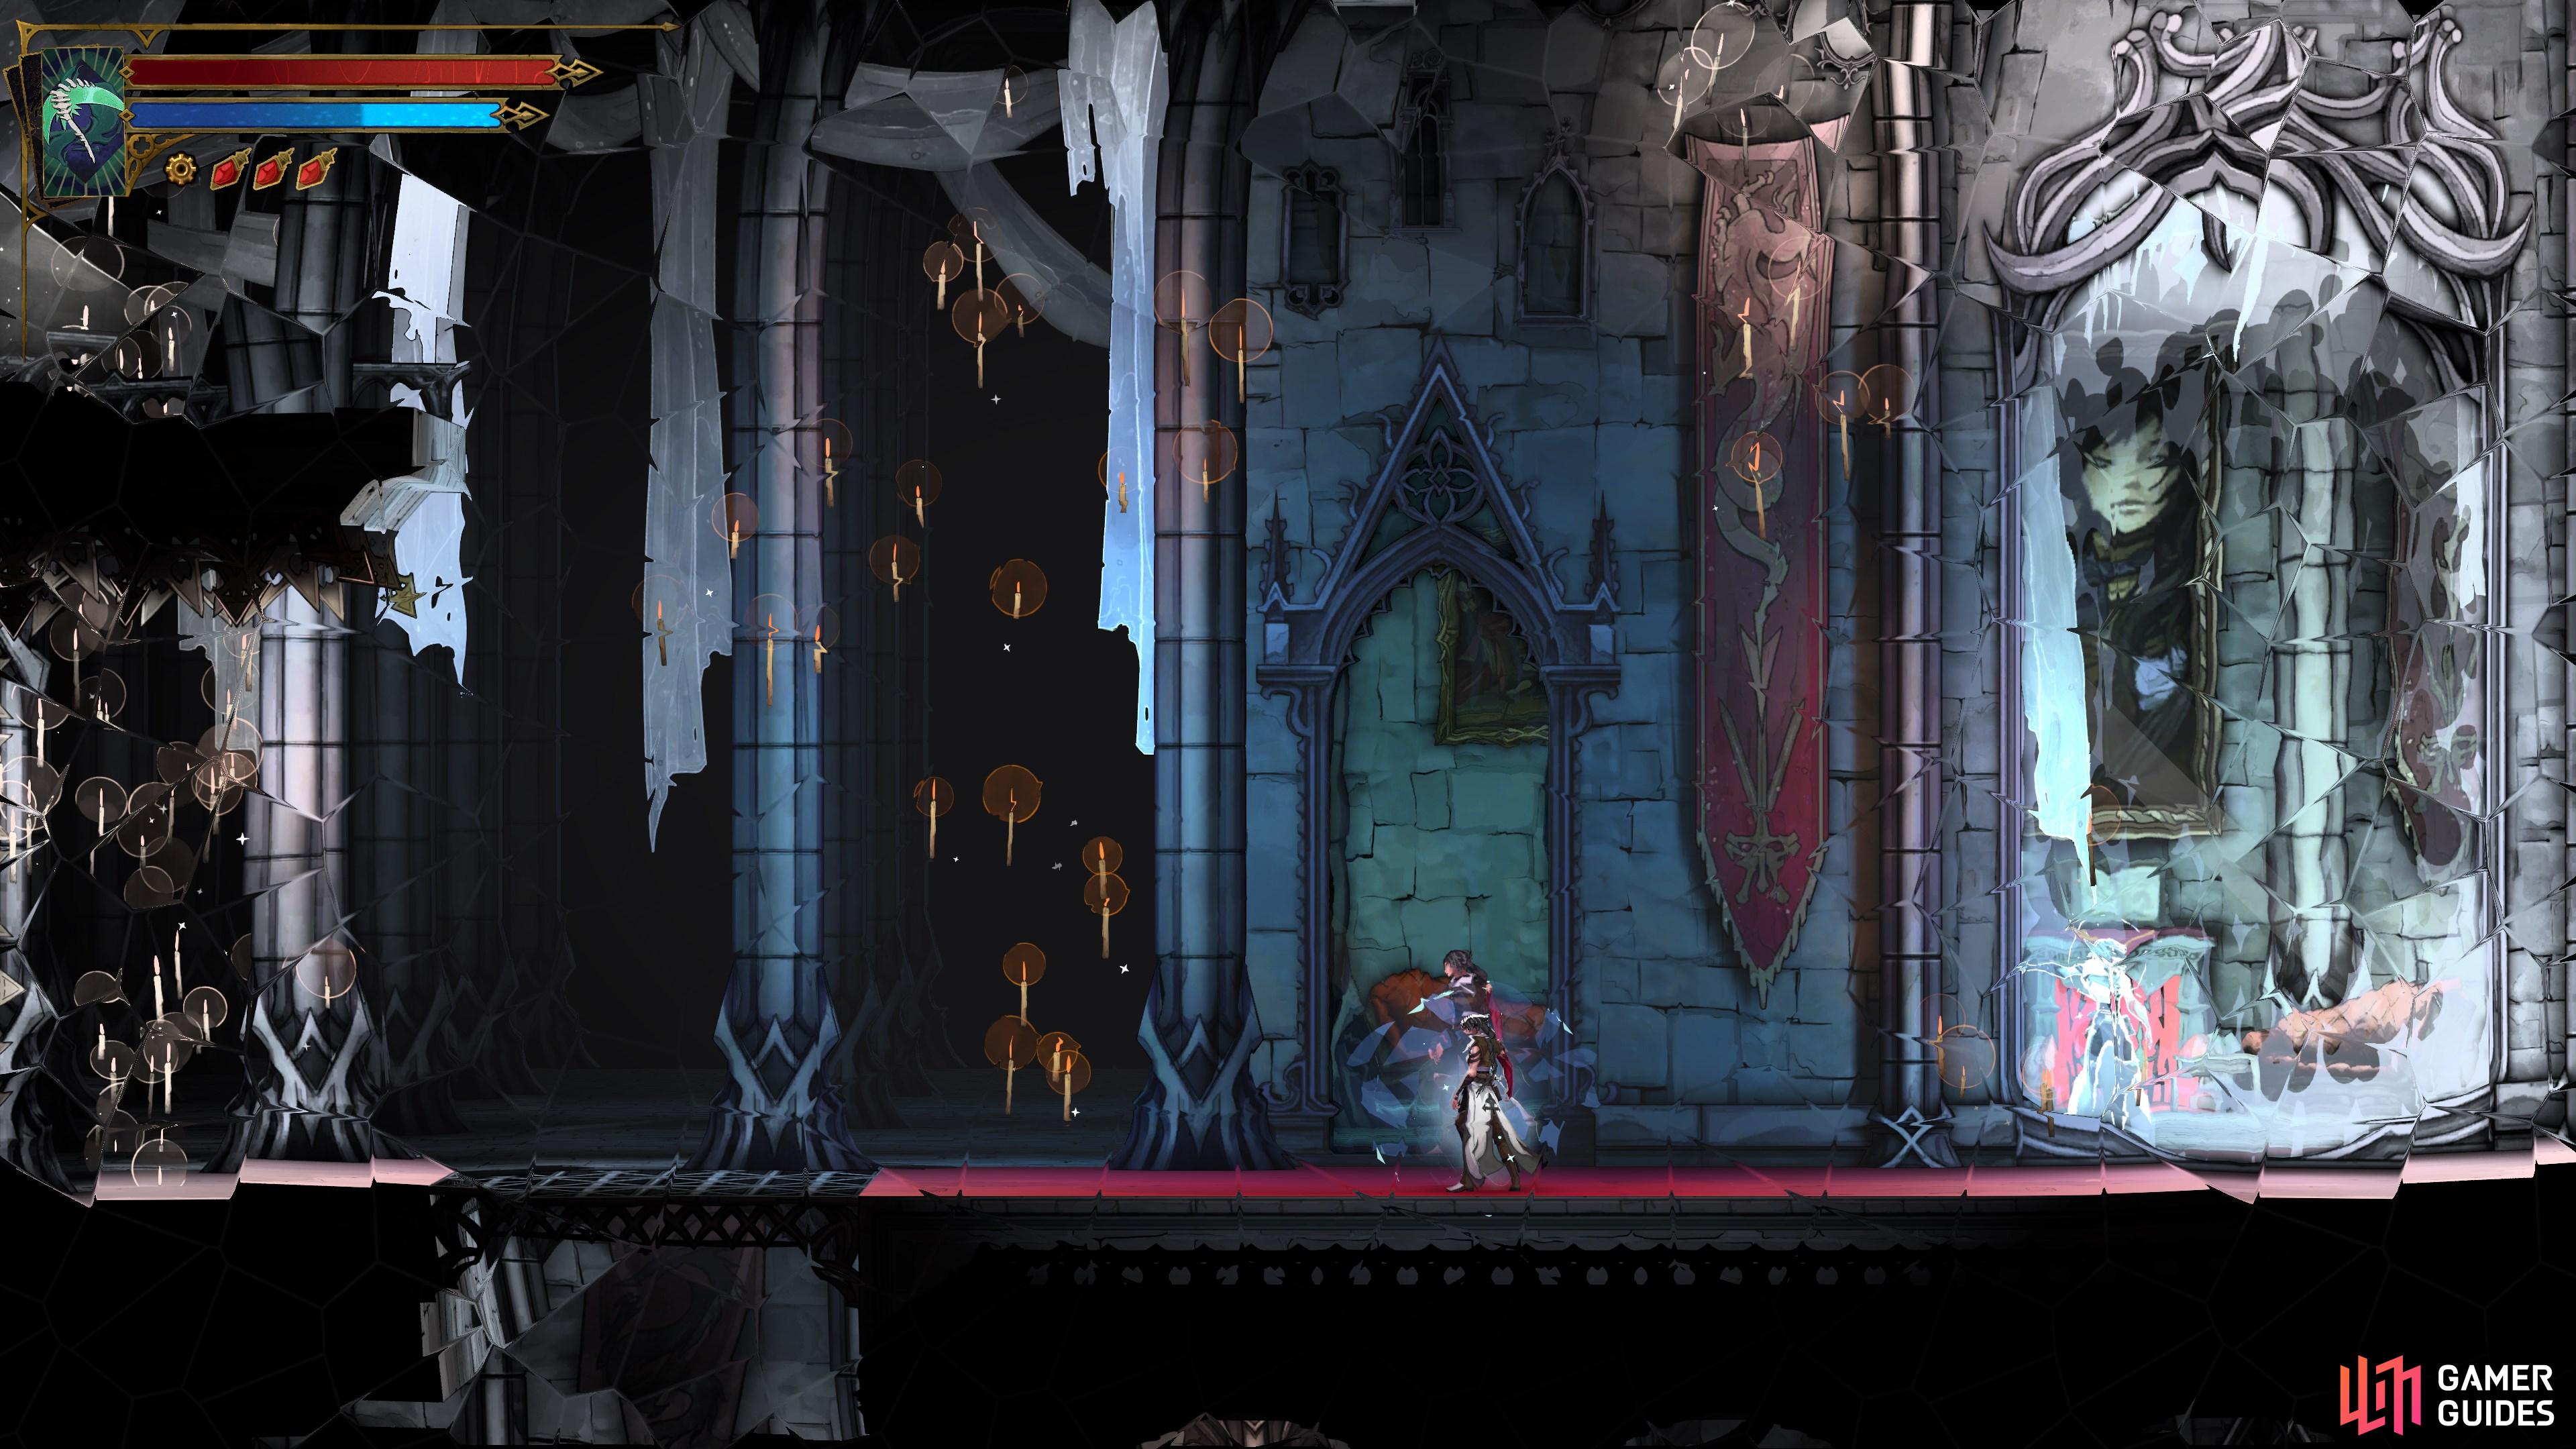
Before you can explore the Hall of Mirrors, you need to break the seal on the mirror trapping The Sage, found in the aptly named Mirror Rooms room in the southeast corner of the Main Hall biome. To do this, you'll need to destroy four seals by crouching in front of them for a short period. These mirrors will have a distinctive glyph on them to set them apart from regular mirrors.
Map position: 33898, 20736
-
2
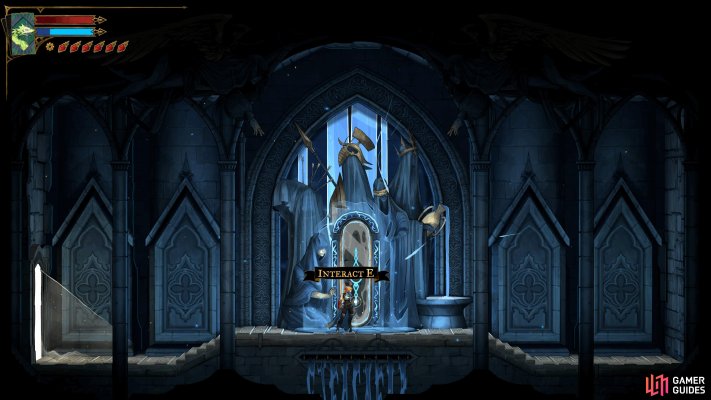
Paris Streets Seal
The seals can be done in any order so we'll start with Paris Streets first. Make your way to the Prison Tower room, and head to the mirror room in the northeast corner. Crouch in front of the mirror for a few seconds to enter it, and defeat the enemies inside before destroying the seal in the top center of the room. Once that's done, exit the room, and head to the next seal.
Map position: 20444, 20234
-
3
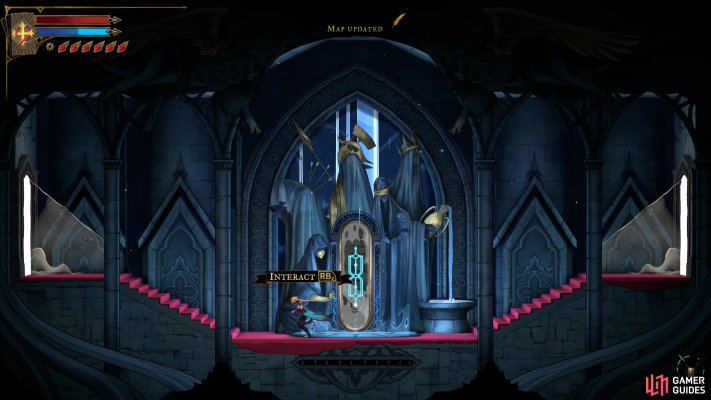
Main Hall Seal
In the Main Hall, you'll want to go into the door in the Old Gallery room in the northeast of the map, below the Bridge of Knowledge. Go through the door to enter the Servants' Hall, and from there, head north and west until you reach the Archives Mirror of Life. Once again, kneel in front of the mirror, defeat the enemies, and break the seal before moving onto the next one.
Map position: 32726, 19764
-
4
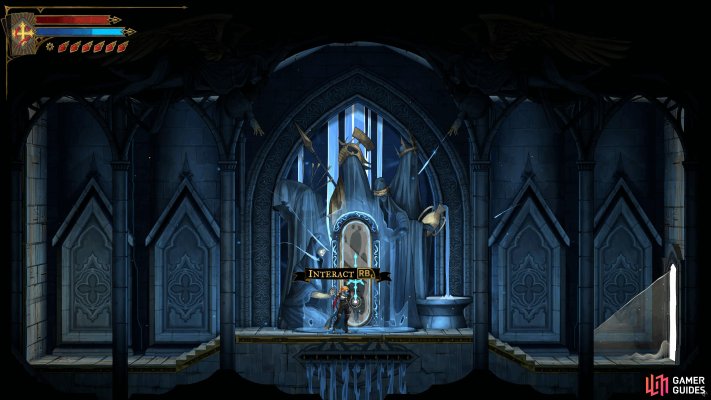
Clock Tower Seal
Next up is Clock Tower, more specifically, Mechanic's Ascent. However, you'll need access to the following abilities: Arcane Whip, Holy Light, Smash, and Aerial Rush. The easiest and quickest way to get to this mirror is by taking the elevator from the West Tower Base up to Mechanic's Ascent, but that will assume you have that shortcut unlocked. If not, you'll need to work your way to the northwest corner of Clock Tower before you can access it. When you reach the mirror, enter it by kneeling, defeat the enemies, and destroy the seal. Just one more seal to destroy now.
Map position: 29373, 14586
-
5
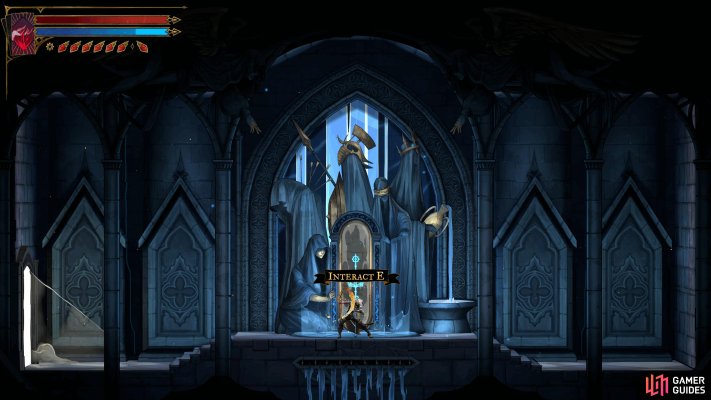
Notre-Dame Seal
The final seal can be found in the East Gallery in Notre-Dame. You'll need the Smash ability at minimum to access it. From the Ferryman's Wharf in the West Triforium, drop to the corridor below and head east to reach the Transept room in the center. Continue east through the East Triforium until you reach a destructible block leading south. Get some height using the nearby platform and crash down on the block using Smash. This will take you to the upper floor of the East Gallery room. Head east to the end to find the Mirror of Life. As always, crouch down to enter the mirror, defeat the enemies, and destroy the final seal.
Map position: 22197, 14669
-
6
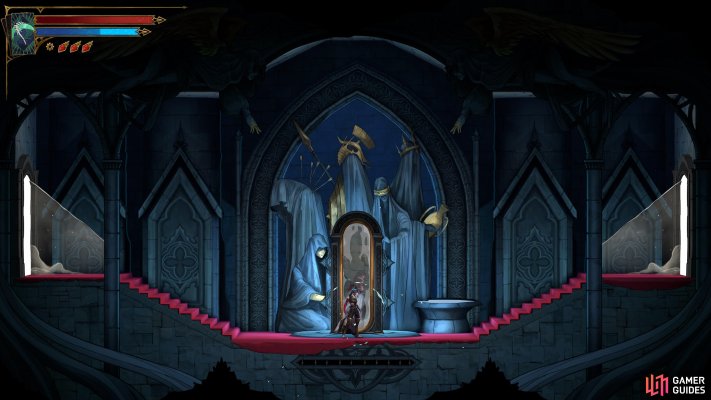
Unlocking the Hall of Mirrors
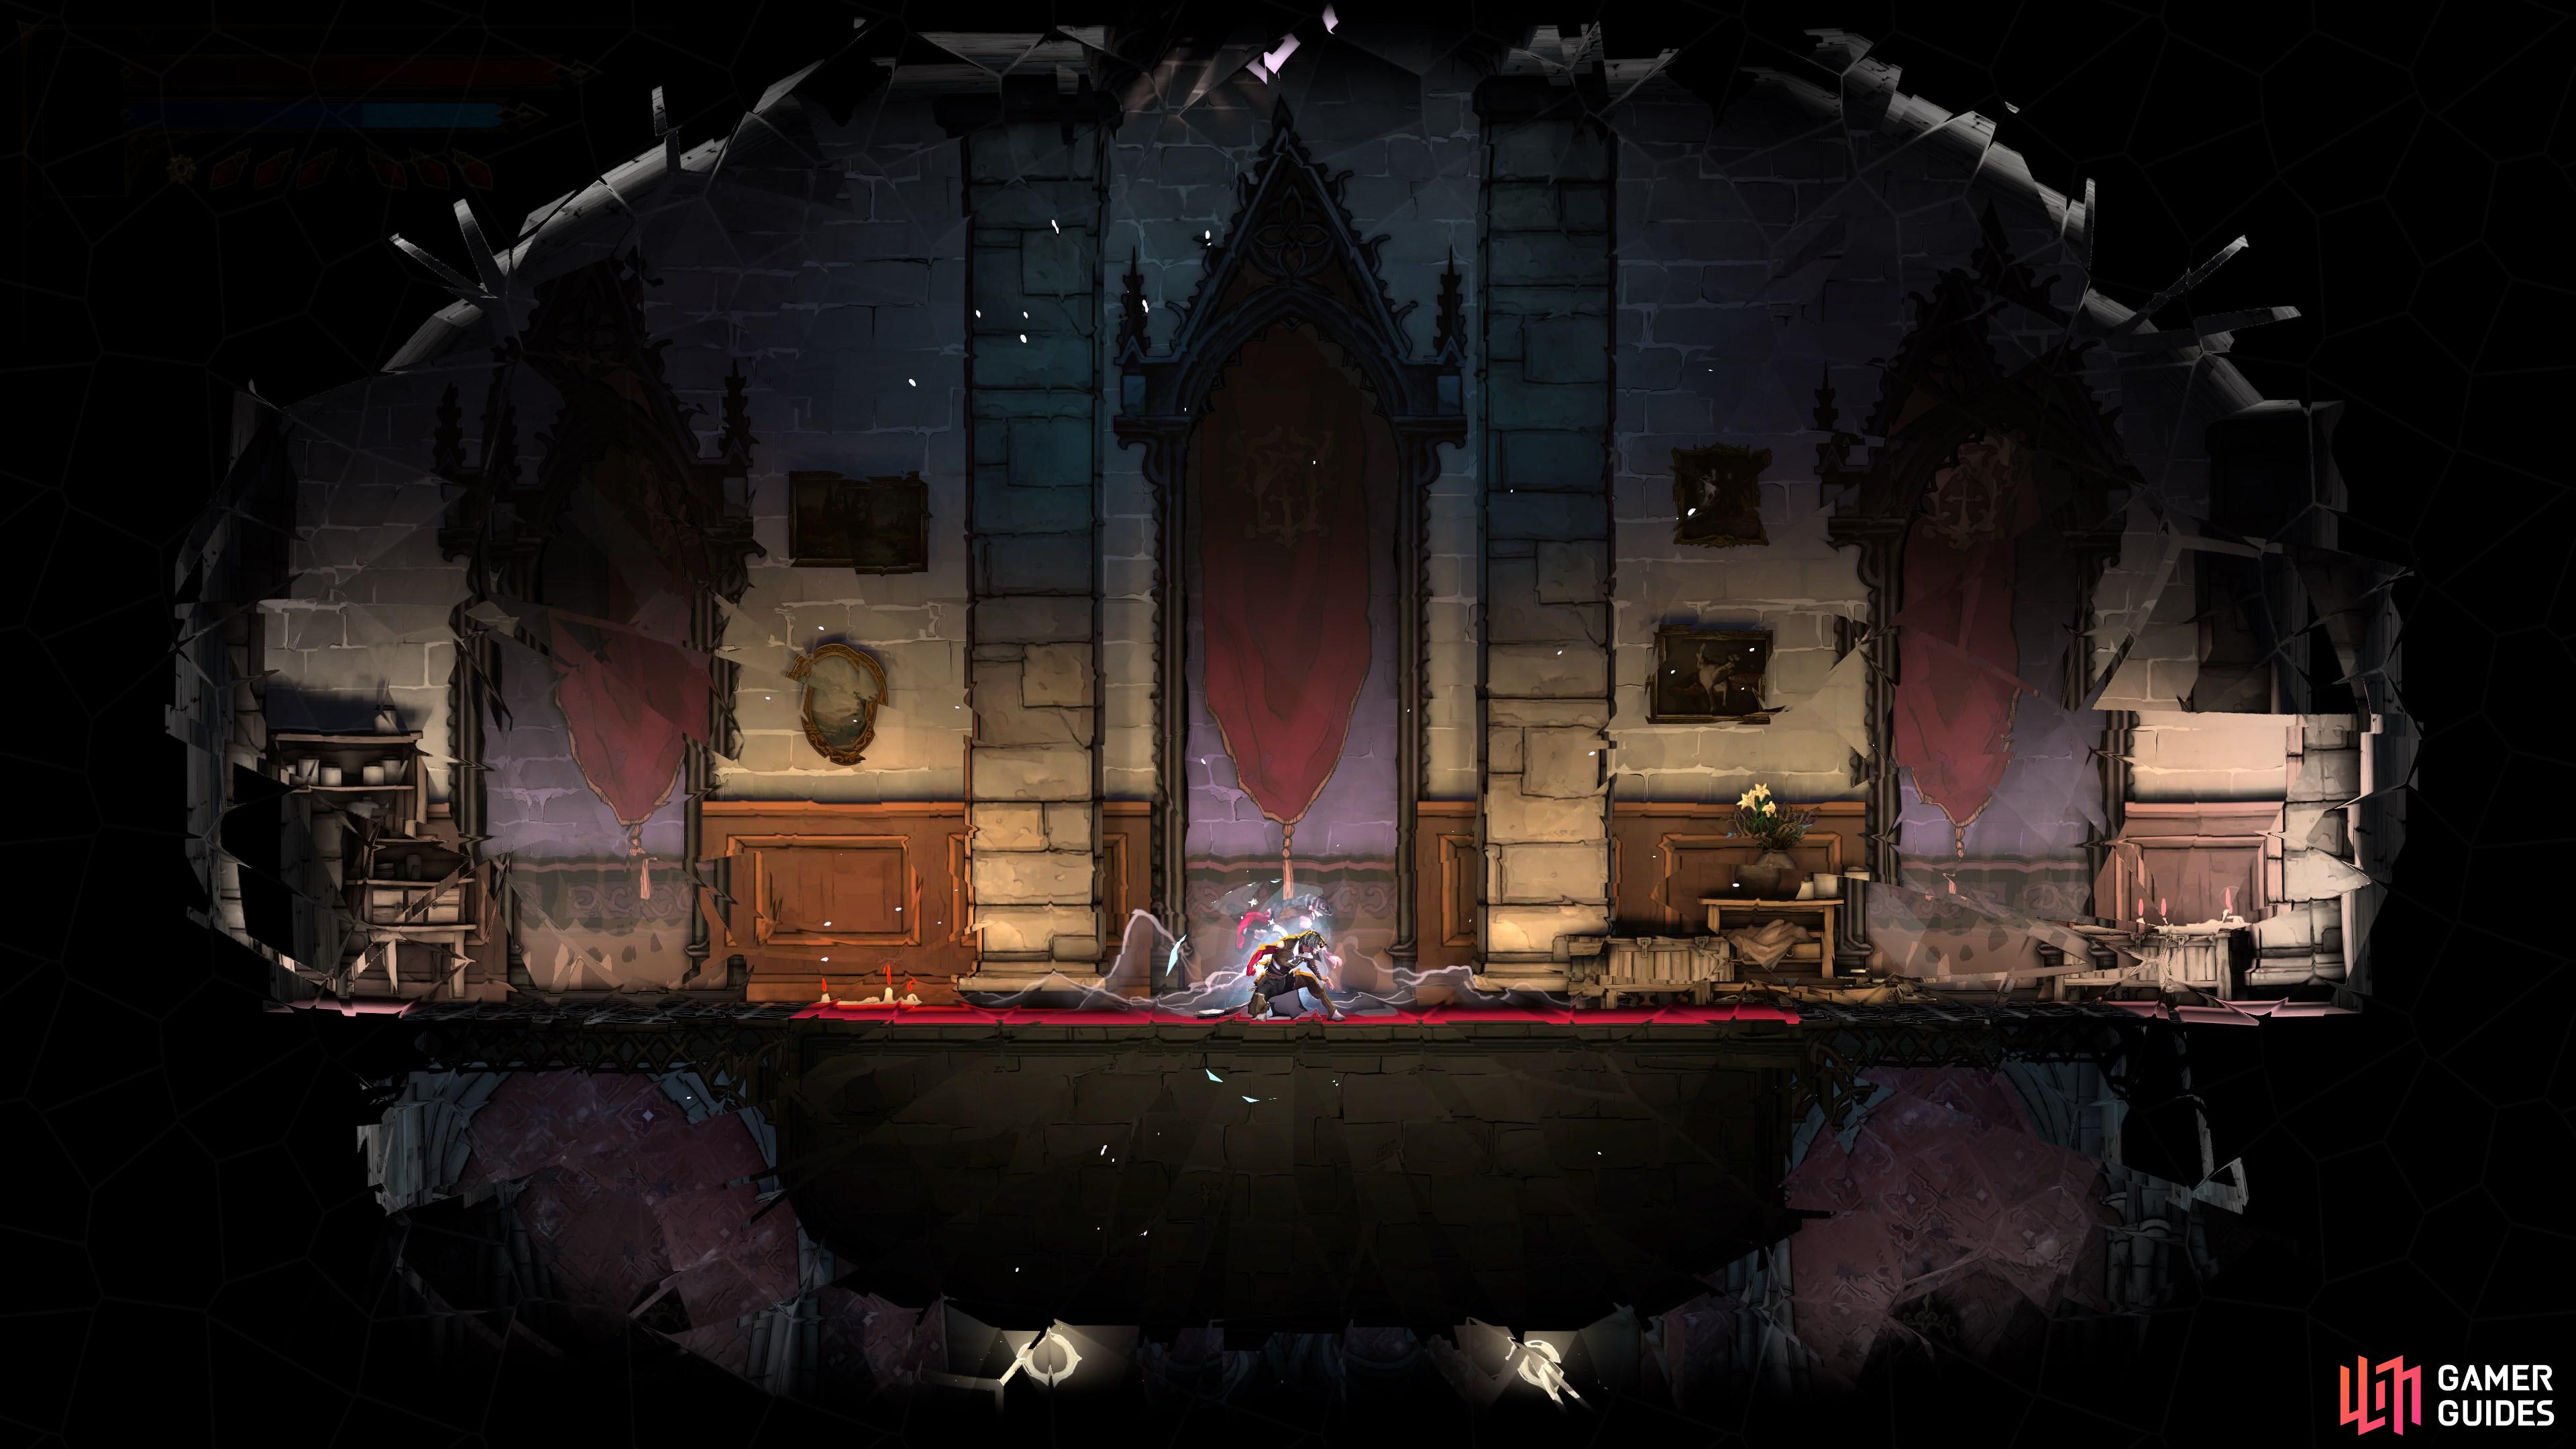
Head back to the Mirror Rooms in the southeast of the Main Hall, and as you approach the mirror, you'll get a short scene of The Sage escaping, allowing you to enter the mirror to explore the Hall of Mirrors.
Map position: 33874, 20737
-
7
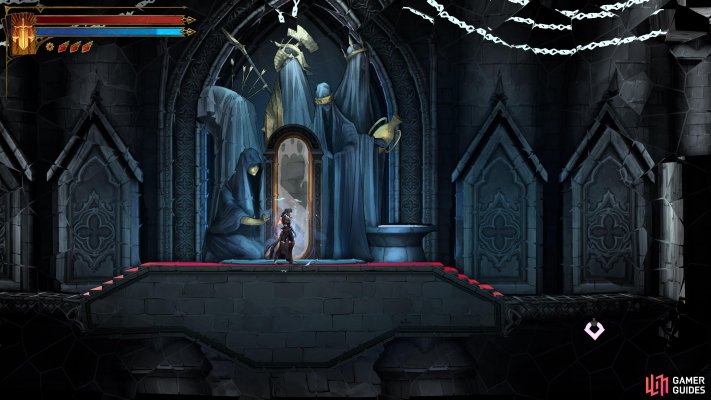
Hall of Mirrors Entrance and Tower of Worldly Refection
When you enter the new zone, you will notice that you can't see your map and the only way to unlock this is to defeat the boss. So, in the entrance room, make your way to the very bottom, and take the south exit to the Tower of Worldly Reflection room. In here, head down the center to the bottom and exit via the southern exit on the bottom floor.
Map position: 36486, 20357
-
8
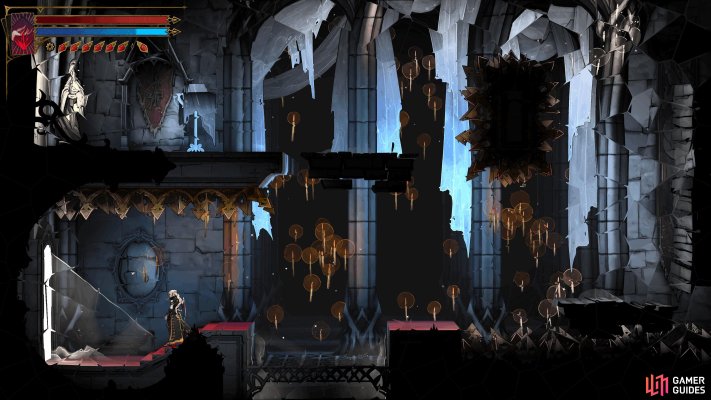
Threshold of Vision
Head down to the bottom floor, ignoring the enemies along the way, until you reach a door on the left side.
Map position: 36389, 21900
-
9
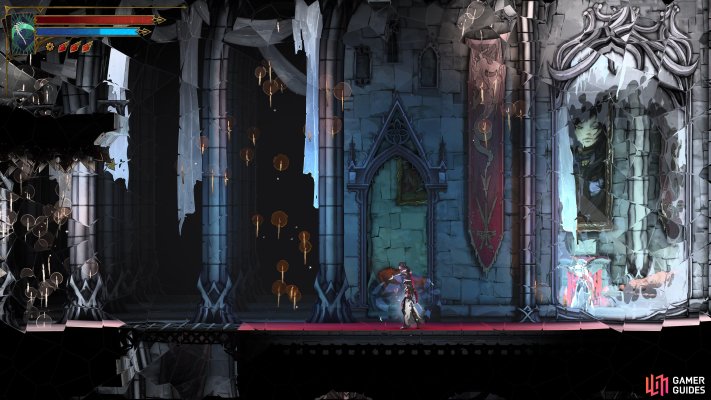
Transport Mirror to Familiar Way
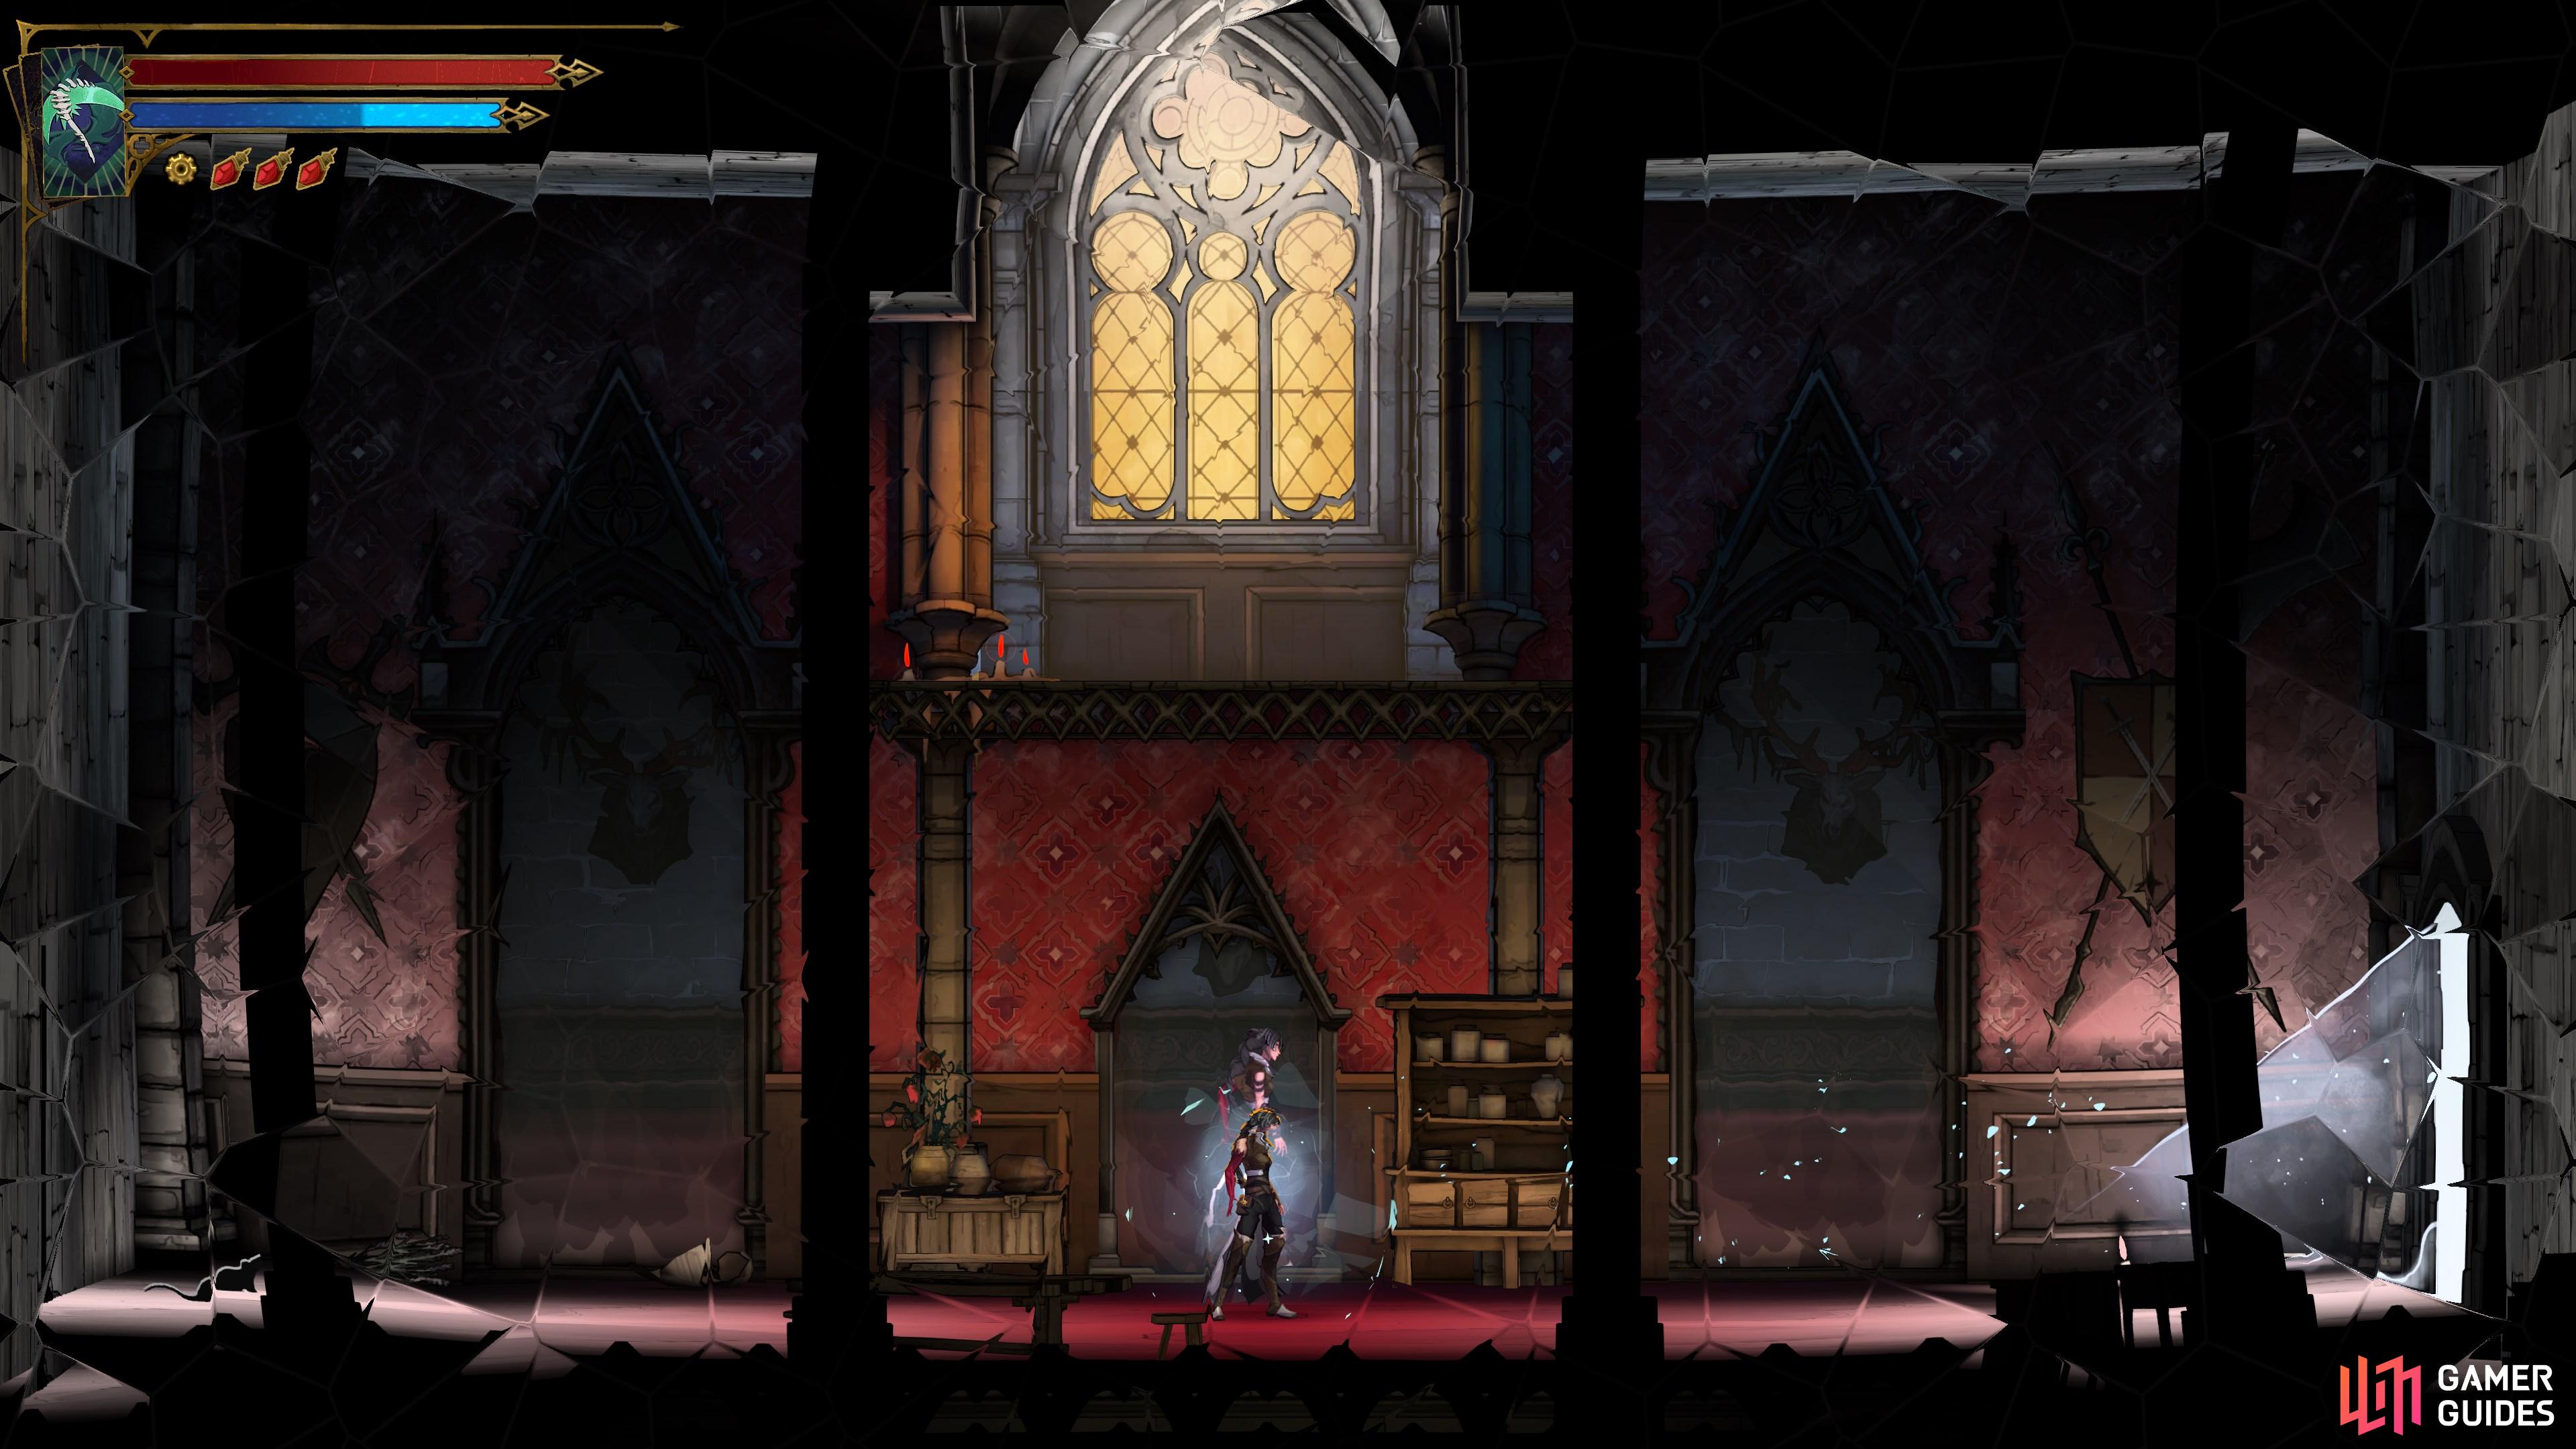
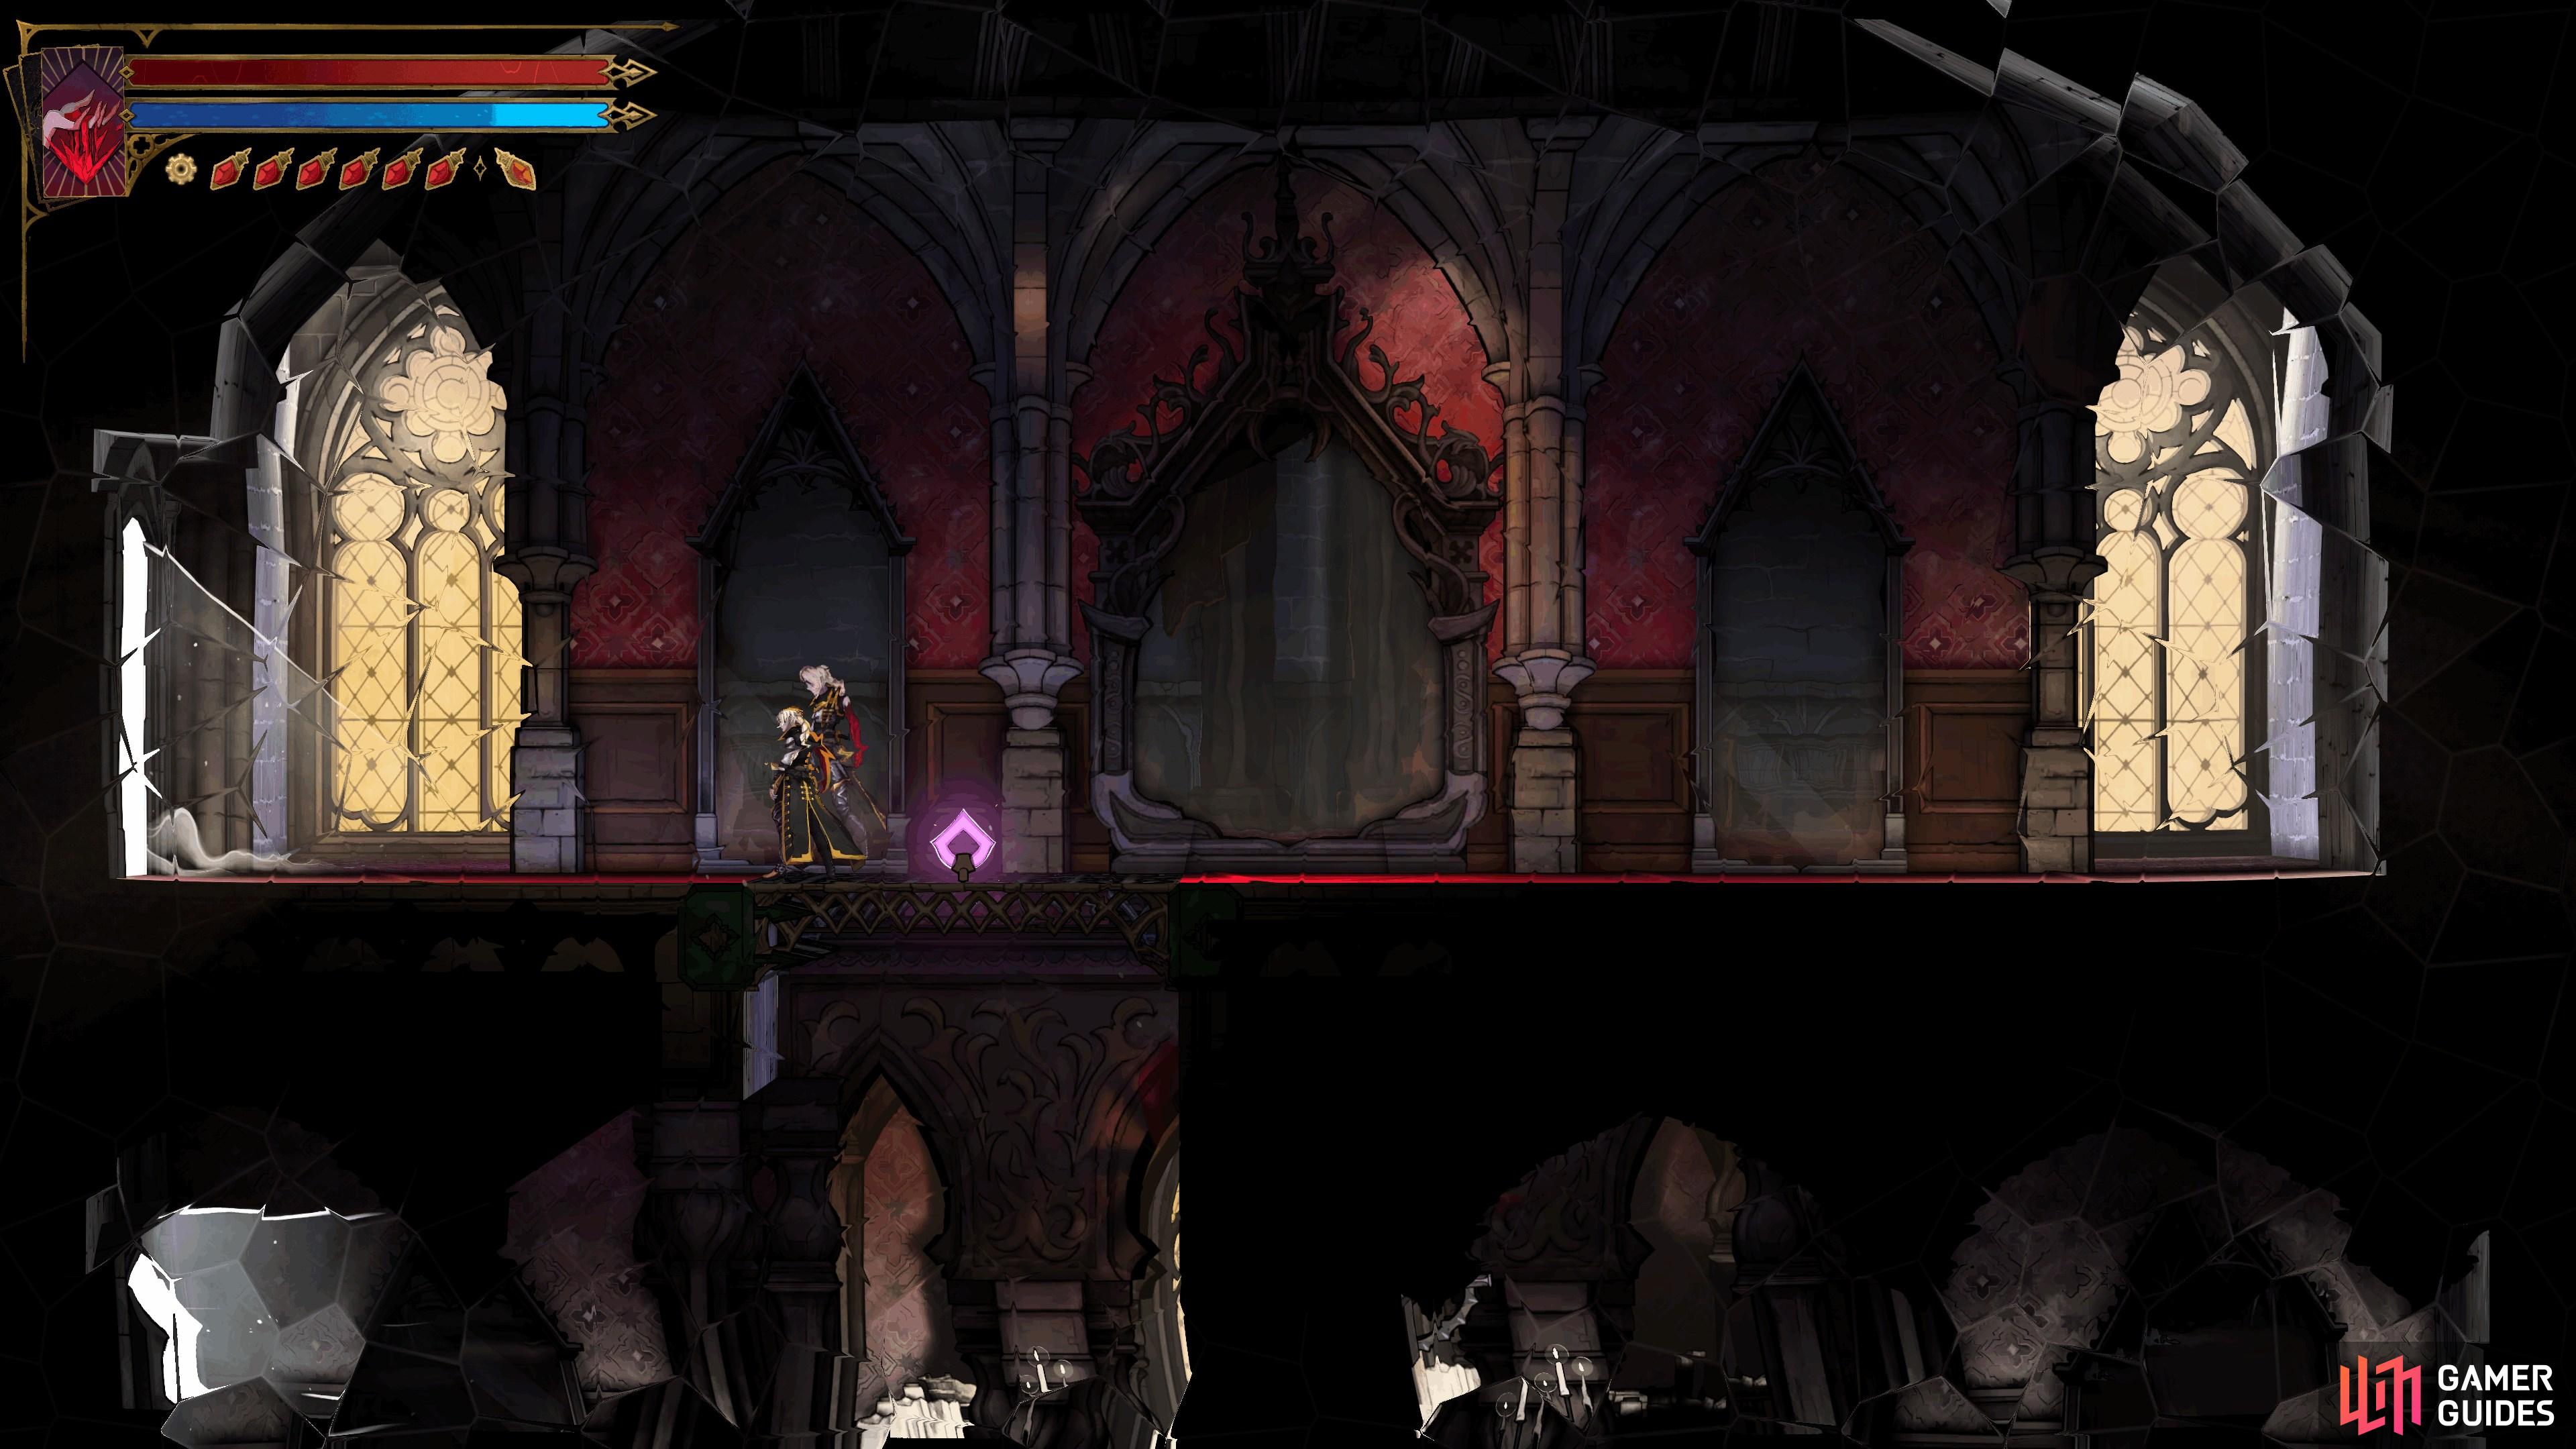
Head down, ignoring the enemies along the way, until you reach a door on the left side. Go through the door into the Servants' Rectory and head left until you reach three mirrors side by side. Crouch in front of the smaller mirror to the left of the big mirror to get transported to the Familiar Way room.
Map position: 35761, 22456
-
10
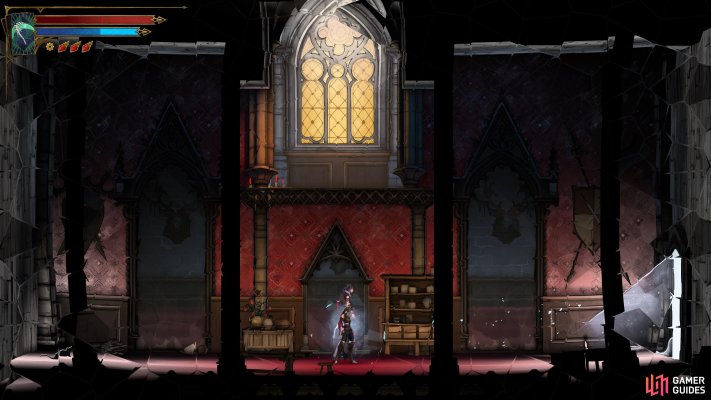
Reaching the Glass Gallery
Go through the right door to unlock the save point, then return to the room. Jump up to the room above and head through the right door to reach the Hall of Hallucination. Continue heading right, defeat the enemies, and go through the right door again to reach the Glass Gallery.
Map position: 36349, 24441
-
11
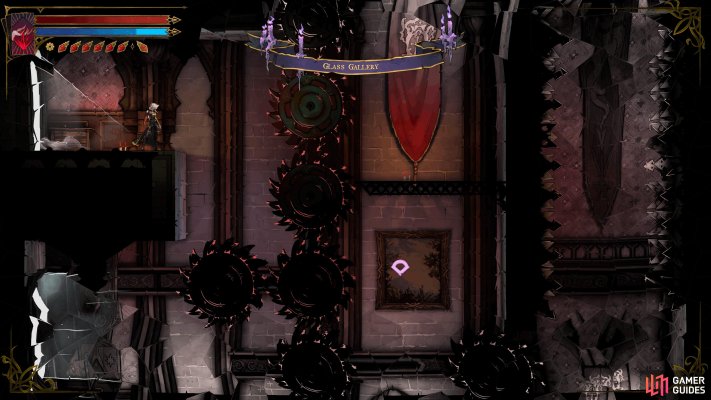
Getting through the Gallery
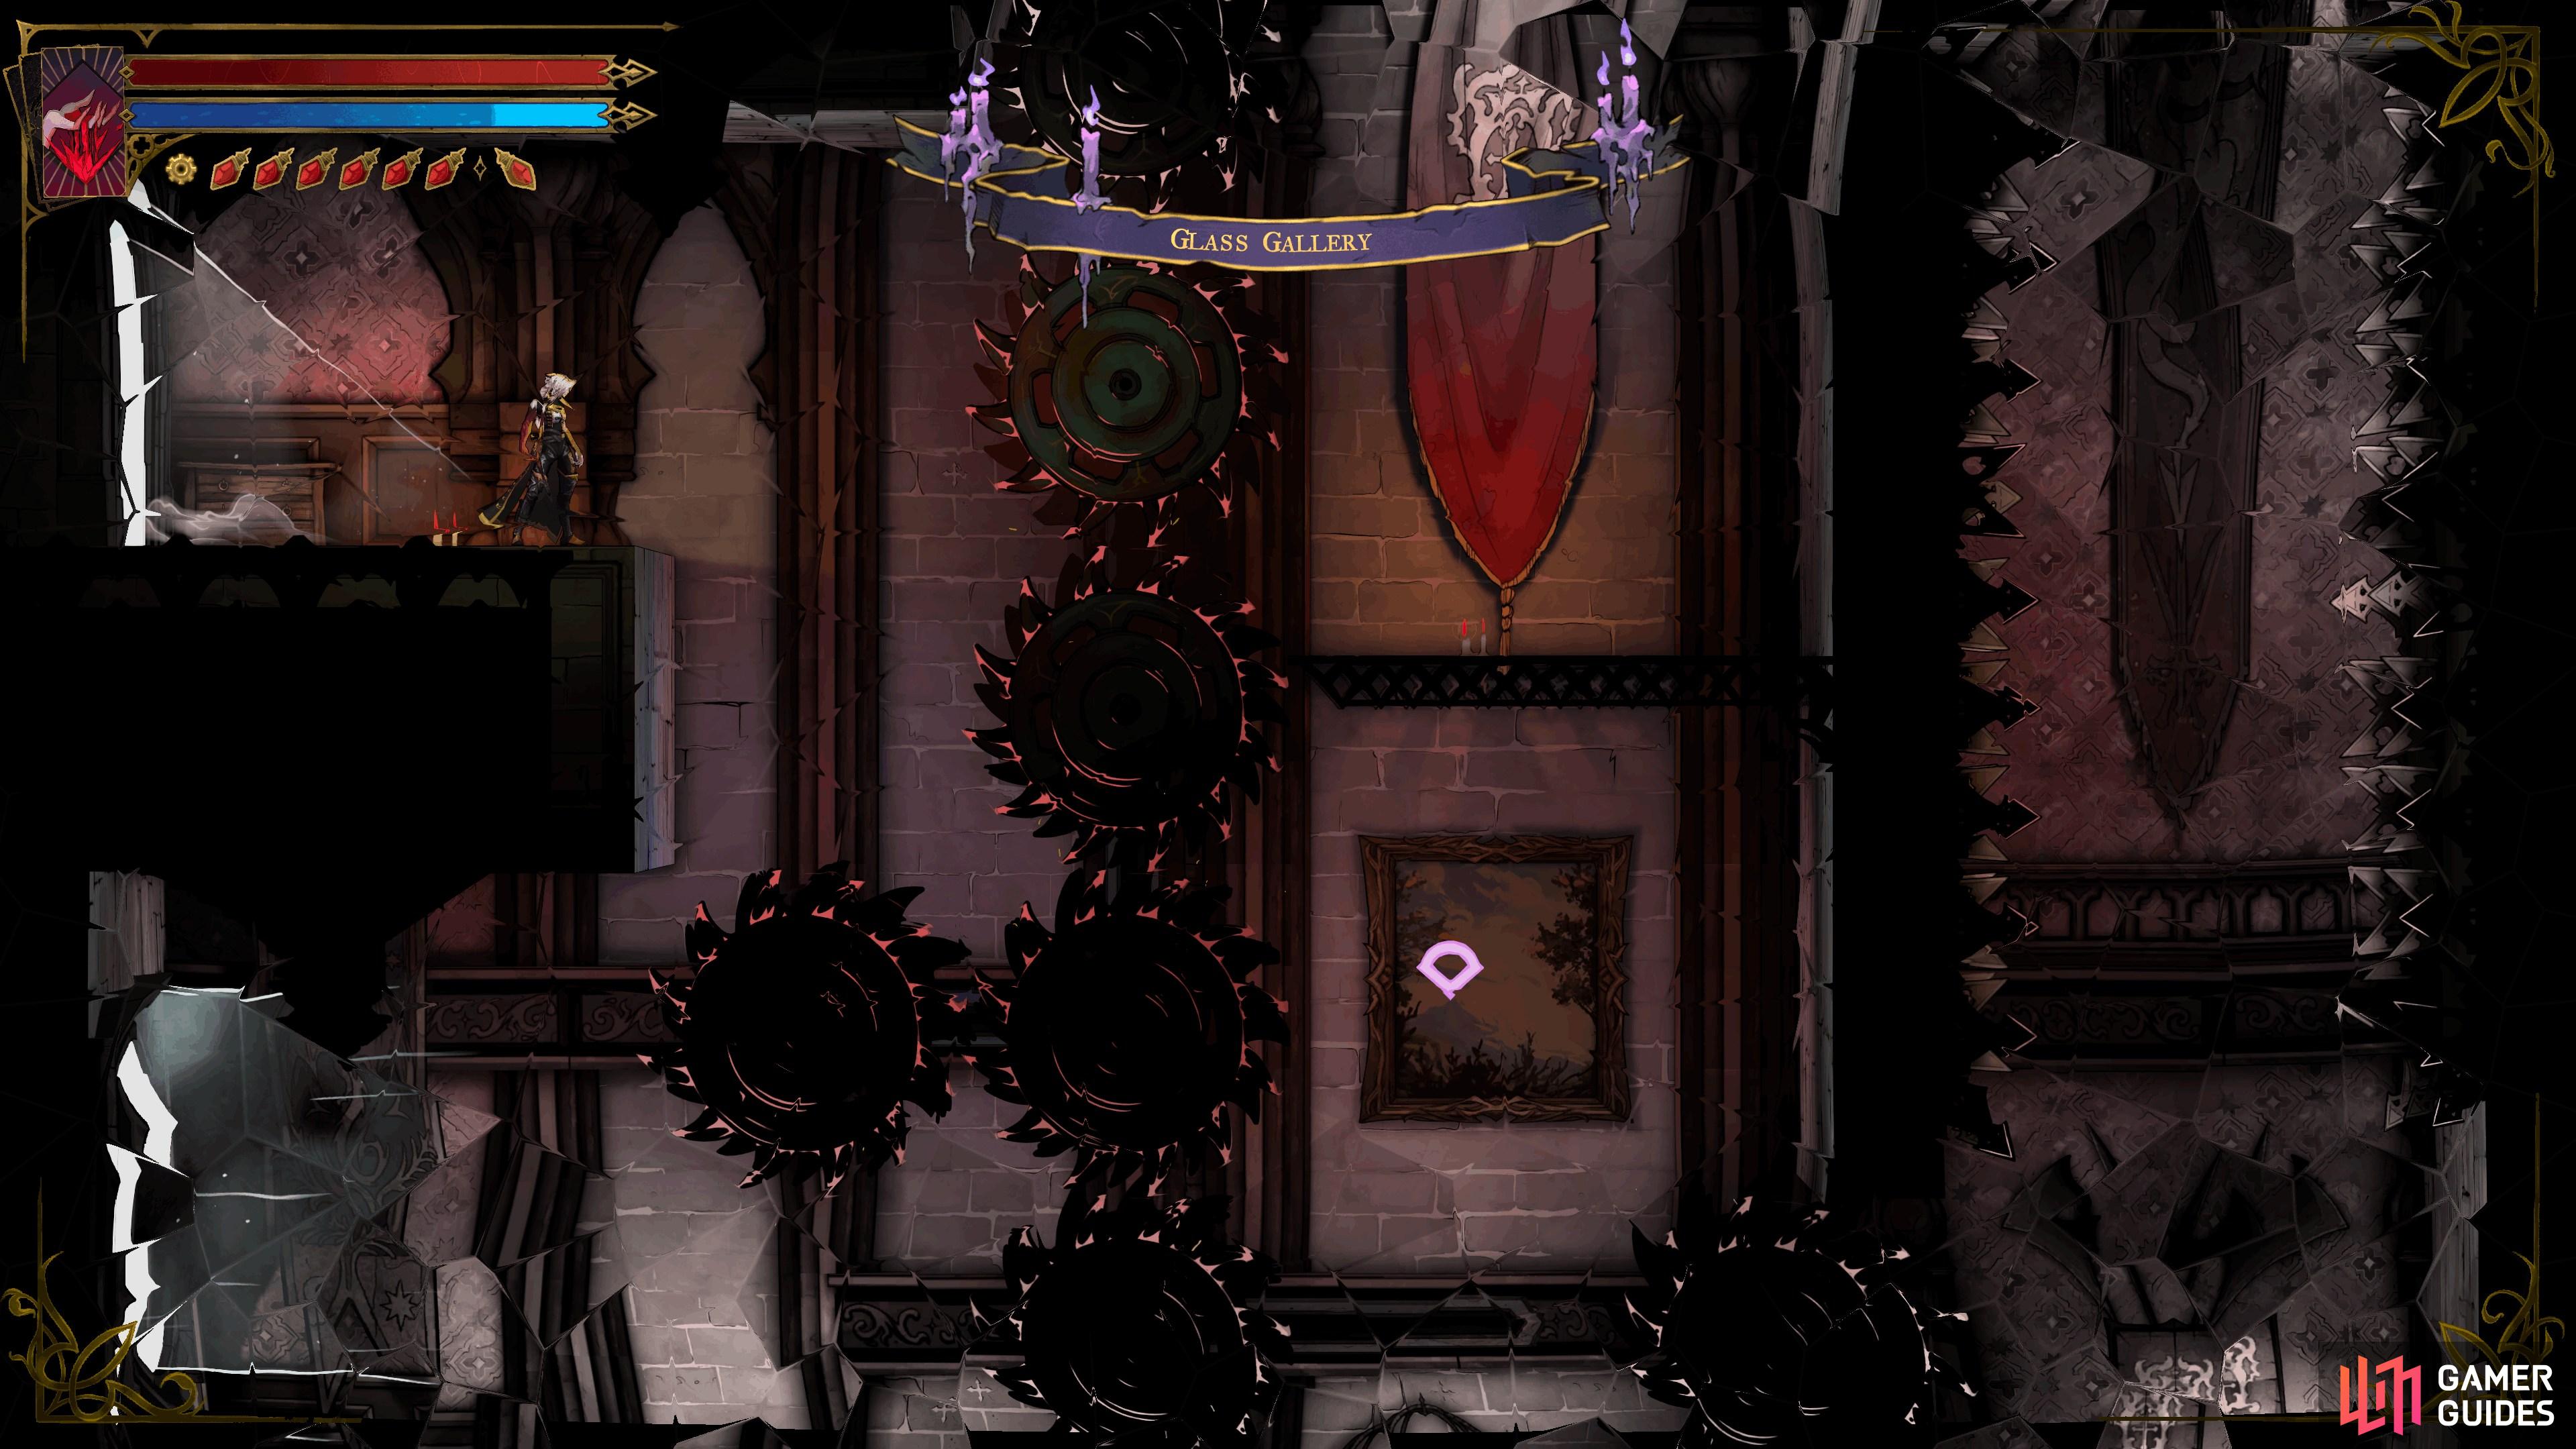
Drop down and use Aerial Rush to go through the left portal opposite the buzz saws, which will take you to the northeast corner of the room. Drop again and go through the door to the right.
Map position: 37437, 24260
-
12
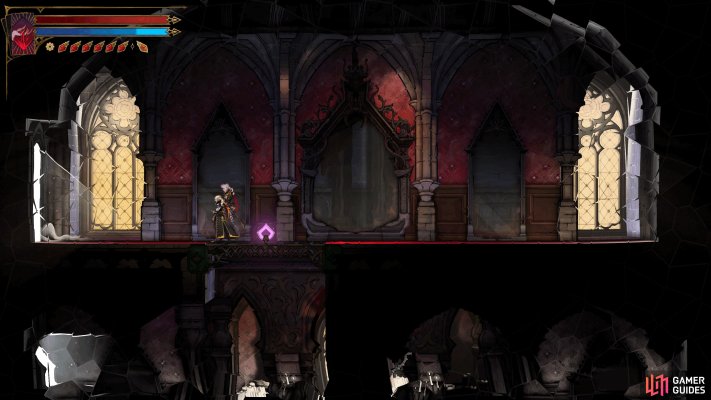
Portal Room
In the next room, go through the portal to the right and use the anchors in the center to reach the portal to the left. Slide under the gap, go to the top, and attack the lever to open the door to the other side before smashing through the blocks and going through the right portal. Make your way up to the northwest corner of the room and go through the northwest door into the Dead-End Tower.
Map position: 37687, 24413
-
13
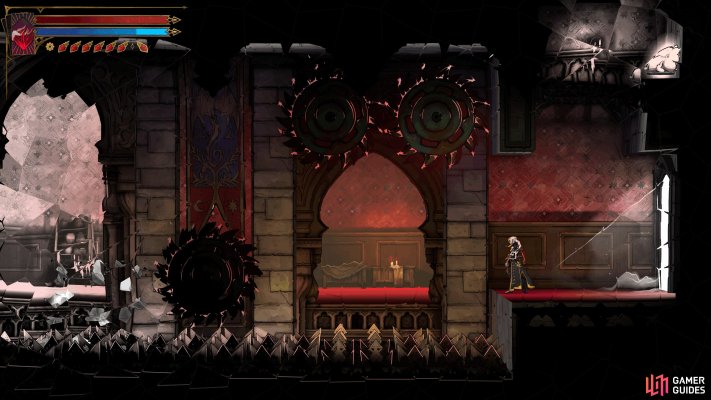
Hall of Hallucination Platform Challenge
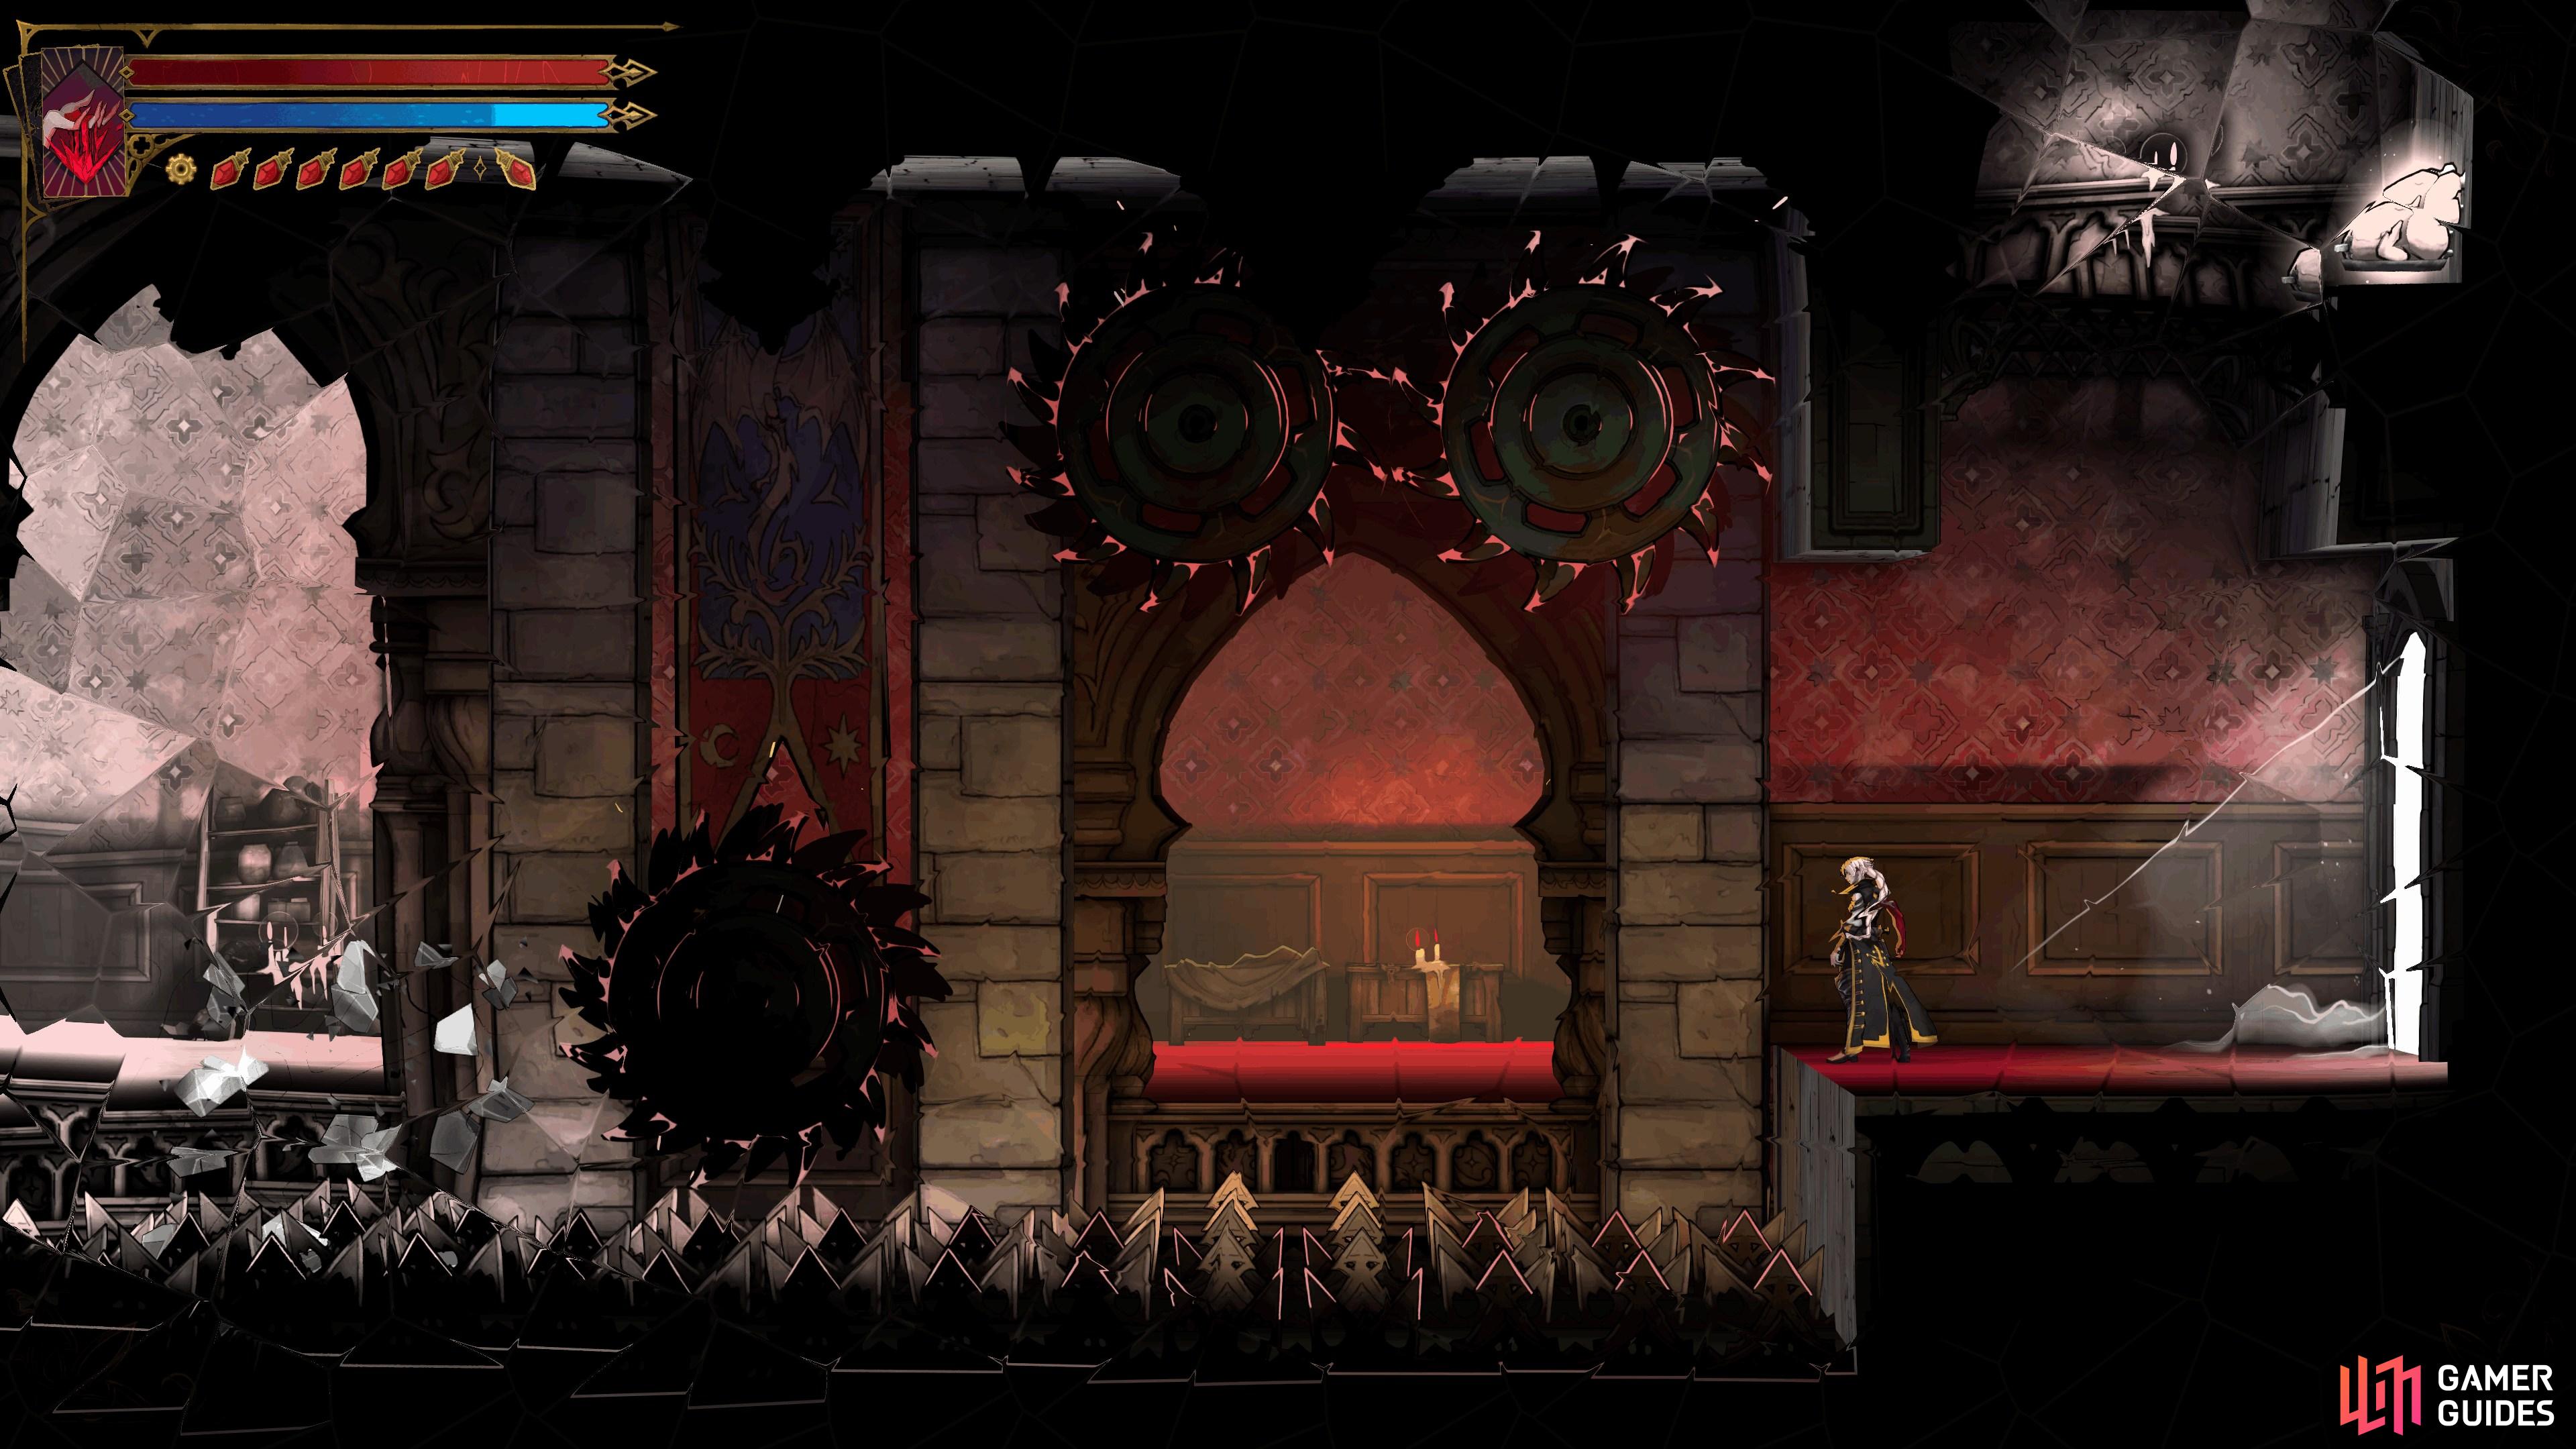
Continue left to reach the upper floor of Hall of Hallucination. In this room, you'll need to complete the short platforming challenge to reach the other side. Aerial Rush to the buzz saw above the spikes and double jump over it onto the chaos shard block. From there, jump and use Aerial Rush through the chaos shards while holding Holy Light, then land on the next block before the buzz saw (let go of Holy Light). Finally, jump over the buzz saw and use Aerial Rush to clear the spikes to reach the door to Familiar Way.
Map position: 37307, 24073
-
14
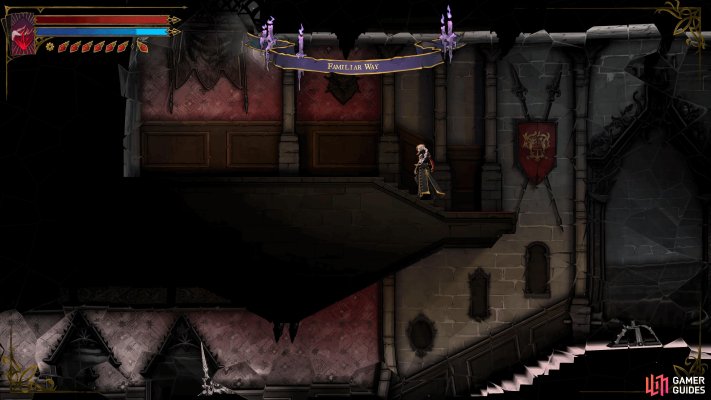
Familiar Way
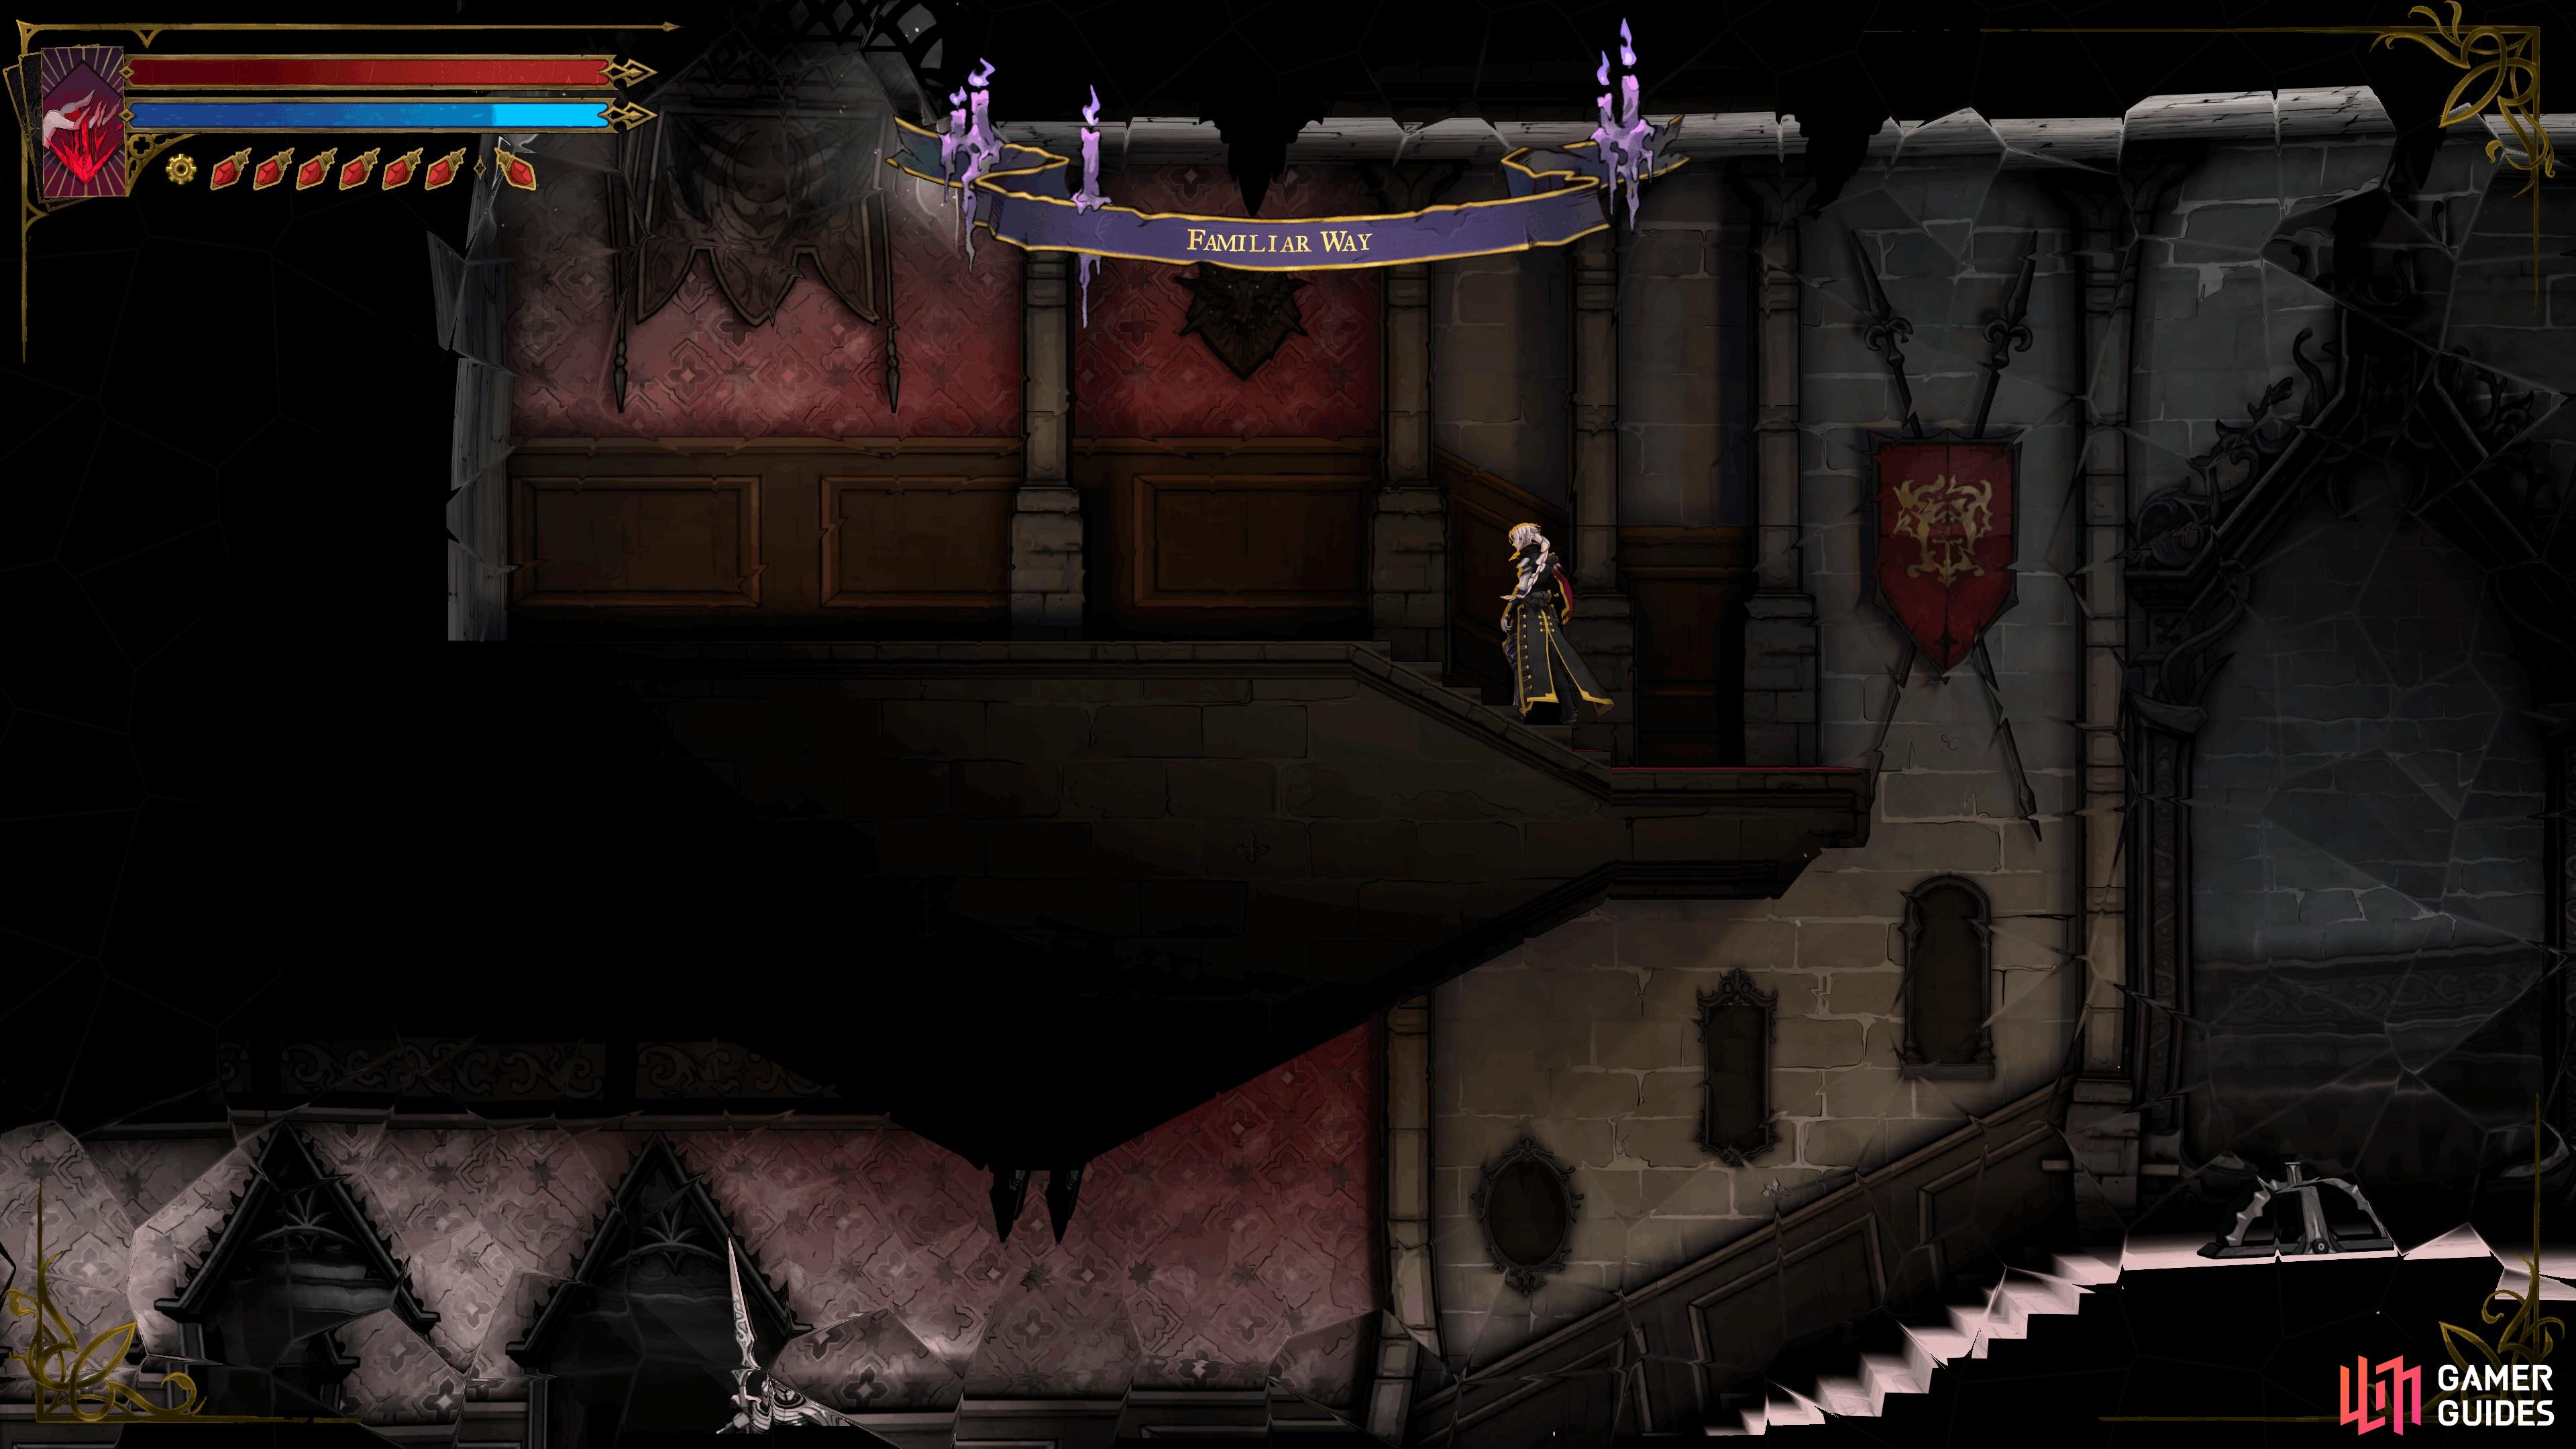
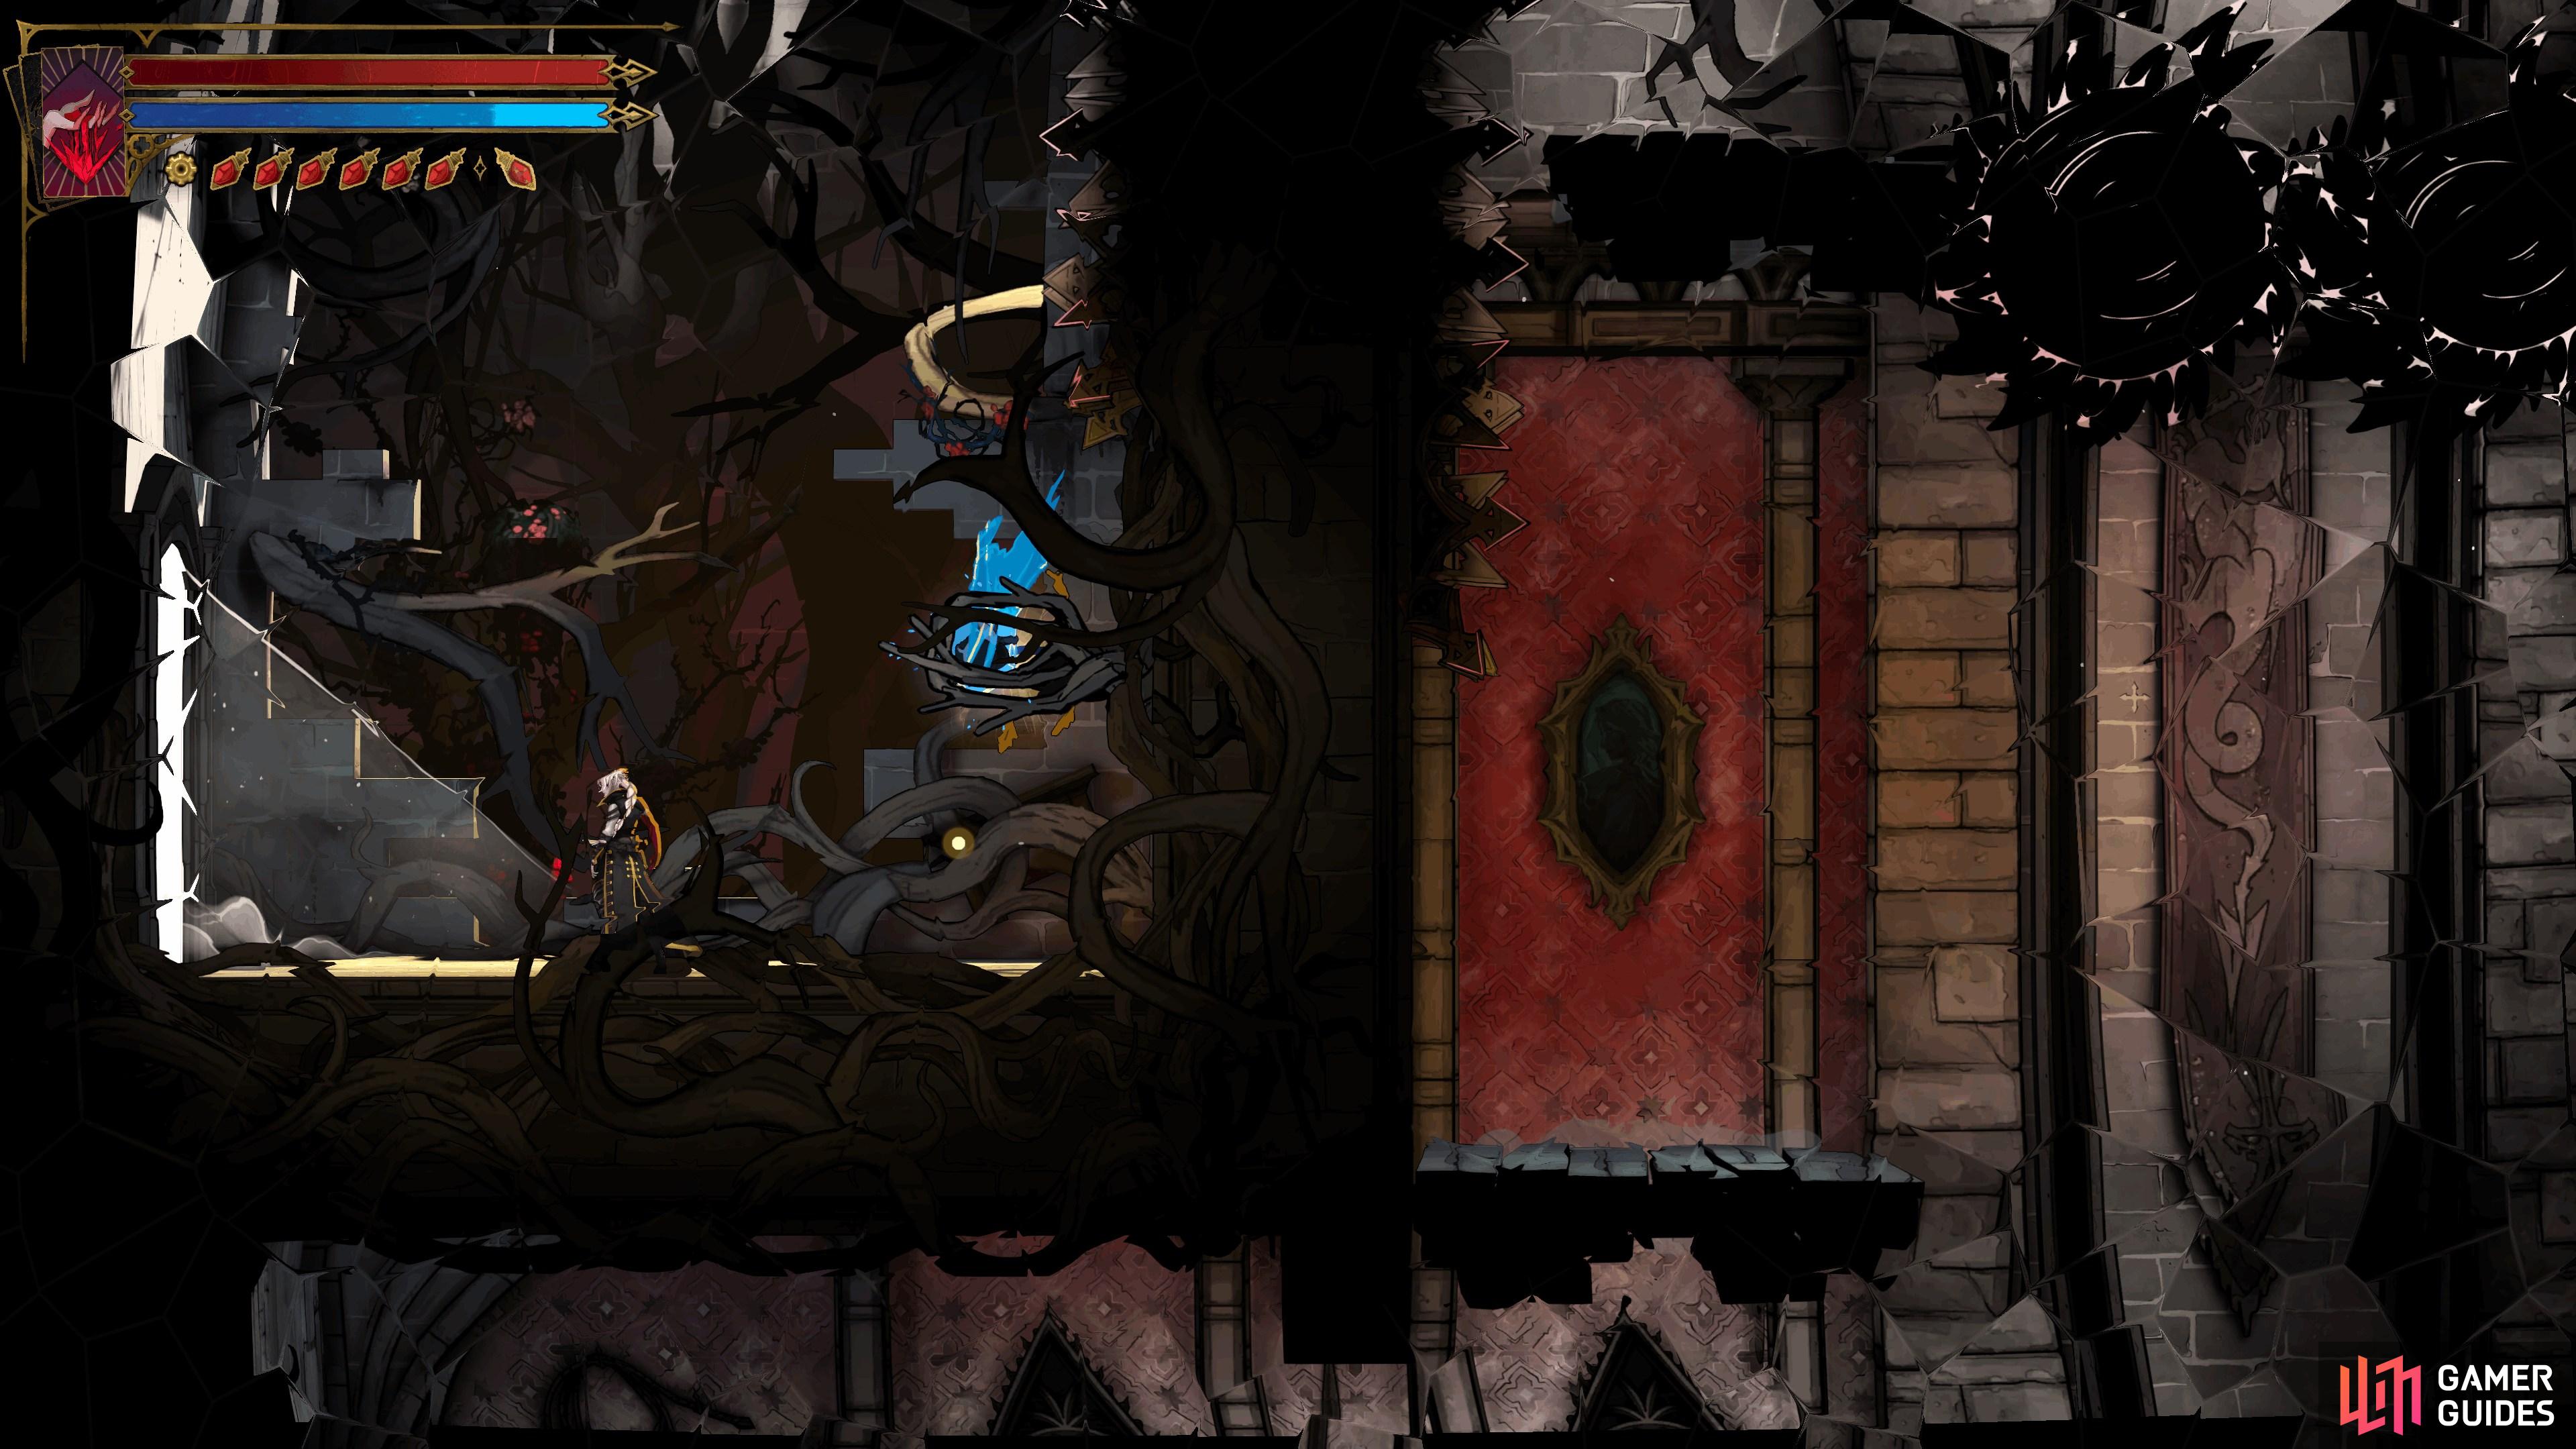
In Familiar Way, jump up and break the wall to find a hidden path to the Chamber of Secrecy. Use the disappearing platforms and anchors to gain height while avoiding the buzz saws, then use Double Jump and Aerial Rush to clear the spikes and reach the door on the left. Jump up and attack the lever to lift the nearby wall, then use the anchors to reach the northwest door that leads to the Passage of Perplexity.
Map position: 36811, 24083
-
15
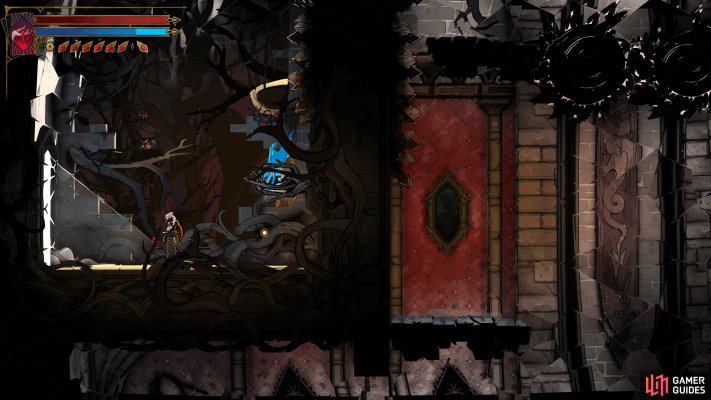
Passage of Perplexity
Defeat the enemies, then head to the upper floor and kneel in front of the center mirror. This will transport you to Nightmare Atrium
Map position: 36486, 23815
-
16
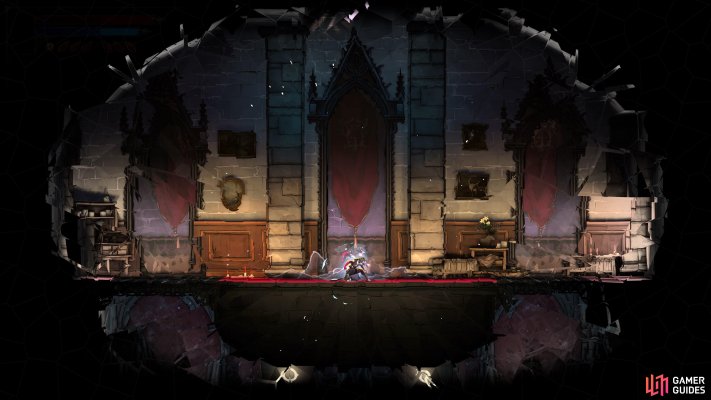
Reaching Nightmare Atrium
Defeat the enemies, then head to the upper floor and kneel in front of the center mirror. This will transport you to Nightmare Atrium.
Map position: 36046, 23482
-
17
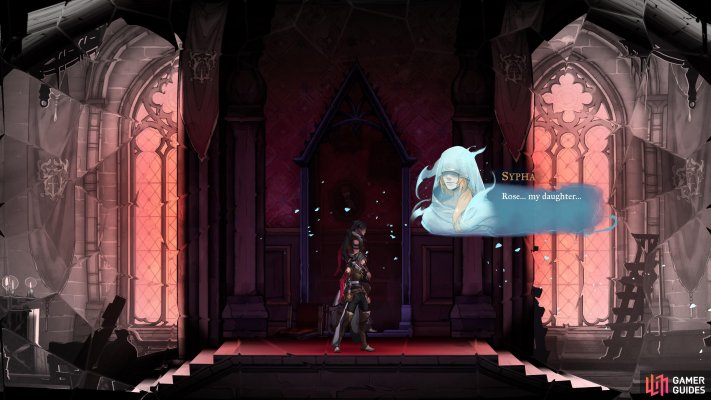
Getting to Recurring Belfry
In Nightmare Atrium, head down the platform on the left, reach the bottom floor, then go through the door on the right. Use the disappearing platforms in the center/right side of the room to get some height before crashing down through the destructible block in the center with Smash. Finally, go through the door on the left into Recurring Belfry.
Map position: 37517, 22170
-
18
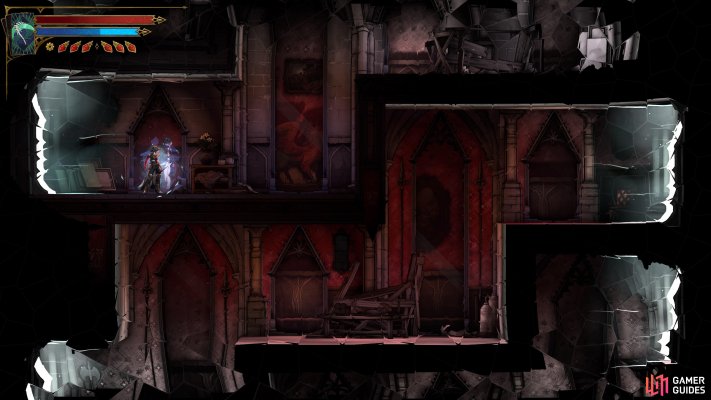
Making your way to The Descent into Memory
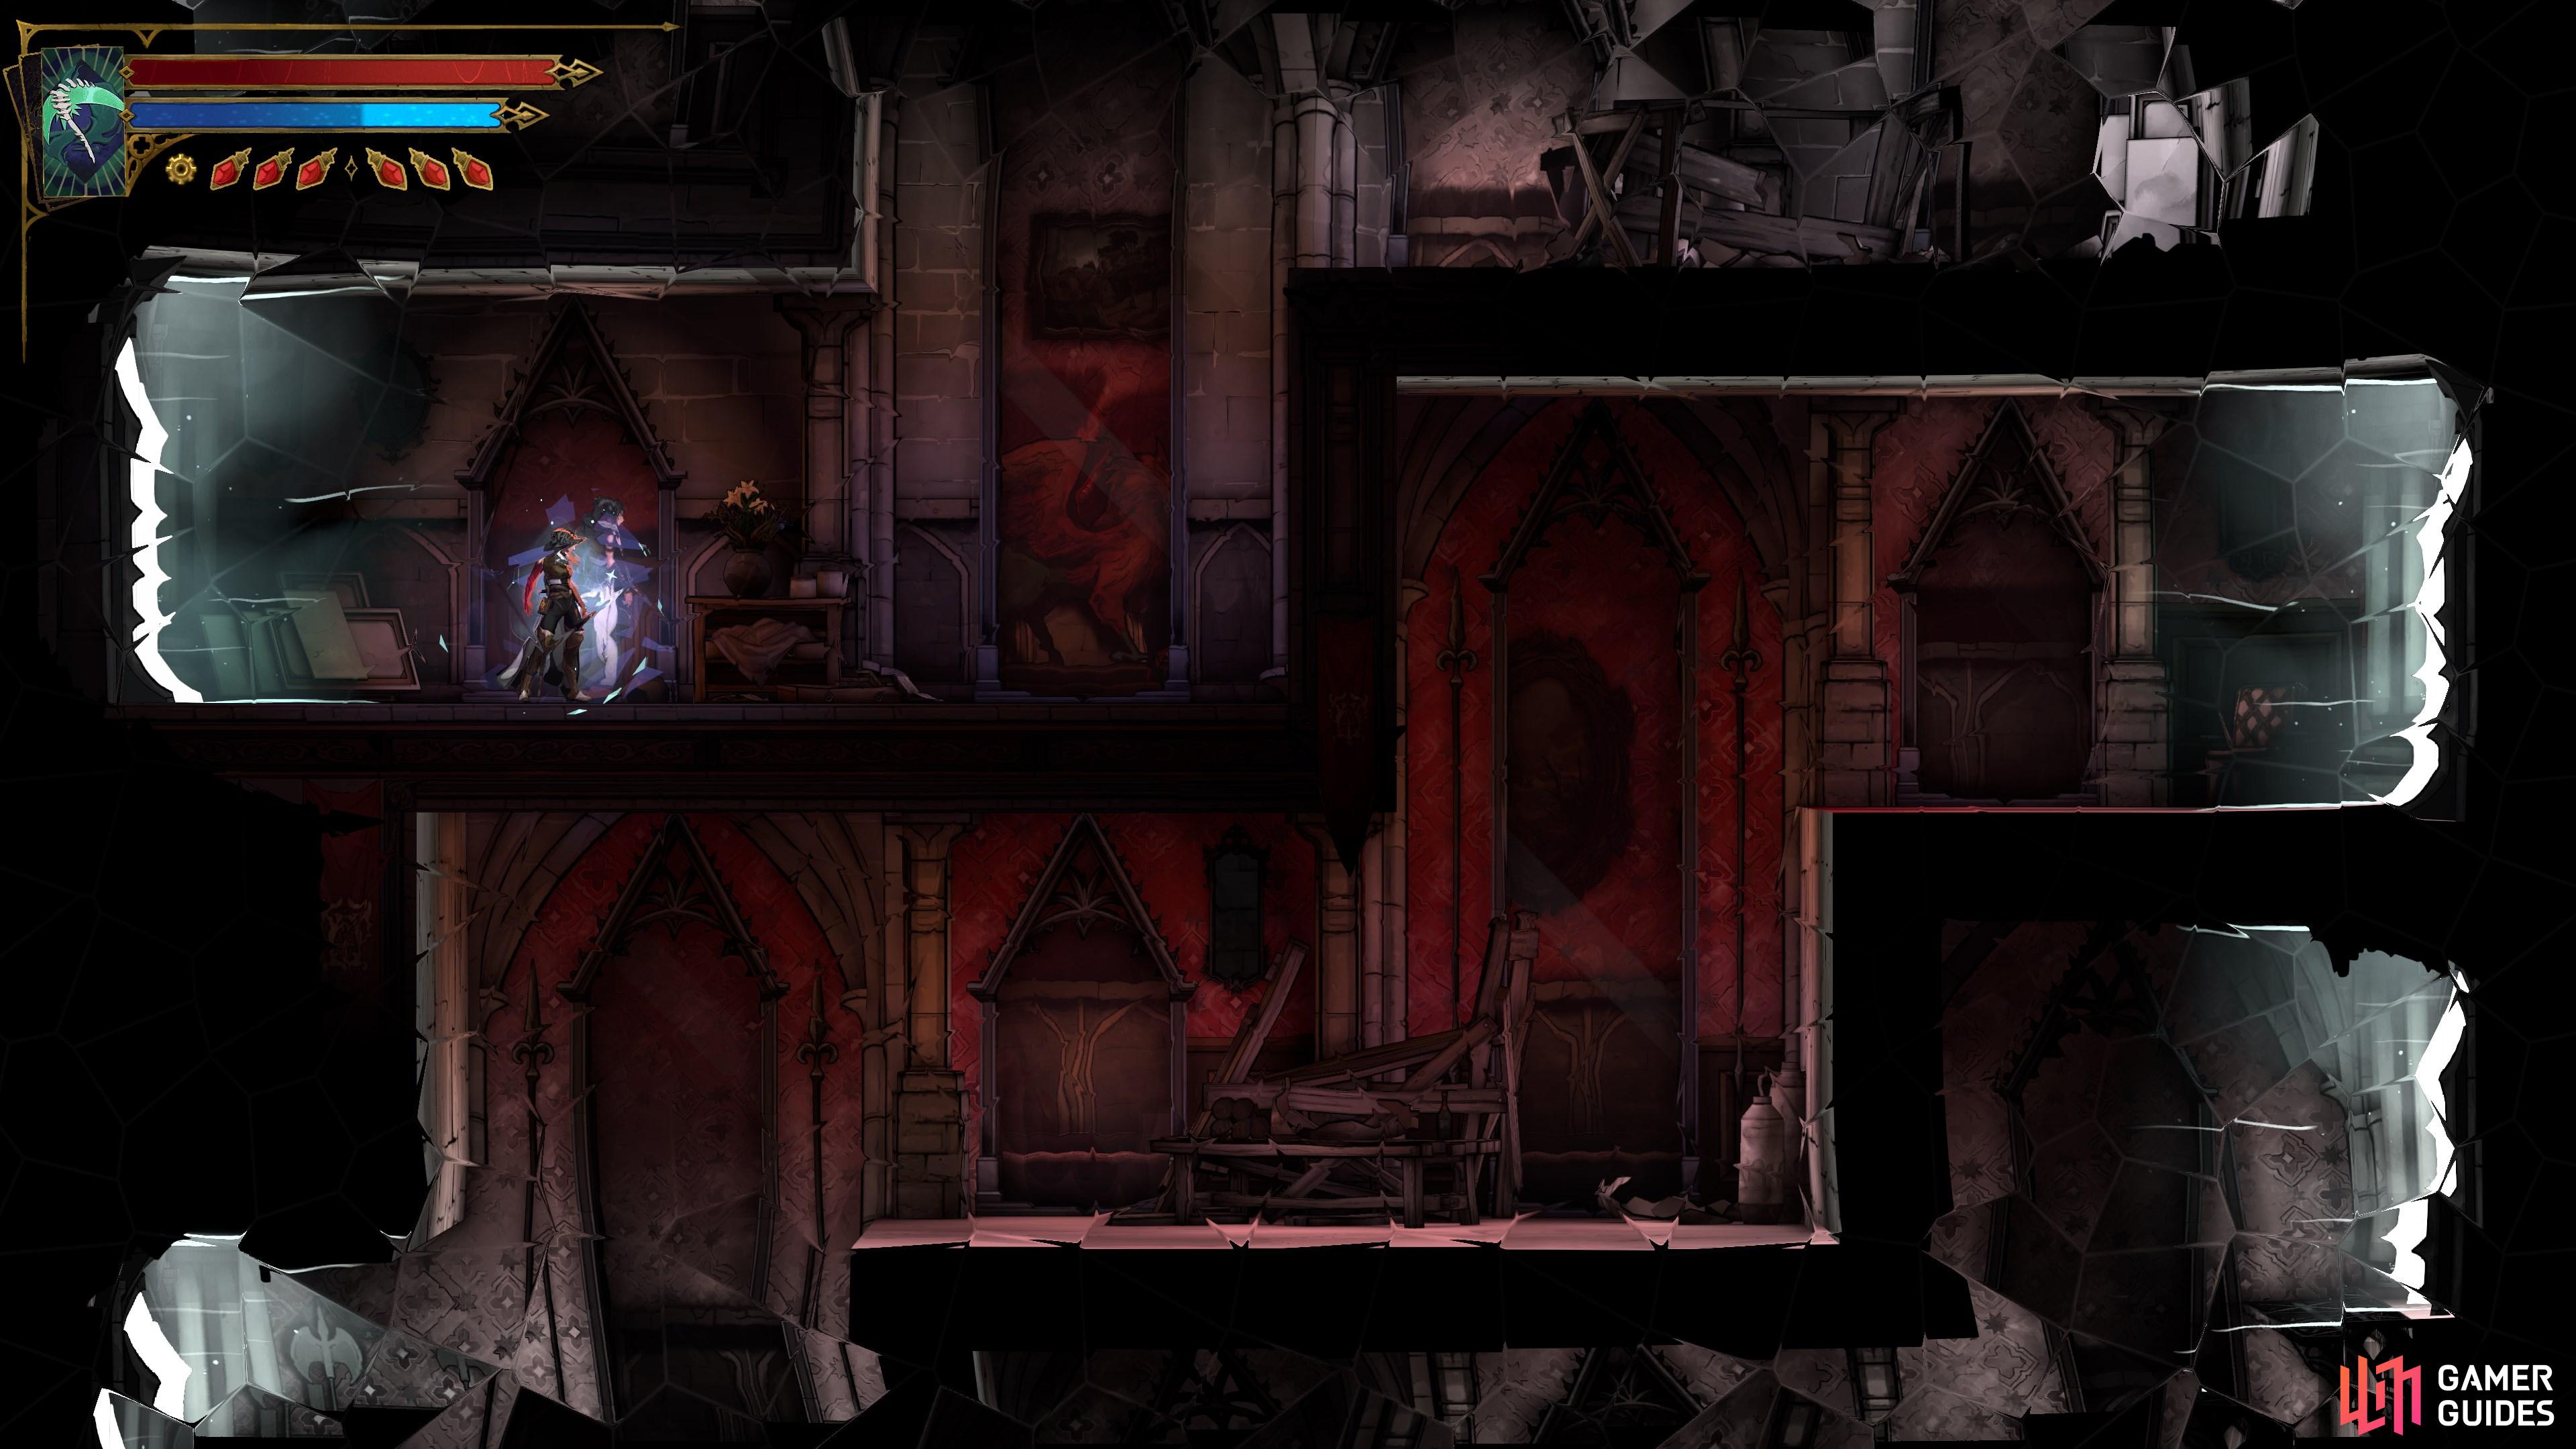
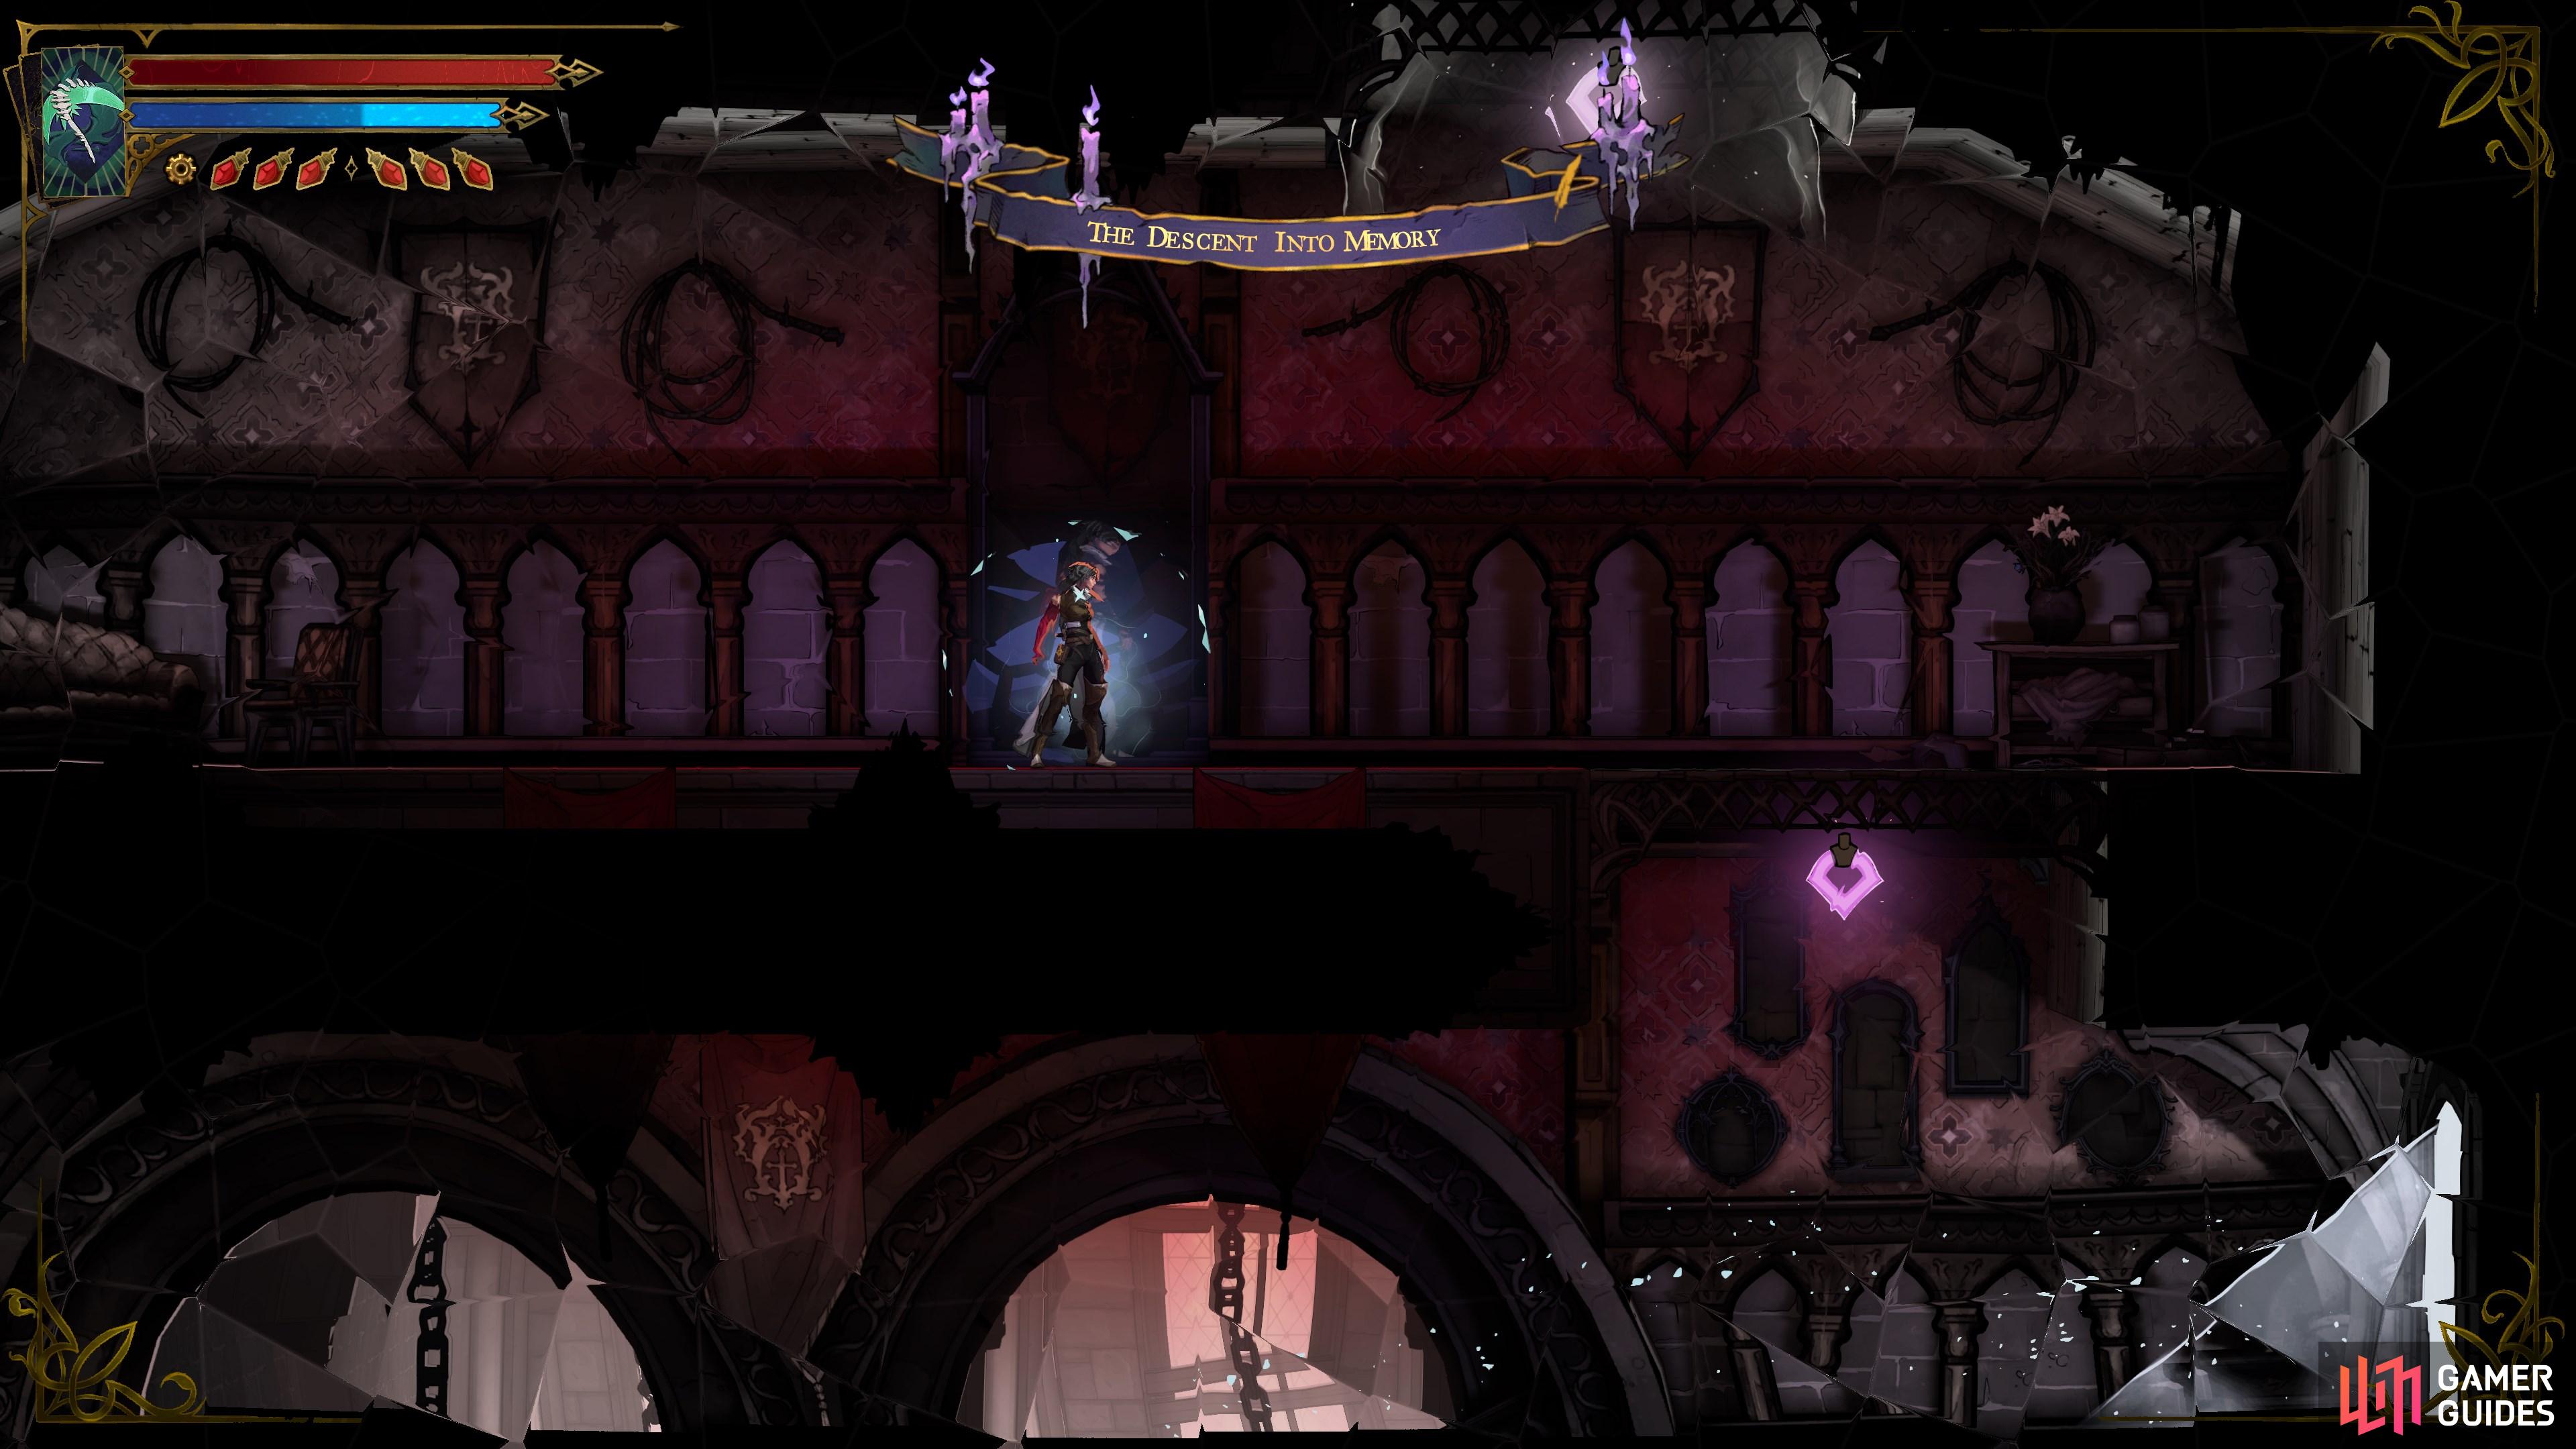
Go down into the portal on the right. Head right again, up the zig-zag platforms, and go through the portal on the right. Do the same again on the next floor, and then kneel in front of the small mirror to be transported to The Descent into Memory.
Map position: 37425, 22918
-
19
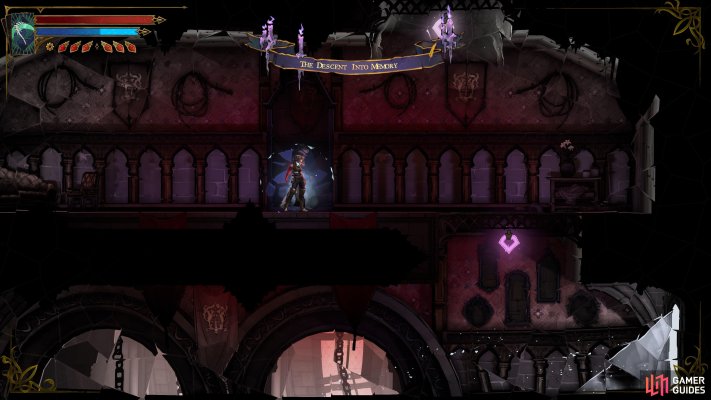
To Belmont Manor
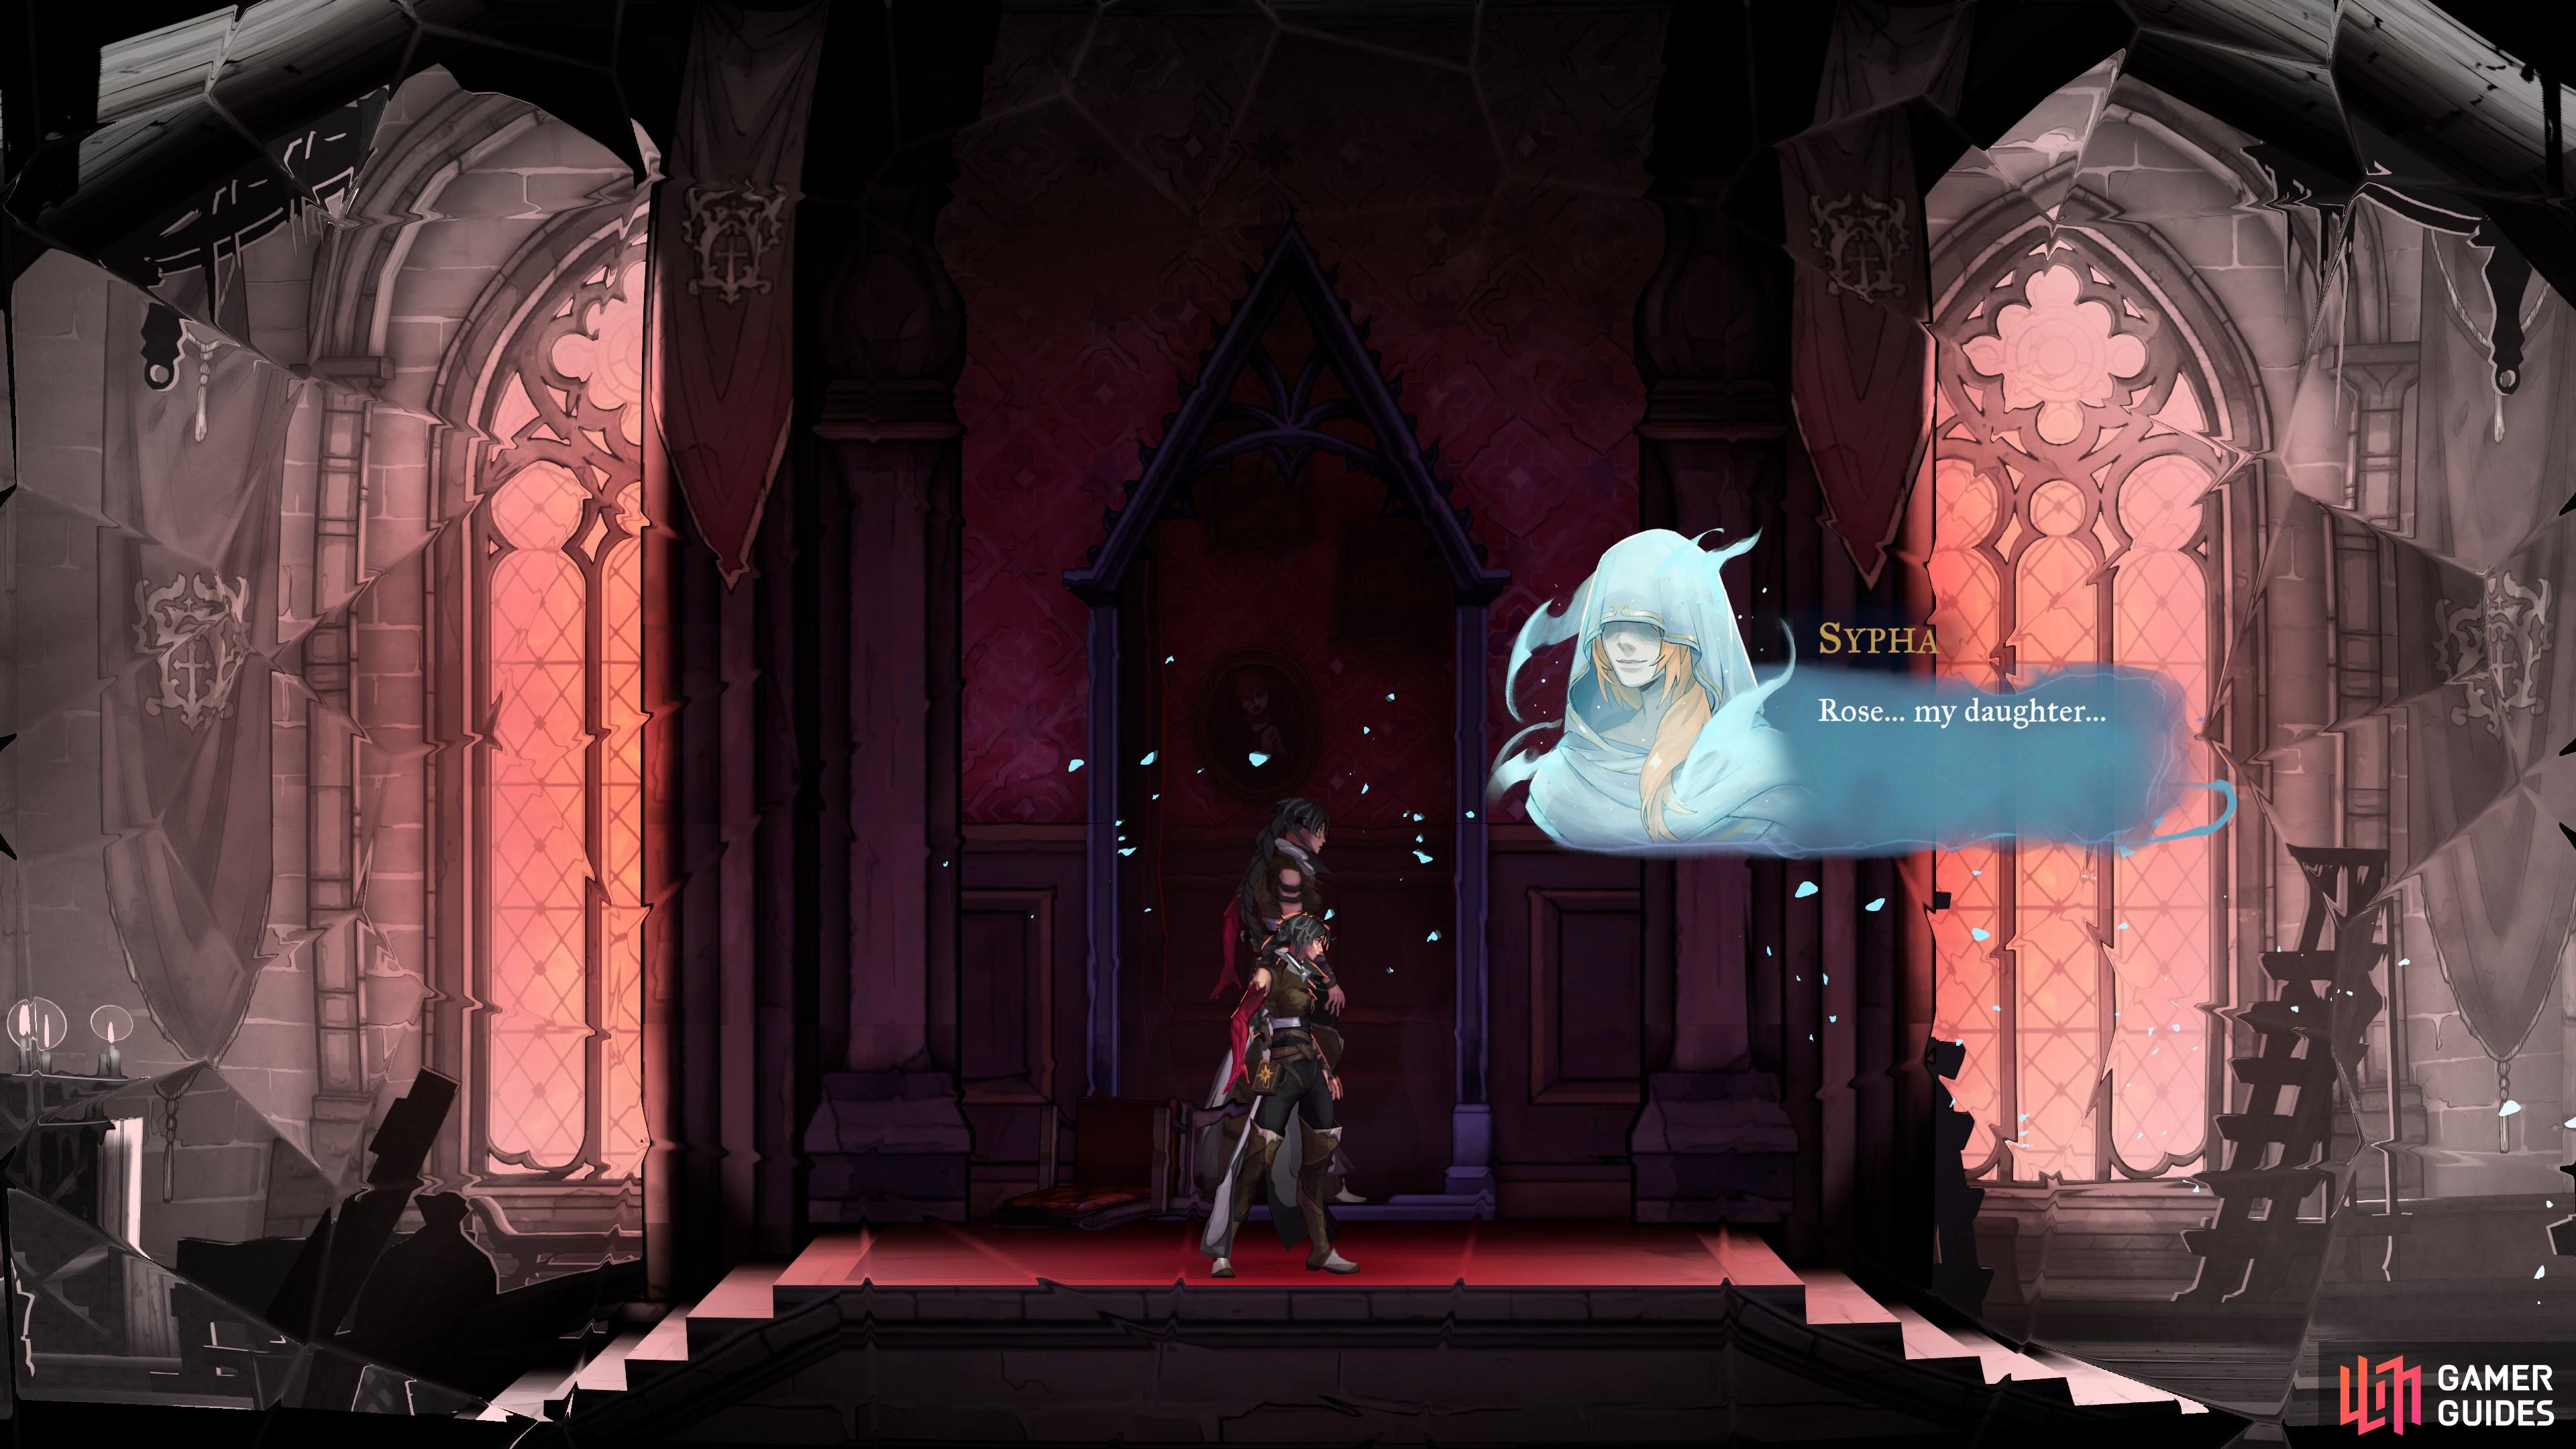
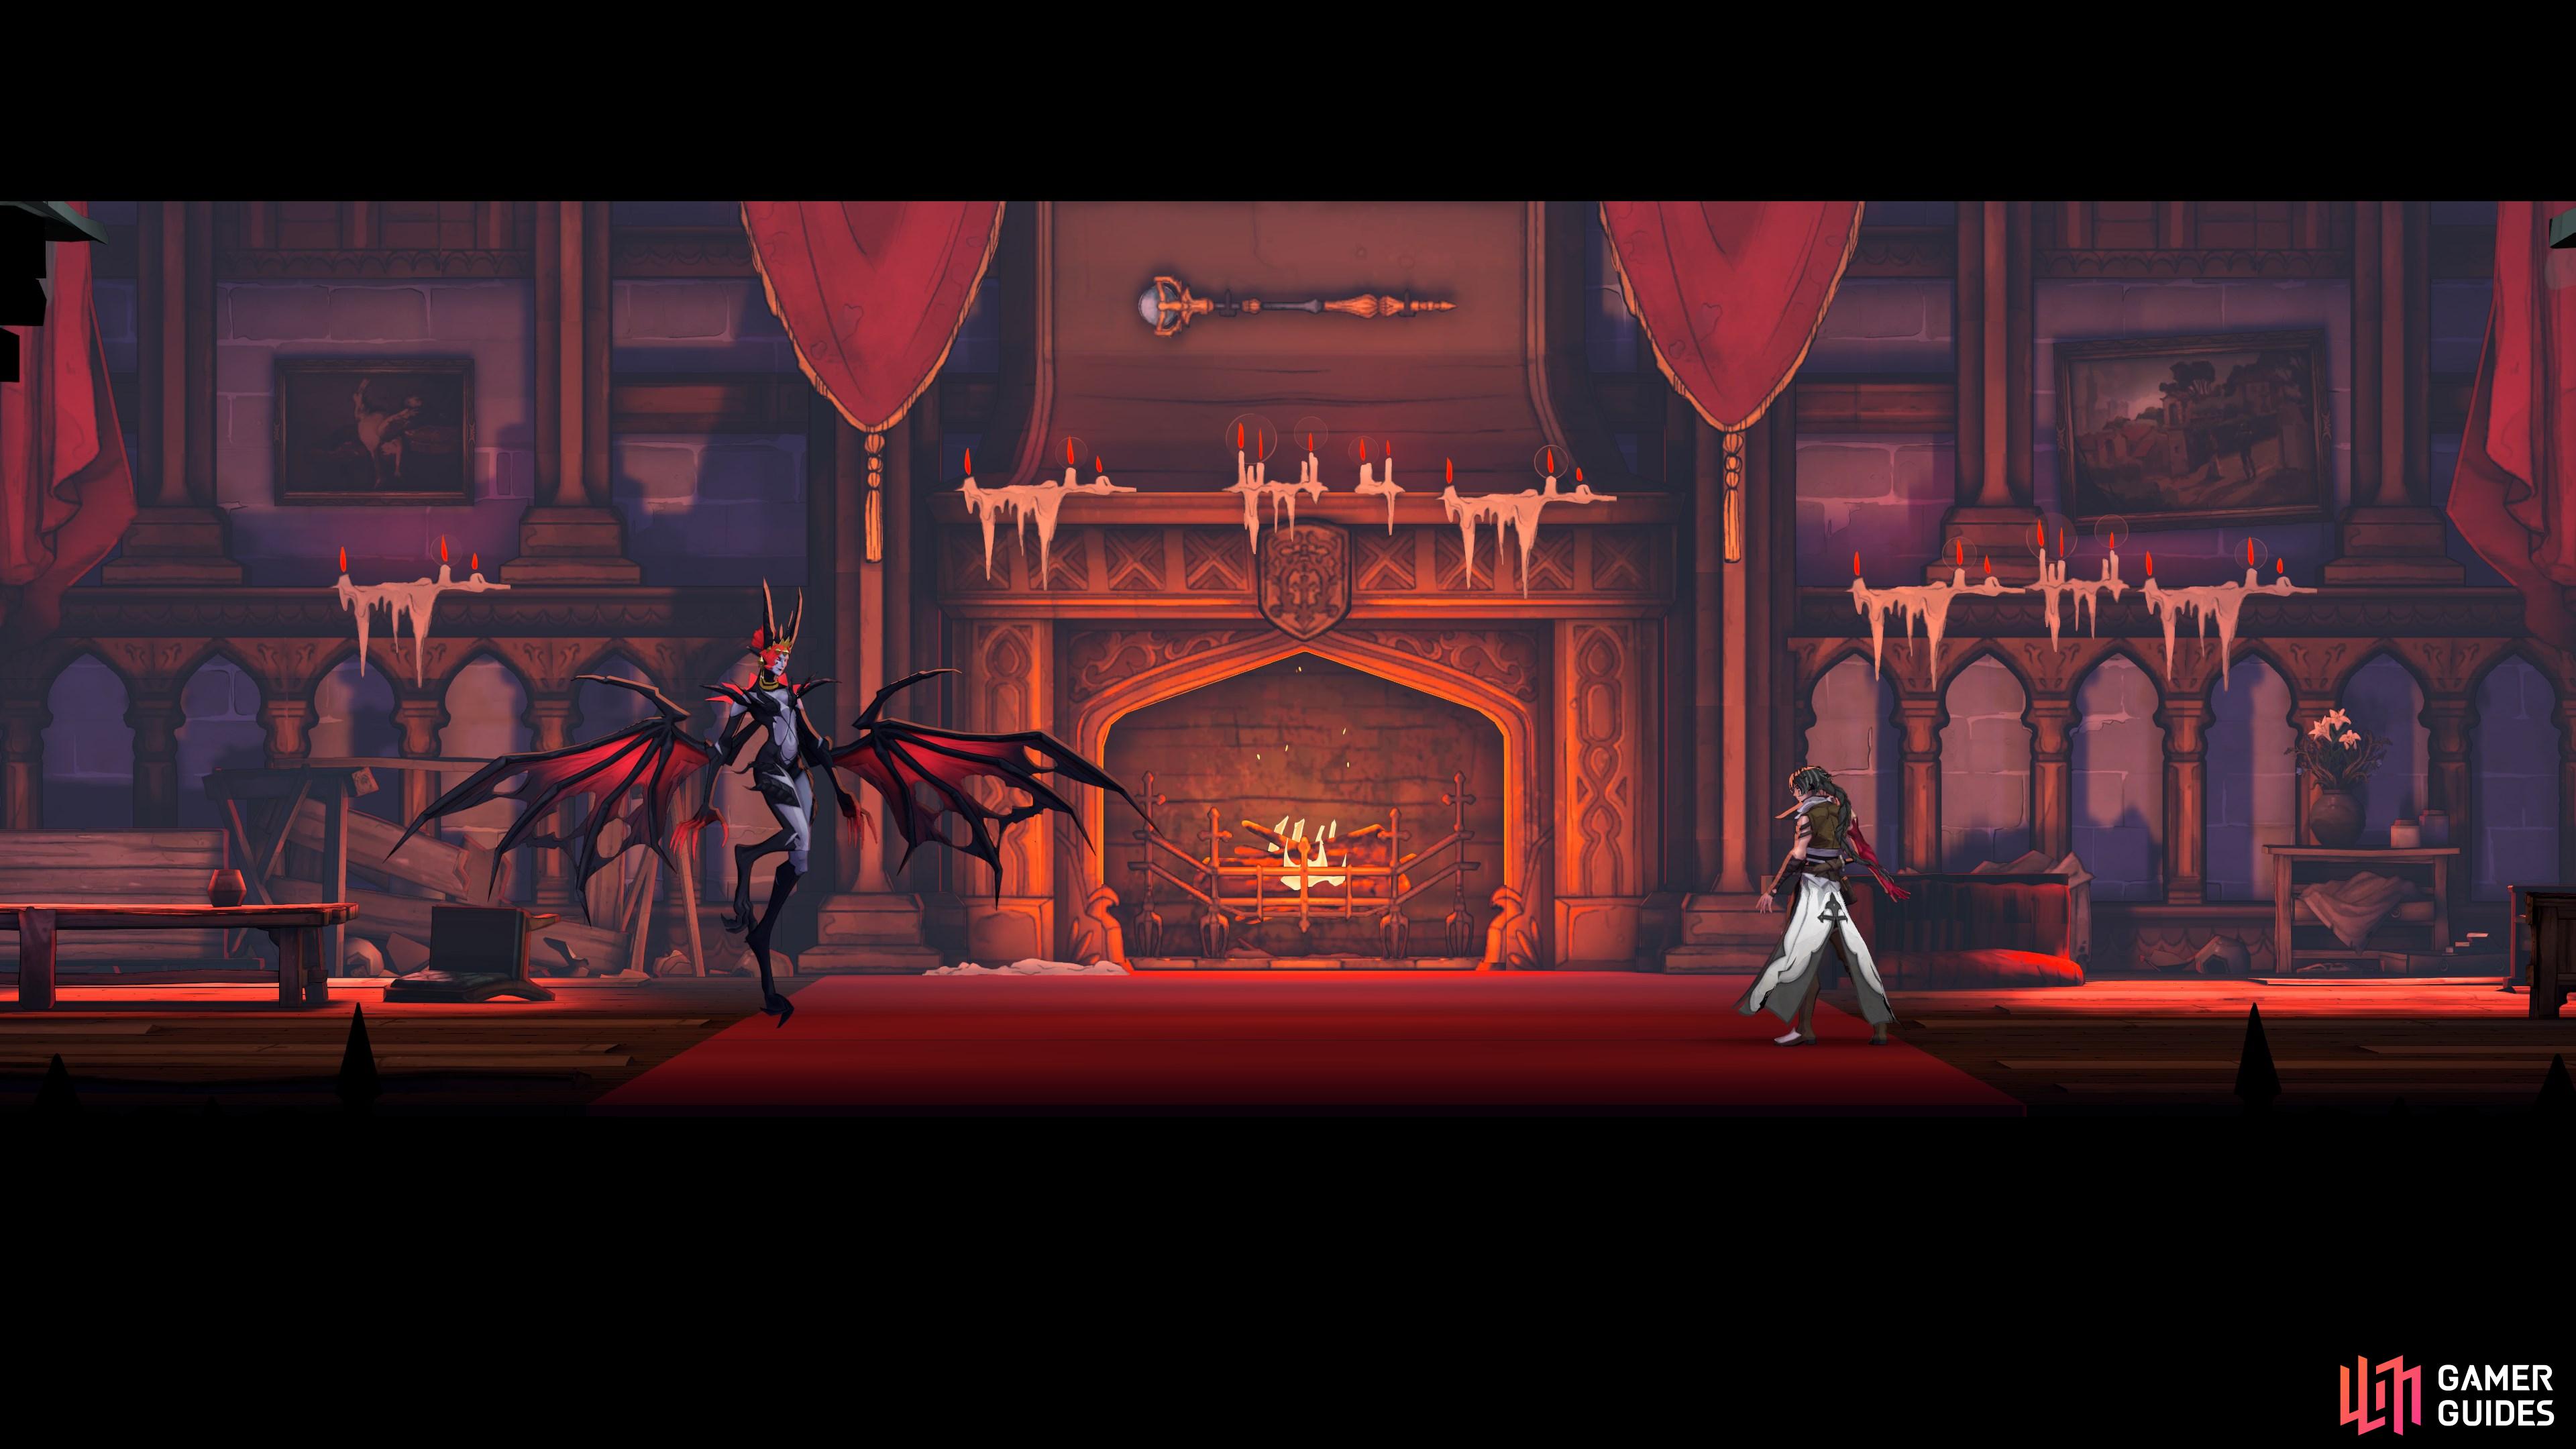
Go to the bottom floor and take the only doorway to enter the boss room. This can be difficult because of the boss's HP-stealing ability, but the reward for defeating it is worth it, as you'll unlock the map!
Map position: 36333, 23095
-
20
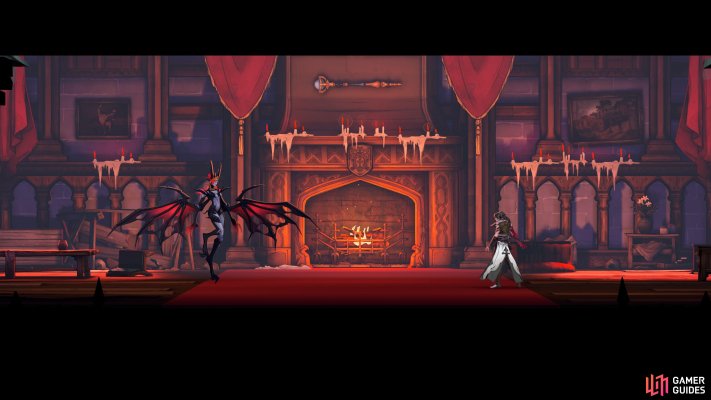
Boss
Defeating the boss will open up the map for you, making it easier to obtain all the hidden loot it has to offer.
Map position: 36632, 23481