-
1
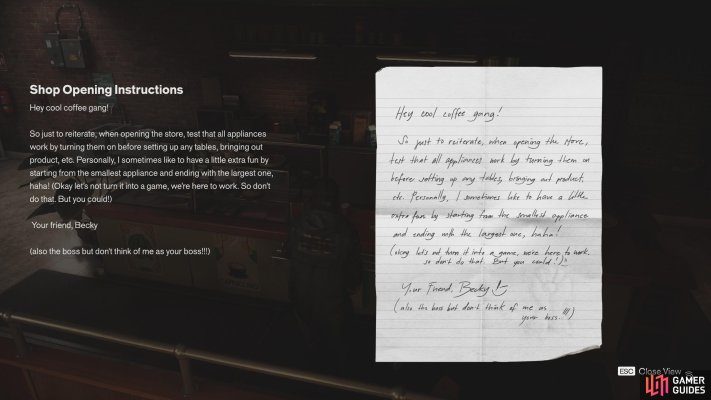
Downtown Secret Hideout
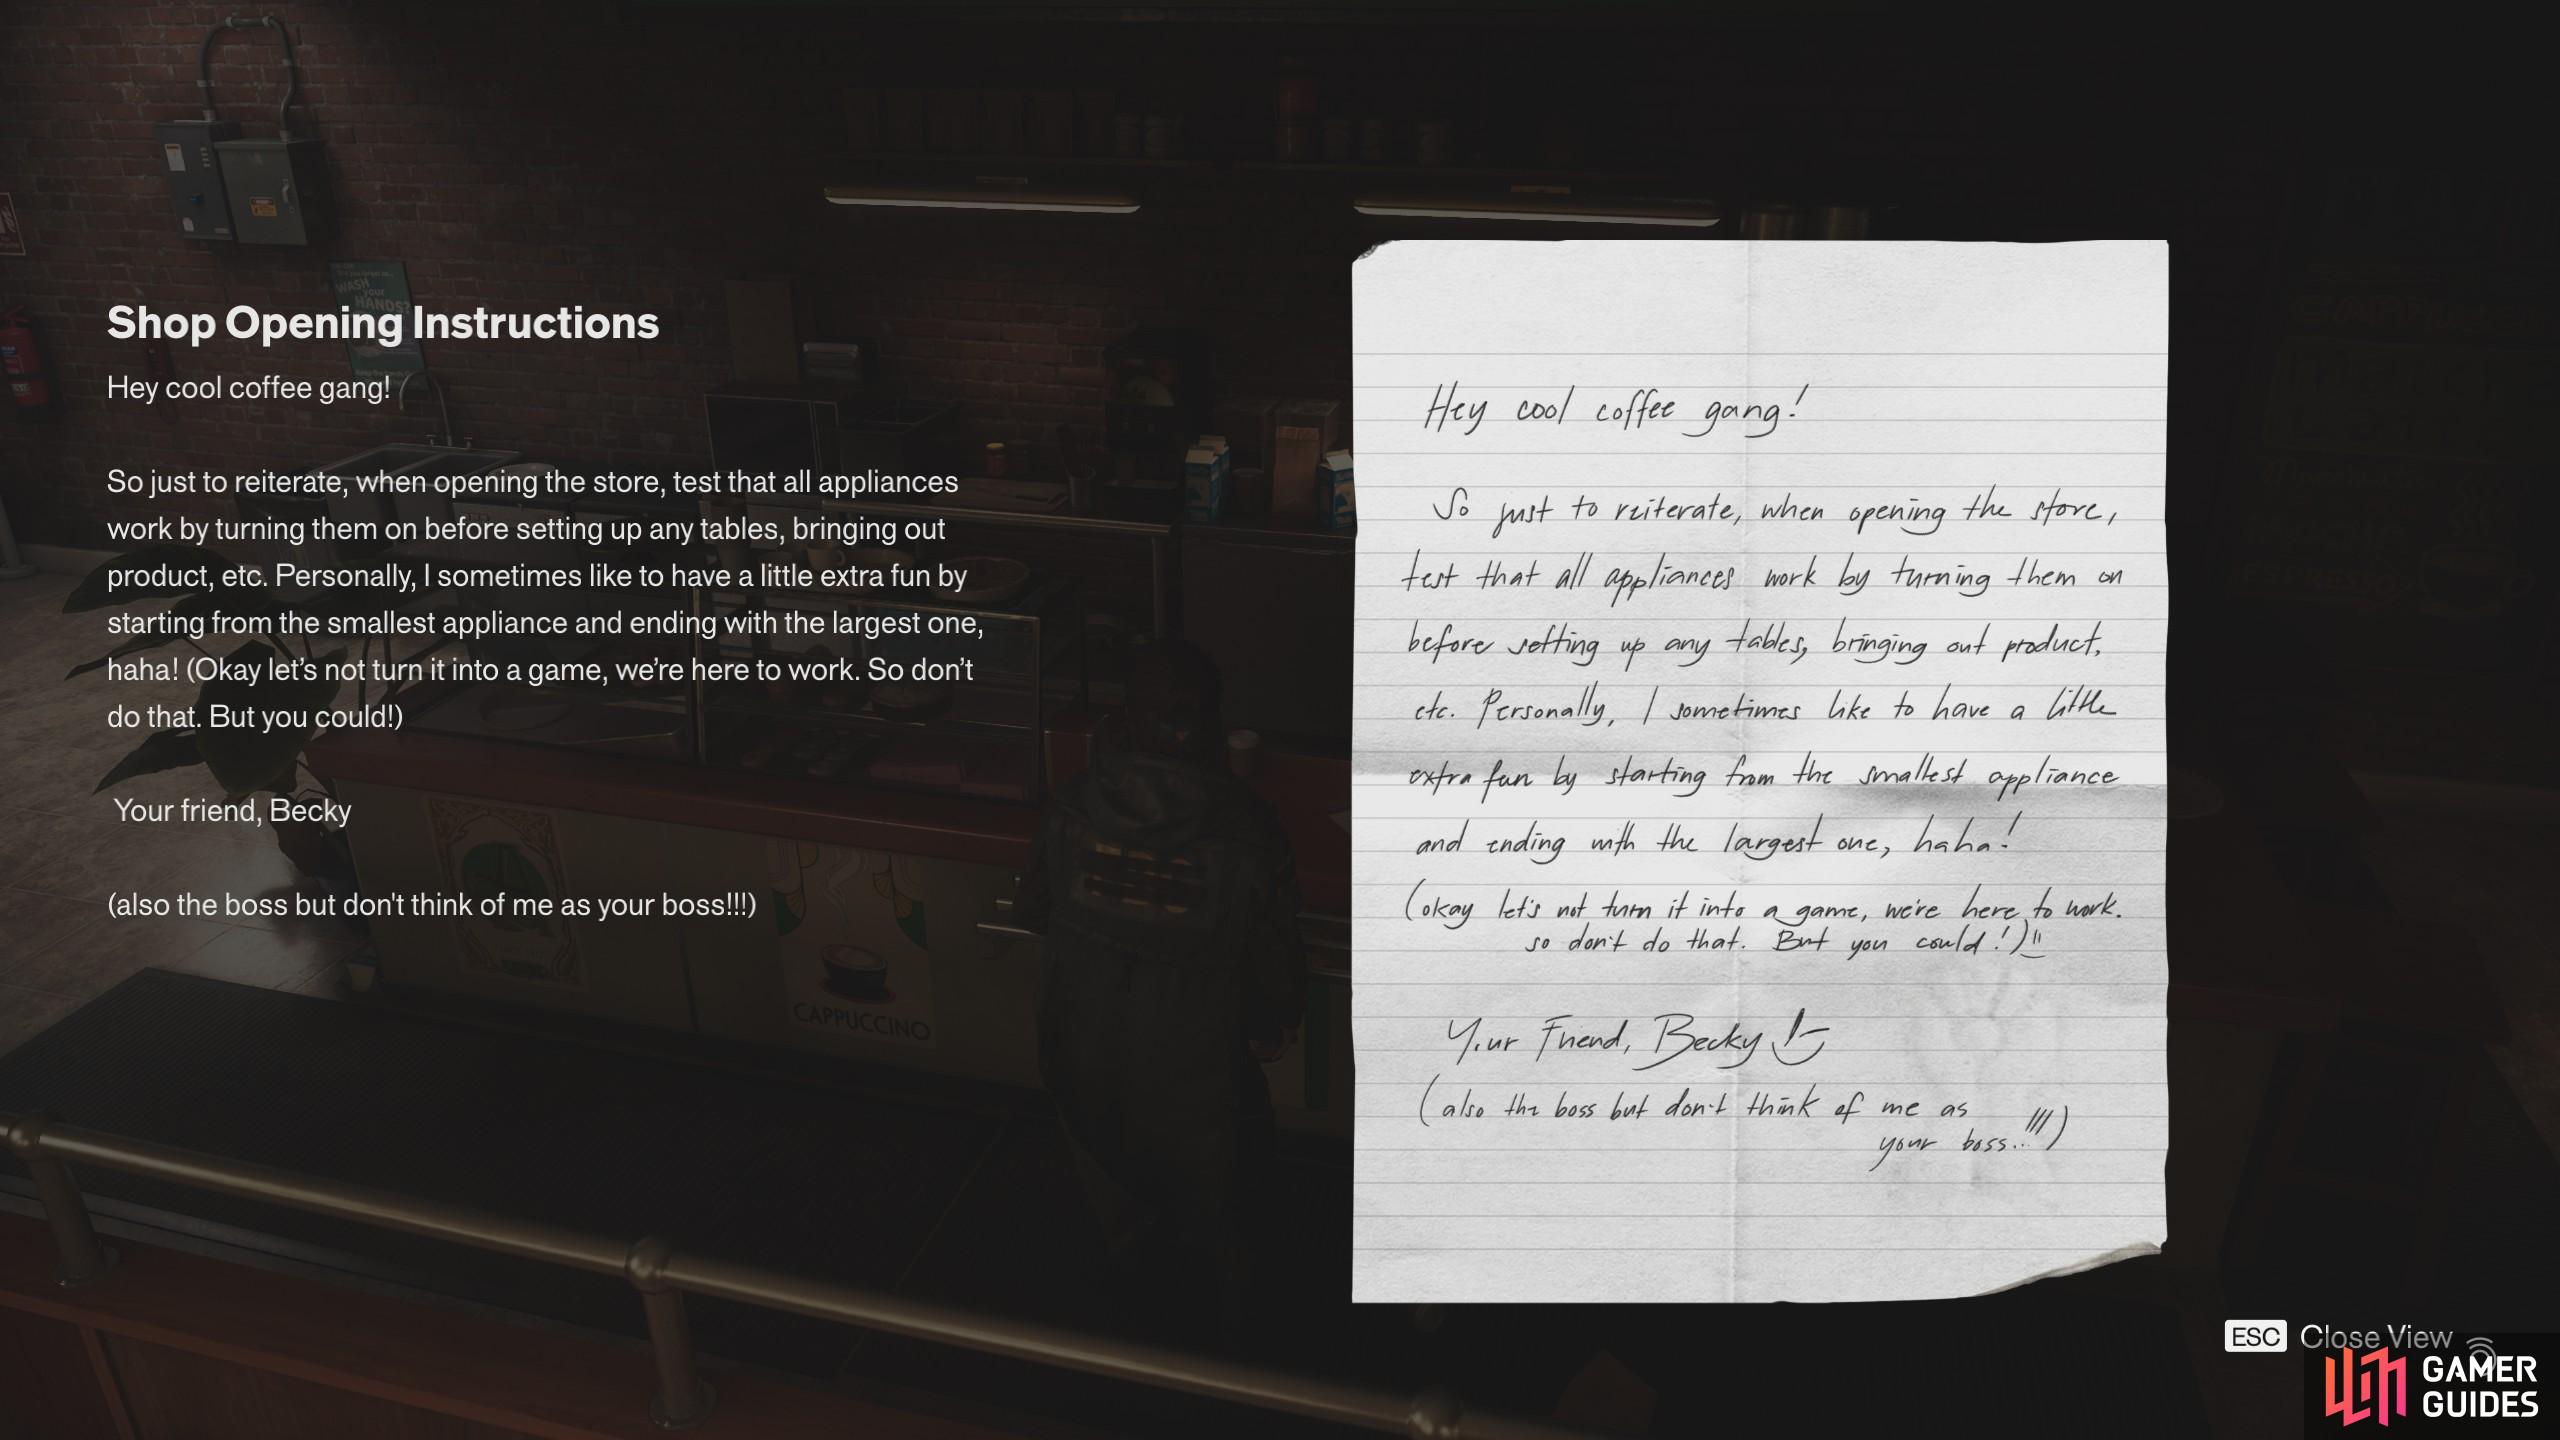
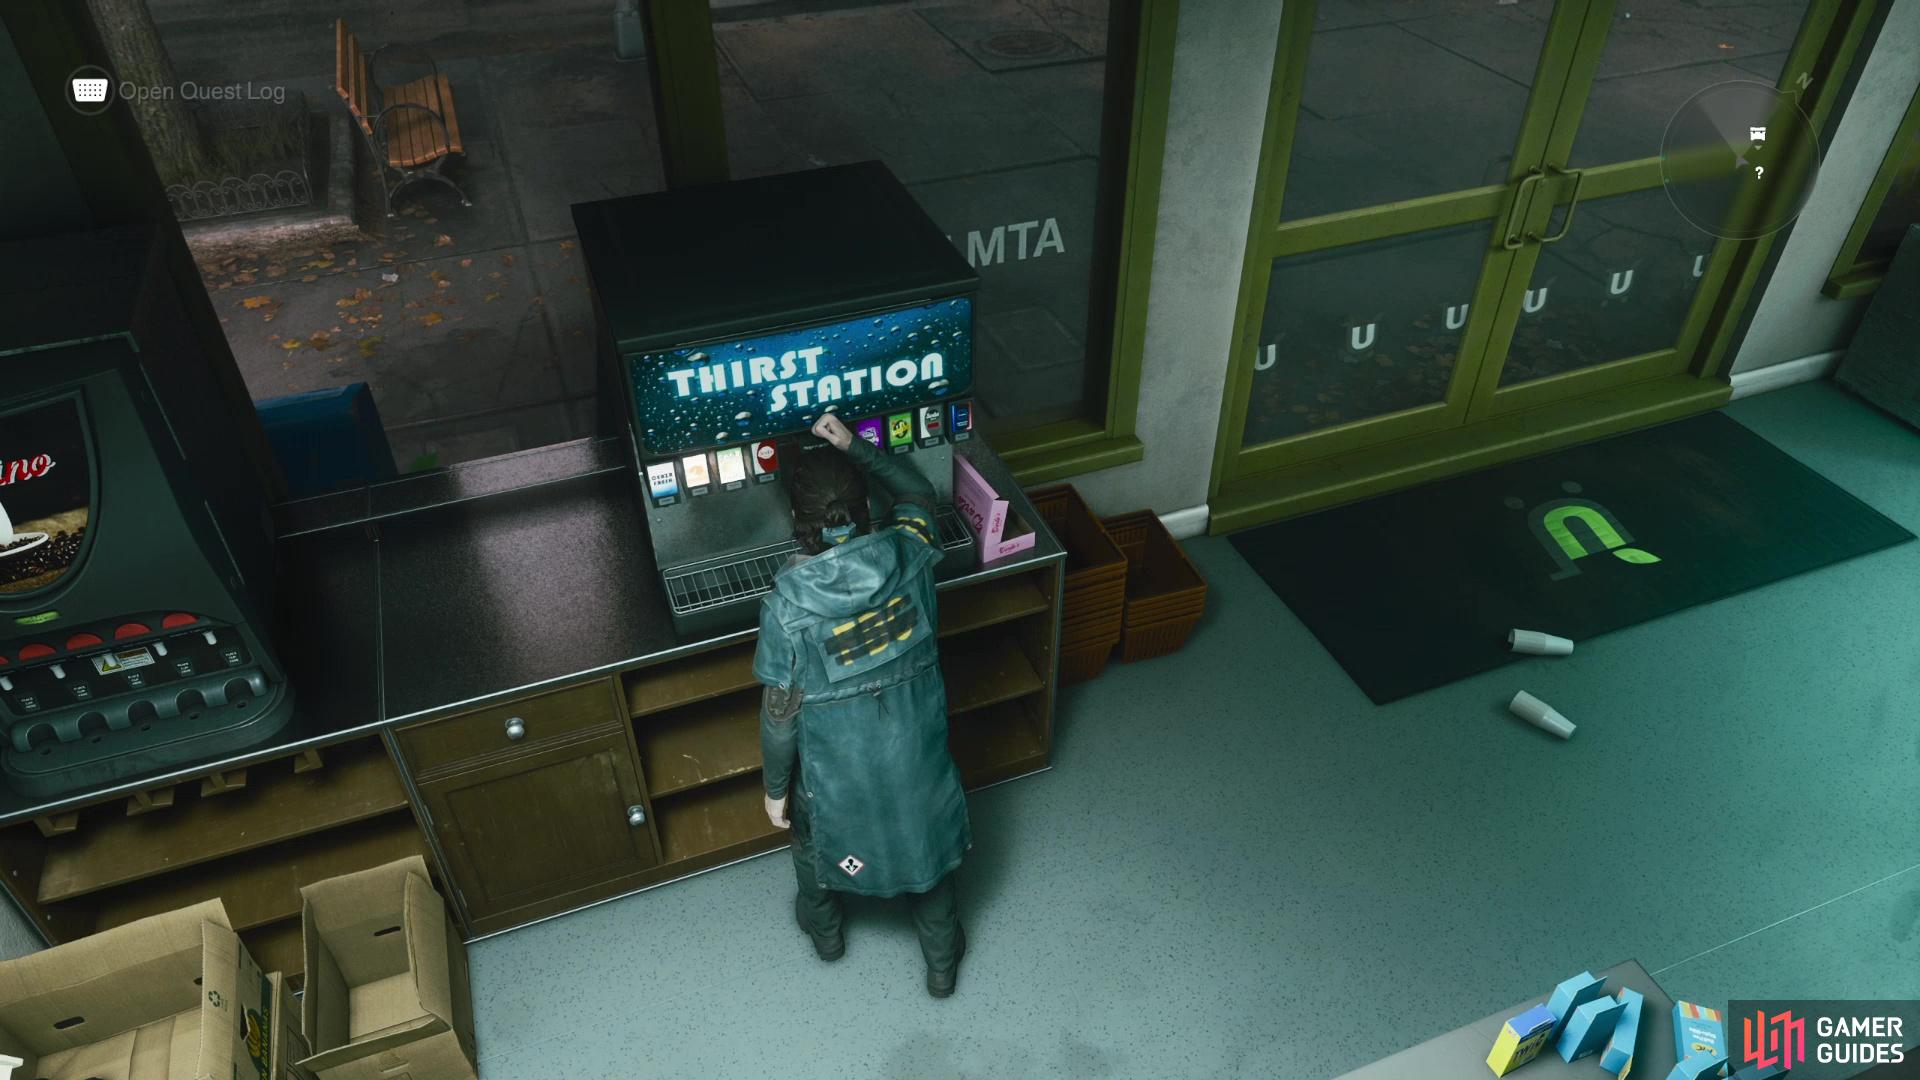
These Secret Hideouts can be solved in any order, but we've ordered them in chronological order so you can take them on as you progress through each zone. As the map marker points out, all you need to do is activate the breaker, then turn on all the machines in order of their size. Completing this puzzle rewards you with several collectible items, including a Health Update Point.
Map position: 7887, 12498
-
2
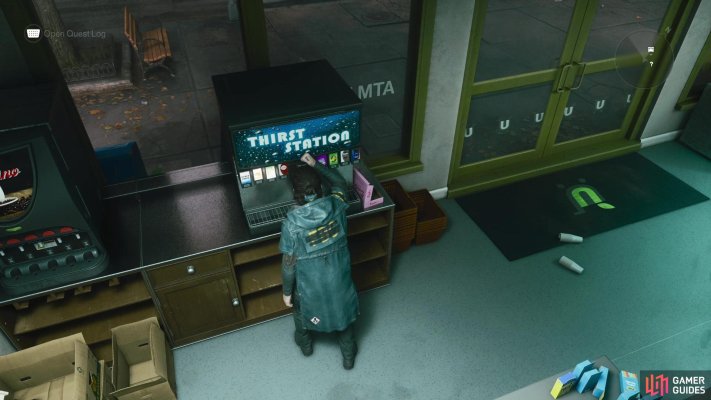
West Incursion Zone Secret Hideout
Enter the Urban Mart and head to the cash register. Interact with it and type in the following code: 1 - 2 - 1 - 3. This opens up a secret door in the back of the room, filled with collectbles and another Health Update Point.
Map position: 8012, 11213
-
3
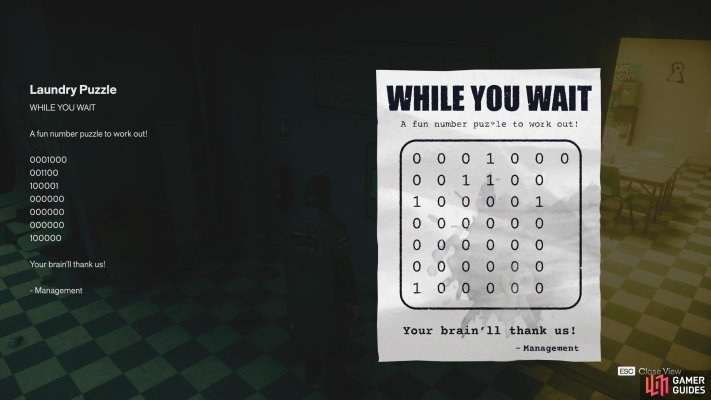
Central Secret Hideout
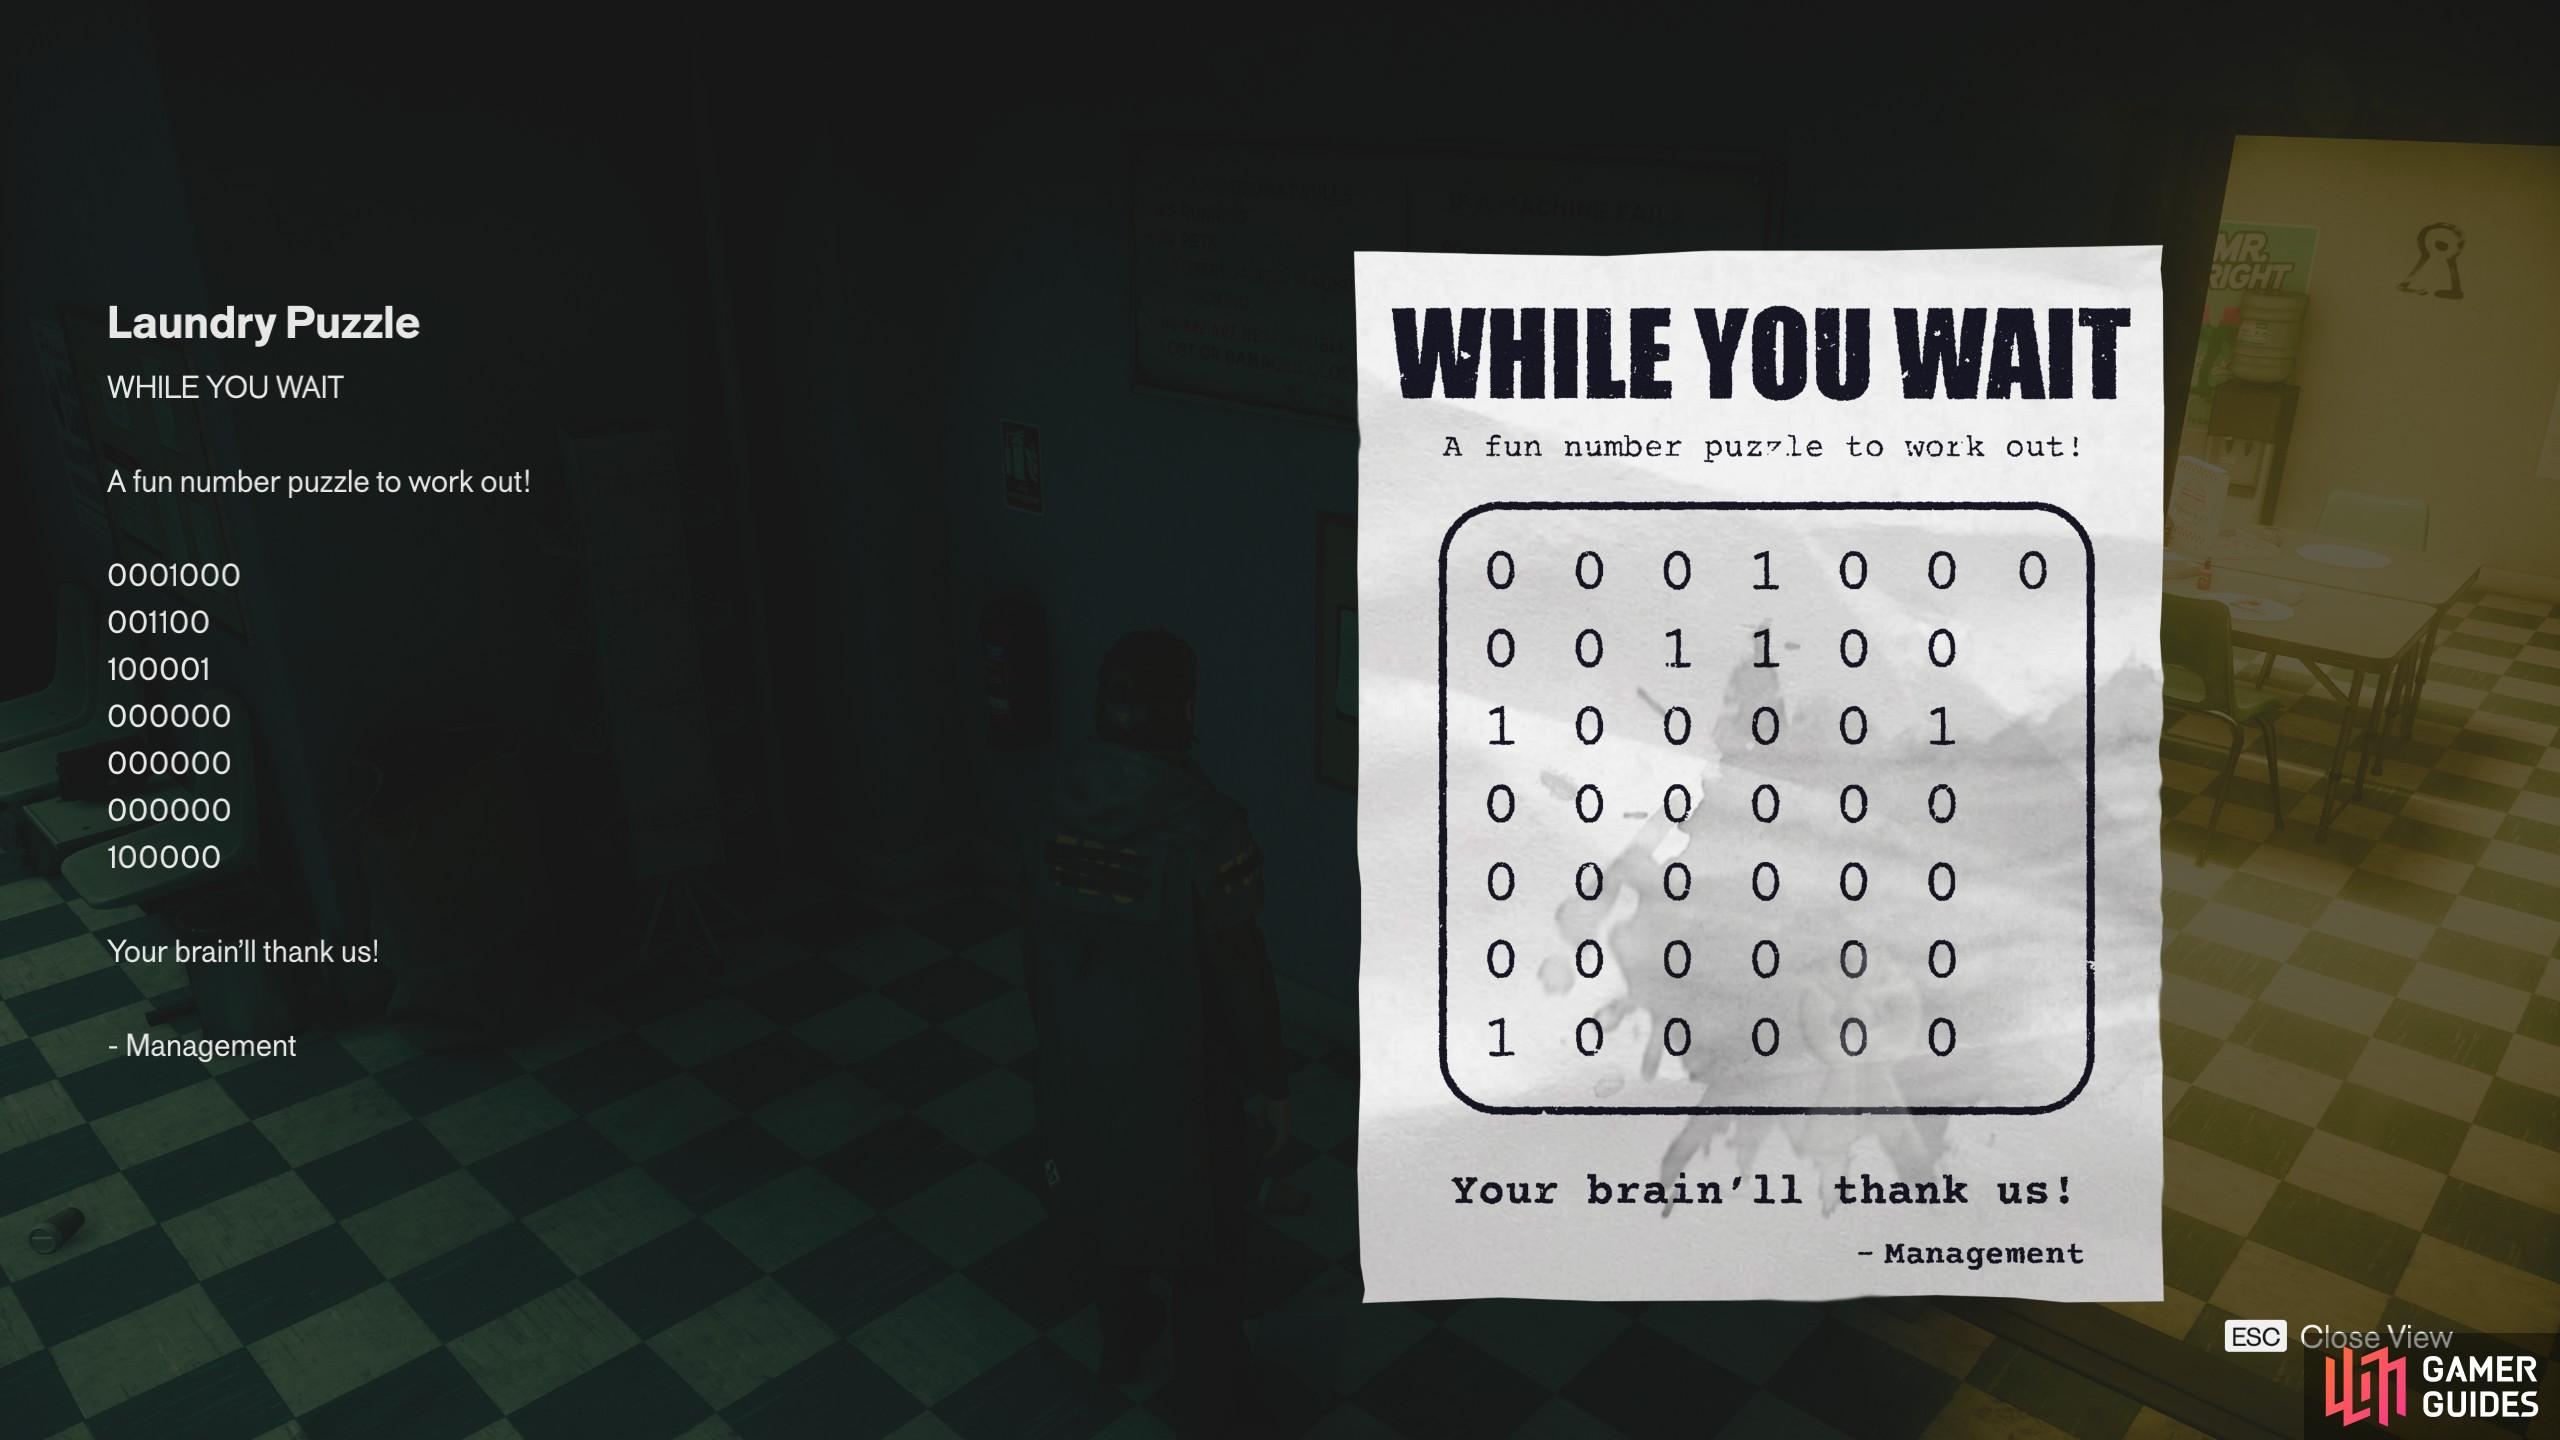
Unlike the other stores we've visited so far, the entrance to the laundrette has several Hiss Blockers stopping you from getting inside. Destroy them to gain access to the laundrette. Once you're inside, the puzzle requires you to turn on specific washing machines. Our map marker details exactly which ones need to be turned on and off. The secret room contains two collectibles and a Health Update Point.
Map position: 9331, 11601
-
4
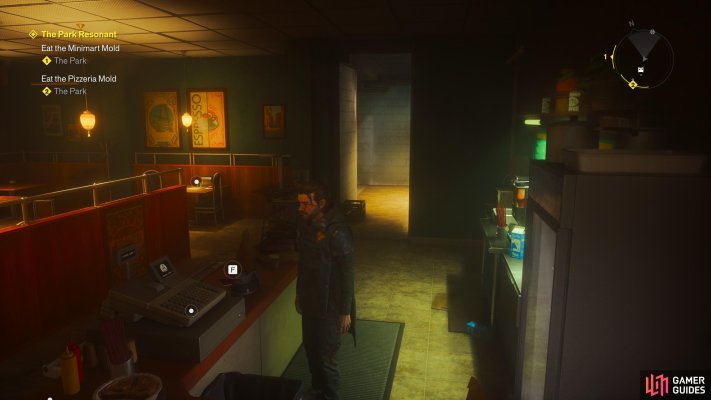
The Park Secret Hideout
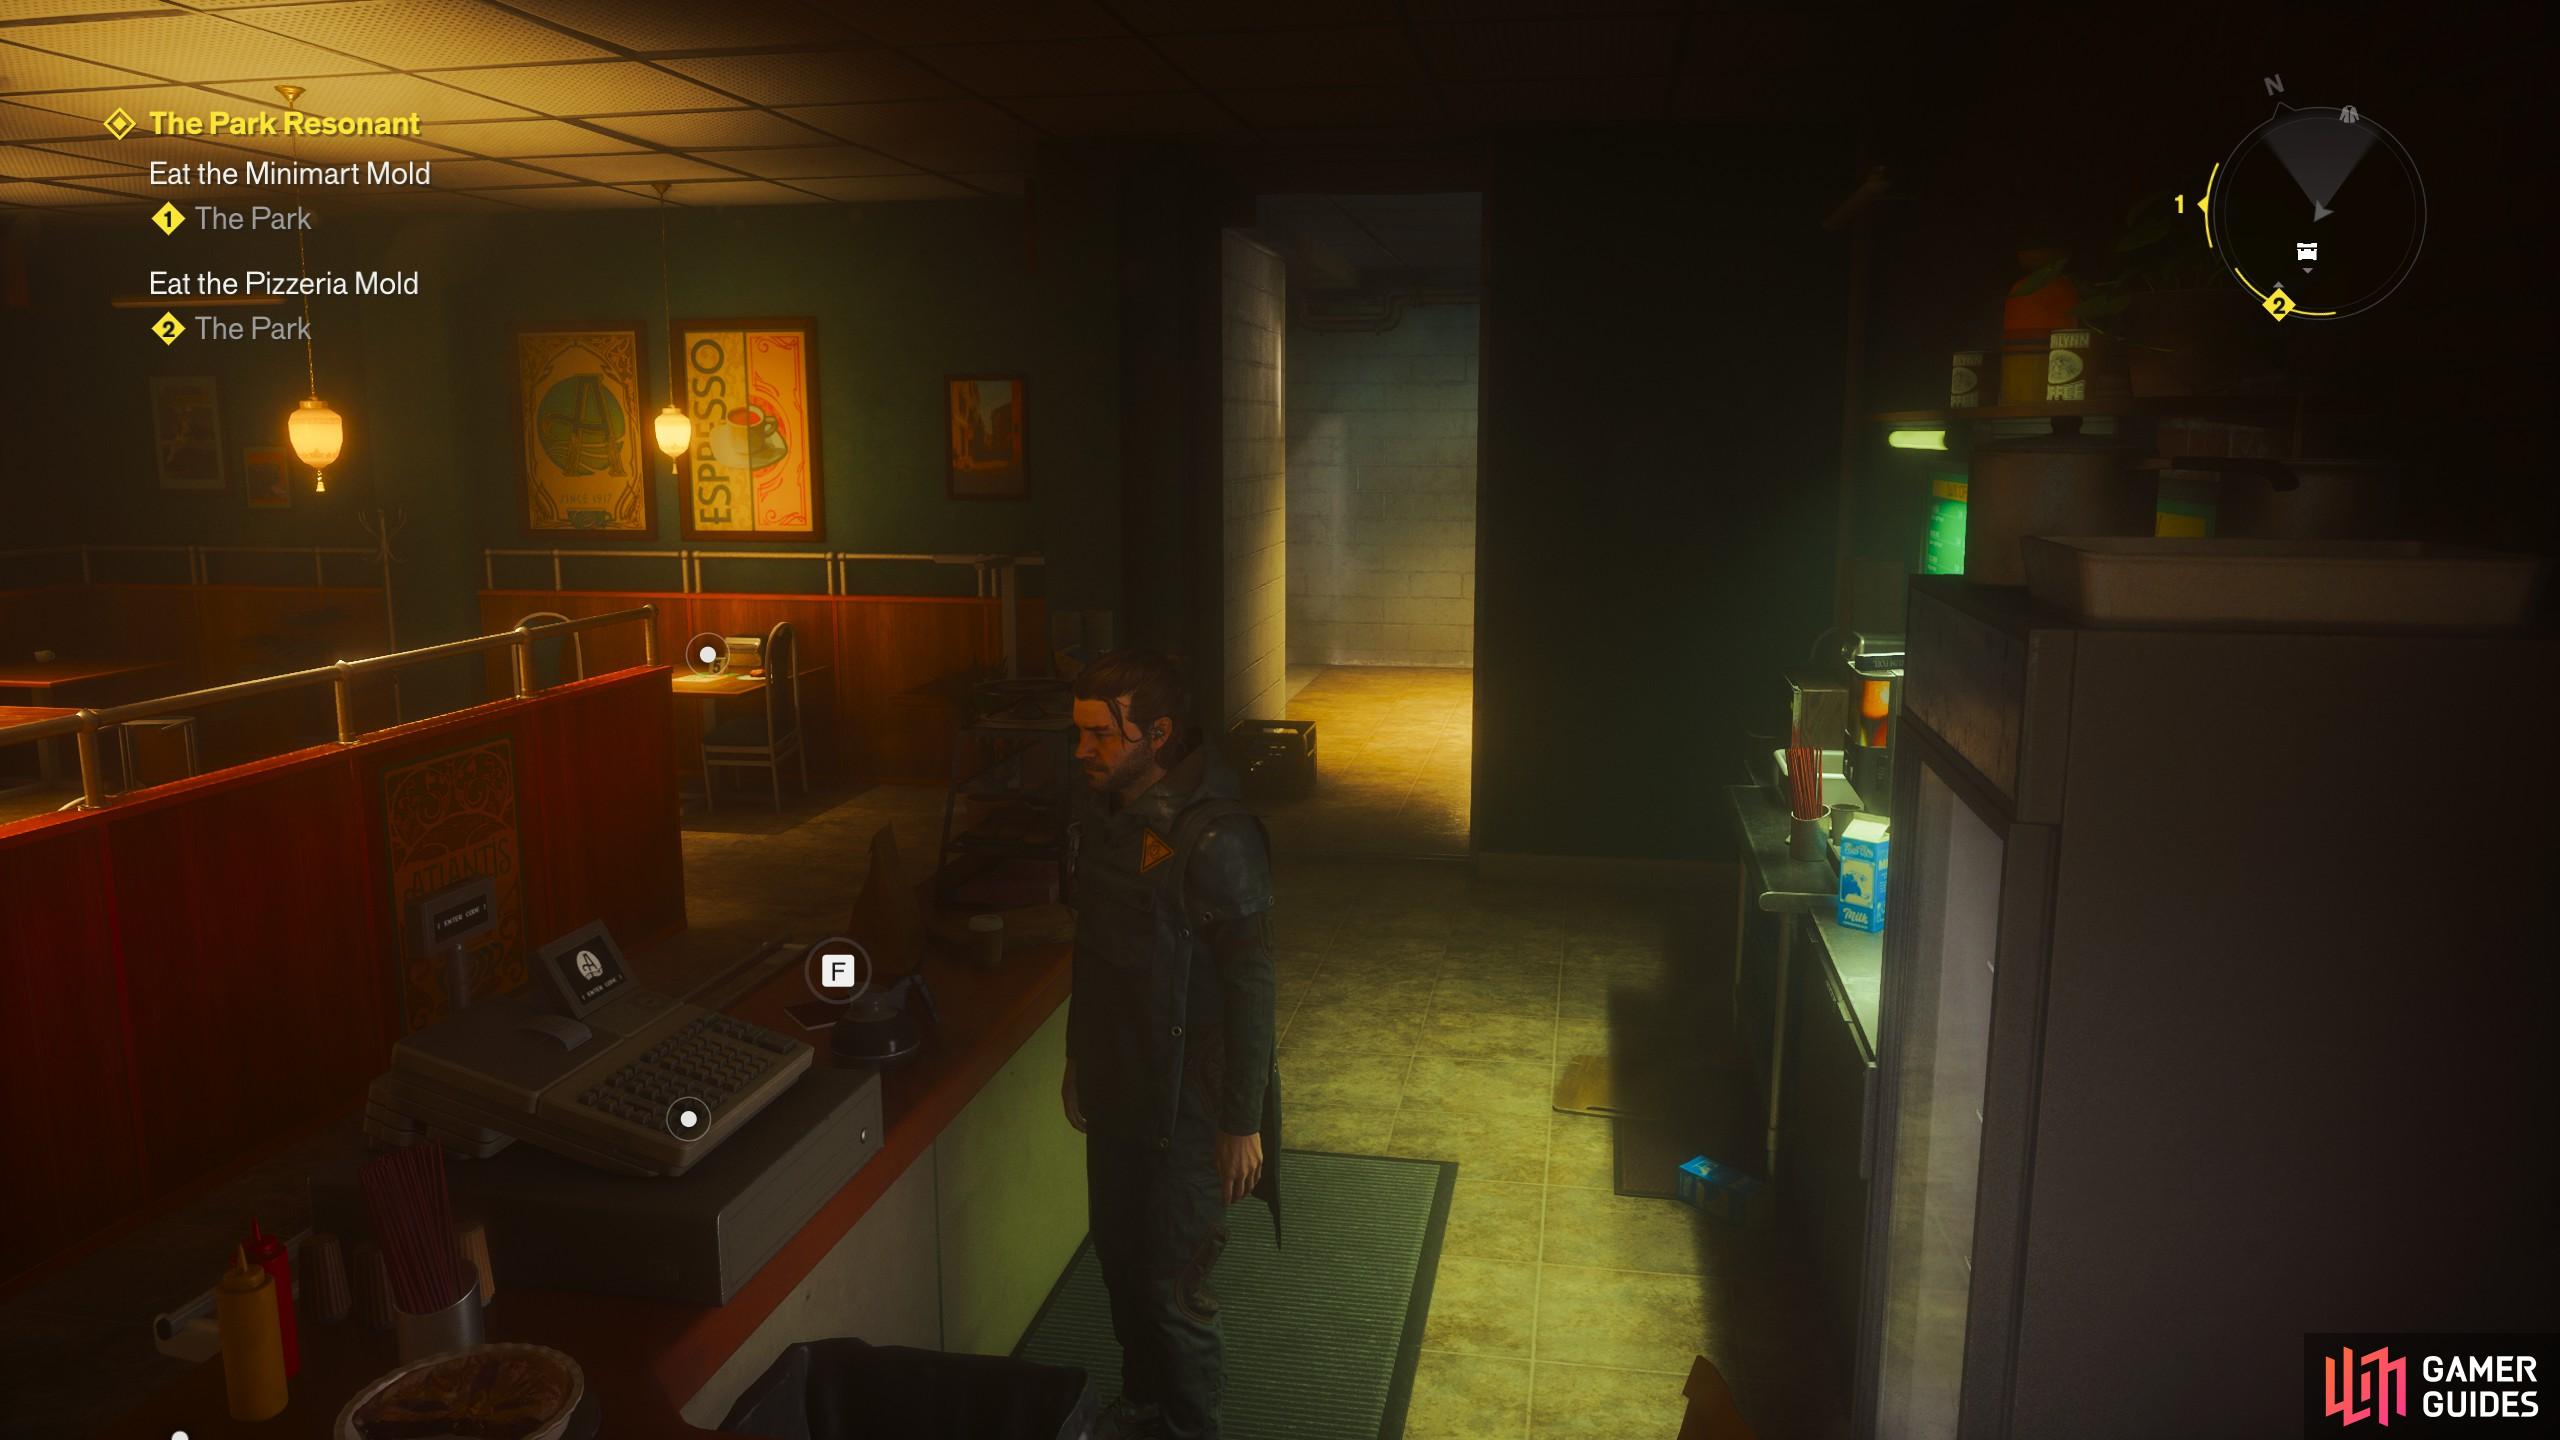
To reach the Secret Hideout located in The Park, you must go through the Sewer Entrance near Underhill's Apartment, then head through to the other Sewer Entrance near the FBC Base. Now you're able to travel to the Secret Hideout near the Research Site. Inside the store, go to the cash register and enter the following code: B - D - A - C. The secret room within contains two collectibles and a Health Update Point.
Map position: 10647, 11520
-
5
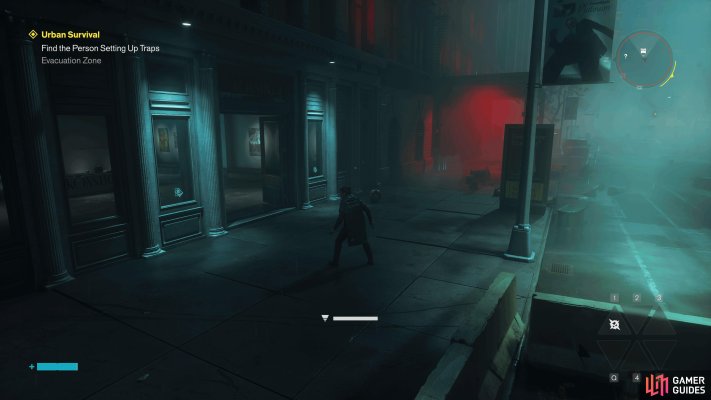
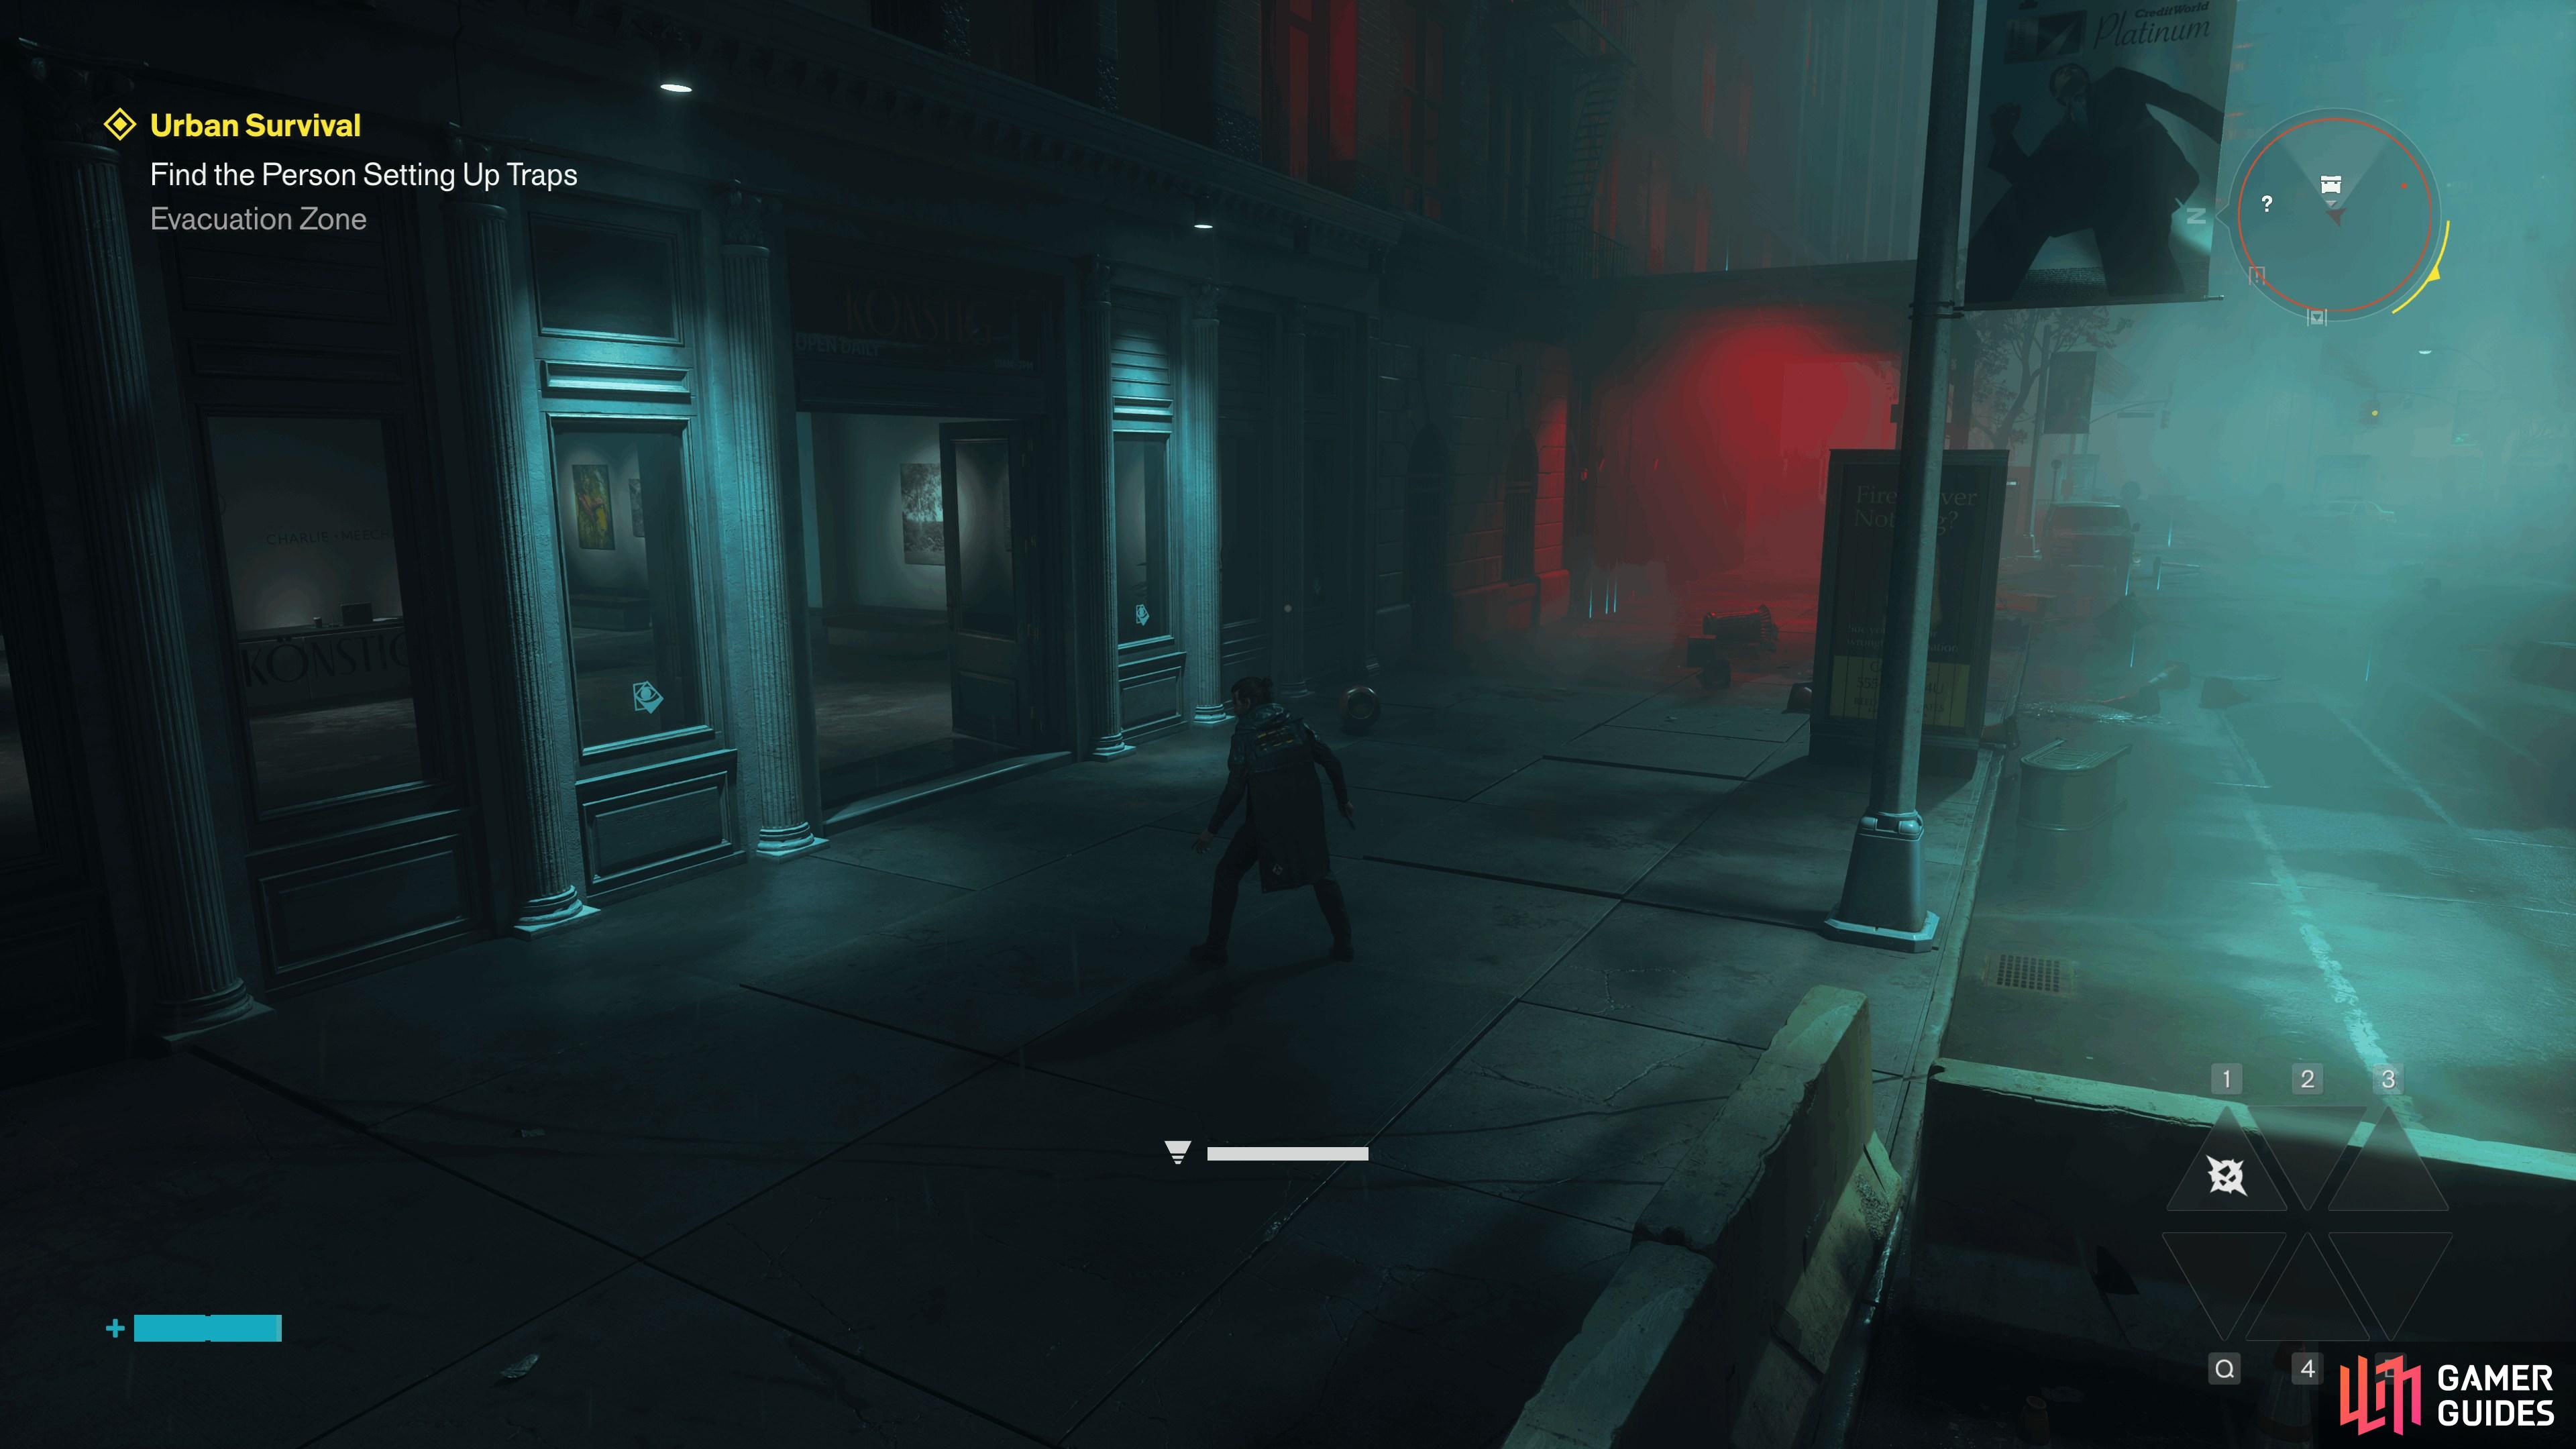
Evacuation Zone Secret Hideout
The Könstig Museum is blocked by enemies, defeat them to gain access to the store. When you're inside, you need to turn on the light above specific painting to open up the secret door - check out the map marker for more information. The secret room contains three collectibles and a Health Update Point.
Map position: 9717, 12466
-
6
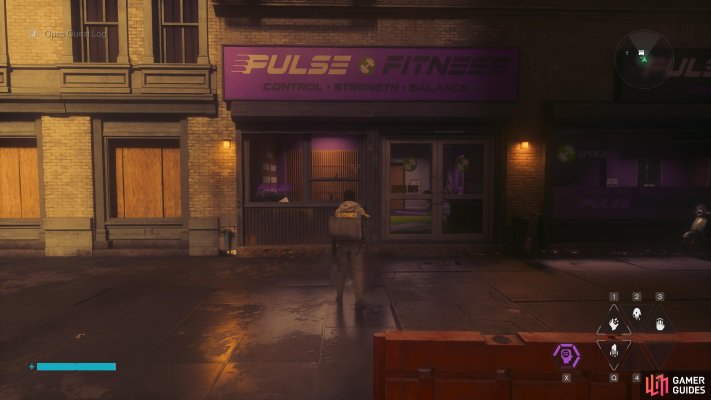
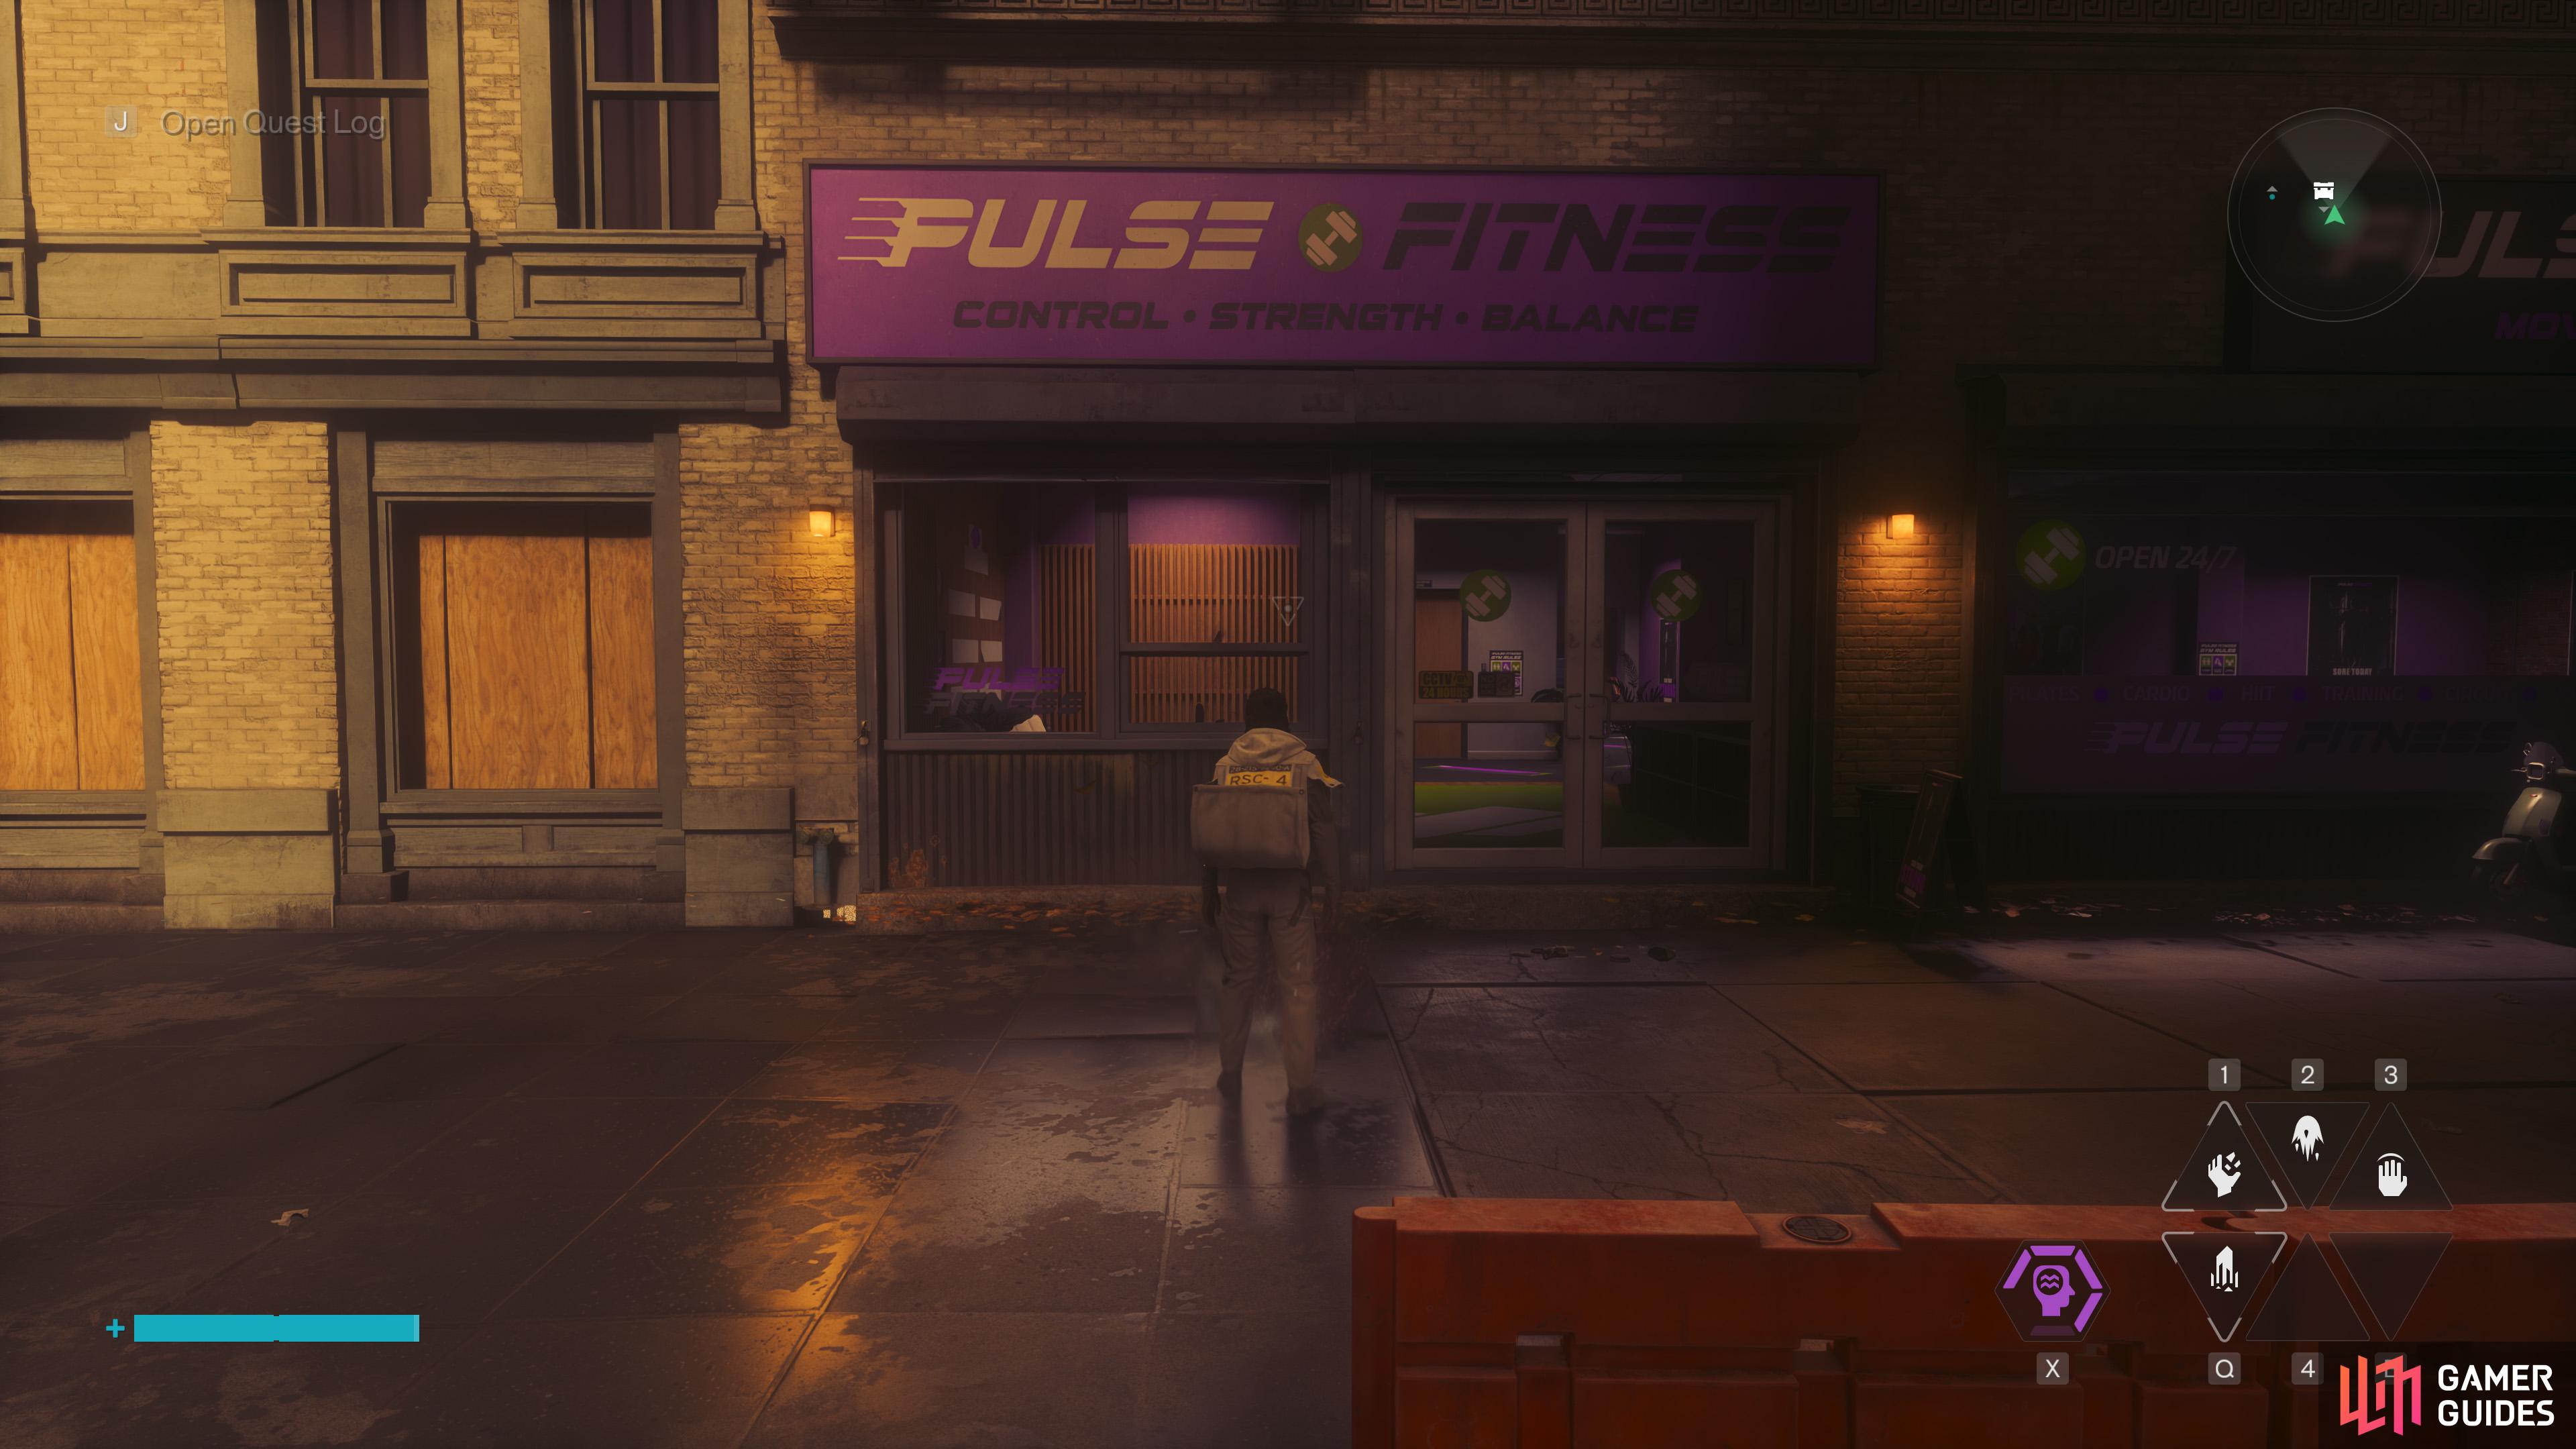
Unknown Secret Room
In the gym, you need to use the machines in a certain order and activate the vending machine to confirm each set. Like always, our map marker goes into full detail on how to solve this puzzle. The secret room contains the final Health Update Point and a collectible. The trophy will trigger once you've completed all six puzzles, and a conversation with Zoe will initiate once Dylan suspects what's going on with these rooms.
Map position: 6160, 10838