-
1
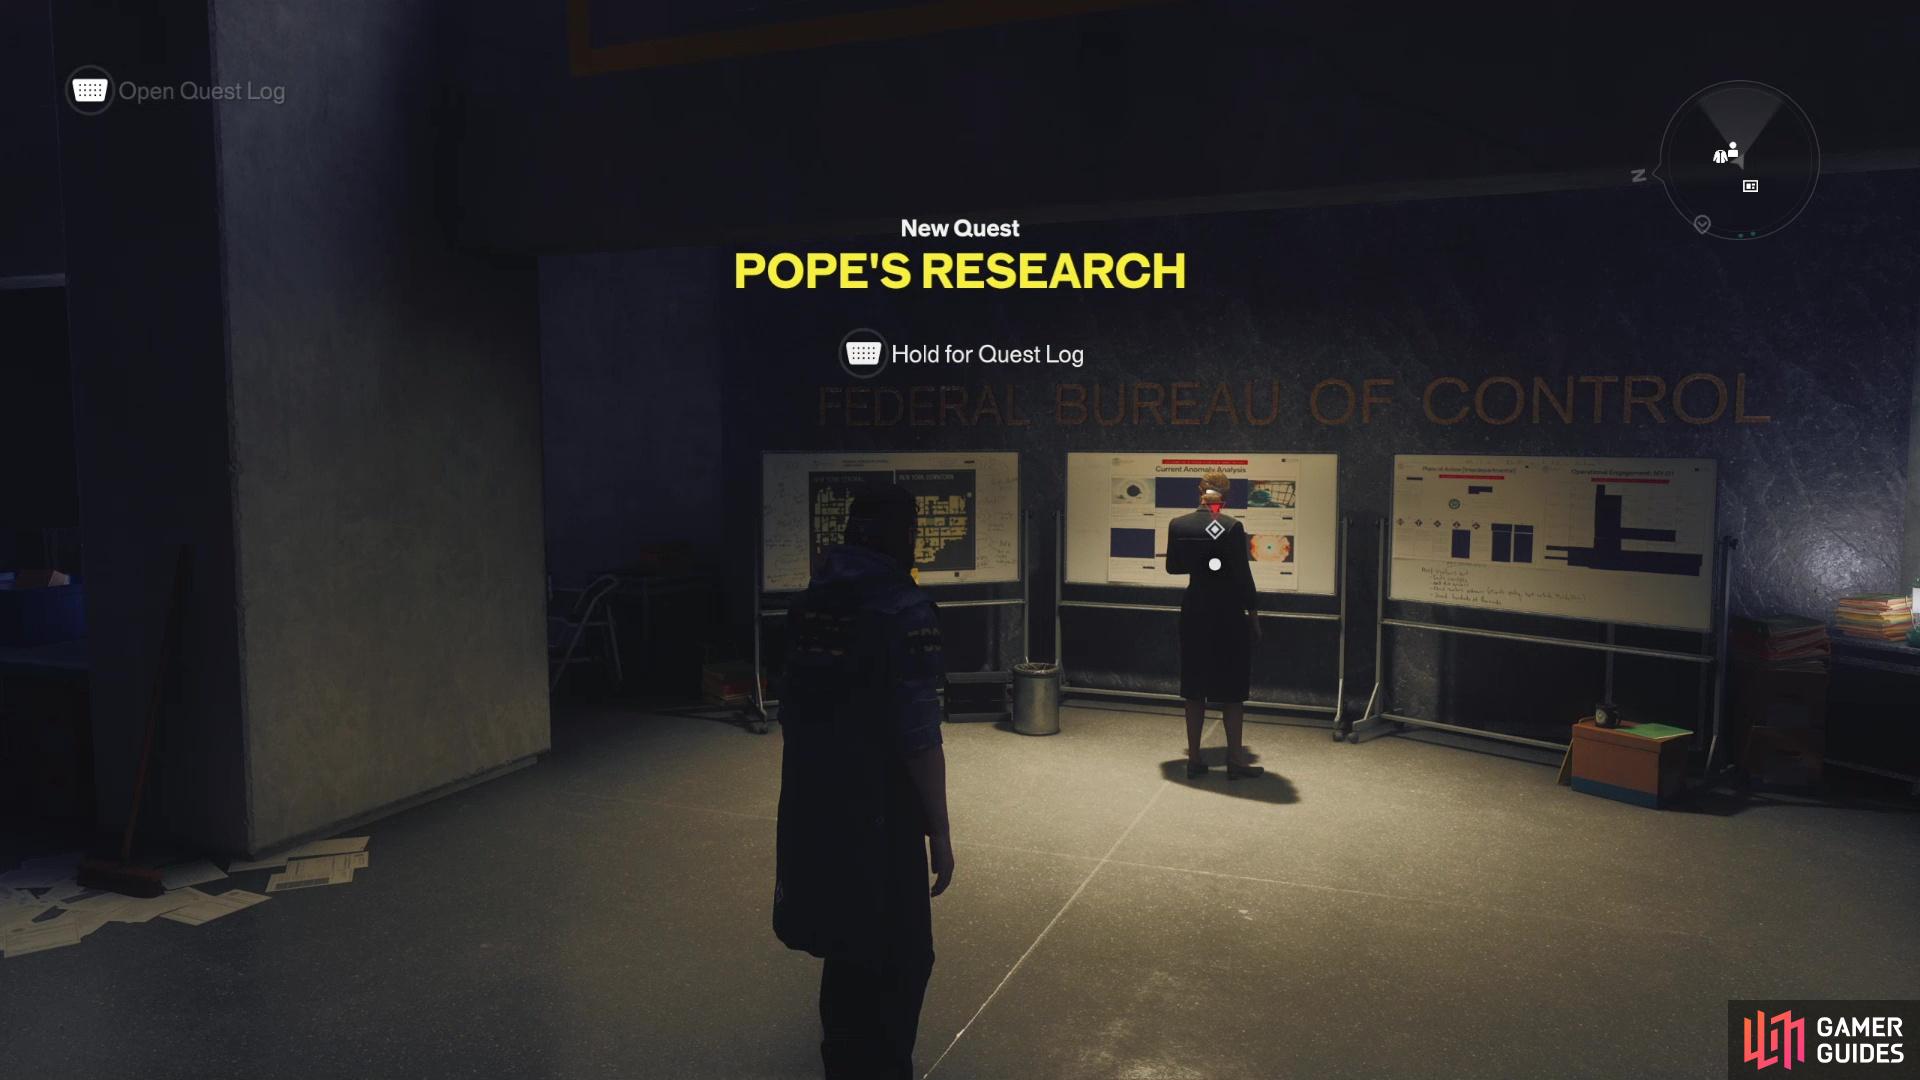
Talk to Pope
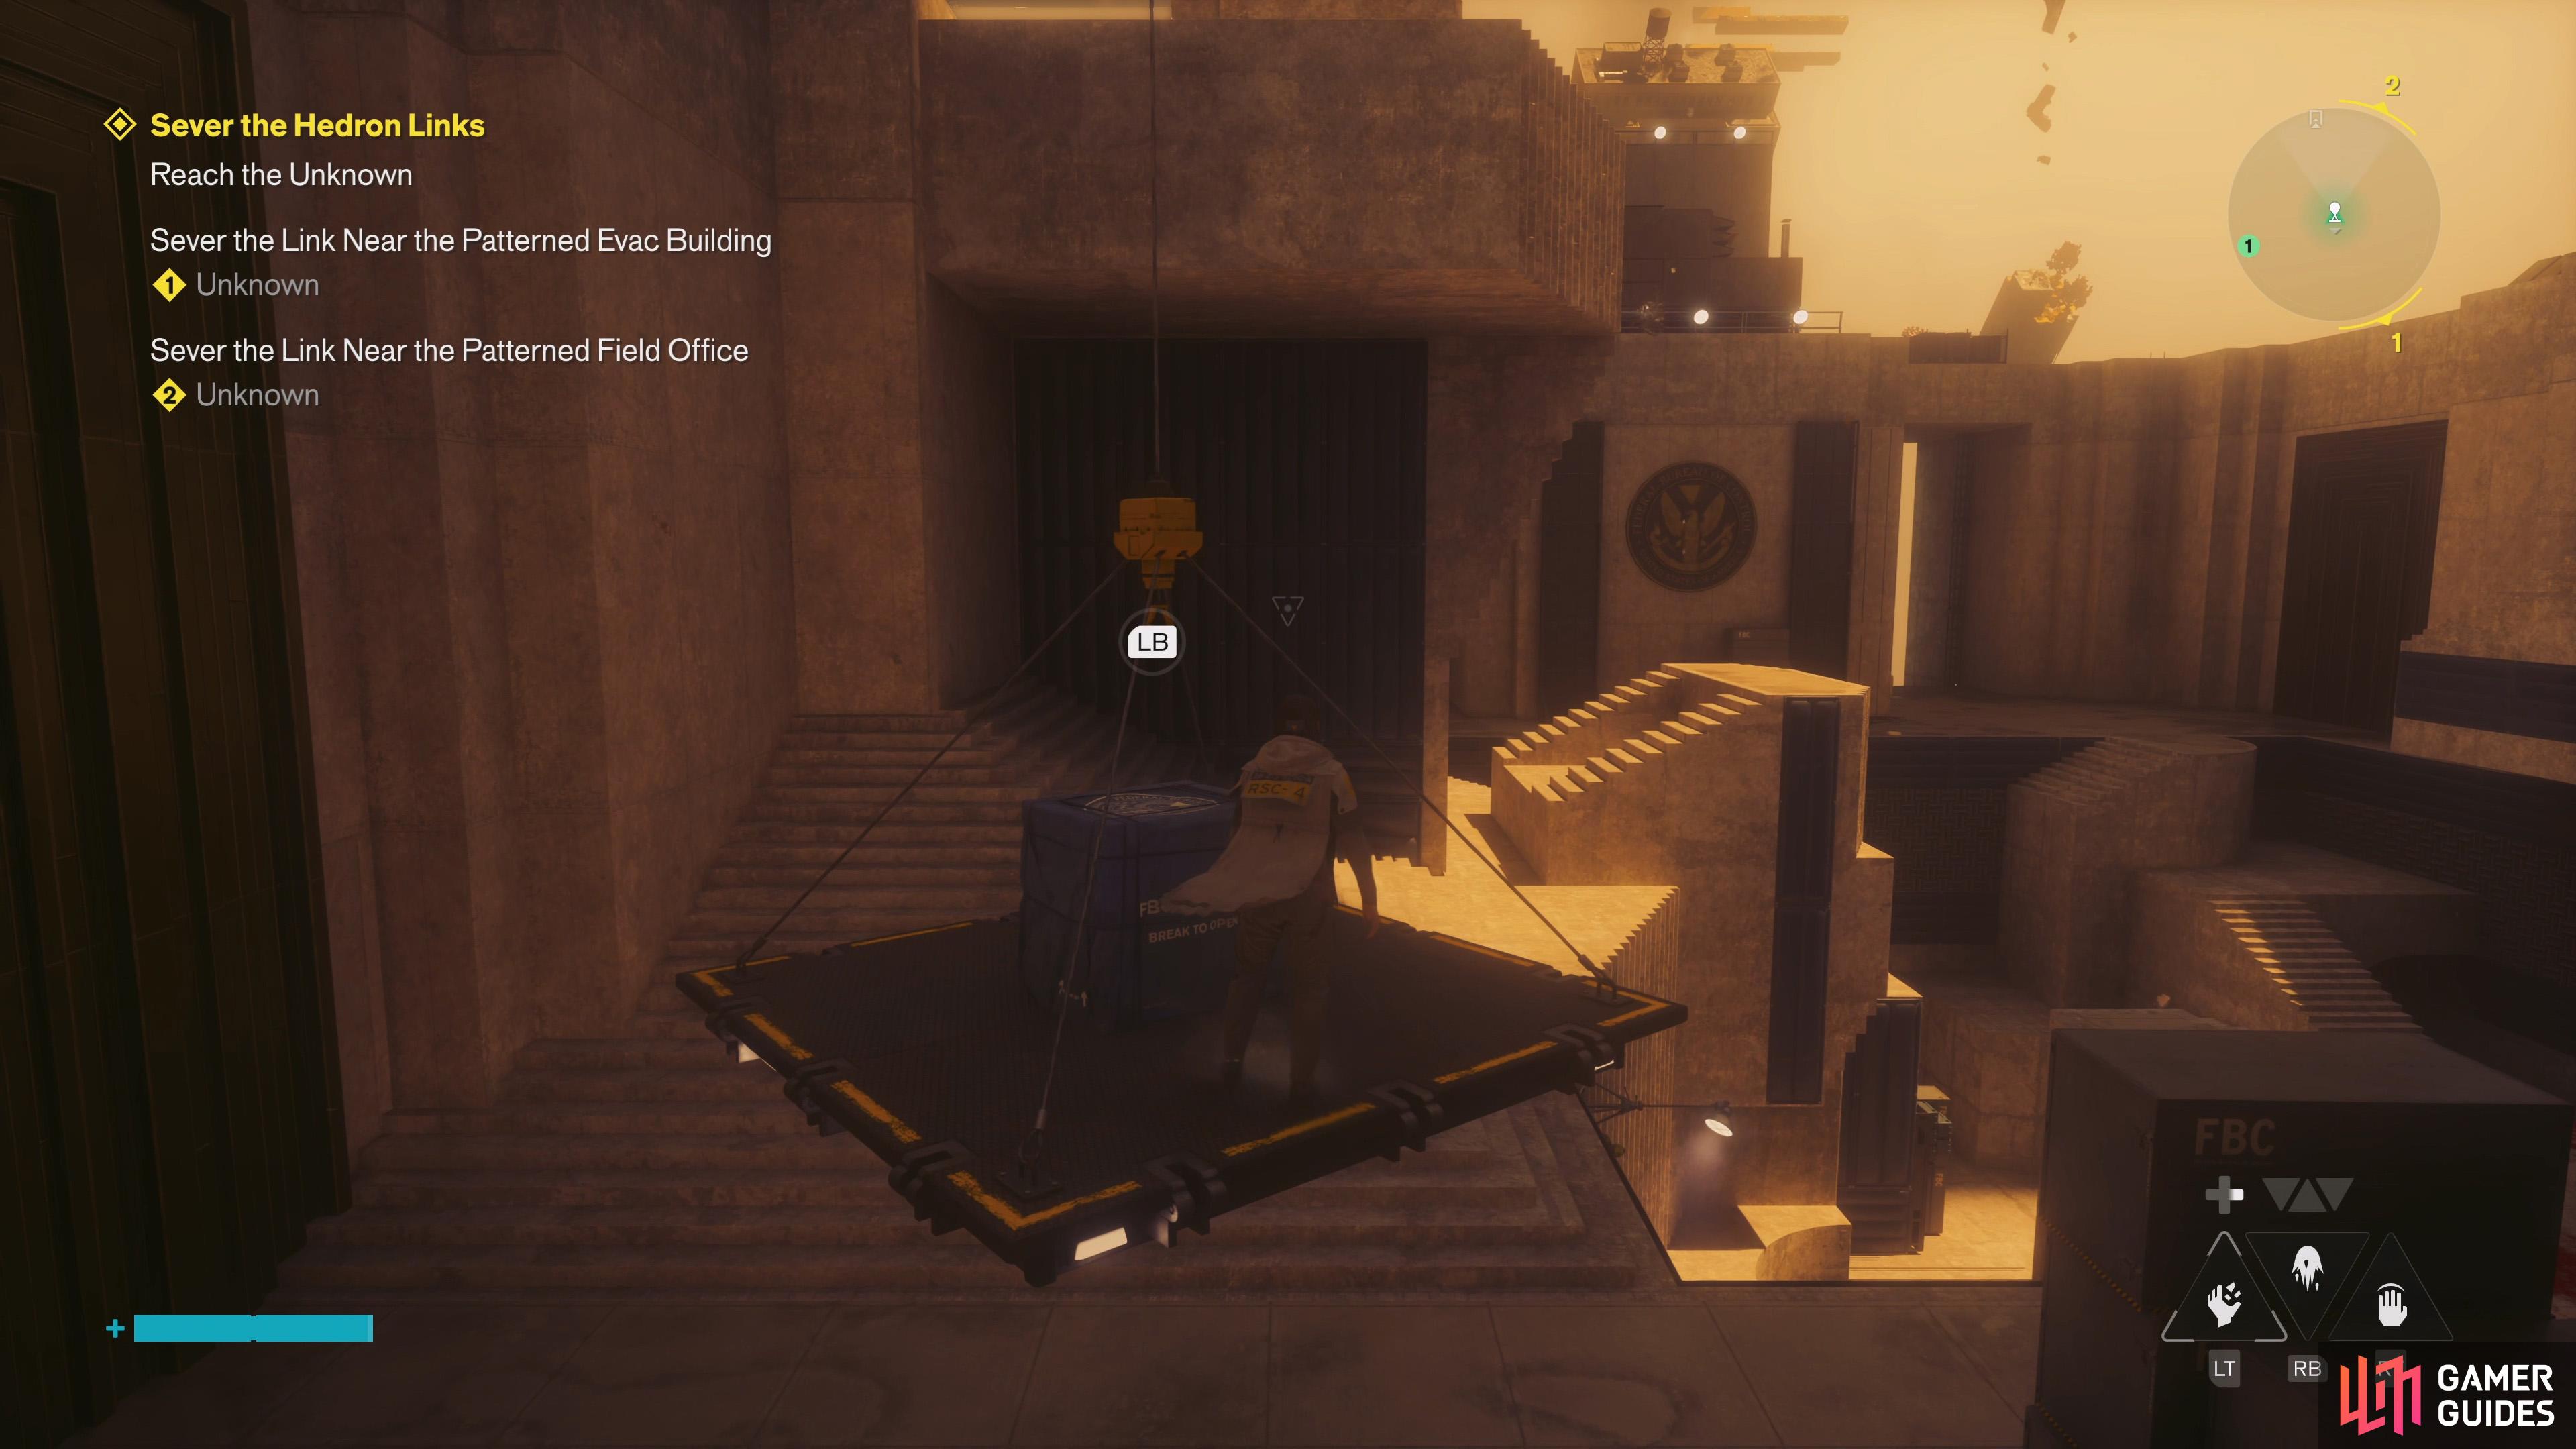
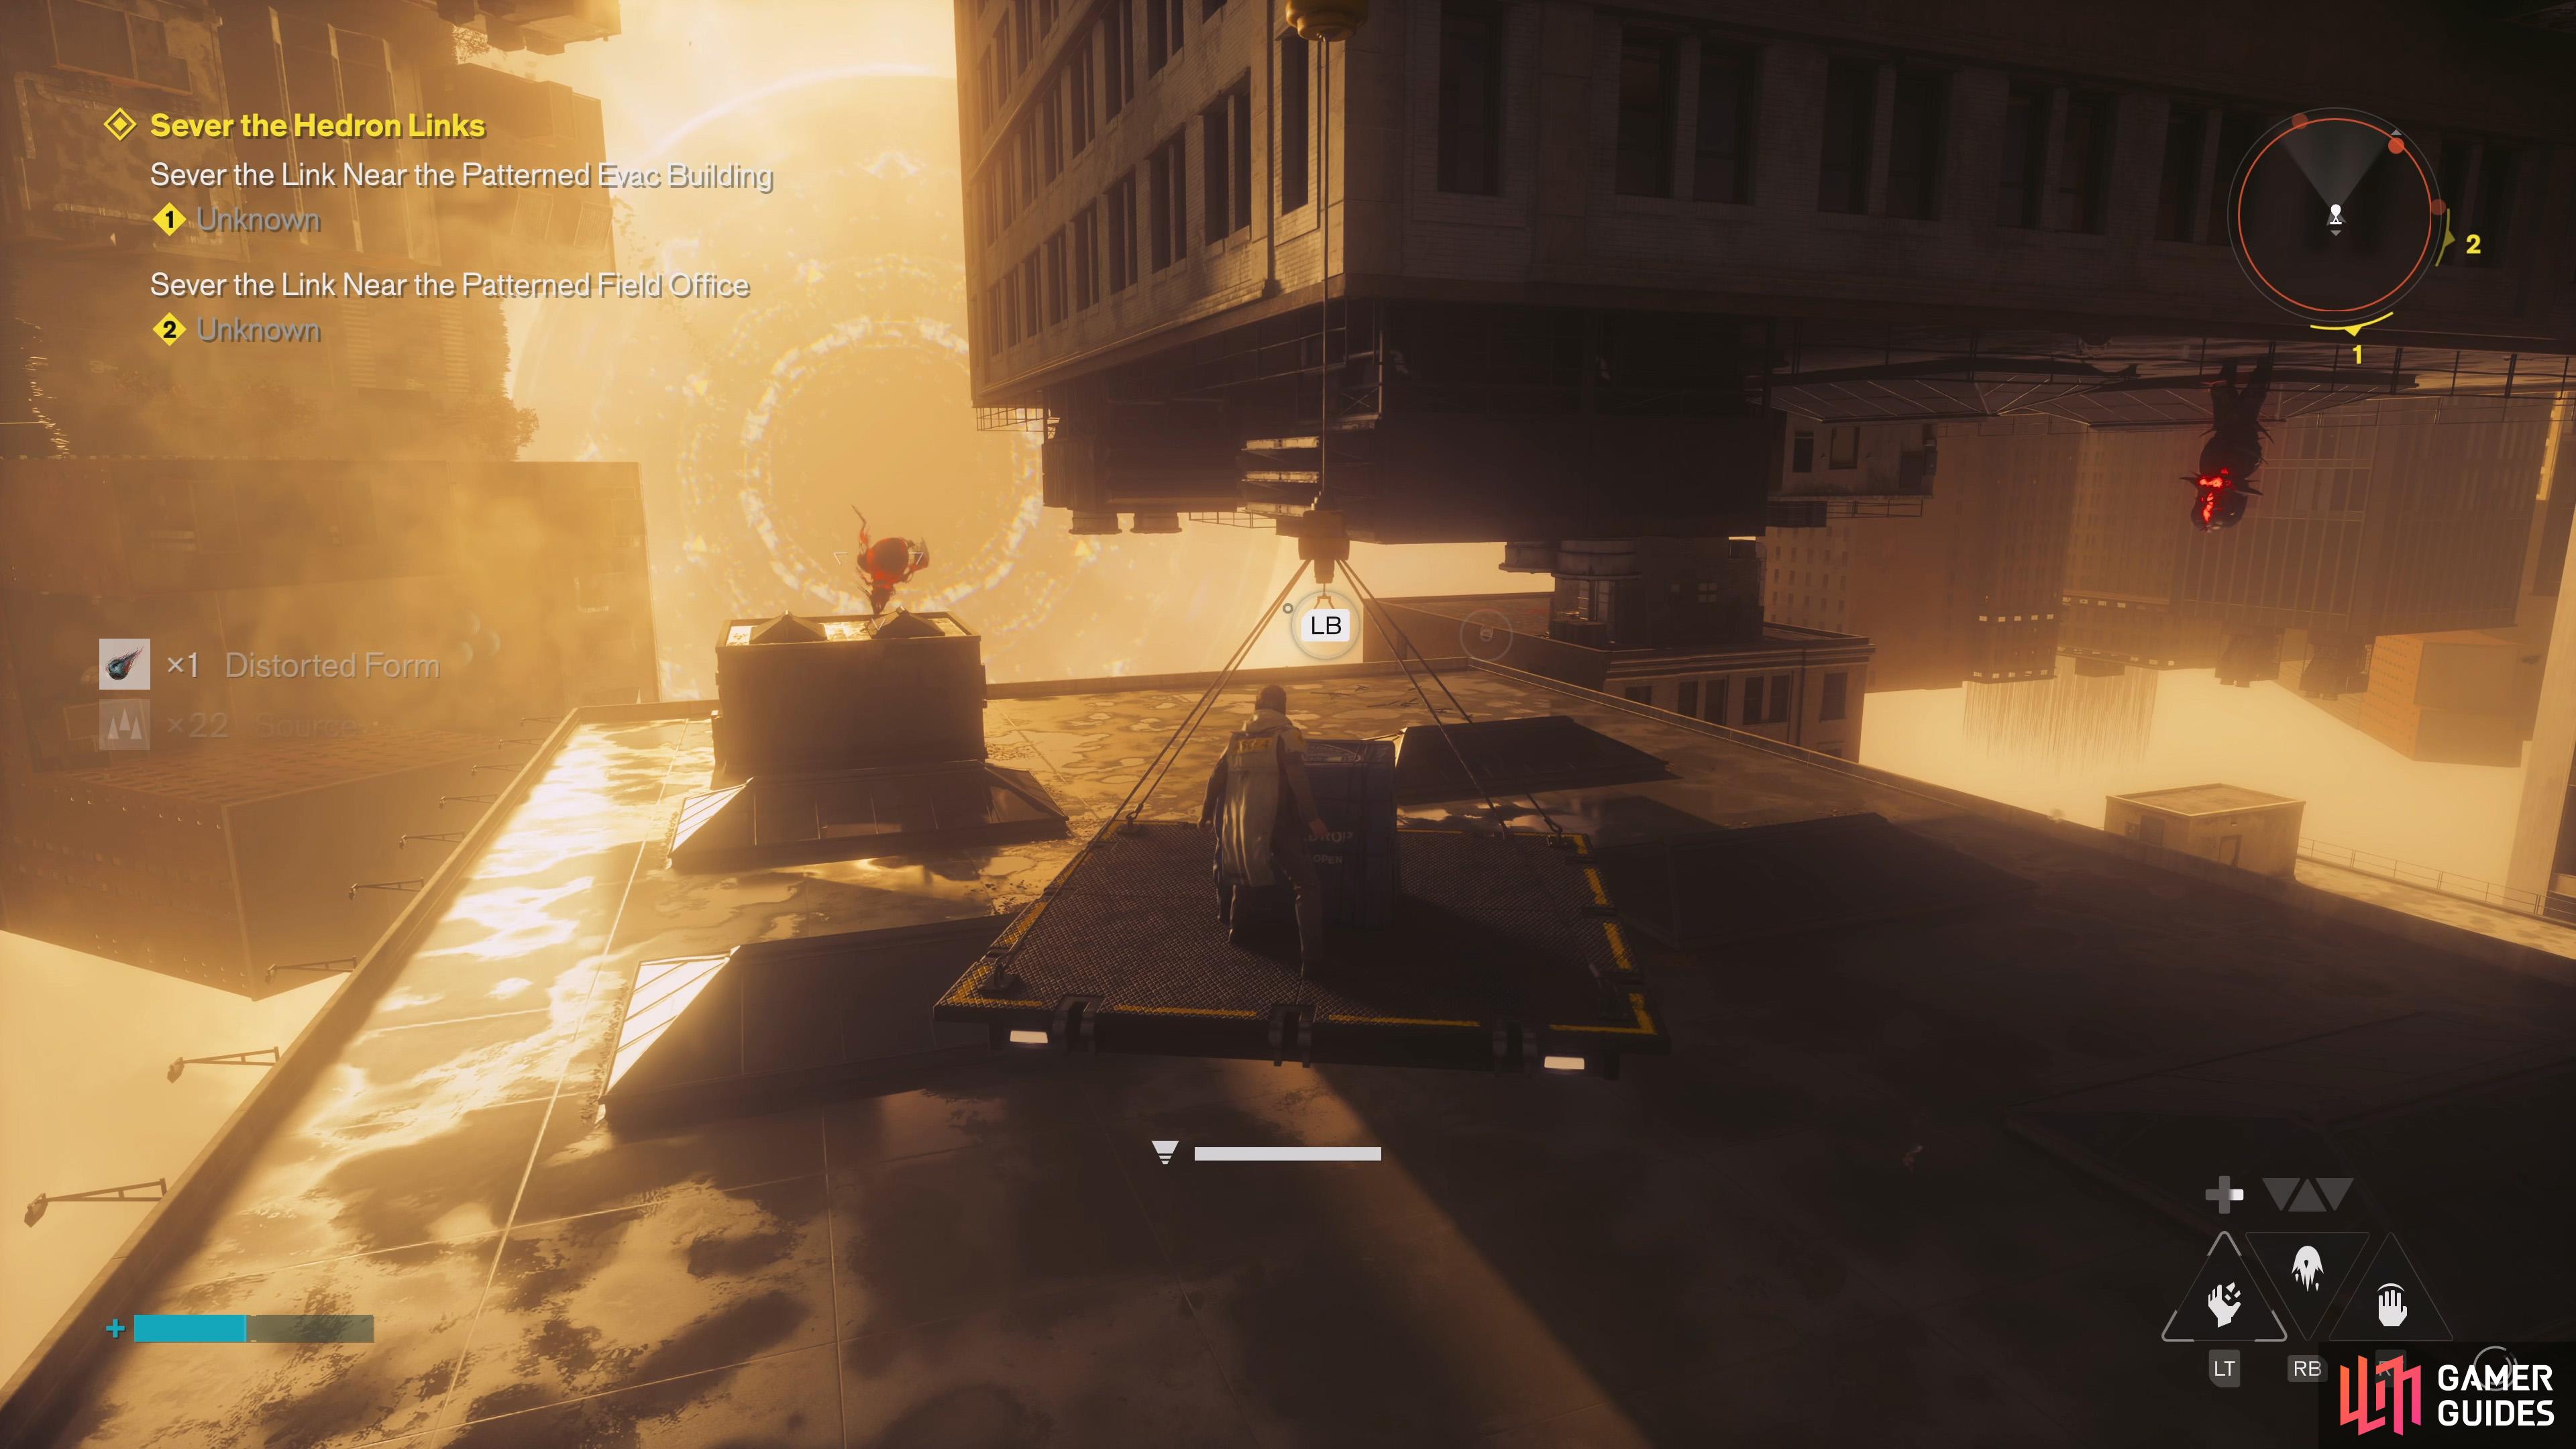
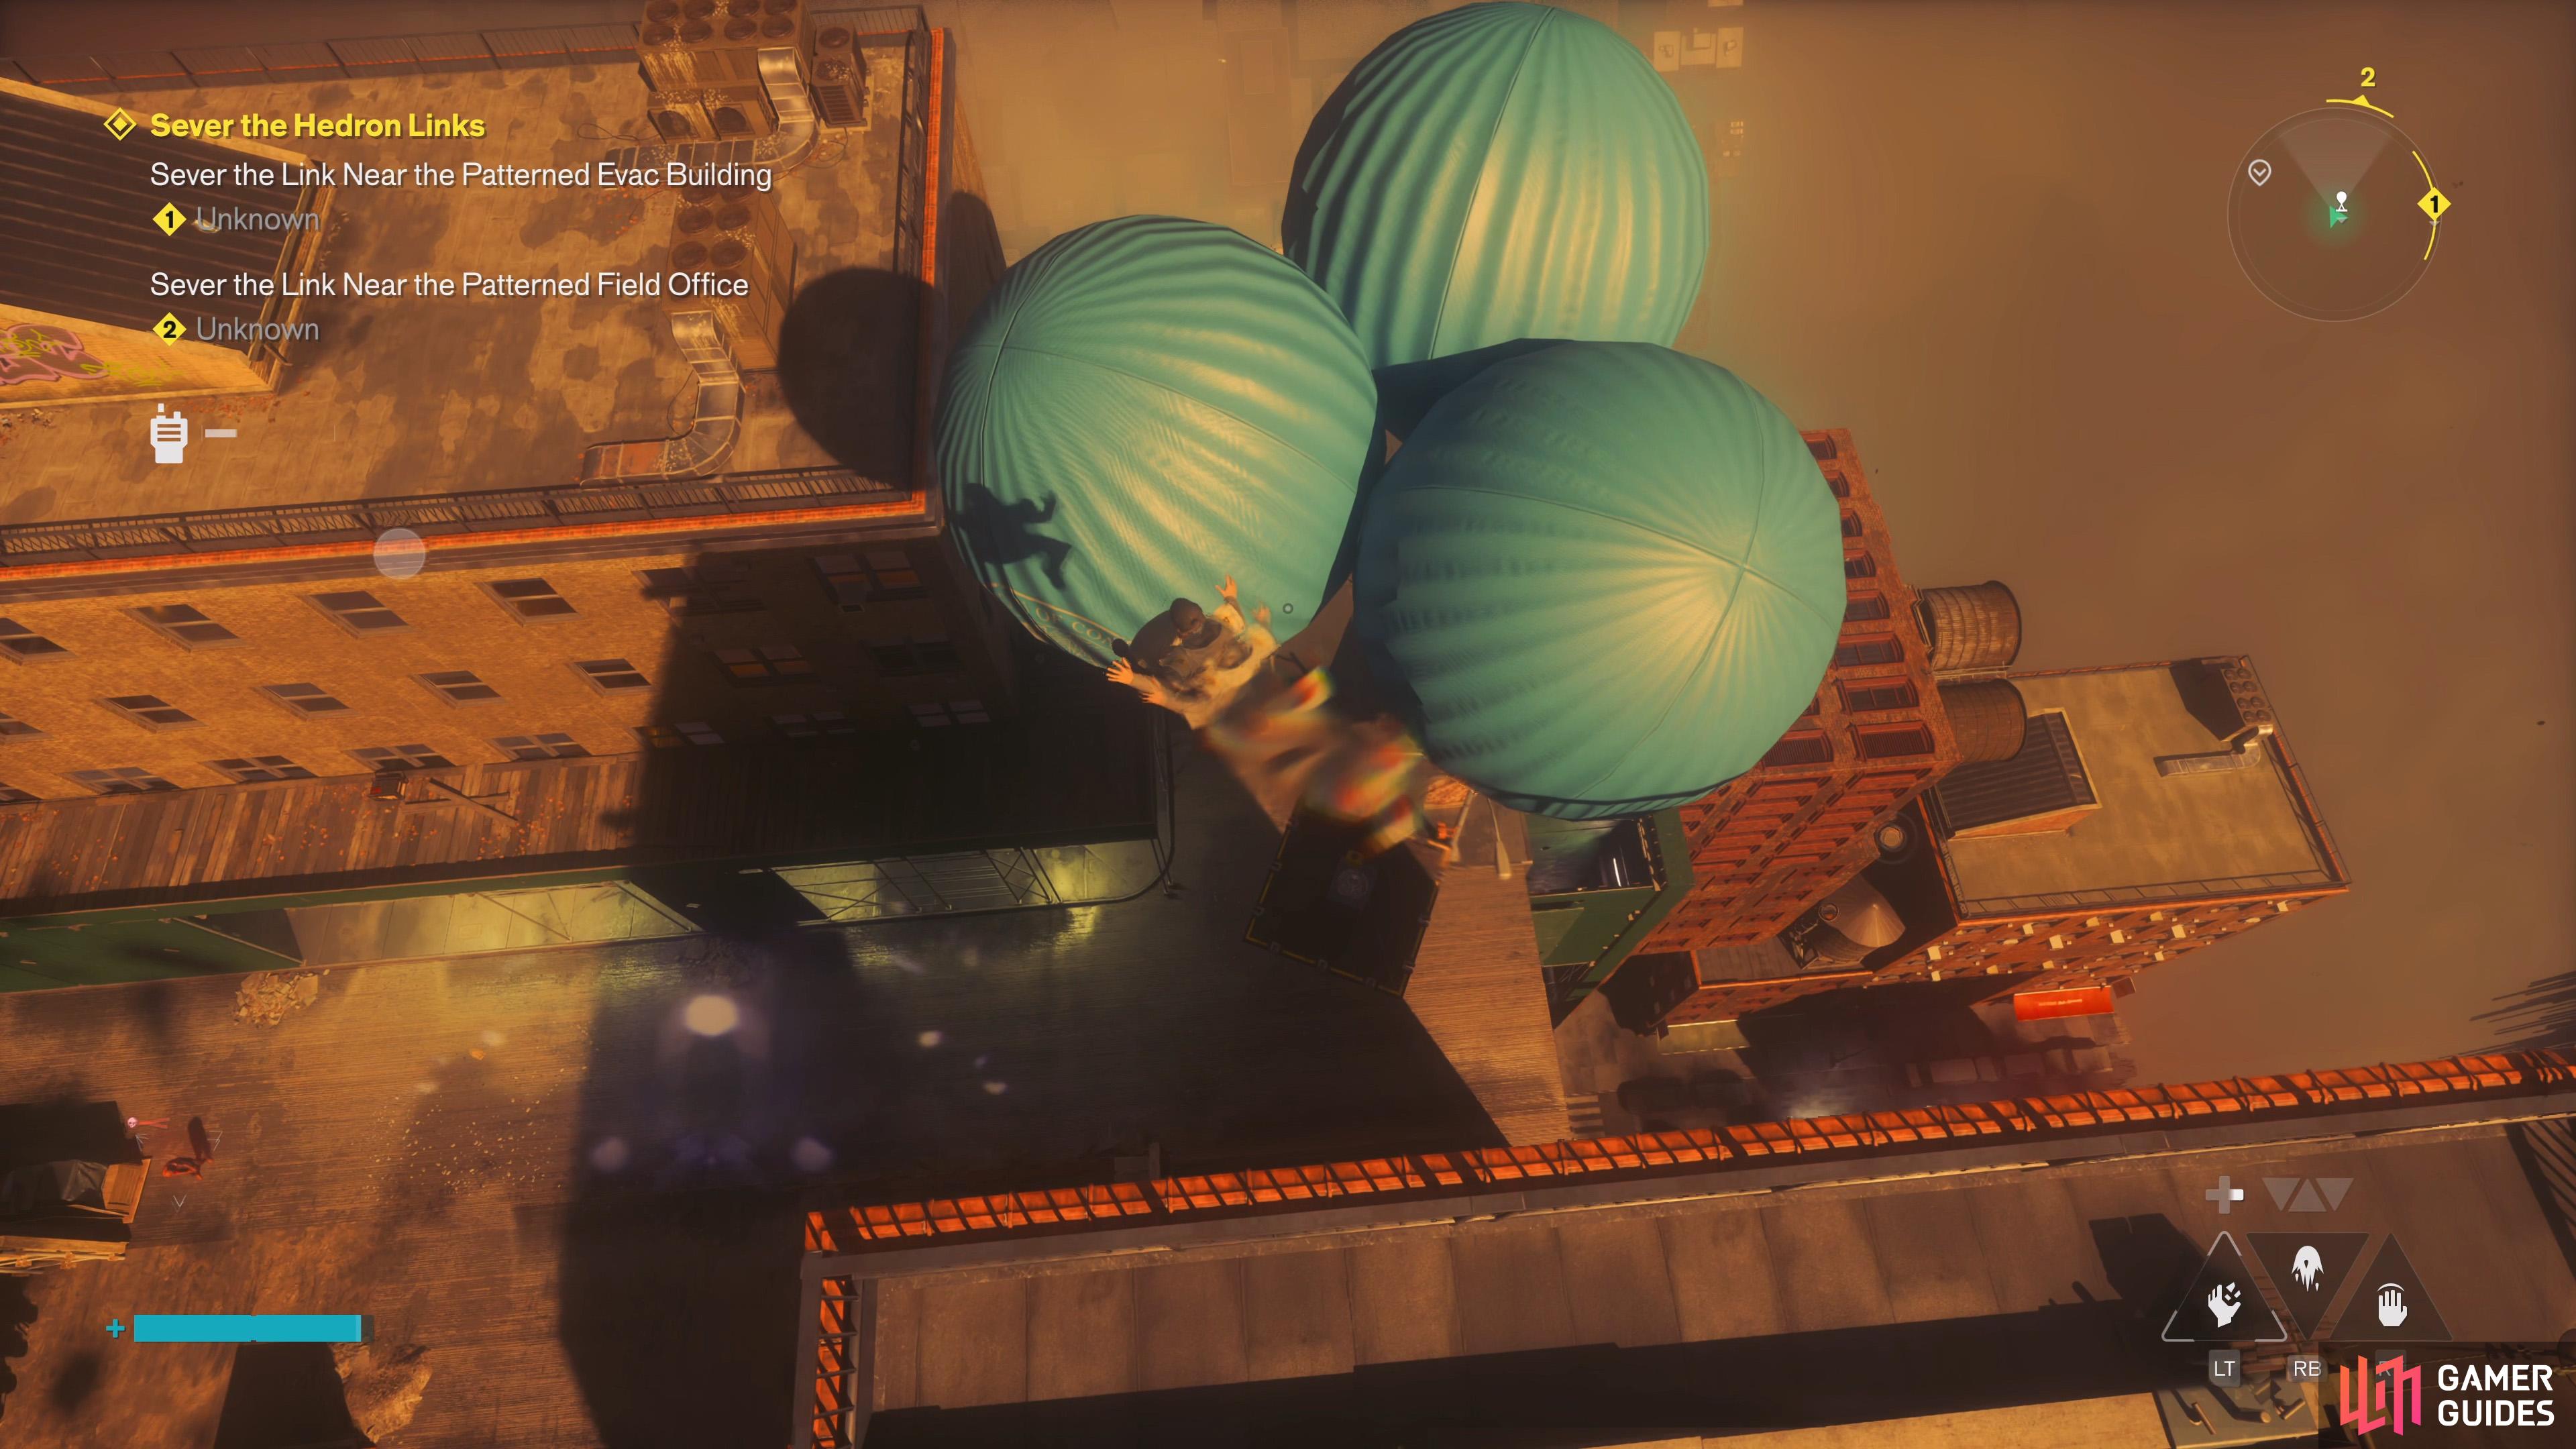
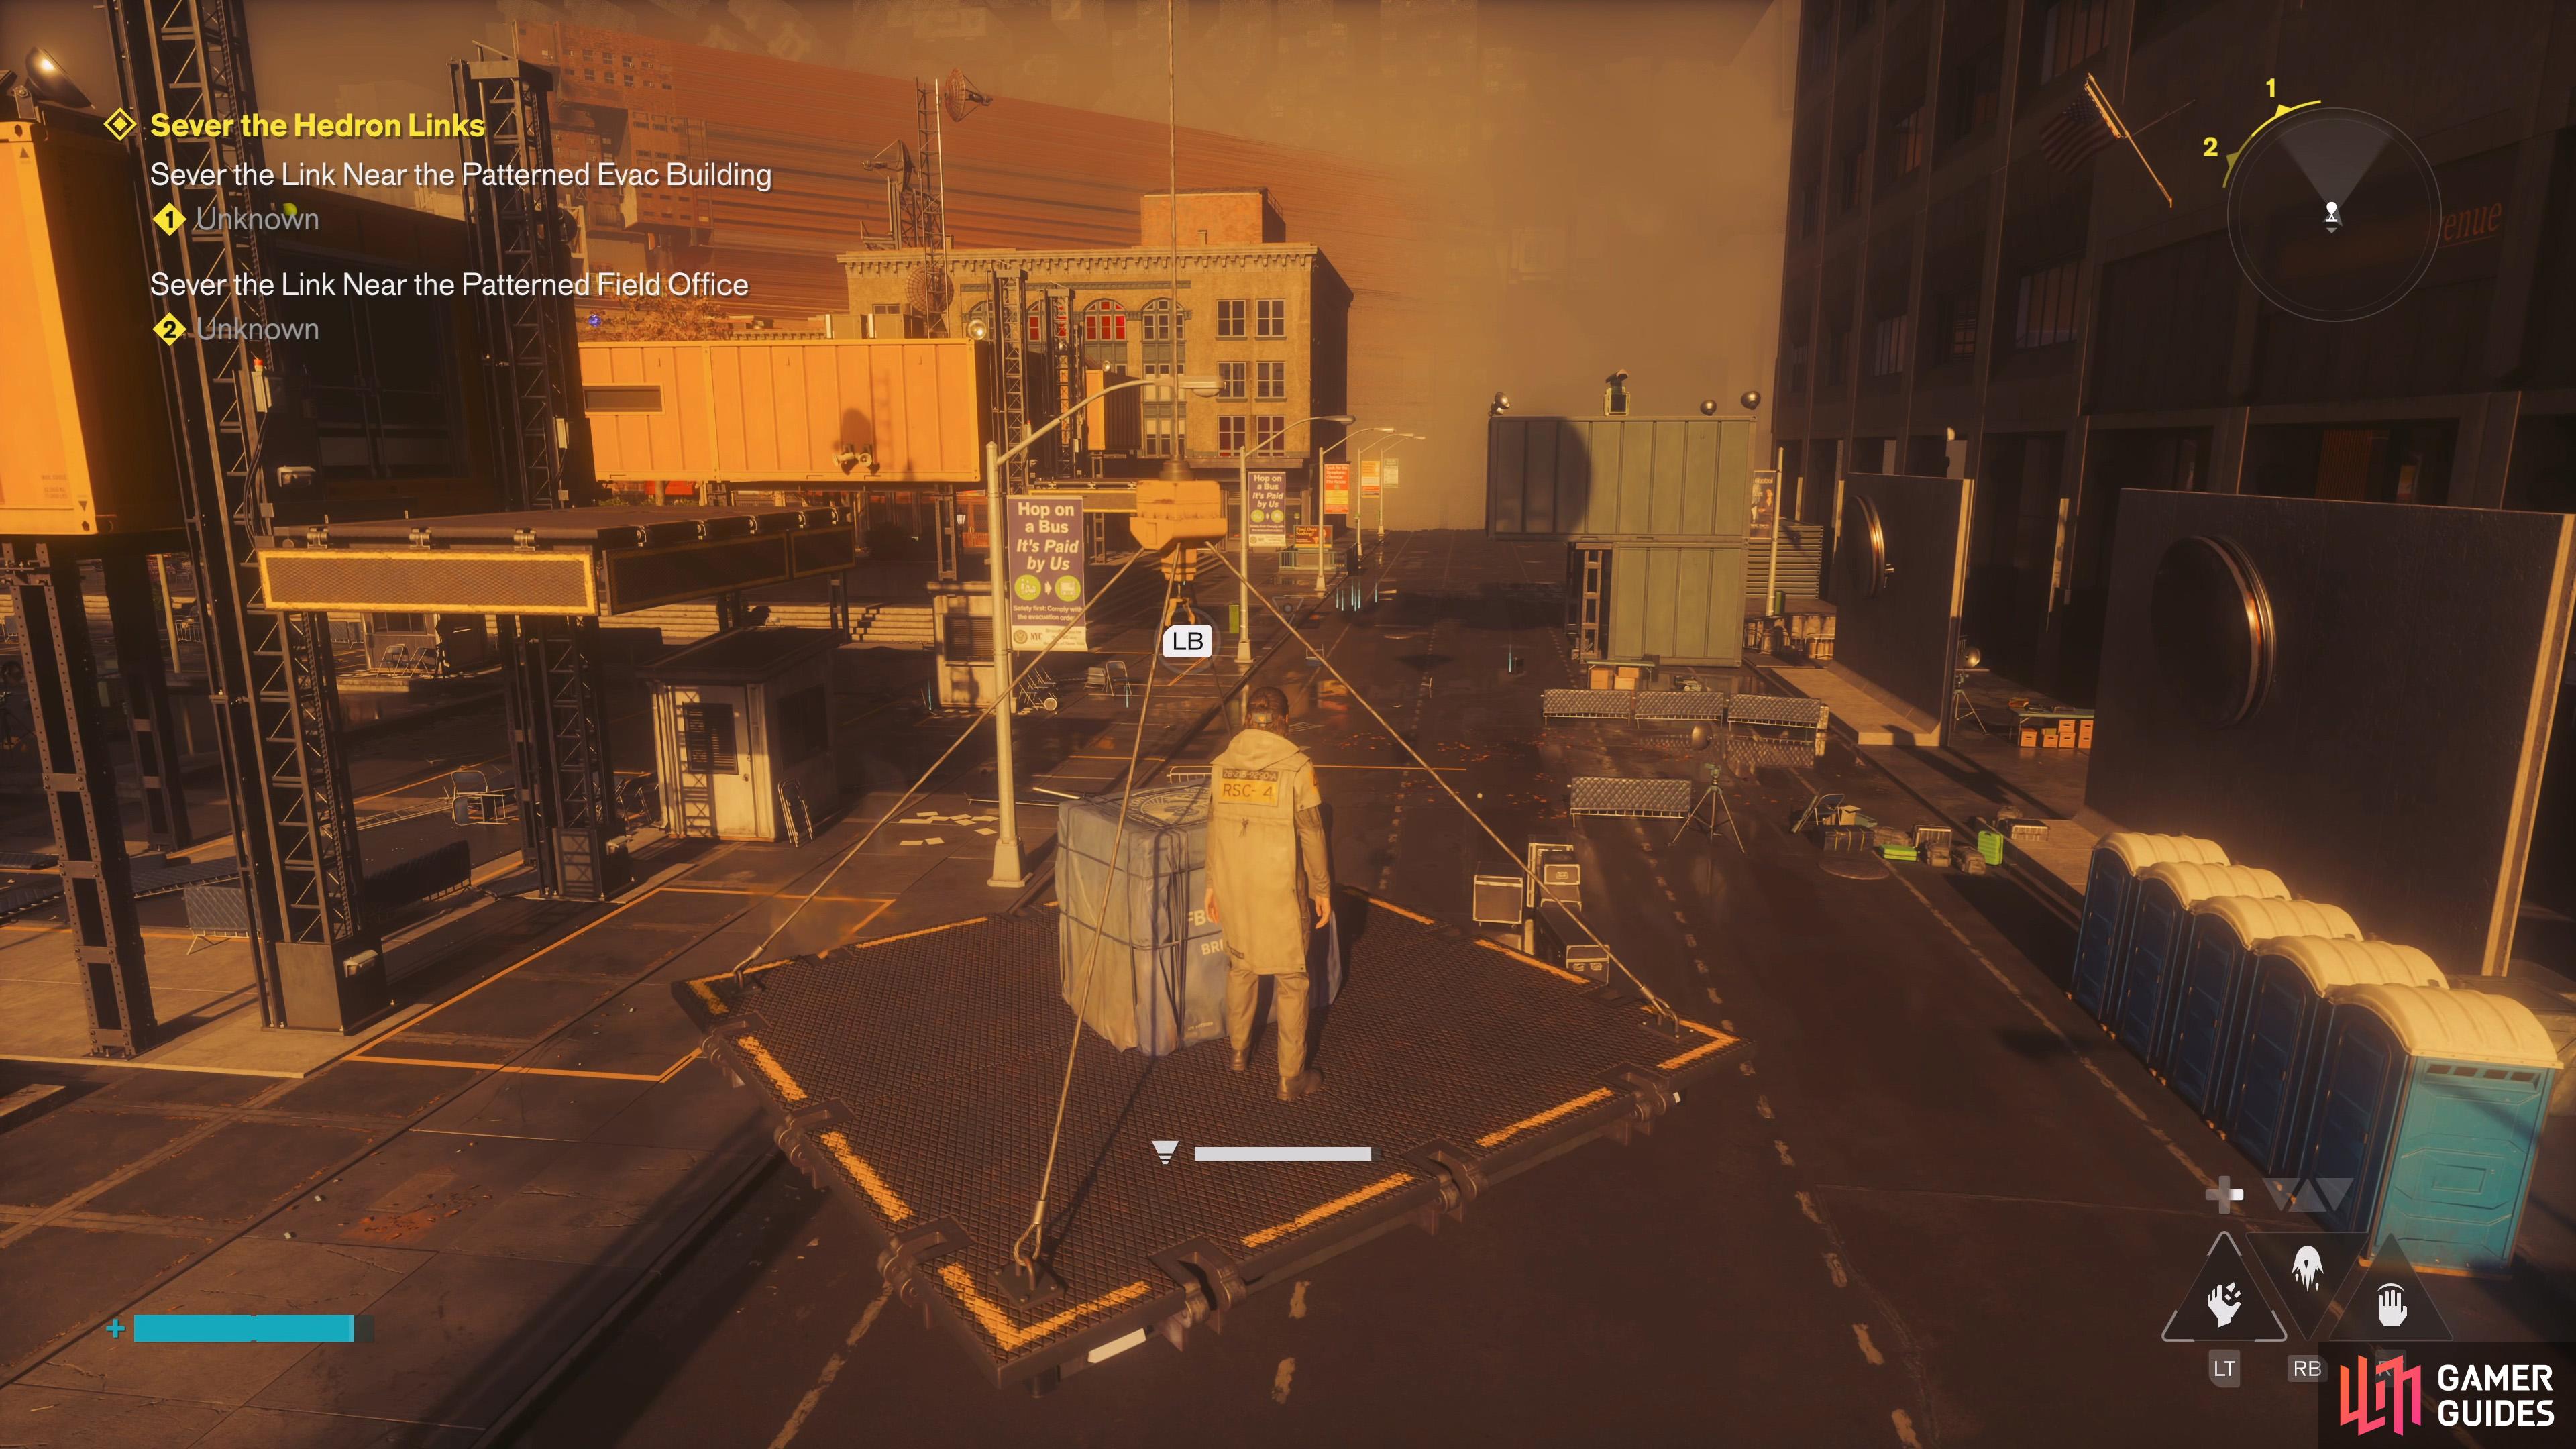
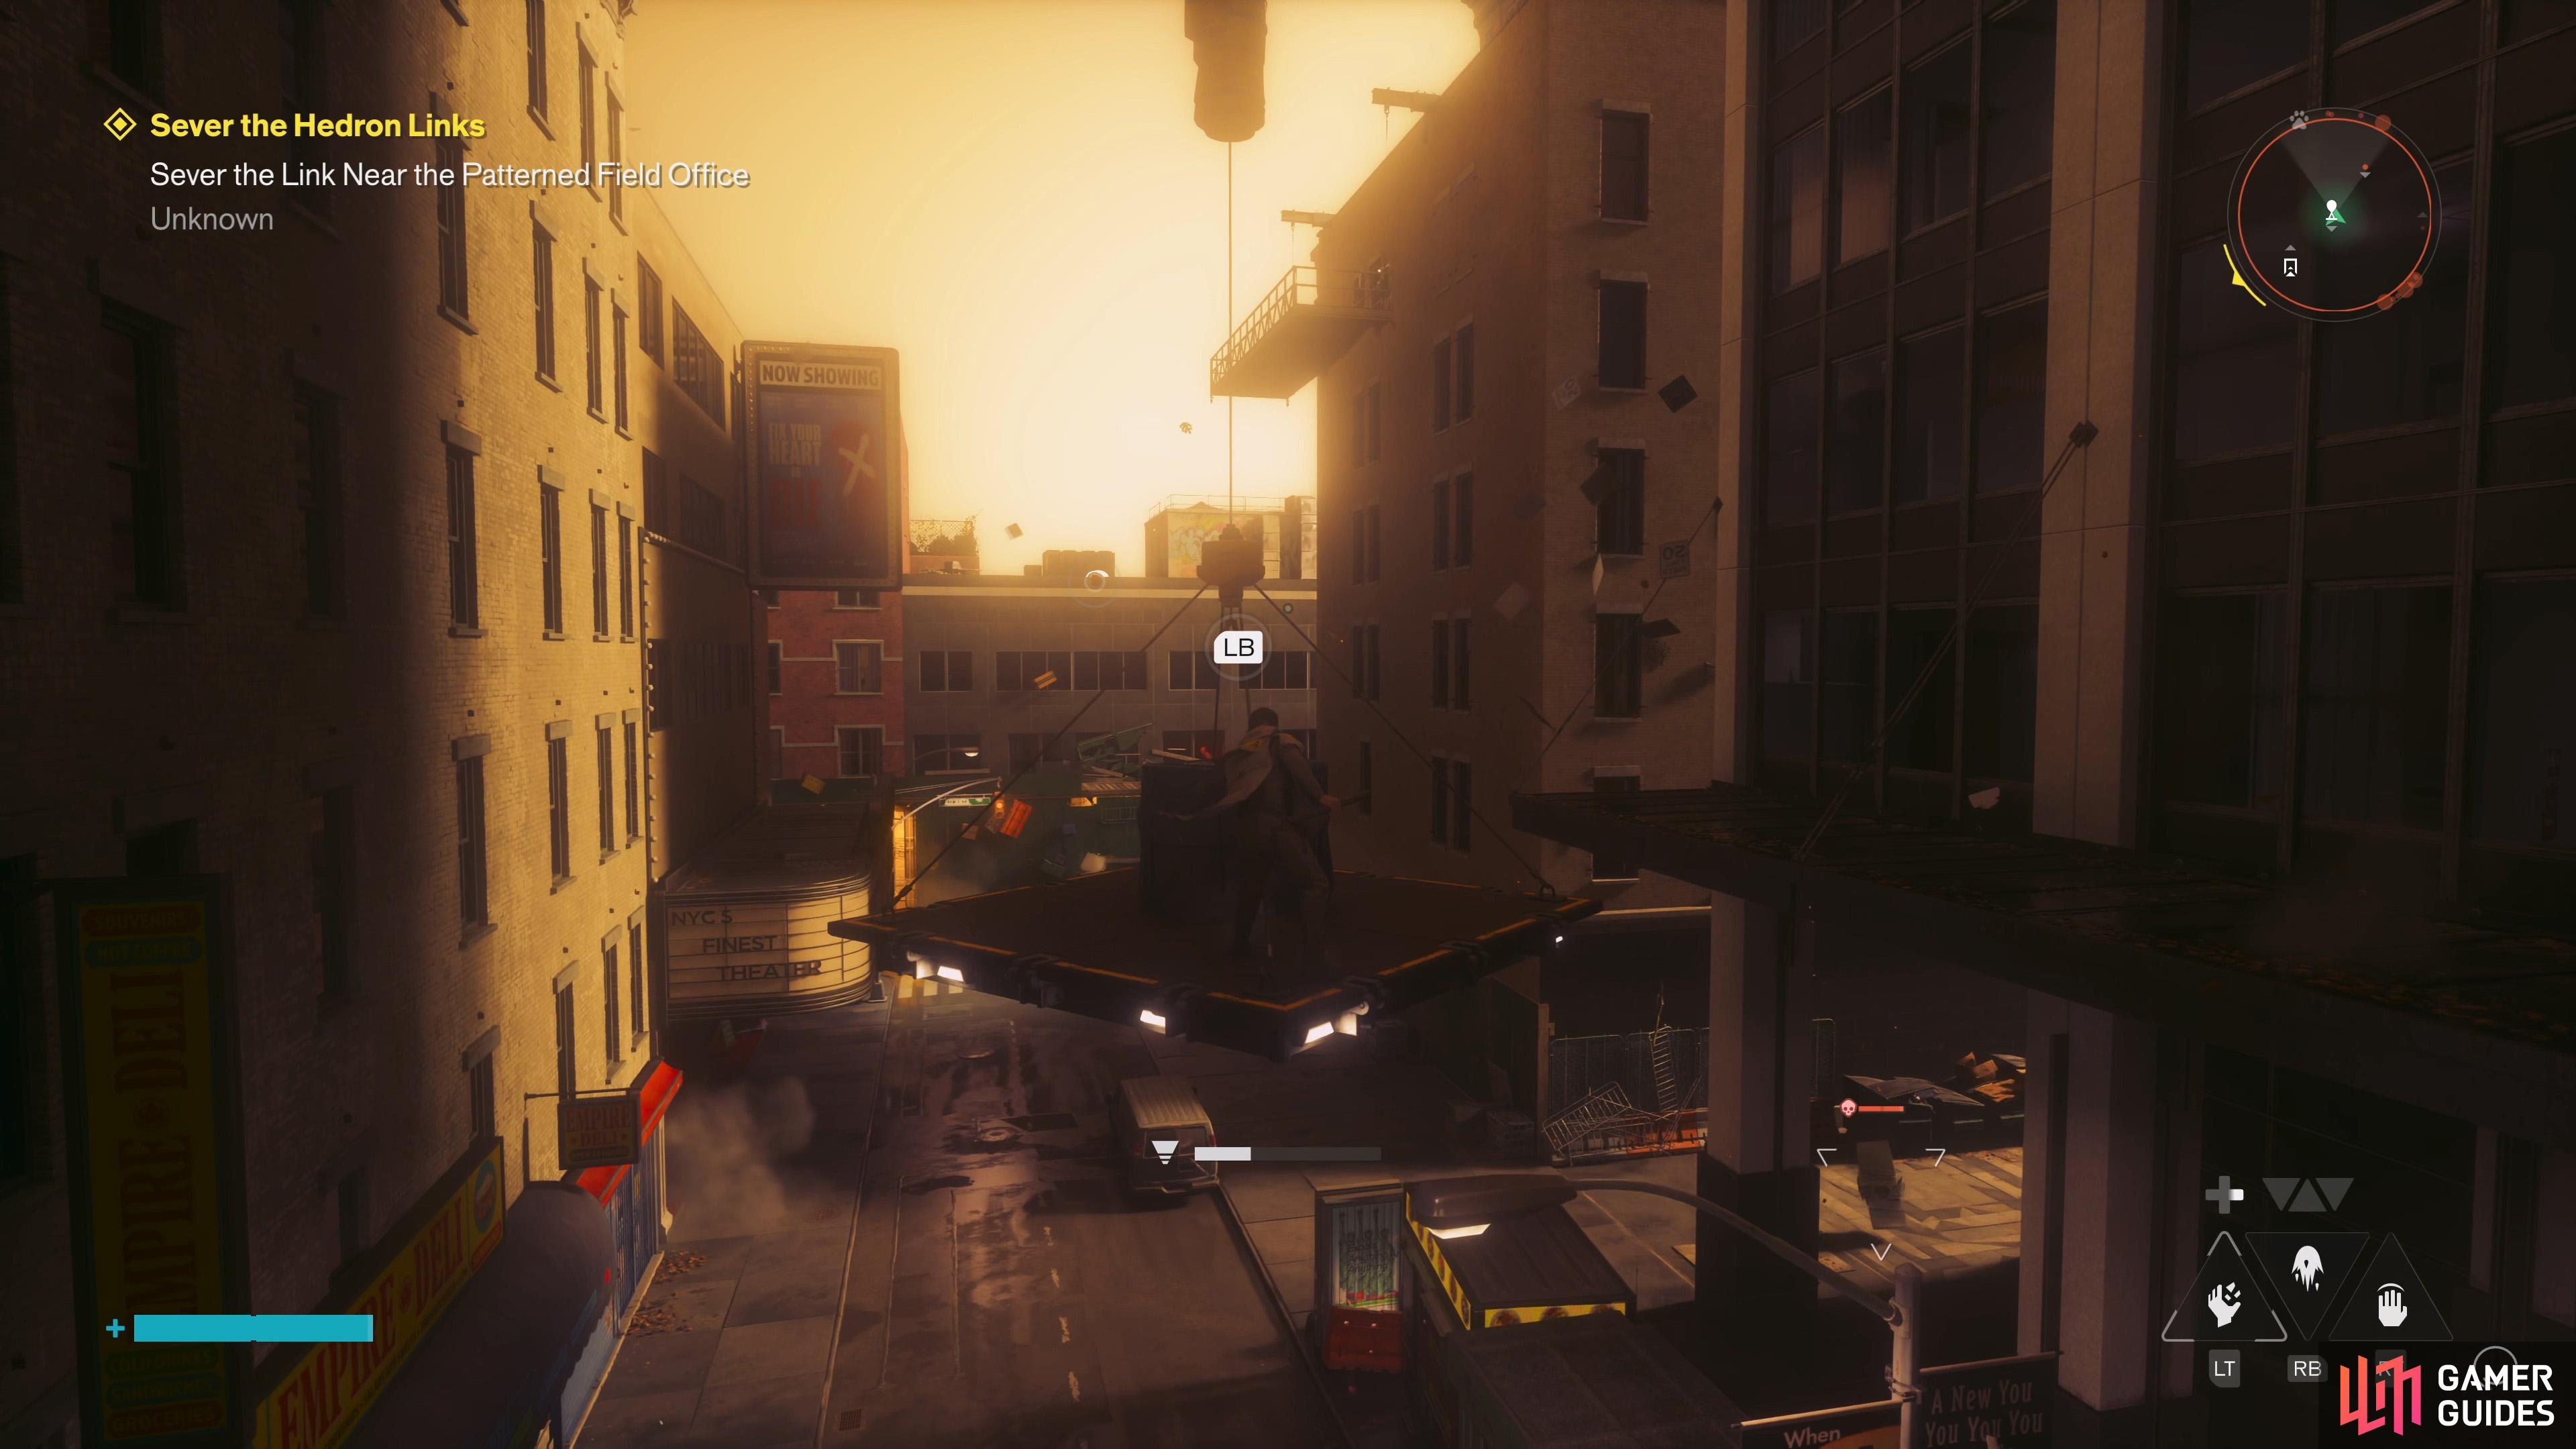
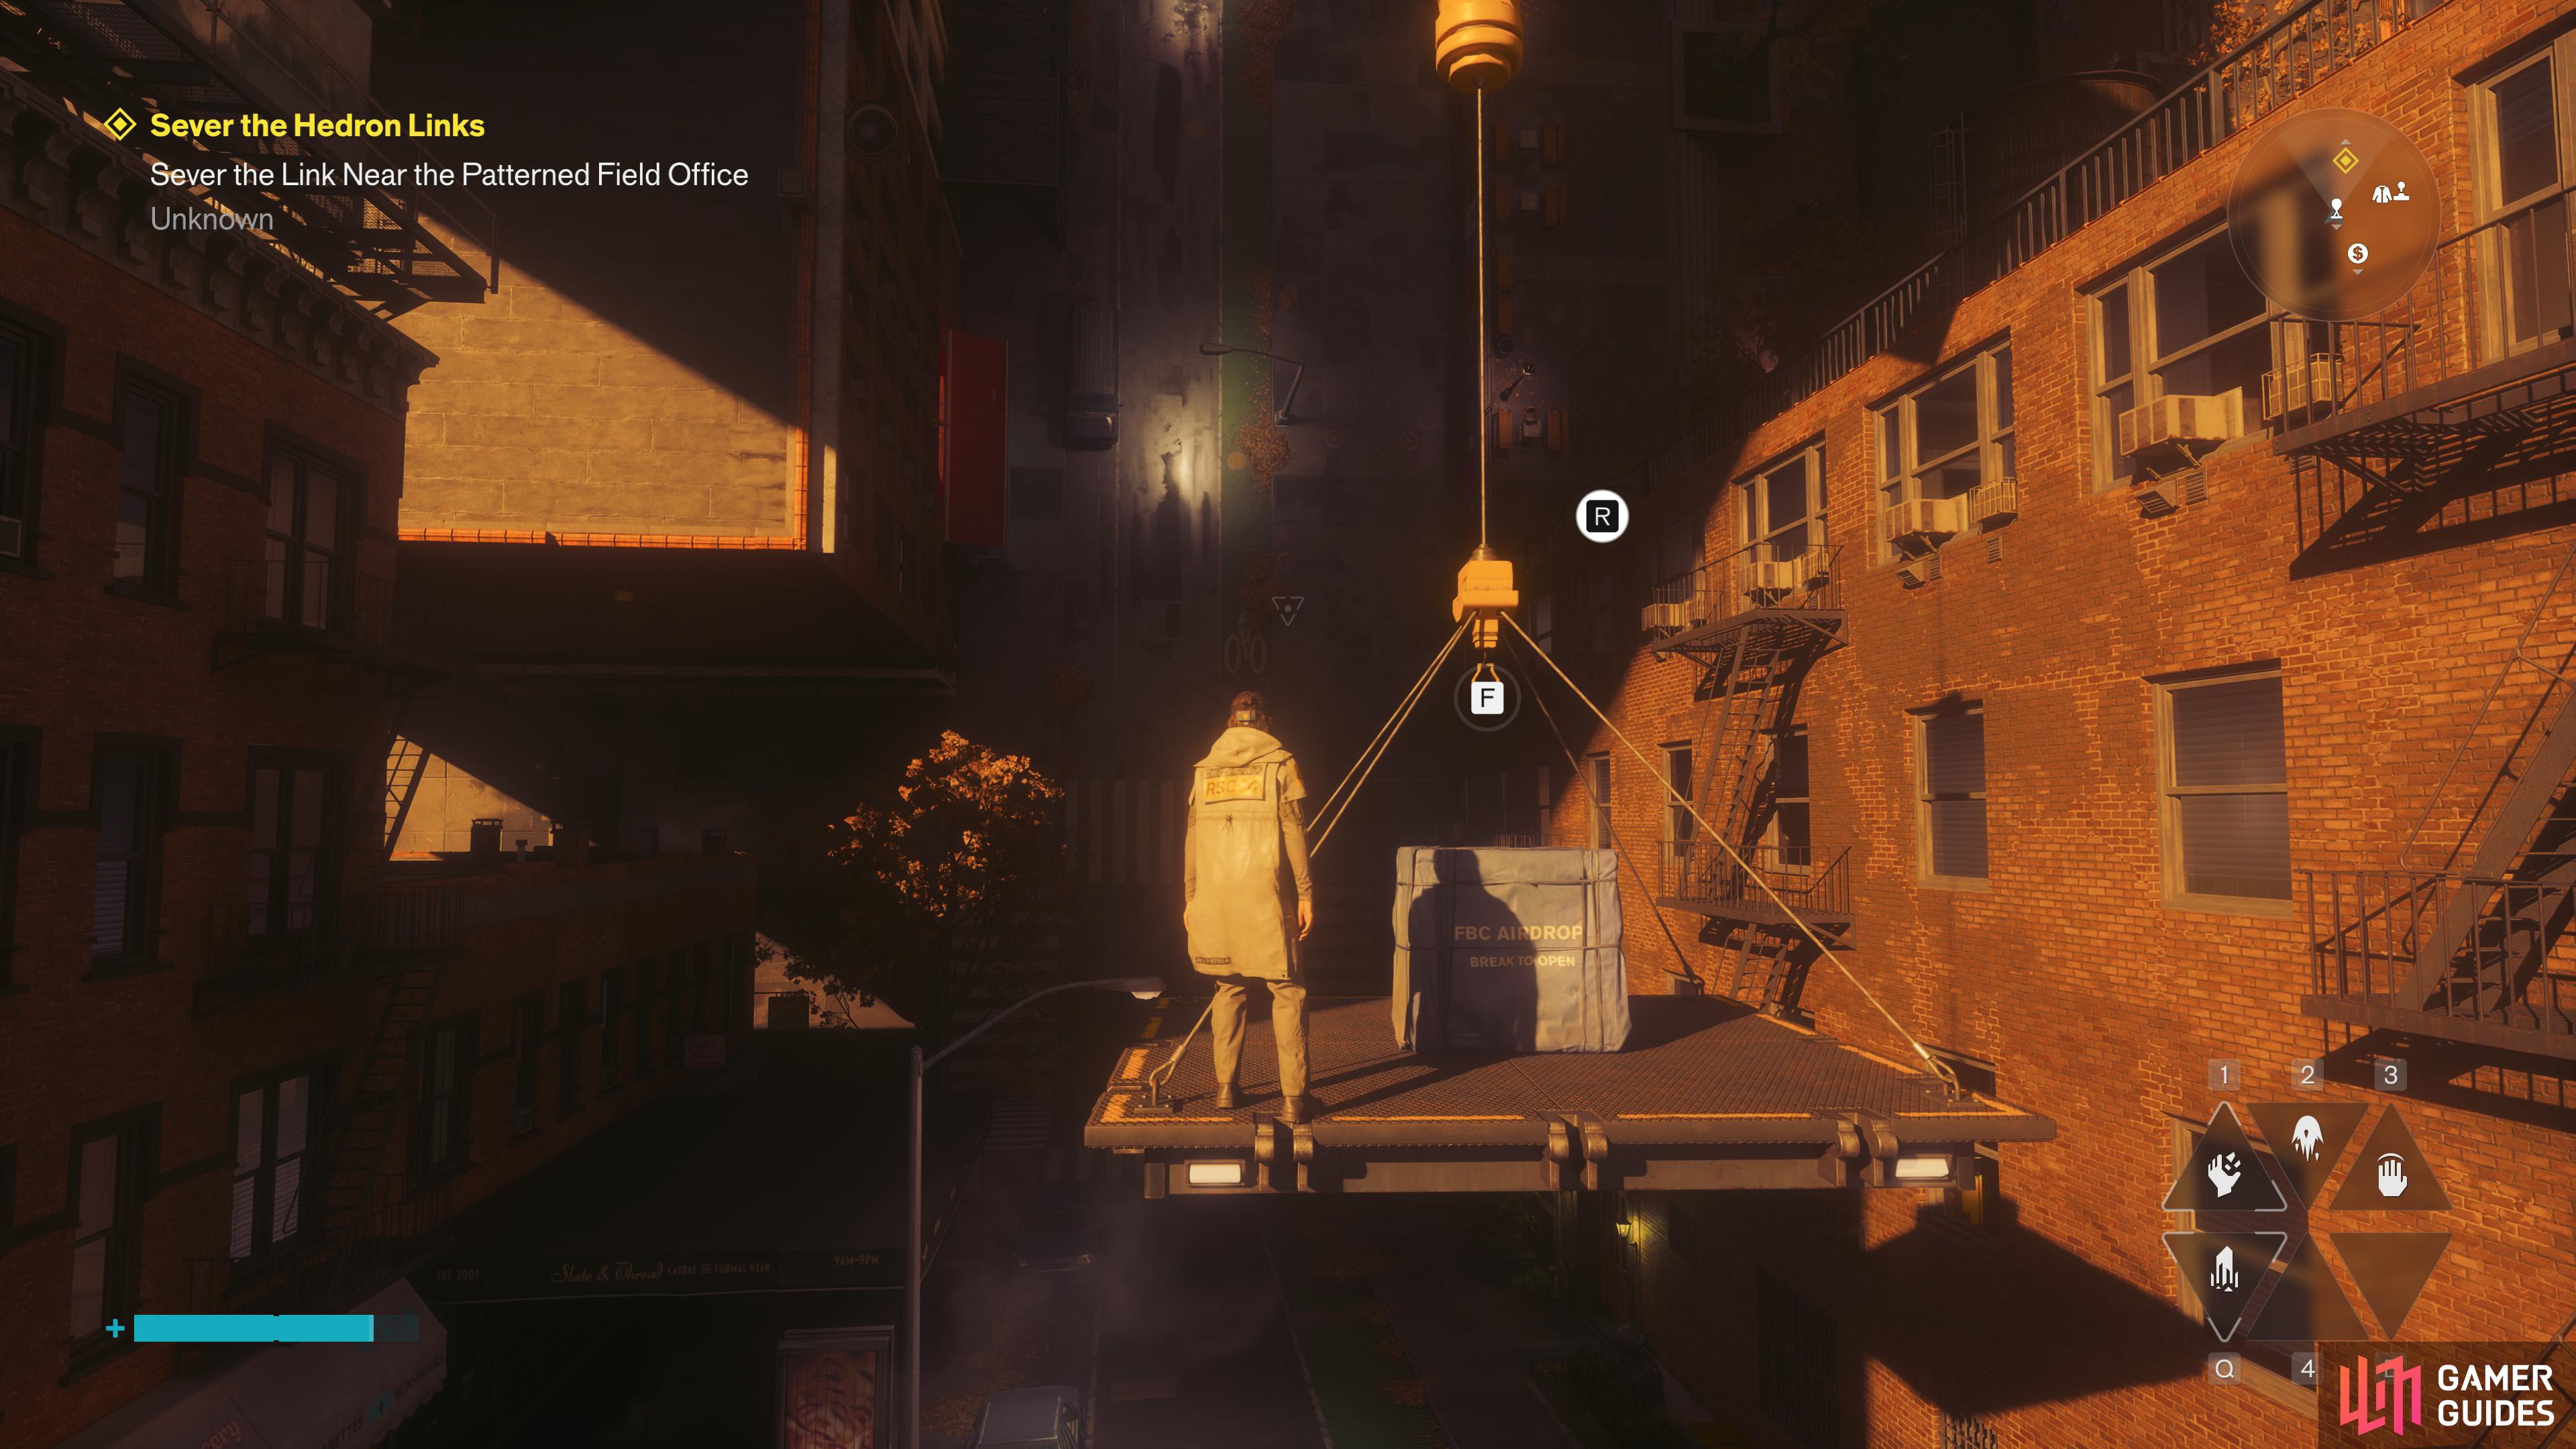
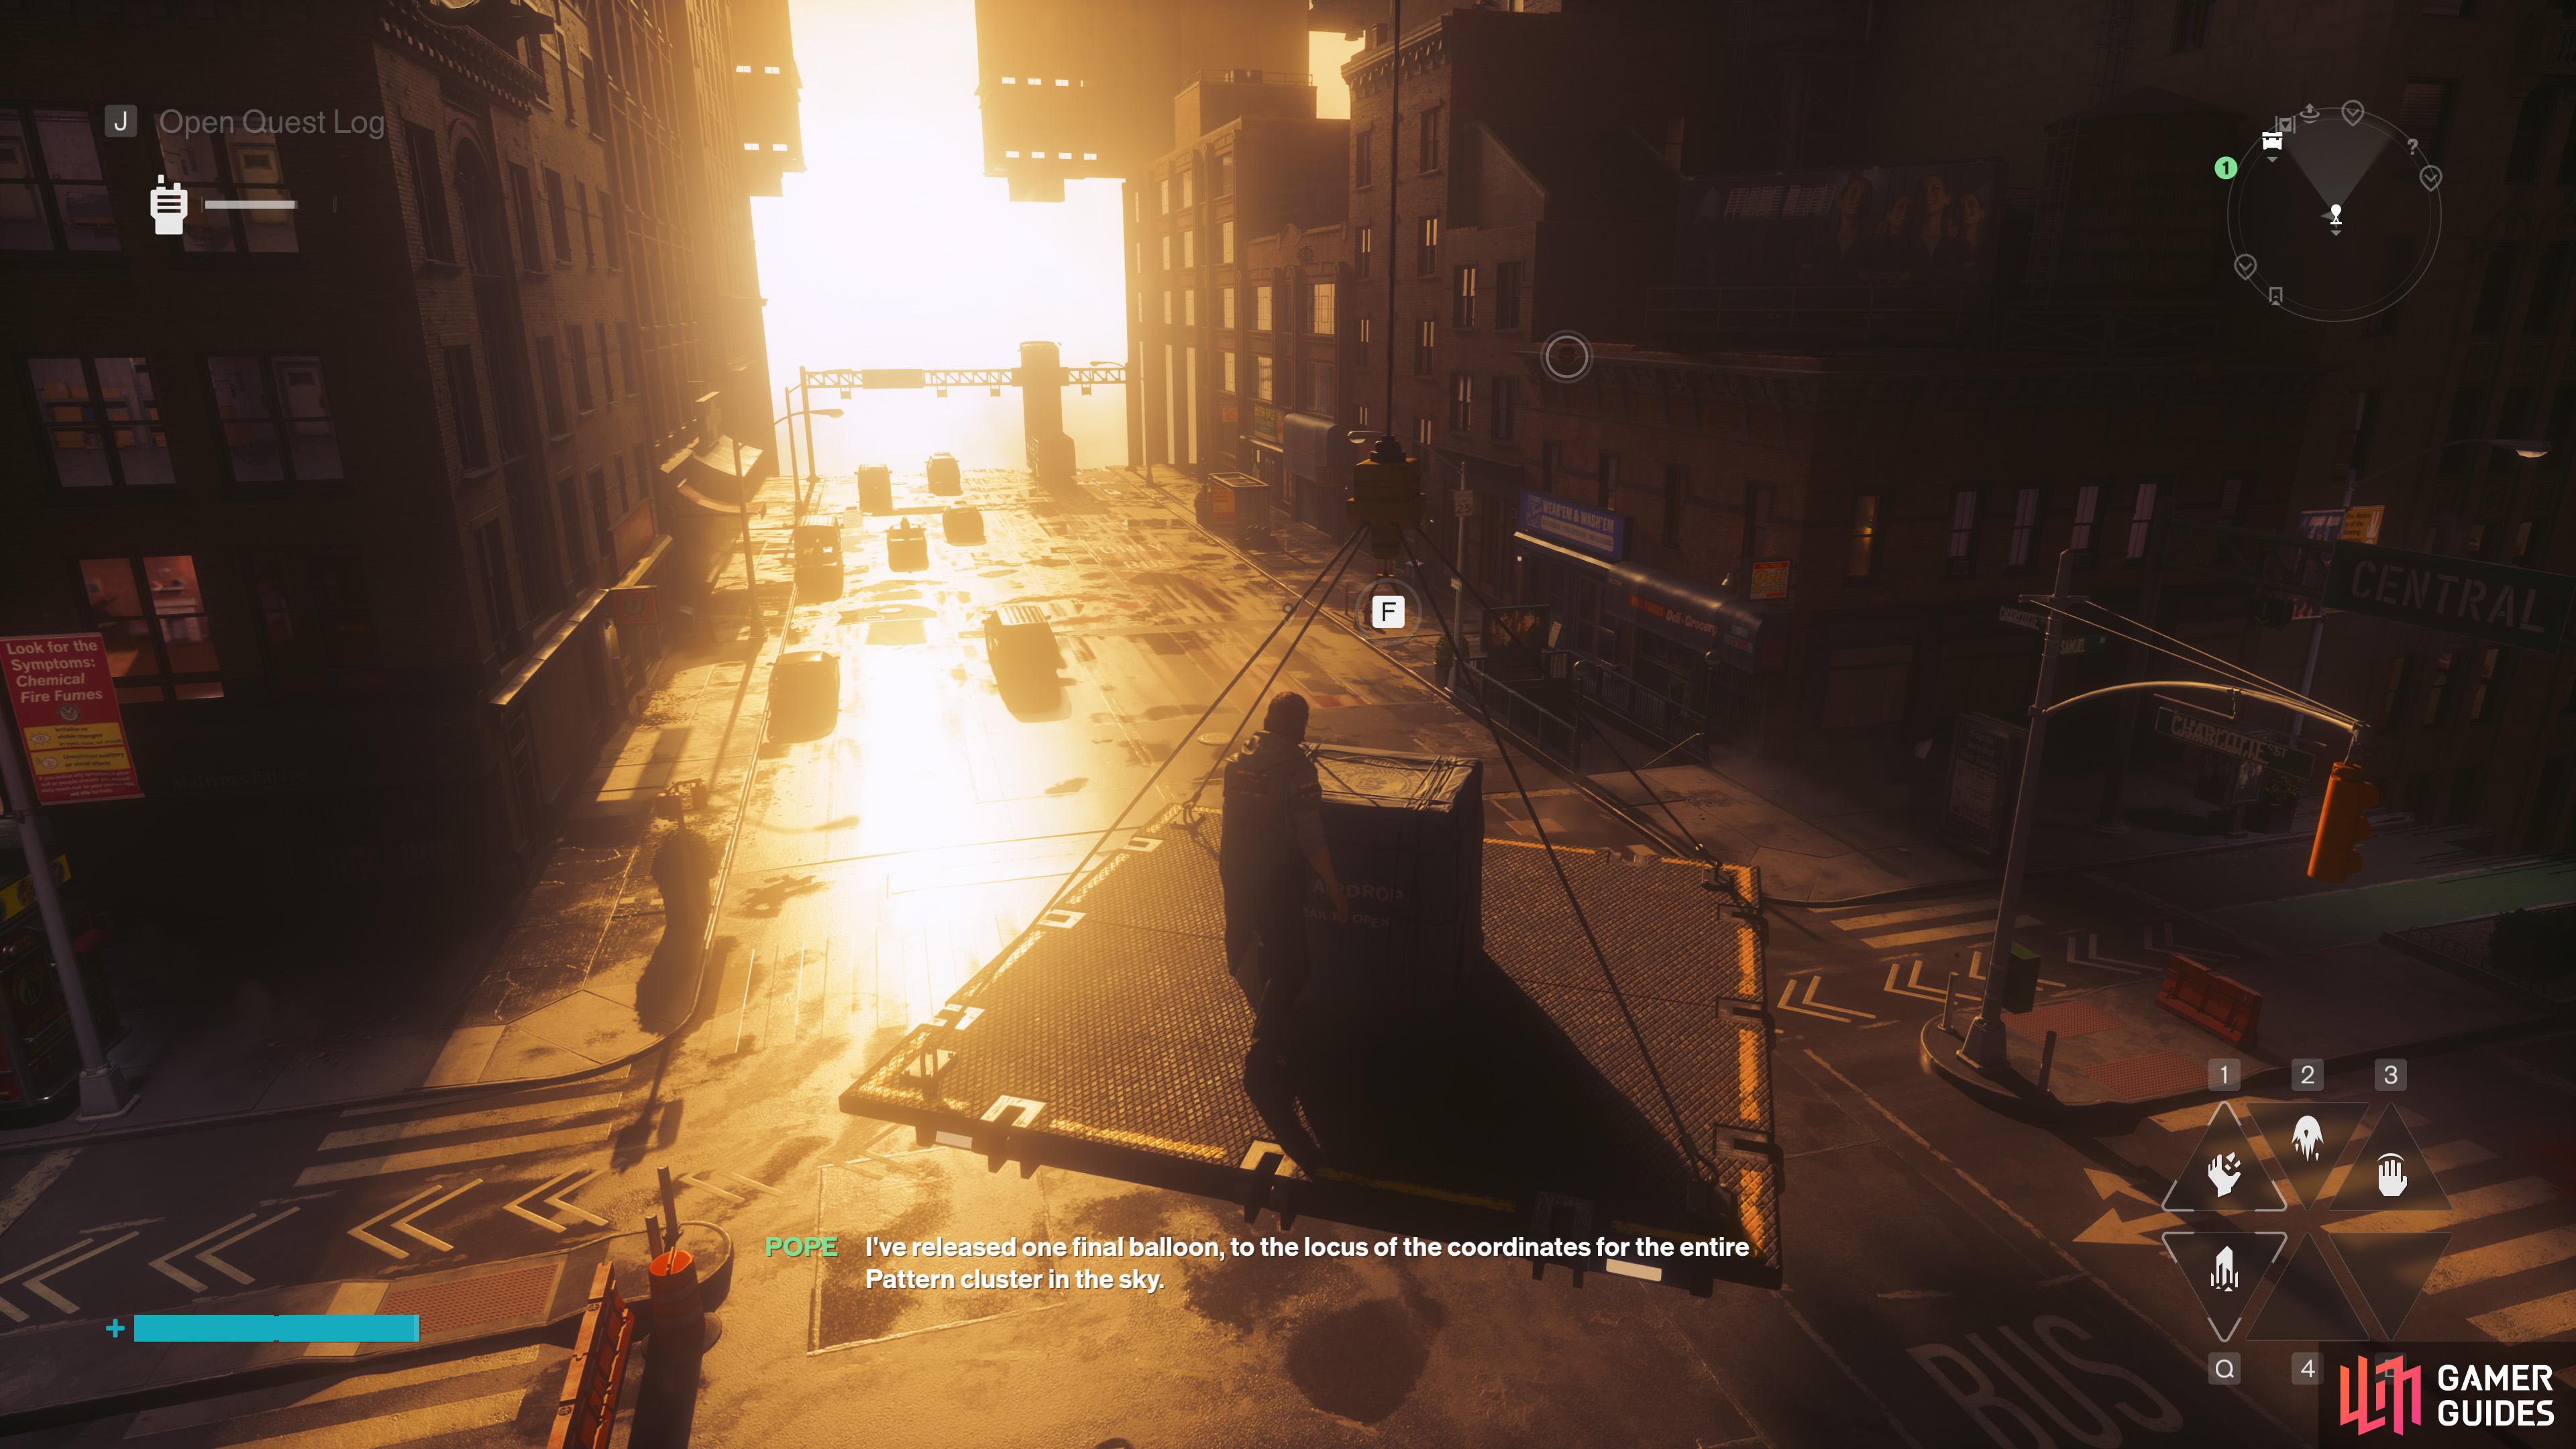
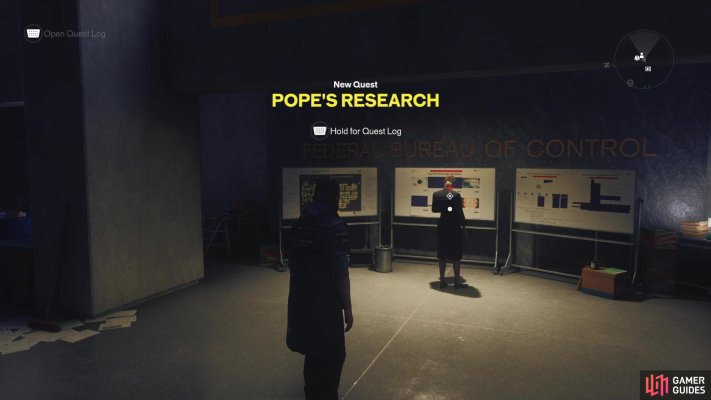
After unlocking the final zone, The Unknown, Pope will ask you to help set up probe relays. She places large balloons filled with small satellites across parts of The Unknown that must be dropped in specific locations. You need to track down the balloons, break the box containing the satellites, and then find the locations to place the probe relays.
Map position: 7887, 12676
-
2
Create the first Gravity Well
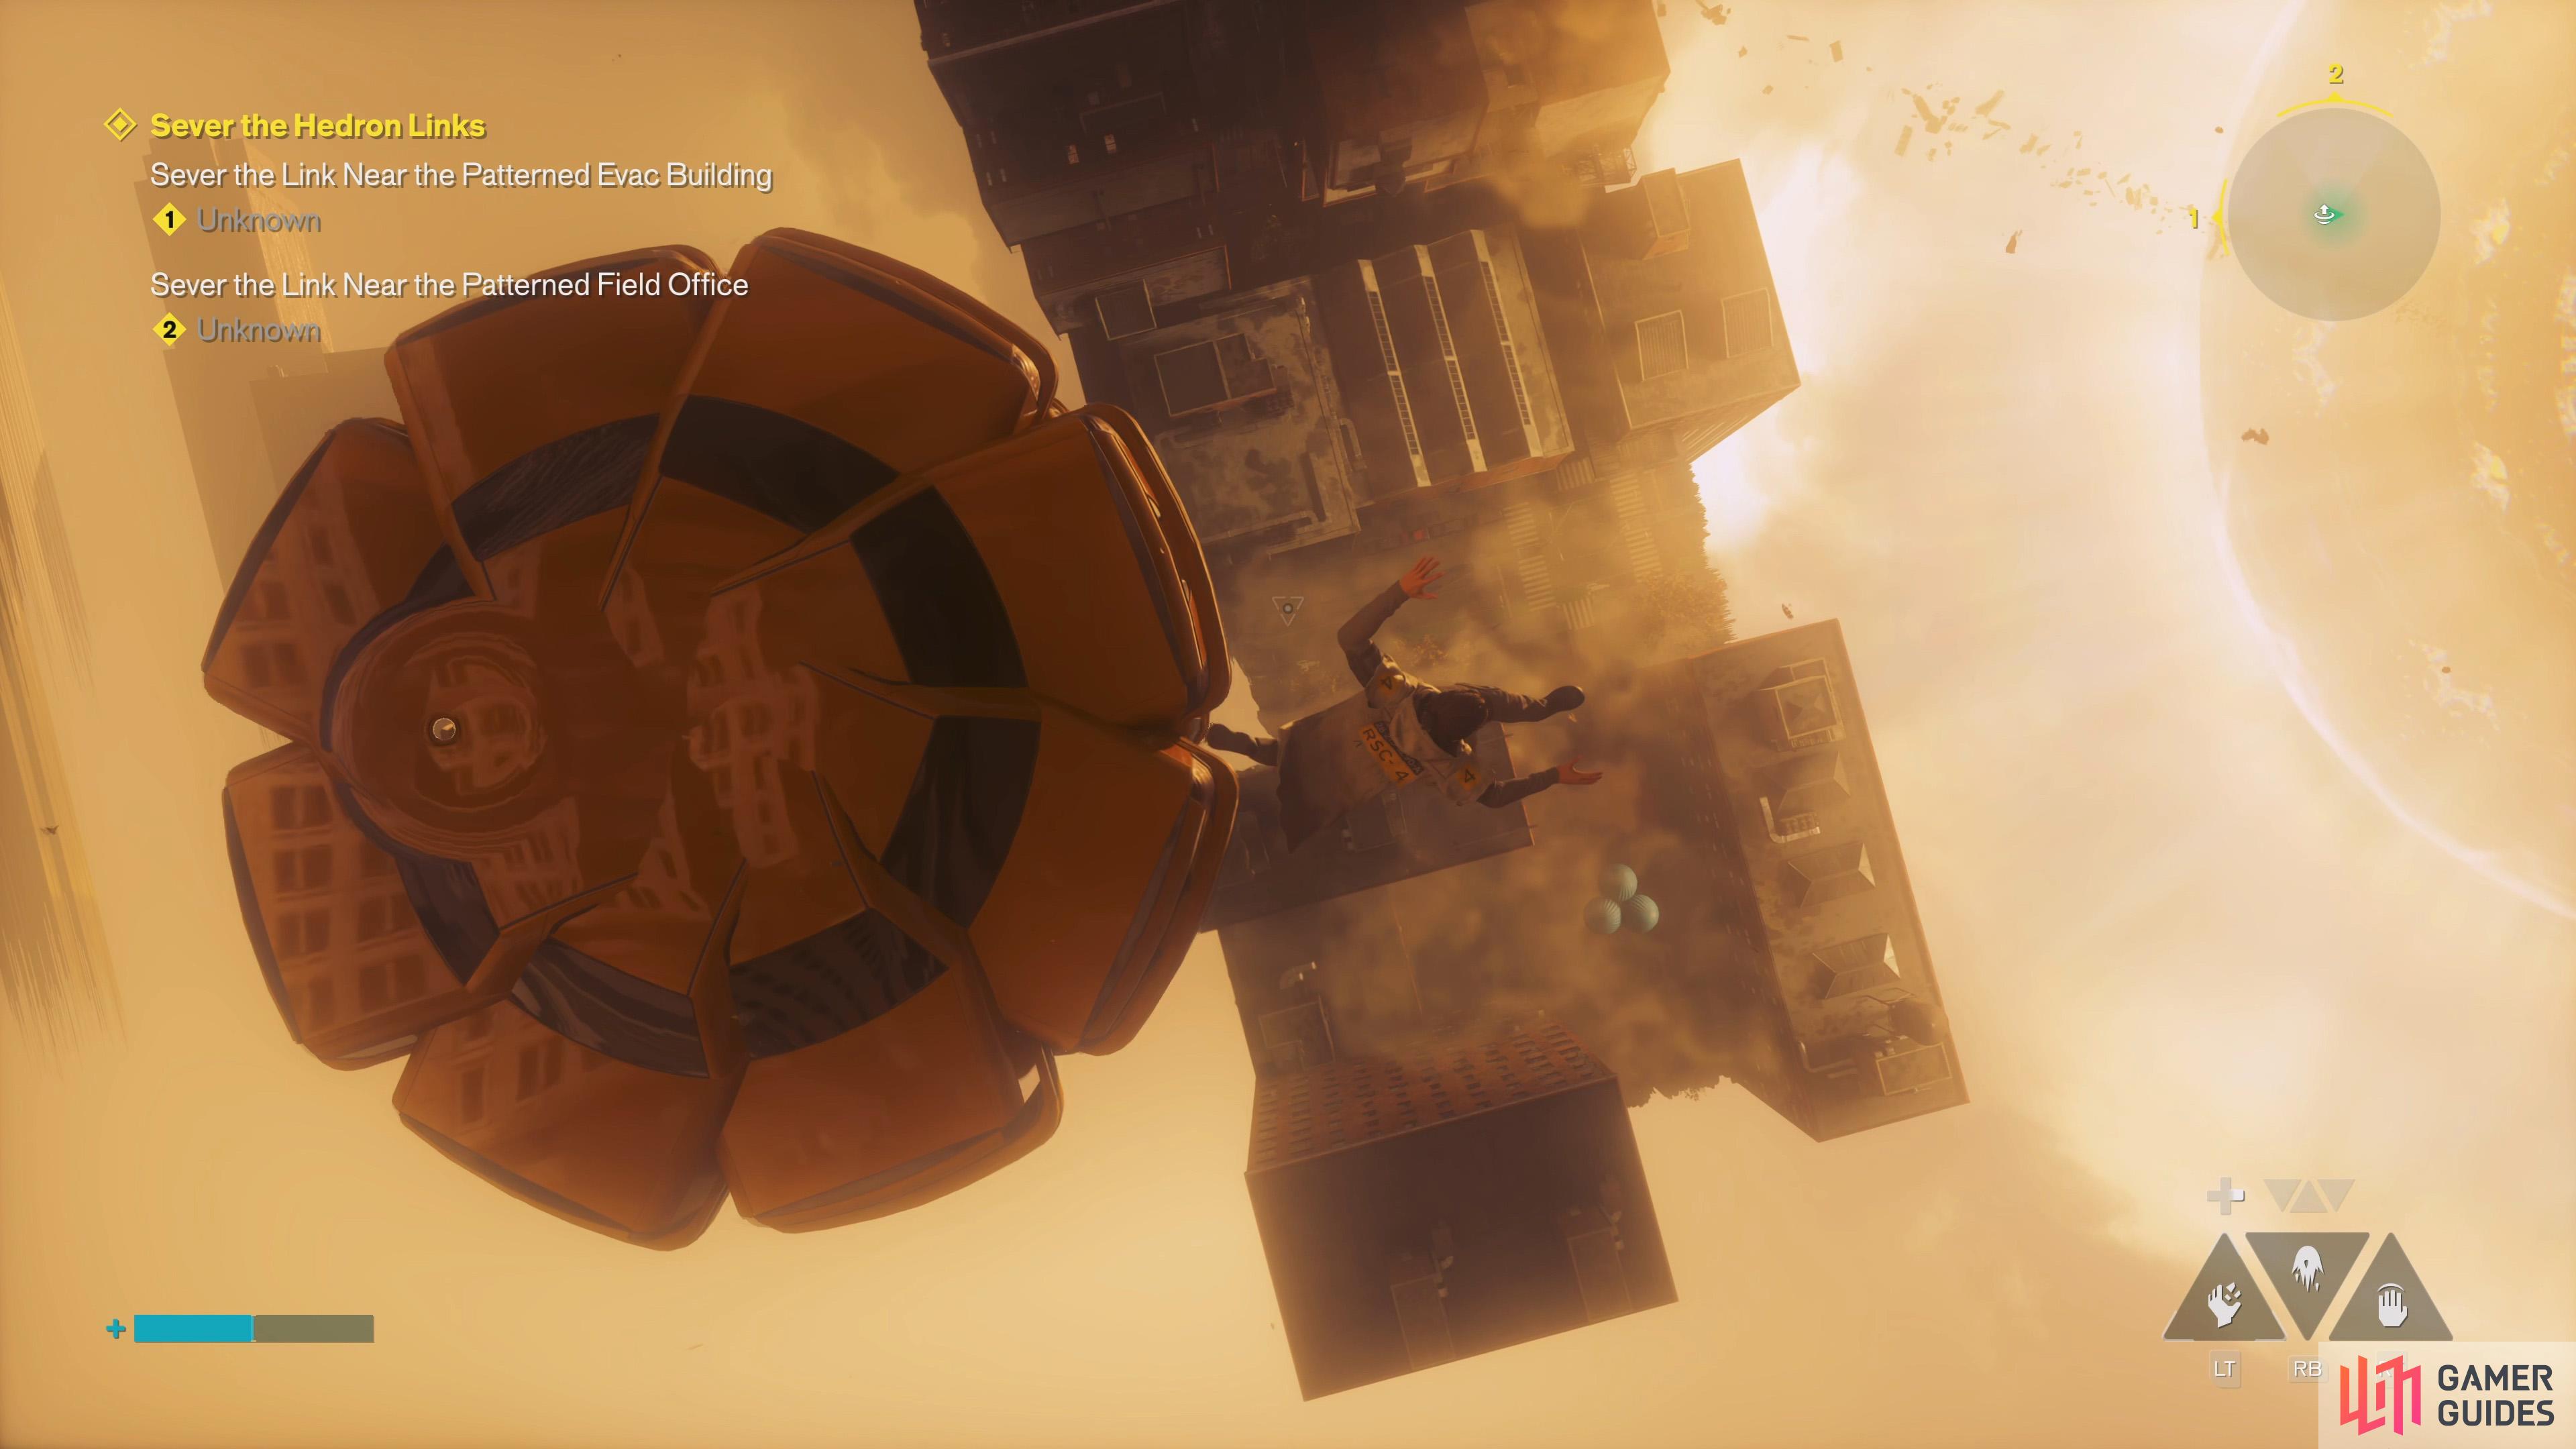
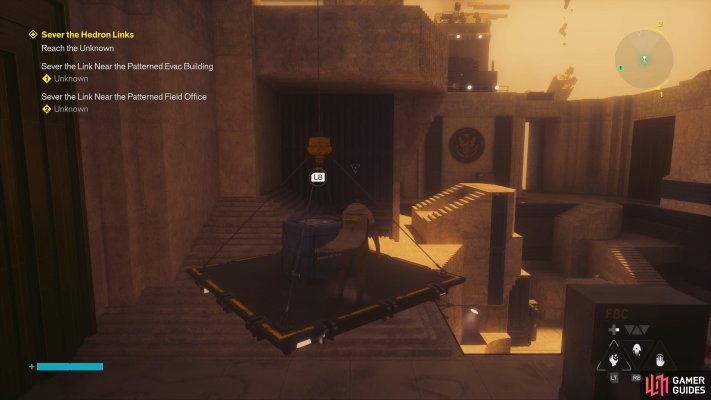
The Unknown is split into eight islands, but to travel to each of them, you must set up the probe relays to create a Gravity Well. Once the Gravity Well has been formed, use the Reach ability to get to the floating platform, then jump off to head to the next island.
Map position: 6541, 11332
-
3
Create the second Gravity Well
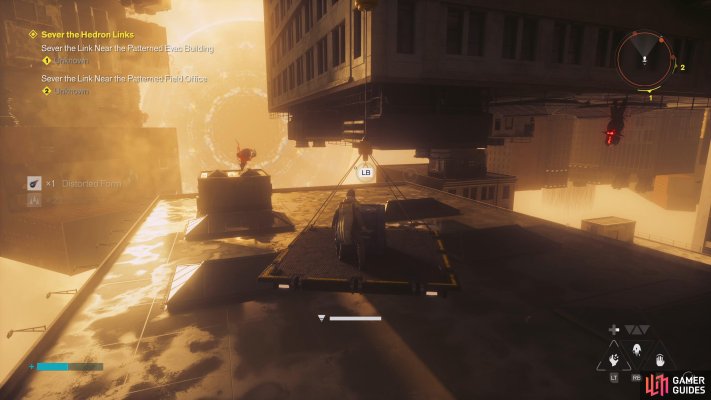
It's worth pointing out that the probe relay locations are never too far from the research balloon, though you may be forced to drop the satellite on some occasions to defeat nearby enemies (like in this instance).
Map position: 5713, 11279
-
4
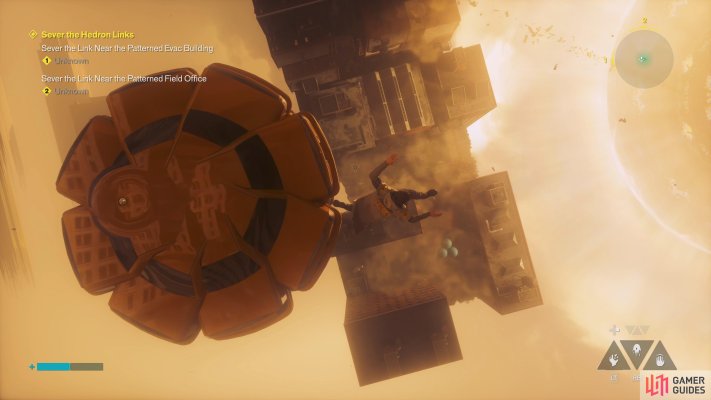
Create the third Gravity Well
Use the second Gravity Well to take you to the bottom left corner of the zone. You'll want to grab the Large Resource Crate on the island before leaving as it's very easy to track down.
Map position: 5256, 11163
-
5
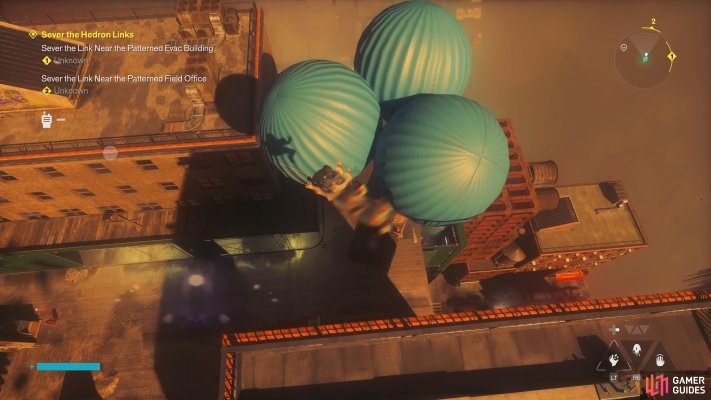
Create the fourth Gravity Well
In the bottom right corner of the zone, you'll get the chance to complete the Sever the Hedron Links main quest.
Map position: 6191, 11633
-
6
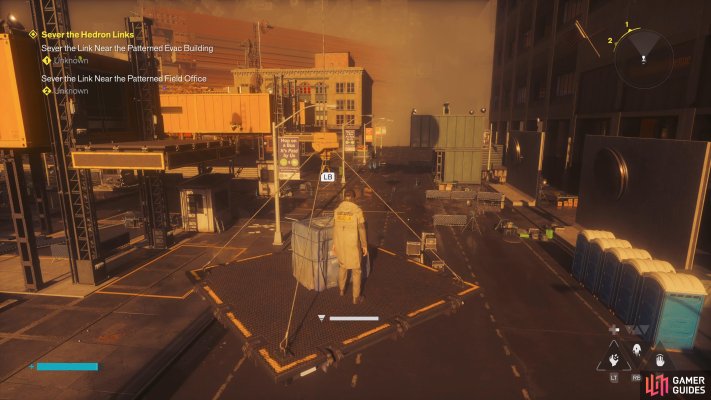
Create the fifth Gravity Well
The island at the bottom of the zone features a Taxi. Be sure to check out the rest of our Taxi markers if you're struggling to solve these brainteasers.
Map position: 5485, 11780
-
7
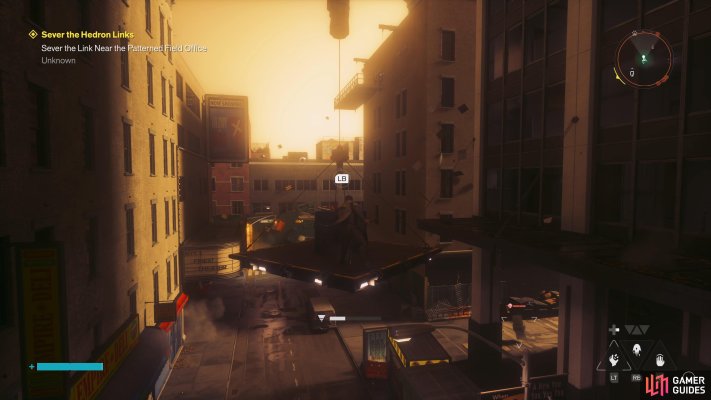
Create the sixth Gravity Well
Unlike the other islands, you won't find a Gravity Well to take you to the top left corner. Instead, you'll need to jump across several platforms to reach this island. This island features a Dog, which you’ll need if you’re trying to unlock the Dog’s Best Friend trophy.
Map position: 5847, 10199
-
8
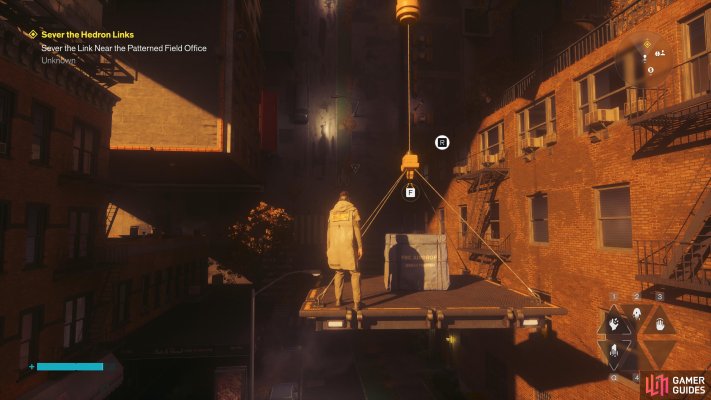
Create the seventh Gravity Well
Using the sixth Gravity Well, you can make your way to the island in the top right corner of the zone, allowing you to complete the Sever the Hedron Links main quest.
Map position: 6699, 10757
-
9
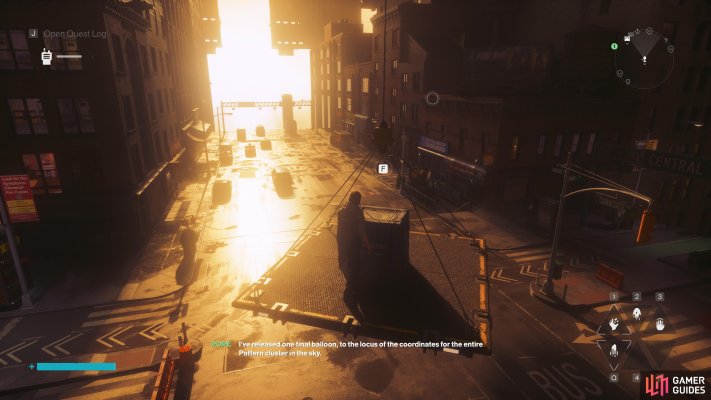
Complete Pope's Research
Once you complete the final main quest, Pope sends you one last request to set up more probe relays. This creates a Gravity Well-like platform, but it doesn't take you to a new part of The Unknown. Instead, you must use the platform to listen in to the patterned voice in the area. Doing so completes the quest, unlocking the Budding Analyst trophy.
Map position: 5993, 11012