

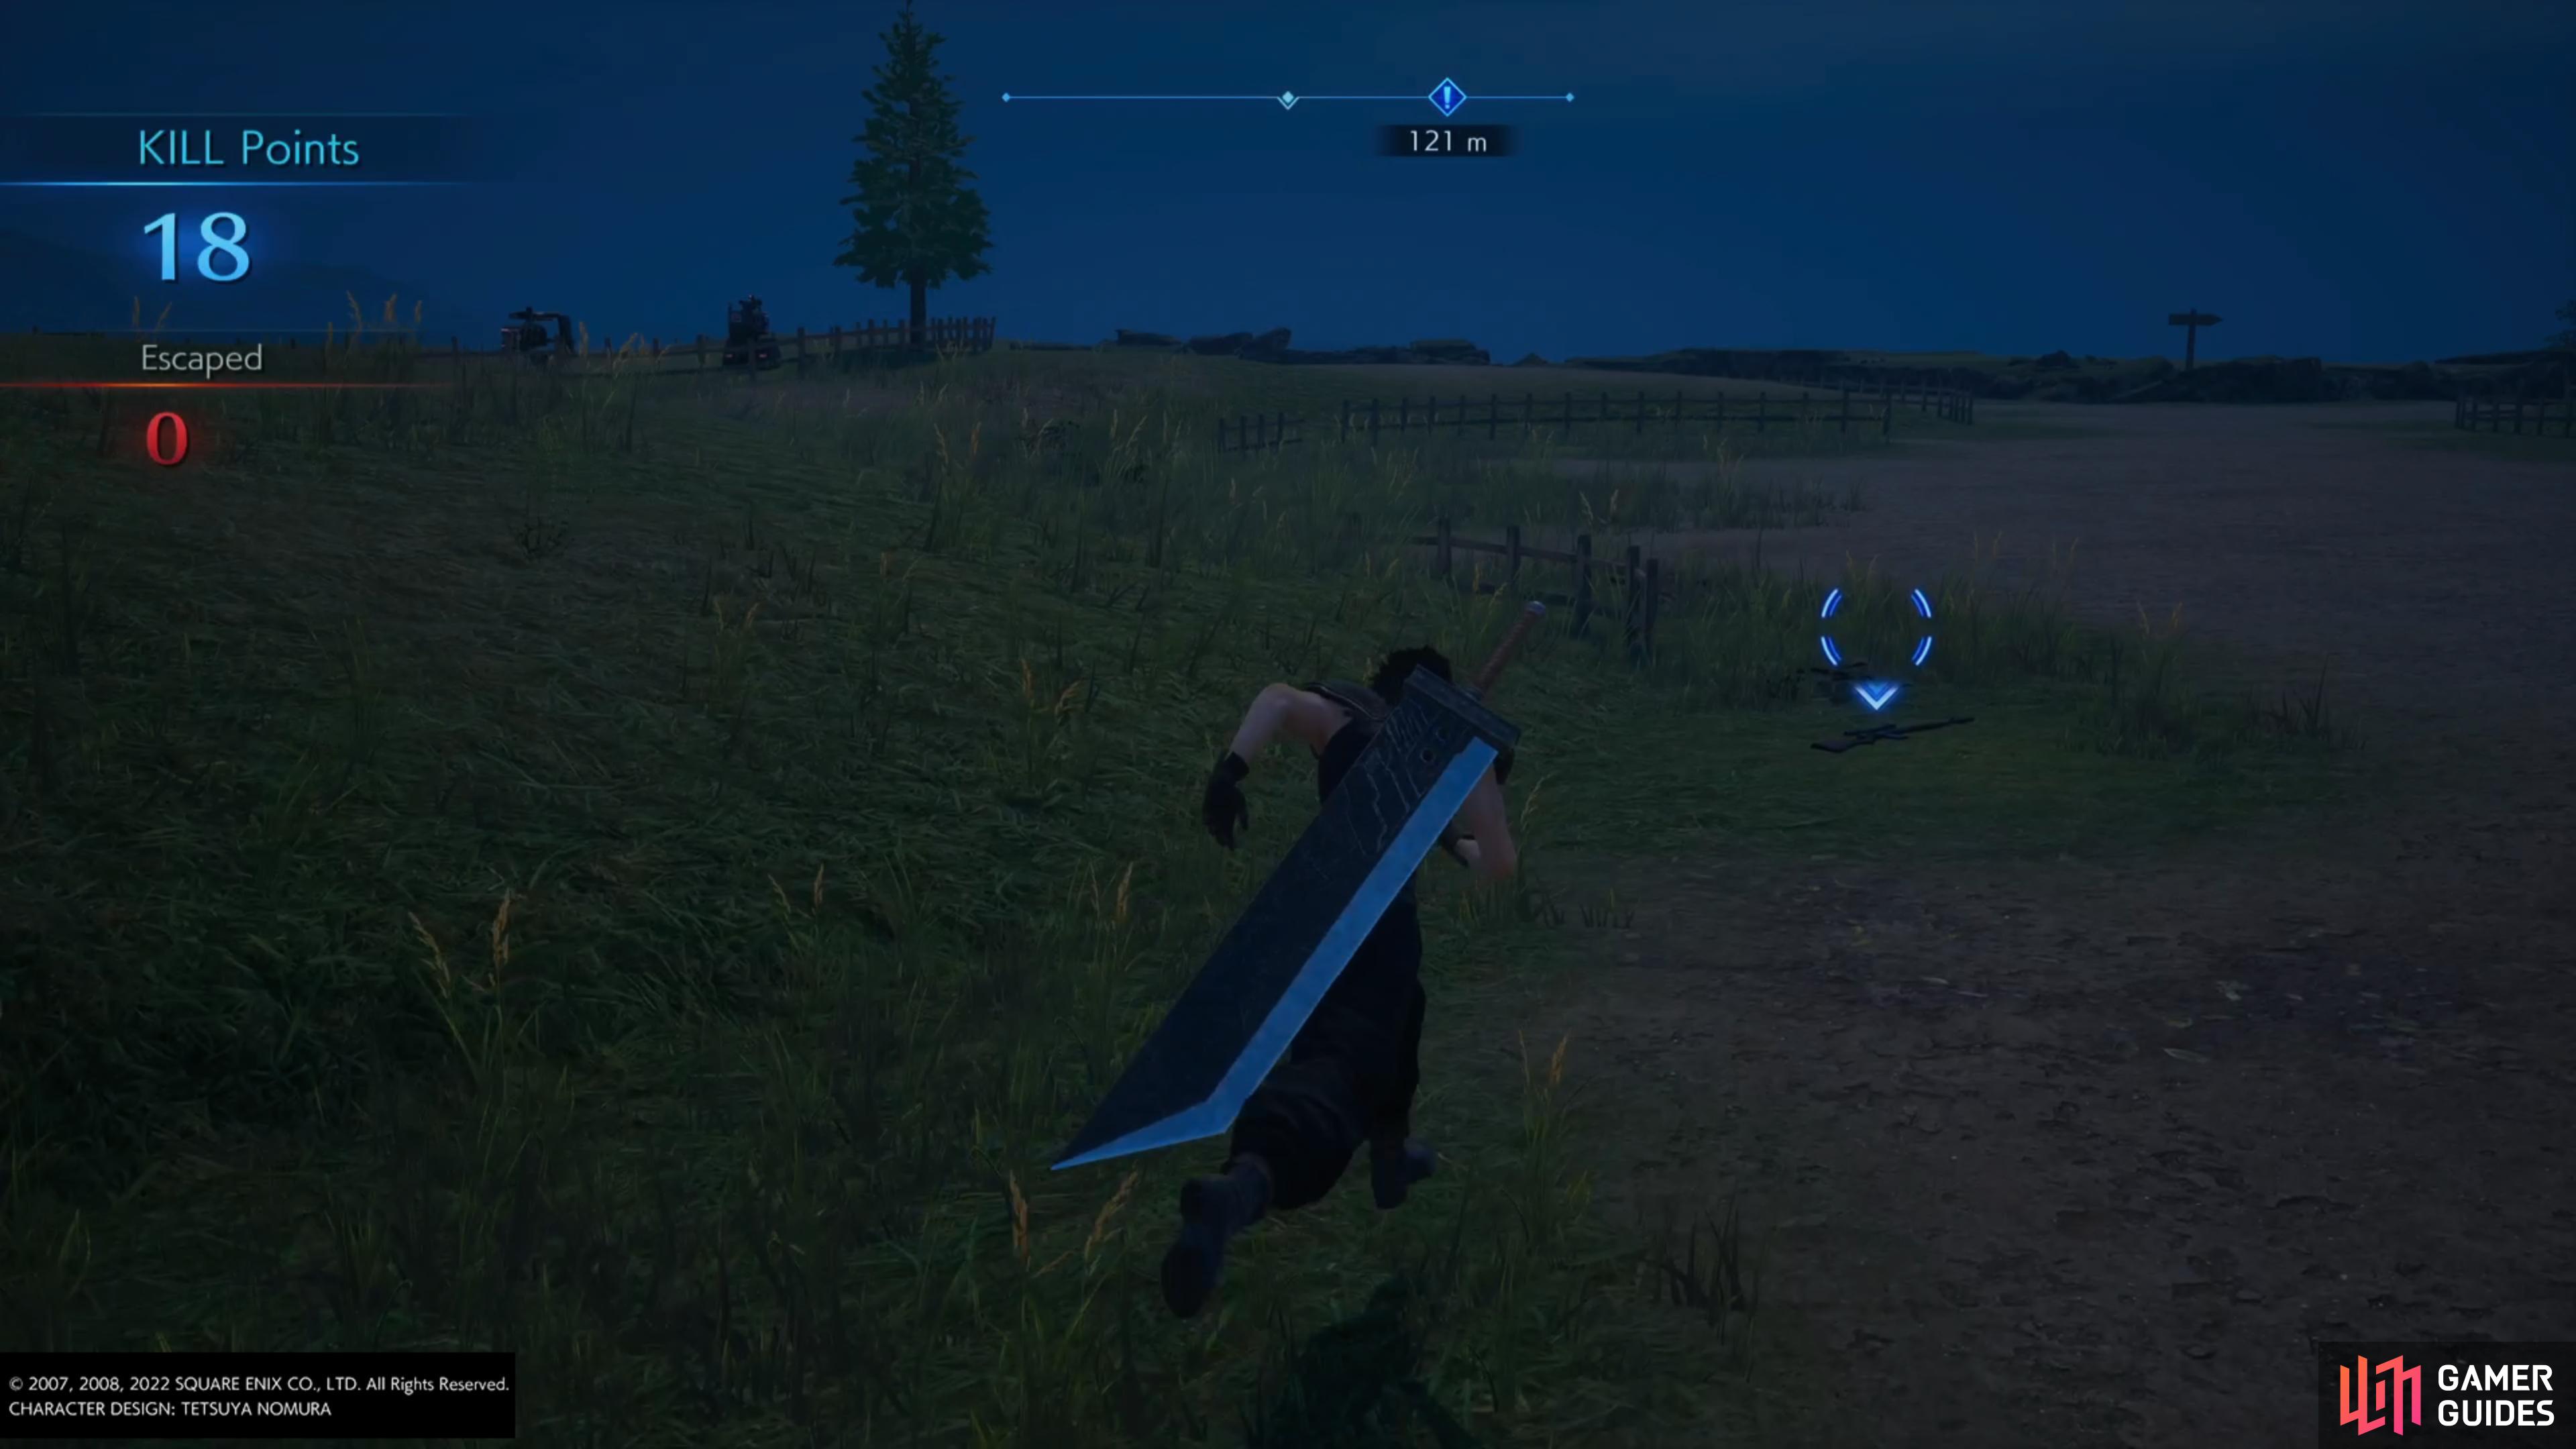
How to Prevent Gun Bull Heads from Escaping
The goal of this mini-game is to work your way down the hill, using each sniper rifle to take out a number of gun bull heads in the distance. The main difficulty with this comes from the fact that there are eight sniper sites and no checkpoints in the middle, if a gun bull head escapes at any time, you’ll need to load a previous save and try again.
To make life a bit easier, you get Kill Points for defeating robots with both your sniper and on foot in-between sites. You can then use these points to upgrade the gun to make this a much easier experience.
Sniper Spot #1
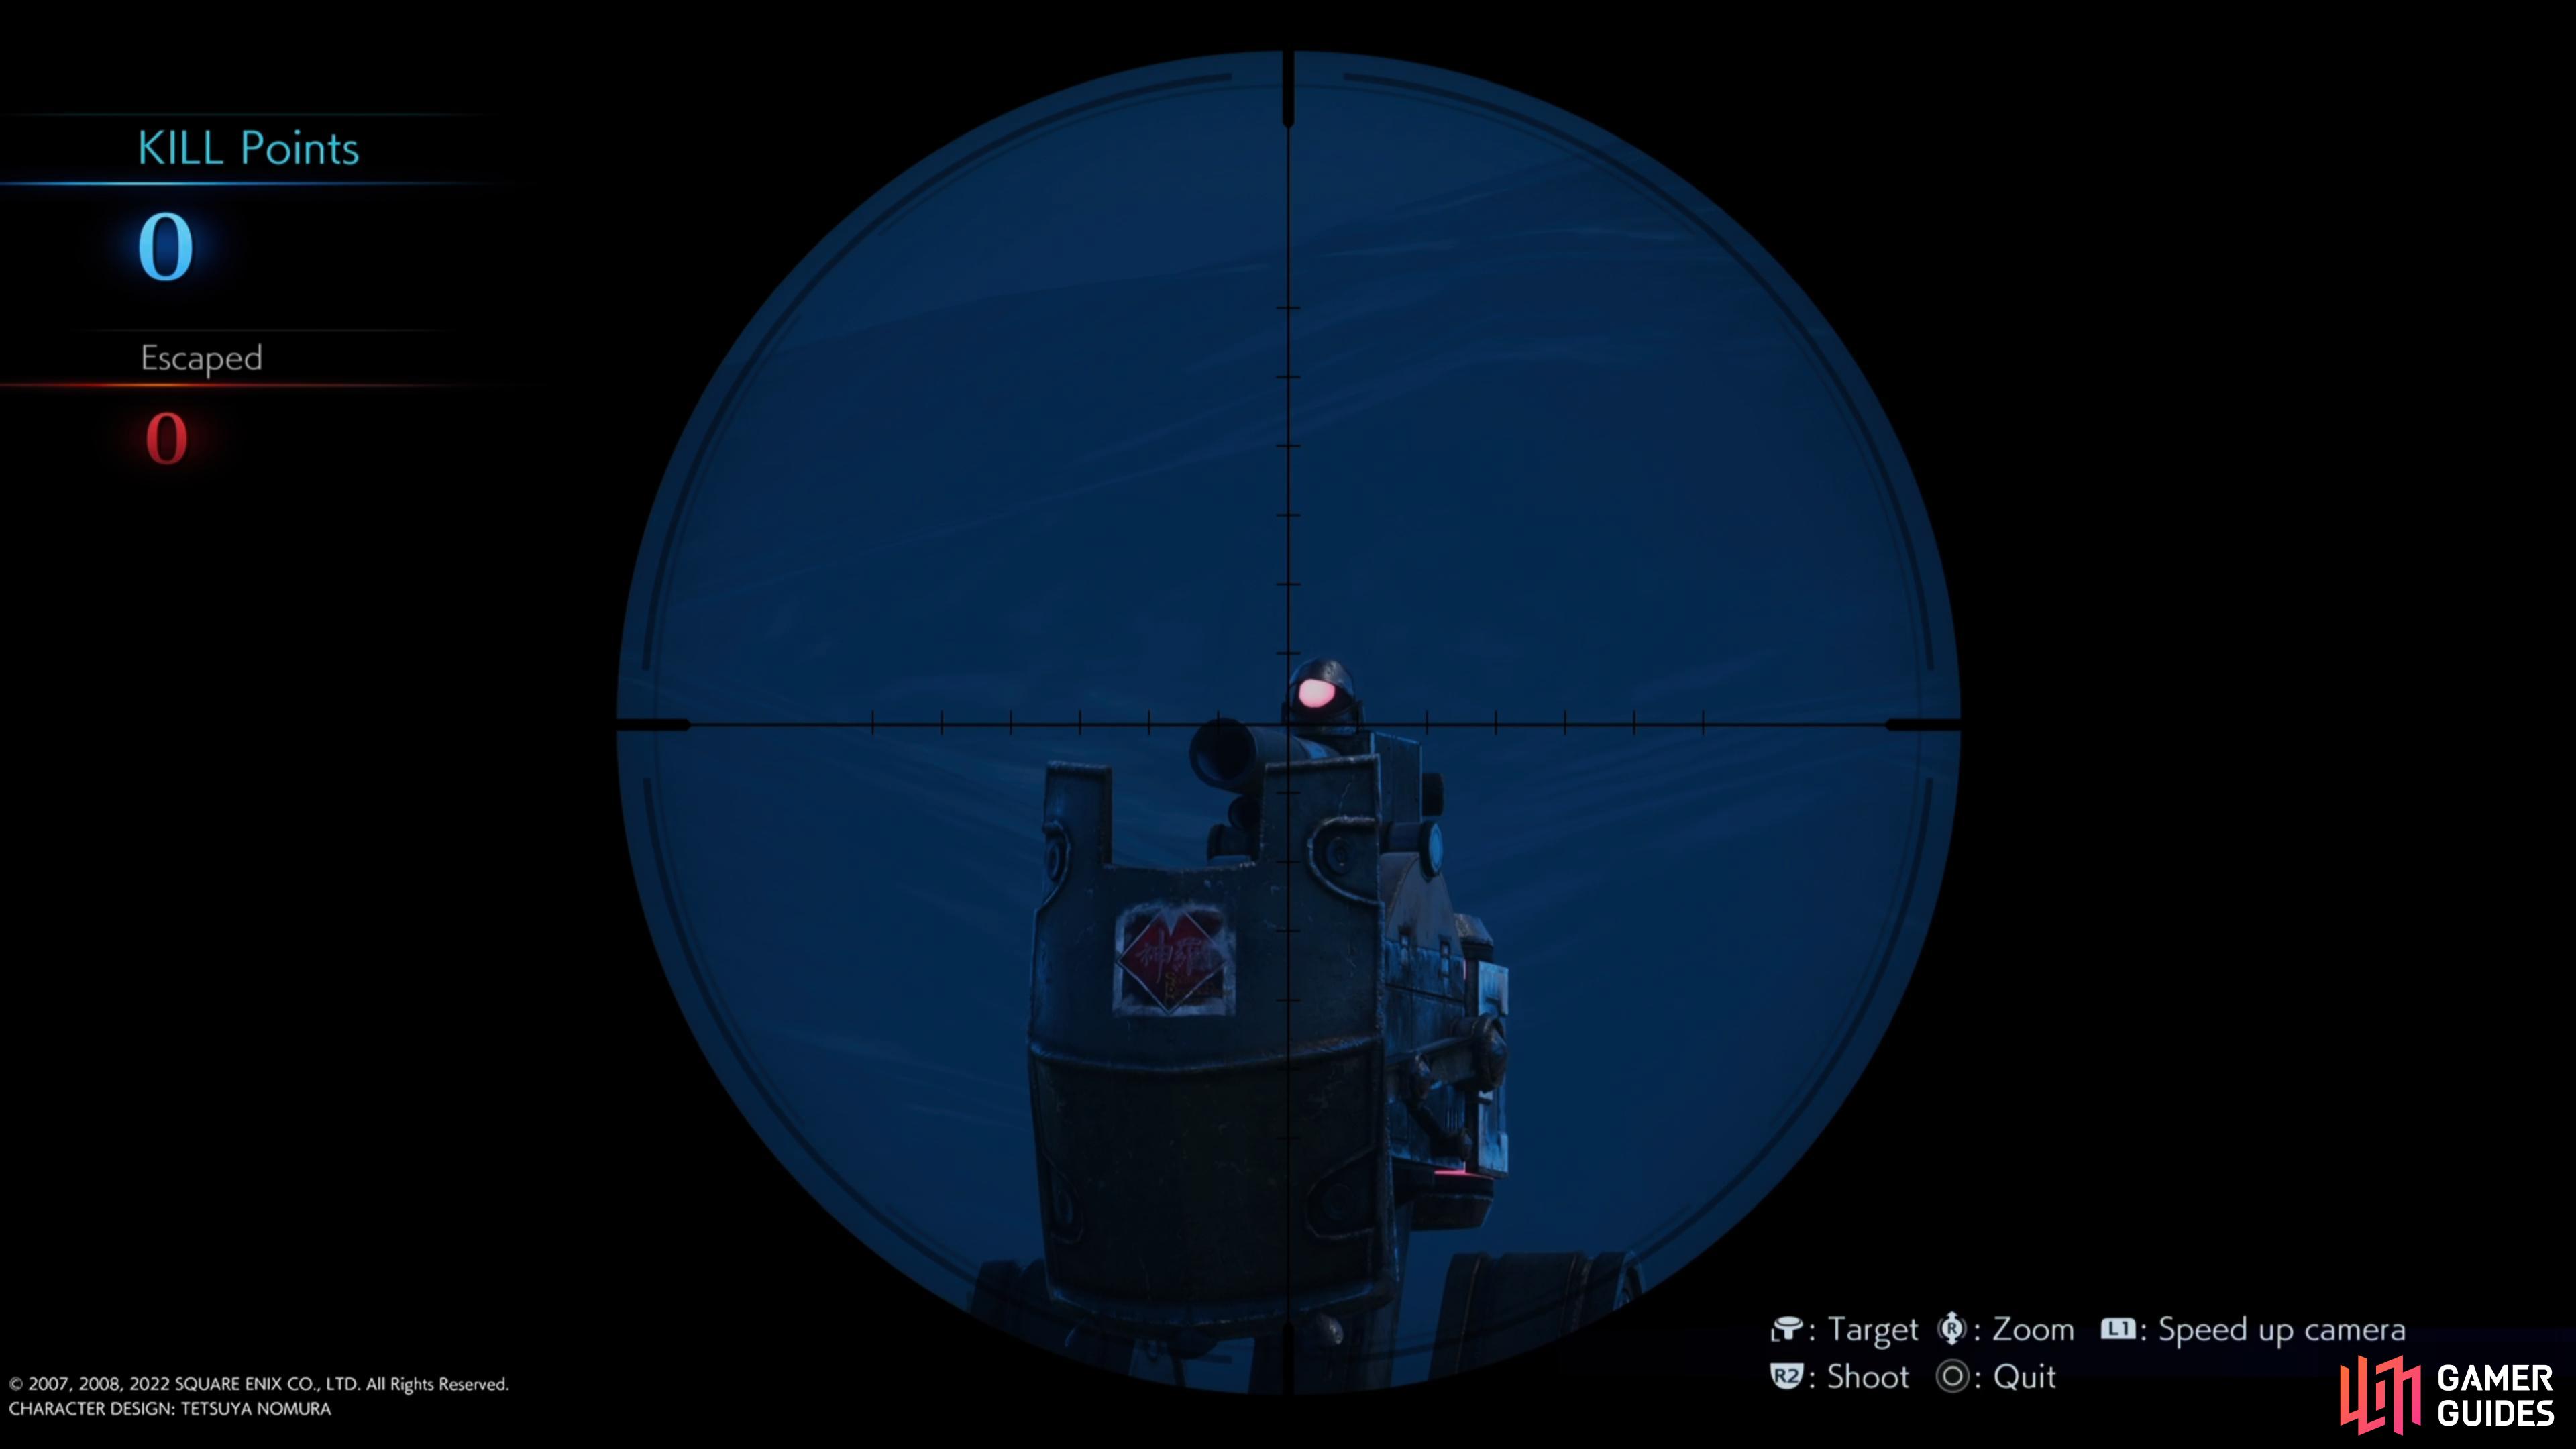
Aim for the head in the first sniper spot.
Just a single Gun Bull Head to get you started and used to shooting with the sniper rifle. Until you’ve fully upgraded the rifle, you’ll want to aim for the heads for an instant kill and these stationary ones make life easy.
Sniper Spot #2
Another robot that is stationary at the second sniper spot.
Head down the path a little and you’ll find the second sniper spot on your left. Like before, just a single stationary gun bull head so use this as another opportunity to get used to sniping the heads.
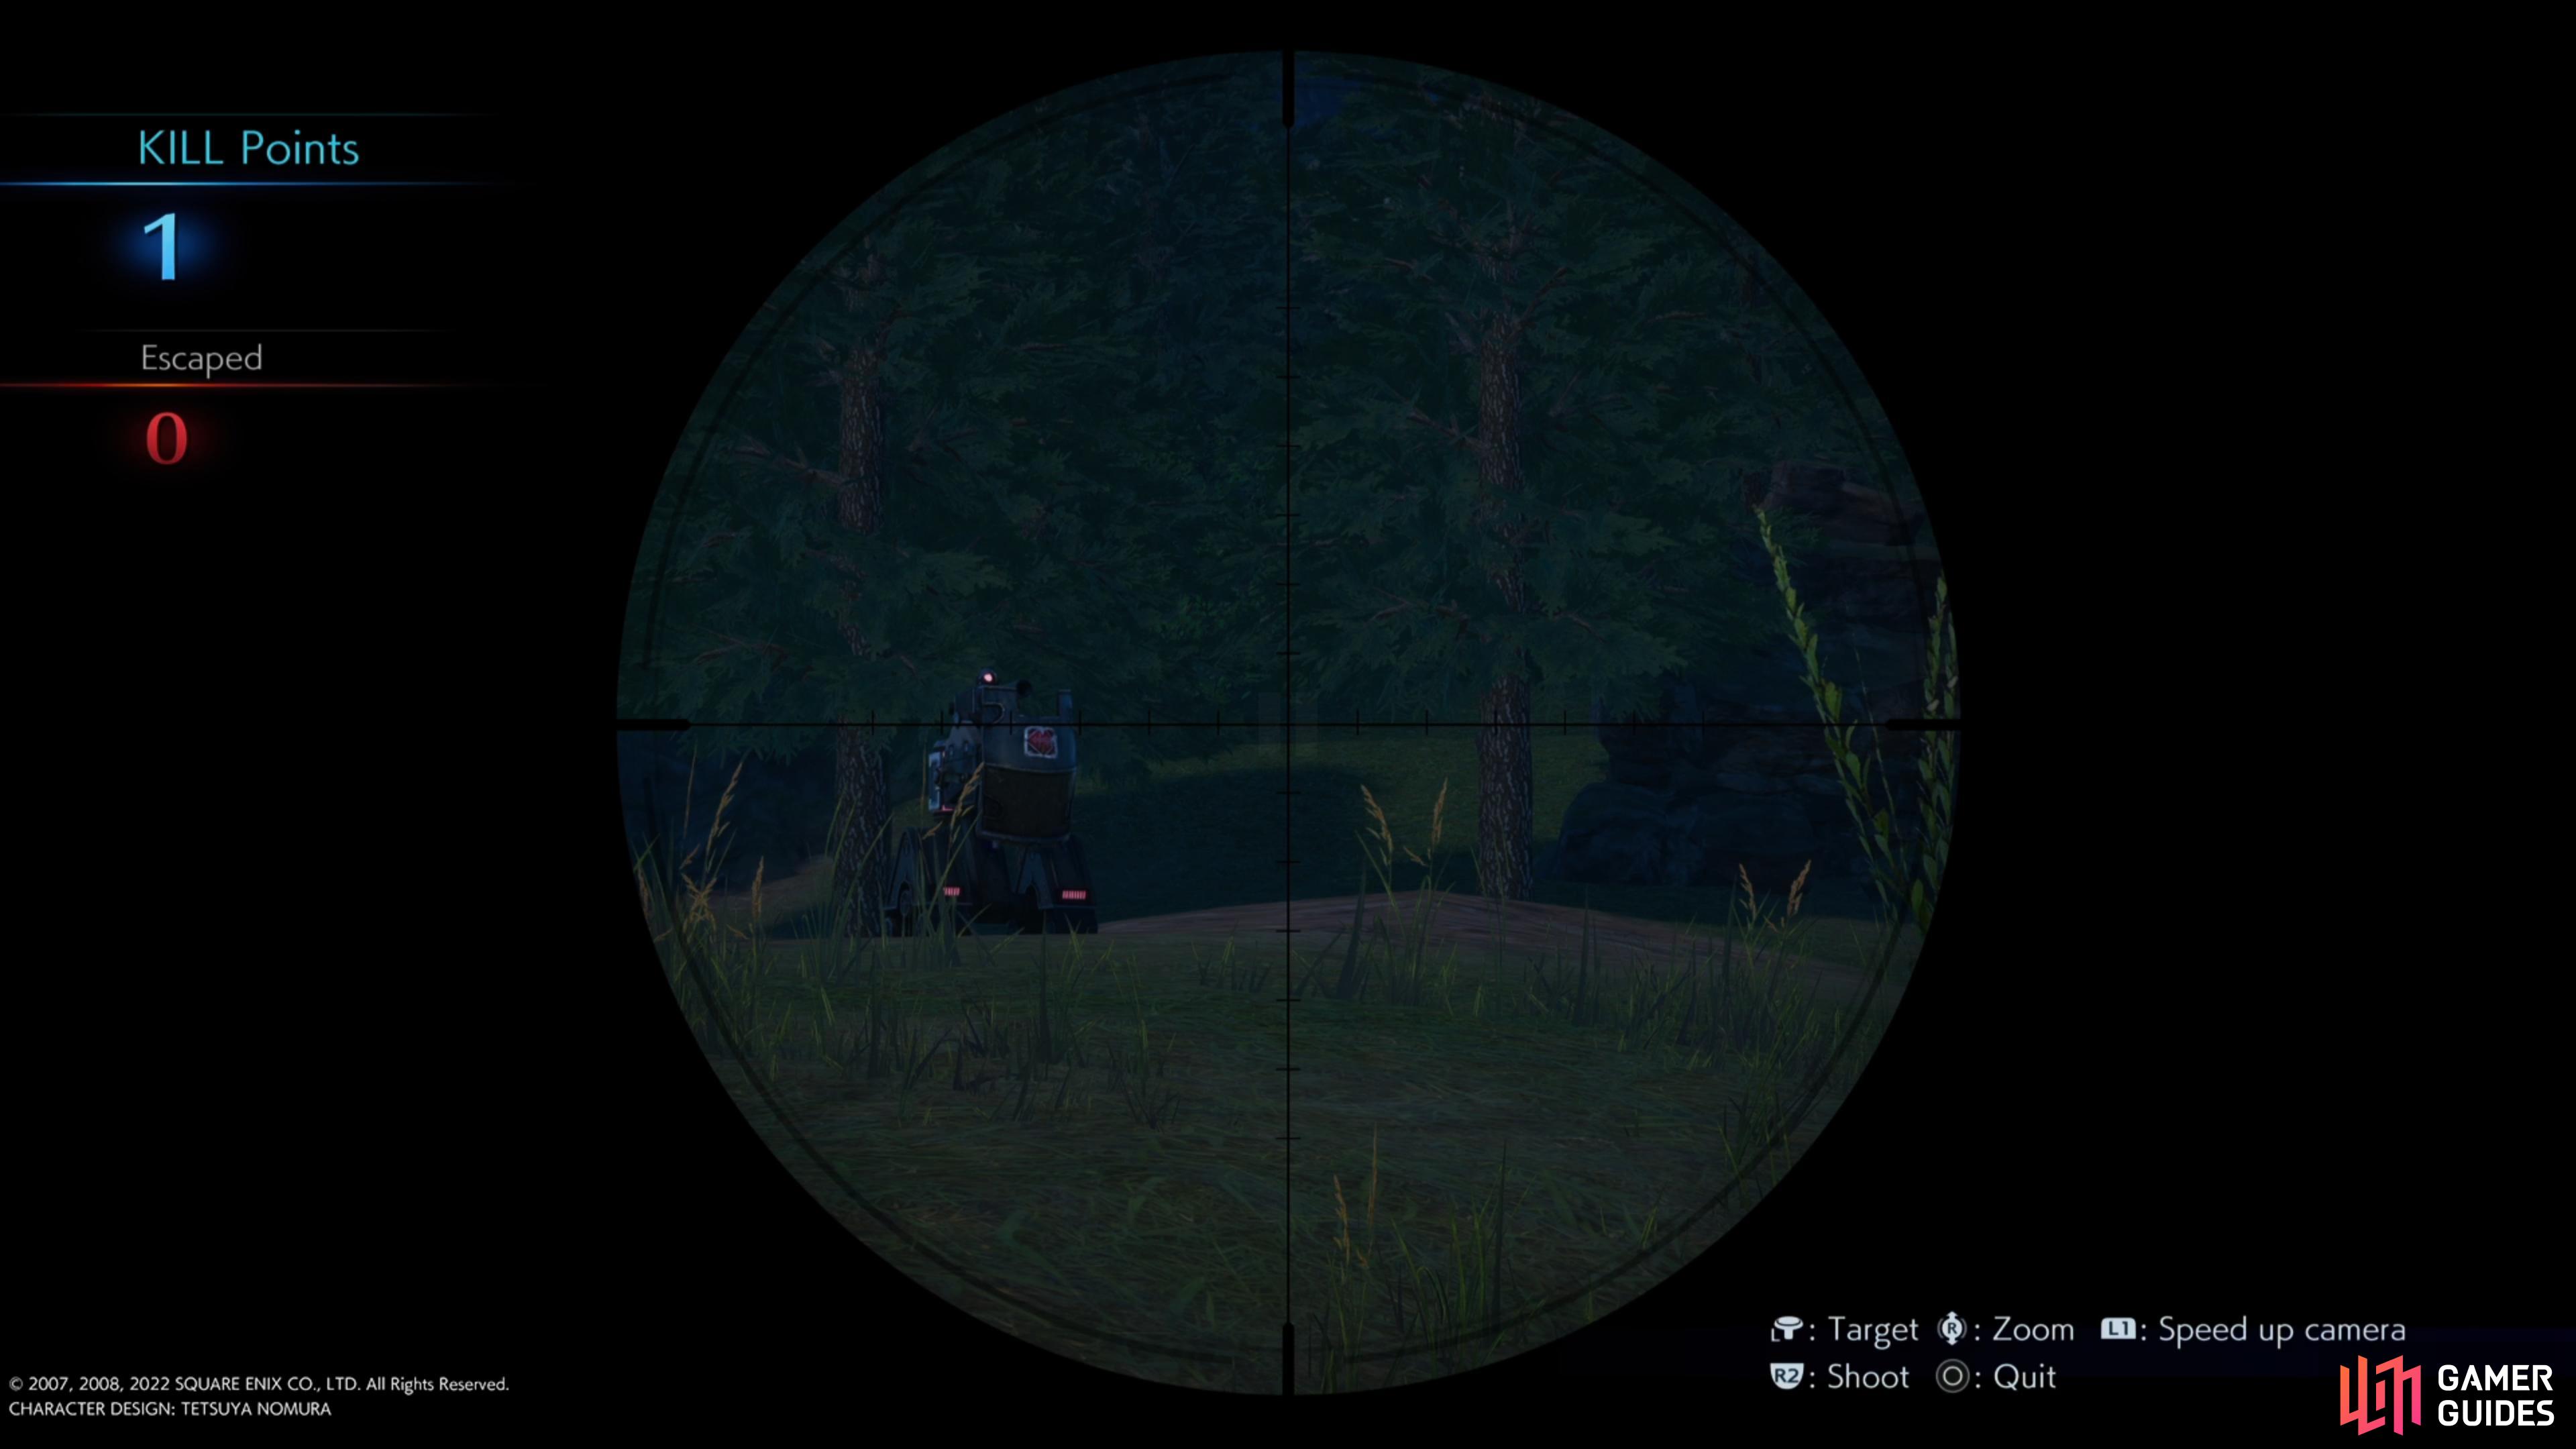
Sniper Spot #3
You will find the third sniper spot near the fence
one of the robots here is moving.
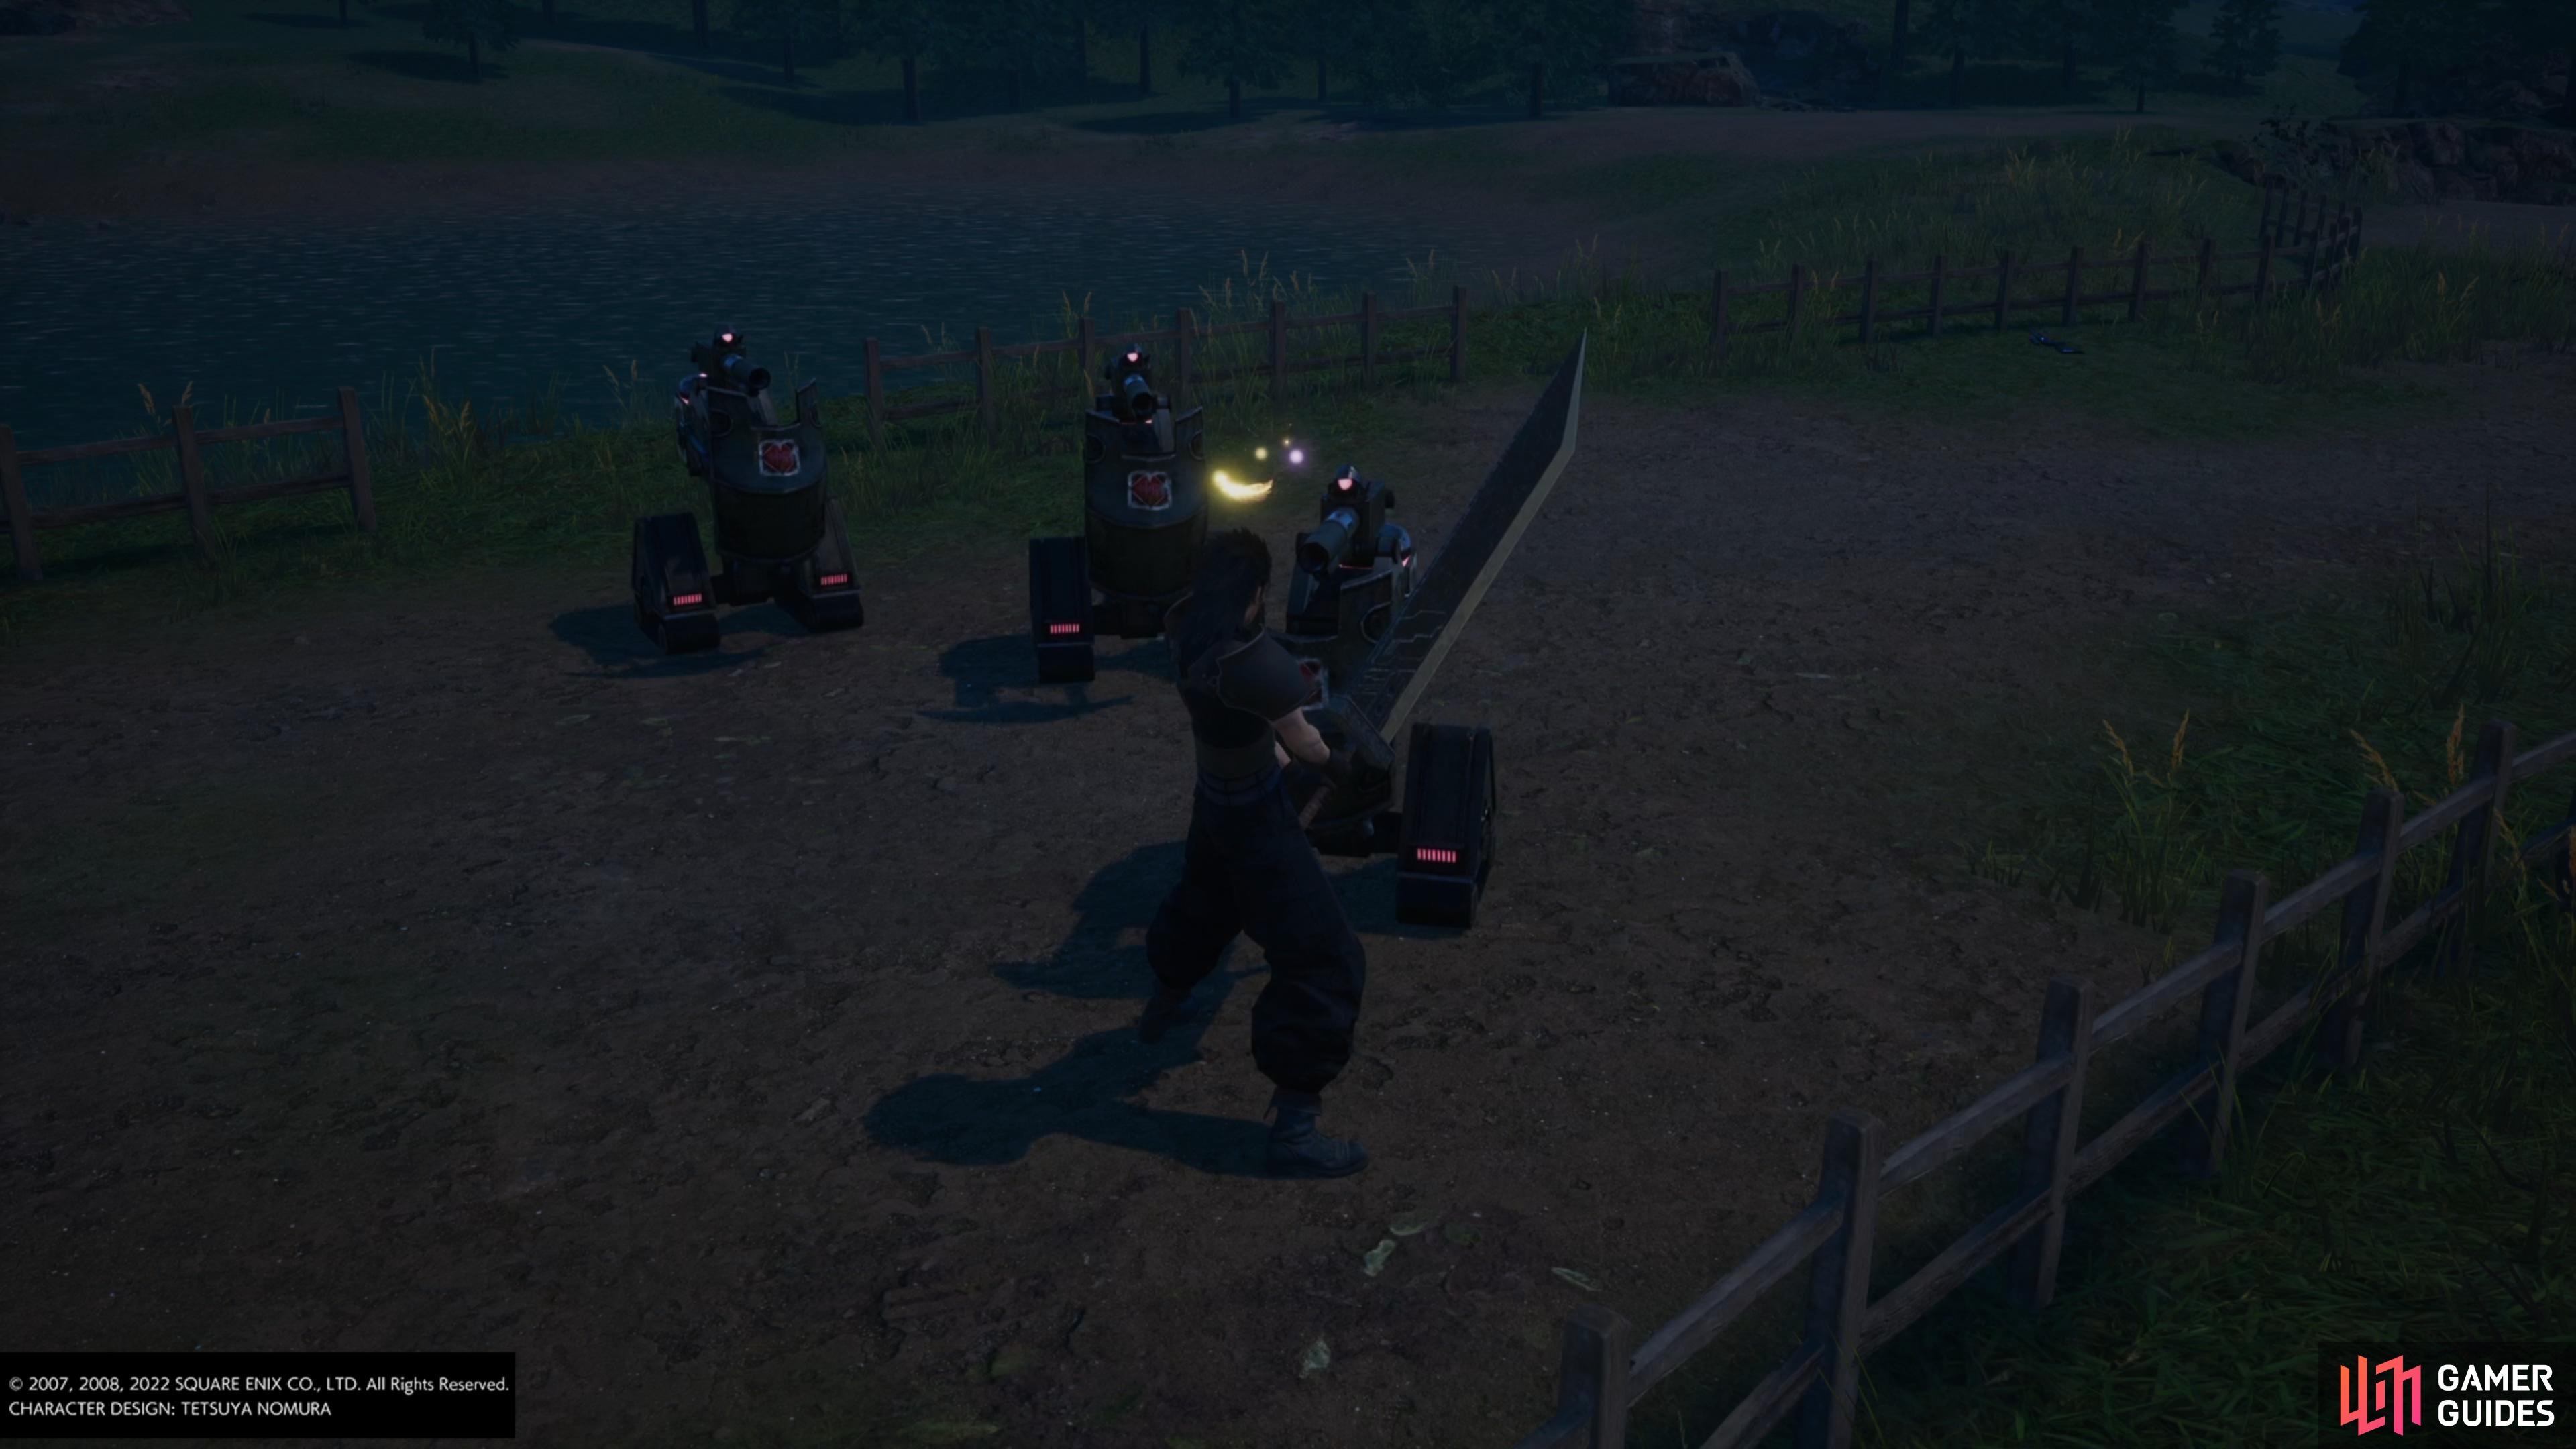
Head down the hill now and the third sniper spot can be found by the fence overlooking the water. This one is a little trickier, as you’ll be dealing with one moving, and one stationary gun bull heads. As a general rule, once you take your first shot, other gun bull heads will be alerted so you’ll need to be quick.
Upgrading the Sniper Rifle
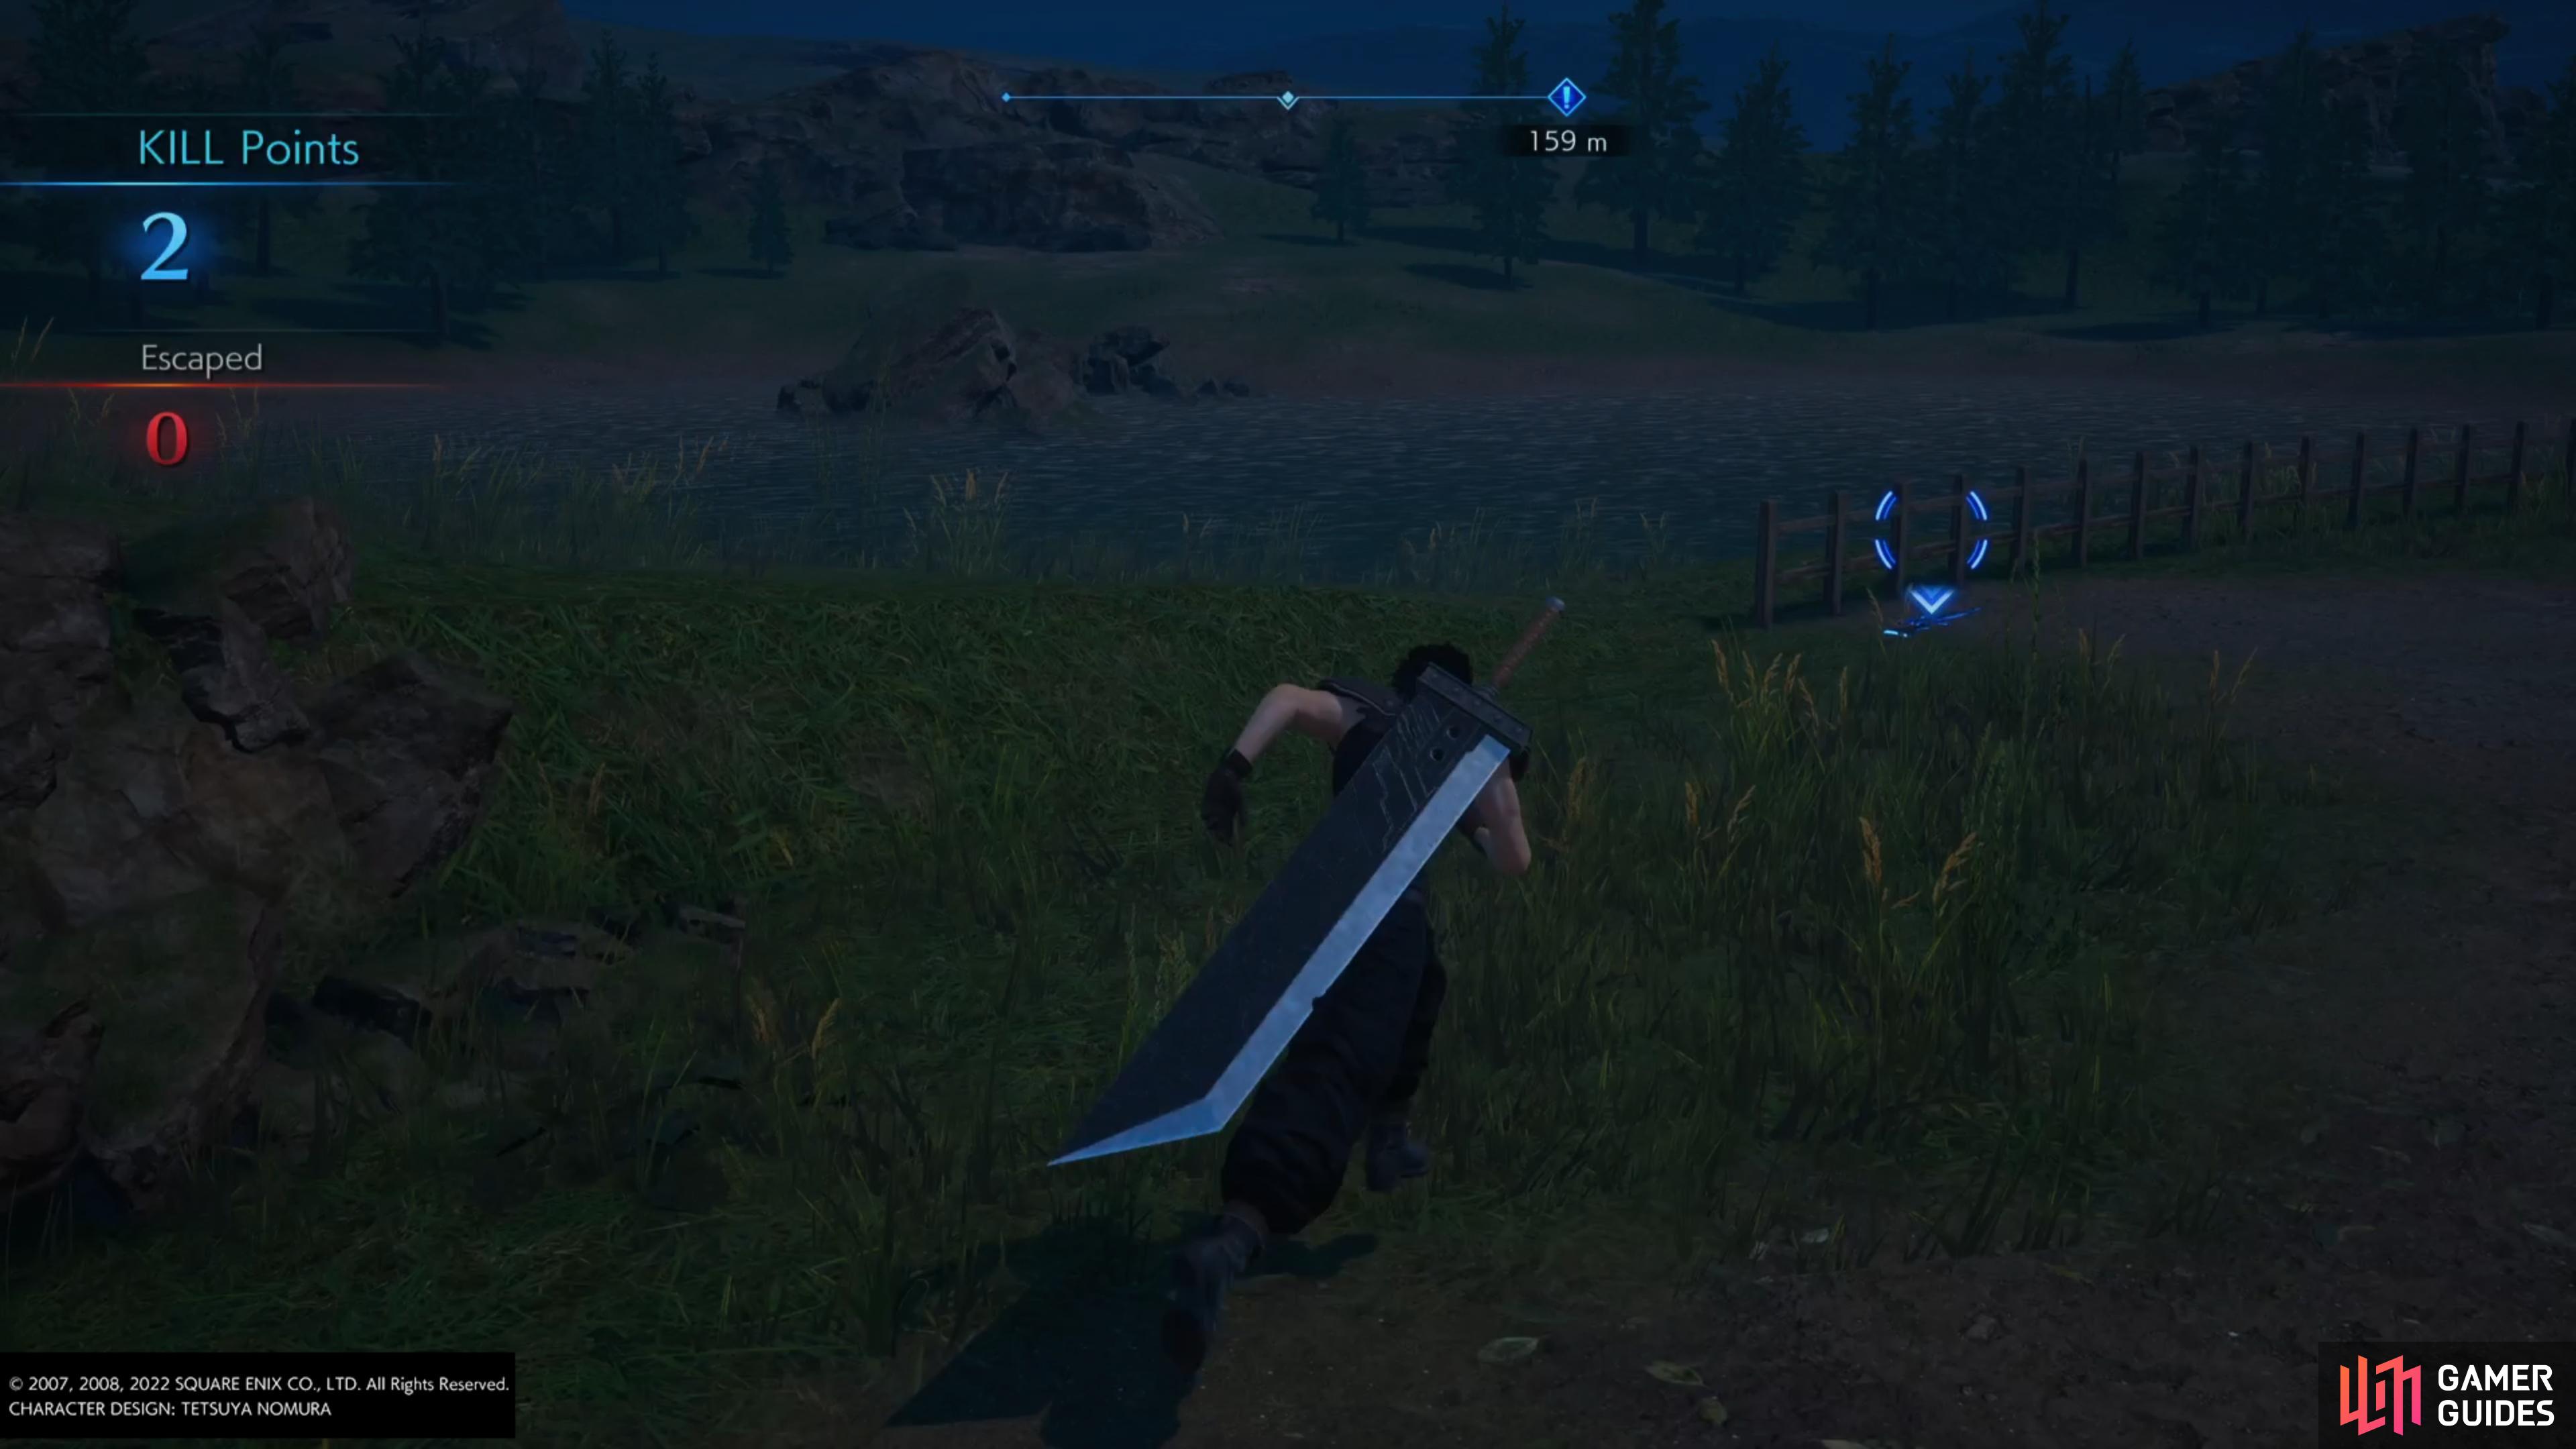
At this point, you’ll want to take a break from the sniper rifle and focus on grinding the enemies on foot to fully upgrade the sniper rifle. Between the third sniper spot and the fourth just up ahead, you can run backwards and forwards and keep battling two different groups of gun bull heads.
Run between the third and fourth sniper rifles to grind kill points
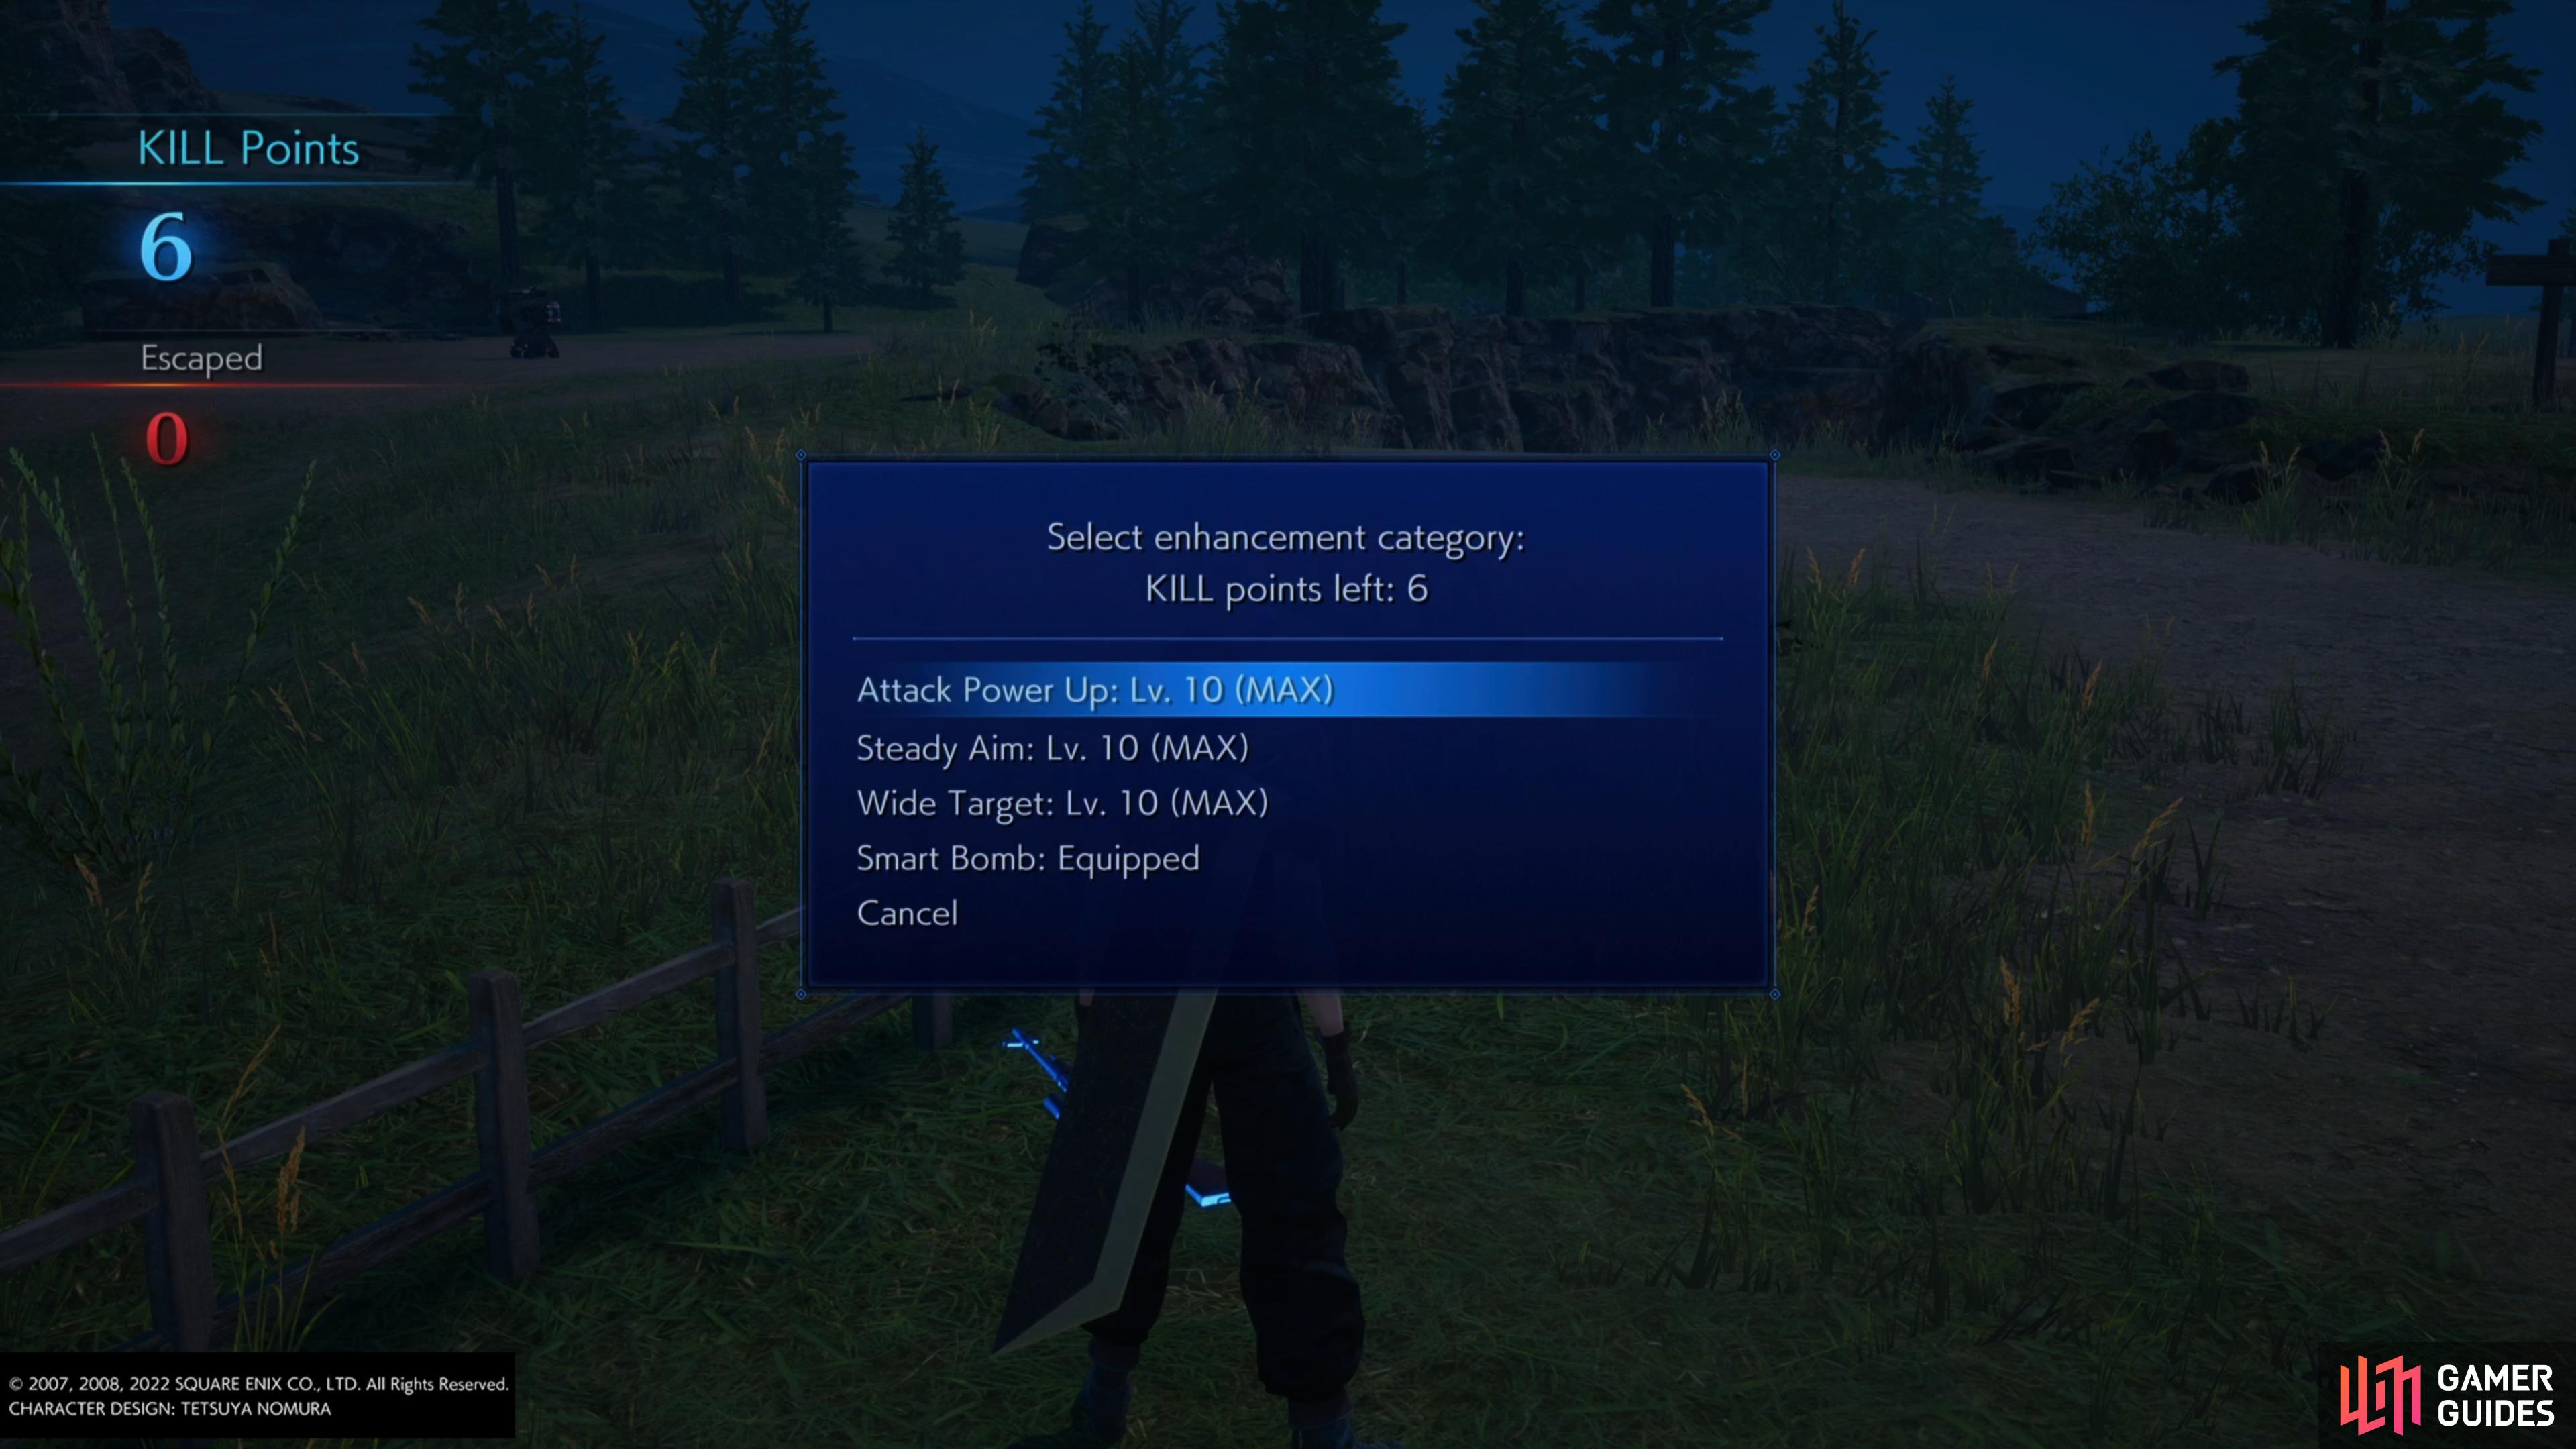
then use them to fully upgrade the sniper rifle before continuing to the fourth spot.
This can get you anywhere between 2-4 Kill Points a battle and they should be easy enough for you to dispatch quickly at this stage of the game. Sparing 5-10 minutes to repeat this process can allow you to earn all the Kill Points you’ll need to fully upgrade the sniper rifle and purchase a Smart Bomb. This will mean that you can deal enough damage to take out the gun bull heads by sniping at their shields instead of their heads, useful in certain sniper spots.
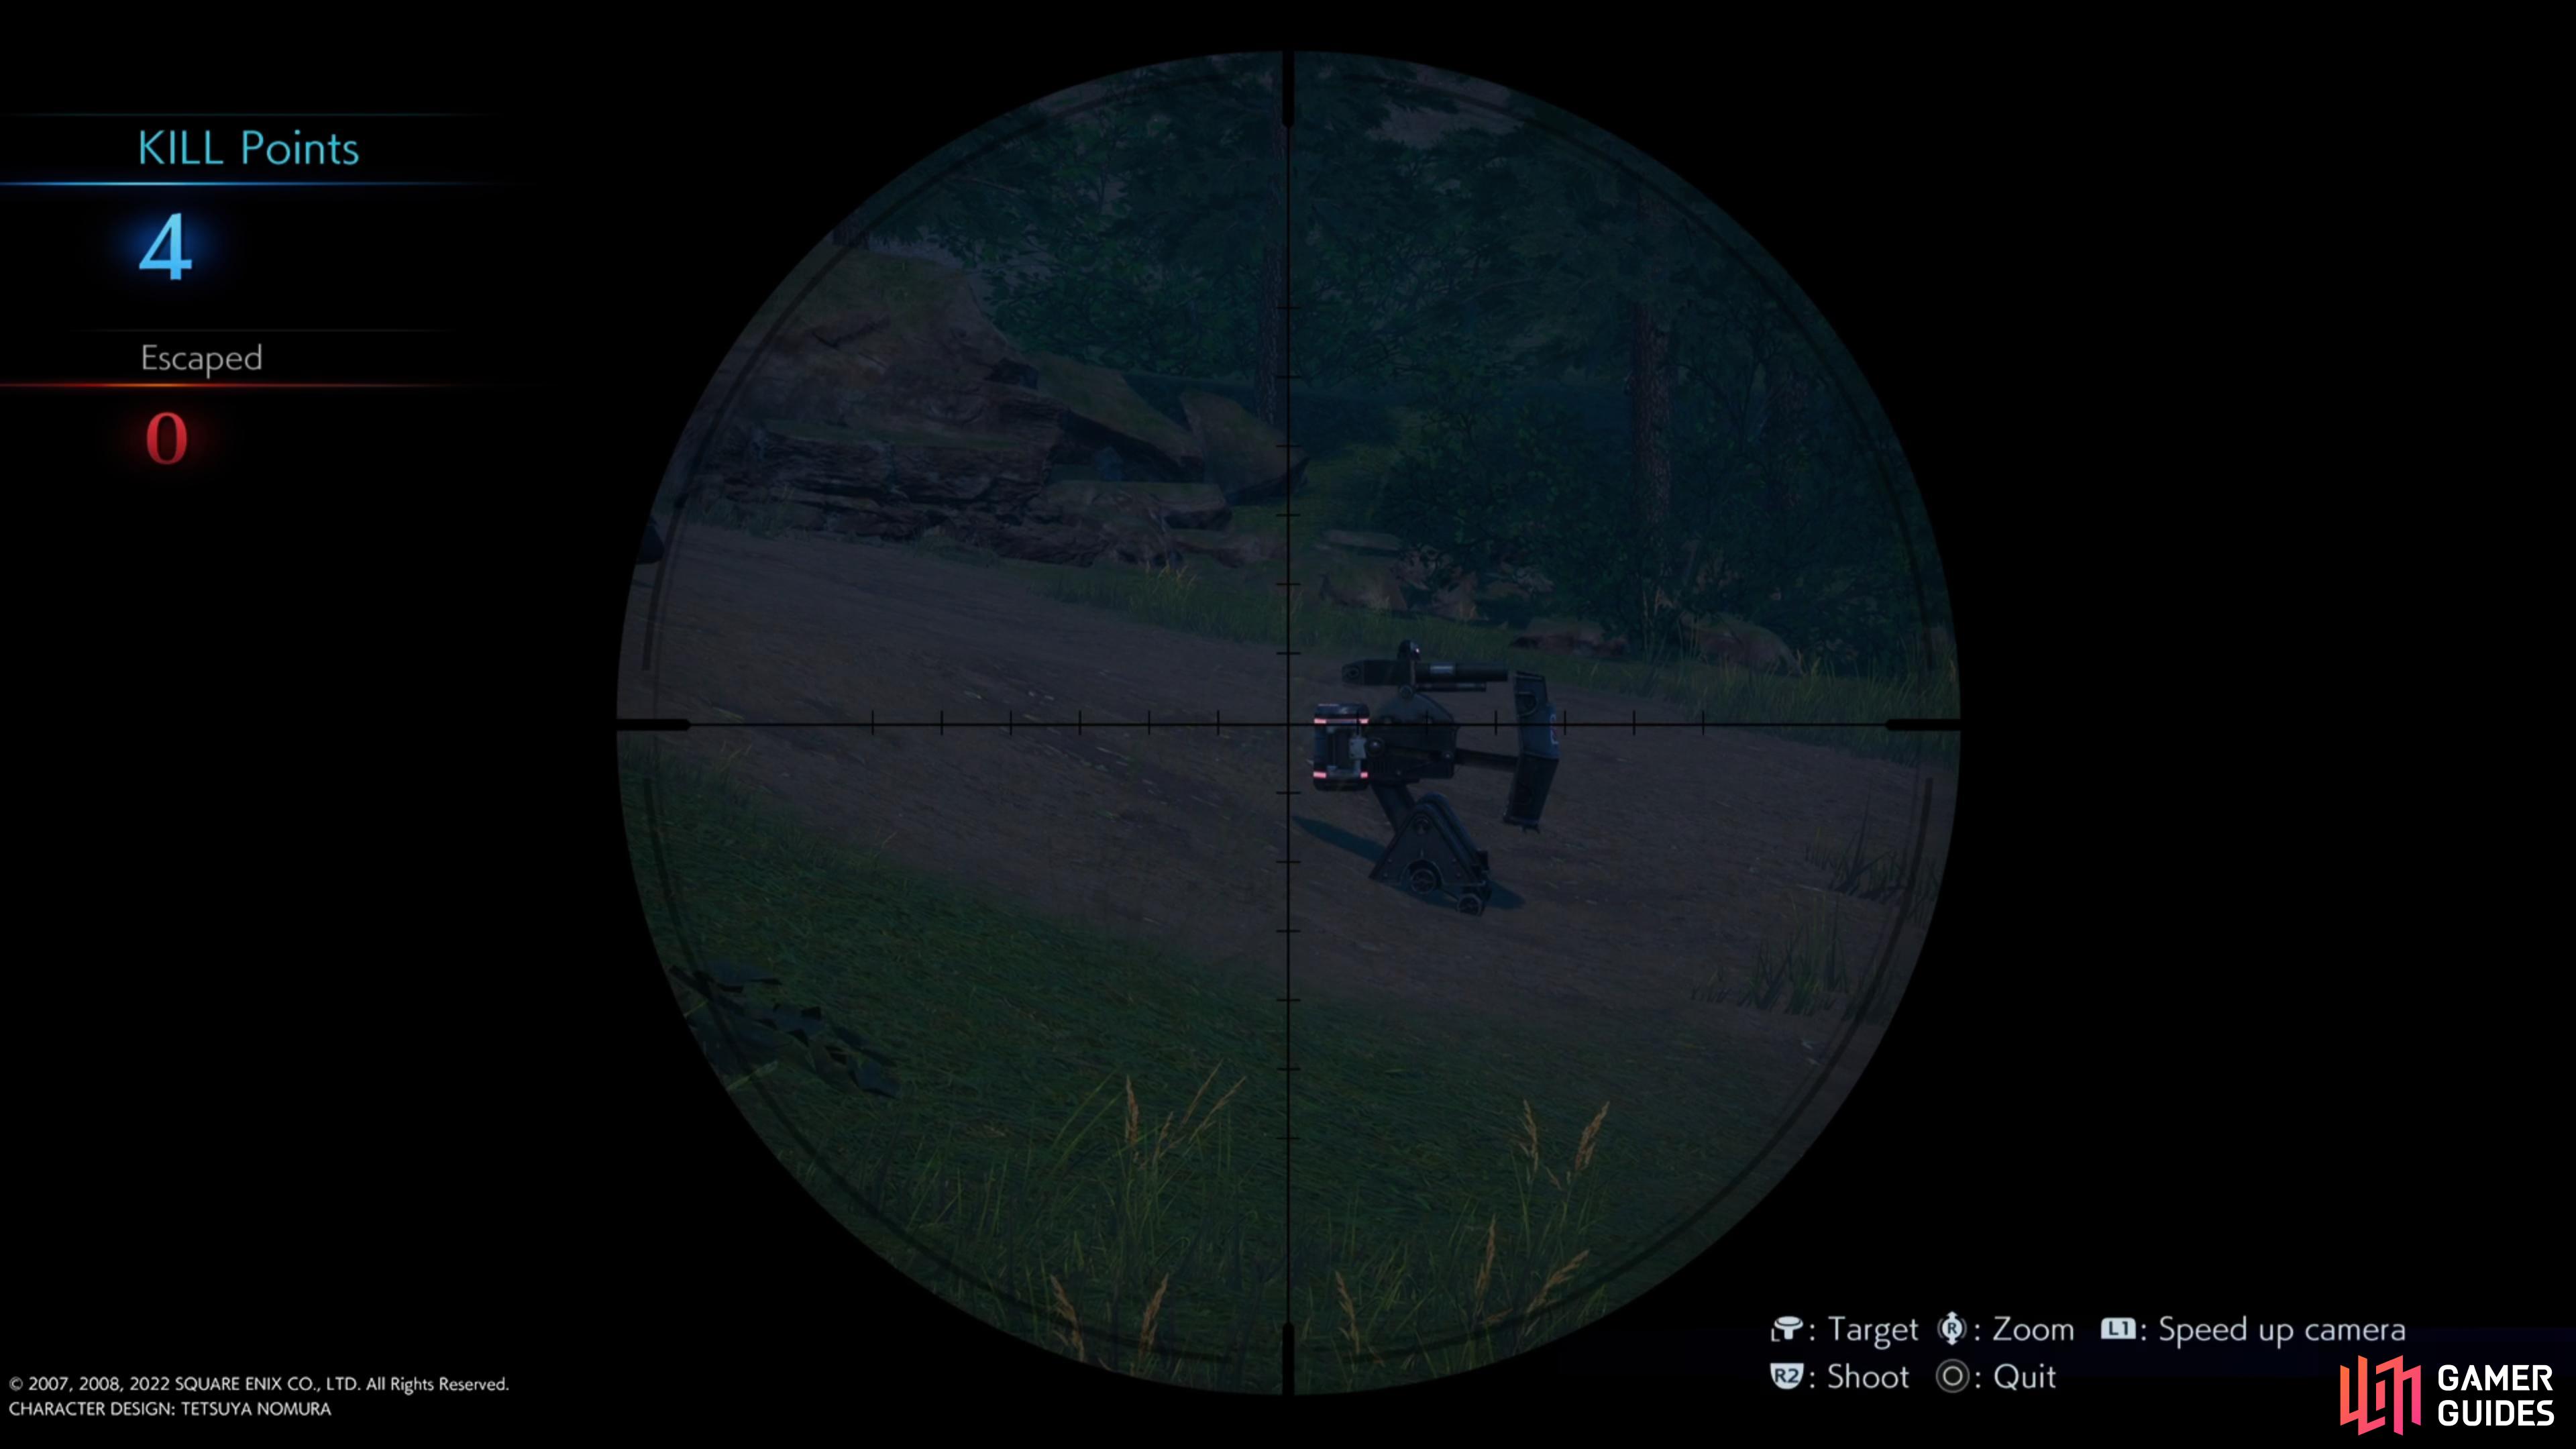
Sniper Spot #4
You will find more moving robots in the fourth spot.
The next sniper spot is just beyond the third and you should make sure you have the fully upgrade sniper rifle at this point. You’ll be dealing with three moving gun bull heads this time around, so consider taking out the middle first, then the left, and finally the right.
Sniper Spot #5

Go right at the first intersection to find the fifth sniper spot
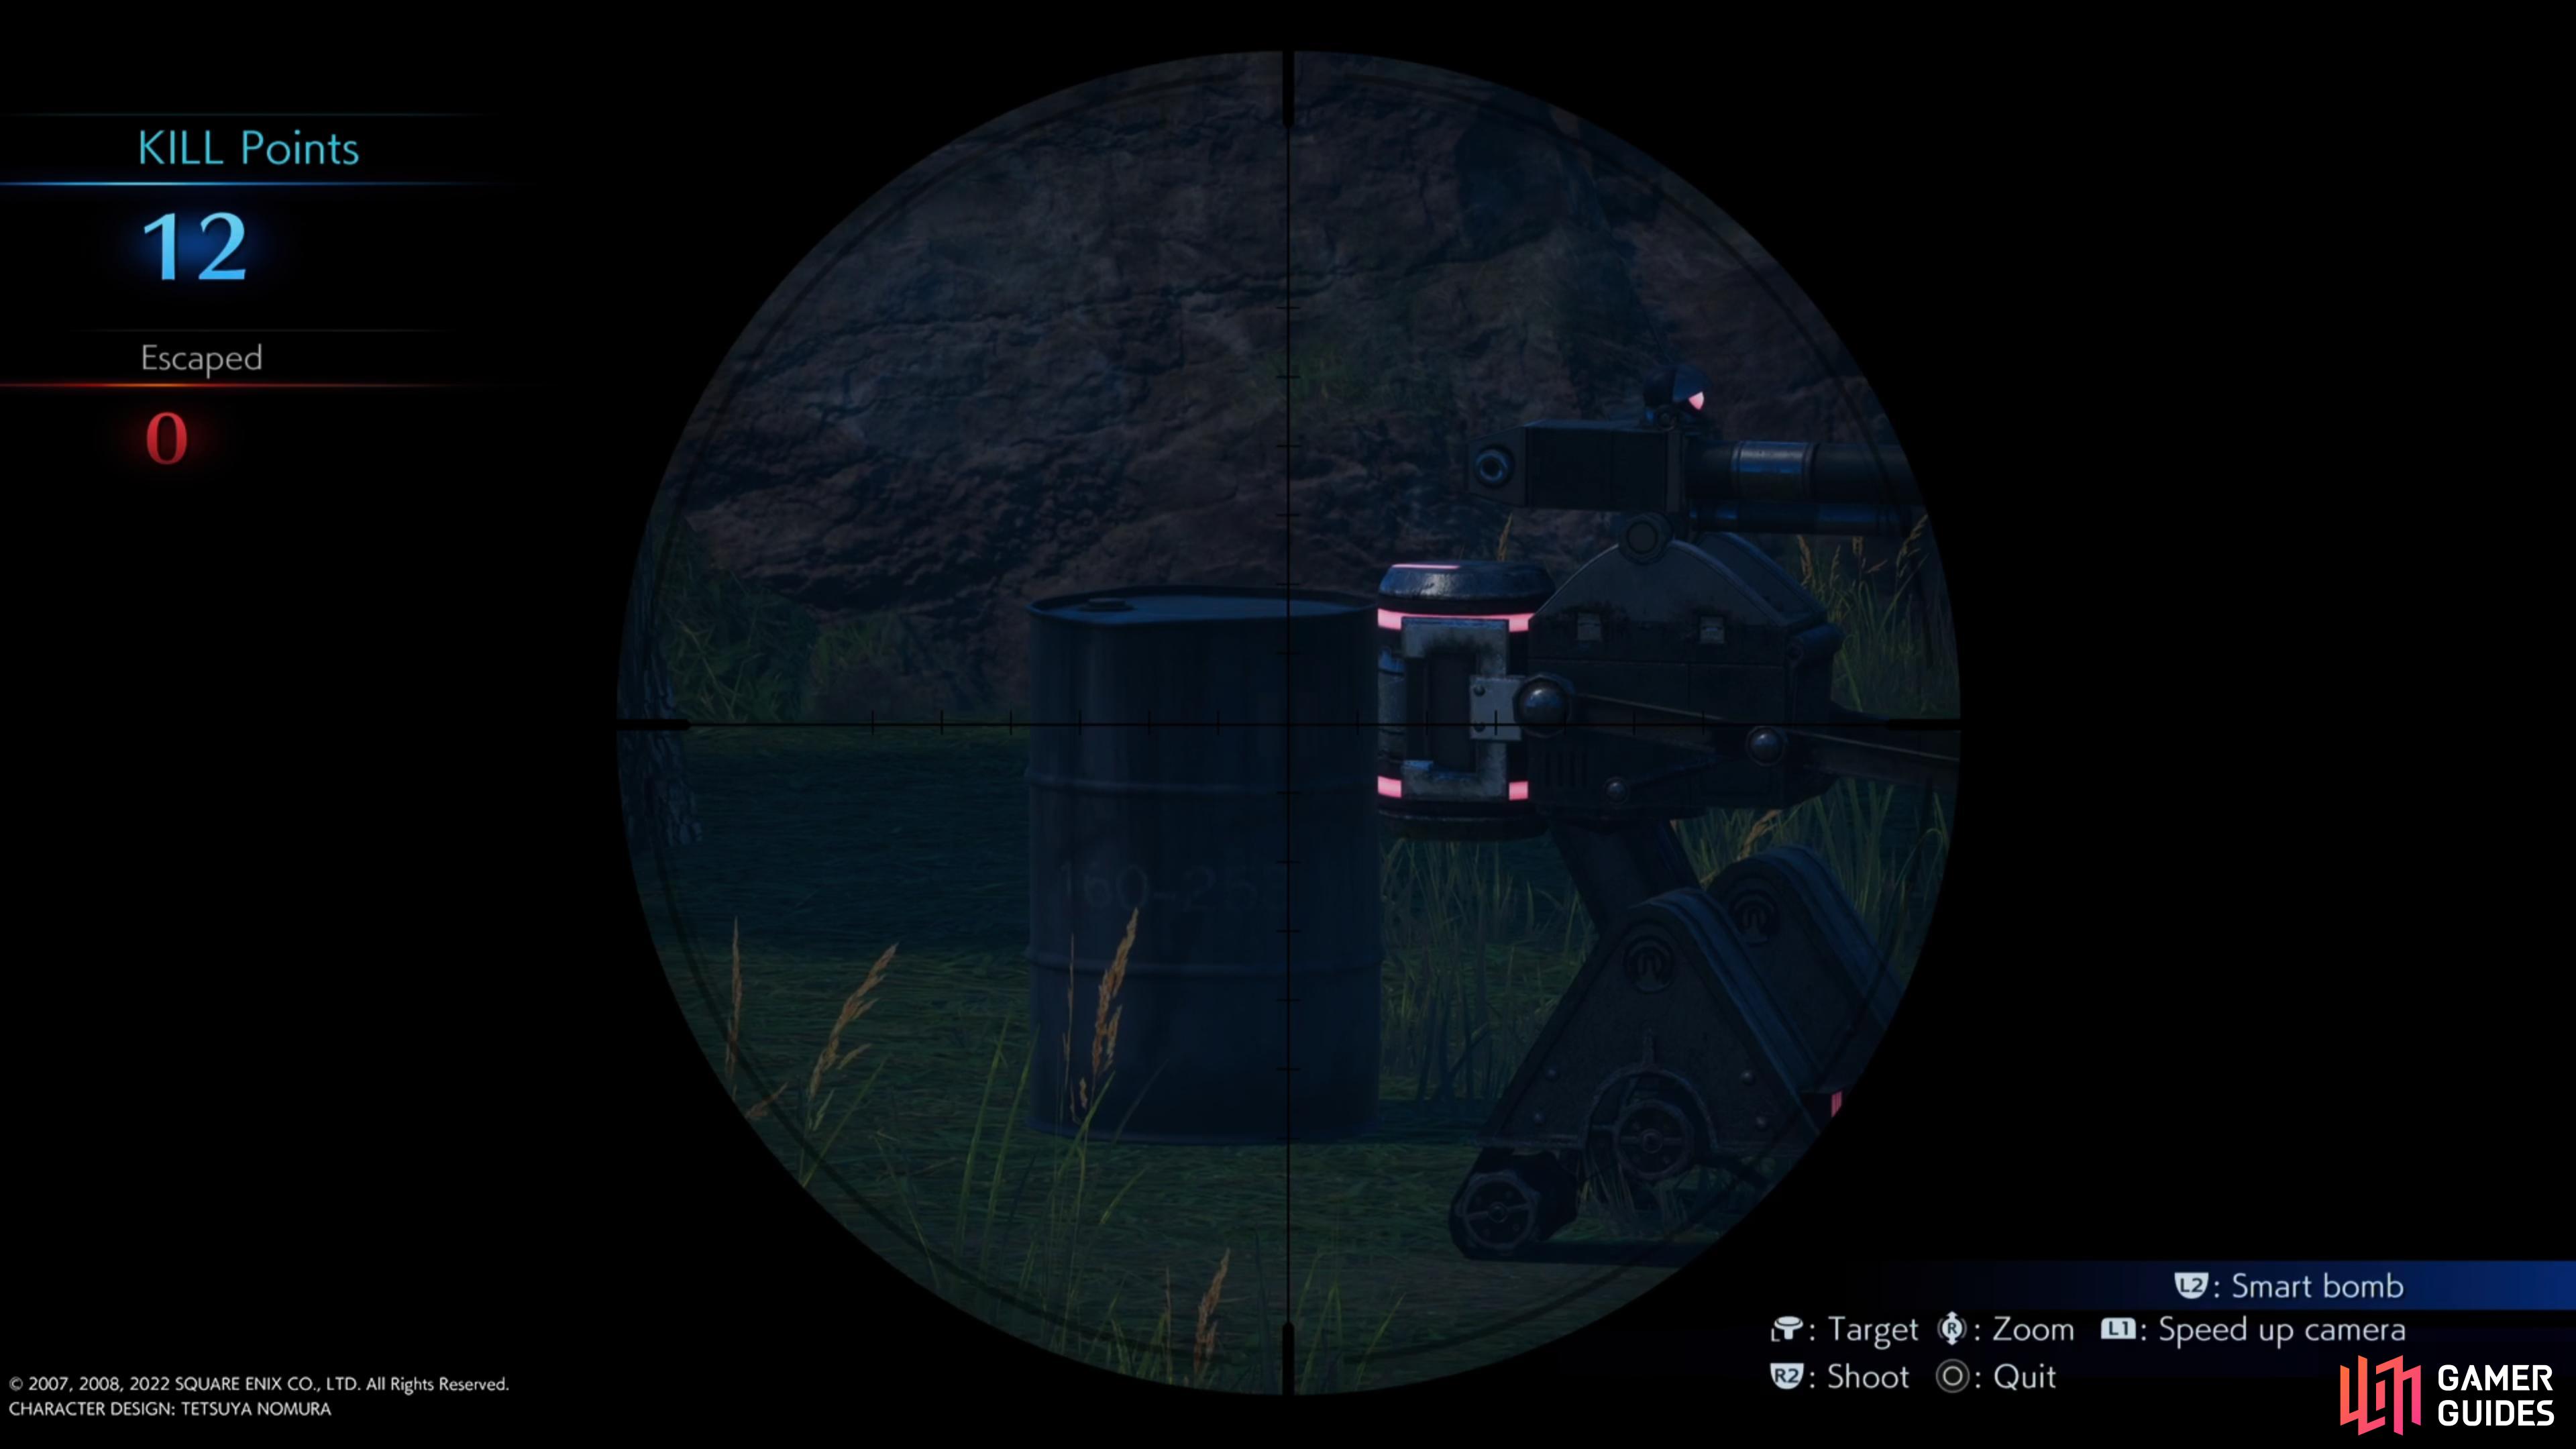
shoot the barrel to take them all out at once.
This sniper spot is easy to miss as you’ll need to head right at the intersection. You’ll have to take out three stationary gun bull heads and if you look carefully, you’ll spot a barrel you can shoot. Do so, and you’ll take all three out in one fell swoop.
Sniper Spot #6
Make sure you have a Smart Bomb ready for the sixth sniper spot
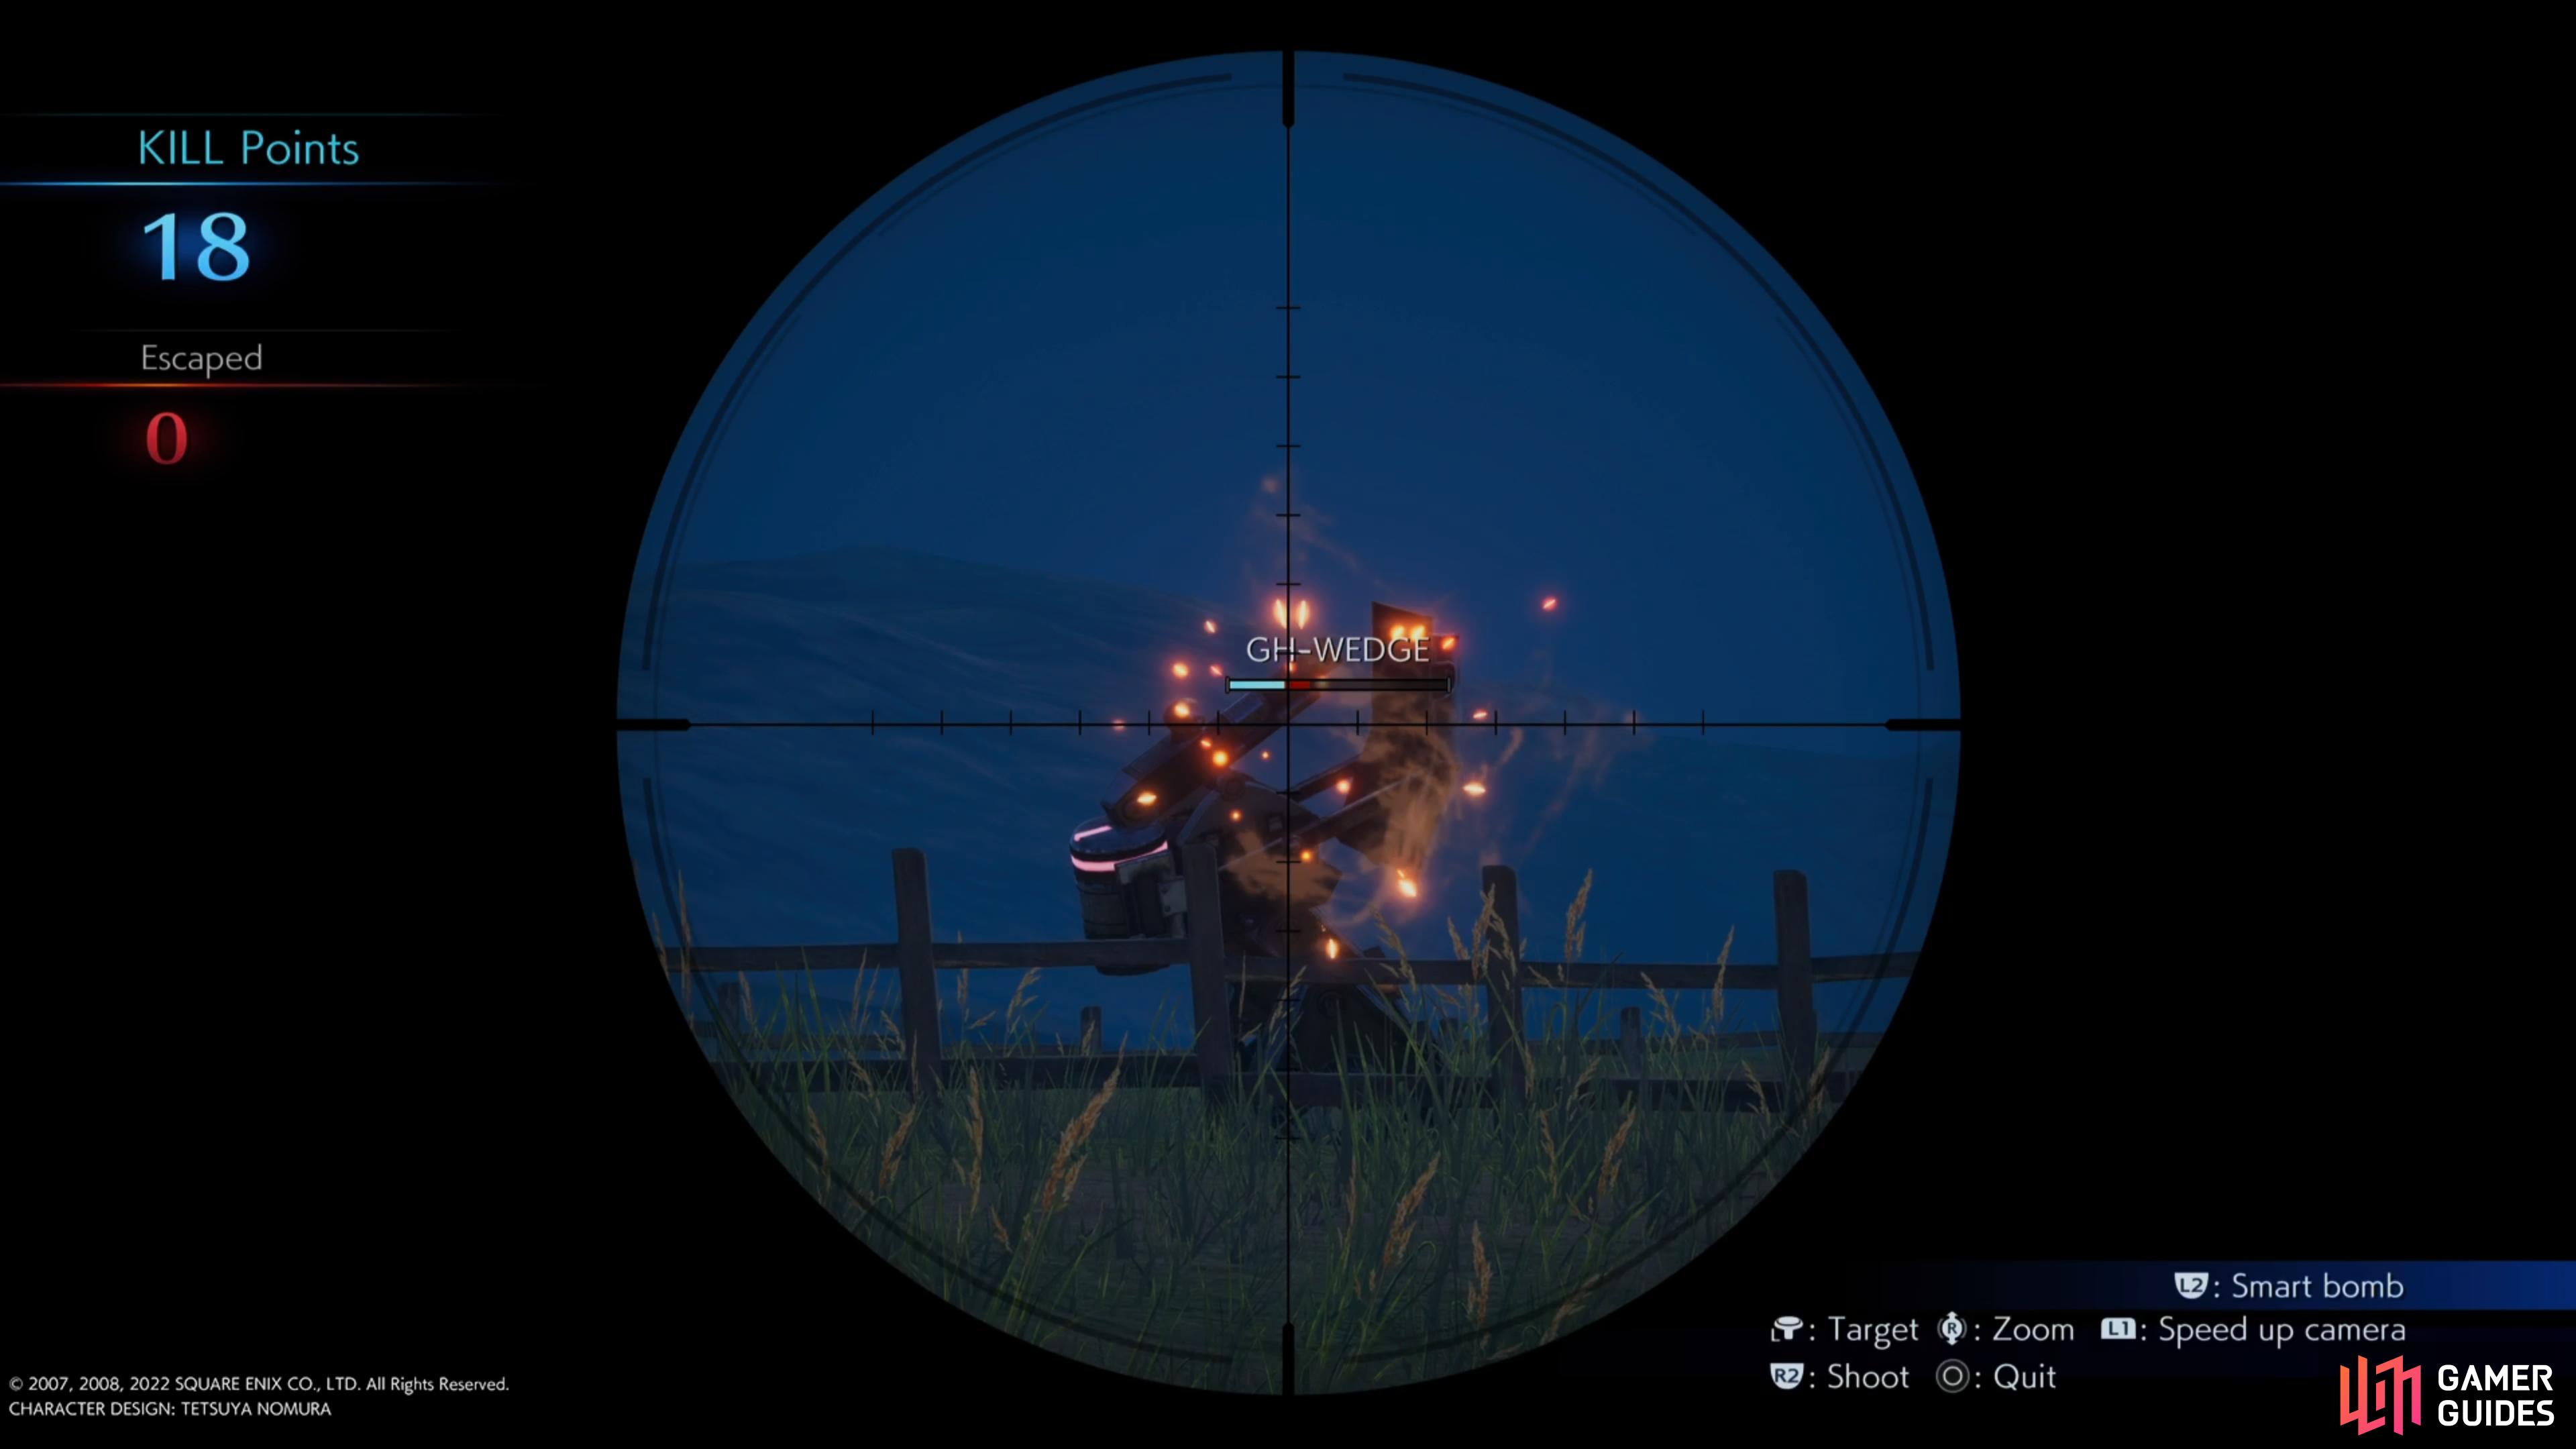
three headshots to the left and a smart bomb to the right robot will see you through here.
Return to the intersection and take the other path now, and you’ll come across the sixth sniper spot and if you haven’t done so already, make sure your sniper rifle is maxed out and you have a Smart Bomb available. You’ll be up against a BIGGS and a WEDGE gun bull head which are far sturdier than any of the others. Begin by firing three shots at WEDGE’s (left) head and quickly turn around and use the Smart Bomb against the BIGGS robot to the right.
Sniper Spot #7
Go left at the second intersection to find this sniper spot

you will need to be quick so fire away at the bodies with a fully upgraded sniper rifle.
Another sniper spot that is easy to miss, this time go left at the intersection to find the rifle. The gun bull heads will look to try and flee after you take the first shot so after a headshot on the first, consider just firing away at the bodies for the other two gun bull heads before they can flee.
Sniper Spot #8
This is the final sniper spot, and you’ll find it by going right at the intersection. Make sure you have a Smart Bomb available and then take aim at the barrels to deal with the left gun bull head, use a Smart Bomb on the middle and then snipe away at the remaining robot on the right.
You’ll have to head to the bottom of the hill before you get your results and the Zack the Sniper Trophy/Achievement.
No Comments