Broodguard
In-Game Description
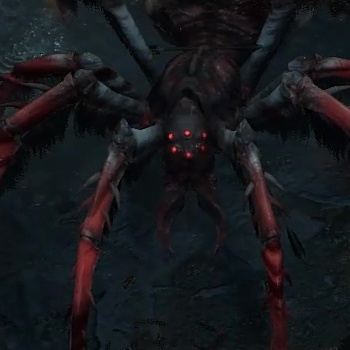
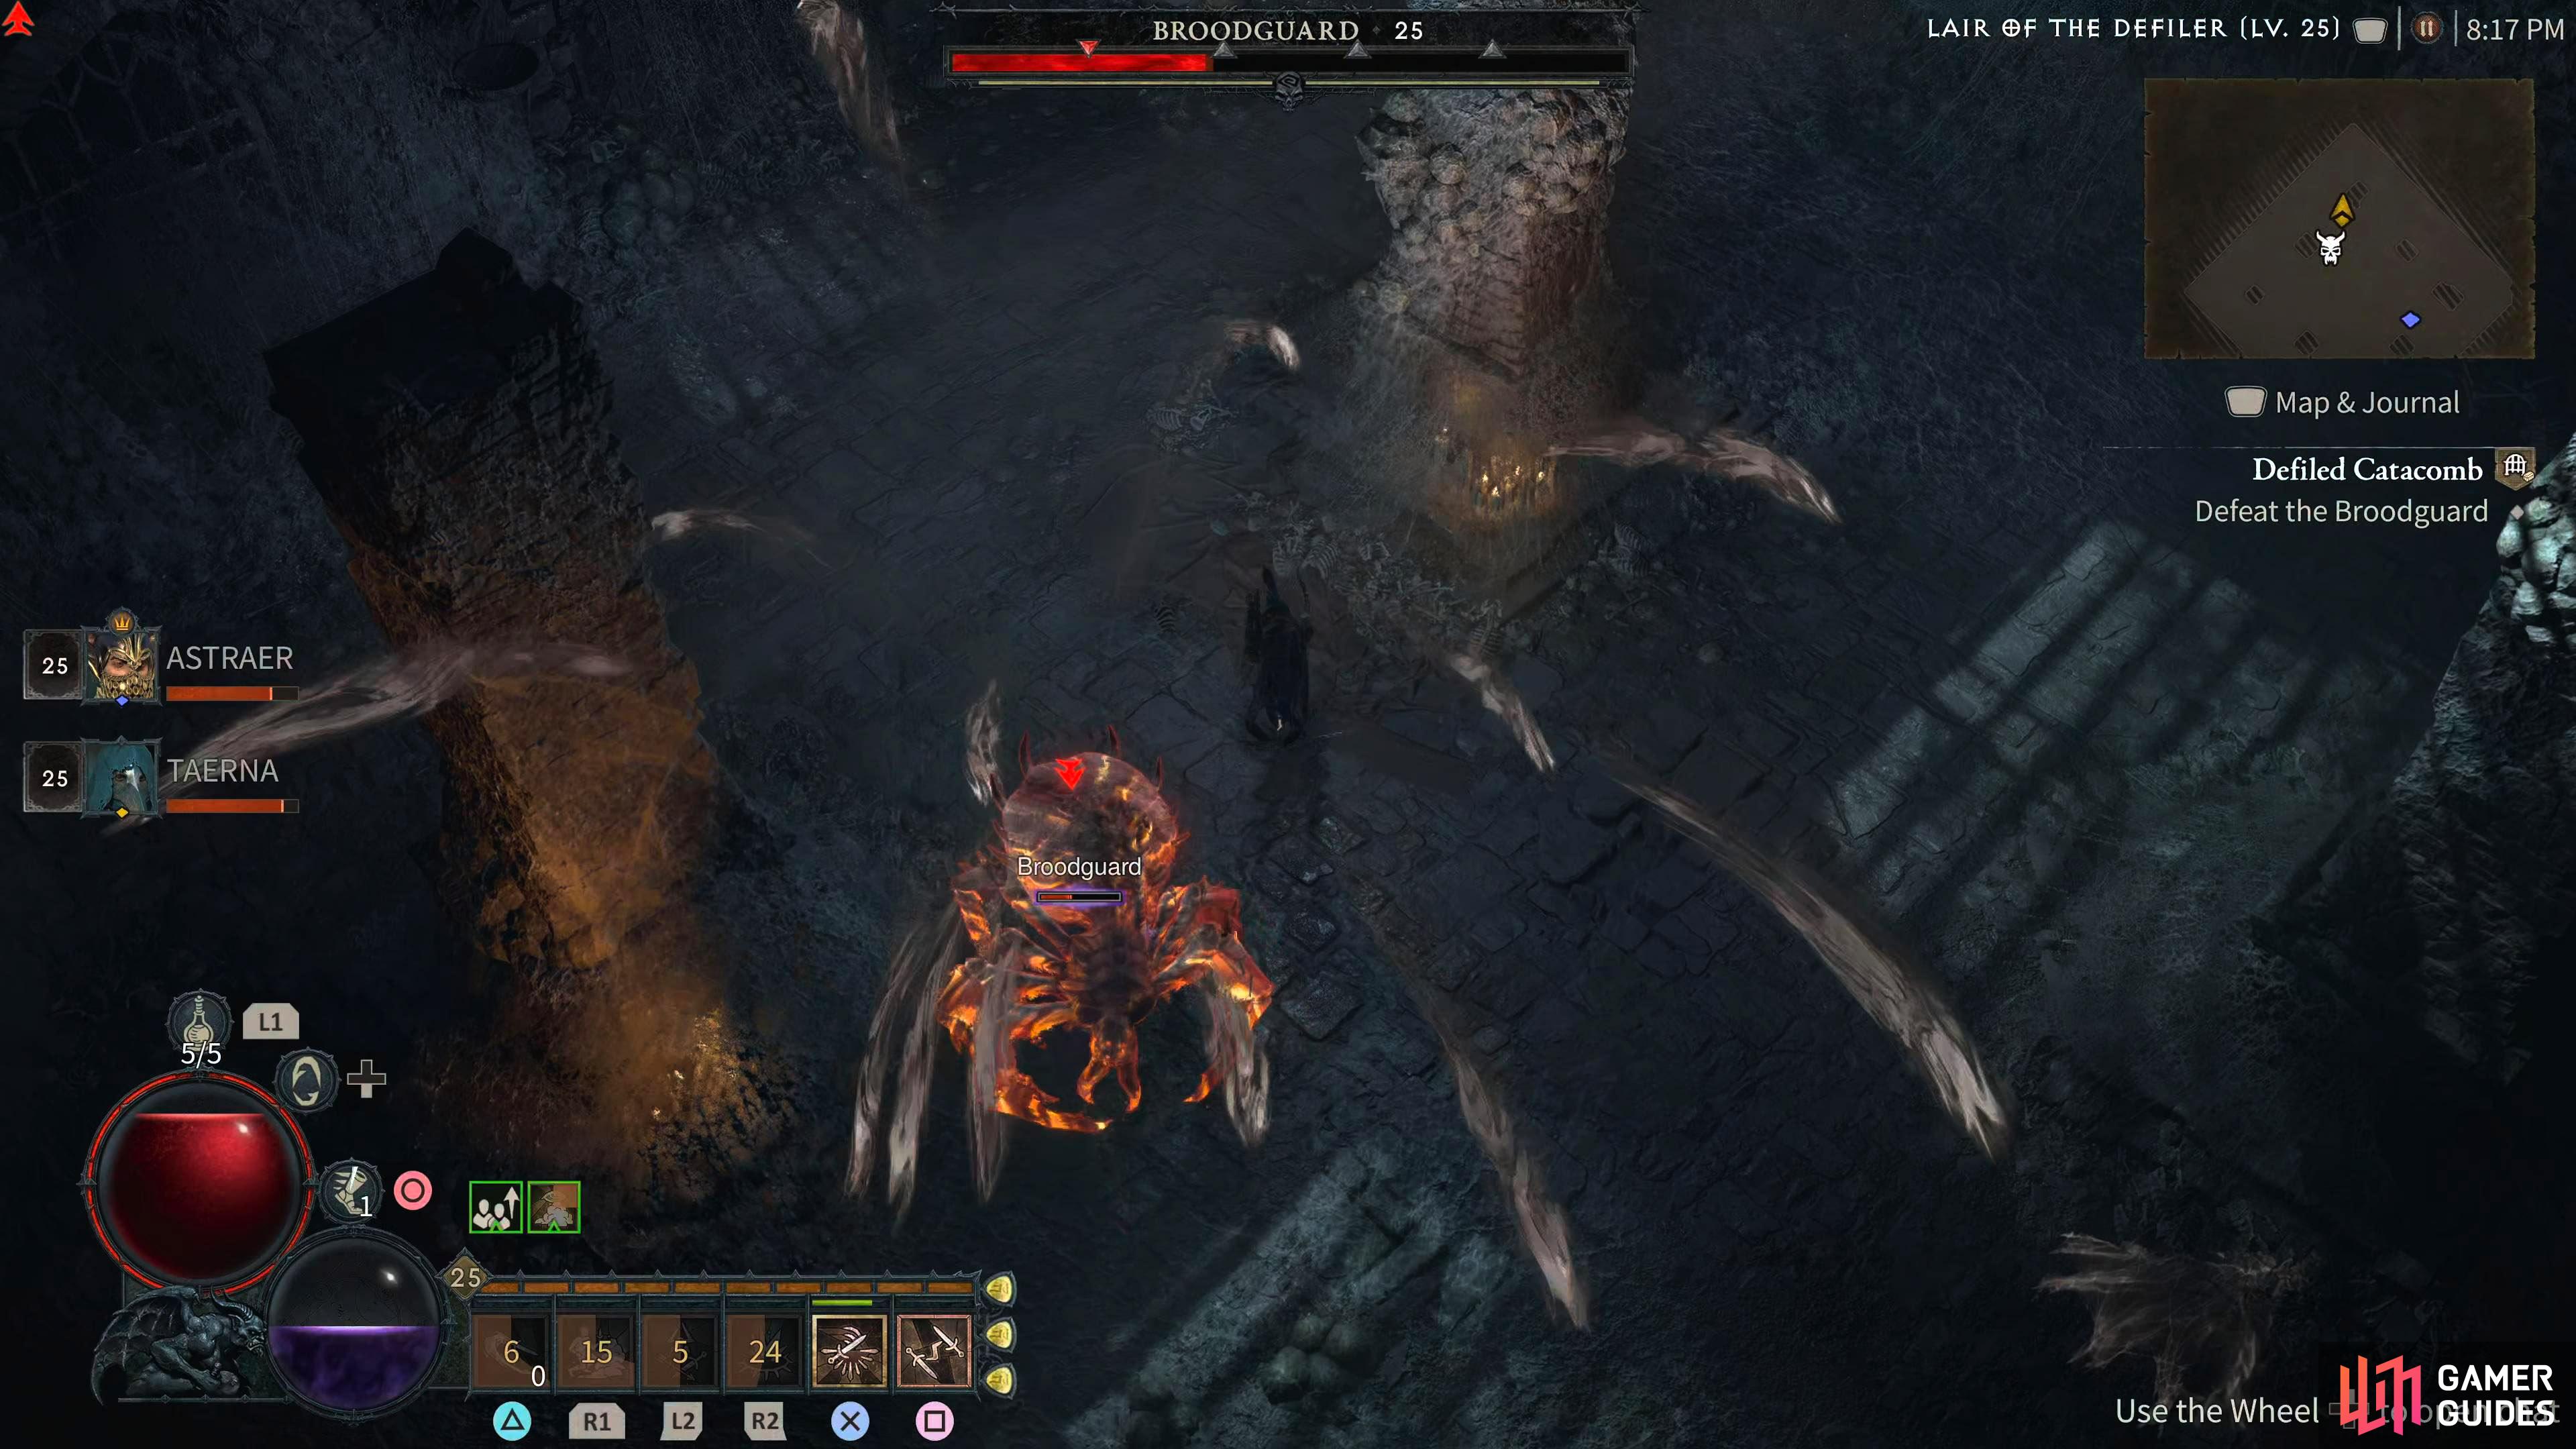
The ![]() Broodguard is a massive spider that deposits sticky webs around the room, slowing your movement down dramatically. It also spits poison globs that scatter and form Poison pools so be wary and try to find the safer spaces. She can summon other spider minions to aid her when her HP is lowered enough. Generally, this is a game of cat and mouse and ranged builds will have a much easier time.
Broodguard is a massive spider that deposits sticky webs around the room, slowing your movement down dramatically. It also spits poison globs that scatter and form Poison pools so be wary and try to find the safer spaces. She can summon other spider minions to aid her when her HP is lowered enough. Generally, this is a game of cat and mouse and ranged builds will have a much easier time.
This is an incredibly tough boss for melee characters so ideally, bring a friend or two.
Description
The ![]() Broodguard doesn’t have a lot of attacks, but the attacks it does have can be problematic. Throughout the battle, you’ll encounter the following attacks:
Broodguard doesn’t have a lot of attacks, but the attacks it does have can be problematic. Throughout the battle, you’ll encounter the following attacks:
-
Leg Stab/Bite - This is a generic attack where the Broodguard will attack you with one of its many legs (or bite you). Fortunately, it doesn’t deal a lot of damage, so you can continue to attack the boss and take the hit. You could dodge this, but your dodges will be better served on its other attacks.
-
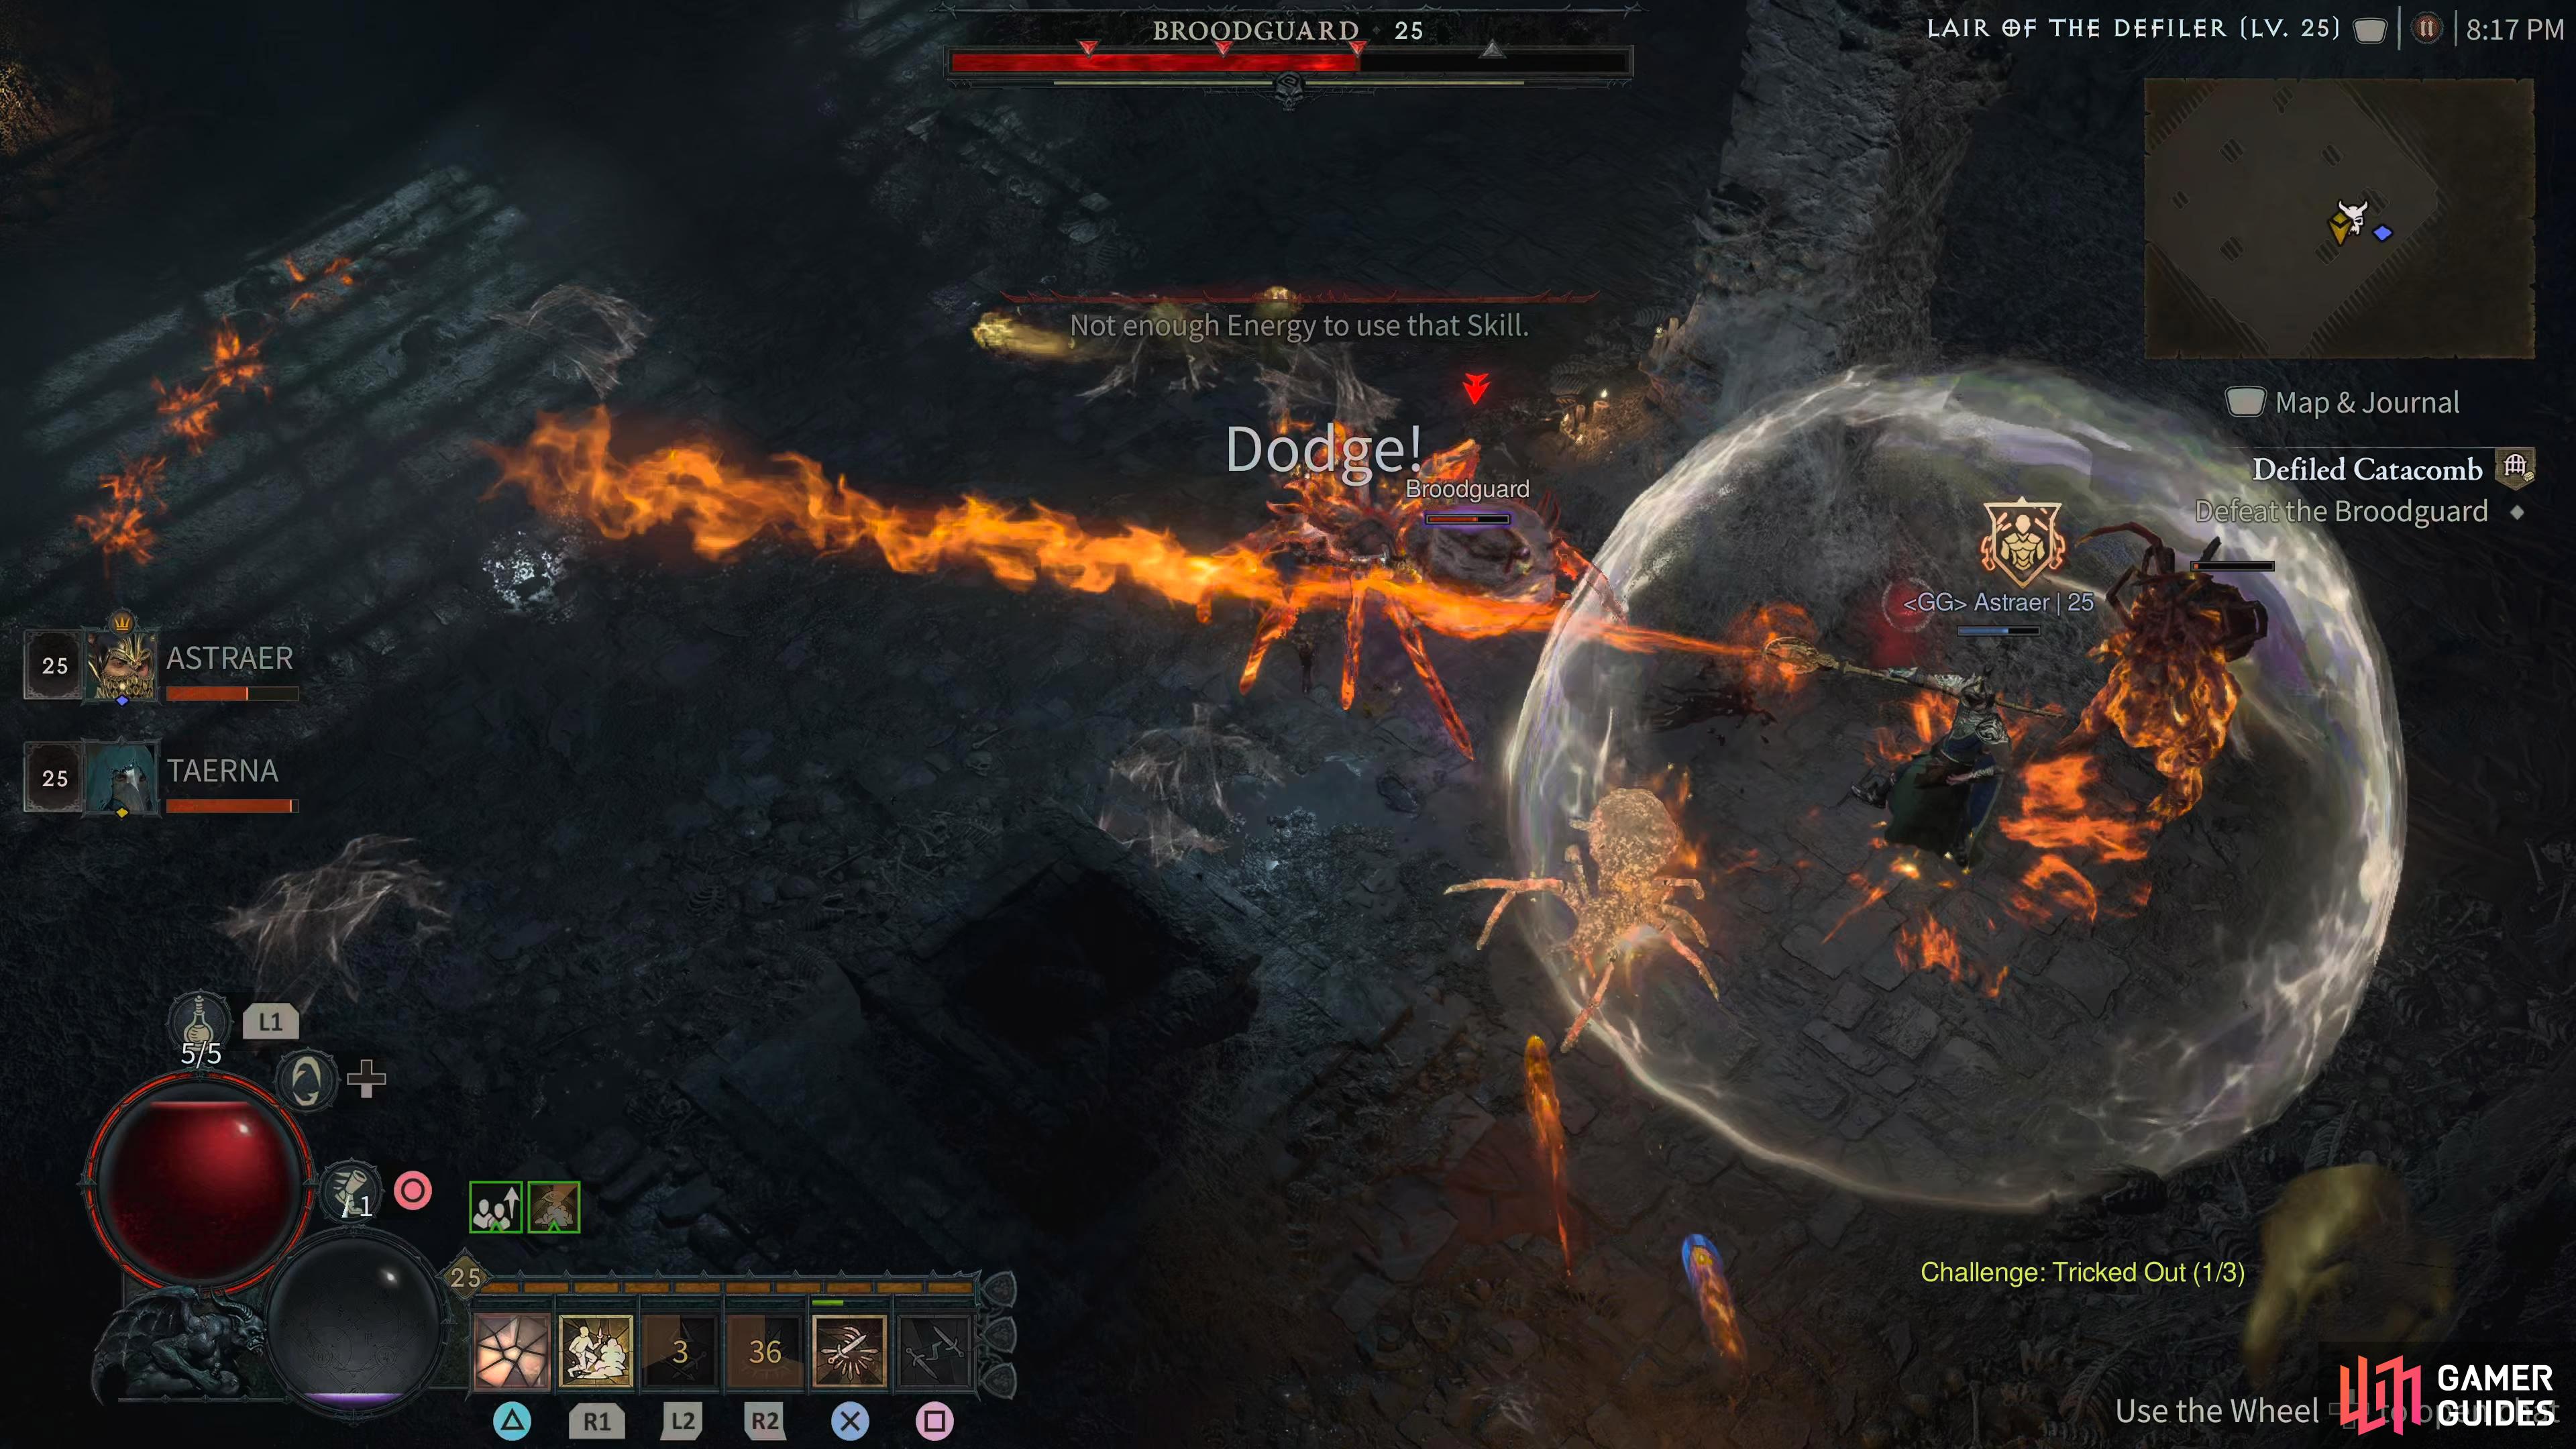
Web Throw - The Broodguard will throw out numerous webs around the arena, and if you get caught in one, you’ll either be slowed, or rooted. The attack itself doesn’t deal any damage, but it will leave you vulnerable to a follow-up attack. For the most part, you can avoid this by staying close to the boss.
-
Poison Spit - Similar to the Web Throw attack, the Broodguard will spit out several puddles of poison that persist on the floor for a brief moment. There doesn’t appear to be any specific places it will spit these puddles, but staying close to the boss once again will avoid this attack unless it runs near to them.
-
Summon
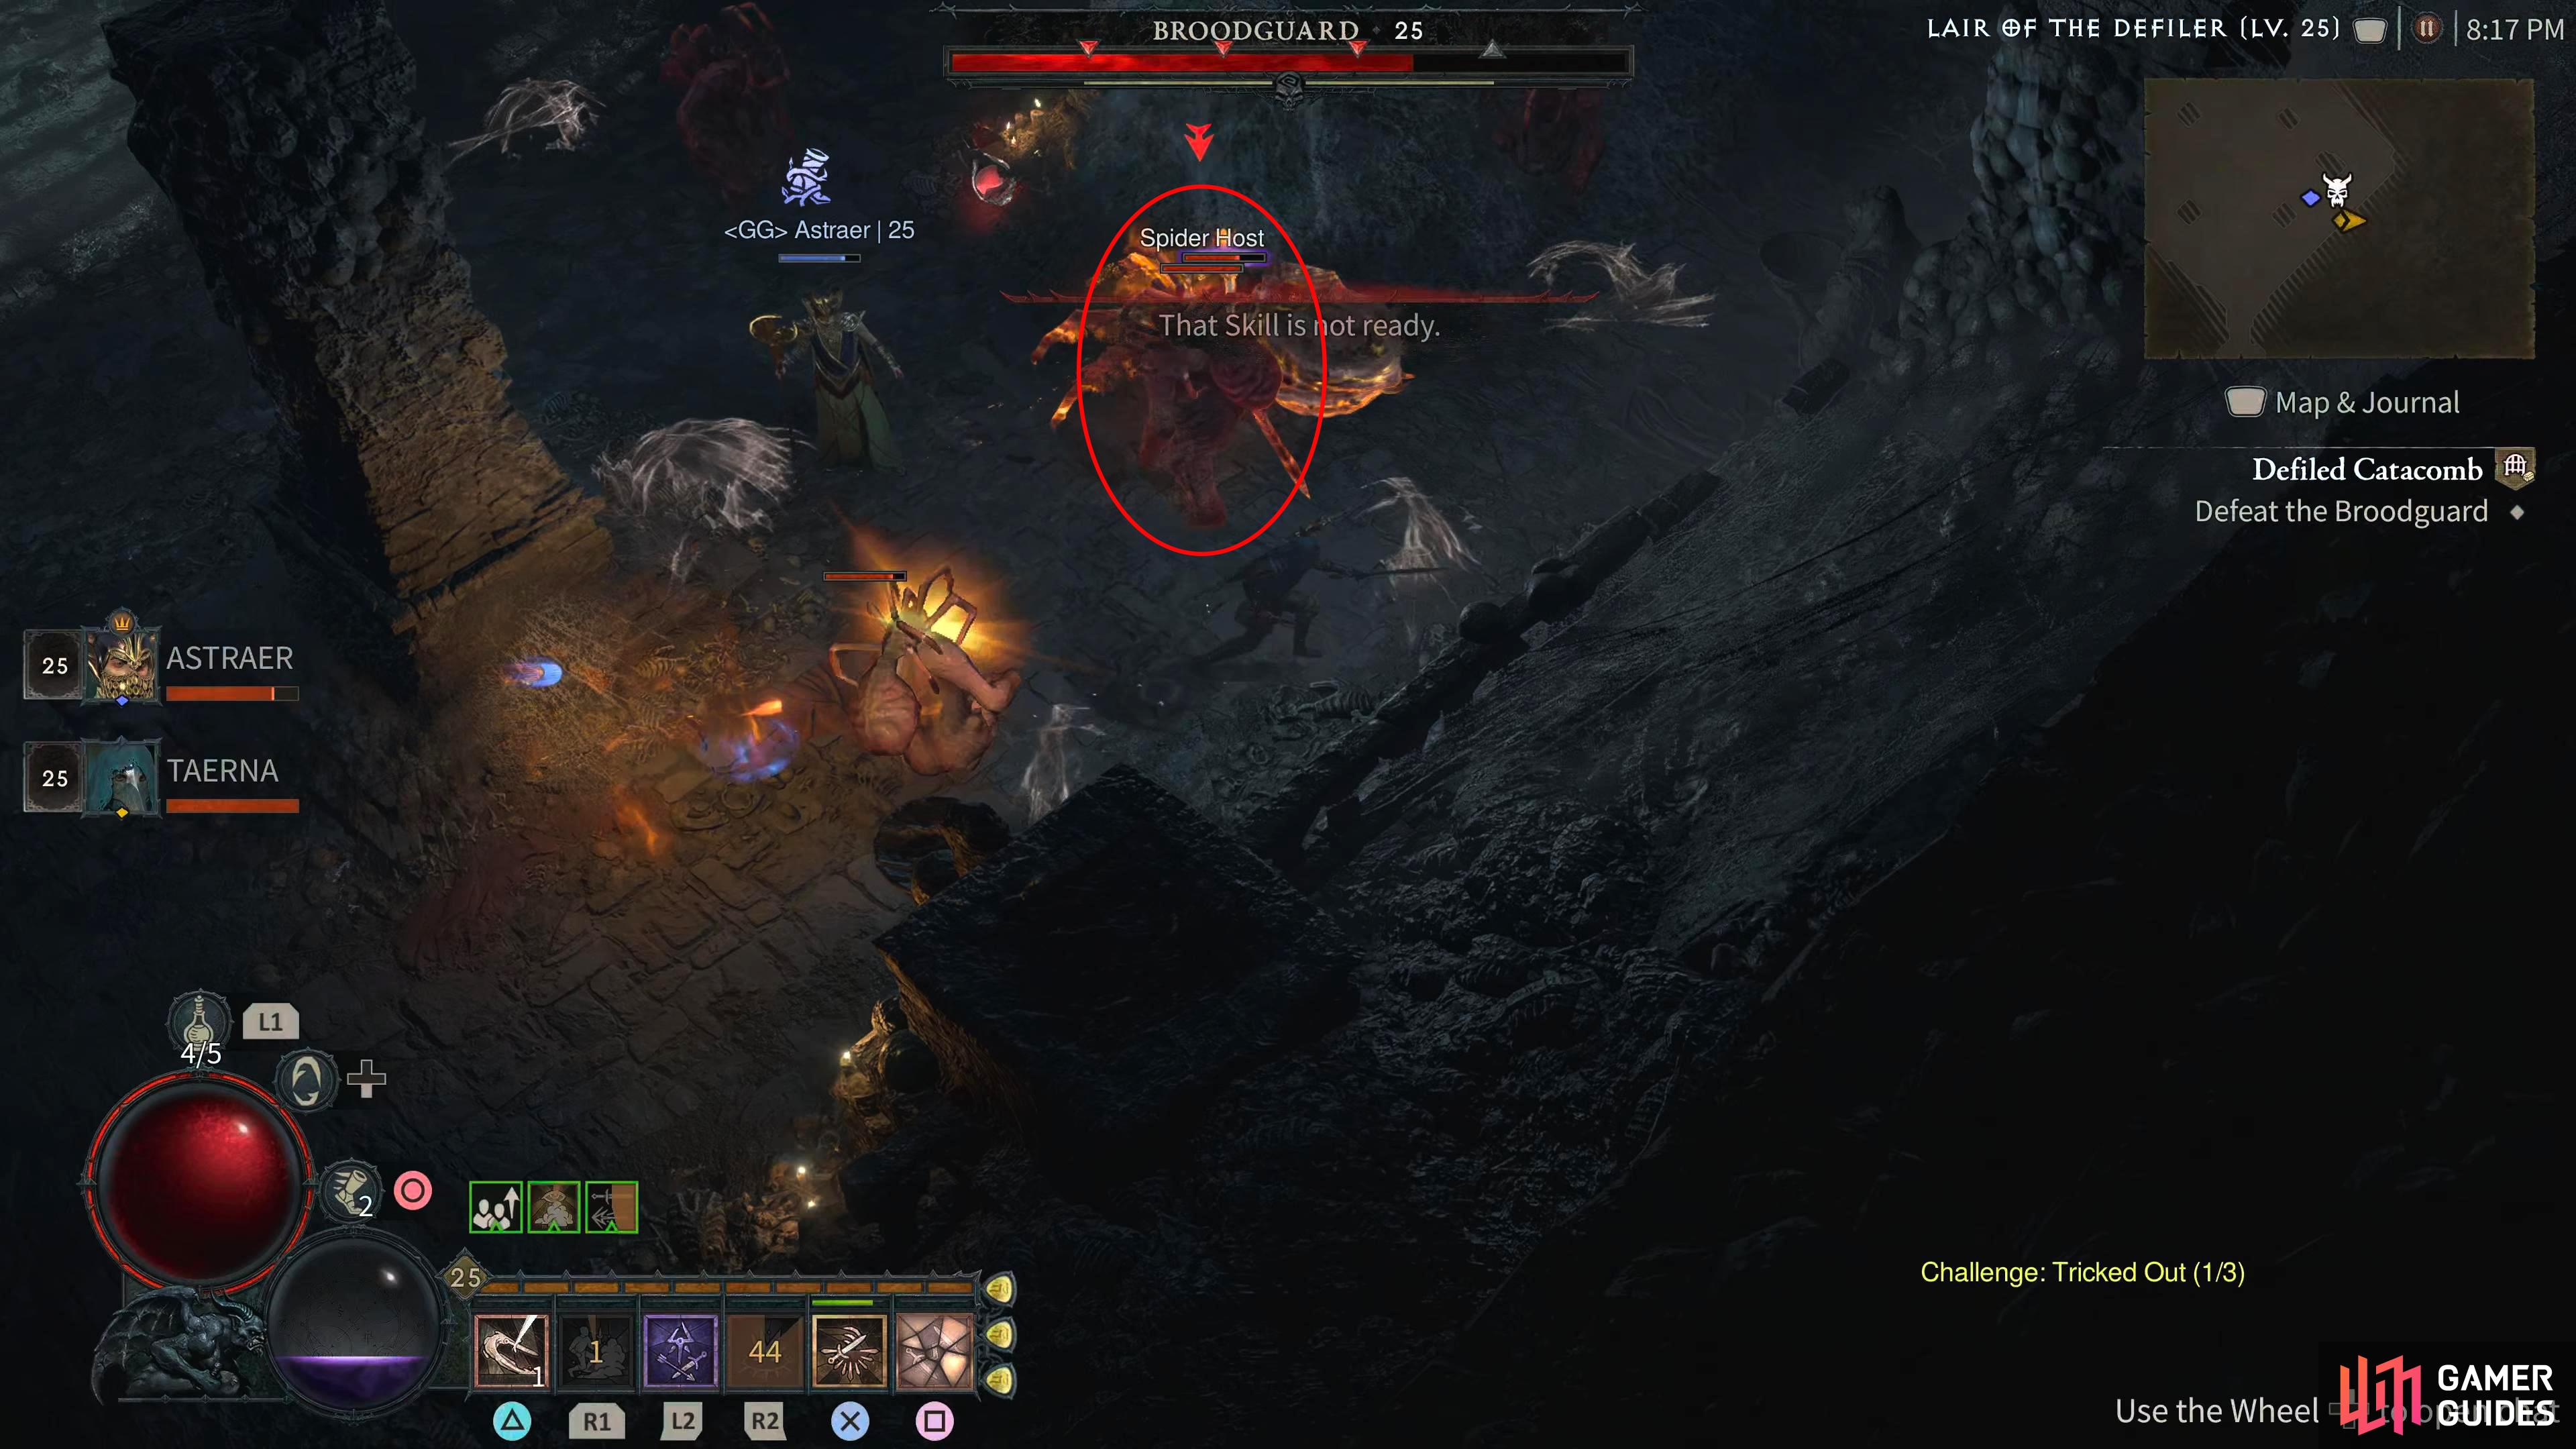
 Spider Hosts - Not an attack per se, but throughout the battle, the boss will summon enemies known as
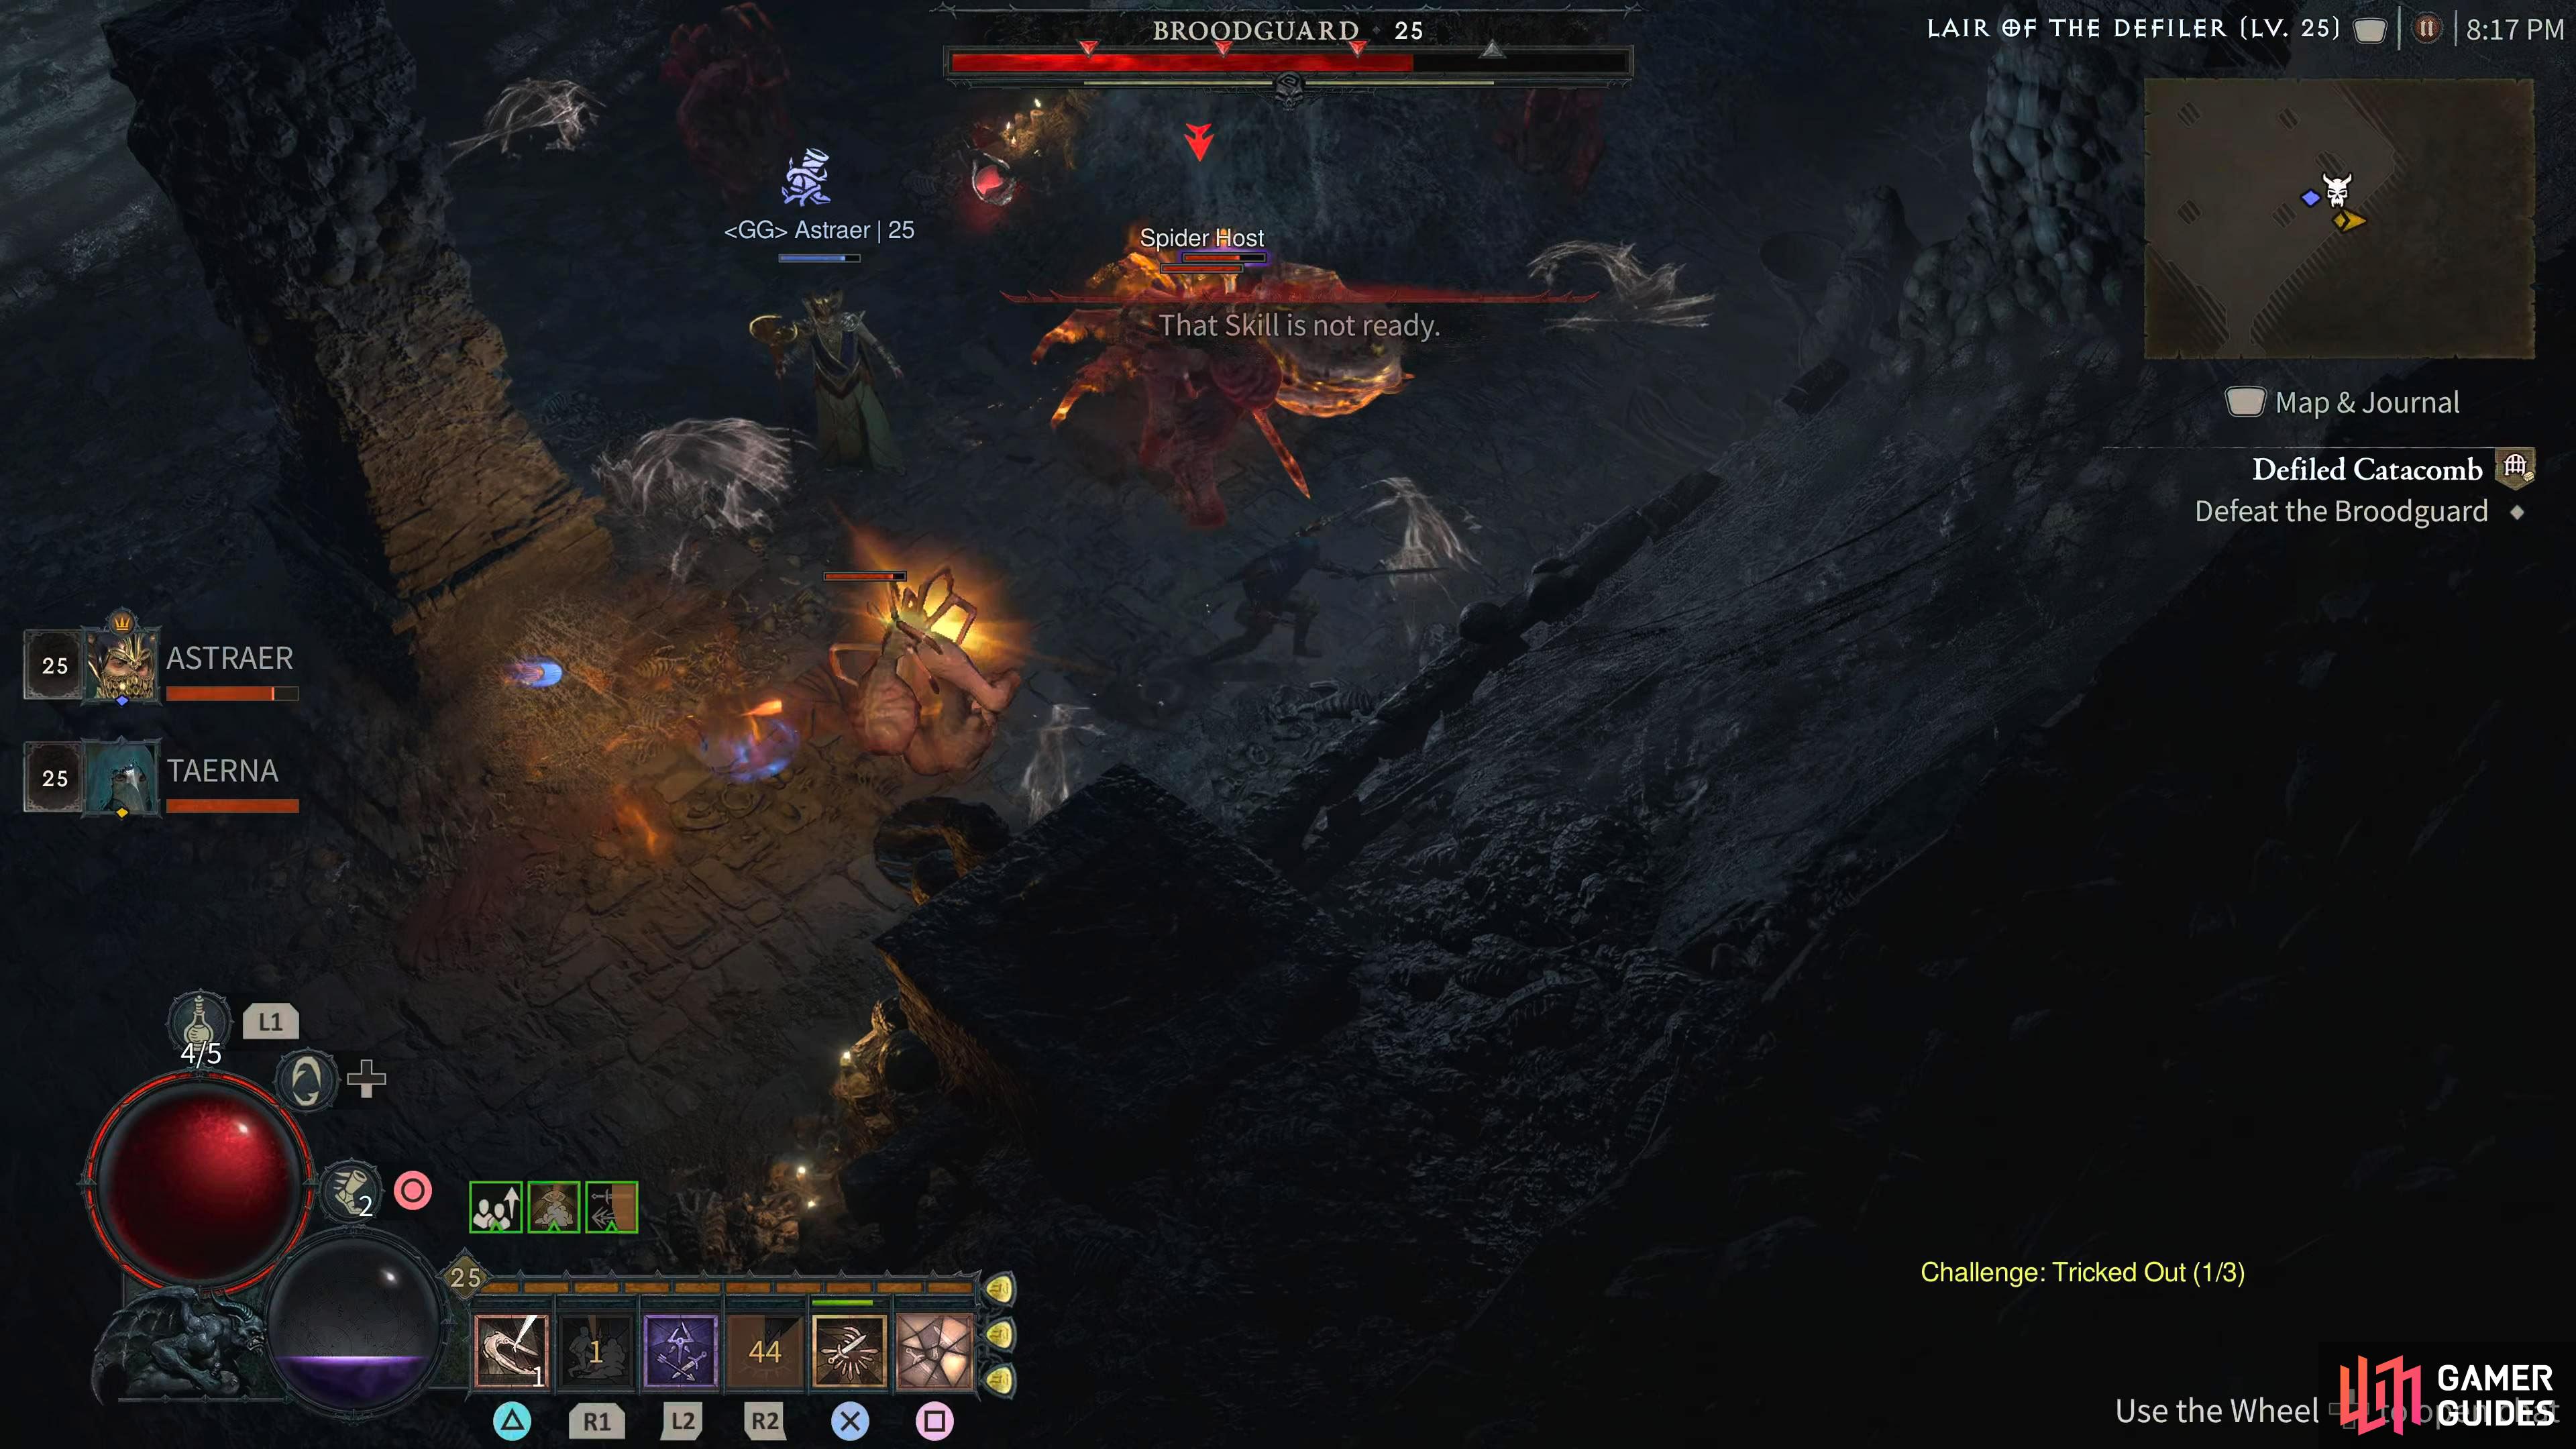
  Spider Host to the fight. They normally spawn in threes or fours, and when you defeat them, they’ll explode, and release other Spider enemies. When they spawn, these should be your focus otherwise you’ll end up with four enemies attacking you at once which will overwhelm your small healing supply.
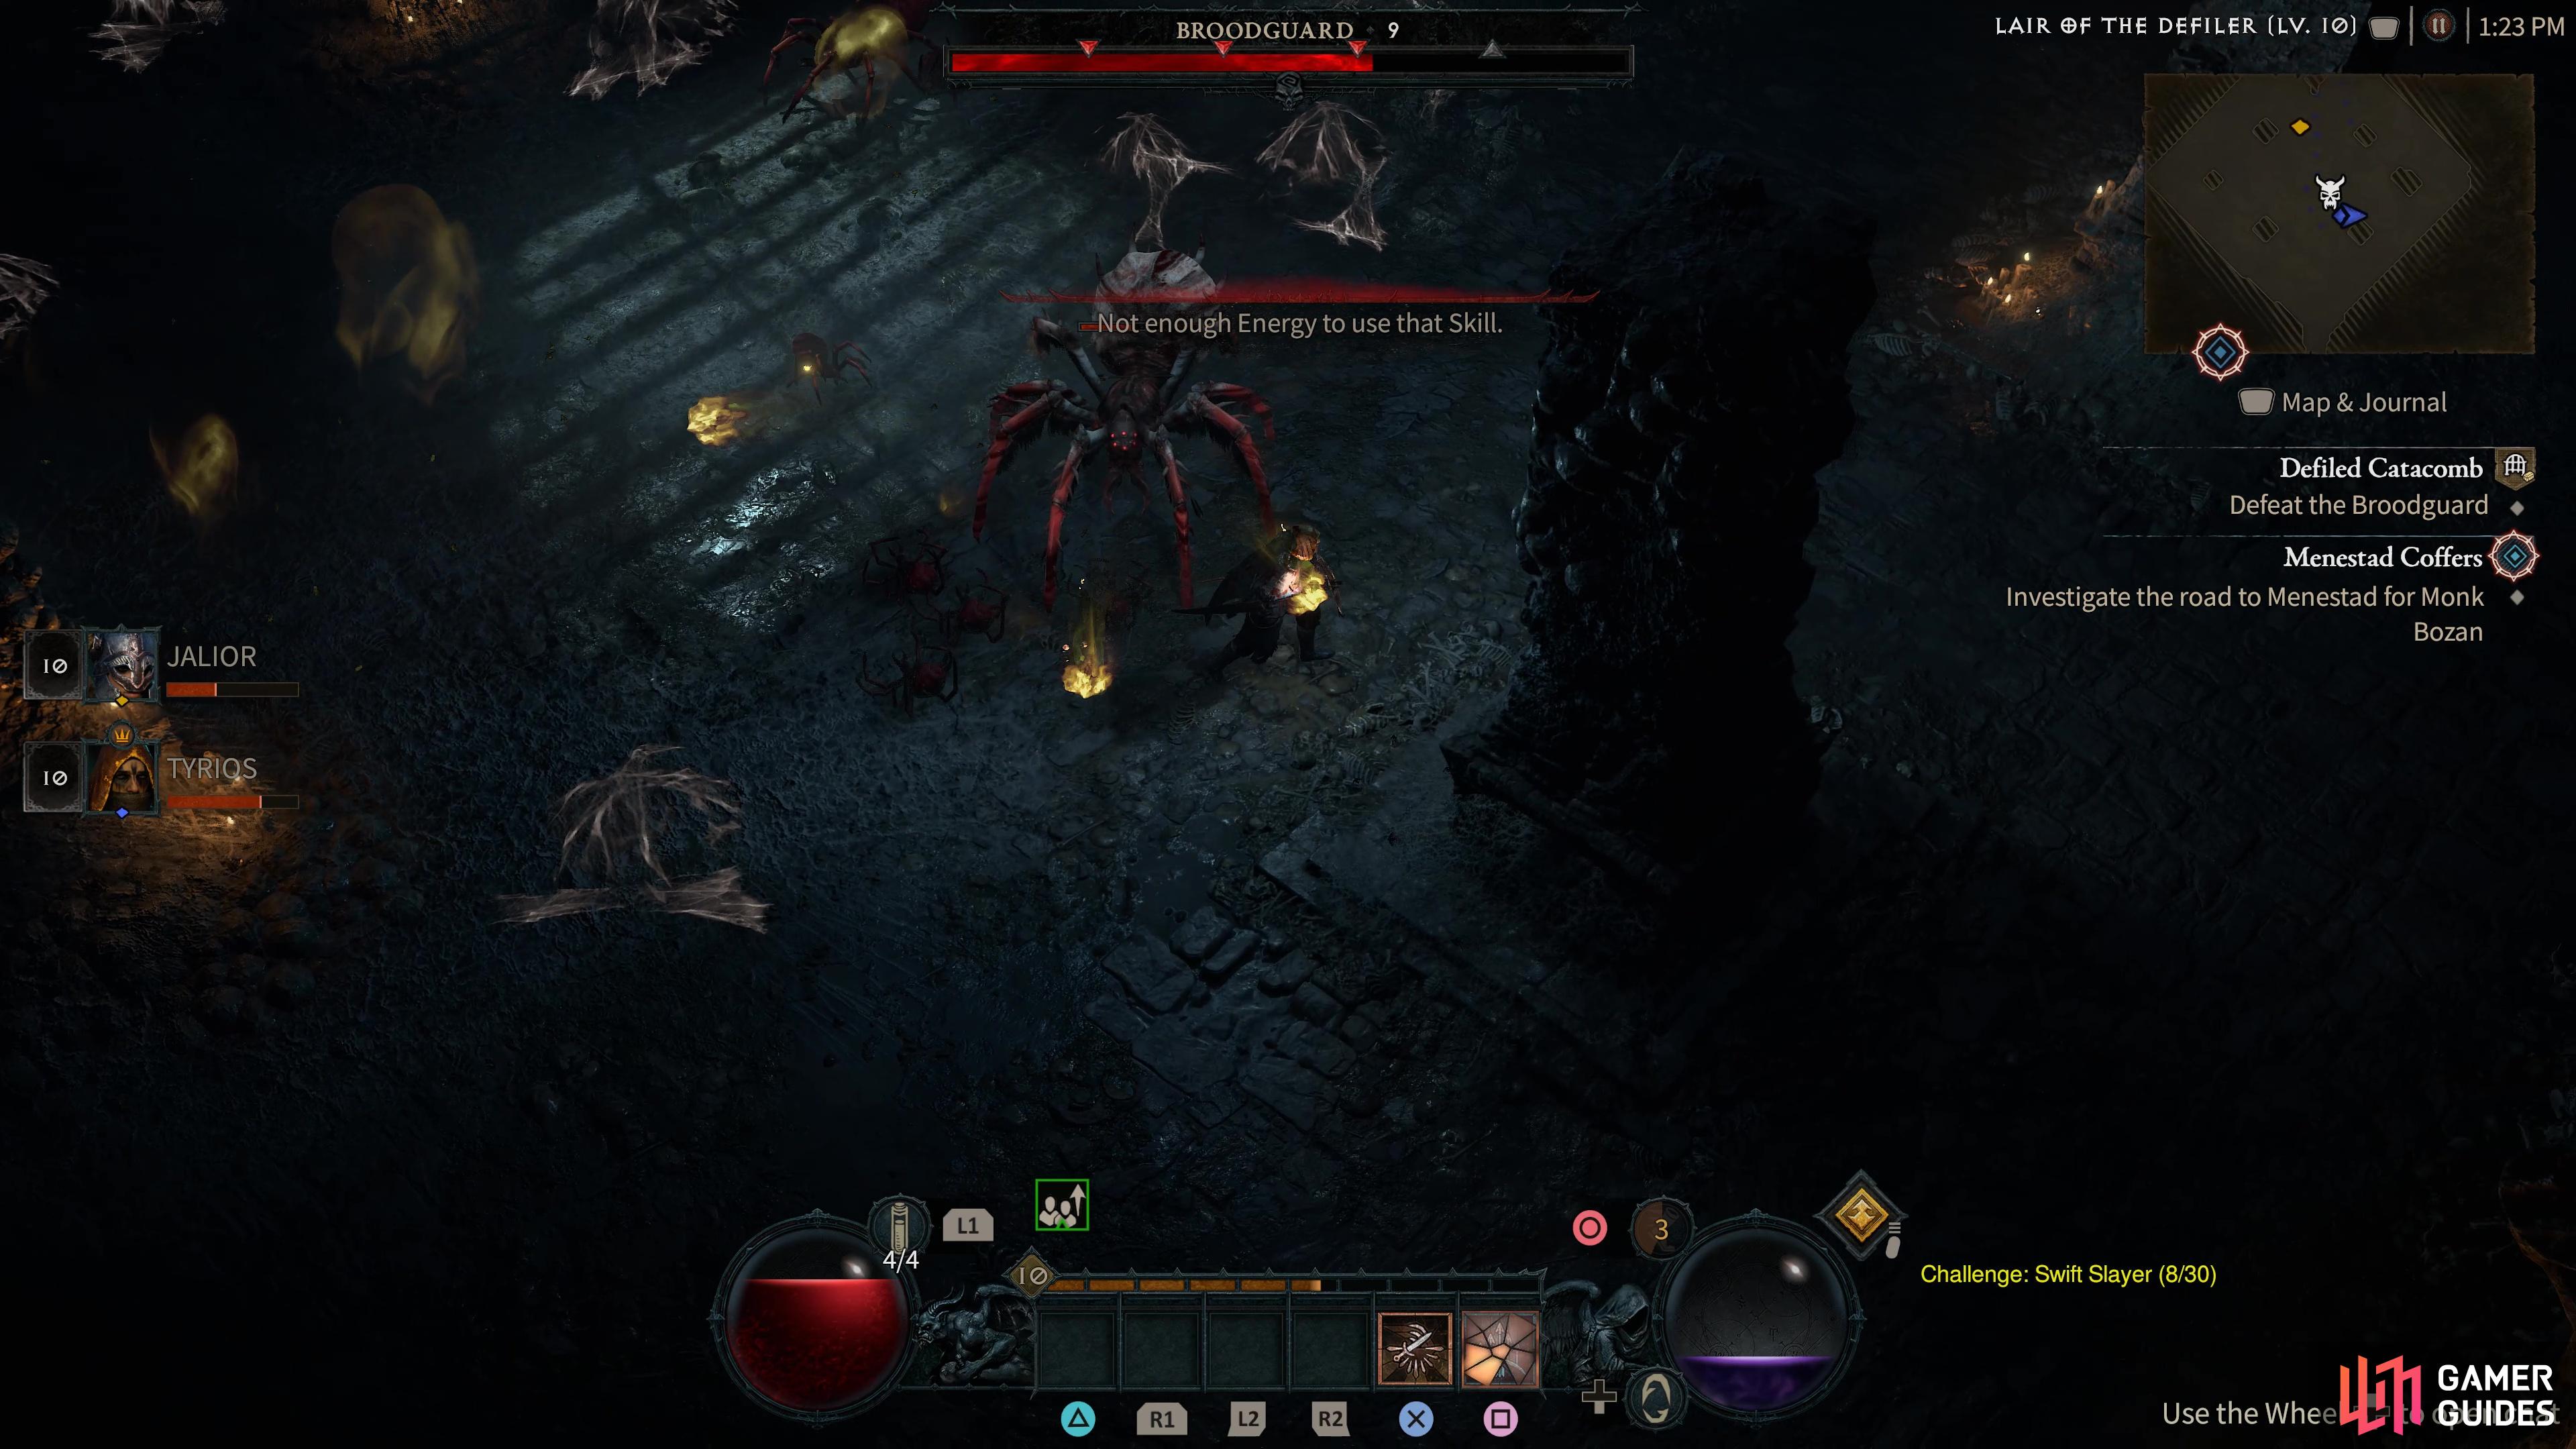
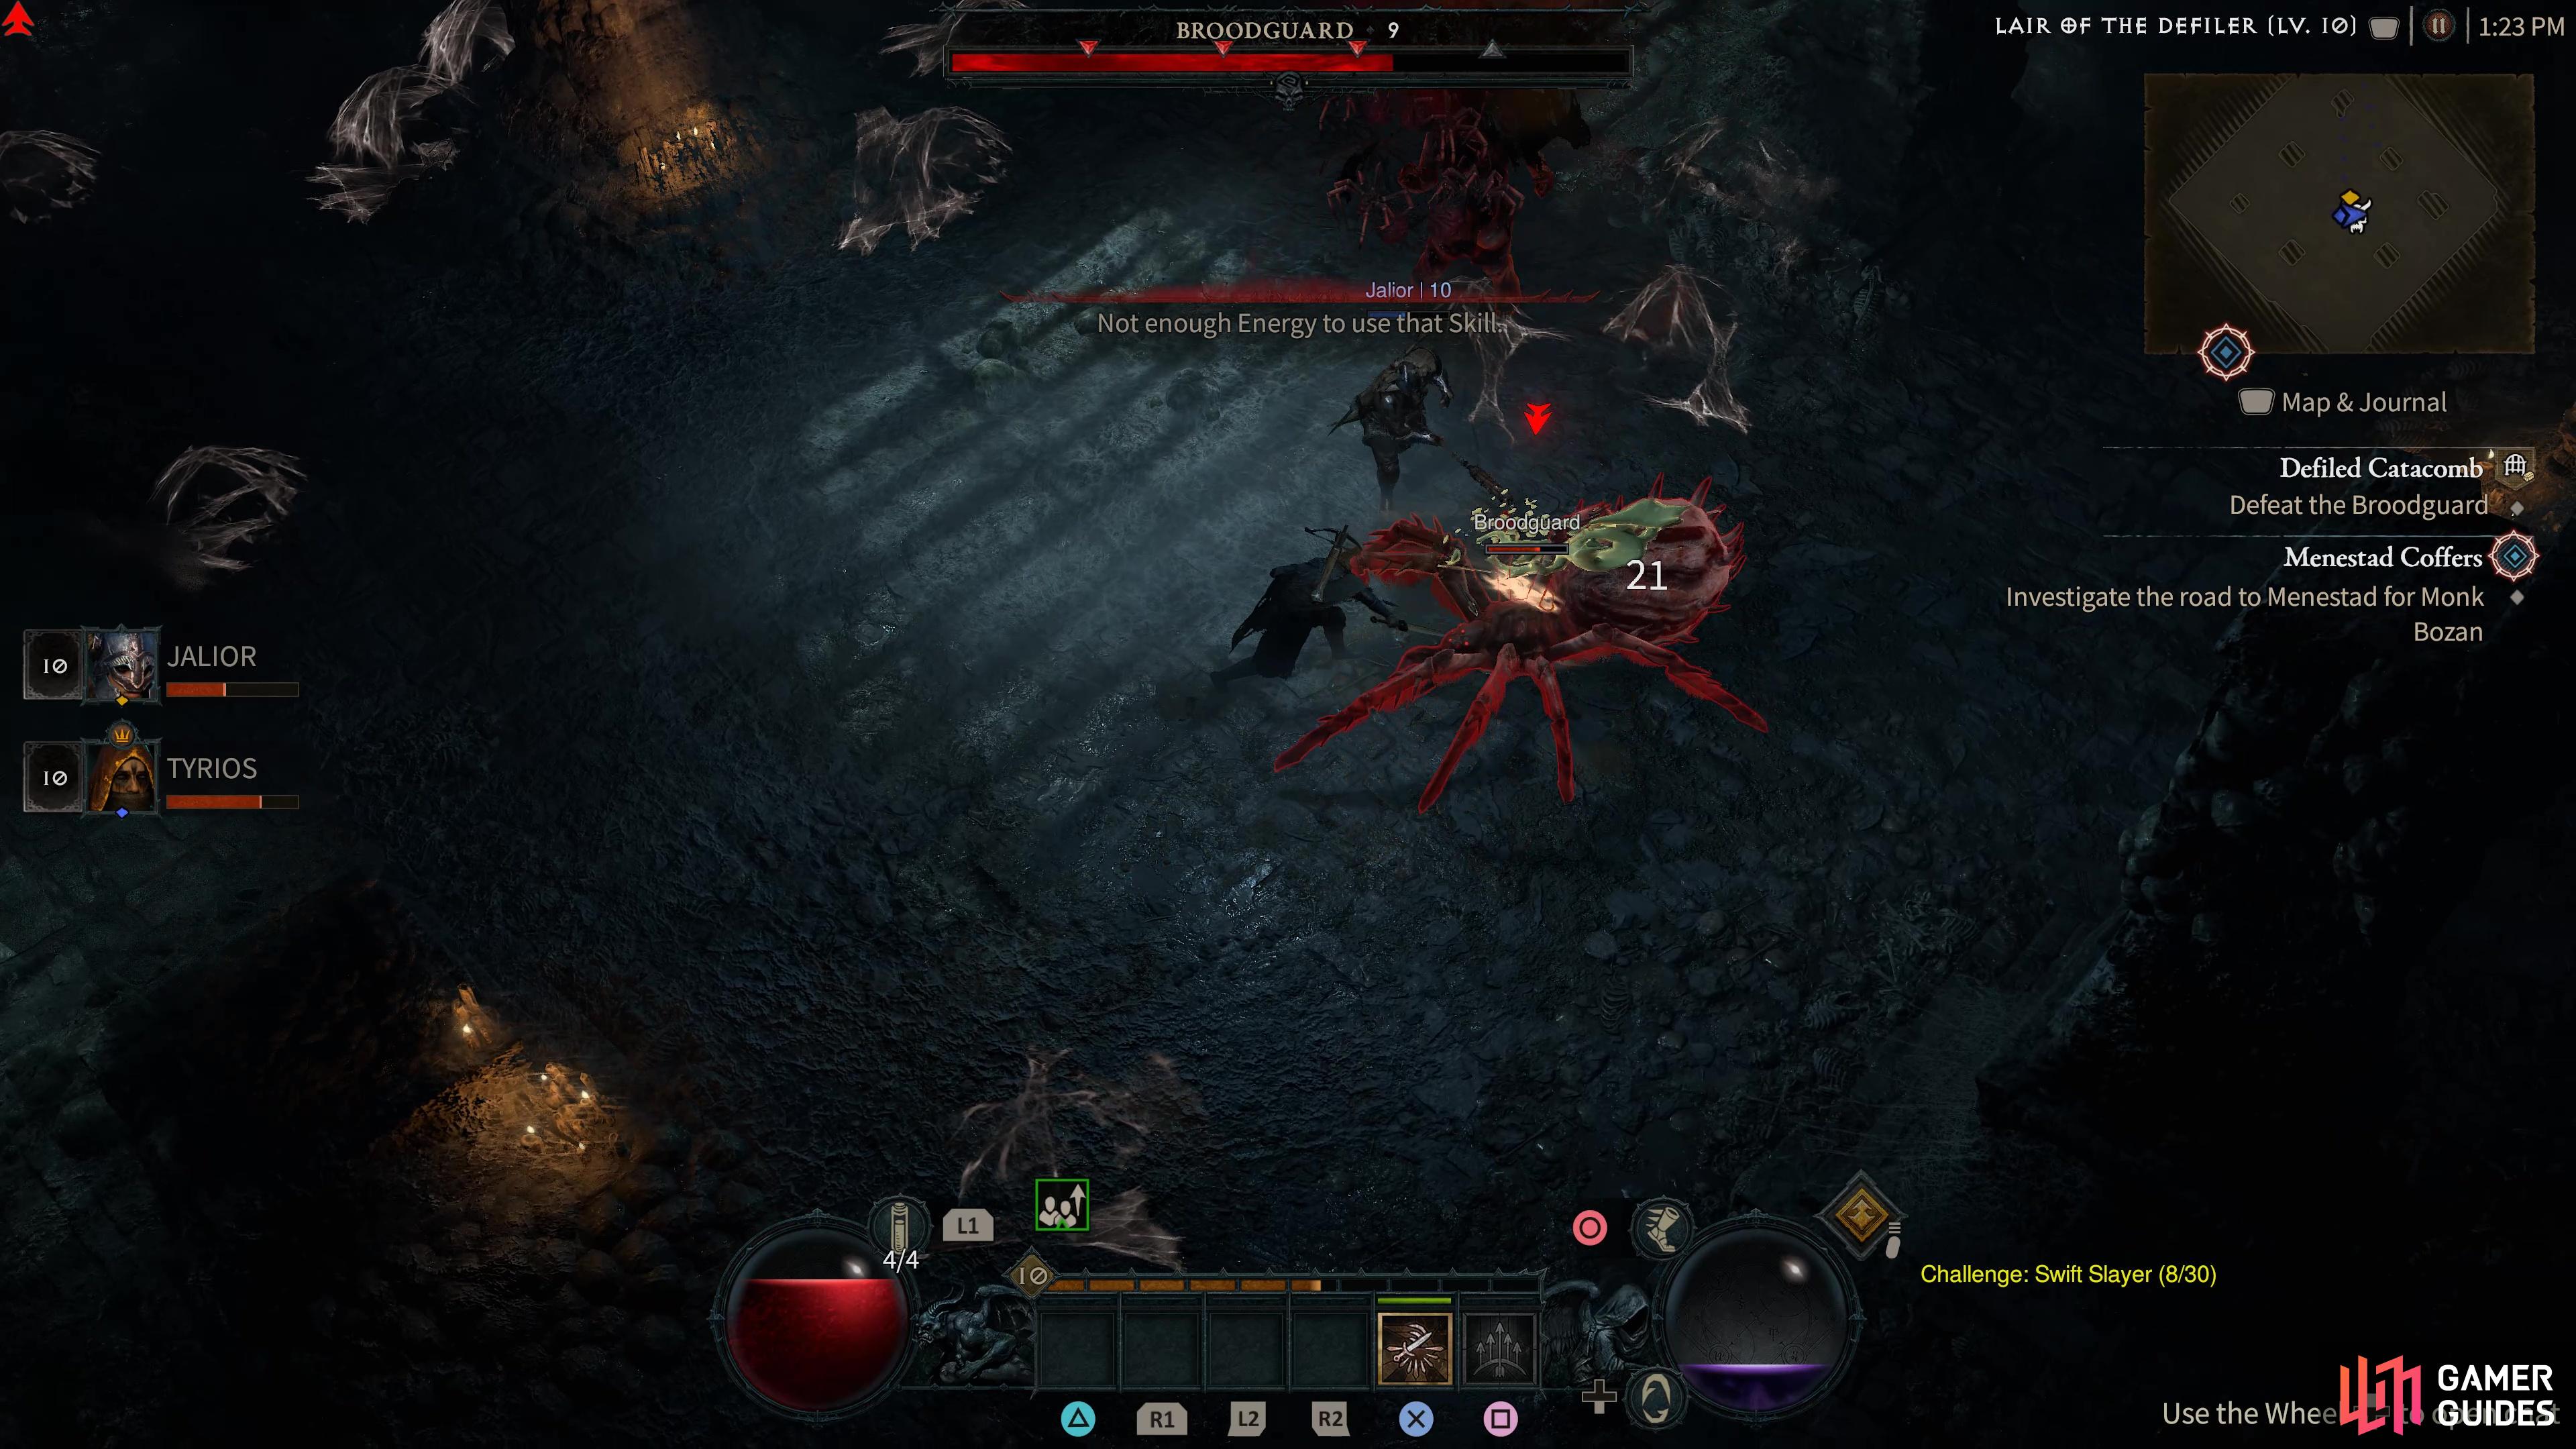
The strategy of this battle is to be aggressive and stay close to the boss. If you sit back, you’ll get hit by almost all the attacks. The general gist of the fight will be: you close in on the boss and attack it, and it runs away and does either the Web Throw or Poison Spit attacks. You close in again to attack it, it’ll do a couple of Leg stab attacks, then one of the other attacks, and runs away again.
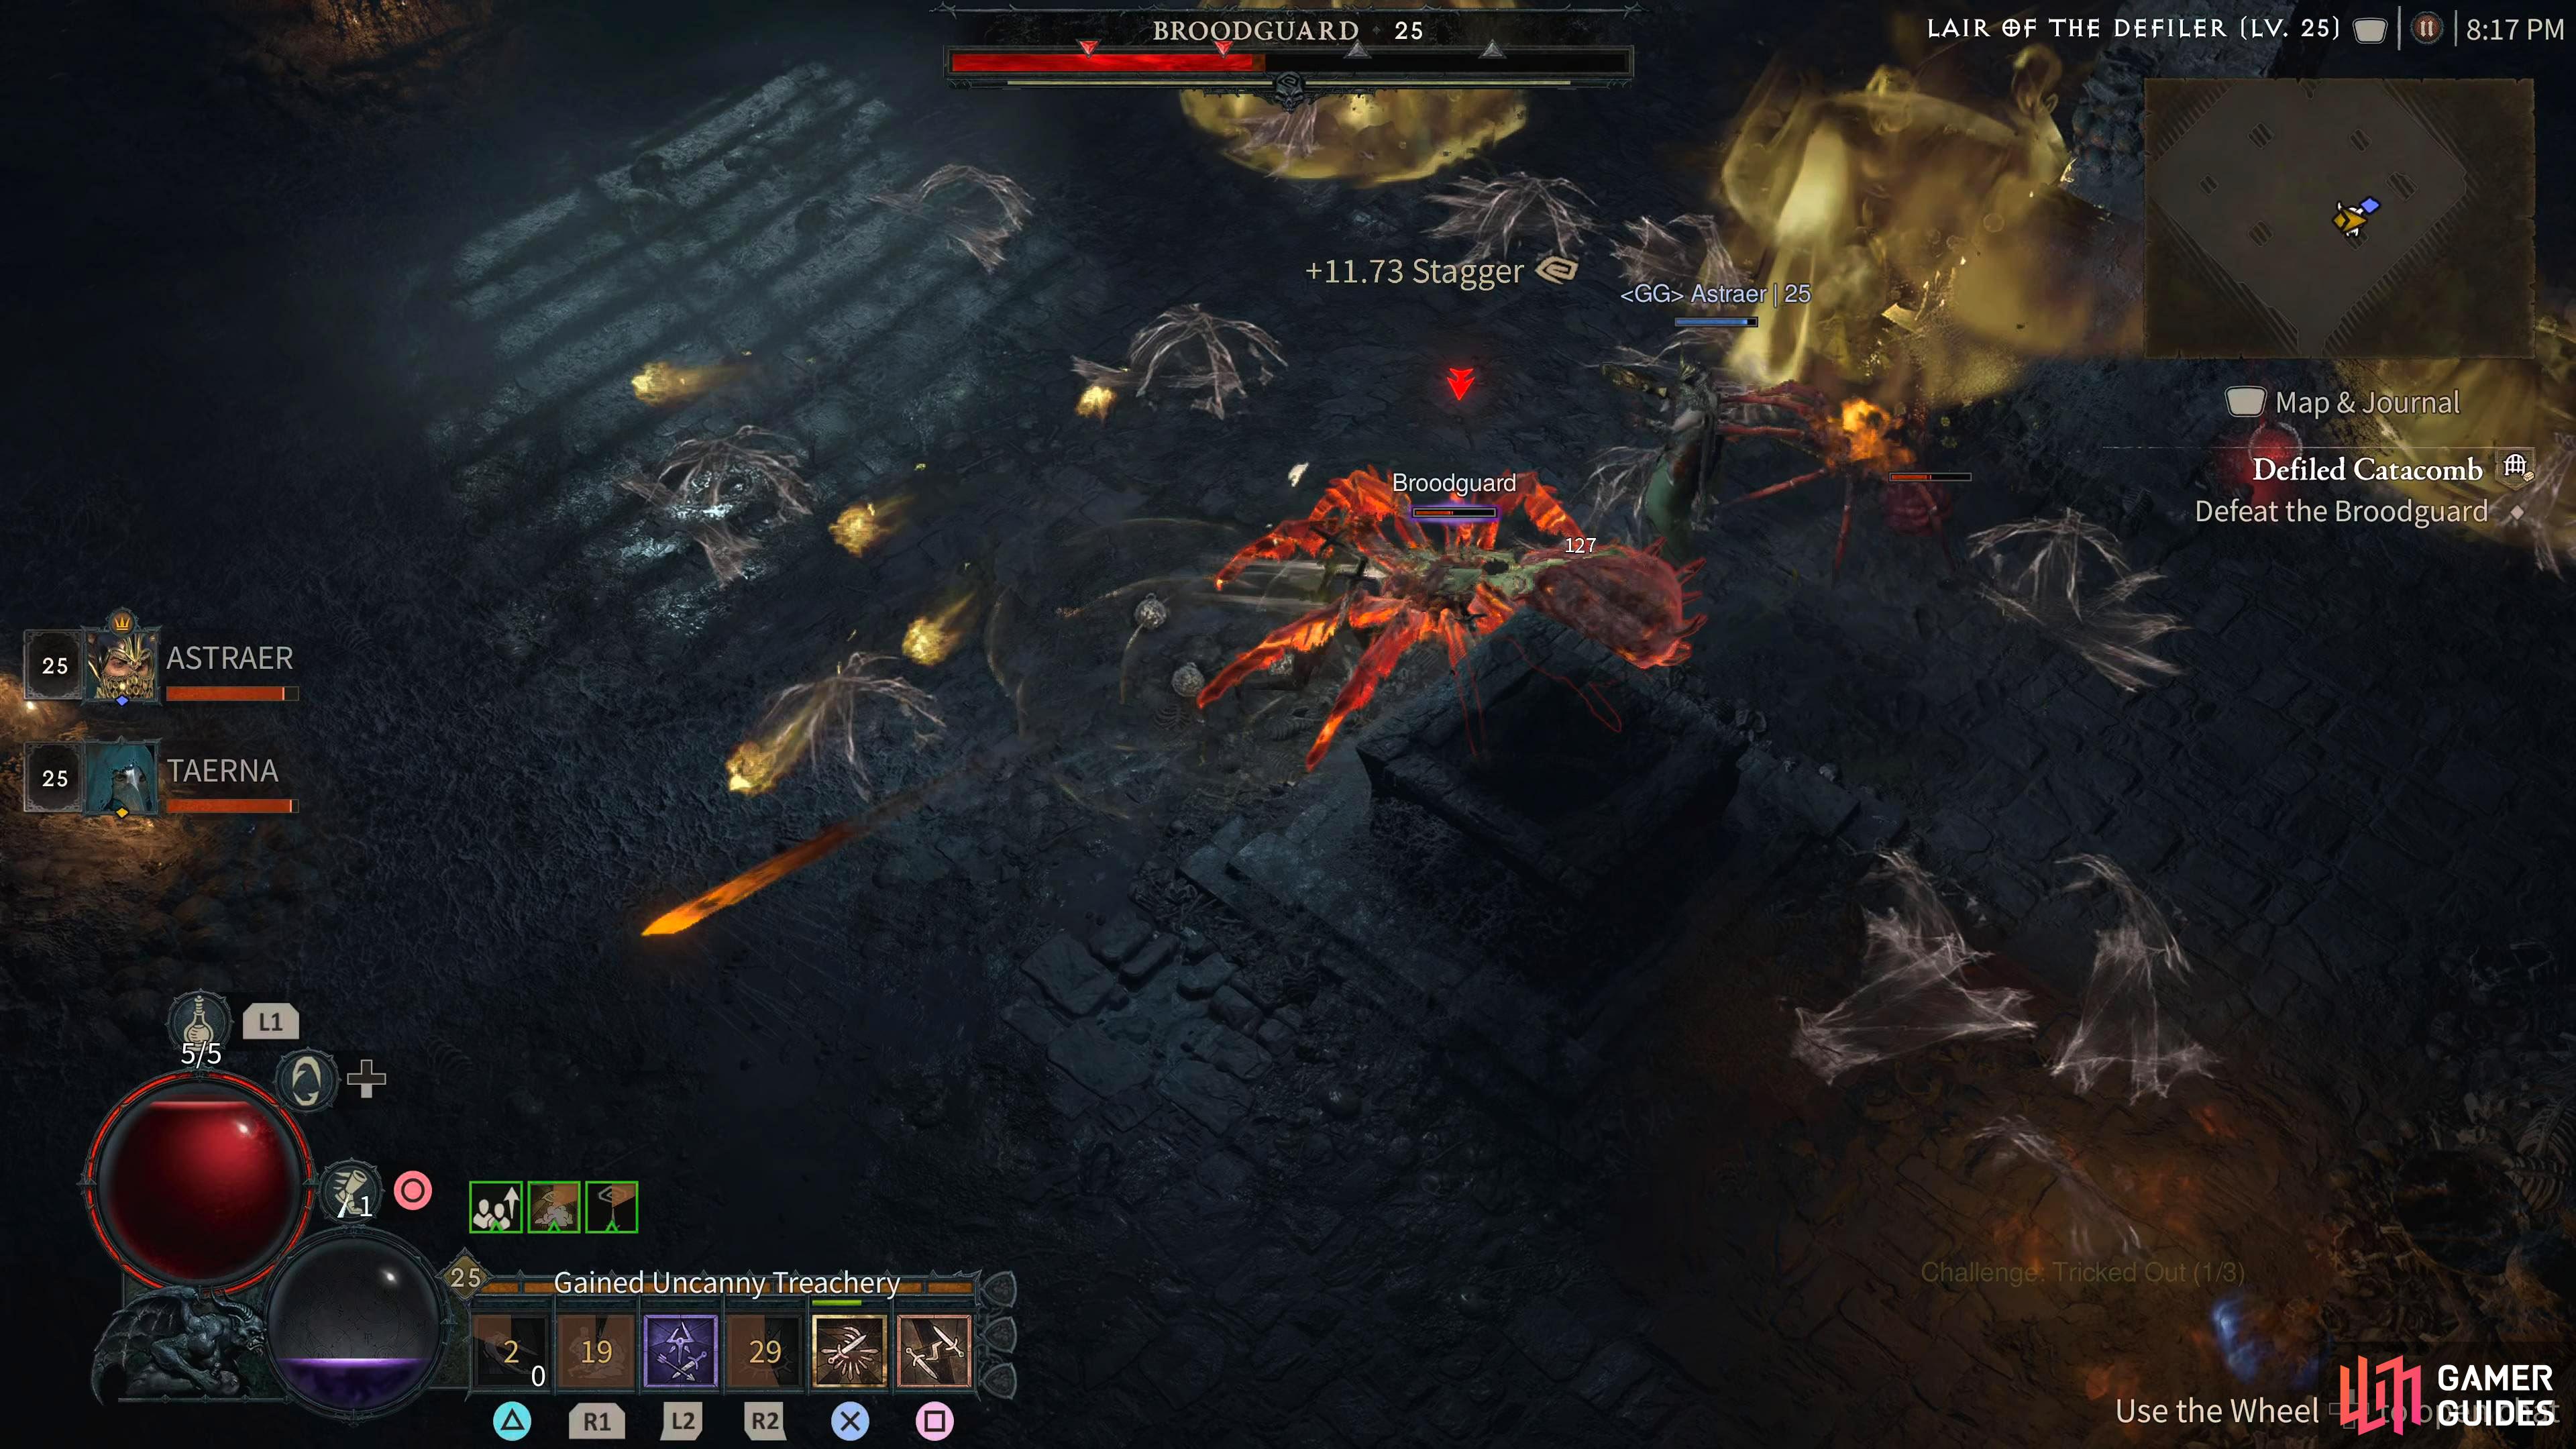
When the Broodguard health drops below the first arrow on the health bar, the Spider Host adds will spawn. Defeat them quickly, preferably with an Ultimate like Death Trap, or ![]() Inferno. If you don’t have any Ultimate available, use your area-of-effect attacks to take them down quickly. When you defeat a Spider Host, it’ll explode and a Spider enemy will appear, so make sure you defeat the adds, adds too. During the fight, you will stagger the boss.
Inferno. If you don’t have any Ultimate available, use your area-of-effect attacks to take them down quickly. When you defeat a Spider Host, it’ll explode and a Spider enemy will appear, so make sure you defeat the adds, adds too. During the fight, you will stagger the boss.
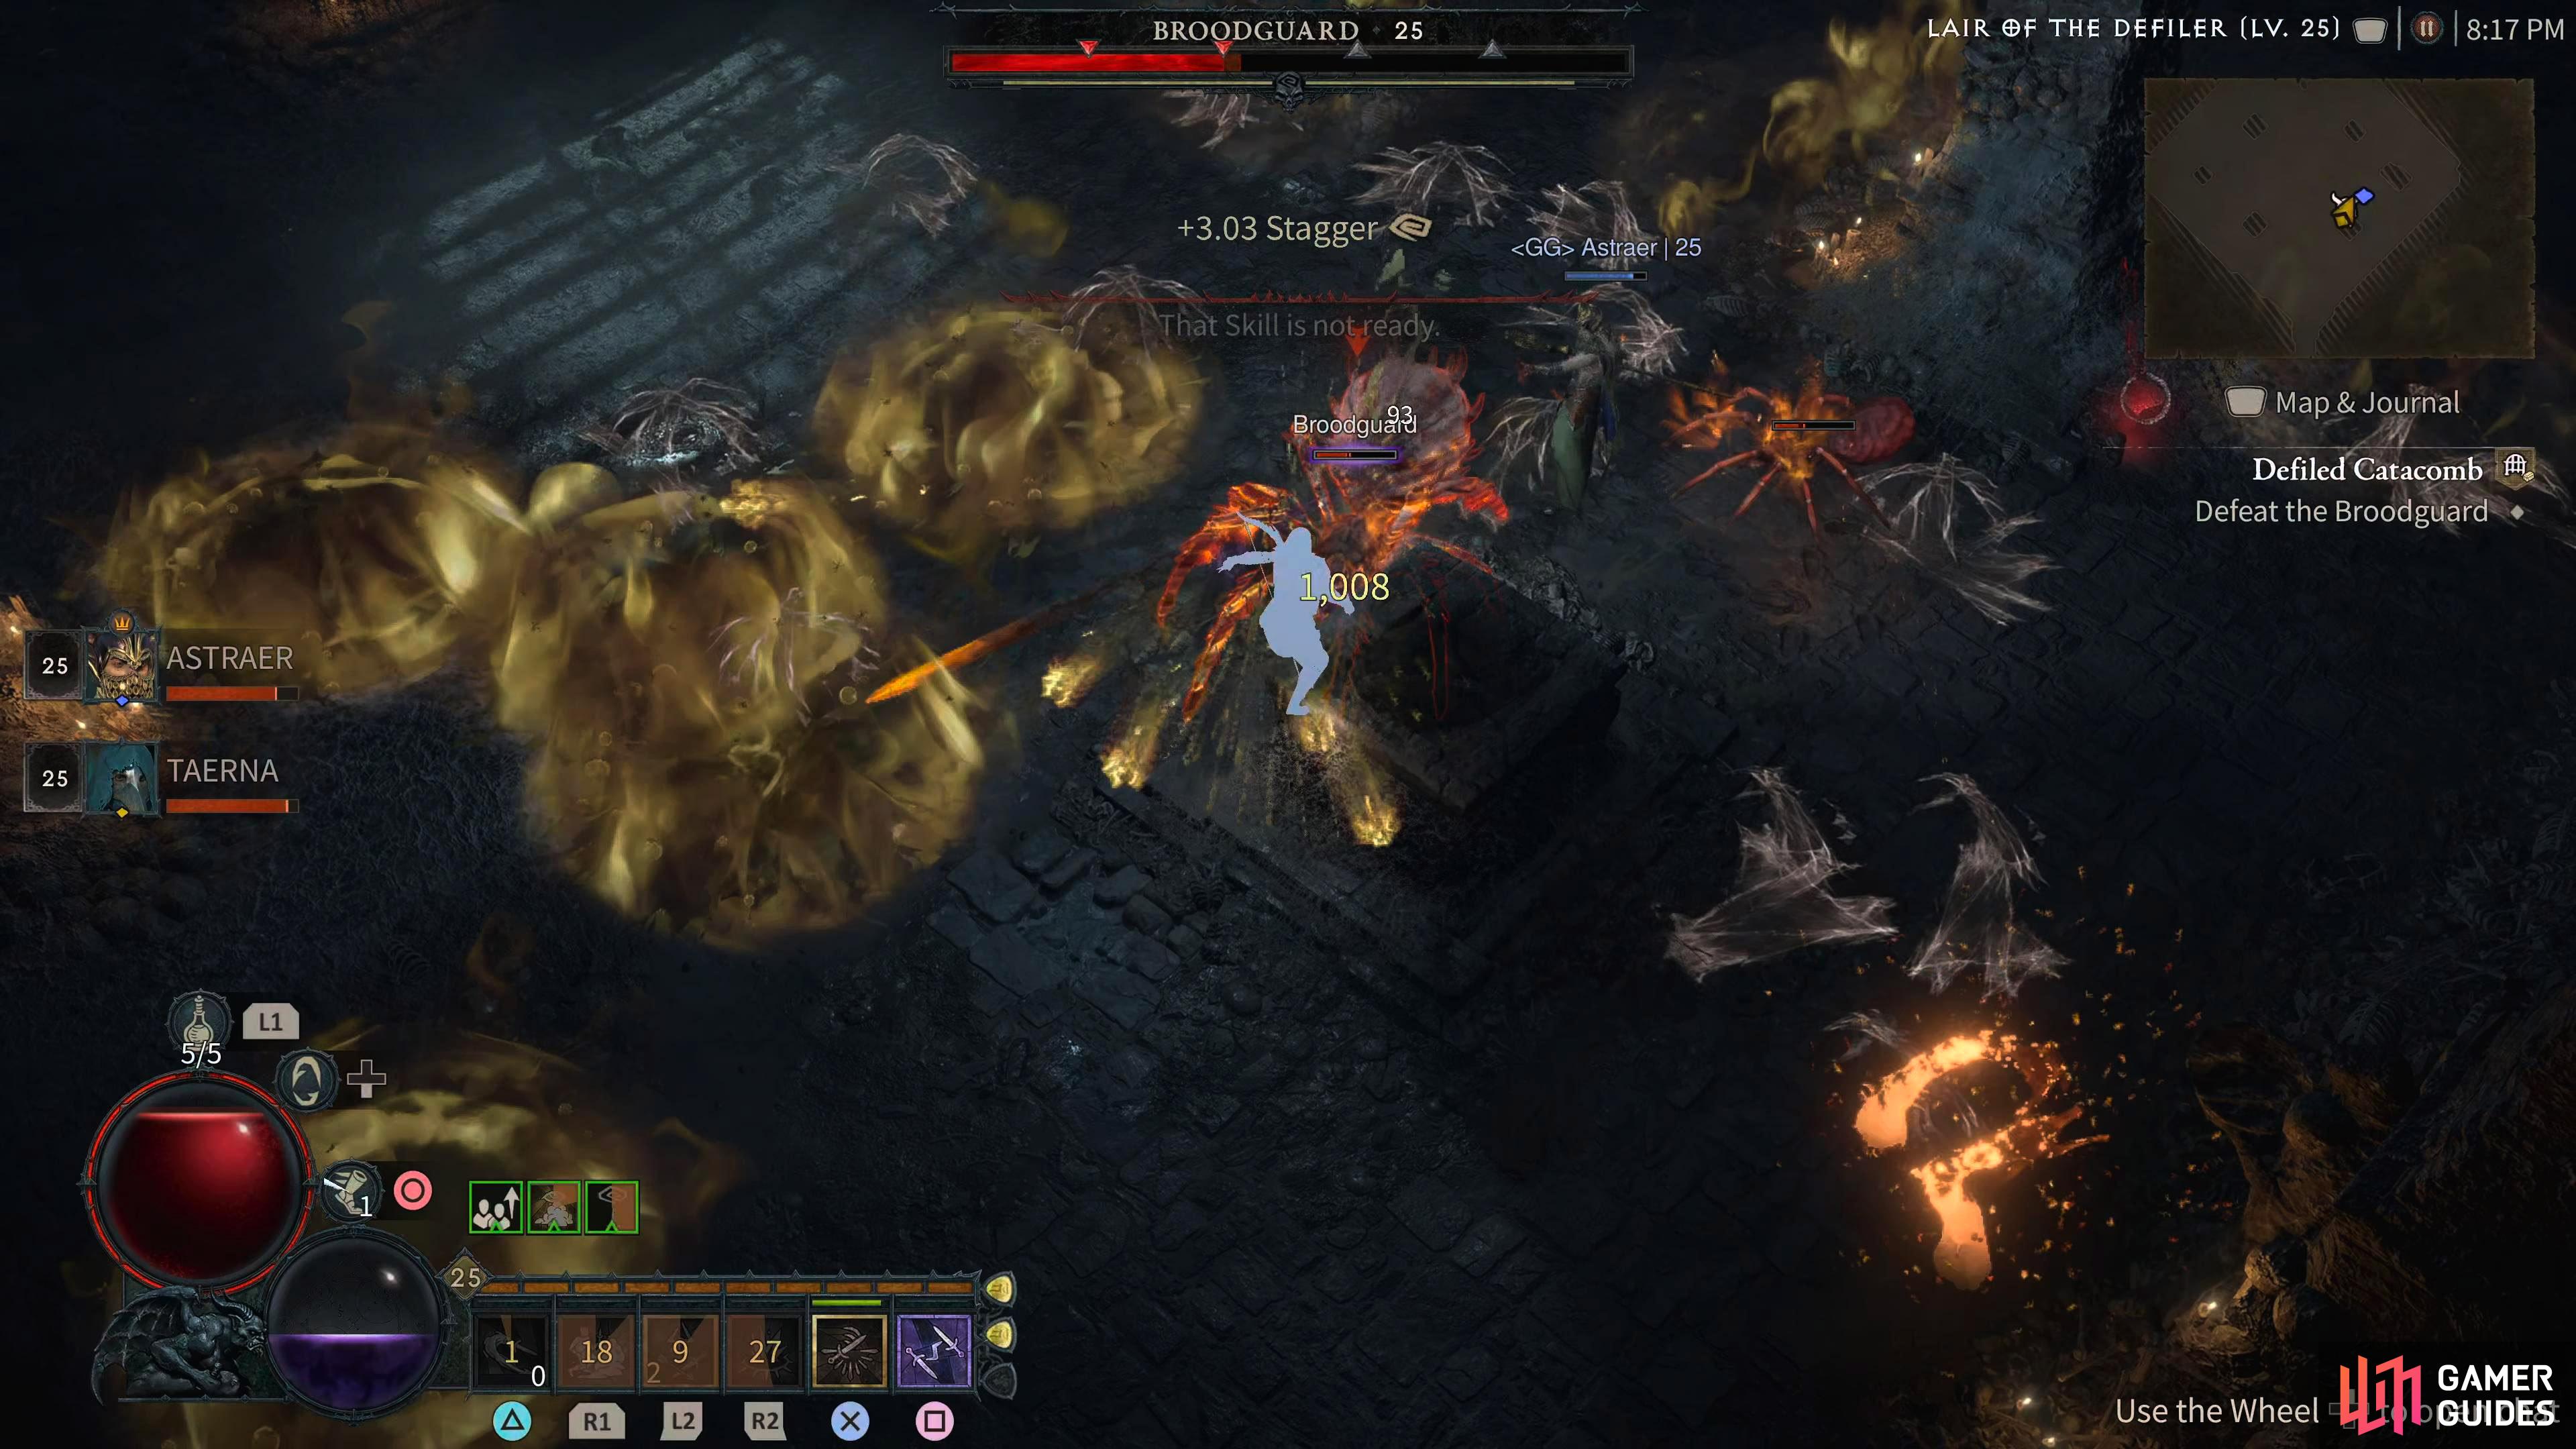
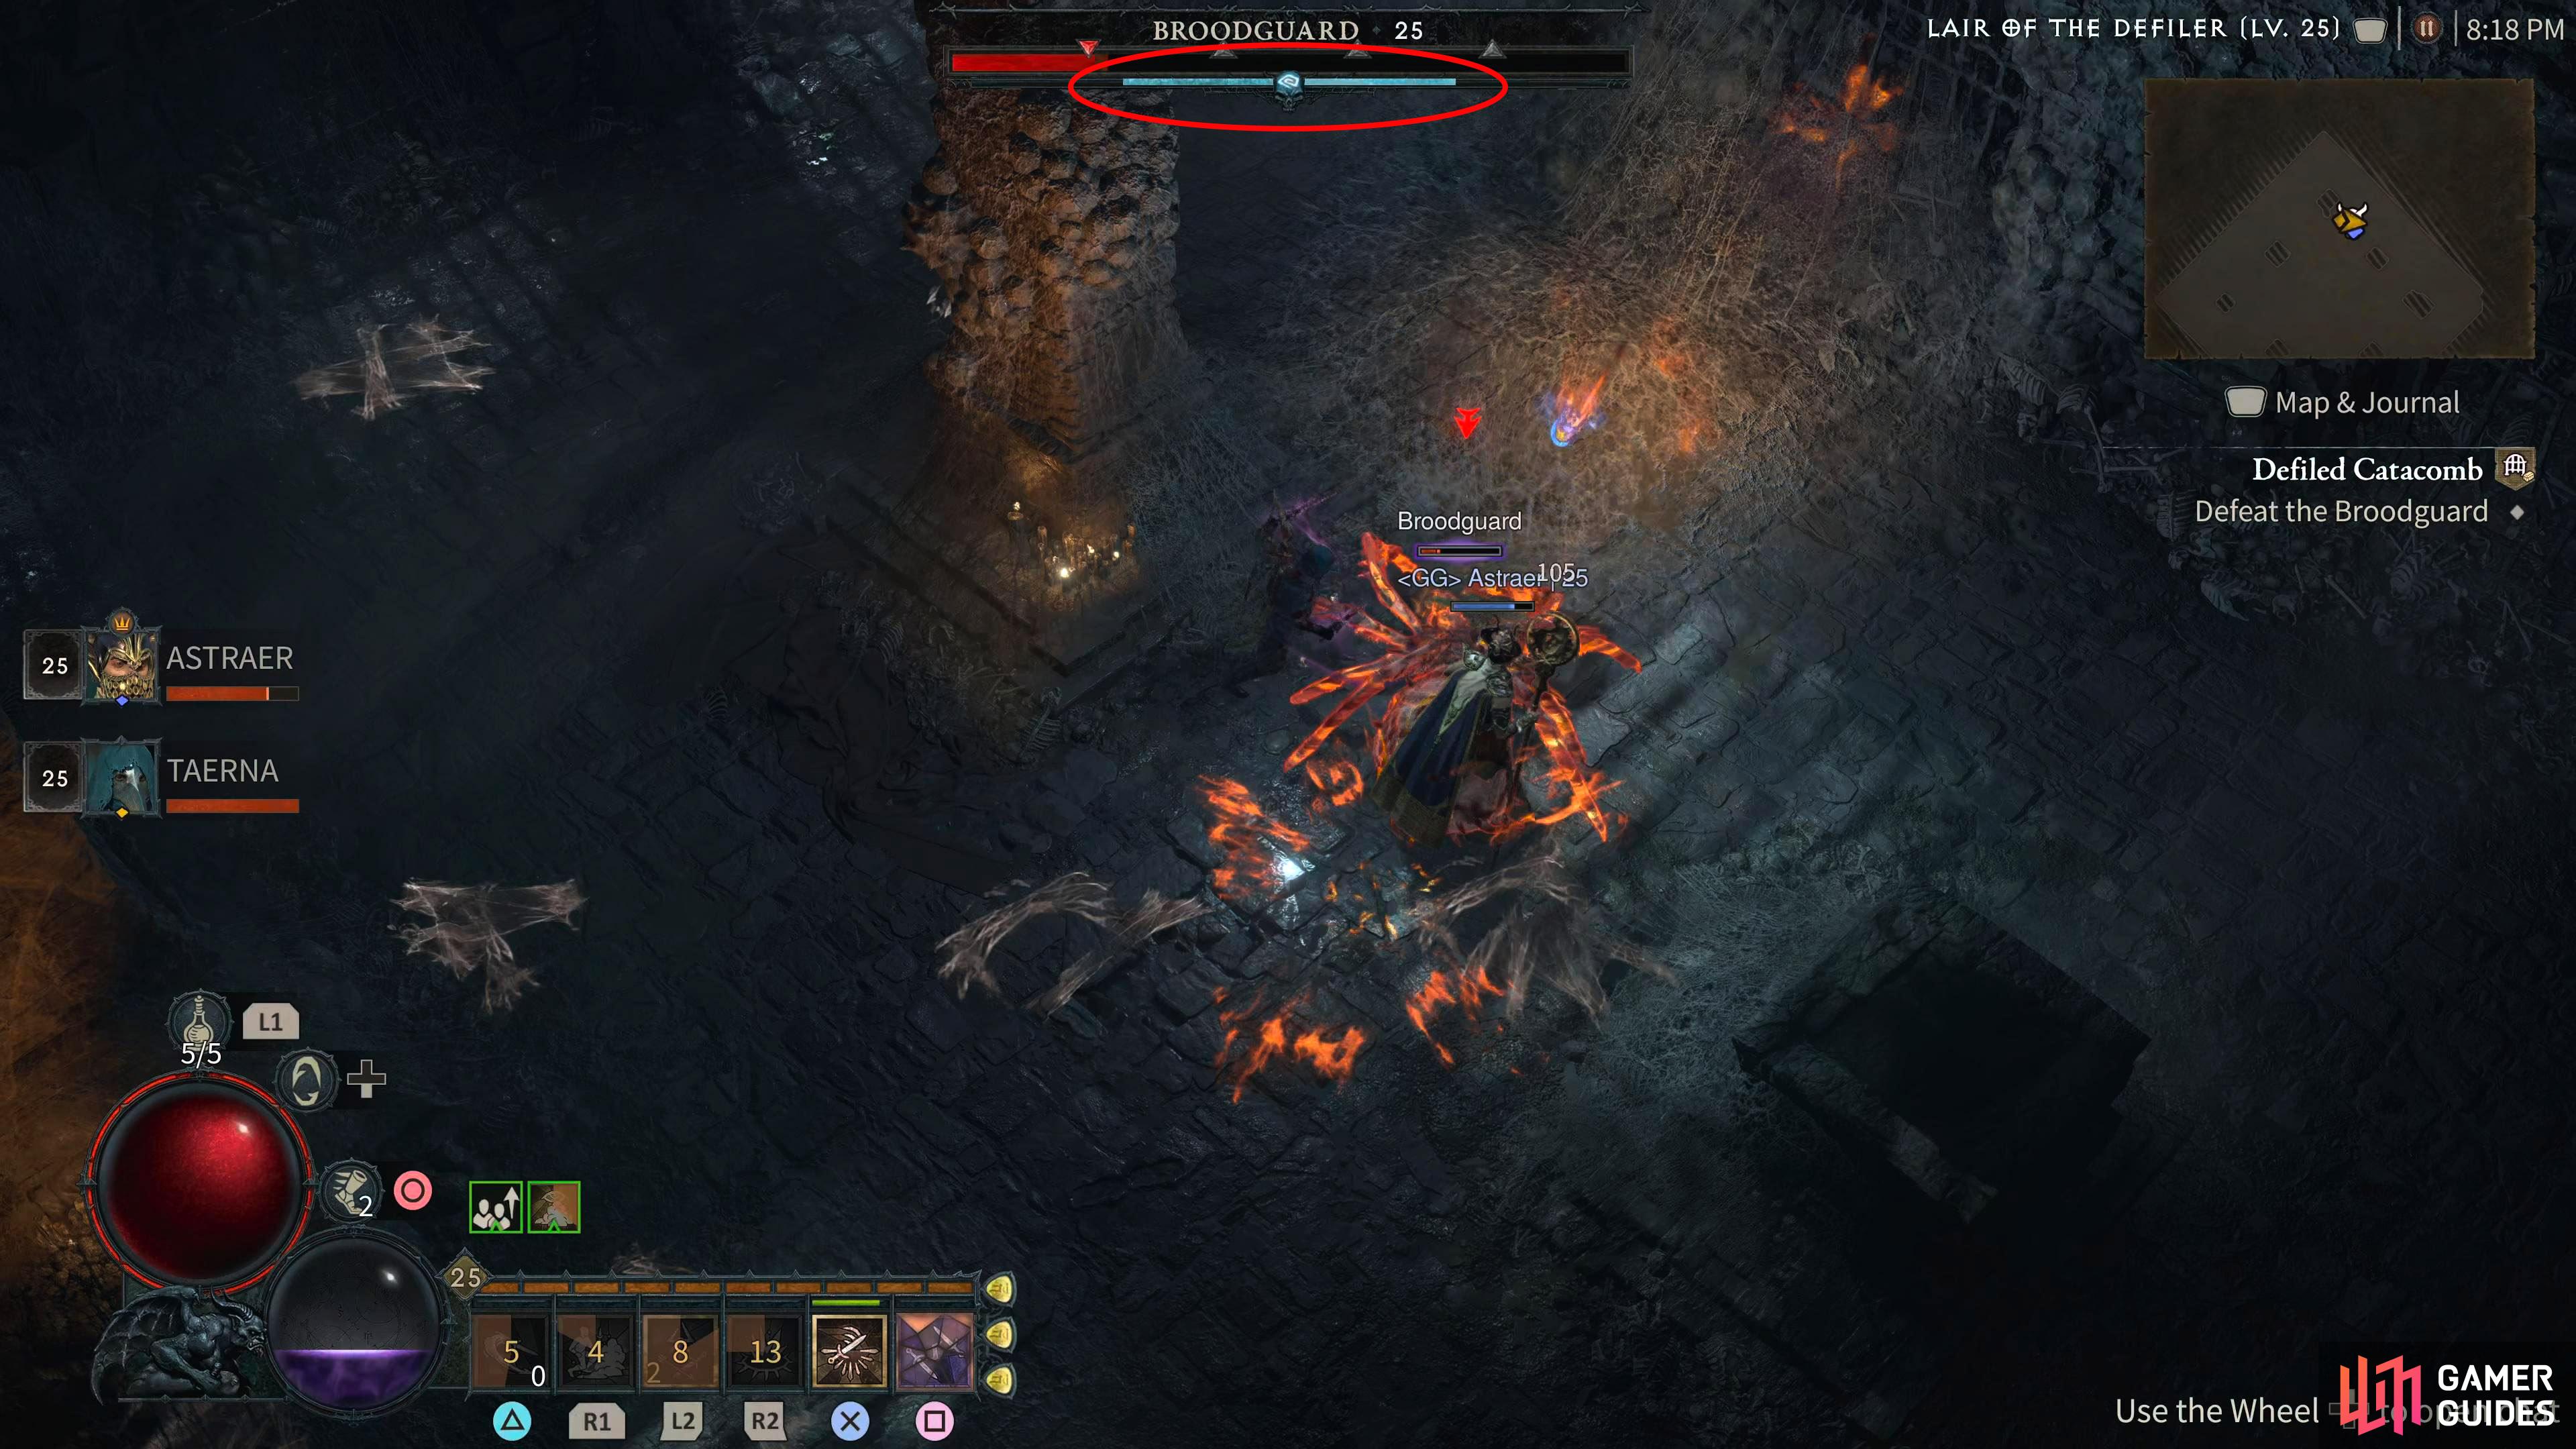
This means it’ll take more damage from your attacks, and you’ll want to take full advantage of this by using your strongest attacks such as the Ultimates, and any damage-increasing utility you have like War Cry. You will know it’s staggered as it won’t move, and it’ll have a blue bar underneath its health bar slowly depleting. Head here for more details.
Detailed Location
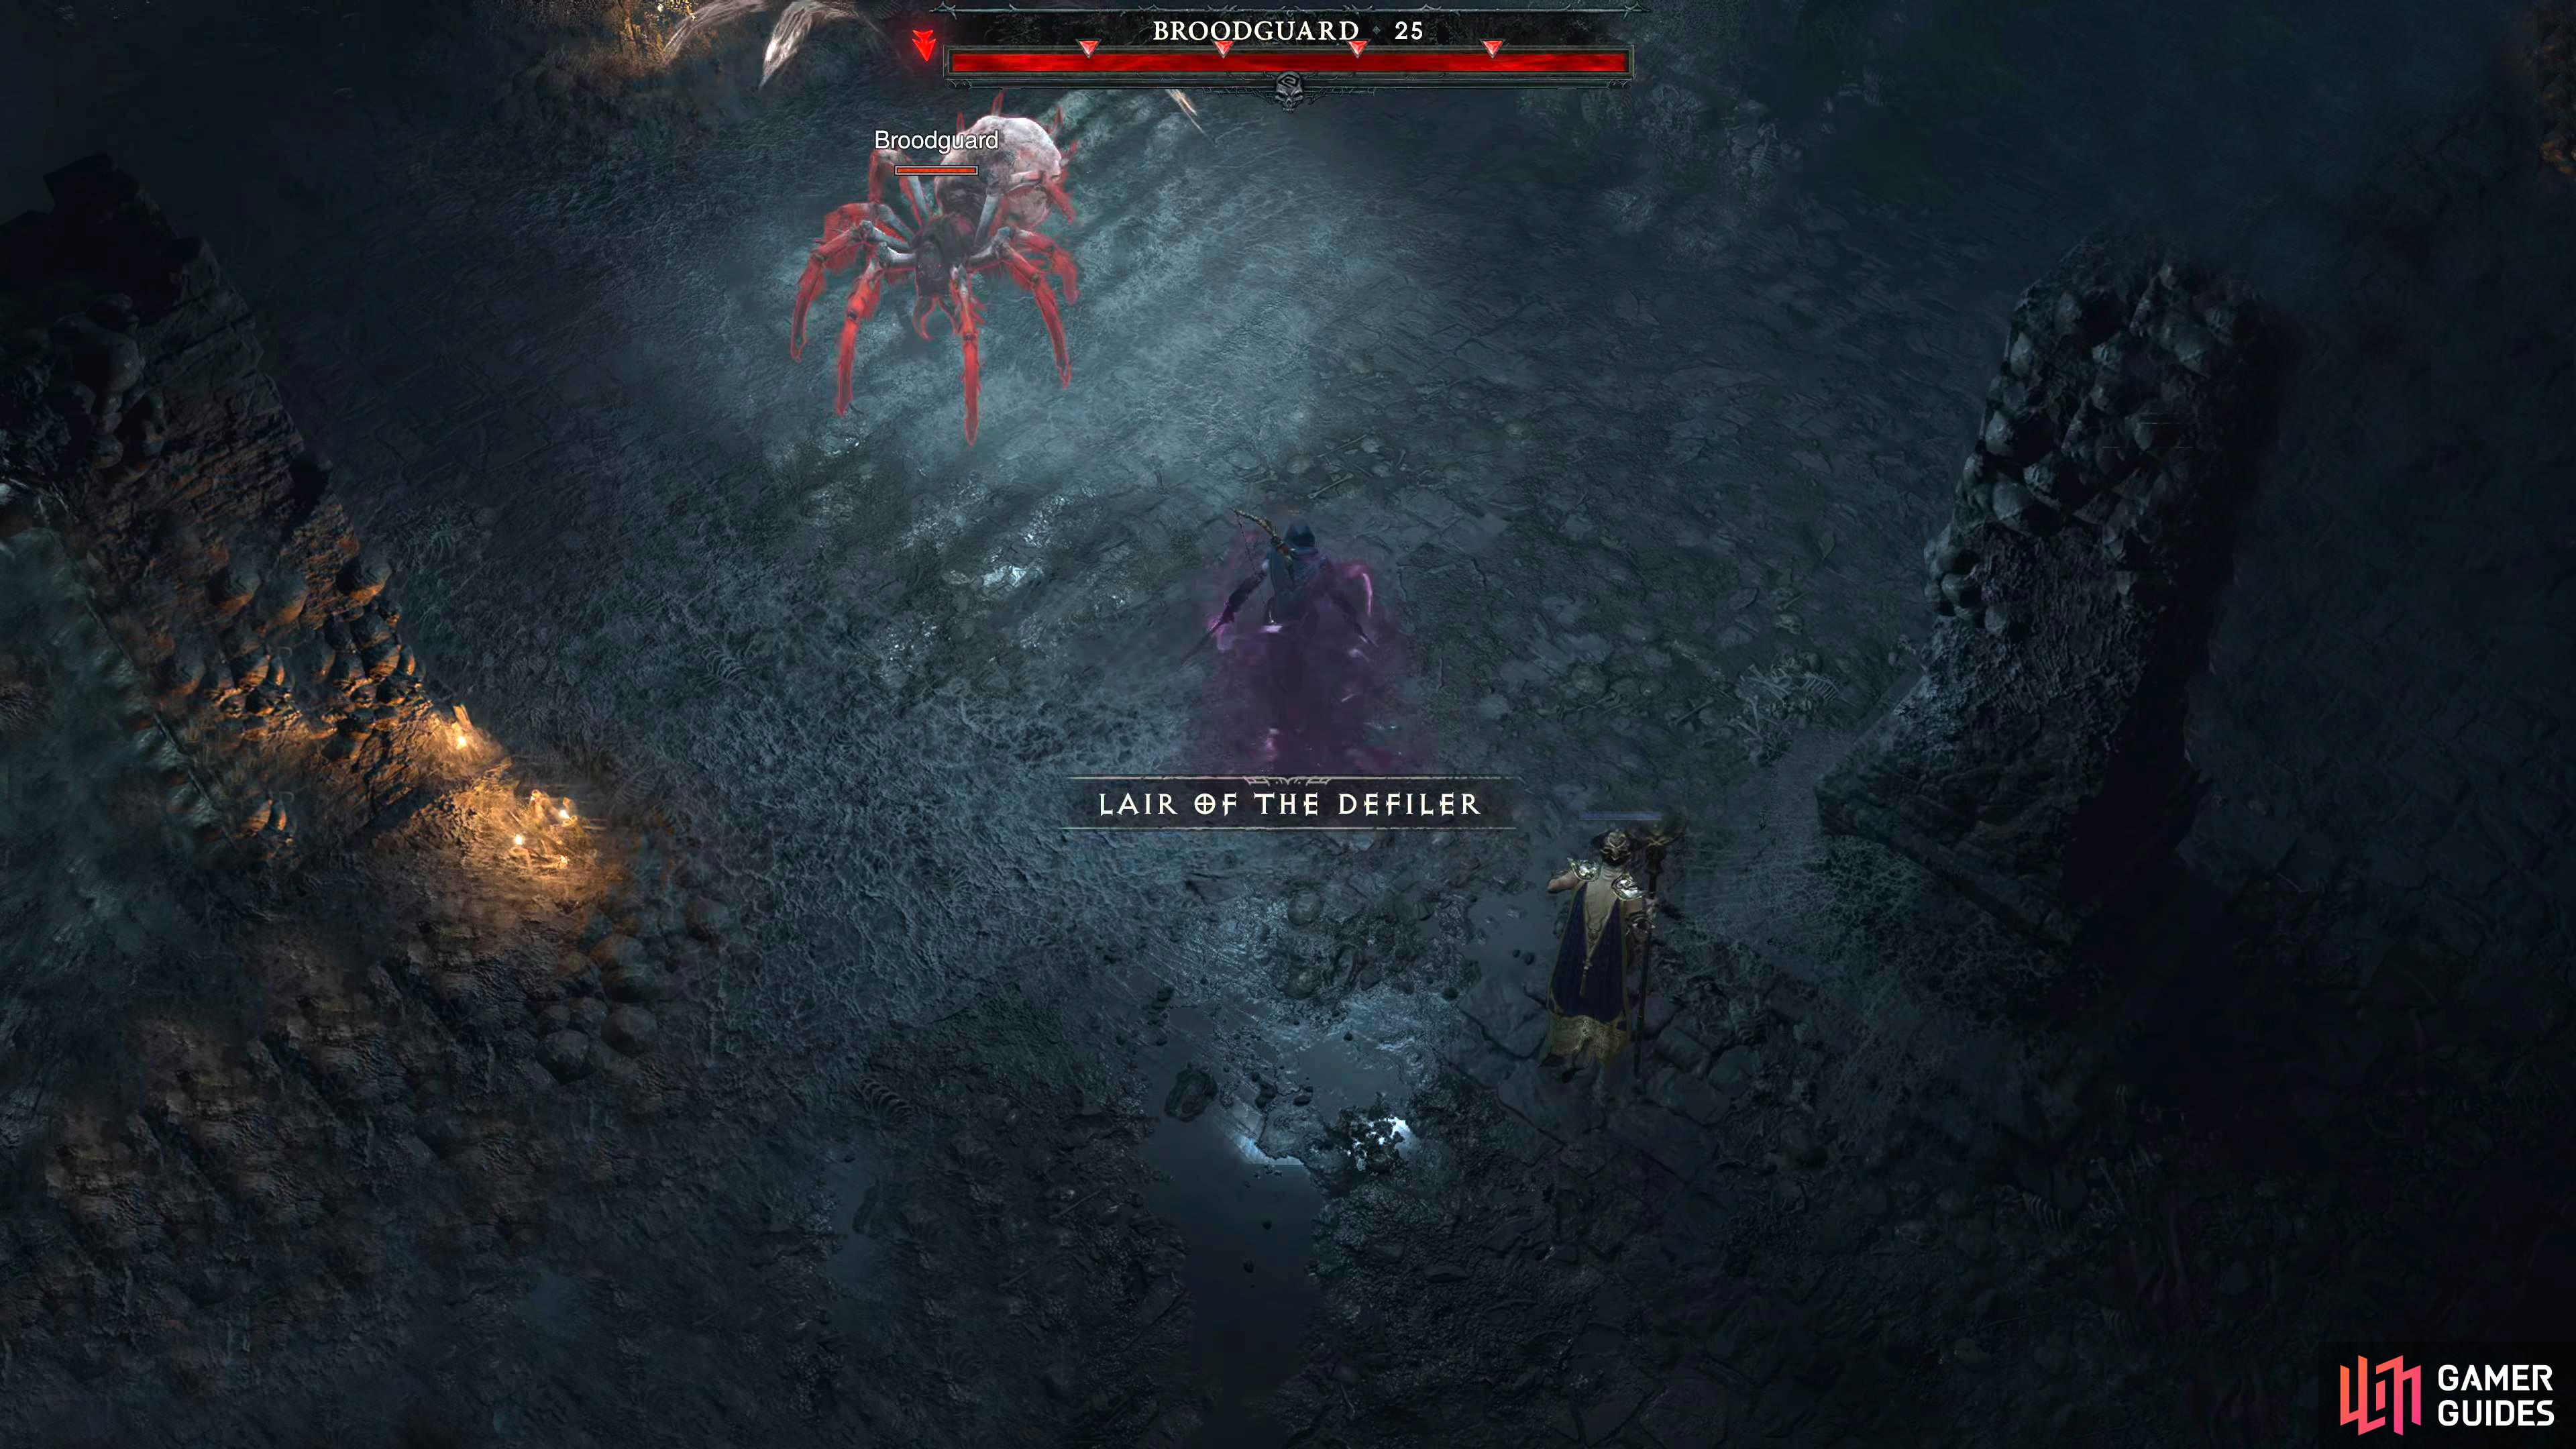
- The final boss of the
 Defiled Catacomb dungeon.
 - The final boss of the
 Hive dungeon.
 - The Final boss of the
 Blind Burrows dungeon.
Screenshots


Video

Region
 Fractured Peaks

No Comments