Uber - Diablo IV Database
| Icon | Title | Category | Subcategory |
|---|
Uber
| Icon | Title | Details | Screenshots | Rarity/Type |
|---|---|---|---|---|
|
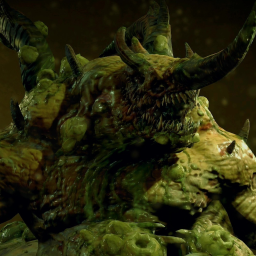
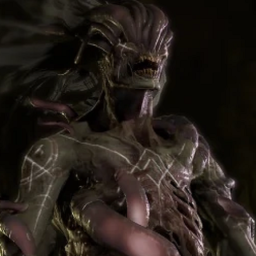
Duriel, Maggot King |
Duriel, the Lord of Pain is one of the four Lesser Evils while also being the twin brother of Andariel. He allegedly conspired with his twin and Diablo to release both Mephisto and Baal from their prisons according to Deckard Cain. Although he has a passion for torture, he favors the physical aspect of it and cares very little about the mental pain it inflicts.
Description
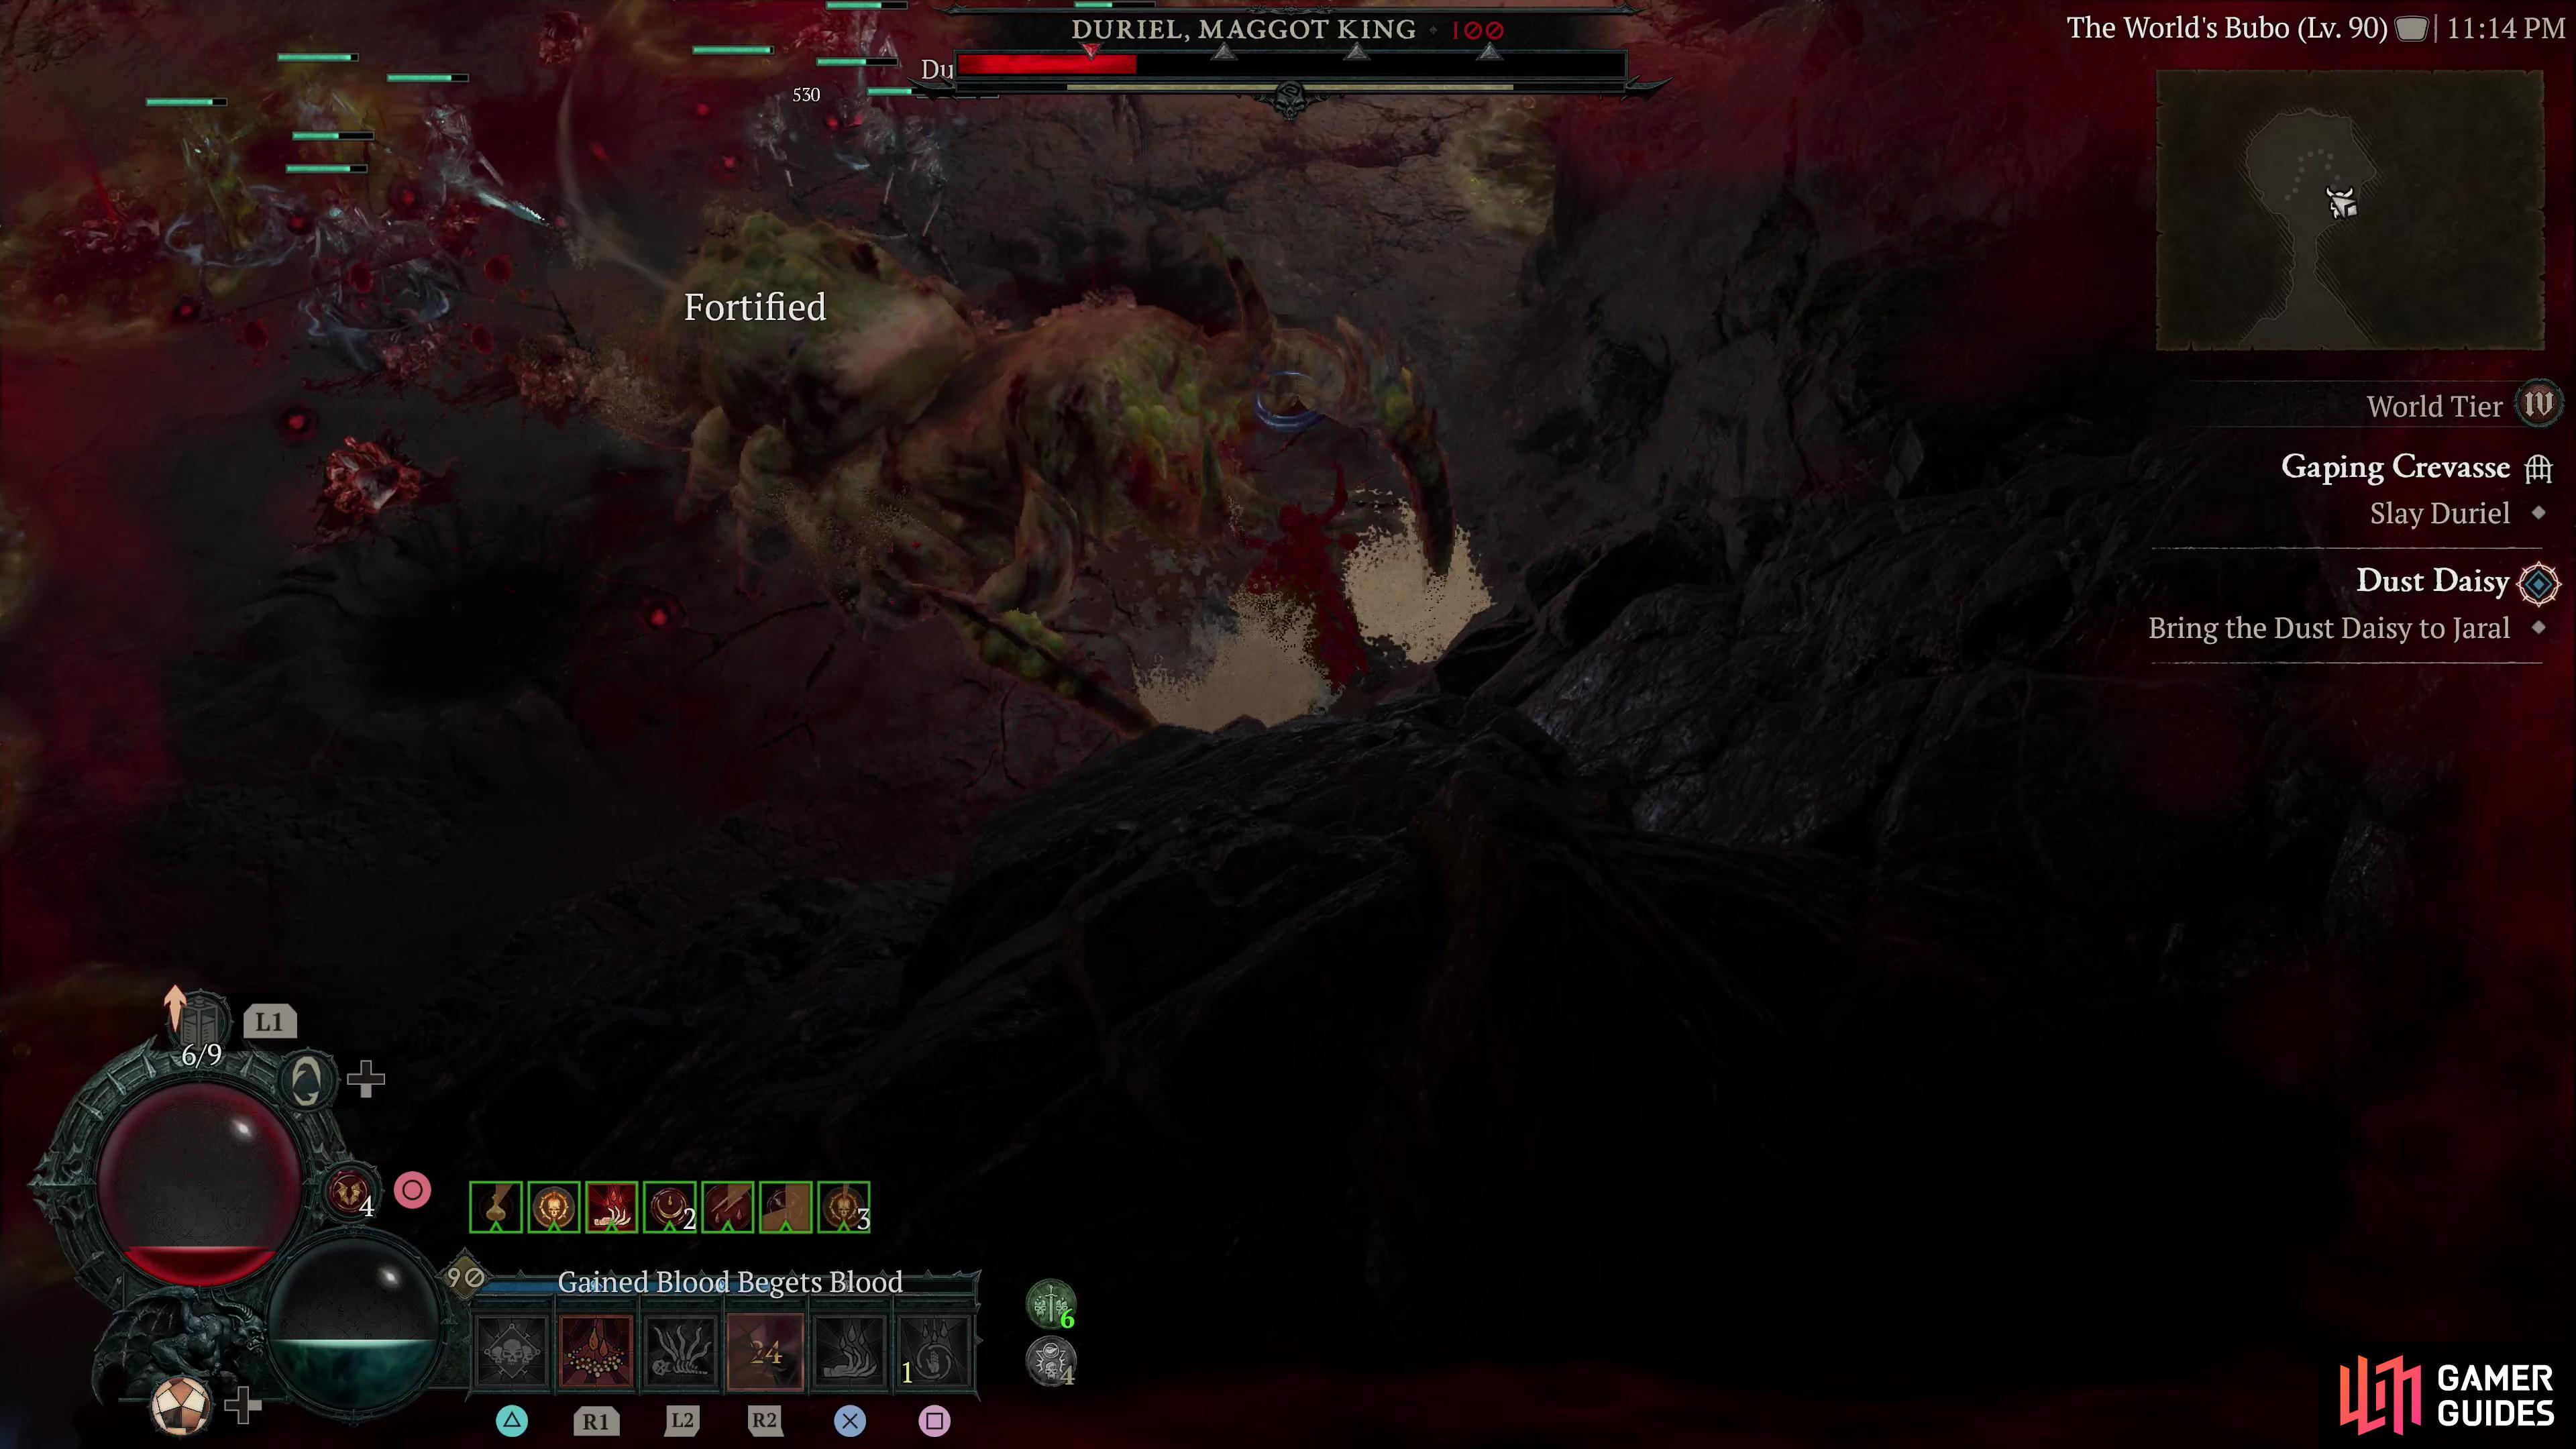
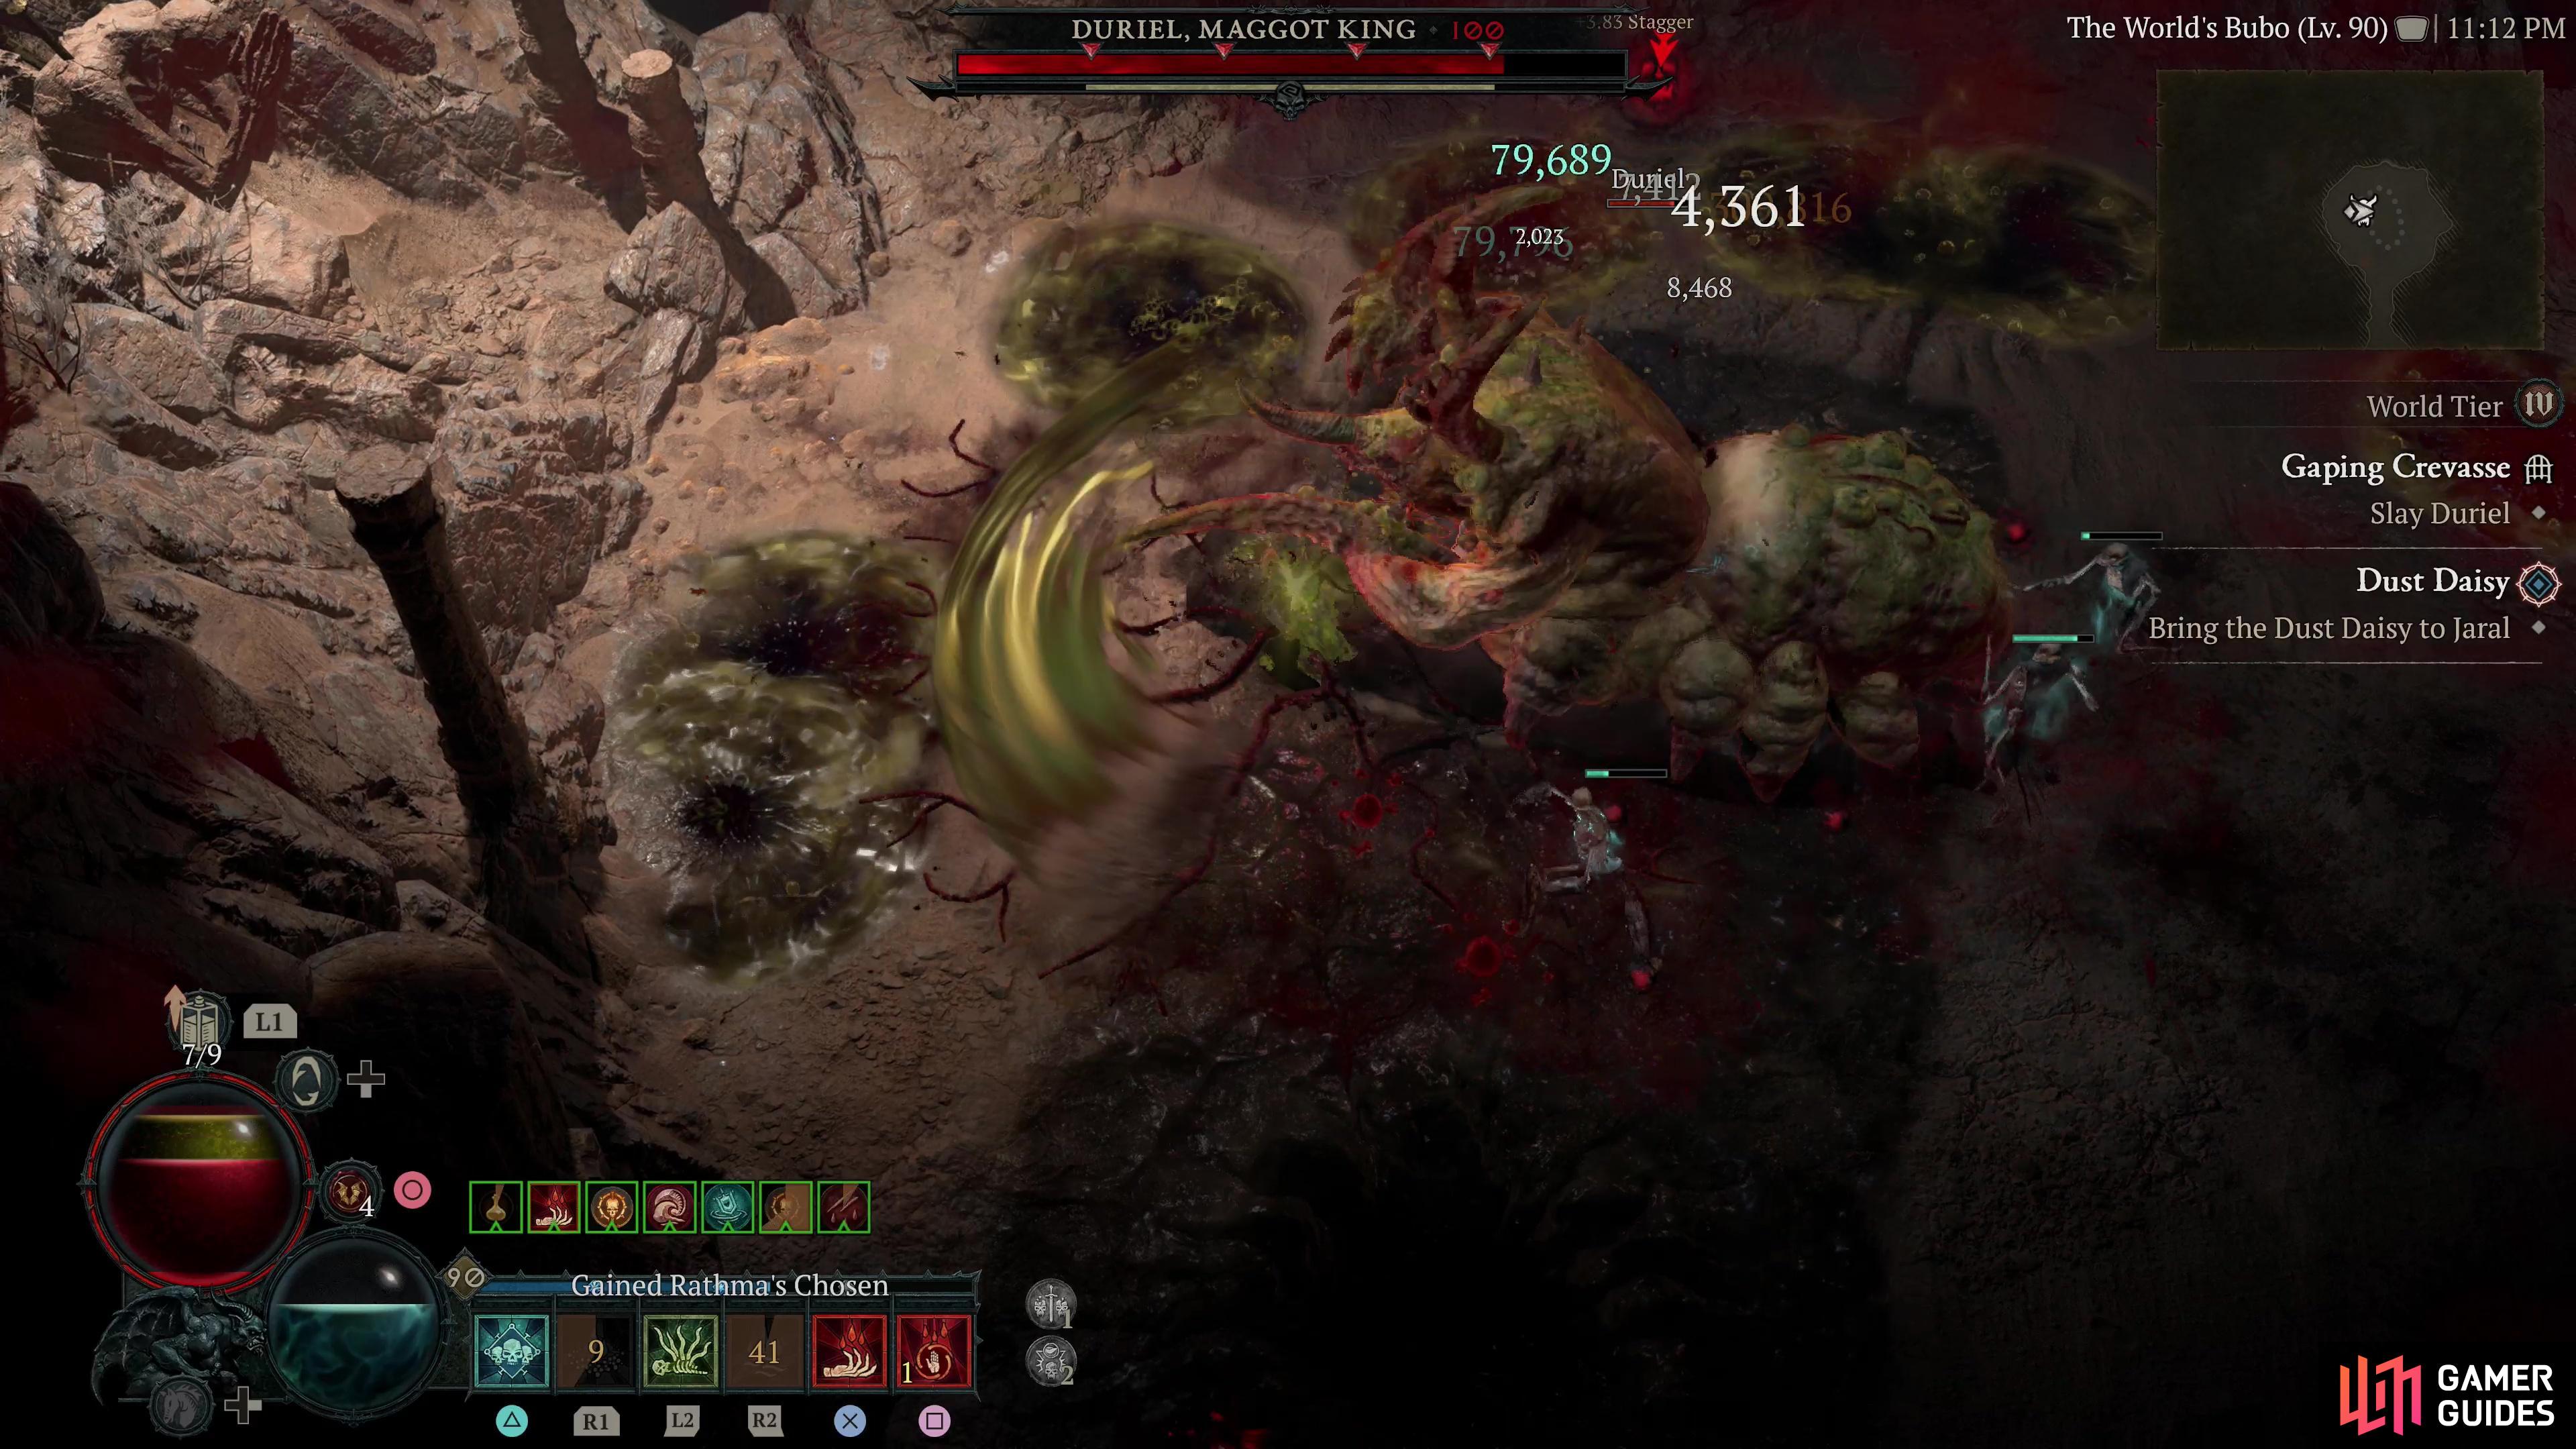
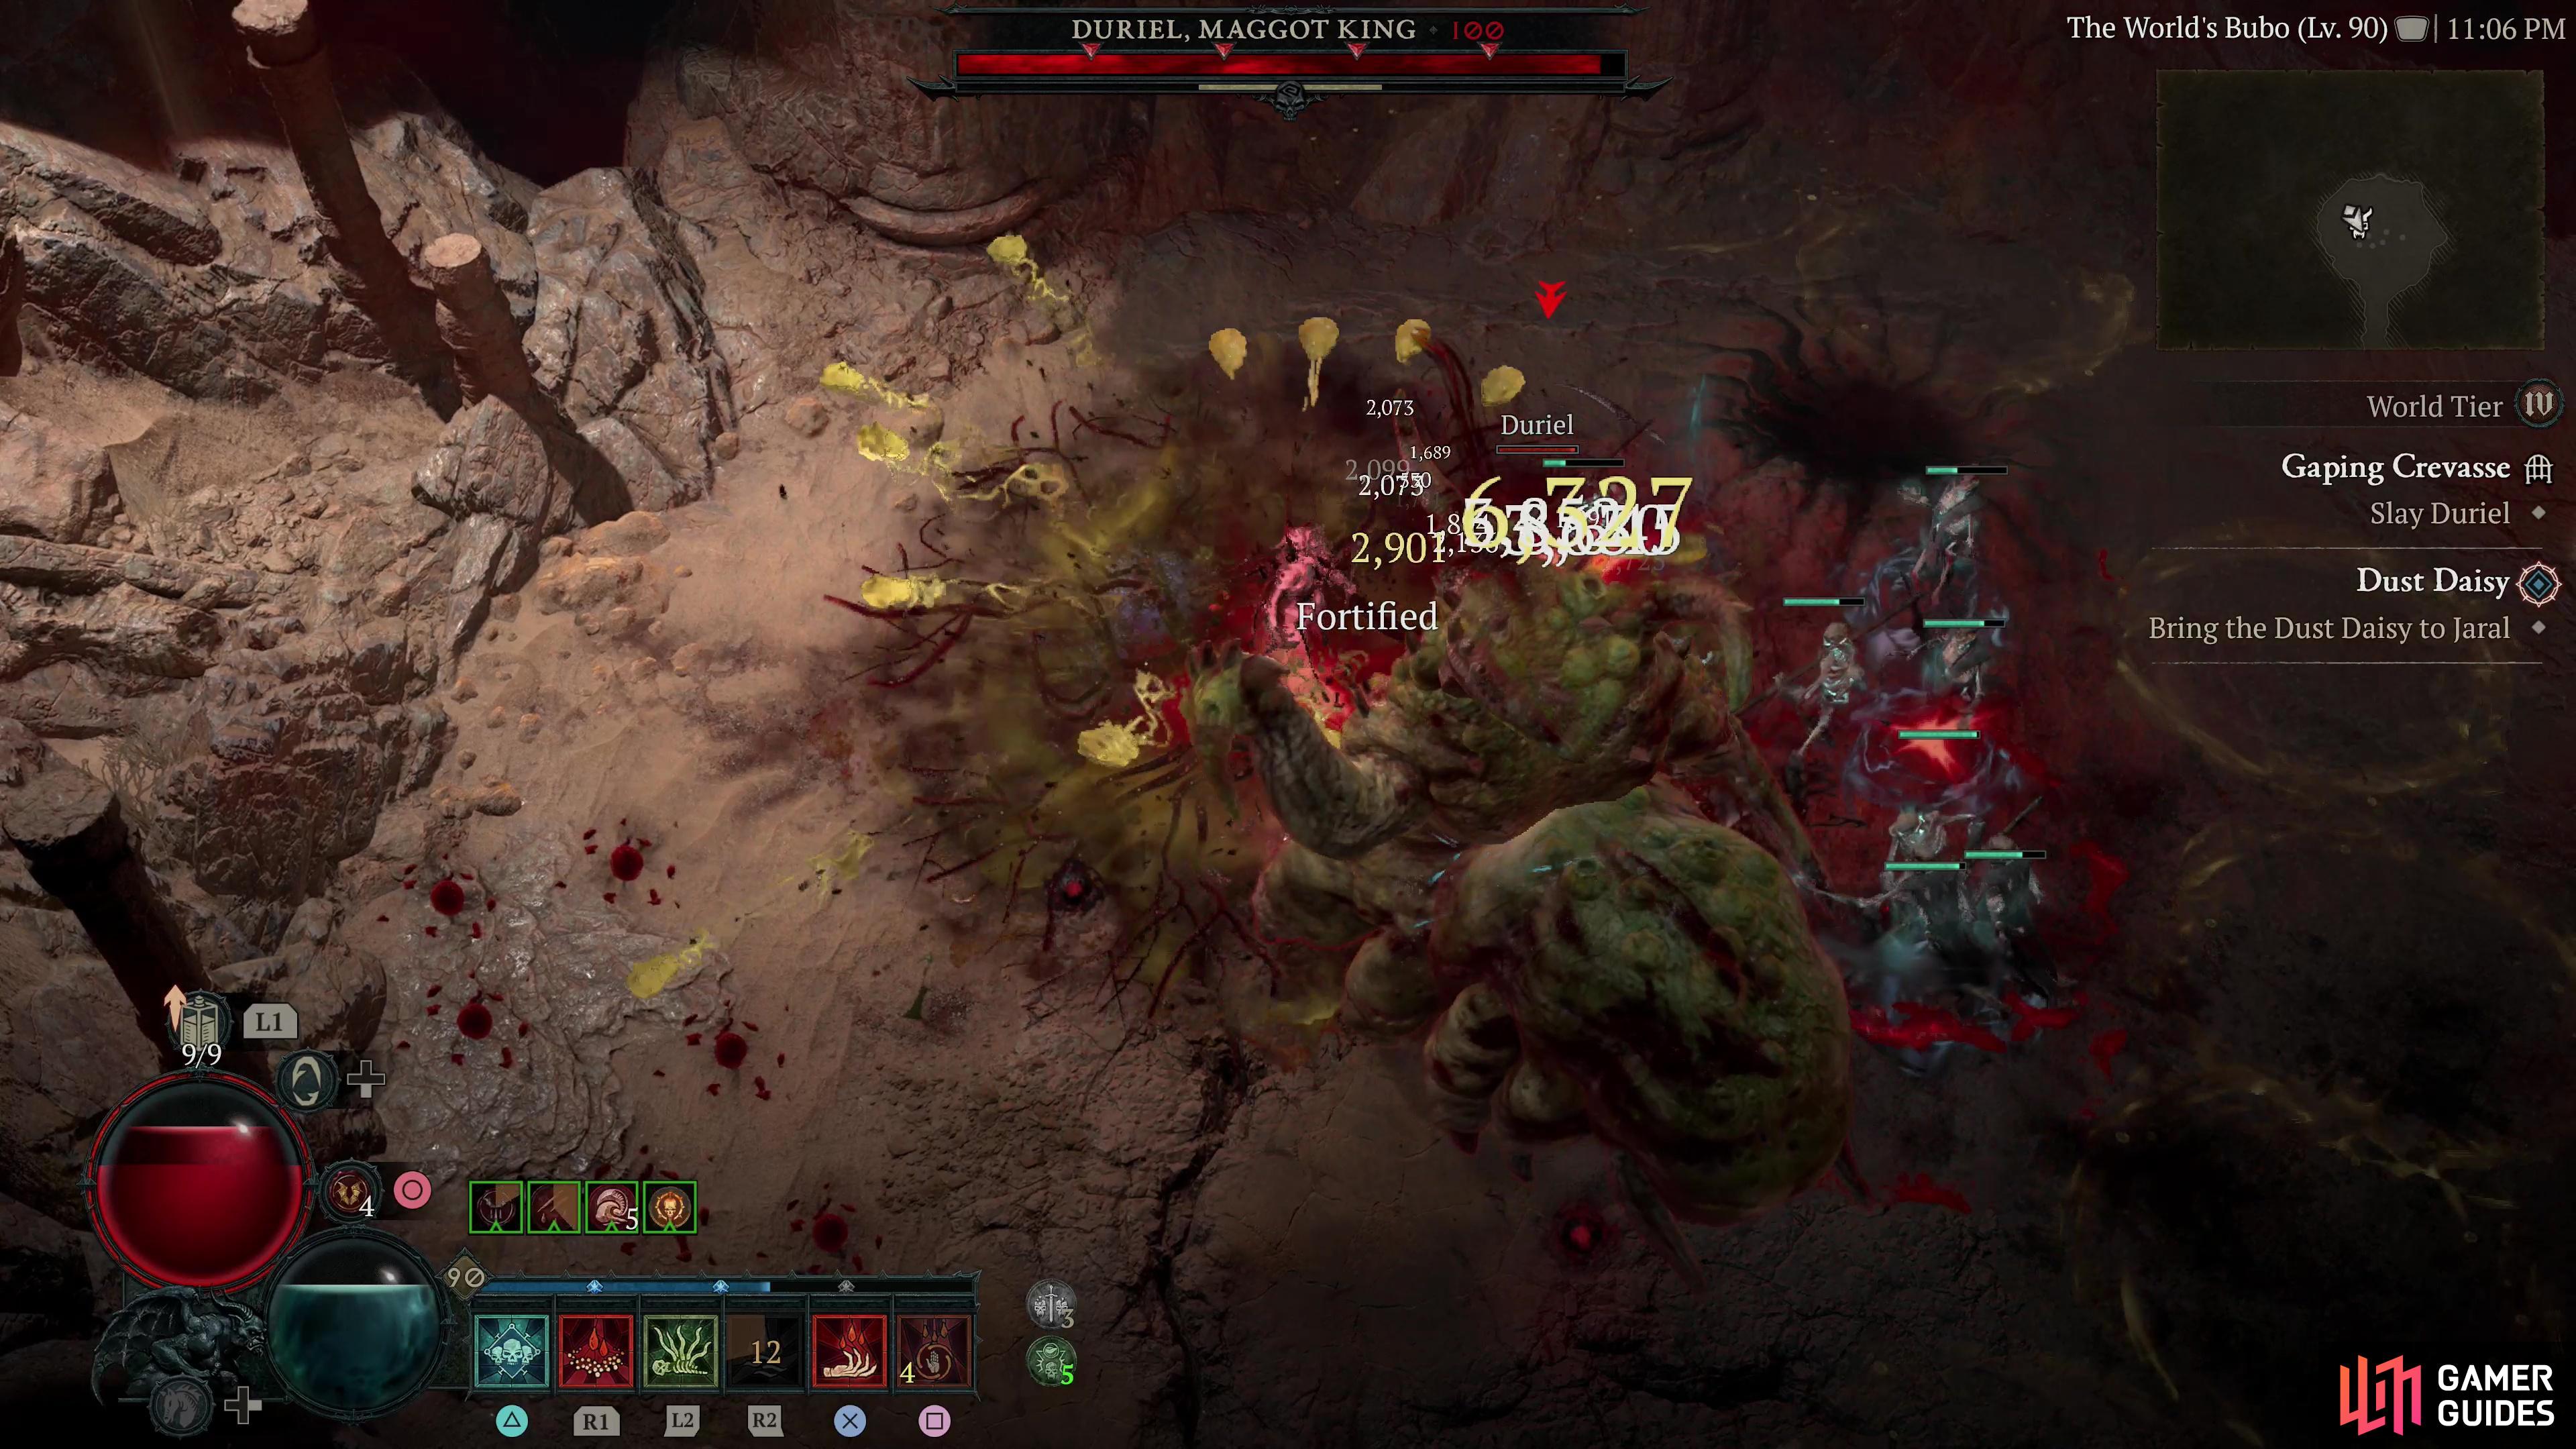
Before you attempt Duriel, max out your poison resistance which can be done by socketing In terms of his attacks, Duriel plays similarly to its story counterpart with a few more swipes and slashes thrown in. The most difficult attack to deal with is his charge which can one-shot you depending on your build; even sturdy characters may go down. Whenever you see Duriel rock back and forth, a charge is incoming, as you best be ready to use any of your evasive abilities to dodge it. Note, this cannot be dodged through like most other attacks as Duriel is deceptively quick and can turn almost instantly, so you’ll need to avoid the attack the old-fashioned way, skill. Here are Duriel’s attacks:
For a more detailed boss strategy, head over to our In-Depth Duriel Boss Guide.
Detailed Location
Region
|
|
Uber |
|
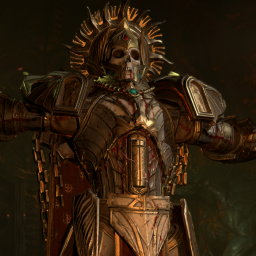
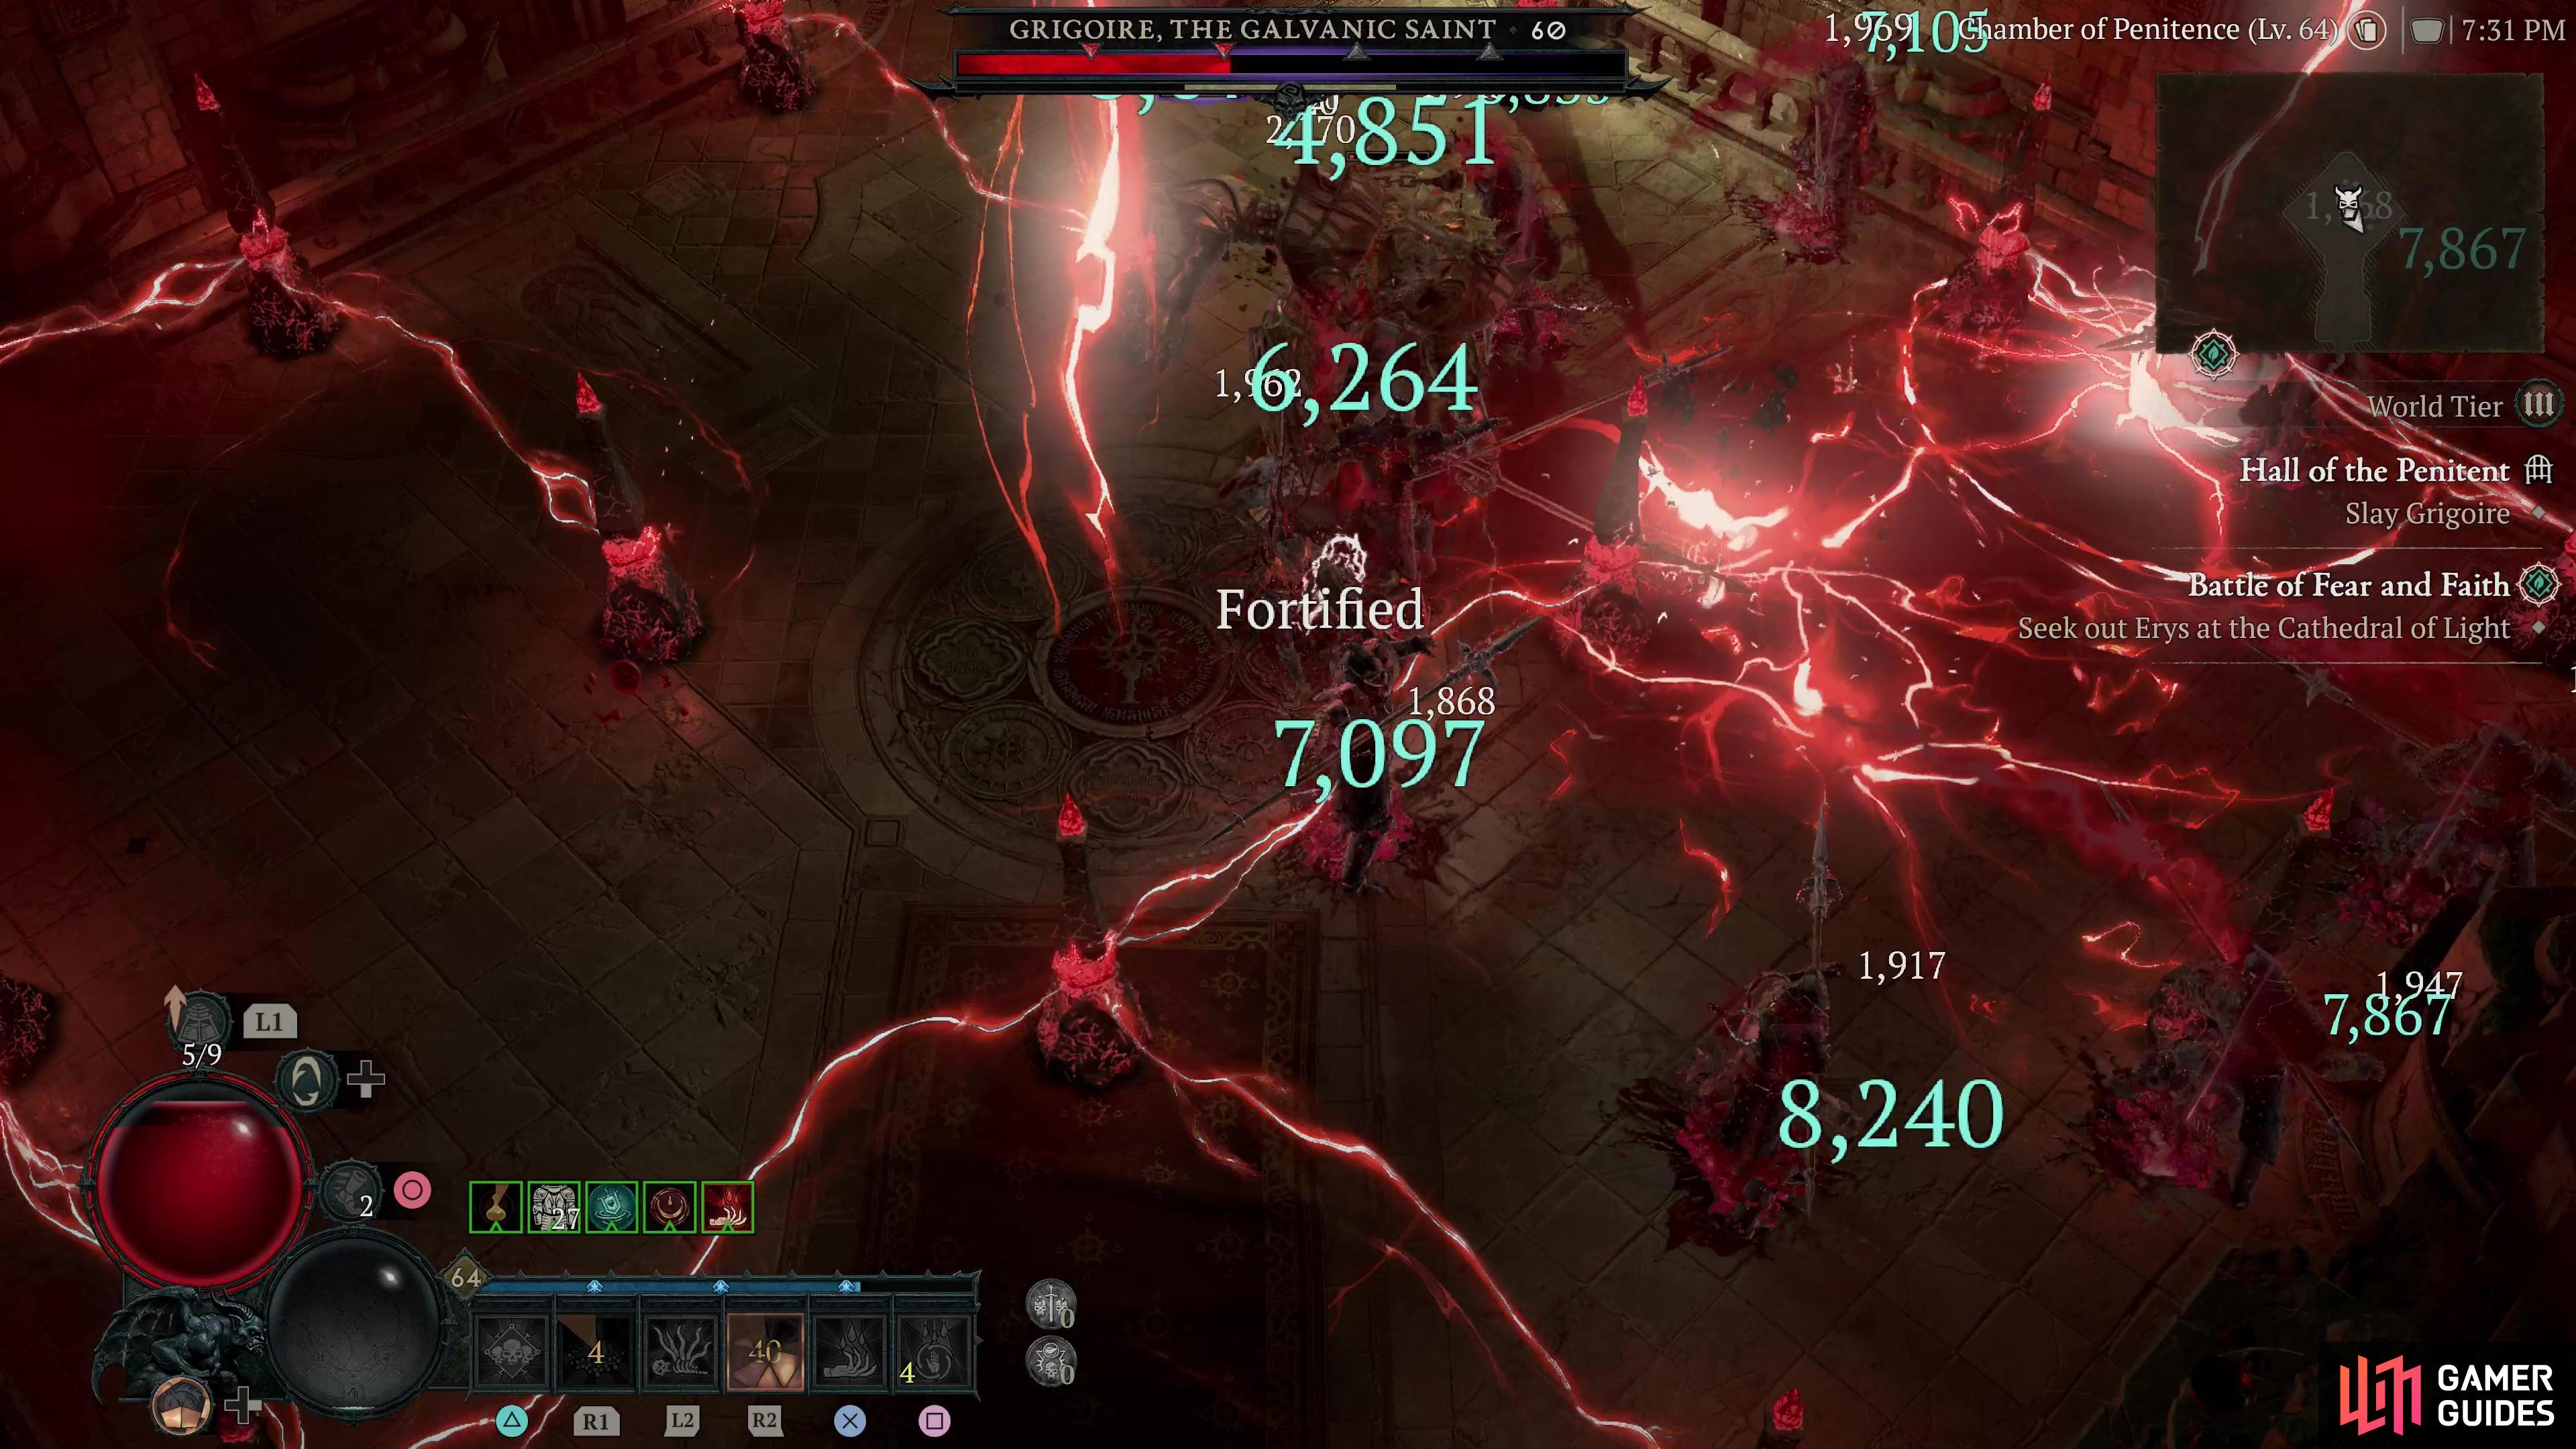
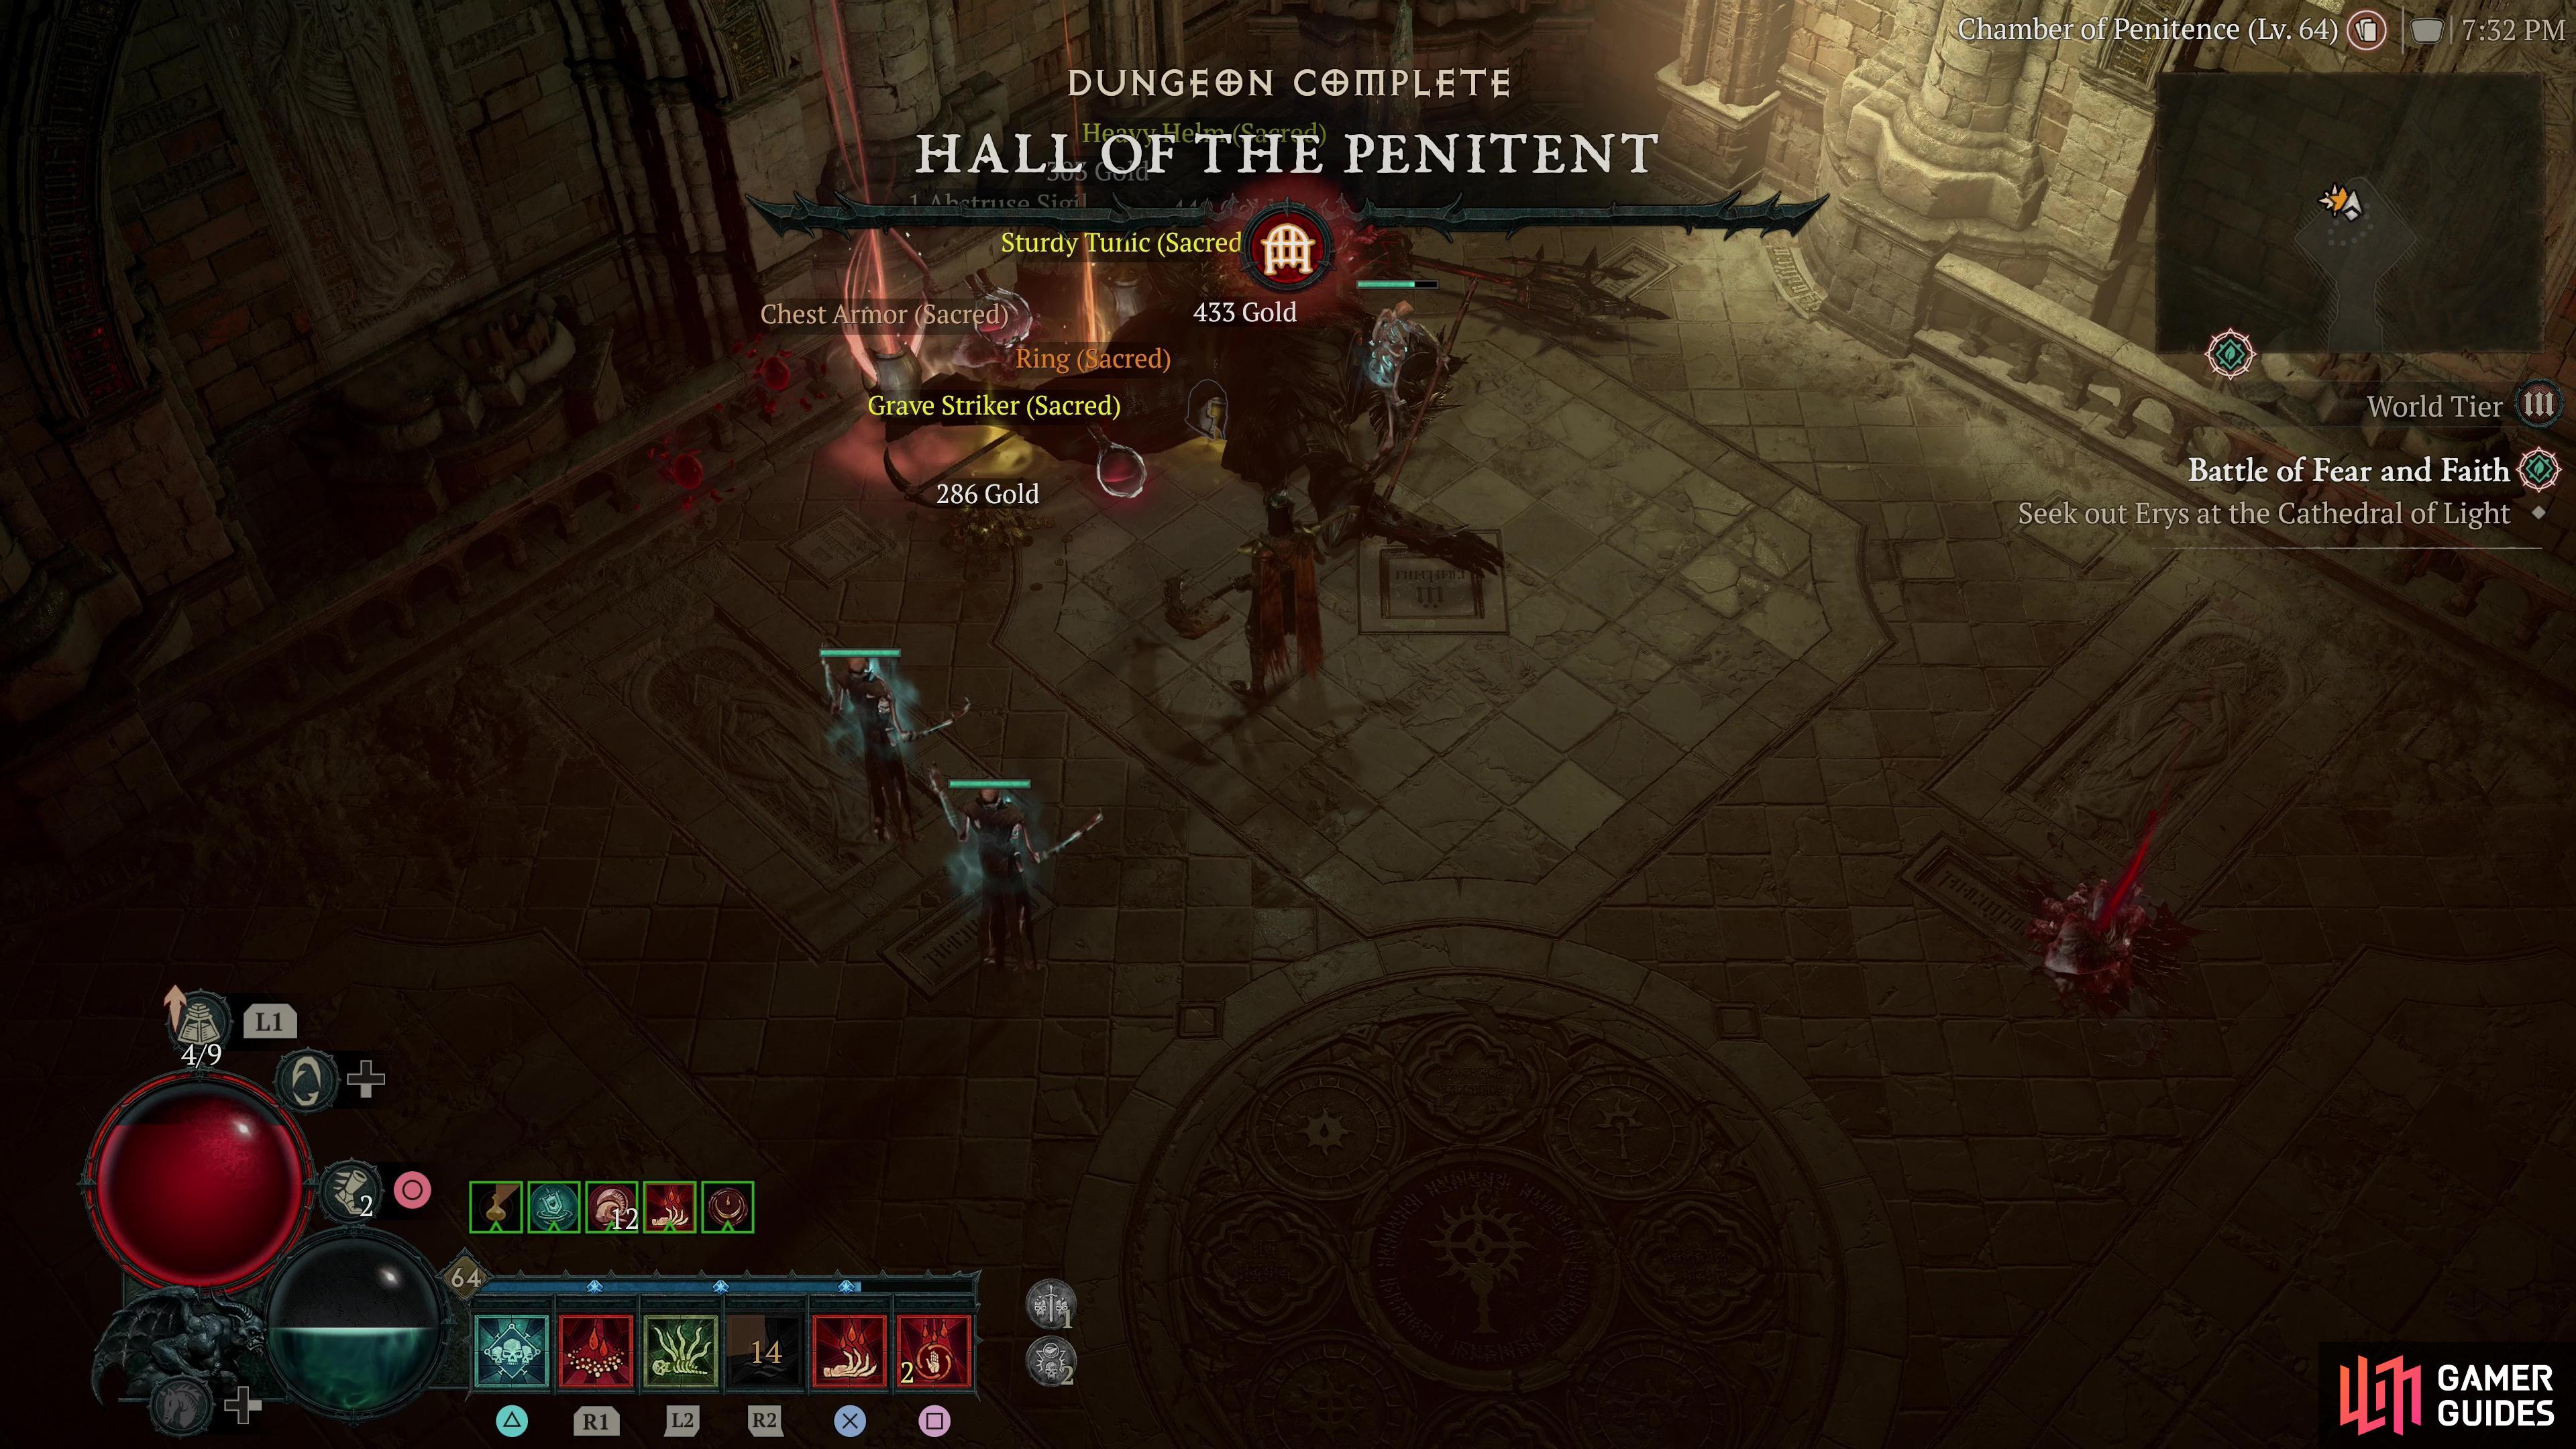
Grigoire, The Galvanic Saint |
Grigoire is an Uber boss who was introduced in the season of the malignant. He is an opposing figure clad in heavy armor and wields a mace while also having a penchant for lightning, hence his name. Due to his heavy armor restricting his movement, he focuses on attacking you with his mace from a stationary position while conjuring up fierce lightning-based attacks.
Description
Grigoire doesn’t have too many attacks and he’ll spend most of the time punishing you with mace attacks that fire off Charged Bolts on every swing. When he’s not hitting you in the face with his mace, he’ll summon pillars that will arc lightning between them which will restrict your movement, and deal damage should you touch them. Like most bosses in Diablo IV, Grigoire has adds that serve as nothing more than a way to summon corpses as a Necromancer, or bolster your potion supply. One of the more difficult attacks to avoid is his Lightning Lance which comes down at you quickly with little warning, so always be prepared to move at a moment’s notice. A good defense is imperative against Grigoire due to his hard-hitting attacks, and a maxed-out lightning resistance wouldn’t go amiss. In short, here are Grigoire’s attacks:
For a more detailed boss strategy, head over to our In-Depth Grigoire Boss Guide.
Detailed Location
Grigoire will have to be summoned at the altar in the Hall of Penitent dungeon found along the eastern edge of the Dindai Flats region in the Dry Steppes. Unfortunately, to use the altar, you’ll need to get
Region
|
|
Uber |
|
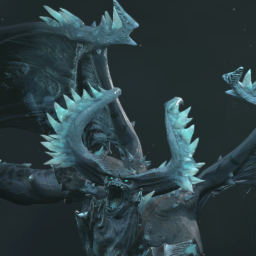
The Beast in the Ice |
Description
Before you start the battle, make sure you adjust your resistances to protect you from cold, and bring along some Cold Resistance Elixirs while you’re at it. The Beast has a plethora of attacks compared to other bosses which makes the battle a lot more difficult, so damage mitigation and immunity skills are a must. At the beginning of the battle, the Beast will predominantly use its melee attacks where it’ll swing at you with its weapon. Note that this will unleash numerous shards of ice with every swing and they will ricochet around the arena. During this “phase” of the battle, you’ll want to stick close to it and dodge as the swing approaches you. While you fight him, it’ll periodically breathe a stream of cold in your direction. Simply, dodge the attack, get behind it, and unleash your most potent abilities while it’s stuck in animation. One of its stronger attacks is its slam attack. The Beast will slam its weapon into the ground creating numerous area-of-effect markers that will deal significant damage to you should you be in them. Reposition out of the markers to negate the damage from them. Now, at first, this should be easy to avoid, but after a while, it’ll leap into the air, and violently crash down upon the arena. This is easy enough to dodge, but as it lands, it’ll unleash numerous shards of ice that ricochet around the arena which makes this whole sequence of attacks incredibly difficult to avoid. Instead, use your damage mitigation tools to absorb/negate the majority of the damage, and heal up any damage that gets through. At approximately around the first arrow of its health, the Beast will unleash a bone-chilling Ice Storm around the arena which will deal damage if you touch it, but its main purpose is to restrict your space. During this attack, the Beast will periodically send forth waves of frost across the arena that you will need to avoid as these can push you into the storm. Furthermore, you won’t be able to target it, and it’ll summon some Overseers adds to the battle, but these shouldn’t cause you too many problems as they go down quickly. When the Ice Storm dissipates, “phase 2” will begin. For the most part, this will be the same as the other mechanics other than it’ll summon Elite enemies instead of Overseers when it uses Ice Storm, but more importantly, the Beast will use a new attack where it’ll plunge its weapon into the ground. This will telegraph numerous circular markers across the arena which will unleash waves of frost outward from them. If you get hit by them, the odds are you’ll get Frozen. Finally, when the Beast is low on health, its Ice Storm will become perpetual while waves of frost will fly across the arena. During the final phase, the weapon plunge attack introduced in the previous phase will gain another mechanic. This will add an extra wave of frost out of the markers, but the waves will cover more area meaning you’ll have more to dodge.
Detailed Location
Region
|
Uber |
|
|
Tormented Echo of Varshan |
Varshan was a simple priest within his village who spent many happy days with his friend, Cormond, who was also a priest. That was until one eventful day when Lilith visited his village, and turned the entire village populace into demons. His friend Cormond chose to flee the onslaught that occurred that day while Varshan stayed and fought to protect the village from Lilith. As time passed, Cormond returned to the desolate village to find that people had disappeared and Varshan, who was now corrupted due to Lilith’s taint. Cormond invented a malignant cage to contain the now corrupted Varshan, so he could treat him when he found out more information about the corruption, but the plan backfired, and Varshan broke free with a new power that corrupted anything he touched. This caused Cormond to flee once again with Varshan close at his heels, driven mad by the corruption and his thirst for revenge on Cormond who he believed left him to fend for the village on his own. As Varshan continued his hunt for Cormond across Sanctuary, Cormond bumps into a powerful wanderer who would help Cormond find out how to contain, and treat Varshan. Cormond and the wanderer found out from the various archives hidden deep within some ancient ruins that they could create another cage to trap Varshan and complete the failure that Cormond attempted before. Although the cage worked to trap Varshan, all it could do was end the corruption and put him out of his misery.
Description
If you fought the Echoes variant of Varshan during Season 1, not much has changed. Varshan has no specific element he focuses on and instead uses various different physical attacks. These attacks are split between using tentacles, or corruption-based attacks which require you to reposition. The former will be predominantly used if you keep your distance from him and will pull you in. The latter, however, places telegraphed markers on the floor that you will need to pay attention to if you don’t want to take a lot of damage. Periodically throughout the battle, Varshan will summon three Elite enemies, and while these are up and alive, he will be invulnerable. Fortunately, these aren’t particularly difficult to take down, and classes with high area-of-effect damage will defeat them in no time. If you want a more detailed strategy on how to defeat Varshan, head over to our In-Depth Varshan Boss Guide.
Detailed Location
If you want to fight the
These materials can be obtained by completing Grim Favors or defeating Grotesque Debtors. Note, you must be World Tier IV to get the Malignant Hearts required to summon Varshan. Once you have the required materials, head to the Malignant Burrow located in the northeast of The Whispering Mire, near the Tree of Whispers, and place them one at a time in each Malignant Altar.
Region
|
Uber |
|
|
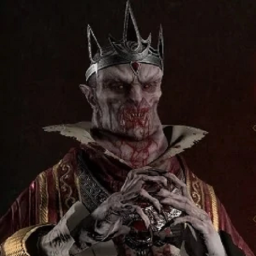
Lord Zir |
Lord Zir is an ancient vampire that dates back to the Firstborn who are also known as the “Ancients”. The Firstborn were the first generation of Nephalem who were created when renegade demons and angels procreated creating beautiful abominations. Zir was imprisoned in the City of the Ancients when he and his kin reacted negatively to having their power stolen when
Description
The difference between the two versions of Lord Zir isn’t much other than the inflated stats. Because most, if not all of his attacks are blood skills, he doesn’t use any specific element. For this reason, we suggest bringing elixirs that boost your maximum health. Zir doesn’t have too many attacks, but the attacks that he does have can deal significant damage. Still, the lack of attacks makes it easier to remember how to avoid them when you’re fighting him. Lord Zir has several attacks to watch out for which are:
Detailed Location
You’ll fight Lord Zir as the last boss of the Season 2 storyline, but a more powerful version with more powerful loot can be summoned in World Tier IV. To summon him, you’ll need nine Exquisite Bloods which can be acquired by defeating World Bosses and/or Legion Events in World Tier IV. When you have the required blood, head to
Region
|
Uber |