Invaders - Elden Ring: Shadow of the Erdtree Database
| Icon | Title | Category | Subcategory |
|---|
Invaders
| Icon | Title | Details | Image 1 | Image 2 | Image 3 | Image 4 | Image 5 | Runes | ||||||||||||||||||||||||||||||||||||||||||||||||||||||||||||||||||||||||||||||||||||||||||
|---|---|---|---|---|---|---|---|---|---|---|---|---|---|---|---|---|---|---|---|---|---|---|---|---|---|---|---|---|---|---|---|---|---|---|---|---|---|---|---|---|---|---|---|---|---|---|---|---|---|---|---|---|---|---|---|---|---|---|---|---|---|---|---|---|---|---|---|---|---|---|---|---|---|---|---|---|---|---|---|---|---|---|---|---|---|---|---|---|---|---|---|---|---|---|---|---|---|---|
|
Anastasia, Tarnished-Eater |
This invader enemy wields a large butcher knife with decent reach, similar to the one found at Smoldering Church in Limgrave. Anastasia has a number of attacks that you’ll need to look out for. One of the most common consists of Anastasia gripping the blunt edge of the knife, jumping in the air and slamming down towards you. This is fairly easy to avoid with a quick dodge or roll. There’s also an overhead slash attack that Anastasia will often execute on its own, but will also sometimes follow it up with a second slash and a final jump & slash. All of these are easy to get to grips with. The most damaging attack that Anastasia can use consists of consecutive slashes with the knife, during which at least three strikes will be executed. It can be difficult to avoid these once they get going and you may get caught if you try to interrupt them, so you’ll be safer staying back and waiting for the attack to end.
Notable Info
|
0 |
|||||||||||||||||||||||||||||||||||||||||||||||||||||||||||||||||||||||||||||||||||||||||||||||
|
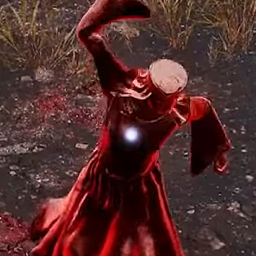
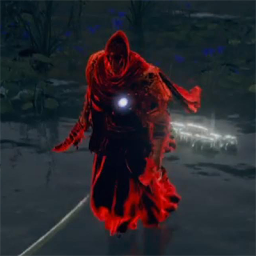
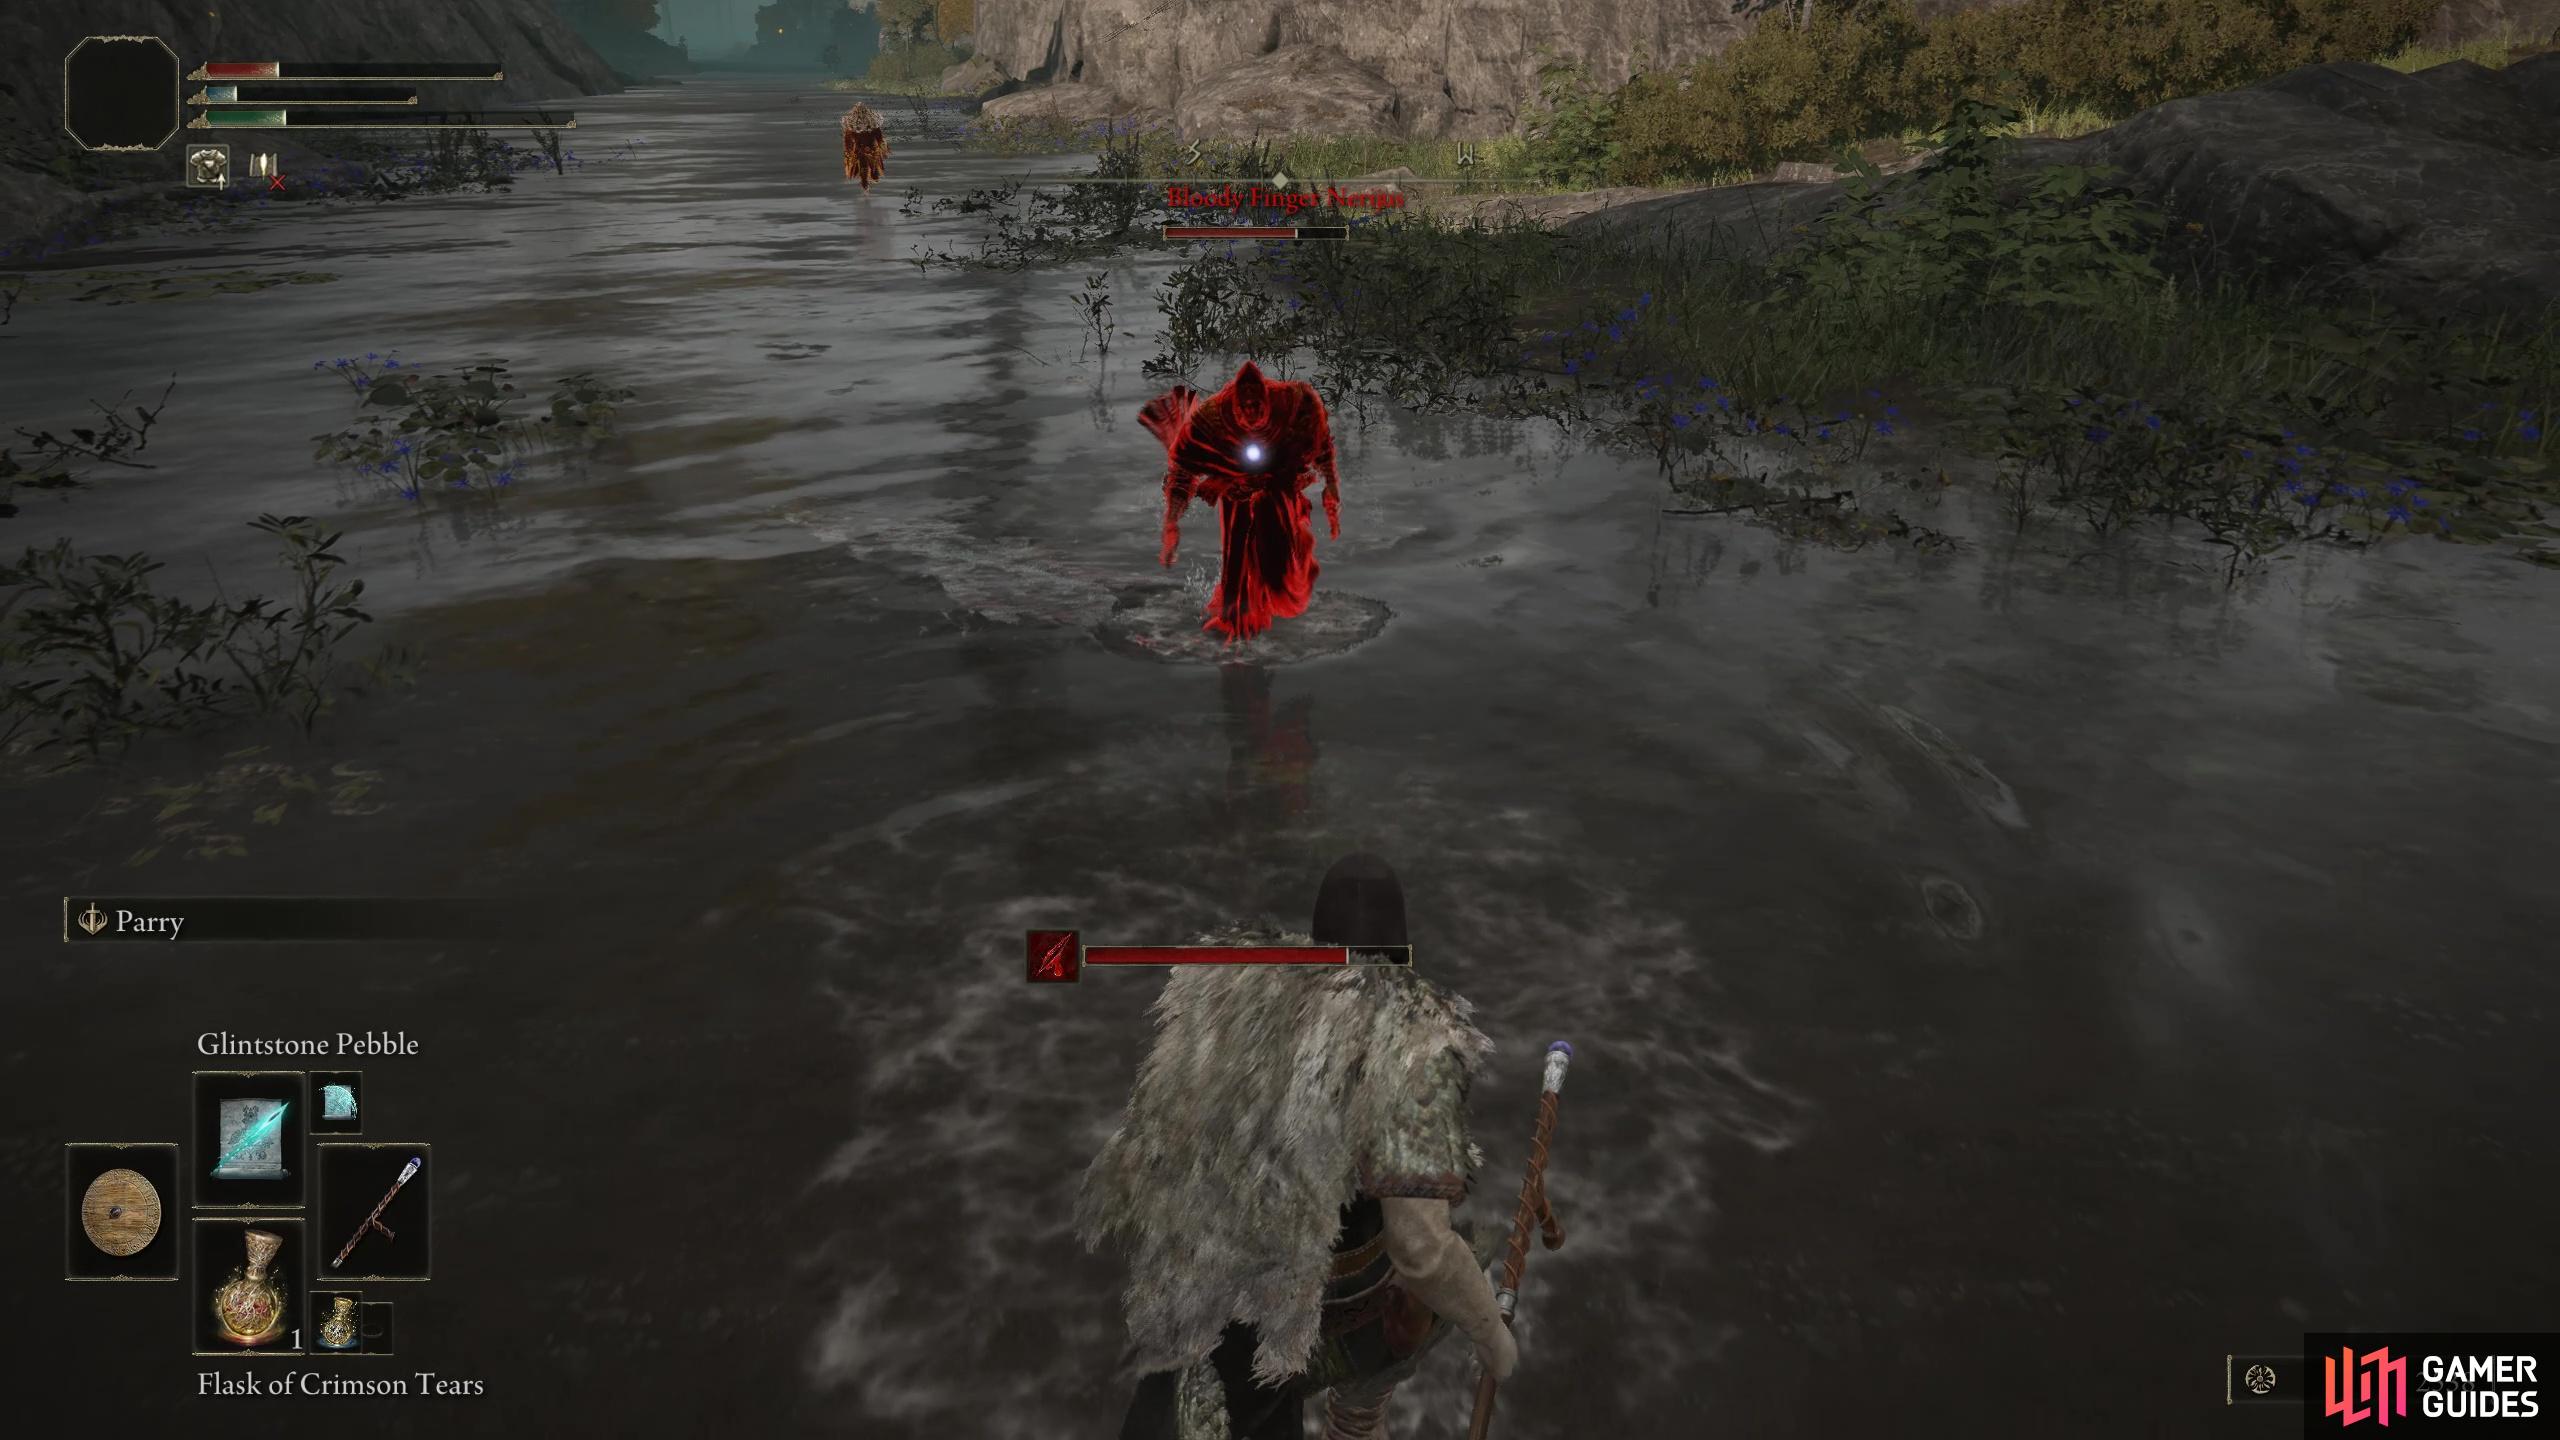
Bloody Finger Nerijus |
As with all Invader battles, there’s no distinct phases in these battles. To begin with, there will be a large distance between yourself and Nerijus so take the time to prepare and, if you’re not confident in your abilities, pull him around the stream for a while until Yura summons in to aid you. If you want Yura to appear sooner, you can initiate the battle with Nerijus and after a few strikes, Yura will enter. When fighting Nerijus alone, you’ll want to take the battle slow, don’t get greedy and rush in for an attack, instead, let him initiate Reduvia Blood Blade from around medium range and, once you’ve avoided the third slash, close in for a few attacks. If you’ve blocked a lot of his For a full strategy guide, see our boss page here.
Notable Info
|

|
|

|
0 |
||||||||||||||||||||||||||||||||||||||||||||||||||||||||||||||||||||||||||||||||||||||||||||
|
Bloody Finger Okina |
This invader wields the deadly
Notable Info
Okina is notable for the weapon they wield, the |
0 |
|||||||||||||||||||||||||||||||||||||||||||||||||||||||||||||||||||||||||||||||||||||||||||||||
|
Bloody Finger Ravenmount Assassin |
The
Notable Info
Yura in Raya Lucaria requests aid from the player in the form of a Red Summon Sign on the bridge north of the Main Gate Grace. Walk past the magic seal to find. Enter his world and defeat |
0 |
|||||||||||||||||||||||||||||||||||||||||||||||||||||||||||||||||||||||||||||||||||||||||||||||

|
Chief Guardian Arghanthy |
This invader can be found at the top of the garrison ramparts. Arghanthy wears light armor and uses fire magic, but they’re also wielding a large shield. There are numerous fire attacks that Arghanthy will cast, including a short-range attack which essentially acts as pulses of fire stabbing you. This one is easily avoided with a quick dodge or roll, but a more deadly attack comes in the form of a flamethrower-like spell. This will hone in on you as you move around, but you can step back far enough so that the range of the attack can’t reach you. However, to do this you’ll need to make sure that you avoid being cornered by Arghanthy at all times. Another spell that you’ll want to avoid (especially in a corner) consists of Arghanthy casting sigils of fire all around them, before lighting them up causing bursts of flame to erupt vertically. This won’t cause you any problems so long as you’re far enough away, but if you’re in a tight spot as they begin to cast the sigils, you should move out of the vicinity as soon as possible. As ever, leaping heavy attacks will be especially effective here, but you can also try flanking to cast powerful spells.
Notable Info
|
5,040 |
|||||||||||||||||||||||||||||||||||||||||||||||||||||||||||||||||||||||||||||||||||||||||||||||
|
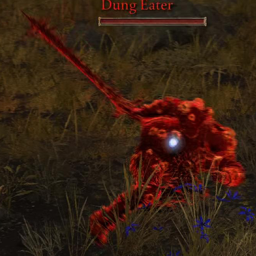
Dung Eater |
Notable Info
It’s suggested to advance all of |
3,000 |
|||||||||||||||||||||||||||||||||||||||||||||||||||||||||||||||||||||||||||||||||||||||||||||||
|
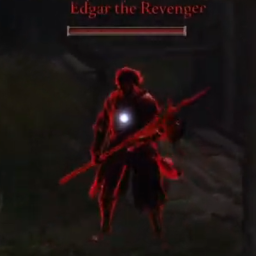
Edgar the Revenger |
Notable Info
|
0 |
|||||||||||||||||||||||||||||||||||||||||||||||||||||||||||||||||||||||||||||||||||||||||||||||

|
Eleonora, Violet Bloody Finger |
Eleonora is a hostile NPC invader who wields a twinblade. She invades you at the Second Church of Marika in
Notable Info
|
0 |
|||||||||||||||||||||||||||||||||||||||||||||||||||||||||||||||||||||||||||||||||||||||||||||||

|
Errant Sorcerer Wilhelm |
Yes |
0 |
|||||||||||||||||||||||||||||||||||||||||||||||||||||||||||||||||||||||||||||||||||||||||||||||

|
Festering Fingerprint Vyke |
Notable Info
The bug that was preventing Vyke from spawning has been fixed as of Patch 1.04. Consider dashing to the |
0 |
|||||||||||||||||||||||||||||||||||||||||||||||||||||||||||||||||||||||||||||||||||||||||||||||

|
Fire Knight Queelign |
Yes
DLC Exclusive
Yes |
|
|||||||||||||||||||||||||||||||||||||||||||||||||||||||||||||||||||||||||||||||||||||||||||||||

|
Great Horned Tragoth |
The
Notable Info
|
0 |
|||||||||||||||||||||||||||||||||||||||||||||||||||||||||||||||||||||||||||||||||||||||||||||||
|
Inquisitor Ghiza |
Notable Info
|
0 |
|||||||||||||||||||||||||||||||||||||||||||||||||||||||||||||||||||||||||||||||||||||||||||||||

|
Juno Hoslow, Knight of Blood |
This is a tough invader who wields two deadly whips and is extremely quick on his feet. Juno also has the ability to teleport short distances, throwing you off in the process. The teleport will usually act as a way for Juno to disappear in the same spot, allowing him to evade your attacks at the last moment. This can be frustrating if you’ve just used a powerful attack which uses focus points, so you’ll need to be careful with your timing. Ranged classes have the option of kiting Juno around the area while inflicting damage, but keep in mind that he can close the gap incredibly quickly, especially if he teleports towards you. As a melee class, you’ll need to be patient with this fight and avoid spamming attacks, since it only takes a few hit from Juno’s whips to bring you down, and they can be executed within just a couple of seconds. |
0 |
|||||||||||||||||||||||||||||||||||||||||||||||||||||||||||||||||||||||||||||||||||||||||||||||
|
|
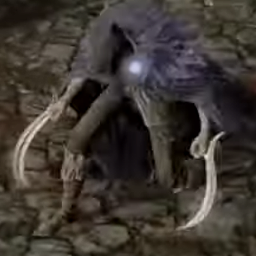
Logur, the Beast Claw | |||||||||||||||||||||||||||||||||||||||||||||||||||||||||||||||||||||||||||||||||||||||||||||||||
|
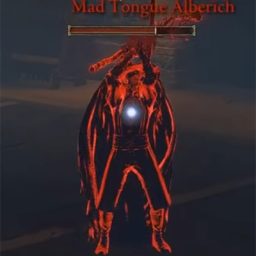
Mad Tongue Alberich |
Notable Info
This is a very difficult battle when you first gain access to the |
0 |
|||||||||||||||||||||||||||||||||||||||||||||||||||||||||||||||||||||||||||||||||||||||||||||||

|
Madding Hand |
Yes
DLC Exclusive
Yes |
||||||||||||||||||||||||||||||||||||||||||||||||||||||||||||||||||||||||||||||||||||||||||||||||

|
Millicent (Invader) |
|
0 |
|||||||||||||||||||||||||||||||||||||||||||||||||||||||||||||||||||||||||||||||||||||||||||||||
|
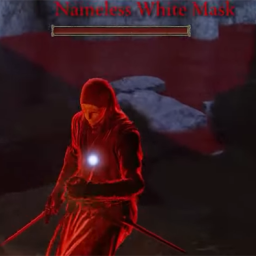
Nameless White Mask |
The
Notable Info
You will find the three invaasion spots in the following locations:
You must kill these before you defeat Mohg, Lord of Blood. |
0 |
|||||||||||||||||||||||||||||||||||||||||||||||||||||||||||||||||||||||||||||||||||||||||||||||
|
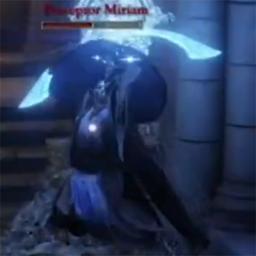
Preceptor Miriam |
Notable Info
|
5,000 |
|||||||||||||||||||||||||||||||||||||||||||||||||||||||||||||||||||||||||||||||||||||||||||||||
|
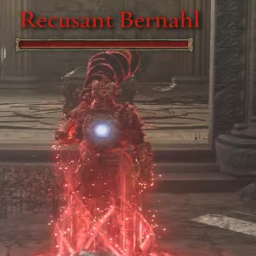
Recusant Bernahl |
Notable Info
Be sure to pull Bernahl back as there is an ambush of Beastman in the room behind him. Bernahl will deal a lot of damage with all of his attacks and he has an Ash of War that can hit a large area so take it slow, don’t get greedy with hits and you’ll eventually wear him down. Once he’s defeated, you’ll obtain the |
0 |
|||||||||||||||||||||||||||||||||||||||||||||||||||||||||||||||||||||||||||||||||||||||||||||||

|
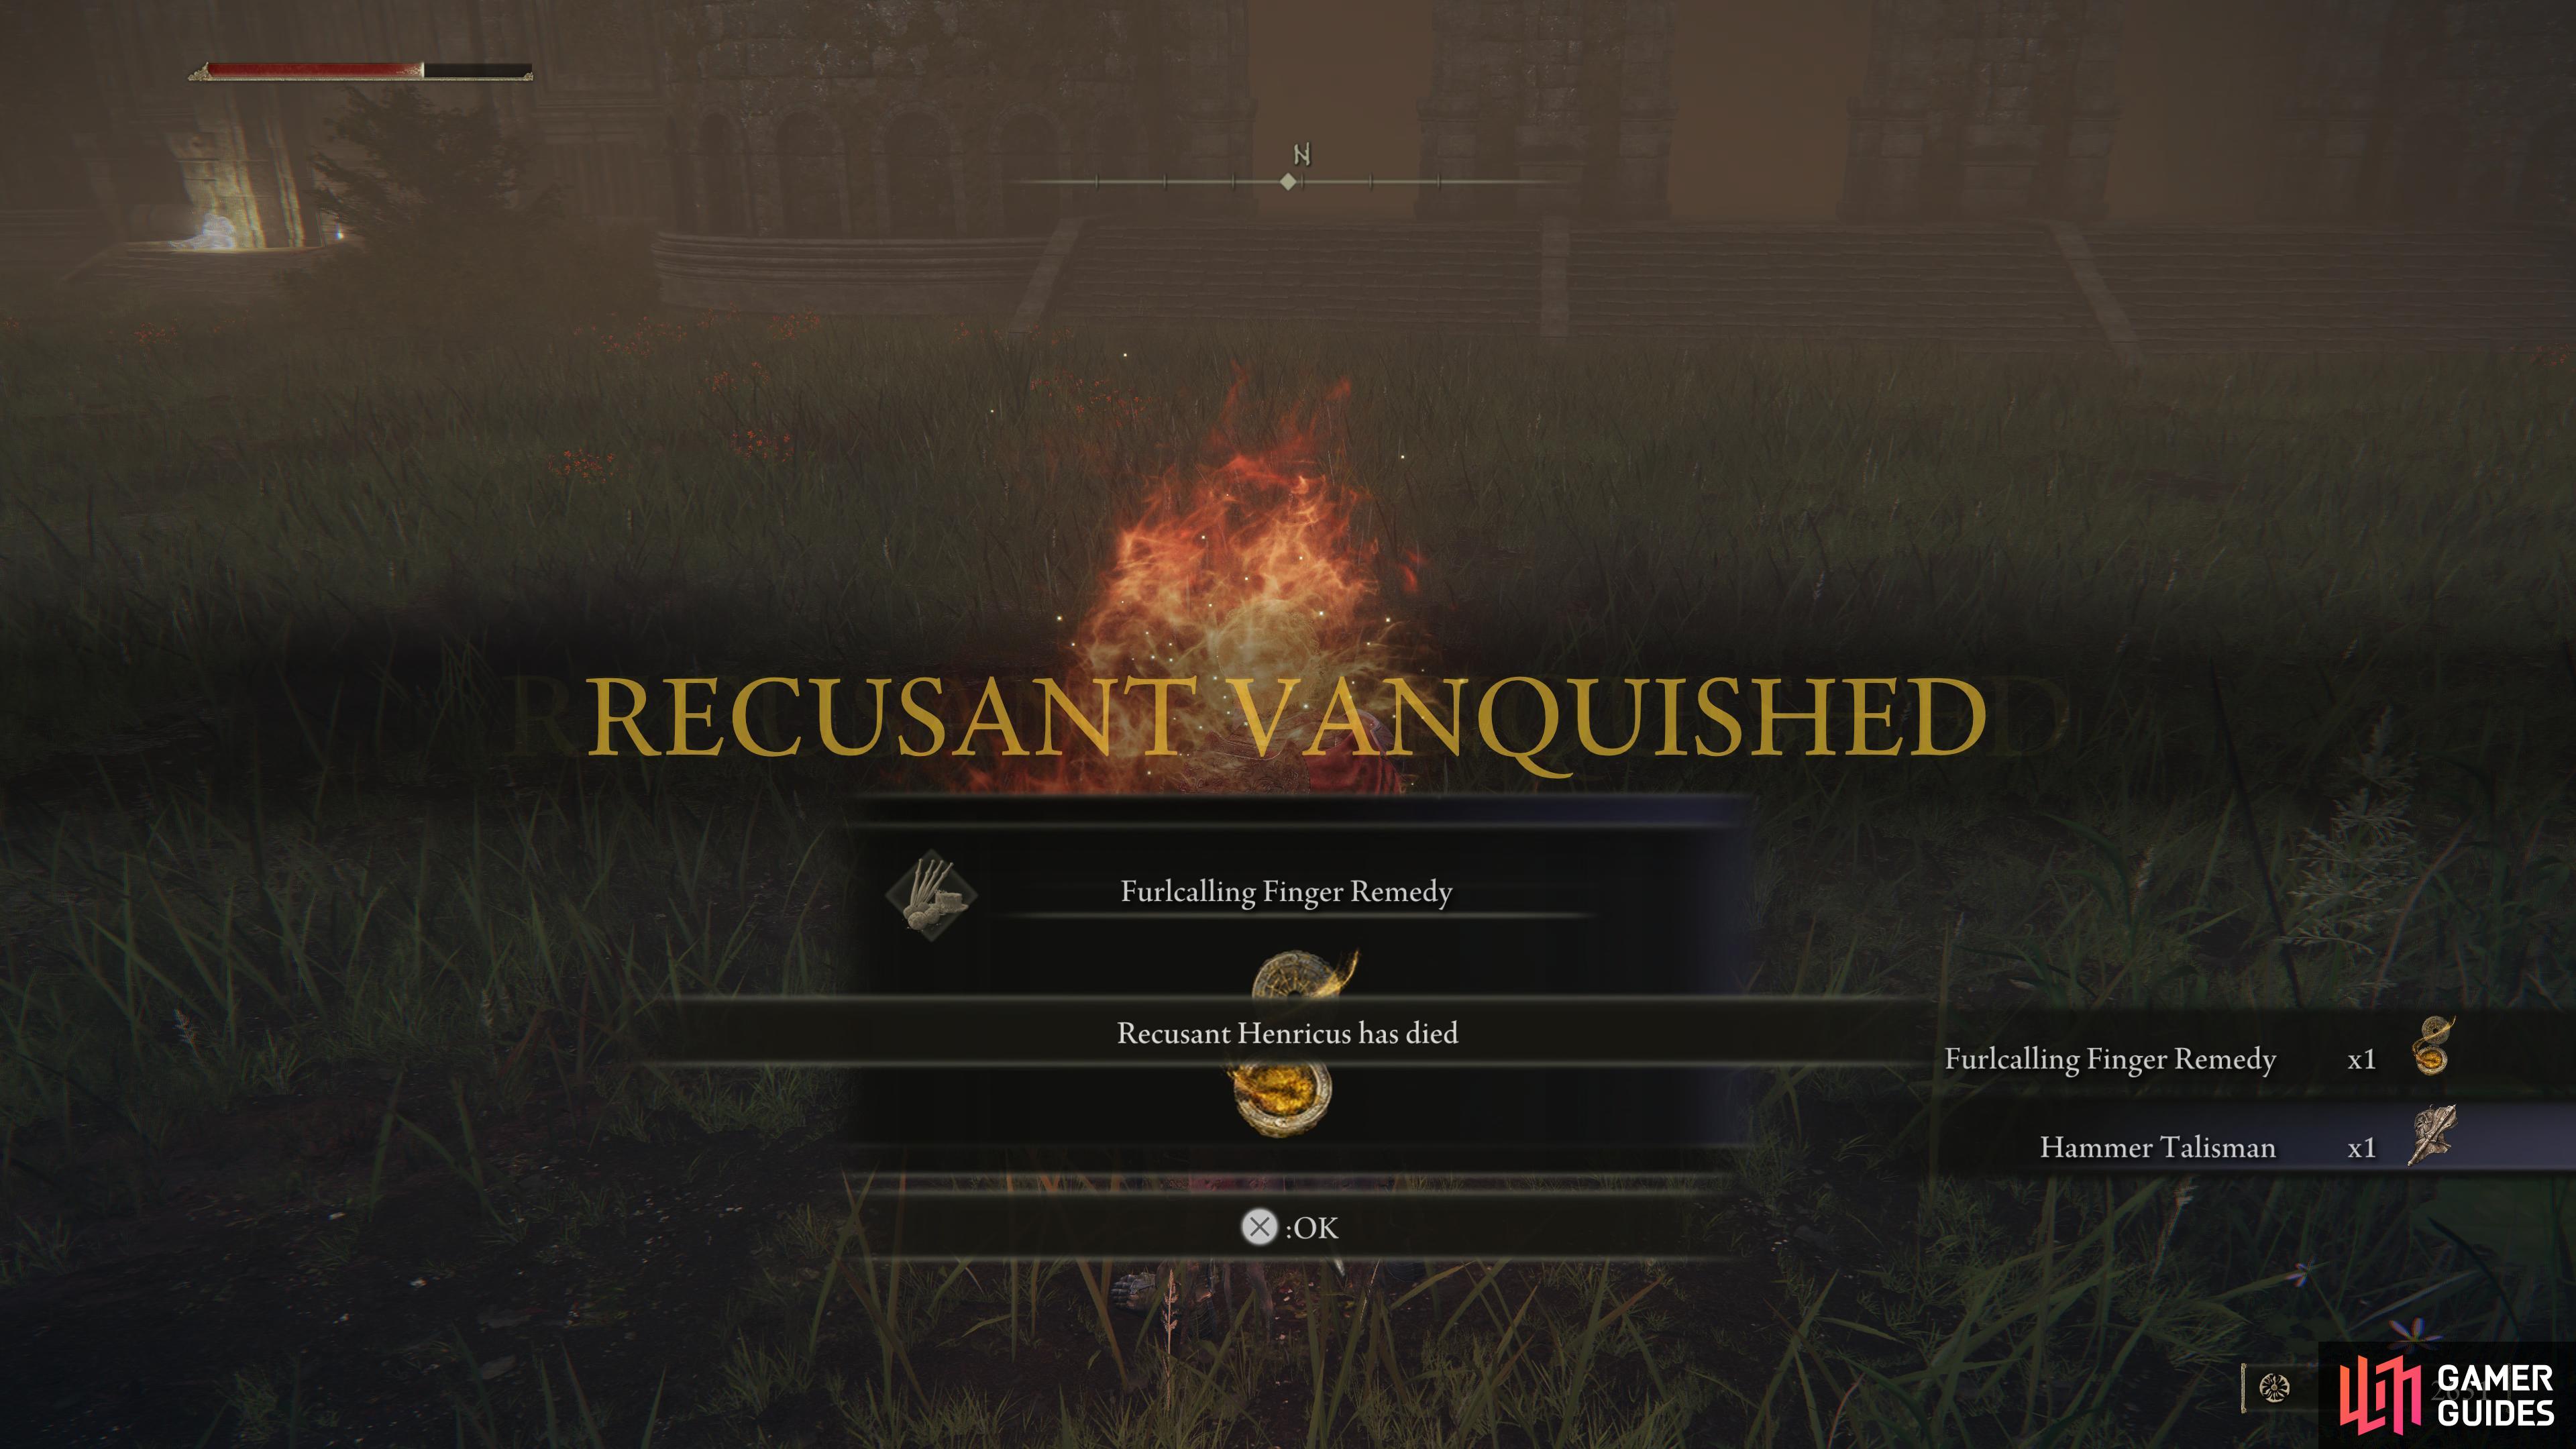
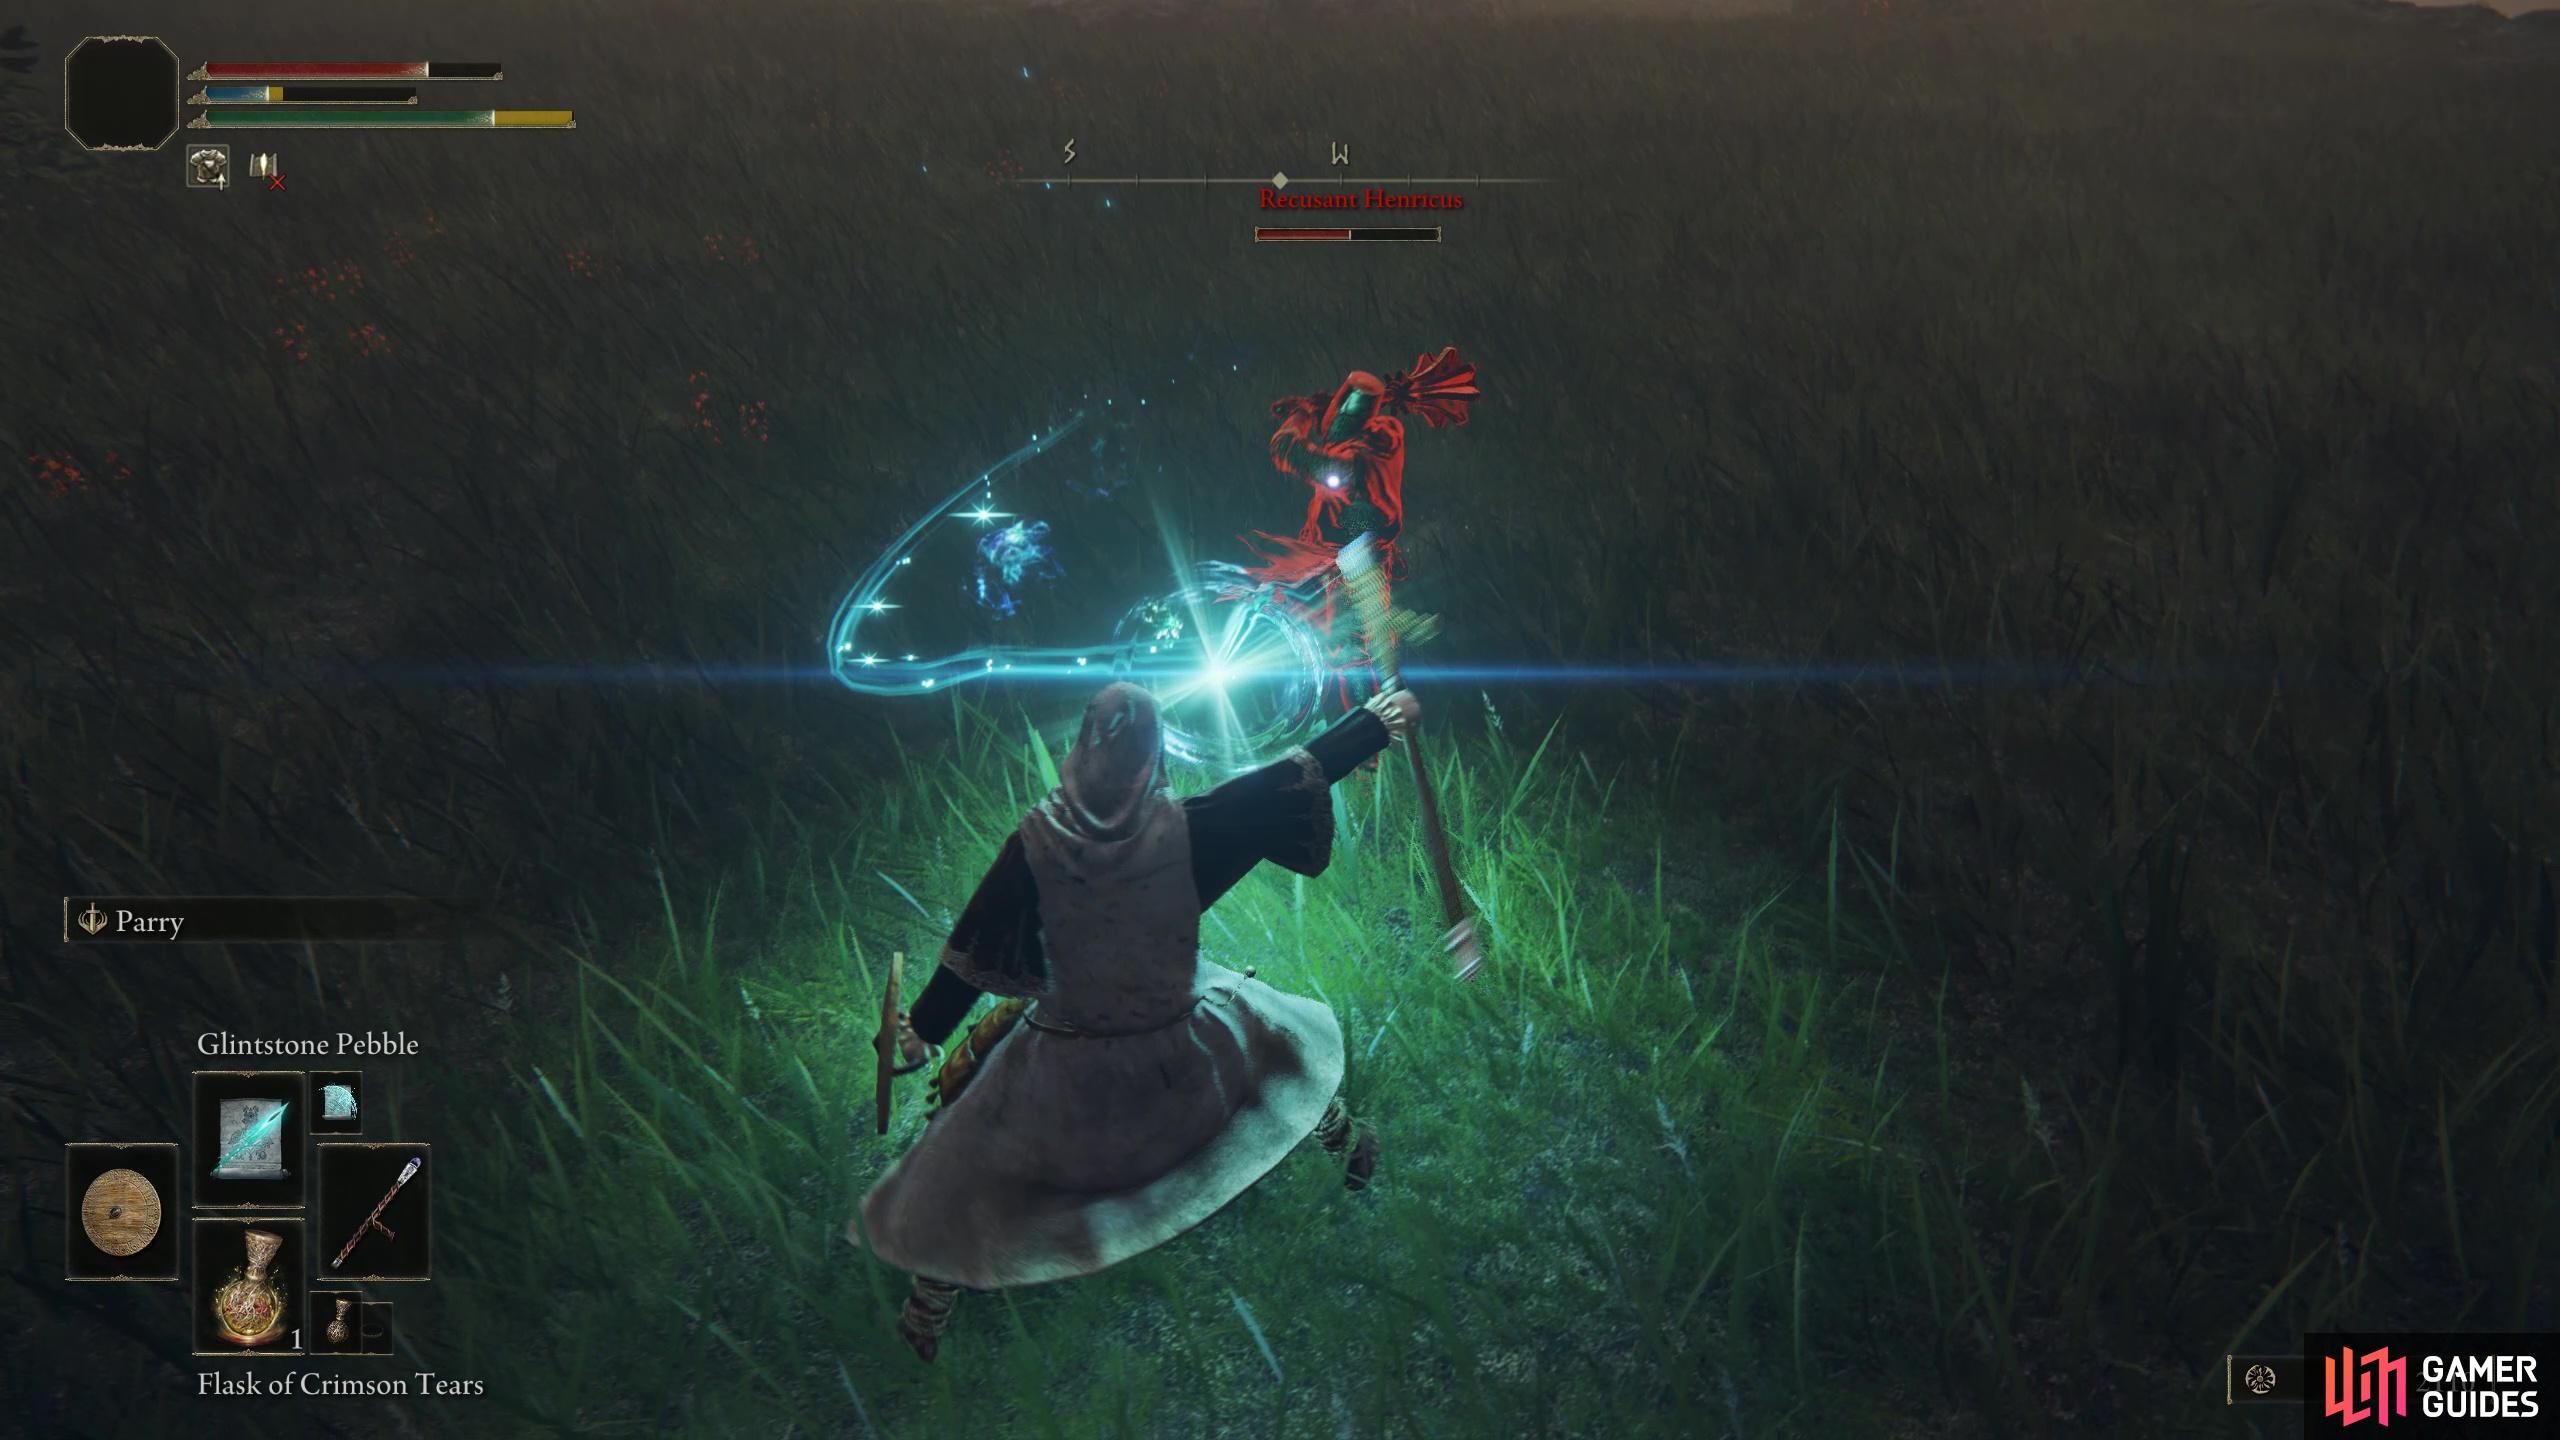
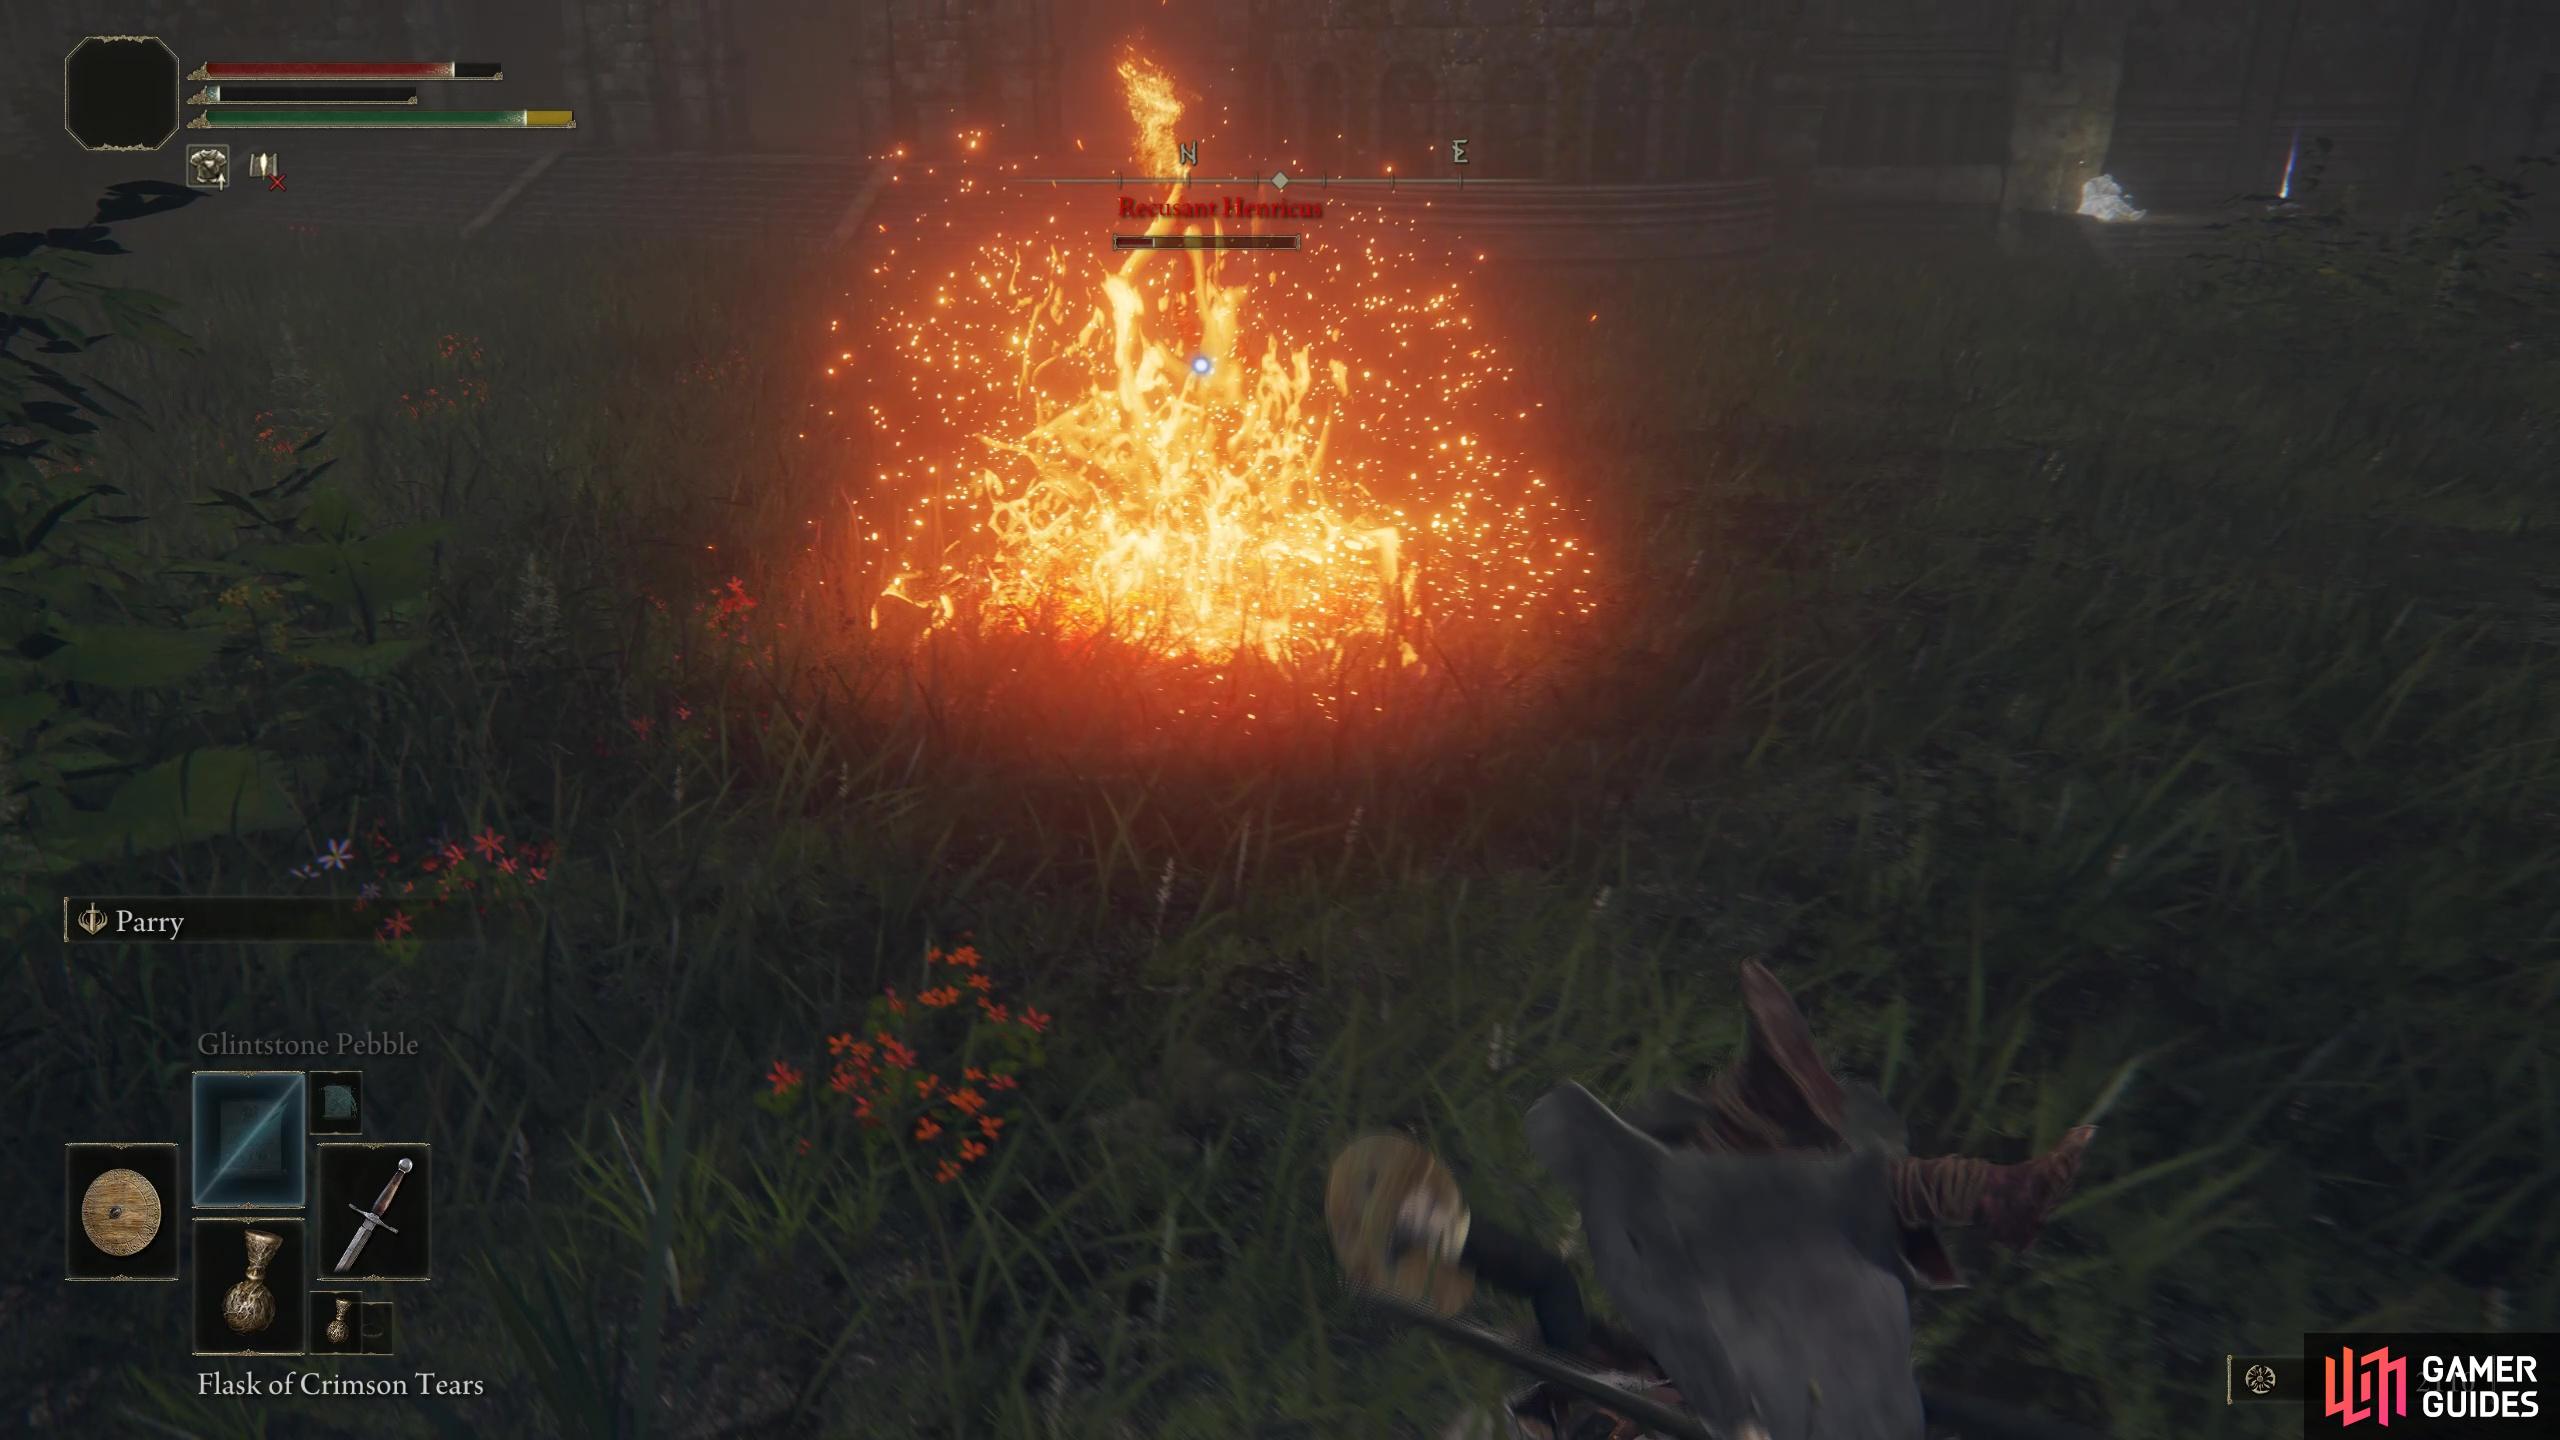
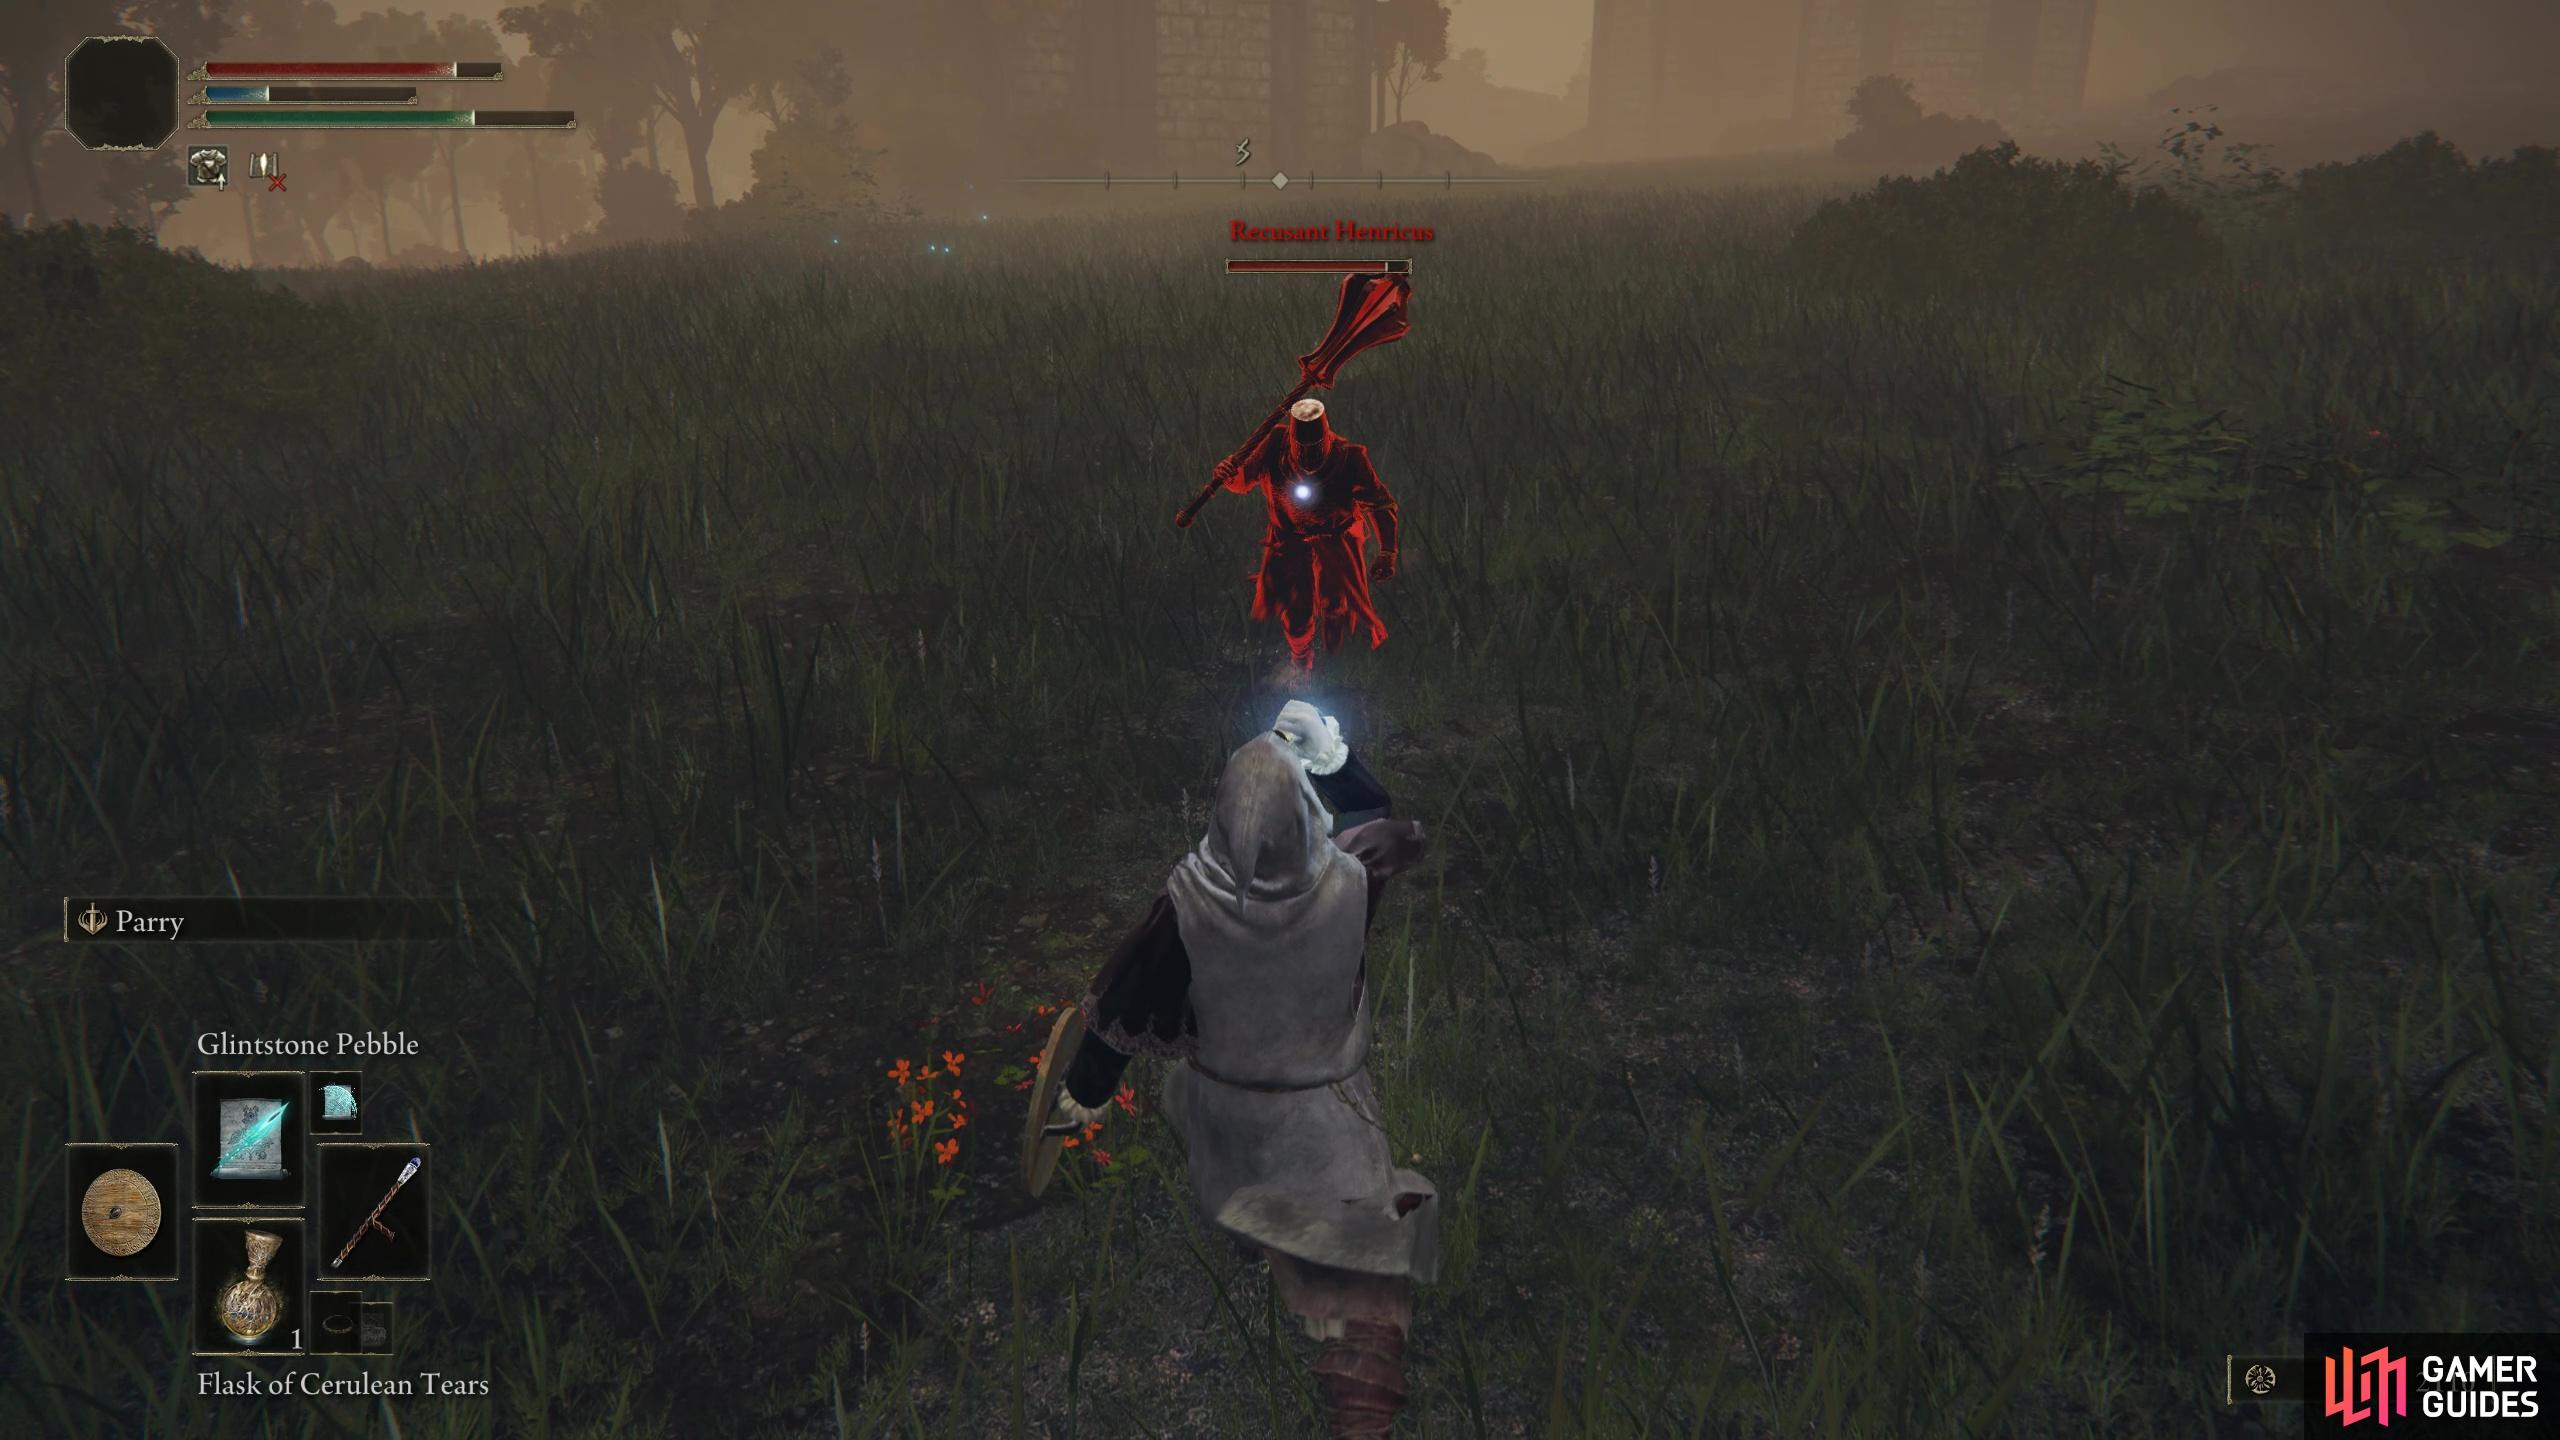
Recusant Henricus |
Of the four invaders you can fight in Limgrave, Henricus’ attacks are slow, but powerful, so don’t get overconfident and punish him once you dodge through one of his slow attacks. The best time to strike him is by baiting him into his Leap Strike, this is easily avoided, and you can roll toward him while he’s in the air to find yourself behind him. The biggest threat from Henricus comes from when you’re up close and he uses the Flame Strike, it’s easy to get caught in it and the damage can really start to add up if you stand around in the fire after so be sure to quickly roll away as soon as you see fire on the edge of his hammer. For a full strategy guide, see our boss page on How to Beat Recusant Henricus here.
Notable Info
|
|
|

|
|
|
0 |
||||||||||||||||||||||||||||||||||||||||||||||||||||||||||||||||||||||||||||||||||||||||||
|
Sanguine Noble (Invader) |
This invader is an aggressive enemy who wields two daggers which build up blood loss. Their attacks are relentless and they can inflict massive amounts of damage in a short space of time, so you’ll need to be extremely careful to avoid being caught off guard by a flurry. The noble can also cast magical projectiles from the daggers if you keep your distance, but you’ll generally have an easier time if you can kite the noble while inflicting magic damage. Alternatively, don’t be afraid to use your most damaging melee attacks. The noble may inflict a lot of damage, but he’s more of a glass cannon than anything else. It won’t take many powerful hits to bring him down. The only complicating factor here is that there are stray dogs in the area, which can easily join the fight if you stumble upon them. If this happens, take them out as soon as possible so that you can focus on the noble. |
0 |
|||||||||||||||||||||||||||||||||||||||||||||||||||||||||||||||||||||||||||||||||||||||||||||||

|
Swordhand of Night Anna |
Yes
DLC Exclusive
Yes |
||||||||||||||||||||||||||||||||||||||||||||||||||||||||||||||||||||||||||||||||||||||||||||||||

|
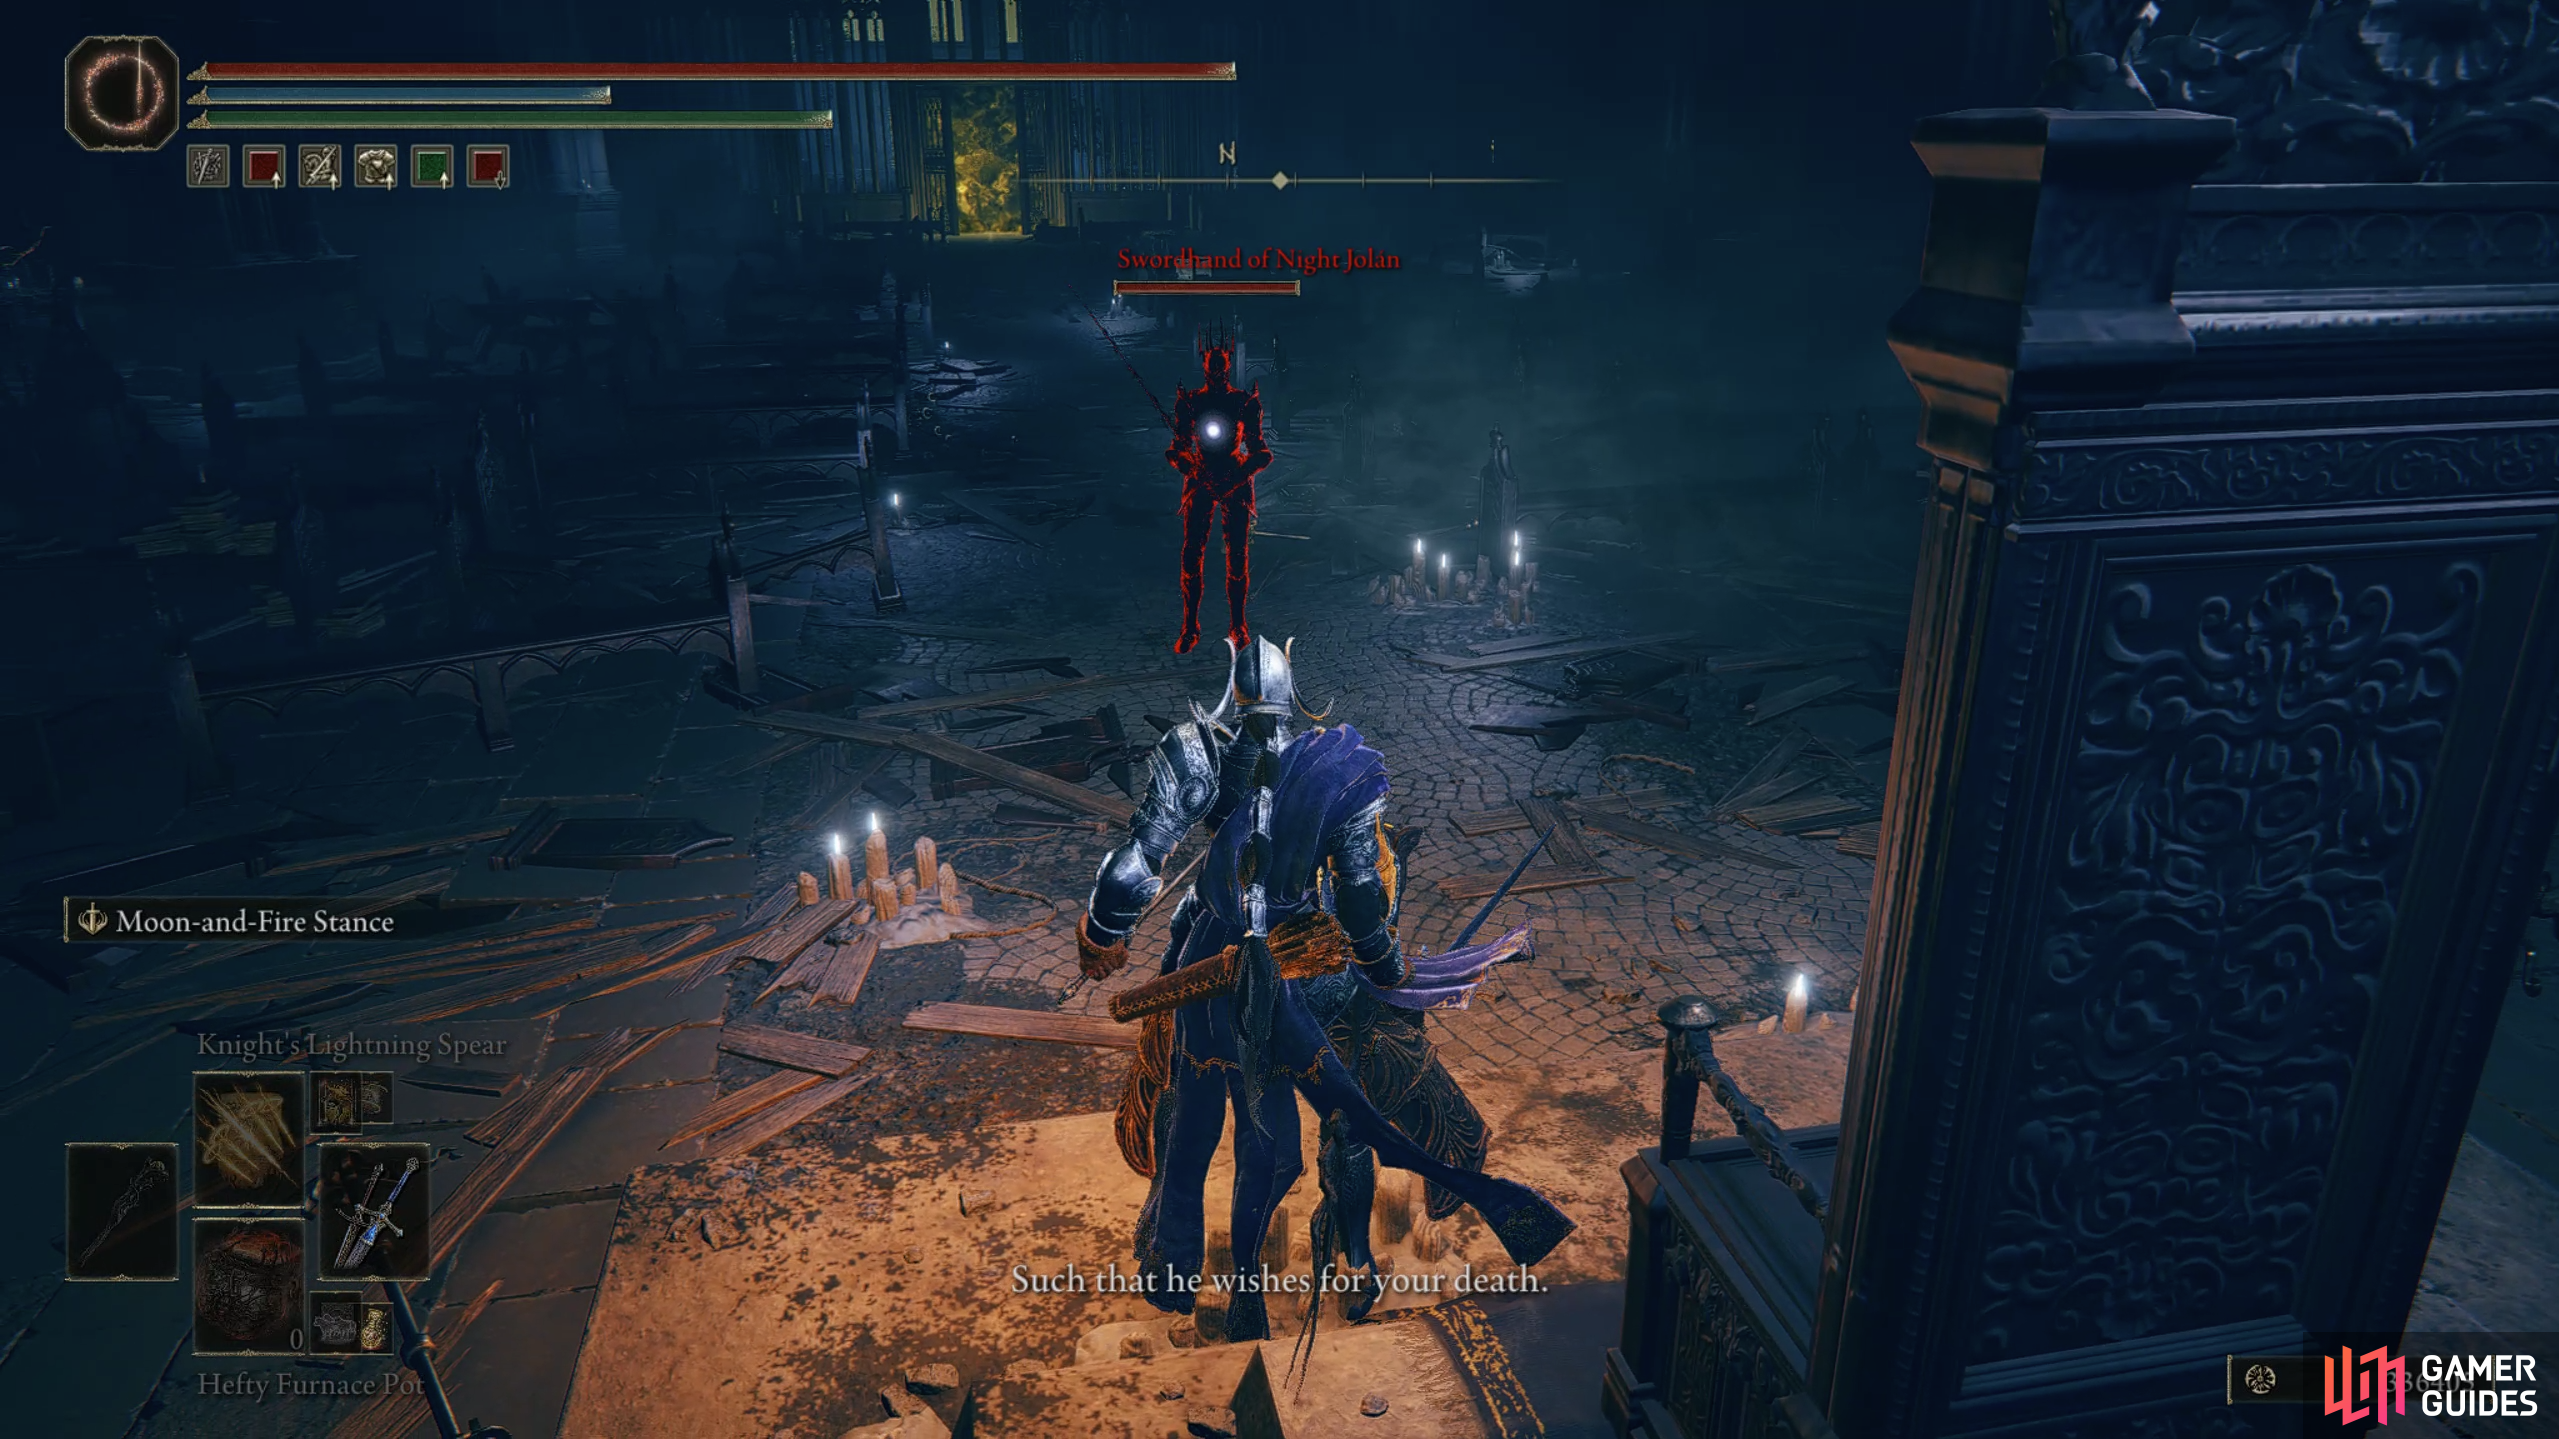
Swordhand of Night Jolan |
Yes
DLC Exclusive
Yes |
|
|||||||||||||||||||||||||||||||||||||||||||||||||||||||||||||||||||||||||||||||||||||||||||||||

|
Vargram the Raging Wolf | 0 |
||||||||||||||||||||||||||||||||||||||||||||||||||||||||||||||||||||||||||||||||||||||||||||||||
|
|
Moonrithyll, Carian Knight | |||||||||||||||||||||||||||||||||||||||||||||||||||||||||||||||||||||||||||||||||||||||||||||||||